Hello friends! I hope this post finds you well and enjoying fall in your neck of the woods. It’s finally chilly around my area with some frosty nights getting down into the 30’s..which I’m totally in for, as long as the days warm up into the 60-70’s…that’s what I call perfect! I LOVE fall weather!
I am back today to share a project I created for the Tim Holtz Halloween idea-ology release. If you’d want to take a peek at the entire collection of idea-ology goodies CLICK HERE and stop by Tim’s blog to check out the LIVE where he featured it along with all the wonderful makes made by all of his makers.
This project is slightly creepy, yet hauntingly romantic in a vintage and shabby way. I LOVE Halloween vignettes because they always tell a story and can be as creepy or non-creepy as you want. 13 Bones seemed to be a perfect title for the project for as I was gathering up the idea-ology supplies, her little story began coming to life as each piece was added. An old witch and her pet owl who, over the years, have gathered enough bones to display as a collection hidden amongst her witchy home and in a shabby little cupboard . Yes, PLEASE! So perfectly spooky, wouldn’t you agree?! 🙂

…and here’s a peek into her little cupboard…can you find all 13 bones??? It’s like one of those mystery hide-and-seek games that used to be in the children’s highlight magazine that I used to get when I was little…does anyone remember those? Anyways, I had fun hiding them within the vignette.

To create the little cupboard within the collection, I used a Large Vignette Tray and then assembled it with a piece of black chipboard to cover the rest of the opening. An idea-ology Vignette Box became the cupboard. Her collection of goodies that helped to create the story included Halloween 2024 idea-ology Ephemera Layers and Paper Dolls, Halloween Backdrops, Ephemera Pack, Word Plaques and Tags, along with some classic Tim Holtz products like Paper Bouquet, Corked Vials and more…I have a full list of supplies below, so, let’s get started!

I started out by laying out some of the parts and went through the different ephemera to see what would work with what idea I had in my head. I decided on the portrait of the older woman, who to me, looked like the perfect old witch. Some of the Ephemera pieces in the photo made it into my piece, and some didn’t.

I decided where I wanted to put the cabinet (small vignette box)…being sure to leave room for the portrait and all the ephemera pieces and layers that I was planning on adding.

Then I traced the box and cut the area out for the box by using an exact-o knife. You can see in the photo below that I decided on one of the baseboard windows for the front of the cabinet. It was a perfect fit! But you can also see that the vignette box stuck out a little and wasn’t completely level with the chipboard.

I painted the outside and inside sides of the vignette box using Black Gesso and a blending tool, then trimmed a couple pieces of paper from the new Halloween Backdrops paper pack to fit the back of the box and the inside sides, adhered them within using Distress Collage Medium, then set it aside to dry.

Next, I moved on to the background for the front of the vignette which would be adhered to the chipboard piece. Using a couple sheets of the new Halloween Backdrops, I adhered them to each other than then using my sewing machine, messy stitched them together, being sure to leave the frayed ends of the threads. This always is a good idea, especially for shabby details. It’s funny how messy stitches and frayed ends instantly add detail.
Once I had them stitched together, I decided where I wanted the sewn seam to land on the chipboard piece then trimmed it to fit it.

Once I knew where the stitching would be, I held the chipboard piece to the front of the background papers and cut out the whole using my craft knife.

Below you’ll see that I made sure that the vignette box fit into the cut area. After I knew that it fit, I set it aside and began working on the tray. In several steps below, we will be doing some sewing to this piece before adhering it to the chipboard piece.

Next, I started to add some age to the vignette box. Using a palette knife and some Distress Opaque Crackle Paste. I added the paste onto all the outside edges of the box since I knew I was going to cover the inside and back. I set the box aside to dry and crackle.

Once the edges were dry and crackled, I rubbed the edges with Black Gesso using a blending tool. You can see in the photo that I didn’t smoosh too much of the gesso into the cracks so that I could emphasize them in the next step.

Once the gesso was dry, I used a distress sanding disk and tool and scruffed up the edges where the crackle was, then using a blending tool and Vintage Photo Distress Ink, blended some ink into the cracks.

And here is the result of these techniques…yummo! Distressed goodness!!

Next, I set the vignette tray aside and moved on to the window and cabinet door. I adhered an acetate window to the back of the window and adhered a small vintage knob to the front of the window to create a cabinet door.
I cut a piece of chipboard to fit the left side of the vignette box to create a hinge. Then I painted it with Black Gesso, let it dry, sanded it and rubbed it with vintage photo distress ink. After the piece was dry, I scored the piece longways down the center and adhered the piece to the window. I let the window and hinge chipboard piece dry over night before moving on to the next step.

Once the hinge piece was secured to the window piece, I wrapped the chipboard hinge around the edge of the vignette box. I adhered glue to the chipboard hinge, then used a couple nails to give the door more stability. Then I set that aside to dry.

I then moved on to finishing the back of the vignette tray then attaching the chipboard piece to the front of the vignette tray. The back of the vignette tray was covered with a couple pieces of backdrop papers by using Collage Medium. I adhered the papers to the tray then added some collage medium over top of the papers..this makes it so that after it is dry I was able to rub the box with Walnut Stain Distress Crayon to add more grunge and age to the piece.

I found some thick foam pieces in my stash that I have from the packaging of the idea-ology vignette trays. When the trays are packaged they have this piece in the empty space to keep the boxes from rubbing together. I am a pack rat, so I keep weird things like these. Because someday they might be useful, LOL! It is a very thick foam and works great as an anchor below the chipboard as to not have the weight of the pieces as to not cause the chipboard to cave in. These were adhered using a hot glue gun. I just made sure that they were distributed and placed not in front of the opening where I would be placing the vignette box cupboard.


I applied some collage medium around the edge of the tray then using some small nails, hammered the chipboard to the front of the tray. Below in the photo you’ll see that I tested to make sure that the vignette box (small cabinet) fit within the cut out space again. It’s always good to check twice..or more! Then I applied glue to the back of the vignette box and adhered it inside the cut out space and set it aside to dry.

Once the box was all figured out I jumped back into creating the front collage layout. I used several pieces of the ephemera from the Halloween 2024 release. The witch was my first piece to find its permanent spot, then I began building things around her. I added moss, tiny sticks (of course) and lots of woodsy pieces.

I used a Worn Lipstick Distress Crayon to rub color onto her cheeks. Then using two of the Halloween Baseboard wood pieces, I sandwiched the bottom of the portrait and adhered them together using collage medium. I hammered in a couple nails into the two ends of the wood pieces, then hammered the wood chipboard pieces using the Tim Holtz Texture Hammer, then I rubbed the pieces using a Walnut Stain Distress Crayon.

After I knew approximately where all the ephemera pieces would be placed, I stitched scrap pieces of fabric, idea-ology Mummy Cloth and bits of vintage lace around the edges of the background paper. There was no rhyme or reason to where I stitched the pieces, I just went with what looked good to me. It’s fun to just run with it and see what comes together.

Here is a look at the finished piece again with all the messy stitches and scrappy fabrics.
The Owl Ephemera piece was adhered to the left shoulder of the witch using collage medium. I stitched a small piece of cotton string to just under the owl, then tied on a small bone. This is when the bones started to make it into the vignette. The witch and her owl friend were adhered to just above the vignette box cupboard using a hot glue gun then I began building around them. It’s all about layering…I started adding moss, tiny sticks and then added some paper flowers into the mossy area.
Inside of the cupboard contains all sorts of goodies…I first created some grungy bottles then built around those to create a small vignette that contained more bones, a skull and wood pieces that I had in my stash to add to the natural theme of the make.

Making grungy and crackled bottles is SO FUN! Here is my recipe for them…
Rub the idea-ology glass bottle with some Distress Collage Medium then let it dry. Once dry, using your finger, rub the bottle with some Clear Rock Candy Crackle Paint.

While the crackle paint is still wet and tacky, lightly sprinkle some of the sticky area with Antique Linen Embossing Glaze, then set it aside to dry and crackle.

Once the bottle was dry and crackled, I heated up the antique linen glaze to melt it. This gave the glass a crackled and wavy look…like an old bottle would be.
I adhered a couple pieces of small ephemera using collage medium and rubbed the collage medium over the labels then while the collage medium was still wet, I did a quick spritz of Fossilized Amber Spritz over the entire bottle. Normally, spritz wouldn’t work on a slick surface, but because I had just applied collage medium, it dried into the smooth surface…pretty cool if you ask me!

After the bottle was dry, I rubbed Walnut Stain Distress Crayon into some of the cracks and rubbed some of the crayon onto the cork.

The small vial inside the cupboard with the tiny bones and flowers was given the crackle treatment and I rubbed it with Walnut Stain Distress Crayon. The idea-ology paper bouquet flowers were sprayed with Antique Linen and Weathered Wood Spray Stains, dried then rubbed with some Collage medium then sprinkled with Clear Rock Candy Glitter.

After I sprinkled the glitter, I sprinkled in some stick and moss crumbs that I had in my bag of tiny sticks. I then added a small label to the vial and tied a bit of grungy string to it.

I arranged the inside of the cupboard with the vials, sticks, mummy cloth, a small idea-ology skull, a collection of bones and some more of the dyed flowers.

All the bones on the vignette were rubbed with a small amount of Distress Picket Fence paint, set aside to dry, then rubbed with a little Walnut Stain Distress Crayon.
I stitched on some scraps of cotton thread to the fabric around the edge of the background, then tied on a couple bones and the number 13 charm. The charm had been rubbed with a small amount of Antique Linen Distress Crayon to add the chippy color in the background. The word “bones” was a rub on from an old idea-ology Halloween pack. I just rubbed it onto a little diet tag and tied it to the collection of bones. The title of the project found a permanent space.

Towards the bottom right corner I adhered a small collection of ephemera & paper pieces to look like a small file or portion of a book. I blended the mushroom ephemera piece with brown distress ink, placed some scrappy papers behind it to give it some stability, then placed a small idea-ology paper clip with a tied bit of string and using a tiny clip, added a small bone that was clipped to the left side. Some bits of moss and stick crumbs were added to it using some collage medium.

I hooked on a chain, lock and key to the front window of the cupboard and added more moss, twigs, a bone and some mummy cloth that was all stitched on using some grungy string. On the string, I tied the word charm “beware”.

I rubbed the bug ephemera with some brown distress ink, then adhered the piece onto a small piece of grungy brown paper that I had in my scraps to create a “framed” piece of ephemera. The corners of the ephemera piece were pierced with a needle tool then I added some idea-ology mini fastener brads. I punched 4 holes into the piece on the right and left side of the bug and stitched on a bone with cotton thread. I added a small idea-ology clip to the top of the piece to create a hanger, then hammered a nail into the top edge of the vignette and adhered the bug in place using foam squares.

The label below was rubbed with brown distress ink, then I curled the right edge of it and rolled a small bone inside and stitched it to it and tied a bow. The label was then applied to the vignette using collage medium. I hammered a vintage nail into the right corner. You’ll also notice that the label wraps around the edge of the vignette to add some interest to the side of the box. I stitched on another small bone below the label.

Whew…with that, my project was complete…I hope it inspires you to try something new and have fun creating!
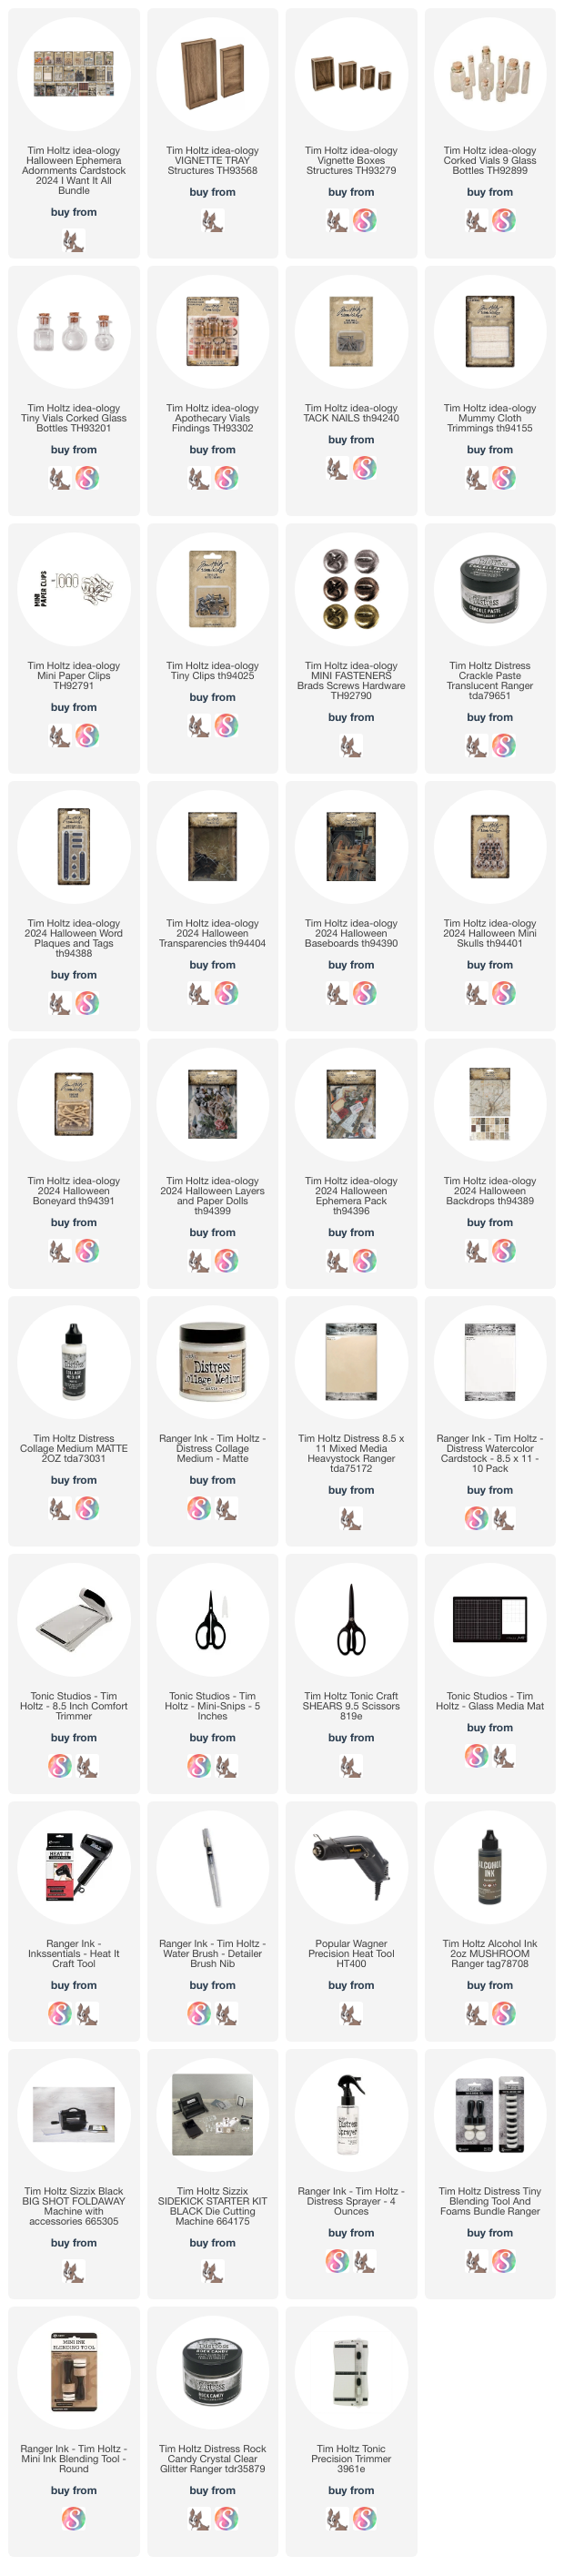
The products used to create this project are listed below with links to Simon Says Stamp. Thank you so much for supporting me through shopping through them. I appreciate it so much! – Creatively yours, Stacy
What is an affiliate program, and why should I click on the link and buy through you?
When you shop via the affiliate link on this blog, I receive a small commission from the affiliate provider (Simon Says Stamp) at no extra cost to you, whatsoever. These commissions help me to cover the hosting fees and other costs to run my blog and be able to provide you with FREE inspiration. If you shop the links, THANK YOU! I truly appreciate being able to share my love of creating with you.


It took me a couple of searches on that first picture, I kept coming up with 12 bones….then found it…13 bones. Yes, a very spooky, creepy make of the best kind. Love it all. Now, I have to go back and re-read it…LOL Thank you for the wonderful tutorial.
Impressive details
This is an incredible make! Love all of the details and appreciate your sharing the techniques you’ve used to achieve this spooky goodness! The bottle is amazing! Thank you for sharing your talent
Love this project! Especially using the paper clip as a hanger, rolling the bone in the edge of the label & the black gesso over the crackle paste. Will definitely have to try some of the techniques! Thanks!
Your creations are so amazing, detailed and show off the “Tim Holtz” gotta-have products in the best way. Thanks for the inspiration and sharing your detailed “how-to”. Your posts are always saved away at this end!
Once again you have made a fantastic vignette! Just creepy enough! It took me awhile but I found 13 bones! Thank you for sharing all the details! You are beyond creative in my opinion.❤️