Hello friends! I’m back and with another new project…It’s been fun to be back making again! It clears my head and makes my heart happy..and we all need some of that at the moment.
I initially began the project to find a “lucky” theme to use with some of my Tim Holtz idea-ology products and began by digging through my collection. Tim Holtz idea-ology is loaded with all sorts of “lucky” themed things.

I am not Irish but, I do love a good green, and as for “lucky”, I feel like being lucky is more of a blessing that was something that you were always meant to have, it just came around when your heart needed it most. Anyways…that is where this project came from, I happened to come across a penny the other day and saw that it had my husbands birth year on it. I know how lucky I am to have him in my life, and I thought it would be fun to use that lucky penny in a project, and it took off from there!

I love buttons, I bet you didn’t know that… 😉 so, I knew I wanted to work some of those into the project along with a few bits of thread and lace too!


So, let’s break it down and get to it…
To start with, I began with the background, I found a particularly pretty green themed background paper in one of the Tim Holtz Backdrop Paper Packs, then, using some Opaque Texture Paste, applied the paste through a stencil, then sprinkled with with a variety of Distress Glazes. I used a technique that I’ve shared before in this post, so if you need a little more info on that, you can click there to find out more. In the past, I did this with crackle texture paste but it works with all texture pastes.
Once I had the texture paste had sat and dried, I embossed it using my heat tool, I lightly sprayed the paper with some water and some Gathered Twigs Spray Stain, and dried it with a heat tool. This gave the paper some more age, which is always my end goal.

This is a small vignette tray that I used for the base of the project…I don’t have step outs for it because, I made this box months ago for a project that didn’t end up happening…lol, save all those pieces, they come in handy! So, create a small vignette tray, covered and painted in whatever way your heart leads you to do. Mine was covered in embossed watercolor paper around the outside and painted and stained with a variety of green paints and brown stains. I then apparently had covered the inside of the box with the same paper, but this really wasn’t important since I was covering it with the pretty paper I just created for the background.
I then used some silver metallic paper that was cut to fit around the inside edge of the tray. This paper was then run through a paper crimper, adhered within the tray, then painted and rubbed with brown Distress Crayon to give it more age.

I covered a small vignette box to place the corked dome and penny inside, and thought that covering it with some of the new Tim Holtz Paper Strips worked perfectly for it.
The paper strips are already cut in a variety of widths, so I trimmed the lengths to fit the box, then adhered them inside and outside. Then, after they were adhered and dried, I rubbed the box with Walnut Stain Distress Crayon. This gave the box some age and added to the charm of the piece.


Here’s the box once it was completed. It fit the little corked dome perfectly and added the perfect centerpiece of the project to highlight the special penny.
The dome..
To create the full effect of the dome, I had to glue the buttons inside of the back and top, this was done by using Glossy Accents, a crystal clear, shiny glue. It worked perfectly in combination with the glass so that it looks like they are suspended in the finished project.
I adhered the buttons carefully inside, then set the dome aside to dry in a location where I knew it wouldn’t be bumped. This took about a day to dry because the glue pooled up at the back of the dome but once it was dry, you didn’t see the glue because it is crystal clear and did exactly what I wanted it to do.

The penny was adhered to an idea-ology Memo Pin. This was then used to poke into the cork and made it so that the penny would stand inside the dome in the right place.
I glued the loop of the pin top to the back of the penny using some super glue so that I was sure that the penny would be secure.
Some floral moss was adhered to the cork, then I adhered some of green paper flowers. You’ll find the “how to” for the paper flowers below.

See? It fits so cute inside the box…but, I thought it needed a little more shelf space for the dome to sit on.

I cut two scraps of Etcetera Trims (laser cut hardboard chipboard) to use as the “shelf”. I used a piece of a Scallop Trim and a piece of a thin “ledge” that is found in the Halloween Web and Bat Trim packages. This added the right size inside the box. I rubbed the trim pieces with Statue Foundry Wax, then using my embossing gun, heated them to set the wax bring out the shine. The trims were then scrubbed with some Distress Crayon and adhered to the bottom of the vignette box.

Here’s what it looked like after the trims were adhered inside.

A perfect little shelf for a perfect little dome!
The paper flowers and charms…
The paper flowers are idea-ology paper bouquet flowers that were colored using Distress Spray Stains, Alloy Alcohol ink and glitter. I used them in the little bouquet to the left side of the vignette and inside the corked dome.

I sprayed a clump of the paper bouquet flowers using a variety of green spray stains, that included Shabby Shutters, Rustic Wilderness oxide and regular and Crushed Olive, then dried with a heat tool. I rubbed on a small amount of Statue Alloy Alcohol Ink, then rubbed them with a small bit of Glossy Accents. The flowers were then dipped into some Rock Candy Glitter and a combination of Gold Glitter, then dried using my heat tool. I gathered some of the flowers to create the small bouquet, and a few were then used inside the bottom of the dome.

The charms I used for the project came from both the Hearts Adornments pack and the Lucky Adornments packs. The were both rubbed with Alloy Statue Alcohol Ink and Mushroom Alcohol Ink, then set aside to dry. Once they were dry, I used a small brush to apply some collage medium to both the tiny clover charm and the tiny clover inside the heart. While the collage medium was still wet, I sprinkled the clovers with some Rustic Wilderness Embossing Glaze, then set the charms aside to dry. Once the powders on the charms were dry and adhered, I embossed the glaze to create the enameled look. Can you believe how vintage the charms look now? See below to see what they started out looking like.
Tim Holtz covered this technique last weekend on his Embossing Glaze Asked and Answered Series on his Youtube channel. (You can find that episode here…he covered so many awesome techniques that I had to try one of them on my project)

I arranged the background using pieces of fabric, vintage lace and and scraps of hand dyed ribbon, then stitched the pieces onto the paper using my sewing machine. The stitching held the laces and fabric pieces in place so that I could stitch the buttons on. Below you’ll see the arrangement before the pieces were stitched on.

And here is after…once the piece was done.
You’ll notice that there are stitches around the edge of the background too. I did that after all my scrappy fabric and lace pieces were attached, but before the buttons.

I found a small corner of a vintage postcard in my “tin of random bits” and placed in into the background. The stamp area of the postcard piece was empty, and I knew exactly where I could find a stamp to place there…from the idea-ology Postmarked Sticker Book! There are 288 different sticker stamps in the book and I found one that fit my project perfectly! The sticker was blended with some Walnut Stain Distress Ink, the edges ruffed up a bit, and placed over the postcard piece.
I gathered up the green flowers for a small bouquet, and tied them together using a scrap of ribbon, then tied a small bow. I then stitched on 3 vintage buttons below the postcard piece. I attached two jump rings to the small lucky heart. The heart was attached to a nail that I later hammered into the box once all of my button stitching was done.

Below you’ll see where I stitched a random assortment of vintage button to the right side of the vignette tray. Once the buttons were all stitched on, I adhered the backdrop paper into place using collage medium and then attached the small vignette box into place.

The small vignette box was adhered to the background by using both collage medium and a nail that I hammered into the box. Because I was placing the box onto a background that had stitched fabric attached, I wanted to make doubly sure that the box wouldn’t fall out, hence the nail. This kept the box in place and worked perfectly to ensure it won’t move in the future, and once the little dome was placed inside, you don’t see where the nail is.

After the box was attached to the background, I hammered in a small vintage nail to the right side of the vignette box, then hung the tiny lucky clover. Again, two jump rings were attached to the charm so that it would hang flat on the vignette.

If you look close, you’ll see that I added a “lucky” idea-ology sticker clipping to the bottom of the small vignette box to signify the theme..and with that, my project was complete!
I hope you enjoyed following along and that it inspires you to go and make something…we have so much to be grateful for, and I truly feel so lucky to have you all to follow along and make with me.
Creatively yours, Stacy
To shop at SIMON SAYS STAMP click HERE.
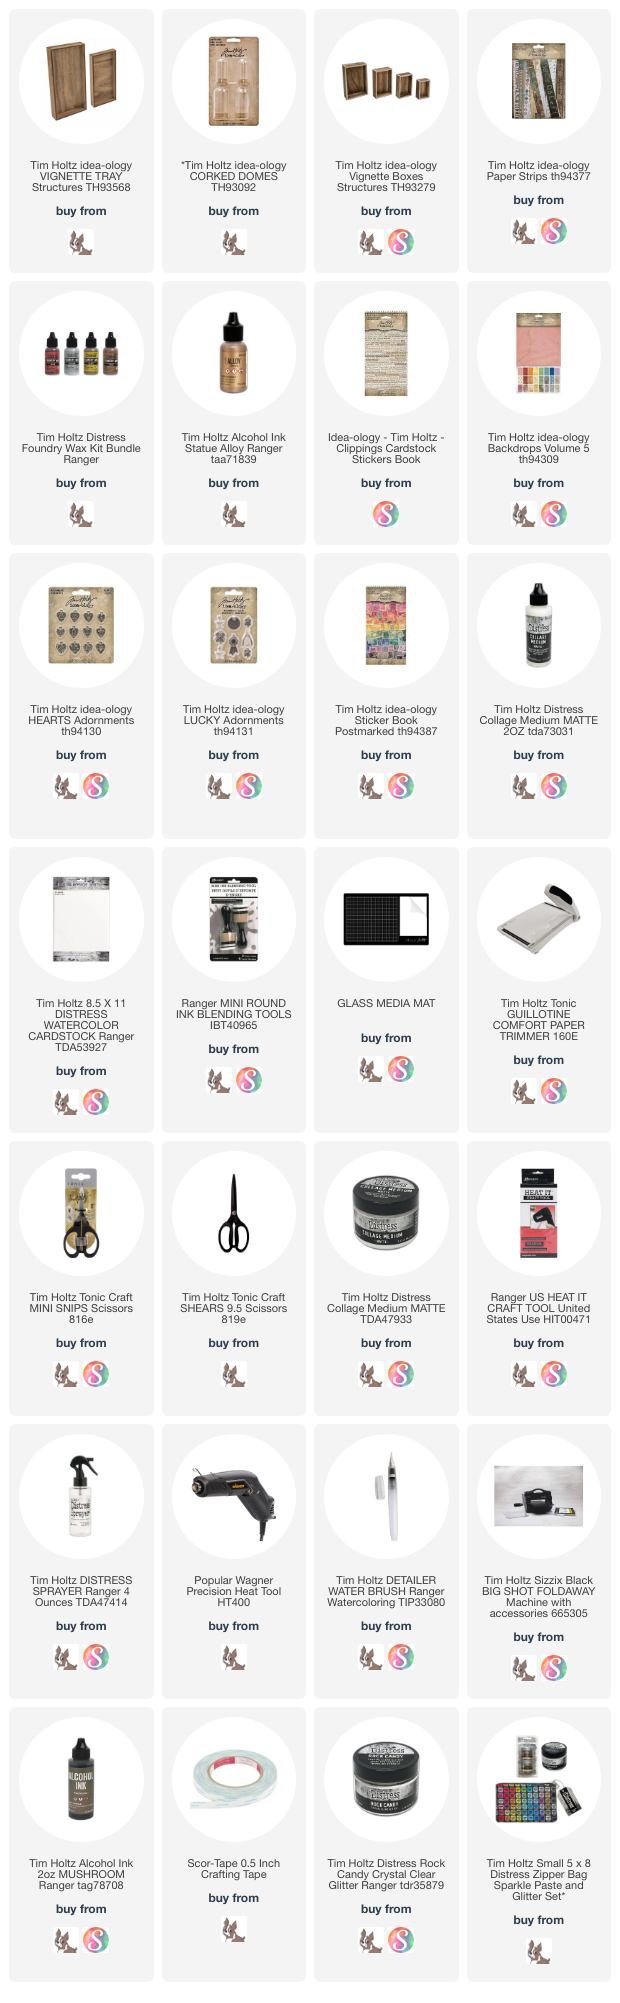
The products used to create this project are listed below with links to Simon Says Stamp. Thank you so much for supporting me through shopping through them. I appreciate it so much! – Creatively yours, Stacy
What is an affiliate program, and why should I click on the link and buy through you?
When you shop via the affiliate link on this blog, I receive a small commission from the affiliate provider (Simon Says Stamp) at no extra cost to you, whatsoever. These commissions help me to cover the hosting fees and other costs to run my blog and be able to provide you with FREE inspiration. If you shop the links, THANK YOU! I truly appreciate being able to share my love of creating with you.


Stacy,
I want to be your copy-cat. Ha! I love this tutorial !
Your A Lucky Penny project is really stunningly lovely. Every detail is perfect and the completed project is beautiful and touches my heart. Thank you so much for sharing it with us.
Thanks once again for the inspiration, Stacy. I love all the details you put in your vignettes and your thorough explanations. I’m off to check my penny jar and stash of green bits and bobs. Who knows what I will come up with this time.