Hello there and happy weekend!
I hope that you’ve had a great week. I’m hopping onto my blog today to share a fun, easy and really cool technique with you all.

I was cleaning and sorting through my studio the other day and came across my Distress Marker Spritzer Tool. I know, a what?? A Distress Marker Spritzer Tool… here’s what it looks like.

Finding it reminded me of the technique that Tim shared on one of his Saturday Demos a few weeks ago. To check out the demo, CLICK HERE.
When he demoed it I vaguely remembered that I had one and frankly, I don’t even remember buying it, let alone playing with it. It’s been in my creative supply collection for awhile now, and maybe, you have it too! 😉
(unfortunately the distress version has been discontinued, but there is a We R Memories version that is very similar through Simon and Amazon.)
The spritzer can be used with distress markers, copic markers, sharpie markers…well, you get the idea, whatever the marker, it will probably work. I used distress markers, of course! They are water reactive so after the markers were sprayed through the stencil and onto my tag, a quick spritz of water blended all the colors together!
YUM!! All pixilated and yummy!!

How cool is that? It reminds me of a vintage needlepoint fabric.
Let’s get started!
The supplies you’ll need are, a mixed media tag or paper, stencil, selection of markers, water sprayer, heat tool and a spritzer tool.

Lay the stencil over top of your paper or tag.
Attach the marker within the tool, making sure that the tip of you marker is lined up by the tip of the tool. Quickly pinch the bulb of the spritzer, aiming at specific areas of the stencil. I focused all the purples, pinks, yellows and oranges towards the flowers and the greens and browns towards the leaves on the stencil. (Roses THS075)


Remove the stencil and lightly spritz the colors with water, then dry with a heat tool.

YUMMO! I love it..so quick and easy but with BIG results!!

Then, I spritzed the colors that were left on the stencil with water and created another background…
Spritz the stencil with water and flip it over onto another tag. Lay a piece of paper towel over the stencil to absorb the water that creeps through the openings. Lift both the paper towel and stencil off of the tag and dry with a heat tool.

You can never have too many backgrounds…I just love them and can’t wait to use these on a project..they’re so pretty


Thanks so much for stopping by ..have a great day!
Creatively yours,
Stacy
What is an affiliate program, and why should I click on the link and buy through you?..
When you shop via the affiliate link on this blog, I receive a small commission, from the affiliate provider (Simon Says Stamp), at no extra cost to you whatsoever. These commissions help me to cover hosting fees and other costs to run my blog and be able to provide you with FREE inspiration. If you shop the links, THANK YOU! I truly appreciate being able to share my love of creating with you.
Gather Your Supplies-
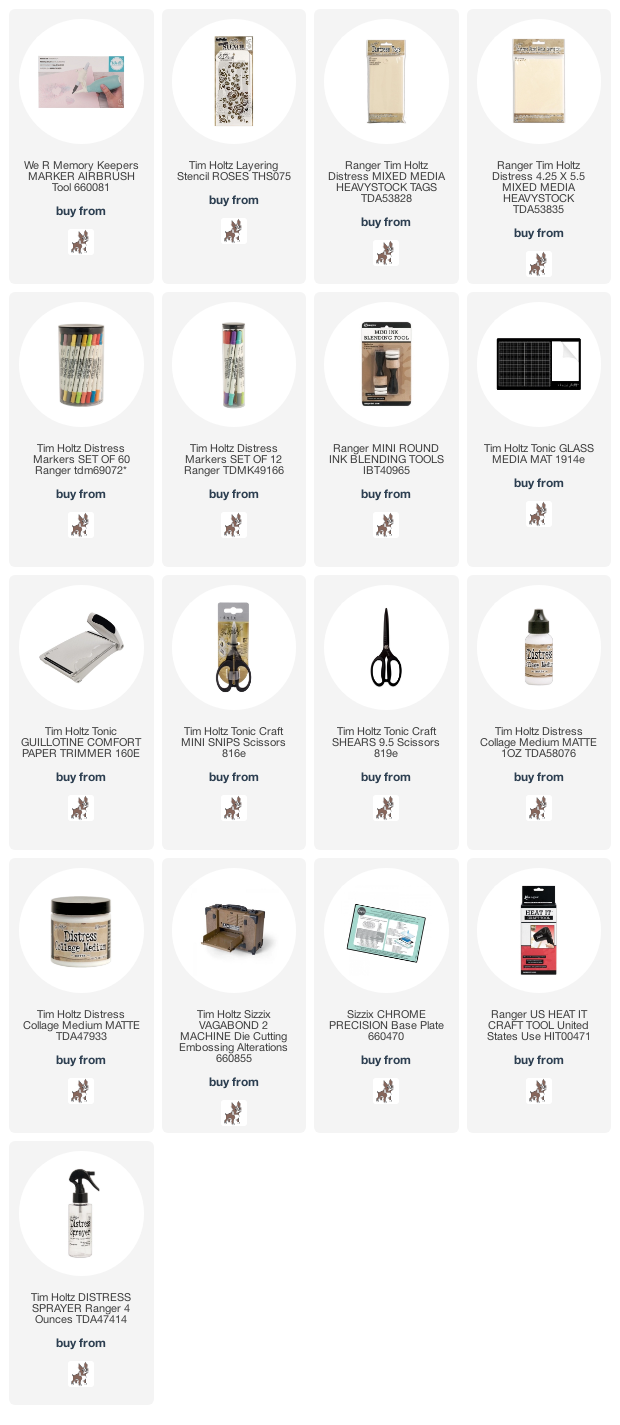
Tim Holtz/Stampers Anonymous- Roses THS075
Tim Holtz/Tonic- Stamp Platform, Tonic Guillotine Paper Trimmer, Tonic Shears
Tim Holtz/Ranger-
Distress Markers-Dusty Concord, Seedless Preserves, Ground Espresso, Wild Honey, Victorian Velvet, Shabby Shutters, Frayed Burlap
Distress Tools/Mediums- Distress Sprayer, Media Mat, Heat it Heat Tool, Blending Tools, Distress Collage Matte Medium, Distress Marker Spritzer Tool, We R Memories Marker Airbrush


This is a technique that has become a favourite. I love yours, I love the print ones more.
Love this!! Thank you,
great reminder of what that tool can do. I love the colors you chose and how you made the mono print too!
They’re beautiful, Stacy!!! I have the tool but haven’t yet played with the technique. So many techniques…so little time :-)) Can’t wait to see what you use them for!!!!
I have that tool so great reminder and beautiful results. Inspired me to have a go 😊
It is such a cool technique and bonus when you can get a twofer in the process…love that stencil and both look fabulous, now…just waiting to see what they become….no pressure…LOL…
Always love when we can get two cards out of one technique, Beautiful! I haven’t played with mine in some time, guess I need to break it out again 🙂