Hello All and Welcome!

I’m so glad that you stopped by…
The hustle and bustle of the holidays has begun and today I have a fairly simple card for you. I have decided to theme it as Farmhouse Christmas. I am a HUGE Joanna Gaines and Fixer Upper fan and wanted to create a card that would be in that style. This chalkboard looking Christmas card really did it for me. I only used the new Tim Holtz Stampers Anonymous Festive Overlay (CMS357) and combined it with Shifter Stars Layering Stencil (THS111). That’s it!

I used the shifter stencil but didn’t shift, instead used it to blend the barn door red Distress Oxide through. The stars created a barn style look and were perfectly spaced to be used in the background as is.

This card is really straightforward and easy to duplicate if you are in need of an easier Christmas card or would be awesome created into a Christmas tag.
Let’s Begin!
First, I created the star background onto a piece of watercolor paper. With my blending tool I blended Barn Door Distress Oxide through the Shifter Stars Layering stencil and then embossed the stars with Clear Embossing Powder. I blended the paper, with a light hand, over top of the stars and background with Black Soot Distress Oxide.

Then, on a seperate piece of watercolor paper, I stamped my phrase with a VersaMark Stamp Pad and embossed it with Clear Embossing Powder. Then I began blending my Black Soot Oxide over top of it and around the whole piece of paper until it was to my liking. I spritzed it, just a tiny bit, with my distress sprayer, dabbed it with a towel and dried it with my heat tool. This gave it a look of a vintage well used chalkboard.

Next, I cut a piece of watercolor paper with the Stacked Postage Thinlet Set and with the Ranger Clear Embossing Ink Dauber. Ran it around the edge of the postage piece. I embossed it with White Embossing Powder and then blended the edge with Black Soot Distress Oxide. This gave the edge of the postage piece an enameled look like that of an enamelware dishpan. Here is a close-up of the piece.

I then stitched around the outside of my phrase piece with my sewing machine and white thread…notice the stitching? apparently sewing on paper causes problems with tension sometimes… oops! But I thought it worked for the theme of the card. 🙂

I cut a few pieces of greens from the Holiday Greens Thinlet set, blended them with a variety of green distress inks and embossed the greens with a bit of white glitter embossing powder. I found some crinkle ribbon in my stash that had been dyed with various red distress inks and cut the ribbon to create a frayed look, then tied it into a bow. The jingle bells were dabbed with the clear embossing dauber and then embossed with a bit of the white glitter embossing powder.

I then adhered all my parts together and added a piece of plaid patterned paper from the Tim Holtz Holiday Paper Stash.


Thank you so much for stopping by today and have a wonderful day!!! Happy Holidays!!
Creatively Yours,
Stacy
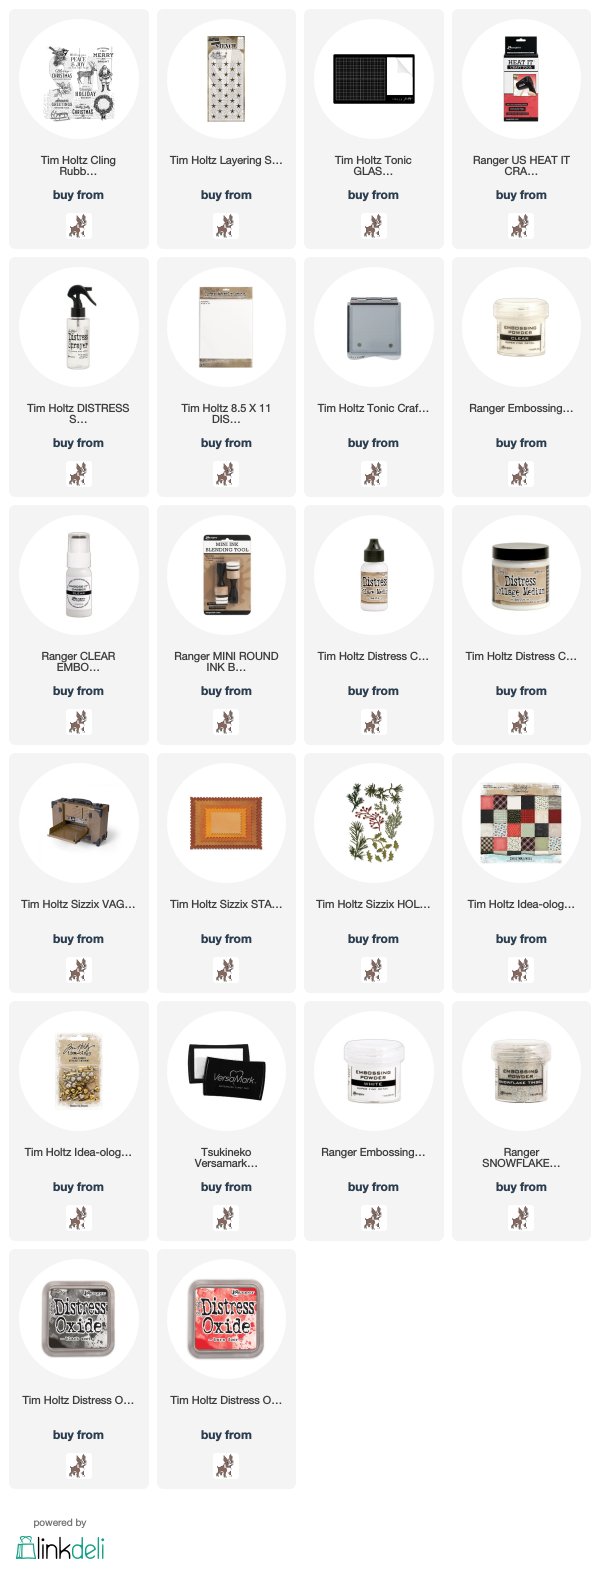
GATHER YOUR SUPPLIES-
What is an affiliate program, and why should I click on the link and buy through you?..
When you shop via the affiliate link on this blog, I receive a small commission, from the affiliate provider (Simon Says Stamp), at no extra cost to you whatsoever. These commissions help me to cover hosting fees and other costs to run my blog and be able to provide you with FREE inspiration. If you shop the links, THANK YOU! I truly appreciate being able to share my love of creating with you.
Tim Holtz/Stampers Anonymous- Festive Overlay (CMS357), Shifter Stars Layering Stencil (THS111)
Tim Holtz/Sizzix- Stacked Postage, Holiday Greens
Tim Holtz/Ranger- Clear Embossing Powder, Clear Embossing Ink Dauber
Distress Ink and Oxide- Black Soot, Barn Door, Variety of Greens and Reds
Distress Tools/Mediums- Distress Sprayer, Media Mat, Heat it Heat tool, Blending Tools, Watercolor Paper
Tim Holtz/Idea-ology- Crinkle Ribbon, Holiday Paper Stash, Jingle Bells
Other- Sewing Machine and Thread, VeraMark Ink Pad, Snowflake Tinsel Embossing Powder, White Embossing Powder.


Love the “chalkboard” style look for Christmas cards; yours is fantastic! I am impressed that only a few basic supplies were needed, a real bonus for those of us on a crafting budget, and the results are perfect. Thanks for sharing your inspiration!
Wow !!!!! Another stunner! I especially like the enamel look!
I love this card – I love the colors, the ribbon, the chalkboard style, the simplicity…just everything!
Love this card!!! I’m a big Fixer-Upper fan myself! So many special little details… thanks for inspiring!
Beautiful, elegant and just quite stunning! xx
Simply the best!
Love it to bits!!! The chalkboard look is perfect.
Wow it is just lovely, looks like a real chalkboard, lovely greenery!
Stacy, you have pressed all the vintage farmhouse buttons with this! I love your old chalkboard effect, and the stitching looks right at home on it. Genius way to create the enameled edges! Like everyone else has said, I love EVERYTHING about this beautiful farmhouse greeting! Merry Christmas!
This is fabulous! I may shamelessly copy your idea. If so, I will tag you on Instagram.
Go for it, Barbara!!!! ♥️ I can’t wait to see your version!!!