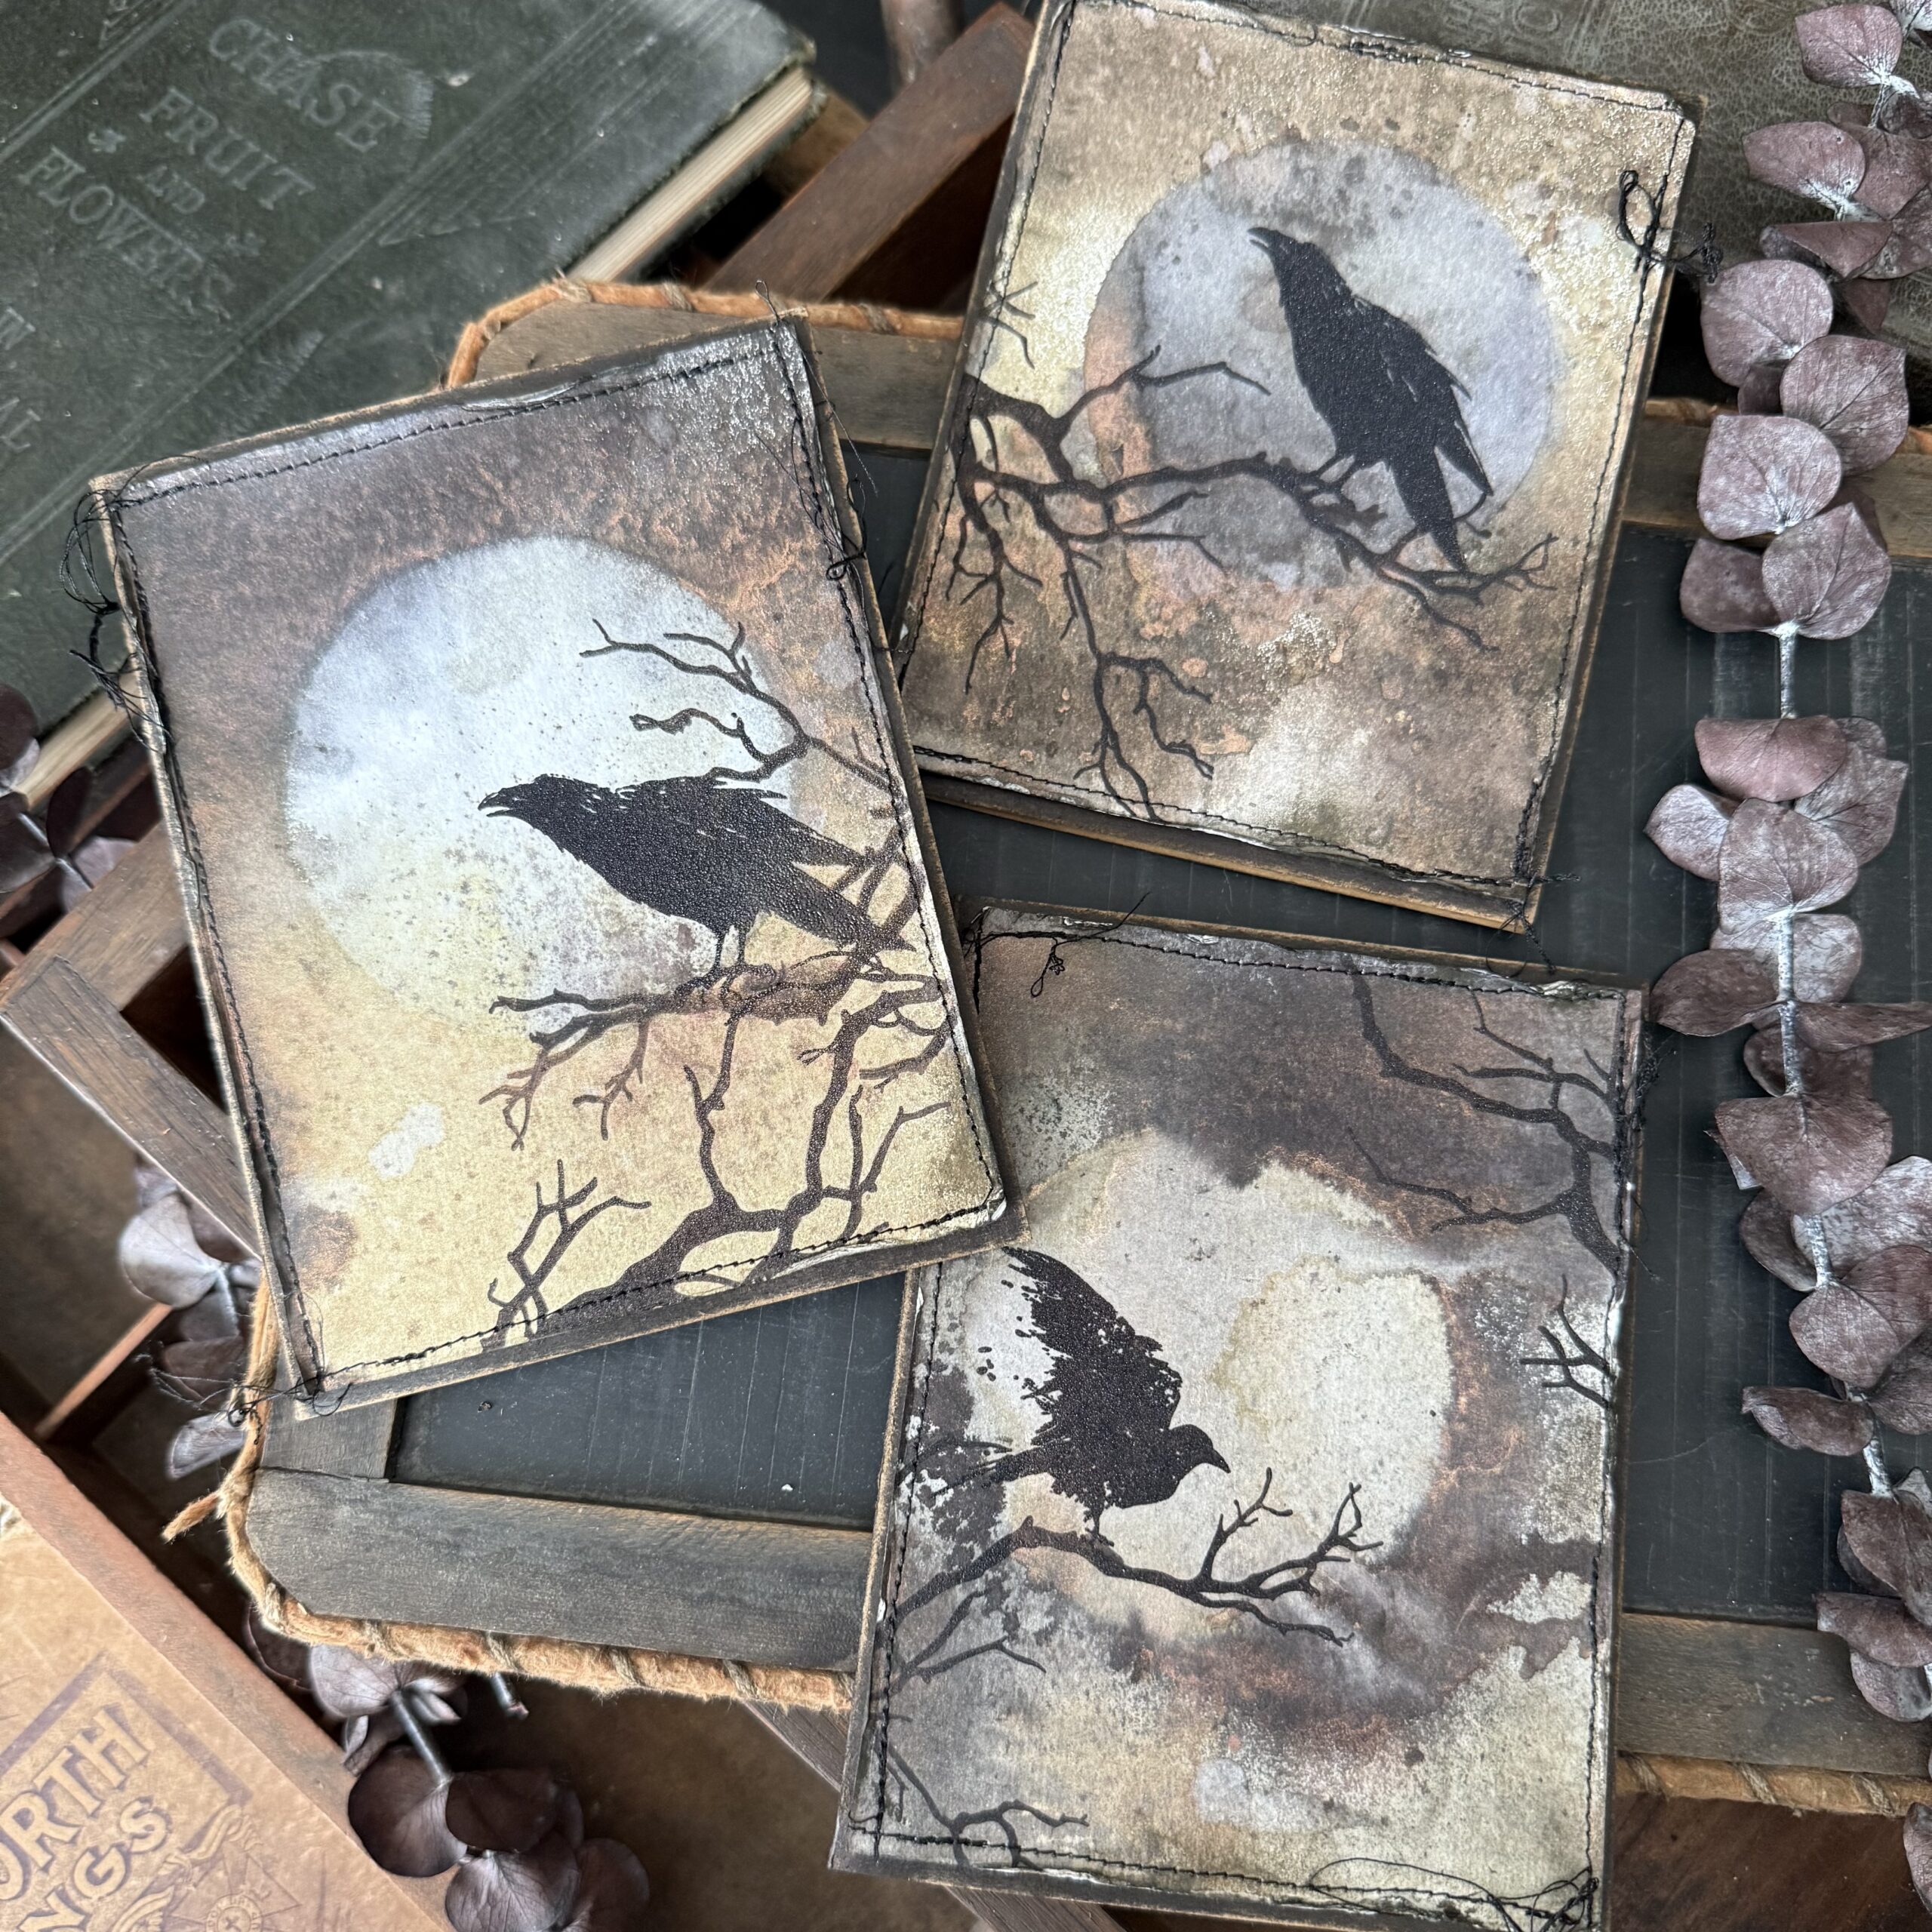
Hello friends! I’m back, really quickly before the Halloween Clock runs out! This time with some cards I created for the Stampers Anonymous Curations featuring Fall and Halloween Stamp Sets and stencils. These are very moody cards and perfect for Halloween or whenever a Raven Moon could be handy.
They feature inky moons that I created using the Moon Mask Stencil Set and ravens that I found in a couple of the featured sets. These moons are slightly different than some of my previous tutorials… you can see those other tutorials HERE, from my first time creating an inky moon to my most recent, HERE where I did the moon slightly different by tracing around it using a Distress Watercolor Pencil. Today’s tutorial makes the moons darker and adds mystical shimmer with the use of Distress Mica Stain Spray. Really, there are so many ways to create moons, and the creepier the better at Halloween!
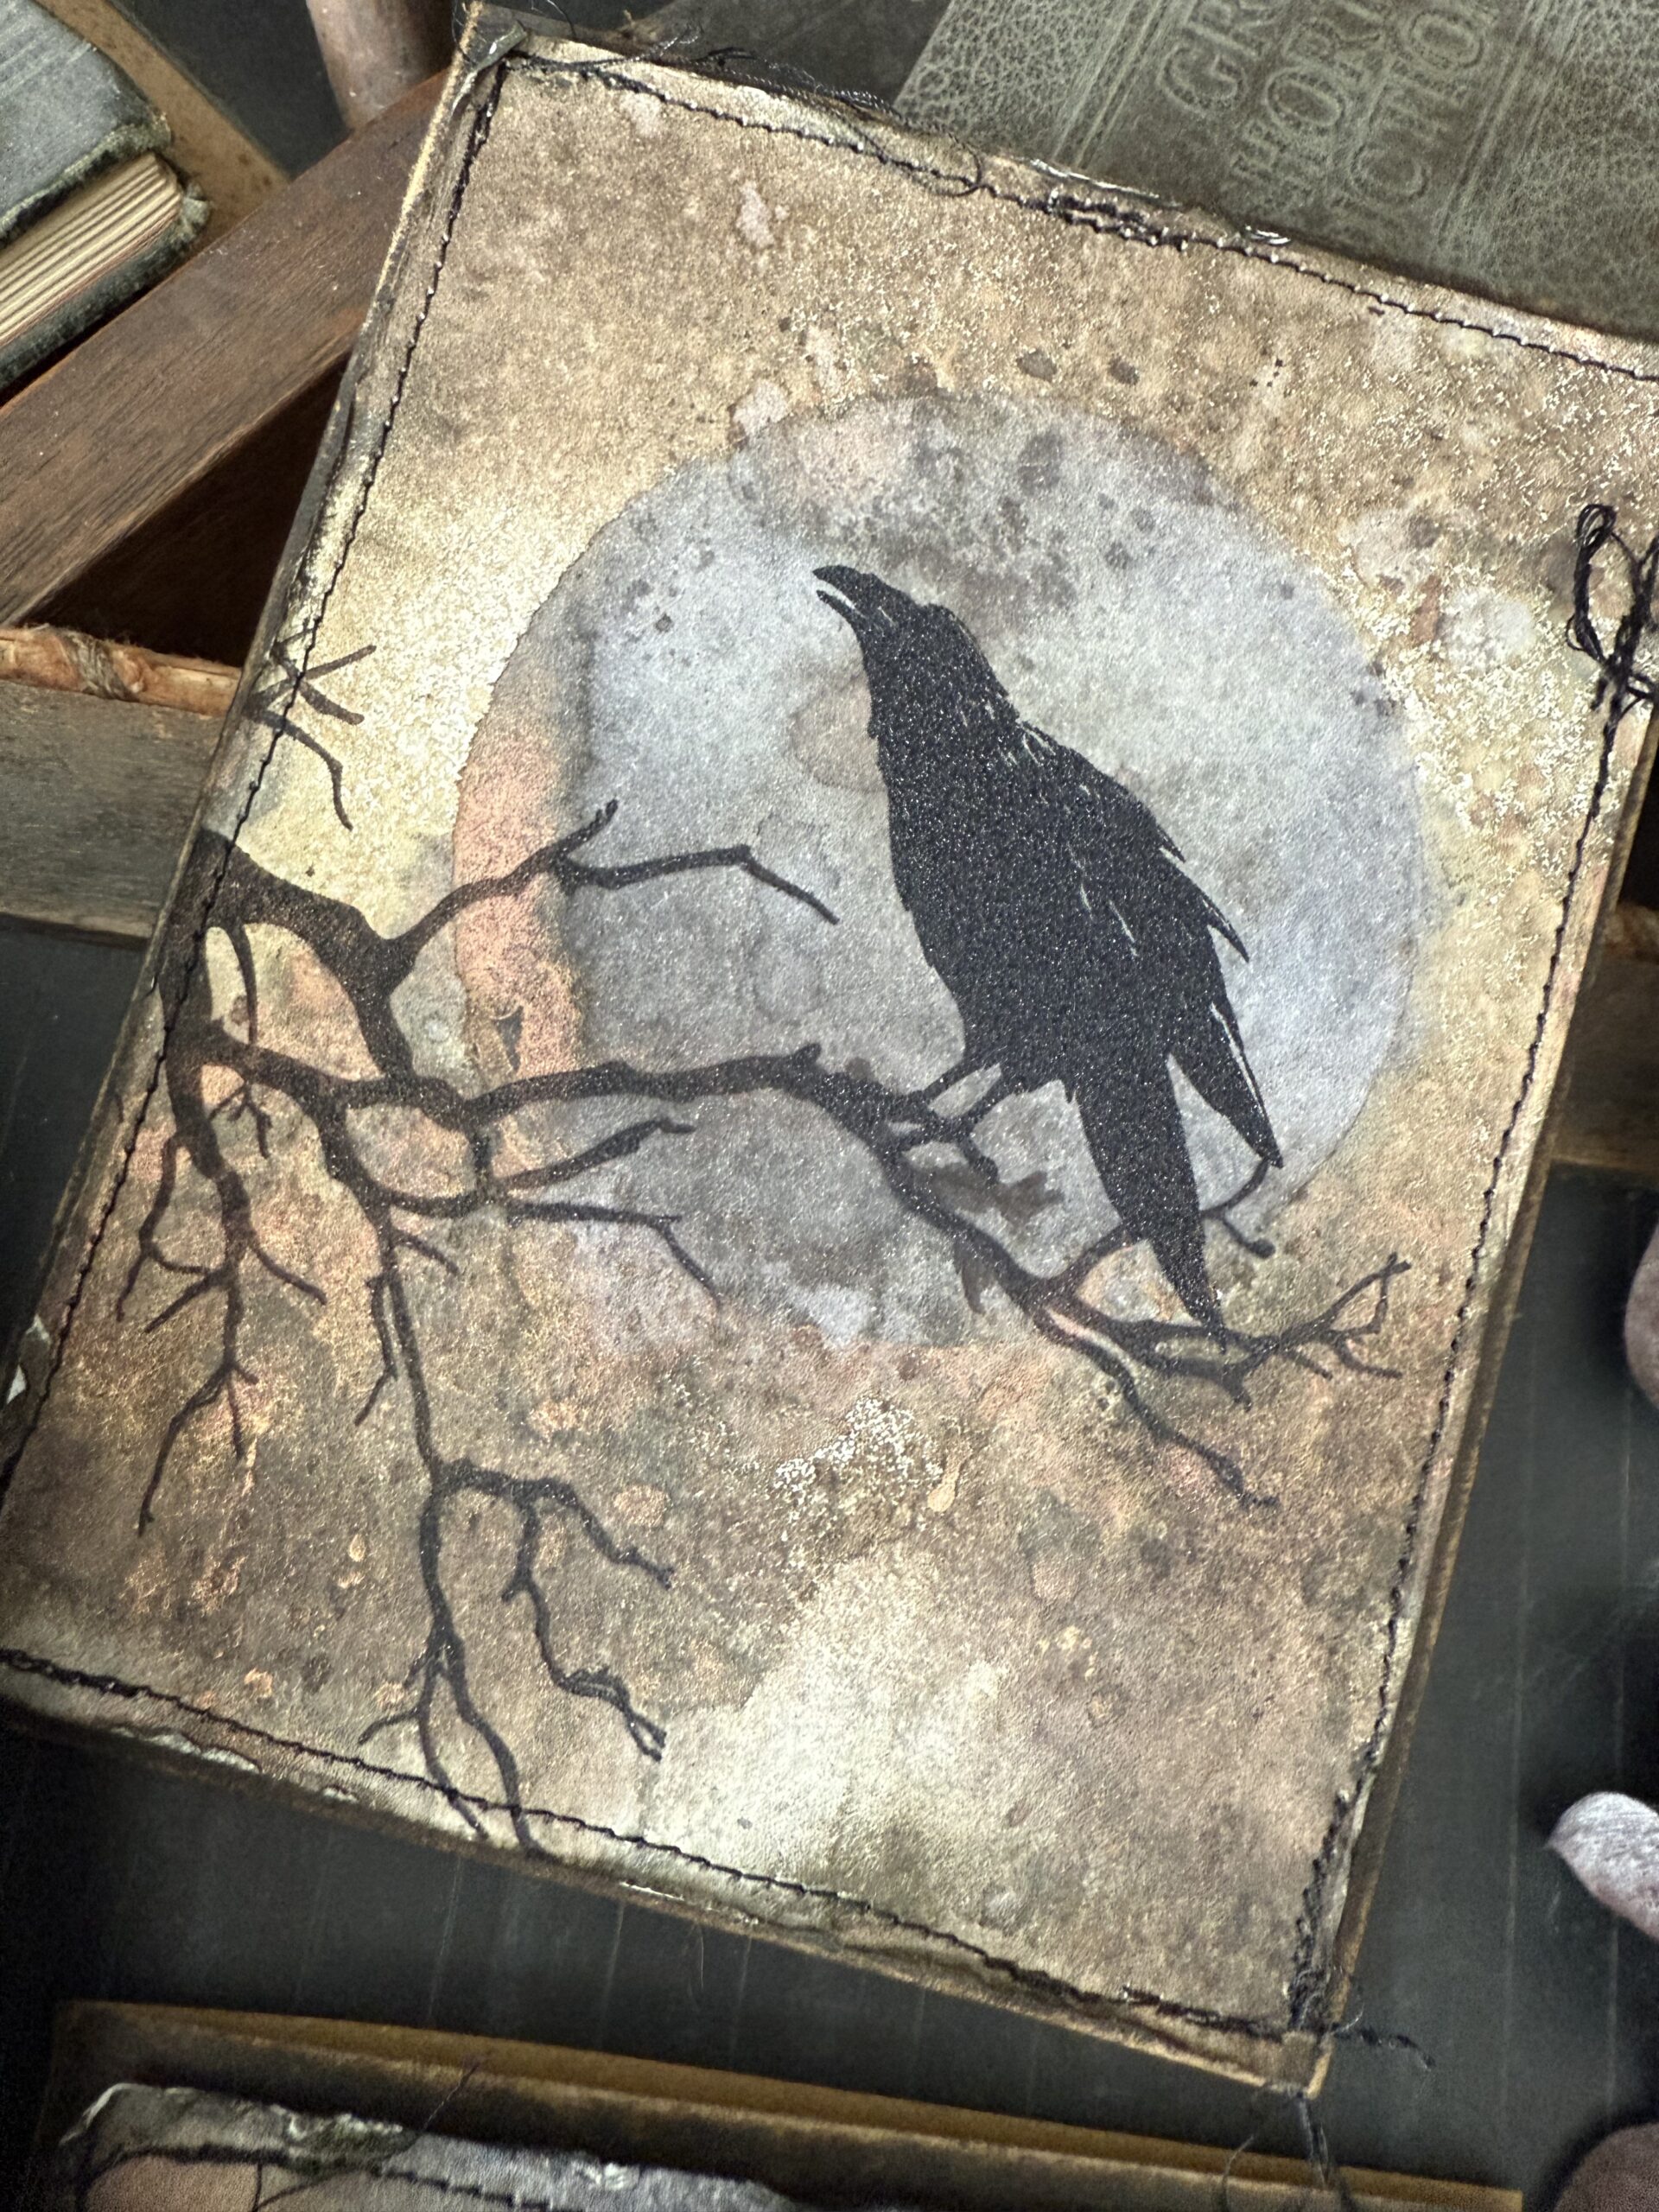
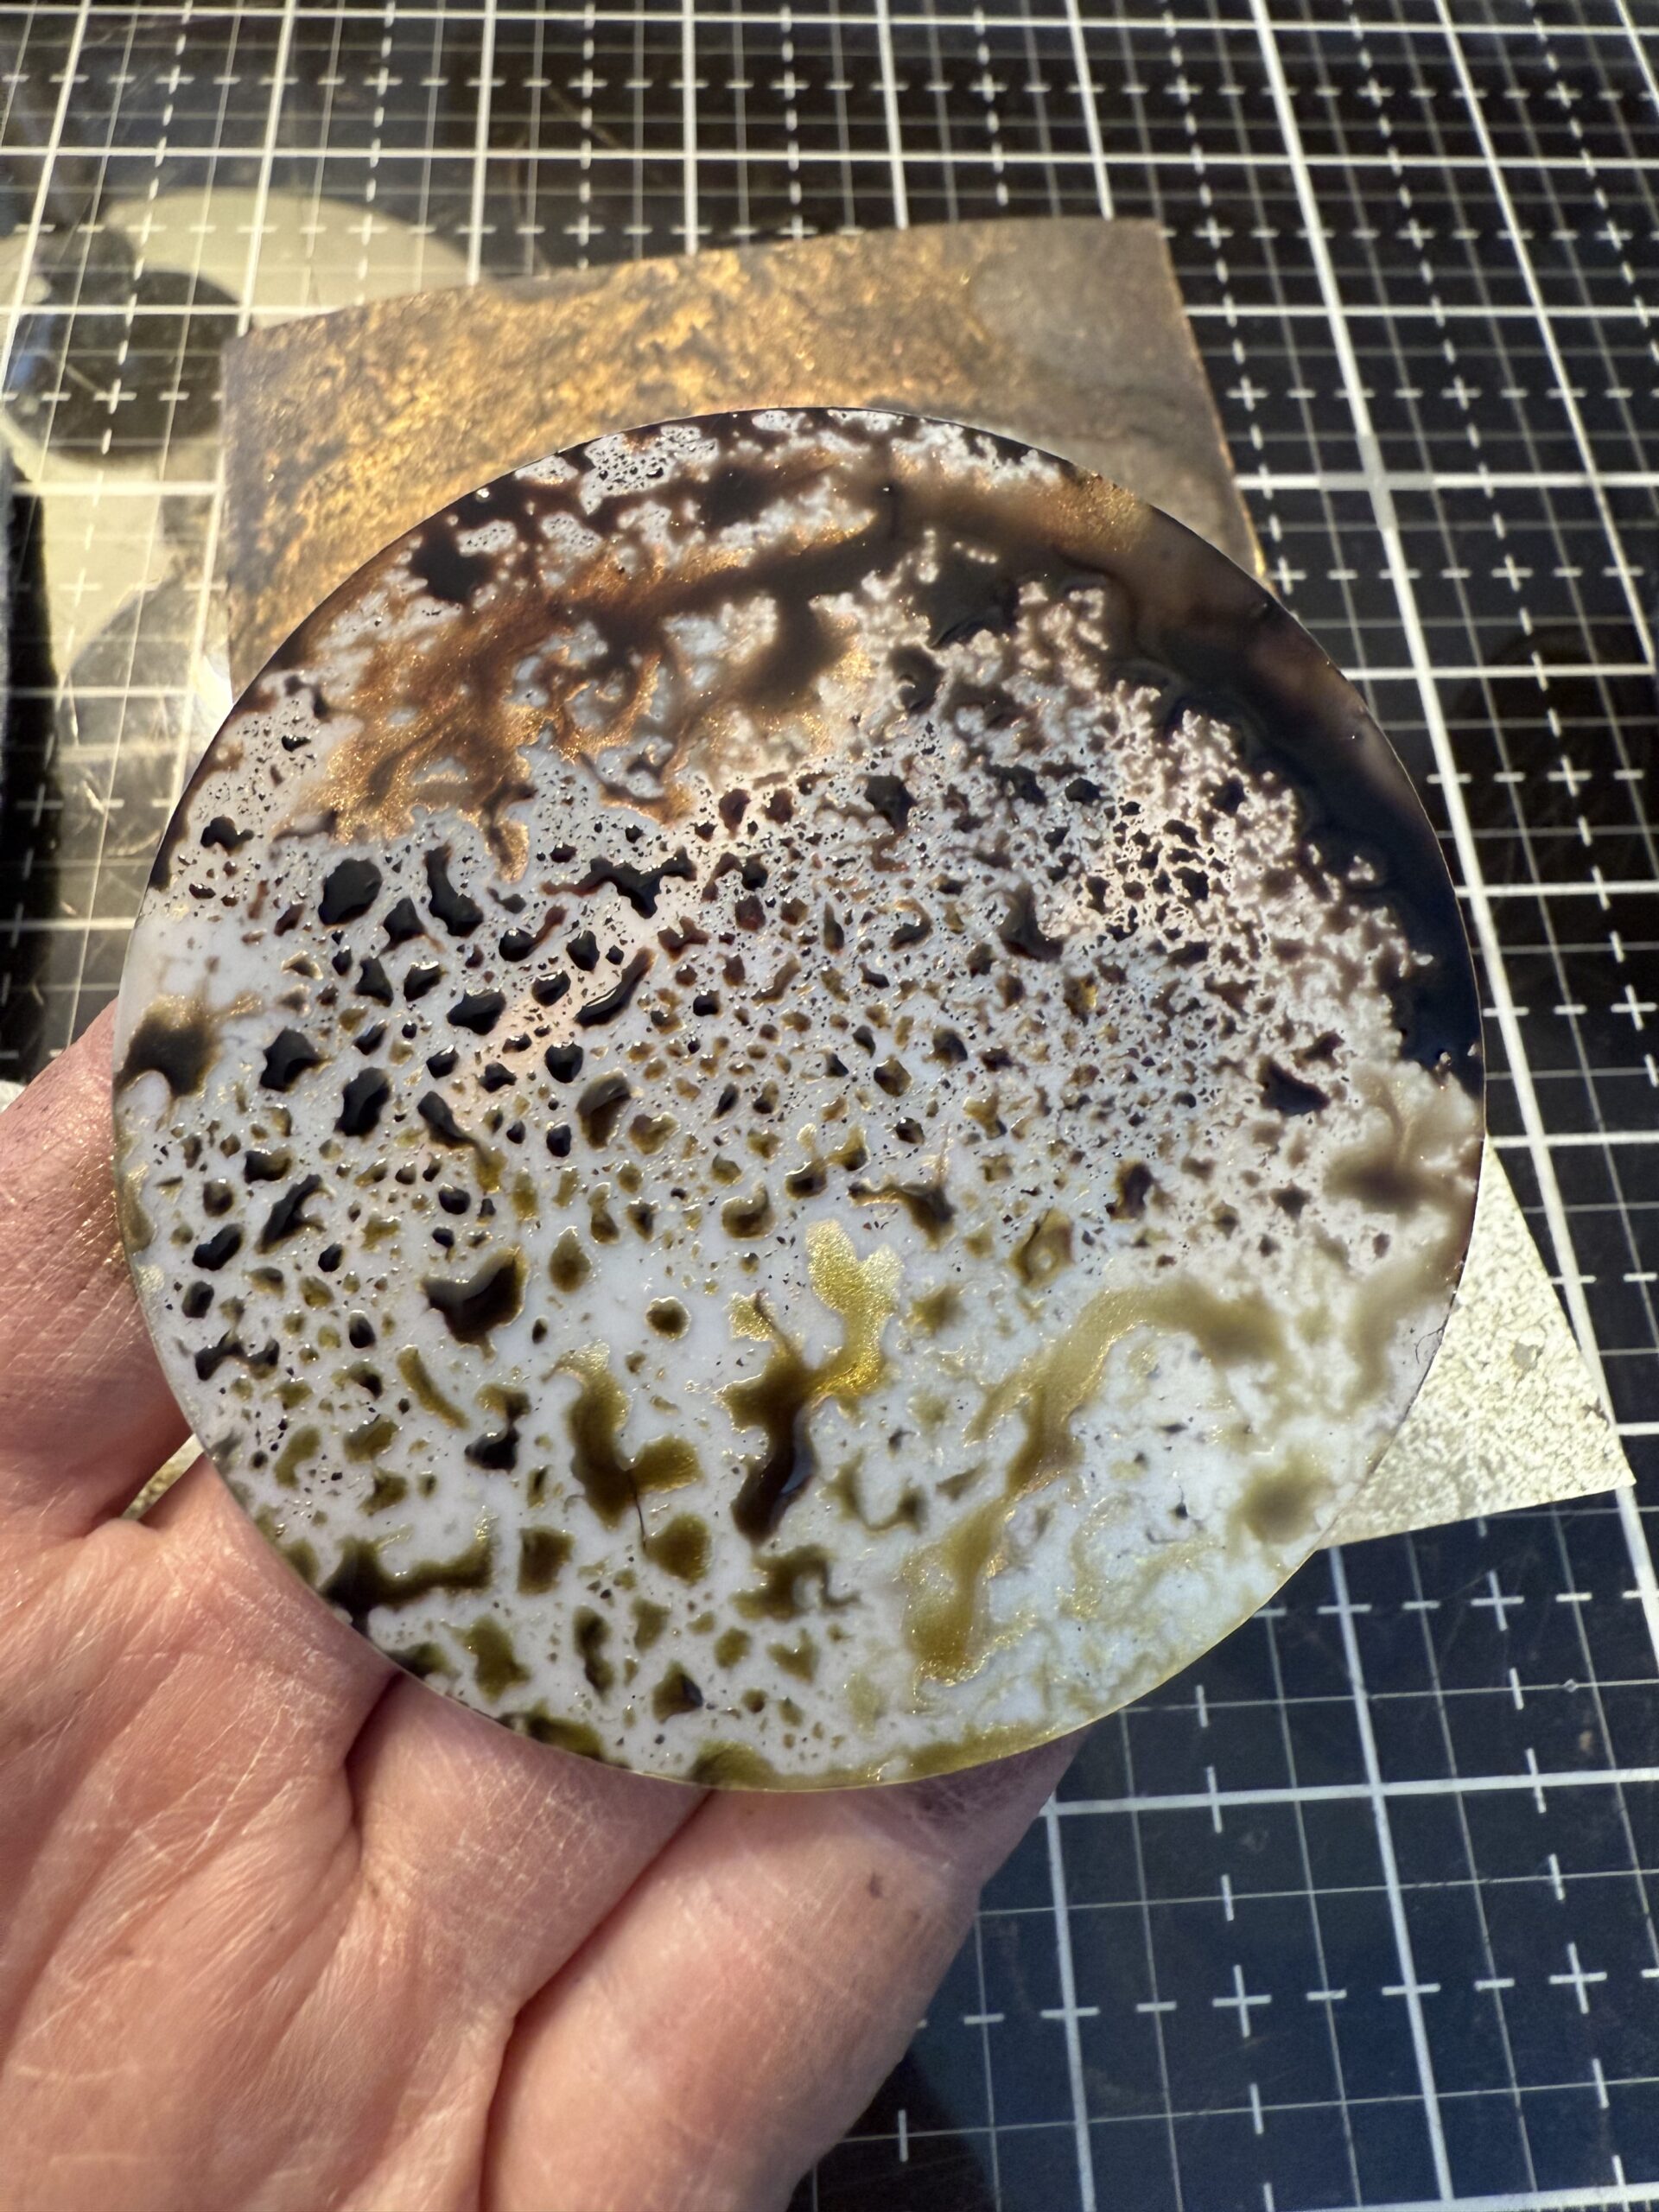
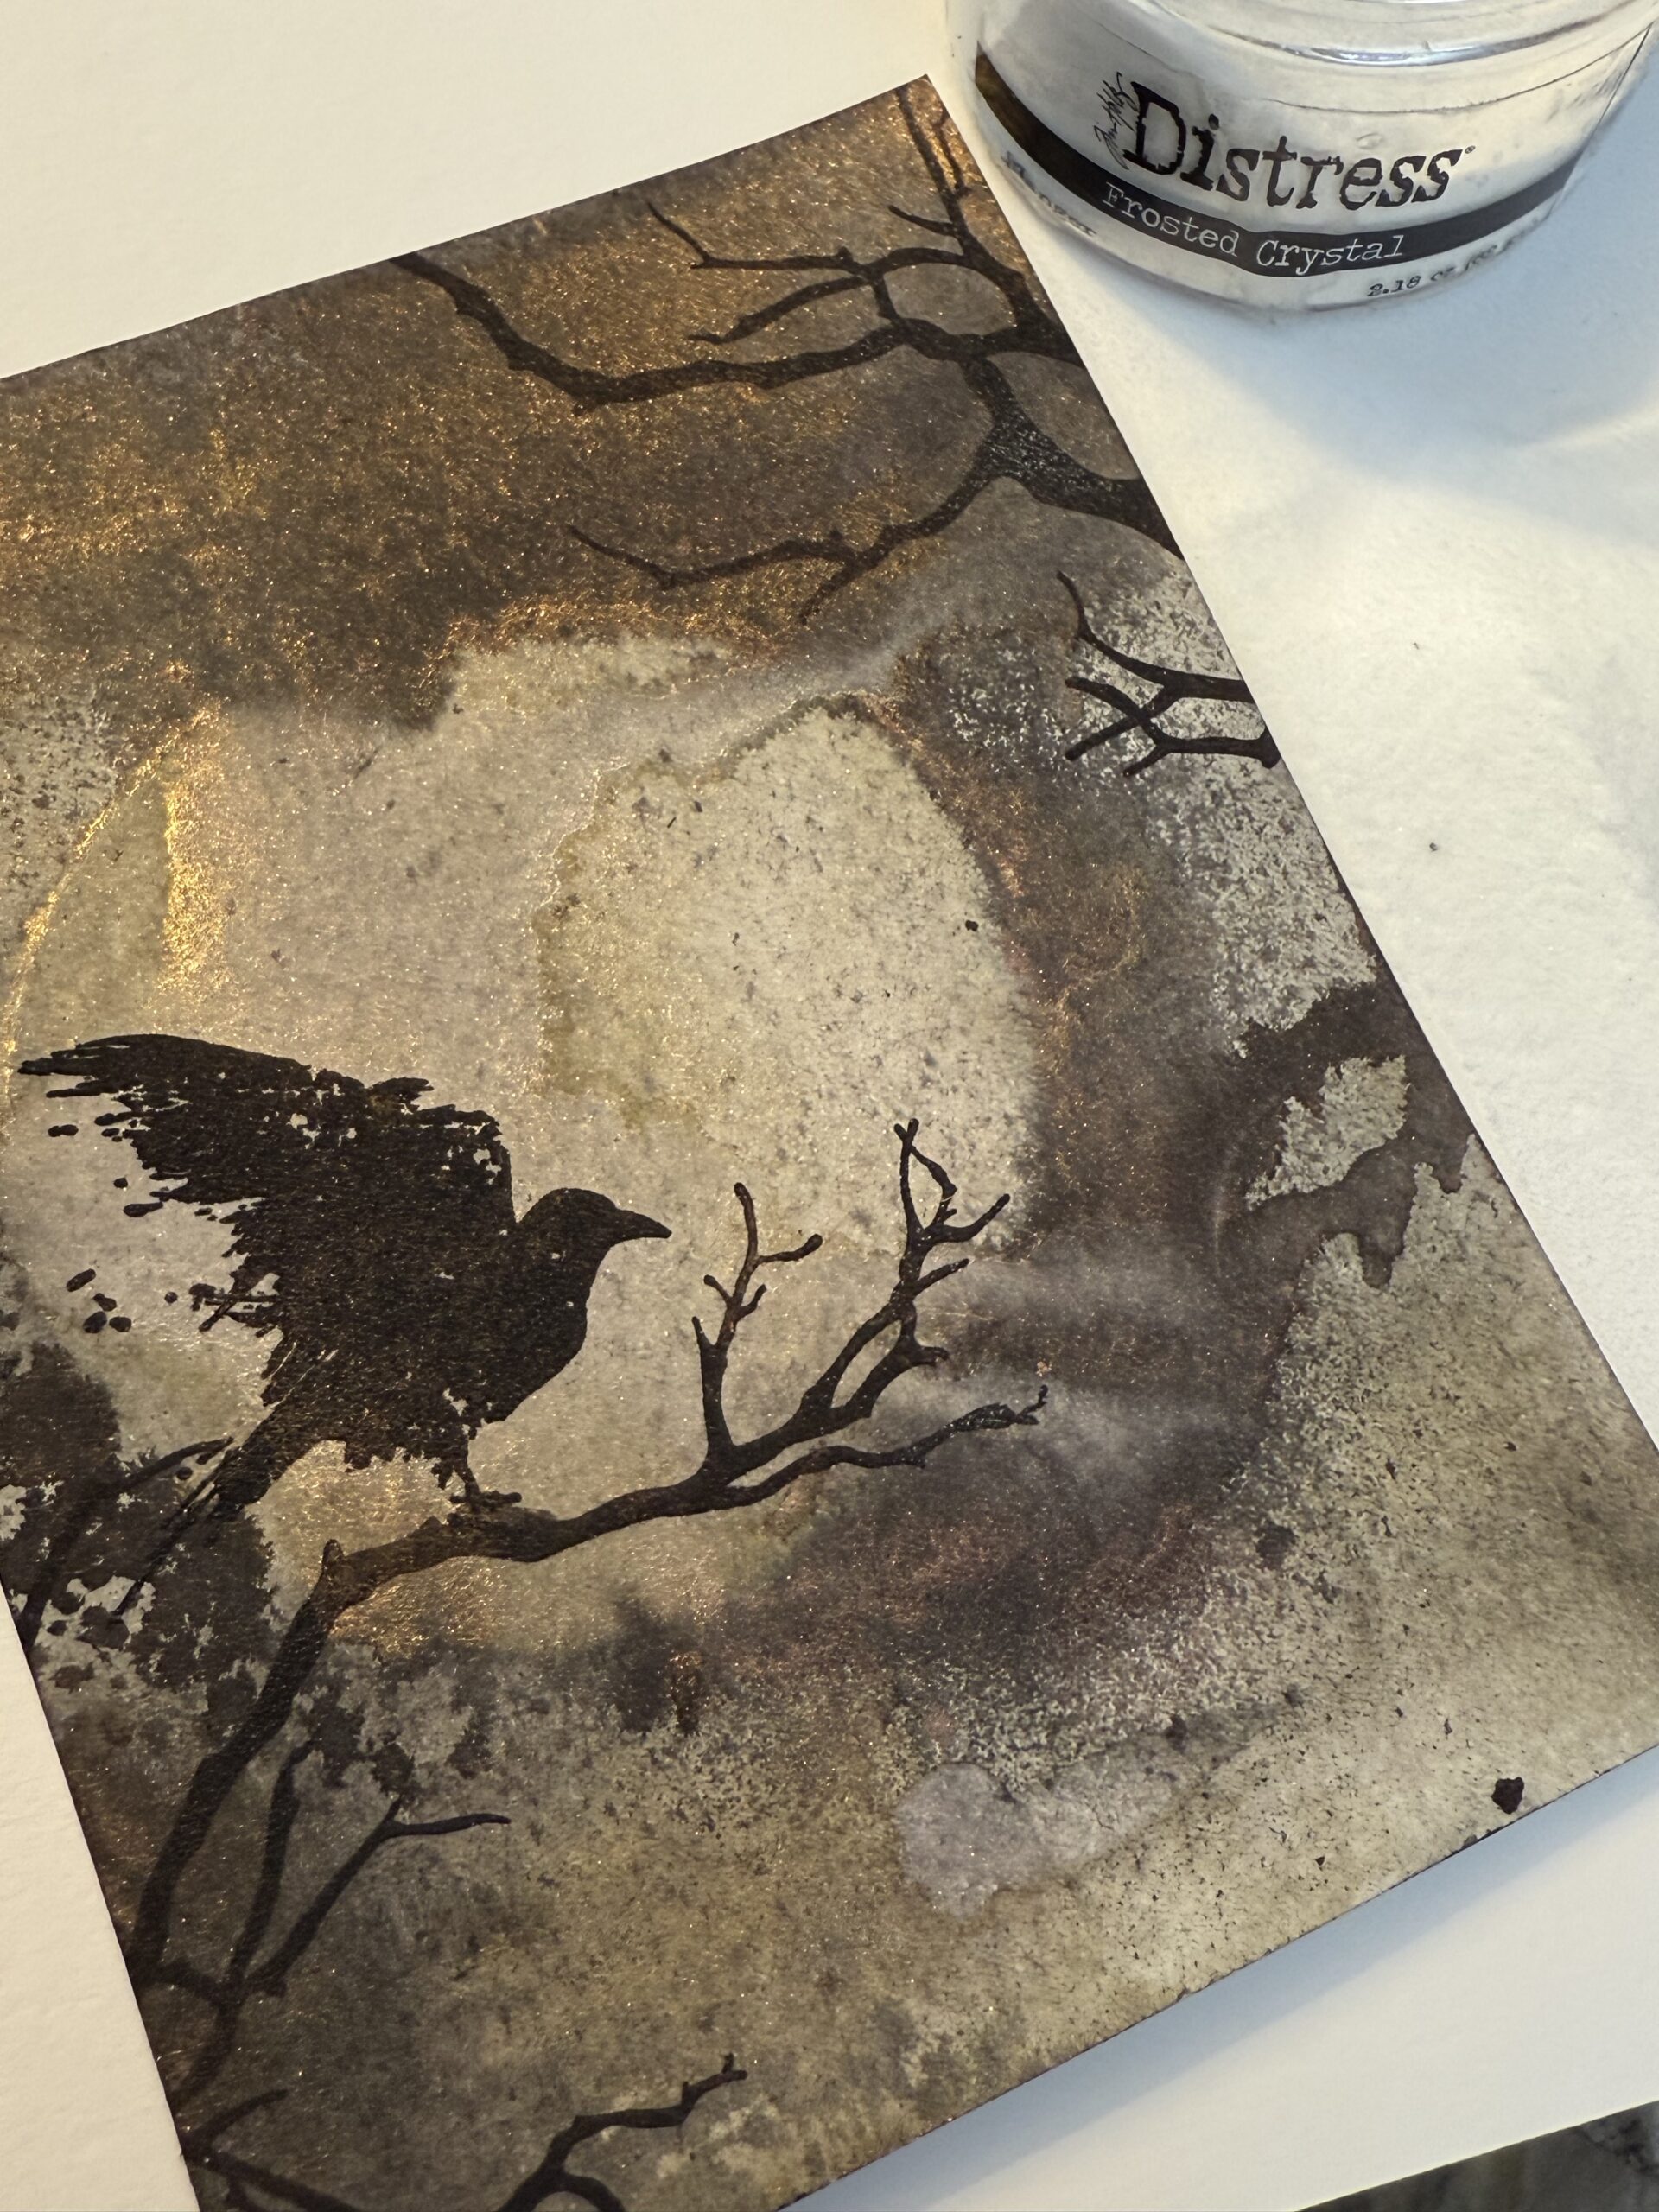
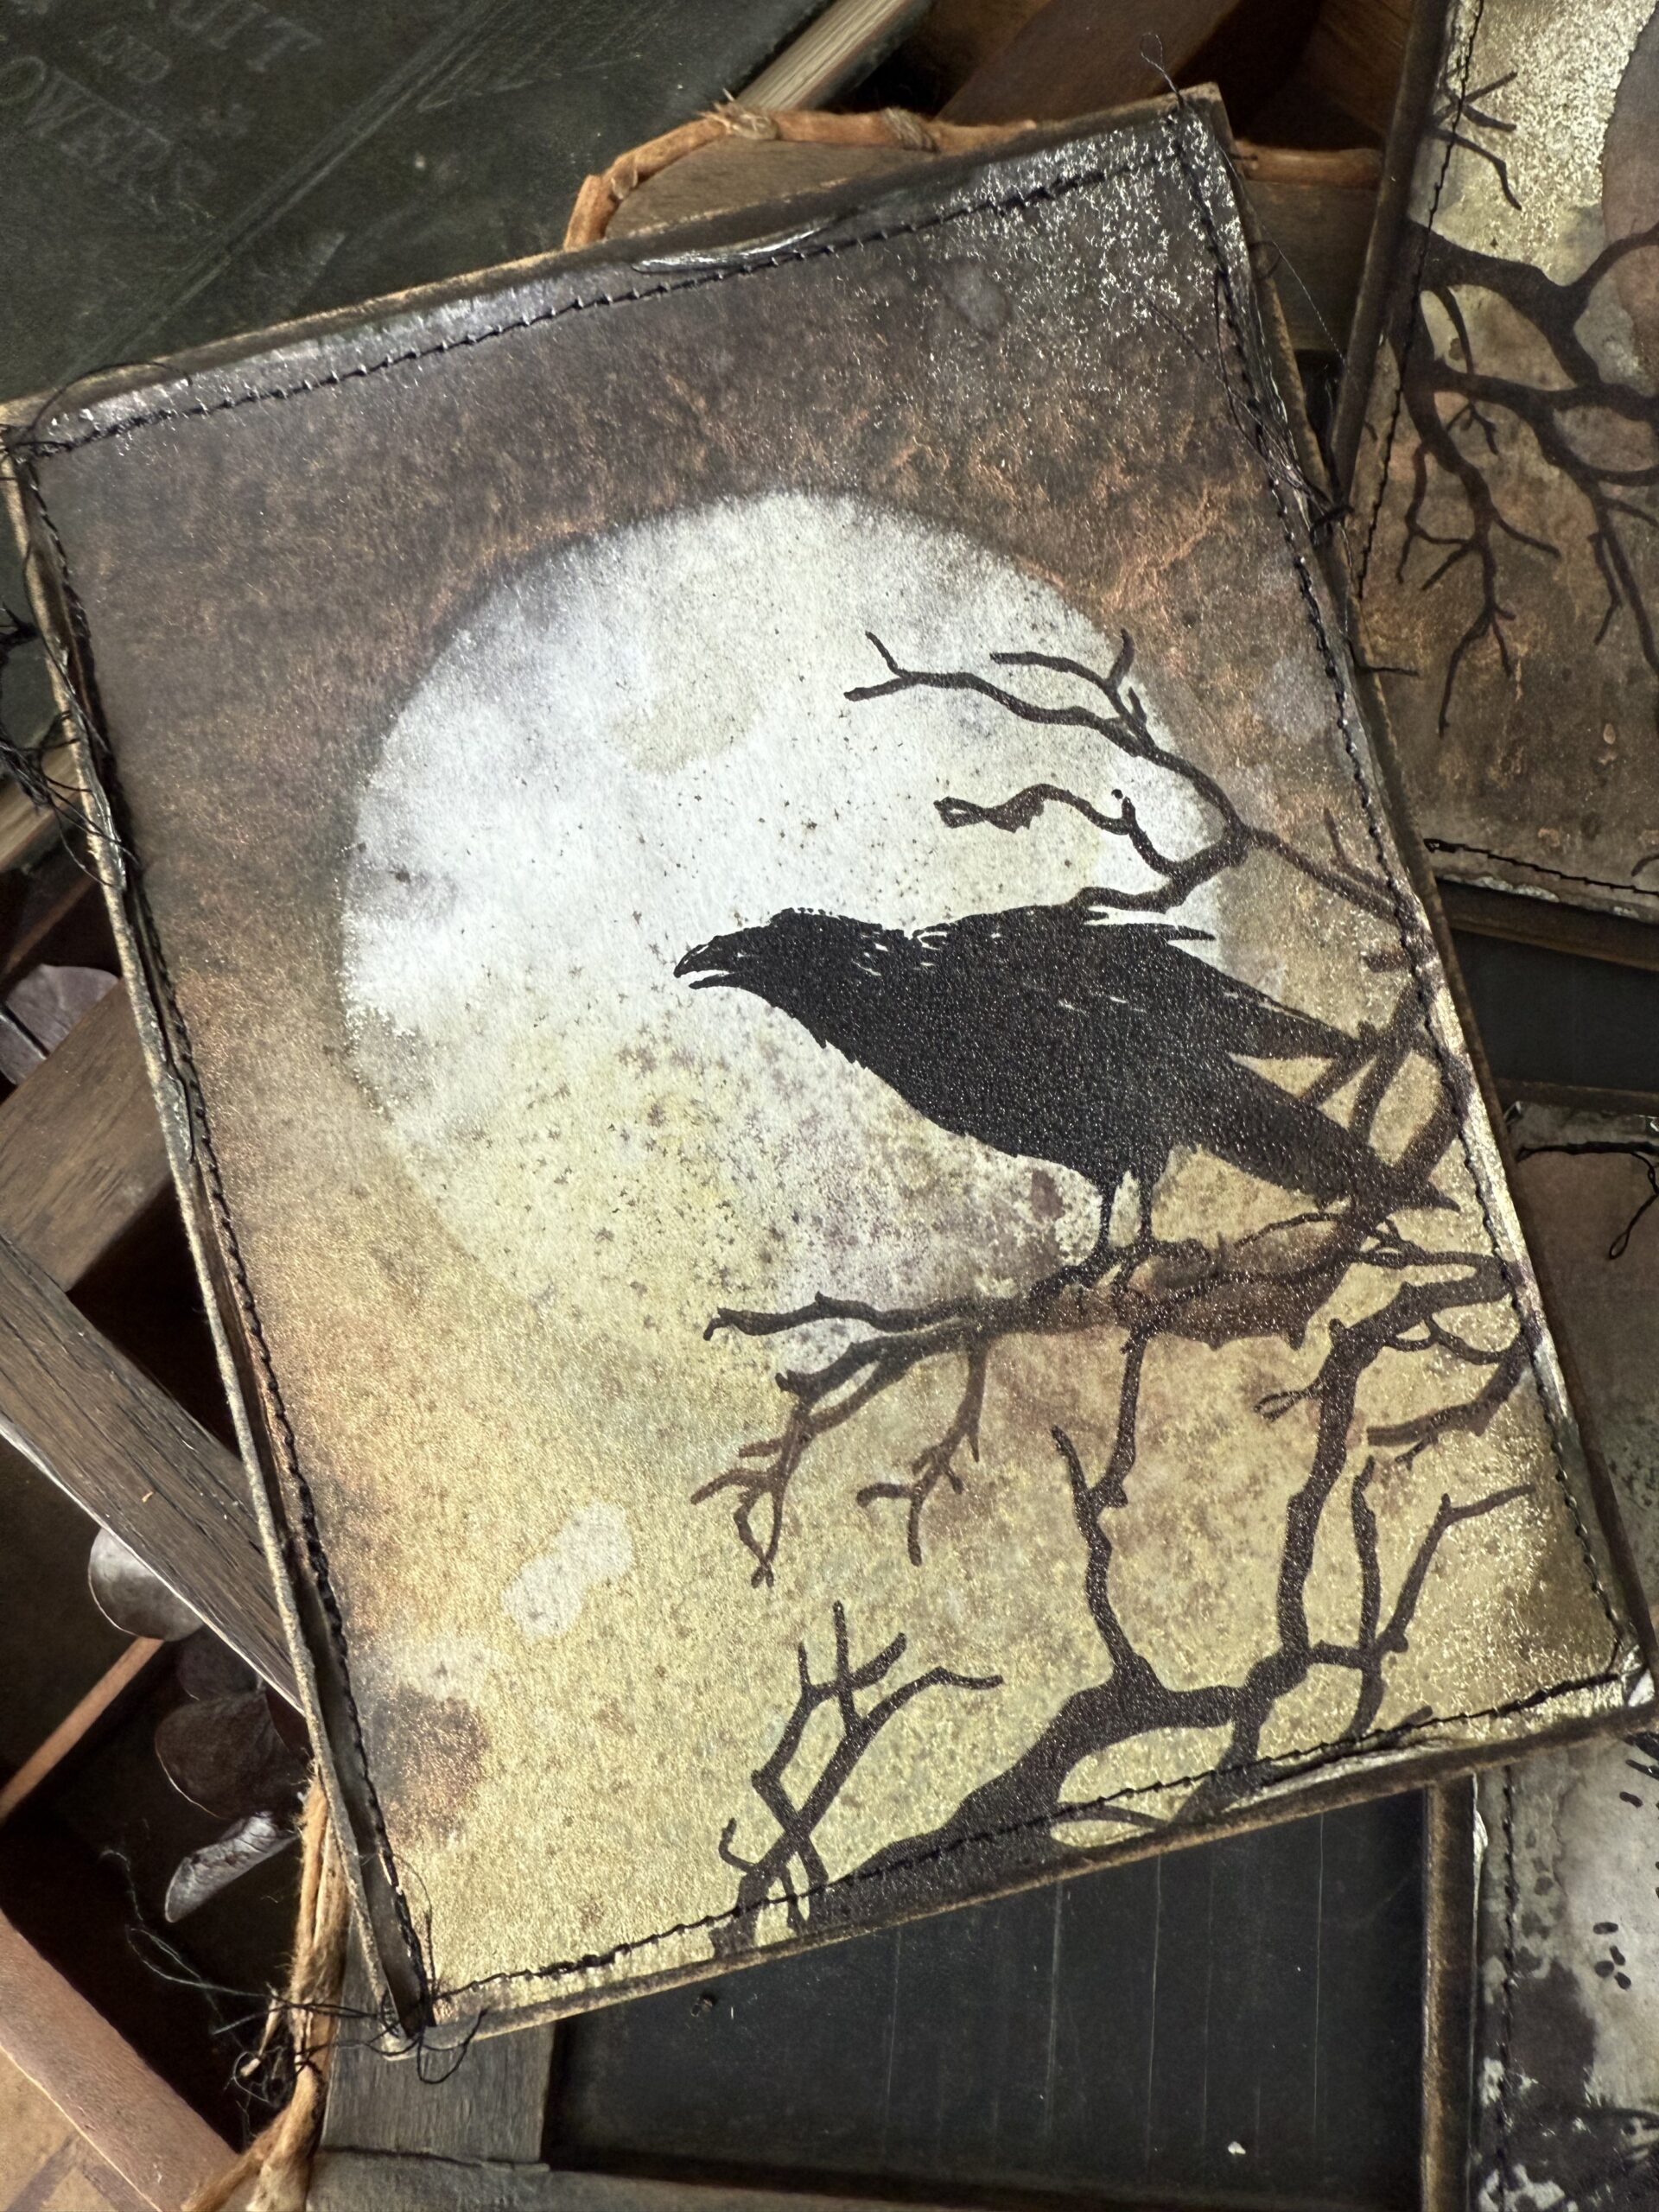
Here’s an up close look at one of my favorites…creepy, inky and hauntingly delicious, and check out the shimmer!
So, let’s get to making the backgrounds and moons…
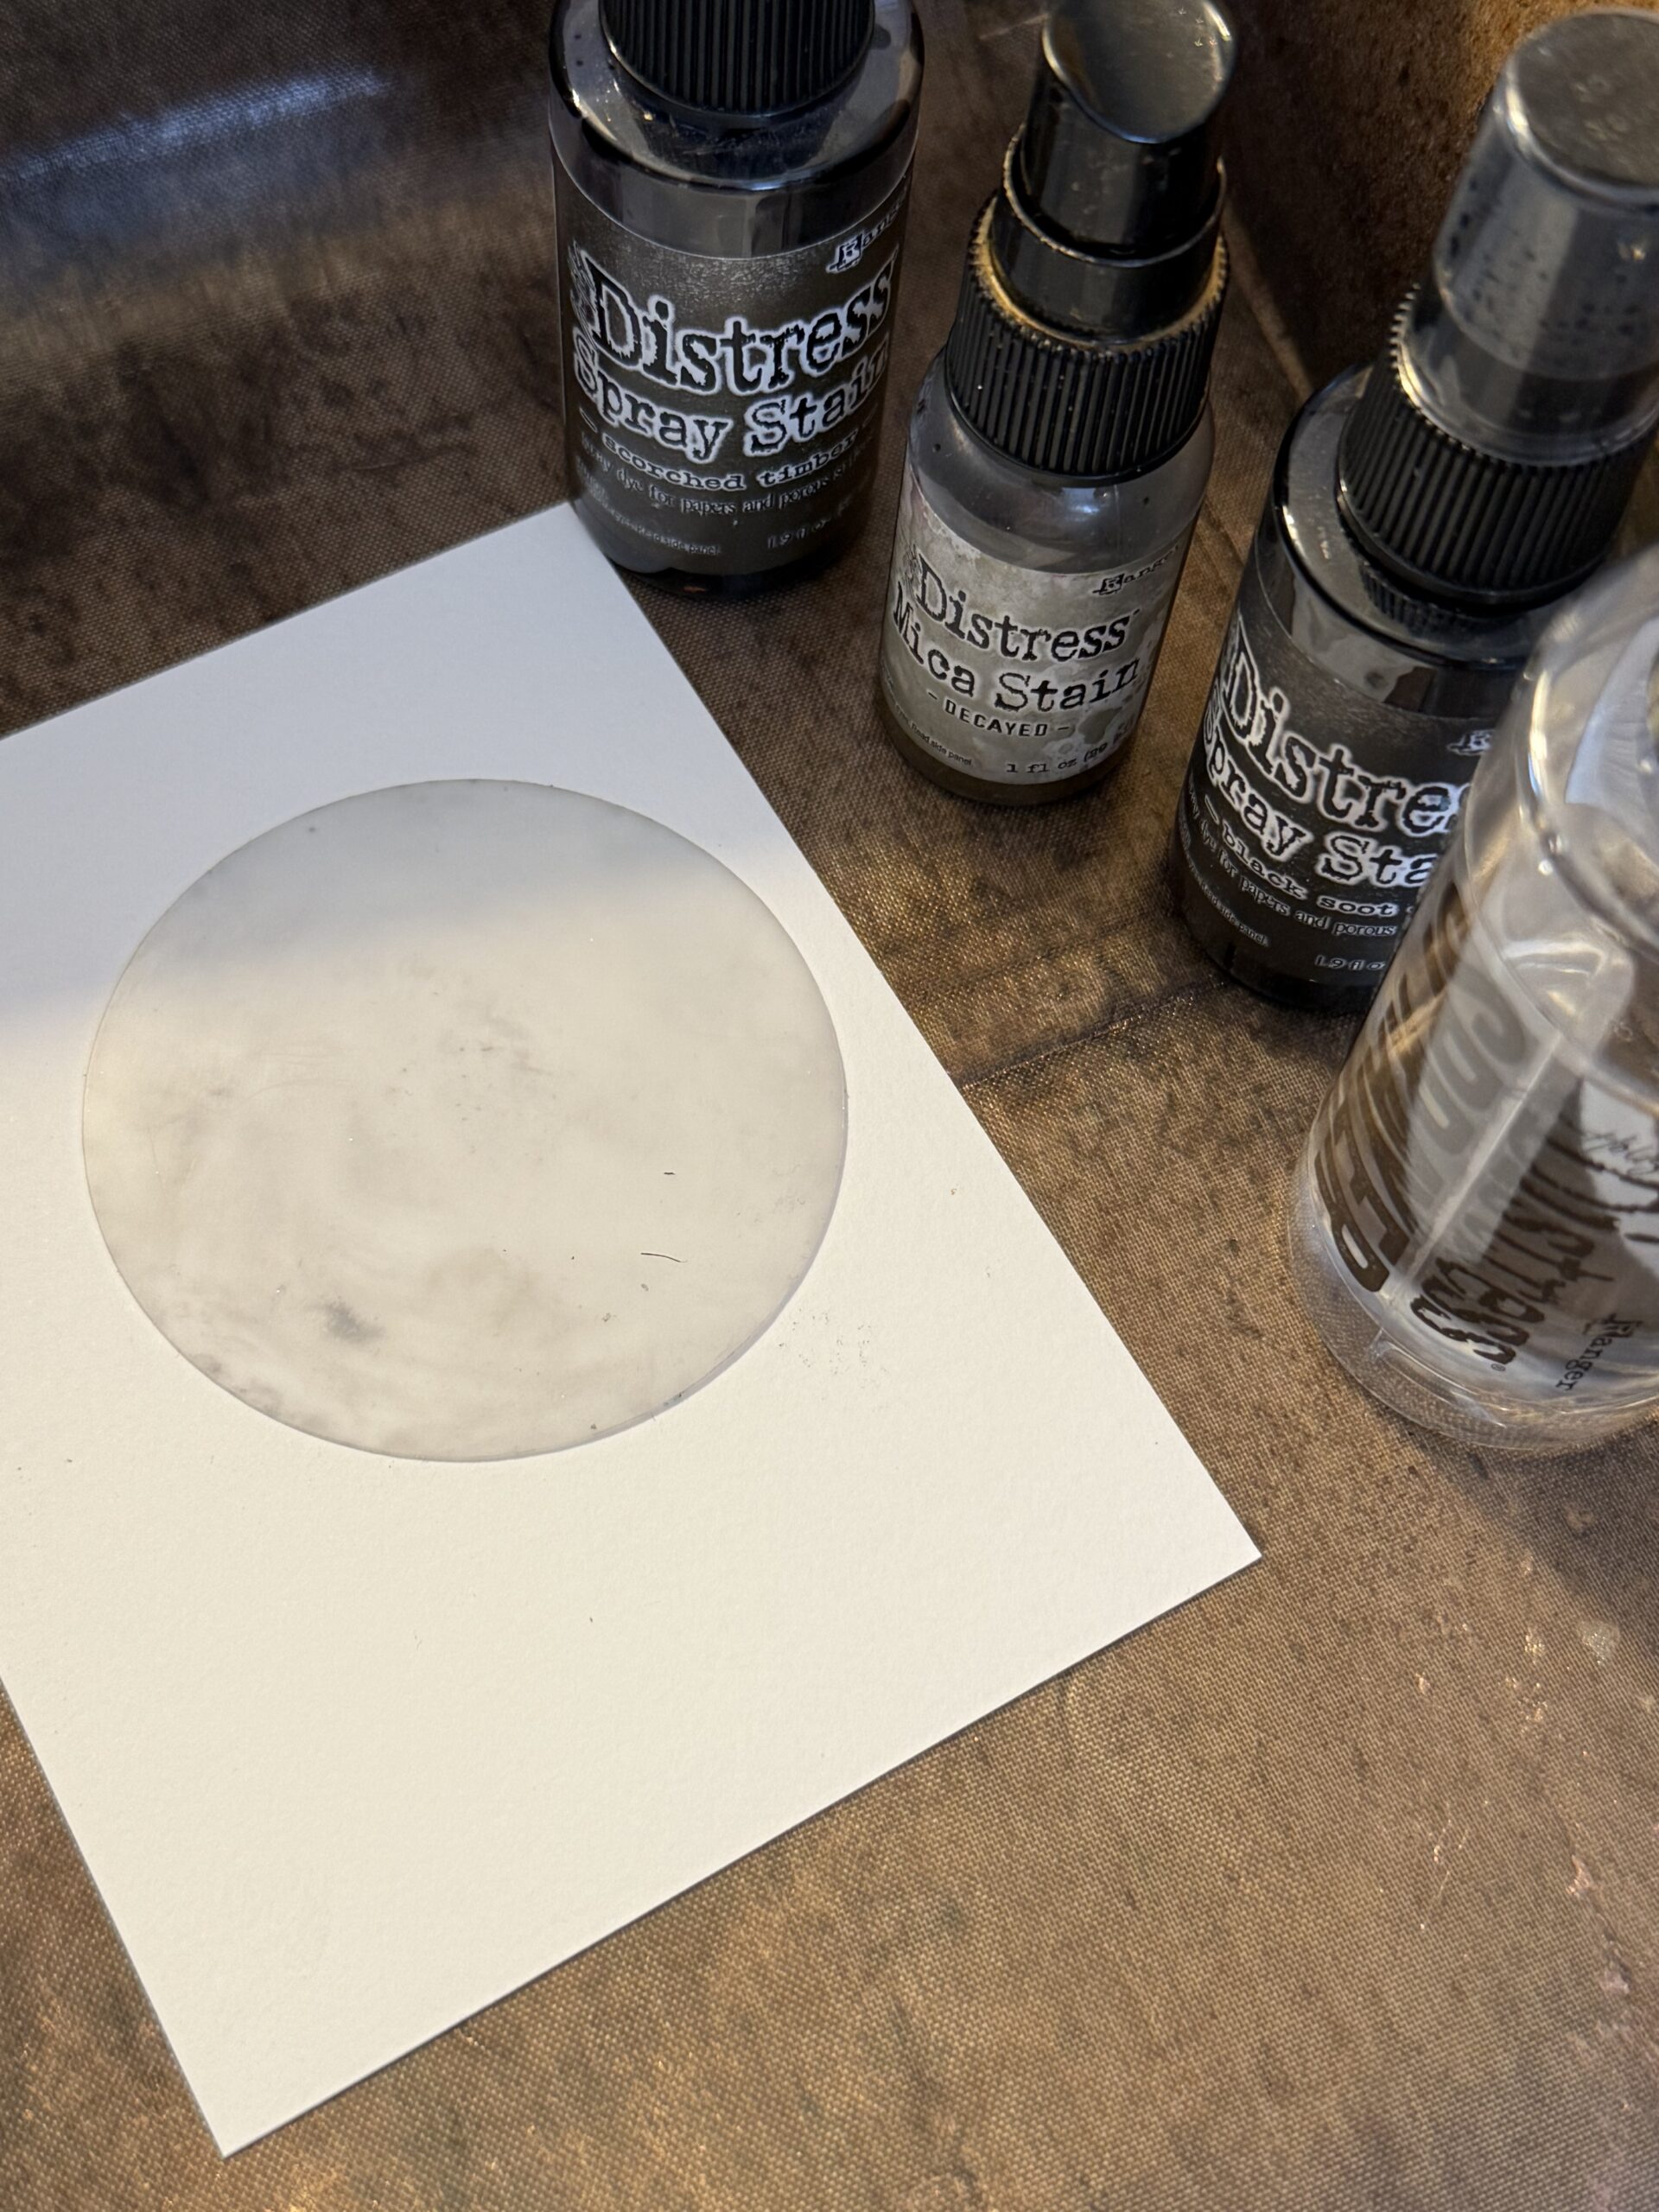
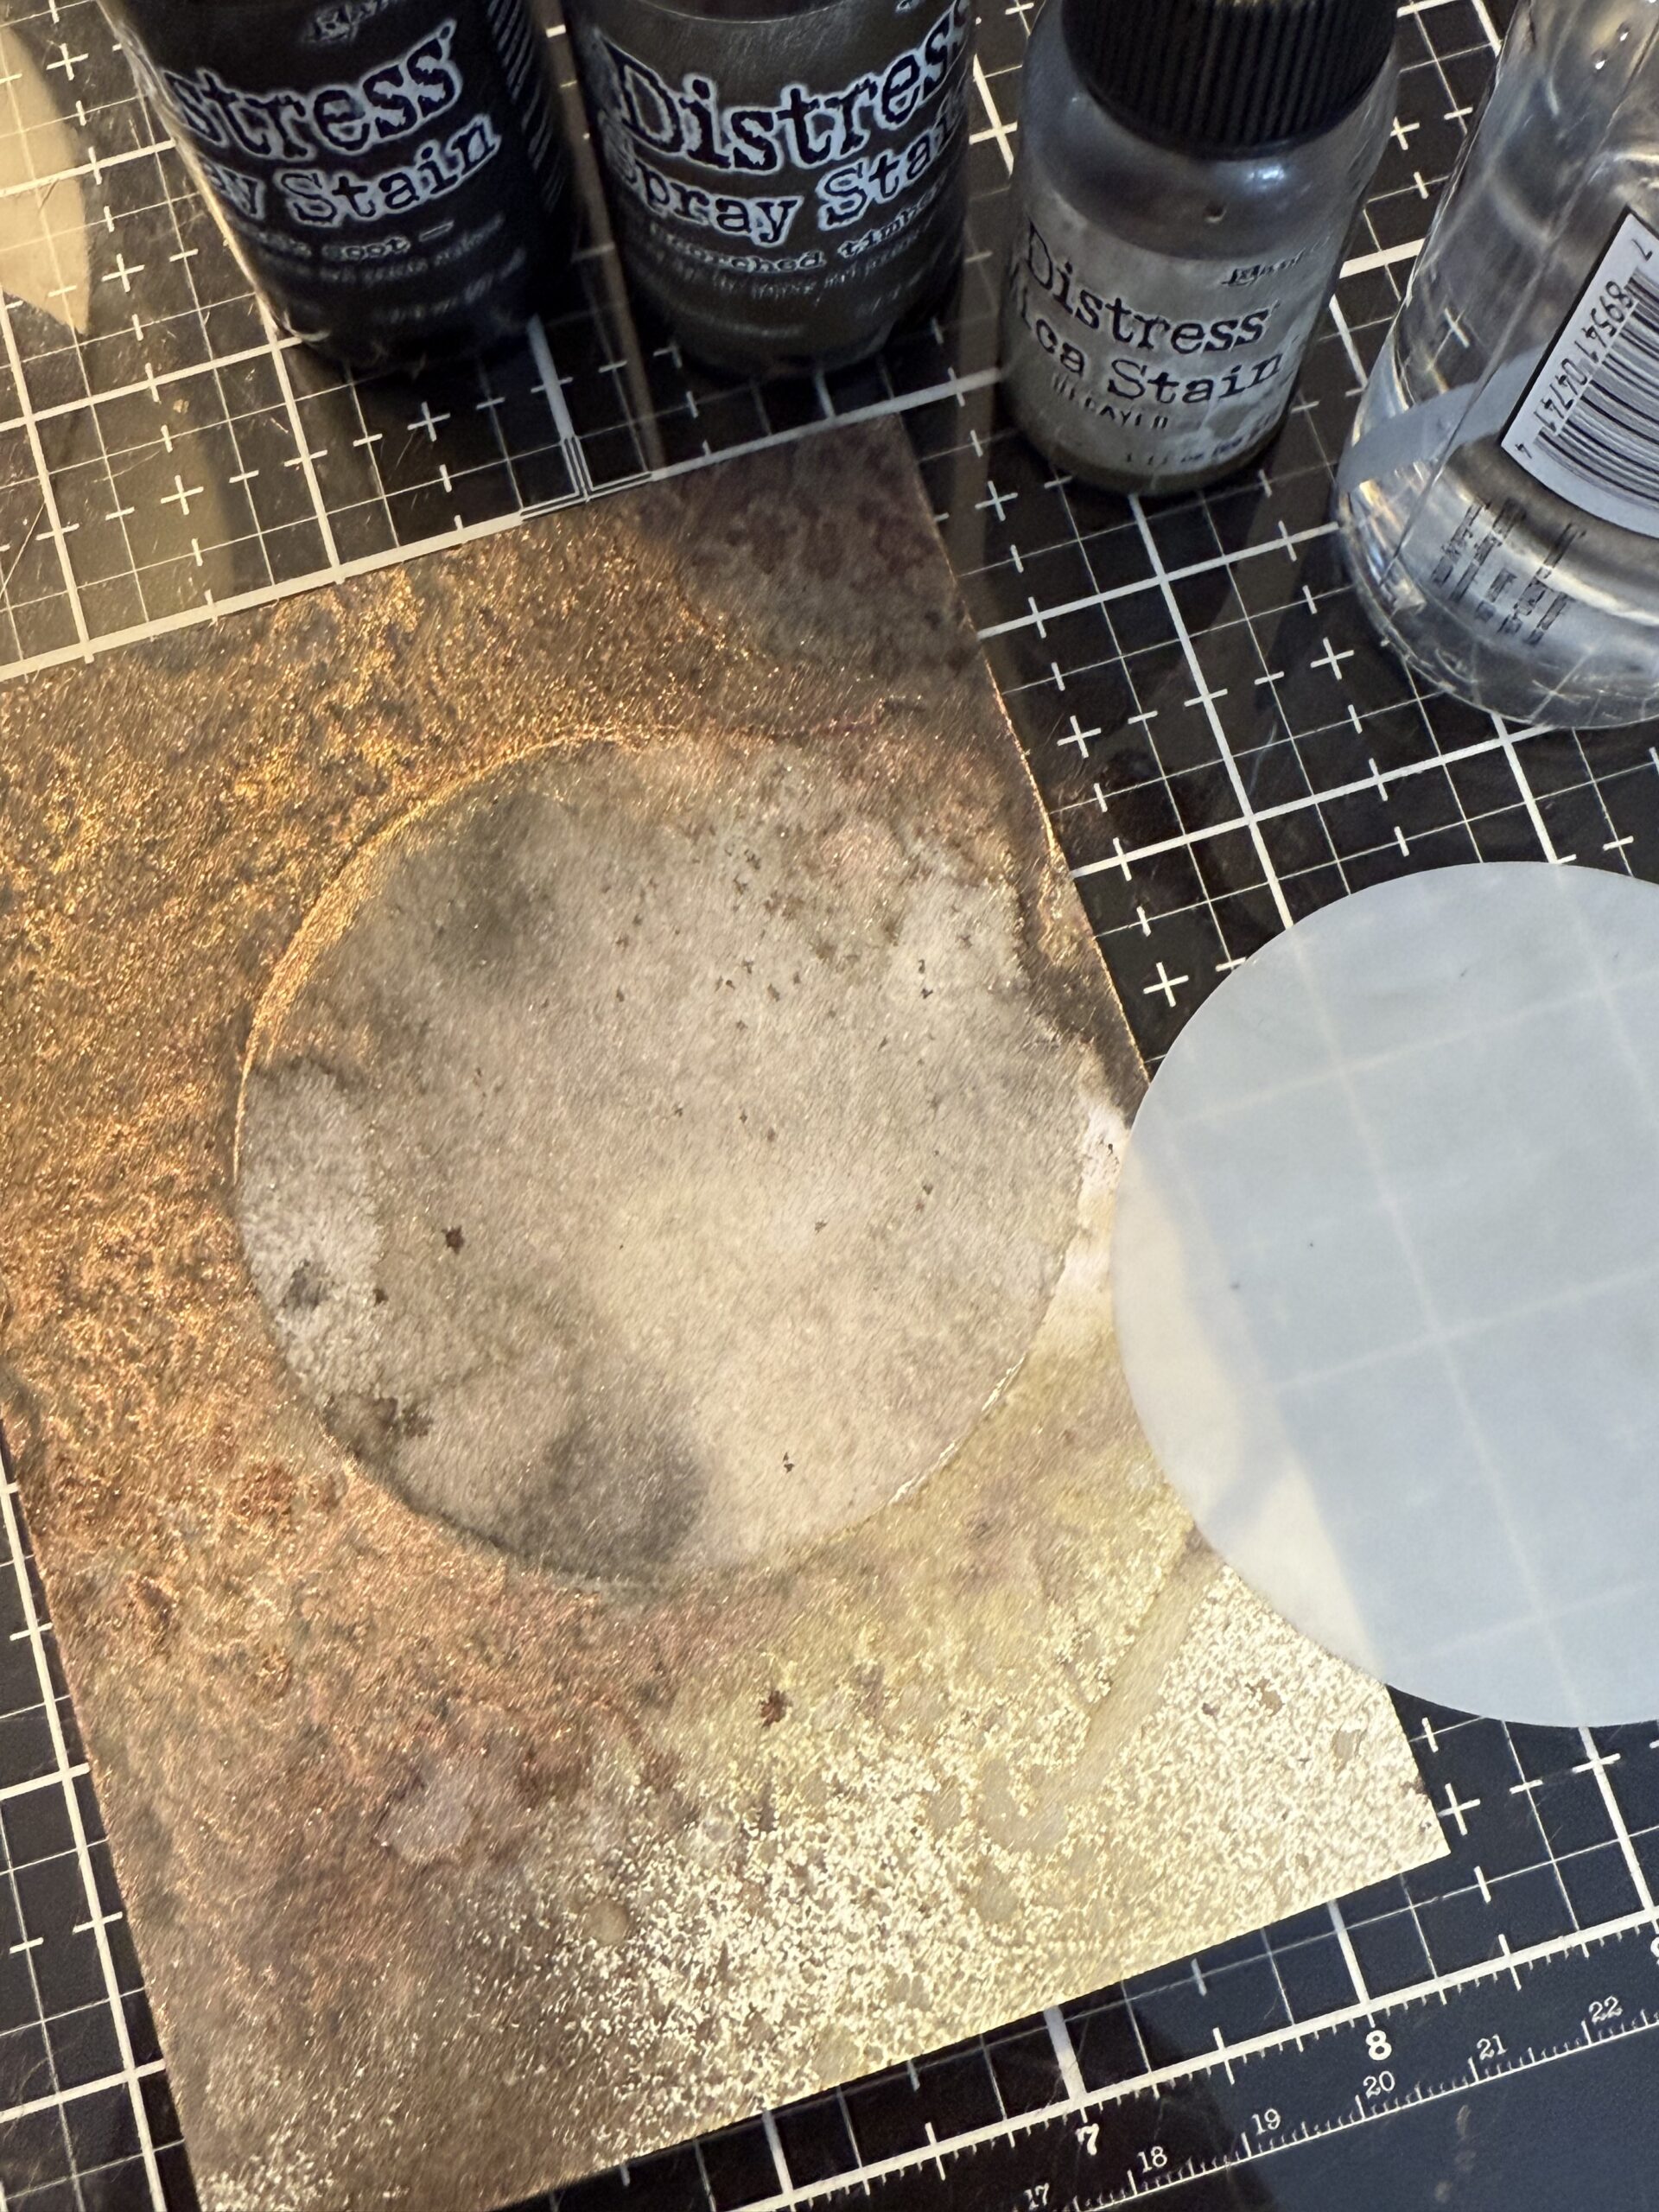
I started by gathering my supplies that included the second largest moon in the Tim Holtz Moon Mask set, Scorched Timber Distress Spray, Black Soot Spray Stain and Decayed Mica Stain Spray. I used a craft mat and also my splat box and water.
I cut a piece of Distress Watercolor Paper to a 4.25″x5.5 size then placed the moon mask down on top, varying the placment from background to background.
I spritzed some water on the front of the card and moon before spraying the spray stains.
I sprayed the Black Soot Spray towards the top on this one, then layered just beneath that, the Scorched Timber, then the Decayed Mica Spray.
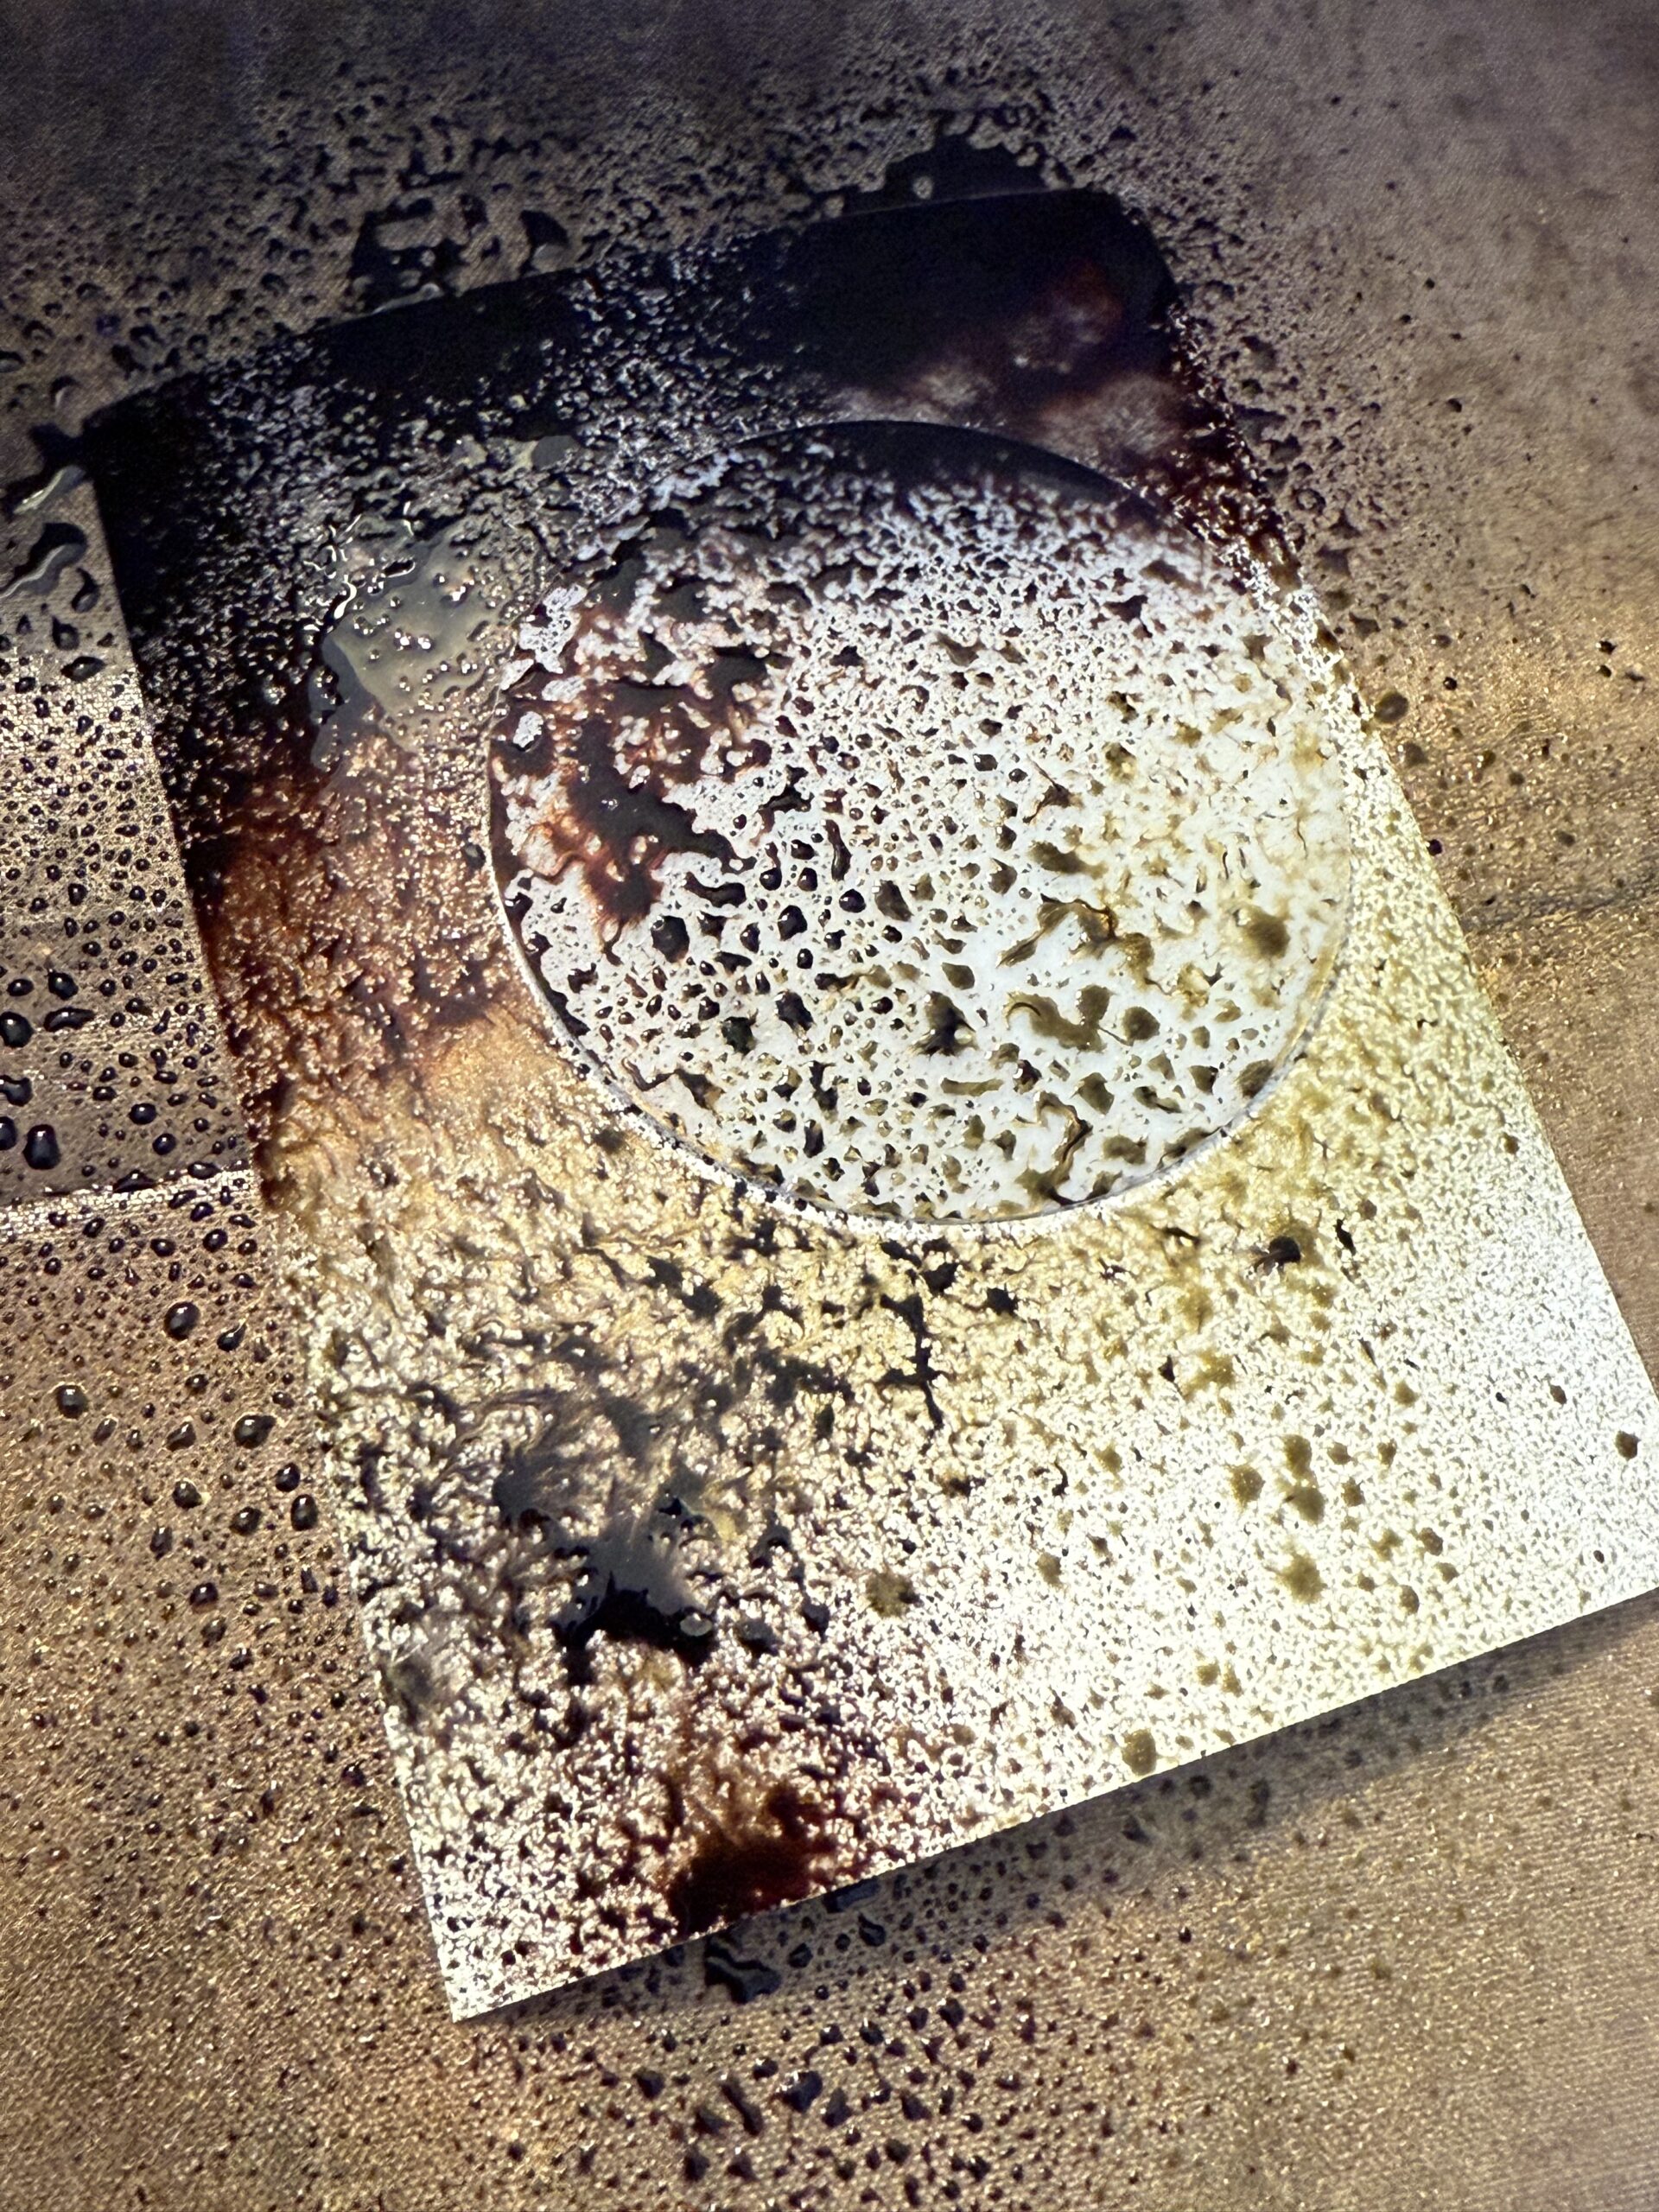
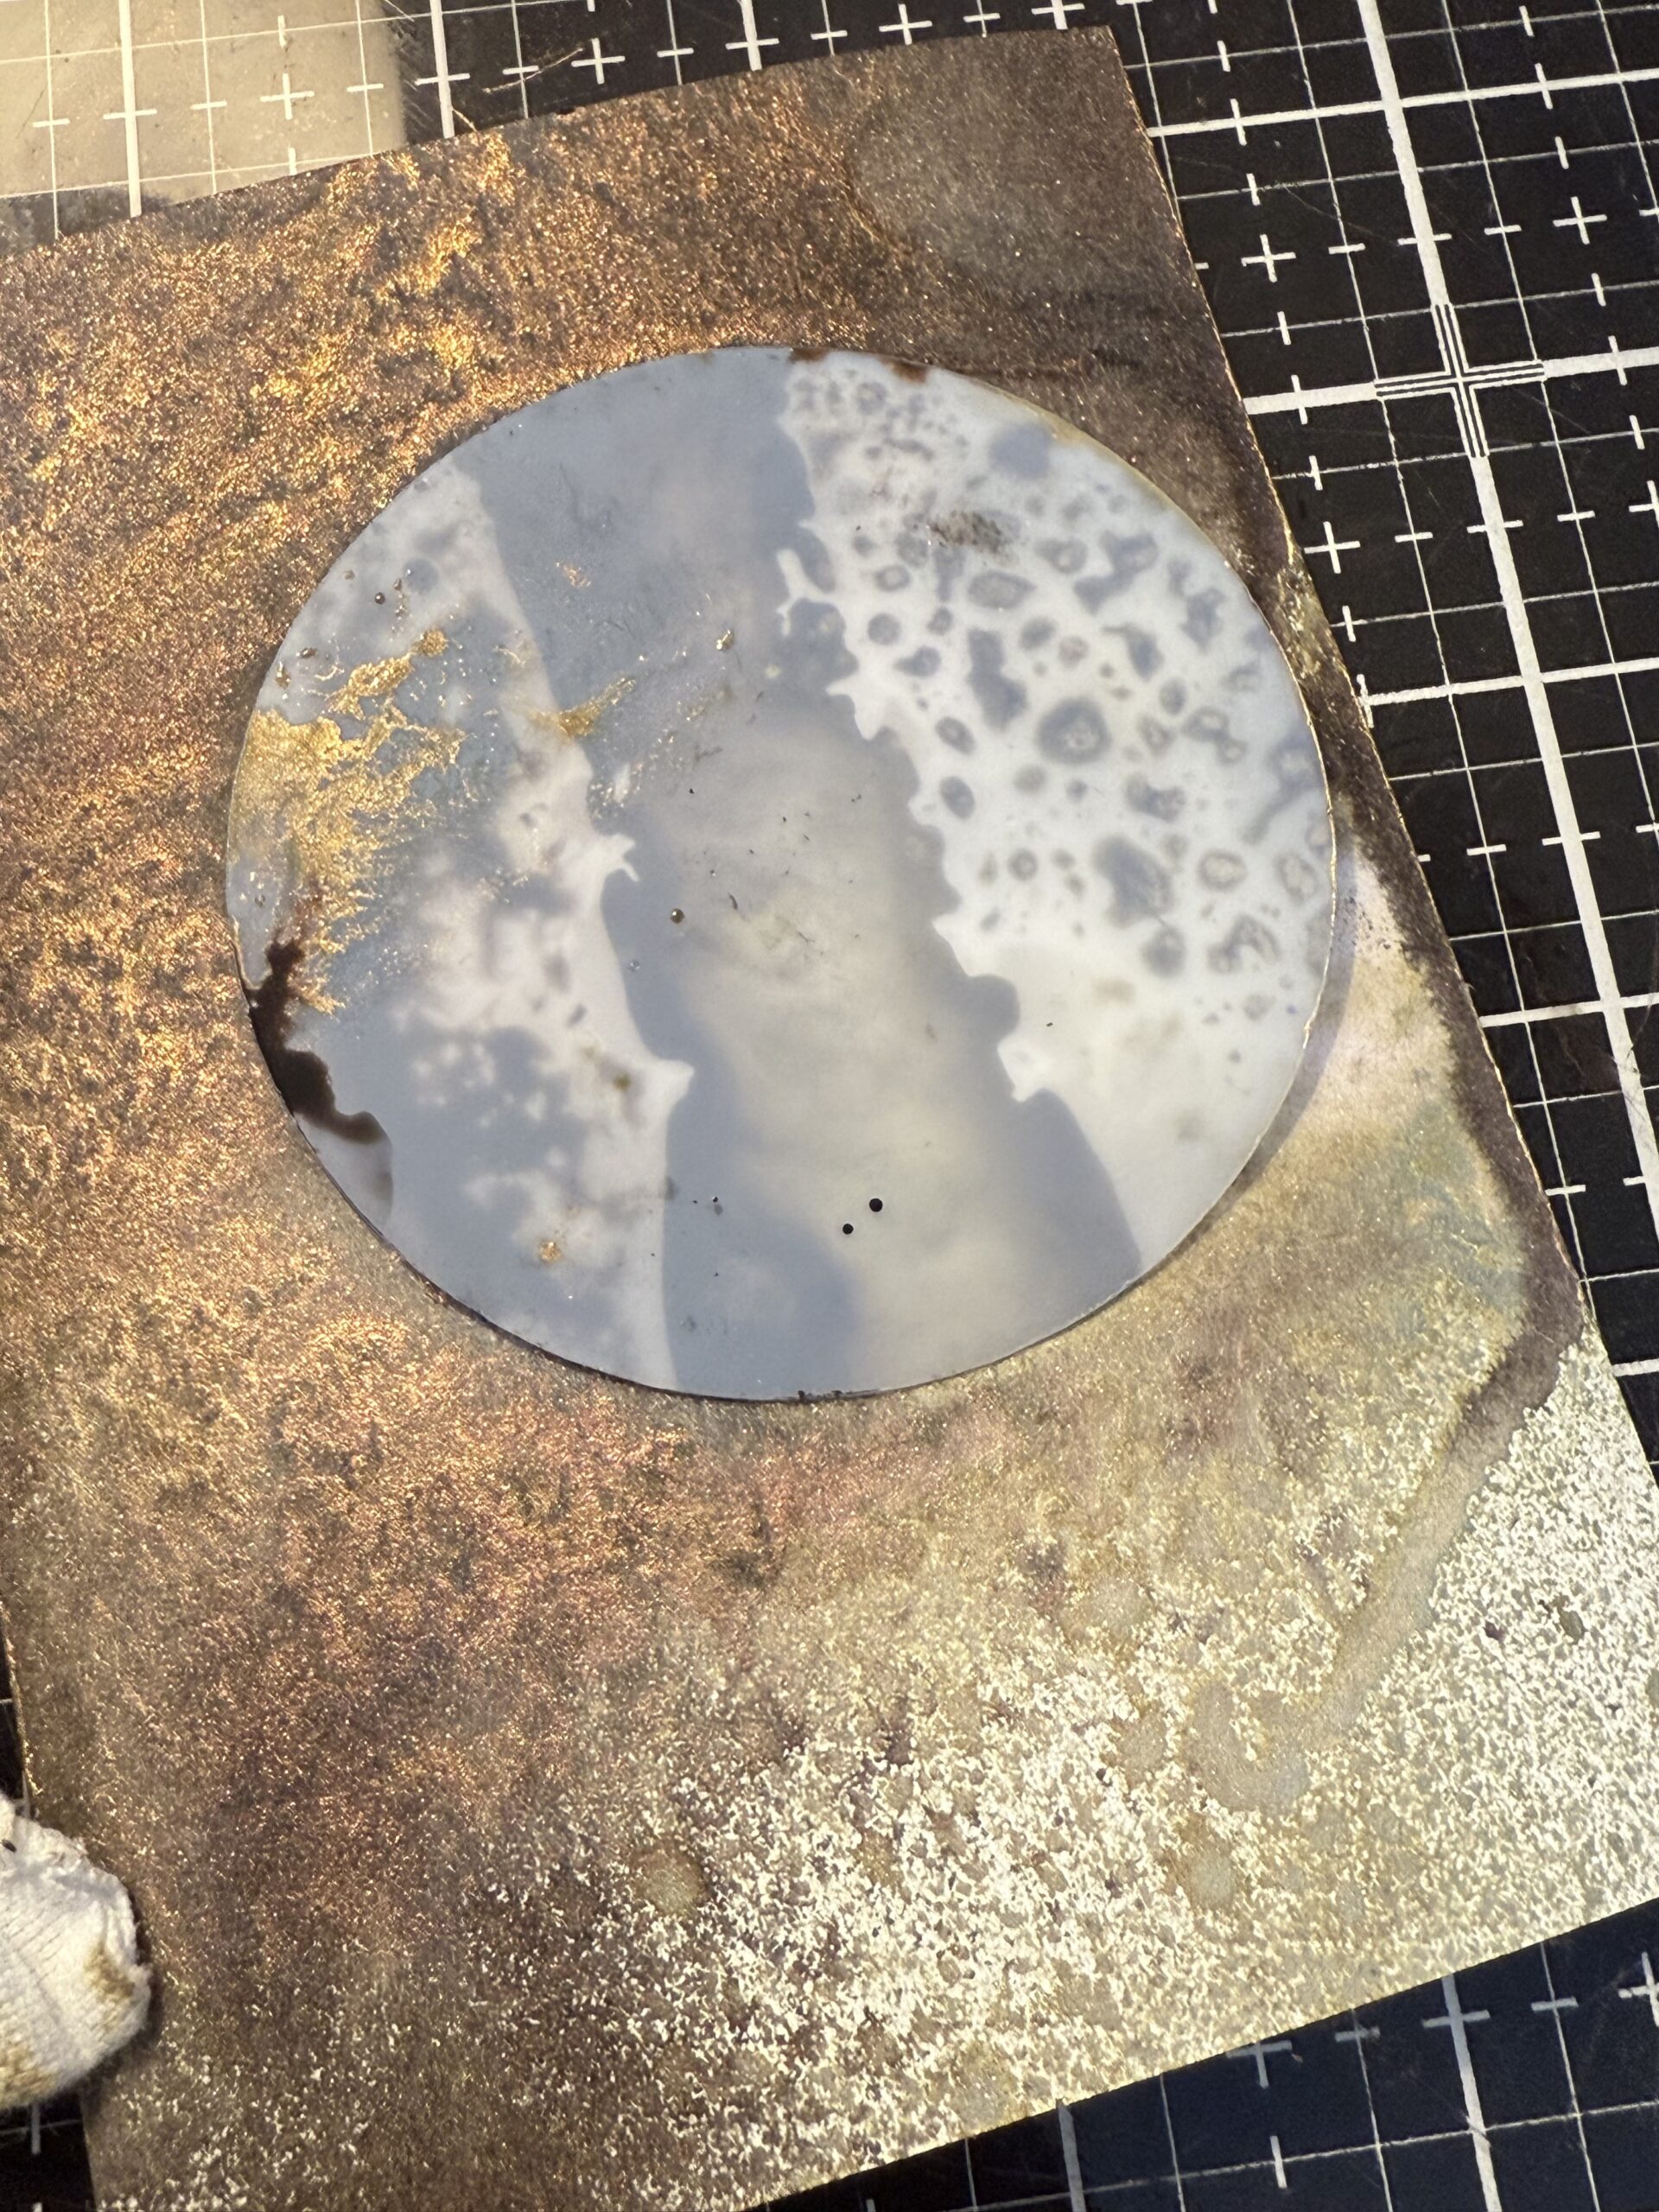
Then I removed the mask to reveal the moon.
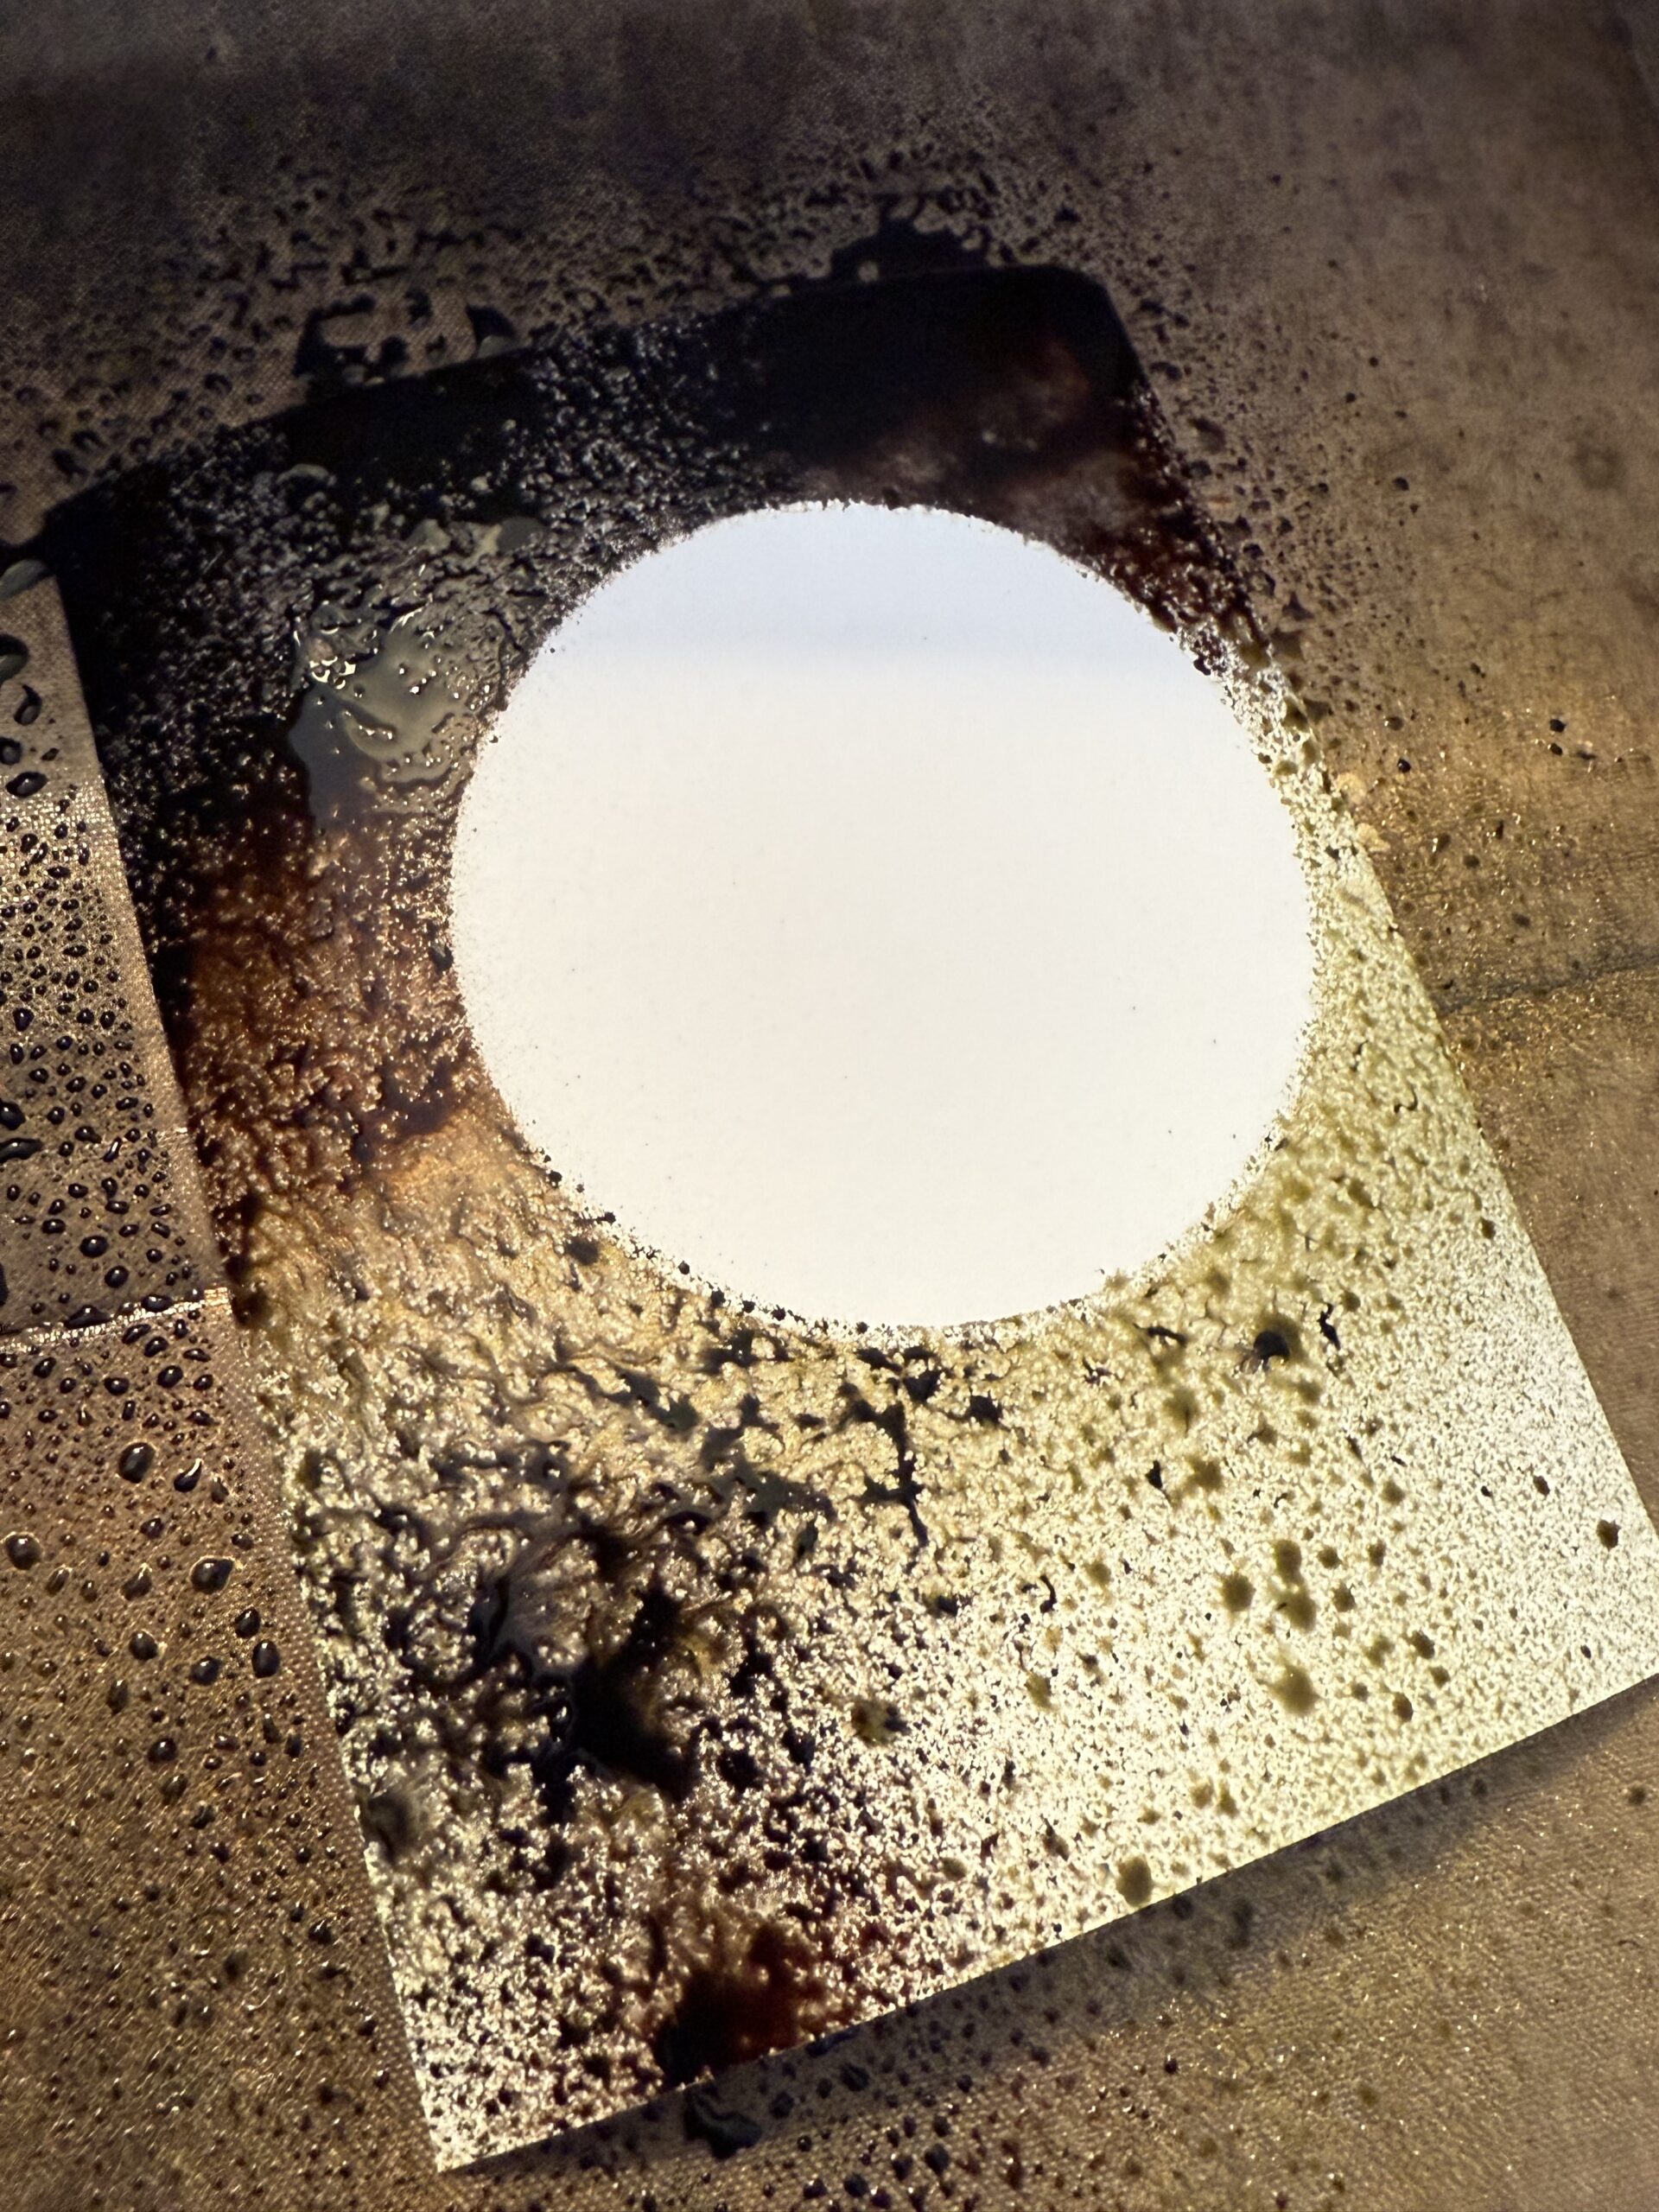
While the inks were still wet, I spritzed the moon using my spray bottle wand watched the ink slightly creep towards the center of the moon.
I then dried the background using my heat tool until it was completely dry.
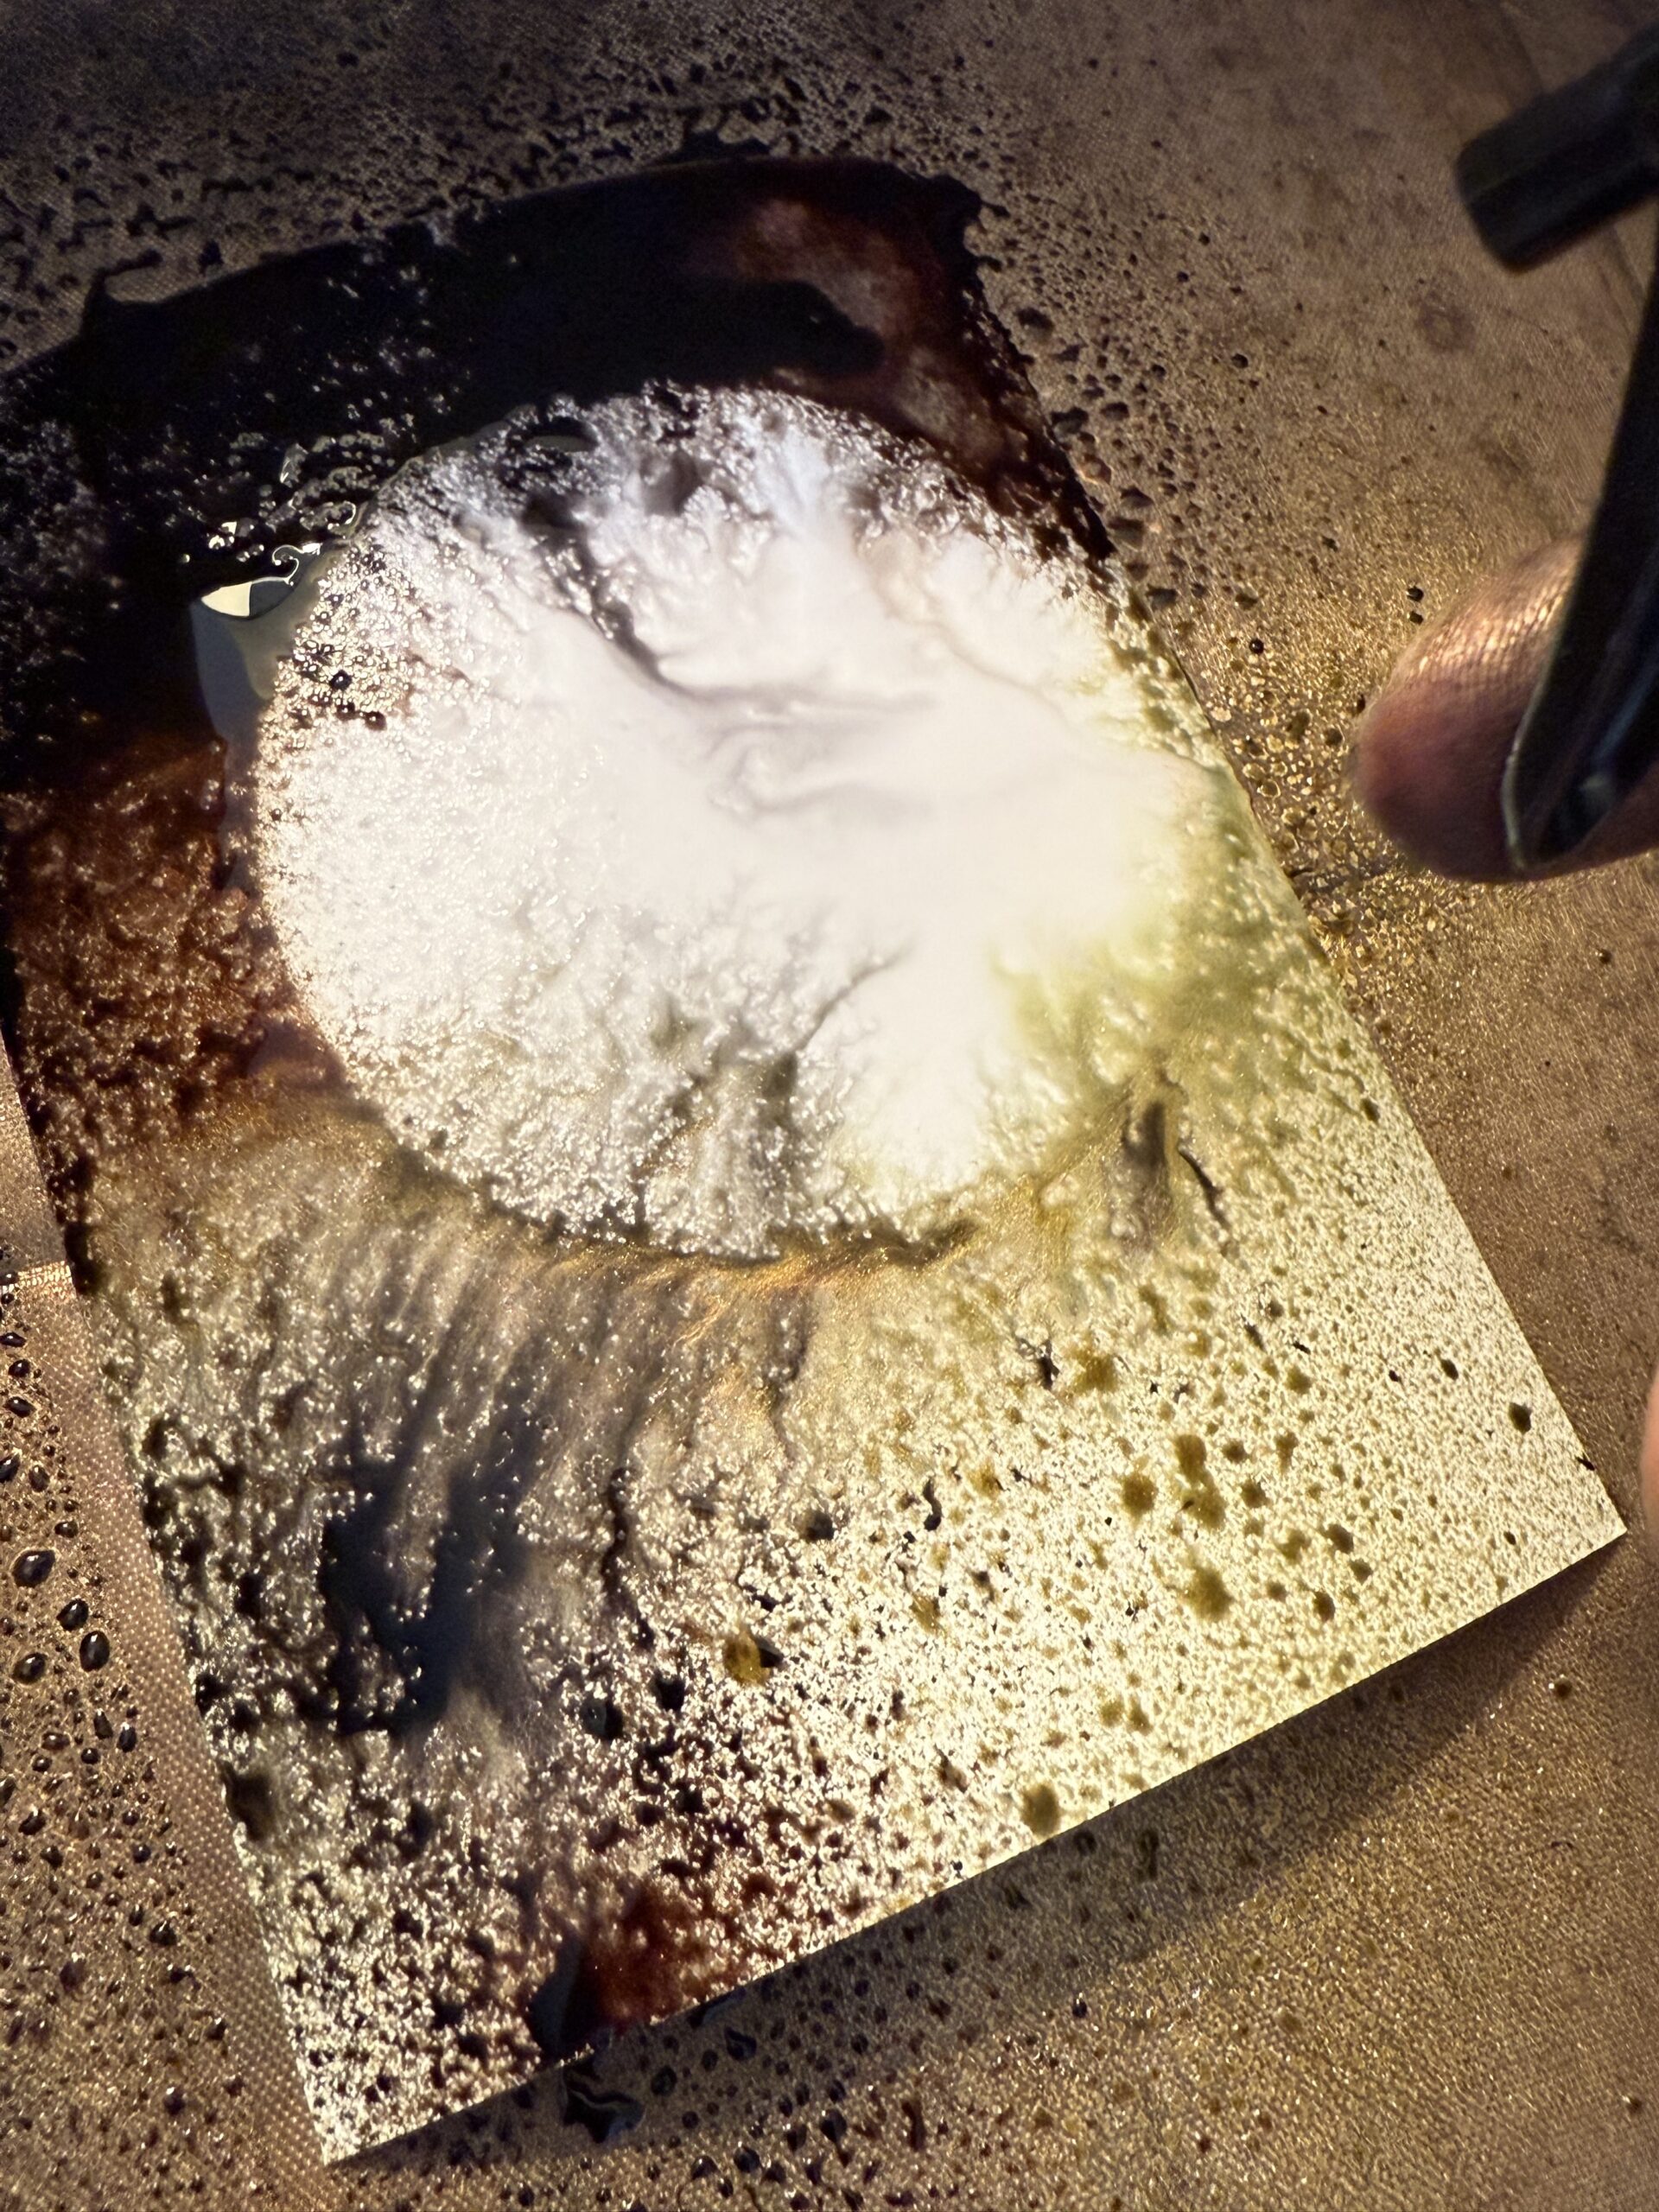
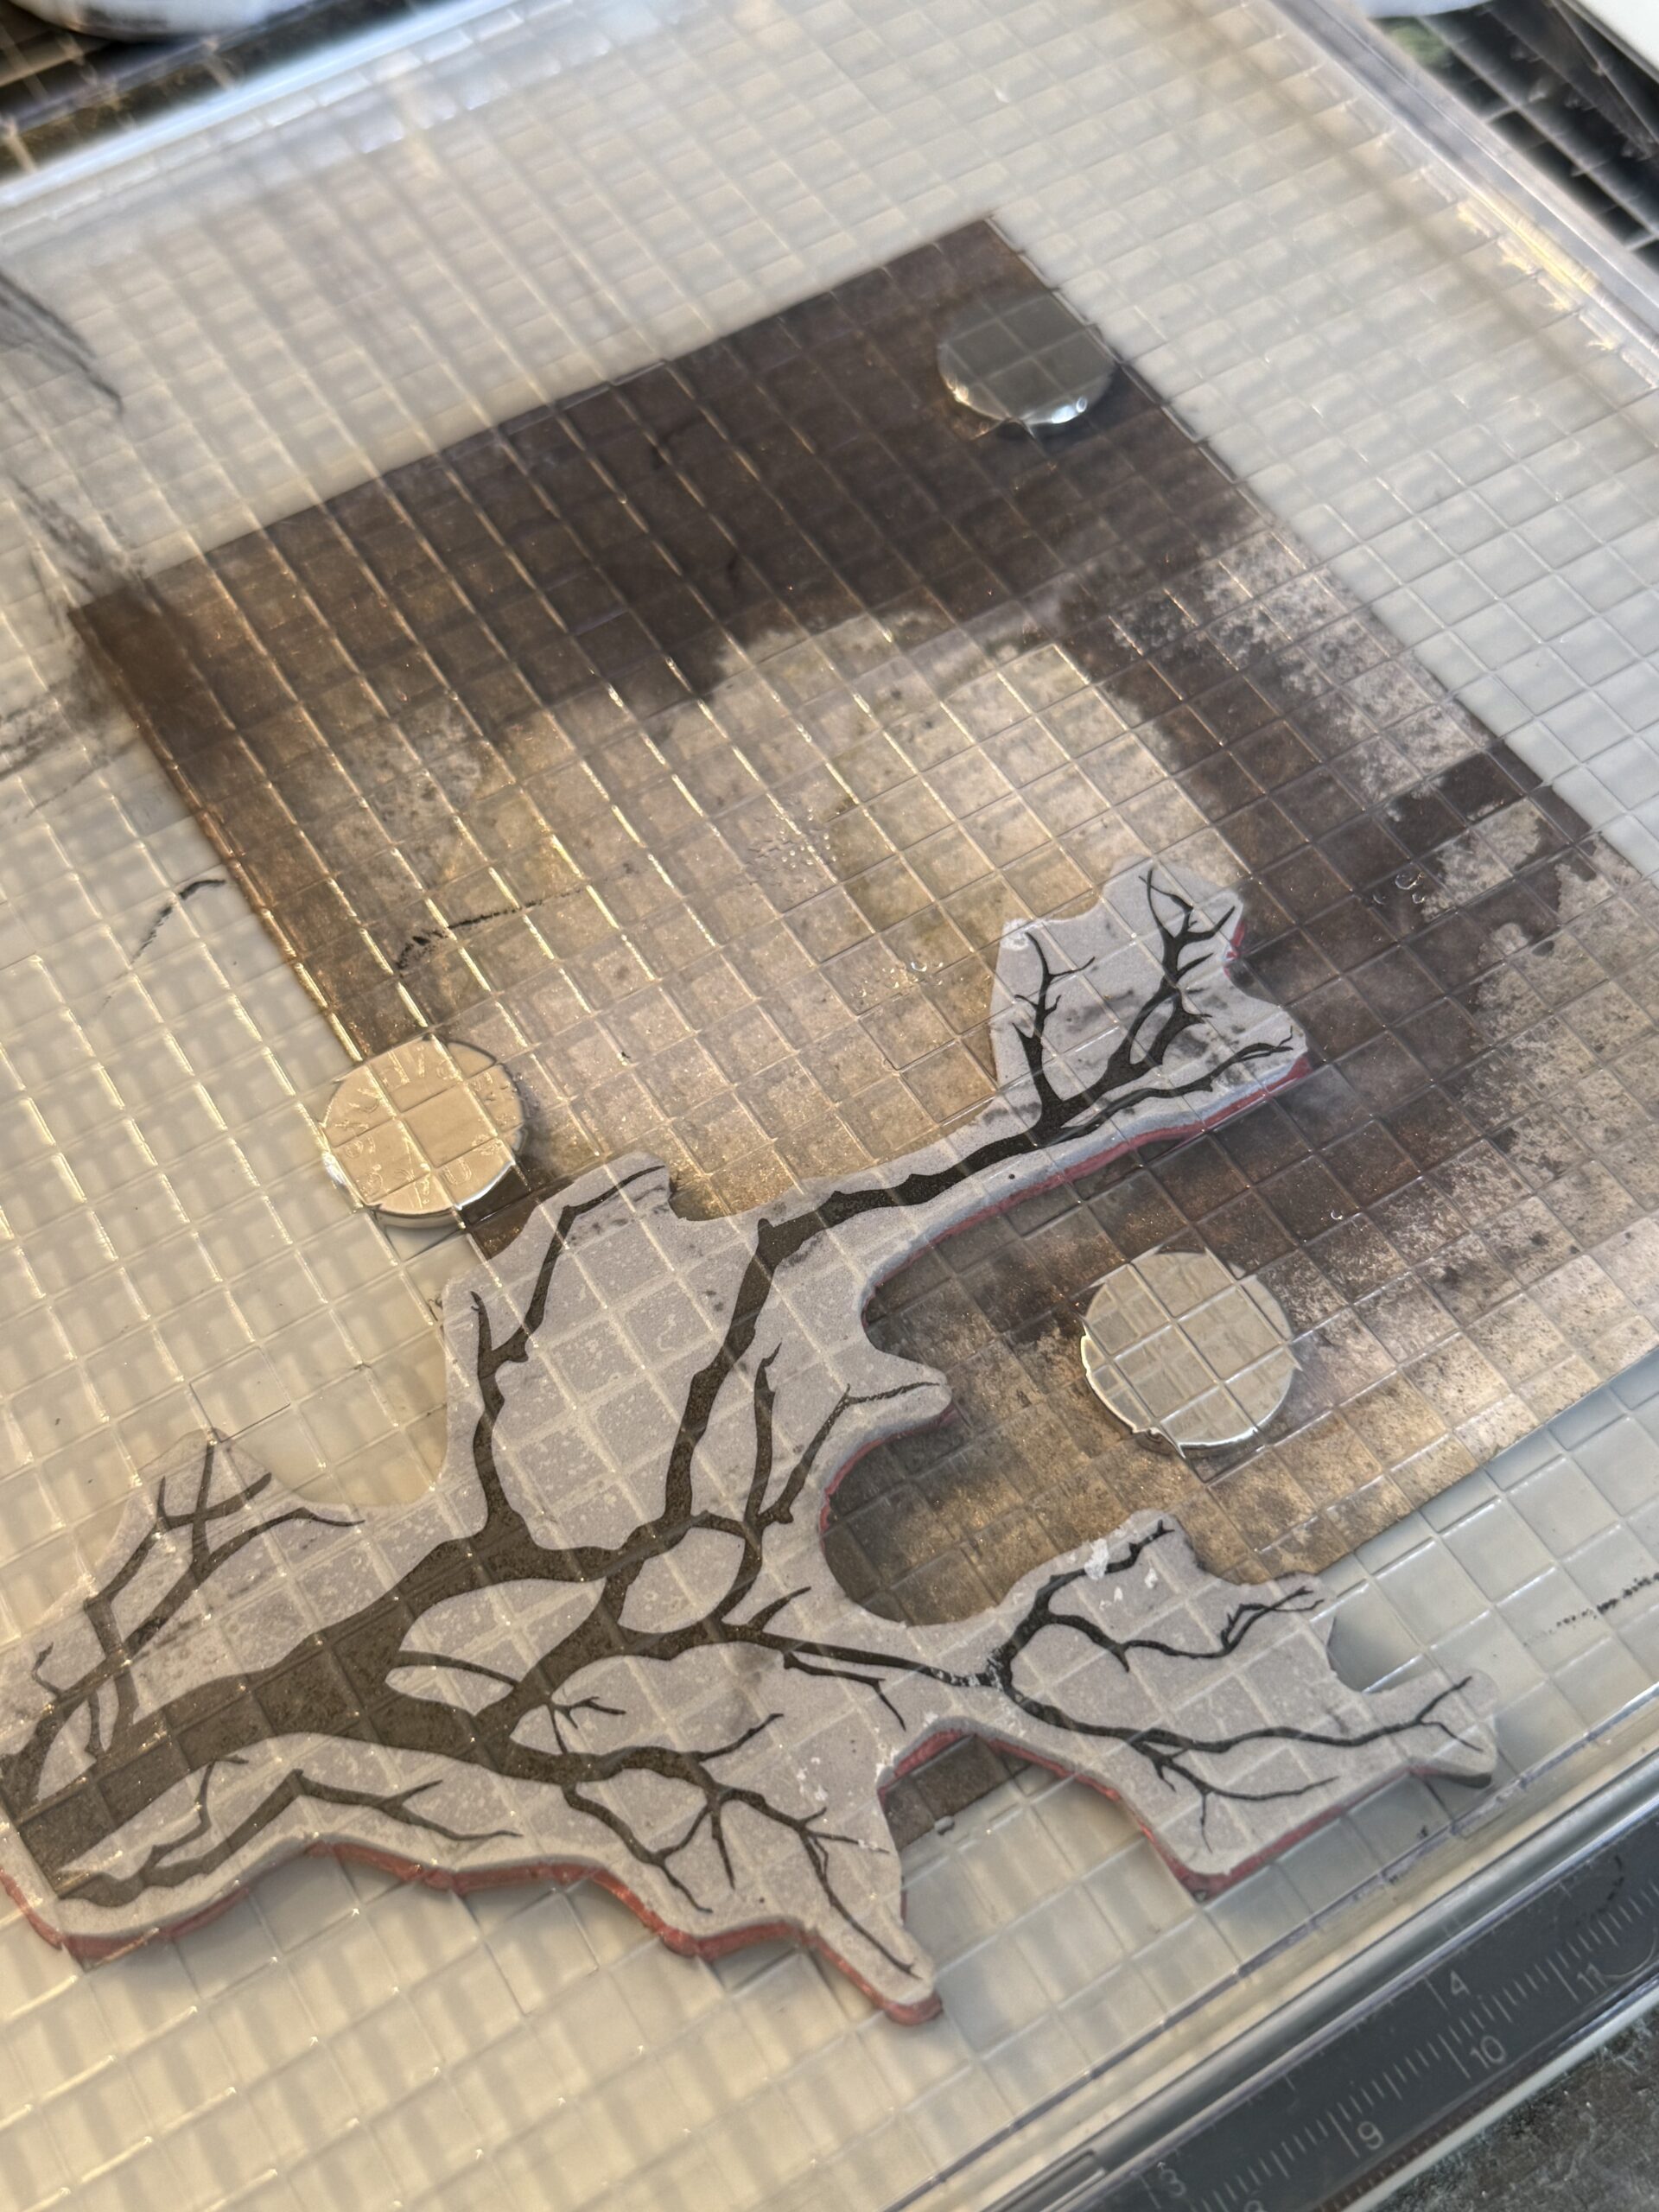
Now, this is where this technique varies from my others…using the moon mask that was spritzed with all the inks, I did a quick mist of water on it, then carefully placed it over top of the moon section of the background.
Here’s what it looked like when I placed it.
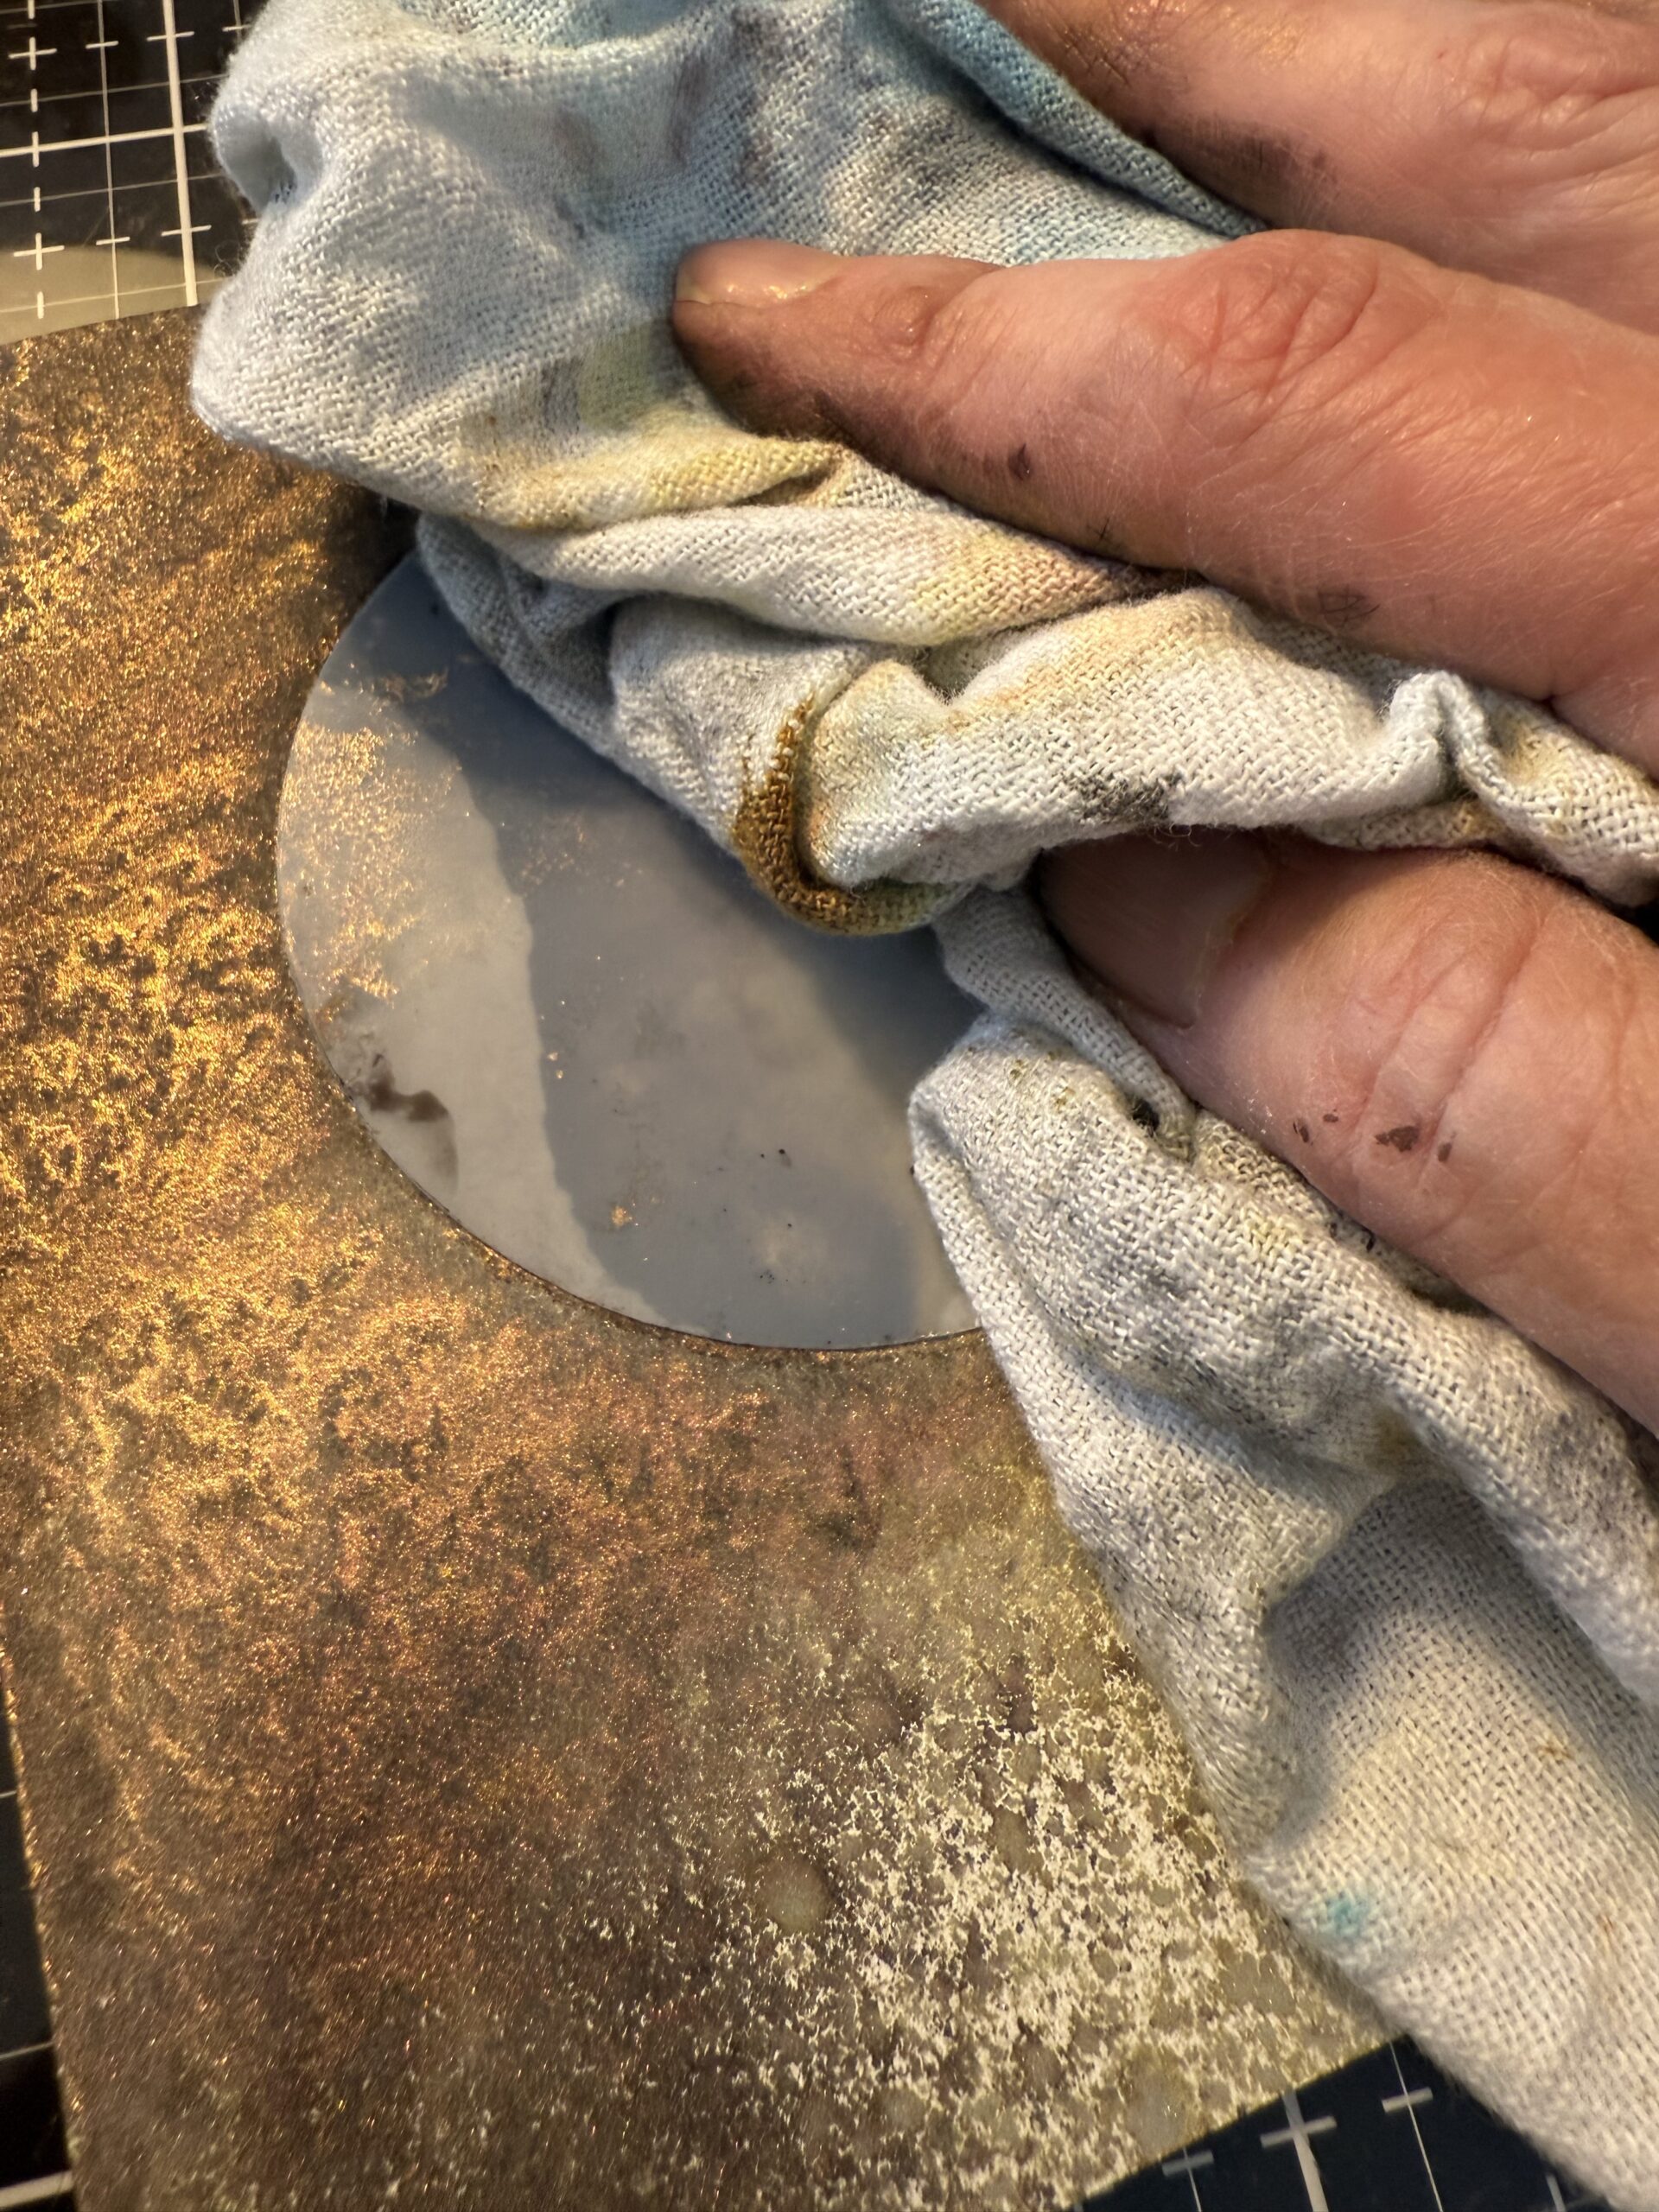
I used a cotton cloth to press the moon onto the background and to pick up the extra ink and water that leaked out from under the mask.
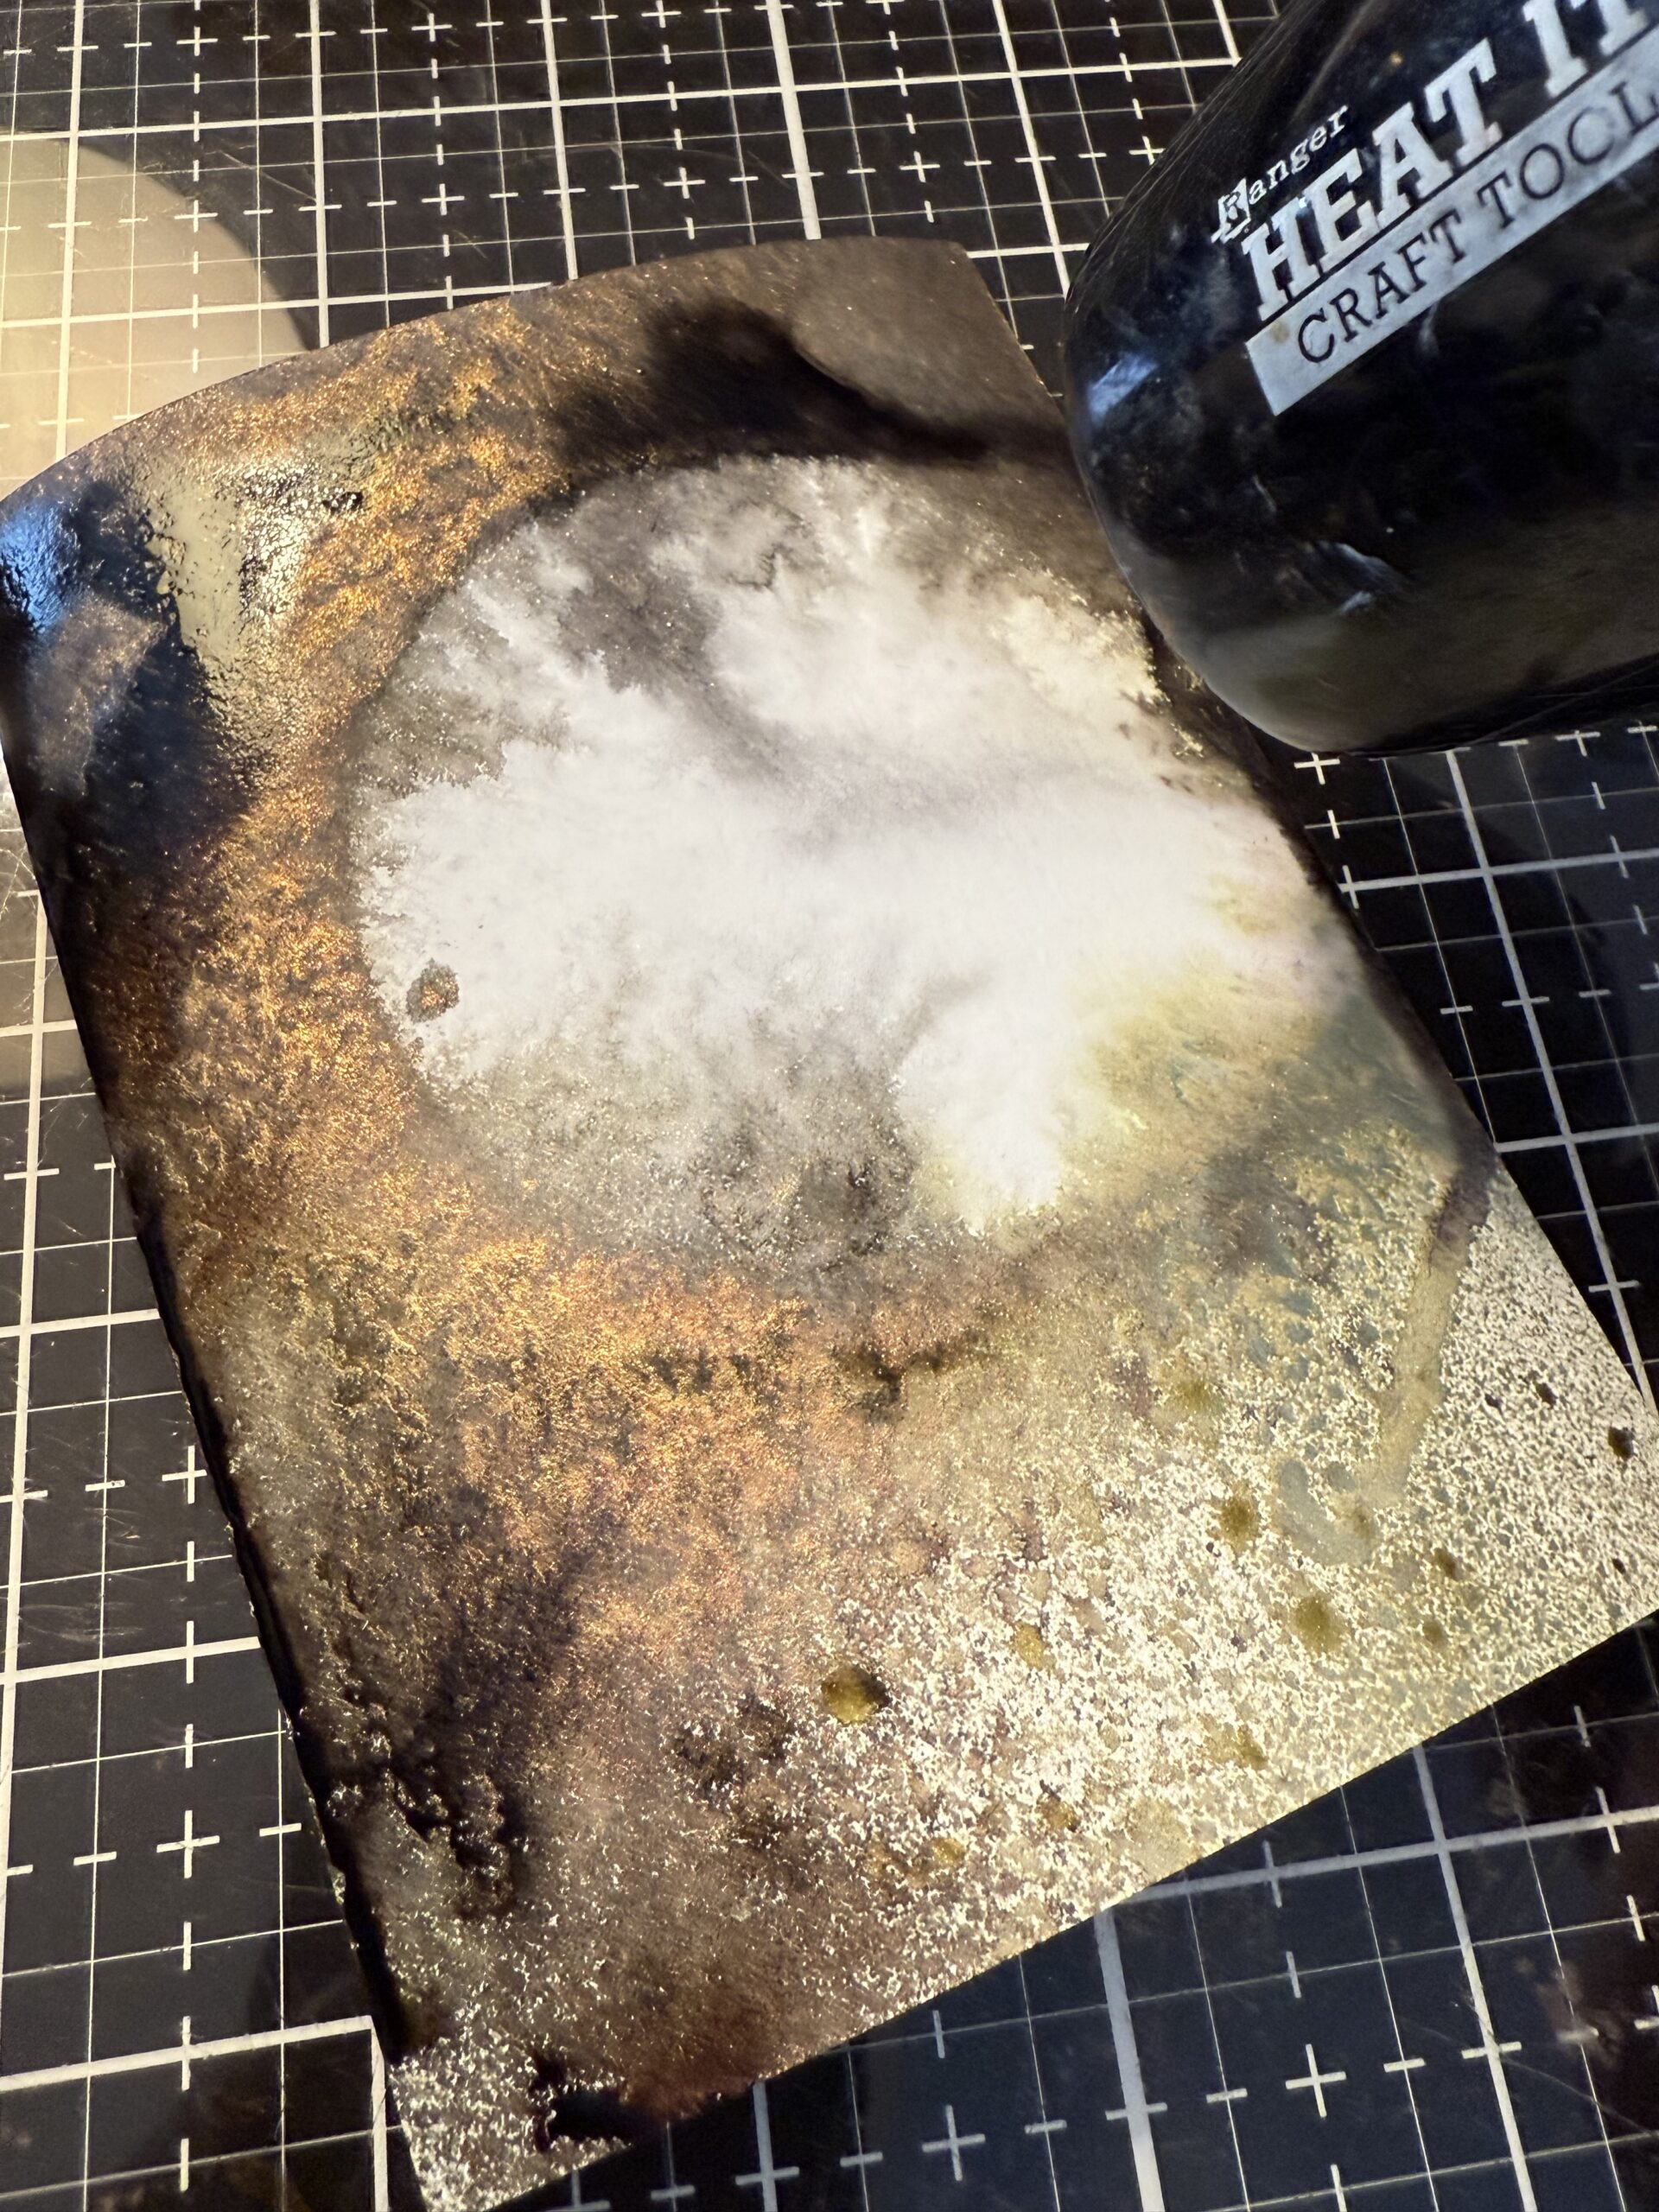
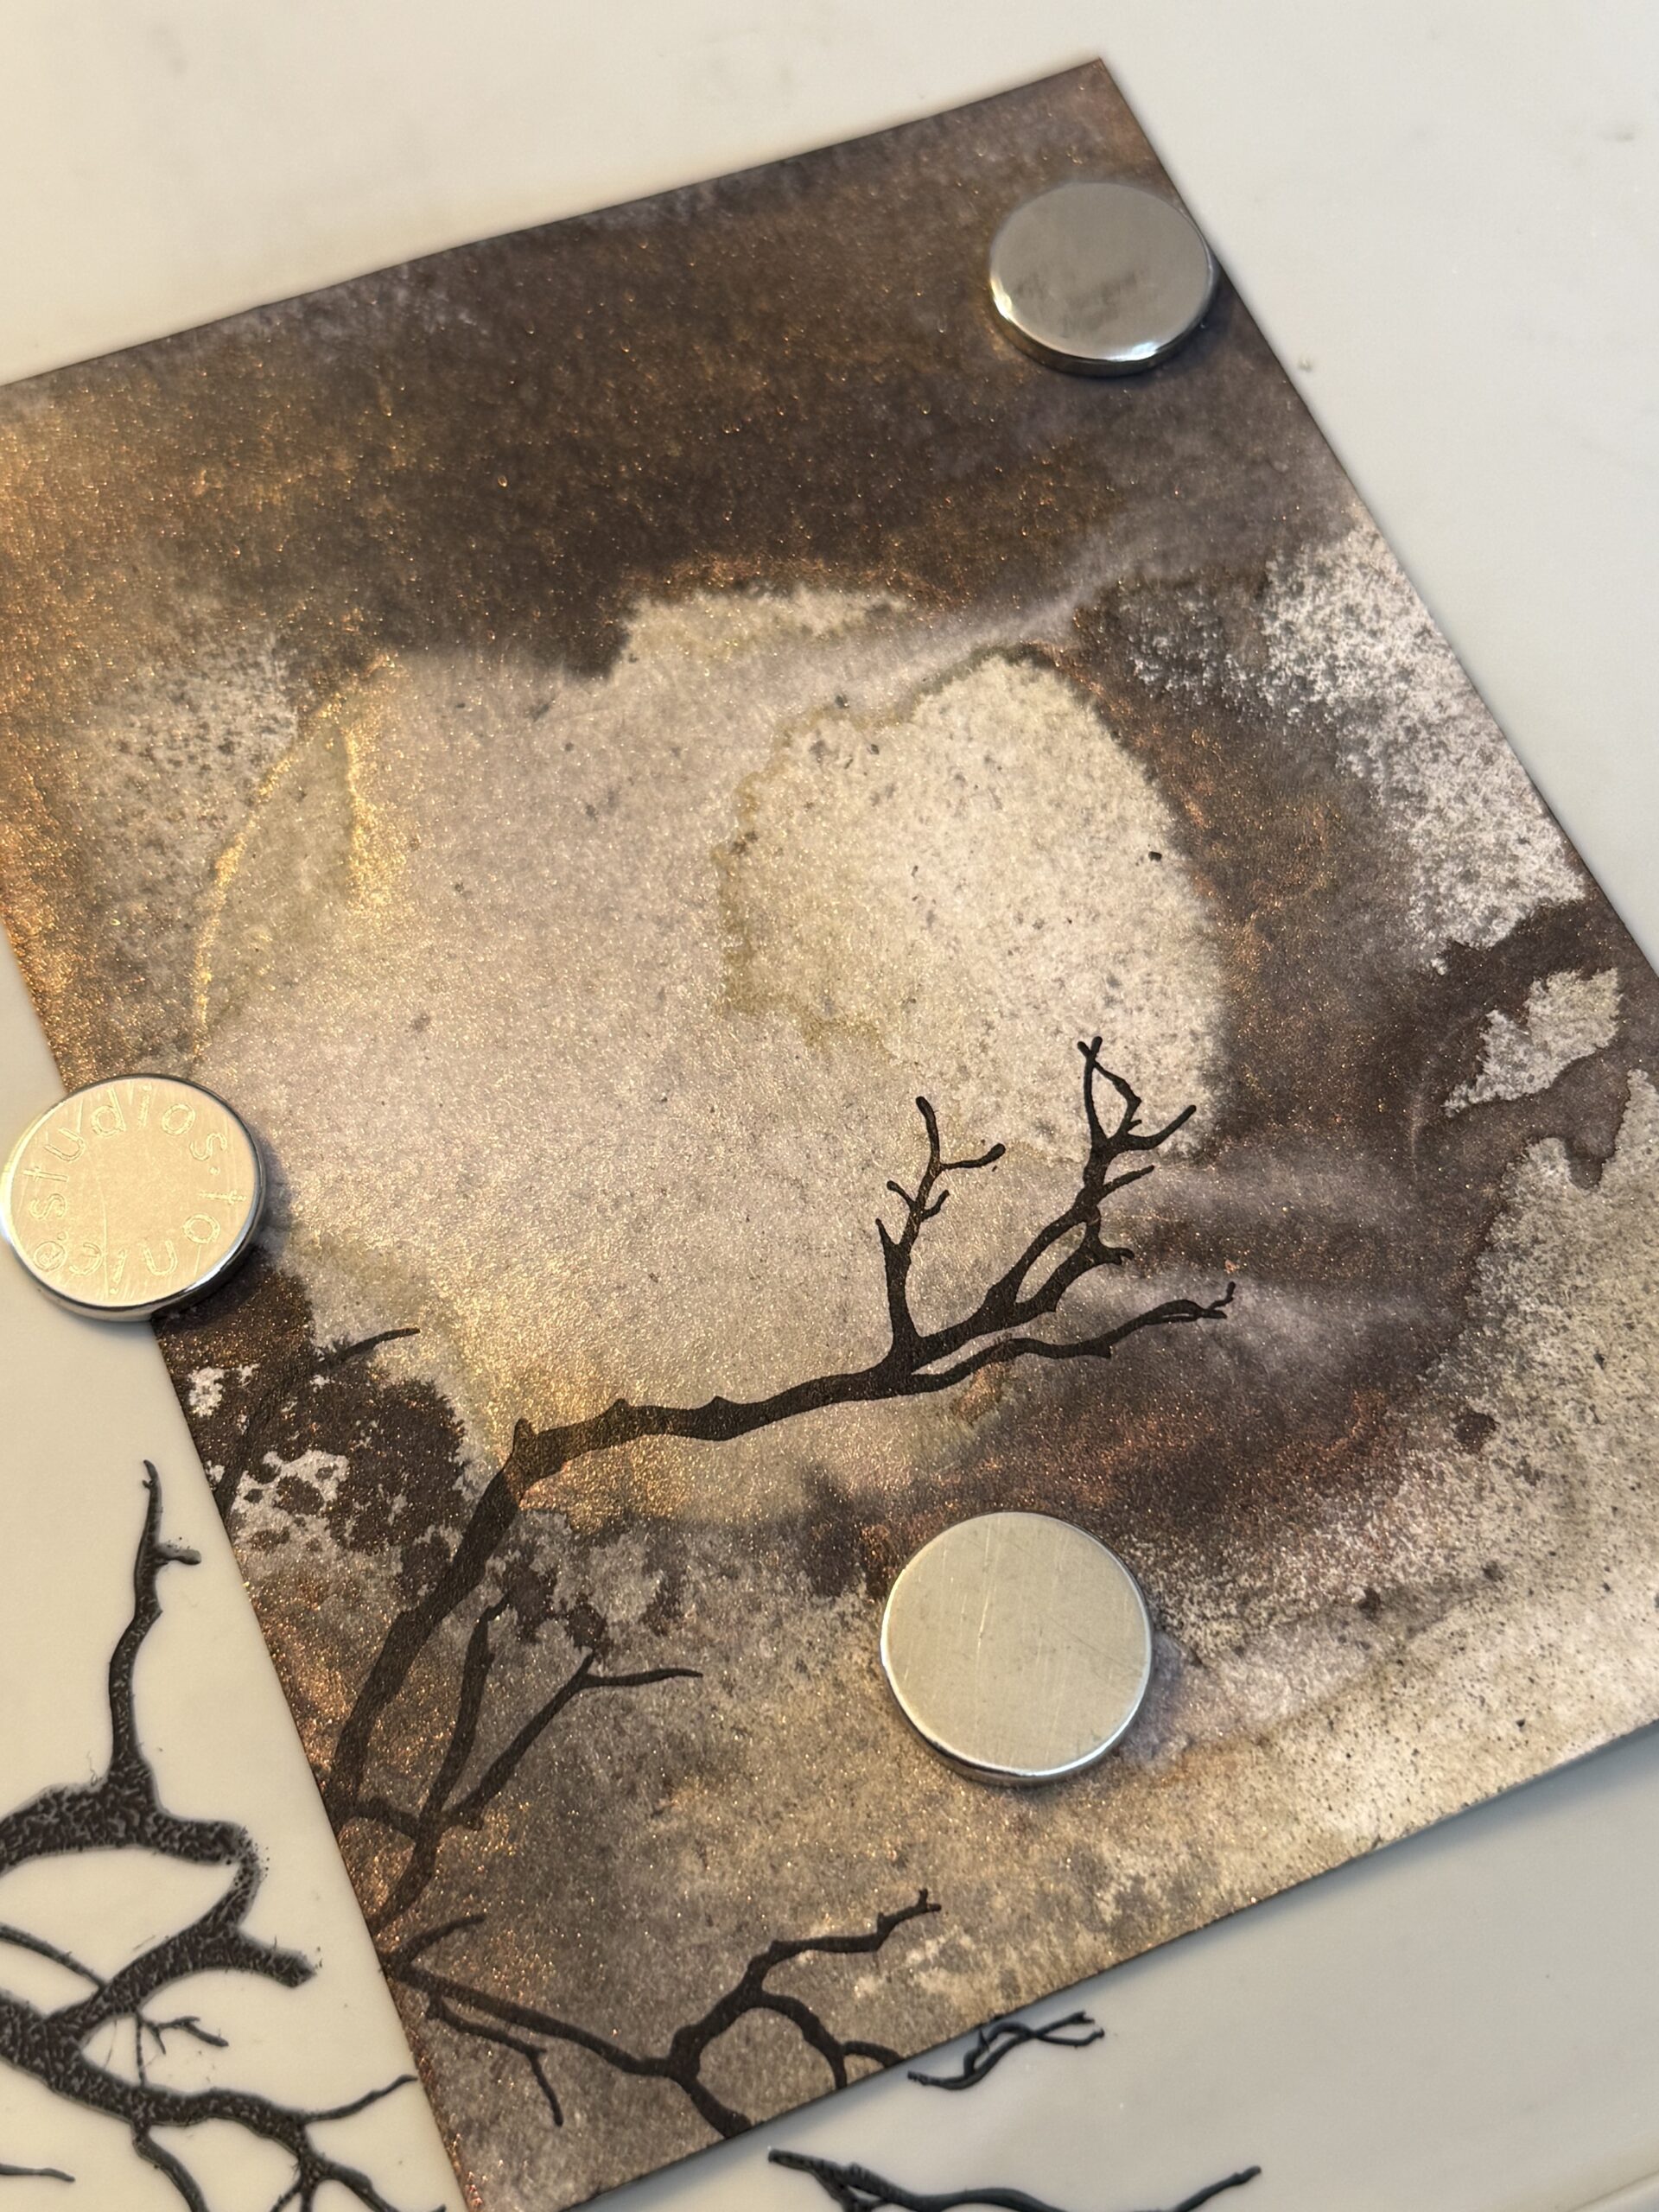
I picked up the mask, then, using my heat tool, dried the moon again.
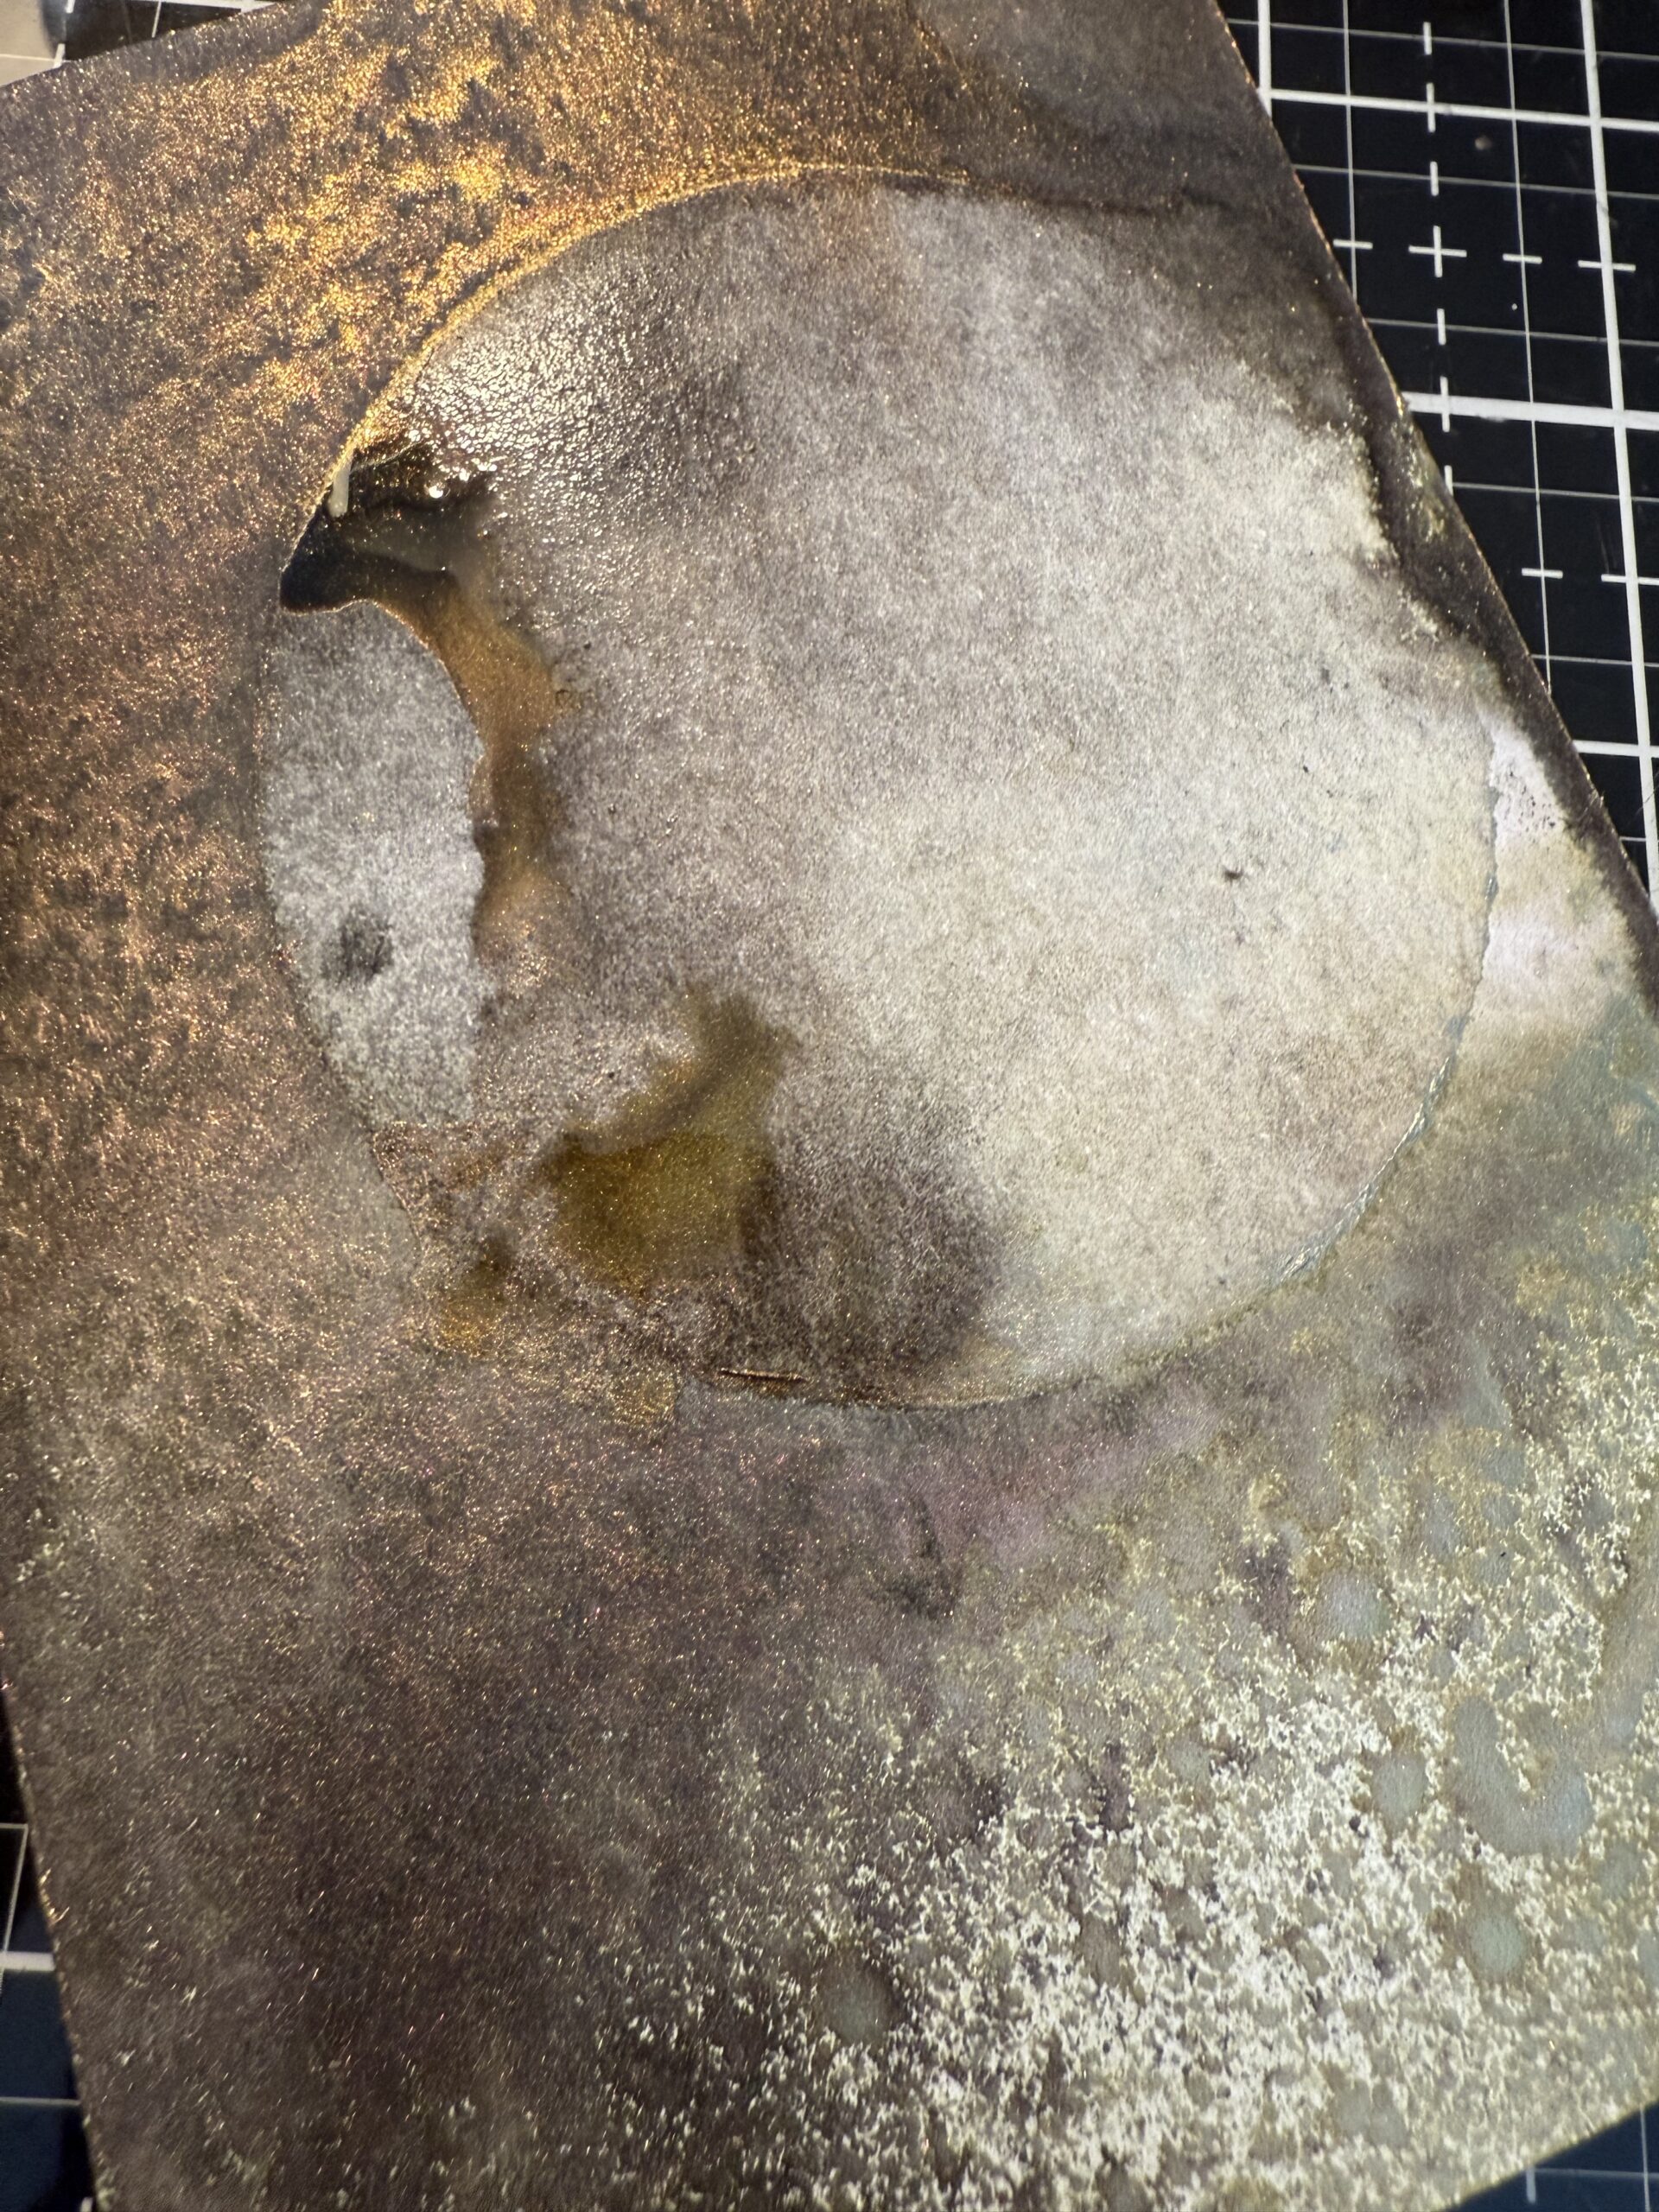
And here is the finished results, creepy and very moody!
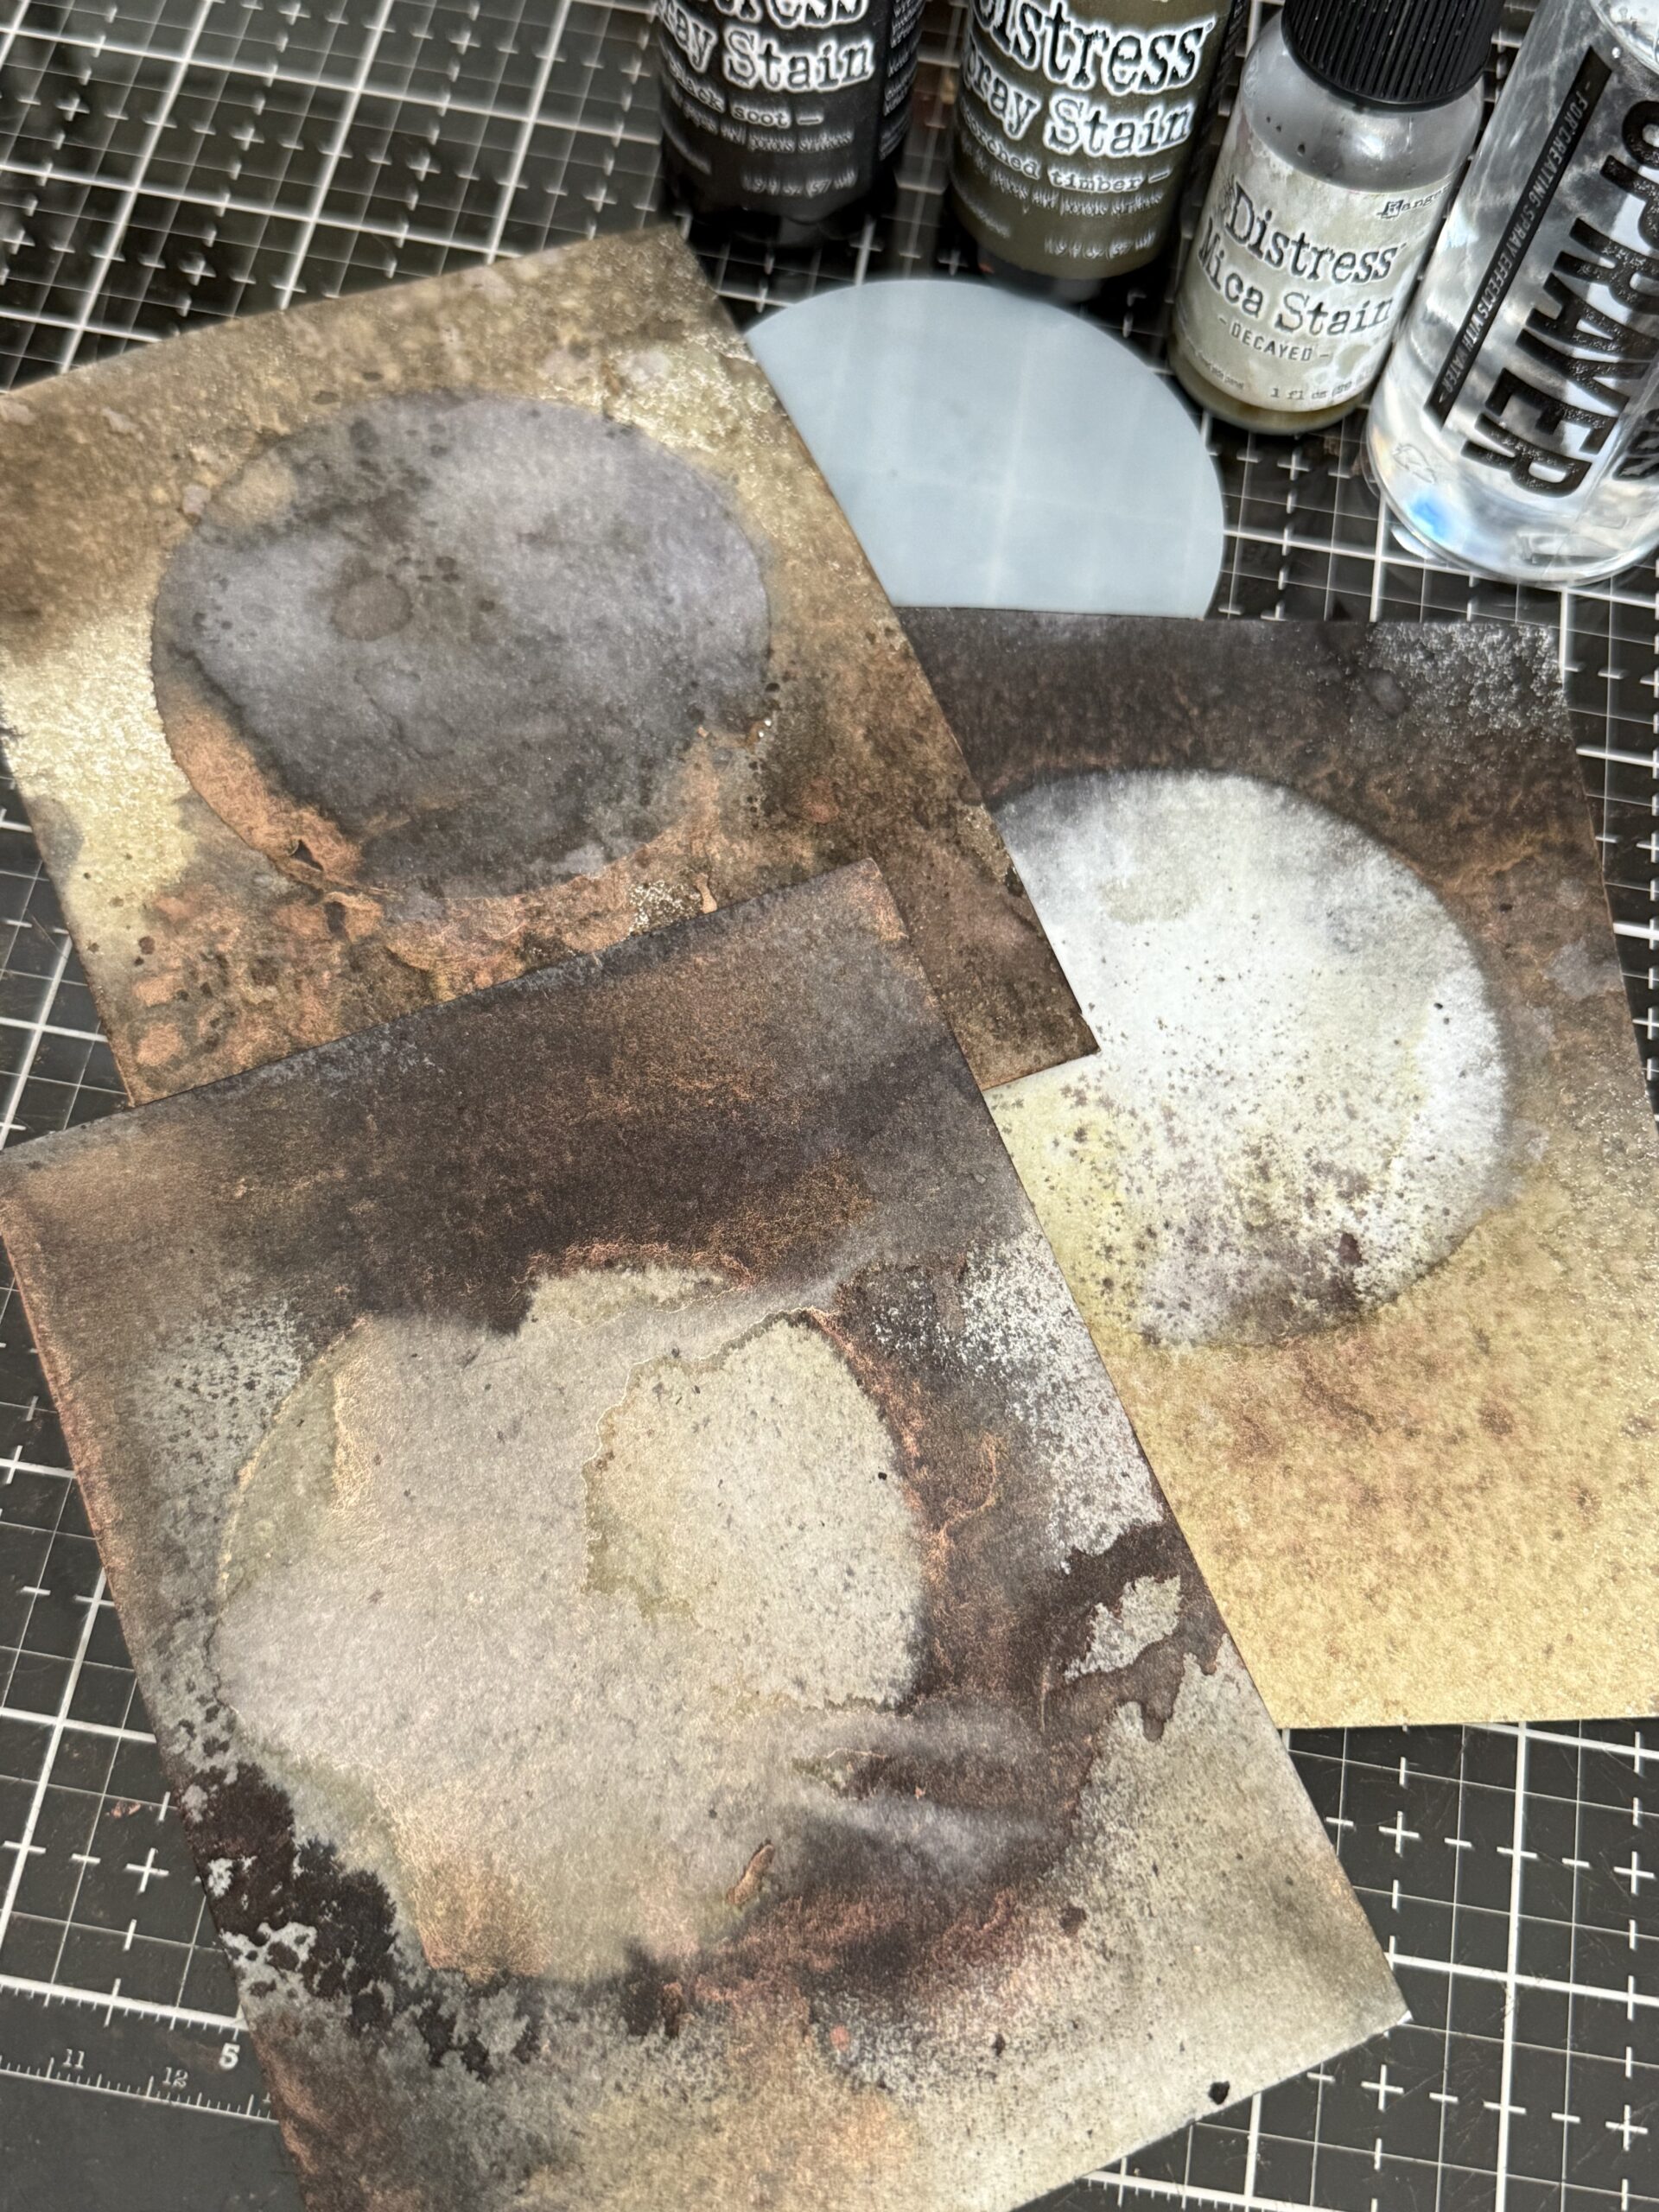
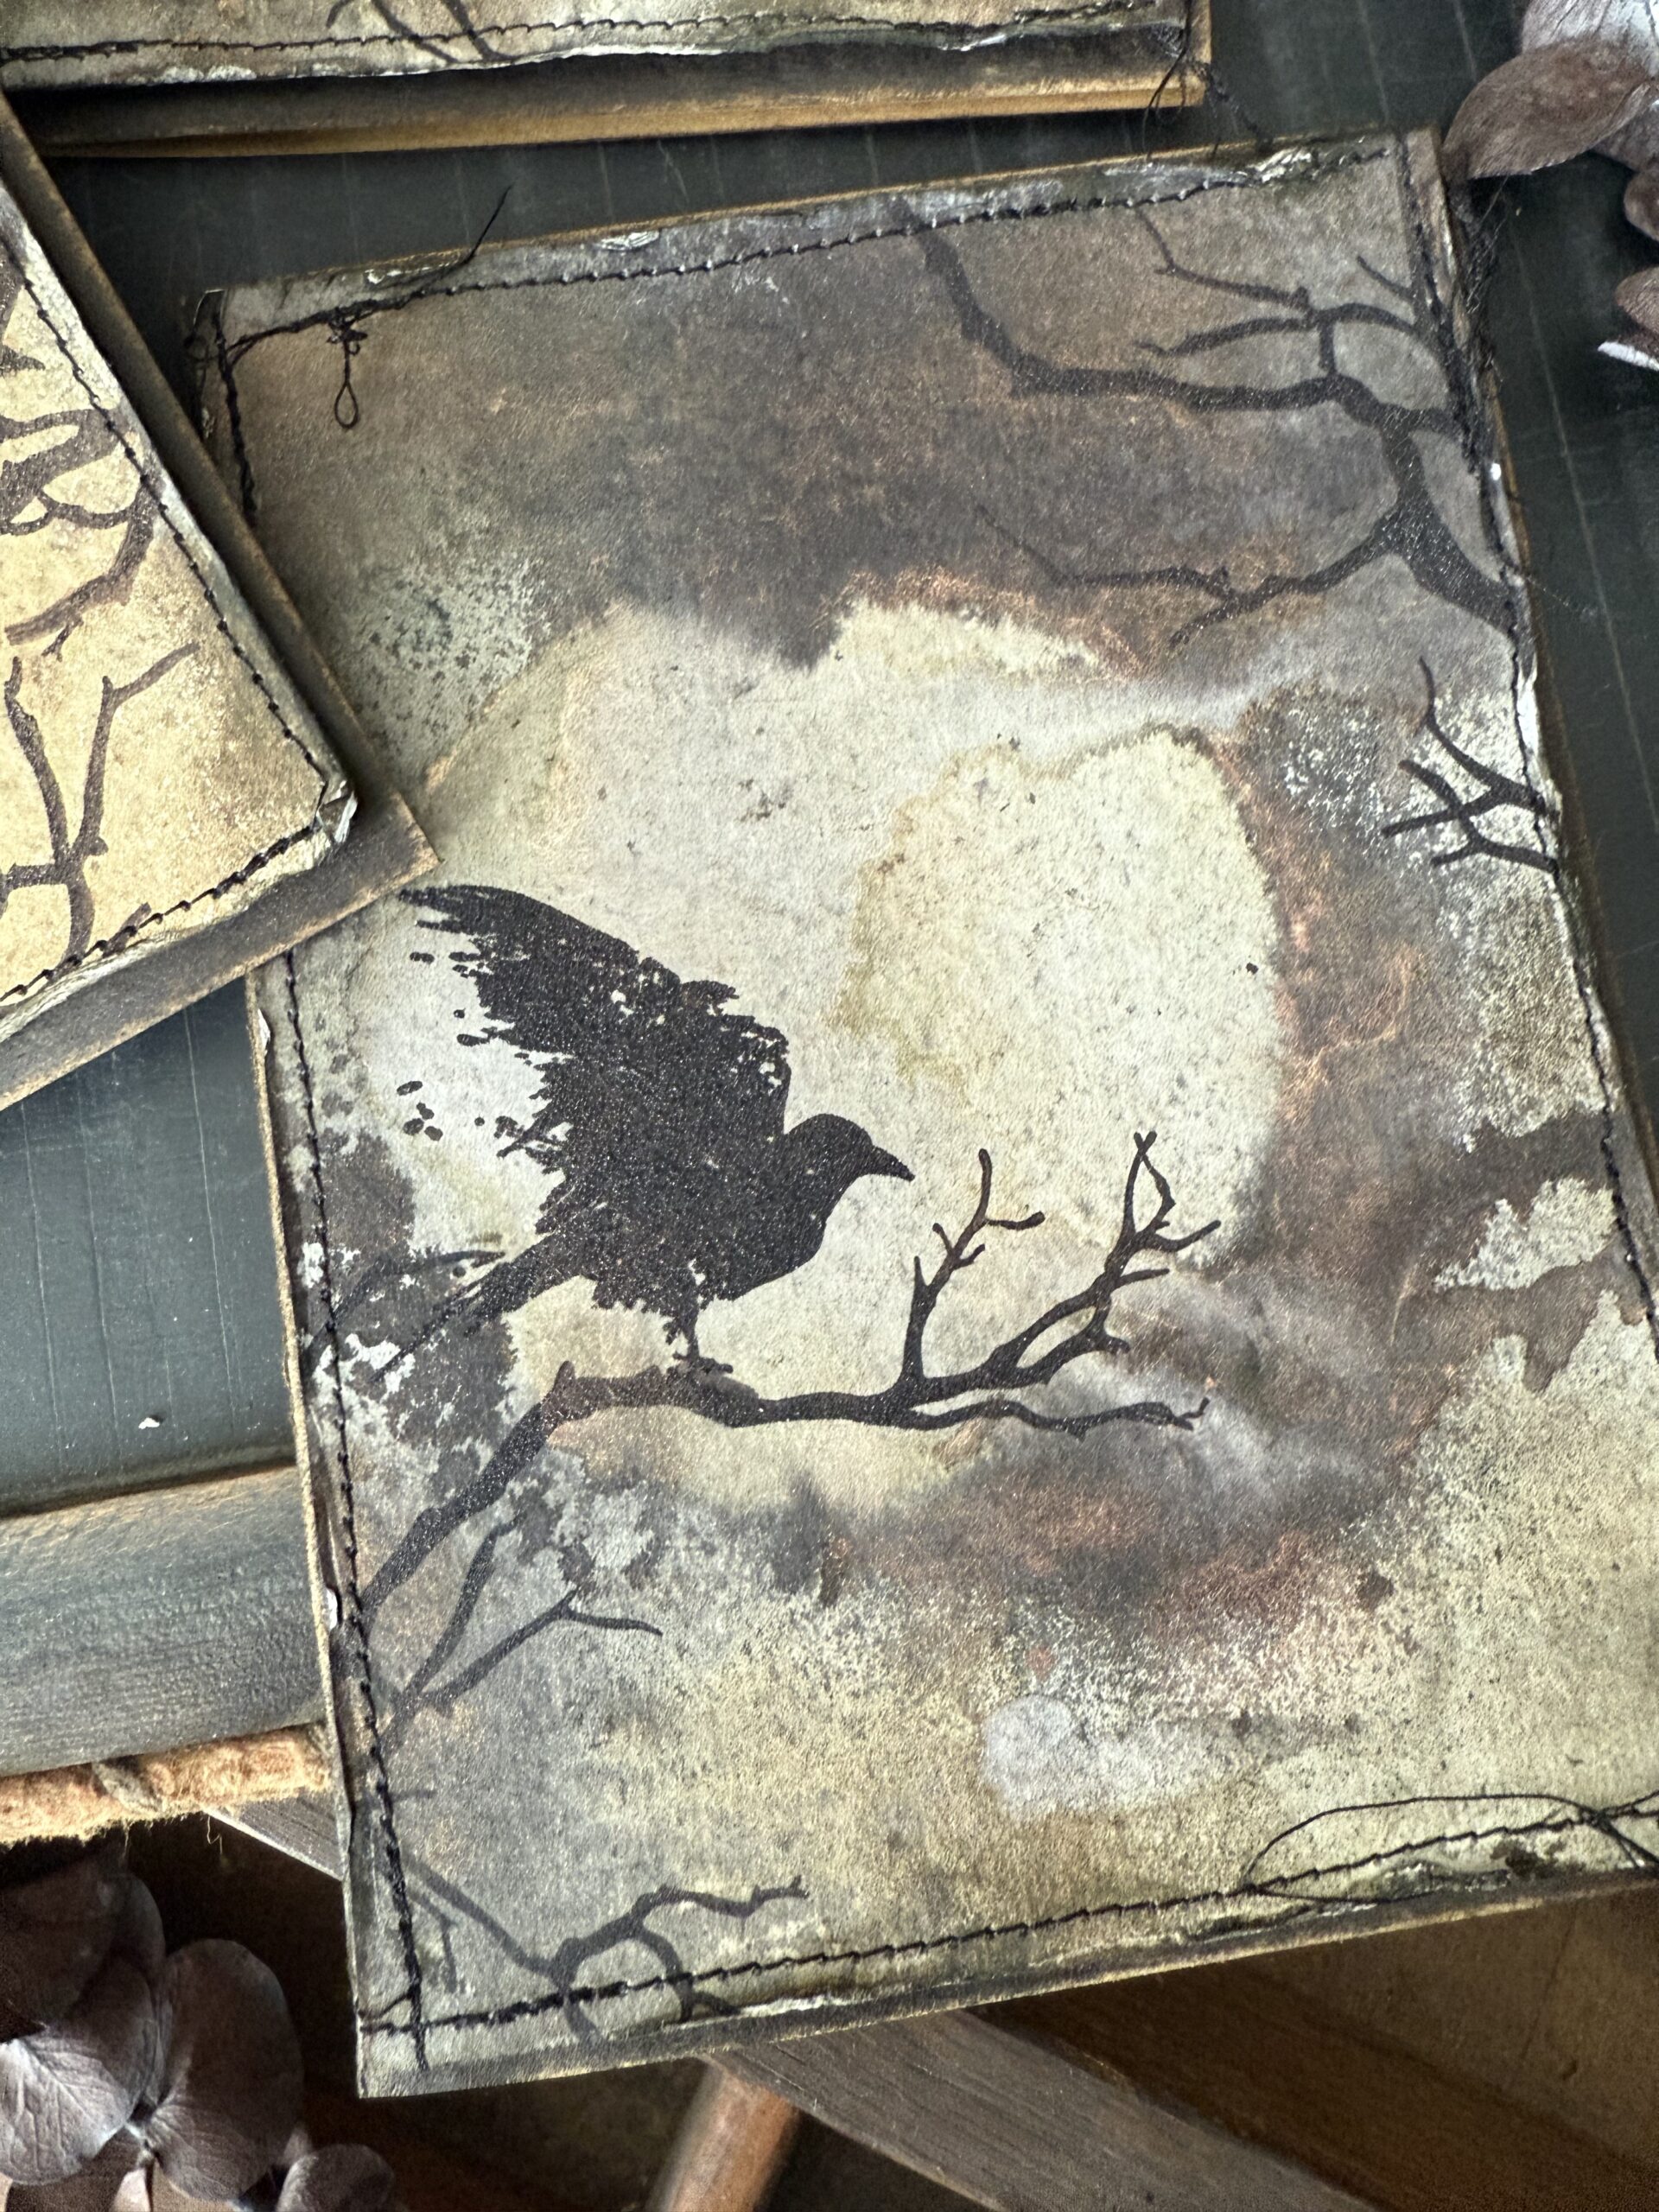
Here are all the backgrounds that I used for my trio of cards, each looking slightly different depending on where the sprays landed and where each moon mask with the inky leftovers on it ended up…pretty cool don’t you think?
The next part was adding the tree limbs and ravens. The limbs were from another stamp set, Mr. Bones CMS345.
The ravens were from a couple of the sets included in the Curations, Haunted Mansion CMS091 and Mini Halloween CMS093.
I placed my background within the stamp platform and picked where I wanted each of the tree limbs to be.
Using Black Soot Archival Inks, I stamped the first limb, it was not dark enough, so I loaded up the stamp again with the Black Soot Archival ink, then stamped until it was to my liking…that’s the benefit of a stamp platform, you can stamp as many time as you like over top of the previous stamping.
Once I had it dark enough, I moved the limb stamp, and began creating the scene, I placed the raven, then made that as dark as I wanted until I had the scene finished. After it was finished, I removed it from the platform and sprinkled the silhouette areas with Frosted Crystal Embossing Powder and embossed them with a heat tool. The Frosted Crystal Embossing Powder adds a little depth to the silhouette figures and gives them a mat finish.
After I completed all three of my backgrounds using the various ravens and placing the tree limbs in different areas, I stitched around the edge of them using my sewing machine and black thread, then added them to the front of card bases.
I just love how each of them turned out…
Very Poe… I think Edgar Allen Poe would be proud! 😉
With that, my cards were complete!
Creatively Yours, Stacy
To shop at SIMON SAYS STAMP click HERE.
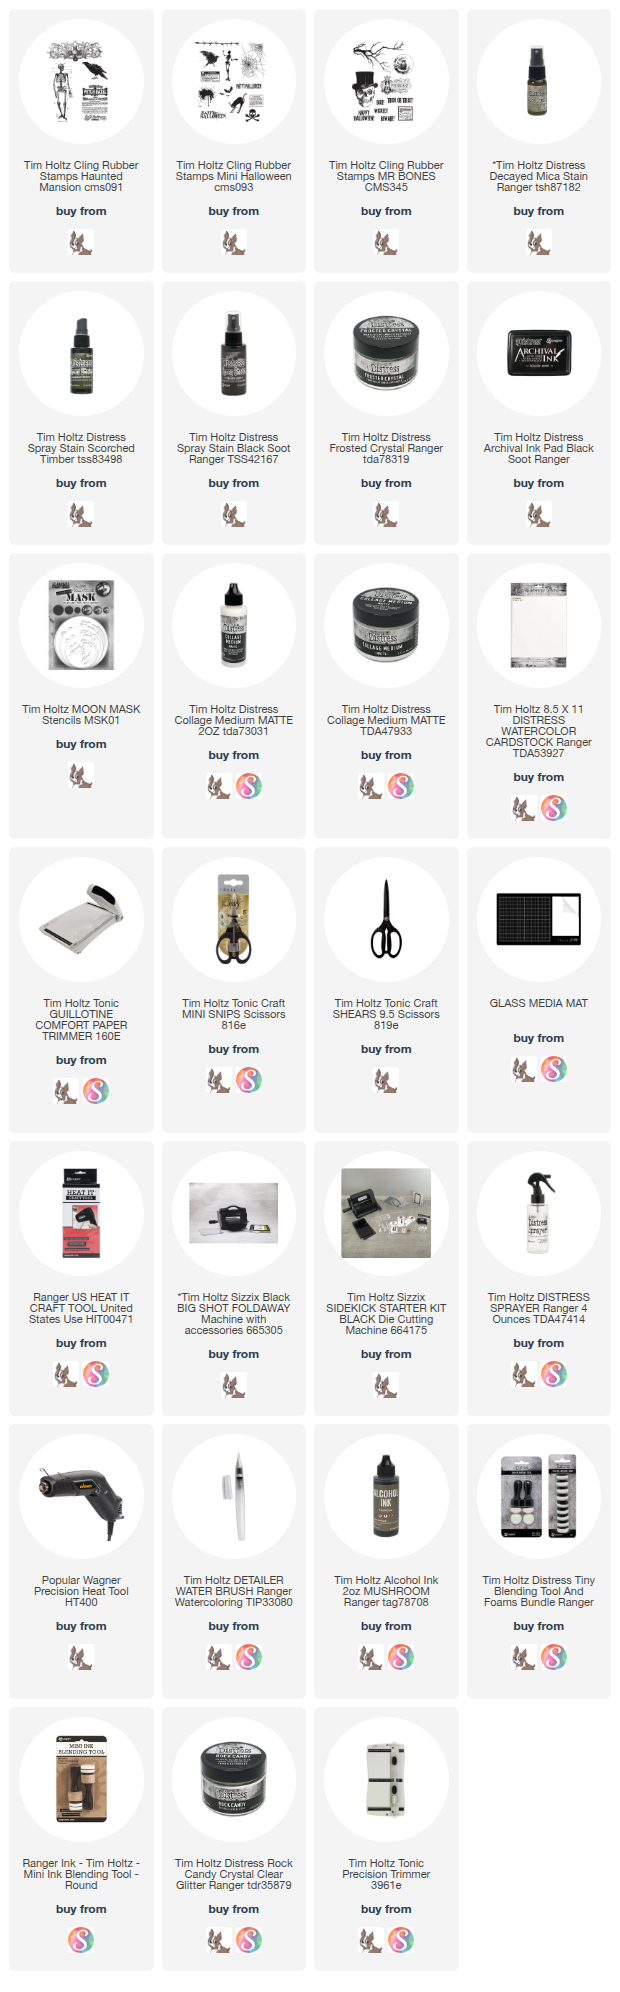
Products used to create this project are included in the links below. Each time you are inspired and shop through those links, you are supporting me and my blog. I appreciate it SO MUCH as it helps me to provide you with tutorials and to cover the blog fees. THANK YOU!
What is an affiliate program, and why should I click on the link and buy through you?
When you shop via the affiliate link on this blog, I receive a small commission from the affiliate provider (Simon Says Stamp) at no extra cost to you, whatsoever. These commissions help me to cover the hosting fees and other costs to run my blog and be able to provide you with FREE inspiration. If you shop the links, THANK YOU! I truly appreciate being able to share my love of creating with you.


I absolutely love these cards. You have captured the feeling of Halloween and its spooky night!
What treats! Those are incredible.
Outstanding!!! What cool Halloween cards.
Love your detailed instructions too…..thanks for the help.
Thanks for the great tutorial on how you created these amazing creepy moons. They are fabulous.
Wow! So creative, so artistic. Your process is fascinating — thanks for sharing.
Wonderful and spooky!
Your cards are delightfully spooky. Thanks for the very detailed photo tutorial. Your instructions are so specific, they make me feel as if I could create something just as wonderful as you have done.
Love, love, love these cards!! I always have trouble striving to make my Halloween cards more spooky than cutsie. You have given me a great technique to work on and hopefully prefect by next Halloween. Thanks for sharing your amazing talents!
Love the technique laying the wet moon mask back down. Such fabulous effects! I’ve only recently bought the Moon Masks so I look forward to trying it out!