Hello friends! Welcome back! I hope you are doing well and that the fall season has snuggled in, I LOVE fall, and was so happy it has returned to my neck of the woods! Today I am back to share some fall backgrounds with you focusing on using Distress Watercolor Pencils as my creative medium.
At first glance, you’d think that Distress Watercolor Pencils are obviously for watercoloring, but these little gems can be used in so many more ways! Today I’ll be sharing a few of the ways I have used them to create beautiful fall backgrounds, making them a necessity in your crafting supplies.
But first, a few things to know about Distress Watercolor Pencils…
First, the pencils come in 6 different sets of color spectrums giving you endless color choices. The entire Distress Color Palette is covered in all 6 sets of pencils (except for scorched timber…it was the last color added to the line, but is available in open stock) and they blend together beautifully. They also are sold open stock at Simon Says Stamp in case you need to replace a certain color, want to just own your favorite Distress colors, or need to stock up on your favorite.
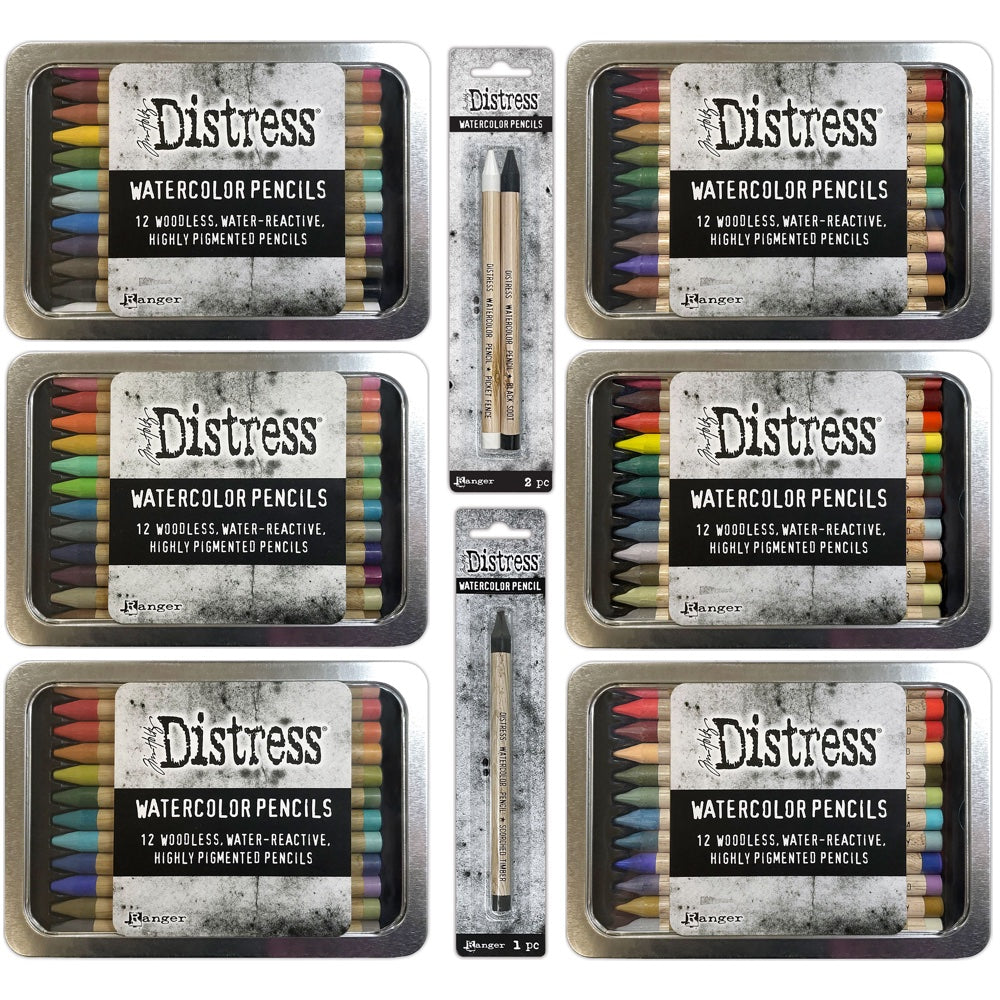
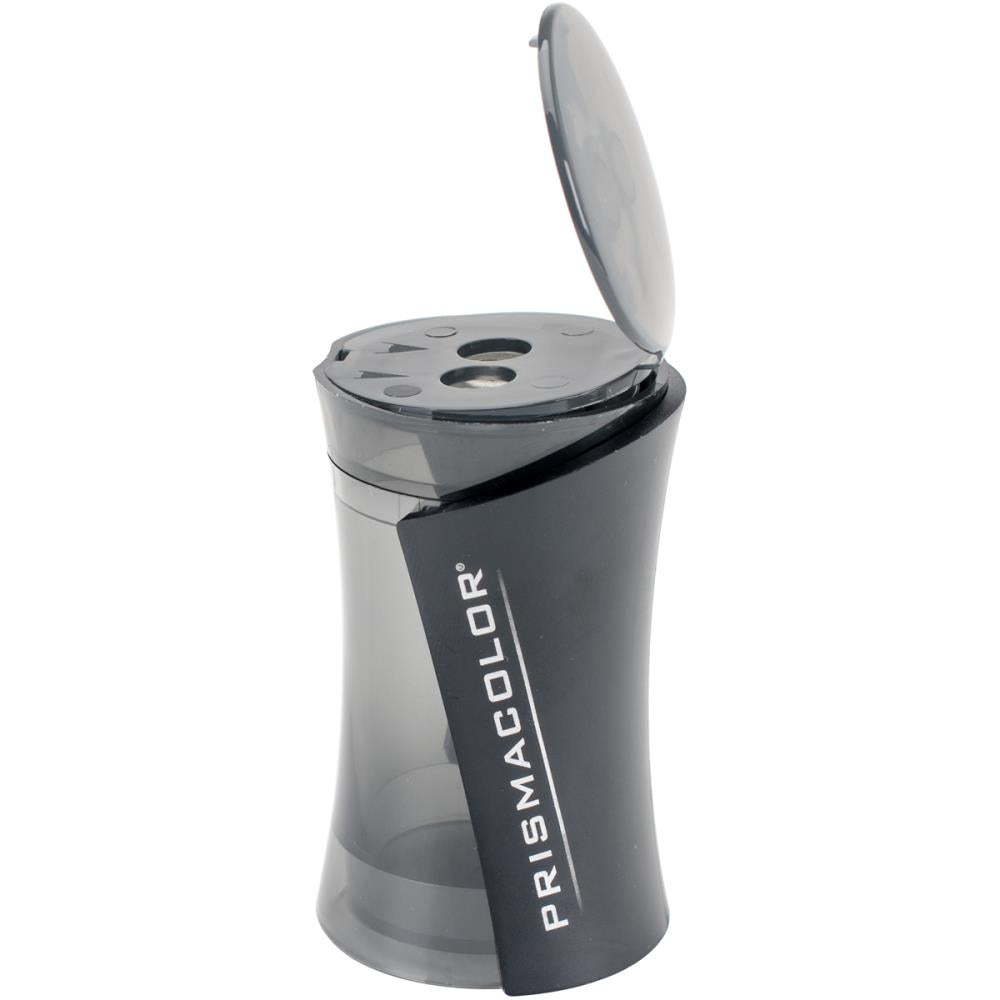
Second, the whole pencil is a pigment in pencil form, there is no wood surrounding the creative medium, which means, A LOT of creative medium. They can be sharpened in a pencil sharpener, but I suggest having a specific one as all the shavings that come off the pencil, can be kept and used for future projects. The best sharpener recommended is the Prismacolor 2 hole sharpener. Simply use the guide on the sharpener for your preferred point and it sharpens perfectly.
Third, they work beautifully when wet which is my preferred method, but they work in the normal watercolor pencil way by coloring with a dry pencil, then brushing the scribbled color with a water brush or wet paint brush. The wet method is my preferred because it releases a ton of pigment all at once onto stamps, stencils and for textured surfaces, giving beautiful results.
So, let’s get to creating…
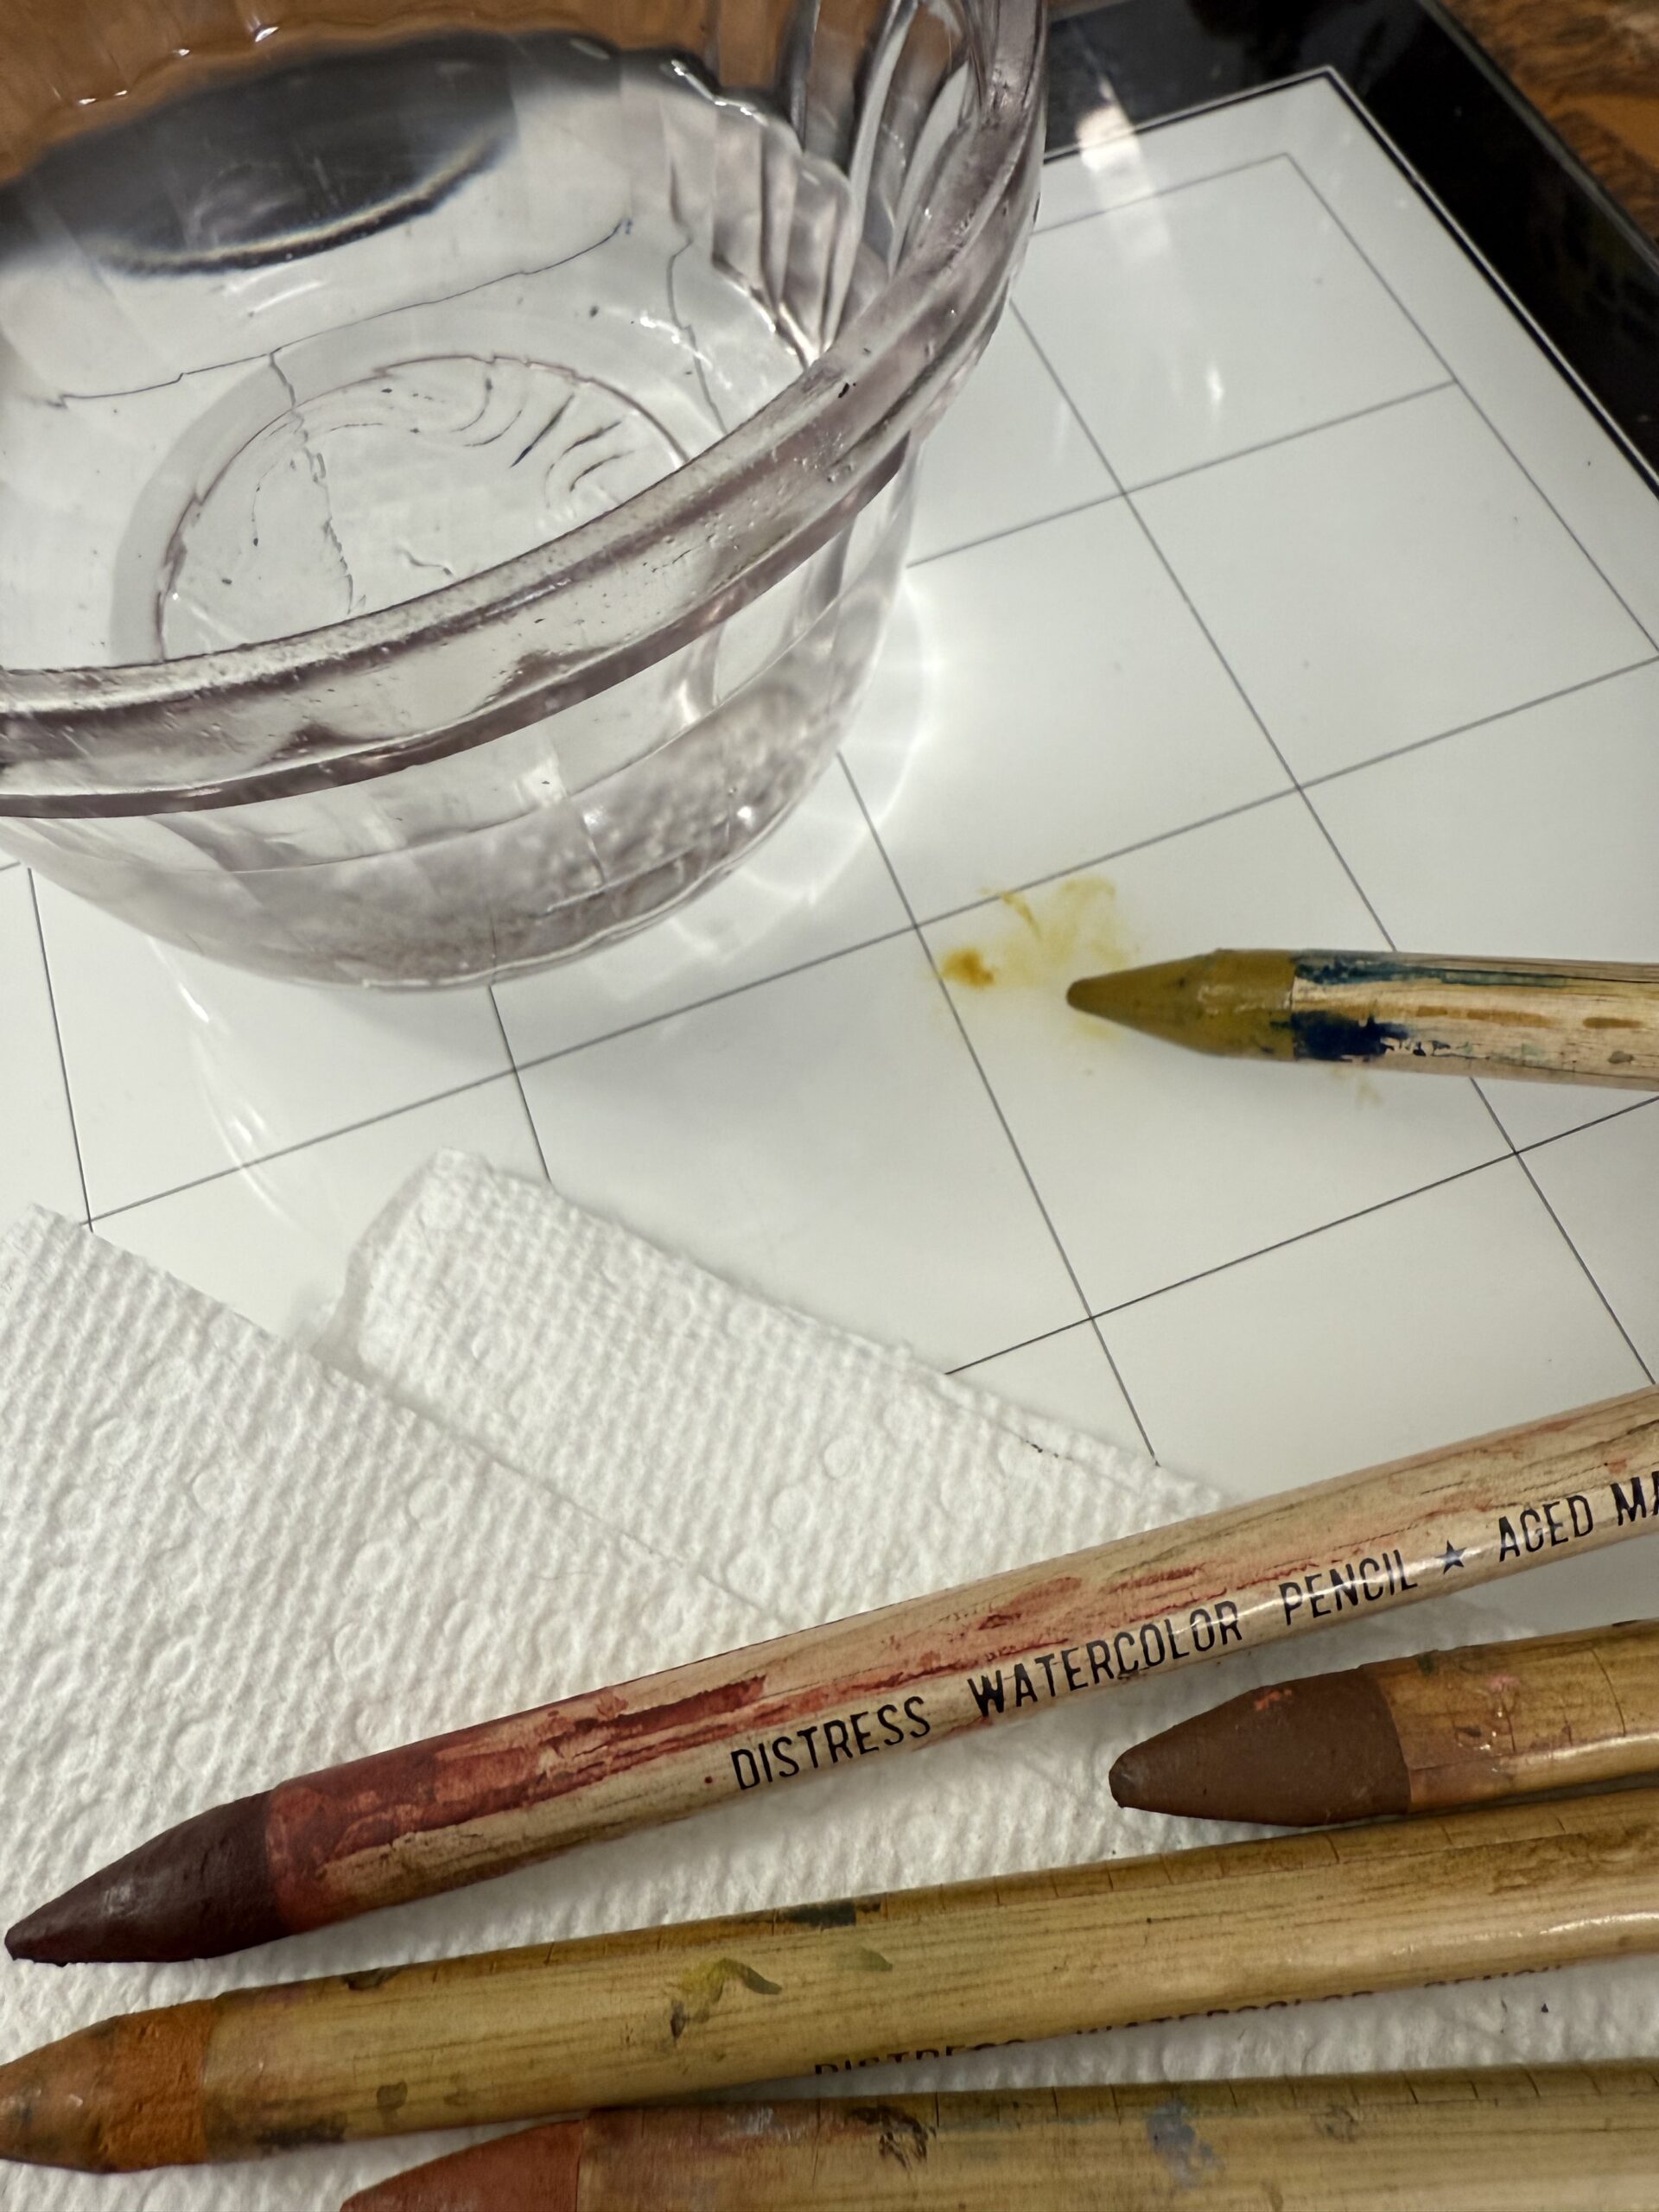
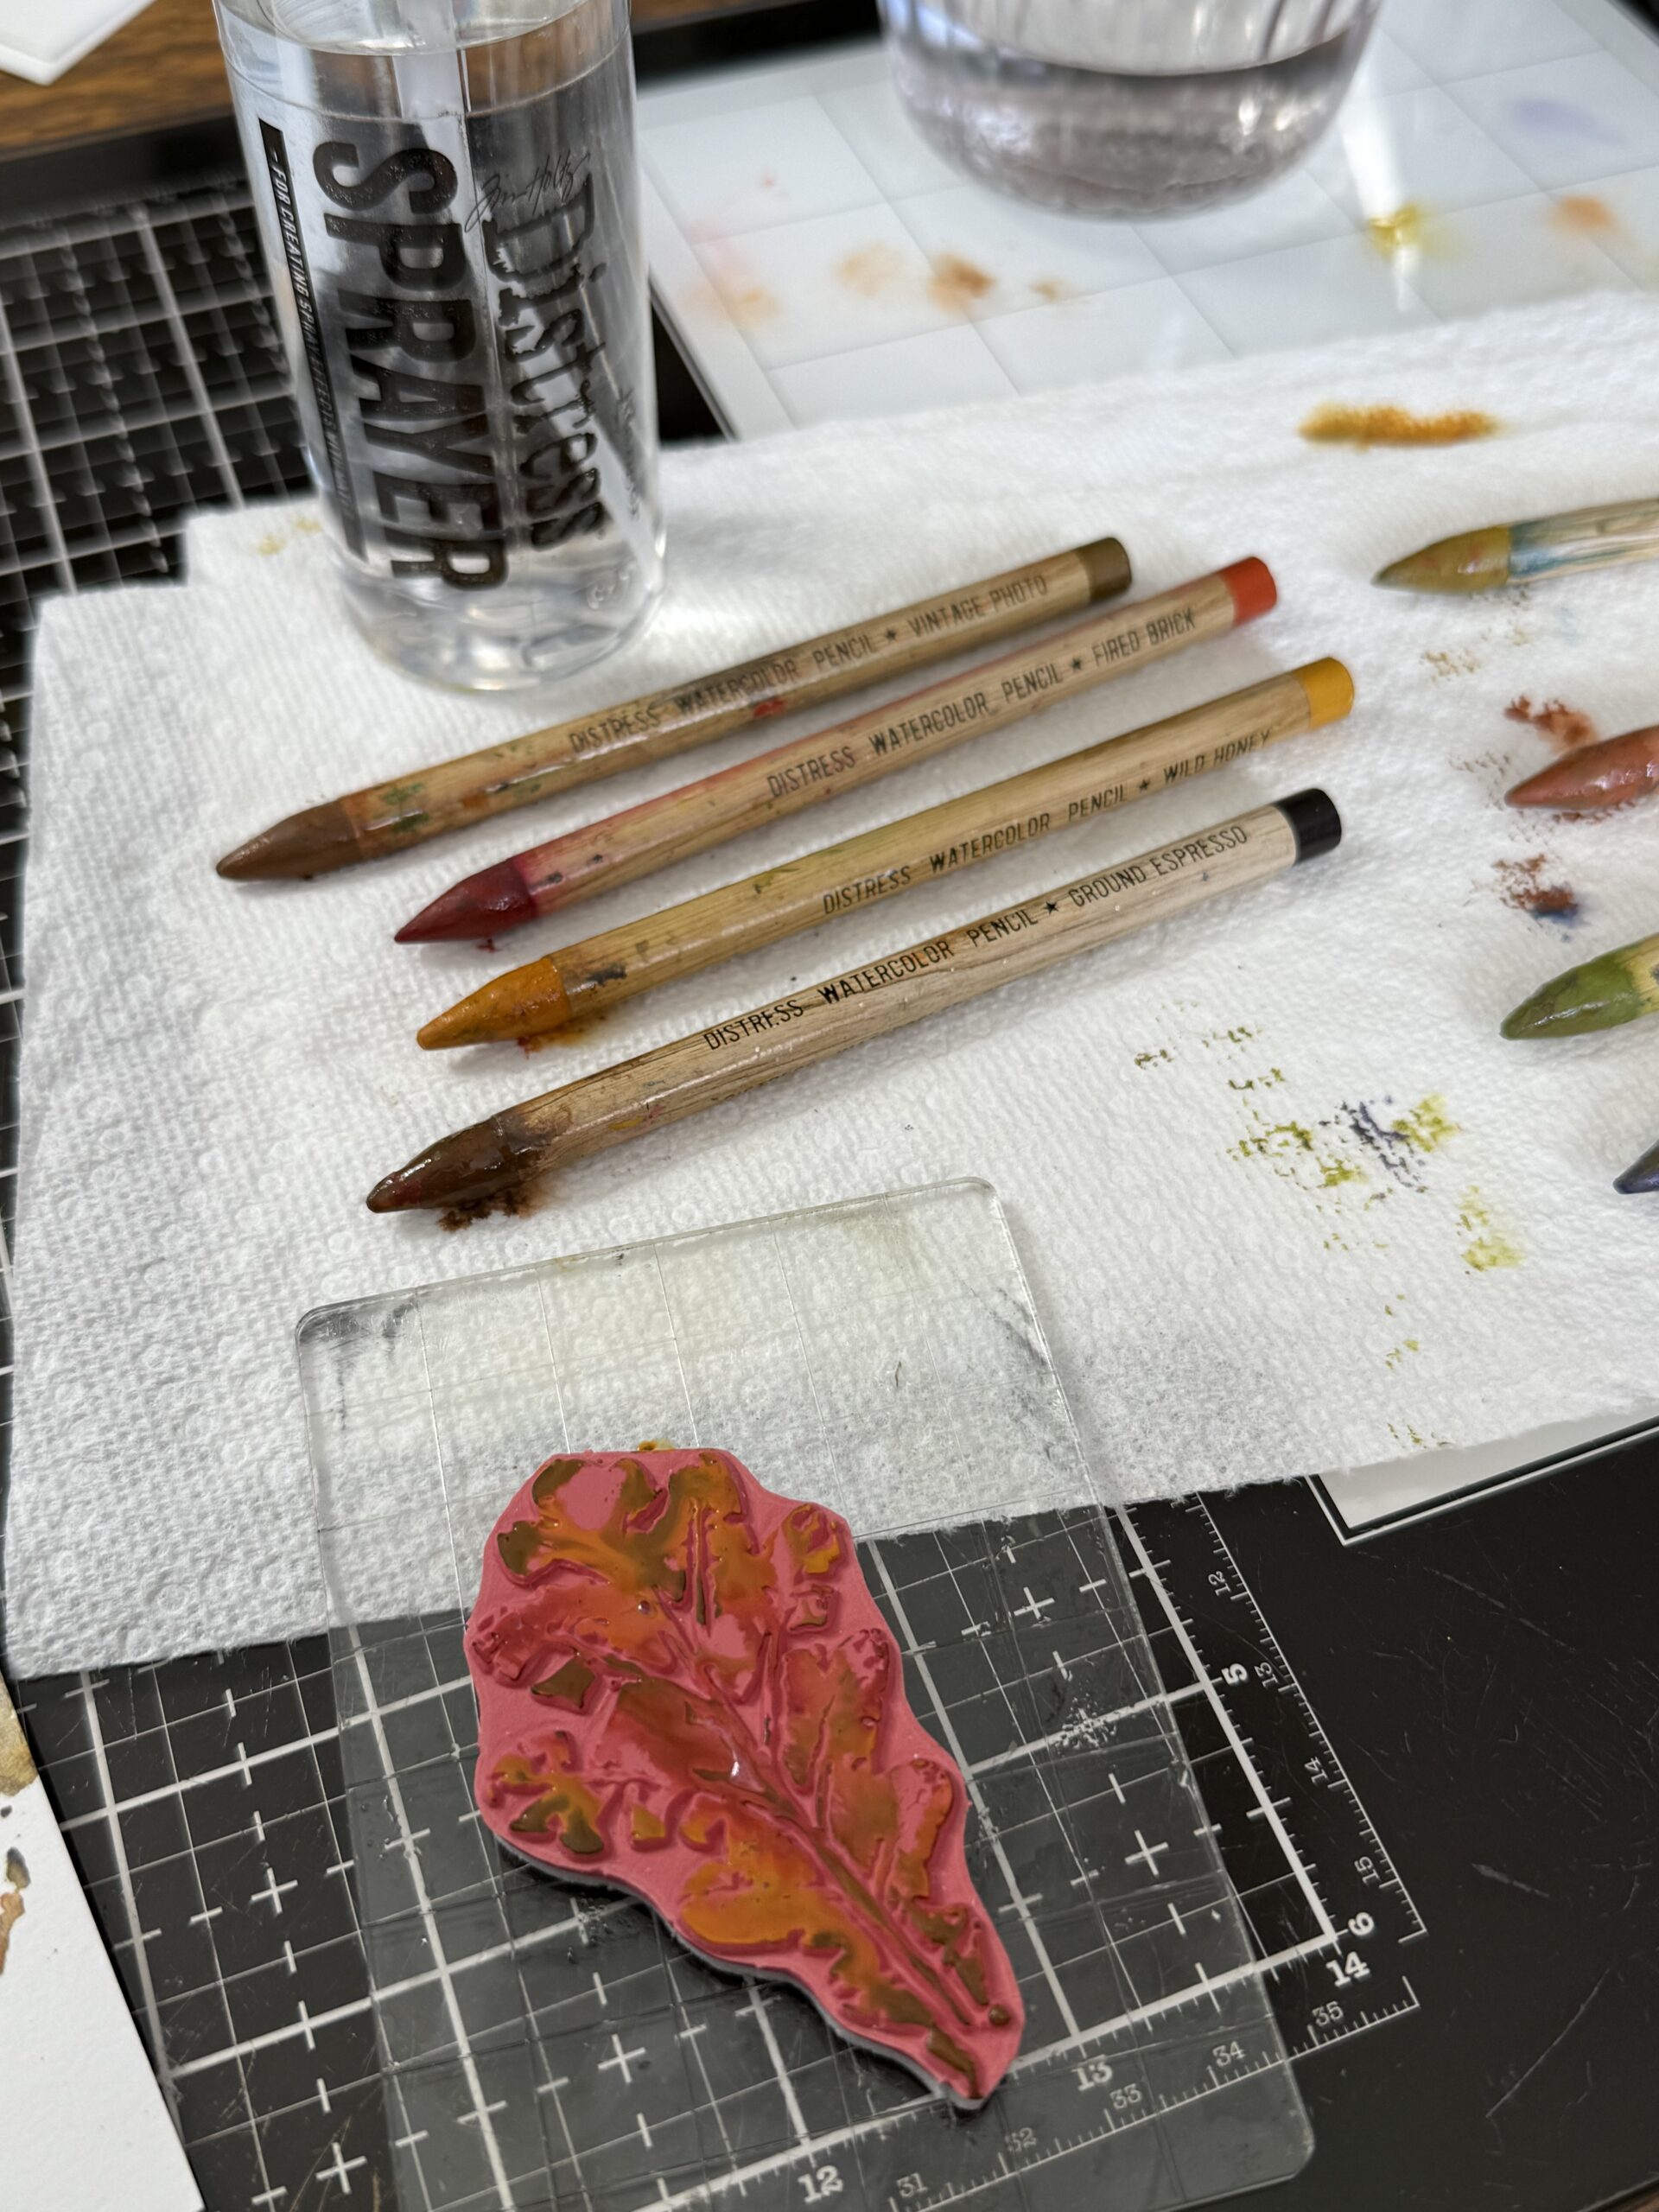
I started by going through my sets of Distress Watercolor Pencils and picking out a variety of fall colors. I always make a stack of paper towels to lay the watercolor pencils on while I create with them to keep the pigment and drips contained and make for an easy cleanup. As I mentioned, I prefer to work with the pencils while they are wet and the pigment is activated so that means while they’re wet, the pigment can be drippy. You’ll notice that my pencils are well loved…when they bump into each other some if the pigment can rub onto other colors so I tend to keep the wet ones on a paper towel with a little space in-between them. I also have a small bowl of water to dip my pencils into to activate the pigment.
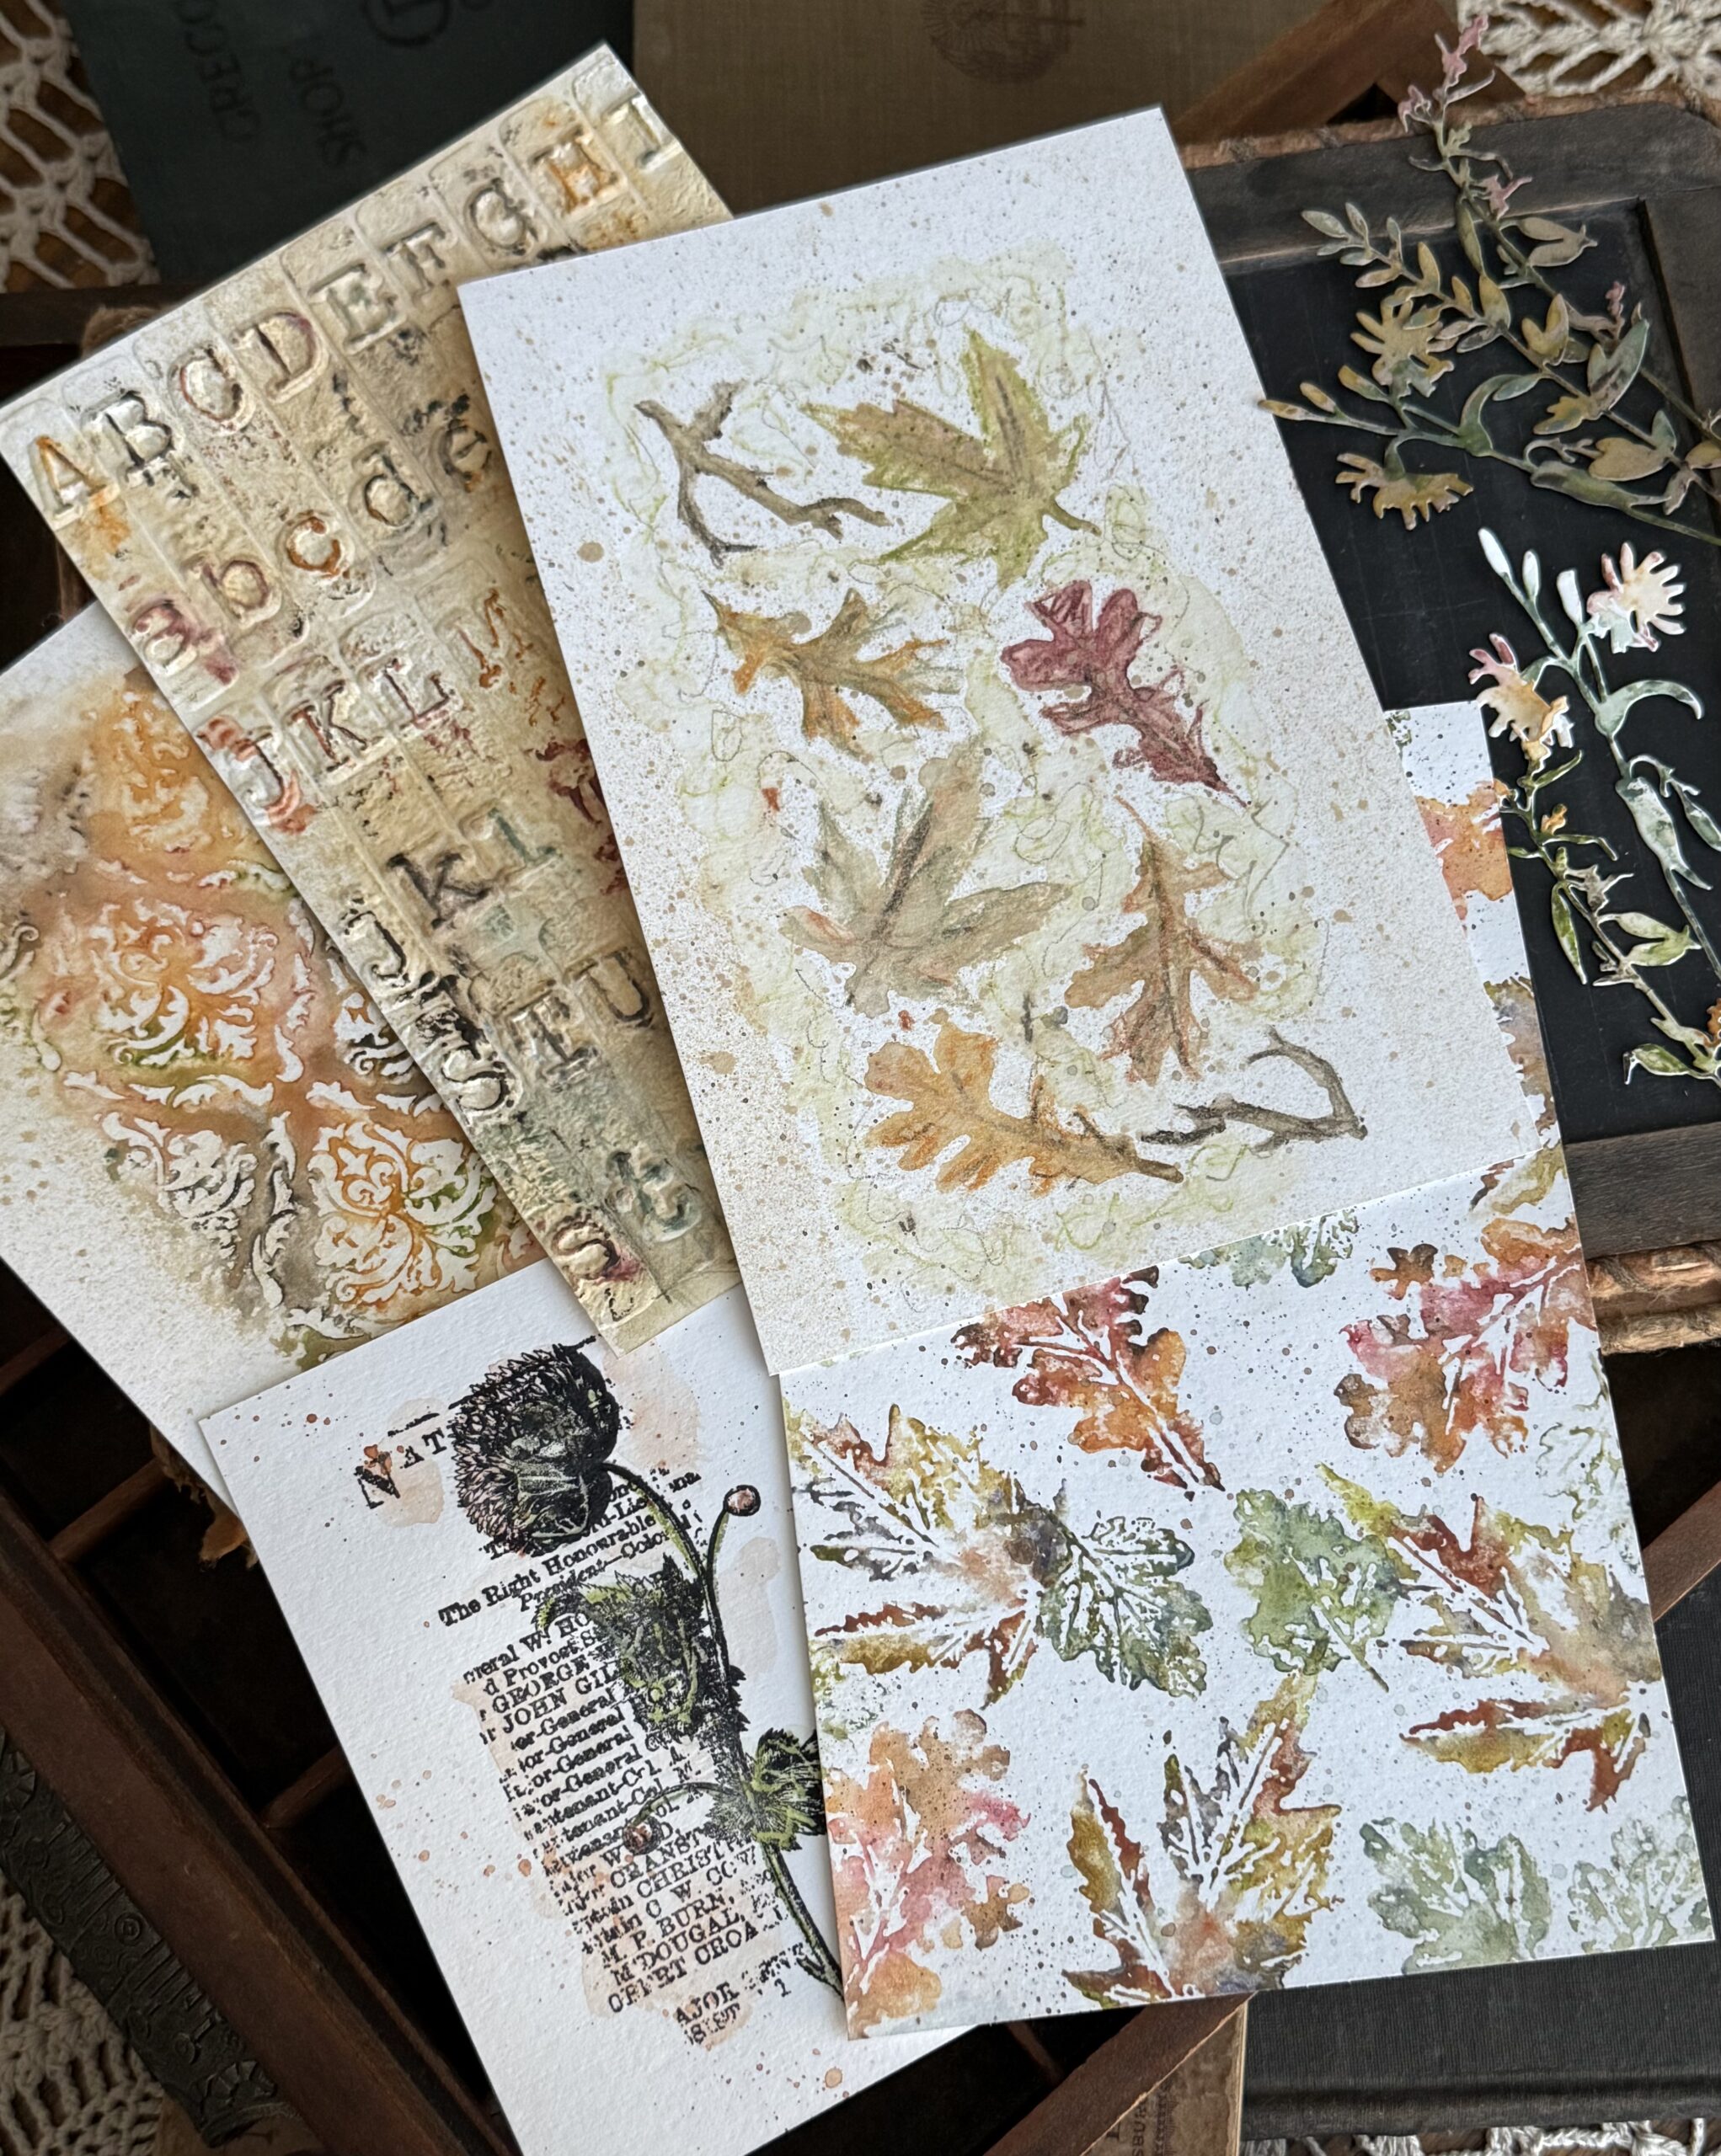
The first sample I created was the printed leaves using the Leaf Prints 2 CMS450.
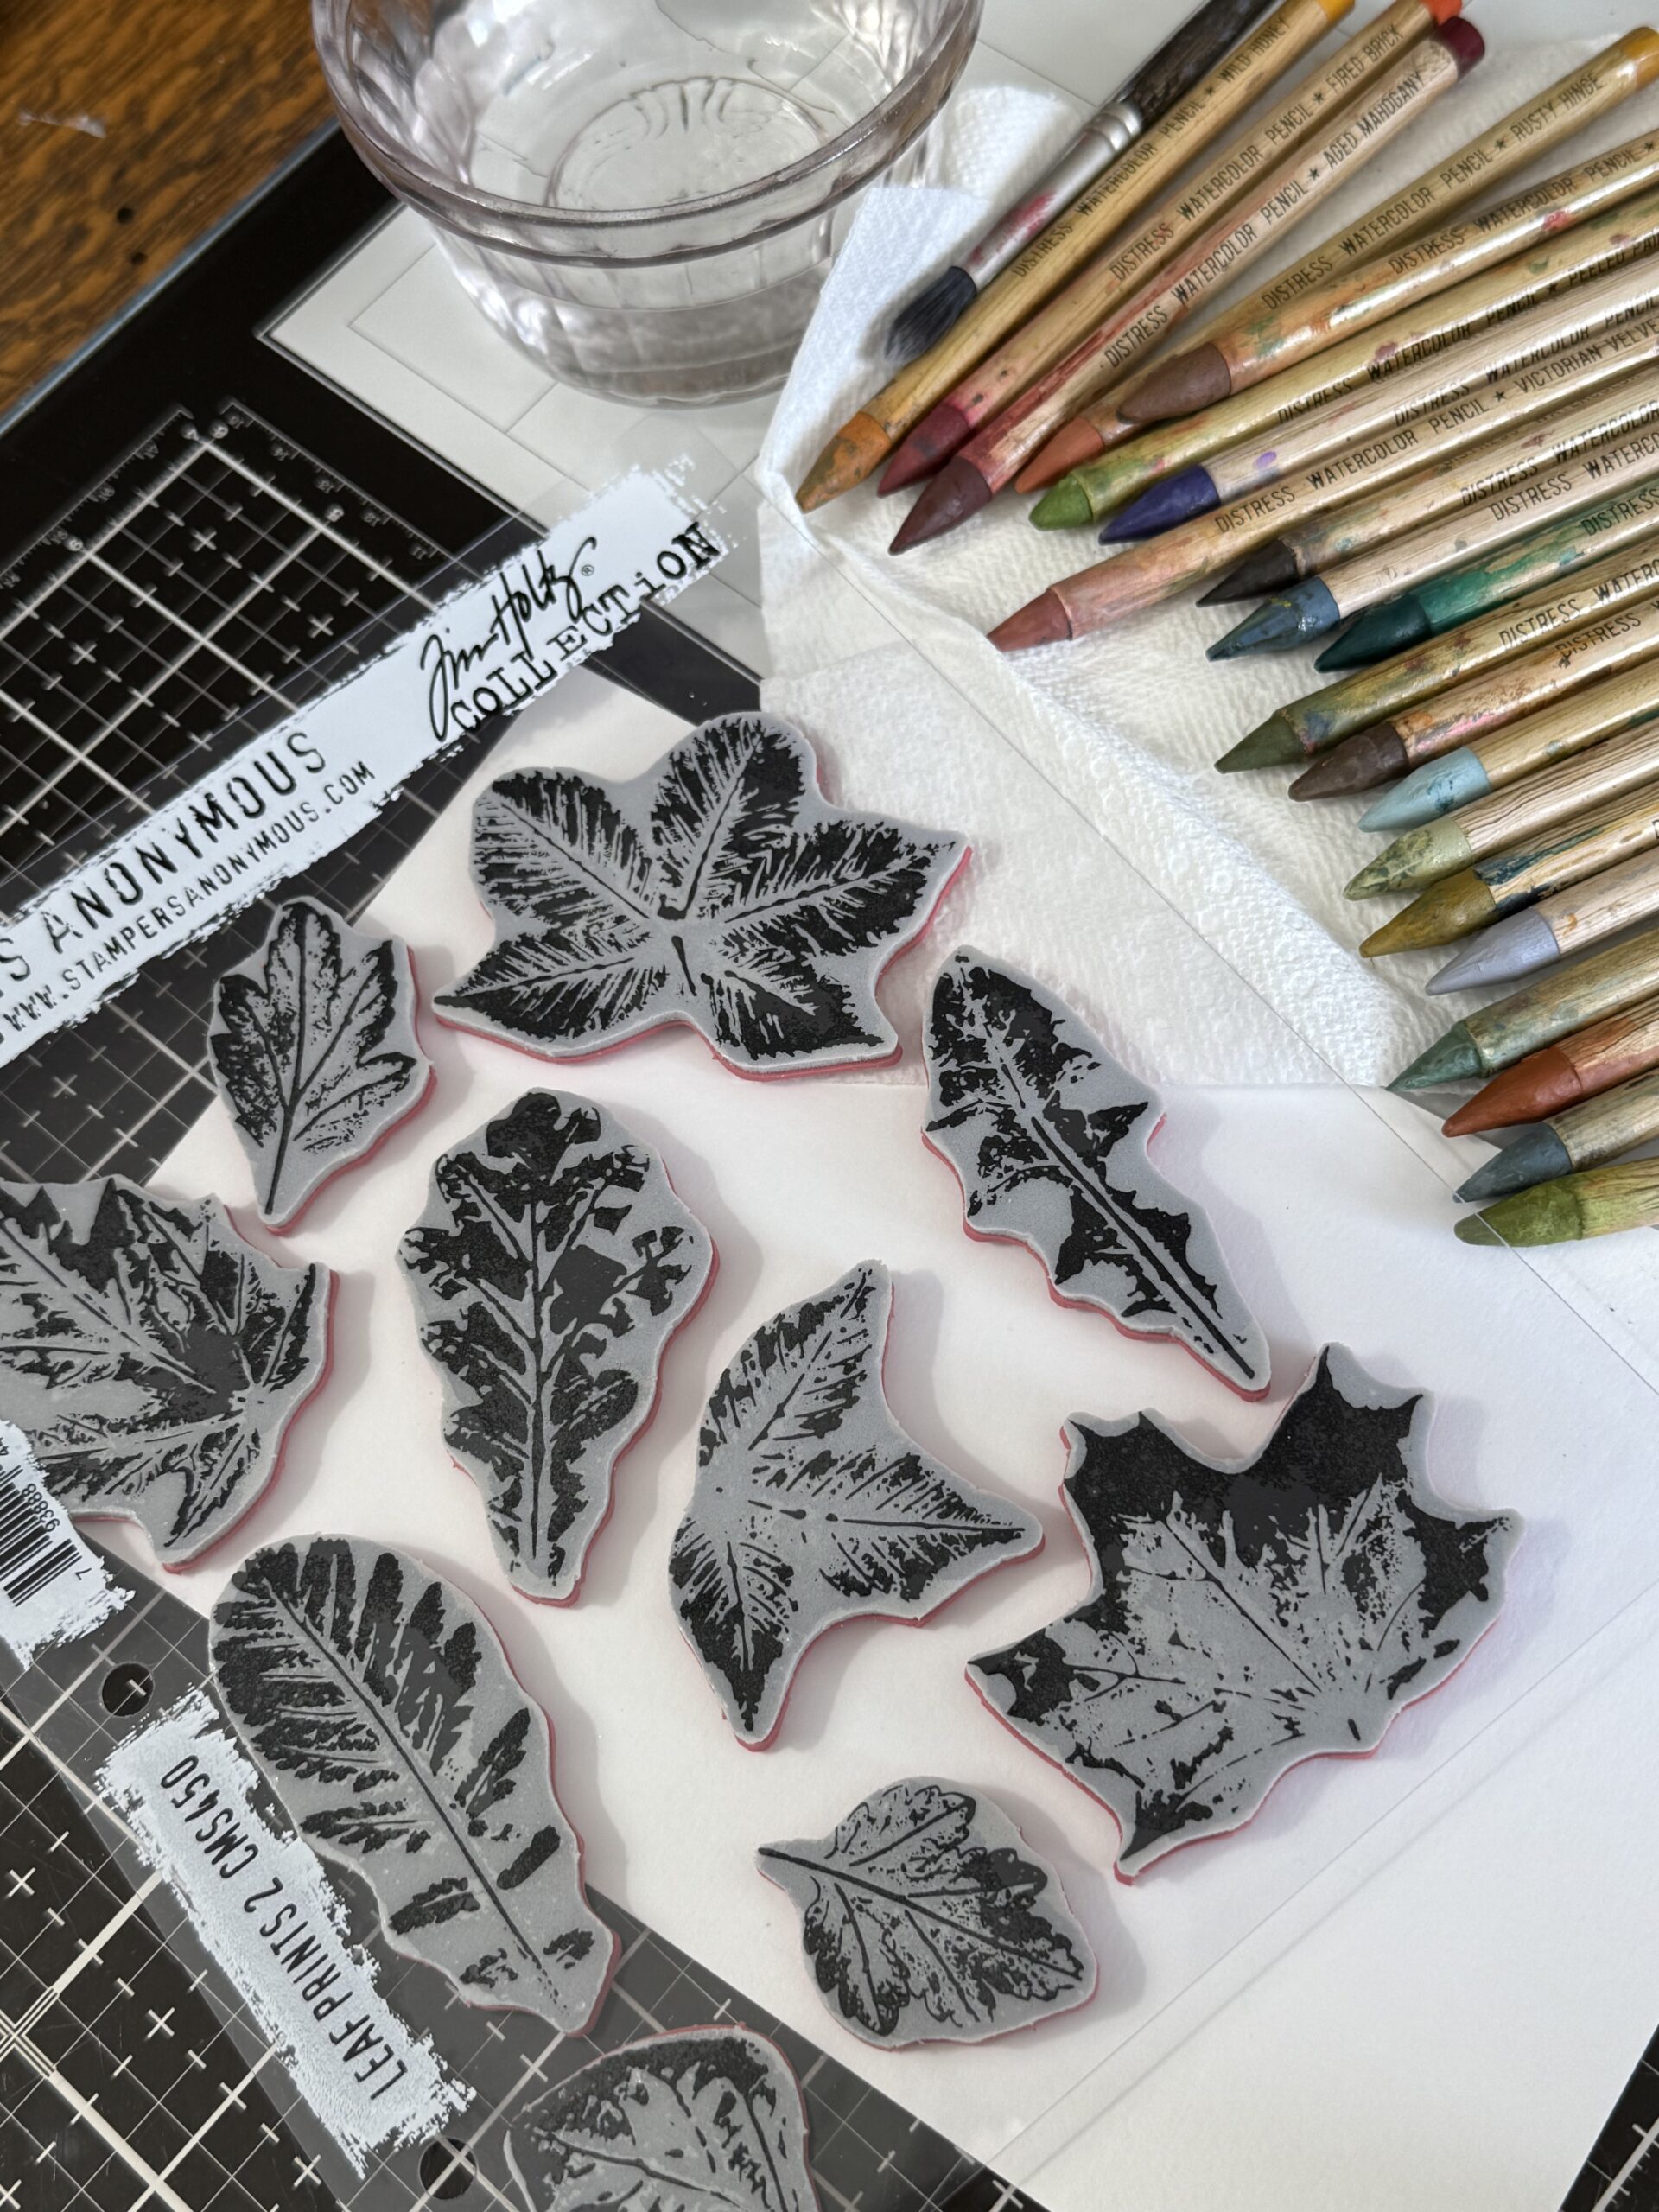
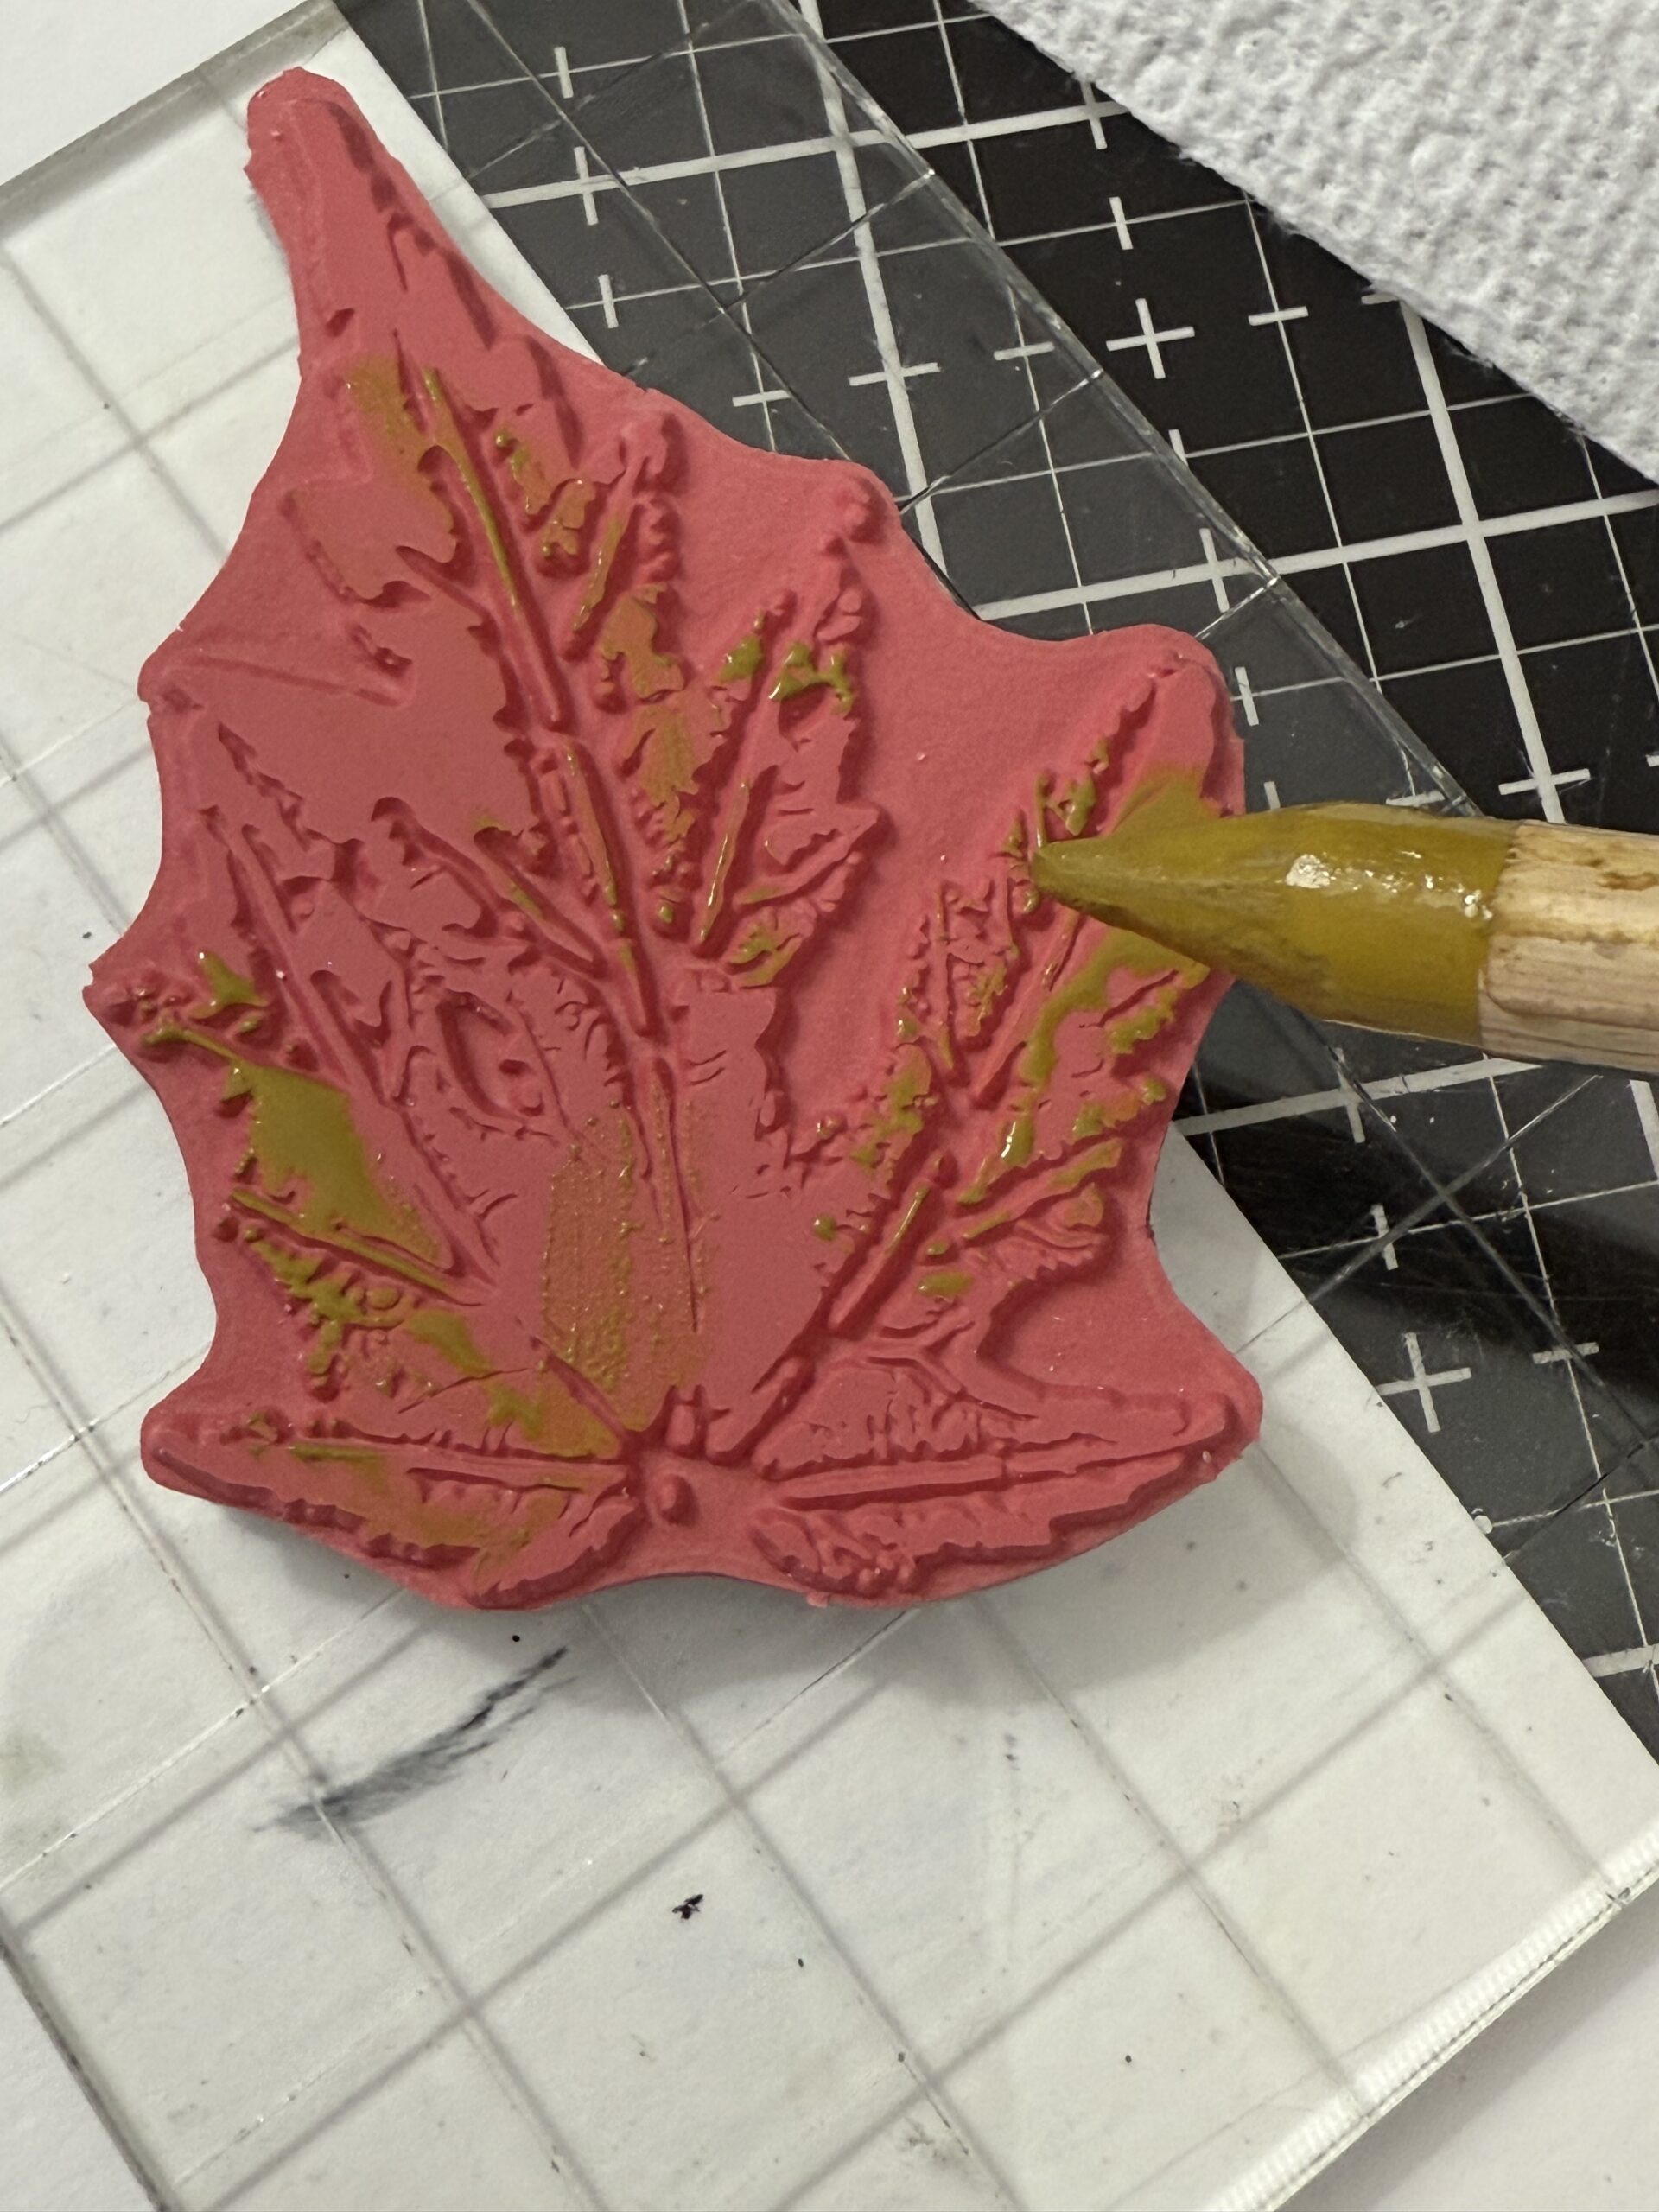
To activate the pigment of the pencil I dipped the pencil in my water then scribbled the pencil onto my craft mat. That creates a little puddle of color and I go from there onto my stamp. I did this process every time while coloring directly onto the stamps.
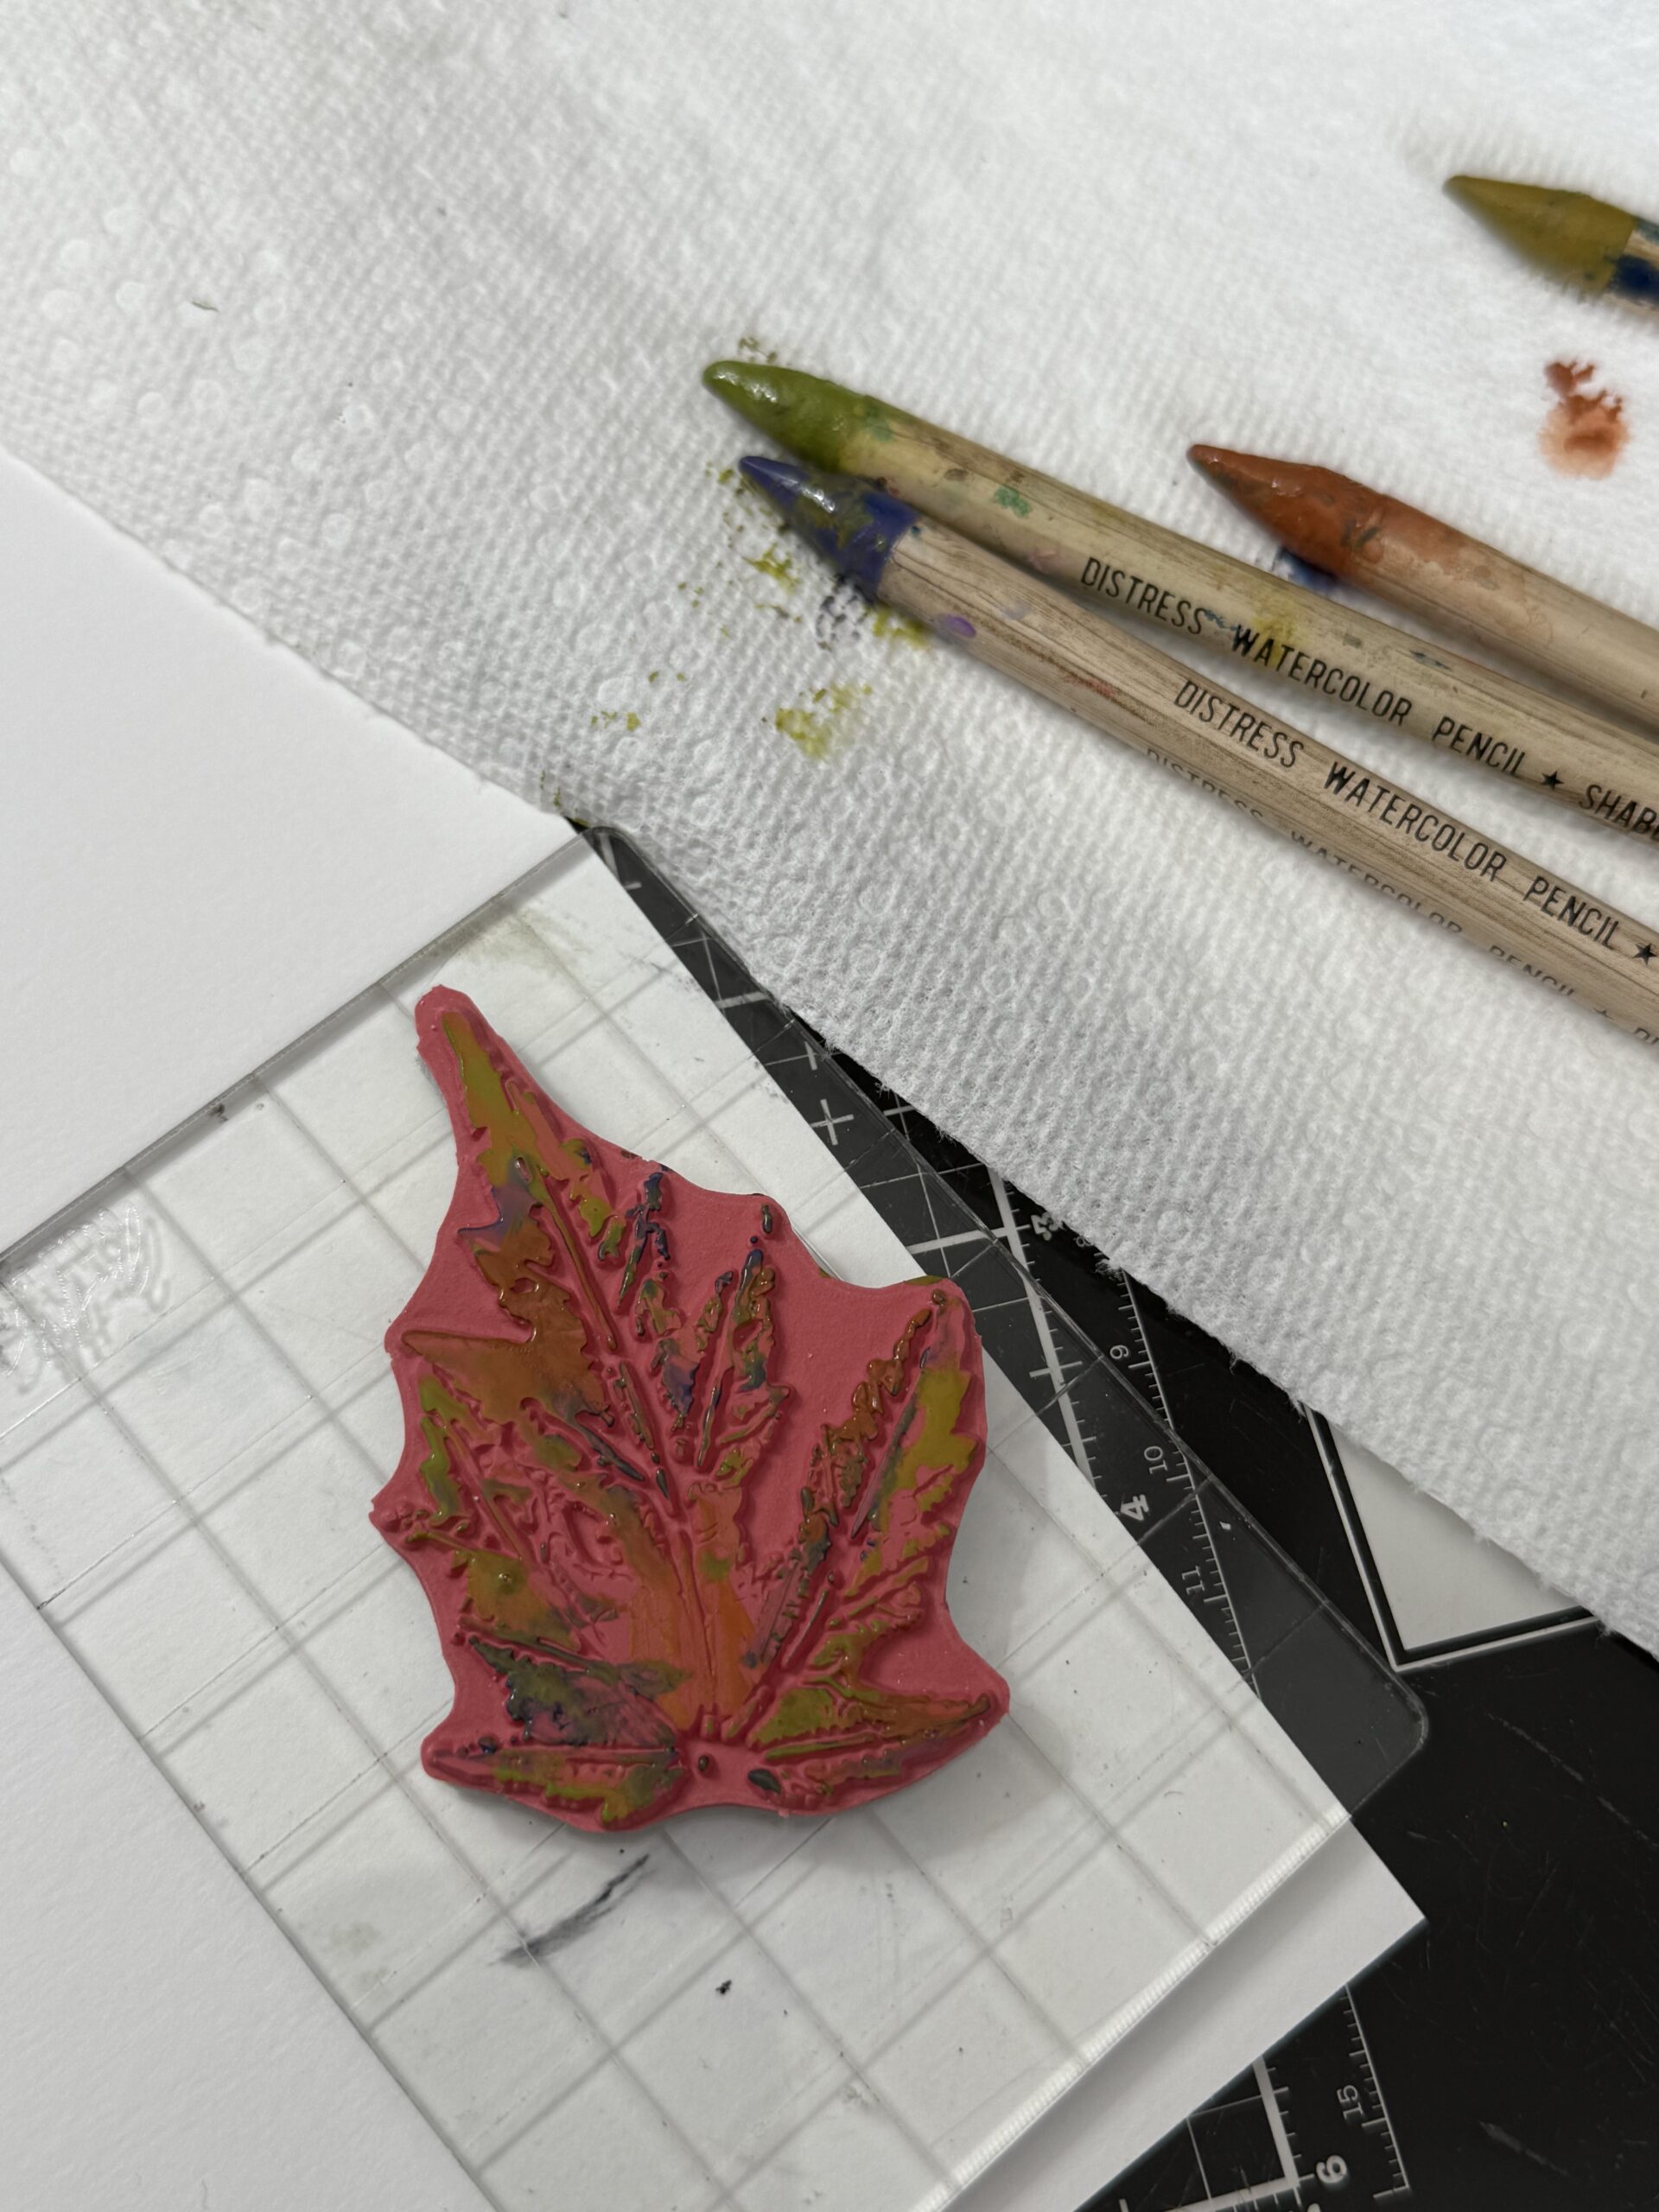
After the pigment was activated, I randomly colored onto my leaf stamp, after that color was applied, I picked another 3 colors and did the same process.
No worries if you scribble into the other colors as you color the stamp, the colors will blend and give you such a beautiful leaf print.
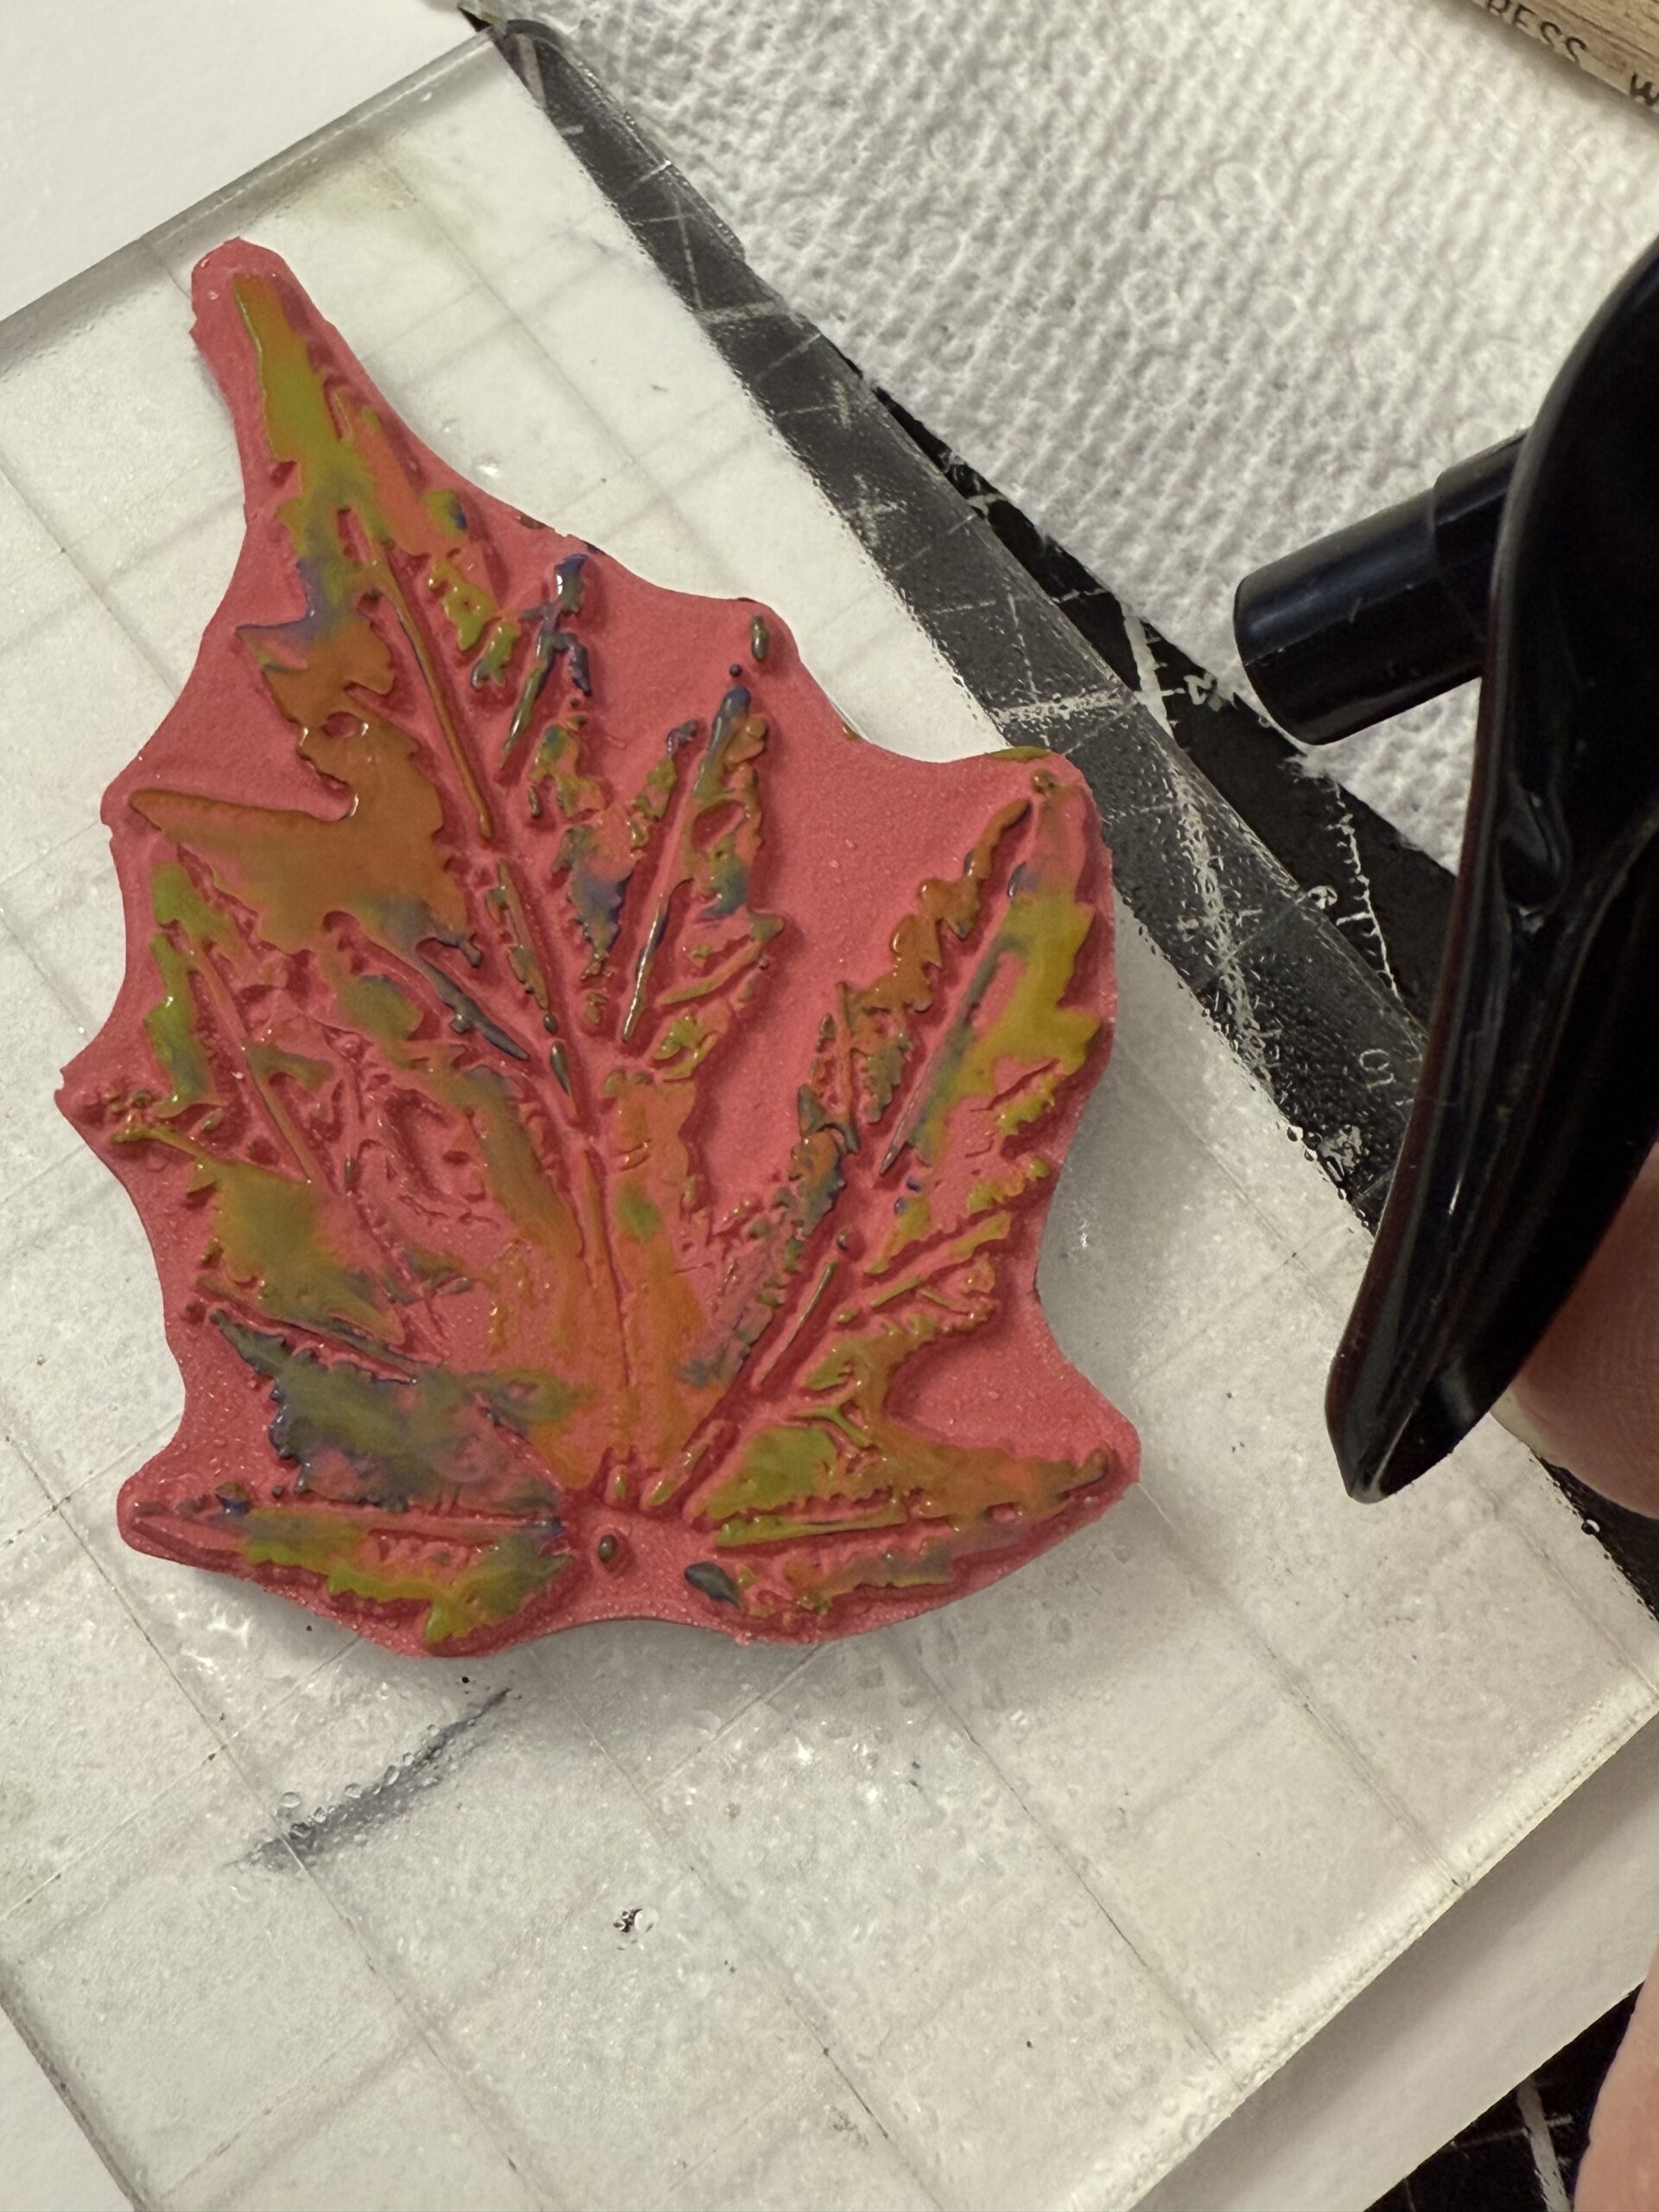
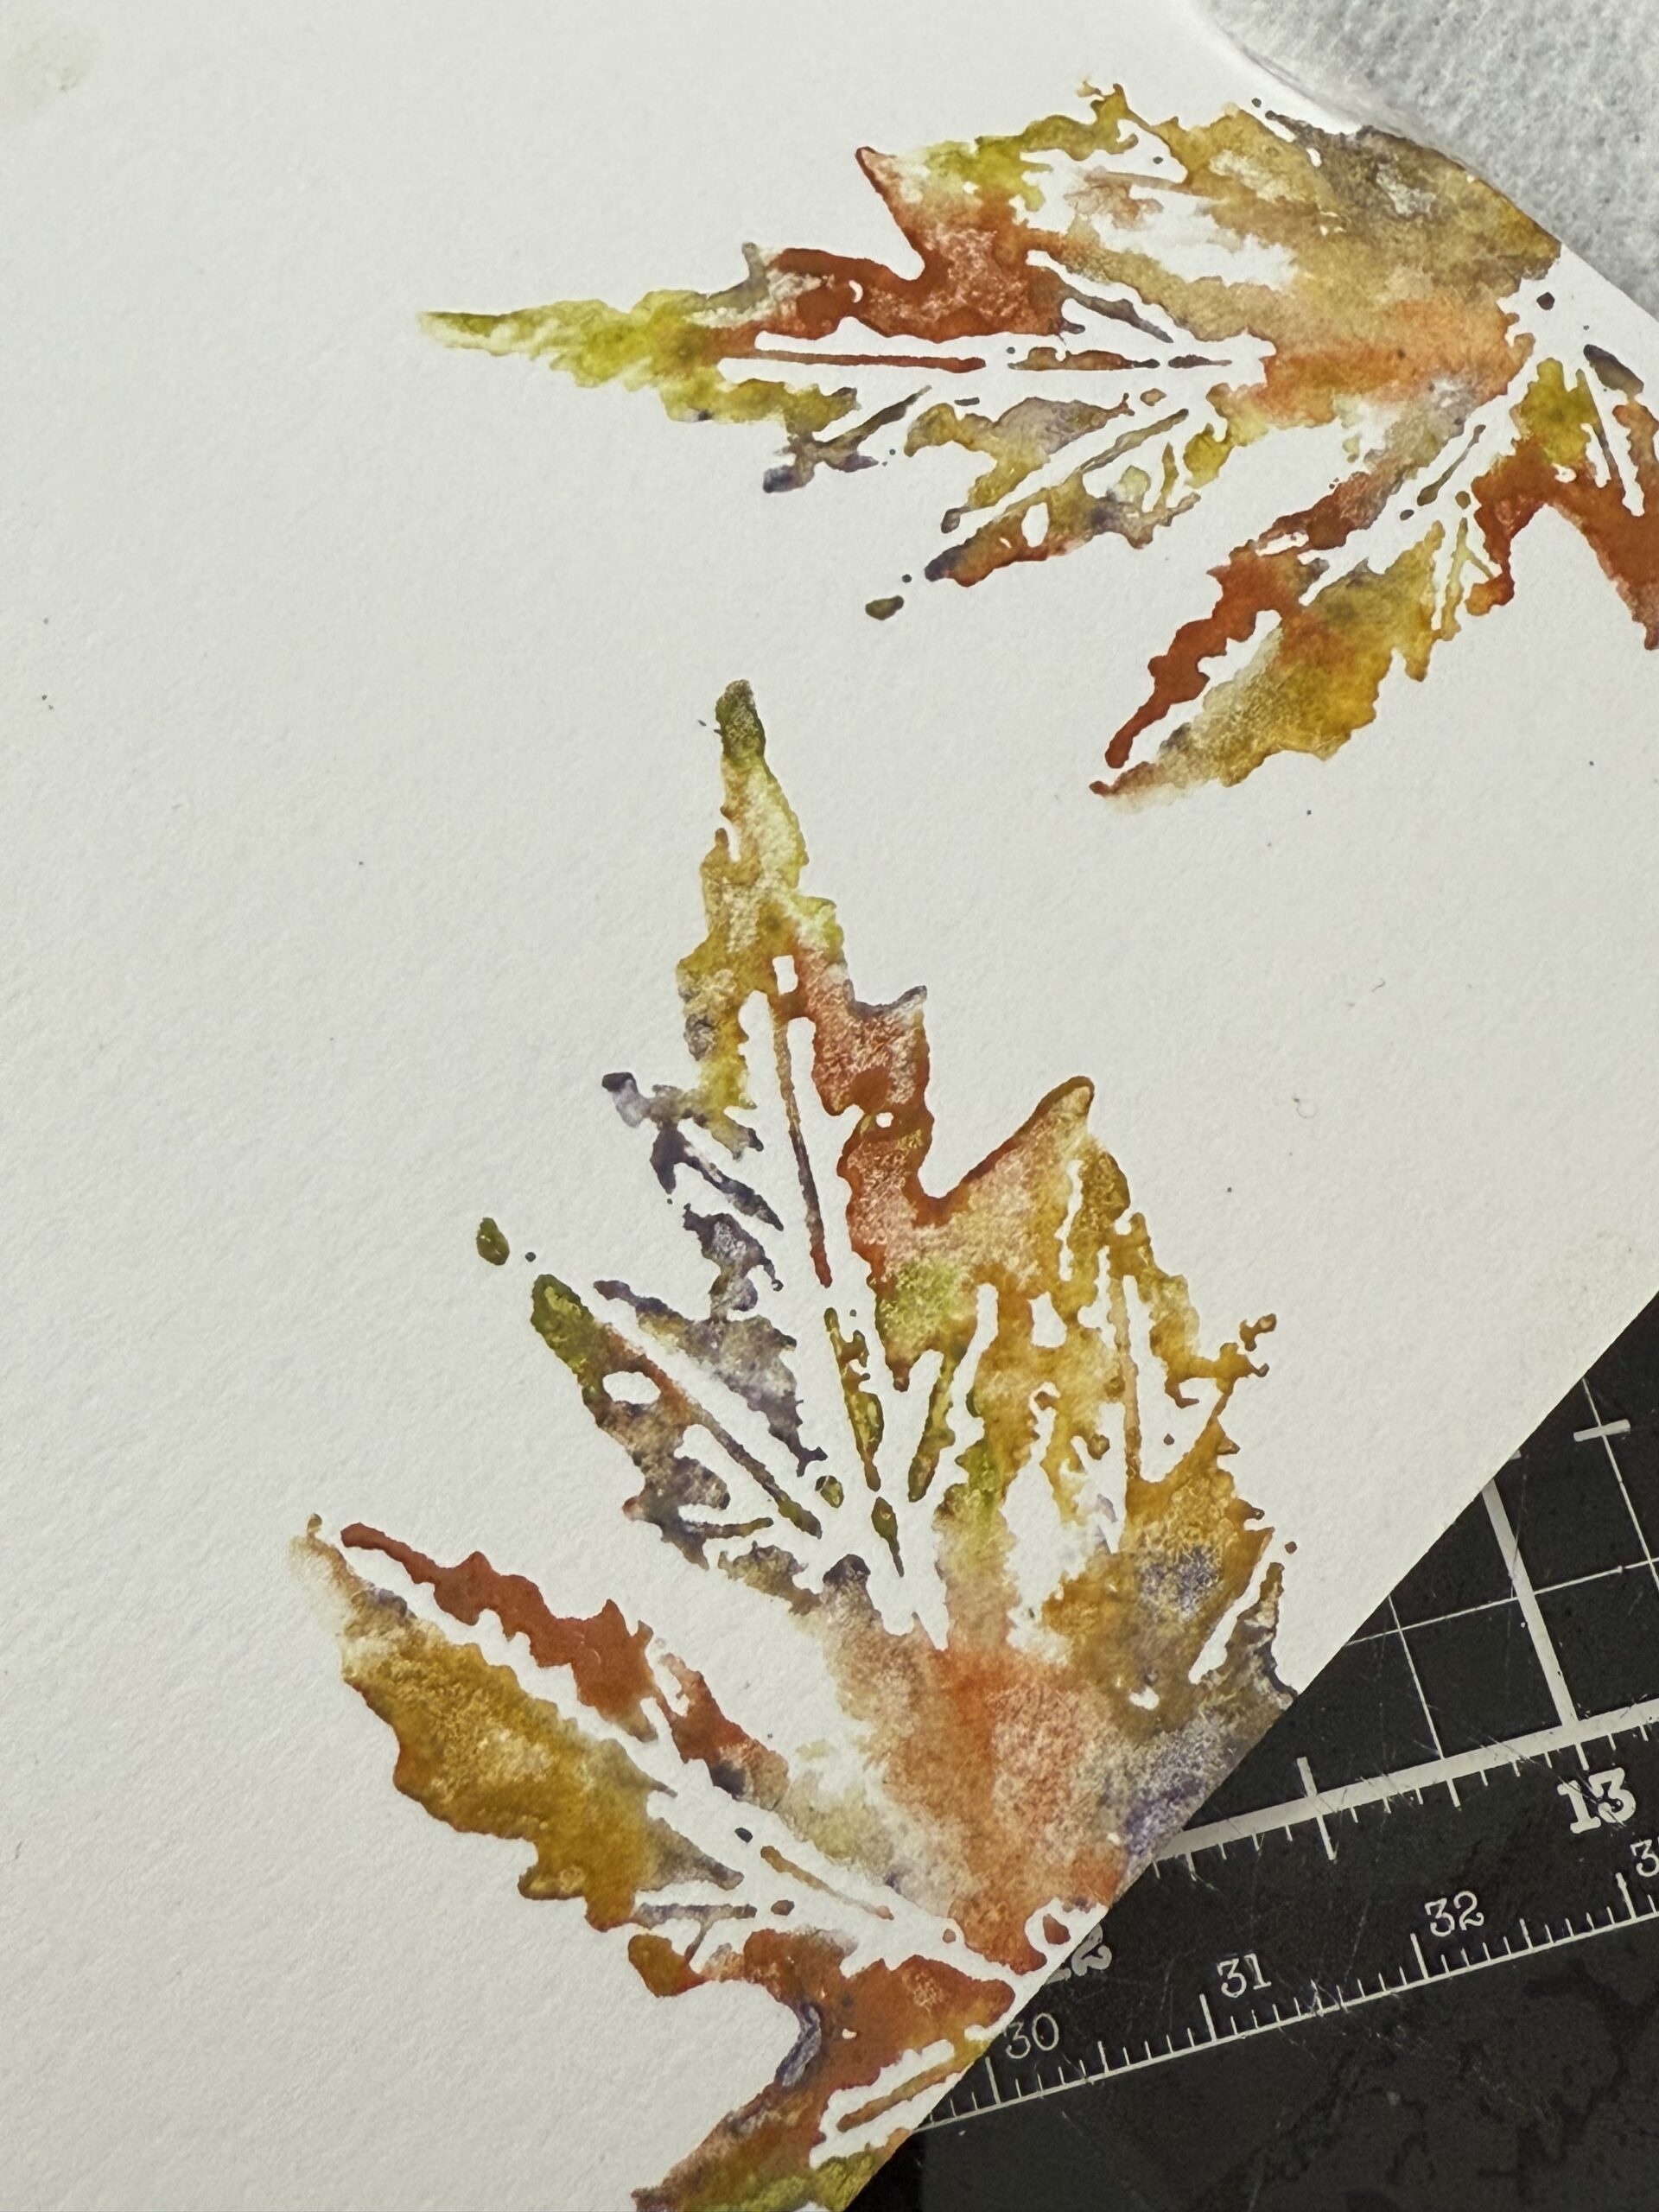
Once I had all the colors I wanted on my stamp, I did a quick mist of water then stamped the image onto my smooth side Distress Watercolor Paper.
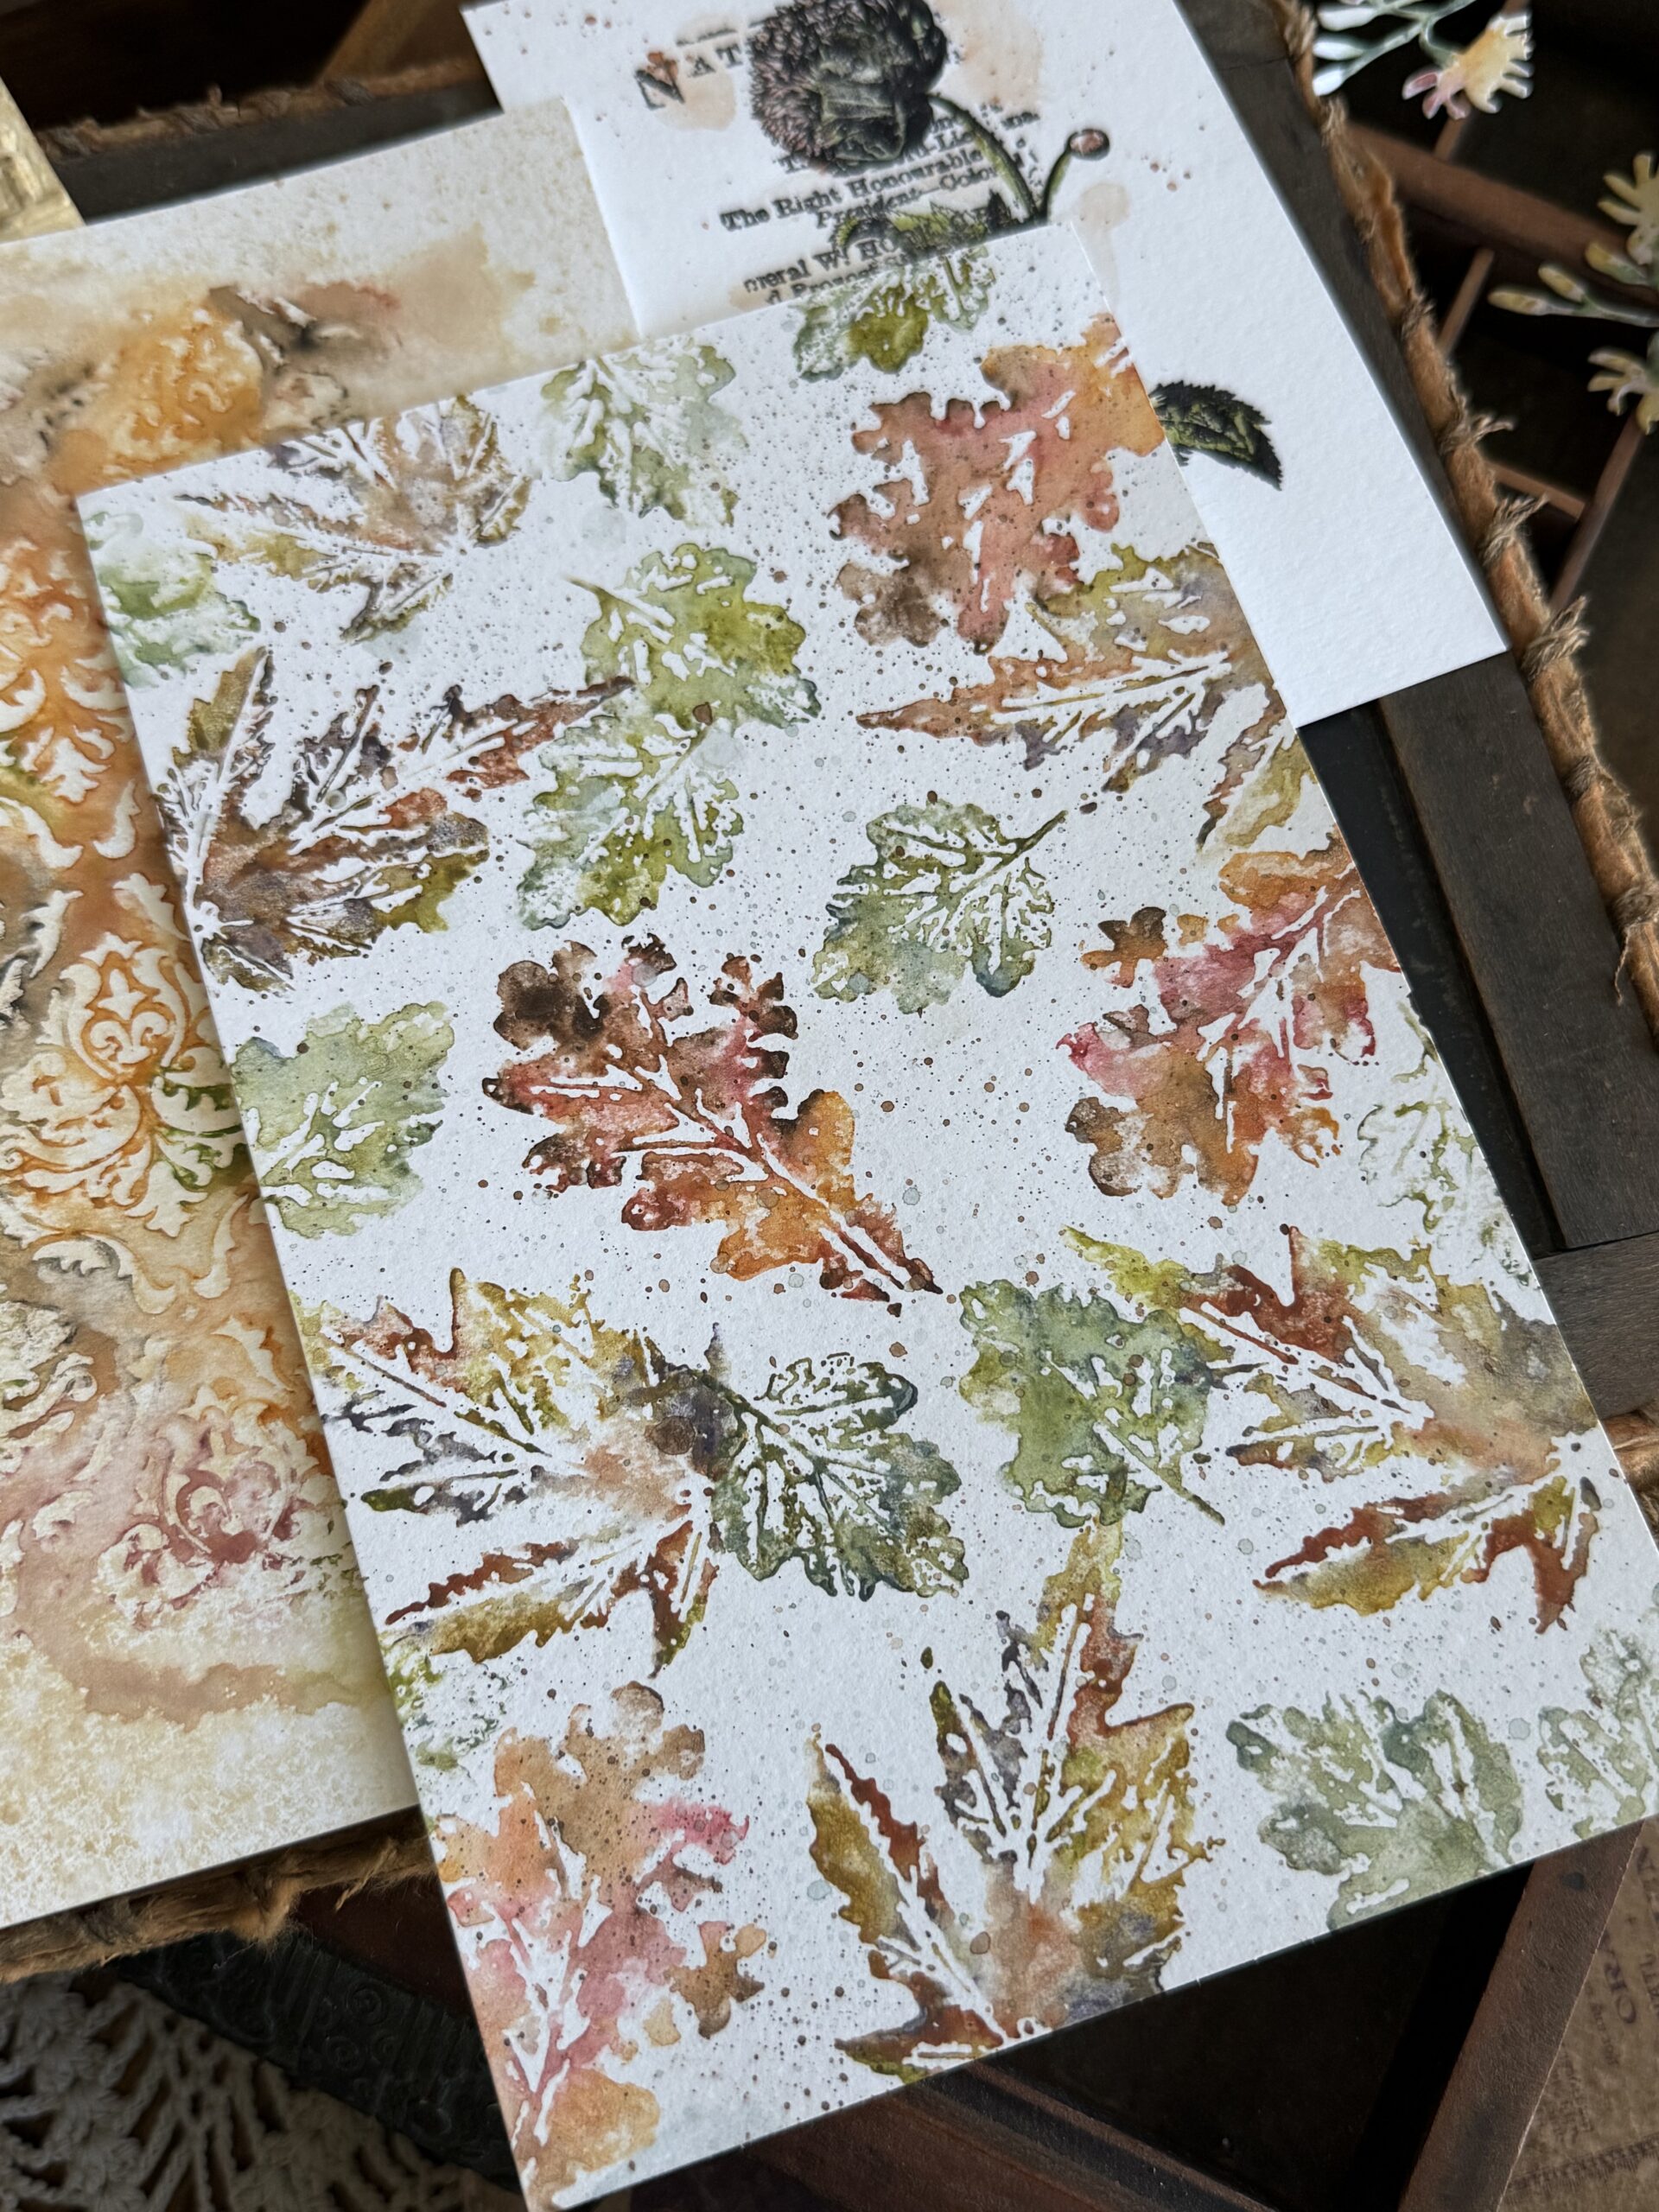
Below you’ll see my results…the first stamping is the one I stamped on the bottom of the paper after spritzing with water, the second generation print is the one on the right. After I stamped the first print I spritzed the stamp with water again and got the second generation print.
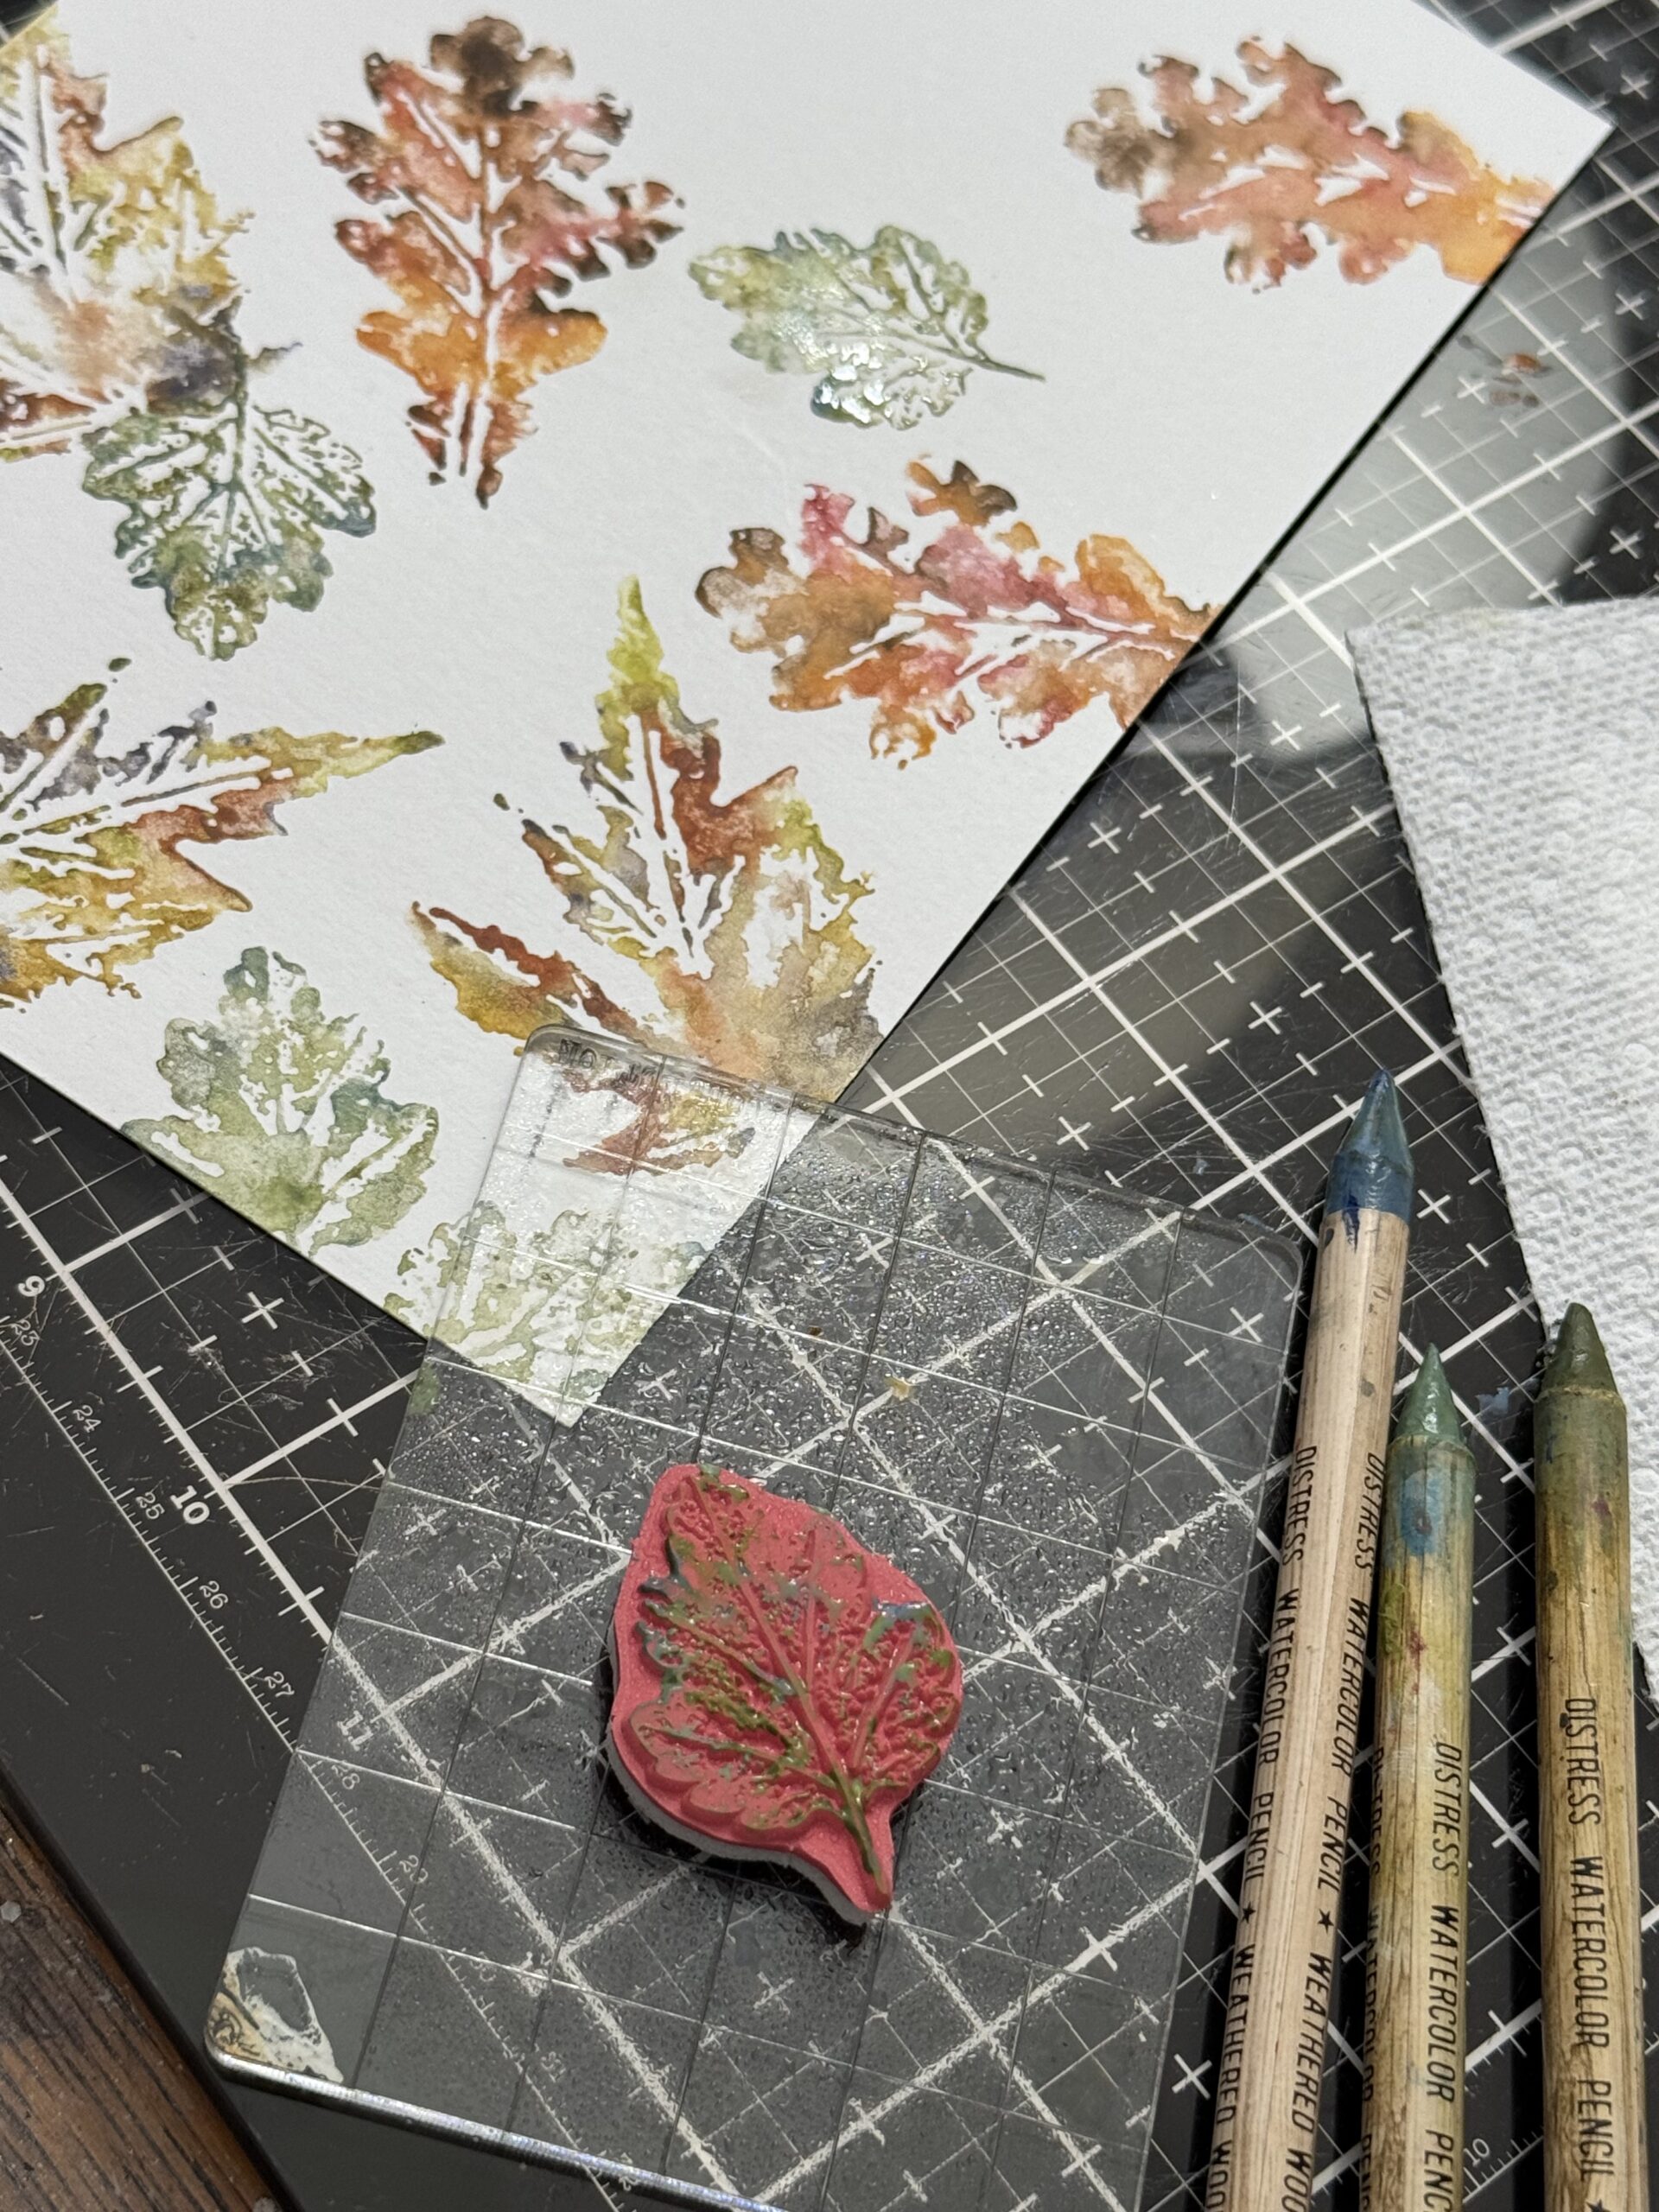
Next, I chose another leaf from the stamp set and began the same process using a few other colors of pencils, then I stamped the images onto my paper. I again, did the same process of stamping, spritzing and stamping again while there was enough pigment on the stamp. I even stamped 3rd and 4th generation!
You’ll also notice in the photo below how I described using a paper towel to set the wet pencils, leaving a little space in between while I worked.
And the final leaf I chose was a smaller one that fit in-between the other leaves and filled in some of the spaces.
Once I was done stamping the background and filling in with more leaves, I dried the paper using my heat tool.
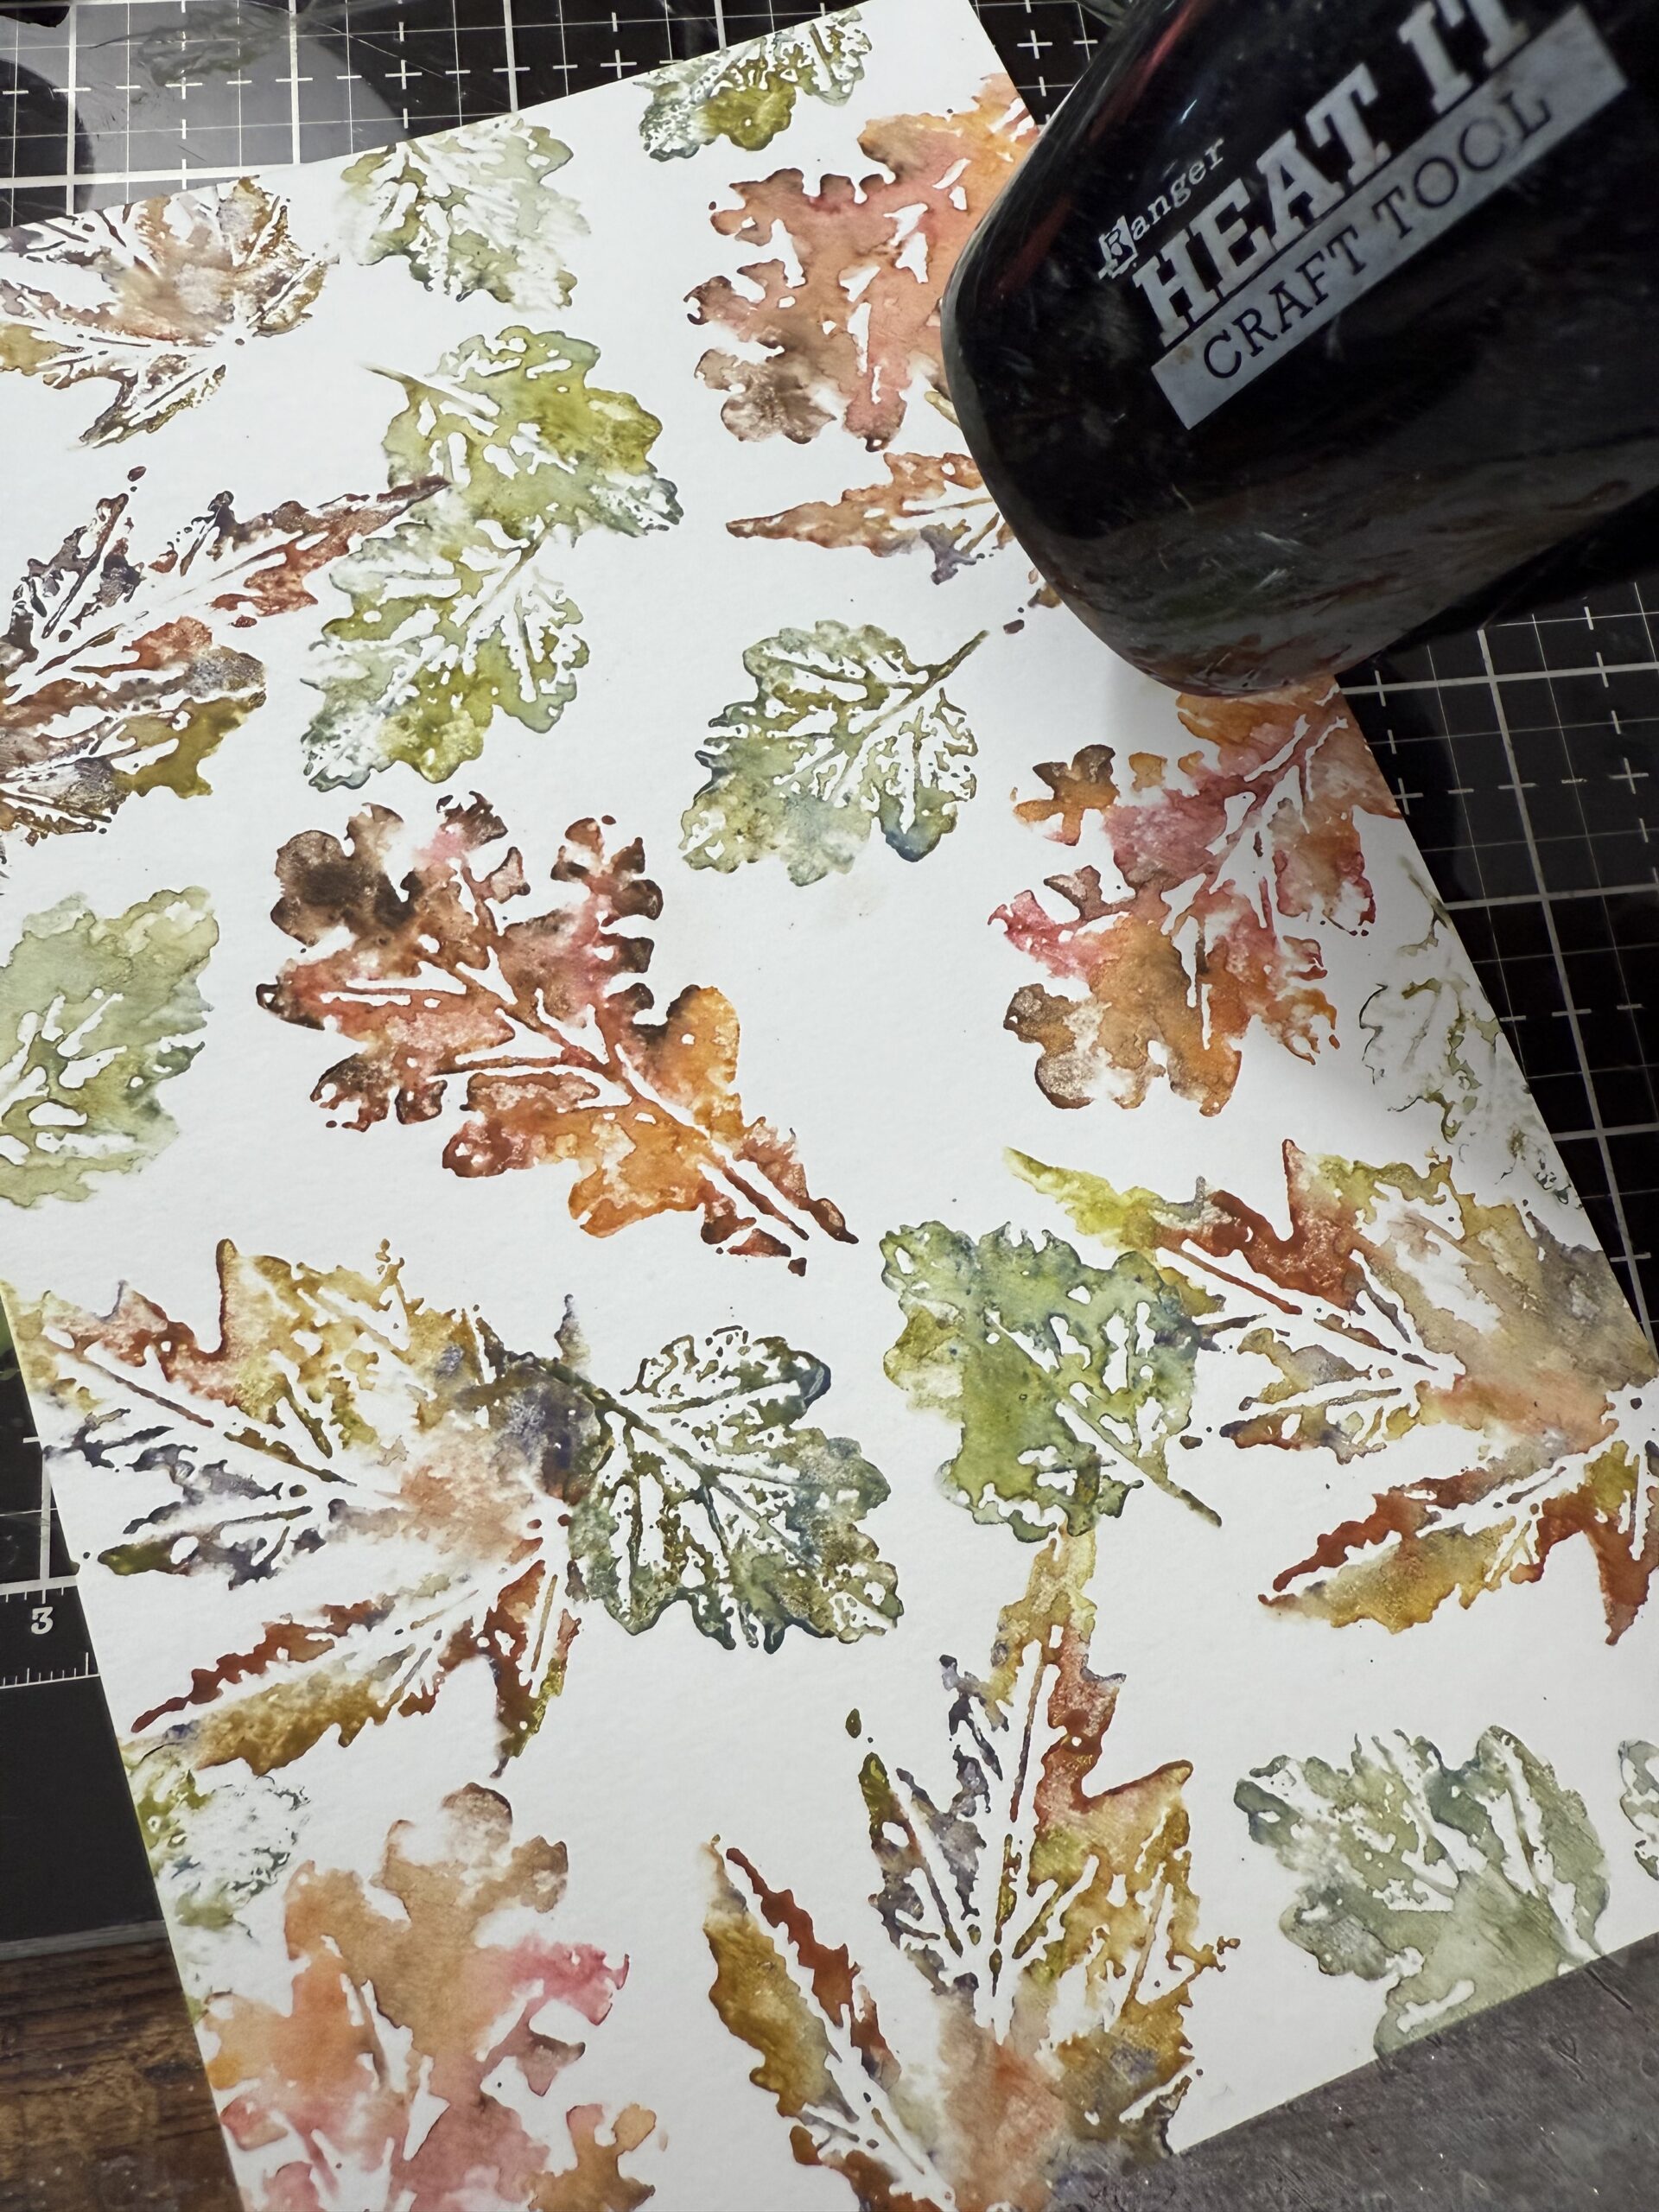
To finish the background I used my Ground Espresso pencil and a wet paintbrush and flicked tiny specks of color onto the paper. To do this, I dipped my pencil into the water, then using a paintbrush, placed the paintbrush onto the tip of the pencil and flicked the color on. It’s so fun and easy to do!
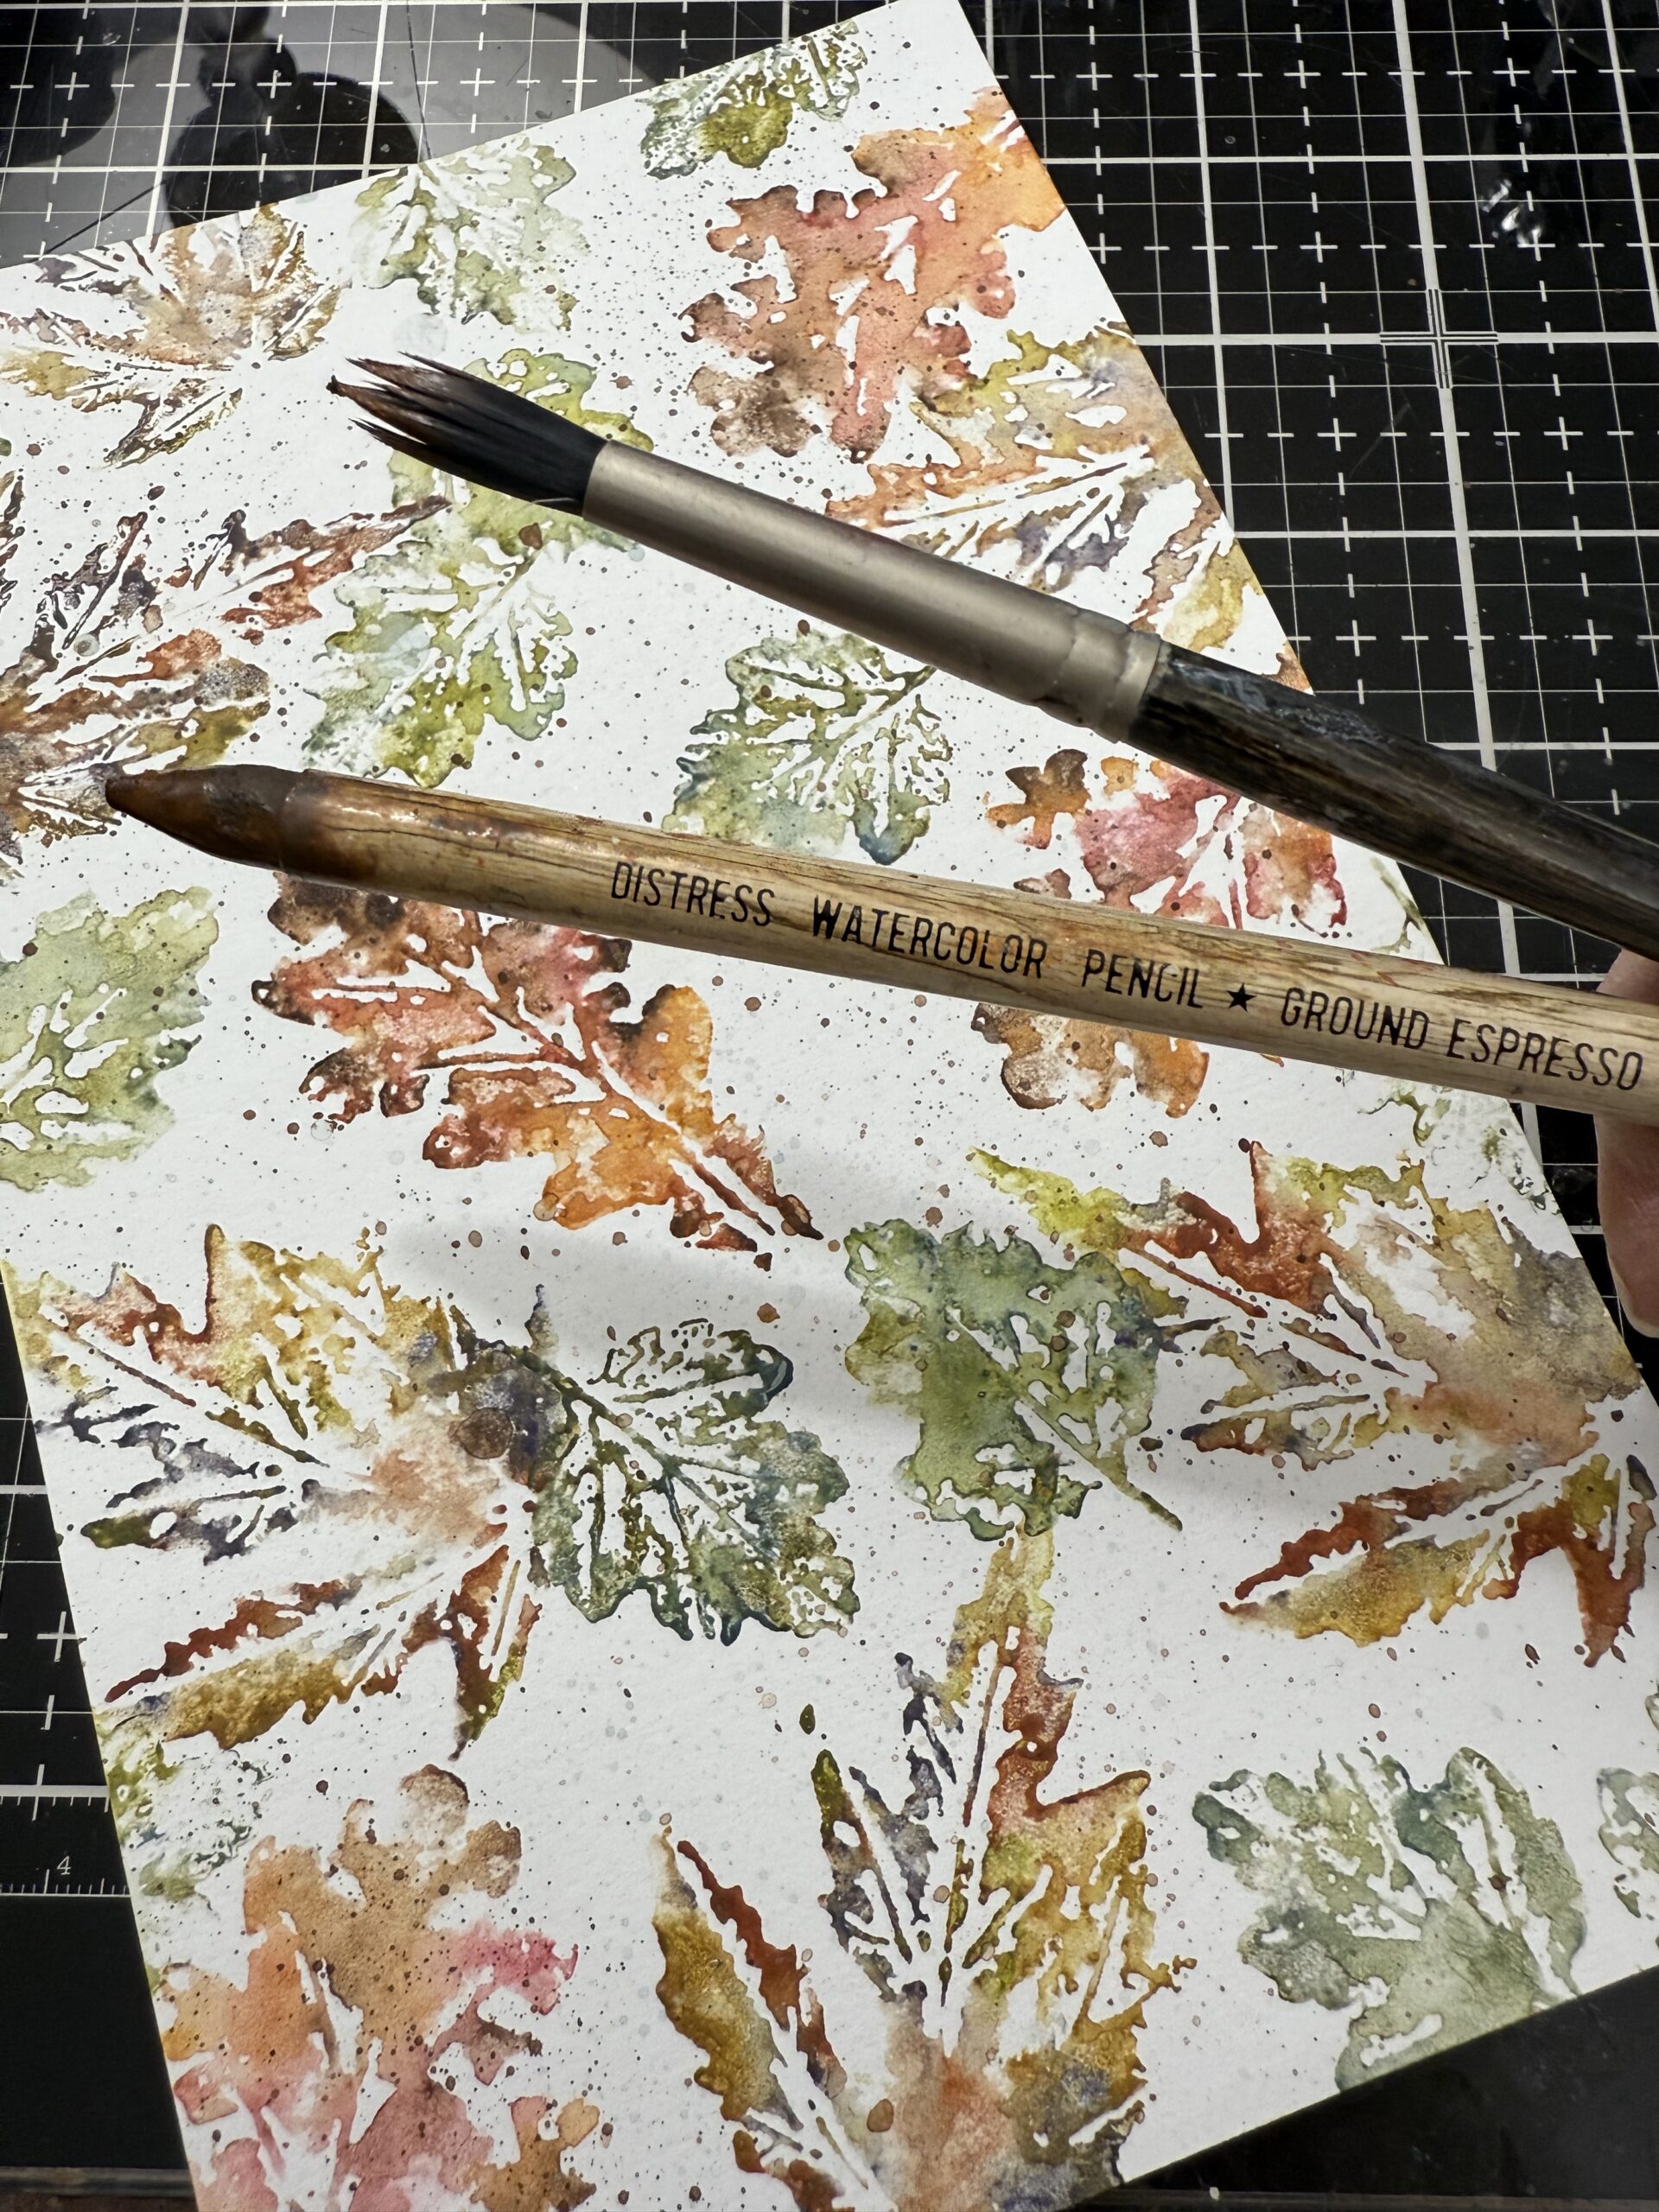
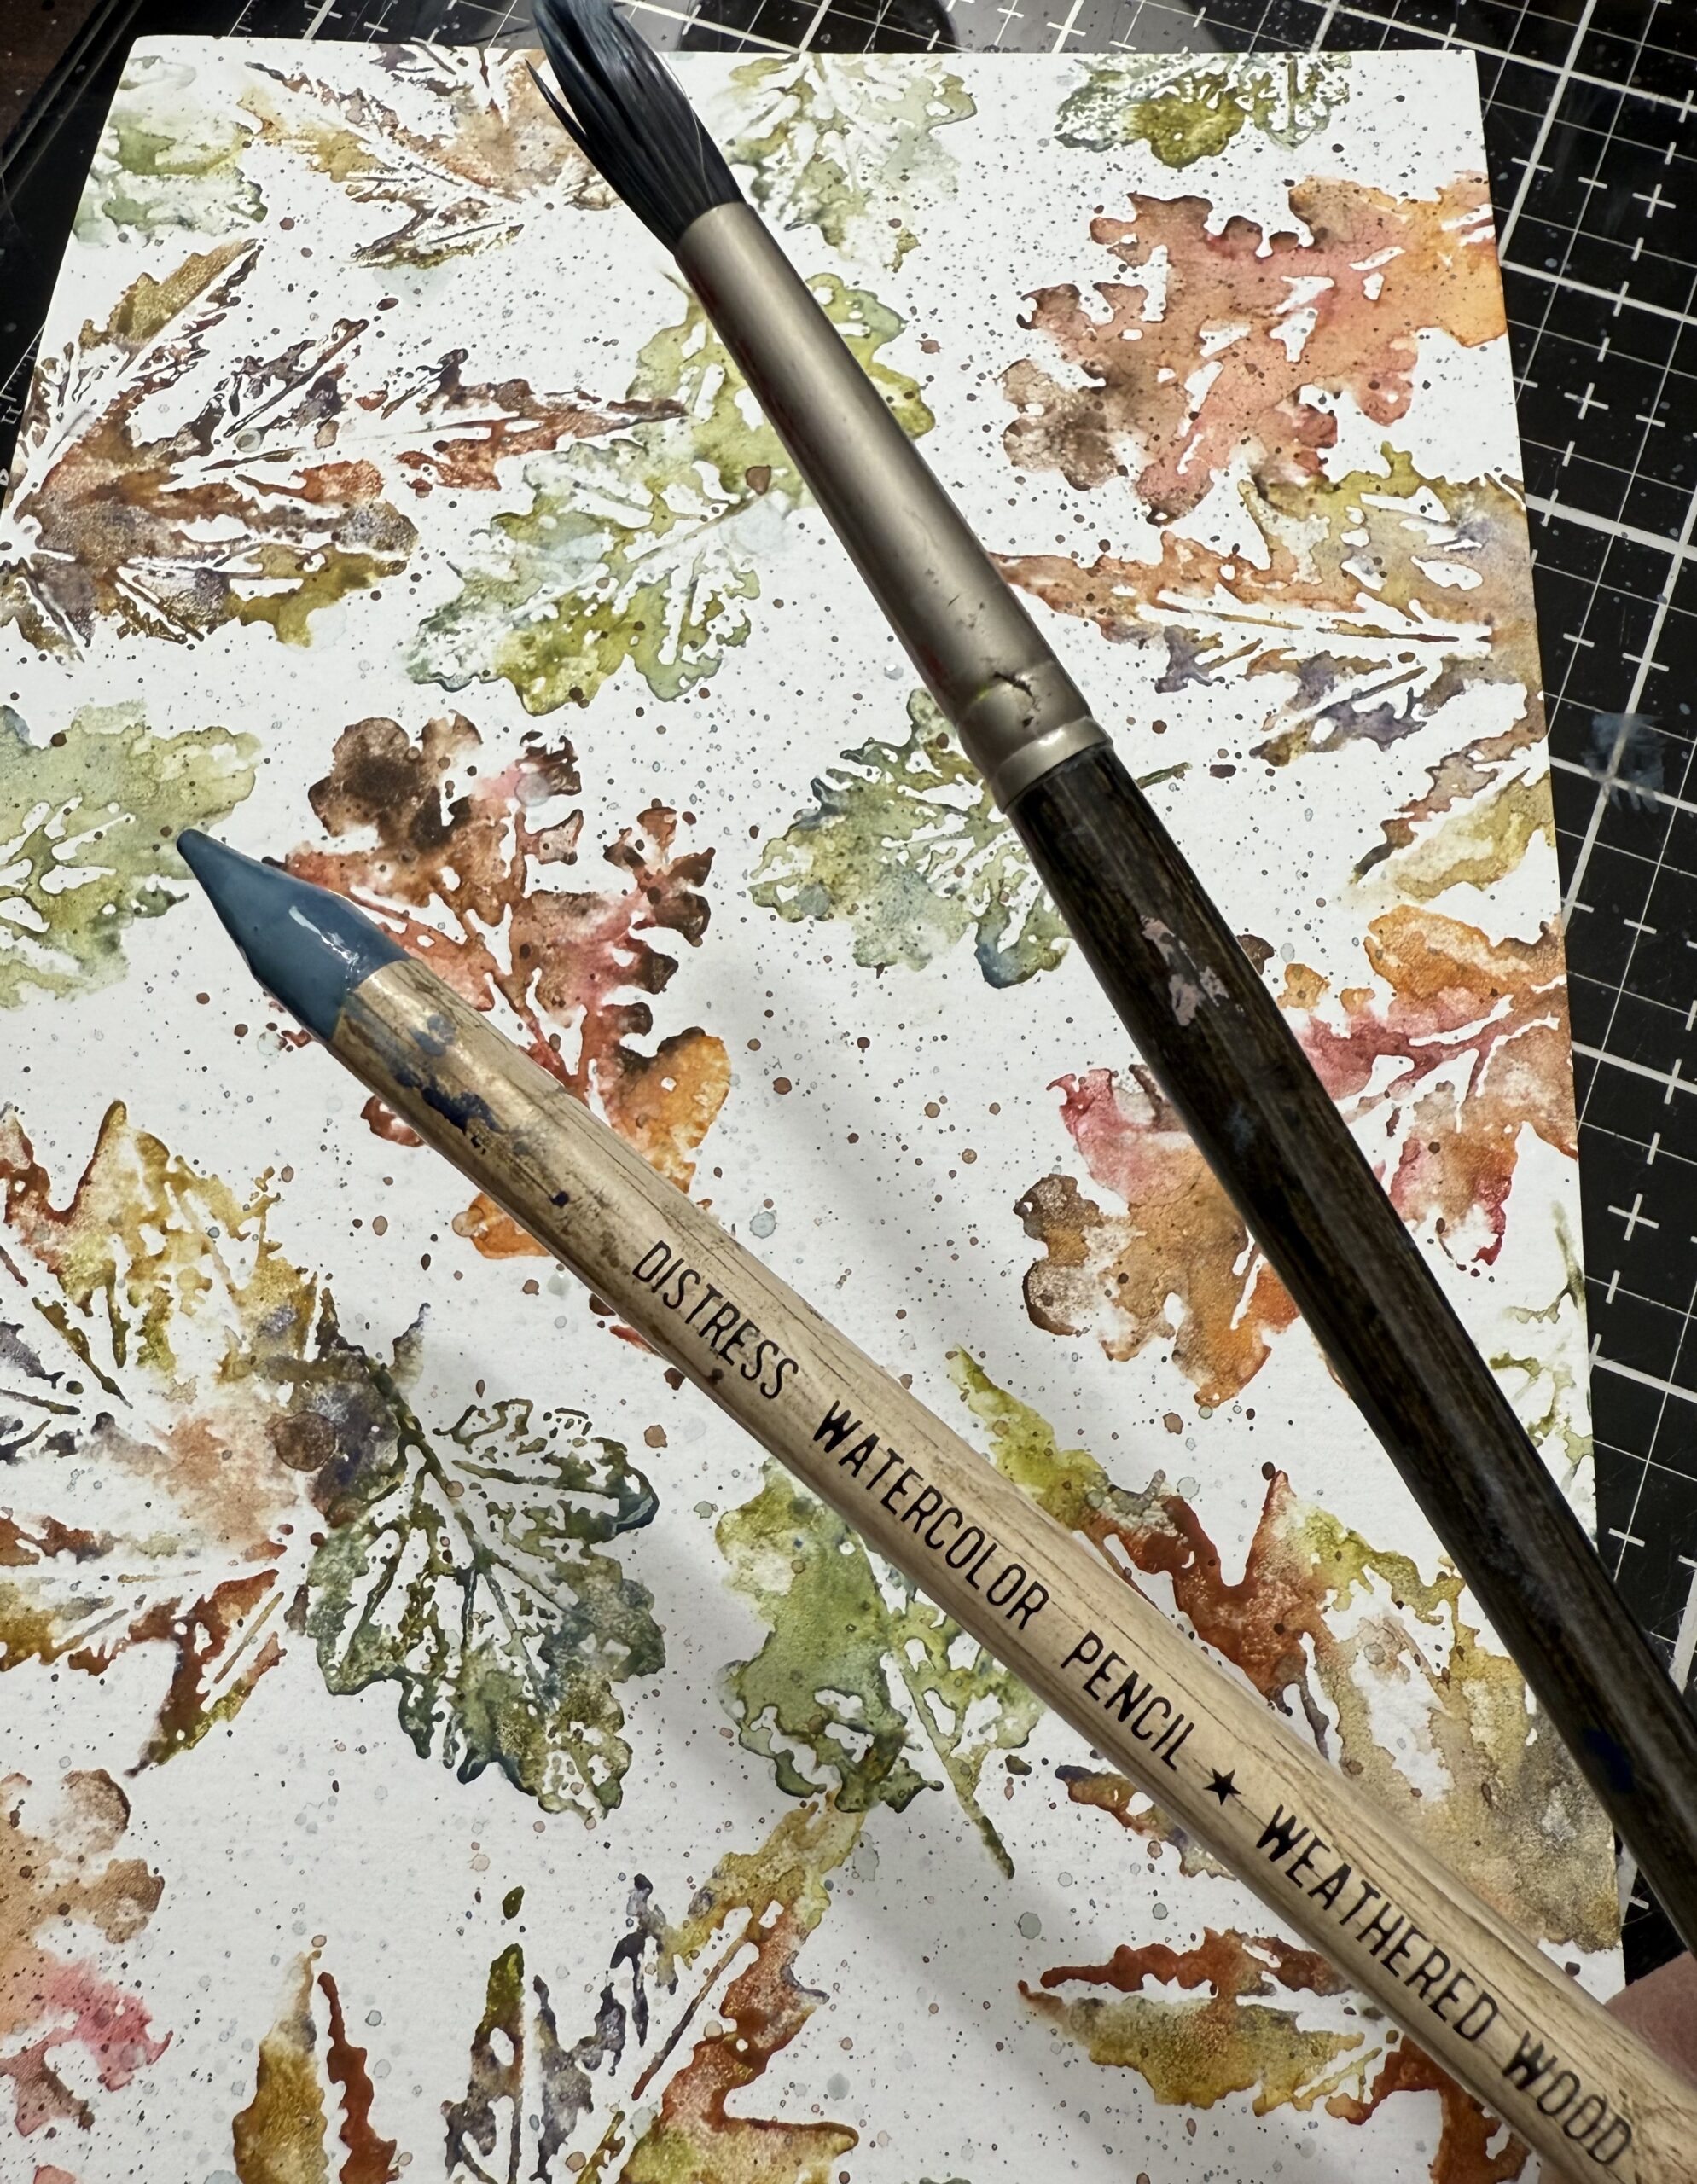
After I flicked on the brown, I flicked on some Weathered Wood using the same technique.
With that, this background was complete.
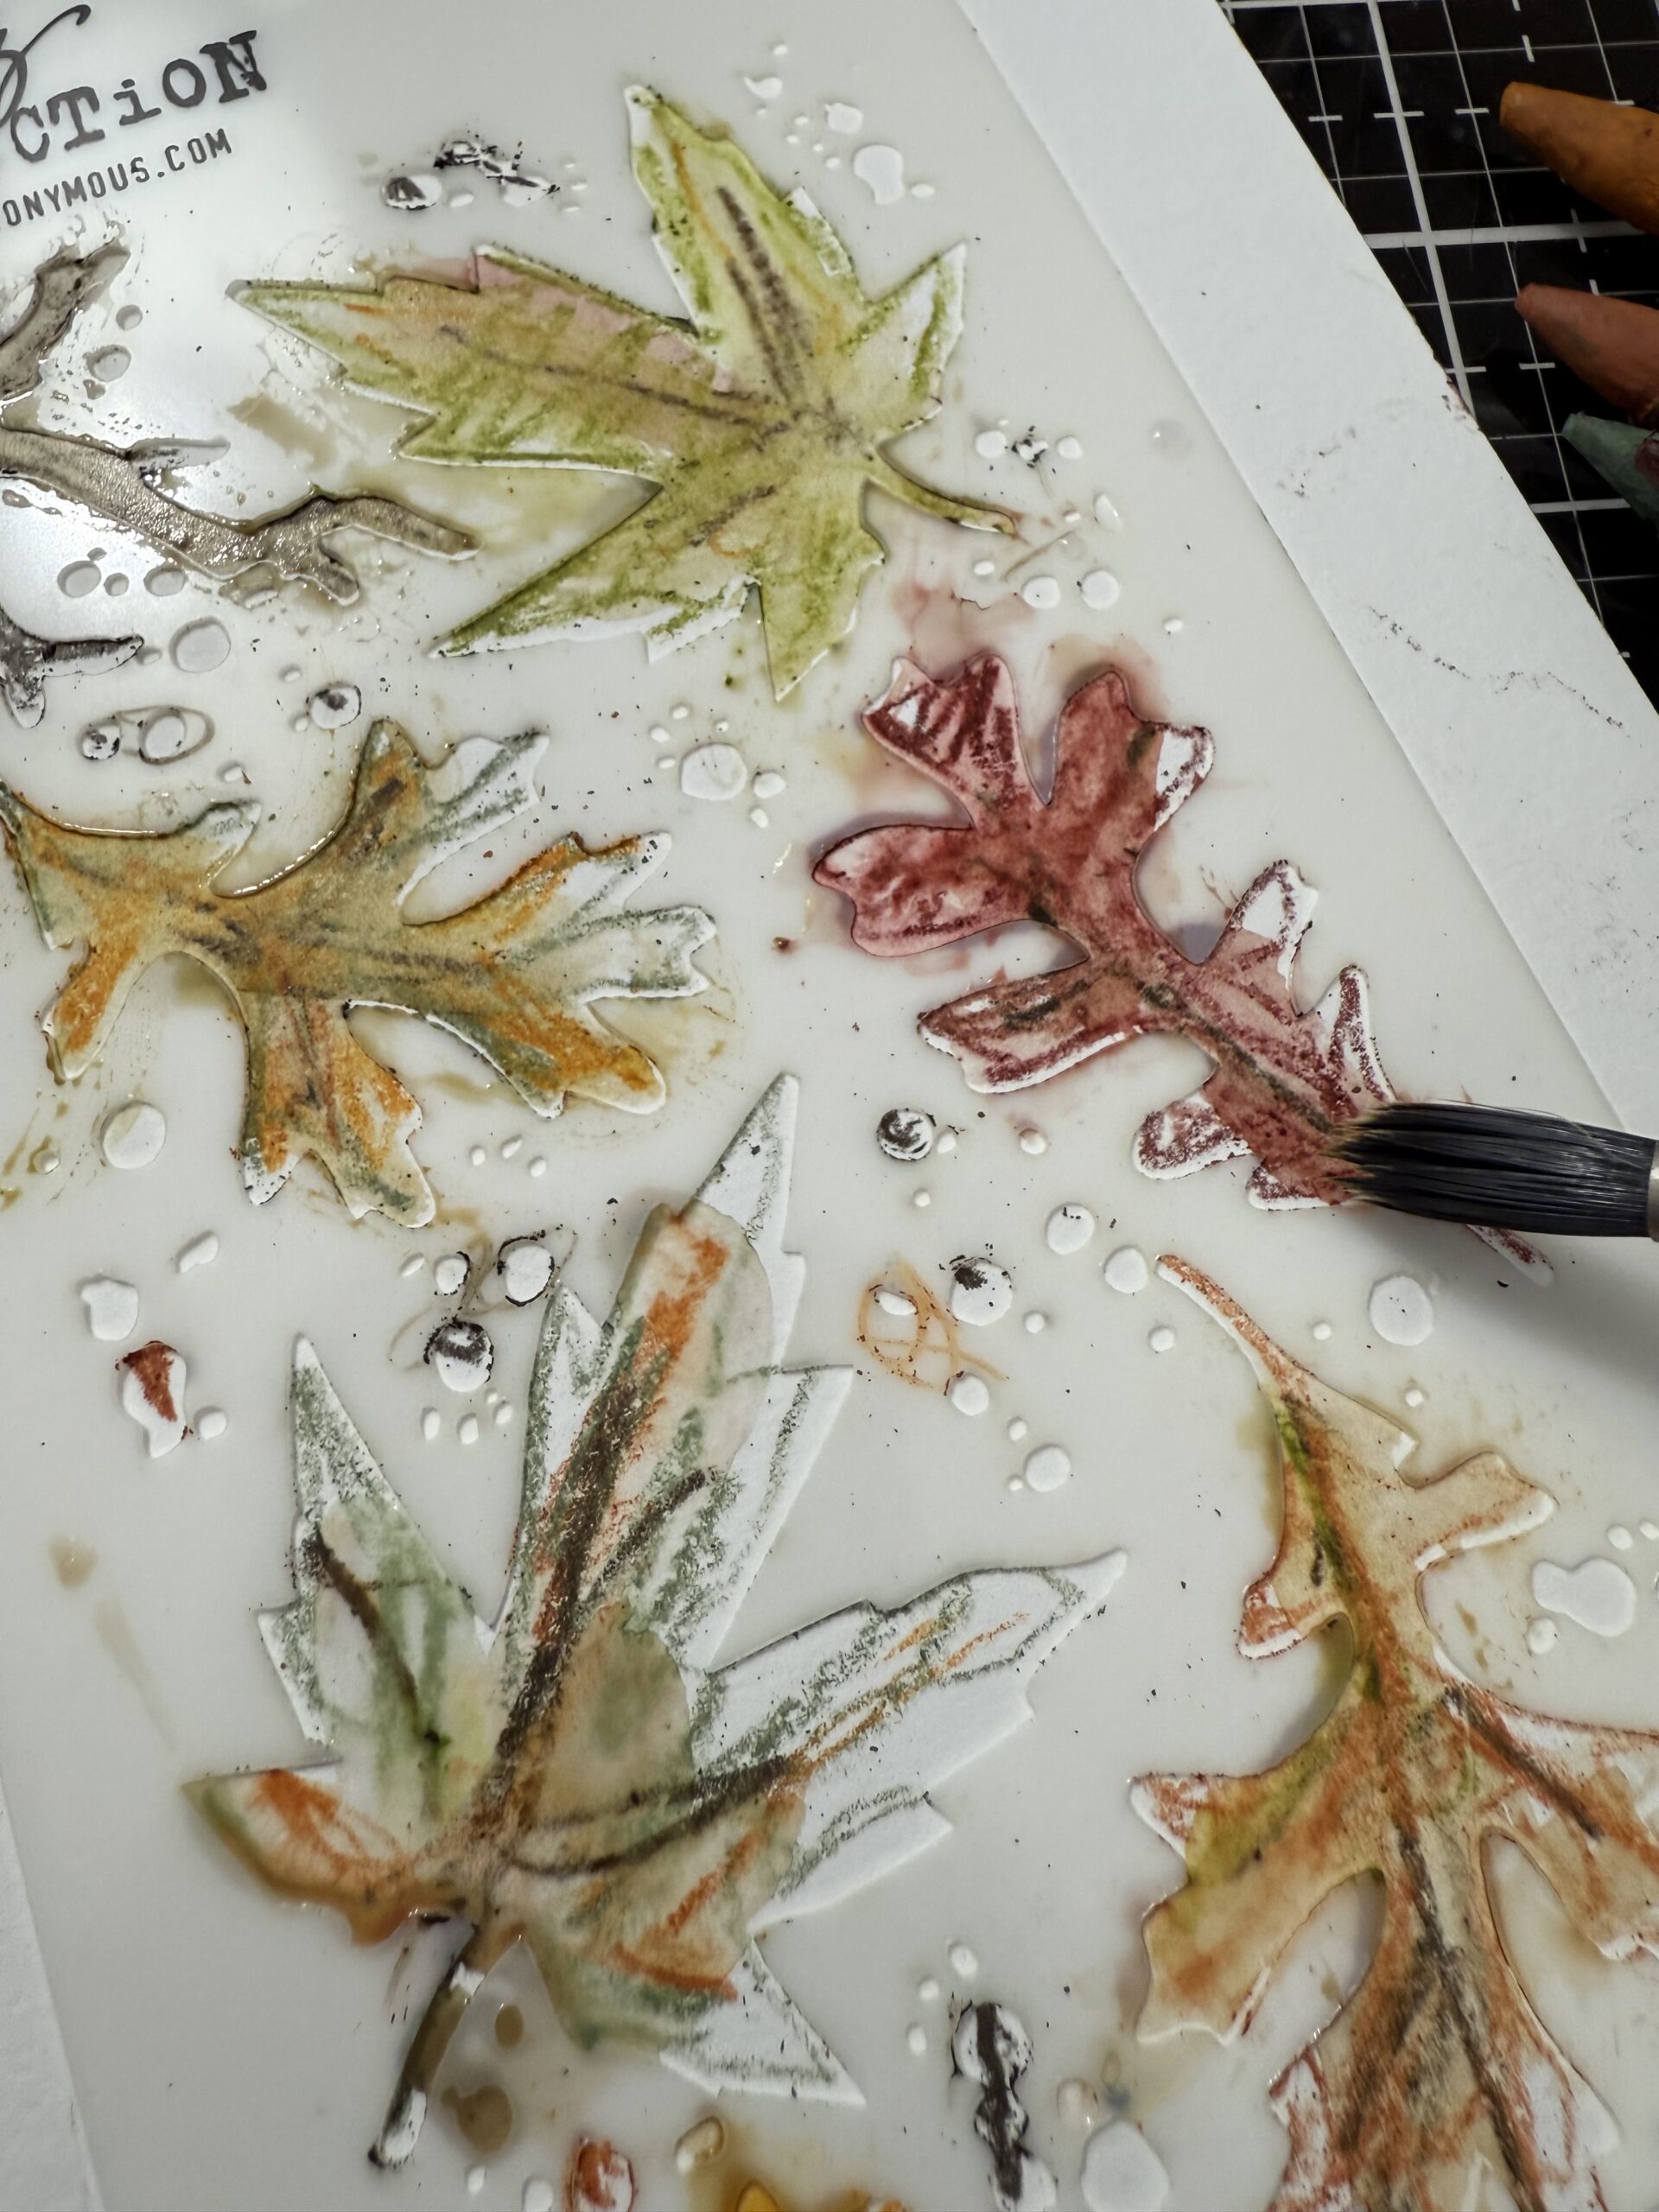
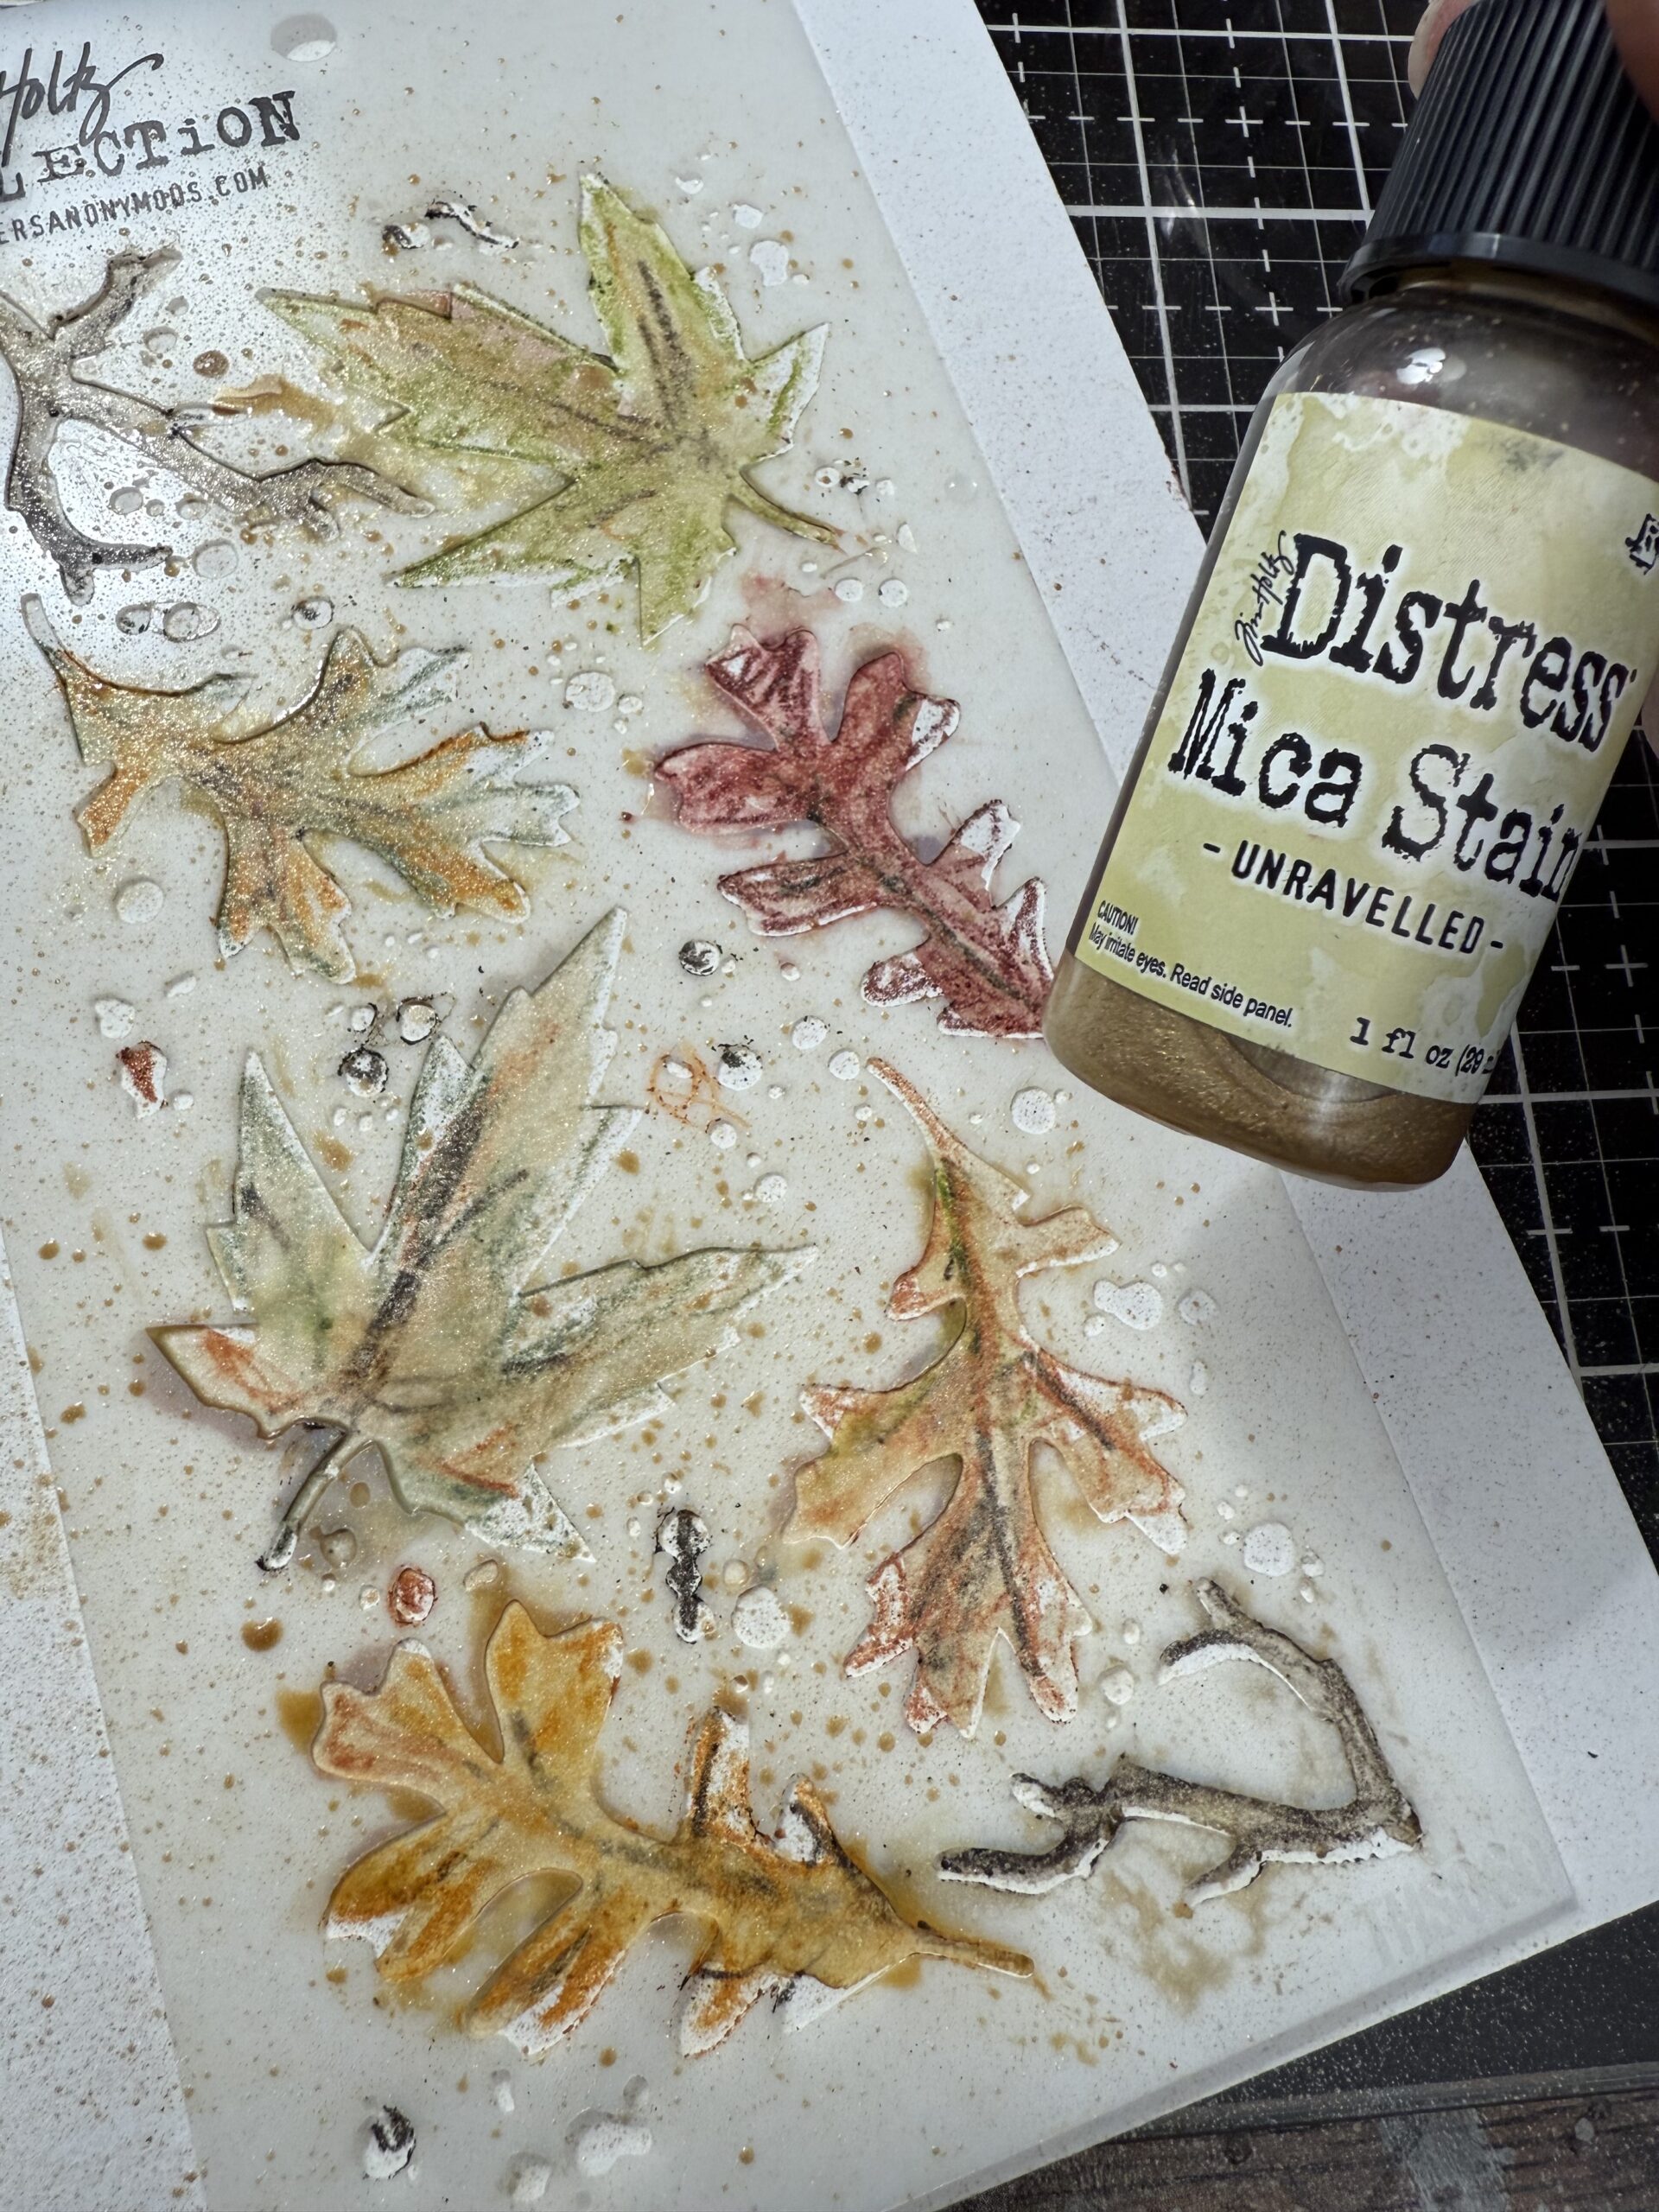
Next, it was time to get my scribble on… 🙂 I chose the Tim Holtz Stampers Anonymous Autumn Layering Stencil THS060. This stencil is perfect with the Watercolor Pencils because it is larger leaves and easy to scribble inside the leaf shapes. This technique used dry pencils.
I used several pencils and literally scribbled inside each of the leaf shapes on the stencil over top of a piece of Distress Watercolor Smooth Side paper. You can see that I was very careful…LOL. I scribbled the colors of the leaves inside each, then using my Ground Espresso pencil, drew in some veining and colored in the branches at the top and bottom.

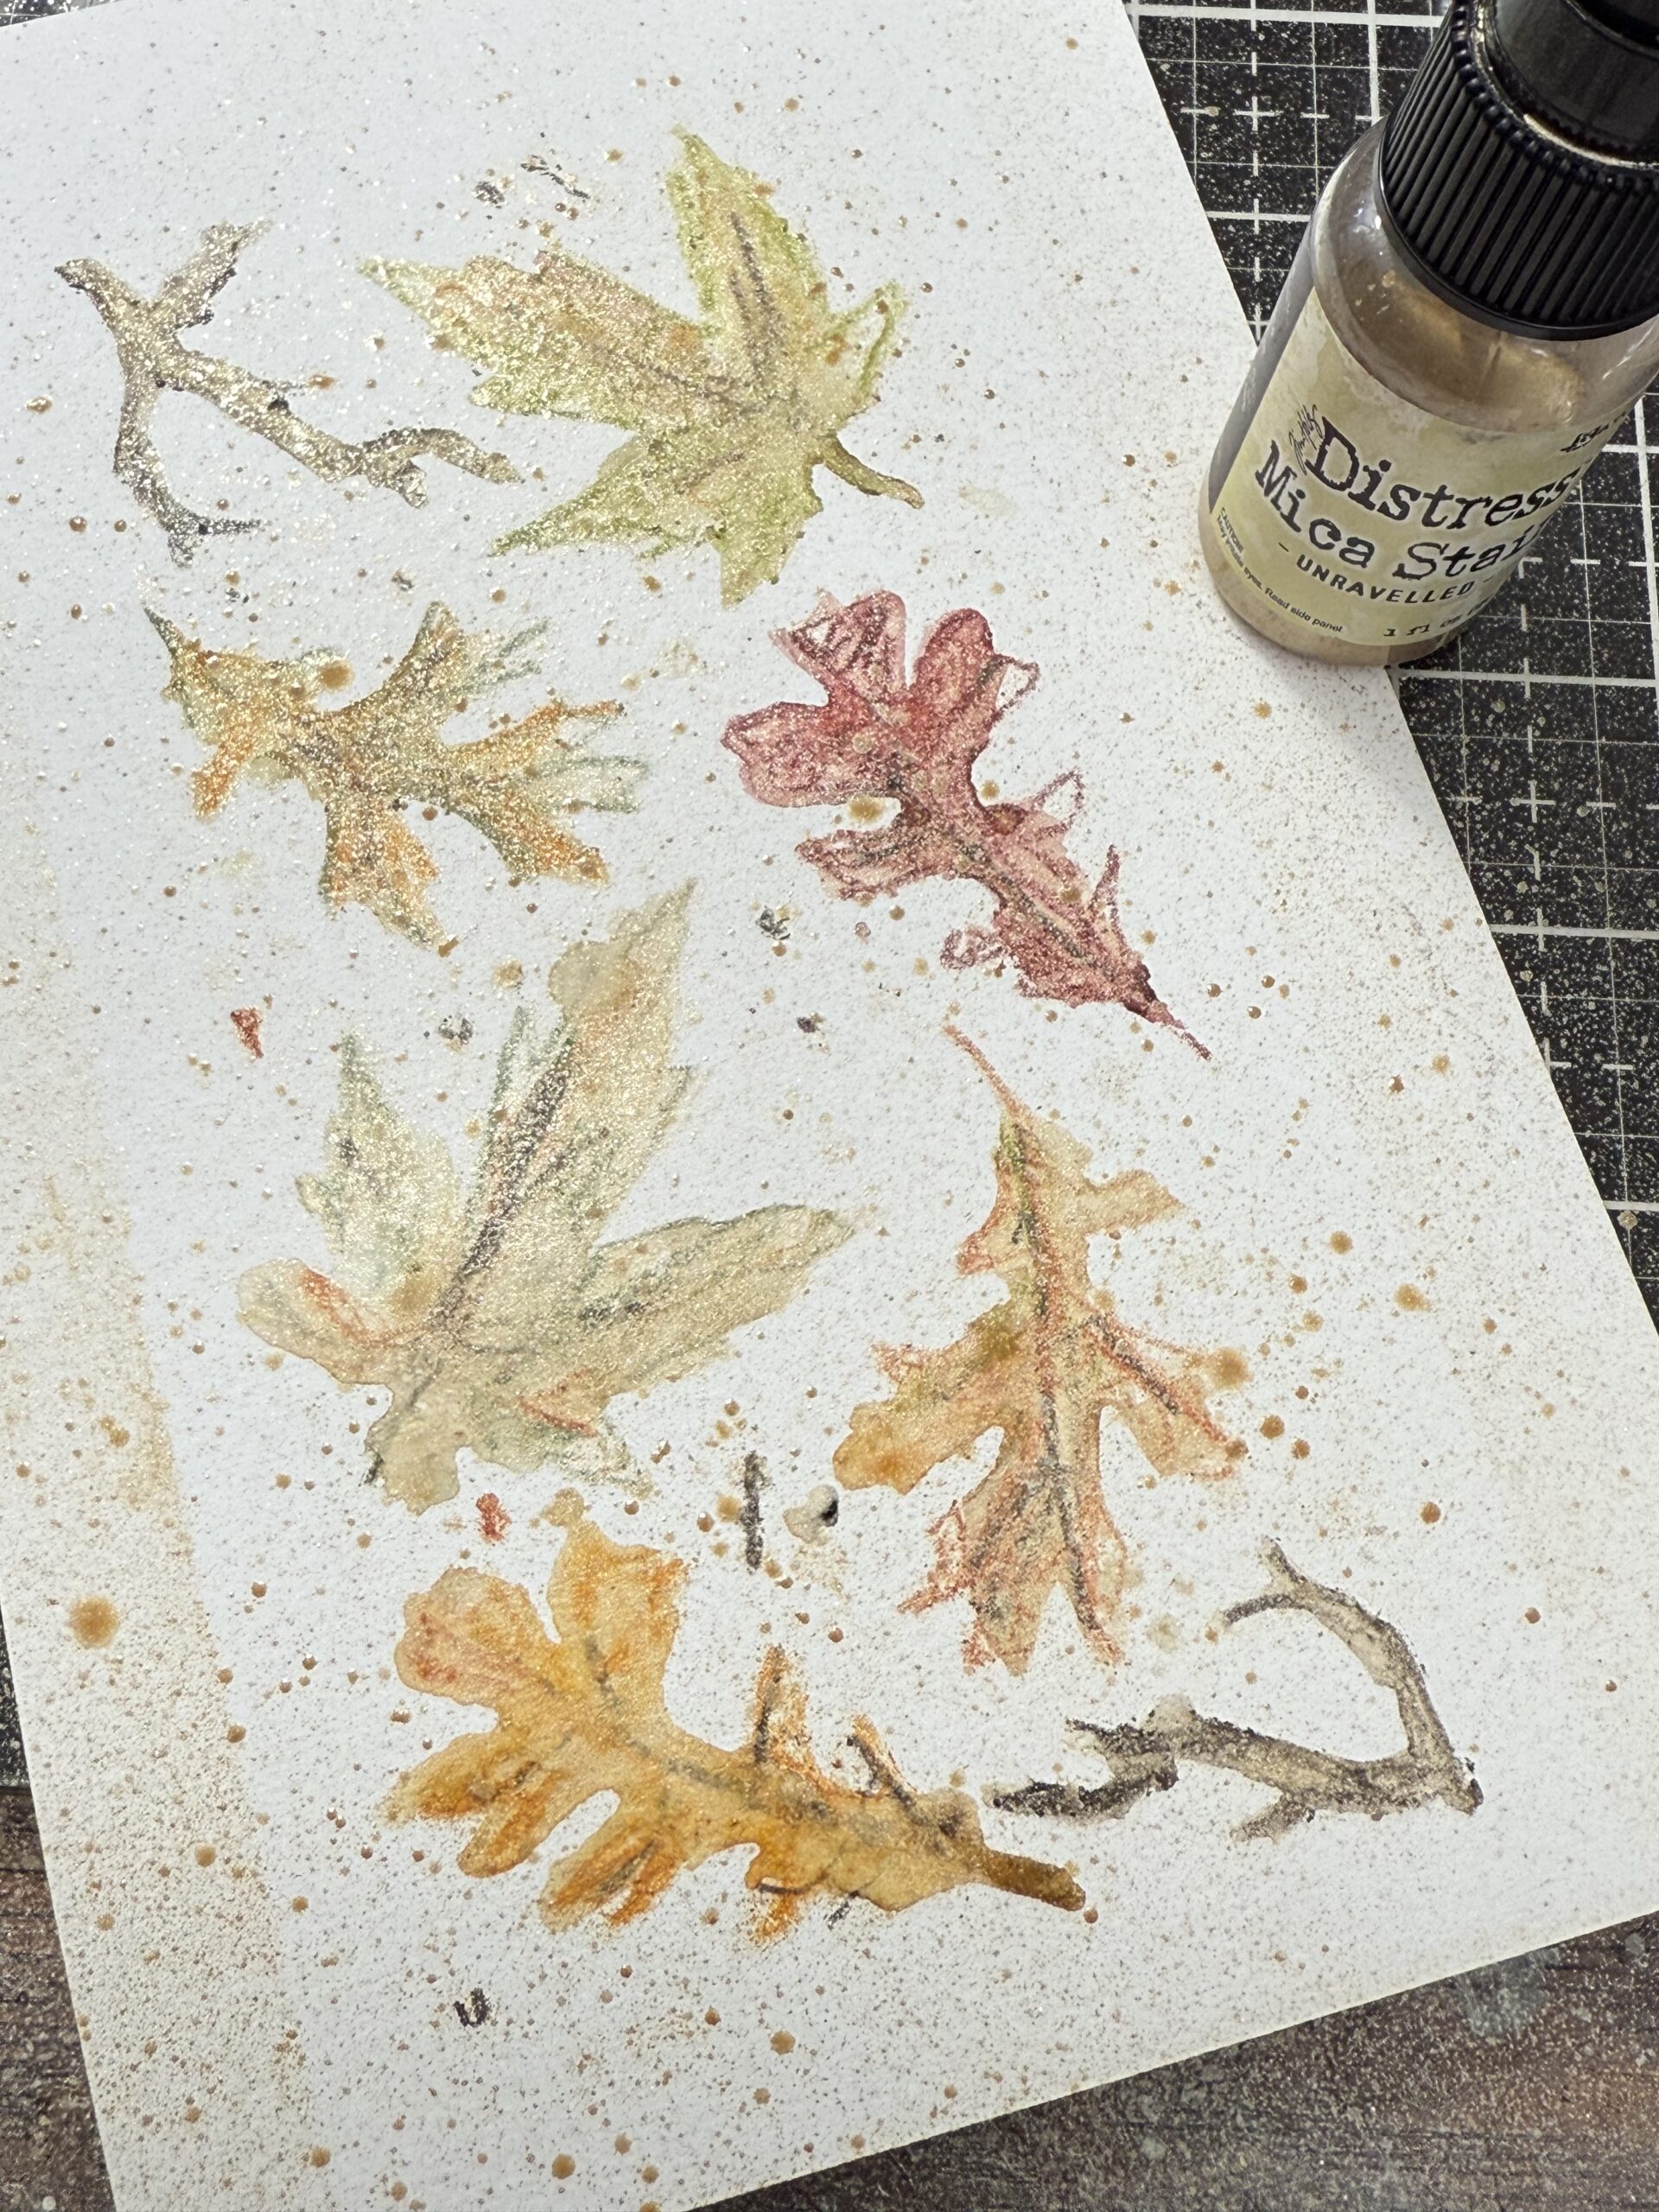
After the scribbling was done, using a wet paintbrush, I blended the colors of each of the leaves, being sure to leave the stencil over top of the leaves. You want your paint brush wet but not dripping wet. Just enough water to activate the pigments but not flood the area so that it flows underneath the stencil.
After I had brushed on the water and blended some of the colors, I spritzed the leaves with the stencil over top using Unraveled Mica Spray, then removed the stencil.
when I revoked the stencil, I spritzed the Mica spray lightly over the area, then dried it with my heat tool.
When the paper was dry and using a Peeled Paint DRY pencil, I scribbled around the leaves making squiggly lines in no particular way.

Then I used a wet paintbrush and blended in some of the green scribbled lines and dried it with my heat tool.

I scribbled some Ground Espresso pencil into the background, then blended some of that in using a wet paint brush.
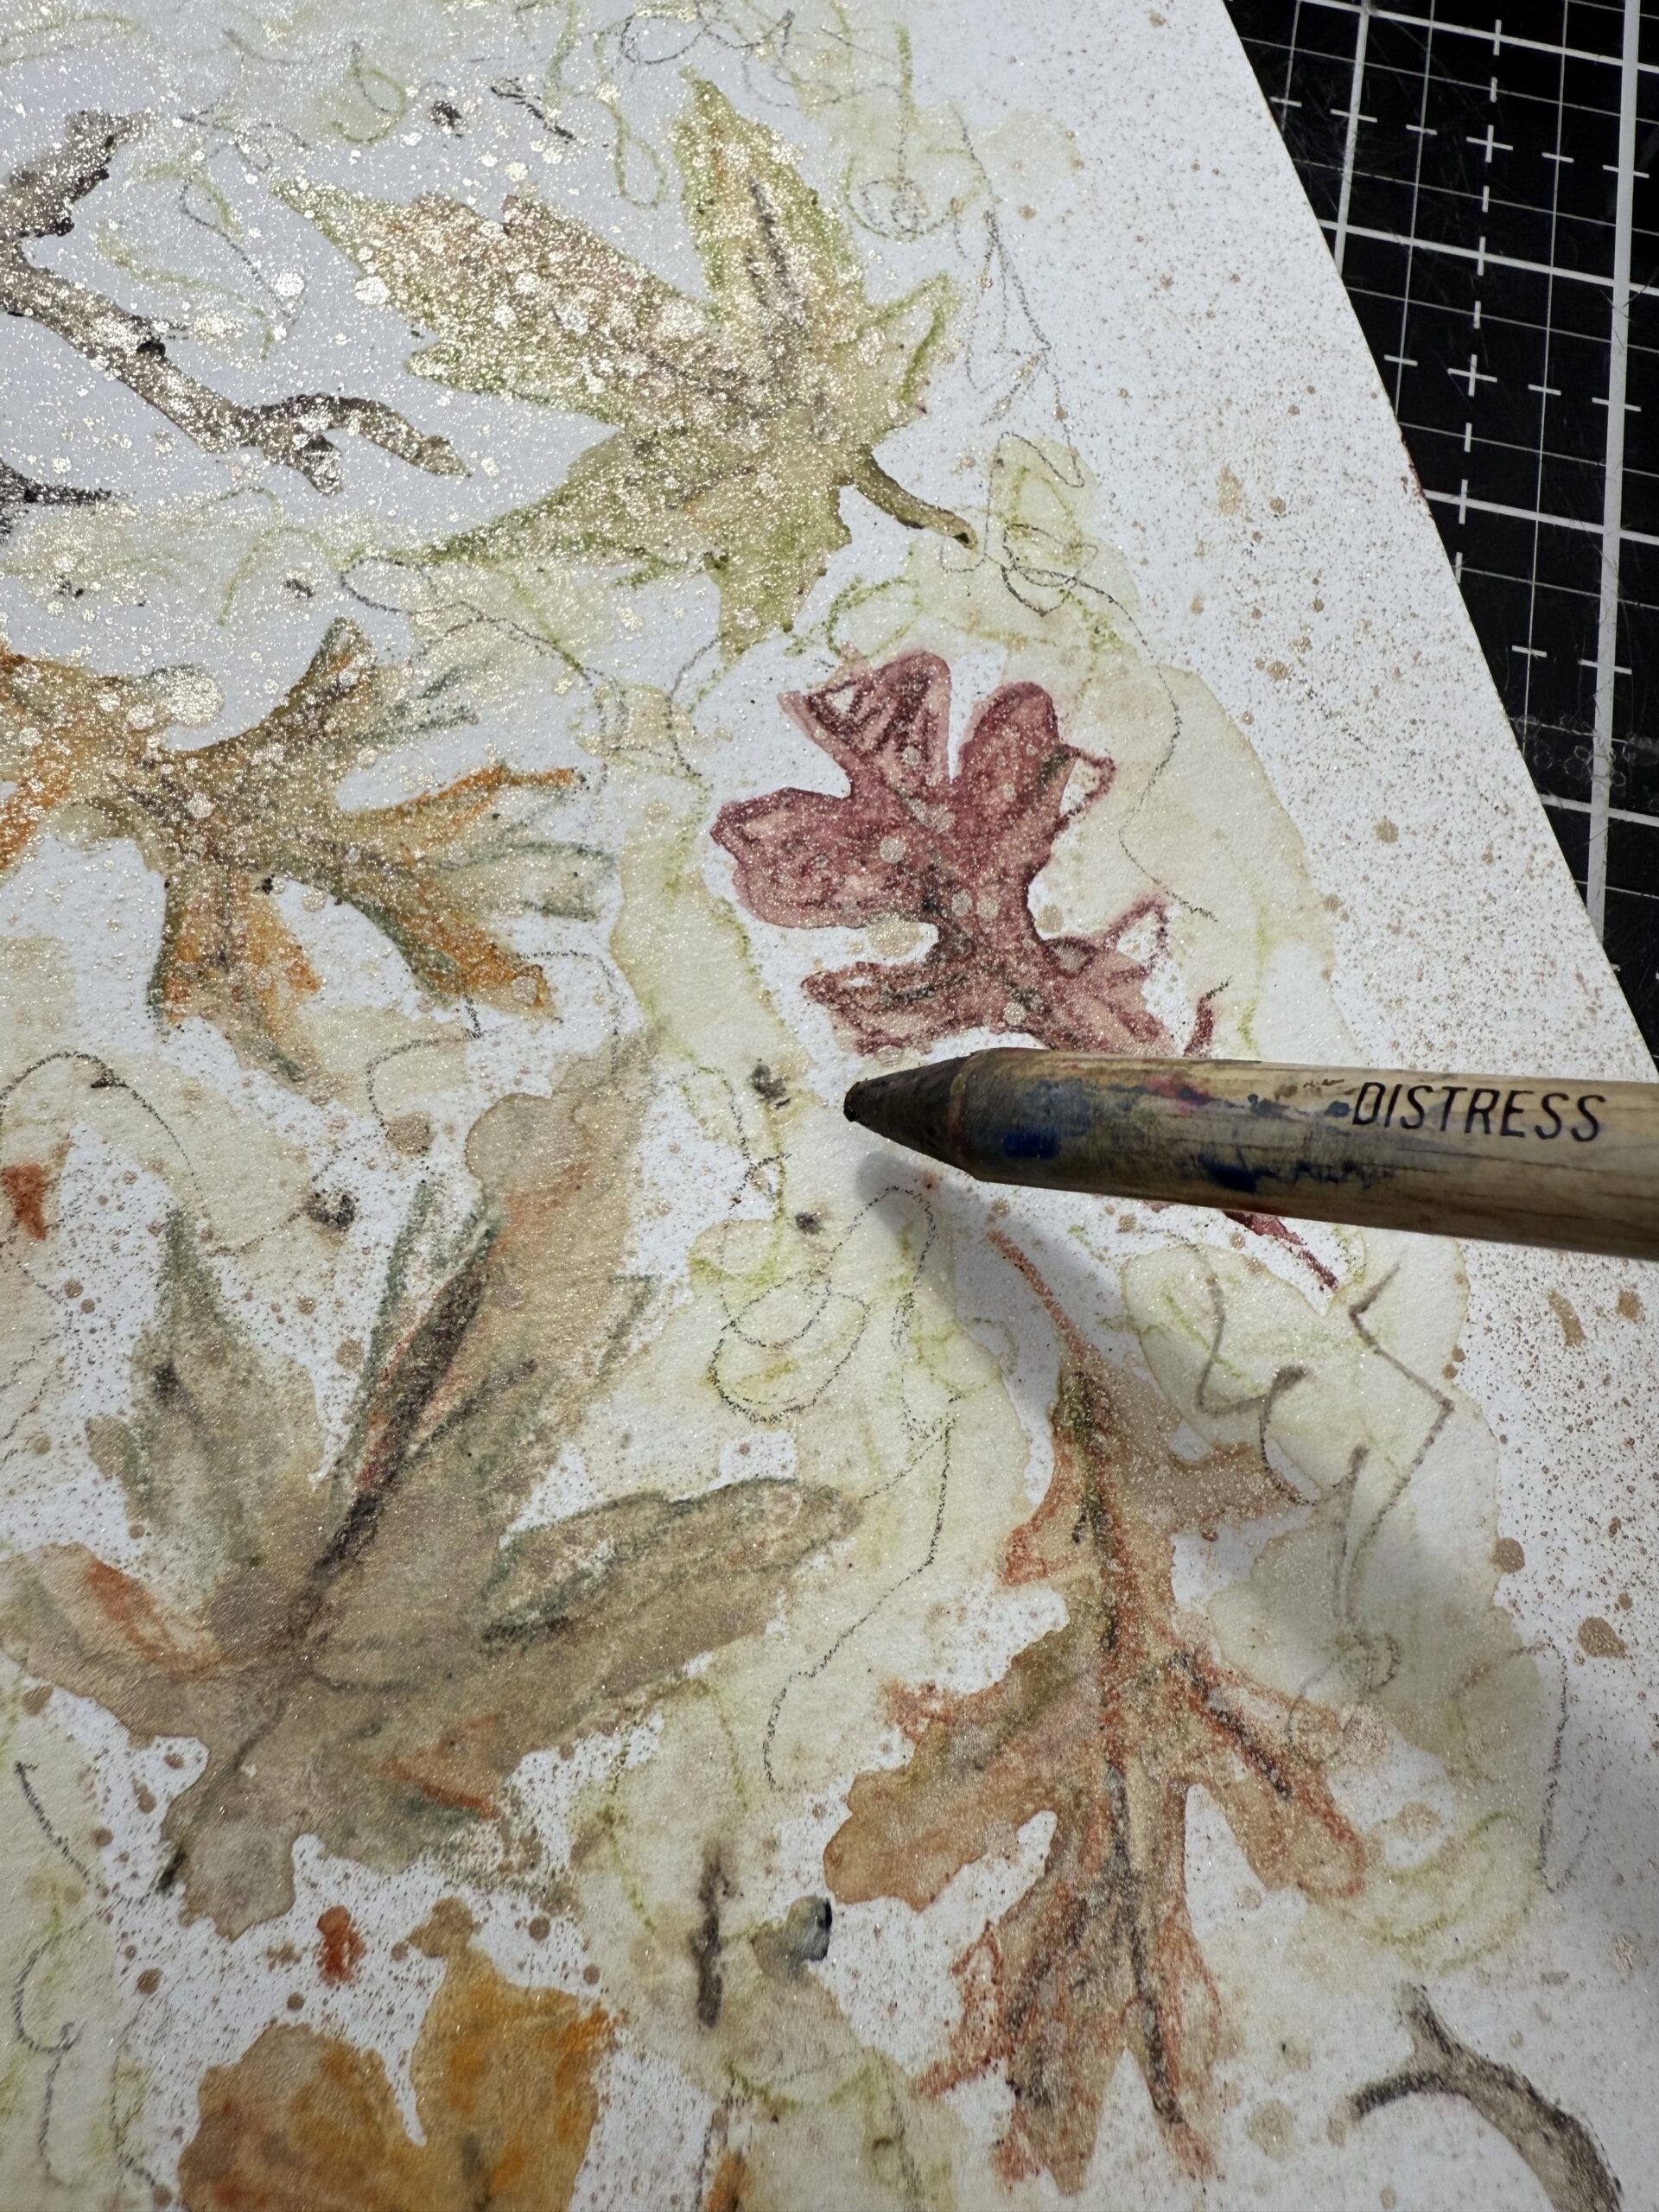
Then I wet the tip of the pencil and using my paintbrush, flicked on some of the color around the background and dried the paper using my heat tool.

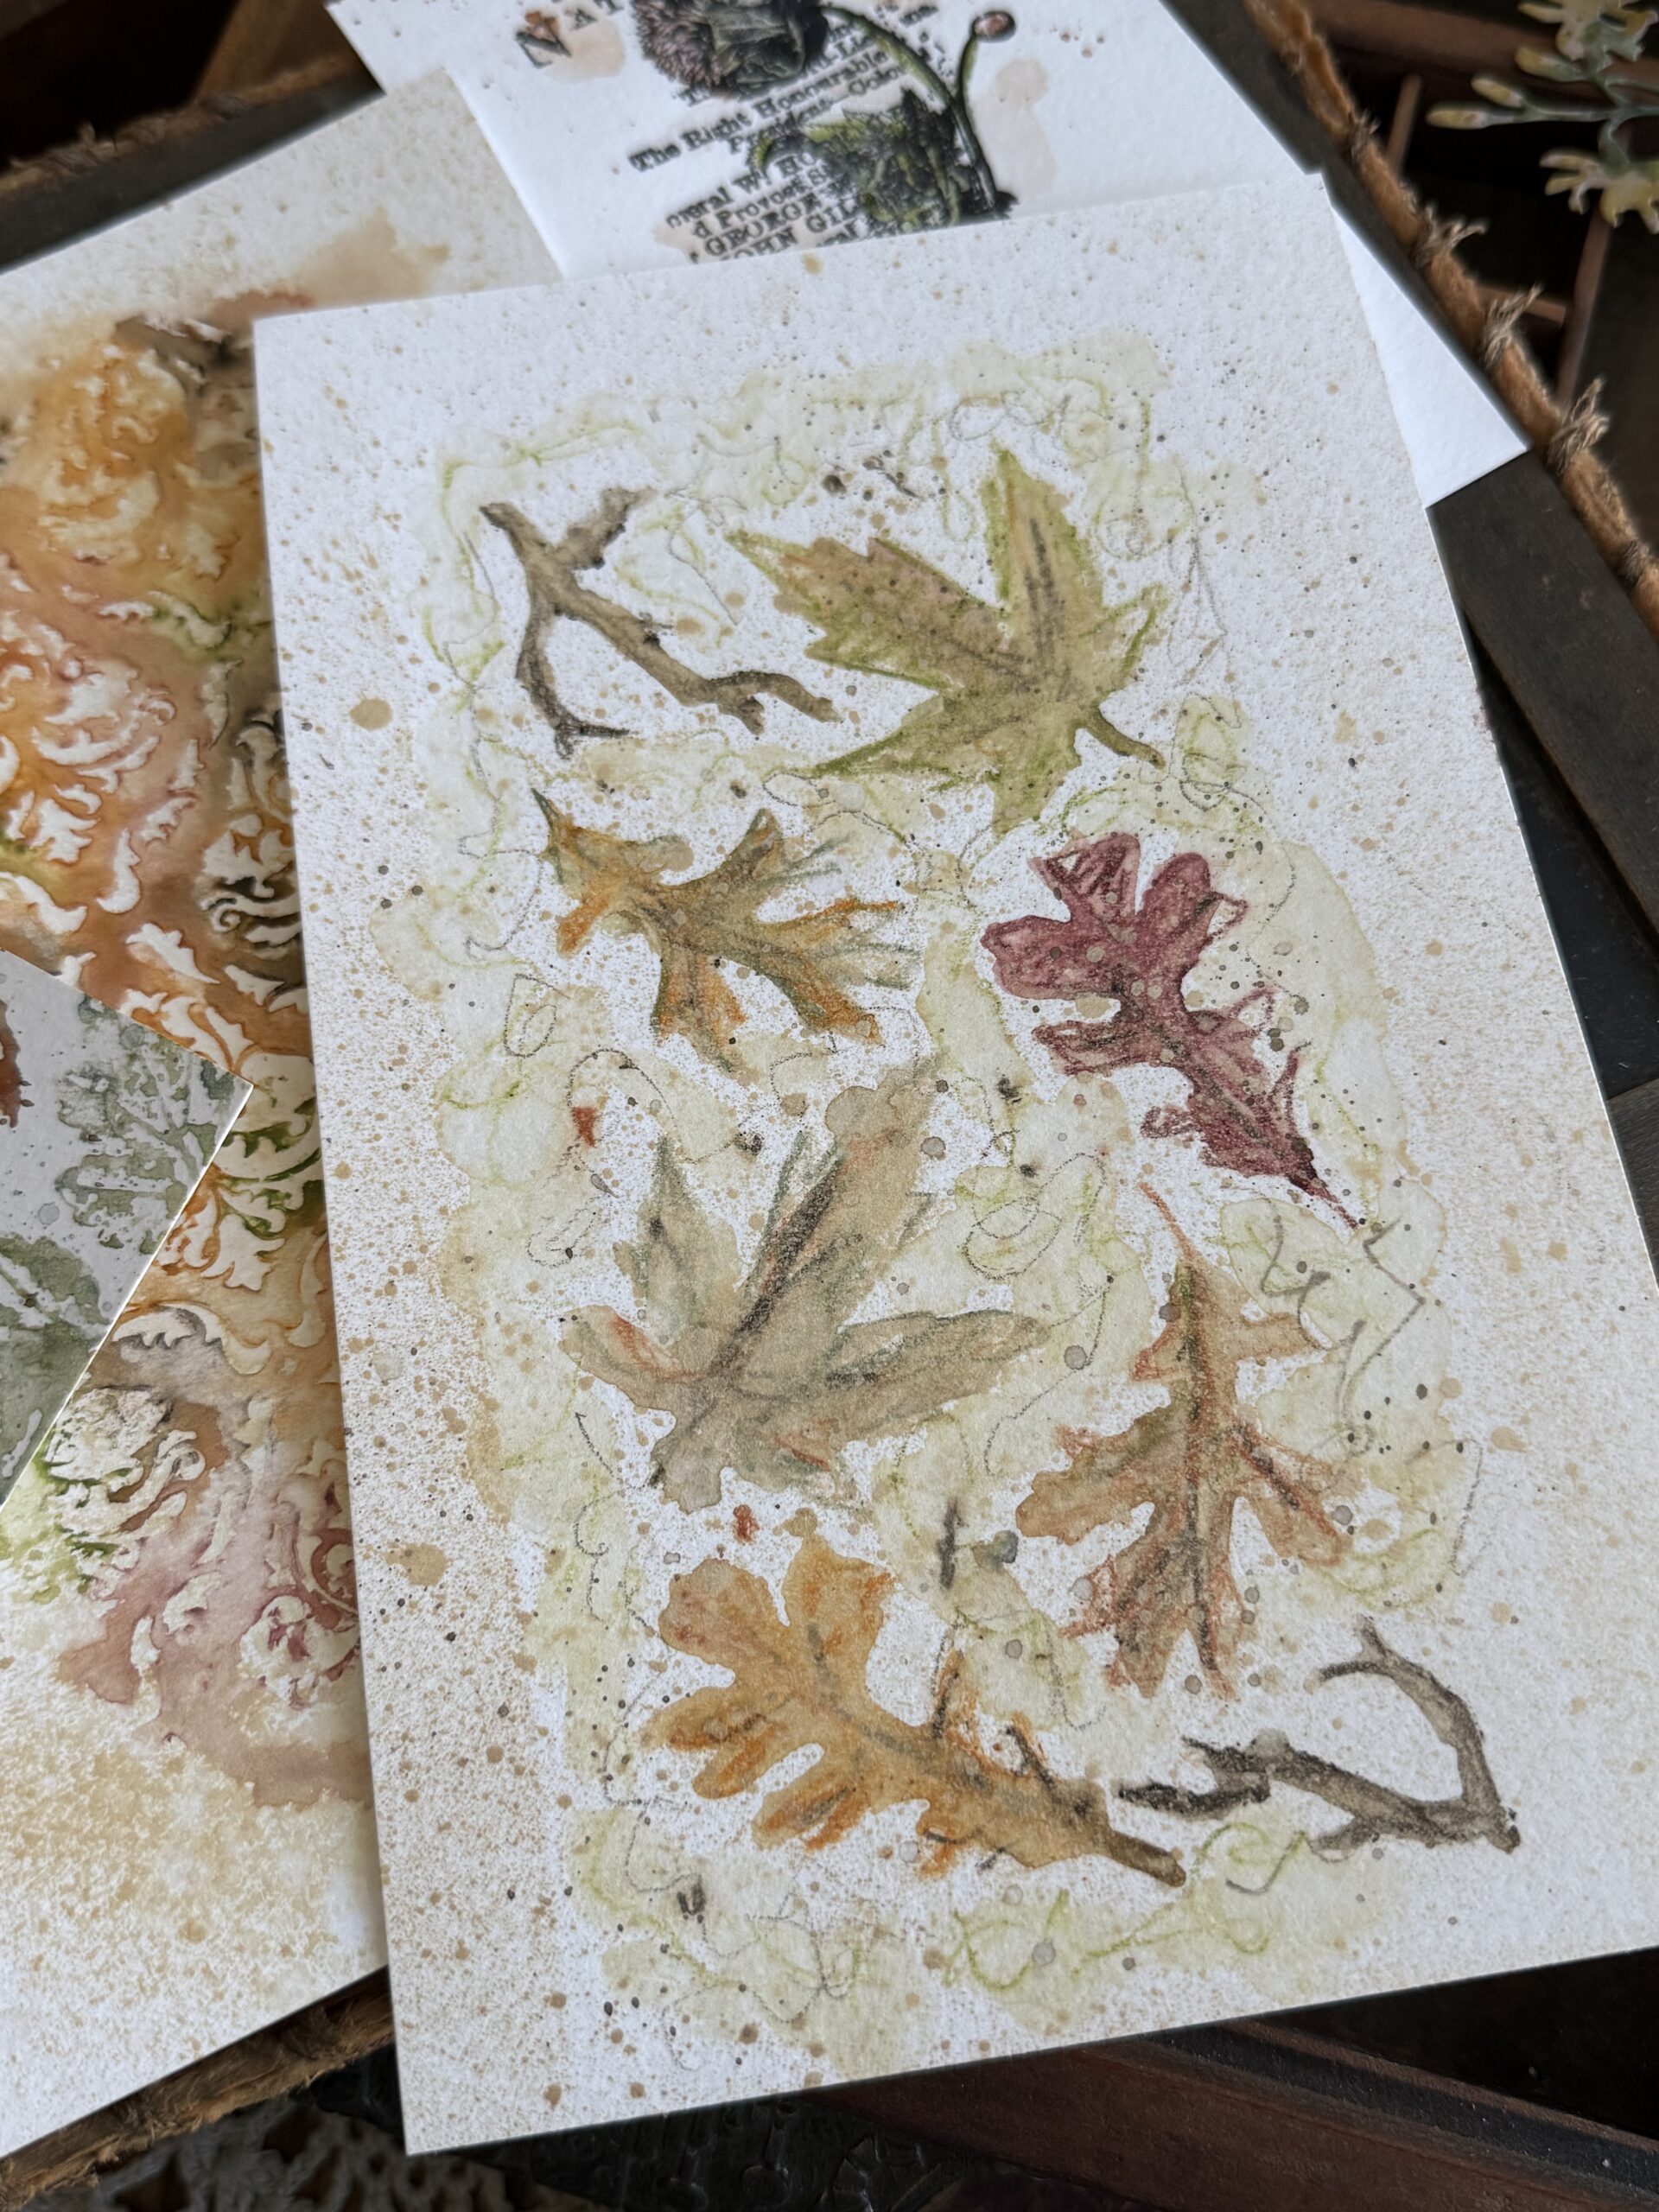
With that, this background was complete.
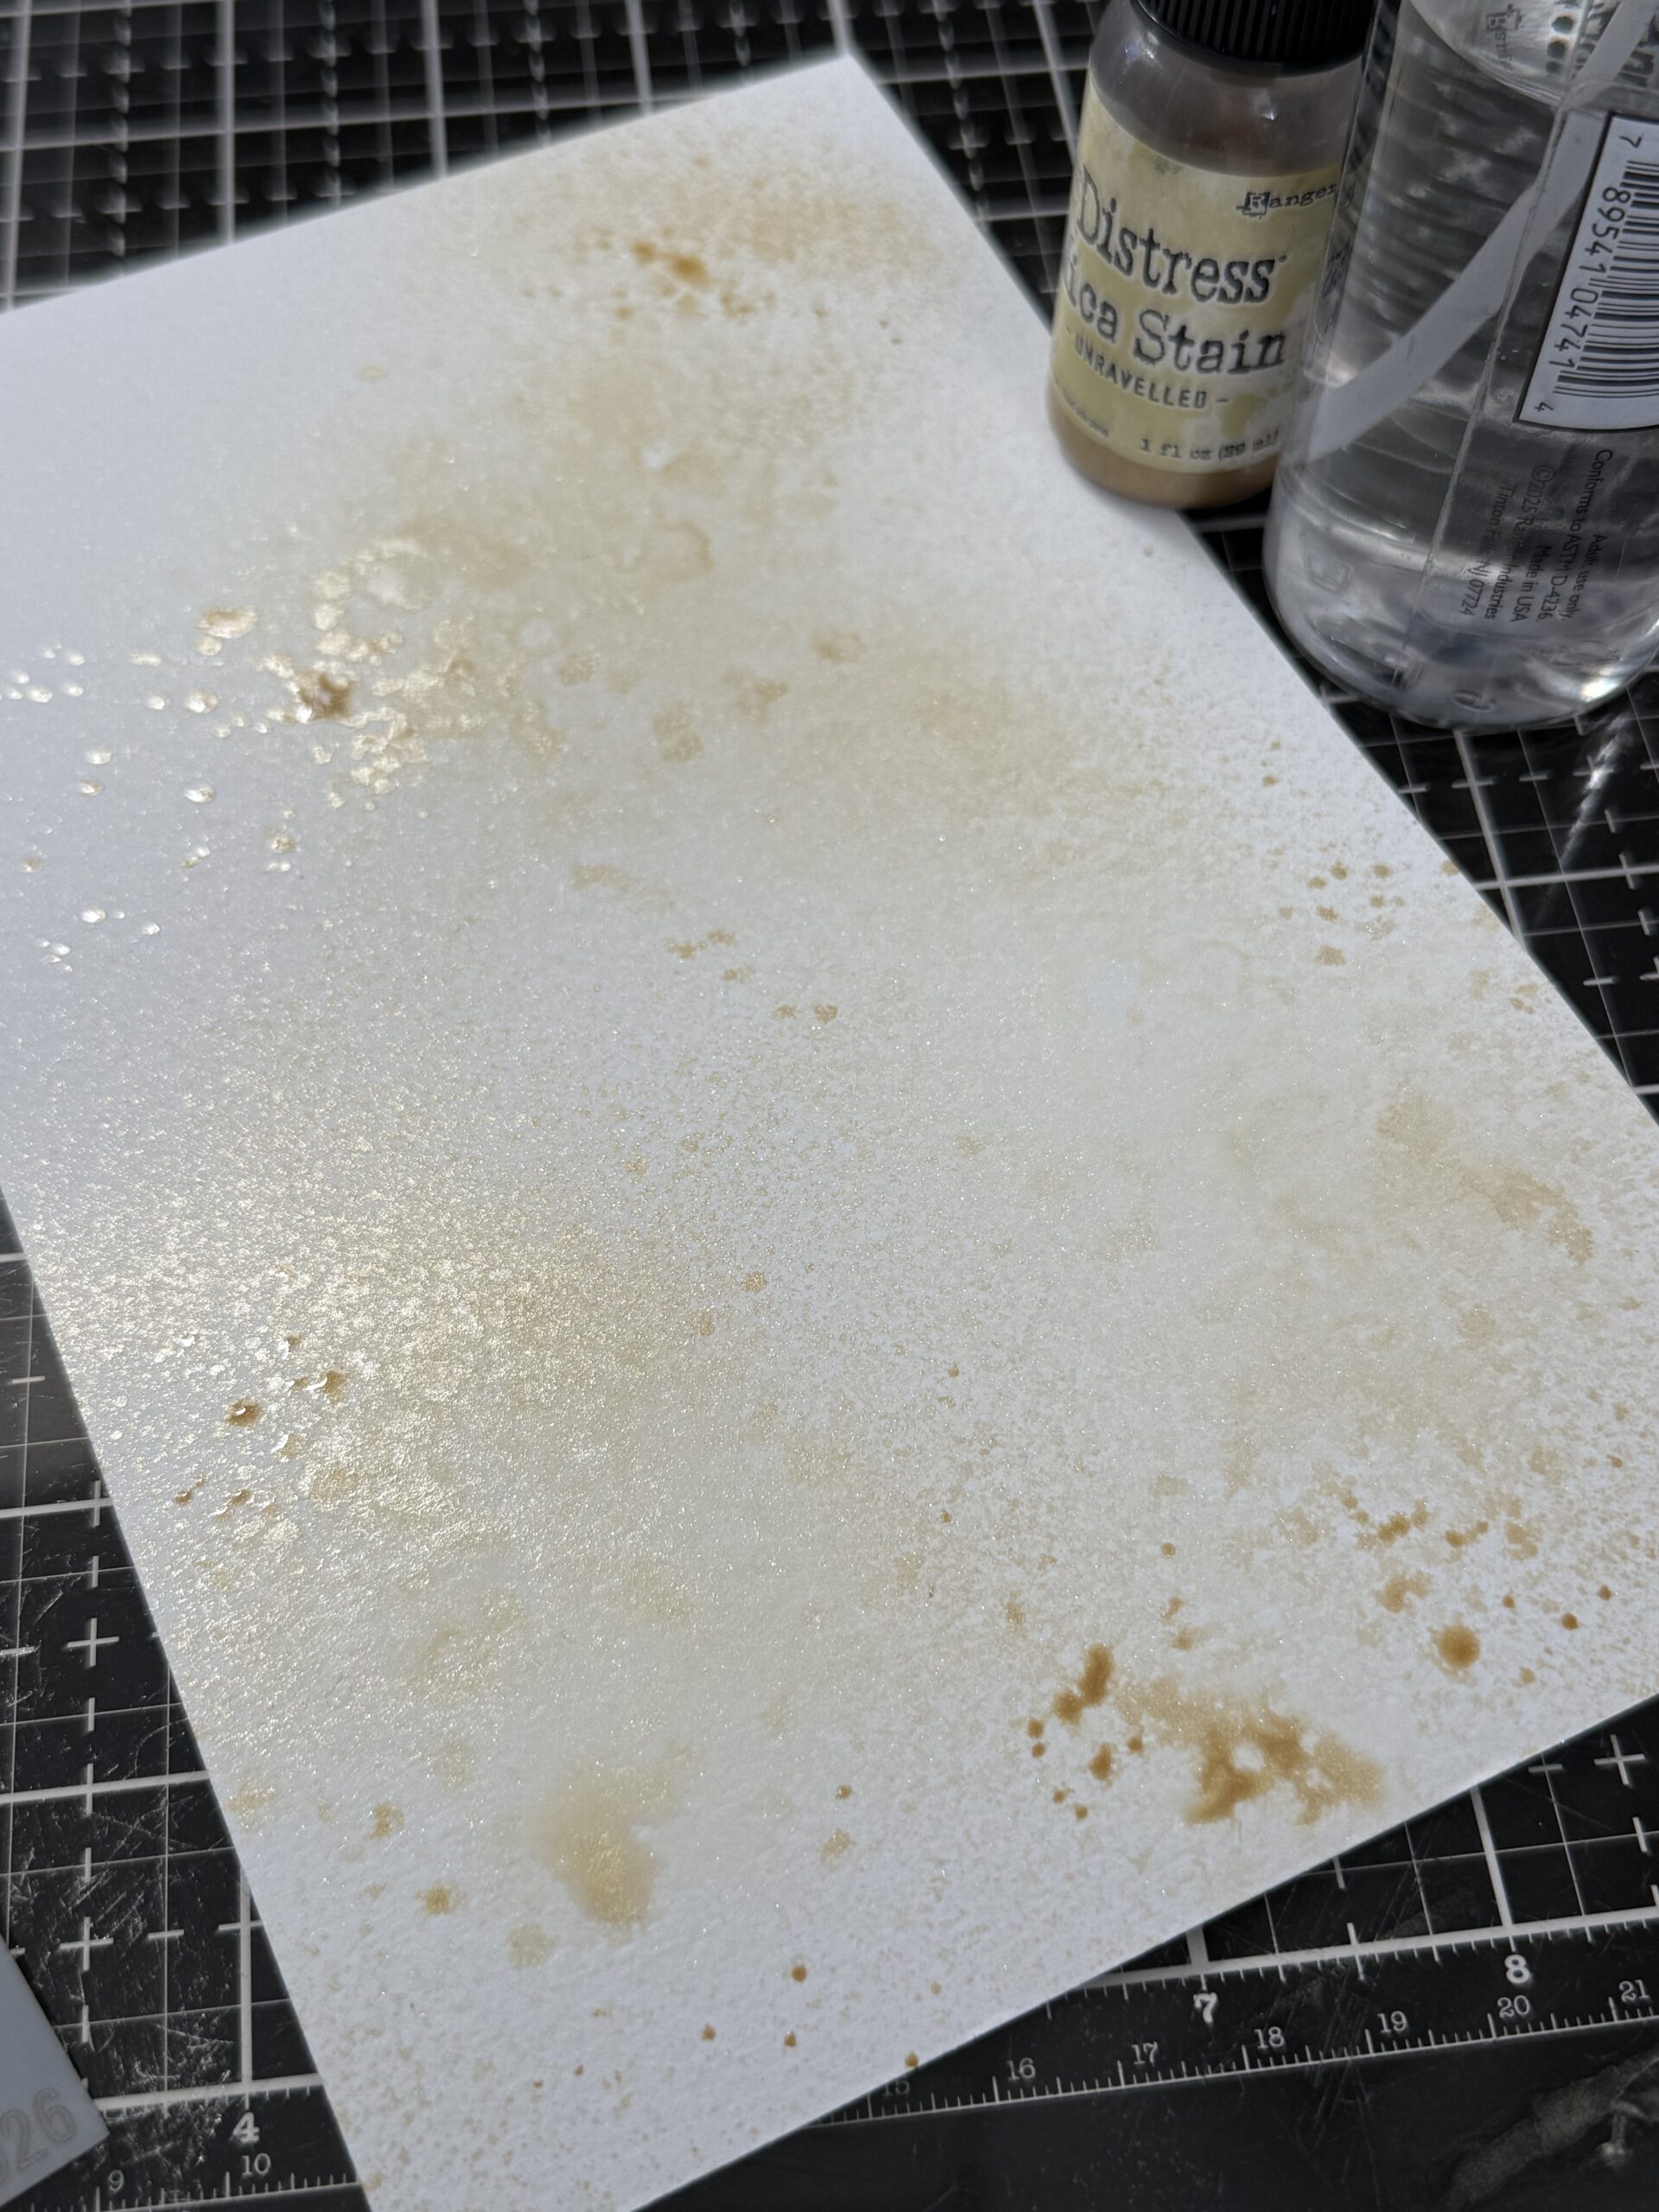
The next is using the watercolors to color a stencil, then flipping the stencil onto a piece of inky paper to make a print. I started by using Unraveled Mica Stain spritzed onto my paper with a combination of water, then dried it with a heat tool. This becomes the base color for the background.
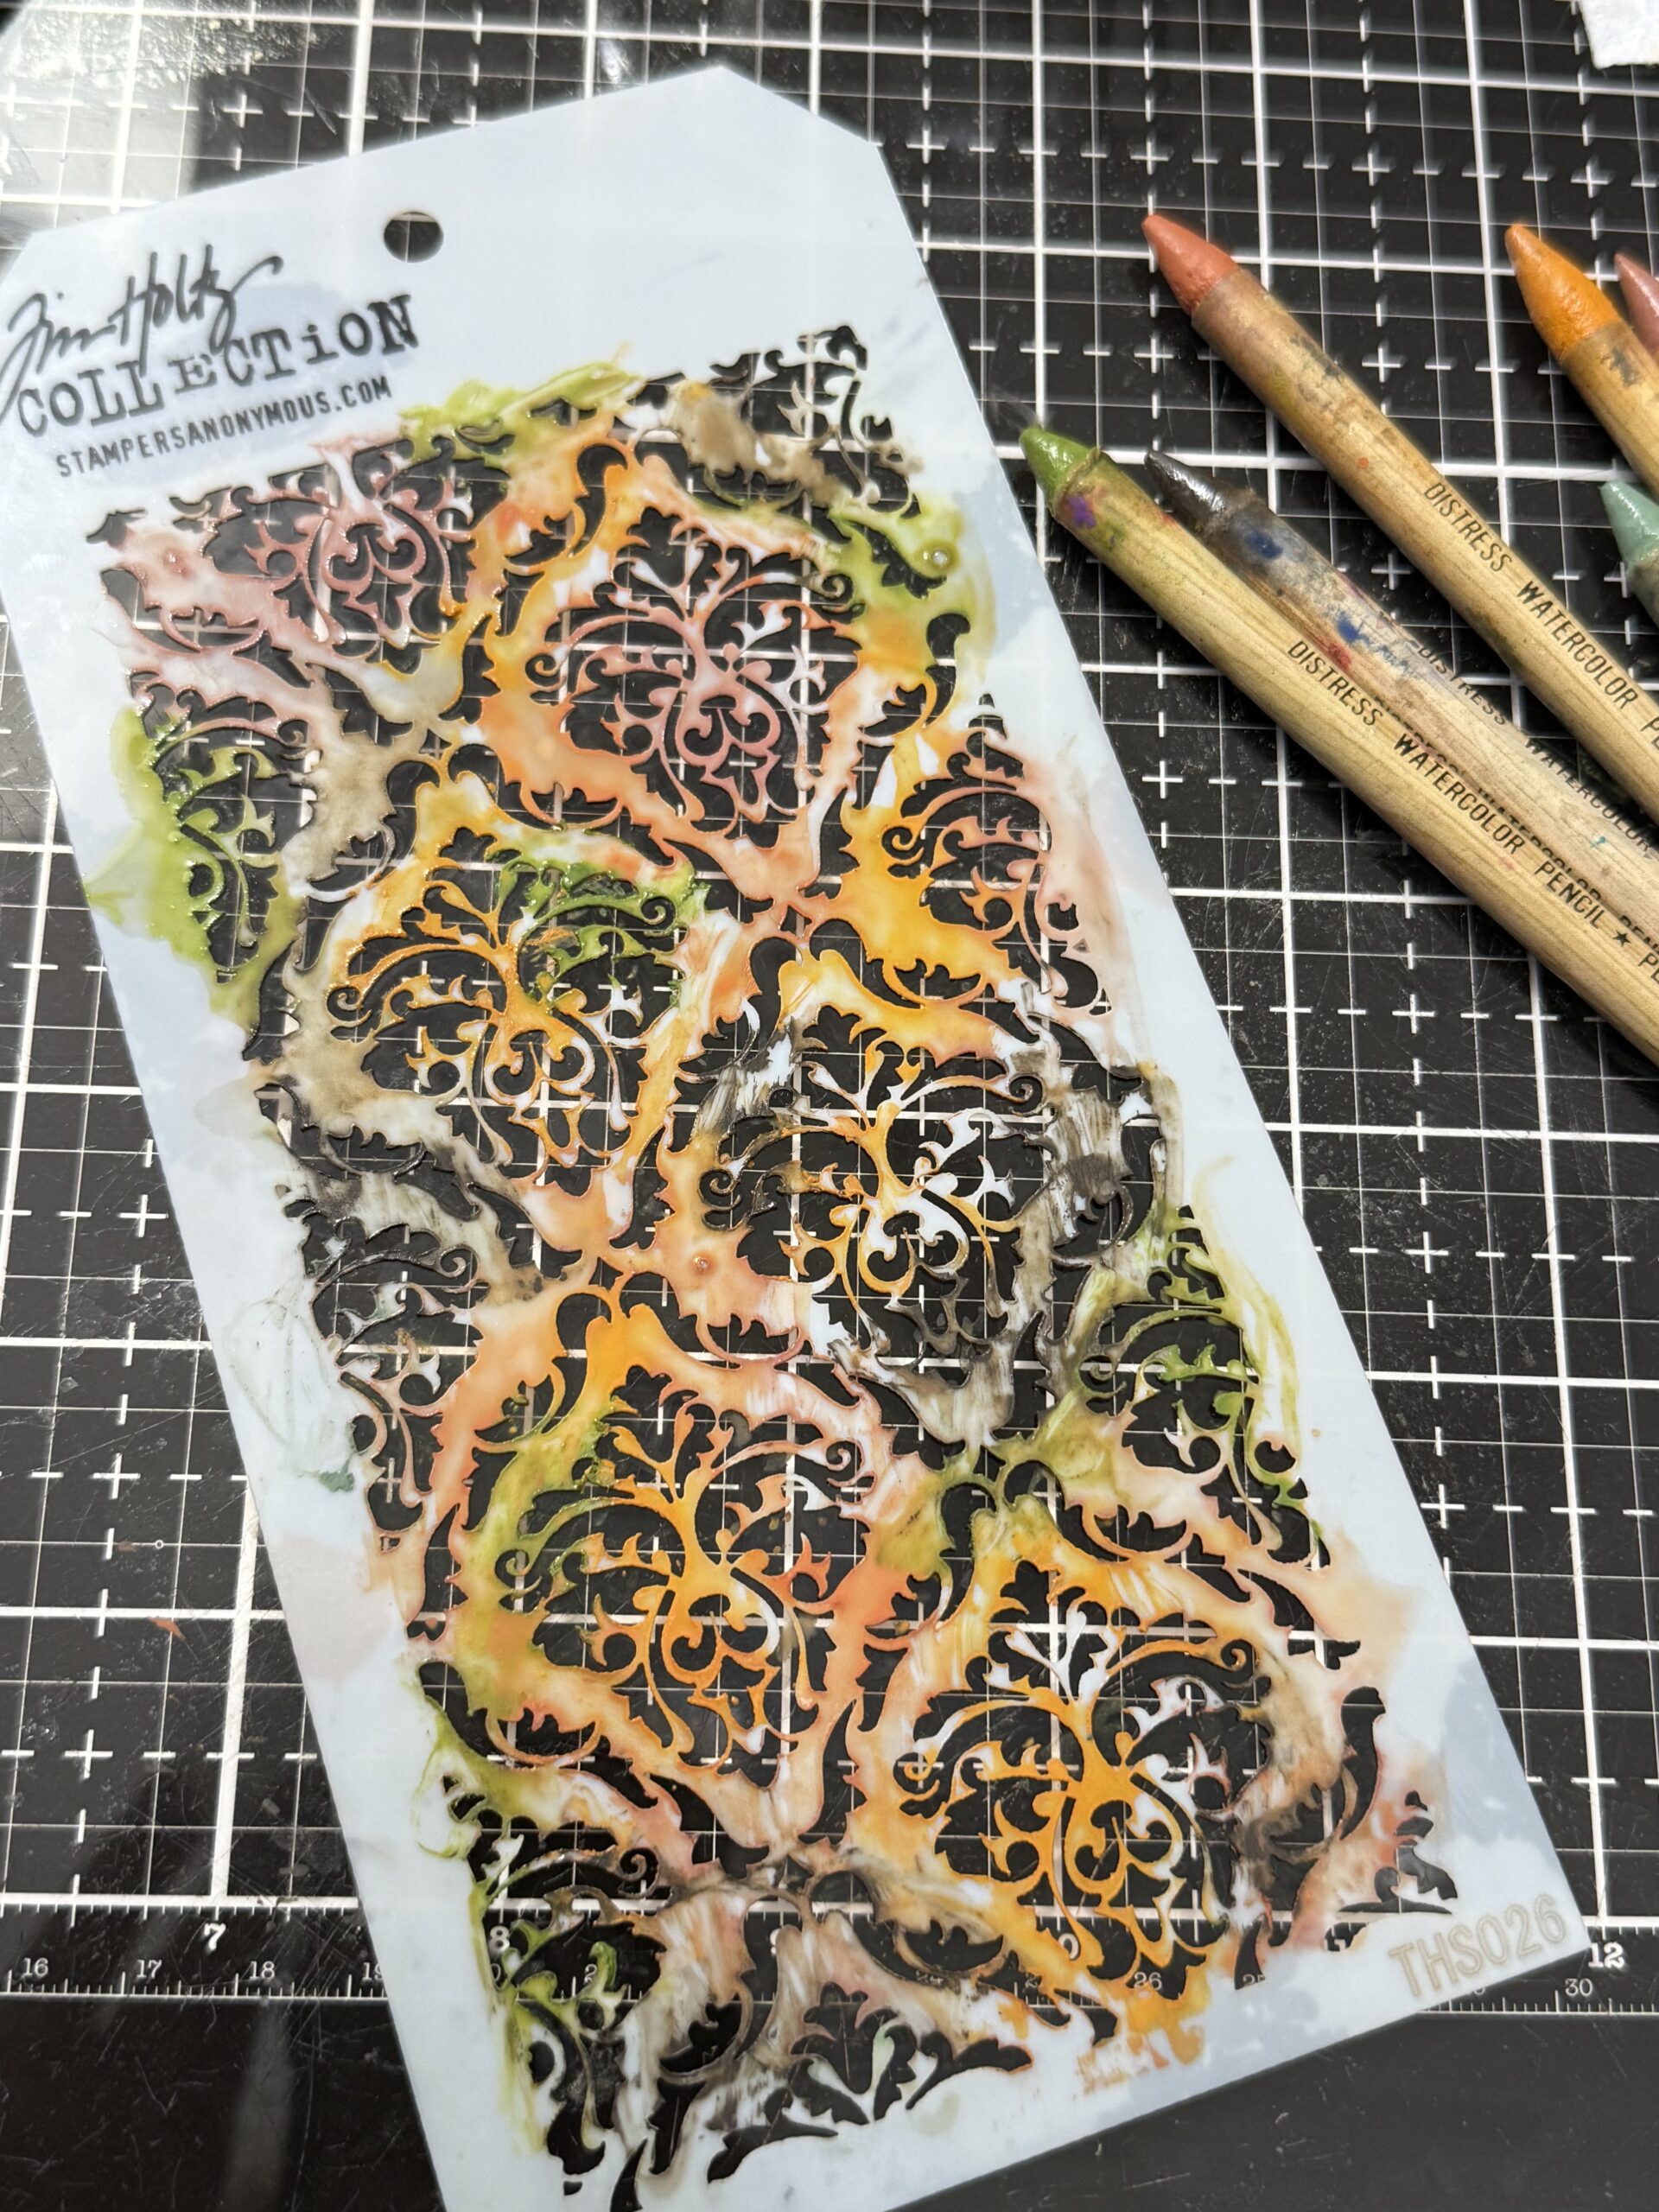
Using a combination of Distress Watercolor Pencils, I dipped each pencil into the water to activate the pigment, then scribbled onto the stencil until I had the inside design covered.
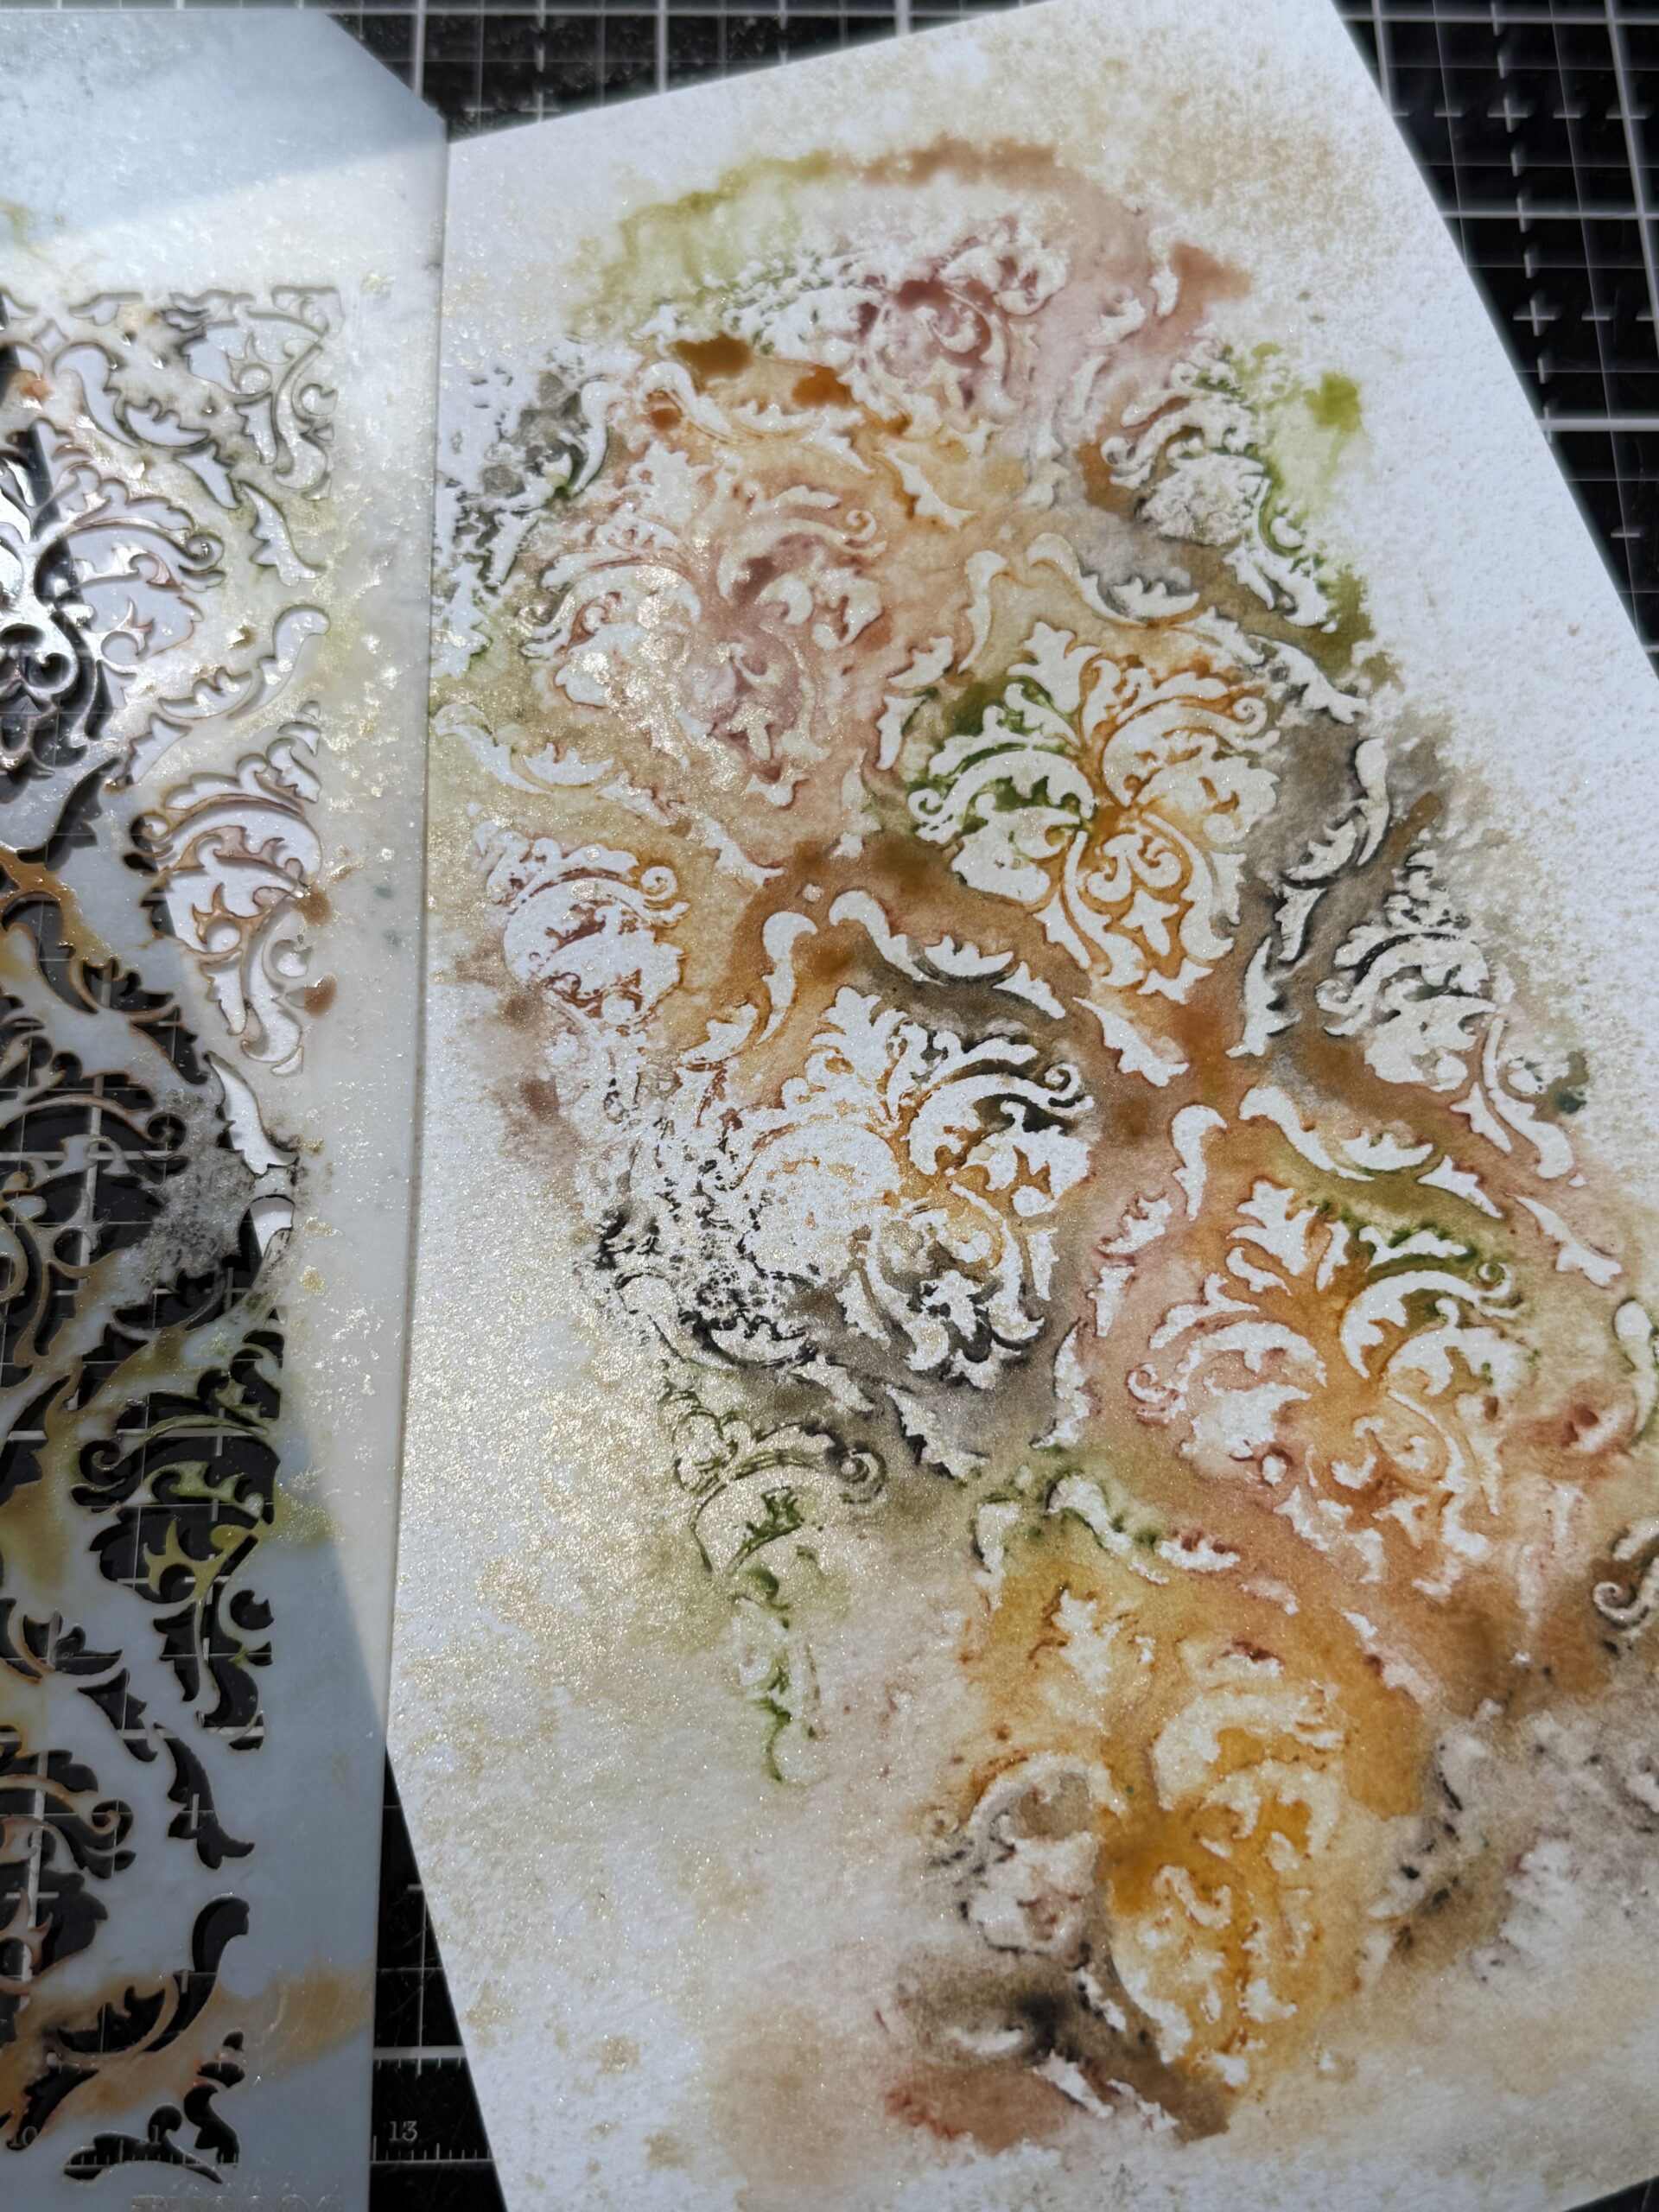
Then, using a couple spritzes of both Unraveled Mica and water, I spritzed the stencil, flipped the inky side down onto the paper and pressed the stencil holding it in place for a few seconds, then picked it up carefully and dried the background.
If your impression isn’t as wet or printed as well as expected, carefully place the stencil back over top lining it up with the pattern left on the background, and spritz the stencil with water, then again, carefully remove and dry the background.
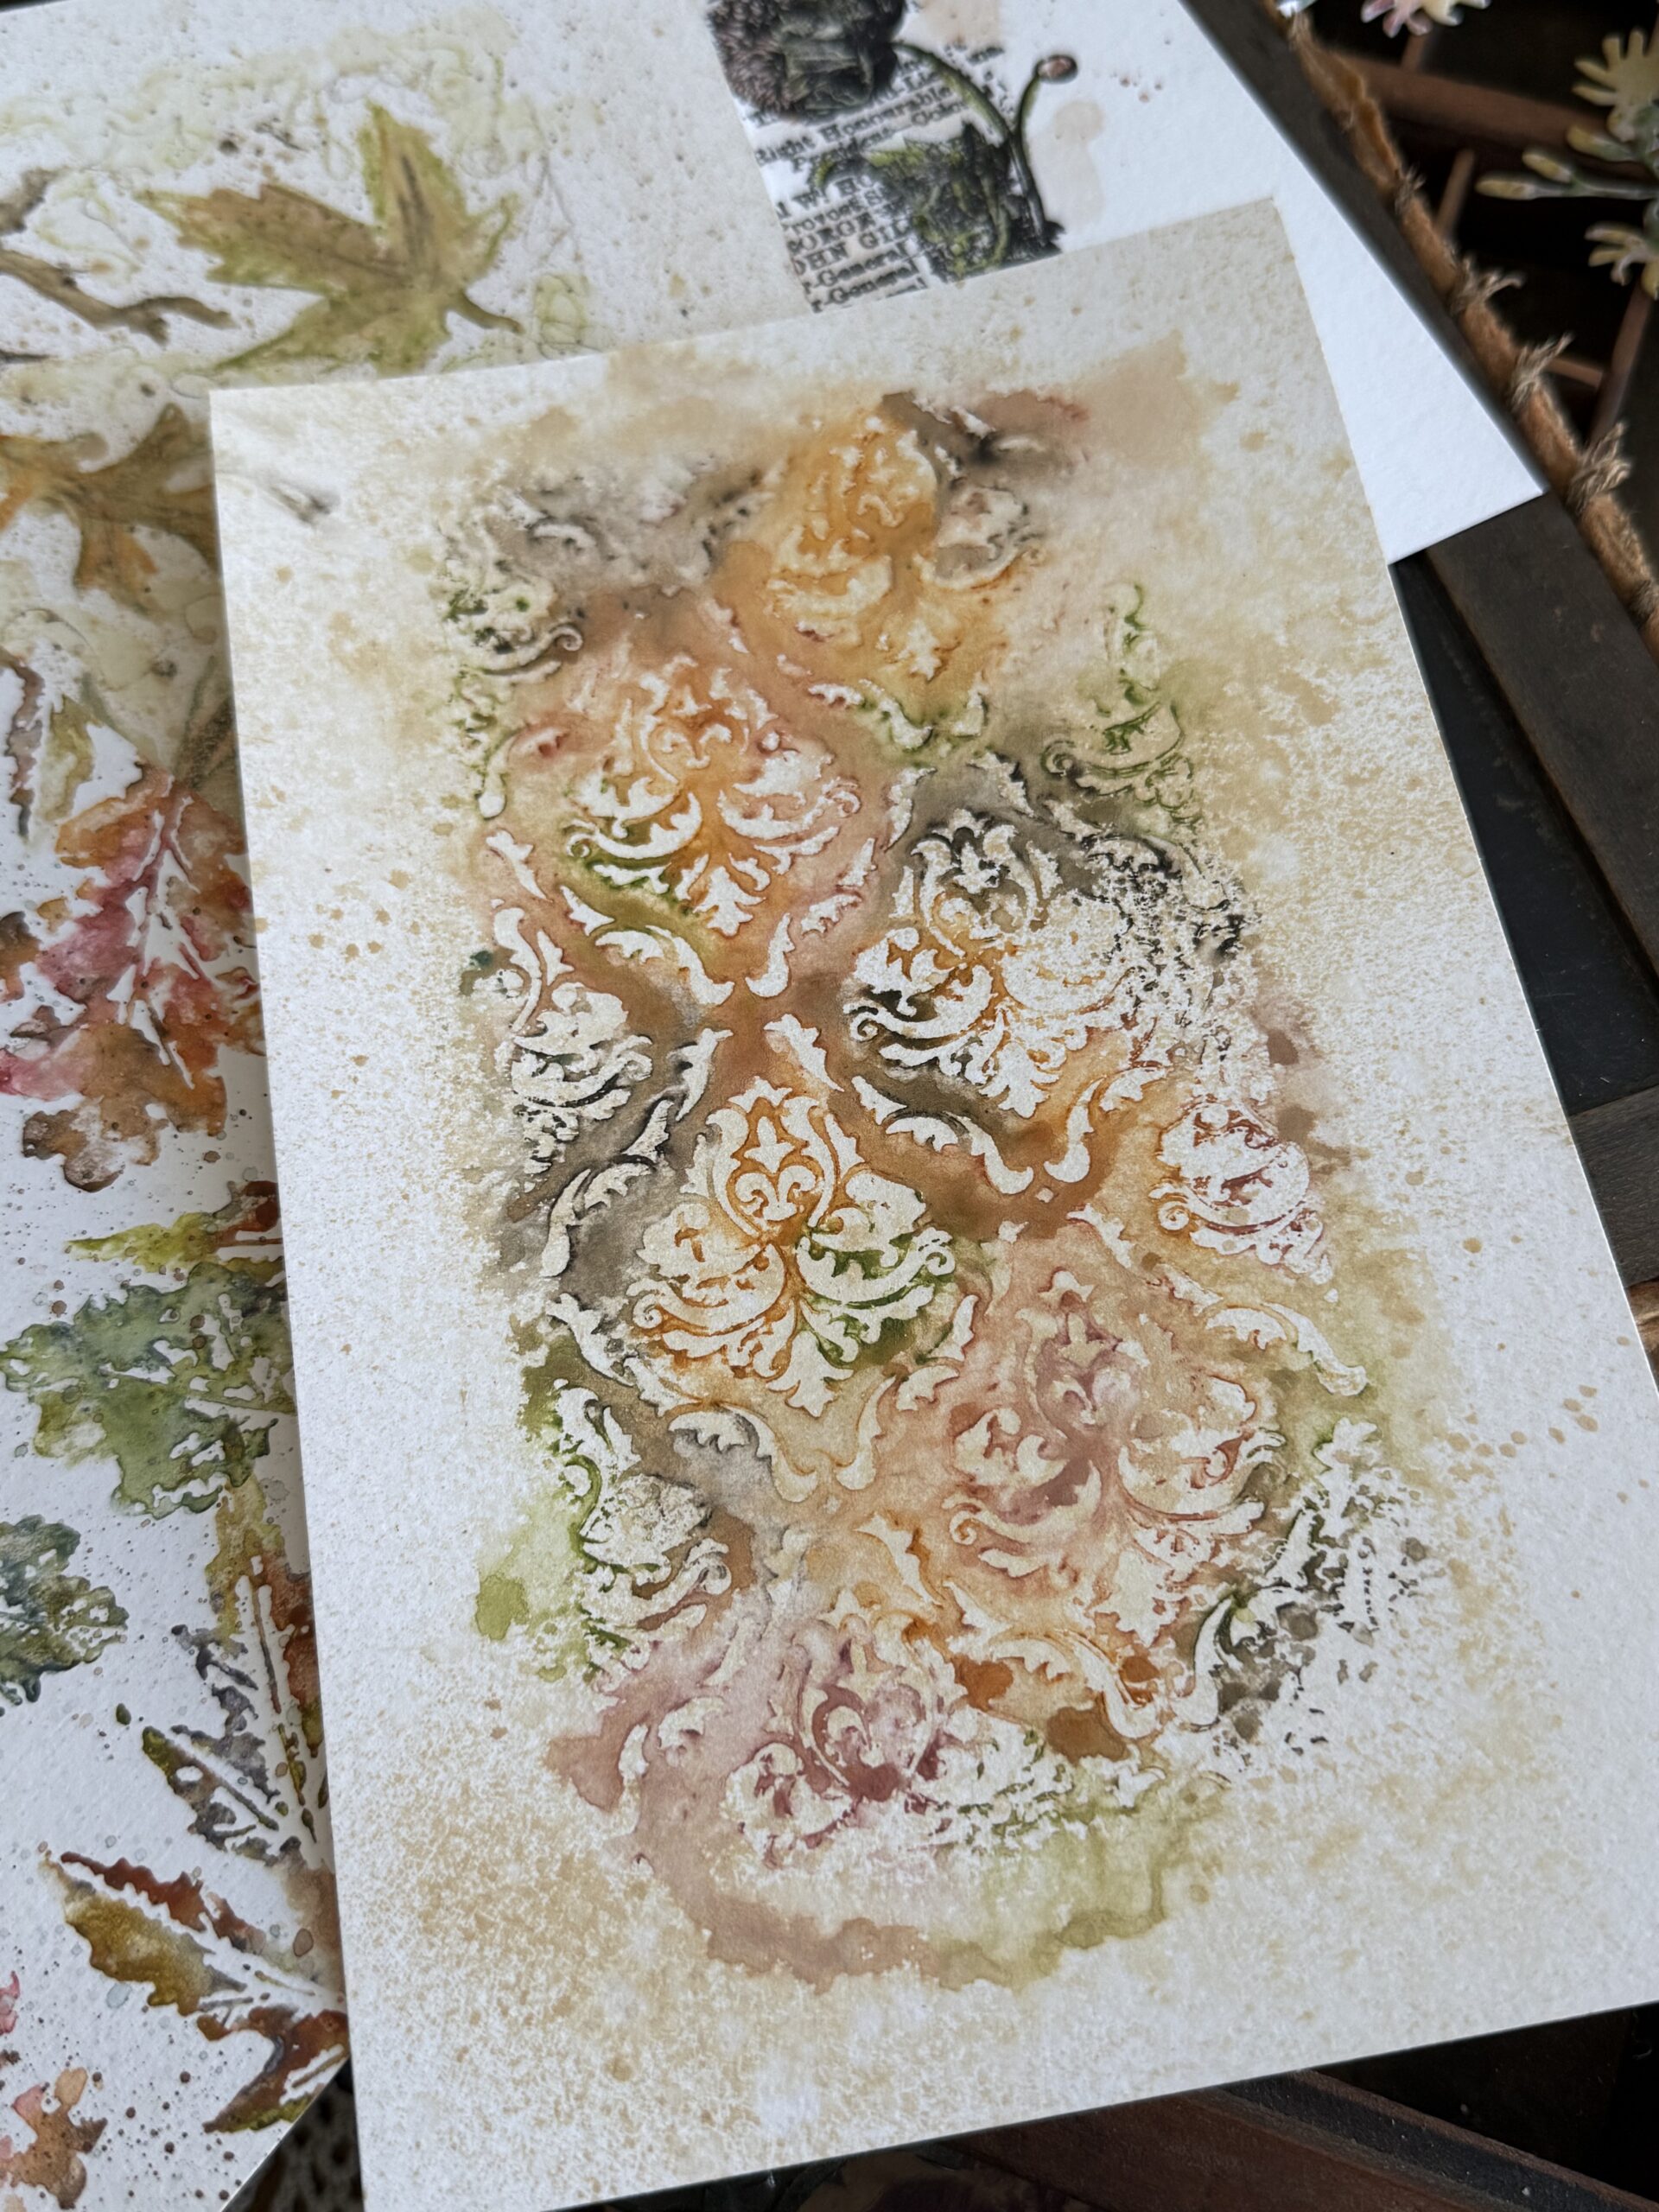
With that, this background was complete.
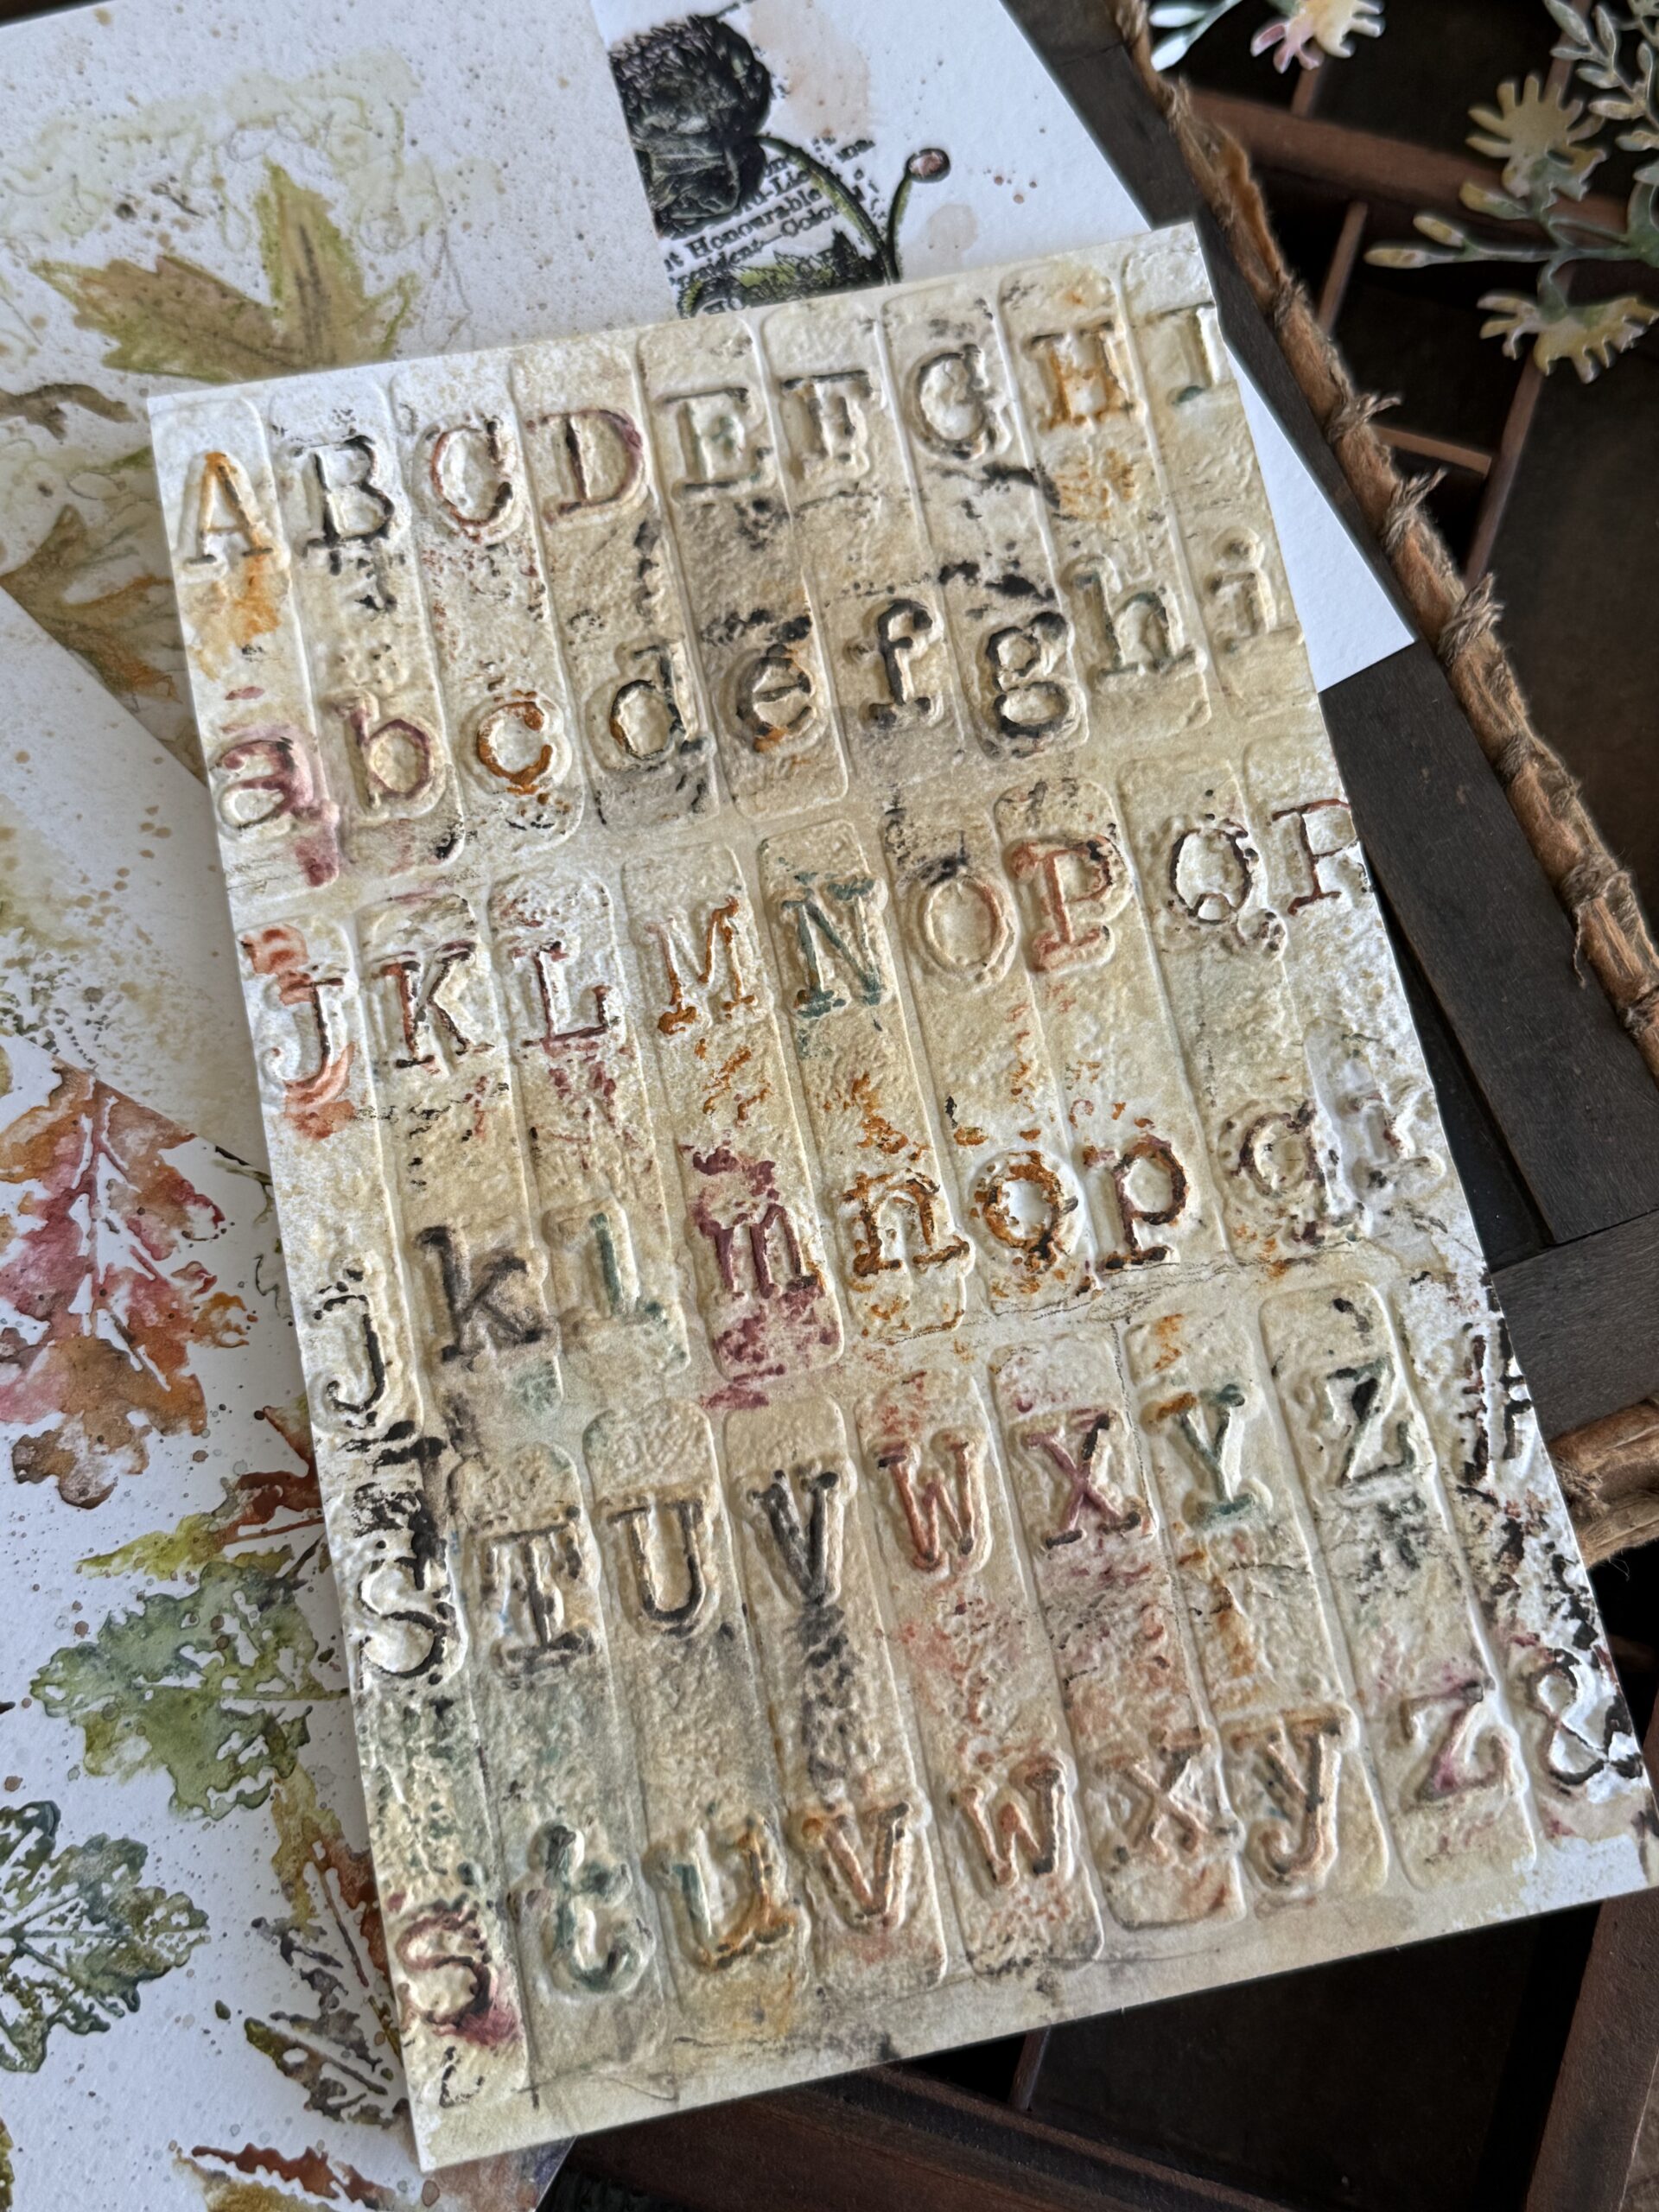
Next up, an embossed 3D paper. This was embossed using the 3D Large Typewriter Texture Fade. After it was embossed, I spritzed the paper with Antique Linen Spray Stain, then dried it with my heat tool.

Once the paper was dry, I dipped each of the colors I was using into my water and rubbed them onto the embossed design, after the background was all colored up, I used a paintbrush to move some of the color and dried the background using my heat tool.

With that, this background was complete.
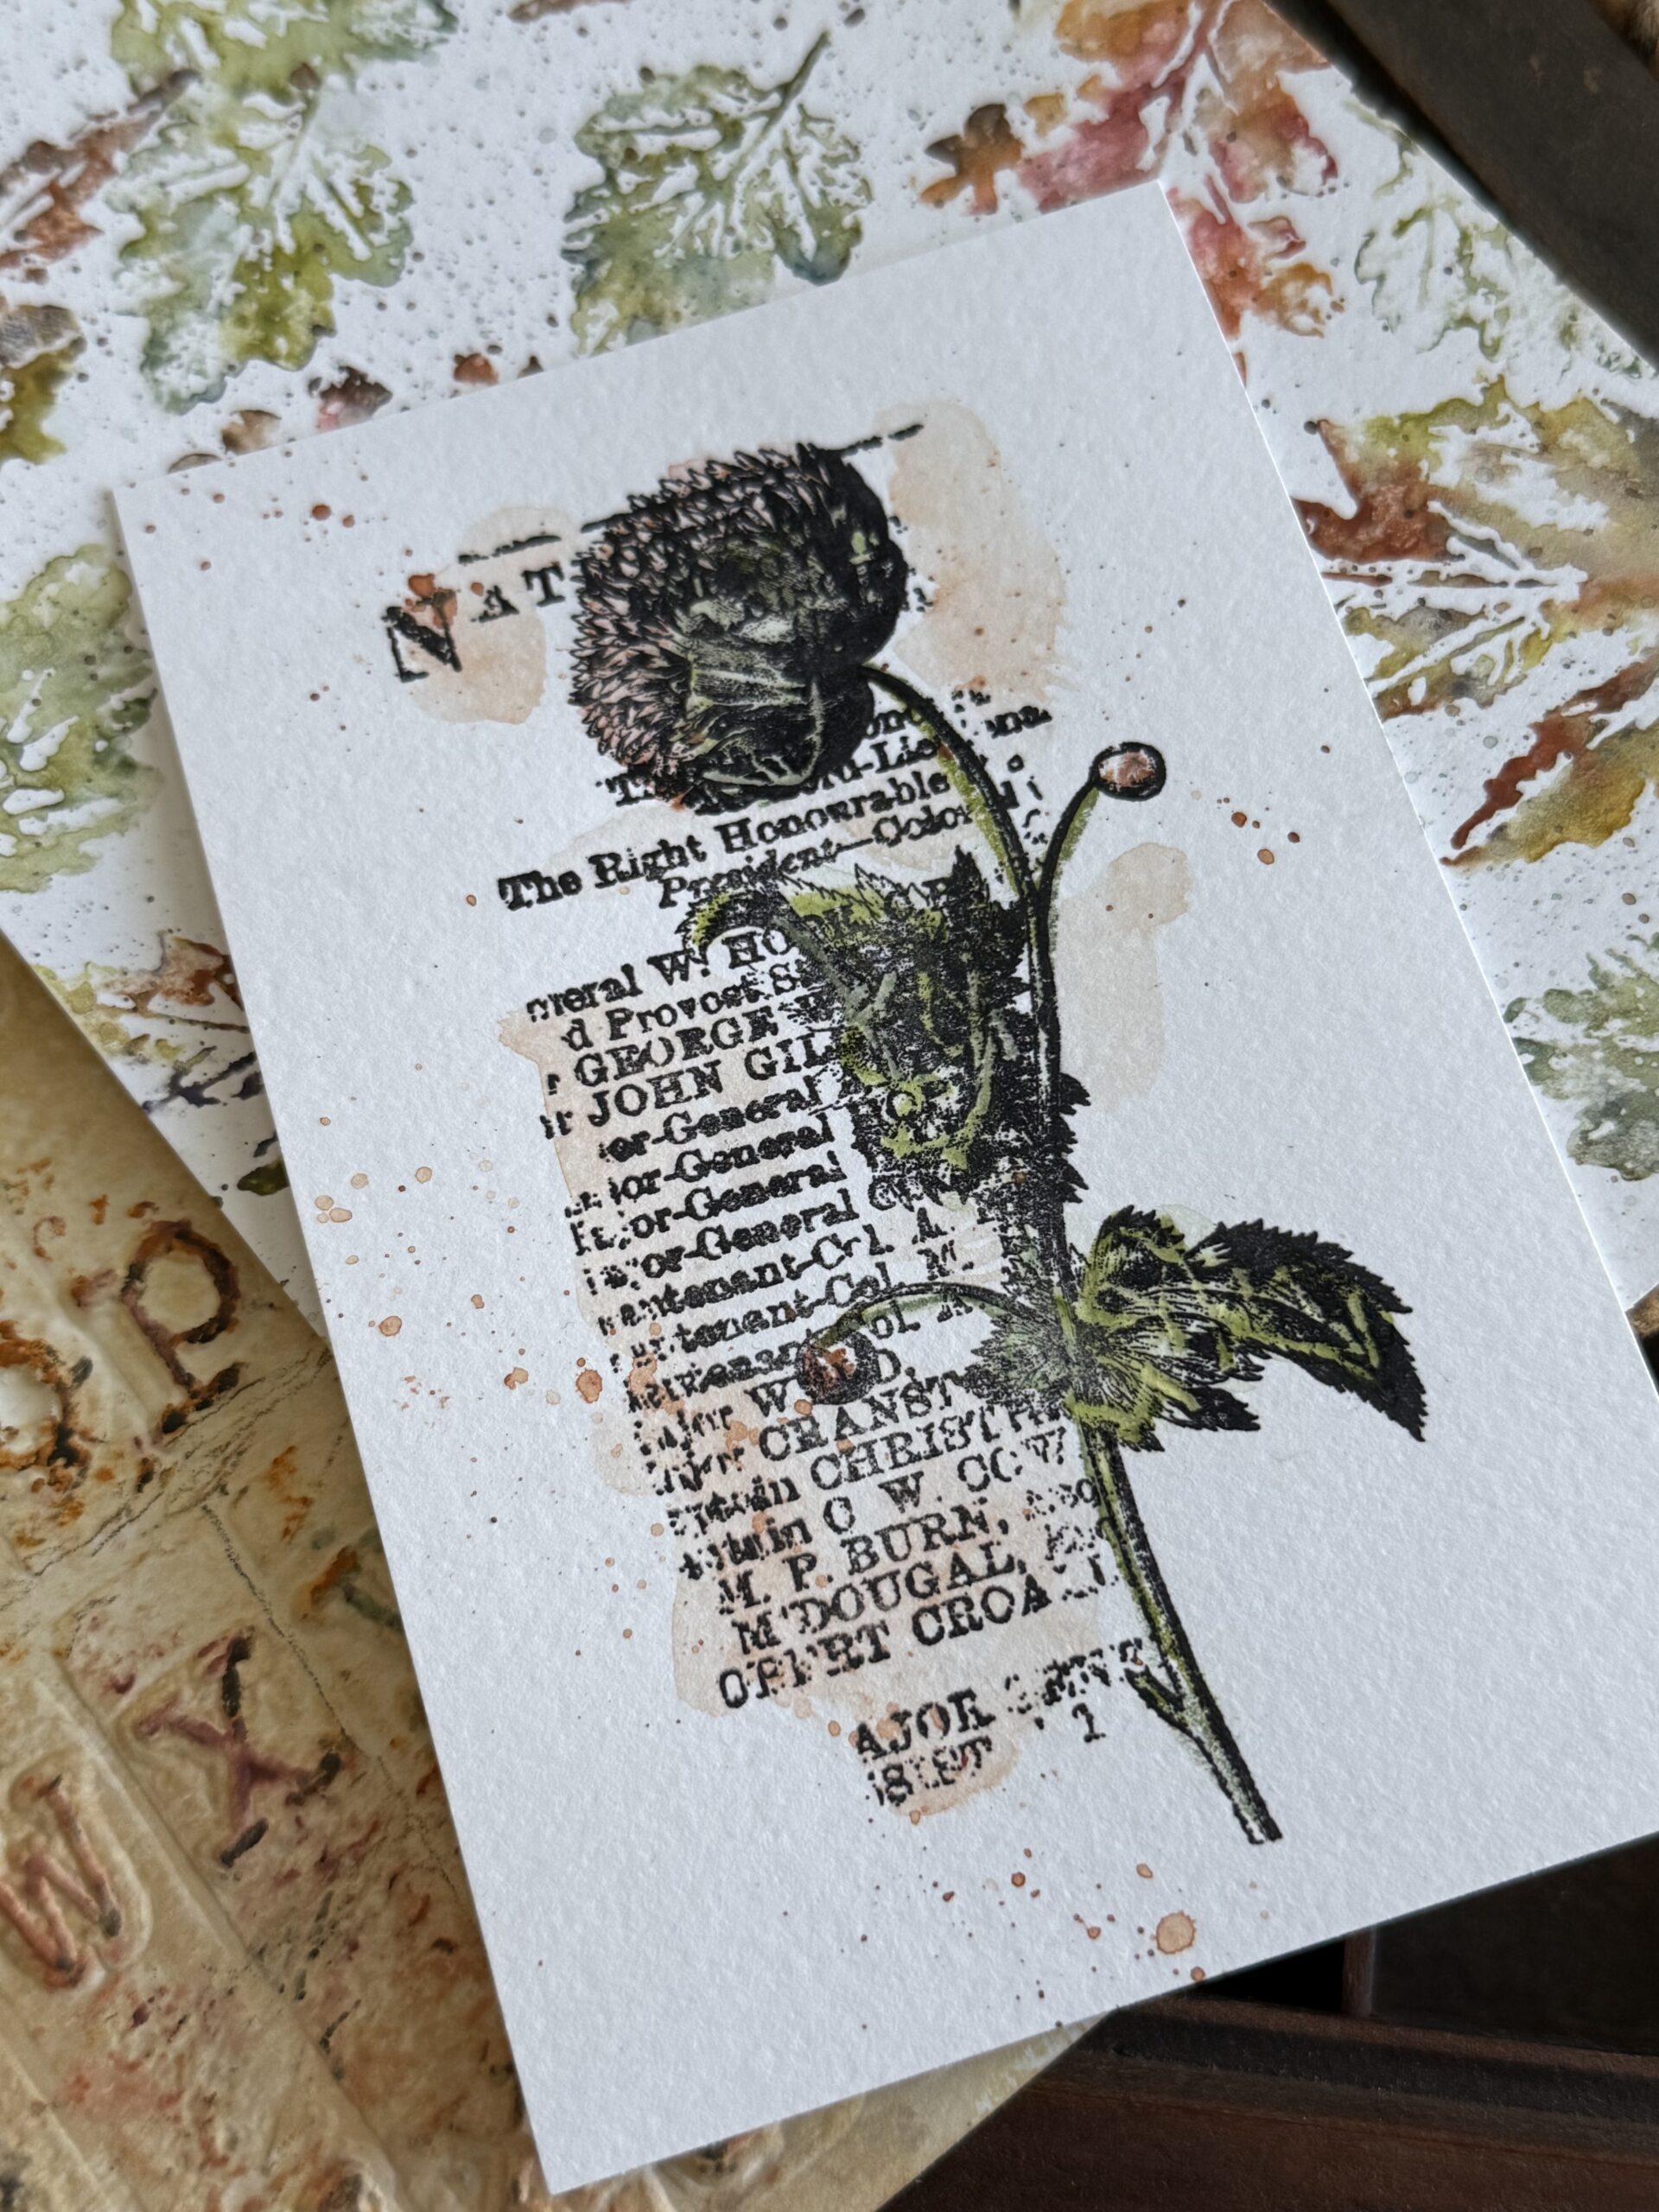
Next, I wanted to show you how to color up an image using the watercolors… this technique is best done using a stamping platform.
I chose a stamp from the Botanic Collage Stamp Set CMS447, and placed the stamp within a stamp platform. I loaded the stamp with Black Soot Archival ink, then stamped the image lightly onto the smooth side of Distress Watercolor Paper.
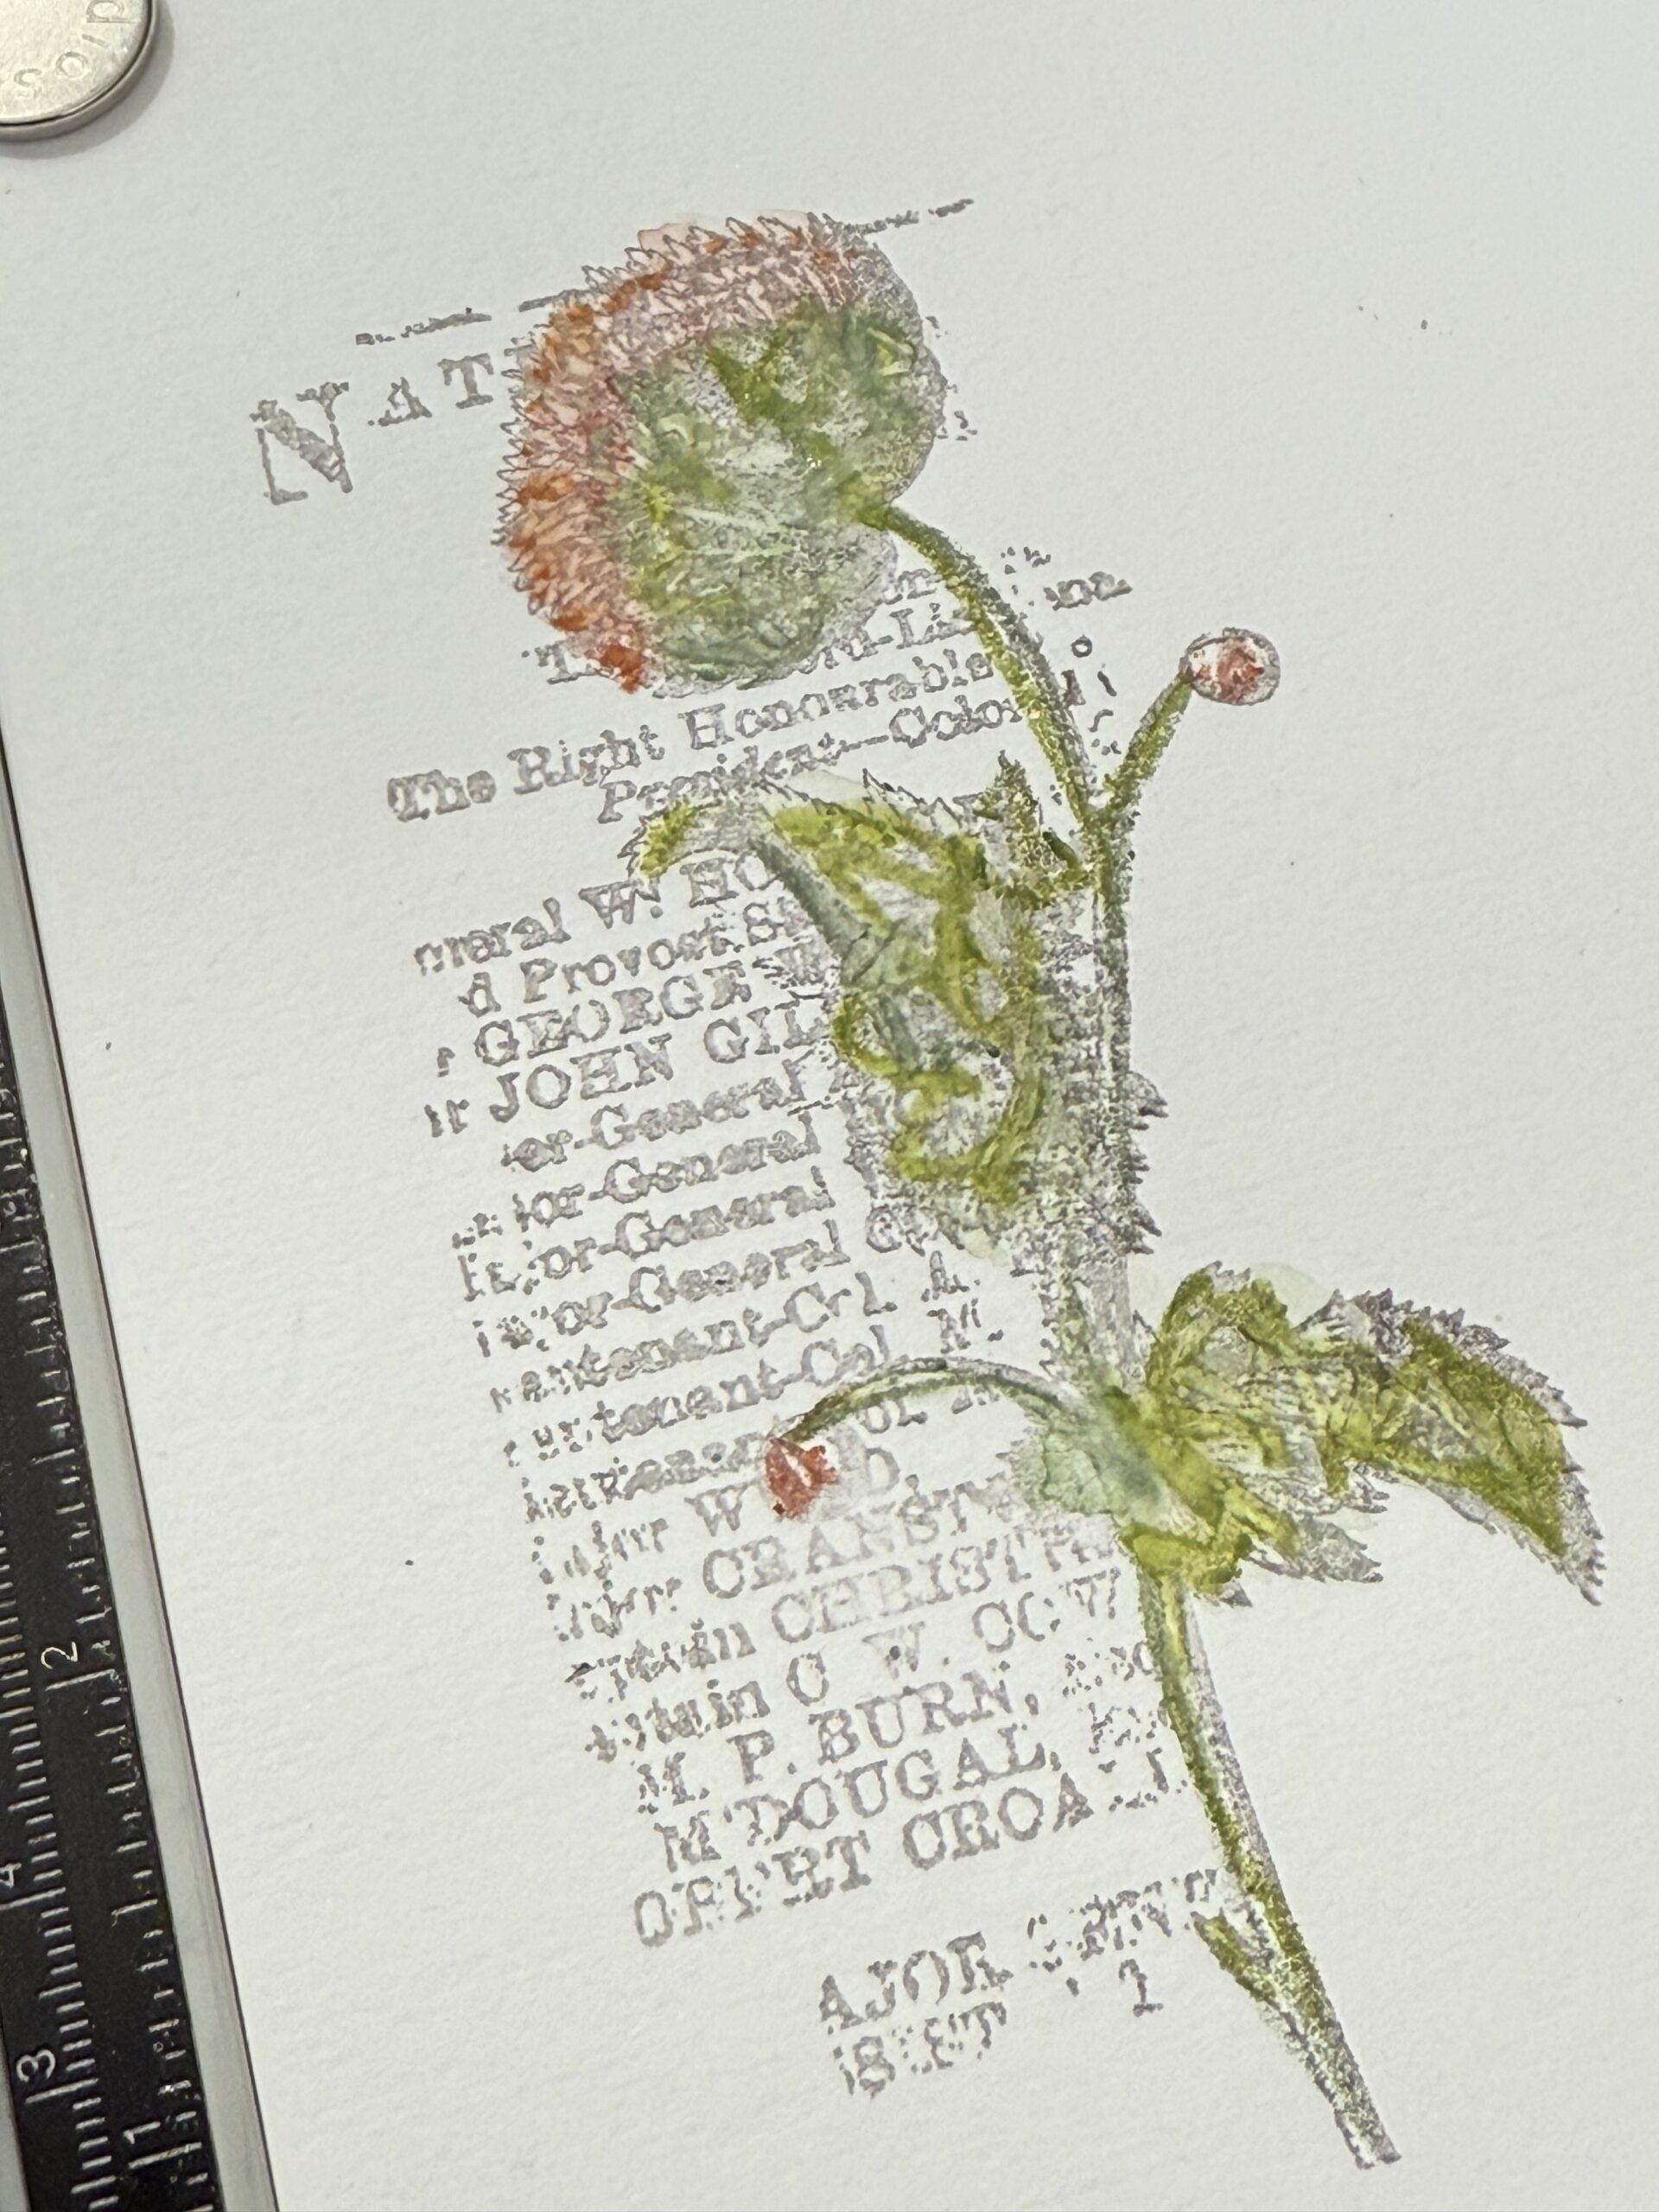
Once the image was stamped, I used dry pencils to color the flower image and then blended the colors together using a wet paint brush, then I let the watercolors dry and restamped the image over the watercolored area. The crispness of the restamped image pulls into focus and the colors highlight the image.
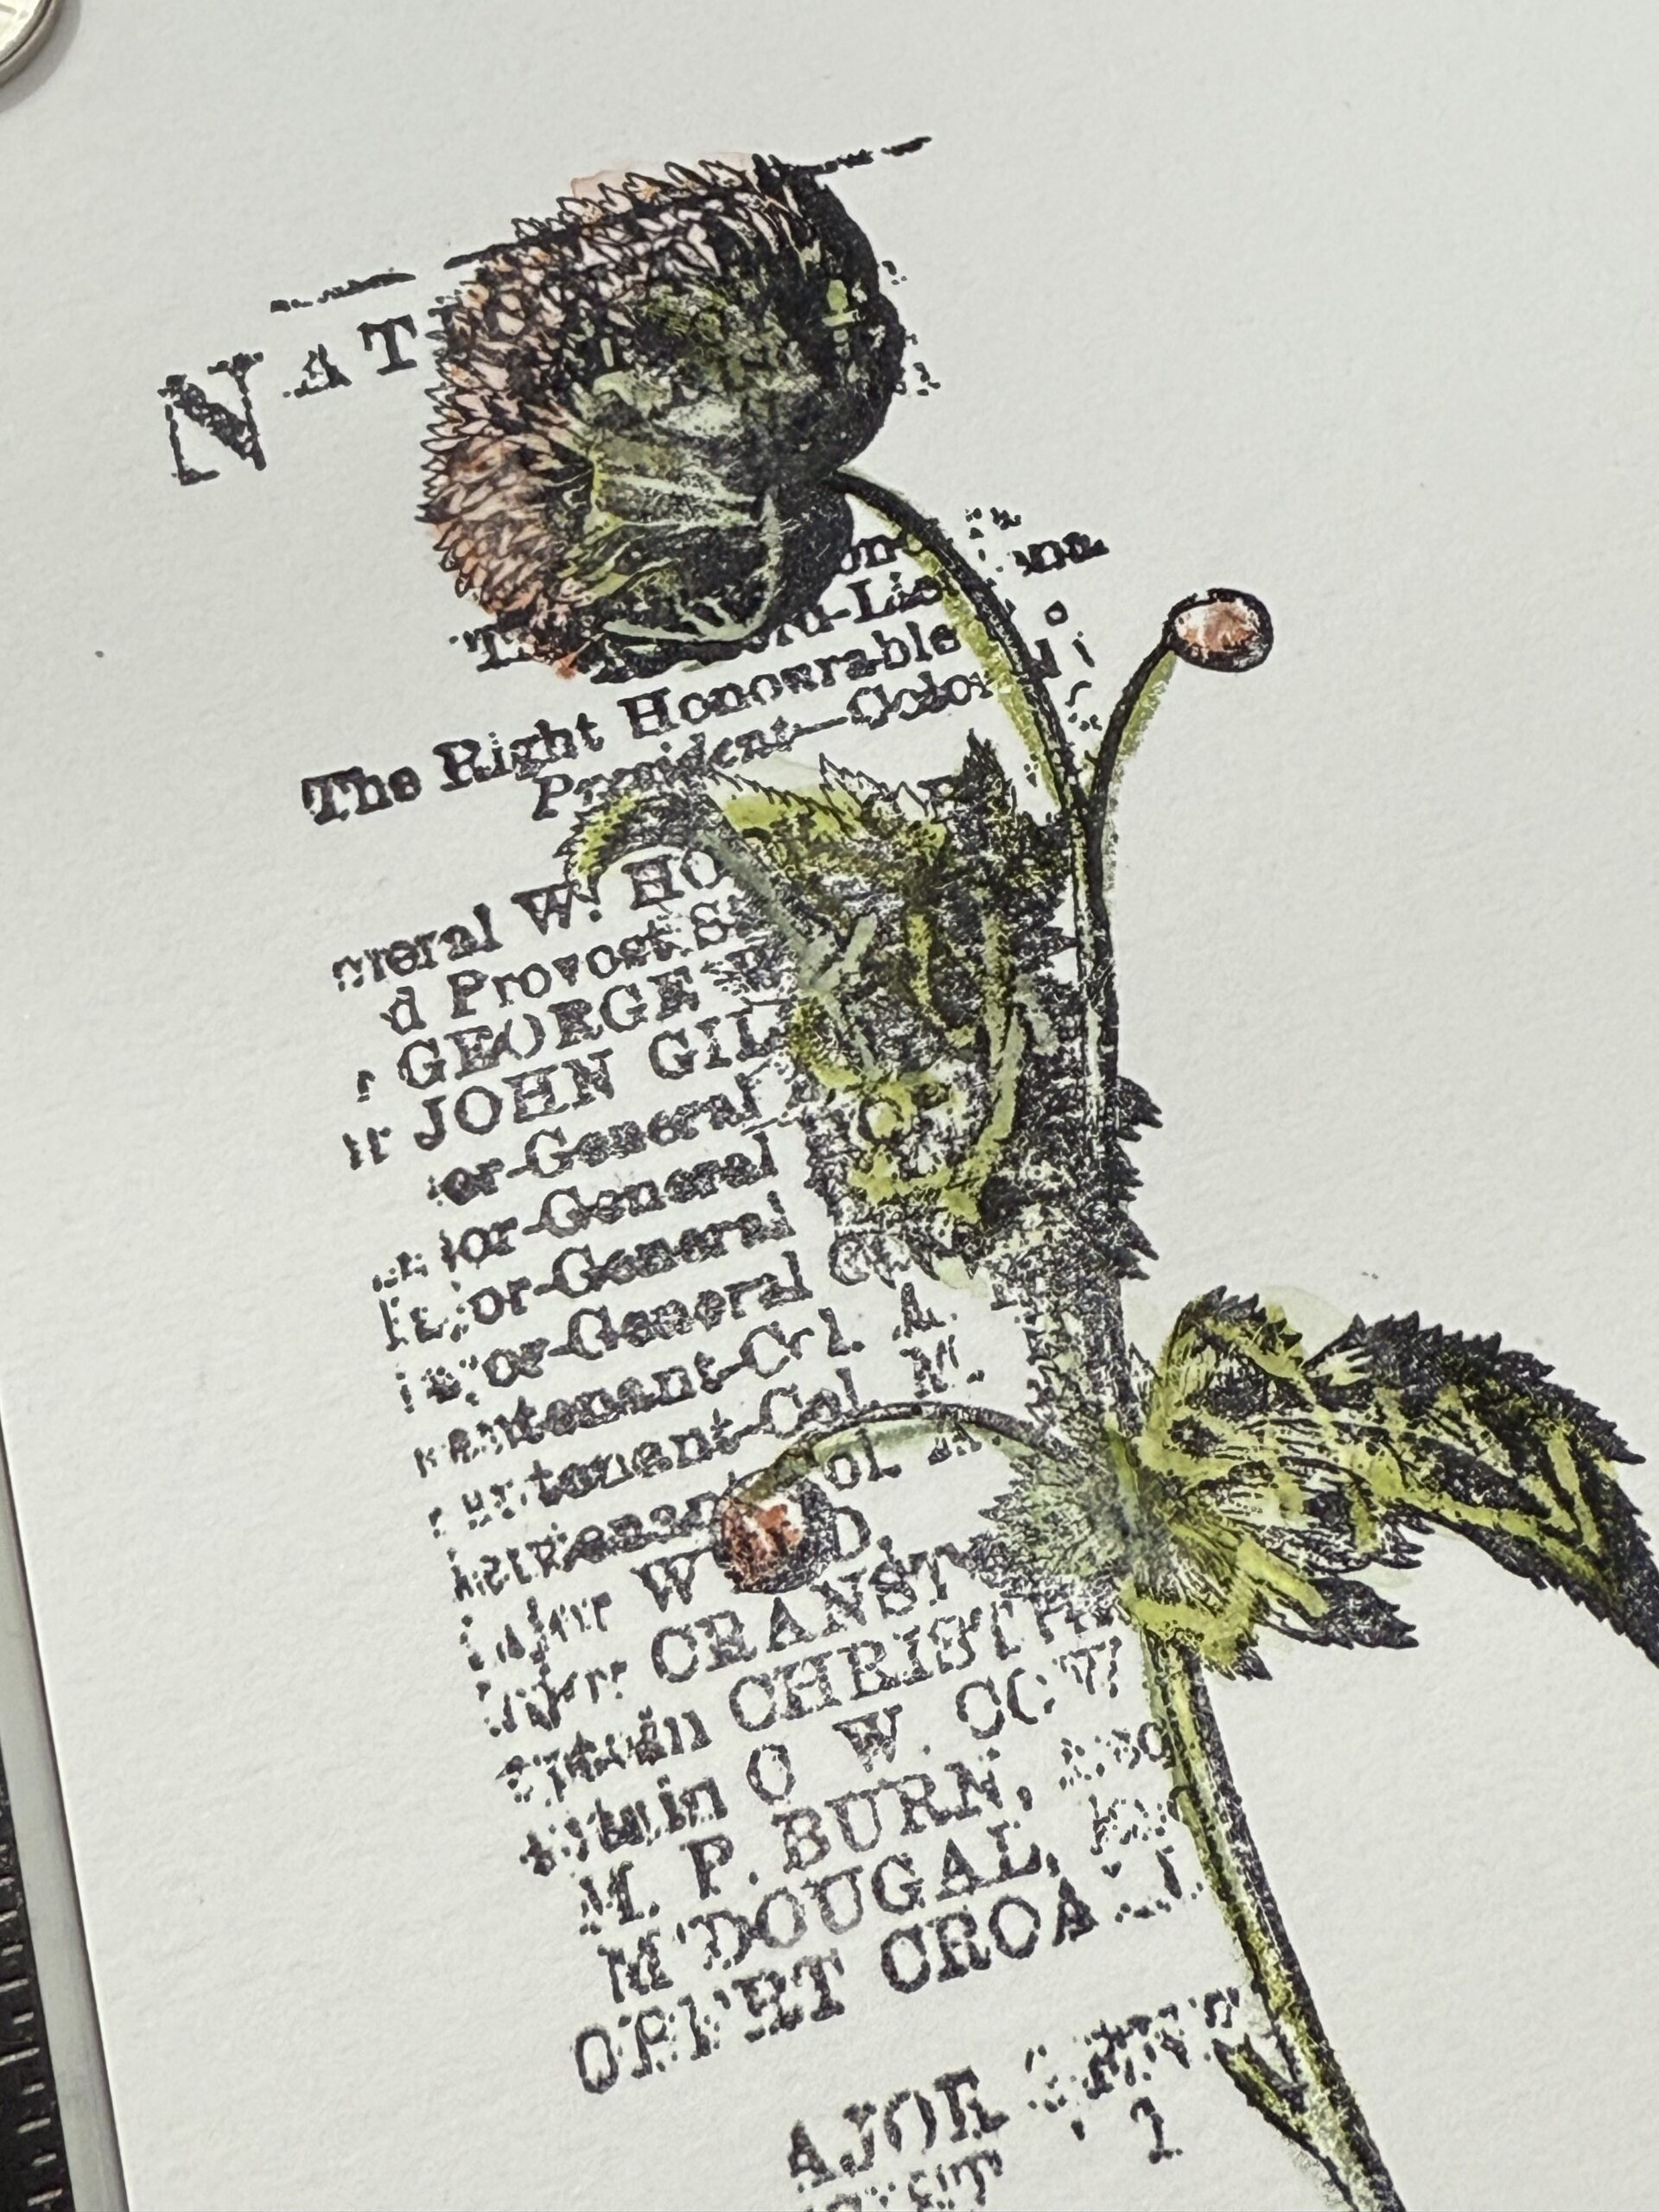
I used a wet paint brush and added some color to it from the tip of one of my watercolor pencils, then blended the area around where the typewritten area is to add some interest, then dried it with my heat tool. Next, using the brush and the wet watercolor pencil, I splattered some color into the background.
With that, my image was complete.
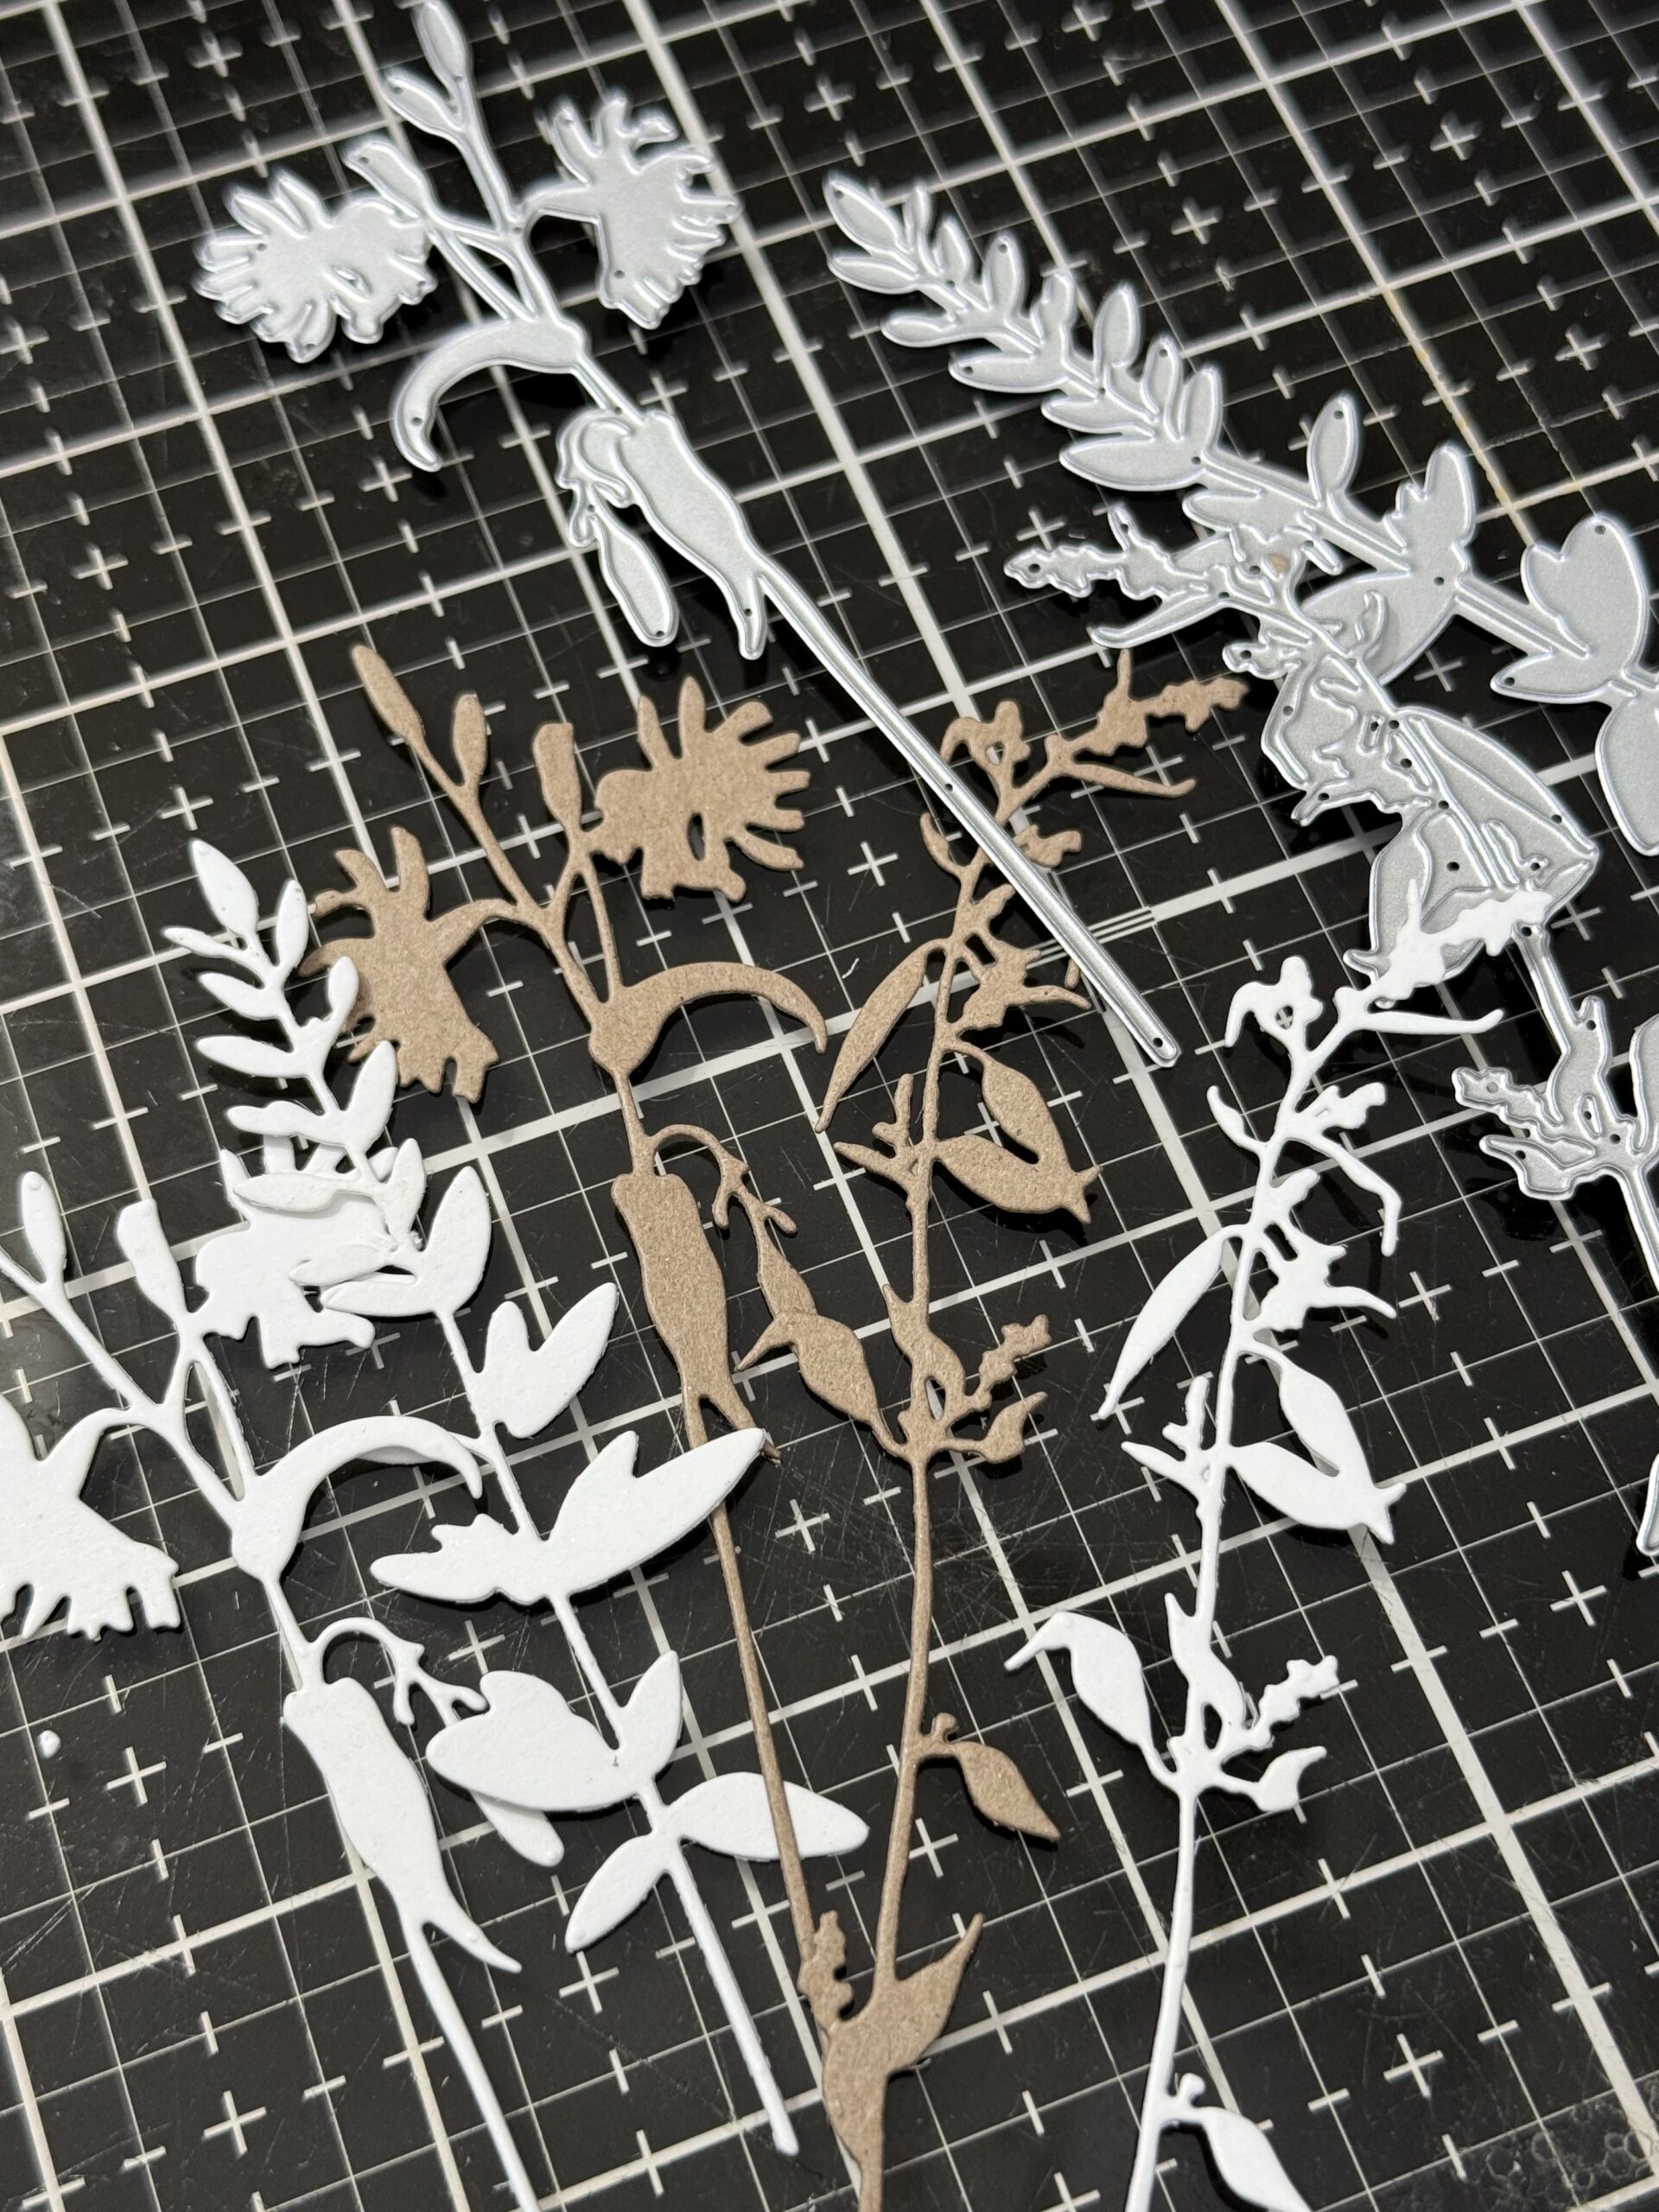
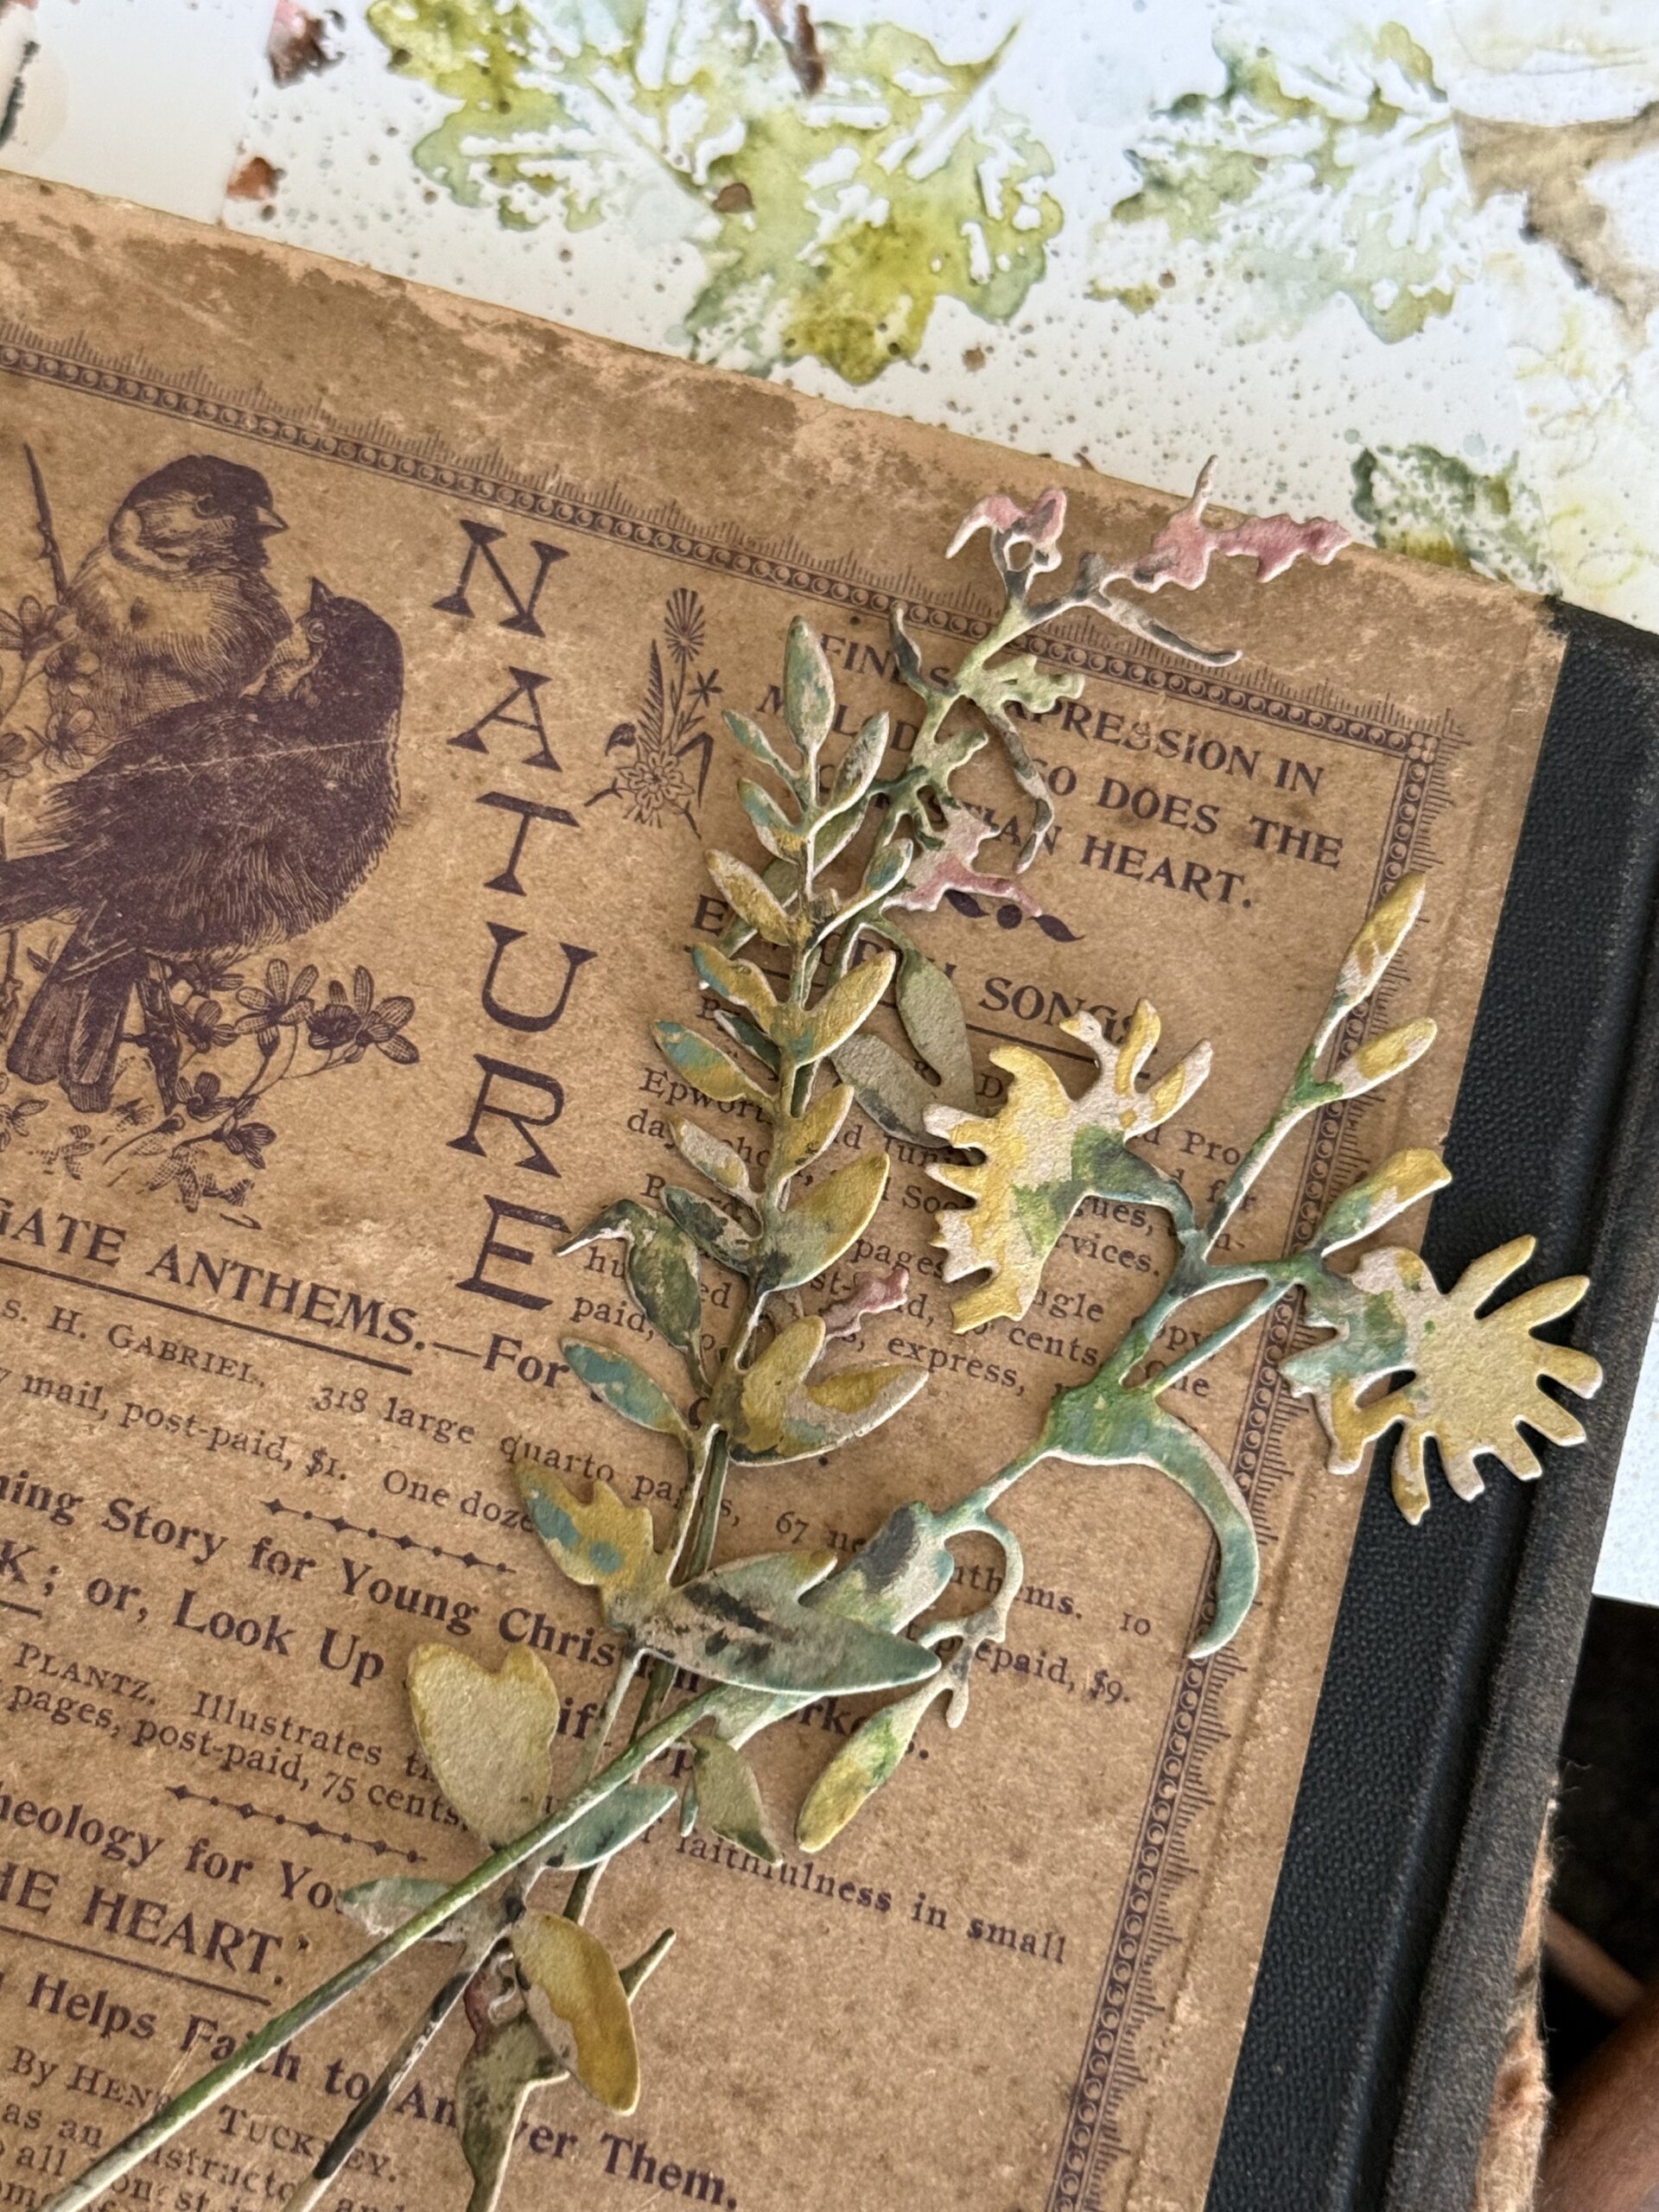
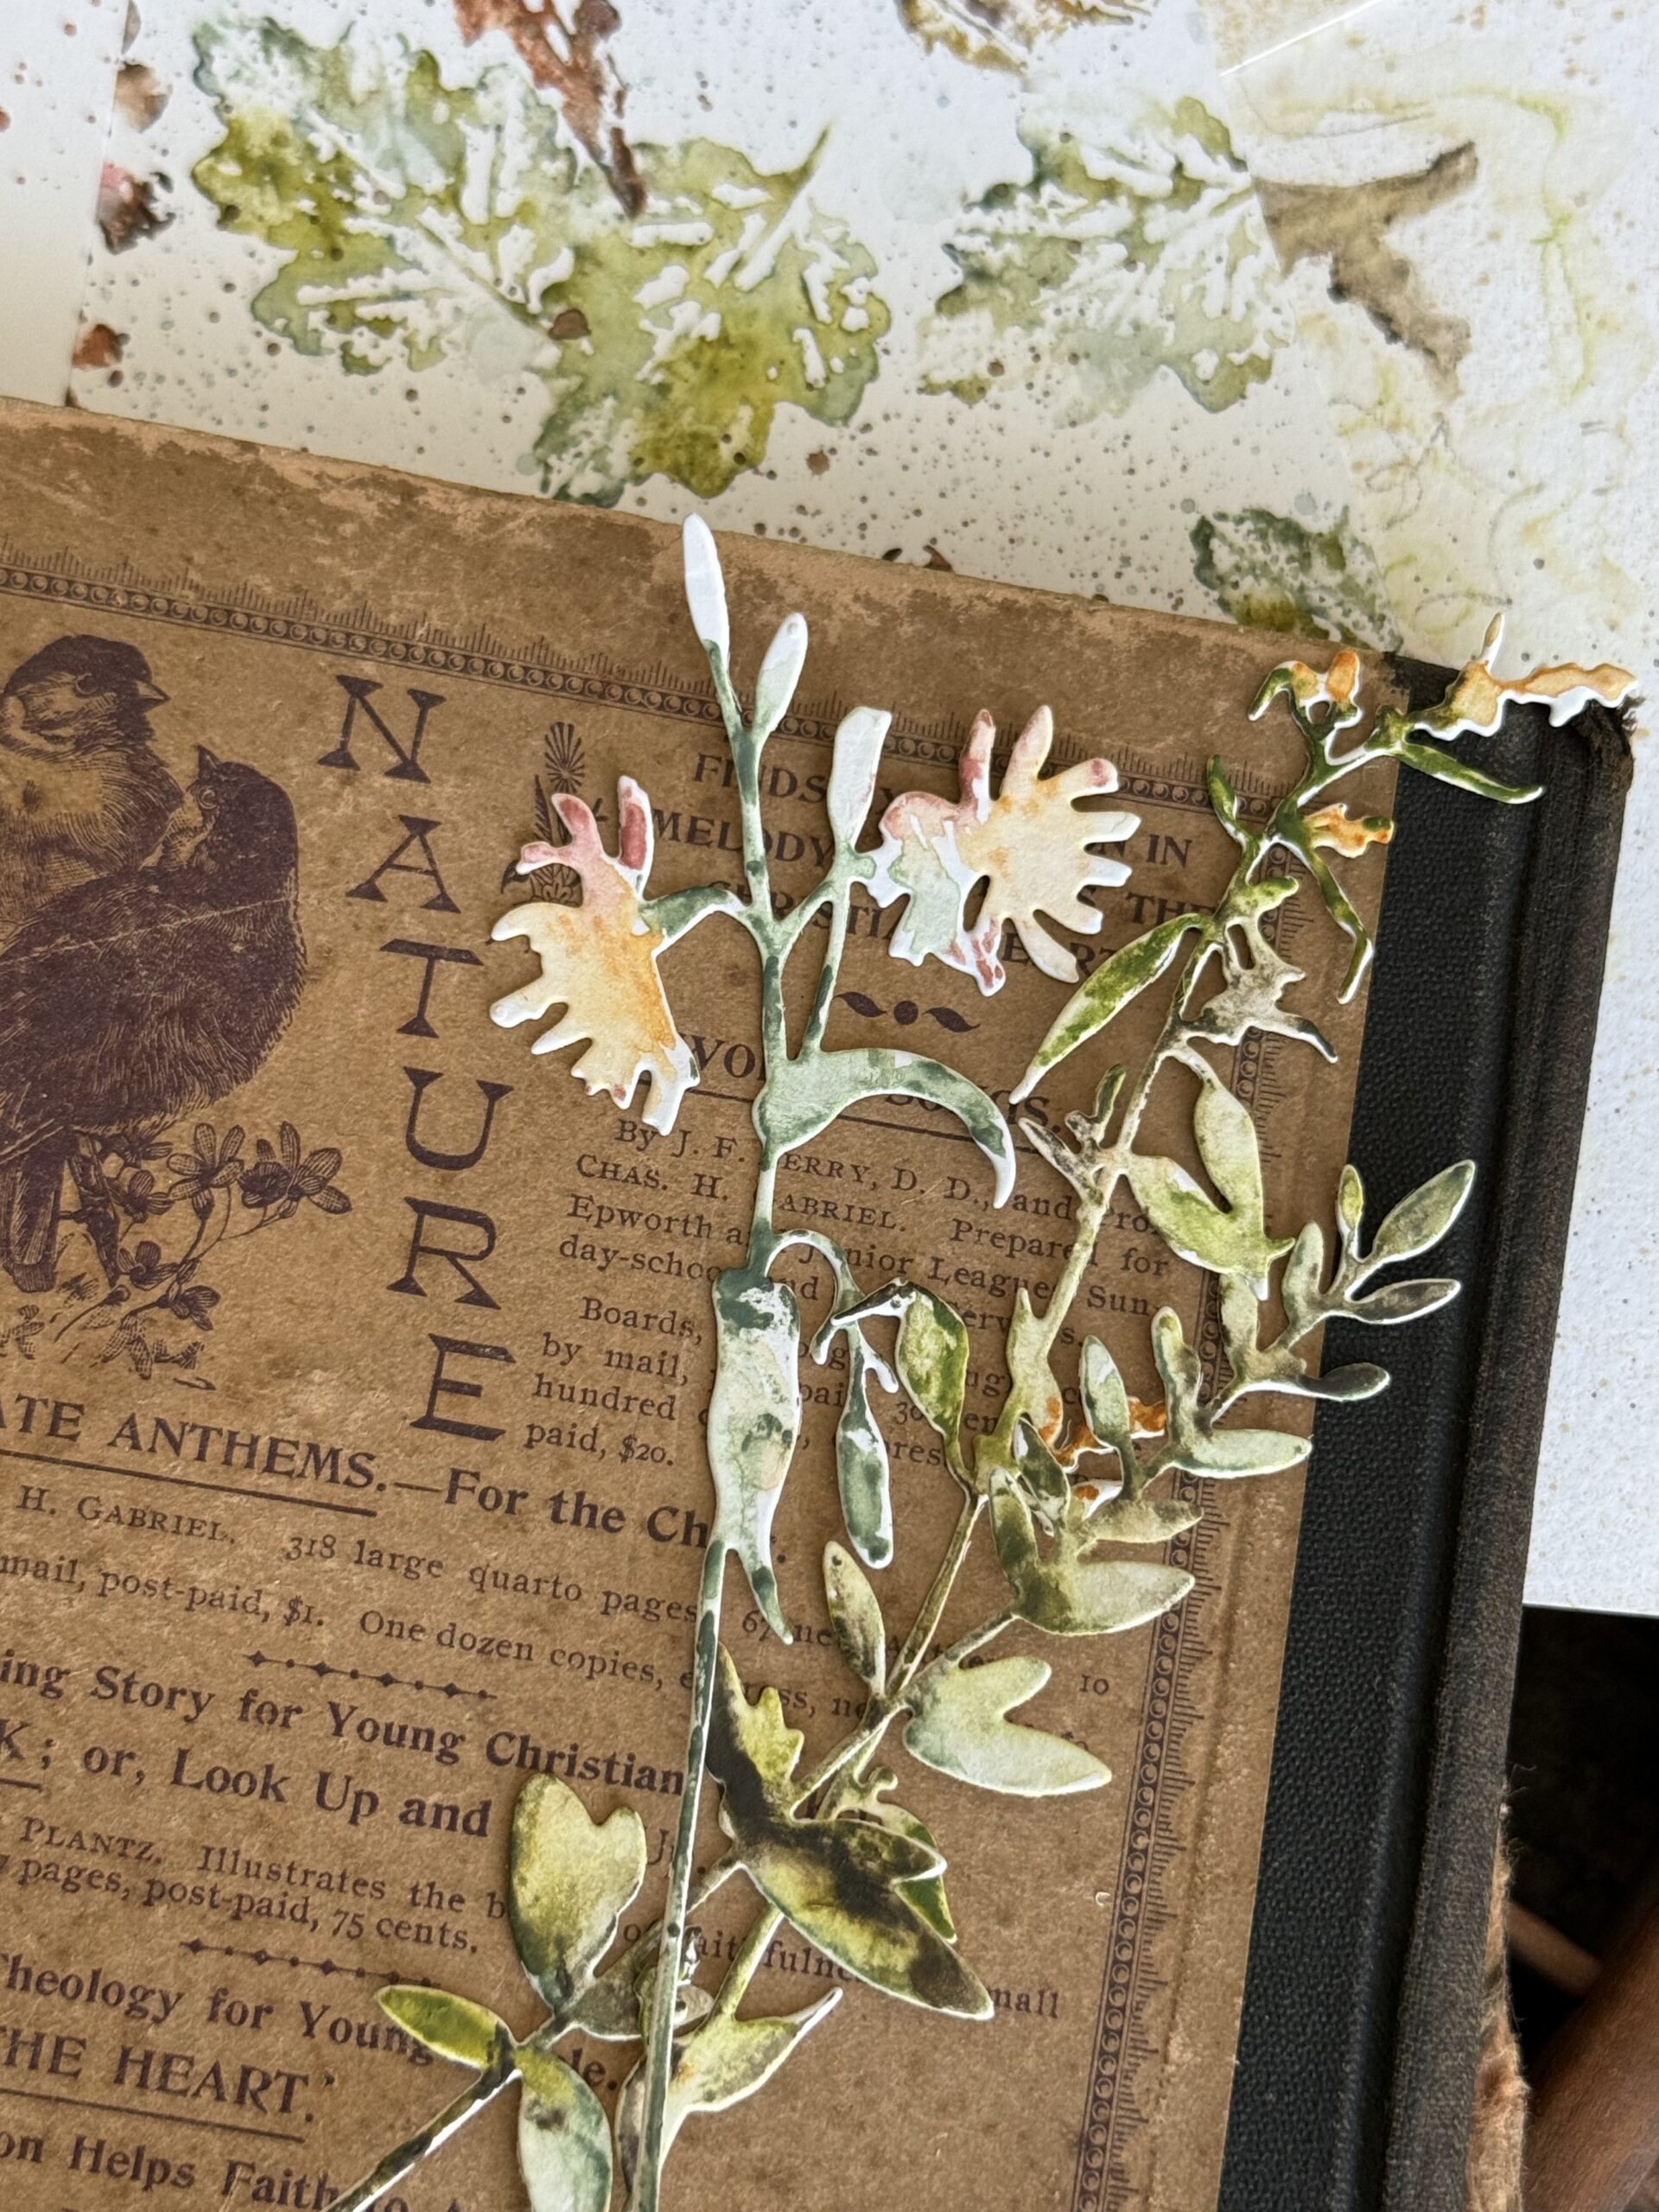
The sixth and final technique is using the watercolor pencils to color cut out paper pieces. I cut several flowers and greens from the Vault Wildflowers Die Set using Distress Watercolor Paper and Distress Kraft Heavystock. The wonderful thing about the pencils is that they also show up on Kraft paper because of their pigment base.
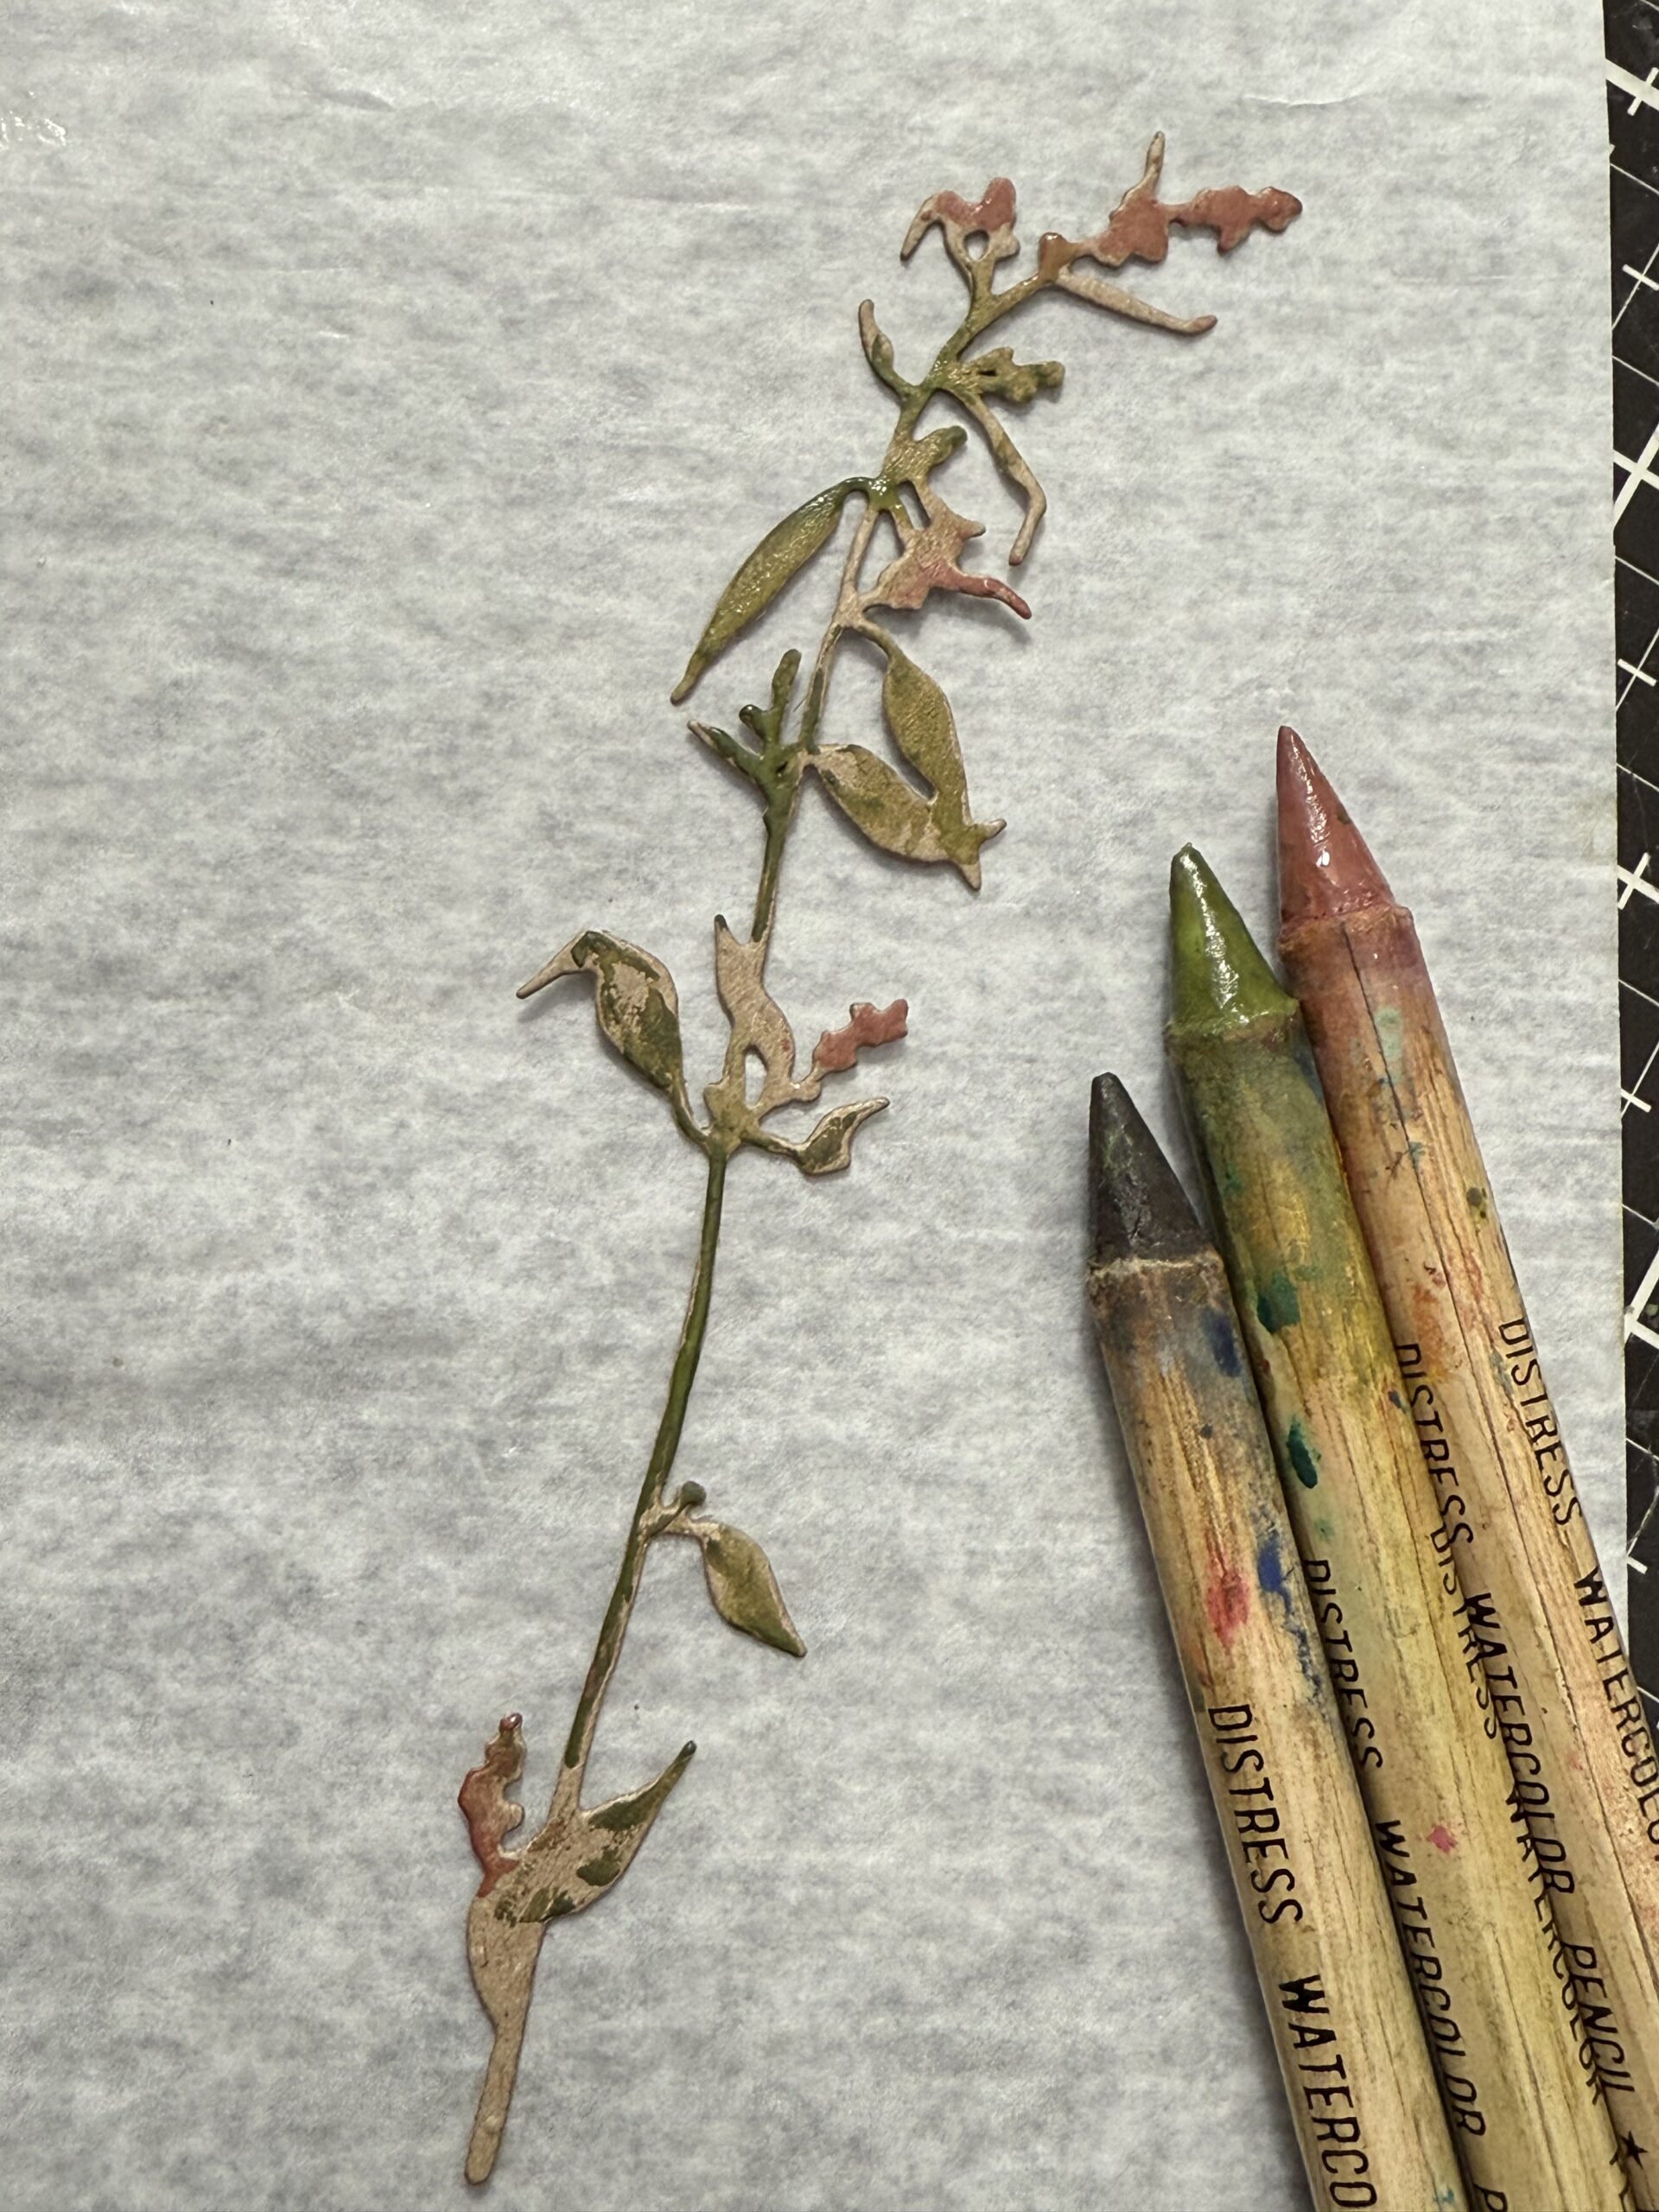
Here I am using one of the floral Kraft Heavystock pieces and starting with lightest color began coloring it using wet pencils. I painted some of the flower parts pink, then added some bits of green and then finally some dark brown. Once I was done coloring, I dried it with my heat tool.
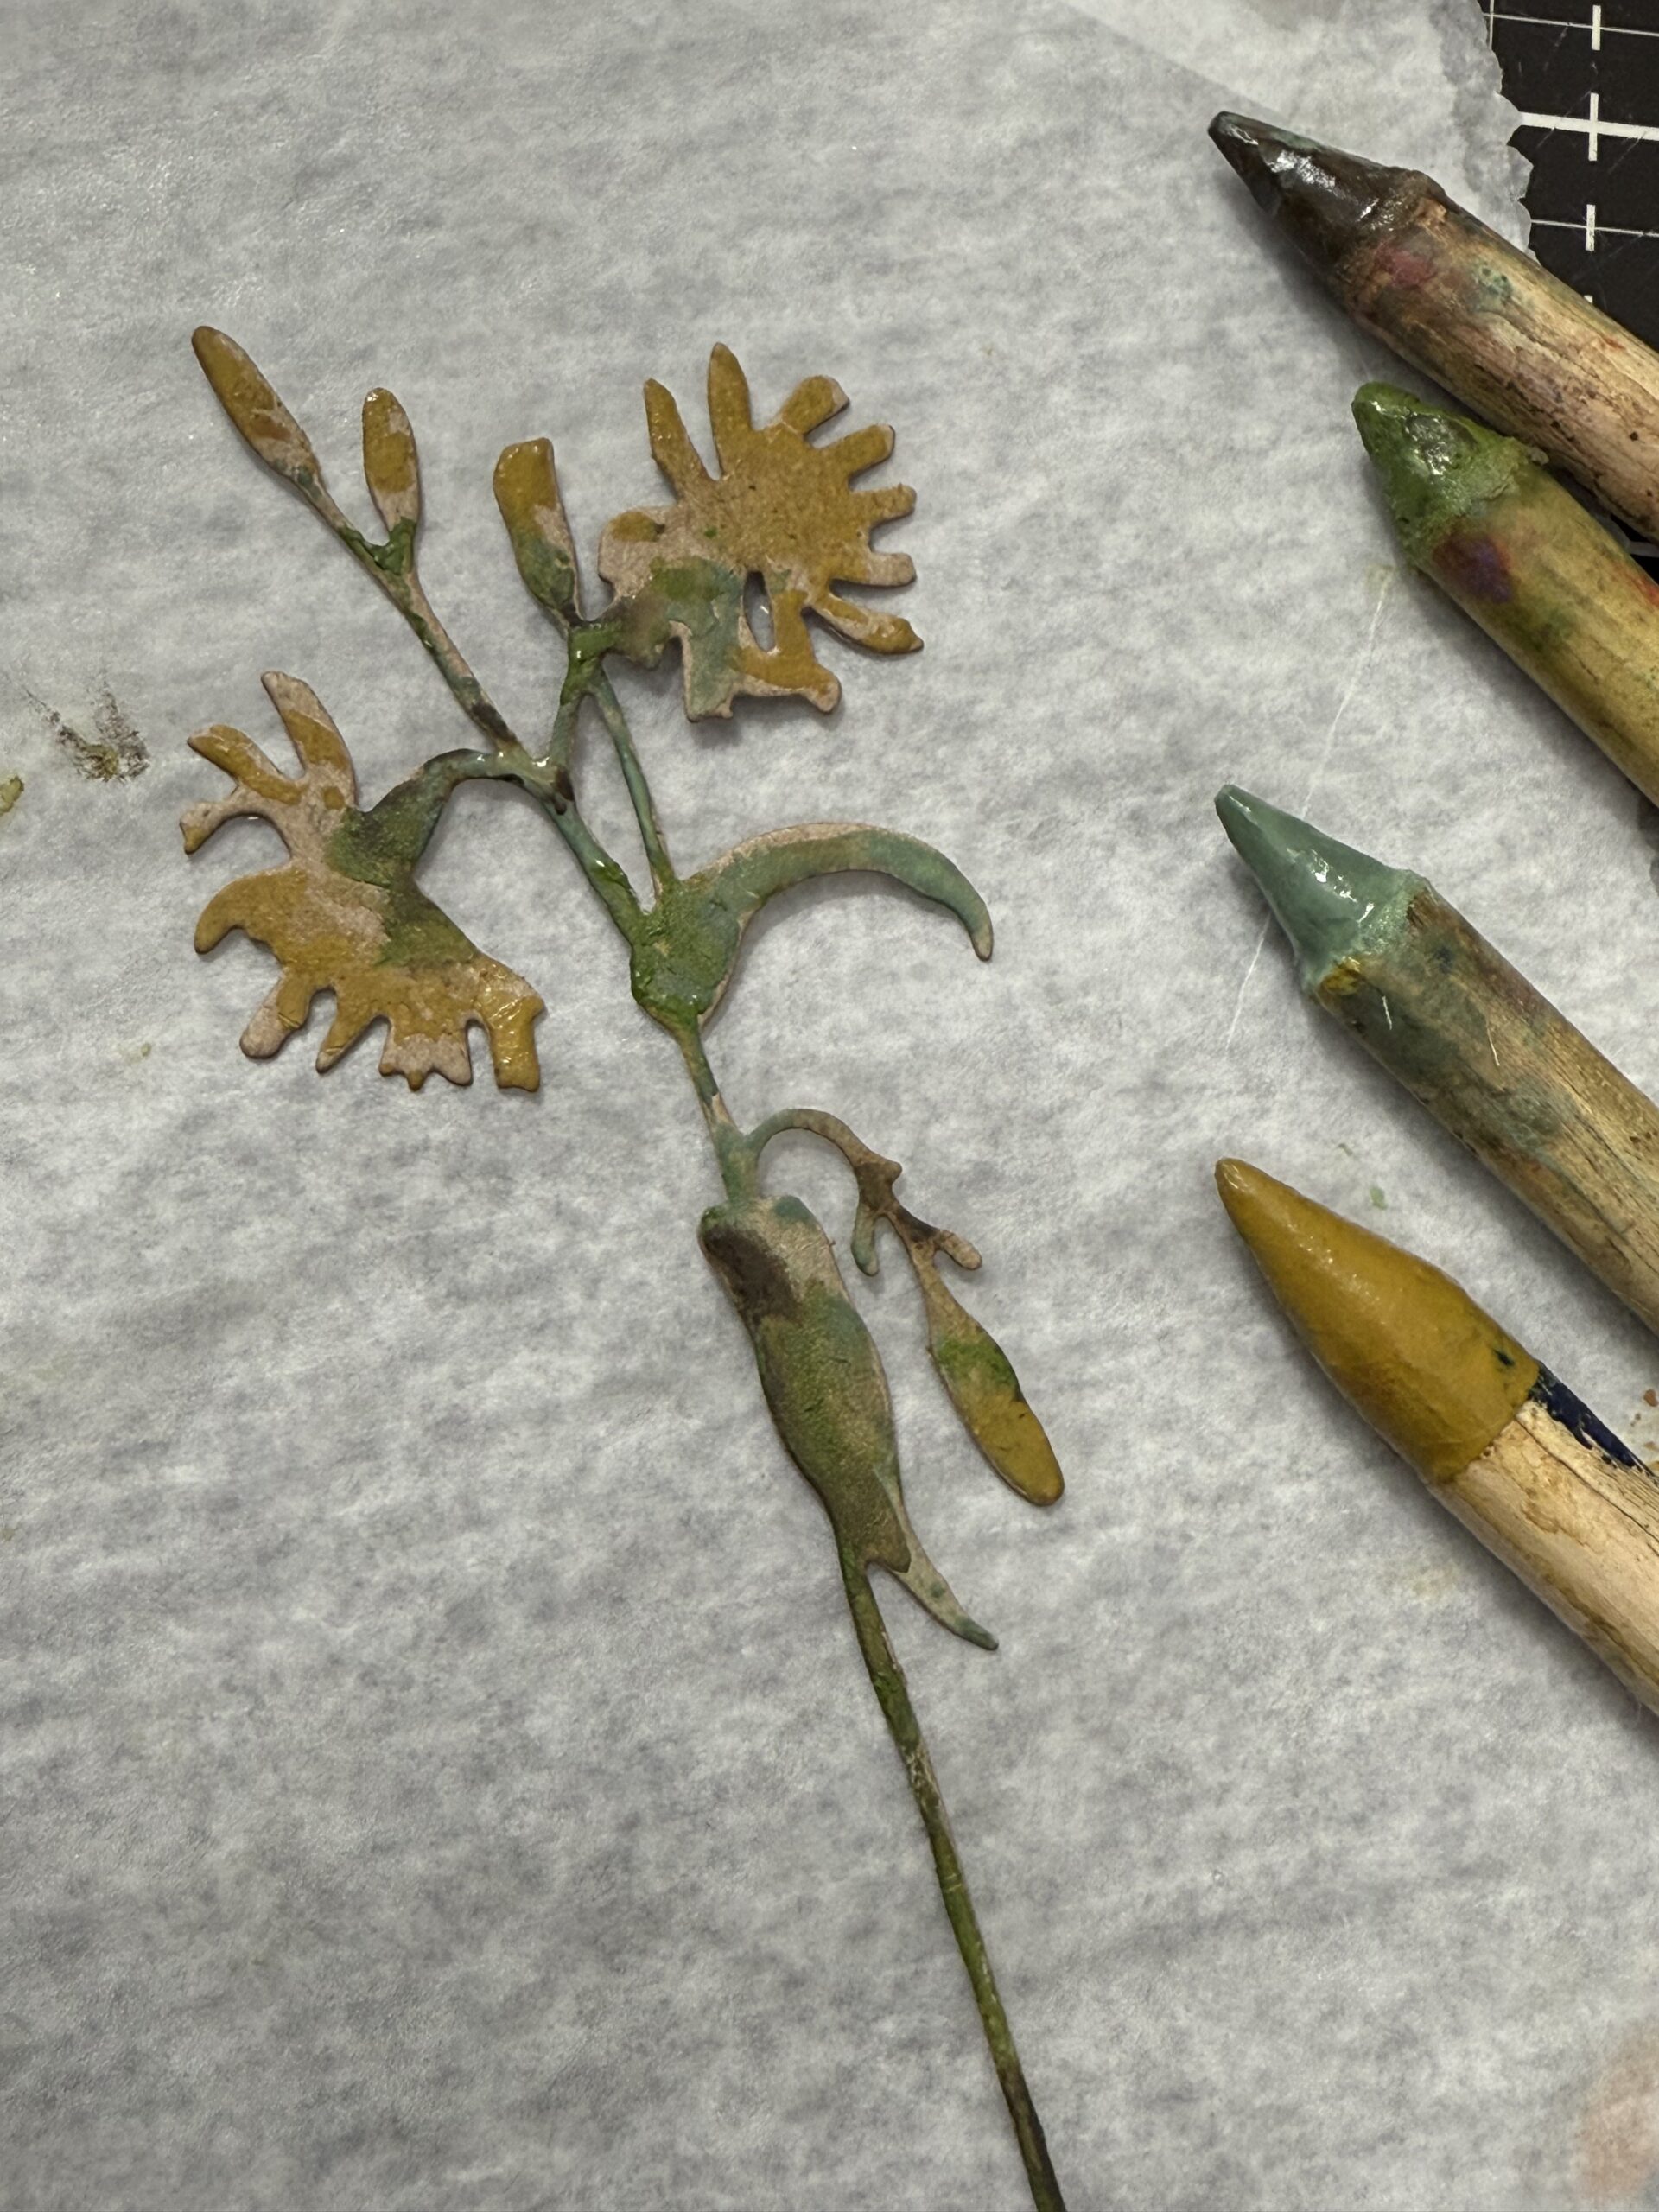
The next flower was colored with a dark yellow, then a couple greens, and finally a dark brown… if I needed to move some of the colors, I used a slightly wet paintbrush, then dried the flower with my heat tool.
I did the same process to those flowers that were cut using Distress Watercolor Paper.


With that, my floral pieces were complete.
I hope you all enjoyed this deep dive into Distress Watercolor Pencils and that you play along. I am sure this is just the tip of the iceberg in ways of using them and I hope you give them a try and discover more. Thanks so much for stopping by and for following along!
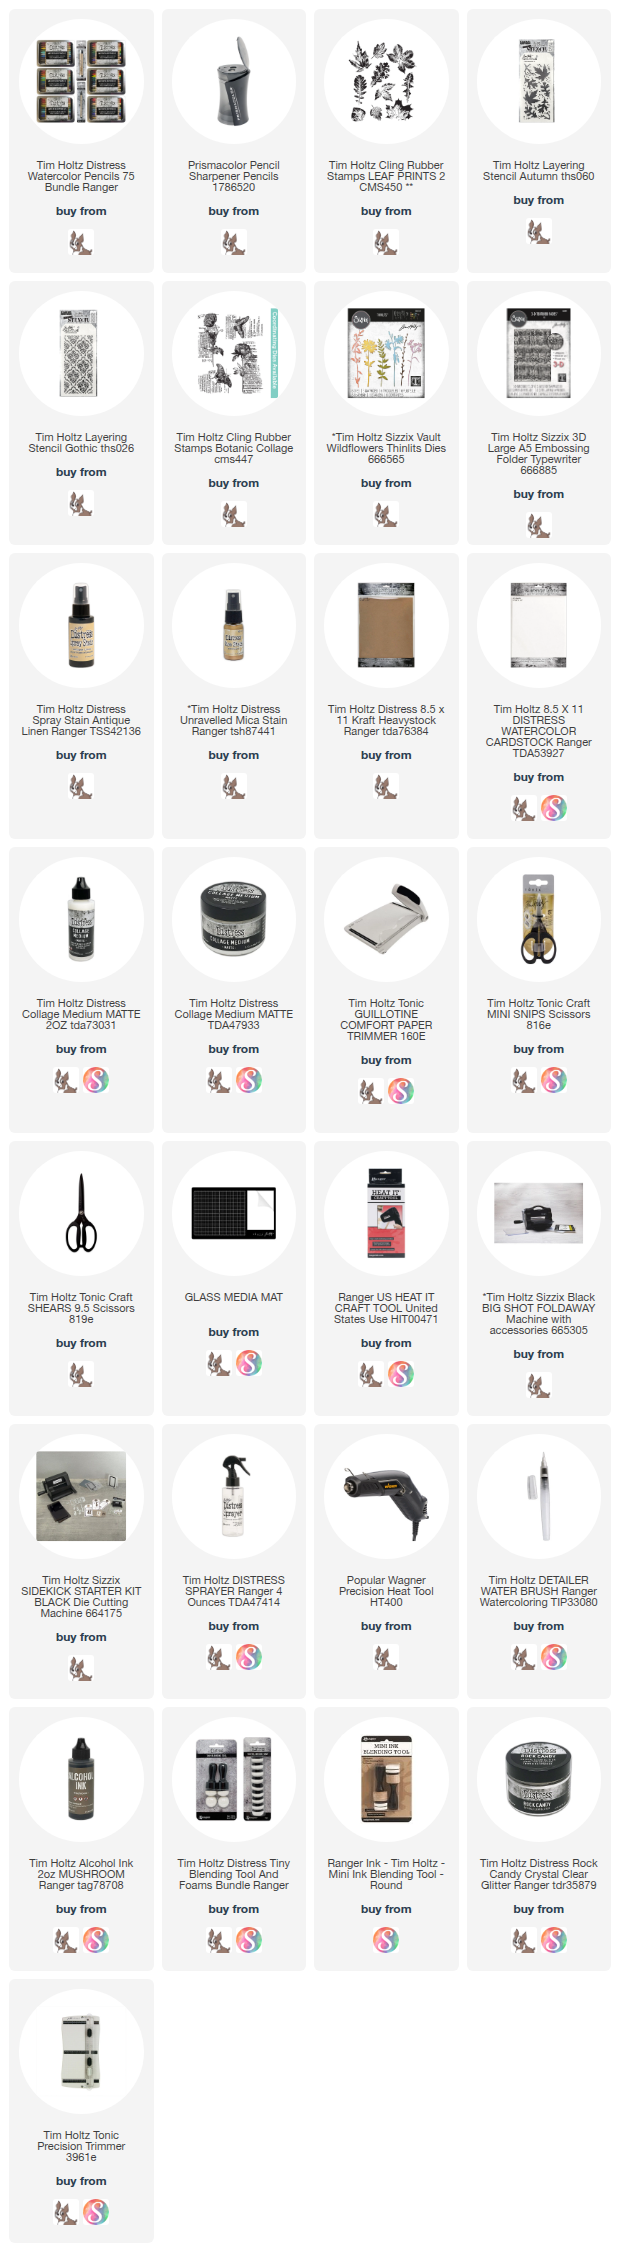
Products used to create this project are included in the links below. Each time you are inspired and shop through those links, you are supporting me and my blog. I appreciate it SO MUCH as it helps me to provide you with tutorials and to cover the blog fees. THANK YOU!
Creatively yours, Stacy
To shop at SIMON SAYS STAMP click HERE.
What is an affiliate program, and why should I click on the link and buy through you?
When you shop via the affiliate link on this blog, I receive a small commission from the affiliate provider (Simon Says Stamp) at no extra cost to you, whatsoever. These commissions help me to cover the hosting fees and other costs to run my blog and be able to provide you with FREE inspiration. If you shop the links, THANK YOU! I truly appreciate being able to share my love of creating with you.


Love, love, love these techniques! I have all the watercolor crayon sets and need to get them out and play. Thanks so much for your detailed explanations and inspiration.
Great tutorial. Stacy! I purchased 3 pencil sets o a year ago and didn’t use them much. After watching Tim demonstrate the techniques in his recent collaboration with SSS, I fell in love with them. I’m looking forward to trying the your techniques. Thank you.
What a great, inspiring post Stacy! Thank you so much for the in-depth blog “class”!
every piece is so gorgeous, thanks for sharing.
Staci, you truly are the GOAT! This tutorial is just GREAT! Thanks so much for all of your wonderful inspiration over the years. Happy Halloween! 🎃