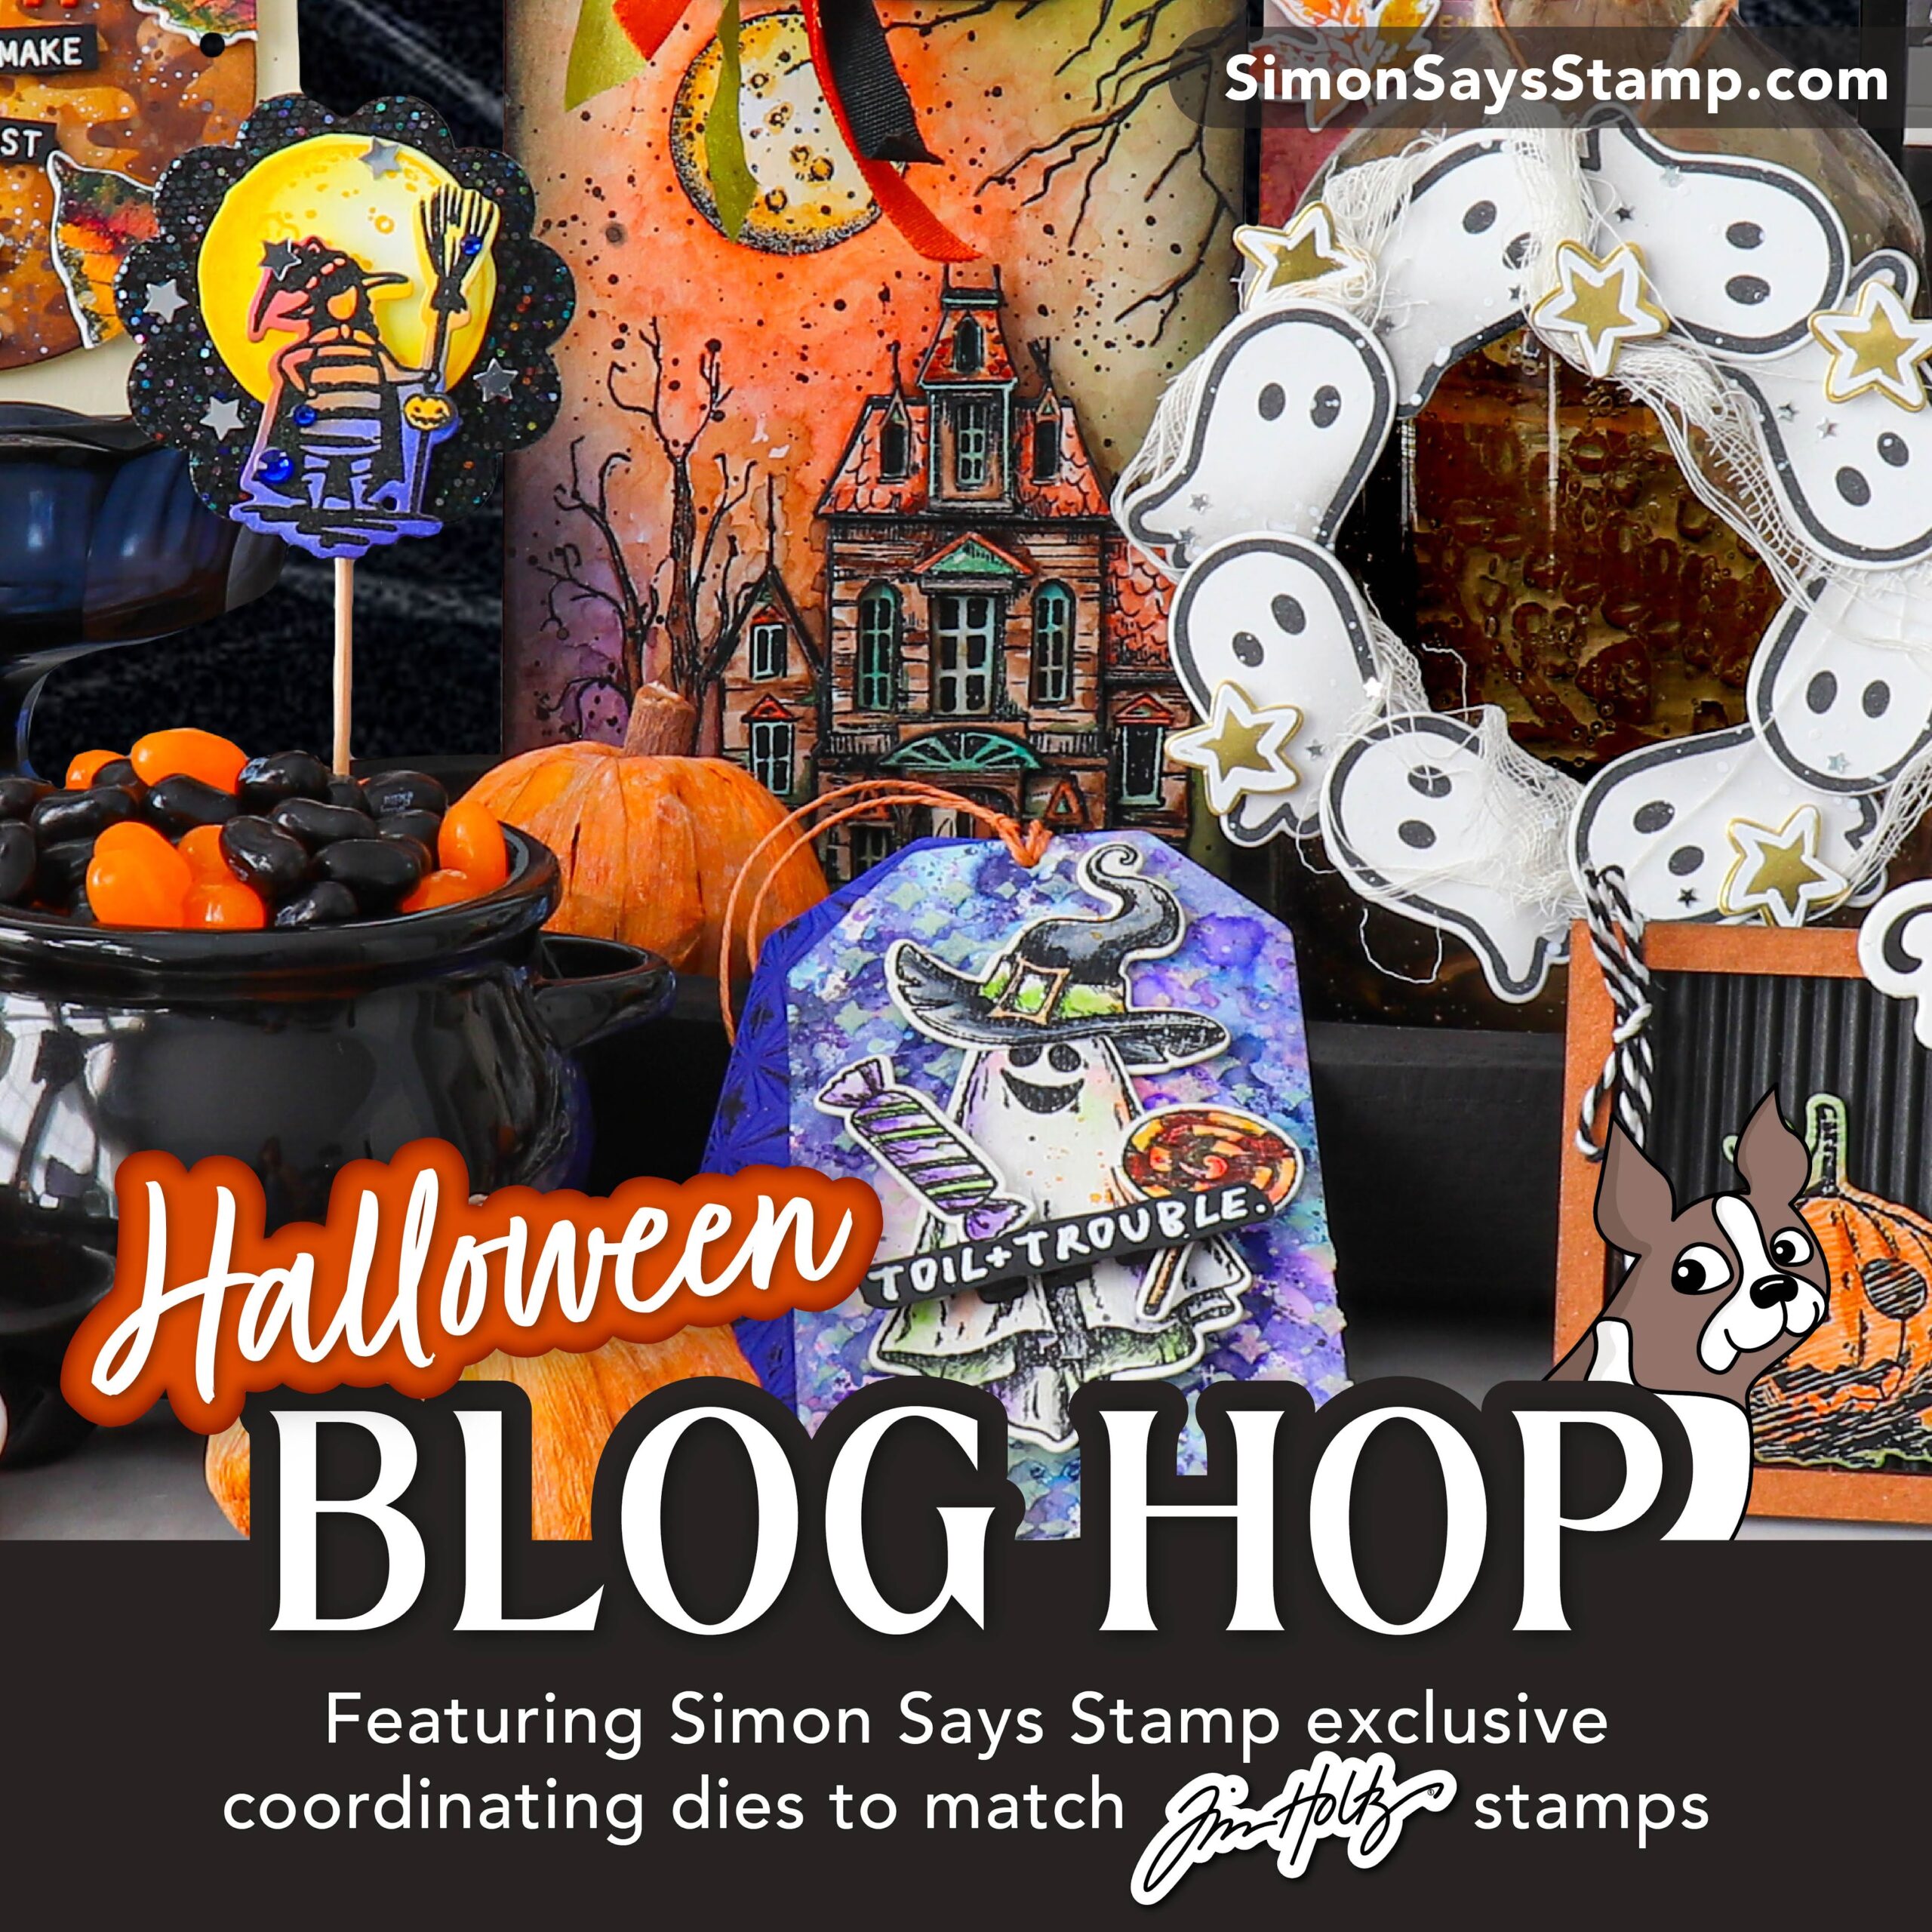
Hello friends! Welcome and Happy Wednesday! So happy that you’re here…today I am sharing a couple cards that I created using the new Simon Says Stamp exclusive wafer dies that match some Tim Holtz Stampers Anonymous stamps..and welcome to their sponsored Blog Hop. So happy to be participating!
You may have come here from Simon Says Stamp Blog or by one of the participants in the Blog Hop. Be sure to check out this list of talented makers who made for this release…the inspiration is SPOOKtacular! Their blogs are linked with their names.
Simon Says Stamp Blog, Nina-Marie Trapani, Caly Person, me (Stacy), Nichol Spohr, Tami Bastians, Sandi MacIver, Zoe Hillman, Tina Smith, Jean Doseringsfeld, and Barb Engler
Here’s a look at the cards that I created!
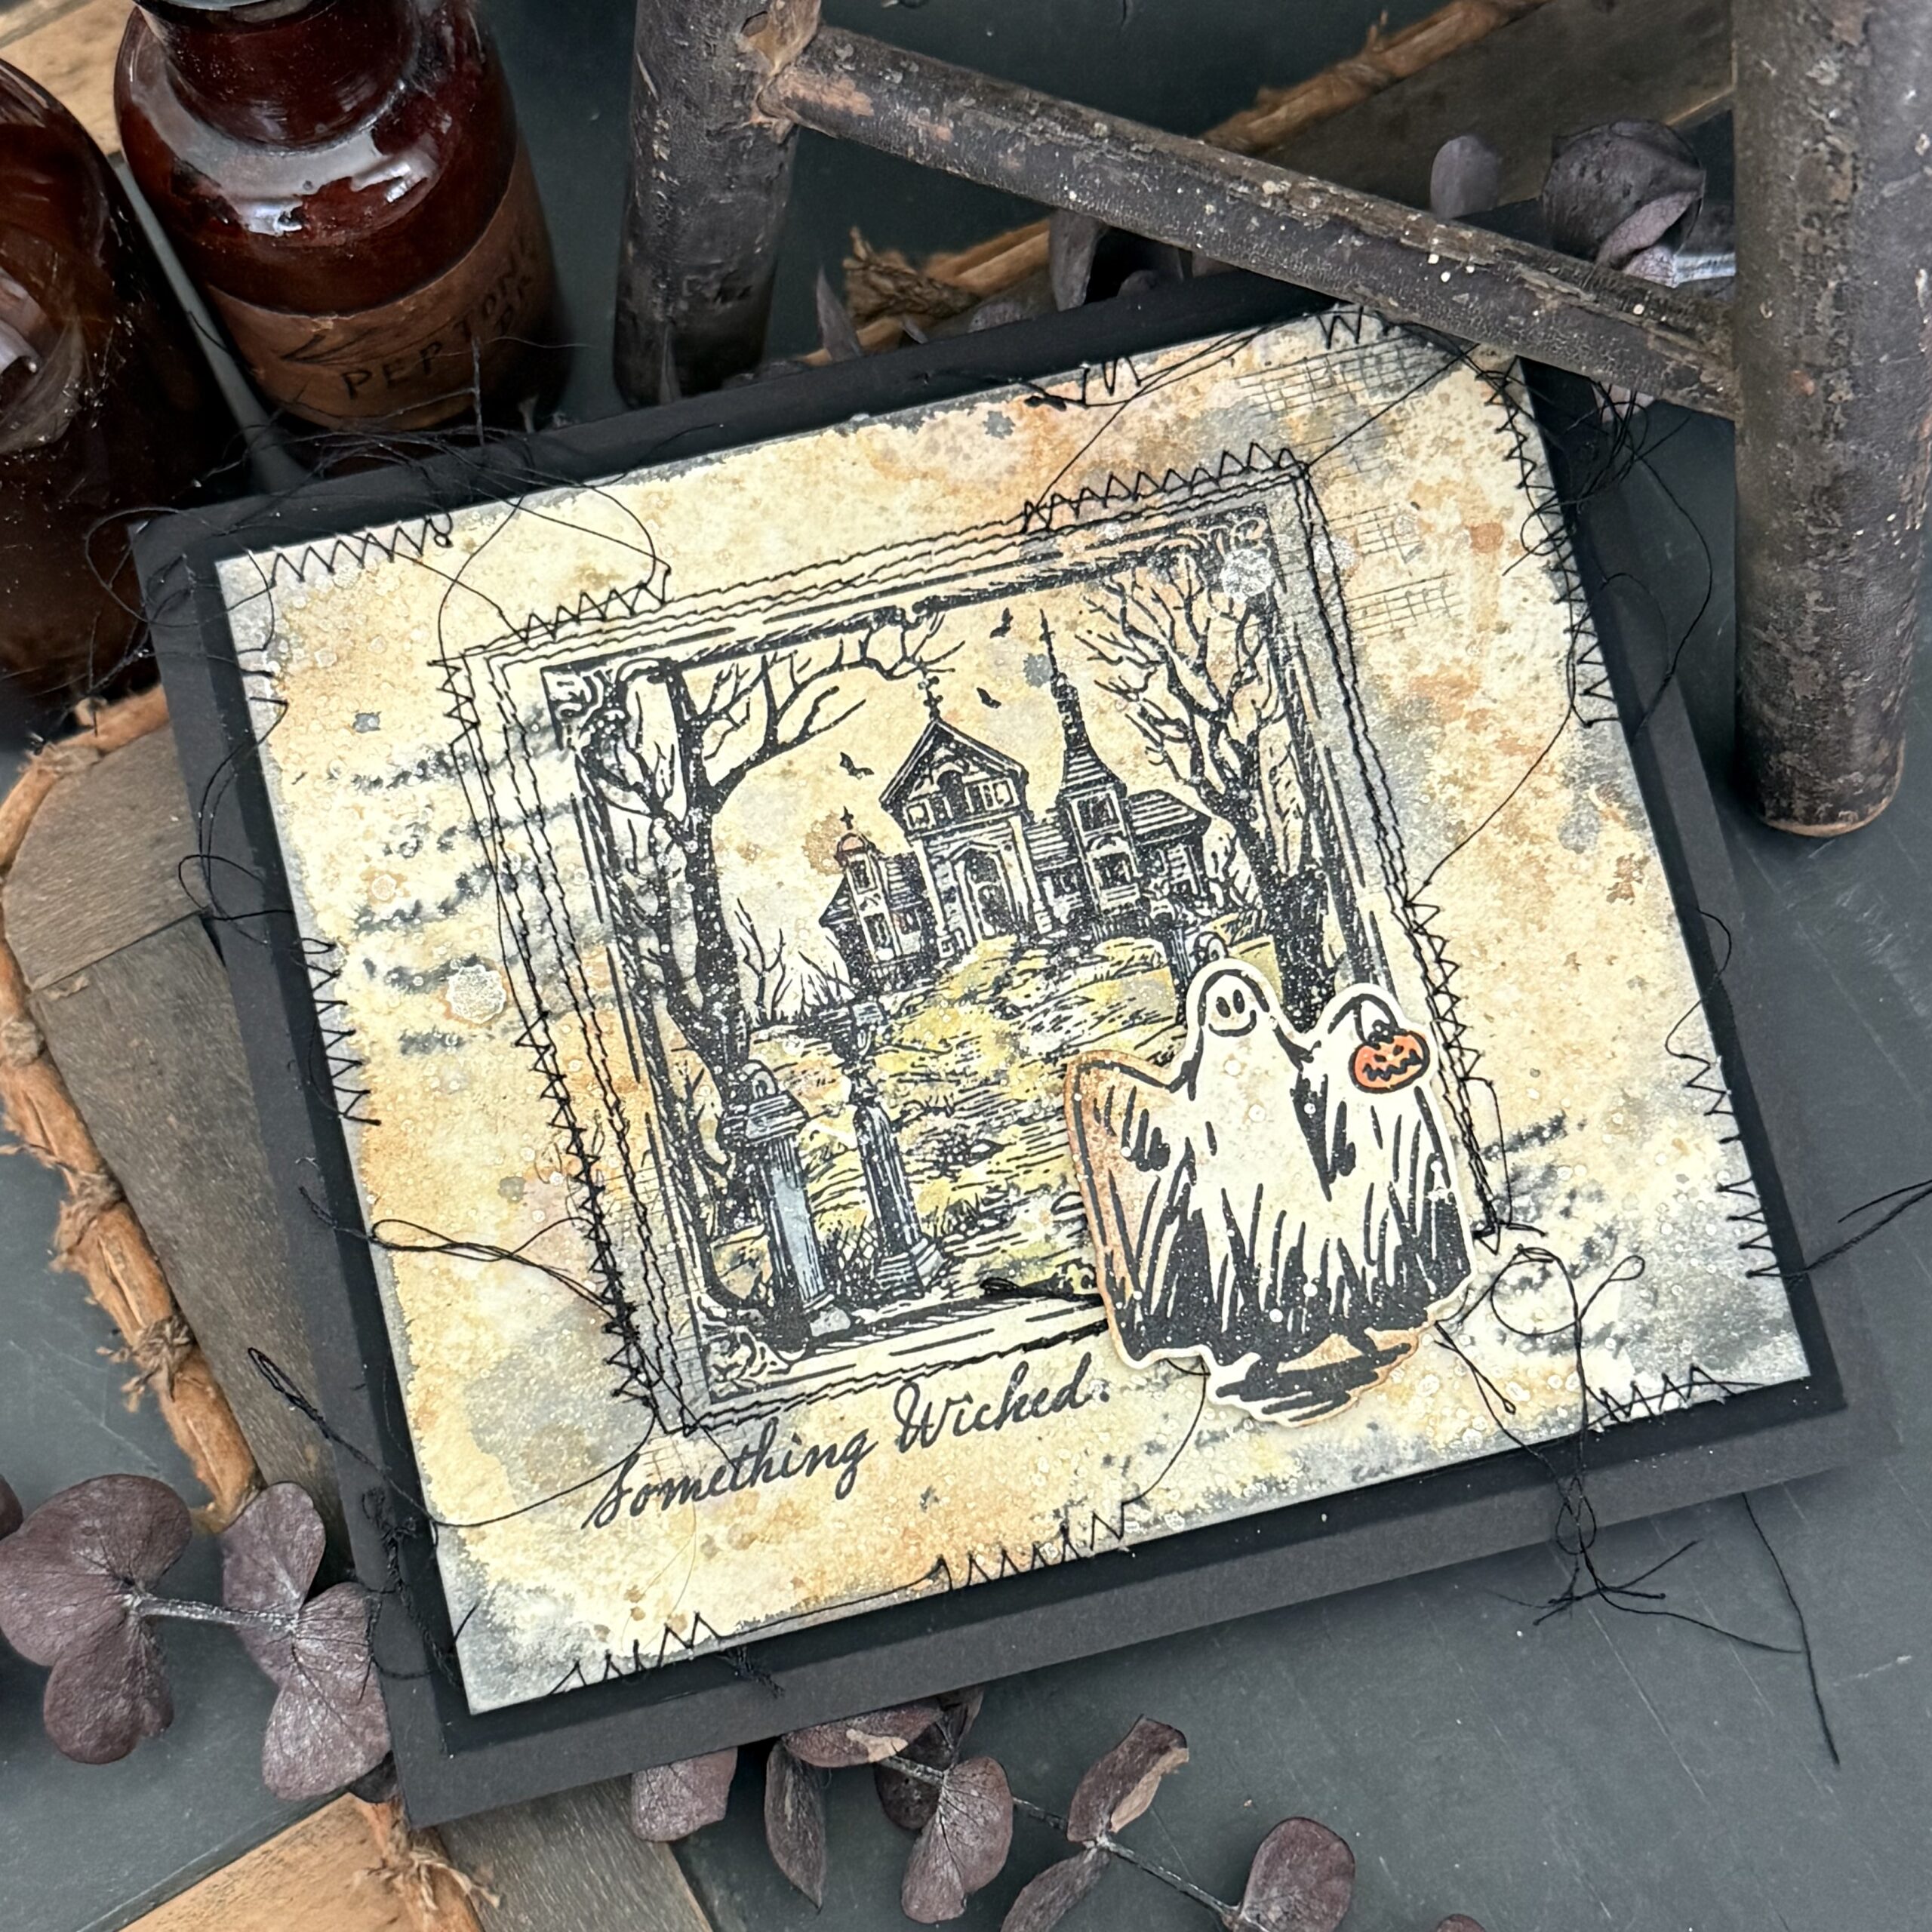
The first is a distressed and grungy Halloween card, full of creep…all inky, shabby and dressed with messy stitches!
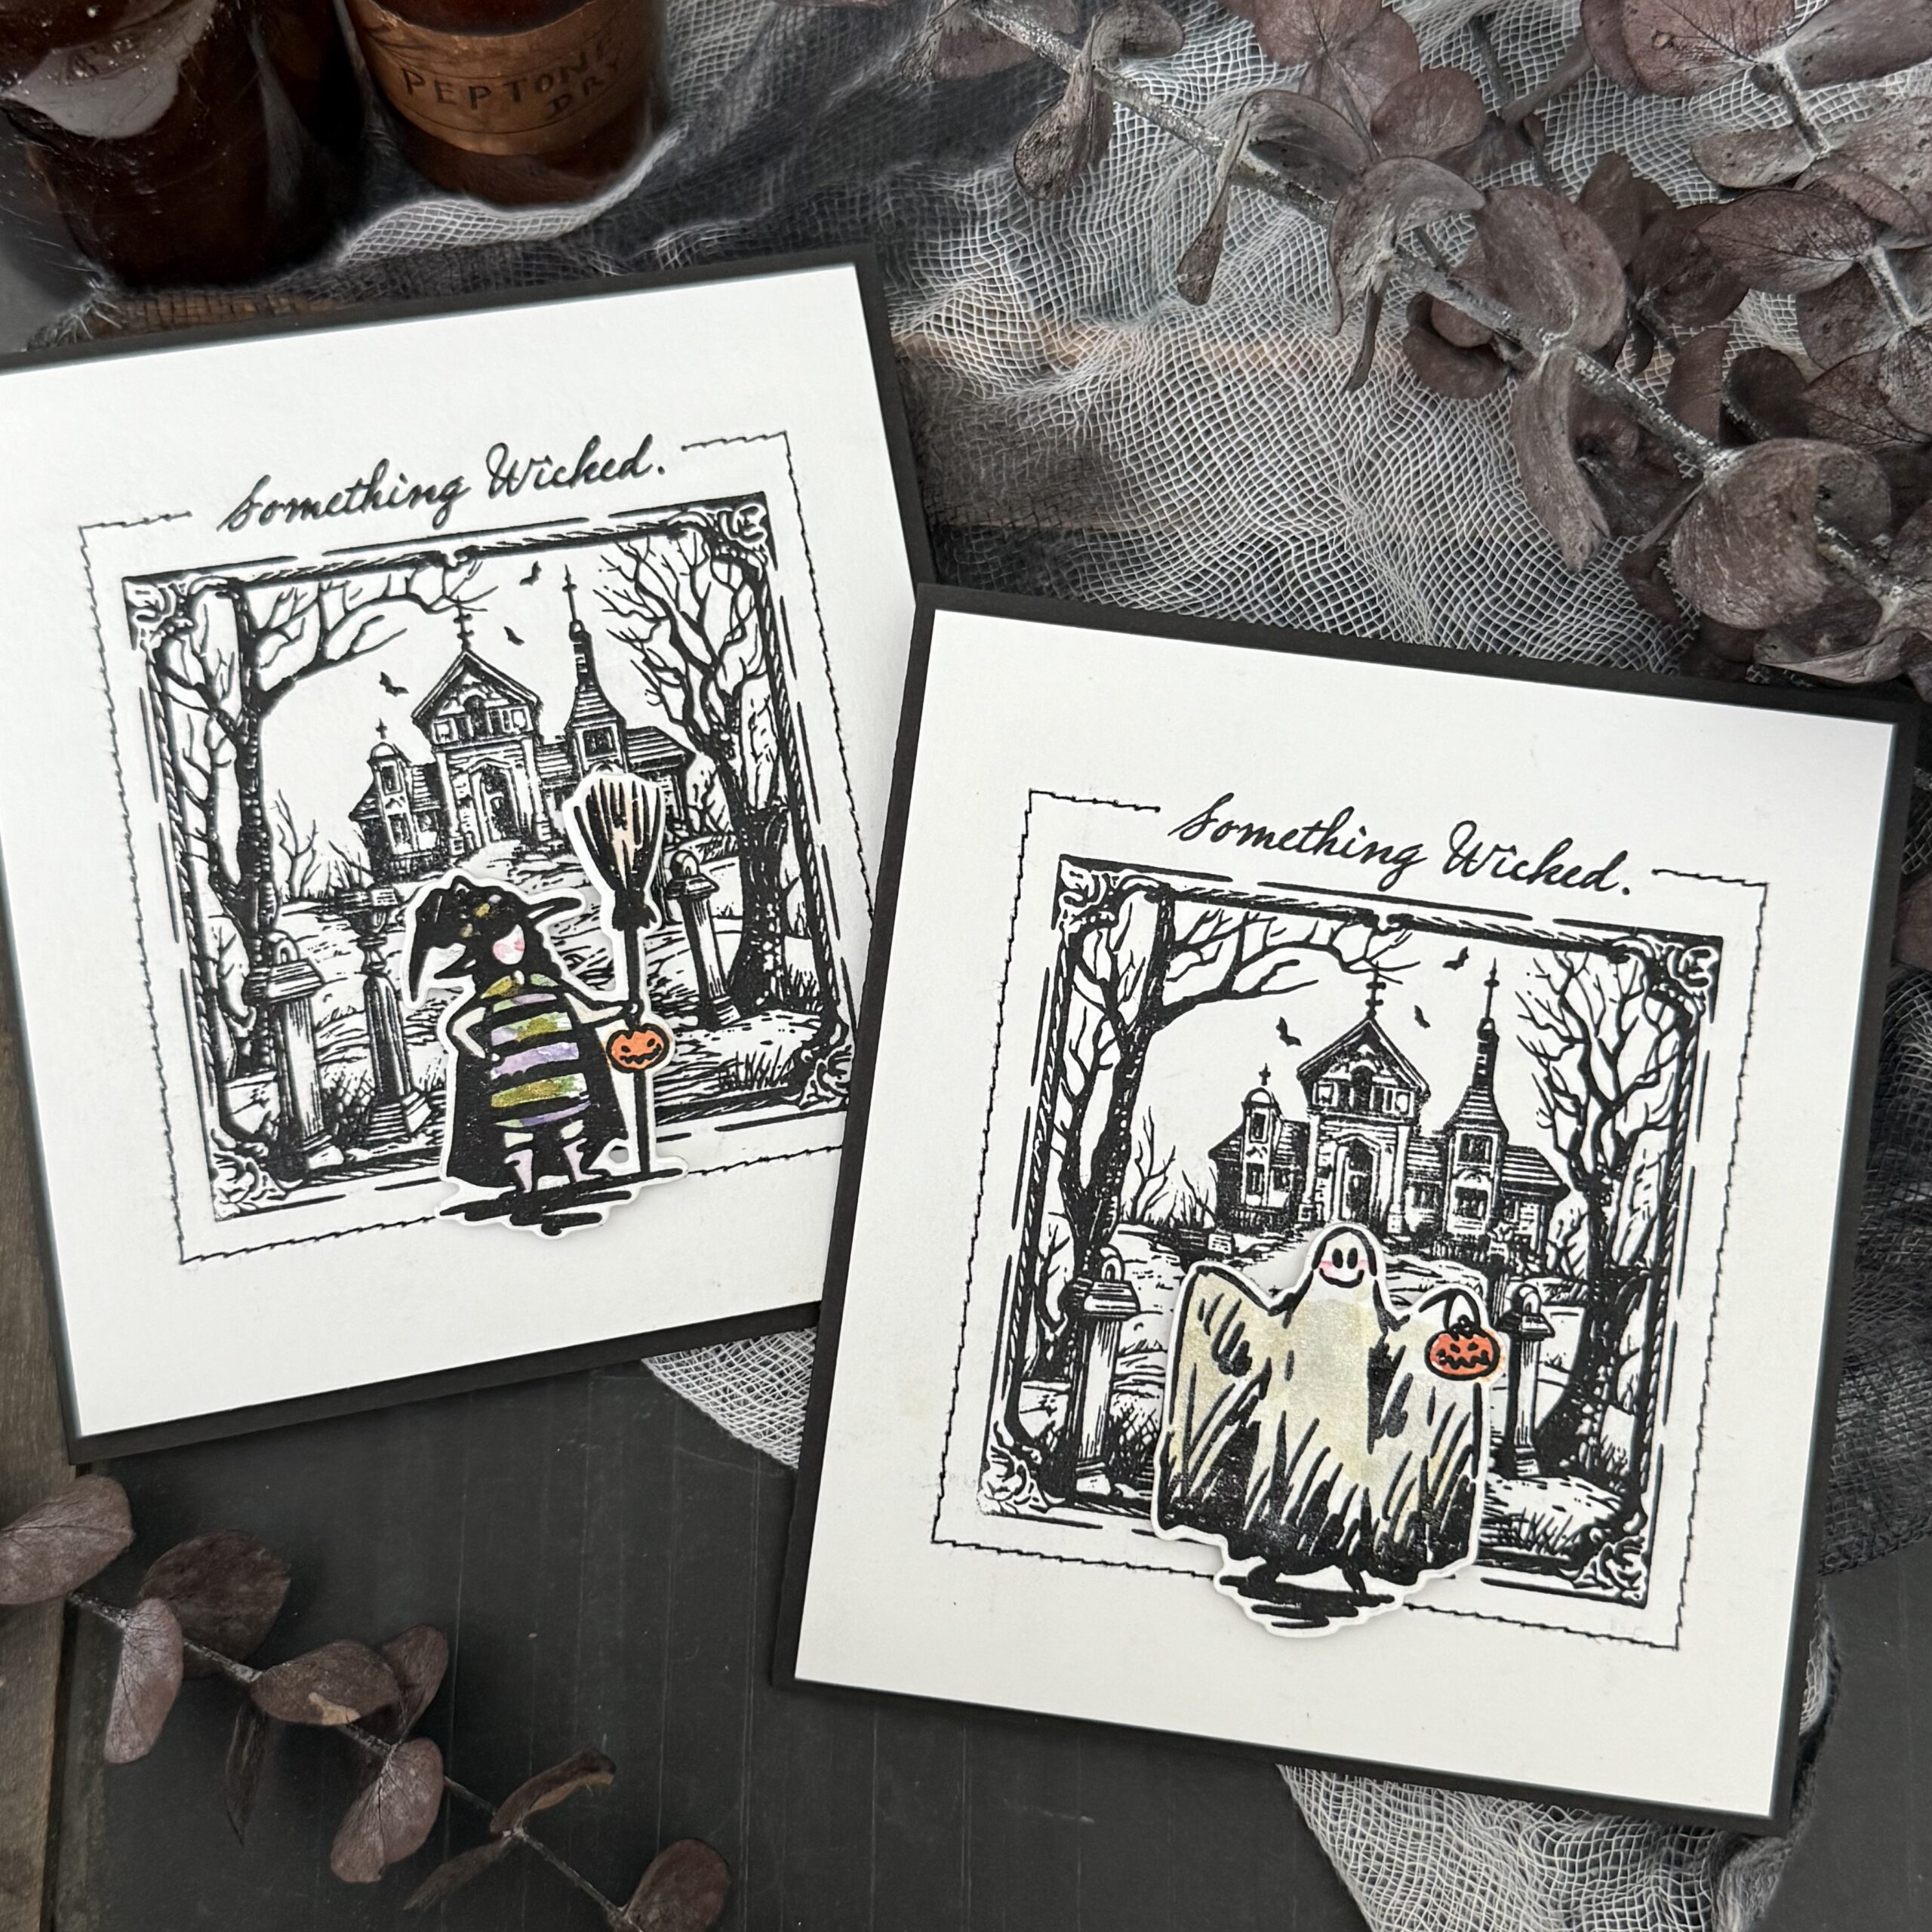
The second set of cards uses the same stamps and wafer dies set, but with a simpler clean look. It was fun creating two types of cards using the same sets..and or course, these have some sewn stitches on them too, cards hardly get by without a trip through my sewing machine! 😉
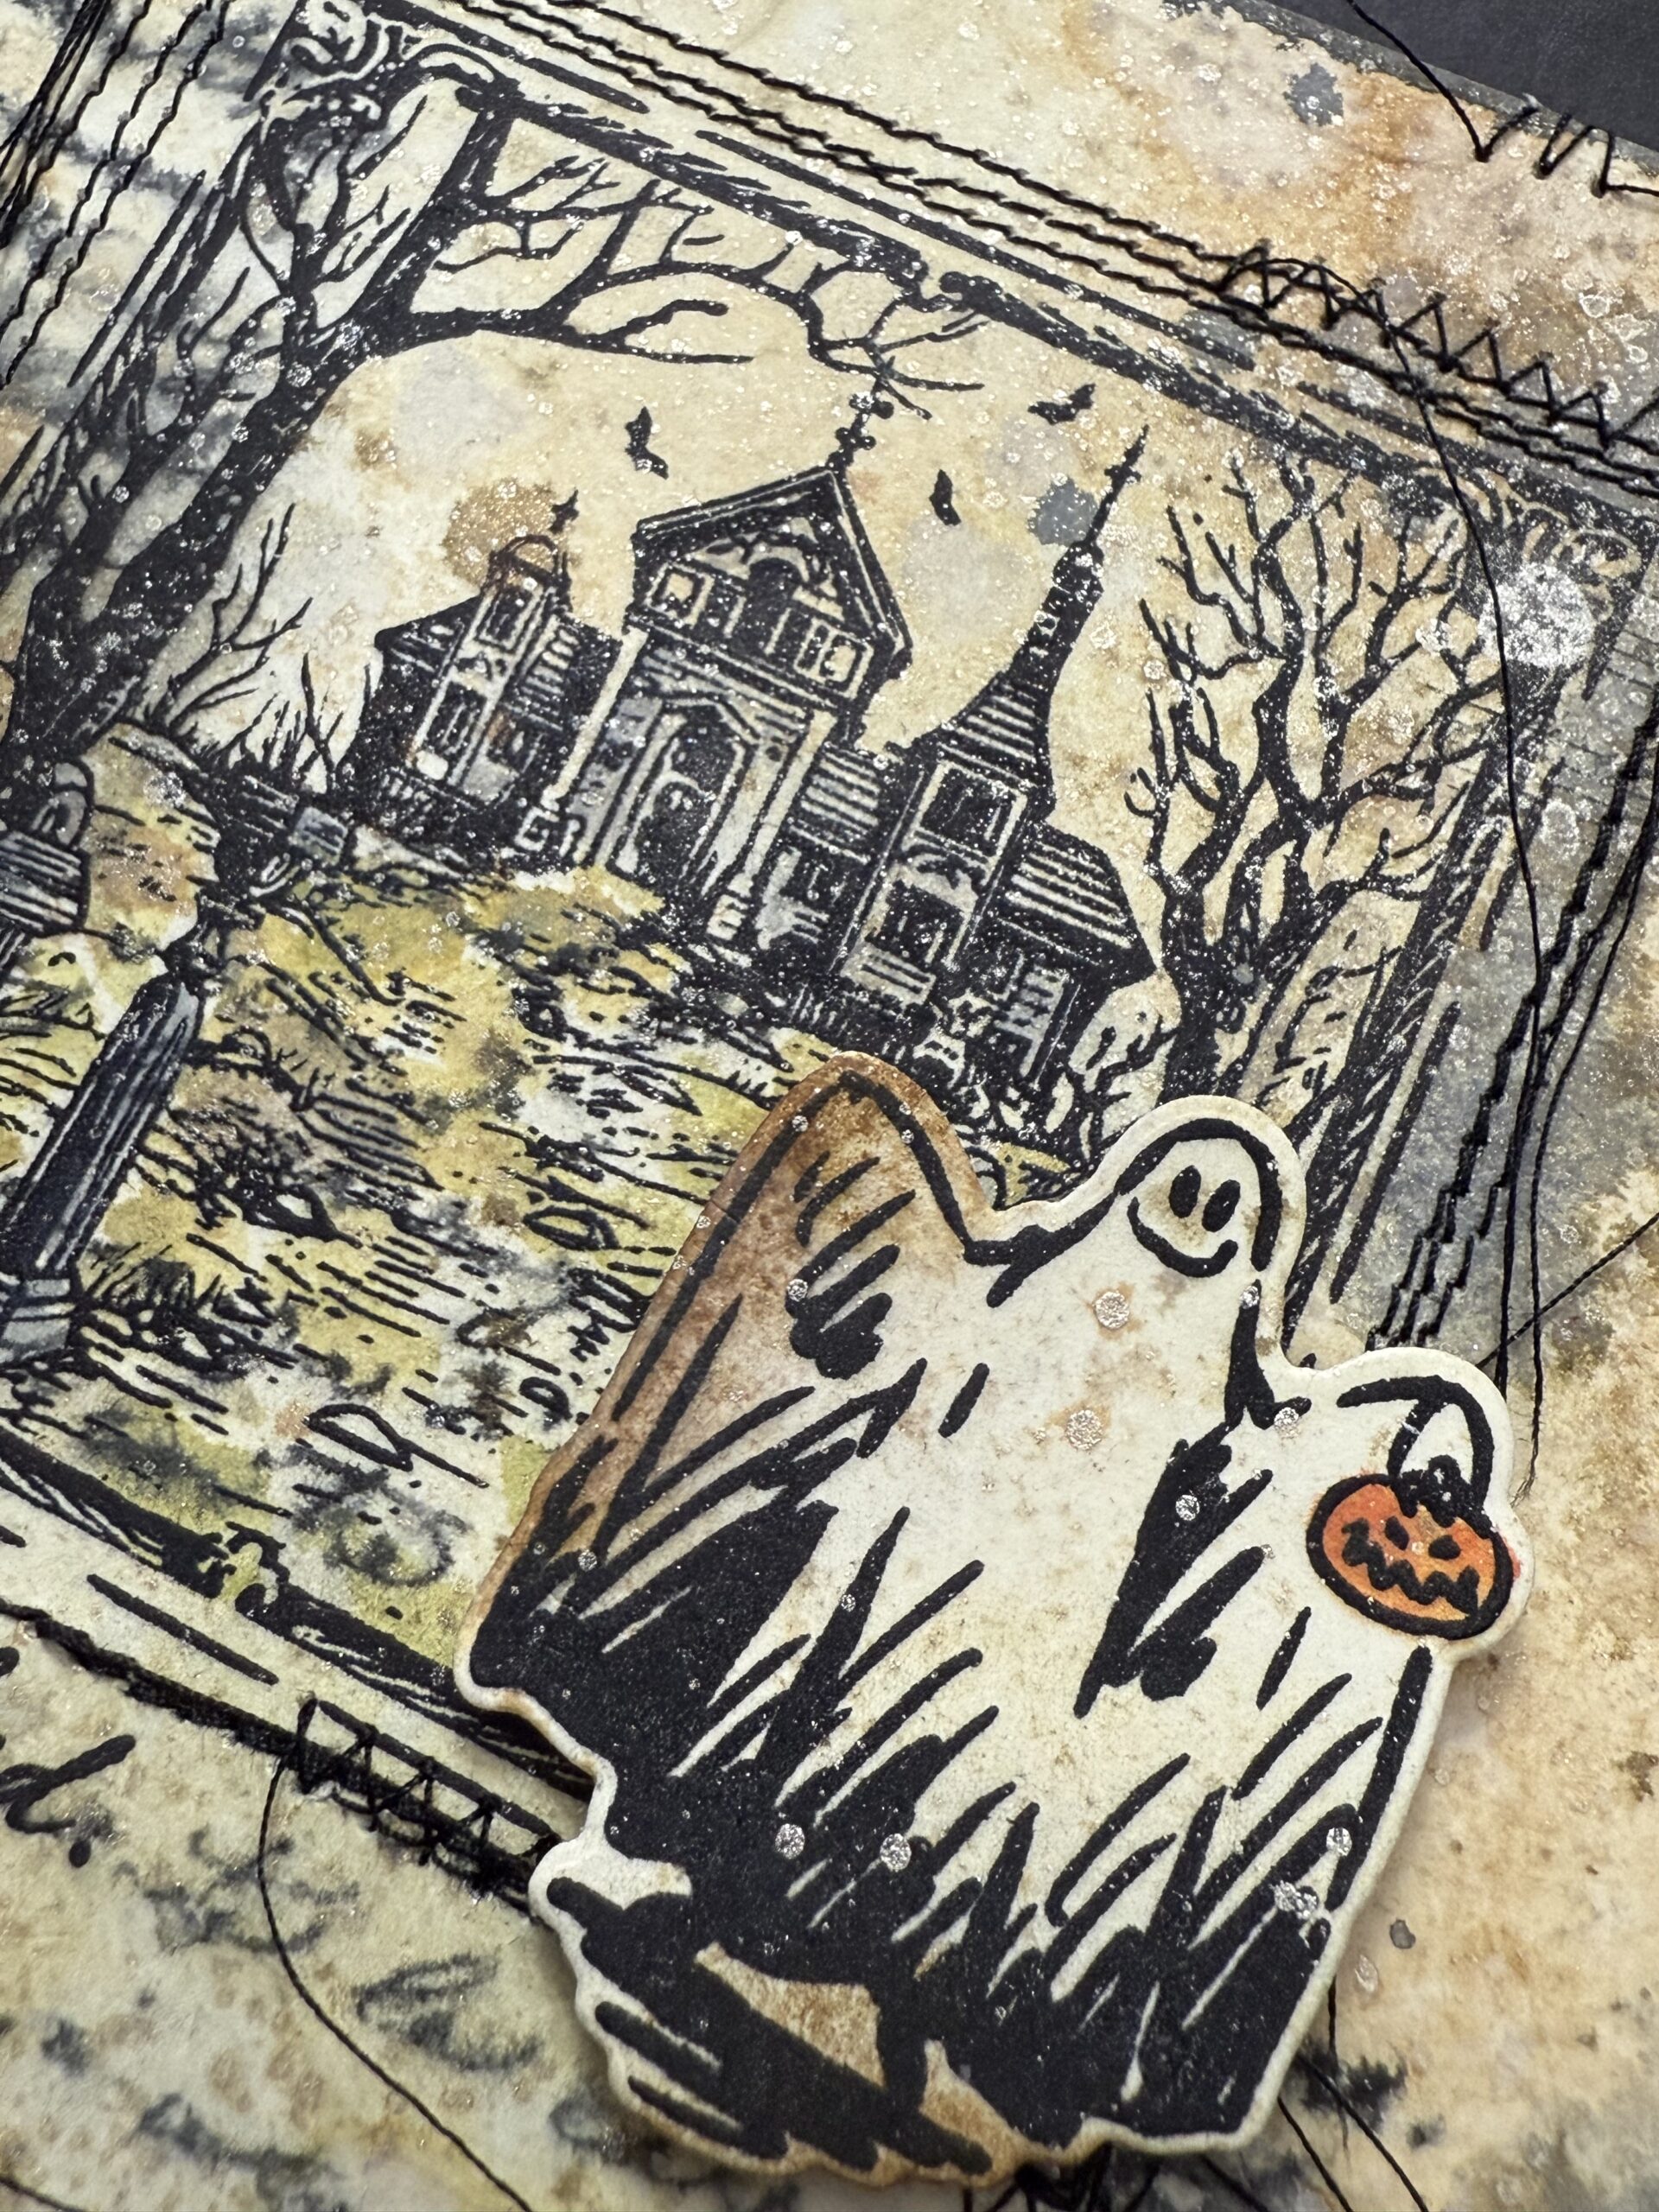
These cards all feature the Halloween Sketchbook CMS469 featuring the sketchy characters and were cut using the new set of Wafer Dies made for them exclusively by Simon Says Stamp. They were the perfect size to create a forced perspective with the Tim Holtz Framed Frights CMS494.
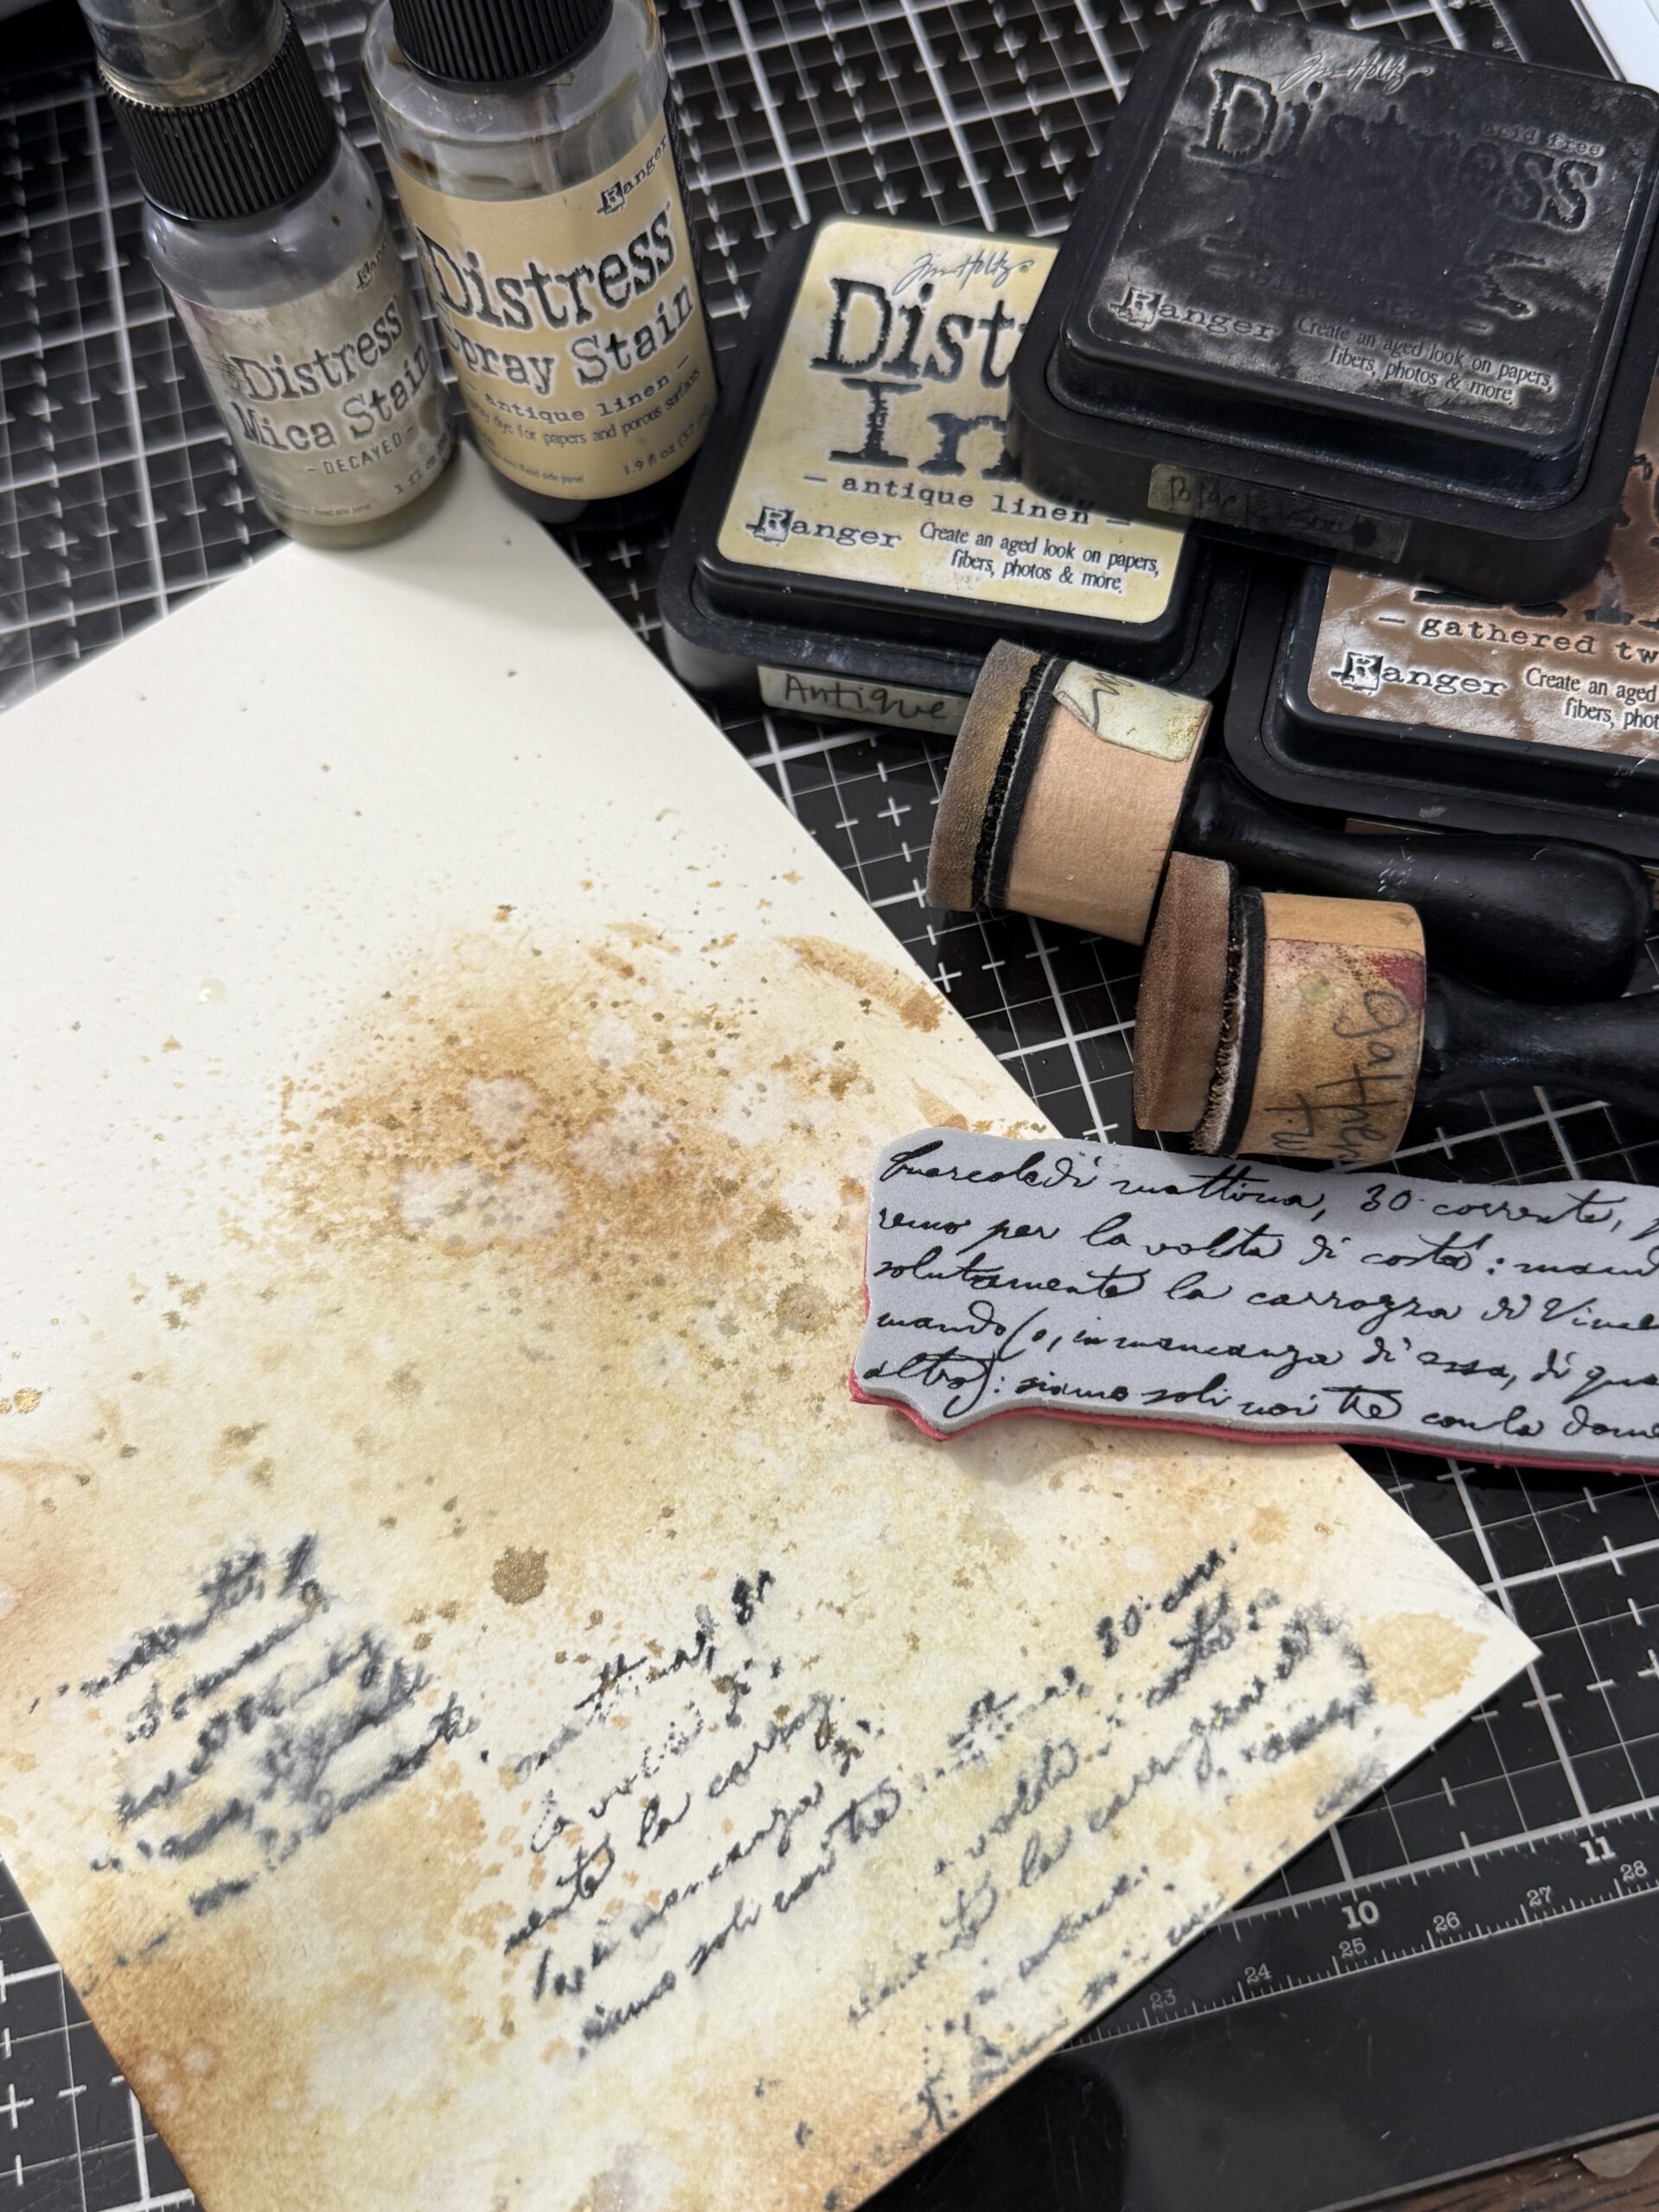
The inky card started by creating a background using Distress Watercolor Paper. I spritzed a piece of paper with water then a combination of Antique Linen Spray Stain and a little Decayed Distress Mica Stain, then dried with with my heat tool. Next, I began stamping some handwritten background randomly around the paper, spritzed it with water, then dried with my heat tool. I blended around some Gathered Twigs ink using a blending tool, then spritzed on some drips, dried the paper with a heat tool, and daubed up some of the water droplets with a cotton towel.
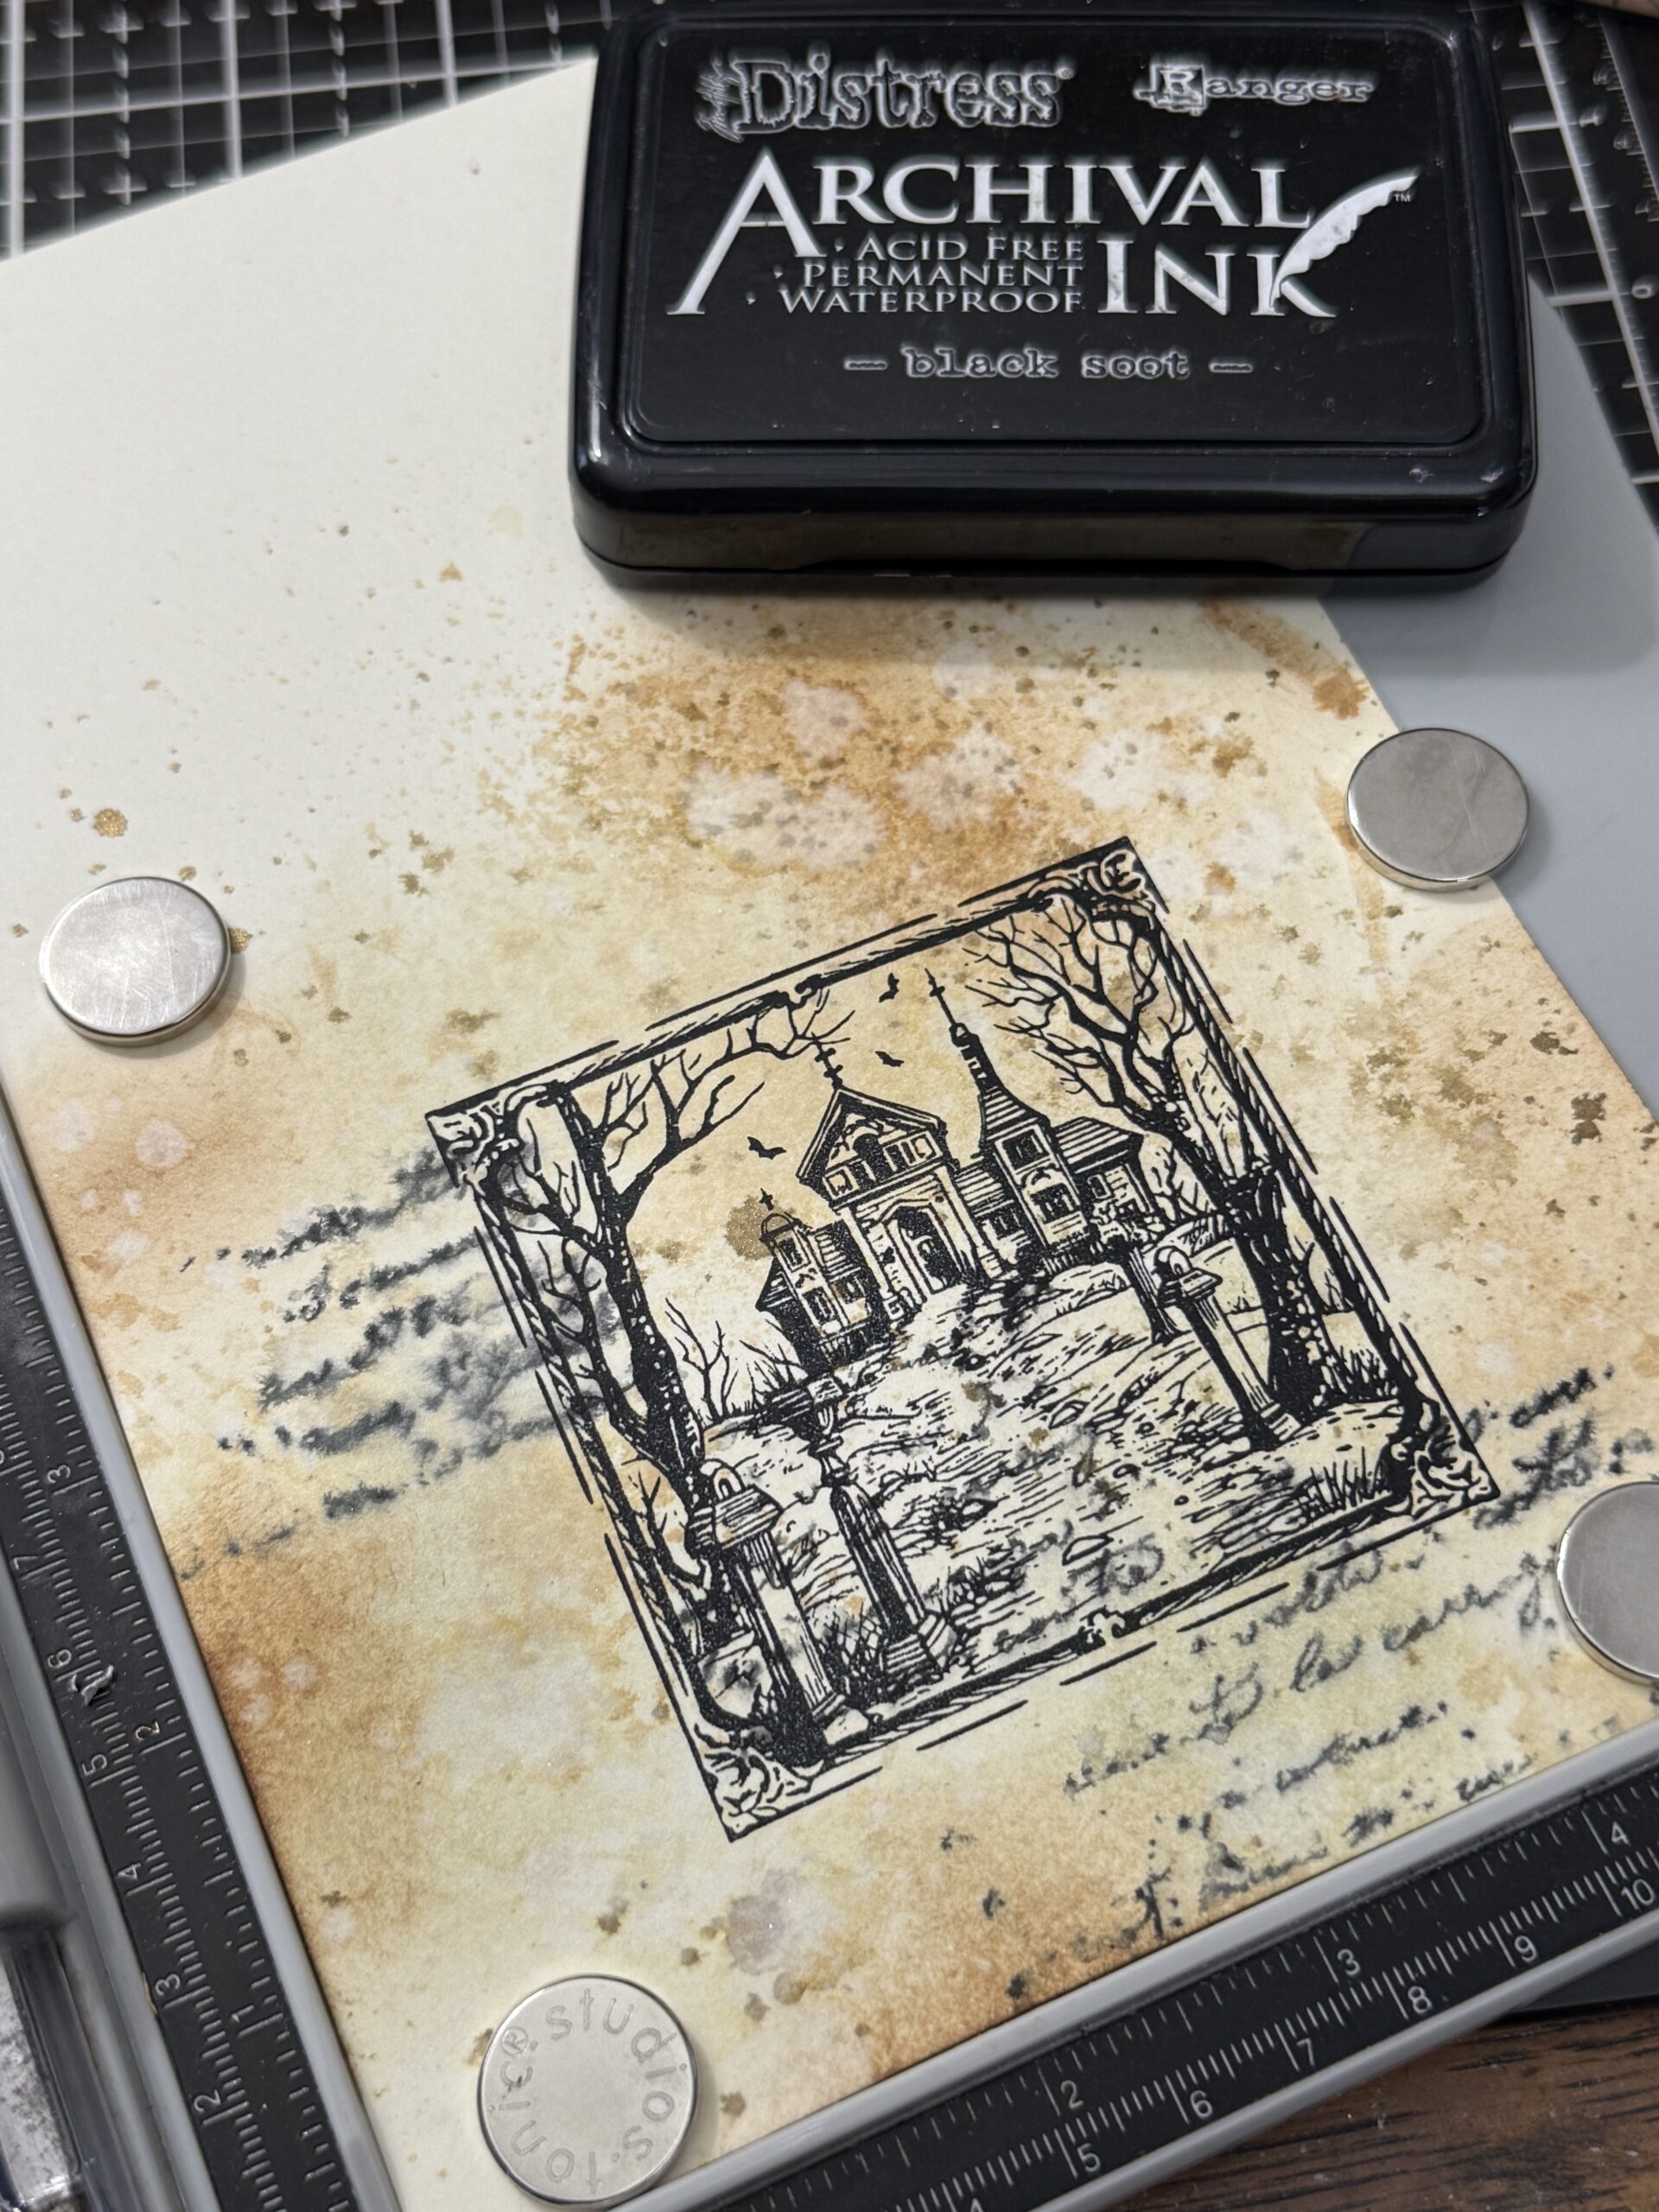
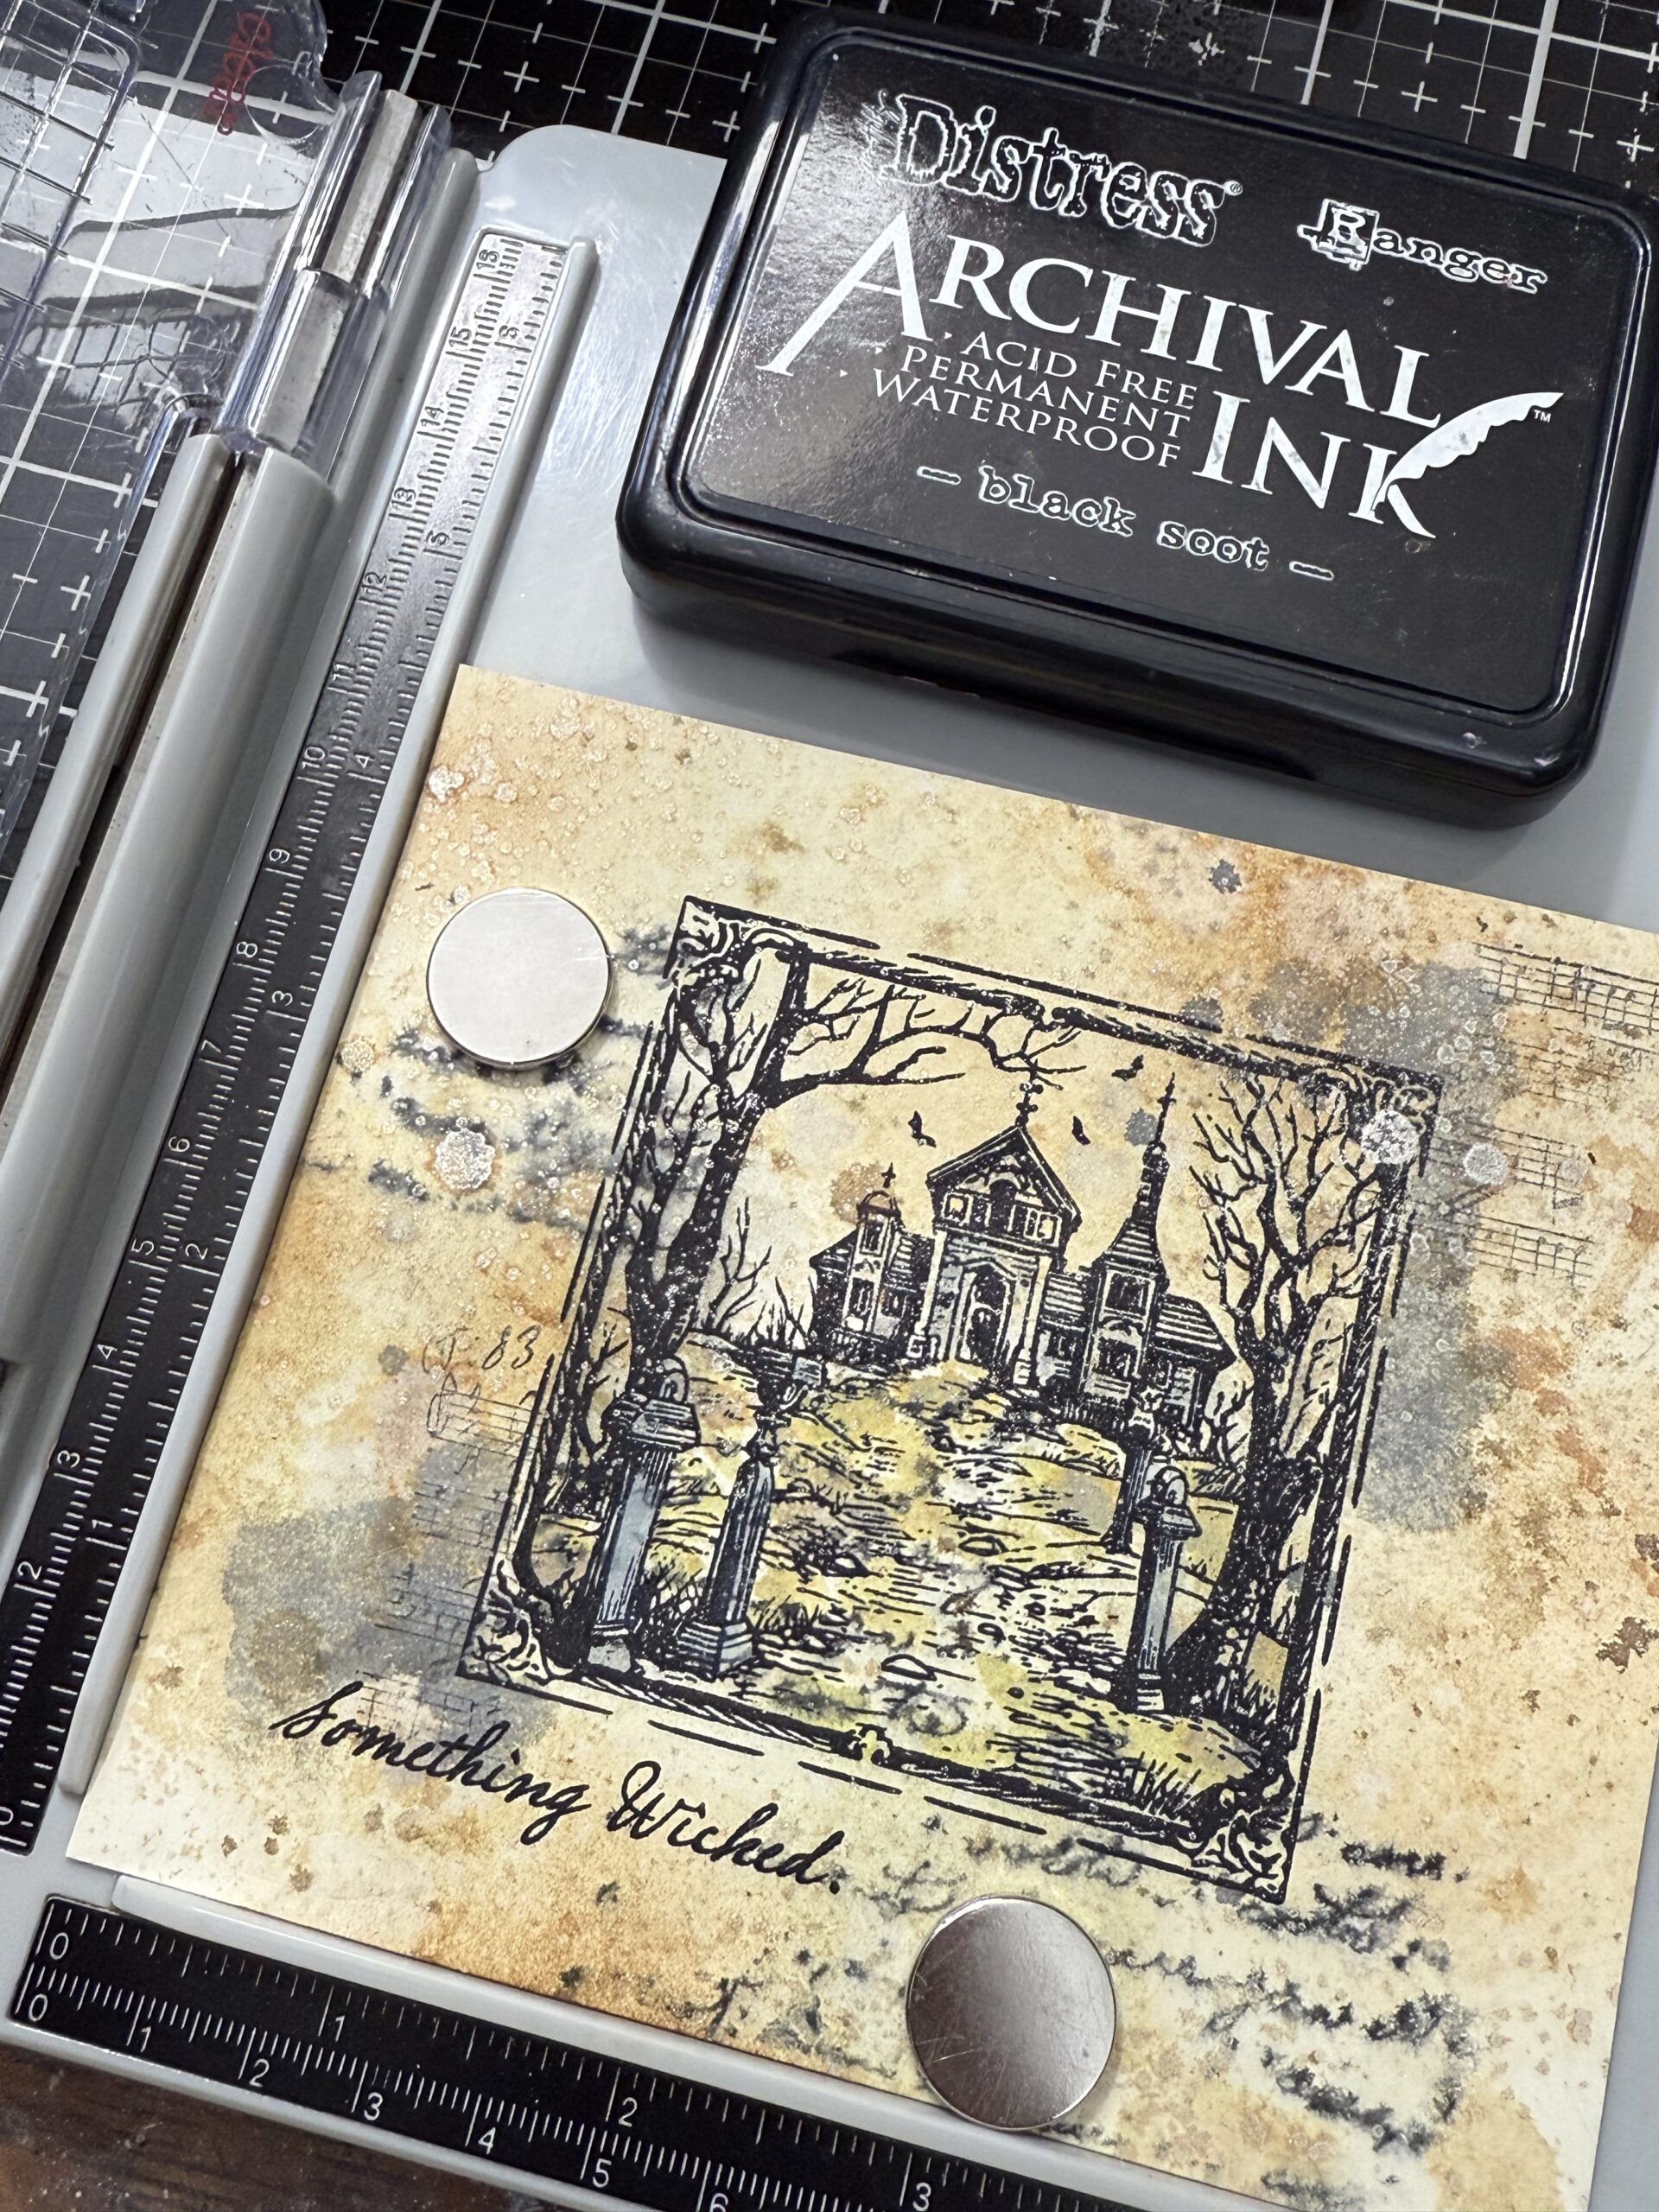
Using my stamp platform, I stamped the Haunted House image onto the paper using Black Soot Archival Distress Ink, leaving the stamped background within the platform.
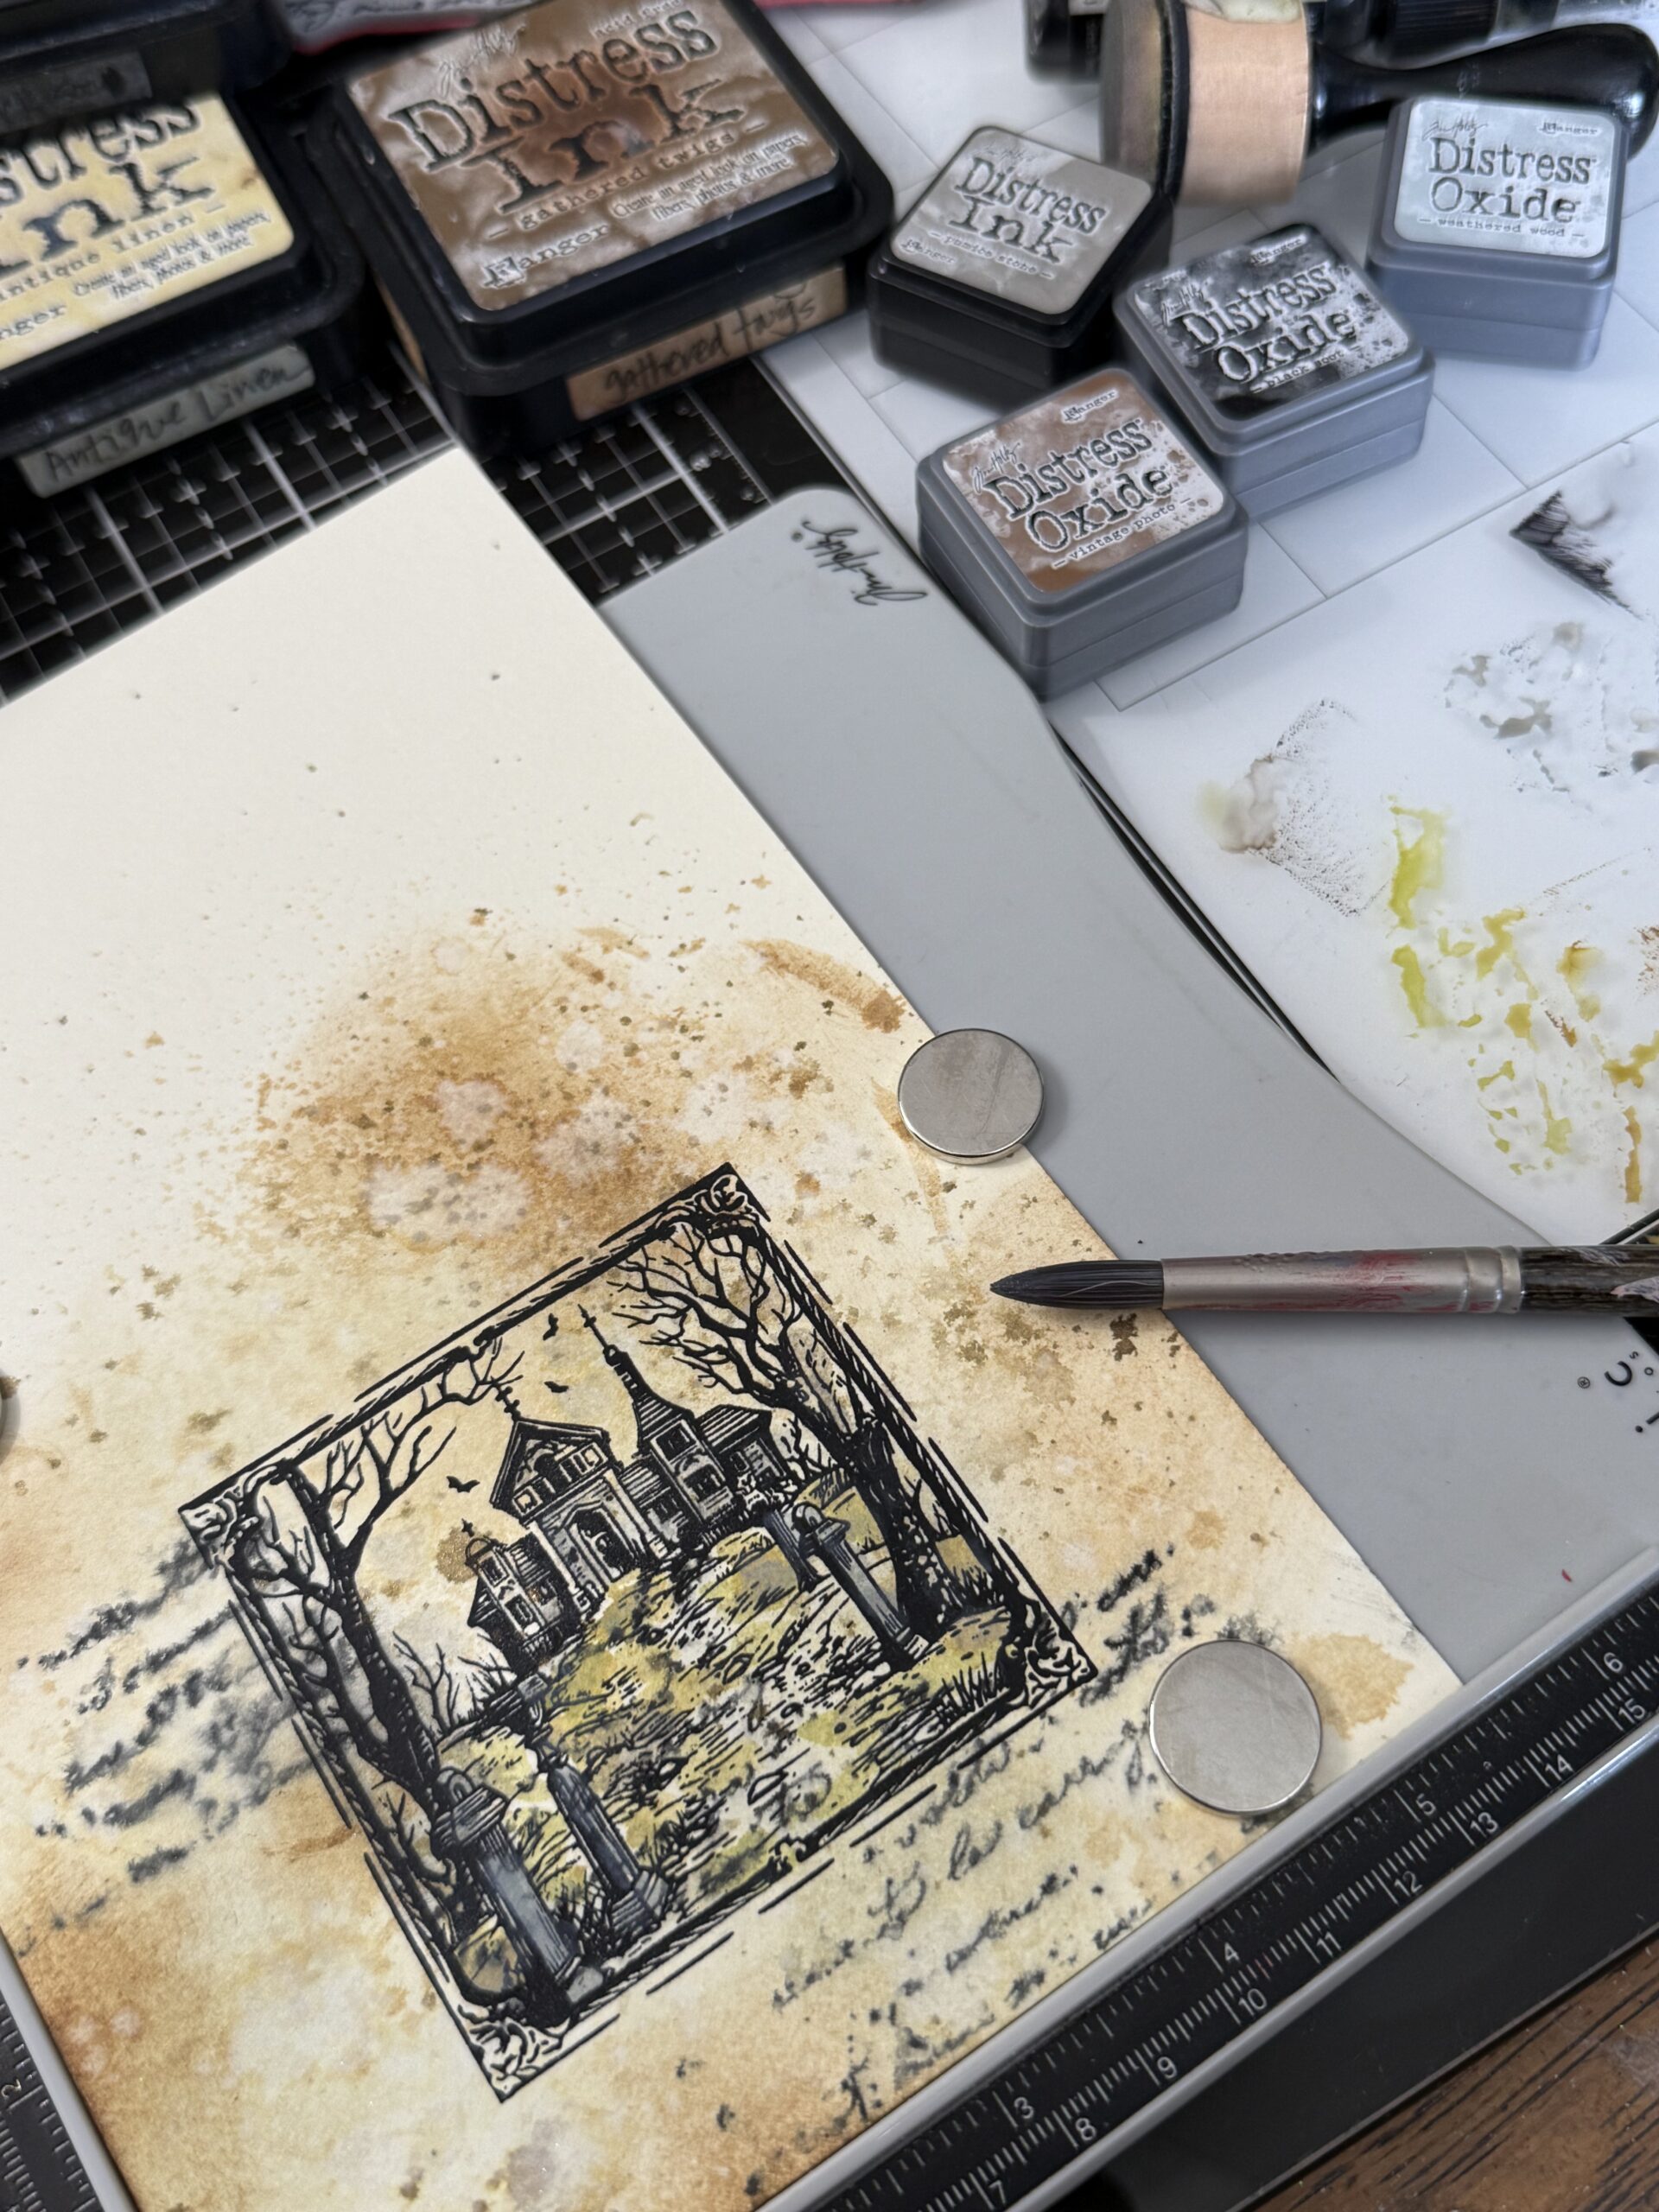
Using a paintbrush, some water and a variety of inks and oxides, I began painting some of the ground leading to the house, and the gate. I smooshed the inks onto my media mat and picked up color, then painted it into the areas. Once I was done coloring I dried it with my heat tool.
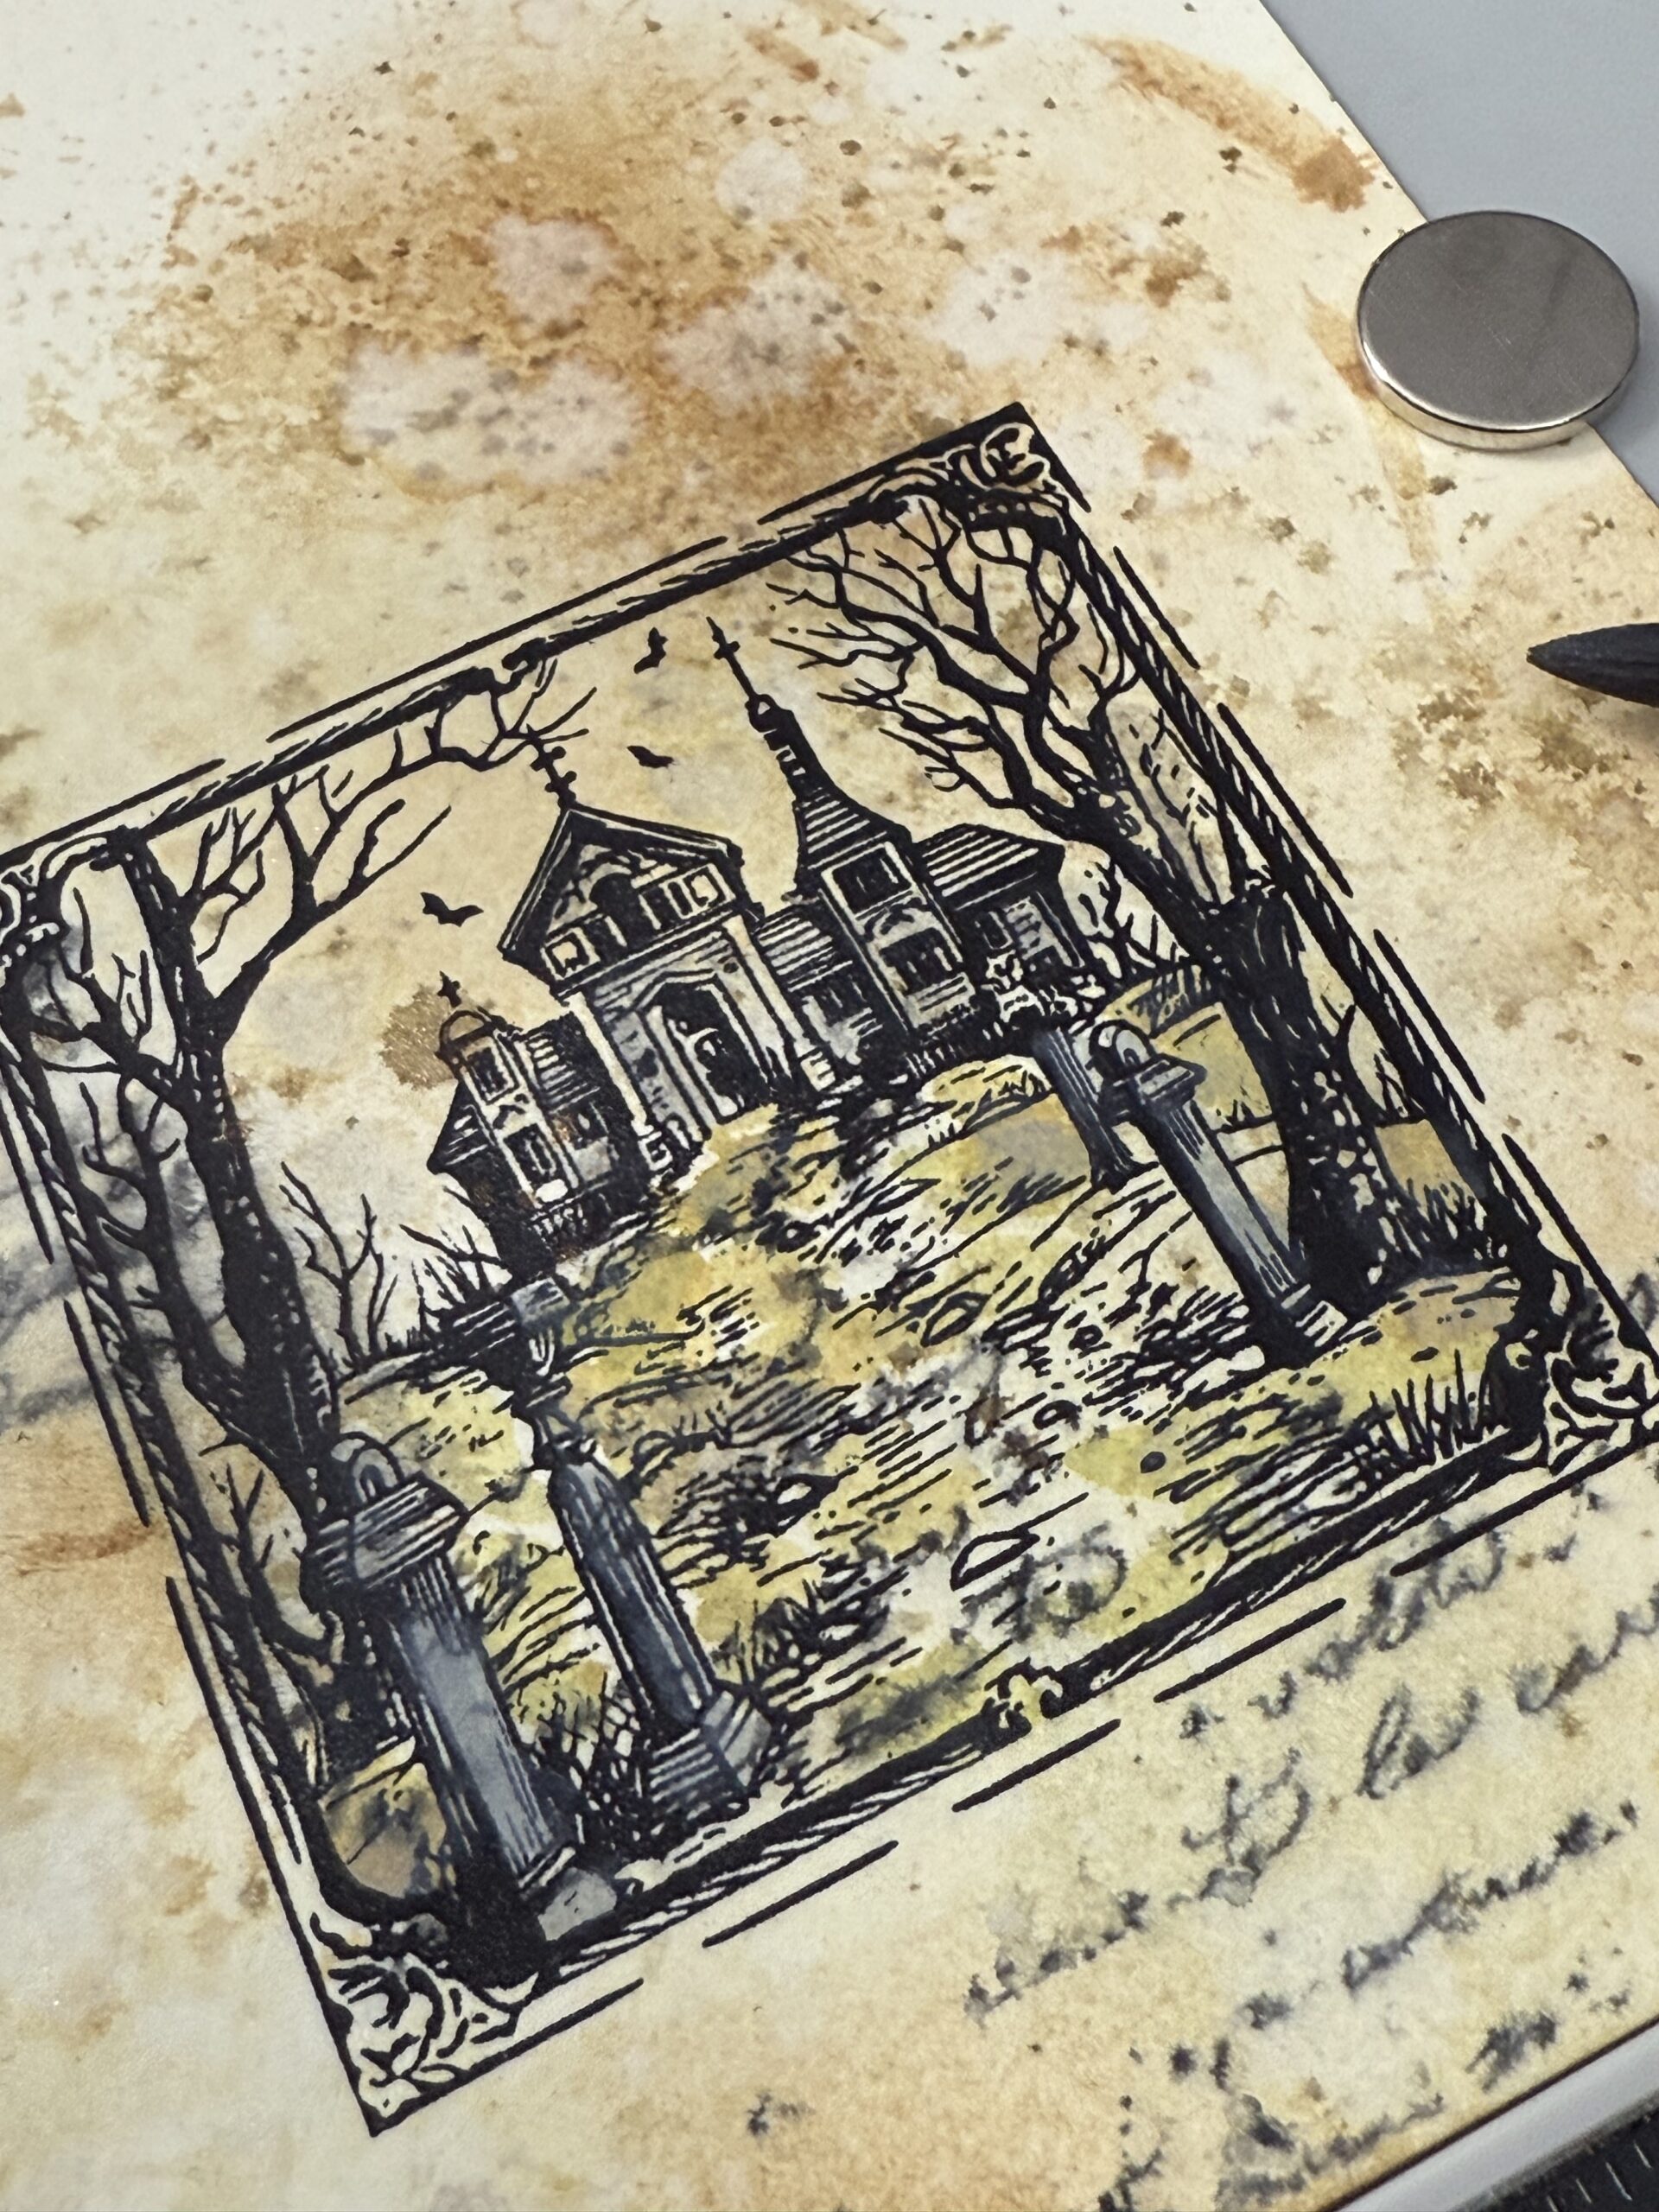
Once I was done coloring the image, I restamped the image using Black Soot Archival Ink to refocus the image. When coloring with Distress Oxide it dims down the stamped image because of the oxidation, the quick fix, using a stamp platform, and restamping! Easy peasy! After the image was restamped, I added the phrase, “Something Wicked” from the set in the left corner, then dried the image using a heat tool. I spritzed the background using some Unraveled Distress Mica Stain.
Next, I stamped the ghost image from the Halloween Sketchbook set using Black Soot Archival, then colored him using some ink & mica stain. I dried him ice he was colored up, then cut him out using the new wafer die set. Before adding him to the front of the card using foam adhesive, I stitched around the frame of the Haunted House image using my sewing machine using both straight and zigzag stitches.

I adhered the card front to a black cardstock base, and with that, my card was complete.
The next set of cards was created using Distress Watercolor Paper (smooth side). I stamped the Haunted House image onto the paper using my Stamping Platform, then dried the image using my heat tool. I stamped the phrase at the top of the image, then, using my sewing machine, stitched a straight stitch around the image.
I stamped the Halloween characters using Black Soot Archival Ink, then colored them using distress ink, water and a detail waterbrush. Once the images were dry, I cut them out using the coordinating wafer die set, then adhered them to the fronts of the card base using foam adhesive.
With that, all the cards were complete.
Thanks so much for stopping by today! And don’t forget to check out all the additional new makes from the rest of the Blog Hop participants. There are so many FaBOOlous Halloween things to see!
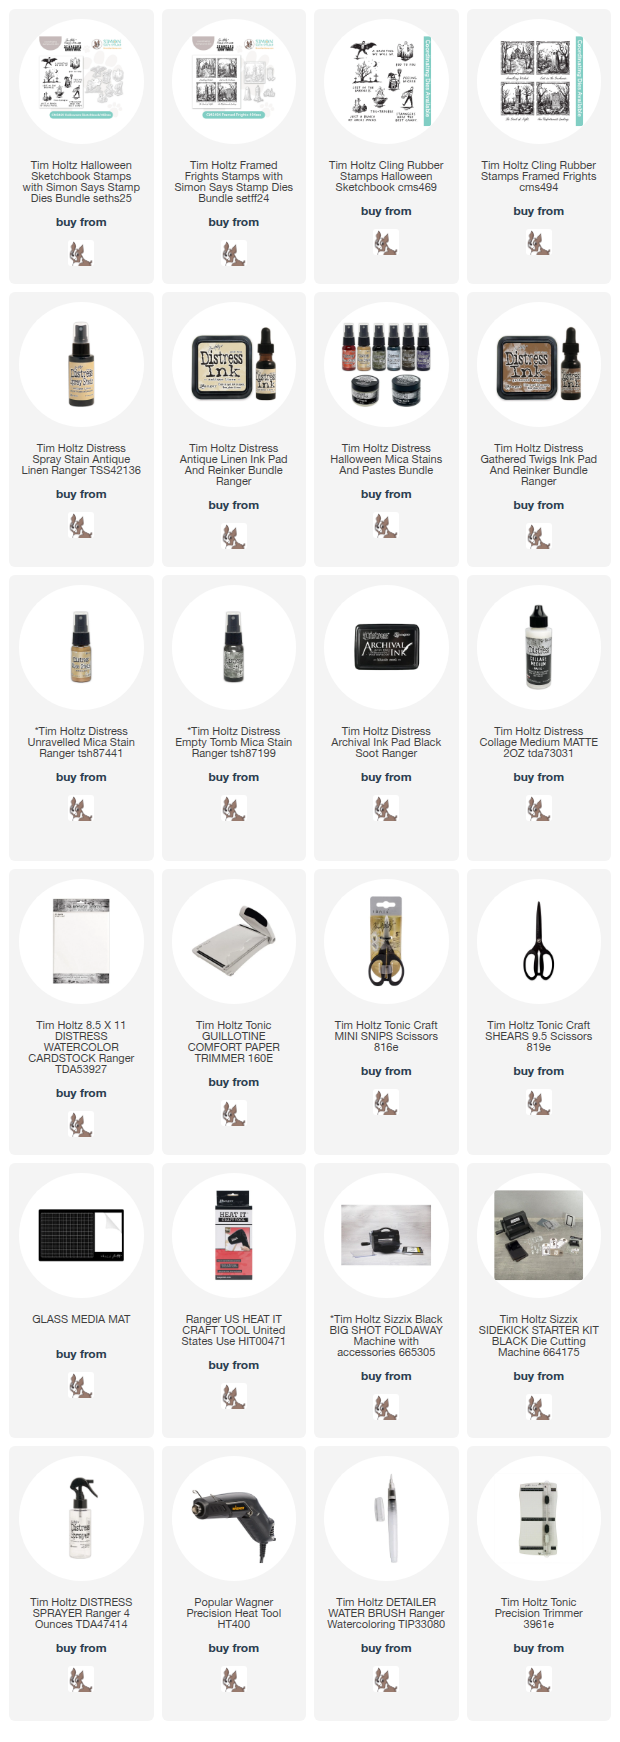
The products used to create this project are listed below with links to Simon Says Stamp. Thank you so much for supporting me through shopping through them. I appreciate it so much! – Creatively yours, Stacy
To shop at Simon Says Stamp CLICK HERE or use the links below. Thank you!
What is an affiliate program, and why should I click on the link and buy through you?
When you shop via the affiliate link on this blog, I receive a small commission from the affiliate provider (Simon Says Stamp) at no extra cost to you, whatsoever. These commissions help me to cover the hosting fees and other costs to run my blog and be able to provide you with FREE inspiration. If you shop the links, THANK YOU! I truly appreciate being able to share my love of creating with you.


Wonderful creations with spooktacular scenes like that of a story book illustration.
Beautiful and fun makes. Thanks for sharing how to make the fabulous background. I was so excited to see the dies for this stamp set. Your makes are inspiring
Love how you made the background. Great Inspiration
I love the grunge look of your cards!
Fabulous cards, Stacy, and I especially love the back and white with a touch of color. Thank you for sharing more of your fantastic and artistic creativity.
Fabulous cards, Stacy, and I especially like the black and white with a touch of color making the Ghose and Trick-or-Treater really pop. Thank you for sharing more of your wonderful creativity..
Framed Frights are some of my fav h’ween stamps but I’ve been able to avoid getting them because how many h’ween stamps do I really need? I mean really. Now I think I need both the Framed Frights AND the Halloween Sketches. Gee. Thanks! lol! Fabulous cards all!
I’m loving the distressed look you gave your cards!! Thanks for sharing!
These are so cute. I really love the friendly ghost in the Halloween Sketchbook set.
The creepy factor is intense!! lol! Amazing backgrounds. I love how you built the card from last year’s dies and added the ghost!
Love the dark grungy look and stoma’s it feel la bit like Frankenstein love this series!
Great cards, really love the background on the first one, I am going to give that a try.
awesome!!
Beautifully spooky – love your aged cards
Wow have the stamp so creative with all the distress inks!!
Love the stitching that you did on the cards. They look amazing
I LOVE your cards! Love the grunge look you created and the fun background adds so much to that first card. You managed to meld two different styles of stamps together and they go perfectly well together. Wow. Thanks, too for sharing the steps to create these. It’ll give me inspiration on upping my game.
Wow!!!! These are sooooo Good!!!! I love them all!!!
Beautiful cards, love the back grounds!
Great makes!!!!
Love the antique style of your cards. The colors blend so well together too. Wonderful inspiration with these stamp and dies.
love how quick these cards are with little coloring – so spooky
fabulous cards
I just love the look of these cards! They remind me of Gorey sketches!
These are so cute! Love the stitching!
Awesome cards 💜
Such fun, grungy without being too dark, love your cards.
Great card examples – love the techniques used!
I have got to try the haunted house dies!!! Beautiful cards!
Love the style of your cards!
I never would have thought to do a black & white with a tawny color…I have to try
WOW! Love these ideas! Thanks for the tutorials.
Thank you for the detailed You Tube tutorial! Really fantastic!
Very cool cards!!!
Amazing! Wow, love the cards.
Gorgeous designs Stacy. The stitching, the eery grungy ink work and then the more CAS second designs. LOVE them all xoxo
Awesomeness!,😃❤️