Hello friends! Welcome to my blog! Today, I’m sharing a tutorial using the NEW Distress Oxide Ink Minis! Distress Oxide Inks have been around for a bit, but it took some time for the chemists at Ranger Ink to get the ink just right and make it so that it would thrive in the tiny mini ink pads…and friends, the day has come!! Woohoo! I LOVE a regular ink pad, but there is just something about the minis that make them so handy and quick to grab when a burst of inspiration hits. So, to say that I am excited is an understatement!
Along with those minis, Tim and Ranger introduced some tiny blending brushes…perfect for adding those tiny details that we just LOVE! The ink pads are sold in color families in packs of 4, and the mini brushes come in a package of 3. CLICK HERE for more details.
Today, I am focusing on creating using the package of Greens and Neutral Oxides…you know that I LOVE my neutrals!

Now, you’d think with only using greens and browns that it might be a little boring, but no…not with Distress Oxides!
Especially when they are spritzed with water and Distress Mica Sprays..which I did here!

A combination of oxidation and shimmer really made this color combo pop!


So, let’s get to making them…
I started with some Distress Watercolor paper, the French Garden CMS487 stamp set, and my green and neutrals Oxide Minis

Starting with the lightest colors first, I added color to one of the flower stamps. While adding the ink, Oxides might leave a little color from your stamp to ink pad while adding the color , but if you simply wipe it off with a dry towel, it won’t hurt your pads.

After you have all the ink on your stamp, spritz the stamp with some Distress Mica Stain (decayed) and a quick spritz of water, then stamp the image onto the smooth side of Distress Watercolor Paper, then dry with a heat tool.

To create the pattern on the paper, I stamped the images around the paper using the first, second and third generation of the ink. I spritzed the stamp with a quick mist of water after each time that I stamped. The images got lighter and lighter, but using the leftover ink created a beautiful look, plus, you’re not wasting ink!

Here you can see a bit of that shimmer from the mica spray.

Next, I blended some patterns into the backgrounds using a stencil, Distress Oxide and the mini Distress Blending Brushes. I moved the stencil around matching the pattern over top of the previously blended pattern until I covered all the background of the card.

Once I had the blended background complete, I spritzed a fine mist of the Distress Mica Stain over the paper, then dried it with a heat tool.

I made all three backgrounds using the same technique until they were all complete…
Here is the second flower and color combo… with a spritz of Unraveled Mica Stain.

…and after I blended in a background using a stencil and blending brush.

And the third flower color combo… with a spritz of Distress Mica Frozen Fog.


And here are the finished backgrounds…

I stitched around the edge of each of the backgrounds using my sewing machine. Then I stamped a phrase, cut it out using a pair of scissors and cut out a piece of paper for behind the phrase. The phrase was adhered, then stitched onto the cards. I matted the card front to a folded card created using Distress Watercolor Paper.
With that, my cards were complete! Thanks so much for stopping by!

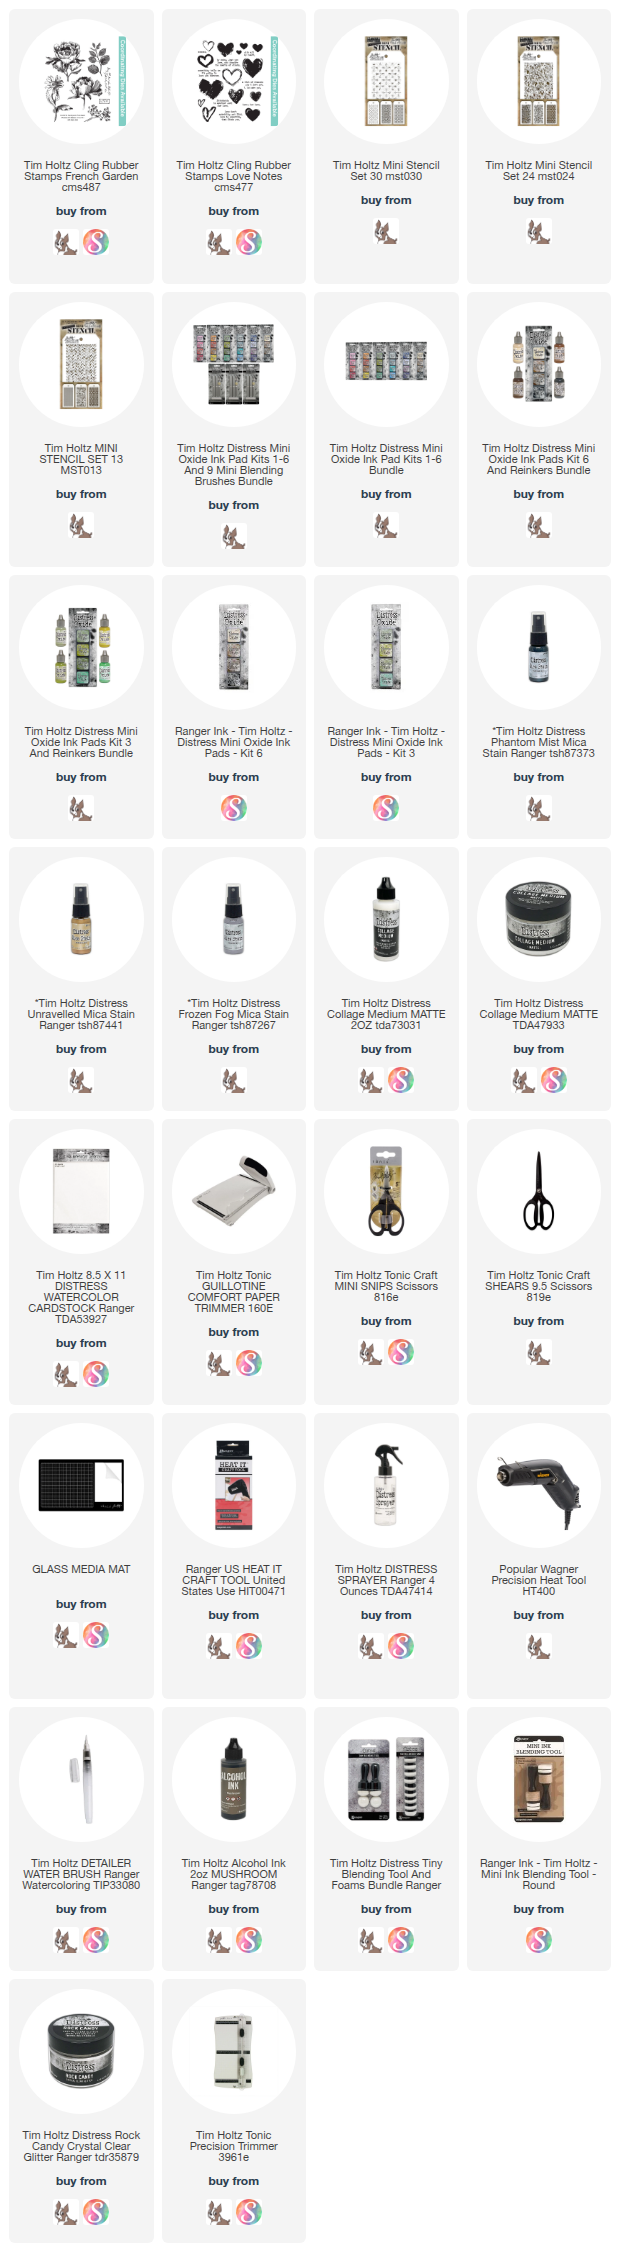
The products used to create this project are listed below with links to Simon Says Stamp. Thank you so much for supporting me through shopping through them. I appreciate it so much! – Creatively yours, Stacy
To shop at SIMON SAYS STAMP click HERE.
What is an affiliate program, and why should I click on the link and buy through you?
When you shop via the affiliate link on this blog, I receive a small commission from the affiliate provider (Simon Says Stamp) at no extra cost to you, whatsoever. These commissions help me to cover the hosting fees and other costs to run my blog and be able to provide you with FREE inspiration. If you shop the links, THANK YOU! I truly appreciate being able to share my love of creating with you.


