Happy Saturday, Friends! Did you catch Tim Holtz today over on his Youtube channel? He was sharing inspiration and a look at his new Halloween release from Sizzix..all sorts of creepy things in the best way!
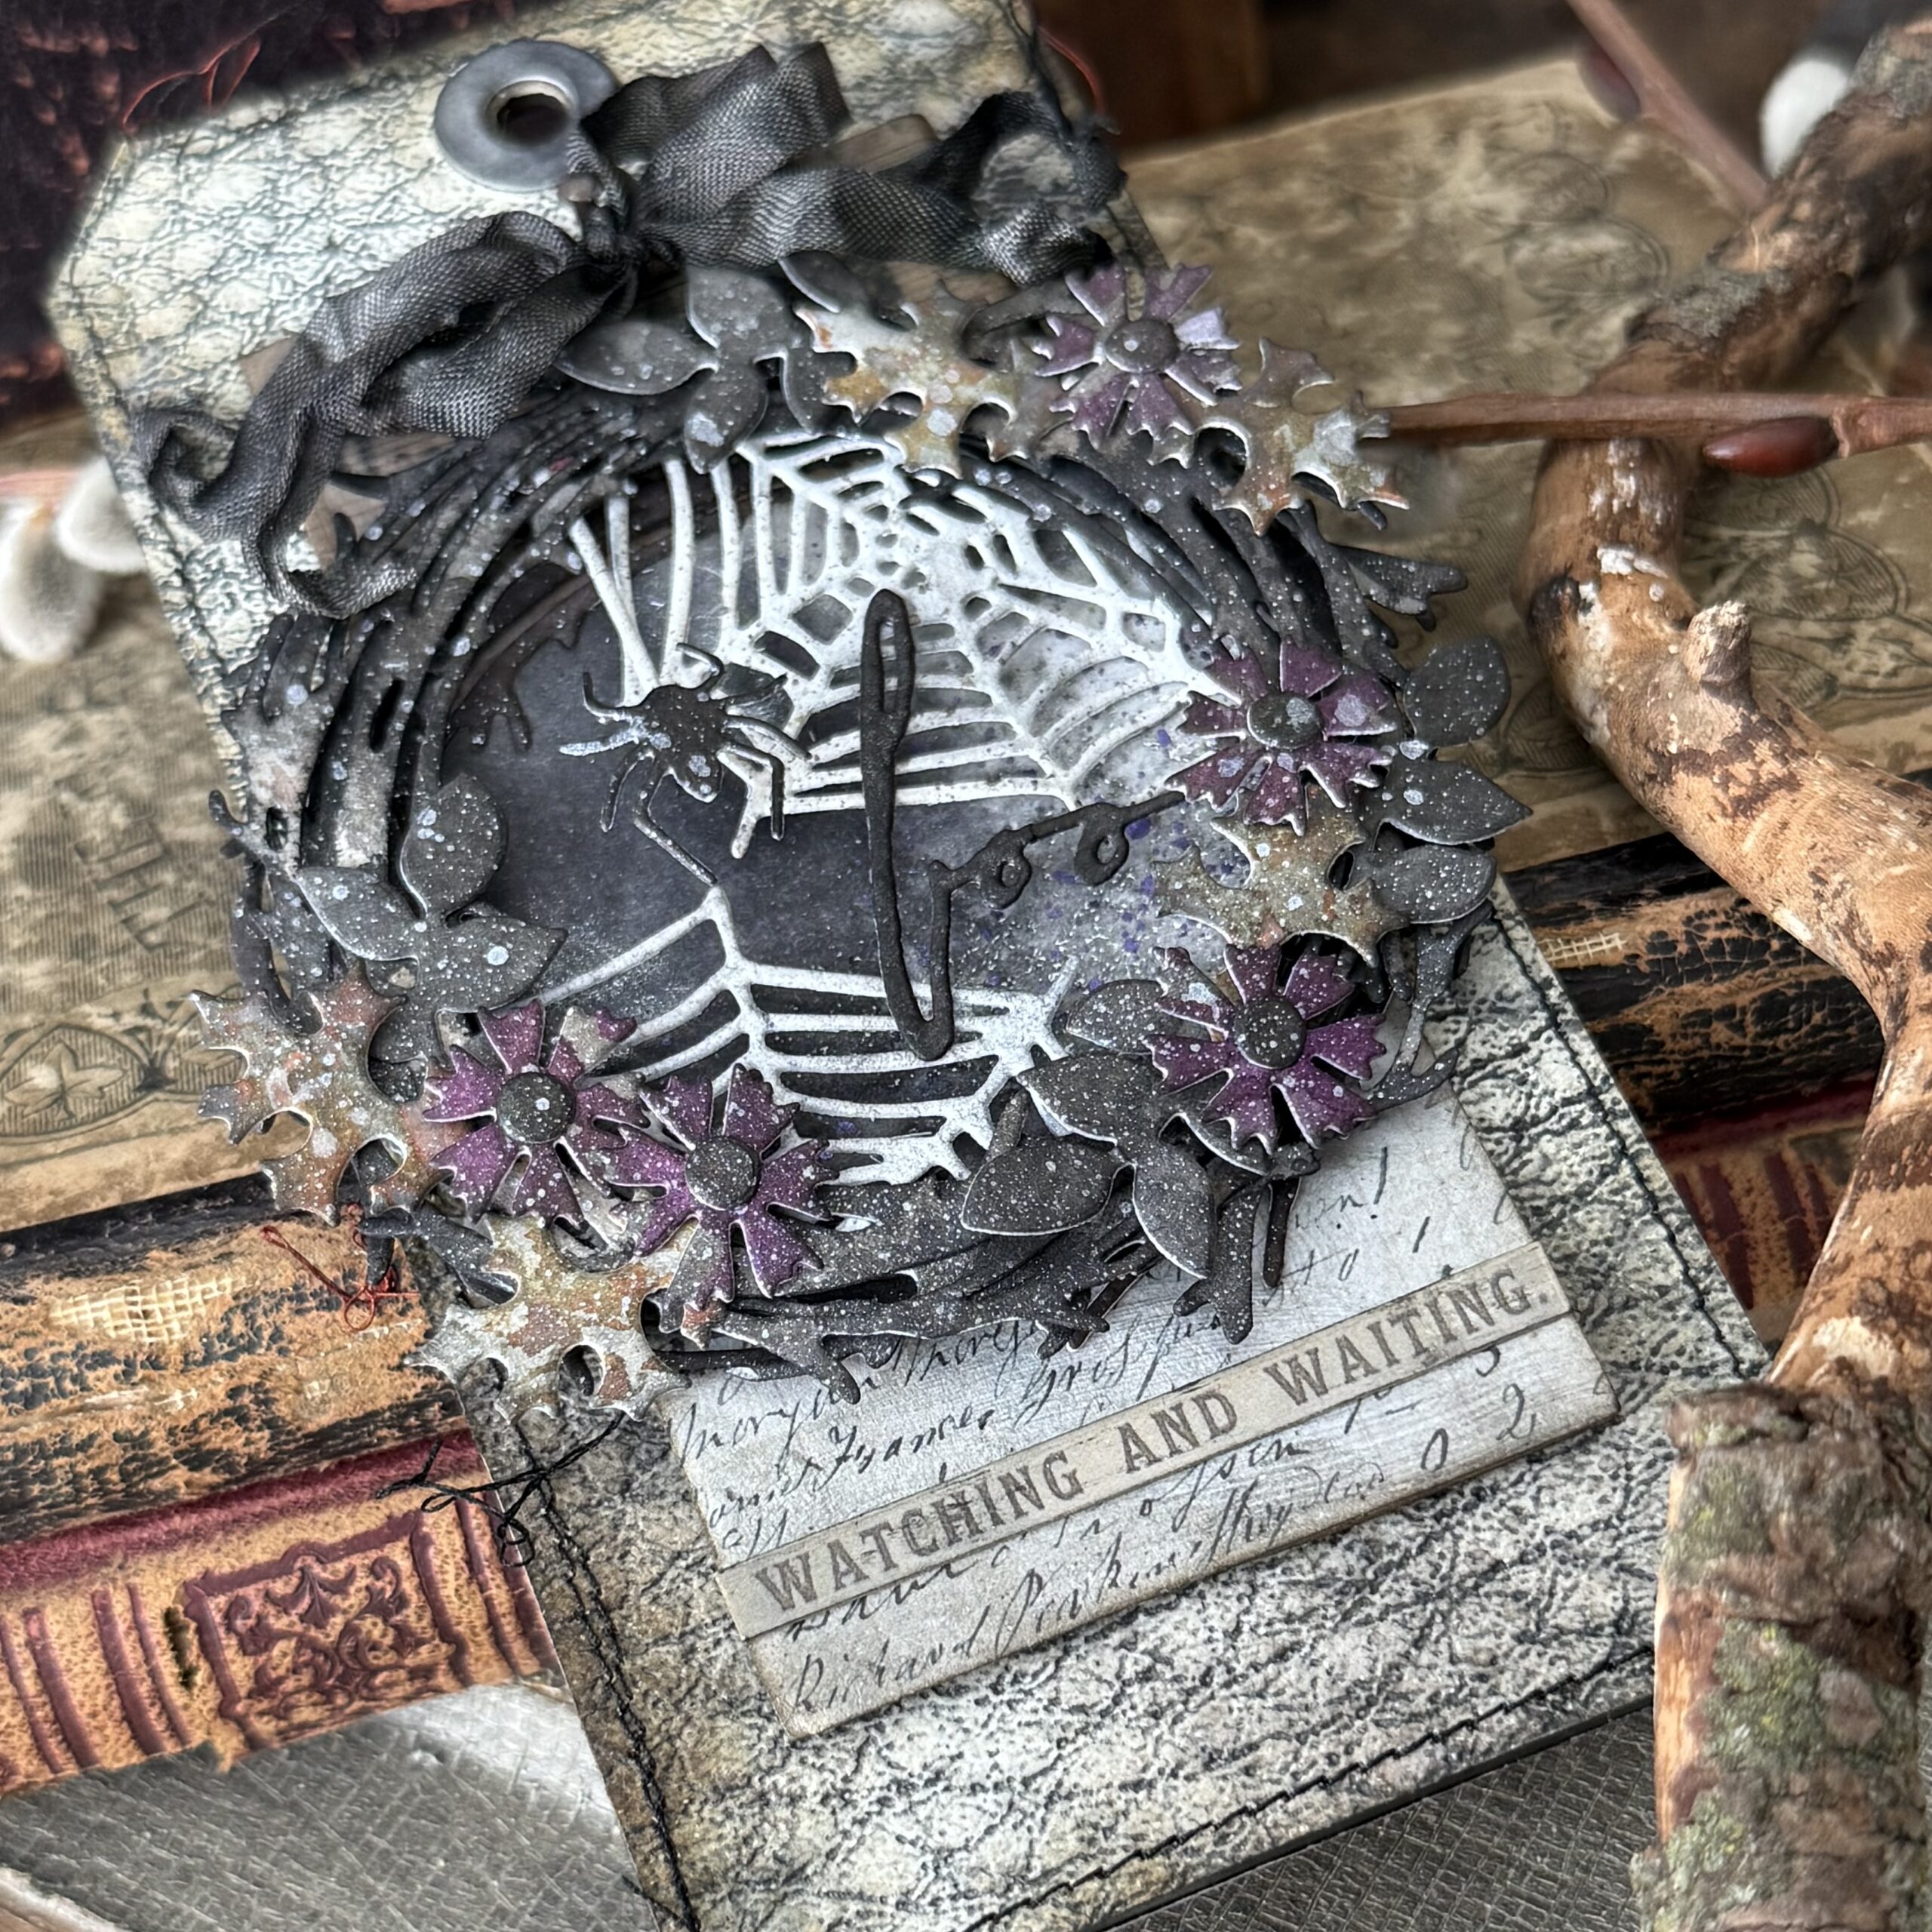
I am here today to share a project that I made using the new Vault Foliage Wreath along with the Vault Laboratory Sidekick Side-Order…a creepy cool combination if you ask me. I LOVE and of the wreath sets and those little spiderwebs worked so perfectly within this little wreath.. a beautifully creepy spot to build a little home..right?
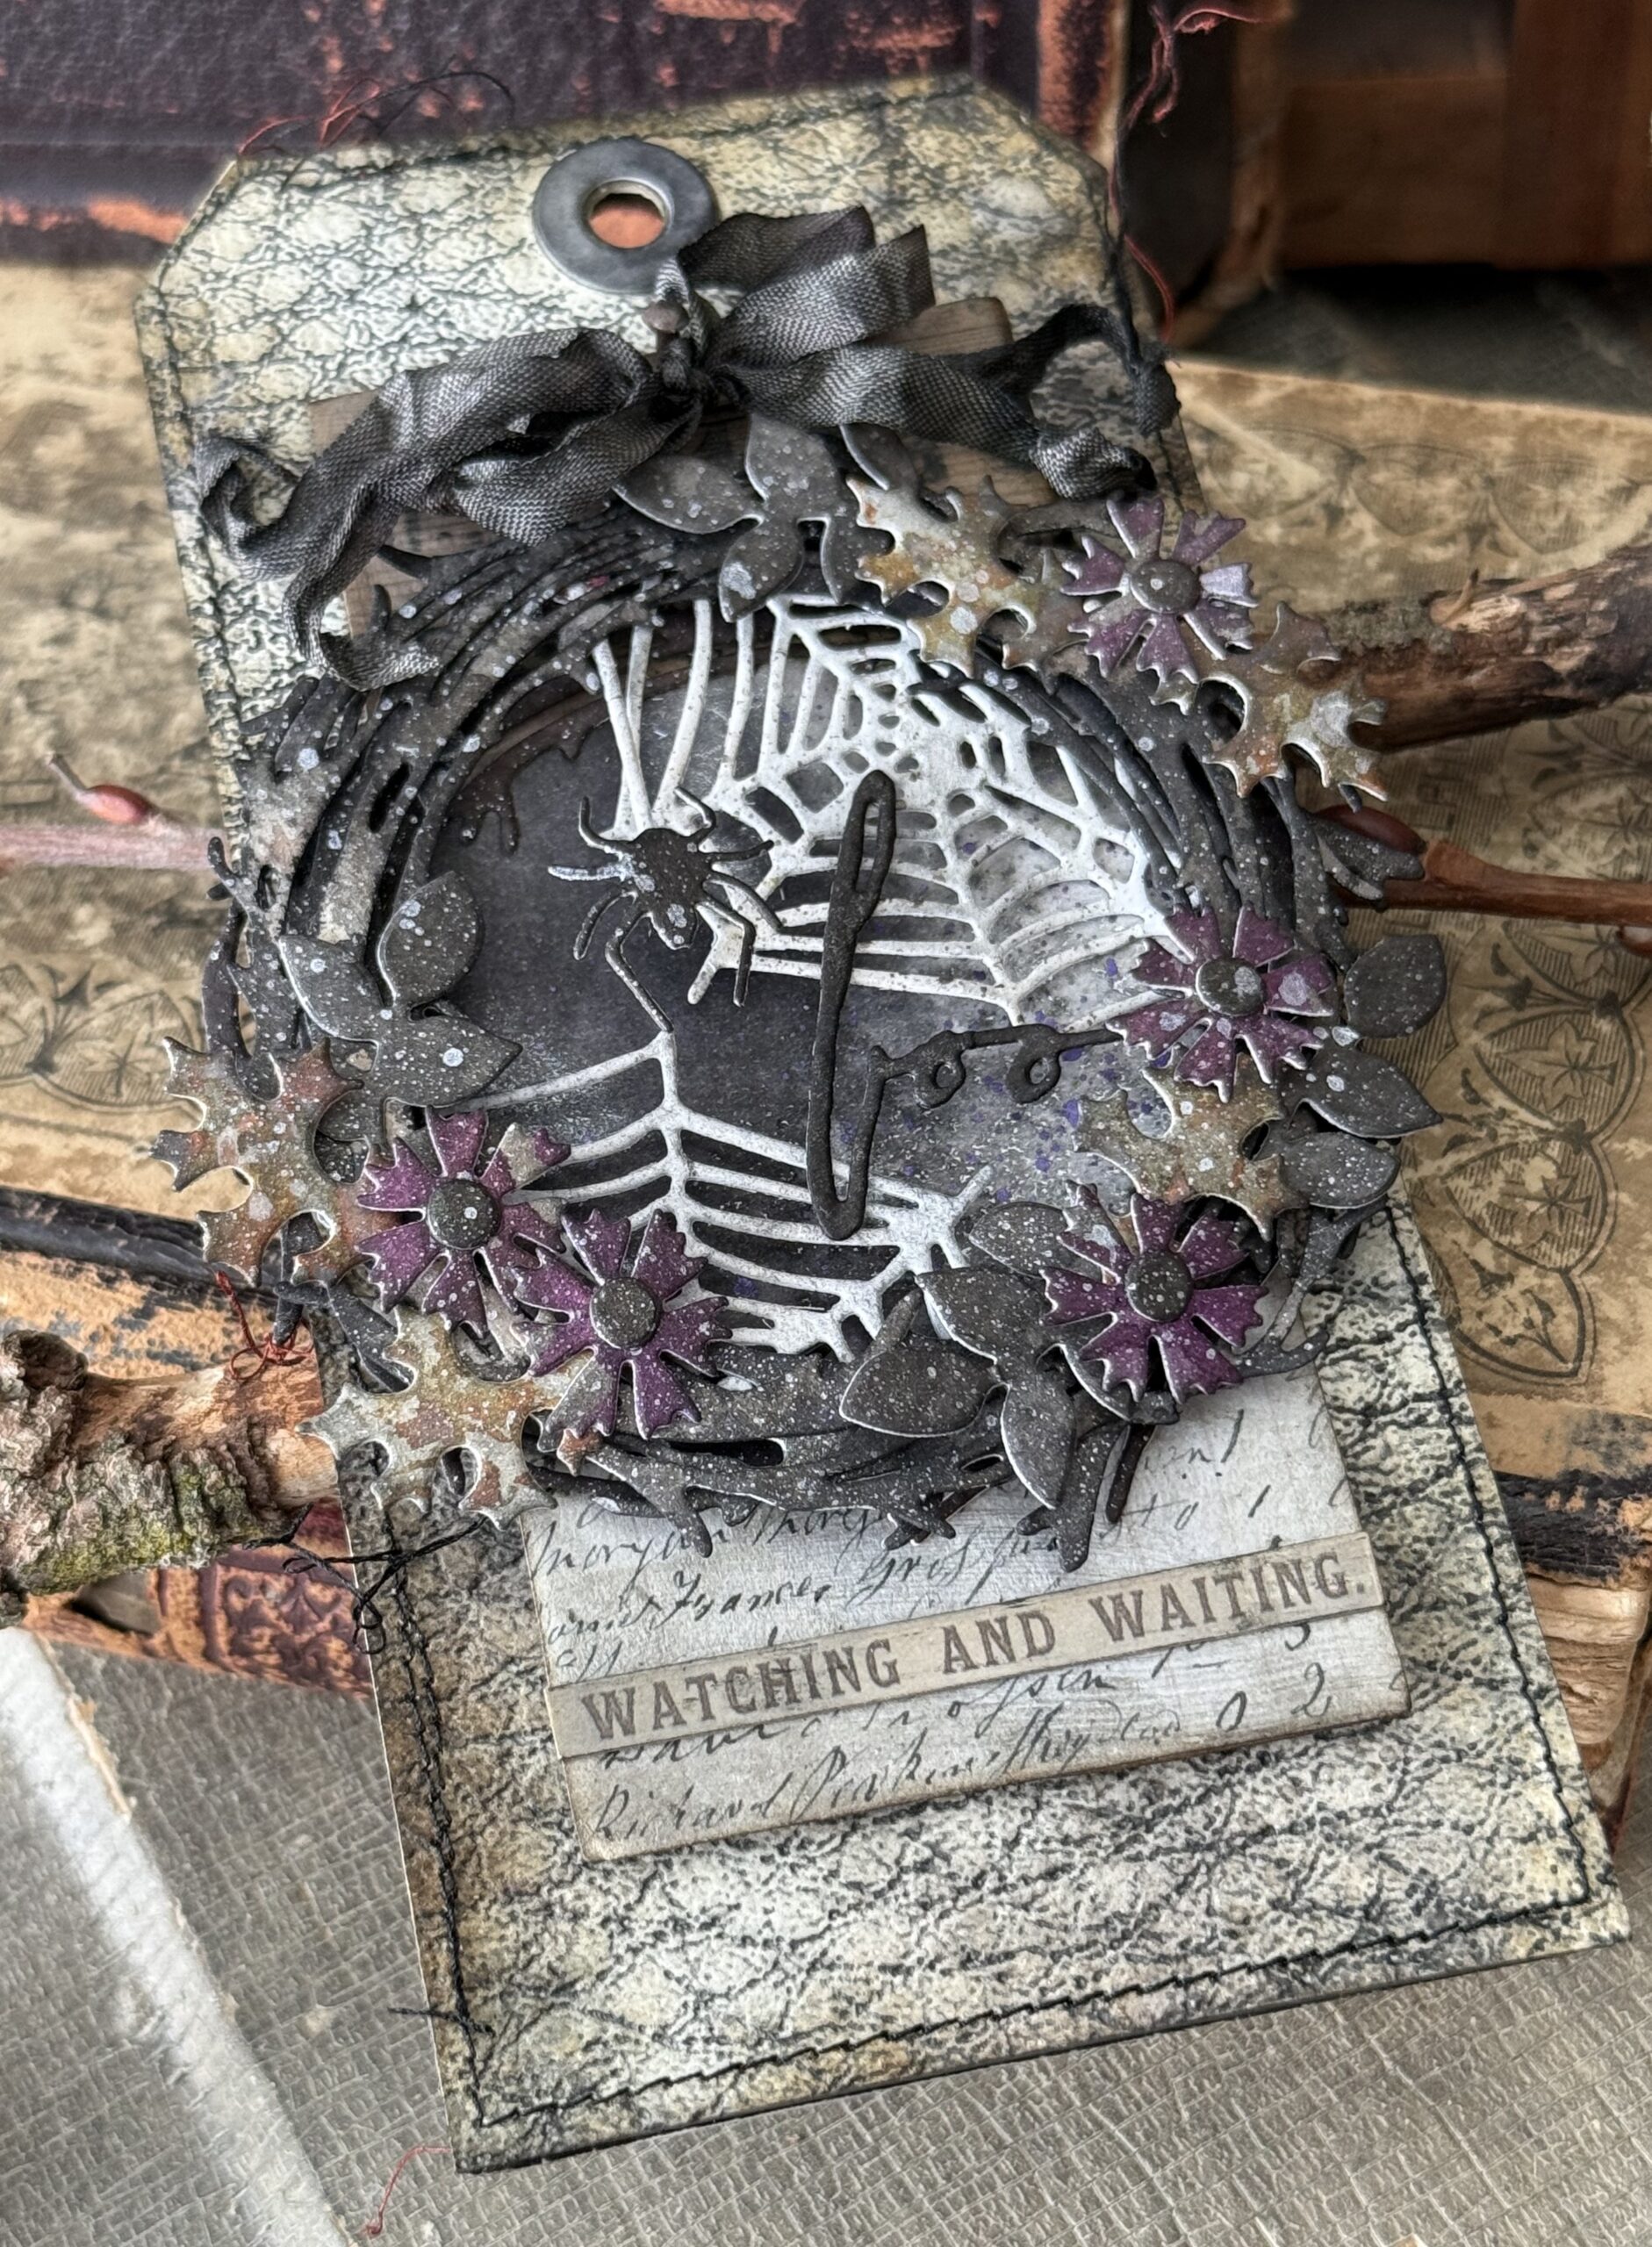
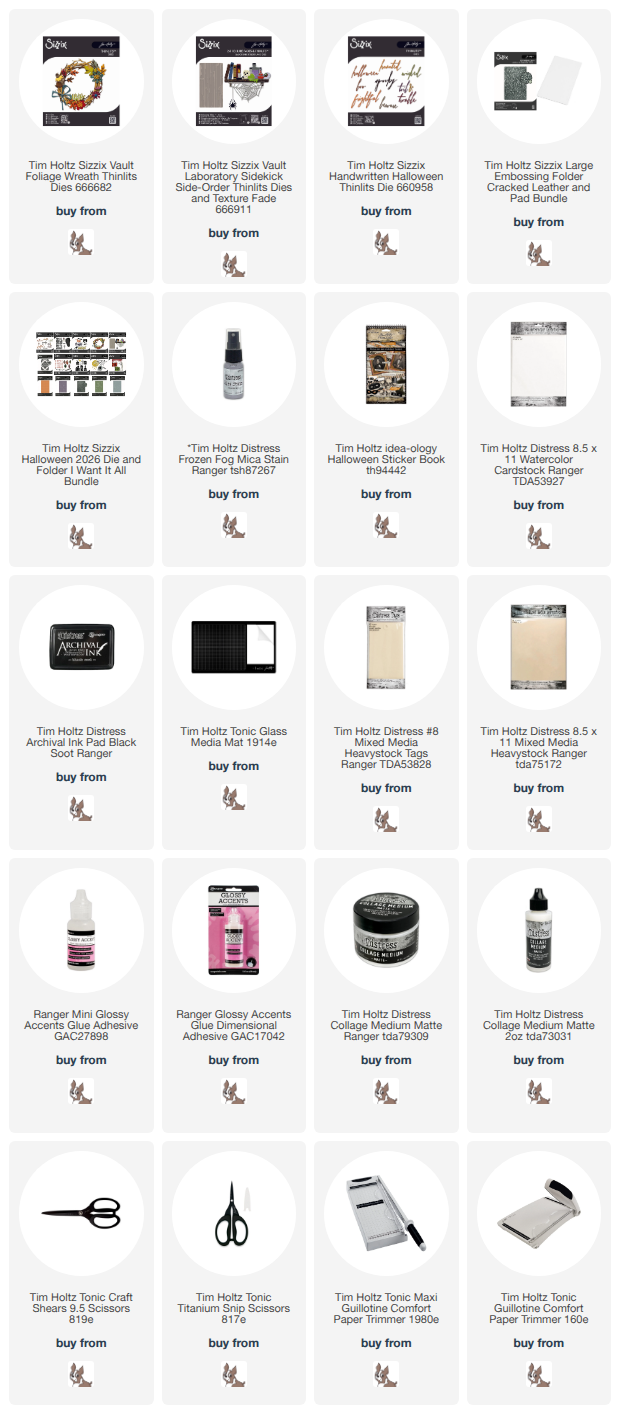
Here’s a look at each of those sets and all the different shapes they contain to build a plethora of makes for Halloween. The possibilities are endless!
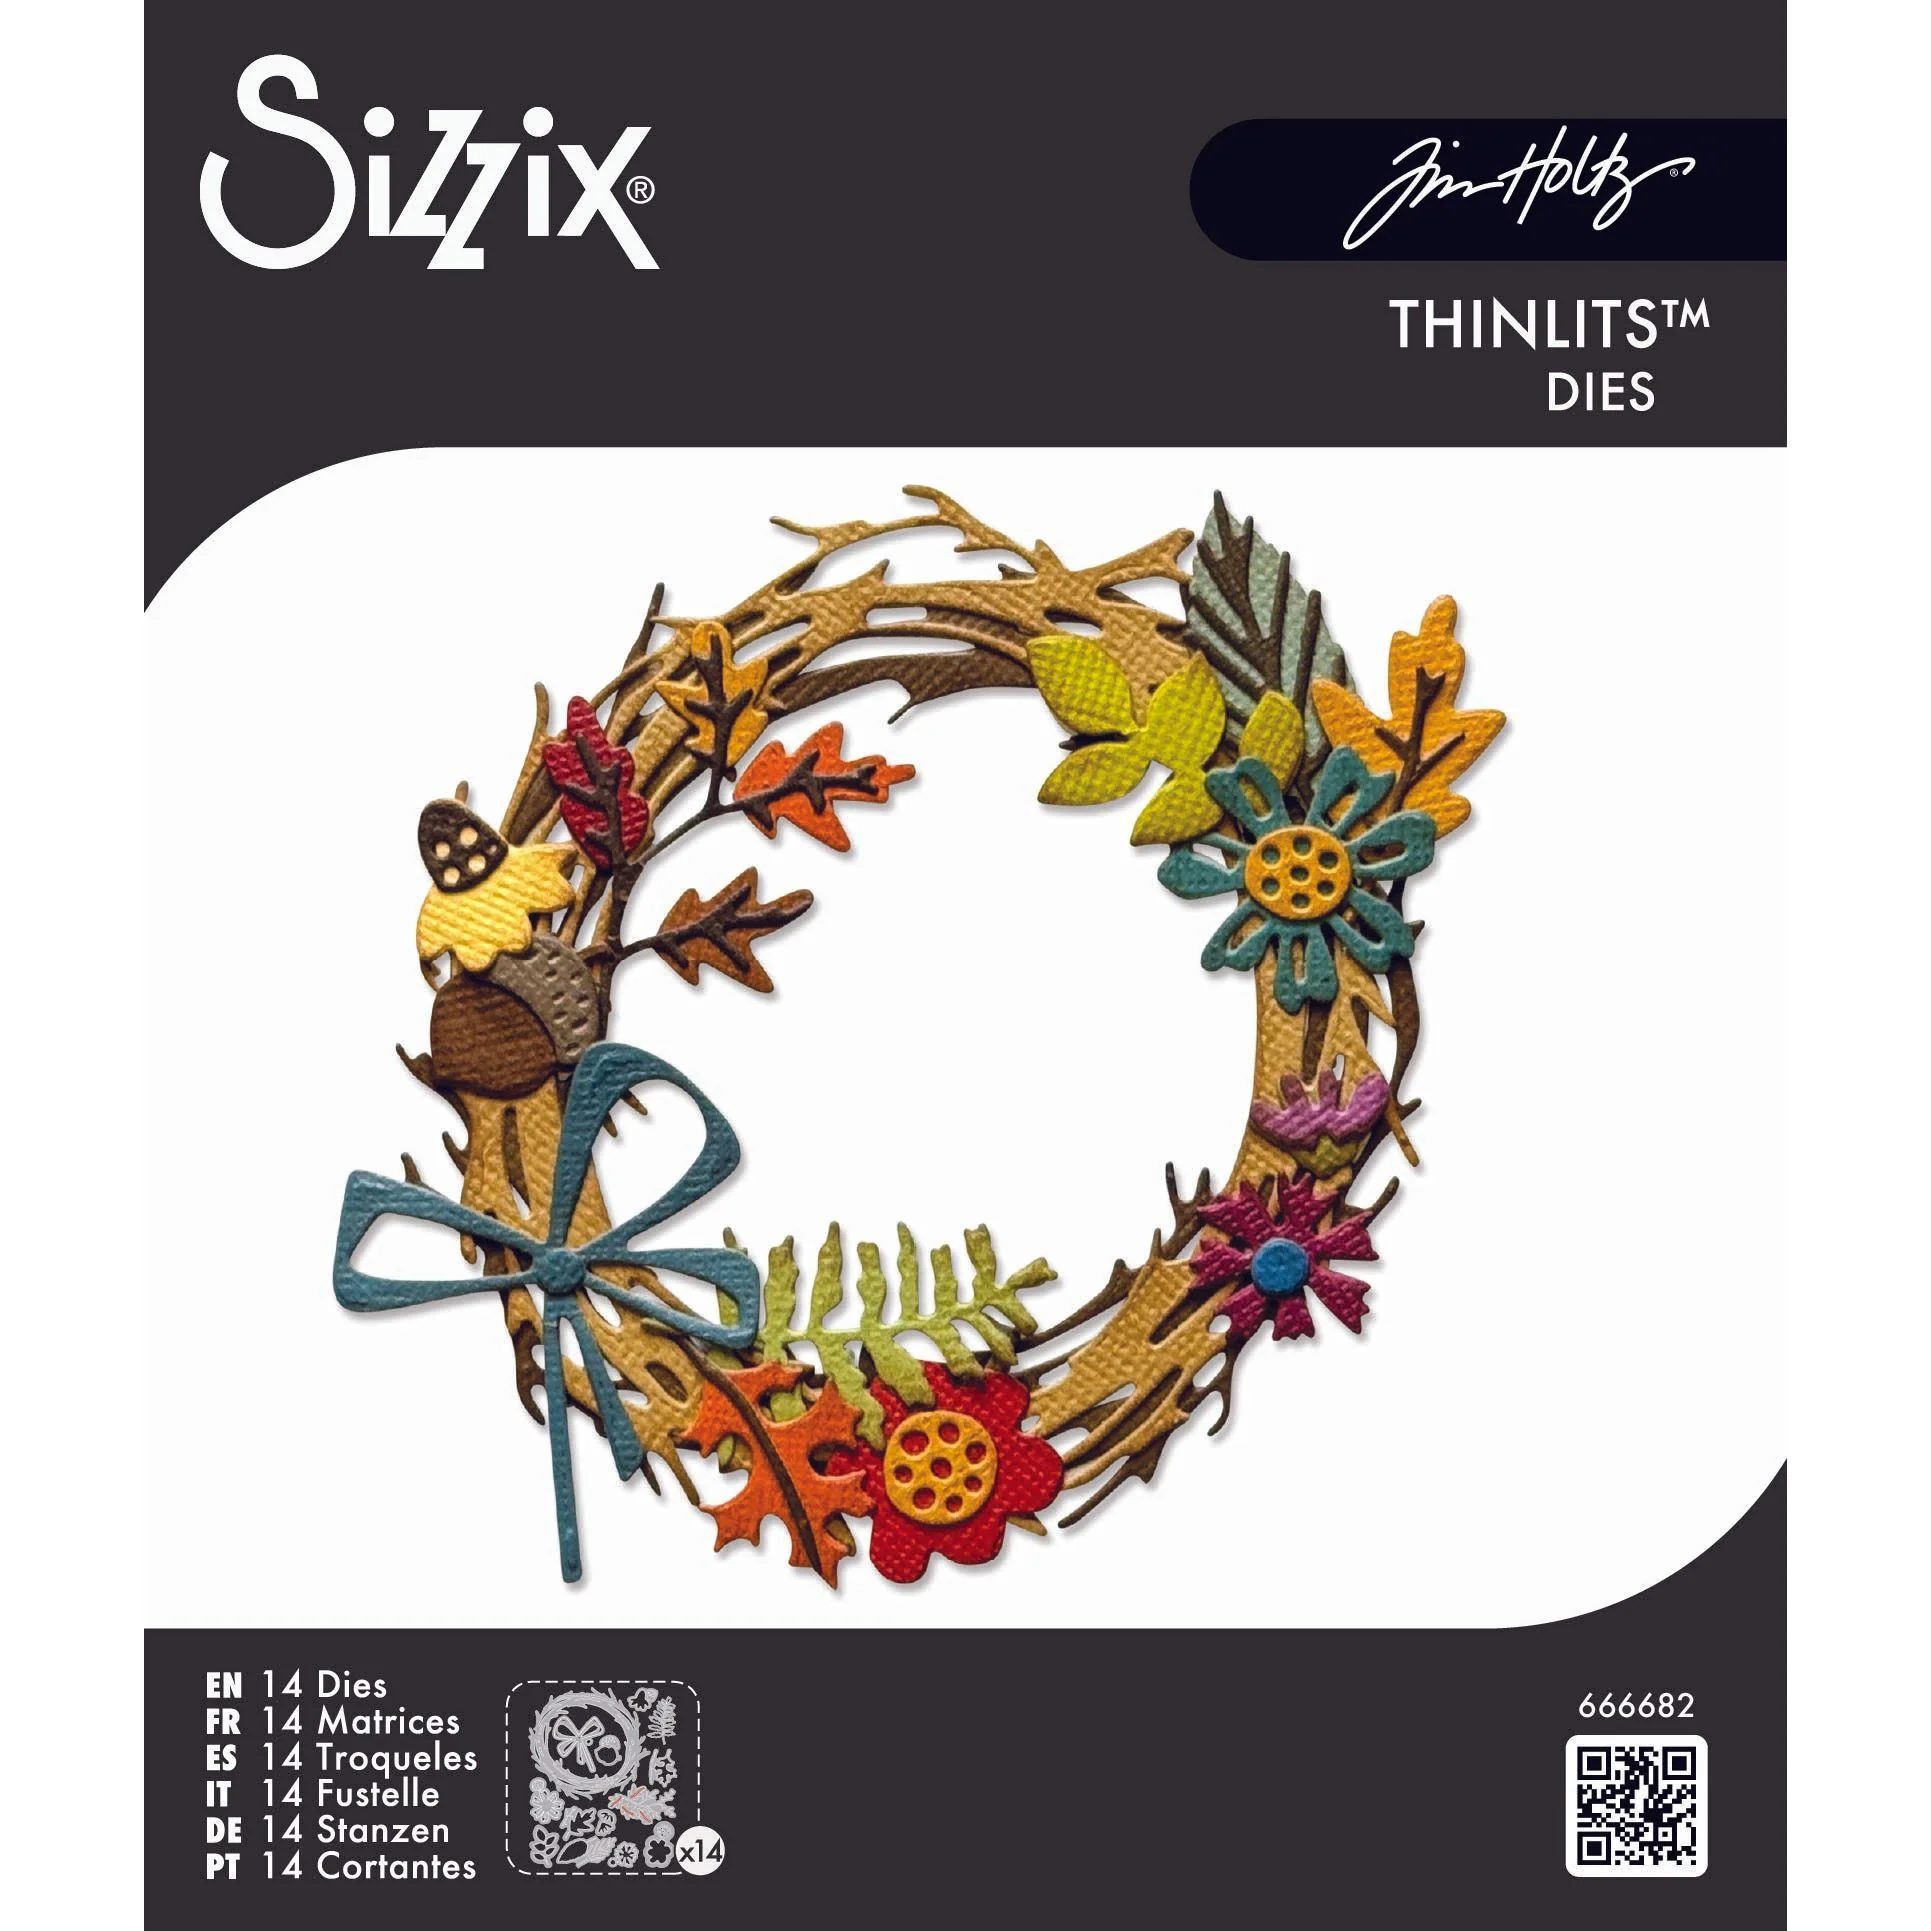

How did this all come together?
Well..I started by creating a bunch of Distress Ink and Spray background papers. I started with pieces of Distress Watercolor paper, then began creating backgrounds focusing in on a fall and Halloween palette. I used Black Soot, Walnut Stain and Ground Espresso to create the paper for the wreaths, cut them out and layered them together using foam squares to create a base for building my arrangement.
Other color combos for the flowers and leaves were made using Vintage Photo, Rusty Hinge, Wilted Violet, Seedless Preserves and Pumice Stone. I just had fun with the making of the backgrounds and knew whatever combos I had, they’d be perfect for the leaves and the flowers. I even used some of my Mica Sprays and Spritz to add some magic sparkle to them. Then I began cutting out the elements and began building.
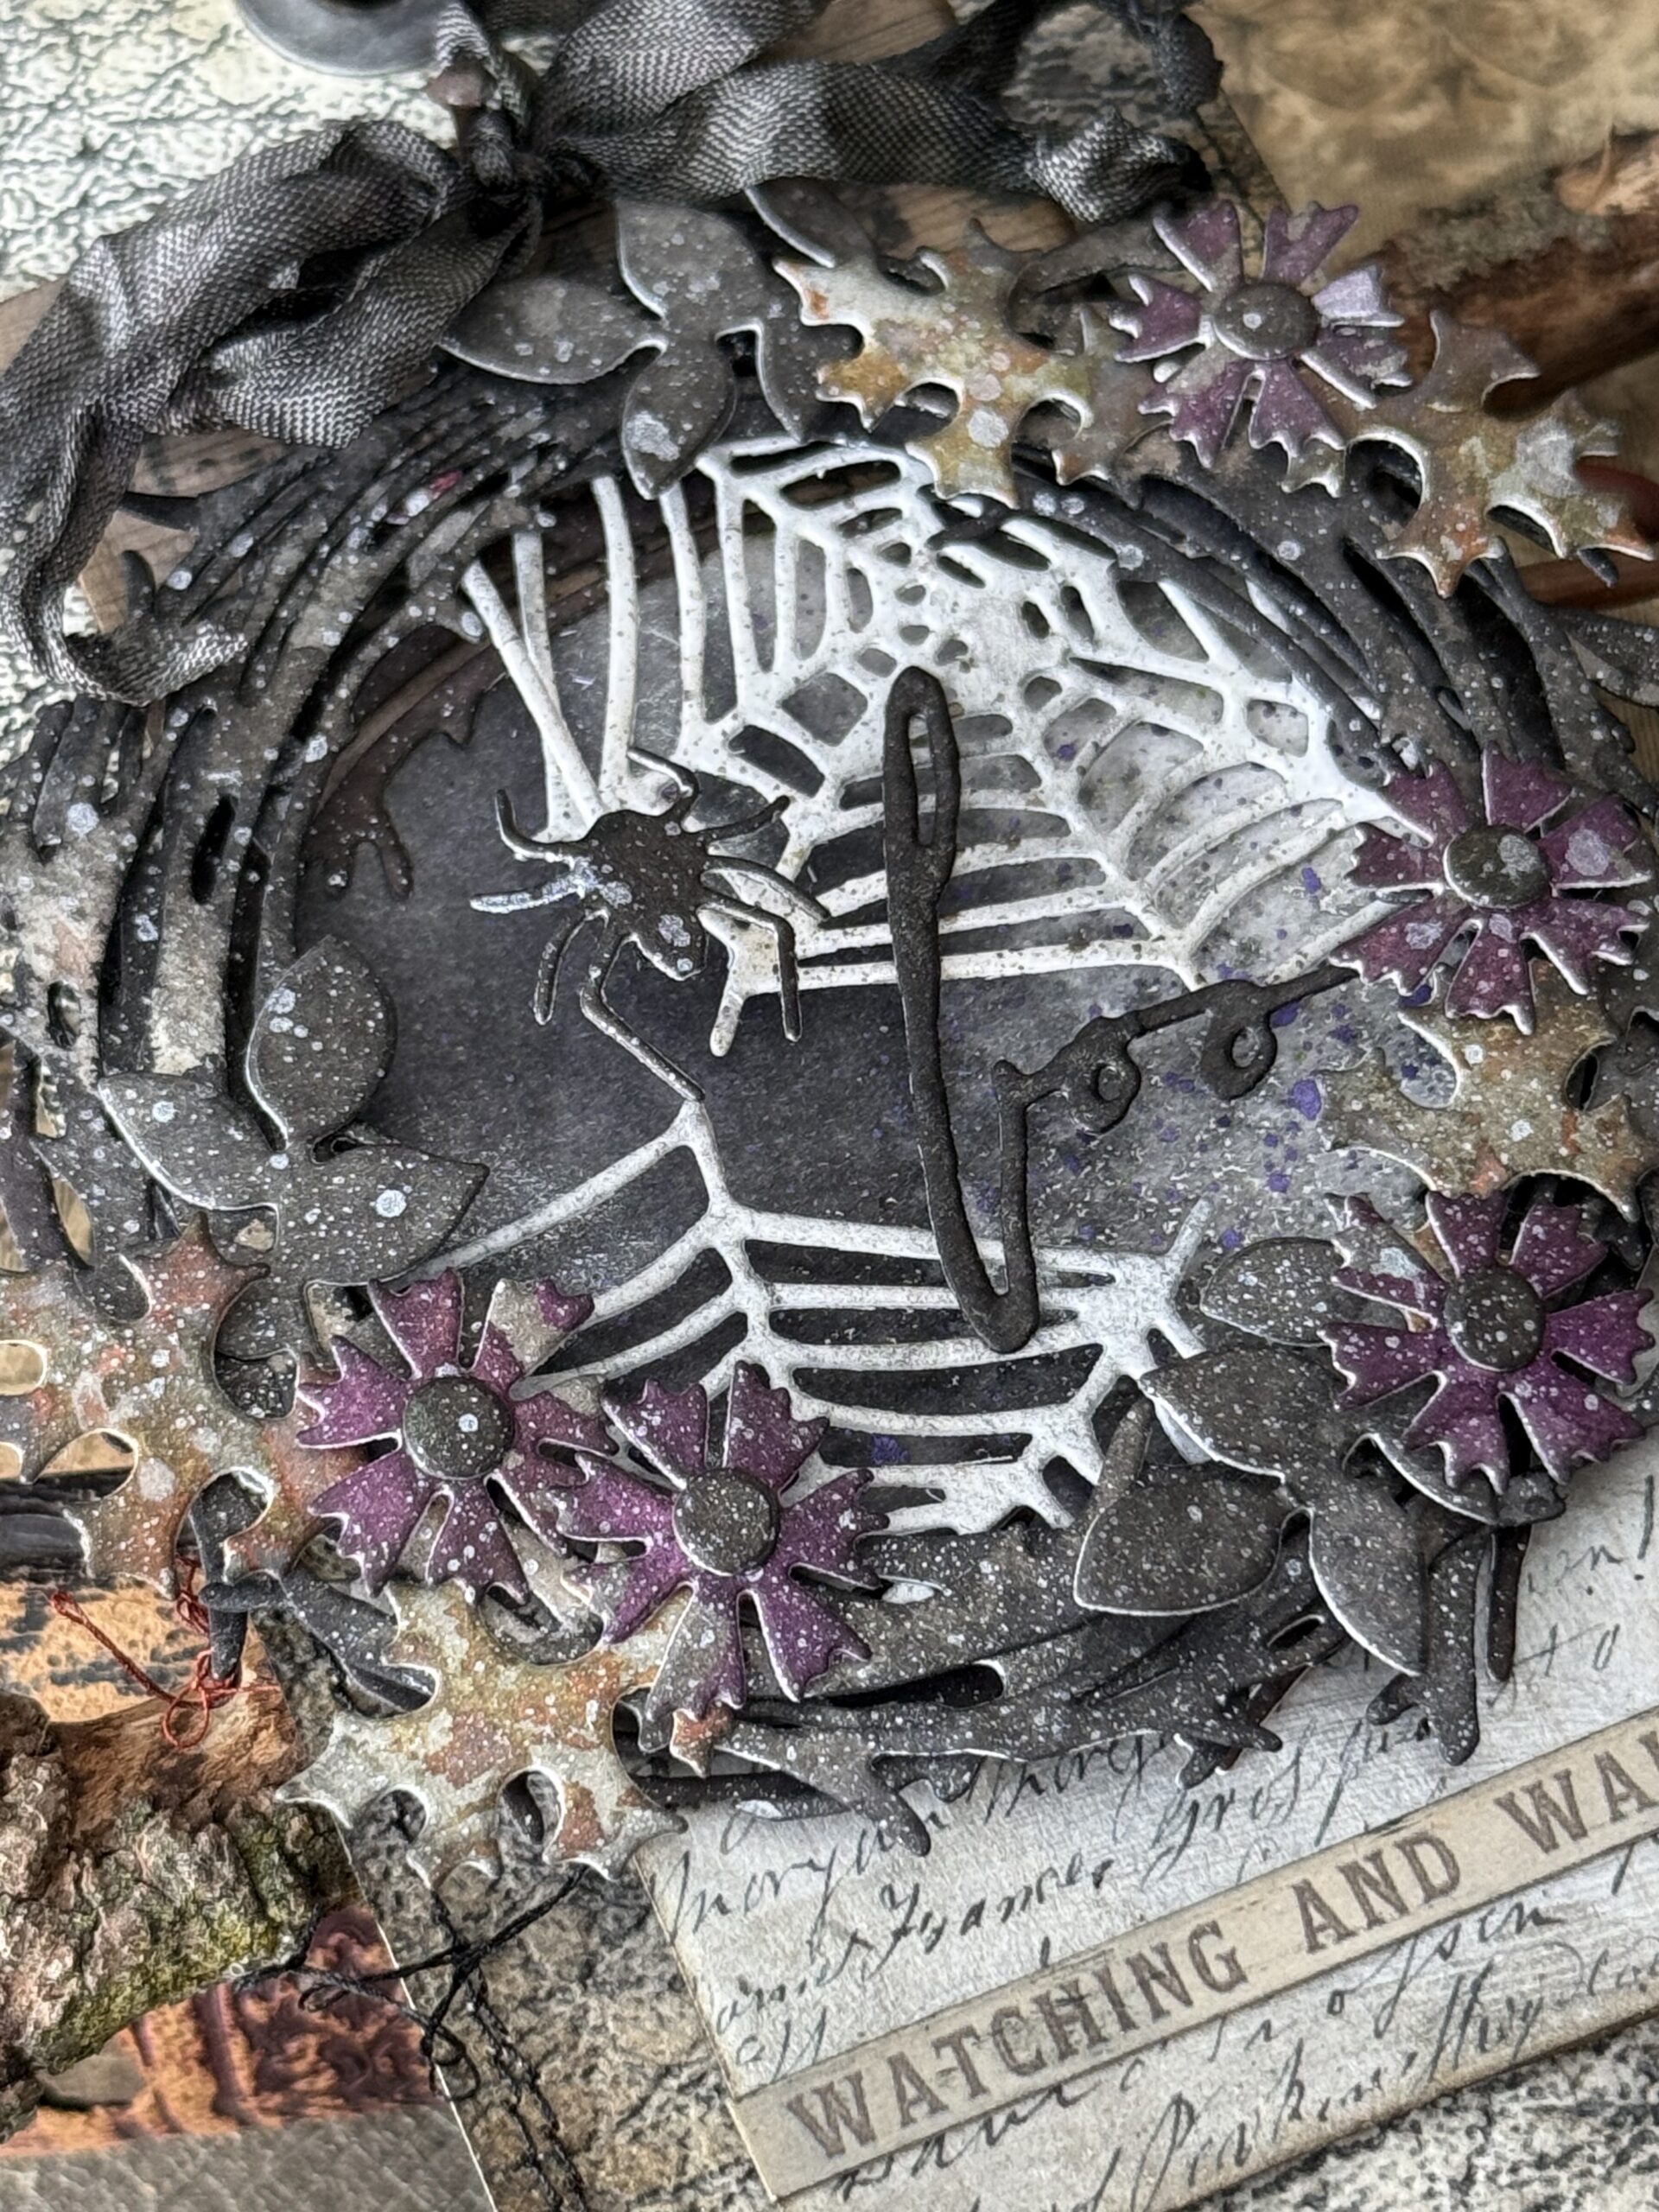
Using the new Crackled Leather Embossing Folder, I embossed a piece of Distress Watercolor paper that had been cut into a #8 tag shape.

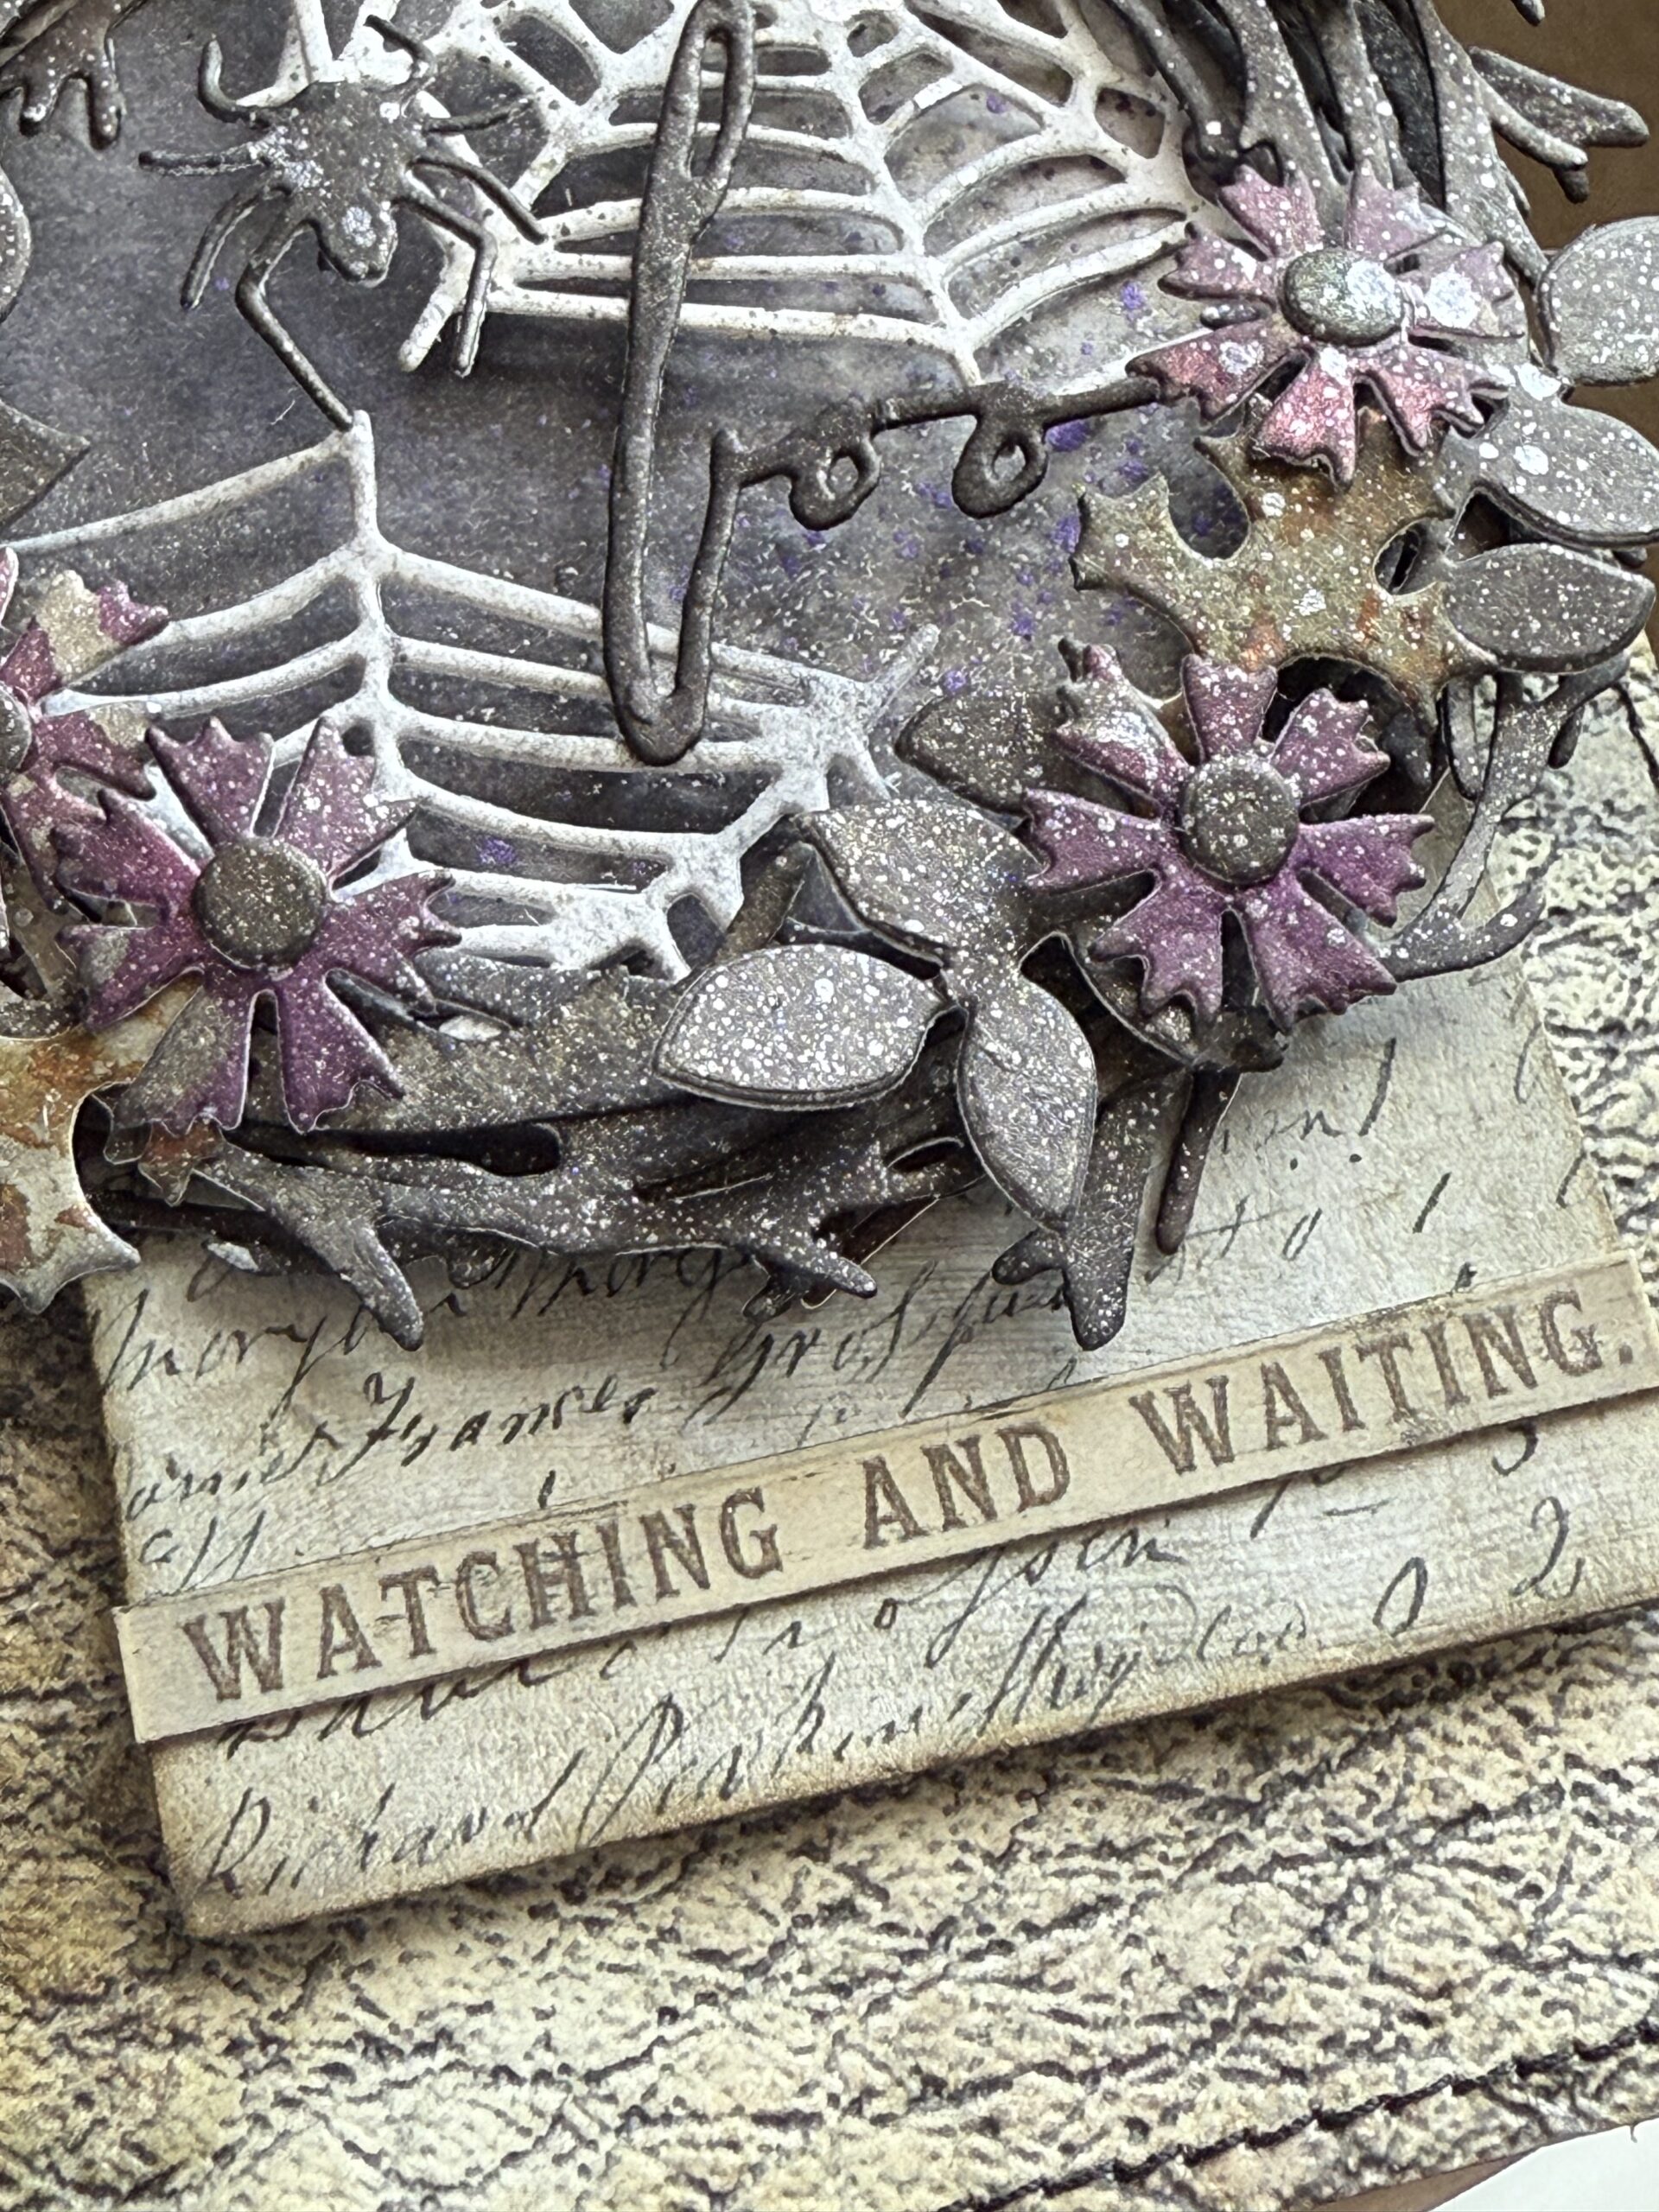
I inked up the inside of the cracked leather folder with some Black Soot Archival Ink, then ran the tag through my Big Shot leaving the cool pattern on the tag. You can see the detail that it has in the background of the tag. The tag was stitched using black thread and my sewing machine around the edge. After it was stitched, I used some Vintage Photo Distress Ink around the edge of the tag and attached it to the front of a Stampers Anonymous #8 Etcetera Tag using Collage Medium.
I selected a couple scraps of Halloween Backdrops paper that I had in my scrap bin, and adhered them to a scrap piece of chipboard. This fit the front of the tag leaving a little of the textured cracked leather at both the top and the bottom but because a center spot to add the wreath.
I added all the leaves and flowers to the front of the wreath using collage medium and foam squares to add depth.
After all the elements were added to the wreath but before I added the word, I spritzed the entire wreath with some of the Frozen Fog Mica Spray, then dried it with my heat tool.
The spiderwebs were cut from some Distress Watercolor Paper that had been spritzed with some Frozen Fog Mica Spray, dried, then cut using the spiderweb die included in the Laboratory Die Set. I added those in-between the layers of the wreath, then I cut out the spider and his hanging piece and added them as well.
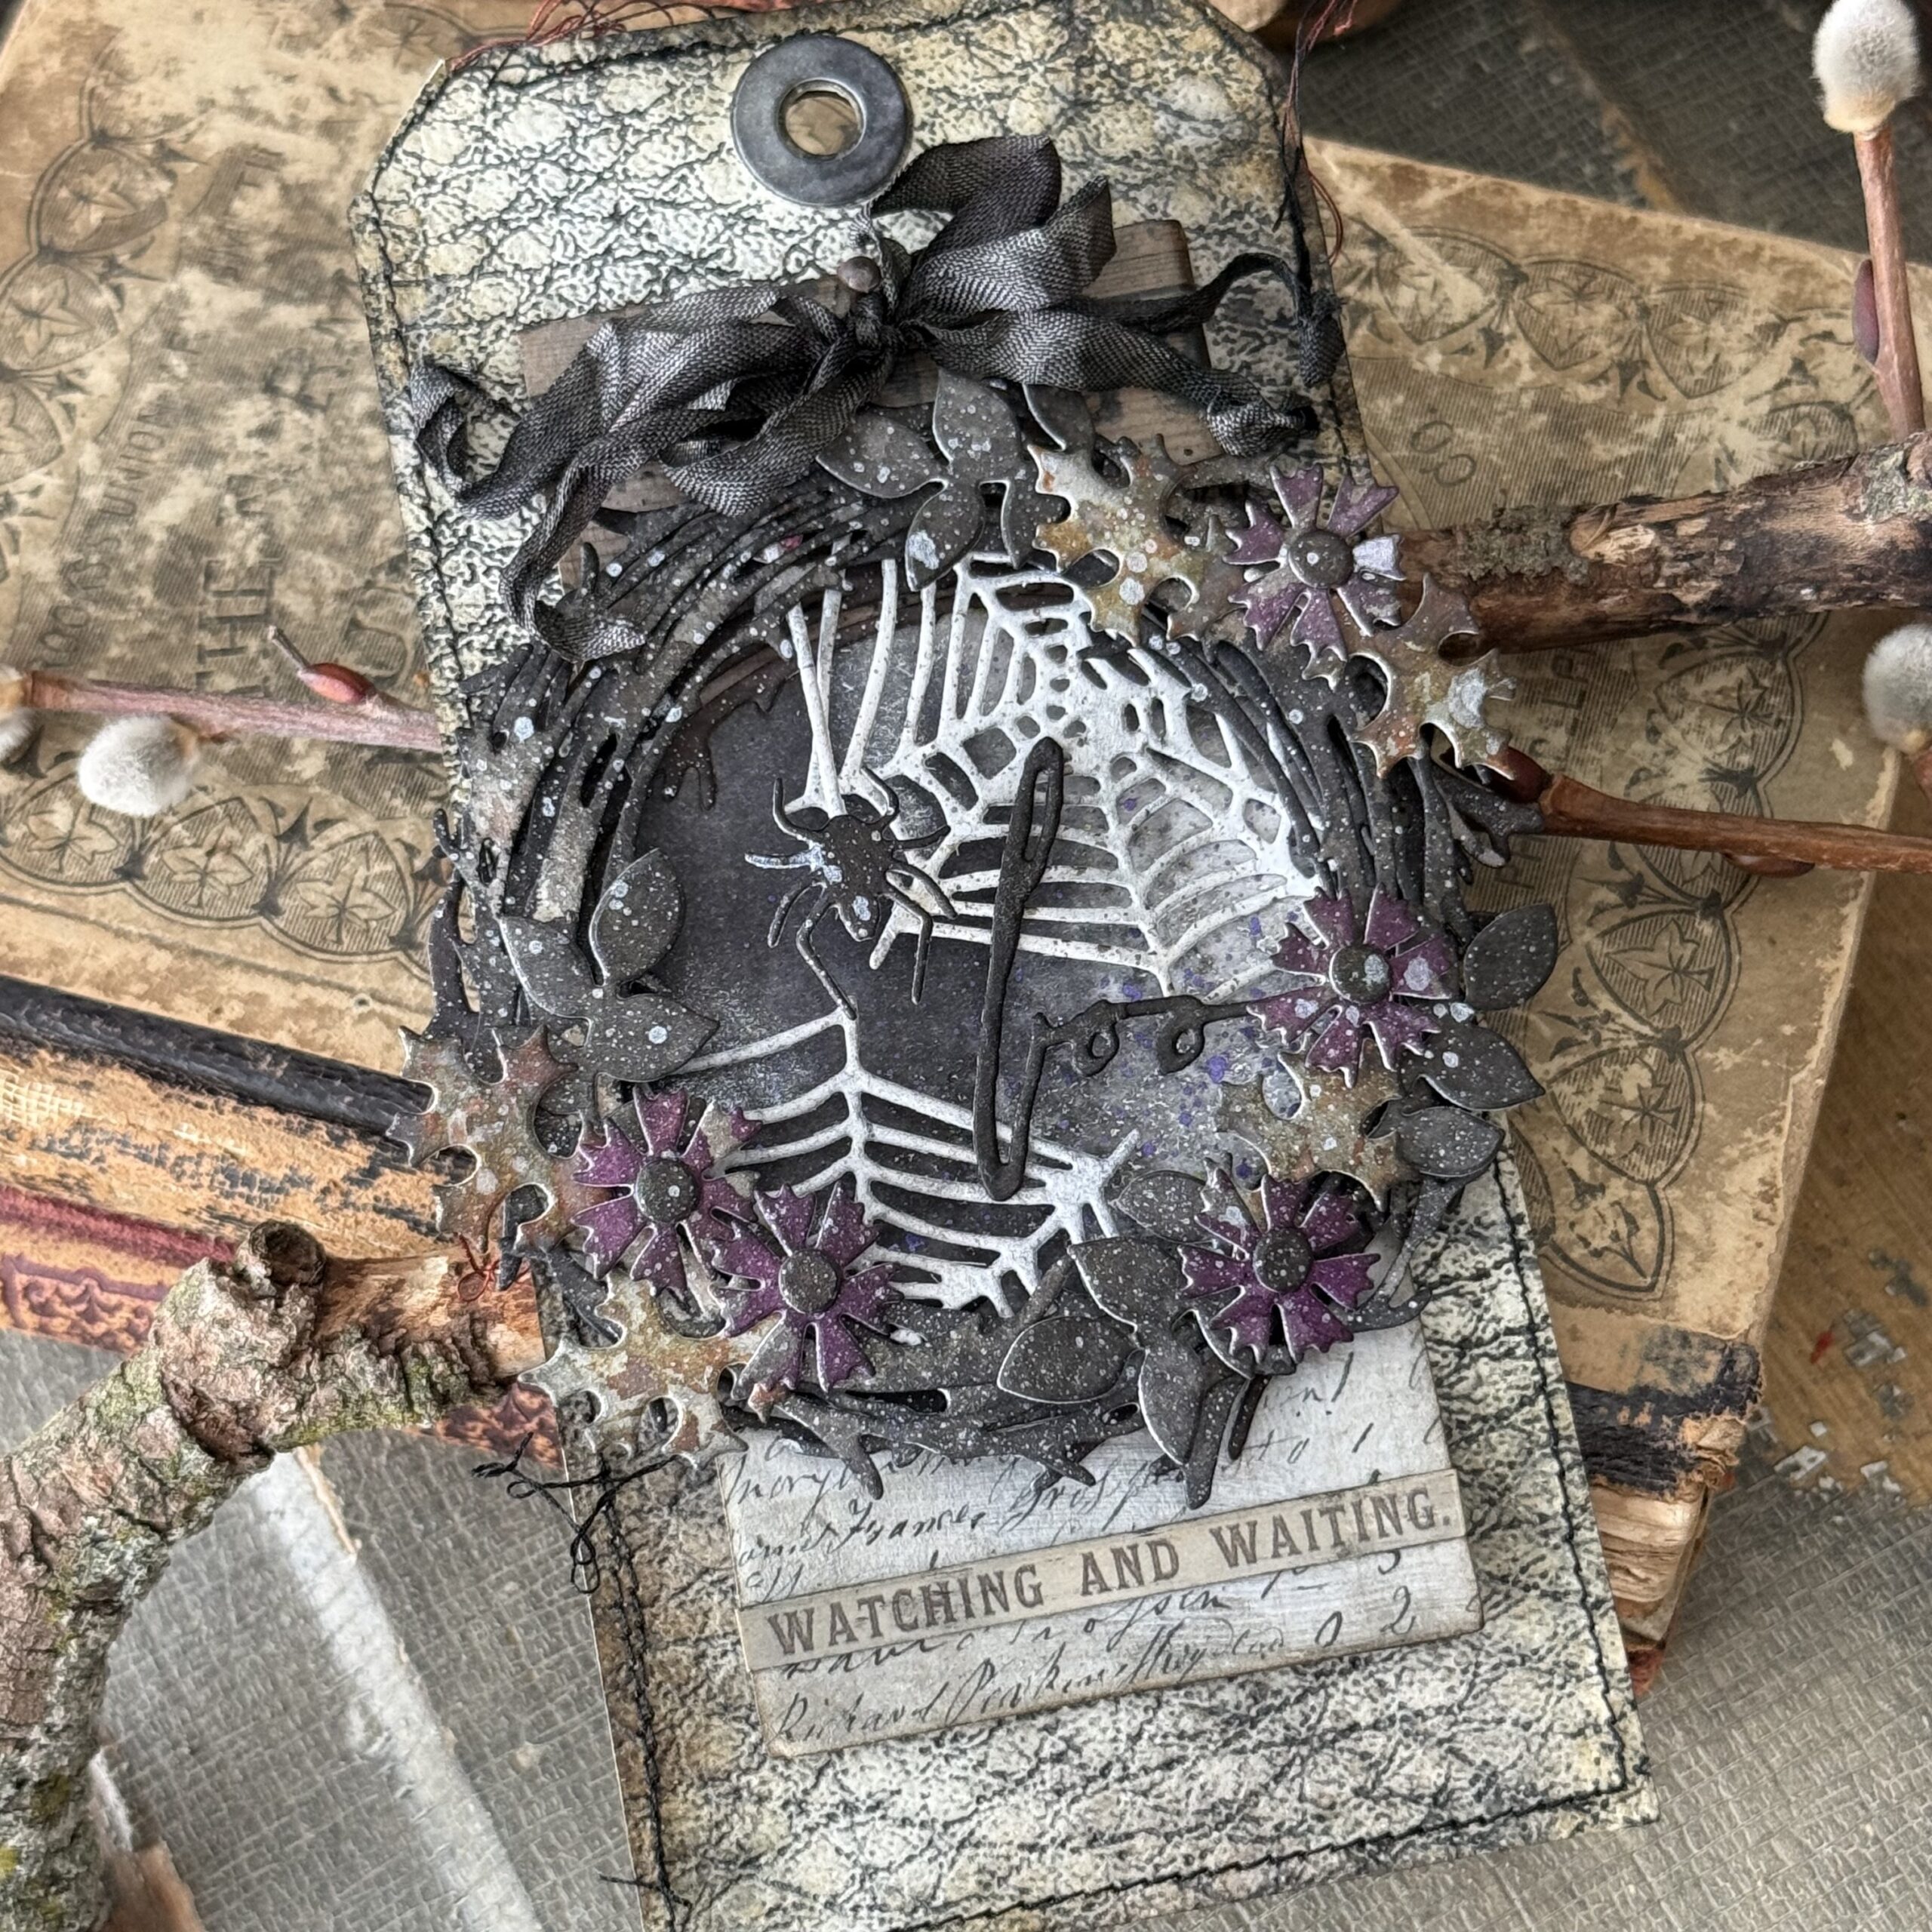
The final addition was the Halloween Handwritten word “boo” that I added to the front of the wreath. This was adhered using a small amount of collage medium and placed on top of the webs so that it looks as if it were floating inside it.
I added a phrase from the idea-ology Halloween Clippings Sticker book to the bottom of the patterned paper and adhered the background in place.
I tied a piece of Black Ribbon into a couple layers of the wreath, then added it to the front of the tag, centering it over top of the background. The final addition was a vintage tack nail that I hammered to the top of the wreath, being sure to catch the ribbon to make it look like it was hanging on the nail.
With that, my project was complete.
Thanks so much for stopping by today, and be sure to check out these recently released Halloween dies, they’re sure to make your Halloween making even better!
Here is a link to the entire collation CLICK HERE.
Creatively yours,
Stacy
Shop Simon Says Stamp by clicking on this link. Thank you! I appreciate you for supporting me.
What is an affiliate program, and why should I click on the link and buy through you?
When you shop via the affiliate link on this blog, I receive a small commission from the affiliate provider (Simon Says Stamp) at no extra cost to you, whatsoever. These commissions help me to cover the hosting fees and other costs to run my blog and be able to provide you with FREE inspiration. If you shop the links, THANK YOU! I truly appreciate being able to share my love of creating with you.










So, so cute Stacy! I absolutely love how this tag turned out! Didn’t know if I needed to have the cracked leather embossing folder but this has me thinking about adding it to my collection. Thanks for all the inspiration. Your site is so fun to visit every time Tim Holtz drops a new release video.
OMGosh, this creation piece is absolutely awesome. Everything about it is genius and I like every detail. Thank you.
You can even make Halloween gorgeous. Your layering of colors is fantastic. Frozen Fog for the win. Thanks again for sharing!