Hello friends! Another day, another make using the new Tim Holtz Halloween Sizzix. Today, my project features the new Vault Laboratory Sidekick Side-Order Thinlets and Texture Fade.
I know, that’s a mouthful, but this set comes with all sorts of thinlets and a little texture fade woodgrain folder. Perfect for creating your own laboratory makes and cards. I am in LOVE with the tiny shelf that is included in this set! So cute! If you missed the Tim Holtz and Sizzix LIVE, be sure to check it out HERE on Tim’s Youtube channel.
The entire collection of new and Vault classics are perfection! You can check them all out by clicking HERE.
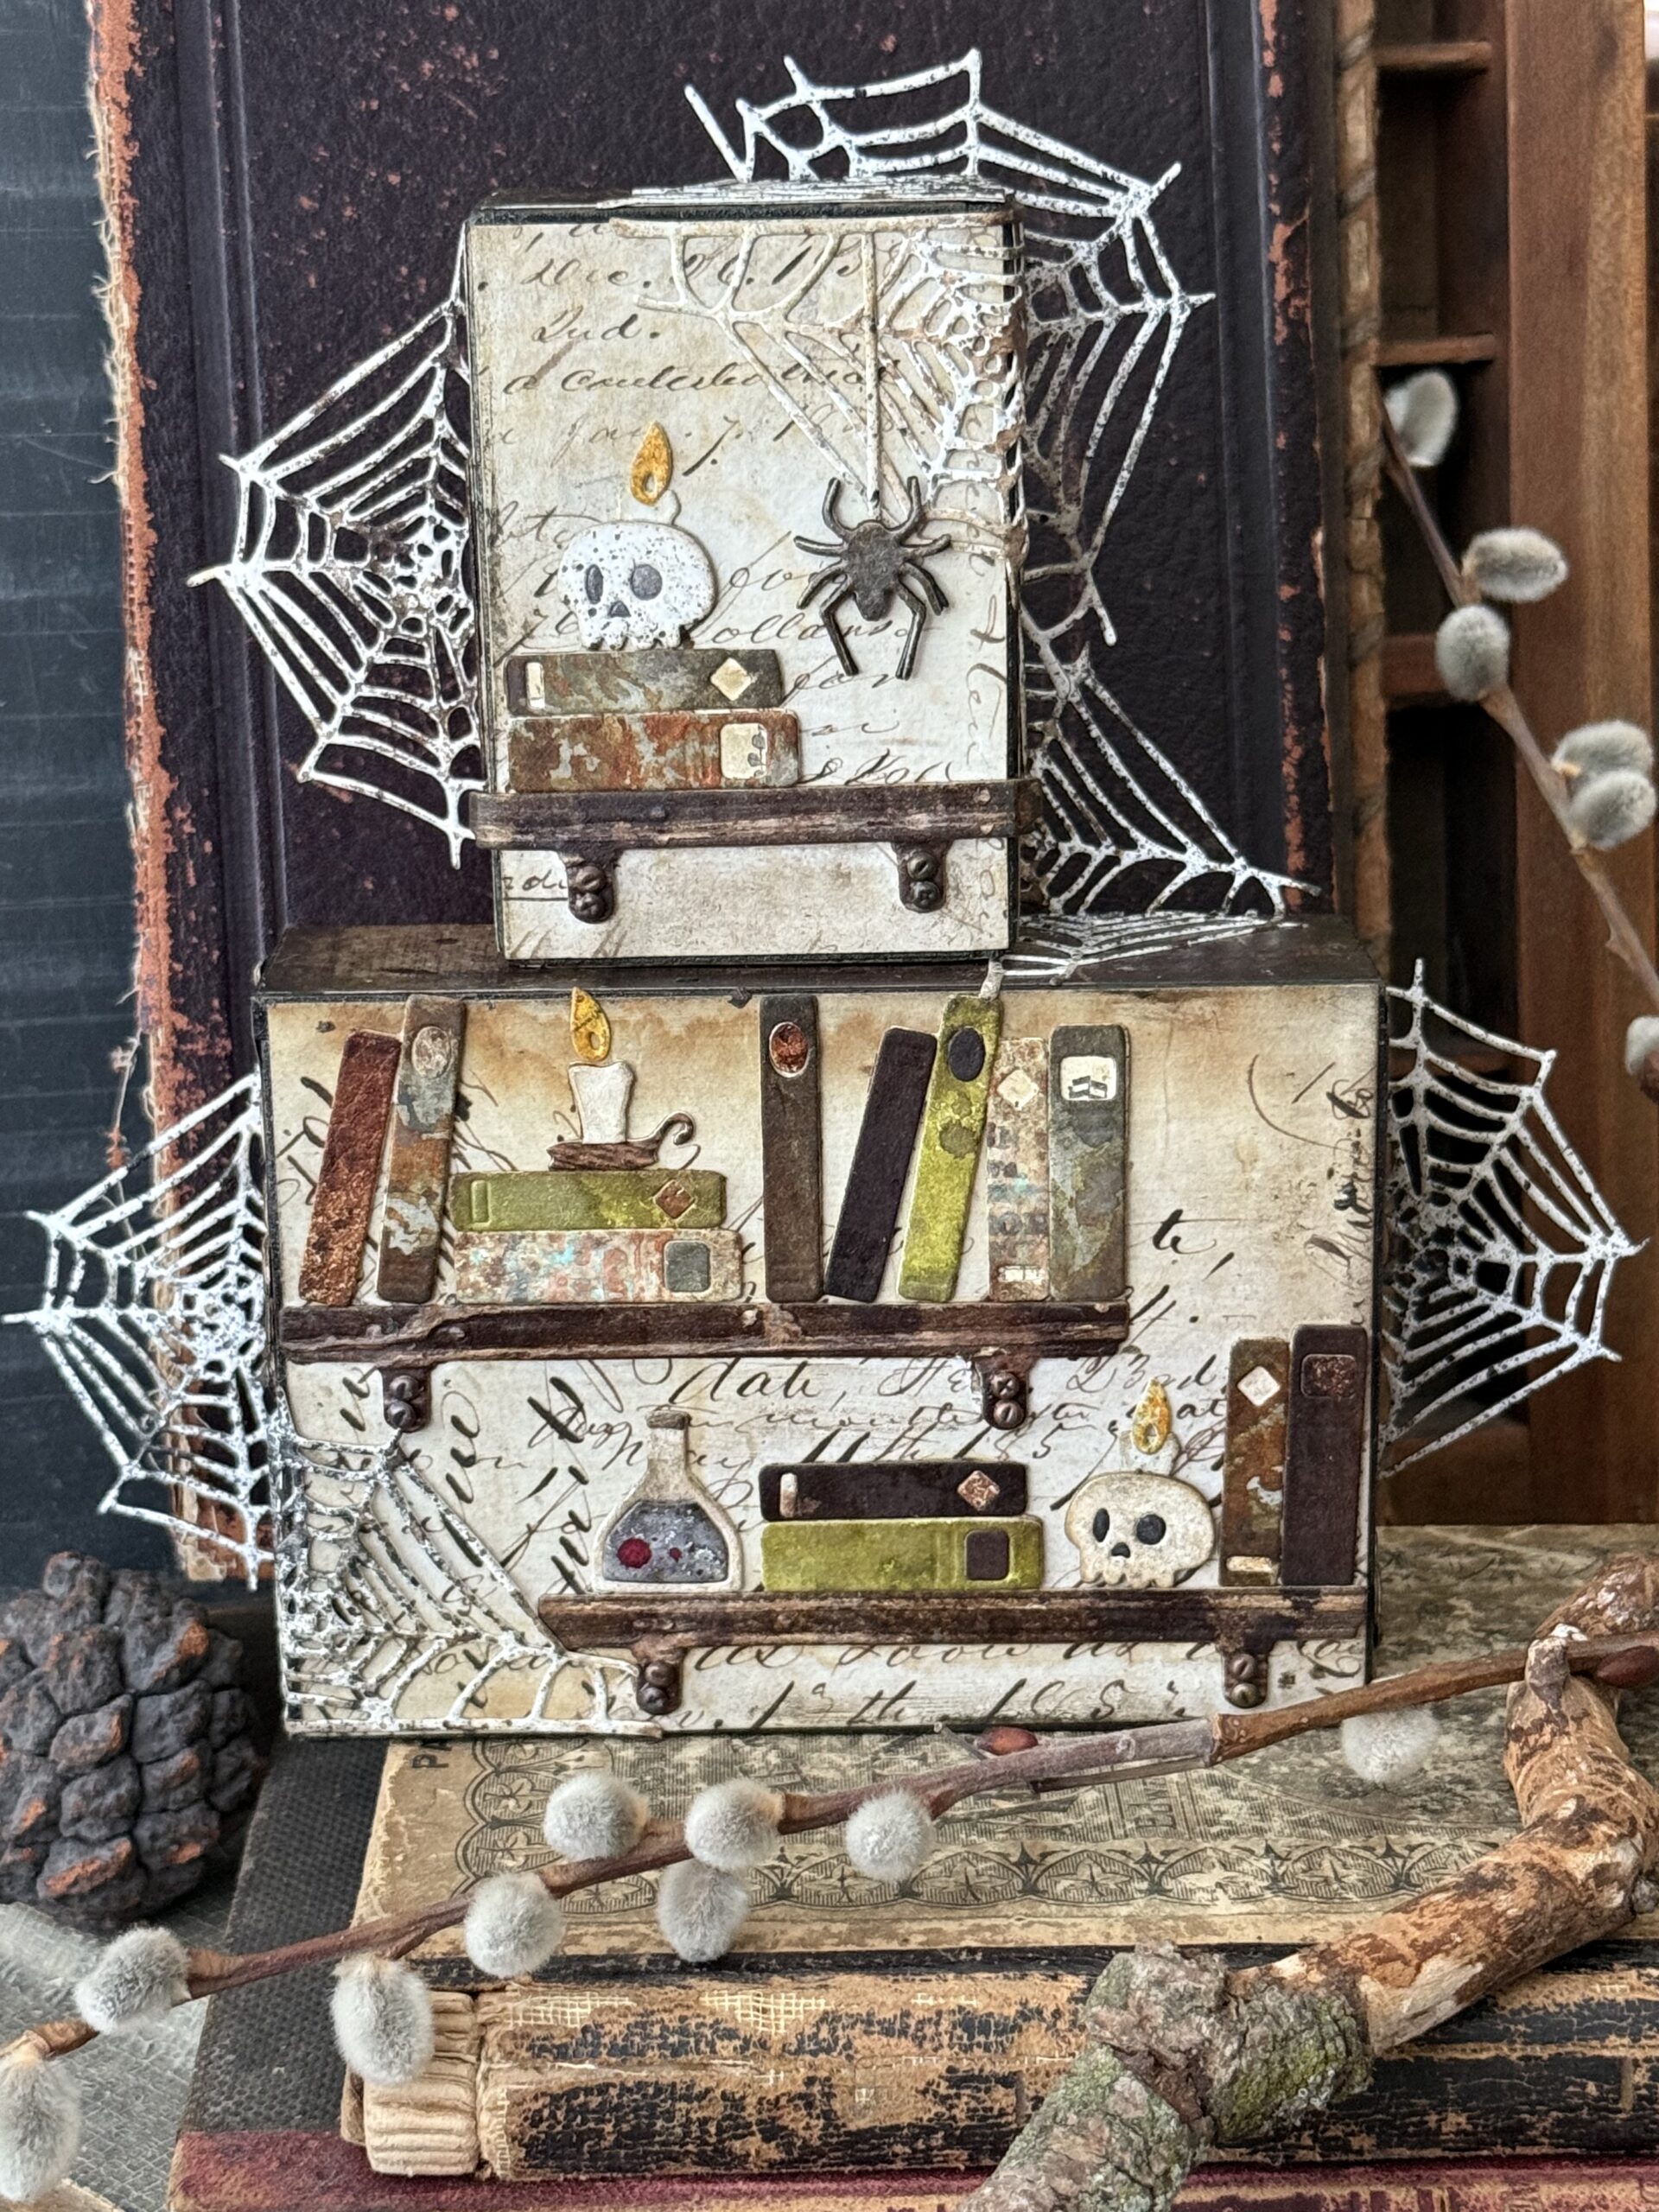
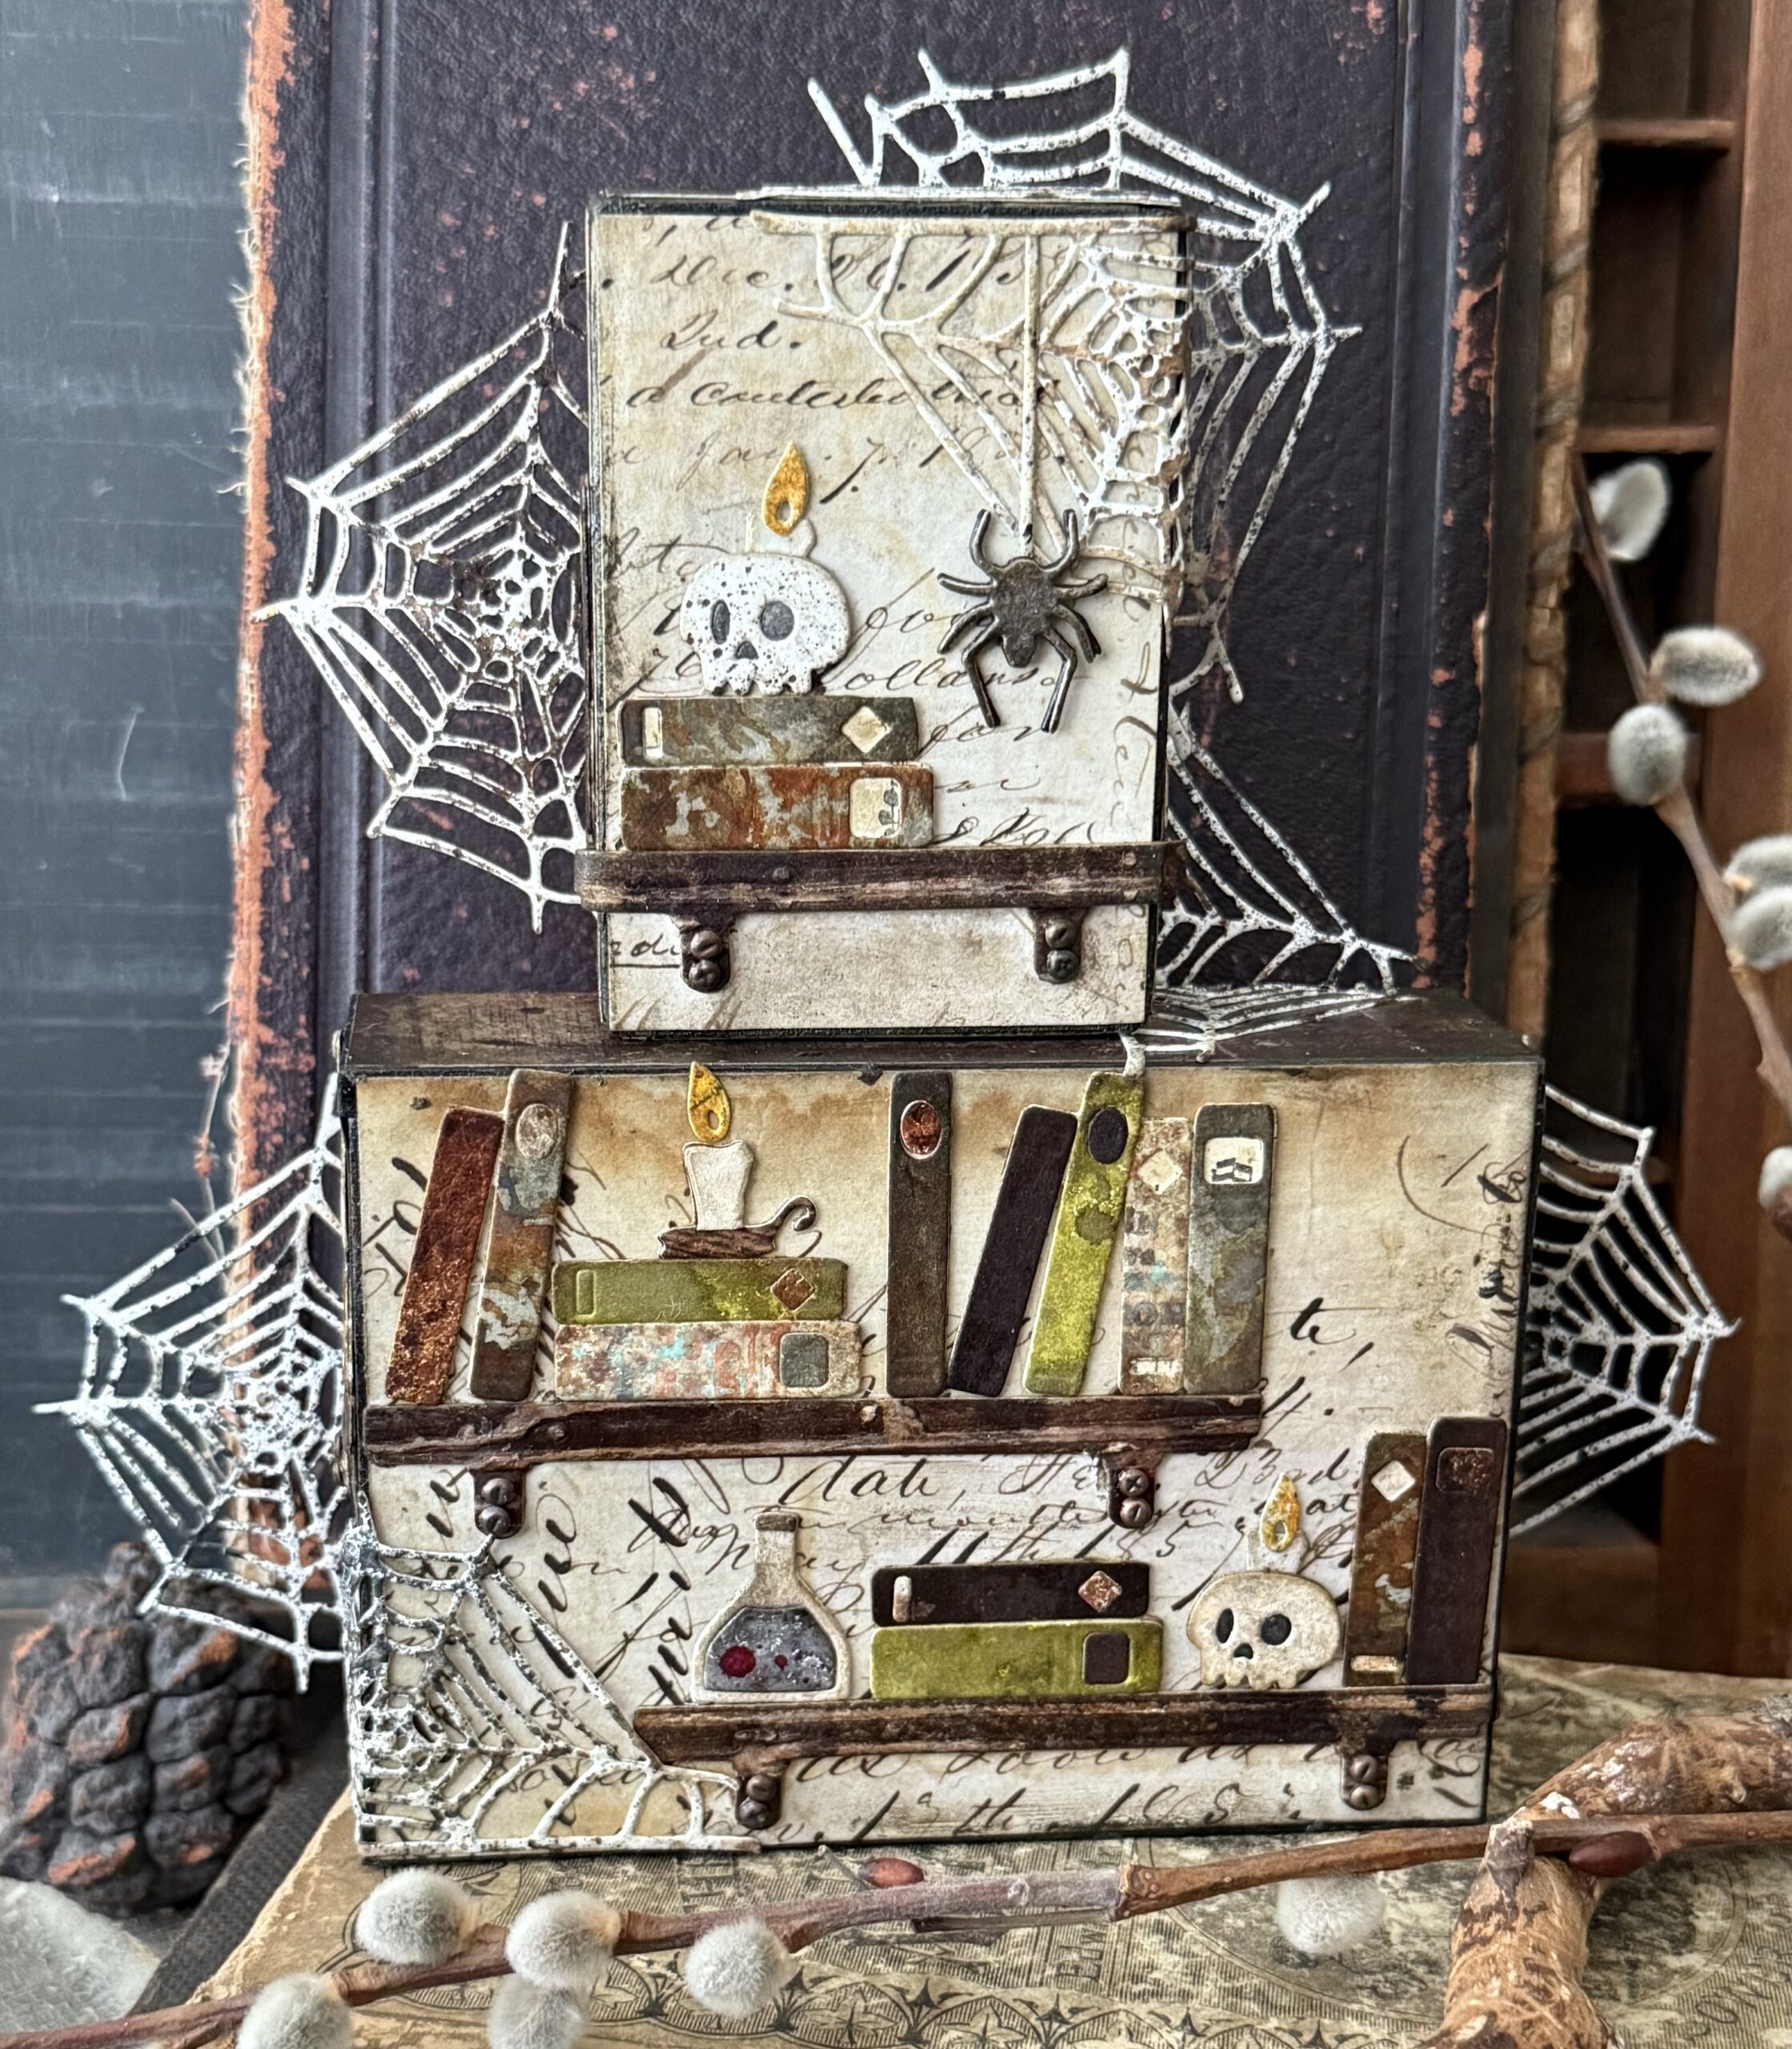
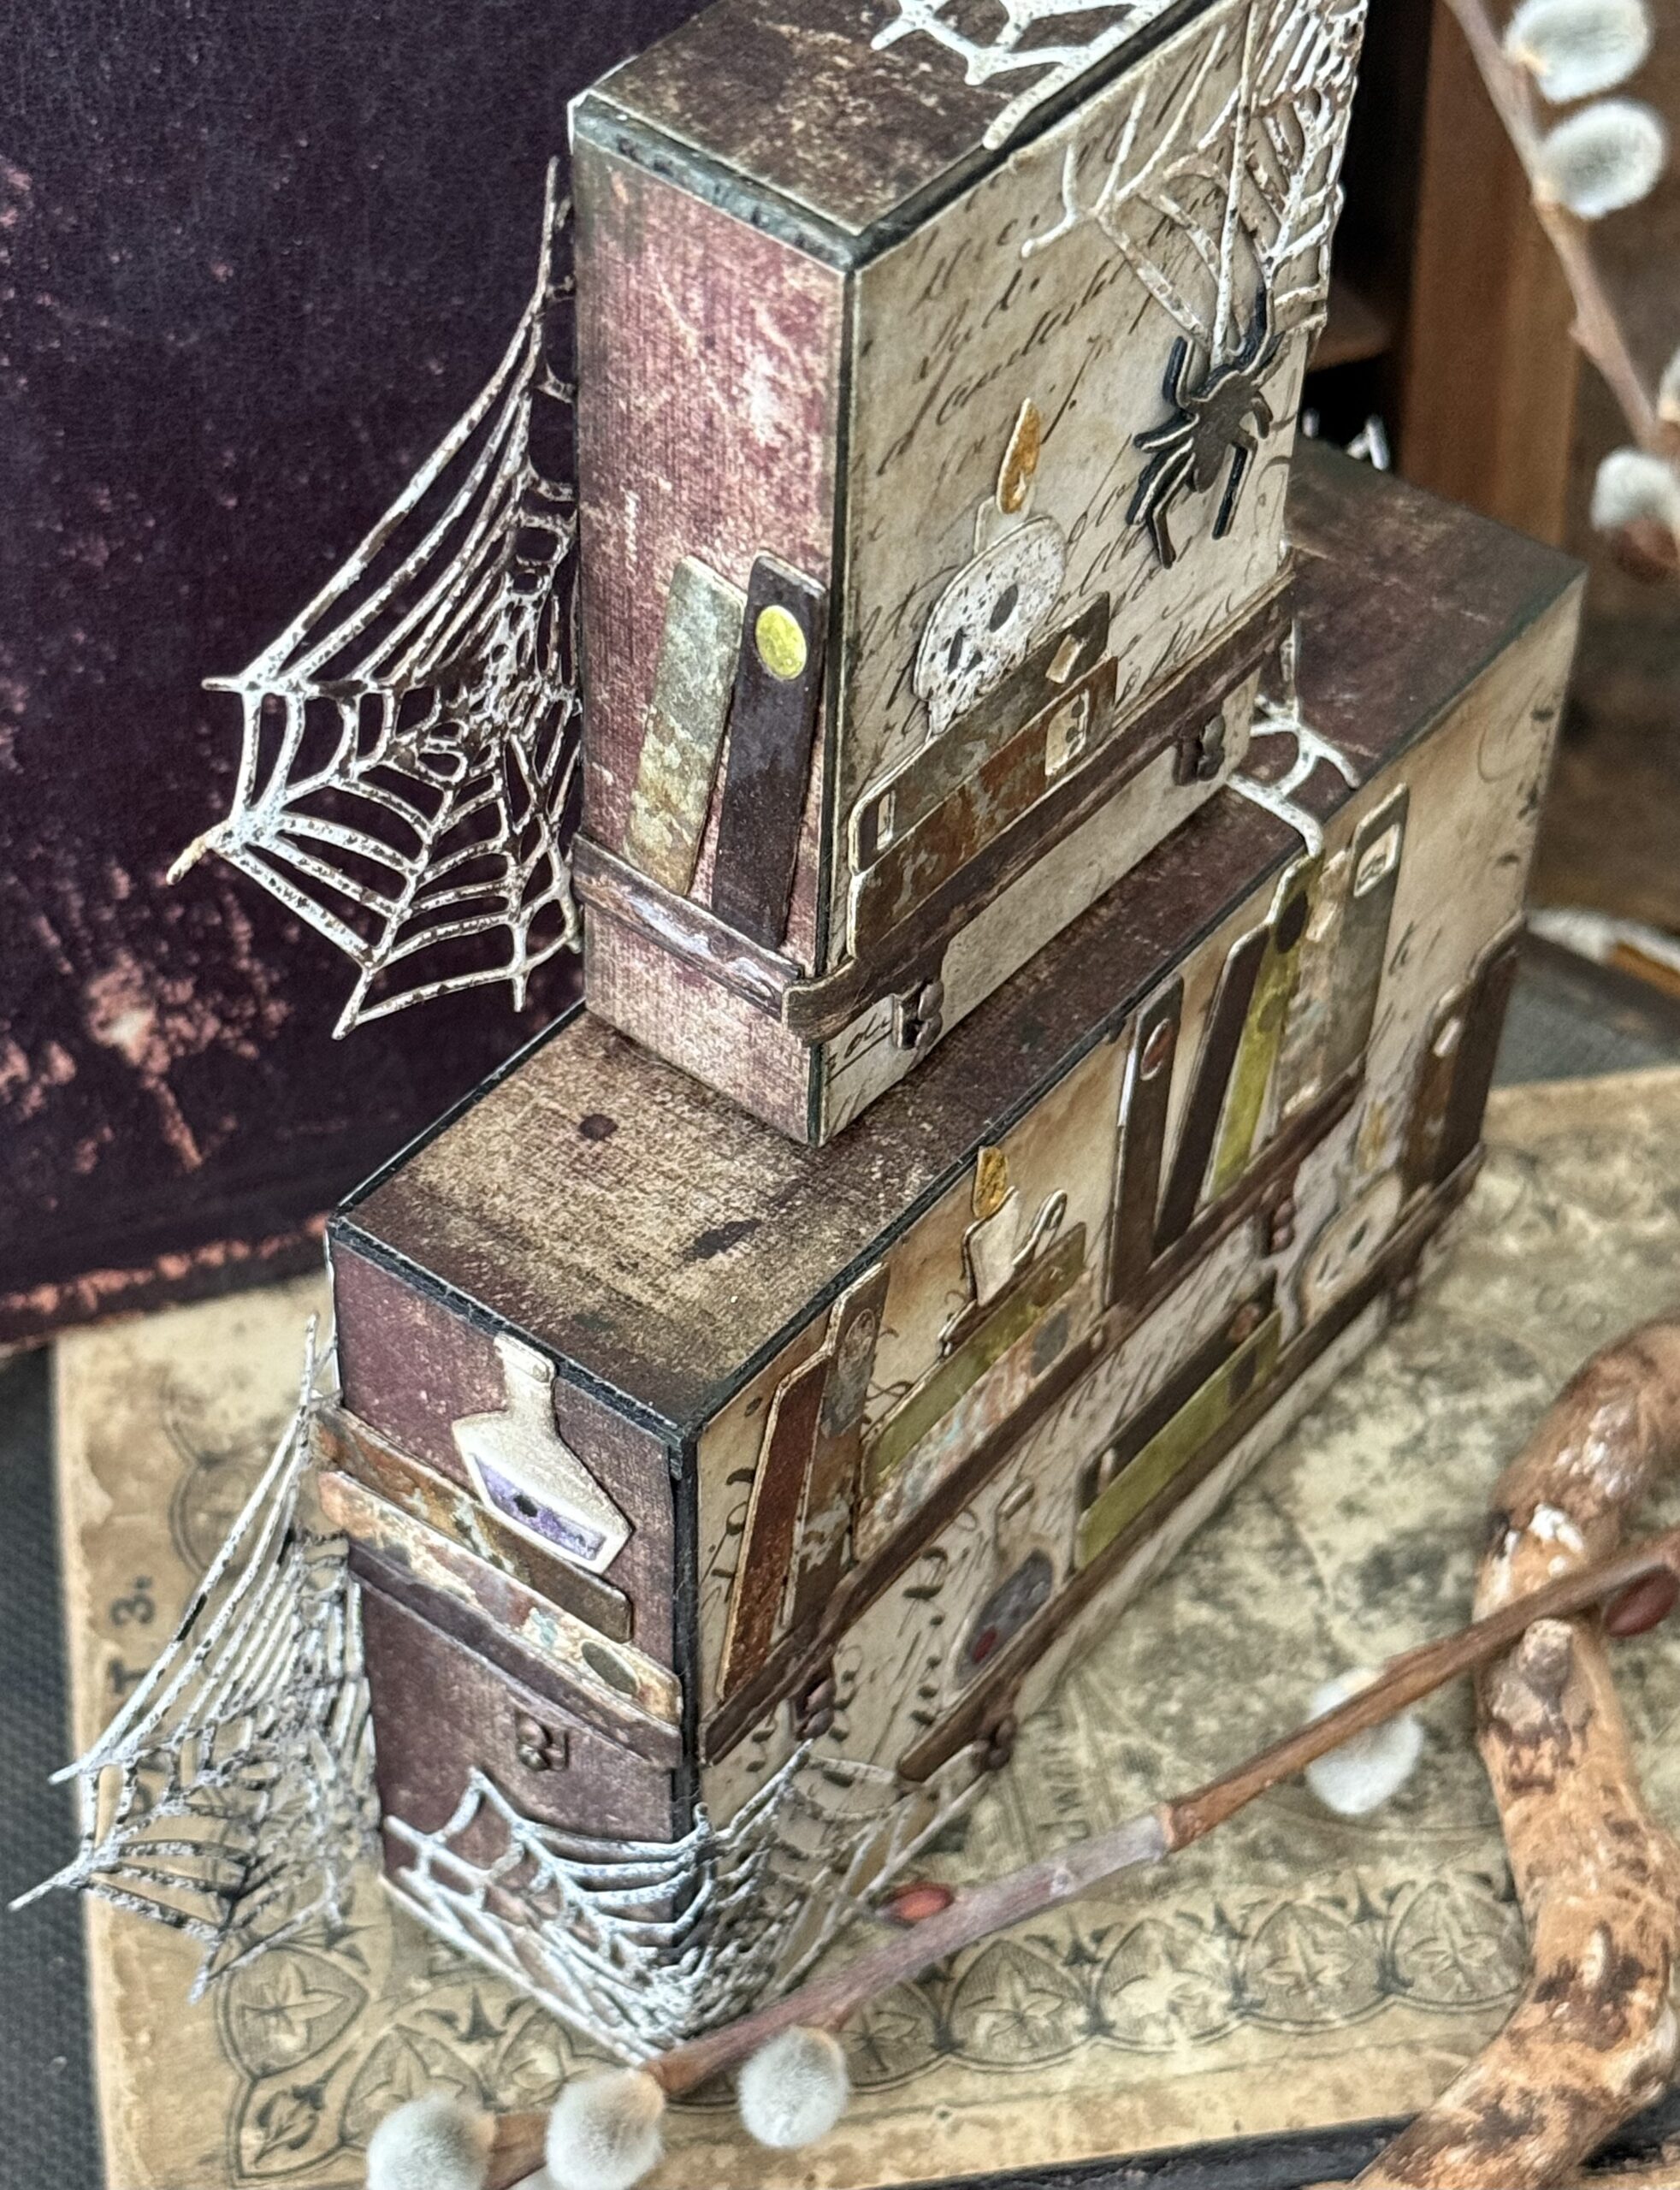
I used a couple vignette boxes for the base of my make and continued the little shelves around the edges of the vignettes. You can see it in the photo below how I shortened the little shelf to create a wrap-around effect.
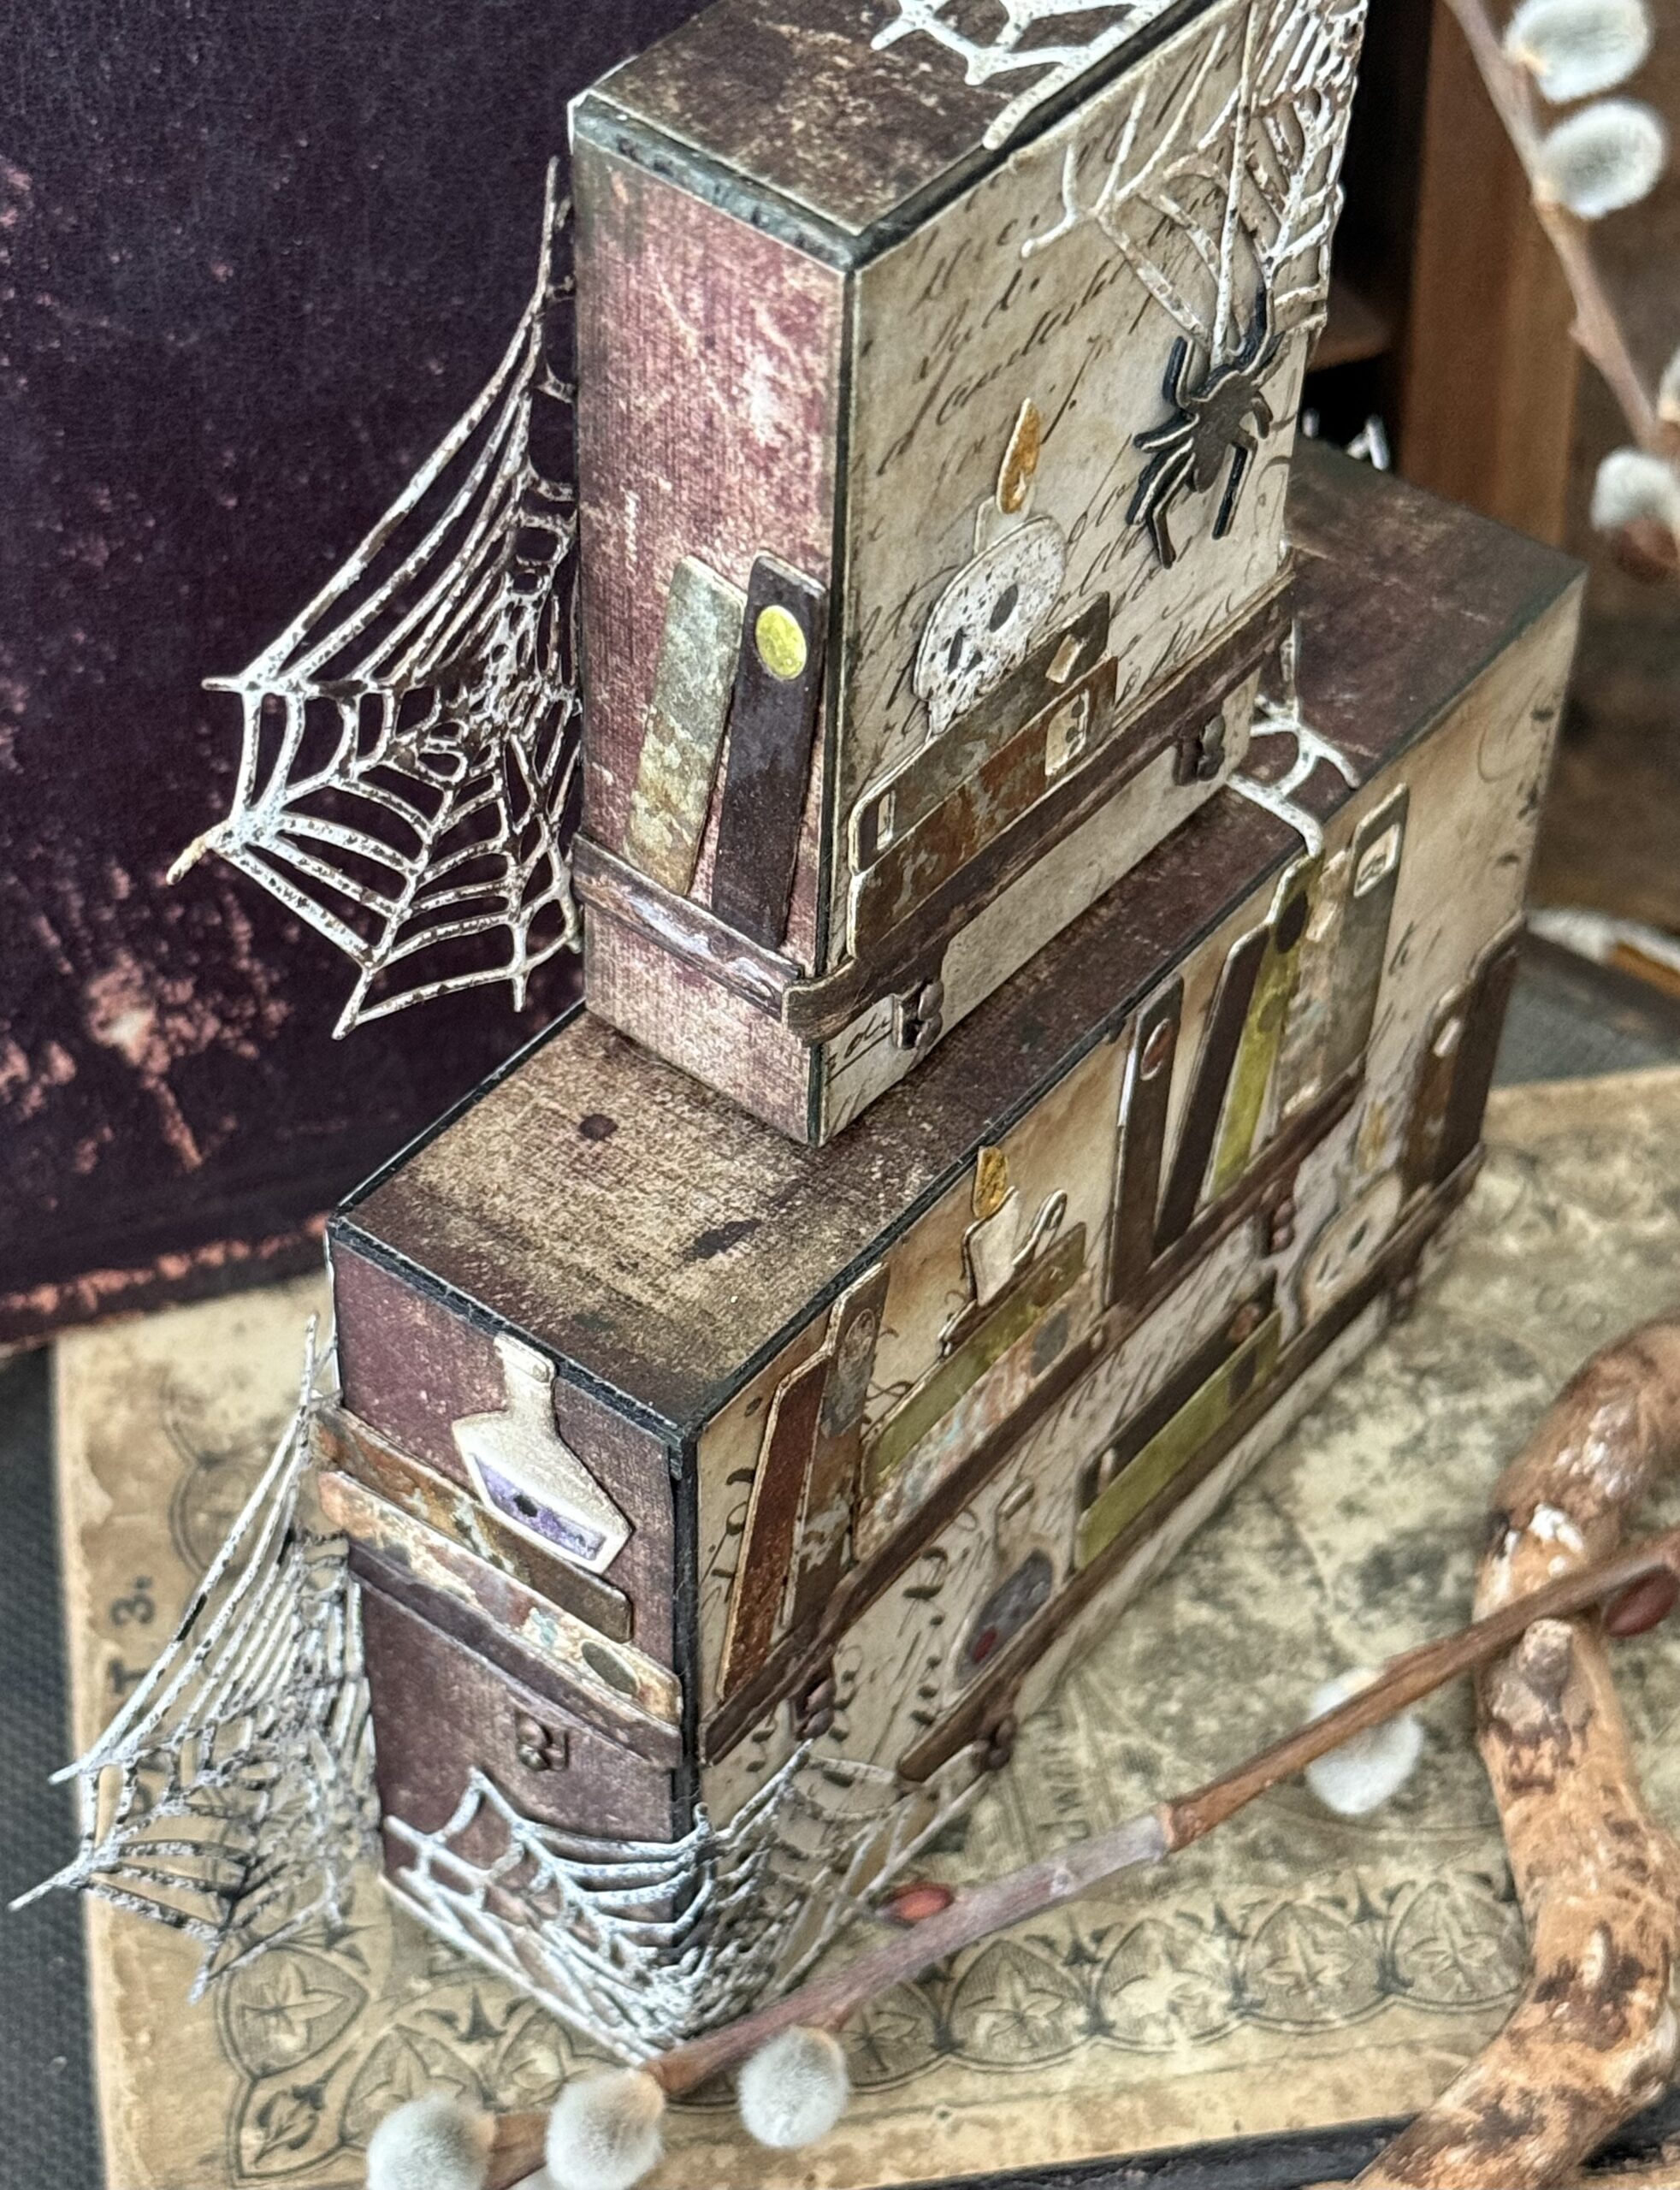
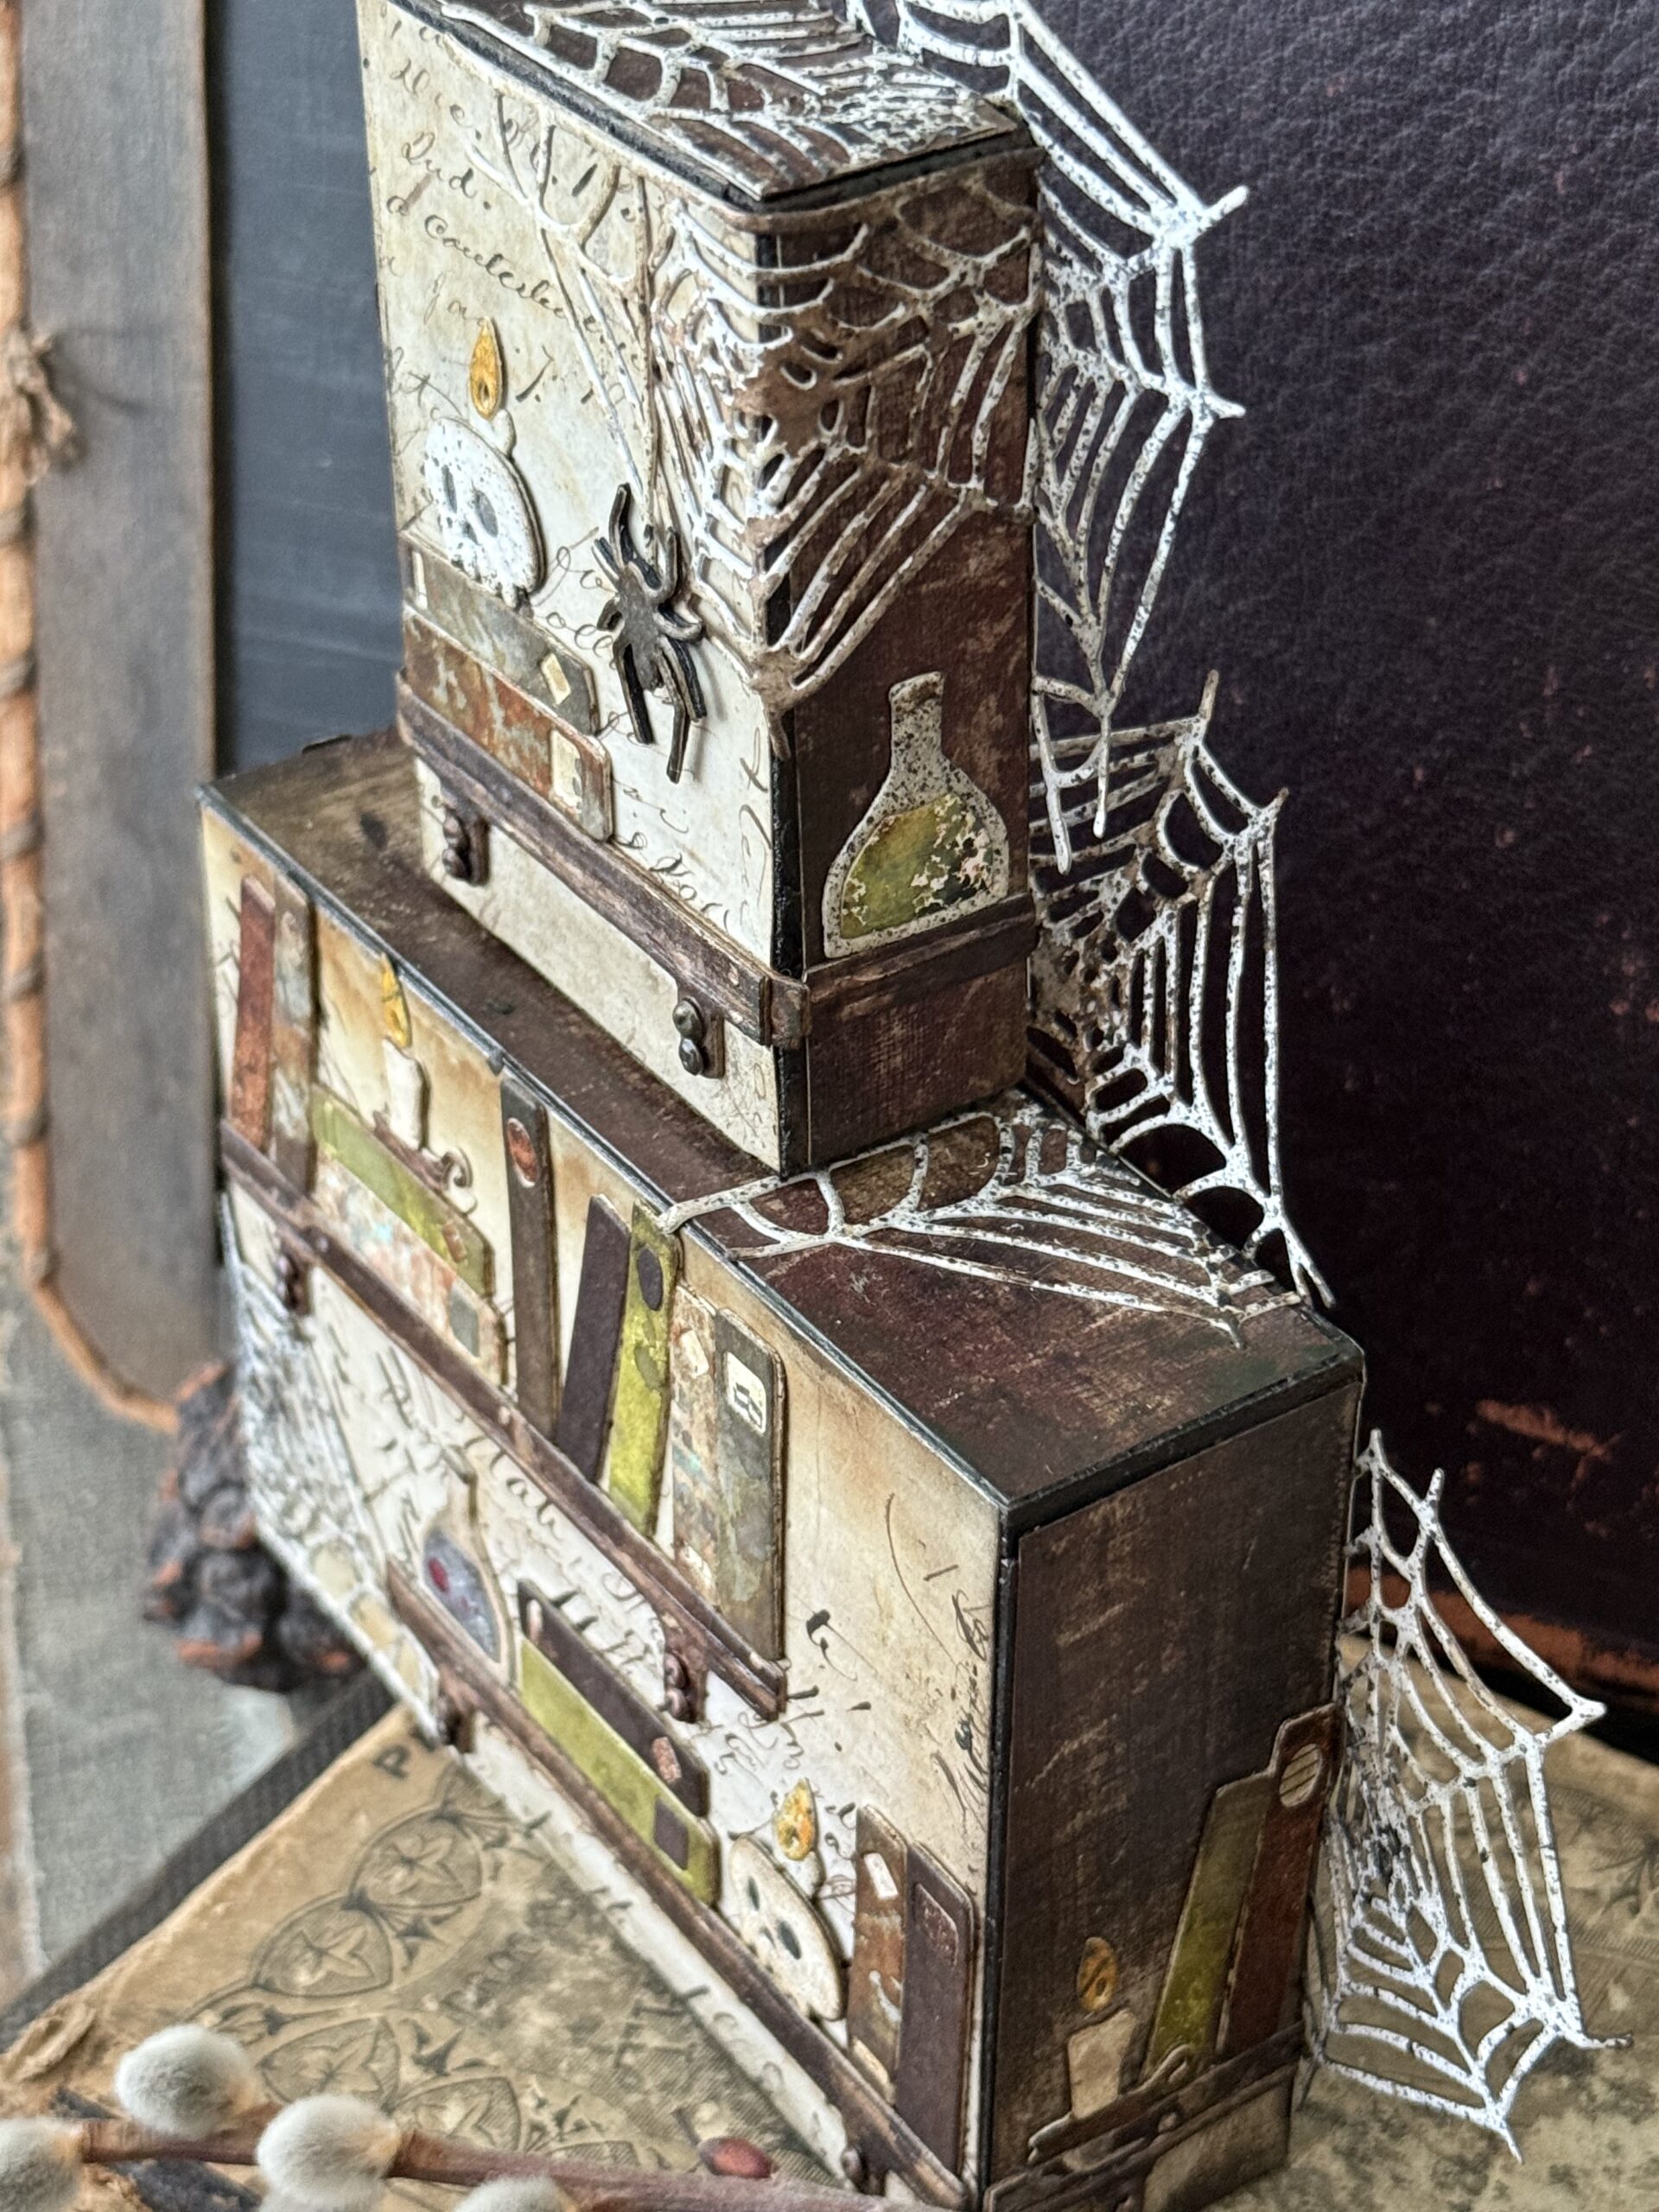
I cut-out the thinlets with a variety of Distress Backgrounds that I created and found in my scrap bin…the background papers on each vignette were cuttings from the idea-ology Halloween Backdrops paper pack.
So…let’s get to making it!
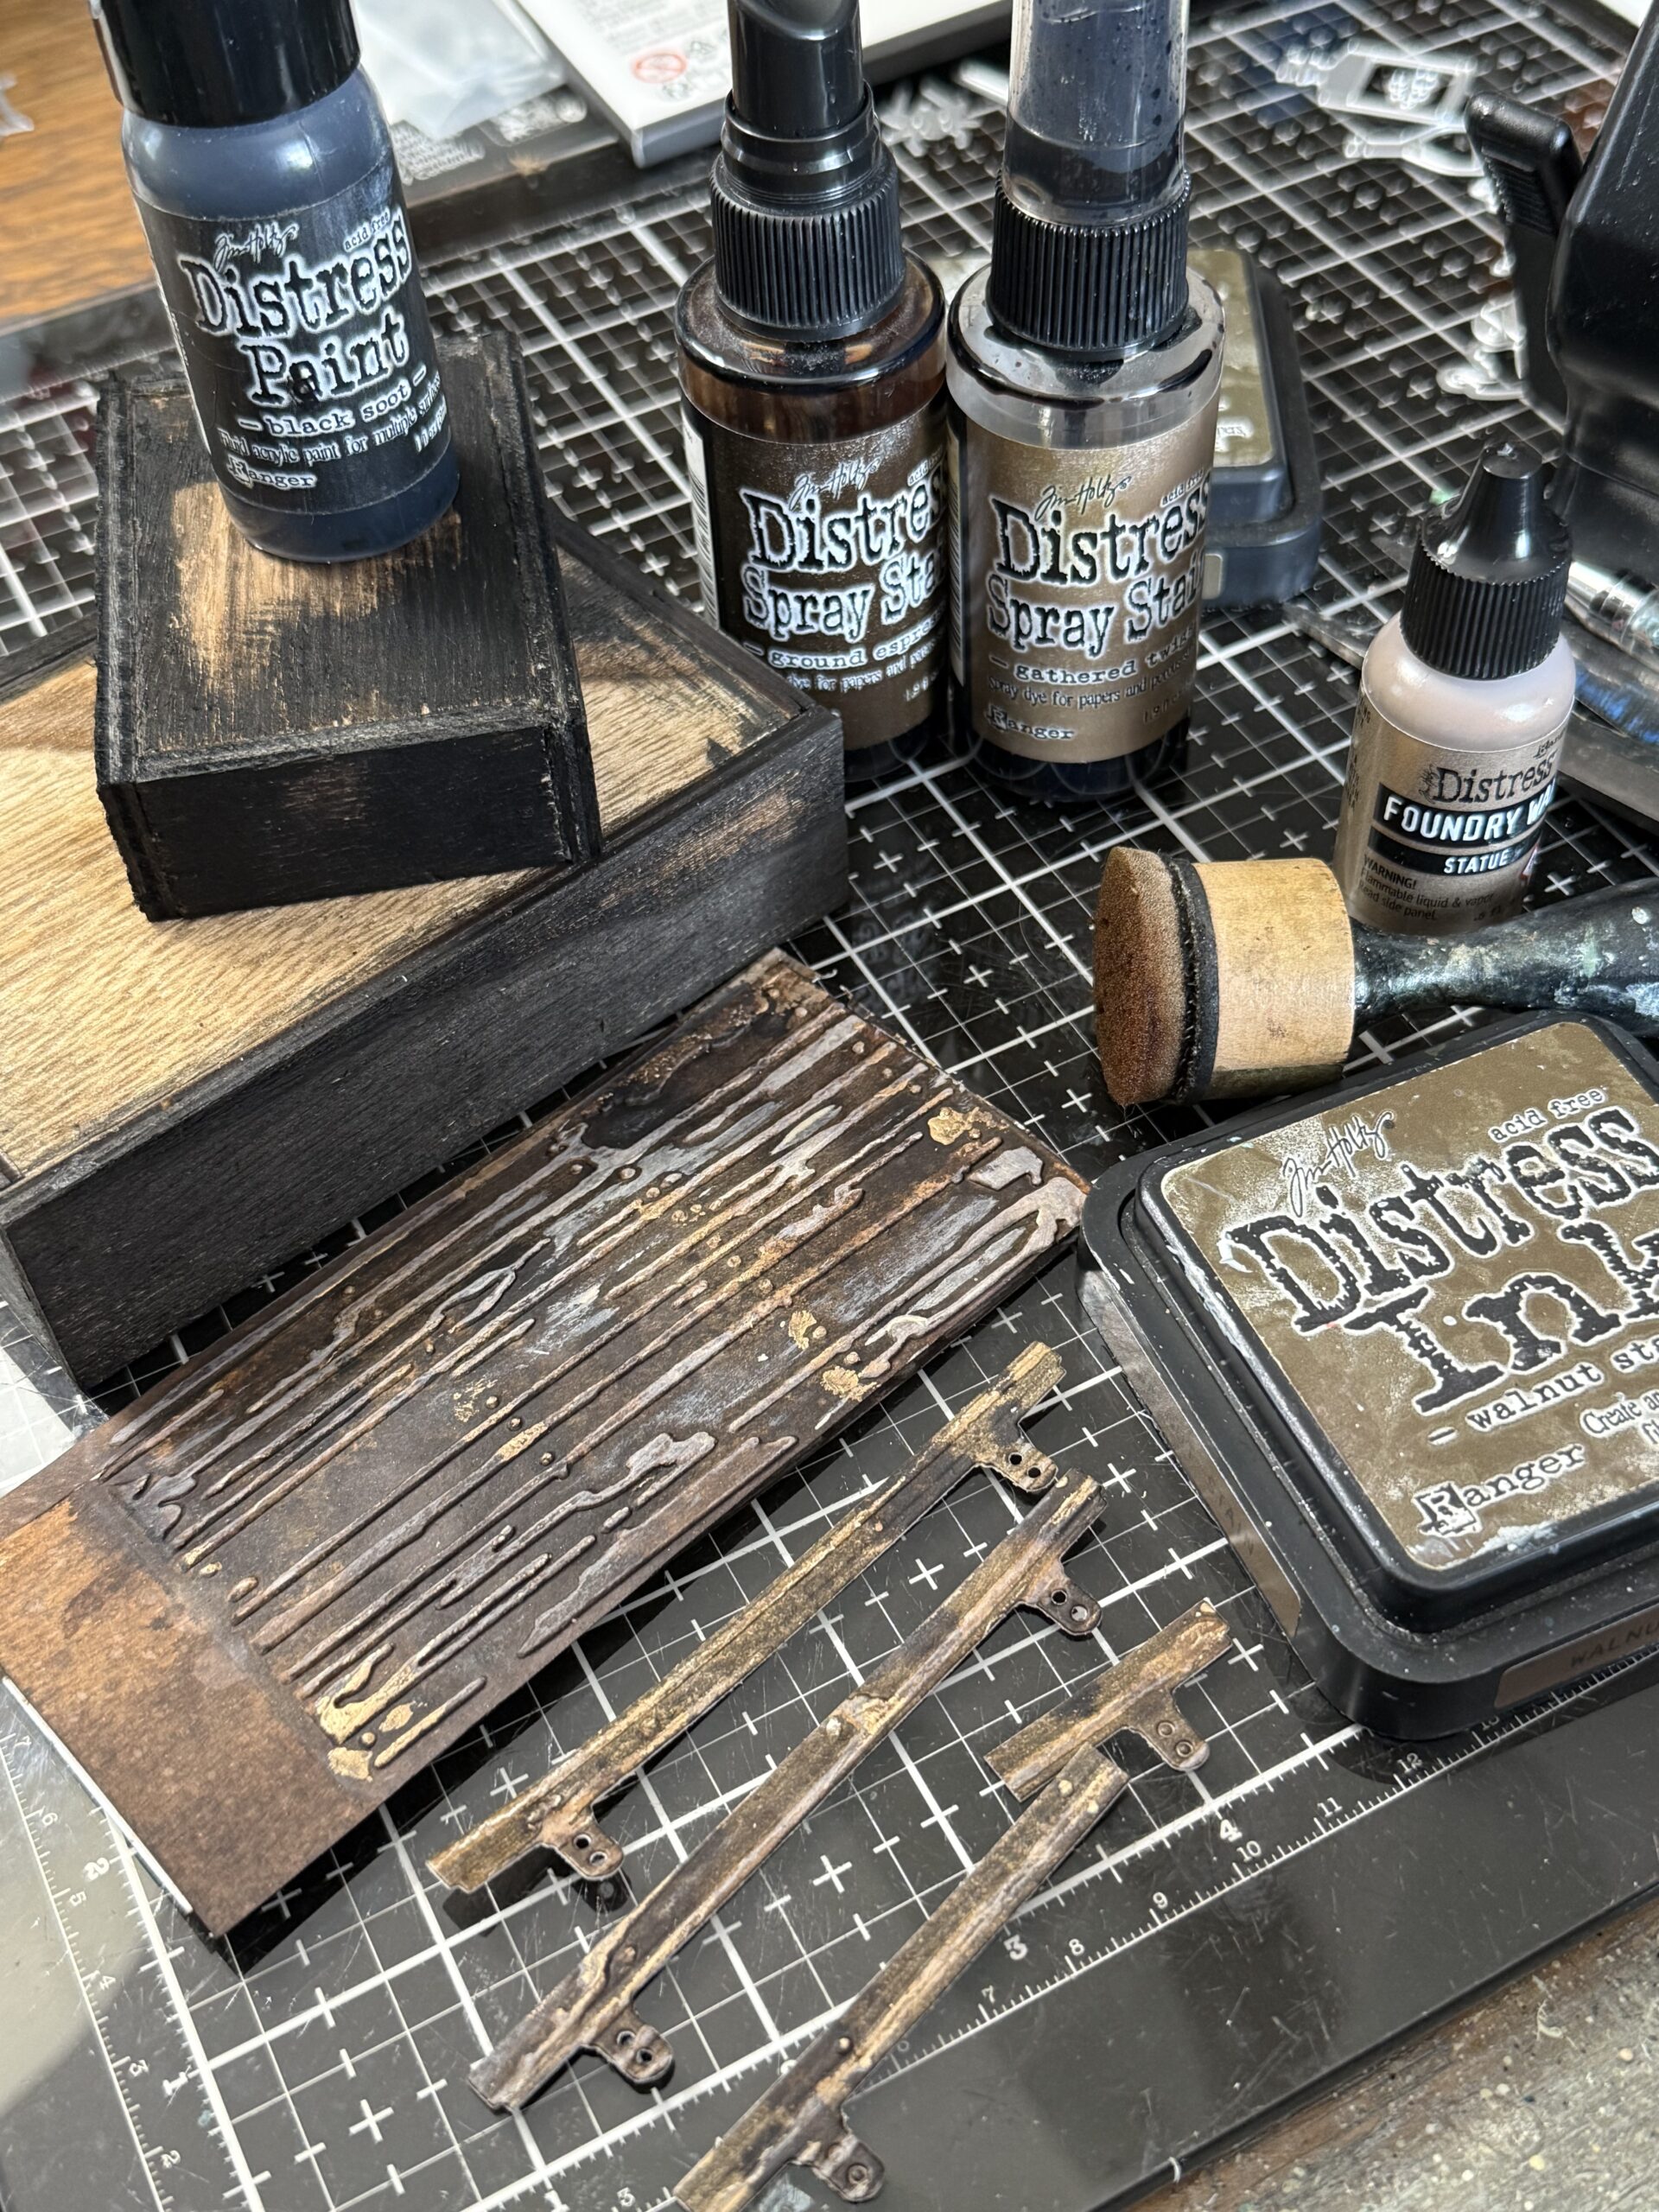
I started by creating the shelves for the project. I used some Distress Watercolor Paper and sprayed it with some water and then a combination of Spray Stain in Ground Espresso and Gathered Twigs, then I dried it with my heat tool. The paper that I used was cut down to fit within the little texture fade. The texture Fade fits a piece of paper that is approximately 2.5″ wide by whatever length you decide to use. You can see in the photo that my paper was about 5″ long. Once I had the texture on the paper, I used my finger and applied some Statue Foundry Wax the the texture. Then I set the wax using my heat tool.
I cut out a few shelves using that paper that I had made. I cut out an additional shelf for behind each of the embossed shelves to add more stability and add more depth to each shelf. I used Distress Mixed Media Kraft paper for this process. It added just the right amount of stability to the shelves.
I used a blending tool to add paint onto the sides and edges of the vignette boxes and set them aside to dry.
I cut out a bunch of the books to use throughout the vignette using inky scrap paper.
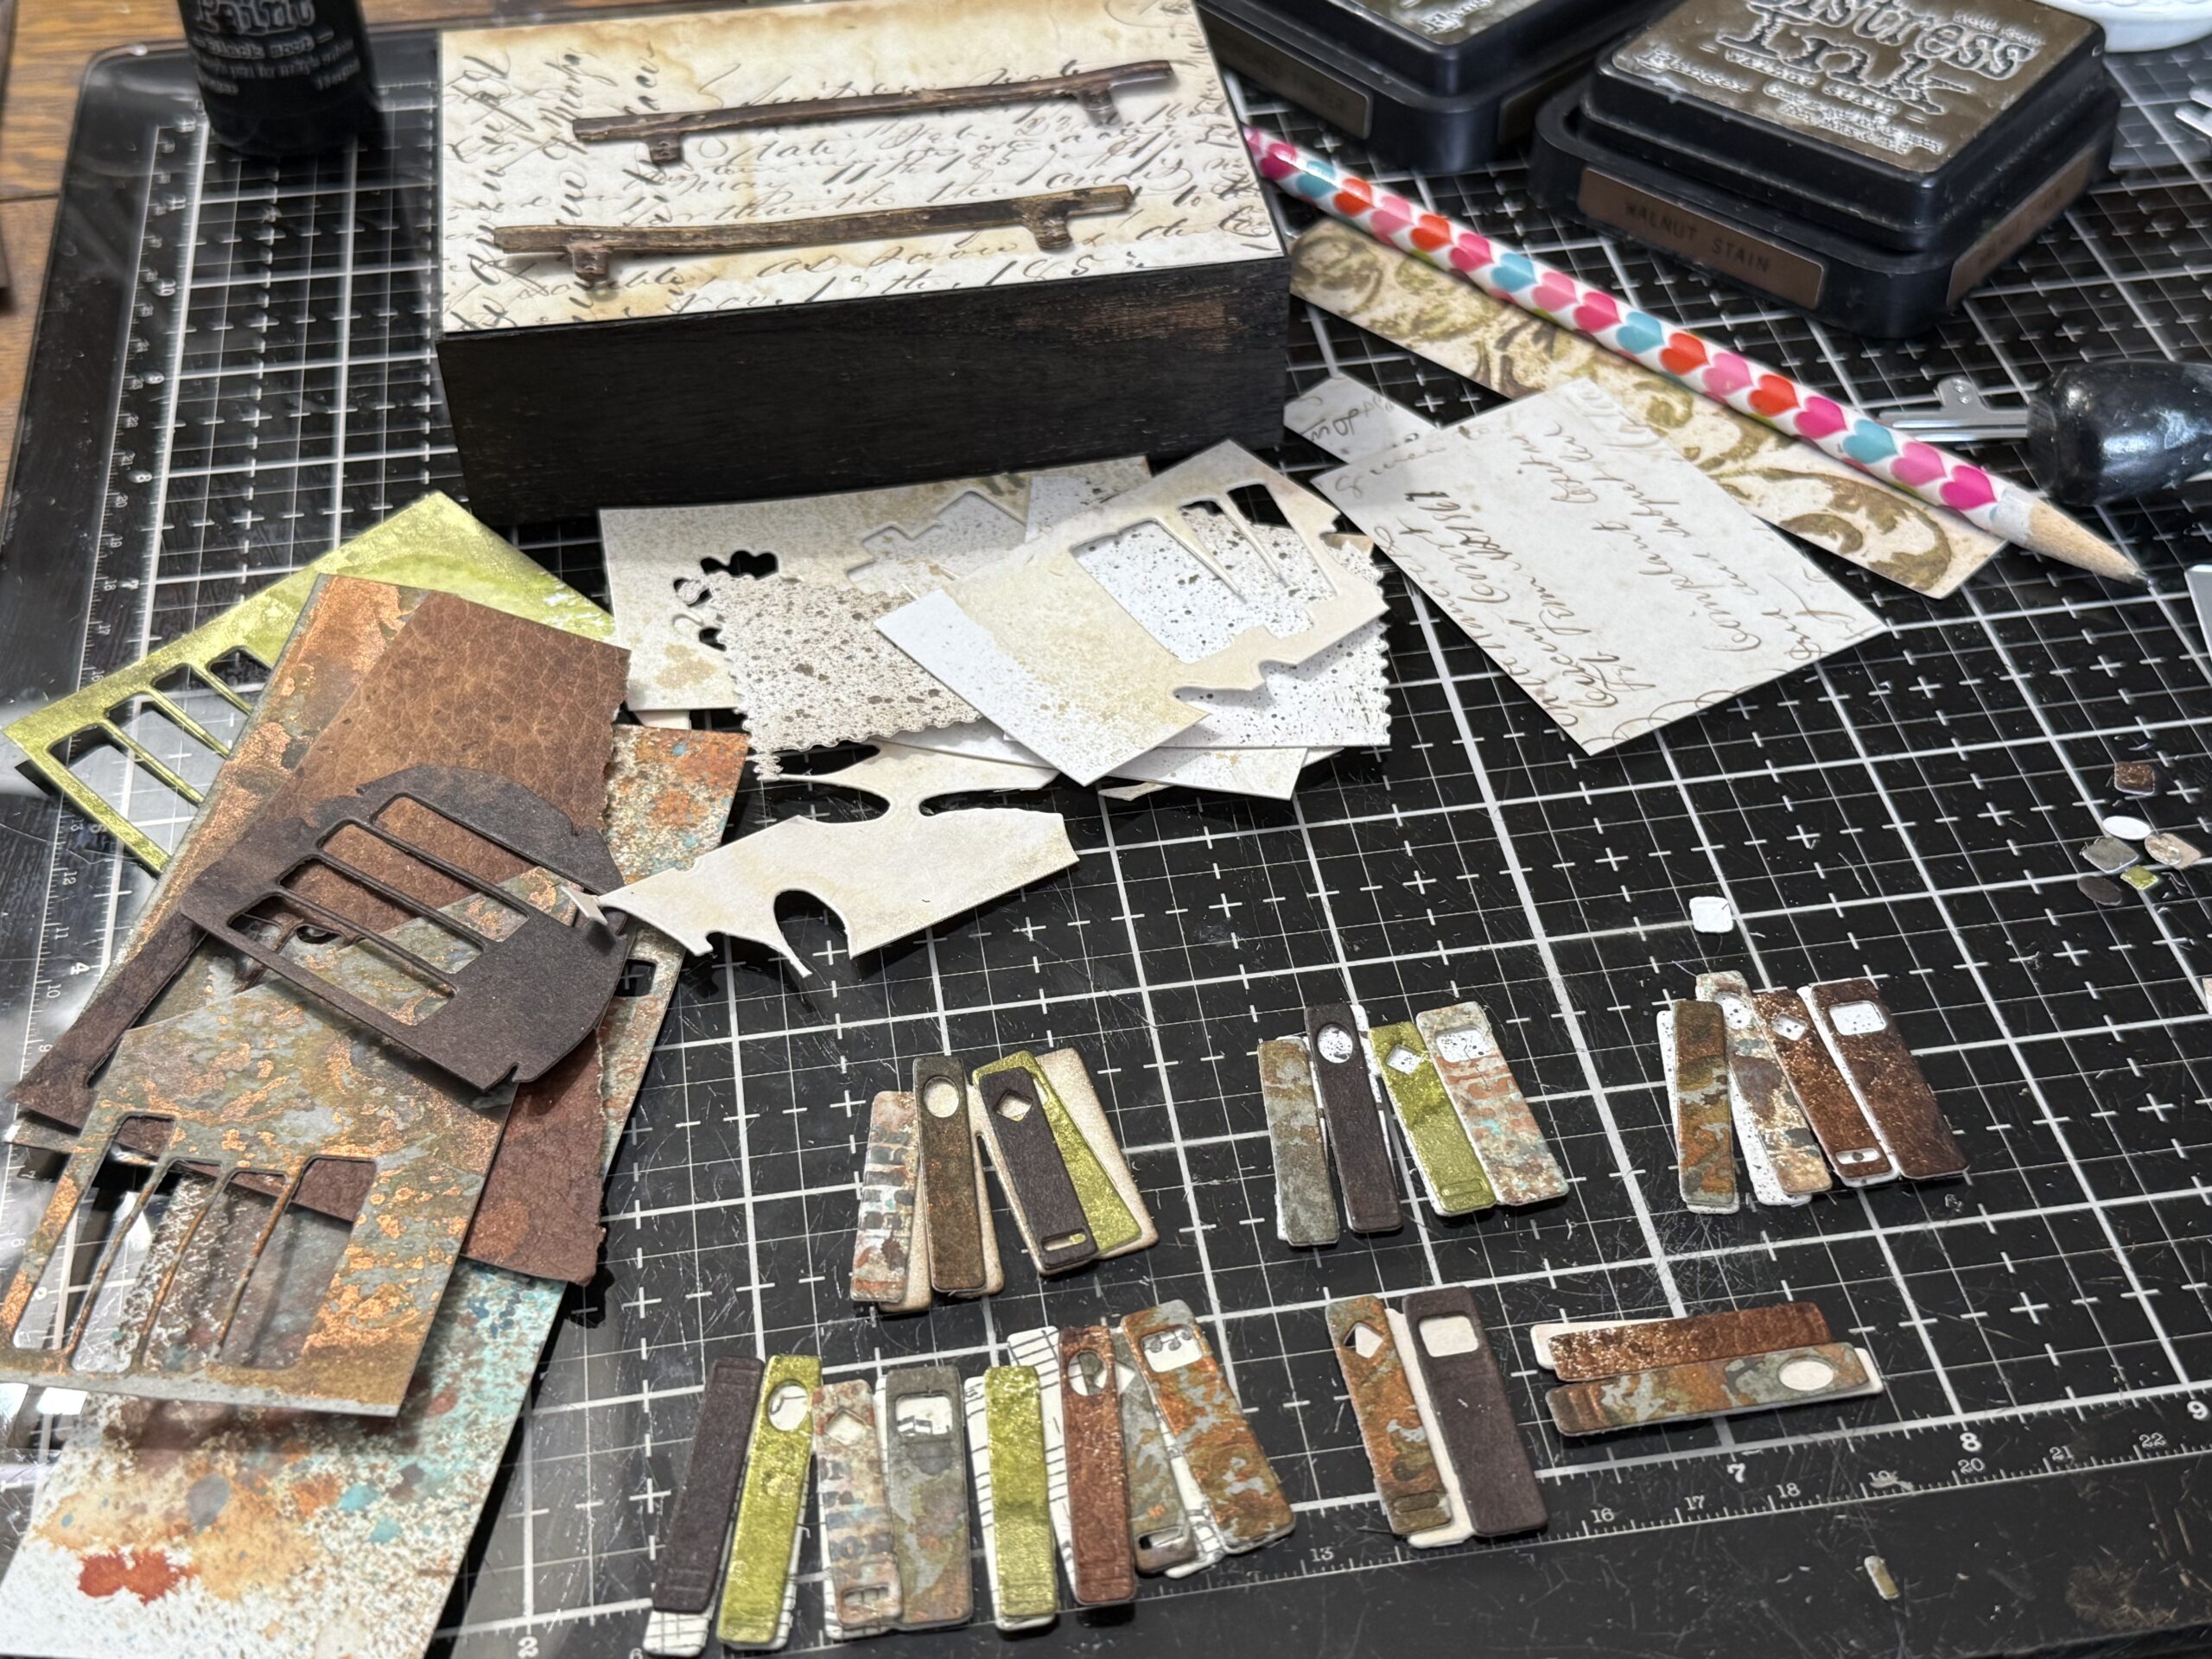
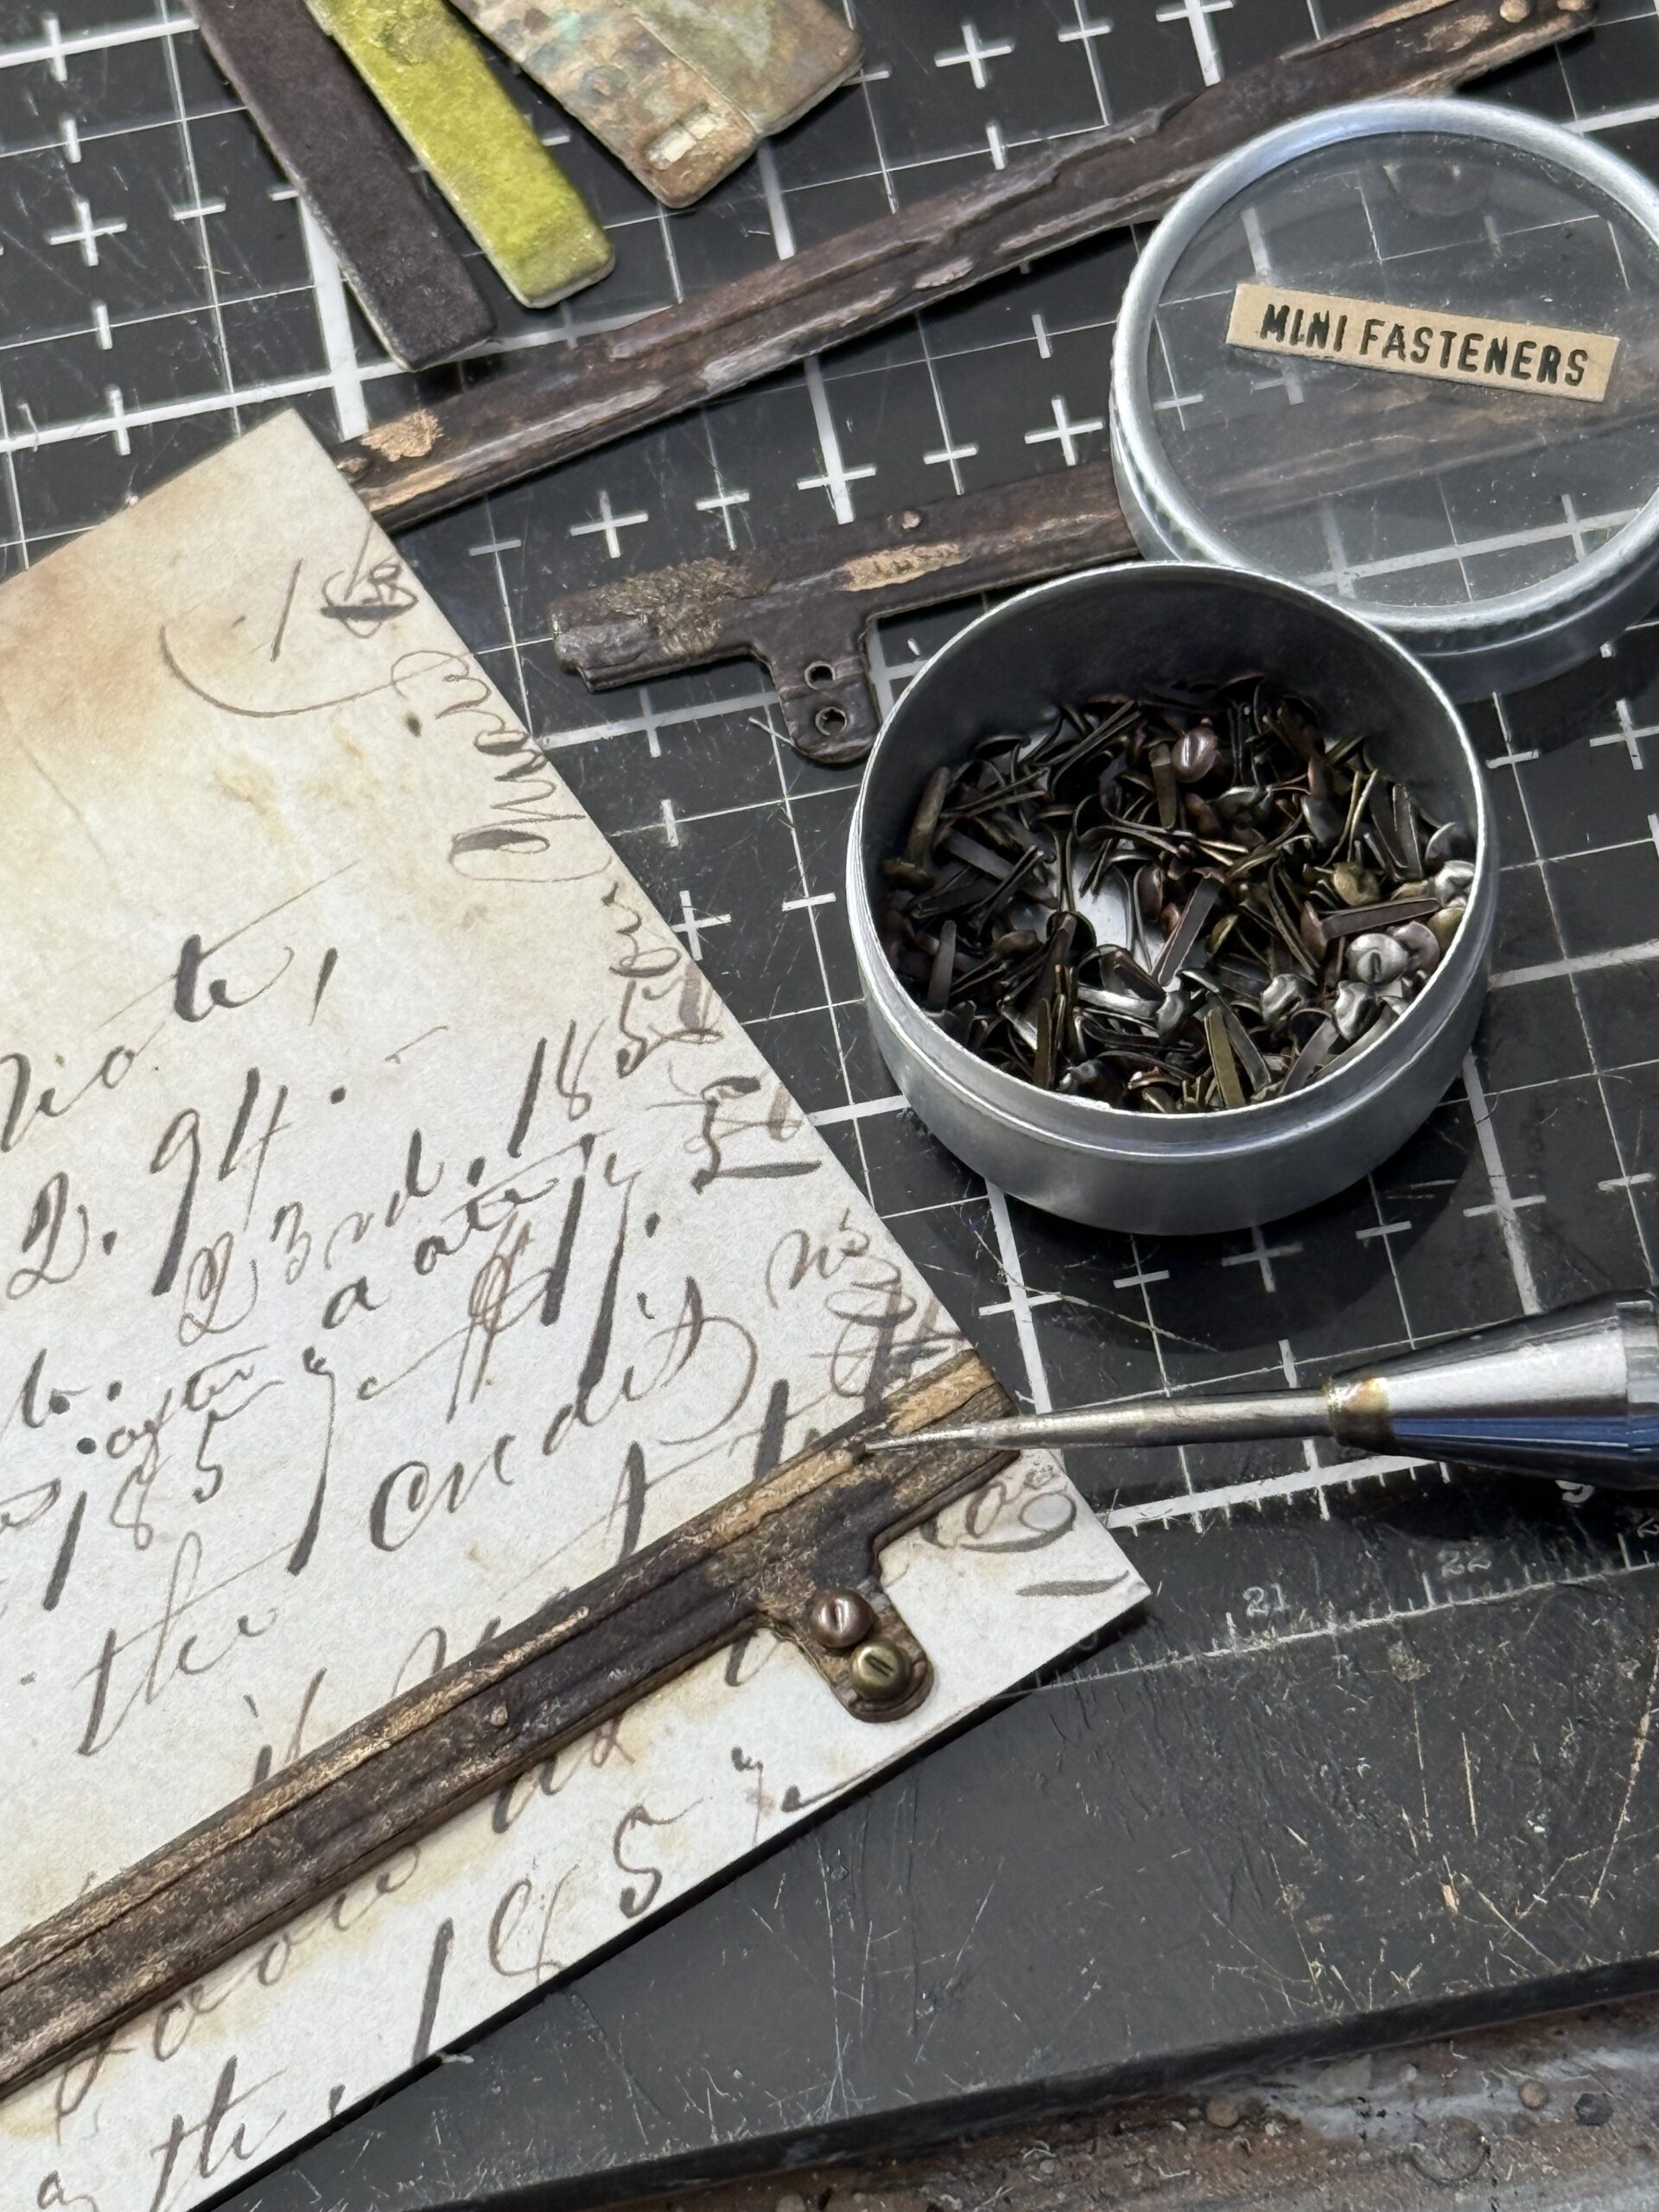
I cut out some papers for the backgrounds using scraps of idea-ology Halloween Backdrop papers I had in my scraps. I made sure to cut out strips that covered all the side of the vignette boxes too. I did not attach these papers to the vignettes at this point, I needed them to be flat on the table to figure out the build of the backgrounds and I wanted to attach the shelves to the papers prior to attaching them to the vignettes so that I could use some mini paper fasteners to use in the little “nail” section of the shelf.
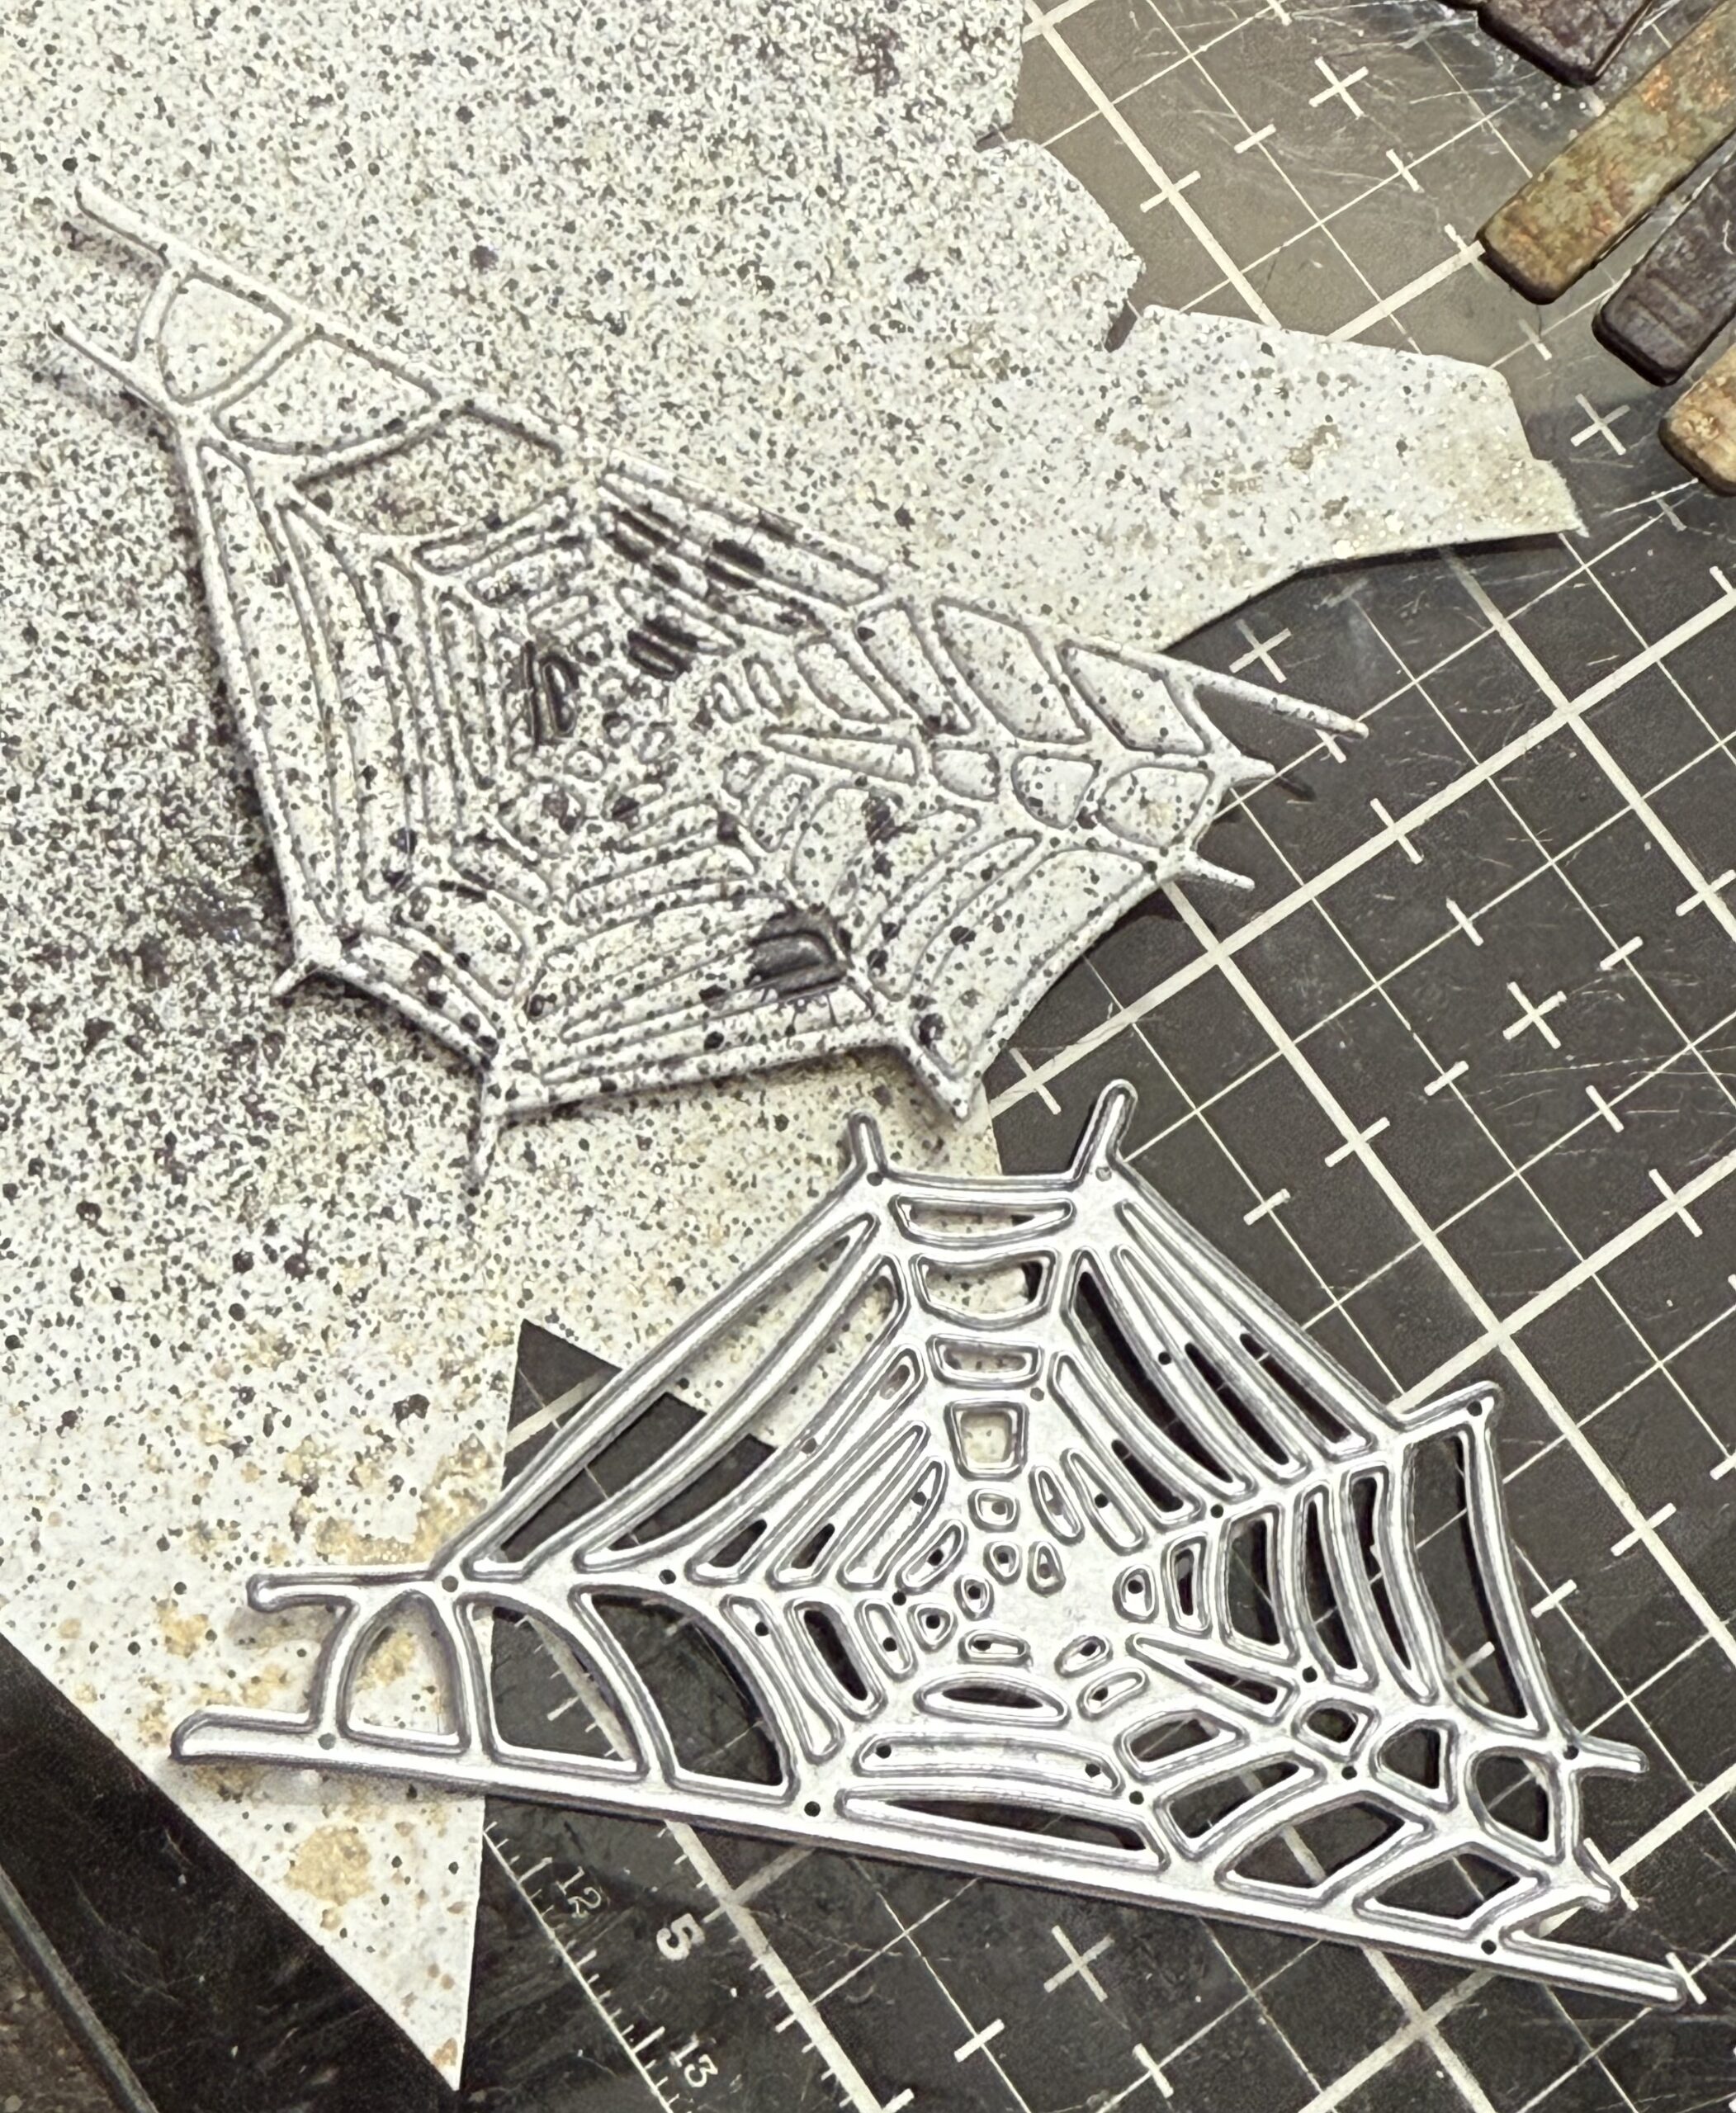
I used a piece of paper that had been spritzed with some Hickory Smoke Spray Stain and cut out several spiderwebs and began cutting and building all the other little shapes in the set.
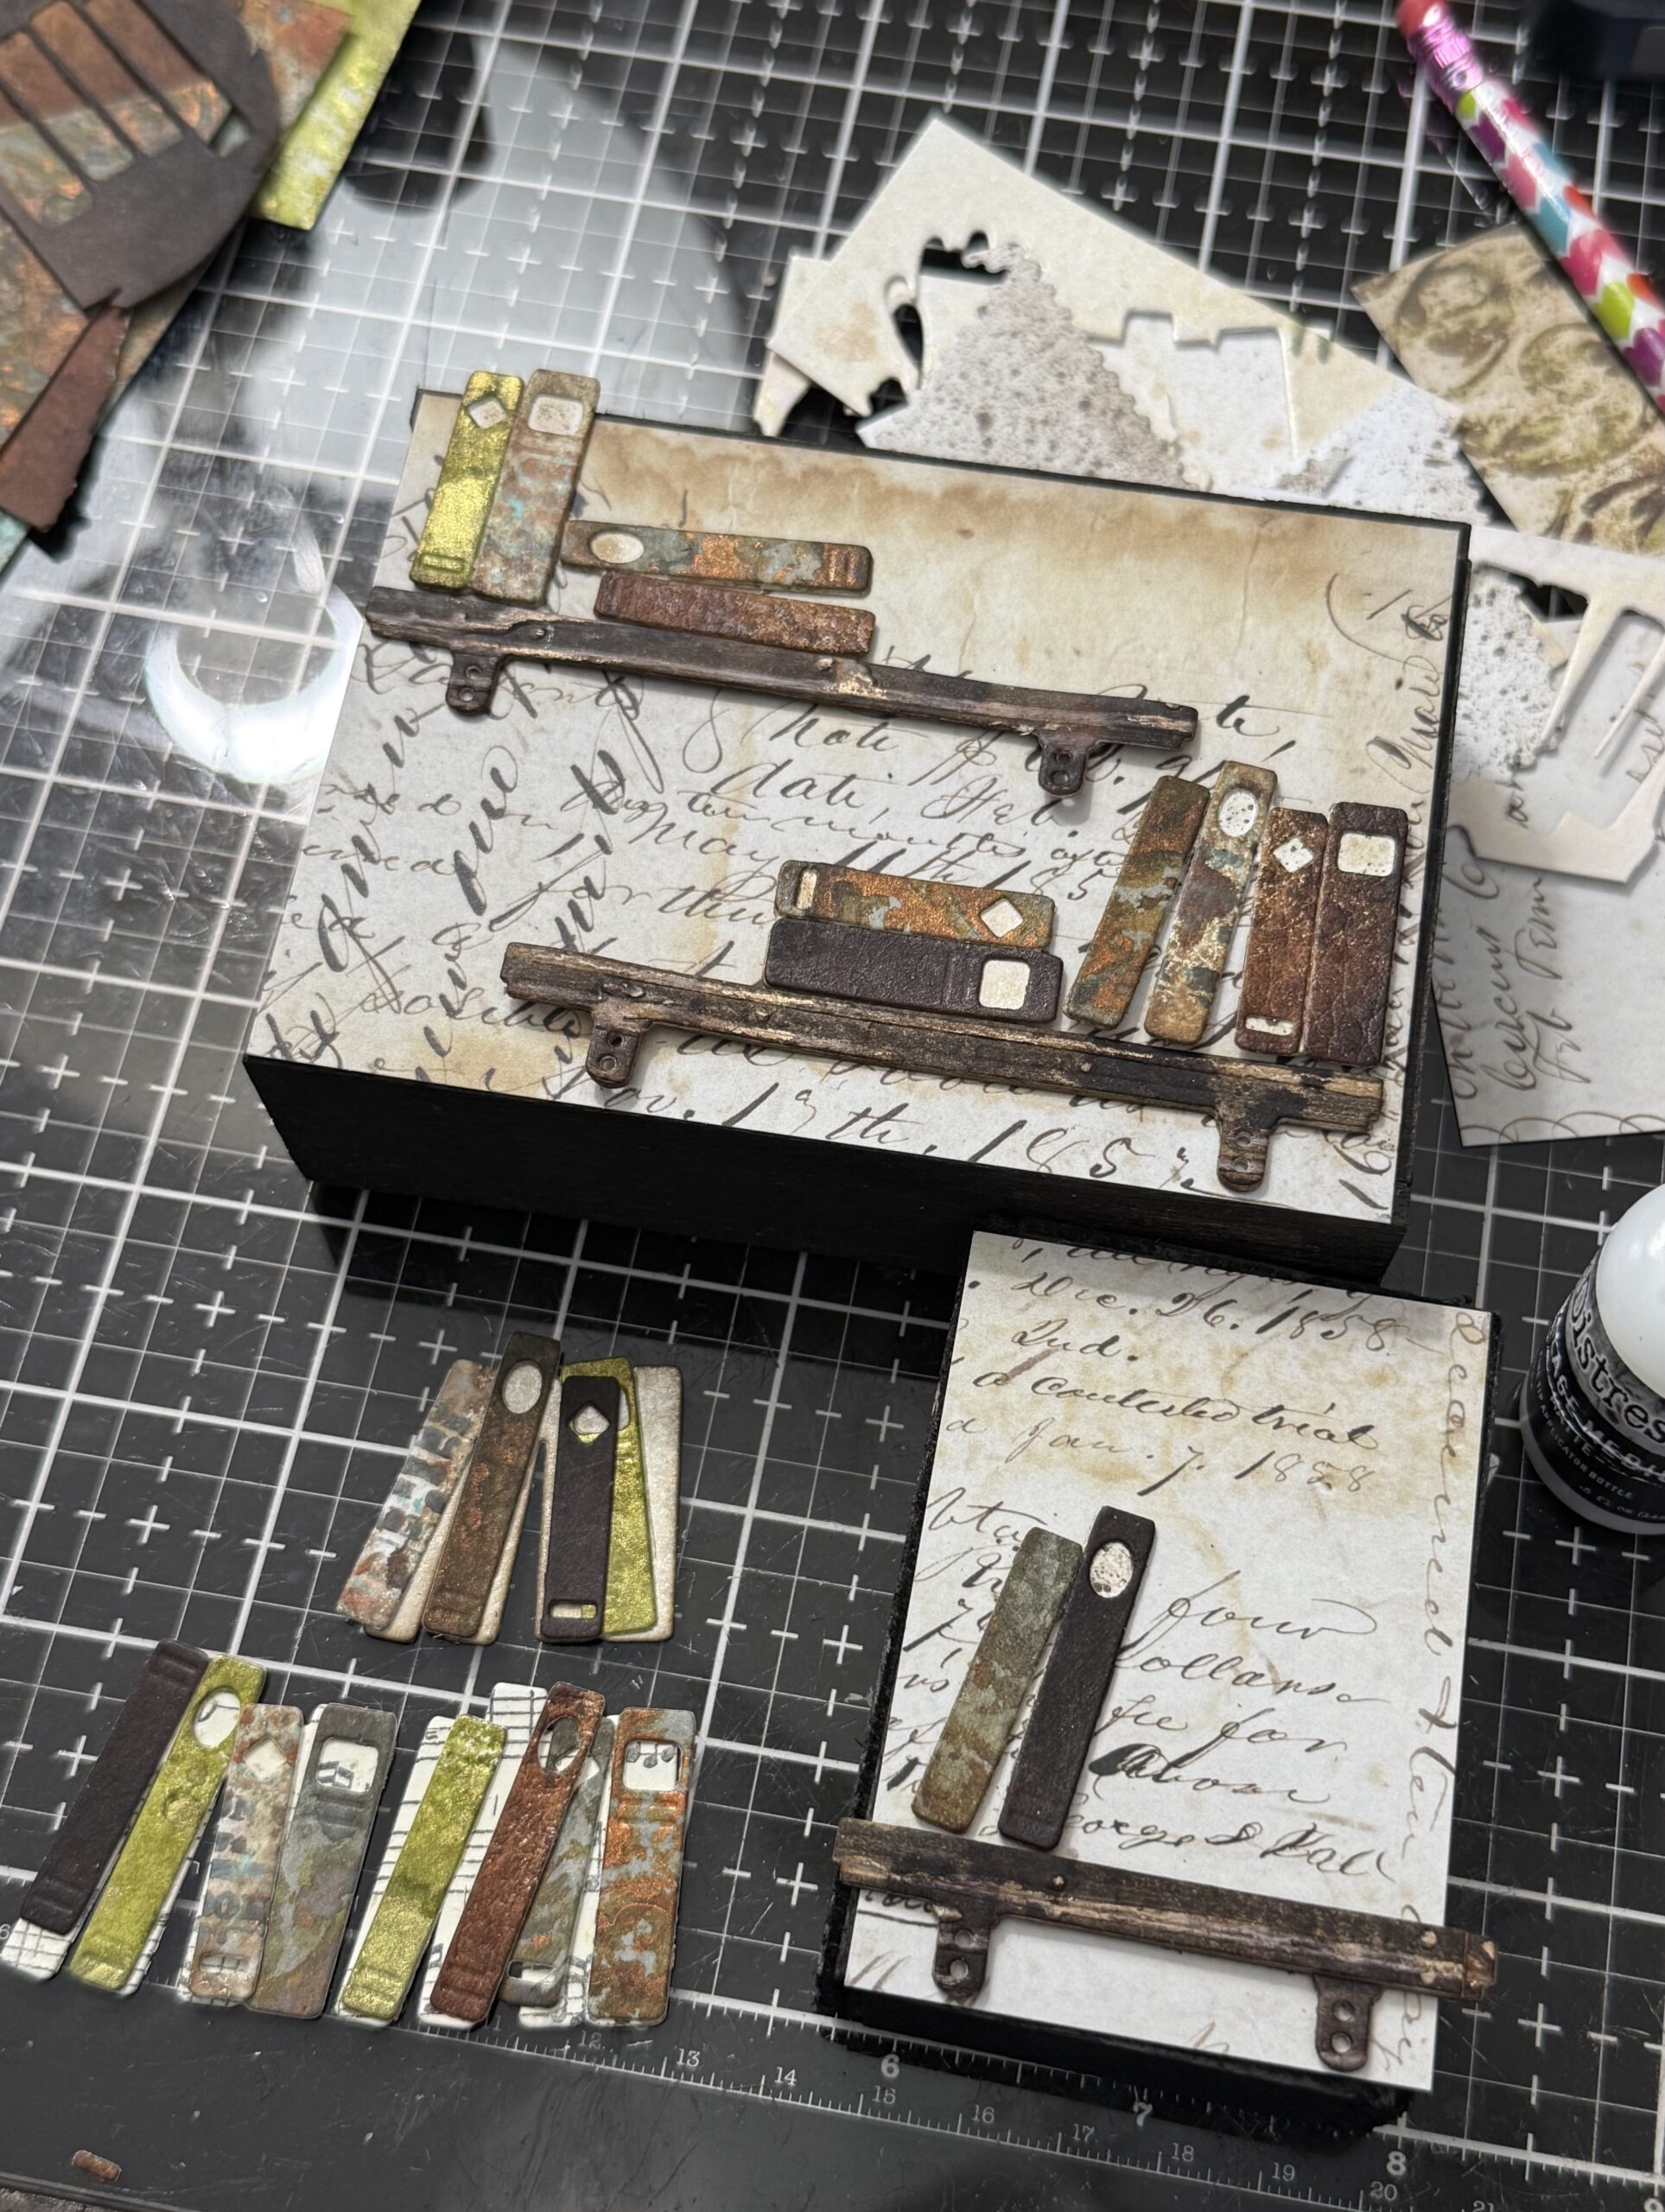
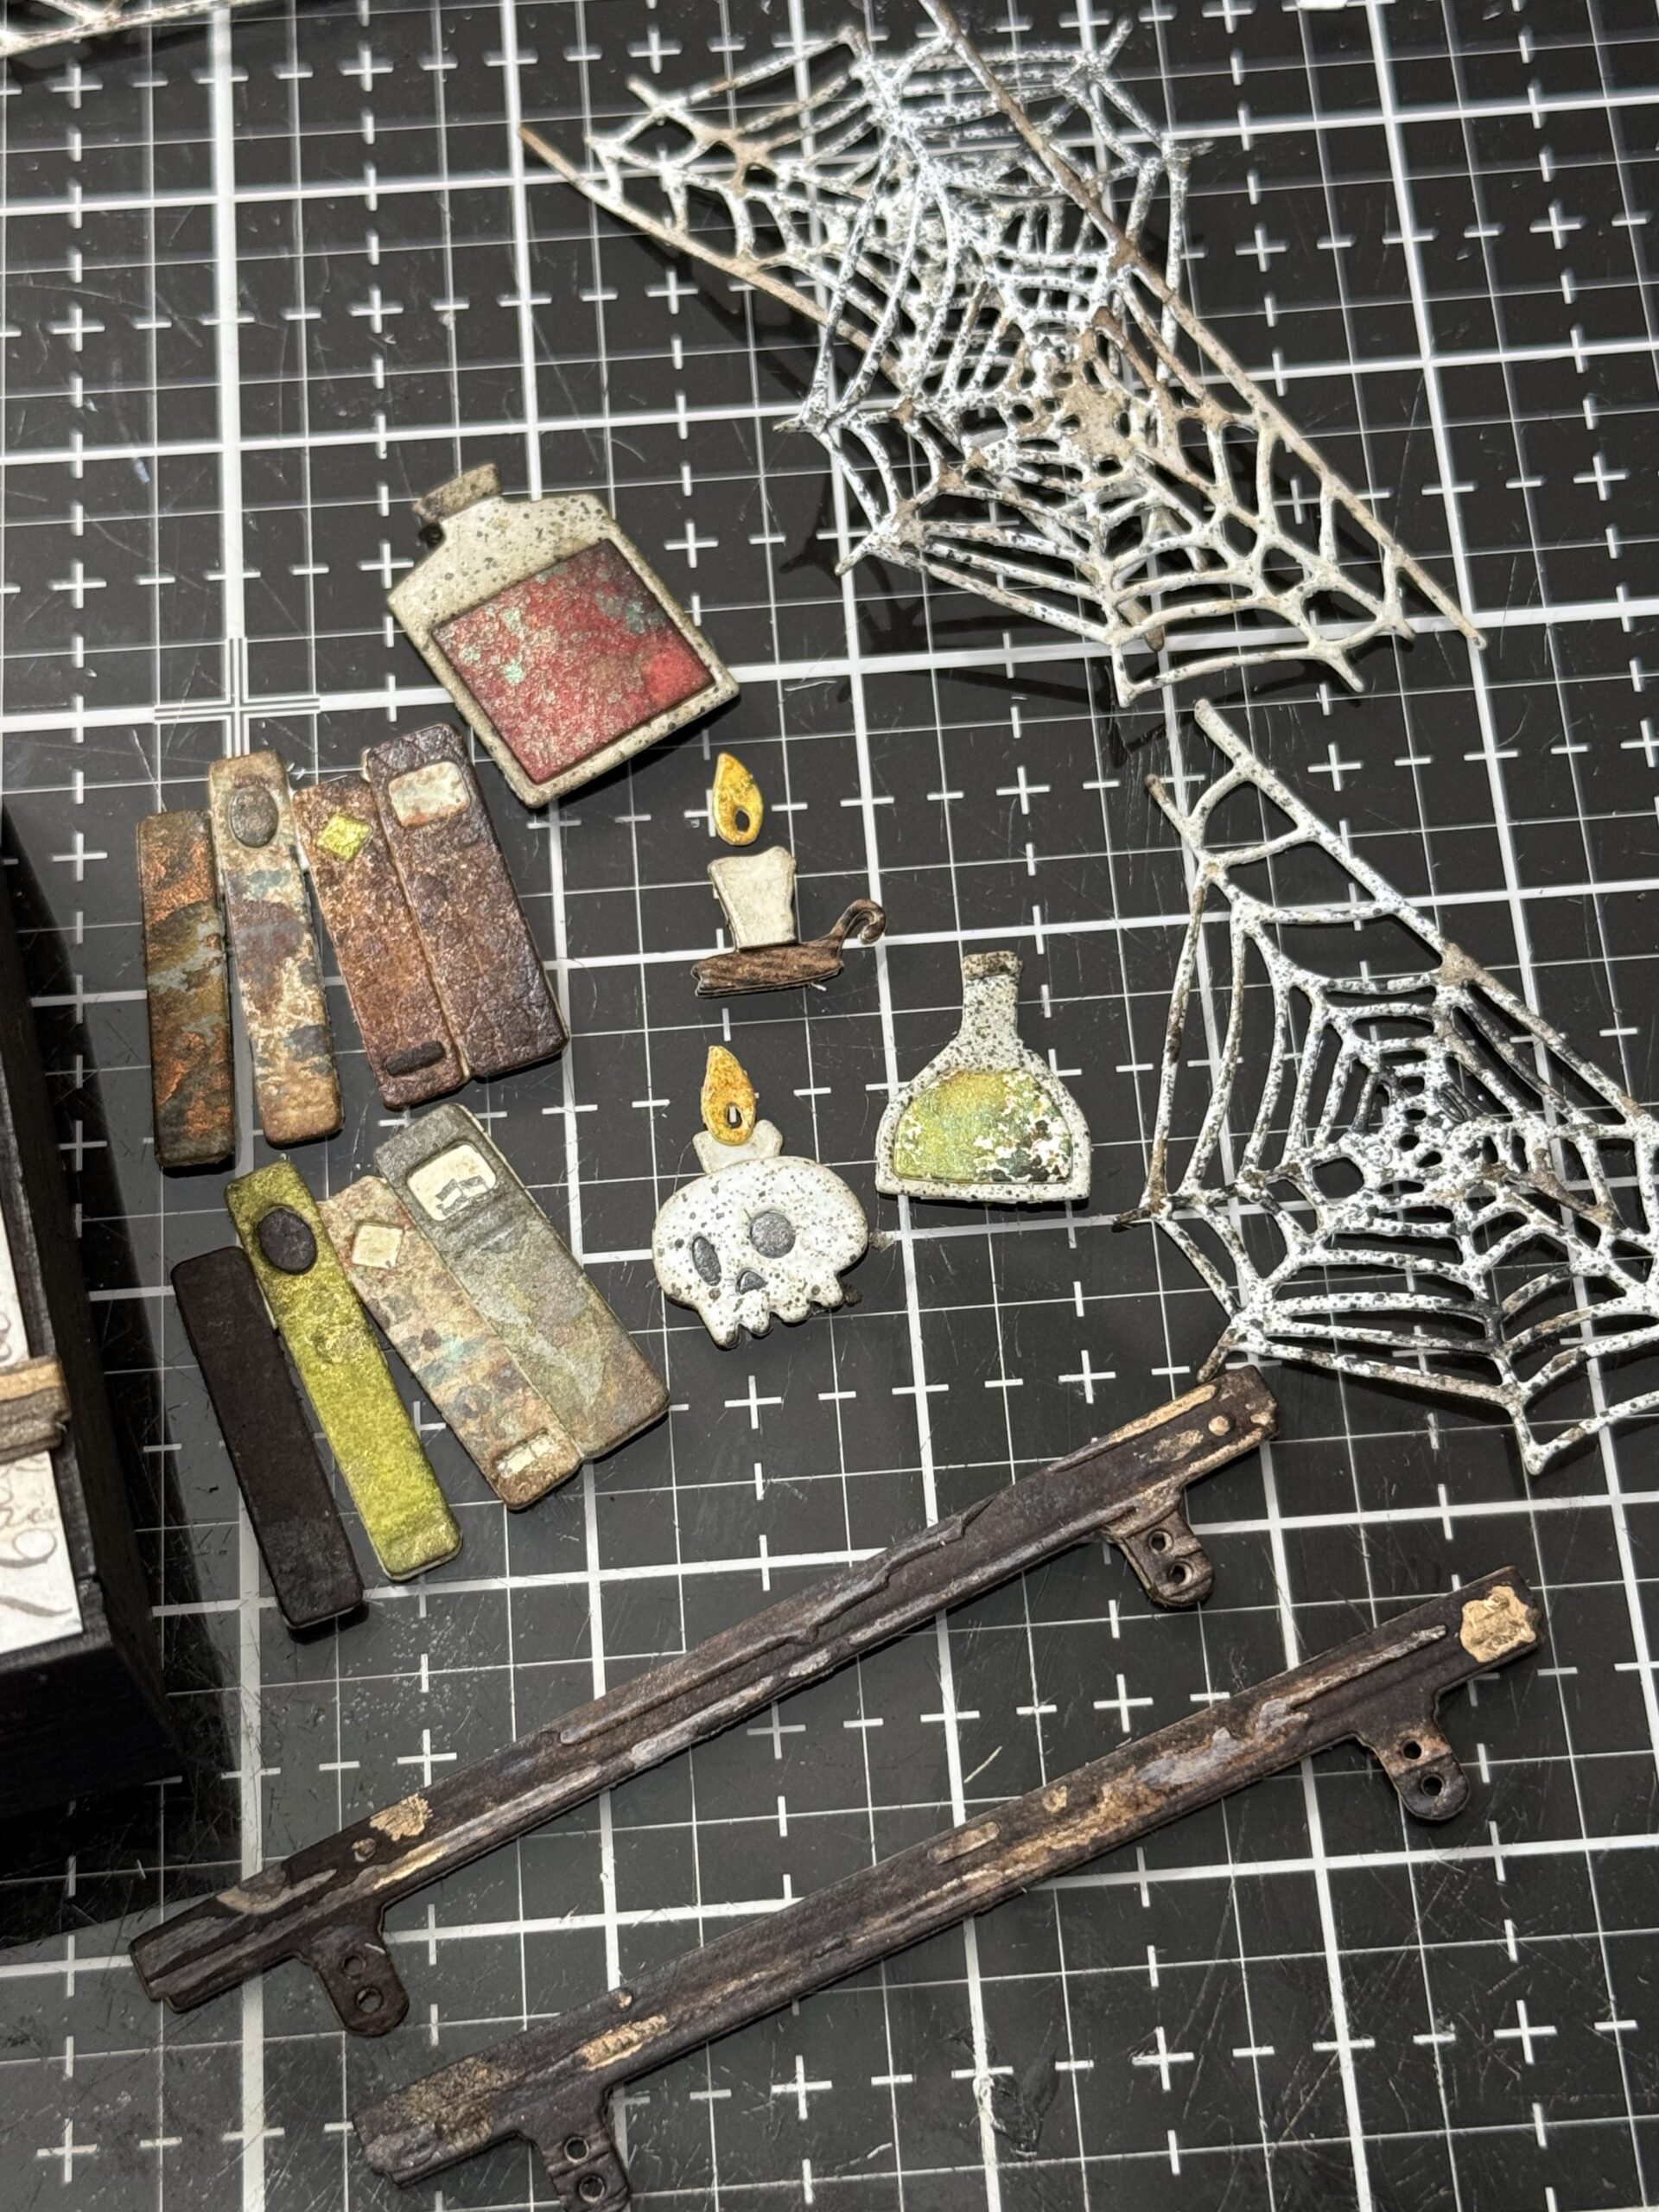
Here is a peek at all the pieces I used after they were built up…tiny vials, skulls, candles, the books and webs were all blended on the edges using a blending tool and Walnut Stain Distress Ink. I adhered all the pieces together using Collage medium.
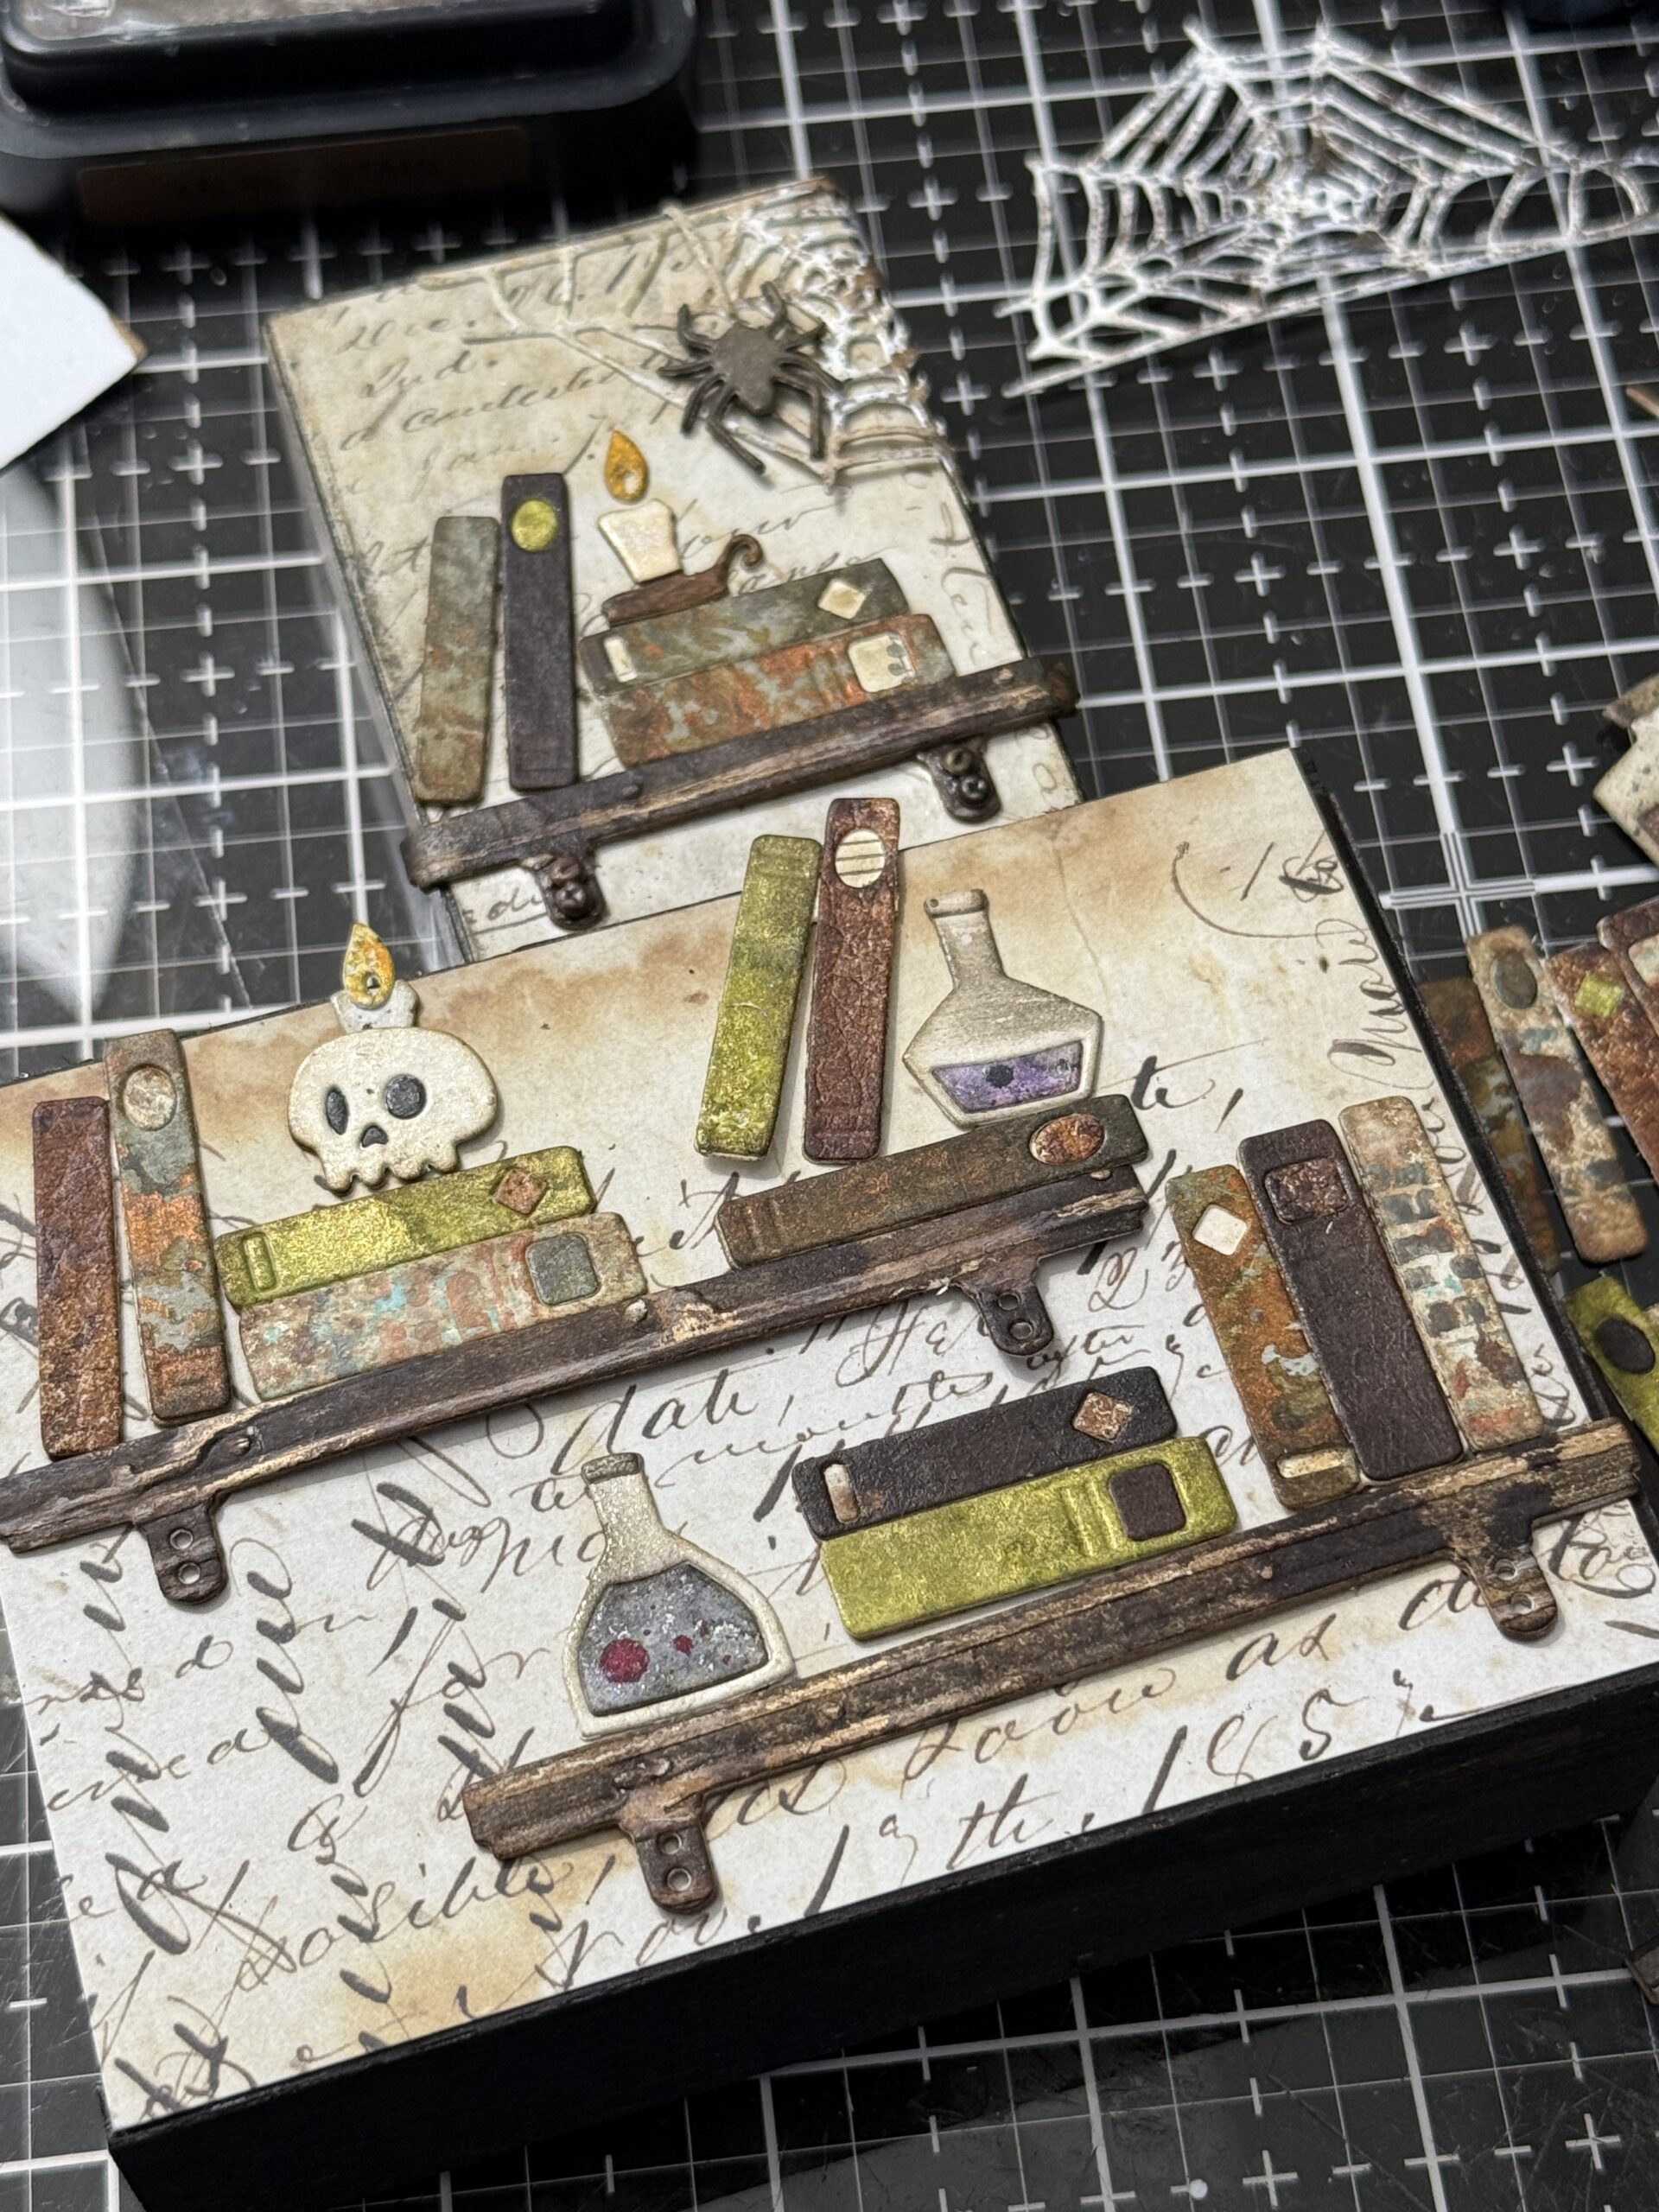
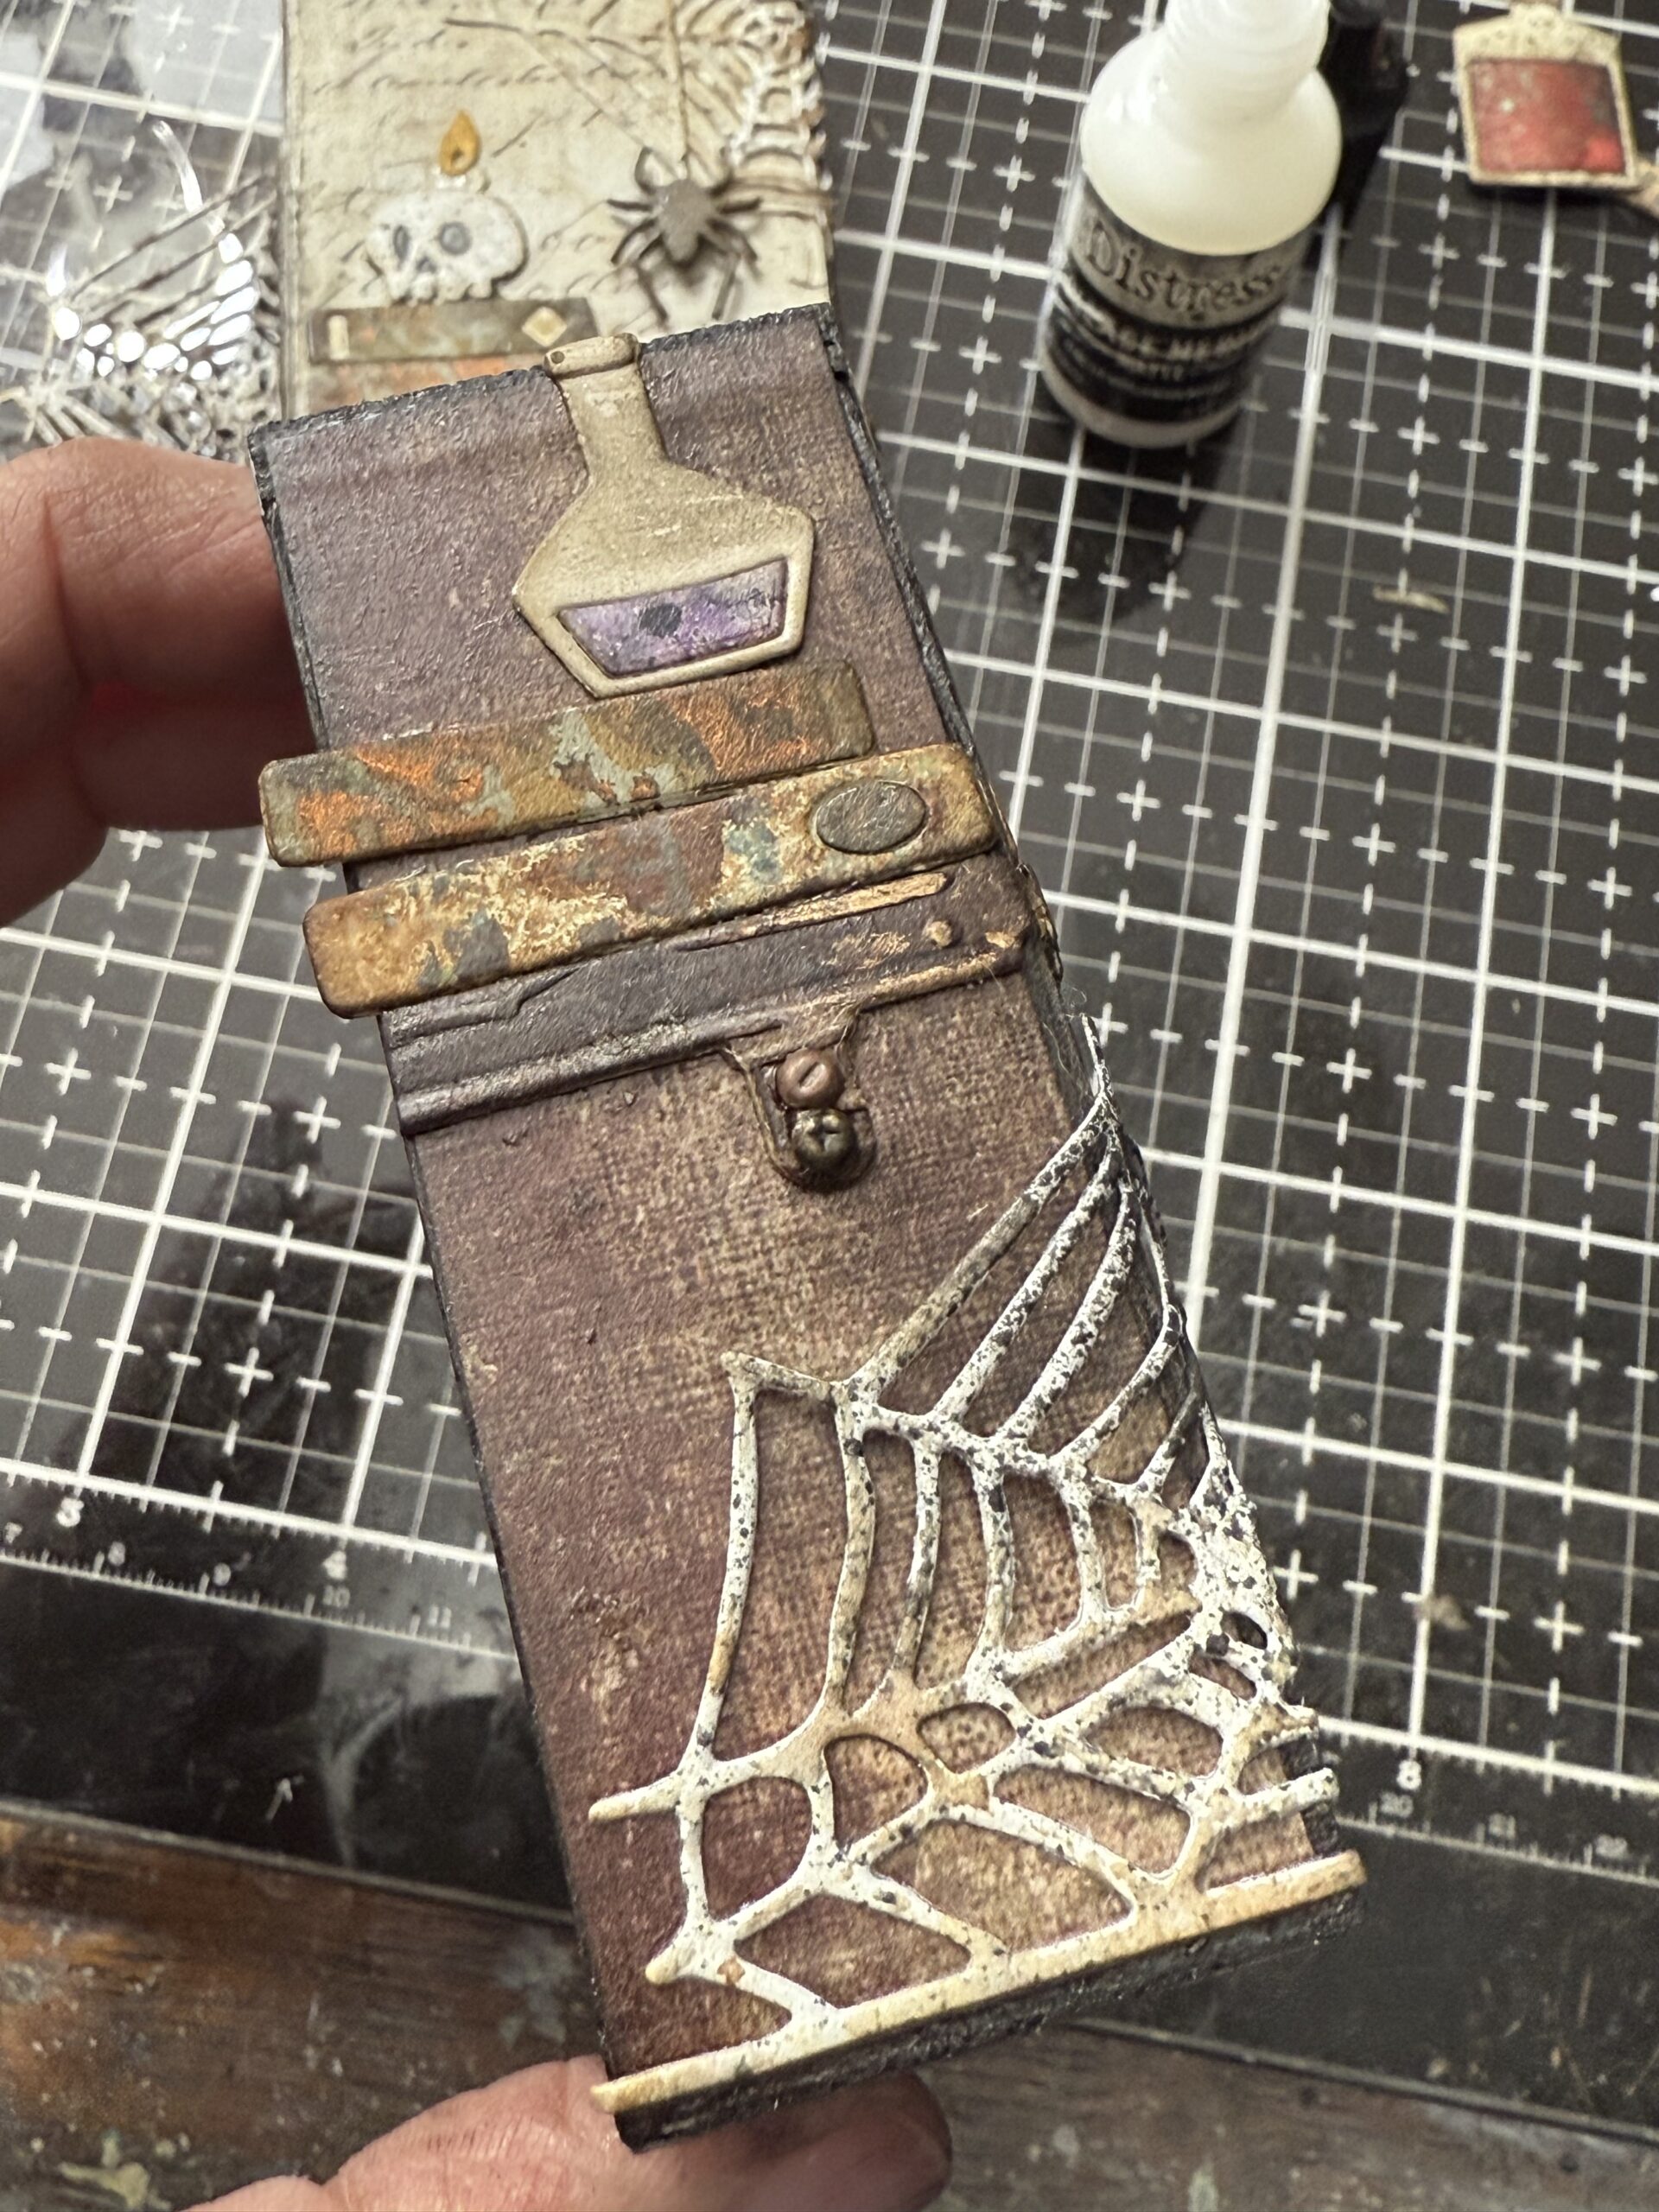
You can see on the top shelf how I shortened the shelf a bit to fit the width of the small vignette box and added it to the background paper using the idea-ology mini paper fasteners. I used a needle tool to poke the holes for the mini fasteners, then adhered the shelf and added the brads into the tiny holes, then added the background paper to the front of the vignette box.
Just remember the mini fasteners part ahead of adhering the pieces to the front and sides of the vignette boxes, that way the brad bend backs are concealed behind the paper.
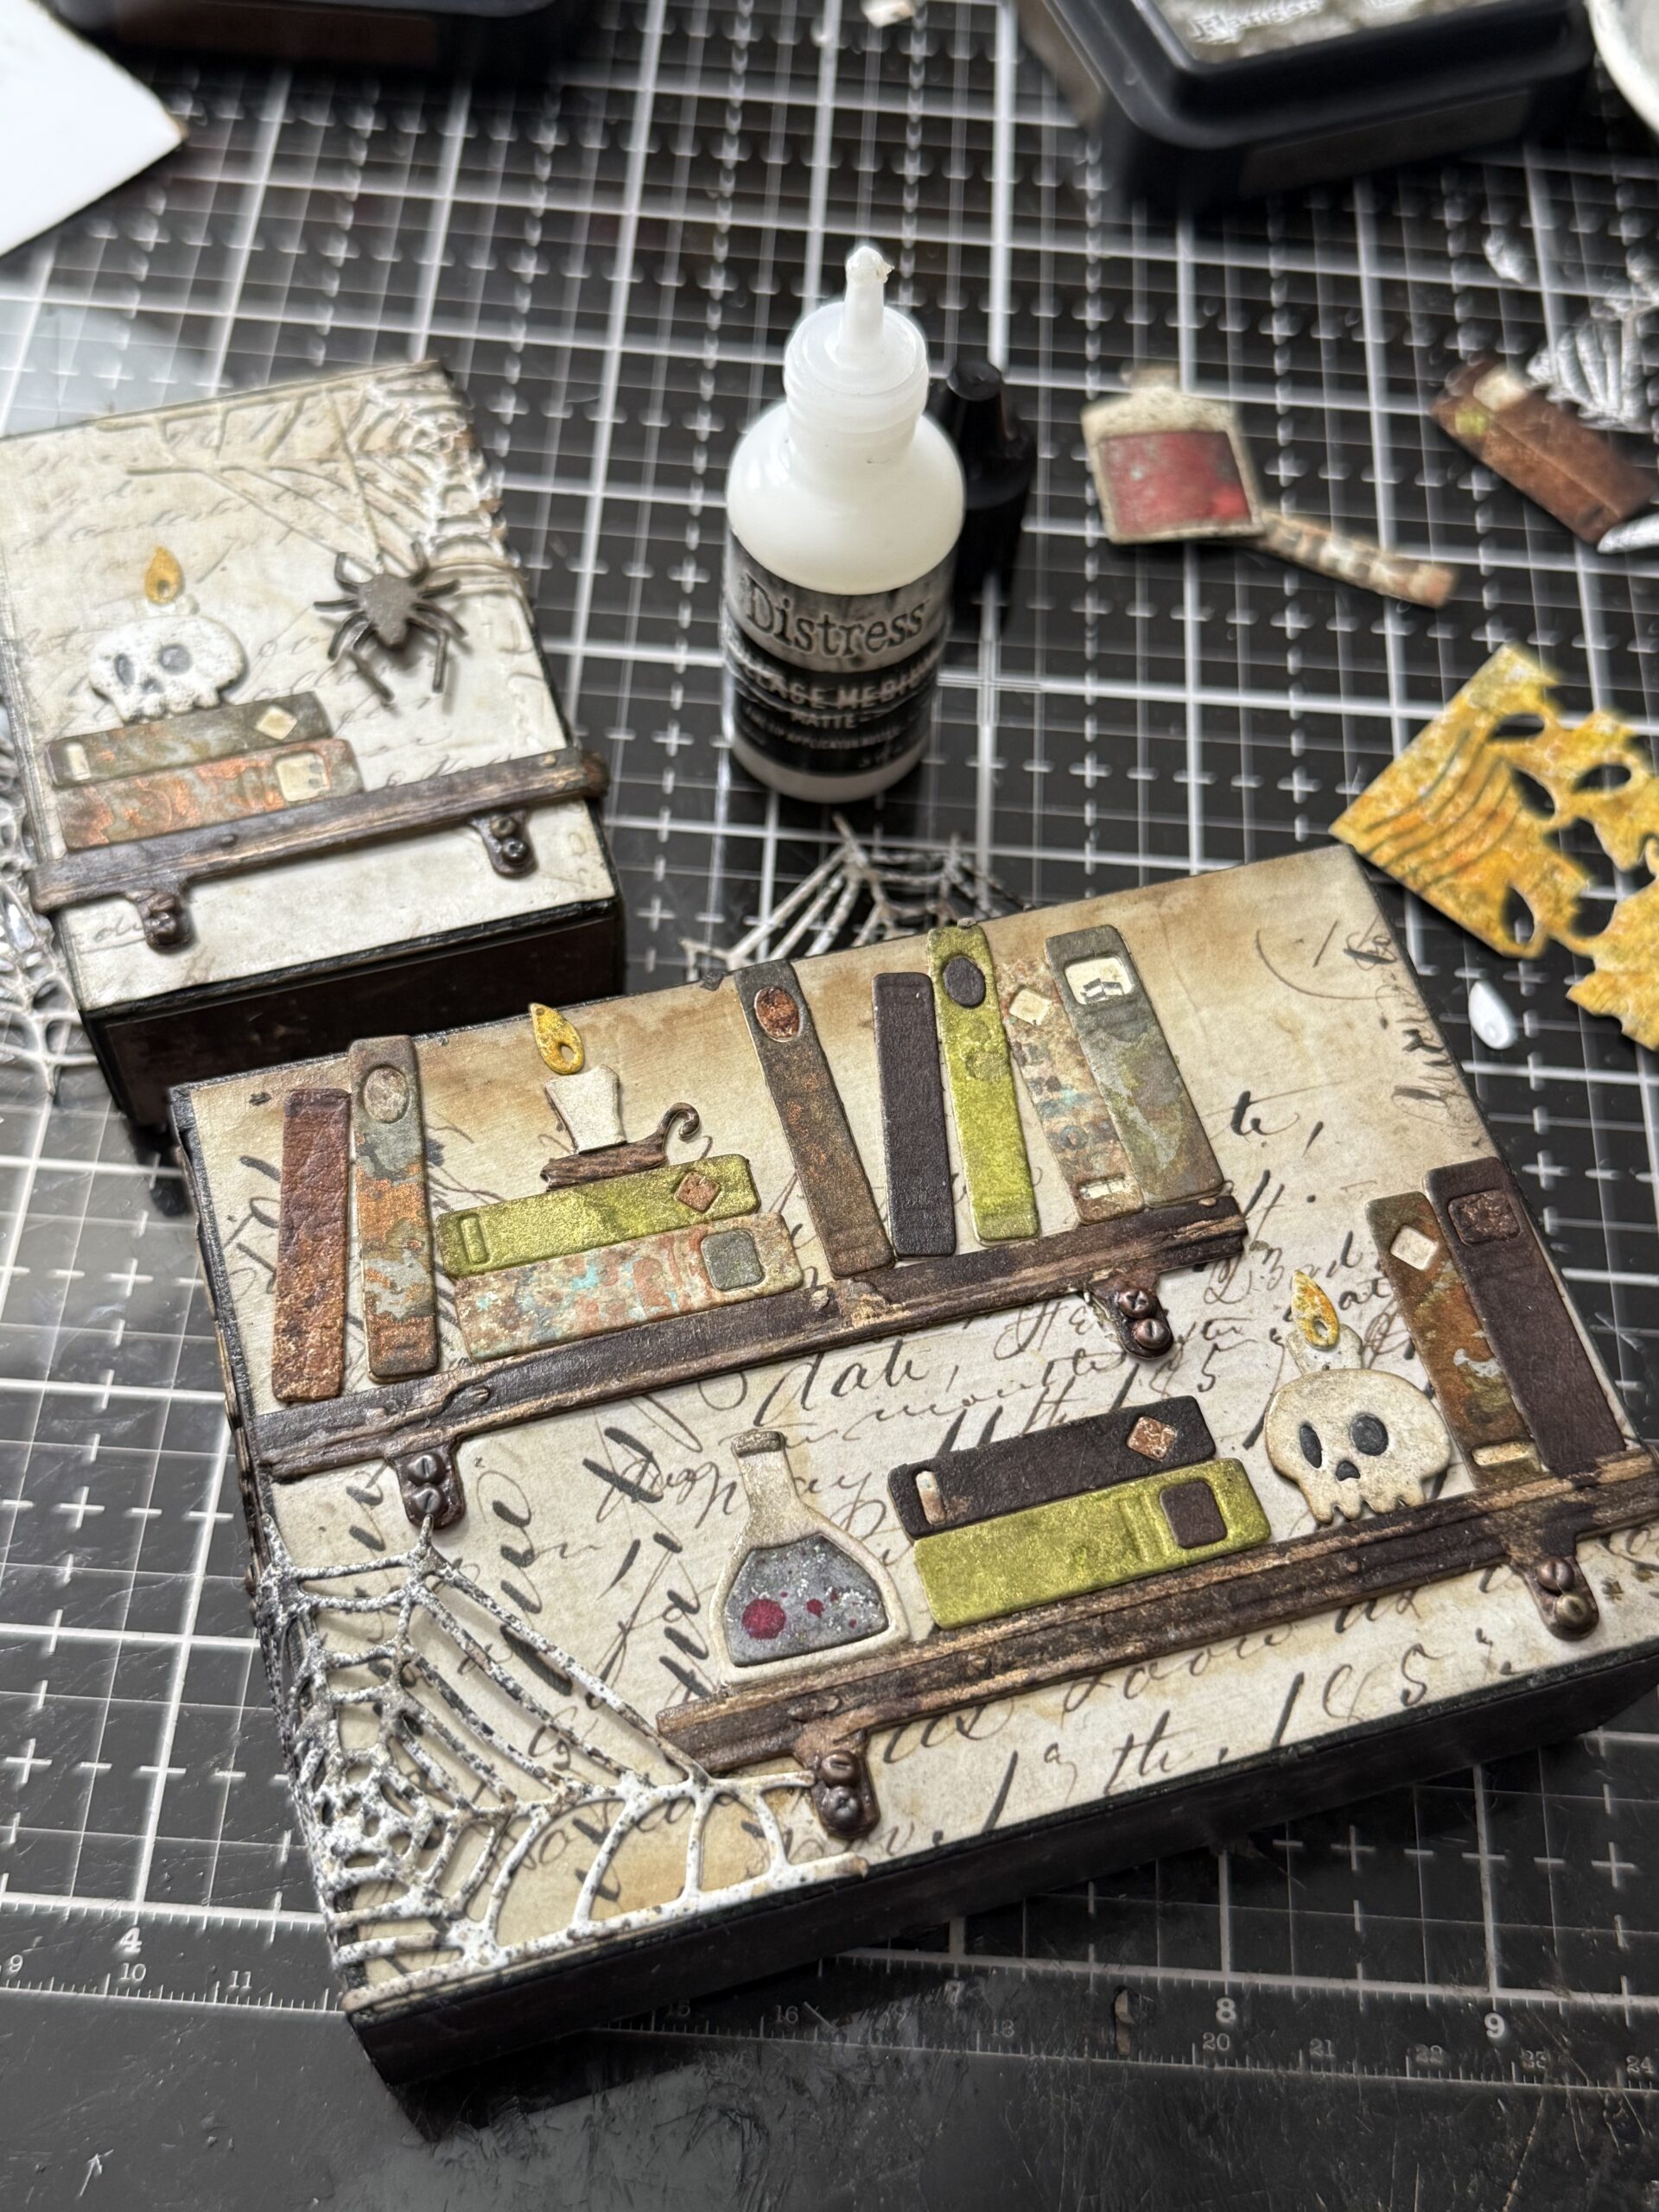
Here you can see the progress I was making as I added all the elements to the front and sides of the vignette boxes. I worked on them individually, then once I had all those parts adhered, adhered the boxes together using collage medium.
I wrapped some of the spiderwebs around the corners of the vignette boxes and kept some of them to add at the very end after the boxes were fully dry and adhered together.
Here is a peek at one of the sides as I was building it…first lined up the paper to see where exactly the shelf needed to be lined up, I trimmed one of the shelves in half and adhered it in place on the strip, I poked the holes for the mini paper fasteners, then added them into the holes. After that, the paper strip was applied to the side of the box. once it was dry, I started building up the shelves.
Some of the books were cut apart to create a new stack that fit the space and I added the other little elements, such as a poison bottle or skull with candle.
I added a little spider web that wrapped around to the front of the vignette.
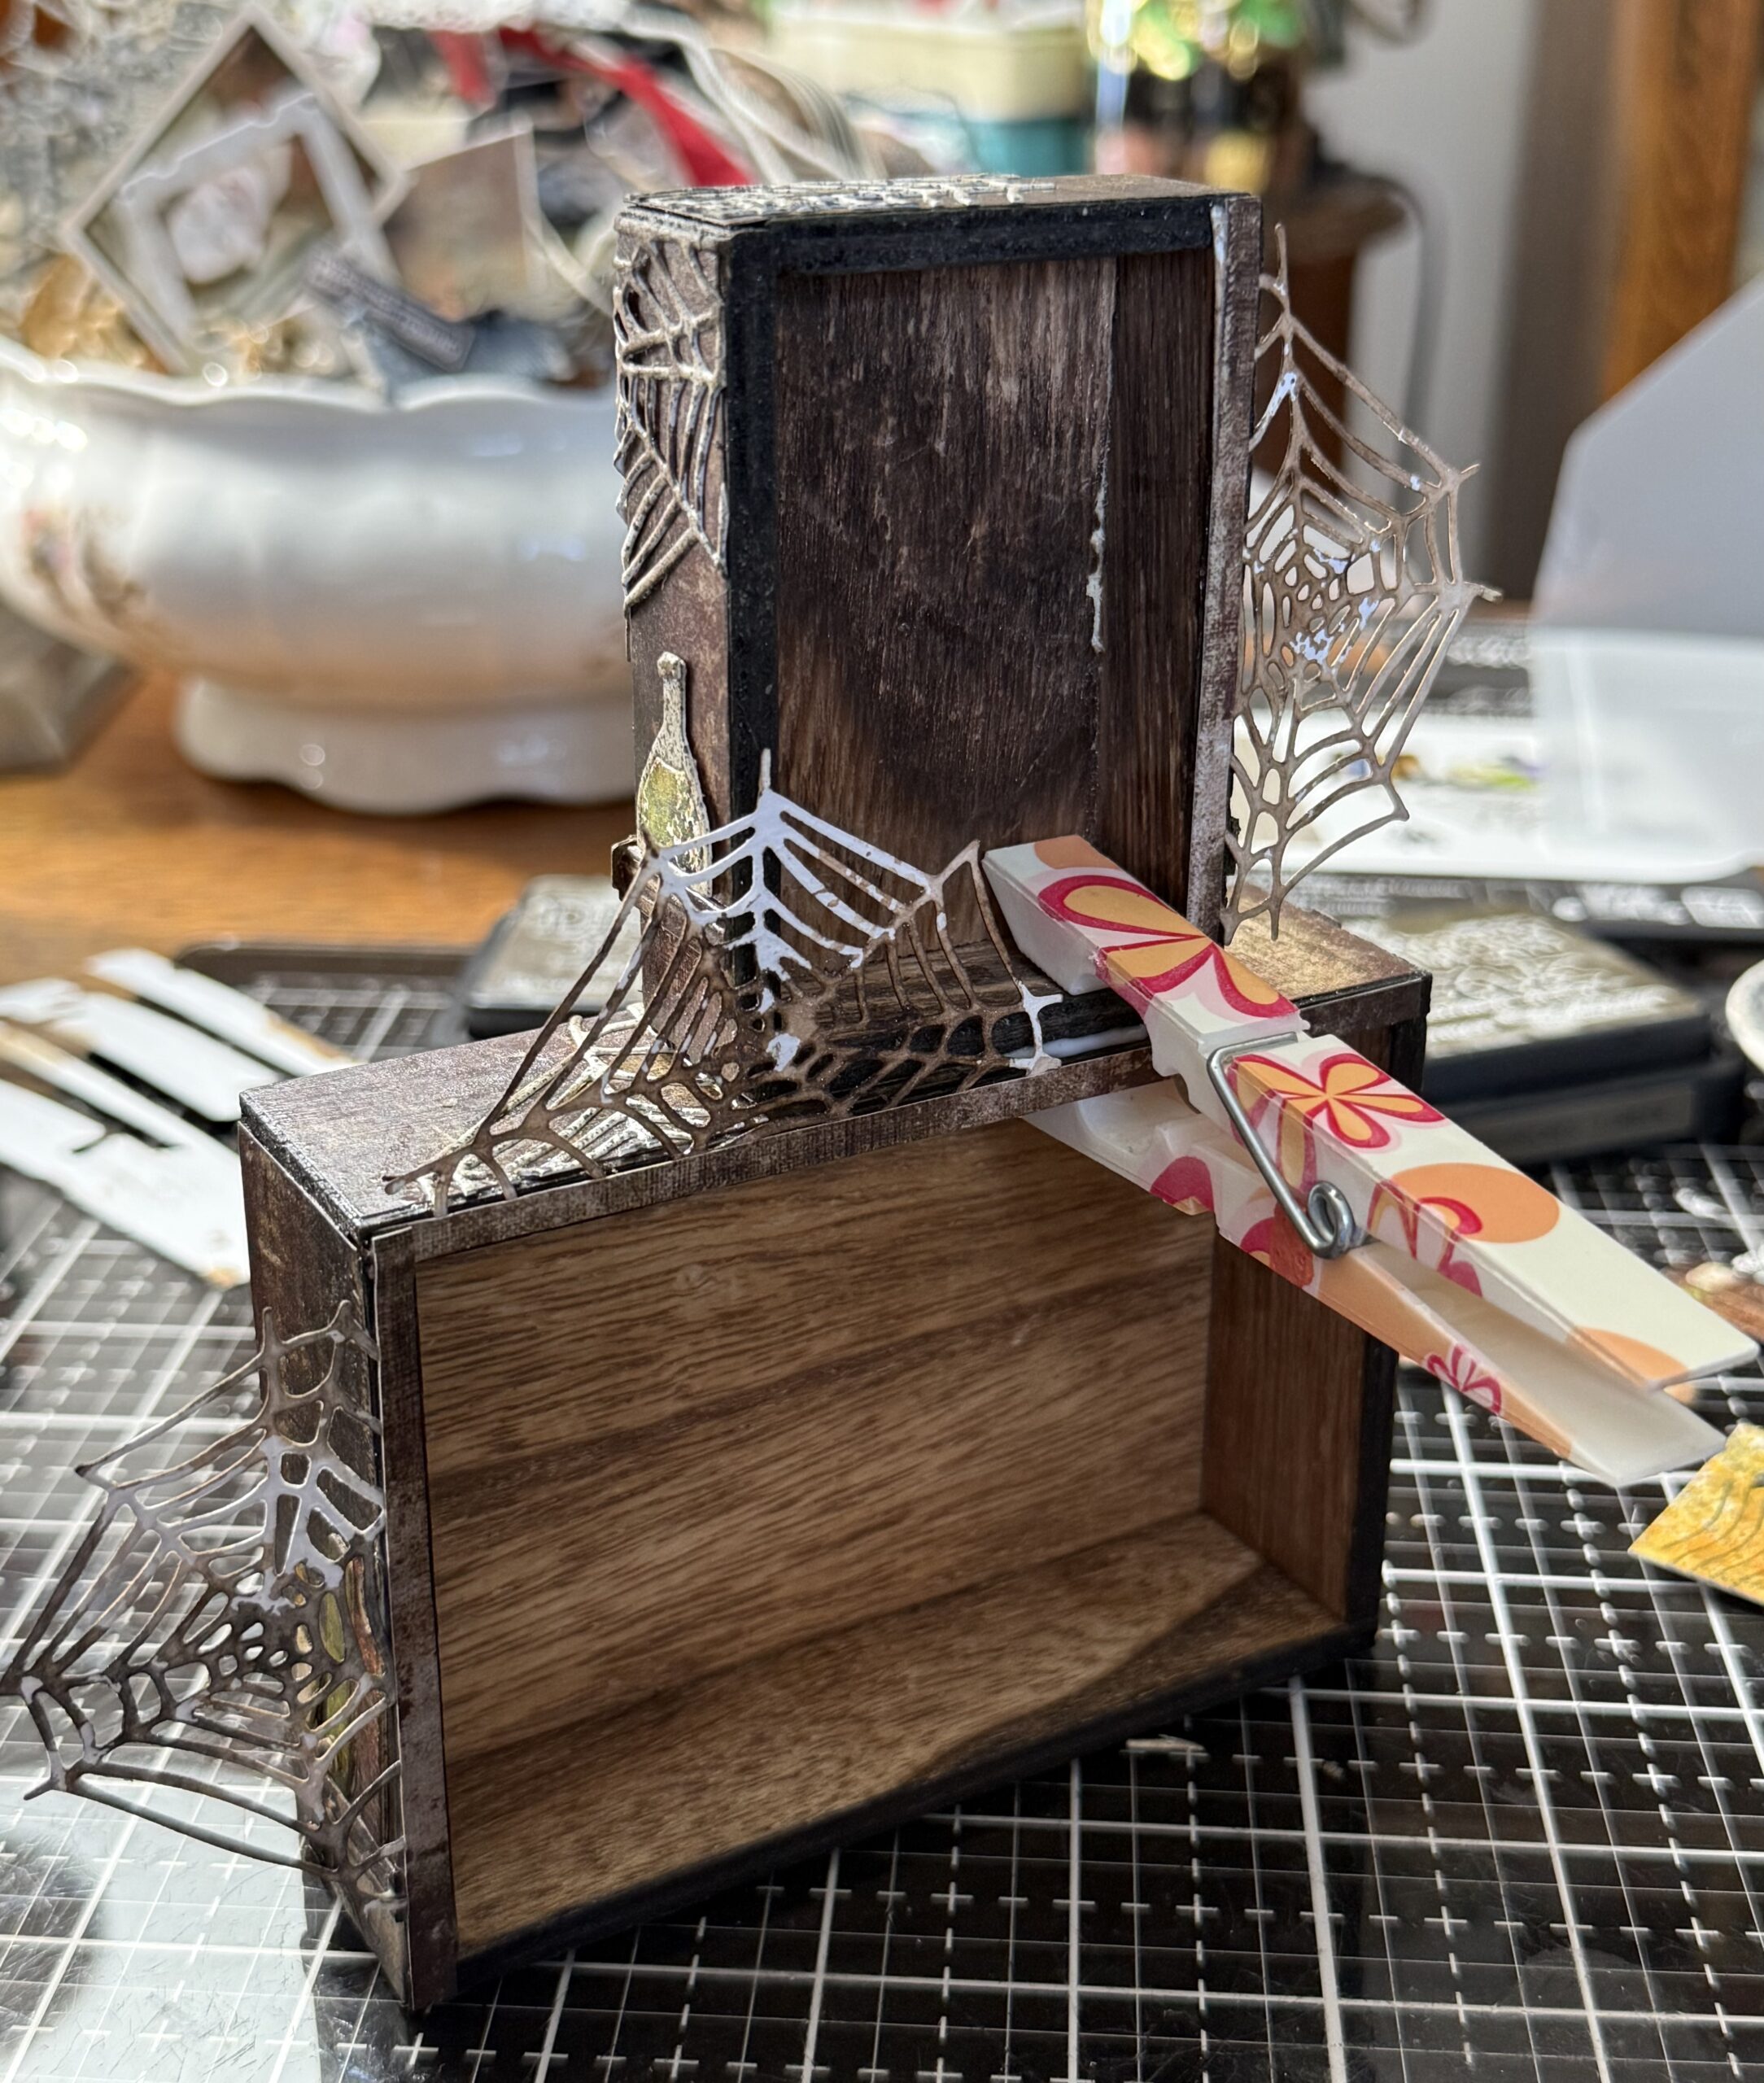
After I had the vignette boxes covered and arranged, I applied some Collage Medium and used a clothes pin to hold them together until it was dry and set, this tends to take about 24 hours or so.
You can also see in this photo how I attached the spiderwebs that are sticking out along the edges of the boxes. I applied them to the back edges using their flat side, then used some strips of some scrap paper to cover the area and keep them in place a little better also giving the back a more finished look.
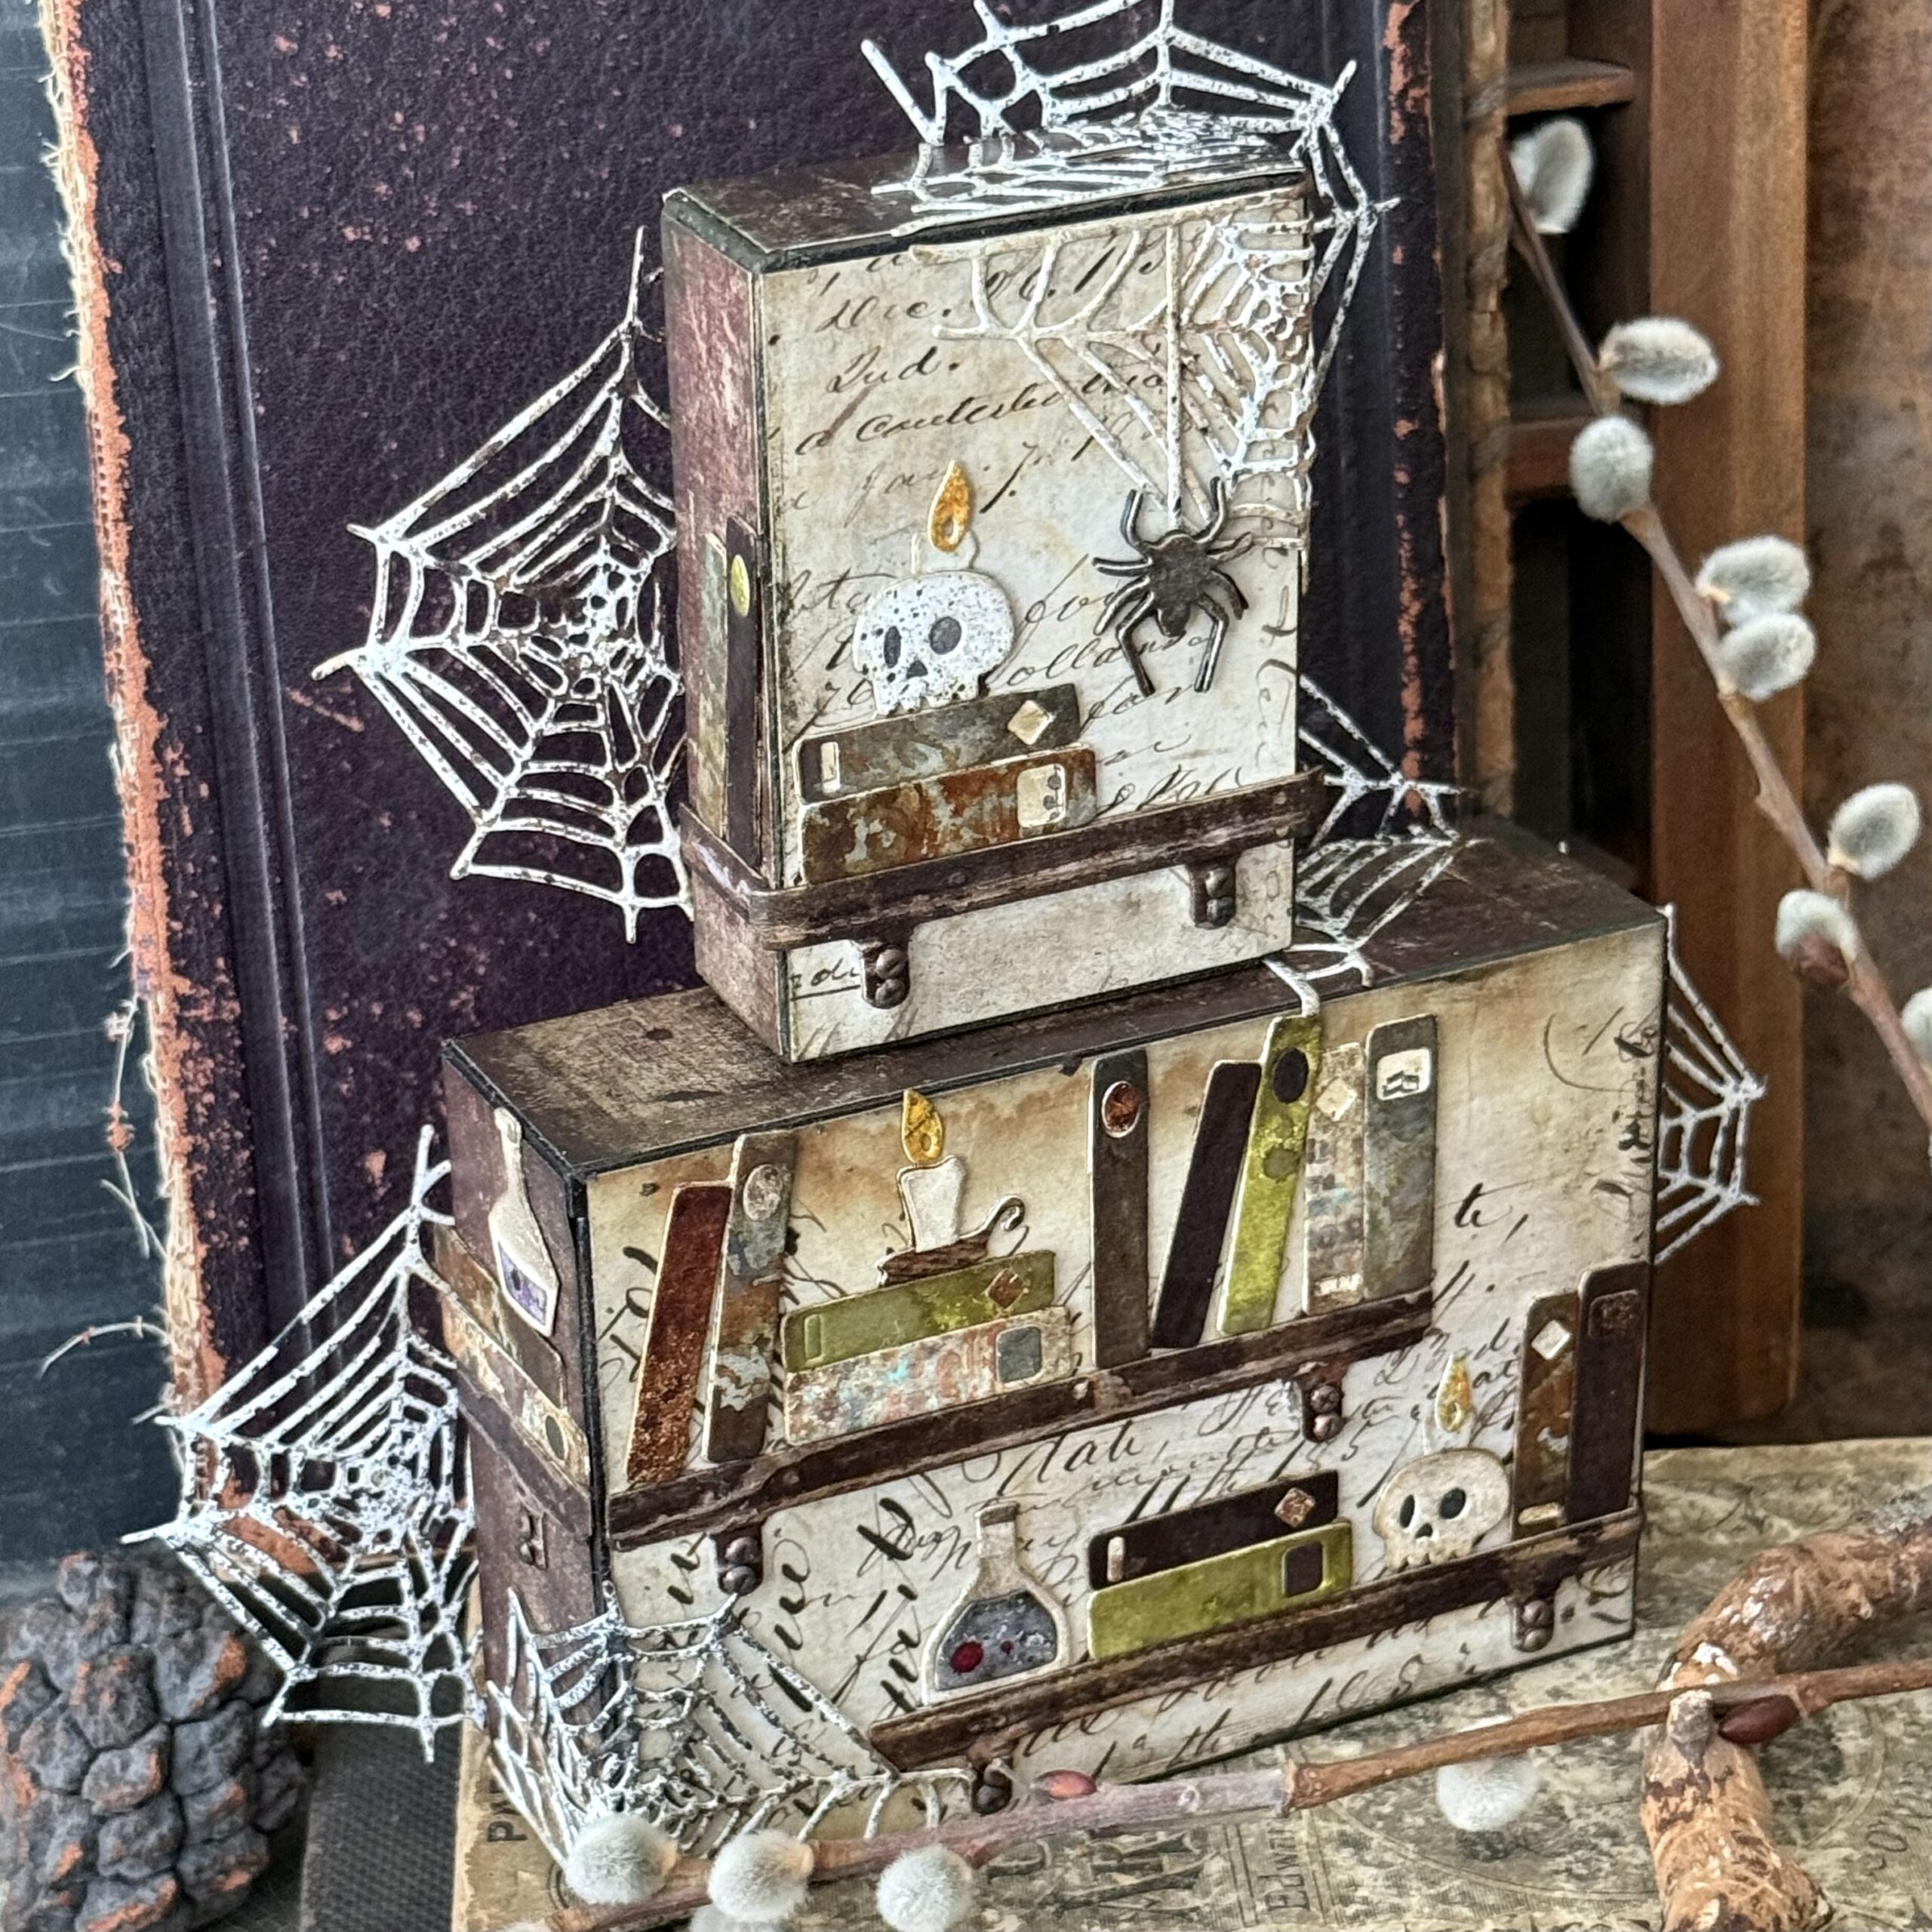
And here is the finished project! Can you see how the webs kind of give a forced perspective? Particularly the one on the top right corner and the one on the right side just below that…the webs sort of match up with those that I applied flat to the top of the bottom box and that I applied at the top of the small box.
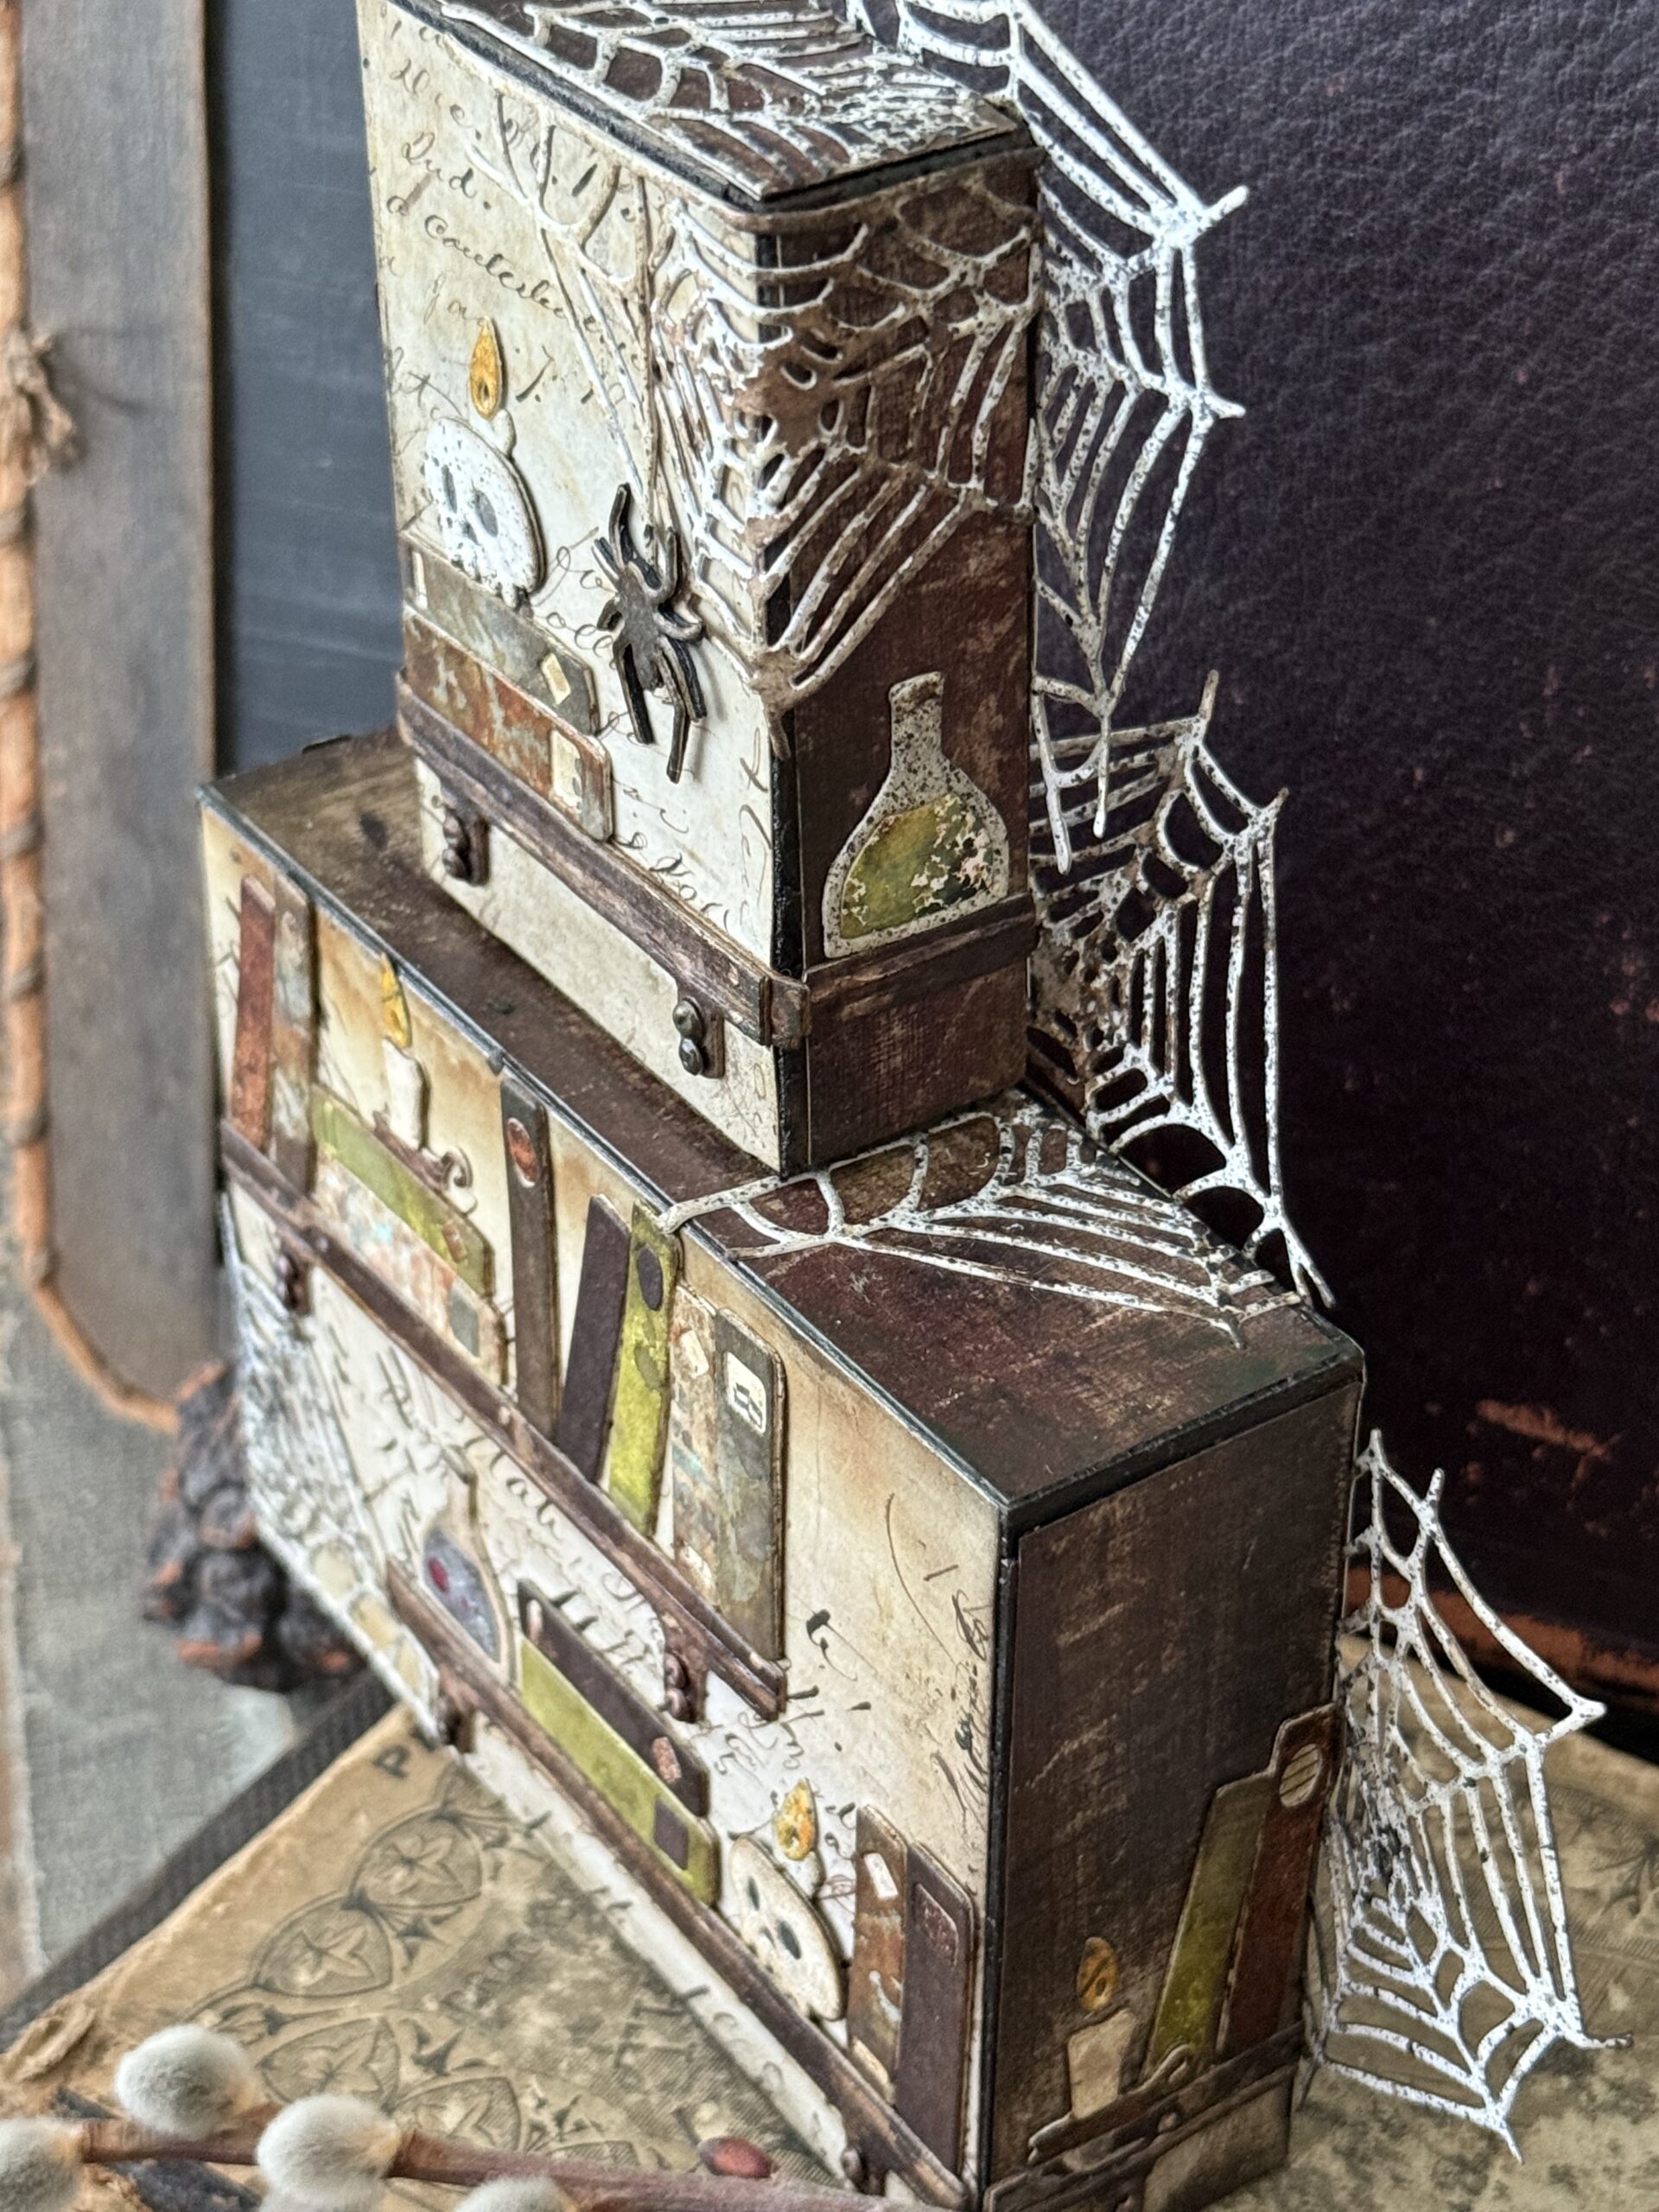
Here is a side view of what I was talking about.. the web is both flat on the boxes but with the addition of the ones pointing out of the sides of the boxes I think that it adds more perspective interest. I also love the addition of the mini fasteners..it just added some “realness” to the shelves, and I LOVE that!
Here’s a peek at the left side of the project..same idea, just arranged a bit differently using more the the elements from the set.
Well, I hope you enjoyed seeing how this project came together and that you stop and look at the new sets, they would make a wonderful addition to your Halloween making.
Have a great day!
Creatively yours,
Stacy
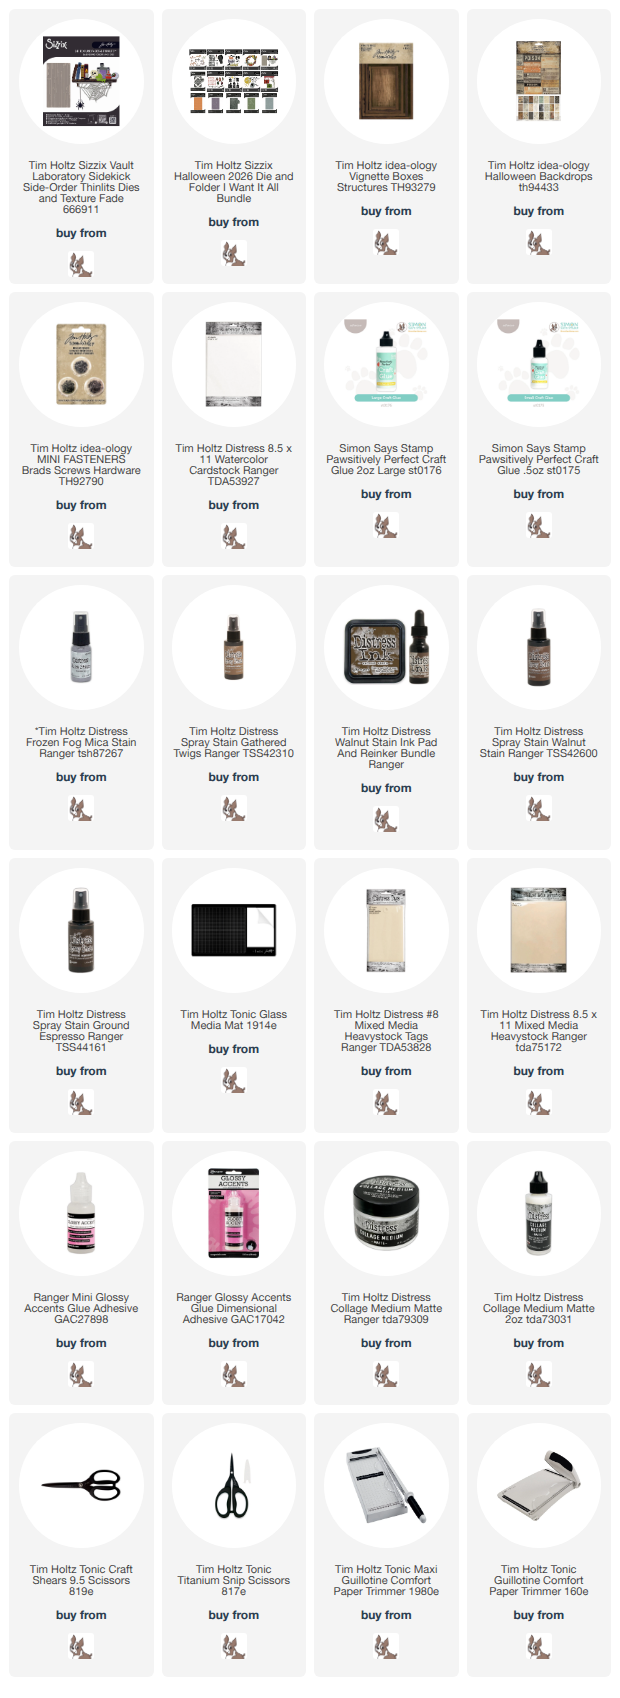
Shop Simon Says Stamp by clicking on this link. Thank you! I appreciate you for supporting me.
What is an affiliate program, and why should I click on the link and buy through you?
When you shop via the affiliate link on this blog, I receive a small commission from the affiliate provider (Simon Says Stamp) at no extra cost to you, whatsoever. These commissions help me to cover the hosting fees and other costs to run my blog and be able to provide you with FREE inspiration. If you shop the links, THANK YOU! I truly appreciate being able to share my love of creating with you.










Oh my Lord, girl!!! This is just crazy awesome!!! I love it!!! You are awe inspiring!!
You are so incredibly creative! Love to see your attention to detail…Wow!!