Hello friends! I am back today featuring a couple products I recently bought from Simon Says Stamp and thought I’d share with you…
I fell in love with these stamp and dies instantly because of their beautiful floral forage theme, perfect for making nature inspired cards and tags.
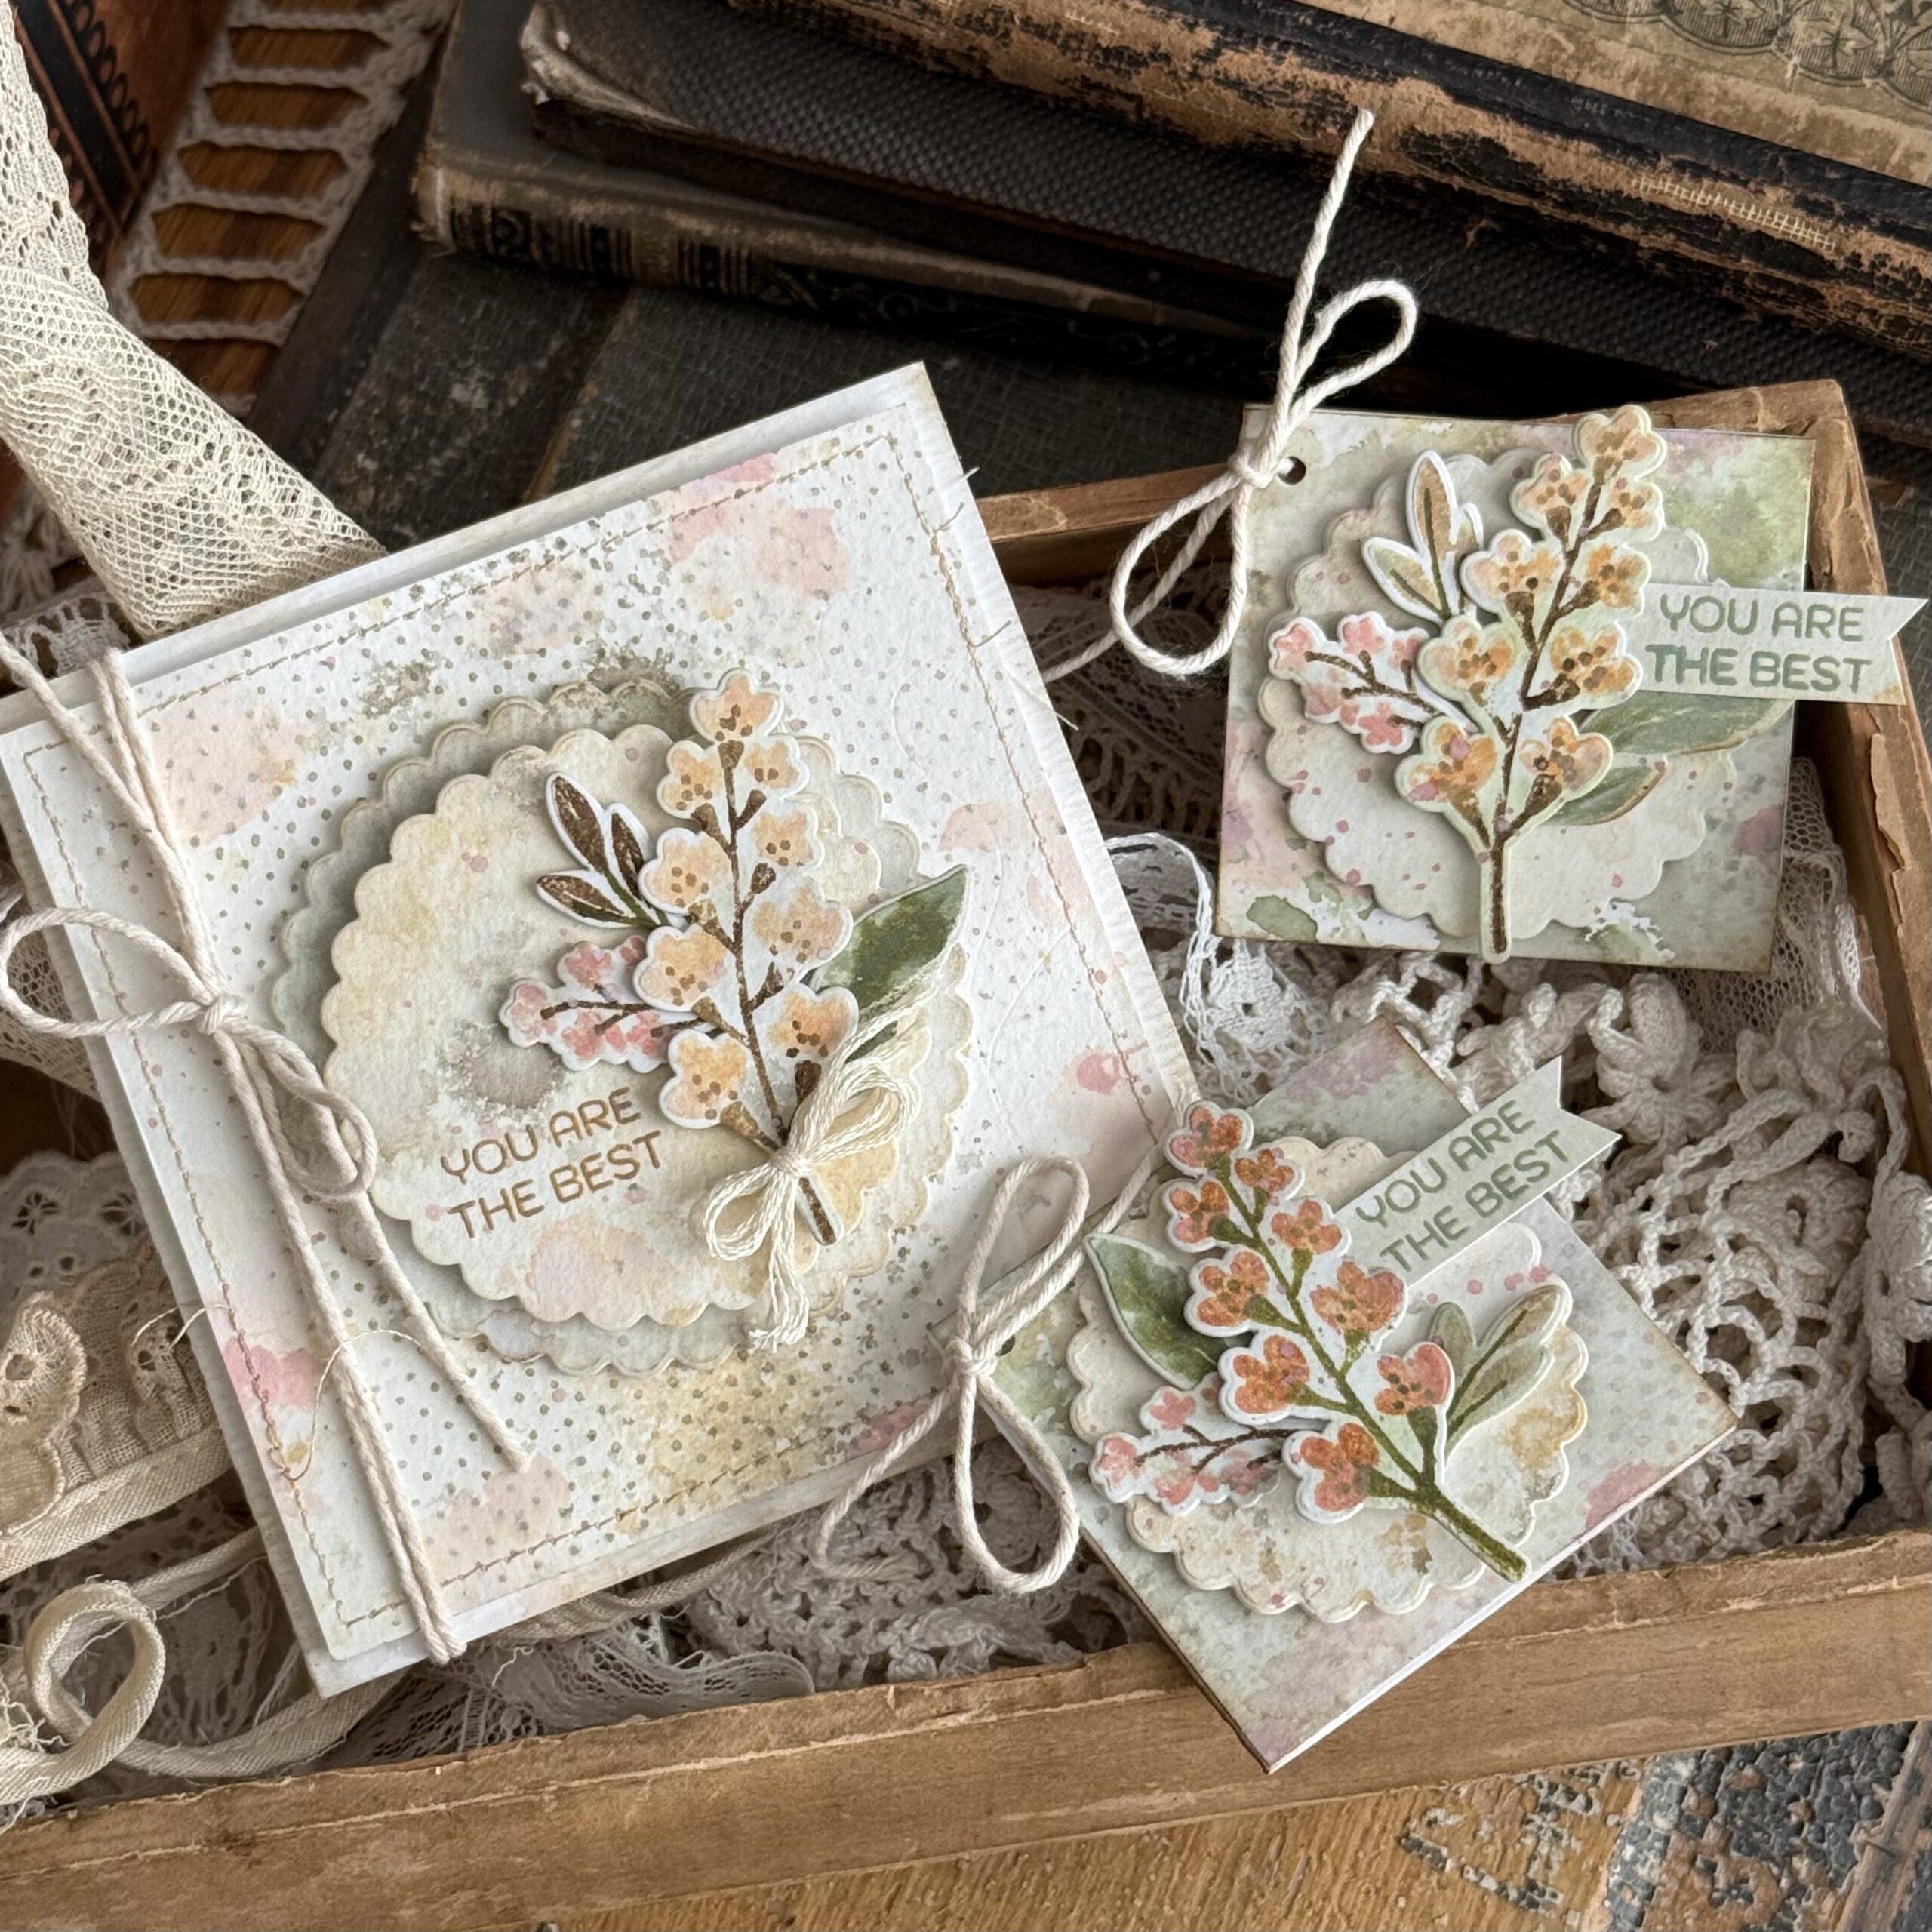
The title of the set is Forest Fall in Summer, but…it’s fall and I was looking for a set that could be used for all seasons, and this one fit the bill. There is also a set that it entitled Forest Forage in Fall, which is a beautiful set as well, but I thought it would be nice to show you that by changing up the color combos, you could achieve the fall look as well.
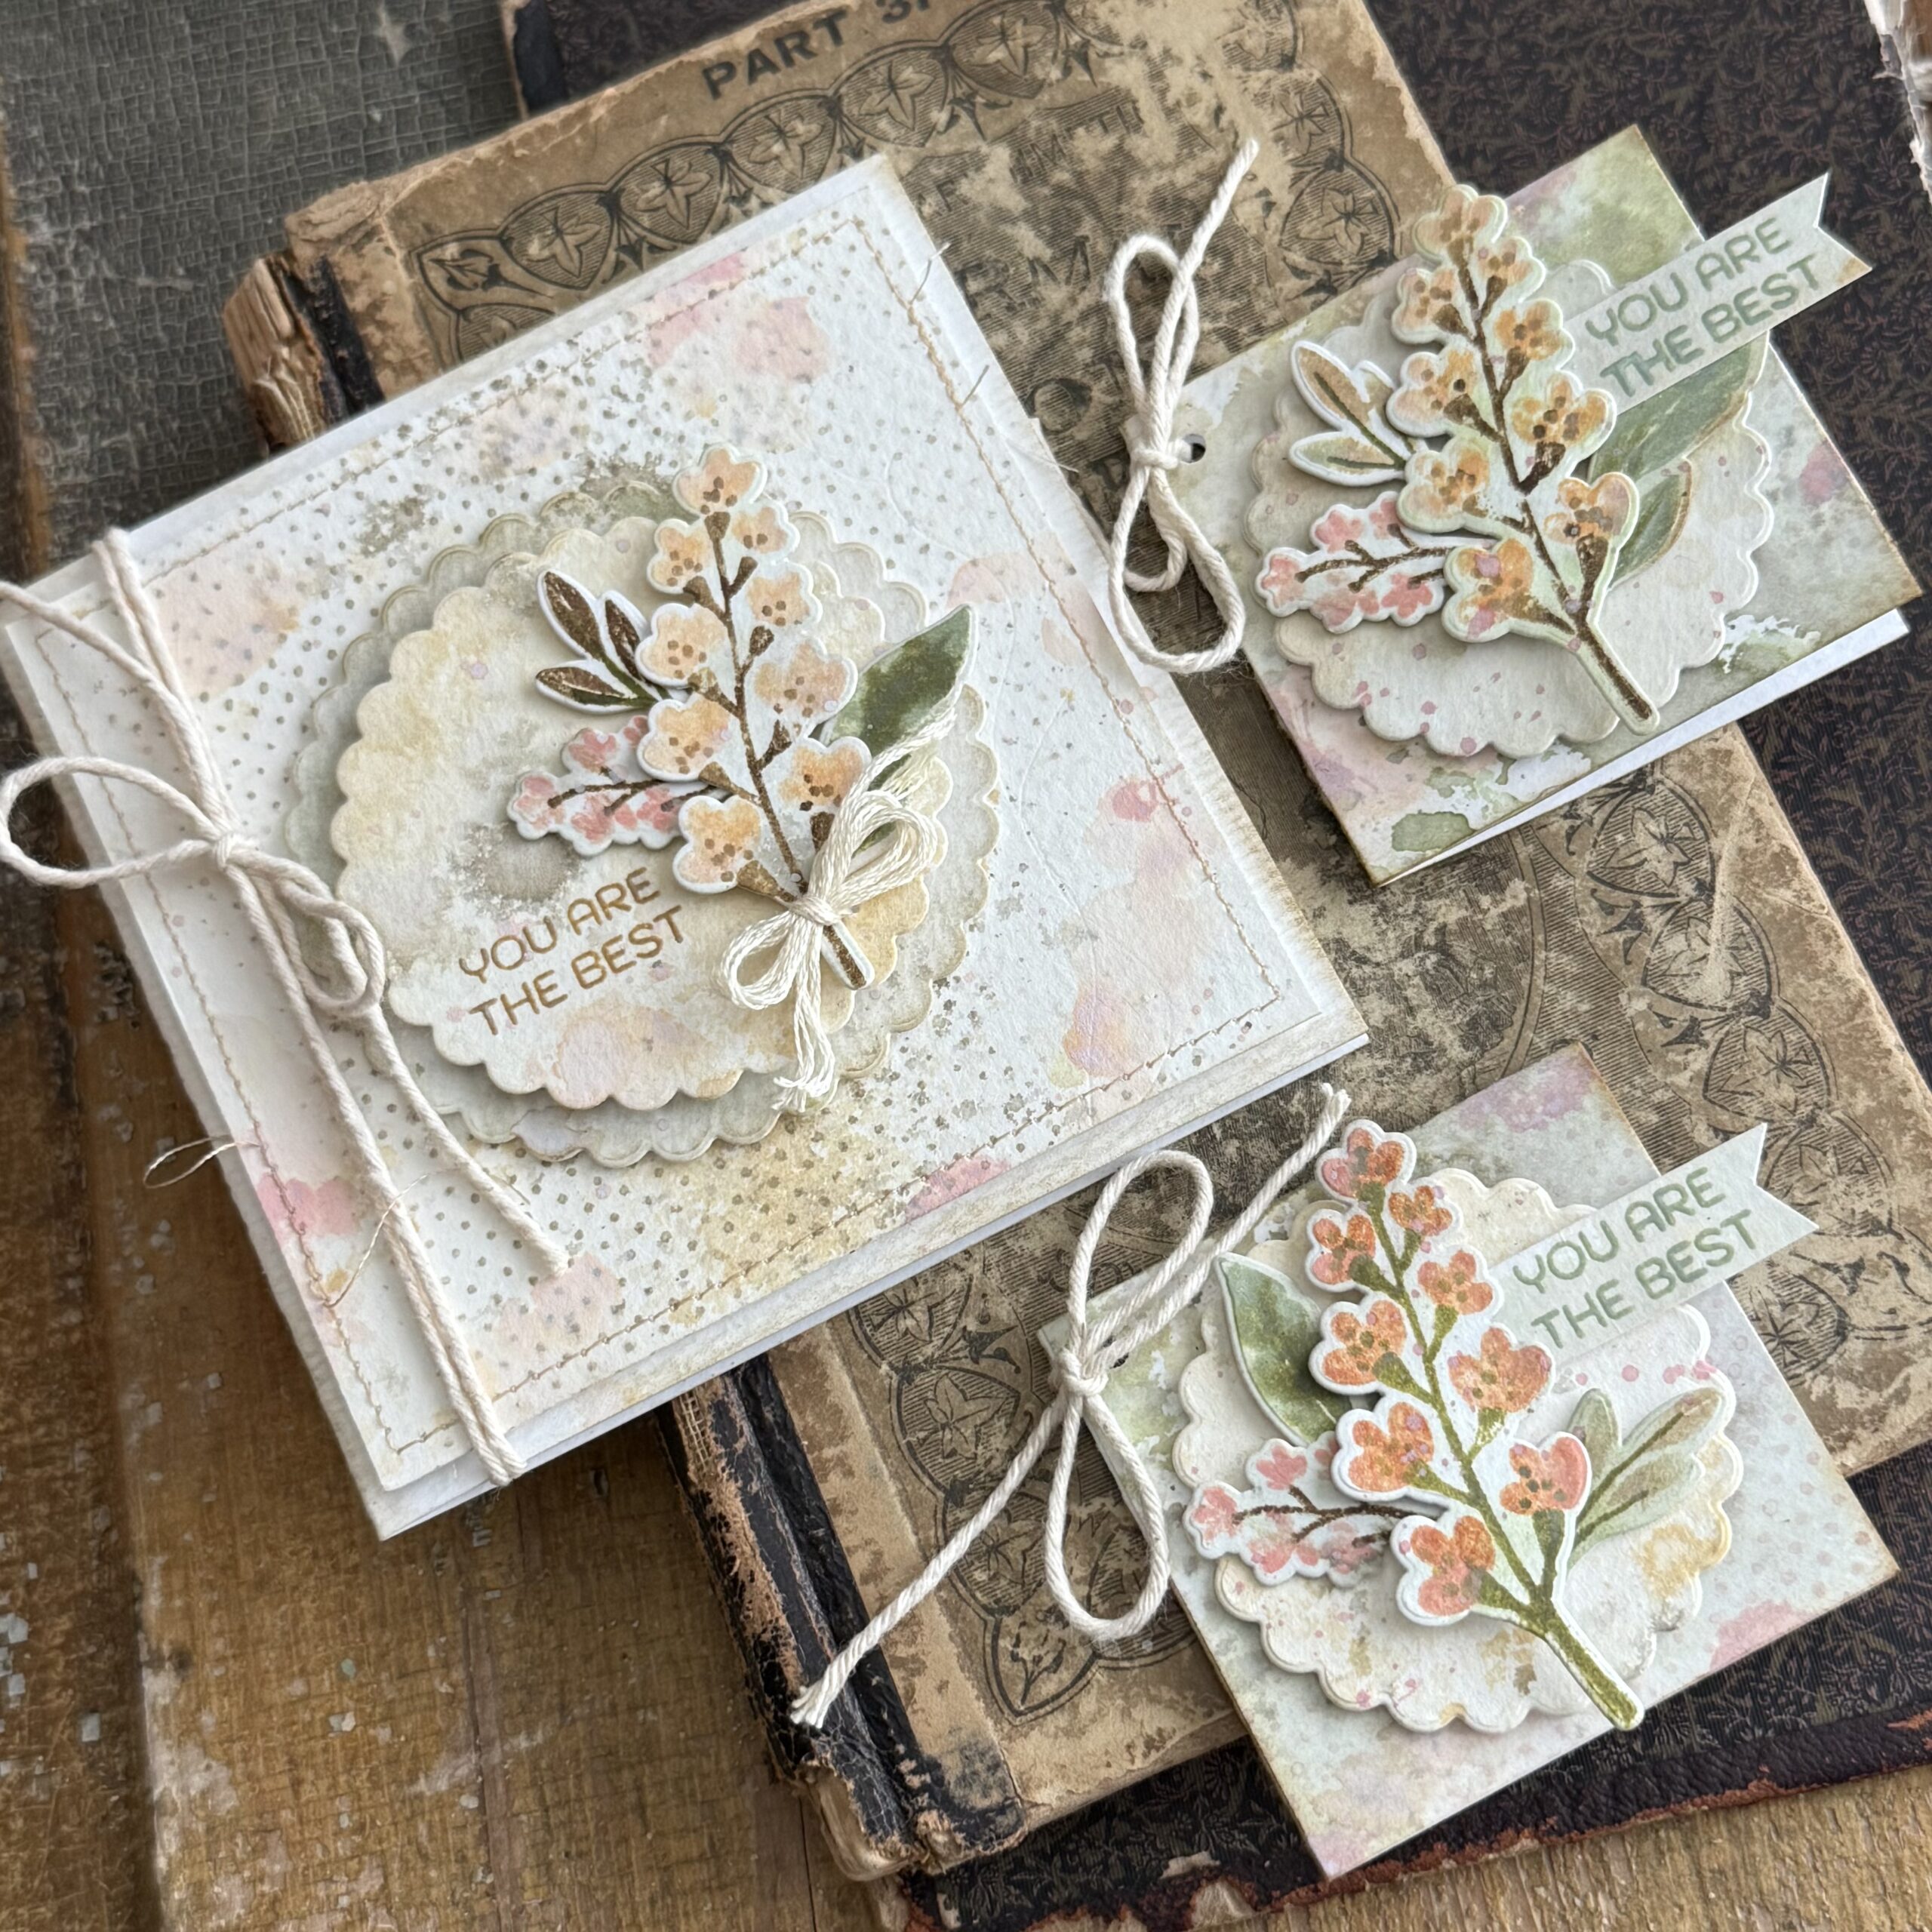
I created an approximately 4″x4″ card and (2) 2″x2″ gift enclosures or tie on tags.
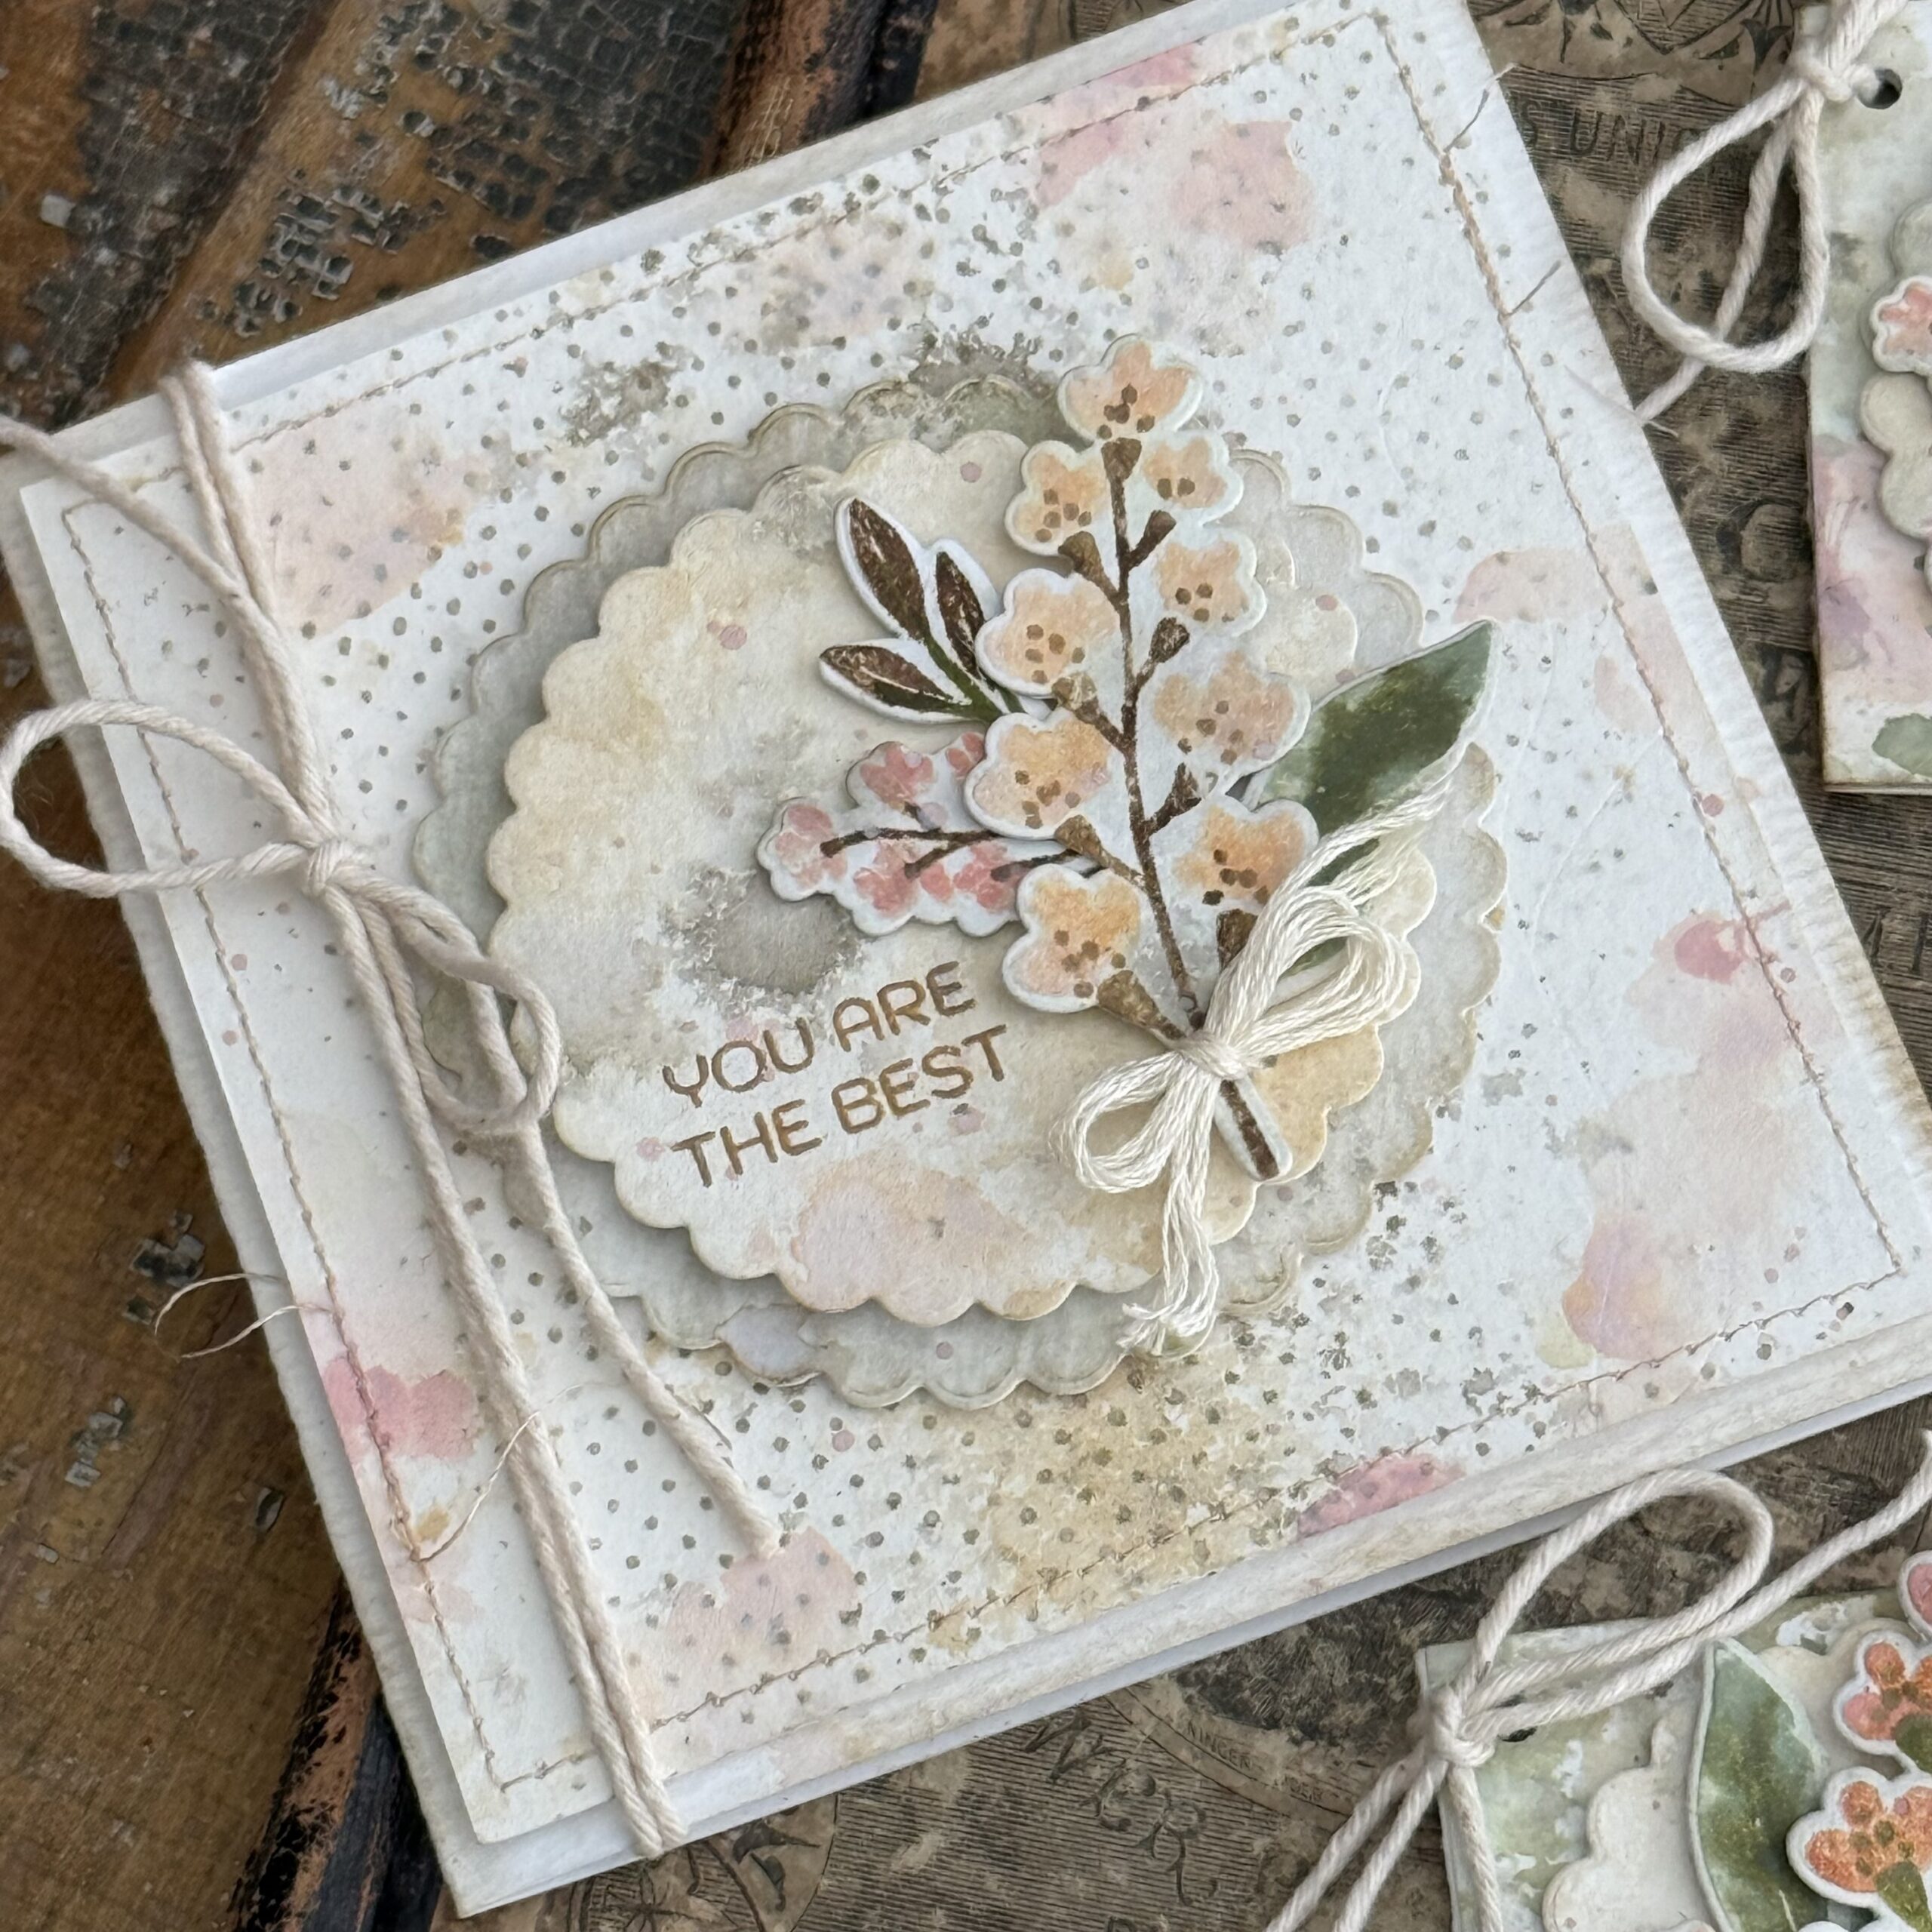
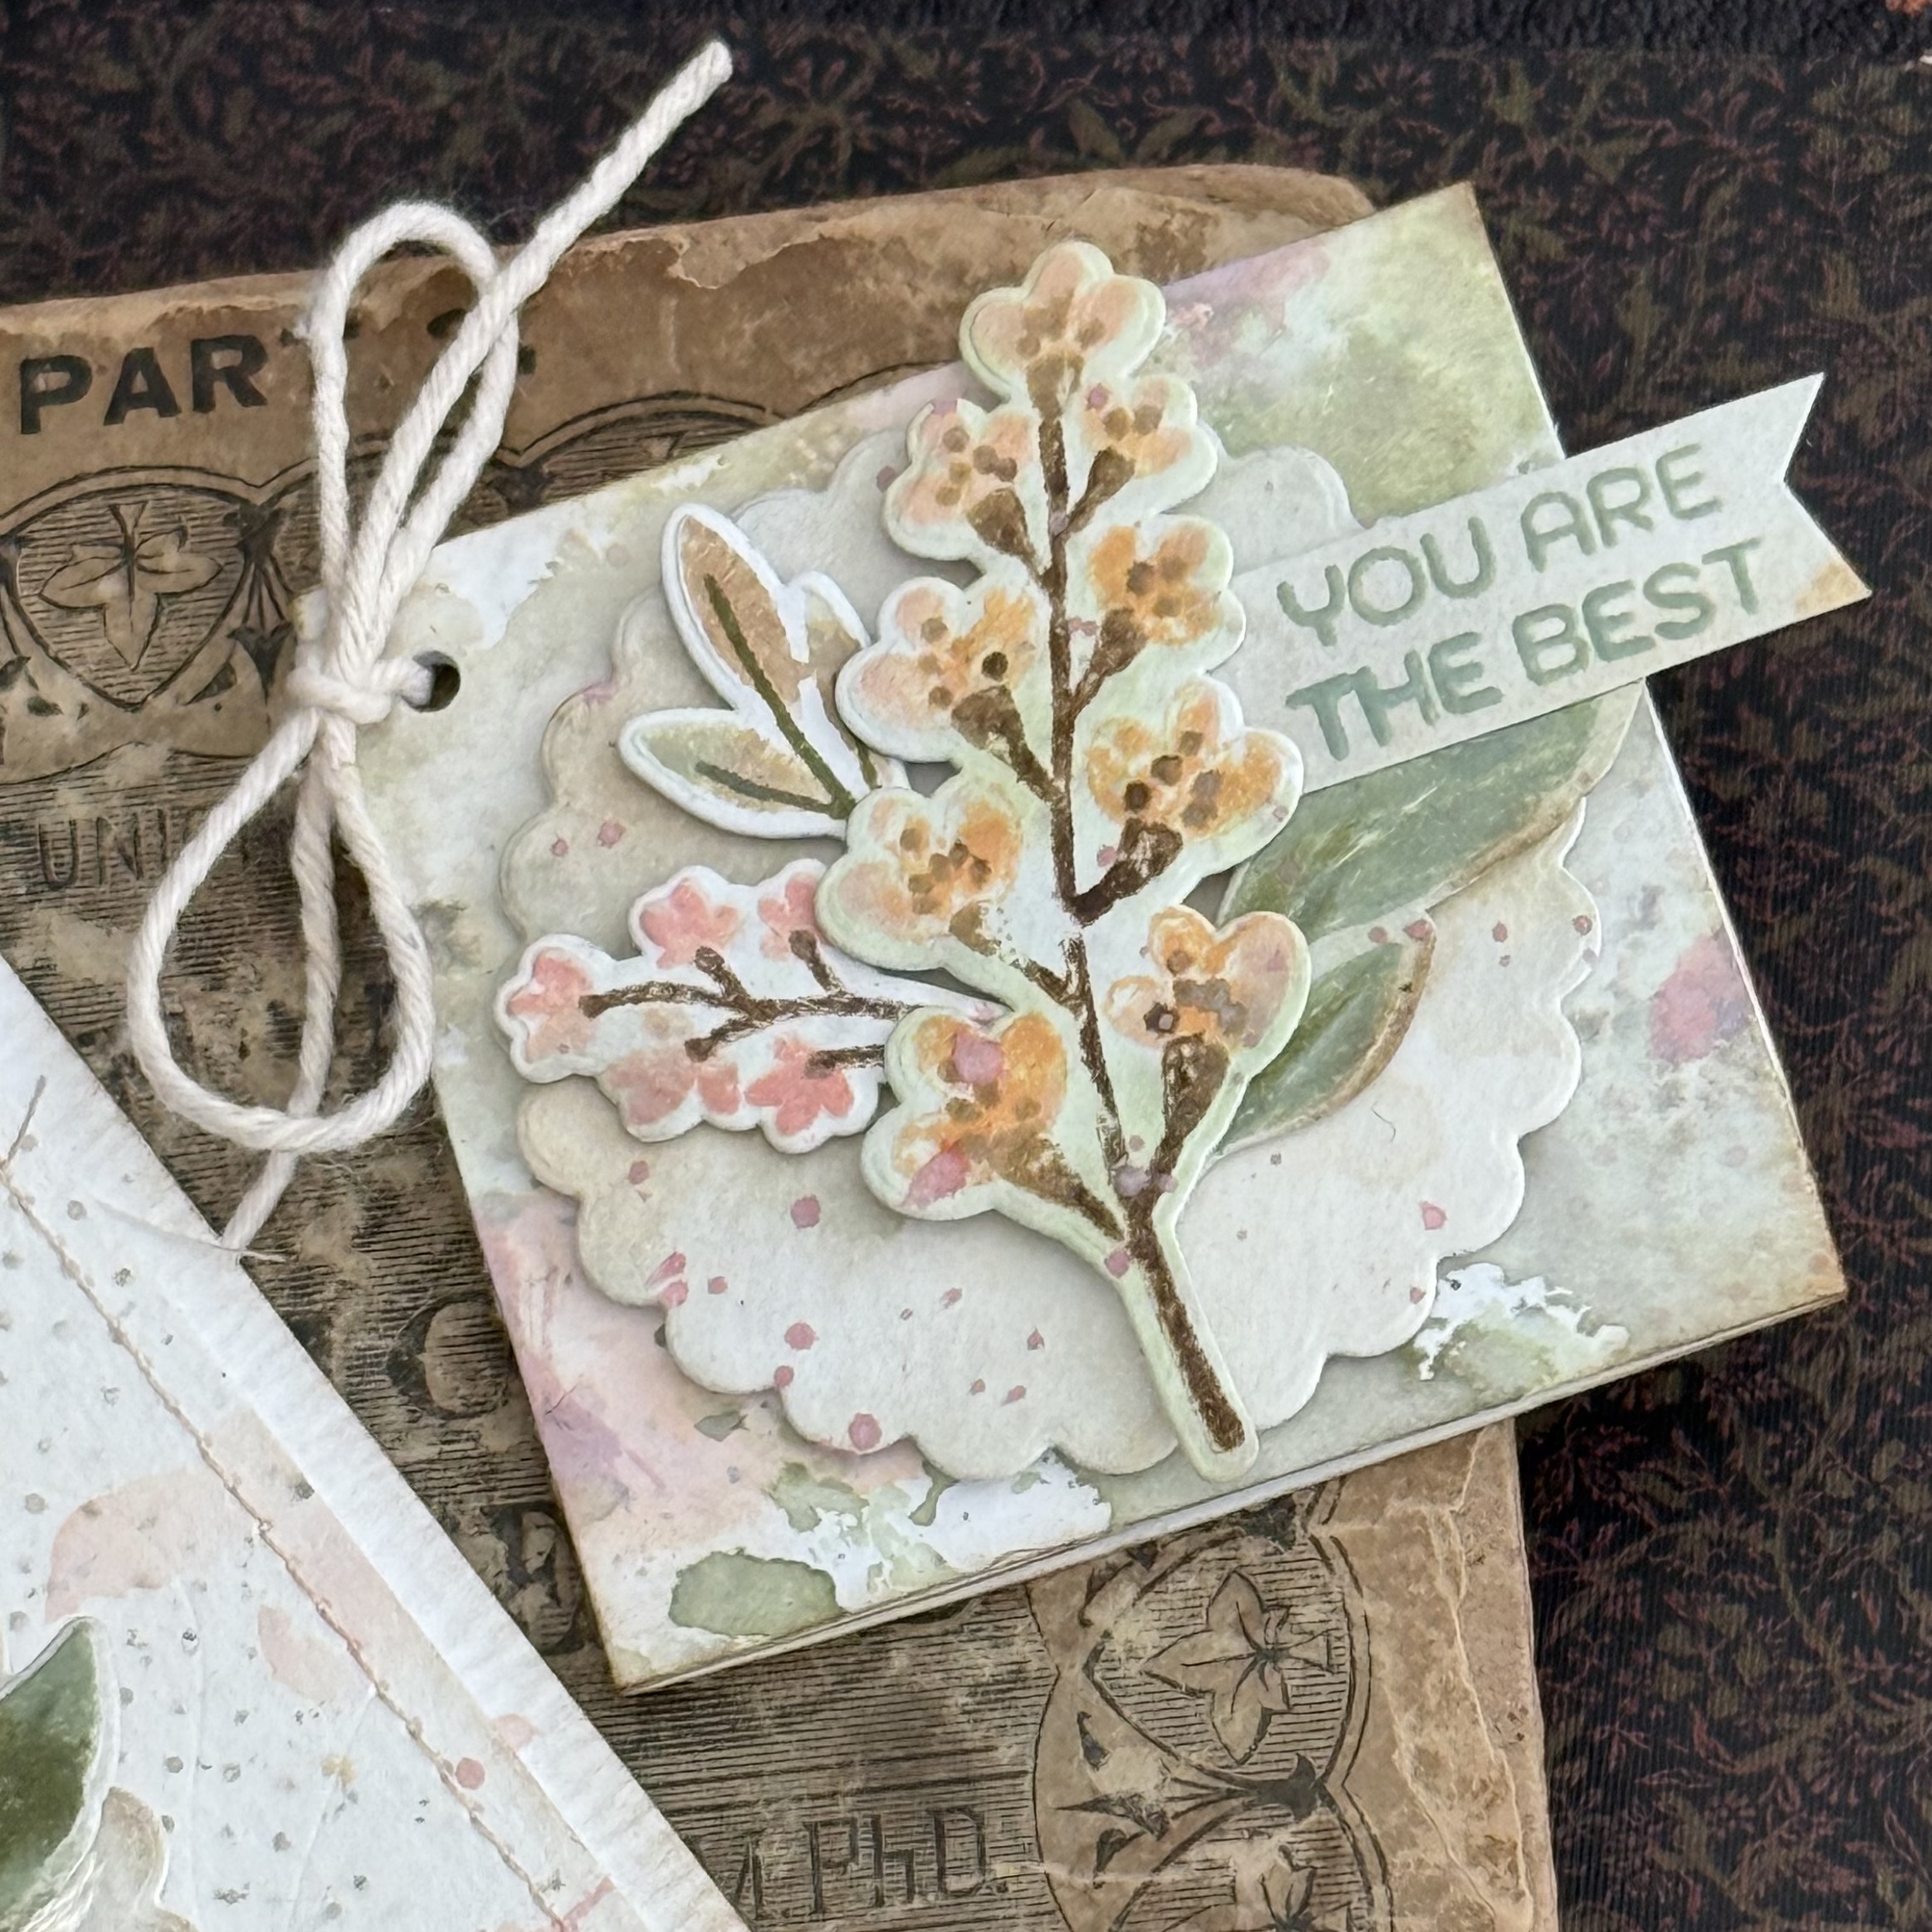
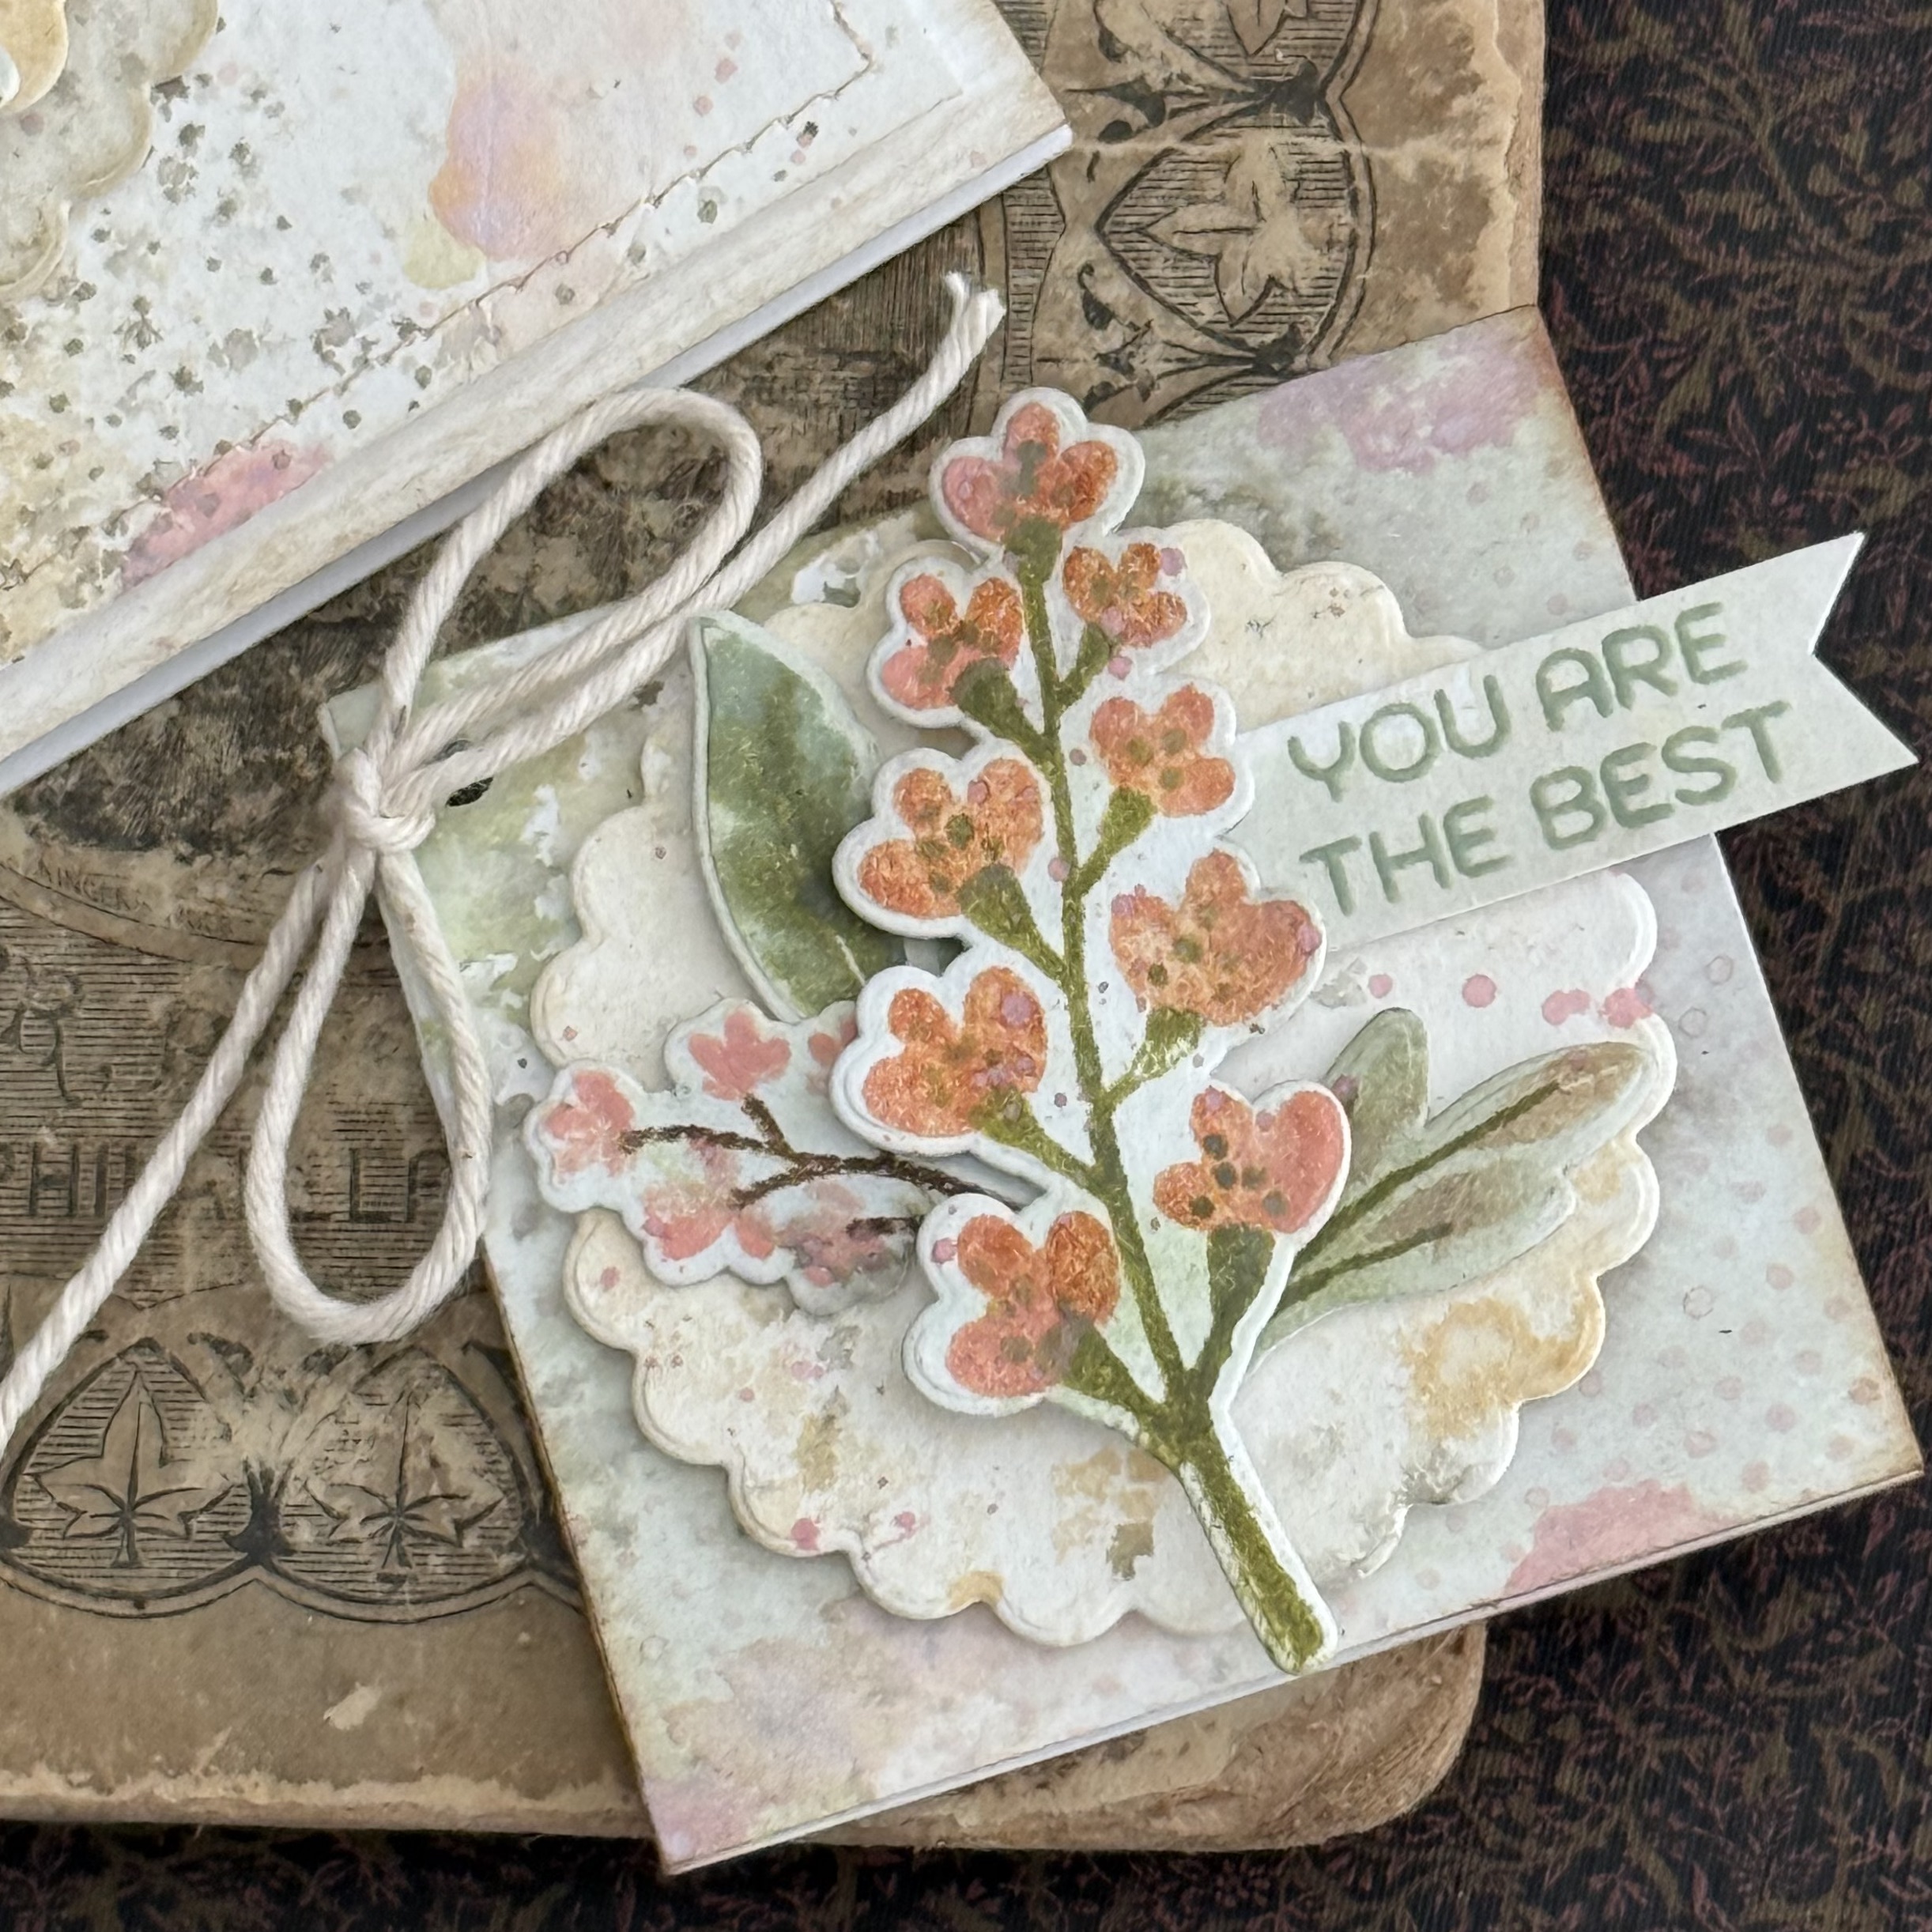
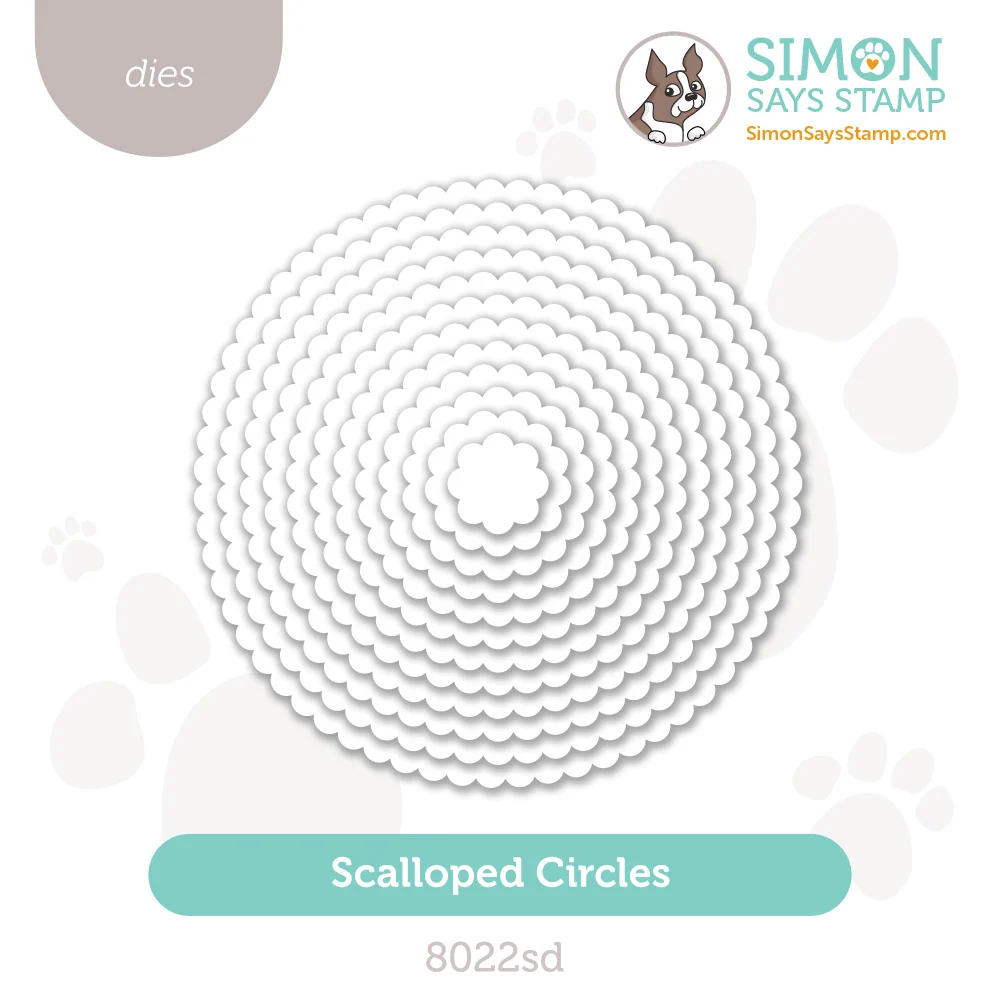
I also used the set of Scalloped Circles (8022sd) for interest behind each bouquet. This set includes 12 separate dies in varying sizes making it easy to create layers and frames.
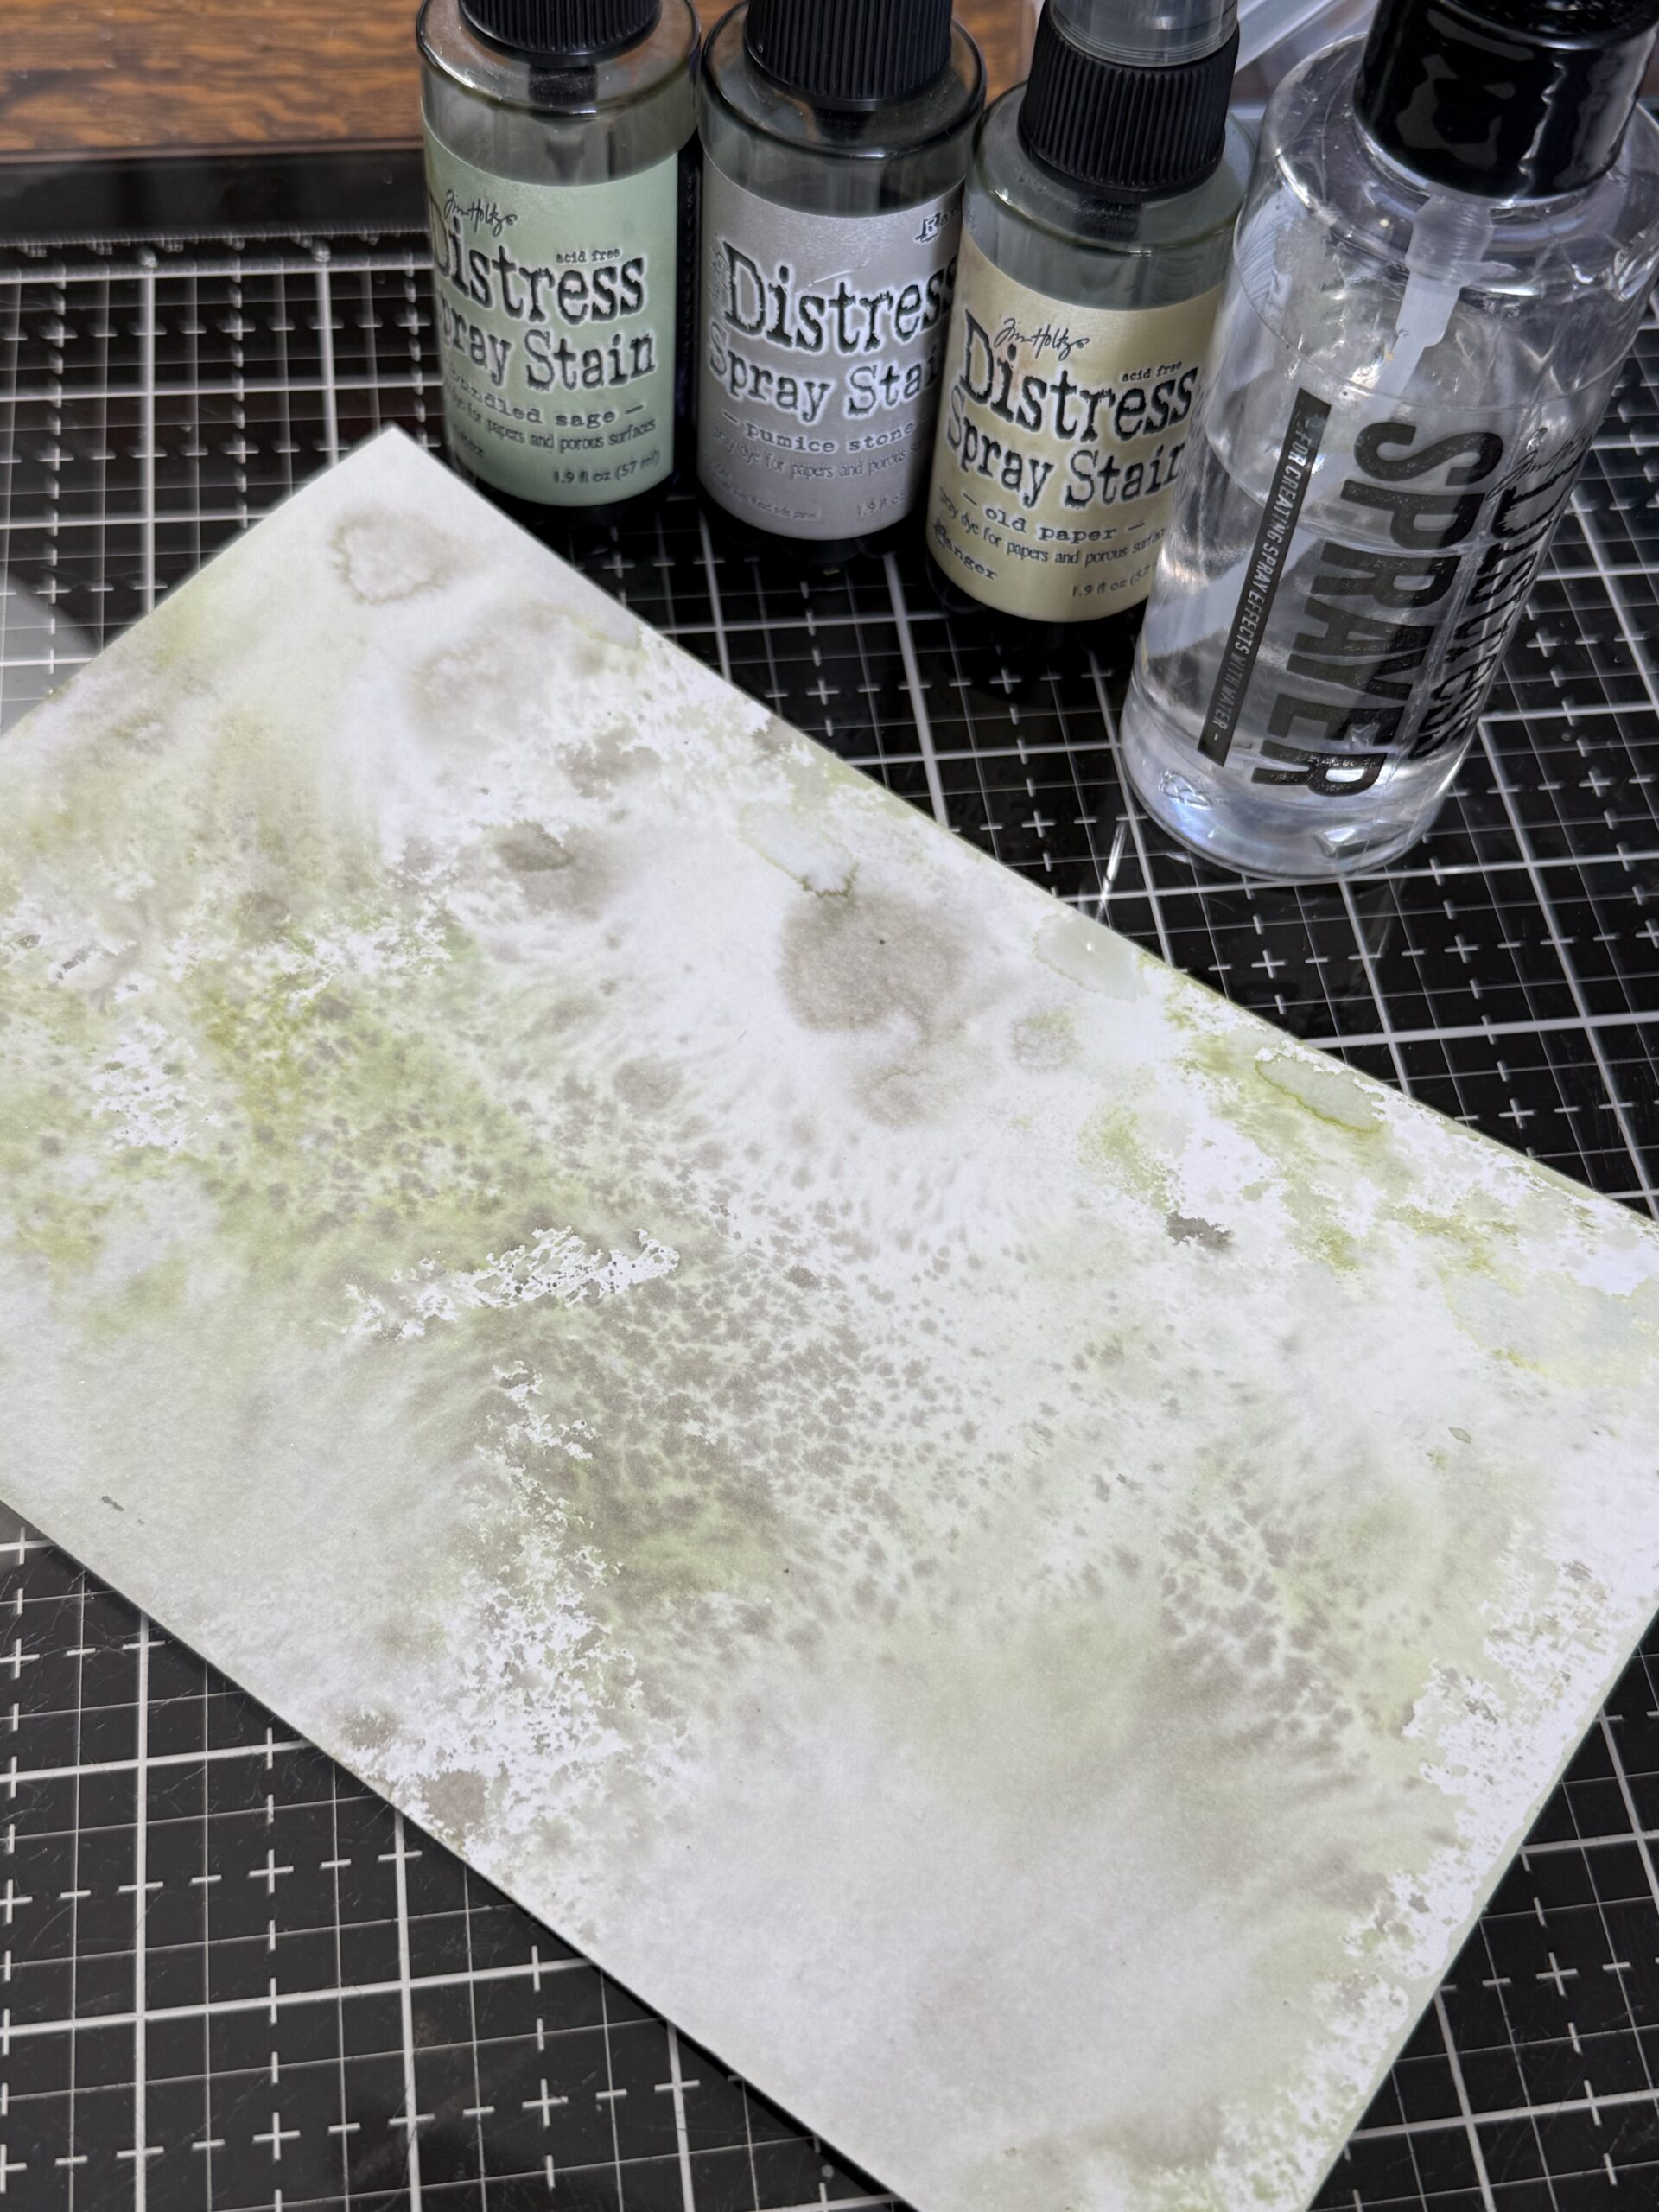
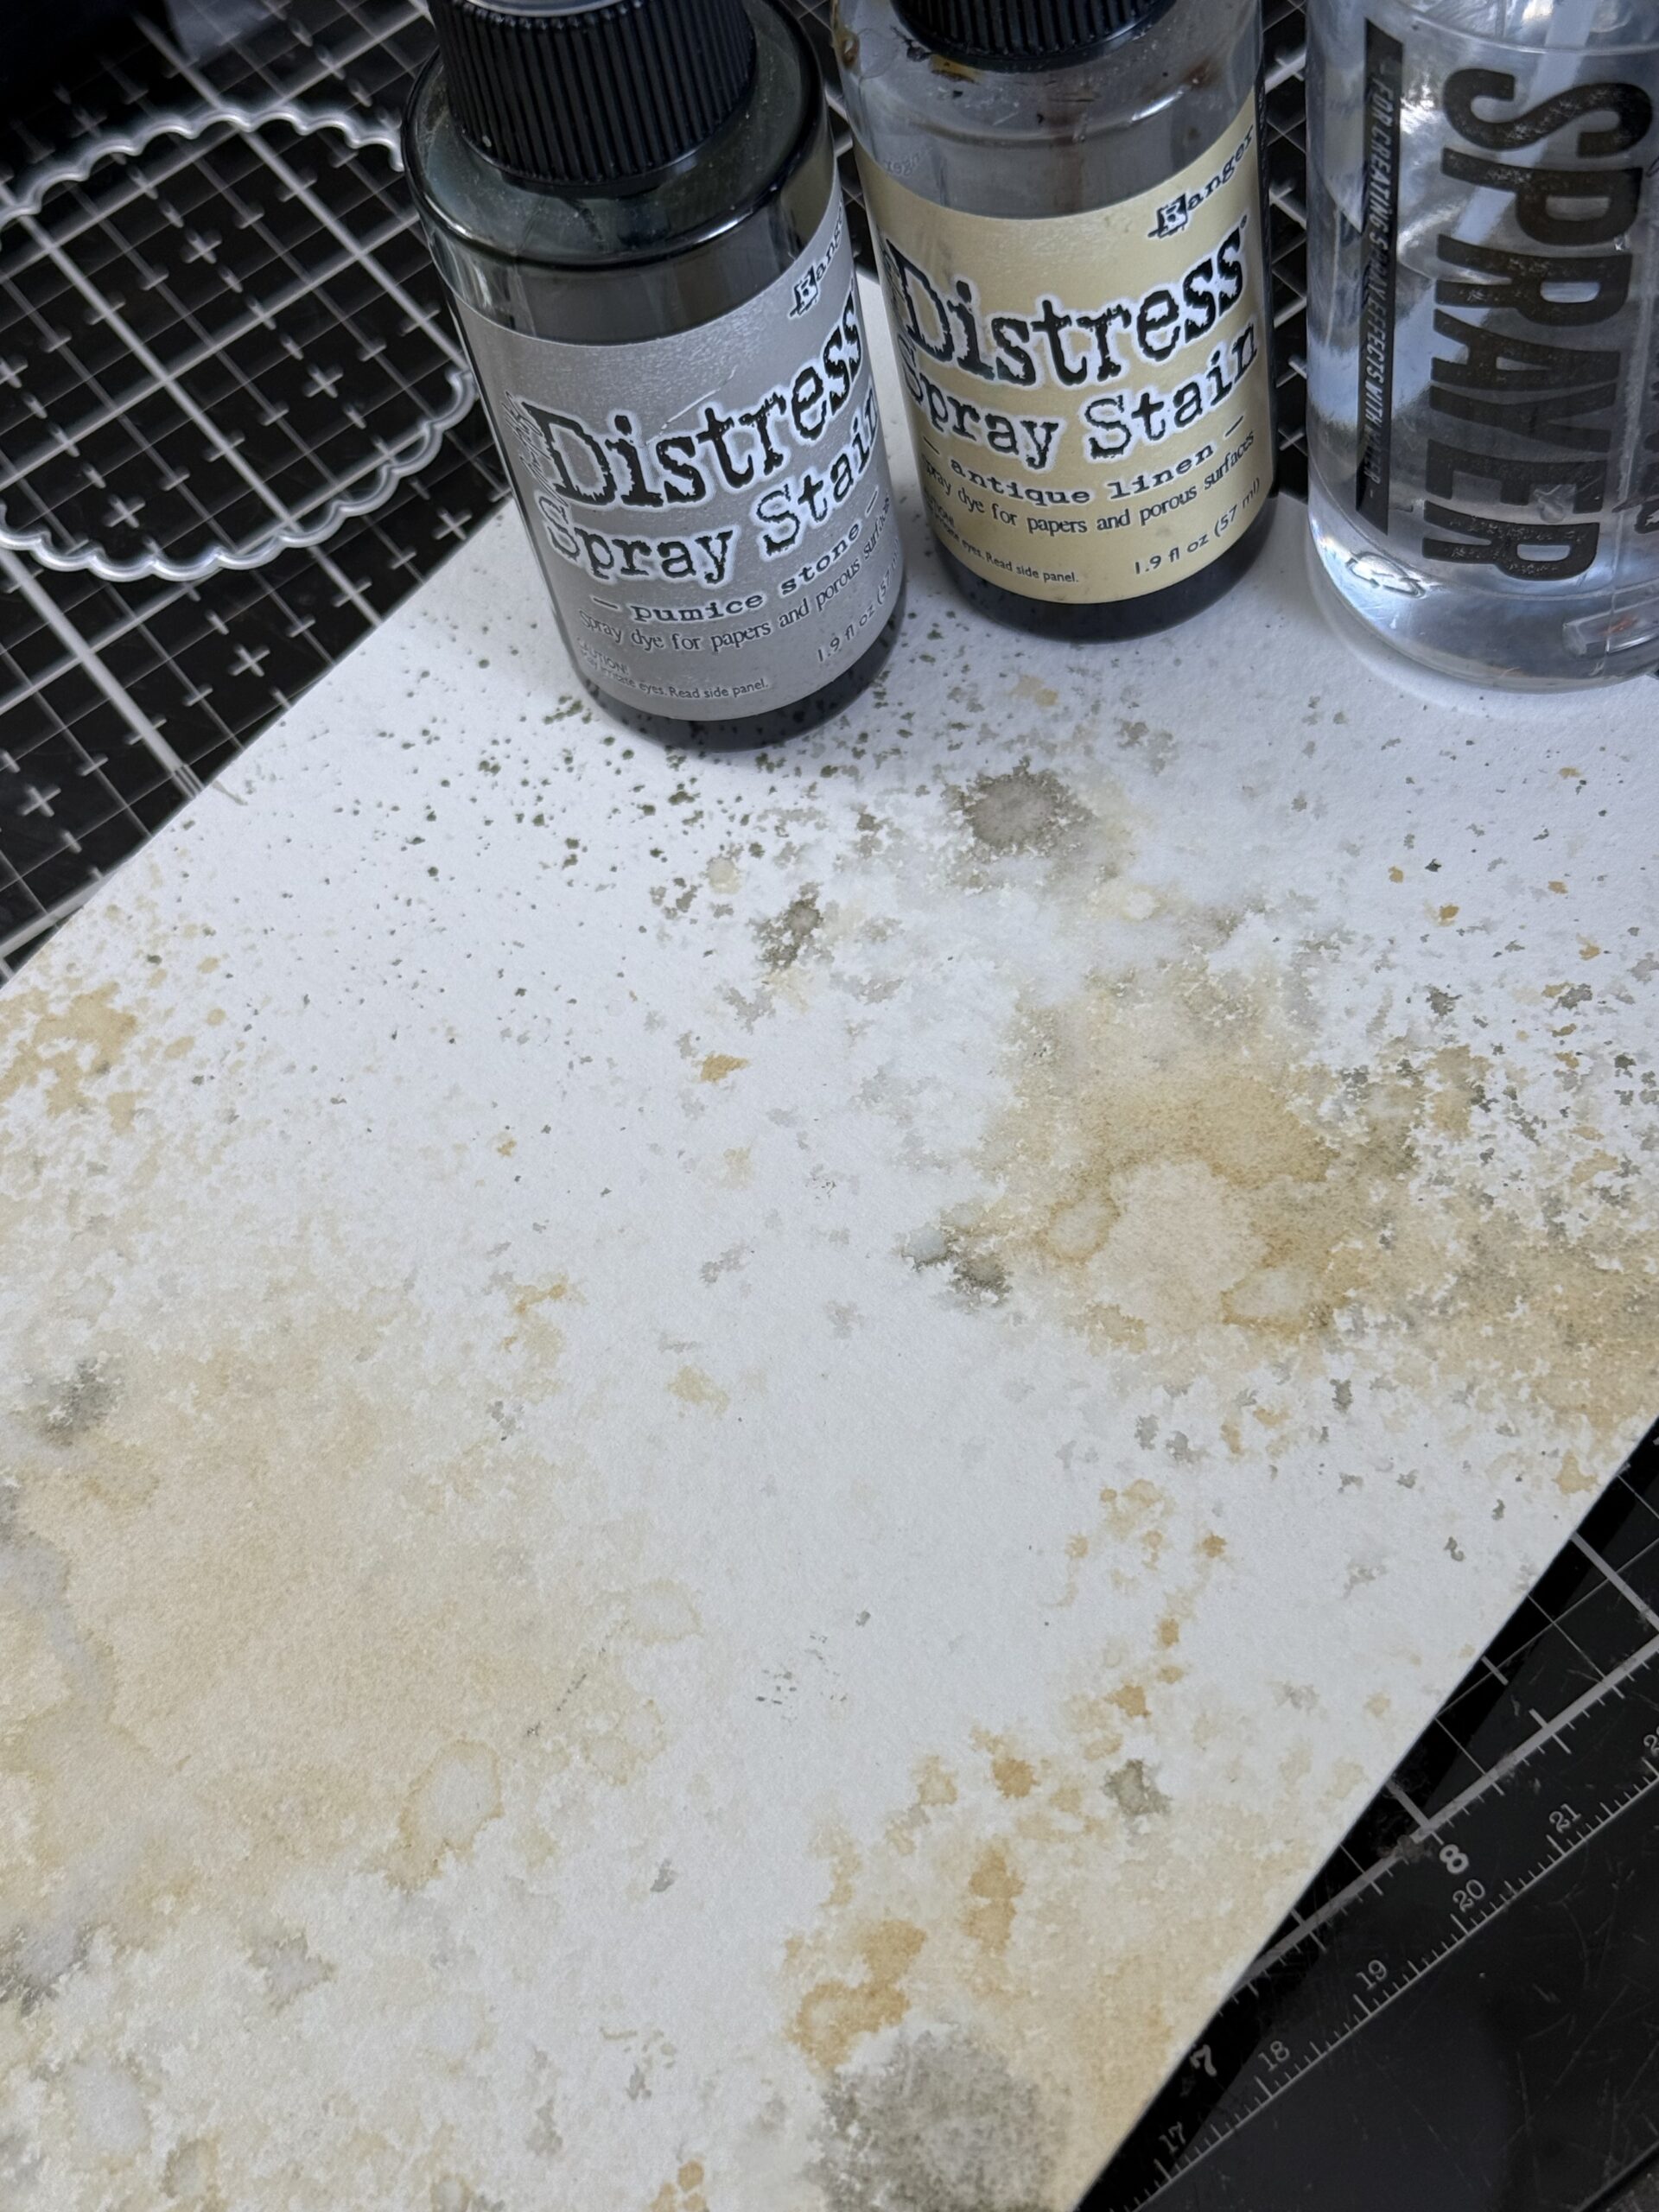
Let’s get to it…this set of stamps uses two-step stamping to create details on each of the layers of stamping creating a finished layered and colored look. I started by creating some background paper to stamp on using a combination of Distress Spray Stains (bundled sage, pumice stone and old paper) plus a spritz of water to move the color around on the piece of distress watercolor paper. Once I was done adding the color, I dried it with my heat tool.
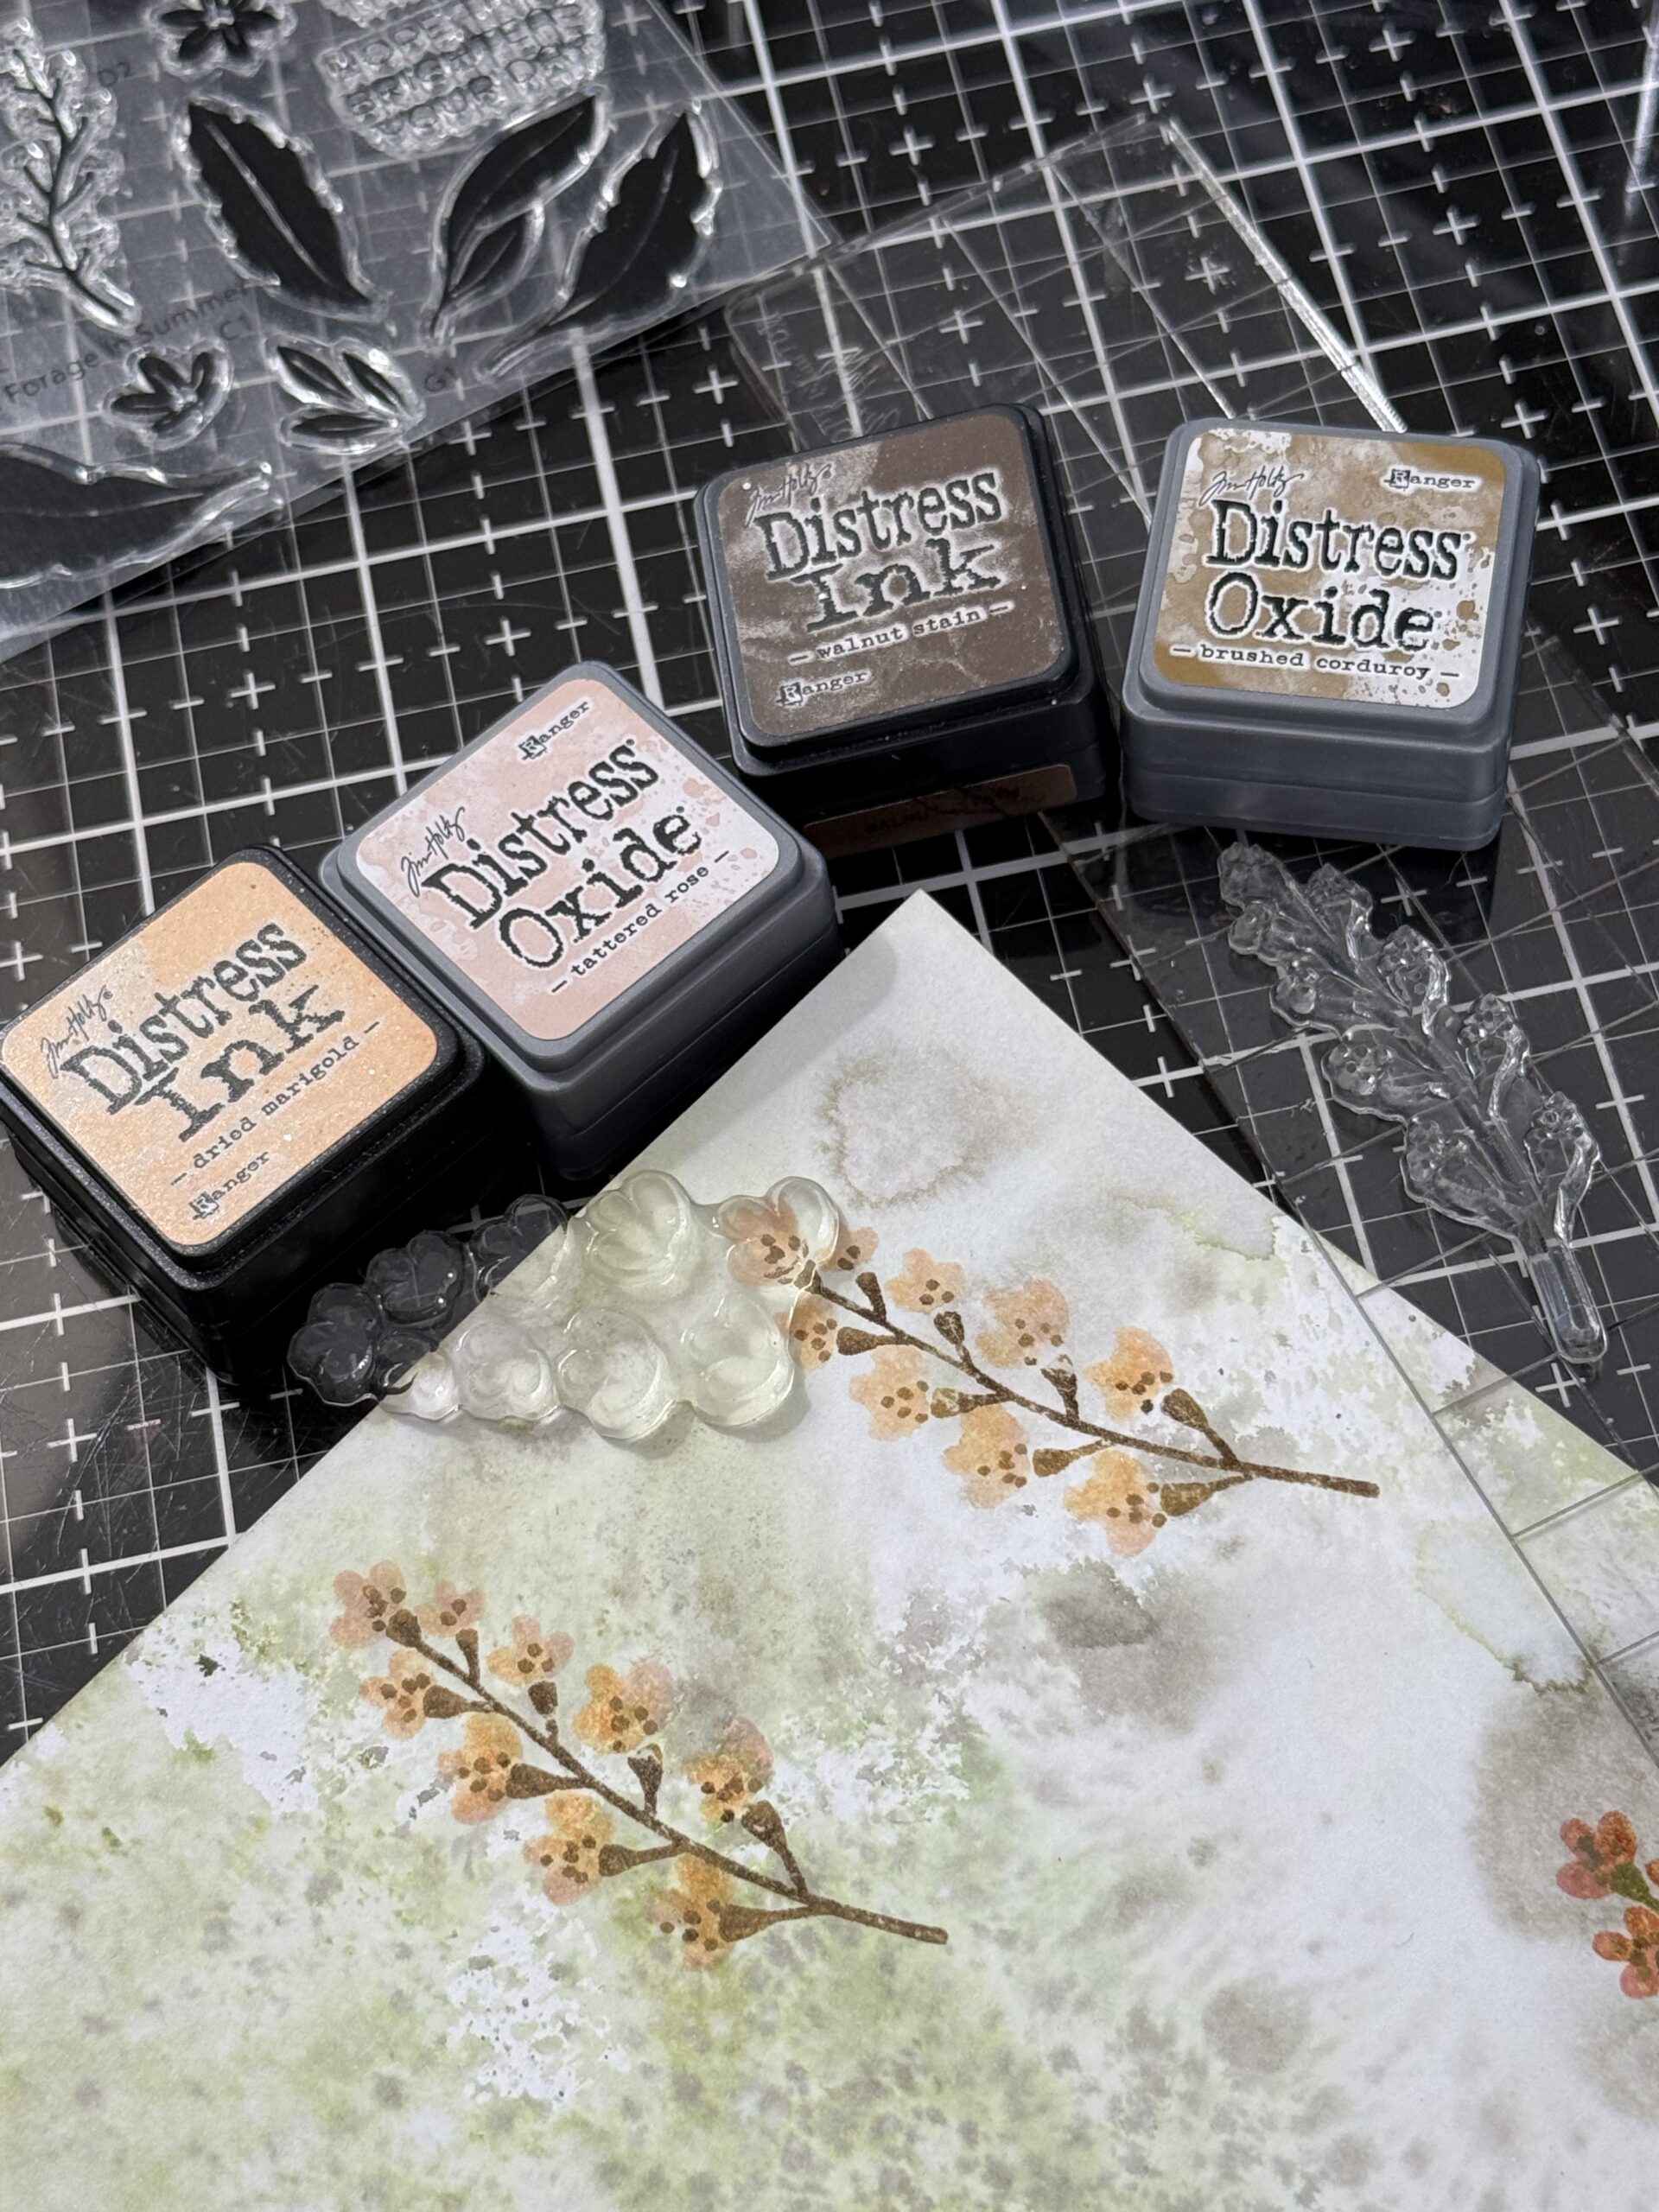
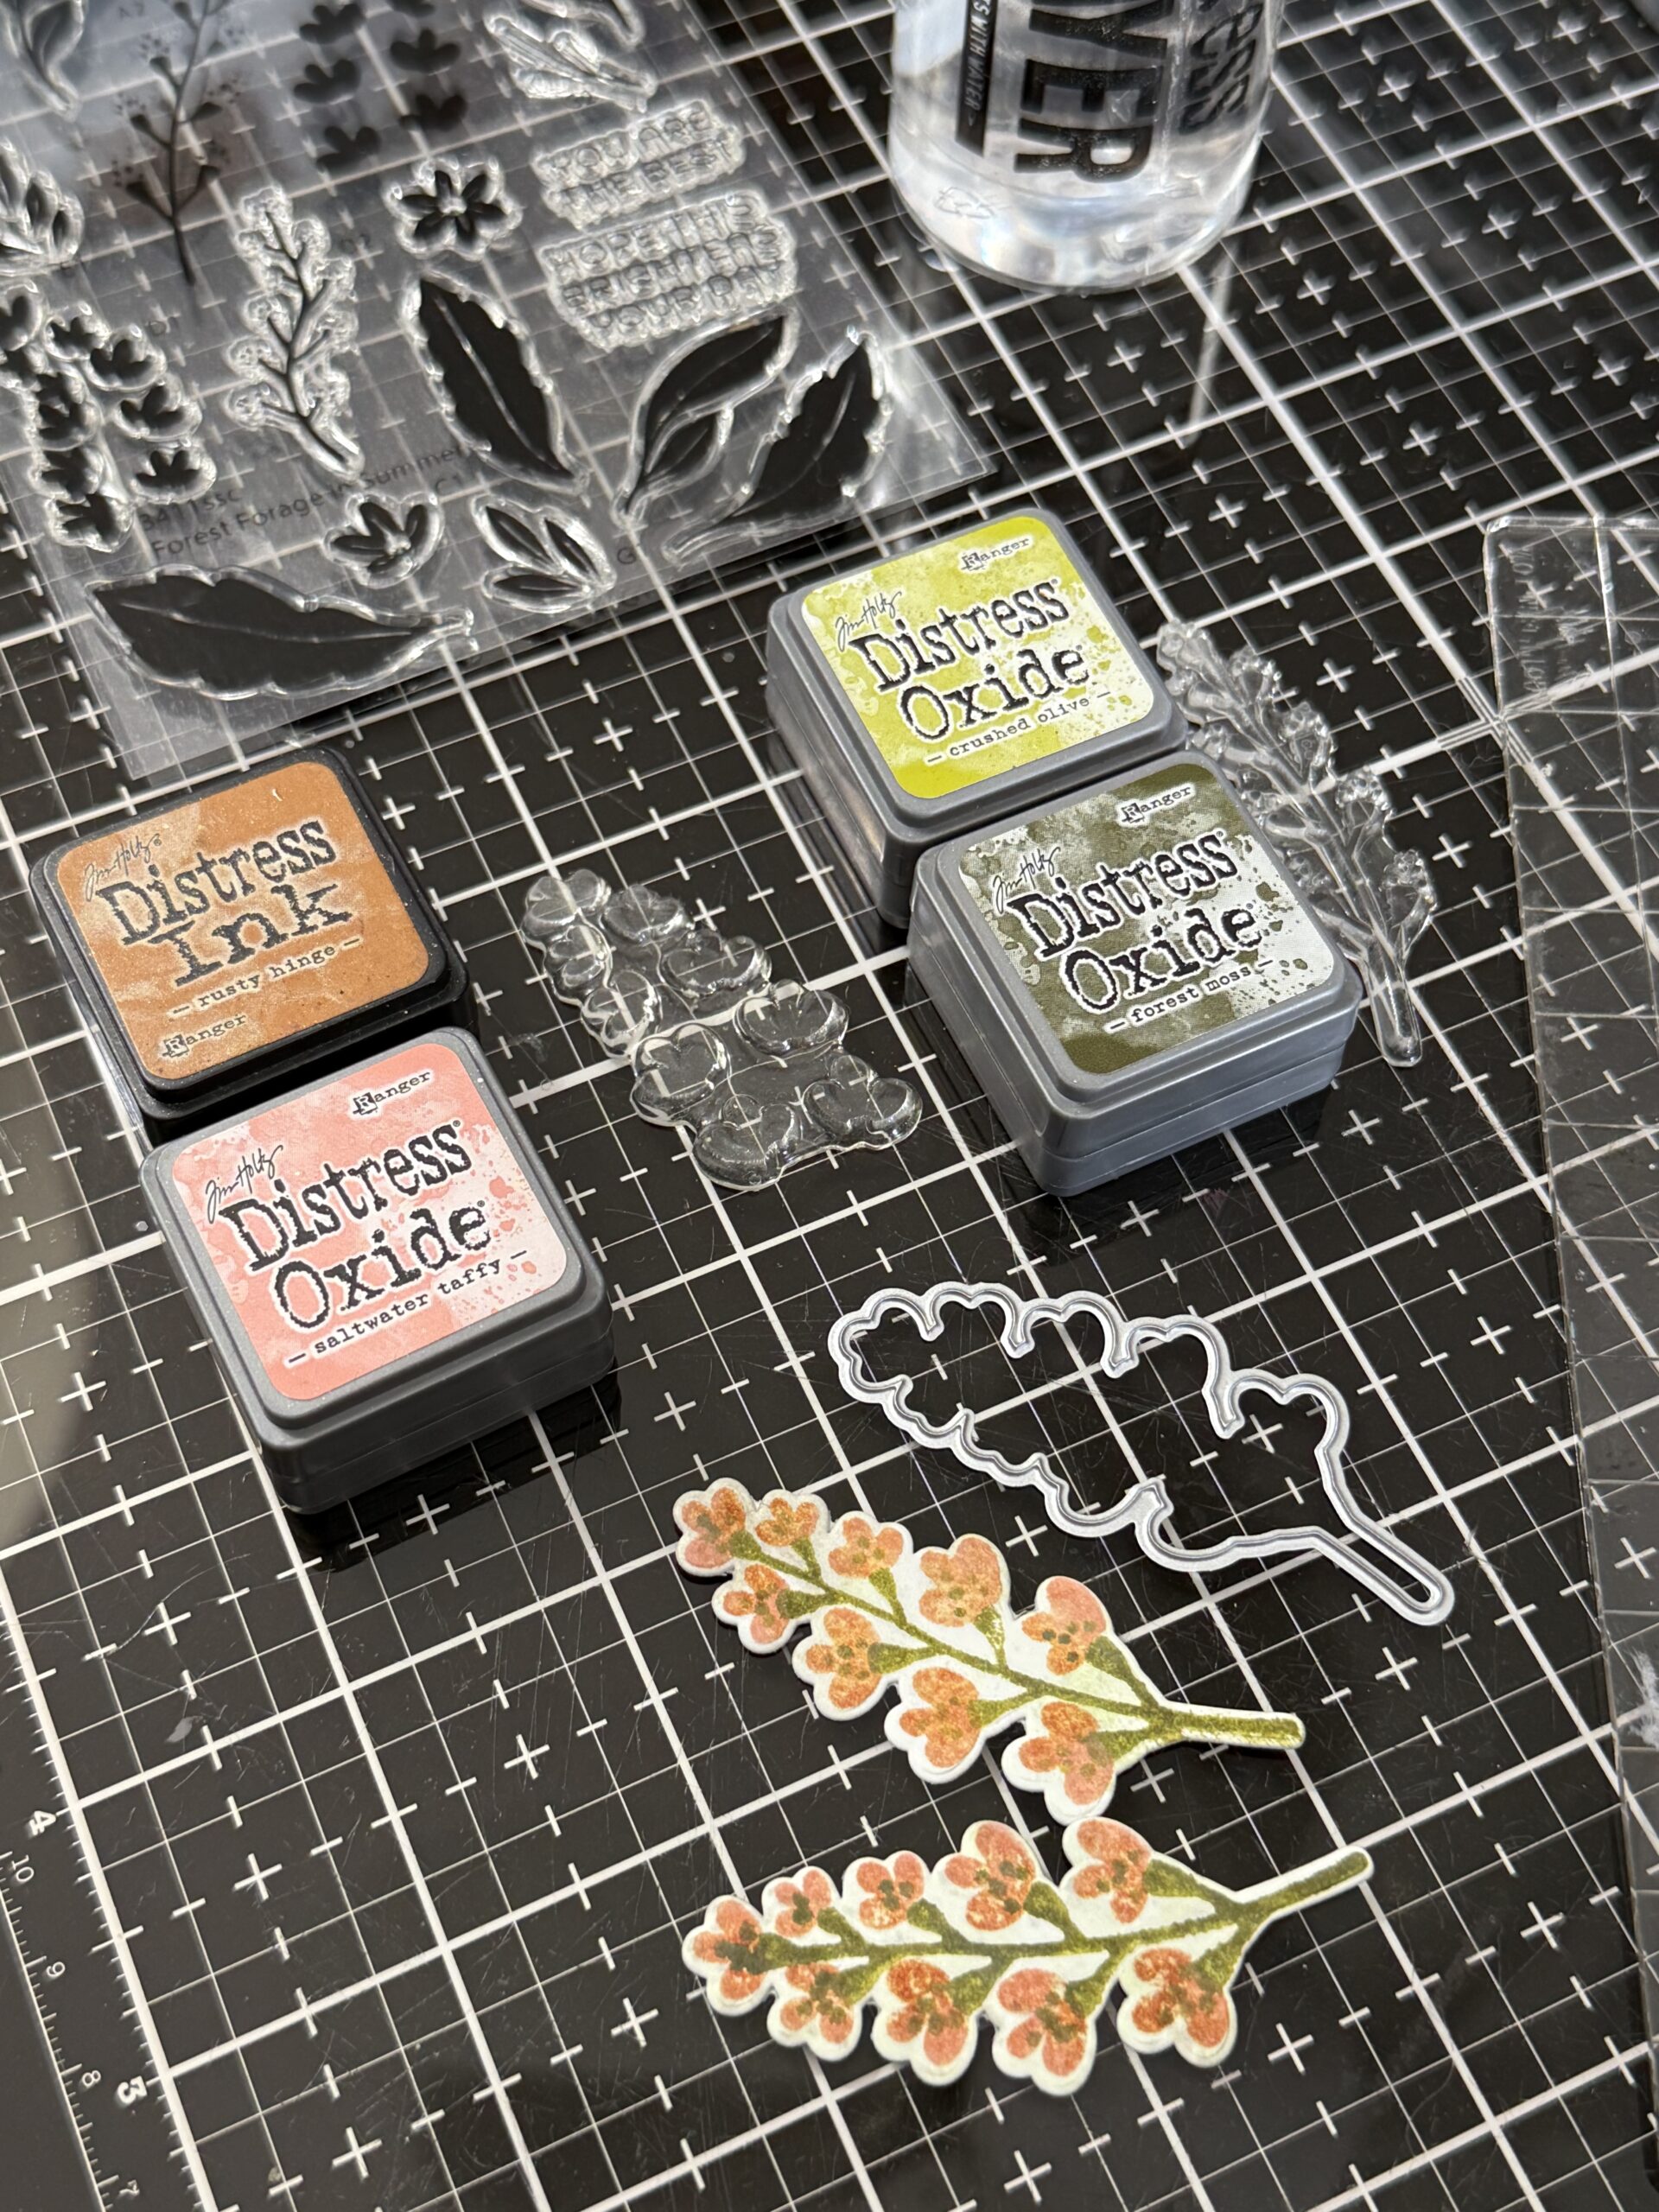
I selected colors from each of the distress mini pads using both regular and oxide. I inked up the flowers first using the dried marigold, and tattered rose, then stamped it onto the inky paper. Then I inked up the second part of the flower stem. This time I used a combination of walnut stain and brushed corduroy, then I hovered the stamp over top making sure to match up to the flowers, then stamped the stem. The stamp set is layered very well making it easy to find the layers so that your flowers can be built easily.
Next, after stamping them, I used the matching die to cut them out. I used a piece of light tack tacky tape to keep the die in place as I ran it though my big shot.
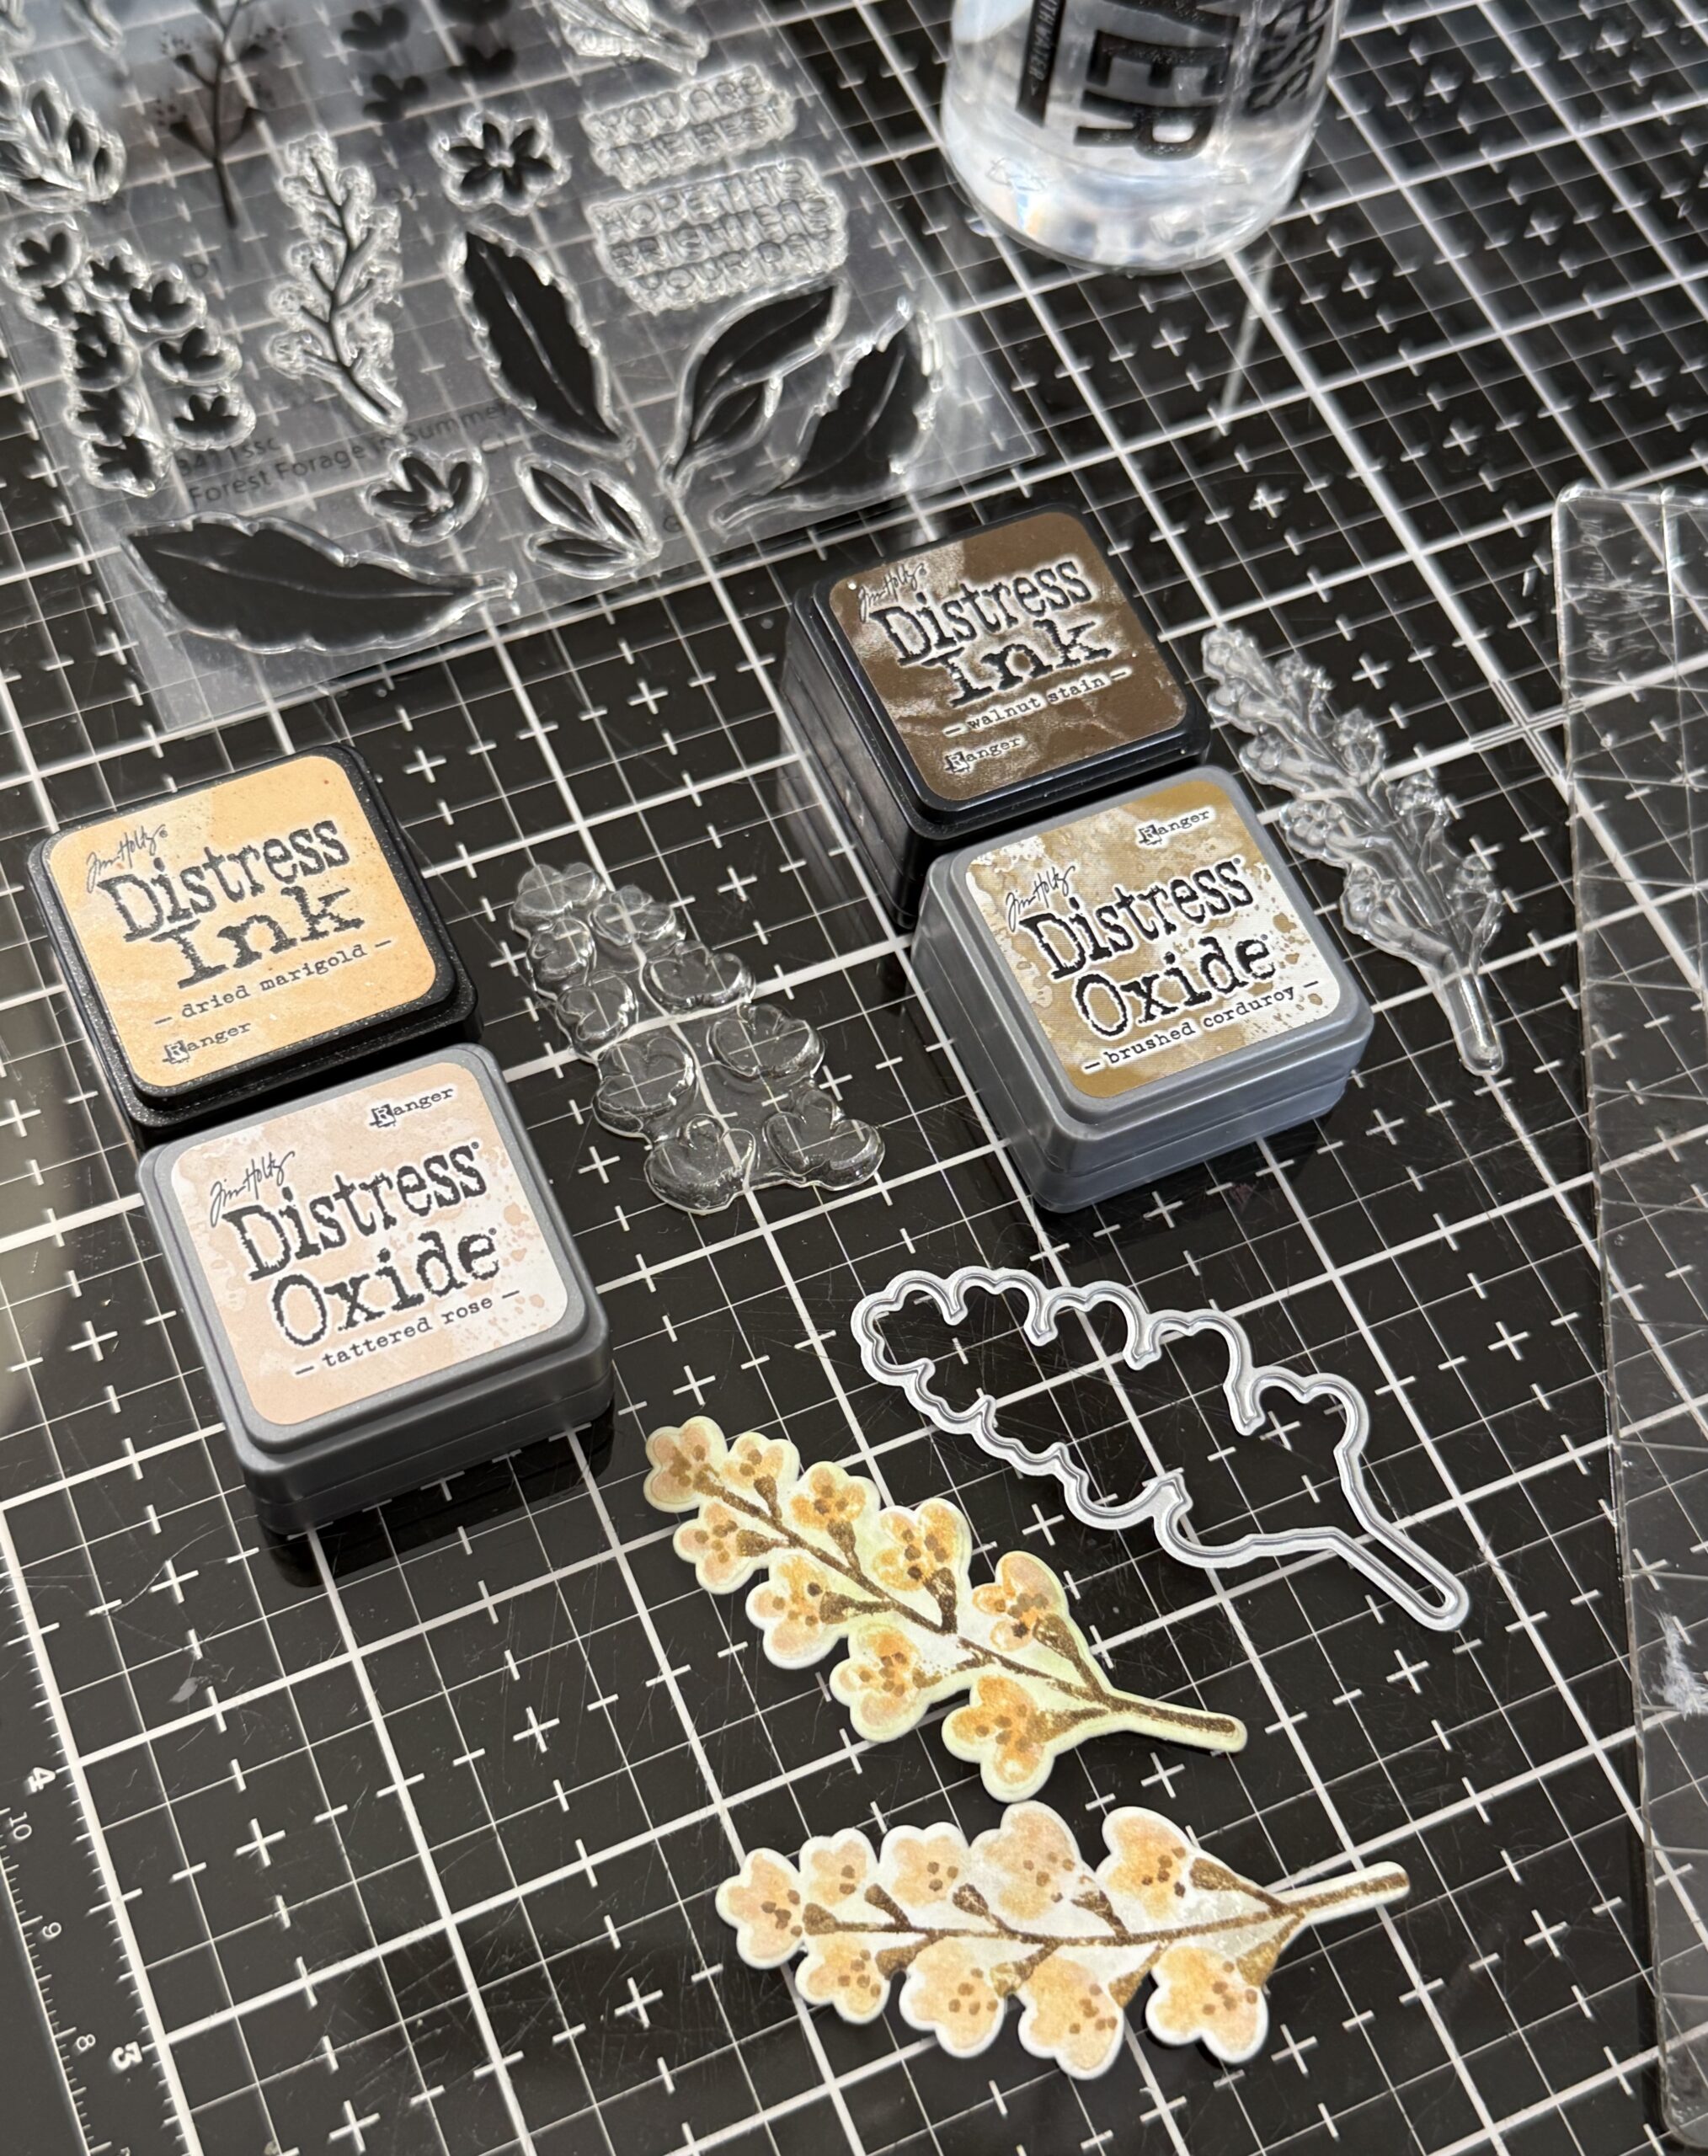
I also created some darker stems using a variety of darker orange hues and greens. Then I built some other flowers and stems to create a tiny bouquet.
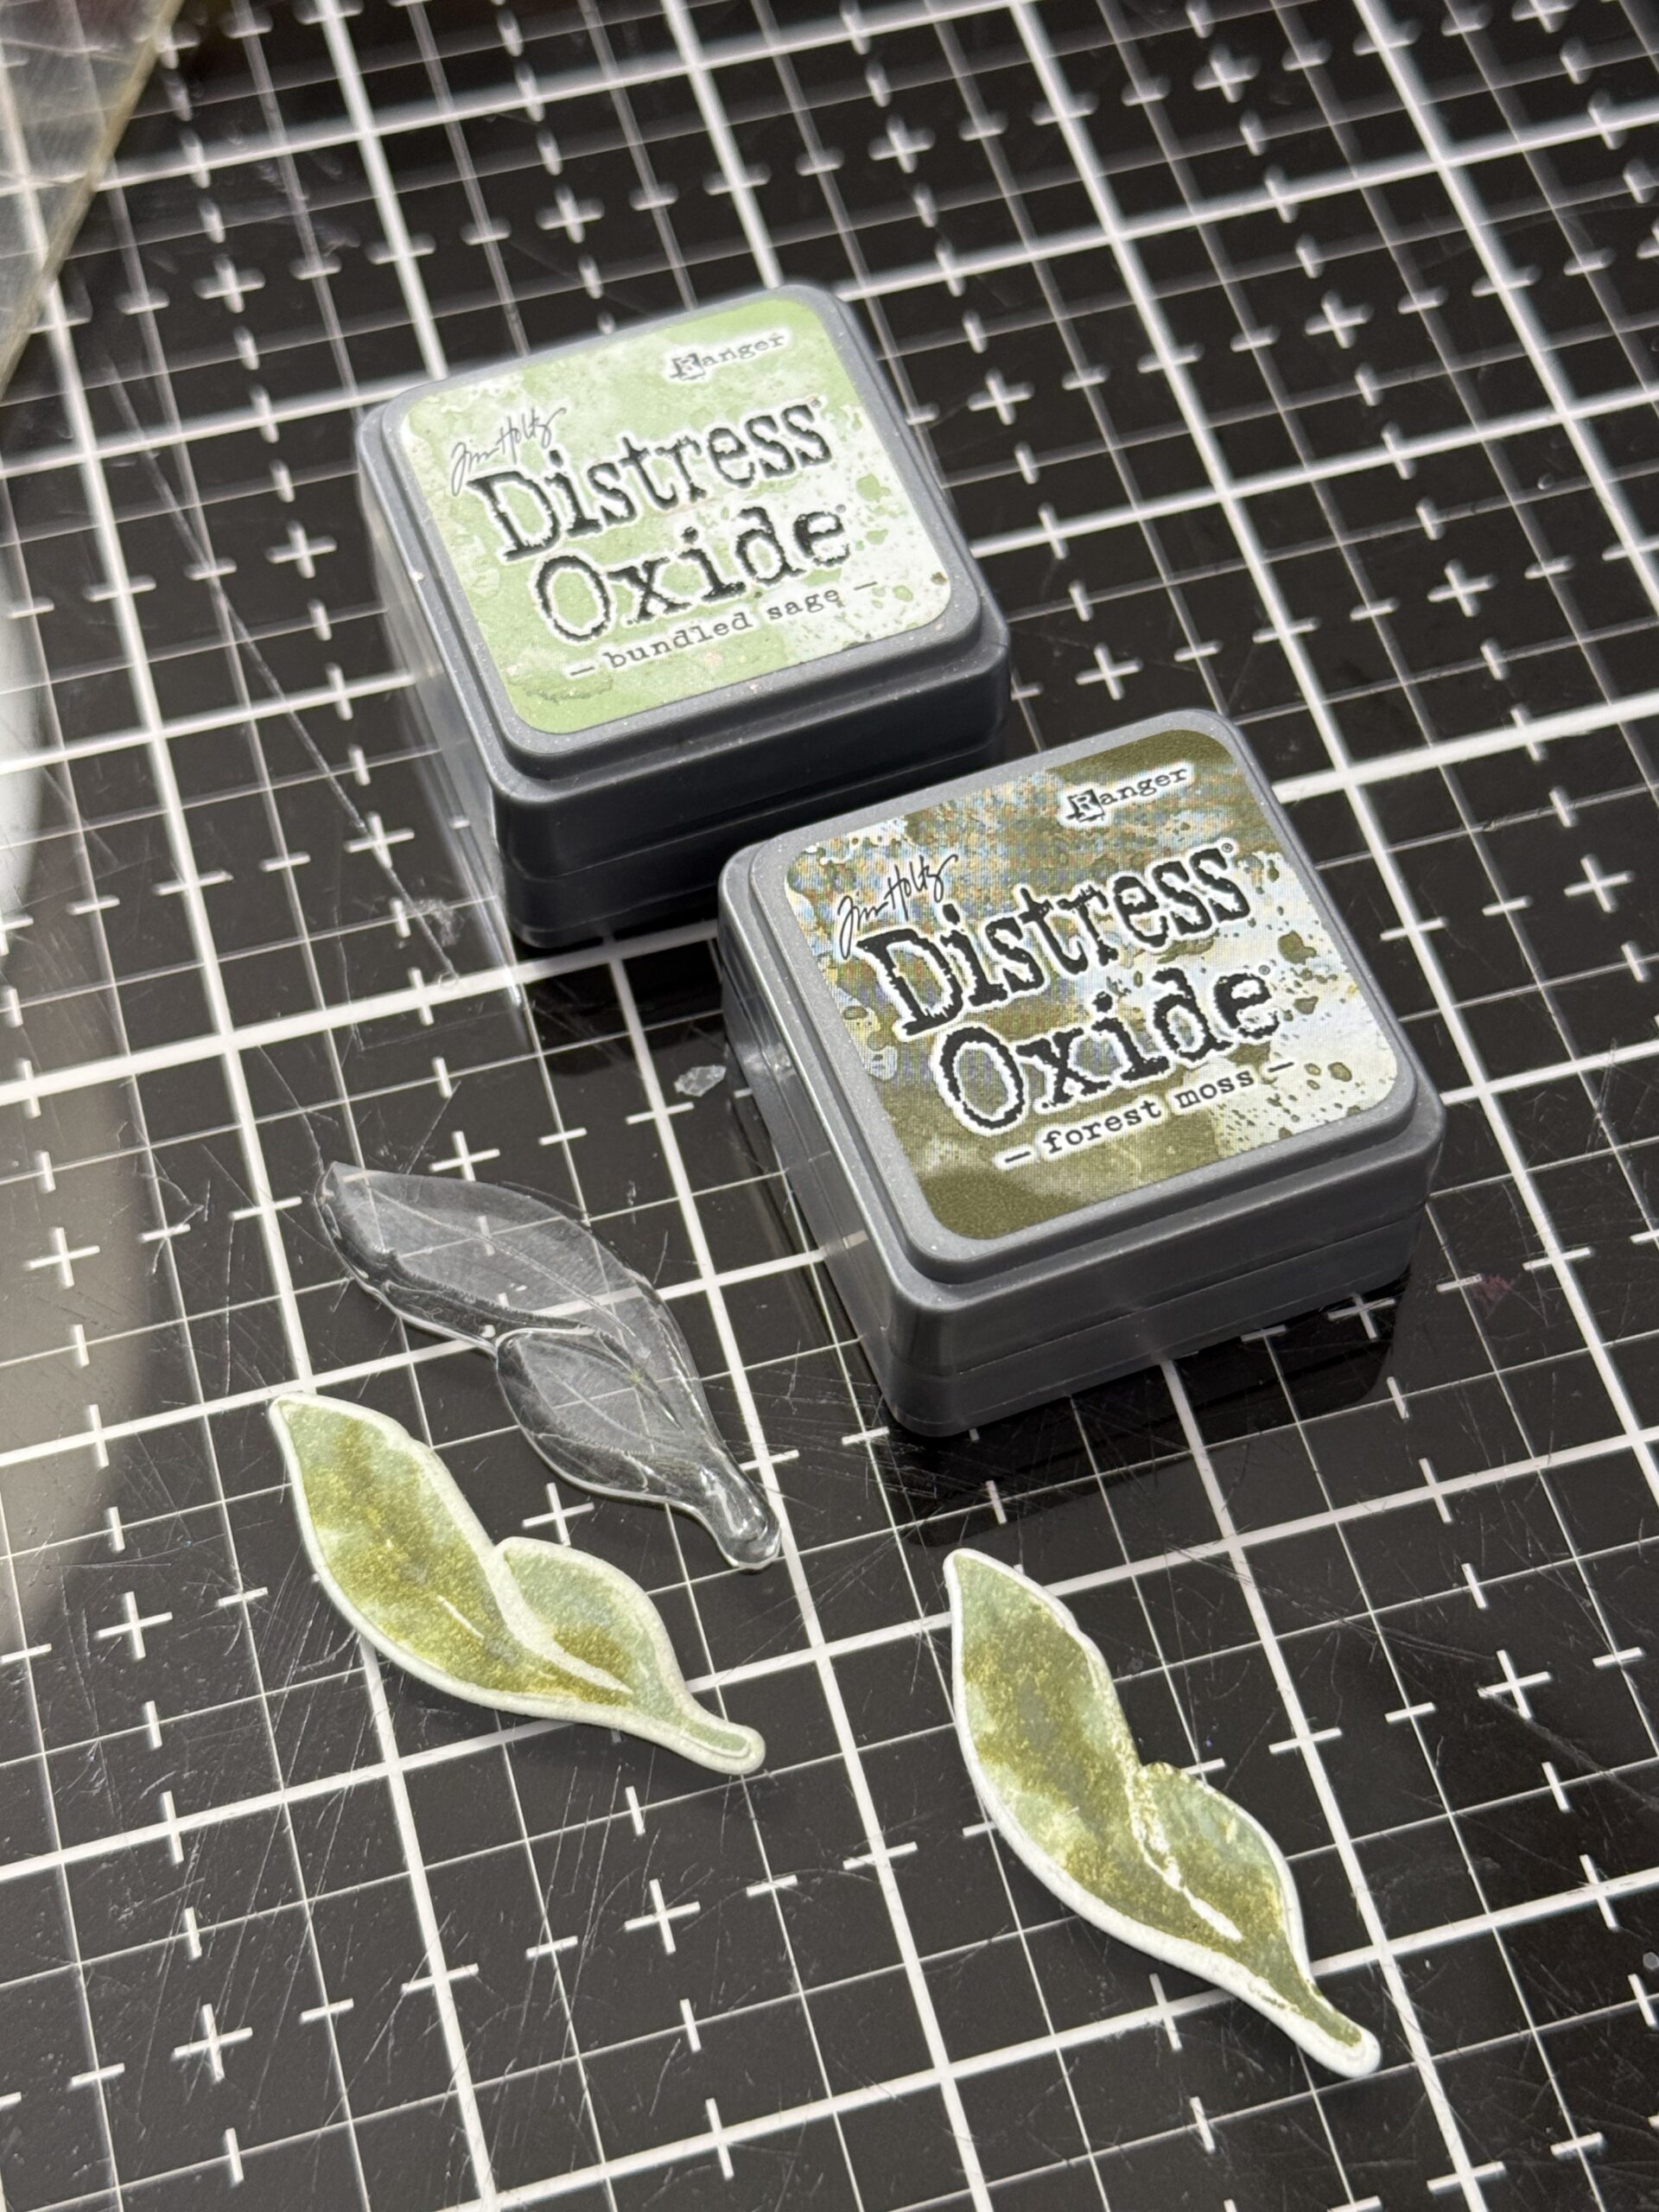
Here I built a flat leaf using these two colors, then cut them using the matching die.
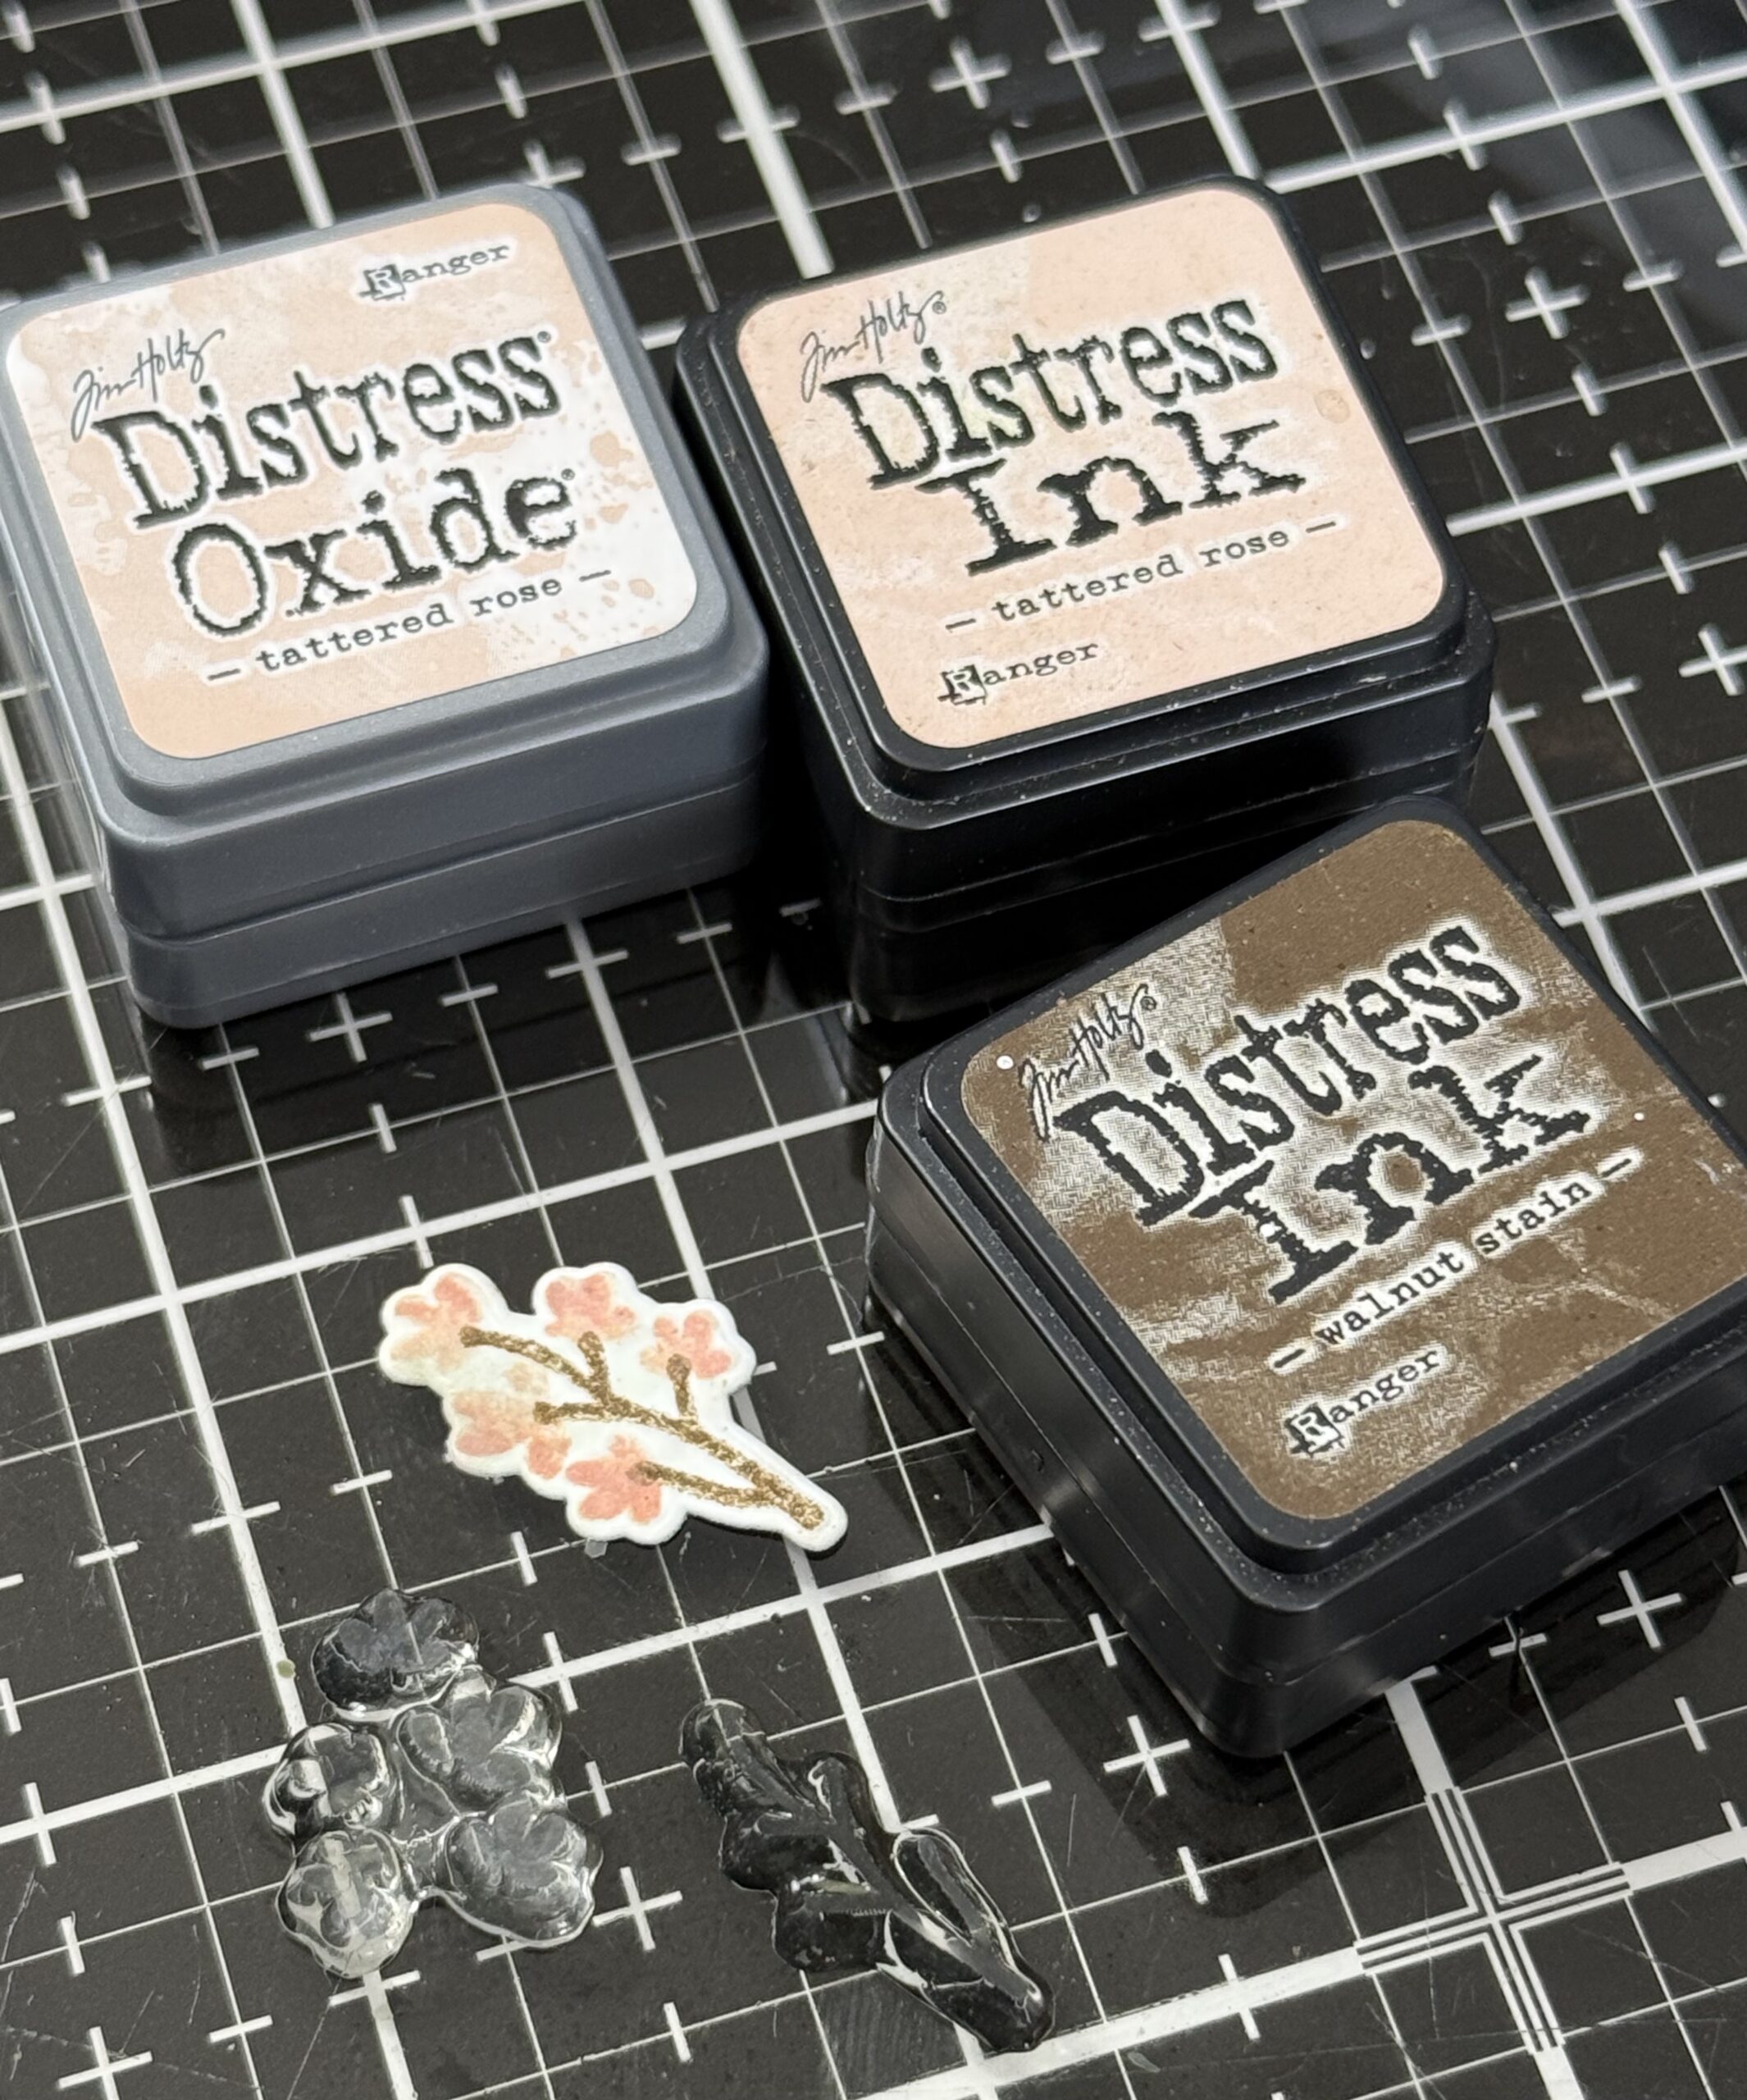
and then a tiny branch of buds using these colors…
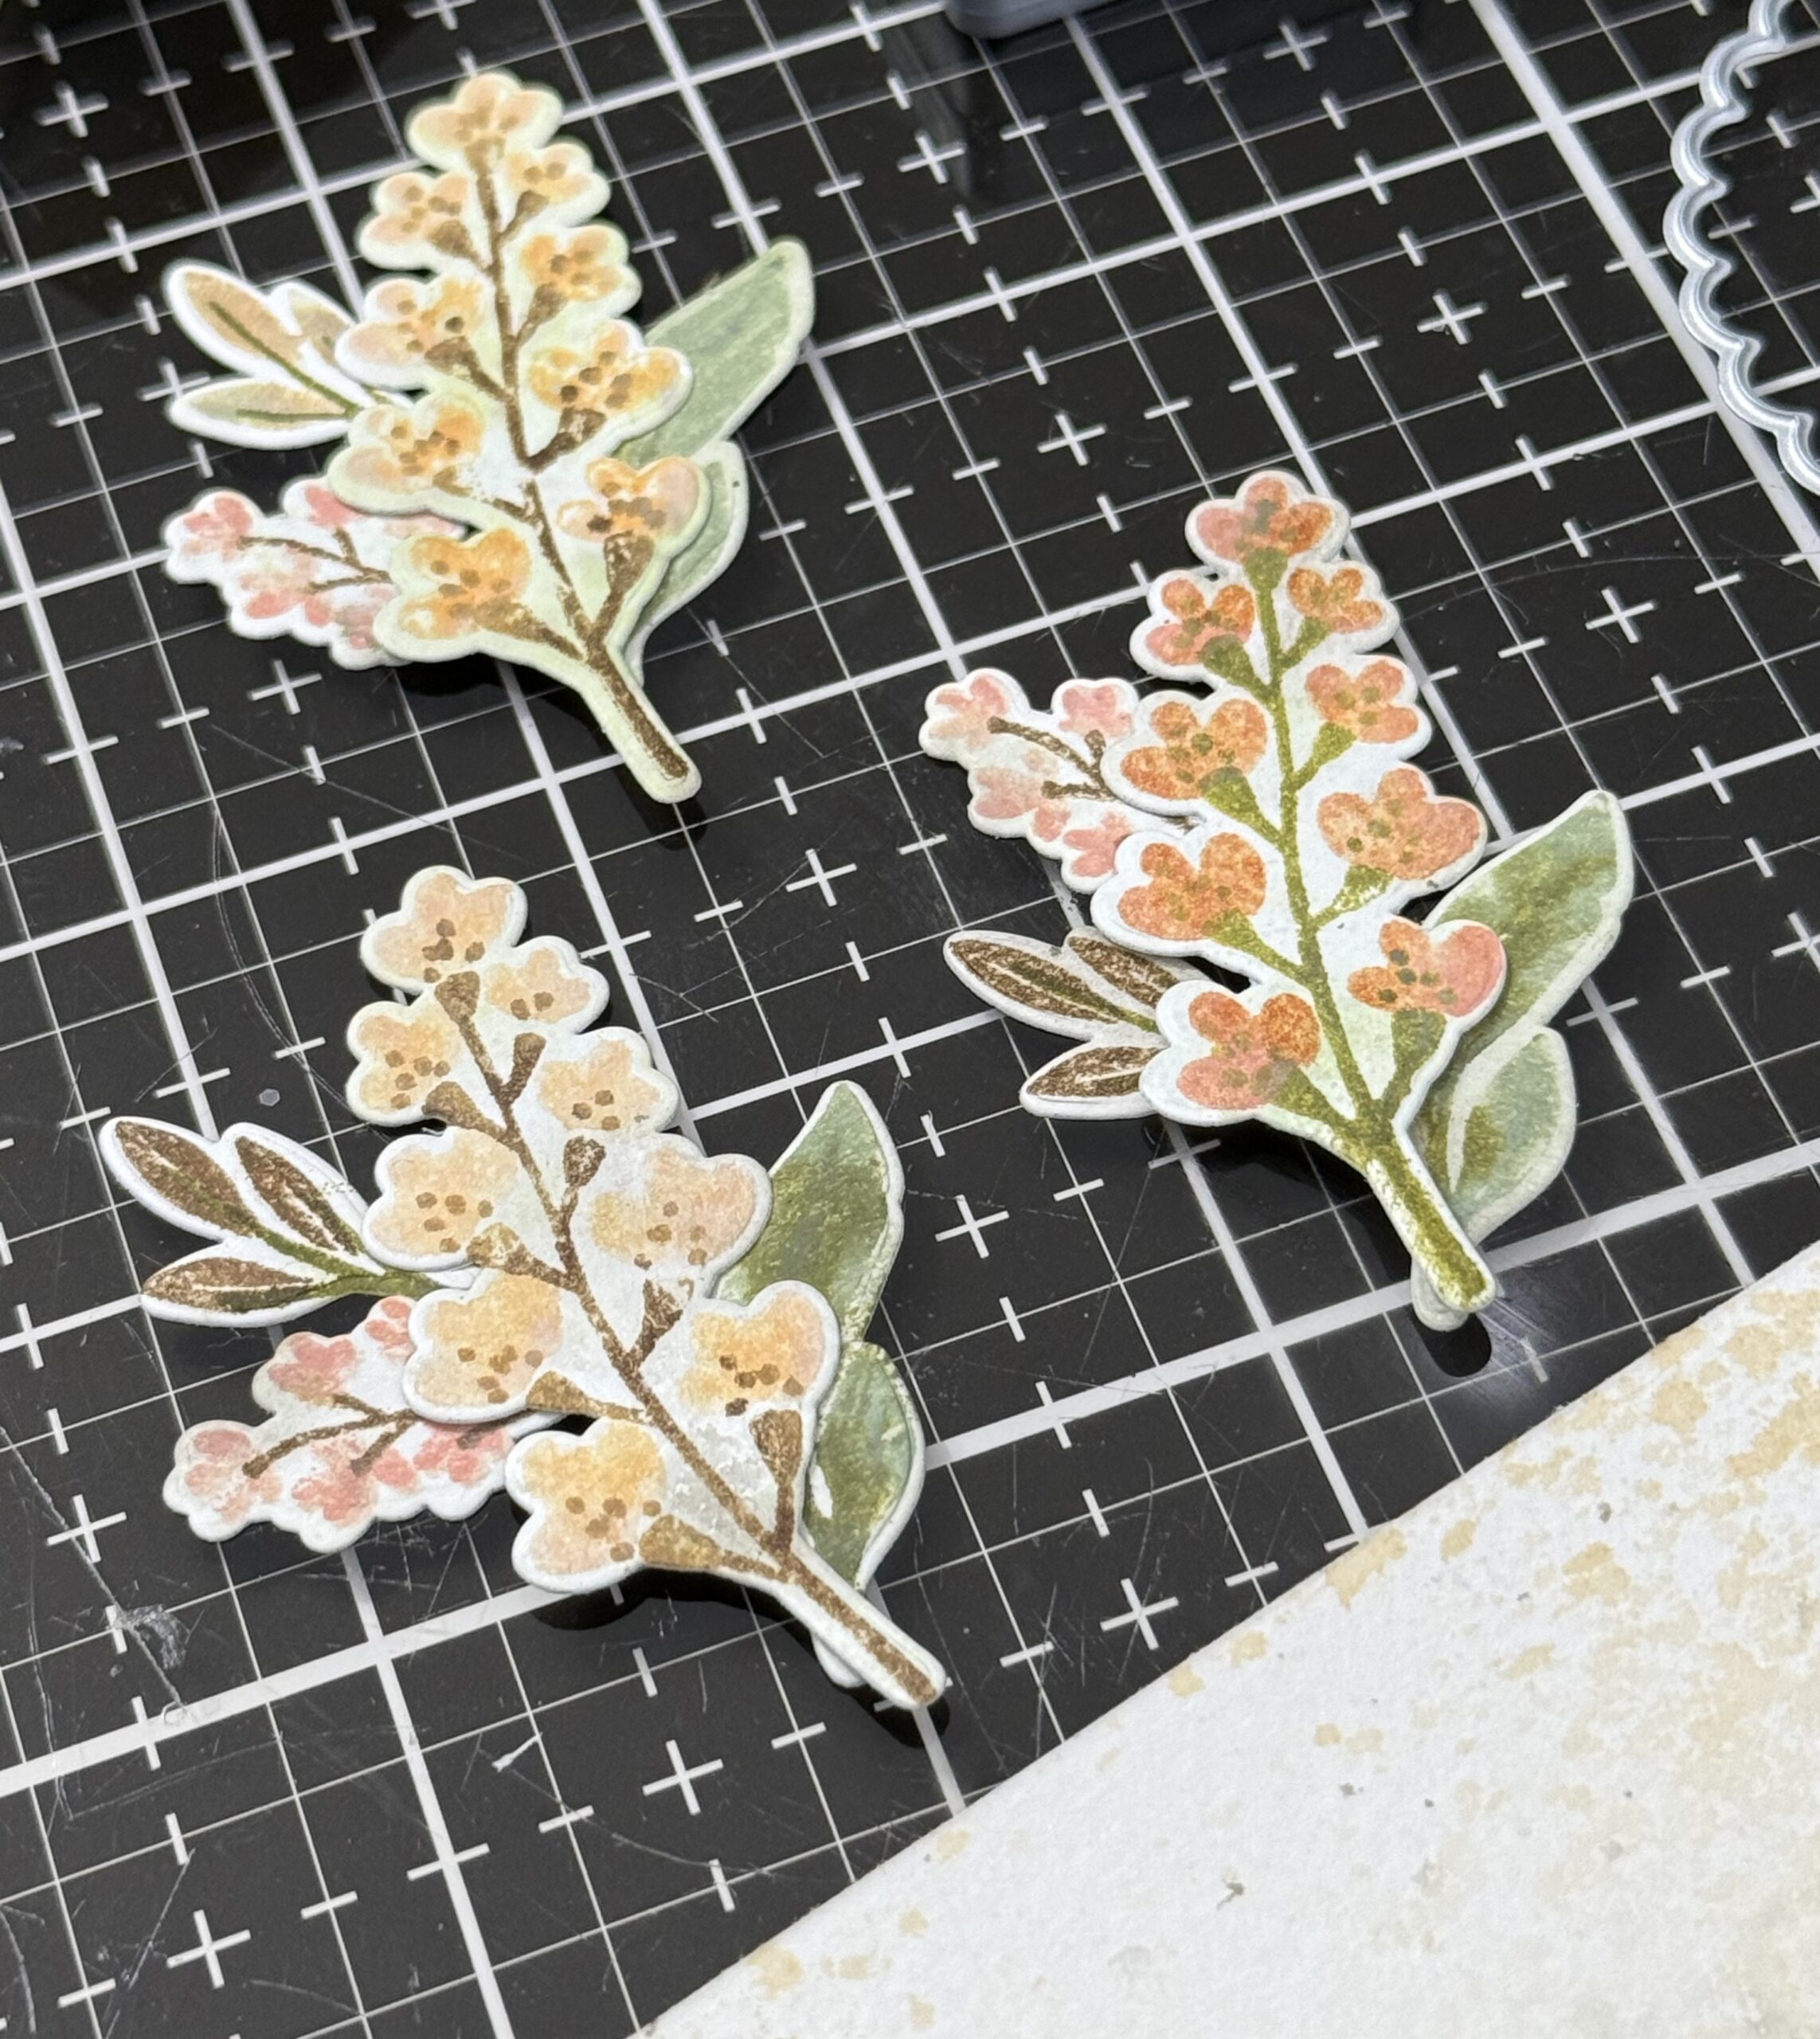
Once I had my little bouquet bundles built, I went on to making some background papers for the cards and scalloped circles.
The backgrounds were again created using some distress spray stains and water, then dried with a heat tool.
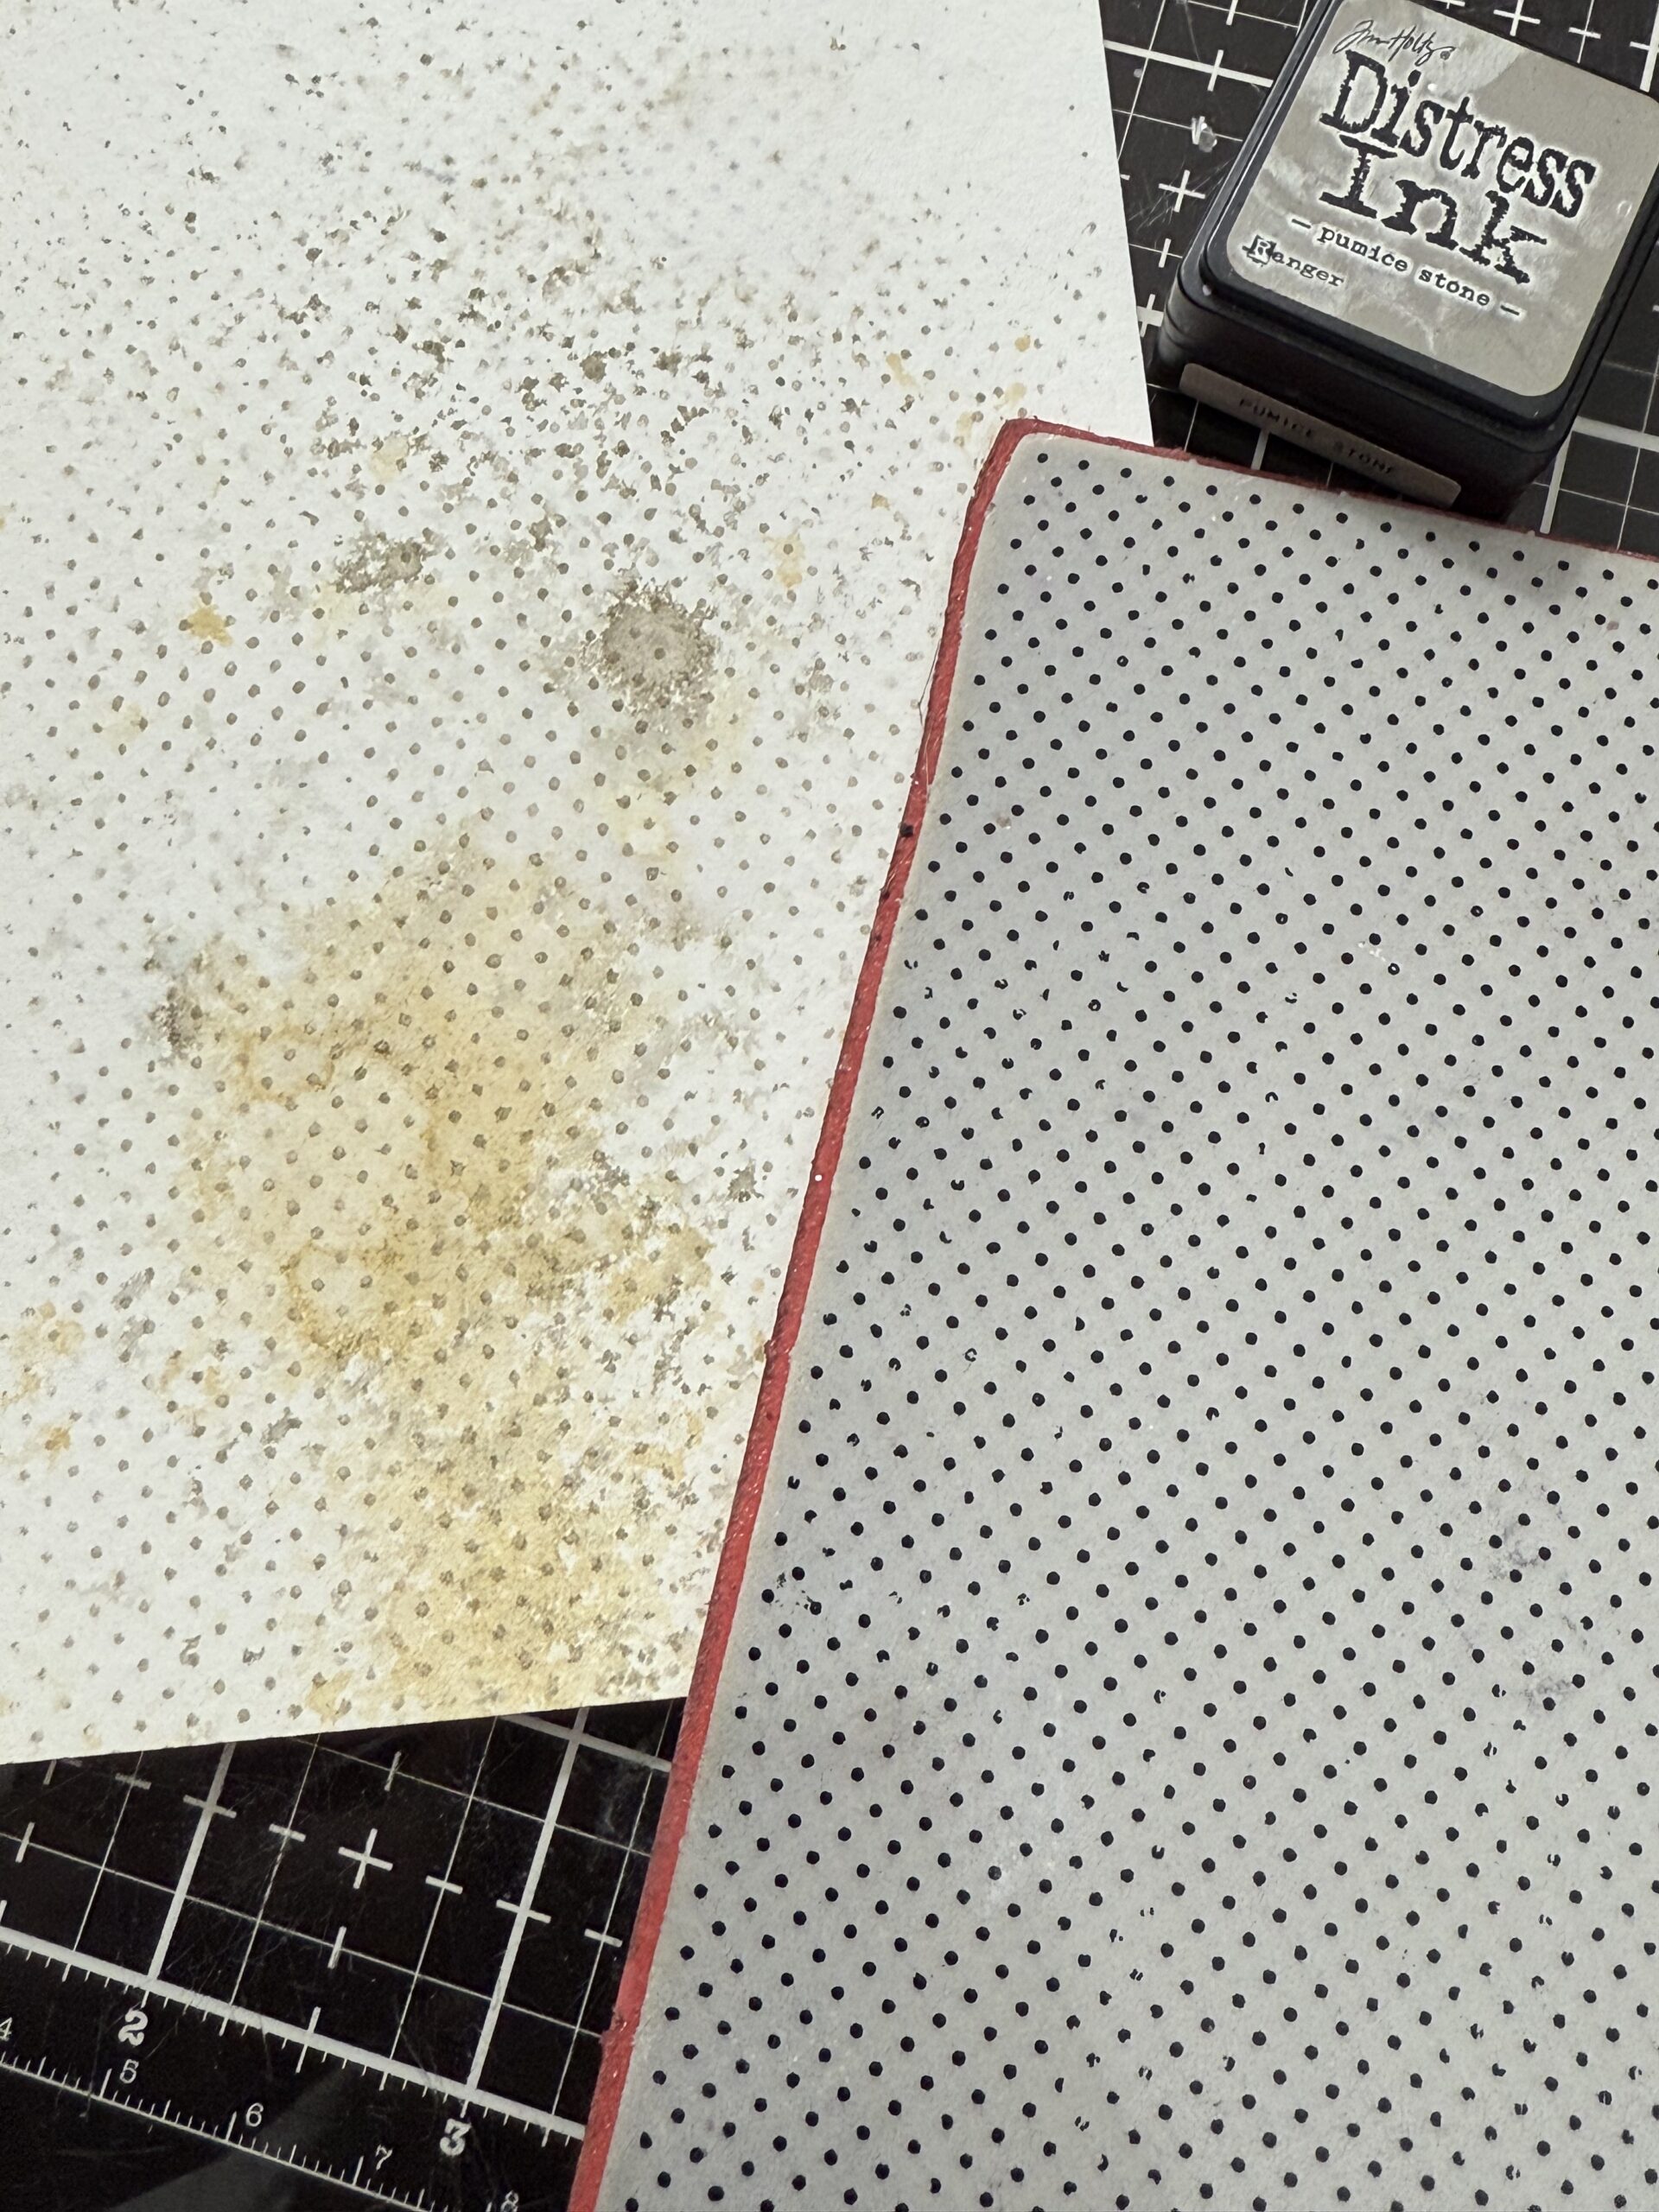
This time, I decided to add some tiny dots using a Tim Holtz background stamp from the Dots and Floral Stamp Set. I inked up the stamp using Pumice Stone Distress Ink, then stamped it randomly into the background.
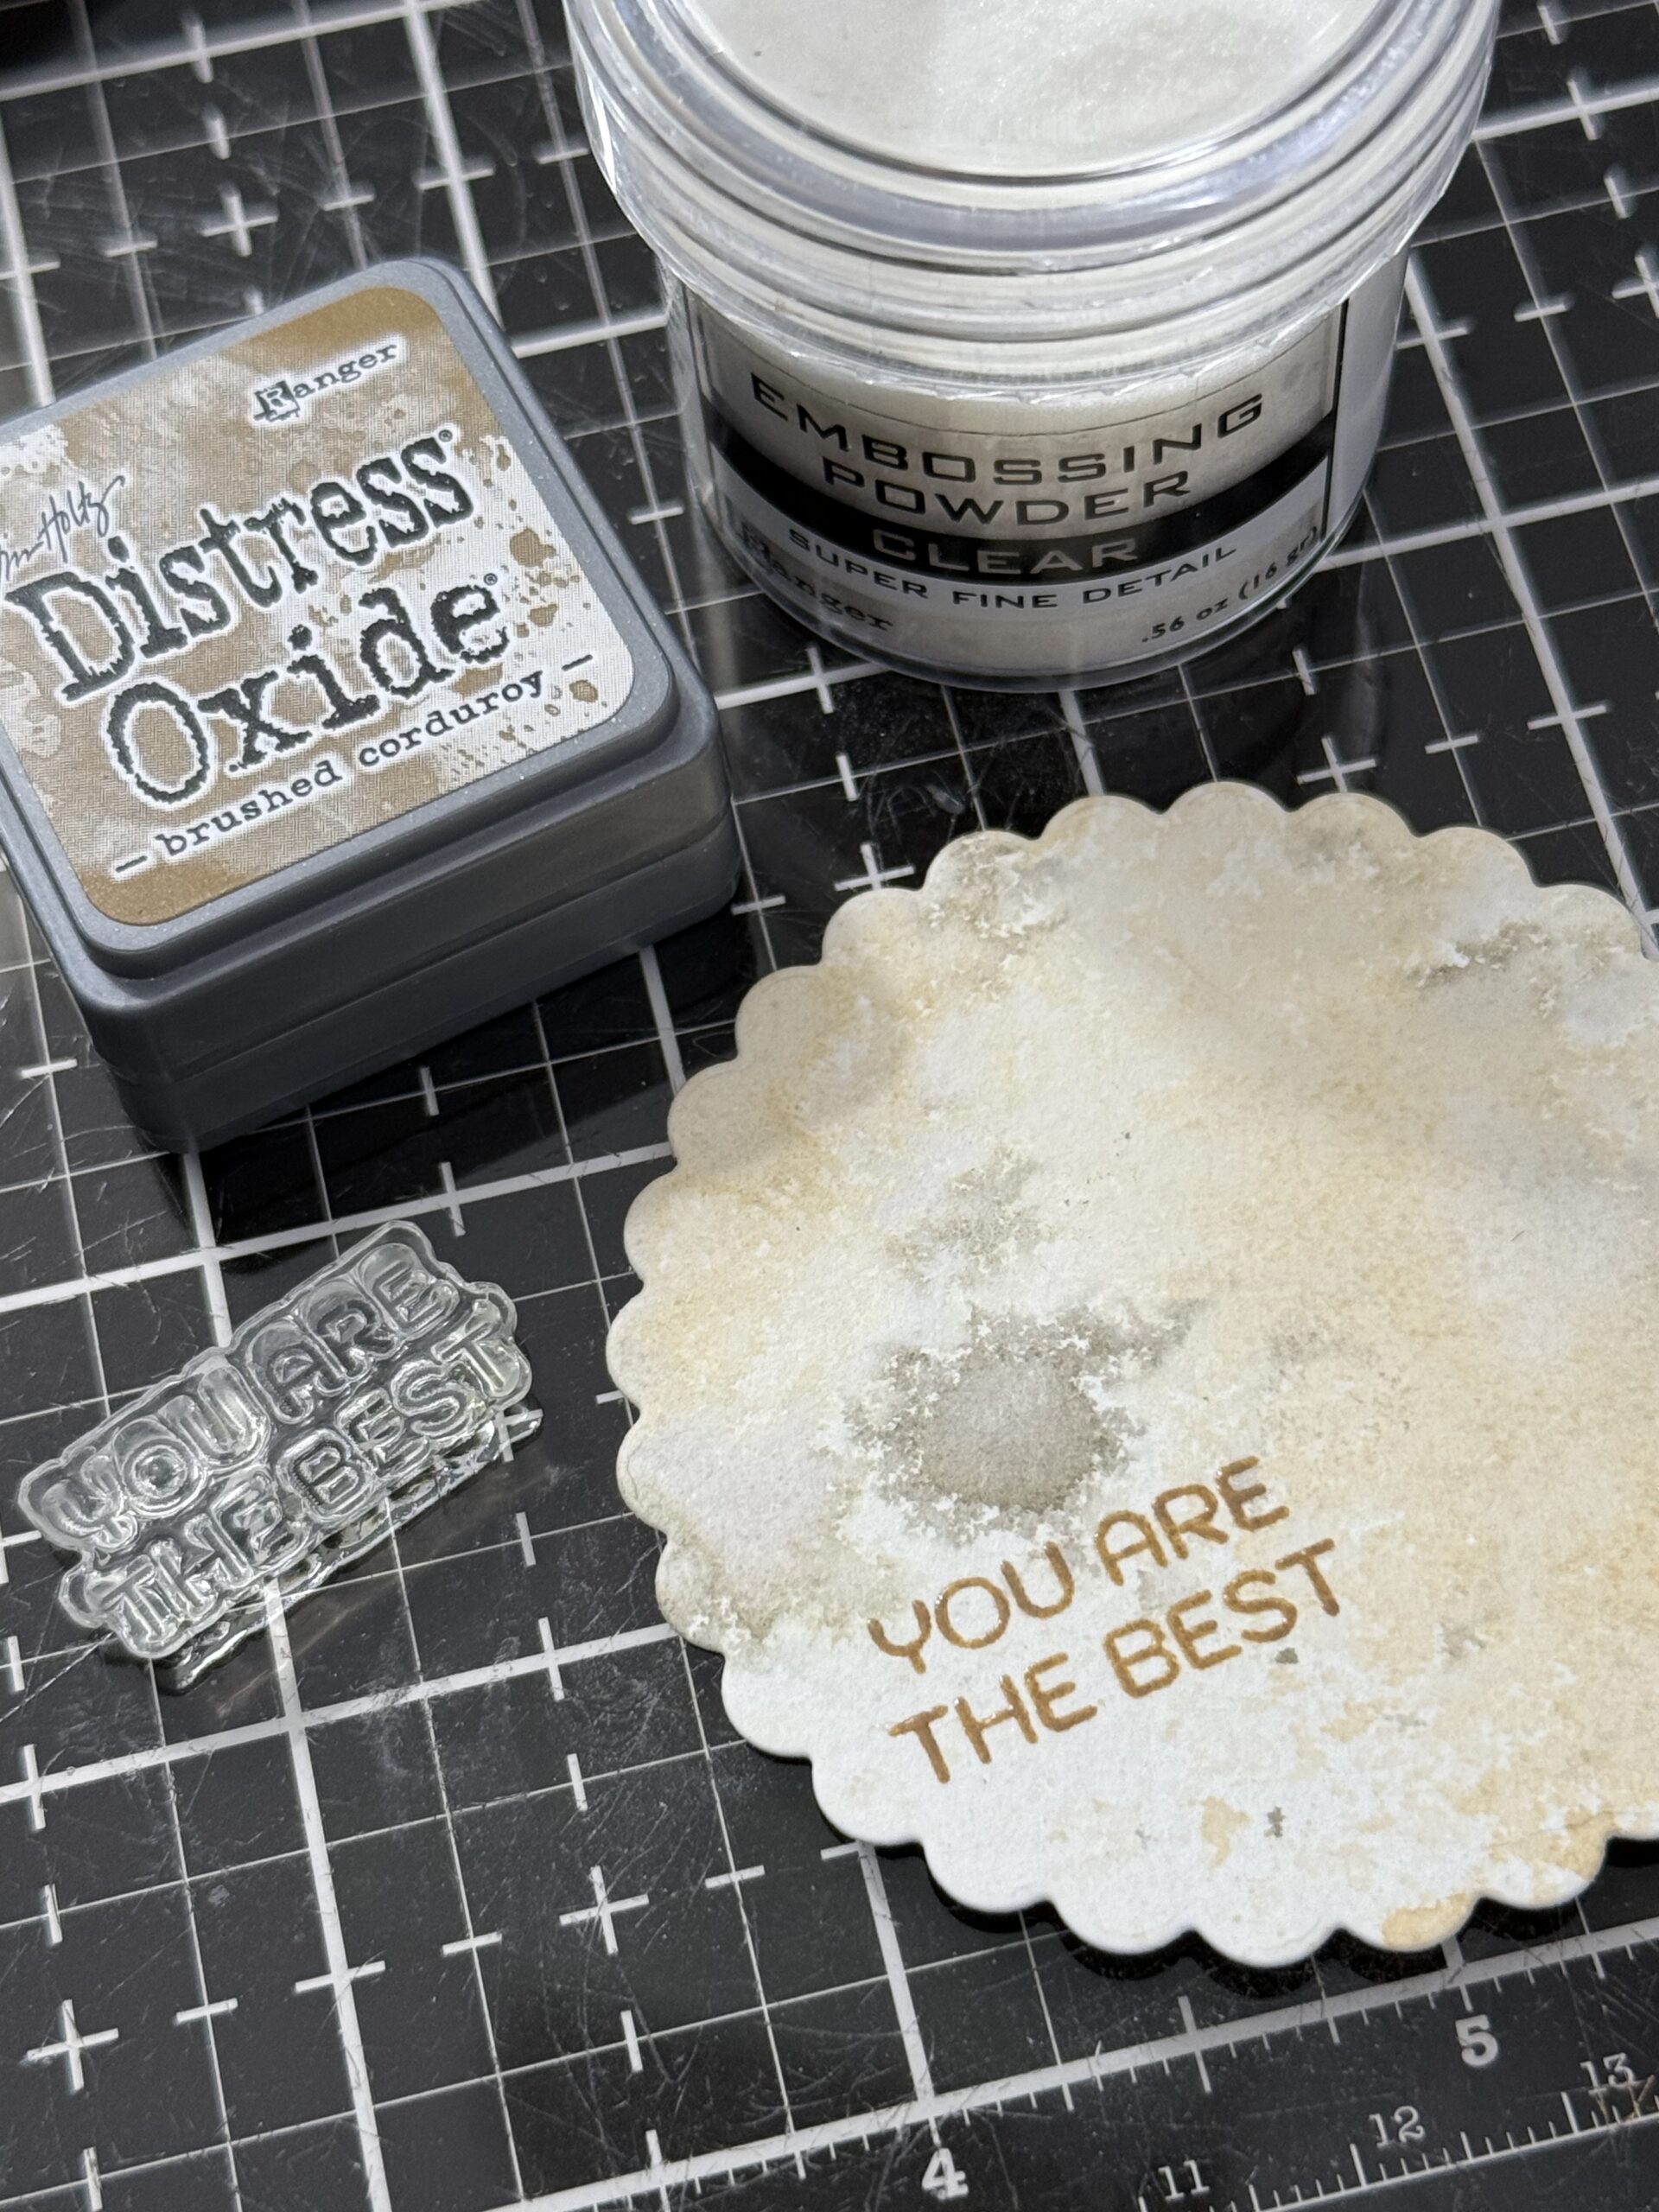
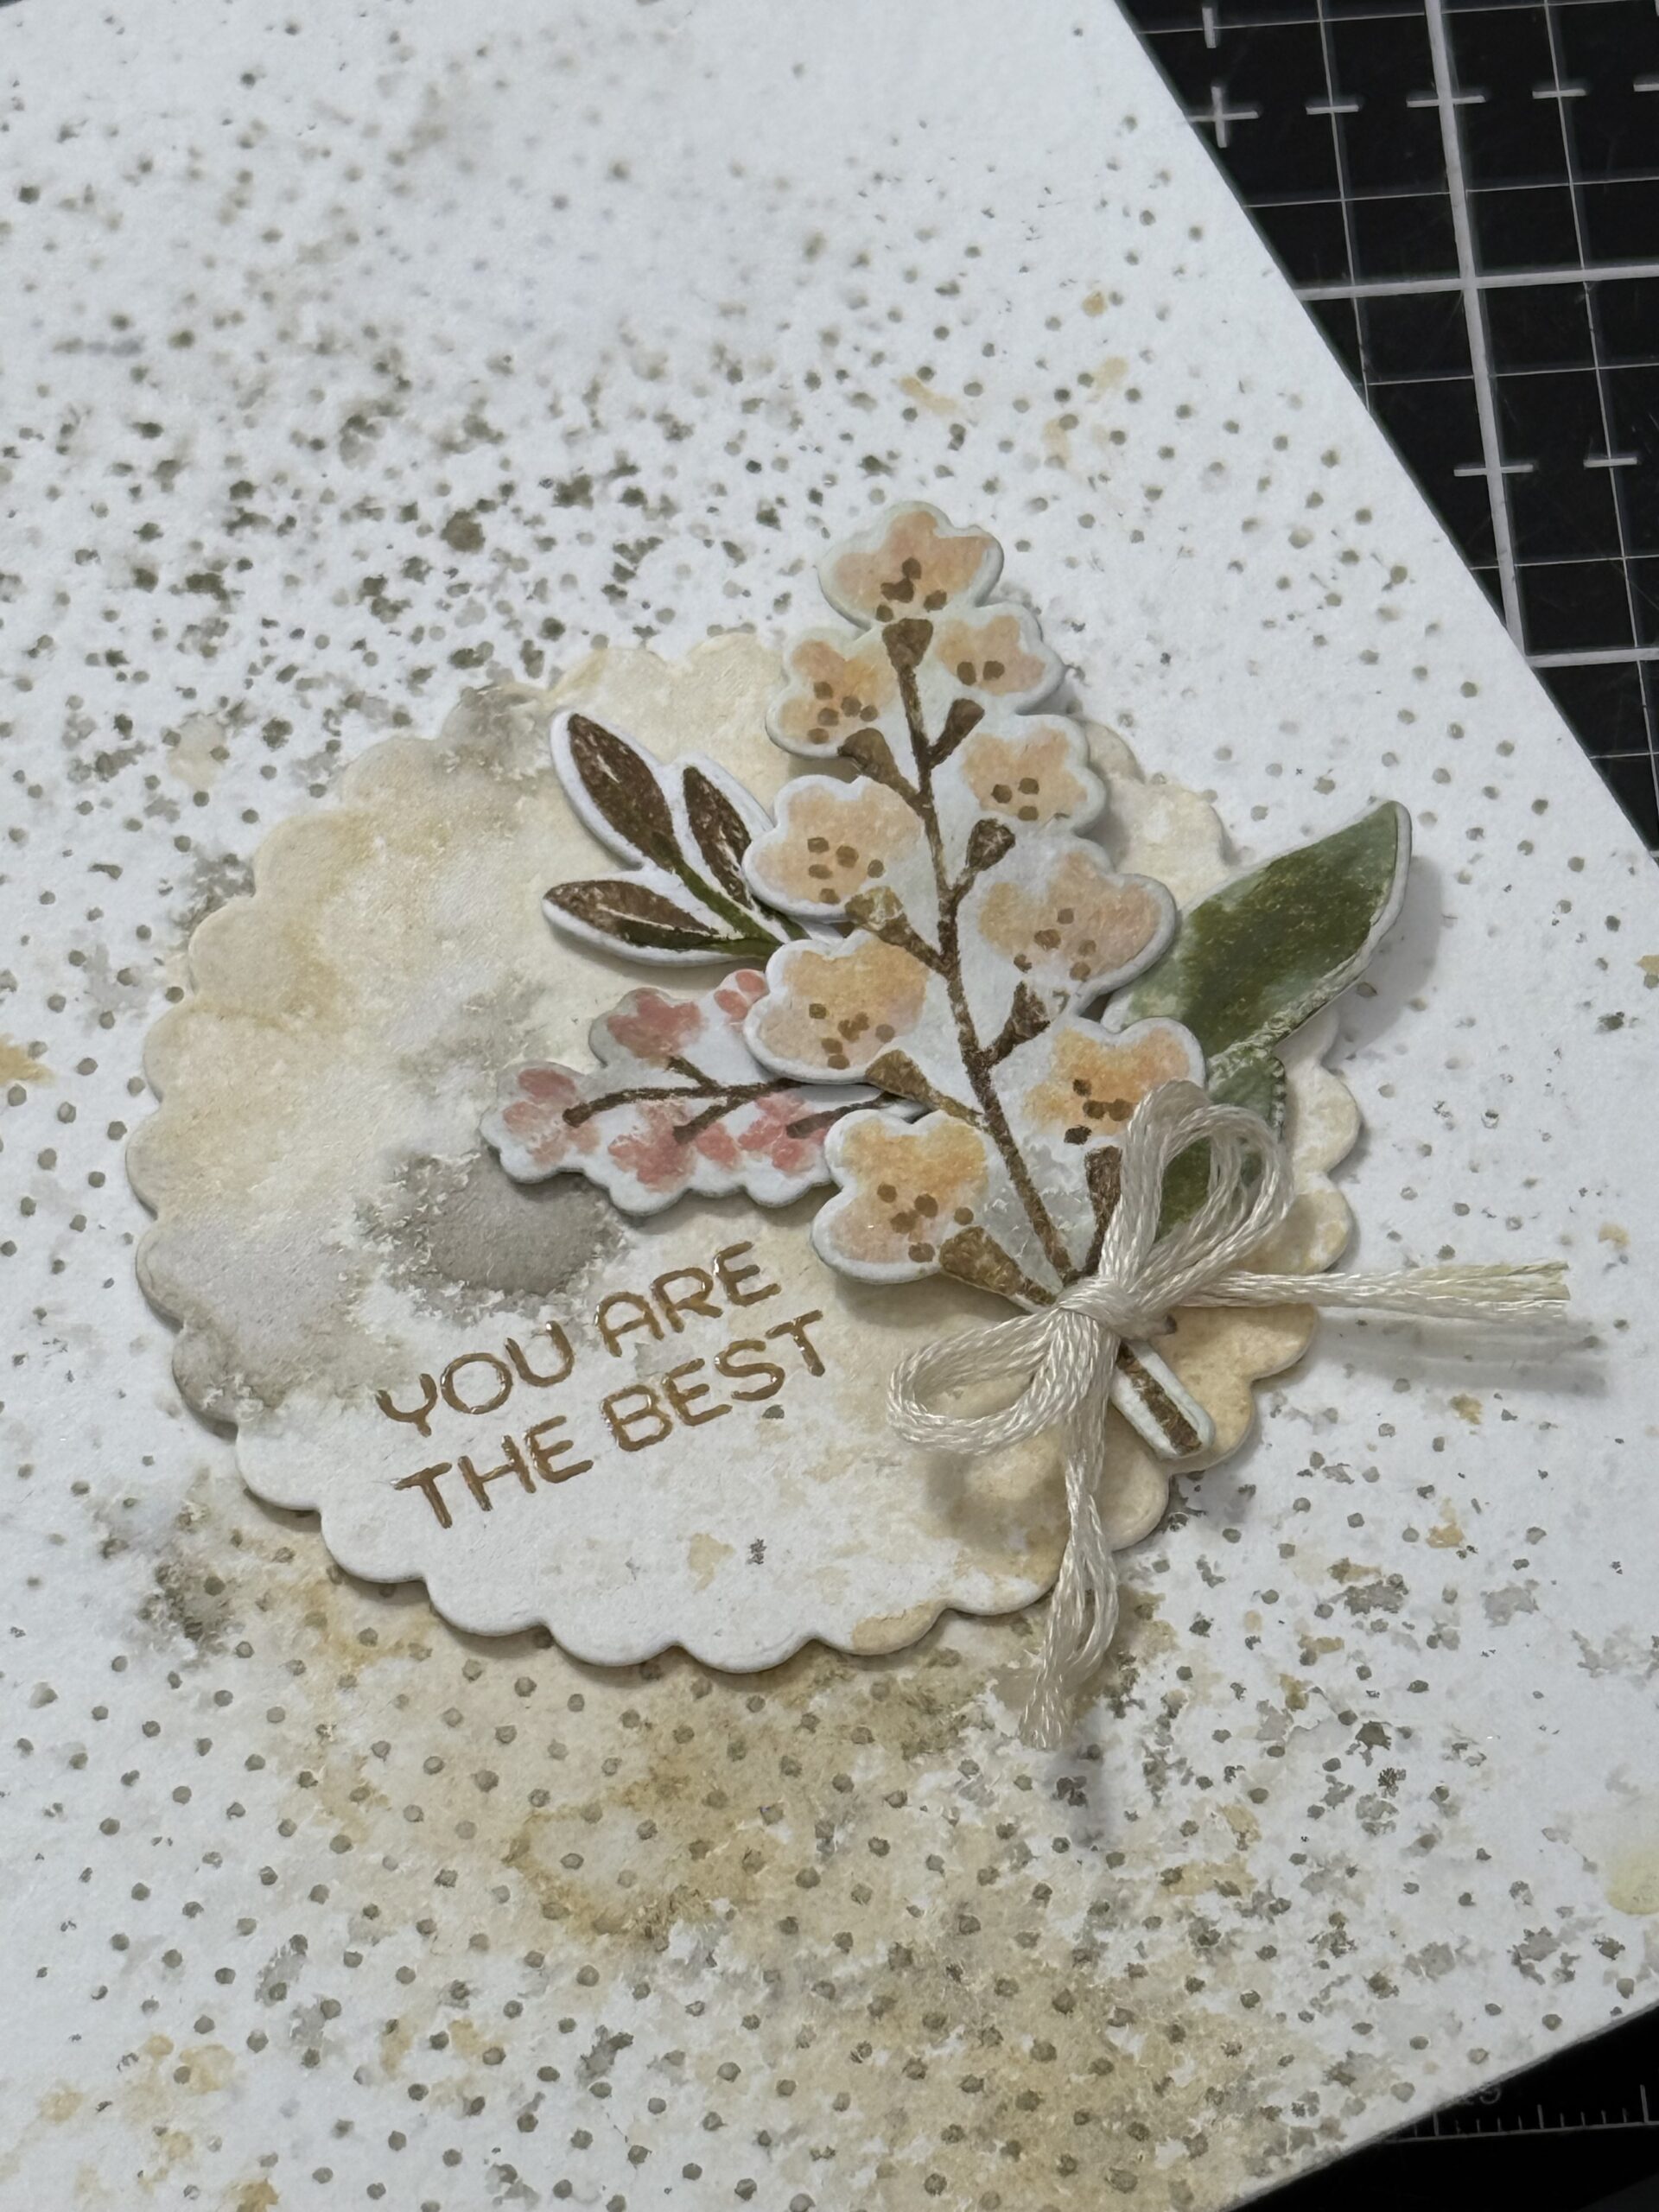
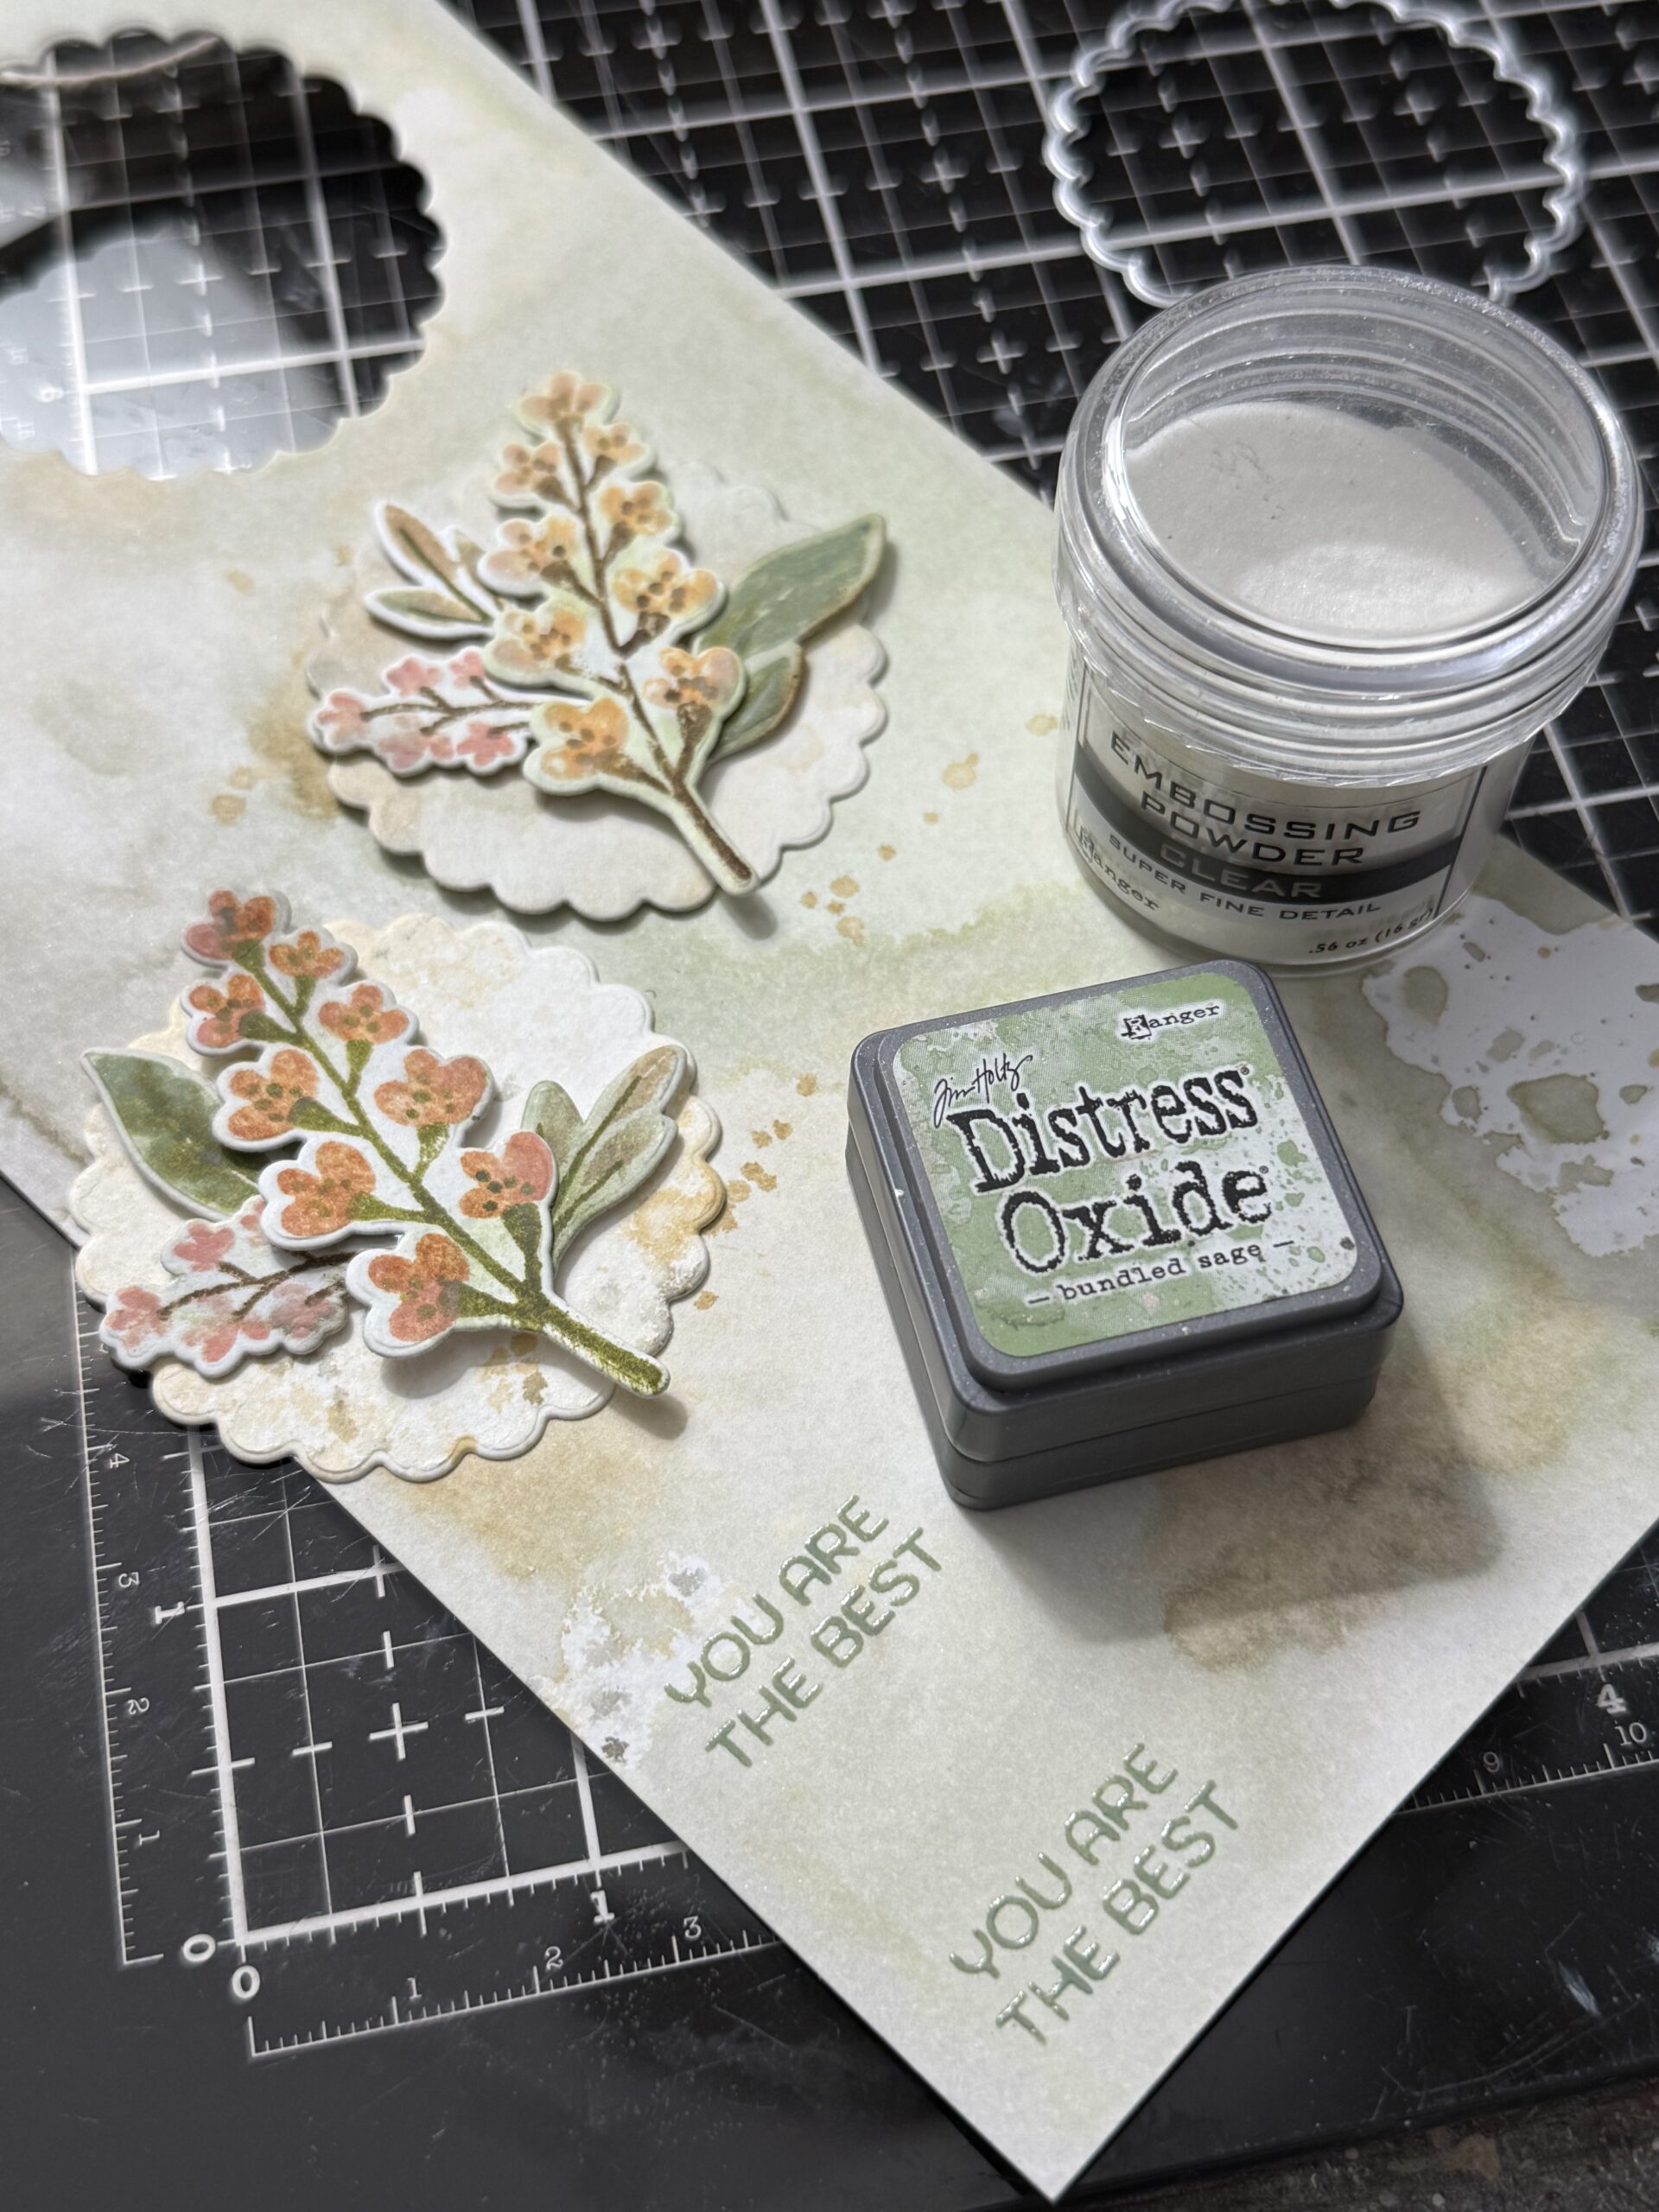
I stamped a phrase using some Distress Oxide Ink to stamp, then used some Clear Super Fine Embossing powder over top and embossed it with my embossing gun.
Distress Oxide inks work great for phrases…they are opaque inks and perfect for embossing to create a non-transparent phrase..and they stay wet for a bit longer than regular distress ink making them perfect for catching the embossing powder.
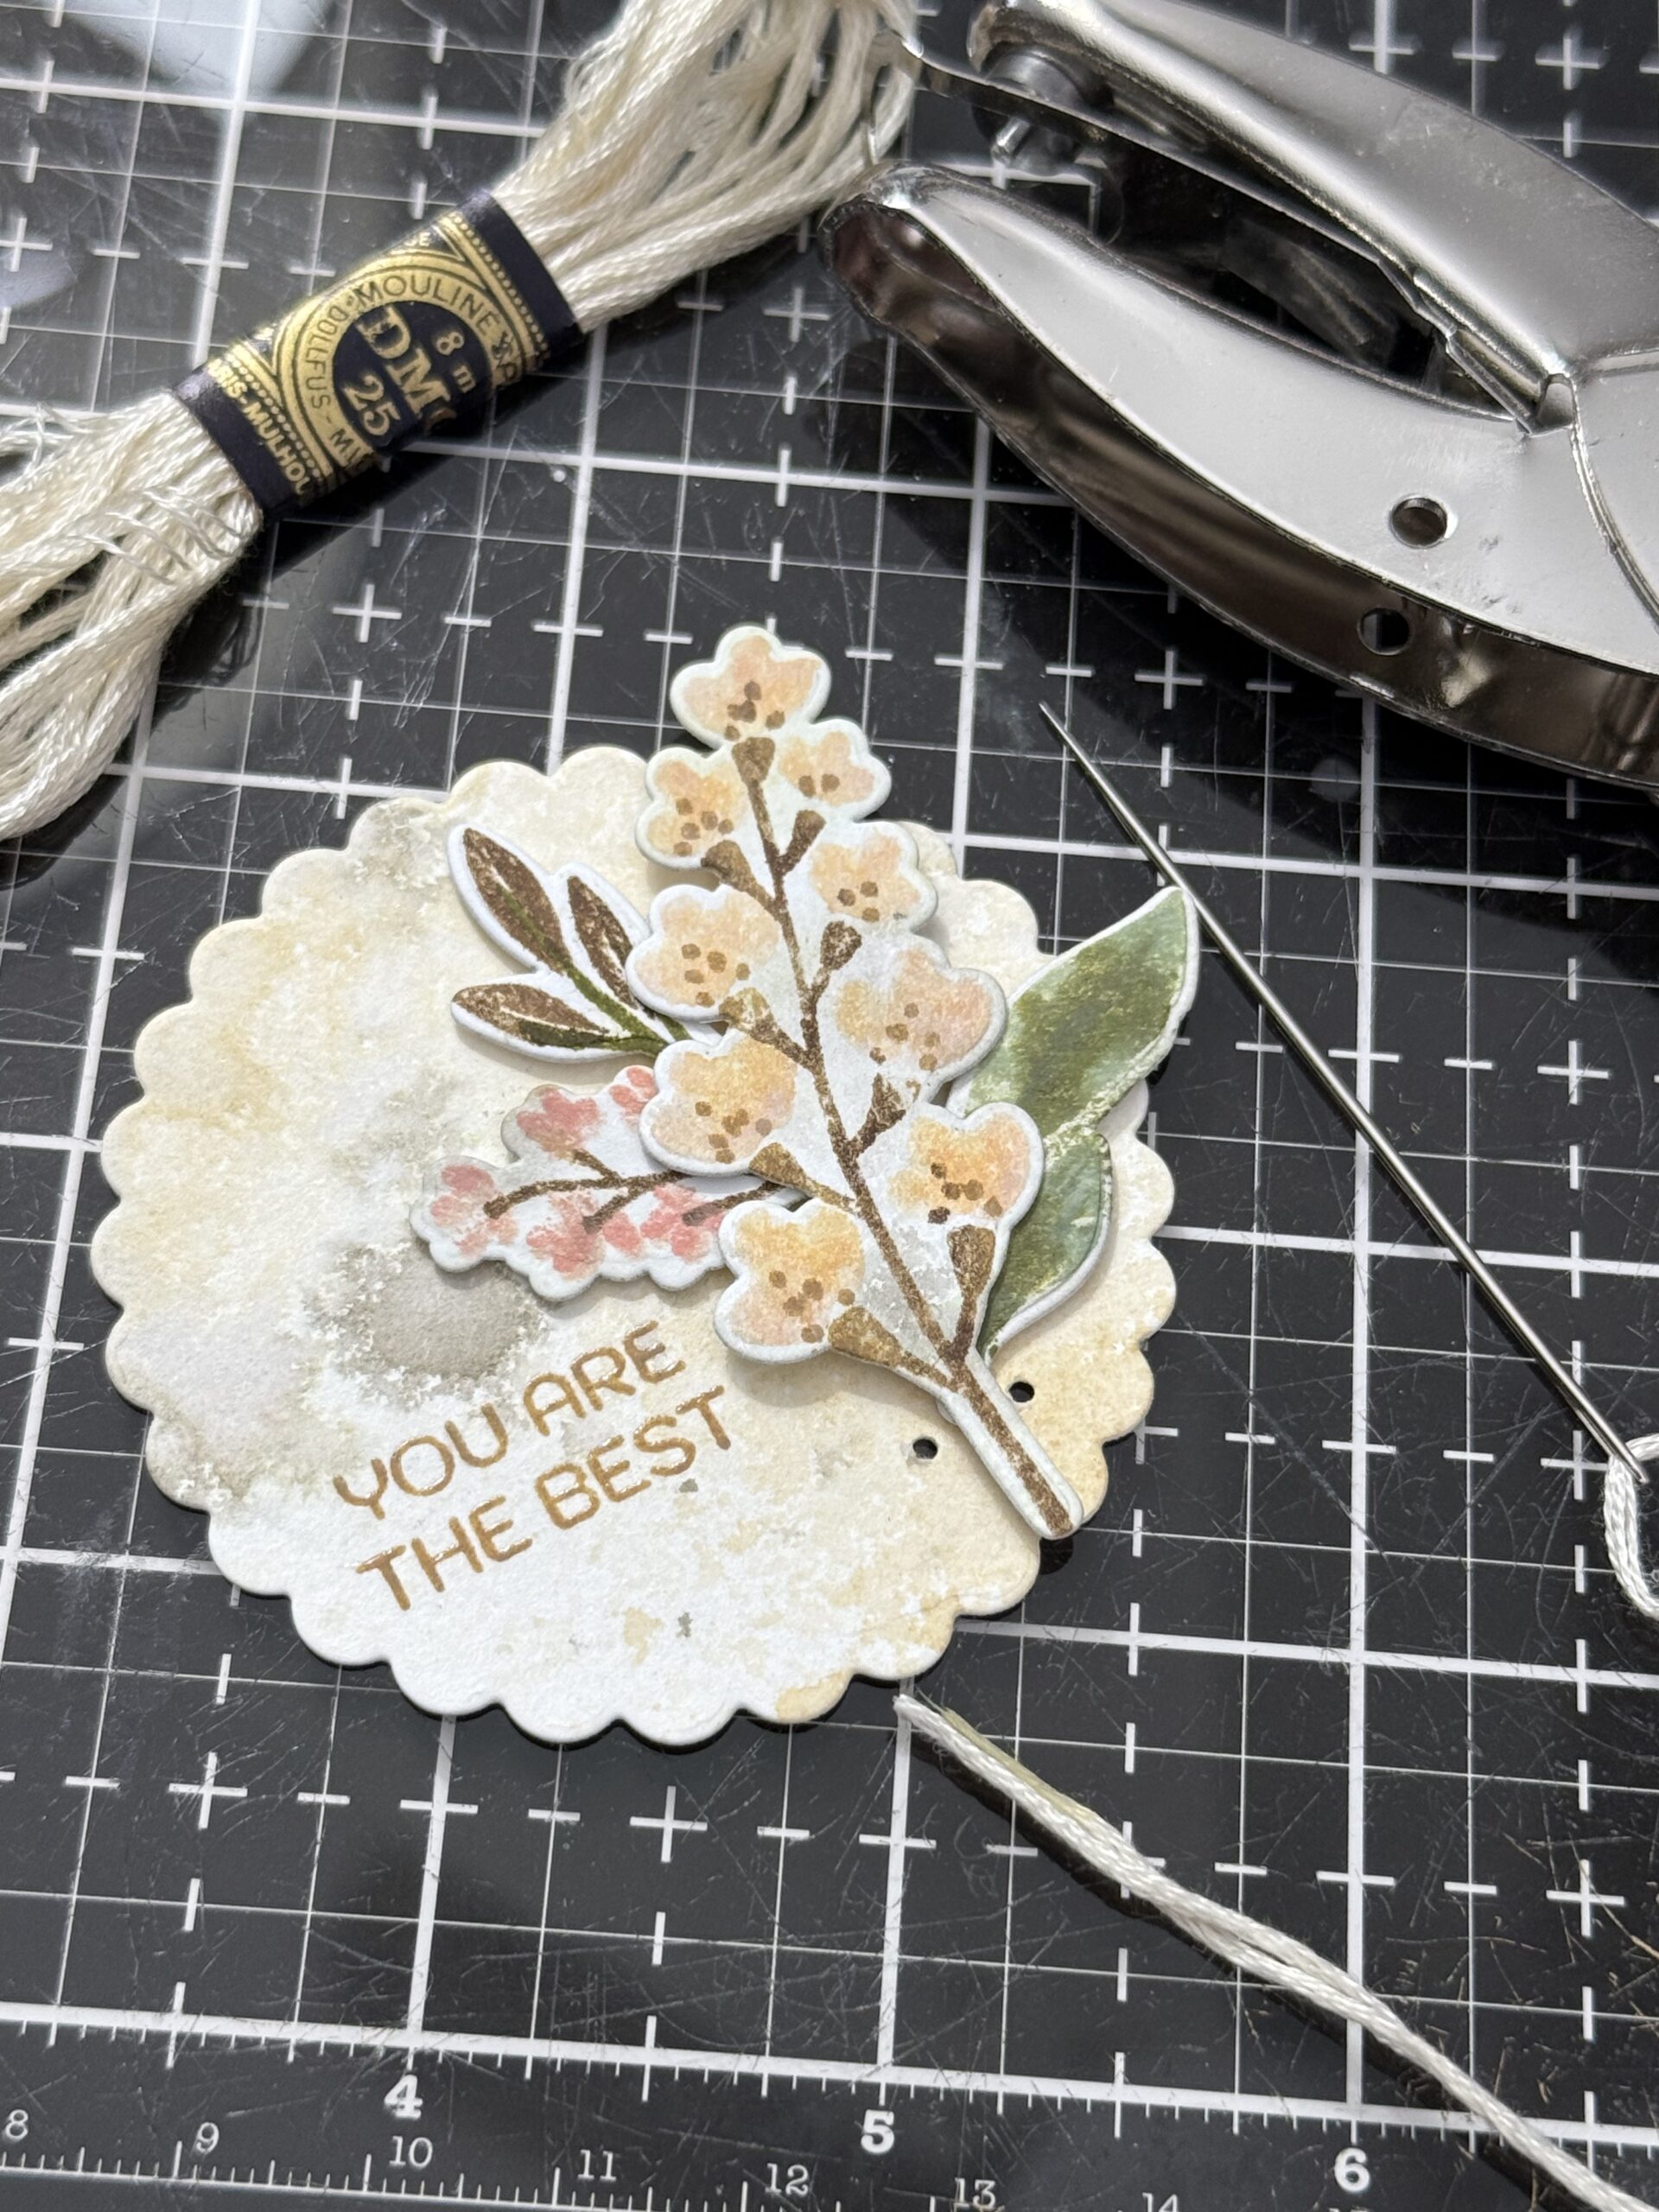
I decided the area for the bouquet, then using a 1/16″ hand punch, punched two holes to the right and left of the bouquet position on the scallop circle. I used some Embroidery Floss and a needle to lace the threads through the holes and tied a bow. This was only done on the card bouquet, but would be cute on the gift enclosures too.
I stamped a couple of the phrases onto some of the scrap paper that I had left over and embossed it with the clear embossing powder. These phrases were trimmed from the paper into the flag shape with two tails free hand cut.
I cut a piece of the polka dot background paper to the 4×4 size, then stitched a border around the edge using my sewing machine. Then I placed it onto a piece of paper trimmed and scored to fit the background. The gift enclosure tags were made using the scrap paper but trimmed and scored into the smaller size to fit my scallop background shape. I punched holes in the corner of the tag enclosures and tied a bow using cotton string. A piece of cotton string was added to the card by wrapping around and tying a bow near the fold of the card.
With that, my projects were complete…
Thanks so much for stopping by today!
Creatively yours,
Stacy
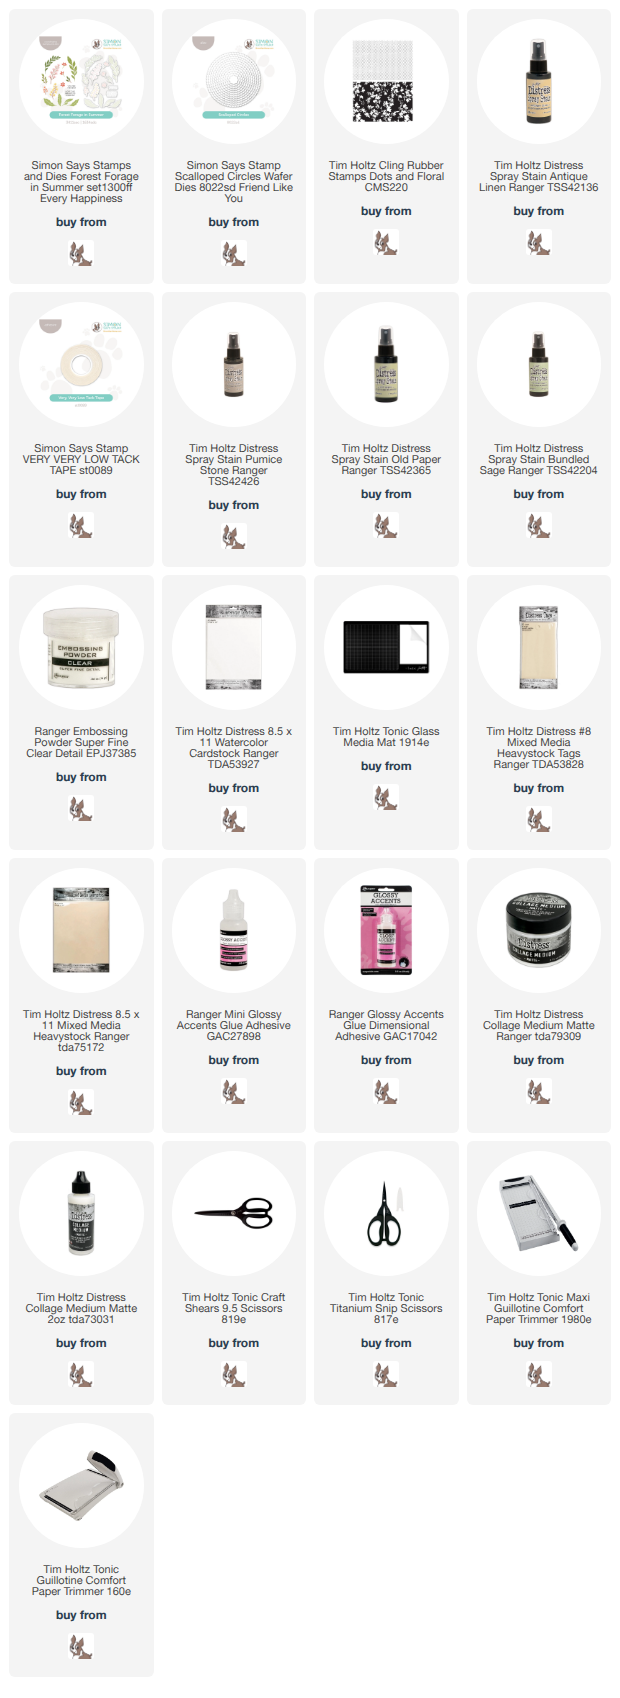
Shop Simon Says Stamp by clicking on this link. Thank you! I appreciate you for supporting me.
What is an affiliate program, and why should I click on the link and buy through you?
When you shop via the affiliate link on this blog, I receive a small commission from the affiliate provider (Simon Says Stamp) at no extra cost to you, whatsoever. These commissions help me to cover the hosting fees and other costs to run my blog and be able to provide you with FREE inspiration. If you shop the links, THANK YOU! I truly appreciate being able to share my love of creating with you.










Leave a Reply