Hello friends! I am back today with a little surprise…Tim Holtz and Simon Says Stamp have been at it again! Today, they released several wafer die sets that match previously released Tim Holtz Stamp Sets…just in time for Christmas making. Wafer Dies bring so much more creativity to stamps, making them easy to cut out the designs without having to take the time to fussy cut.
You can check out all the sets that are being released today by clicking HERE. There are 8 sets in all in this release.
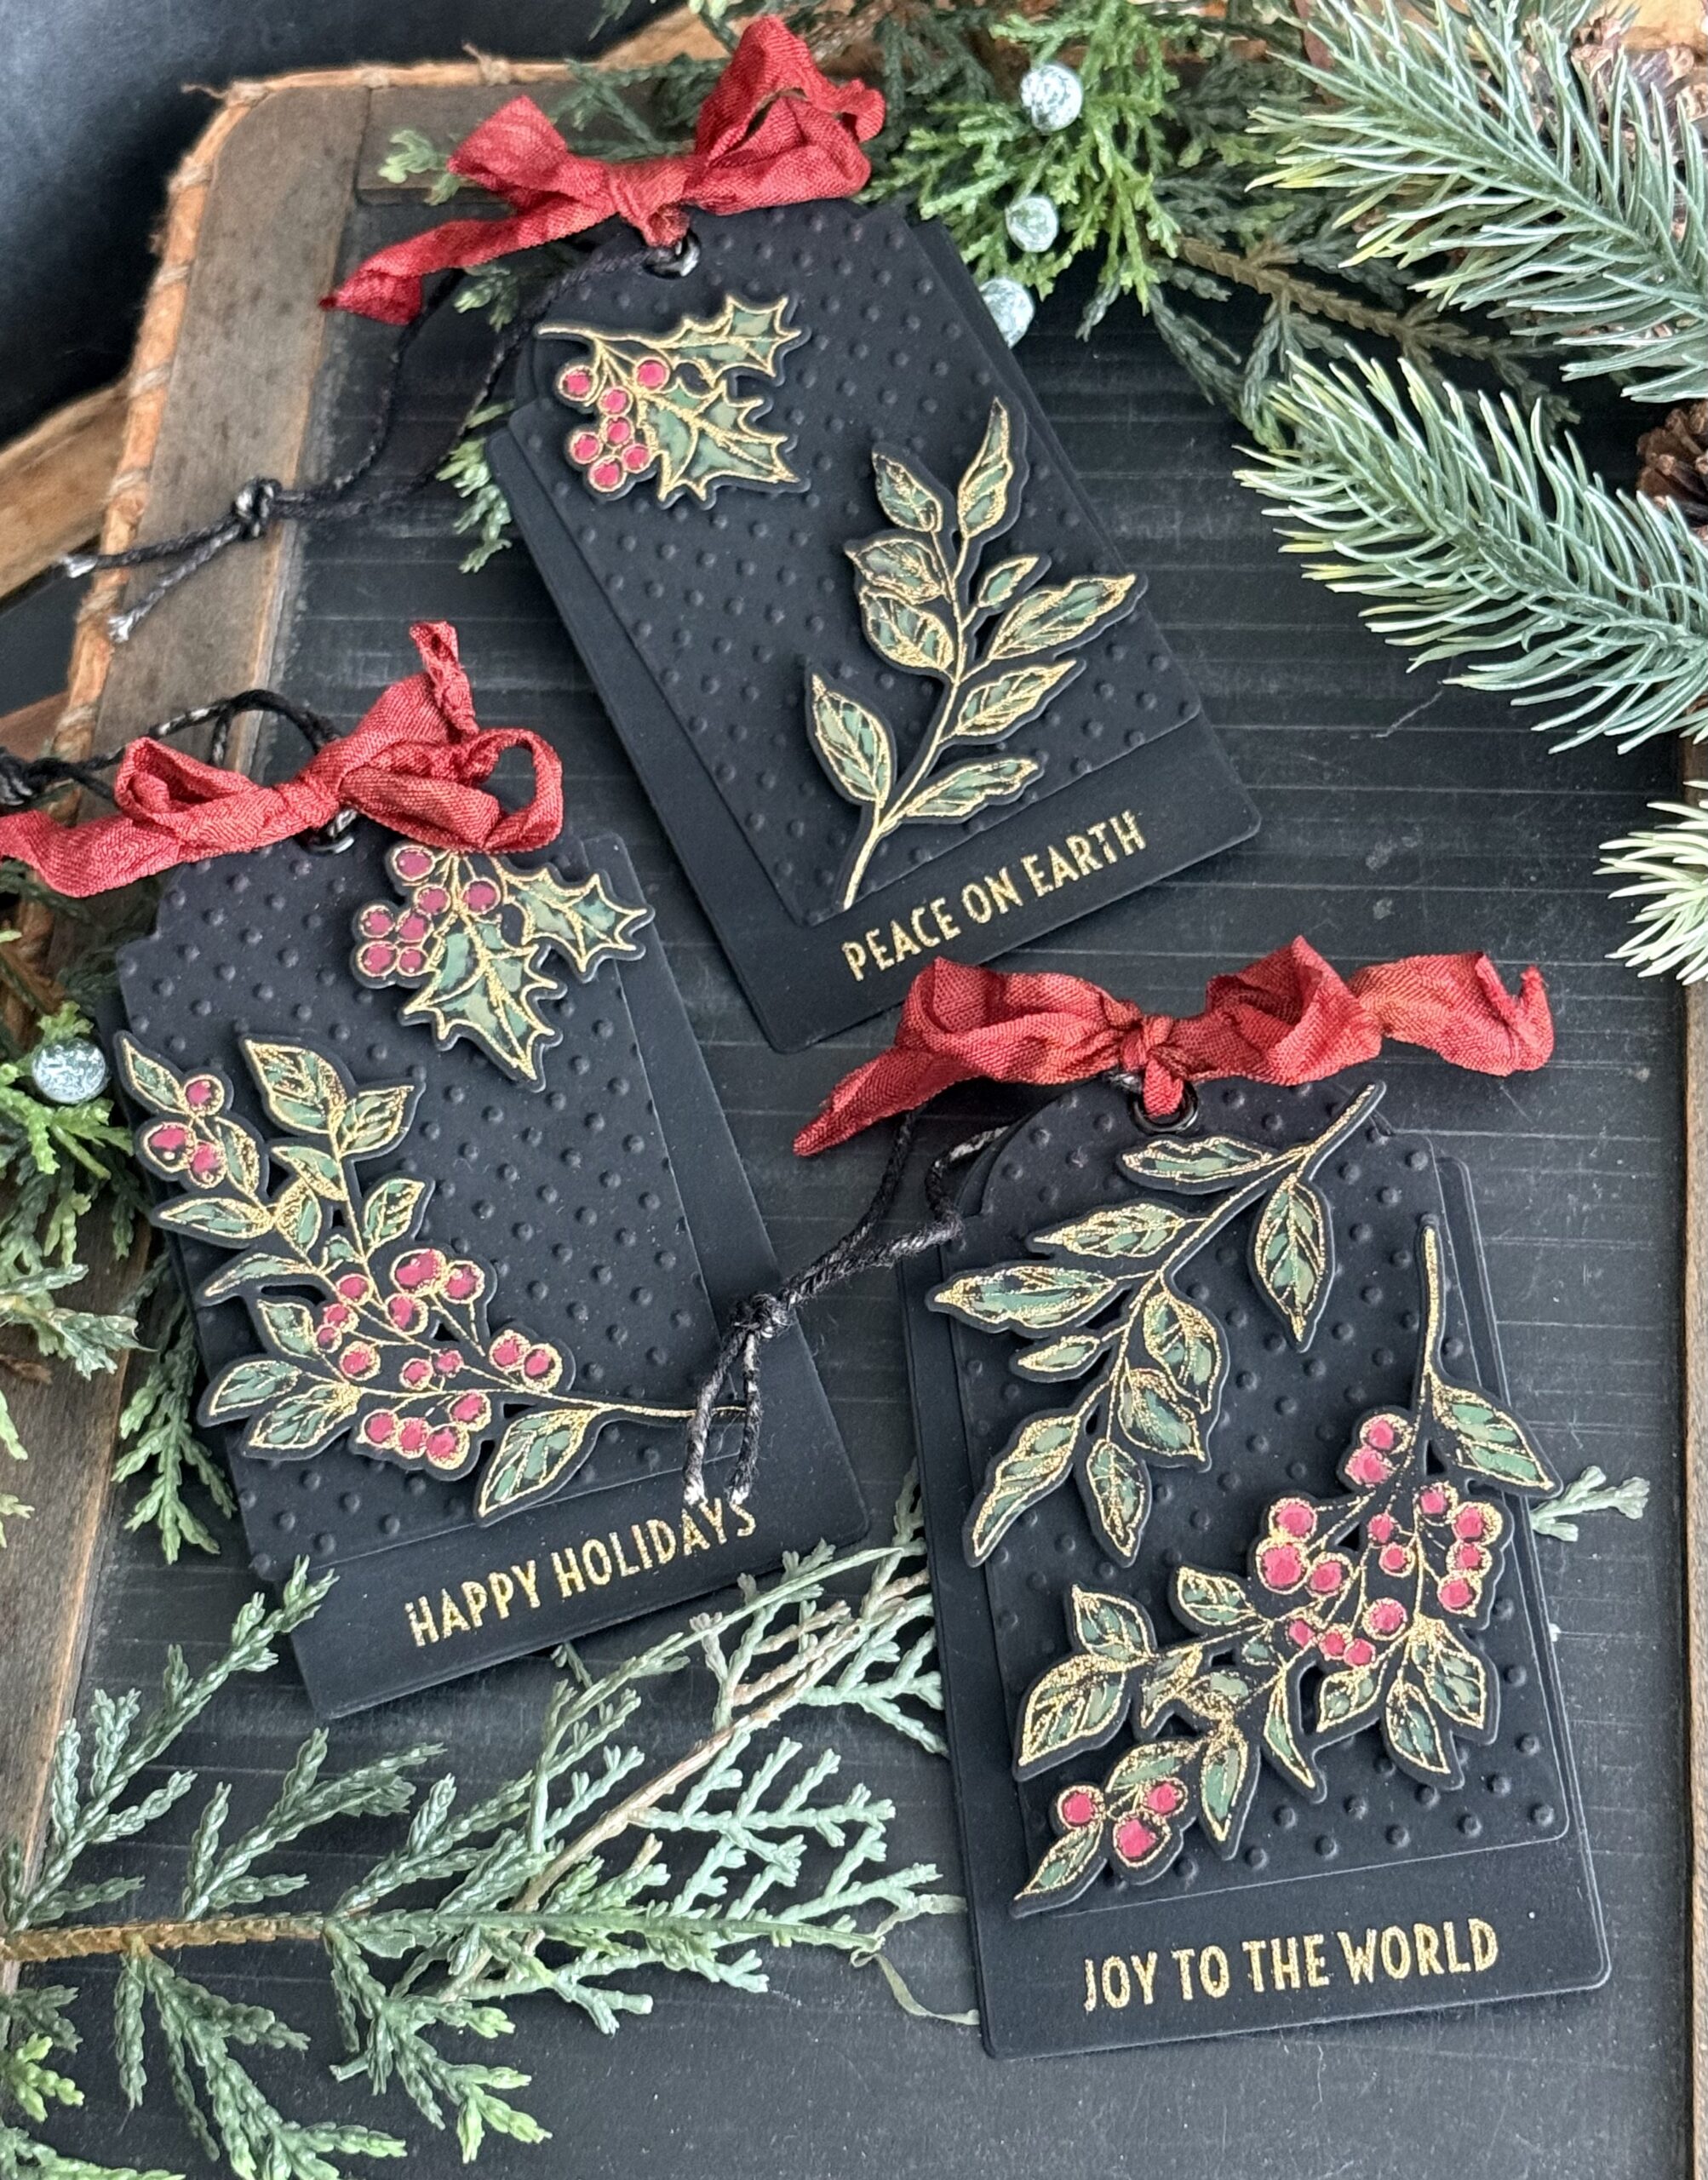
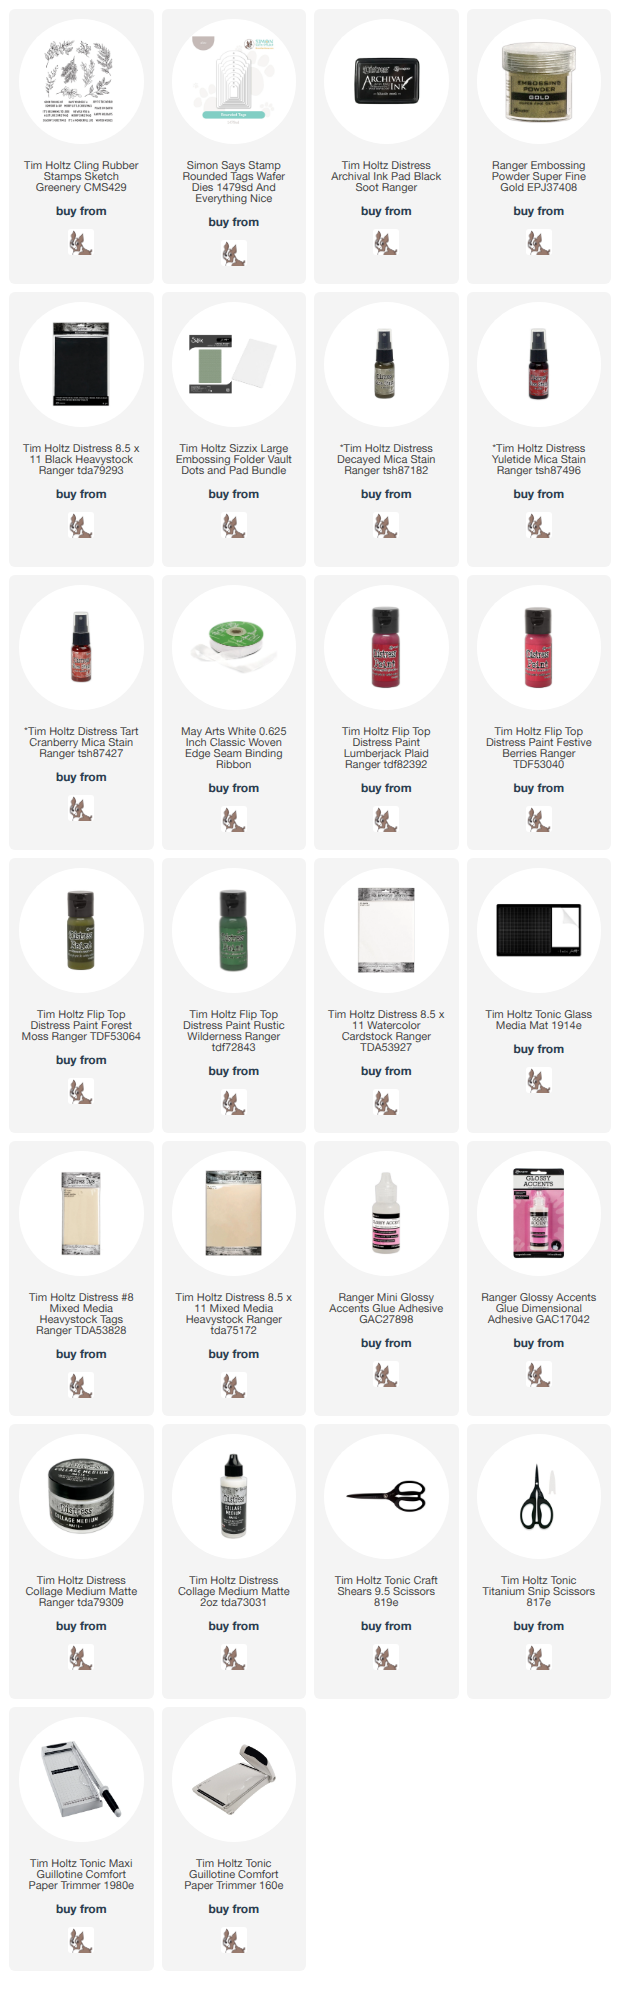
I have used the Tim Holtz Sketch Greenery CMS429 along with the new wafer dies to create some gift tags, perfect for holiday gift giving. The Greenery set was already a favorite of mine, so adding the dies into the mix, really opens up so many more possibilities. Click HERE to see the Sketch Greenery Set.
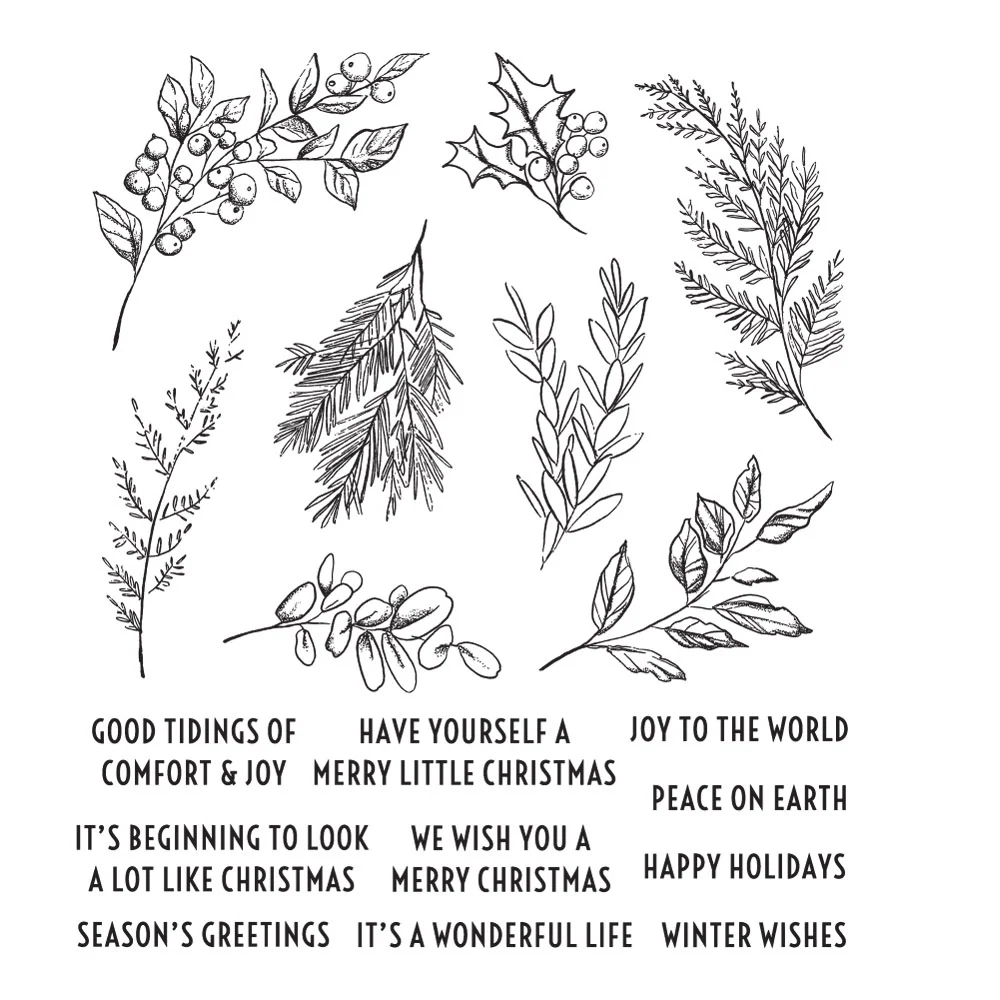
And here is a peek of the entire stamp set…even the greetings are perfect! I love a good greenery set as coloring them up is one of my favorite things to do.
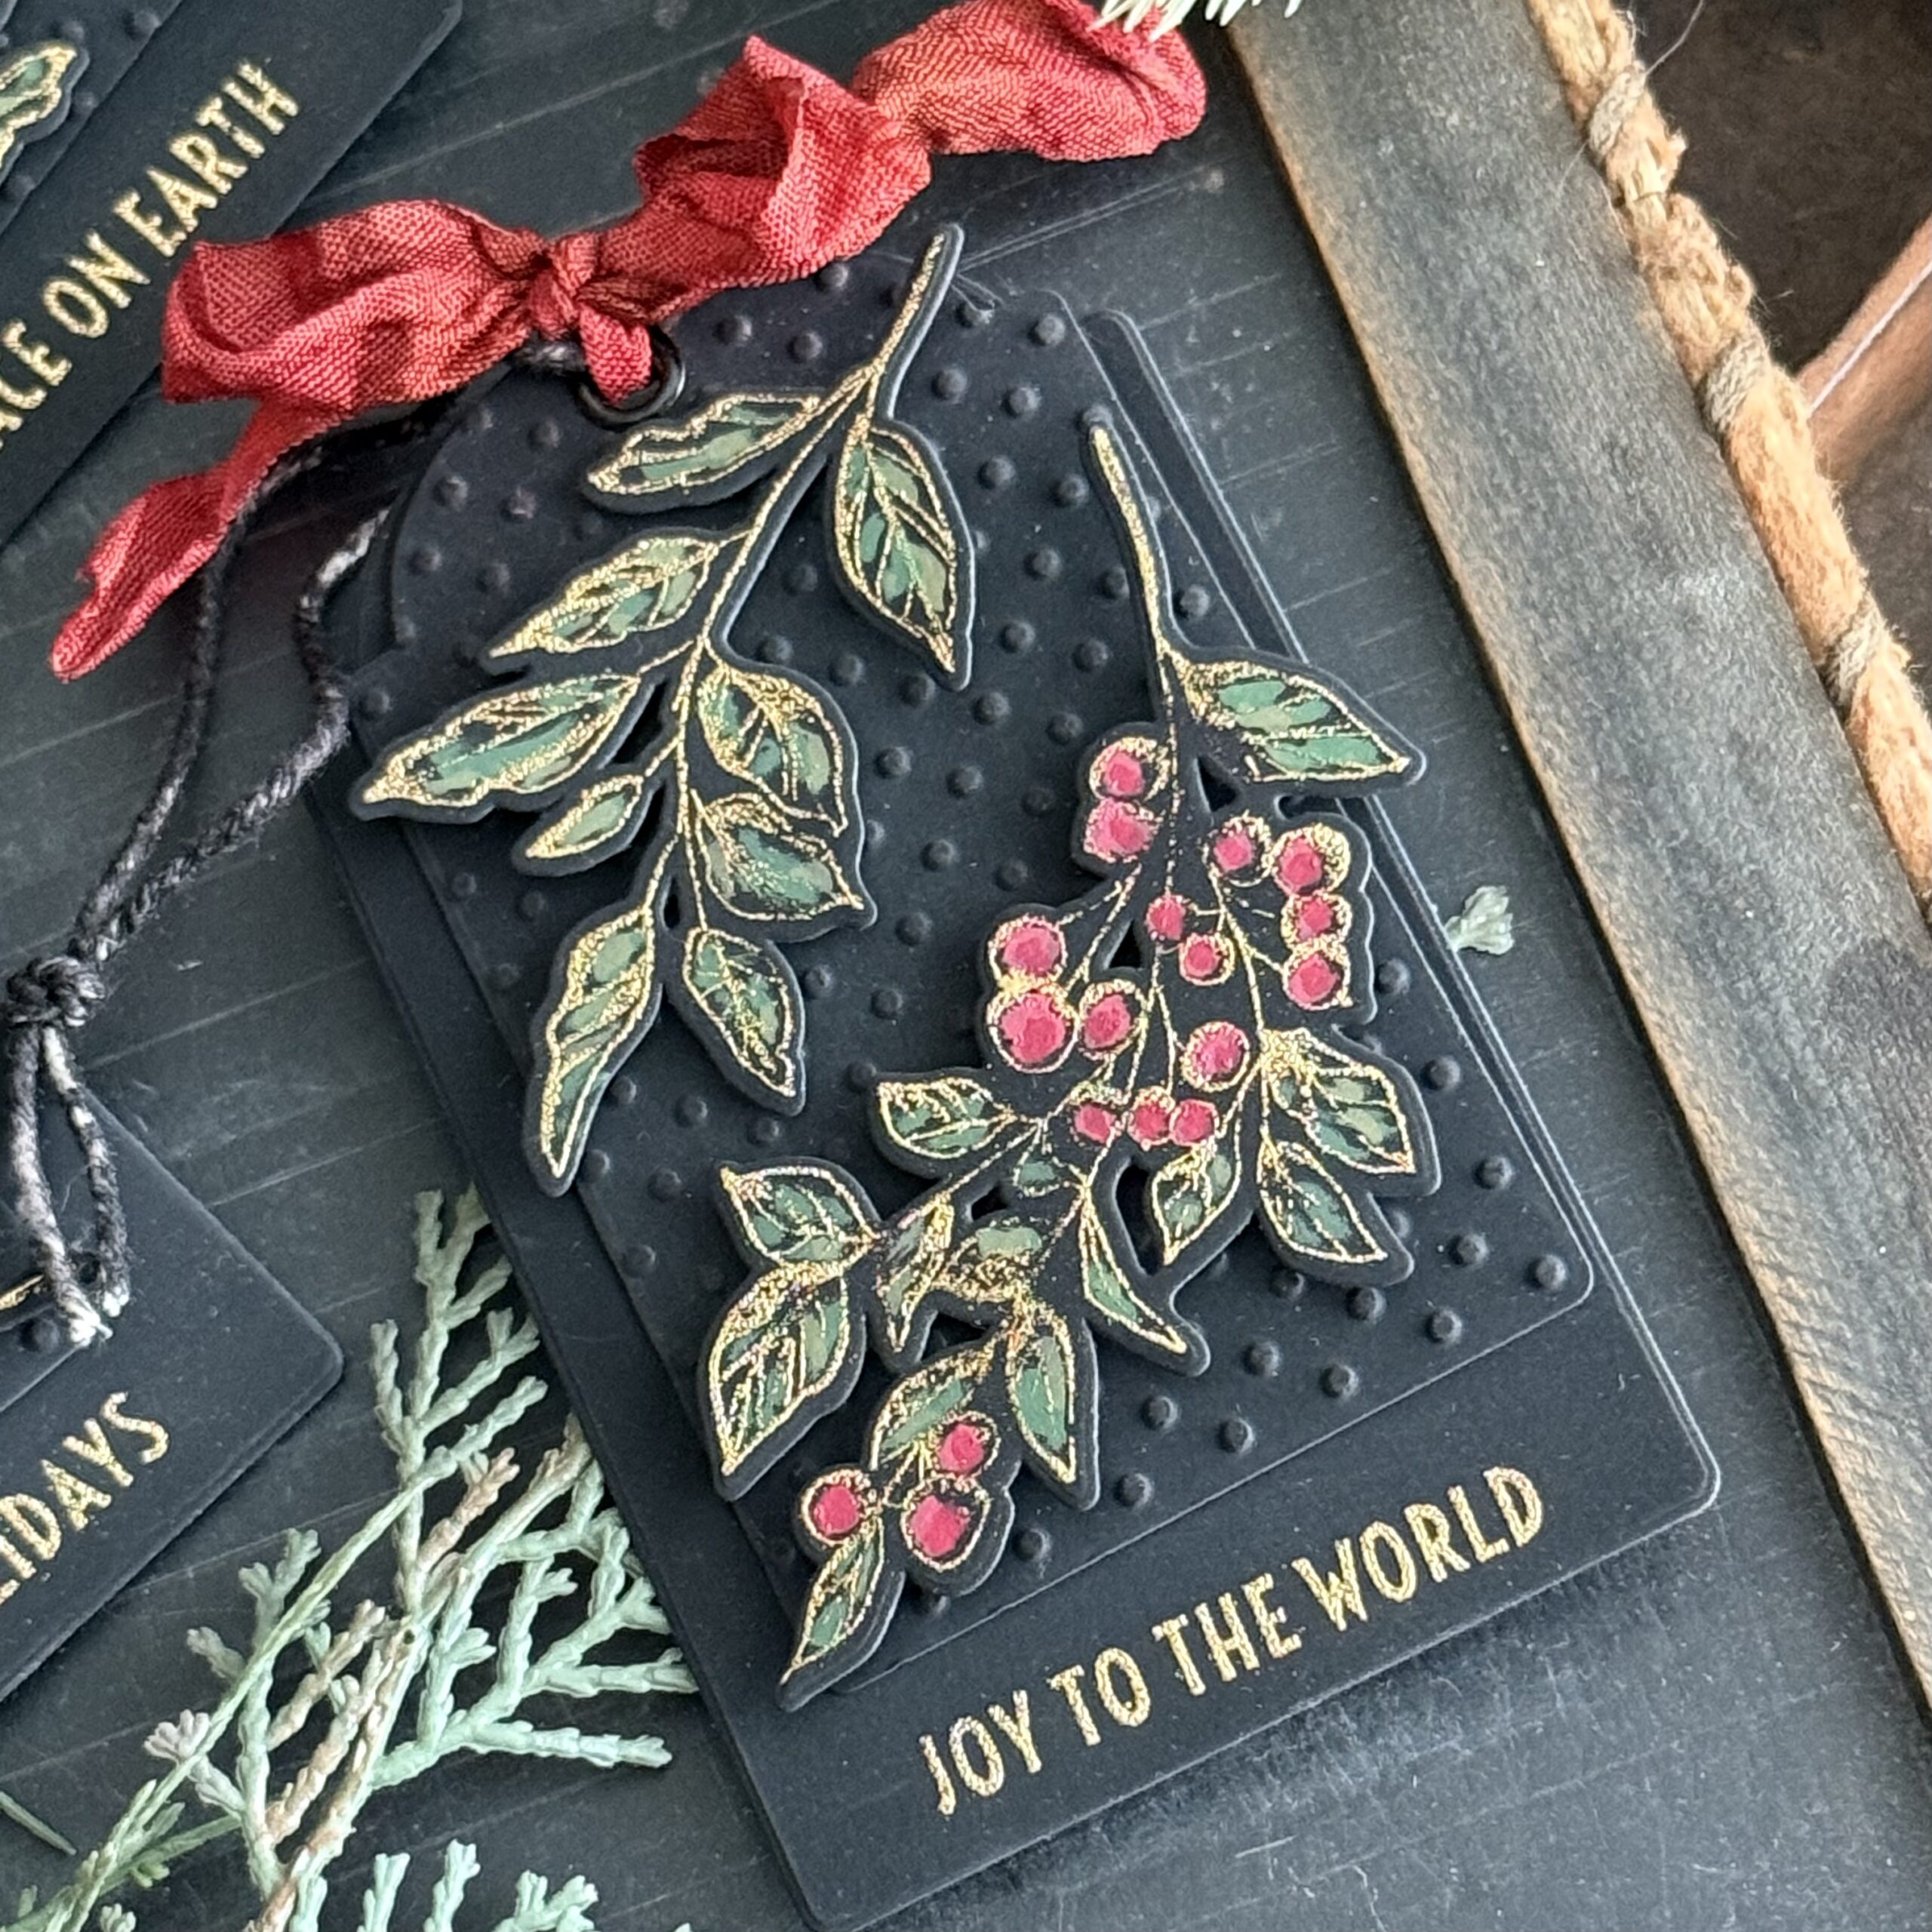
I chose to stamp the images on Distress Black Heavystock Cardstock and color them using Distress Paints. The Distress Paints are an opaque medium, so they show up on black cardstock perfectly.
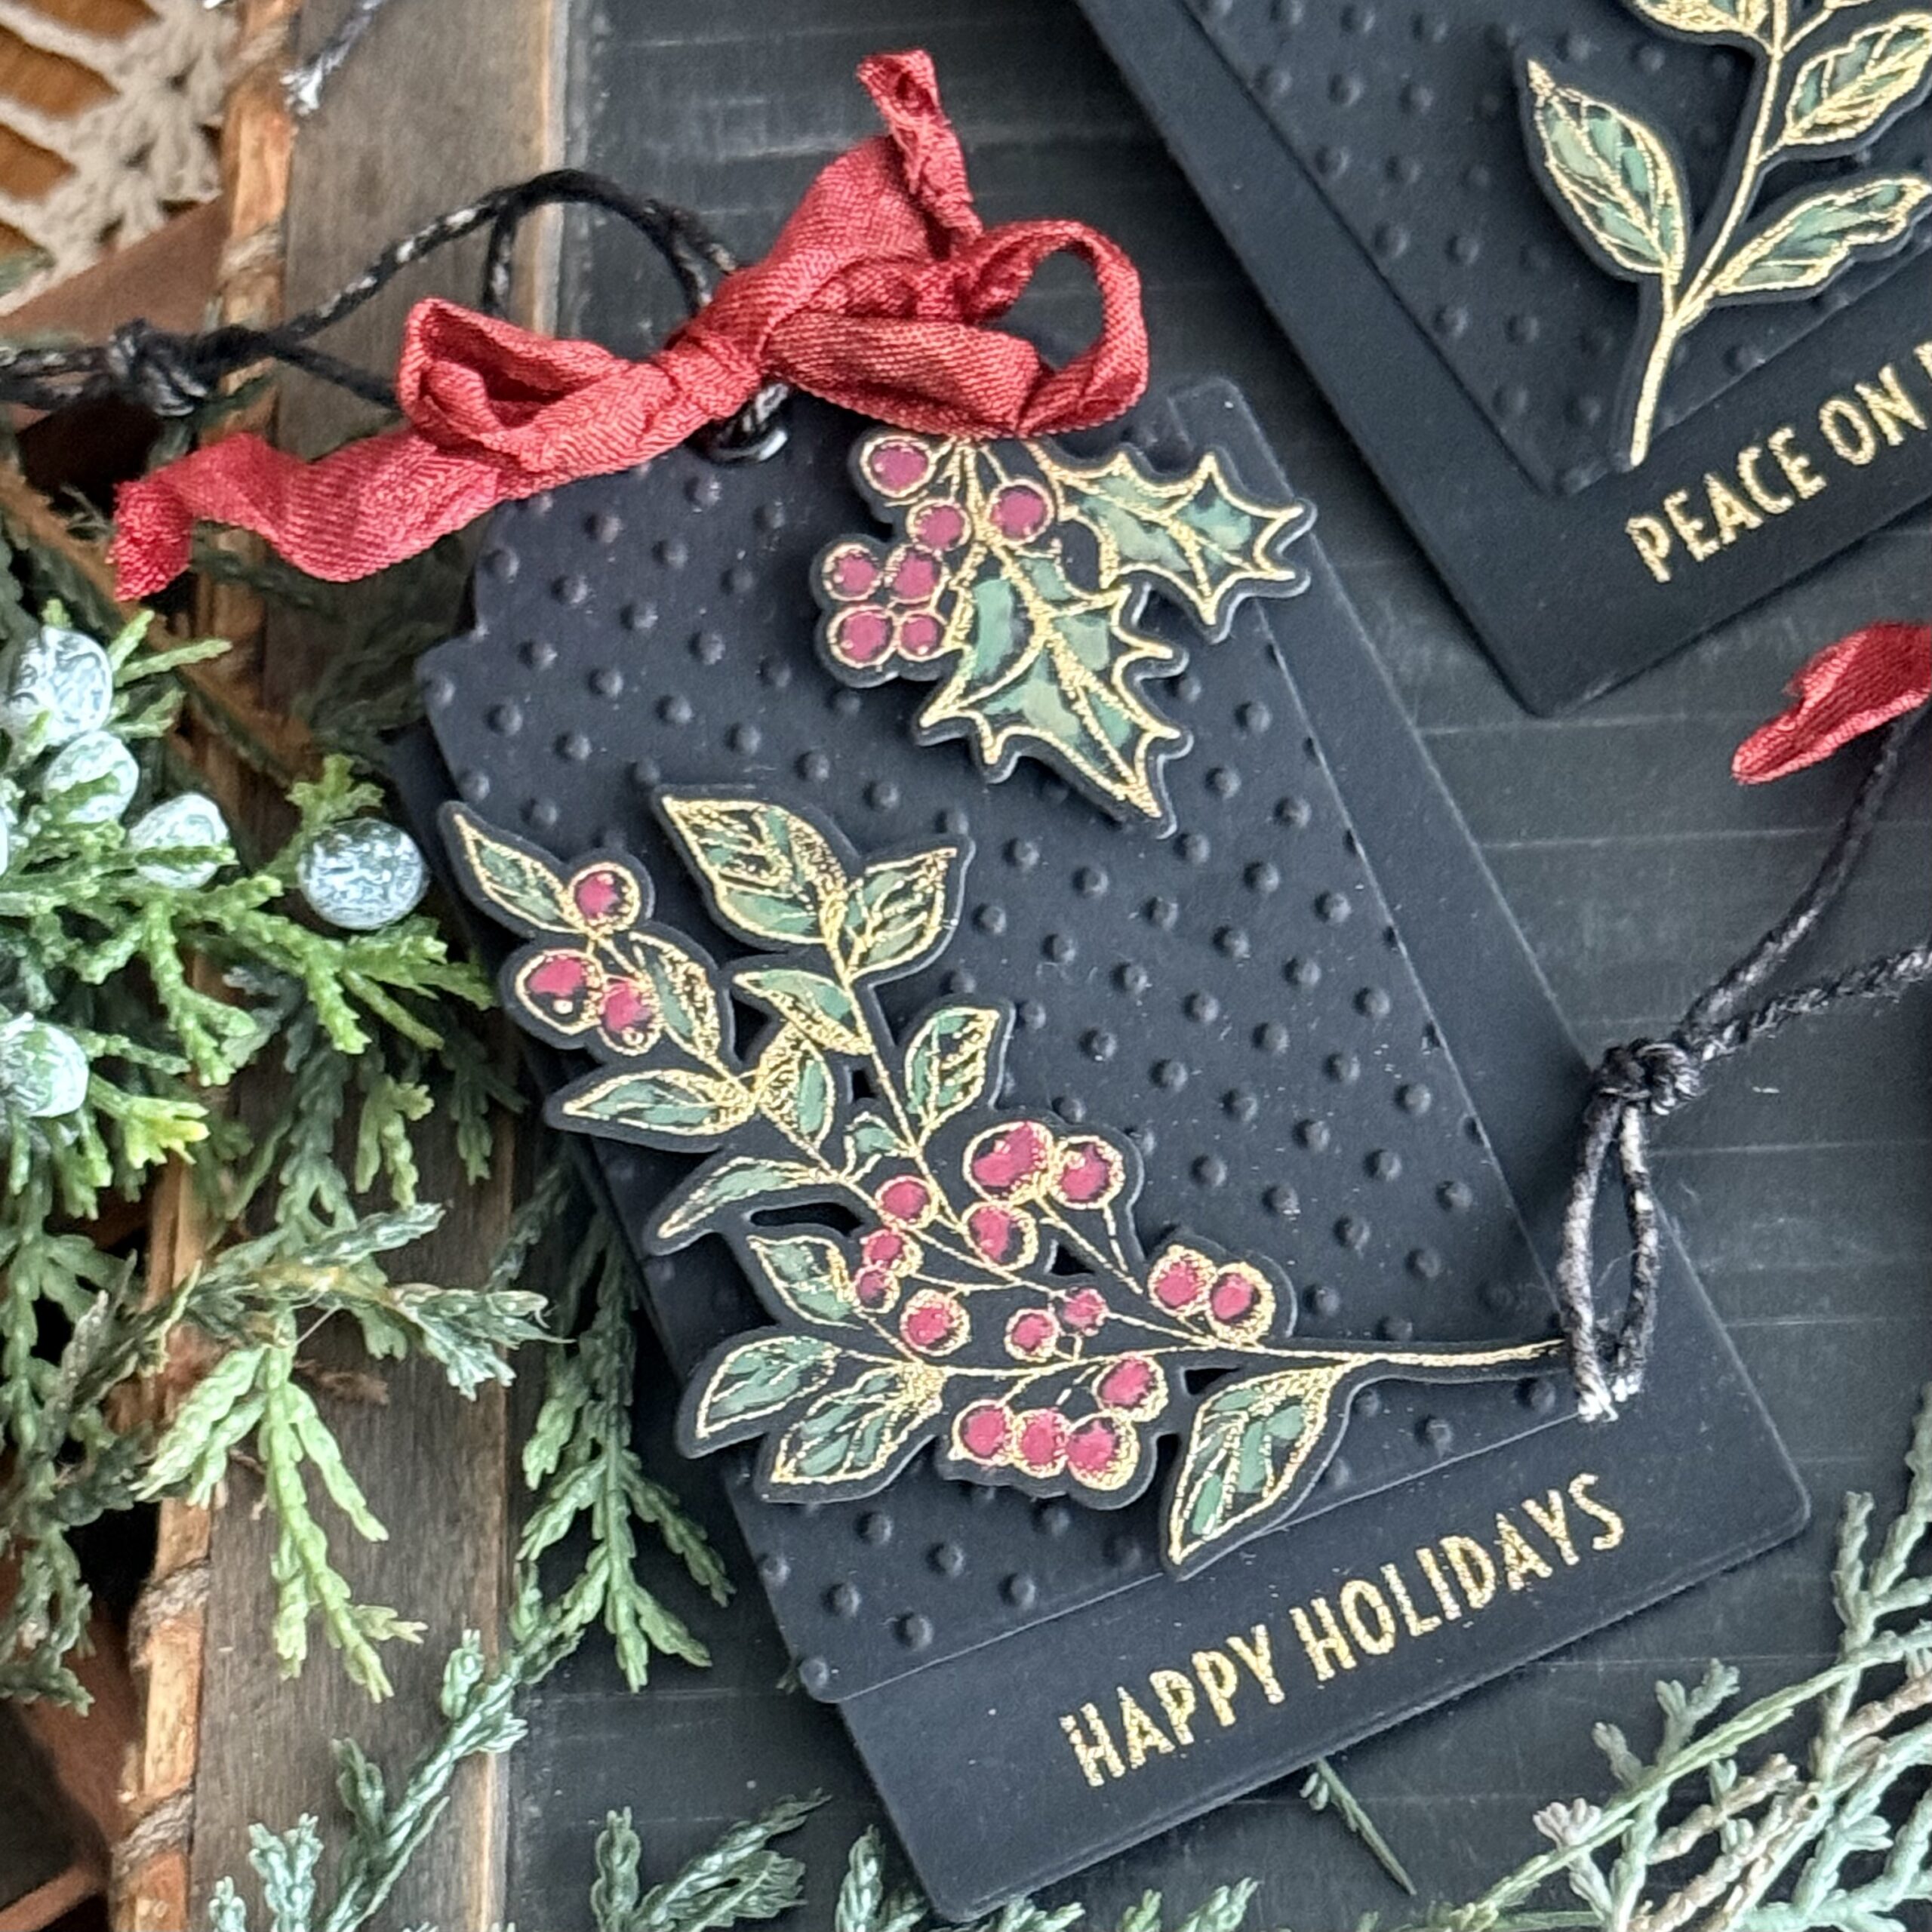
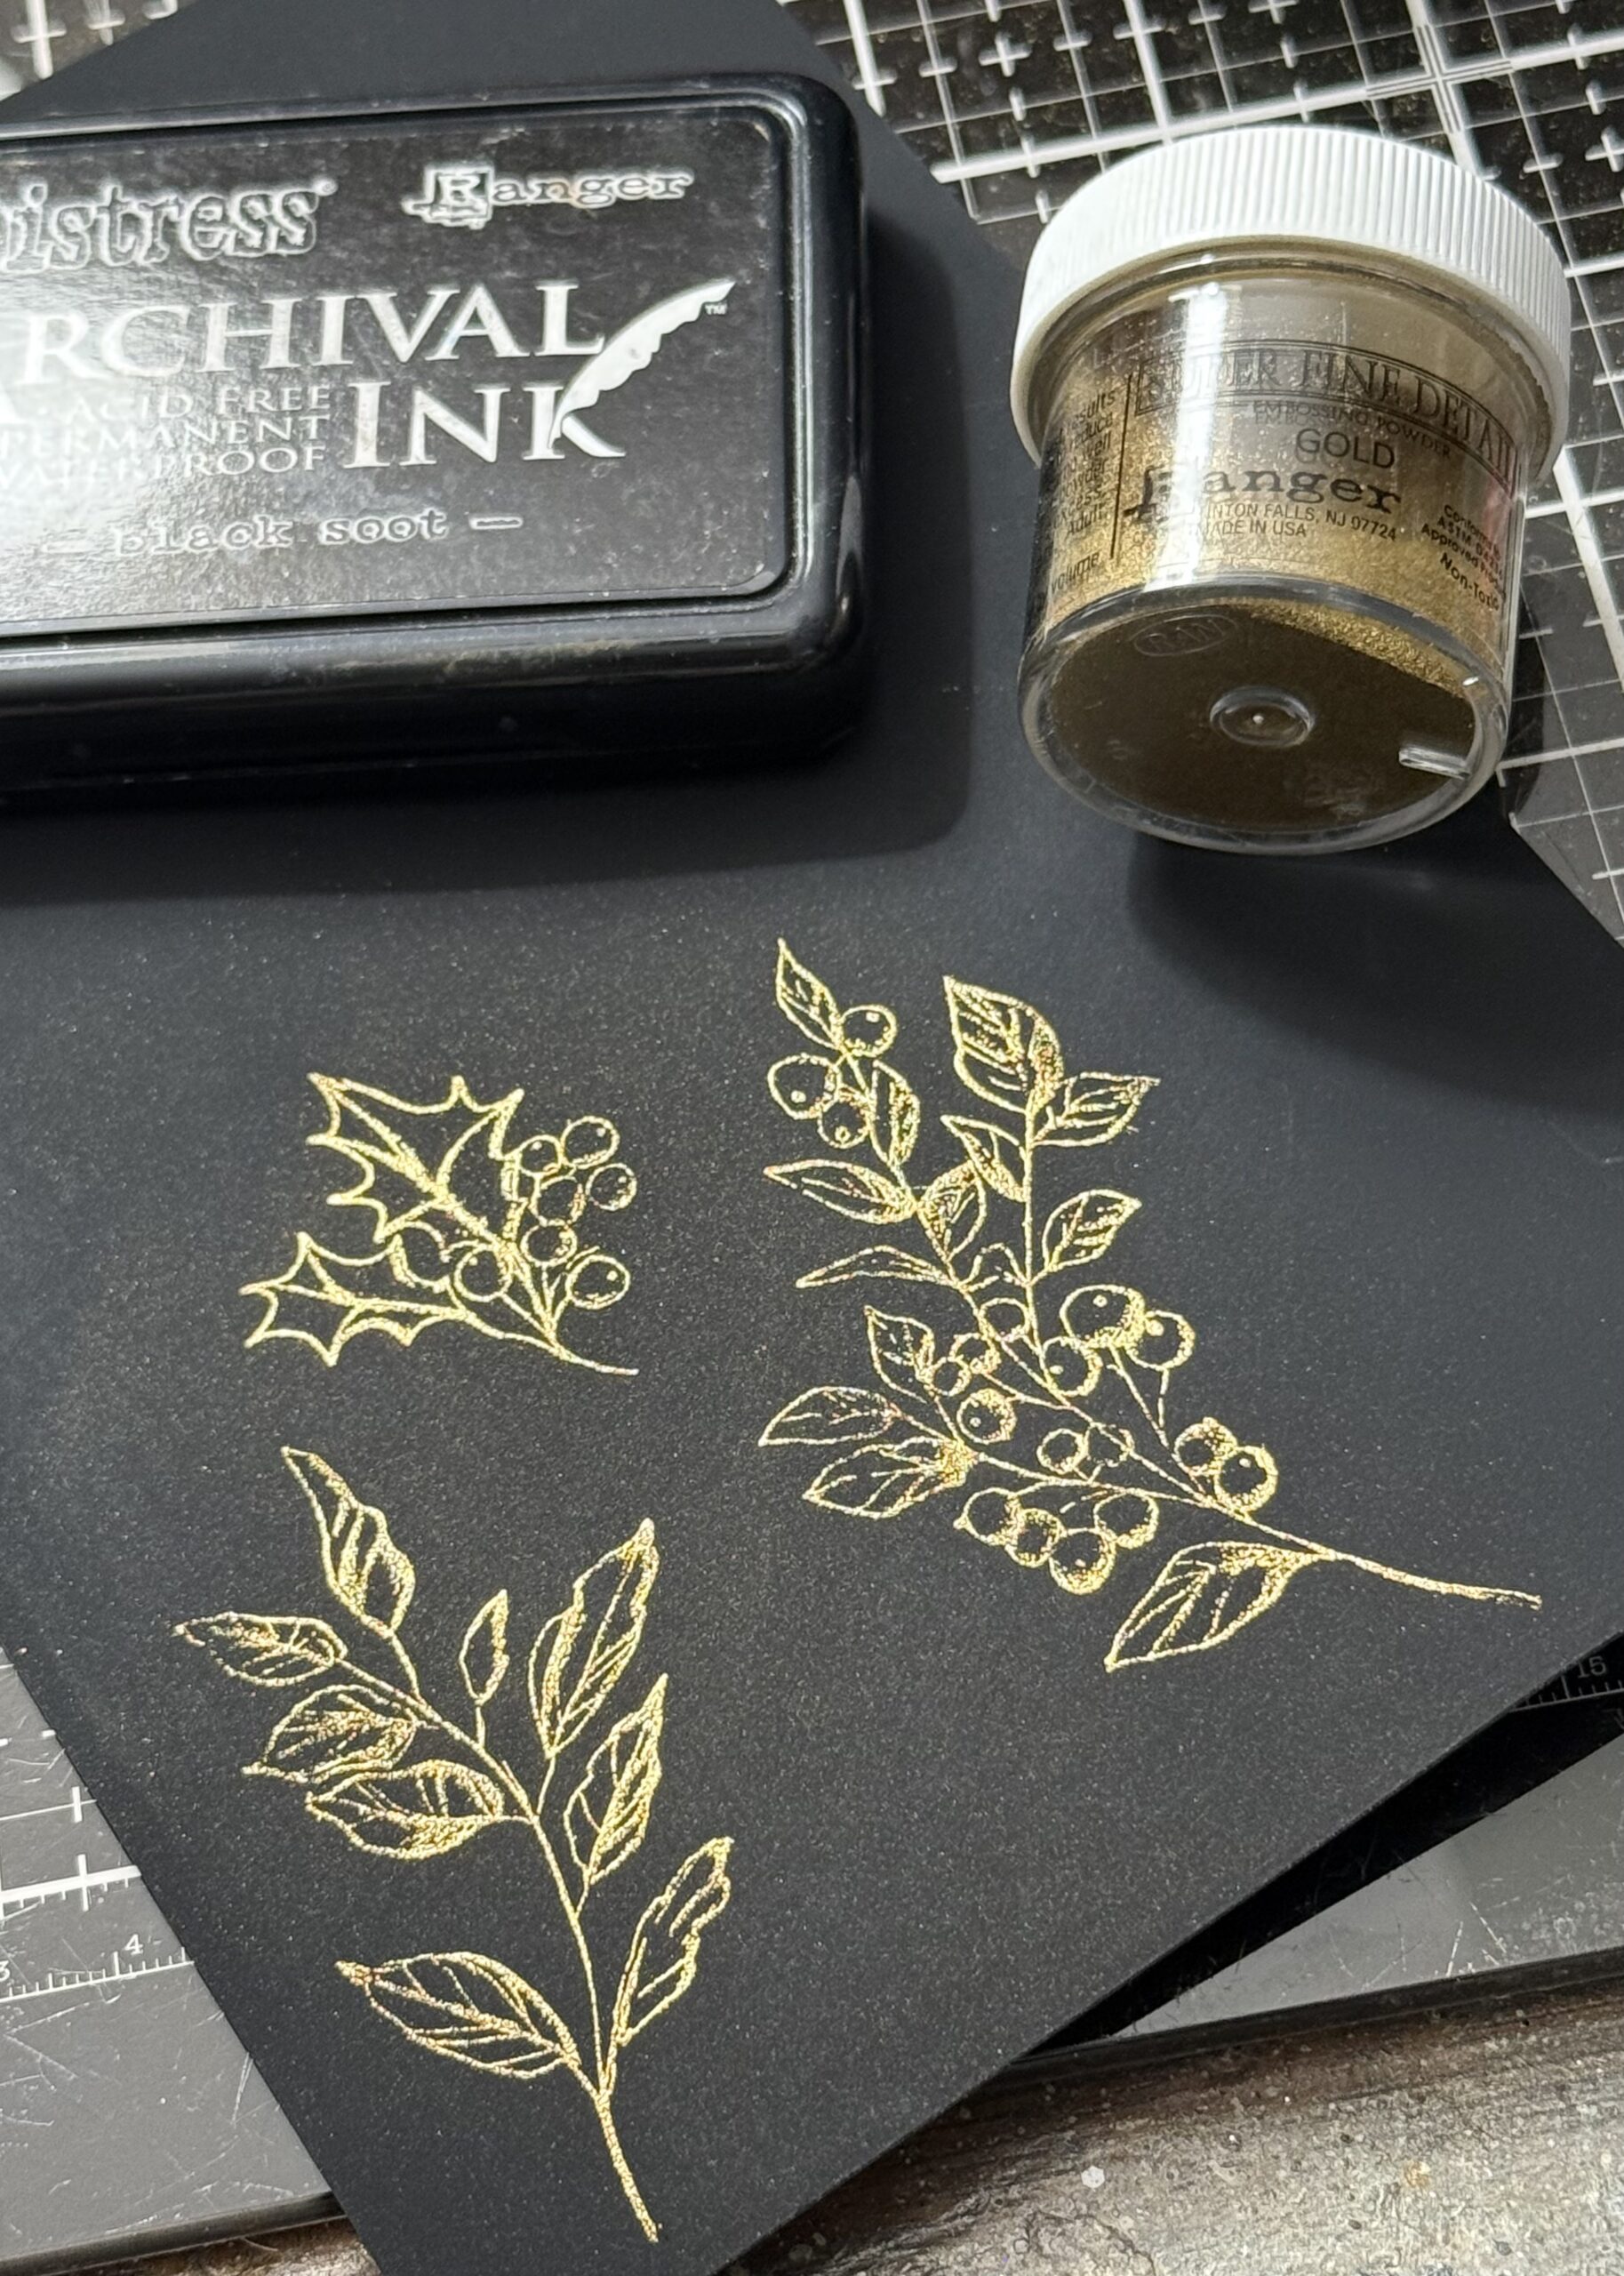
To start, I embossed the images using Gold Embossing Powder, then colored the image in with the paint…so, let’s get to it!
I chose to stamp my images using a stamp platform and Black Soot Archival Ink. I have found that when I have a very detailed stamp, Archival Ink does a fantastic job of keeping the fine detail unlike some of the embossing inks that I have tried in the past.
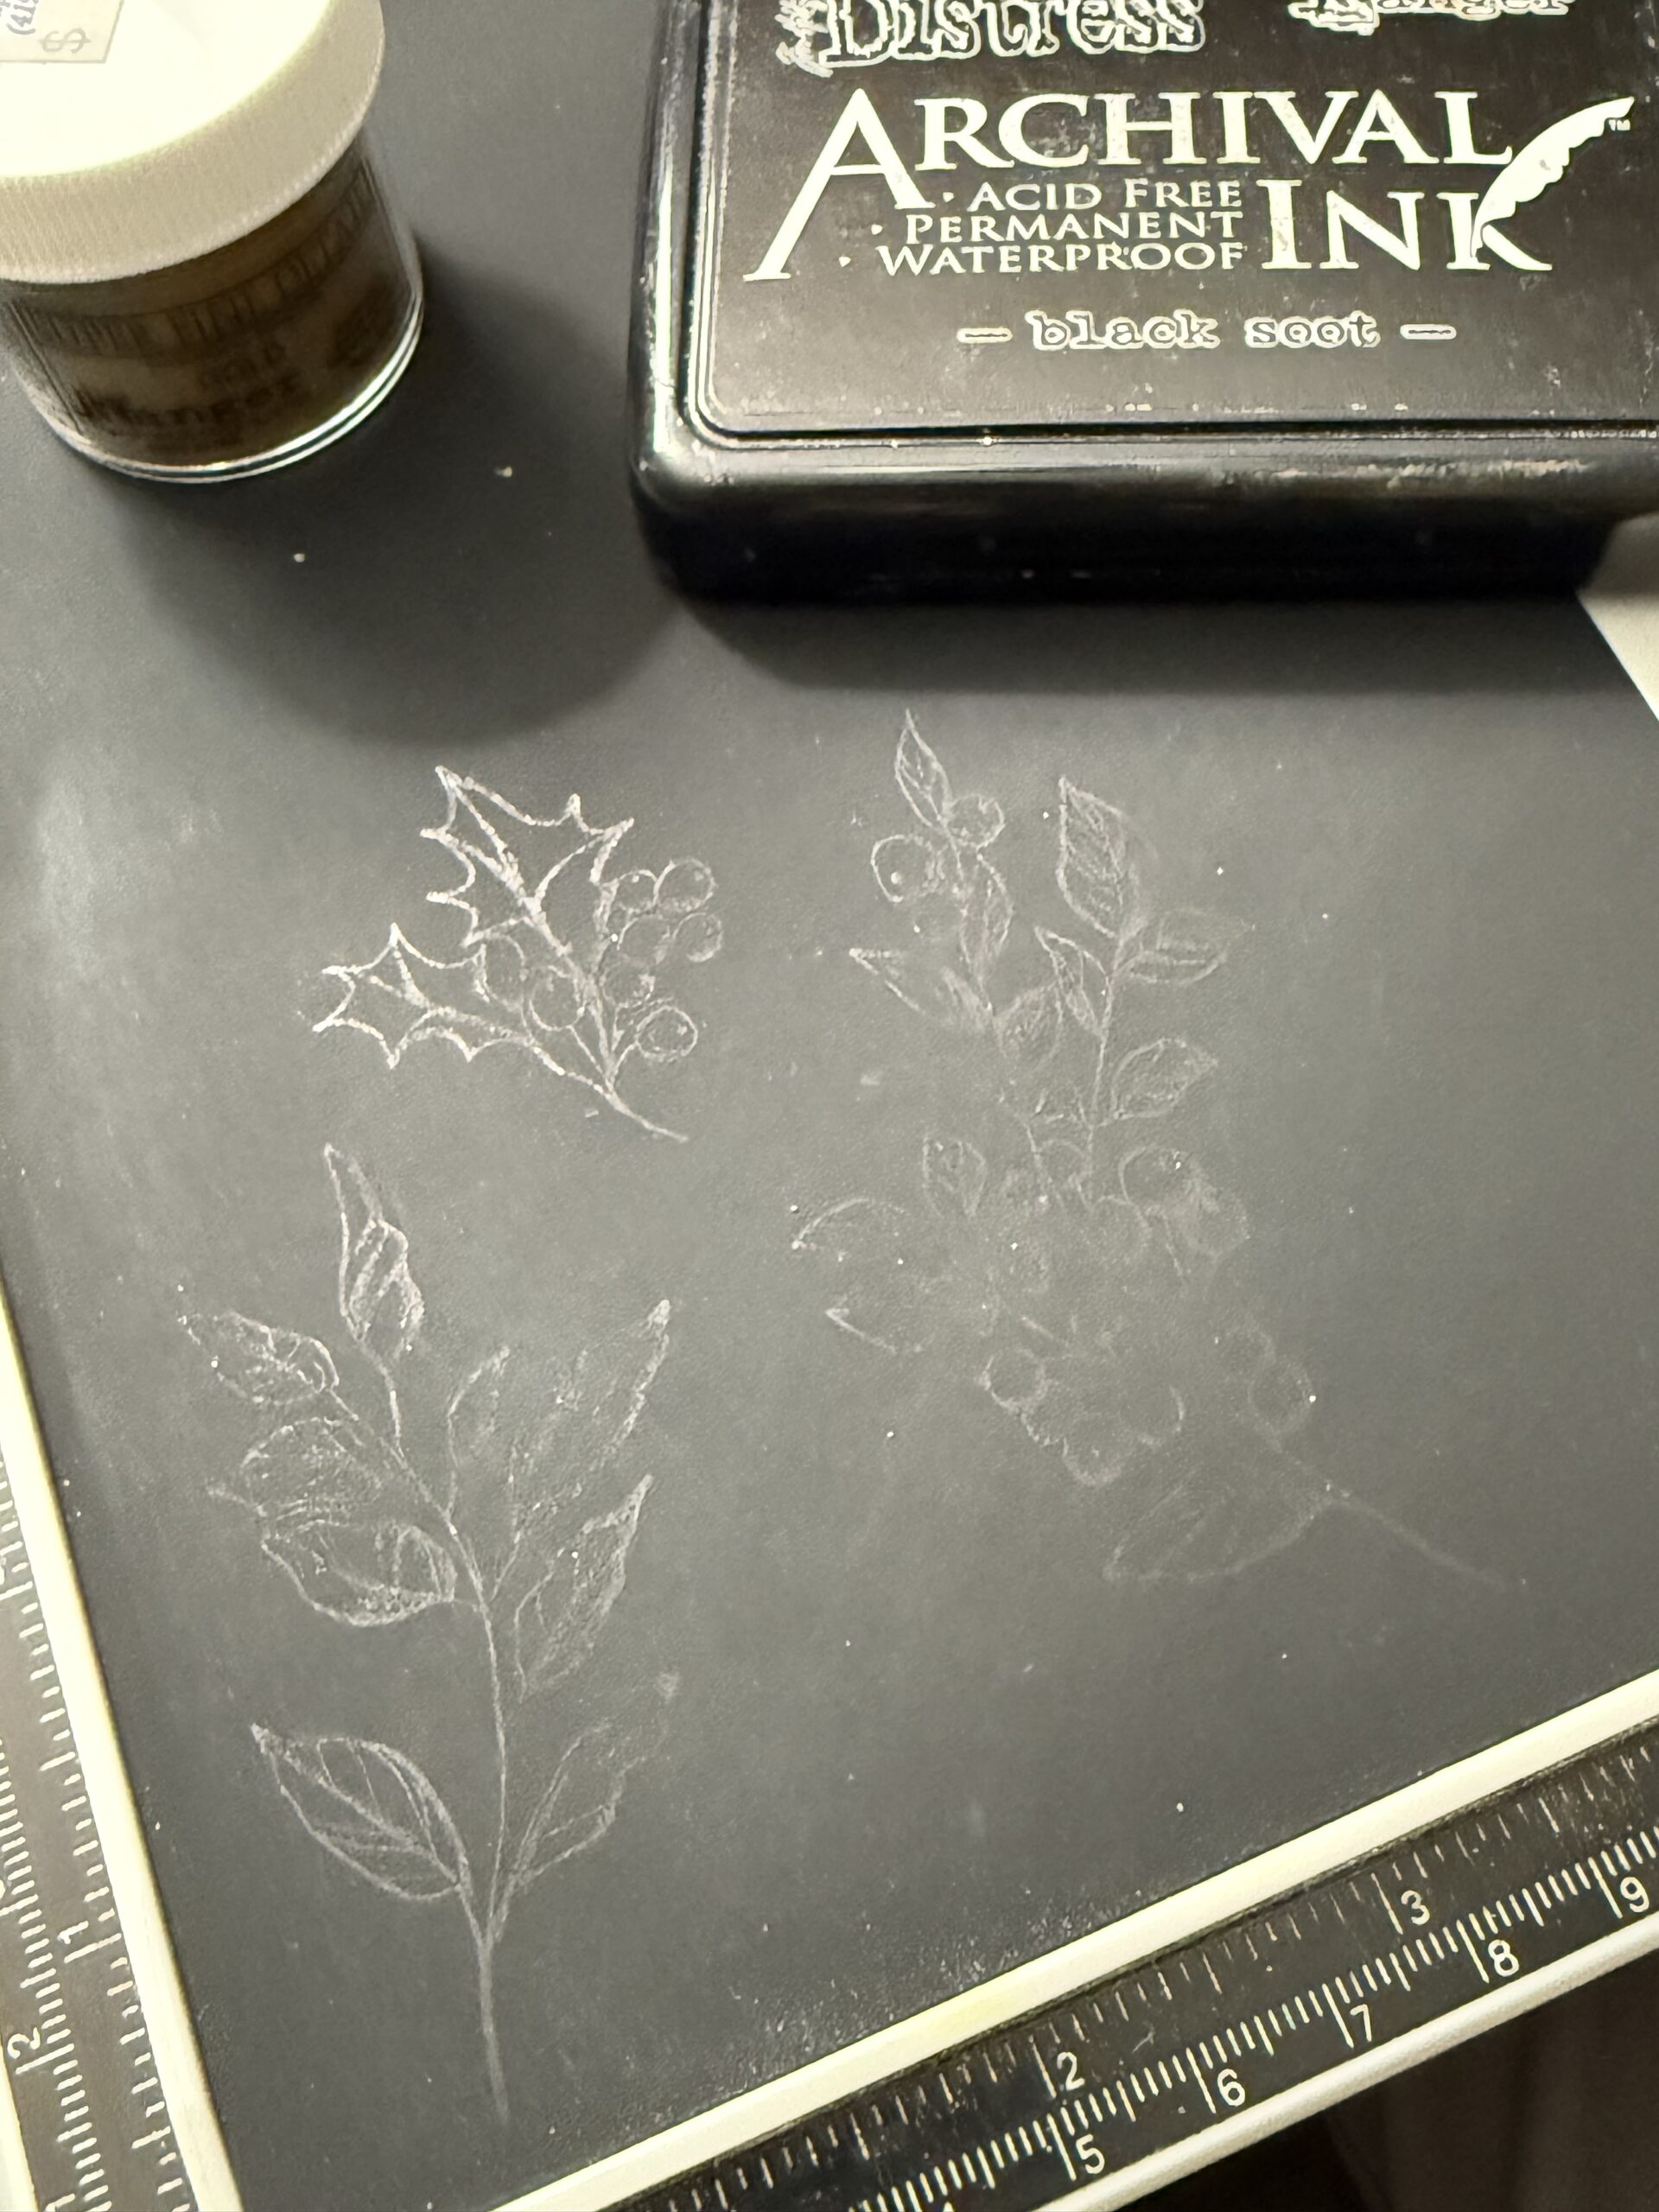
I stamped the images being sure that the images transferred to the paper, then removed the paper form the stamp platform and sprinkled it with Ranger Ink Super Fine Detail embossing powder. Then I used my Embossing Gun and embossed the images.
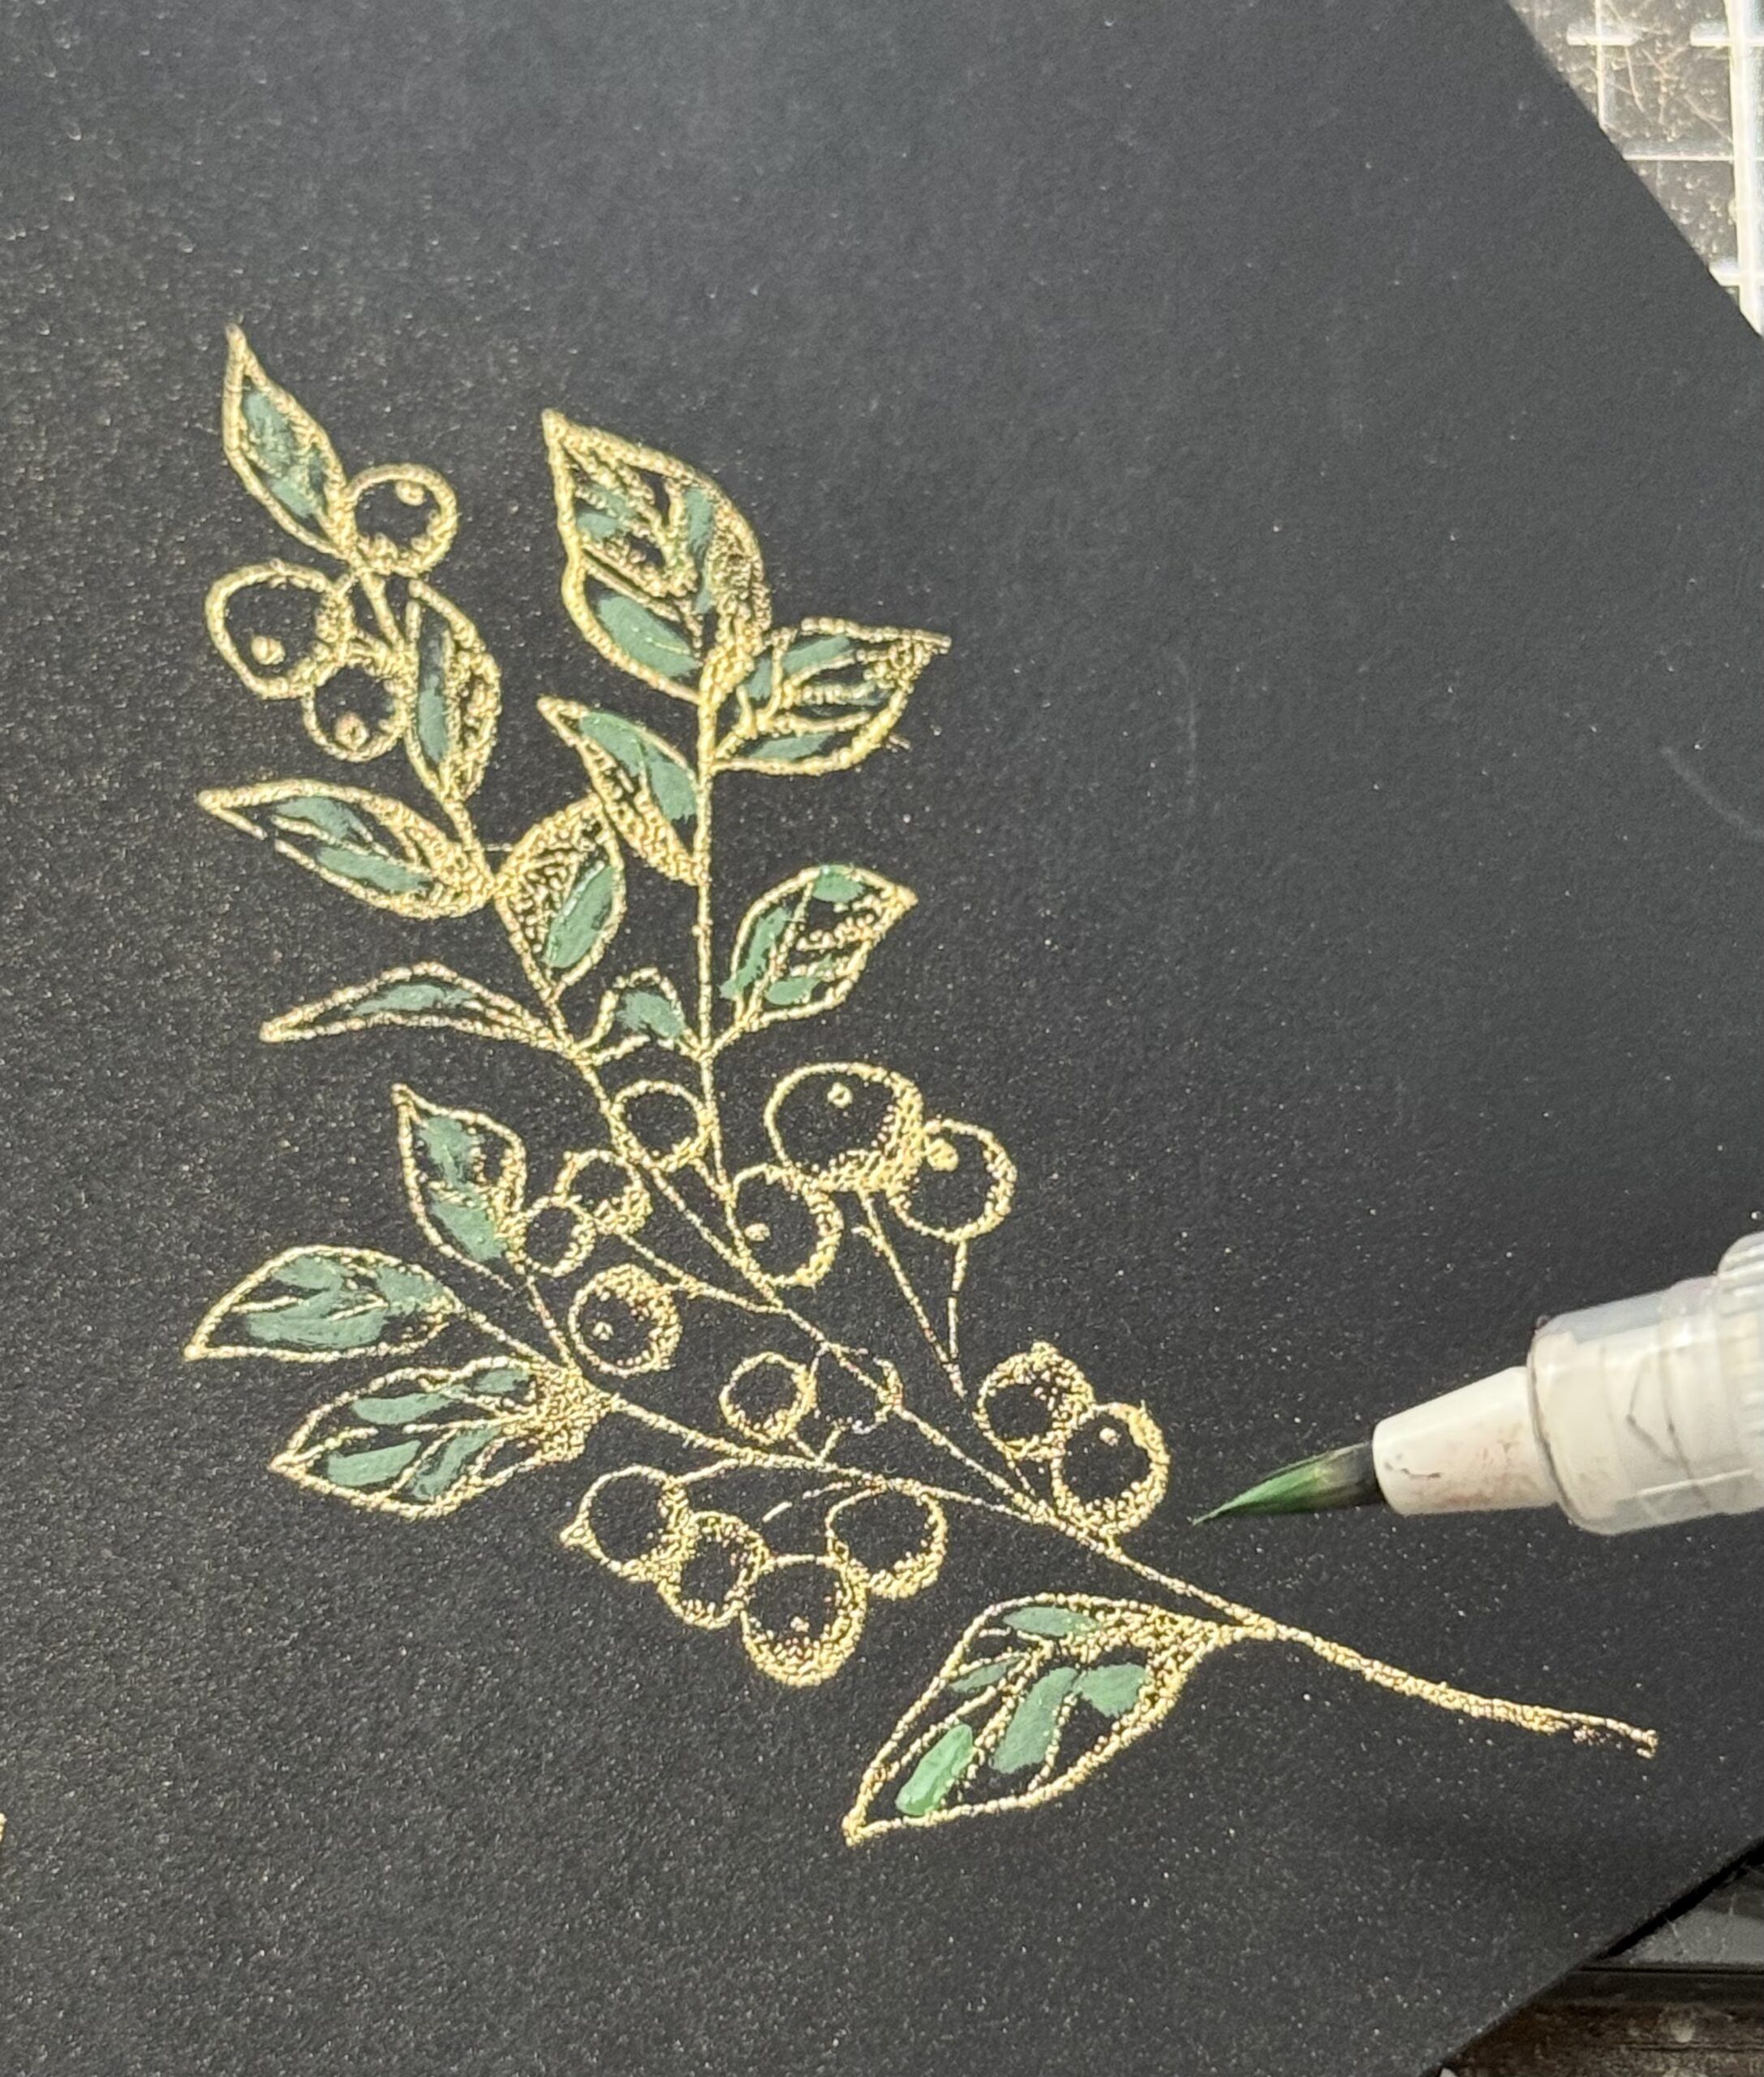
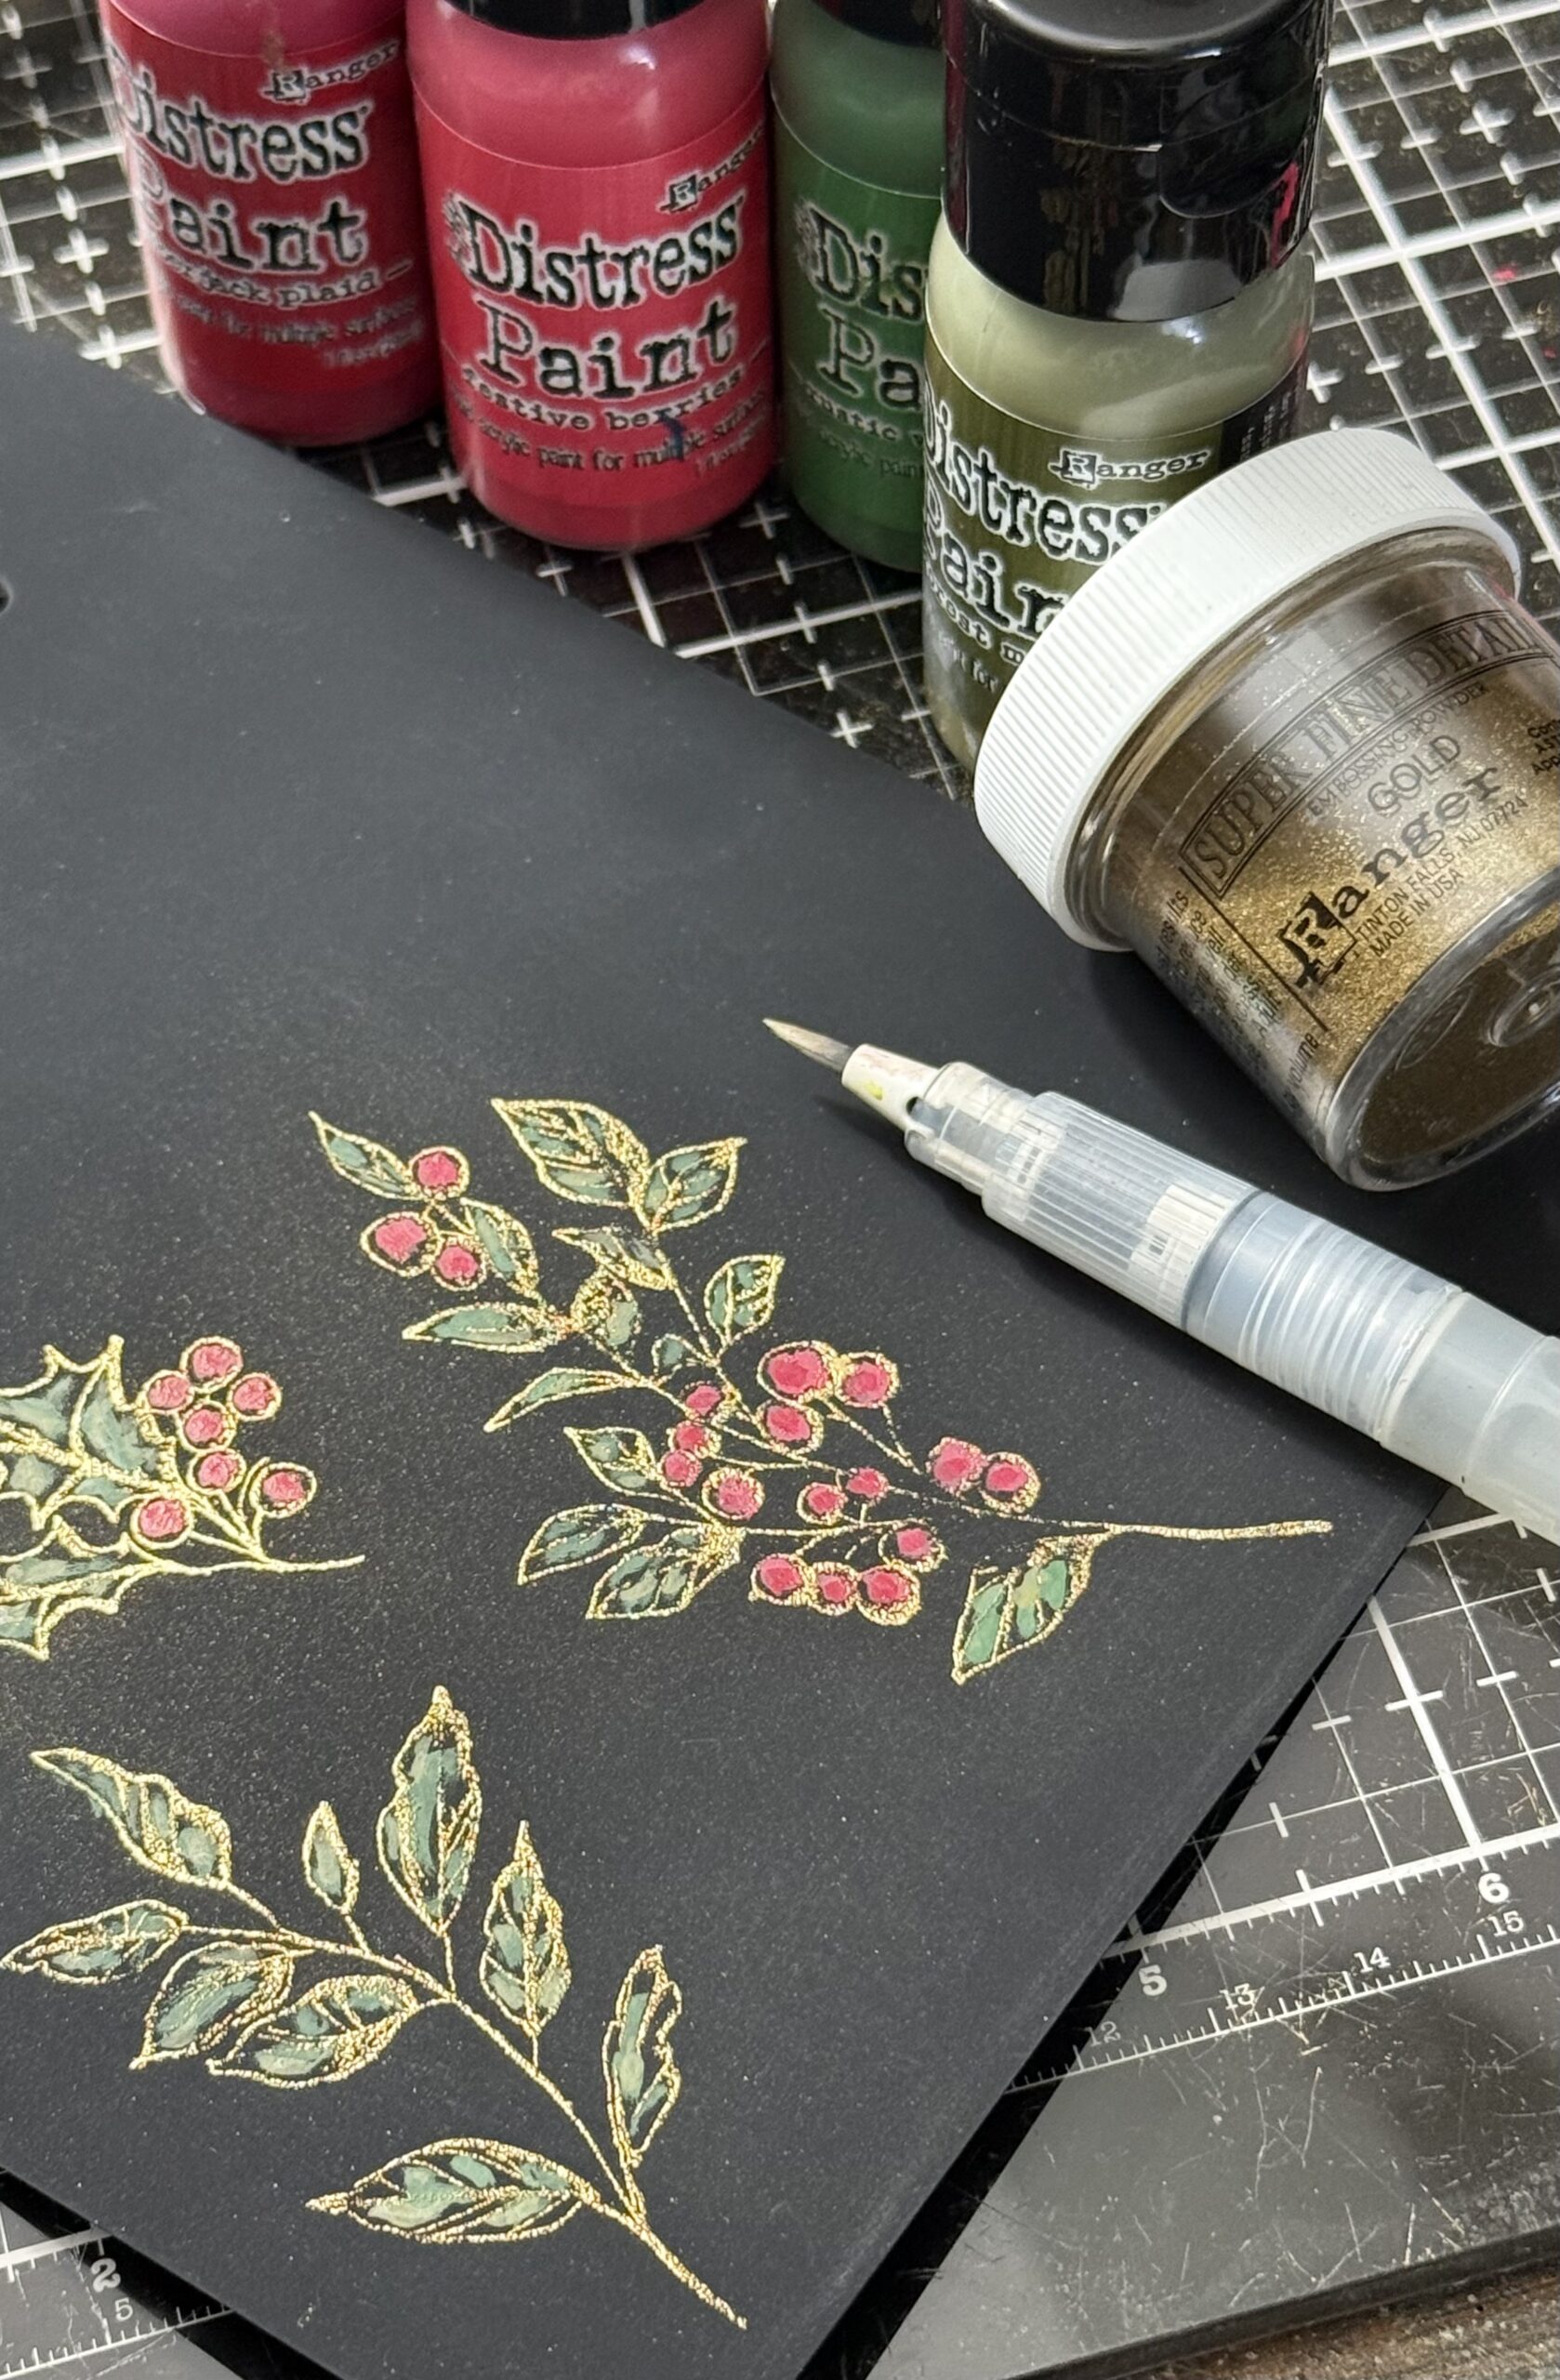
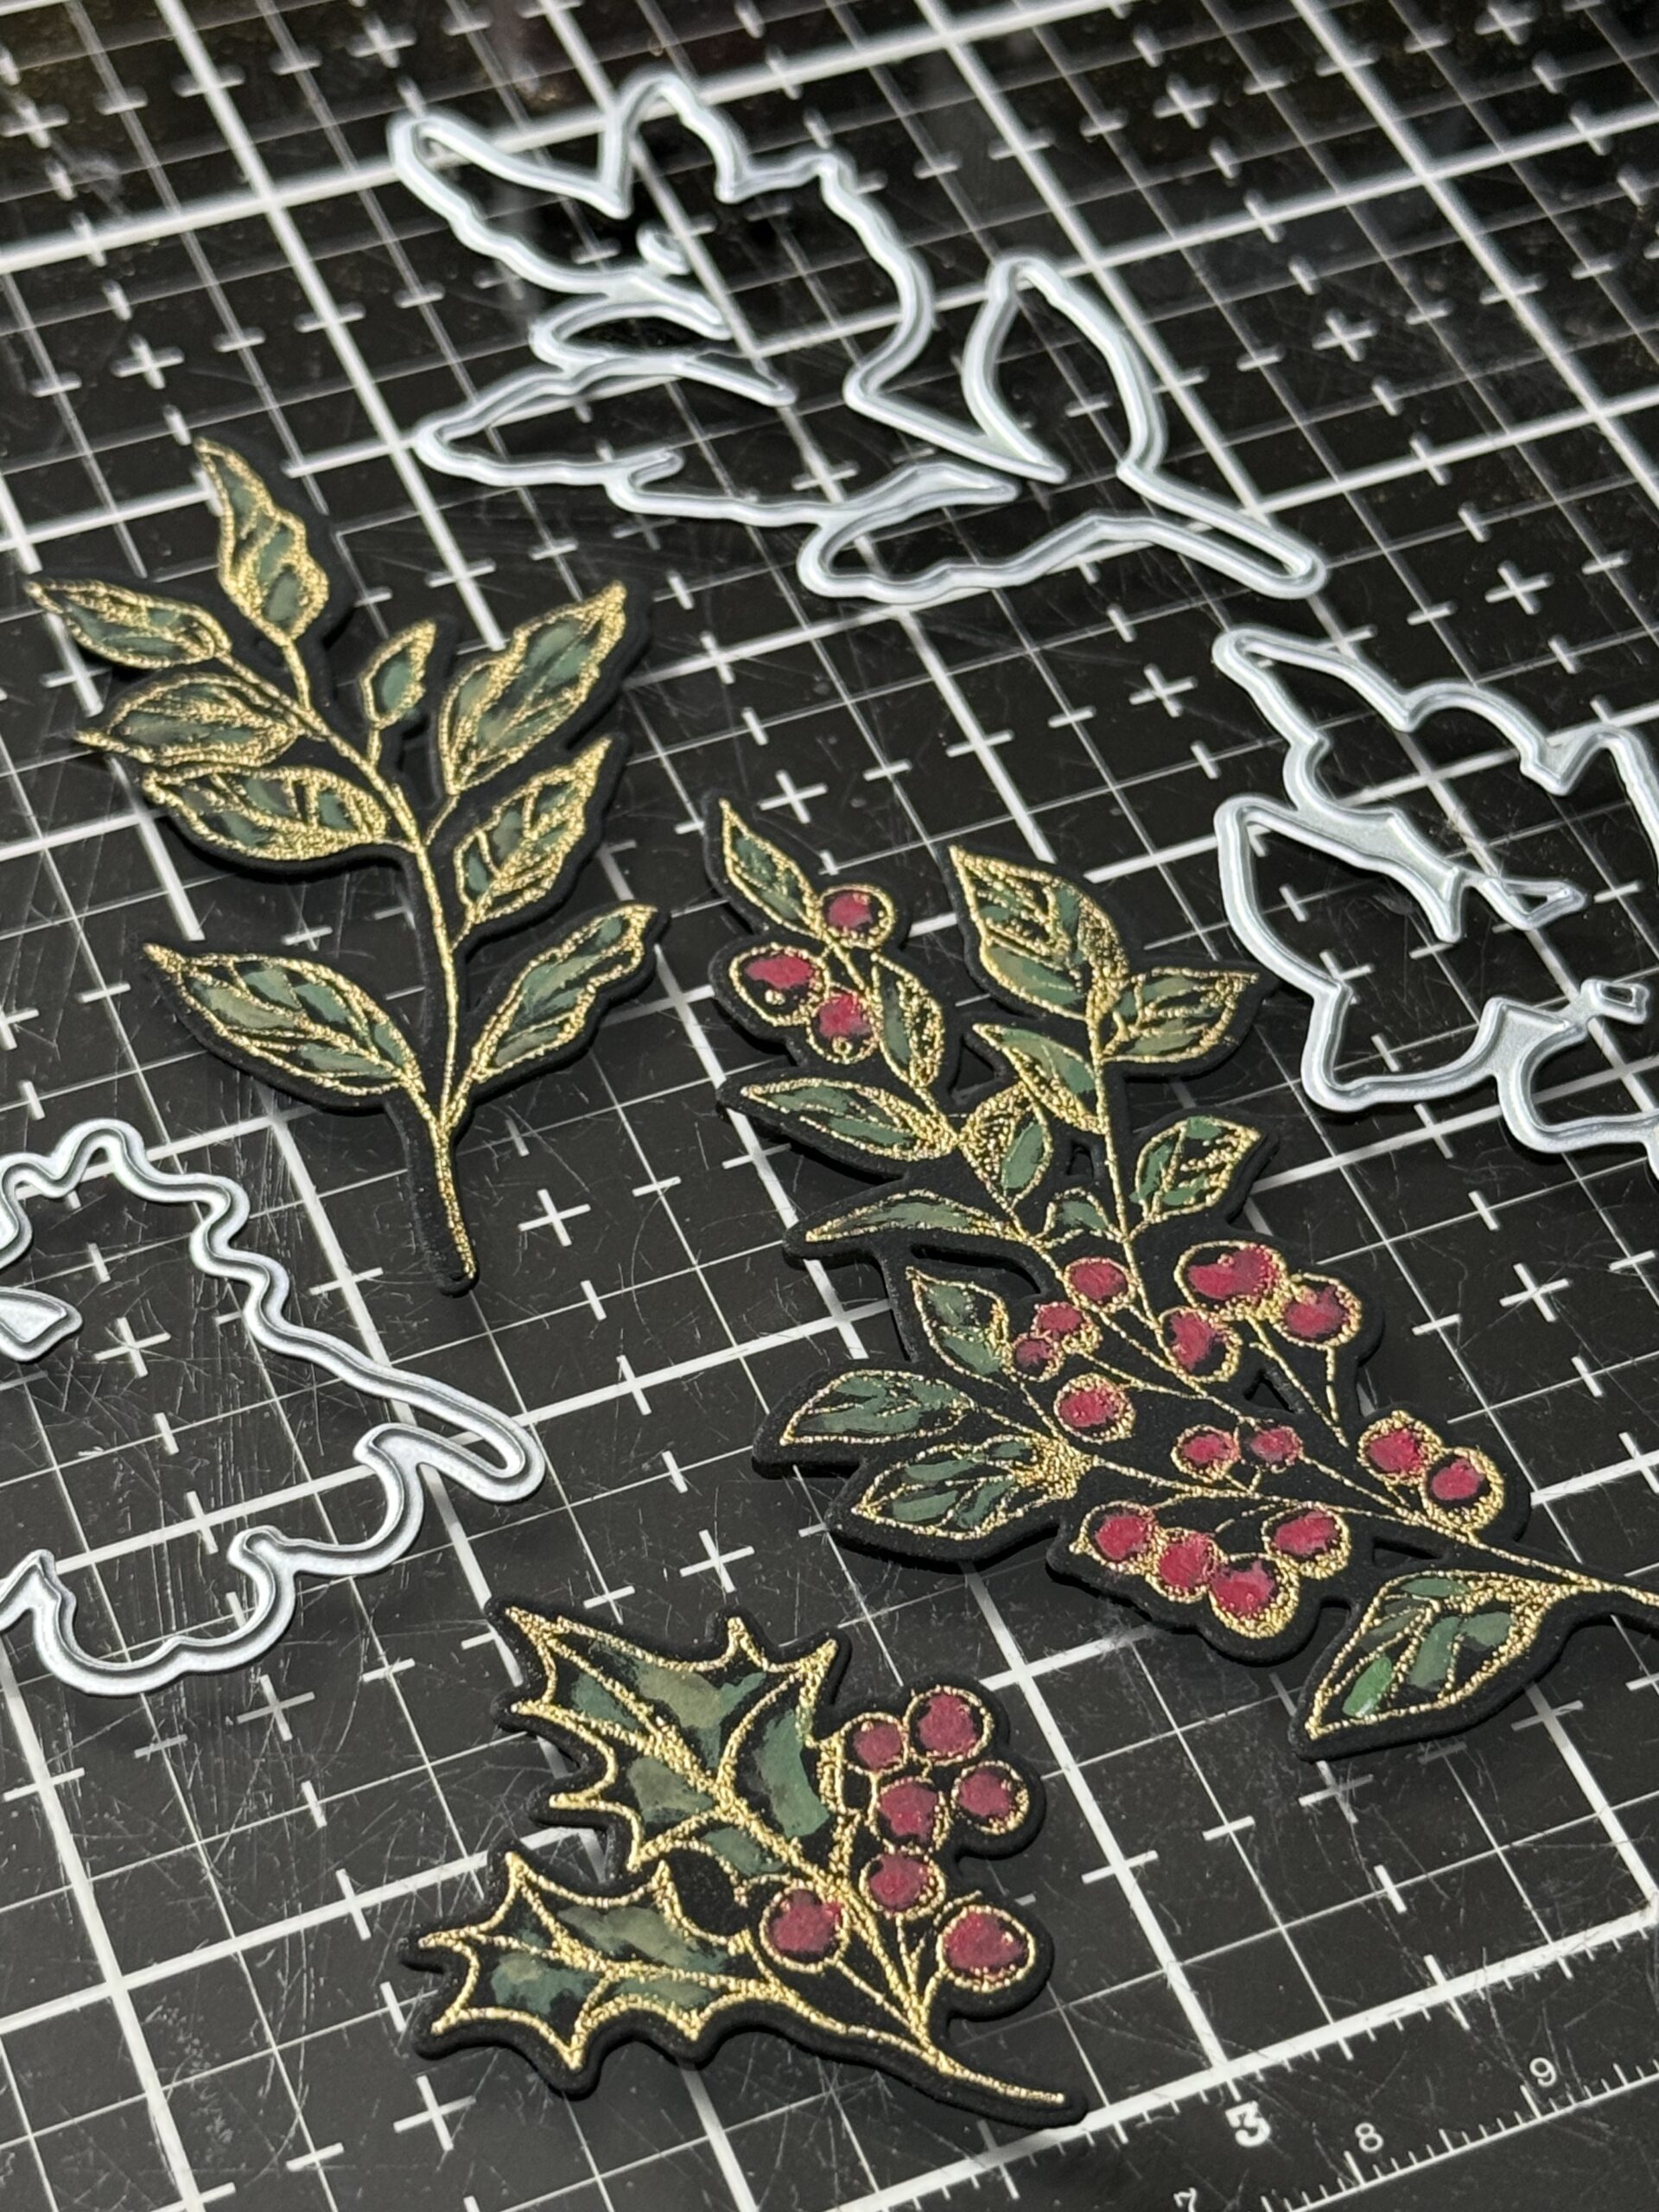
Then, I began coloring the images. I used a fine tip paintbrush and added color to the leaves first, I used a couple of Distress Green Paints and a couple reds that included Rustic Wilderness, Forest Moss, Lumberjack Plaid and Festive Berries. Then I used my heat tool to dry the paint.
Once they were colored and dry, I used the coordinating wafer die to cut out each of the images using my die cutting machine. I used some Low Tack Tape to hold the lined up dies in place, then ran them through my Big Shot. The images cut out perfectly, so I went on to creating the tags.
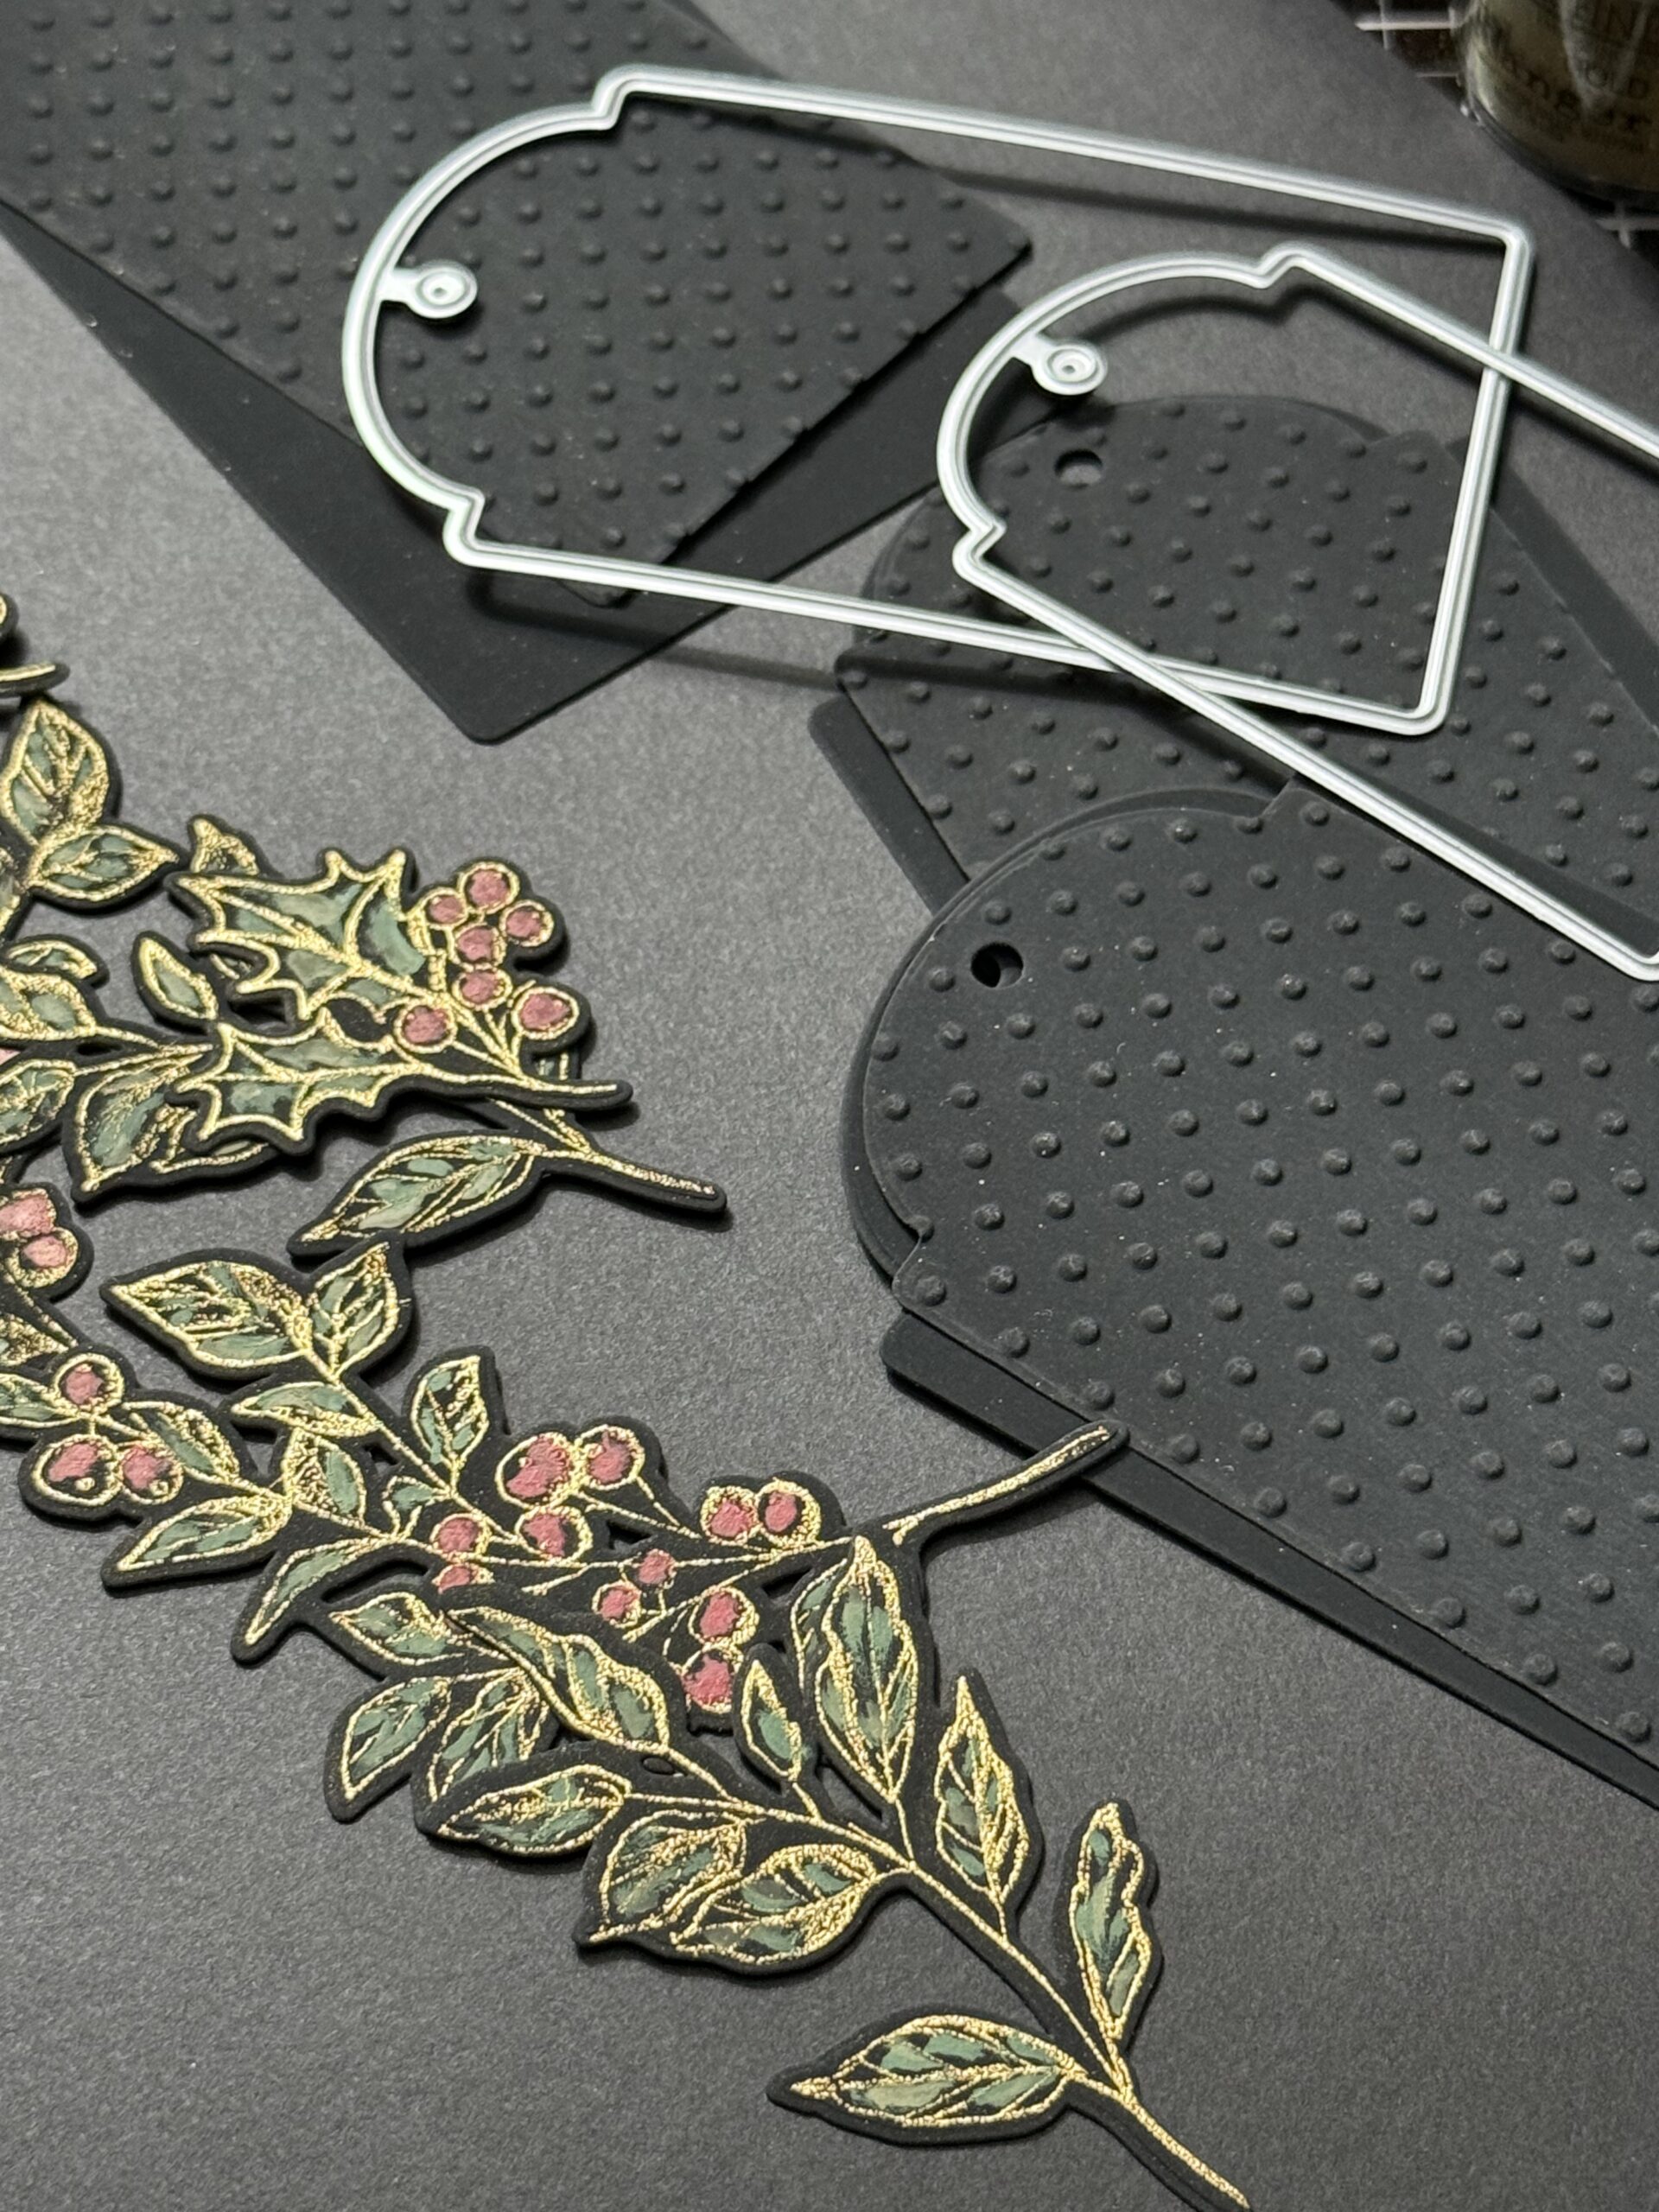
I cut 2 different sizes of the tags using the Simon Says Stamp Rounded Tags Wafer Die Set (1479sd), then, using the smallest of the tags that I cut, I ran them through my Big Shot to emboss them using the new Tim Holtz Dots A5 Embossing Folder to emboss the polka dot design on them. These were the tags that the cut out greenery images would be adhered to.
The larger of the two tags were stamped then embossed with a few of the phrases included in the set. I stamped the phrases at the bottom of each of the large tags, then embossed them using the same Gold Embossing Powder.
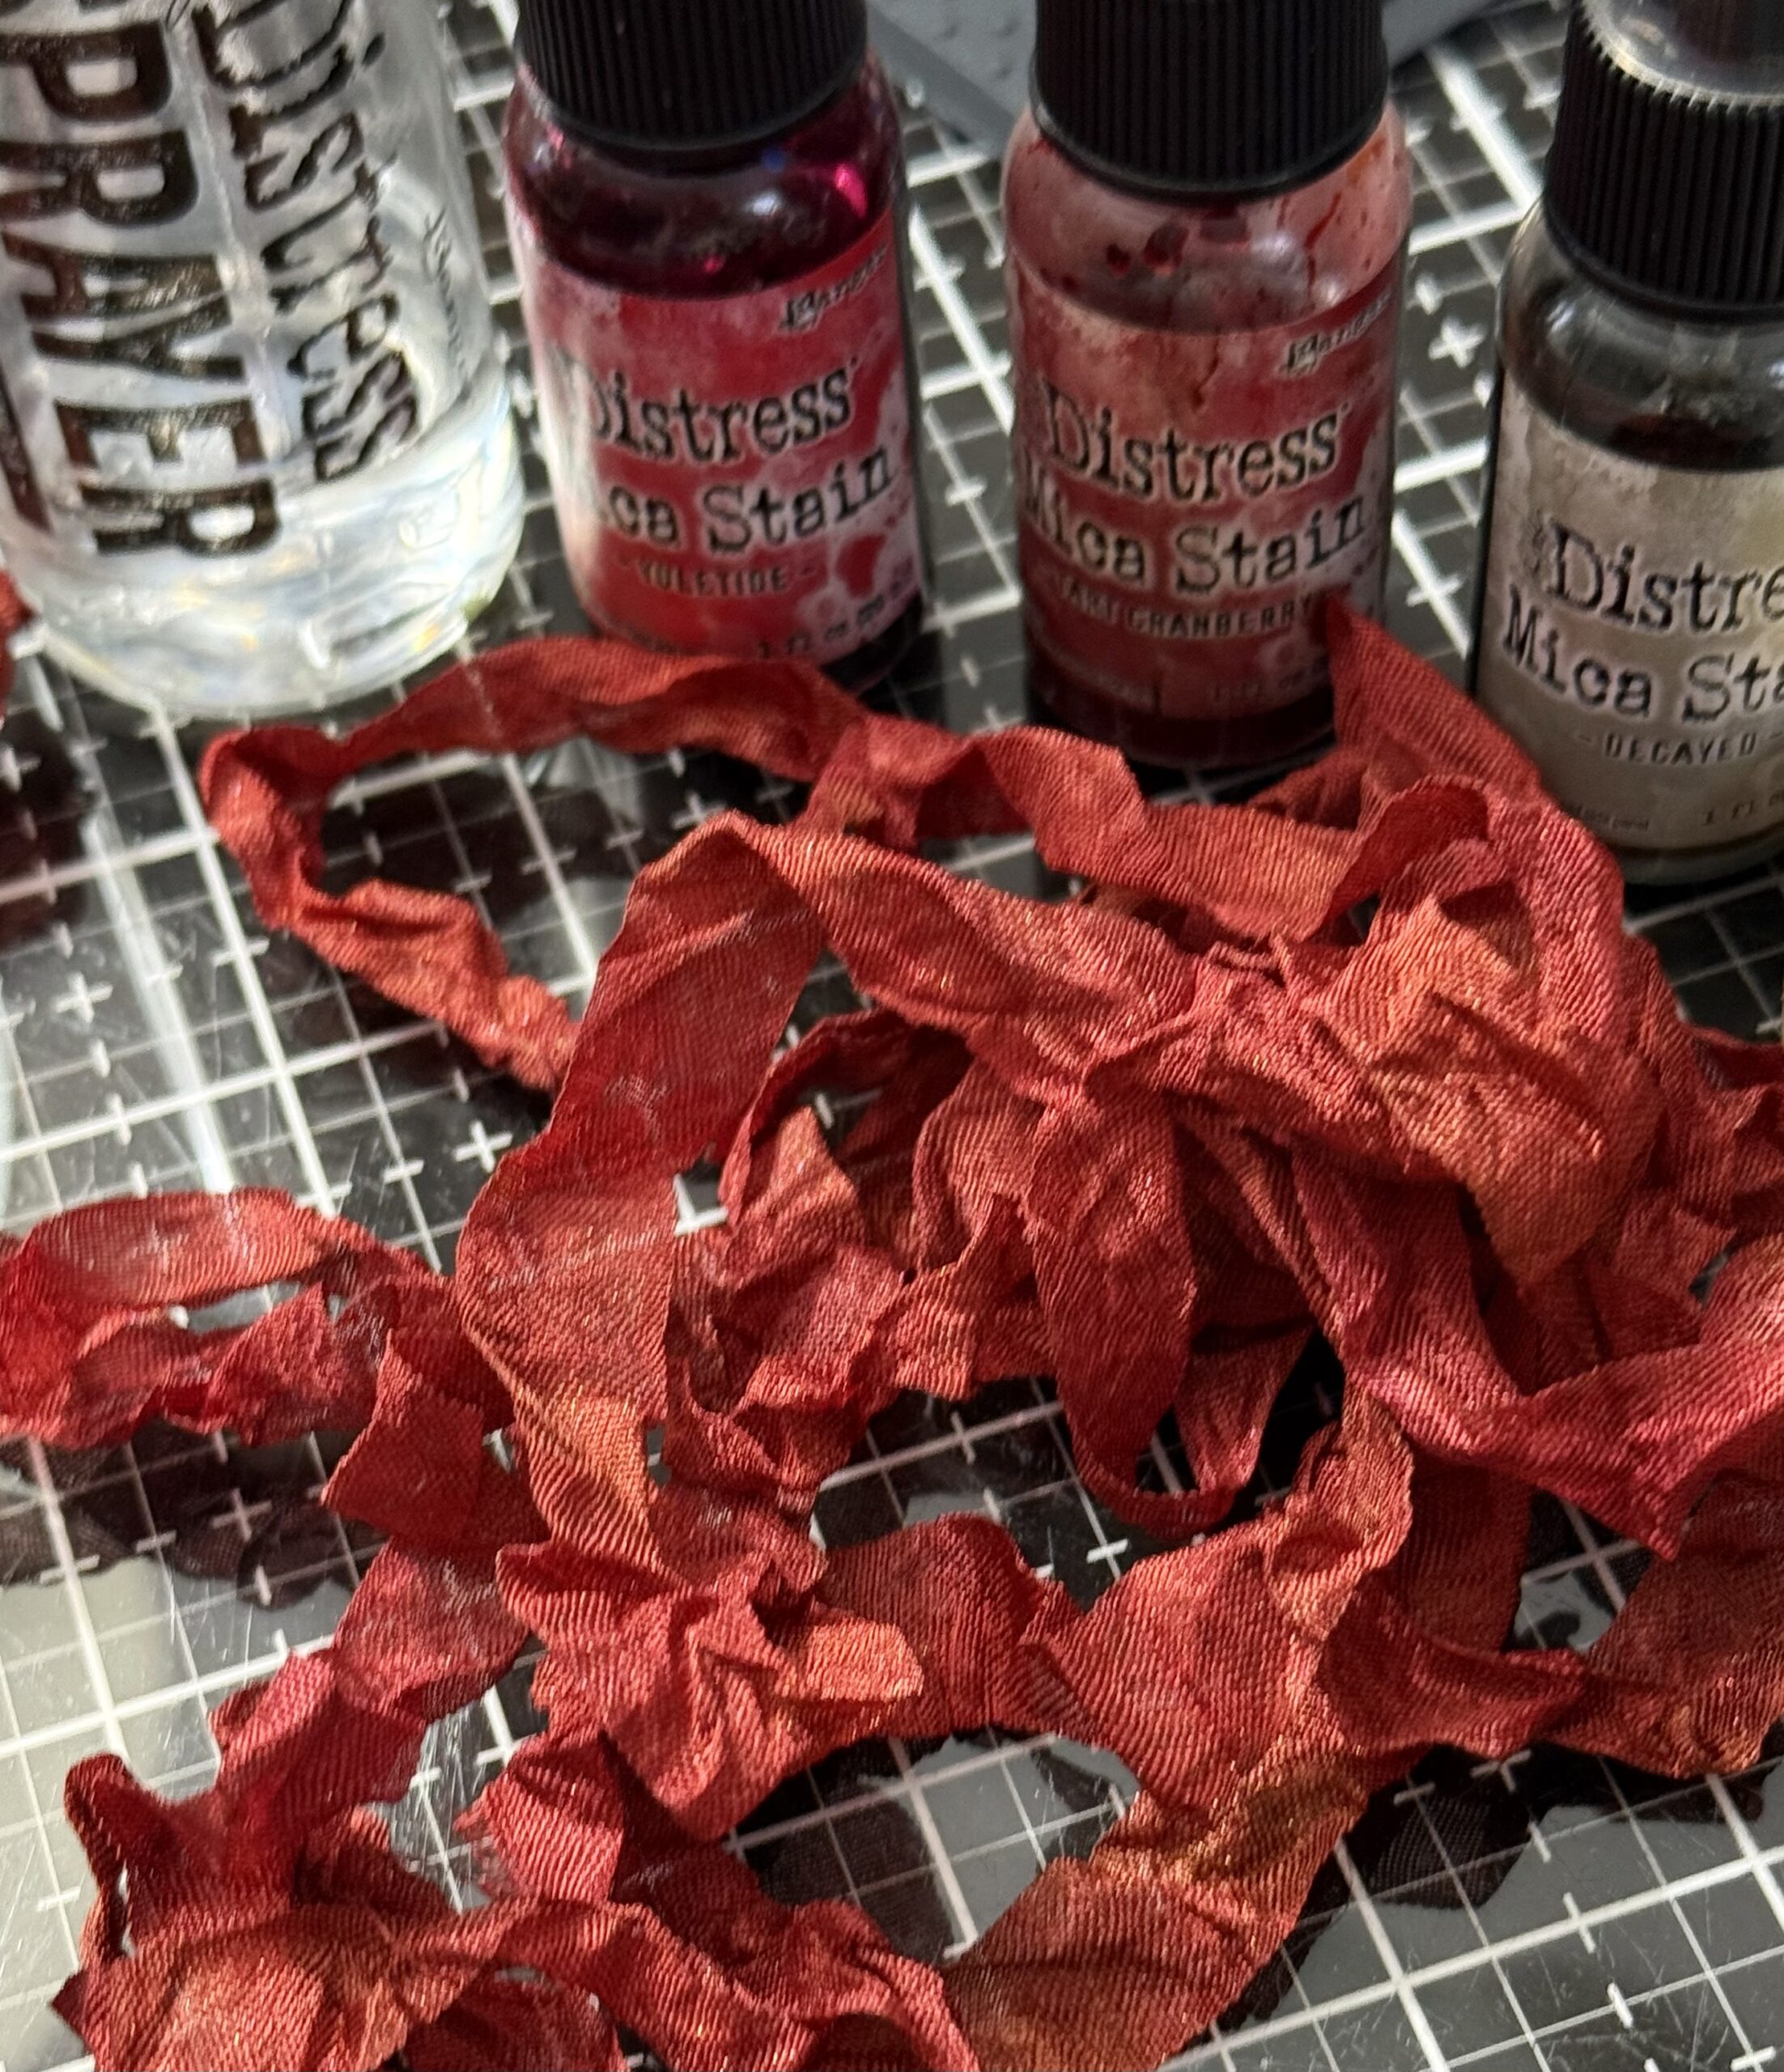
To tie the tags together, I created some inky ribbon…this is Seam Binding Ribbon that I spritzed with water, then spritzed with a combination of Distress Mica Stain Spray…my combo included Yuletide, Tart Cranberry and Decayed. I spritzed them, then dried the ribbon using my heat tool.
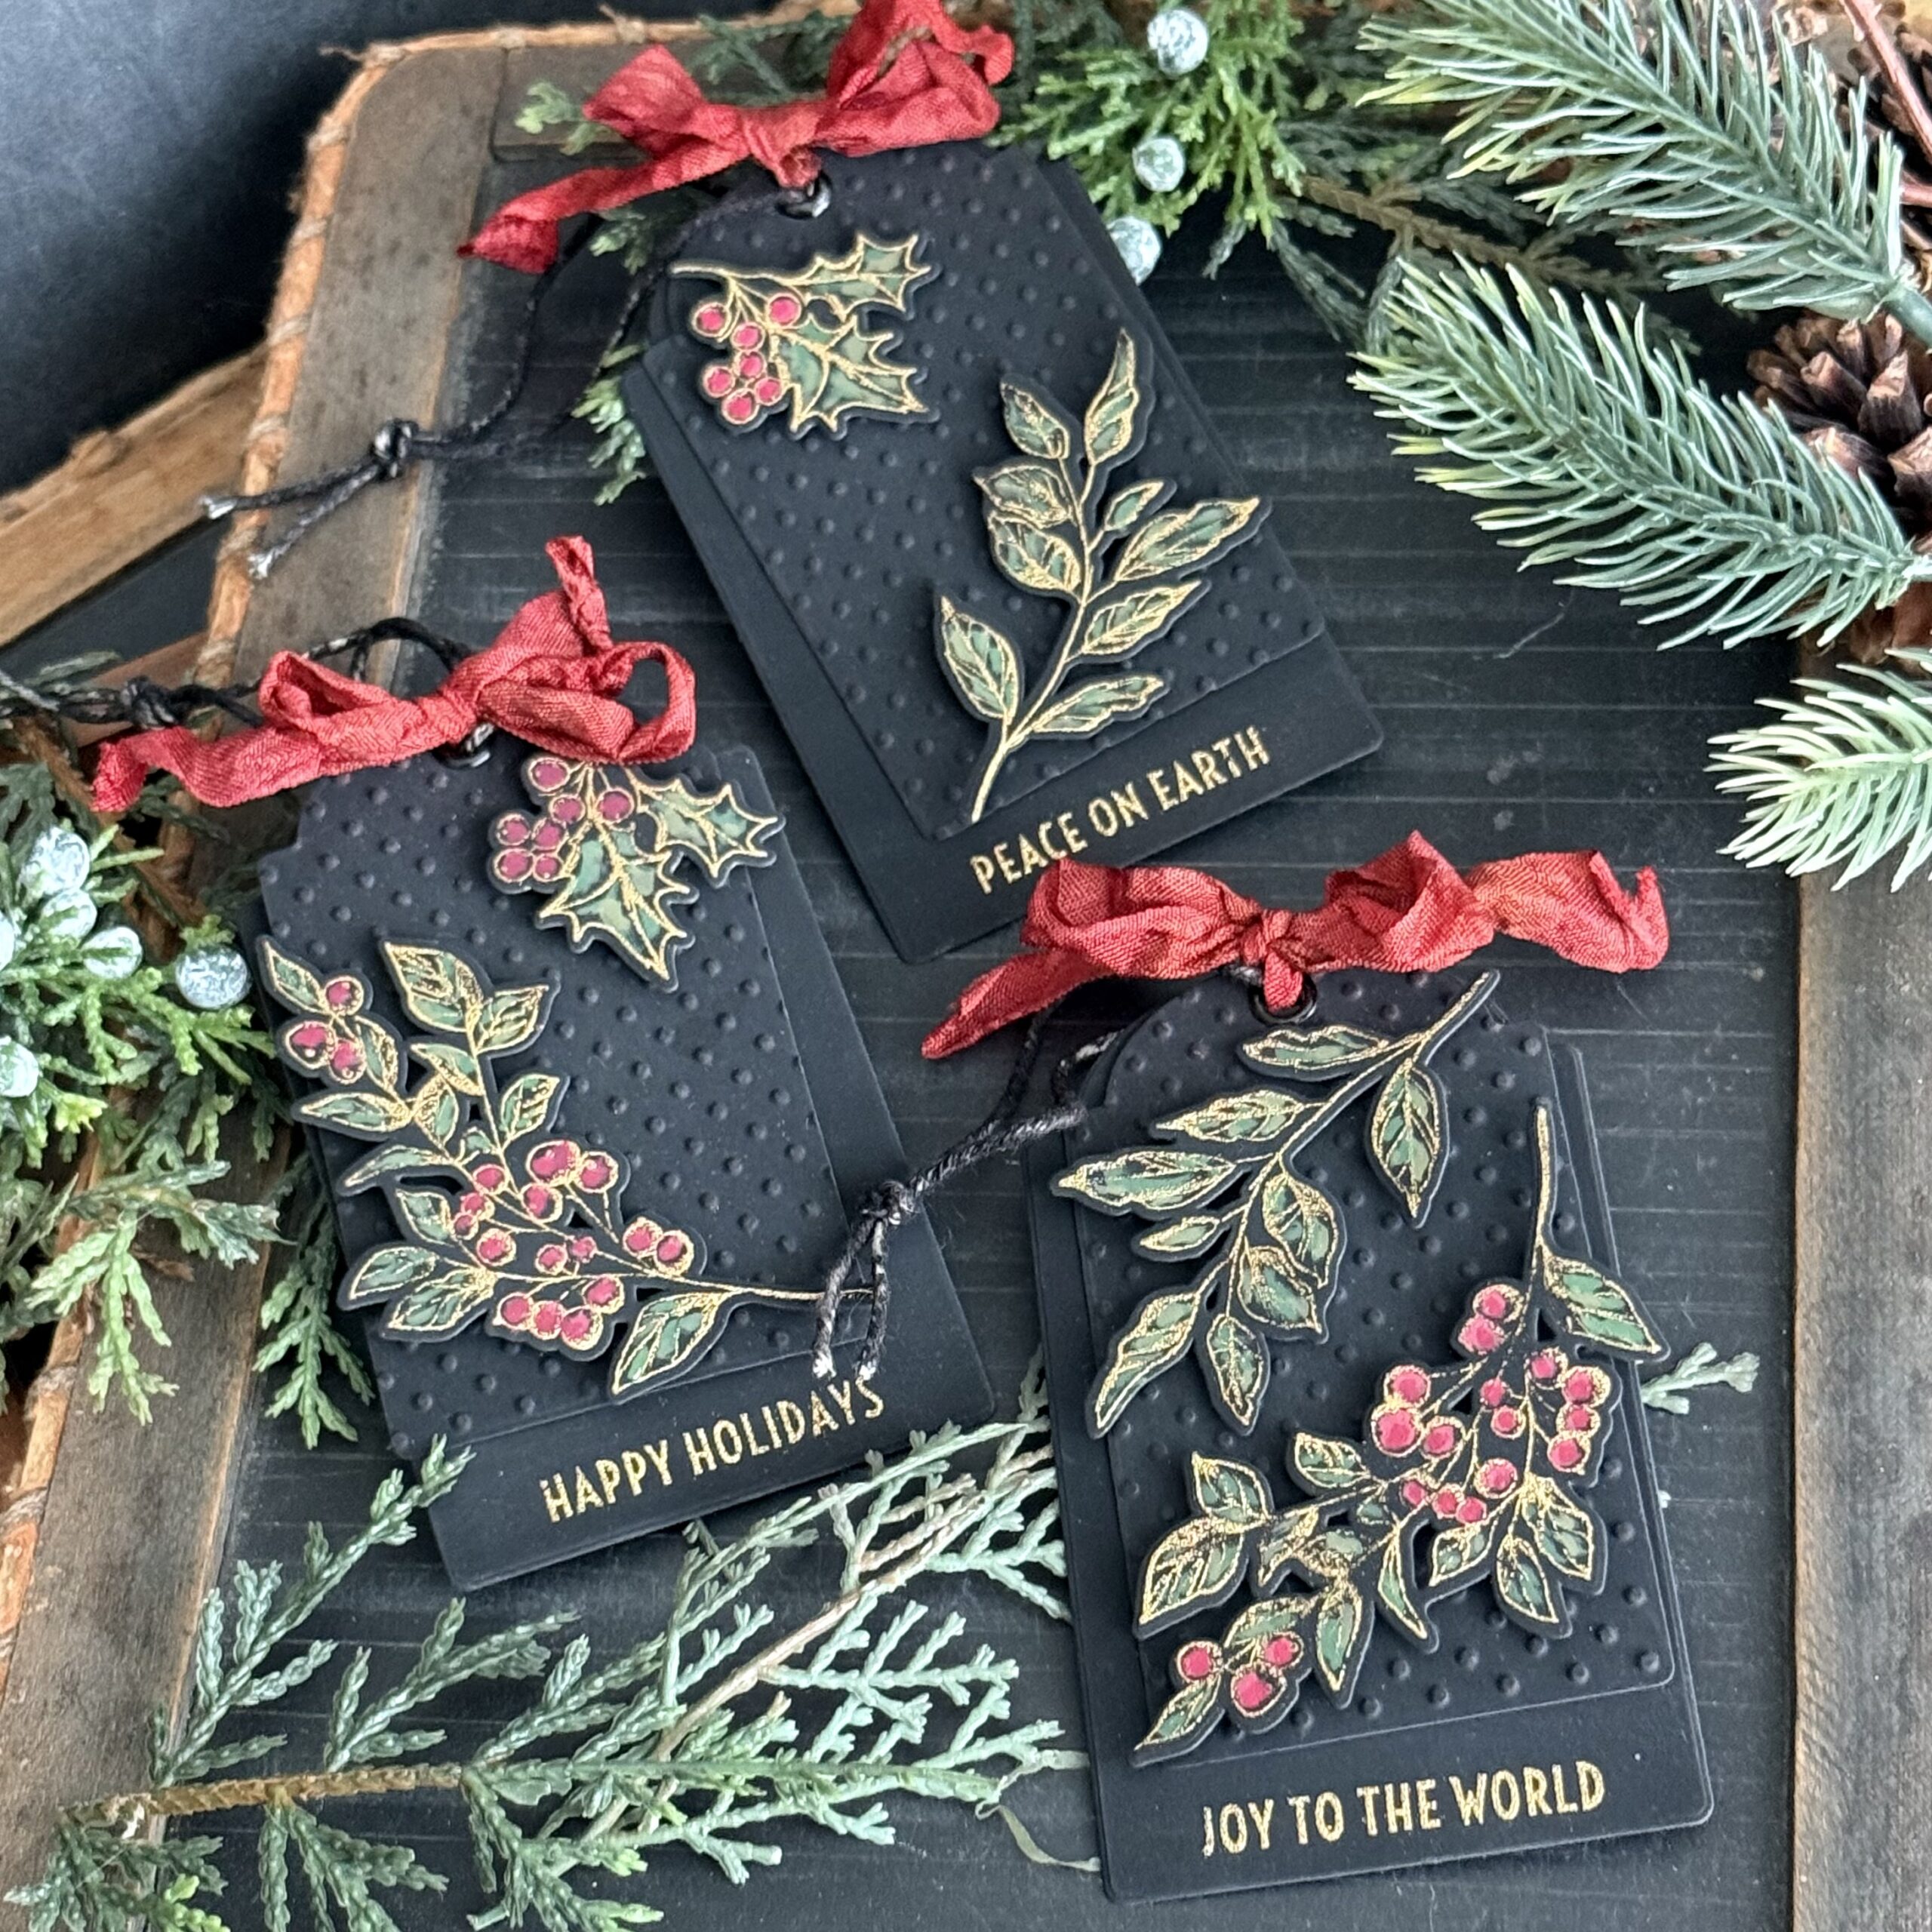
For each of the front polka dot tags, I added a Black Eyelet, then added the larger tag behind and tied them together with a bow on top, I added on some black string to the top to use as a tie to add them to gifts. The Greenery images were added to the fronts of the tags using foam squares to add interest.
With that, my tags were complete!
Thanks so much for stopping by today, and be sure to stop over at Simon Says Stamp for this exclusive release. Have a great day!
Creatively yours,
Stacy
Shop Simon Says Stamp by clicking on this link. Thank you! I appreciate you for supporting me.
What is an affiliate program, and why should I click on the link and buy through you?
When you shop via the affiliate link on this blog, I receive a small commission from the affiliate provider (Simon Says Stamp) at no extra cost to you, whatsoever. These commissions help me to cover the hosting fees and other costs to run my blog and be able to provide you with FREE inspiration. If you shop the links, THANK YOU! I truly appreciate being able to share my love of creating with you.










Leave a Reply