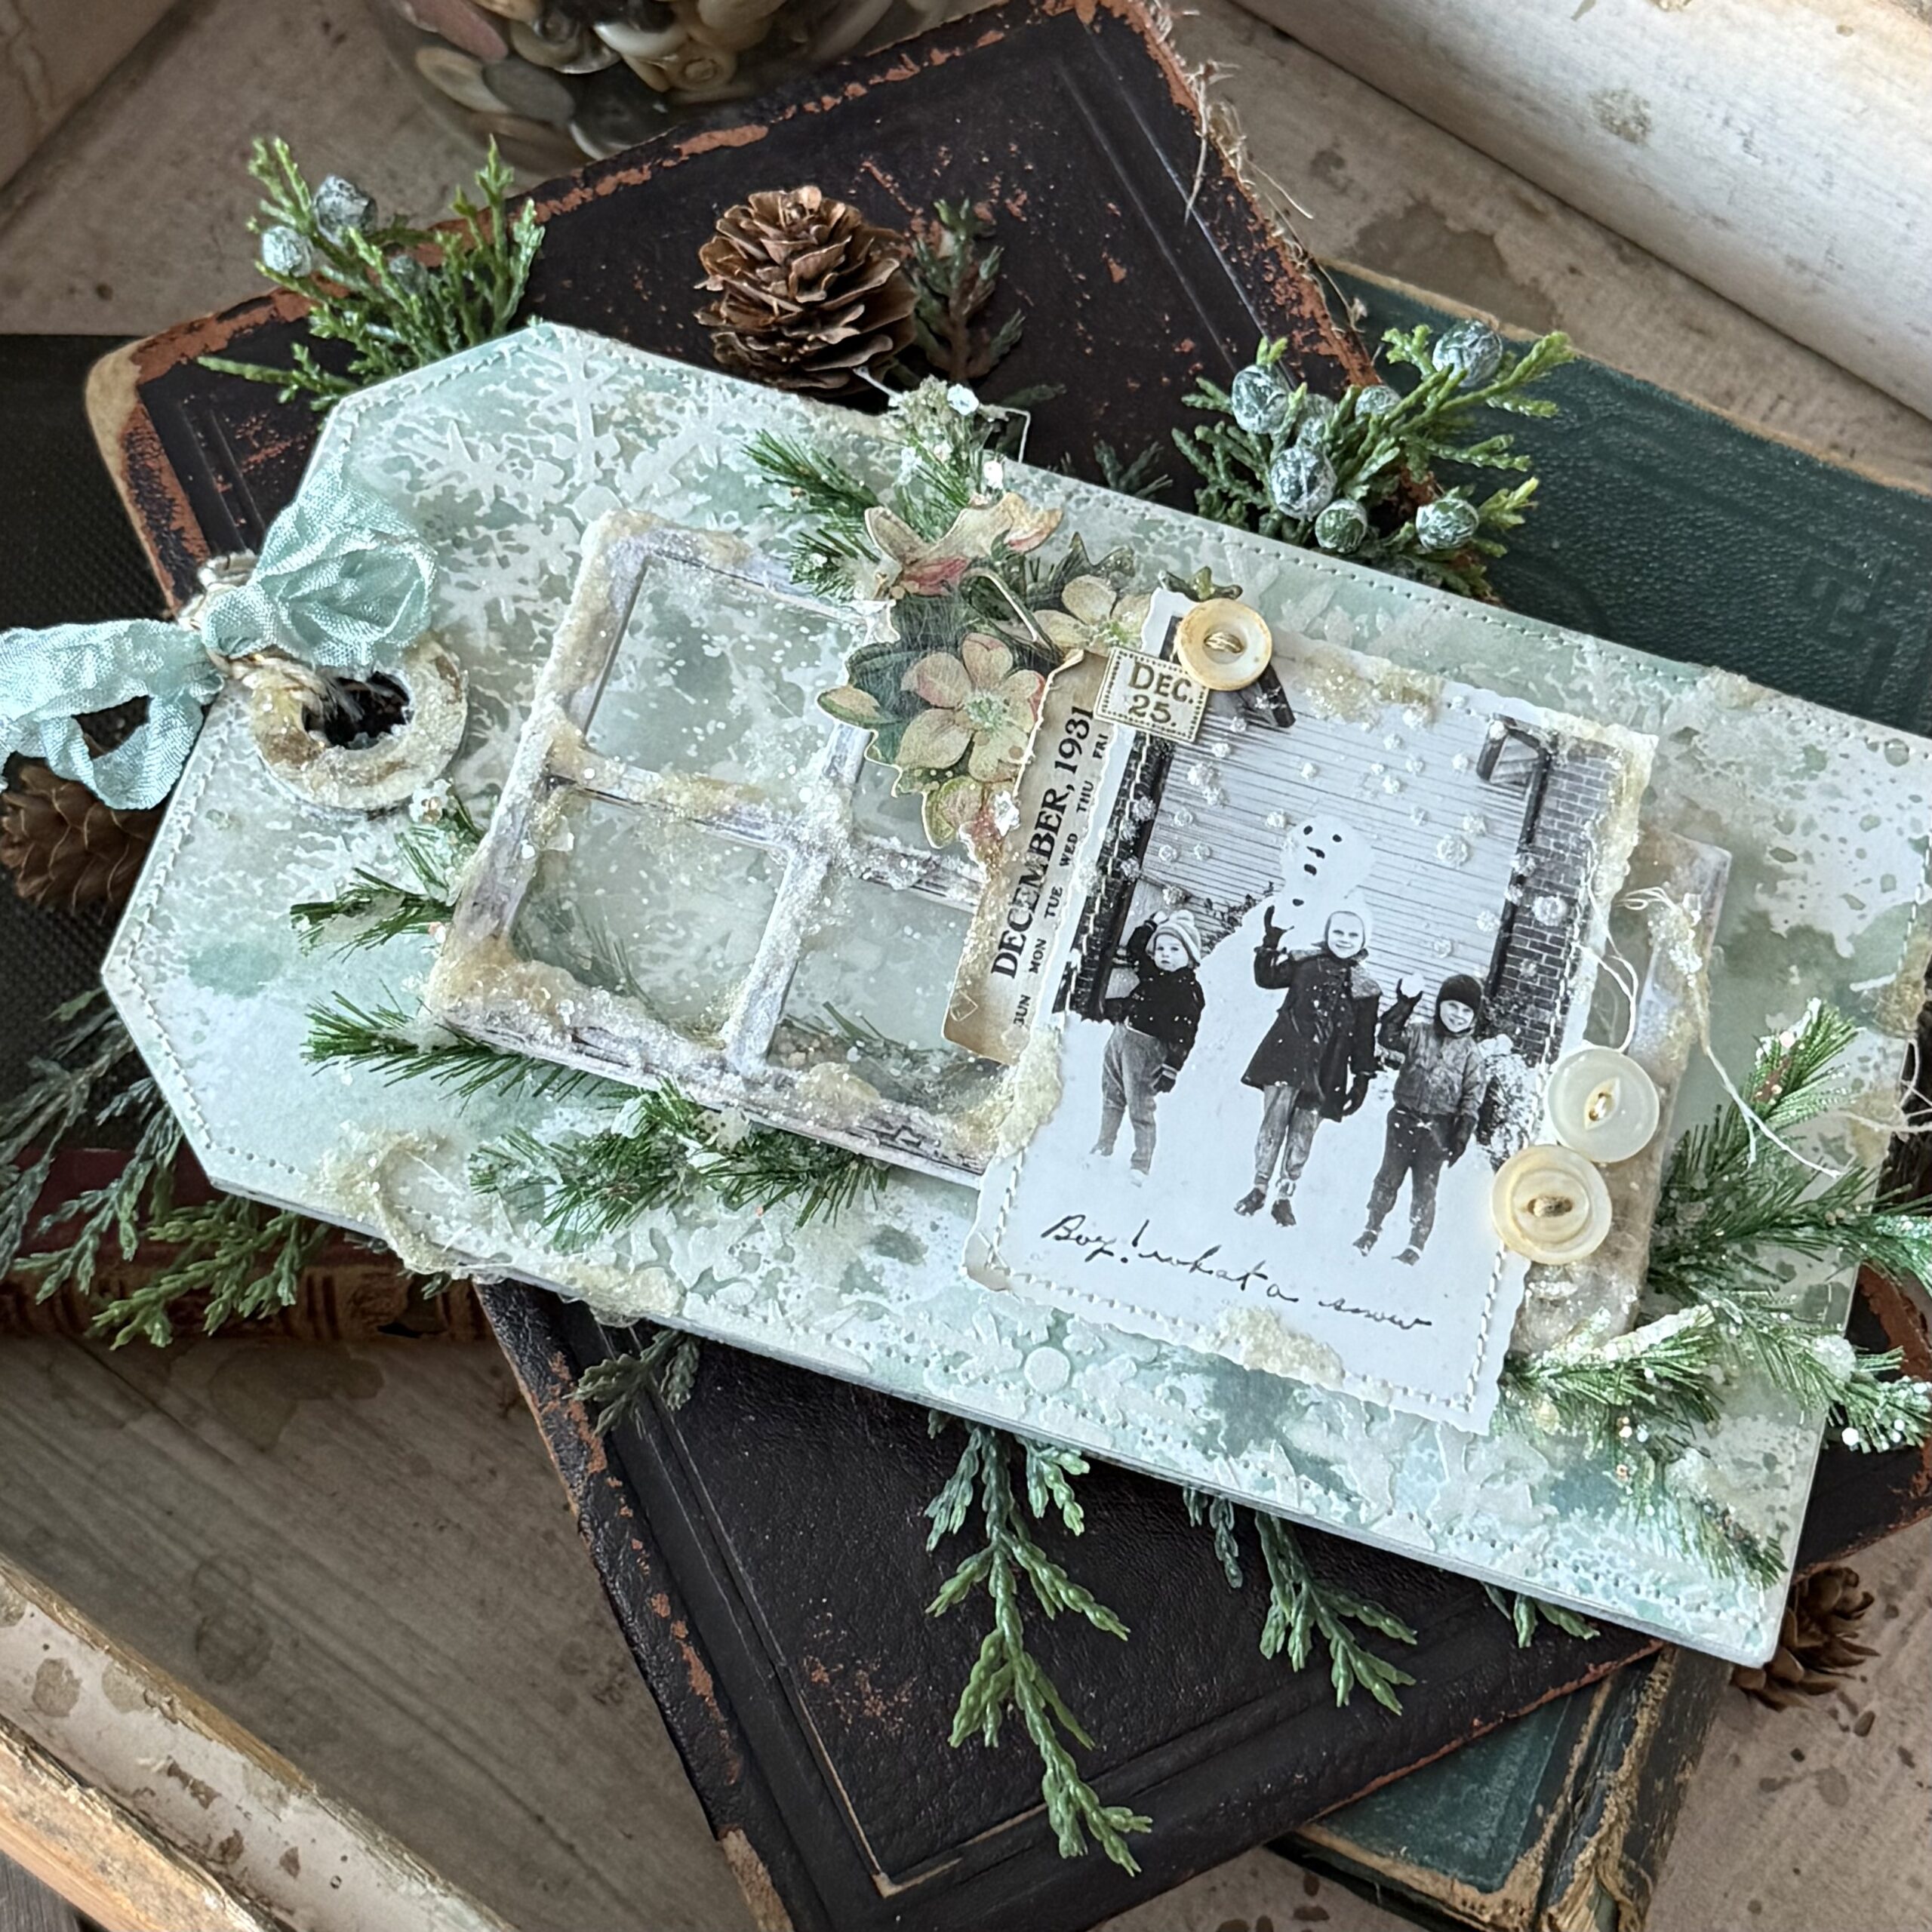
Hello friends! Welcome back to my blog, hope you are doing well! I am back today with a Christmas Vignette designed around the Tim Holtz Christmas idea-ology Baseboards and Transparencies…they are so perfect for a vintage inspired vignette as they give you that homespun vintage look so easily.
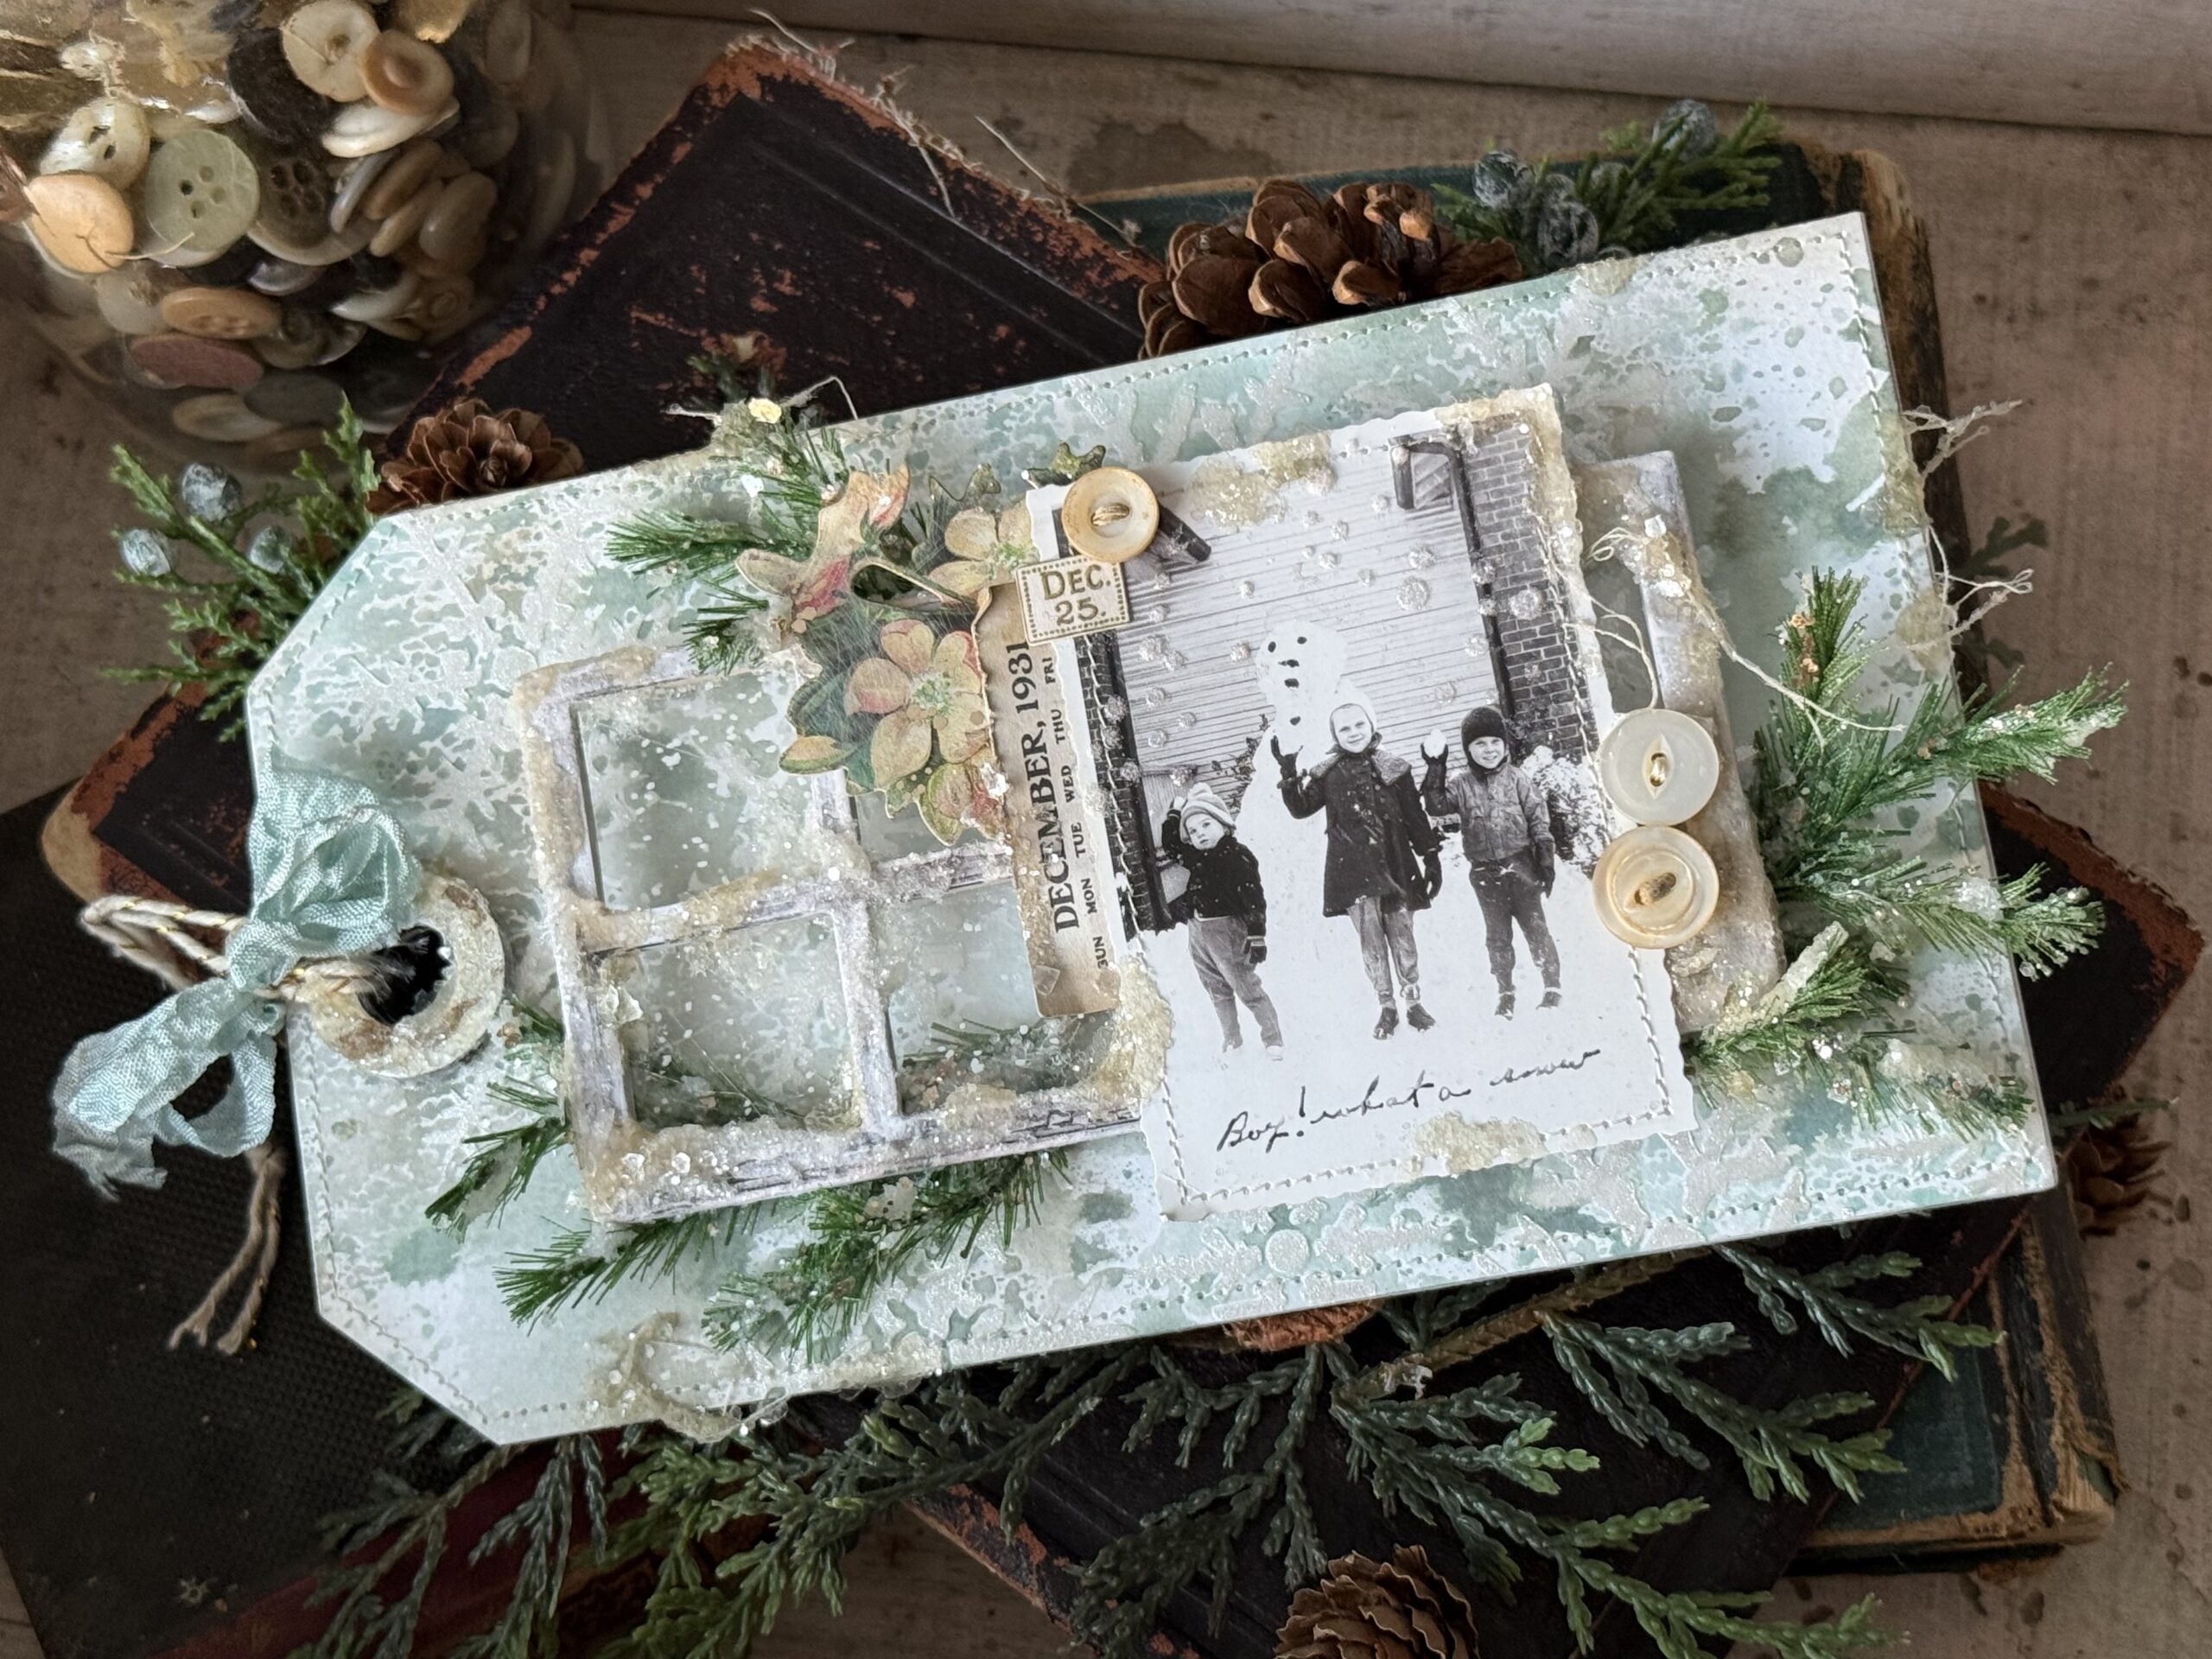
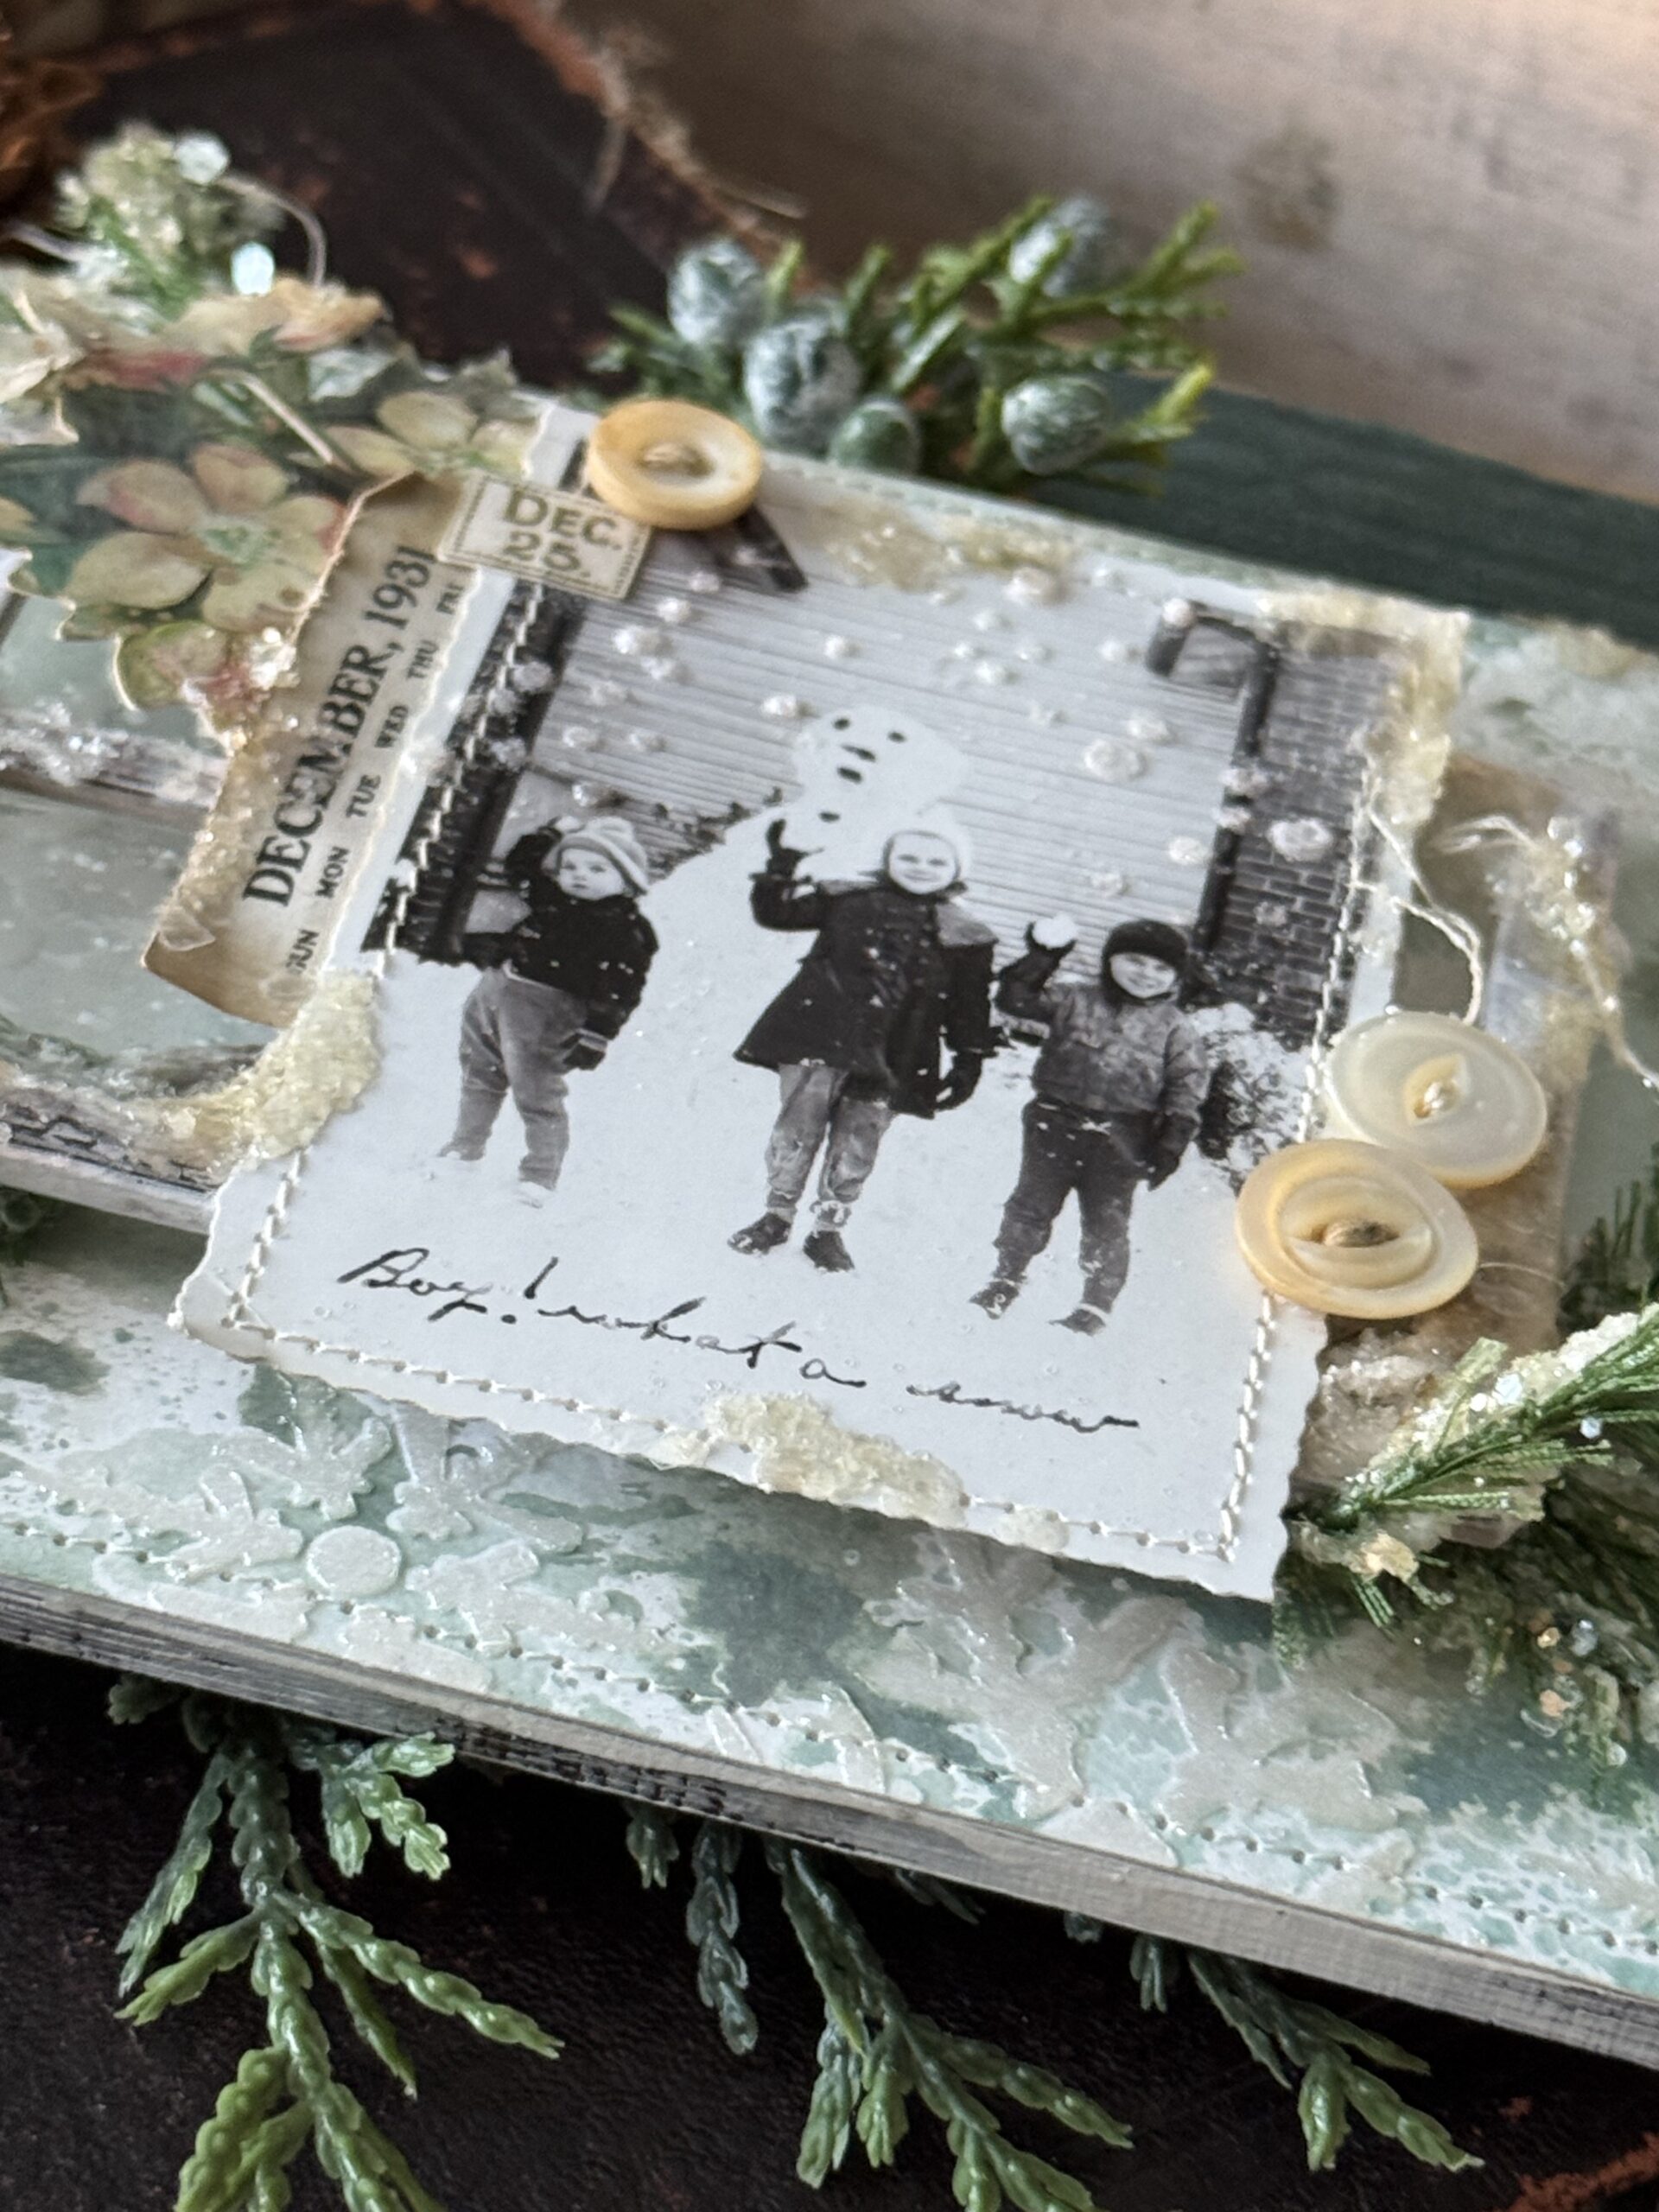
I combined the window frame and matching snowy transparency with the new idea-ology Pine Stems..the cutest little stems for Christmas makes..and how cute is that snowman snapshot photo? It is included in the new 2026 Layers Photo pack along with 56 more pieces.
The frosty and icy look was created by using a combination of Distress Snowfall Grit Paste along with some Mica Flakes and rock candy glitter… I used the combination of the pine branches and on the window pane to give it that frosty look. Now, as I’m writing this, I noticed that the Pine Stems at Simon Says Stamp have sold out…I know, what a bummer, but..this technique or look could be still applied by cutting out greens using a set of Tim Holtz Sizzix Holiday Greens like branches and greens.
That’s the brilliant thing about creating, the possibilities are endless when it comes to creating.
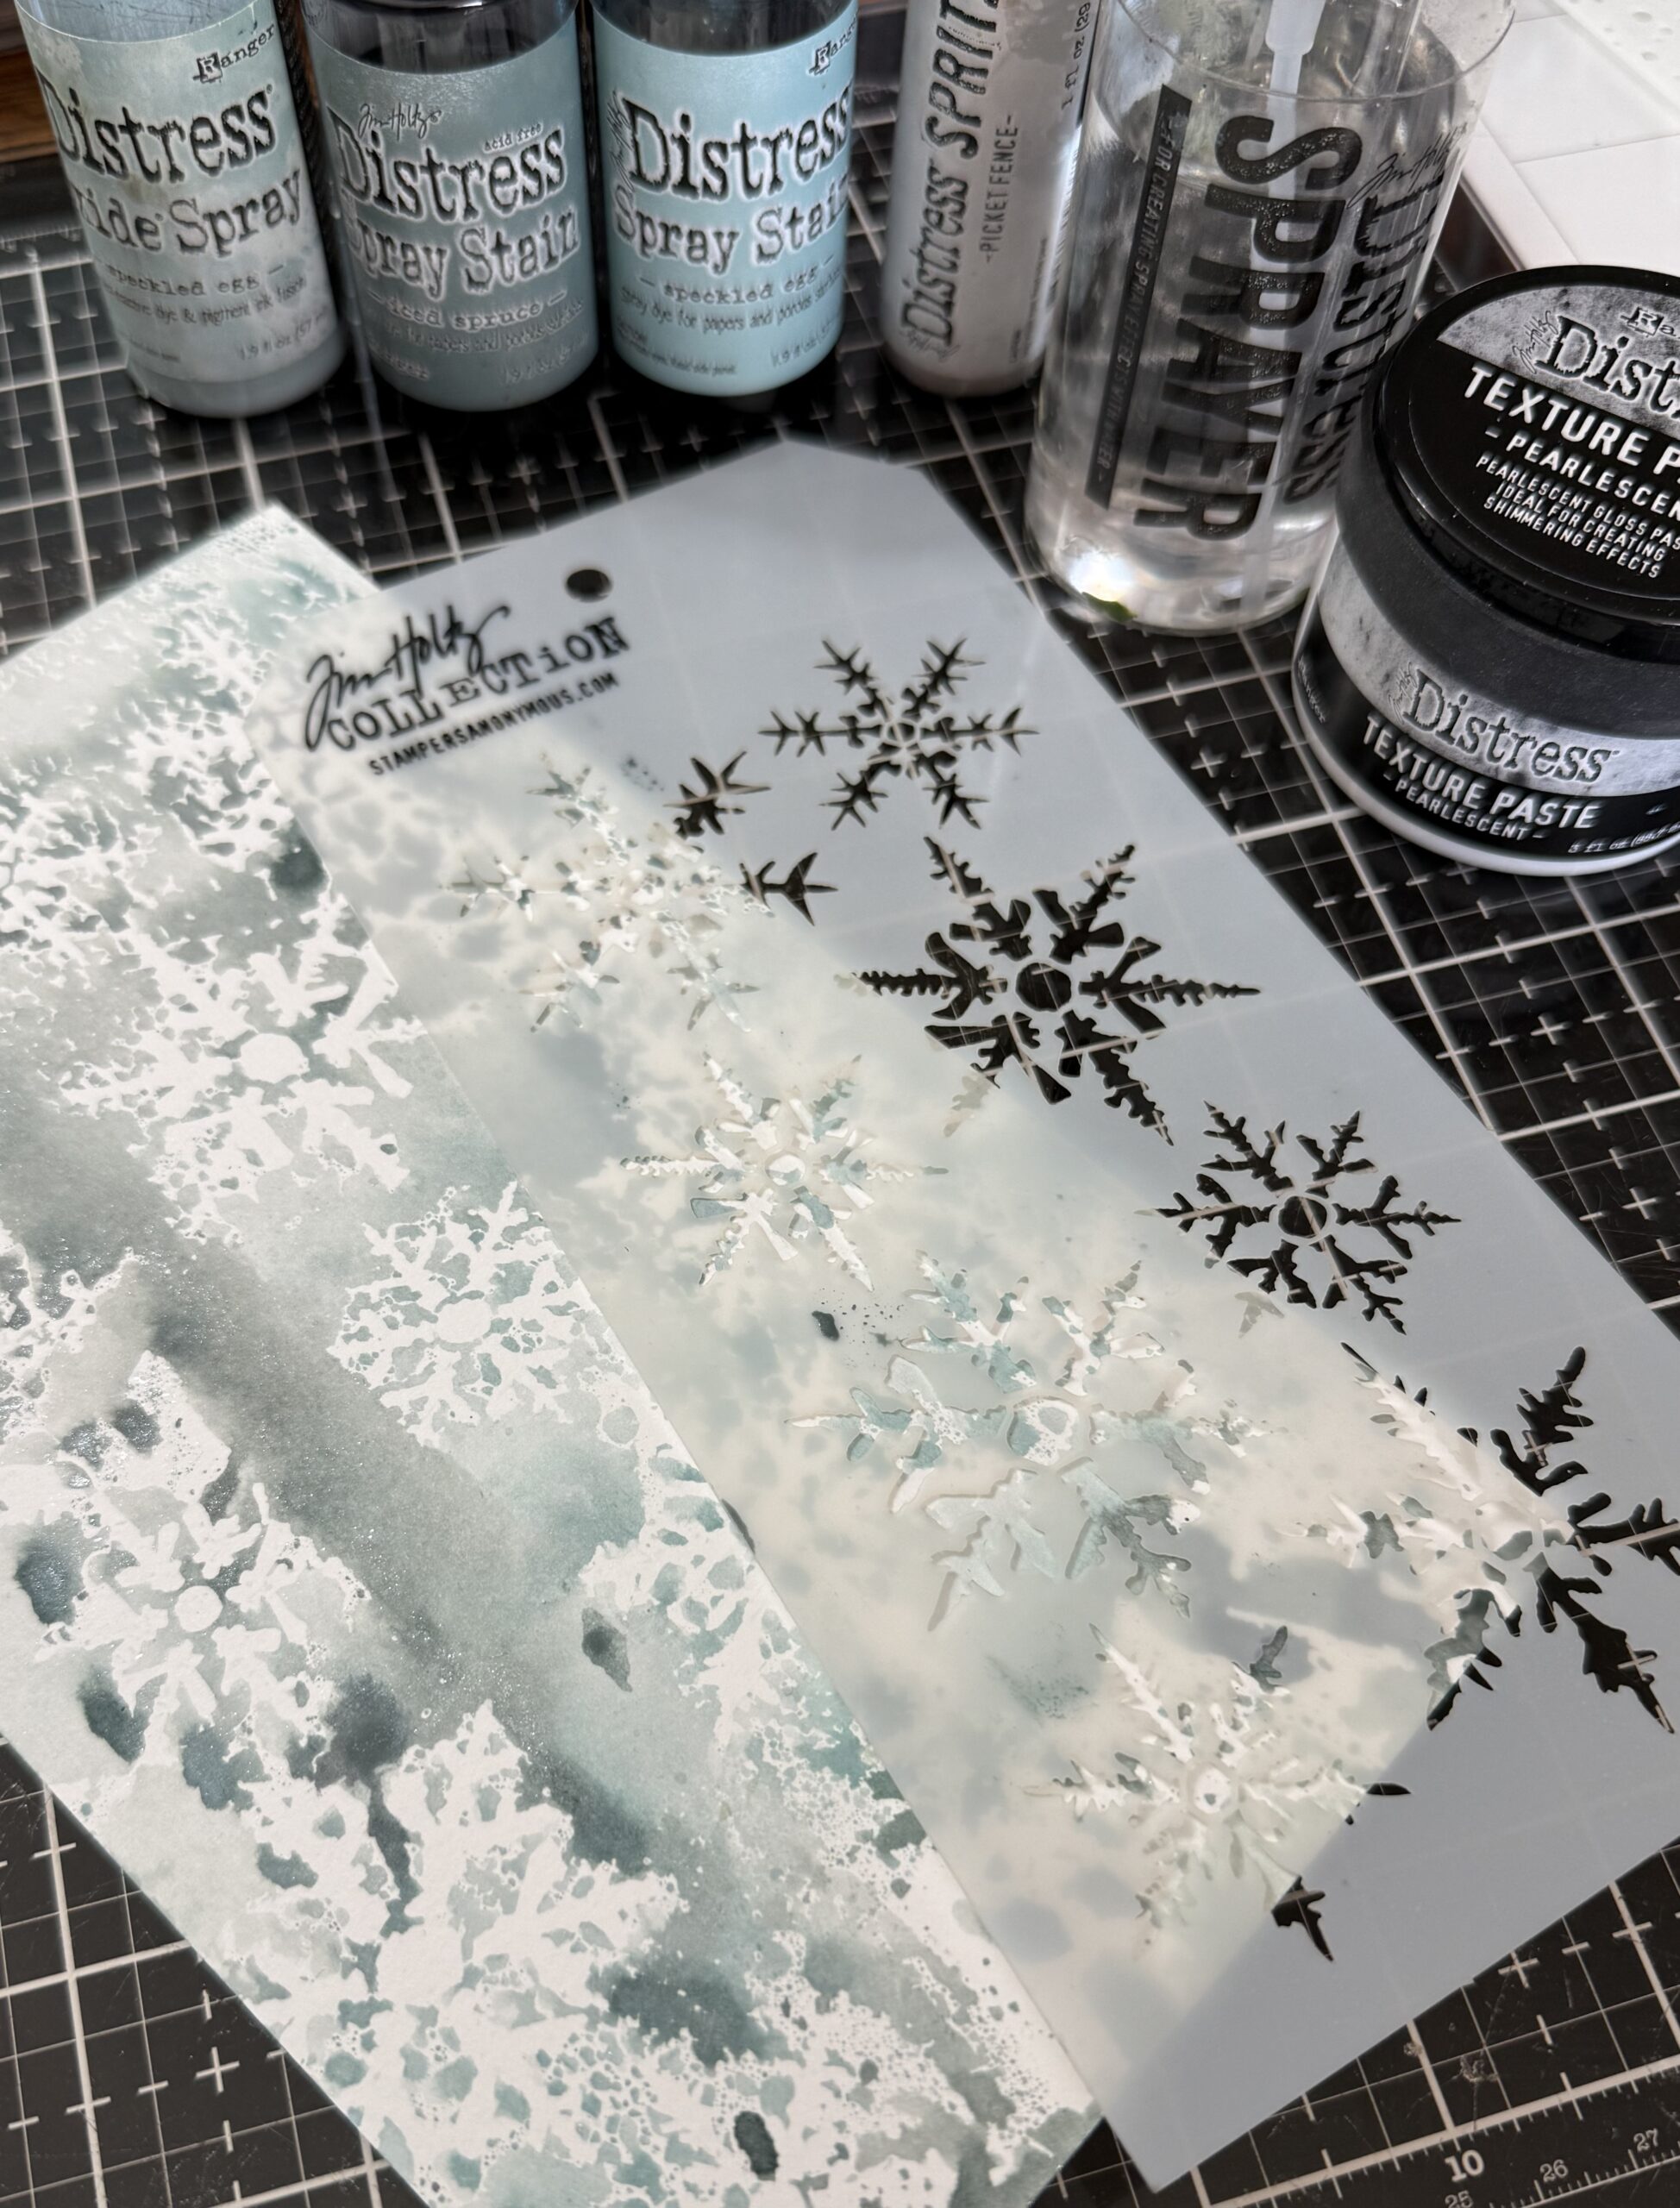
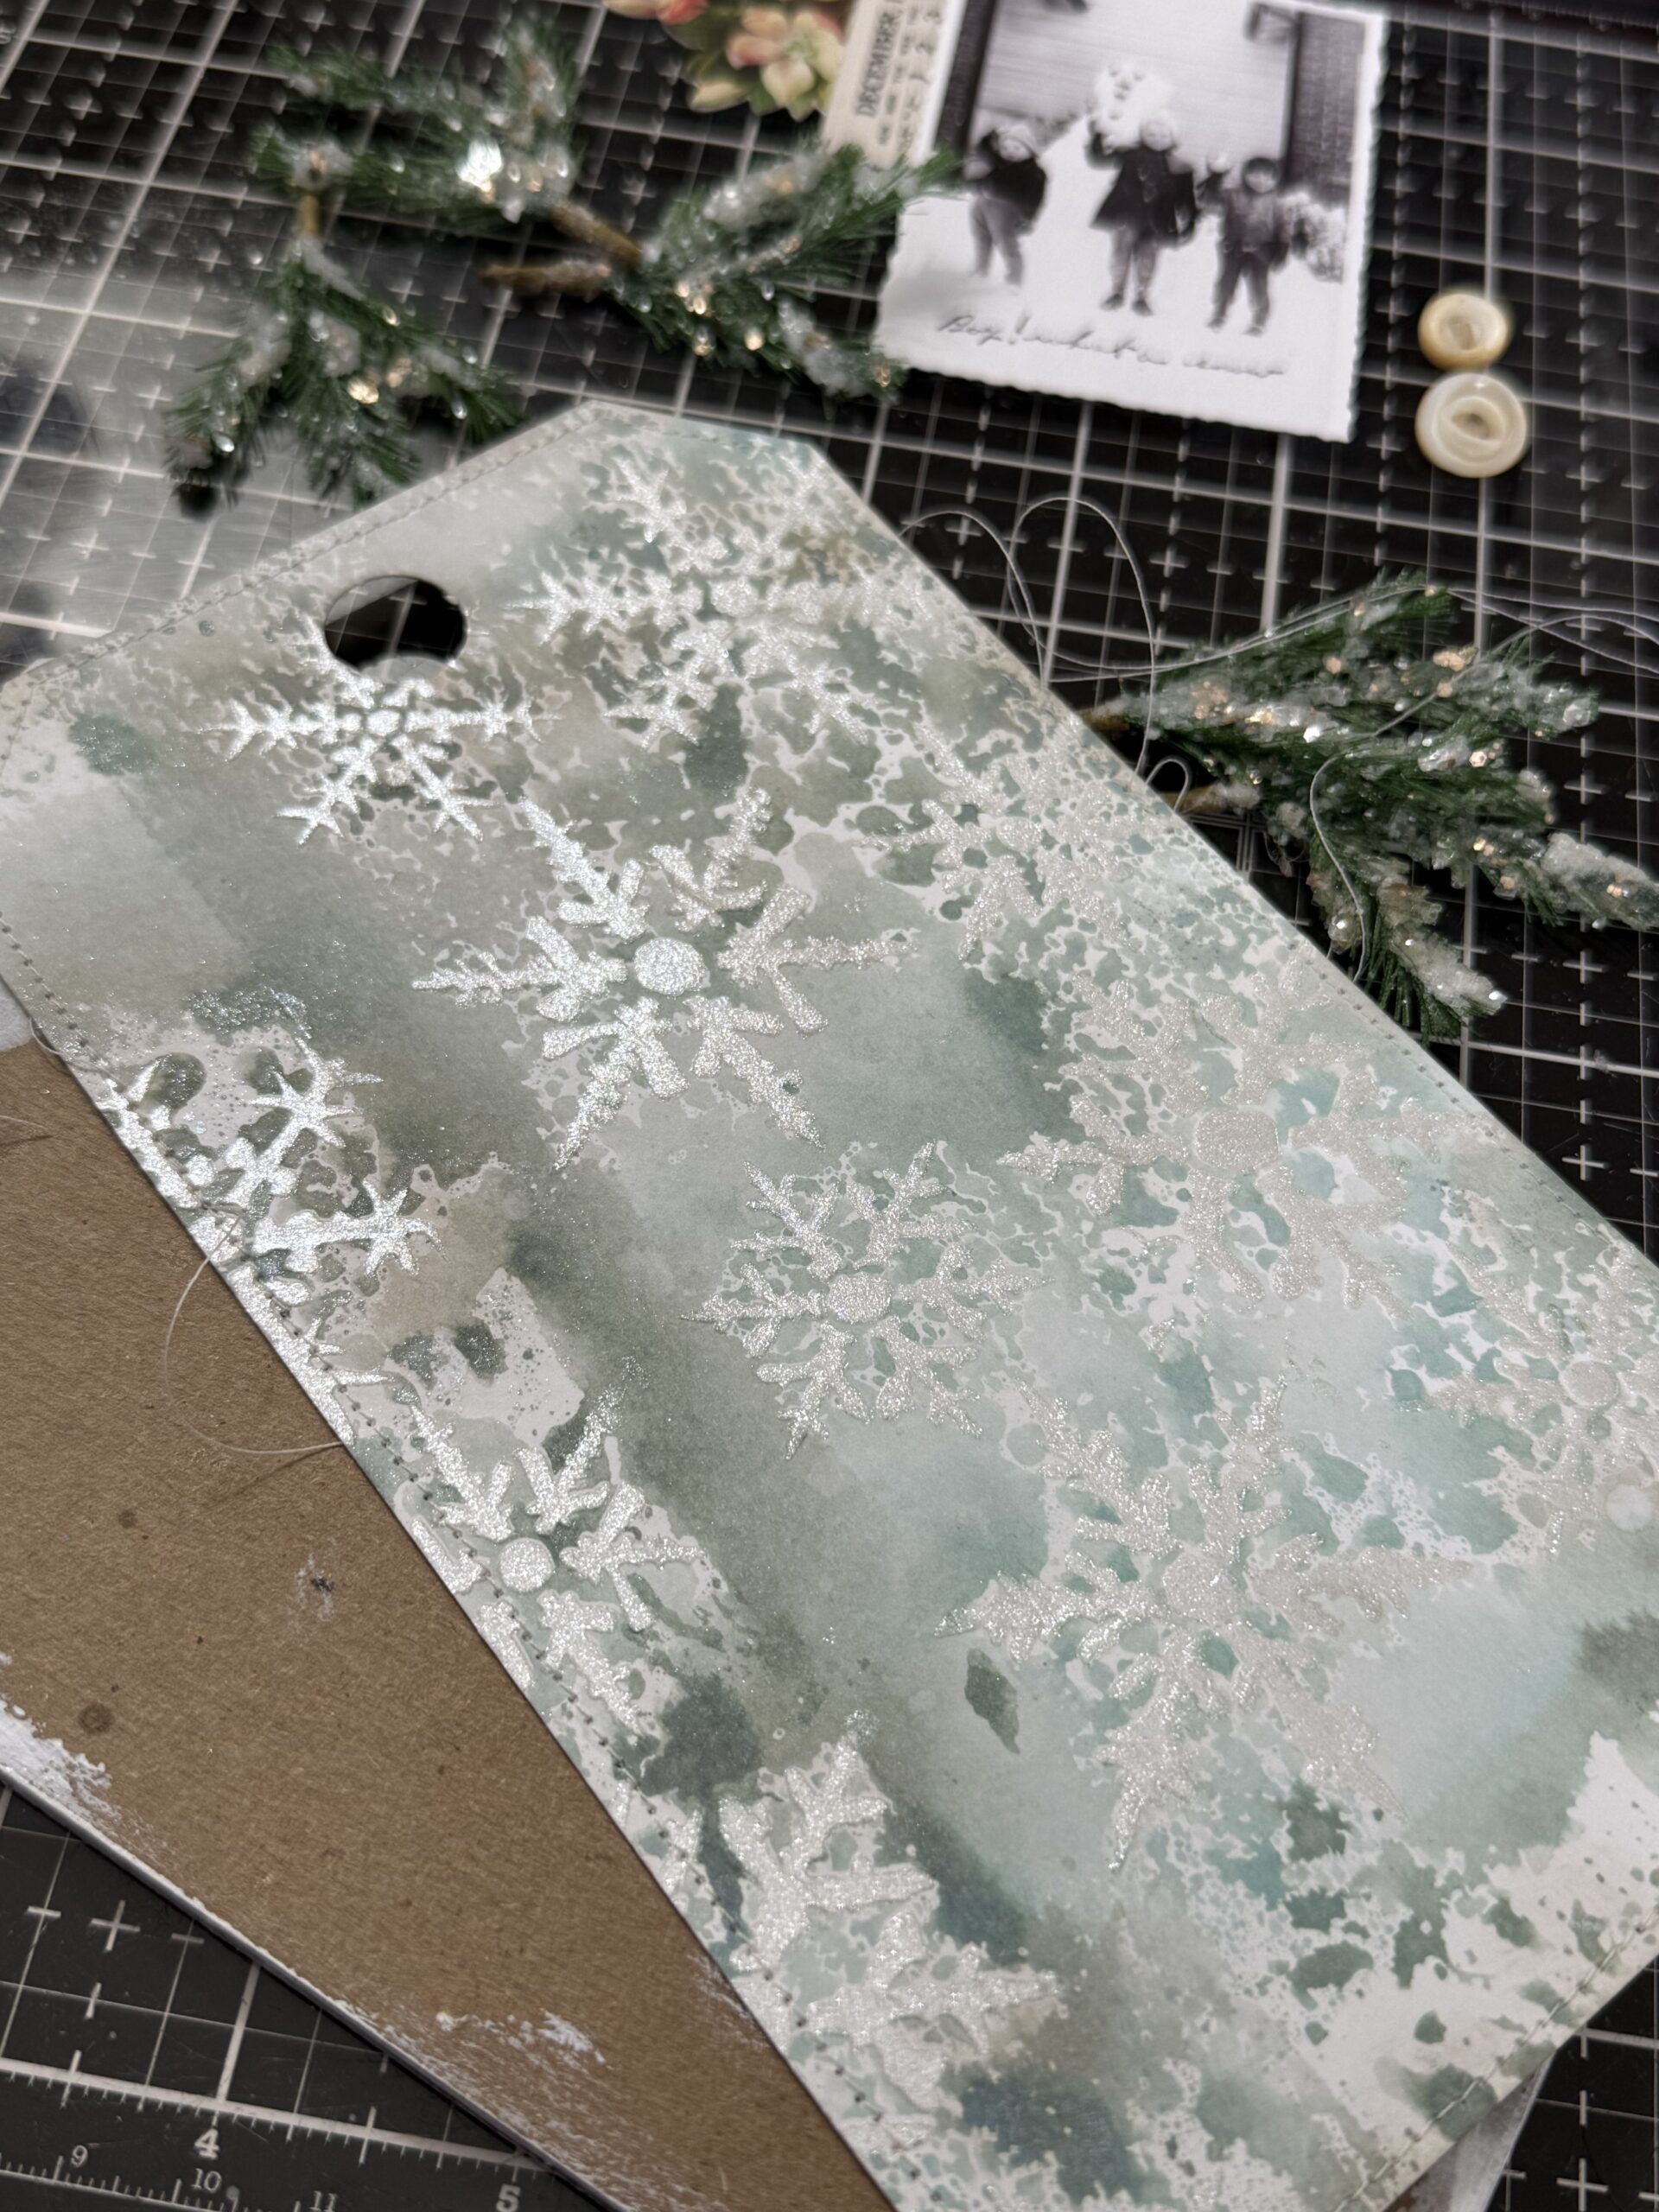
So, let’s get to it! I started by creating a frosty background paper for the vignette by using a combination of sprays a layering stencil and water. This is the Tim Holtz Stampers Anonymous Snowflake THS050. I used a combination of water, Speckled Egg Oxide and regular Spray Stain and Iced Spruce Spray Stain along with some spritz in Picket Fence for some holiday sparkle. I spritzed all the colors directly onto the stencil then flipped it over and made a print, then I dried it with my heat tool. I did this a couple times to fill up the paper. This was done on a piece of Distress Watercolor Paper cut in half (5.5″x8.5″) so that the size was large enough to fit on the front of a Mini Etcetera Tag.
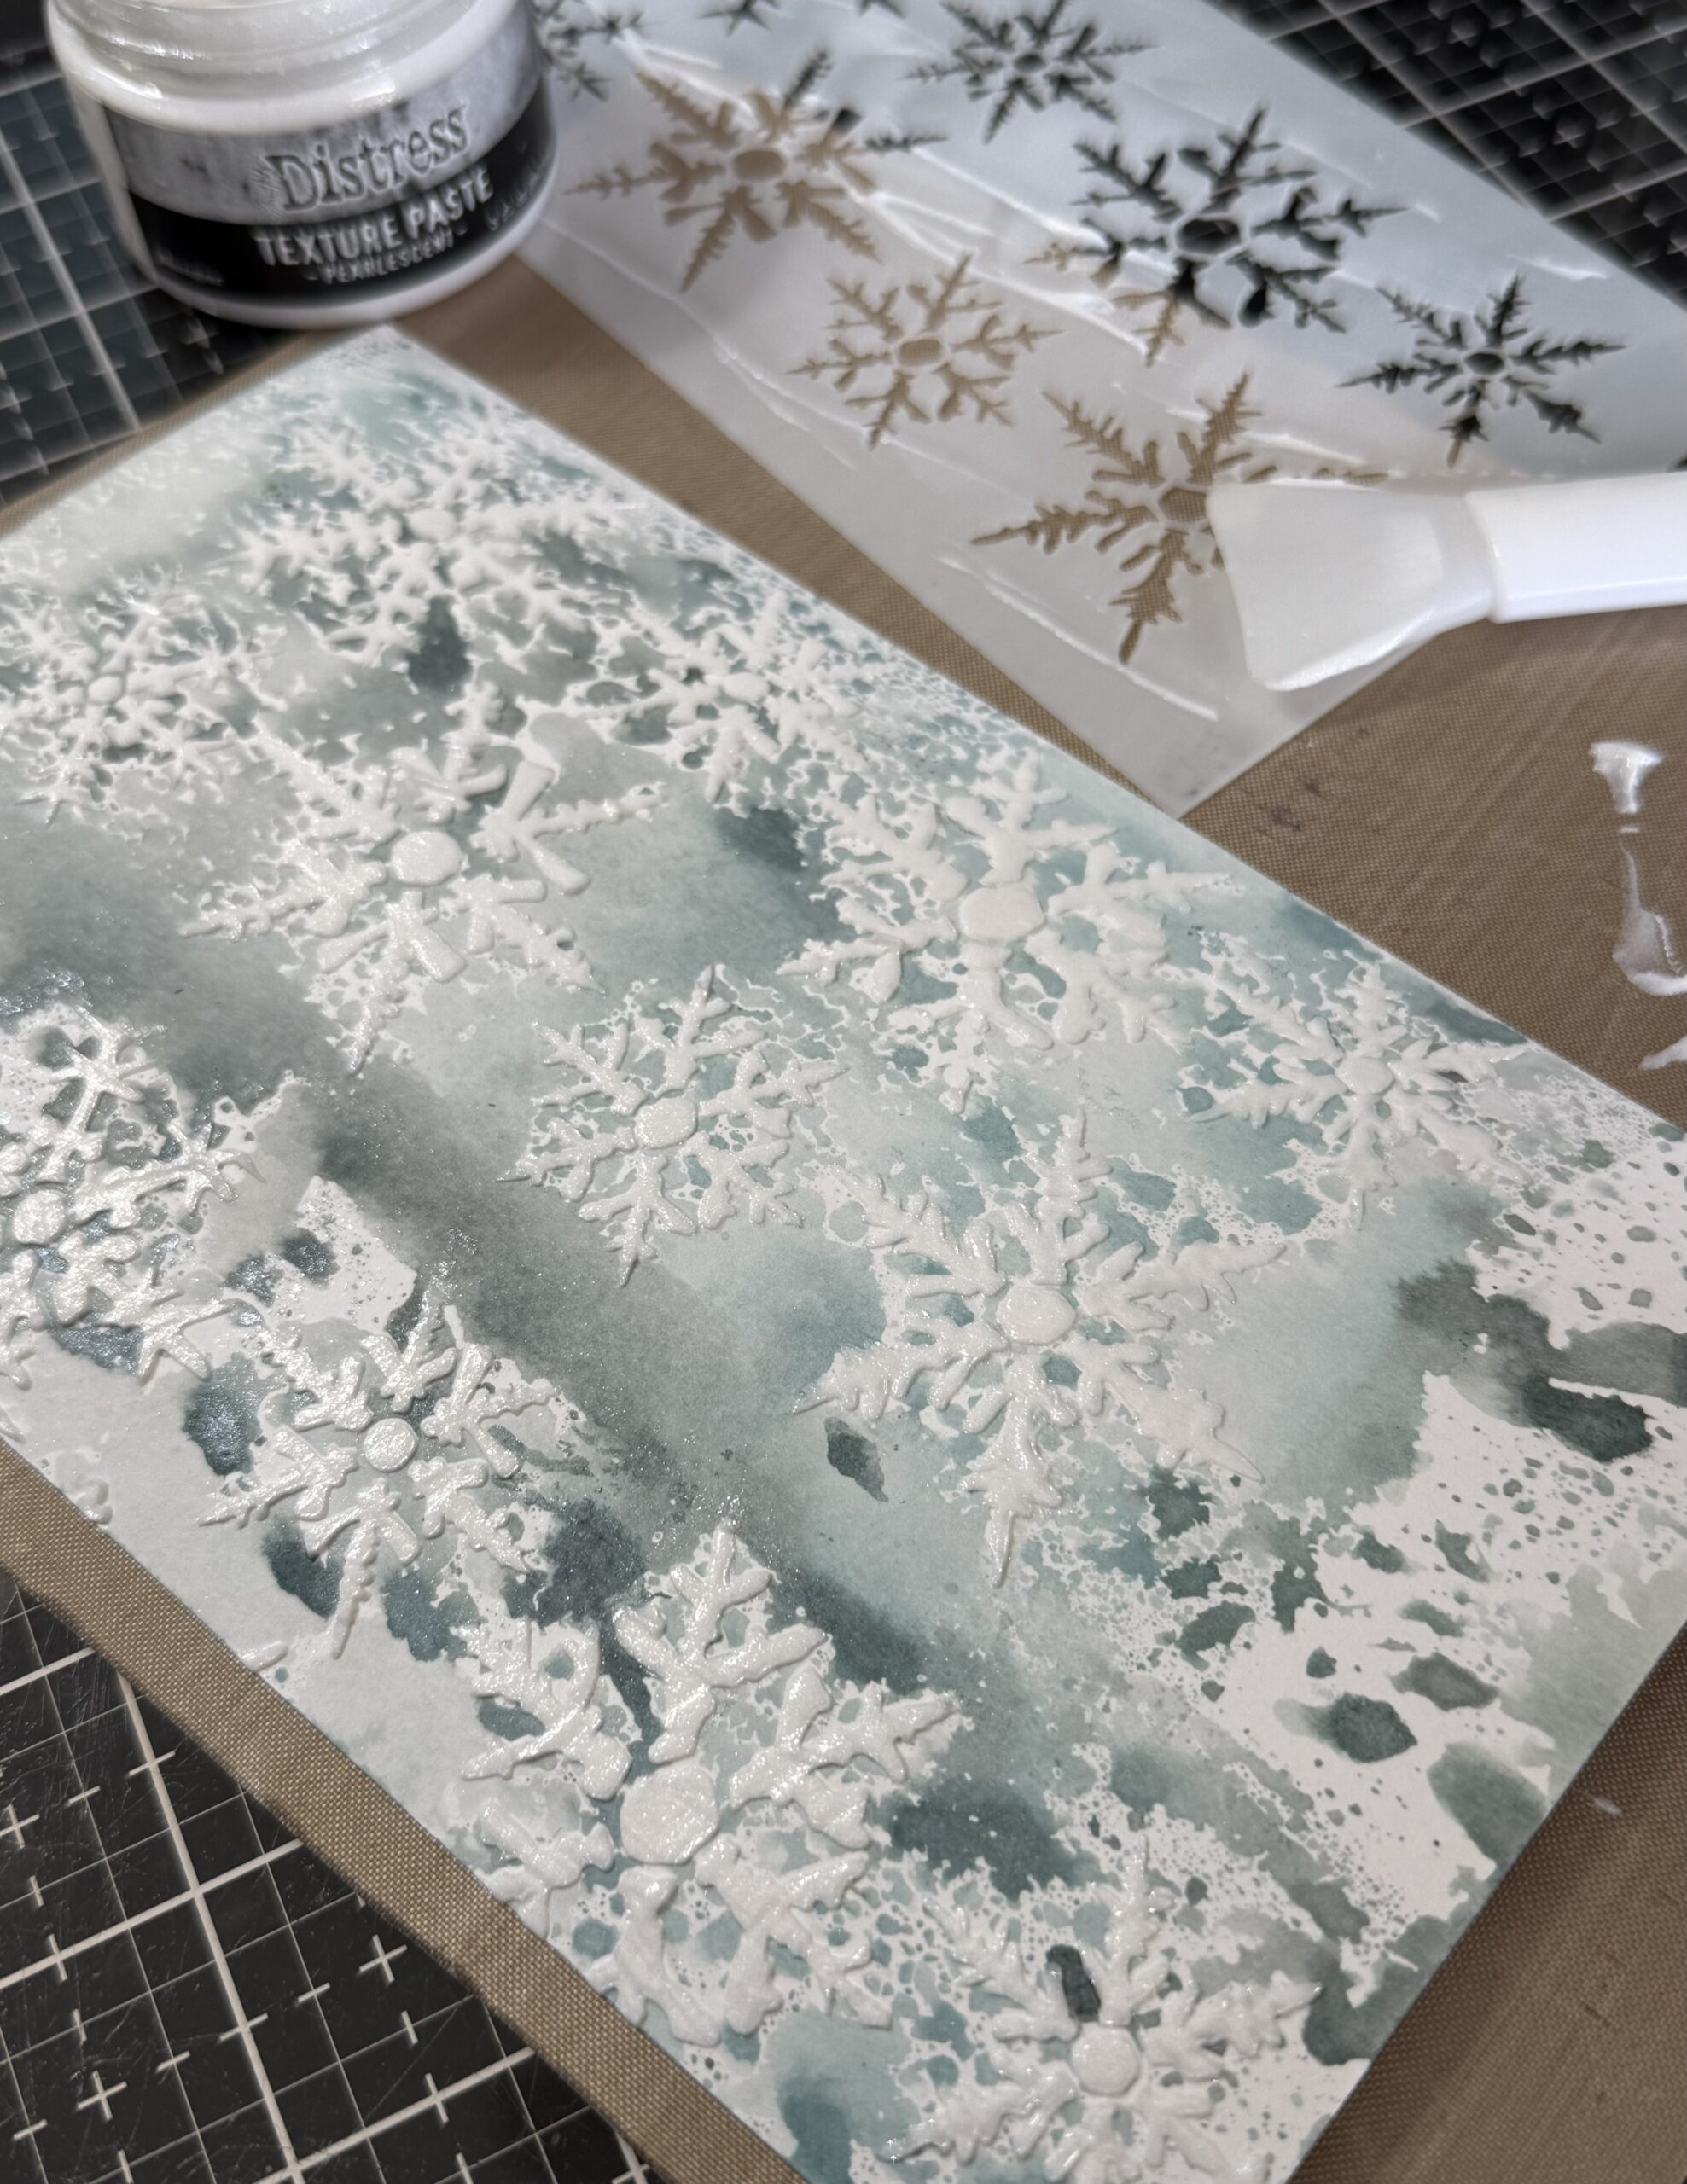
After the print was dry, I used a palette tool and some Pearlescent Texture Paste to fill in the printed snowflakes. I lined up the stencil, then used my tool to add the texture paste. This was set aside to dry, then I went on to my next step.
I went on to adding the snow to the branches. To do this, I started with the Snowfall GritPaste. I used my finger to pick up some of the paste and smooshed it into the branch stems. After the snowfall texture was applied, I used a paint brush to add some Liquid Tinsel (Chunky Antiqued) onto the paste..this was applied very lightly, just to add a touch of glitter.
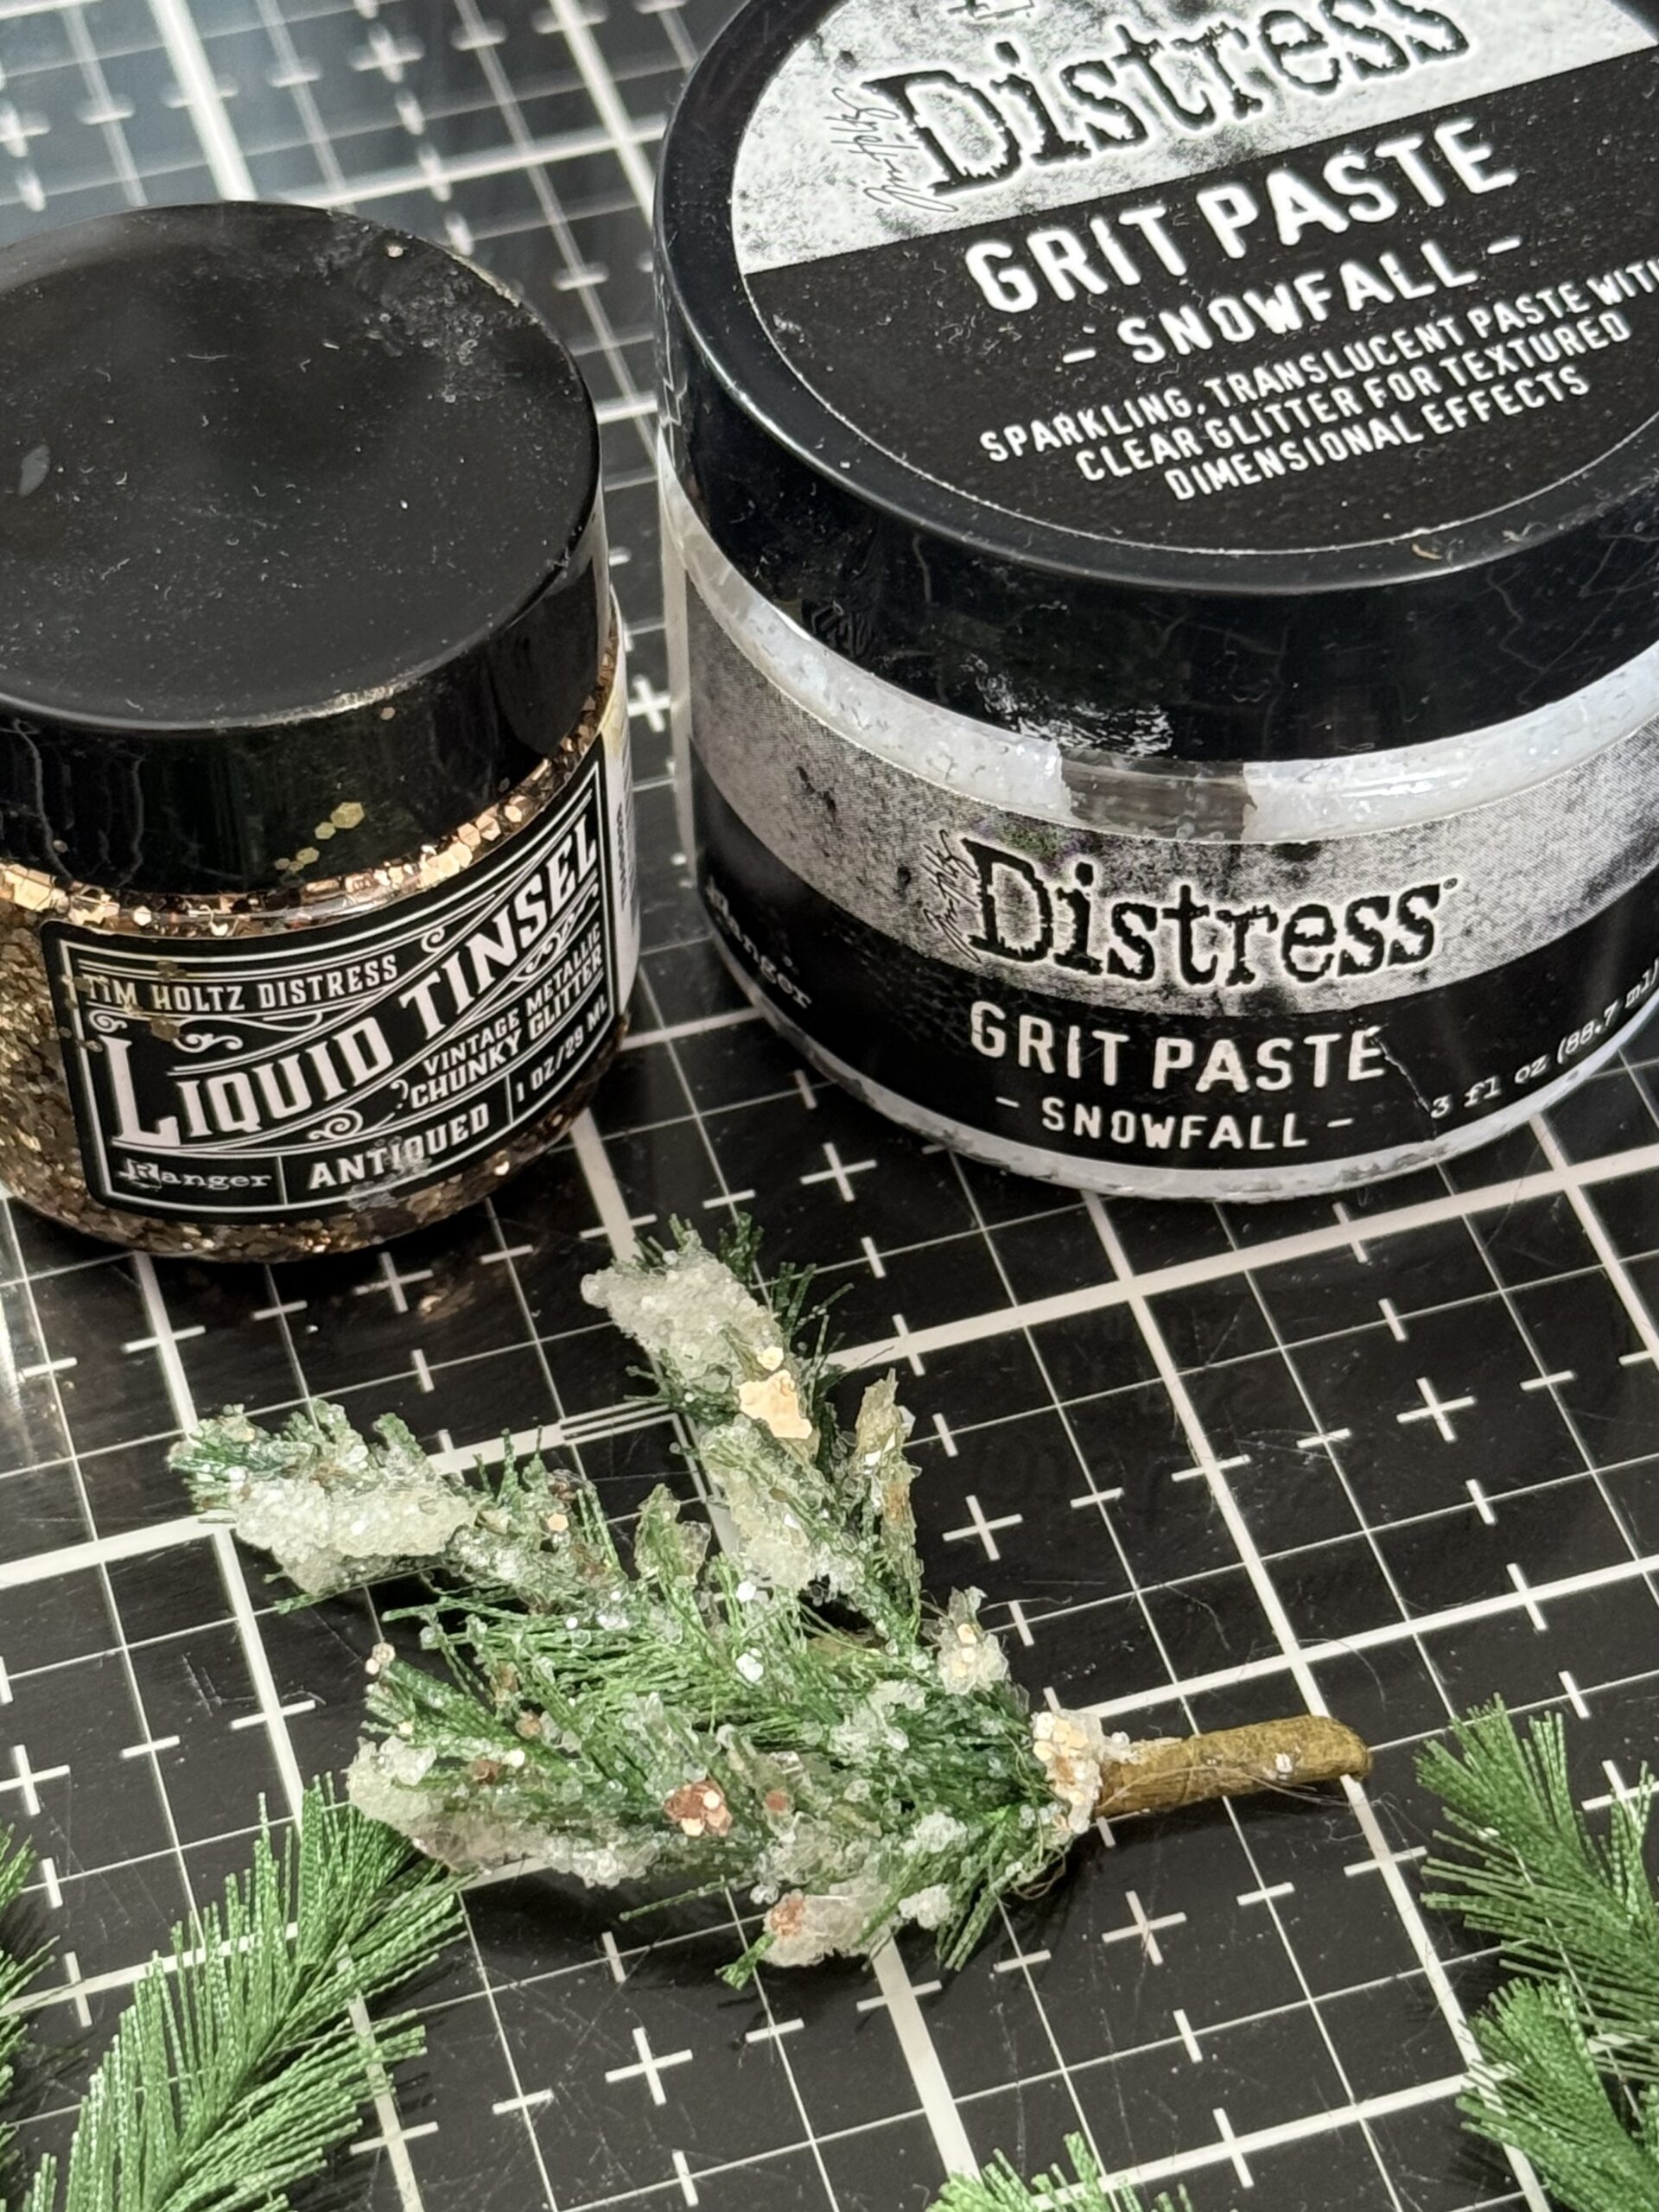
This was done to all five of the branches that I was using to make the vignette.
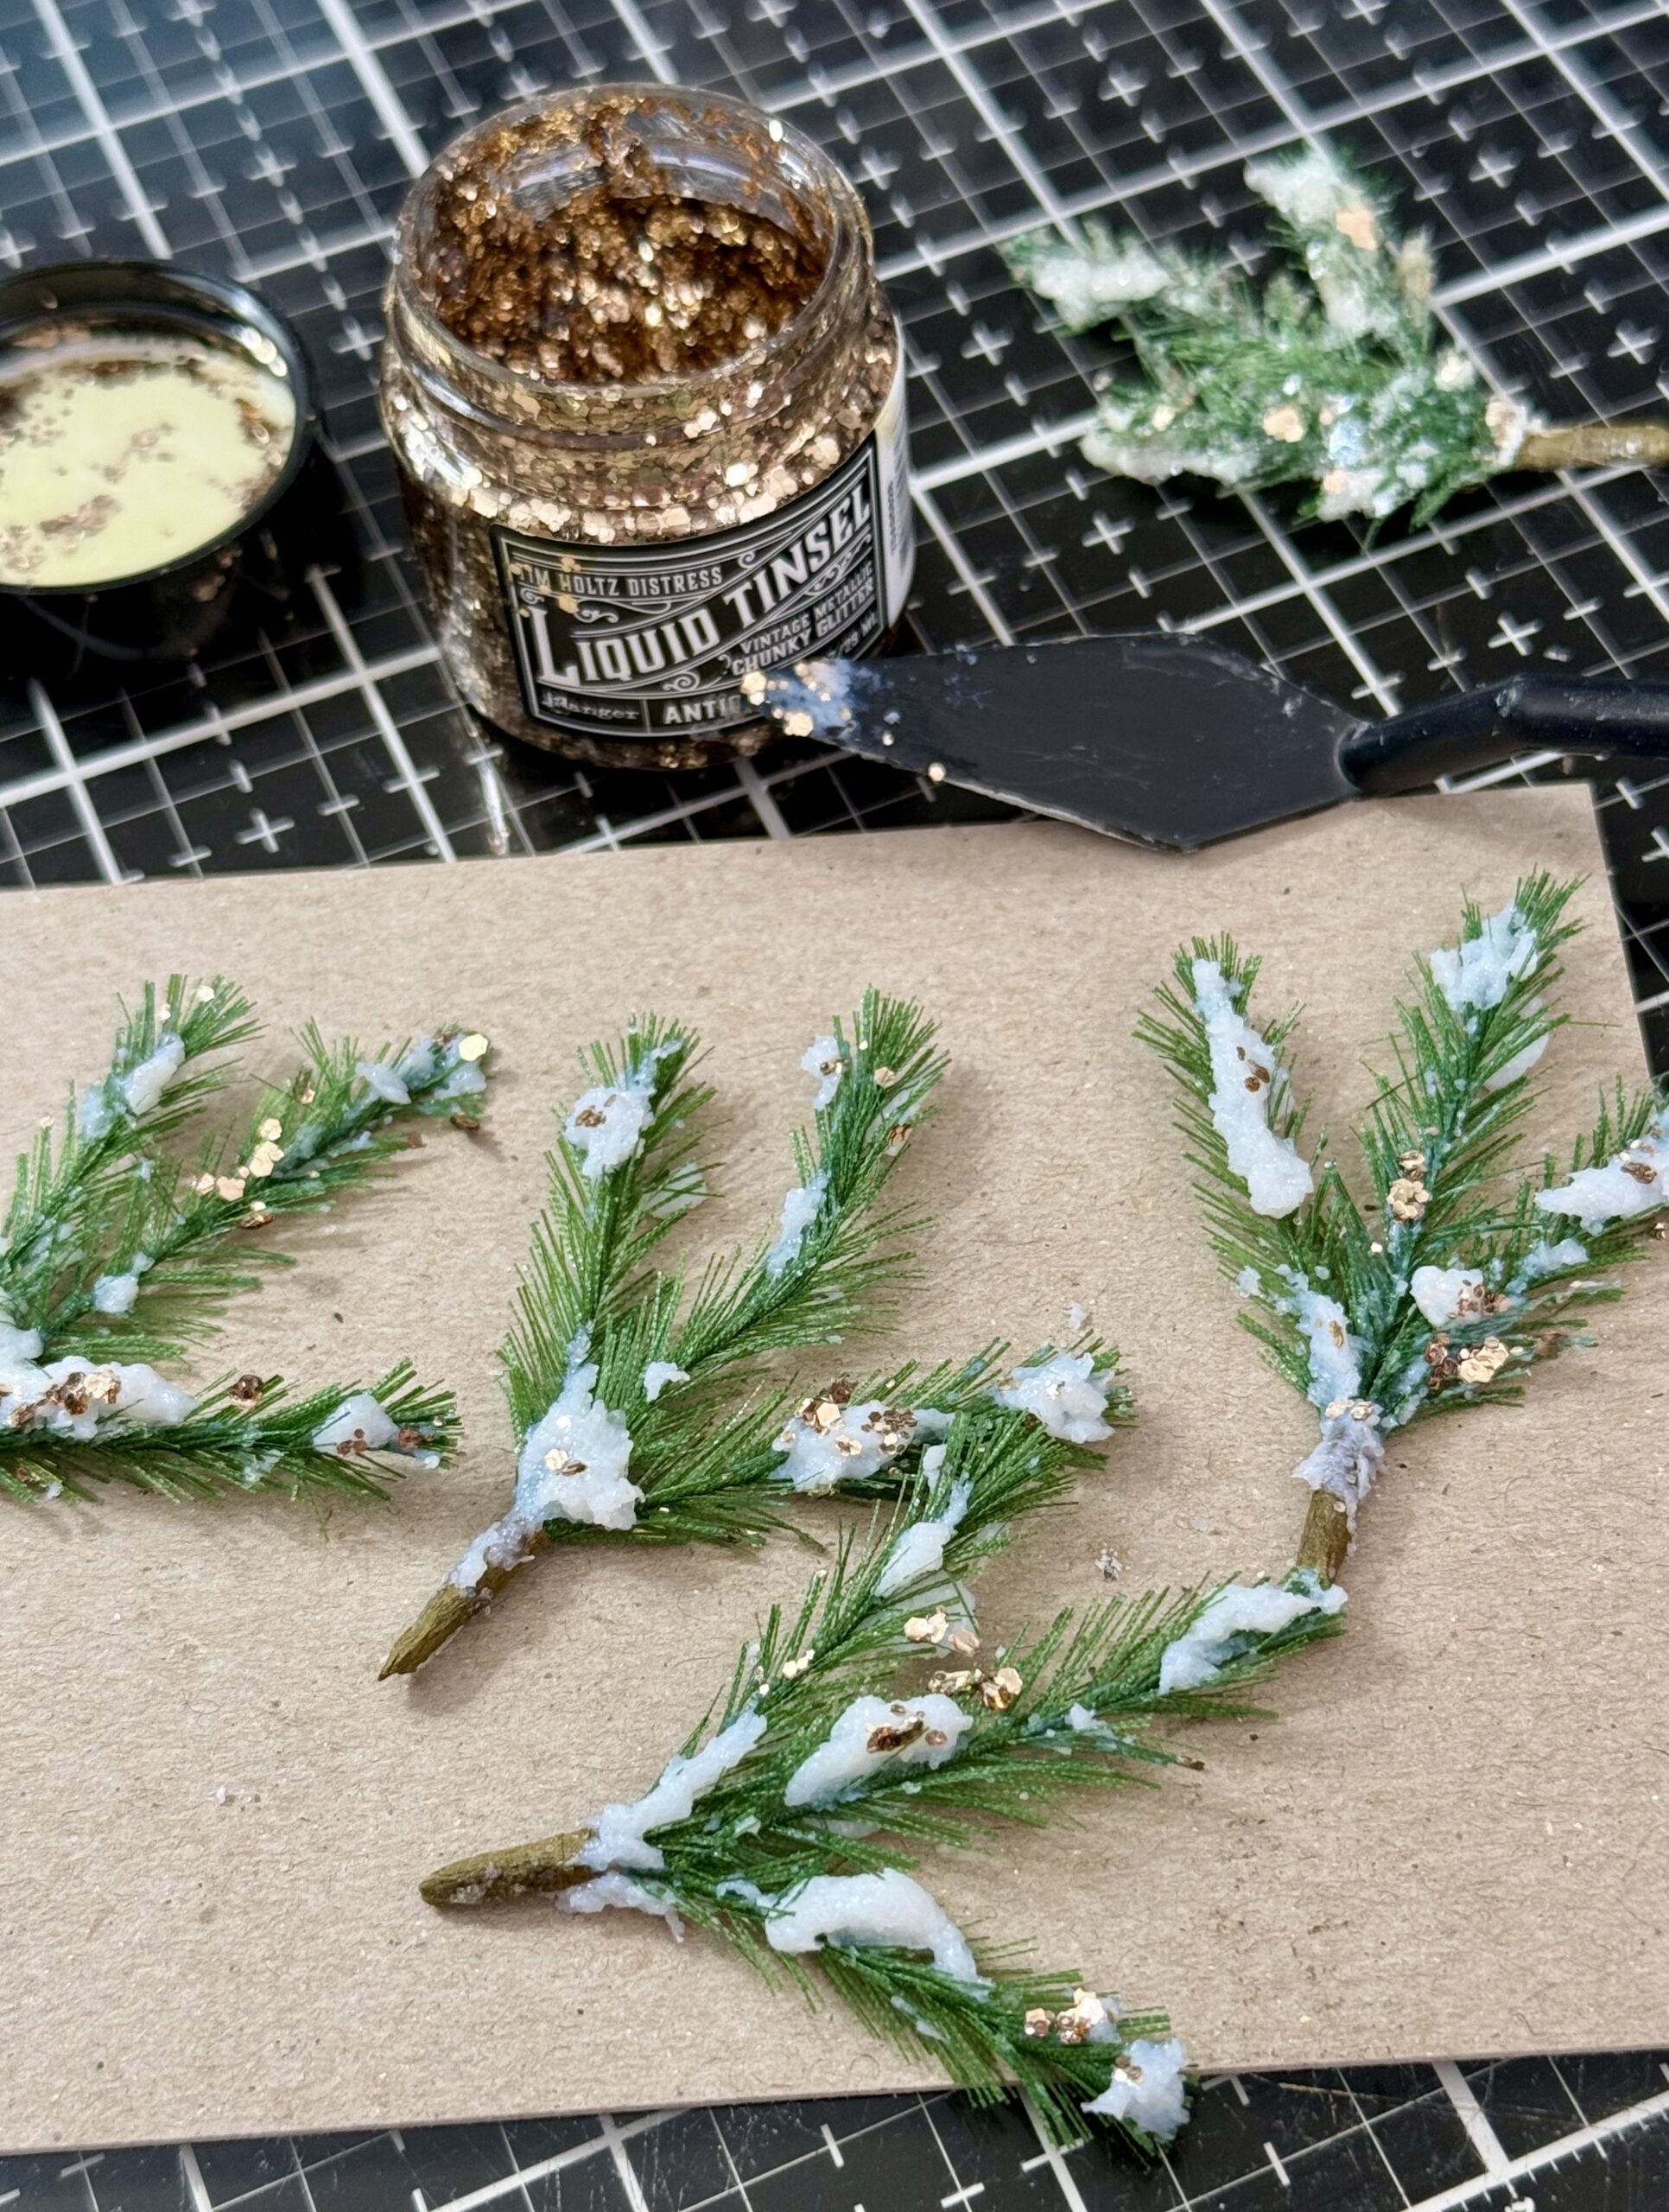
Once the branches had the snowfall and tinsel applied, I added some more glitz by adding Glossy accents around on top of the paste, and sprinkled with a combination of mica flakes and clear rock candy glitter, I used my grungy combination that was made using all the rock candy glitter both regular and chunky and then some mica flakes that were tinted with mushroom alcohol ink.
These were then set aside to dry for awhile.
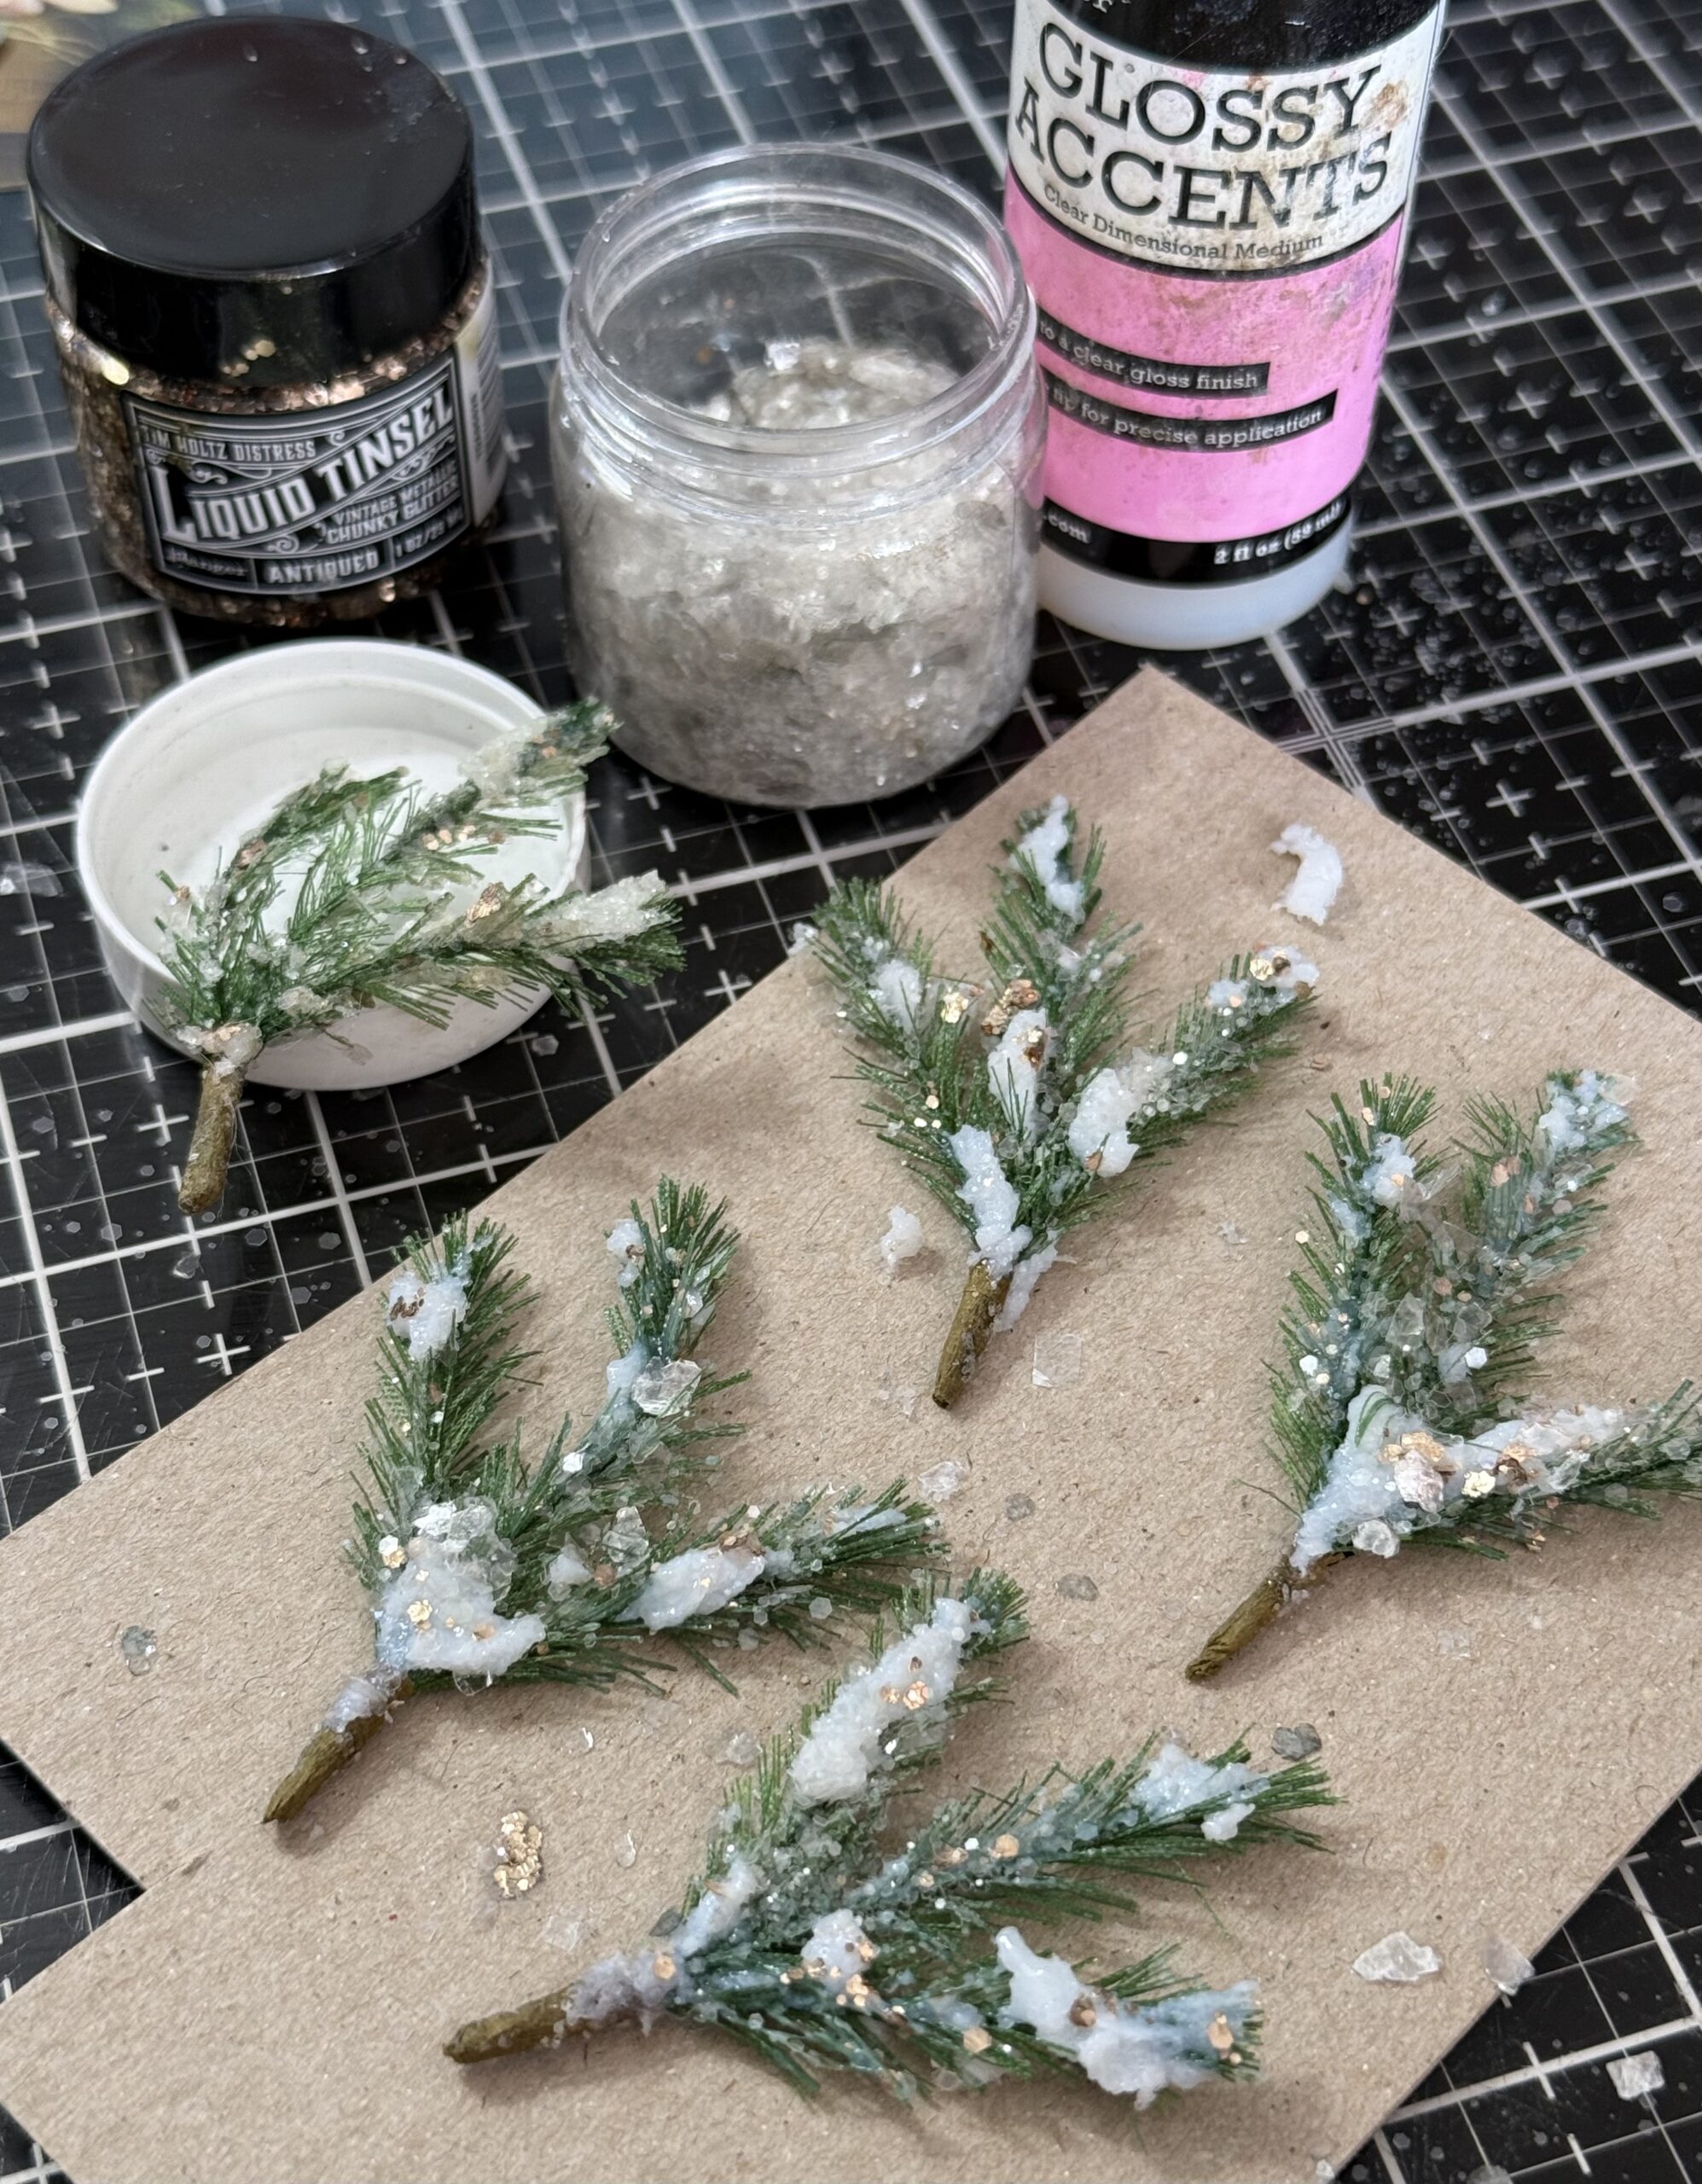
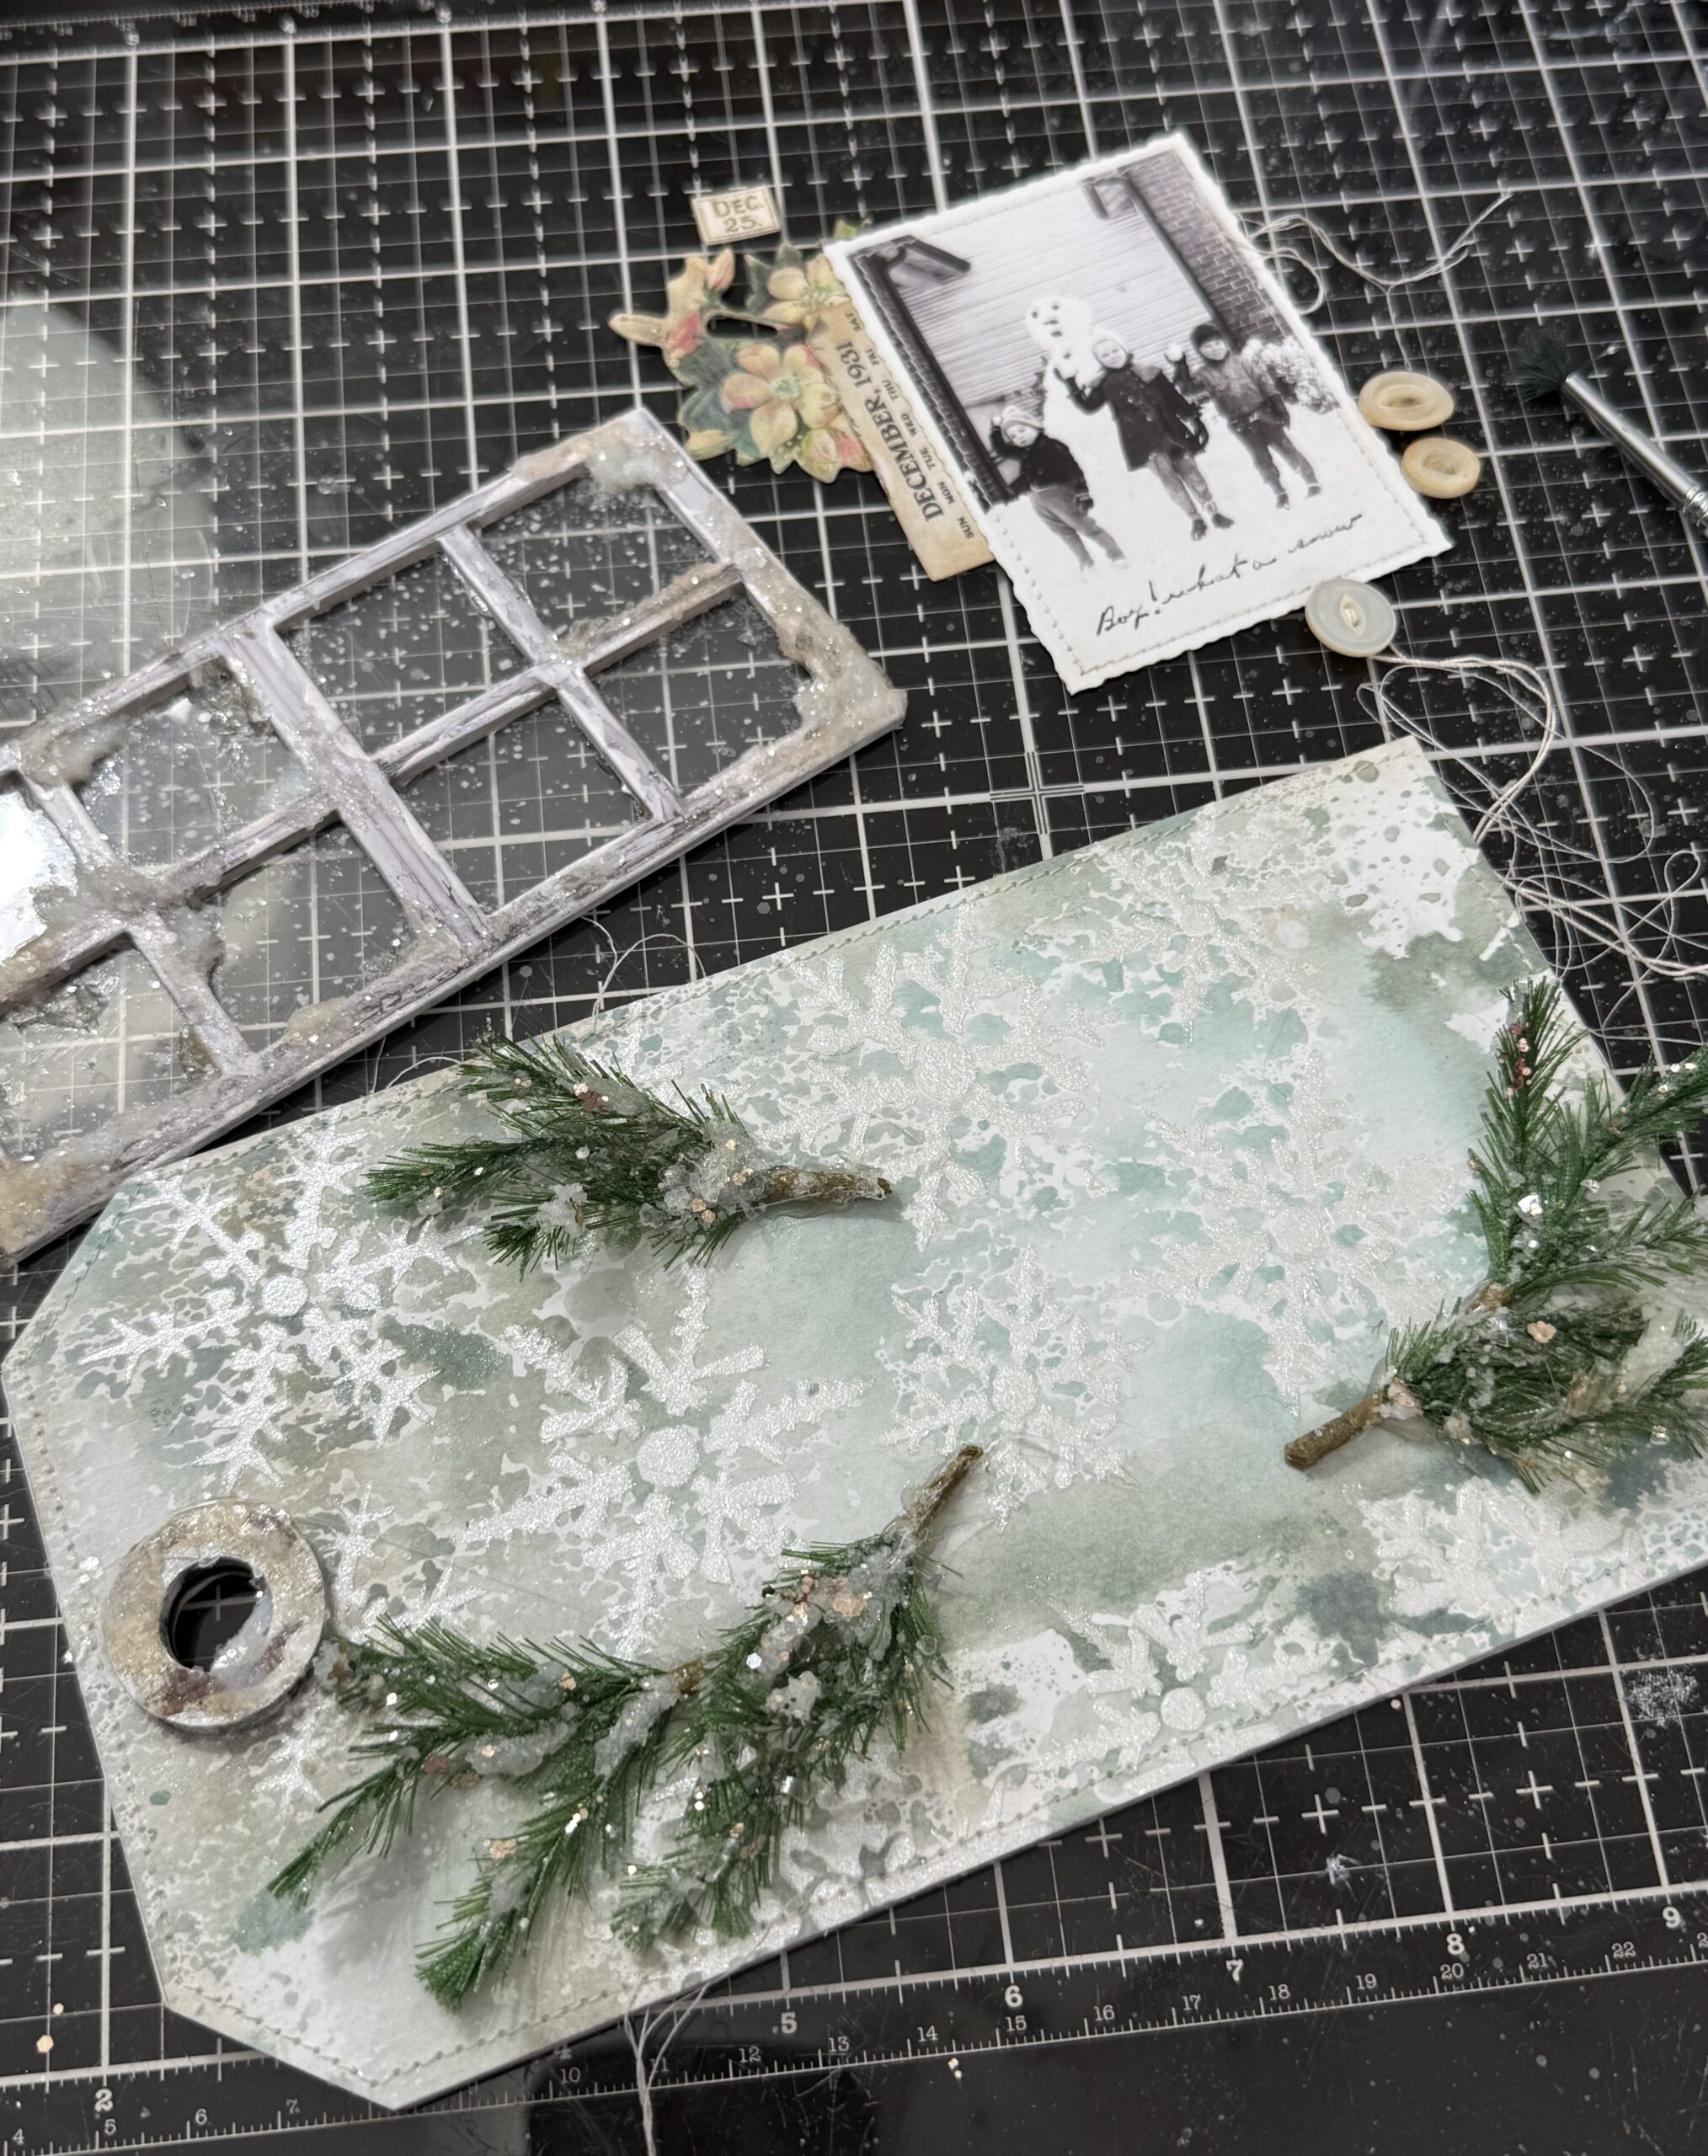
After they were dry, I began to arrange the layout, you can see the branches and the layout that I had planned, then the skinny window pane was going to be added over top.
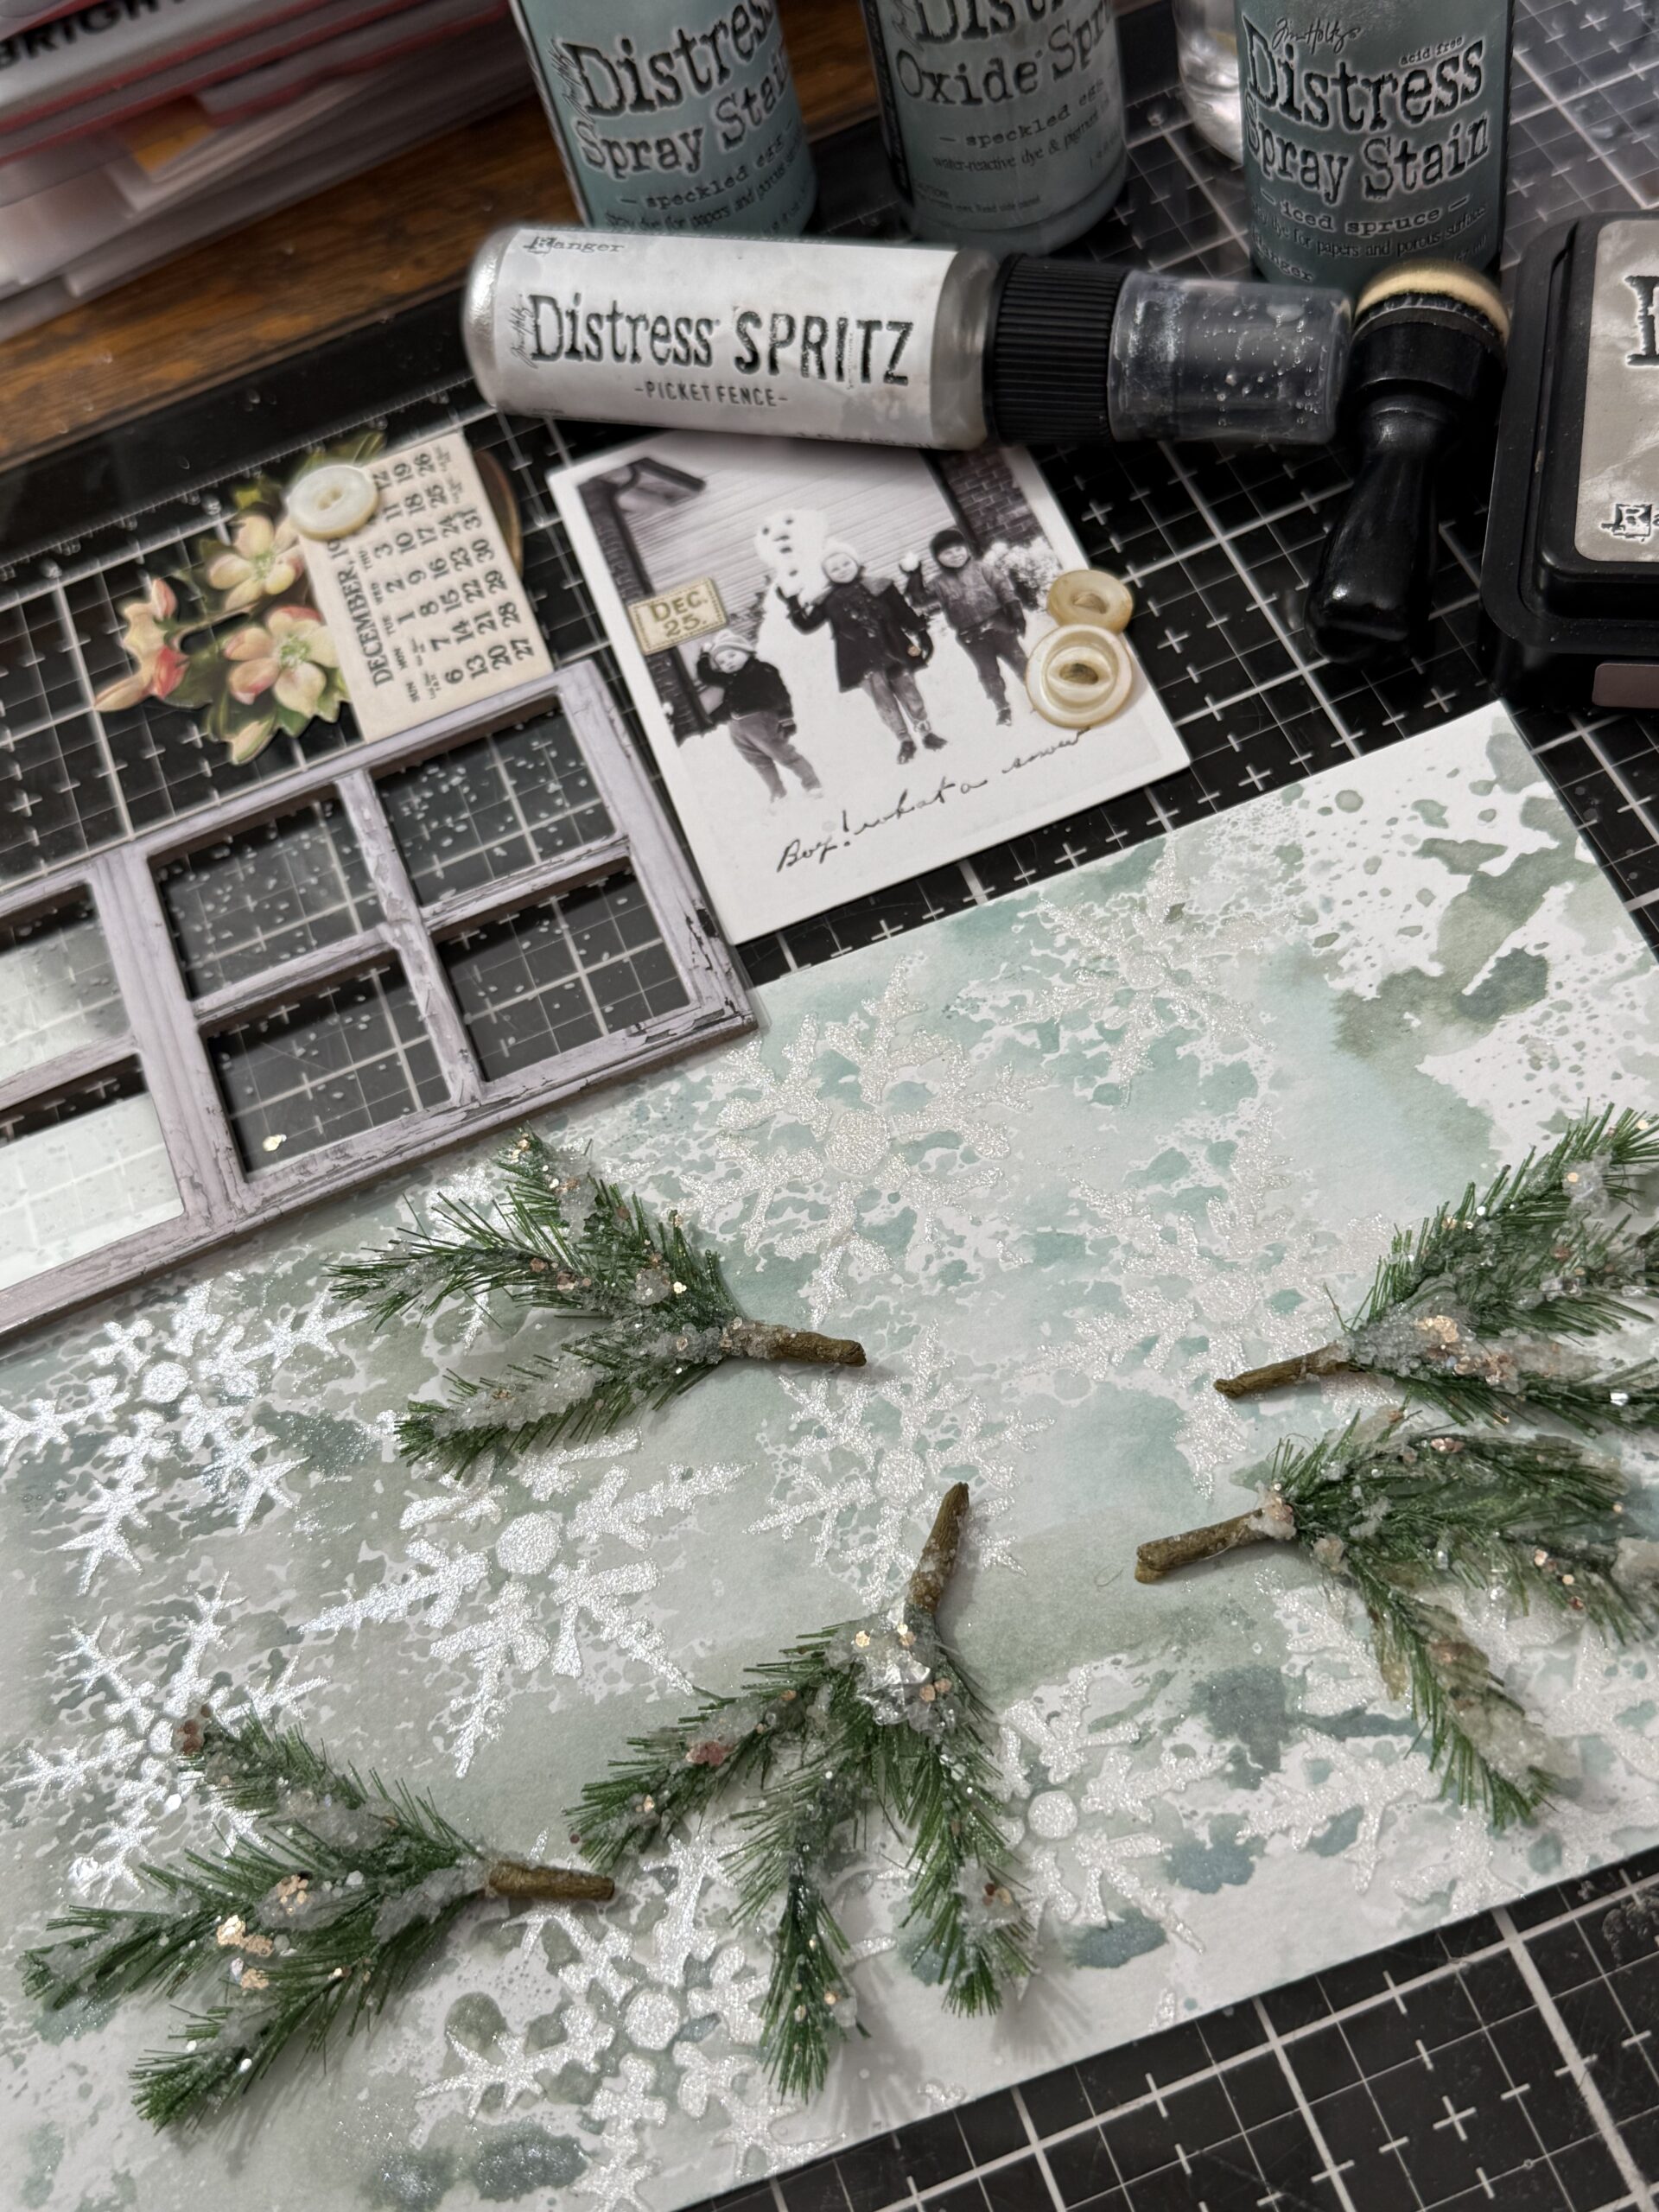
Now, to add the snowiness to the window panes…
I started by rubbing the edges of the window using some Picket Fence Distress Paint.
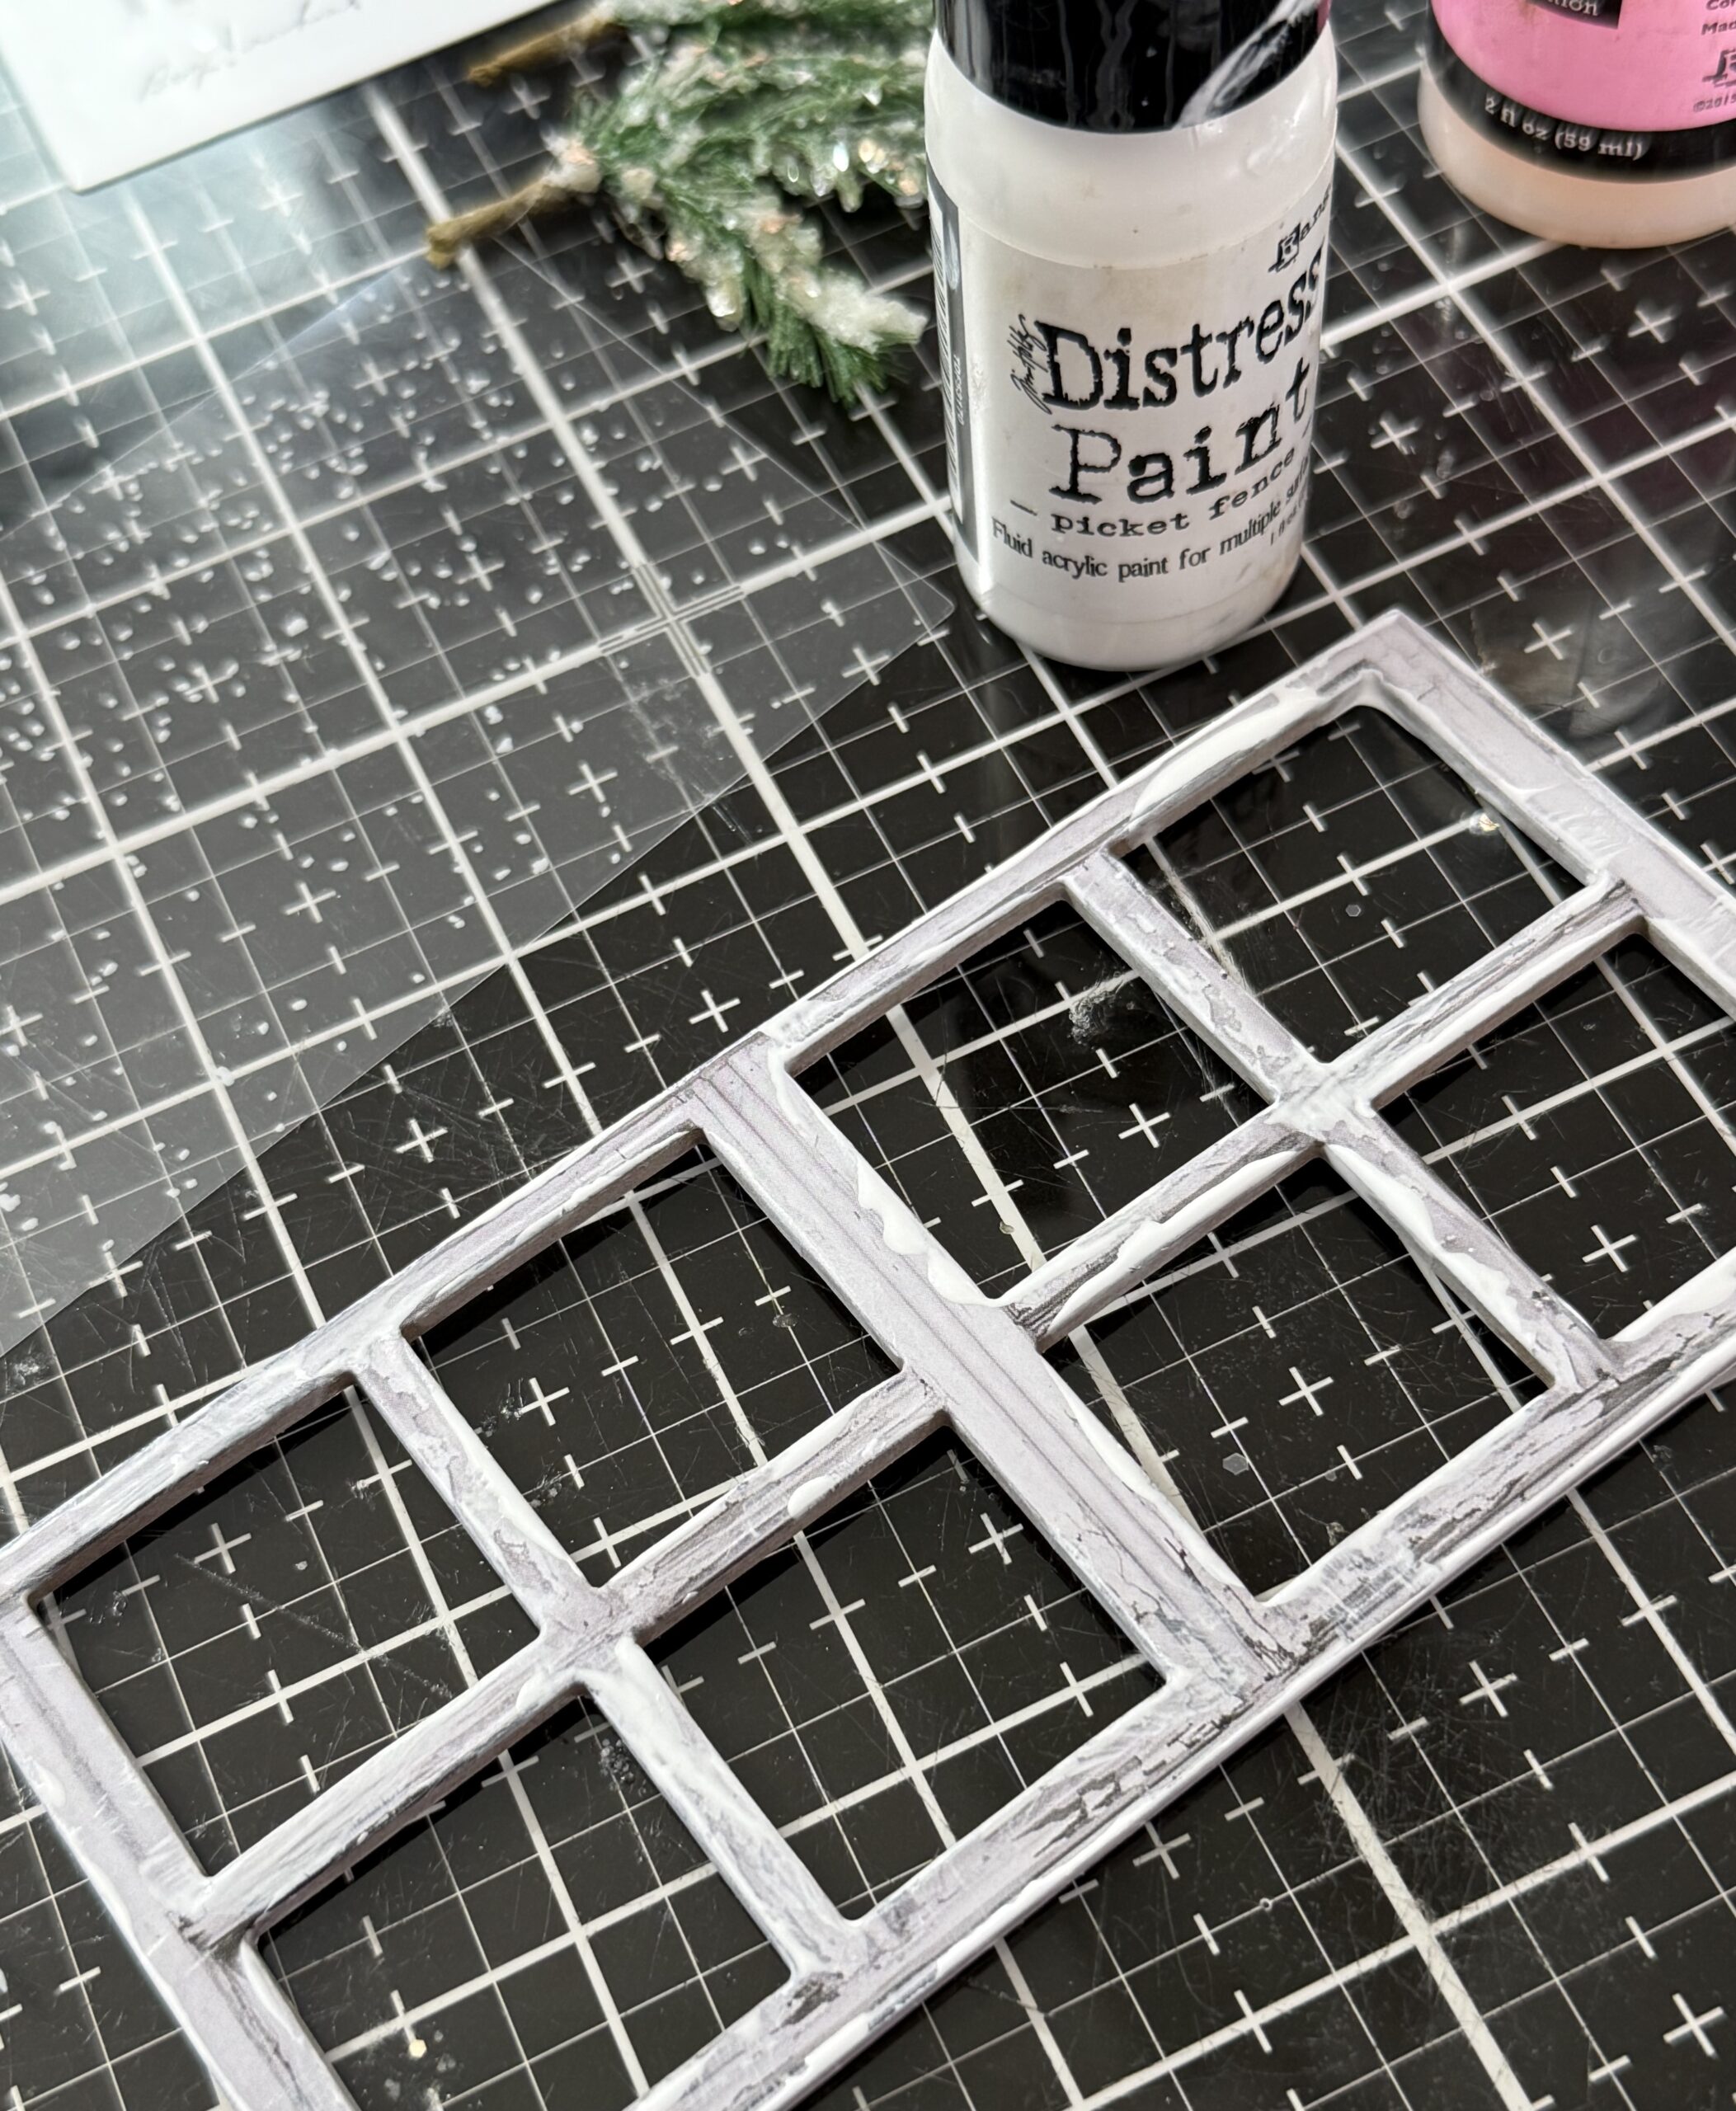
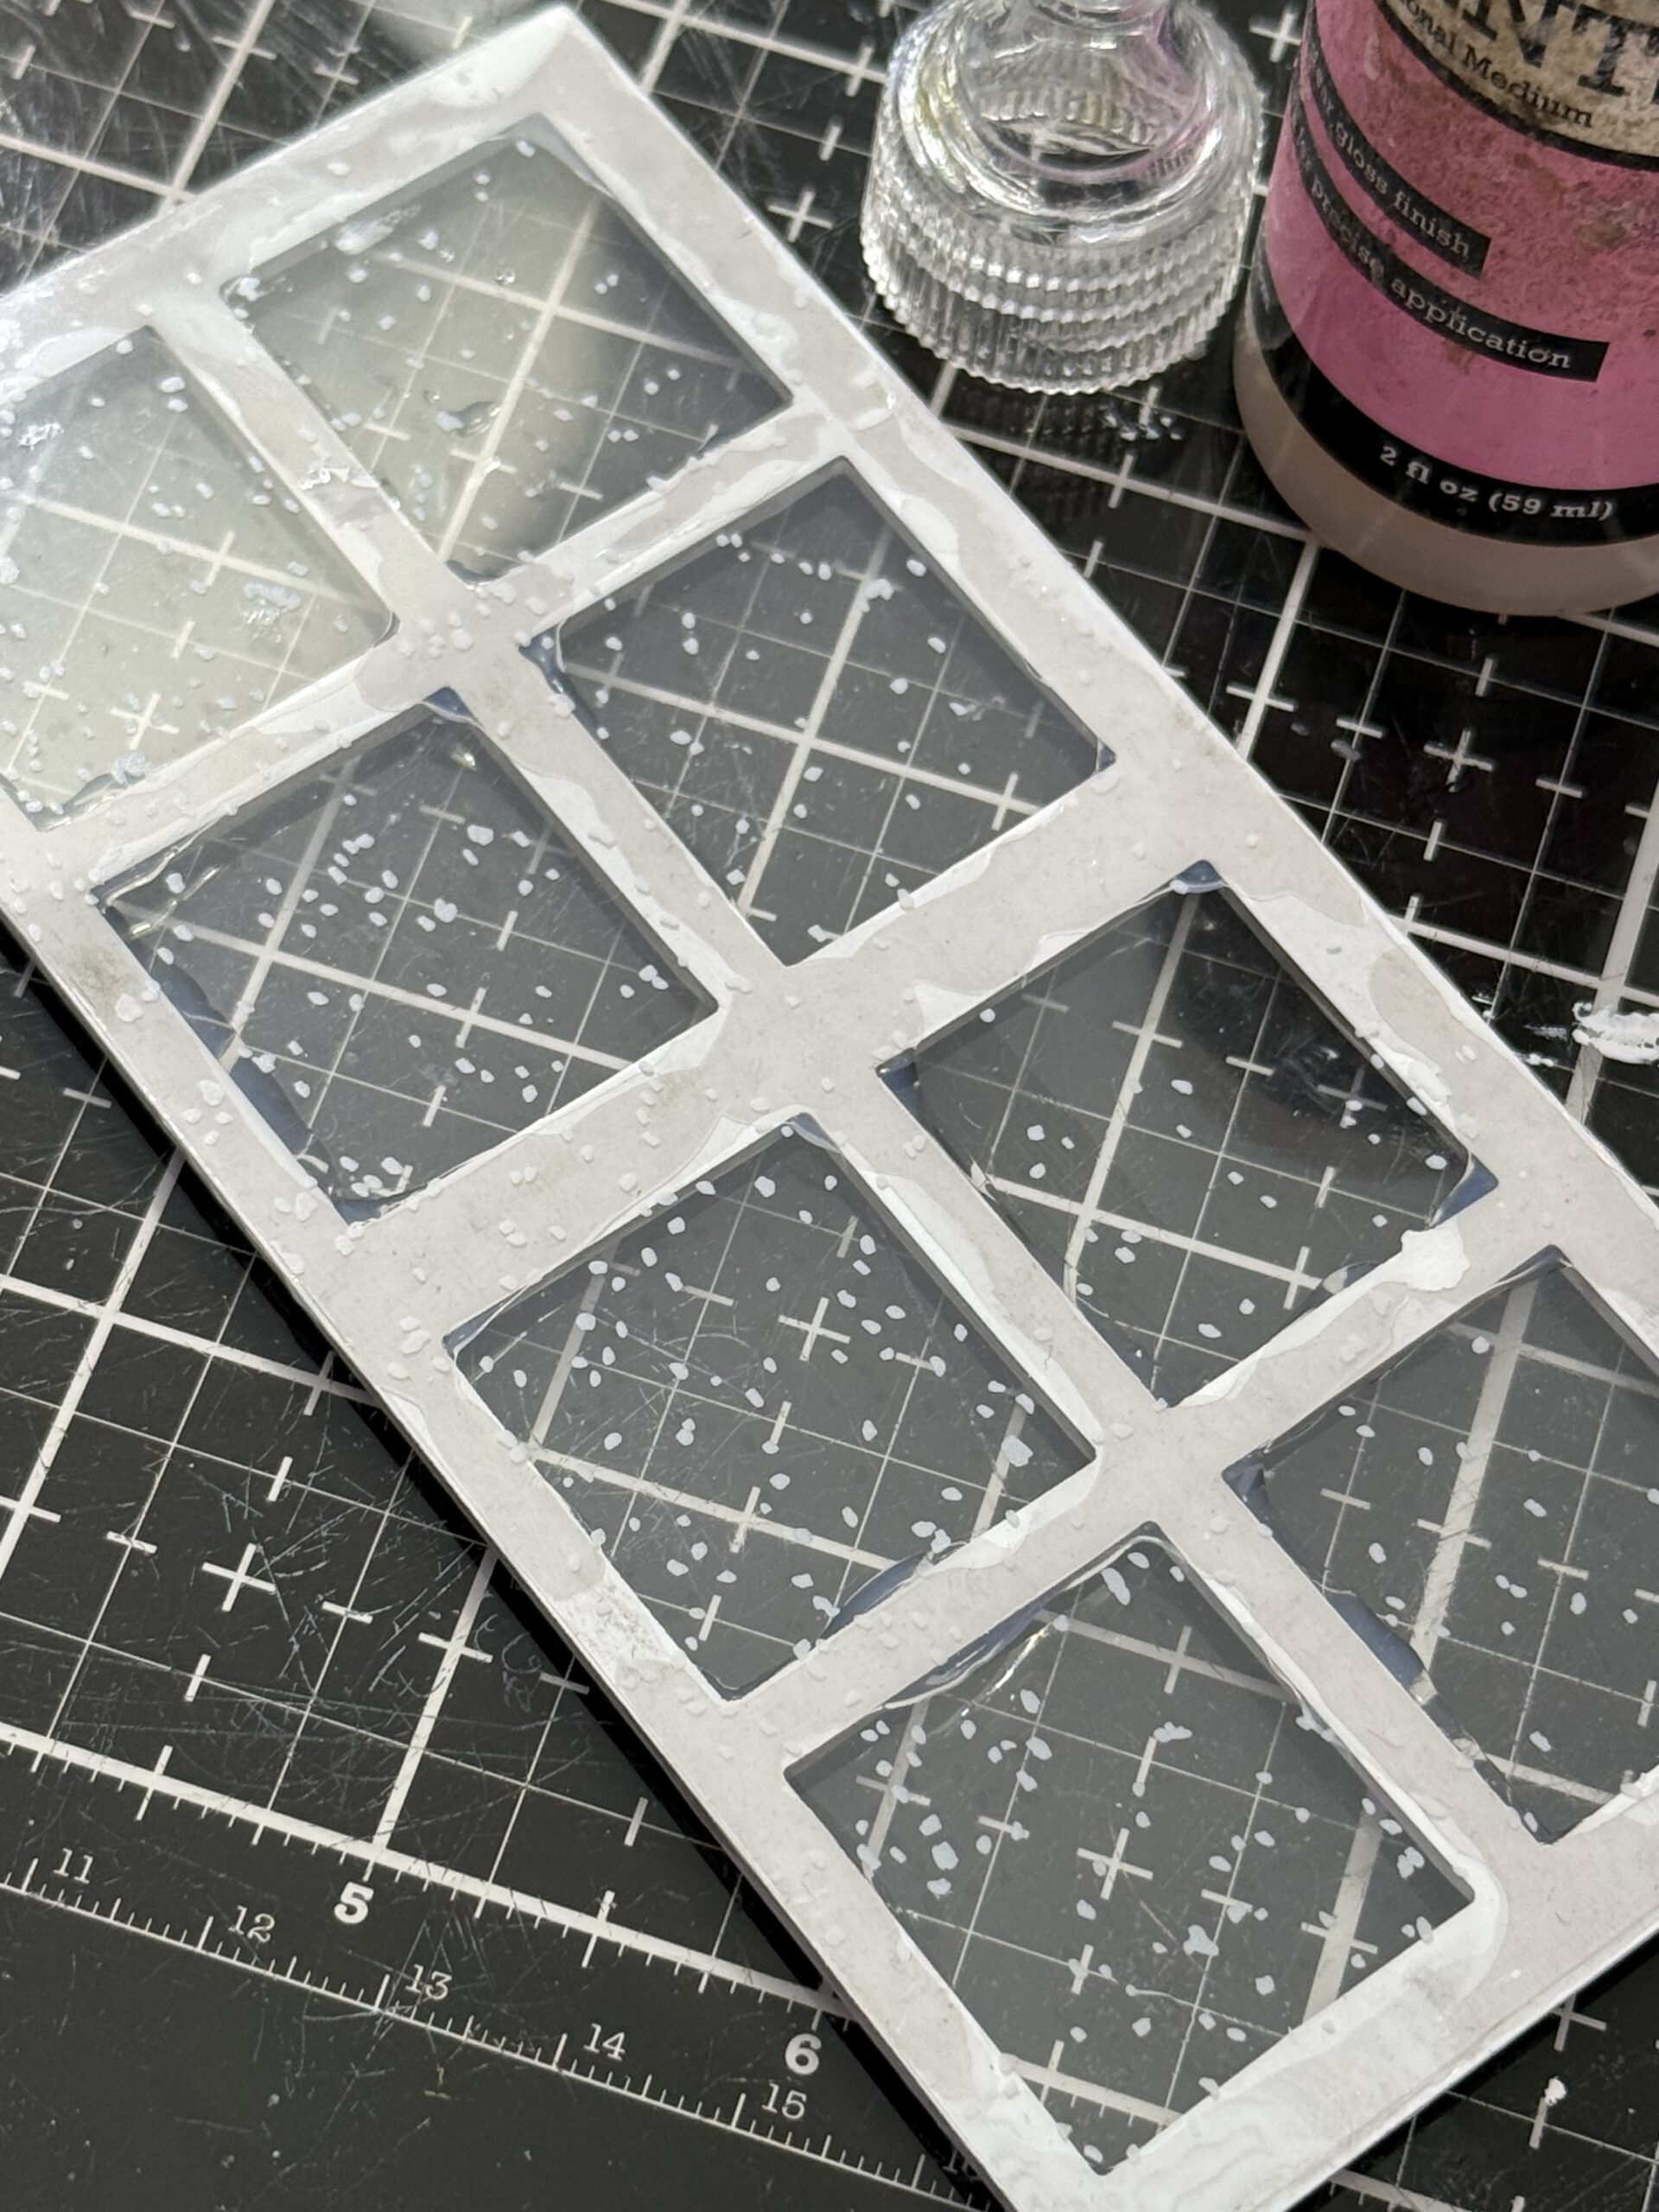
I let the paint dry, then adhered the window transparency into place using Glossy Accents. The Glossy Accents is a great adhesive for icy makes because it leaves a glossy look.
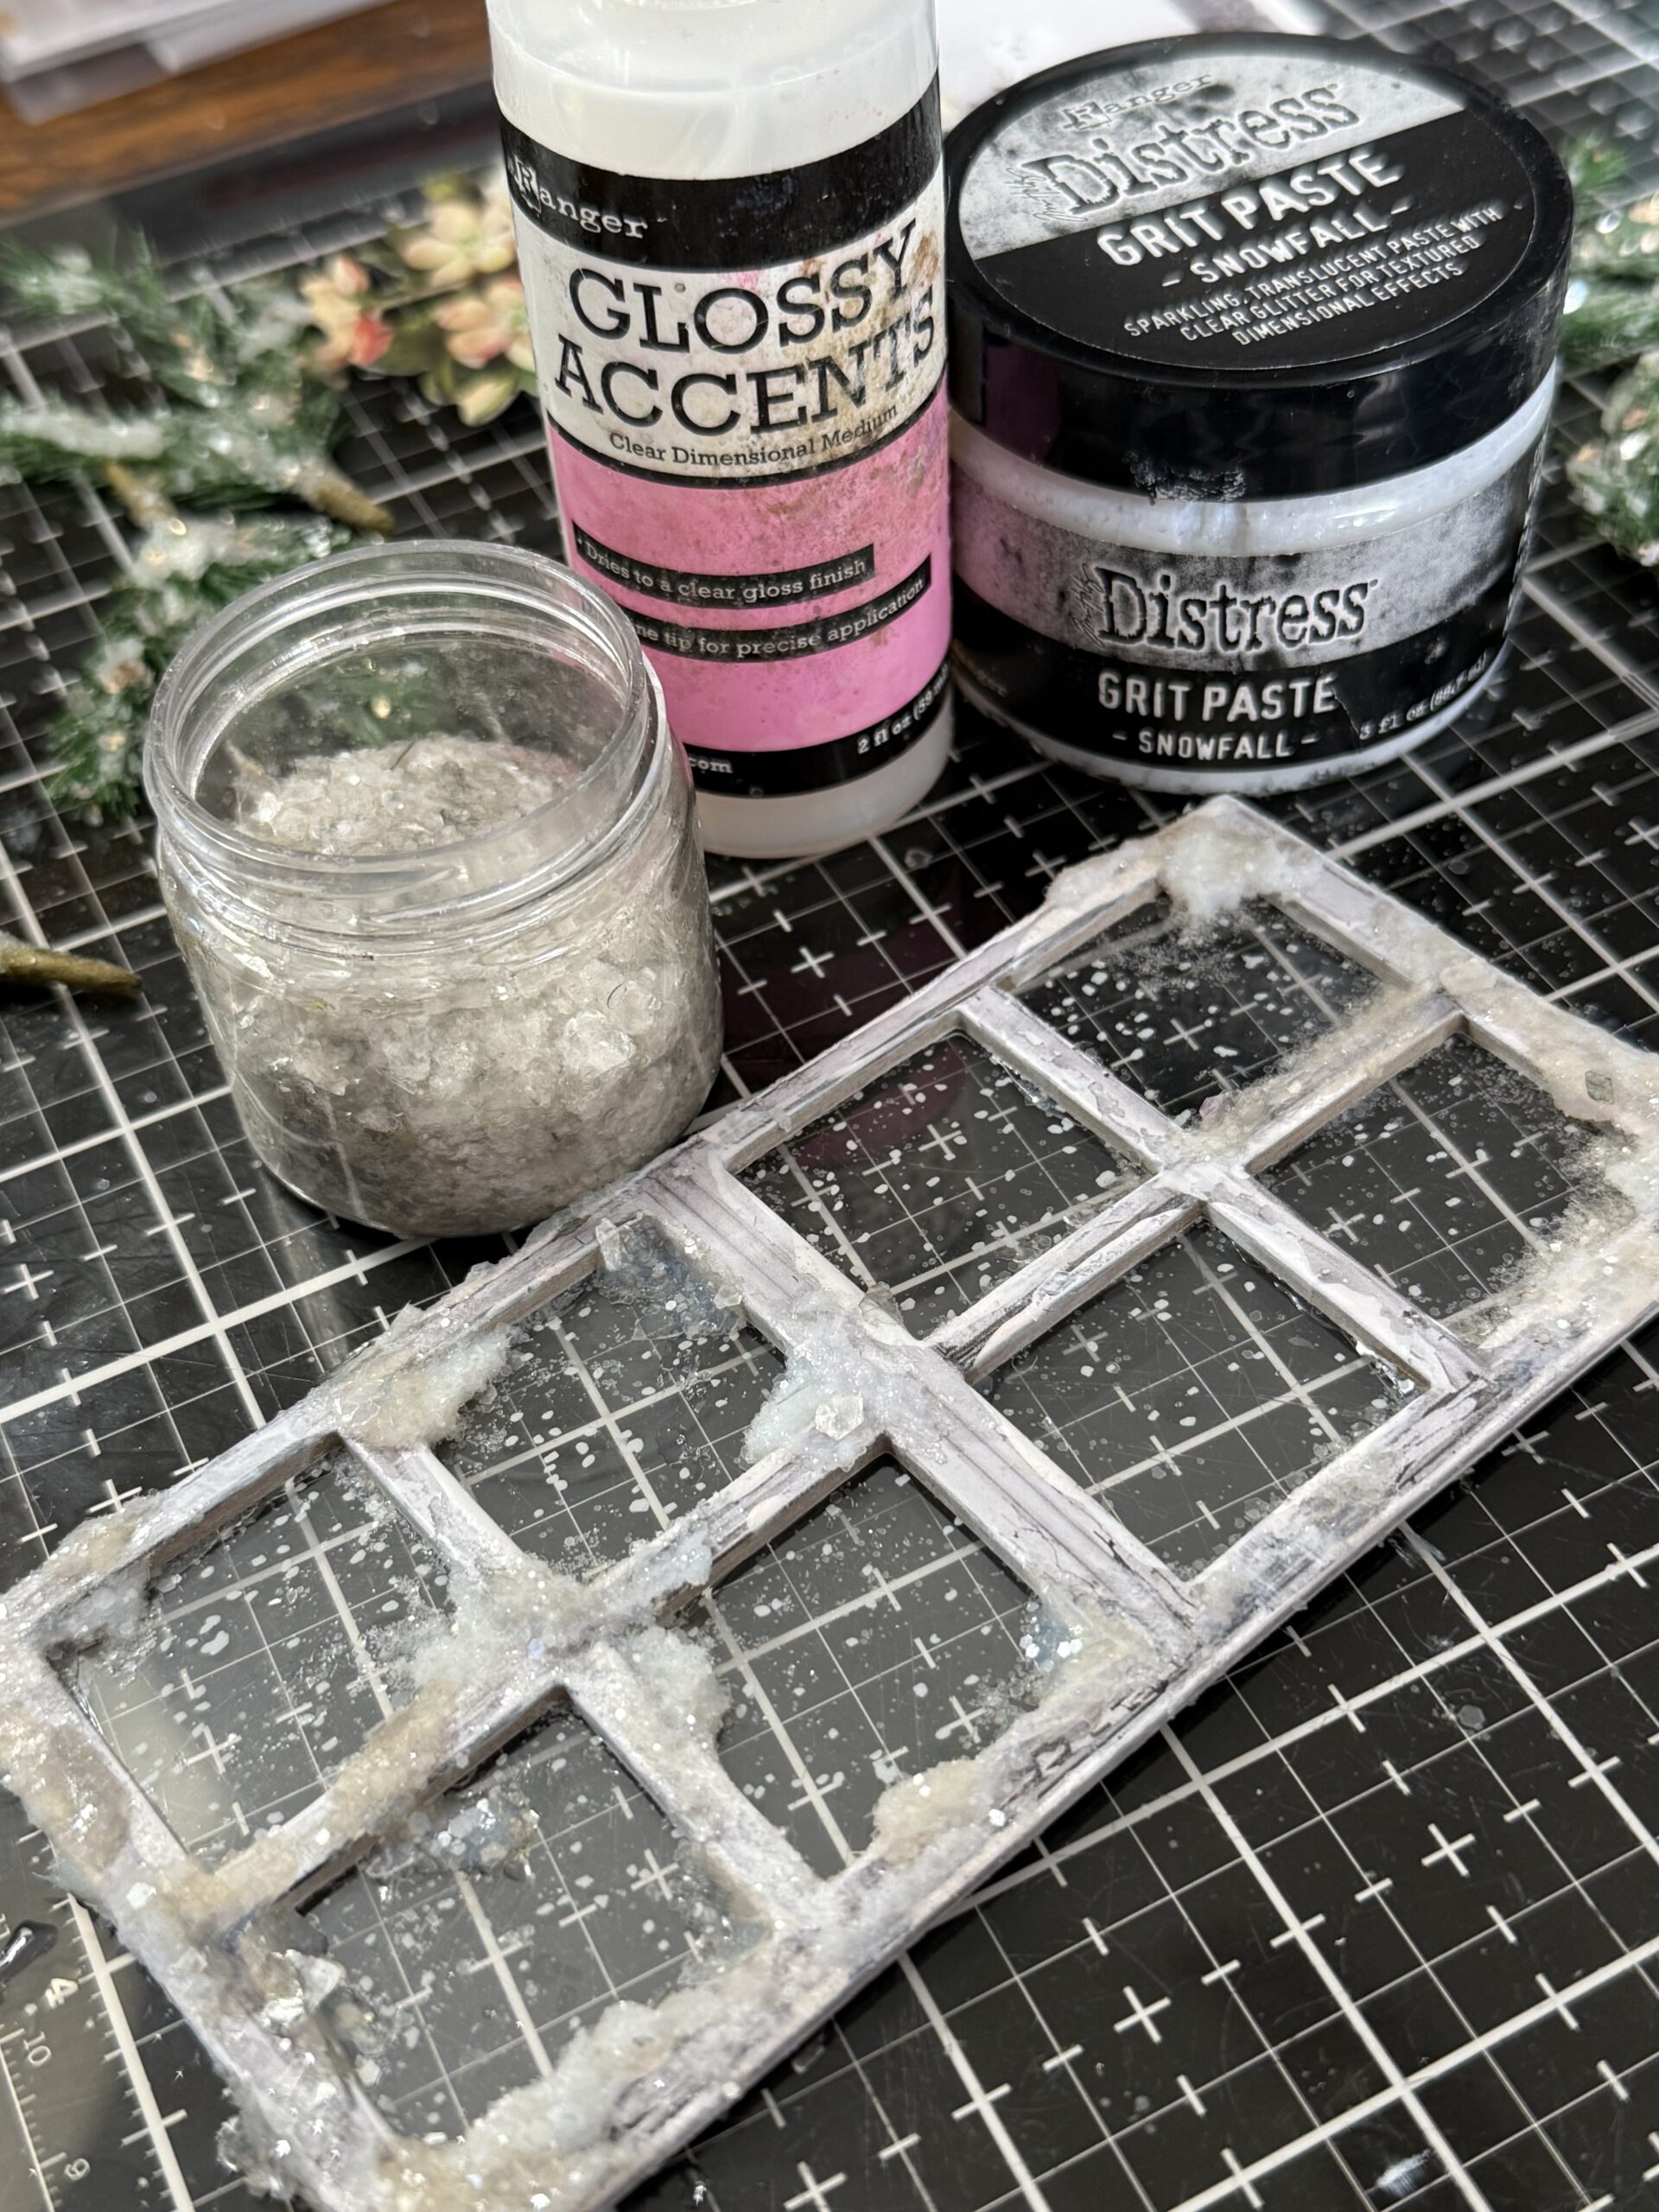
Then, I applied Snowfall Gritpaste into the window panes then added some glossy accents and some sprinkles of the grungy Mica Flakes and Rock Candy. Then, it was set aside to dry.
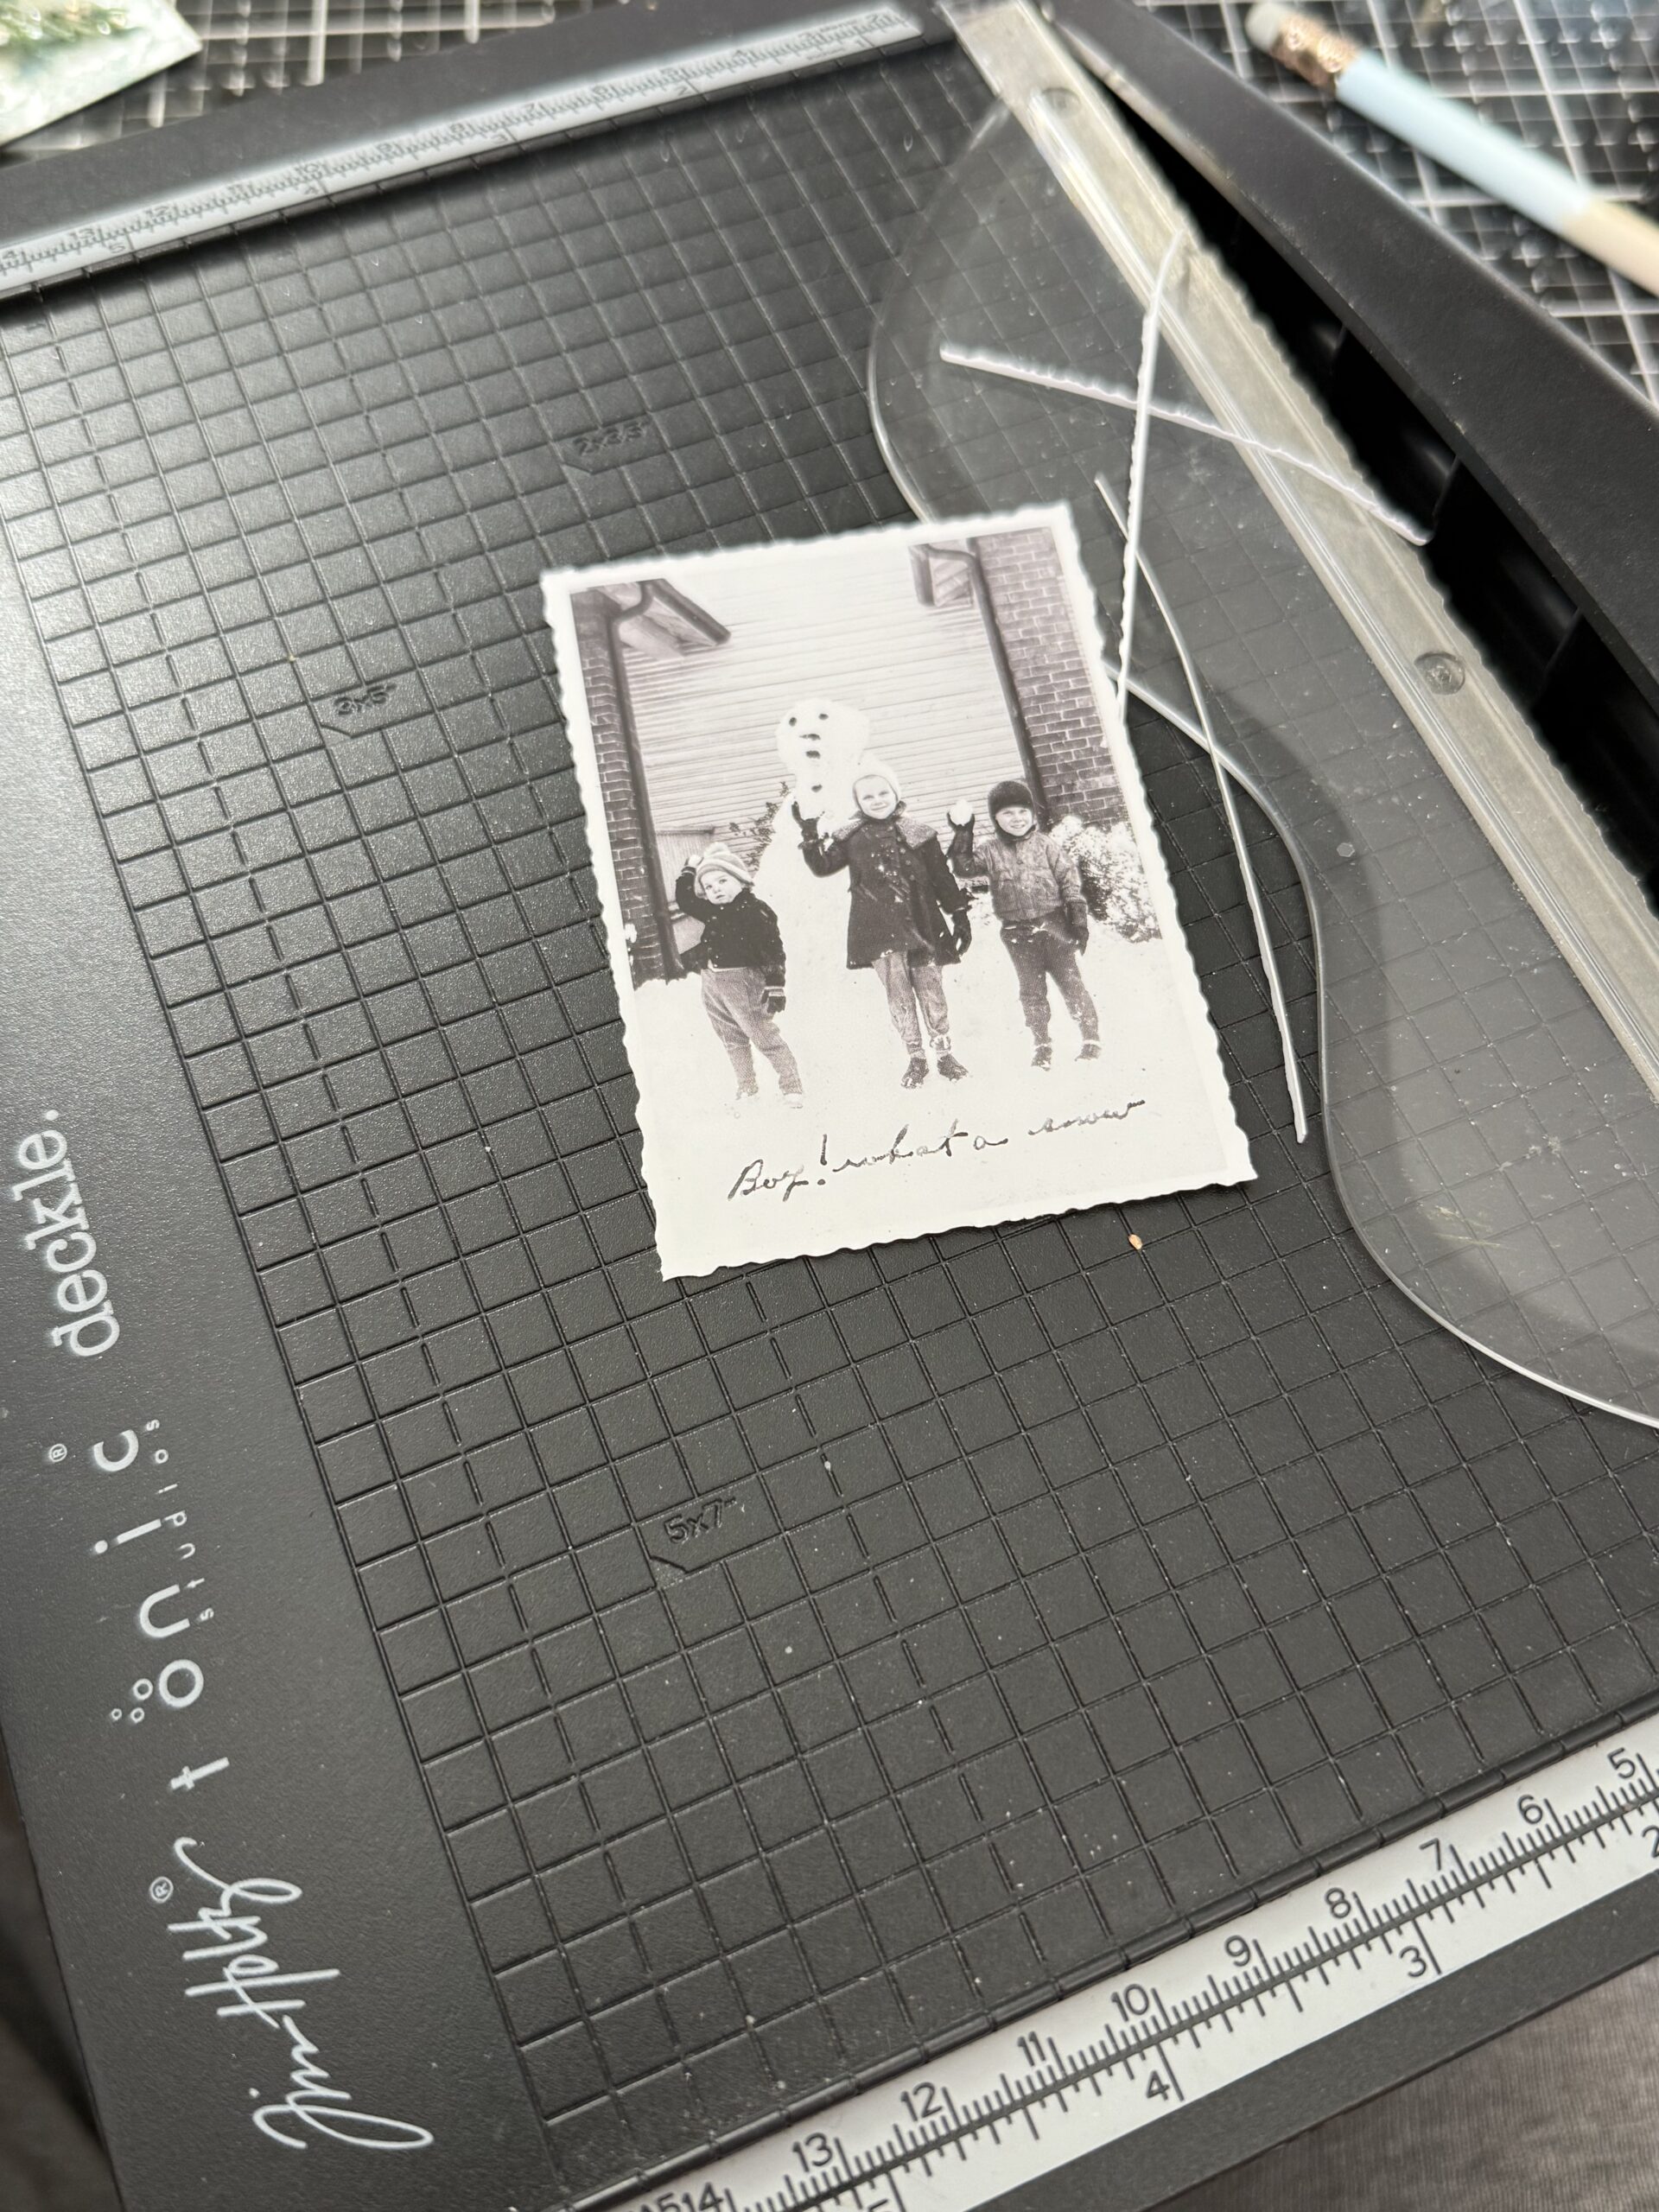
I used my Deckle Trimmer to trim my photo edges then used y sewing machine to make a stitched border.
I trimmed my snowflake background into the mini Etcetera Tag shape then used my sewing machine to create a stitched border. I rubbed the edge of the Etcetera Tag using some white paint, then the snowflake background was applied to the Mini Etcetera Tag using Collage Medium.
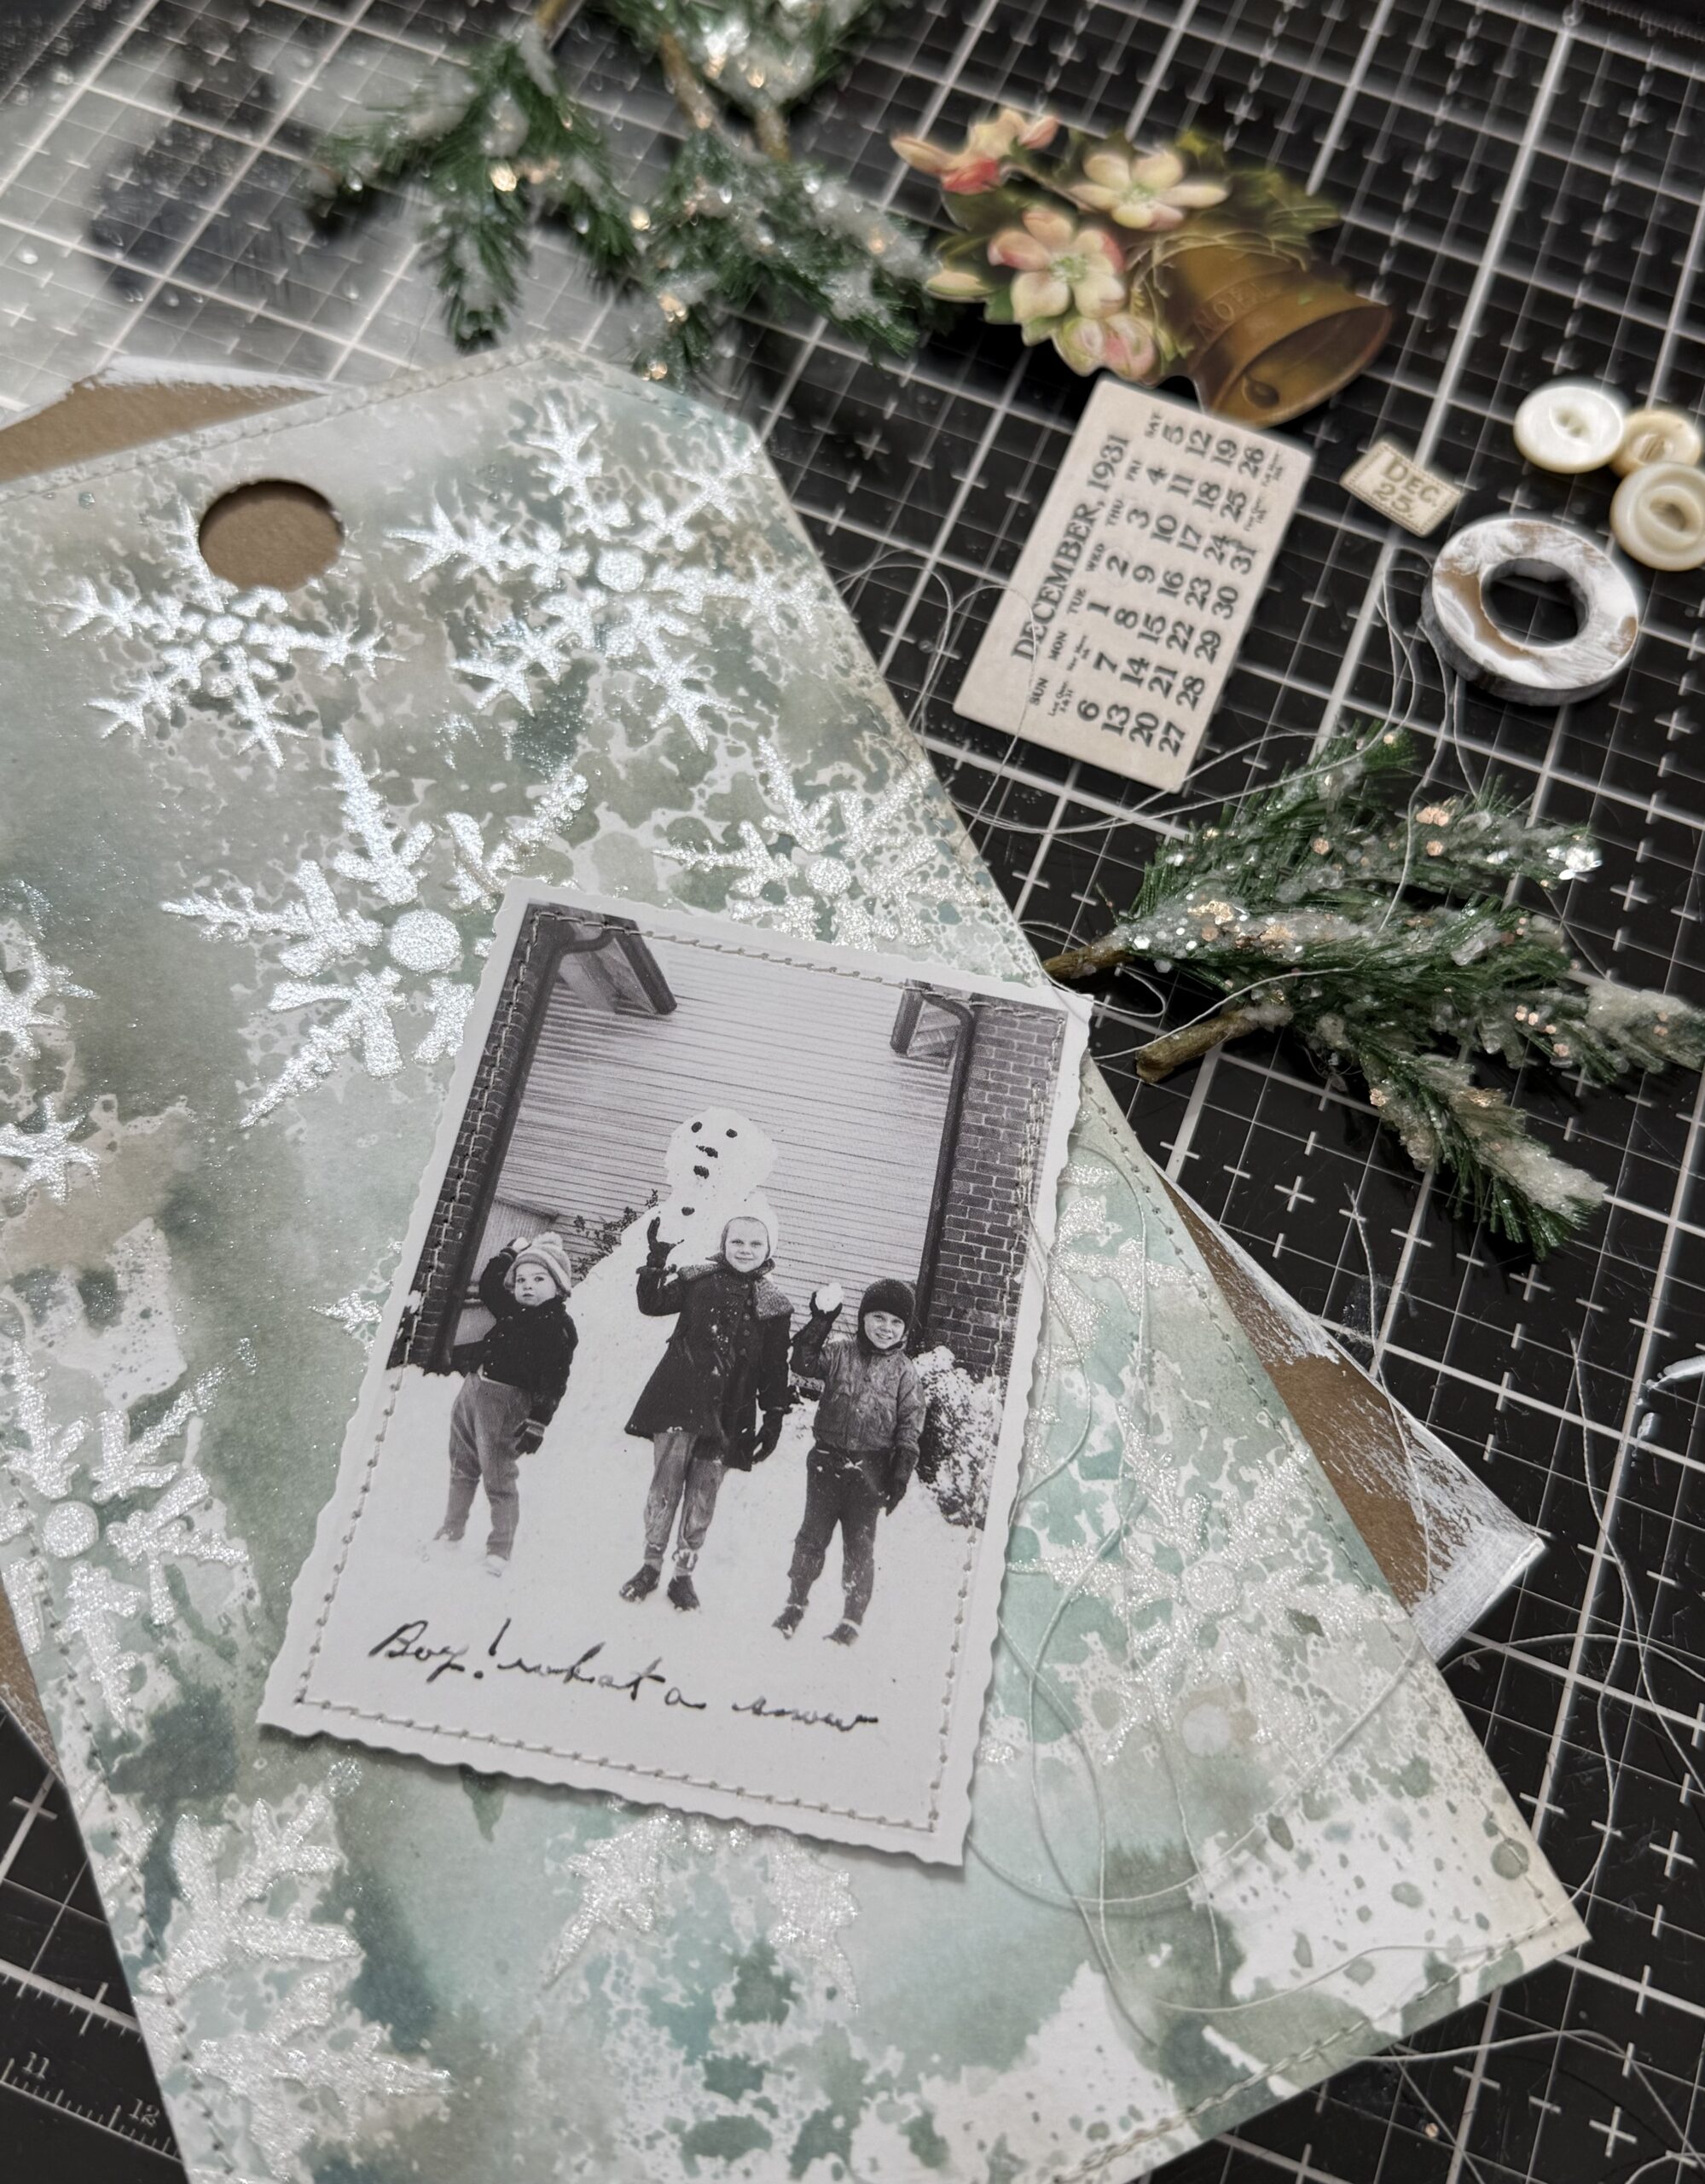
I added the pine branches to the front of the Etcetera Mini Tag using a hot glue gun, then the window was applied using hot glue too, I just applied the glue over top of the pine branches. Then I built the little photo collage. I used a couple little ephemera pieces from the idea-ology ephemera pack which included the little calendar, and the little dec.25. The floral was found in the idea-ology Botanical Layers pack. I placed the combination to the left of the photo and adhered it in place using collage medium.
I added the photo collage to the front of the window using hot glue then applied some vintage buttons. I added some of the Antiqued Tinsel onto the centers of the flowers to add some holiday glitz.
I then decided that the photo needs some additional bling…so I used the Pearlescent Texture paste and a stencil to add some “snowy” bits on the front of the photo.
I added some more bling onto the photo and around on the vignette by using glossy accents and the mica glitter mix that I added here and there.

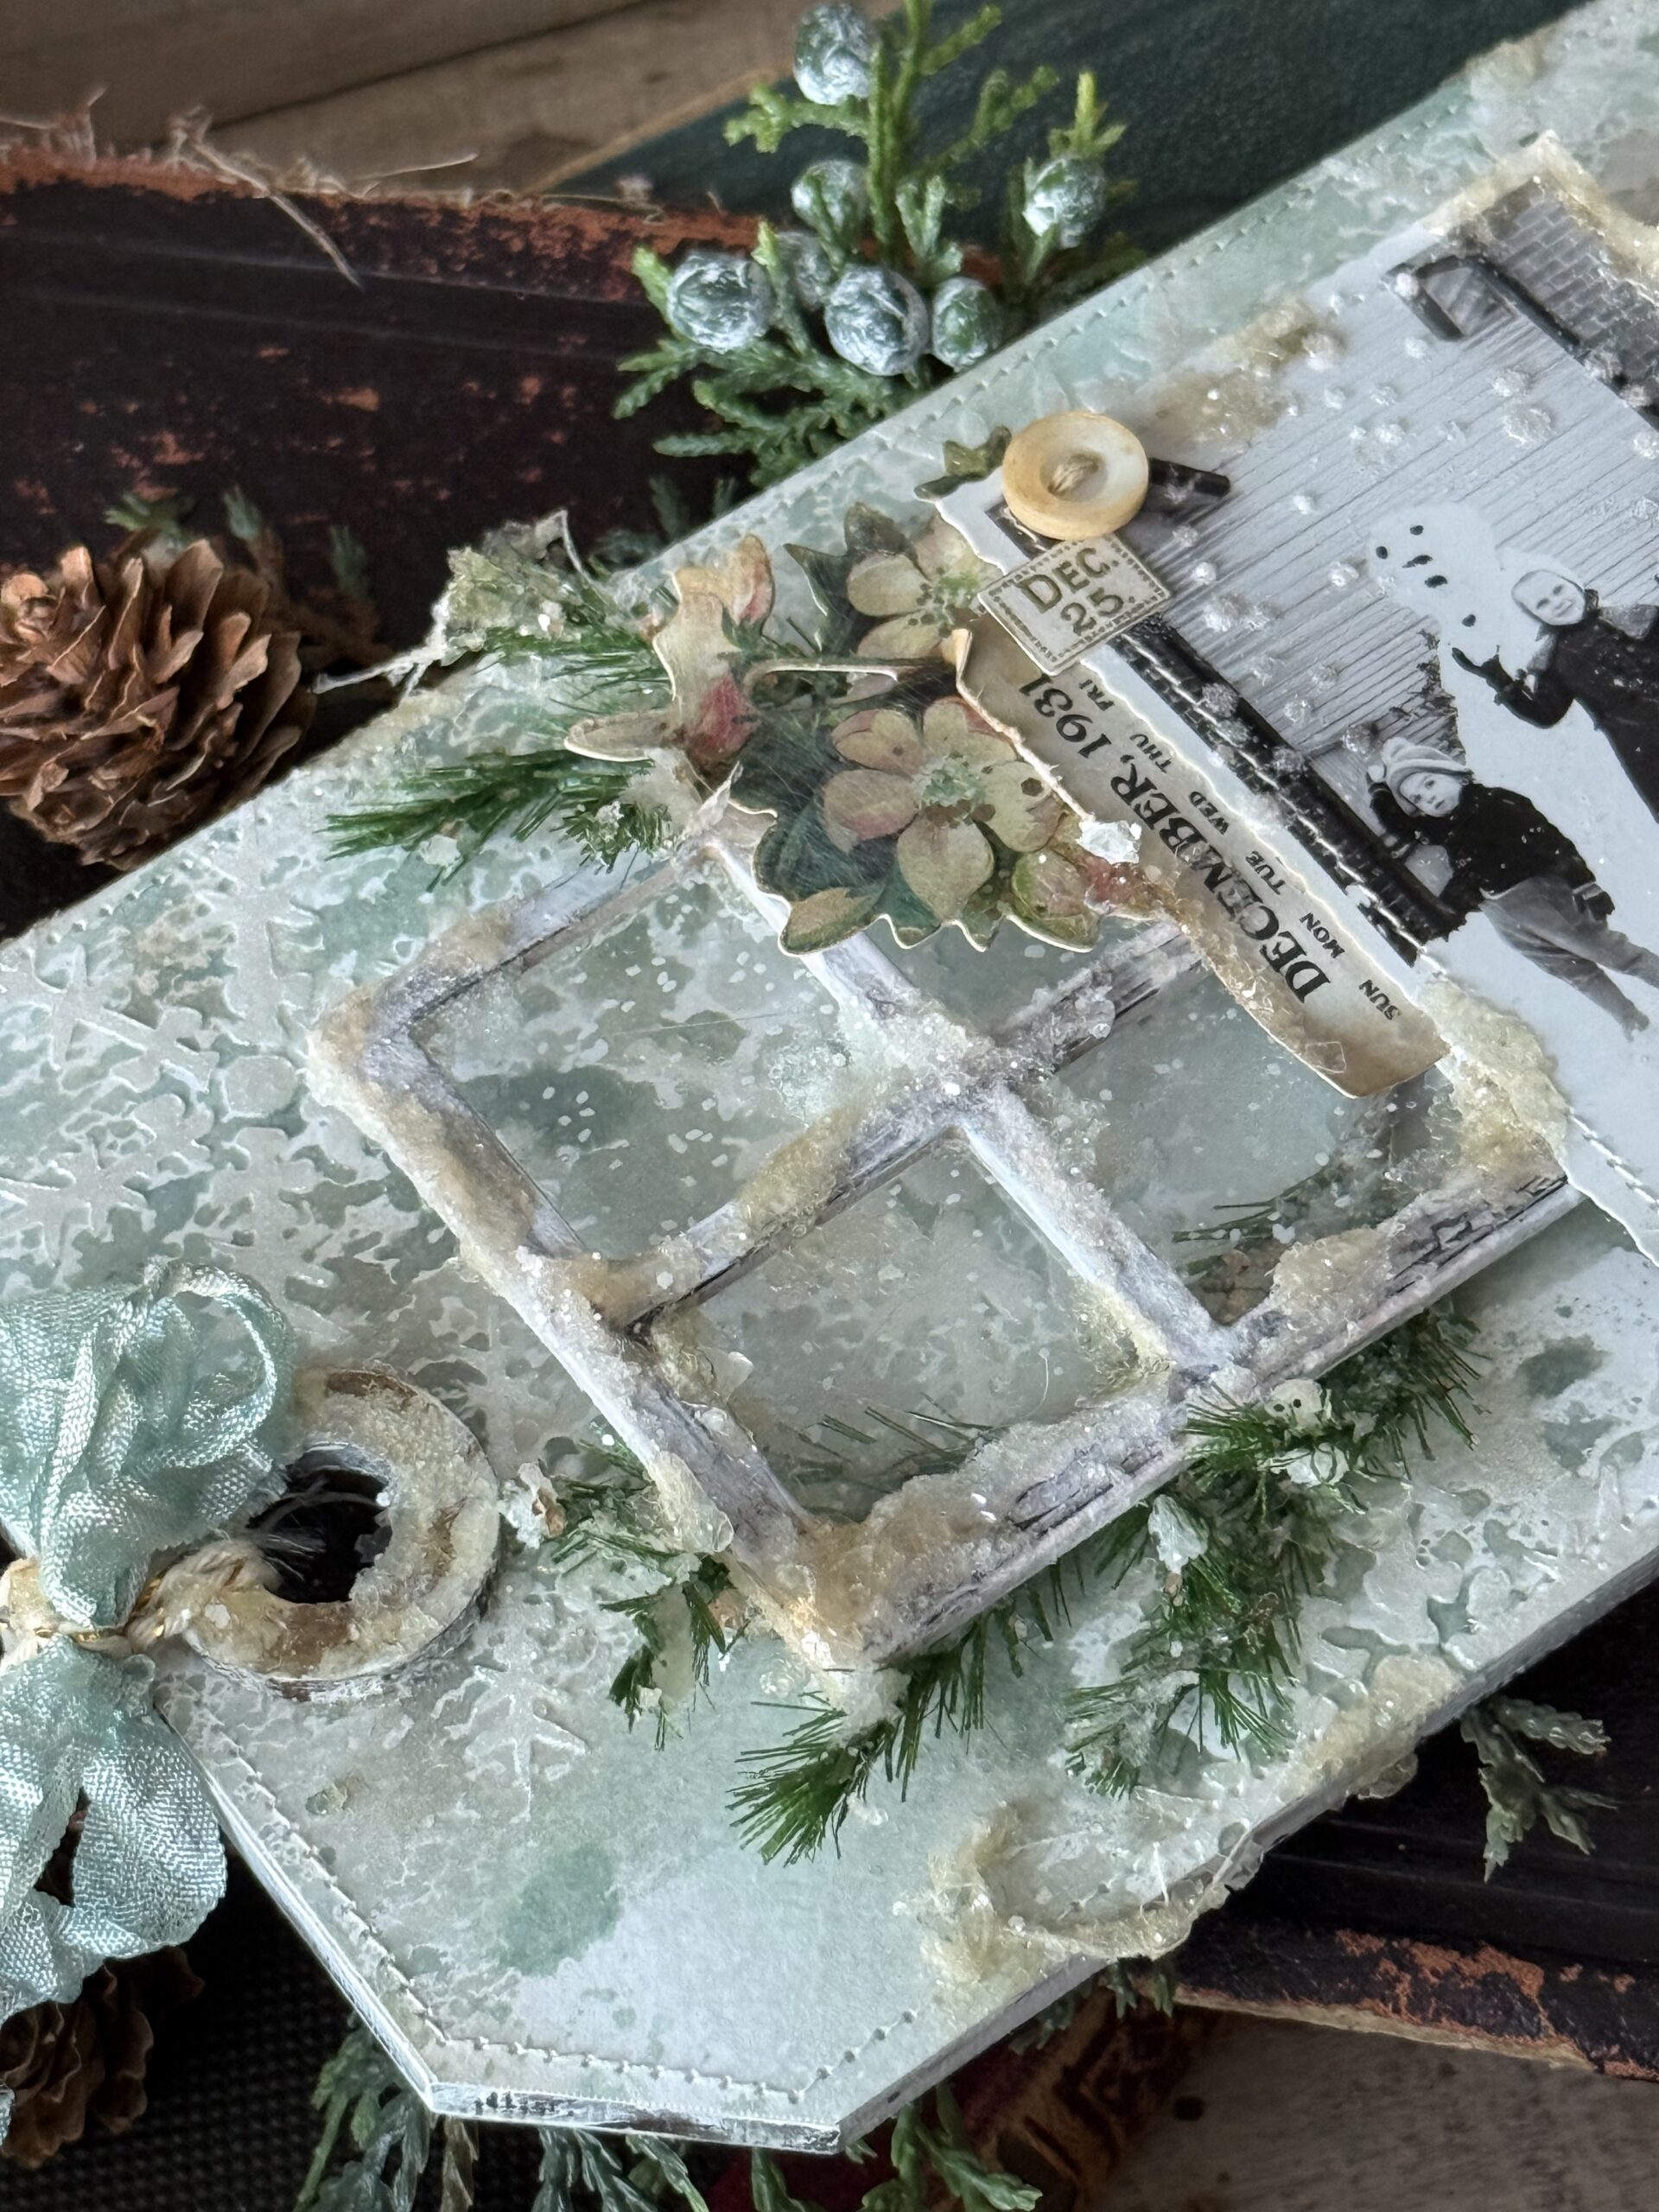
With that, my project was complete…thanks so much for stopping by today!
Creatively yours,
Stacy
Shop Simon Says Stamp by clicking on this link. Thank you! I appreciate you for supporting me.

What is an affiliate program, and why should I click on the link and buy through you?
When you shop via the affiliate link on this blog, I receive a small commission from the affiliate provider (Simon Says Stamp) at no extra cost to you, whatsoever. These commissions help me to cover the hosting fees and other costs to run my blog and be able to provide you with FREE inspiration. If you shop the links, THANK YOU! I truly appreciate being able to share my love of creating with you.










Leave a Reply