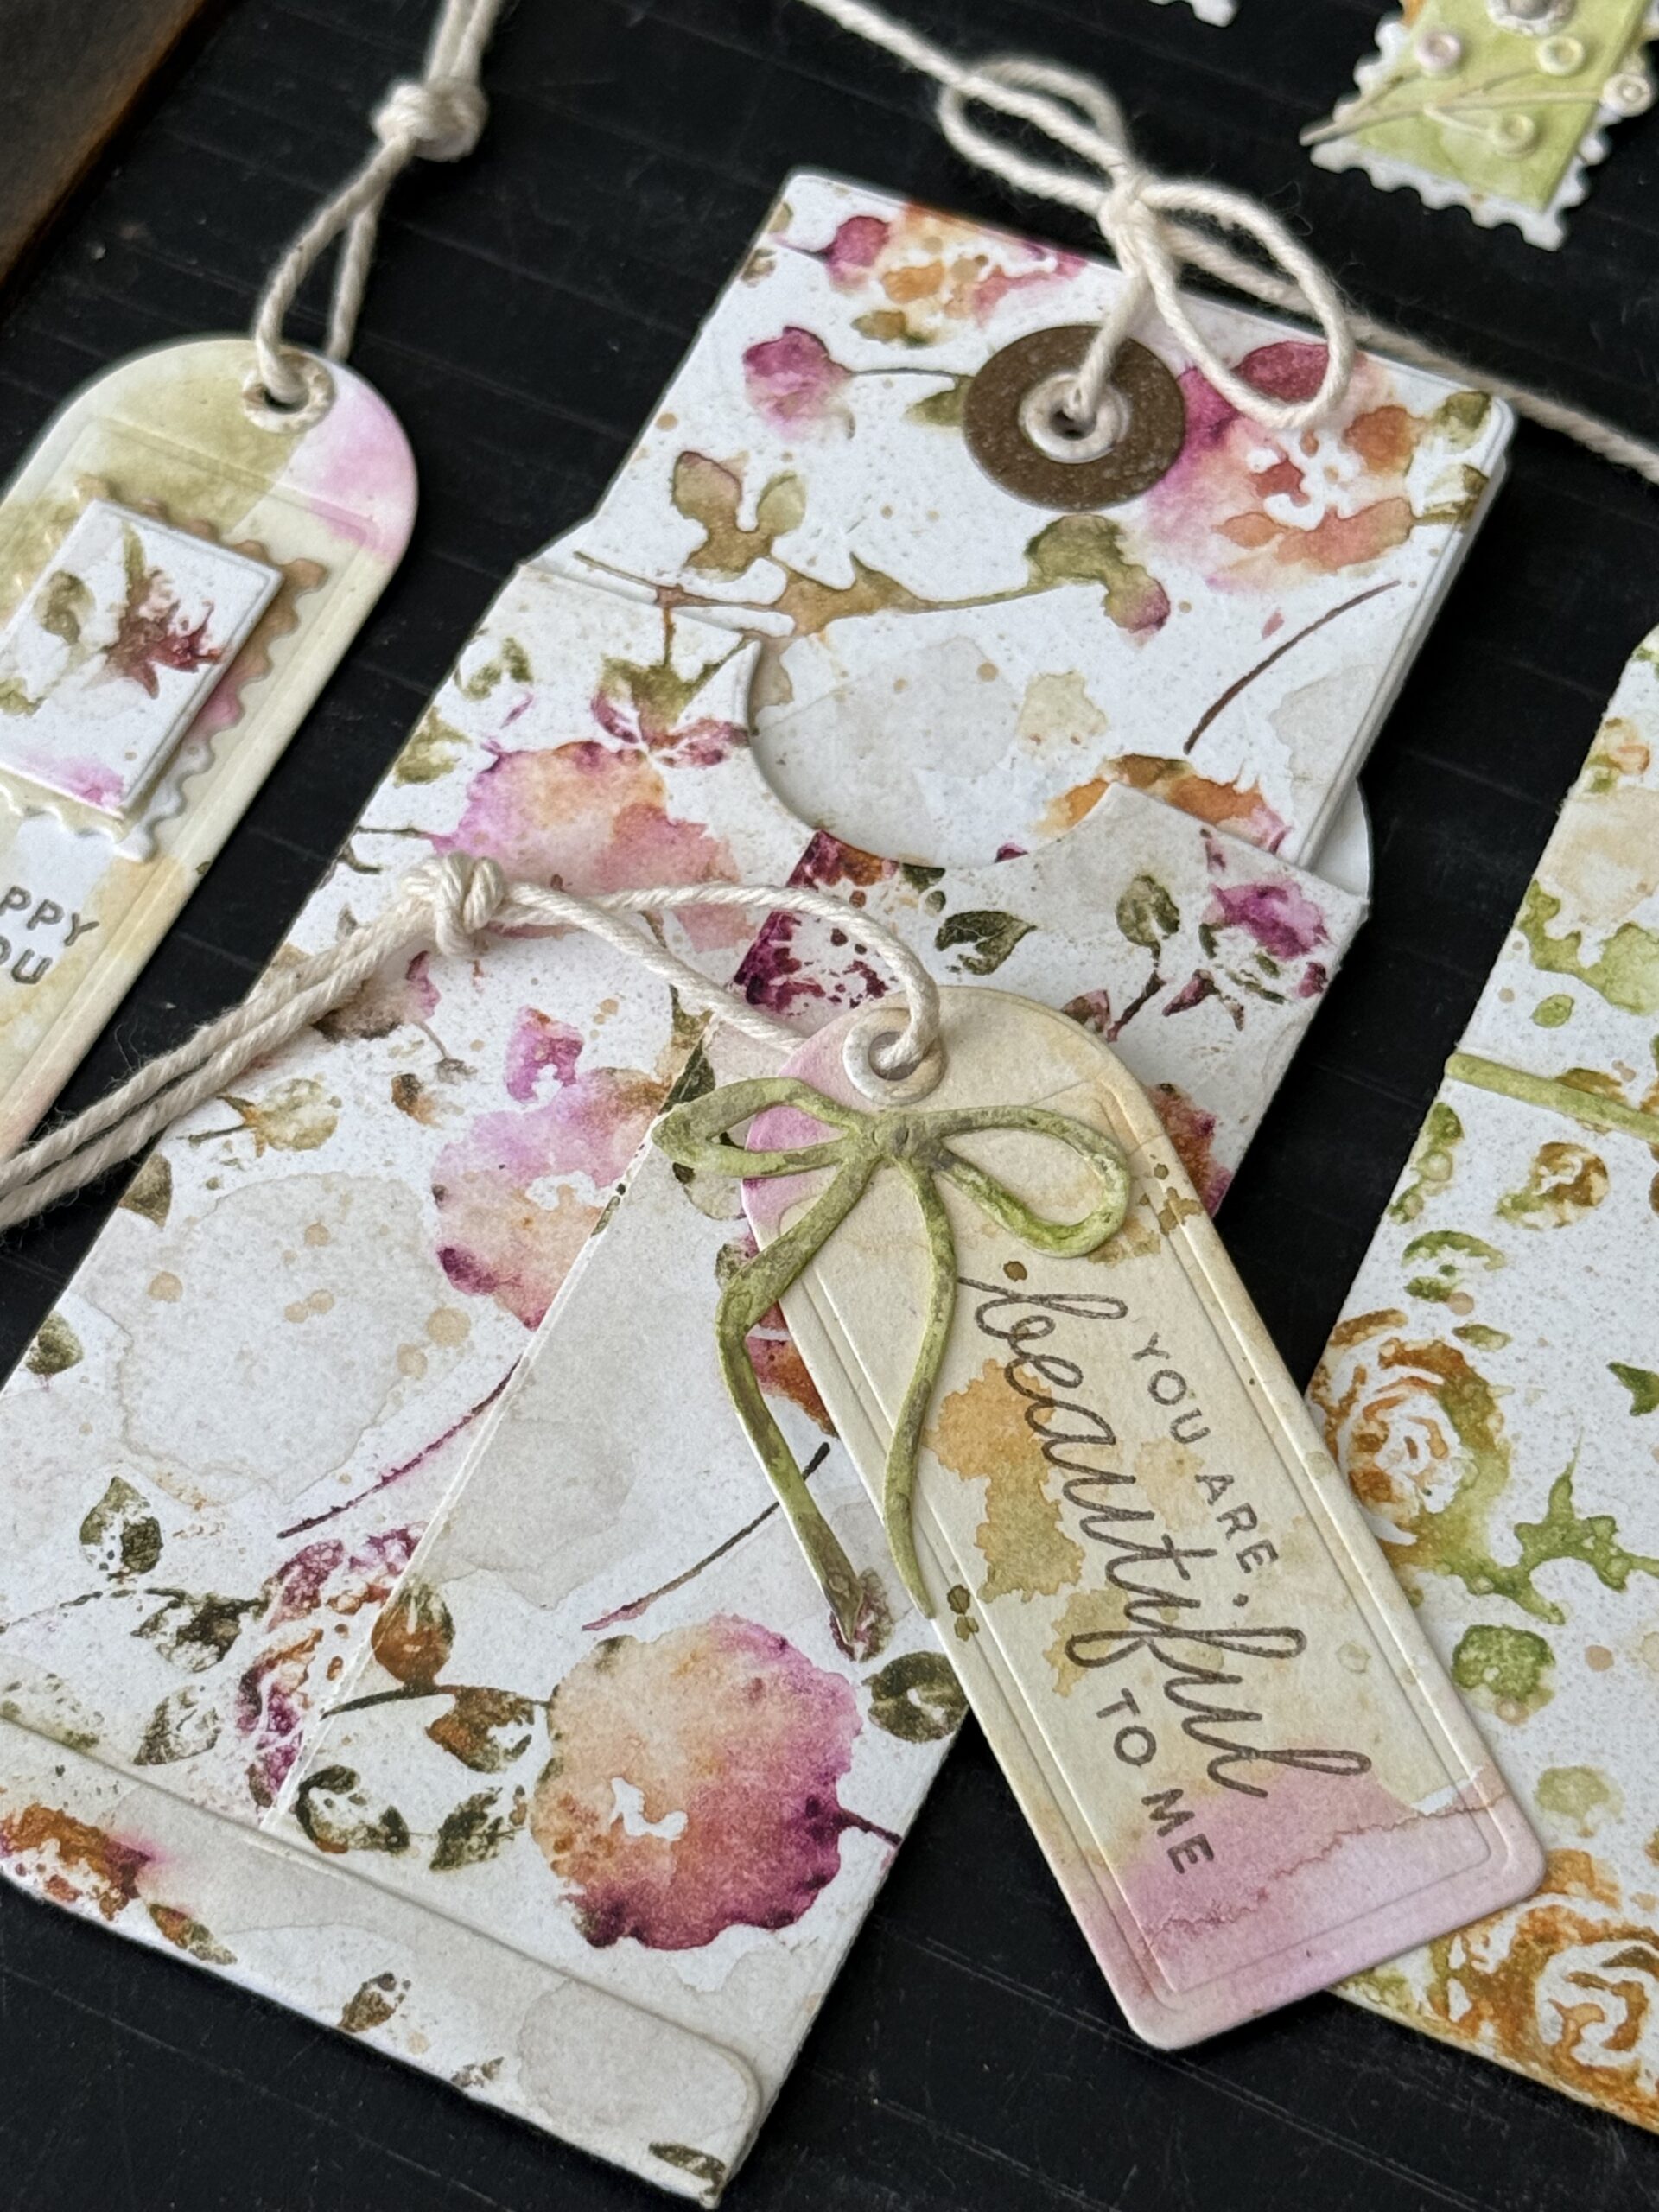
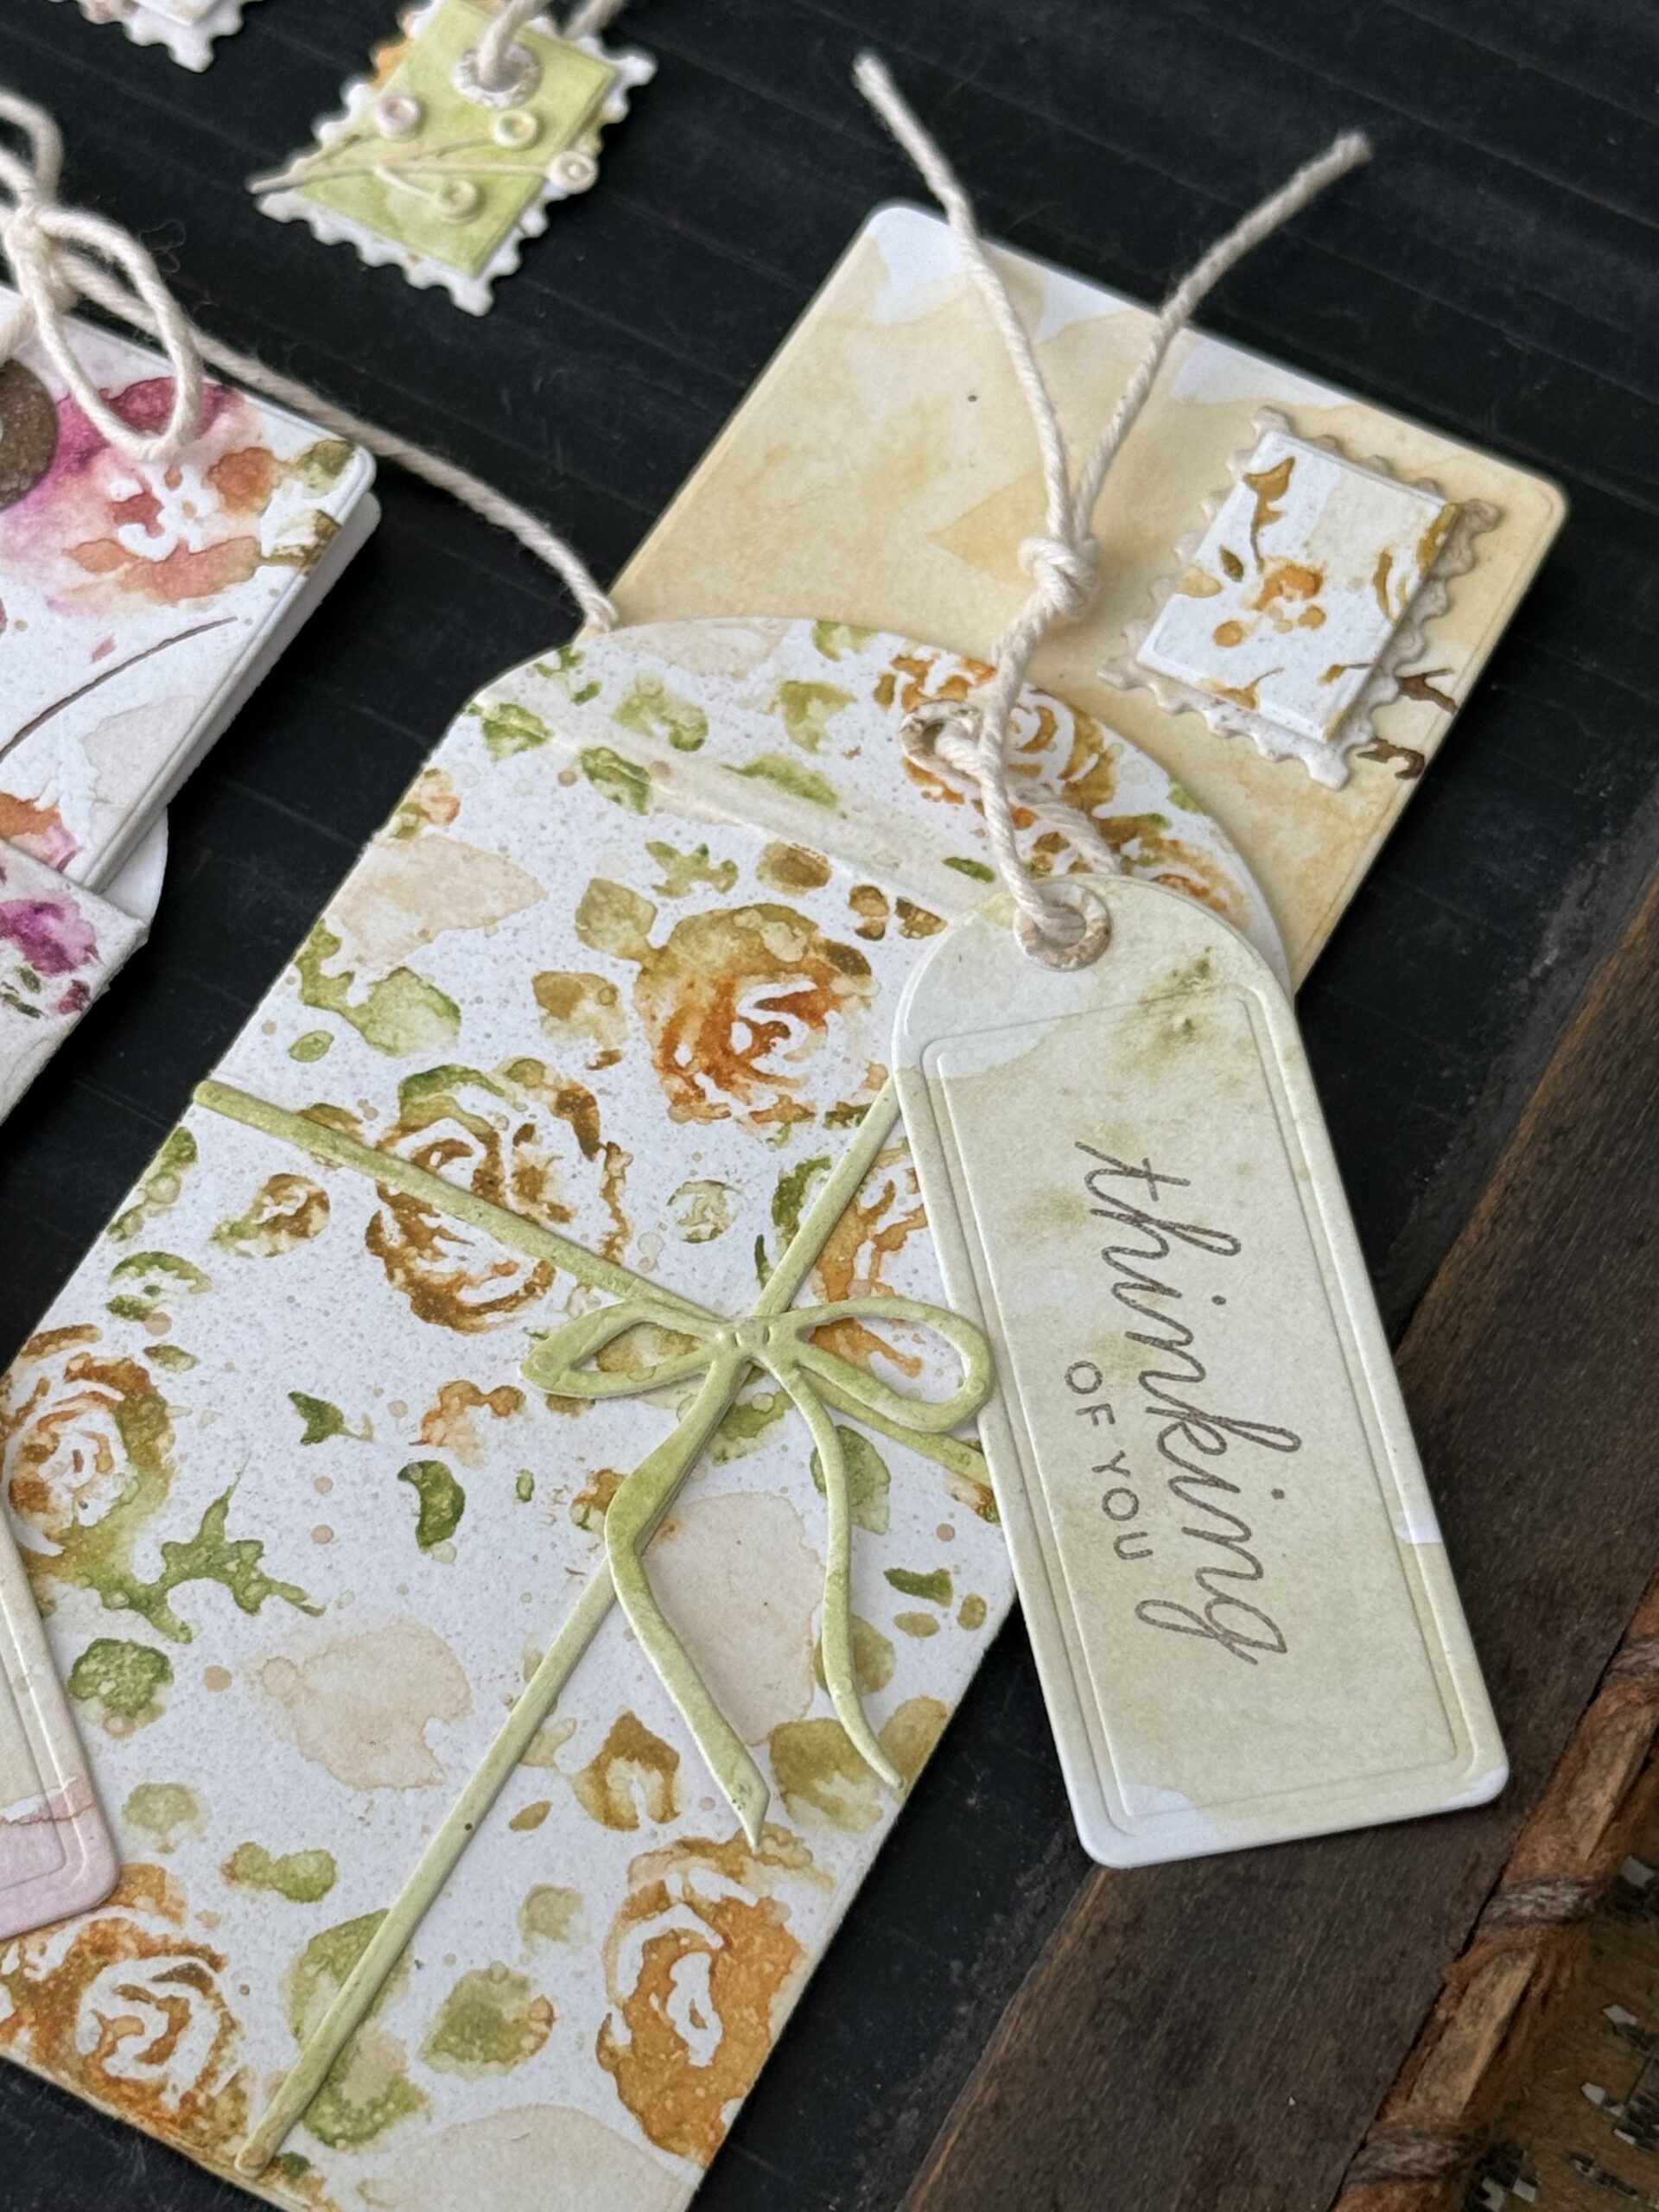
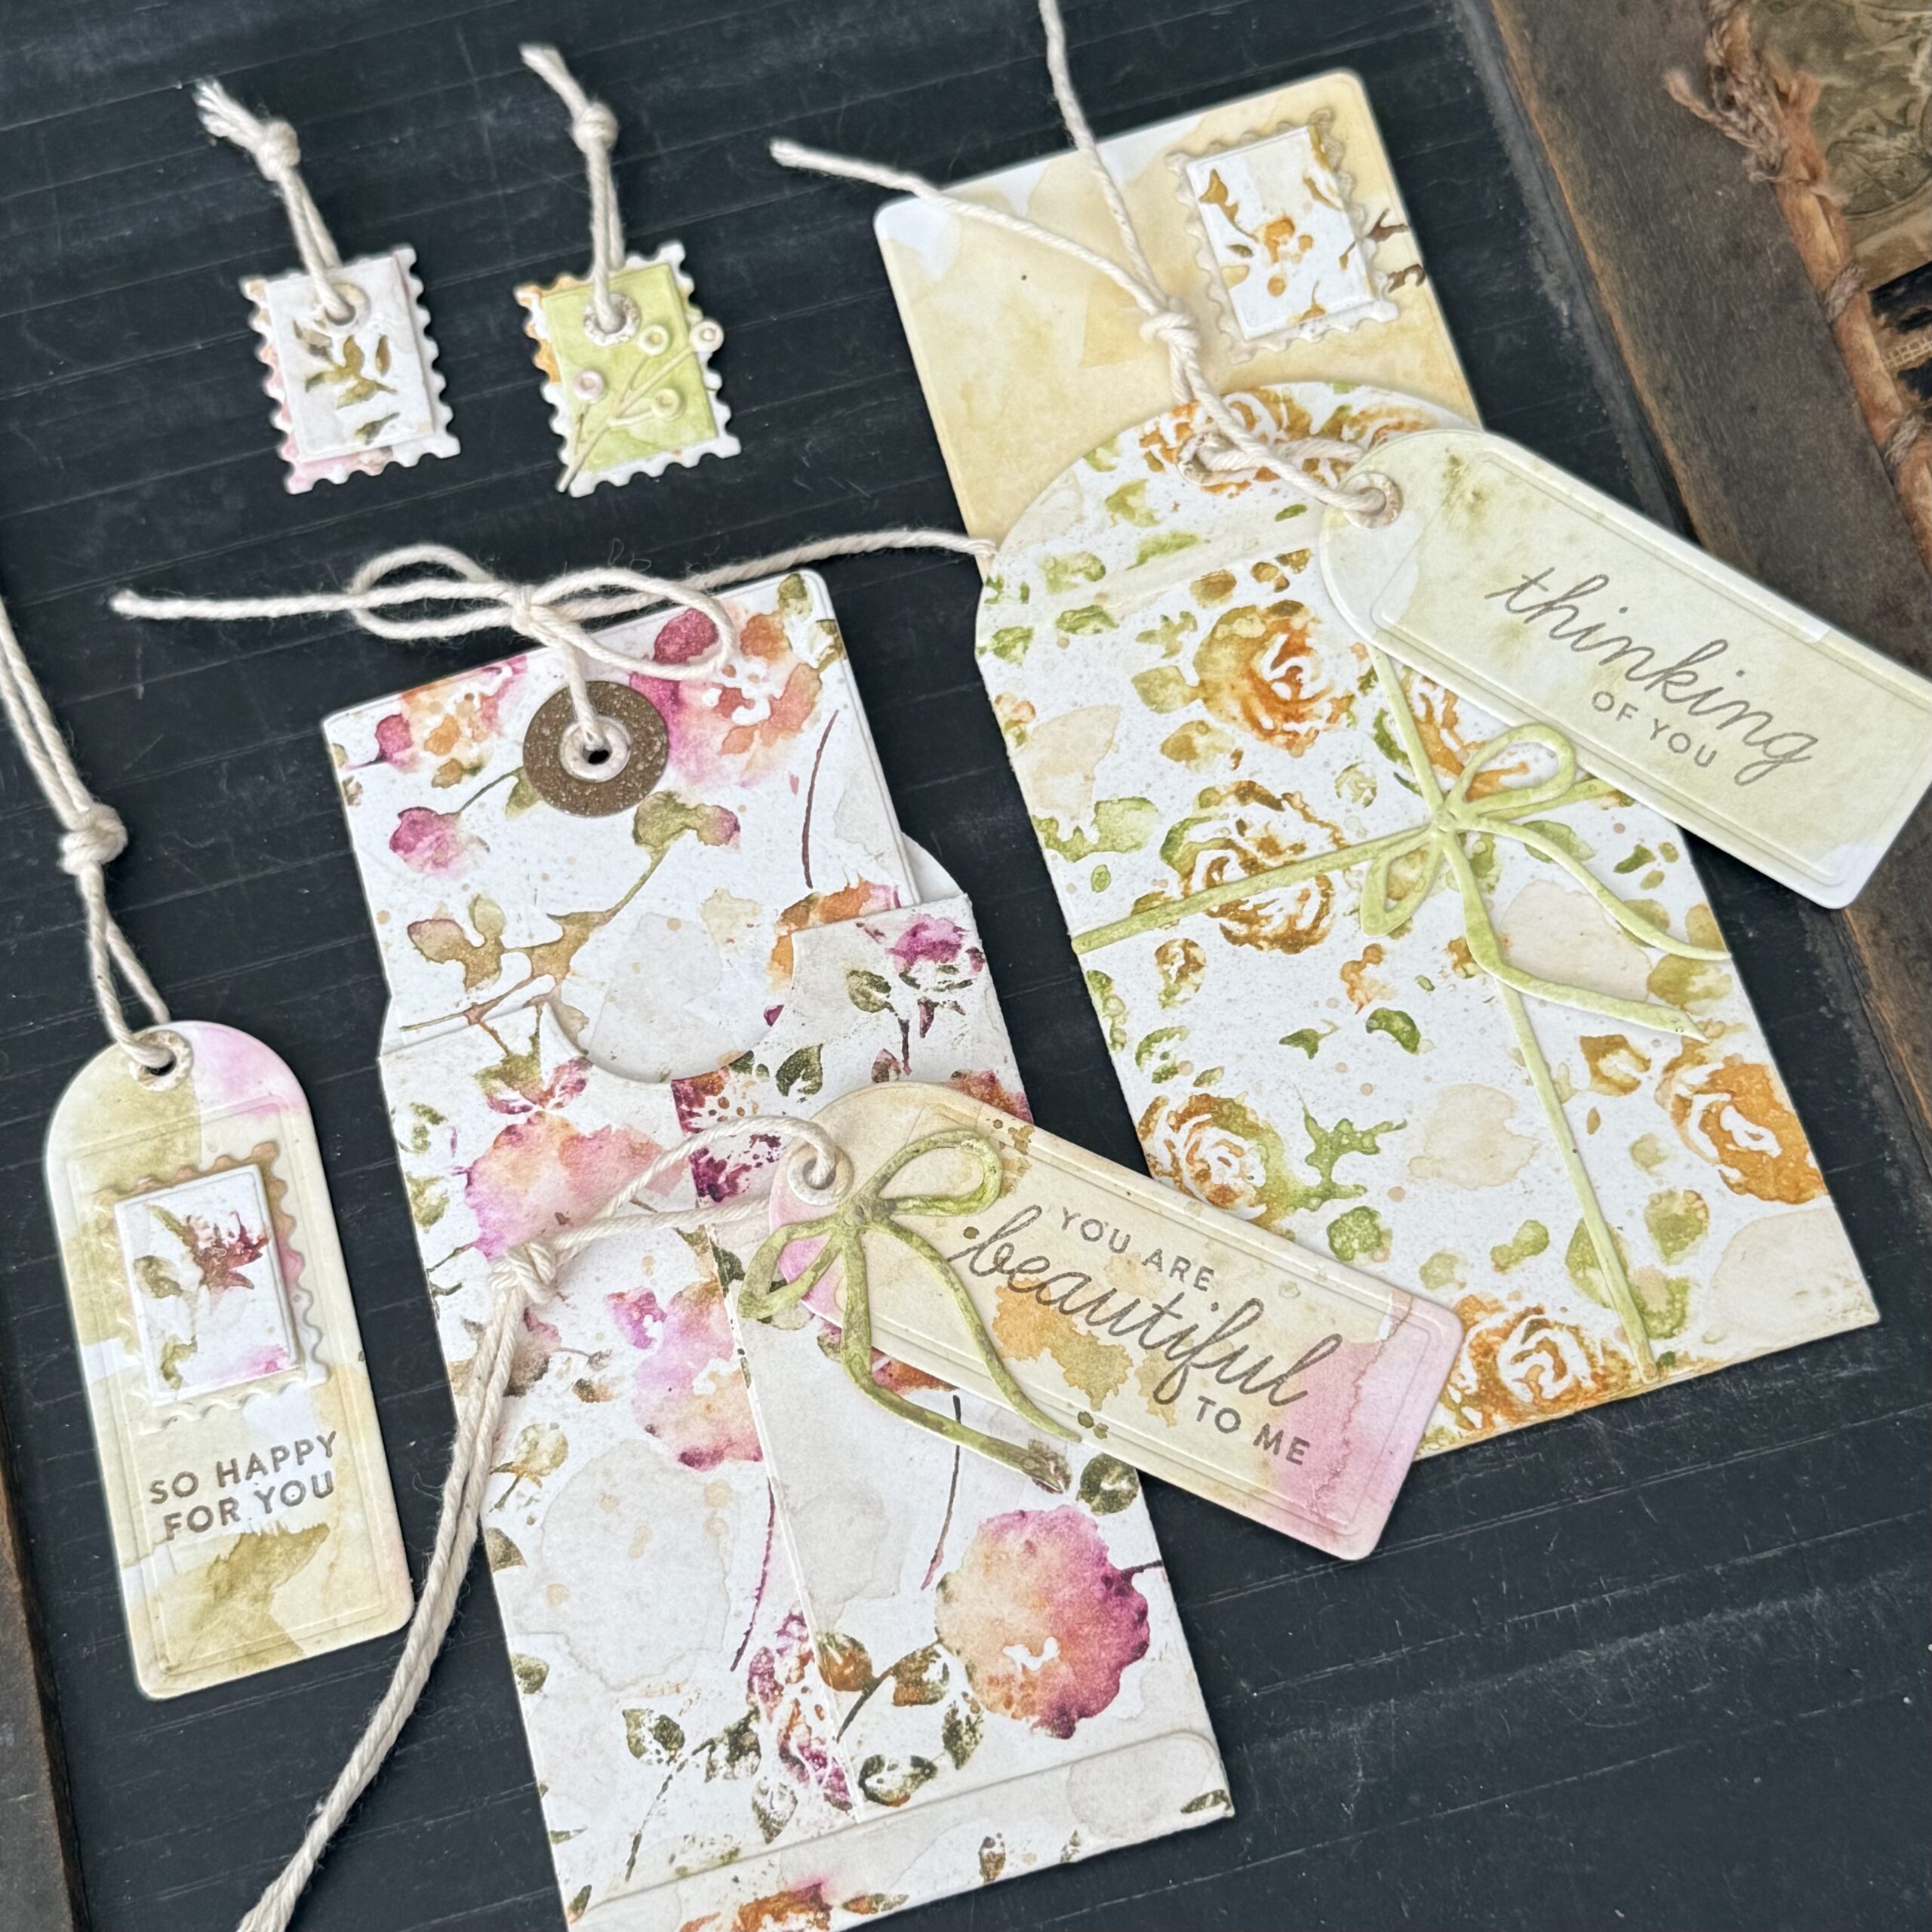
Hello friends! Hope you’re having a great day! I am back again today to share some little gift card and card ideas that I was inspired to create using a Christmas Wafer Die Set from Simon Says Stamp entitled Pine and Post…who’s up for a little Christmas in July inspiration? I love how they turned out…I mean, those tiny little bows and sweet little postage stamps! Ahh, the cuteness!
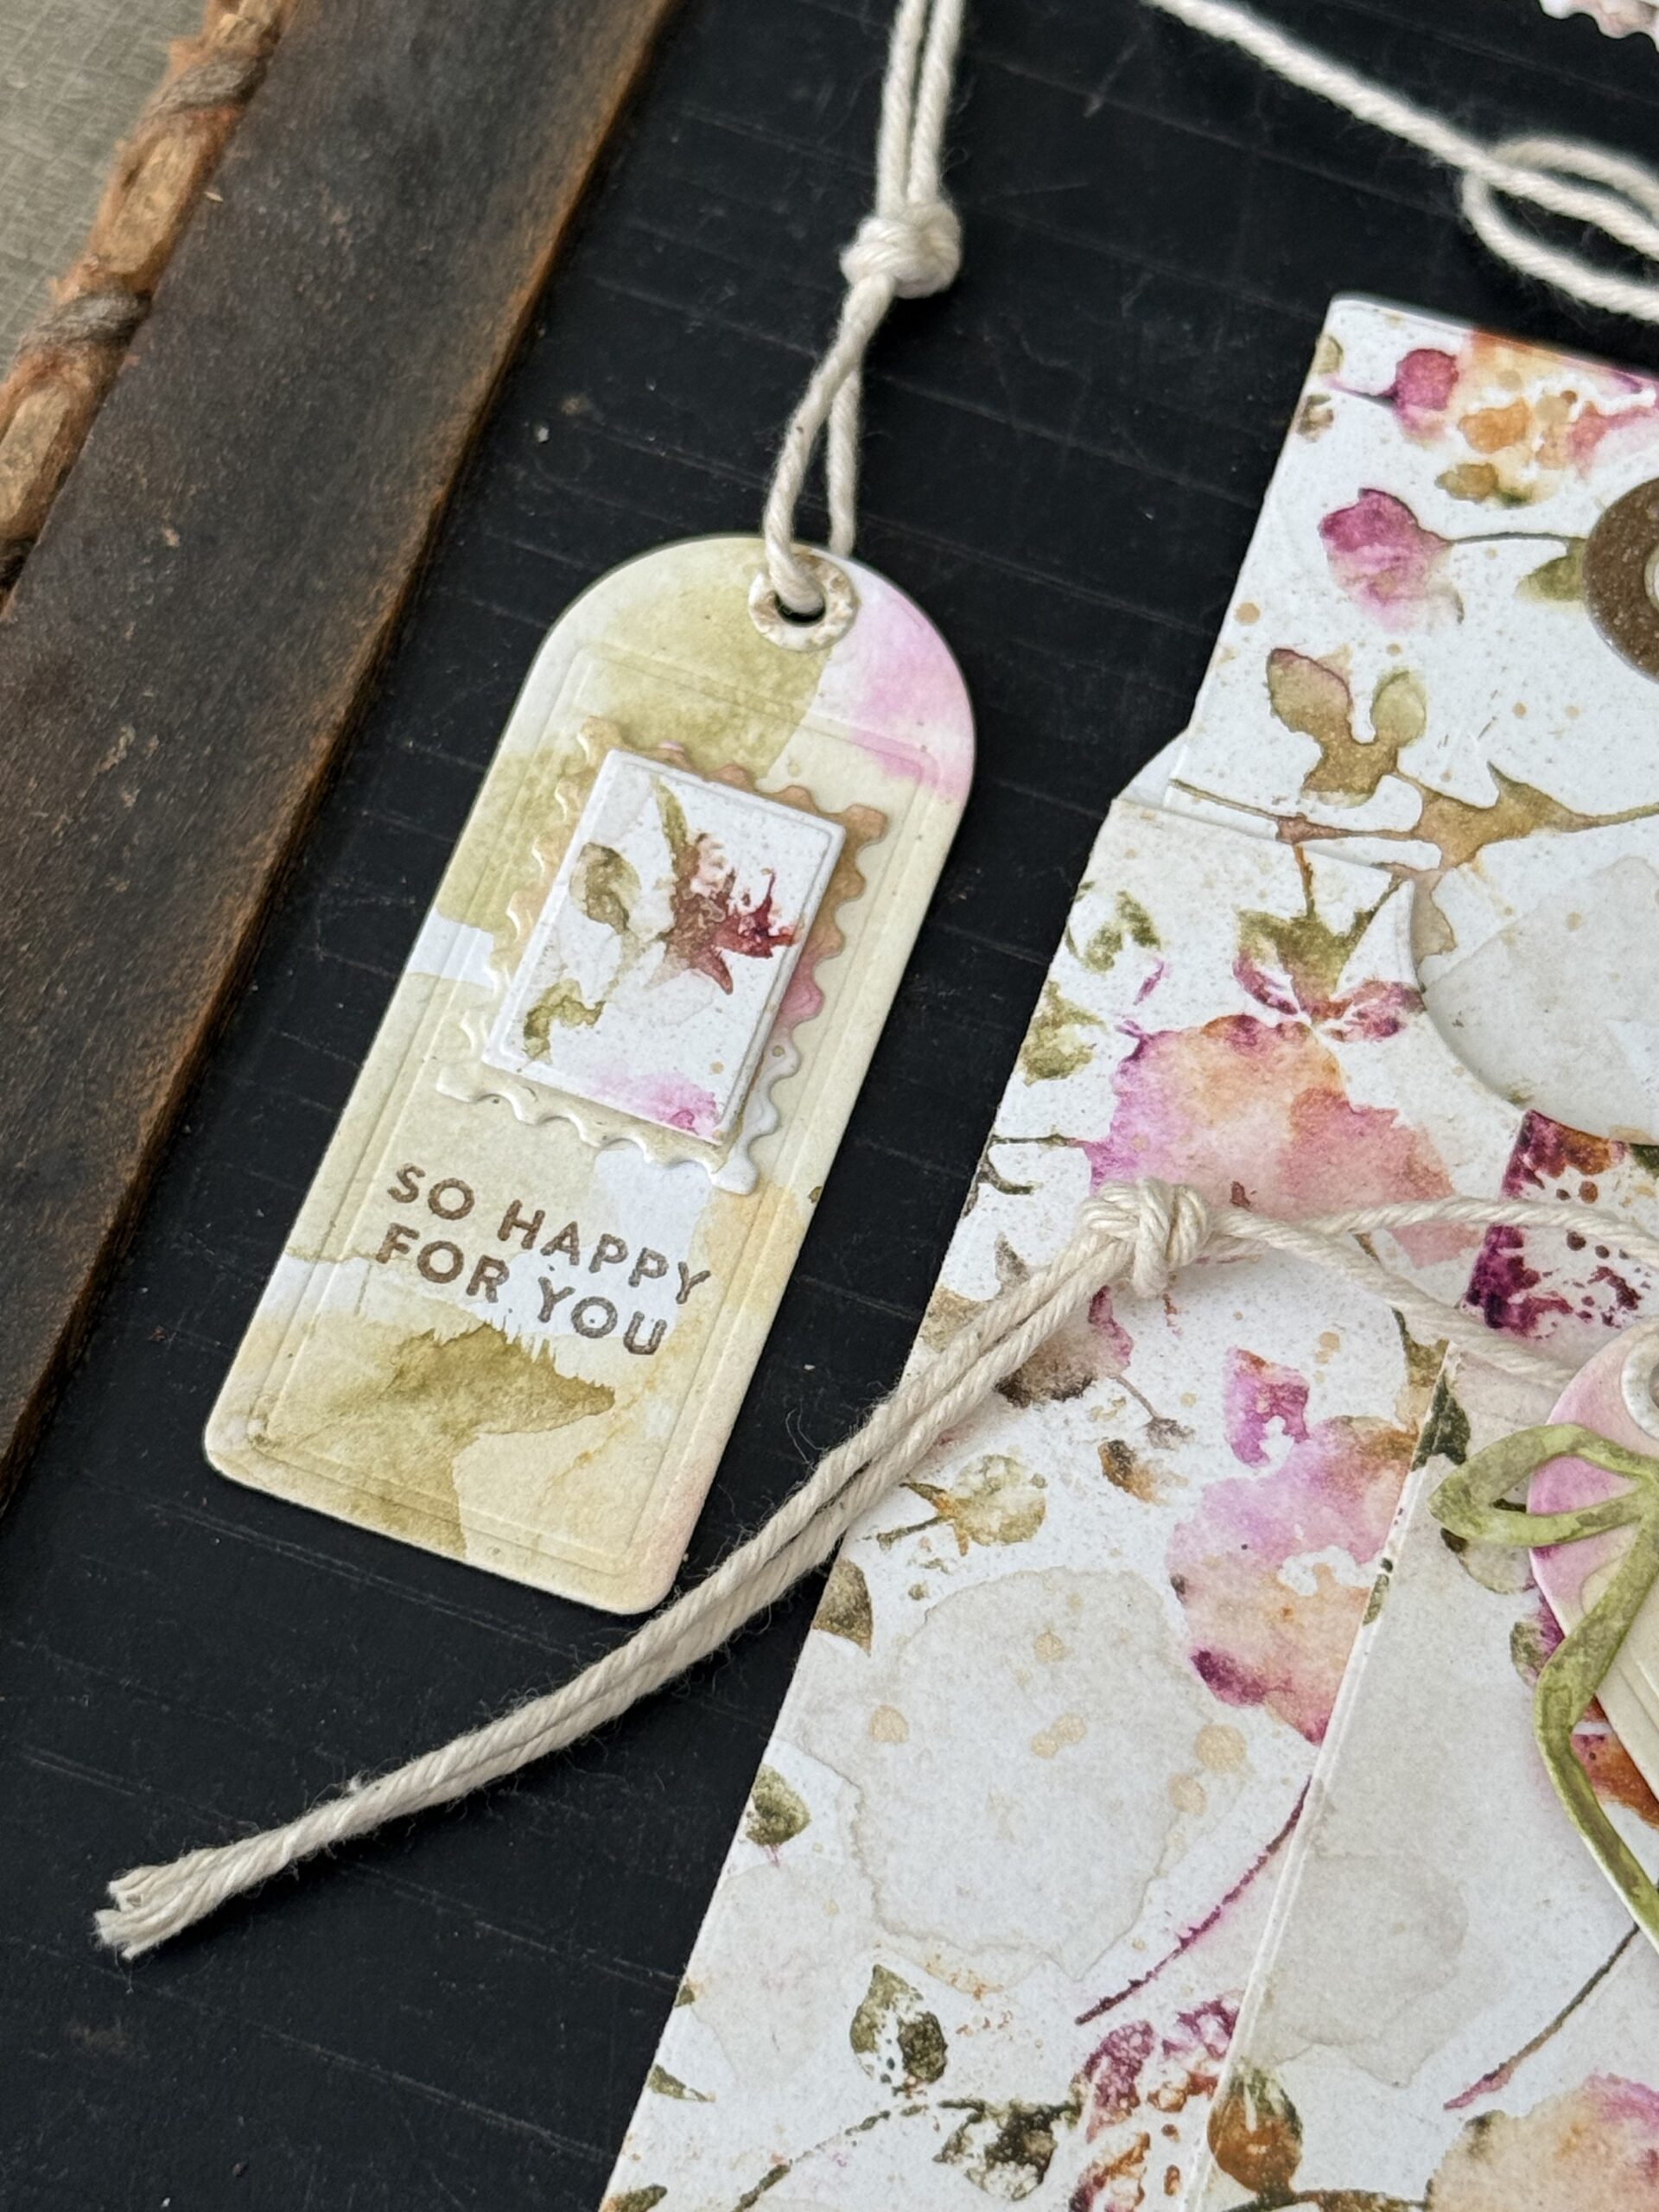
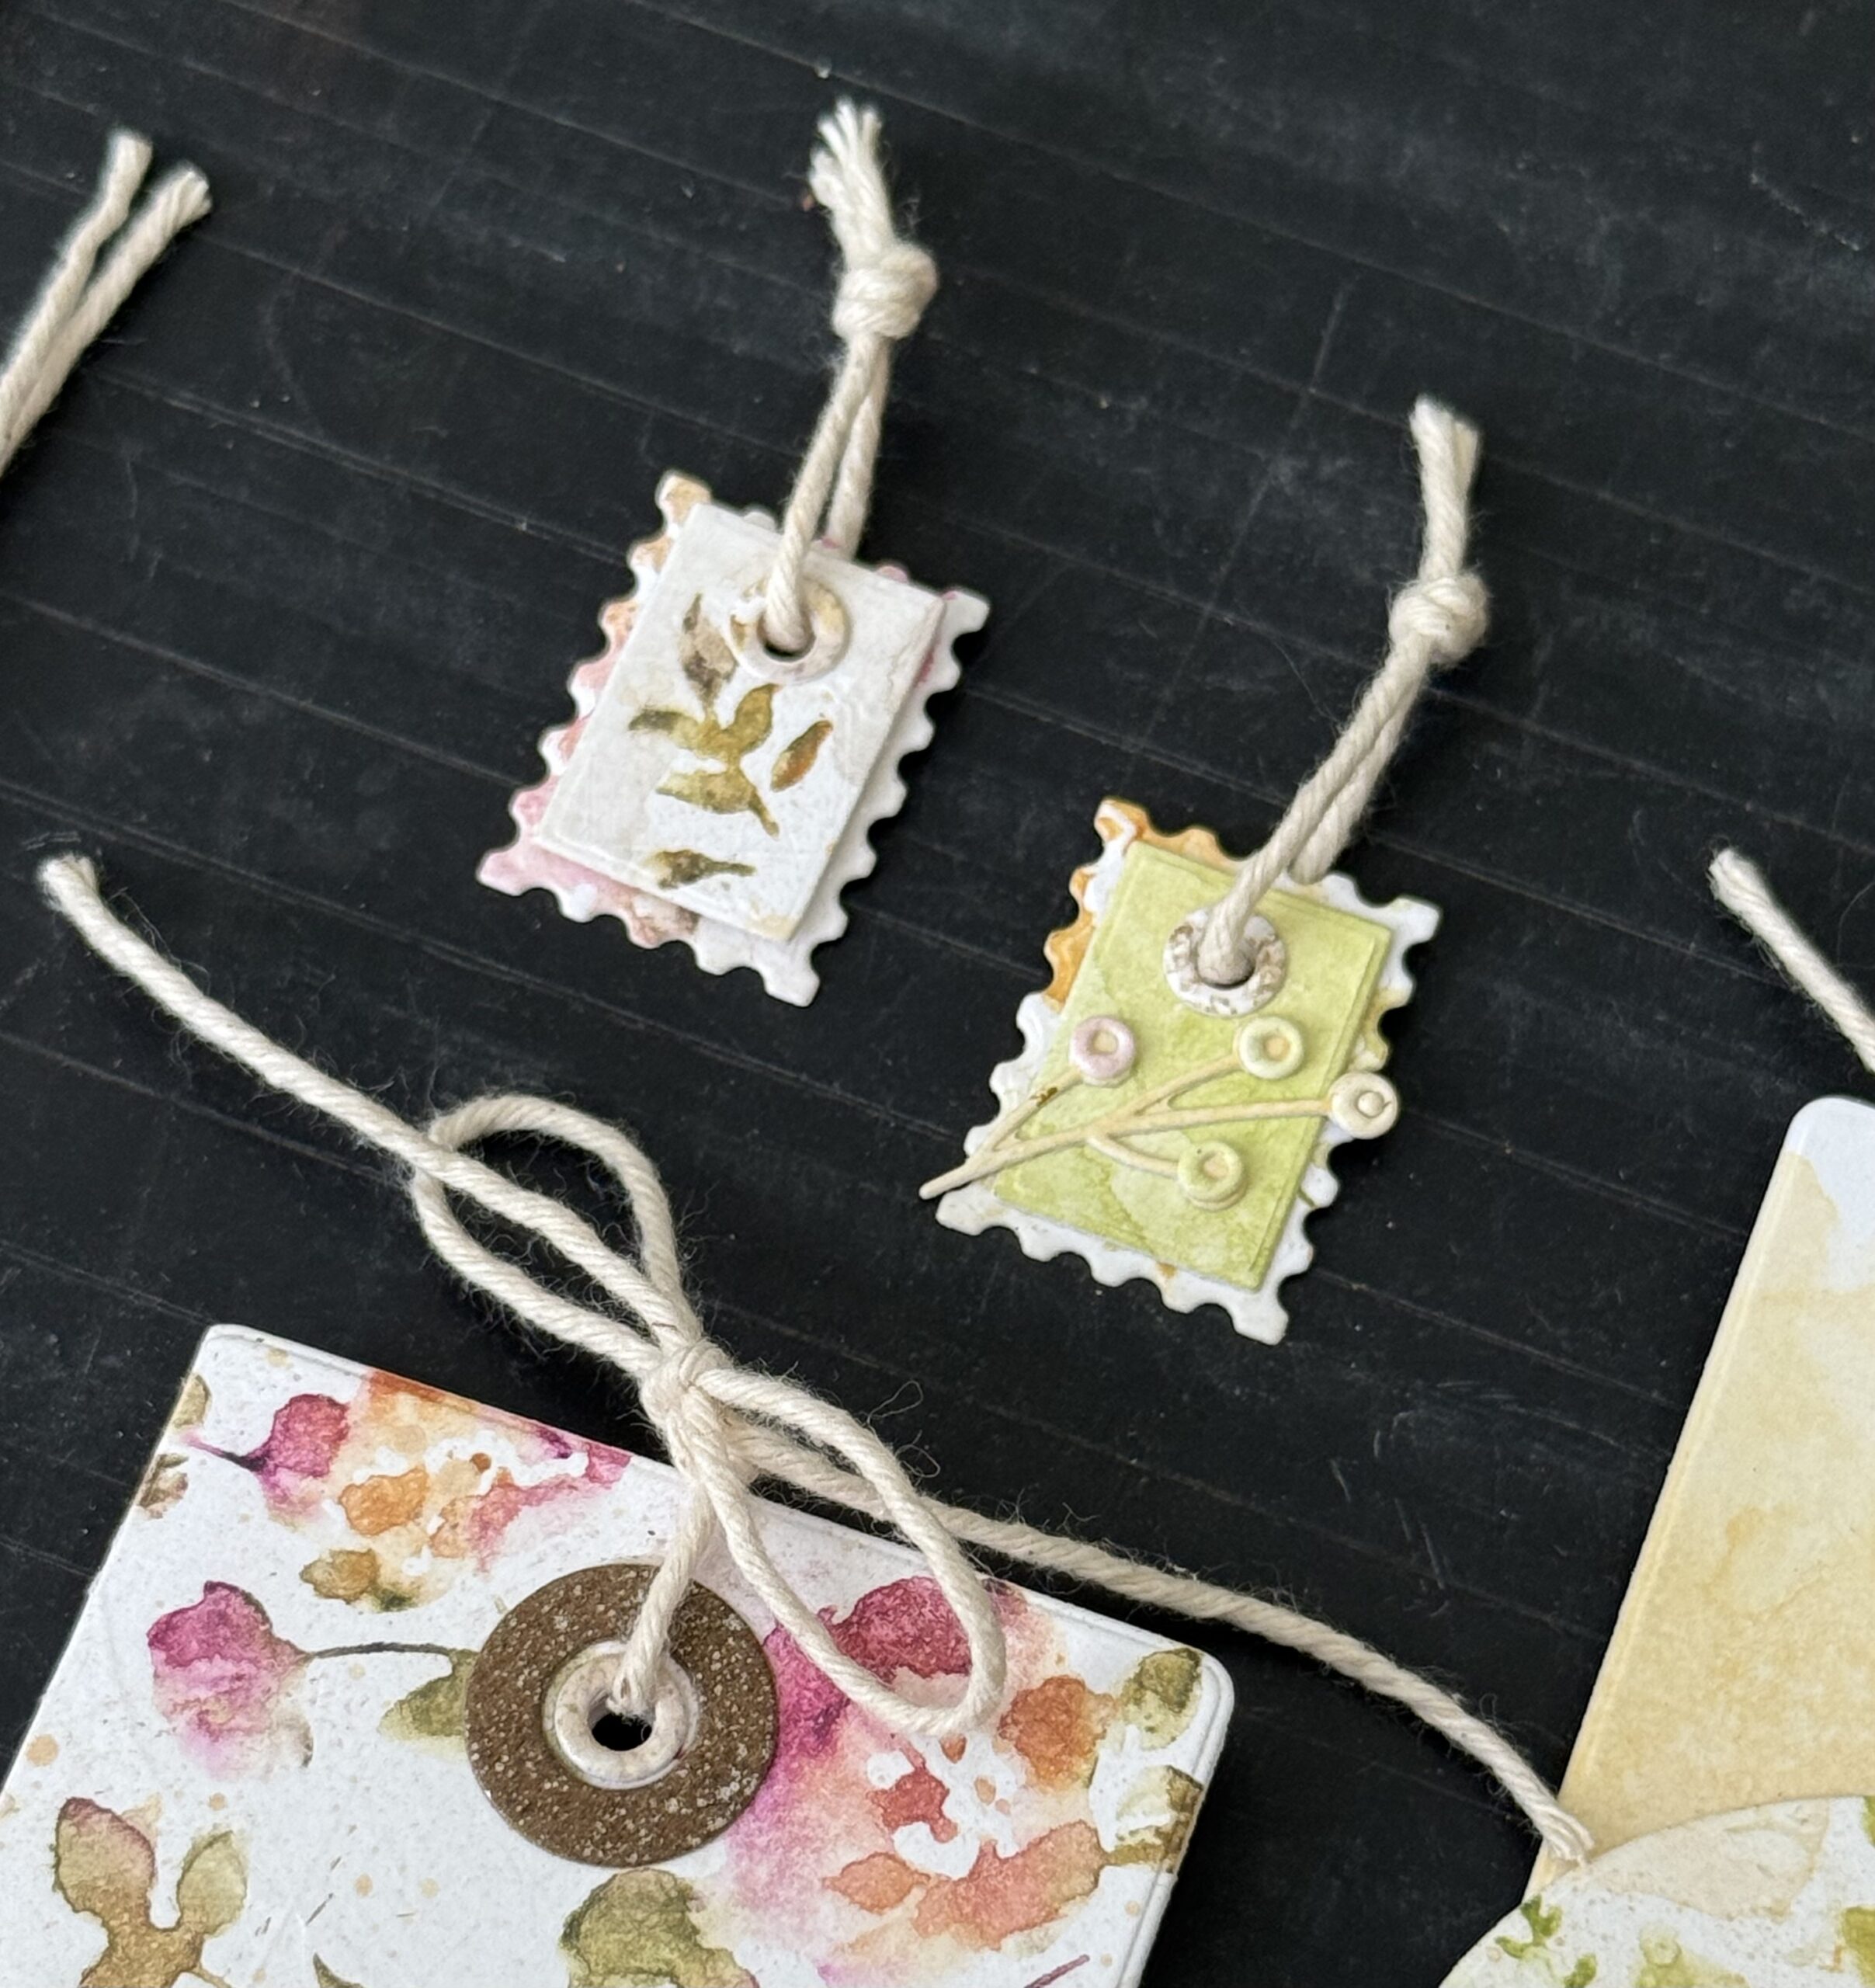
They are the cutest size made especially for a gift card and would be cute tied to a little goodie bag. I even turned the little stamps into tiny tags. How cute are those?
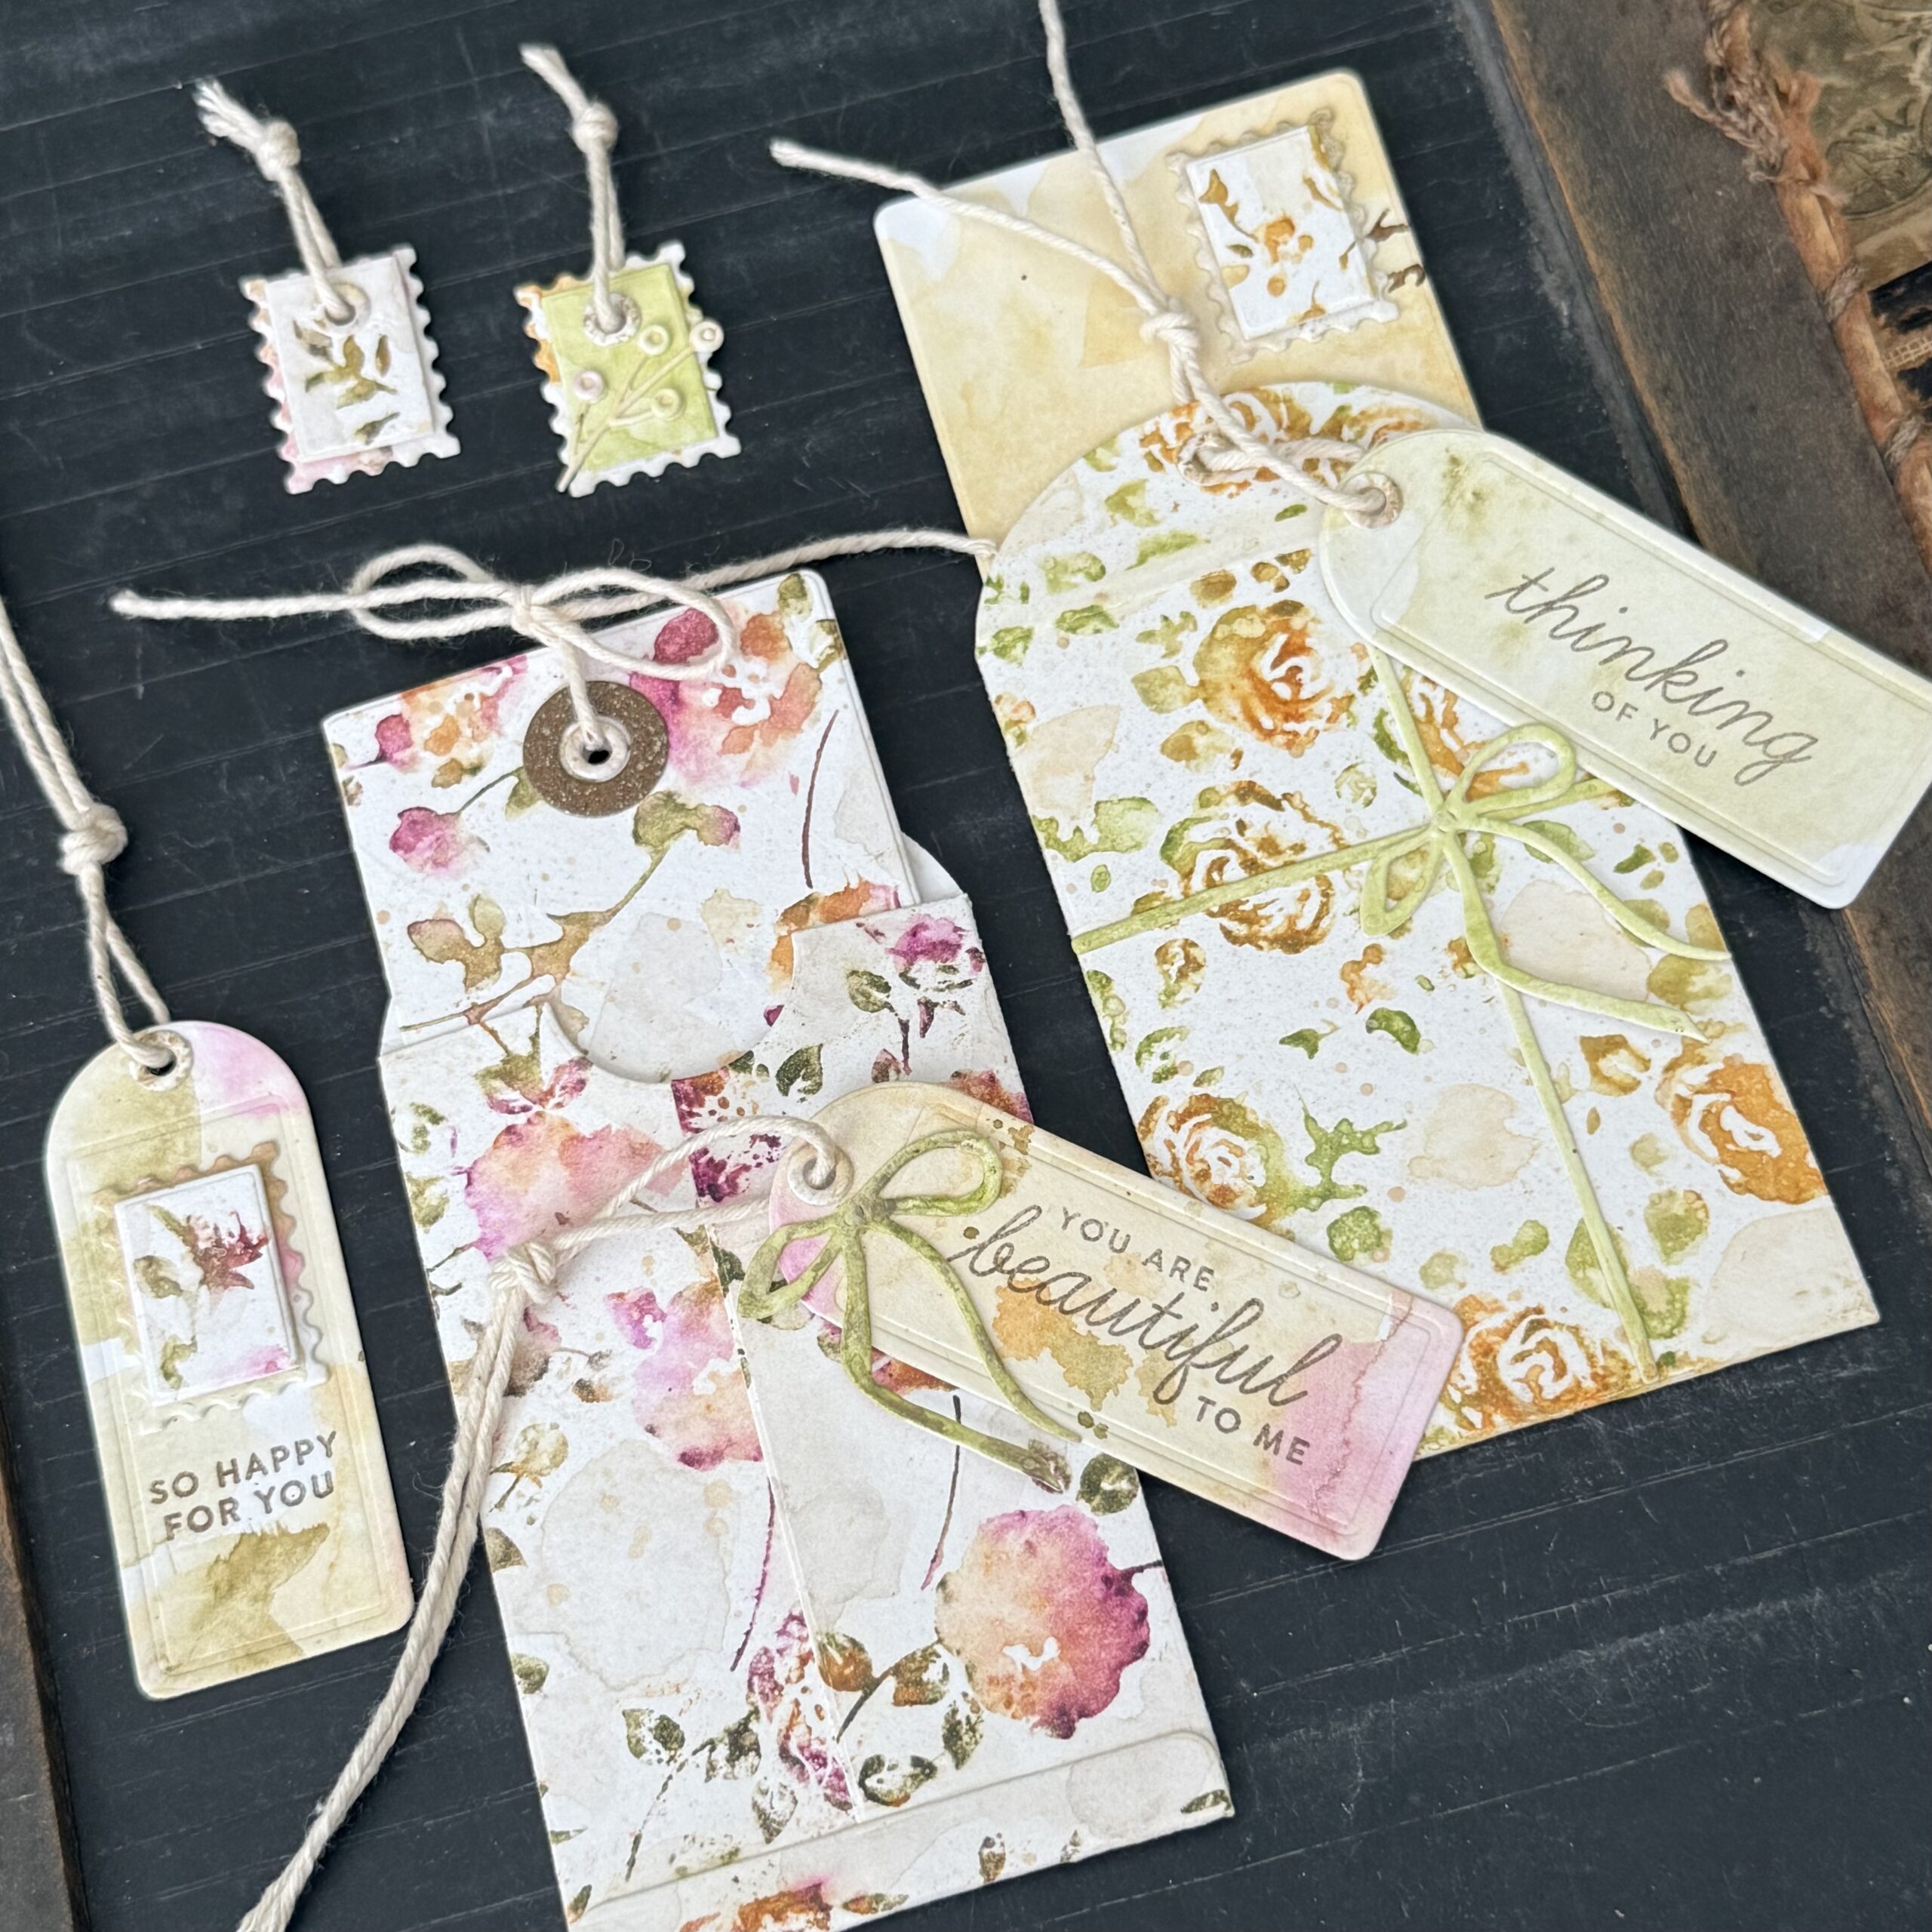
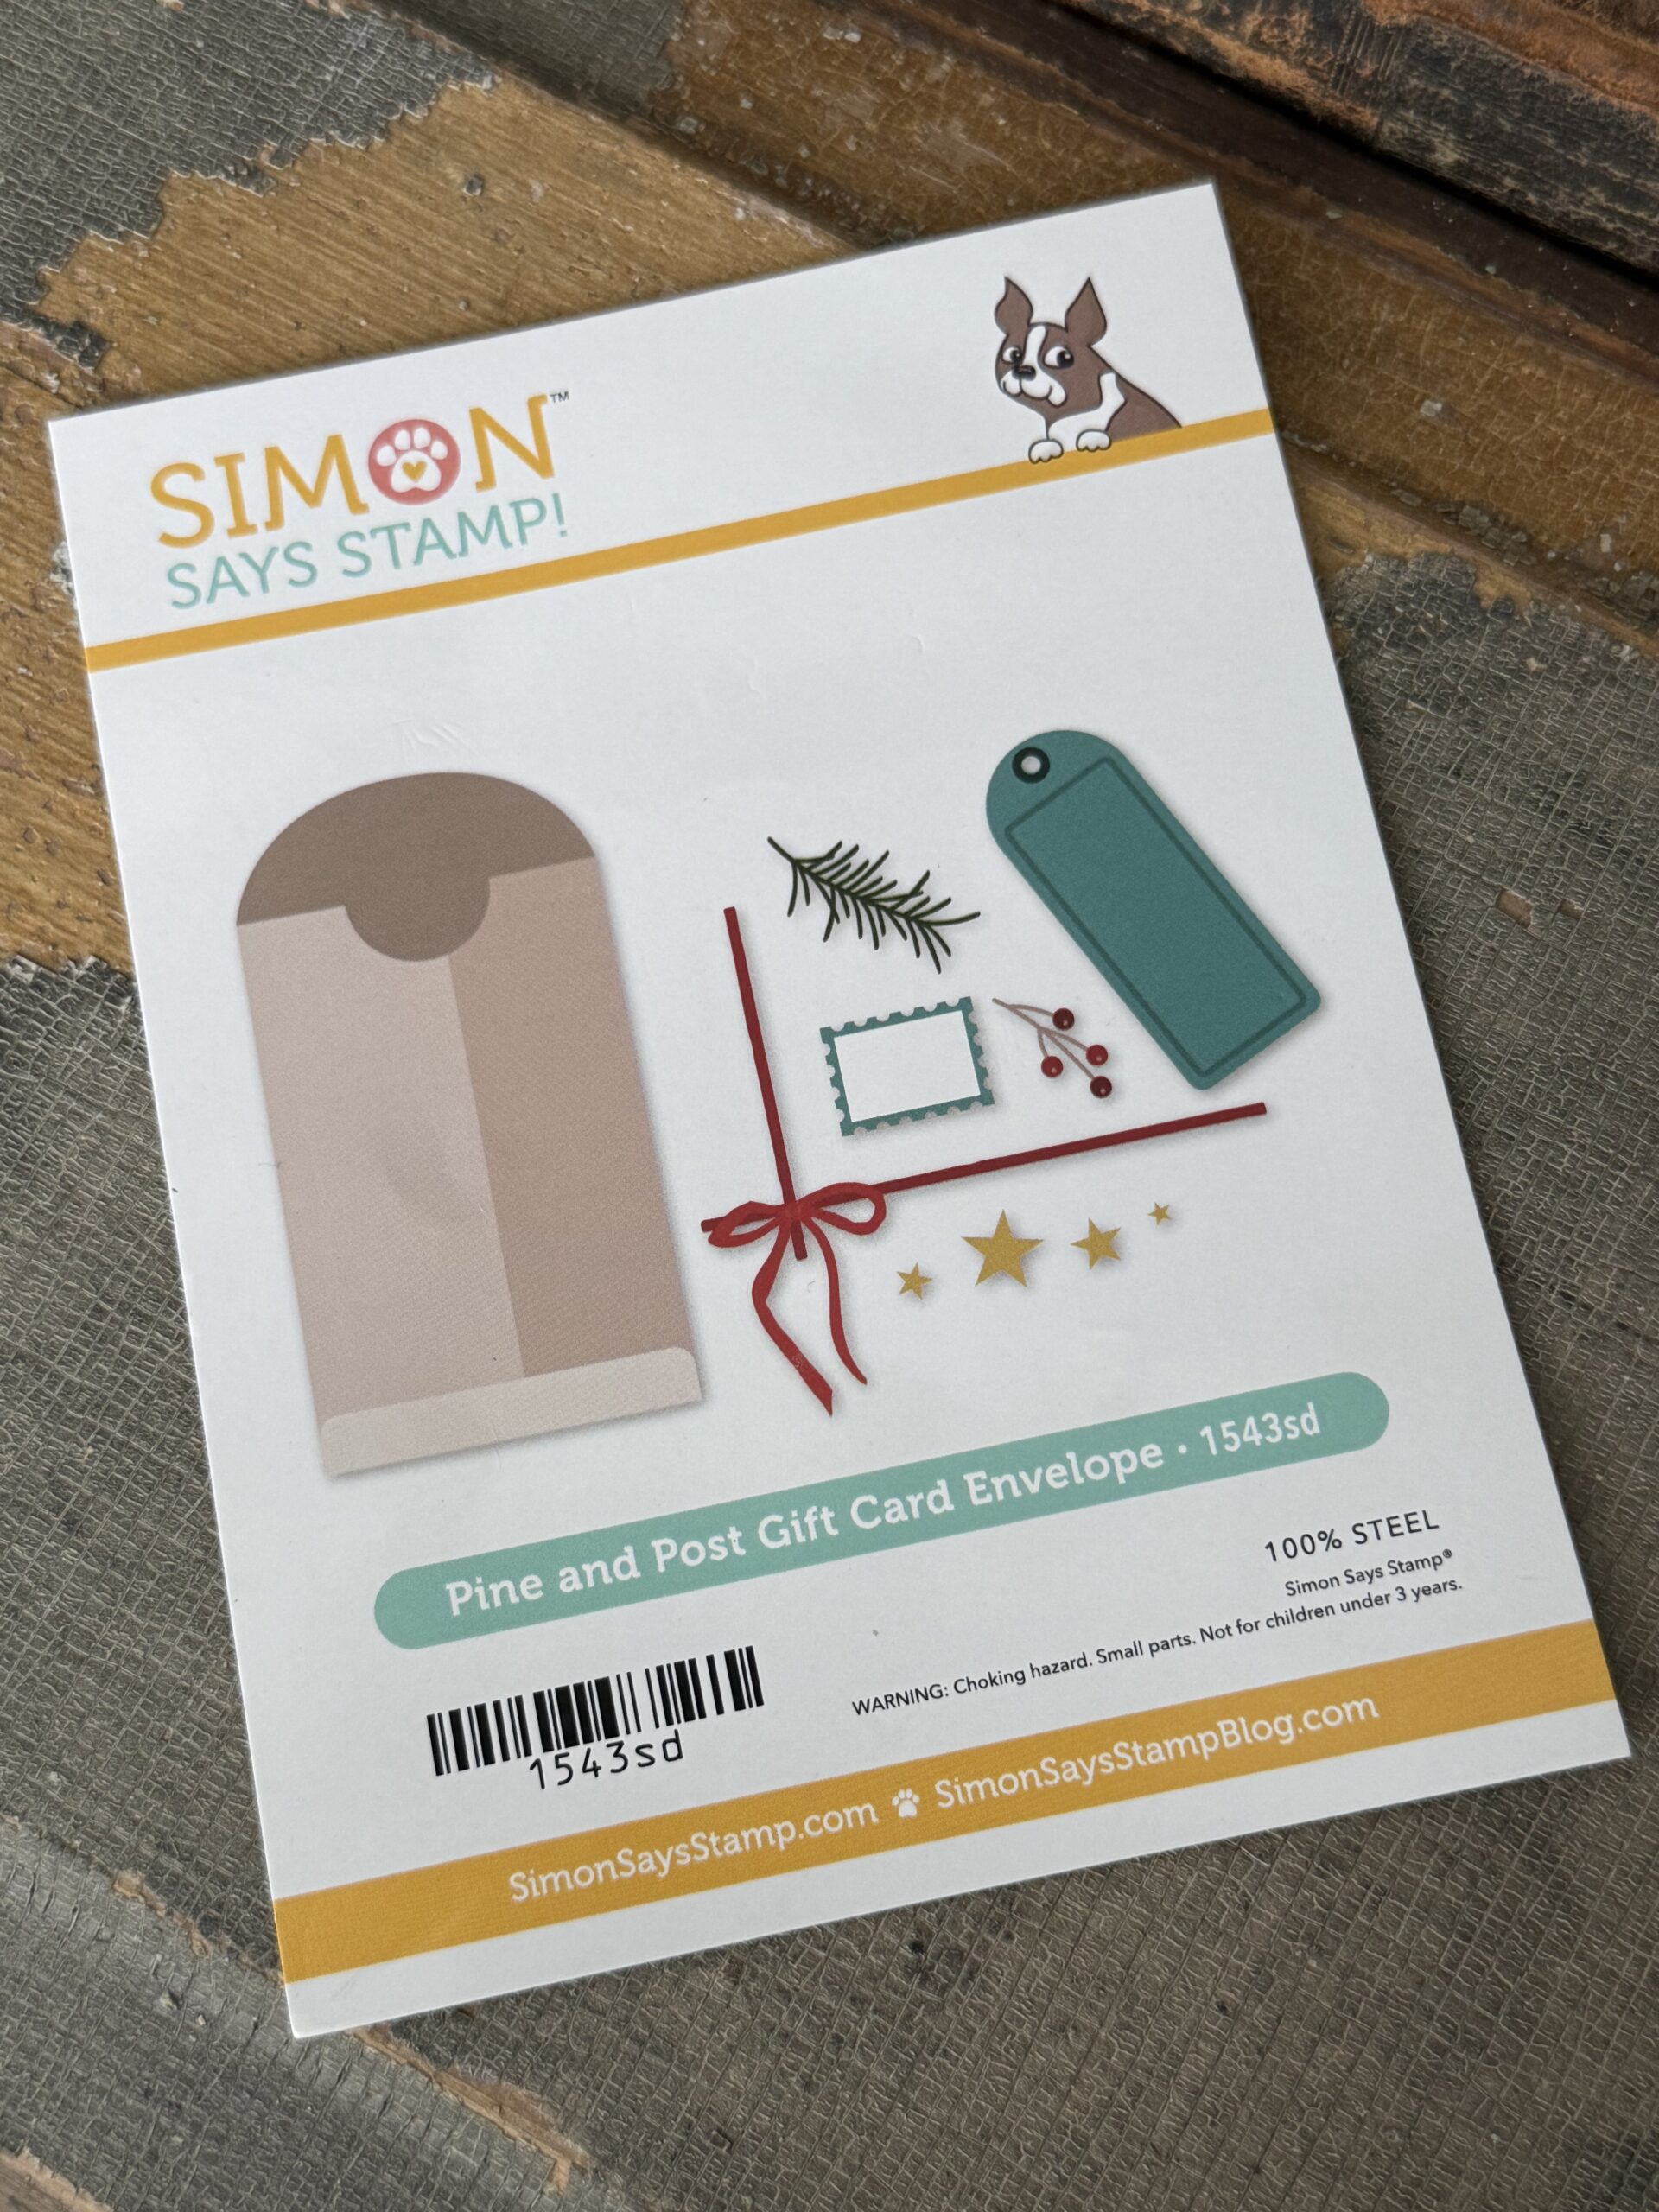
This set of dies was brought out this past holiday season and believe it or not, this is the first that I’ve played with it…you know how busy the holidays can get, so, when I was thinking about something I can make with, I grabbed this set and decided to give it a summer and floral twist. I used all of the pieces in the set except the little pine bough and the stars. But, I bet a creative person could dream up a use for those in an everyday way if they had a mind to!
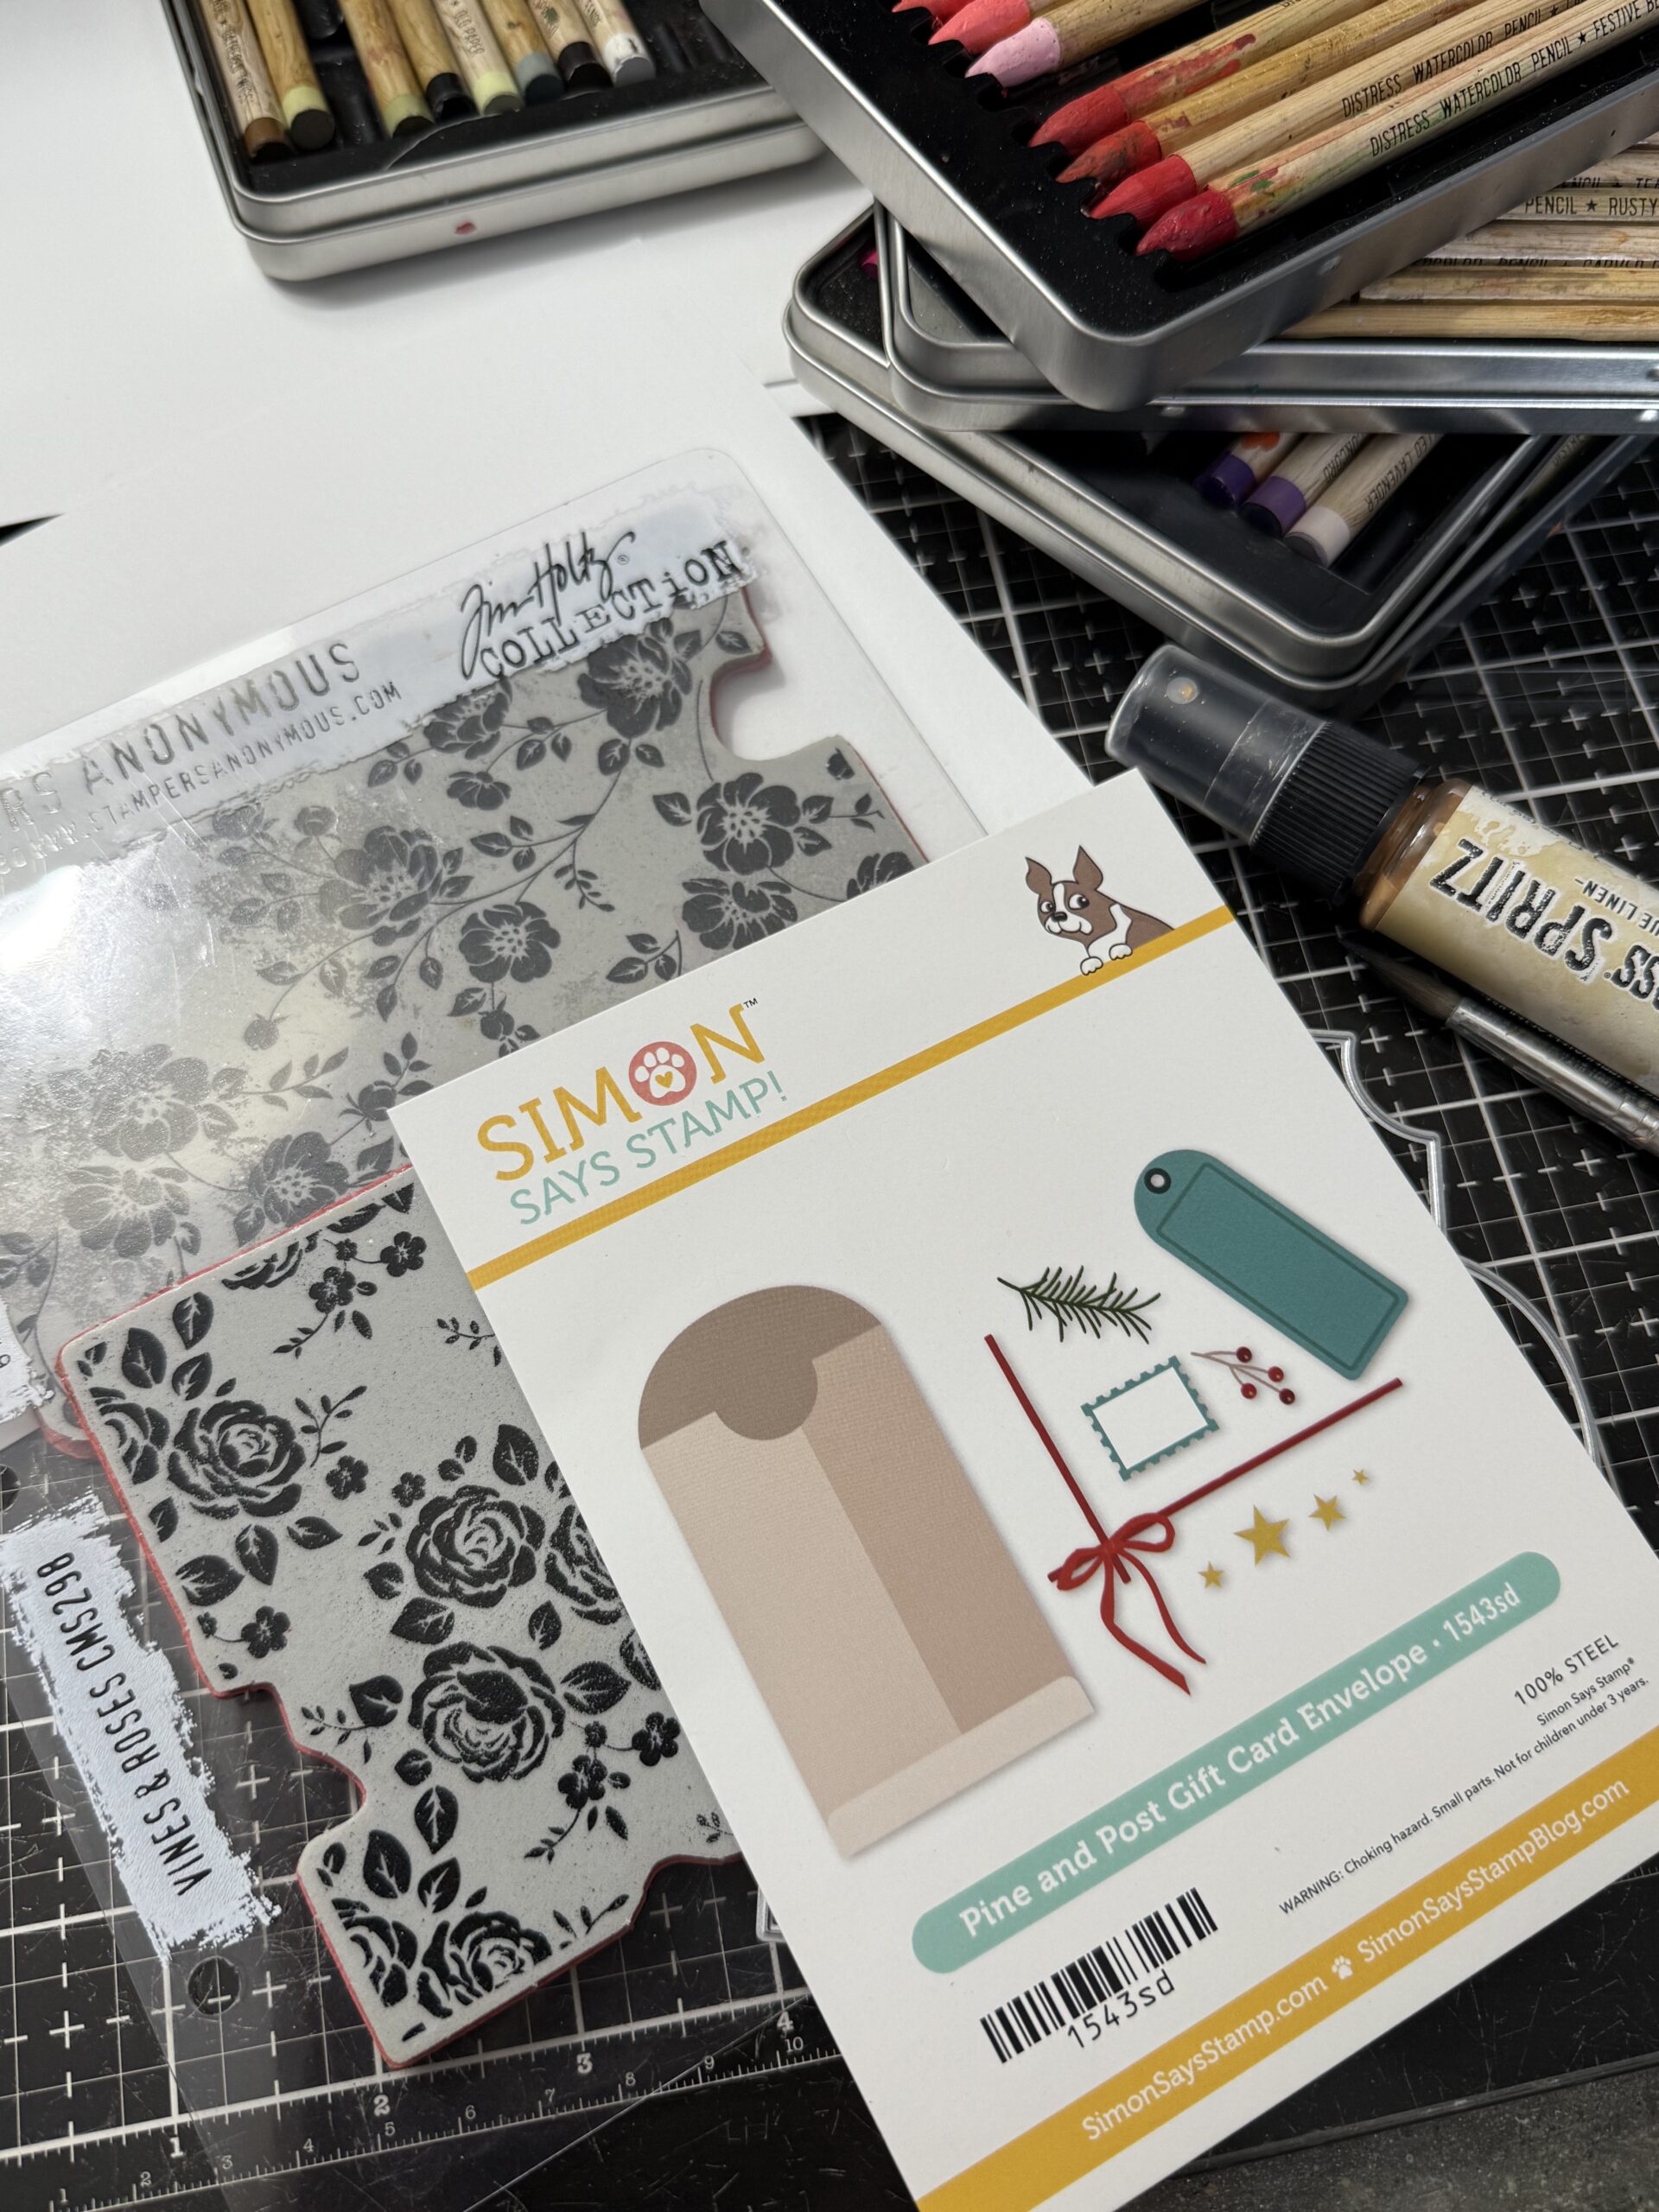
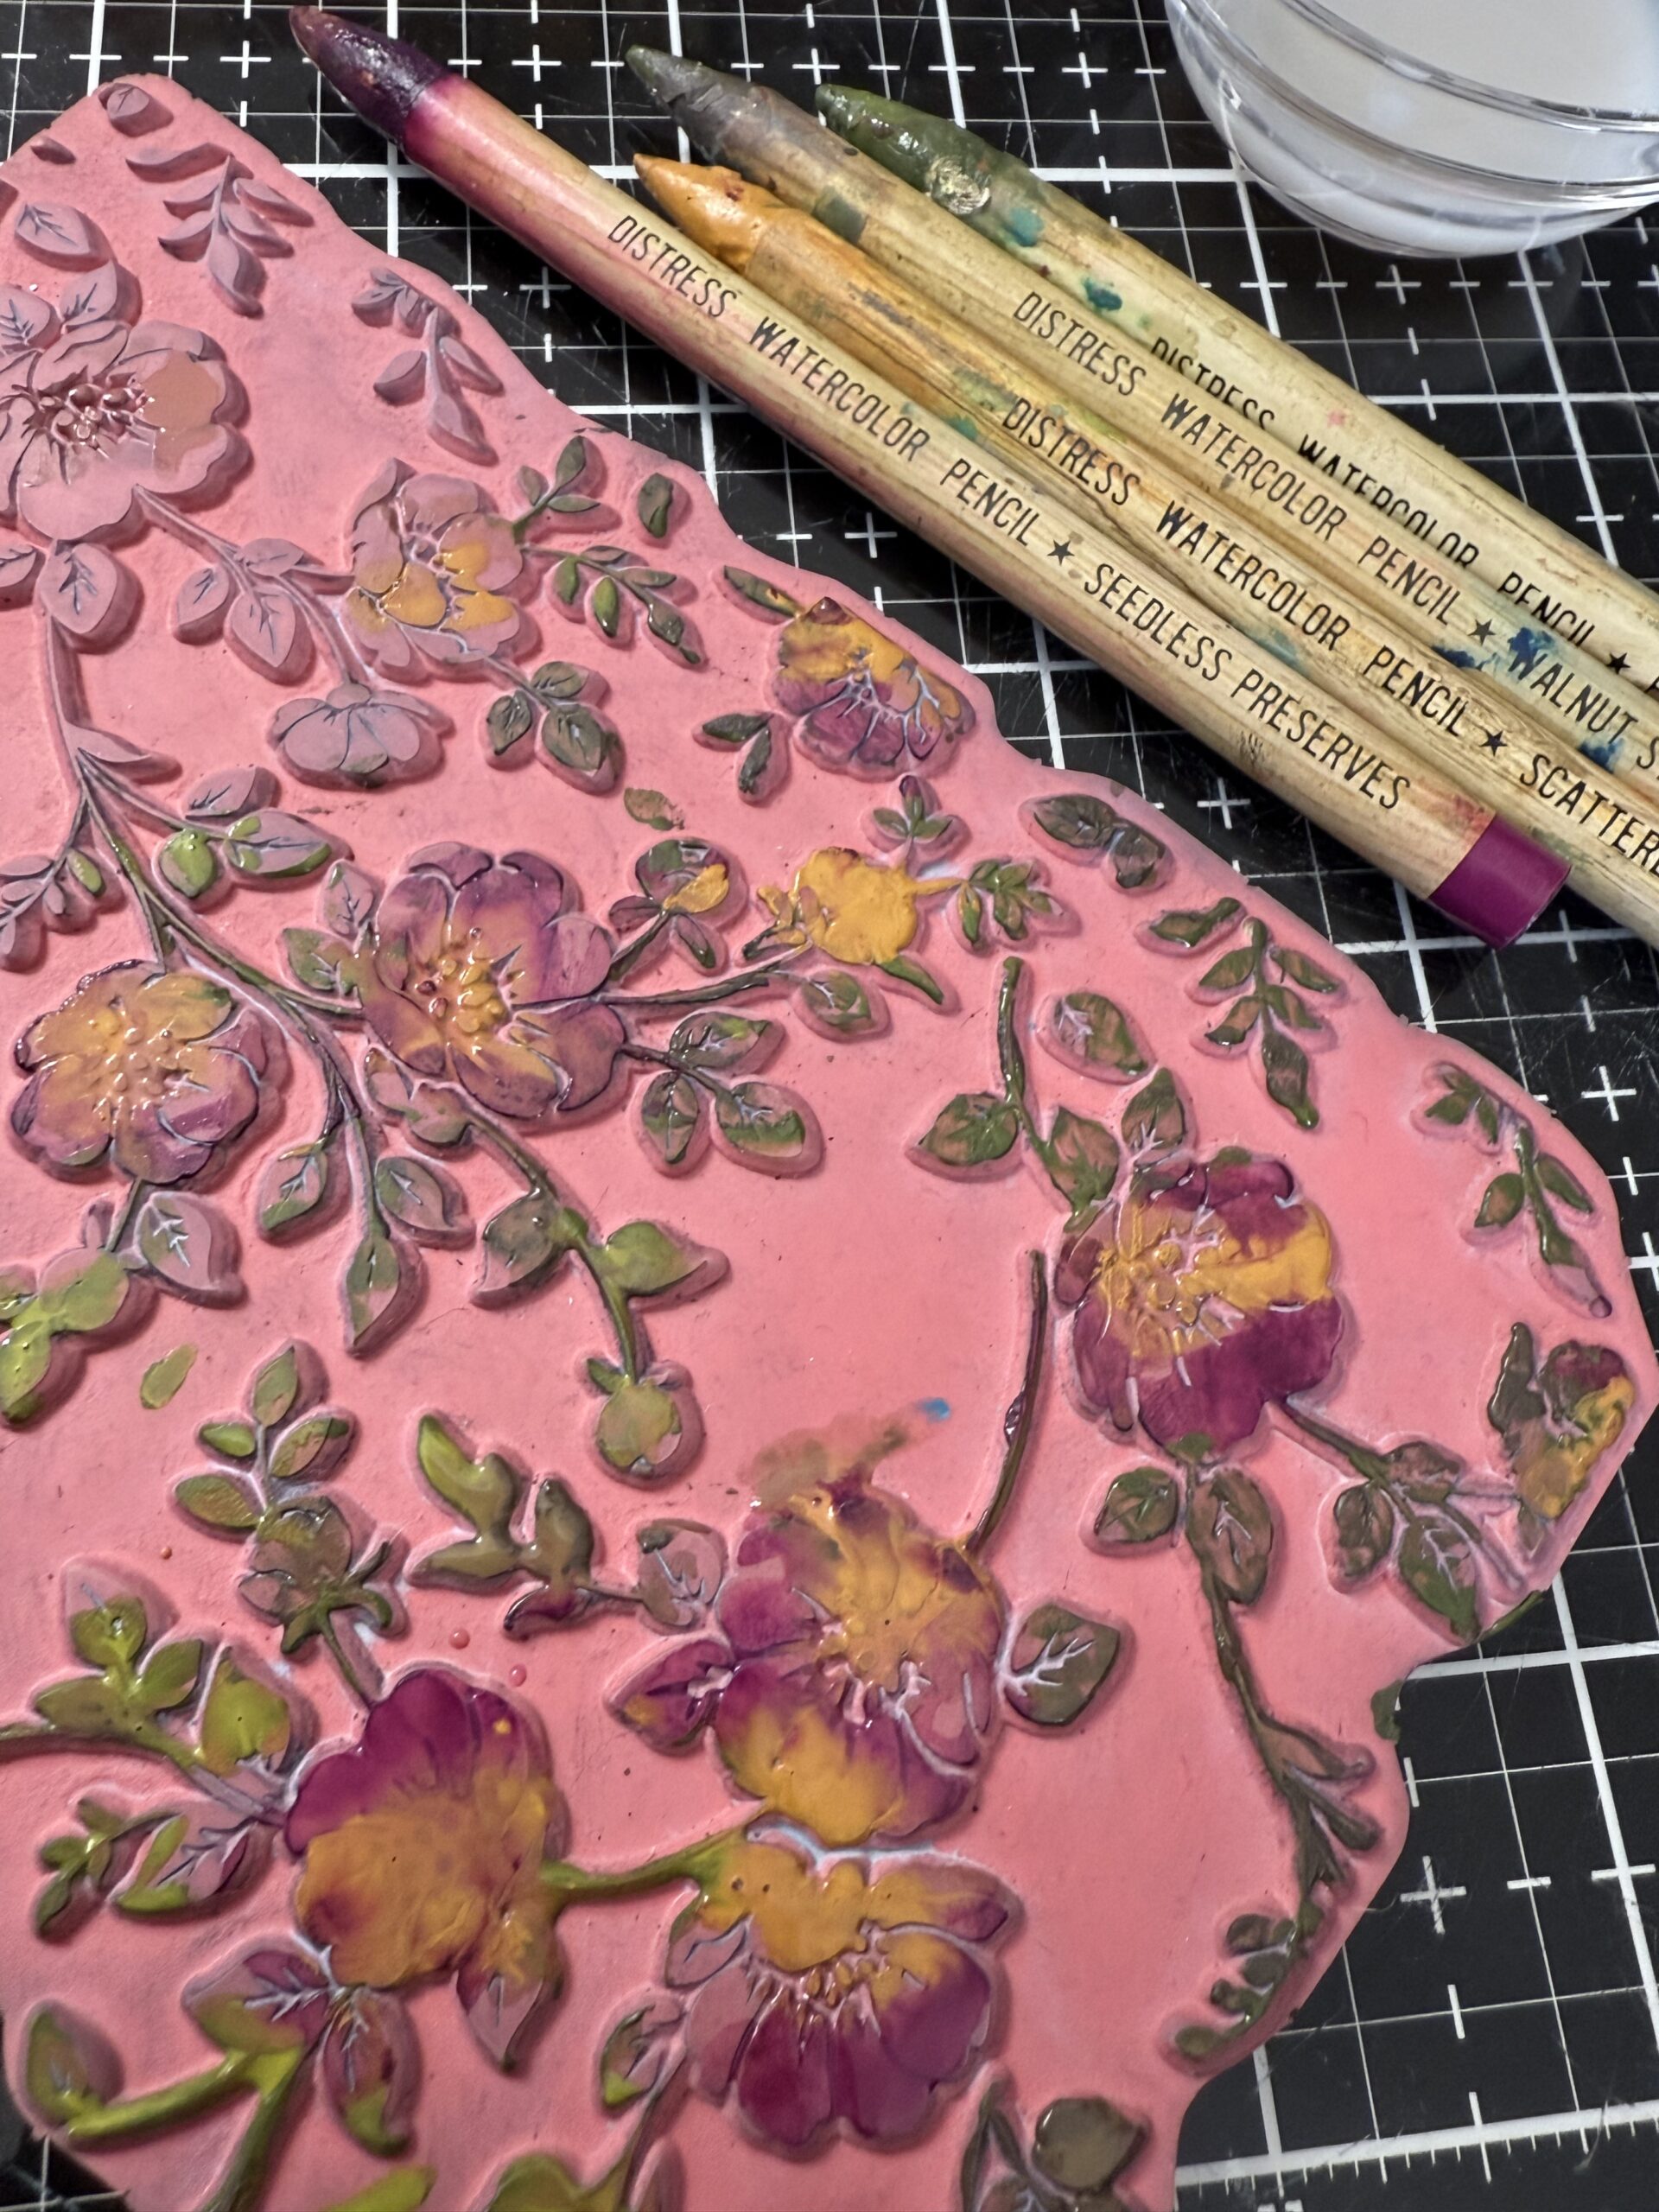
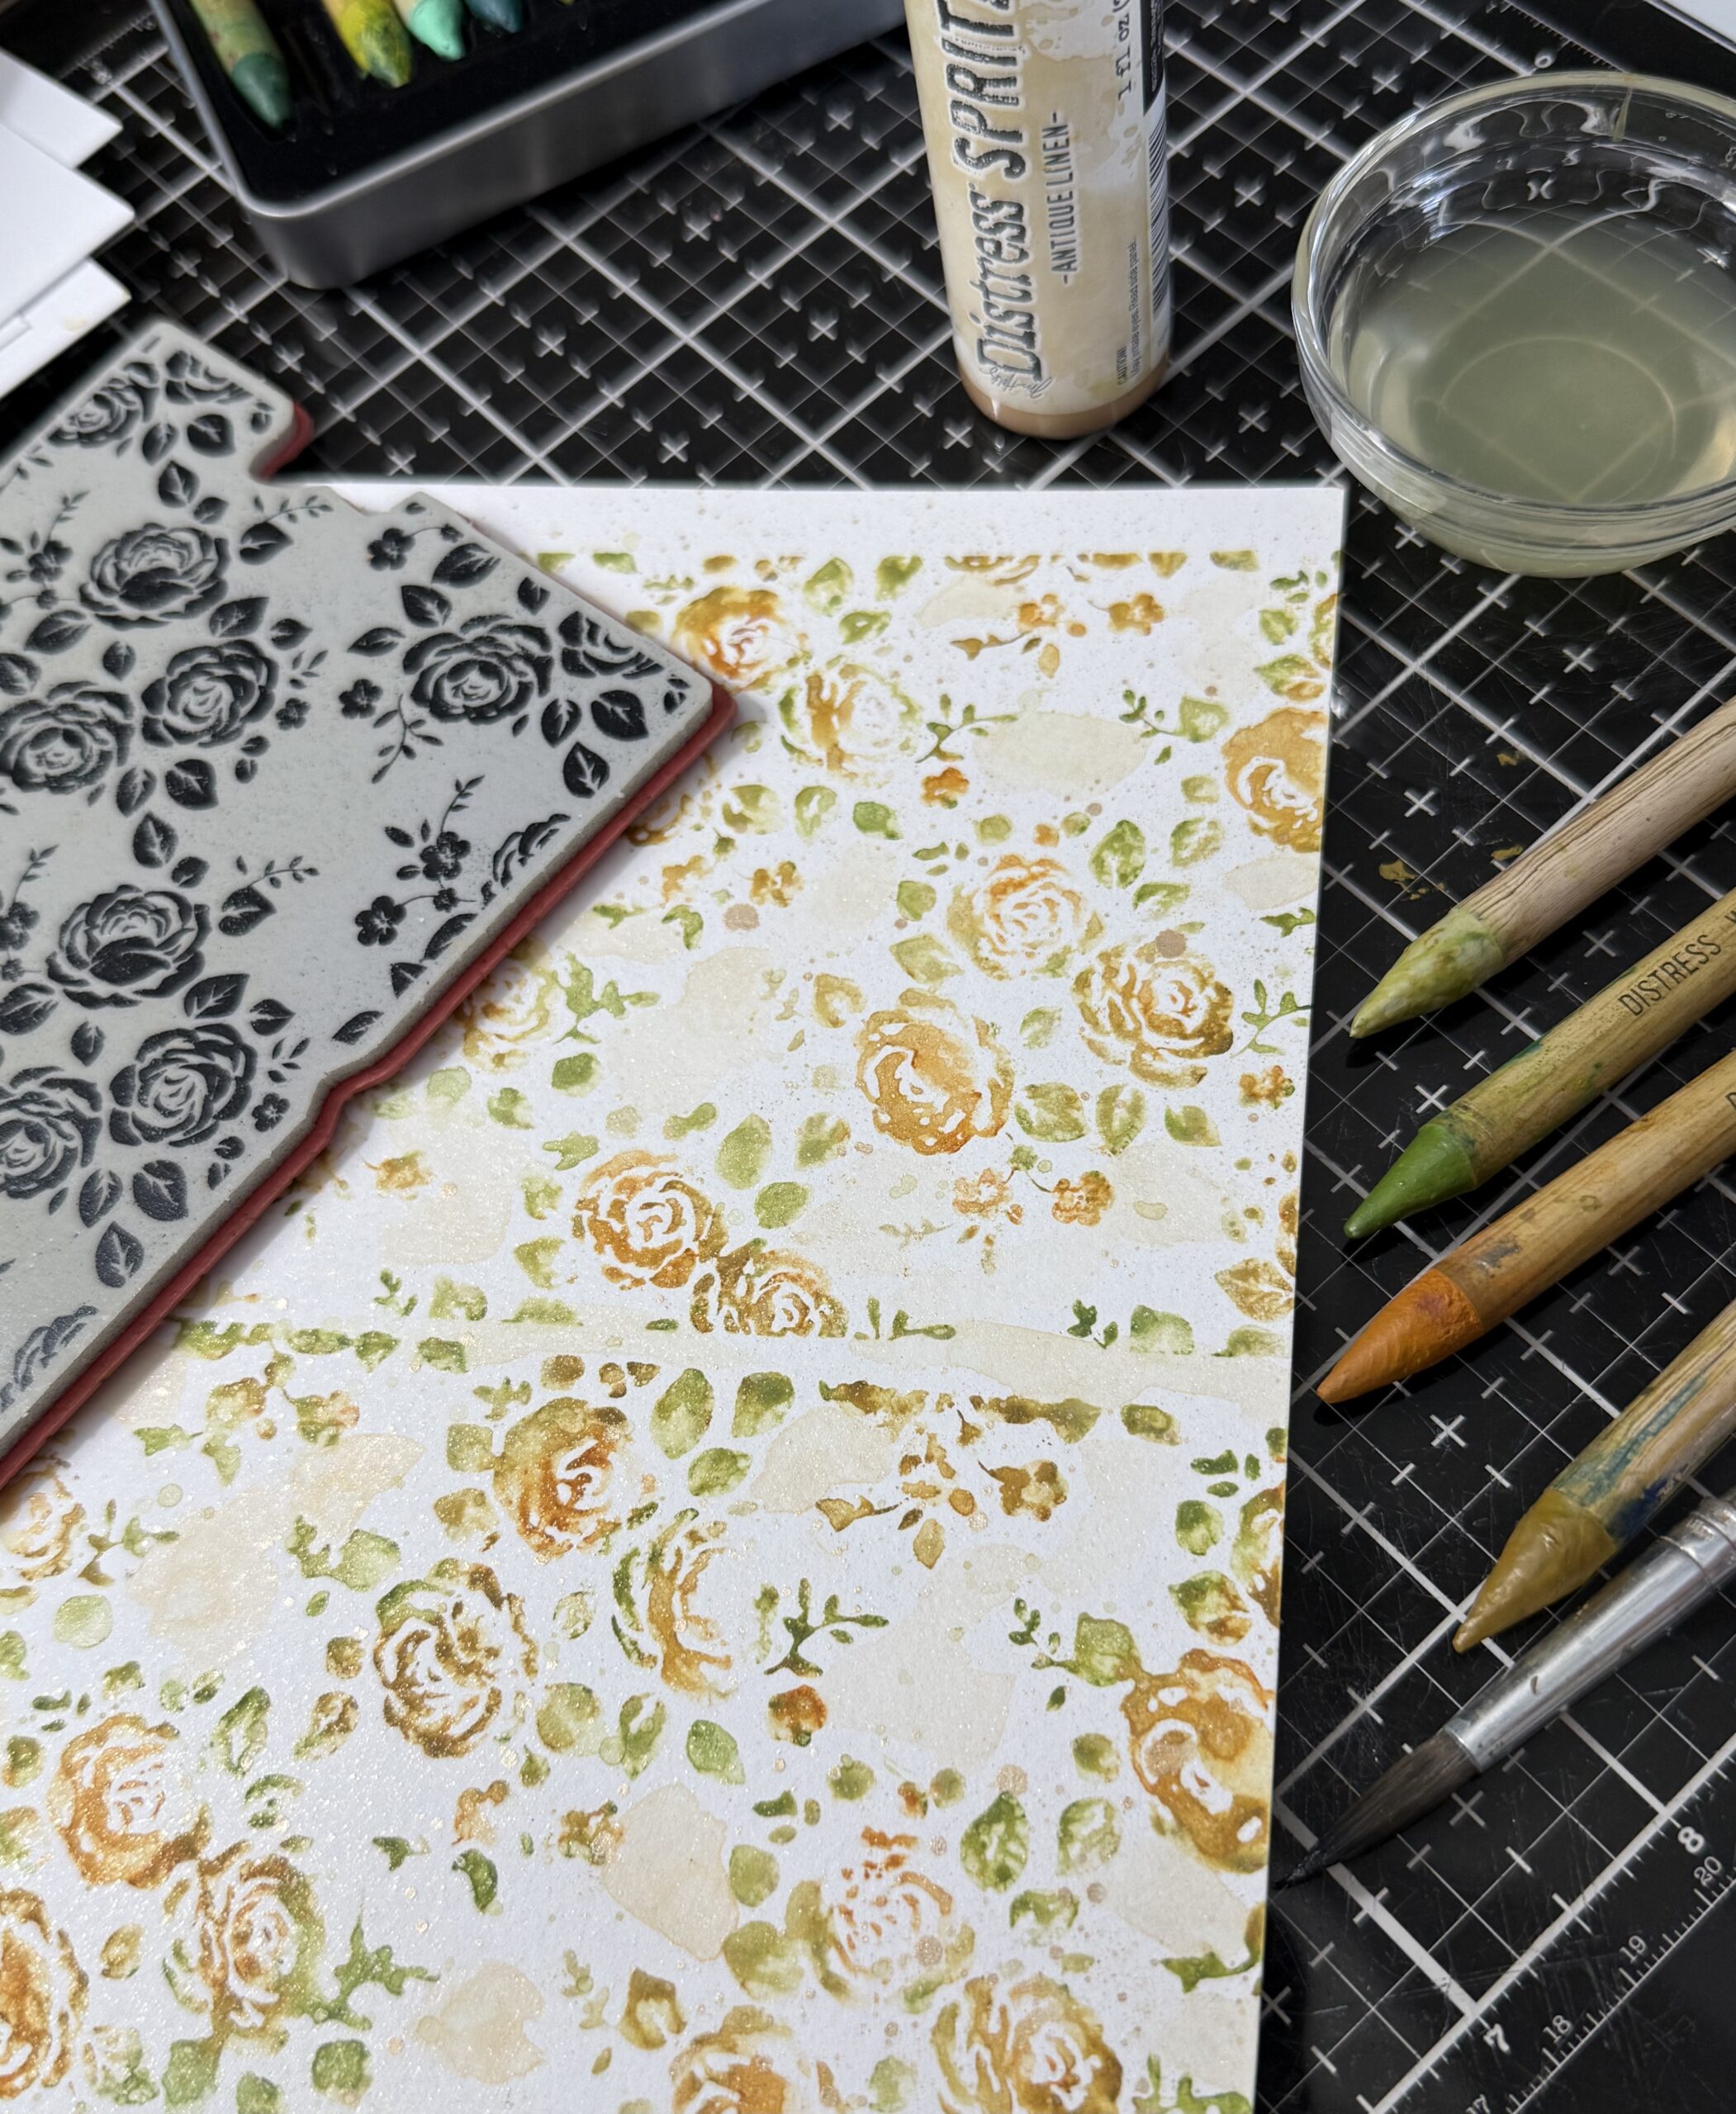
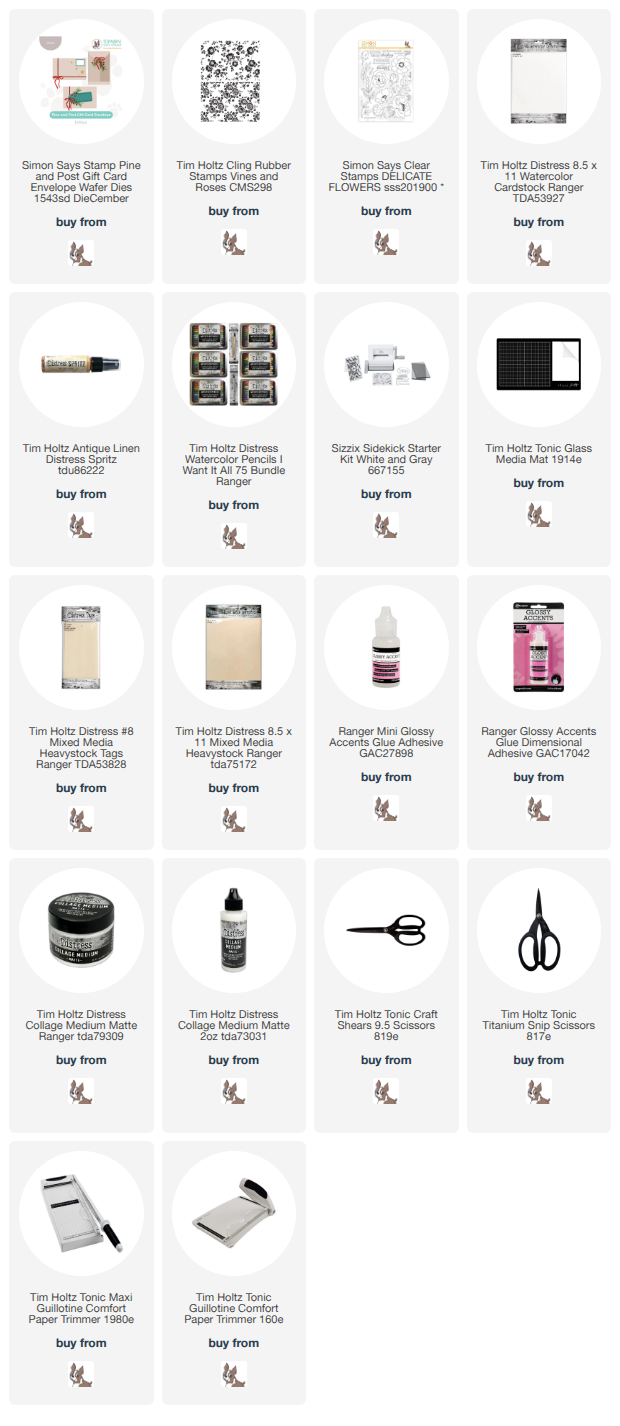
Let’s get started…I created the backgrounds using a Tim Holtz background stamp set entitled Vines and Roses CMS298 and Distress Watercolor Pencils.
I dipped my watercolor pencils into a small bowl of water to activate the pigments, then colored the stamp directly, this is what creates the watercolored background.
I applied the Scattered Straw first, then Peeled Paint, Walnut Stain and then finally Seedless Preserves.
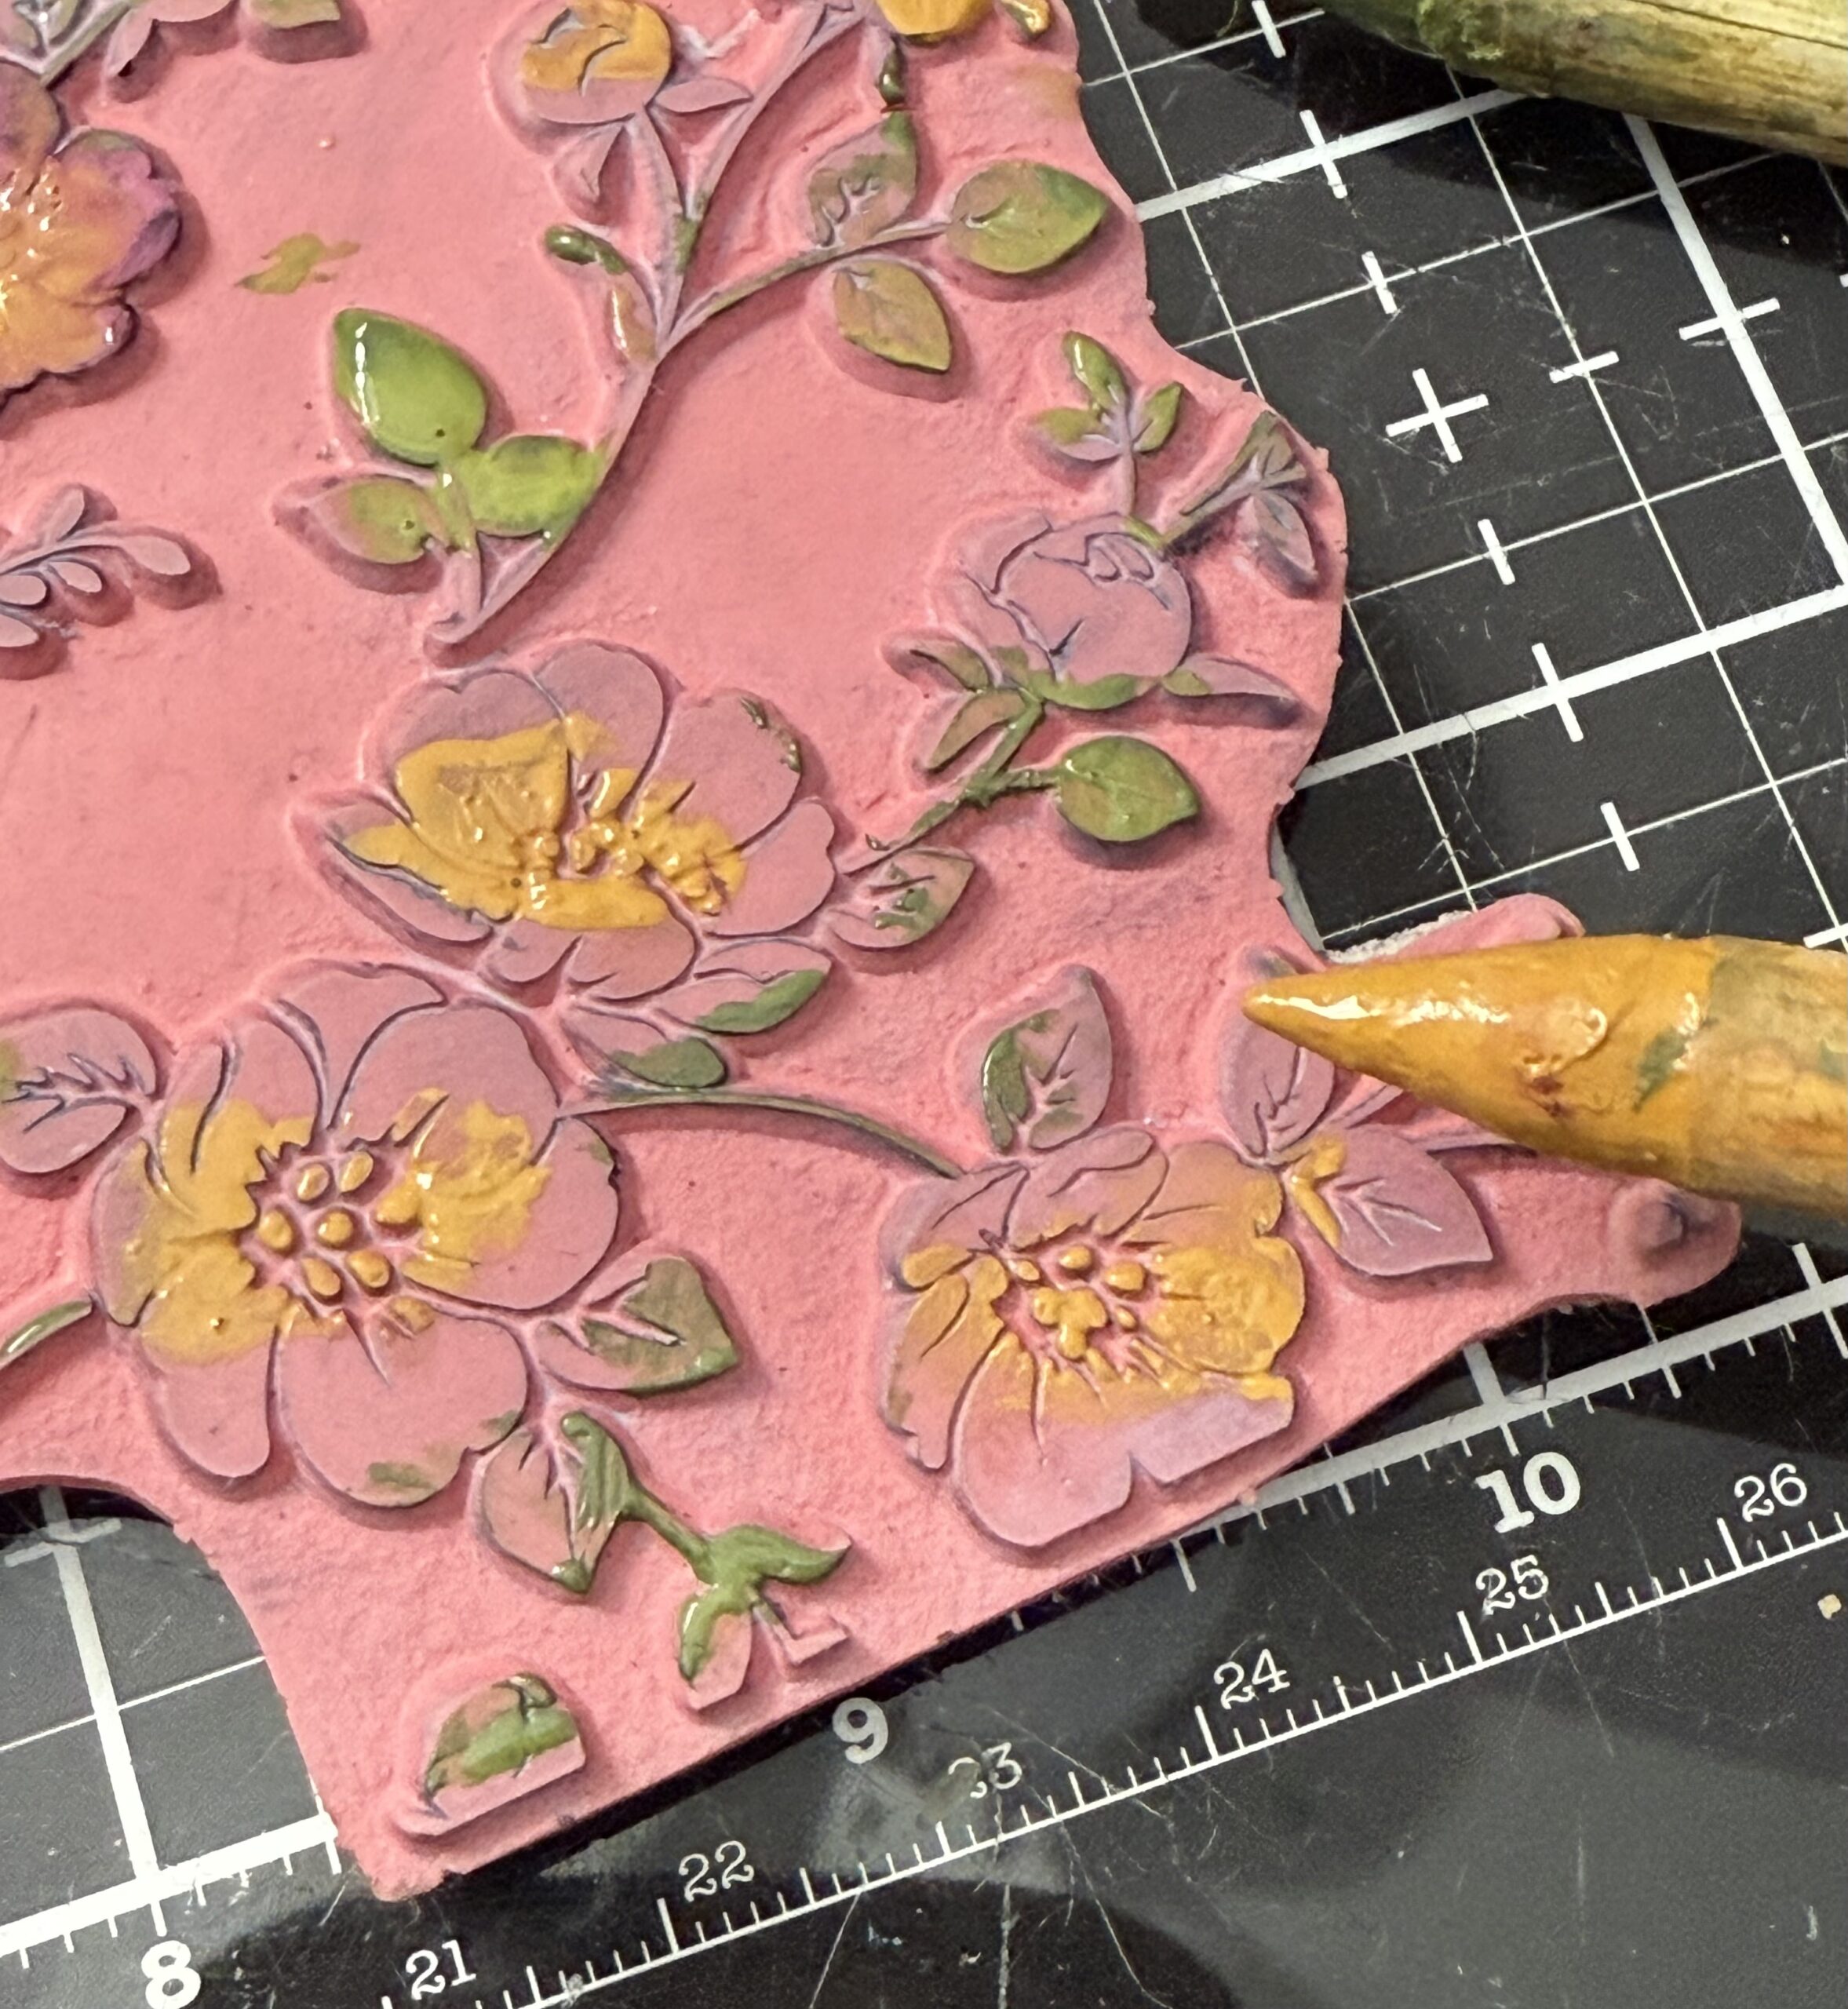
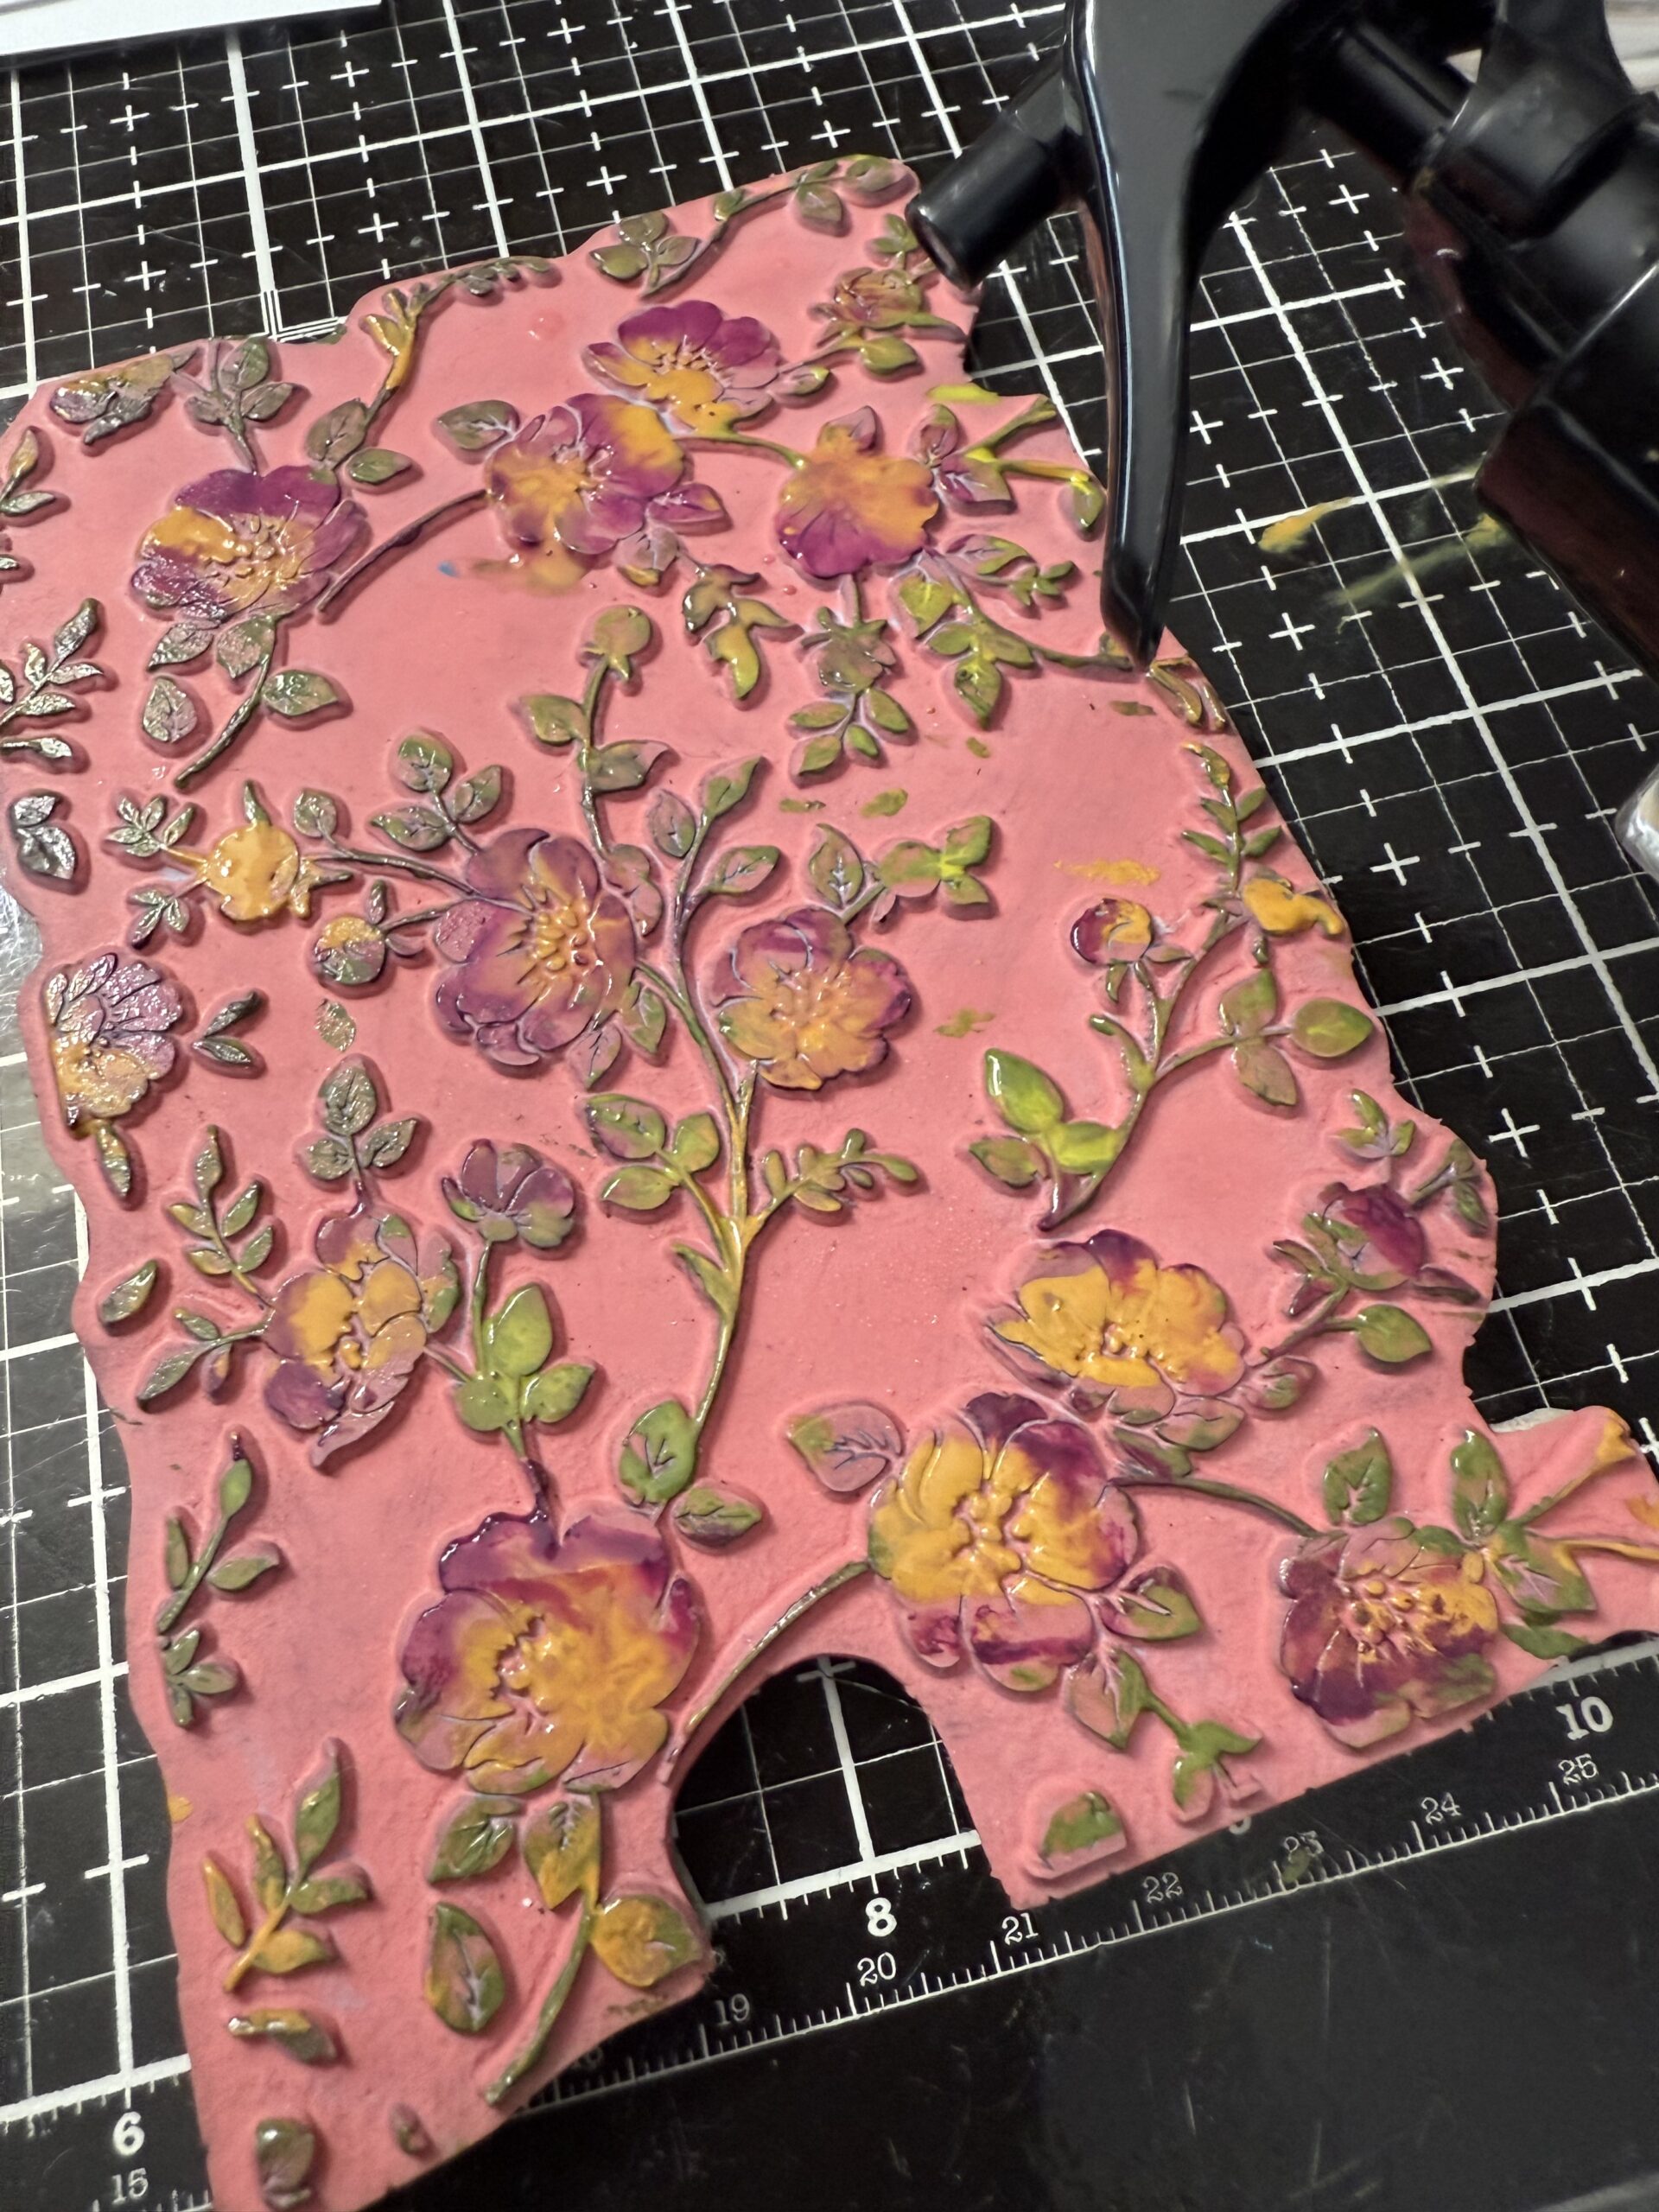
Once the stamp was colored up, I spritzed the colors with water and stamped it onto a piece of Distress Watercolor Paper.
The water spritz activates the pigments again and makes all the colors blend together before stamping.
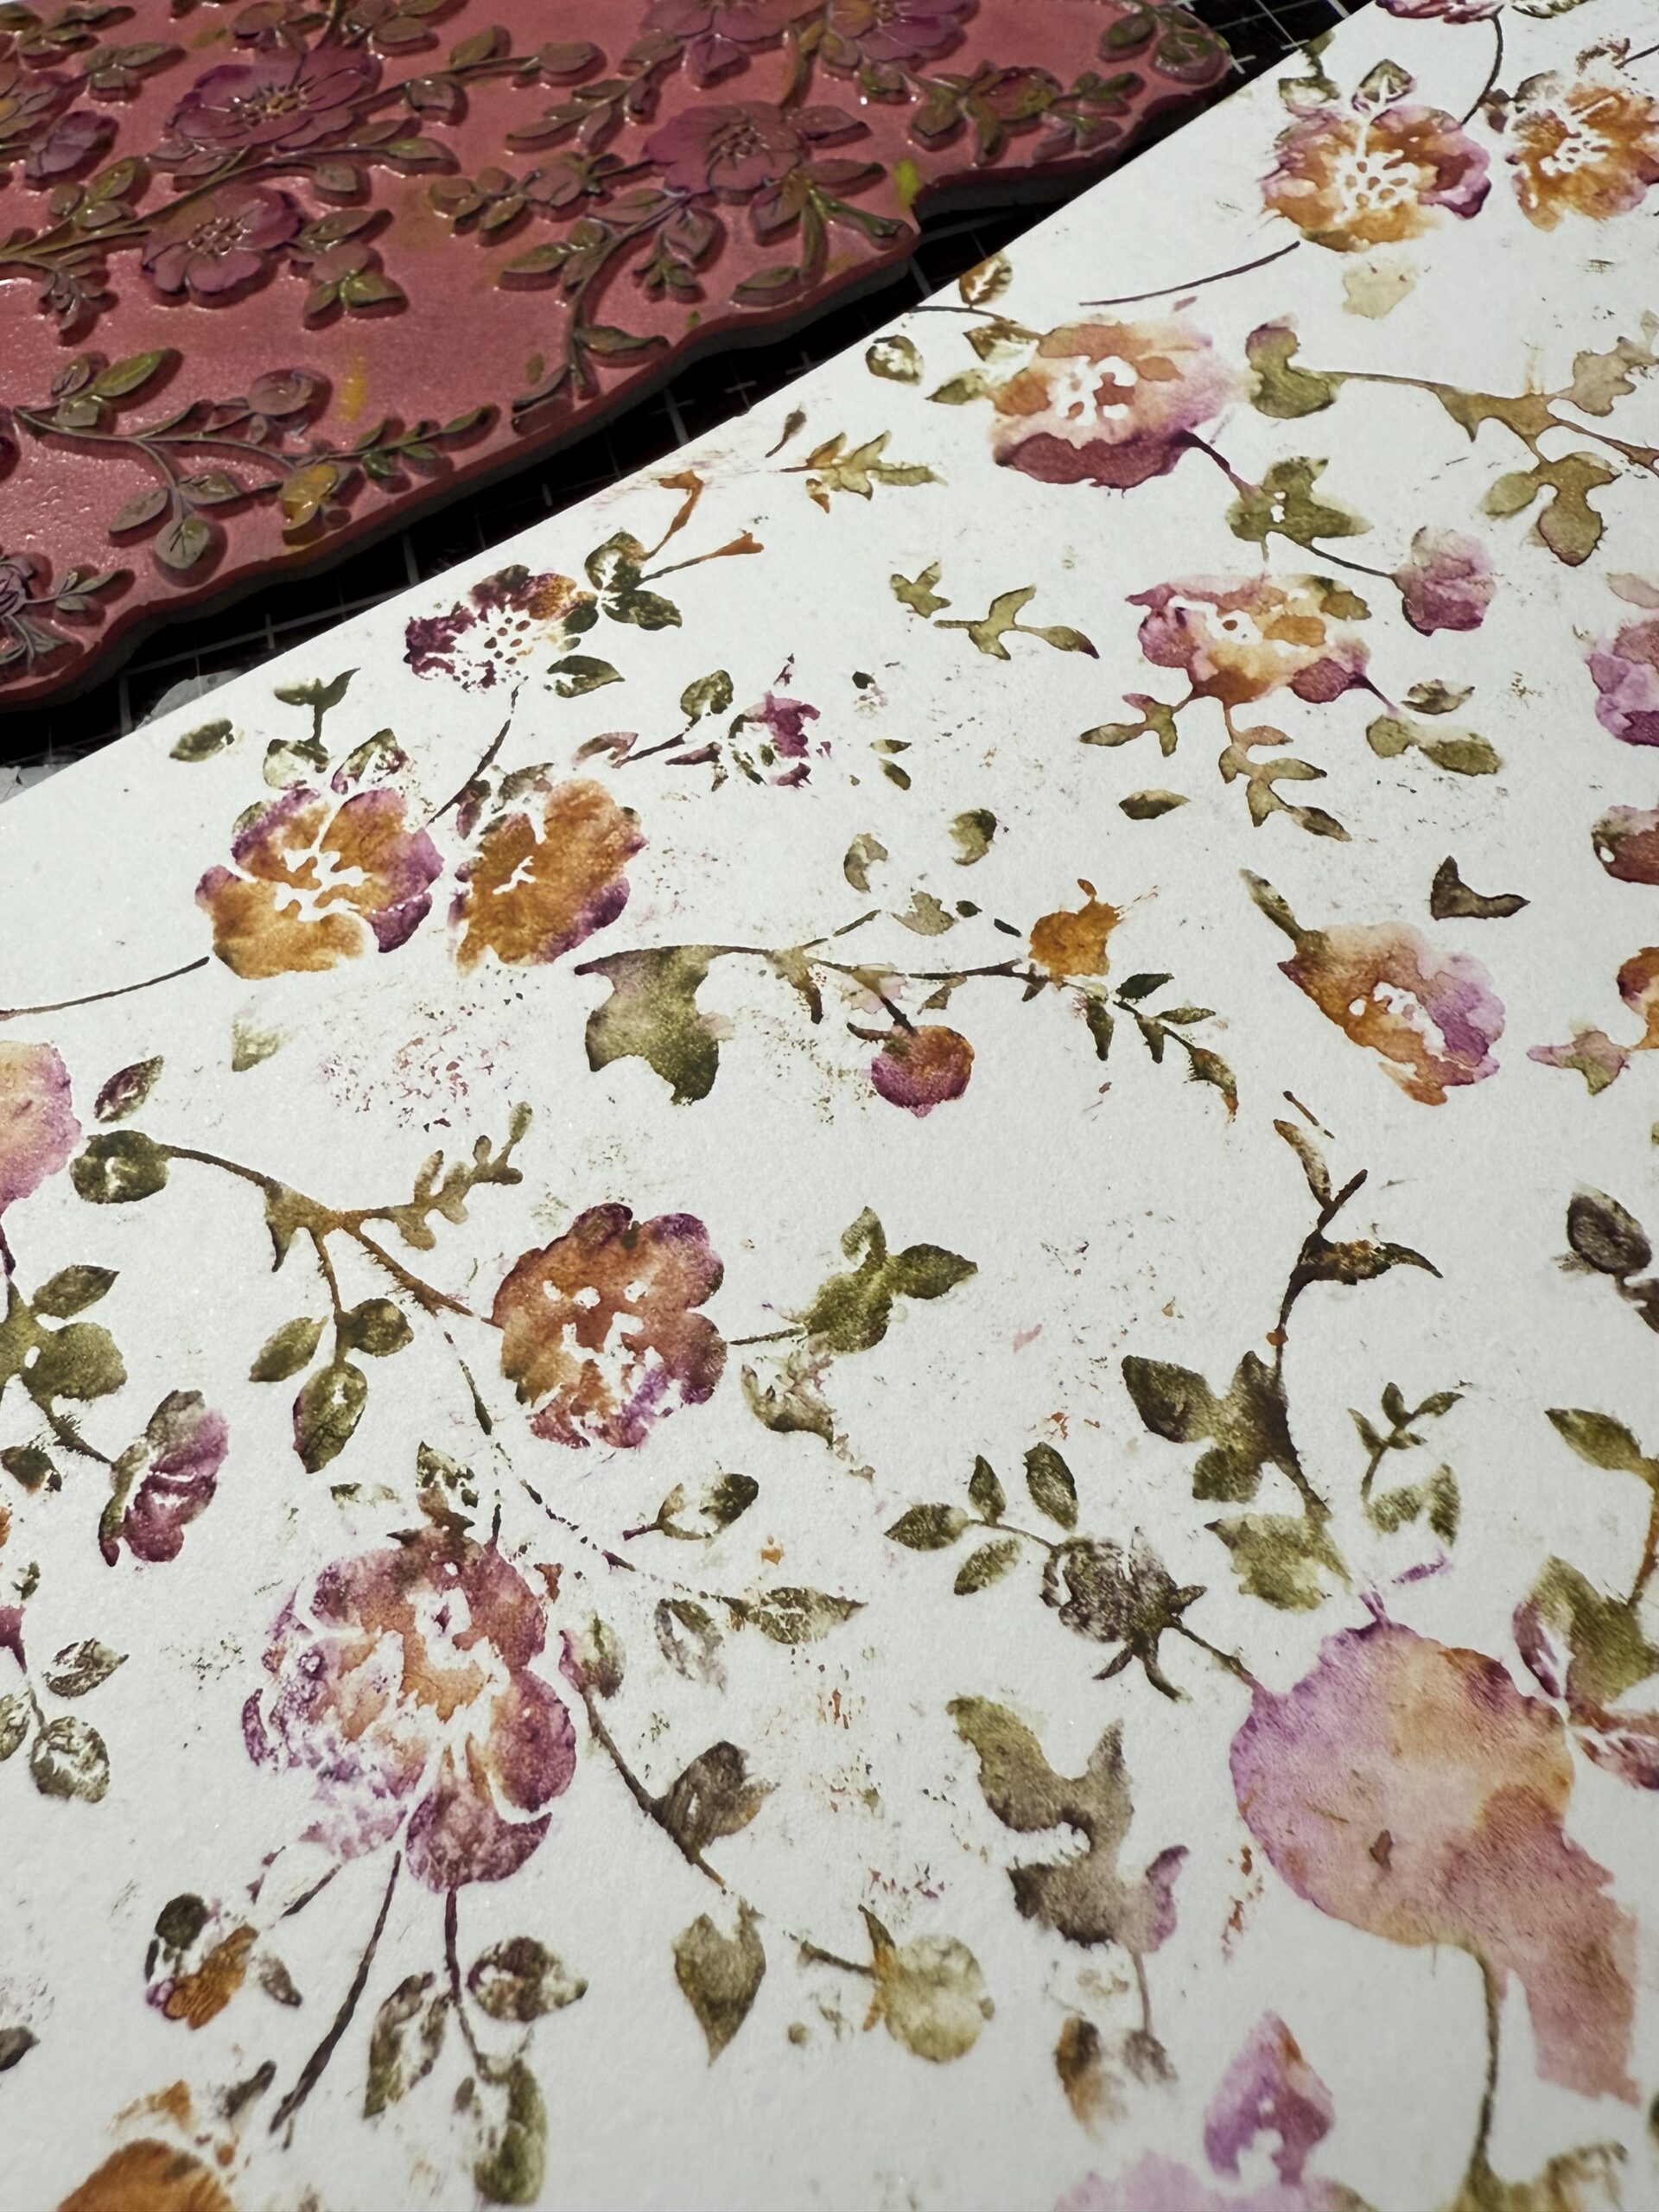
And this is the result…
then I grabbed a bottle of Antique Linen Spritz and gave the paper a light mist of shimmer. I used a wet paintbrush and blended the background using the spritzed spritz and any leftover ink that landed in the background when it was stamped. Then I dried the background using my heat tool.
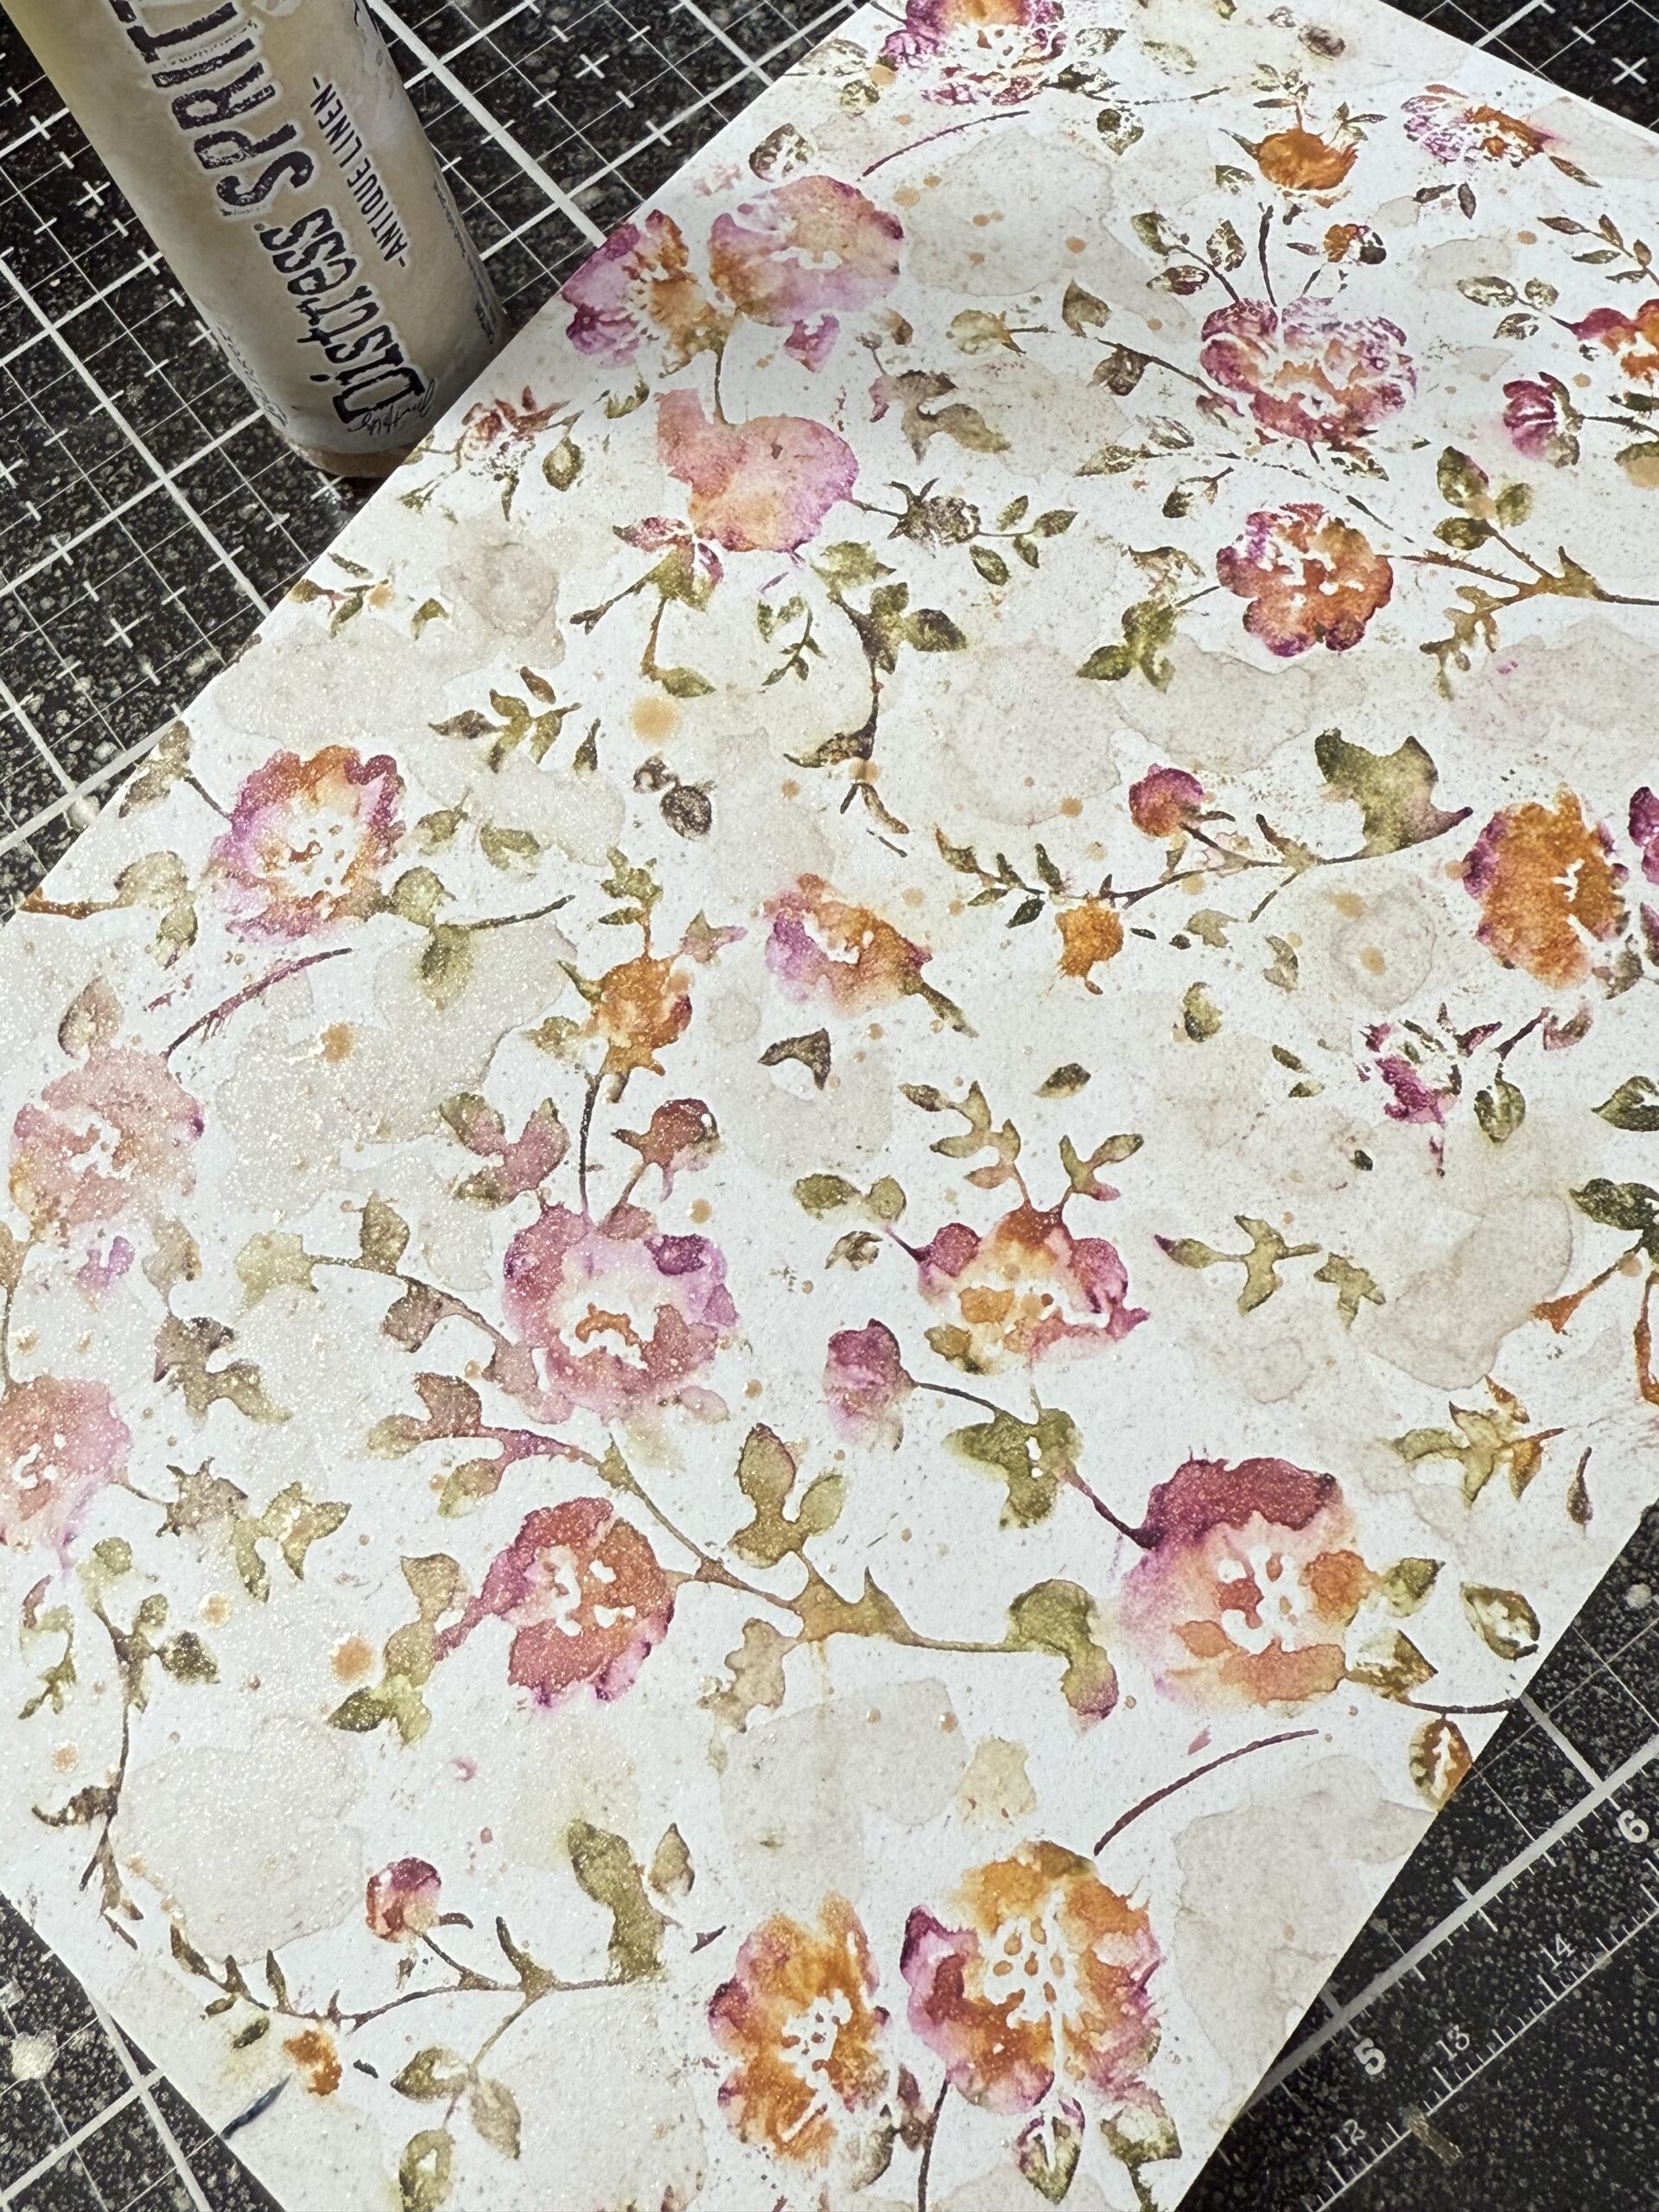
and look at these results…watercolor YUM!
I did the same process to cover a 1/2 sheet of watercolor paper, making the pattern big enough for the wafer die cuts.
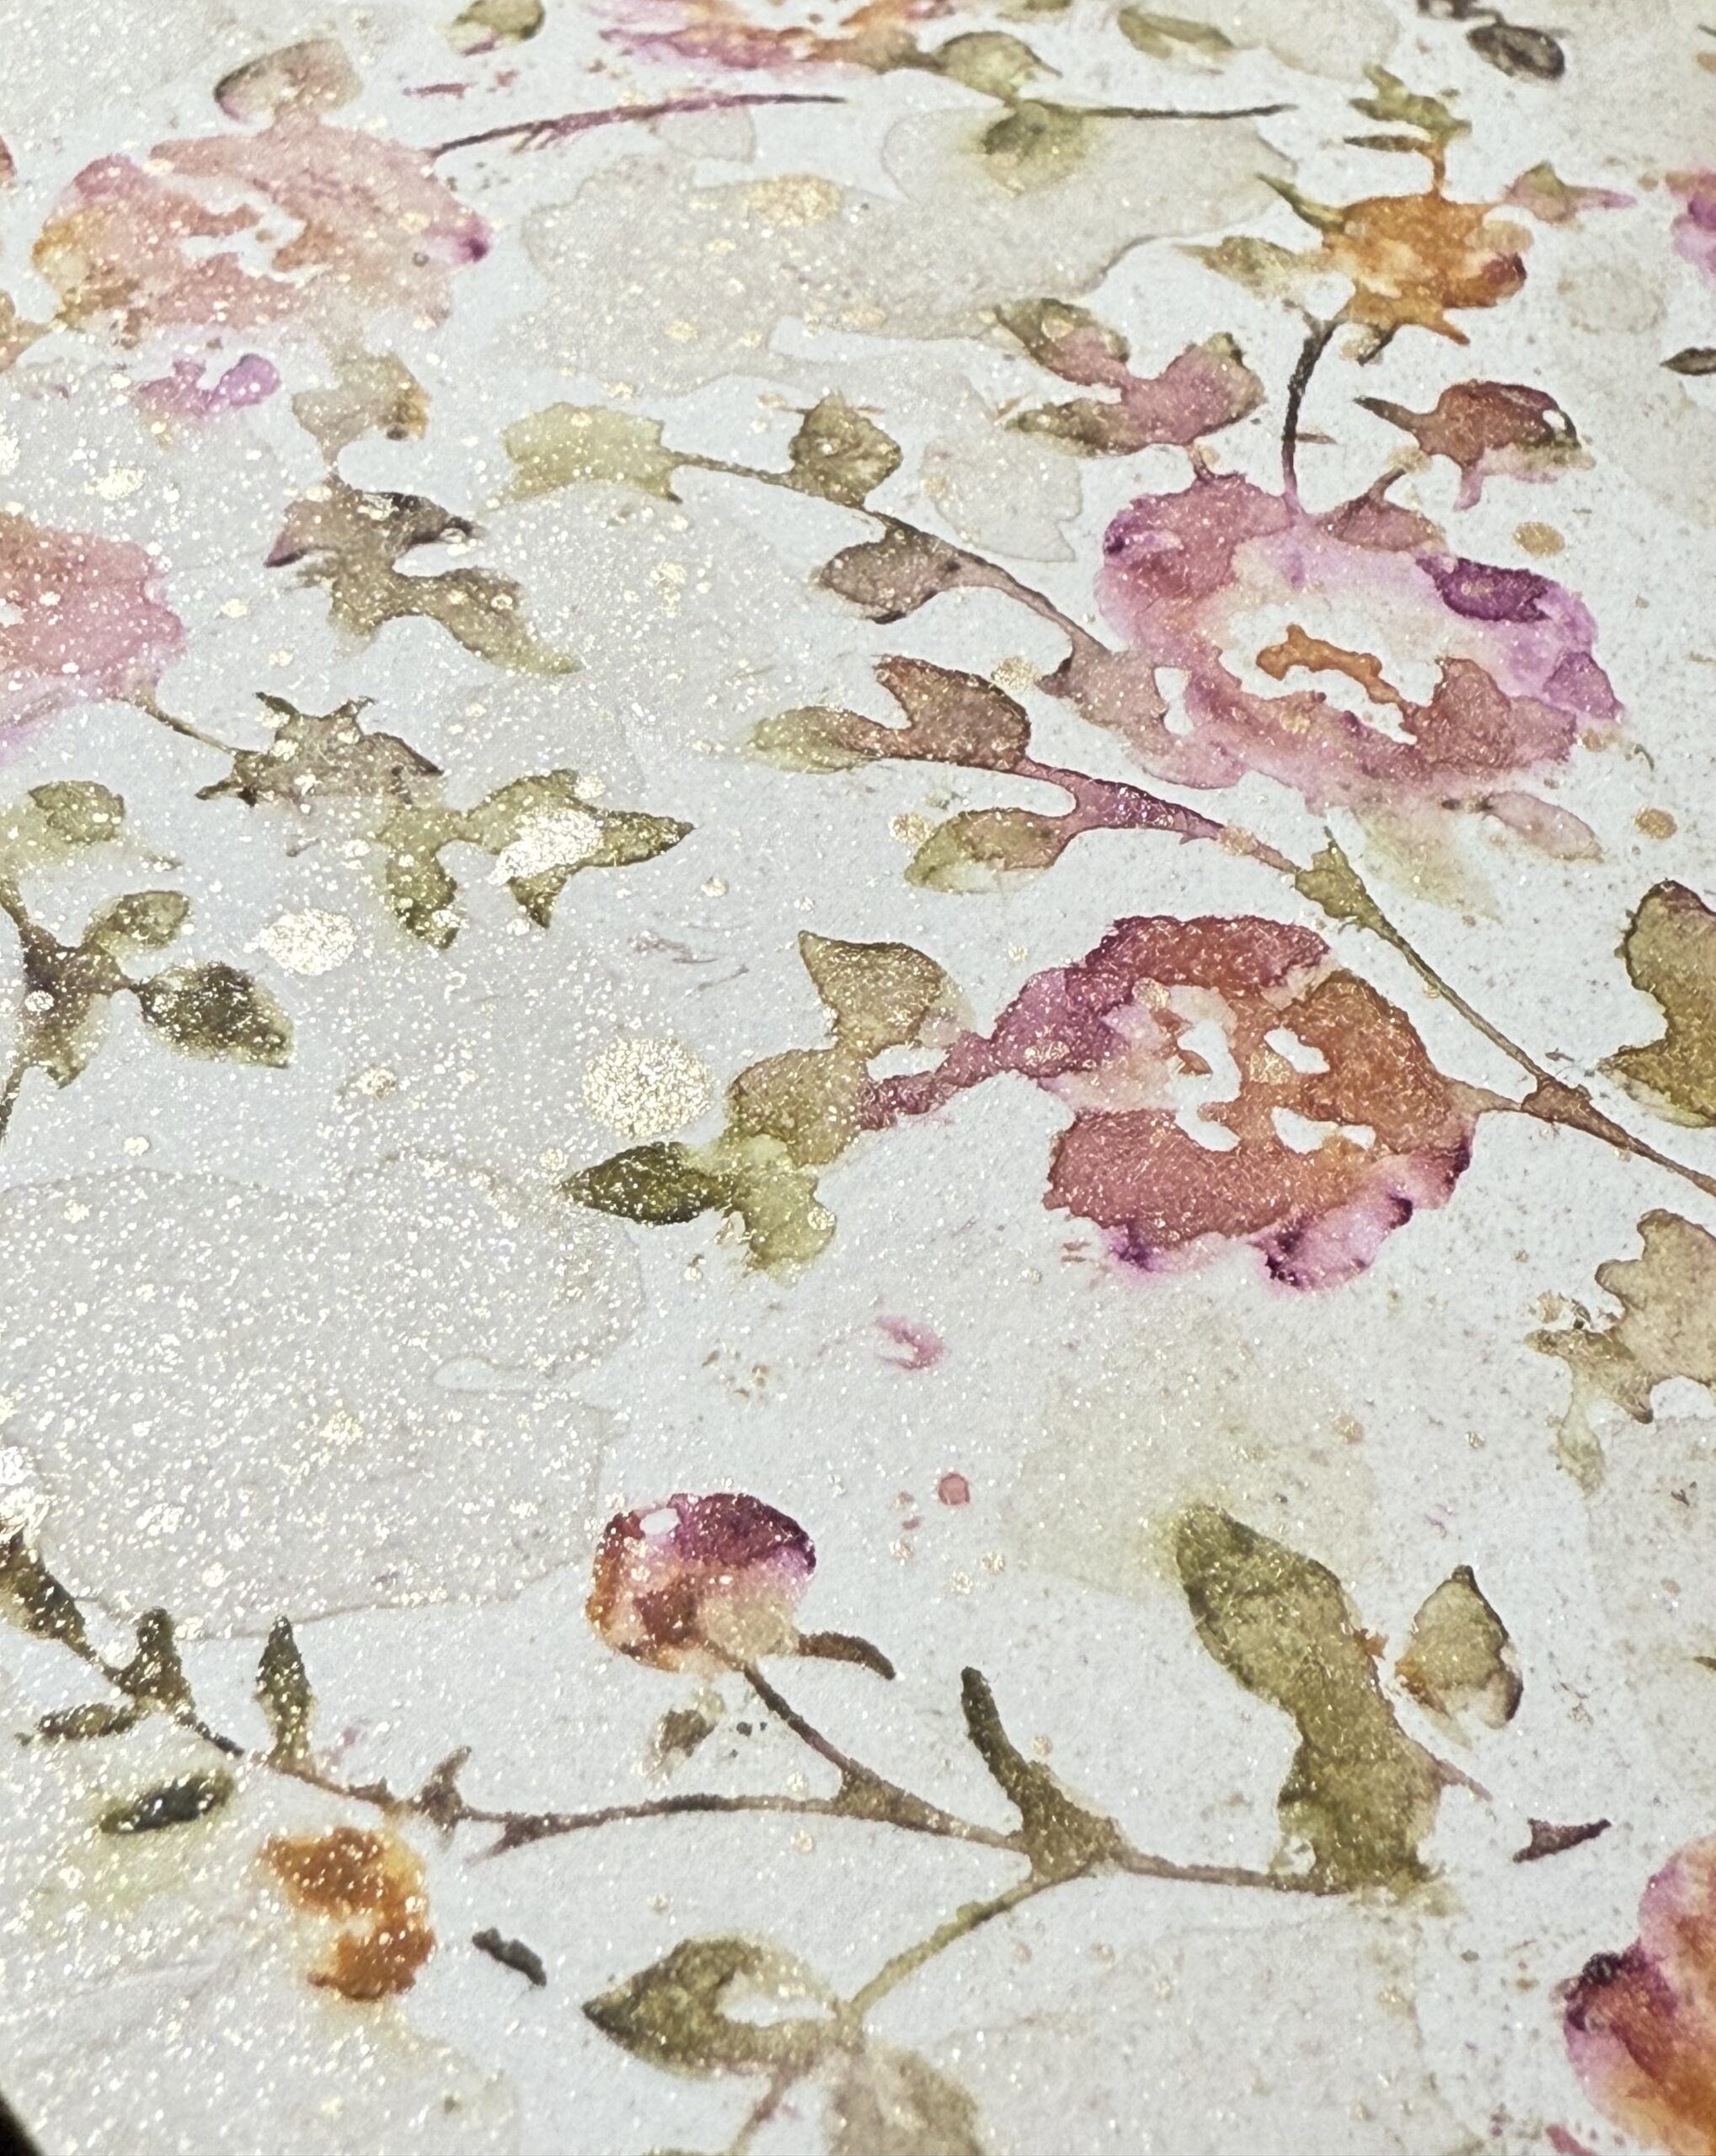
Then, I did that another time using the other background stamp and several other colors that included Fossilized Amber, Bundled Sage, Crushed Olive and Brushed Corduroy, making sure that the 1/2 sheet background was covered with the watercolored flowers.
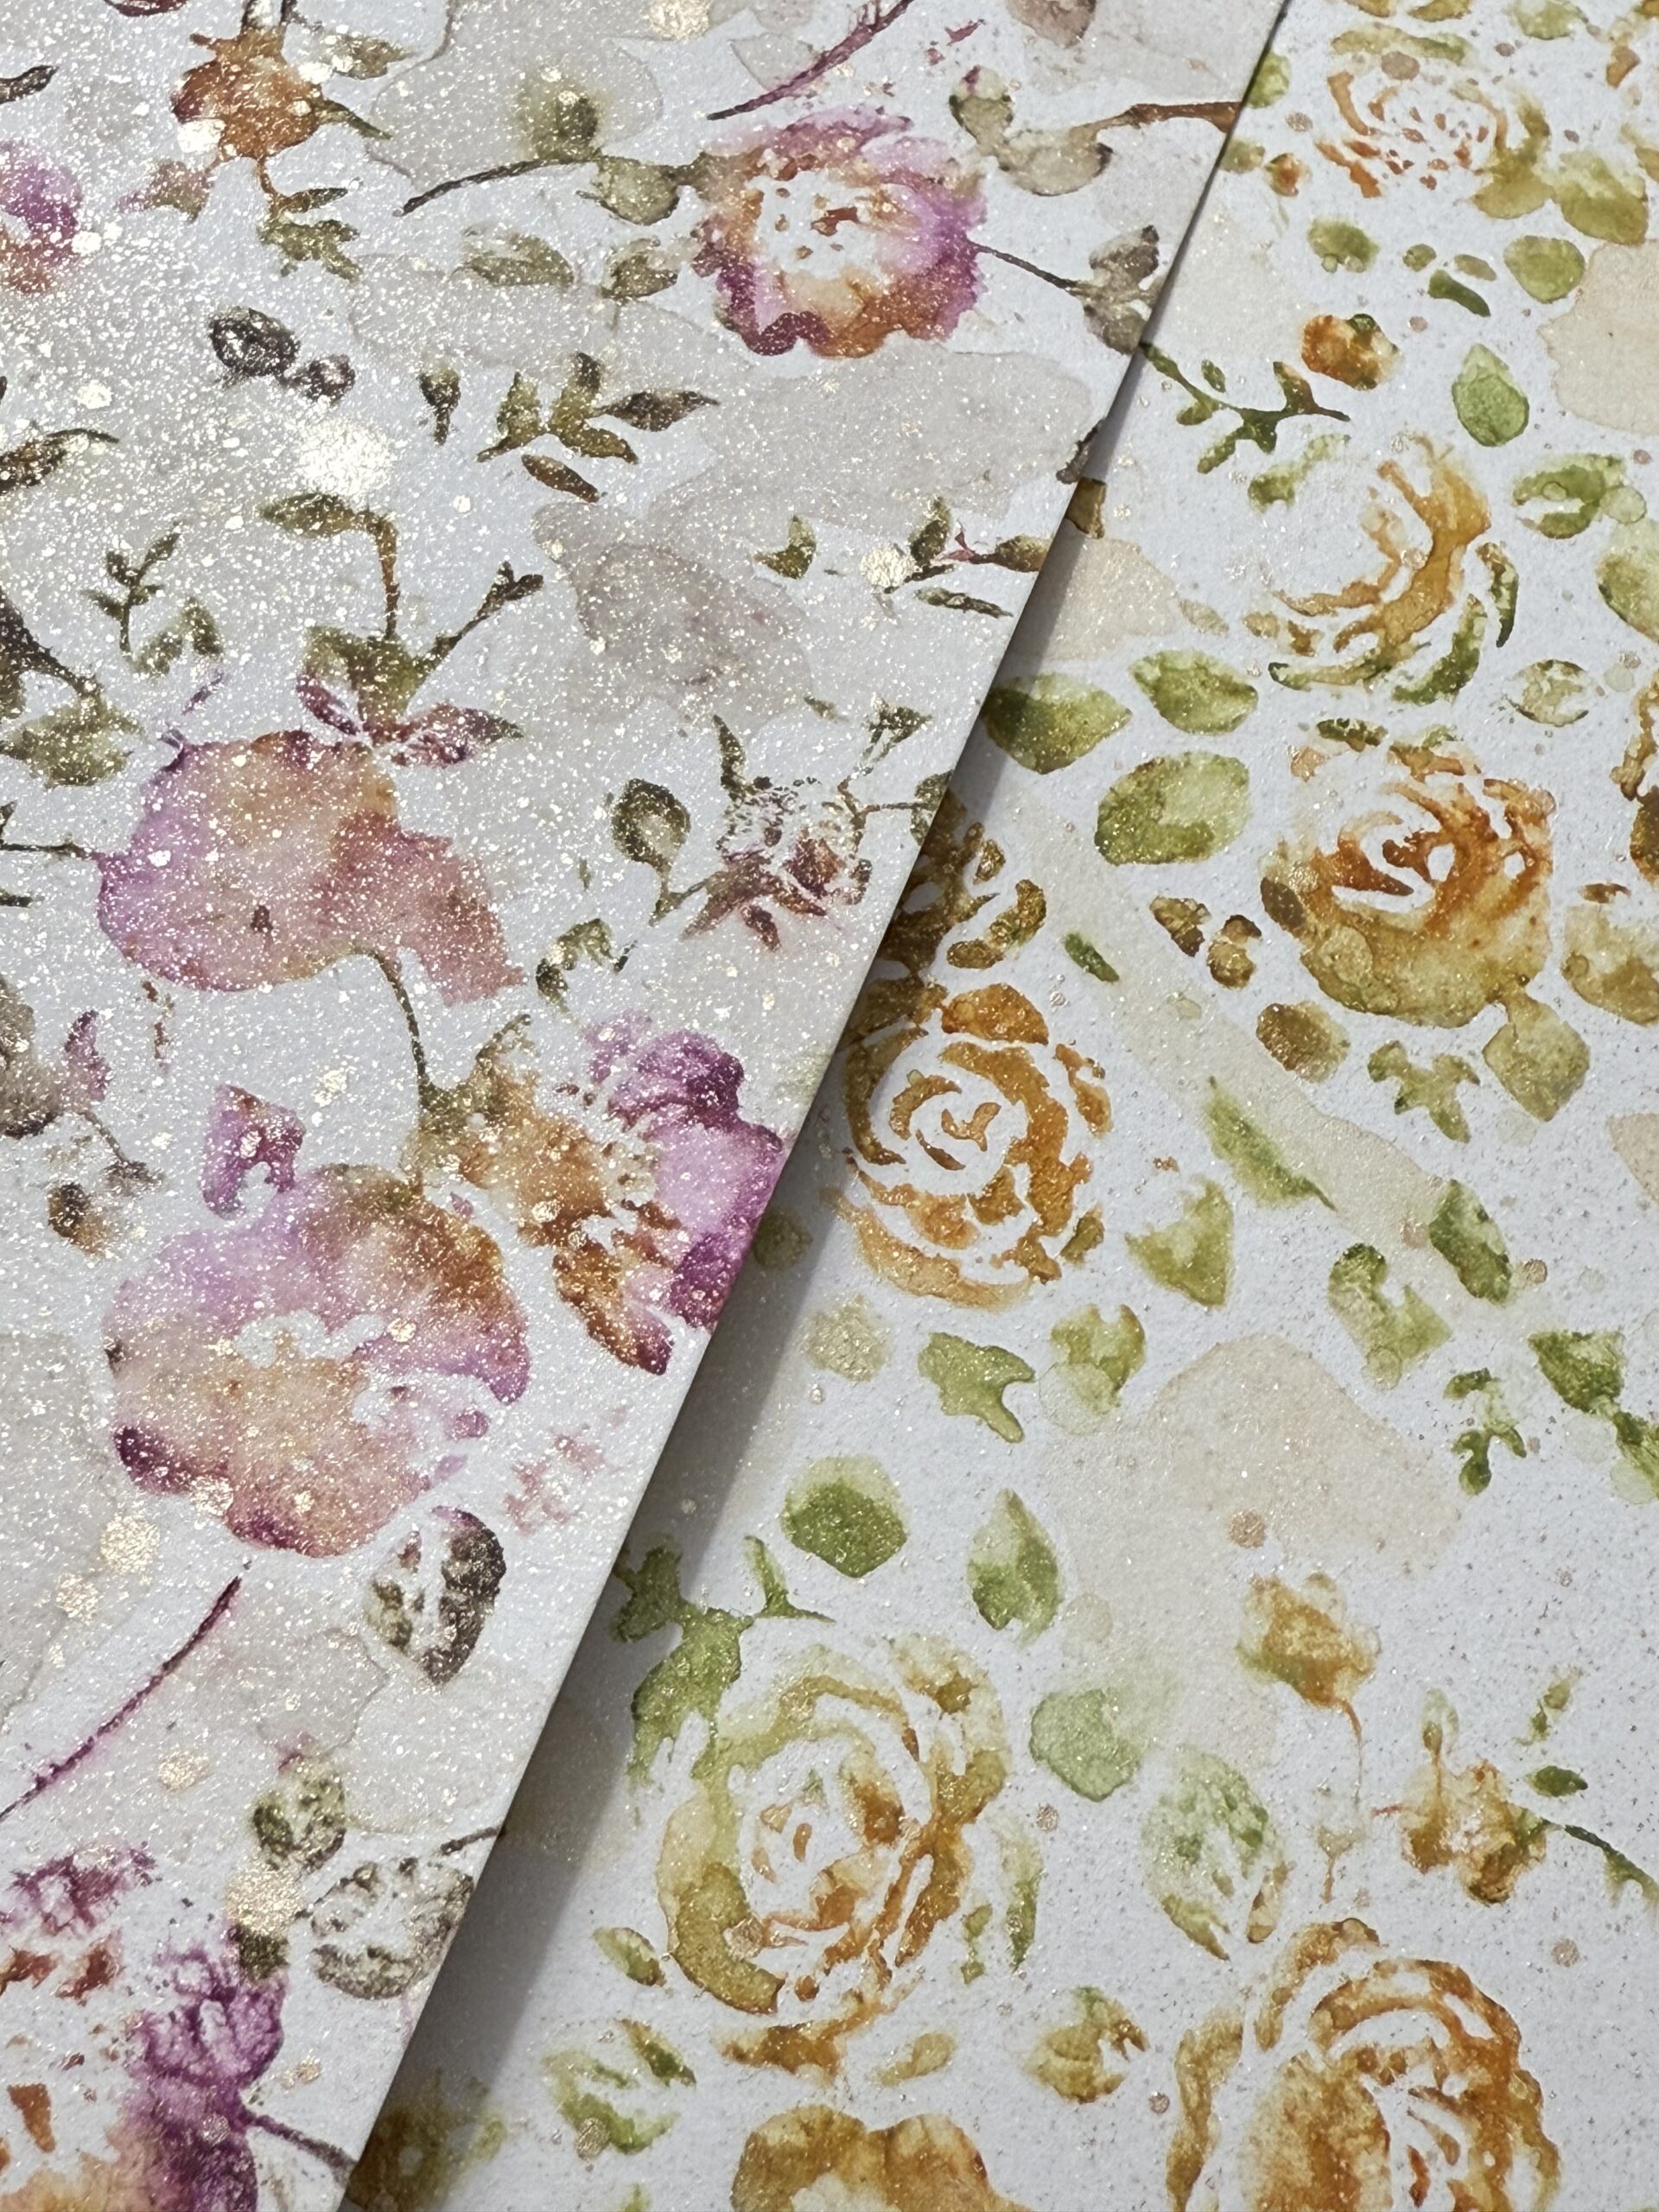
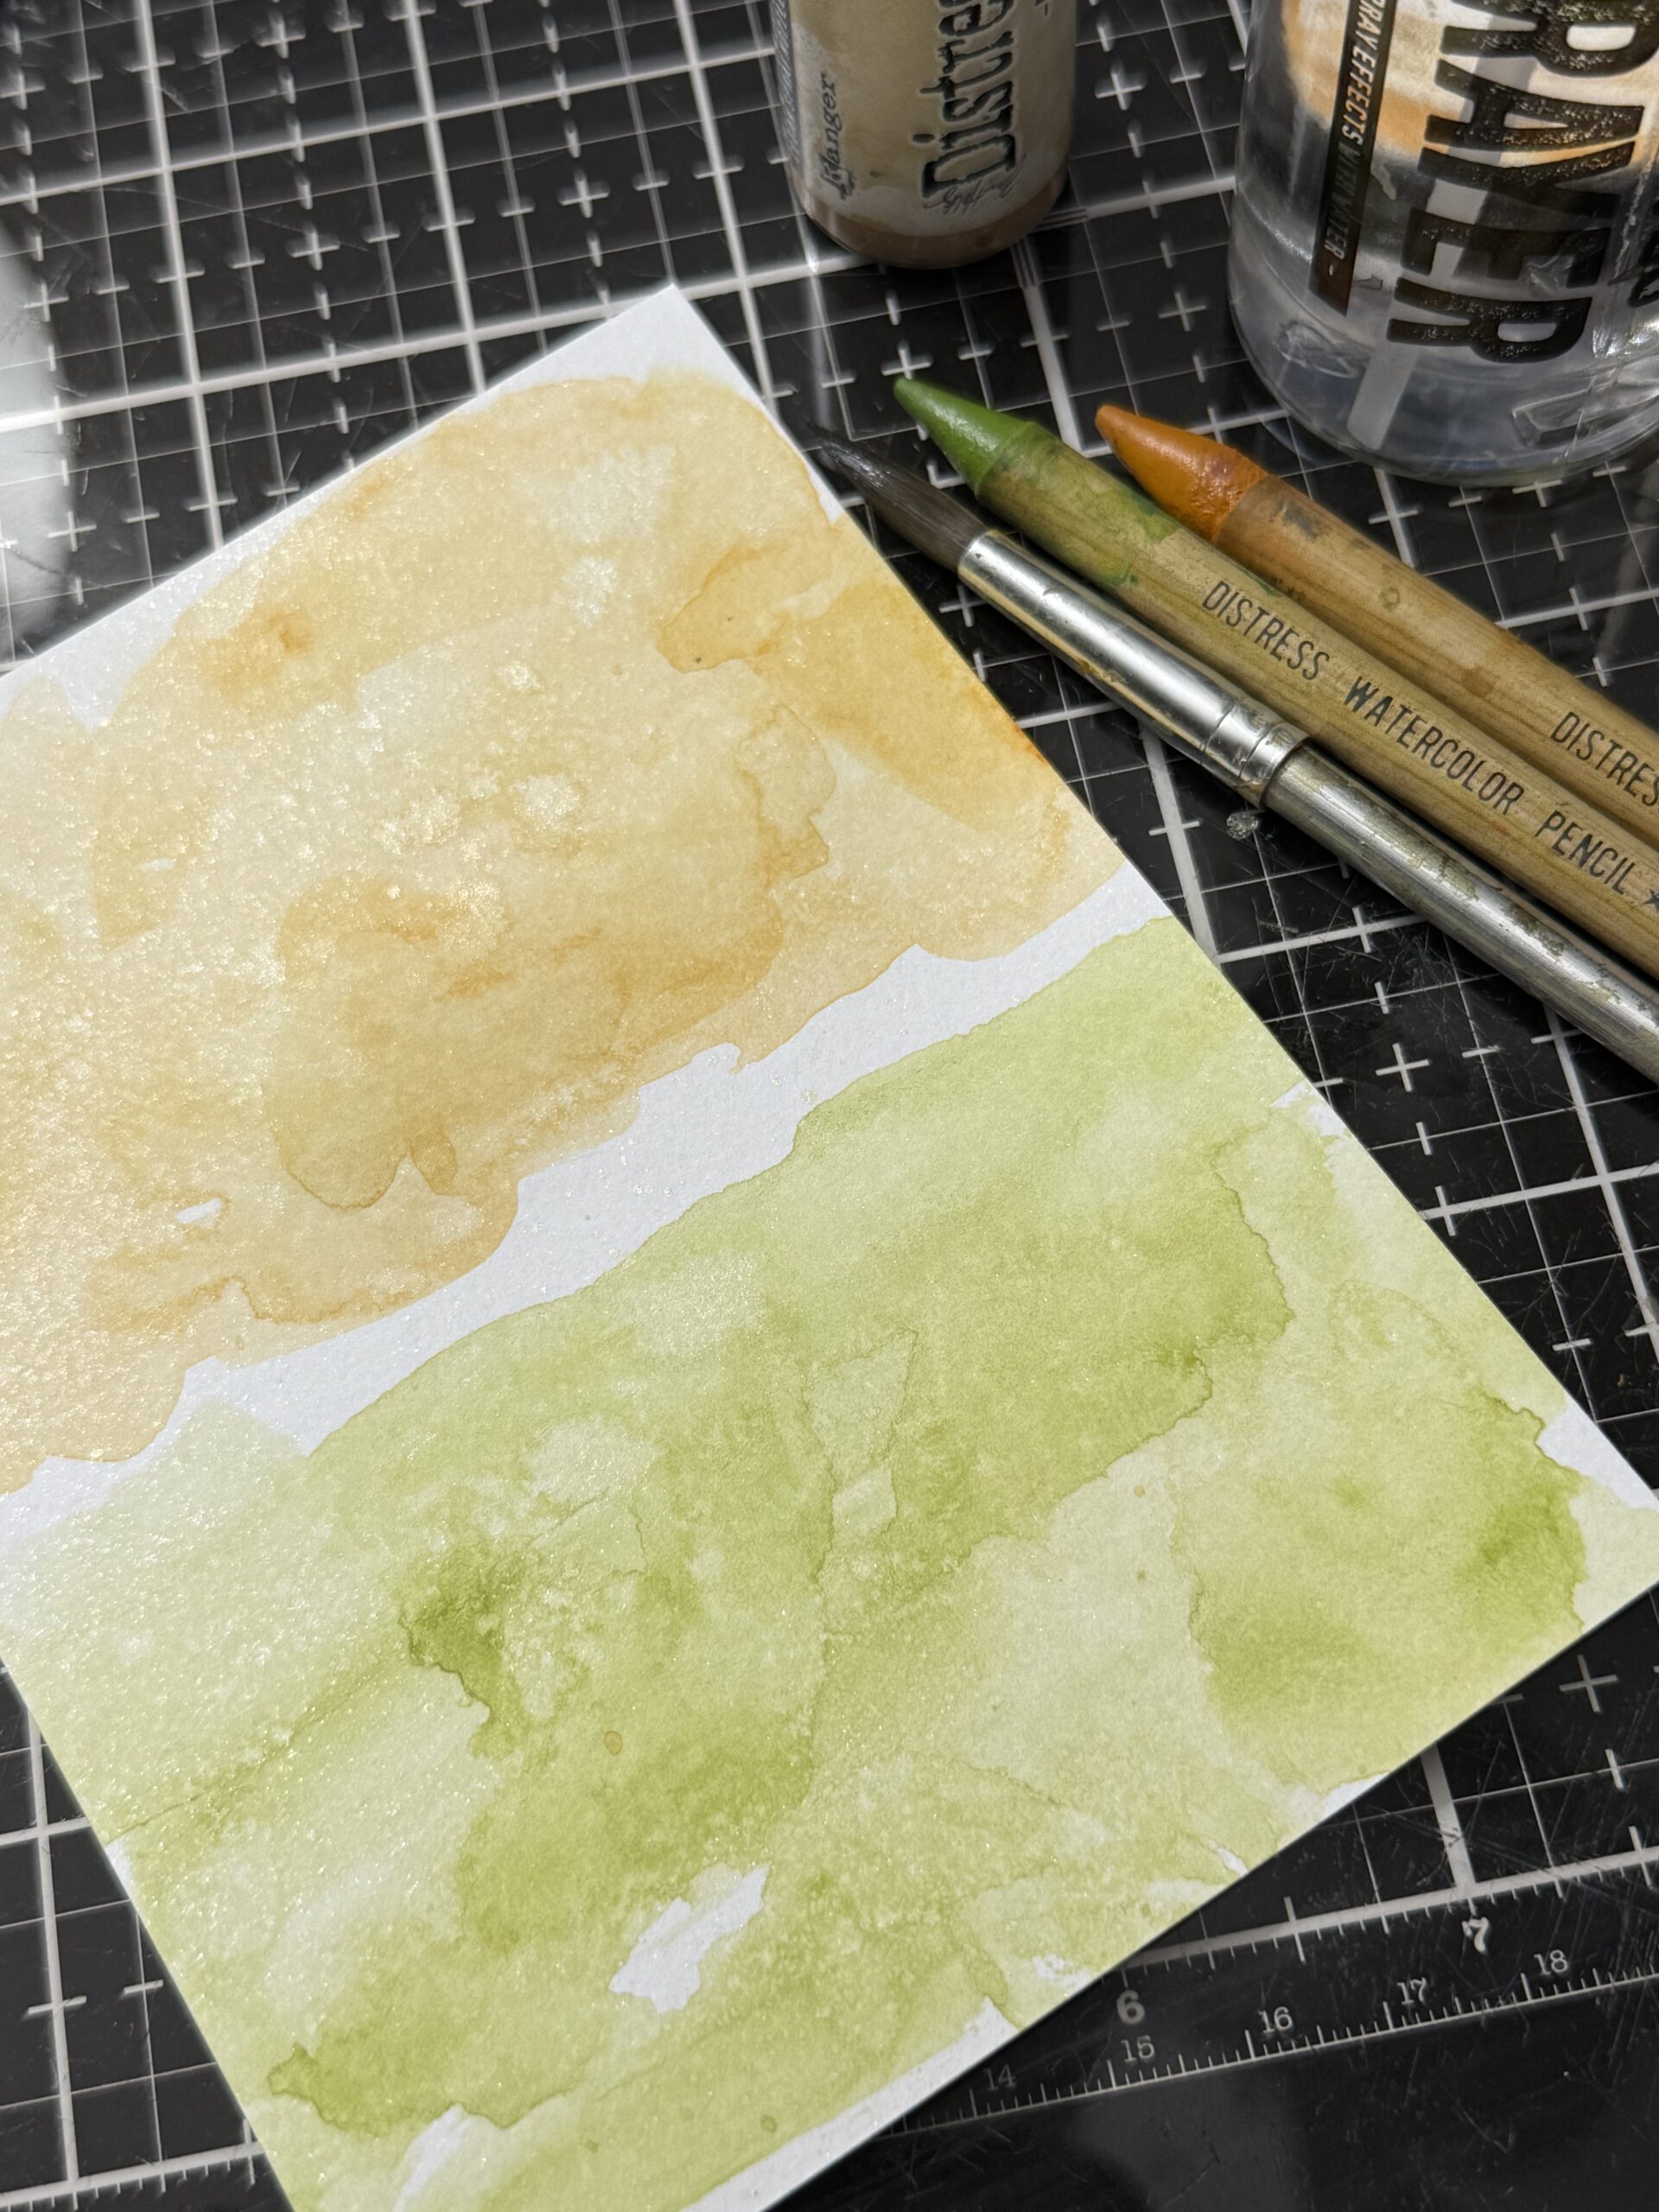
I made a couple more plain backgrounds using some of the colors that I had used but kept them so that I could cut out the tags and postage stamps and that they would coordinate with the floral backgrounds. These also were spritzed with some spritz to give them some bling.
I cut out the tags, bows, envelopes and bits and piece from the background papers I made and then assembled the tags and envelopes using the little embellishments to decorate them up.
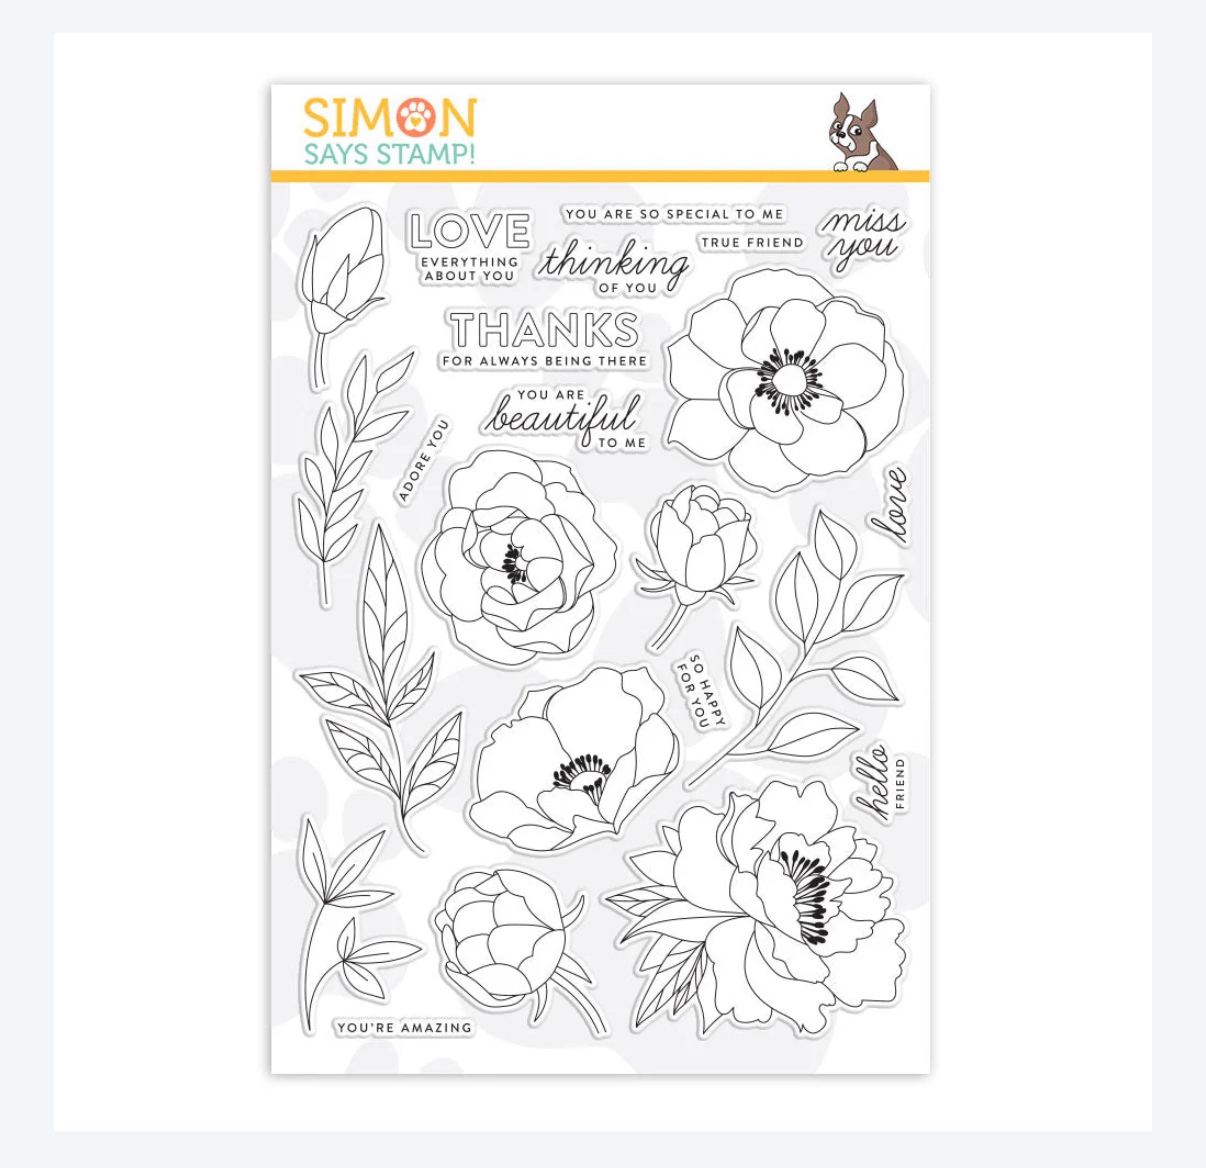
I used another Simon Says Stamp Stamp set to stamp the phrases onto the tags. This set Delicate Flowers sss201900.
They fit the tags so perfectly and are so cute combined with them! The little tag topper “eyelets” are part of the Pine and Post set and the cutest little accent. I can’t believe how a tiny circle can add just that extra cuteness, but it does…the power of die cuts I guess! I topped each of the tags using it and love the results.
Here’s a peek at the set that I used for the little phrases…isn’t it the cutest?
These phrases are so tiny and perfect for the little tags of this set.
Thanks so much for stopping by today…I hope you have a great day!
Creatively yours, Stacy
To shop at SIMON SAYS STAMP click HERE.
Shop Simon Says Stamp by clicking on this link. Thank you! I appreciate you for supporting me.
What is an affiliate program, and why should I click on the link and buy through you?
When you shop via the affiliate link on this blog, I receive a small commission from the affiliate provider (Simon Says Stamp) at no extra cost to you, whatsoever. These commissions help me to cover the hosting fees and other costs to run my blog and be able to provide you with FREE inspiration. If you shop the links, THANK YOU! I truly appreciate being able to share my love of creating with you.










These are darling at the same time as being elegant! My very favorite things you make fall into this category or creative sweetness…..it truly make my heart giddy!! More please!!
This is so beautiful!
Wow! I’m amazed at the watercolor effect you achieved. These are very attractive. Thanks for the inspiration! I love to get inky!