Hello friends! I hope this blog post finds you well…I have been busy making all sorts of things these last few weeks and am bringing you a couple little projects today that I was inspired to create using idea-ology paper ephemera Curator Snippets and Paper Strips. These little things are essentials in my book for creating collage, in fact, I think I use the little Curator Snippets in almost all of my projects. They are the cutest things and add that little spark of “tiny goodness” when making collages. This time, I decided to use both the snippets and the strips as the main element of my projects..and I couldn’t be happier!
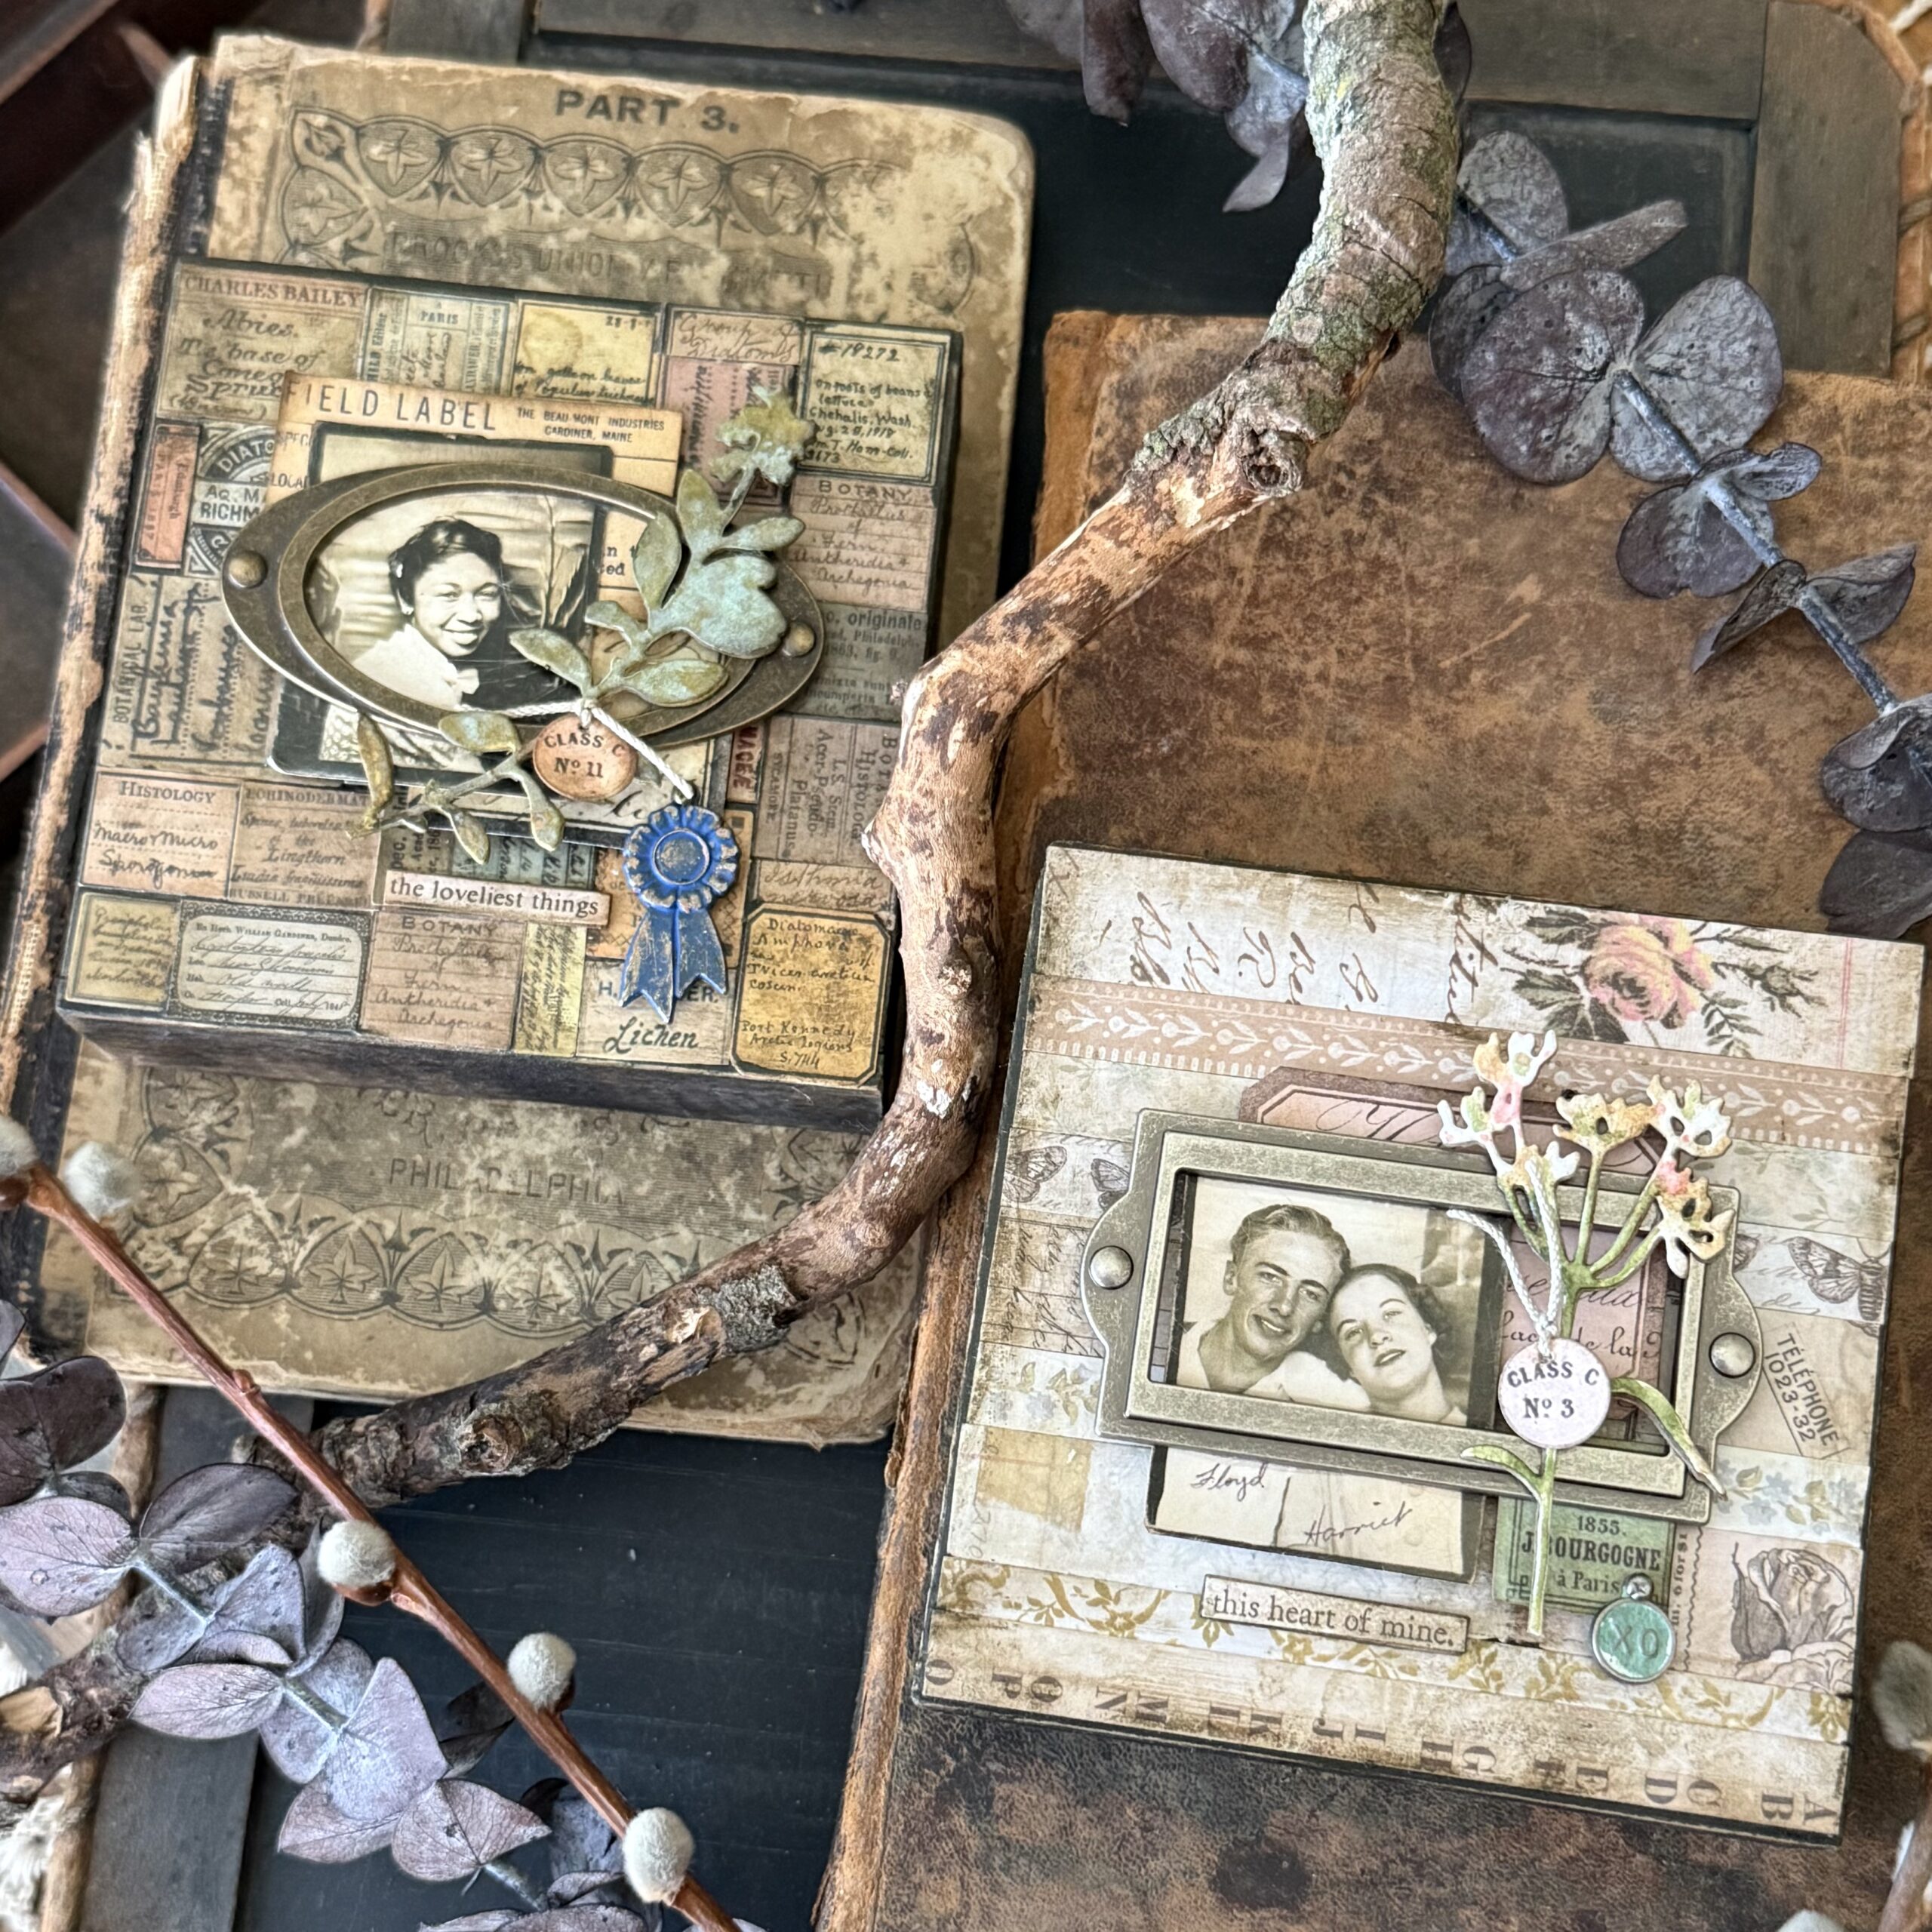
I am calling these projects memory boxes because I thought they worked so perfectly to highlight a memory of what I thought these little photo booth photos portrayed.
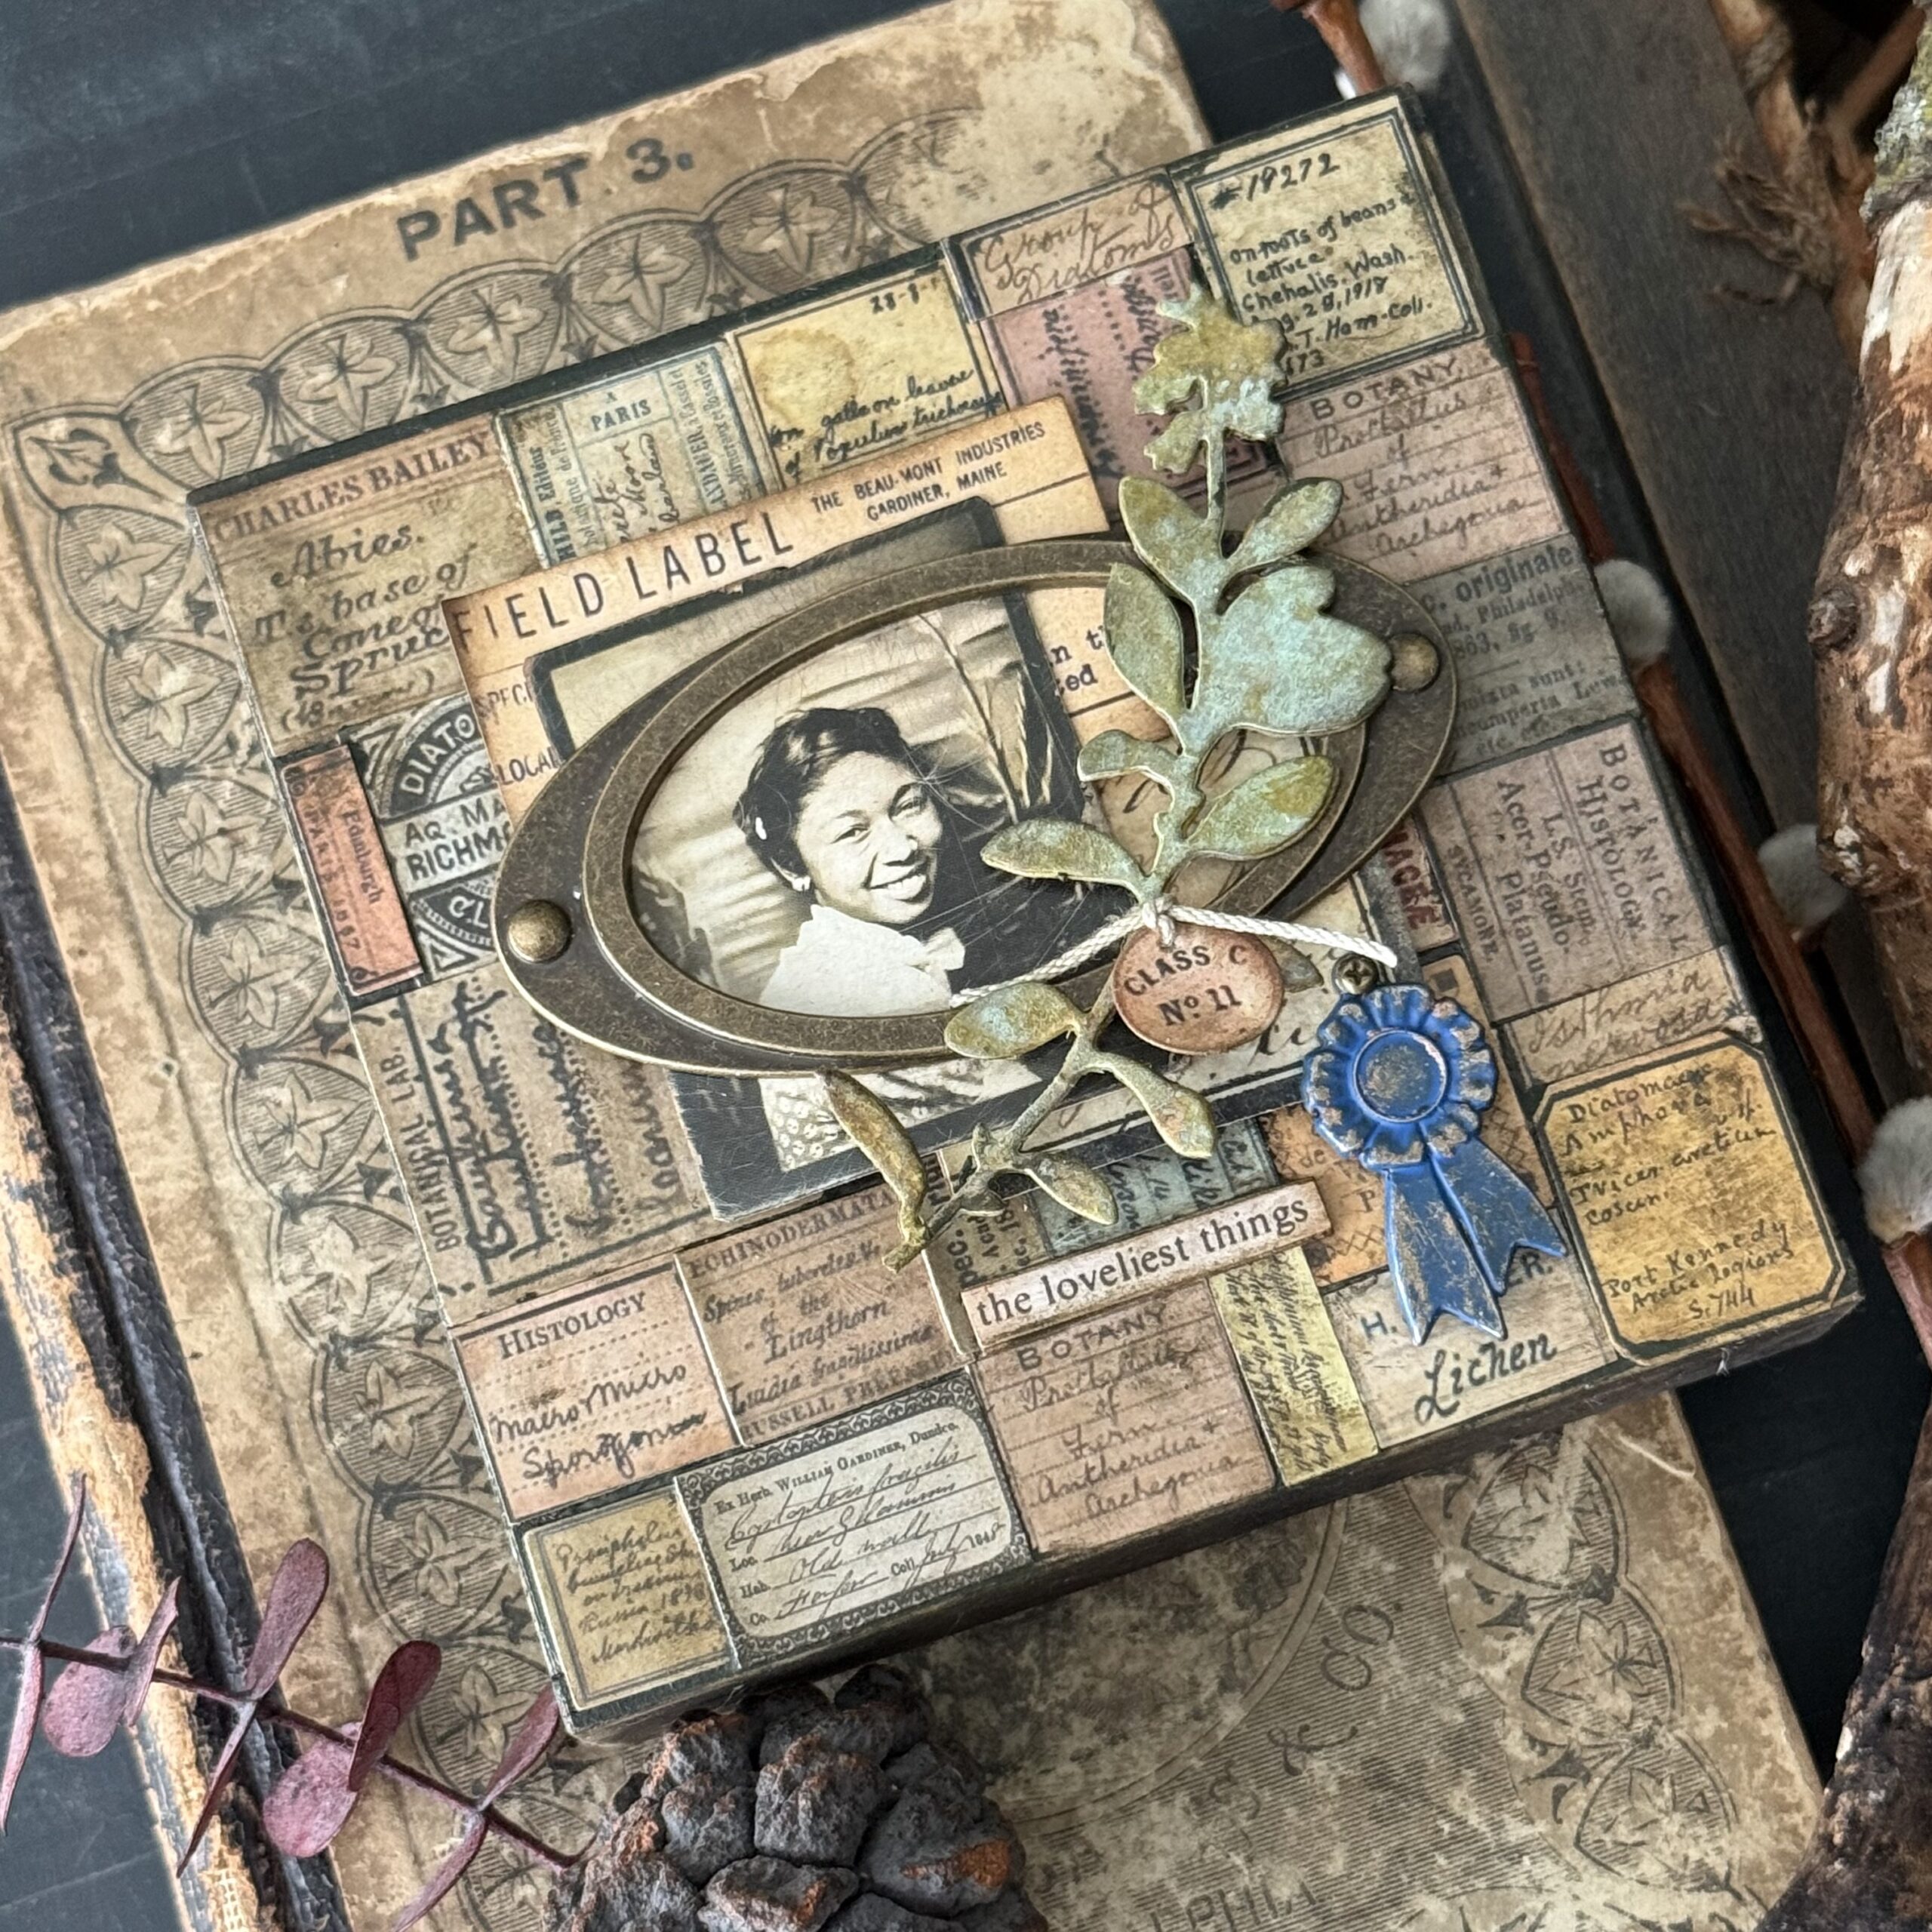
The first project I made was using the Curator Snippets..they inspired a botany theme and I found the perfect little girl in the Photo Booth photo pack to make that inspiration and memory come alive. She has the cutest smile and was sitting amongst a natural type of photo booth background, so it went perfectly!
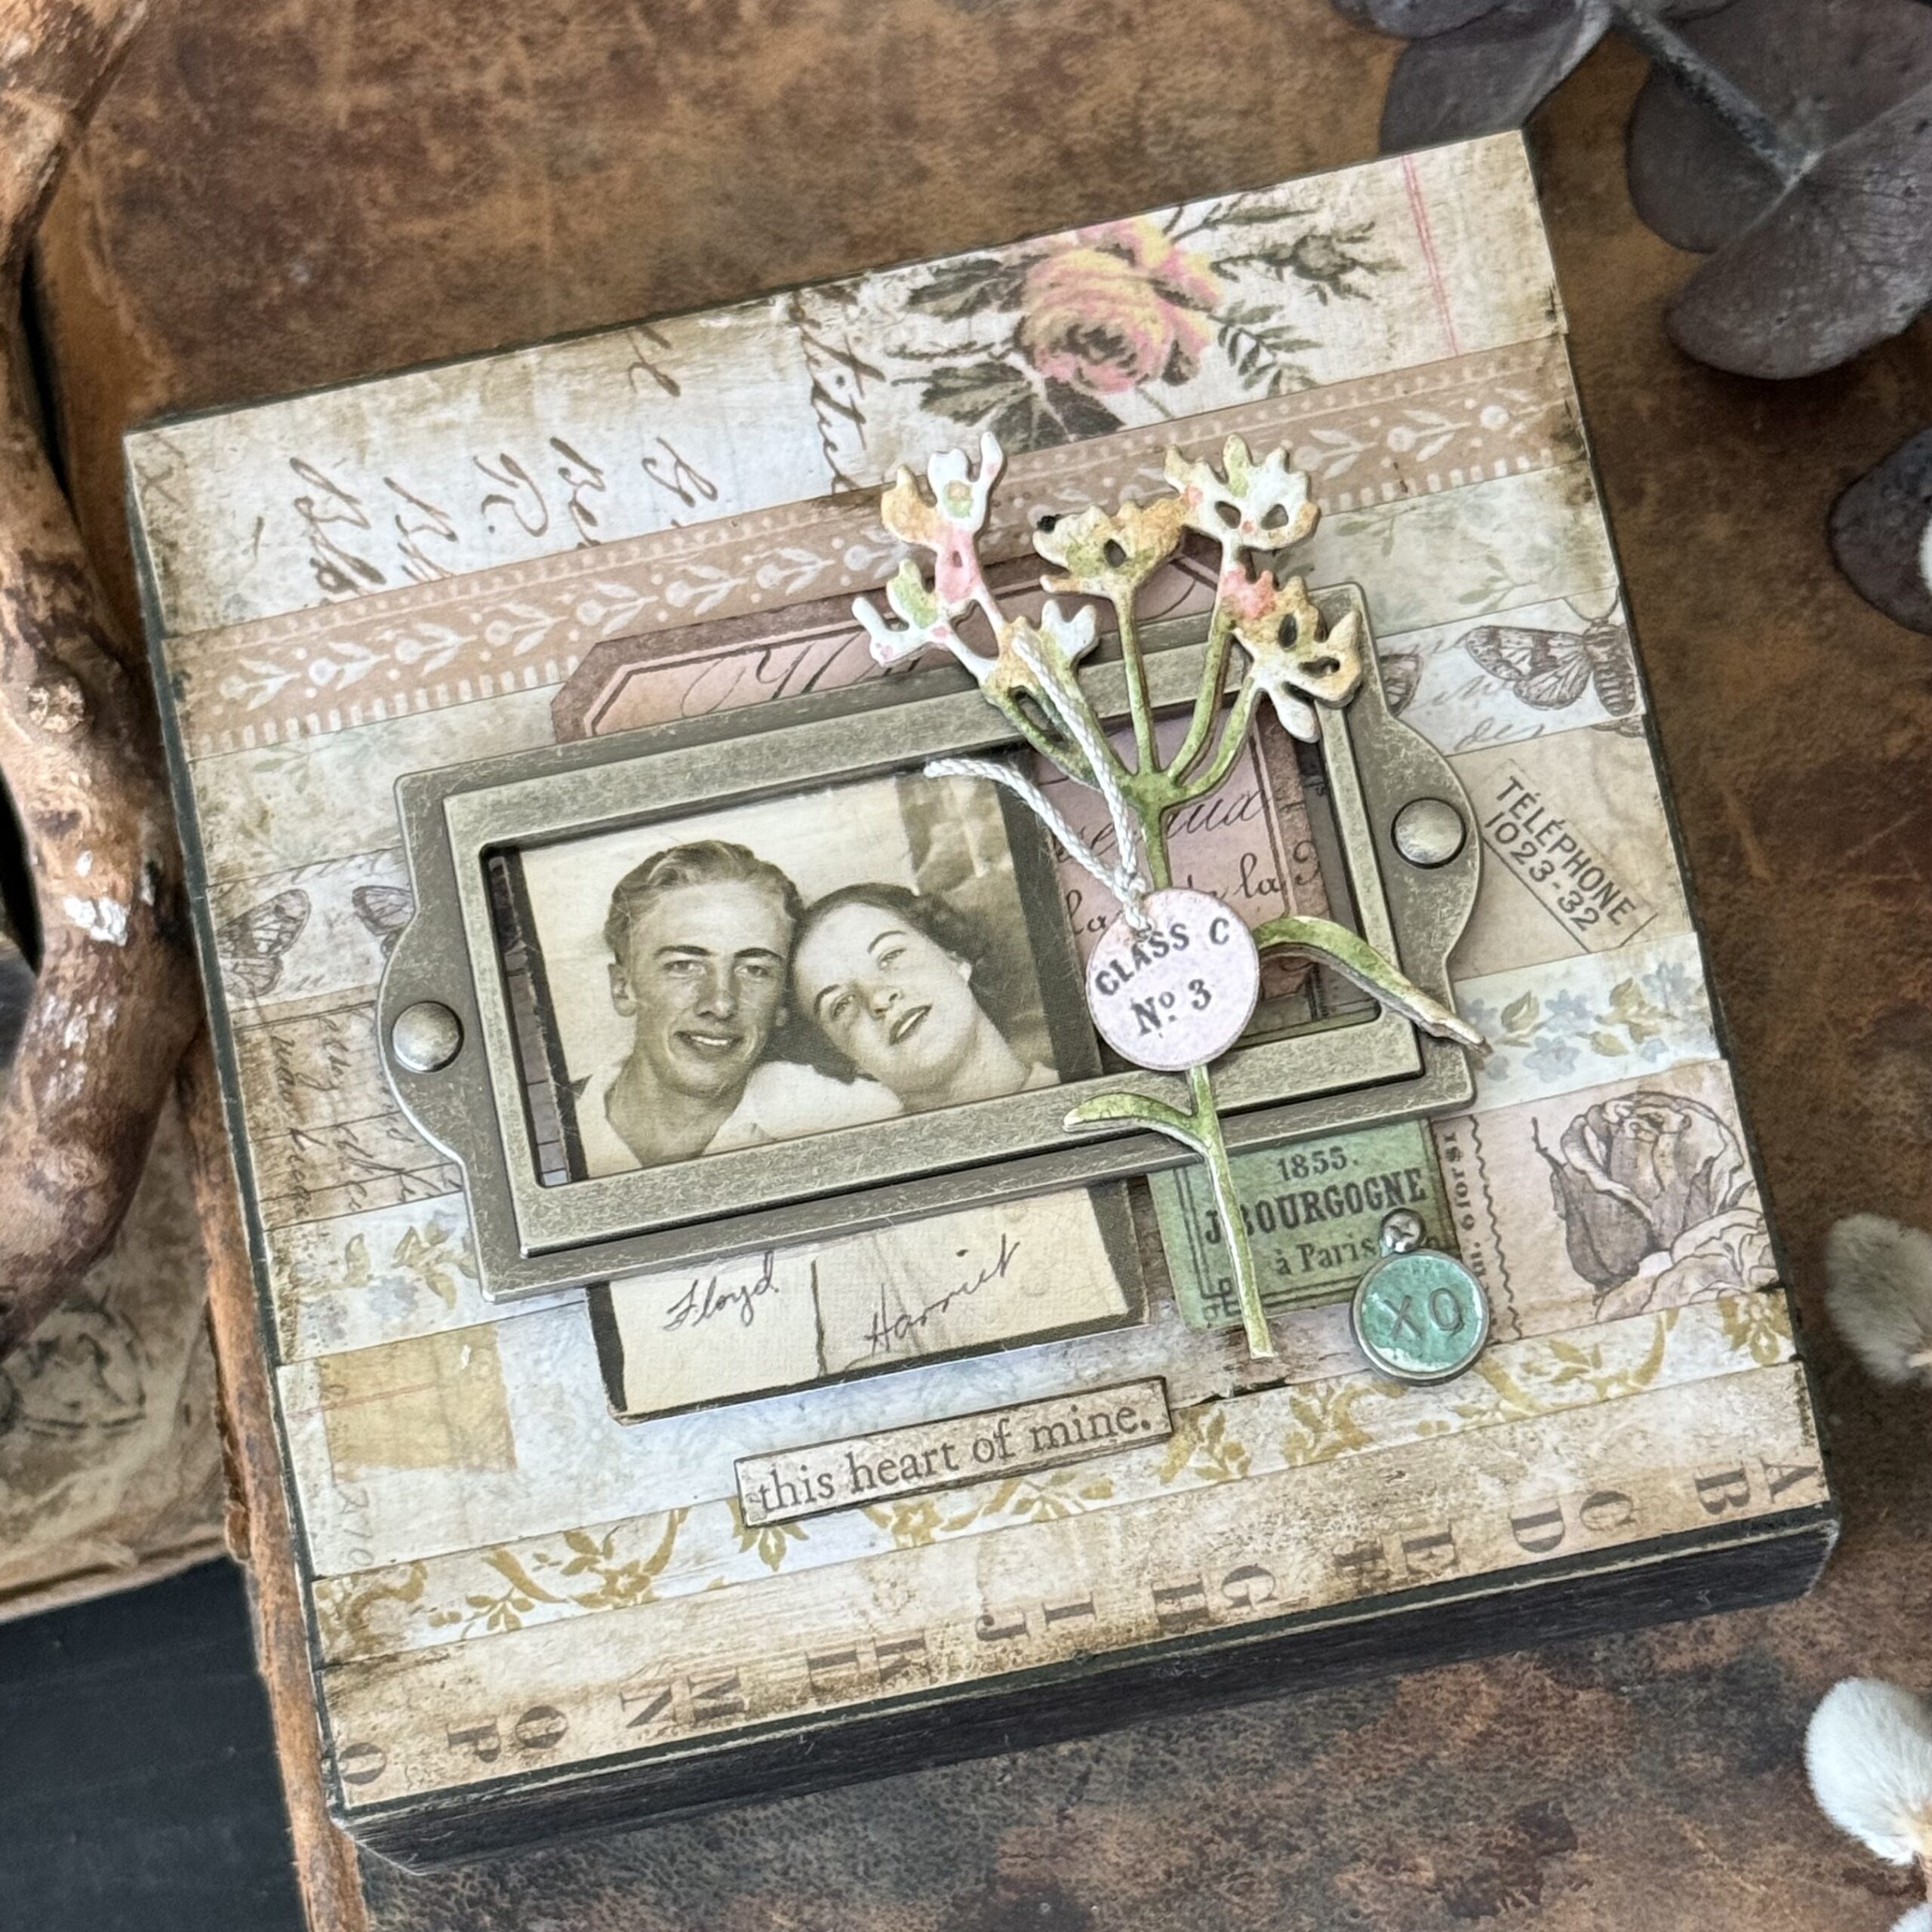
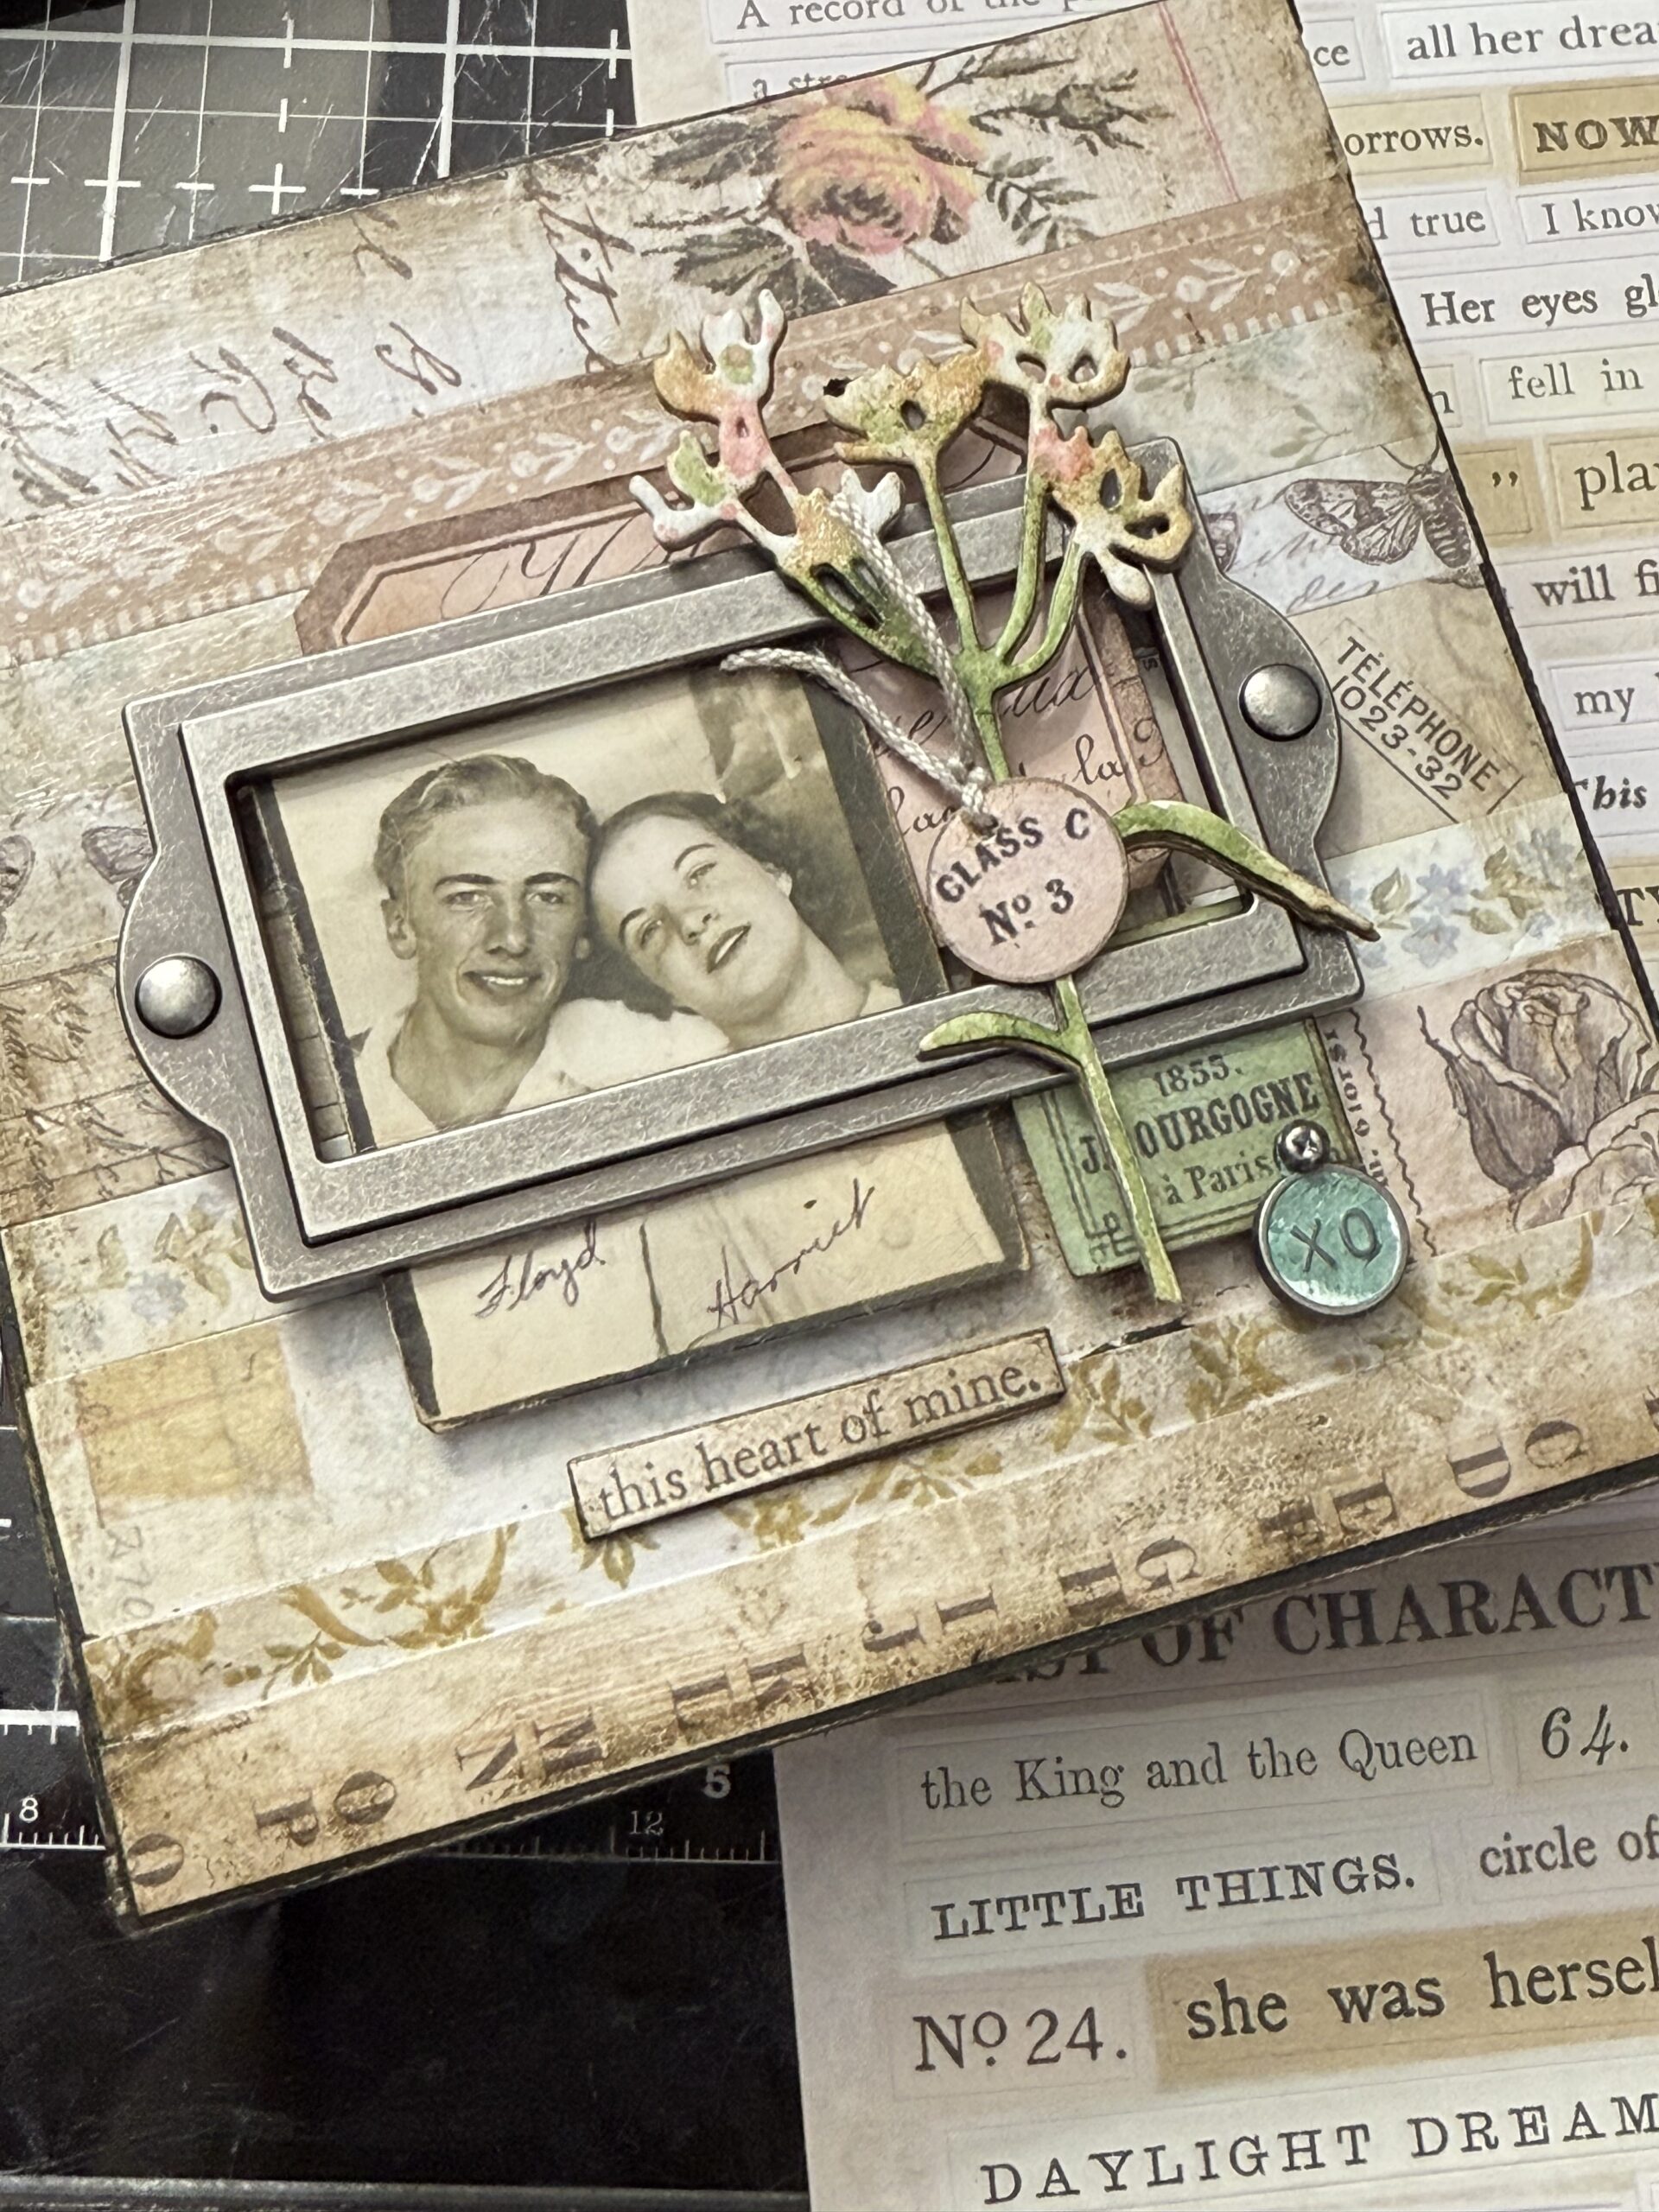
The next featured the Ephemera Strips and this cute couple, Floyd and Harriet, as you can see their names on the photo…a perfect little embellishment to my story and one that I wanted to see on the project. I love that the idea-ology line uses true vintage finds and that Tim and Paula leave those little things intact as found!
Both of the projects feature the idea-ology Label Frames. I know these are normally used for labels, but I thought they worked wonderfully to make a frame for the photo booth photos.. the key was to find photo booth people who were set farther back in the photos and that their heads were not too big for the frames.
So, let’s get to making them…
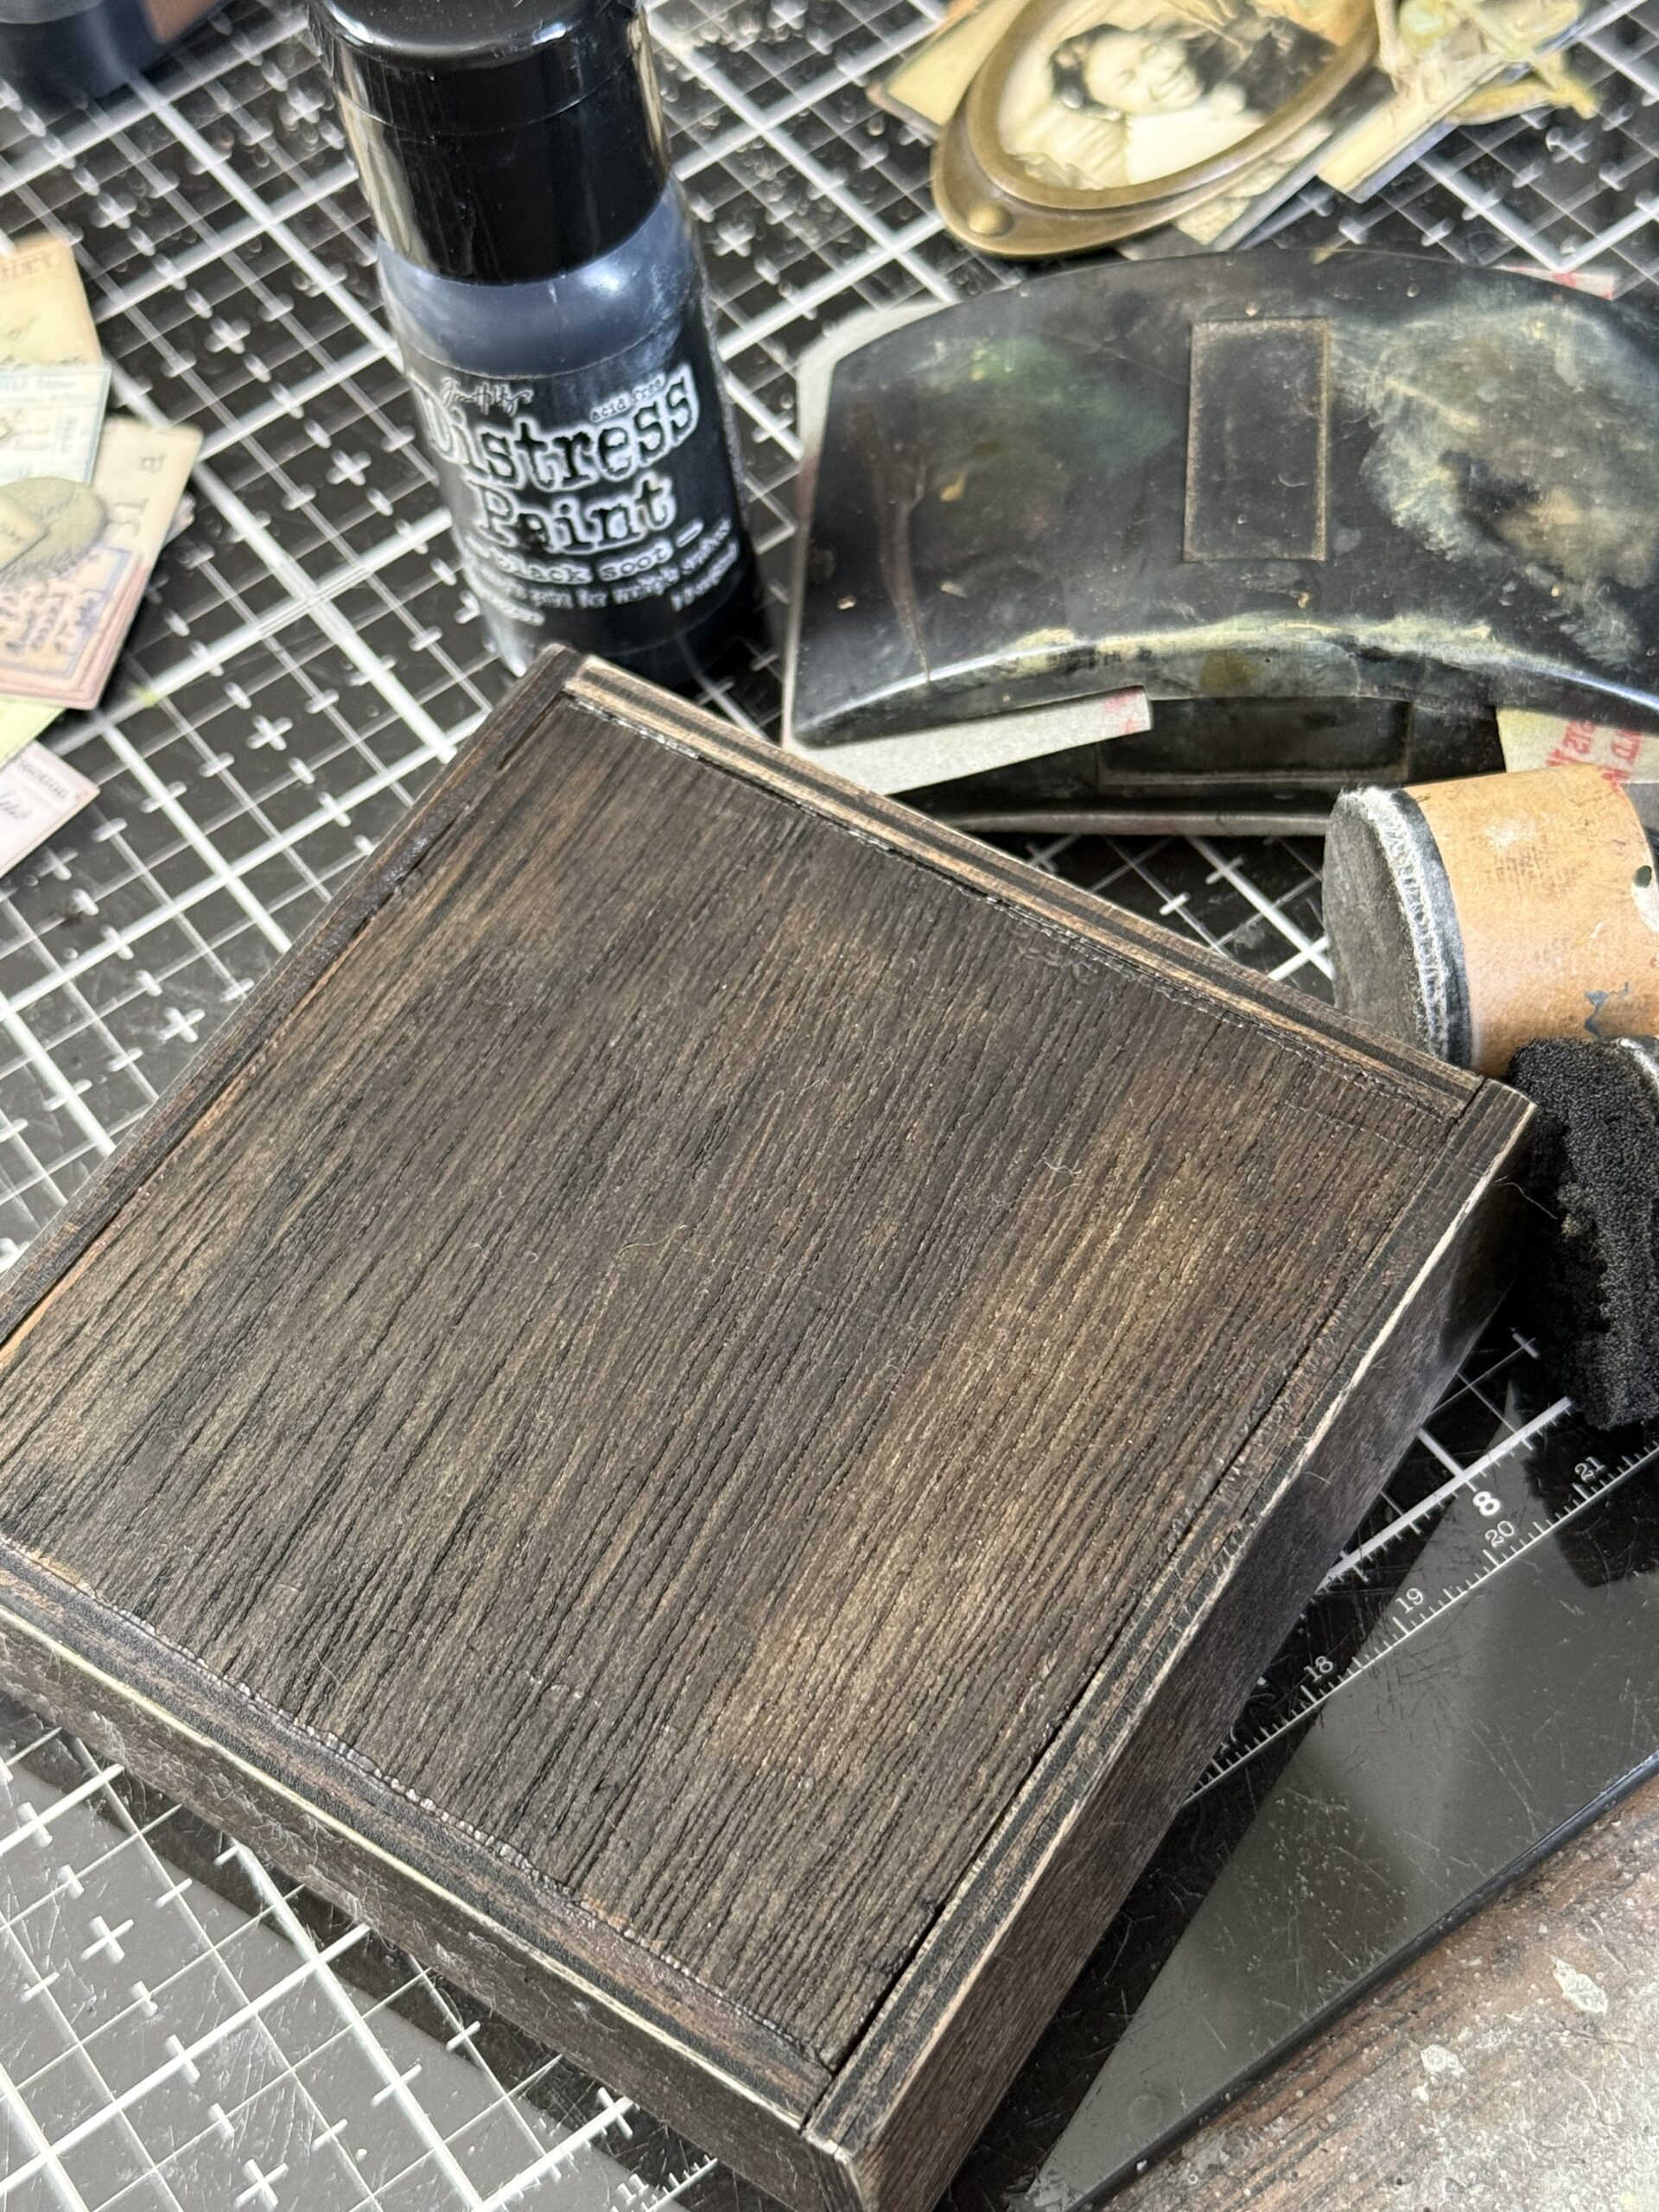
Both of the memory boxes were made using the middle size idea-ology Vignette Squares. They measure approximately 4″x4″. I painted both using Black Soot Distress Paint, dried them, then sanded the edges using a Sanding Grip, This added some age to the boxes. Once they were sanded, I used a cotton cloth and wiped off the leftover sanding bits before I started adhering the snippets and strips to the boxes using Distress Collage Medium.
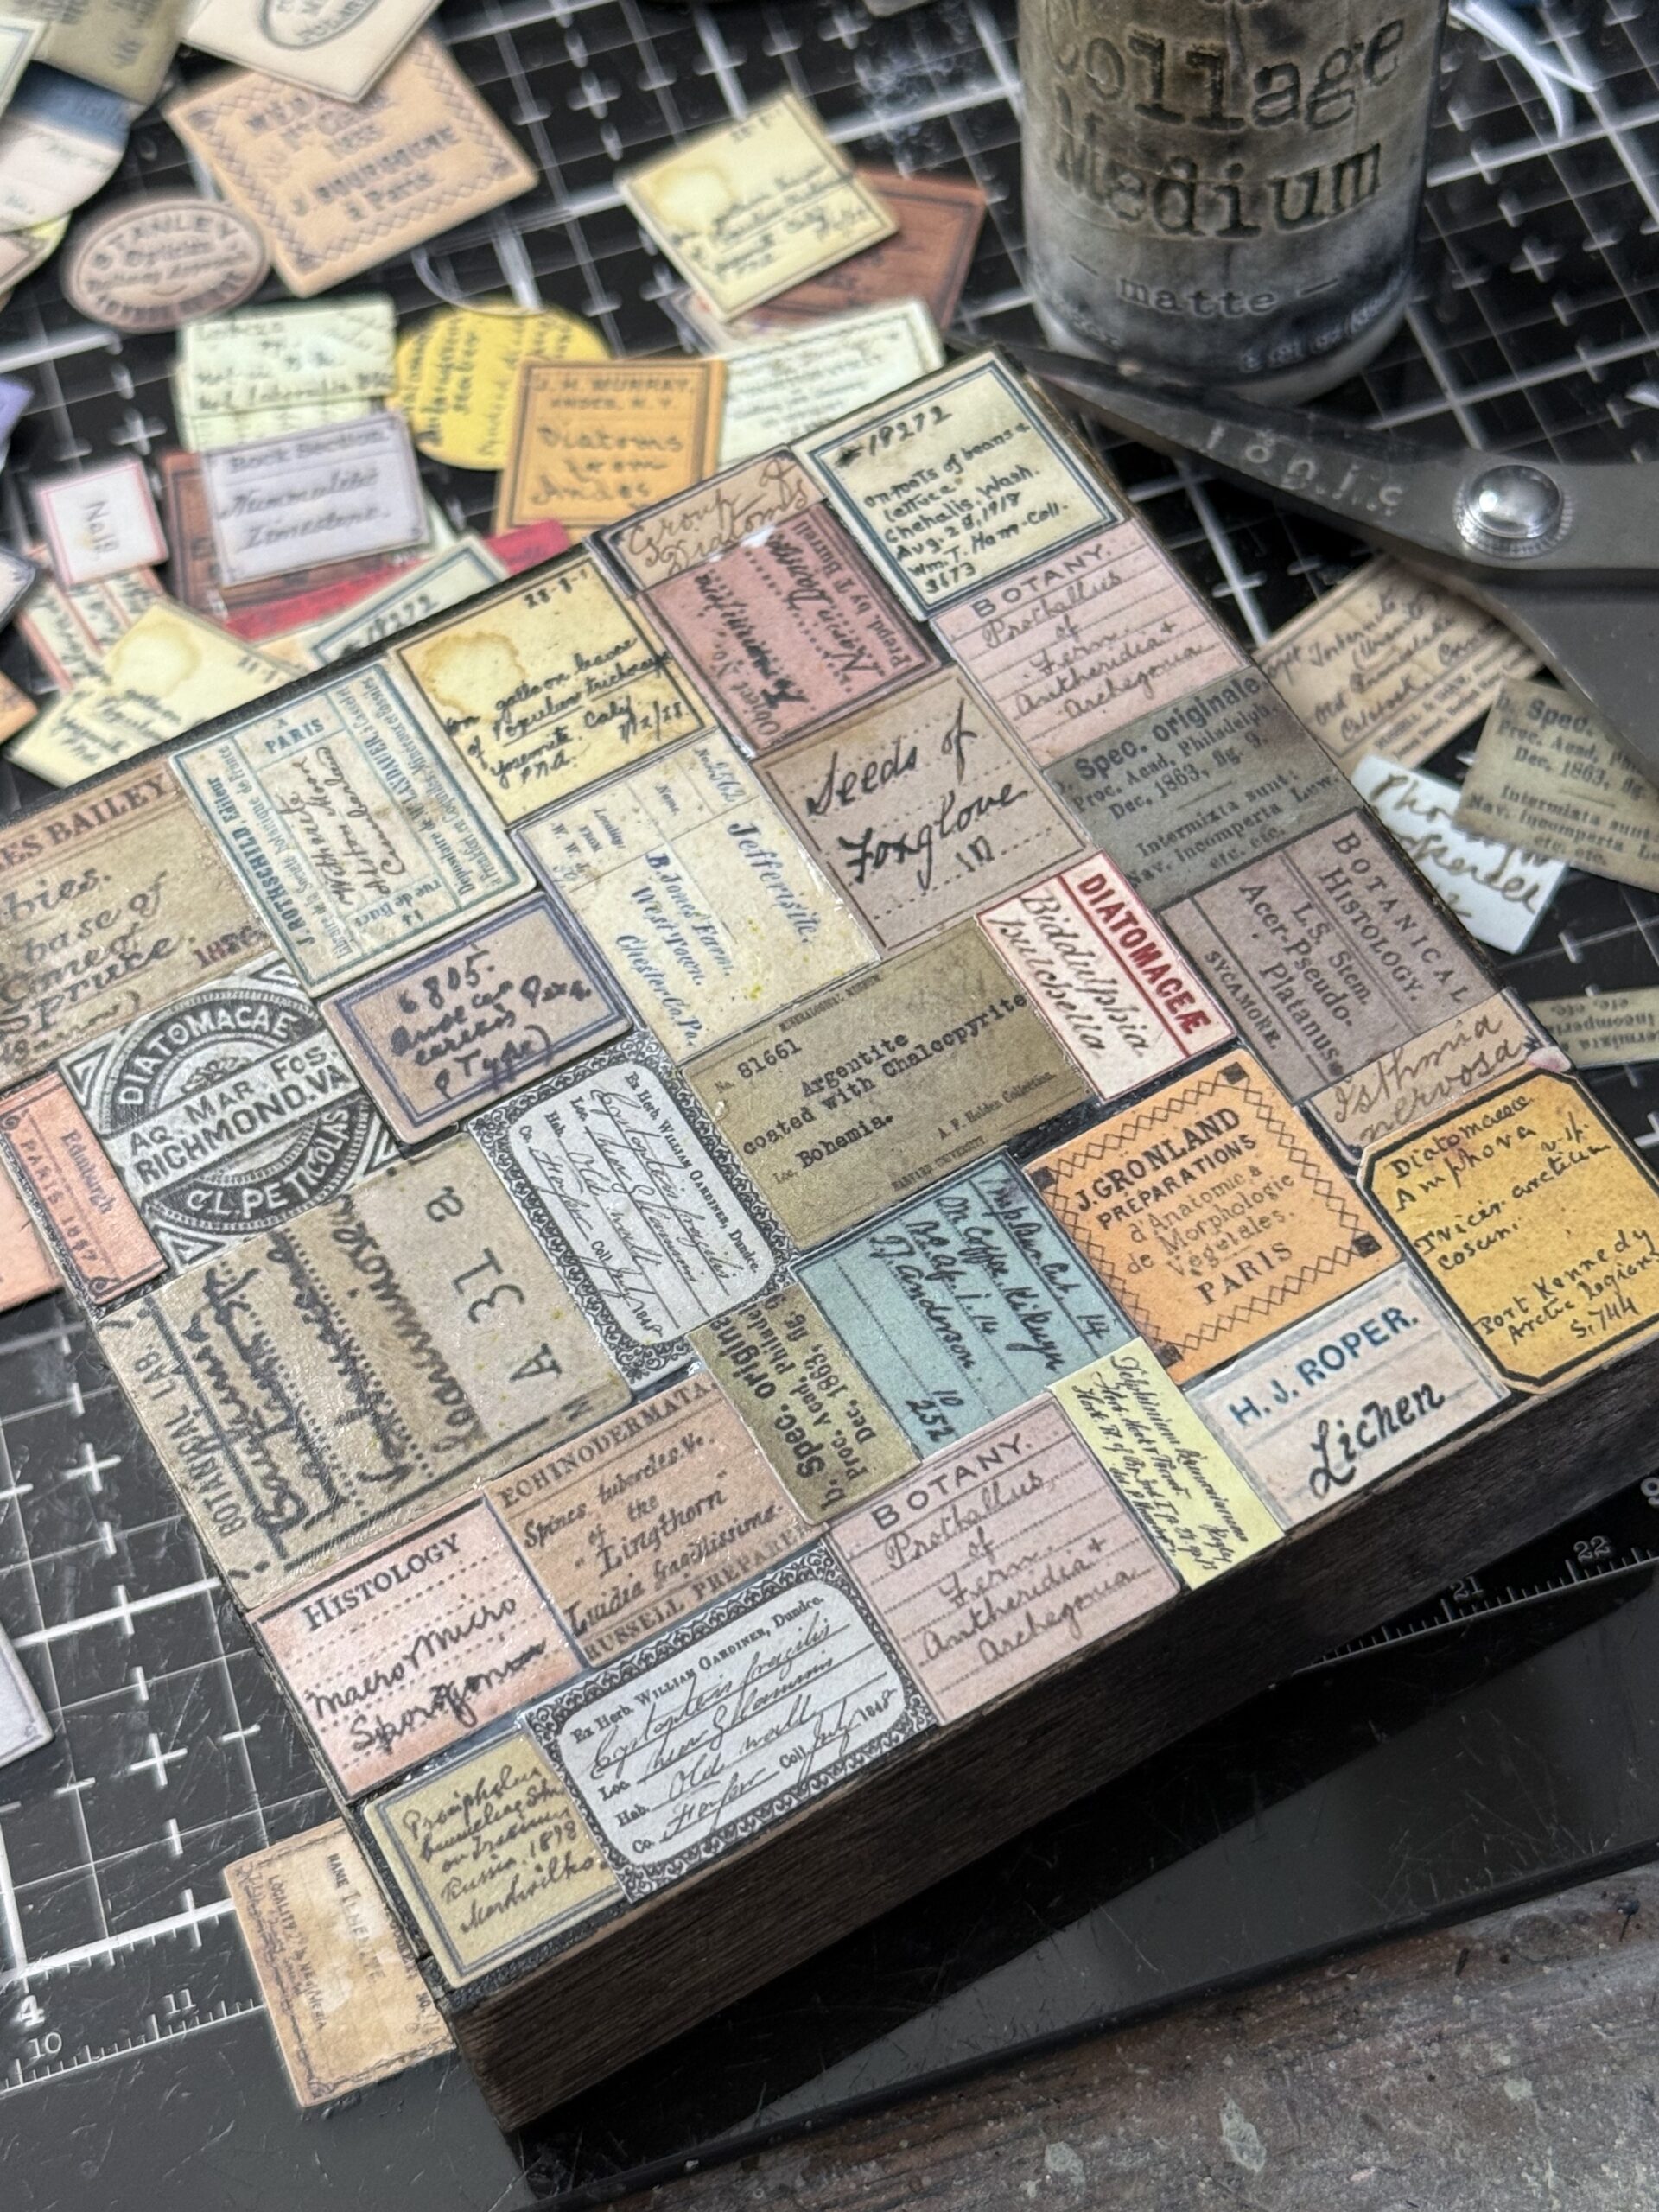
I started adding the labels in the left hand corner of the box and adhered each individually as I built the background, using collage medium. I wanted to keep it very collaged, so I added some with the horizontal and vertical. This gives the piece more interest, in my opinion. Some of the labels needed a tiny trim to fit into the leftover space, so I used my scissors and trimmed it to fit. I even cut a few of the labels in half to make them fit. There were tiny spaces left here and there creating not so perfectly placed labels, but that’s what we want, perfectly imperfect, and the next step with bring that together in a wonderful way.
As I adhered each of the labels in place, I rubbed the front of the labels with some collage medium so that after they were all adhered, I could scribble them with some Distress Crayon to add more age to the piece.
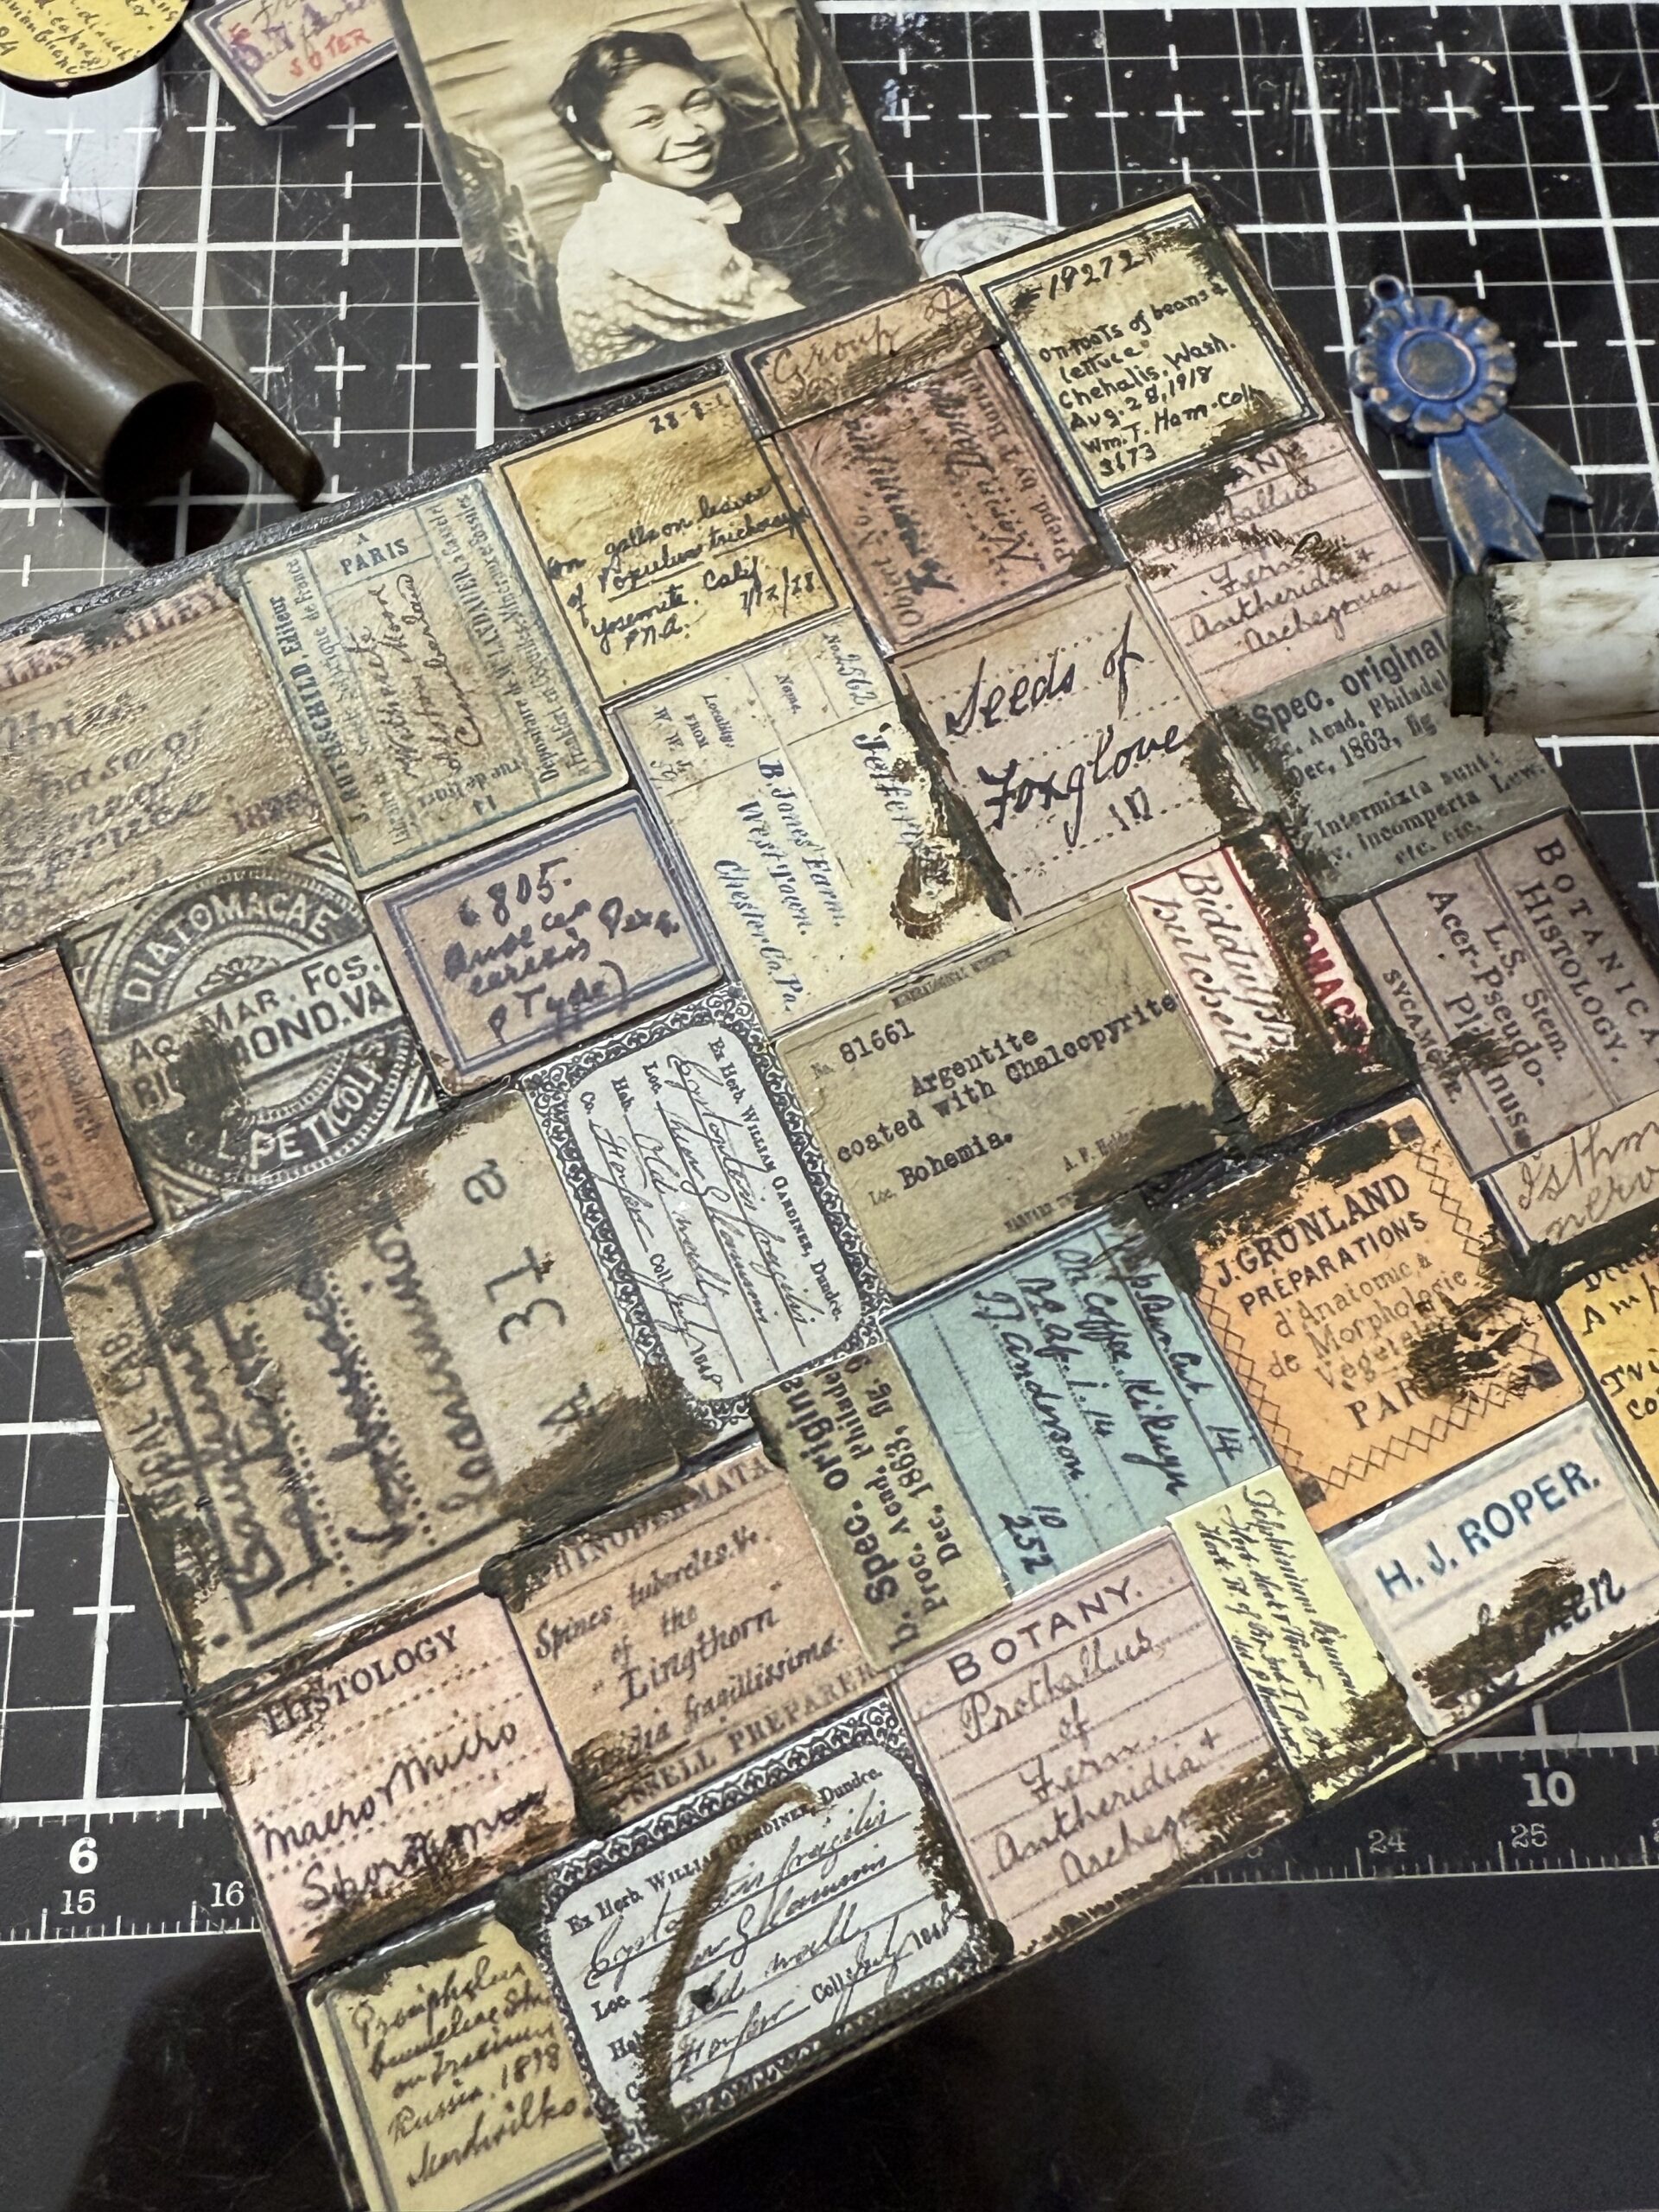
You can see in the photo below how I carefully added some Walnut Stain Distress Crayon over top of the labels…LOL, not really carefully..I scribbled the crayon very randomly, then used my finger to rub the crayon into place. The messier the better I think! This is the point where if you see any spaces leftover from the labels that didn’t quite match up, they disappear with the application of the crayon..see, you’ve gotta love that!
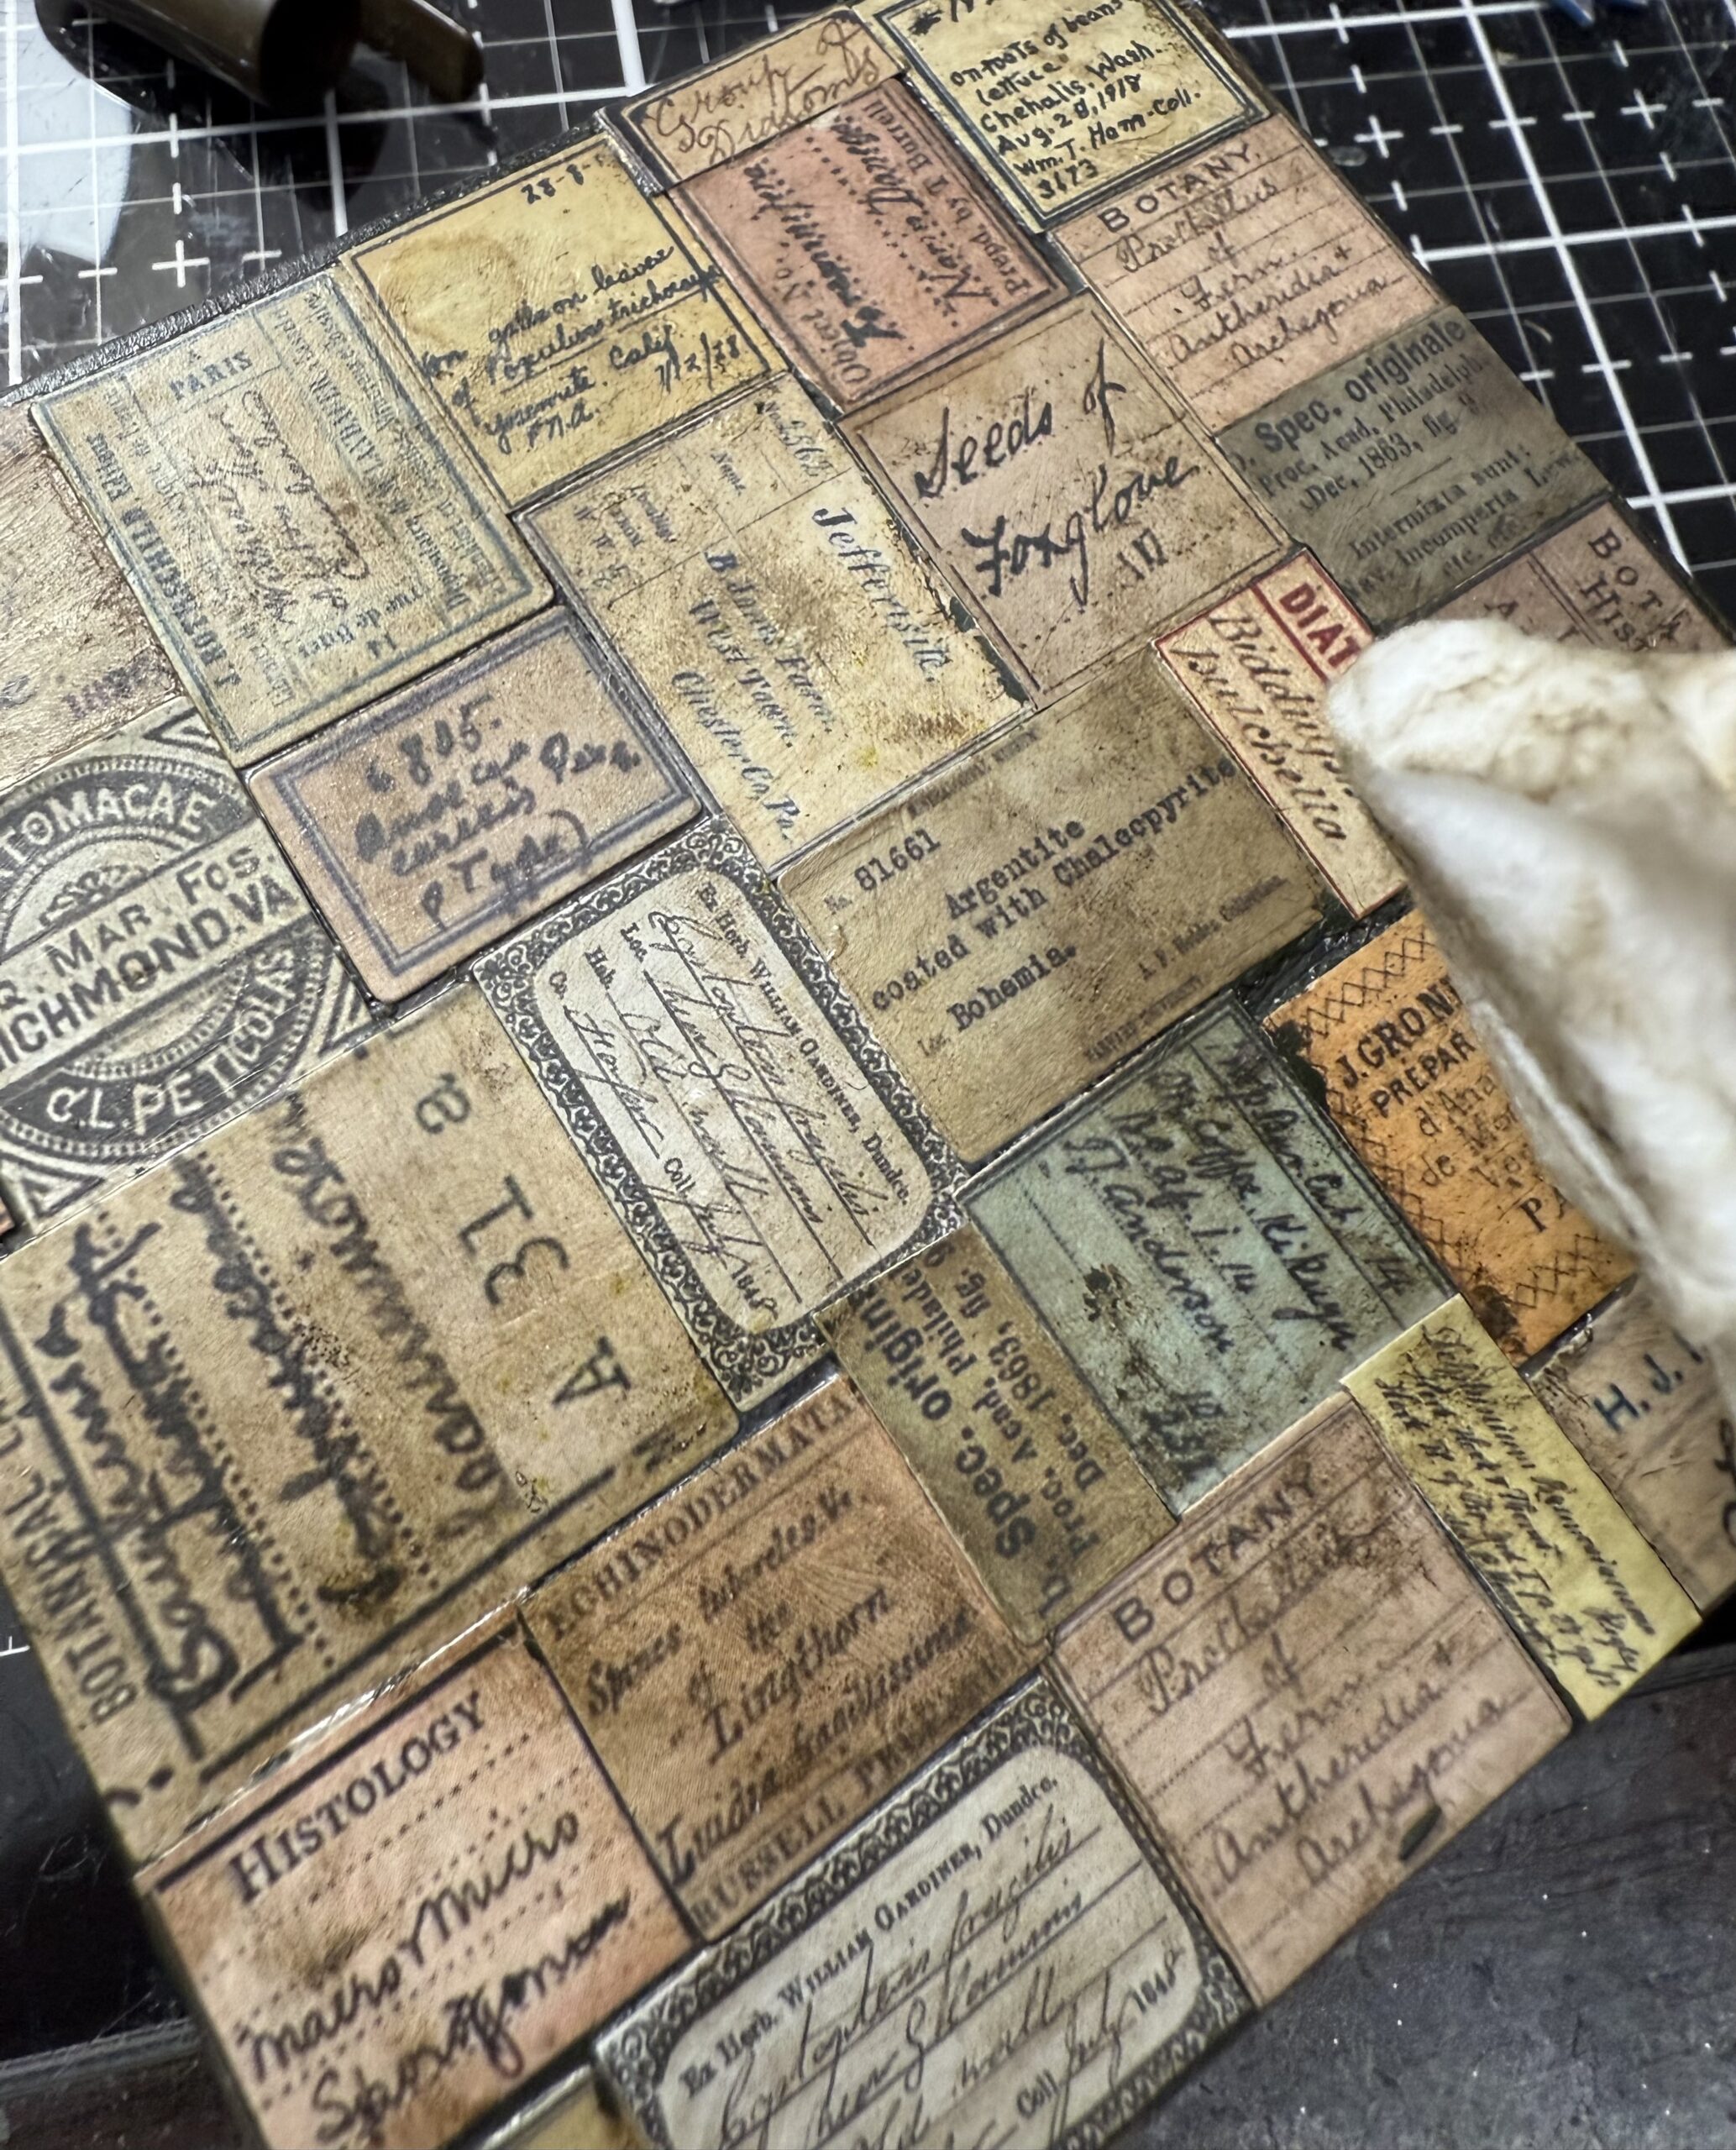
Next, I used a slightly damp baby wipe to pounce off some of the crayon, this step really gives the background that vintage look, creating age spots! Then I set it aside to dry a little and began working on the arrangement of the centerpiece elements.
I cut found a ephemera “field label” piece in the Field Notes Ephemera pack and trimmed the Photo Booth photo around the edges, then rubbed both with some Walnut Stain Distress Ink.
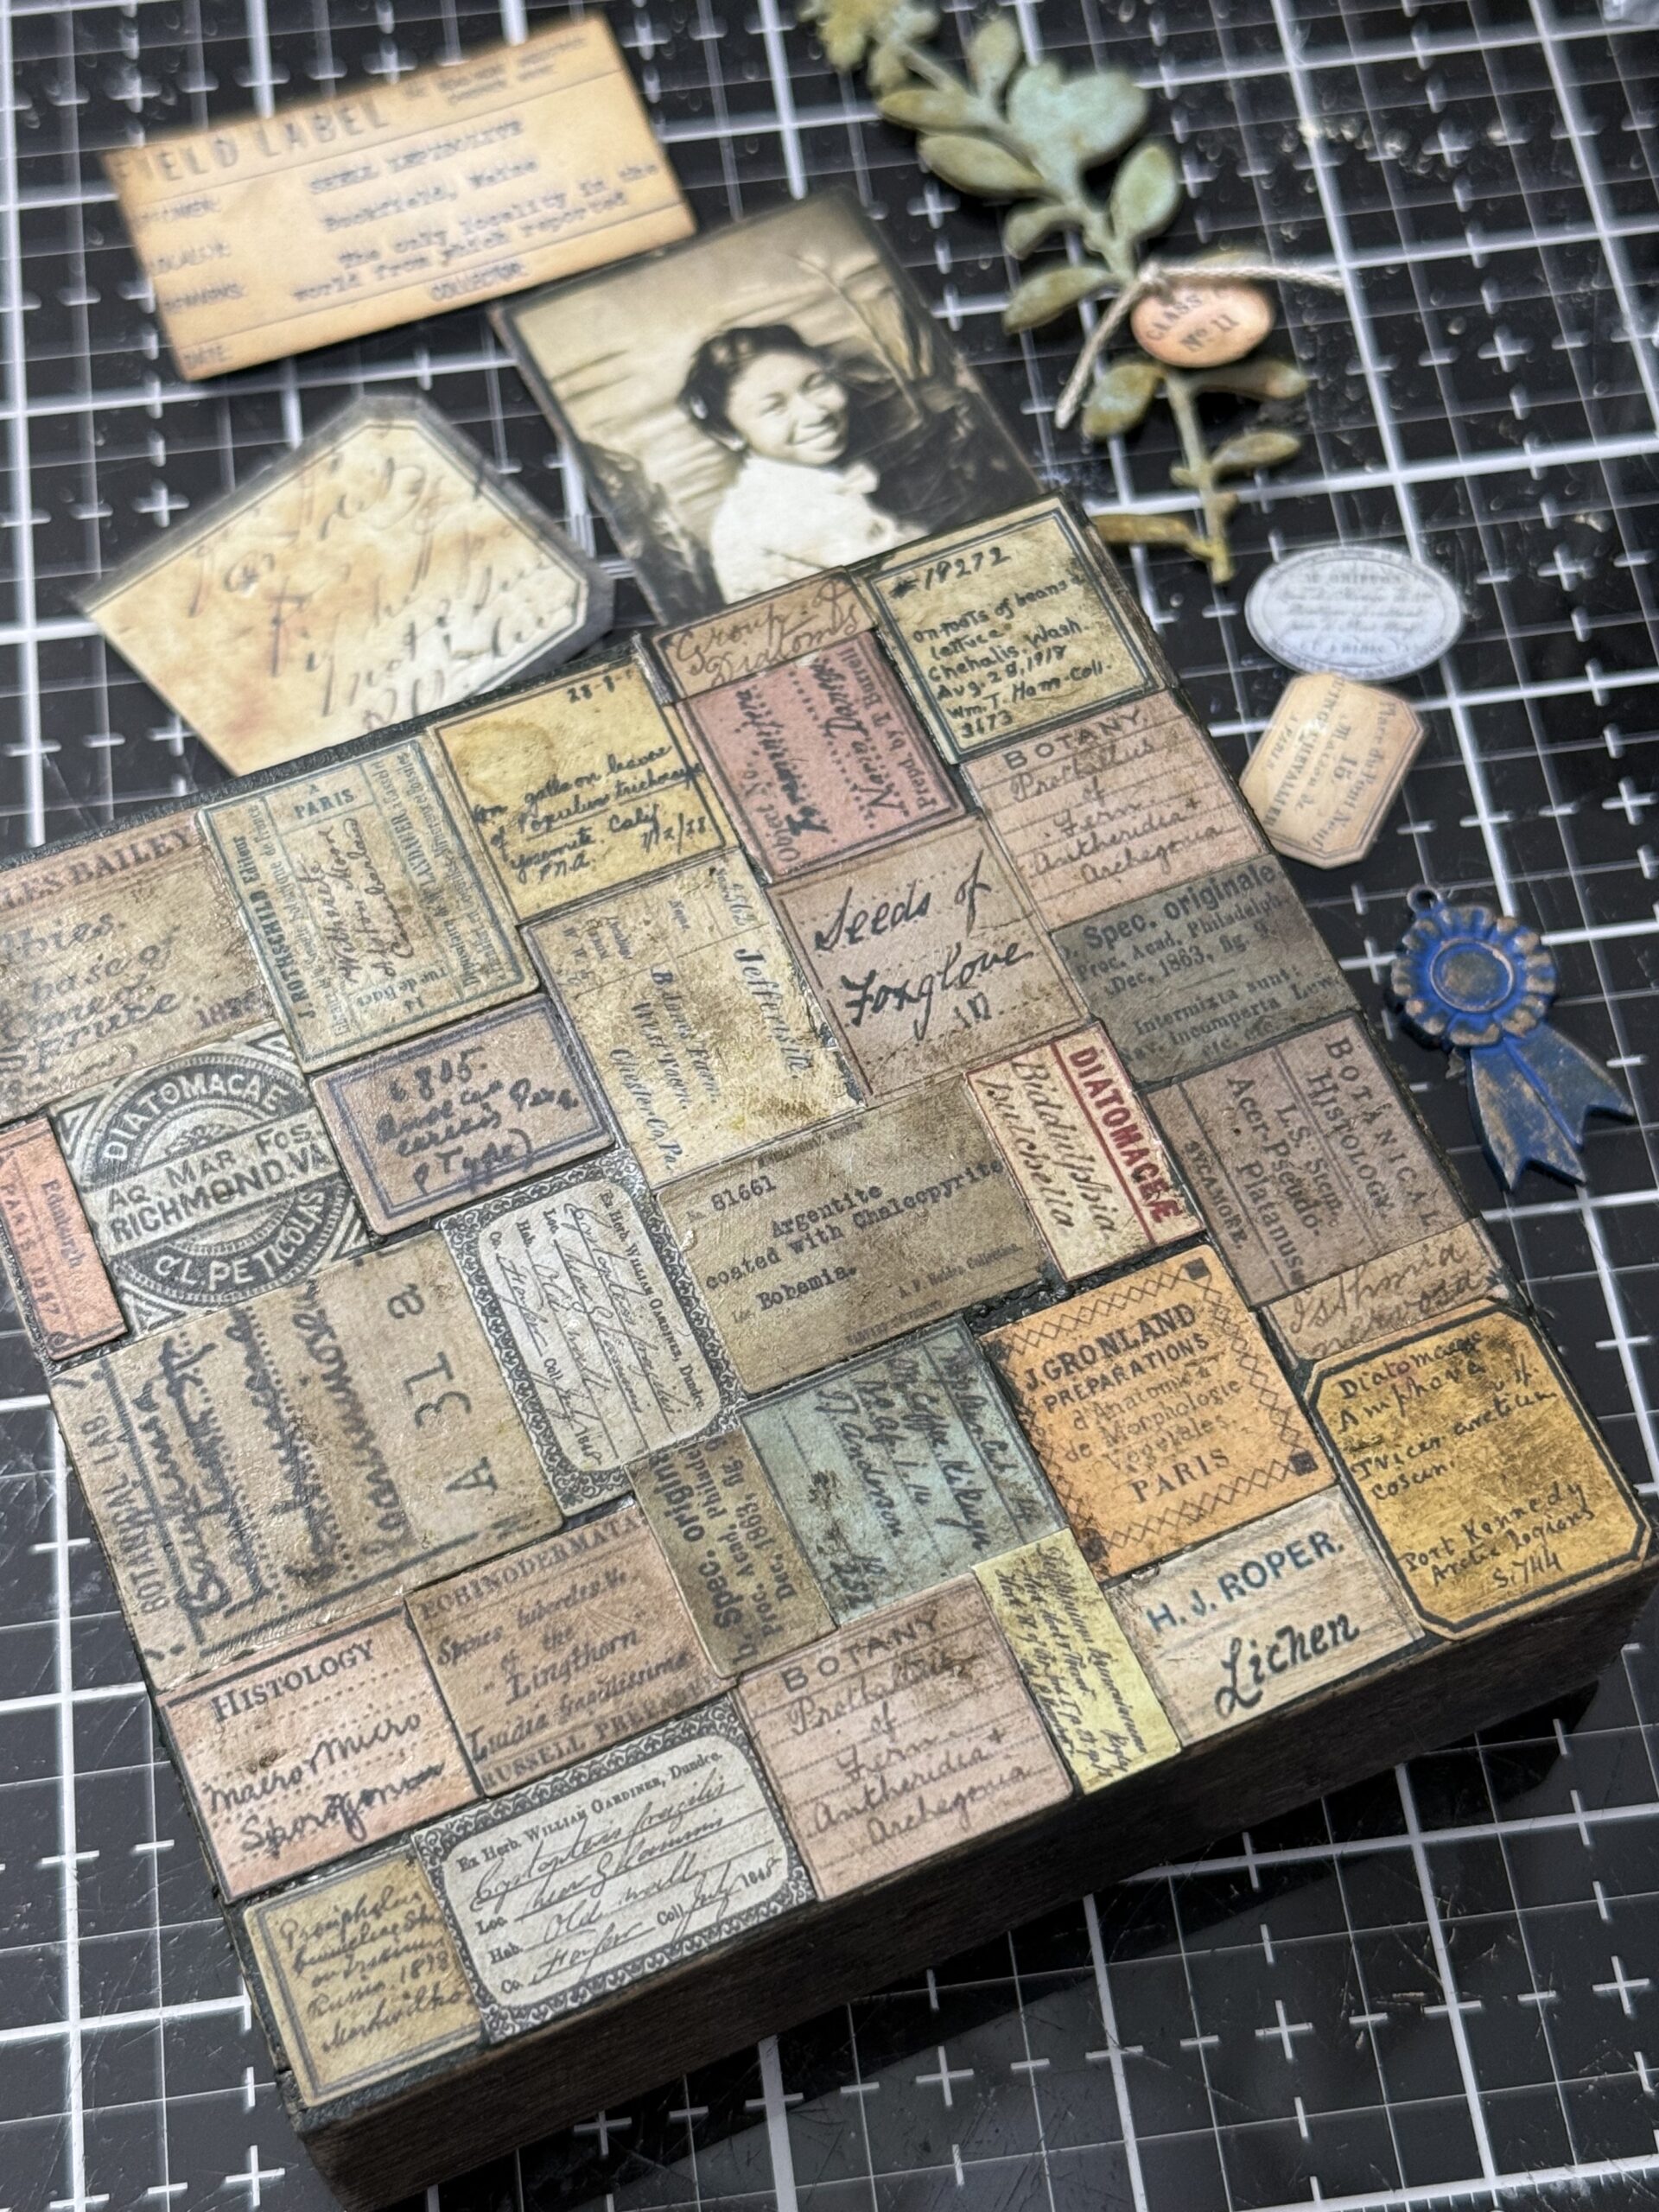
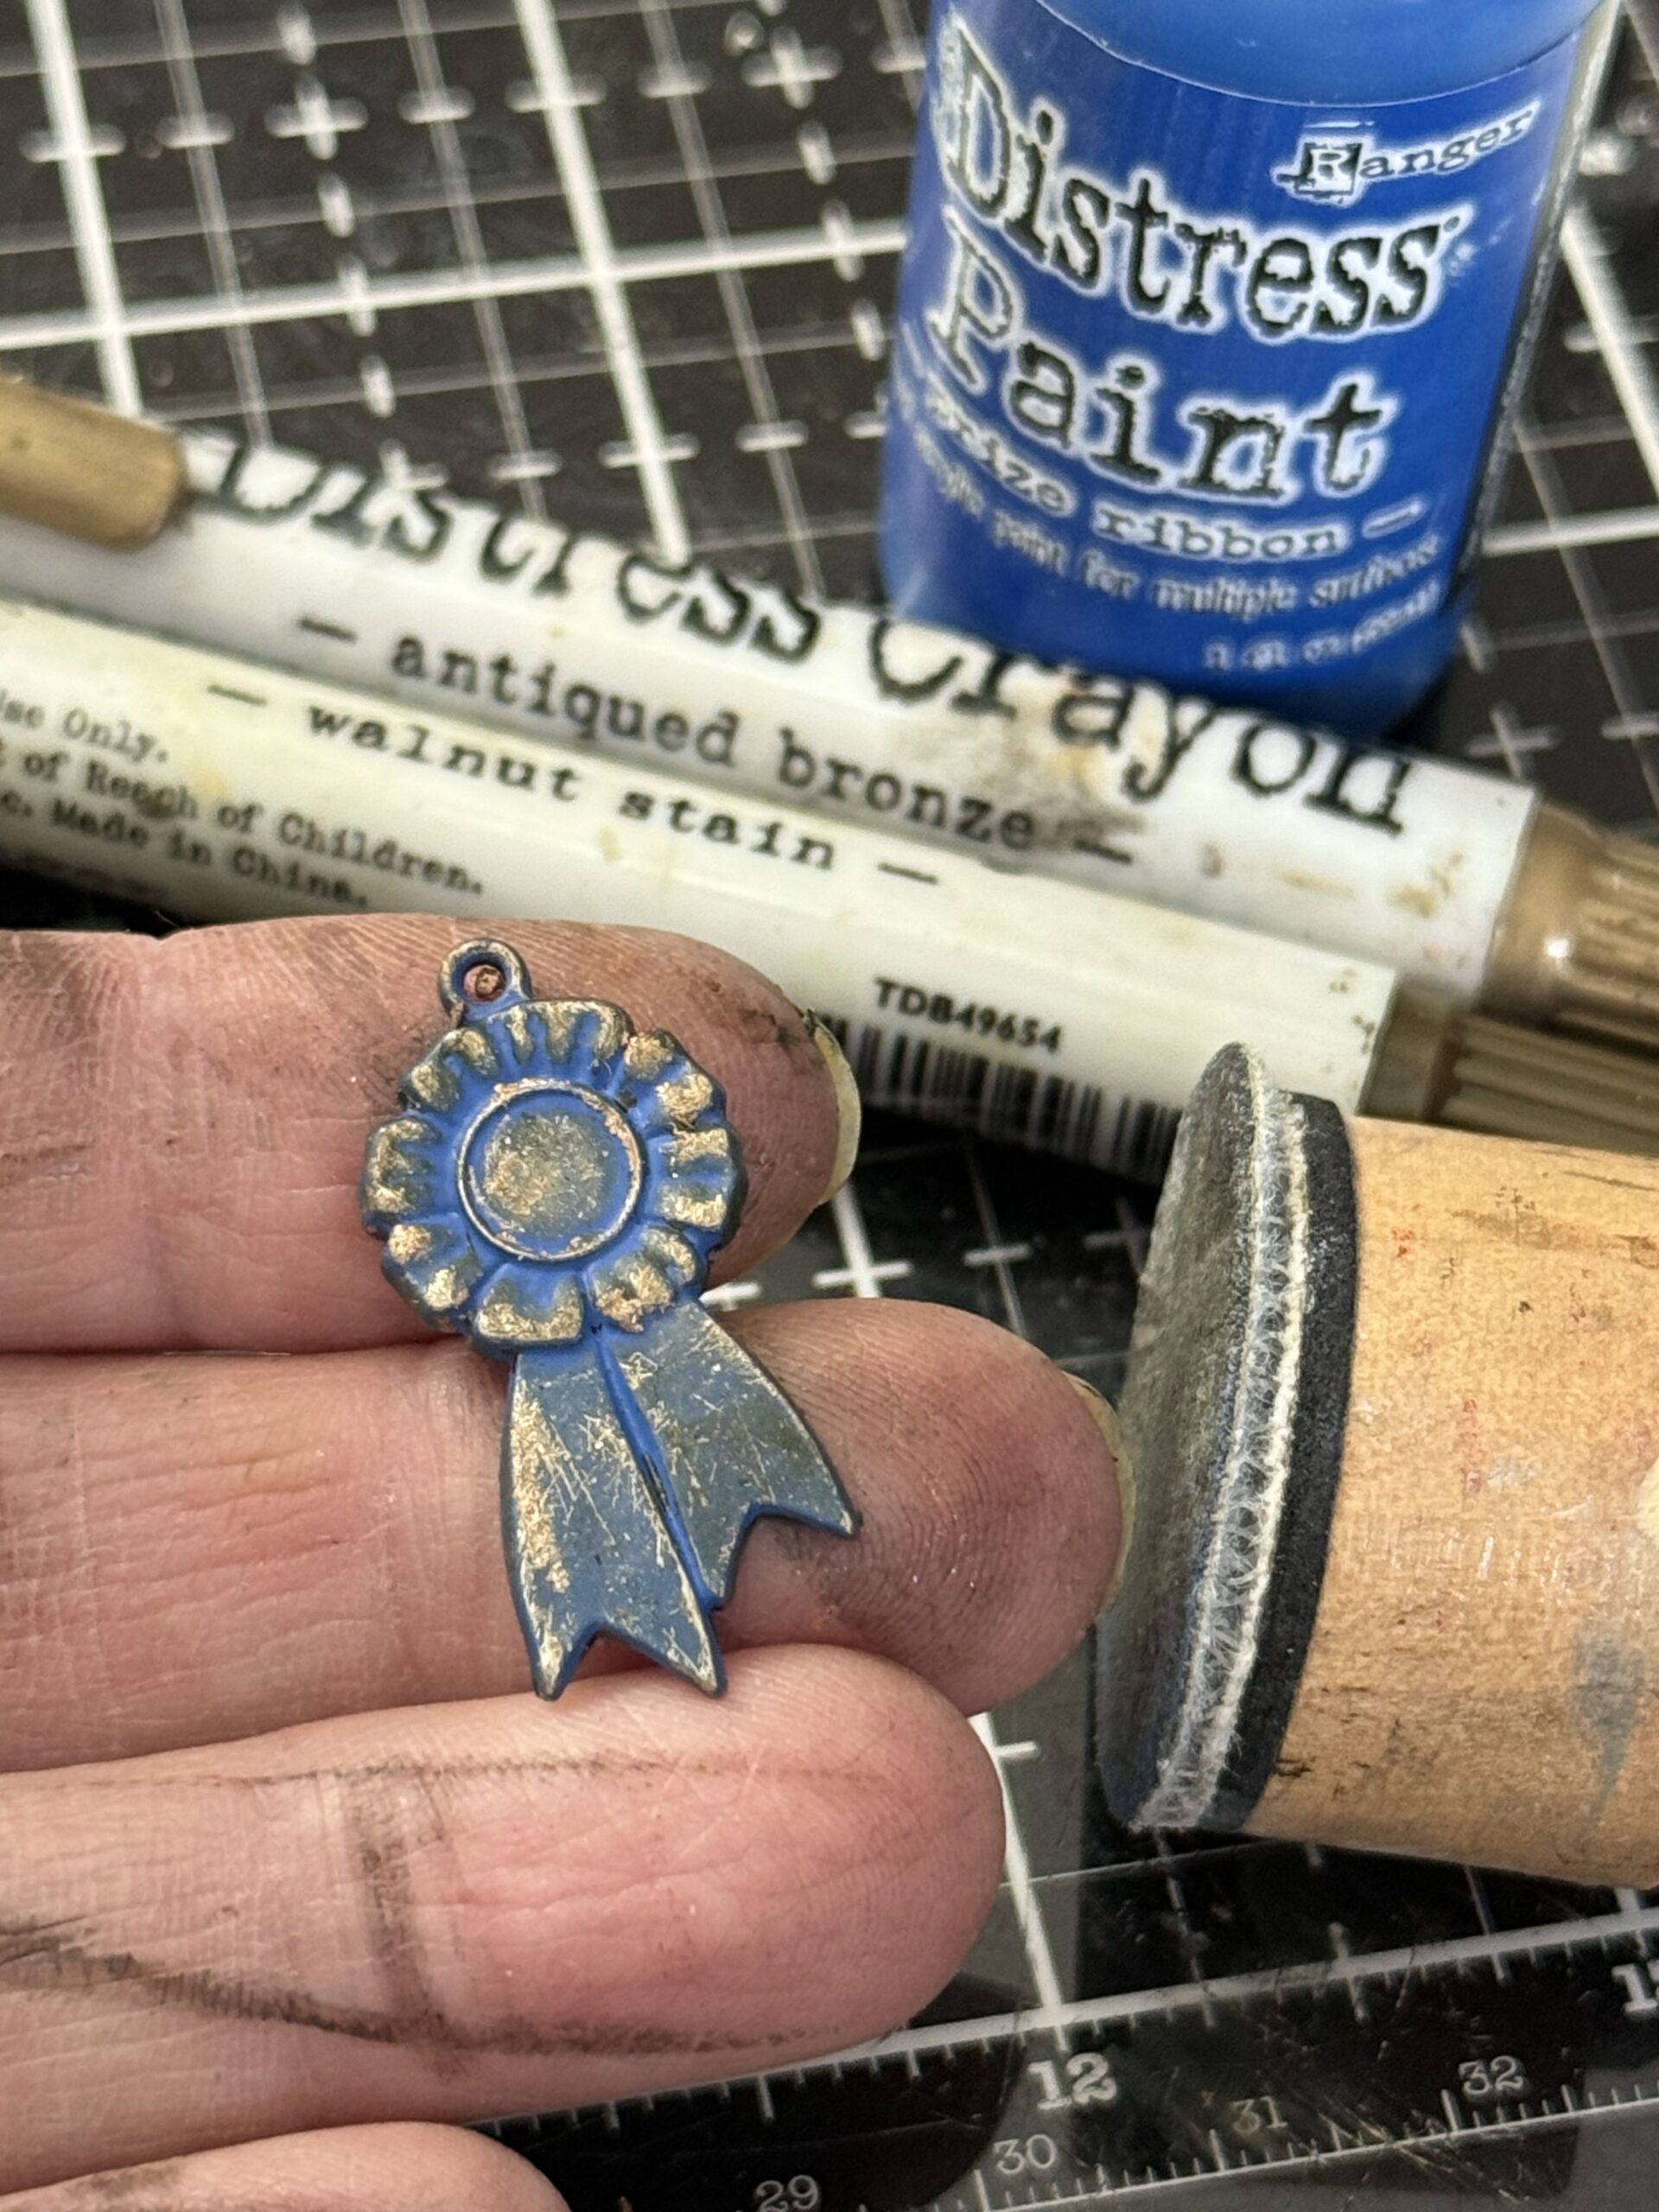
The little ribbon on the front is an idea-ology ribbon found in the Lucky Adornments pack. I painted it with Prize Ribbon Distress Paint, then once dry, sanded it a bit with my Sanding Disk, the ribbon was then rubbed with some Antique Bronze and Walnut Stain Distress Crayon to add some age. This was added to the collage using a Tiny Paper Fastener.
The collaged elements were all layered up using foam adhesive and collage medium and adhered to the front of the collaged vignette. I cut out a Wild Flower using the Sizzix Wildflower #2 Die Set using Watercolor paper scraps, then colored it using a variety of green inks and oxides. A tiny Snippet Label was tied to the front of the green using a scrap of string. The Label Fram was adhered to the front of the collaged elements using collage medium and the floral green adhered on top. I found the phrase “the loveliest things” in the idea-ology Clippings Stickers and it fit the piece so well, so I adhered it to the front and rubbed it with some Walnut Stain Distress ink. With that, this Memory Box was complete!
How fun was that to make? Now, let’s make the one with Paper Strips…
I gathered up all my chosen elements, a variety of Paper Strips, a die cut Wildflower, a tiny Snippet tag, the photo booth photo, a tiny idea-ology “xo” word tag, and a couple of background elements for the collage that included a small label and a green “Paris” label that I found in the Snippet pack.
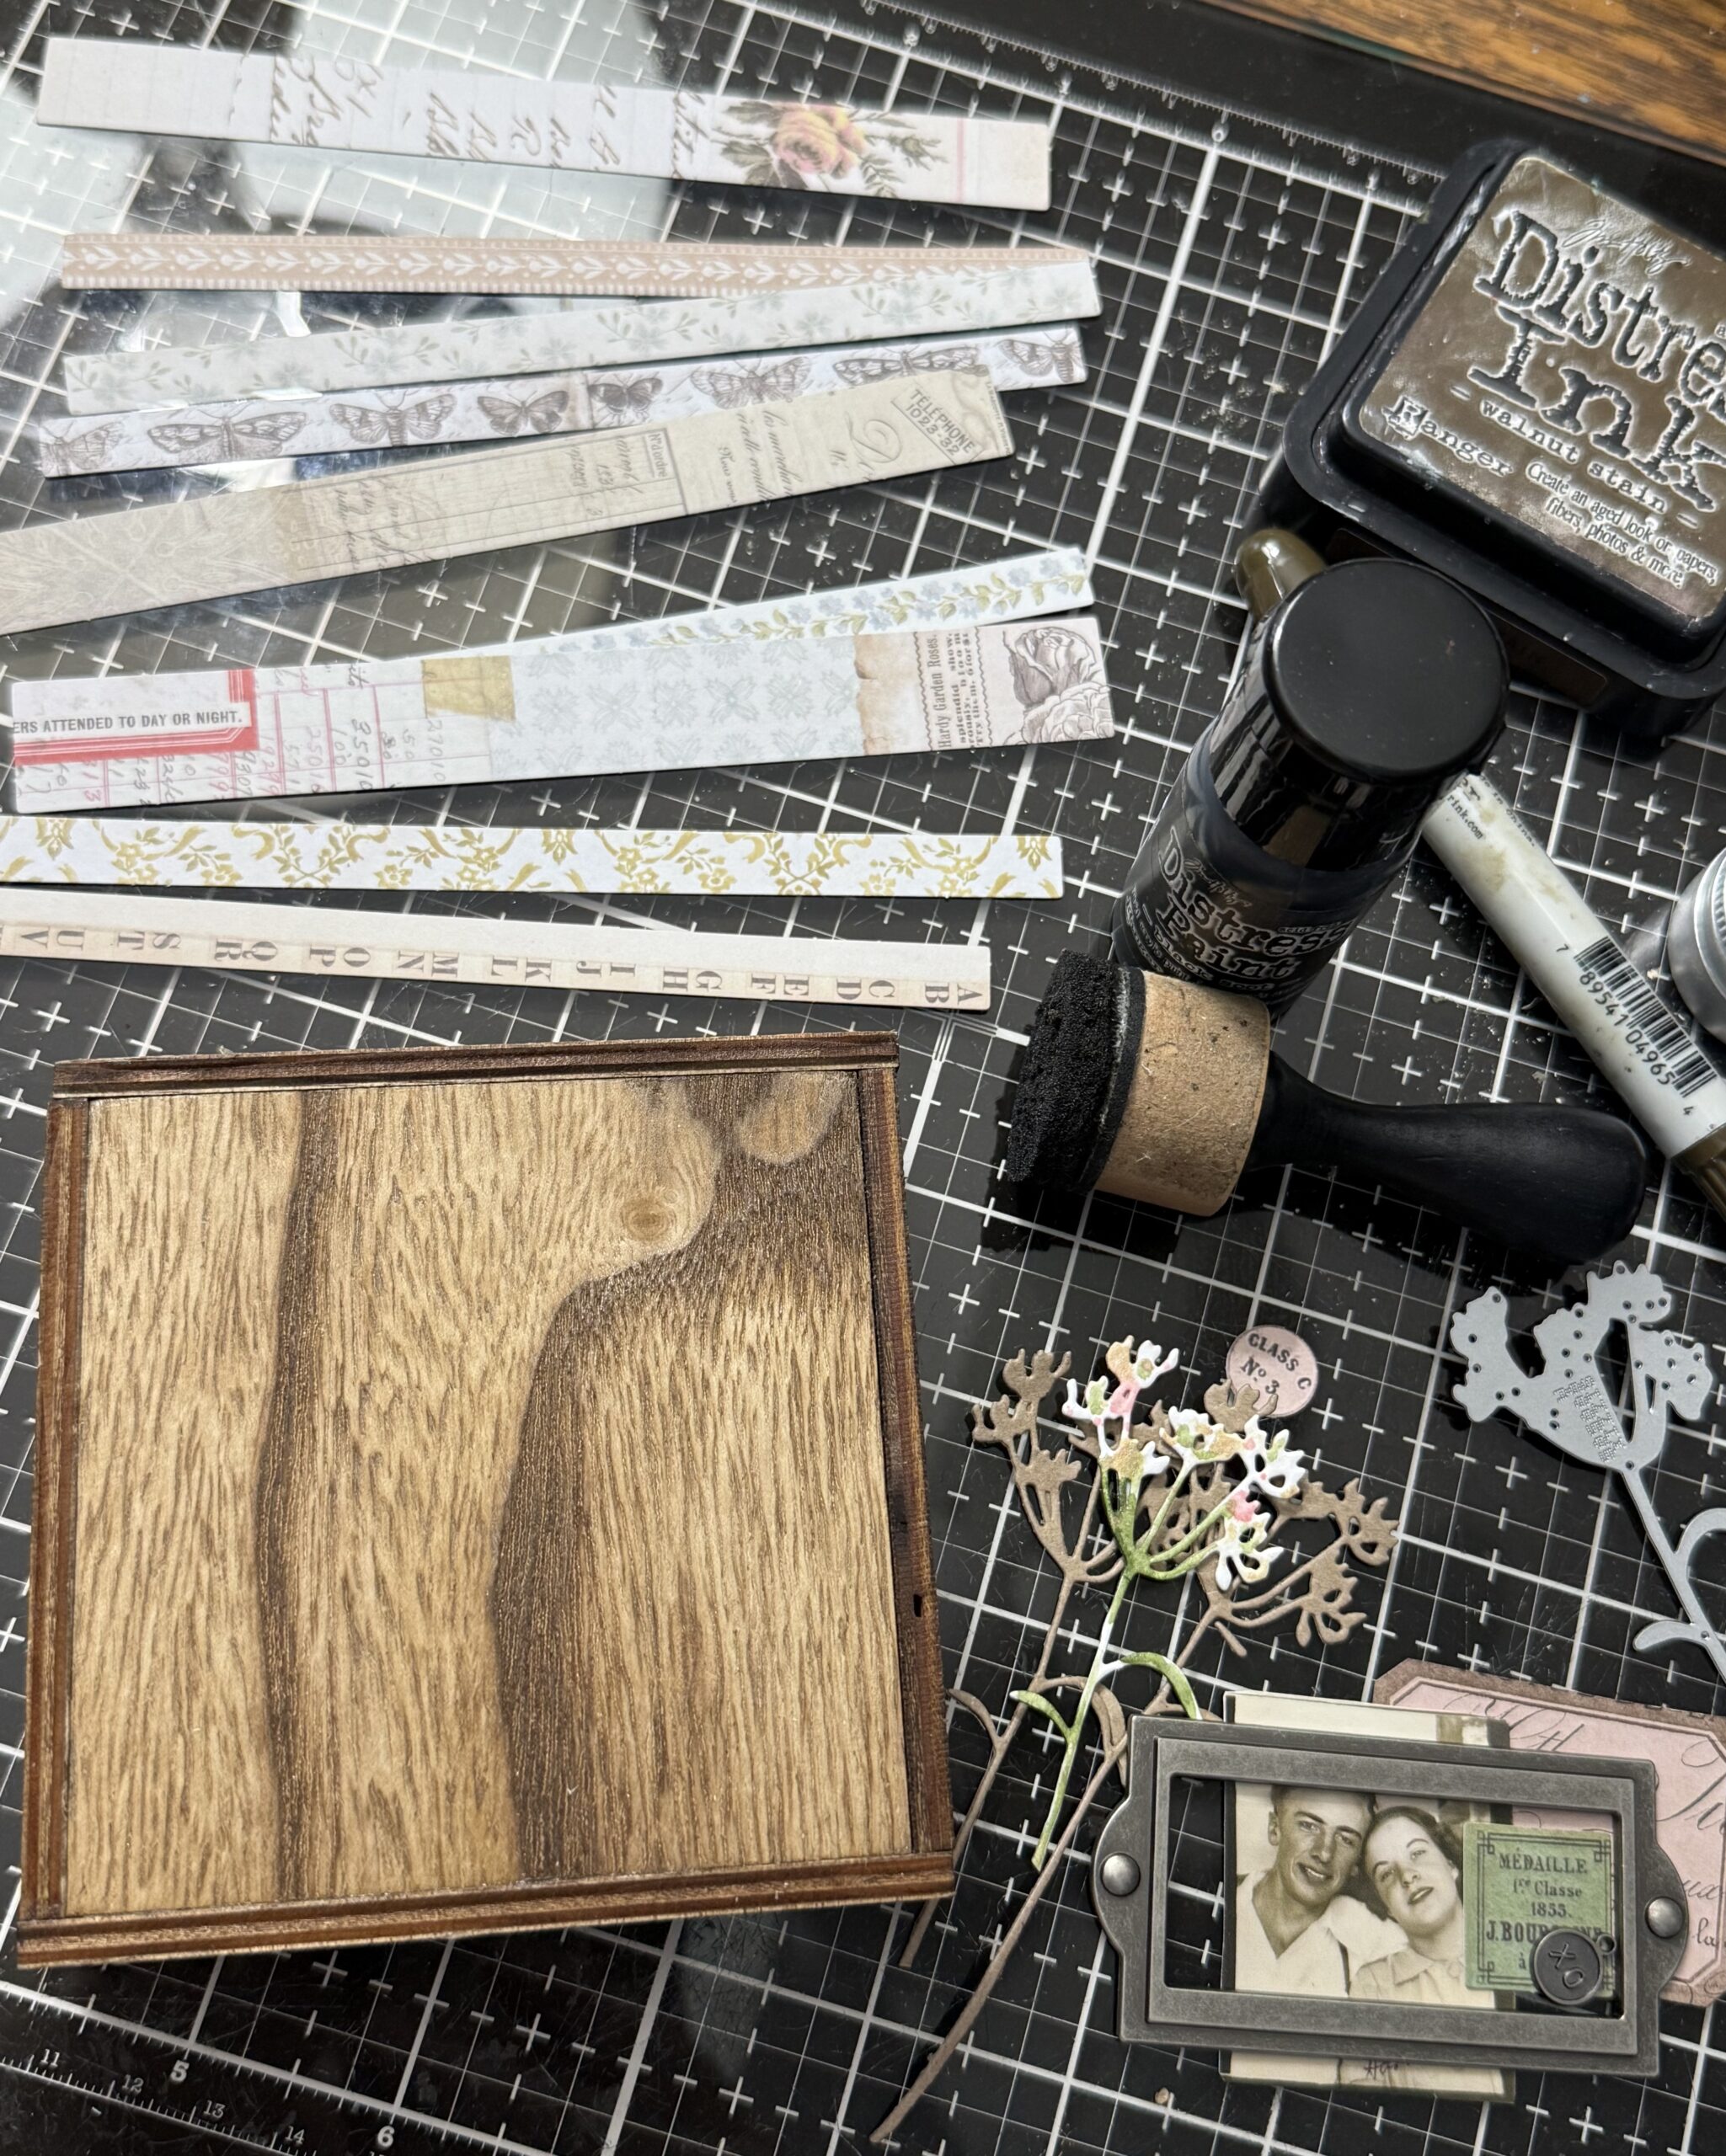
I did exactly the same process of painting the vignette square by using Black Soot Distress Paint, let it dry, sanded it and then began adding the paper strips.
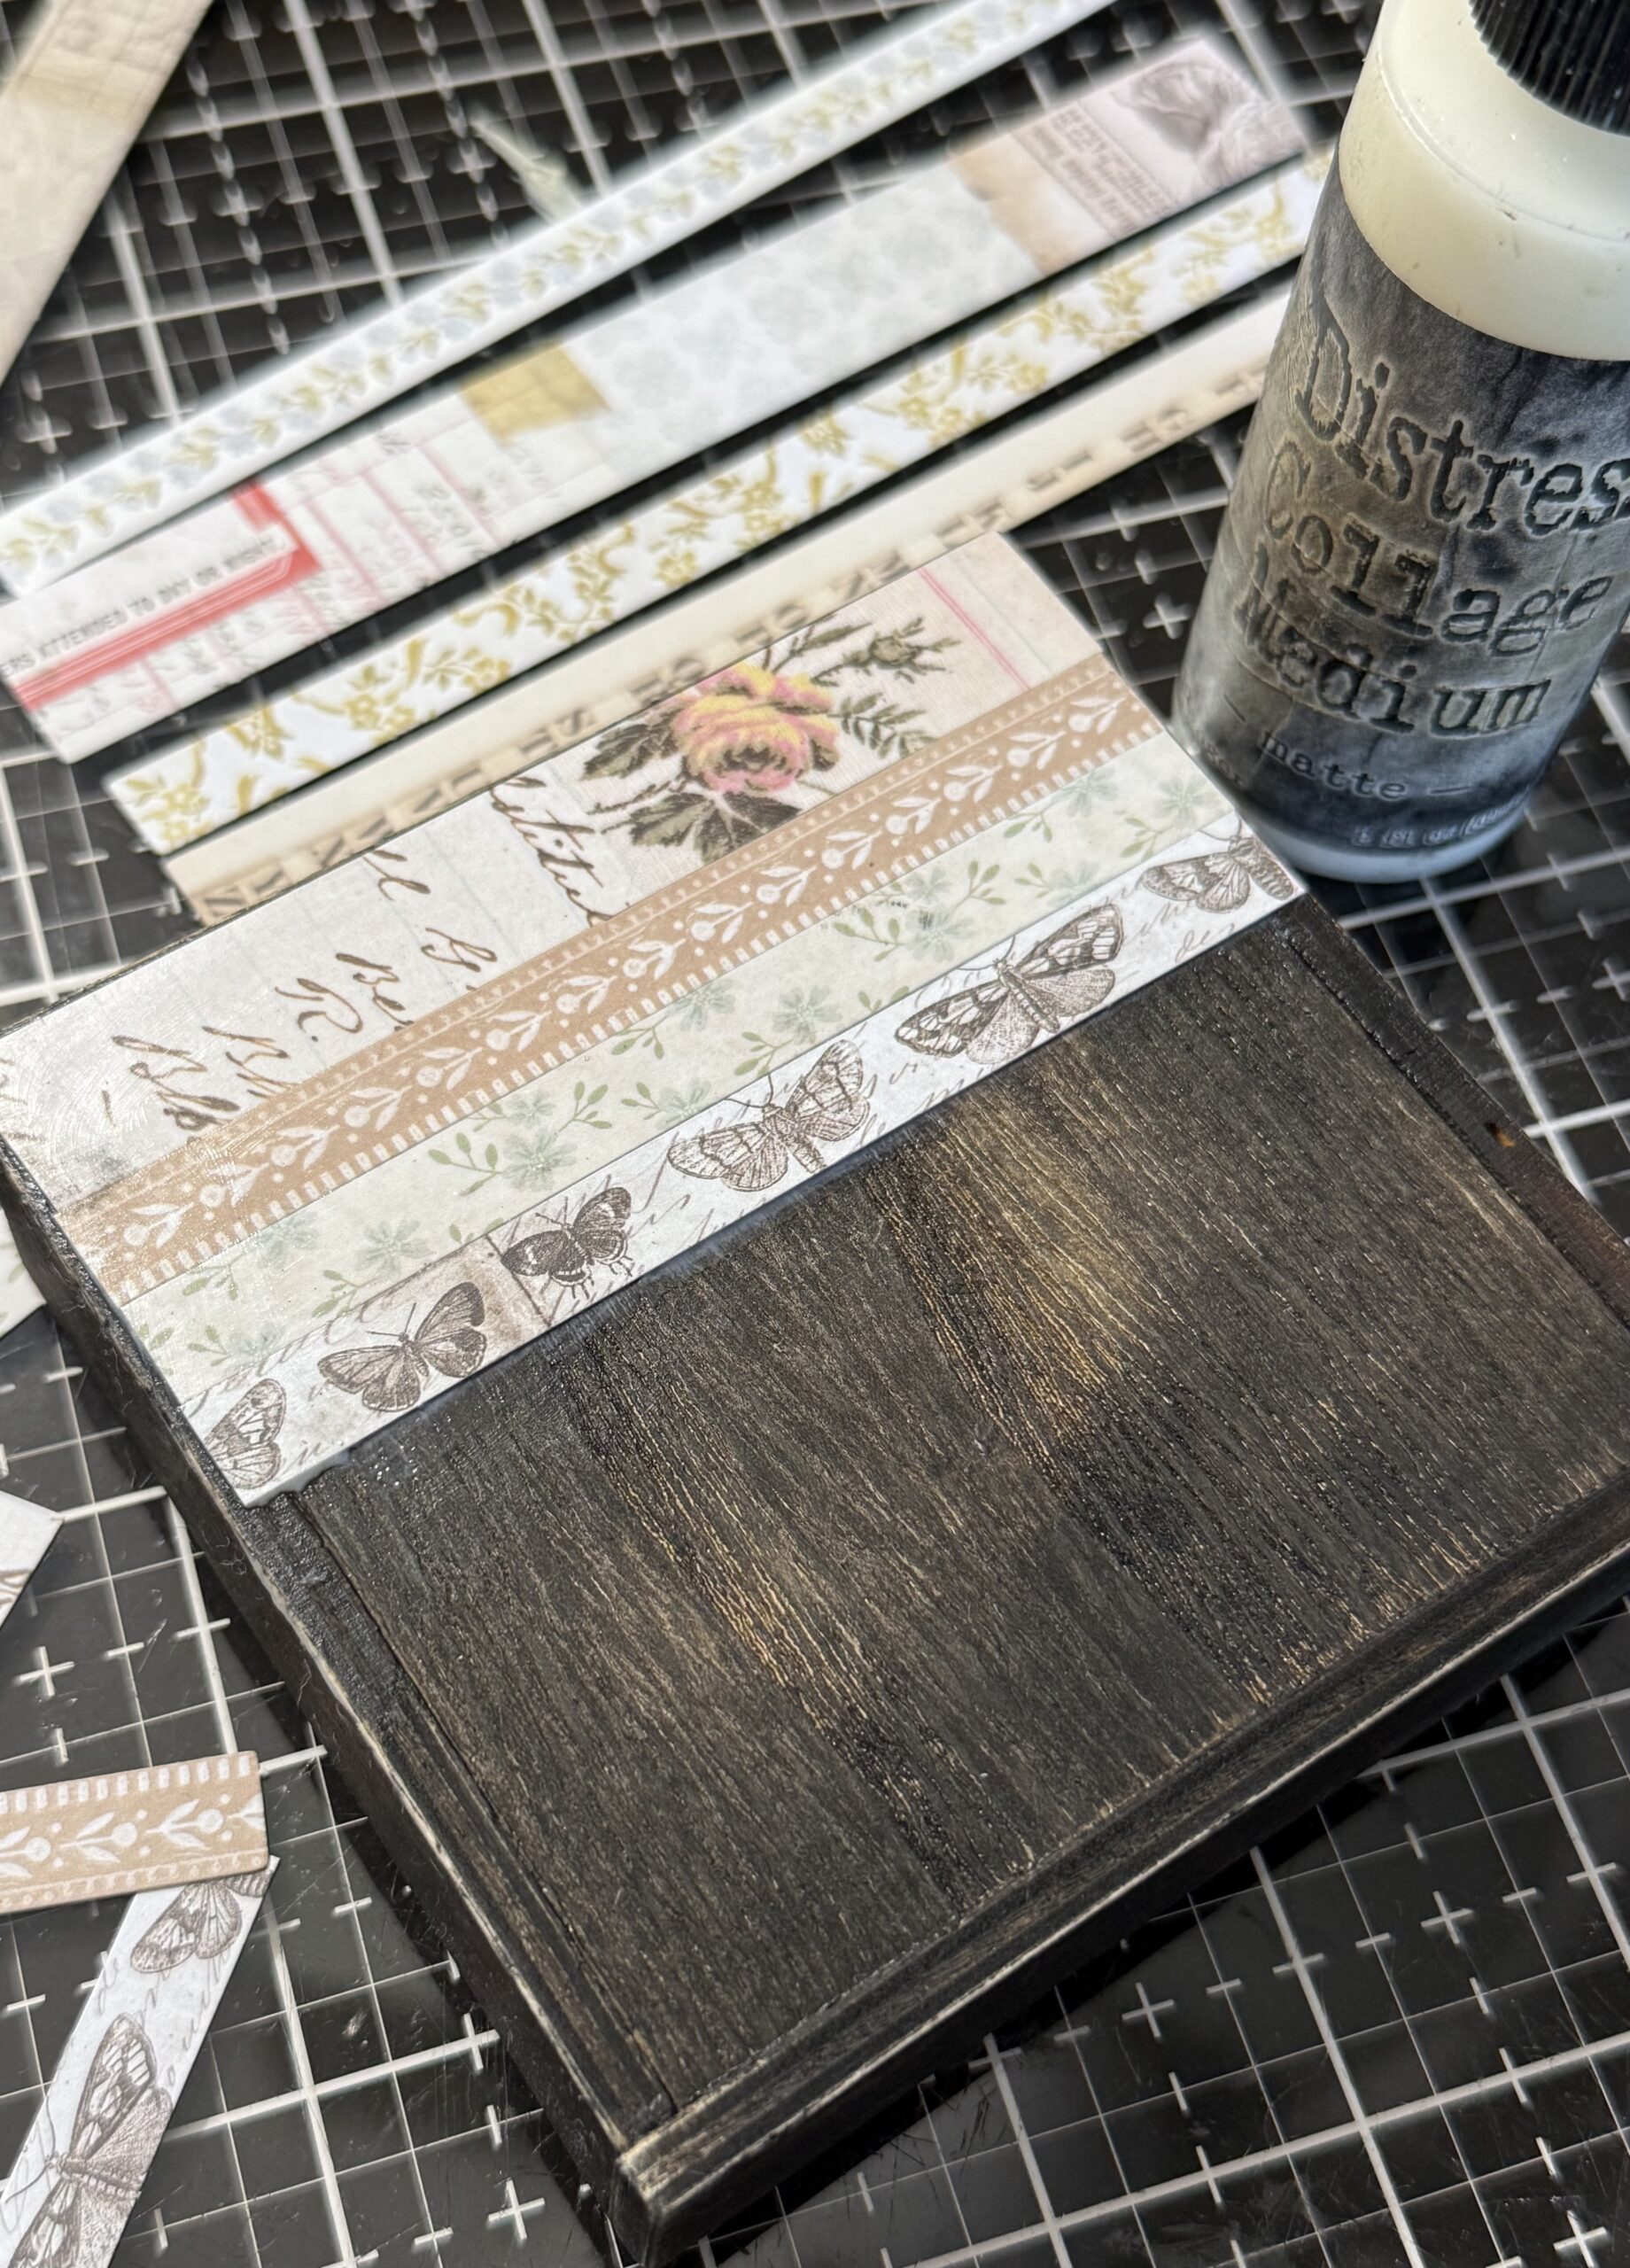
I rubbed the paper stripped background using Walnut Stain Distress Crayon and pounced off some of the crayon to give it the aged look.
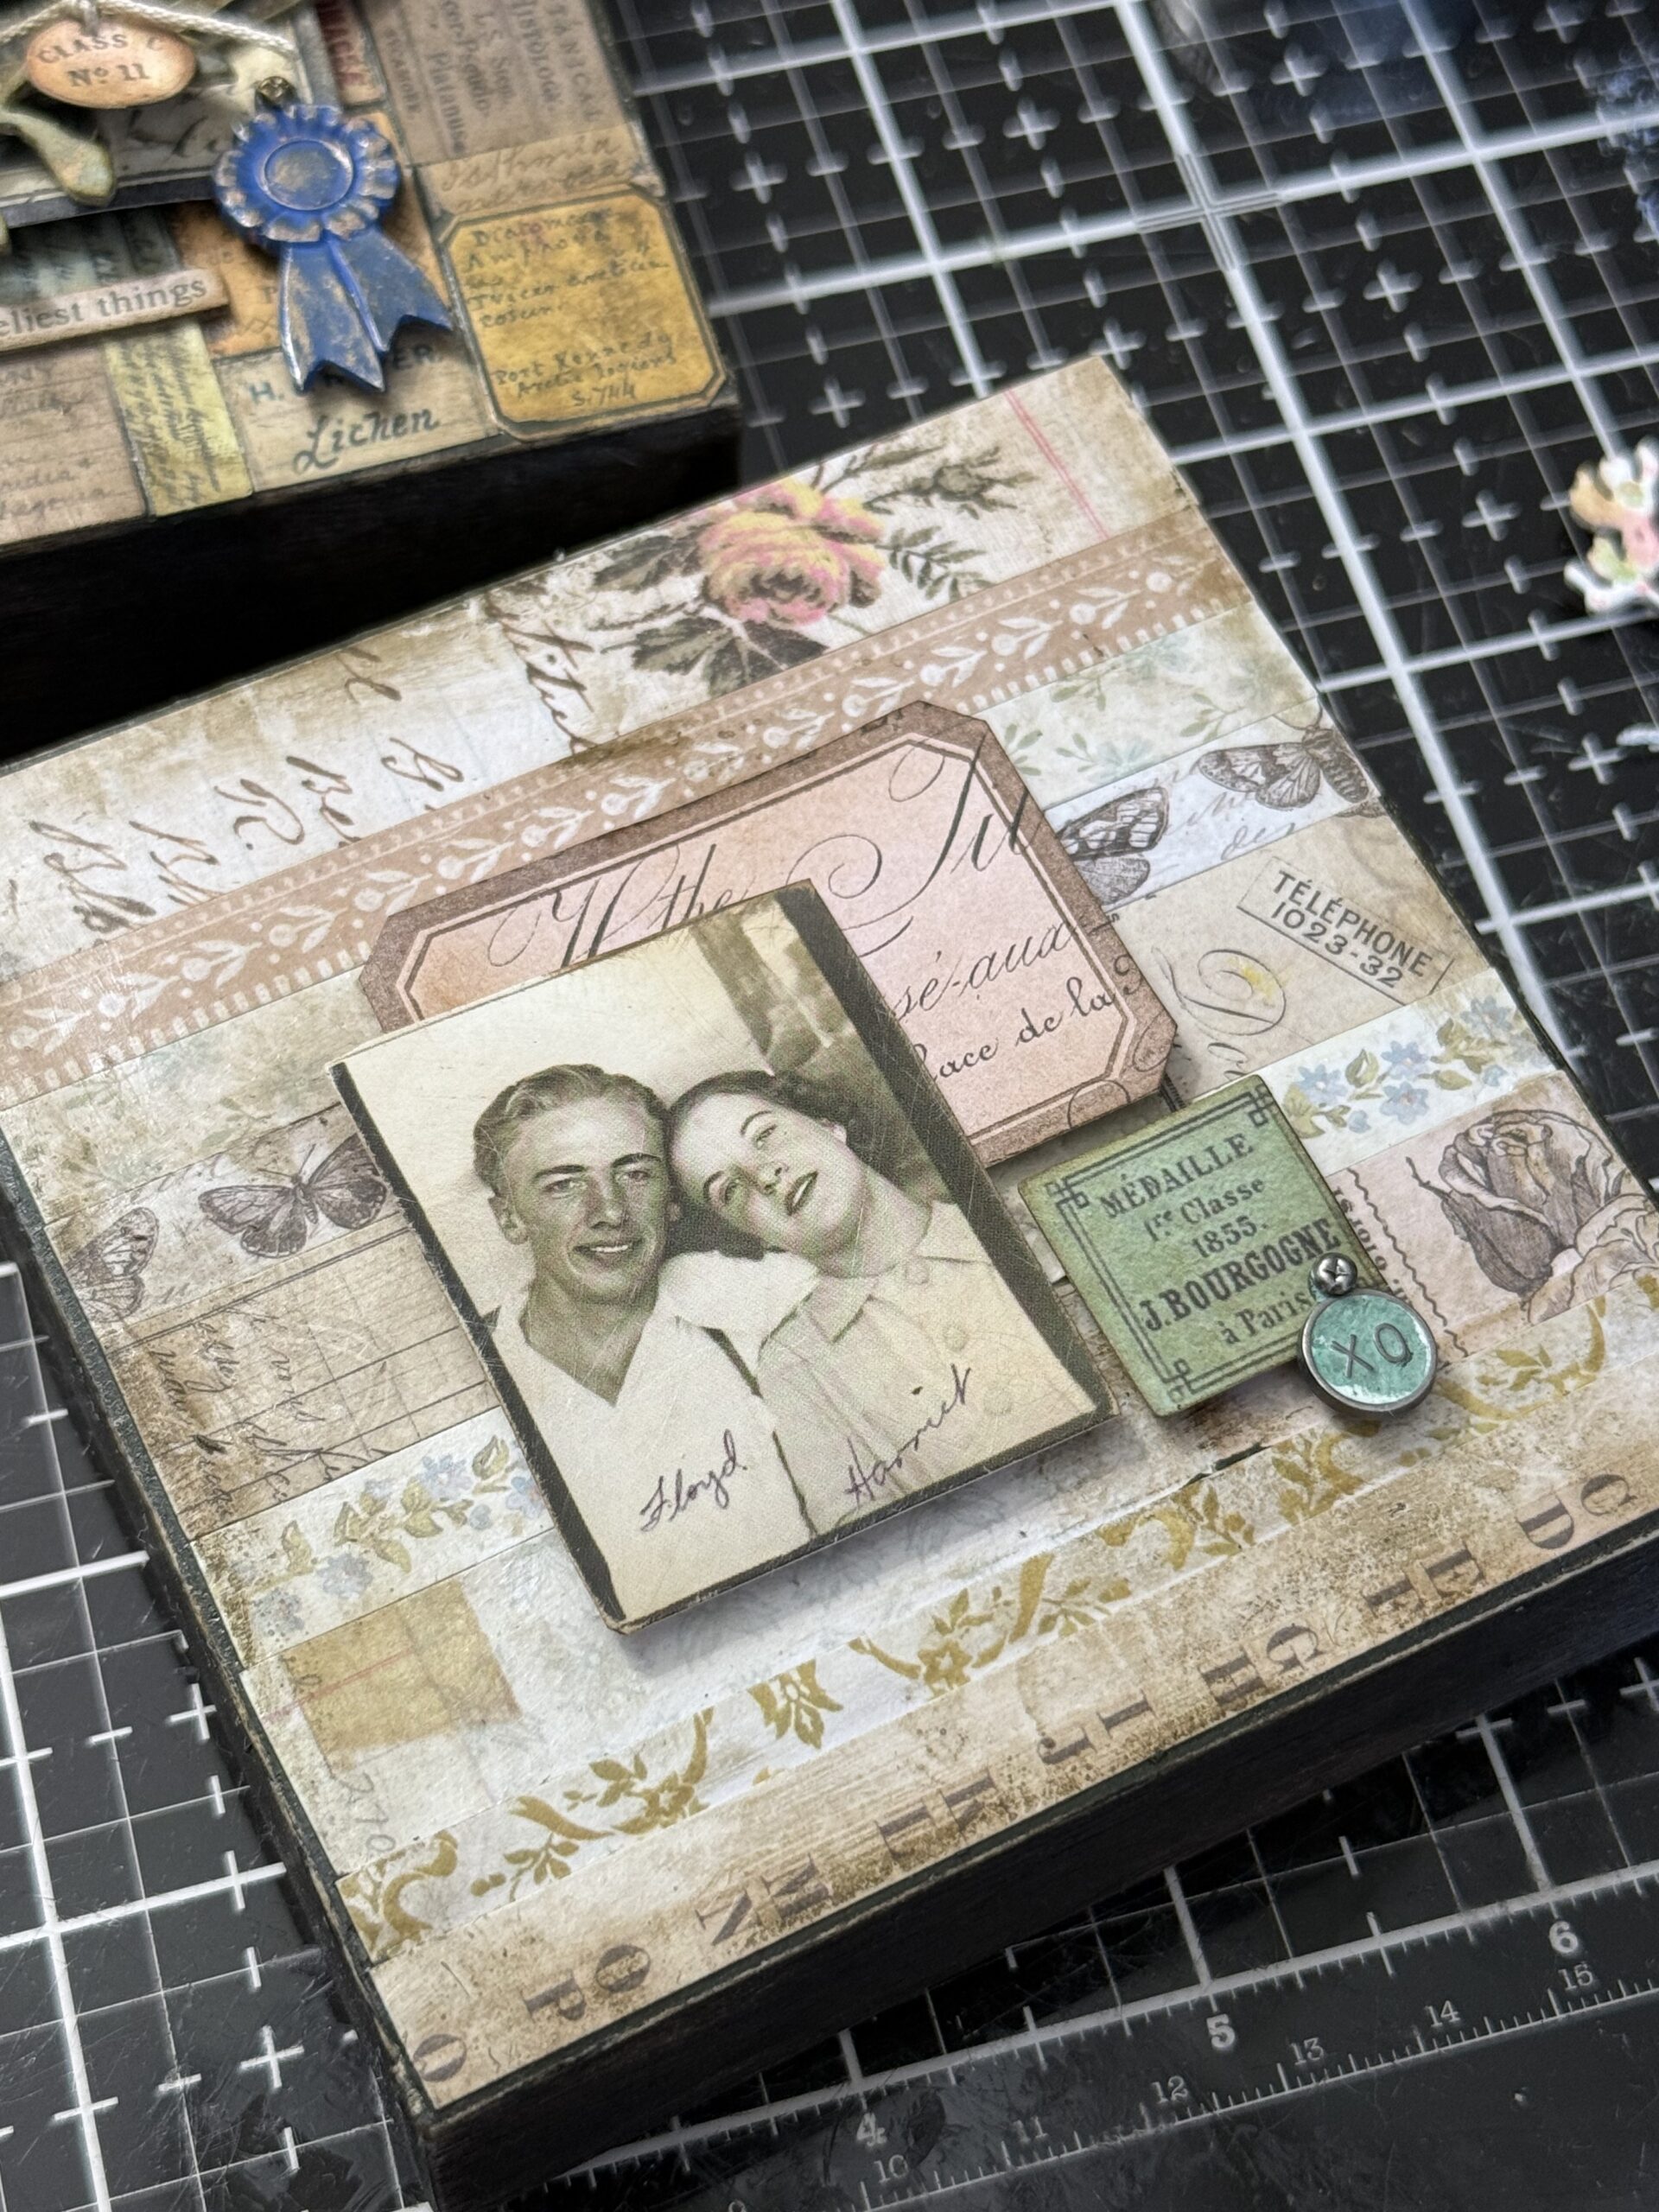
I arranged the front collage using all the elements then colored up the tiny word tag using Distress Crayons…you’ll see that here…simply smoosh some other the Distress Crayon into the tag and rub your finger over top to reveal the embossed colored in area. I used some Bundled Sage and Picket Fence Distress Crayon on this adornment tag, then attached it to the green label using an idea-ology Mini Fastener.
The flower below was cut using the Vault Wildflowers flower die set. I colored it using a variety of inks and tied a tiny Snippet tag to the front using some string.
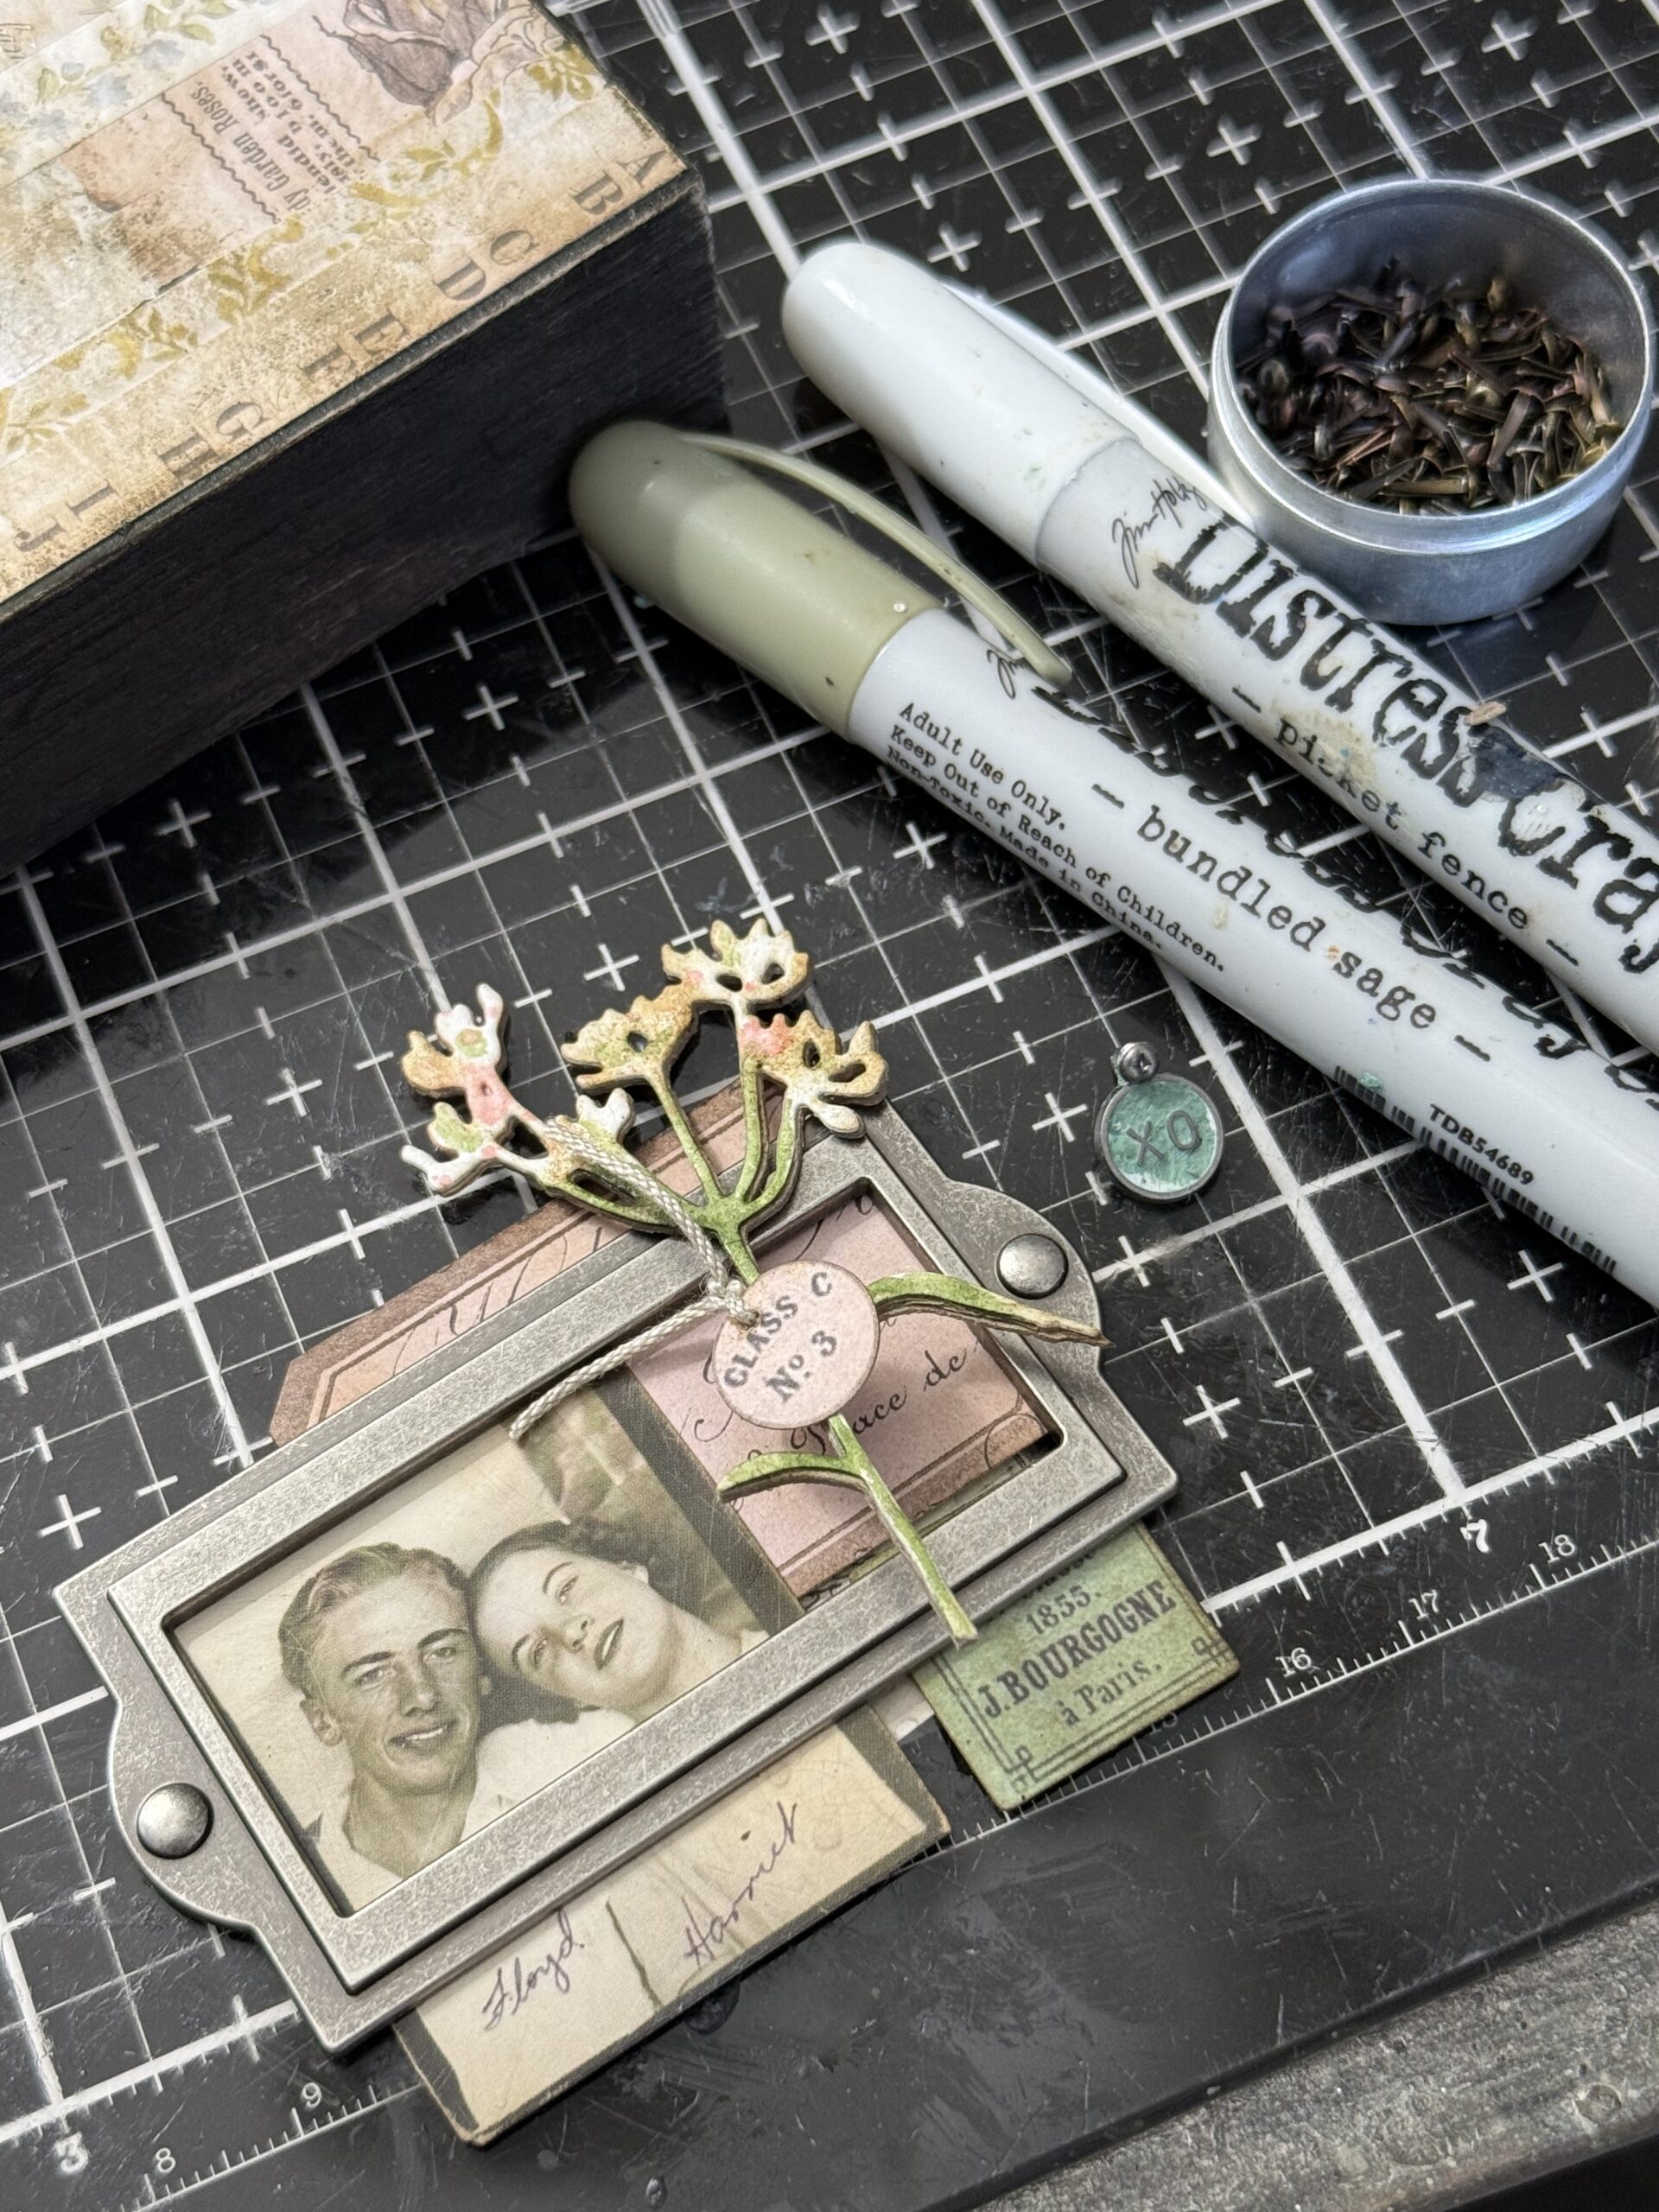
All the collage elements were added to the front and adhered using foam squares and collage medium. I found the cute phrase “this heart of mine” in the Clipping Stickers and added it the the front. With that, both of my memory boxes were complete!
Thanks so much for stopping by today, I hope you enjoyed the process and I hope you try your hand at it!
Creatively yours, Stacy
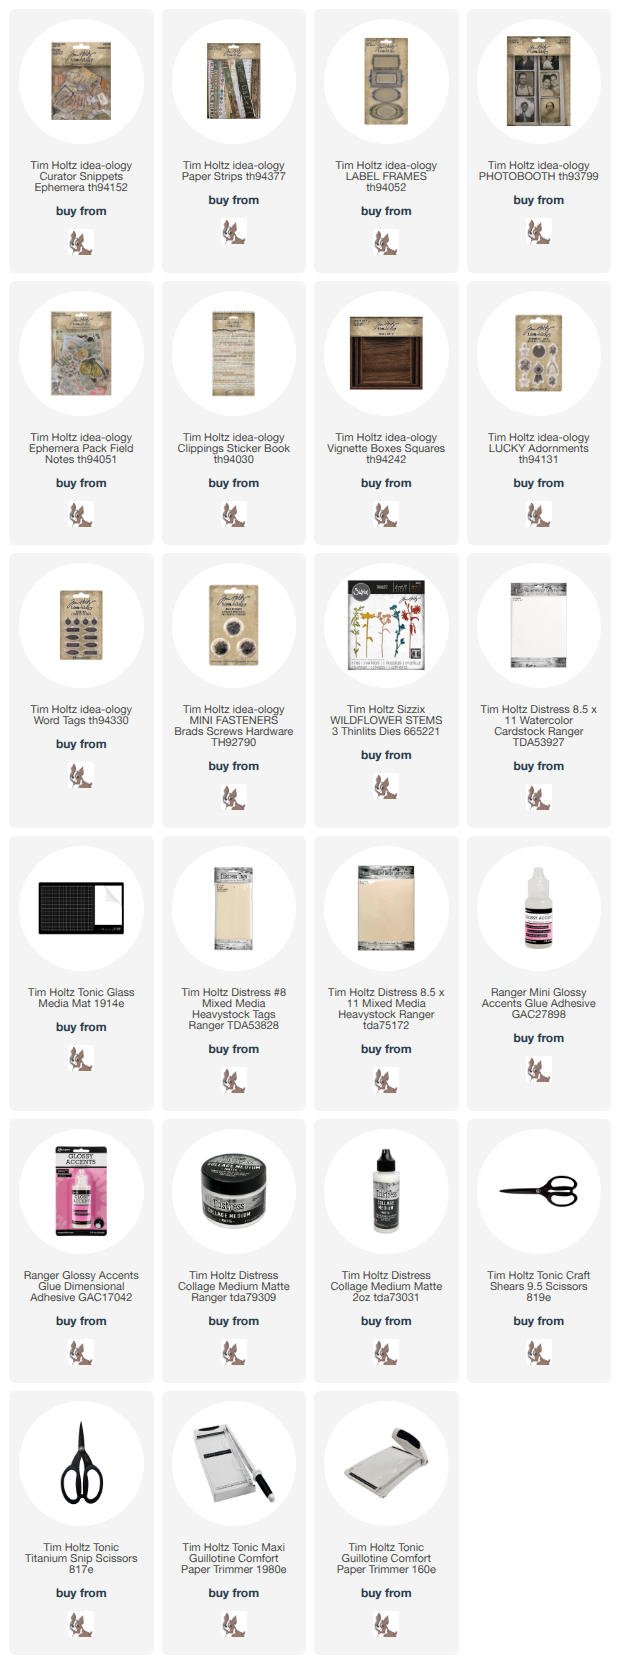
Shop Simon Says Stamp by clicking on this link. Thank you! I appreciate you for supporting me.
What is an affiliate program, and why should I click on the link and buy through you?
When you shop via the affiliate link on this blog, I receive a small commission from the affiliate provider (Simon Says Stamp) at no extra cost to you, whatsoever. These commissions help me to cover the hosting fees and other costs to run my blog and be able to provide you with FREE inspiration. If you shop the links, THANK YOU! I truly appreciate being able to share my love of creating with you.










All my favorite things rolled into one type of project. Can’t wait to give it a go. Thanks for sharing and walking us through another beautiful project.