Hello friends… Hope you are well and having a good day! Today I am back to share a very pretty embossing Folder that I recently discovered on Simon Says Stamp. Did you know that they have their own branded embossing folders that work in Sizzix Machines, or you favorite die-cutting machine?
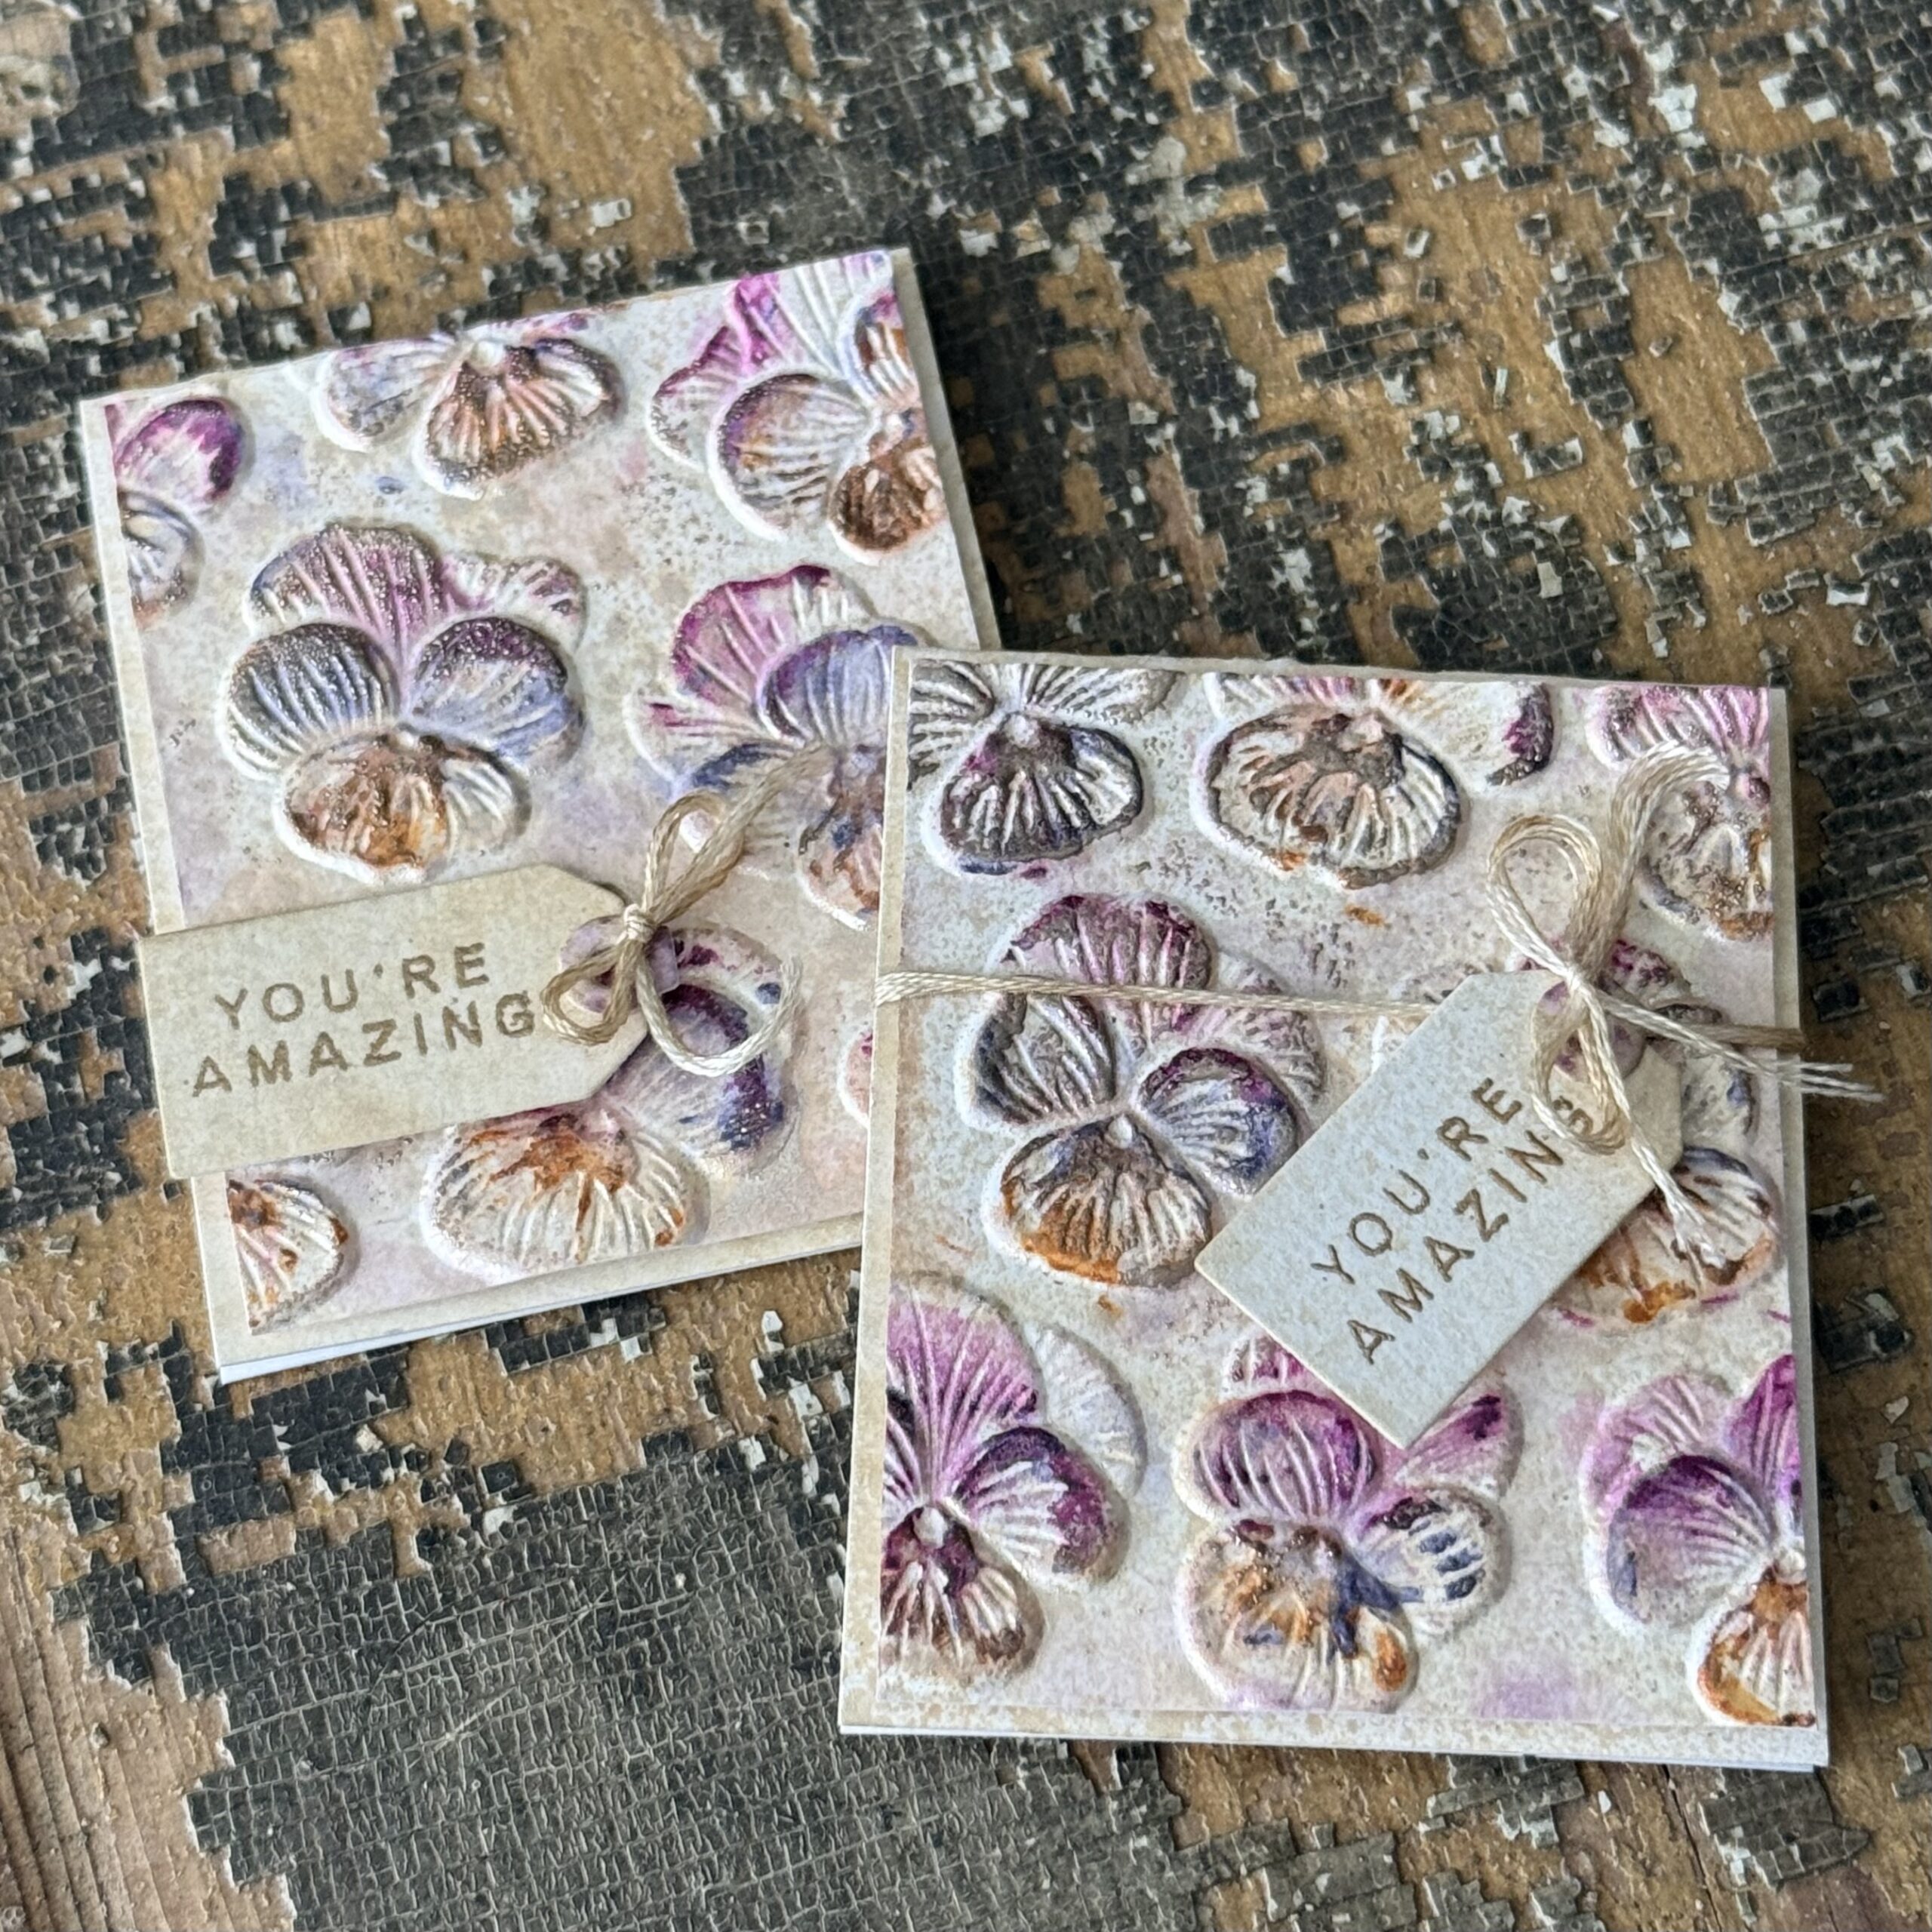
Well, I am here to tell you they do and man, they are WONDERFUL! Here’s a look at a card and a set of mini cards/gift enclosures that I made. Perfectly pansy in every way!
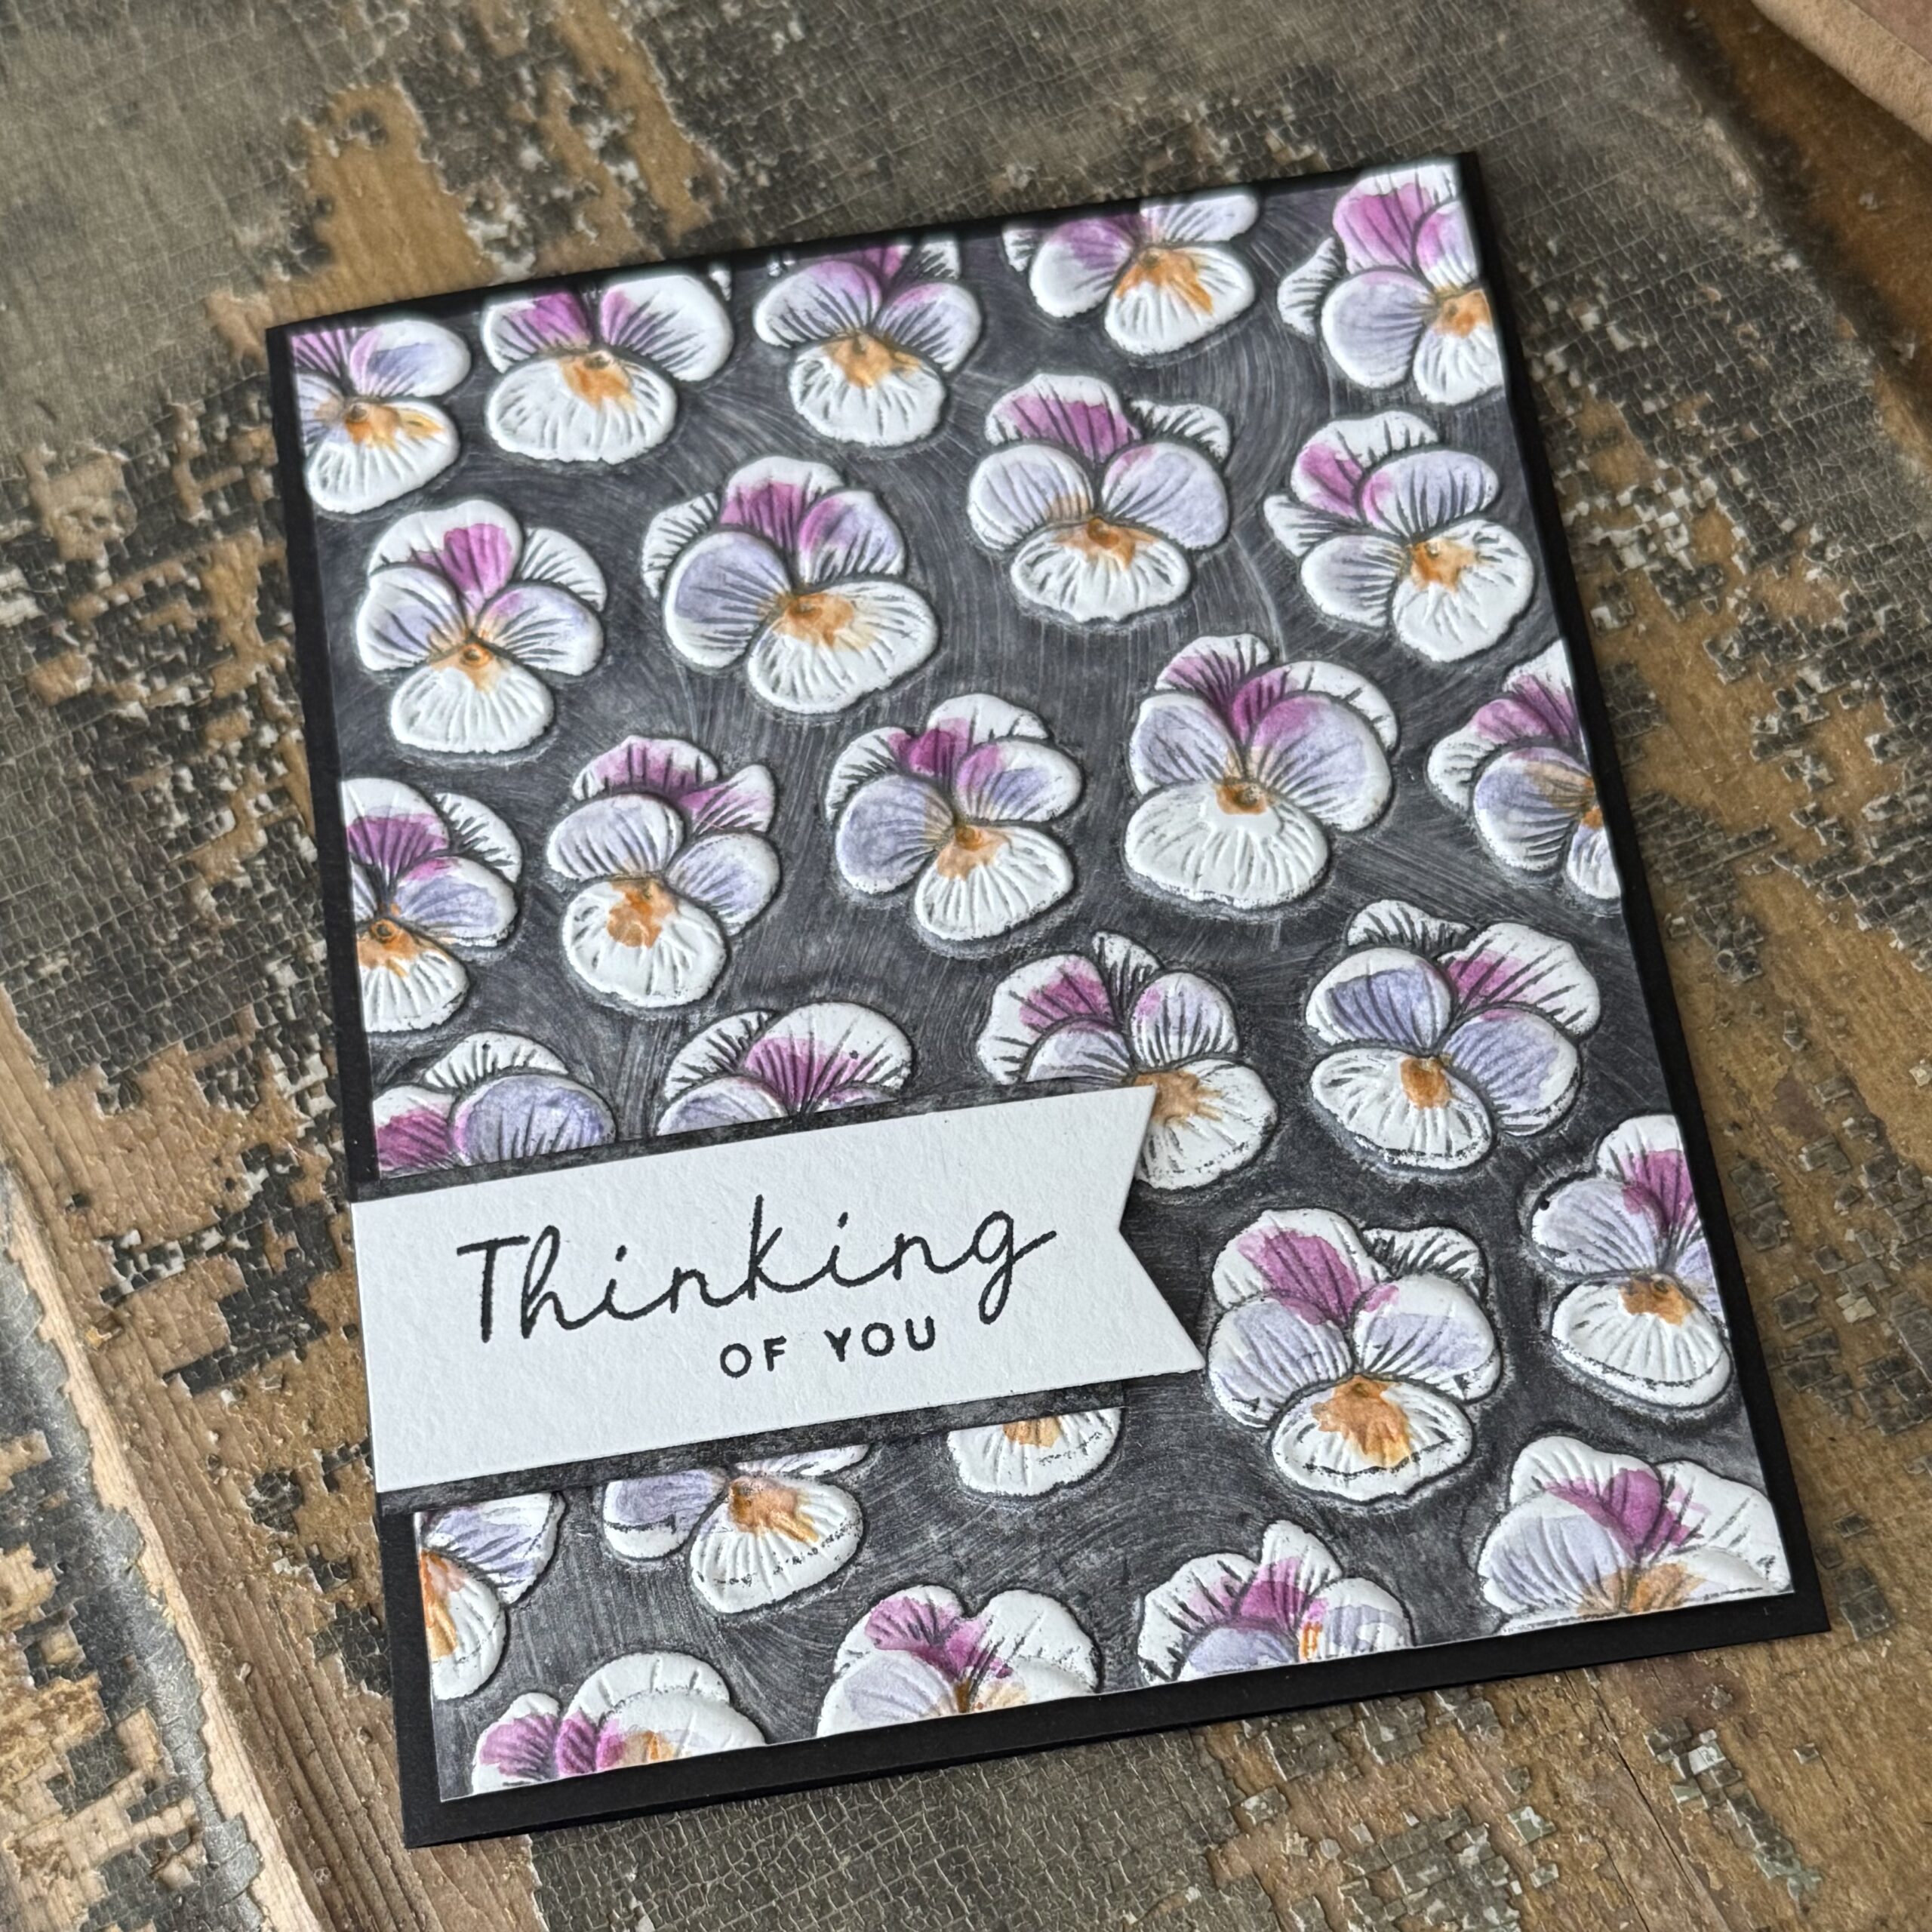
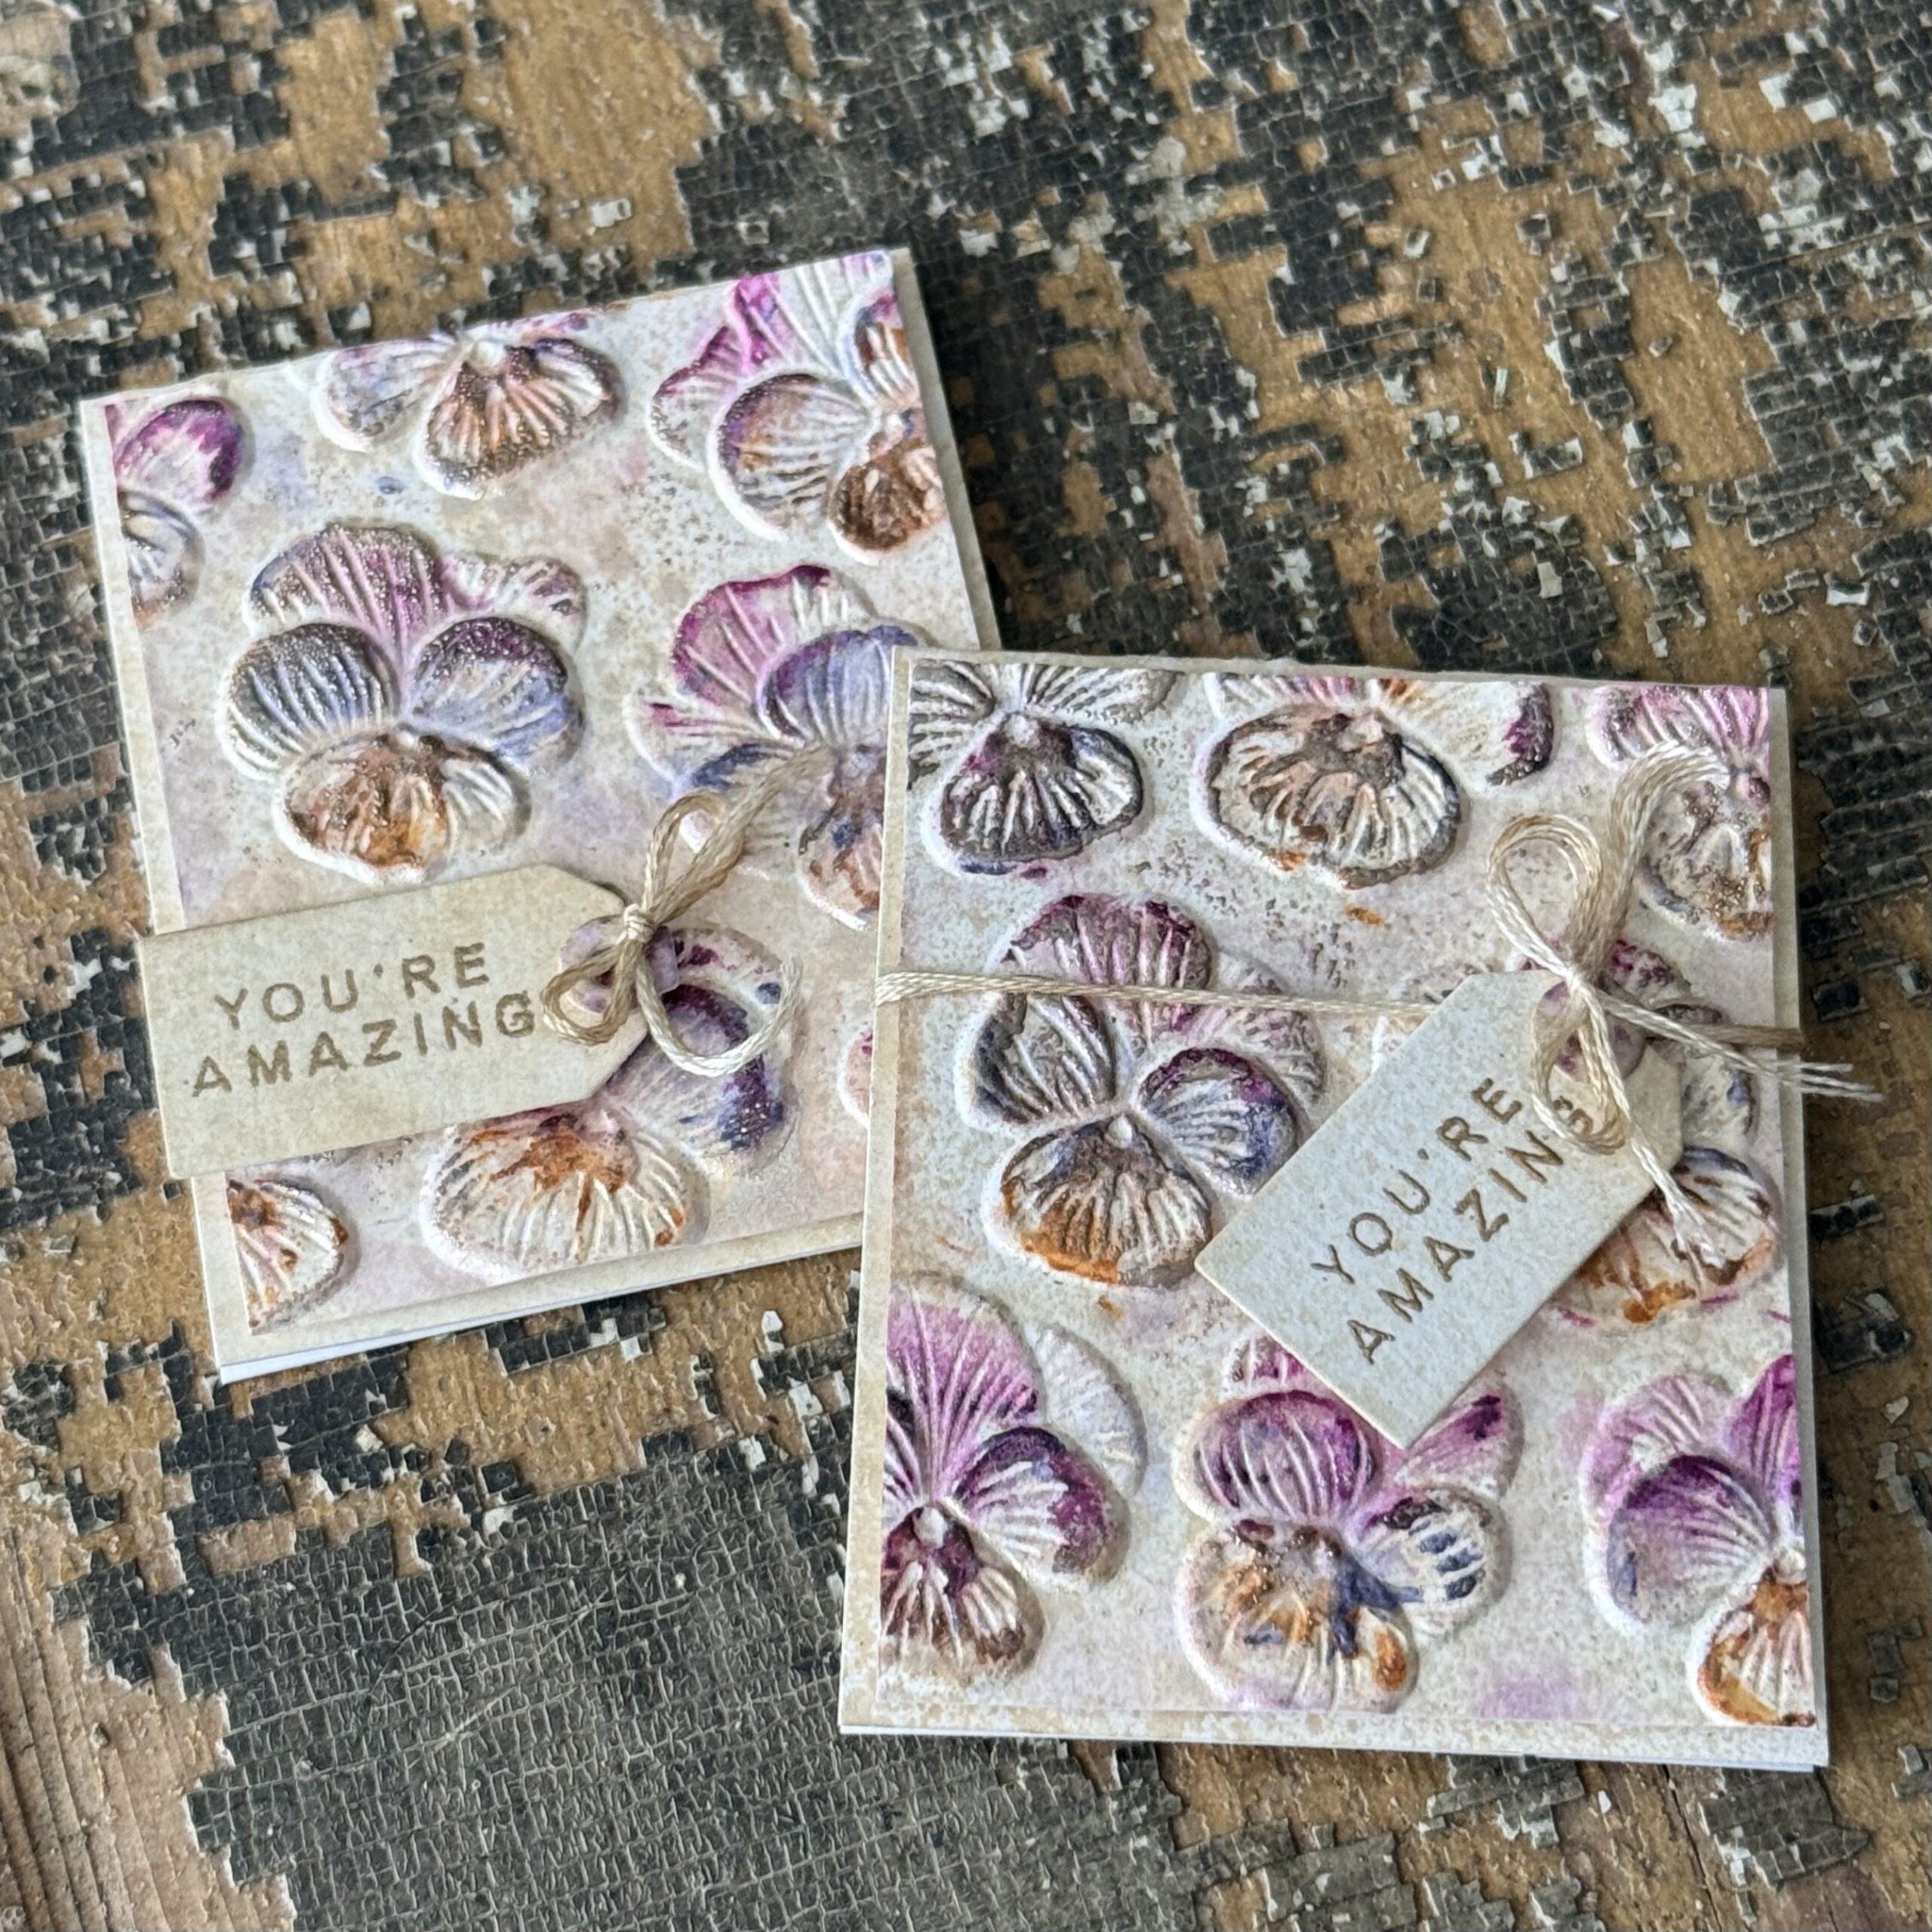
In fact, this die in particular does a deep embossing giving closer to a 3D effect..it is gorgeous! I just can’t get enough of it and today I am going to give you a little peek at how it works.
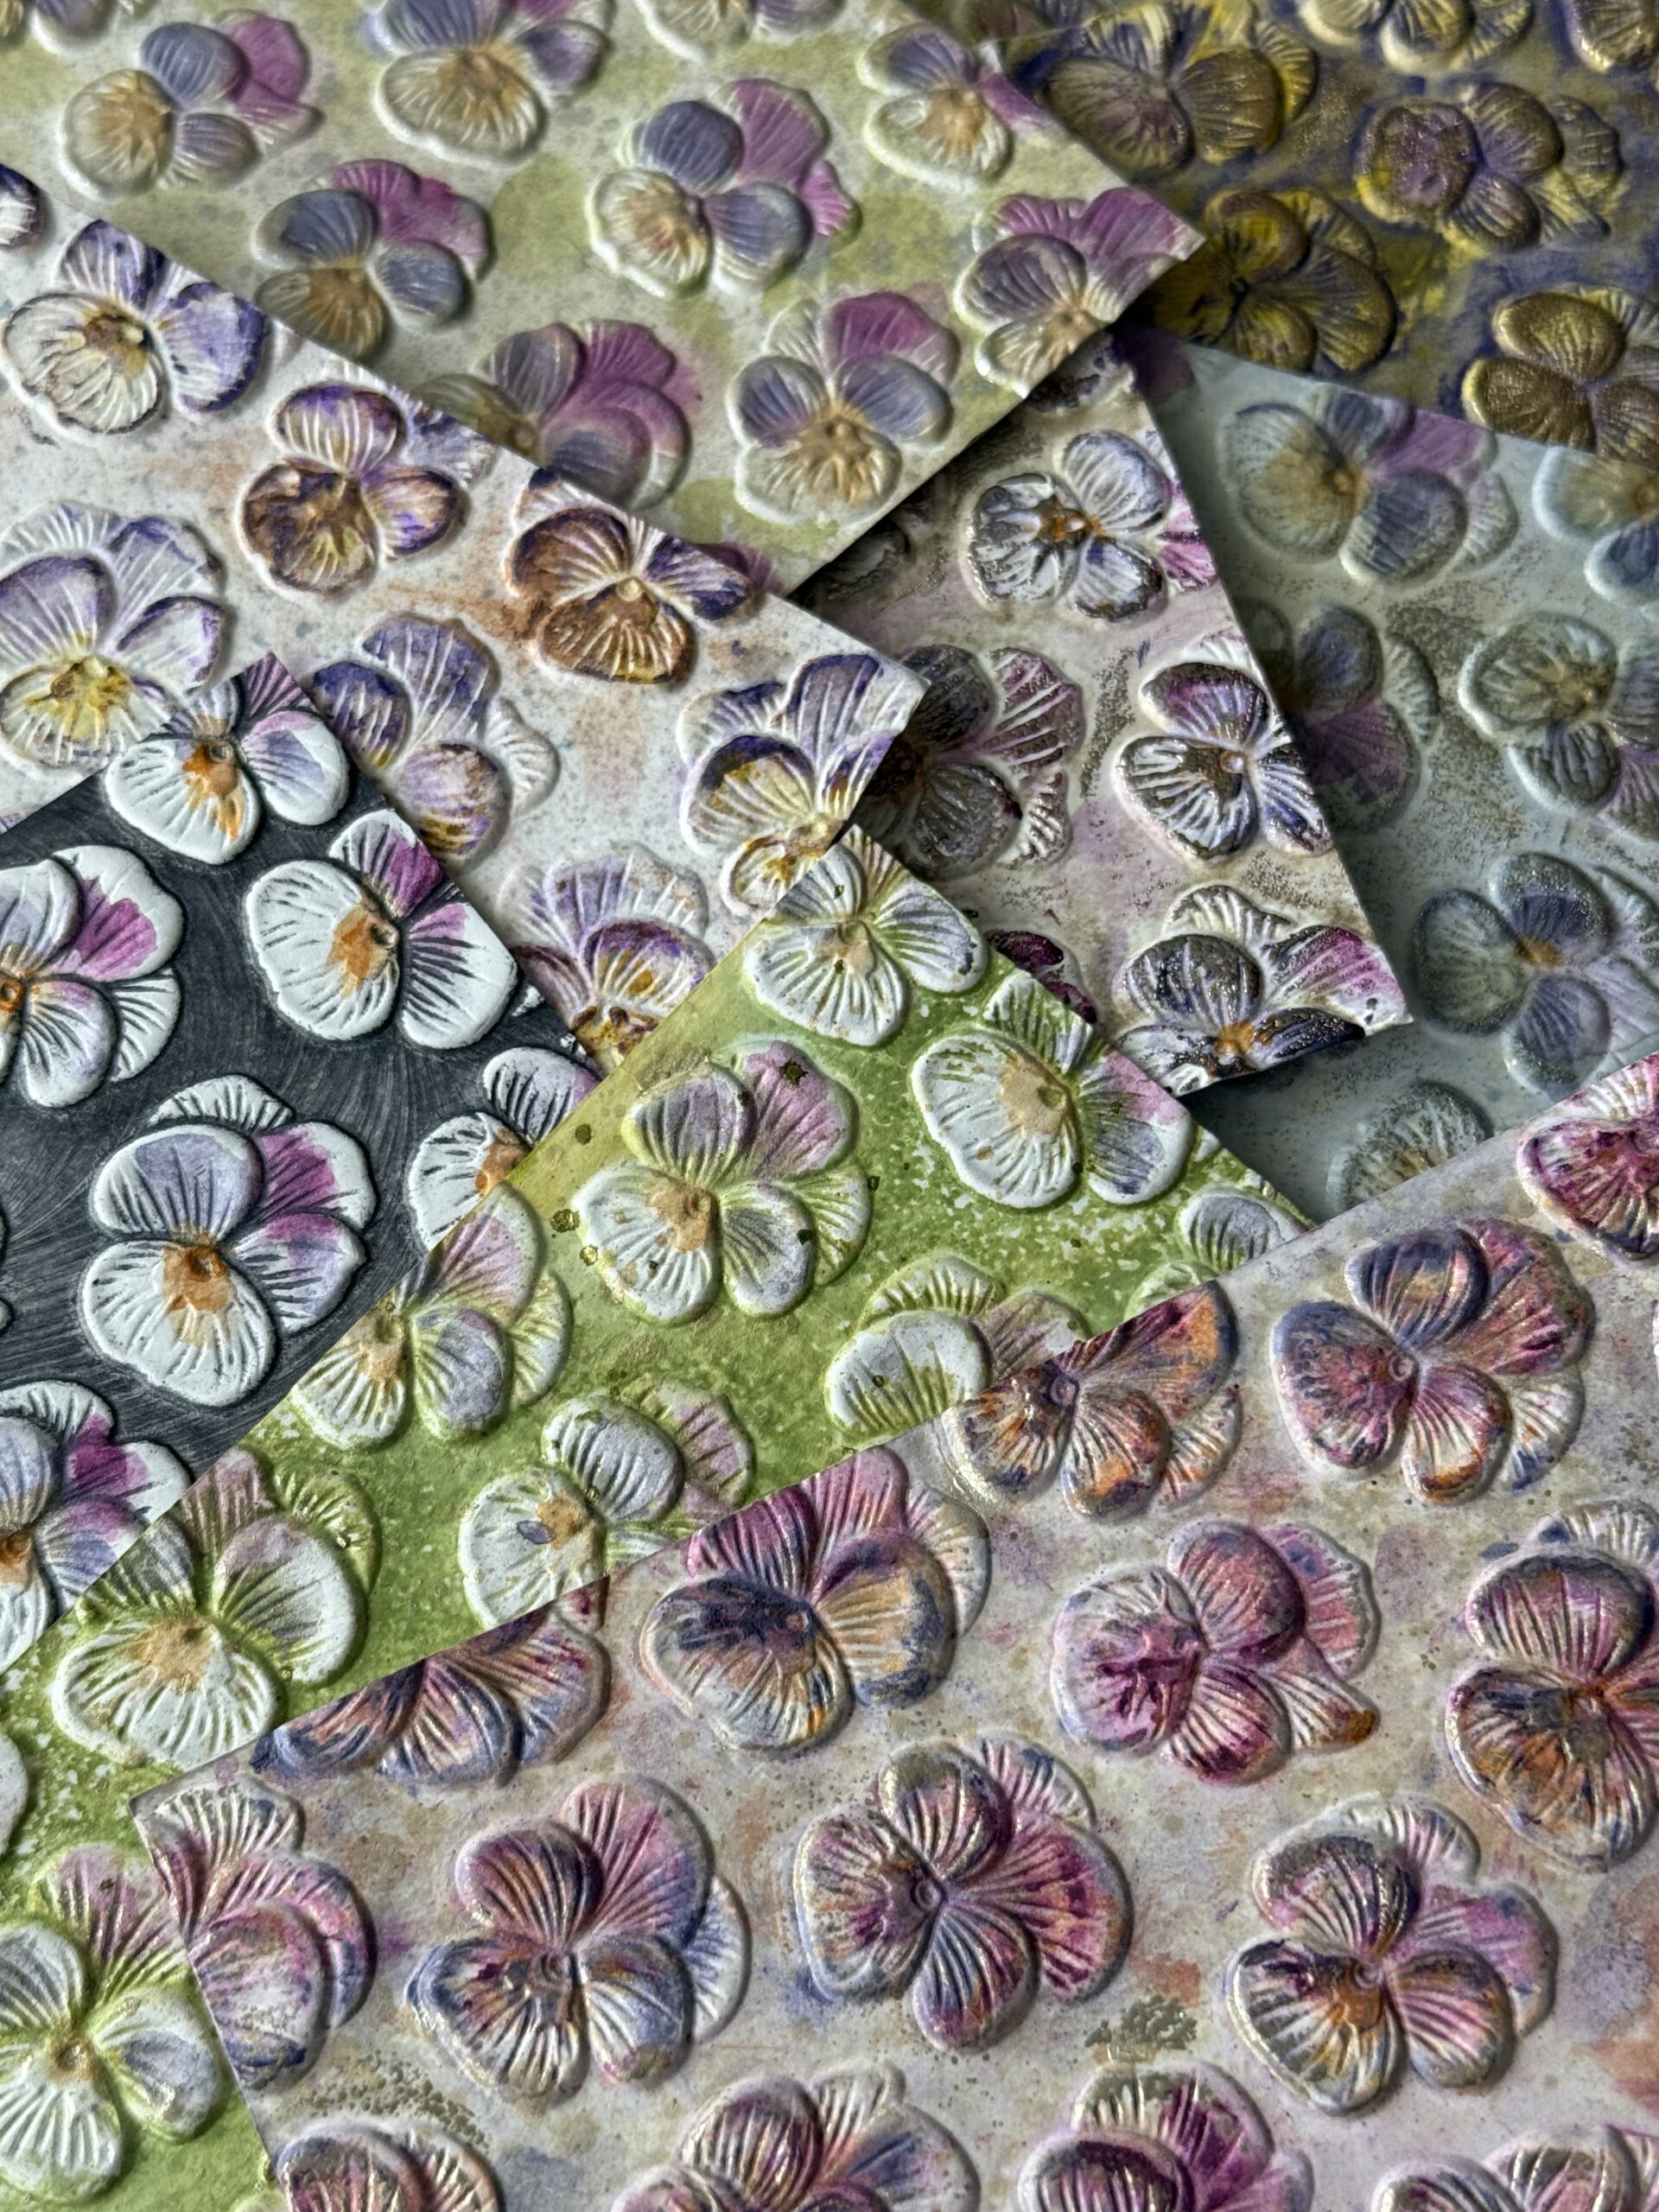
Here is the stack of backgrounds that I made with this one embossing folder, see, I told you I couldn’t get enough…I made 10 different color backgrounds using it and used Distress Watercolor Pencils, Distress Inks, Oxide Inks, Archival Ink, Spray Stains, Mica Spray…all of it! Making it so that any of these or other mediums that you have are sure to create a beautiful look!
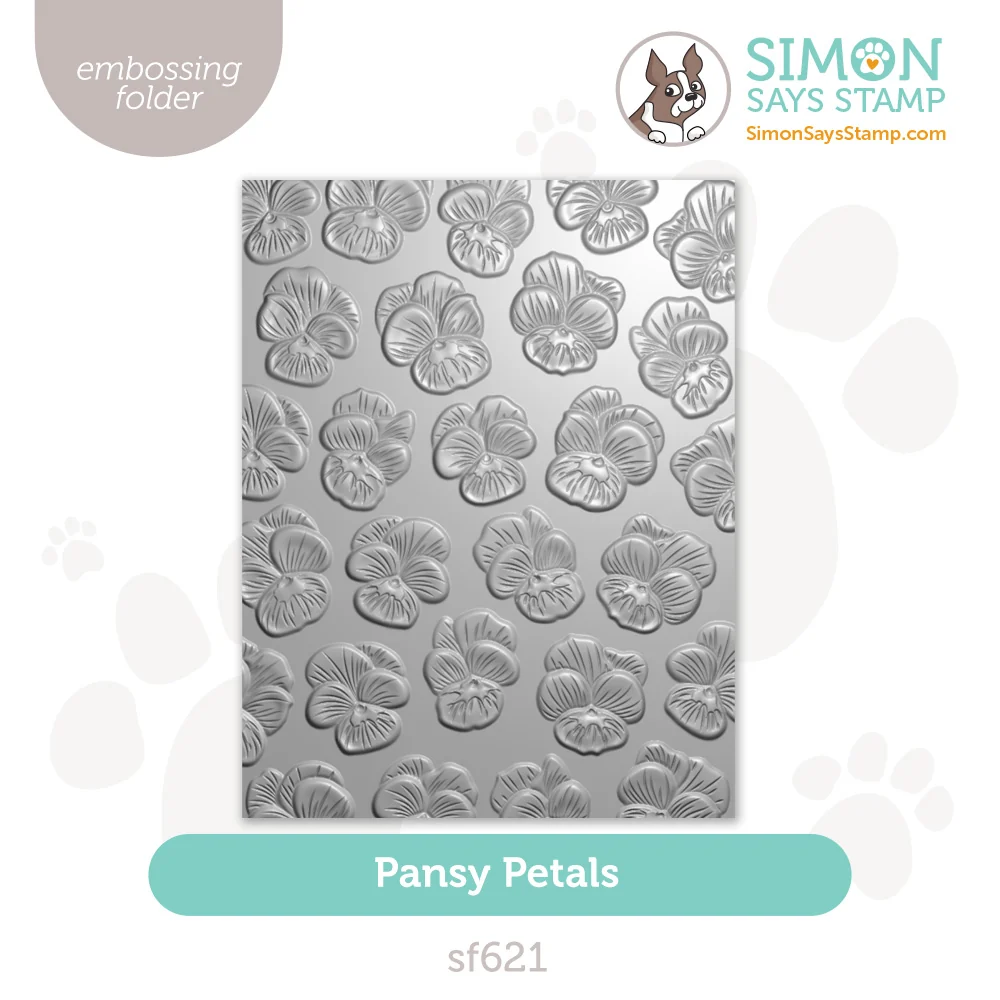
And here is the folder…super intricate with all those wonderful lines and texture on the petals making them truly look like pansies!
Want to come along and check it out? OK! Let’s get to it!
I made the first background using Black Soot Archival Ink that I smooshed directly on the inside of the folder on the de-bossed side. You can see on the embossed paper below that I smooshed the ink in all directions and gave that background a brushstroke effect, then I dried the ink using my heat tool. I used Distress Watercolor Paper (smooth side) for the background paper.
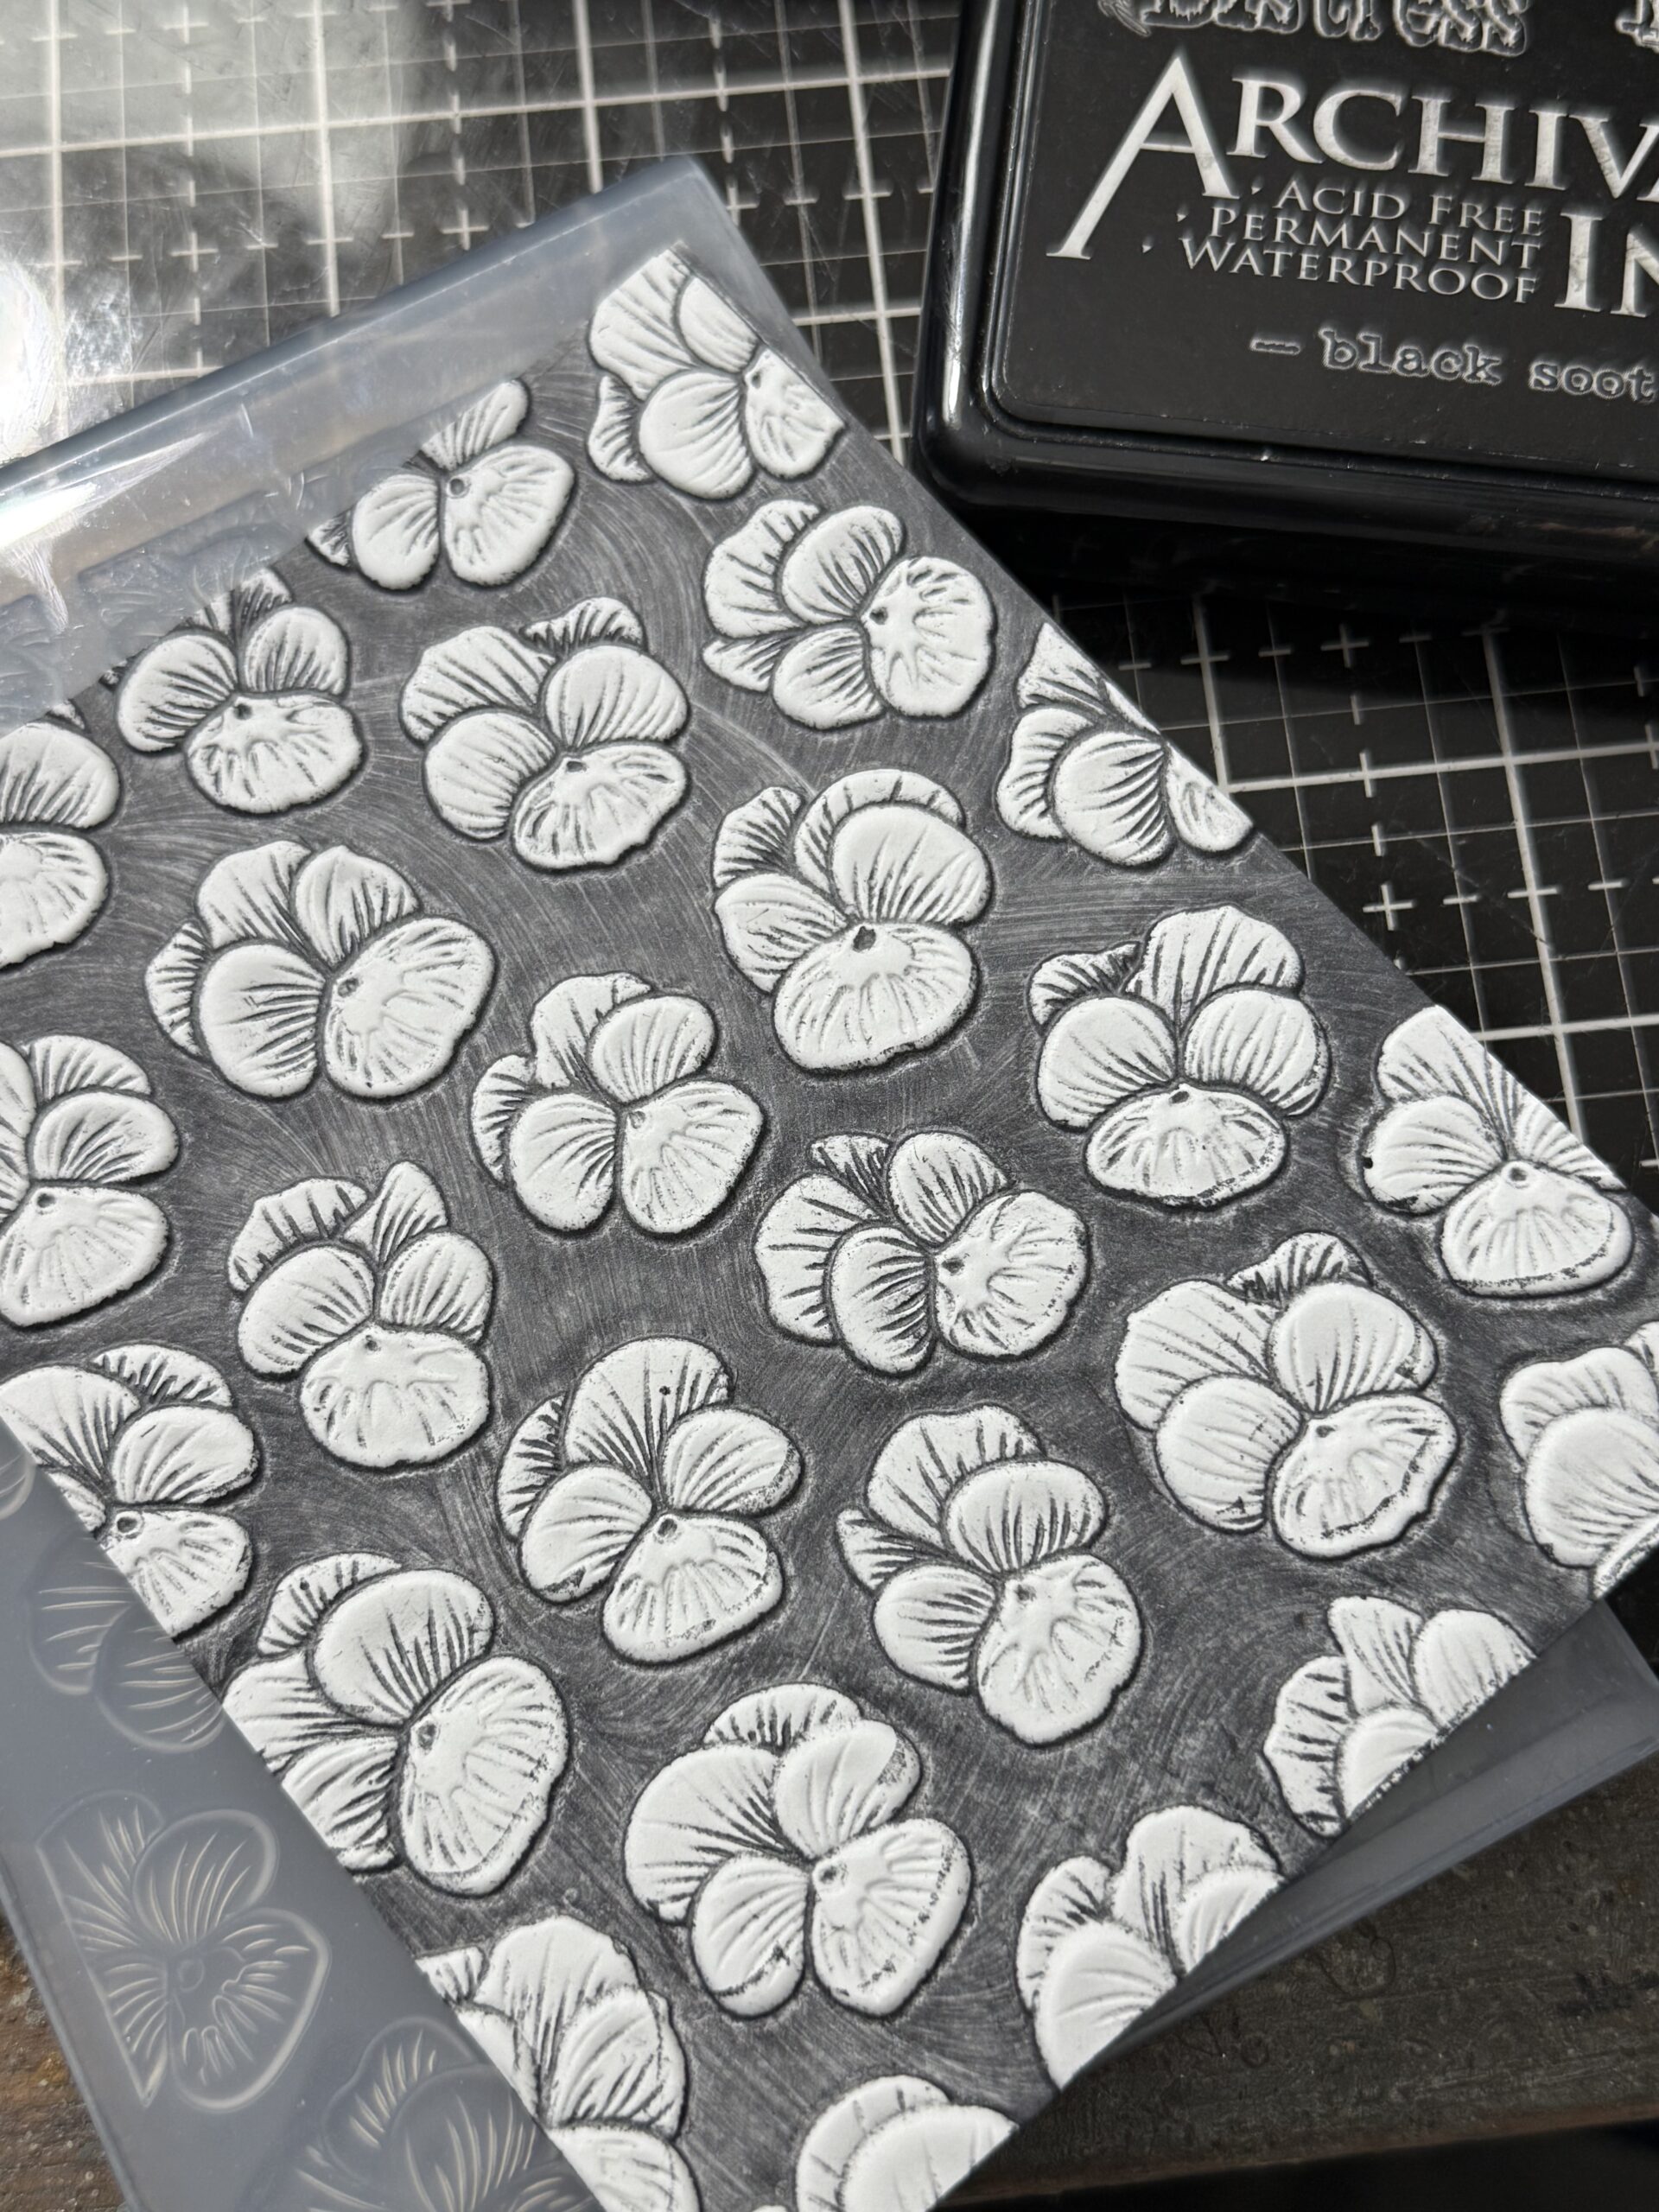
After the ink was dry, I dipped the Villainous Potion Distress Watercolor Pencil into some water and added some color to the first set of bottom petals. Then I brushed out the color onto the petals.
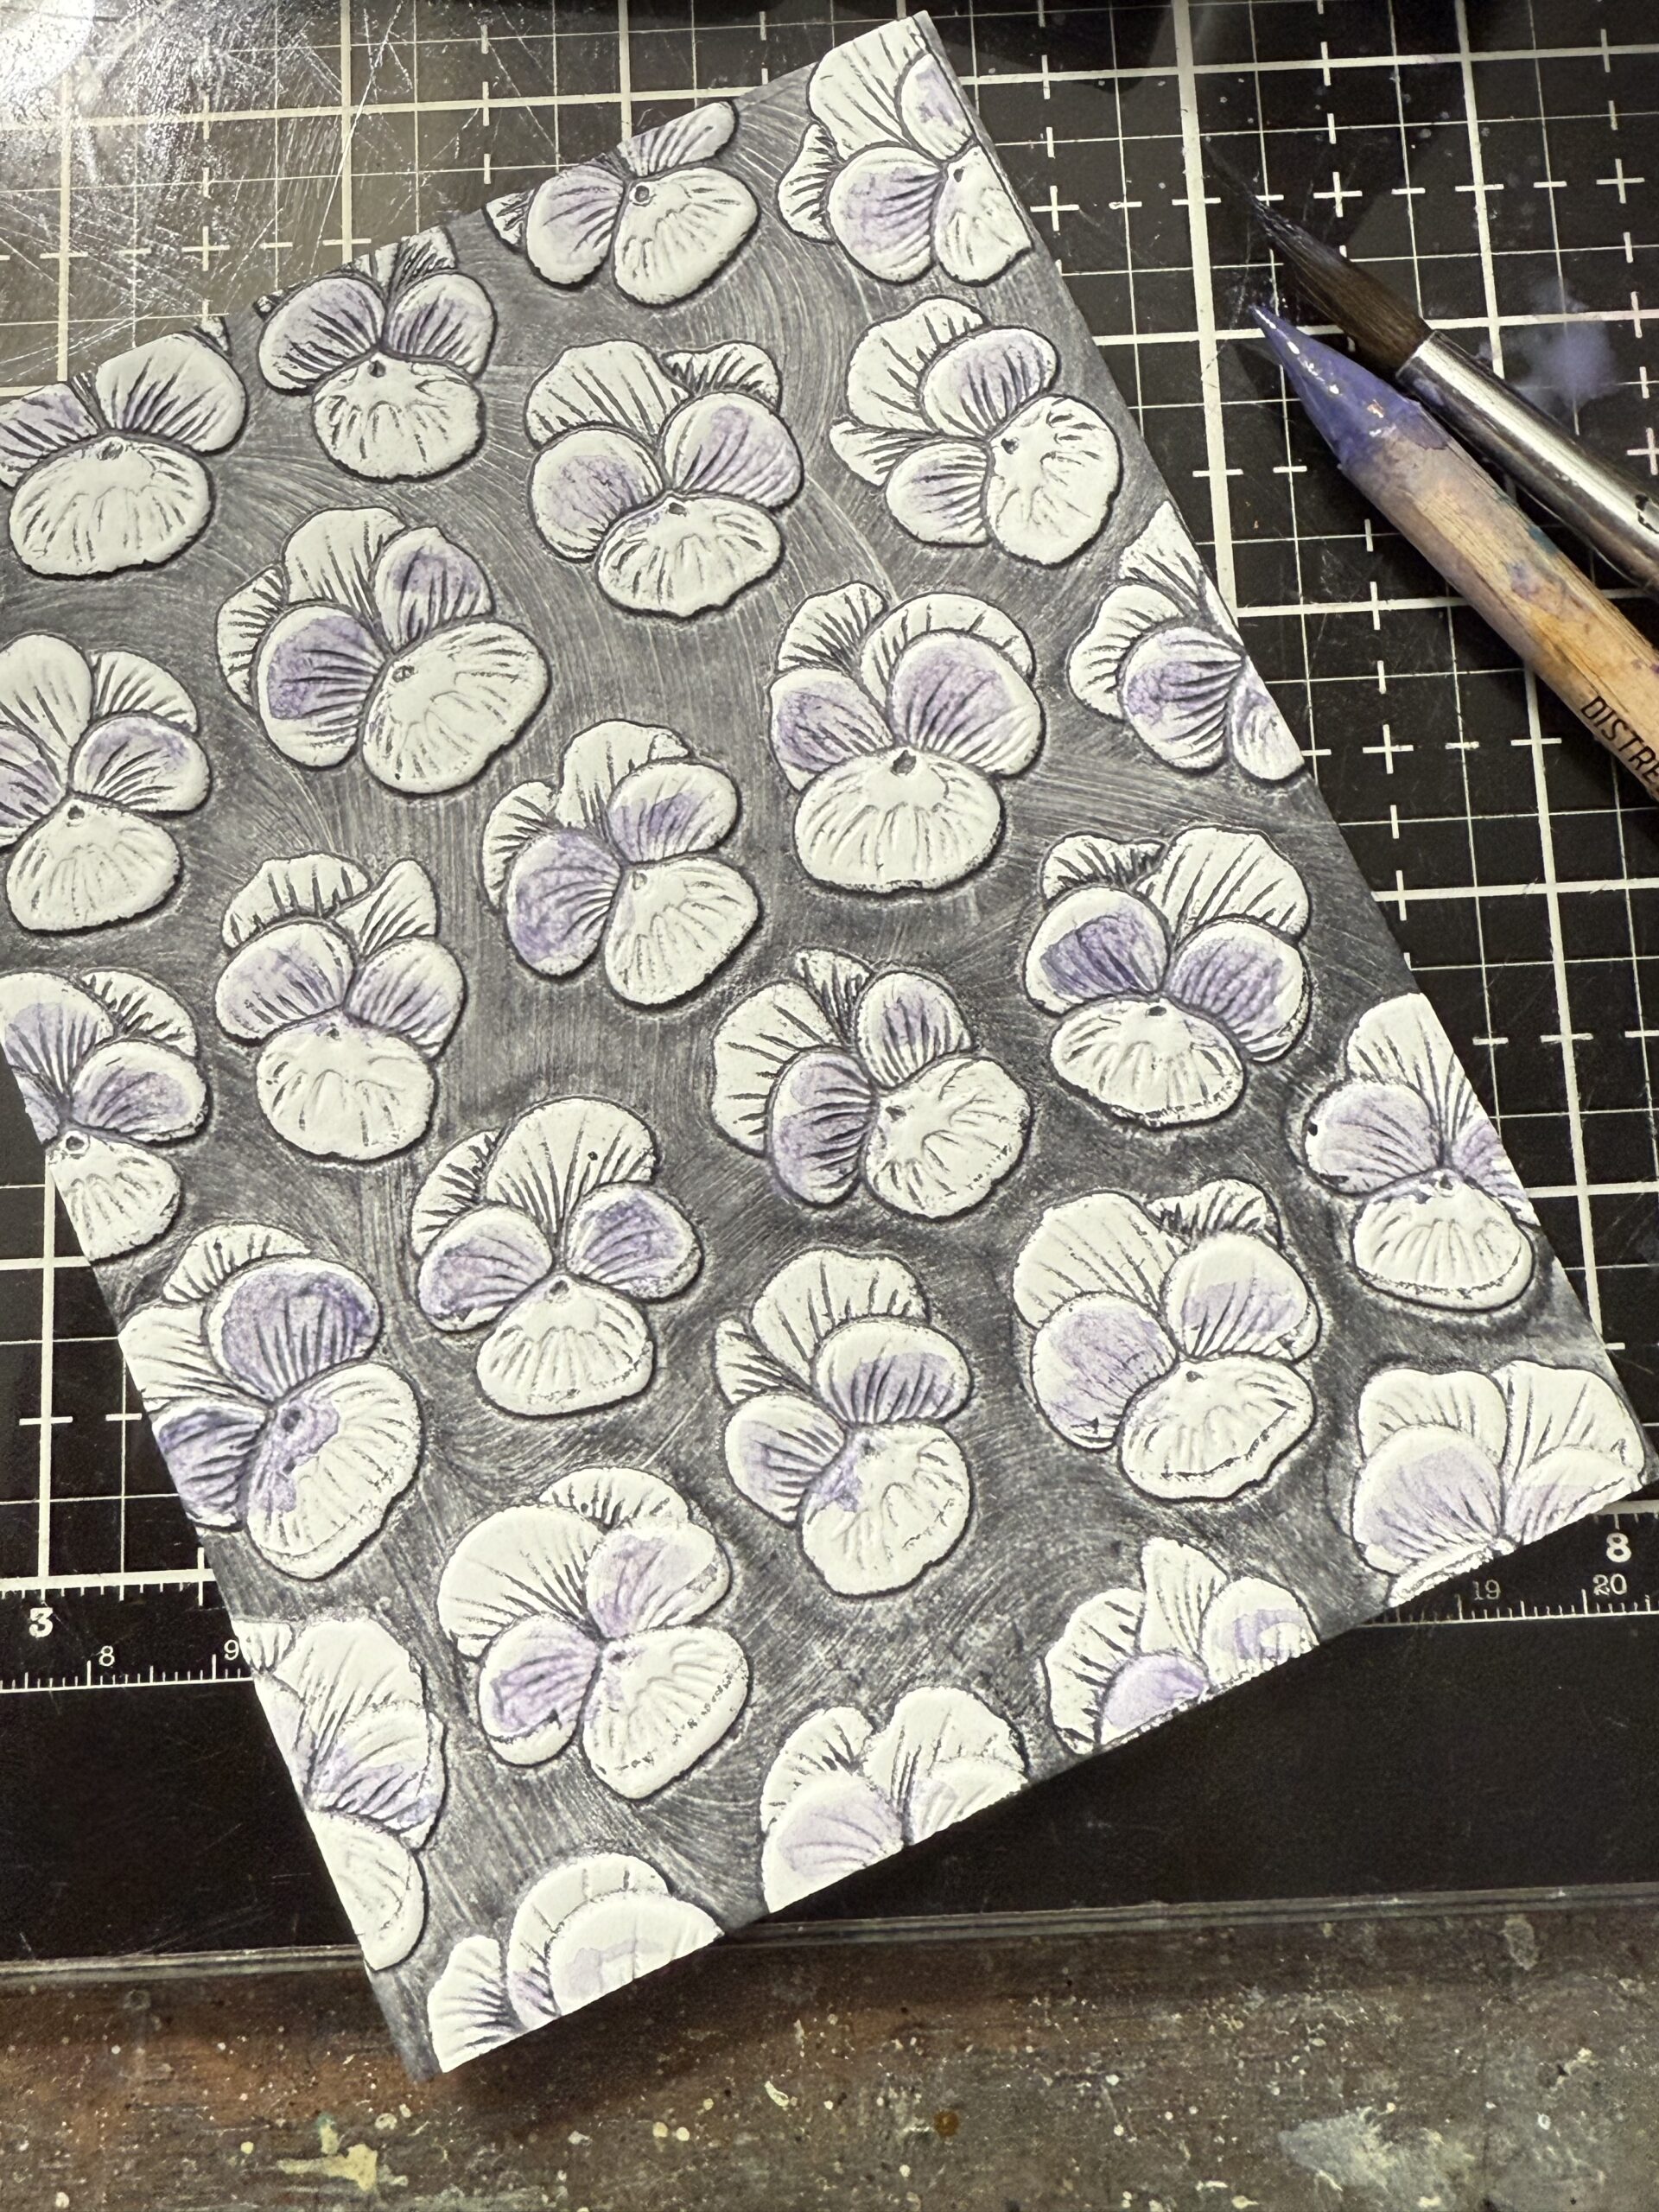
Next, I used the Wilted Violet Pencil dipped into some water and added color to the top set of petals, and blended the color using a damp paint brush and dried the color using a heat tool.
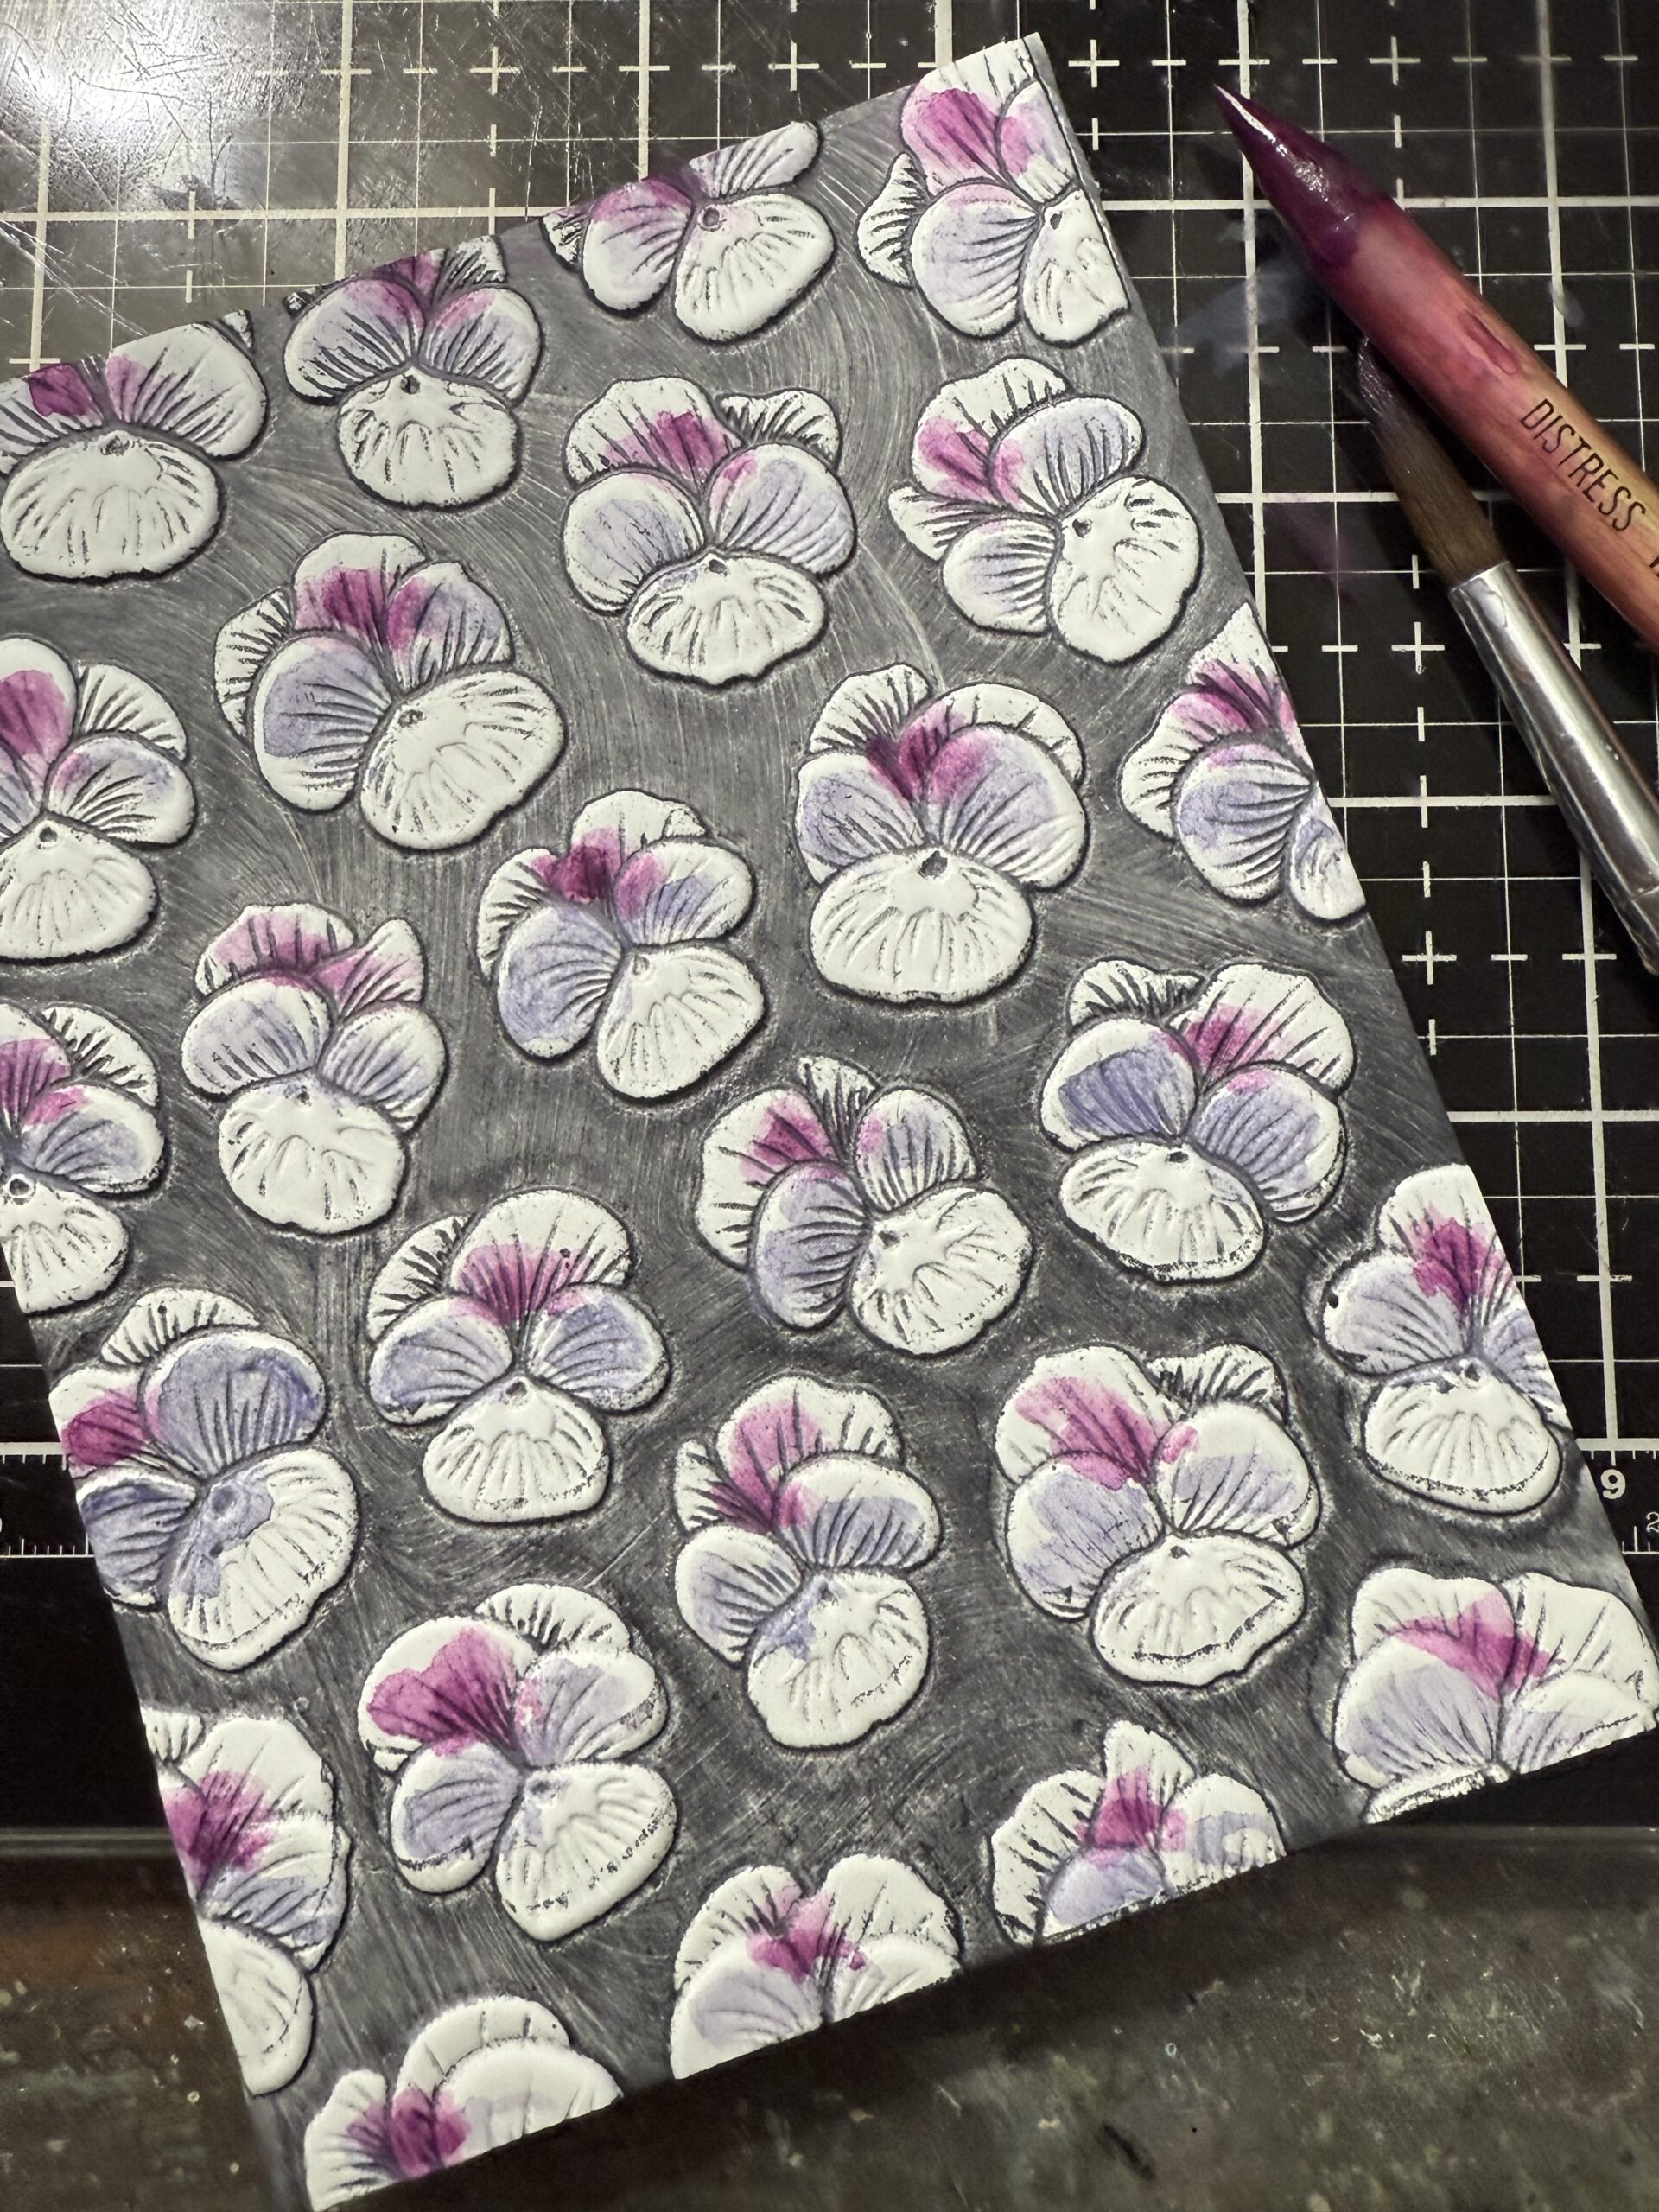
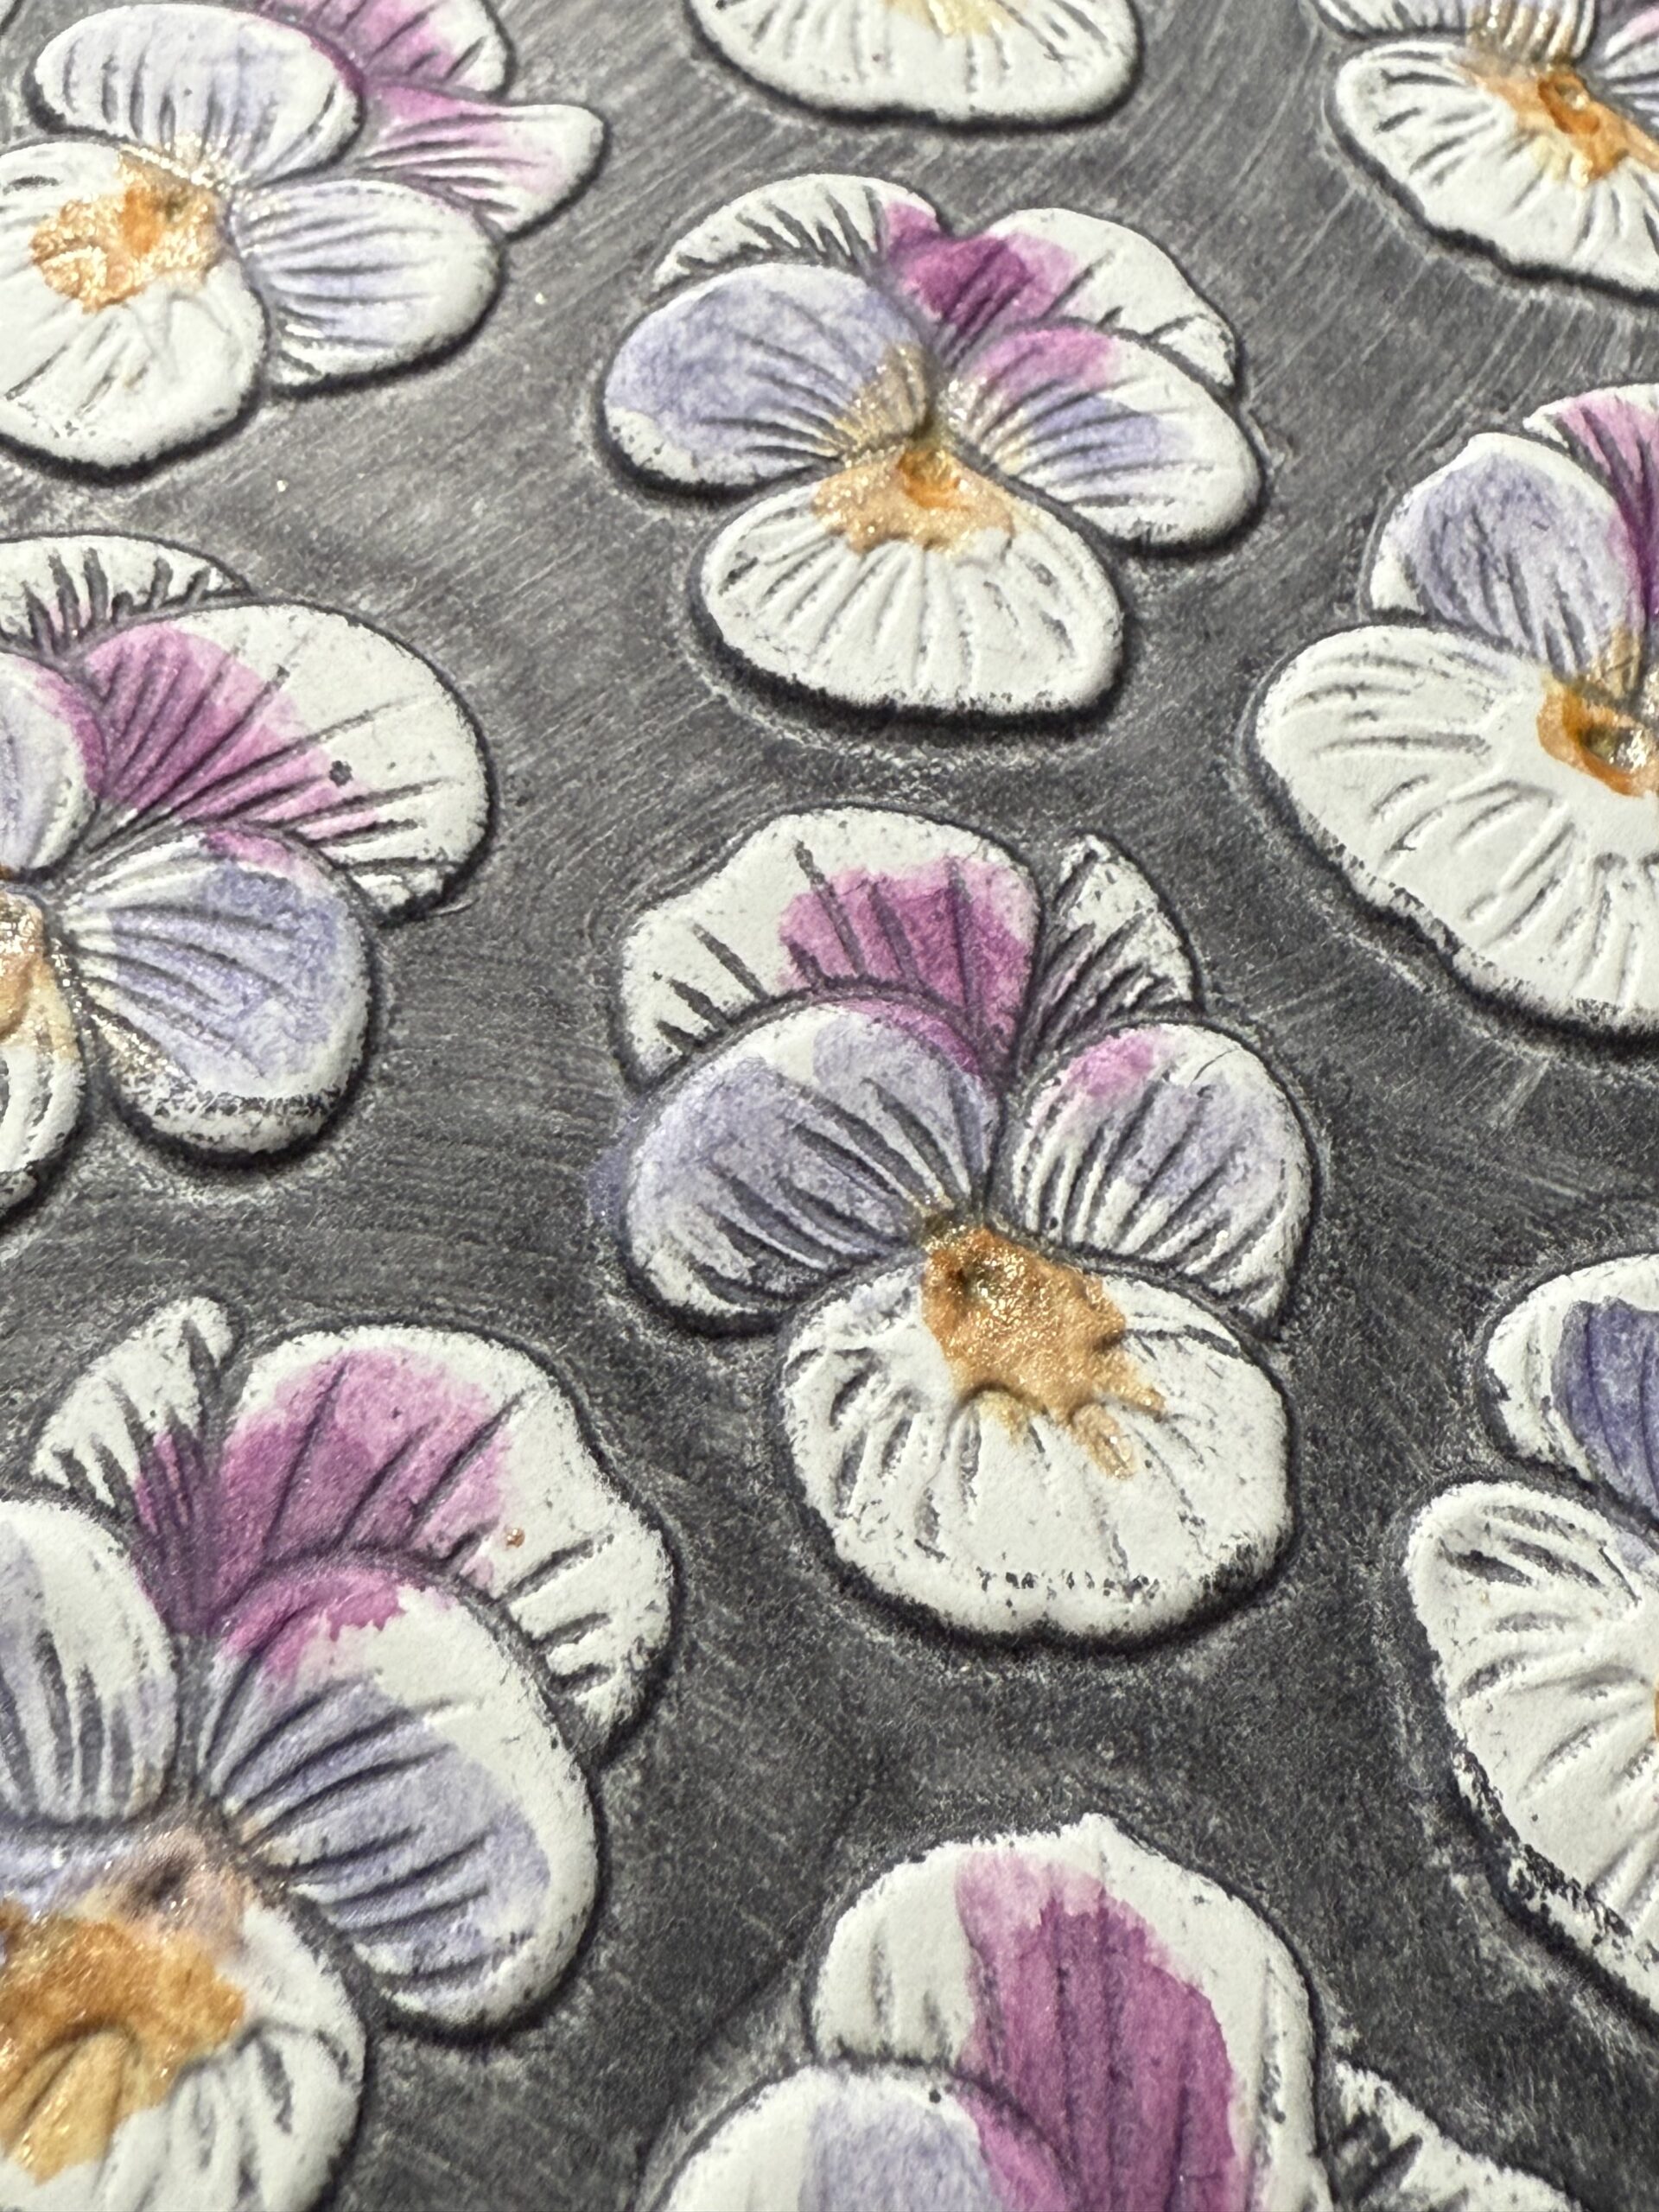
And finally, I added some Mustard Seed Pencil that was scribbled in some Unraveled Mica Stain onto the bottom petal and blended it out with the paint brush, then dried it again. The mica stain added a little bit of sparkle to the centers of the flowers.
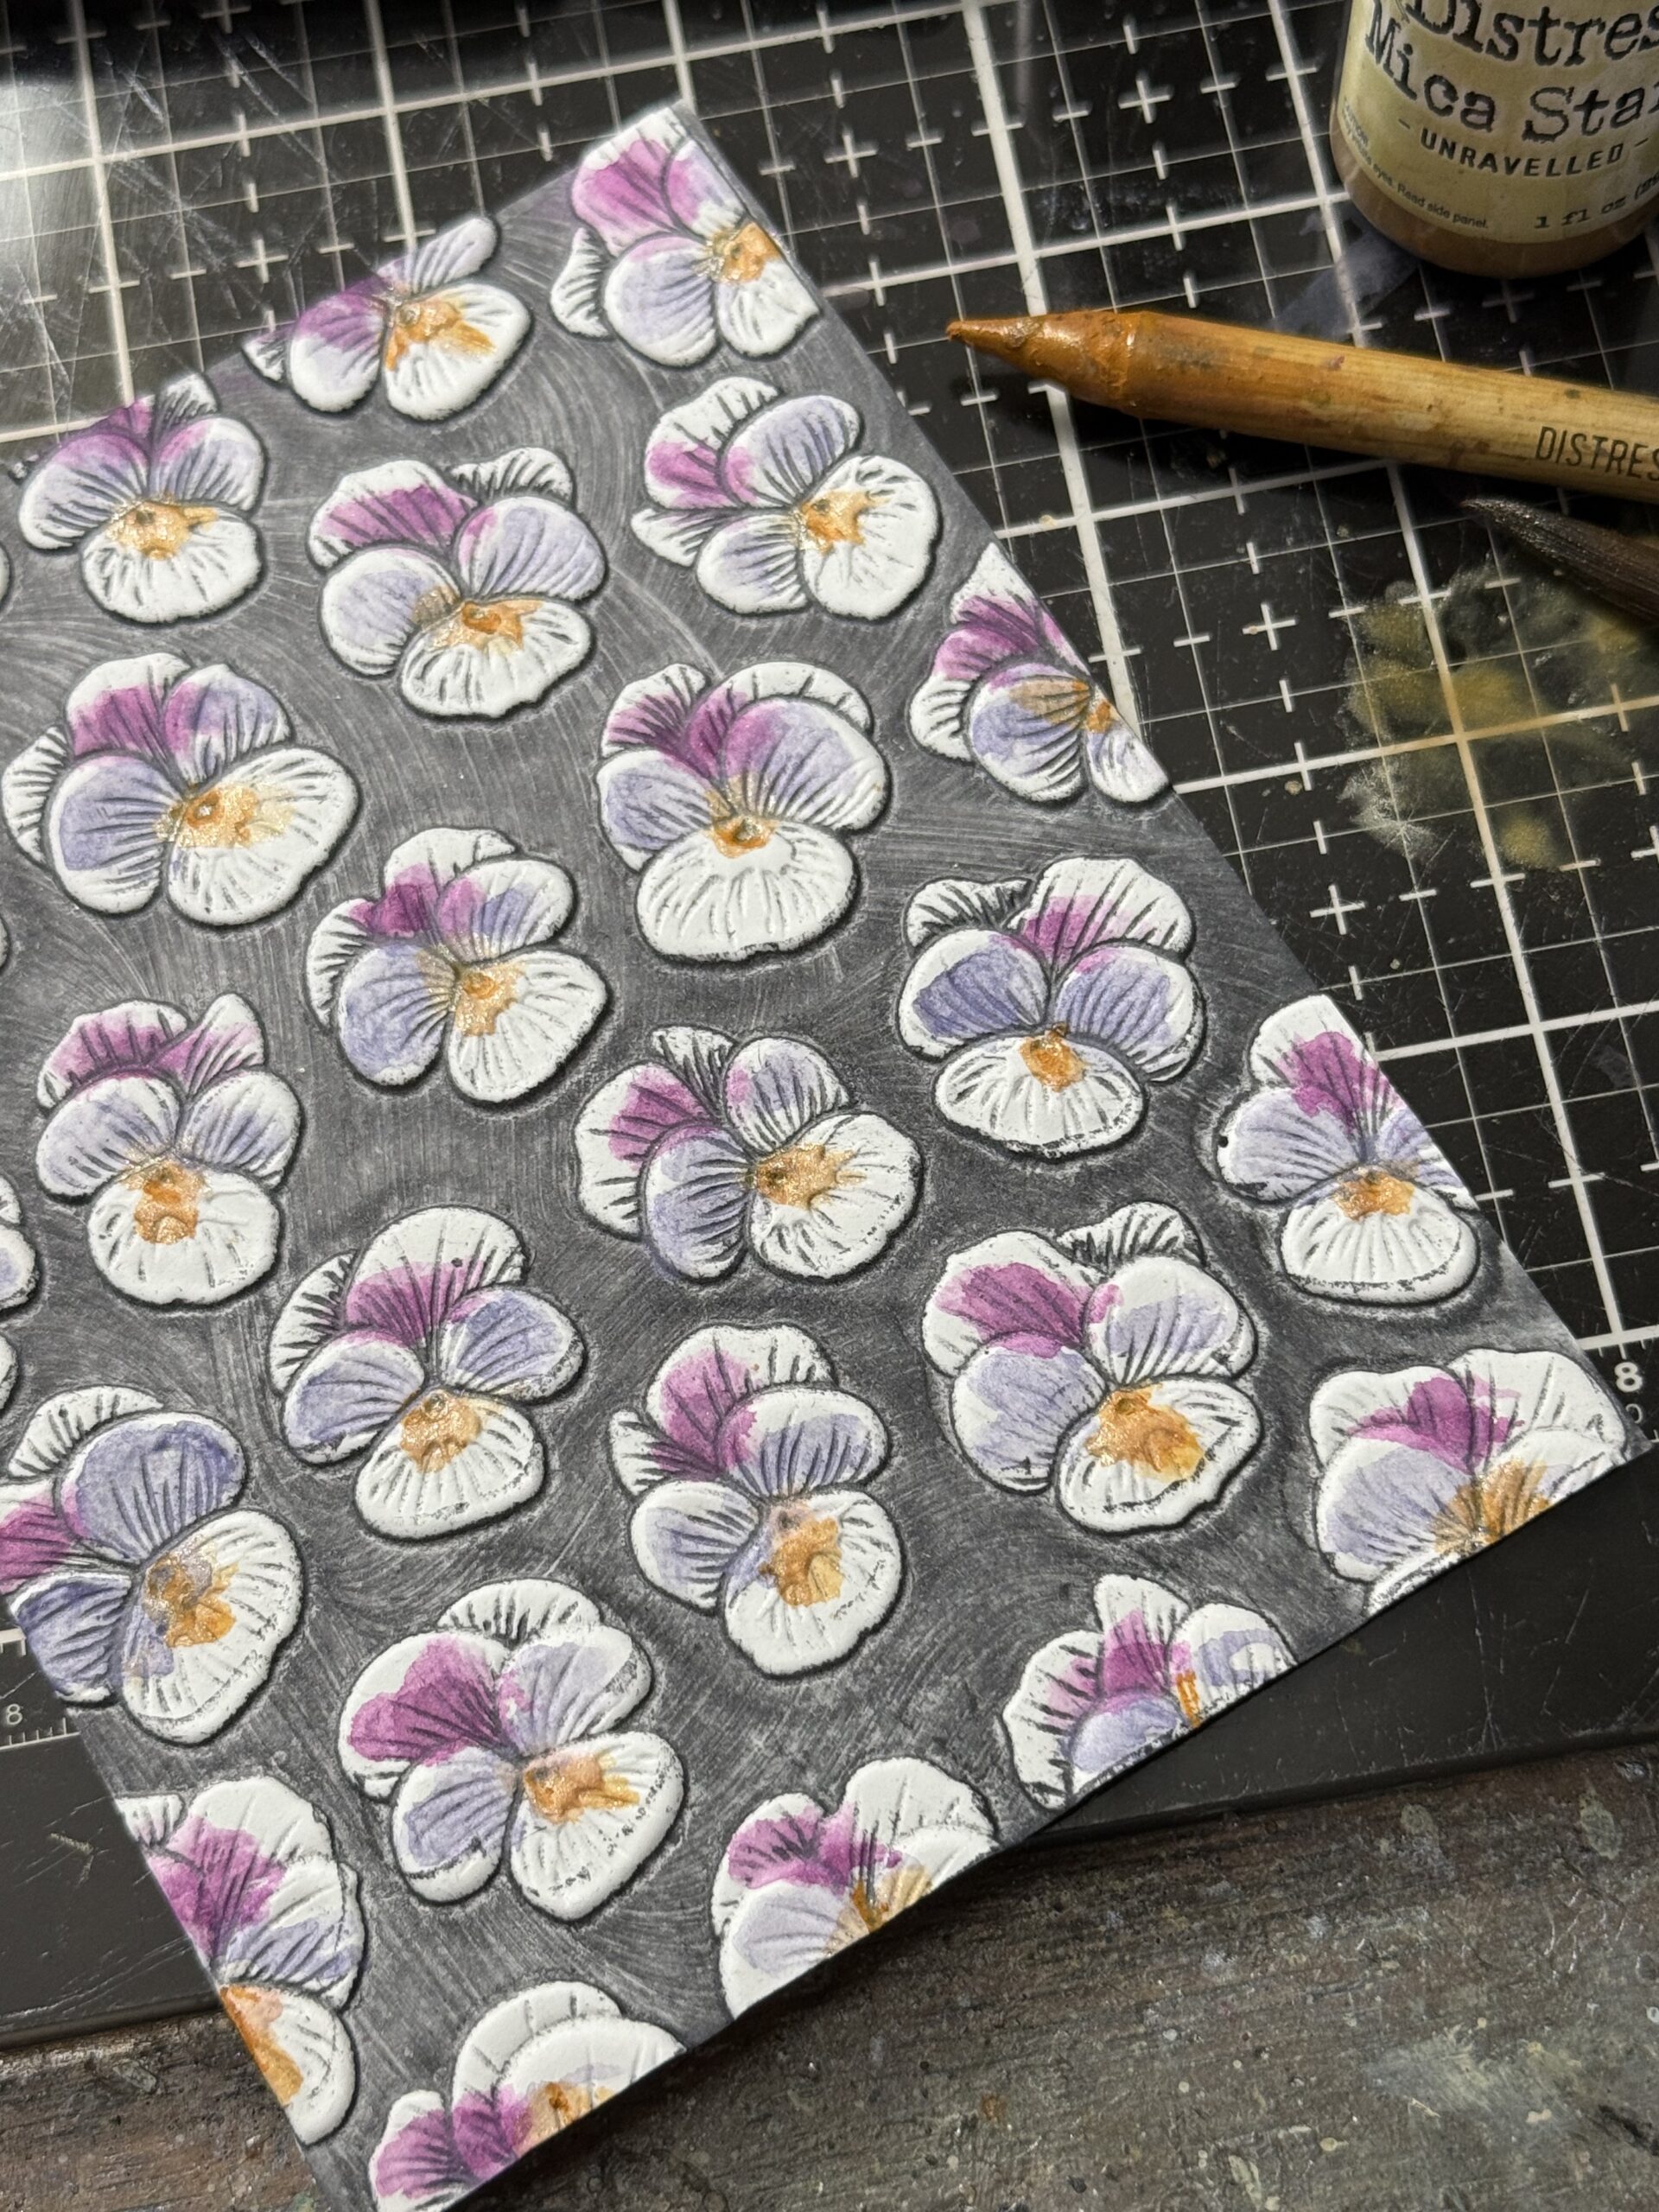
You can see the little touch of sparkle in the centers of the flowers in the photo below…they turned out so gorgeous and were so easy to create.
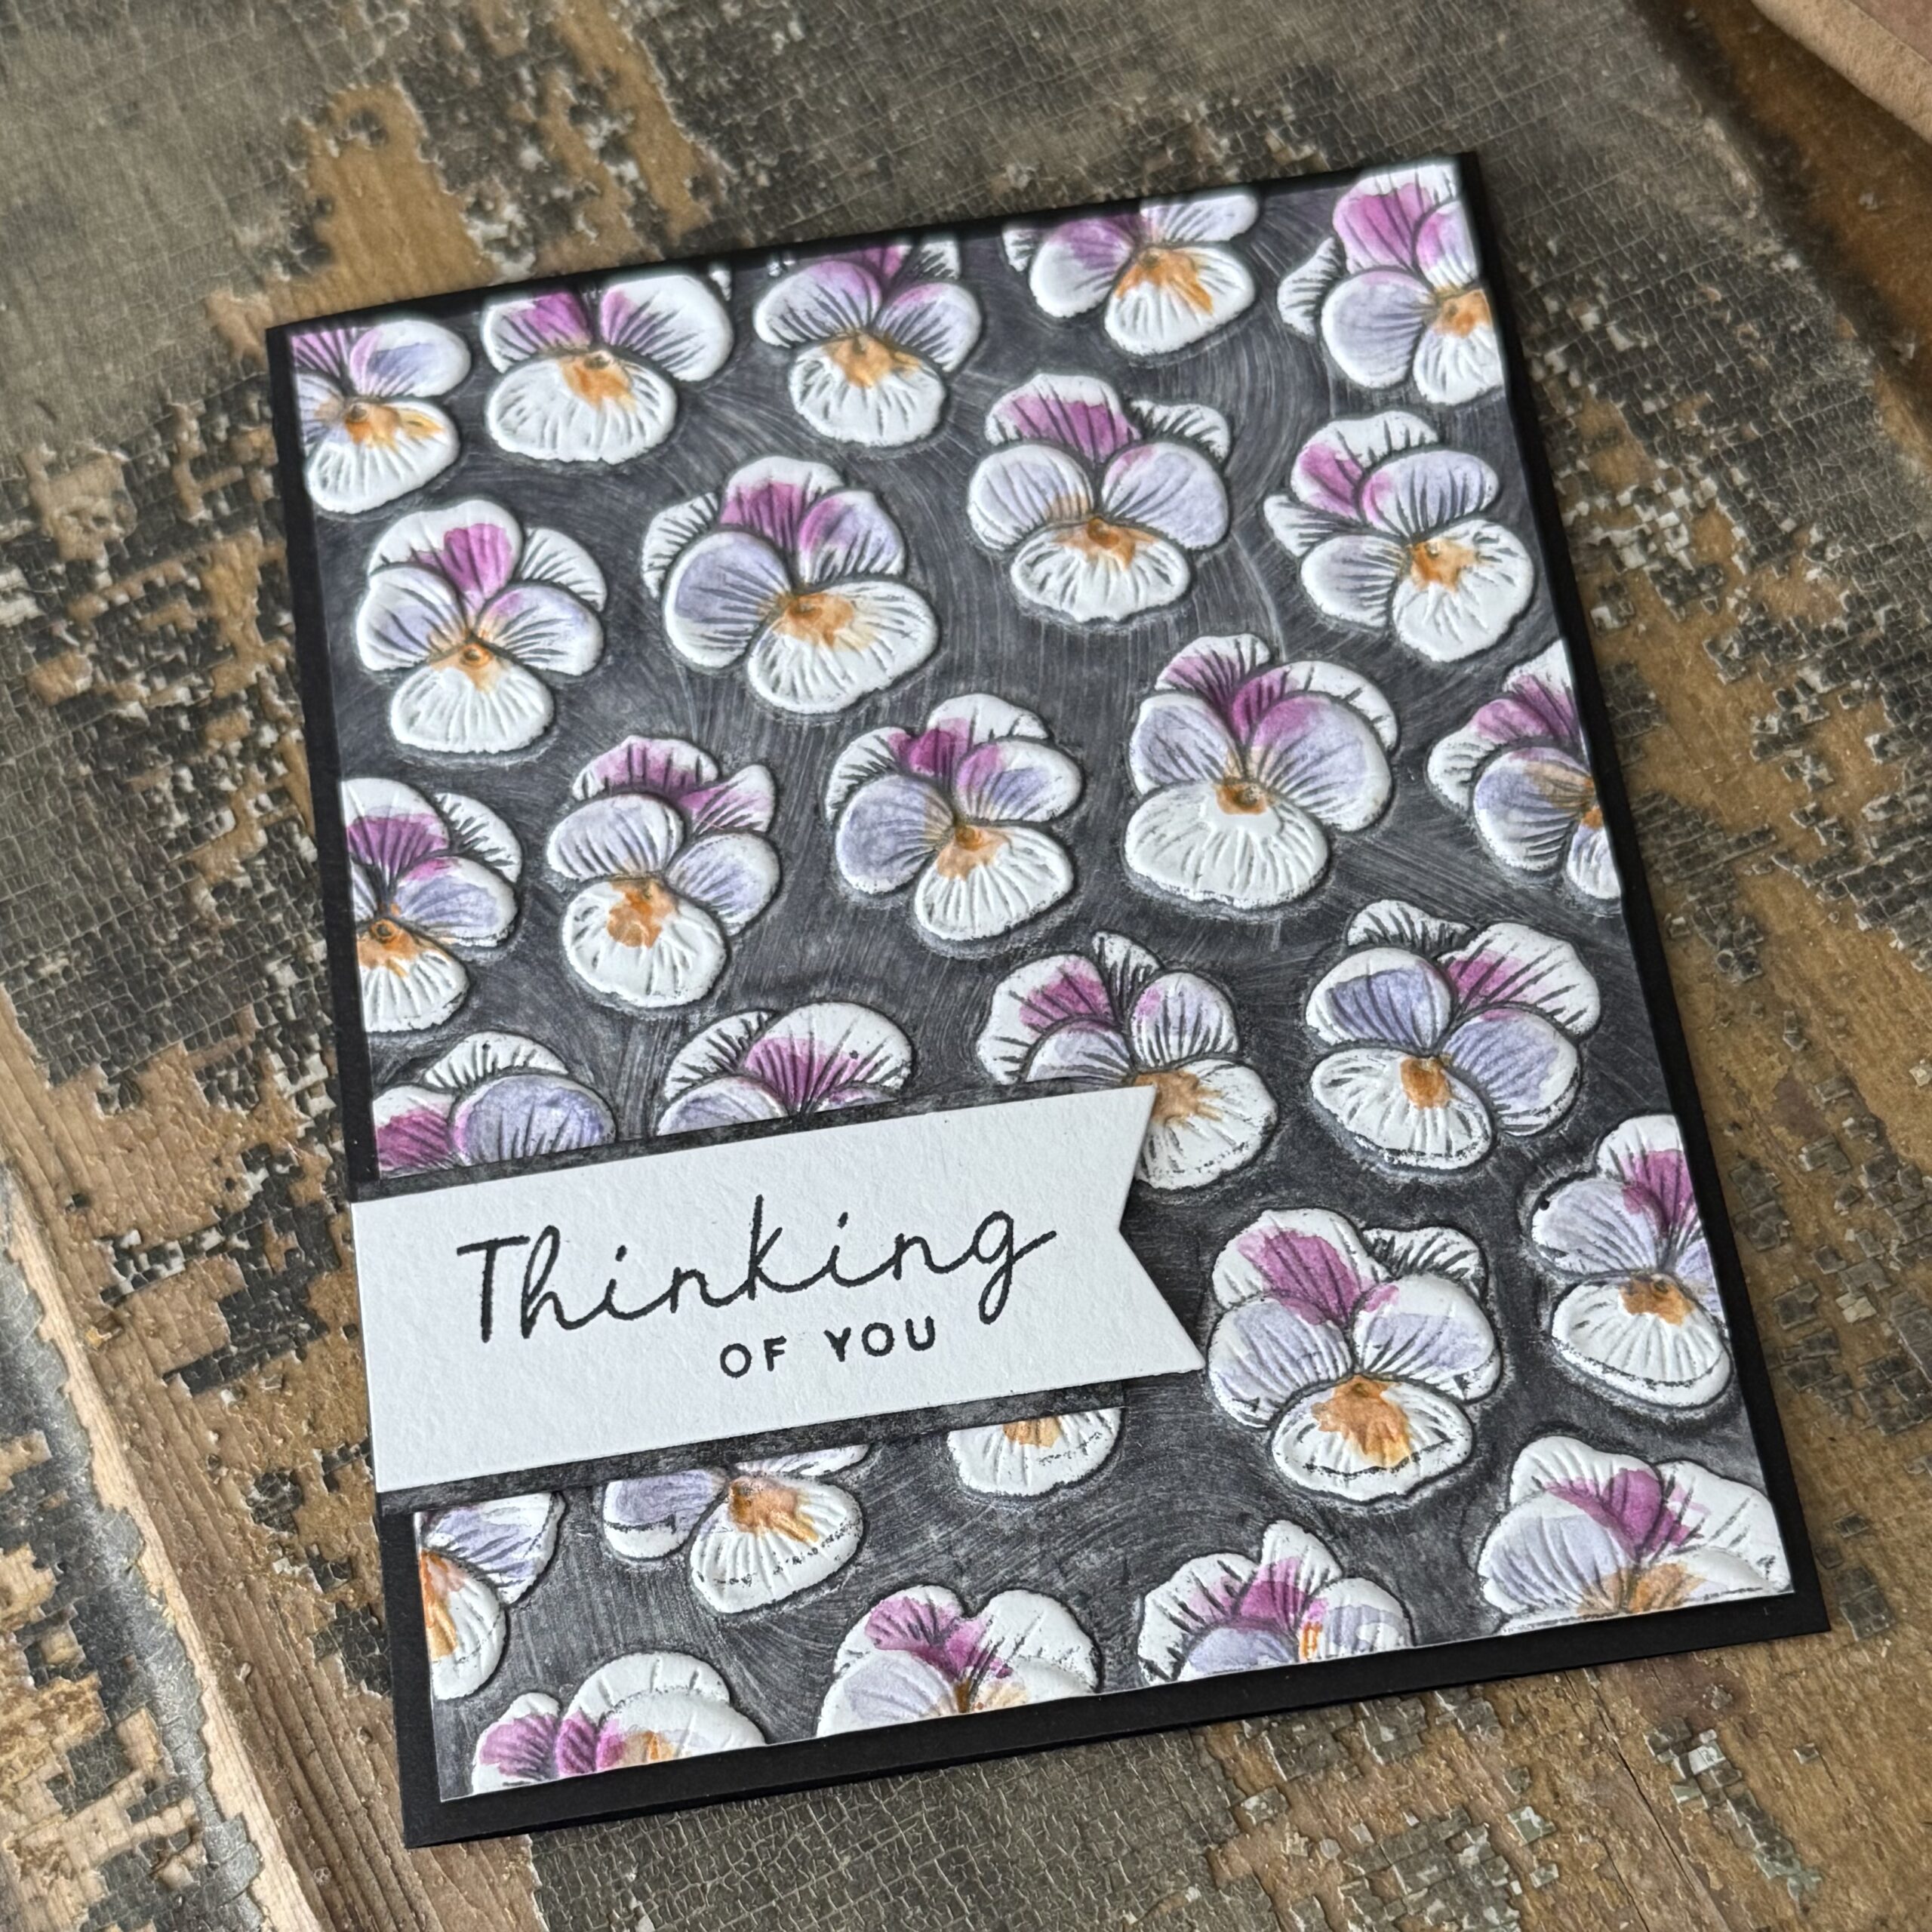
I stamped a “Thinking of You” phrase and cut it out using a banner die, then matted the background and added the phrase to the front of a card base making a simple but beautiful card.
The next background that I used was stepped up a bit by using some embossing powder and Mica Stain Spray.
I started by smooshing Pumice Stone Distress Ink onto the inside of the embossing folder, then ran it through my Big Shot. I dried the background then began adding some color to the petals of each of the flowers as I had done with that first background. Villainous Potion was the first color that I used, it was dipped into some water to activate the pigment, then I rubbed the color lightly over the flower texture.
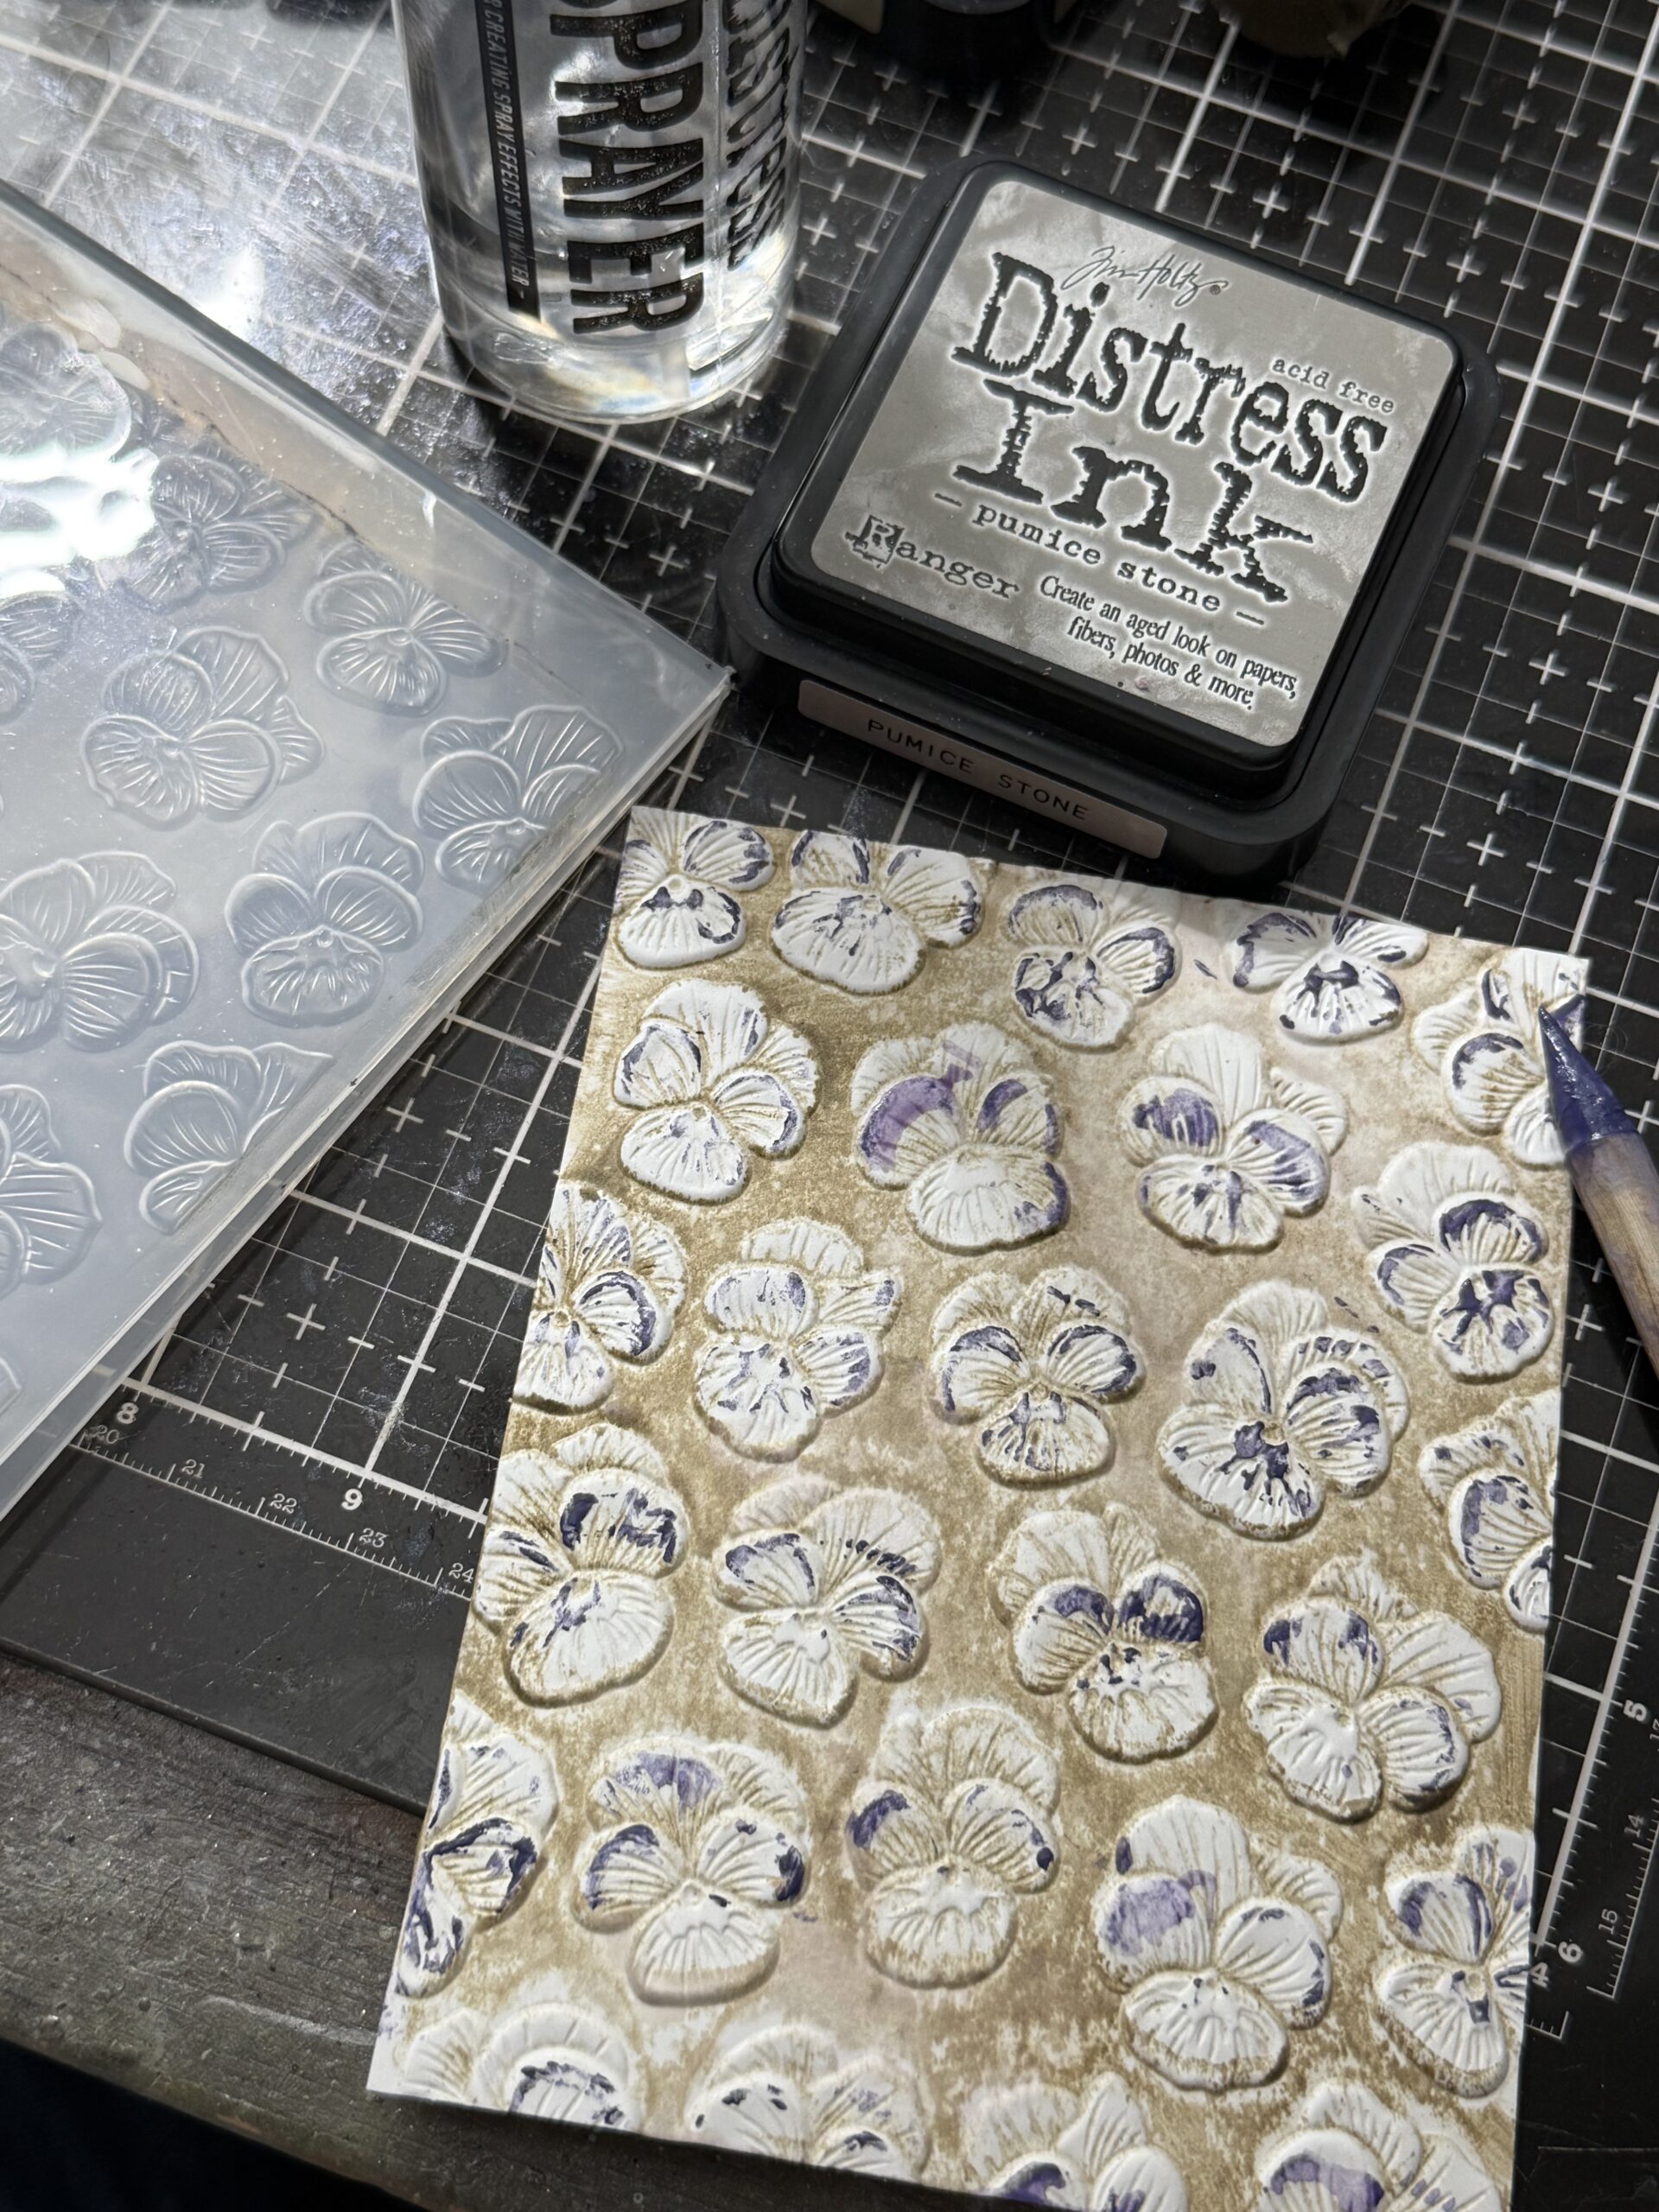
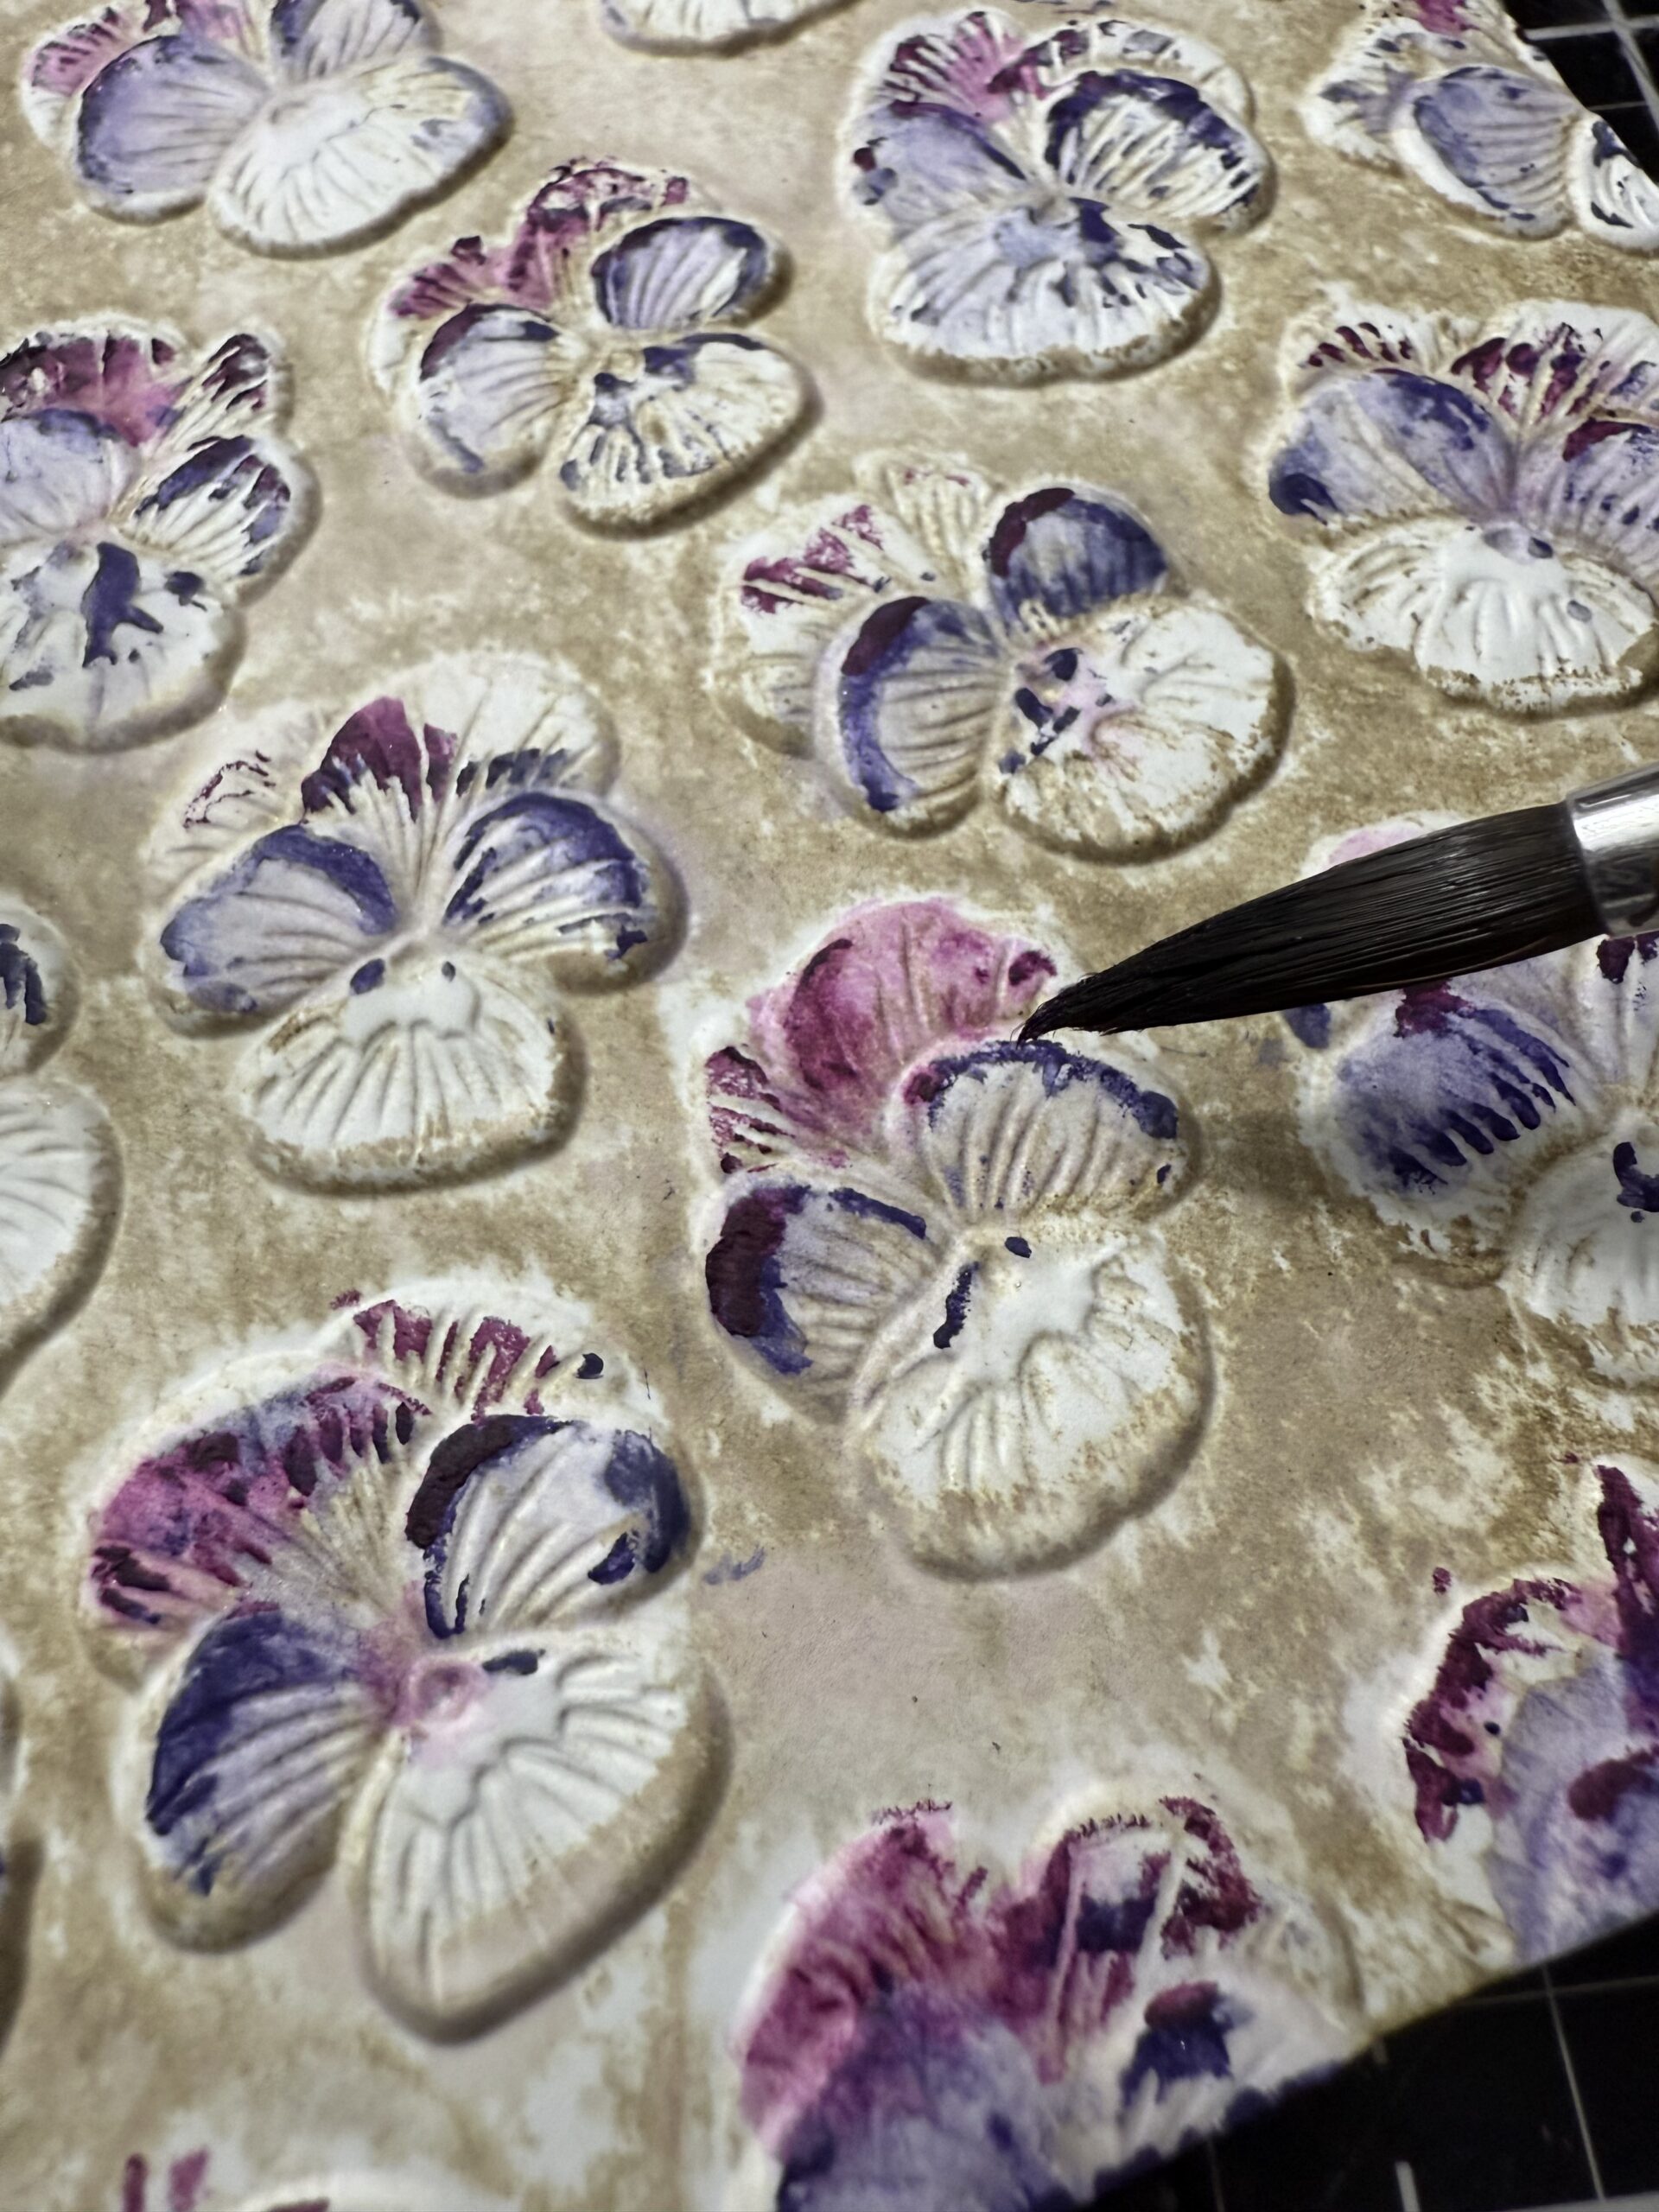
I used a wet paint brush to blend the color out around each of the flowers.
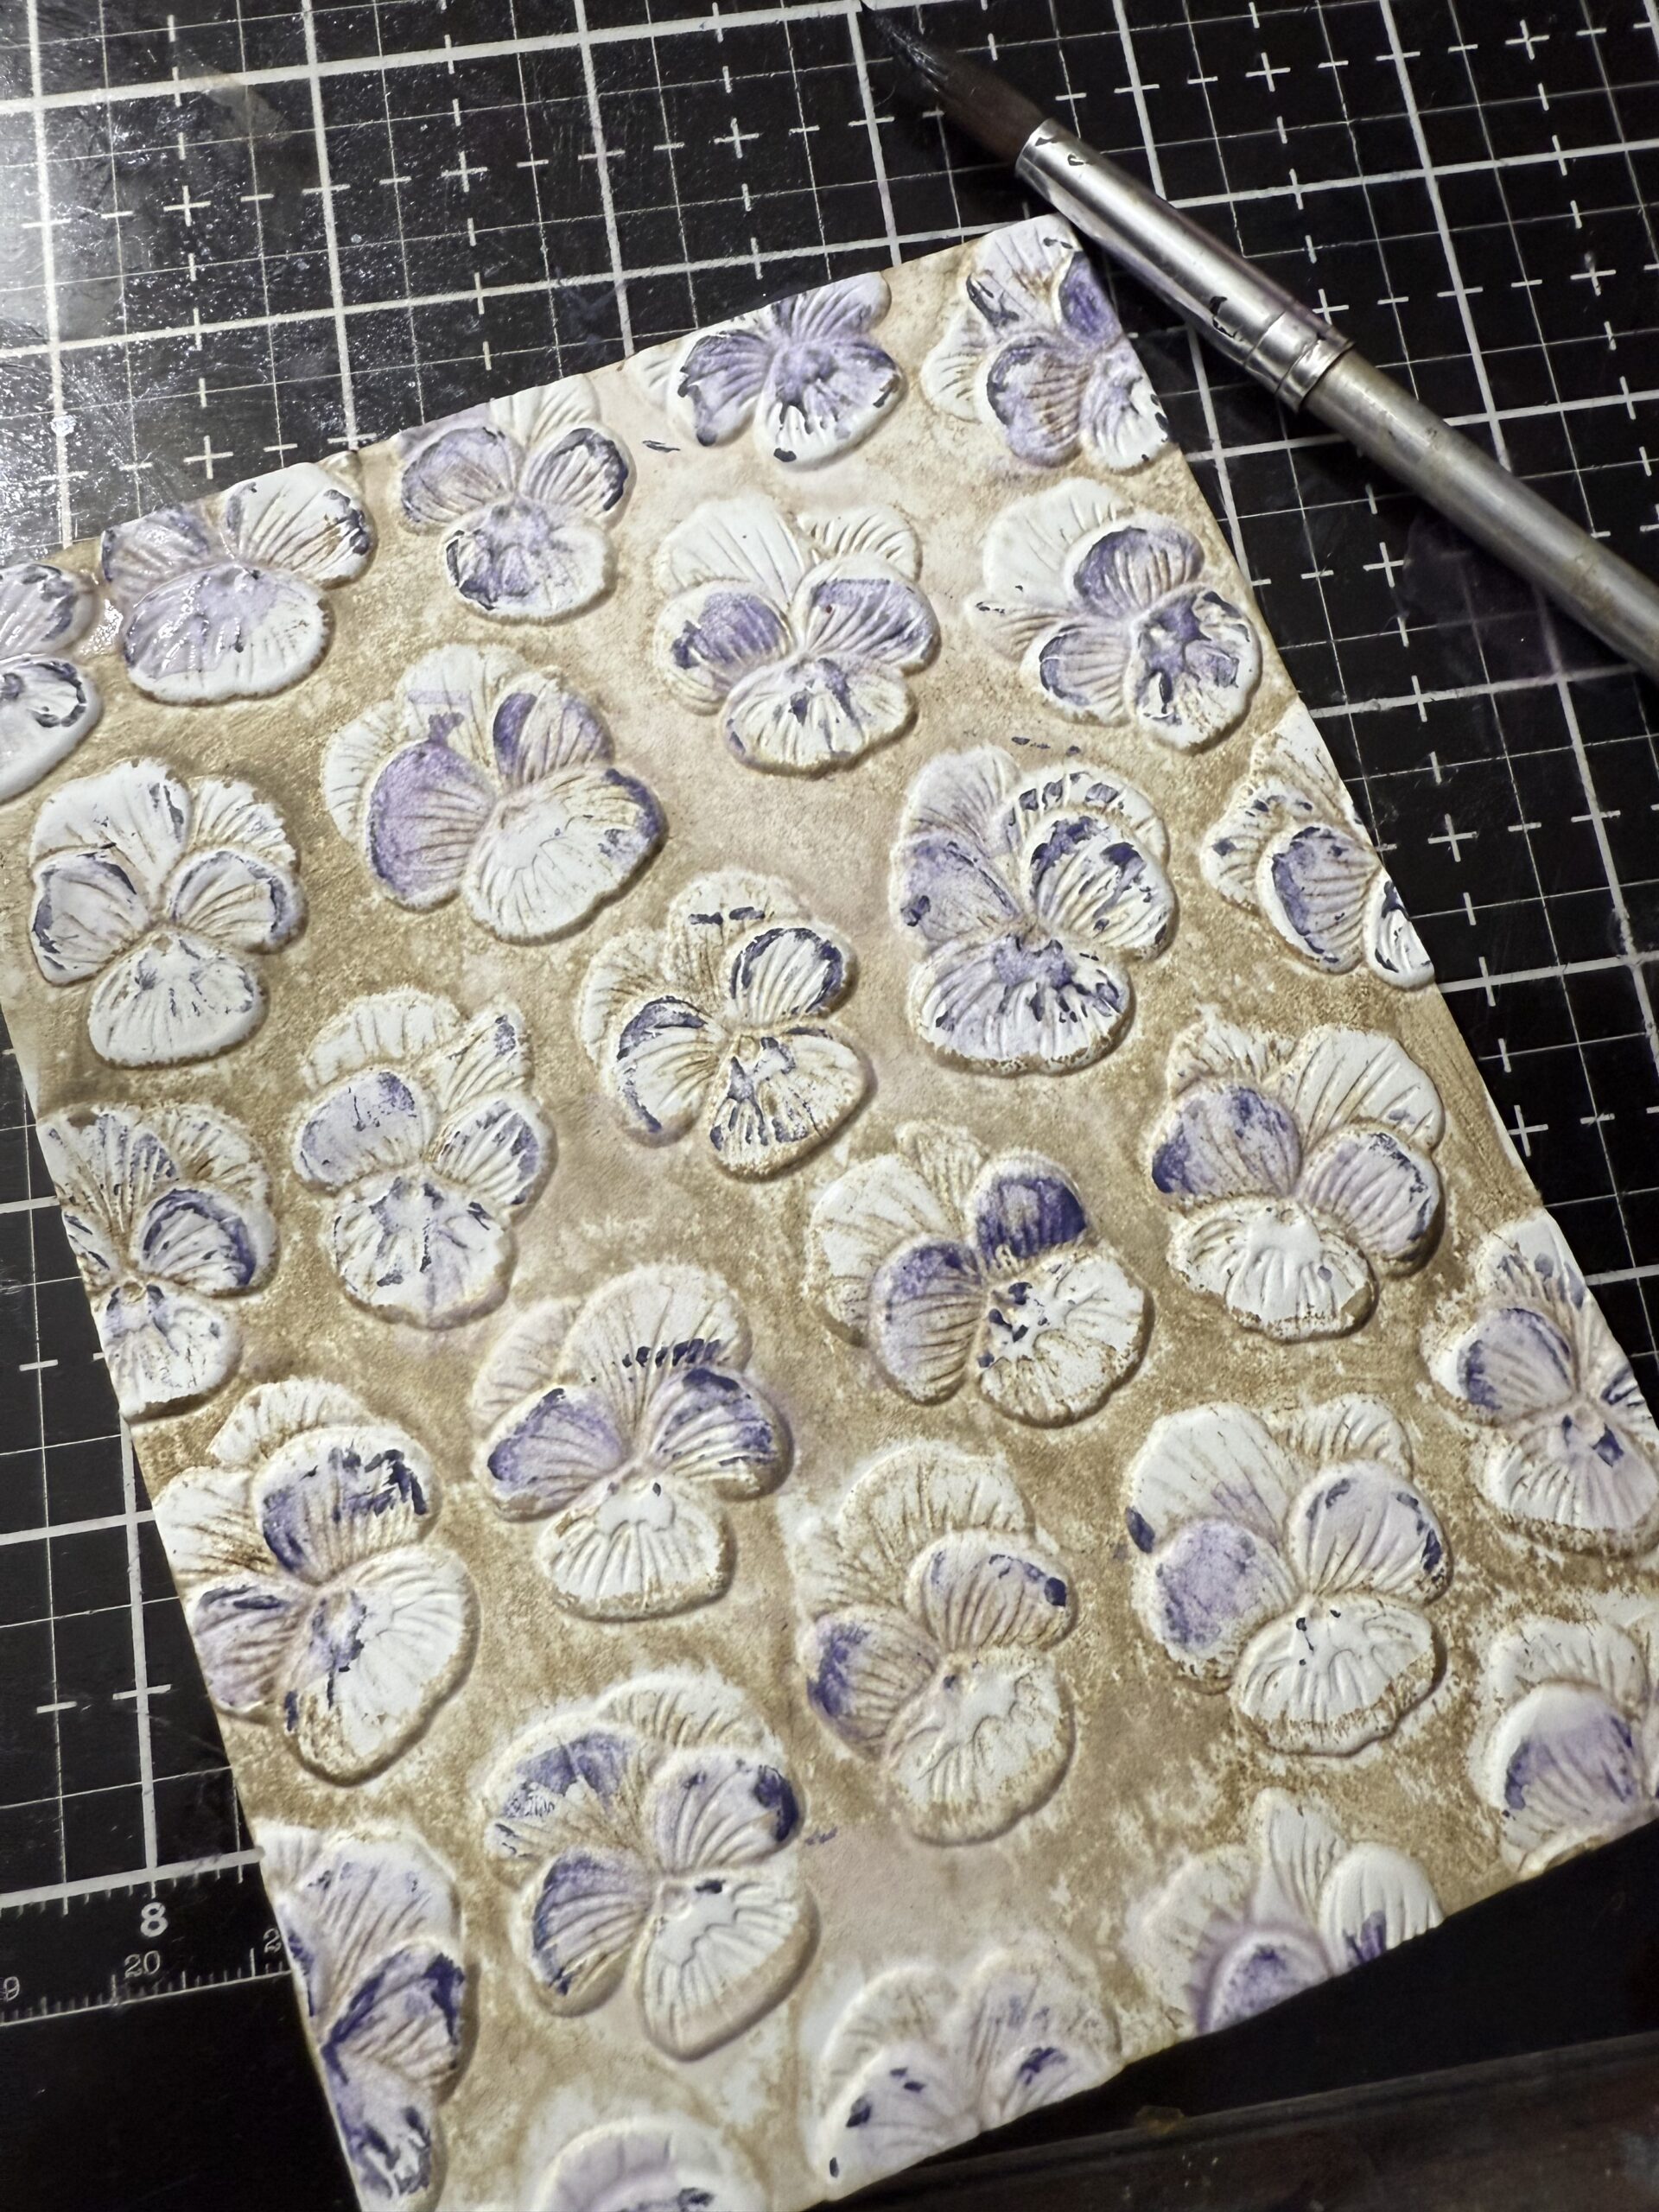
Next, I used a Wilted Violet to add color to the top of each of the flowers and blended the color using a paint brush. This time, I blended both of the purple together and wasn’t very careful to keep the colors from running together, making the pansies more like a watercolor.
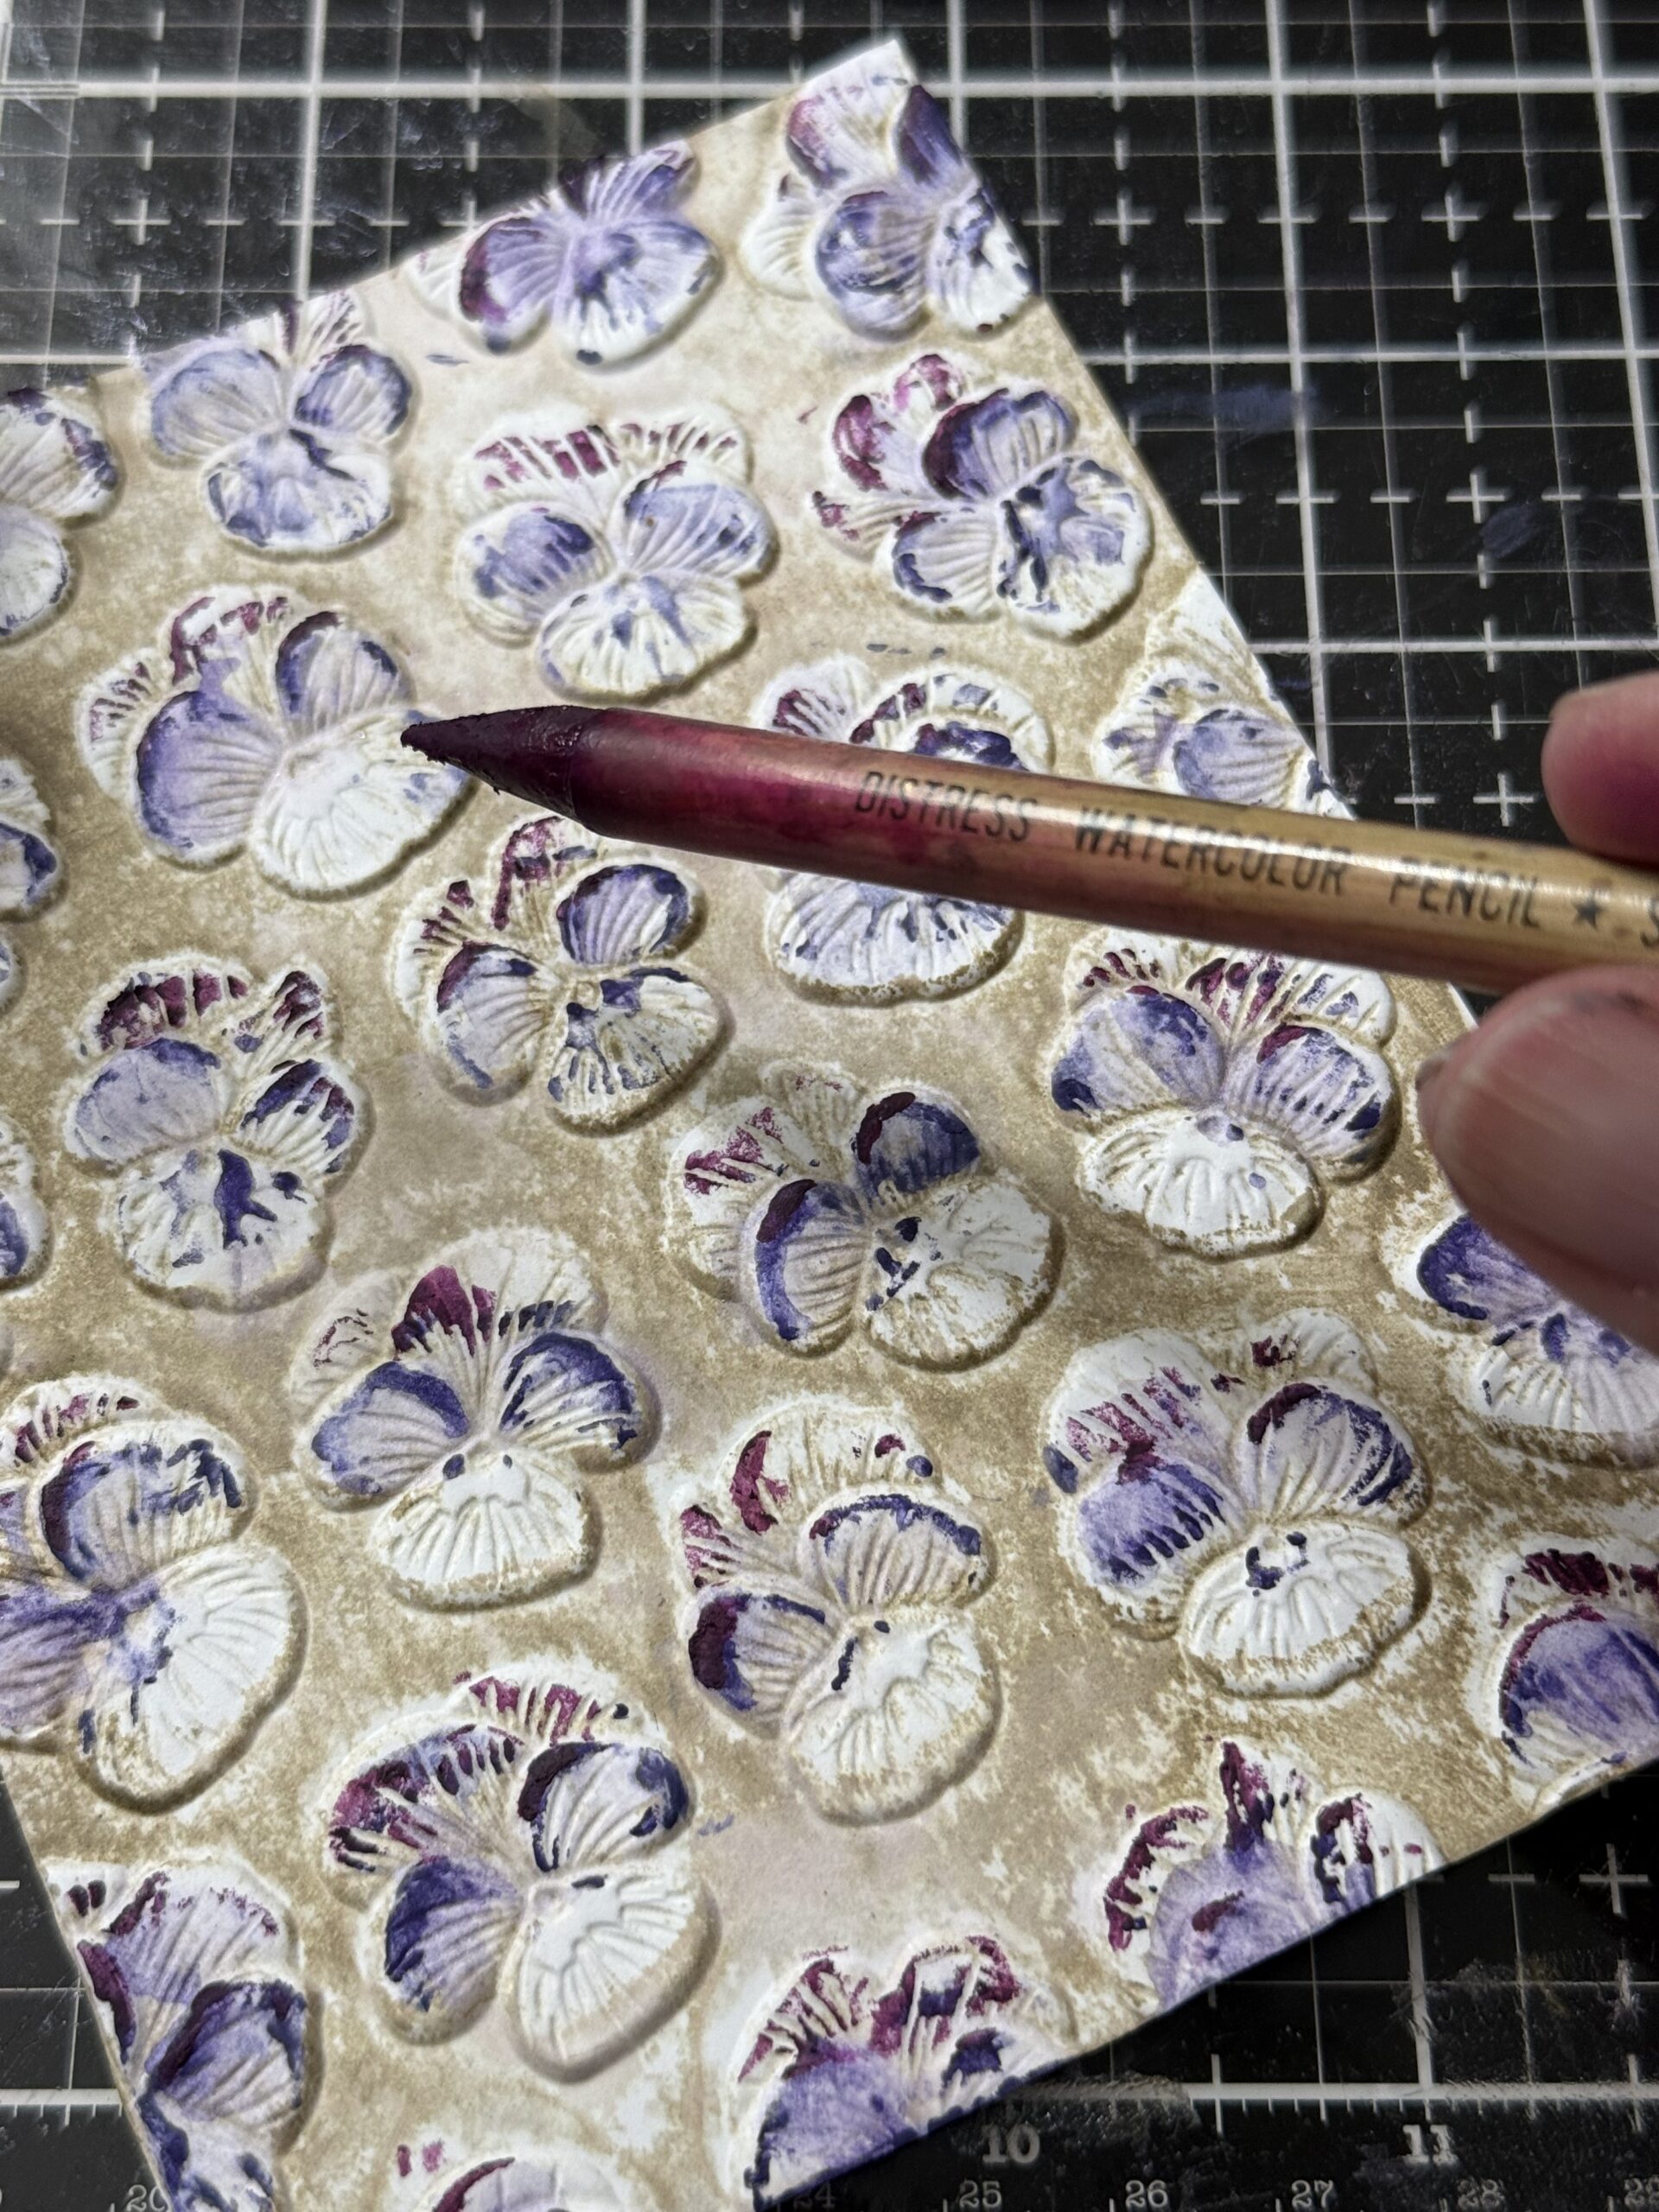
Then, I used a paint brush to blend the colors together and dried the background with my heat tool.
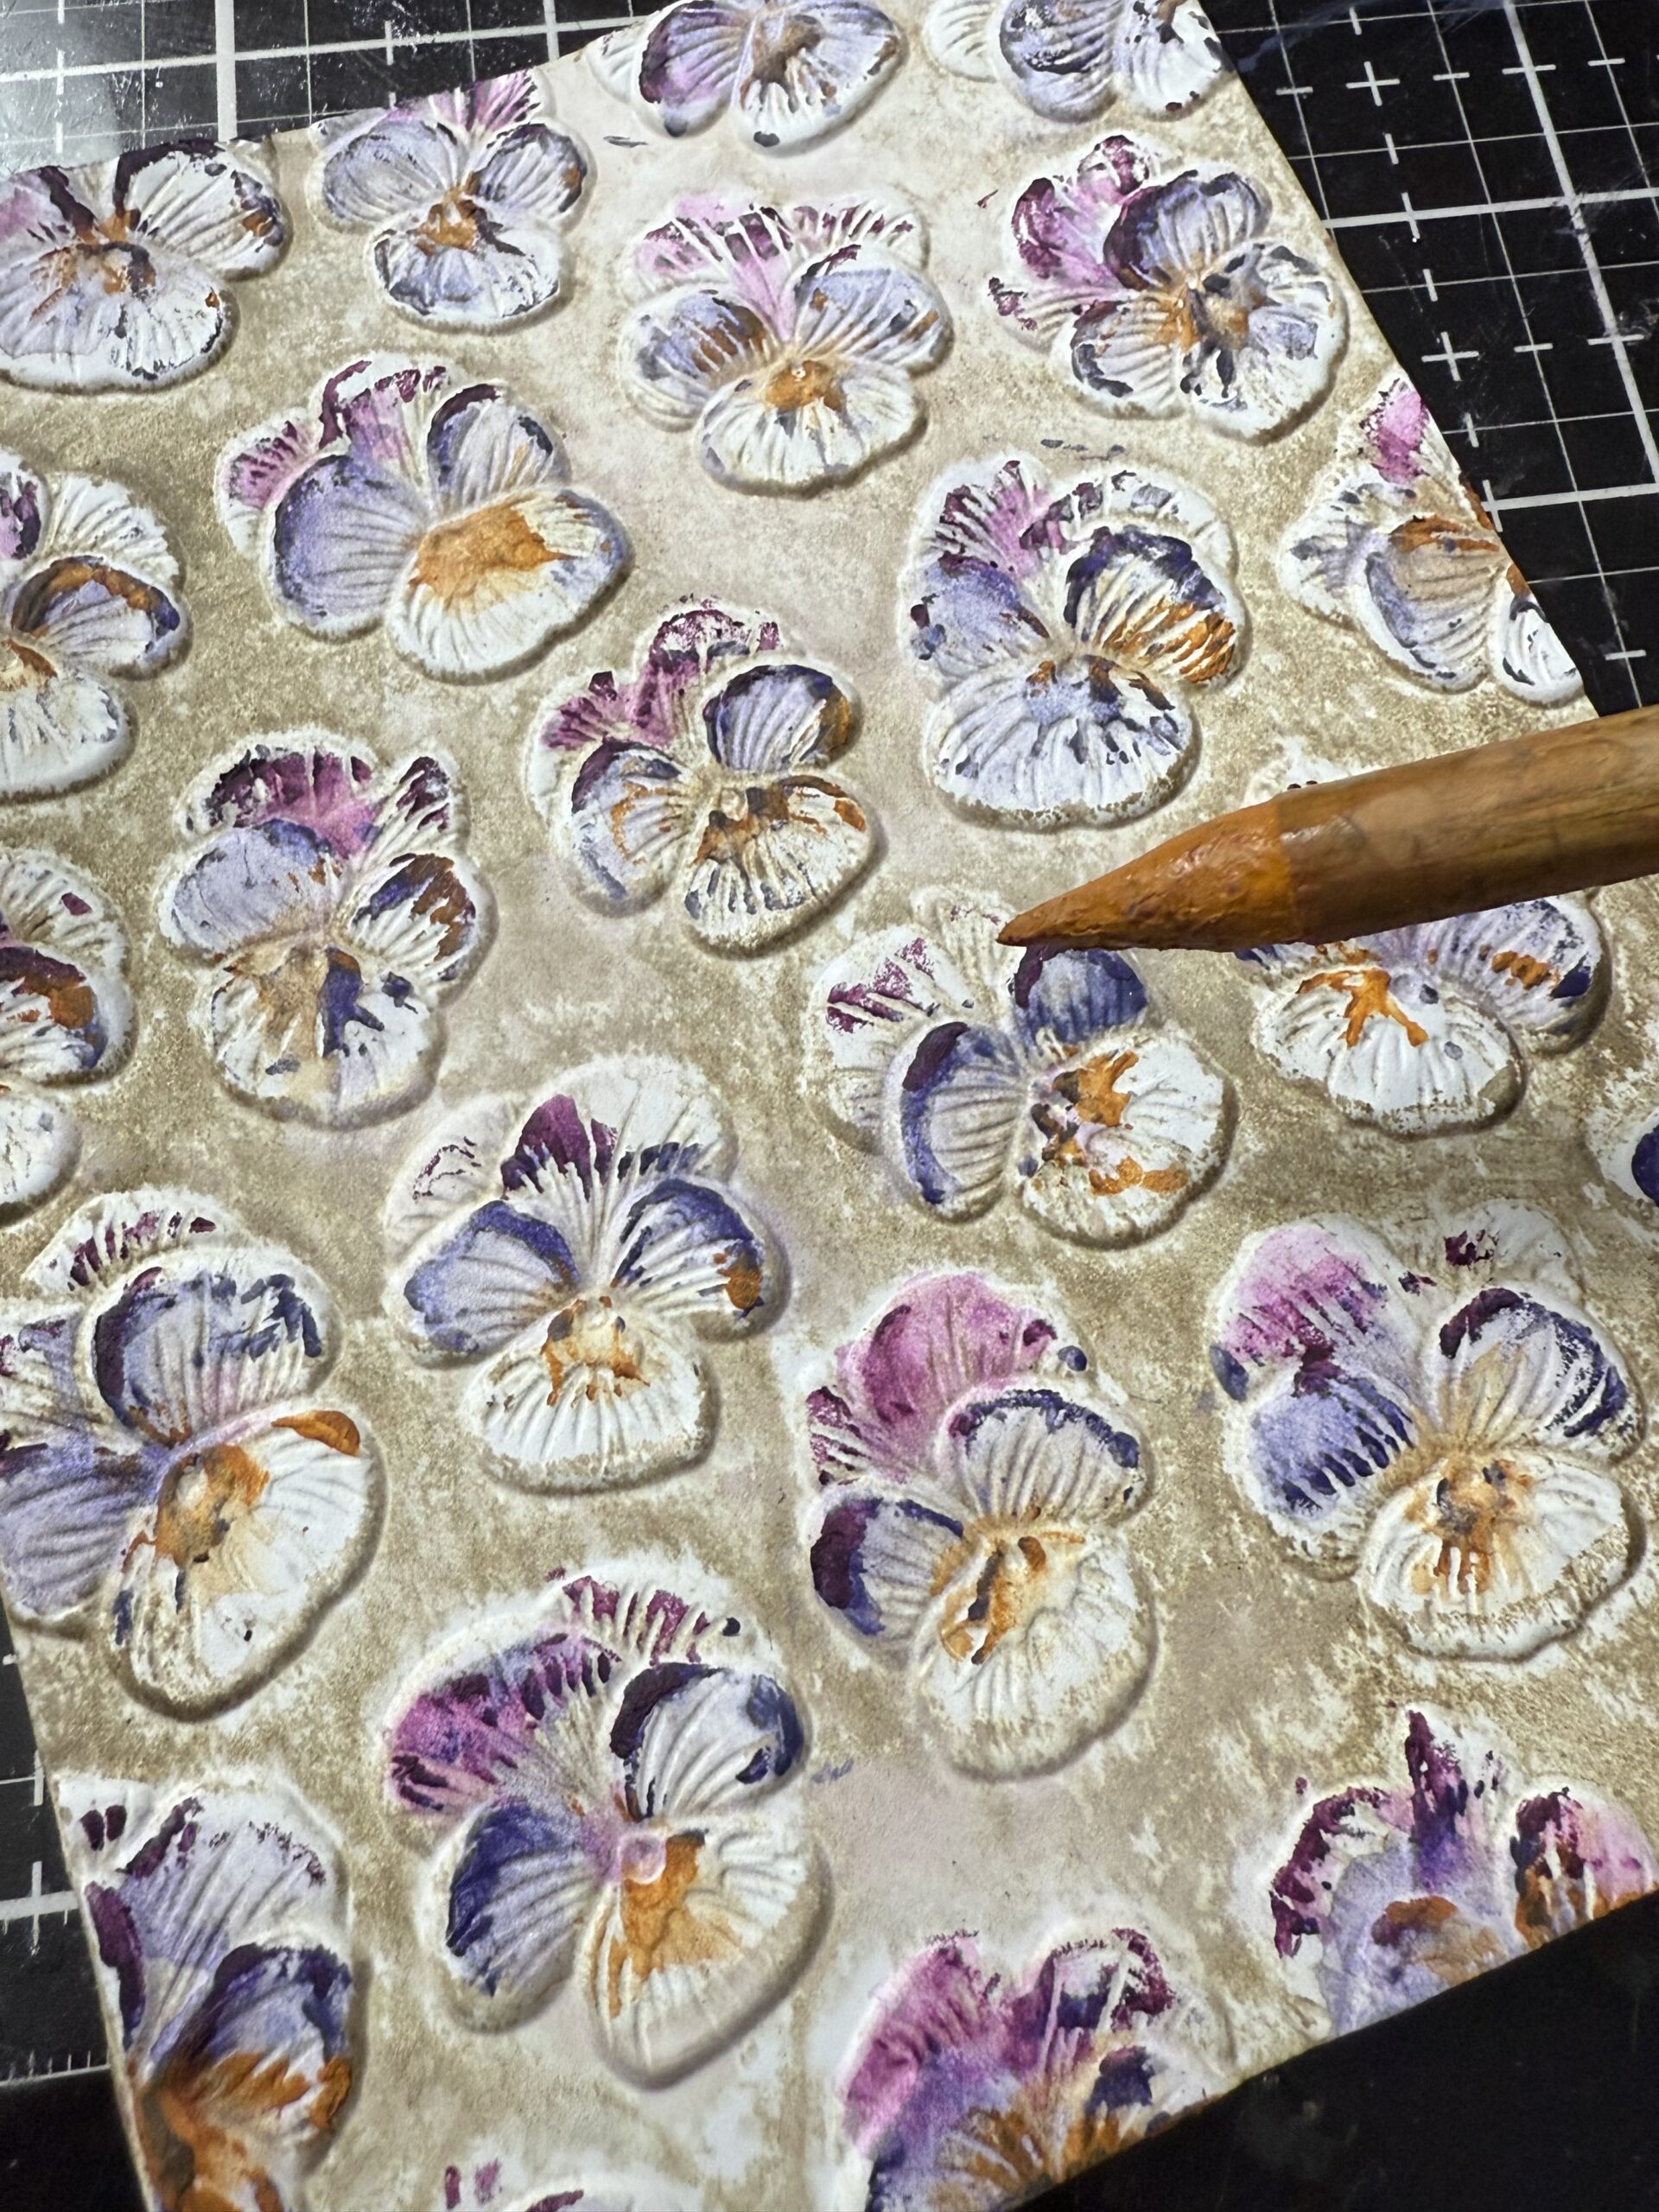
And finally, I added some Fossilized Amber to the centers and blended it out with a paint brush.
Some of the leftover purple drips that I had on my craft mat were used to wash in some purple color into the background of the paper, then I dried it with my heat tool.
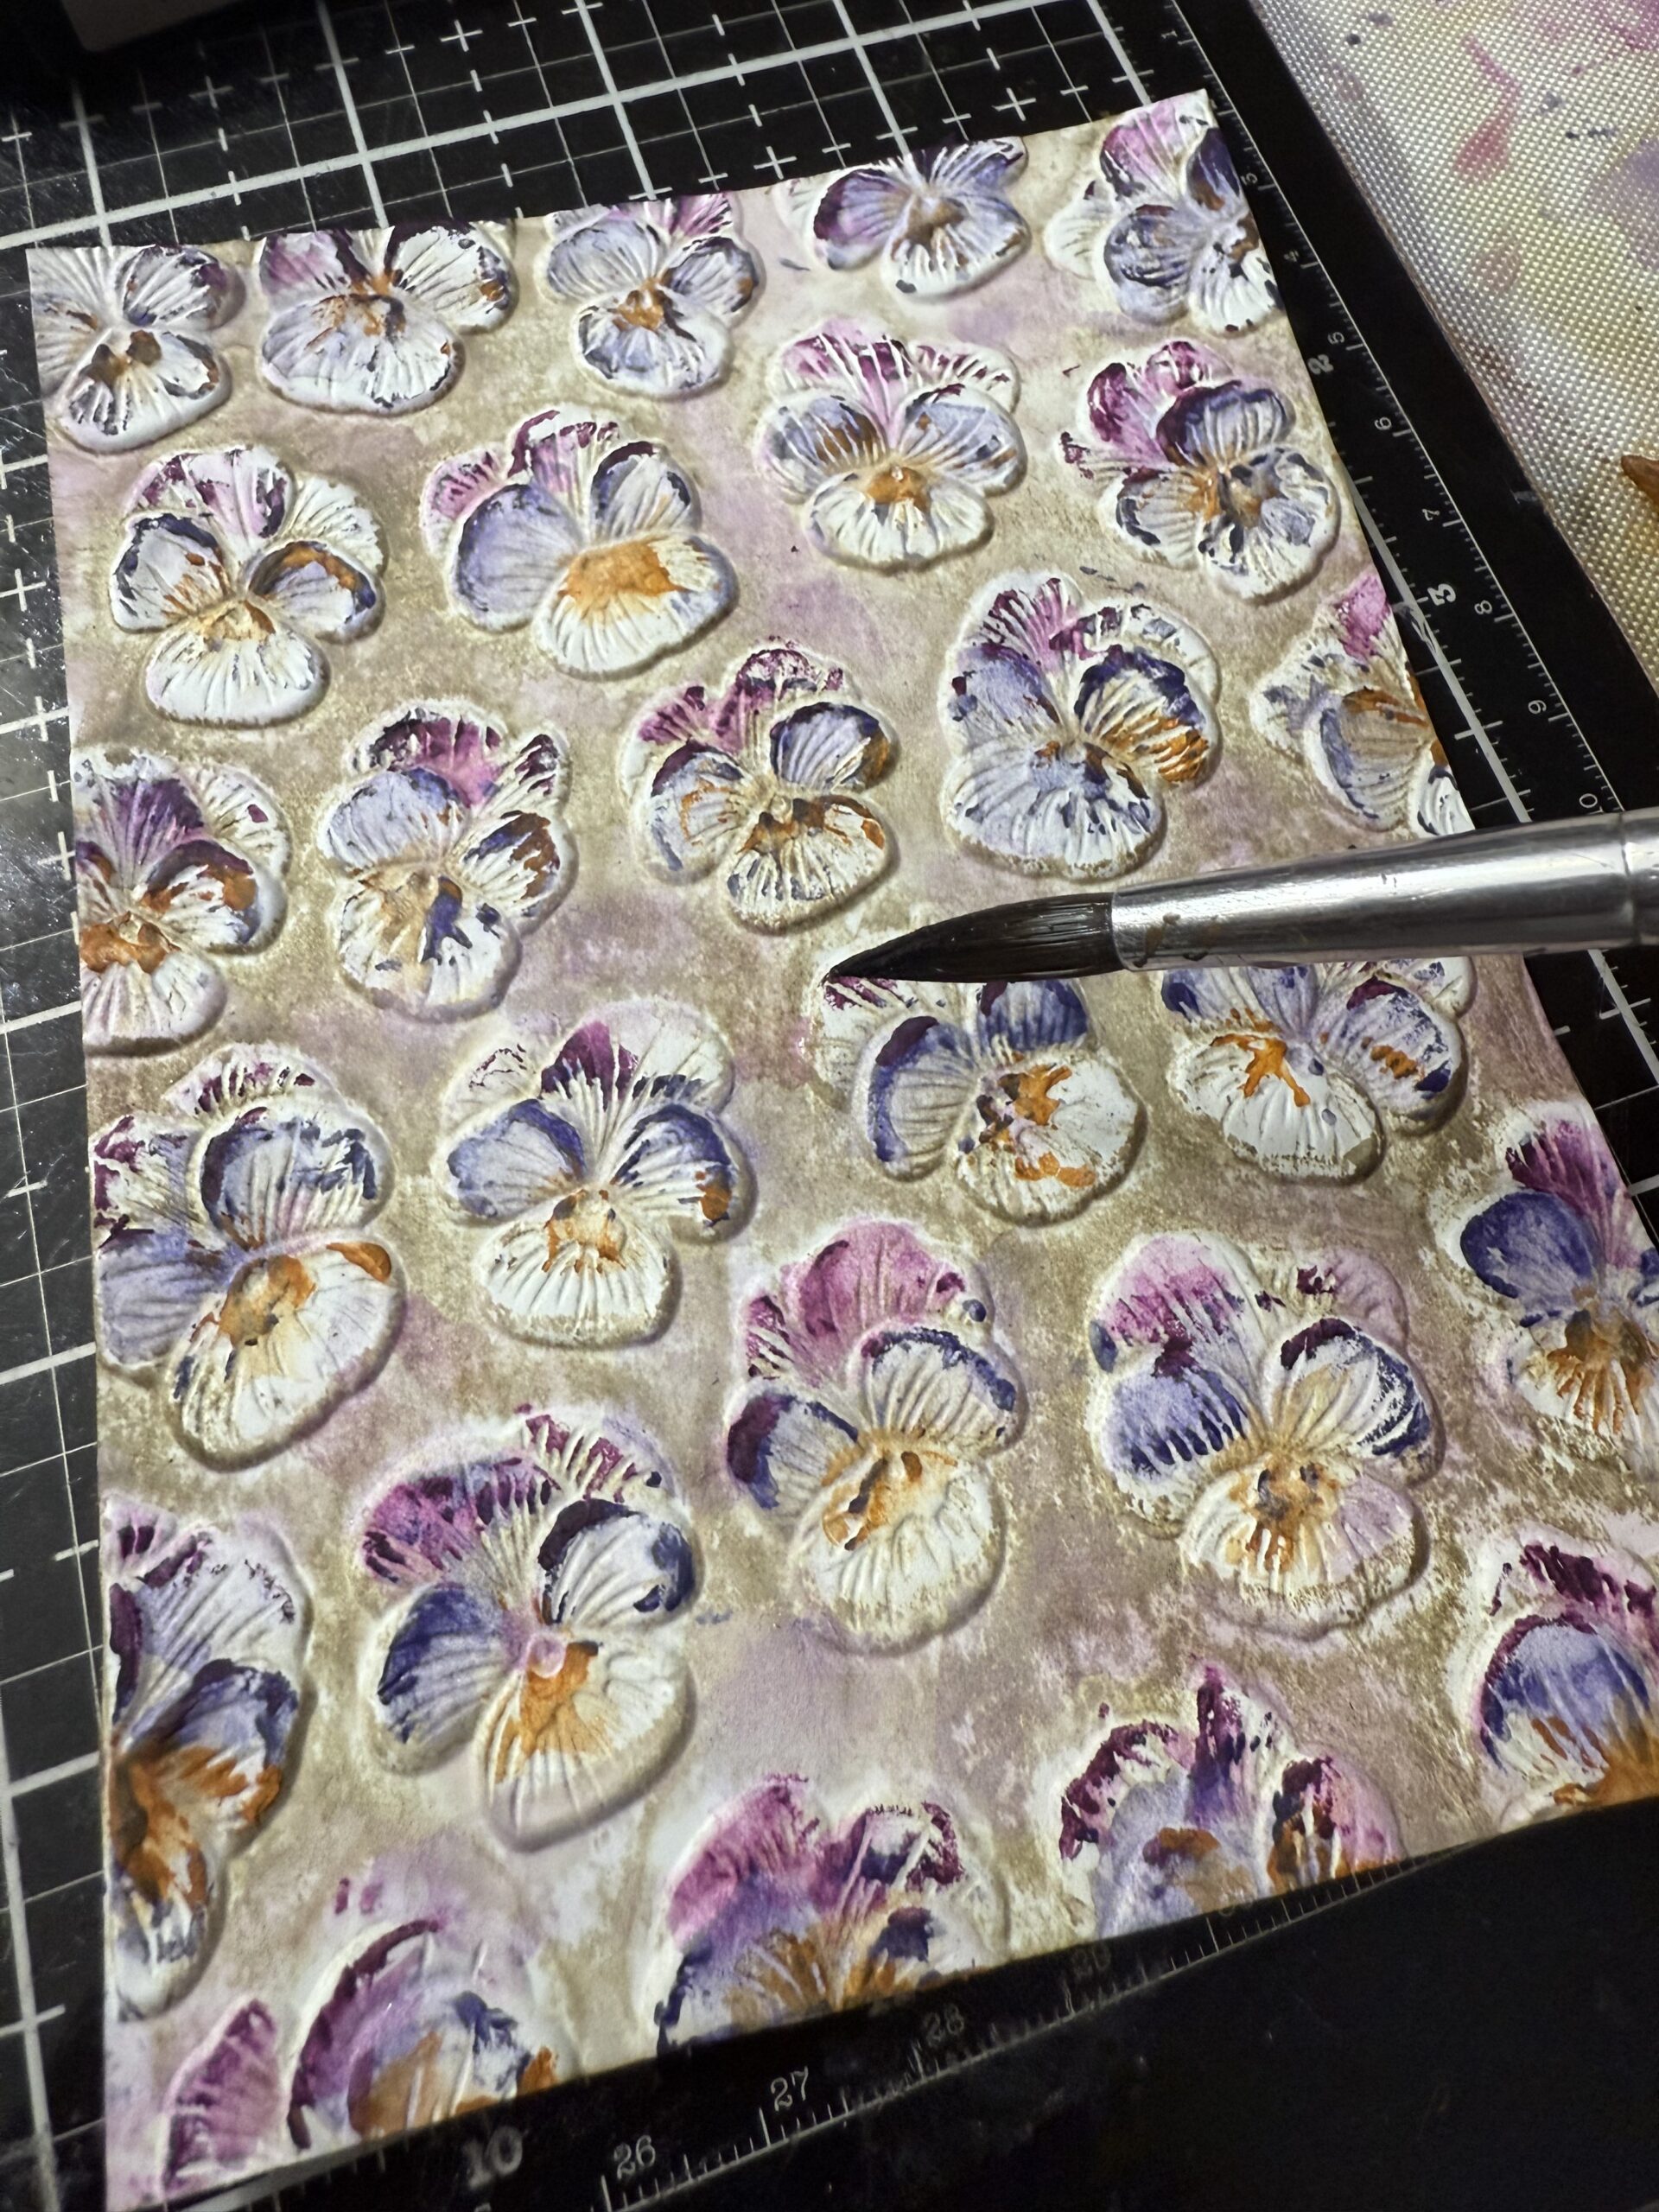
I used some of the liquid from my Distress Embossing Dauber applying it to the flowers by using my finger, then sprinkled some Liquid Platinum Embossing Powder. I embossed it using my embossing gun then spritzed the background using some Unraveled Mica Spray.
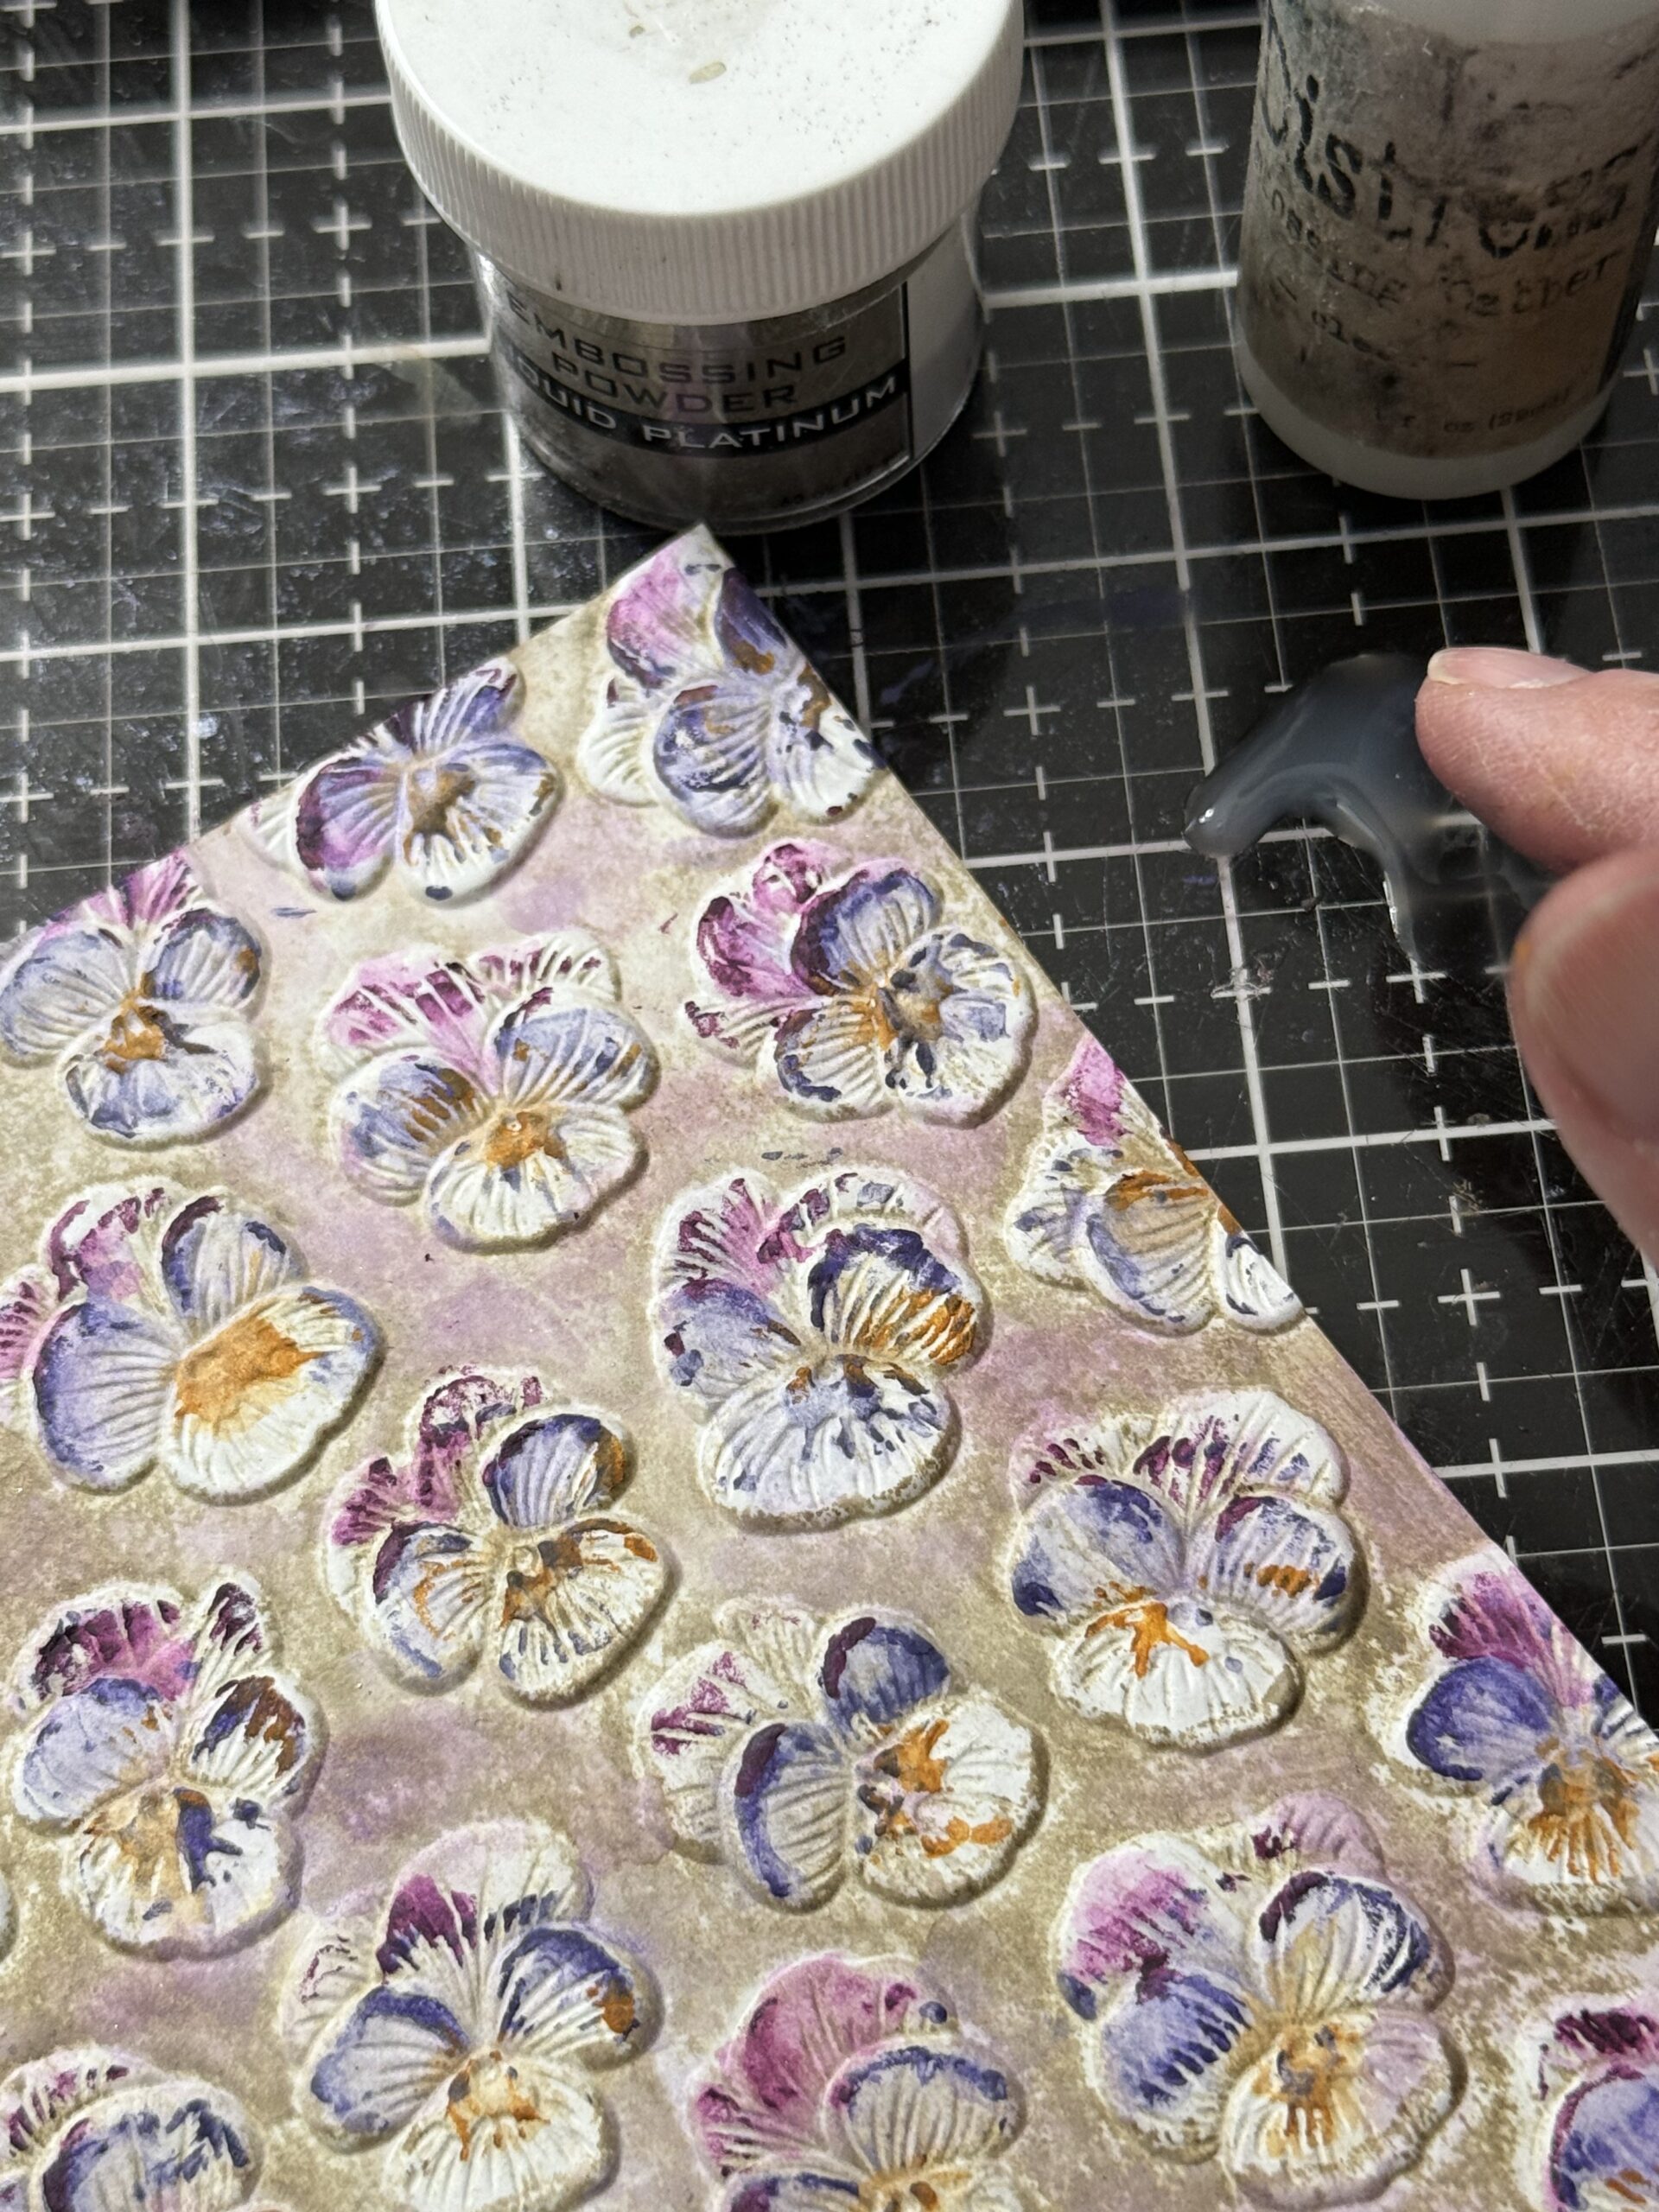
And here are the final results of that process… so beautiful!
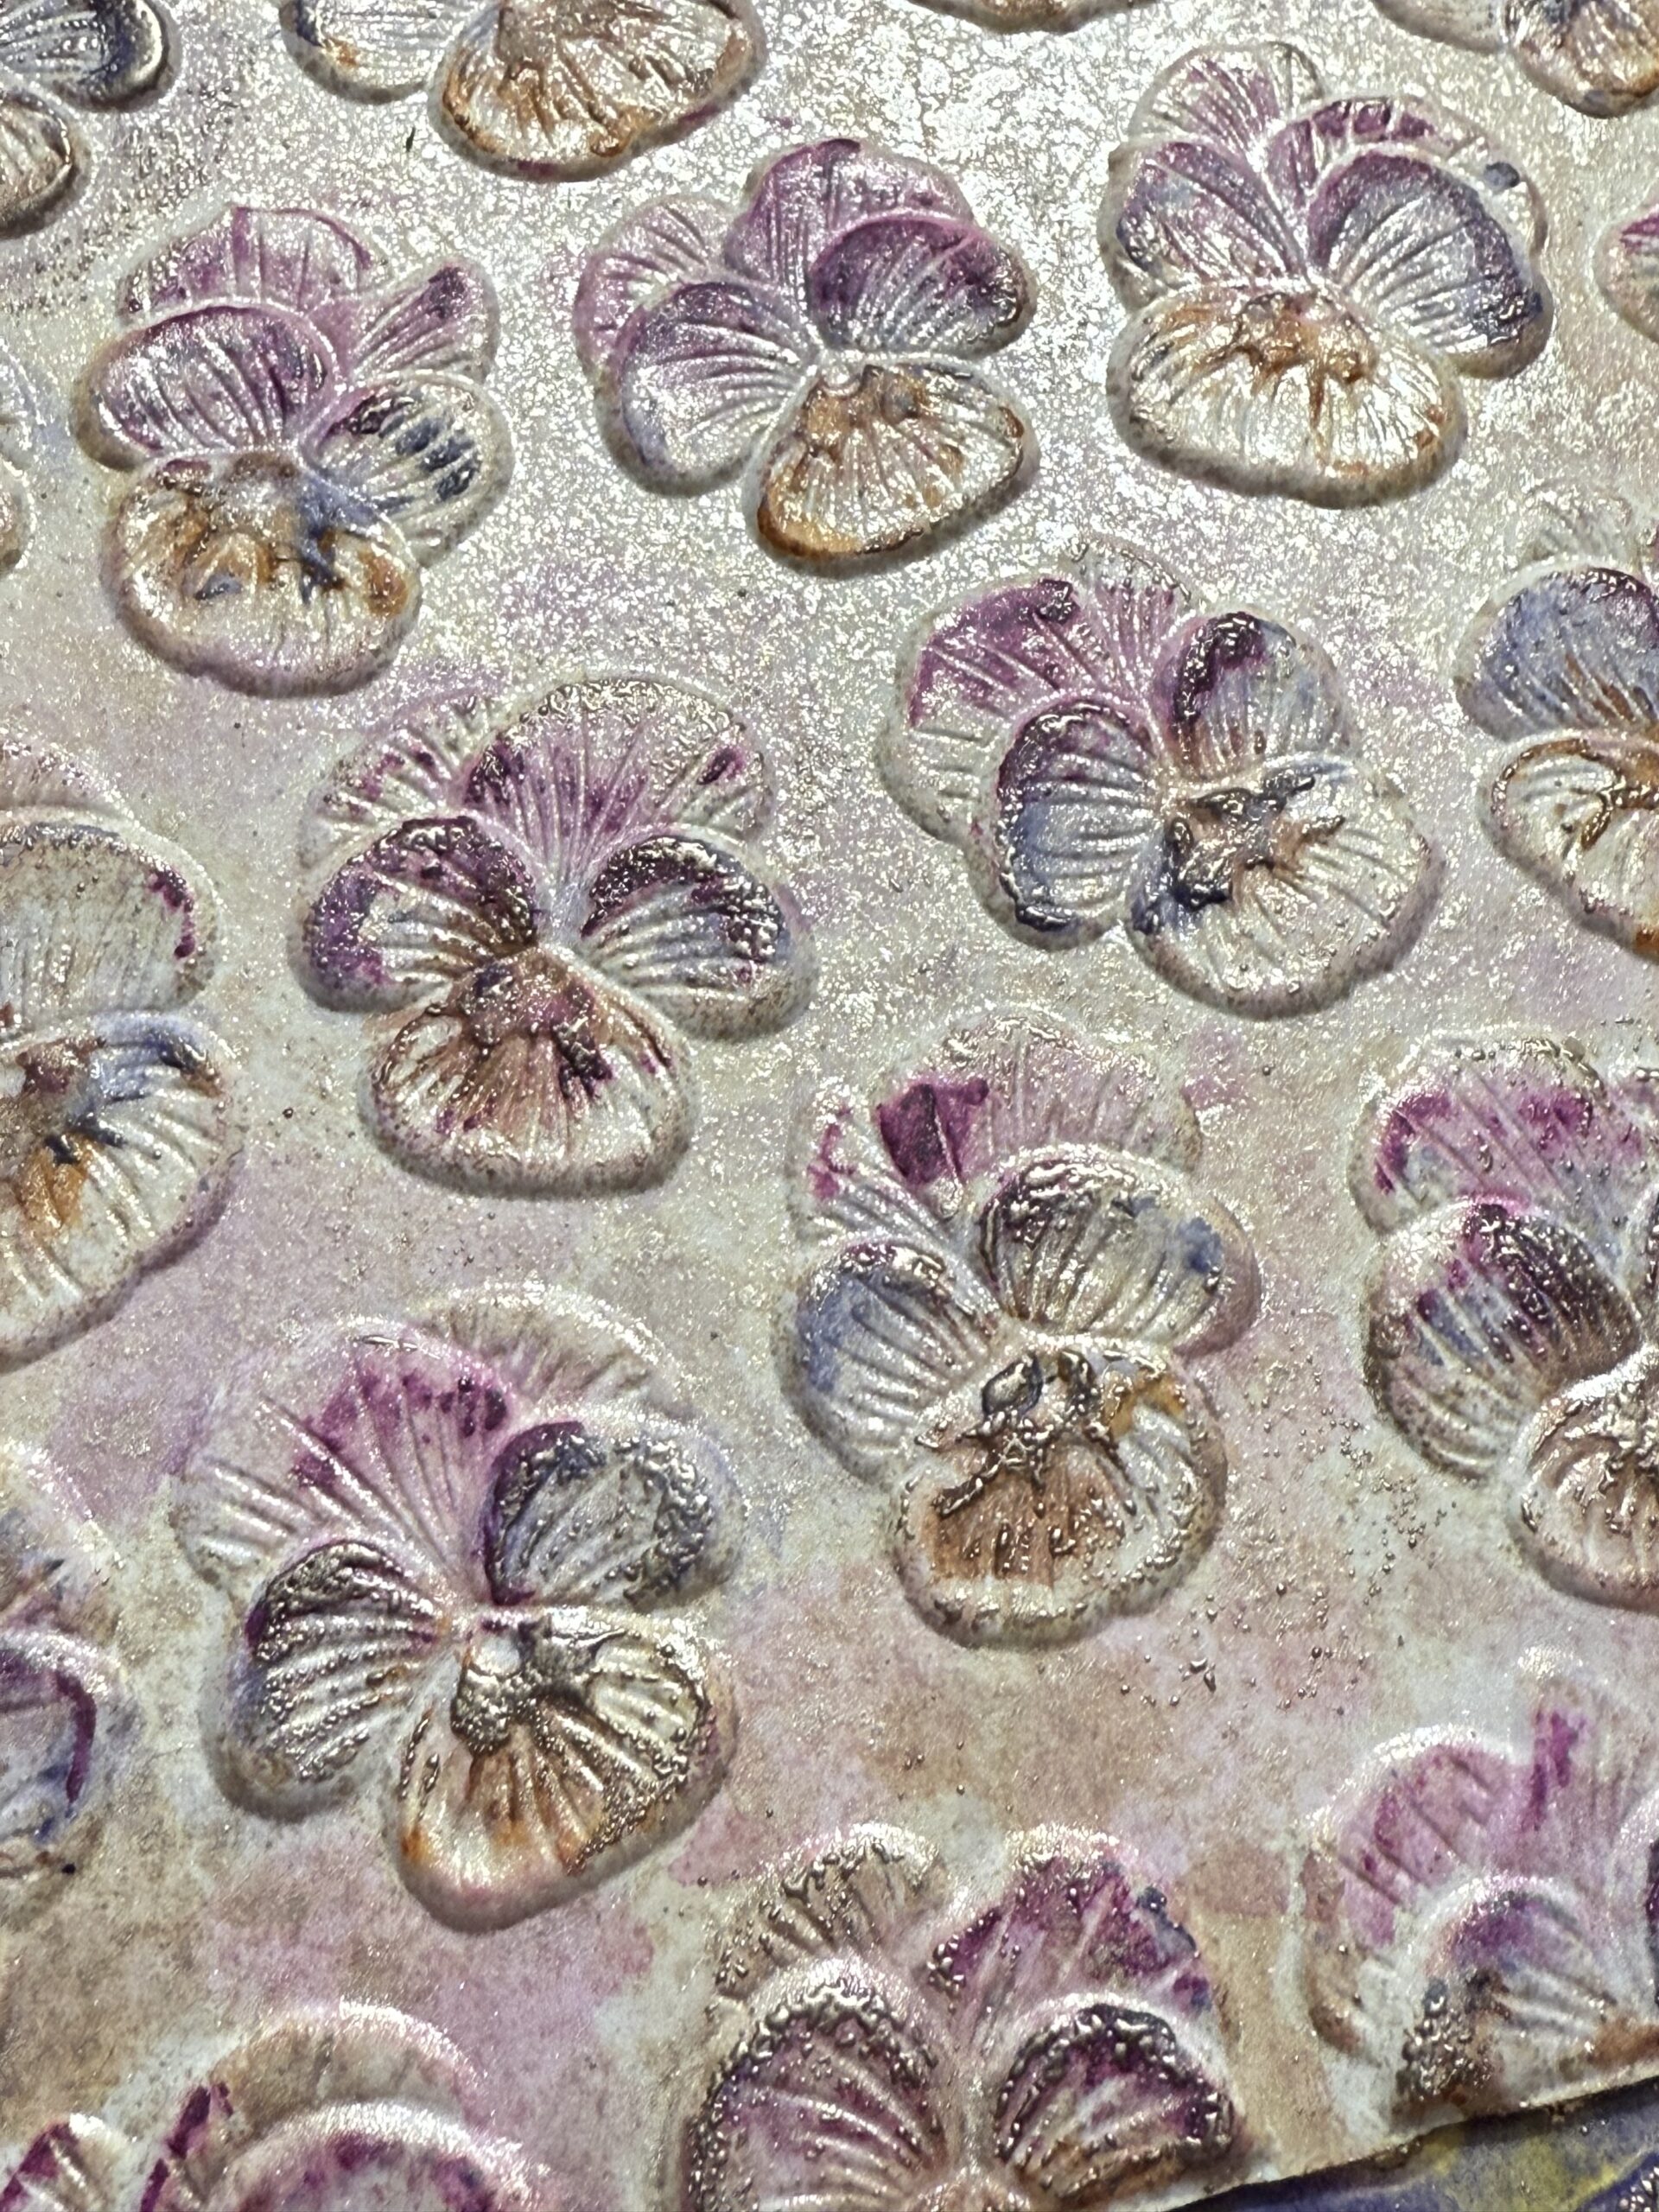
I cut the paper to create a couple of little background pieces (approximately 2″x 2.25″) Then I spritzed some watercolor paper using the Unraveled Mica to create some tiny card bases.
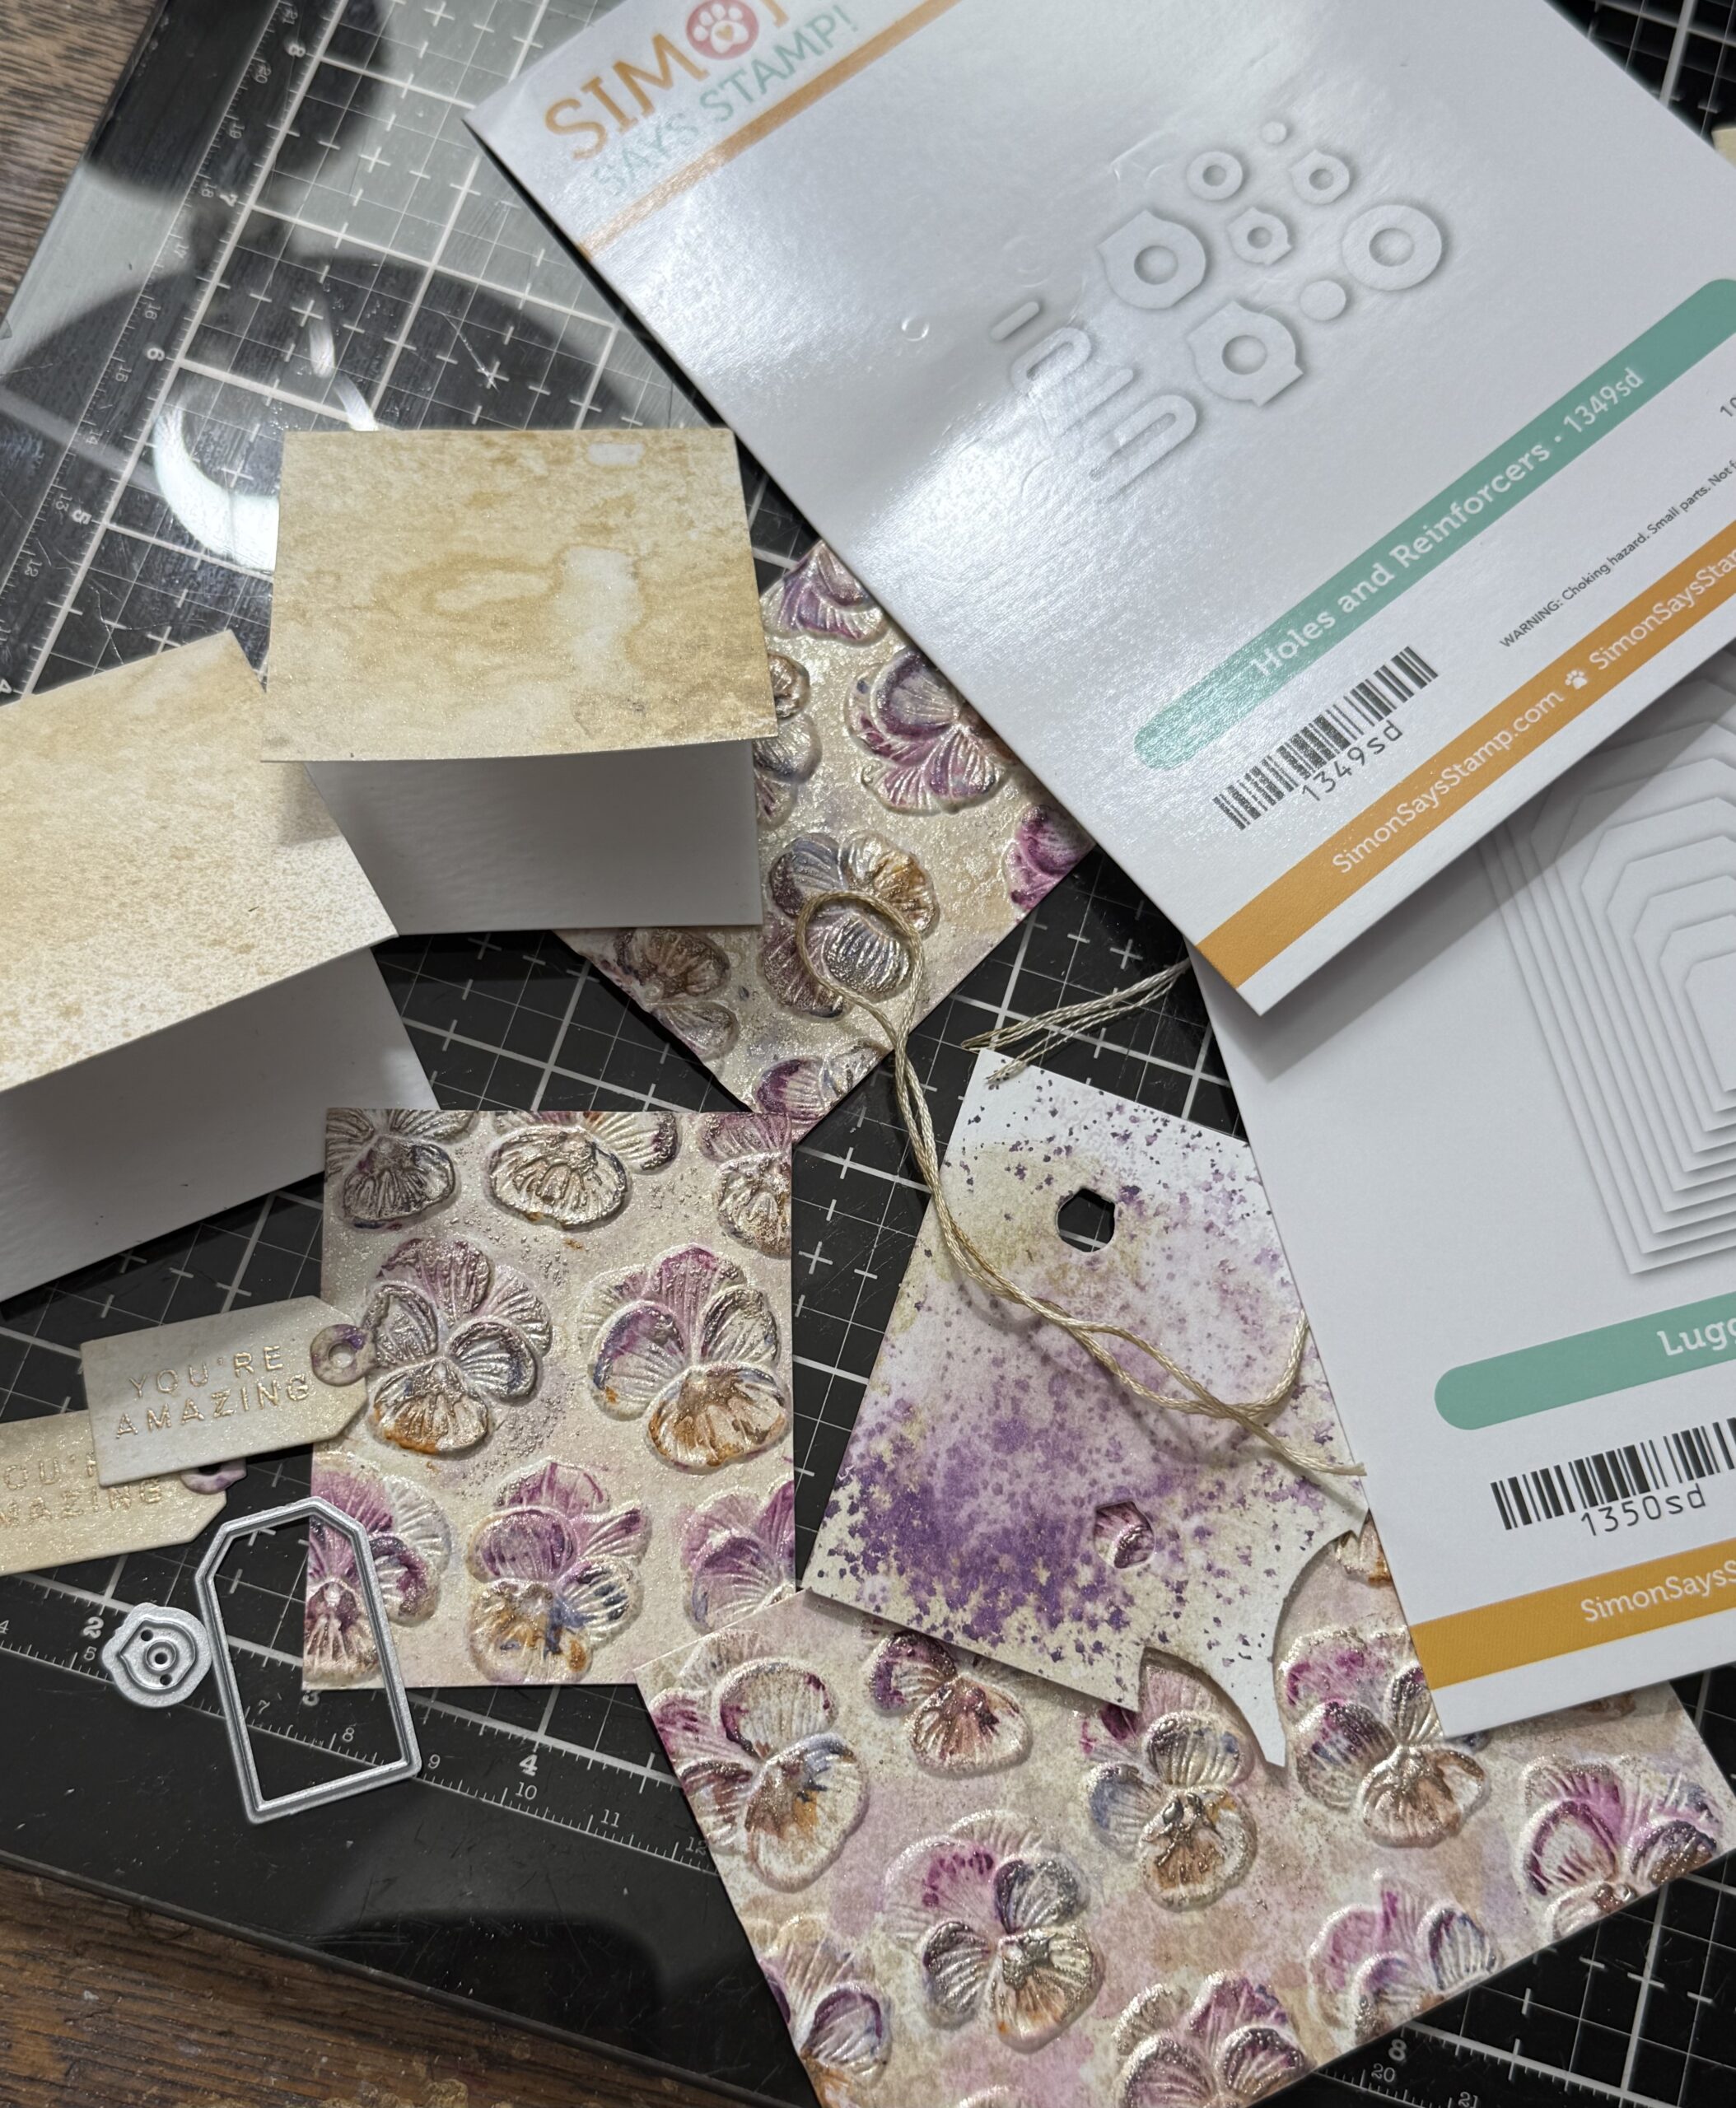
I stamped some tiny phrases and used a ting tag die to cut out the phrase and added some tiny reinforcements.
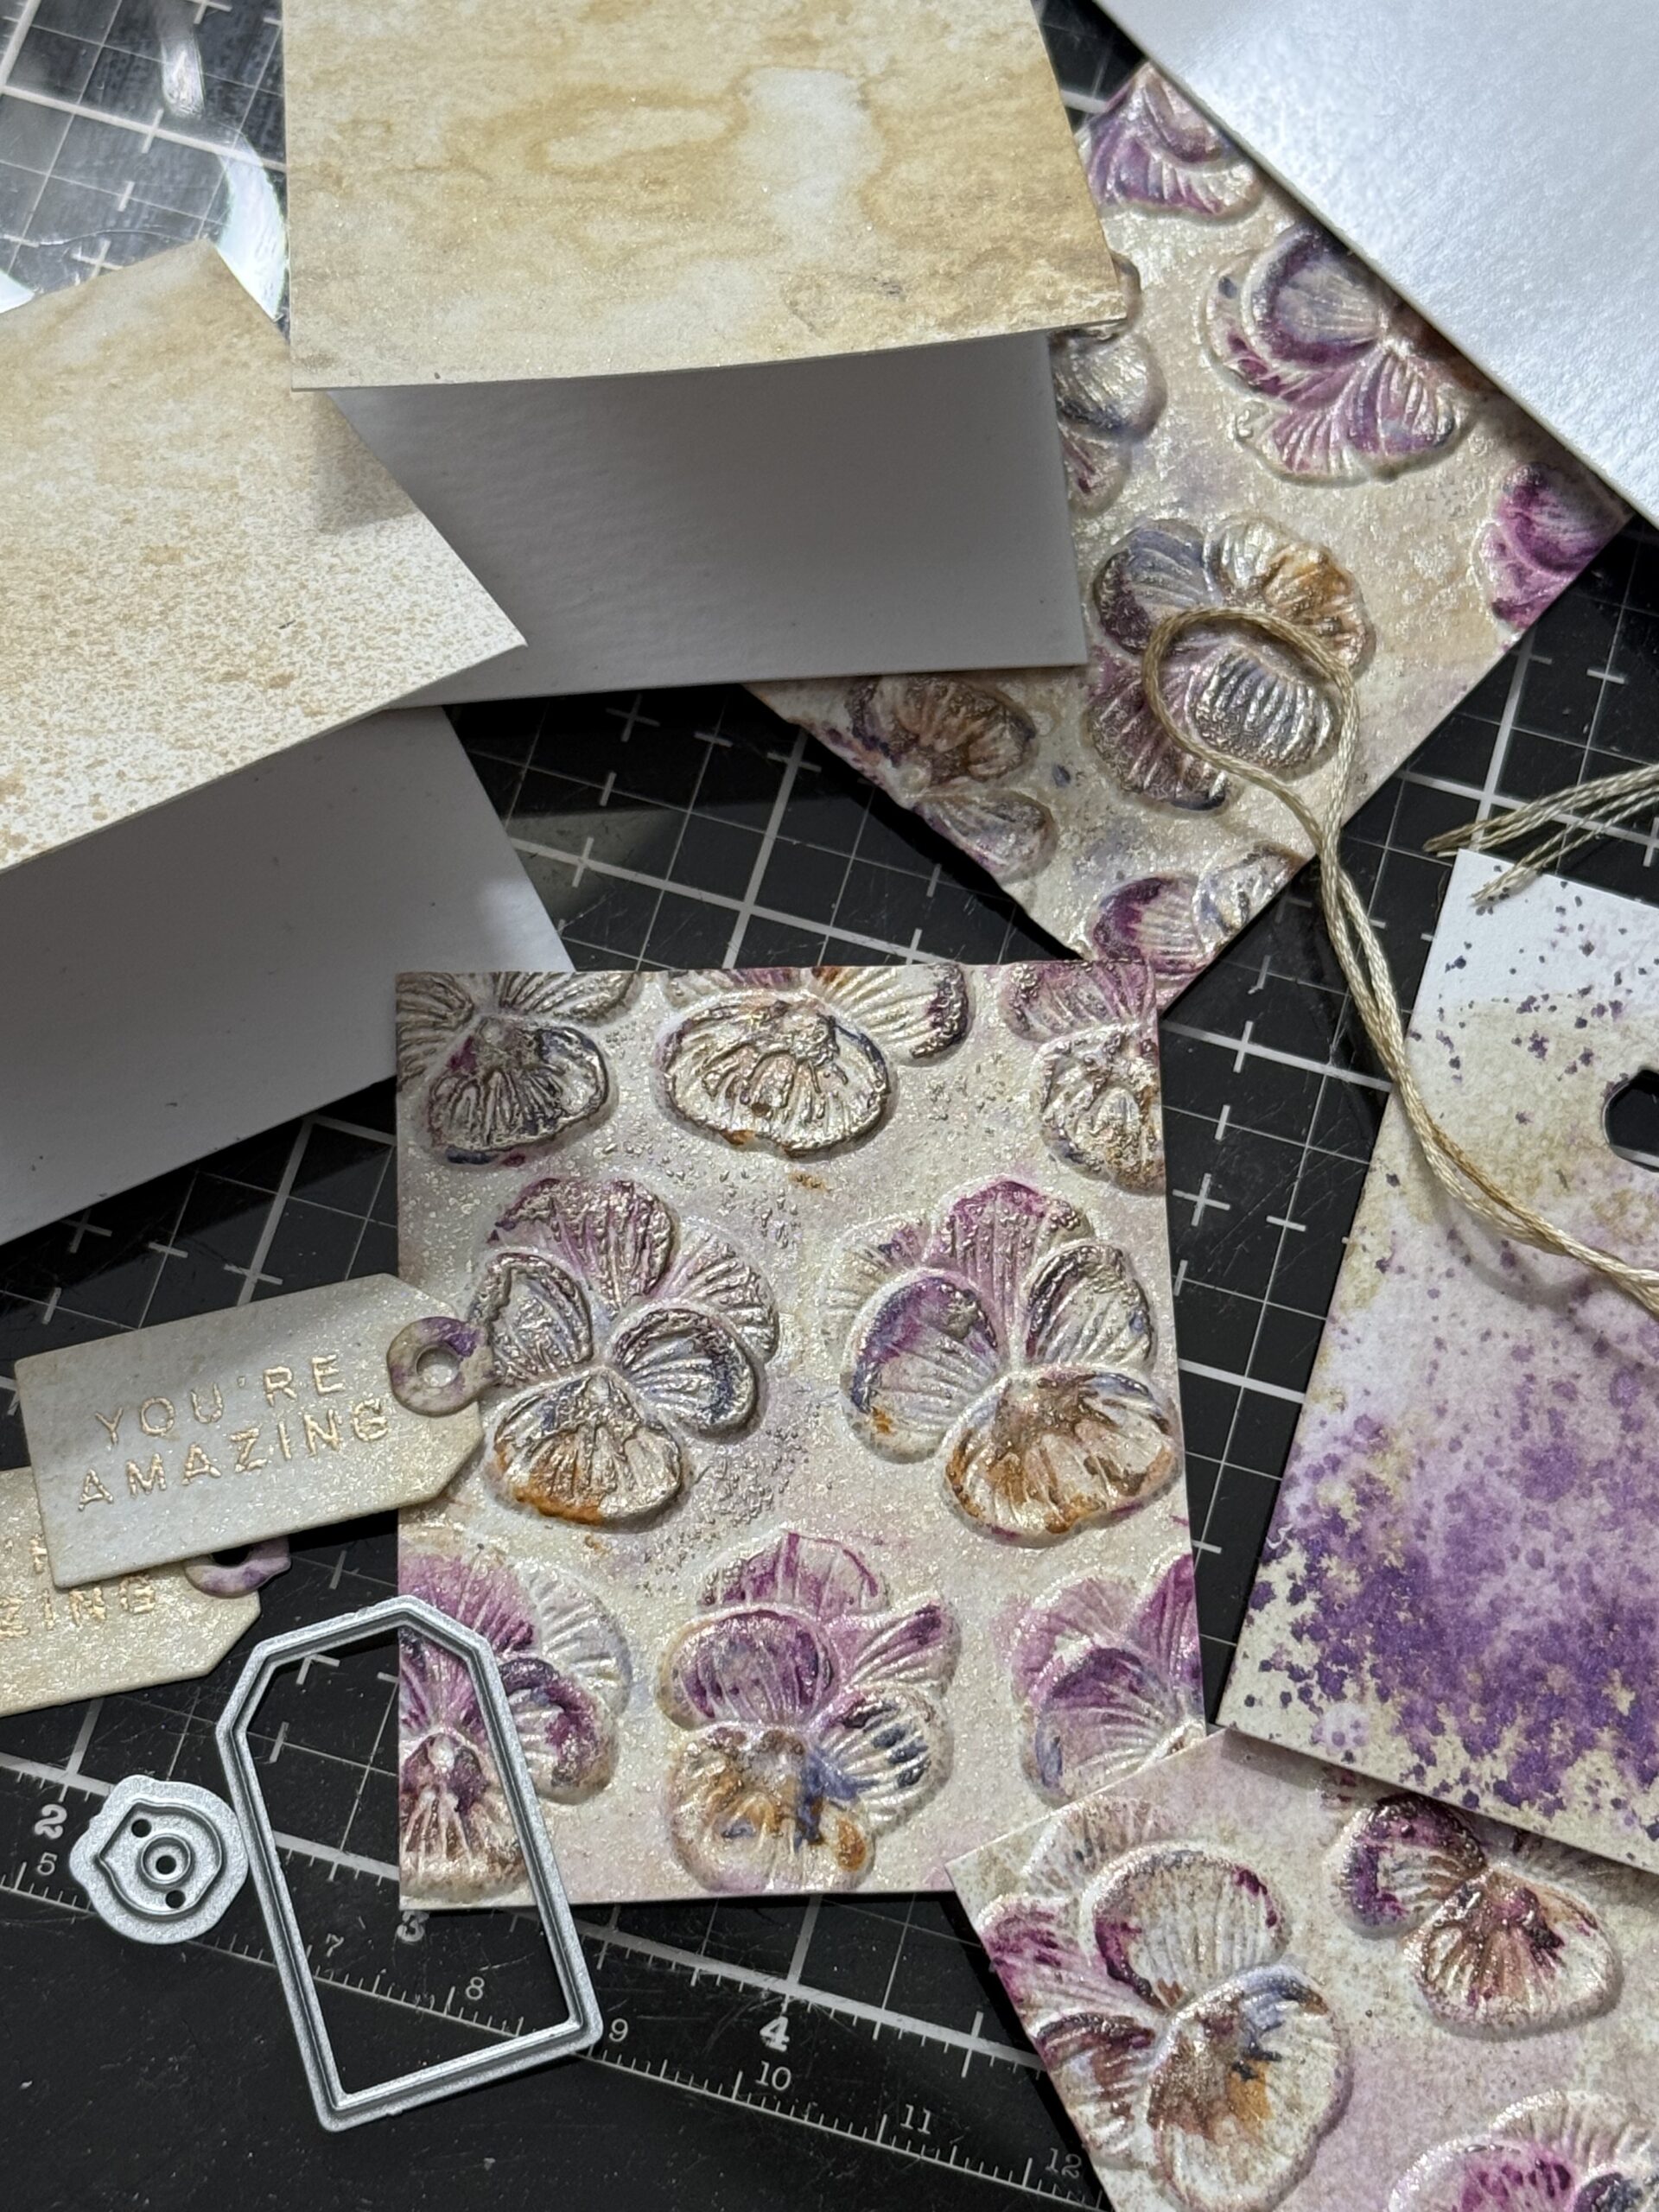
I tied the tiny tags with some floss to the front of the small pansy backgrounds and tied them with a bow. With that, my cards were complete!
Thanks so much for stopping by today..I hope you enjoyed this tutorial and that you think about trying some of the lovely embossing folders that Simon Says Stamp offers!
Creatively yours,
Stacy
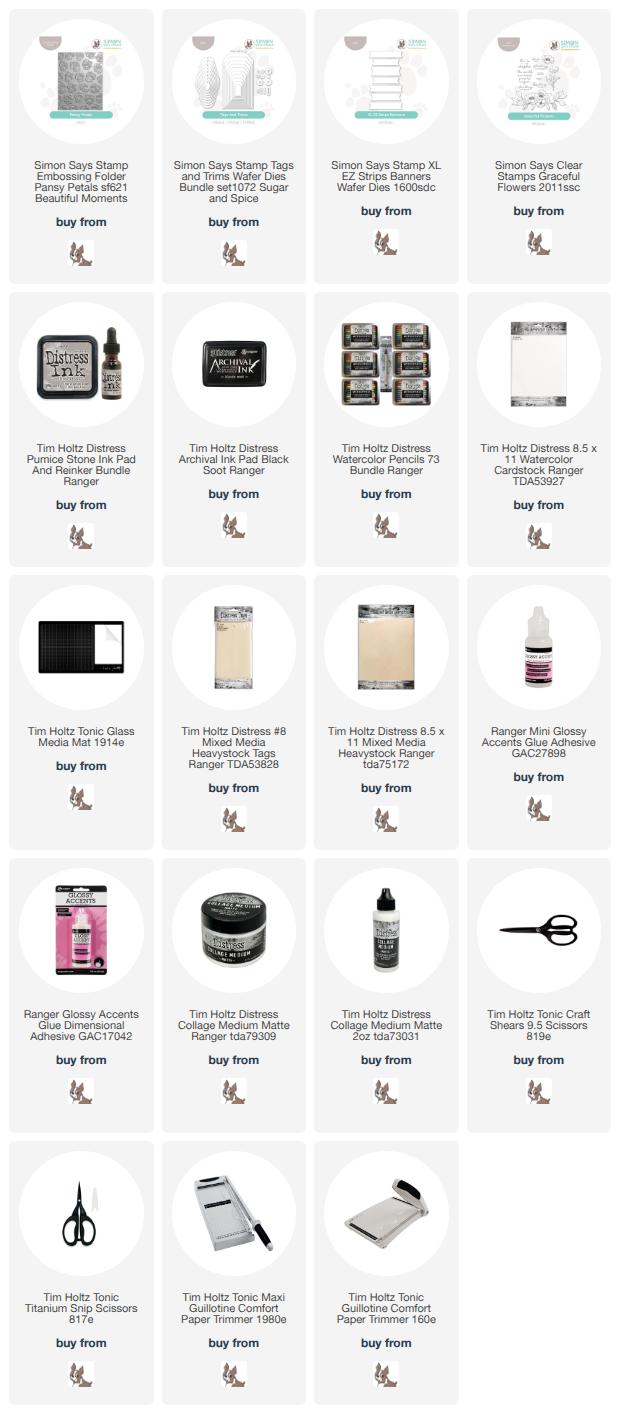
Shop Simon Says Stamp by clicking on this link. Thank you! I appreciate you for supporting me.
What is an affiliate program, and why should I click on the link and buy through you?
When you shop via the affiliate link on this blog, I receive a small commission from the affiliate provider (Simon Says Stamp) at no extra cost to you, whatsoever. These commissions help me to cover the hosting fees and other costs to run my blog and be able to provide you with FREE inspiration. If you shop the links, THANK YOU! I truly appreciate being able to share my love of creating with you.










I just love the techniques and the cards, Stacy.