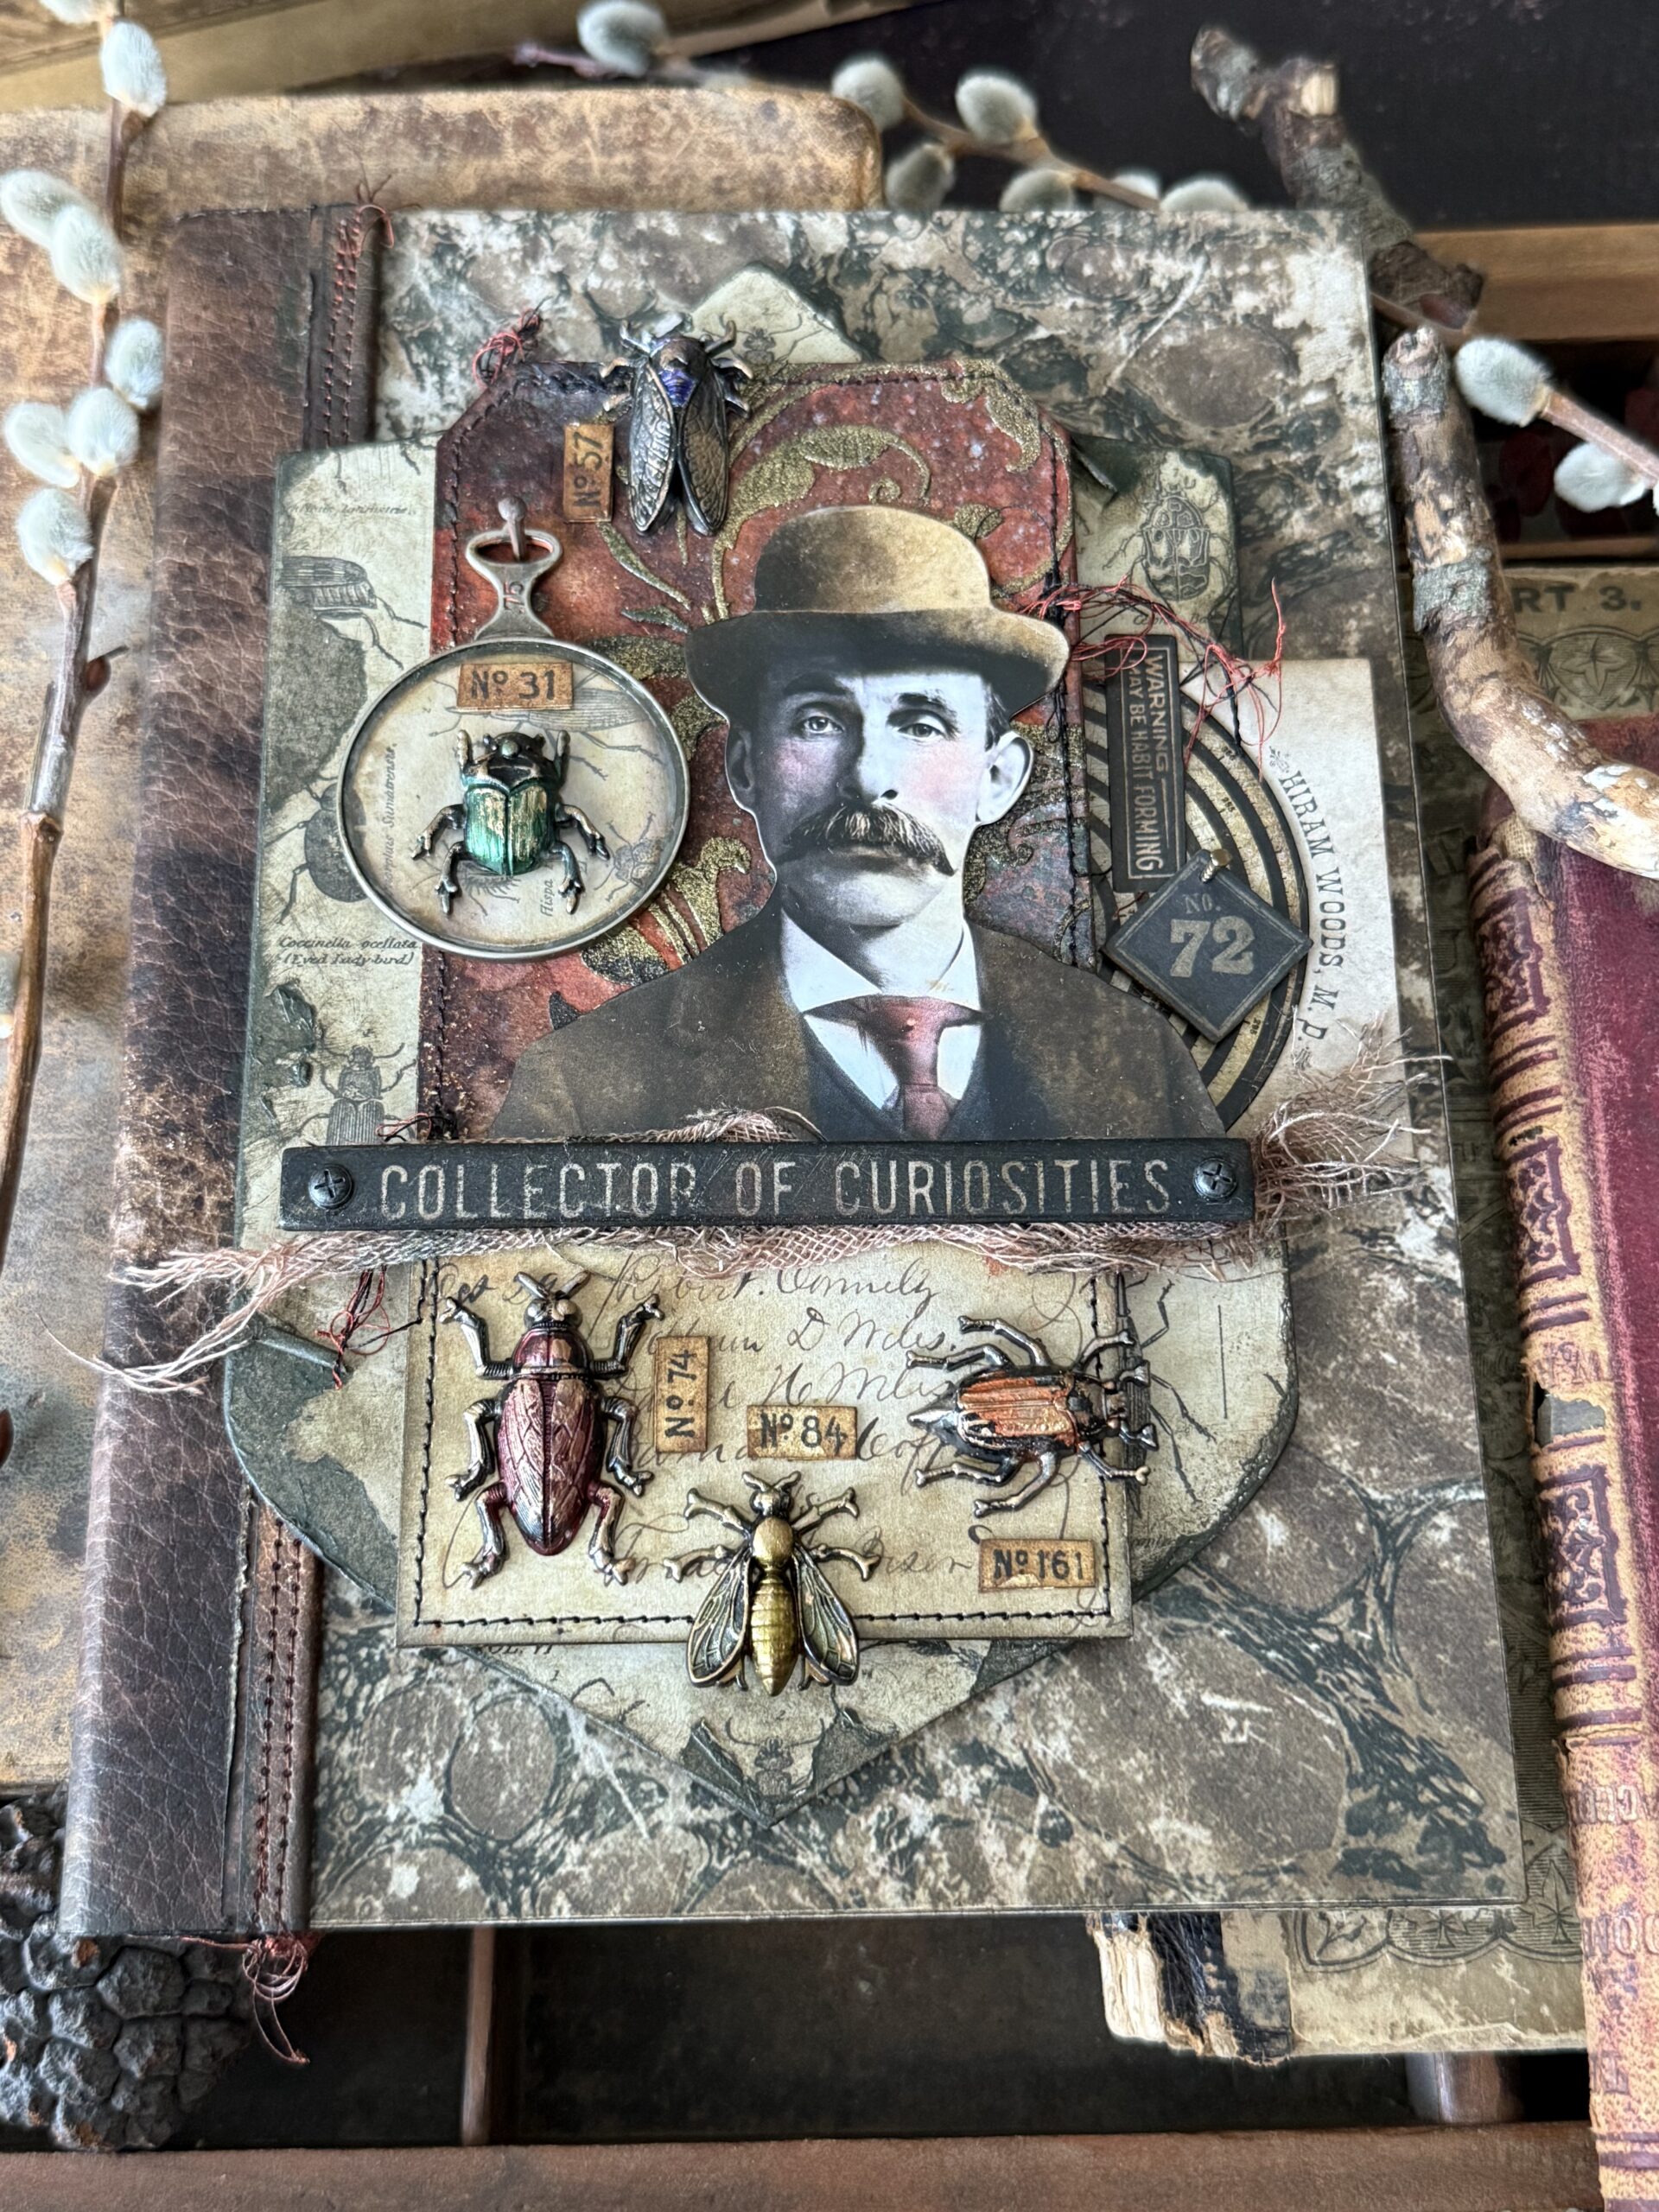
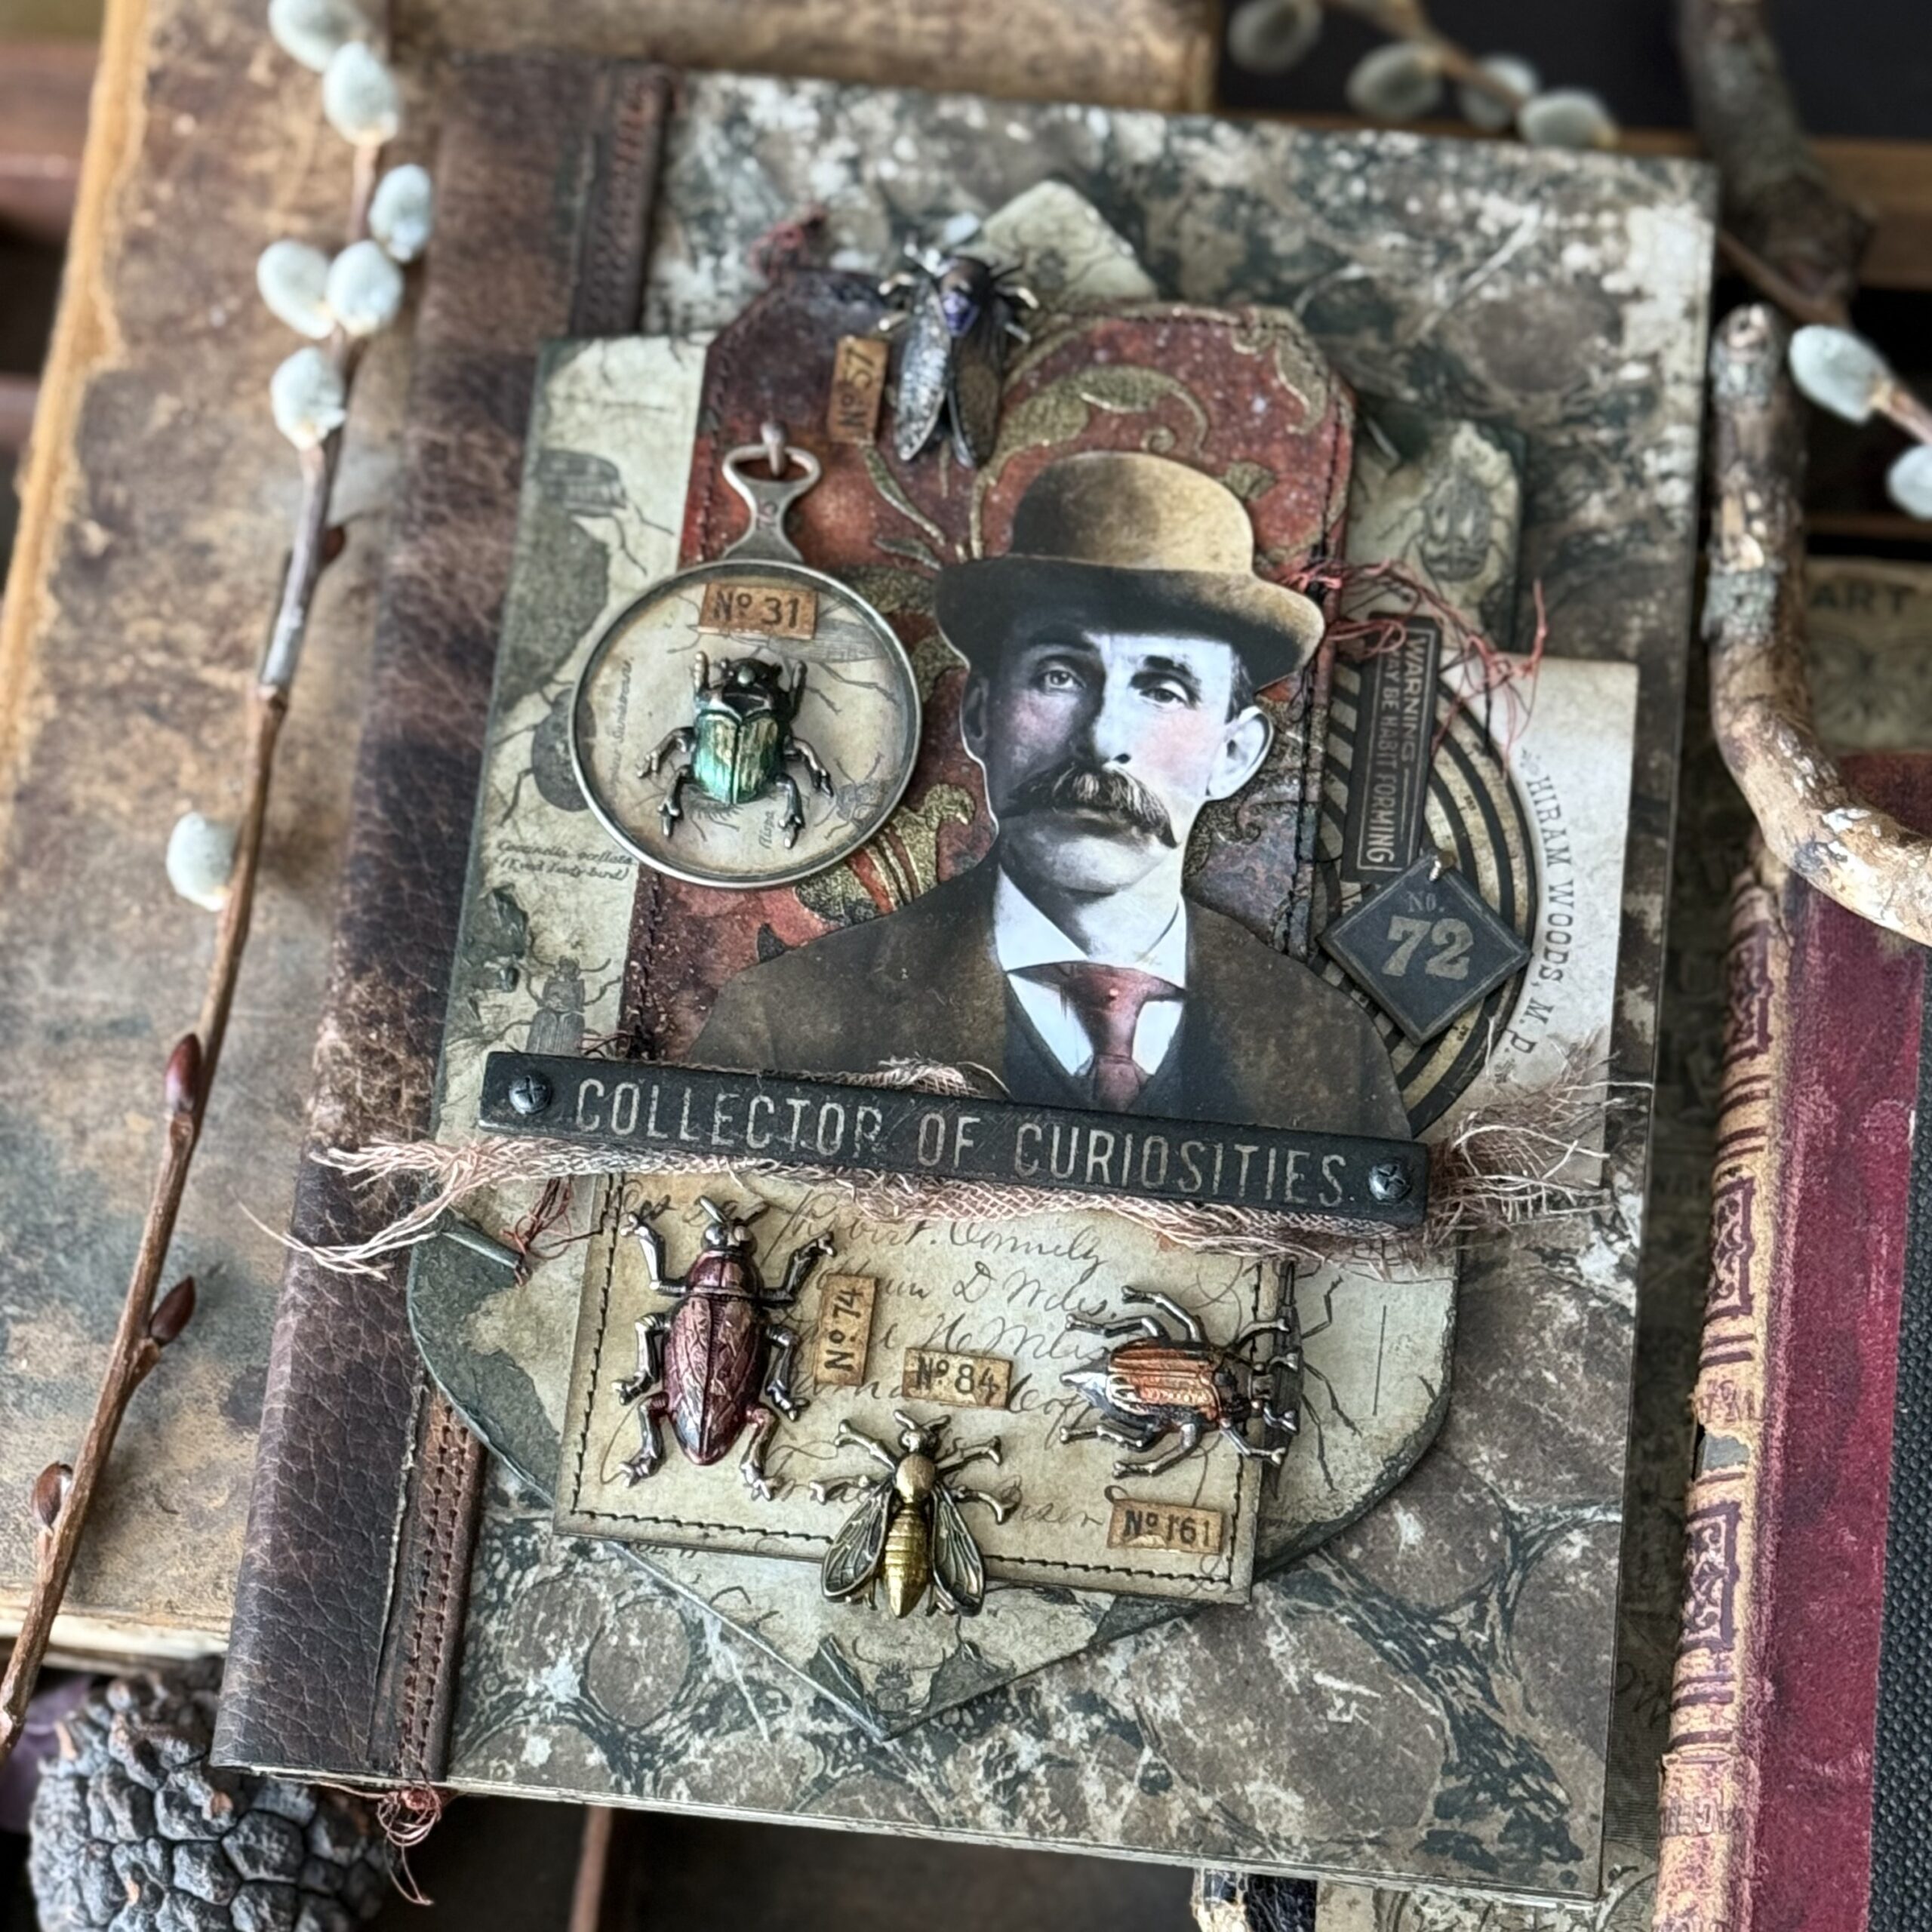
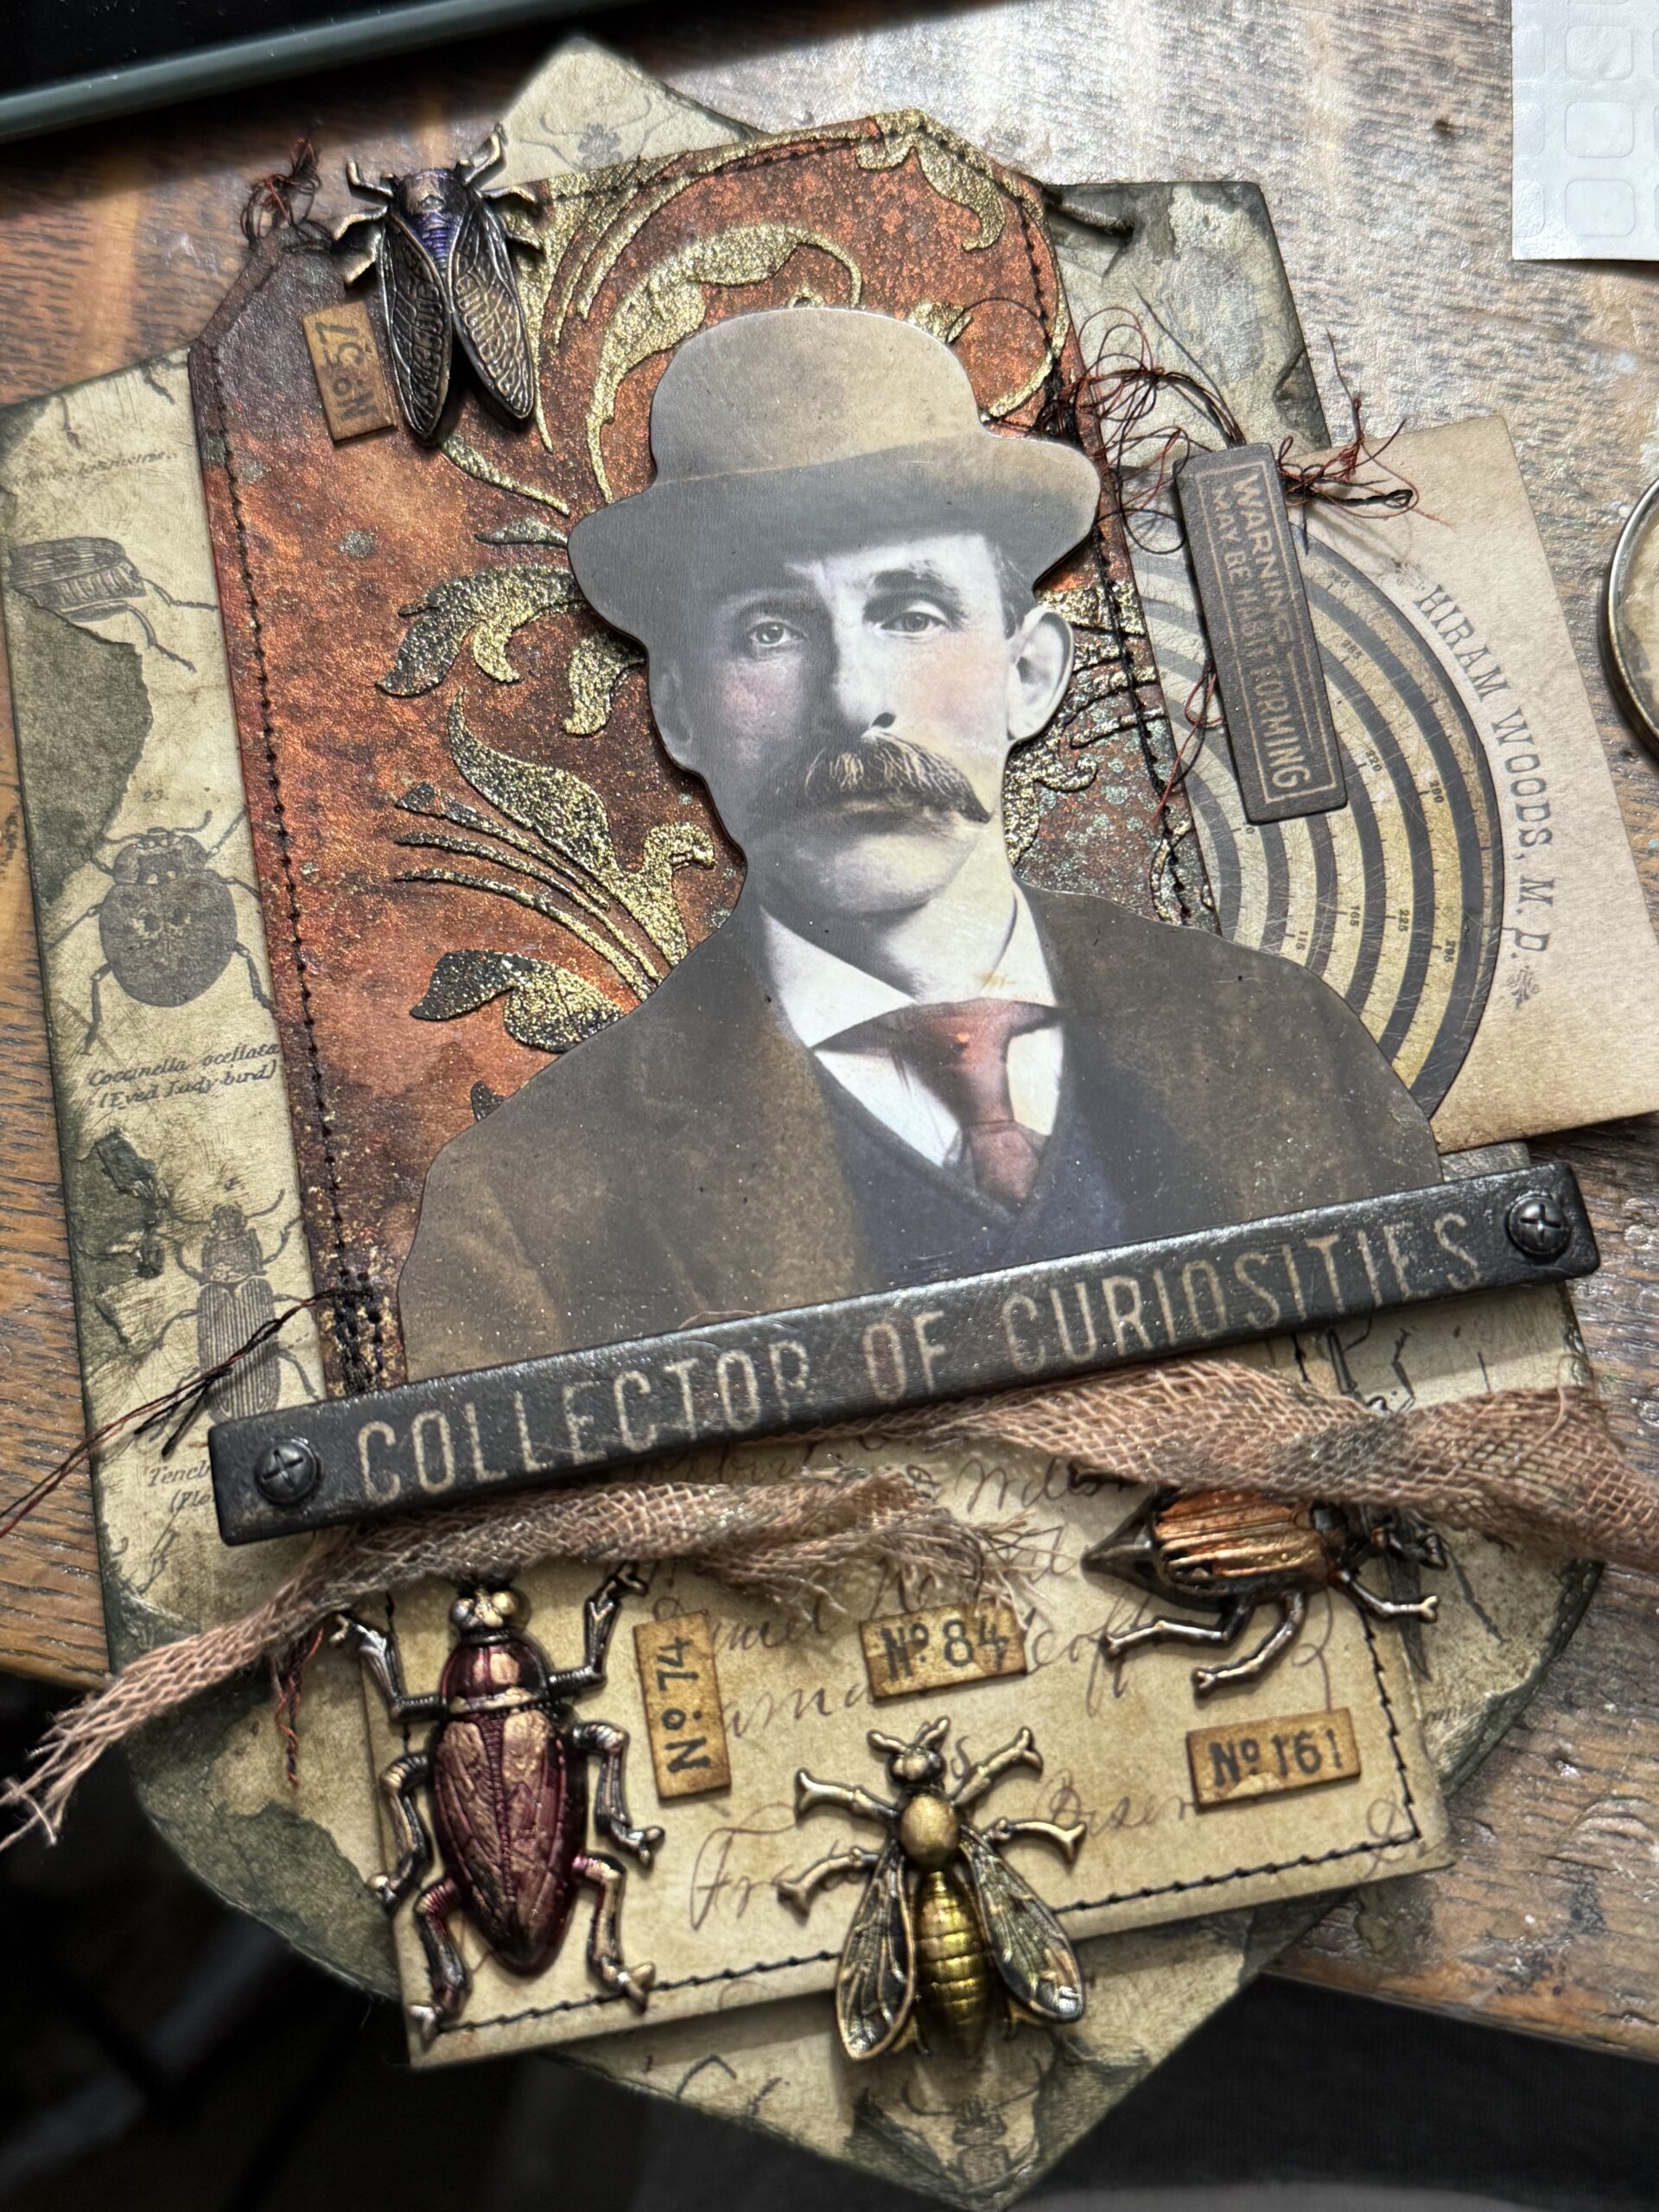
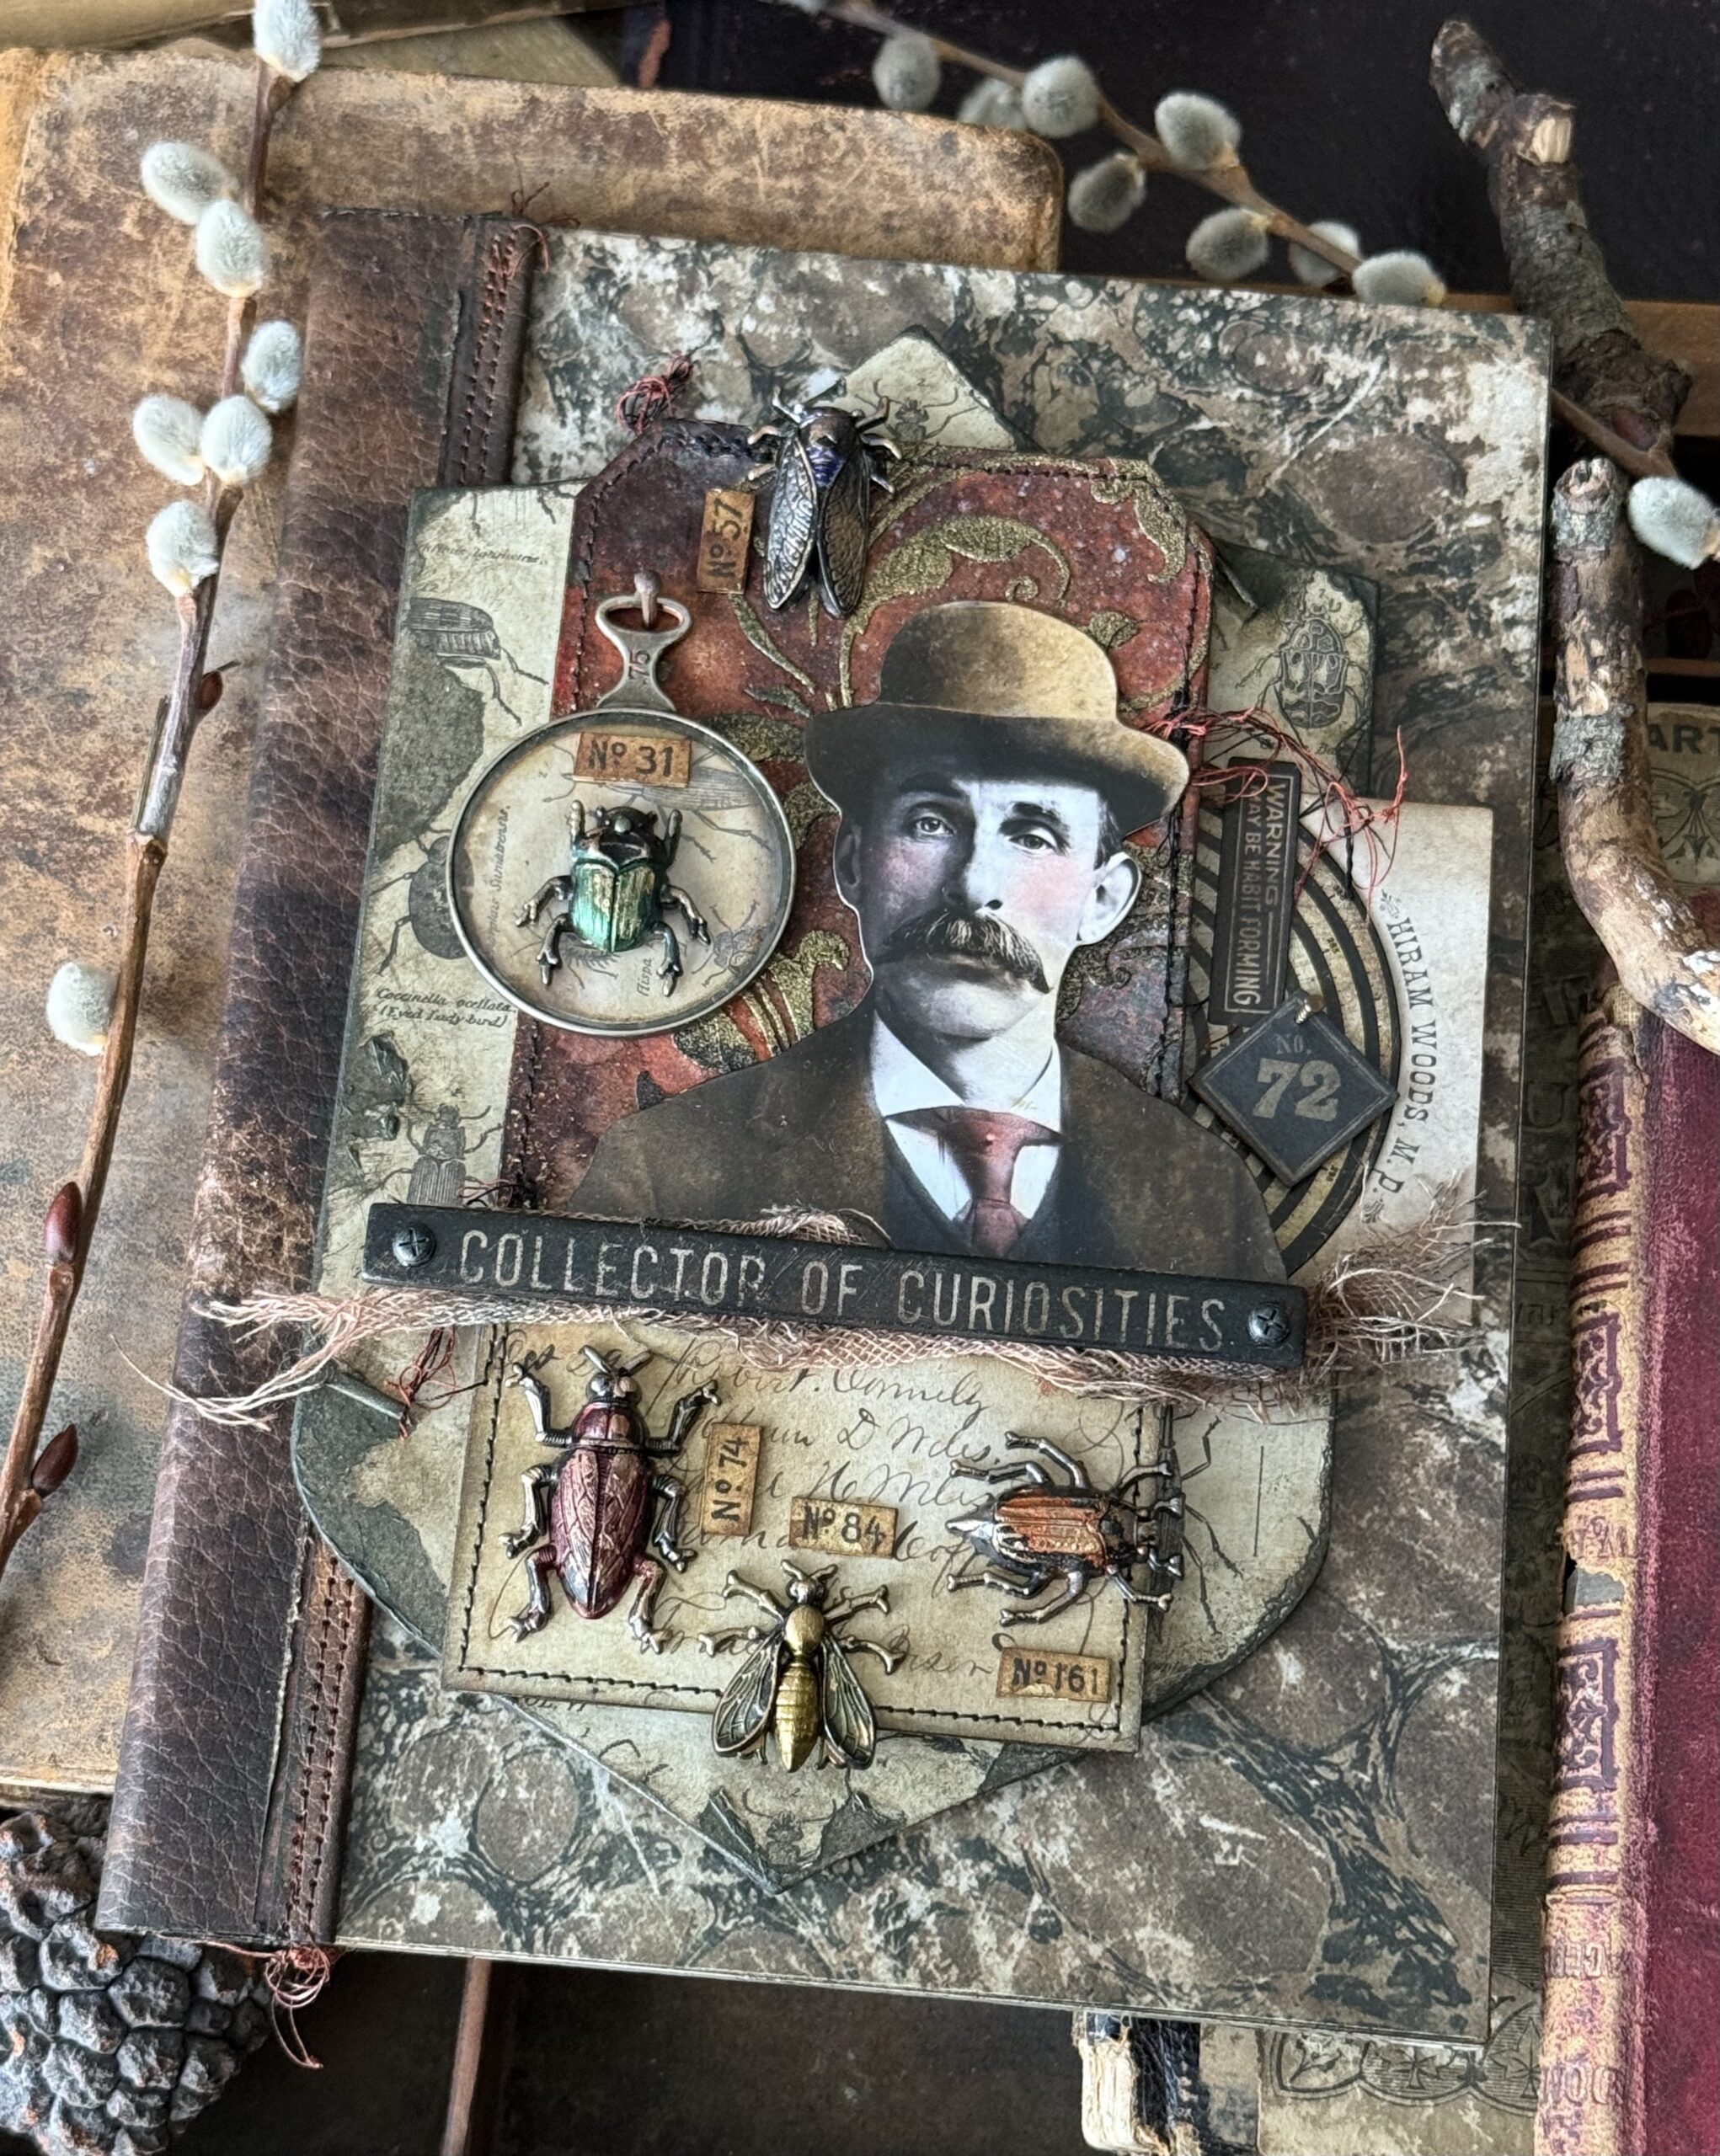
Hello friends! I am back again with another project that I made for the Halloween idea-ology release and this time, it’s a little creepy…enter the Collector of Curiosities. A gentlemen’s gentleman and collector of creepy curiosities. I had so much fun with this one.
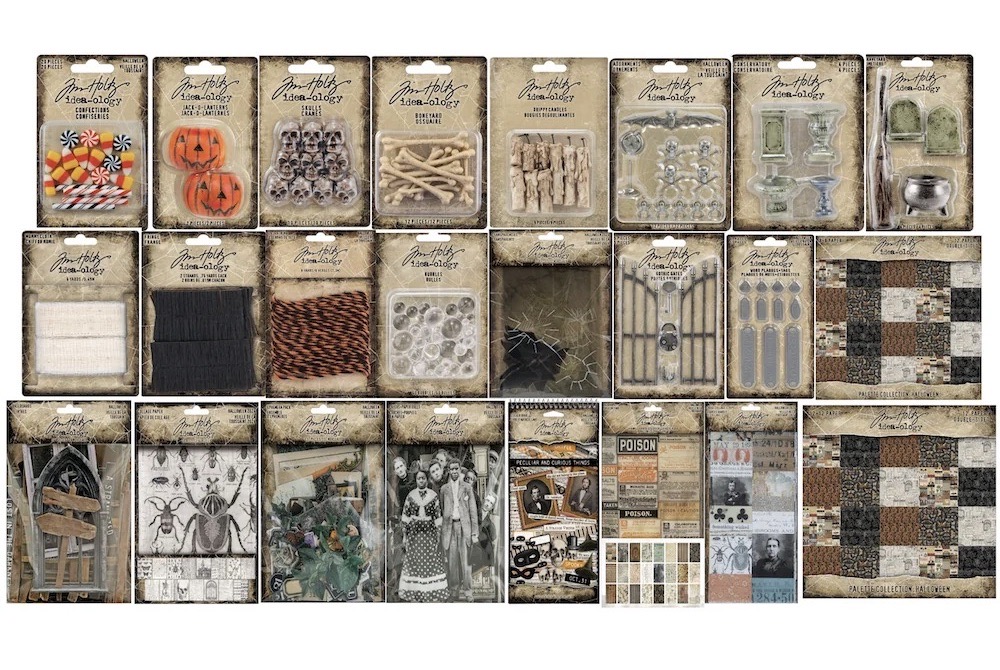
Here’s a peek of the entire collection of Halloween idea-ology and for a limited time, Simon Says Stamp has a big savings on the entire group of the release in a “I want it ALL” package…so if you’re interested, click this link and check it out HERE!
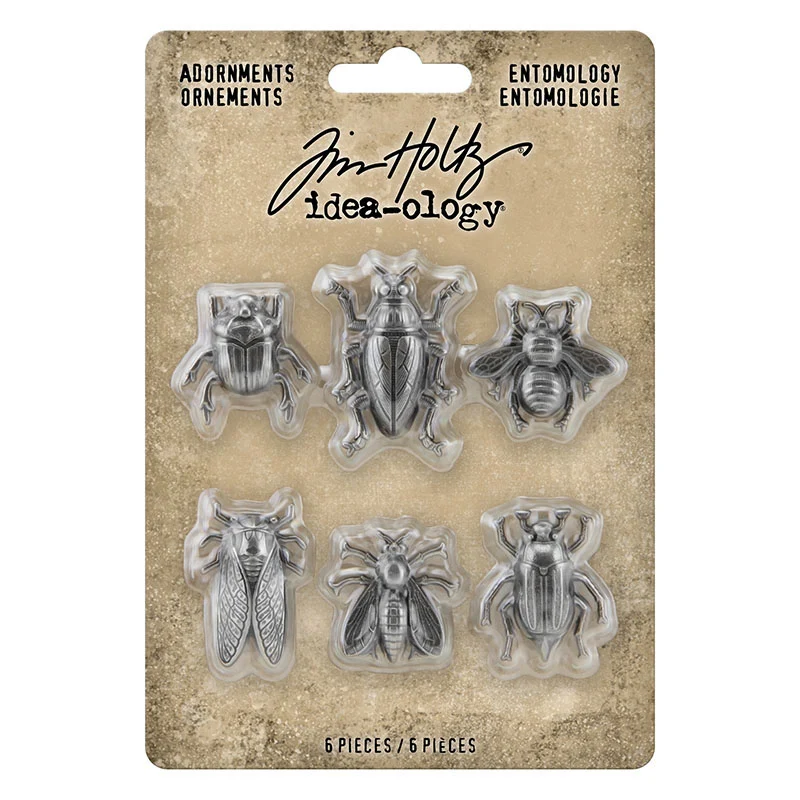
I LOVE the entomology bugs from idea-ology, originally a Halloween release but they were so popular, they were added to the regular idea-ology line. Here I used them along with some awesome new Backdrop Papers from the Halloween release and turned a Stampers Anonymous Panel Thickboards to create a book for keeping track of all those lovely bugs! The idea to make a book just clicked when I started looking at the backdrops papers, so many are of old book covers. It was a light bulb moment and I ran with it.
And here is a link to the bugs…they happen to be on sale too! CLICK HERE
So, let’s get to it…
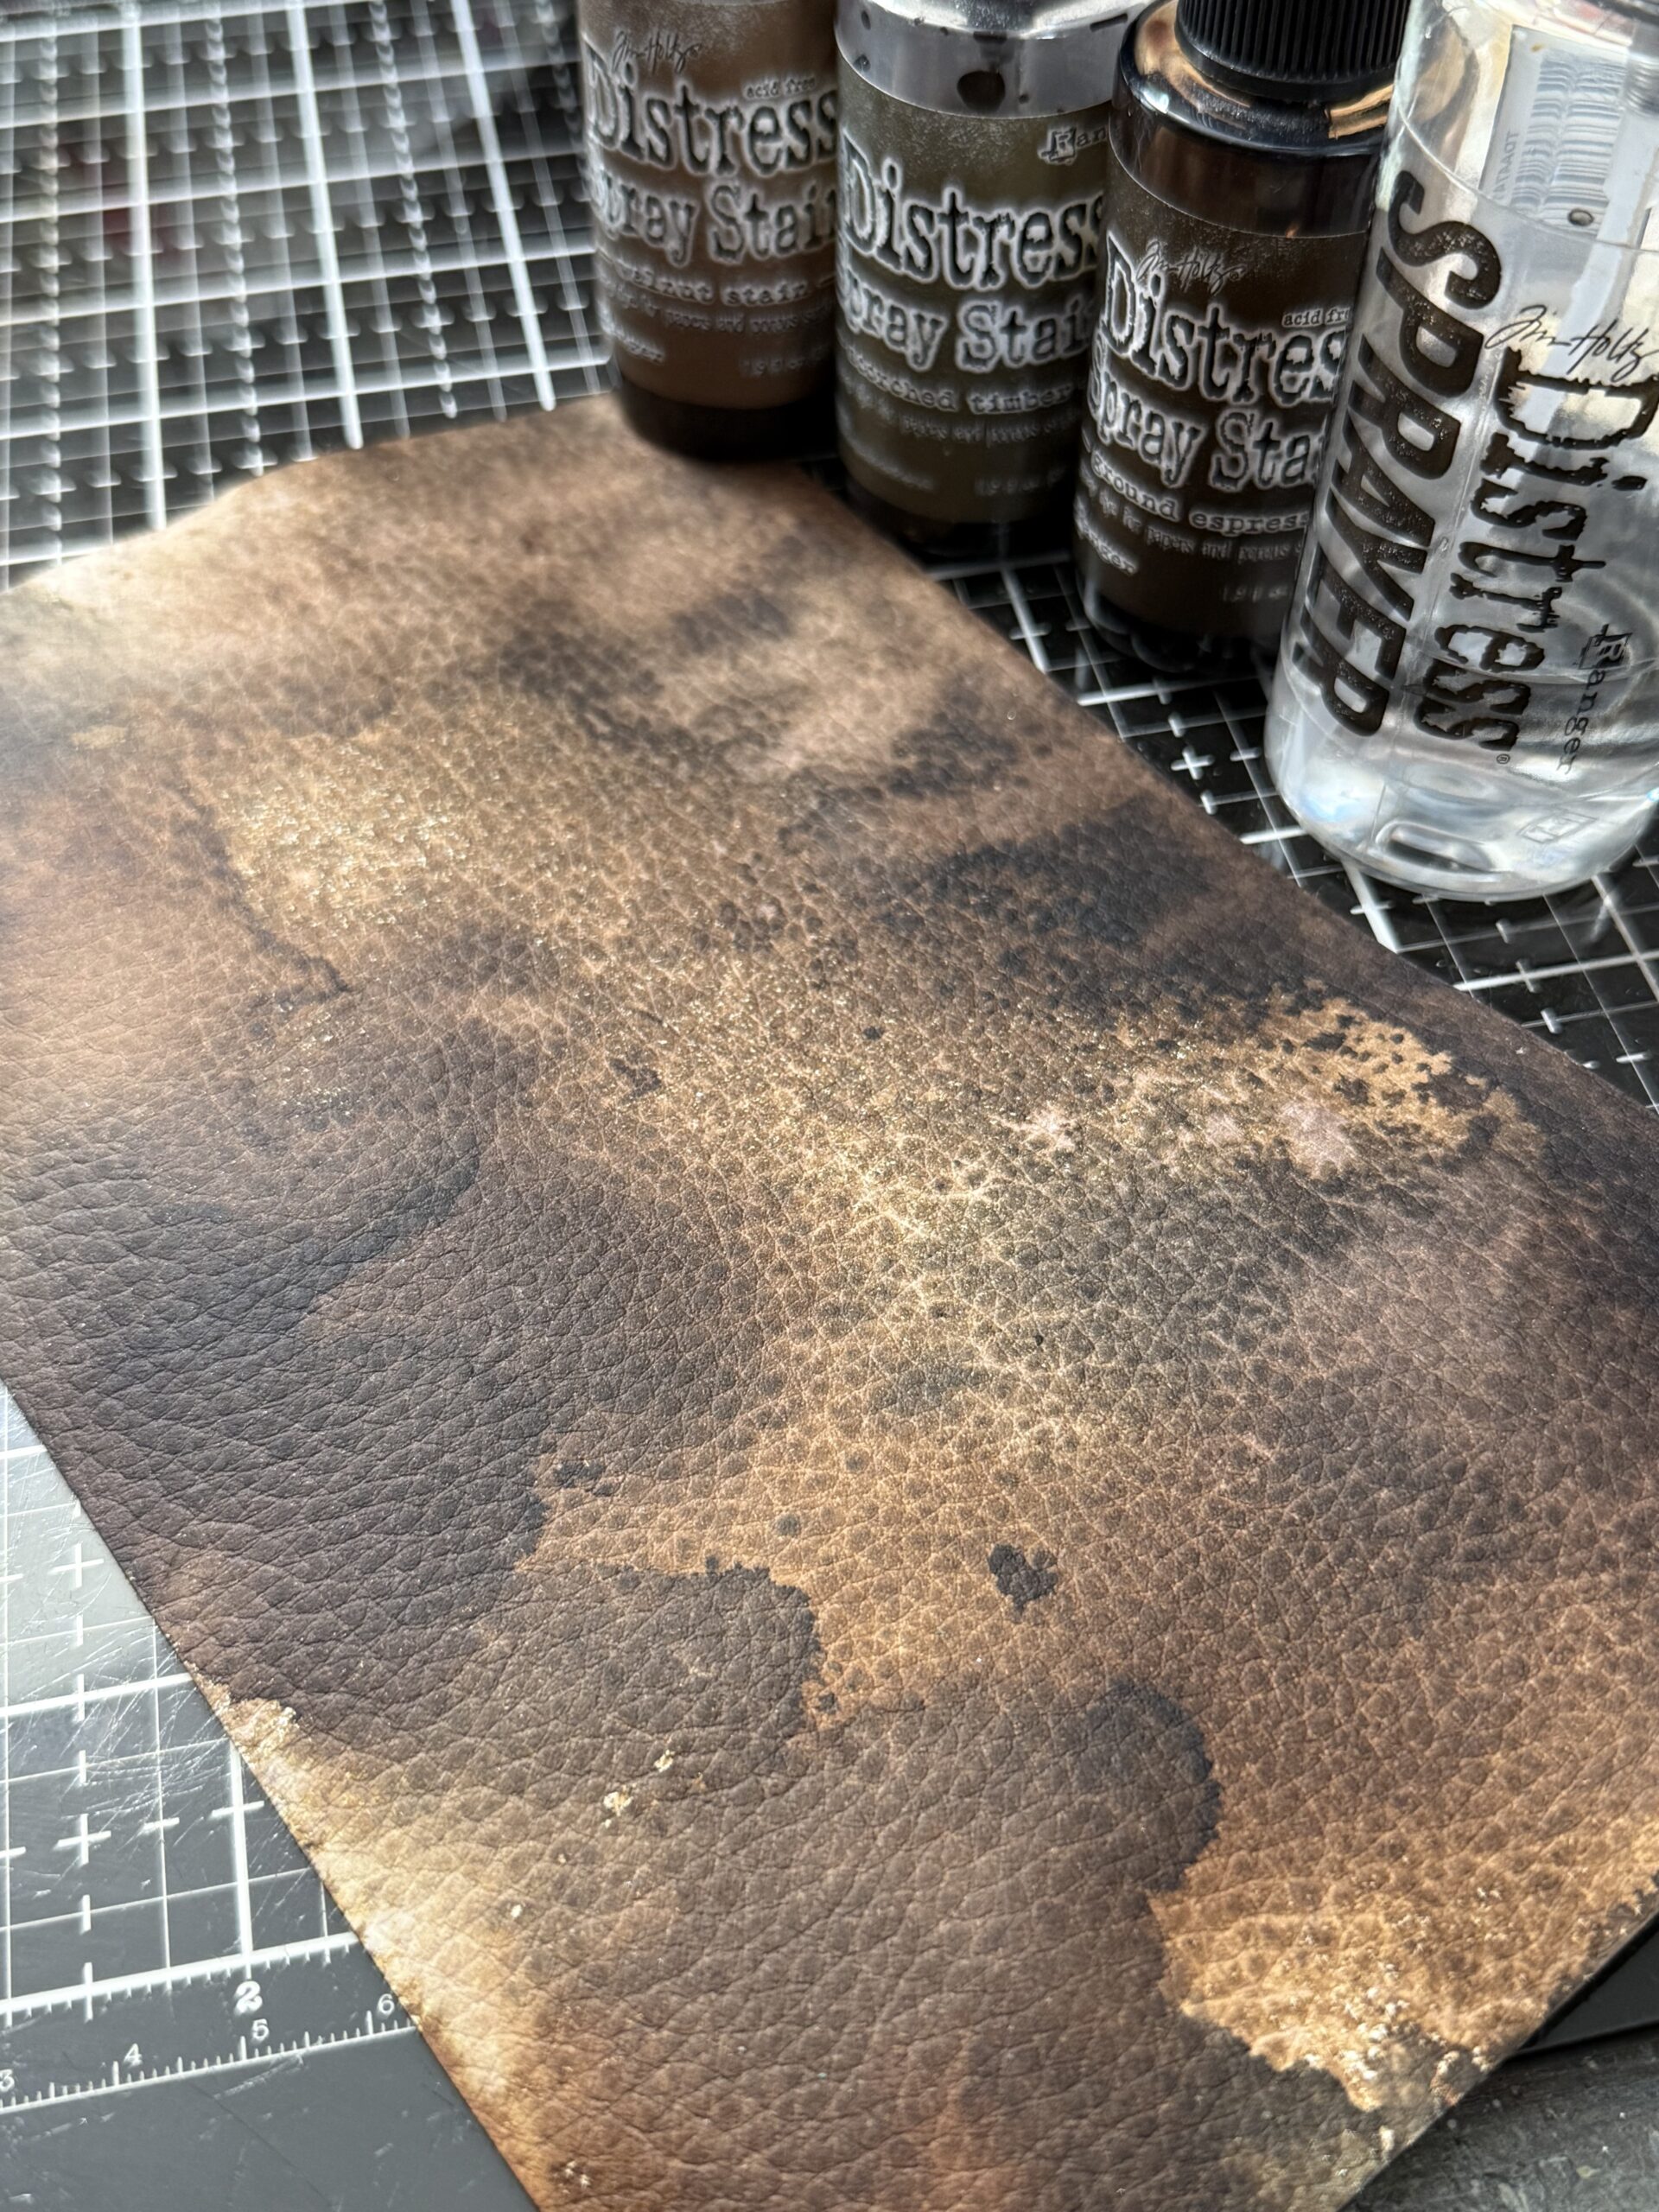
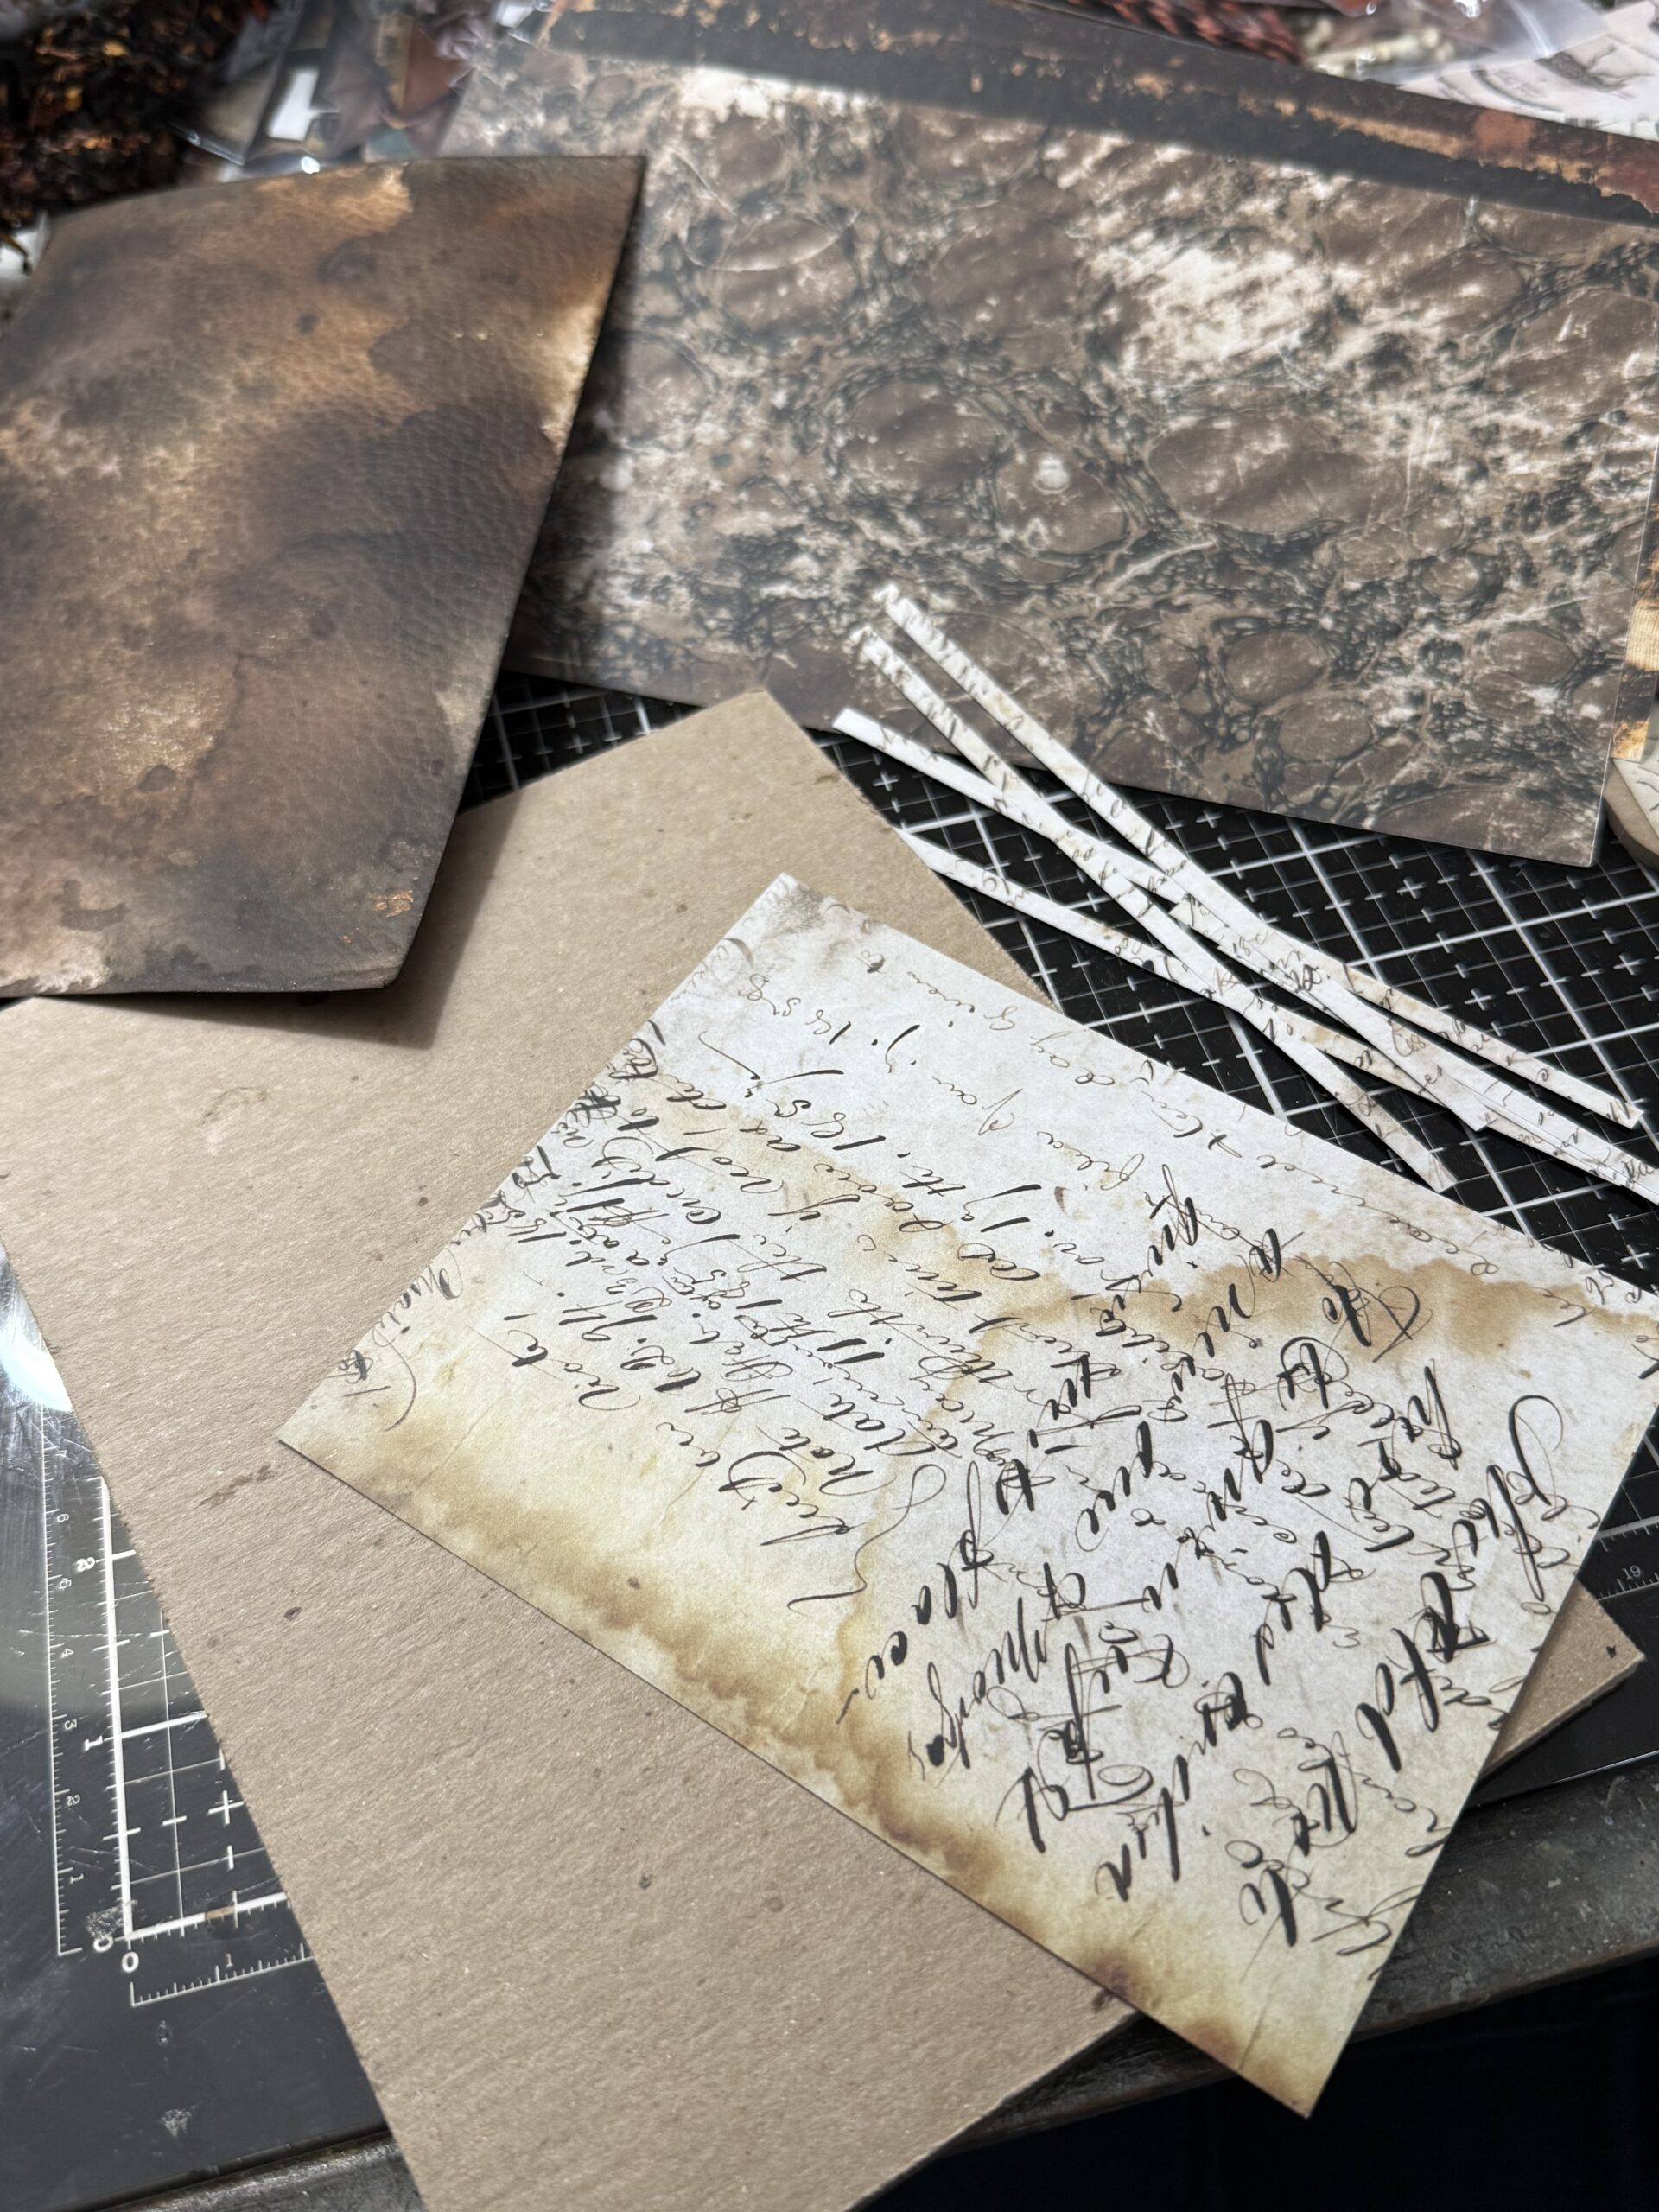
I started by creating some leather looking paper to create the look on the binding of the “notebook” I was creating. I sprayed the paper with some Brown Spray Stains and some water and dried it with my heat tool, making sure to keep it splotchy.
I cut some of the papers from the Halloween Backdrops paper pack to fit the front, back and sides of the notebook and adhered them using Distress Collage Medium. The small strips you see in the photo are the strips for around the edges of the Rectangle Thickboard that I used as the base of the notebook. These work great for vignette bases. This was the larger one. I adhered the papers, then set it aside to dry. I also was sure to rub collage medium over top of the paper so that I could rub the book cover with some Distress Crayon later in the process.
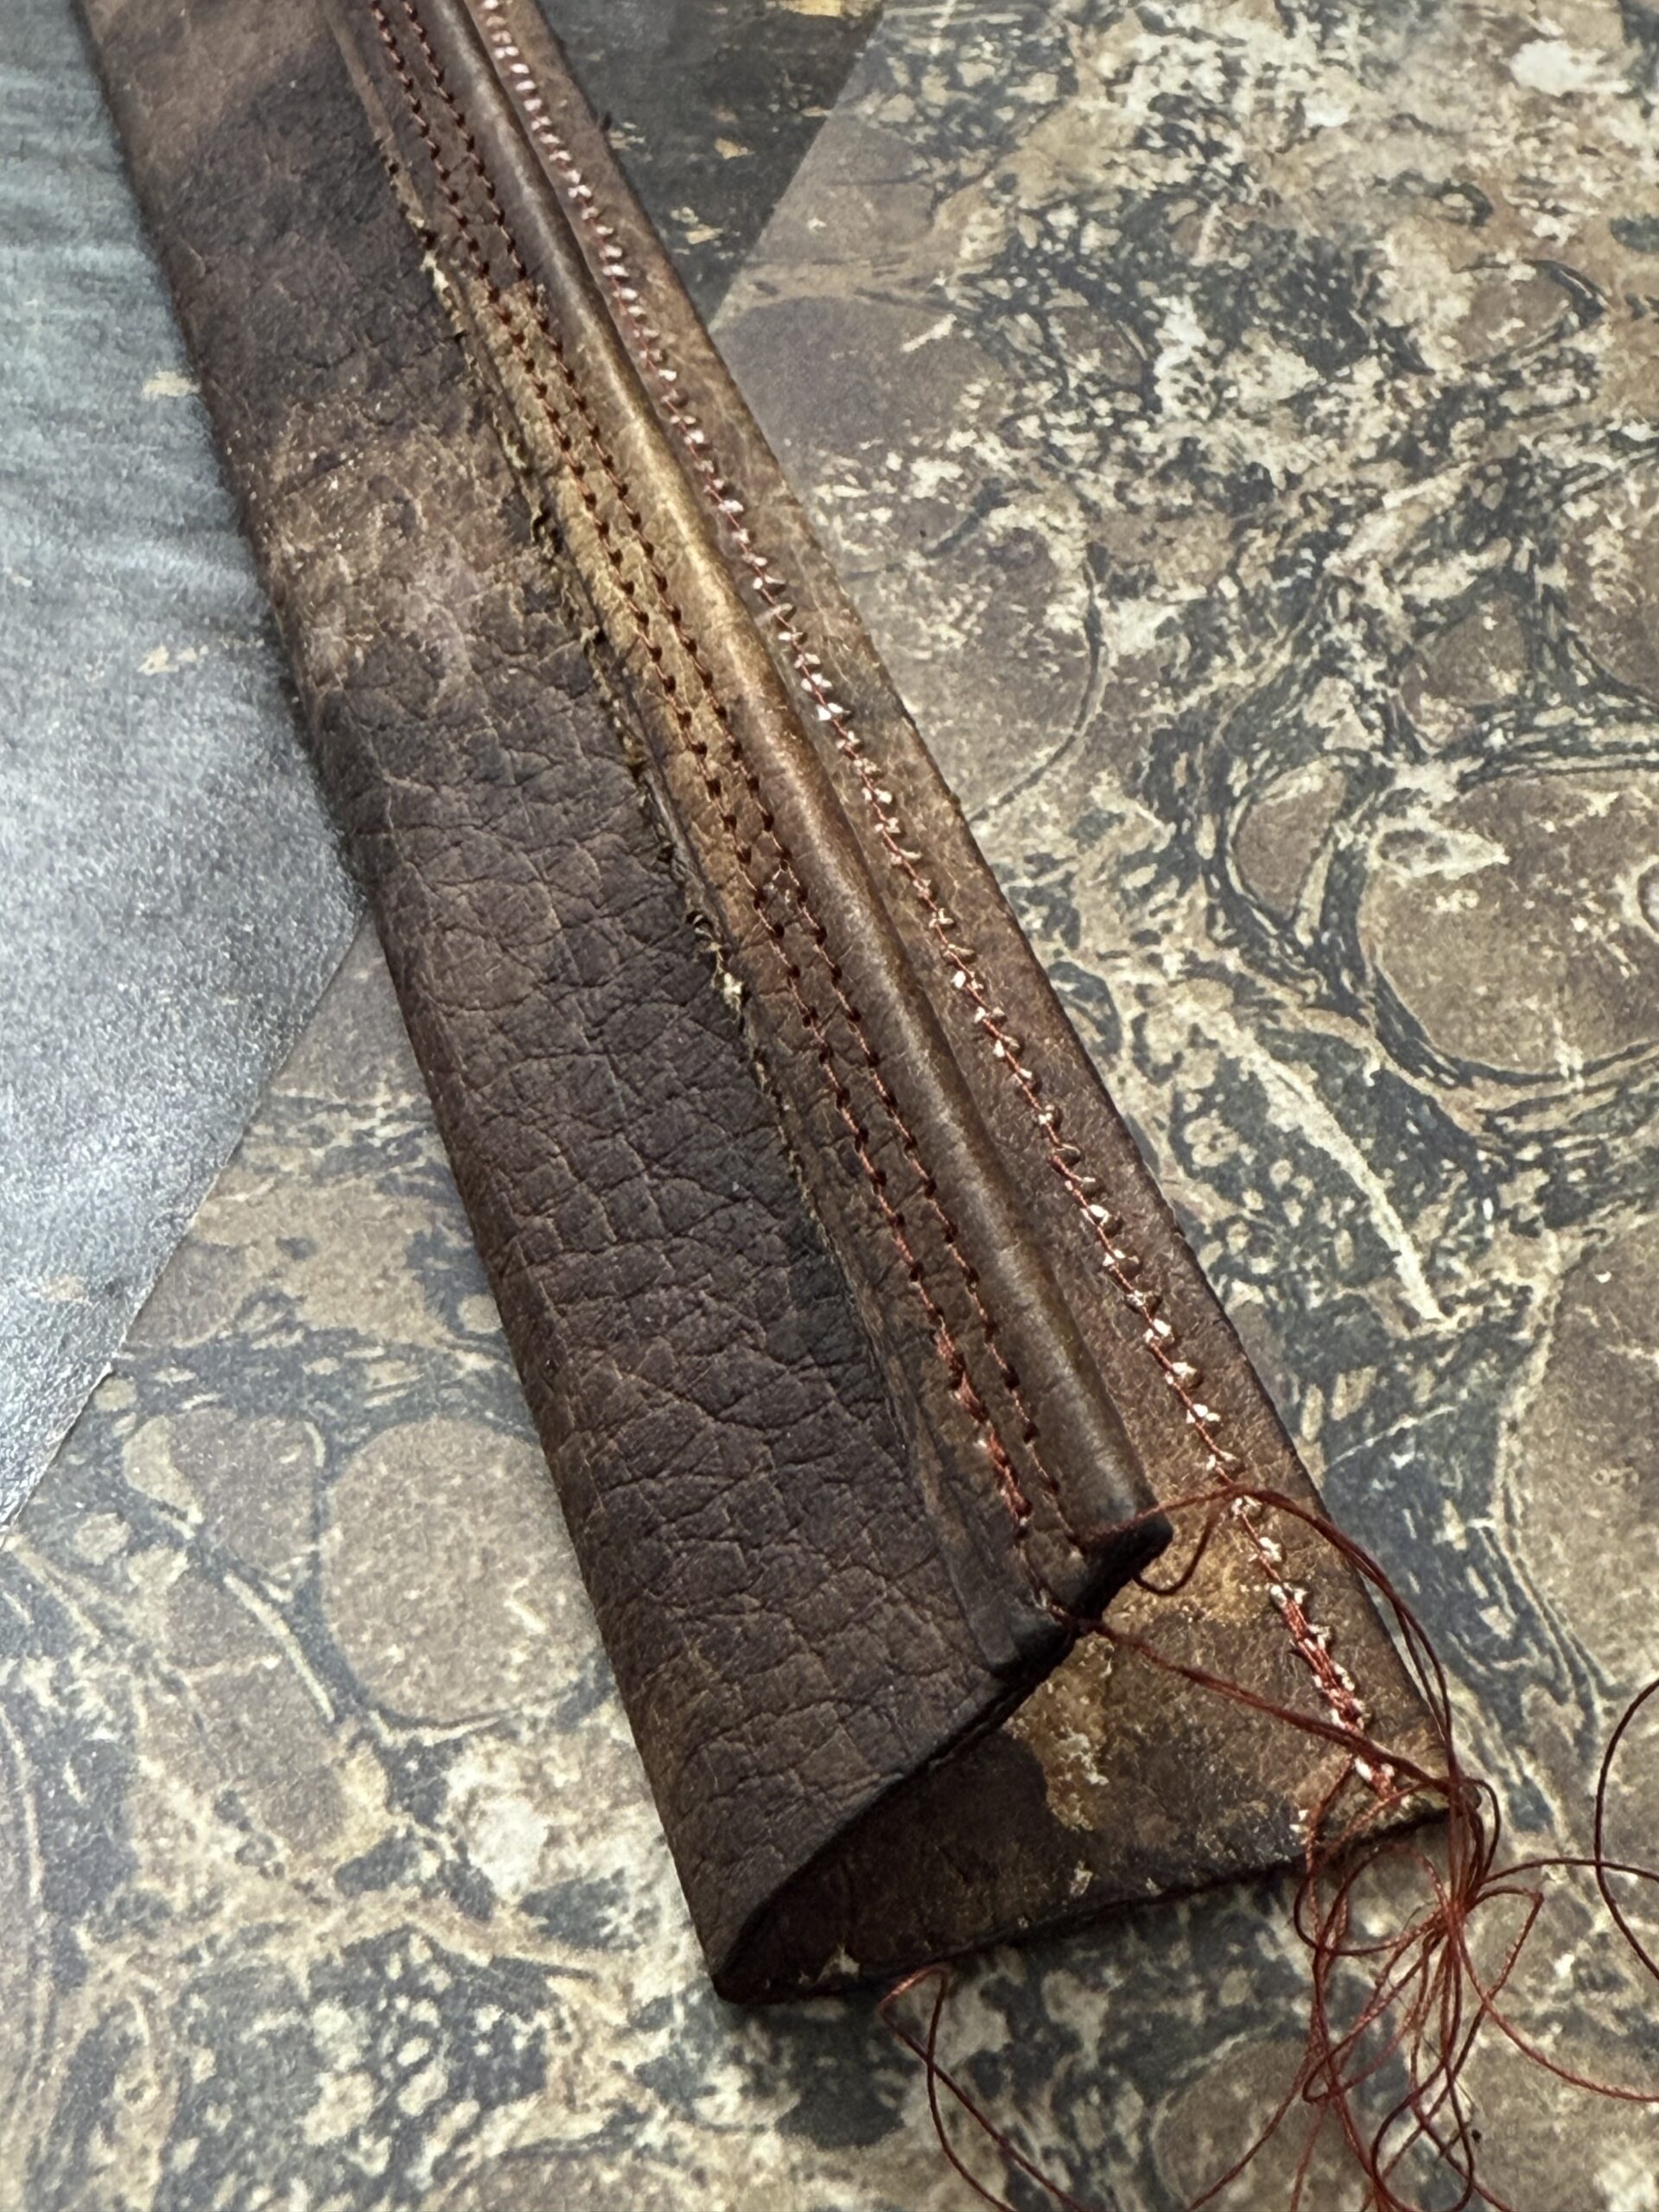
Next, I folded the binding piece of leather paper to the size that I wanted and stitched the edge to look like a real binding. I did it both to the front and to the back.
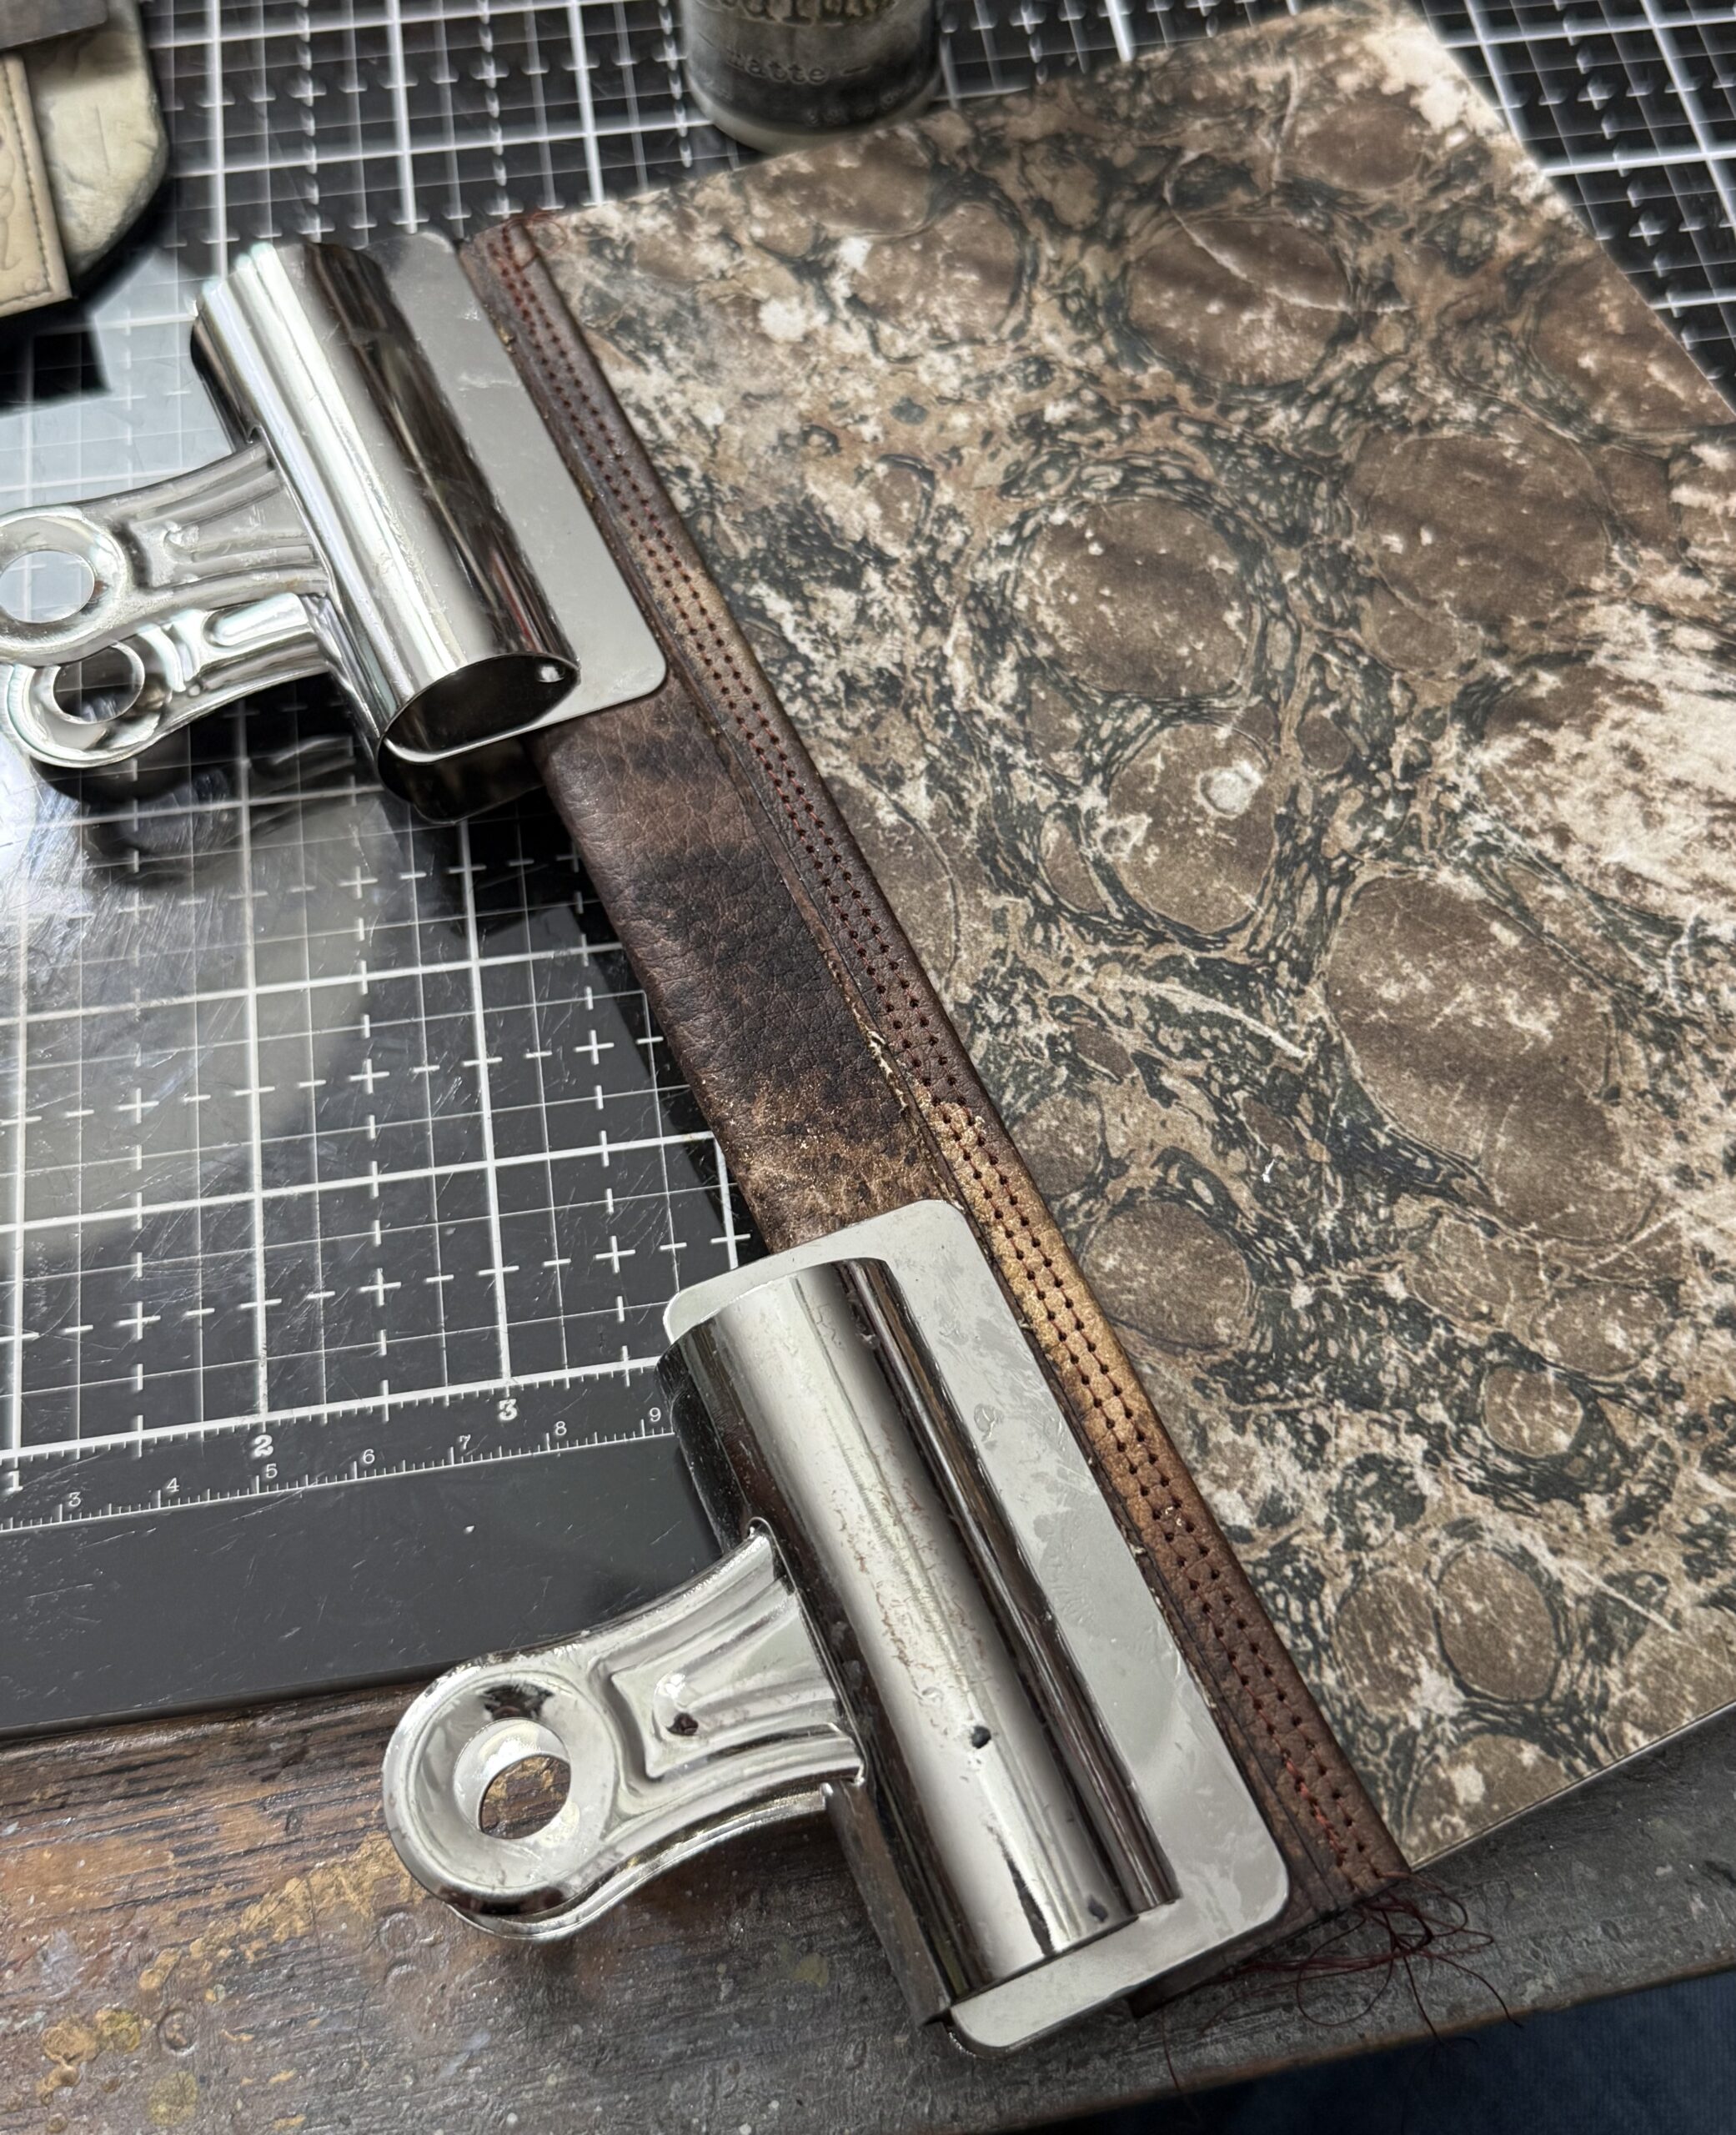
This was then attached to the left edge of the cover. I used some collage medium to attach it and then bull clips to hold it till it was dry. Next I began working on the Etcetera Facade for the front to add to the cover.
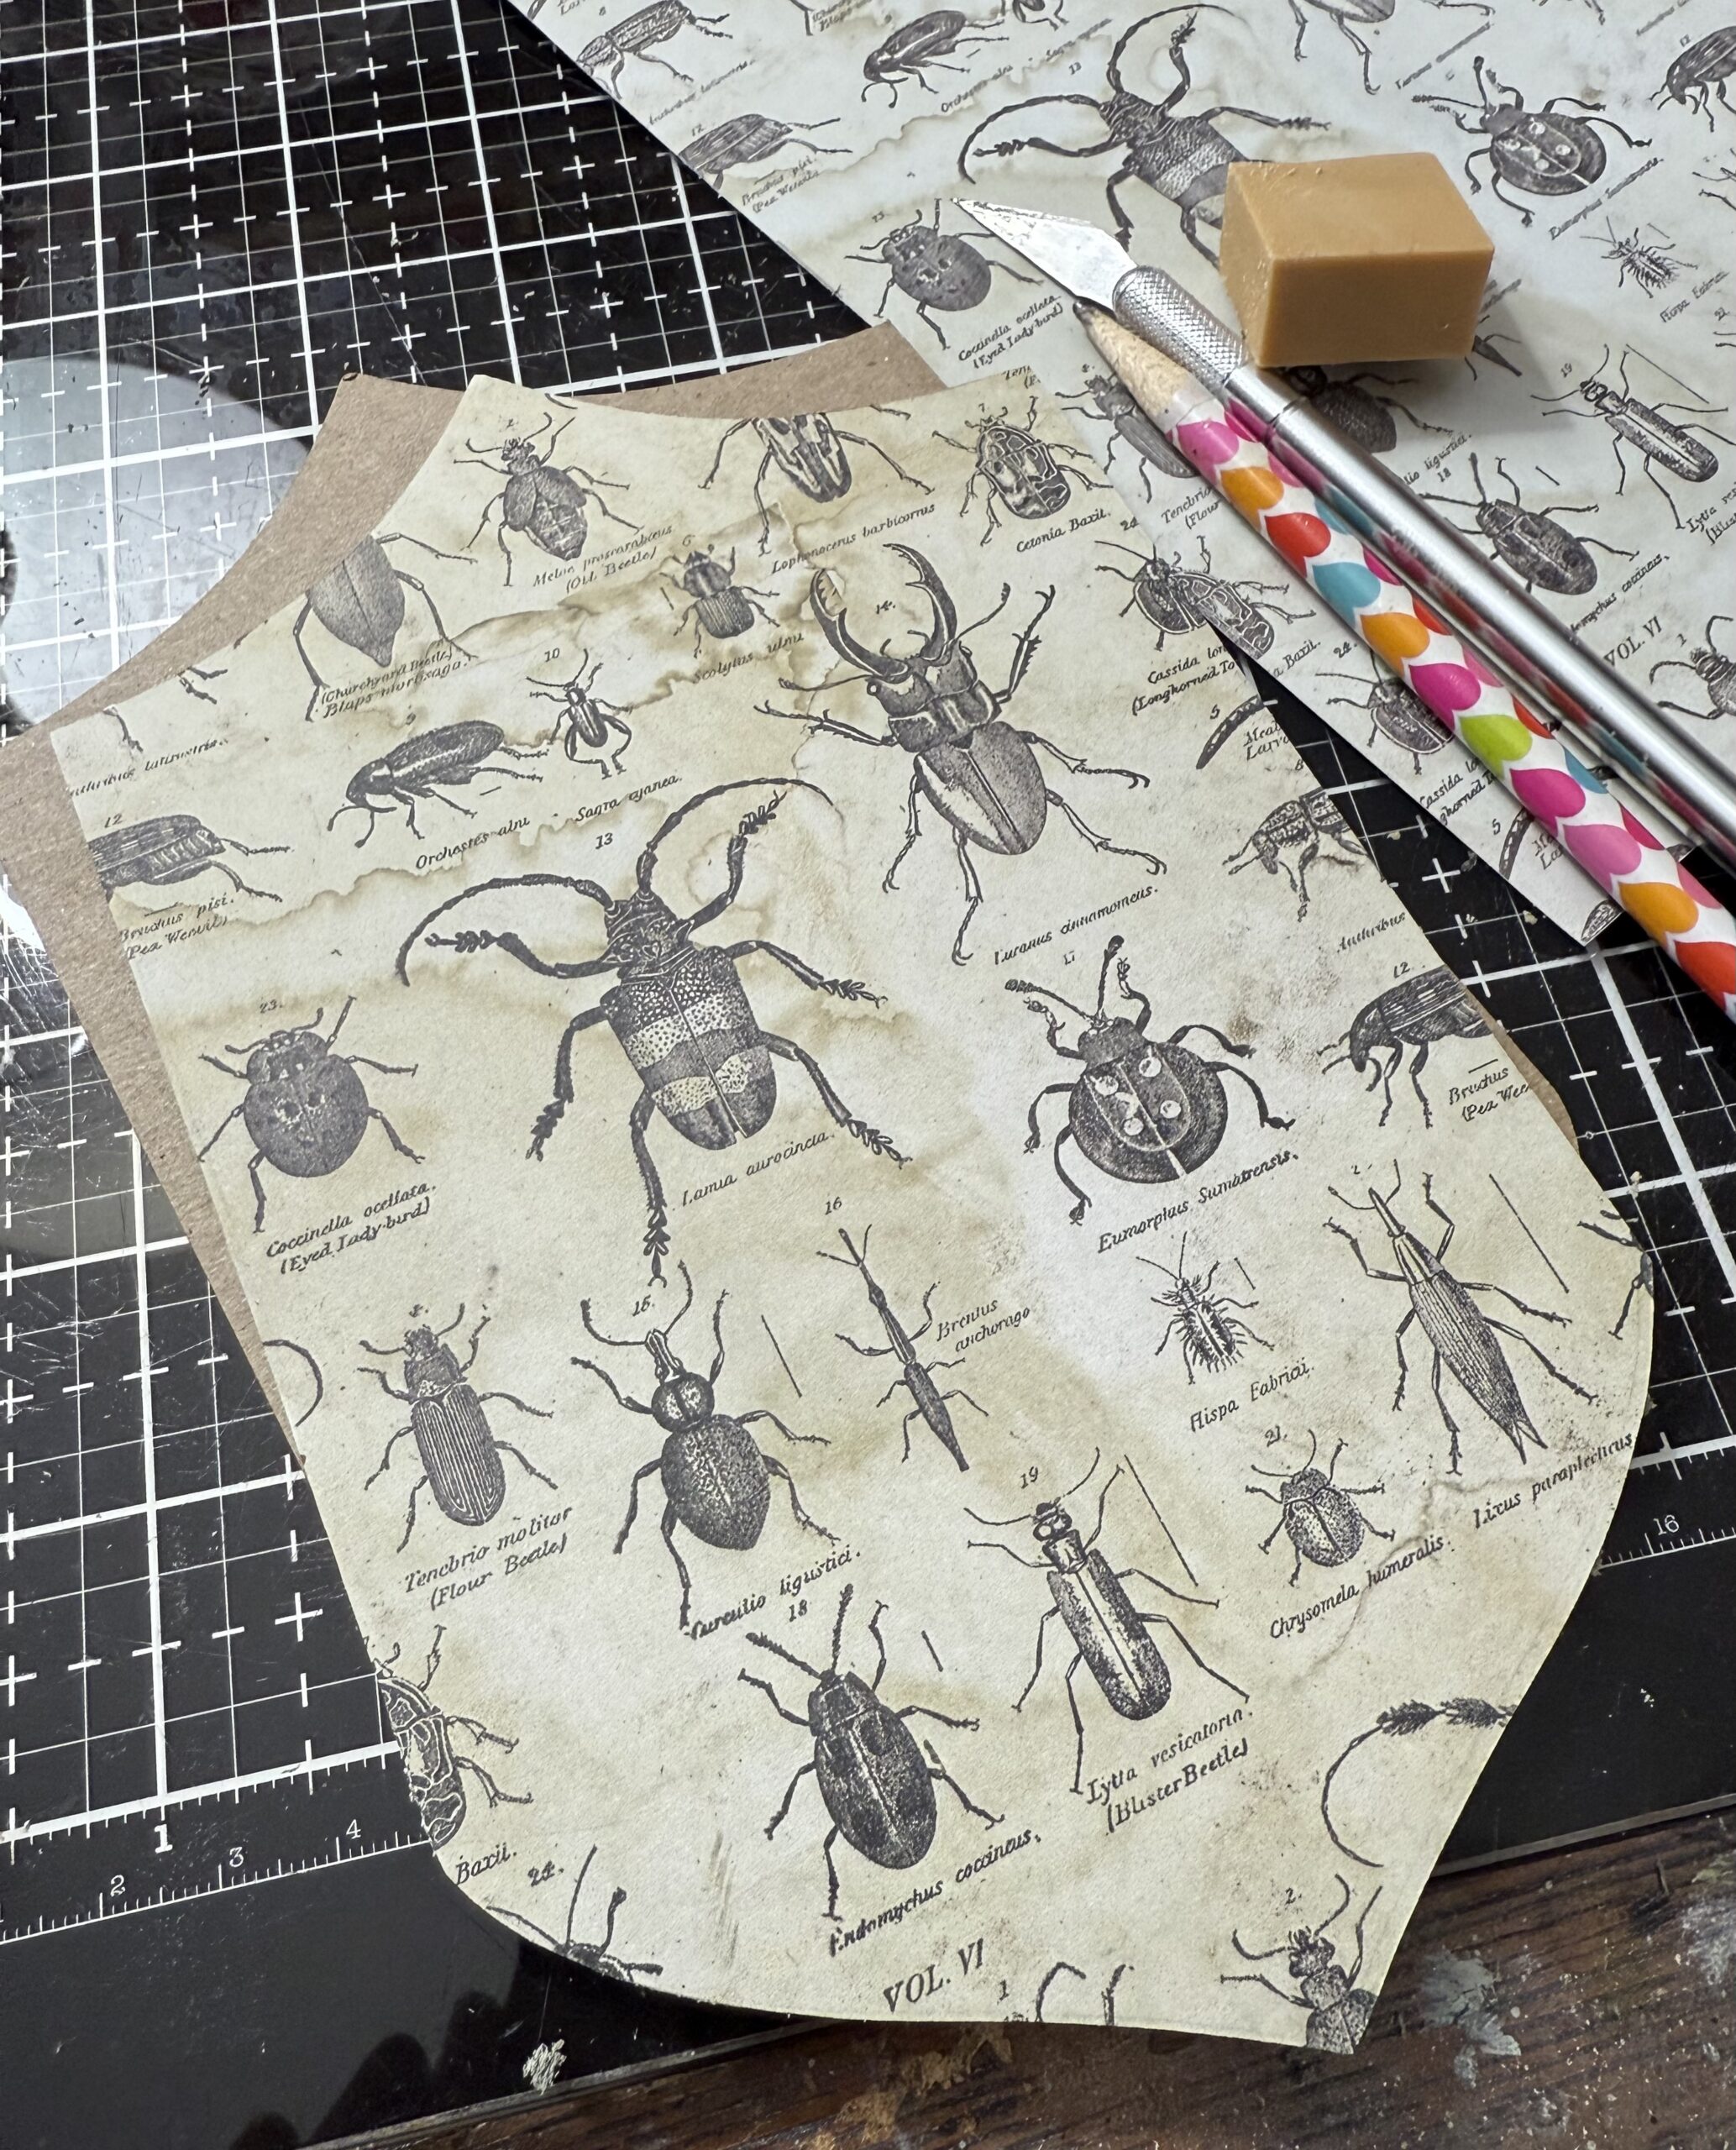
I covered the facade with the buggy paper included in the Halloween Backdrops. This was traced with a pencil then cut out using an exacto knife.
Before adding the paper to the facade, I painted the edges using Black Soot Distress Paint, let it dry, then adhered it with collage medium.
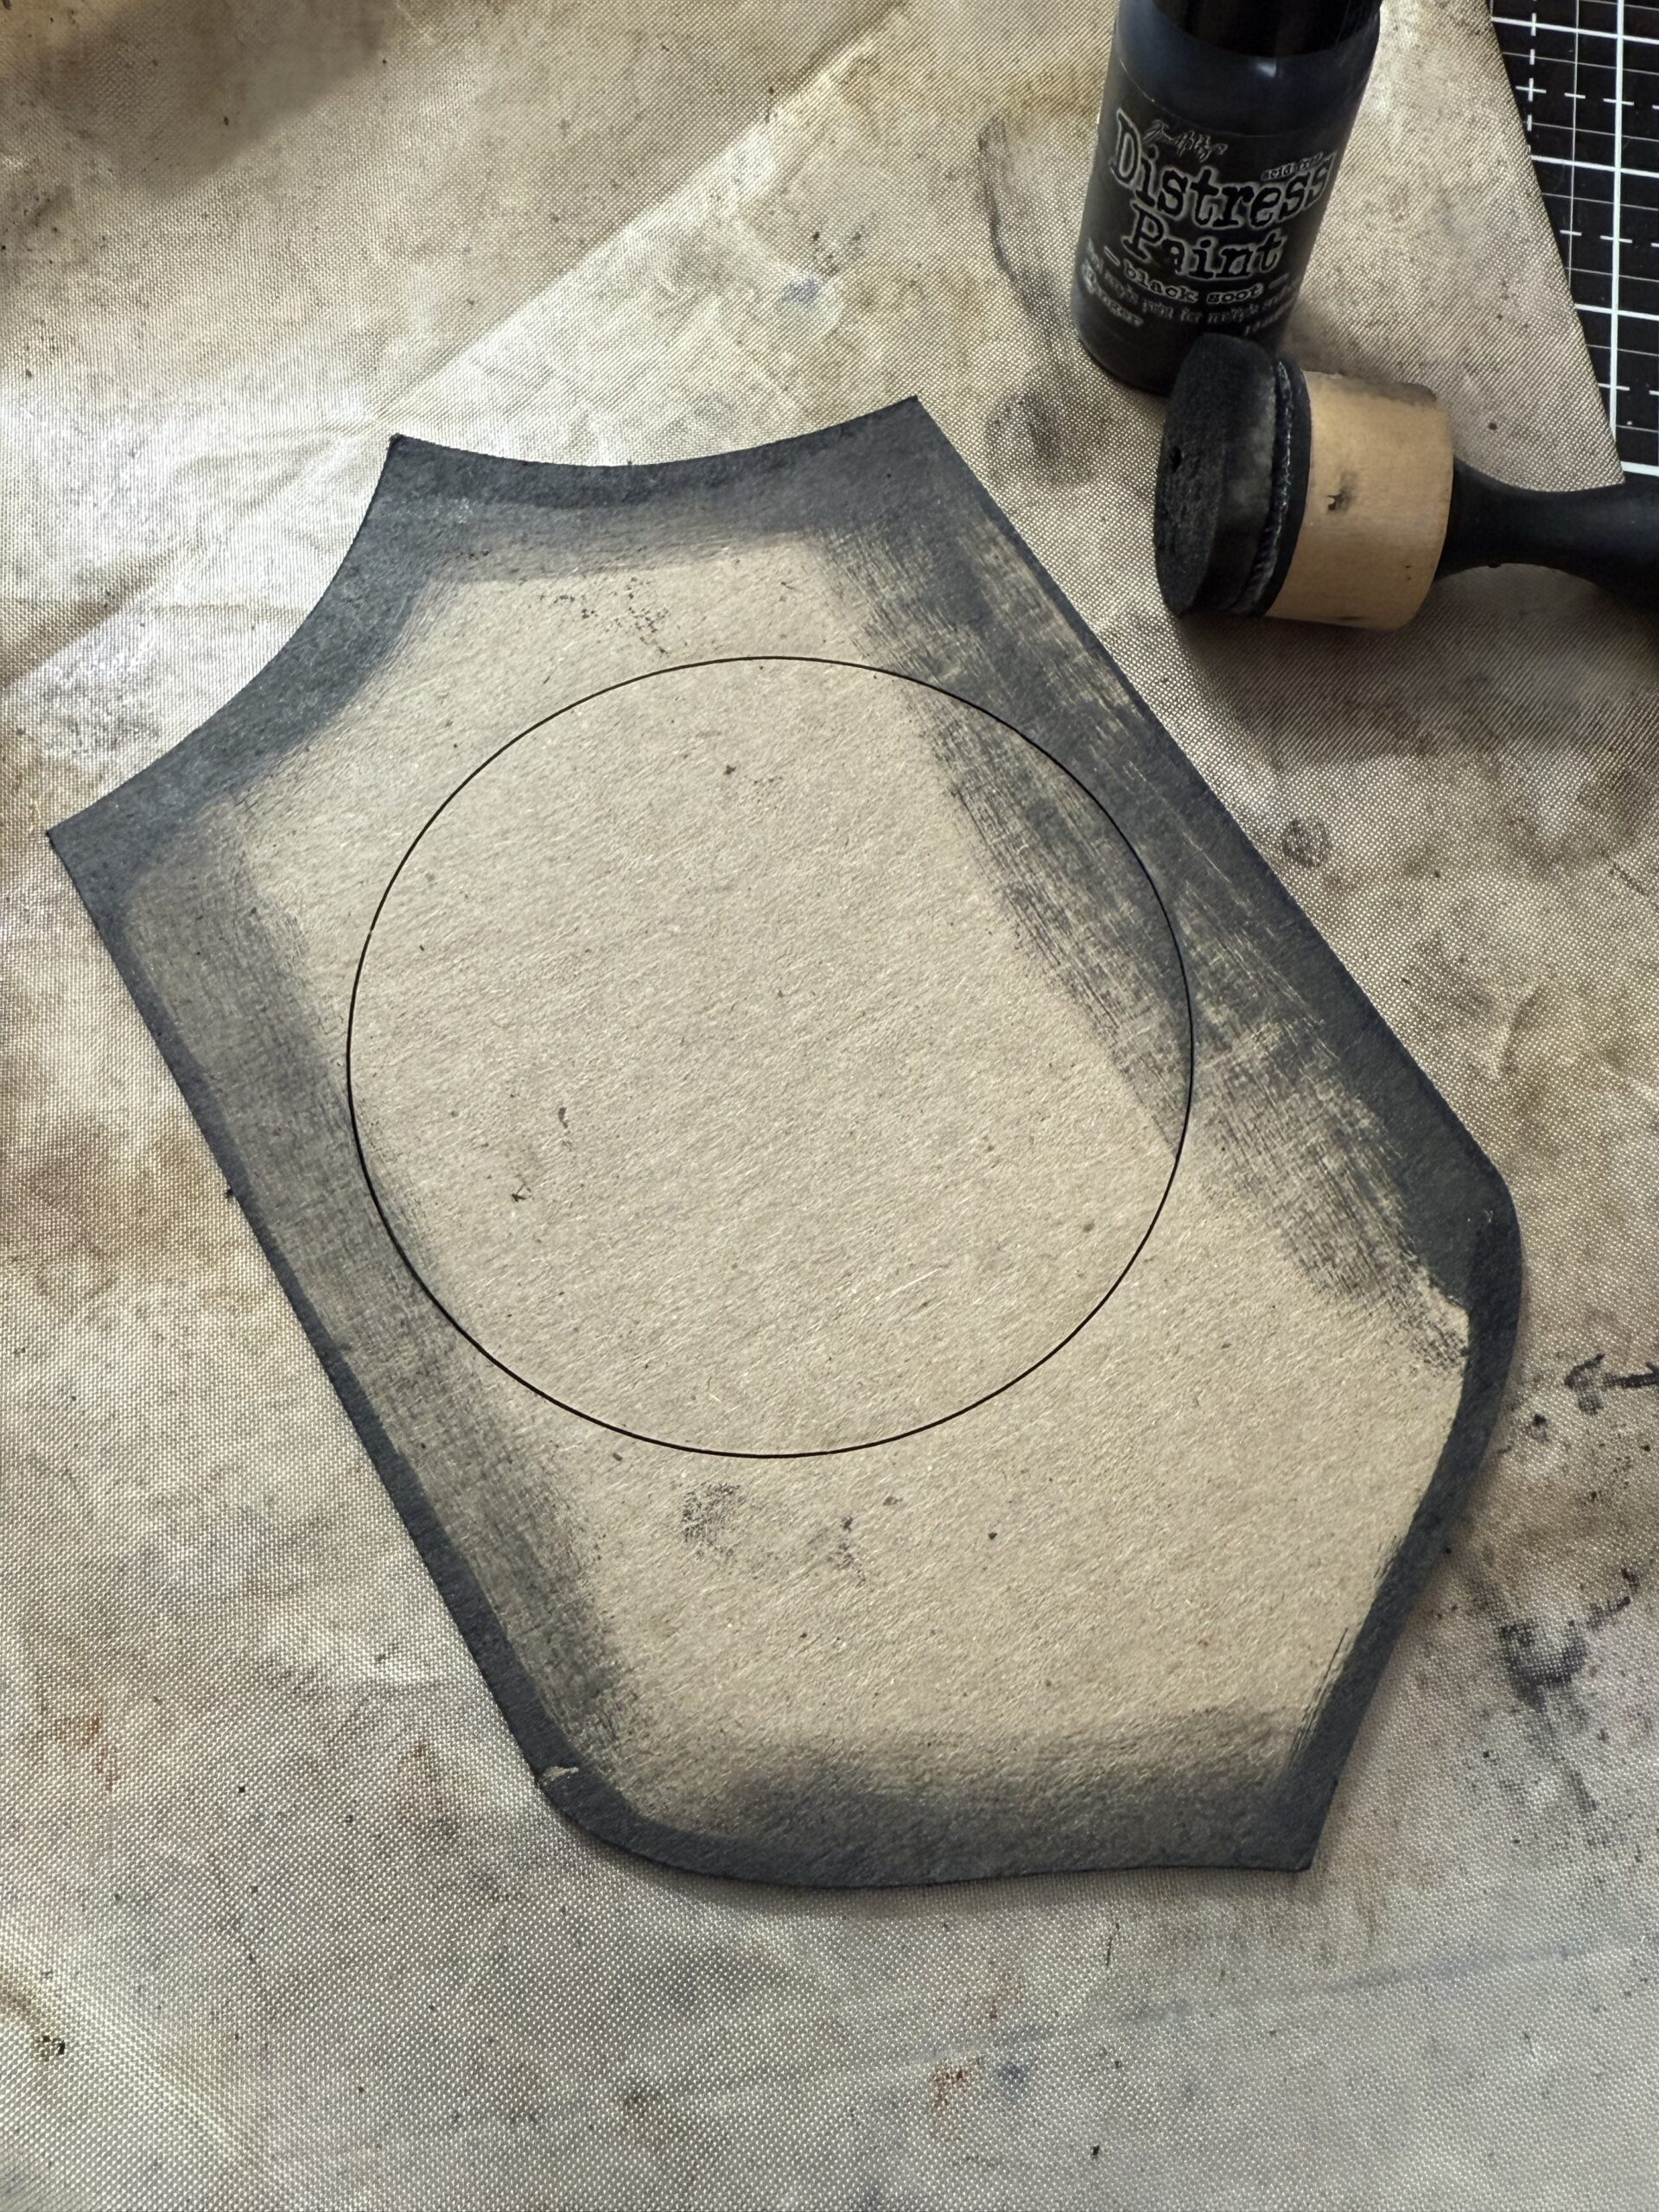
Right before the collage medium was dry, I used my sanding grip to sand the edges and add some age to the facade. It makes it easier to do this technique while its a little damp so that the paper kind of rolls.
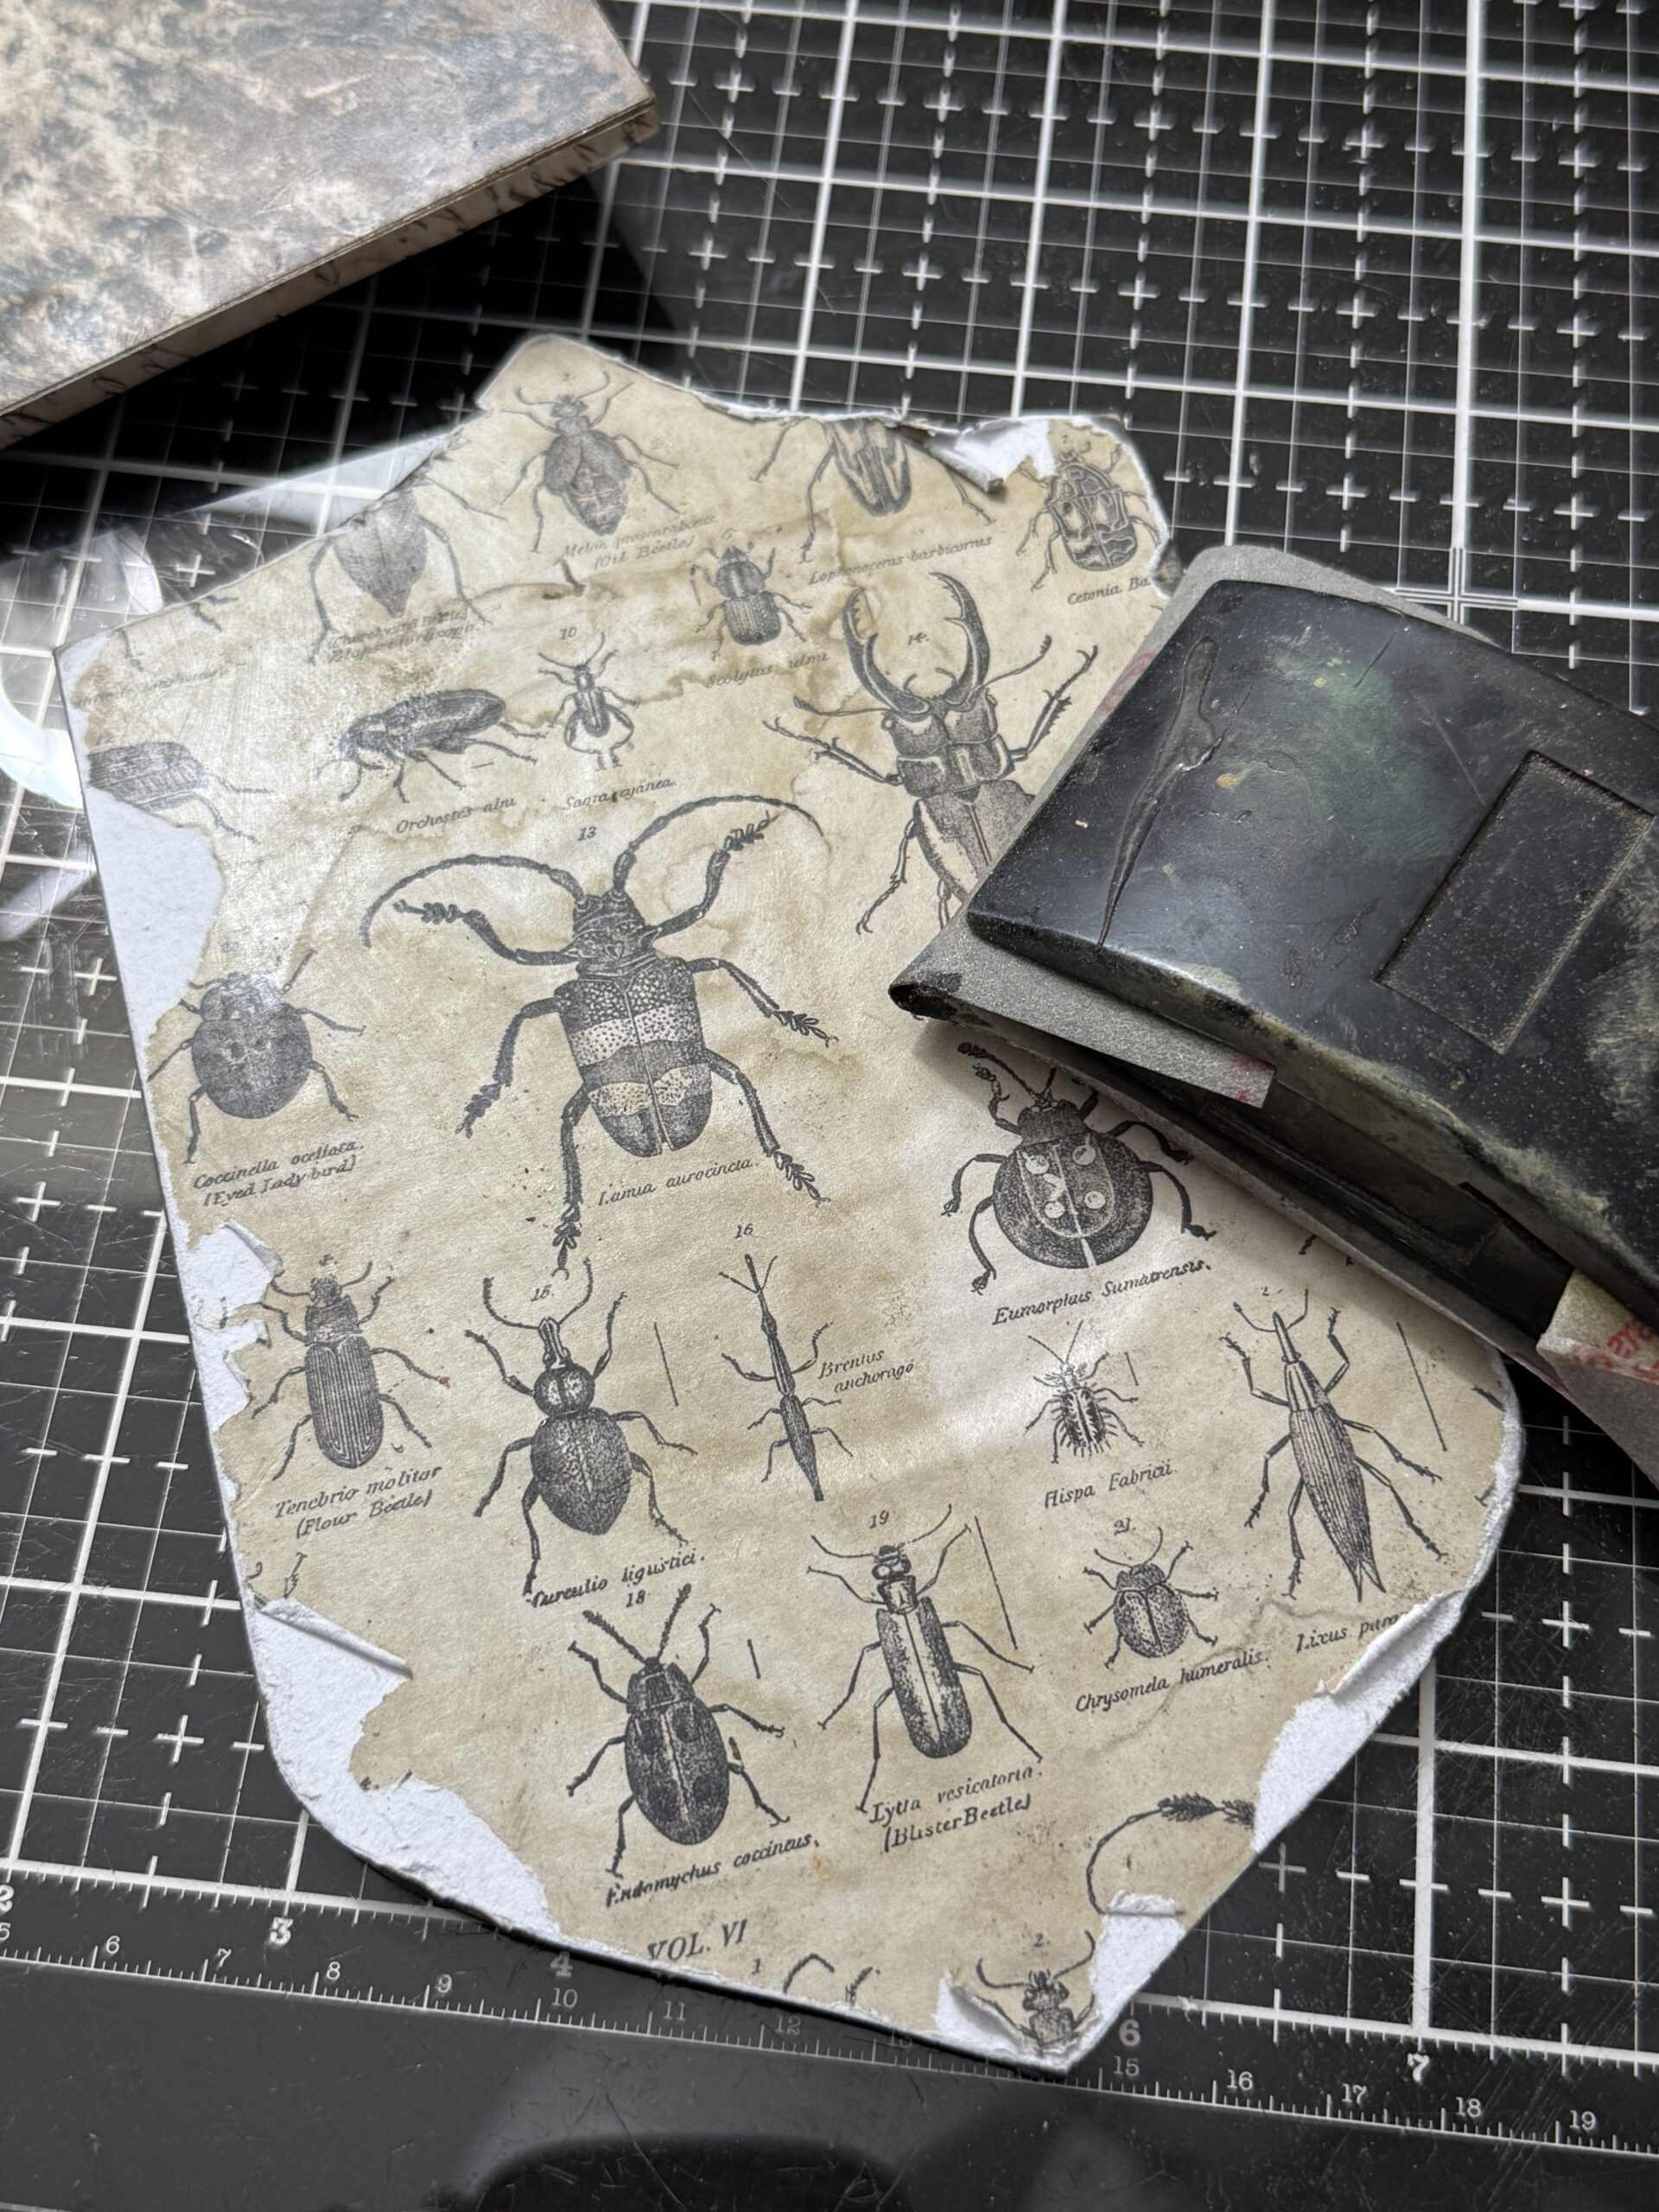
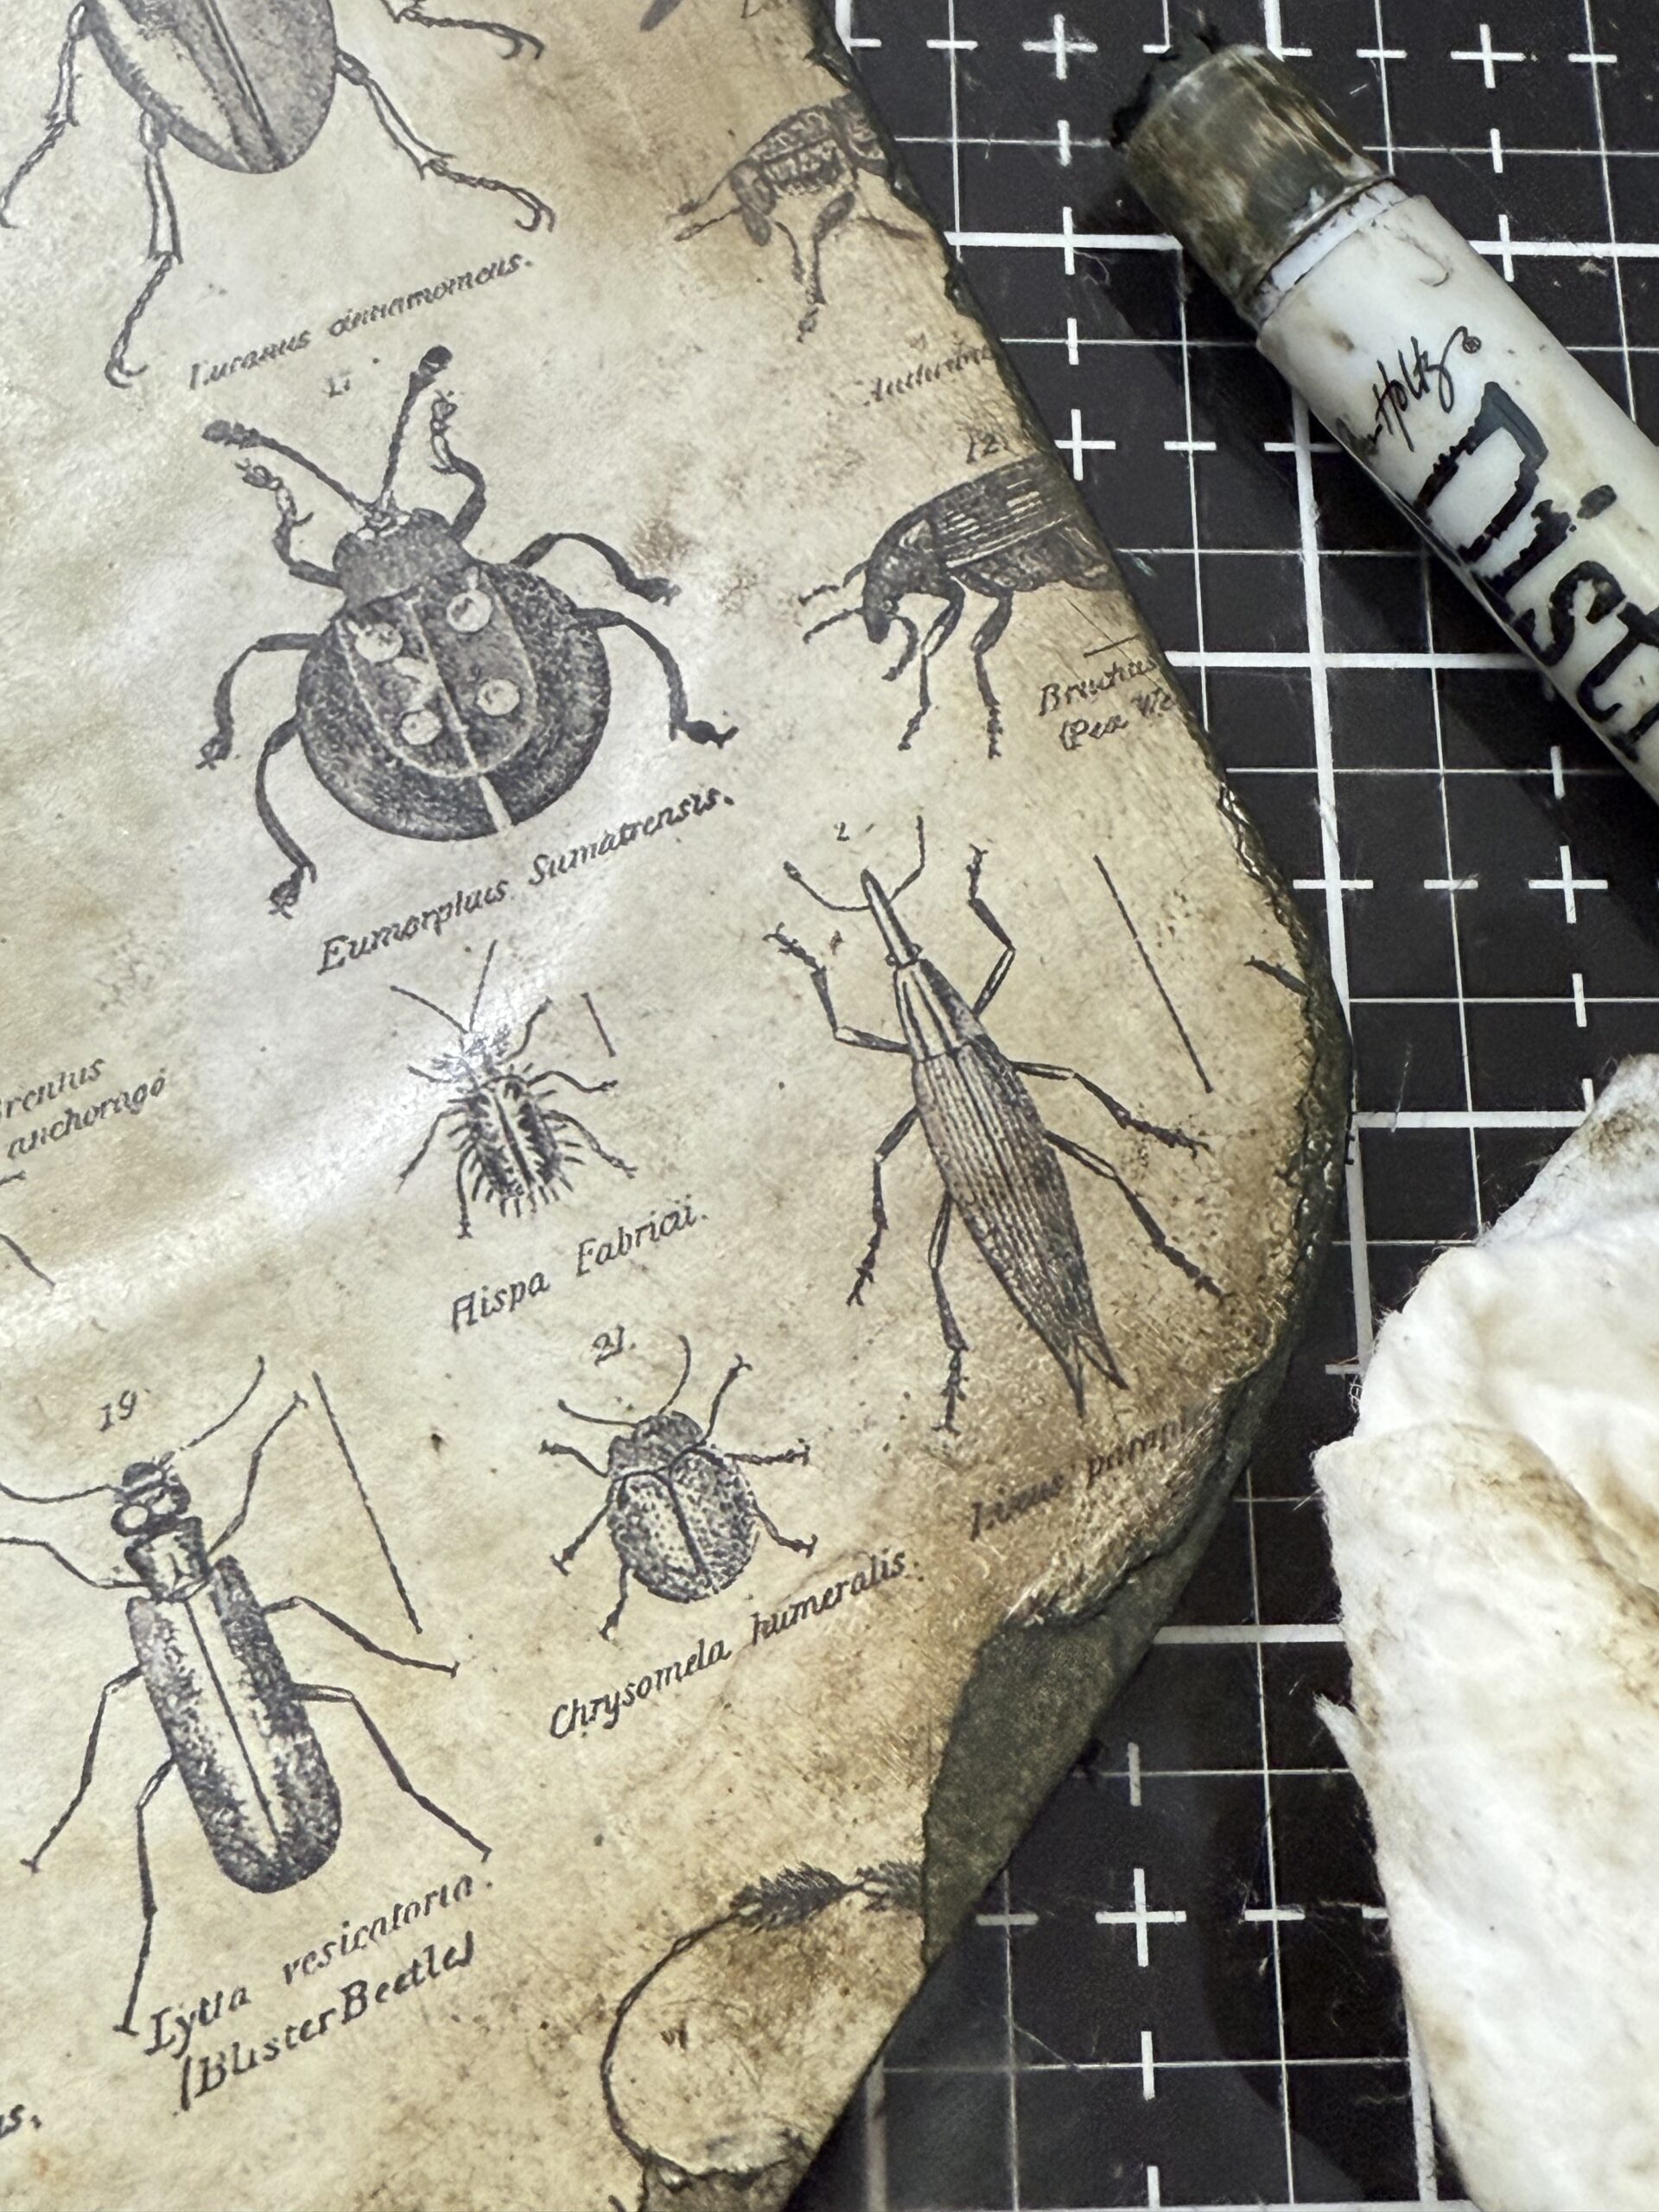
Once it was sanded, I rubbed the edges with some Walnut Stain Distress Crayon and used a damp baby wipe to daub off some of the excess to give it a aged look.
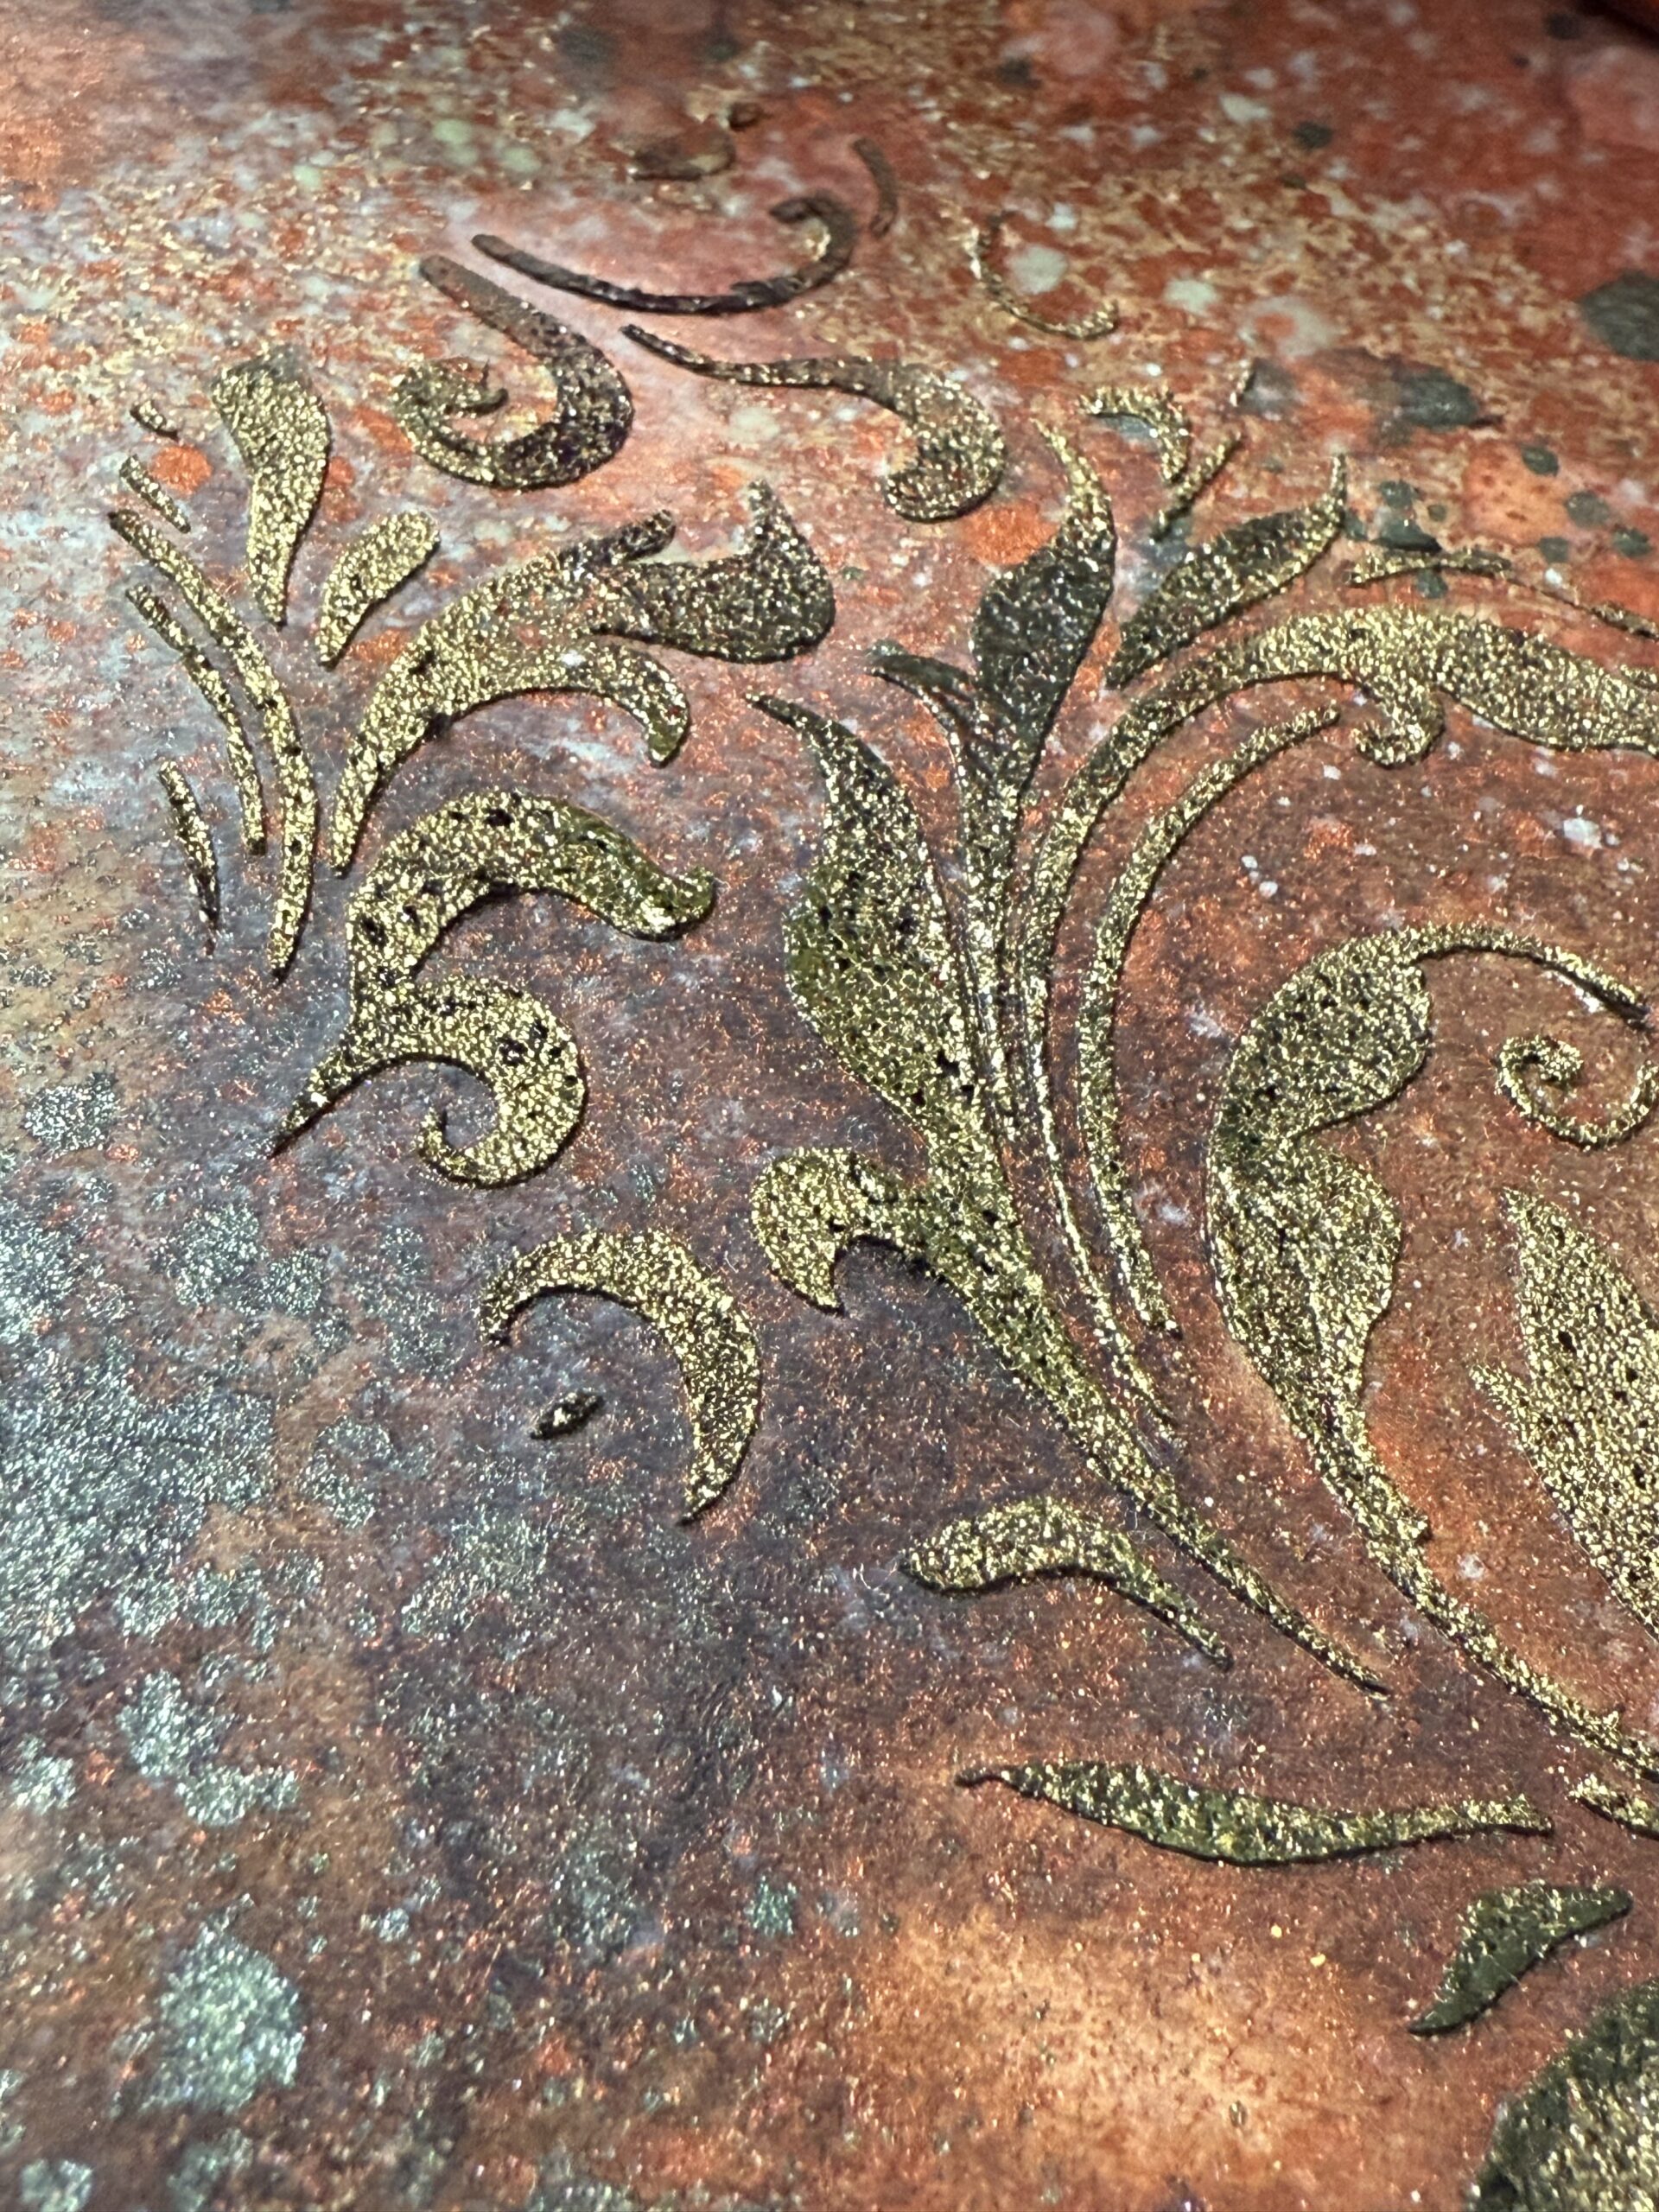
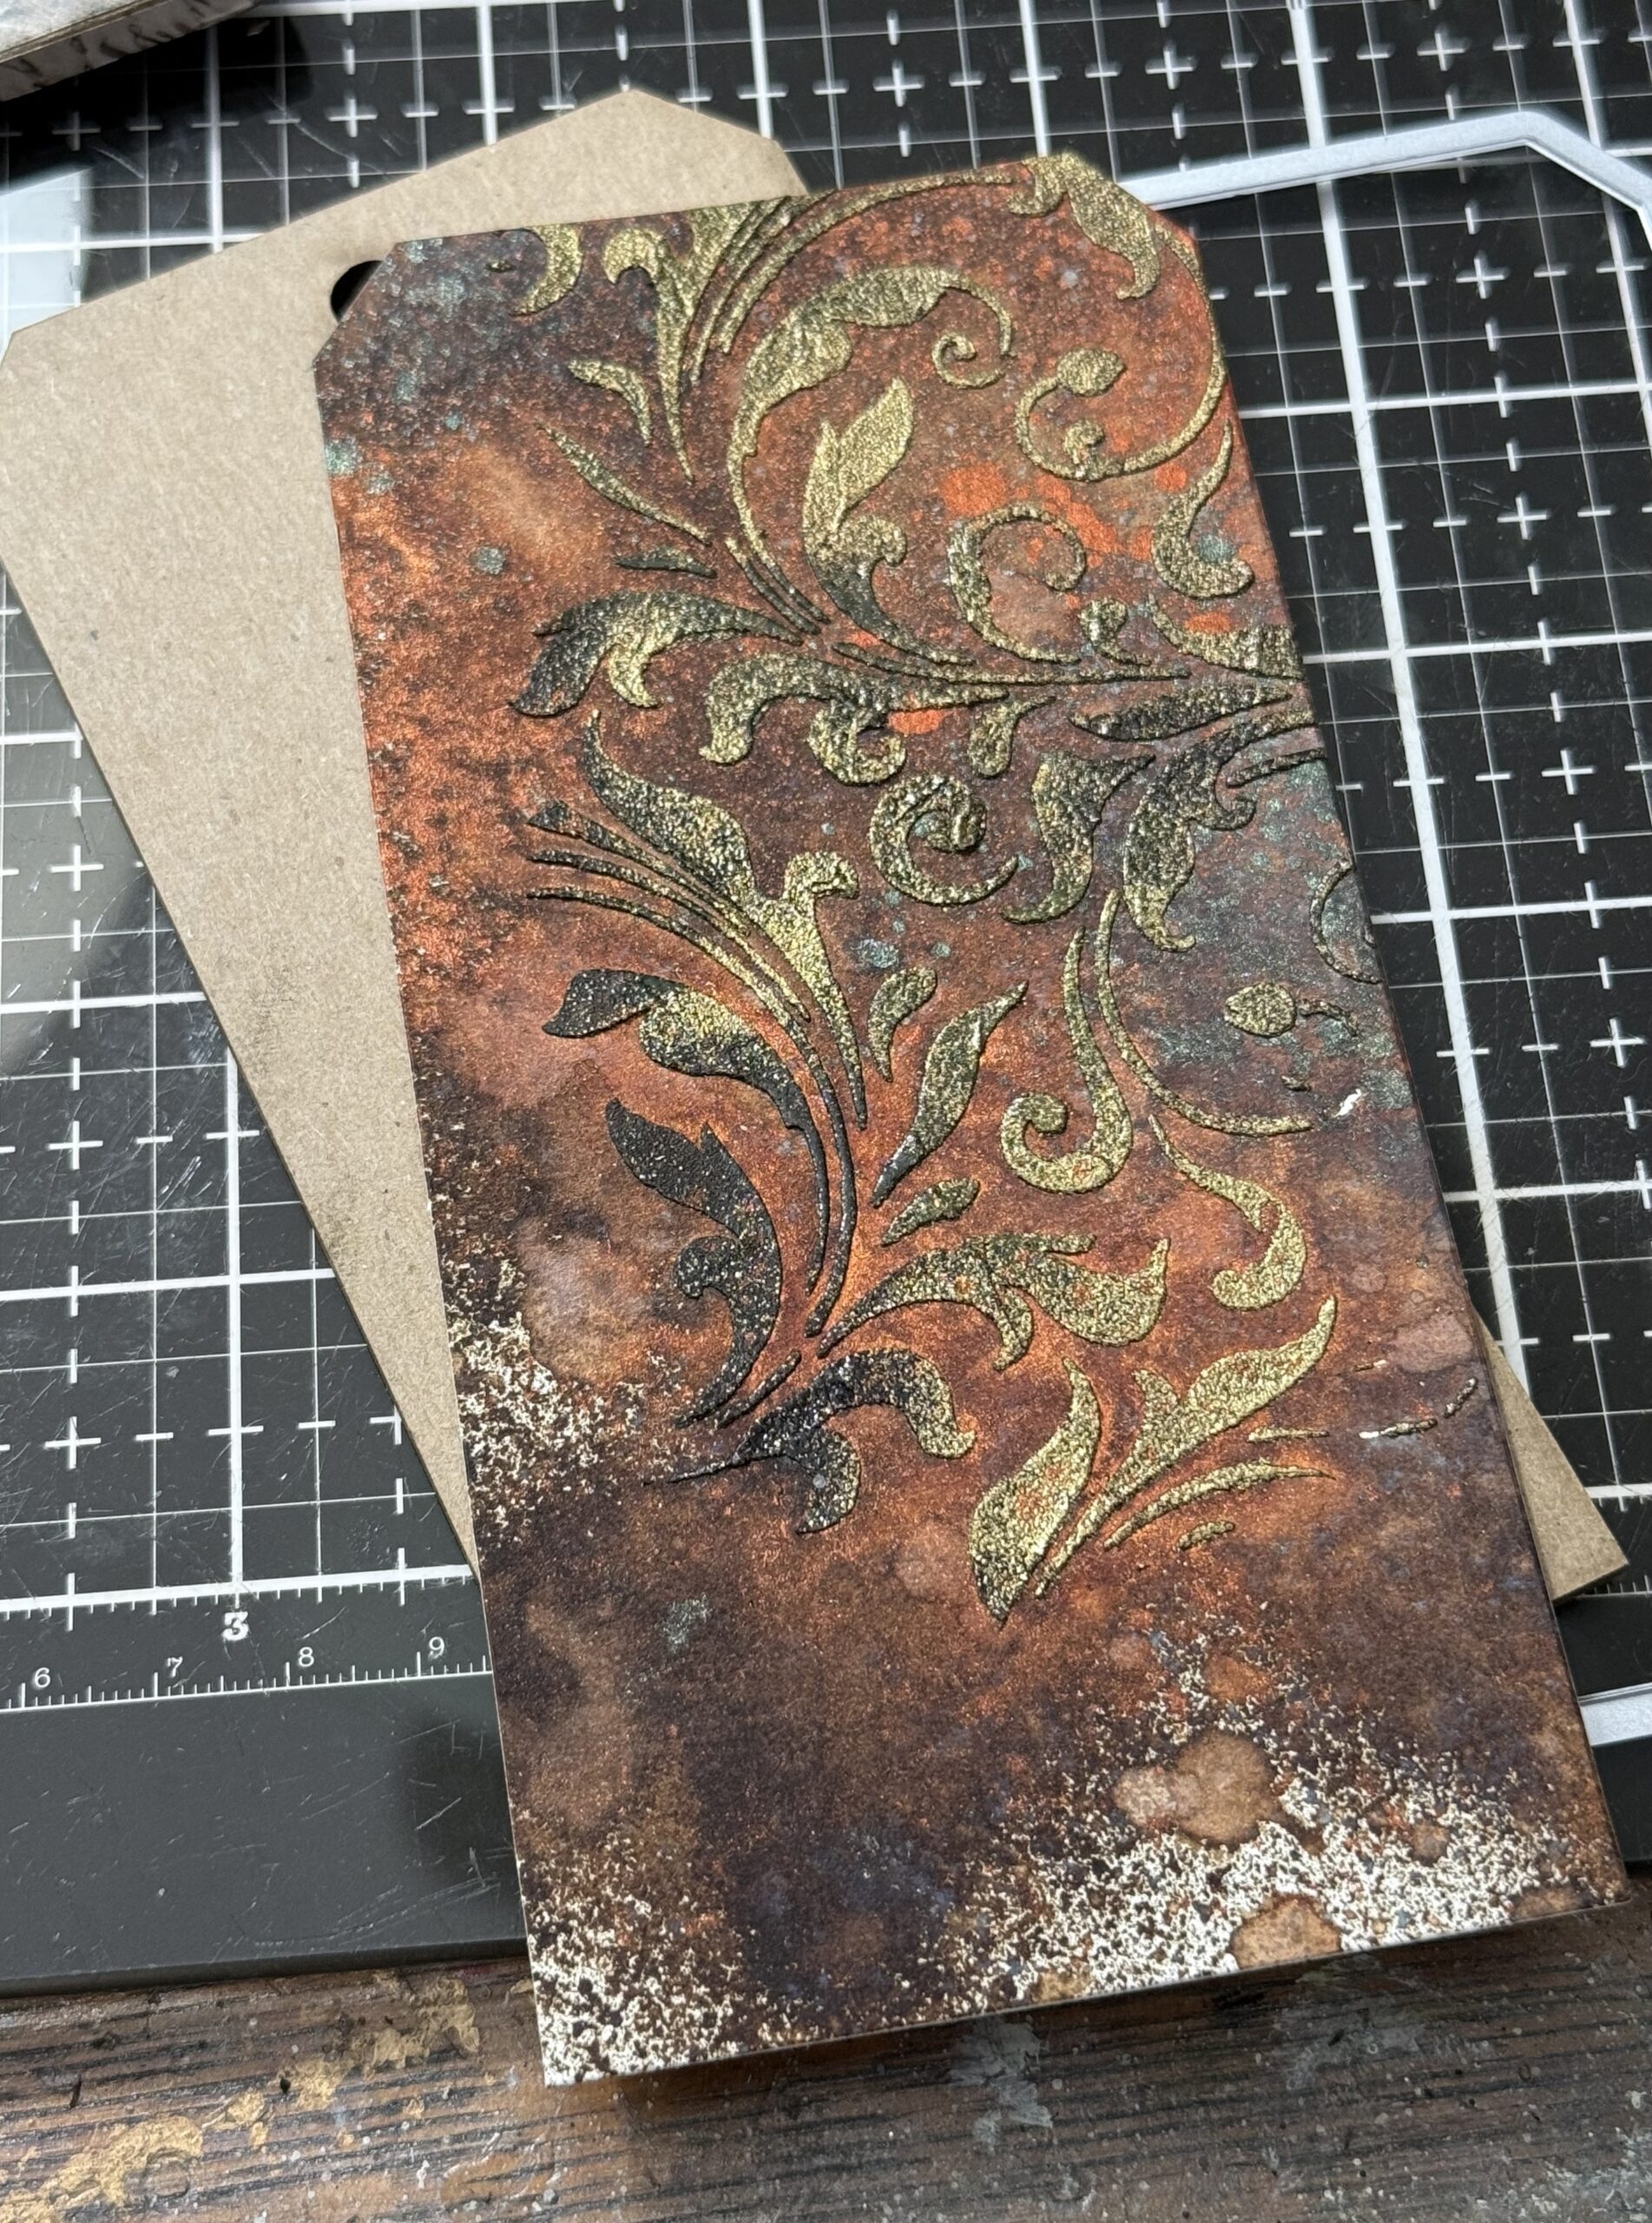
Next I created a background paper for the #8 Etcetera Tag that is on the front of the facade. I used some Black Texture Past and the Flourish Layering Stencil, then while the paste was still wet I sprinkled it with Gold Embossing Powder. I set the paper aside to let the paste dry. Once it was dry, I used a embossing gun to emboss the gold powder.
Then I spritzed the paper with a variety of Mica Stains, Spray Stains and Oxide Stains and water and dried it with a heat tool.
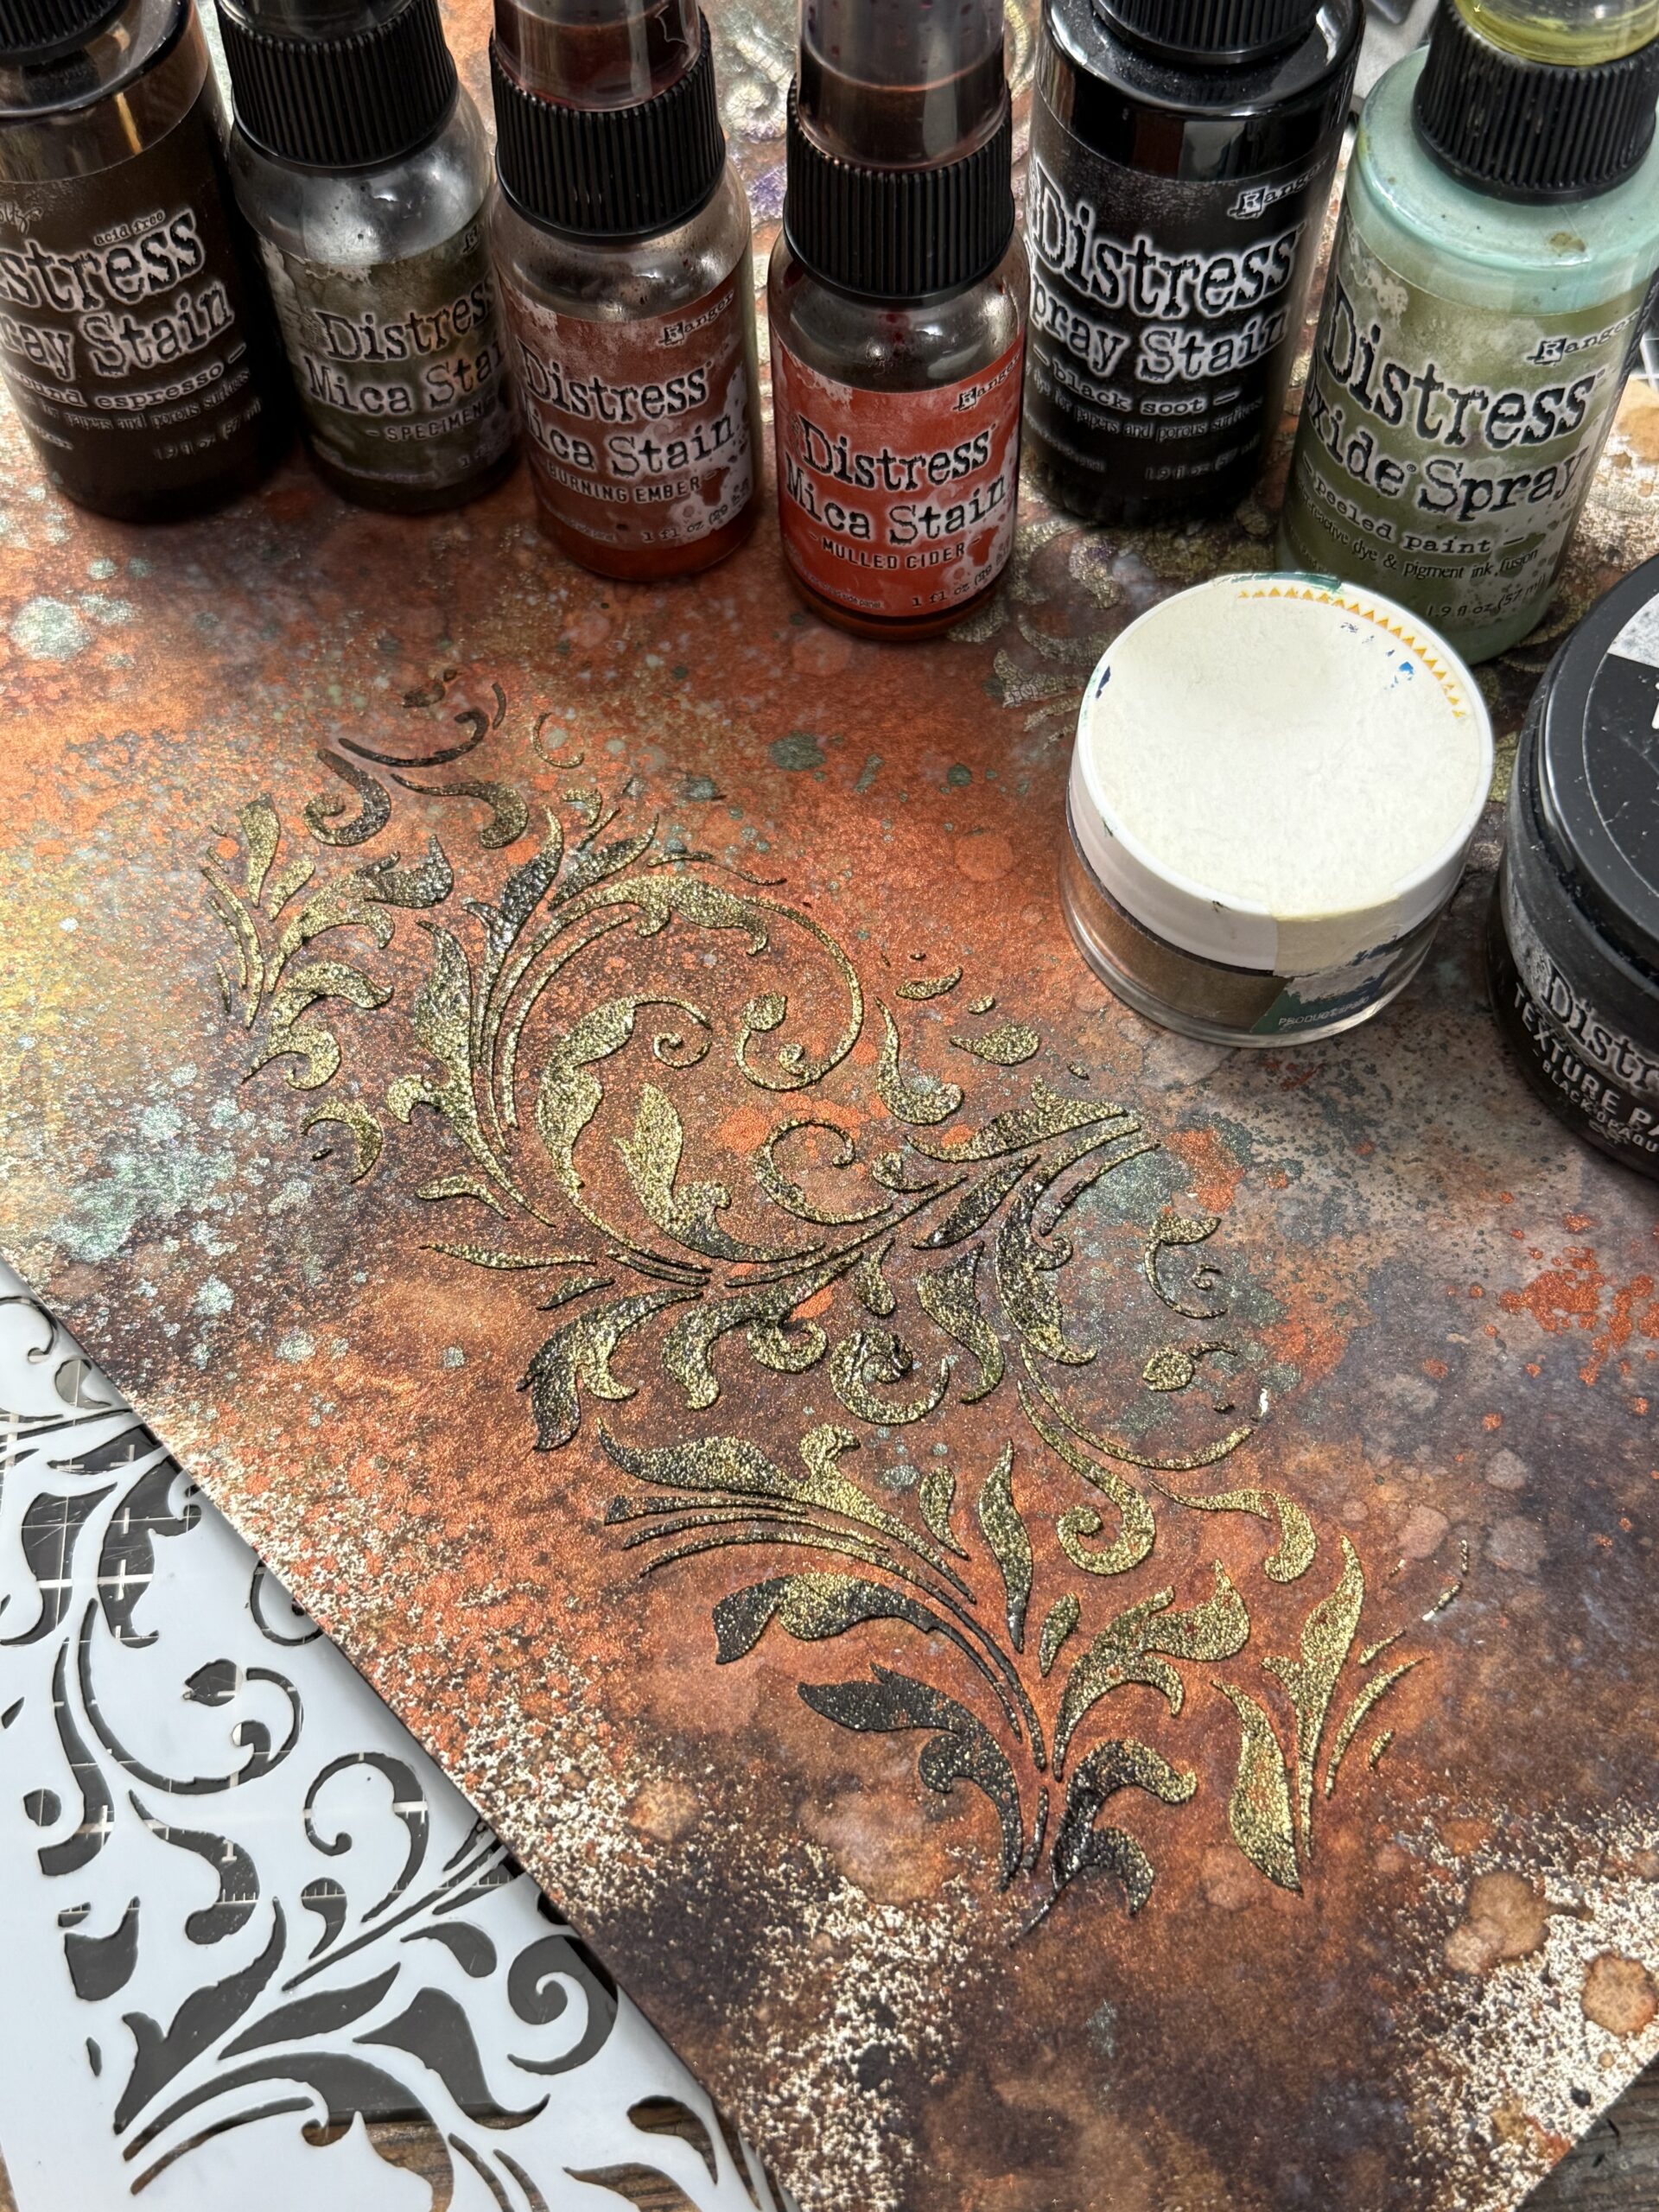
Here’s a close up of the paper…I love making background papers, especially with Mica sprays.
I used a tag die to cut out the tag shape and used my sewing machine to add a border around the outside.
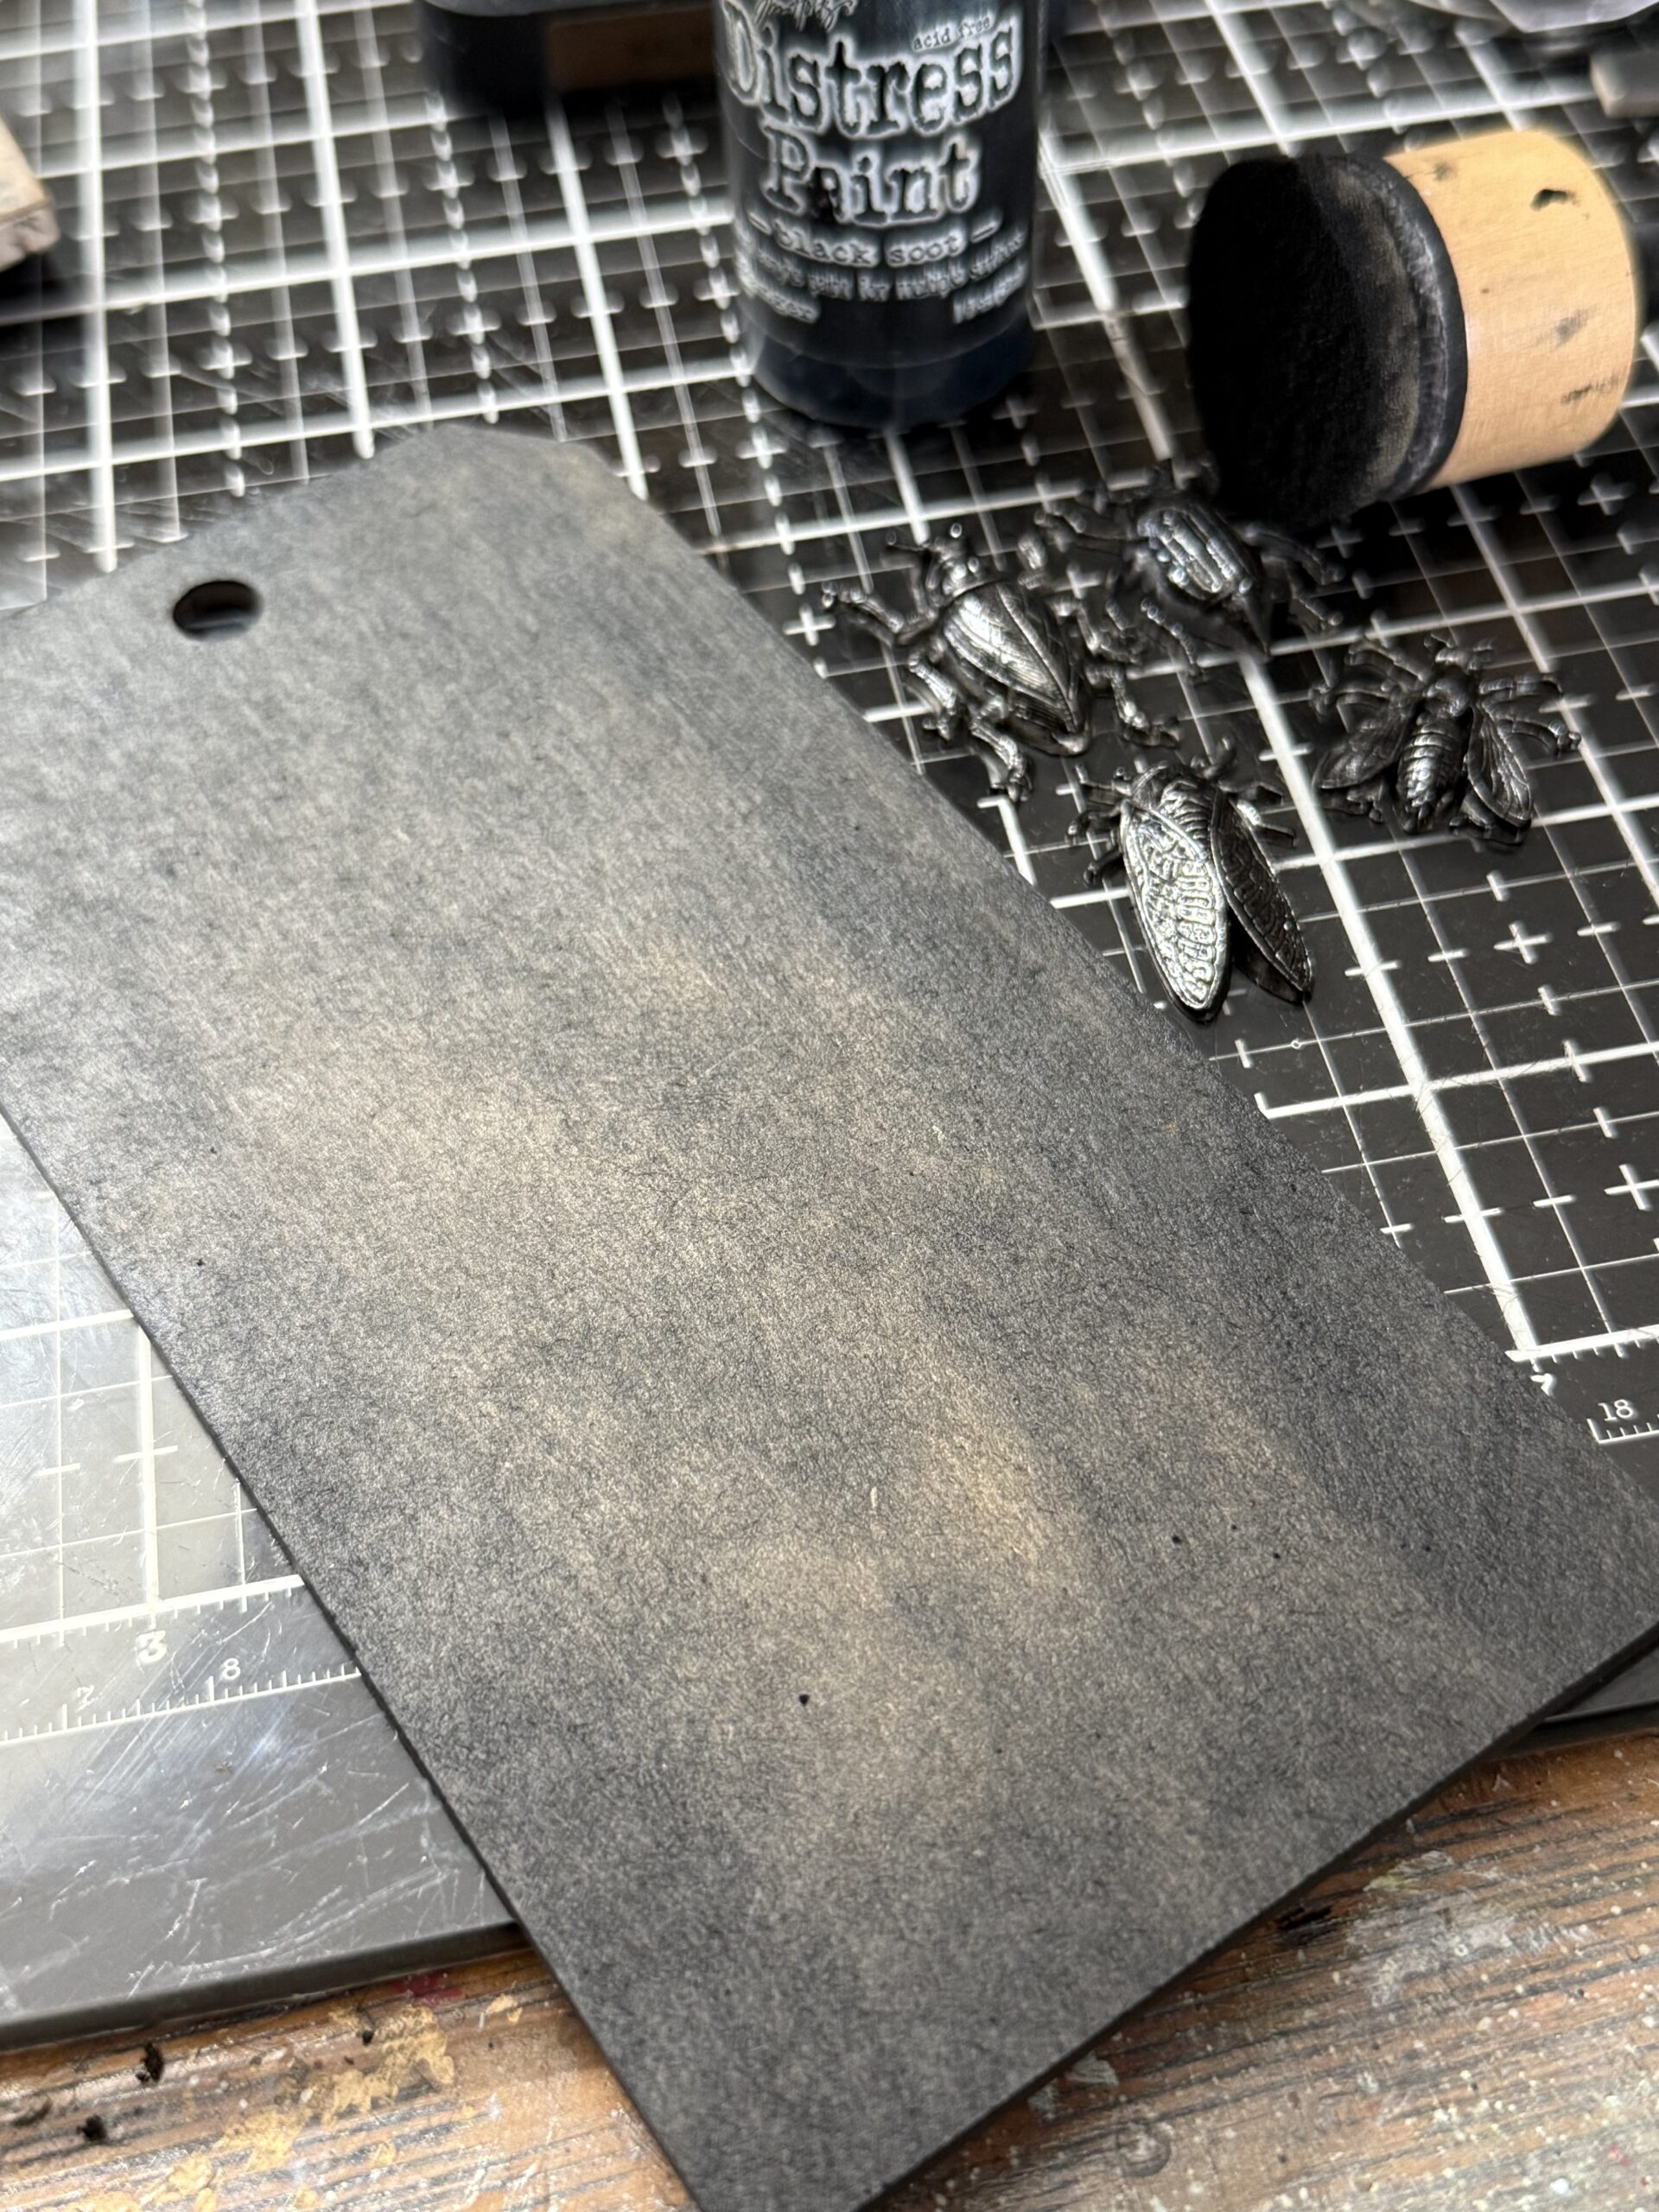
I painted the #8 Etcetera Tag and the bugs that I was going to use on the front of the project using Black Soot Distress Paint, then set them aside to dry. Once dry, I added the inky tag to the front of the etcetera tag.
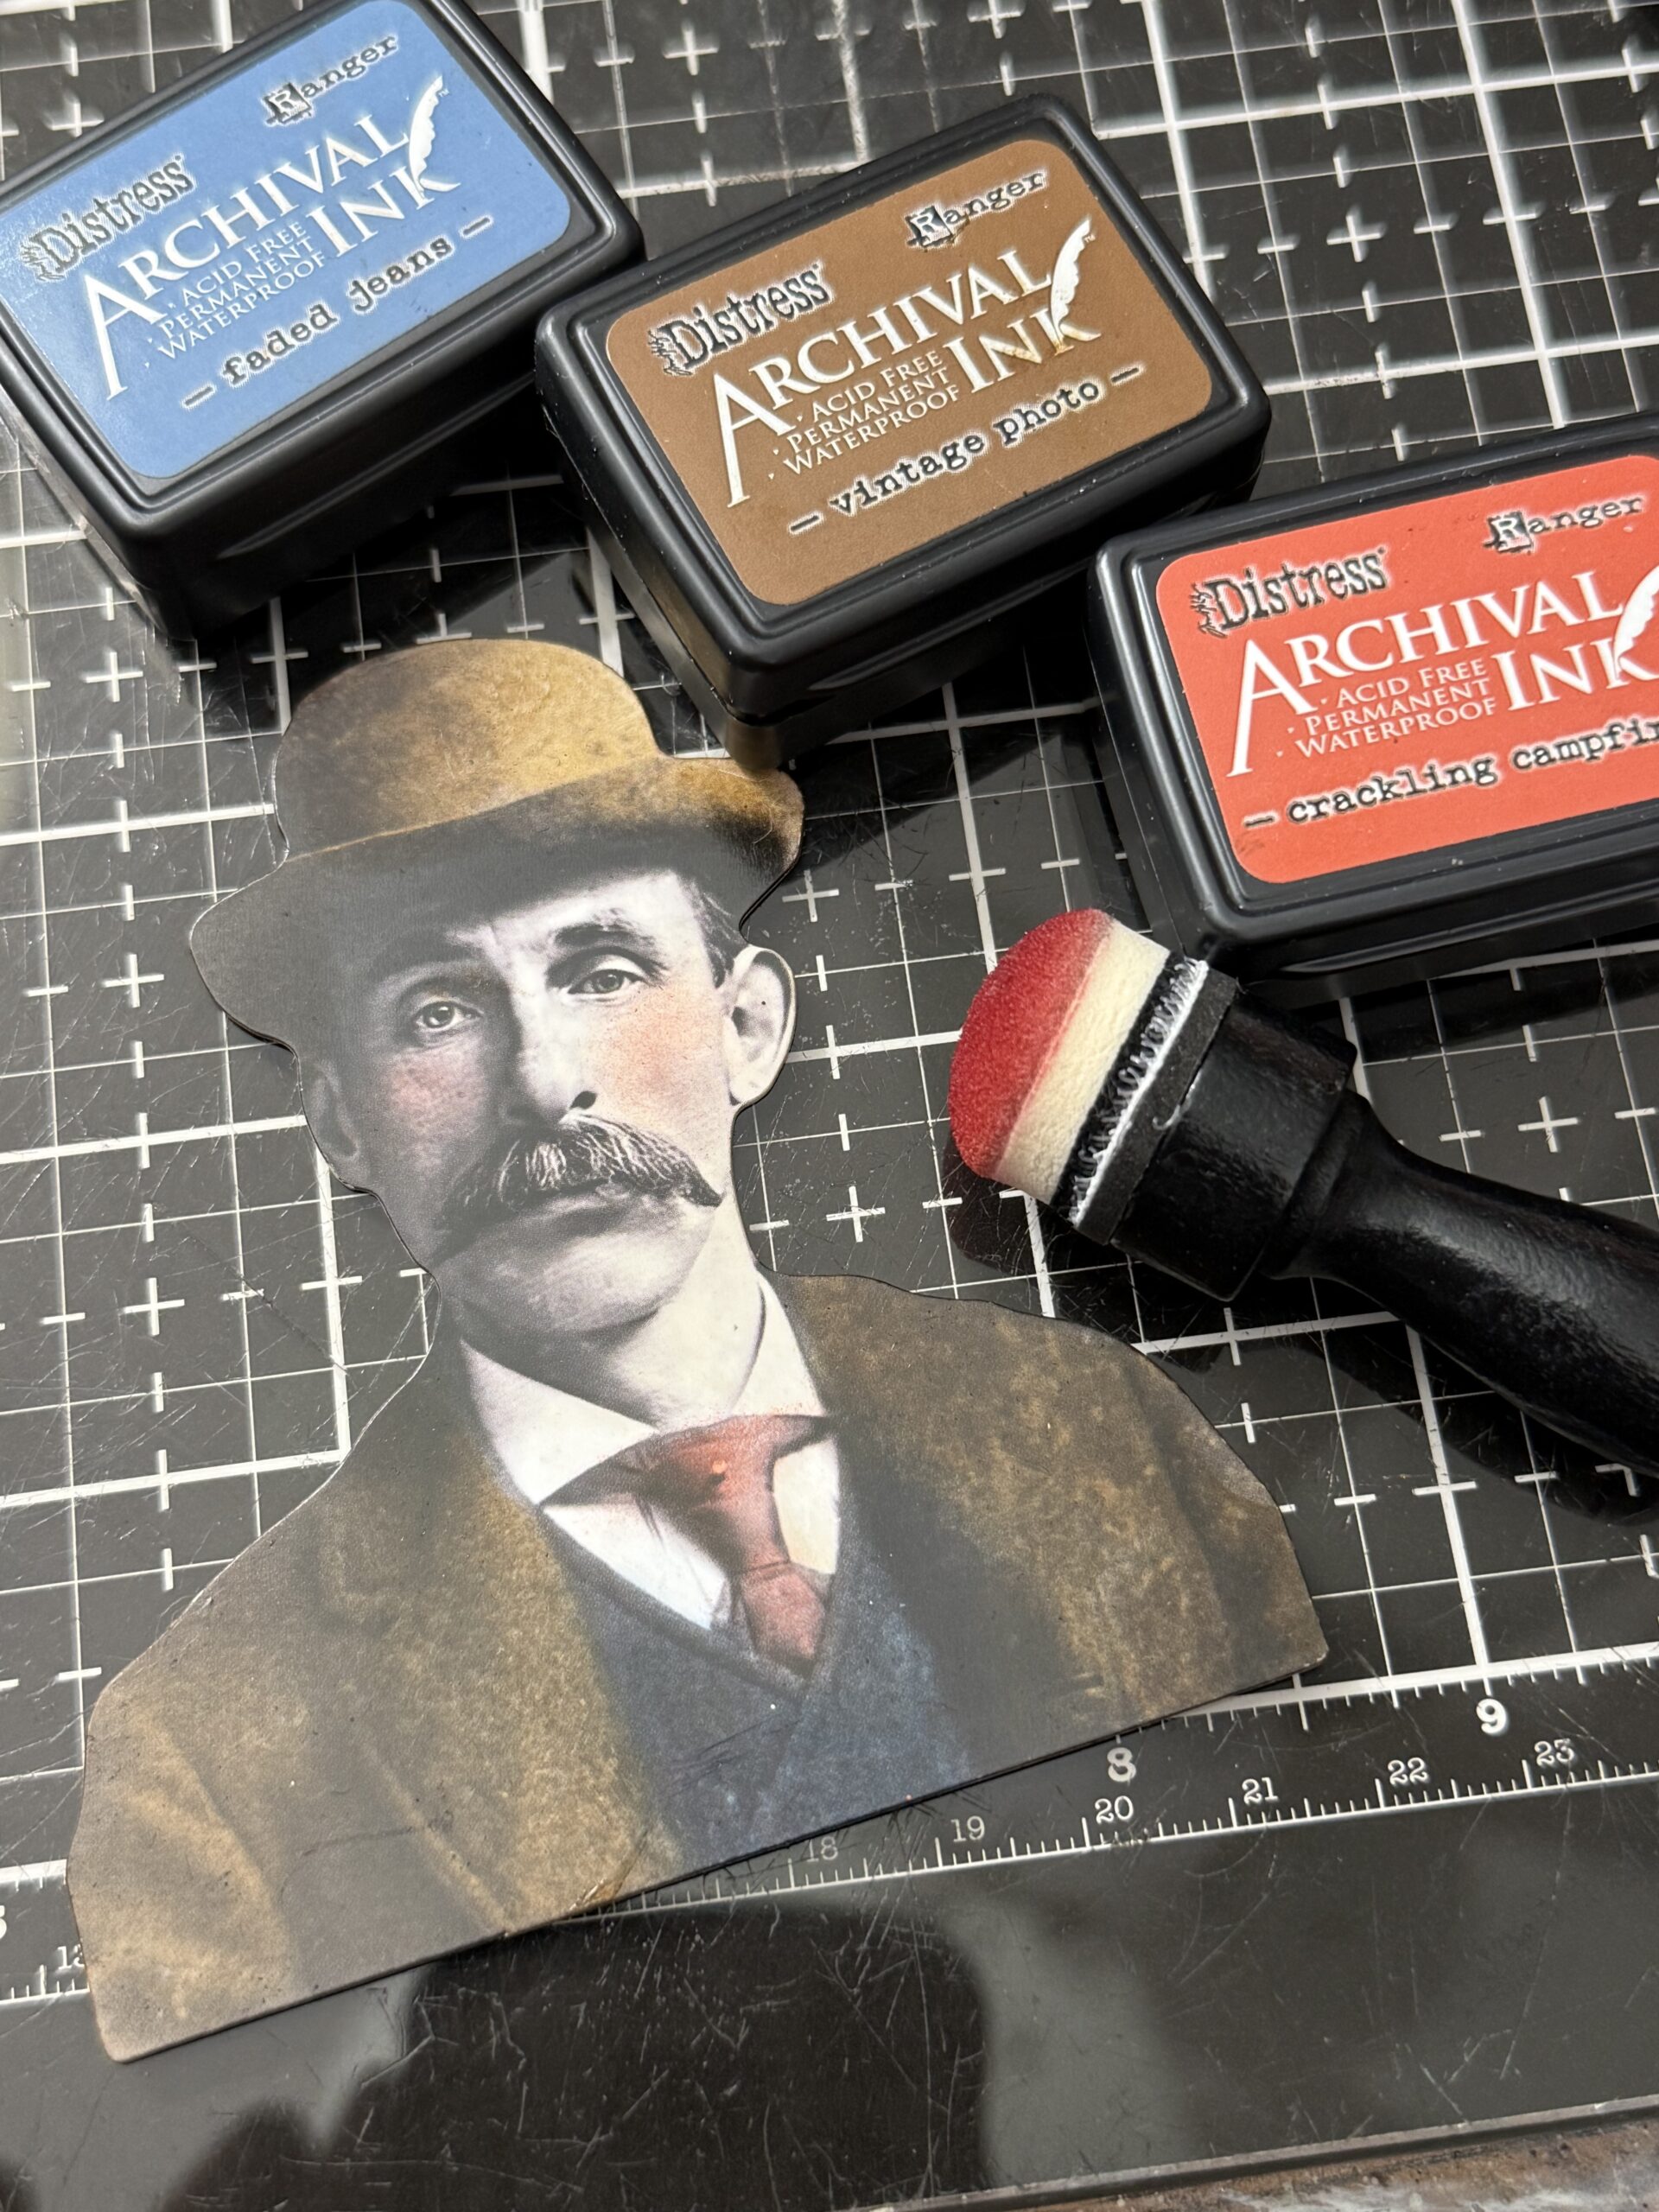
I found this guy inside the Halloween Layers and Paper Doll pack and he looked like someone who would collect bugs. I colored him up using a variety of Distress Archival inks using a tiny blending tool. The Layers are slick so using permanent ink is important.
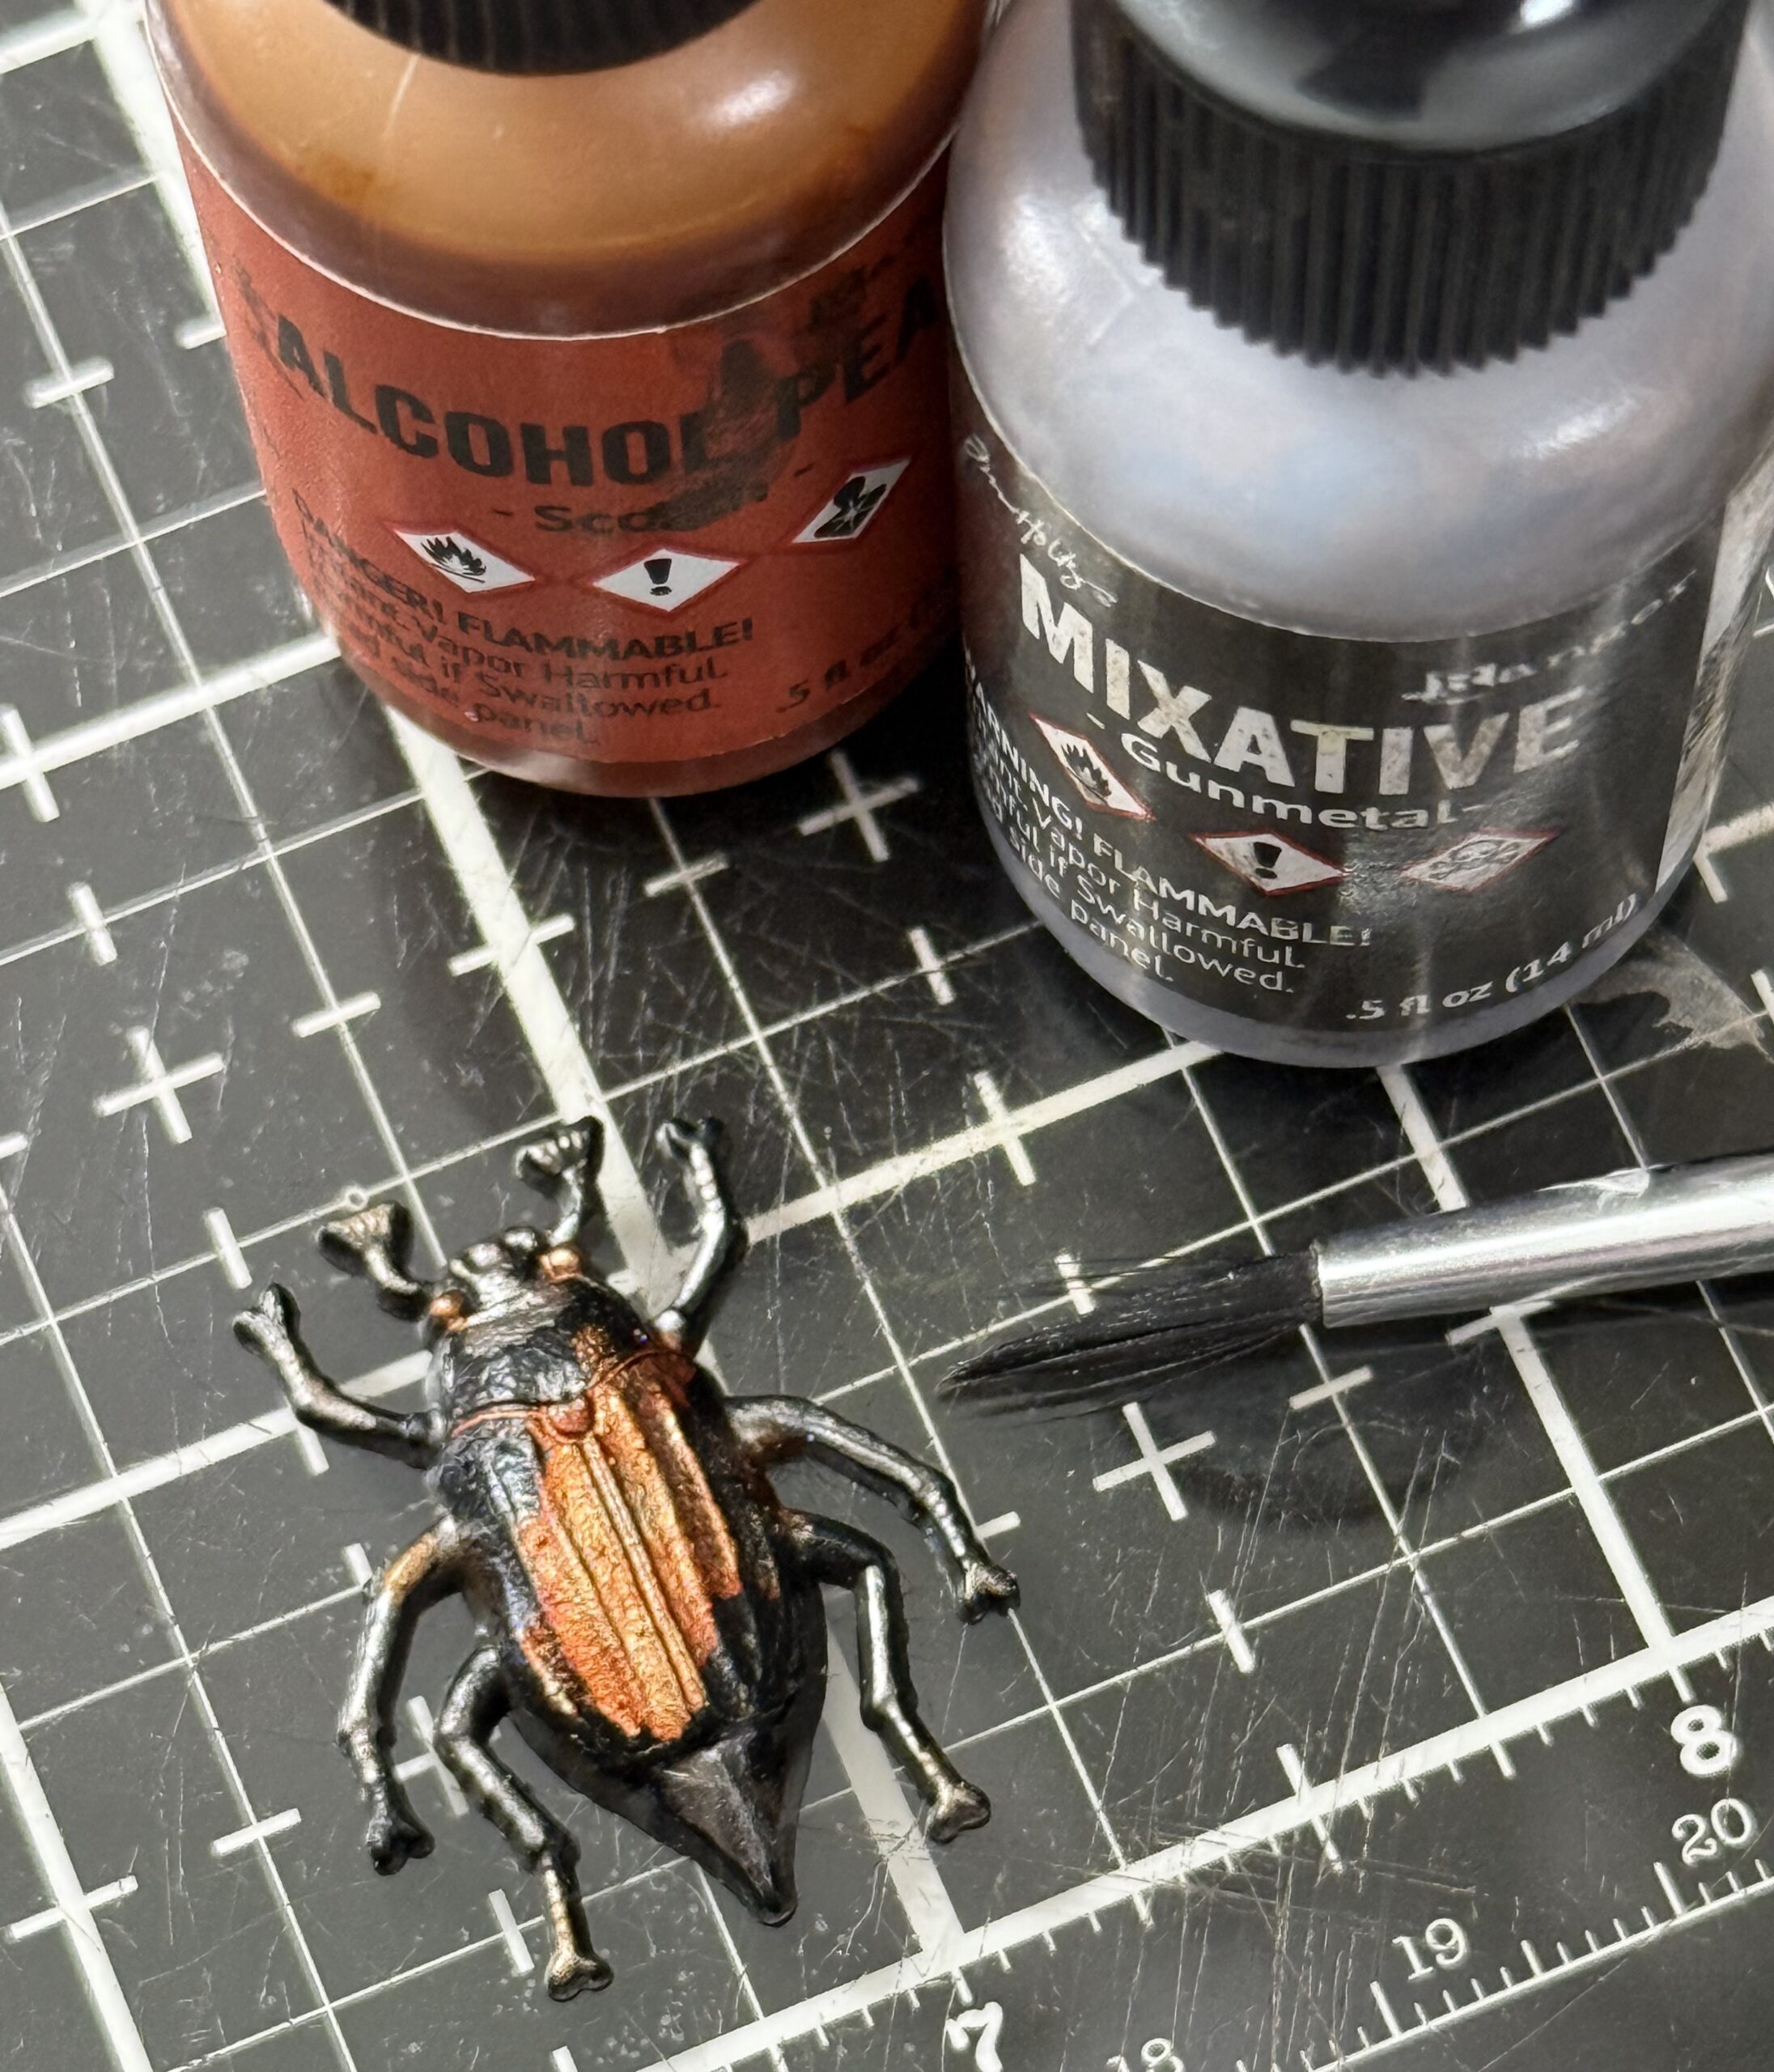
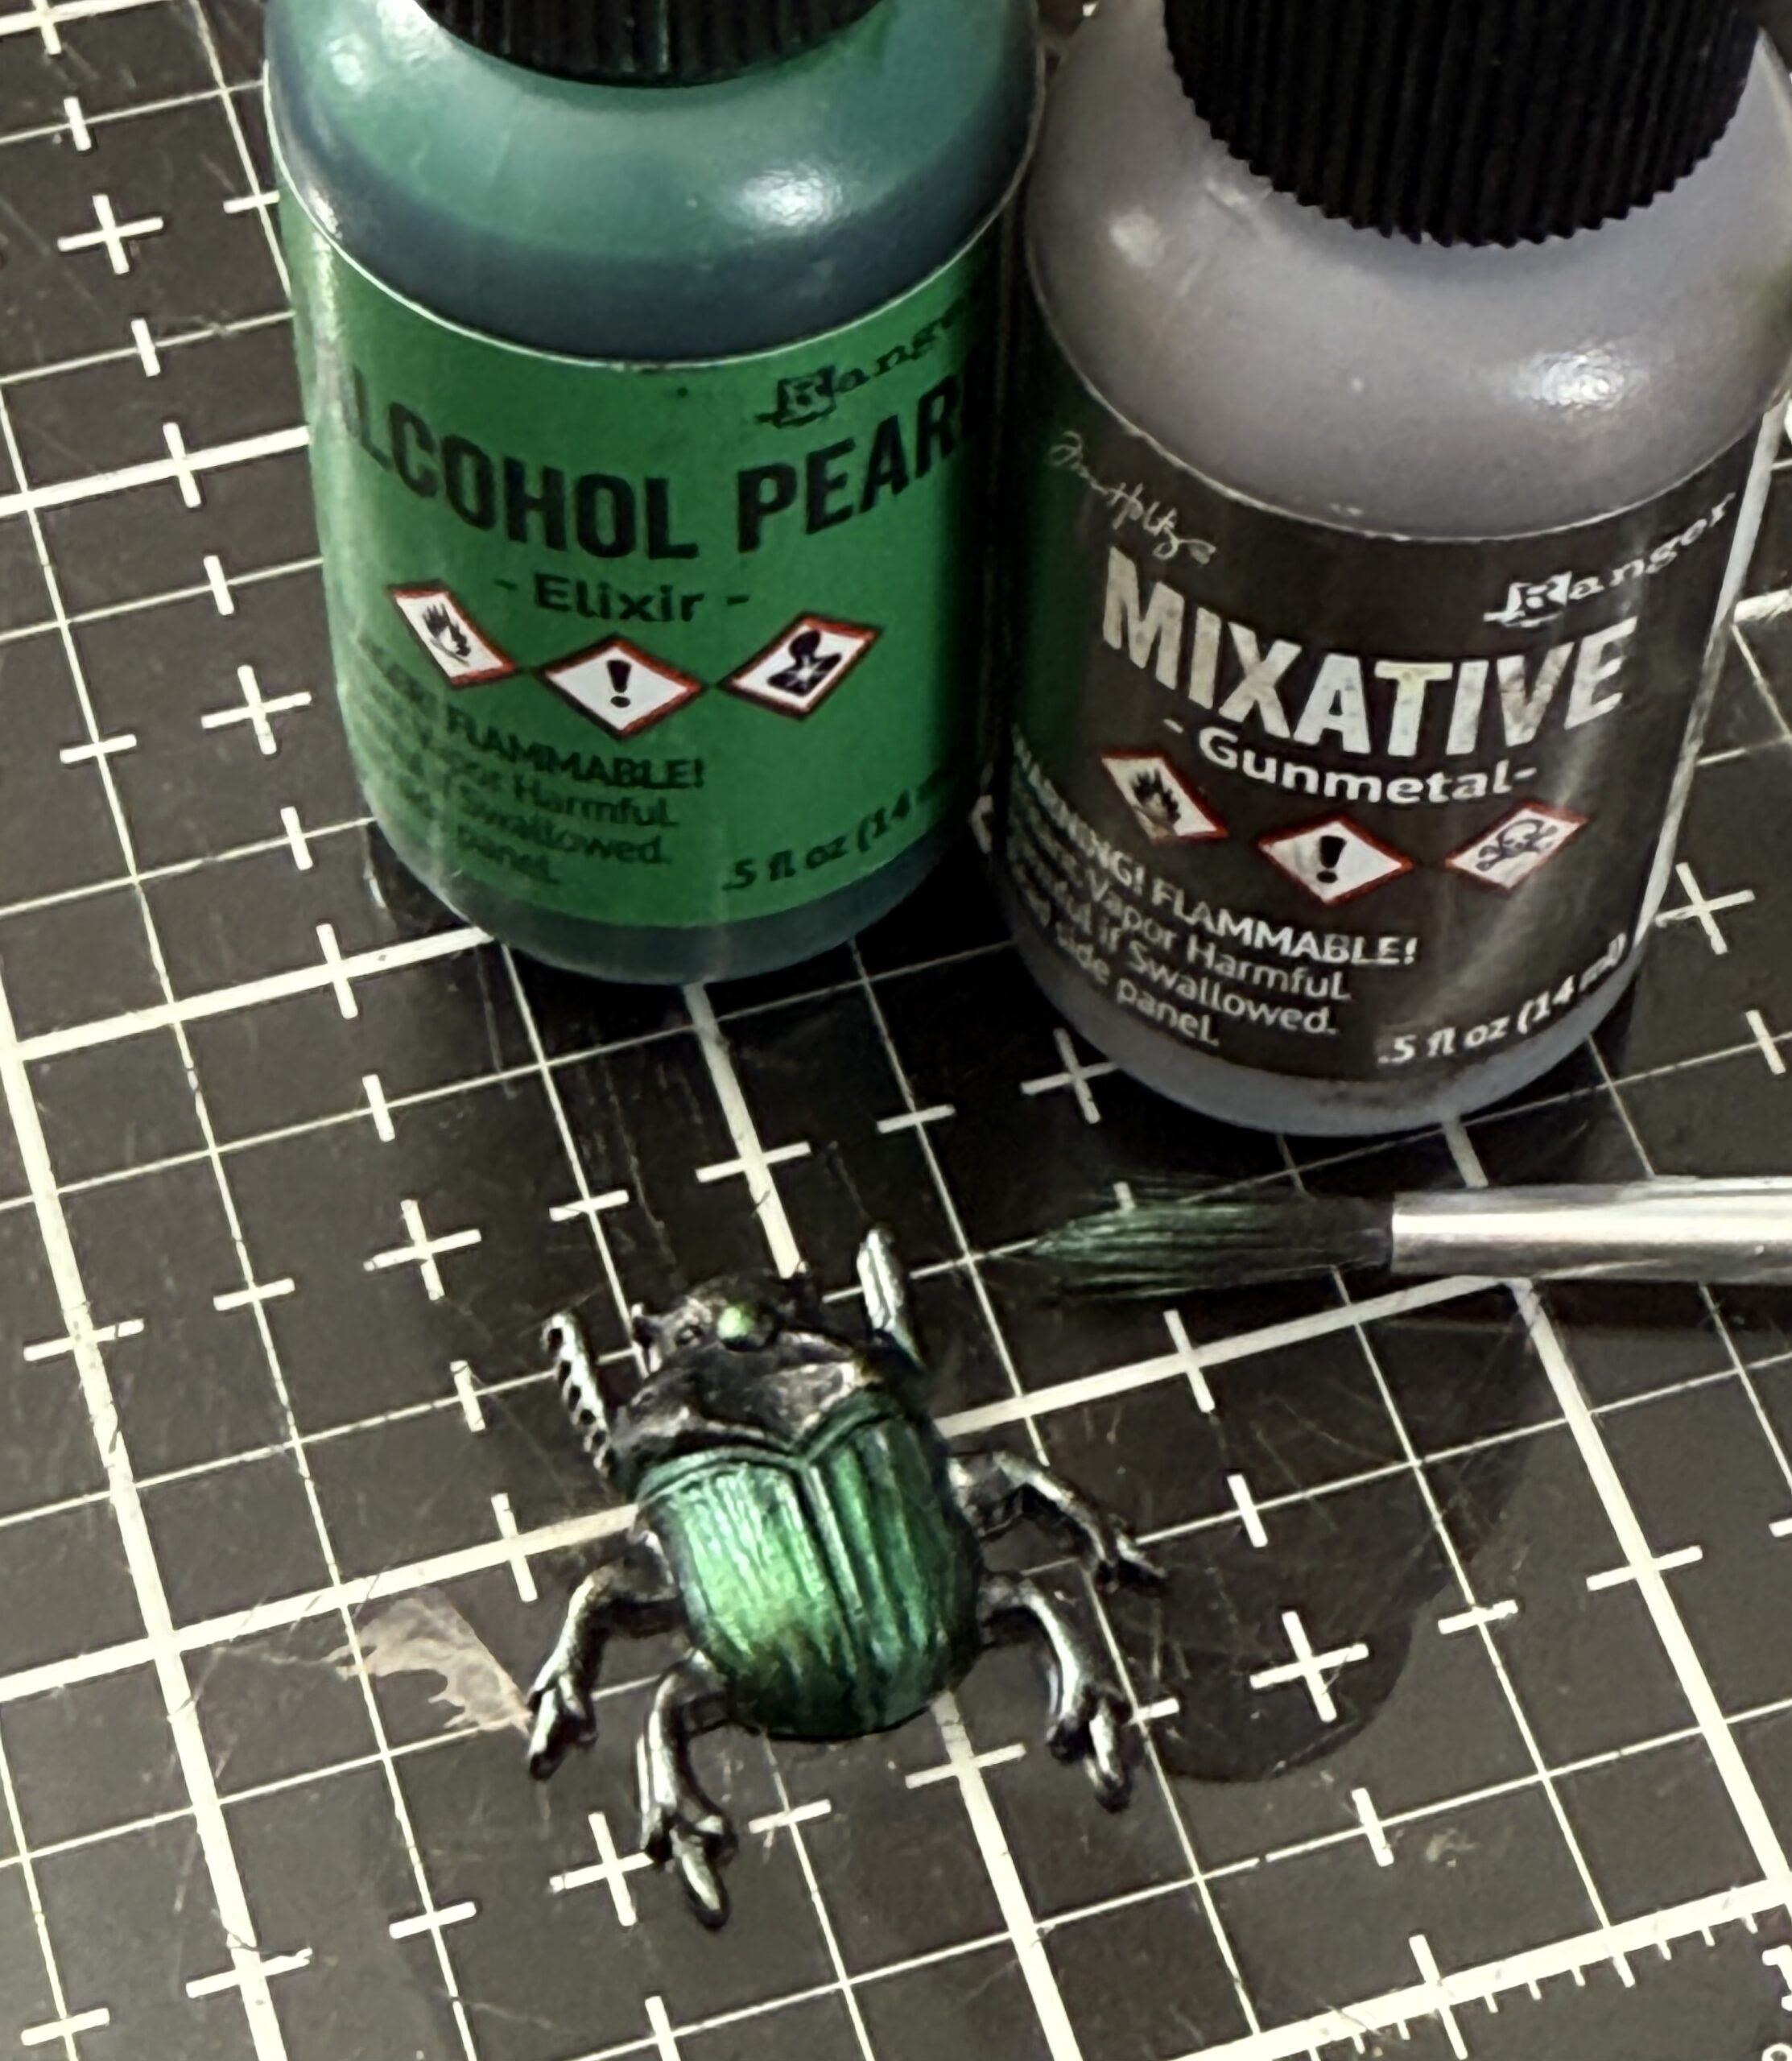
Next up..the bugs, these had all been painted black and set aside to dry. Once they were dry I used a variety of Alcohol Pearls to give them their spooky finish. I used a paint brush to add the color then set them aside to dry for a bit.
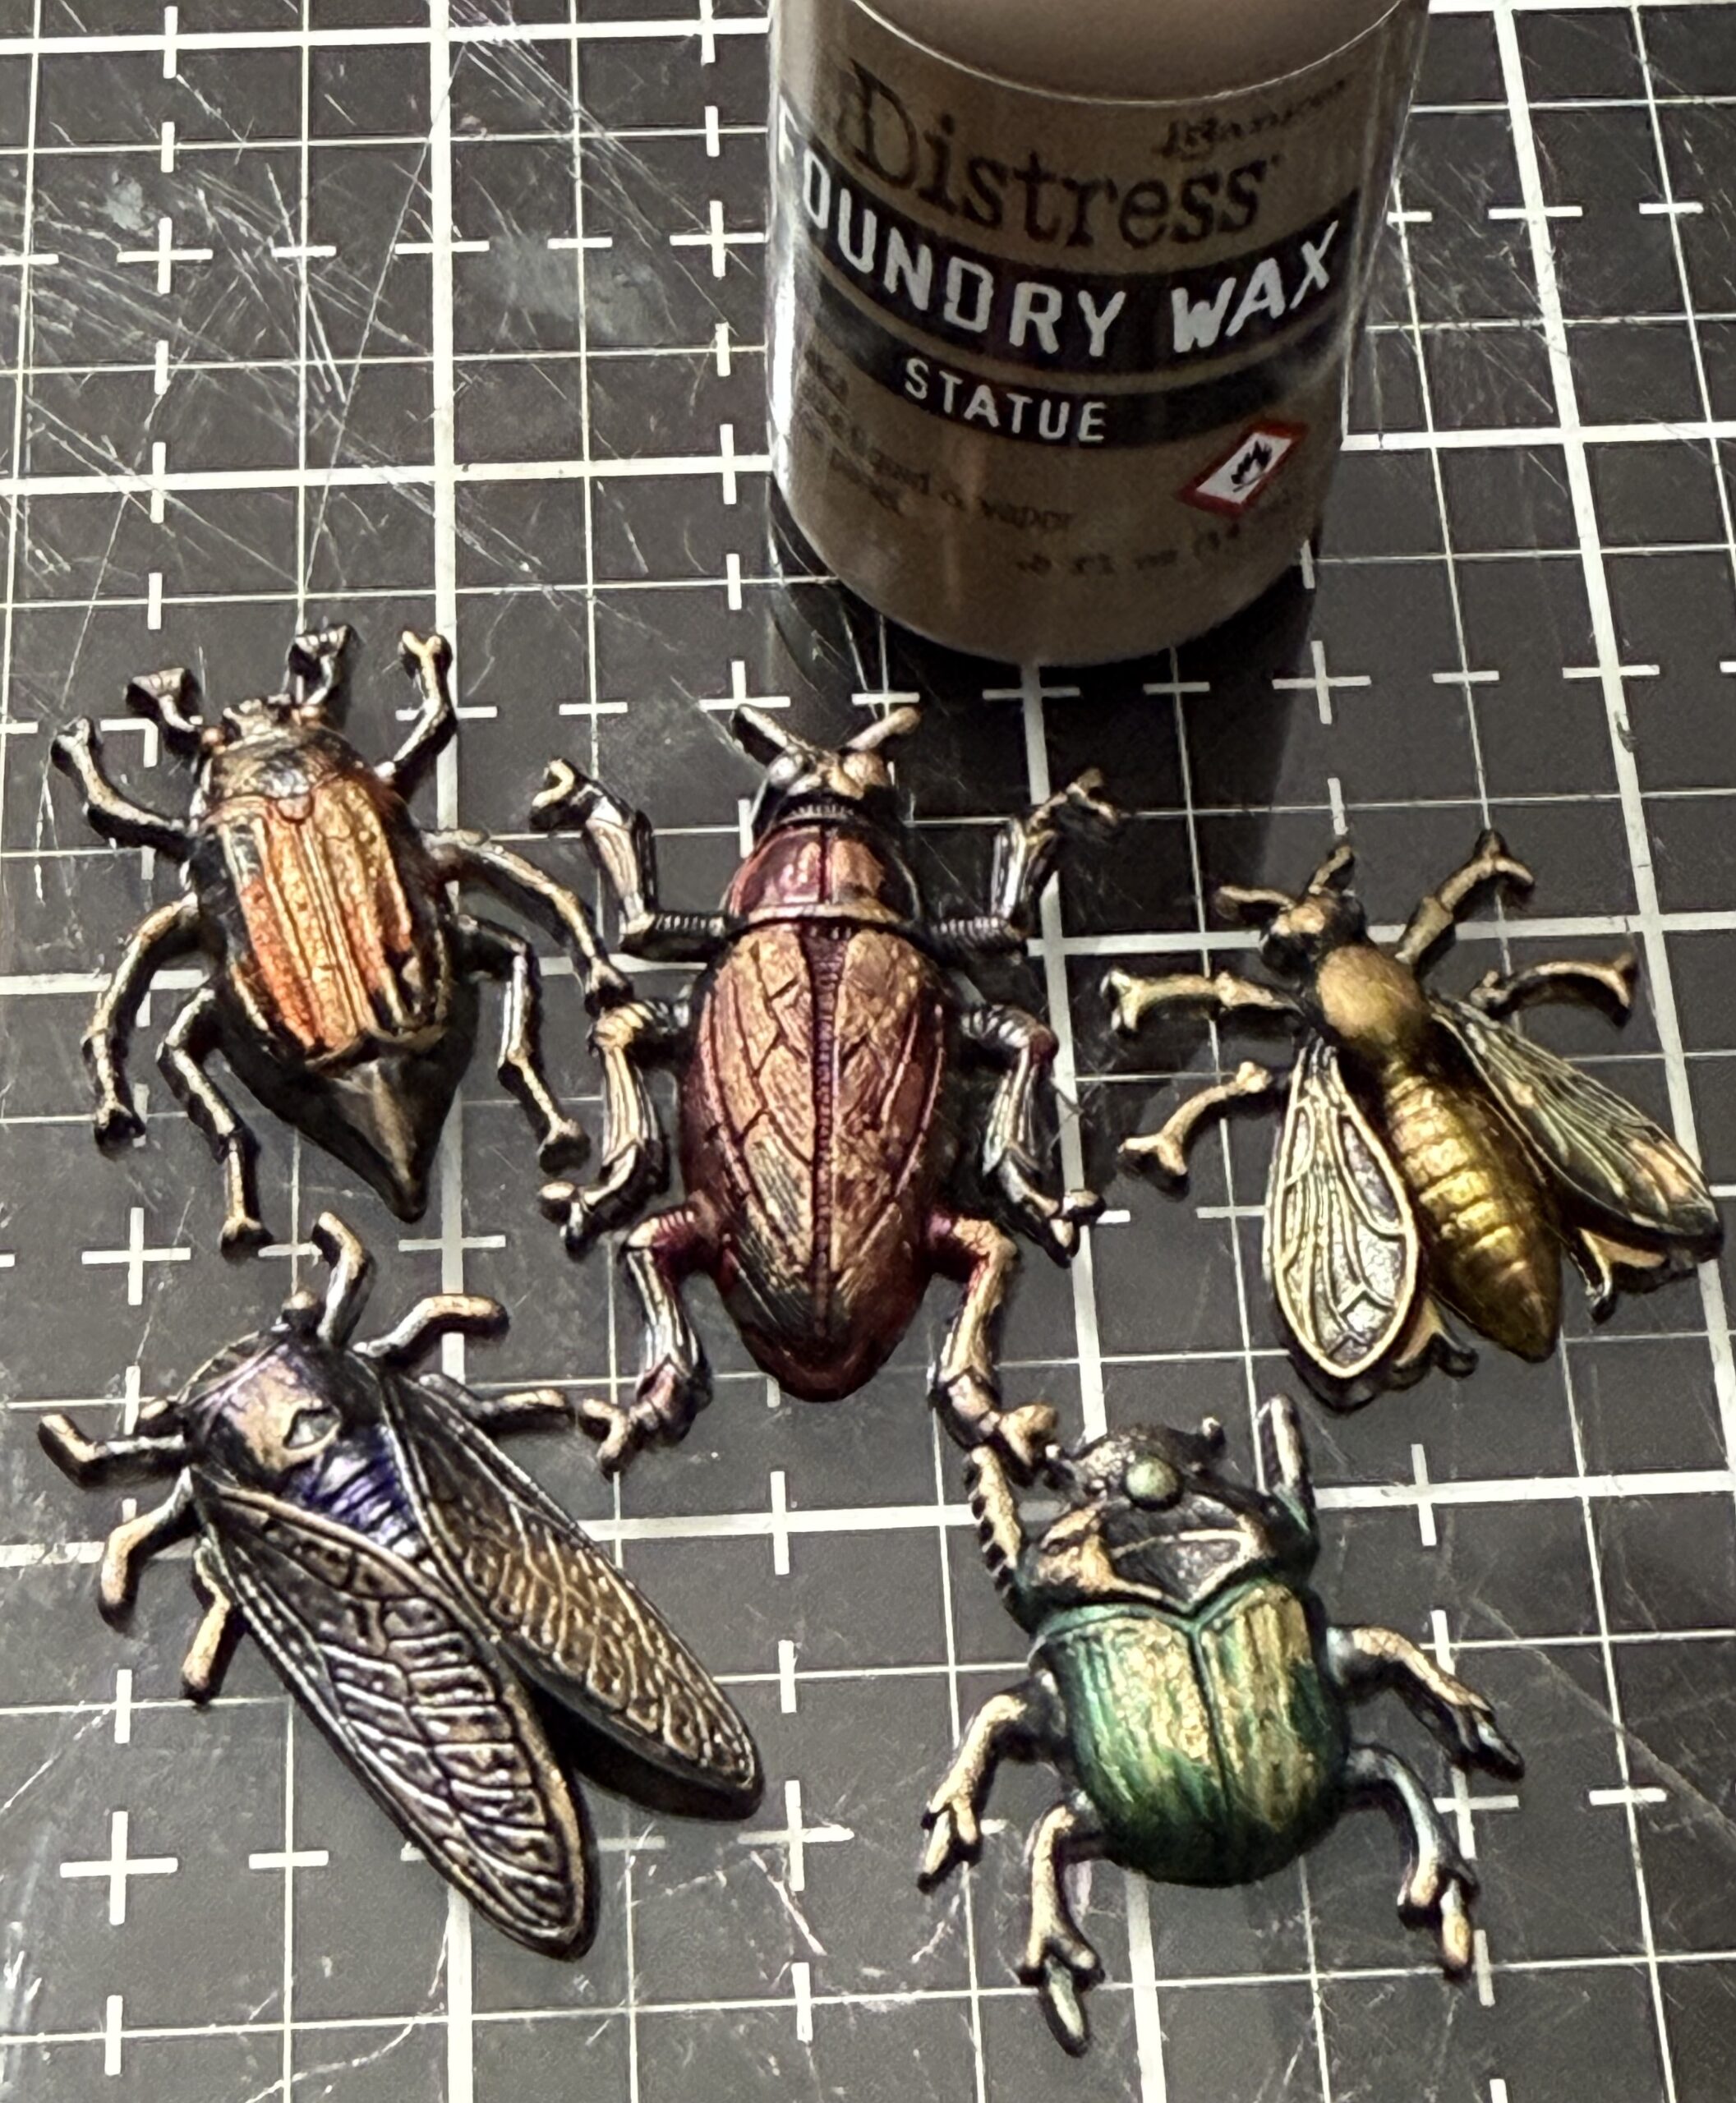
After they were dry I used some Statue Foundry Wax to them by applying some it with my finger, then set the wax using my embossing gun. Viola! Creepy cool bugs!
I began arranging all the elements then added some piece of Ephemera that fit with my project…my favorite one, that Hiram Woods M. D. piece on the right side of the project along with the round spiral piece that I found in the Layers pack. They worked so perfectly together to add a little more something to the project and it was cool how the font on the ephemera piece had a curve and matched with the spiral. It’s the little things! 🙂
I added the numbers to each of the bugs by using the Field Notes Stamp Set CMS396. They were stamped onto inky paper and trimmed into little labels then added around the bugs.
The phrase “collector of curiosities” was found in the Halloween Baseboards pack. To create some age, I rubbed it with some Collage Medium and set it aside to dry. After it was dry I used a Walnut Stain Distress Crayon to add some grunge. I painted a couple of idea-ology screw heads with black paint, then adhered them to the sides of the label. I dyed a little bit of mummy cloth using some ink and attached it behind the phrase.
I added a small piece of Halloween handwritten paper at the bottom of the tag and added the phrase using collage medium. All the elements were adhered using collage medium and set aside to dry over night.
I used an idea-ology Optical Lens to highlight one of my favorite bugs. The lens was rubbed with some Crackling Campfire Distress Crayon and added a round piece of the bug paper behind the lens. The lens and the little No.72 Ephemera piece were added to the project using a couple nails.
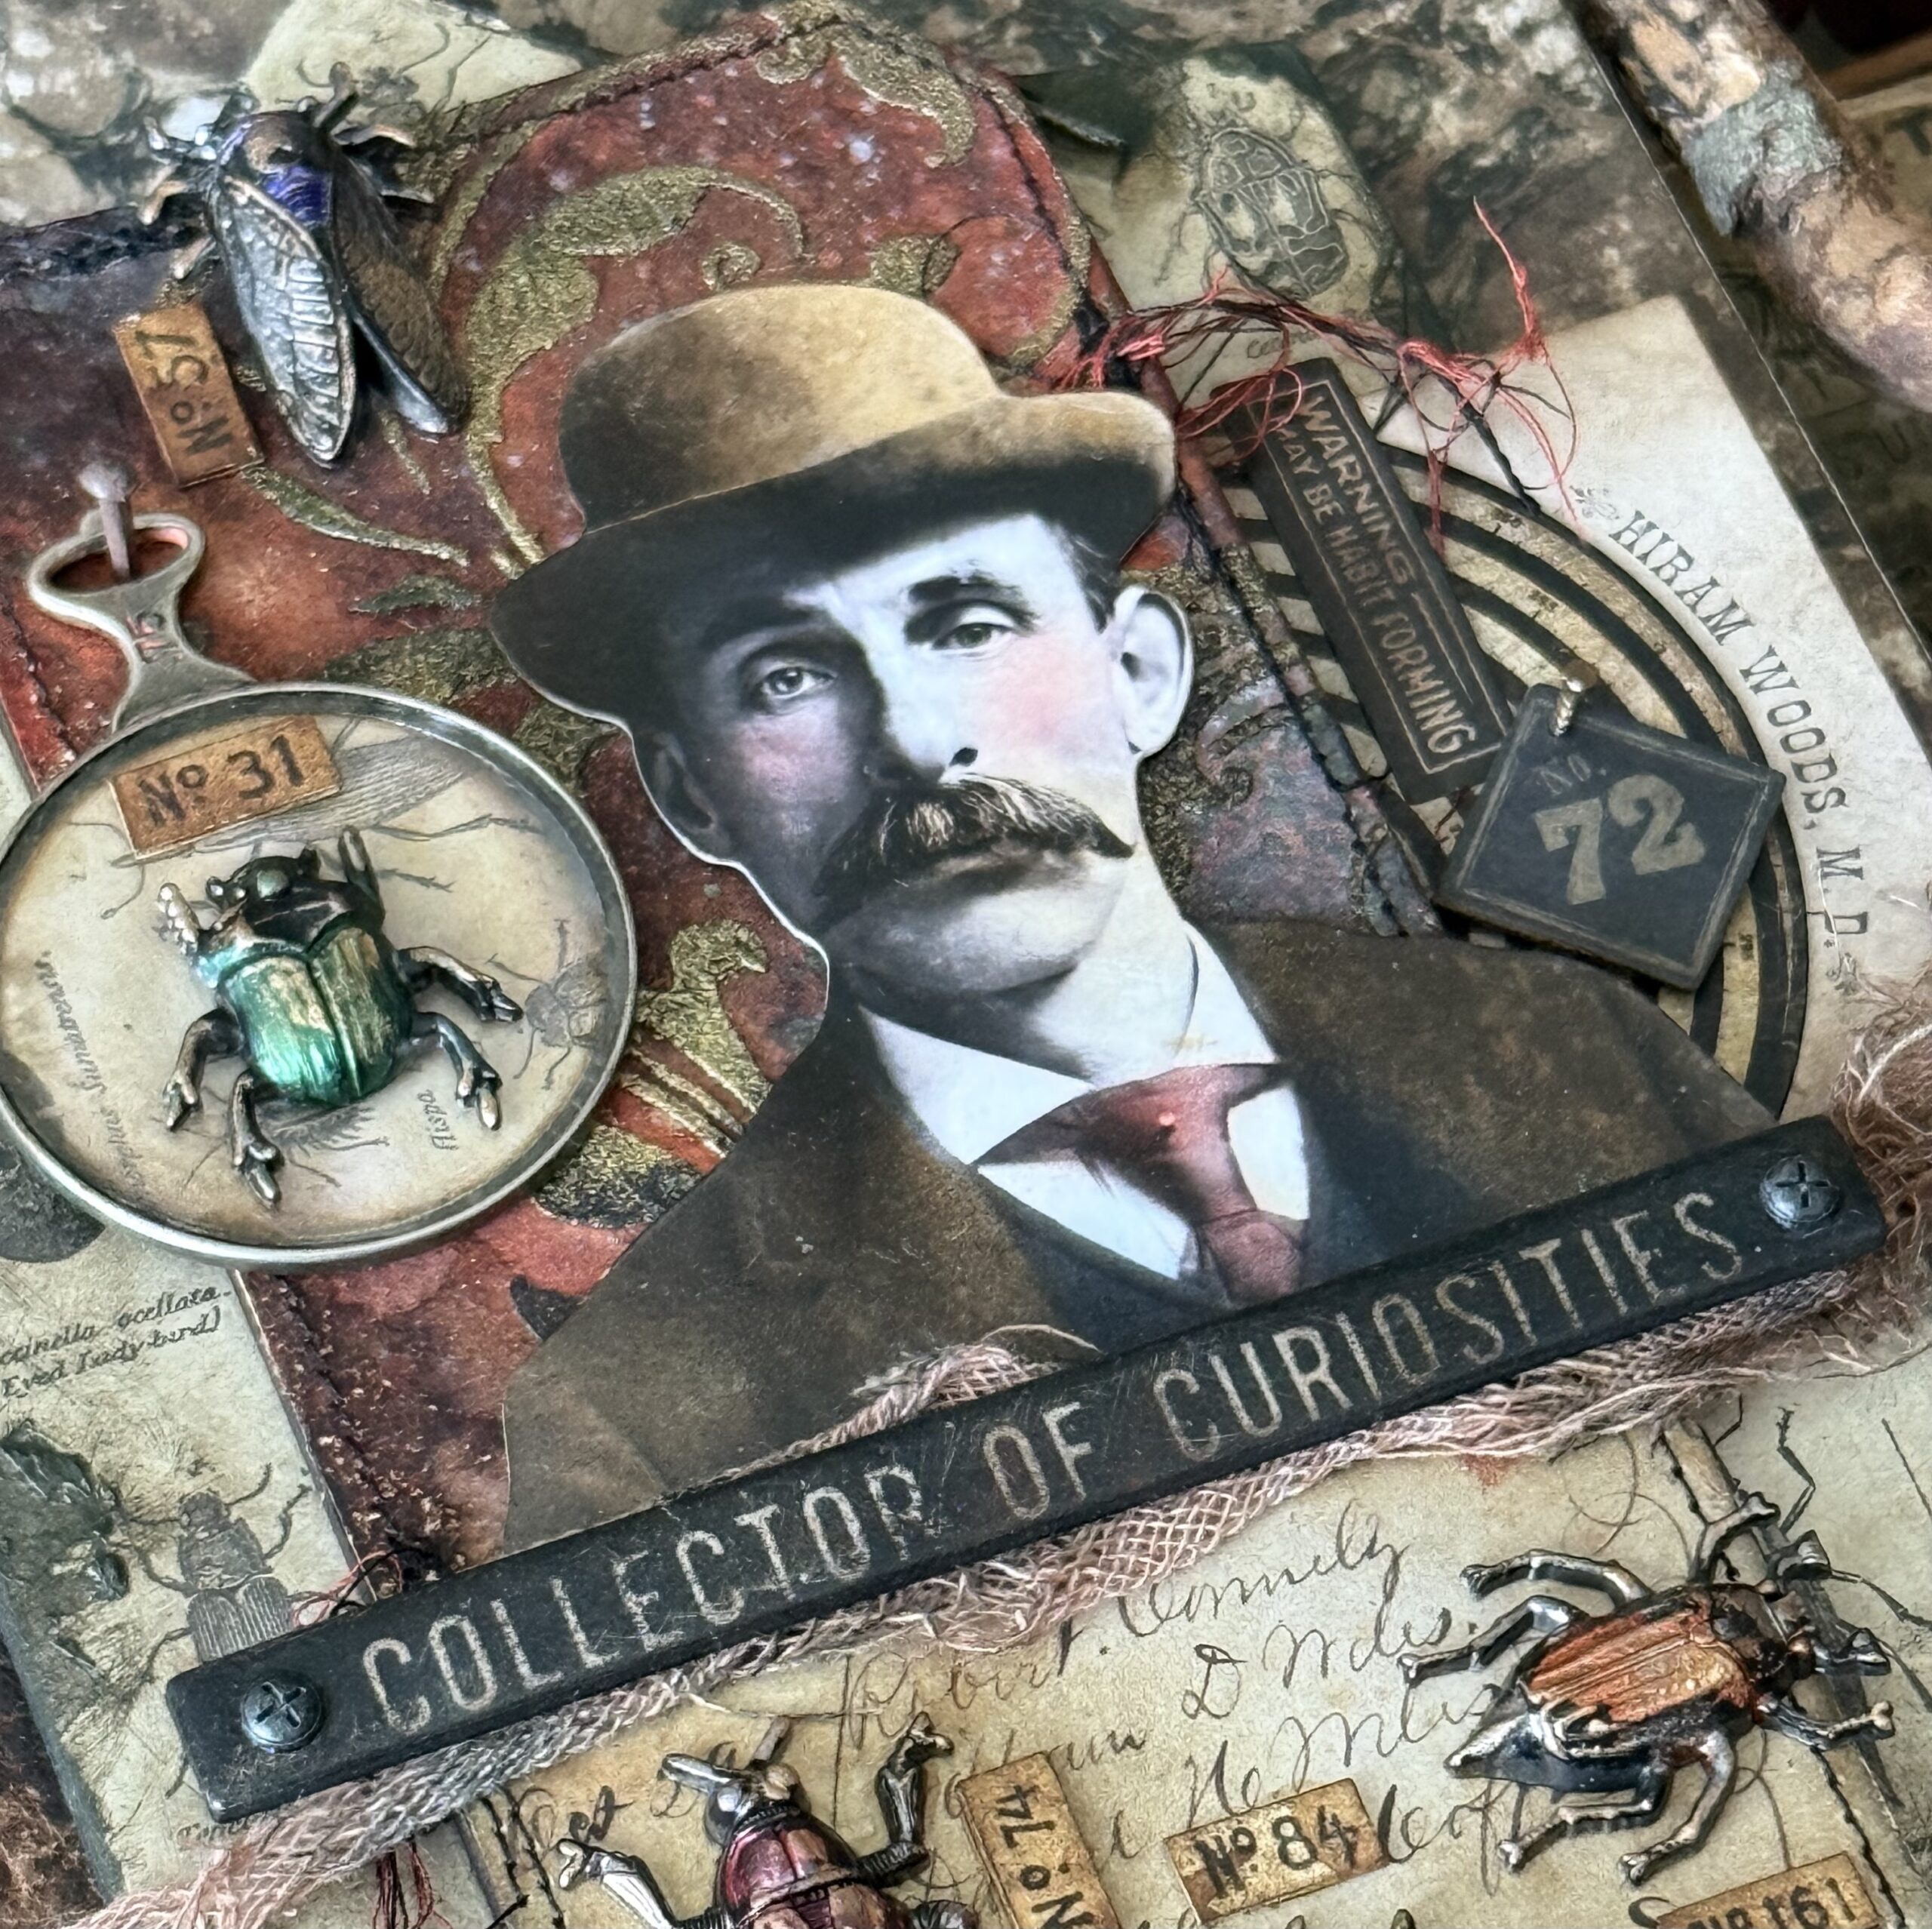
With that, my project was complete!
Thanks so much for stopping by…I appreciate you for taking the time to see how it all came together.
Creatively yours,
Stacy
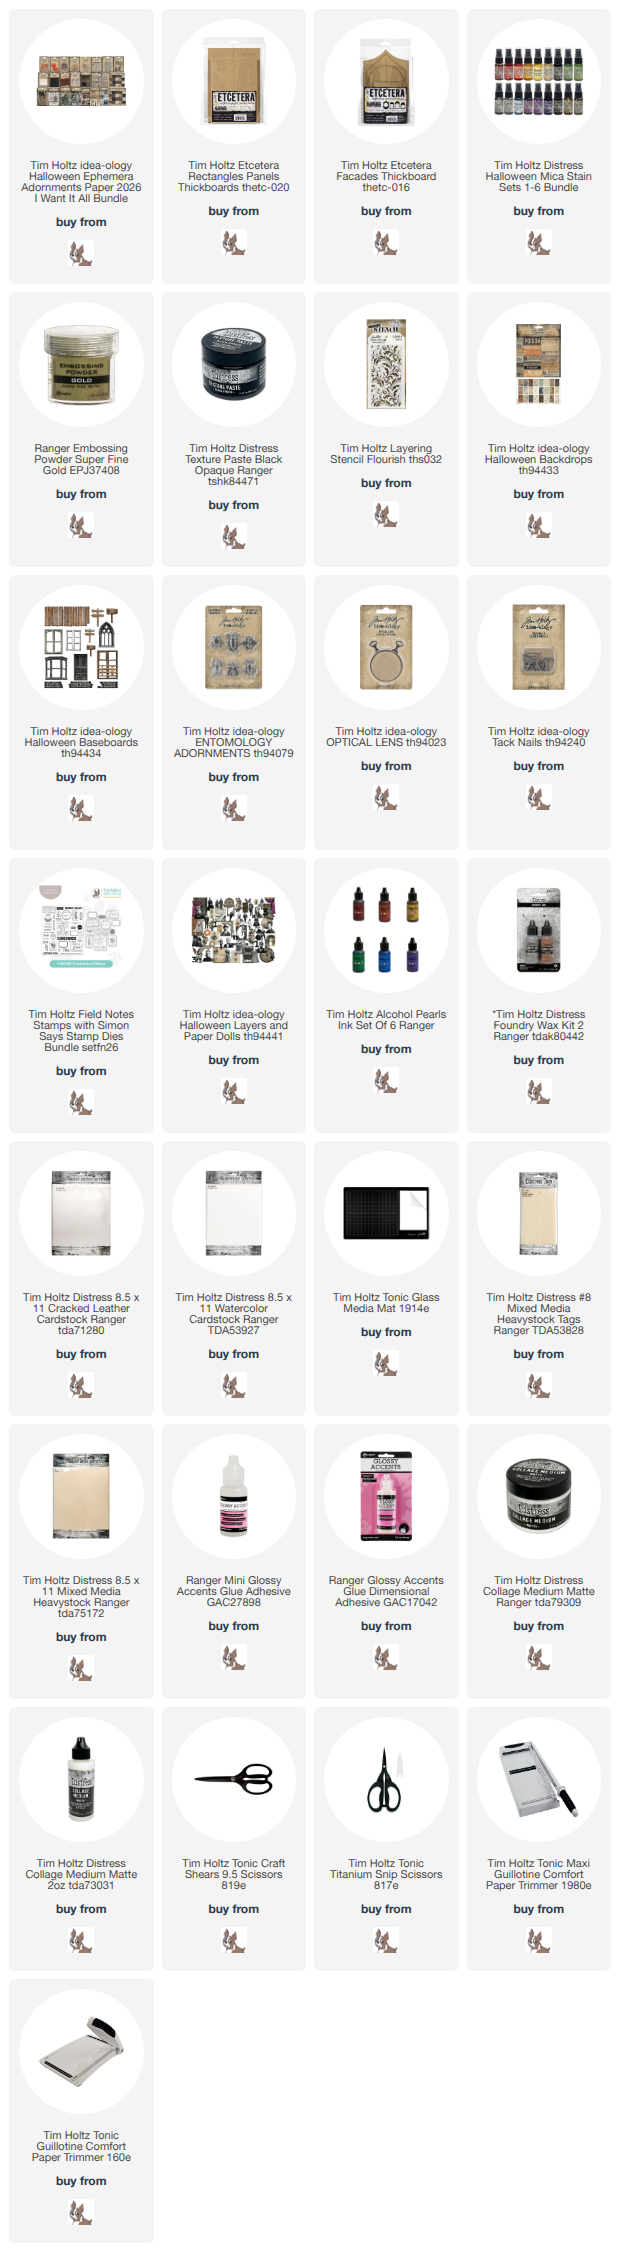
Shop Simon Says Stamp by clicking on this link. Thank you! I appreciate you for supporting me.
What is an affiliate program, and why should I click on the link and buy through you?
When you shop via the affiliate link on this blog, I receive a small commission from the affiliate provider (Simon Says Stamp) at no extra cost to you, whatsoever. These commissions help me to cover the hosting fees and other costs to run my blog and be able to provide you with FREE inspiration. If you shop the links, THANK YOU! I truly appreciate being able to share my love of creating with you.










Turning the Etcetera Baseboard into a notebook is just really clever. It’s amazing. I really like how you colored the bugs too.
Wonderful!! The man fits the story so well and I love the bugs in all their colorful splendor. Add in all the layers and it is spectacular. Great tutorial also. Thank you once again.