Hello all and welcome!
I’m back today with another tutorial that I’m sharing over on the Sizzix Blog for a card created using the new Alphanumeric Classic Upper, Deck The Halls and Pine Branch thinlet sets…
To get to the tutorial on their blog, please click on the link below.
You’ll see that I’ve used the sewing technique that I shared the other day and that the card is embellished with a bow.
As a little bonus, I’m sharing a tutorial on how I create the bows that I make and use on my cards and projects.

Here are a couple more examples of the bows in use…


As you know, I love vintage junk…and some of the junk that I collect are old Christmas corsages, pin cushions and crocheted sachets. Most of the time these items are embellished with ribbon, the ribbons on them have become crushed, stained and crinkled over time… which makes them all the lovelier. That is always the look that I try to achieve with the ribbons on my projects…
Originally to create the bows I was using idea-ology Crinkle Ribbon, which I LOVED, but sadly it was discontinued from the line. I researched and found that other designers were using “Hug Snug” seam binding in place of the crinkle ribbon. I found it online at Zipperstop.com The color I use is Chalk White and it’s sold by the 100 yd. roll. for only $10.50! A great deal if you ask me. 🙂
It takes the distress inks and sprays perfectly. This process is NOT permanent, but it’s perfect for mixed media projects that aren’t going to get wet or be around dampness or moisture.

To create the ribbon I like to use the Distress Spray Stains, both regular and oxide.
This particular combo was Shabby Shutters, Forest Moss & Peeled Paint Distress Sprays along with Peeled Paint Oxide Spray and Tarnished Brass Mica Spray. I sprayed the white ribbon with water, then added the colors, and dried between the layers of color with my heat tool.

When I’m drying it I crush the ribbon to give it the crinkled and wrinkled look.

This is what I like to call a cheater bow… 😉
I simply gather the ribbon together to create 2 or 3 loops on either side (where my thumb and fingers are holding it) and leave a good length on the ends.

Then I cut an additional piece of ribbon and tie it in the middle (where my thumb and finger were holding it) to create the bow.

then I rearrange the ends…

To get the bow to keep a crinkled look I add a tiny bit of Distress Collage Matte Medium to my finger and roll the ribbon tails between my fingers. This helps to keep the crinkle in the ribbon and really give it that vintage worn look.


I then use that same technique on the loops of the bow
…and here’s the finished ribbon, all set and ready to adhere to another project!

I hope you enjoyed this little bonus tutorial and be sure to head over to the Sizzix Blog to check out the details of the card. Thanks so much for stopping by…have a great day!
Creatively yours,
Stacy
What is an affiliate program, and why should I click on the link and buy through you?
When you shop via the affiliate link on this blog, I receive a small commission, from the affiliate provider (Simon Says Stamp), at no extra cost to you whatsoever. These commissions help me to cover hosting fees and other costs to run my blog and be able to provide you with FREE inspiration. If you shop the links, THANK YOU! I truly appreciate being able to share my love of creating with you.
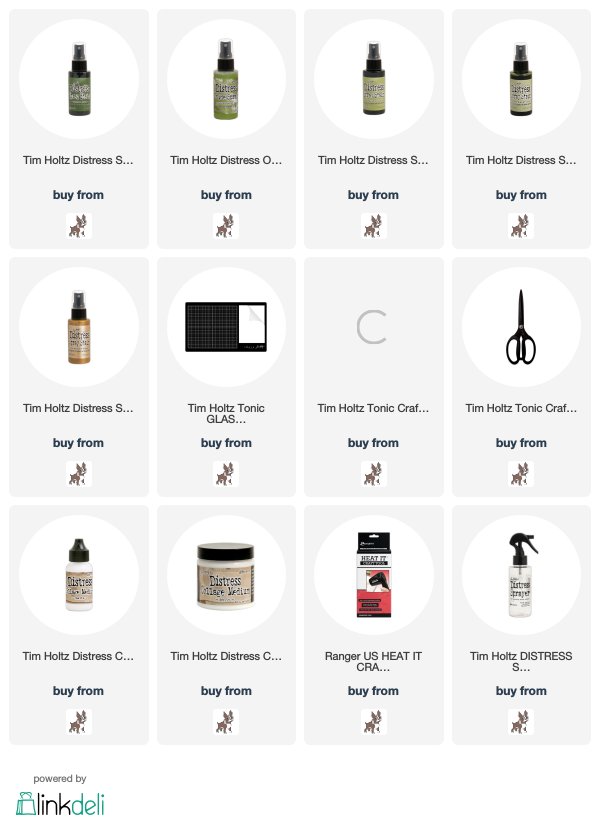
Gather Your Supplies-
Tim Holtz/Ranger-
Distress Spray Stains- Shabby Shutters, Peeled Paint, Forest Moss, Tarnished Brass Mica
Distress Oxide Spray Stains- Peeled Paint
Distress Tools/Mediums- Distress Sprayer, Media Mat, Heat it Heat Tool, Distress Collage Matte Medium


Hi Stacy,
Thank you so much for the tutorial- I think that even I can manage this! I love the vintage look and am so inspired by your projects and amazing talent.
Thank you Thank you! I’m in love with everything you create. I can use all the bow help I can get.
P.S. my husband also thanks you for all the inspiration you give me and for providing the easy links to order from. : )
Simply stunning one and all. Brings ❤️❤️❤️ ….
I often wondered what makes those bows and all the colours, now I know. Thank you for that Stacy! I am just getting started in all this wonderful mixed media stuff and your tutorials really help me a lot. Love the card with Noel on it with the stitching. Lovely.
Fabulous ribbon tutorial, thanks for the tip on what seam binding to purchase. Agree, it is a good value! Thanks for sharing your secret of adding Collage Medium to the bows for that time worn look!
Thank you so much for the ribbon information. That is a great price for sure. I love your color choices. Every piece you create speaks to me.
Great project and thank you showing how to make the bow. Love your tutorials, projects and tips.
Thank you for the tutorial and the tip about Hug Snug 🙂
Distress Collage Medium? Genius trick!
beautiful projects, your ribbons are gorgeous and thanks for sharing tutorial!
Stacy, your talent and ingenuity continue to amaze me. I love using Distress sprays to color the Hug Snug seam binding to match my projects. In addition to the white, I also have a roll of black and wonder what the Oxide sprays would look like on the black?! I may just have to get back out of bed (its now 3am) to try it out because now it’s in my head and I have to see… Thanks for the tip of using the collage medium. That simple trick makes all the difference. I don’t always comment, but I frequent your blog and often study your wonderful creations. You inspire and teach me so much with each new post. Thank you!! Now off to the Sizzix blog to see what else I can learn from the Mistress of Grunge.