Hello friends…Hope your day has been a great one. I am back today with another tutorial..this time a slightly spooky one. Is it Halloween making season yet? I LOVE making for the season! Today’s tutorial is made using another of the Tim Holtz and Simon Says Stamp Collaboration of Stamps and Wafer Dies, made exclusively by Simon Says Stamp to coordinate with various stamp sets.
I happened to be looking over the new Tiny Text Wafer Dies and the Stamps sets that go with it and decided to give the Halloween set a try…did you know that the Tiny Text Wafer Dies not only match the regular Tiny Text Stamp Set, but the Halloween and Christmas sets as well? Best news is that they cover all the lengths of phrases and have 4 different styles and 6 sets of lengths! Making them so super versatile and a great value!
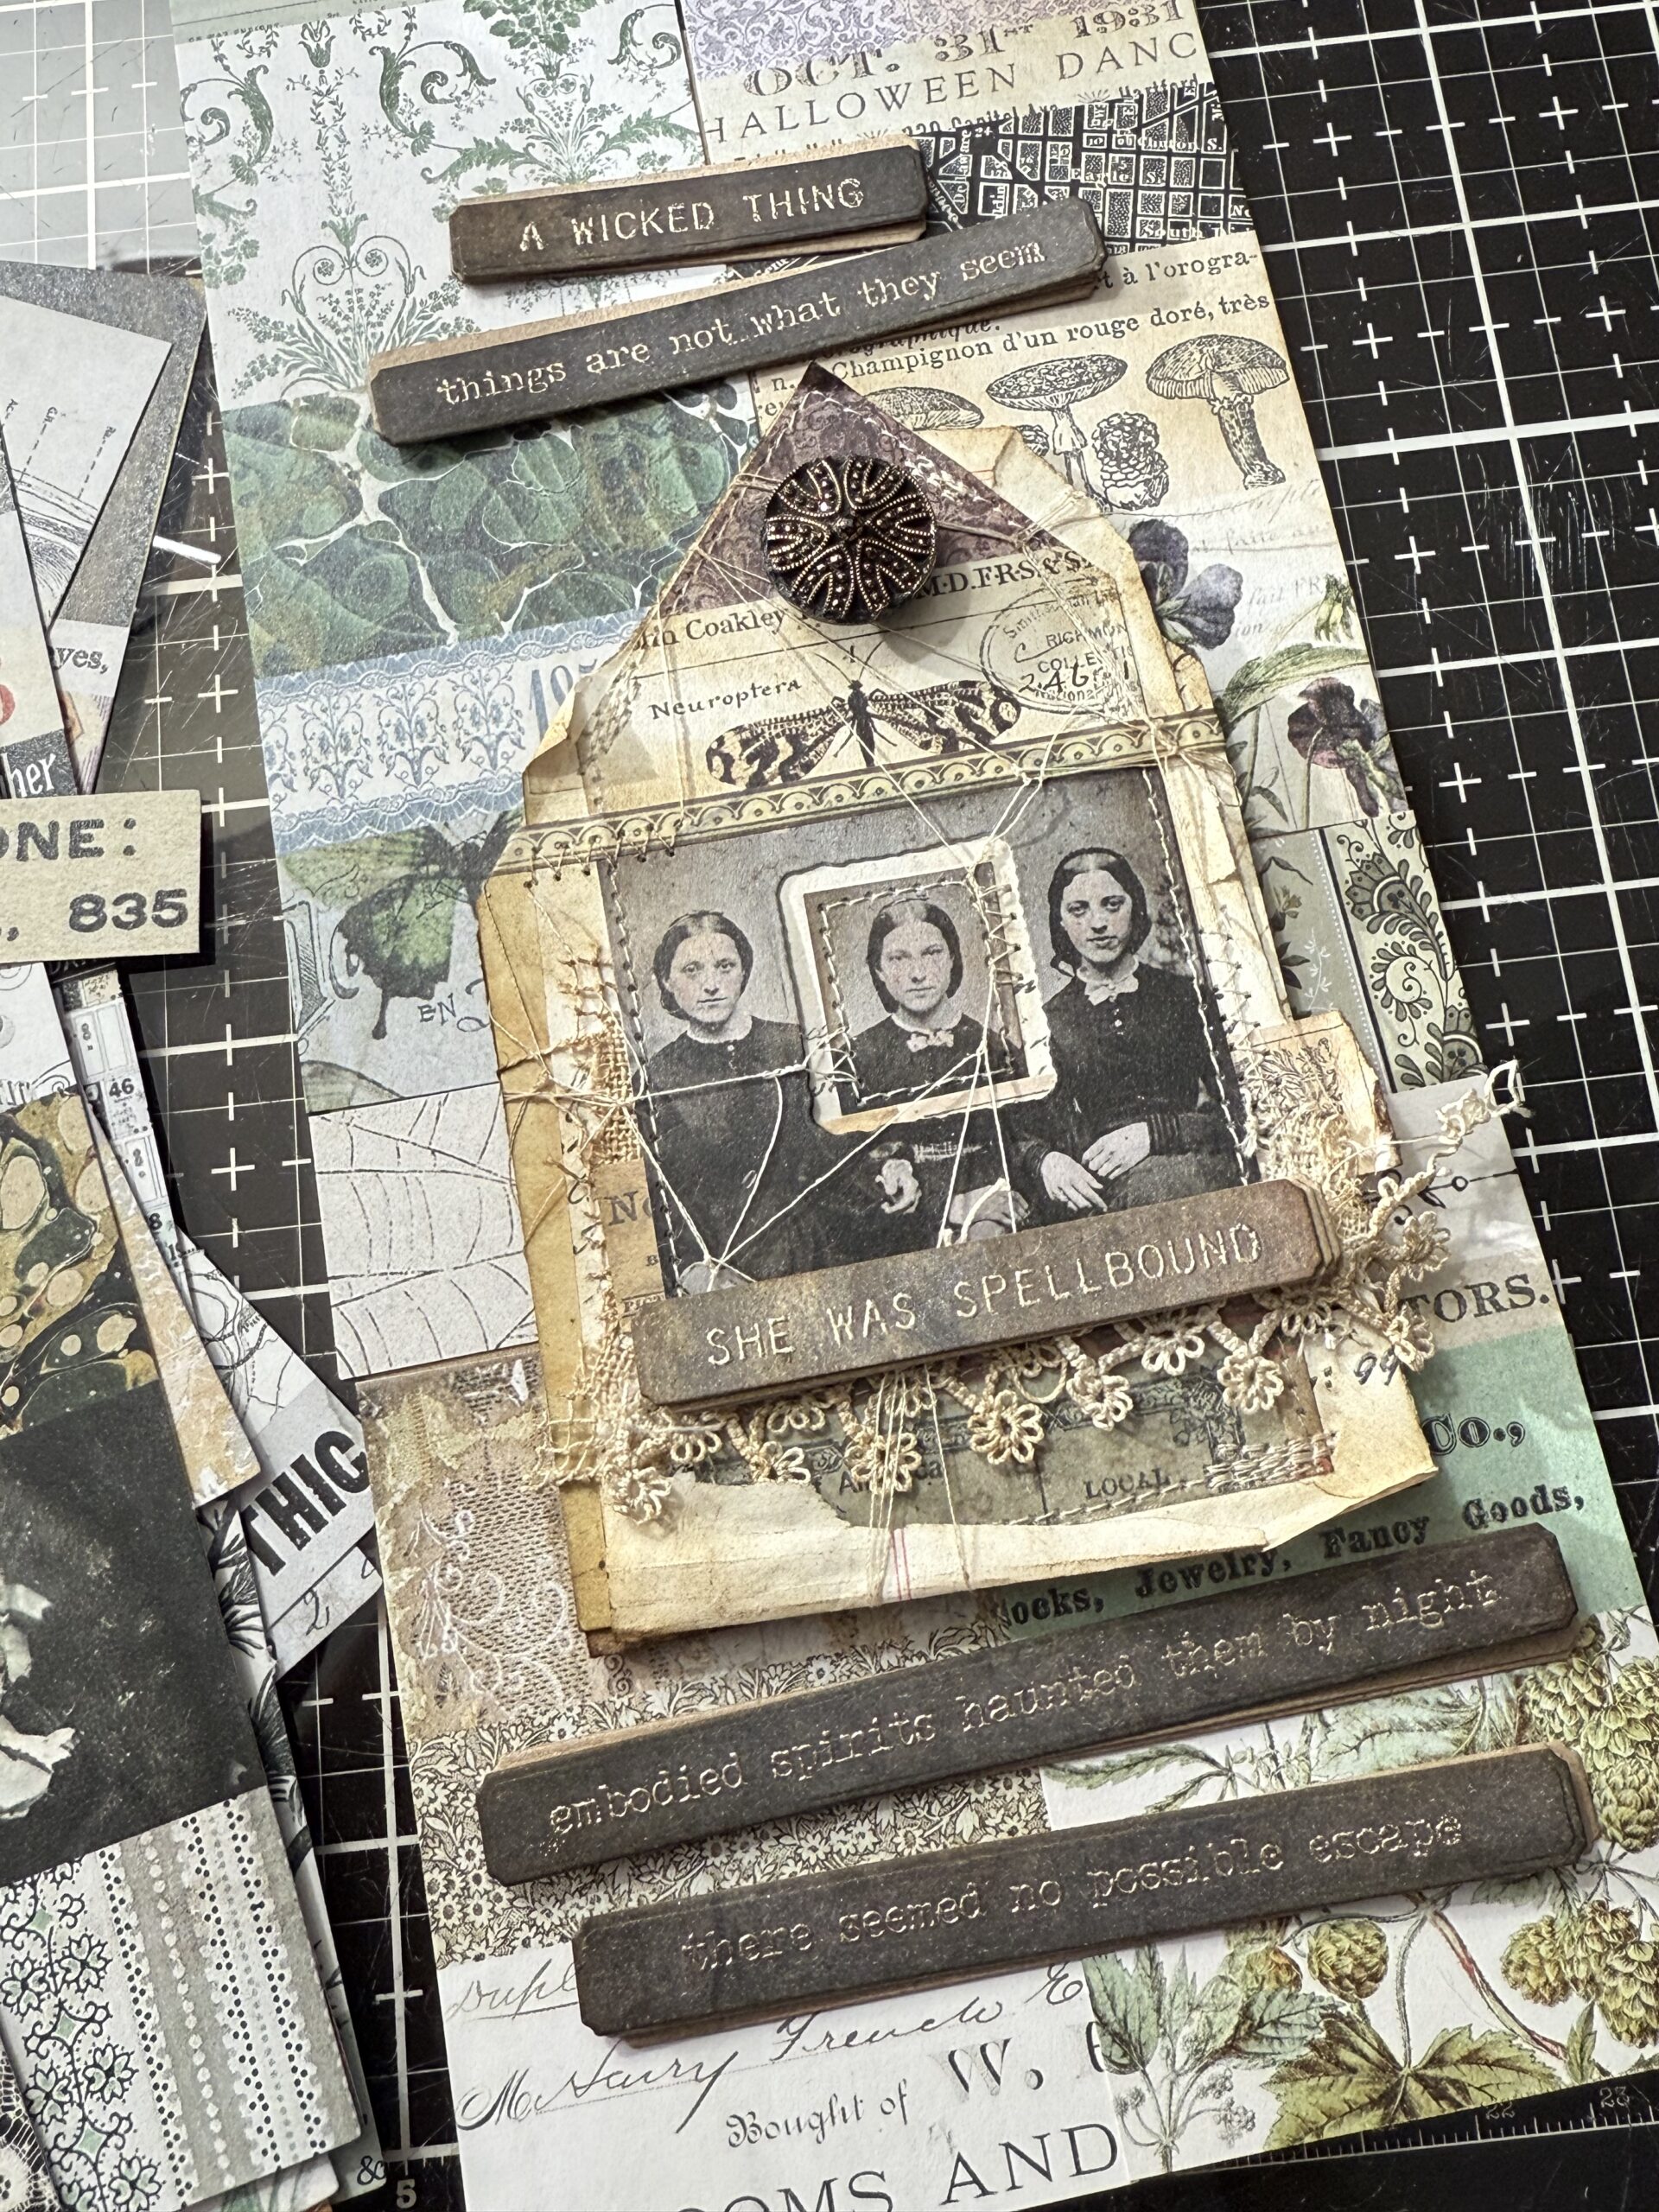
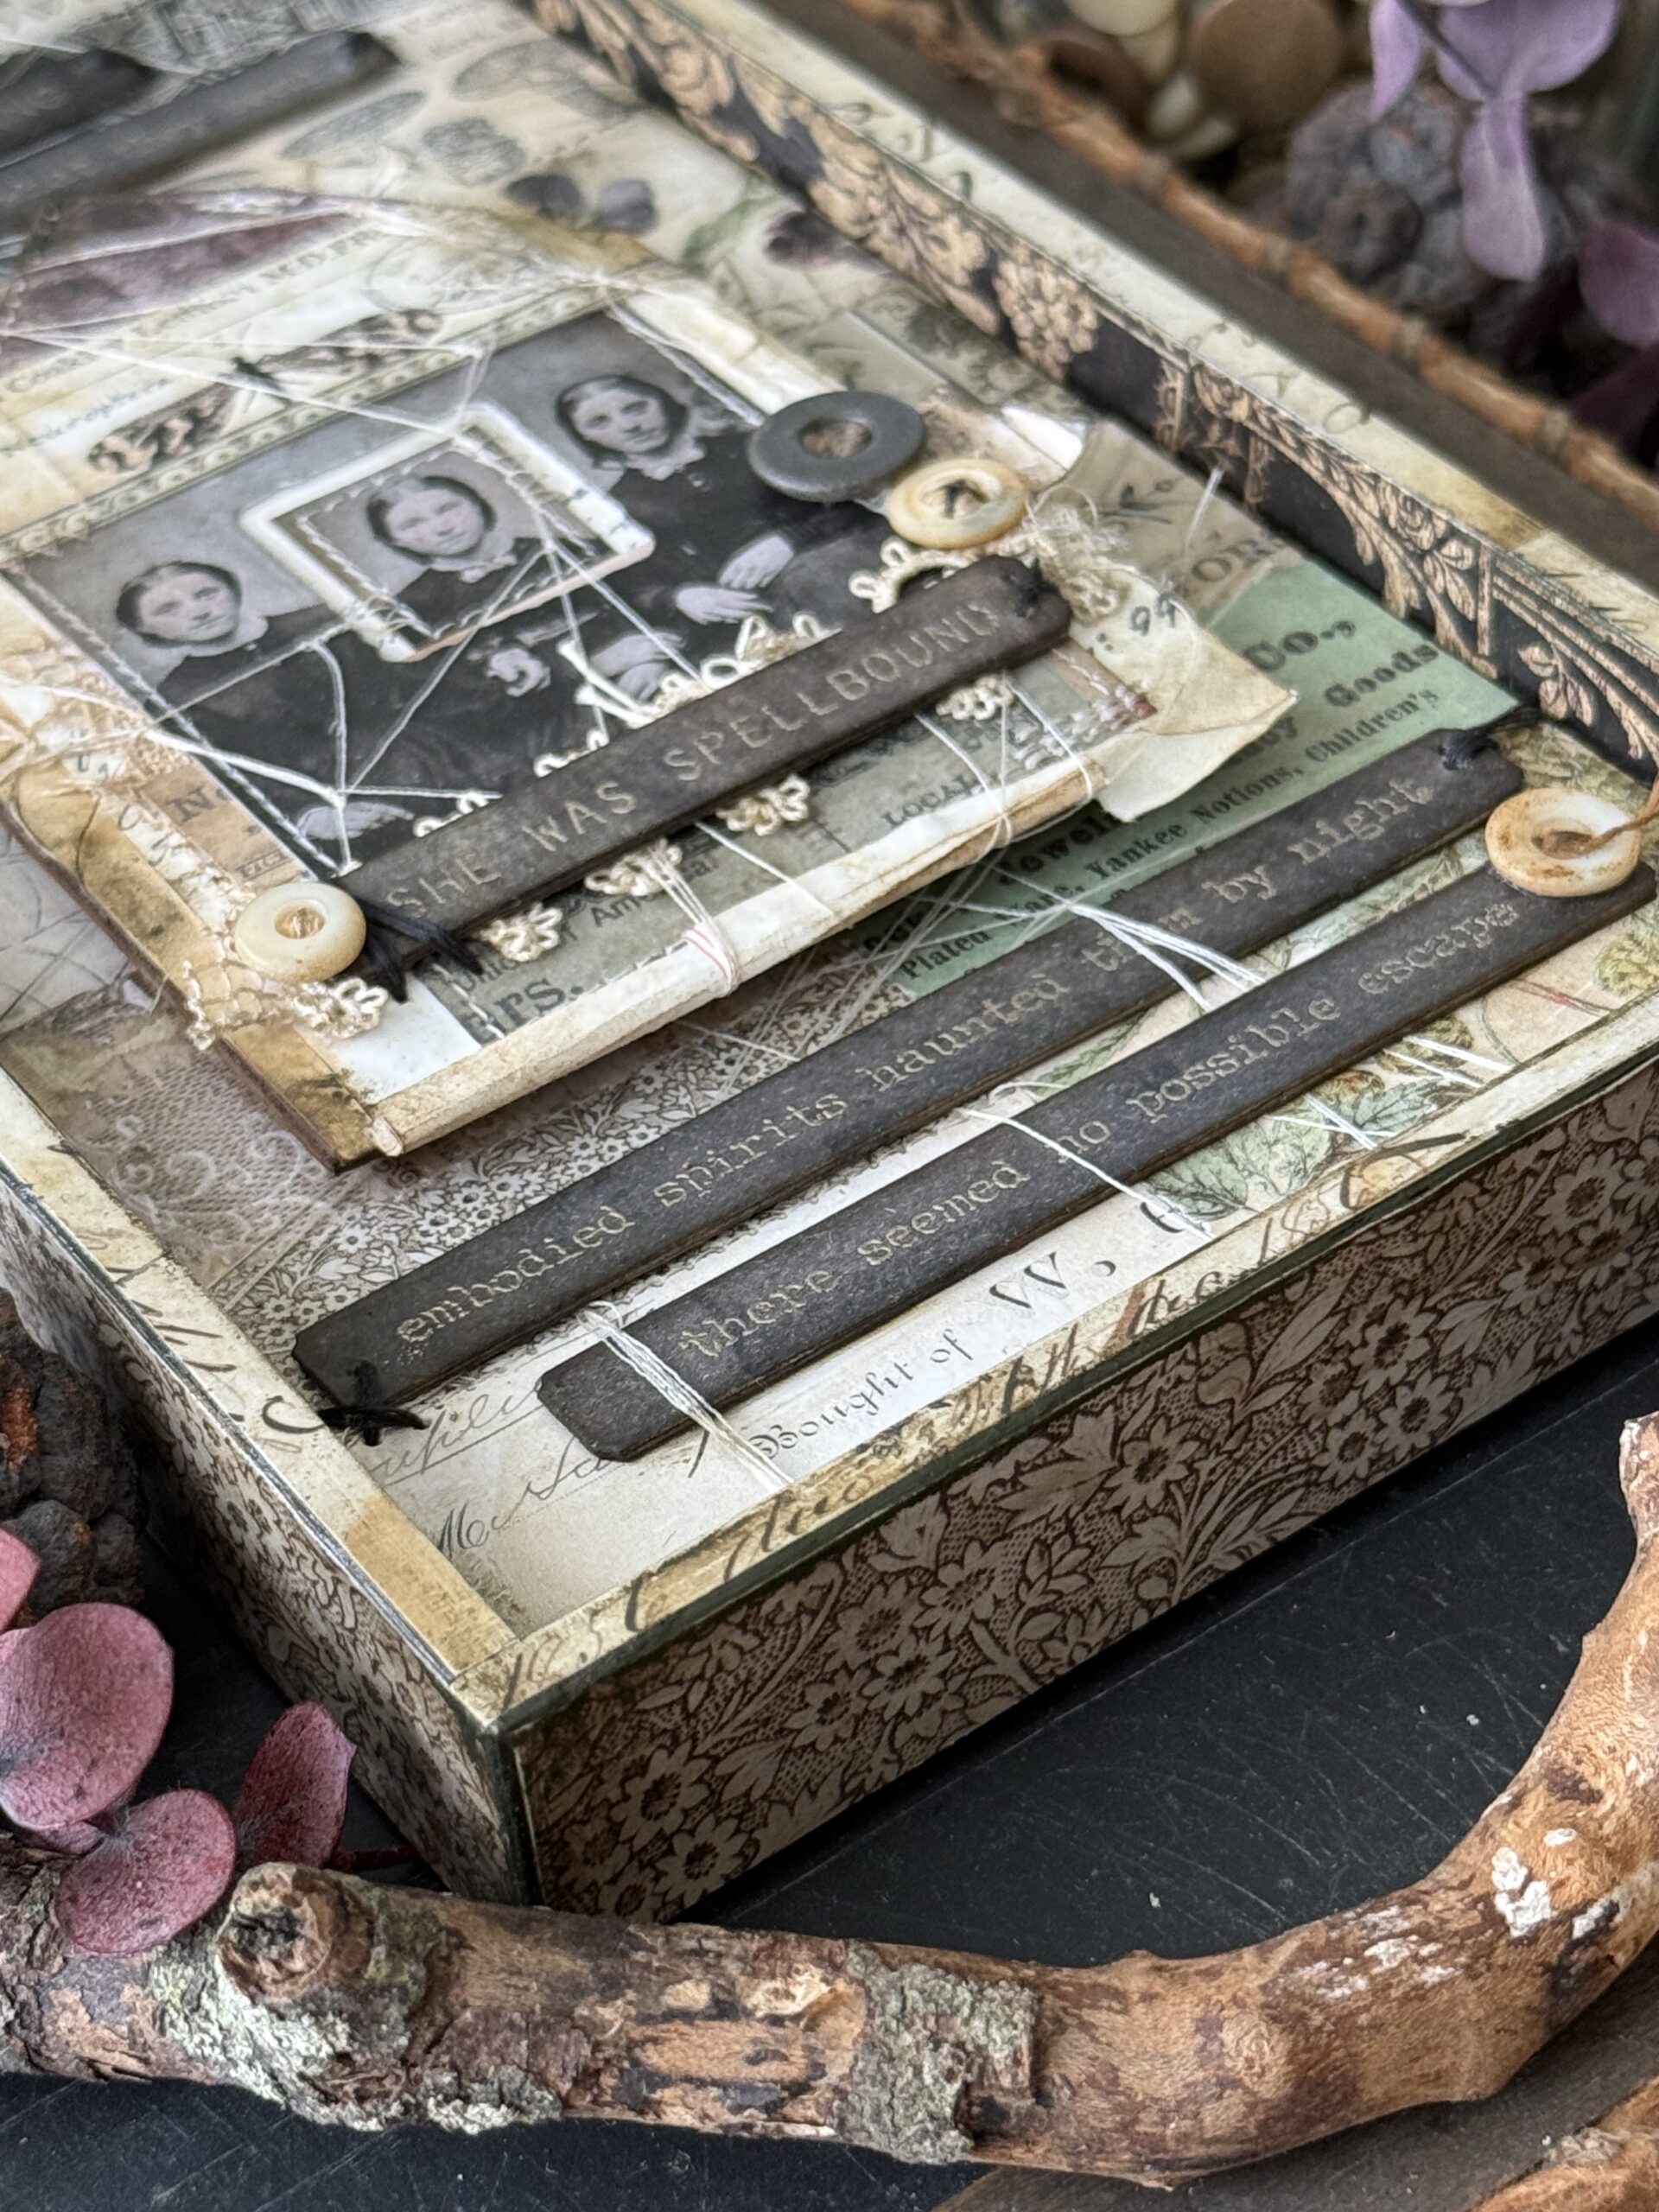
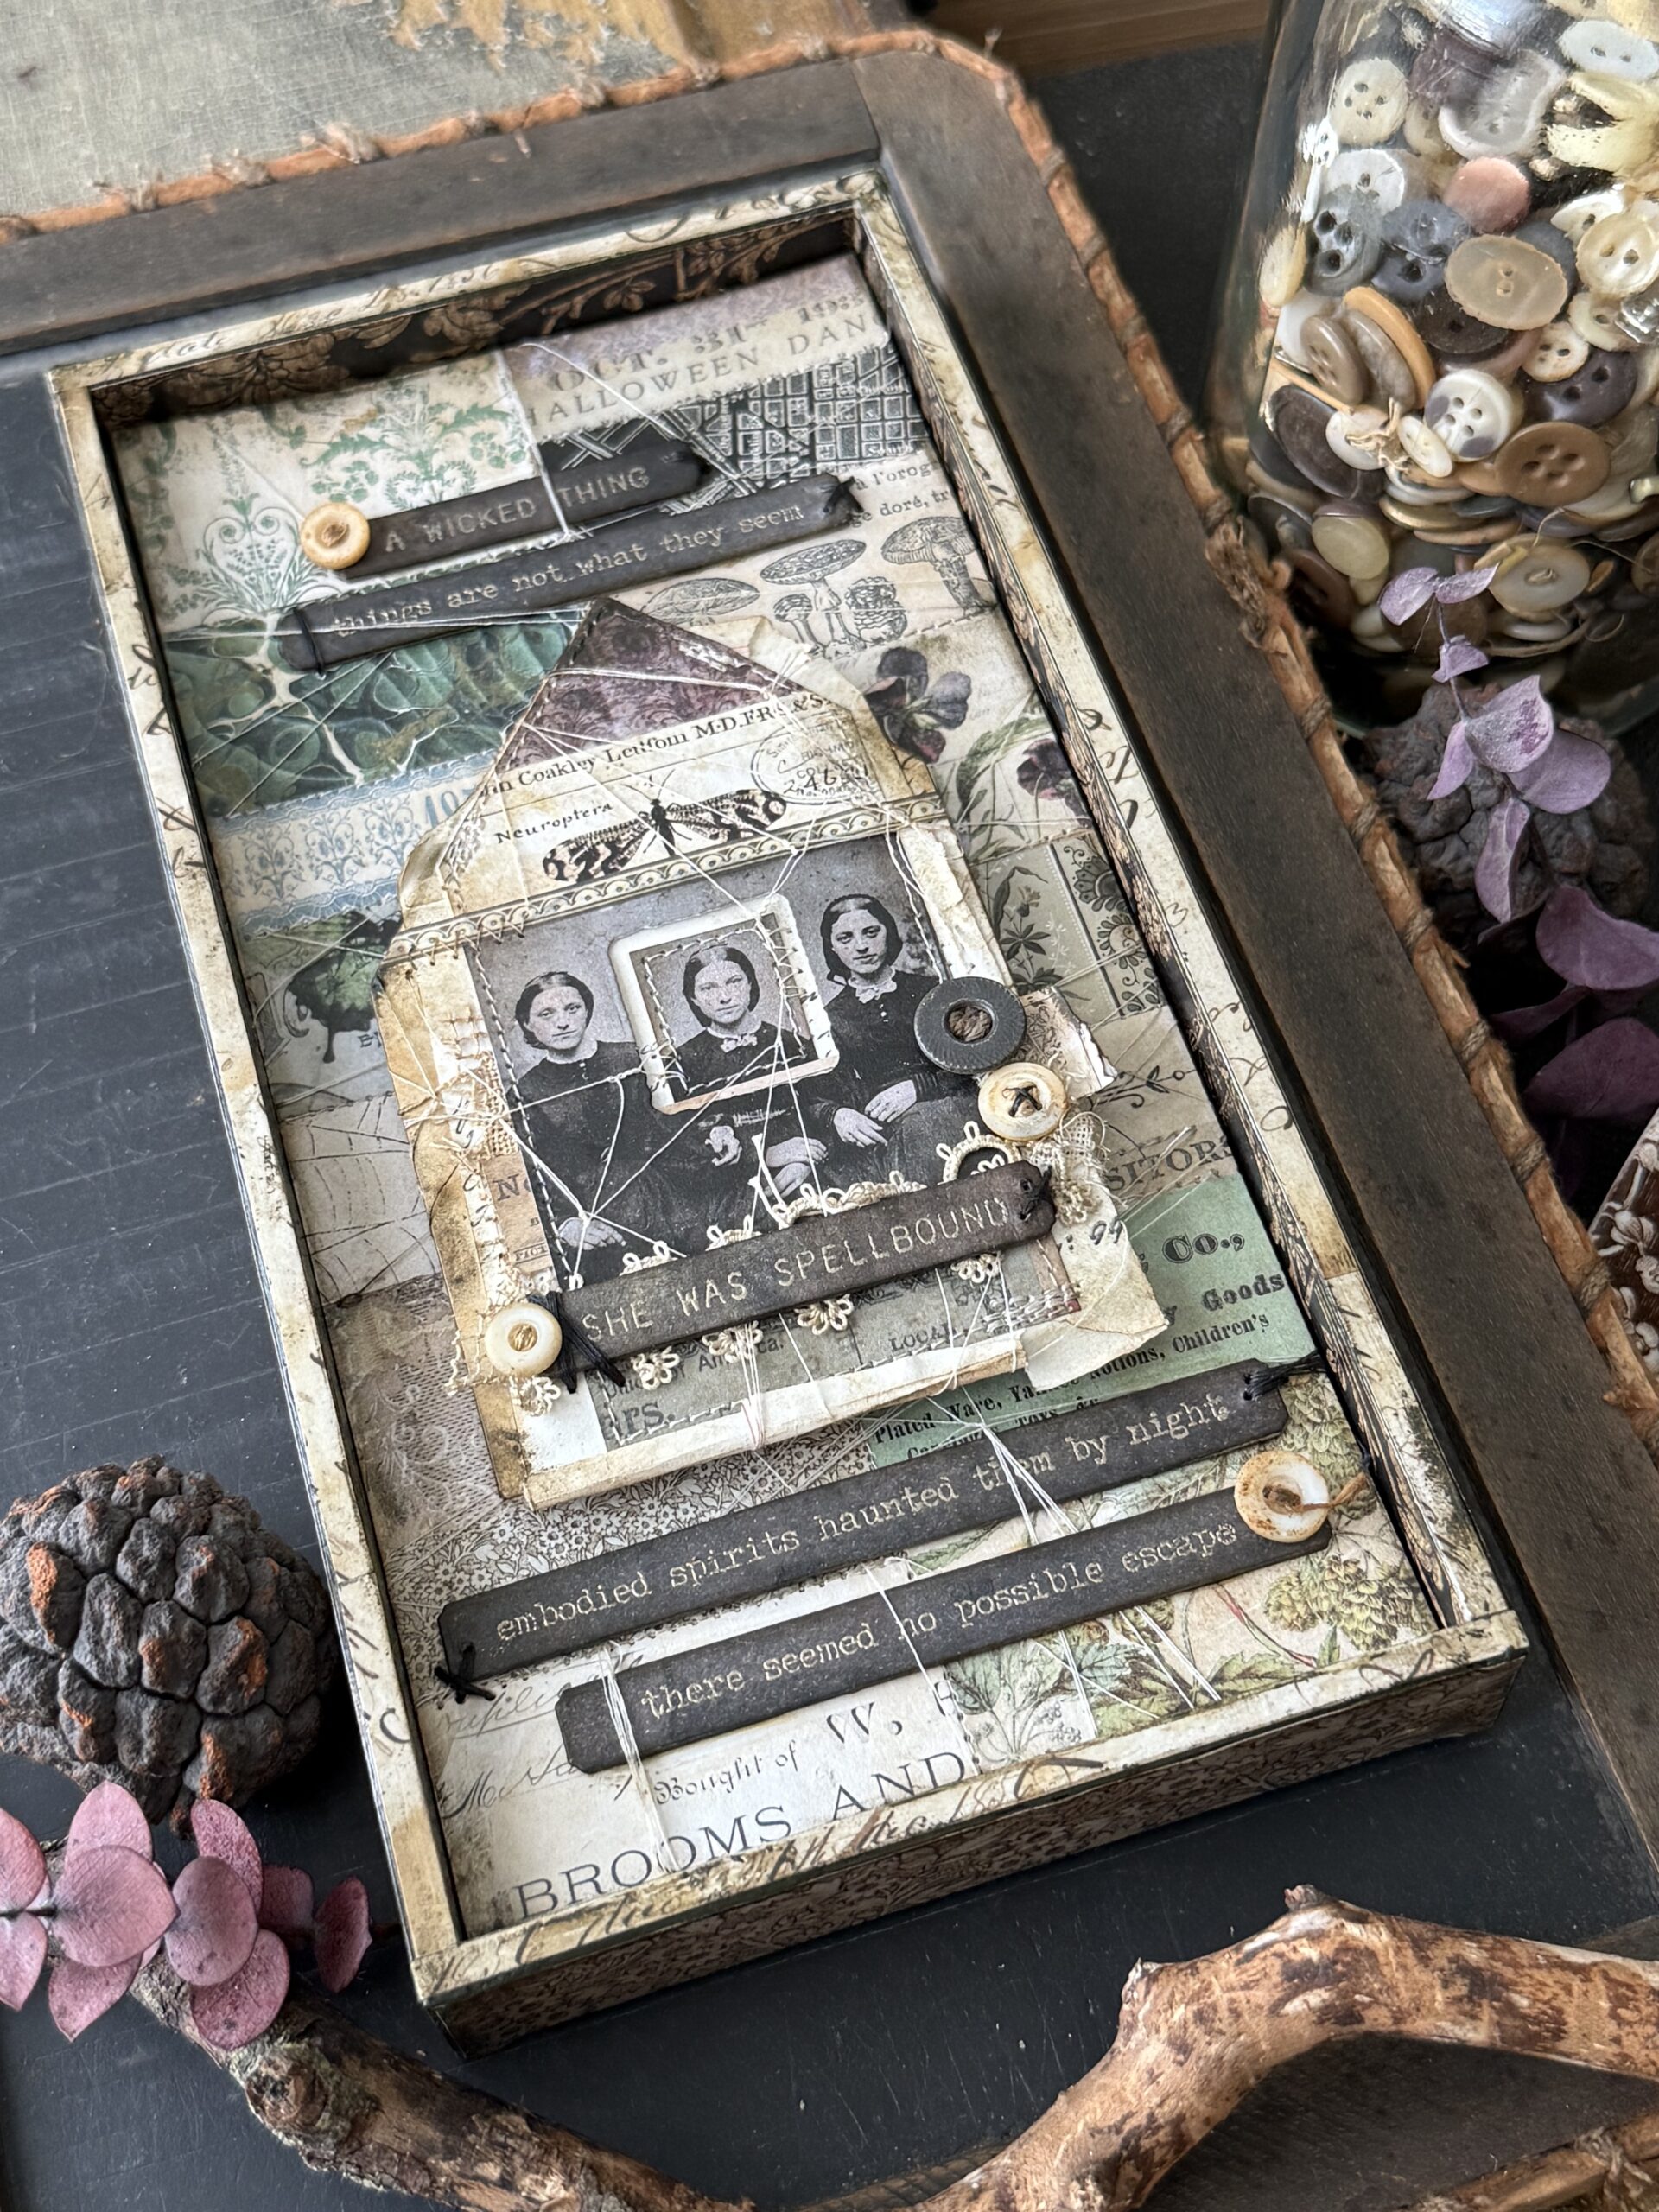
She Was Spellbound was inspired by the phrases in the Tiny Text Halloween Set. I started by coming up with the phrases that I thought went together to create my own little story and jumped in from there!
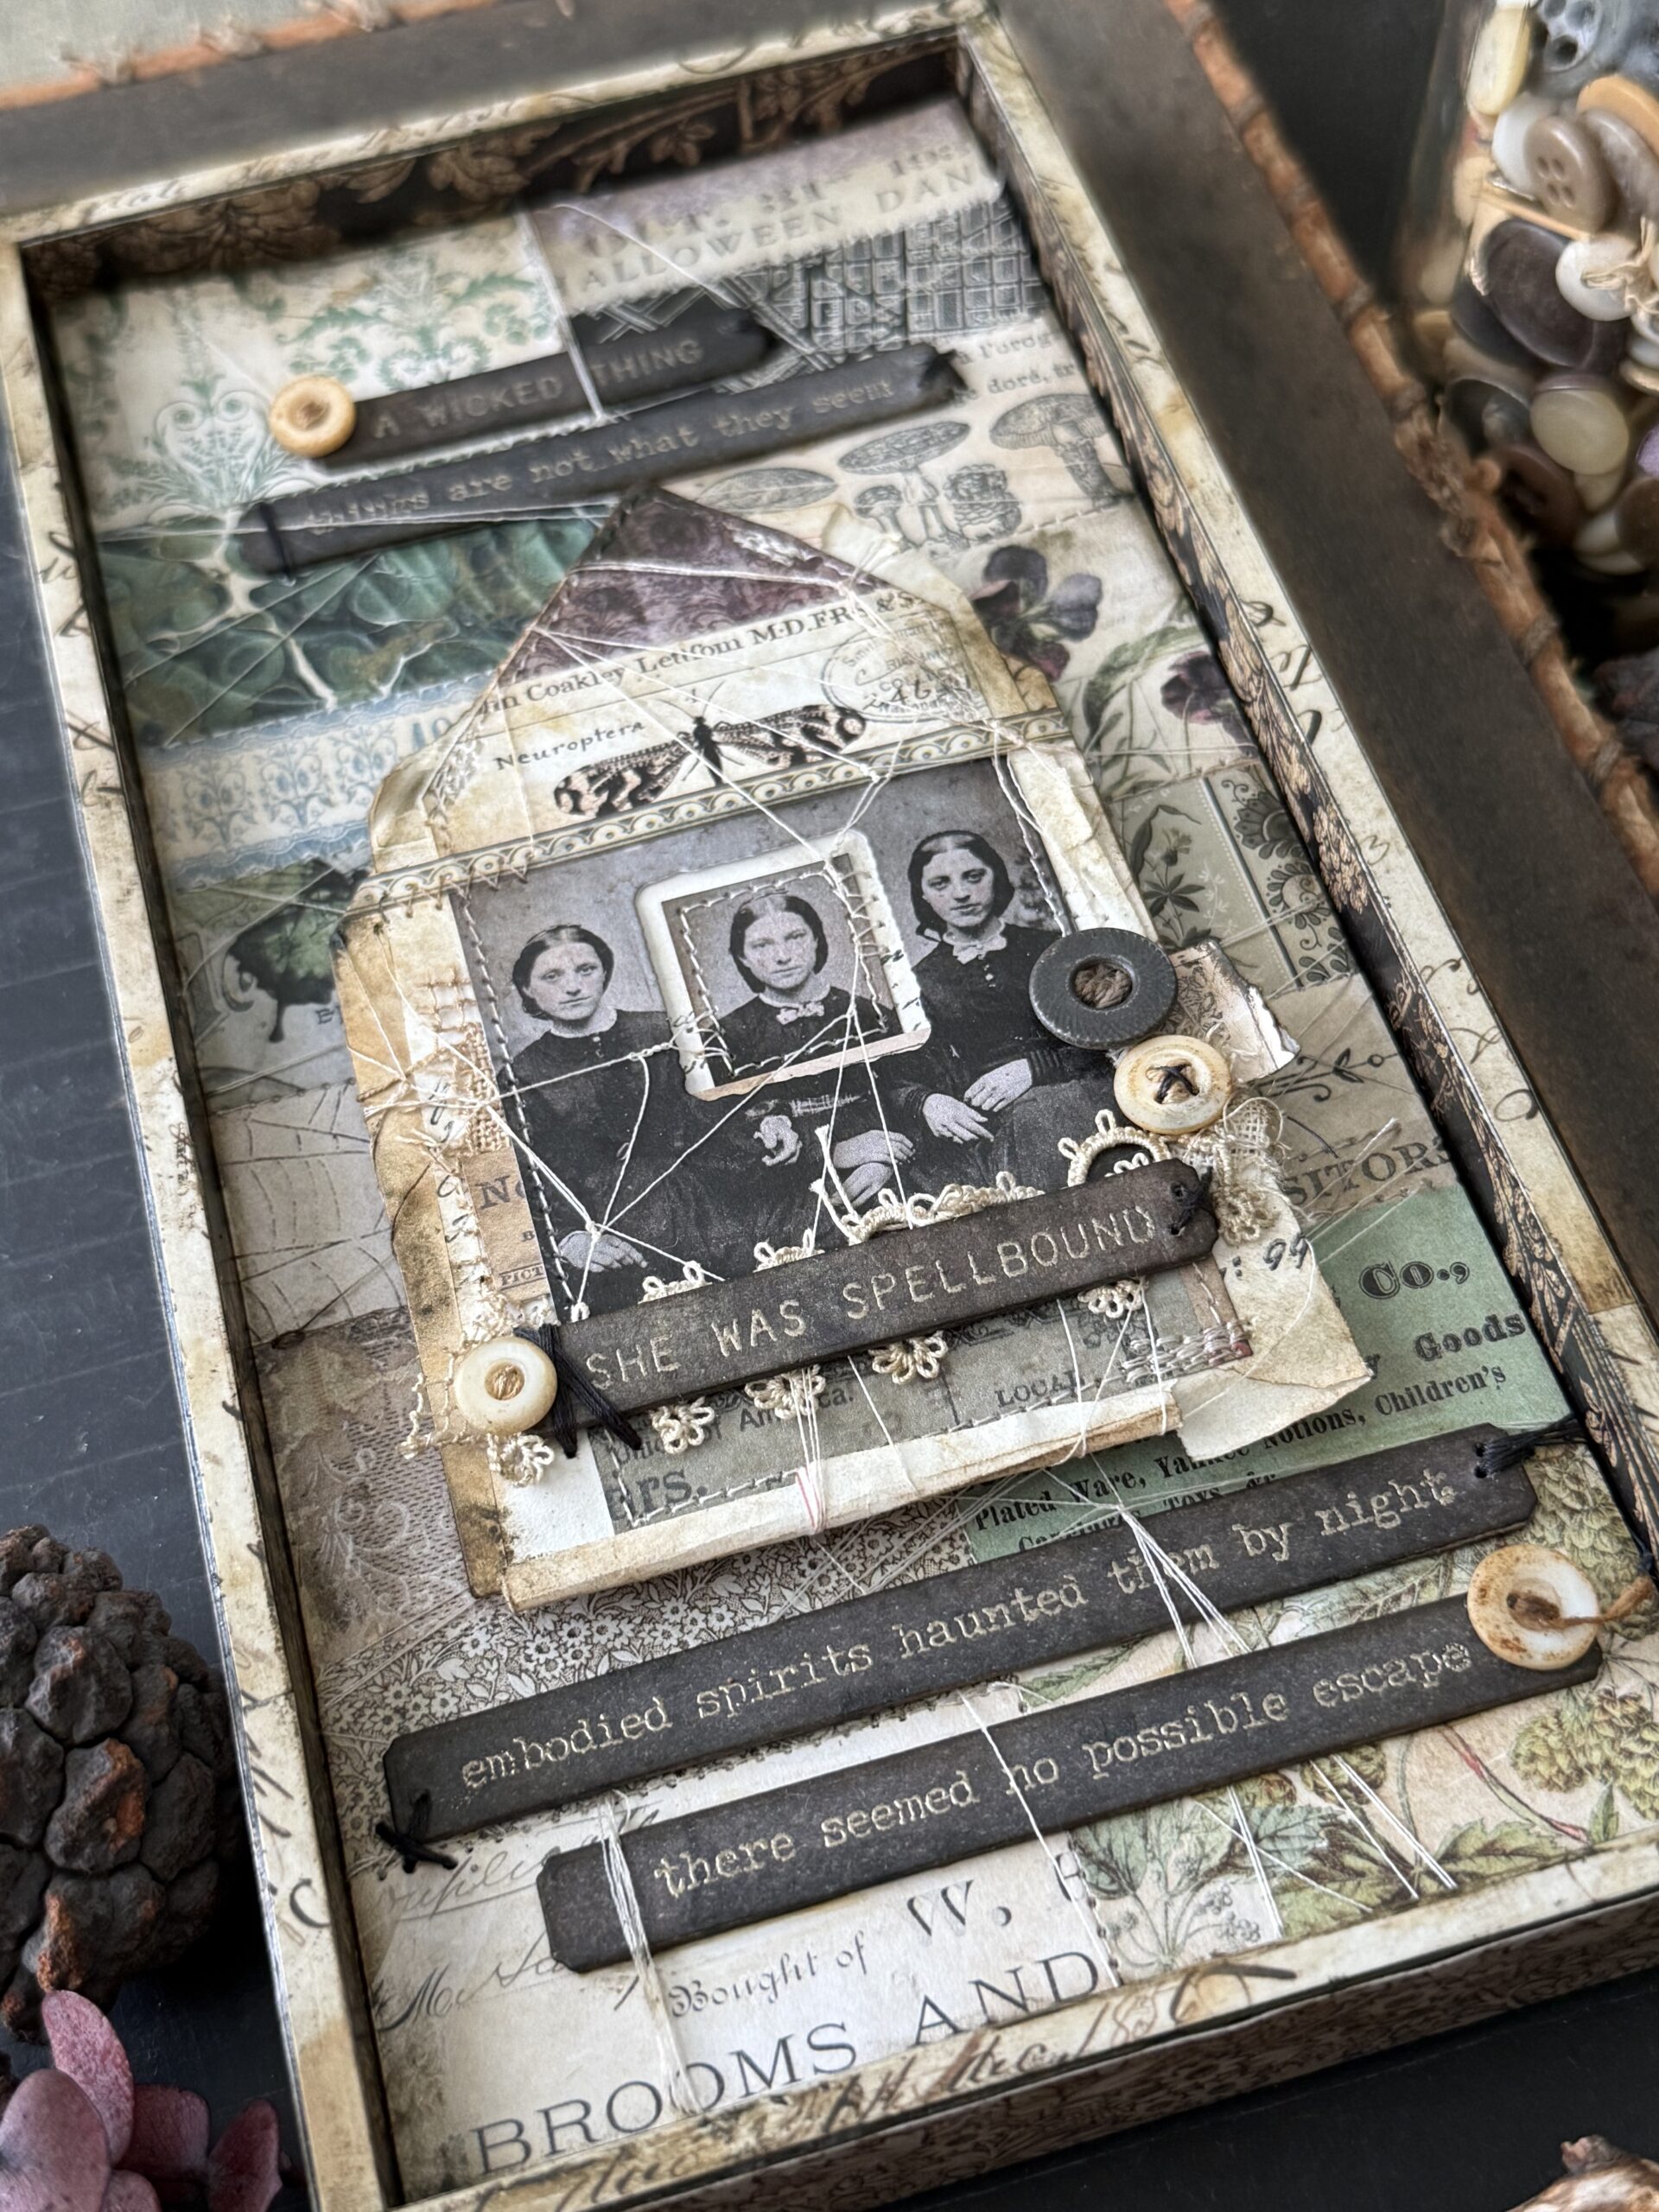
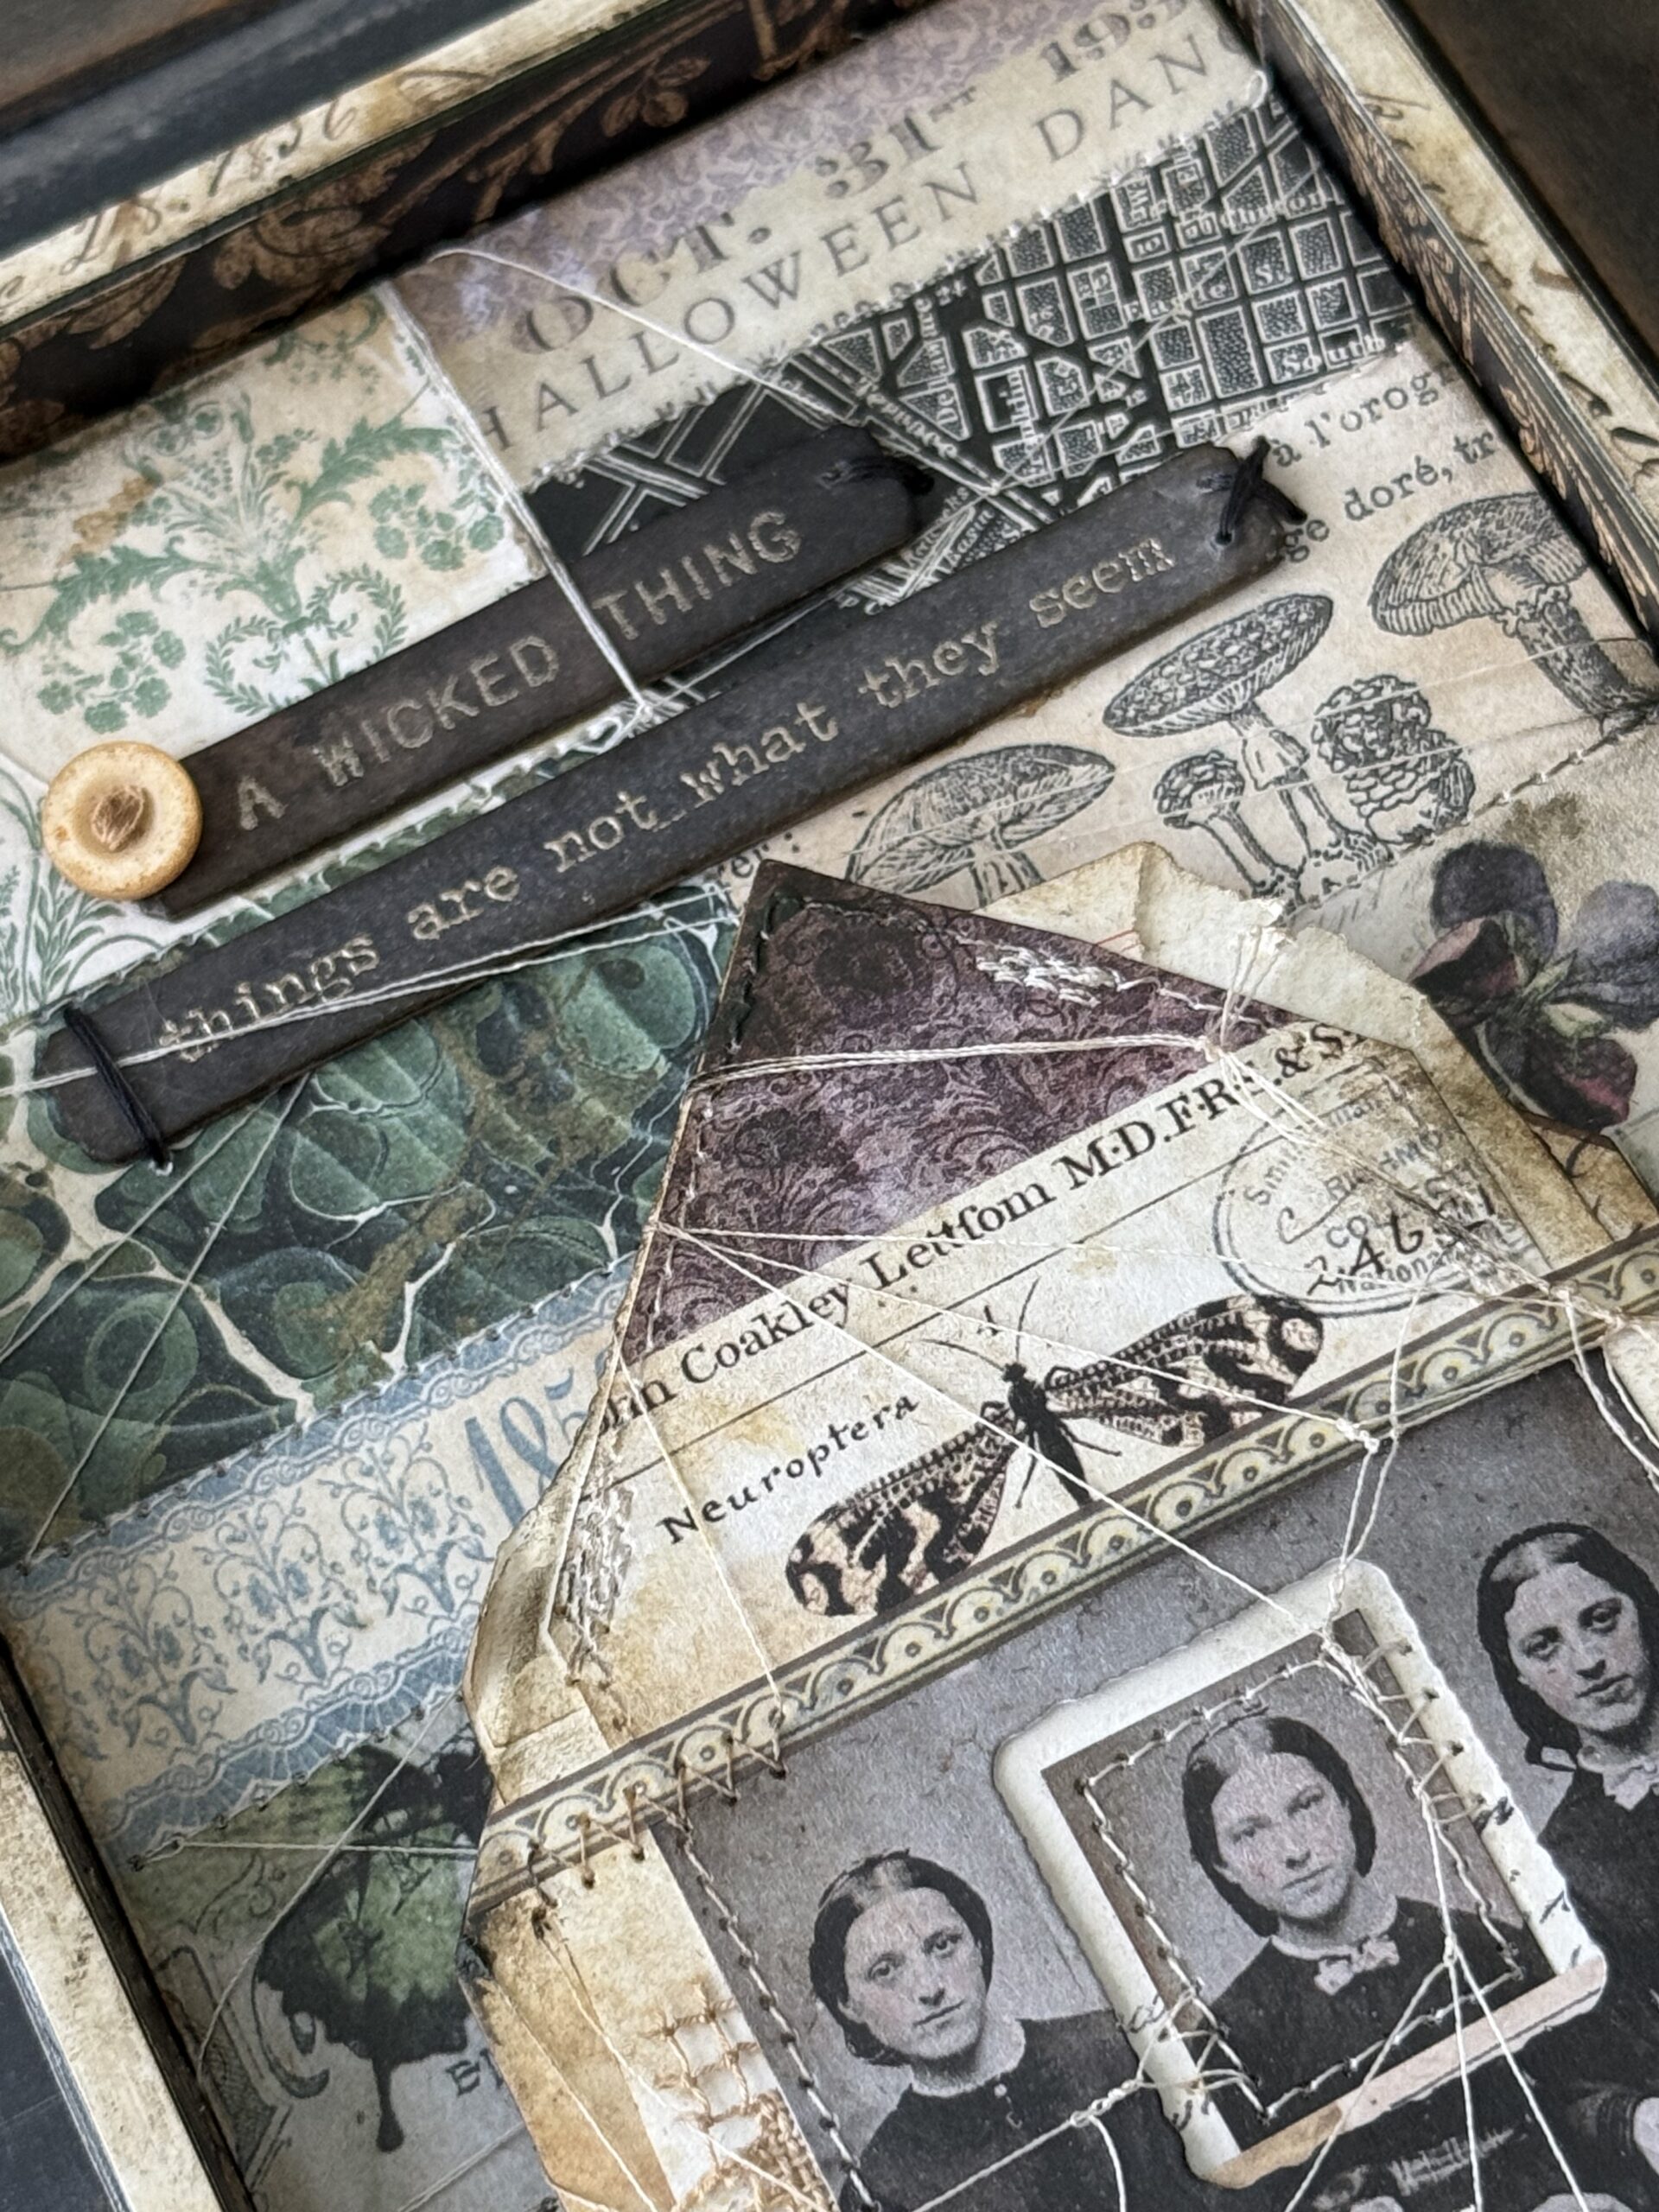
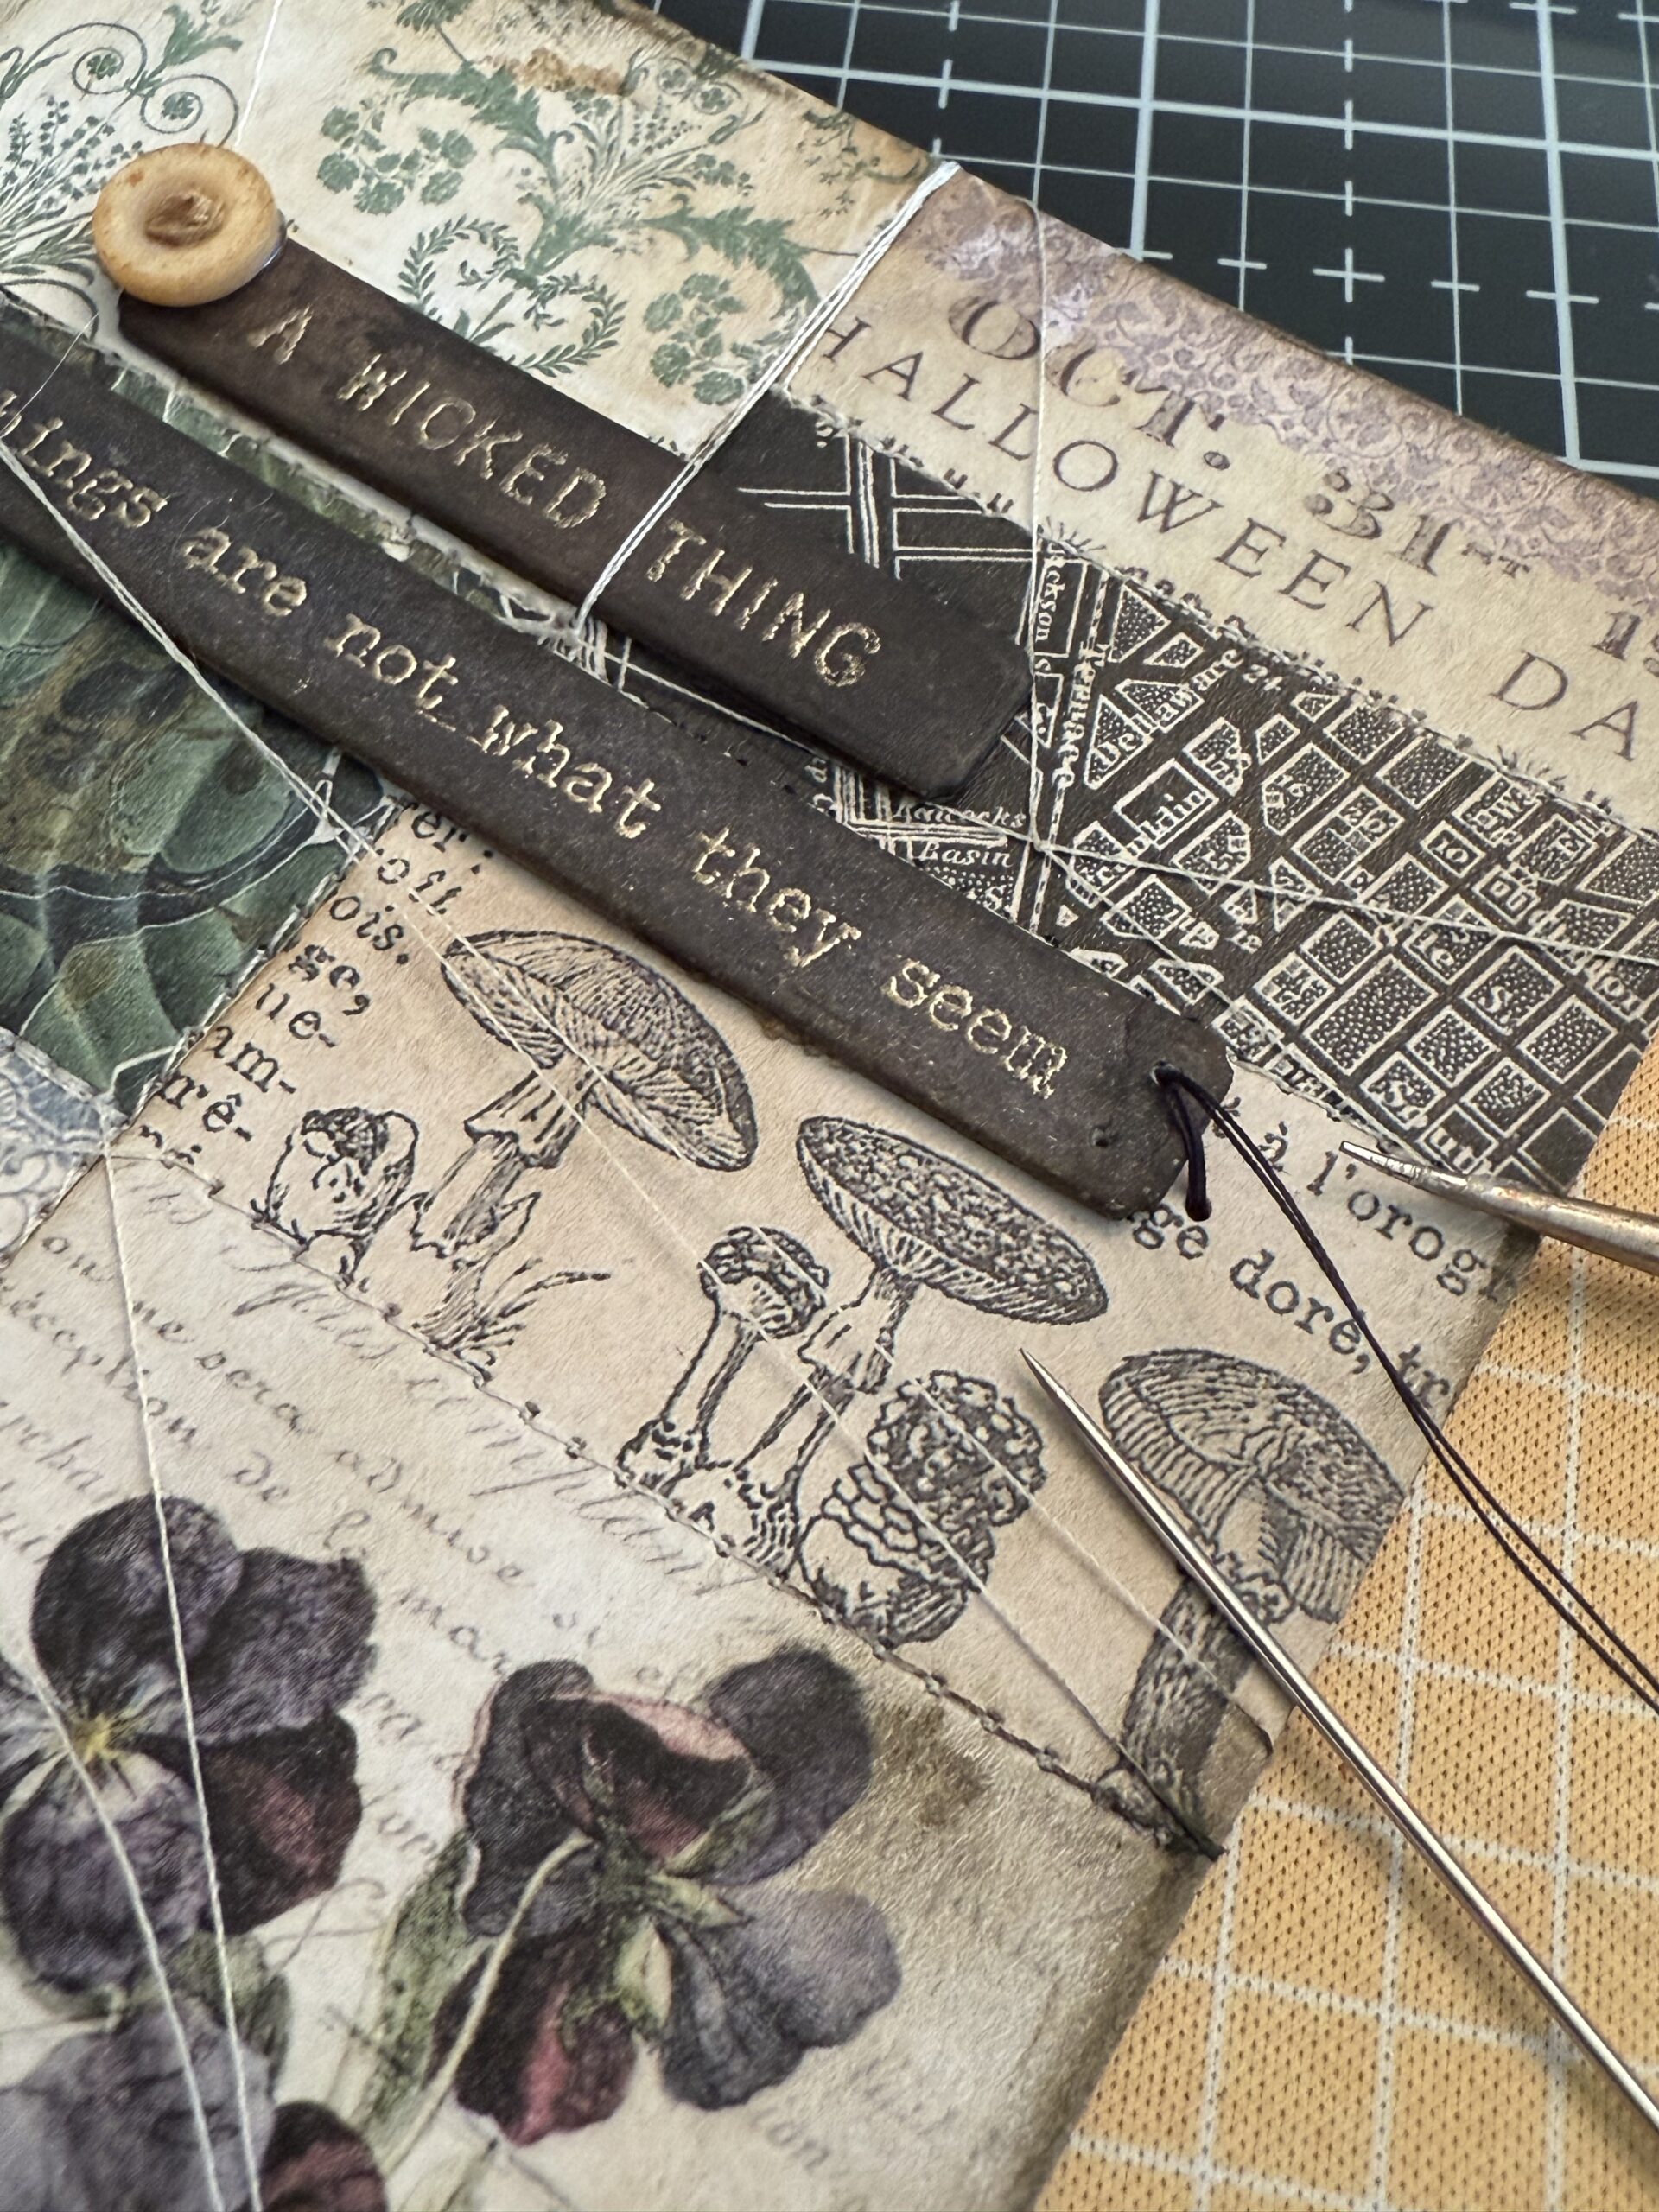
A Wicked Thing… things are not what they seem…
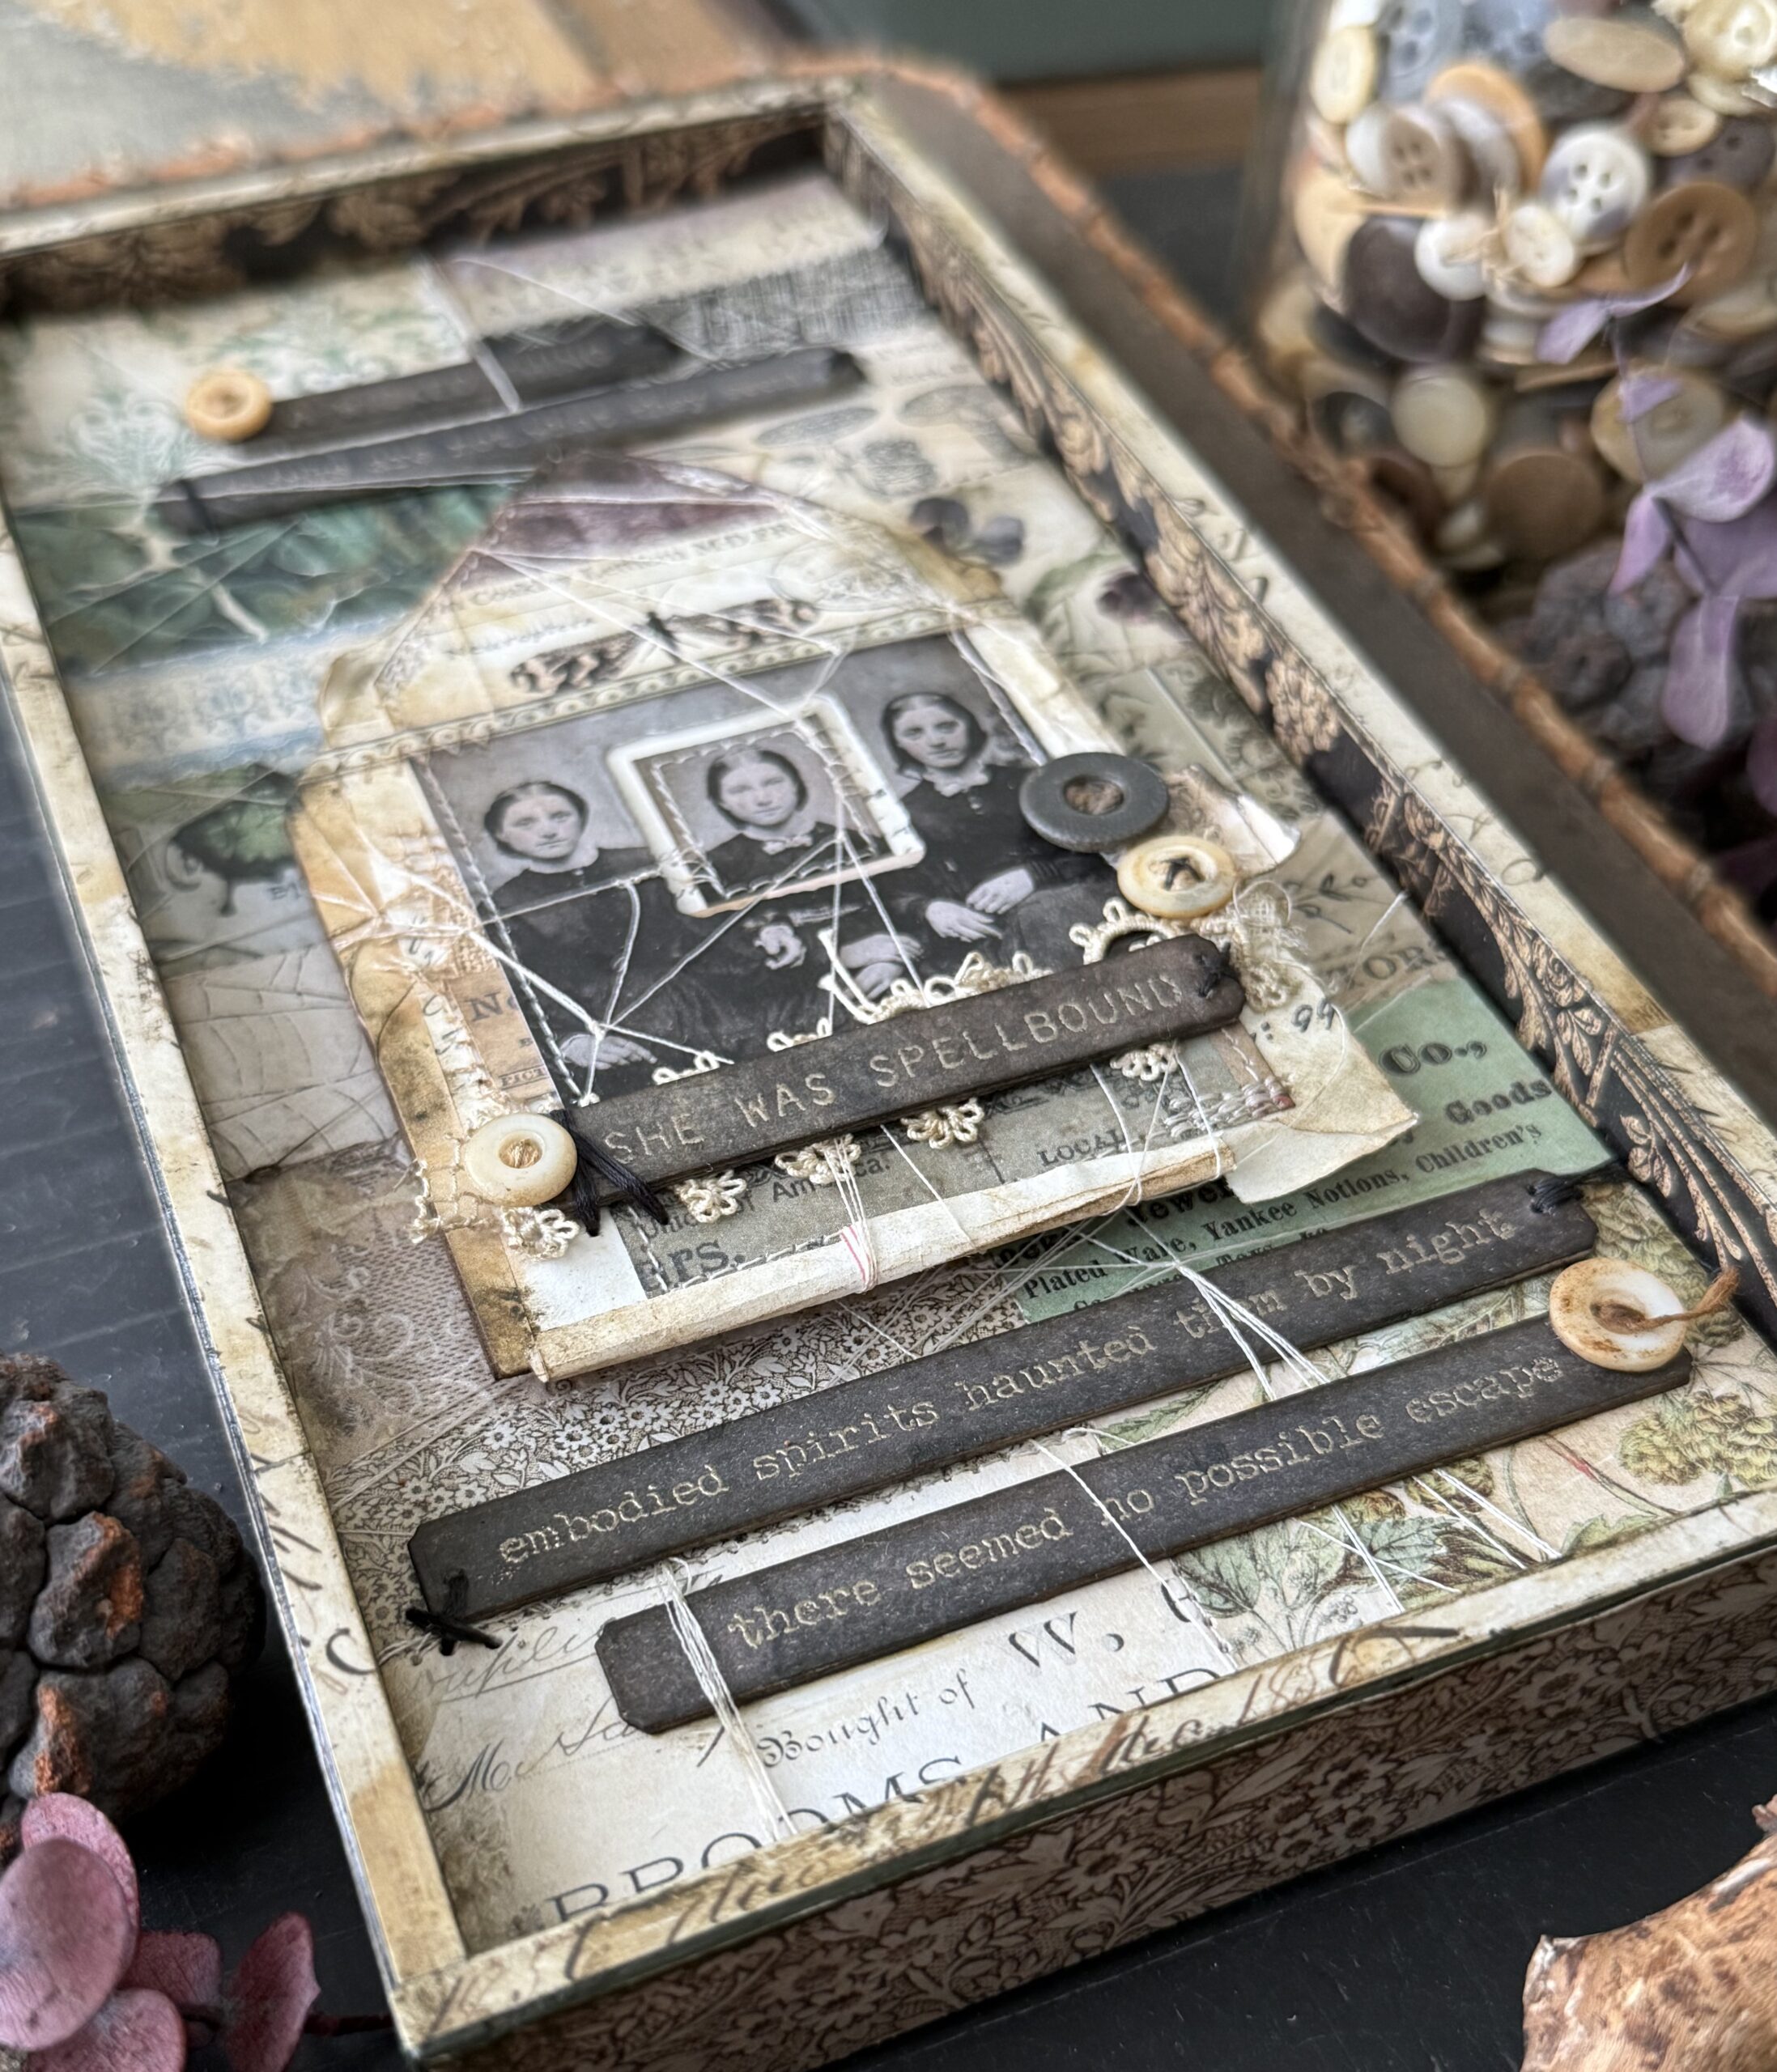
SHE WAS SPELLBOUND..
embodied spirits haunted them by night… there seemed to be no possible escape.
So… let’s get to making!
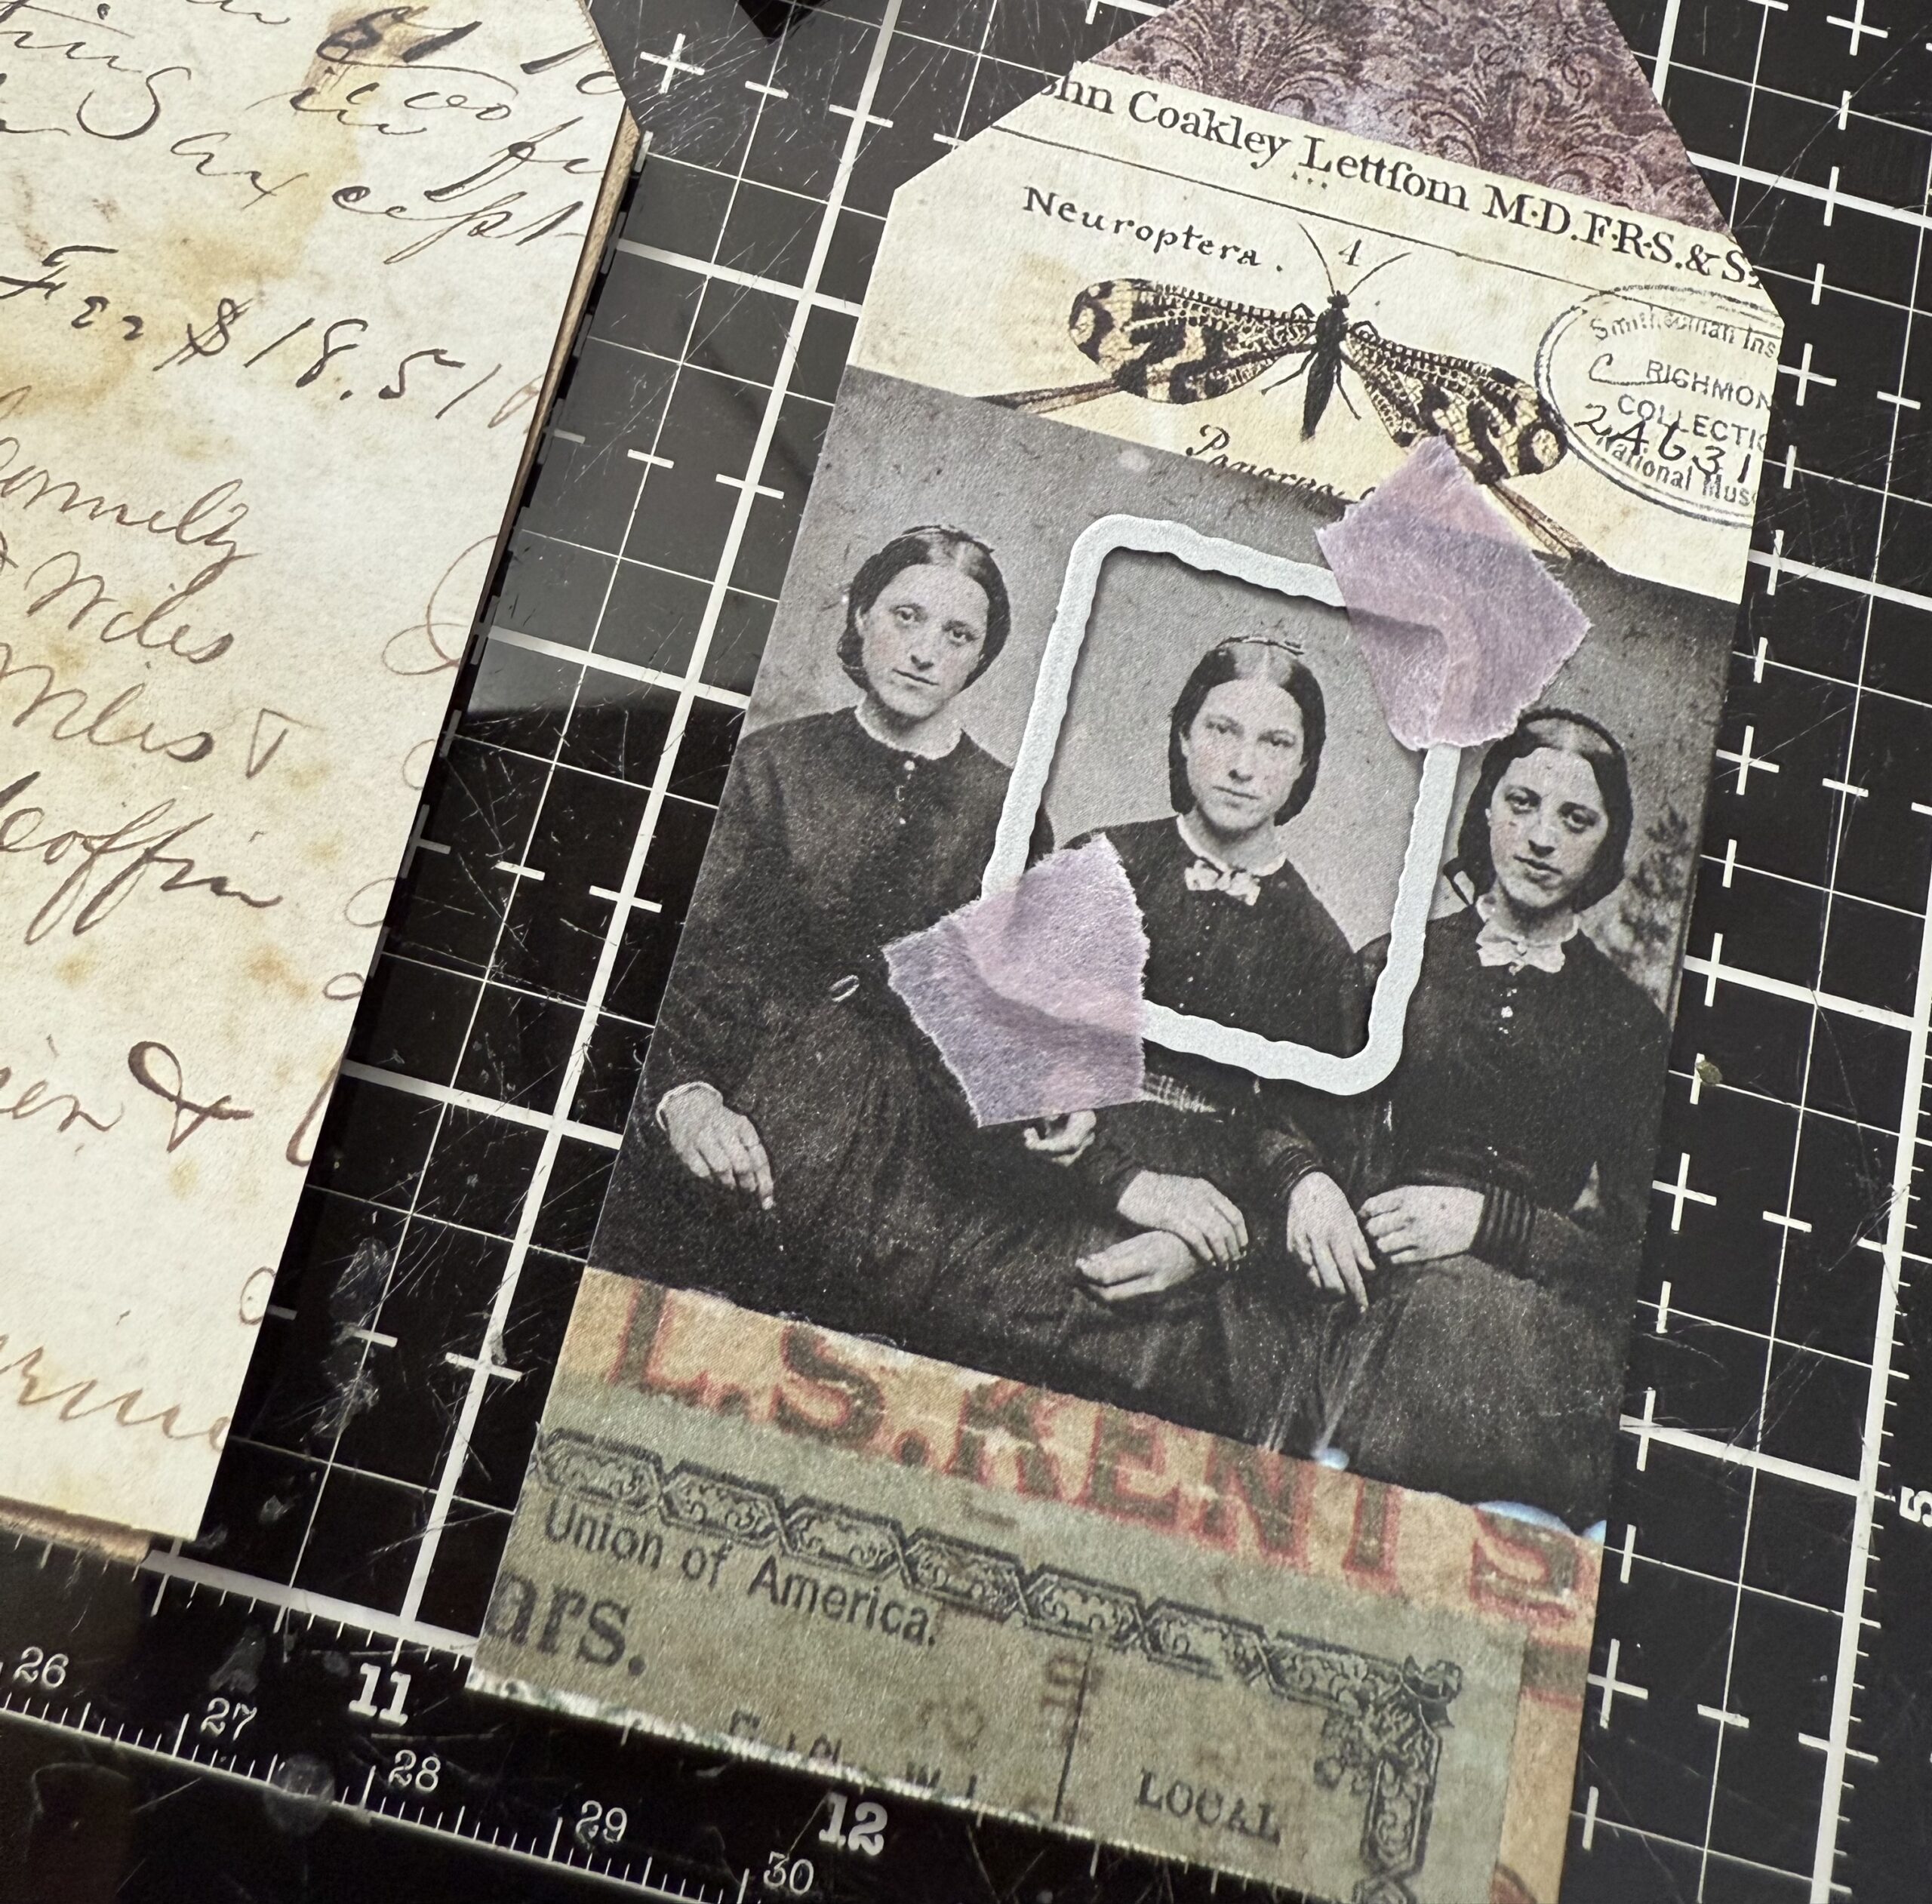
I started by finding the idea-ology paper strip and the photo of the ladies that was on it, they seemed to look like the main characters of the story in my head, so, I cut two chipboard pieces into a house shape, and that became the centerpiece.
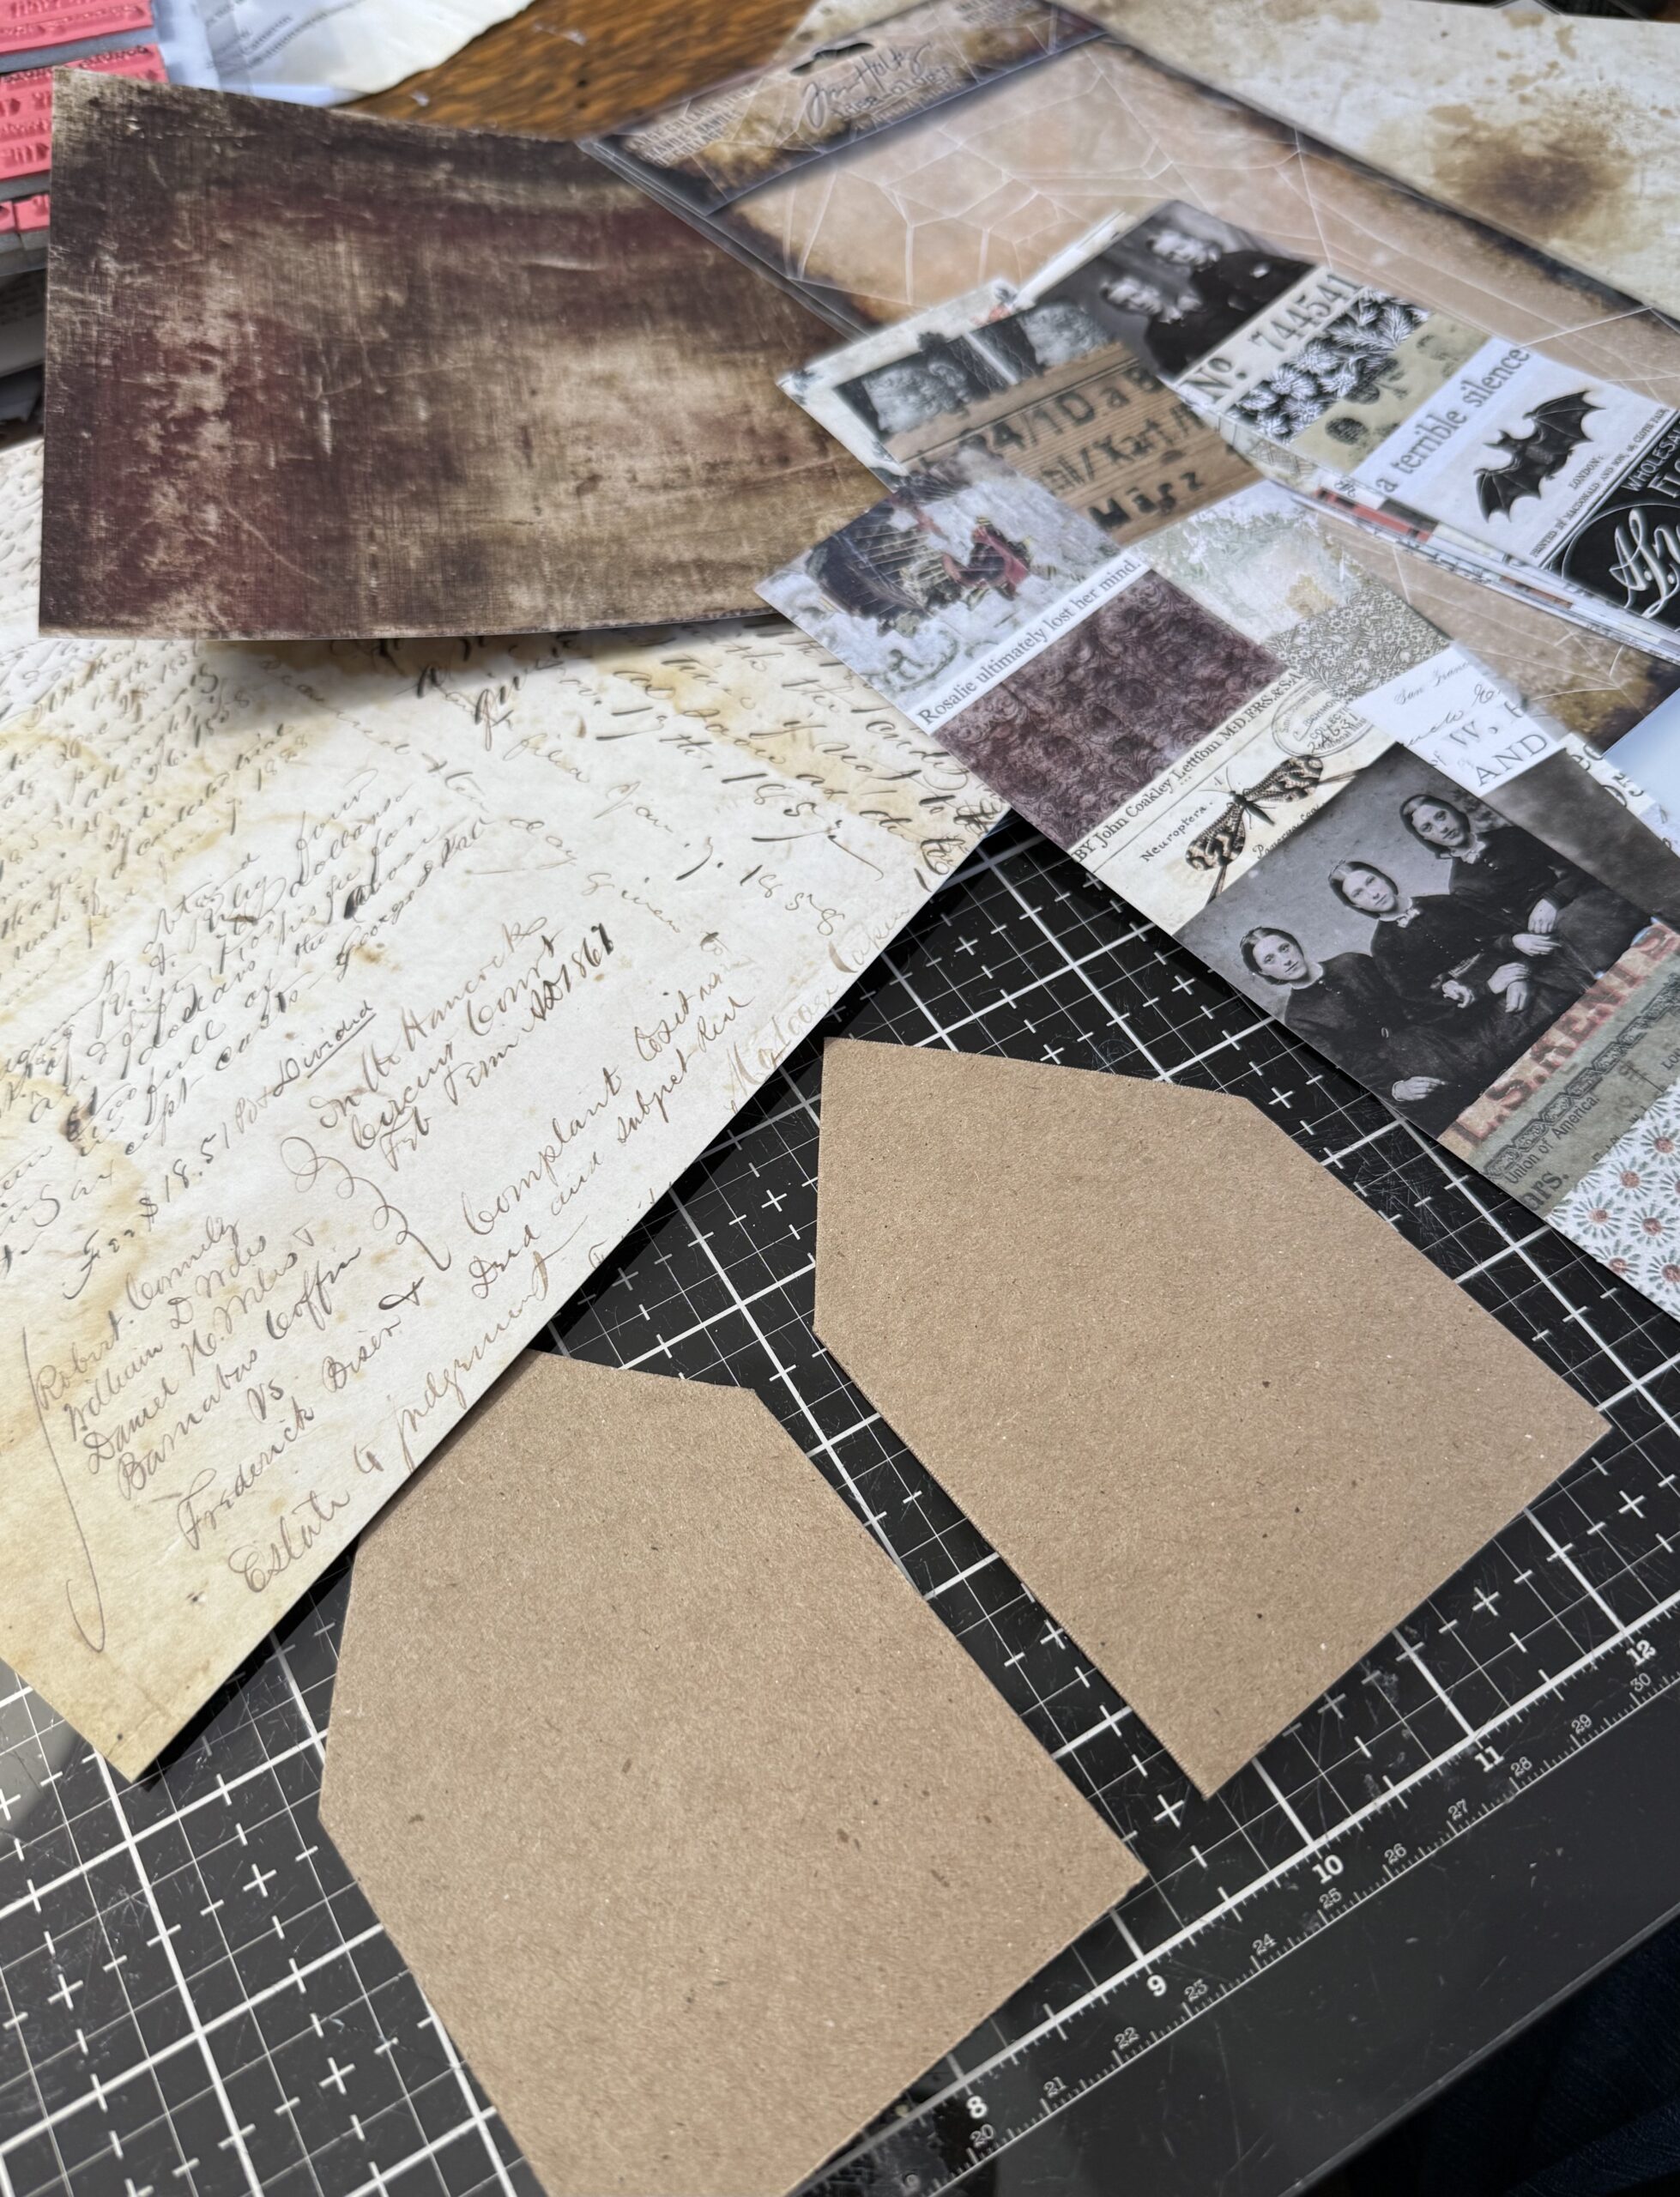
Then, the story came into play..who was the “she” in “she was spellbound”. I decided that the woman in the center was her and I needed to find a way to give her the main character storyline. I remembered that I had a small postage stamp shaped wafer die from the Tiny Things CMS164 set that I could use to cut out her with leaving the other two ladies in place. So, using some pieces of low tack tape, I placed the die and ran it through my die cutting machine.
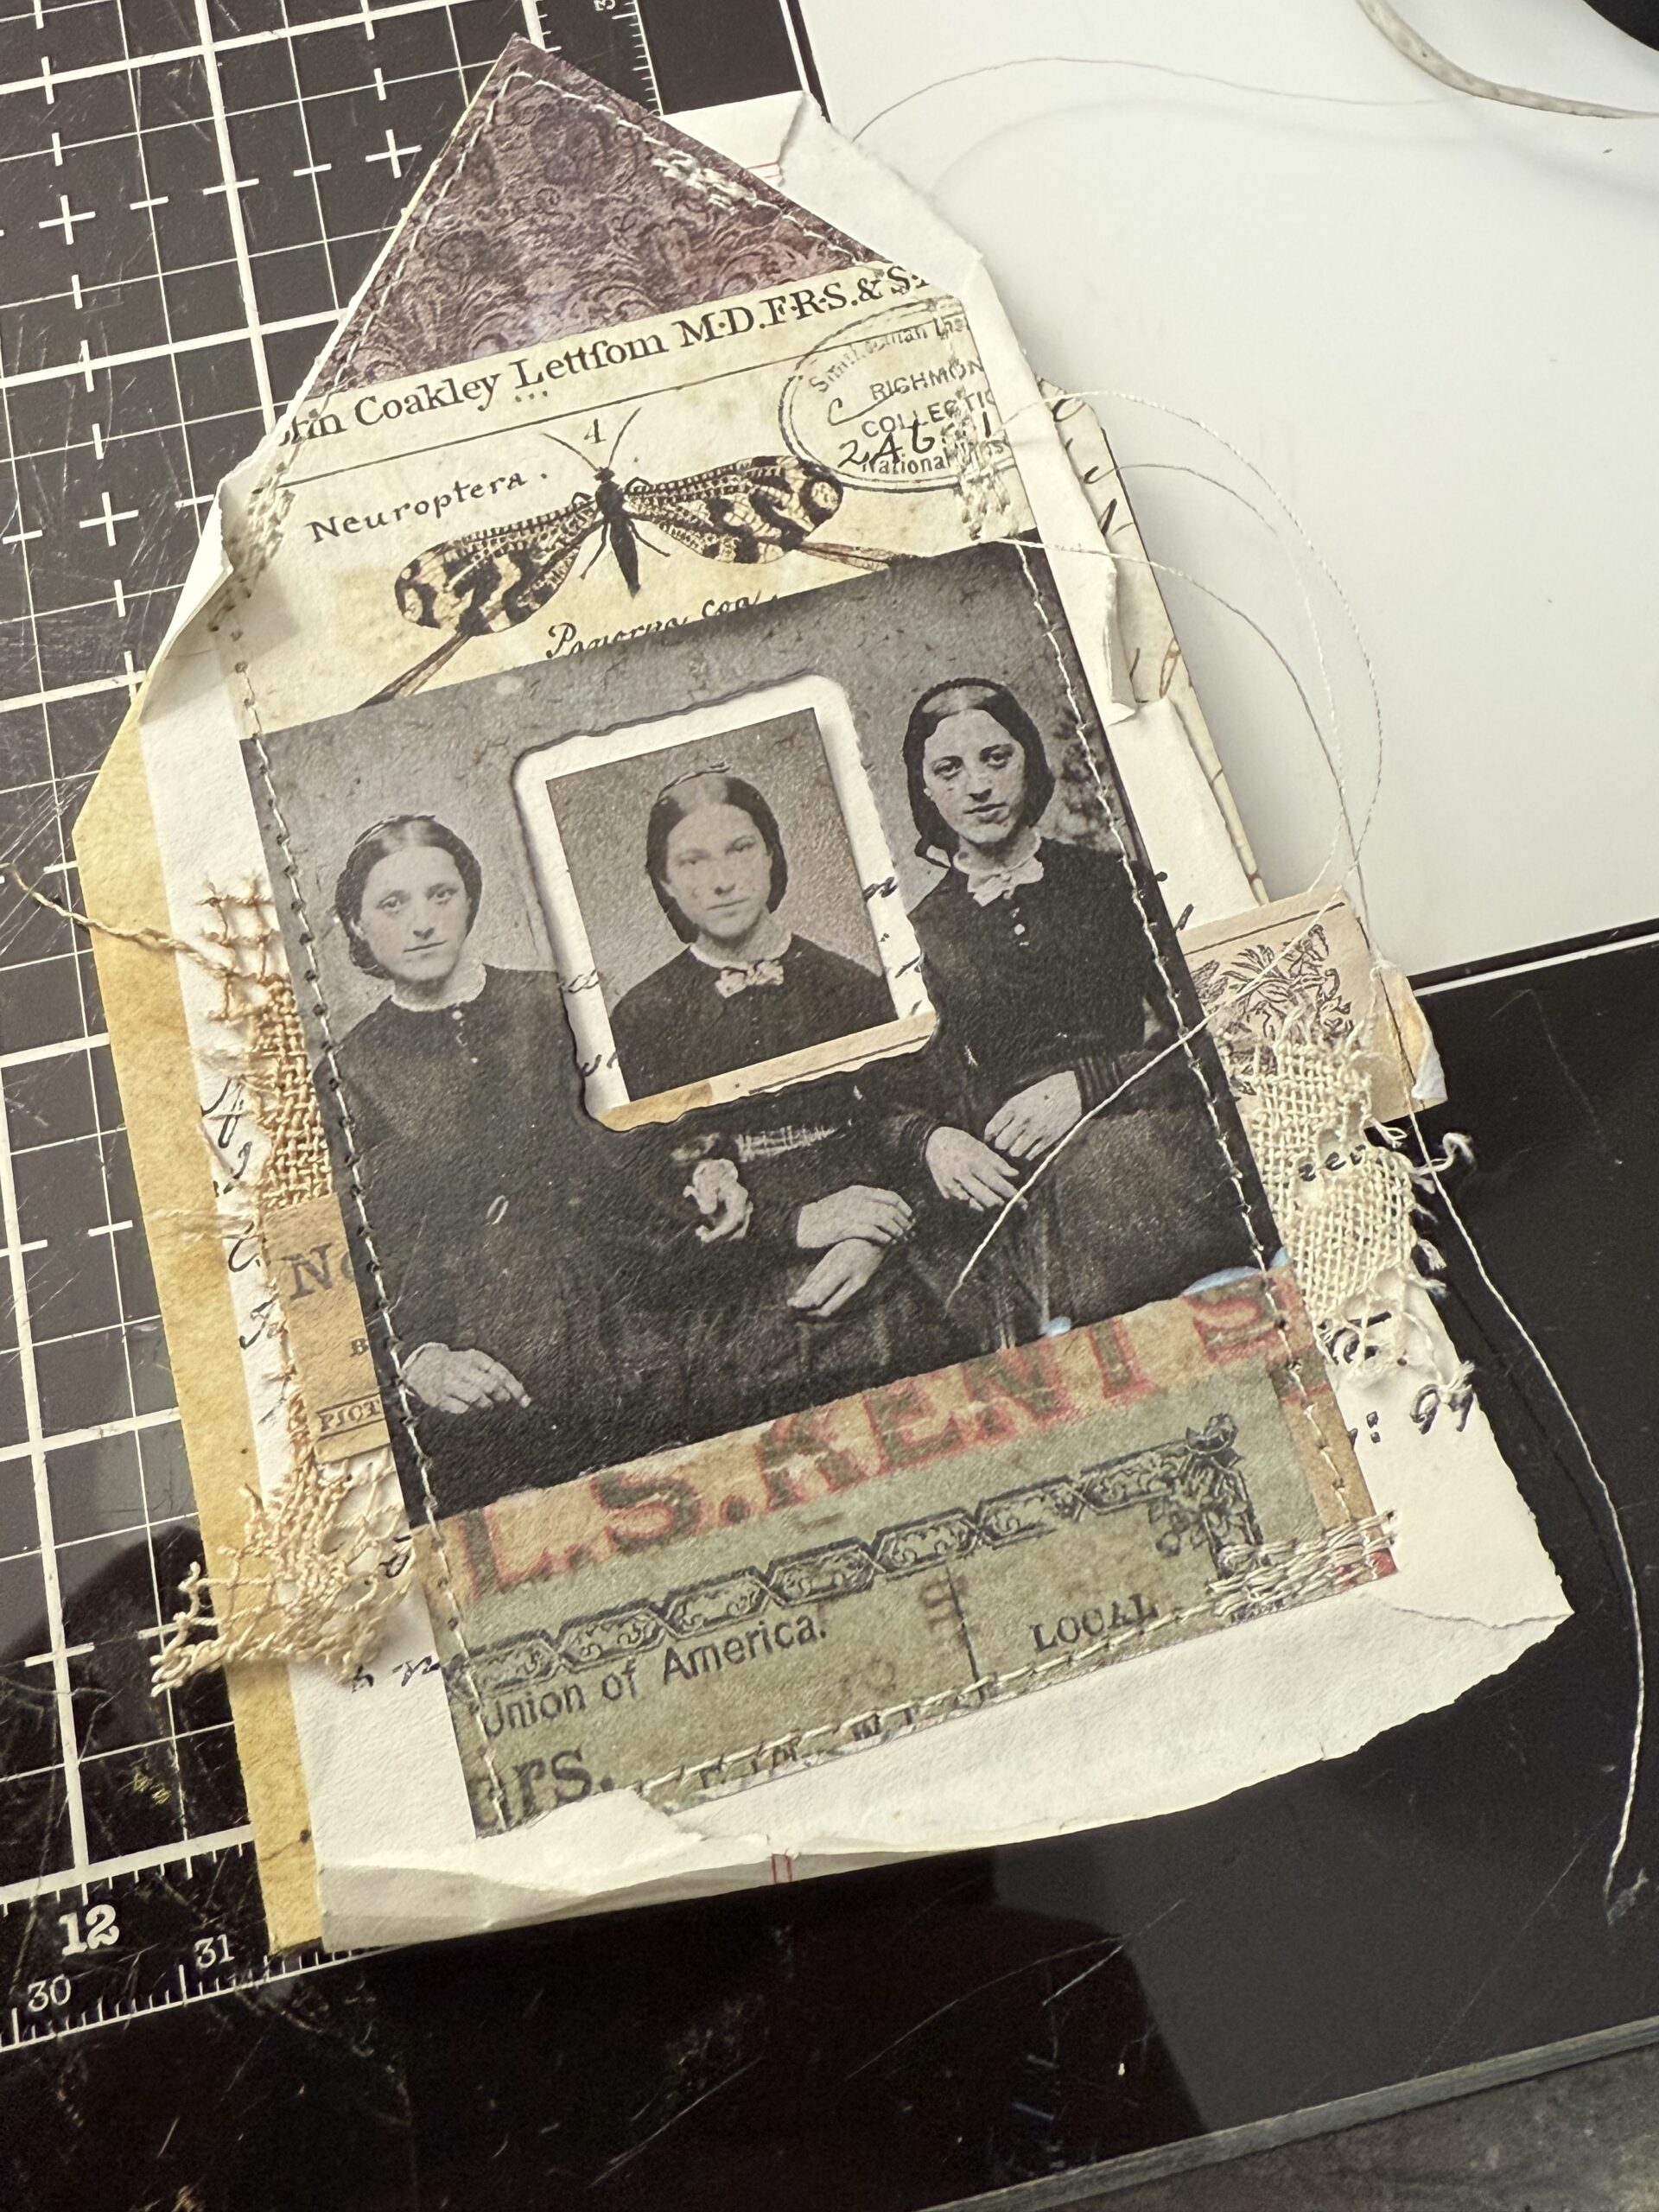
I centered and trimmed the paper strip to fit the house shape and added some random scrap papers and stitches to the front. I stitched several areas, including around the photo, and the front house piece then thought, “I wonder what it would look like if I knotted some of the strings together across the front”, I had so many long strings from the sewing process…so I tried it, liked it and ran with it. I added some scraps of vintage lace and attached it with some messy stitches.
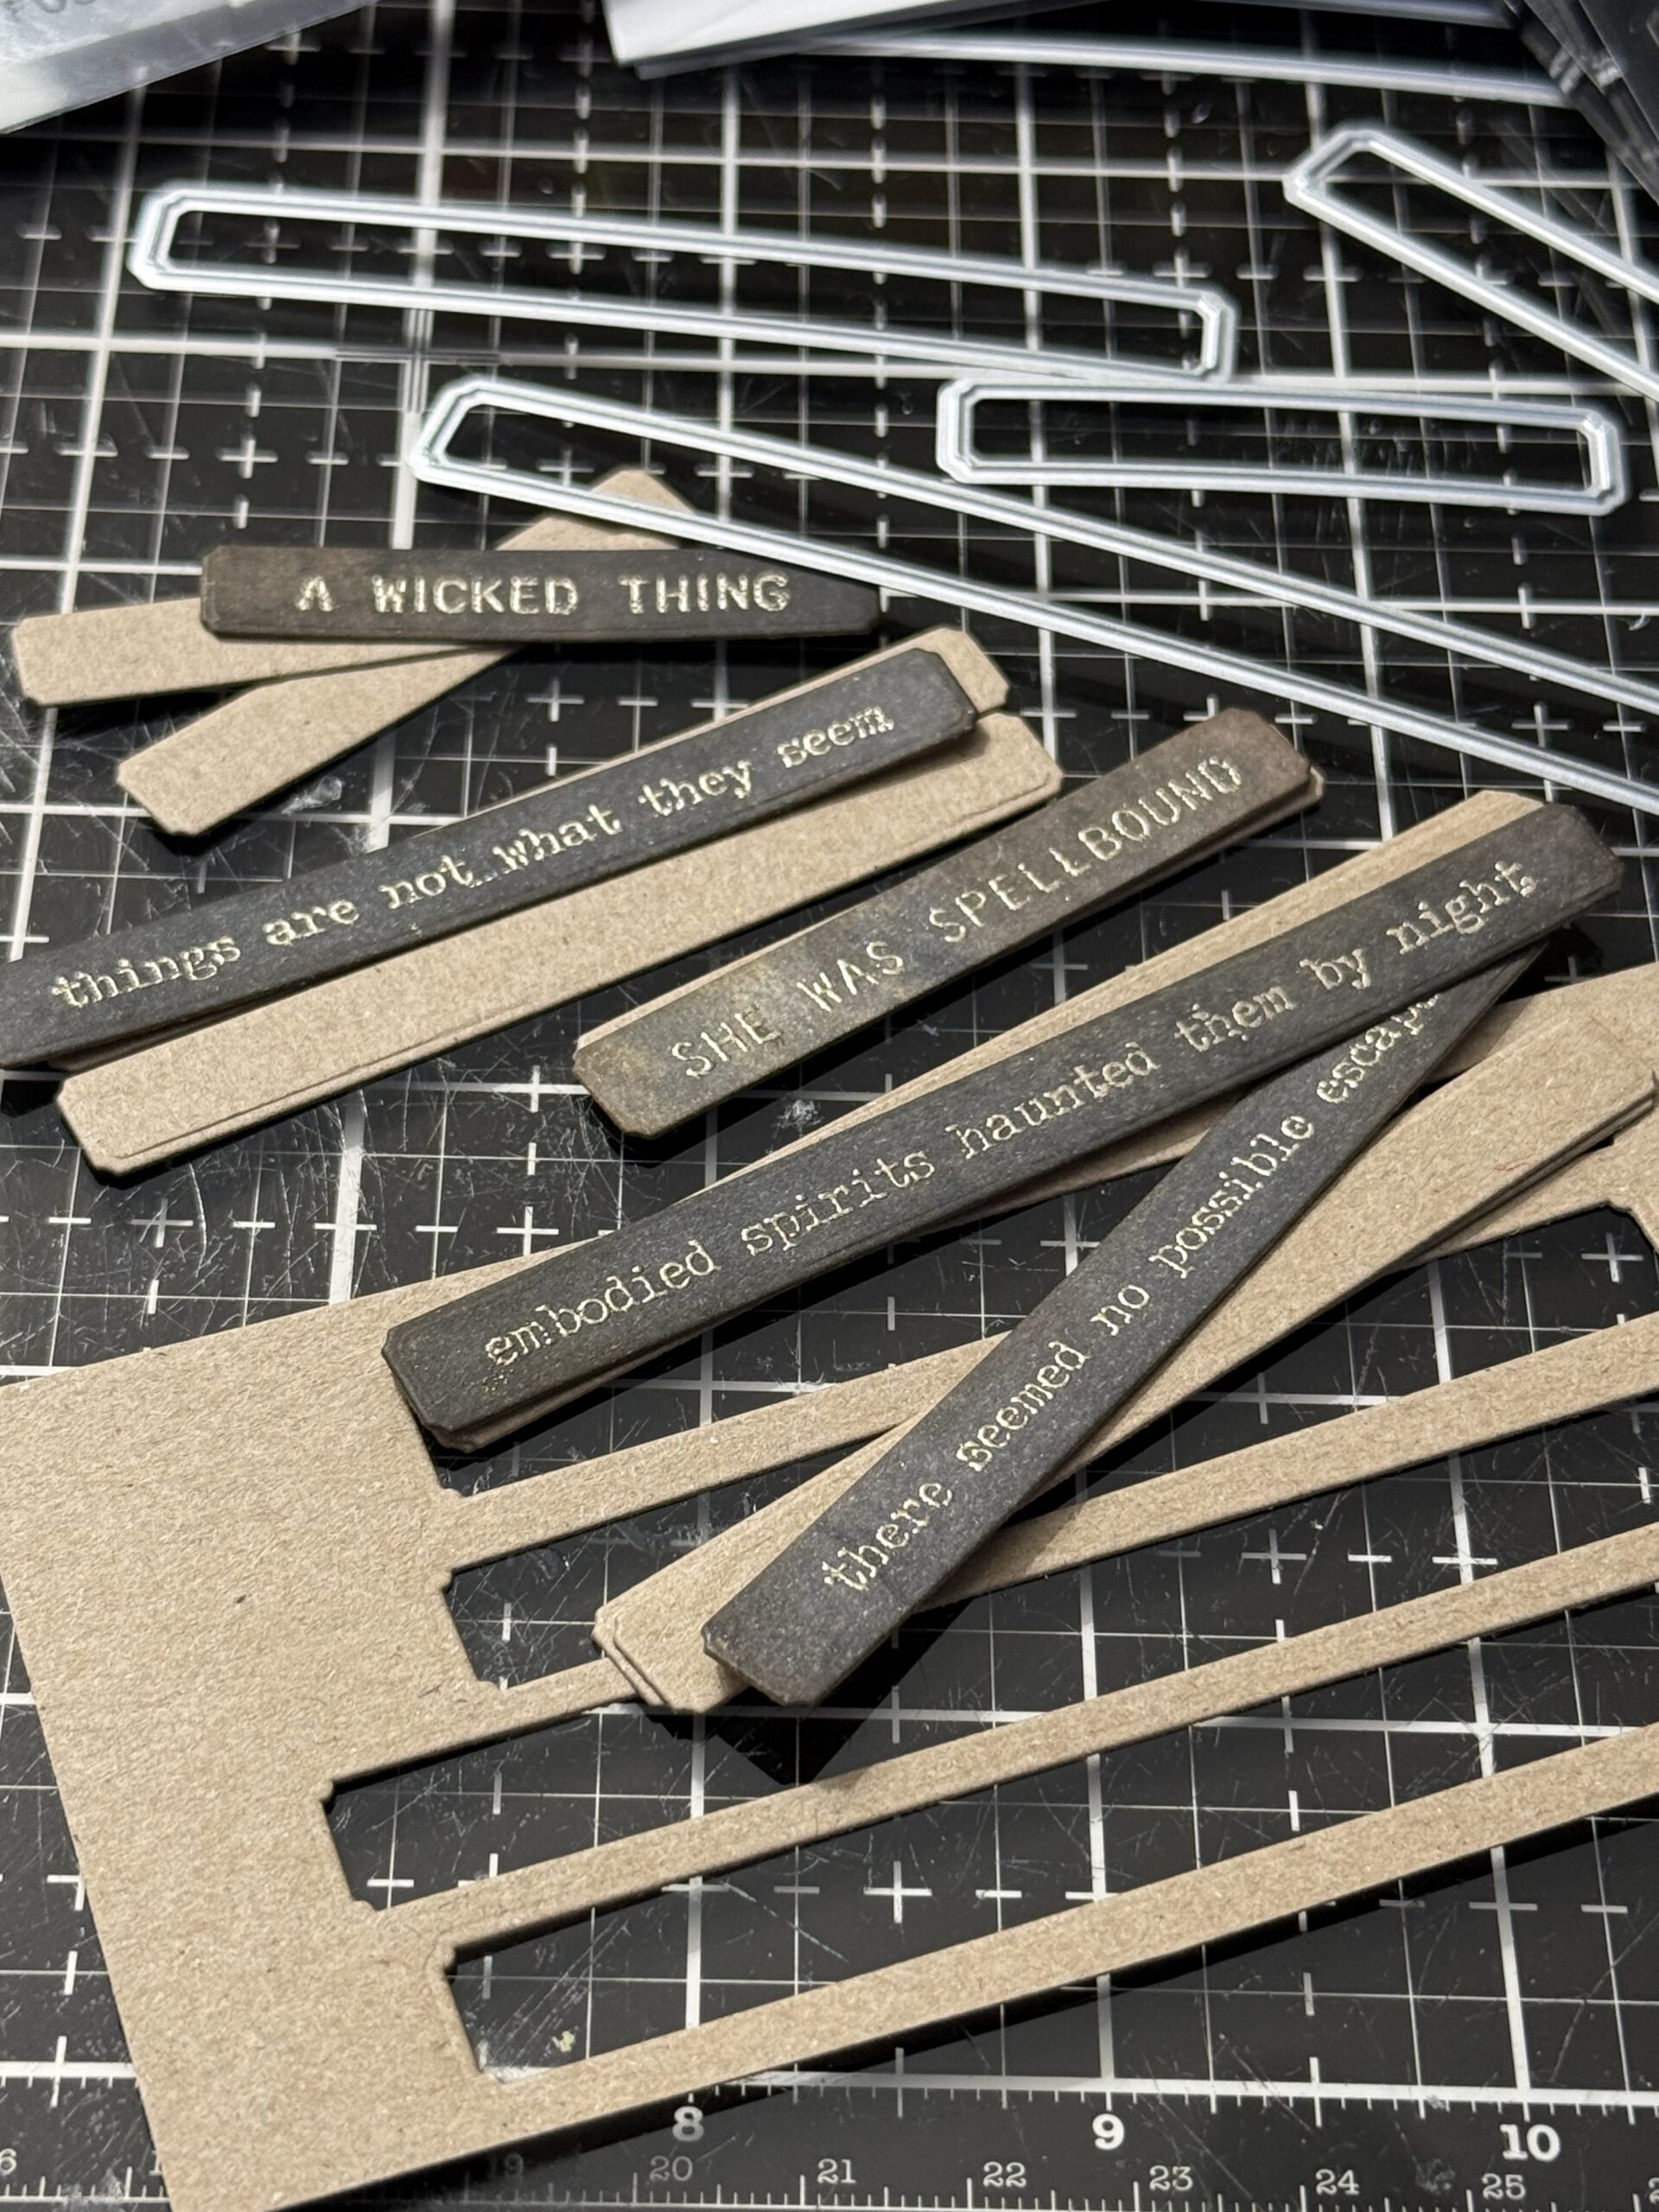
I stamped the phrases on some black inky scrap paper pieces using Black Soot Archival Ink, then sprinkled with with Liquid Platinum embossing powder and embossed it with my heat tool. Then I centered the phrases in the matching sizes of the wafer dies. To keep the phrases centered for cutting, I used a couple pieces of low tack tape.
I cut out two additional tiny text pieces for the back of each of the phrases and adhered them using collage medium. This added some more stability and more prominent in the piece.
Then I set on to figuring out the paper strips that I wanted in the background. Most of the Halloween Paper Strips have a vintage photo on them, but I wanted to make sure that my ladies kept the focus, so, I trimmed the strips to fit them story of my piece.
I trimmed the strips to fit a piece of Kraft Heavystock, this became the base of the strips so that the background could be placed within a small idea-ology Vignette Tray, then I began adhering the pieces to the front of the paper using Distress Collage Medium..
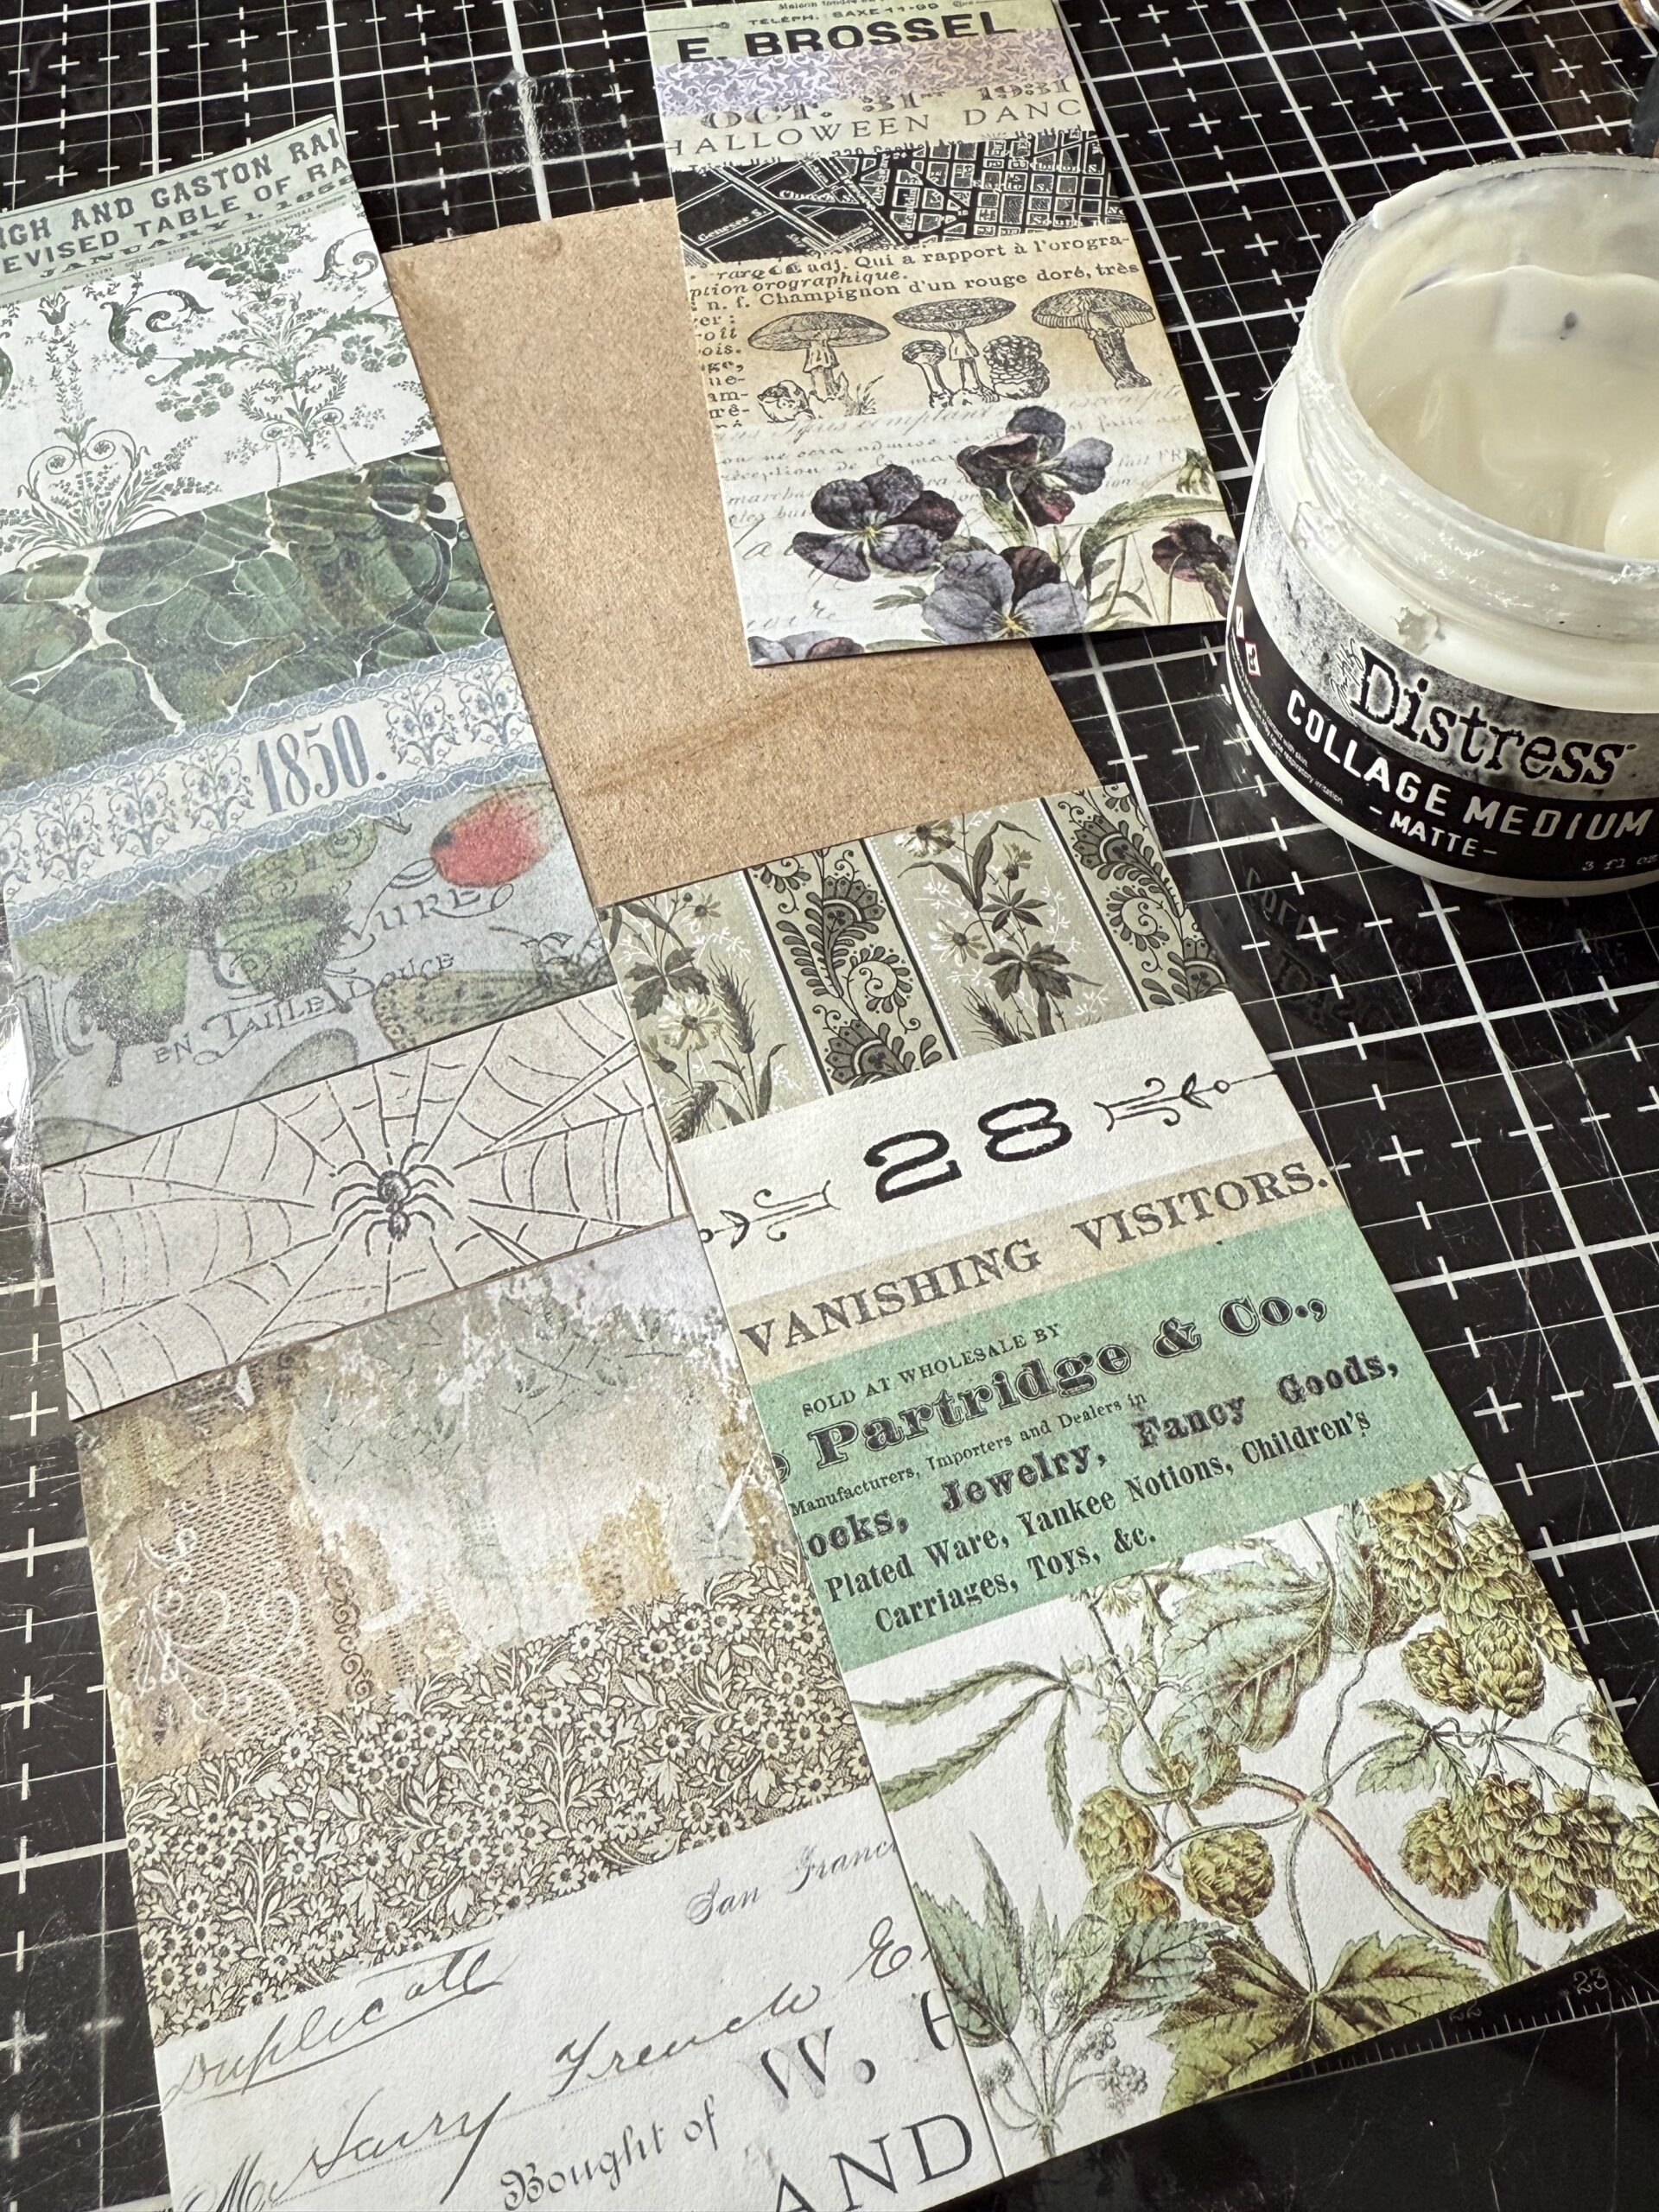
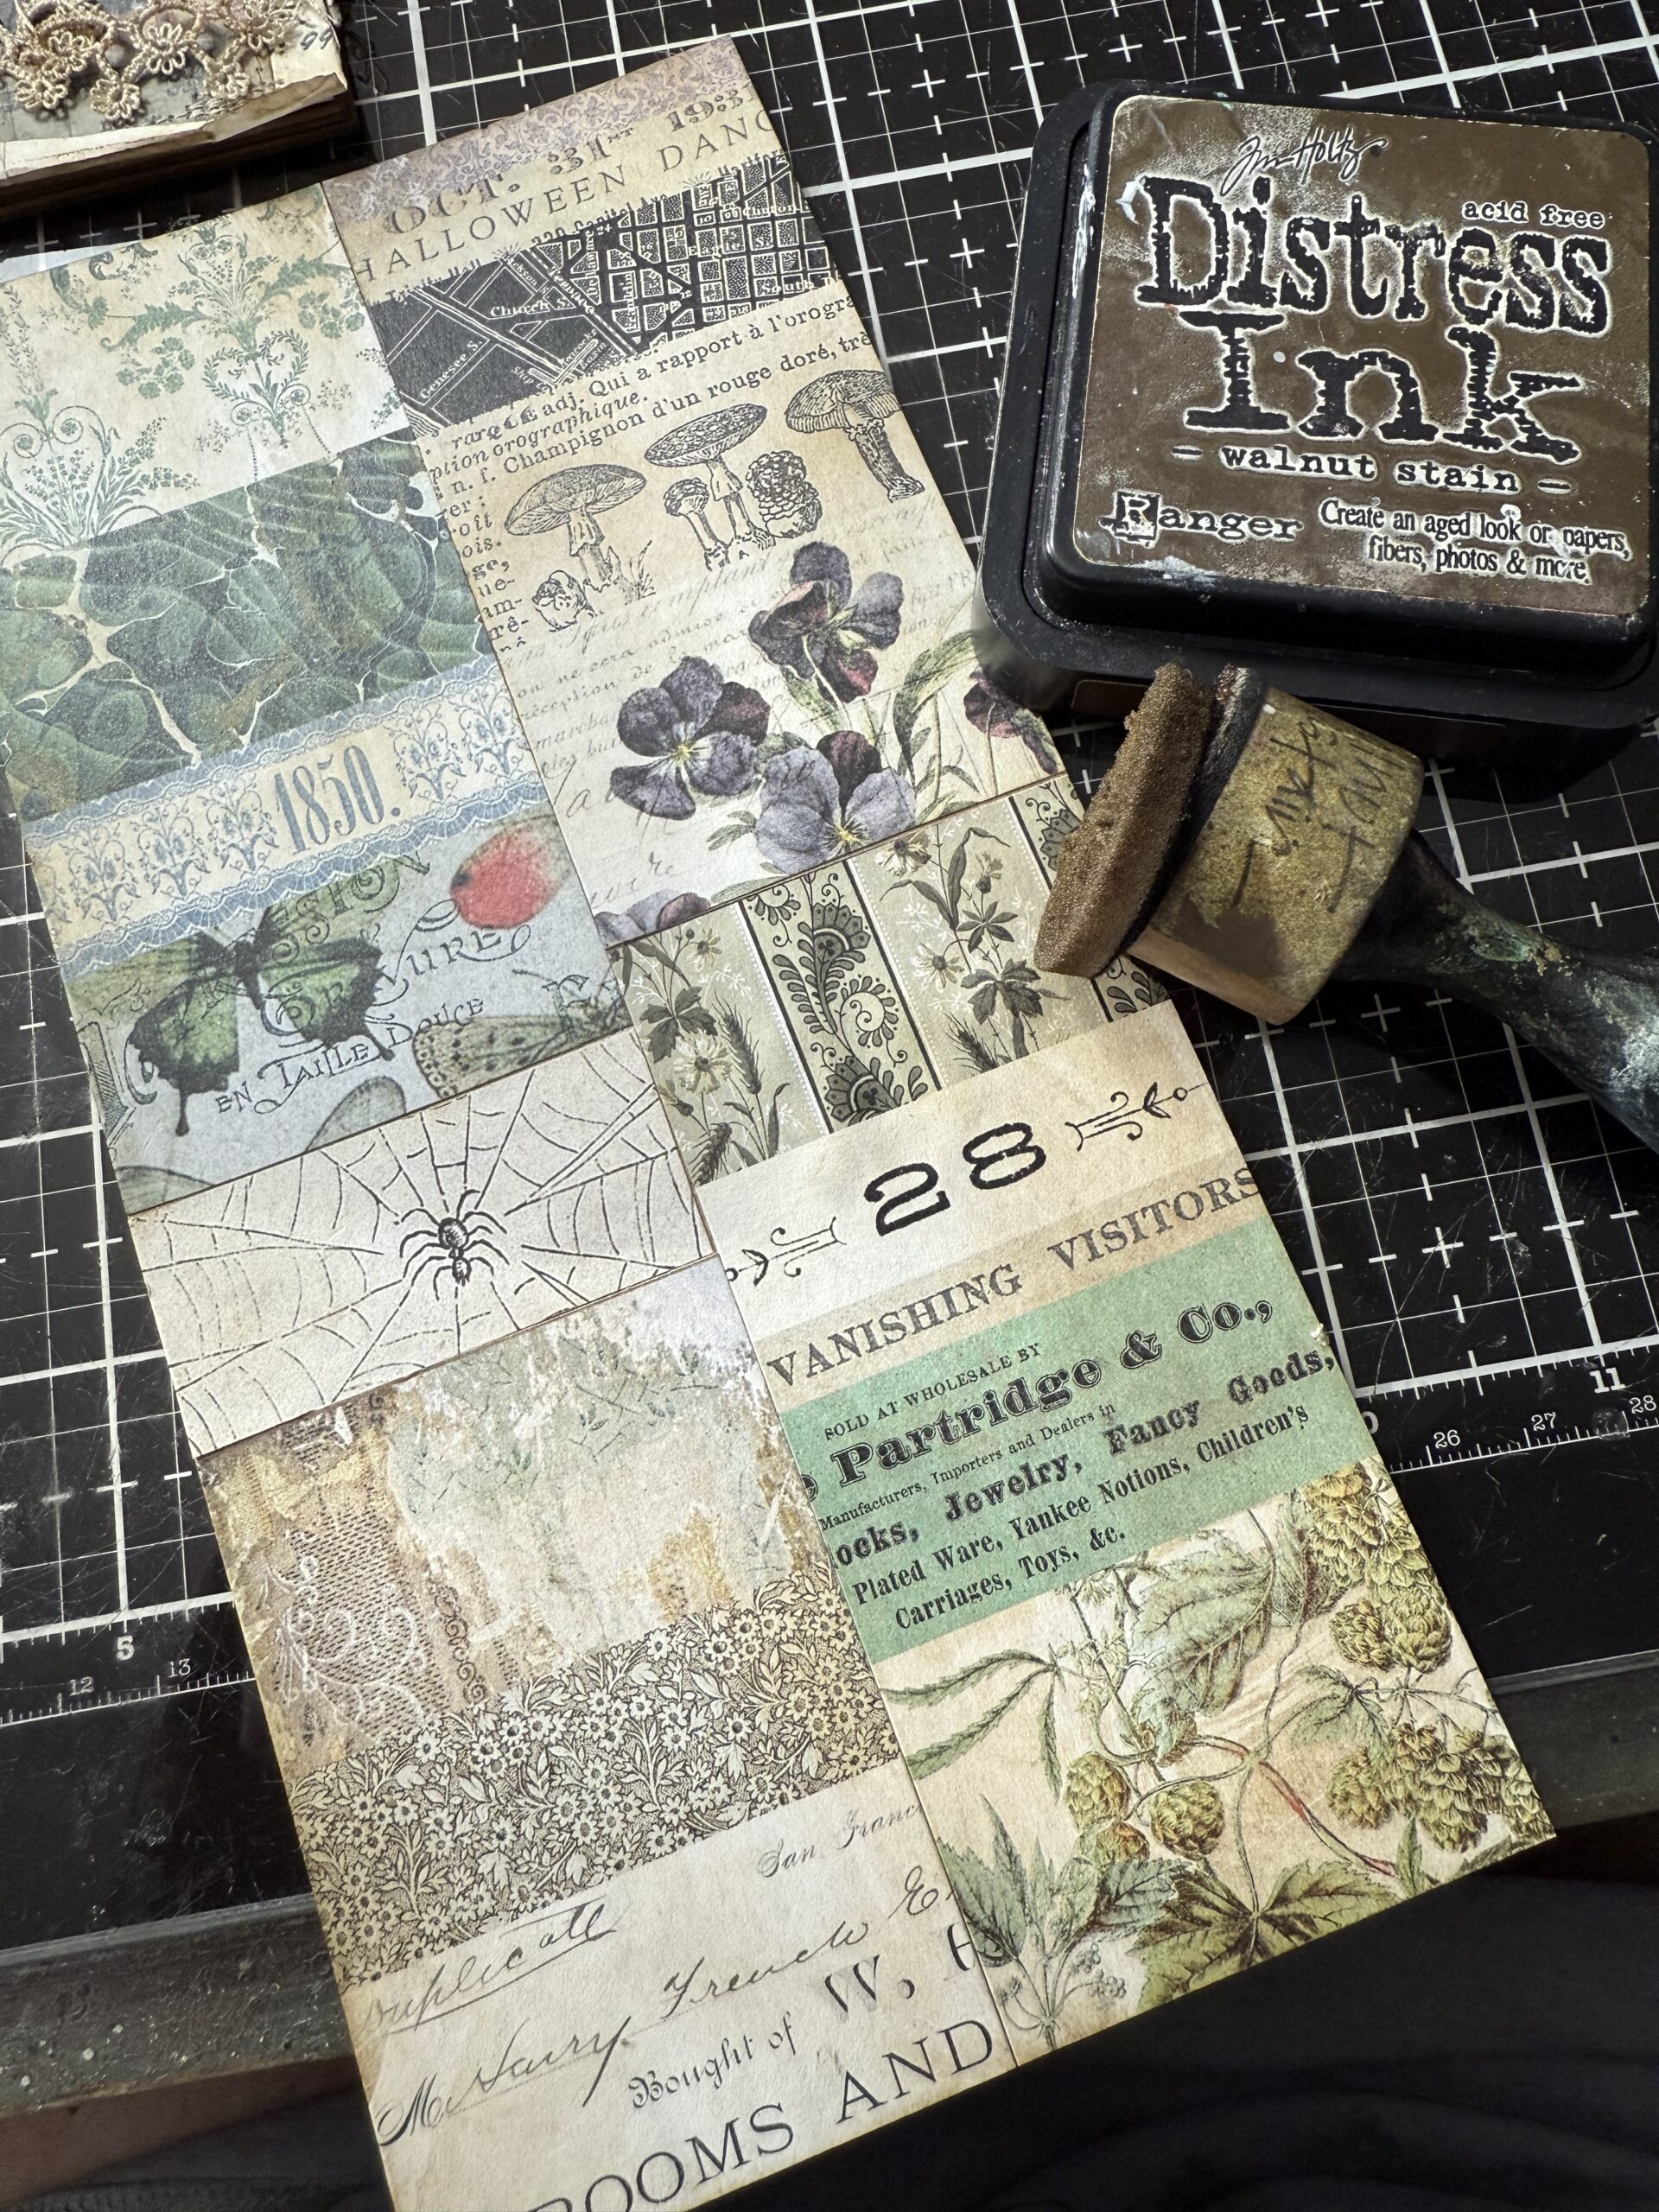
Then I blended some Walnut Stain Distress Ink around on the background to add some age. I then set the background paper aside and began working of the small vignette tray.
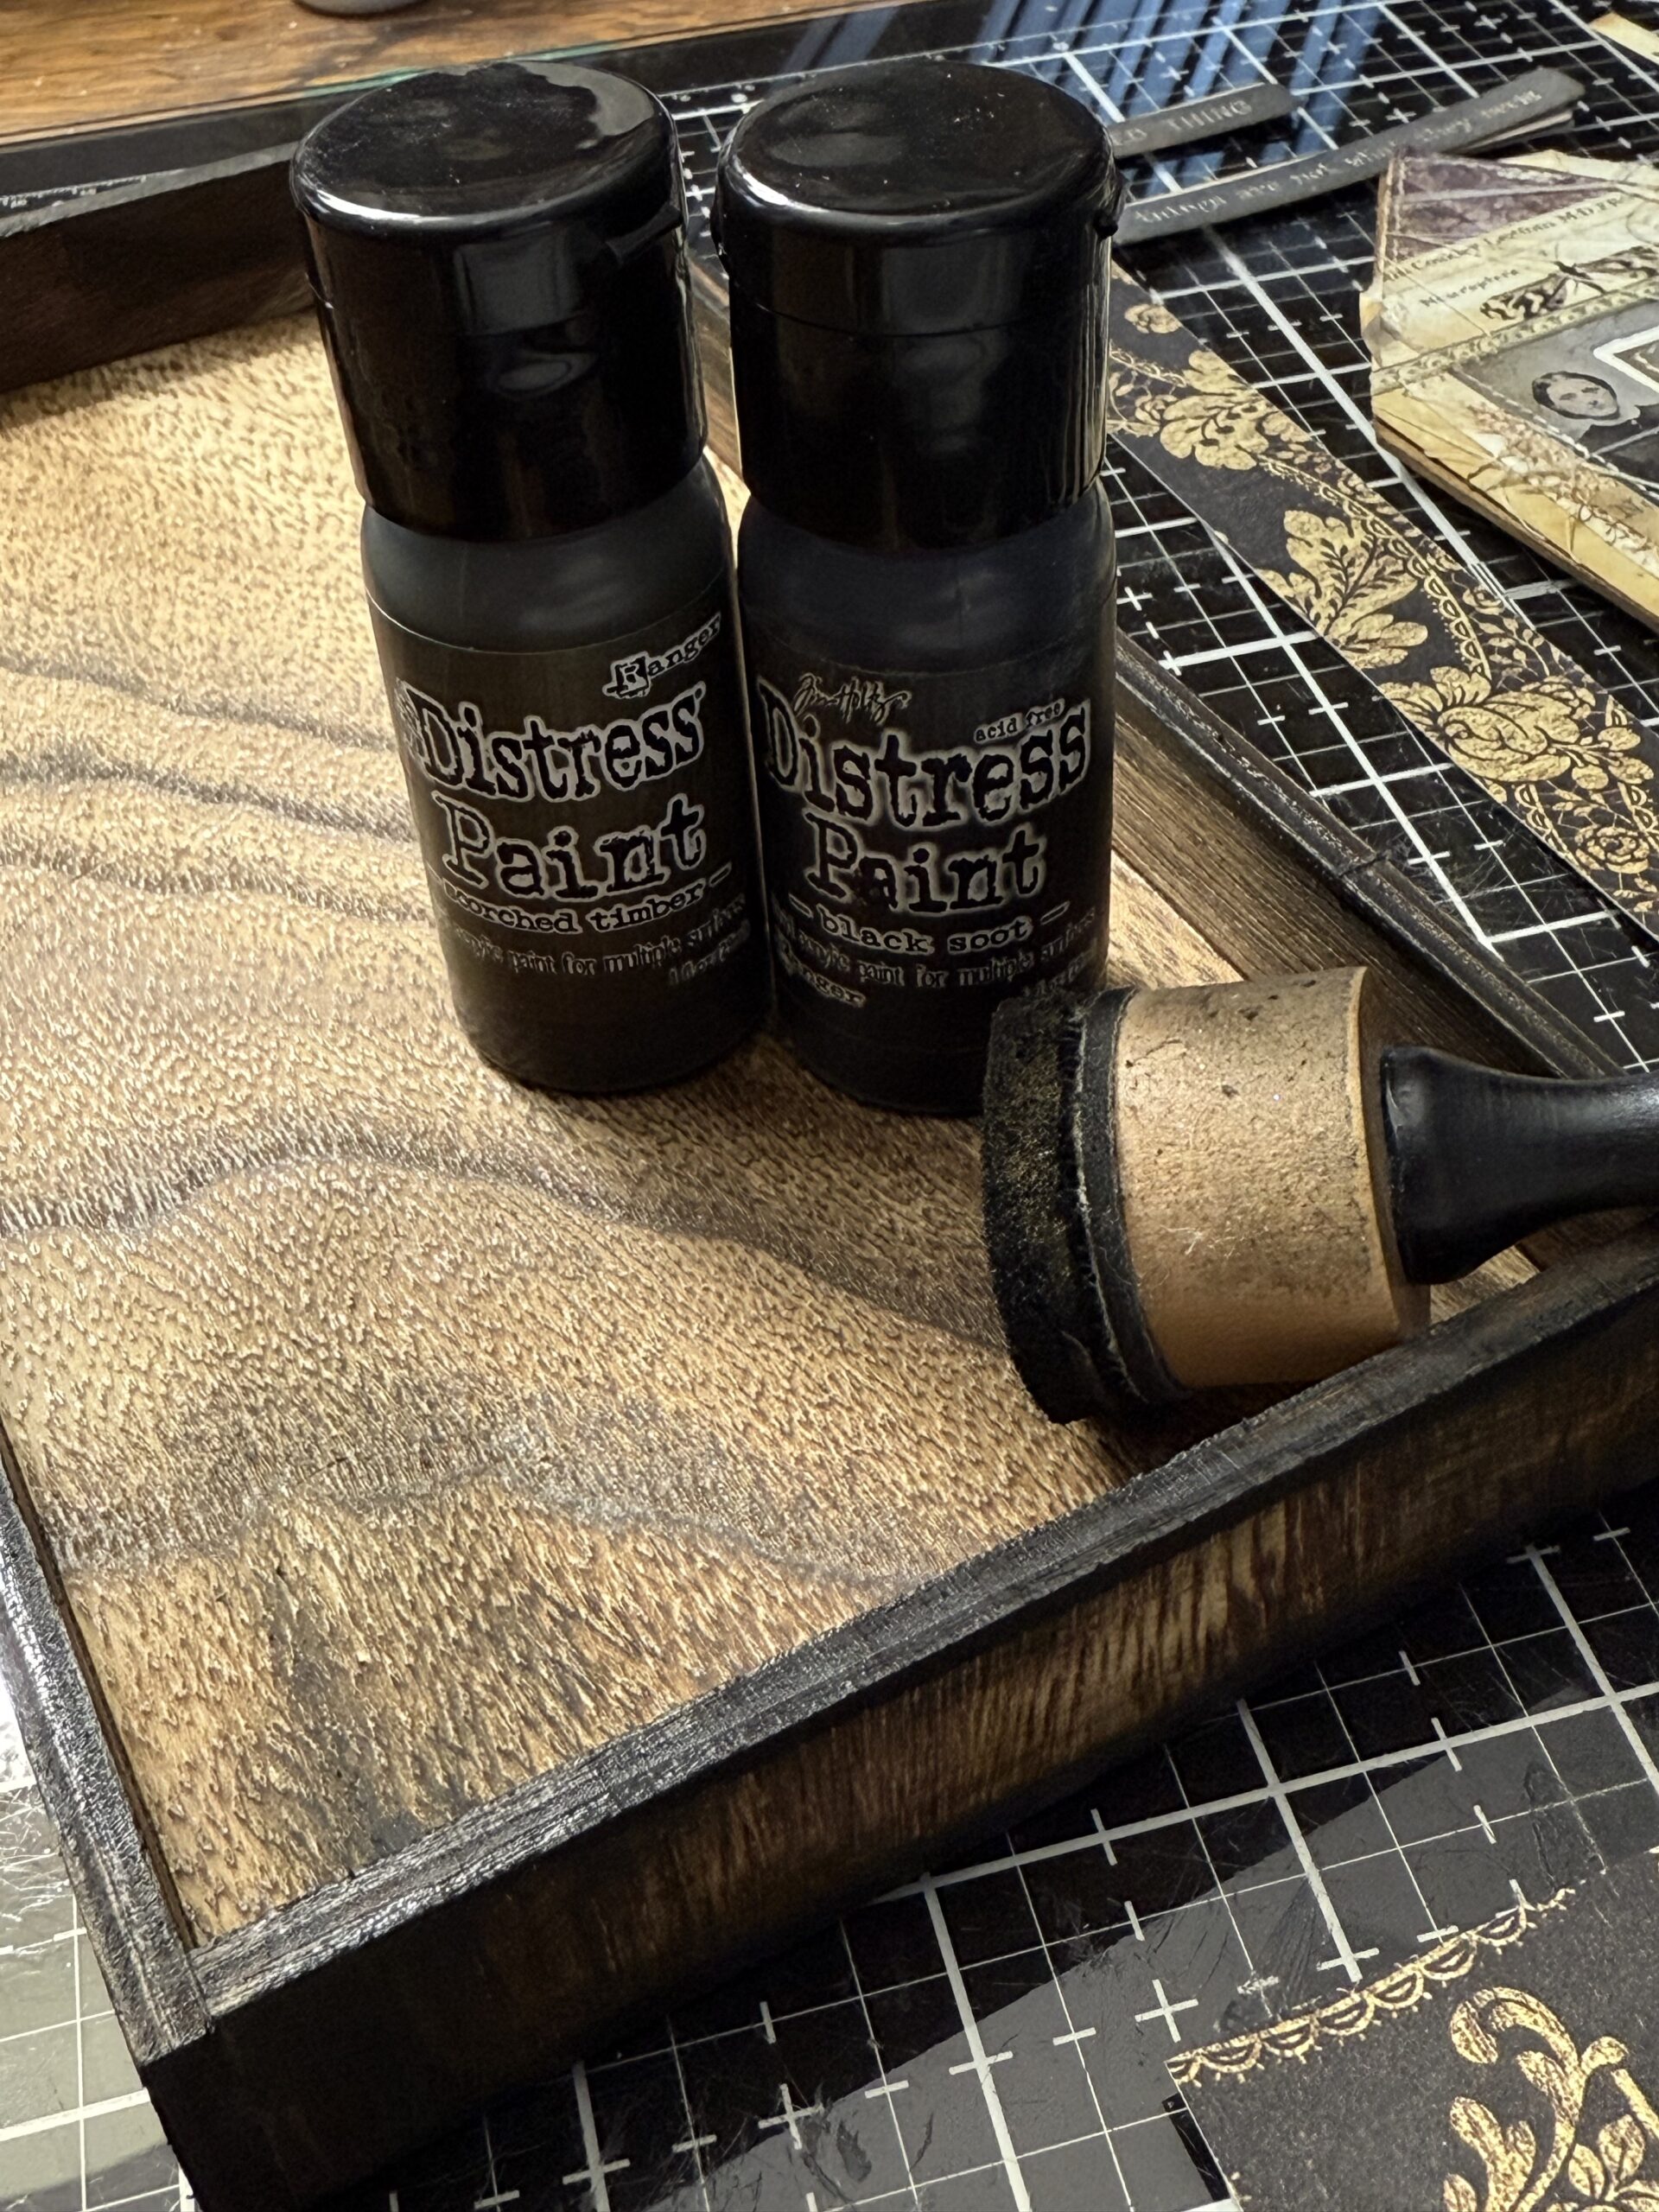
I blended the edges of the small vignette tray with Black Soot and Scorched Timber Distress Paint then set it aside to dry.
Once the paint was dry, I trimmed some Halloween Backdrop Papers to fit the inside, outside and front edges of the vignette, then adhered them to the tray using Distress Collage Medium. You can see the finished look of this process in the photo below…
The collage medium was rubbed on top of each of the patterned papers as they were adhered to the tray so as to be able to rub the edges and sides using Walnut Stain Distress Crayon. This adds so much age to a project and is one step that I never forget to add.
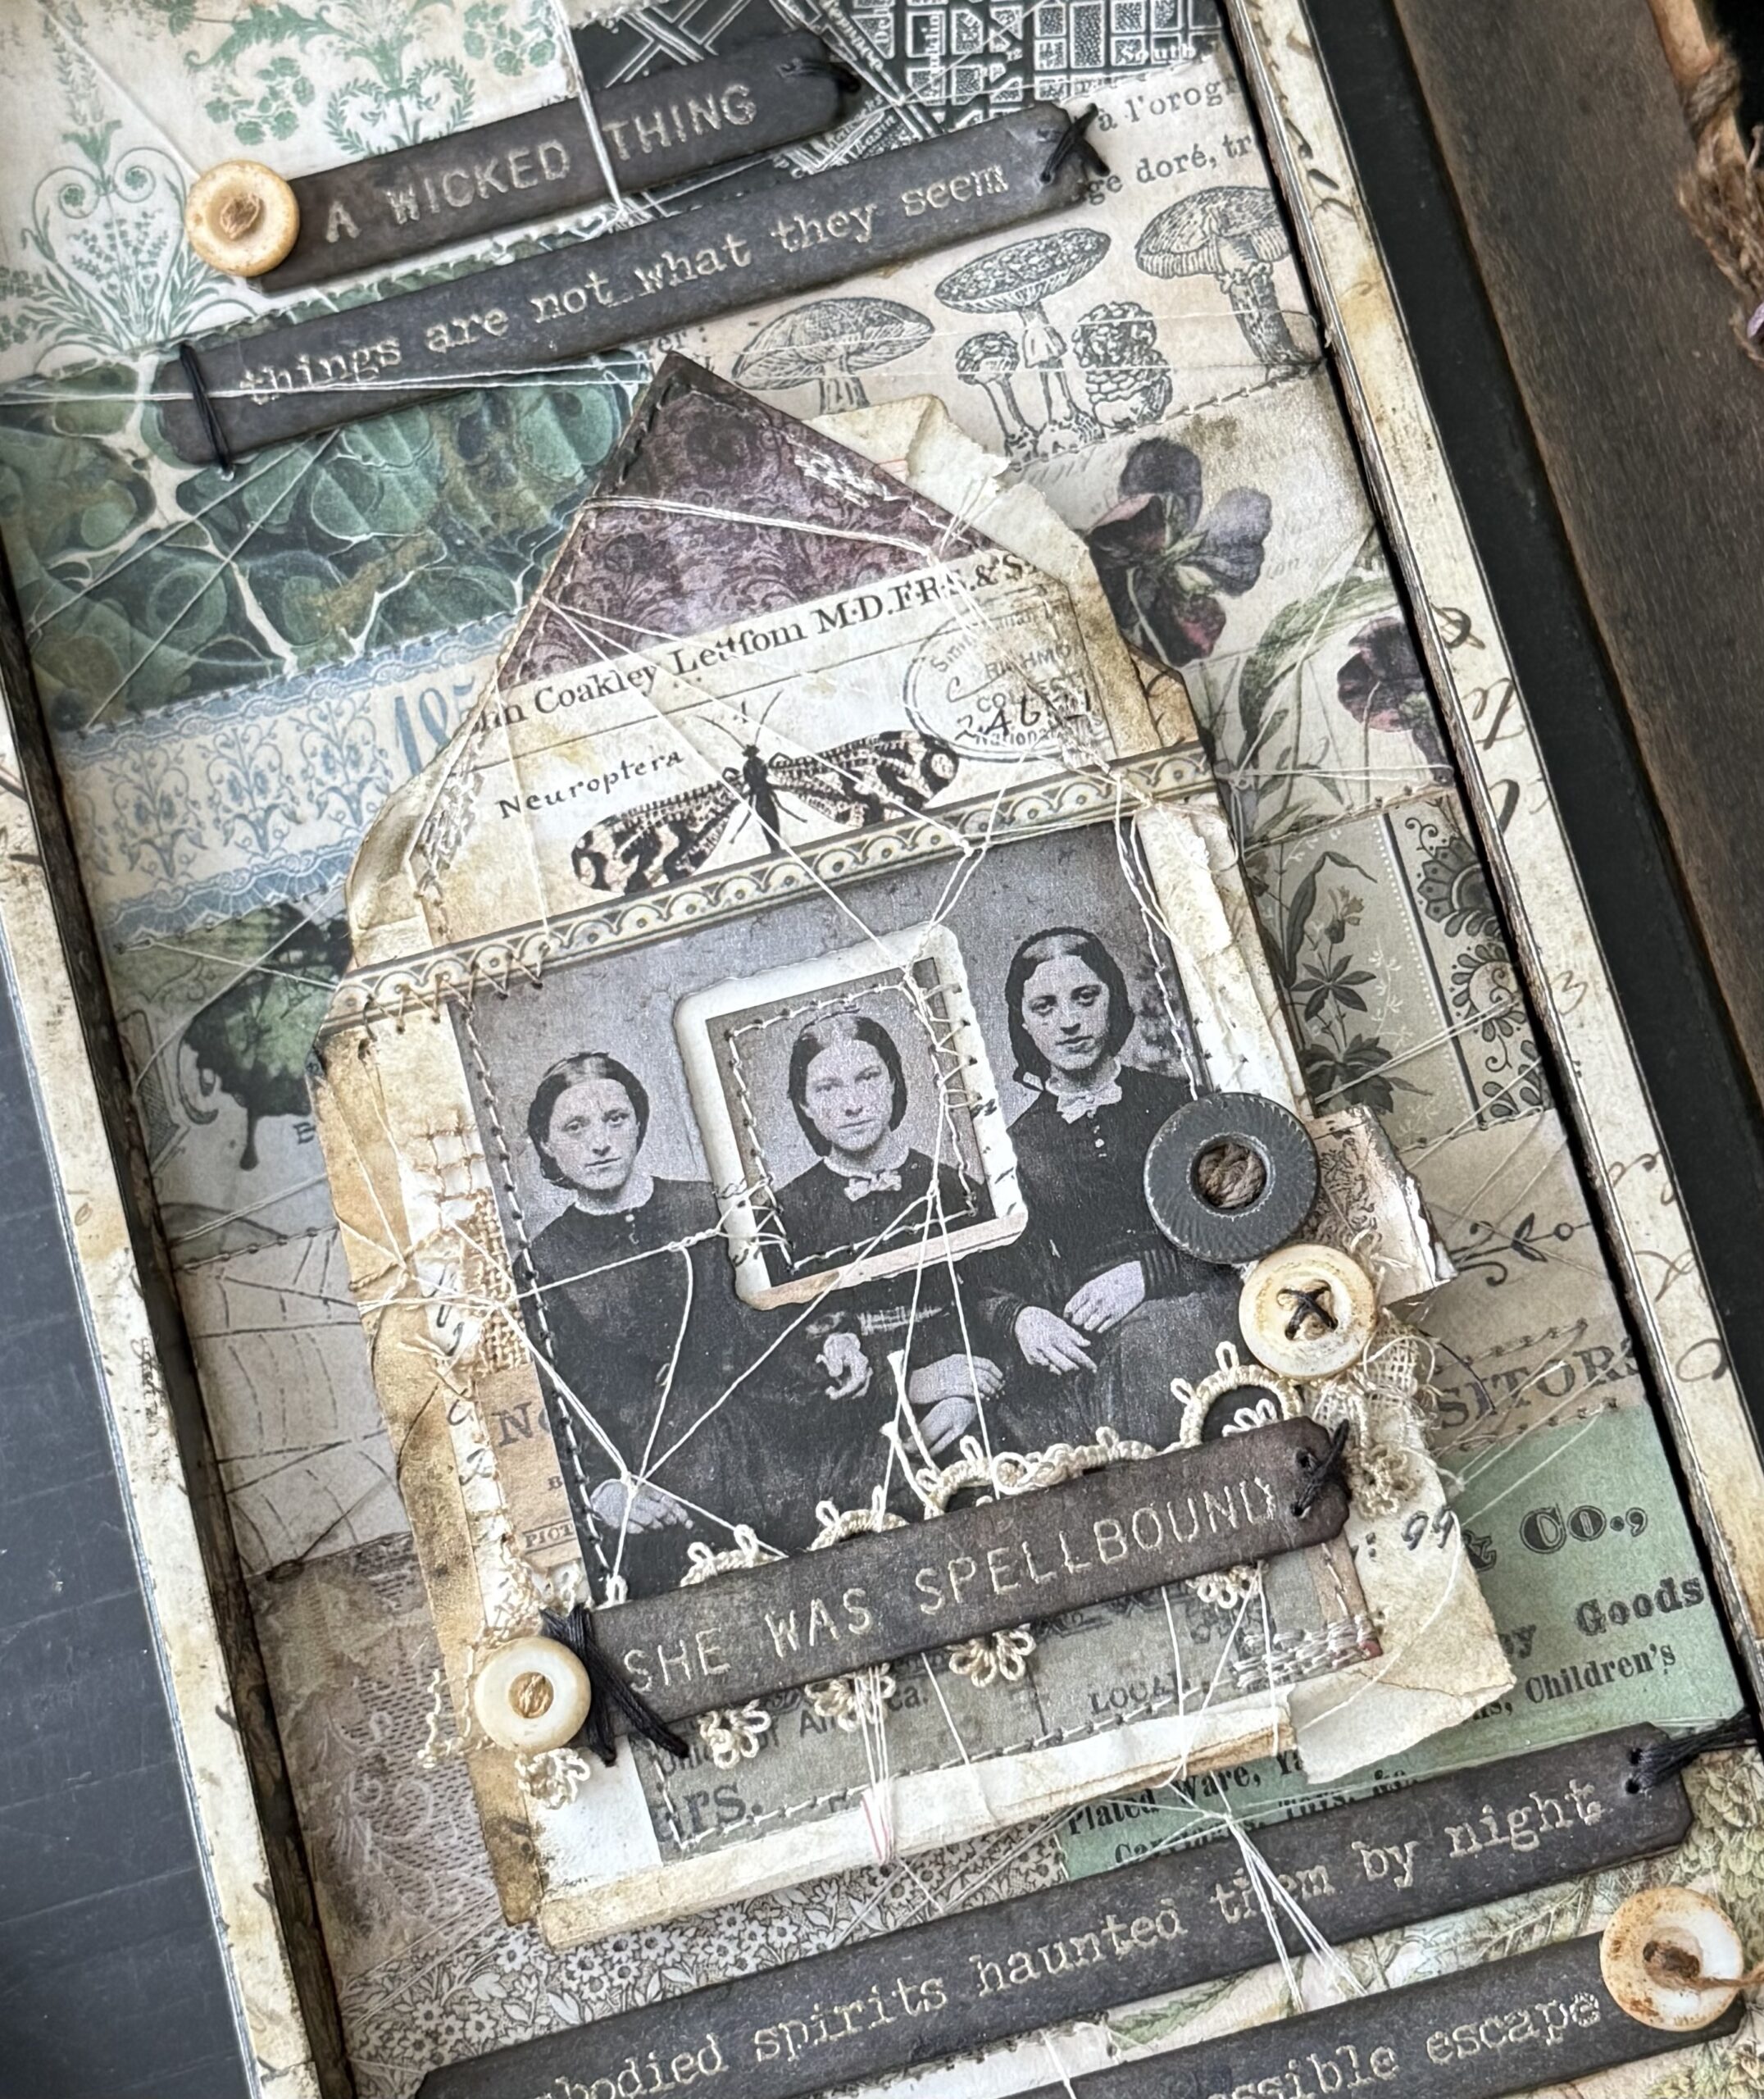
I went back to working on the background paper and stitched around the lines of each of the patterns. Then, I tied the threads together very randomly. Unfortunately I forgot to take a photo of this process…the lengths of the threads from my sewing made it easy to tie and knot the threads to create a spiderweb type of pattern. The loose ends of the threads were then tucked to the back and taped using a single sided tape.
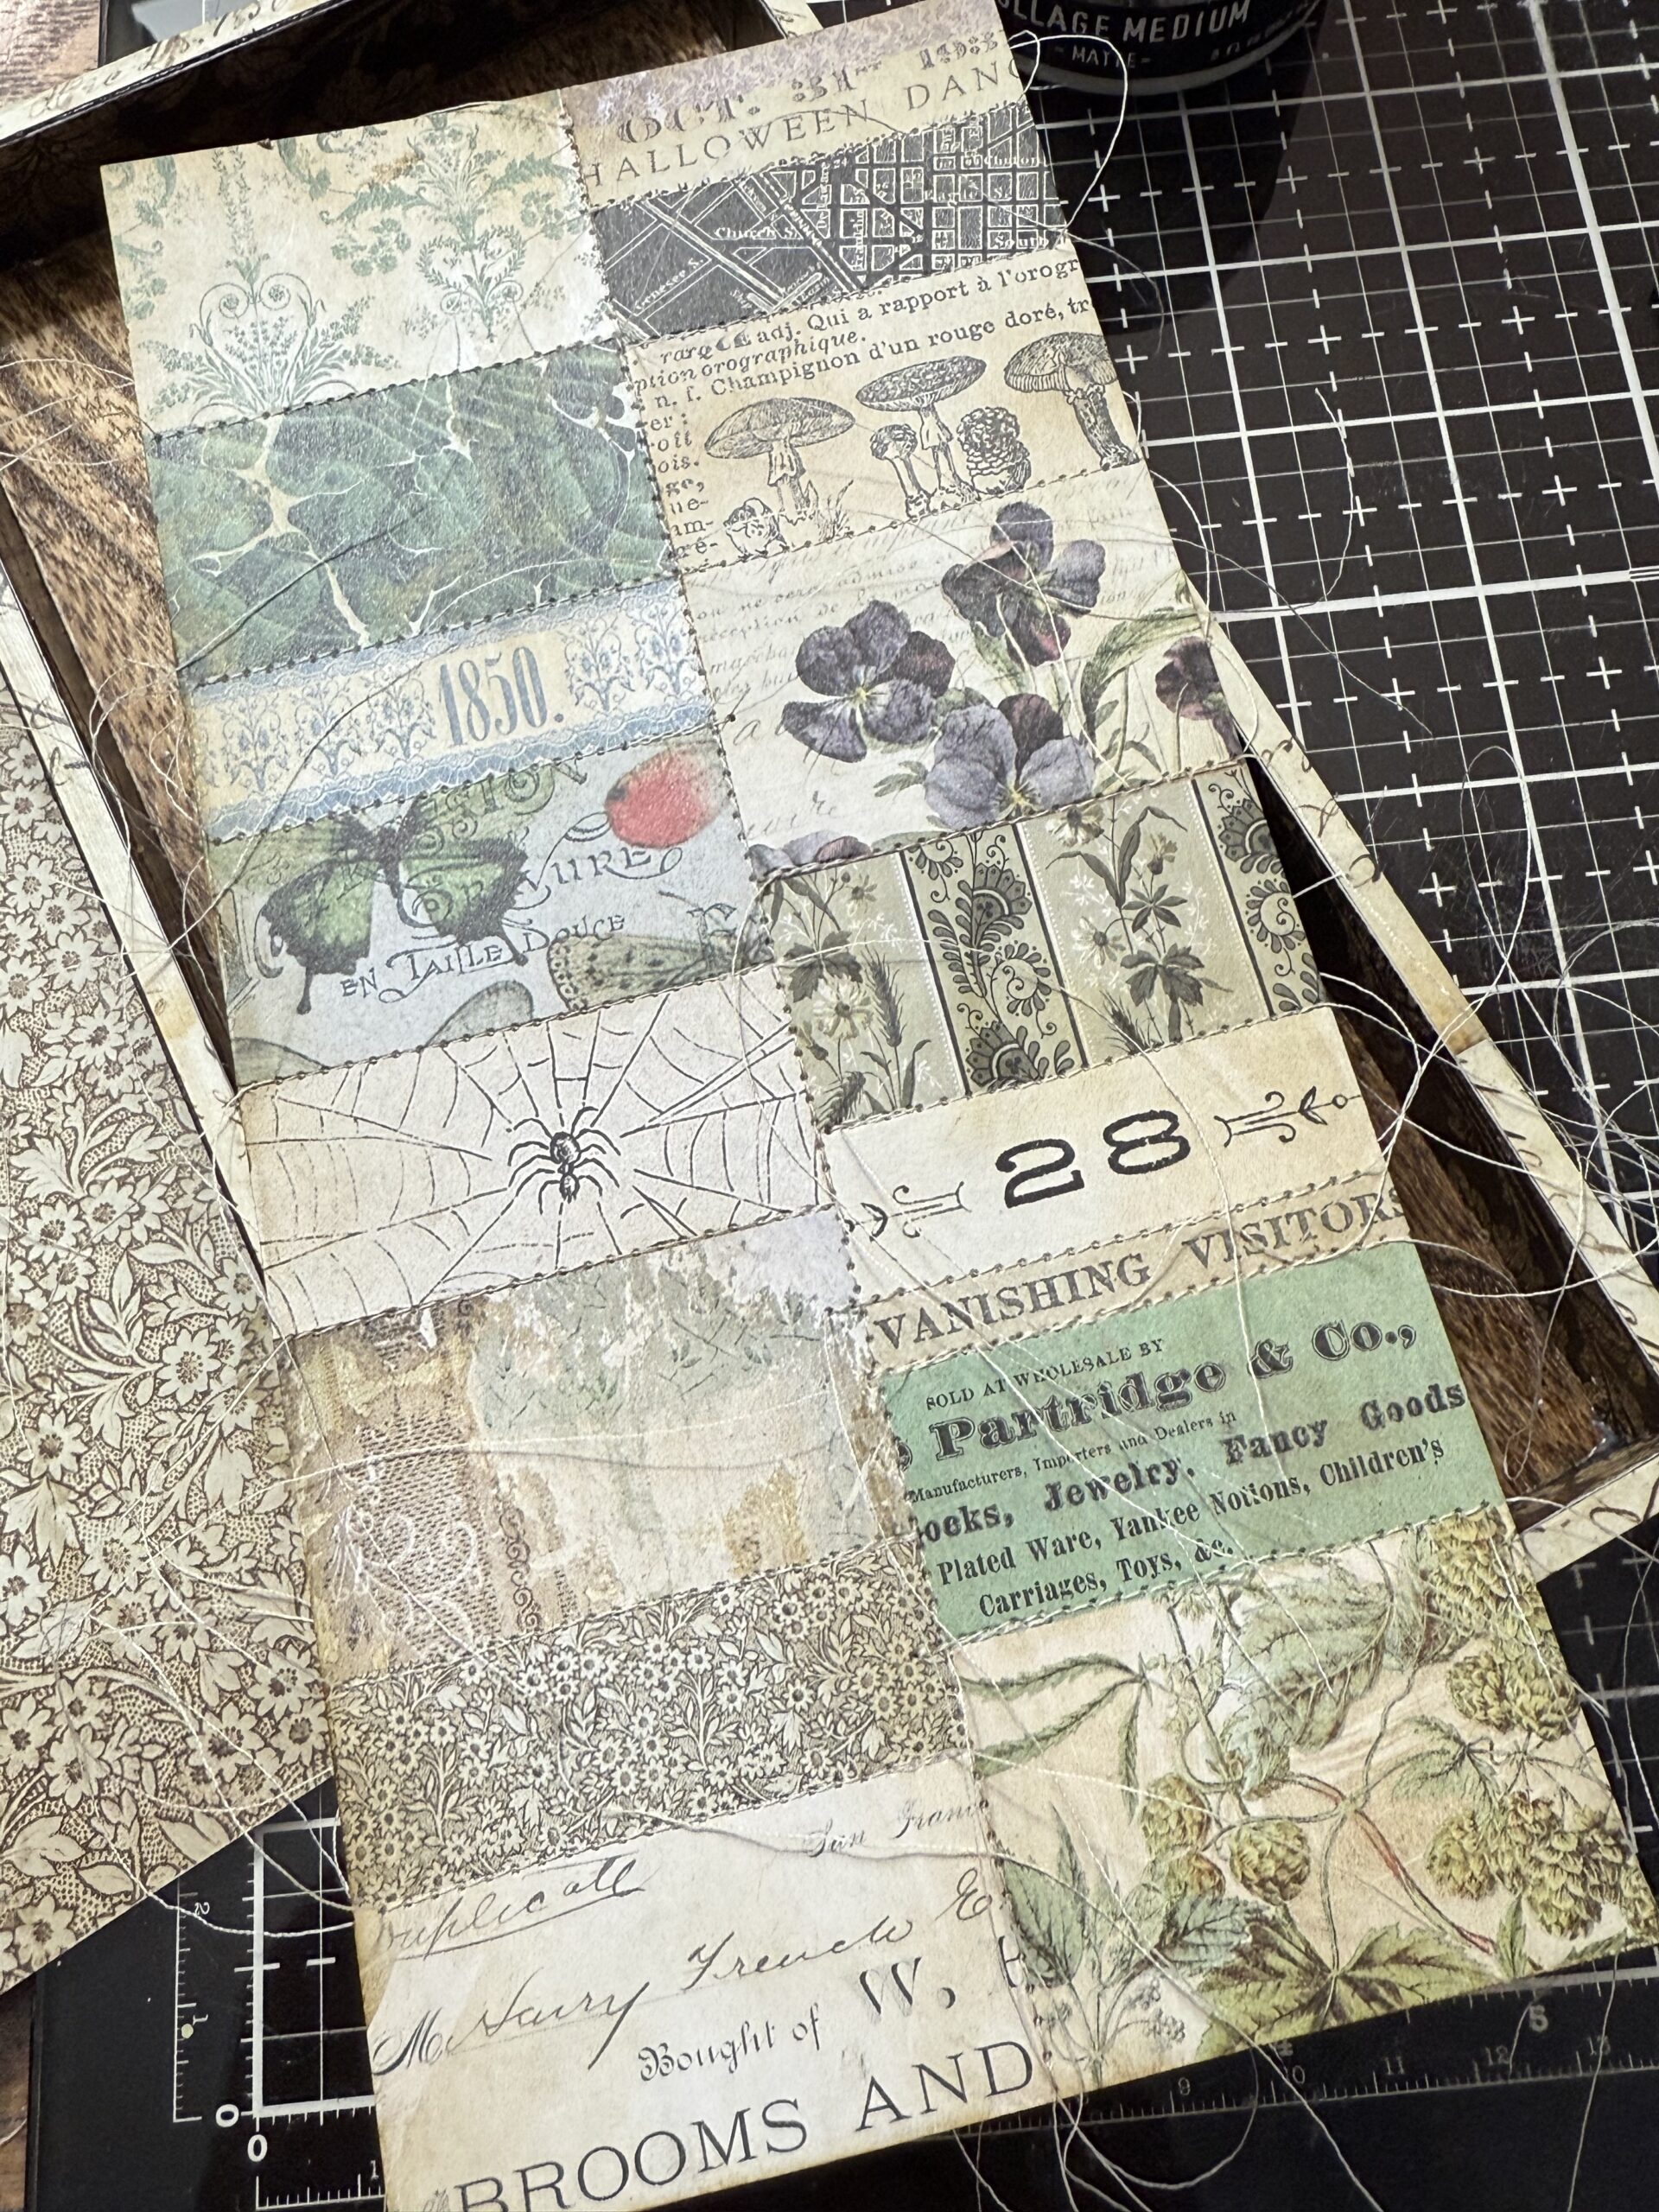
You can see in the photo below how the tied threads came together. I tucked the phrases under and through some of the threads, then adhered them in place using collage medium.

For the front centerpiece, I adorned it with some vintage buttons and the “spellbound” phrase. Using a needle tool, I poked some holes and stitched black thread through the holes giving it a sewn on look.

After the phrases were dry and adhered to the front of the background paper, I used a needle tool and punched holes through them. I then stitched randomly some messy stitches, again wanting to give it the look that they were sewn on…
I added some buttons to a few of the phrases by hot glueing them into place.

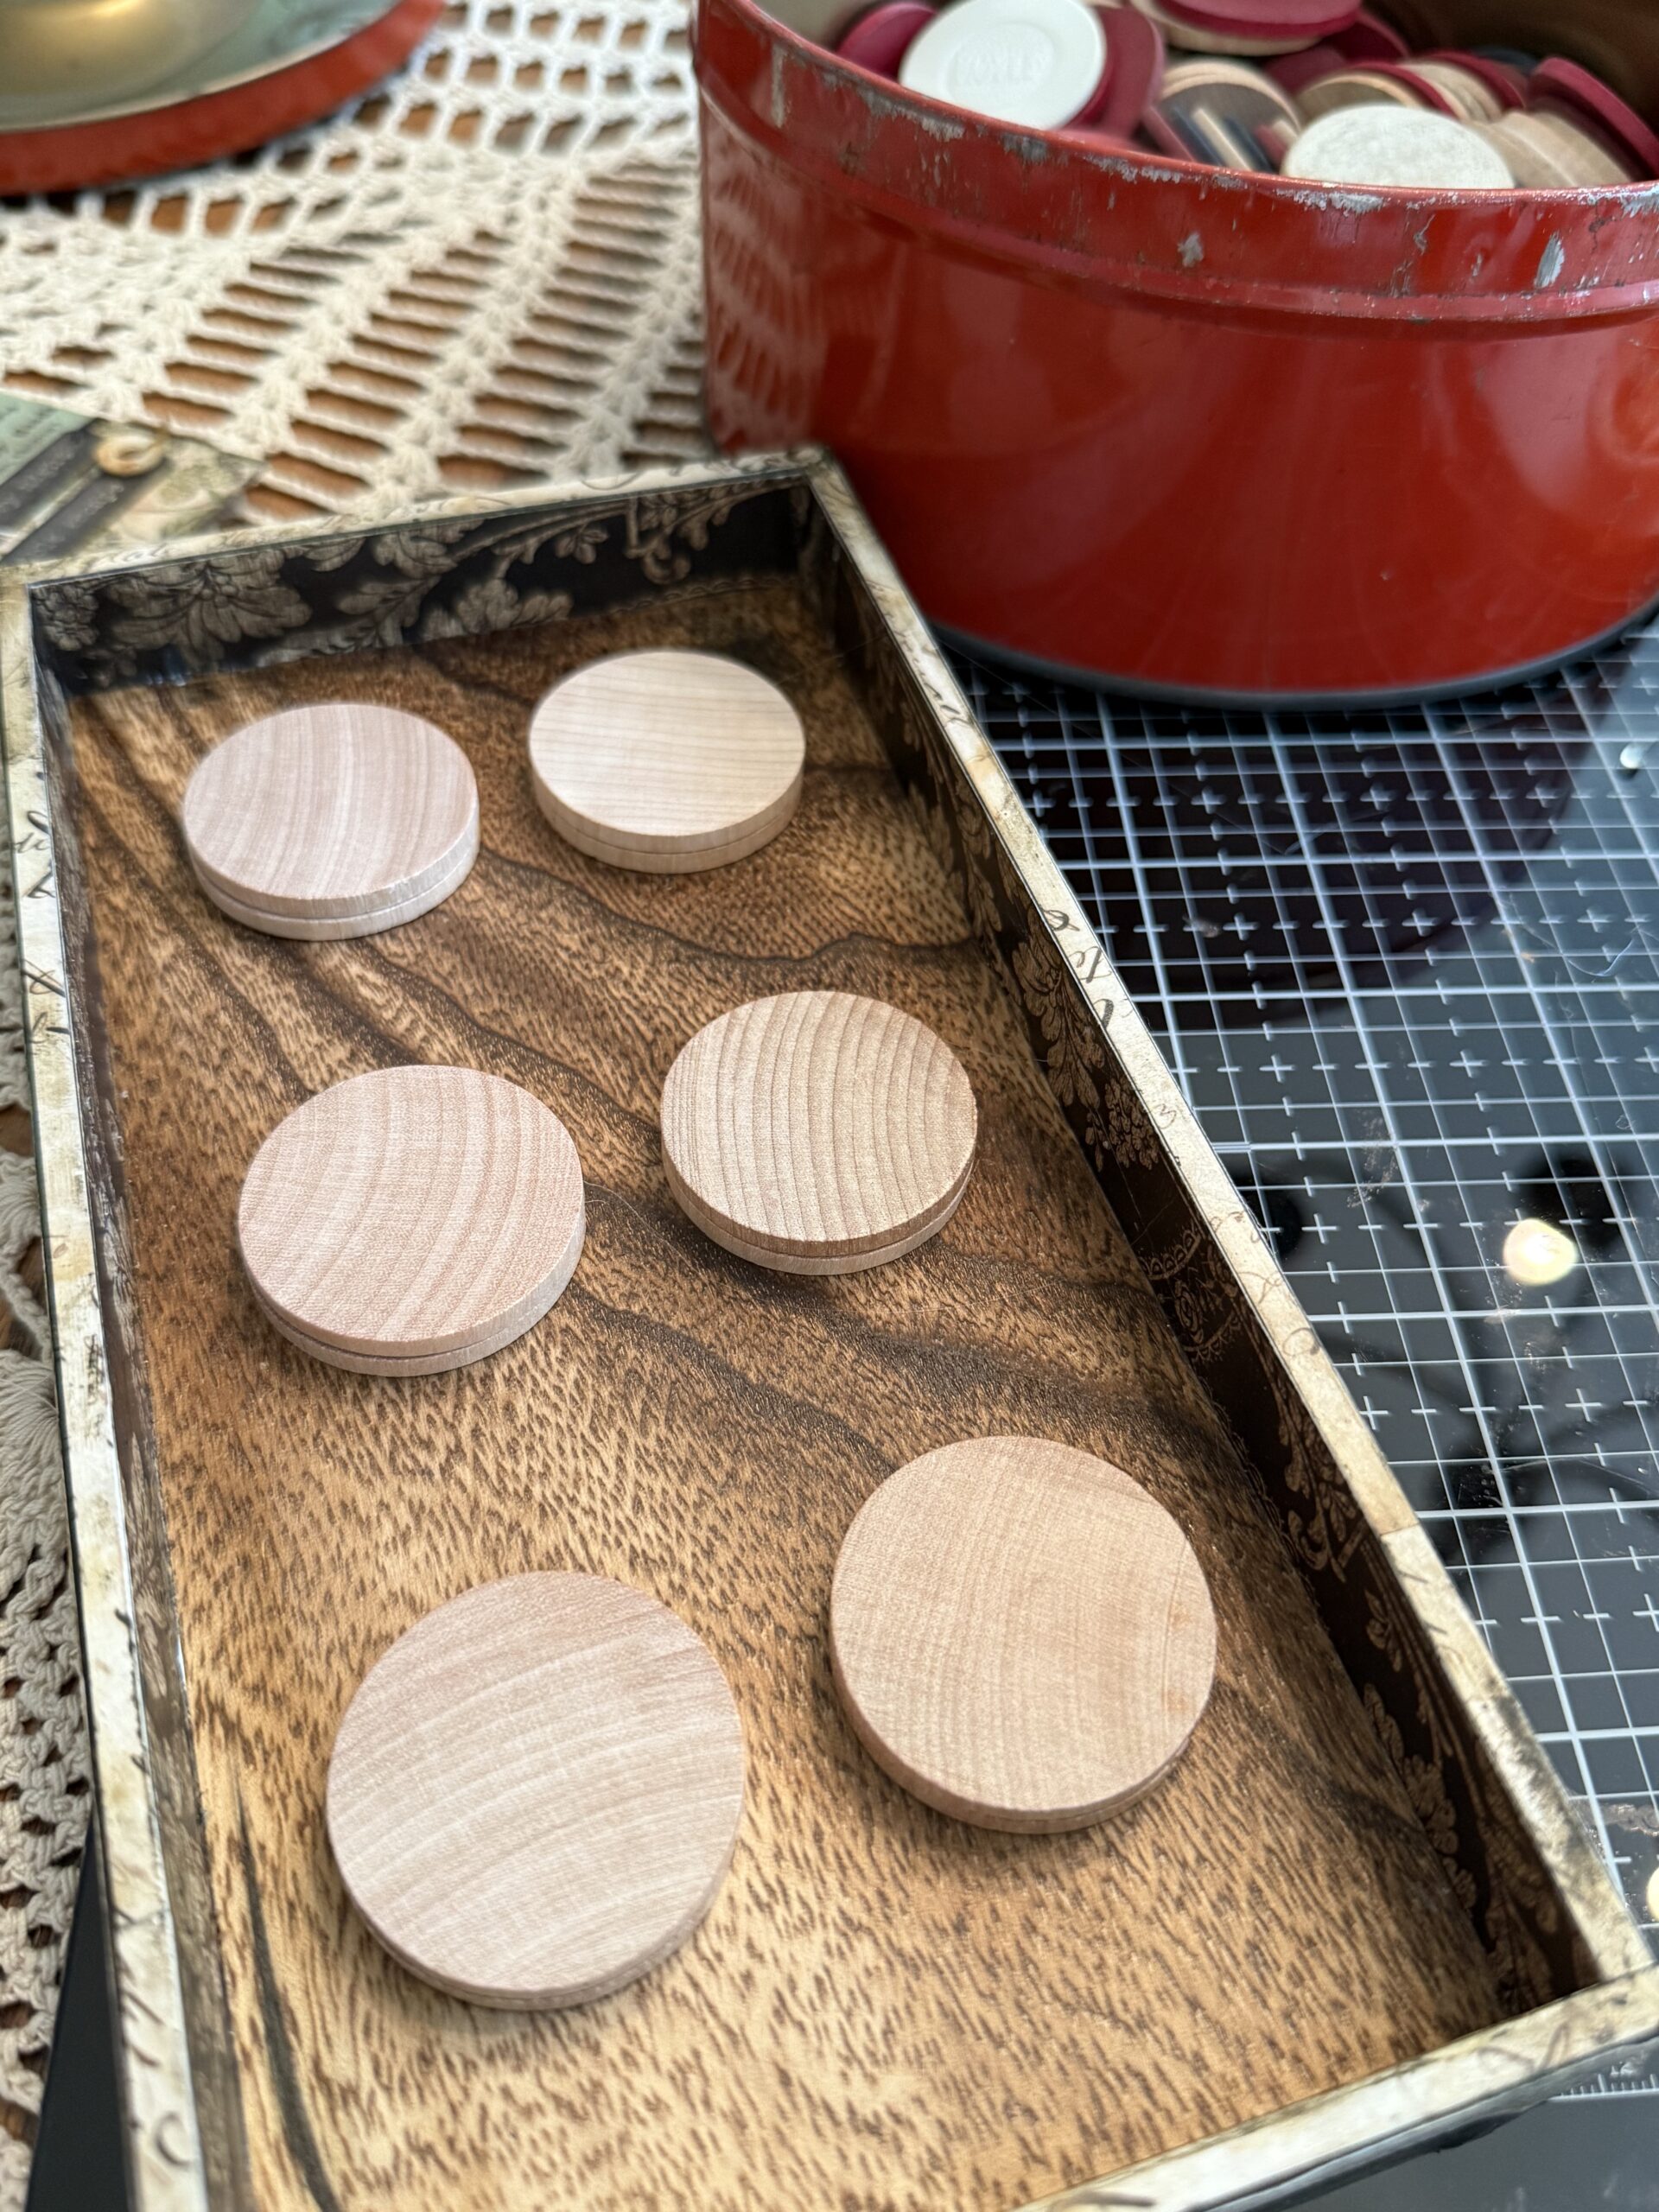
I added some old poker chips (doubled up) to add depth to the vignette by adhering them inside the vignette using hot glue, then adhered the sewn background on top of the poker chips.
Then, I added the front centerpiece to the front. I added a single layer of poker chips behind the centerpiece. This was adhered to the background using hot glue as well. With that, my project was complete.
Thanks so much for stopping by today! I hope you enjoyed the process of the project.
I appreciate you stopping by to check it out!
Creatively yours, Stacy
Shop Simon Says Stamp by clicking on this link. Thank you! I appreciate you for supporting me.
What is an affiliate program, and why should I click on the link and buy through you?
When you shop via the affiliate link on this blog, I receive a small commission from the affiliate provider (Simon Says Stamp) at no extra cost to you, whatsoever. These commissions help me to cover the hosting fees and other costs to run my blog and be able to provide you with FREE inspiration. If you shop the links, THANK YOU! I truly appreciate being able to share my love of creating with you.


Leave a Reply