Hello friends!
How are we only a couple weeks away from Halloween? It is one of my favorite holidays to make for and I have made so many fun projects using the new and old Tim Holtz Halloween and Christmas releases.
Today, I am back with you to share a project that I made using both Halloween and Christmas…I love when the two holidays combine to make something “Nightmare before Christmas” inspired with a touch of vintage…a Halloween wreath. You might notice that it is very similar to the wreath that I made for the Tim Holtz idea-ology Christmas release. I knew as soon as I made the Christmas one, I had the thought to make a Halloween inspired one as well. So, that time has come and I just love how it turned out!
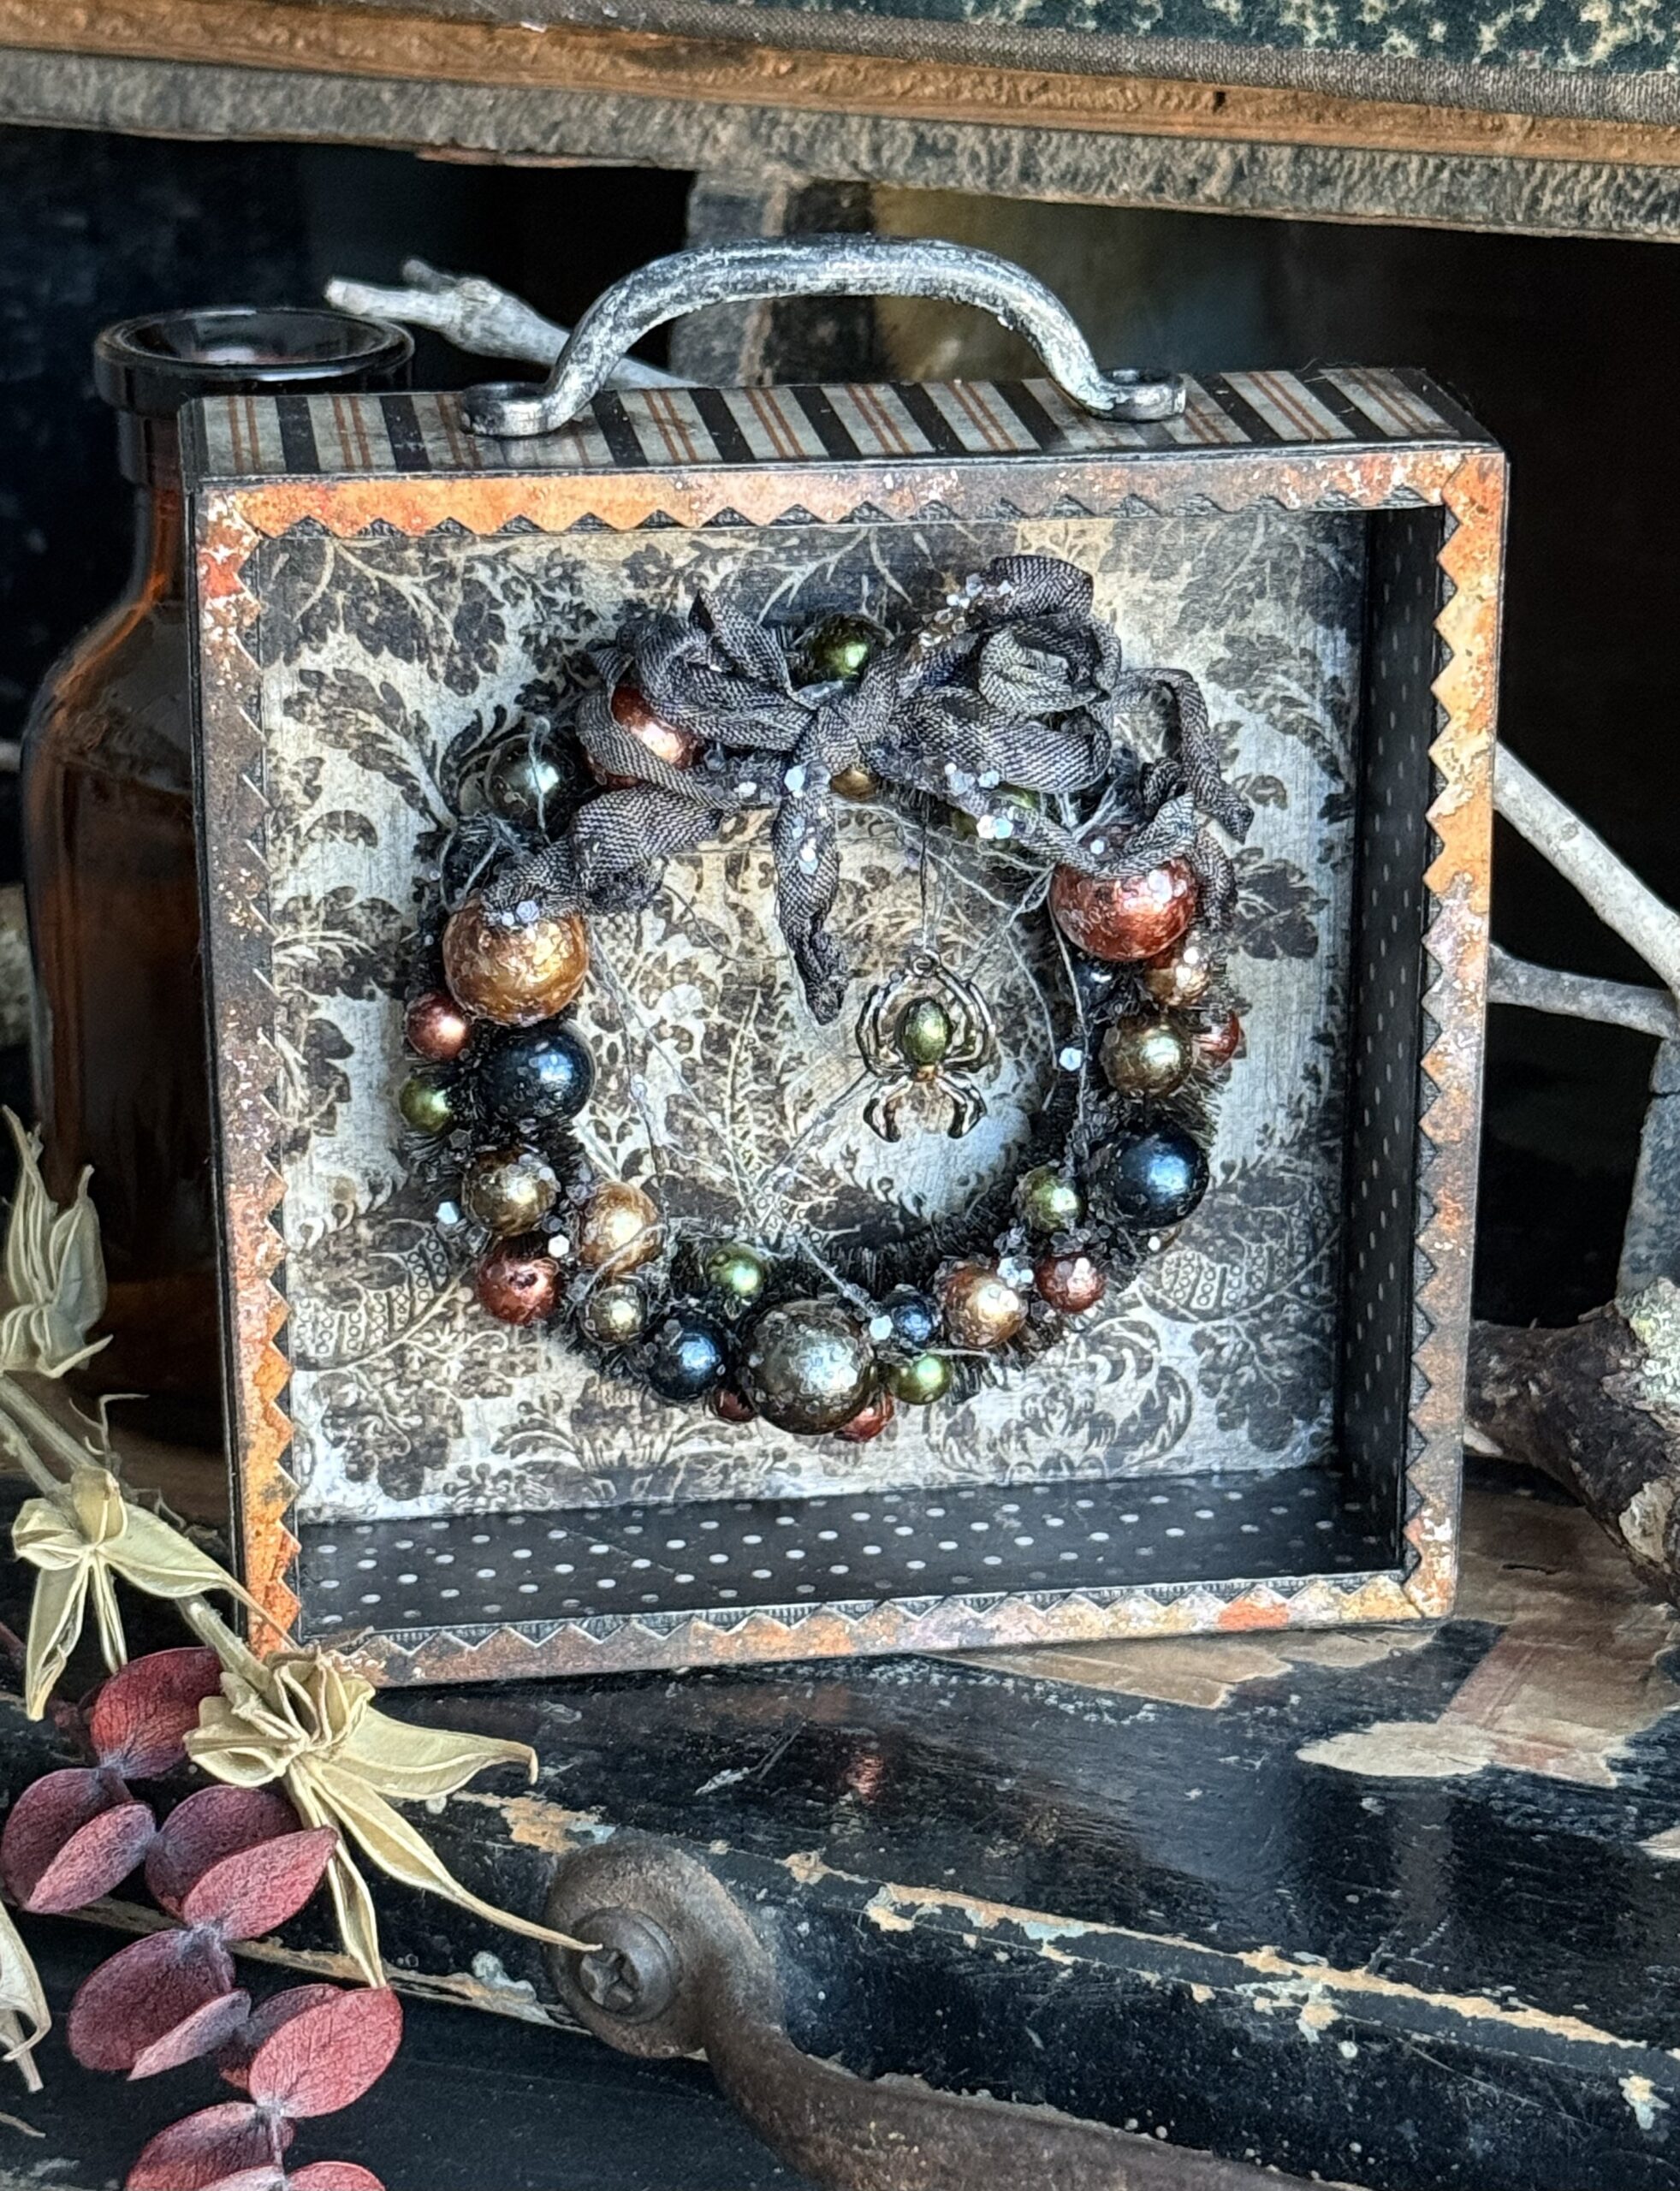
It uses the idea-ology Christmas Baubles and Woodlands Garland along with some idea-ology Halloween Mummy Cloth strings and a Spider from the Adornments pack.
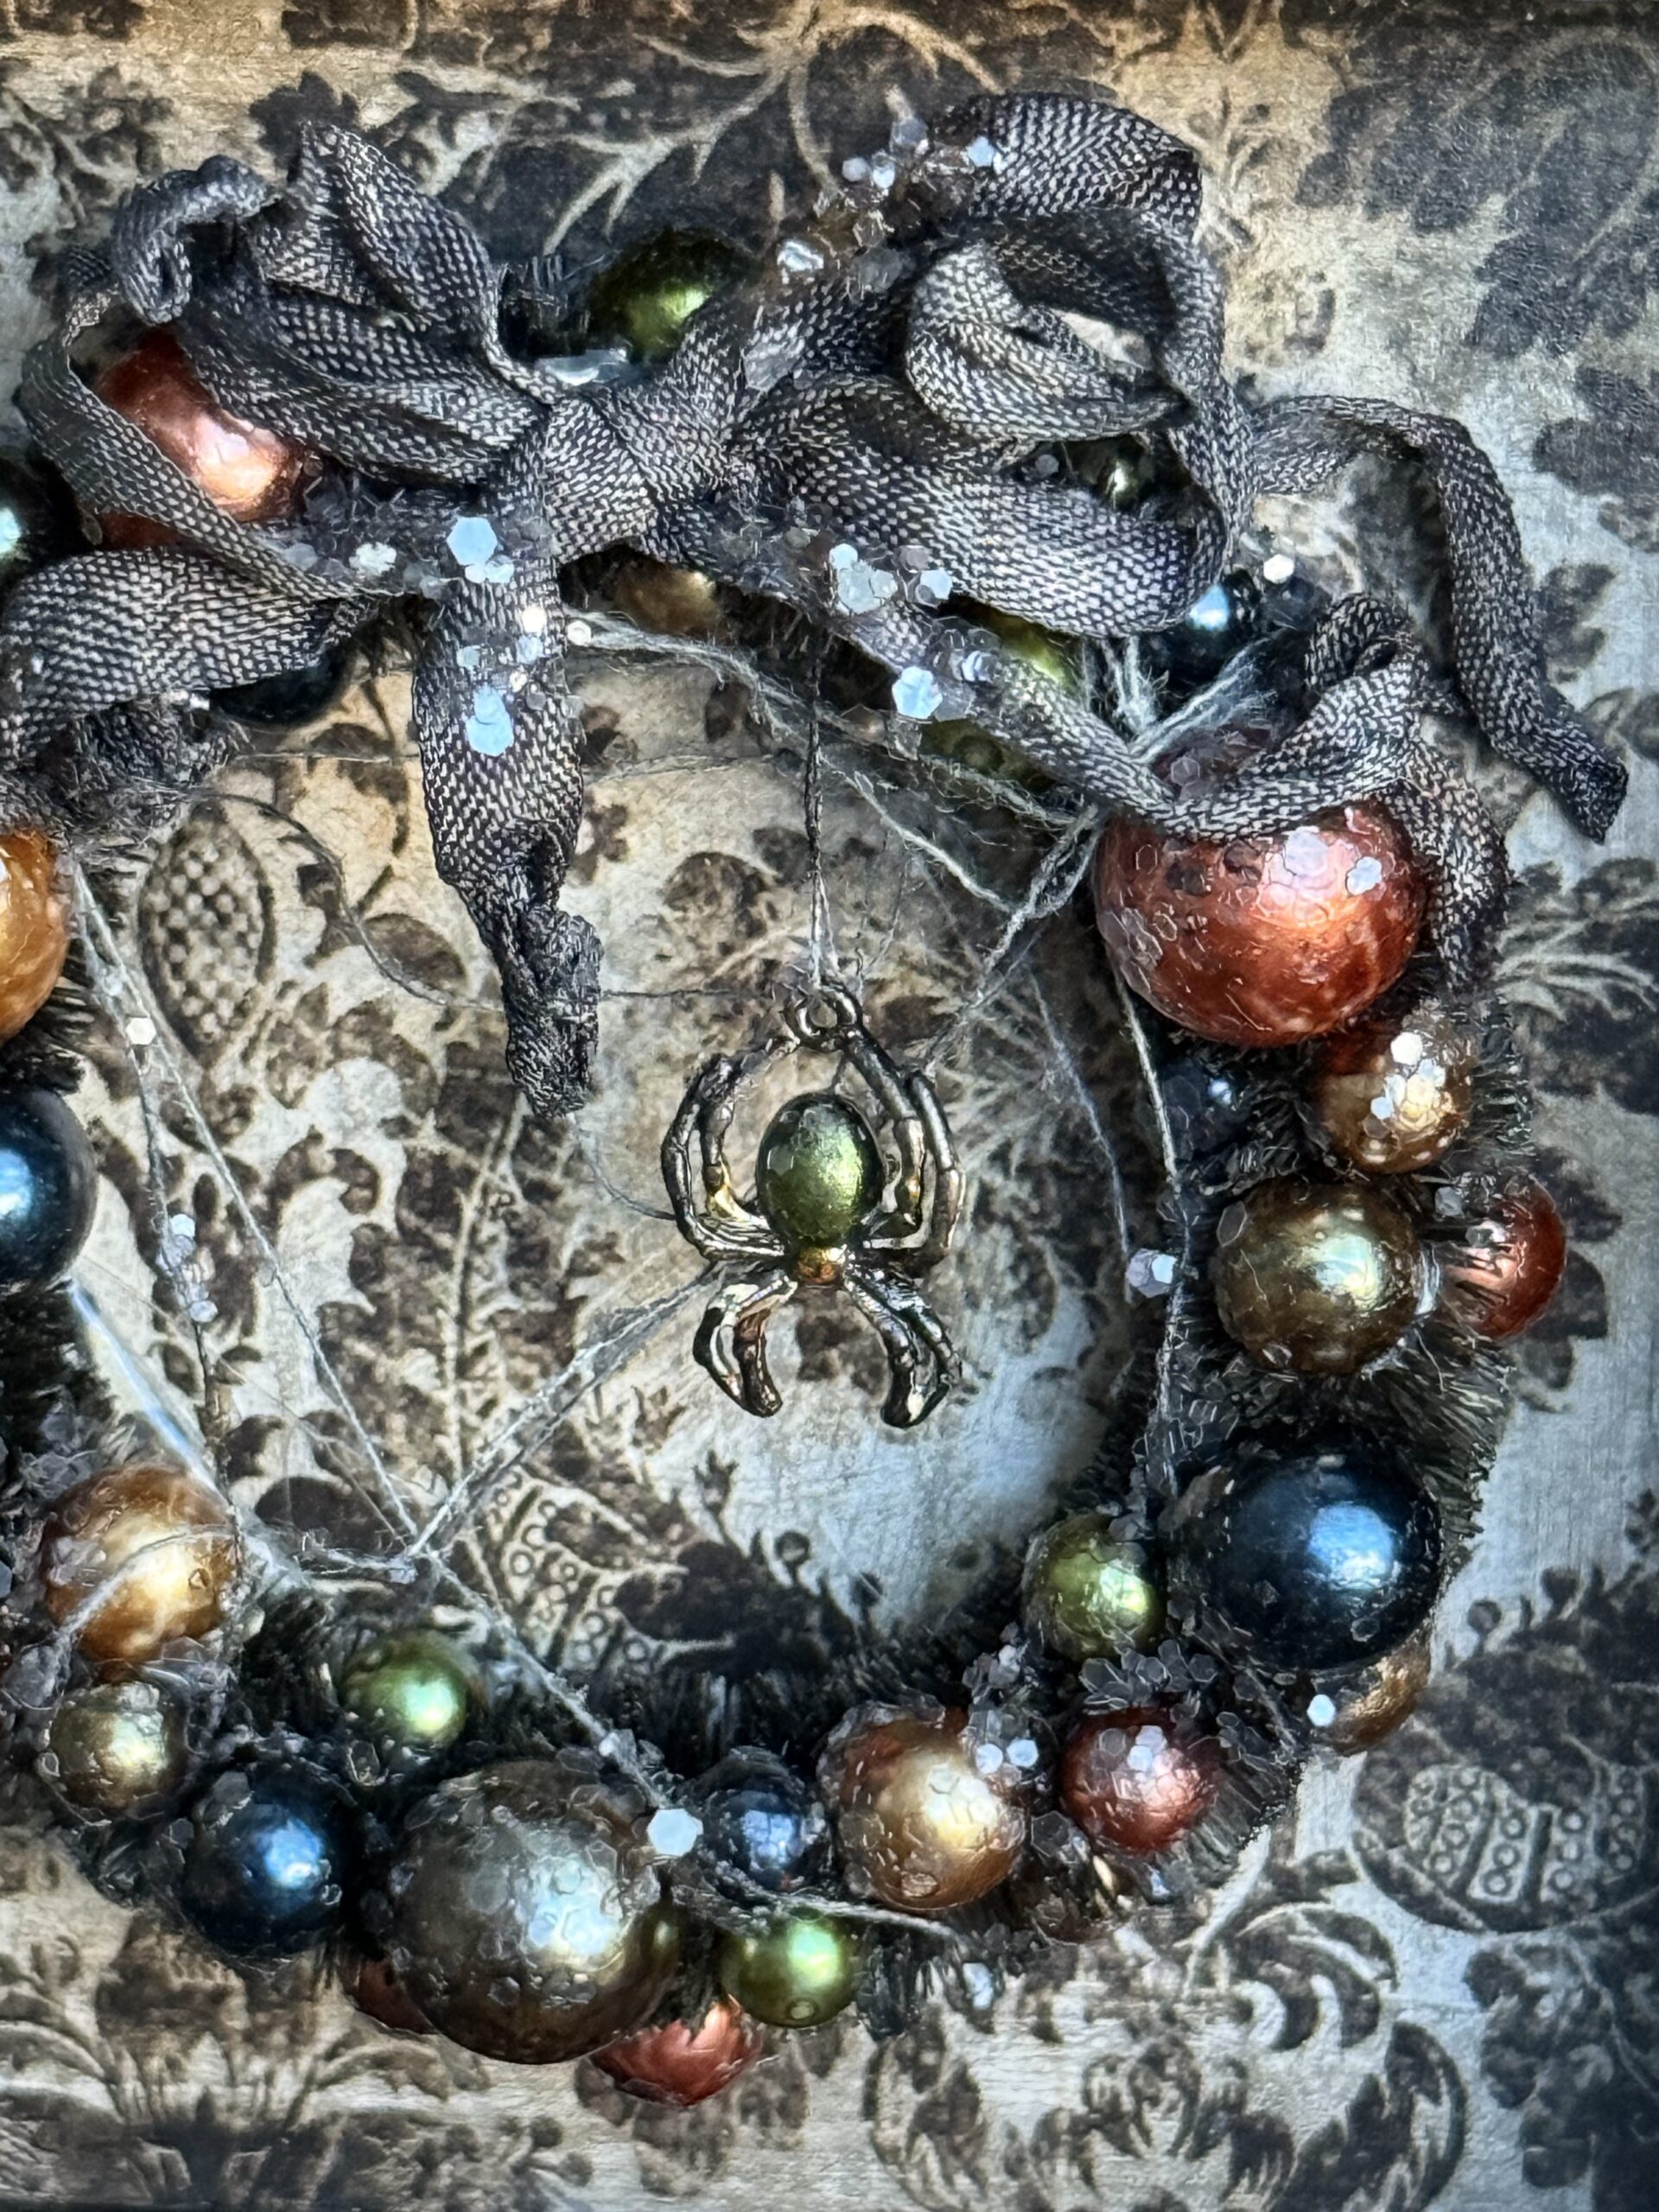
I also used some of my favorite Halloween Backdrops papers. I LOVE the little baubles all dyed into some Halloween colors…they make my vintage halloween heart so happy!
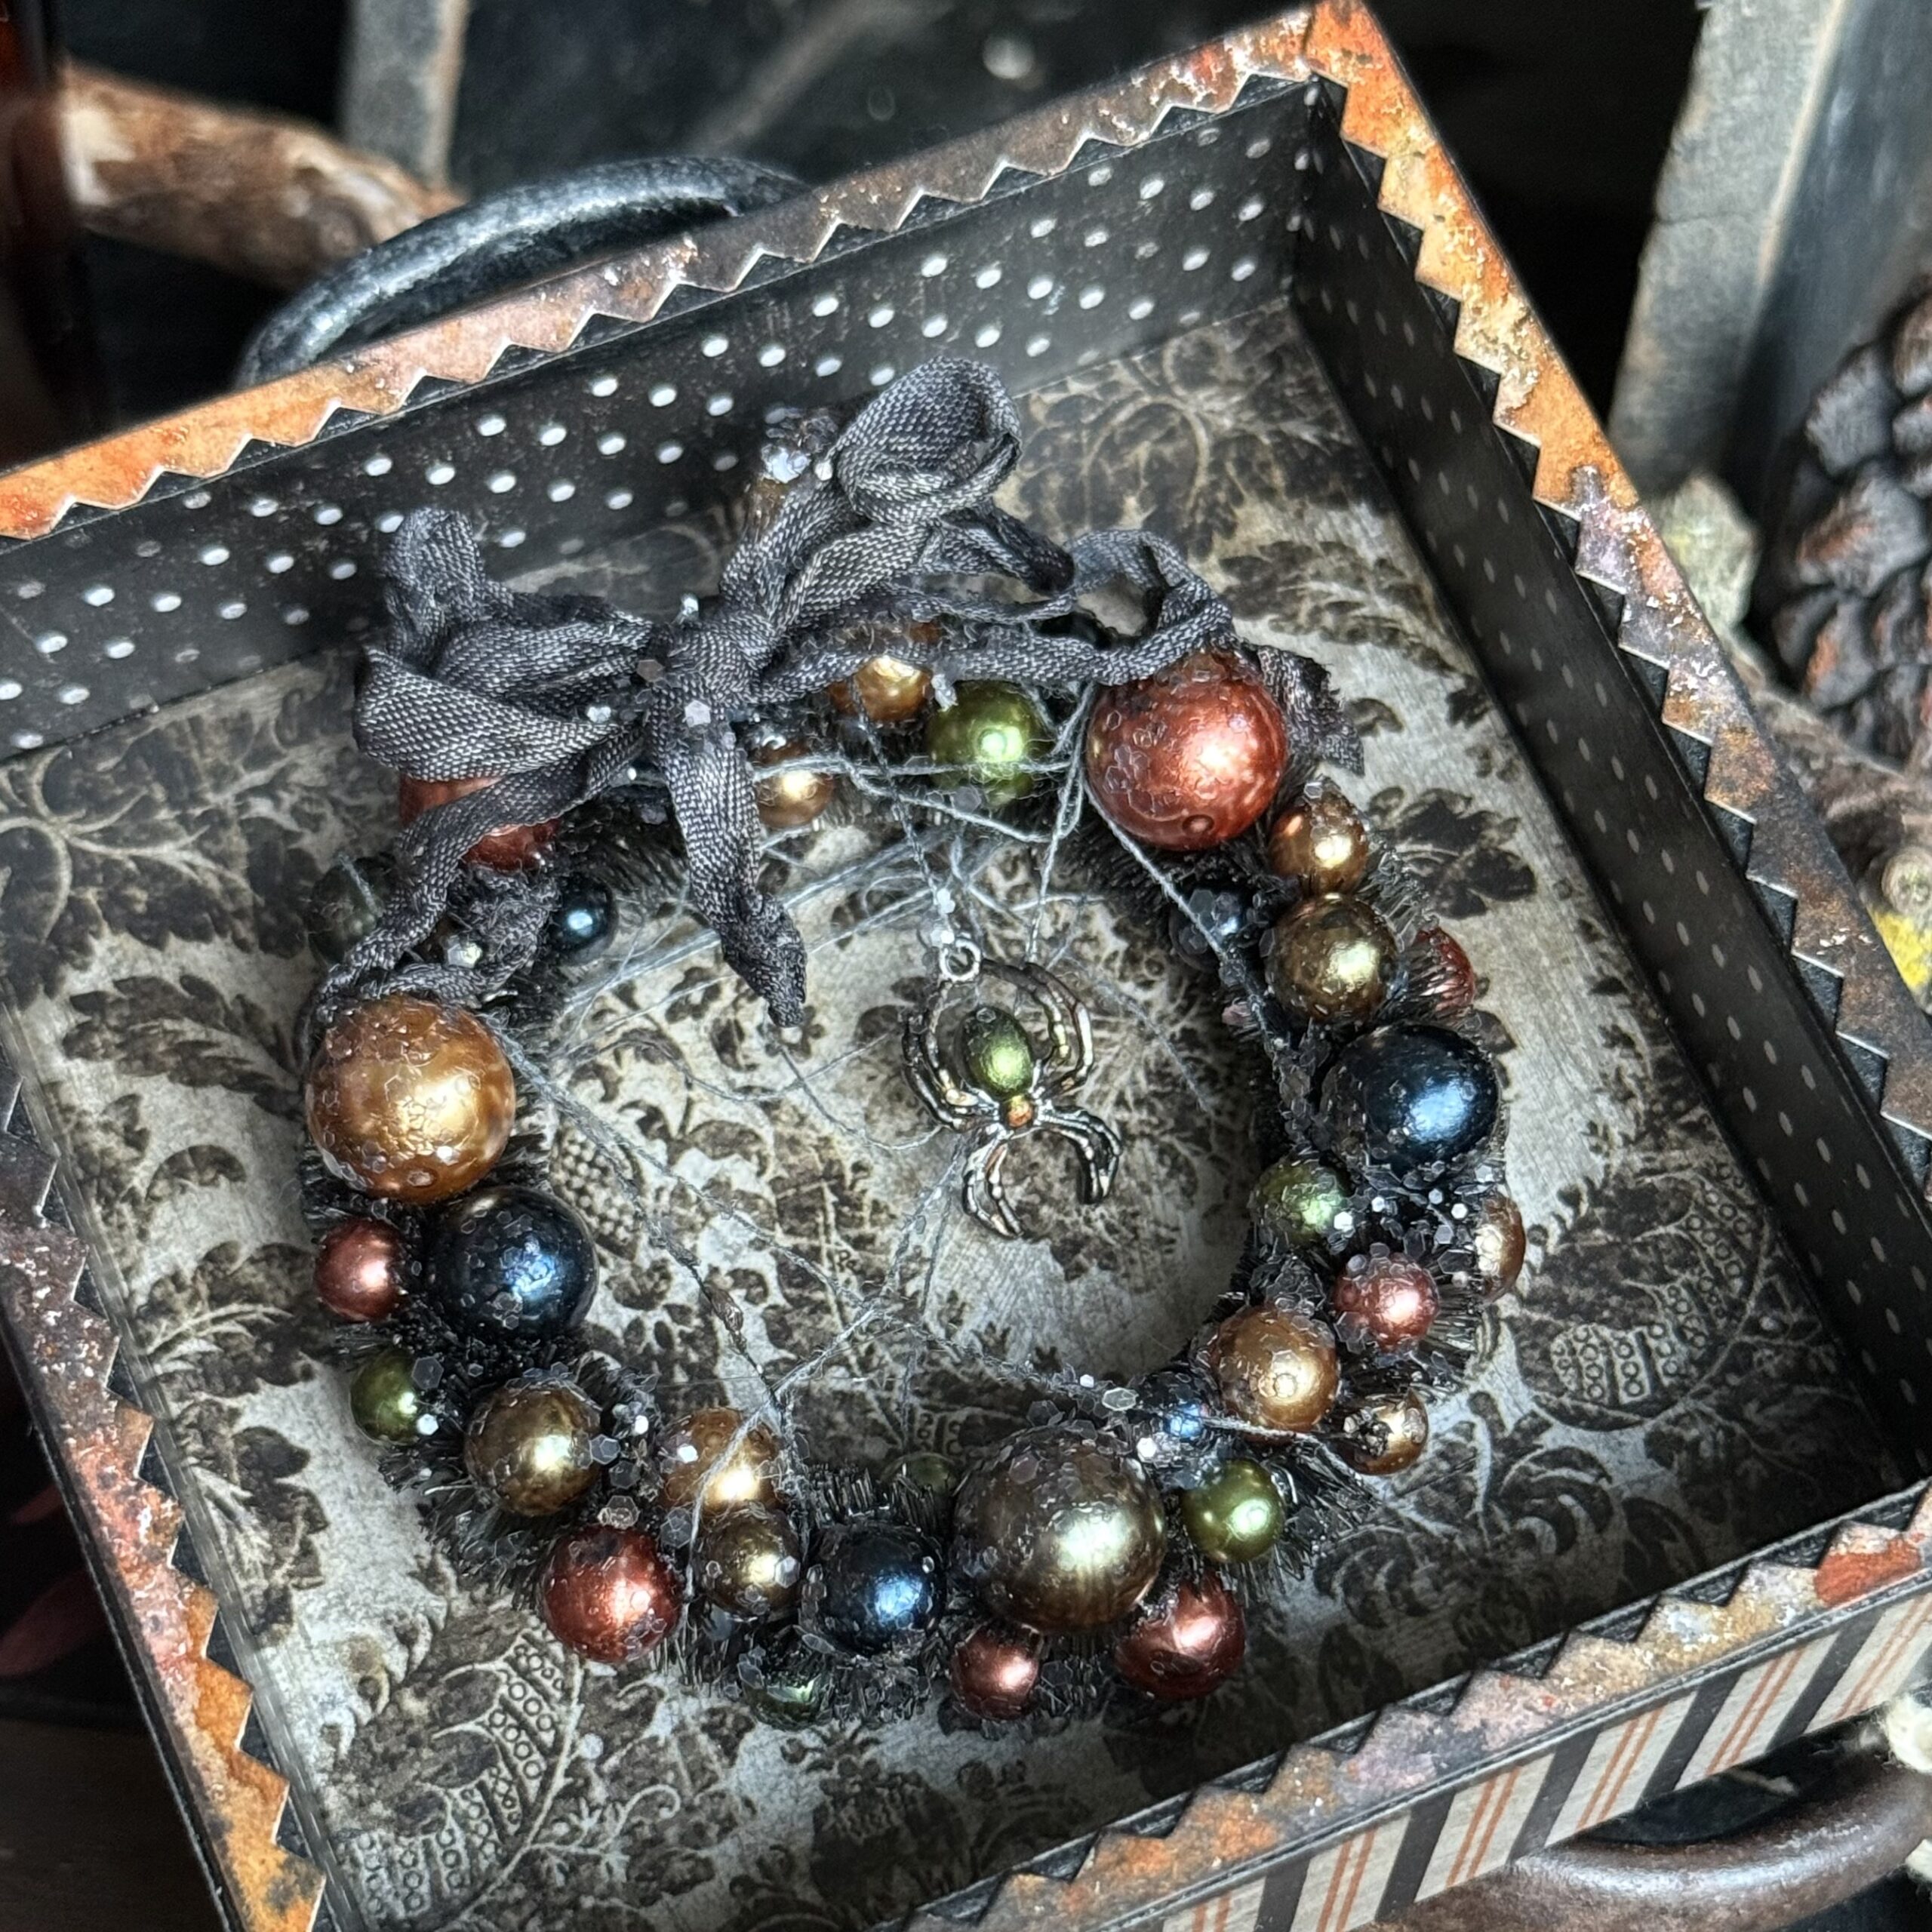
So, let’s get to it…
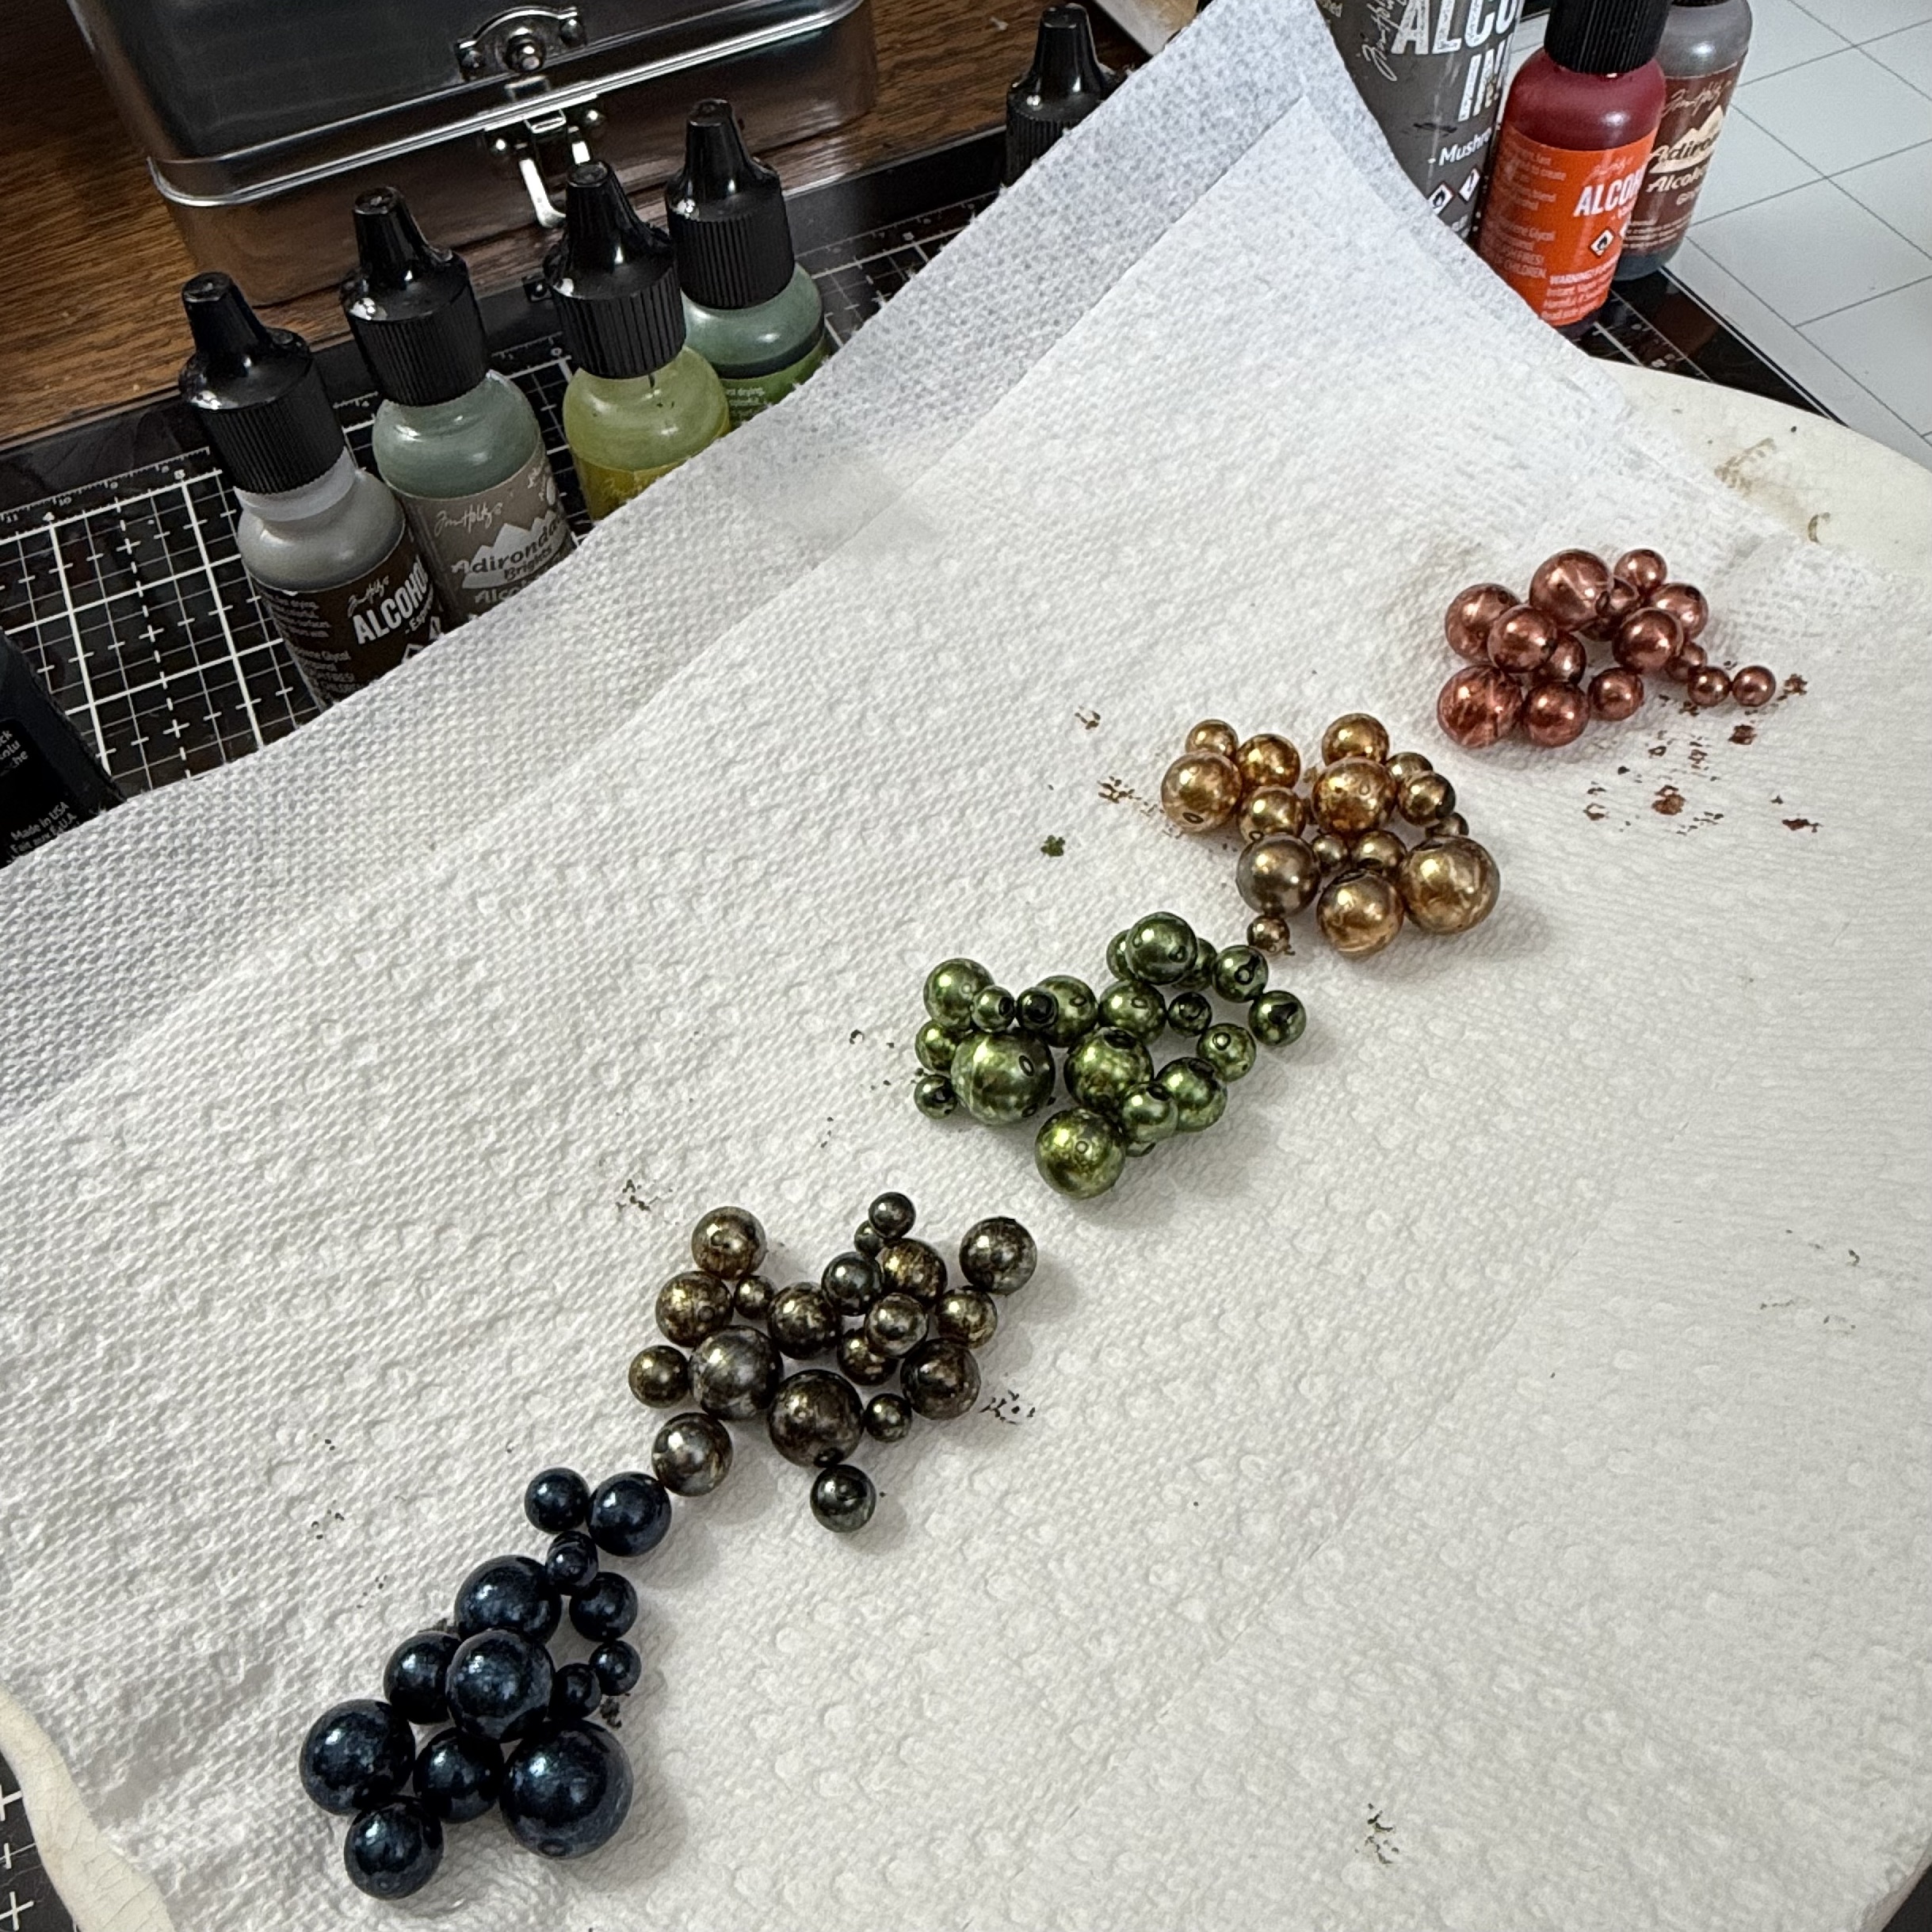
I started by coloring up several baubles with some Alcohol Inks. I did this by using a variety of sizes of baubles that I separated them out into portion cups, then dripped a combination of Alcohol Inks into the cup, snapped on the lid, and spun them around until they were all dyed.
The first was the black combo using Pitch Black and Gravel, then a couple drips of Mushroom Alcohol Ink…the magic grungy hew, and one that I used with all the combos.
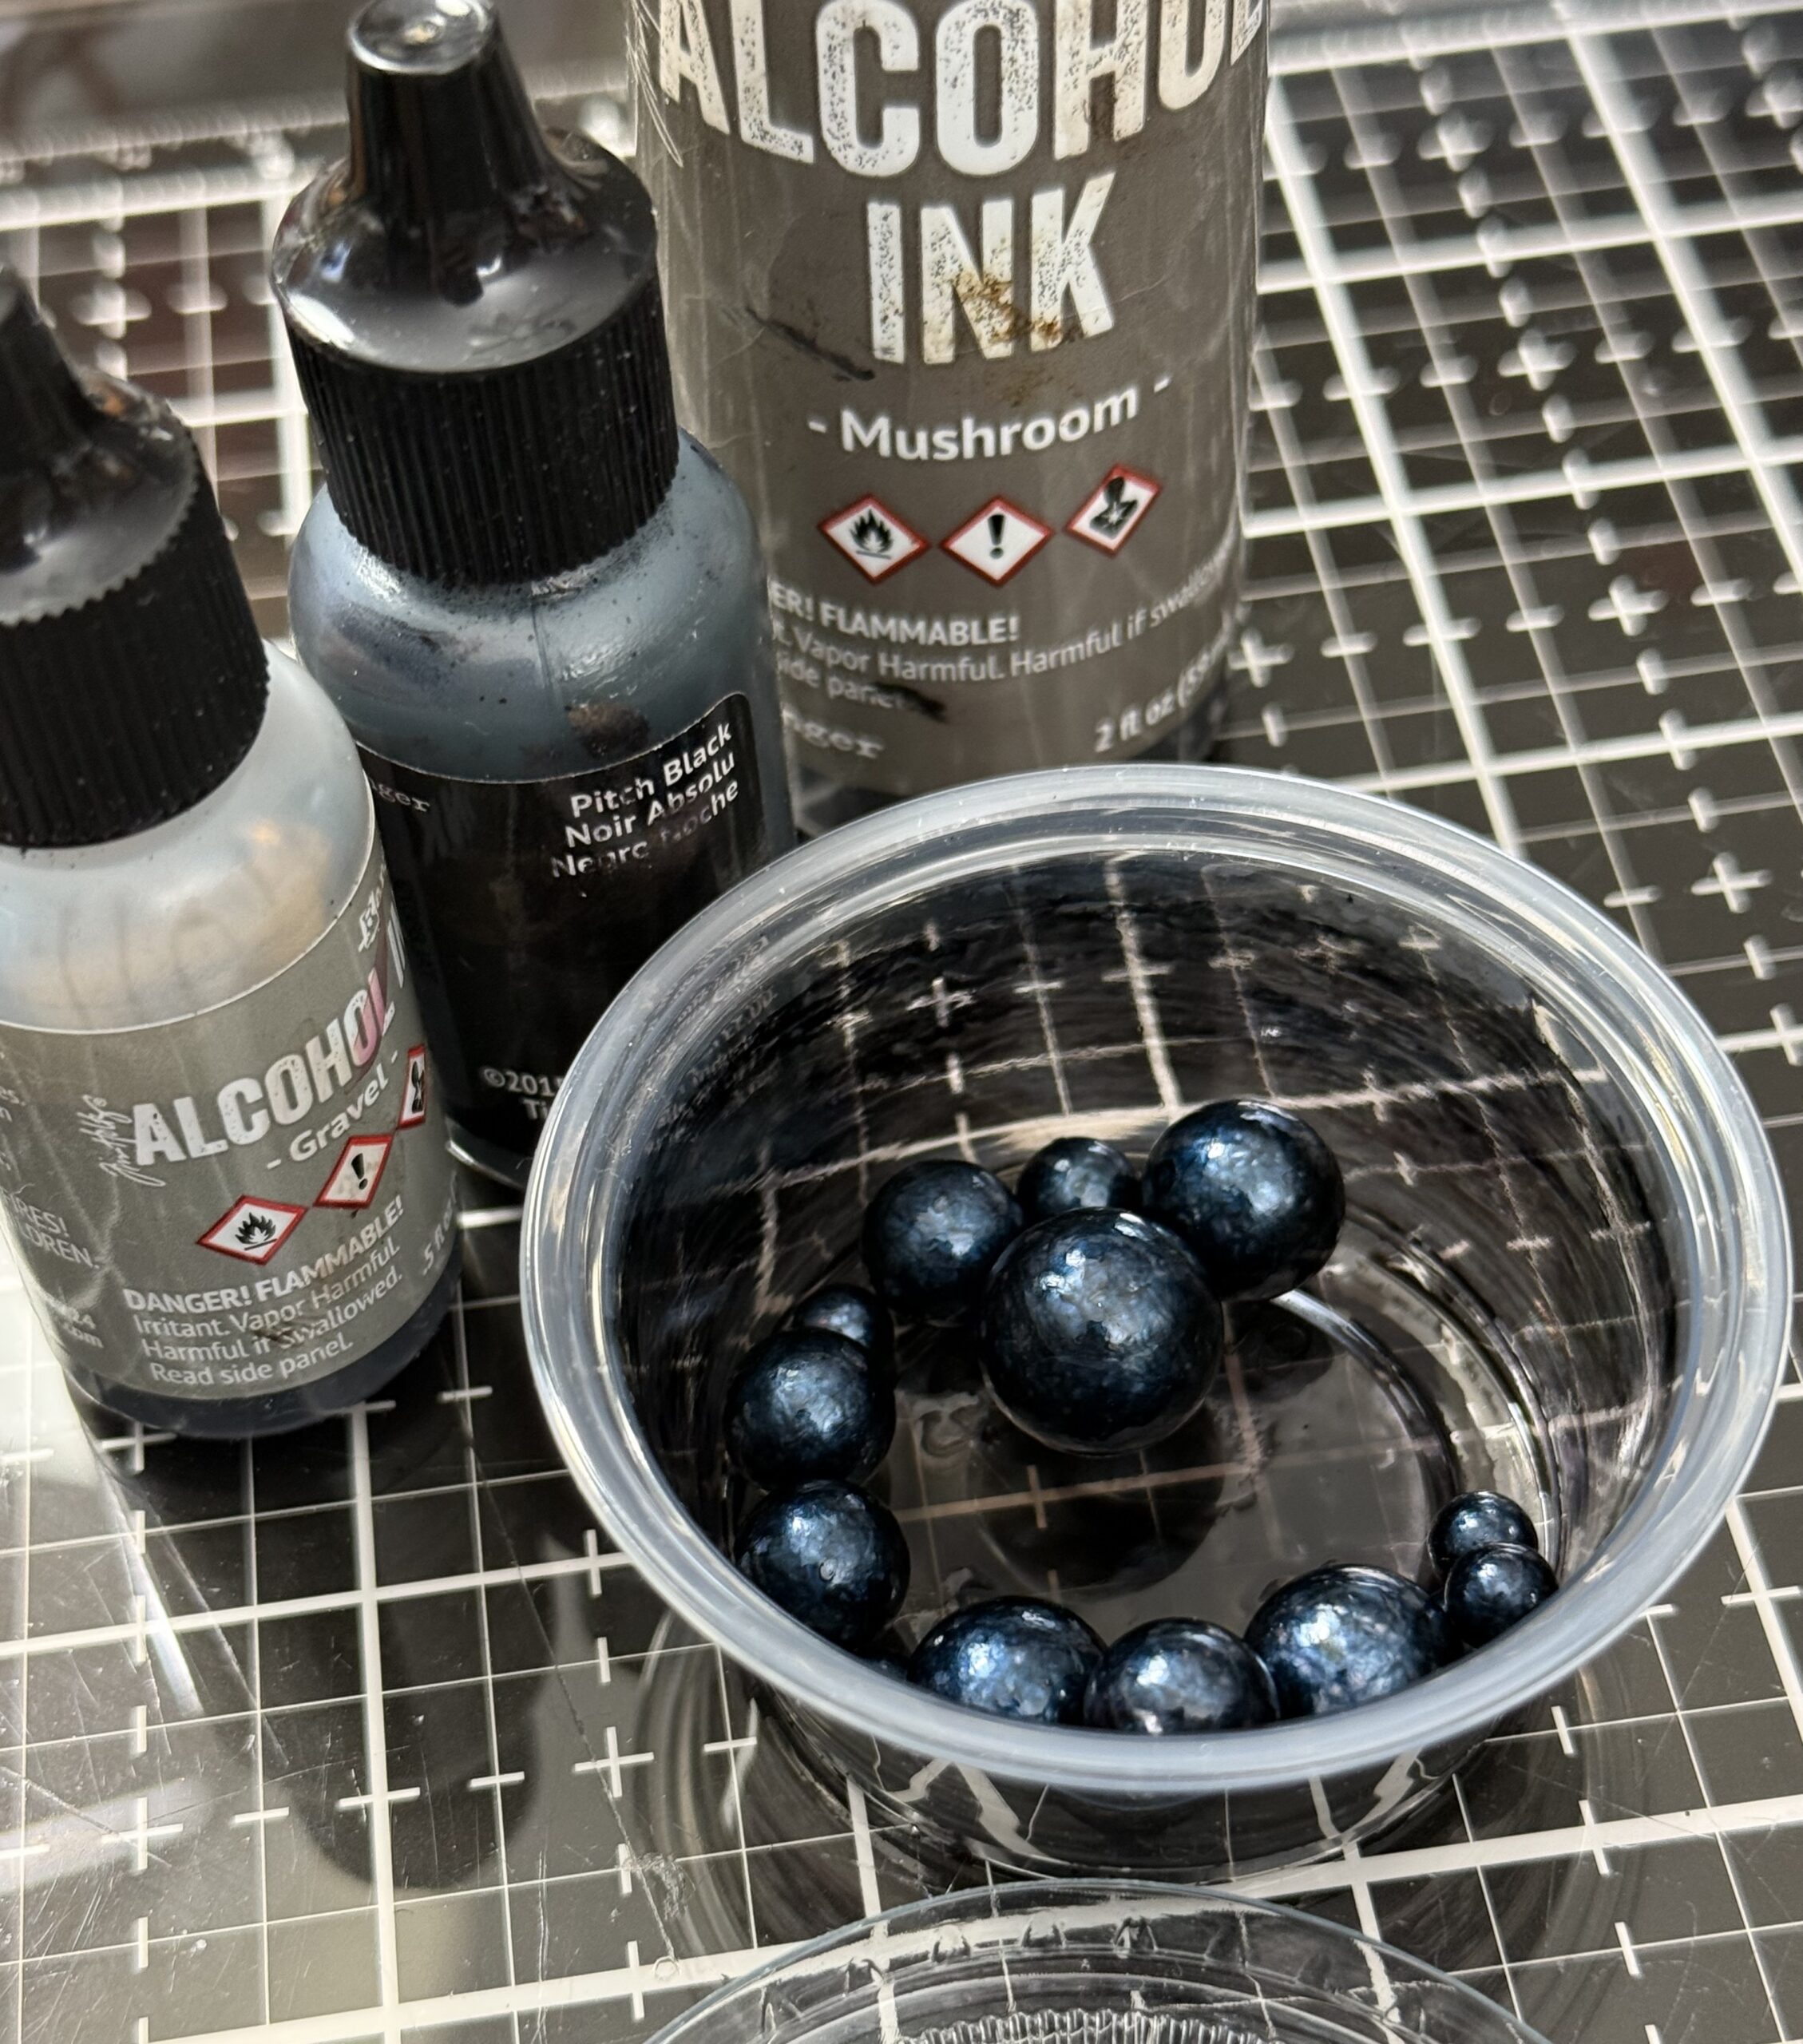
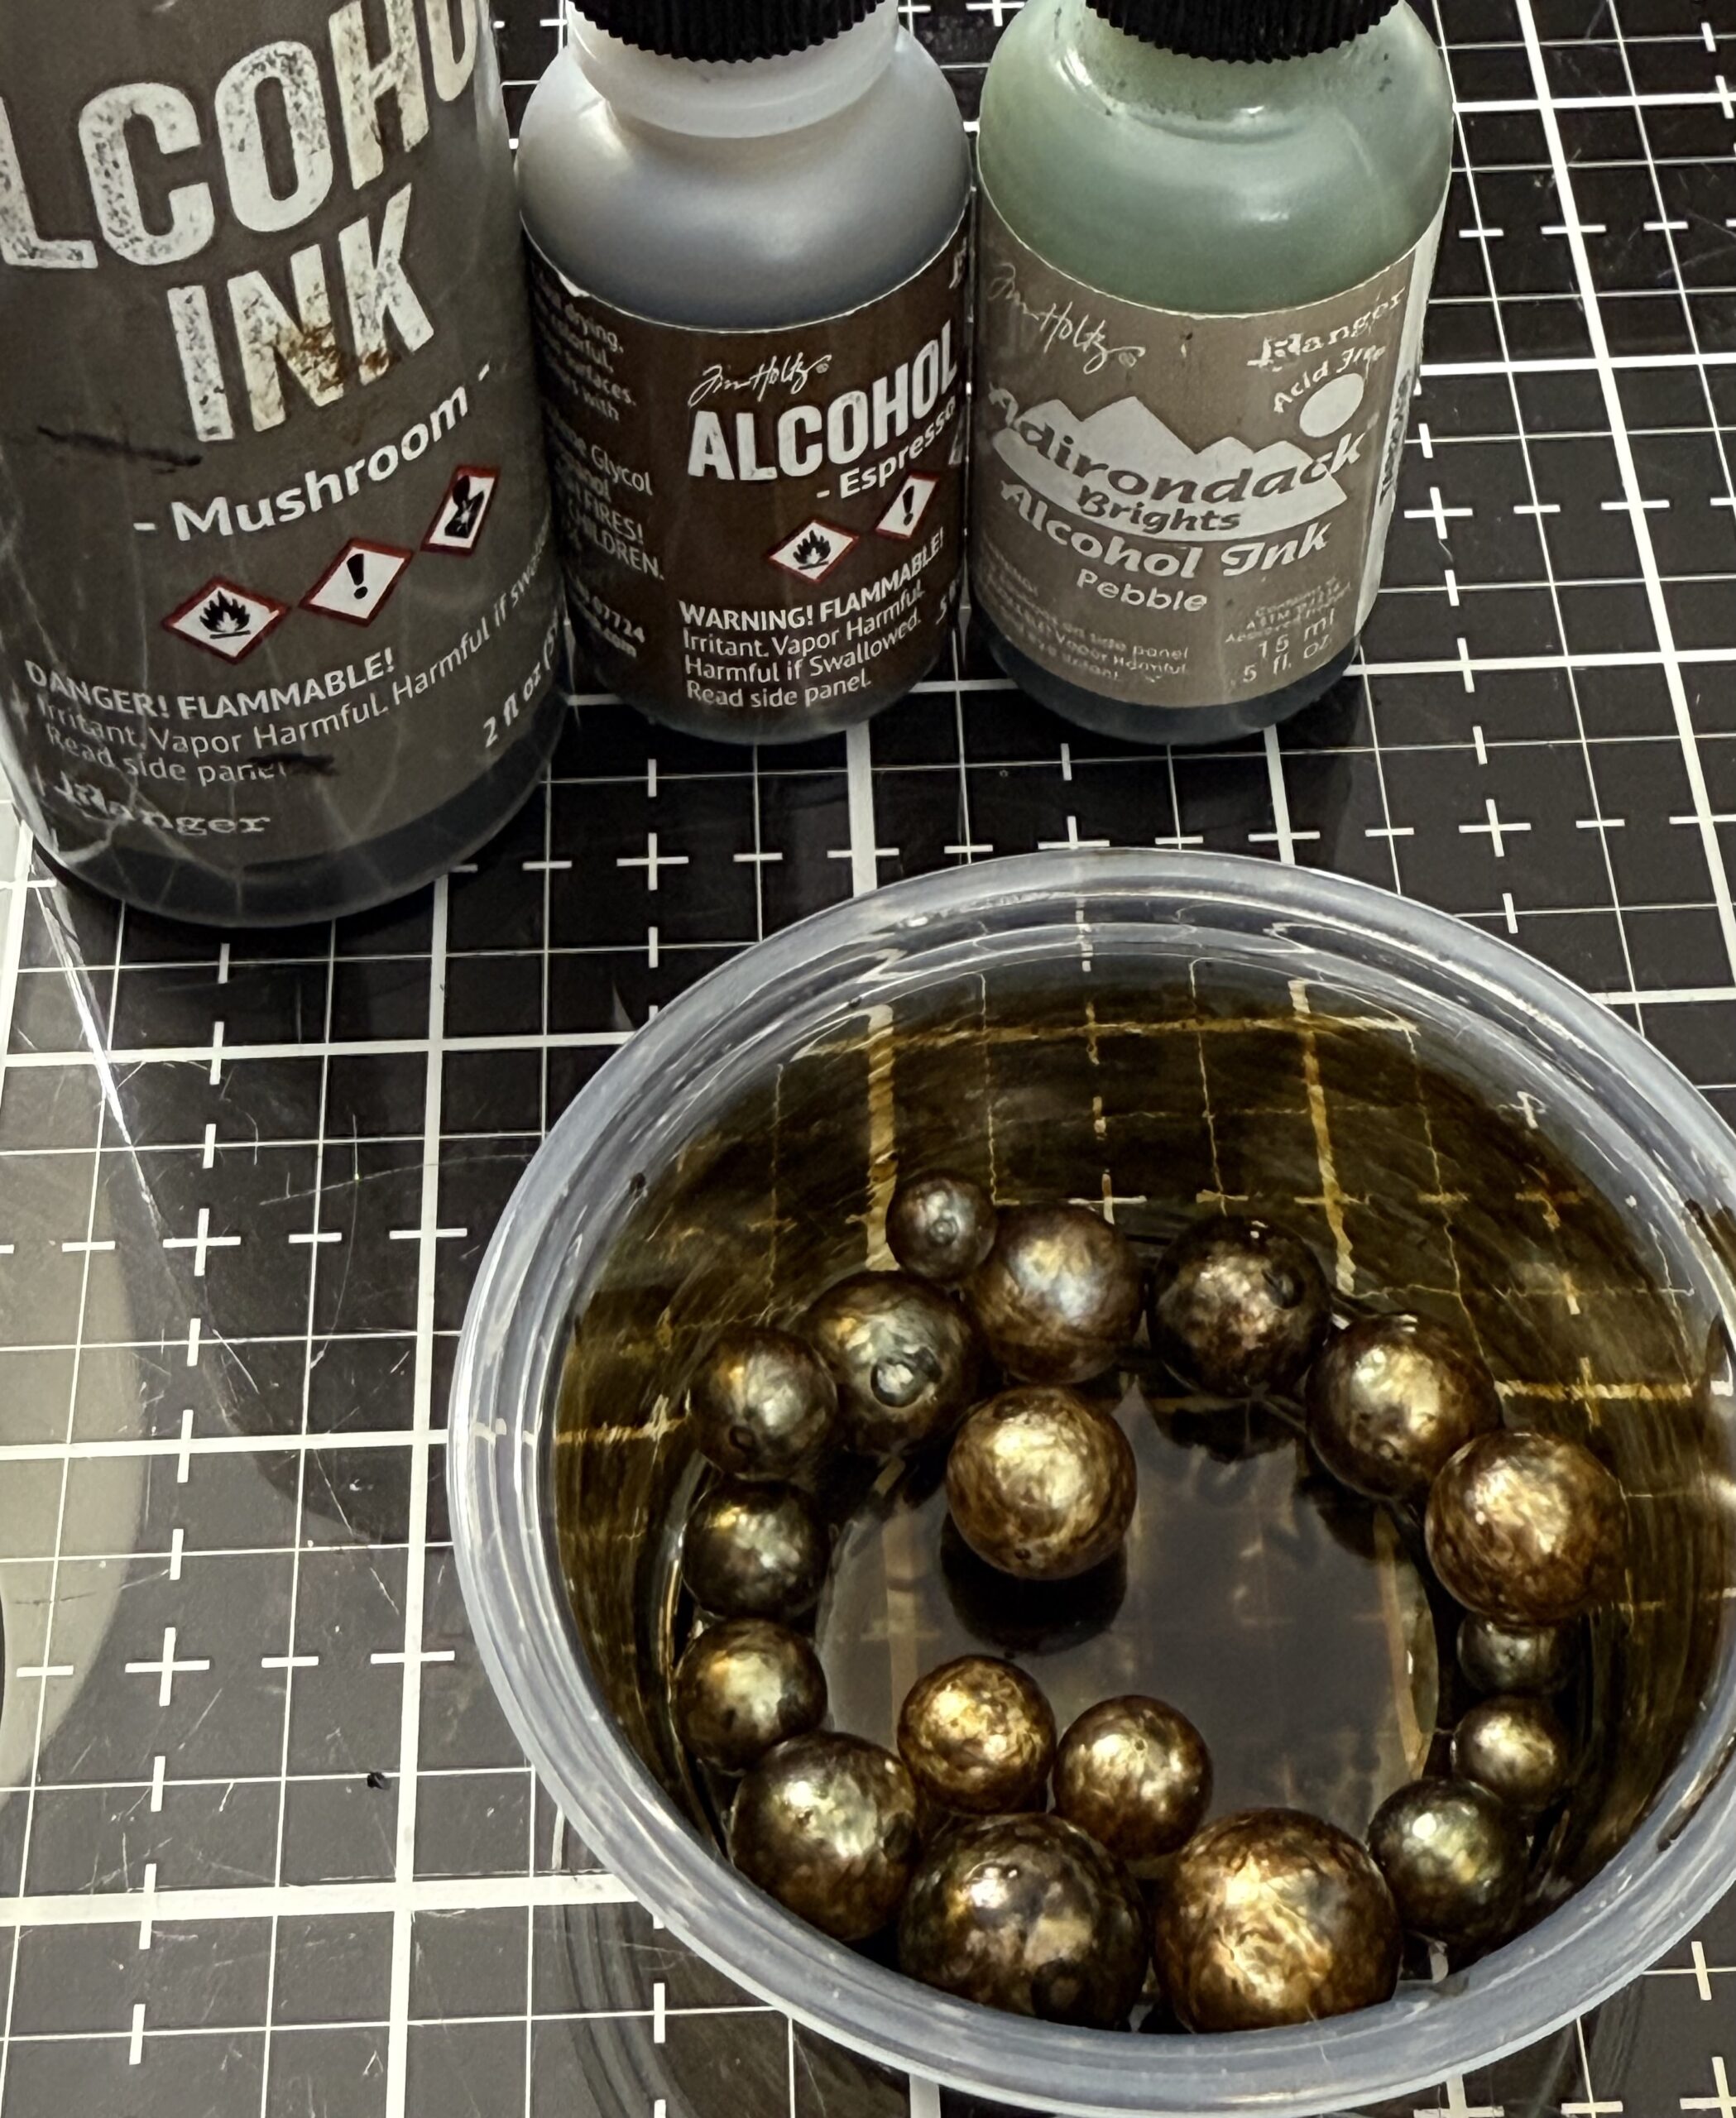
The brown, a combination of Espresso, Pebble and Mushroom.
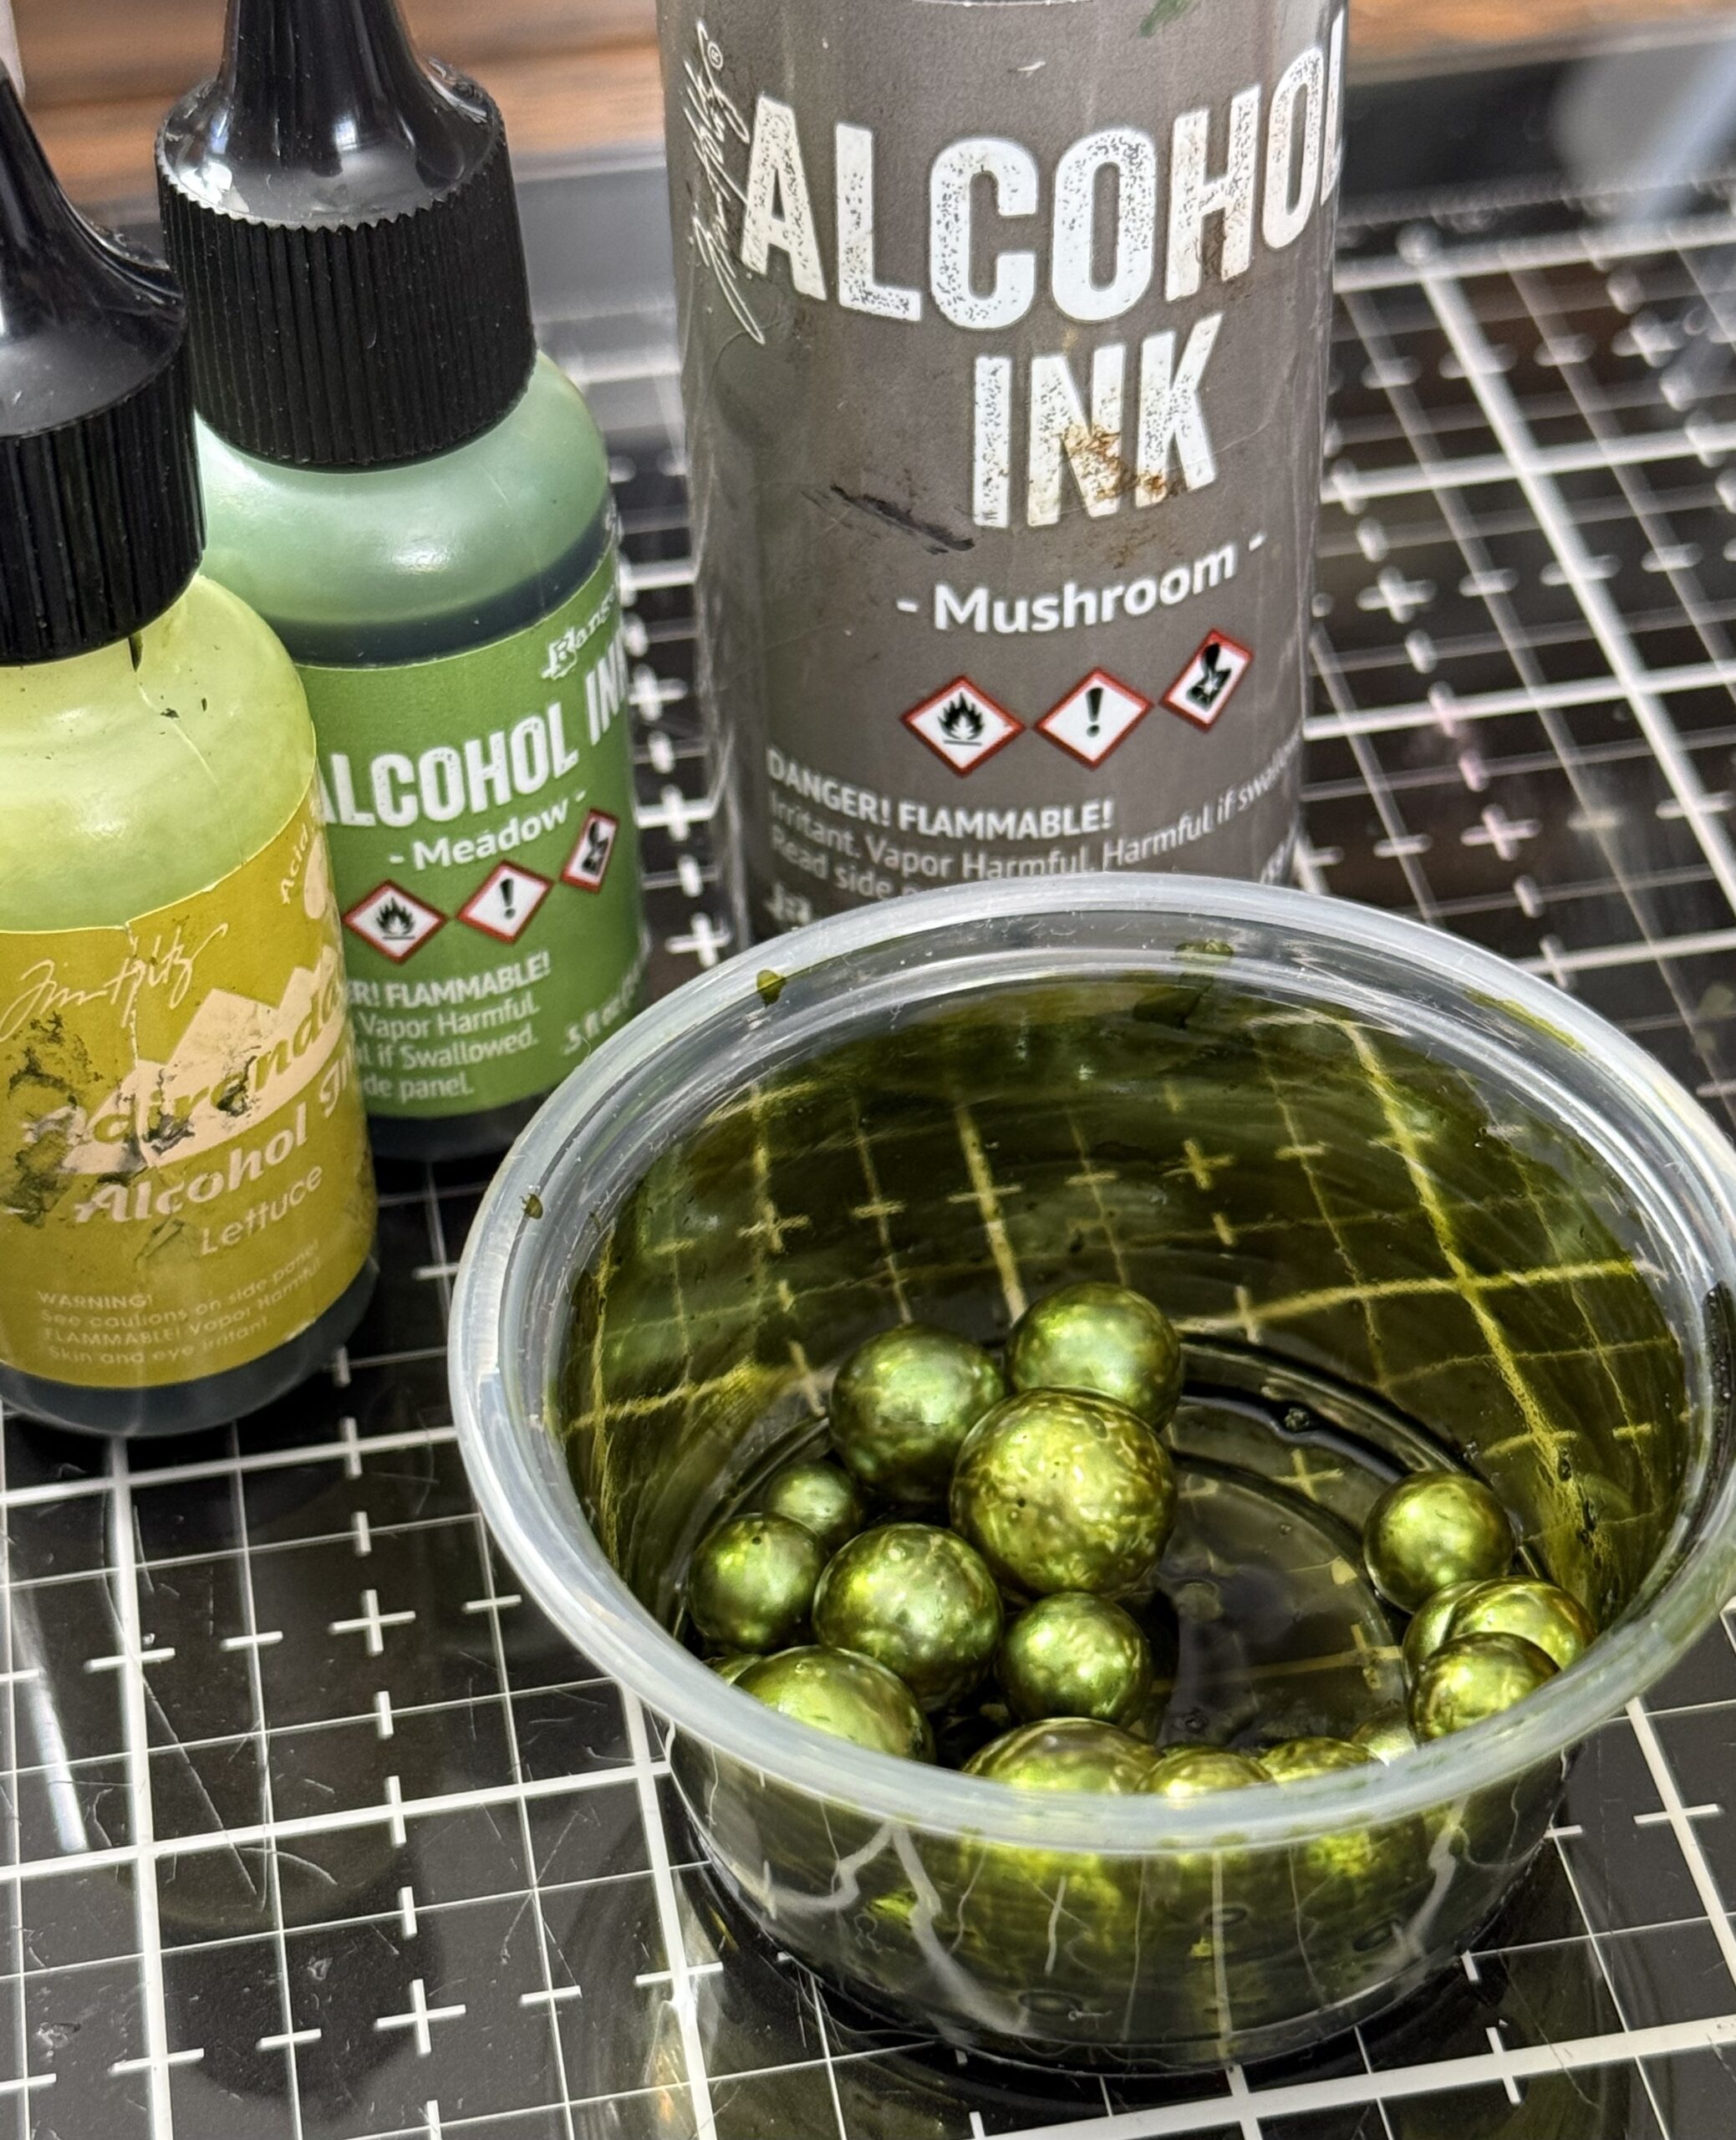
The green, Lettuce, Meadow and Mushroom.
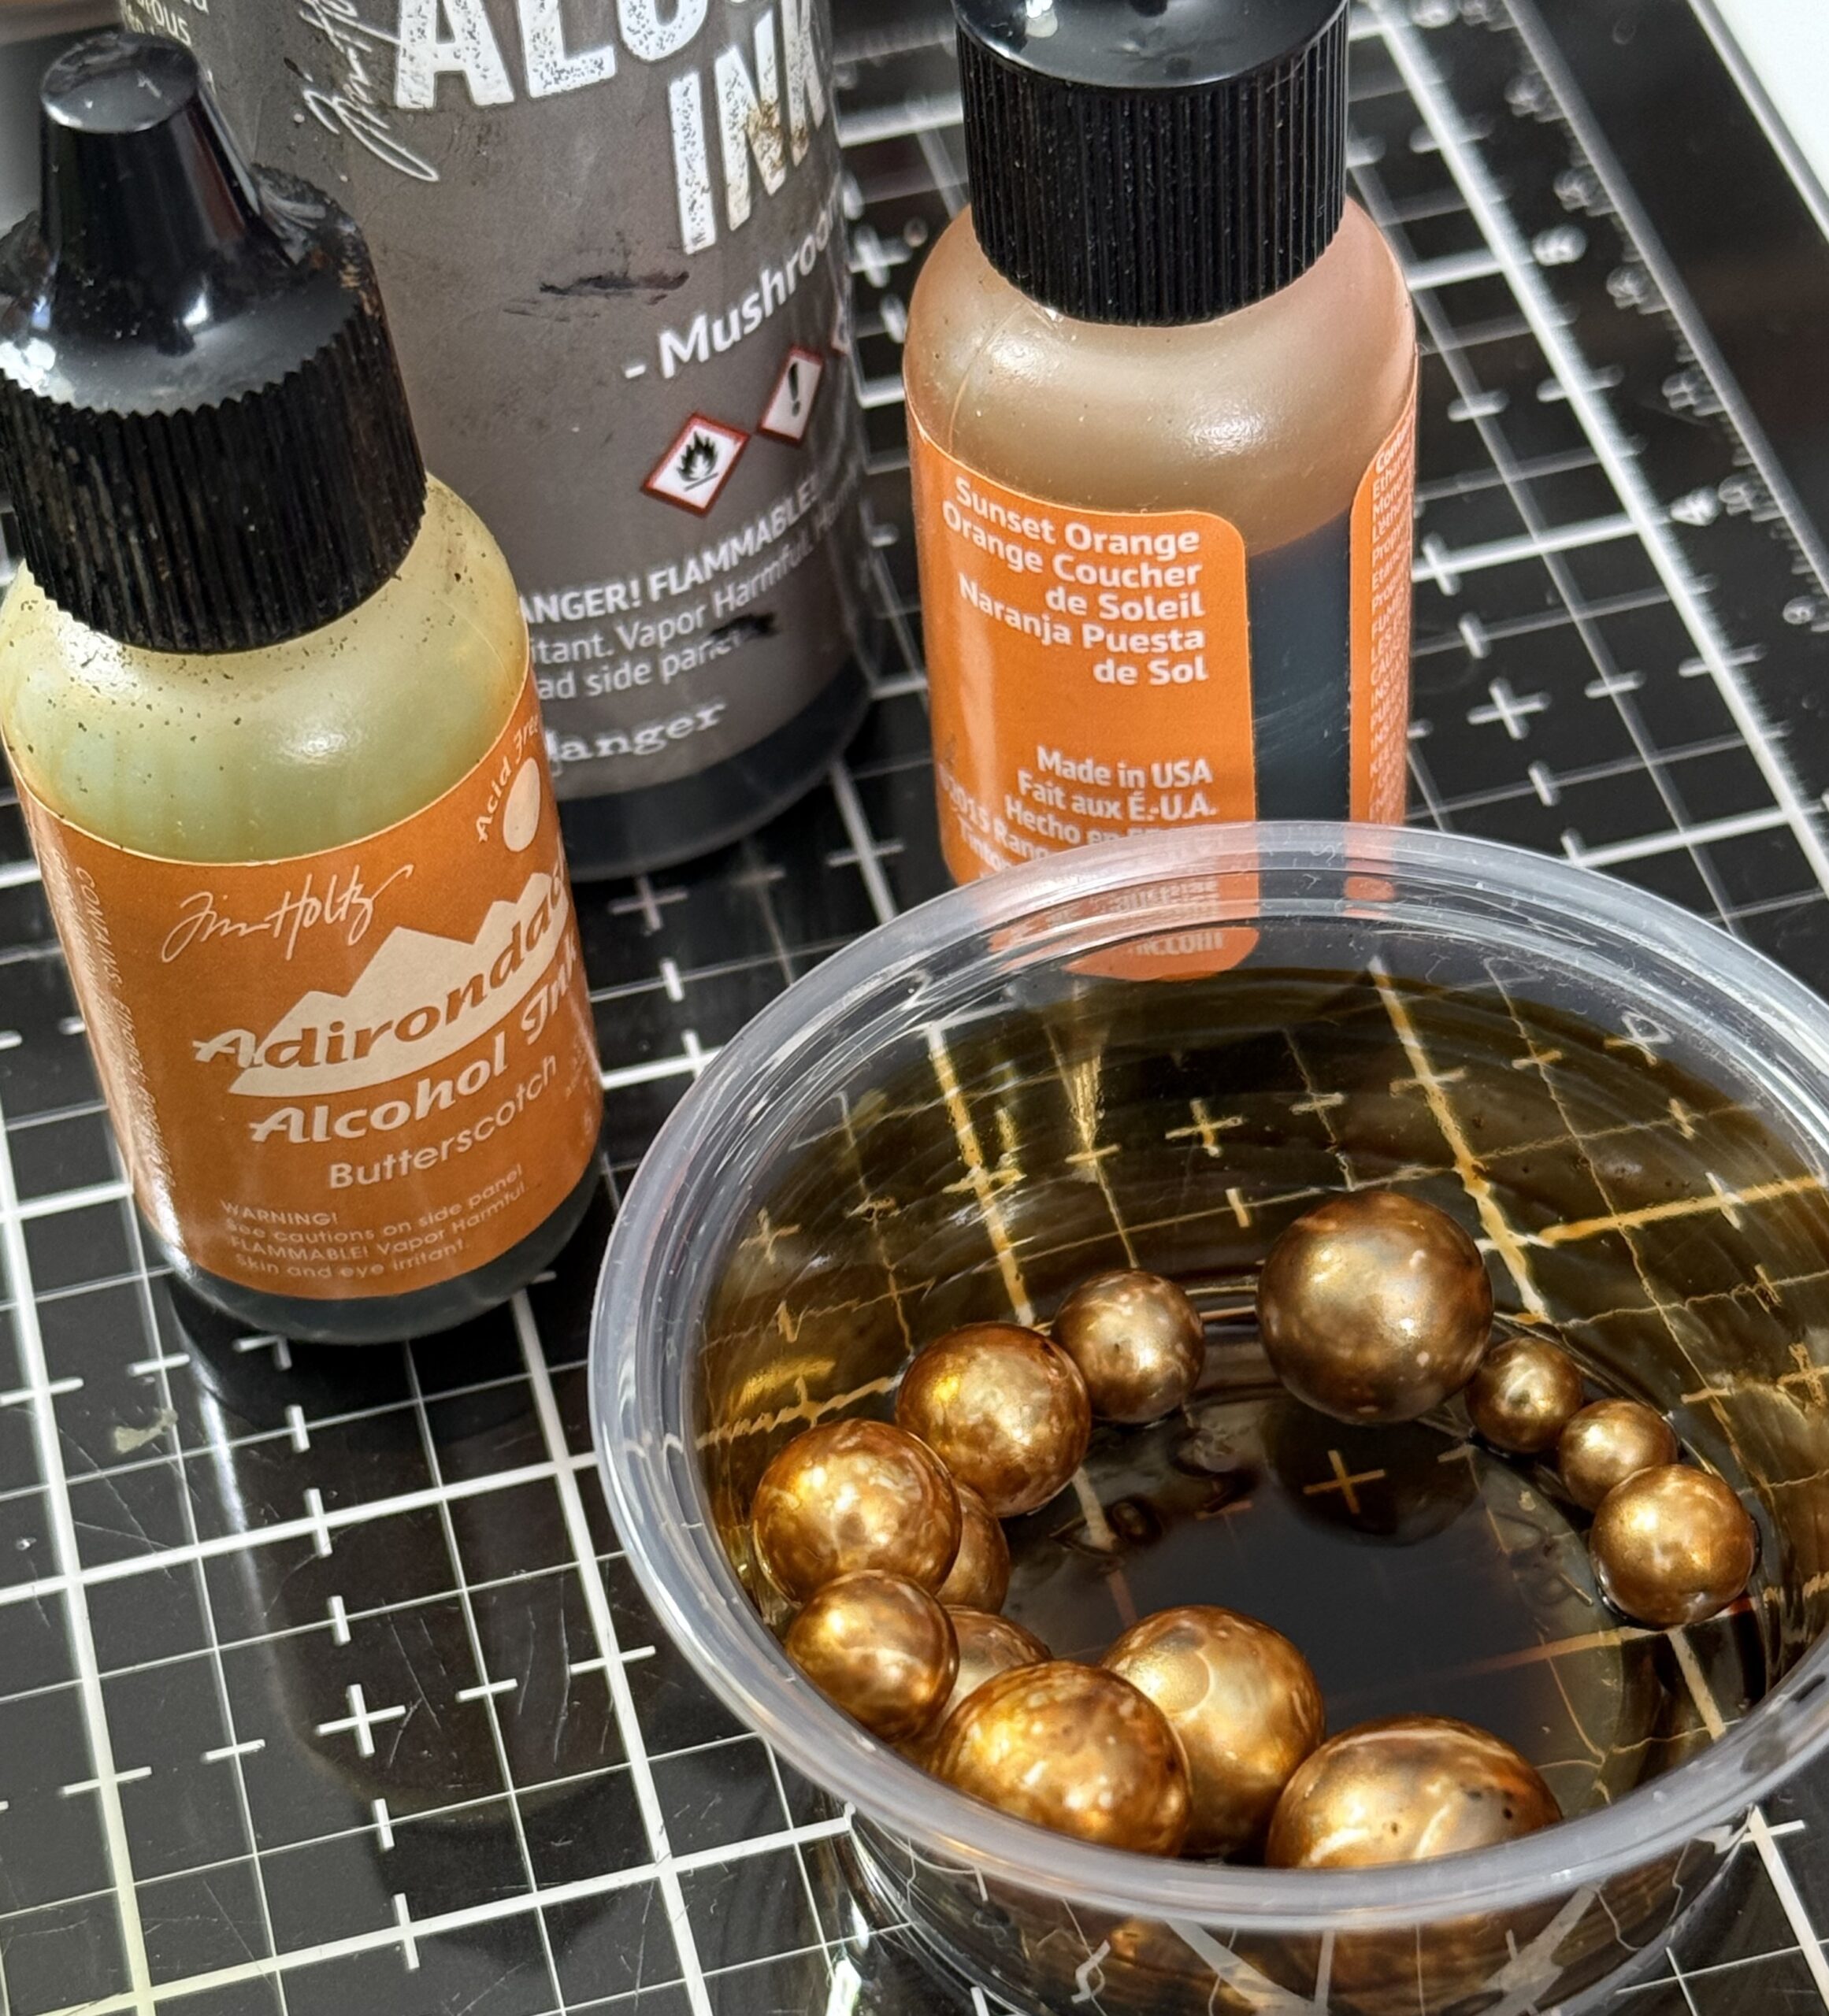
Light orange, Butterscotch, Sunset Orange and Mushroom.
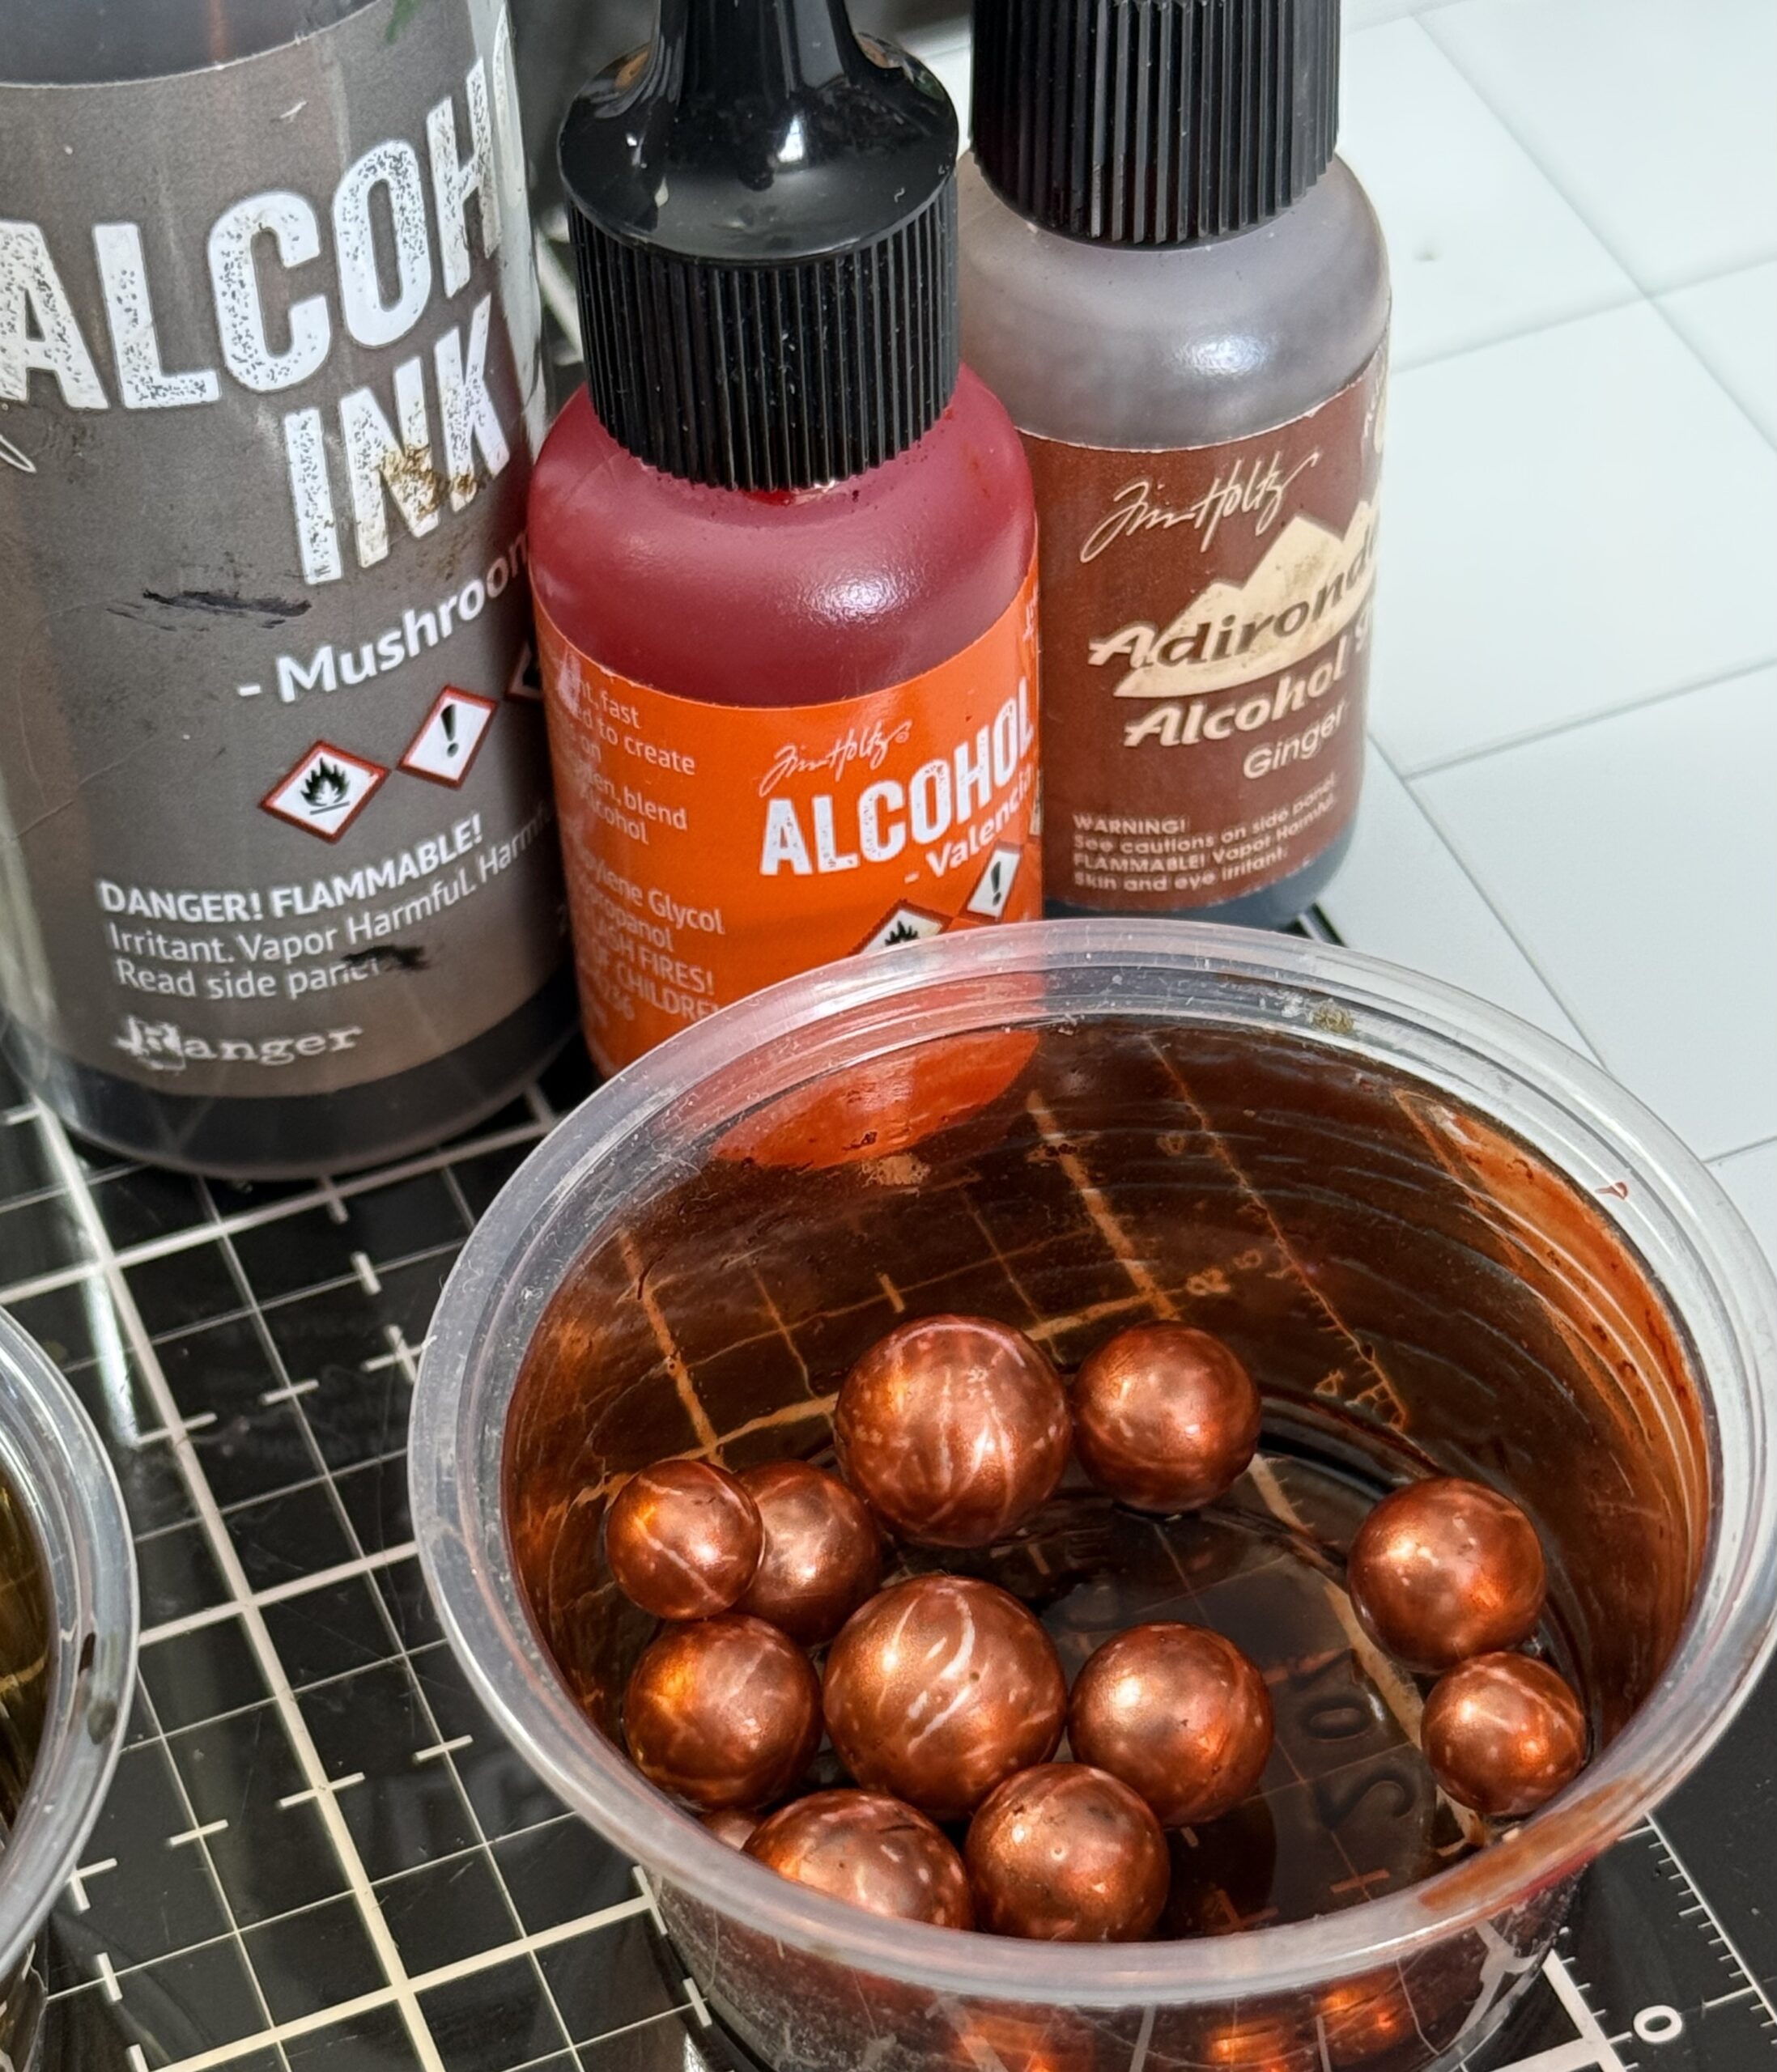
And, Dark Orange, Valencia, Ginger and Mushroom.
After they were all spun, I spilled them out onto a piece of paper towel and let them dry. This doesn’t take too long but is necessary so that they have space to breathe and set the color.
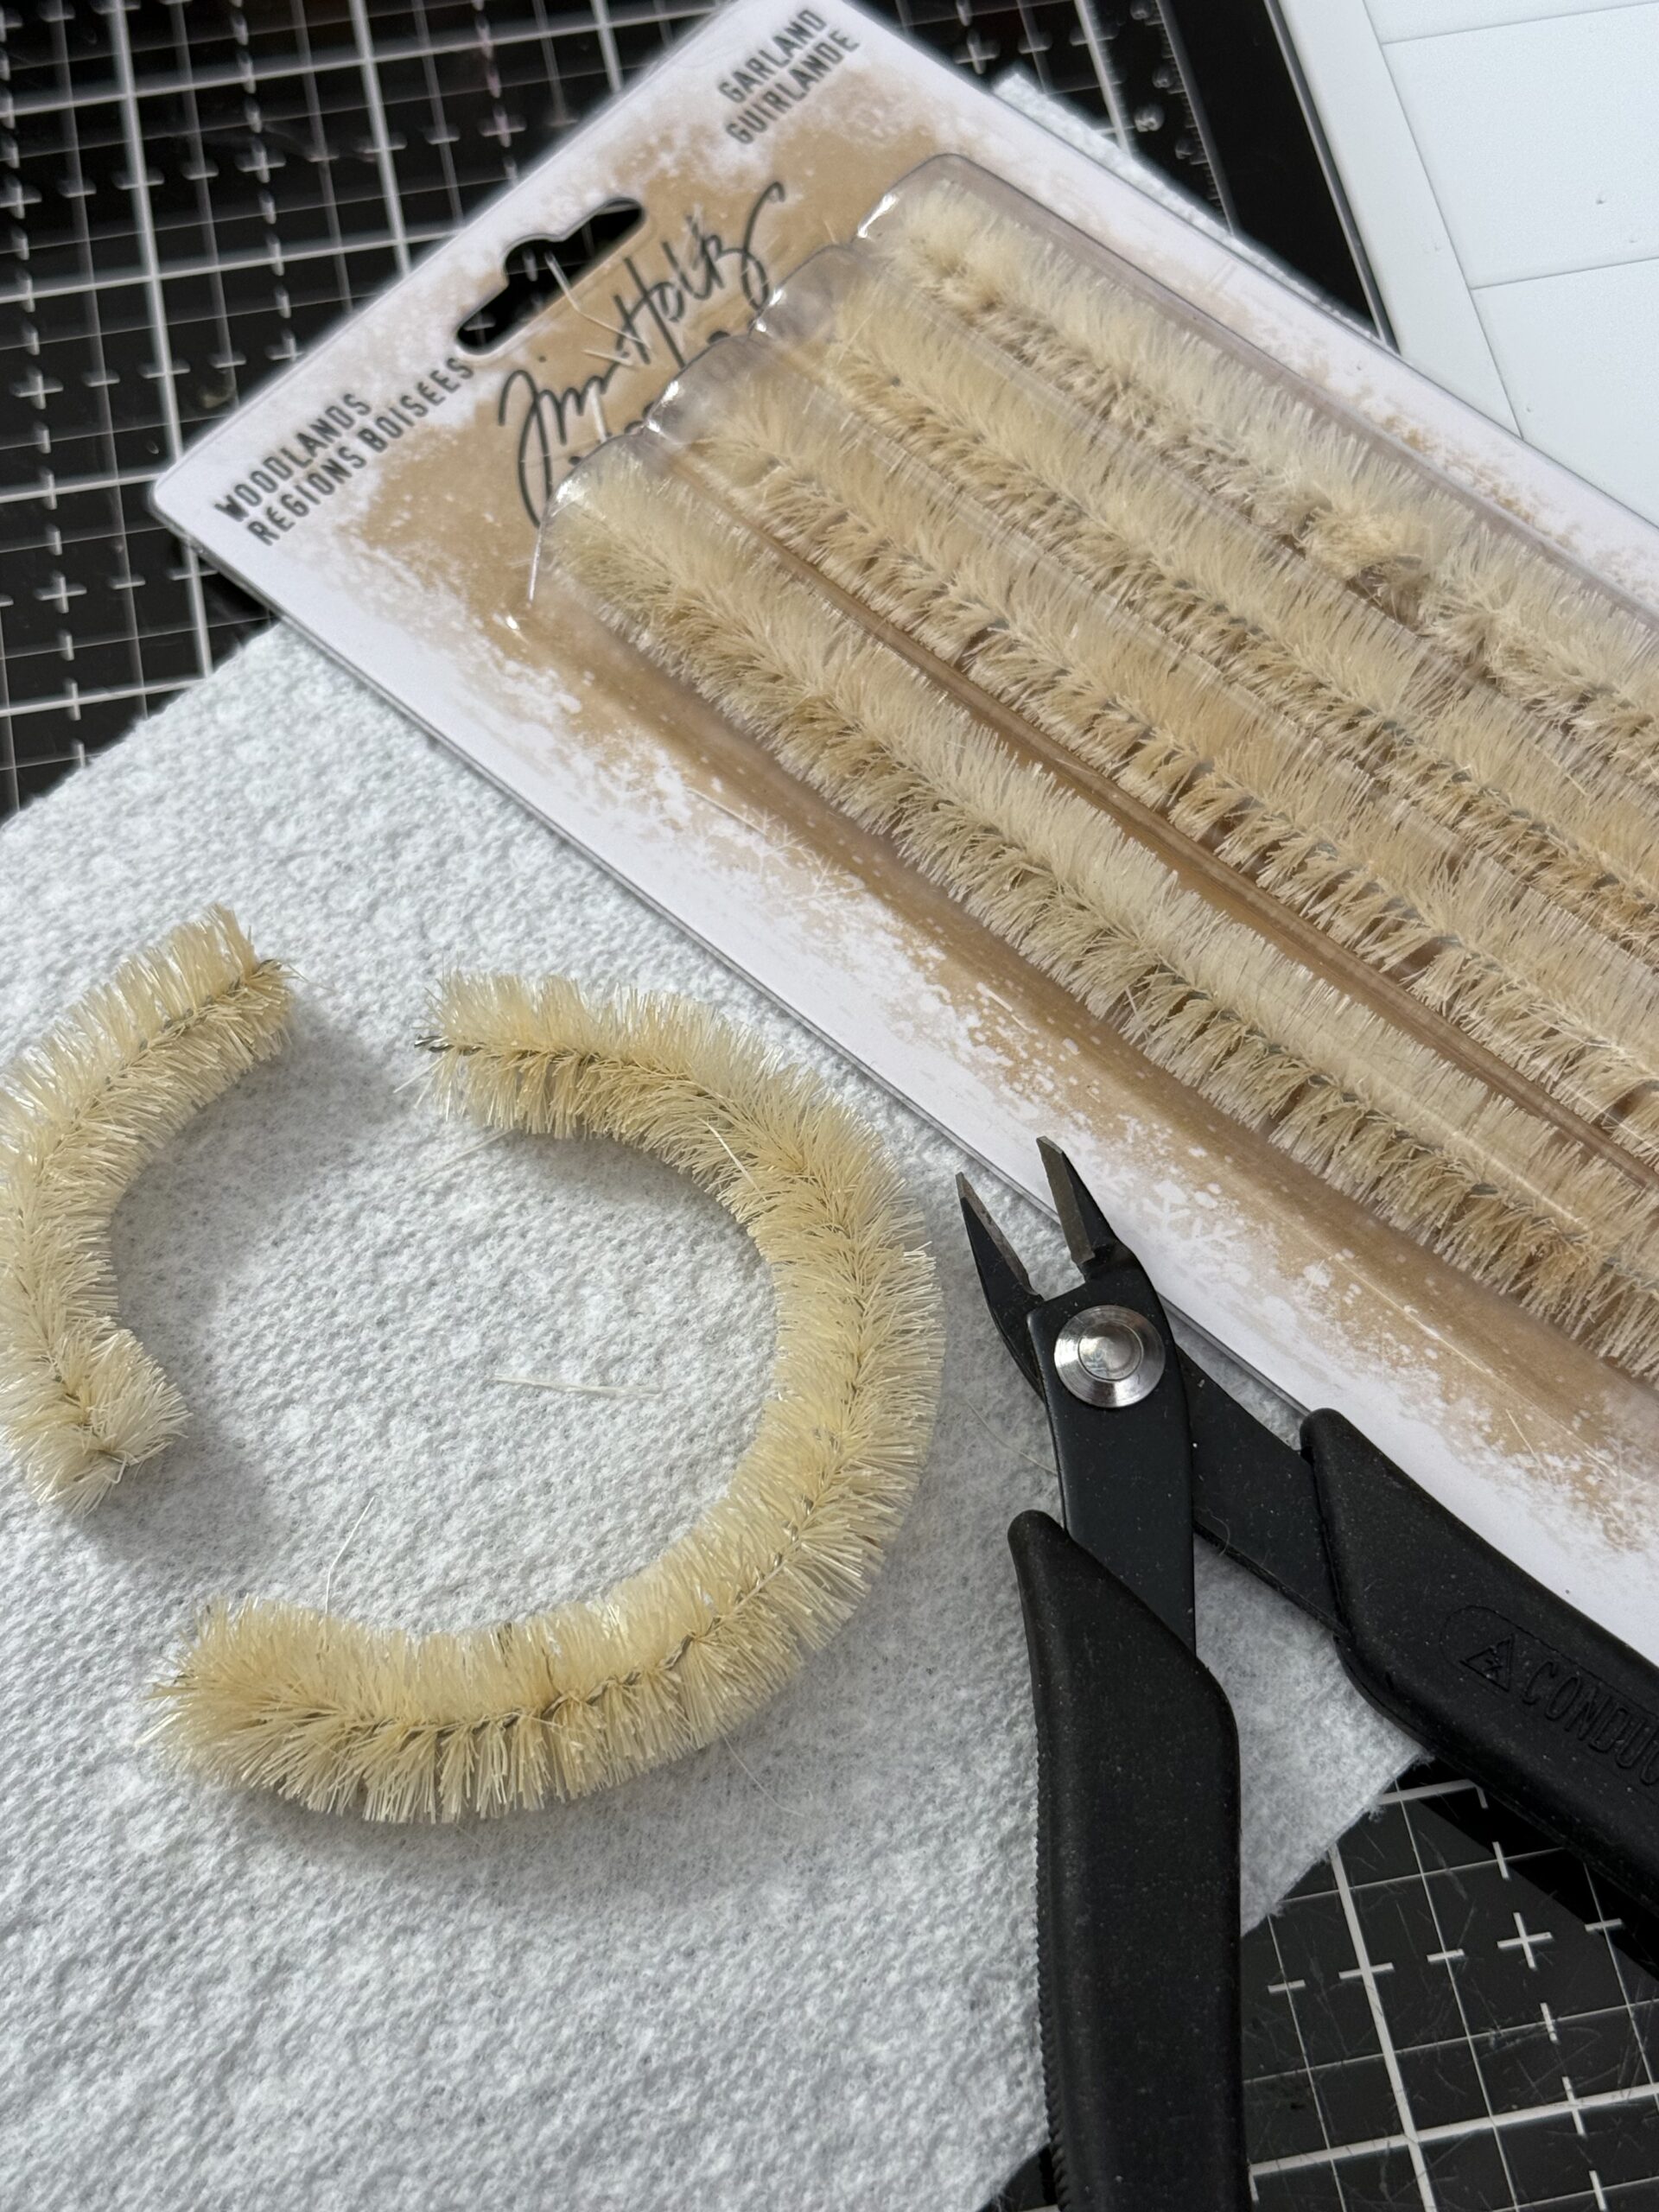
While they dried, I made the wreath.. I used one full piece of the woodland garland then trimmed off a bit of another to create the size I wanted to fill the smallest of Square idea-ology vignette boxes.
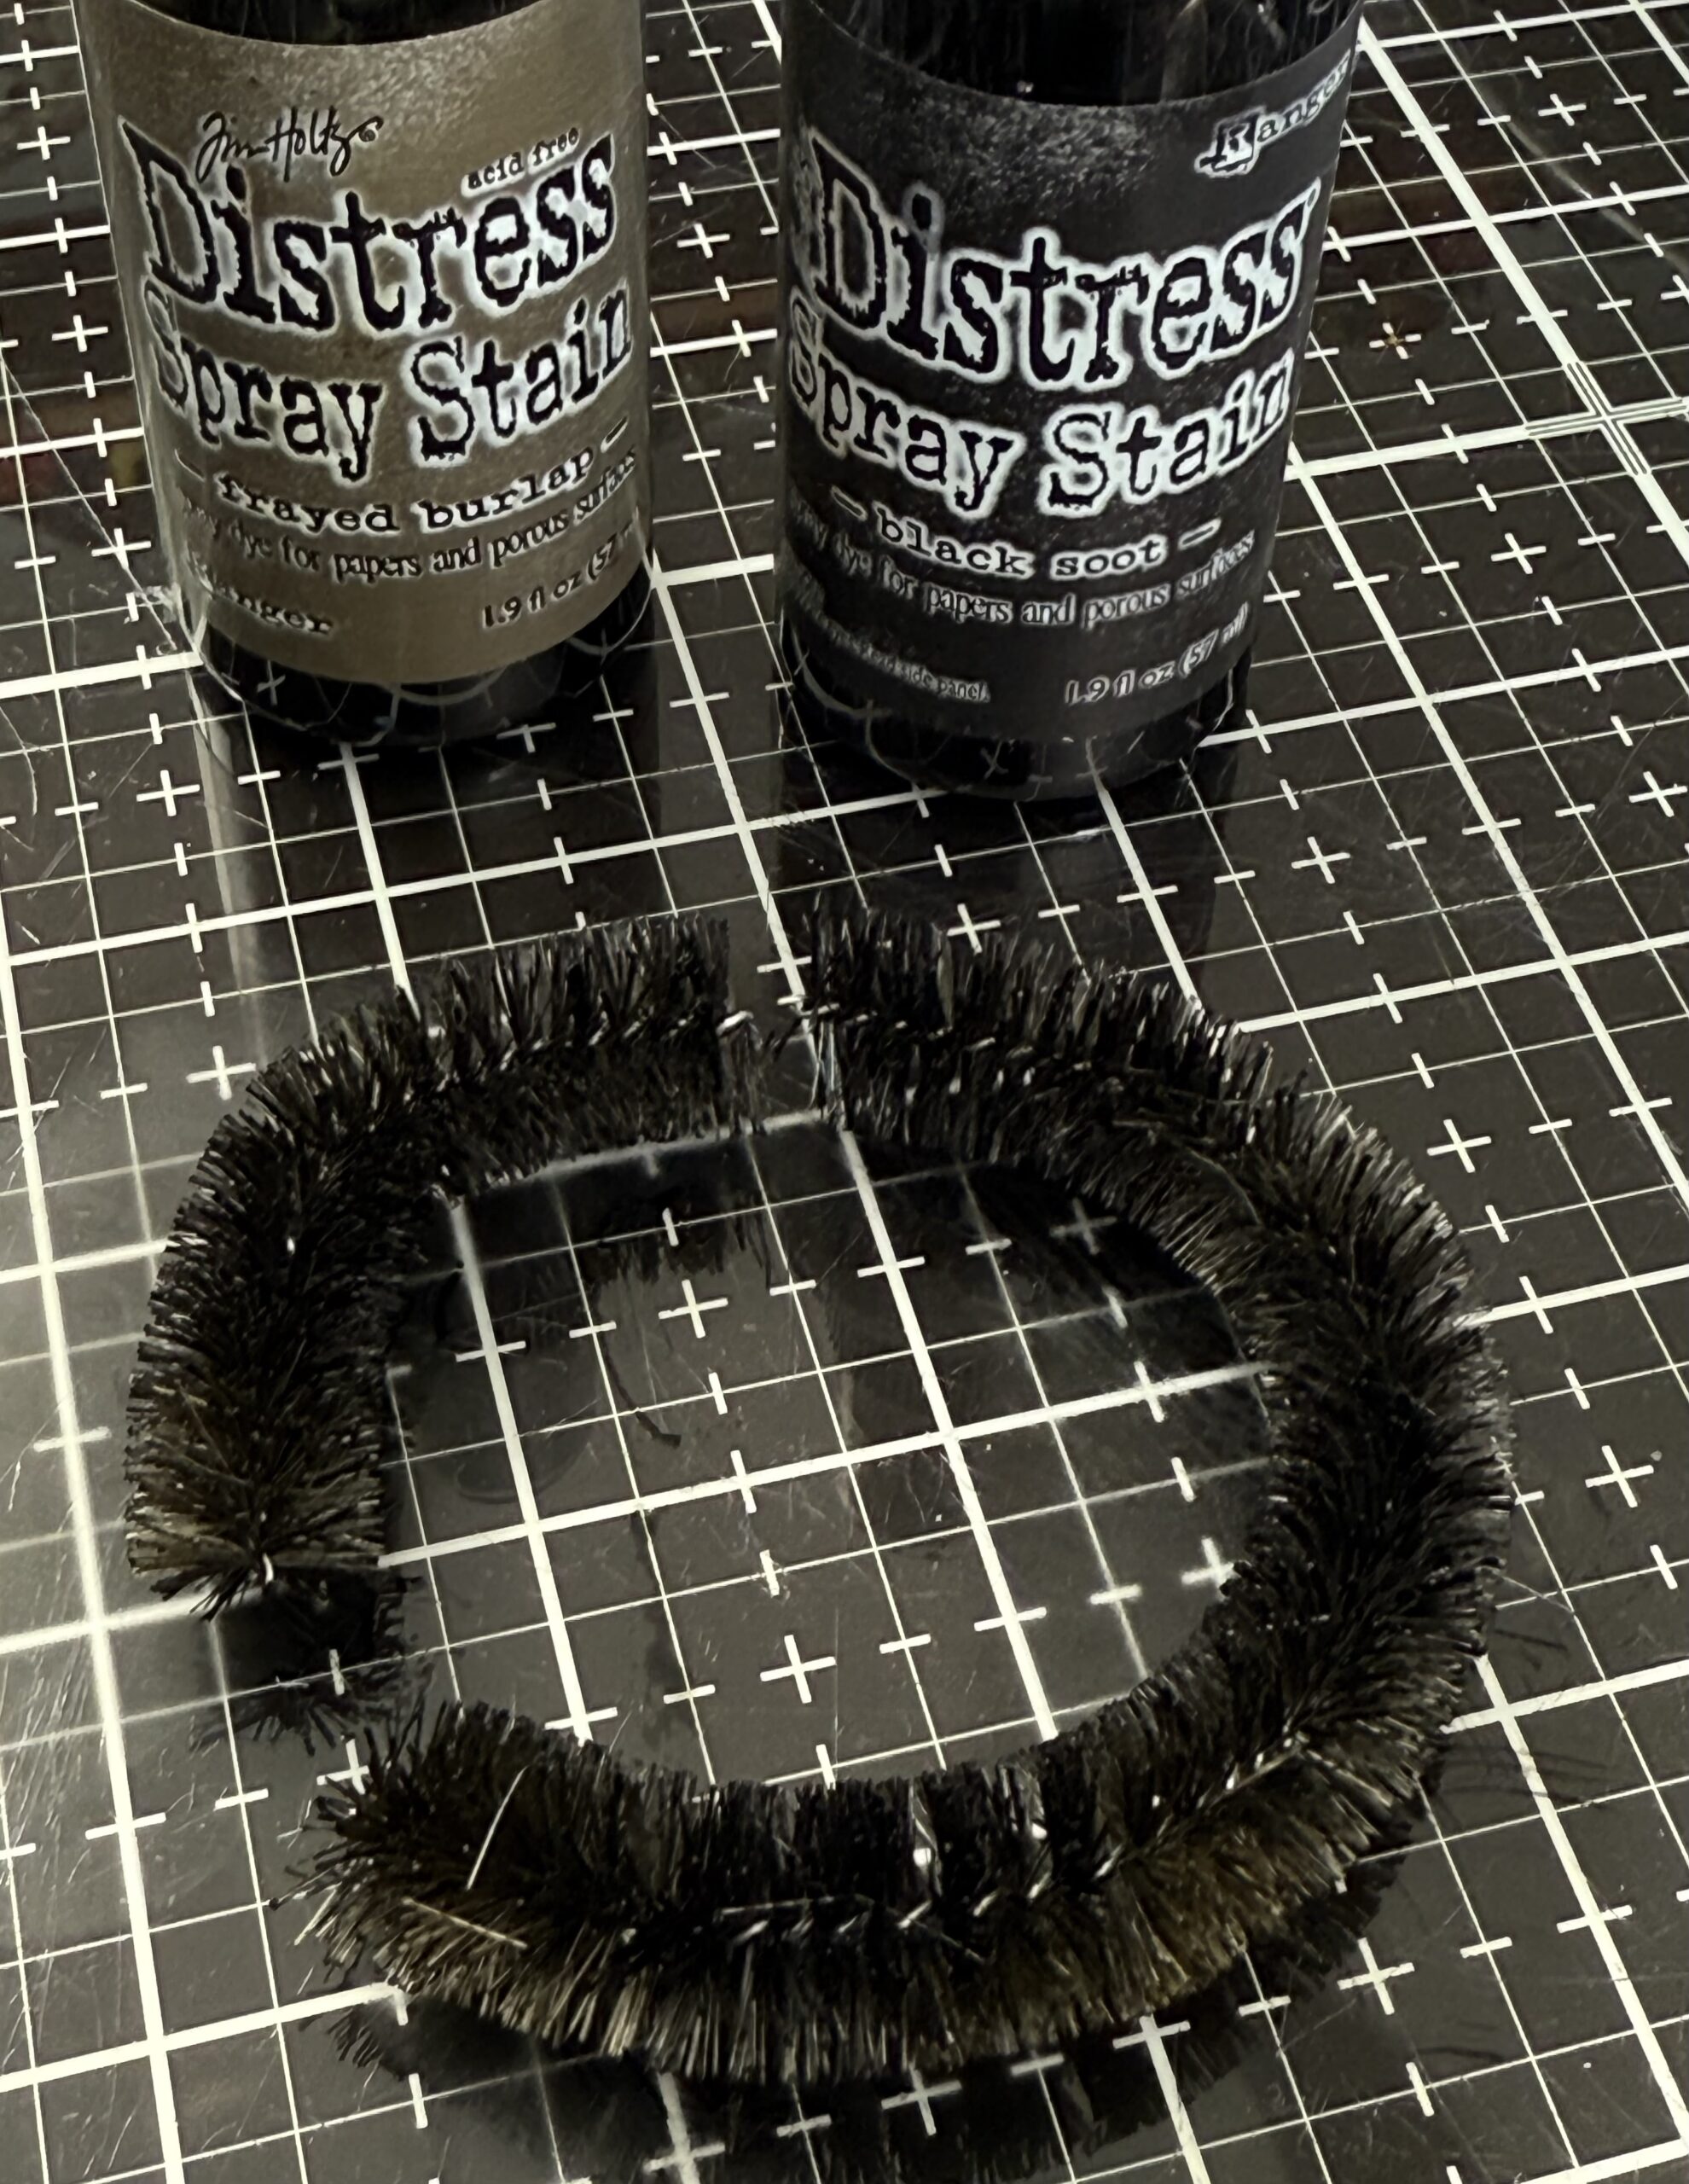
I dyed the garland using a combination of water, Frayed Burlap and Black Soot Spray Stains, then I dried it with my heat tool.
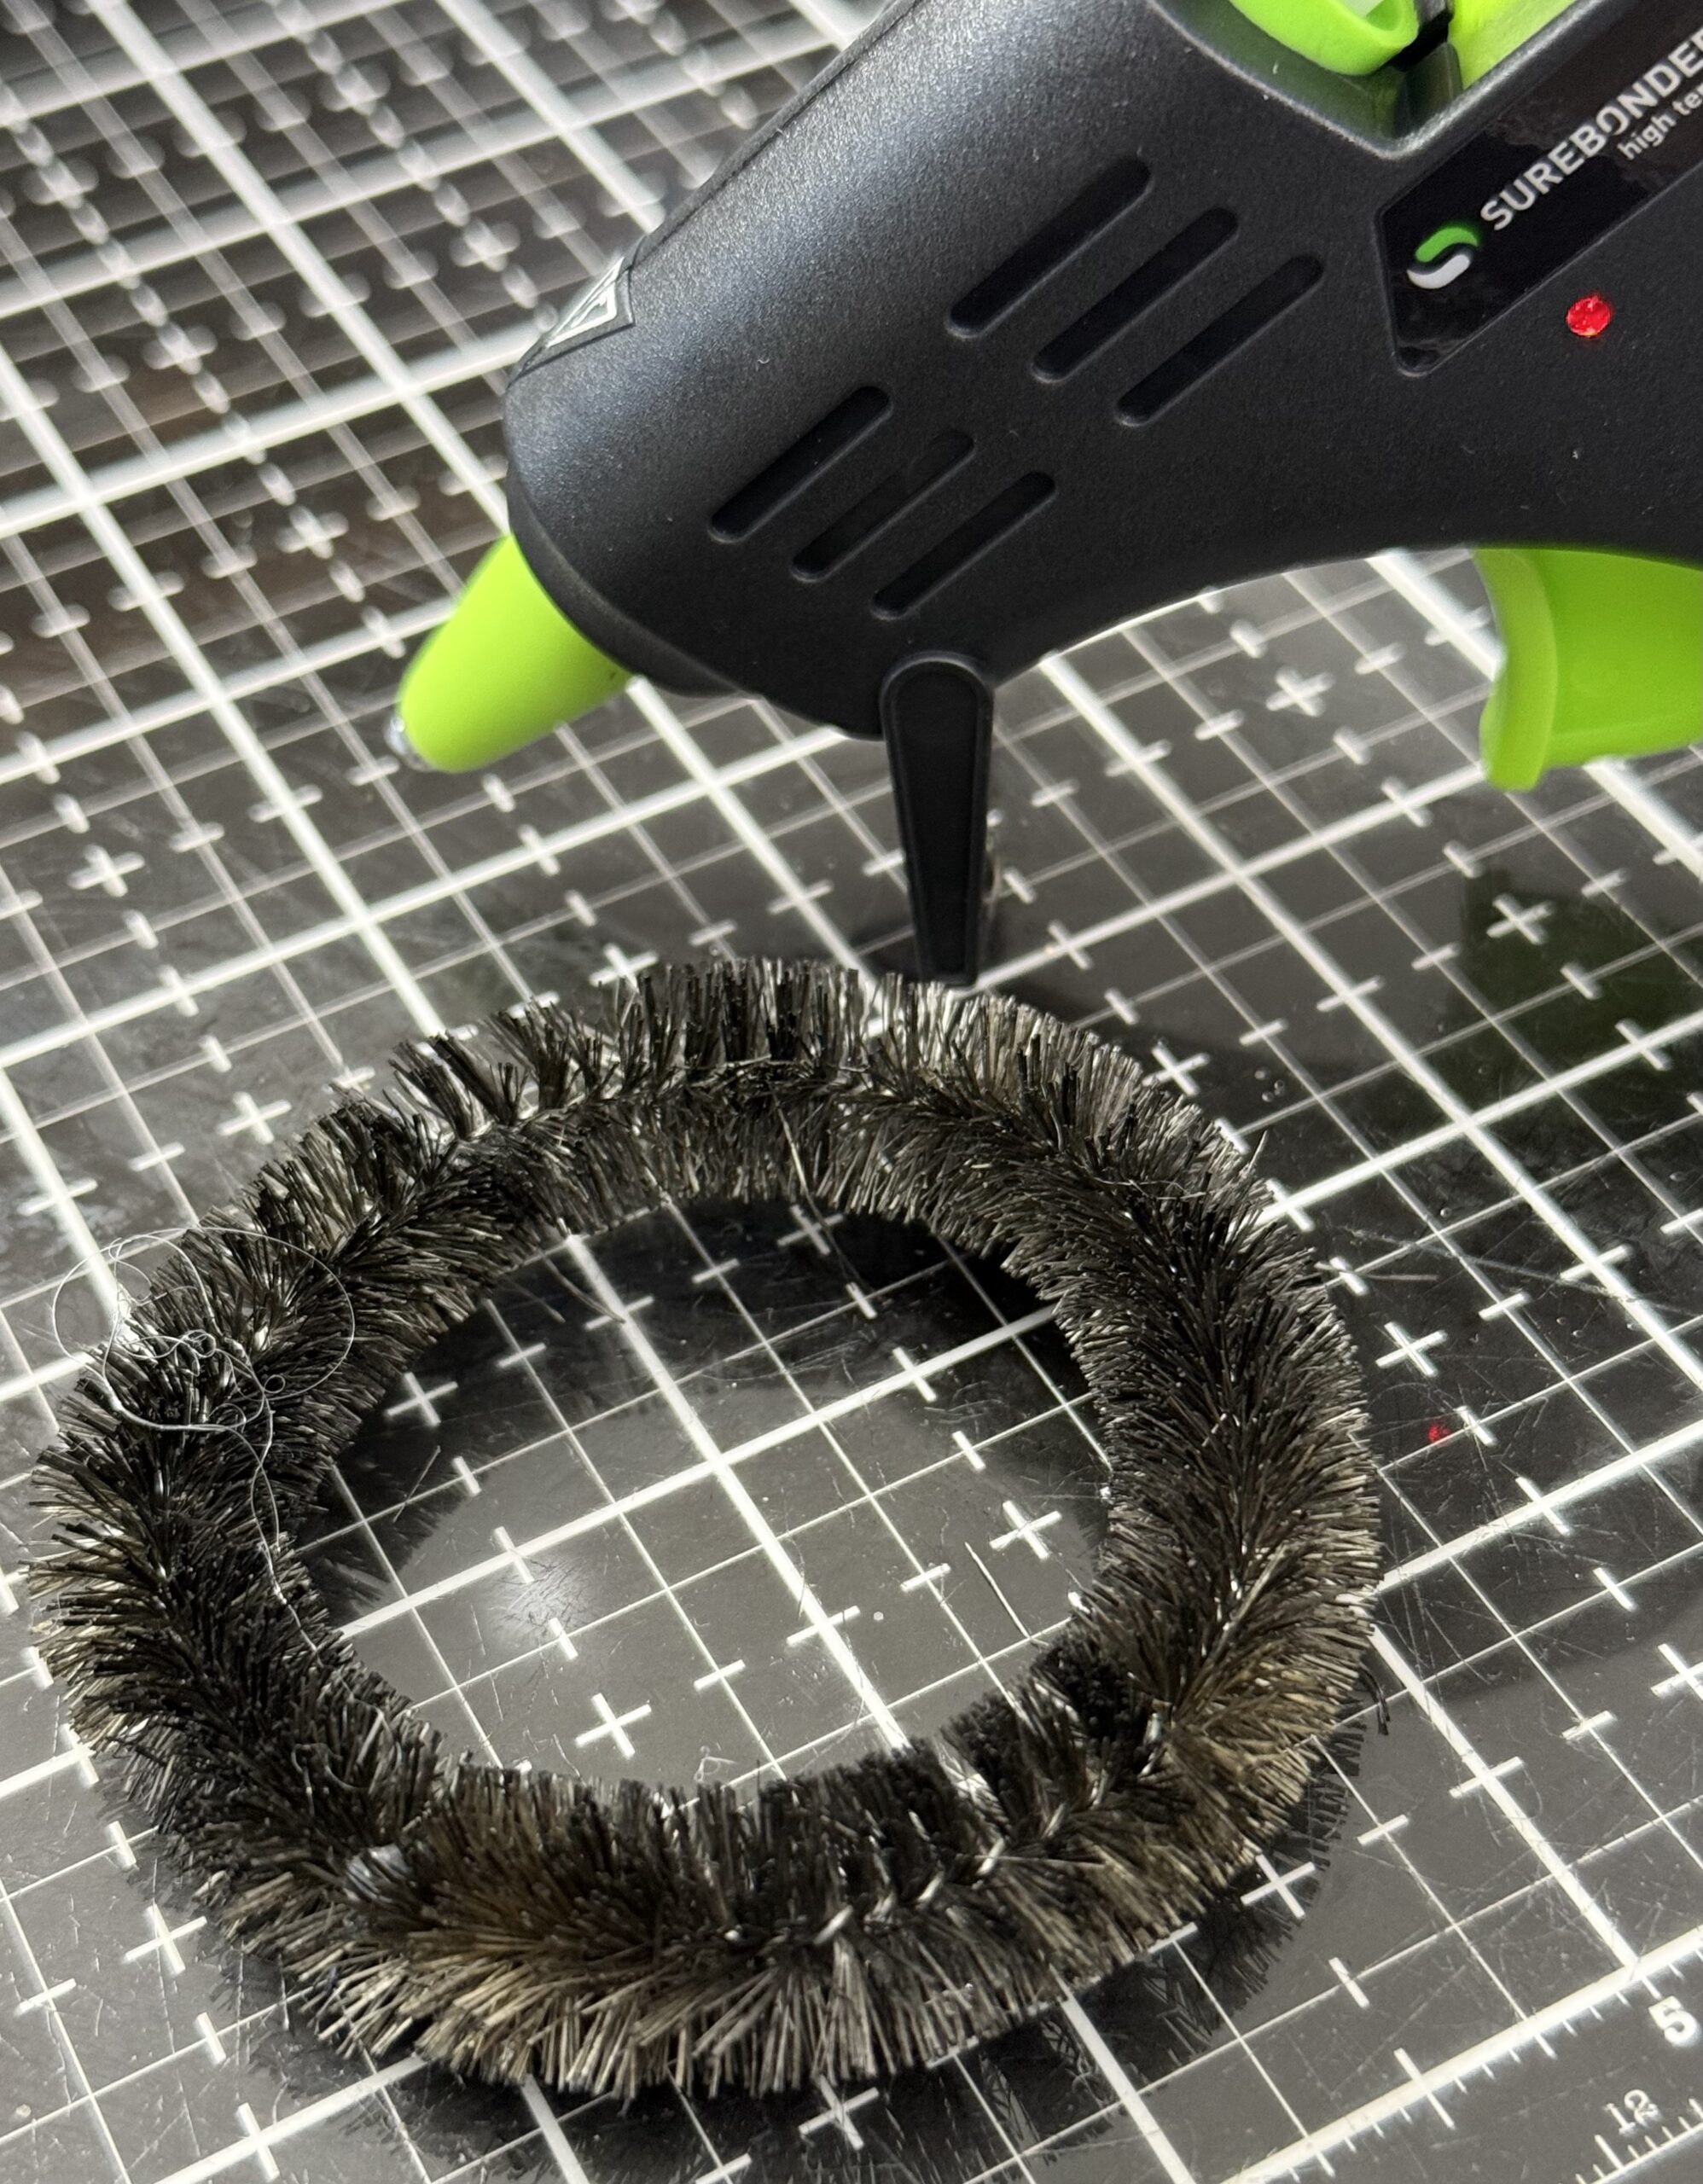
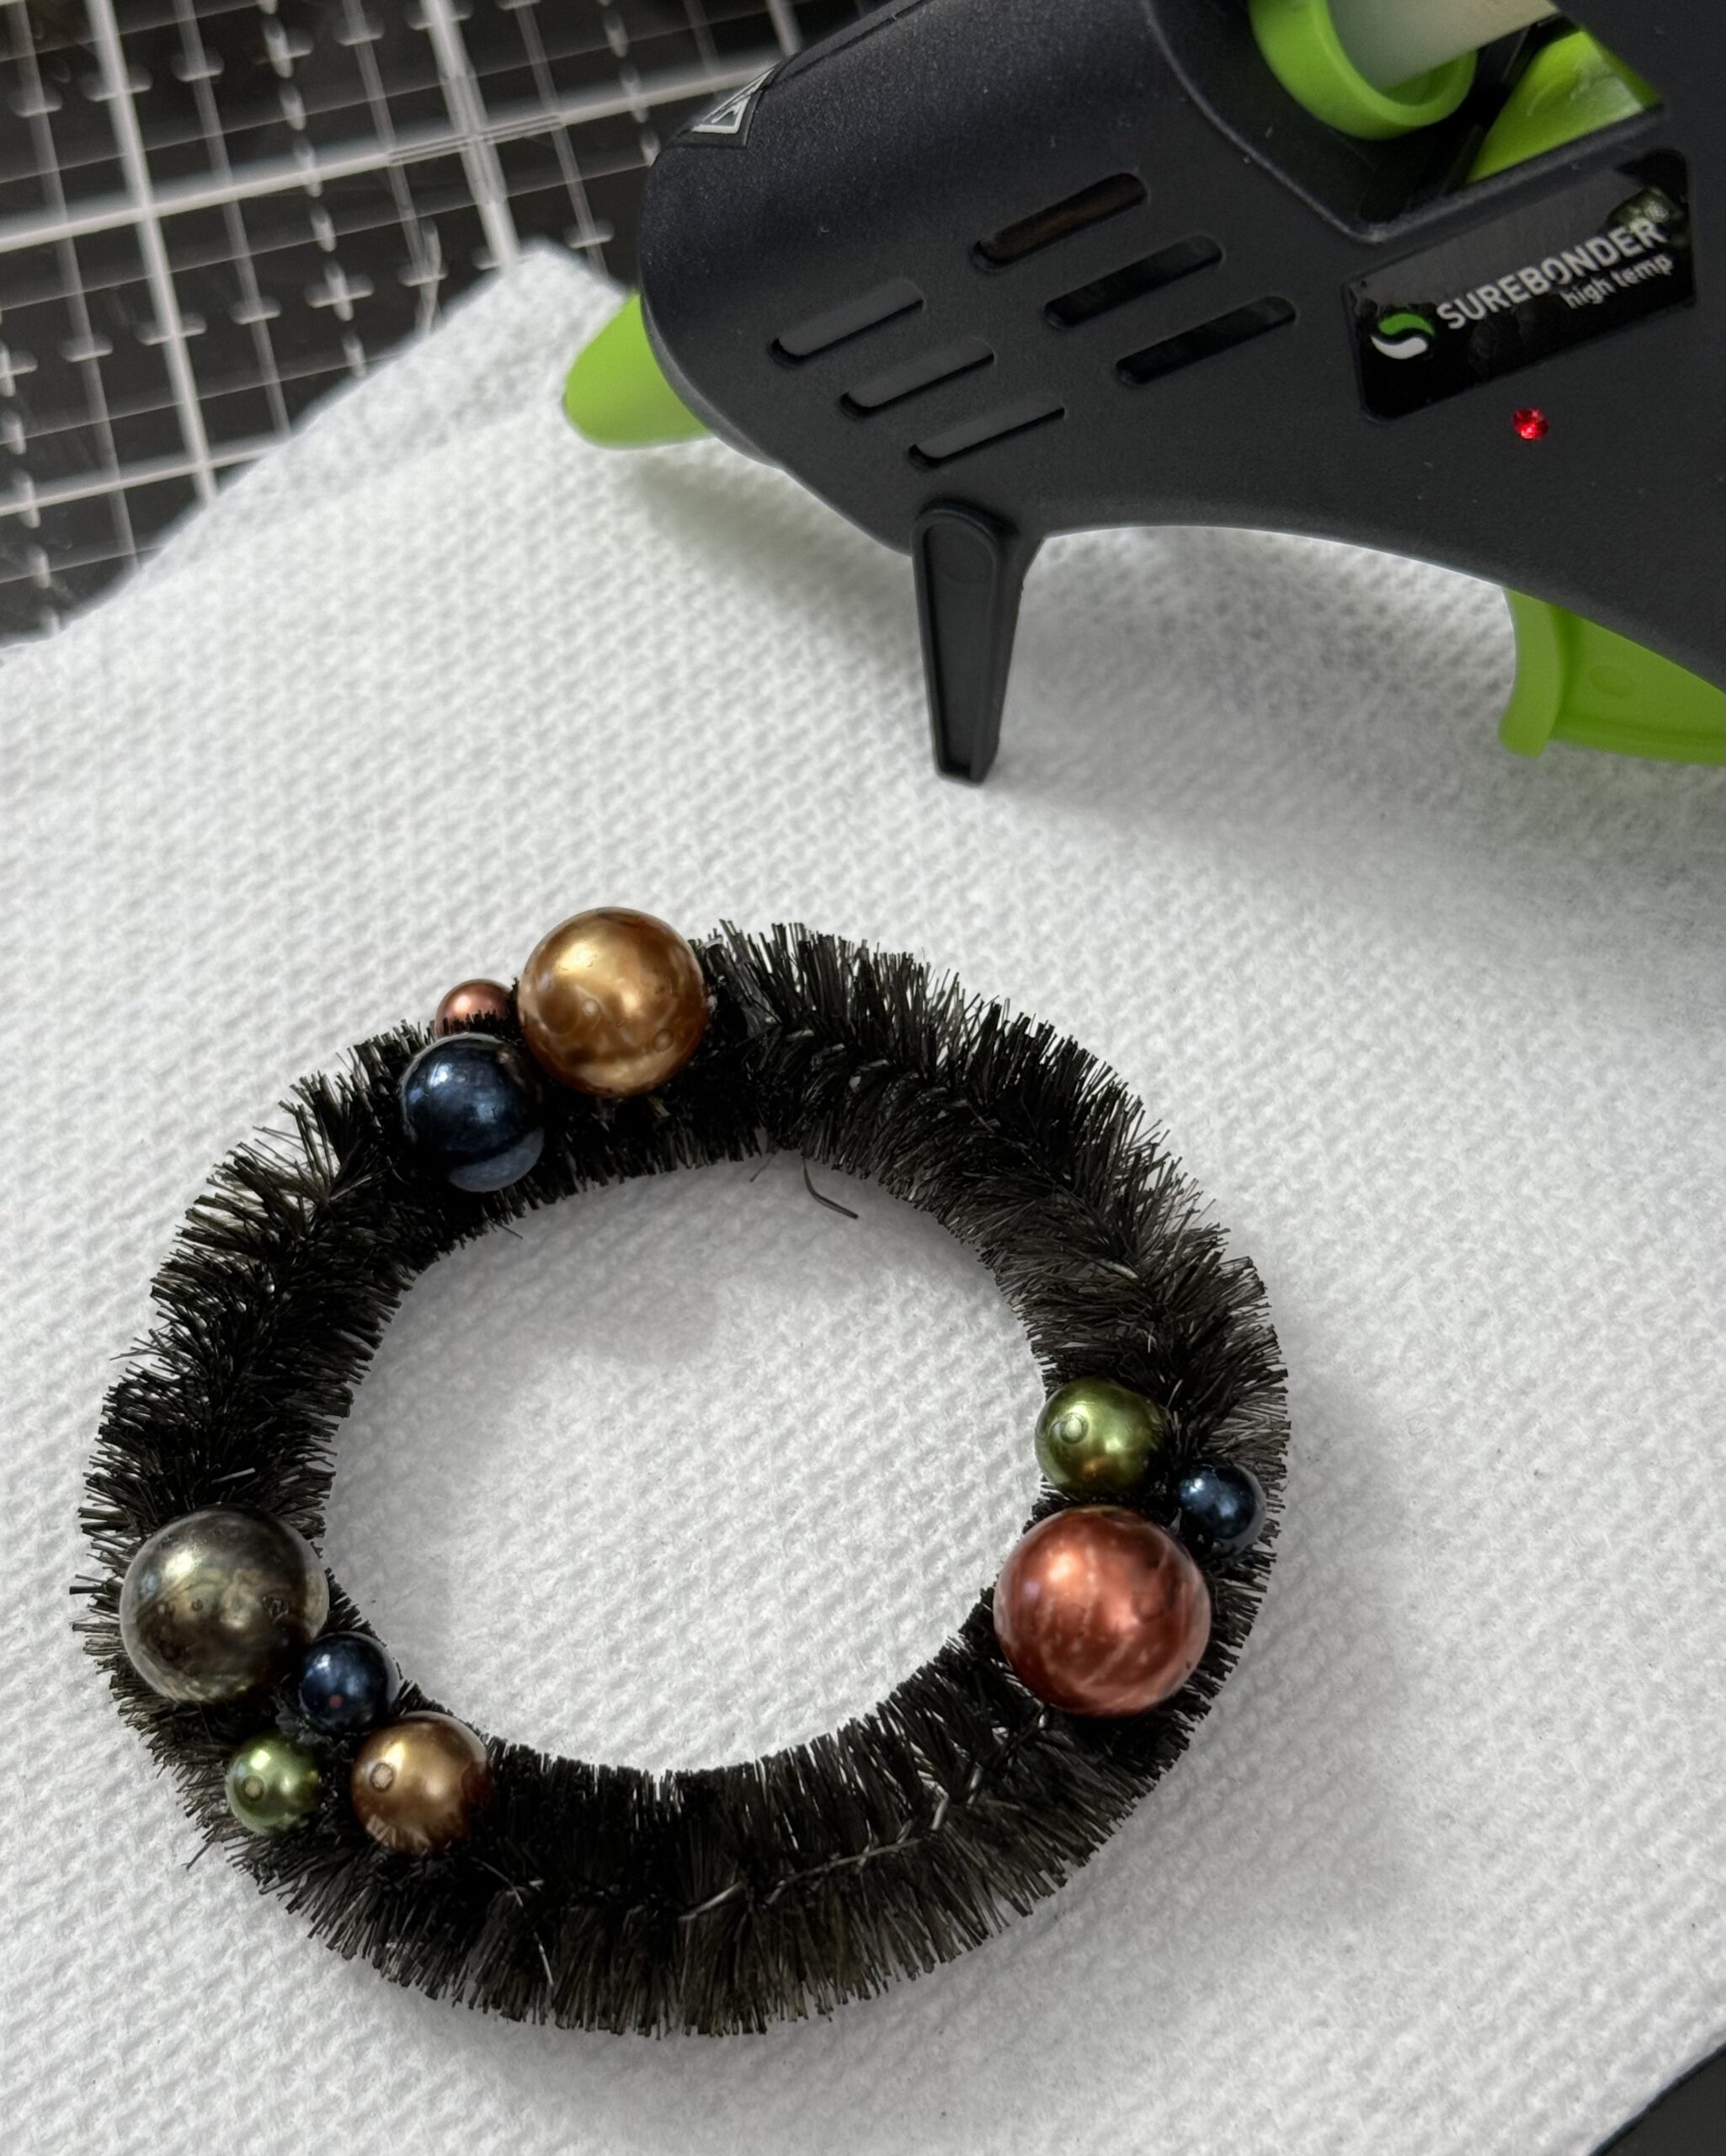
I used a Hot Glue Gun to adhere the wreath together then began adhering the baubles into place.
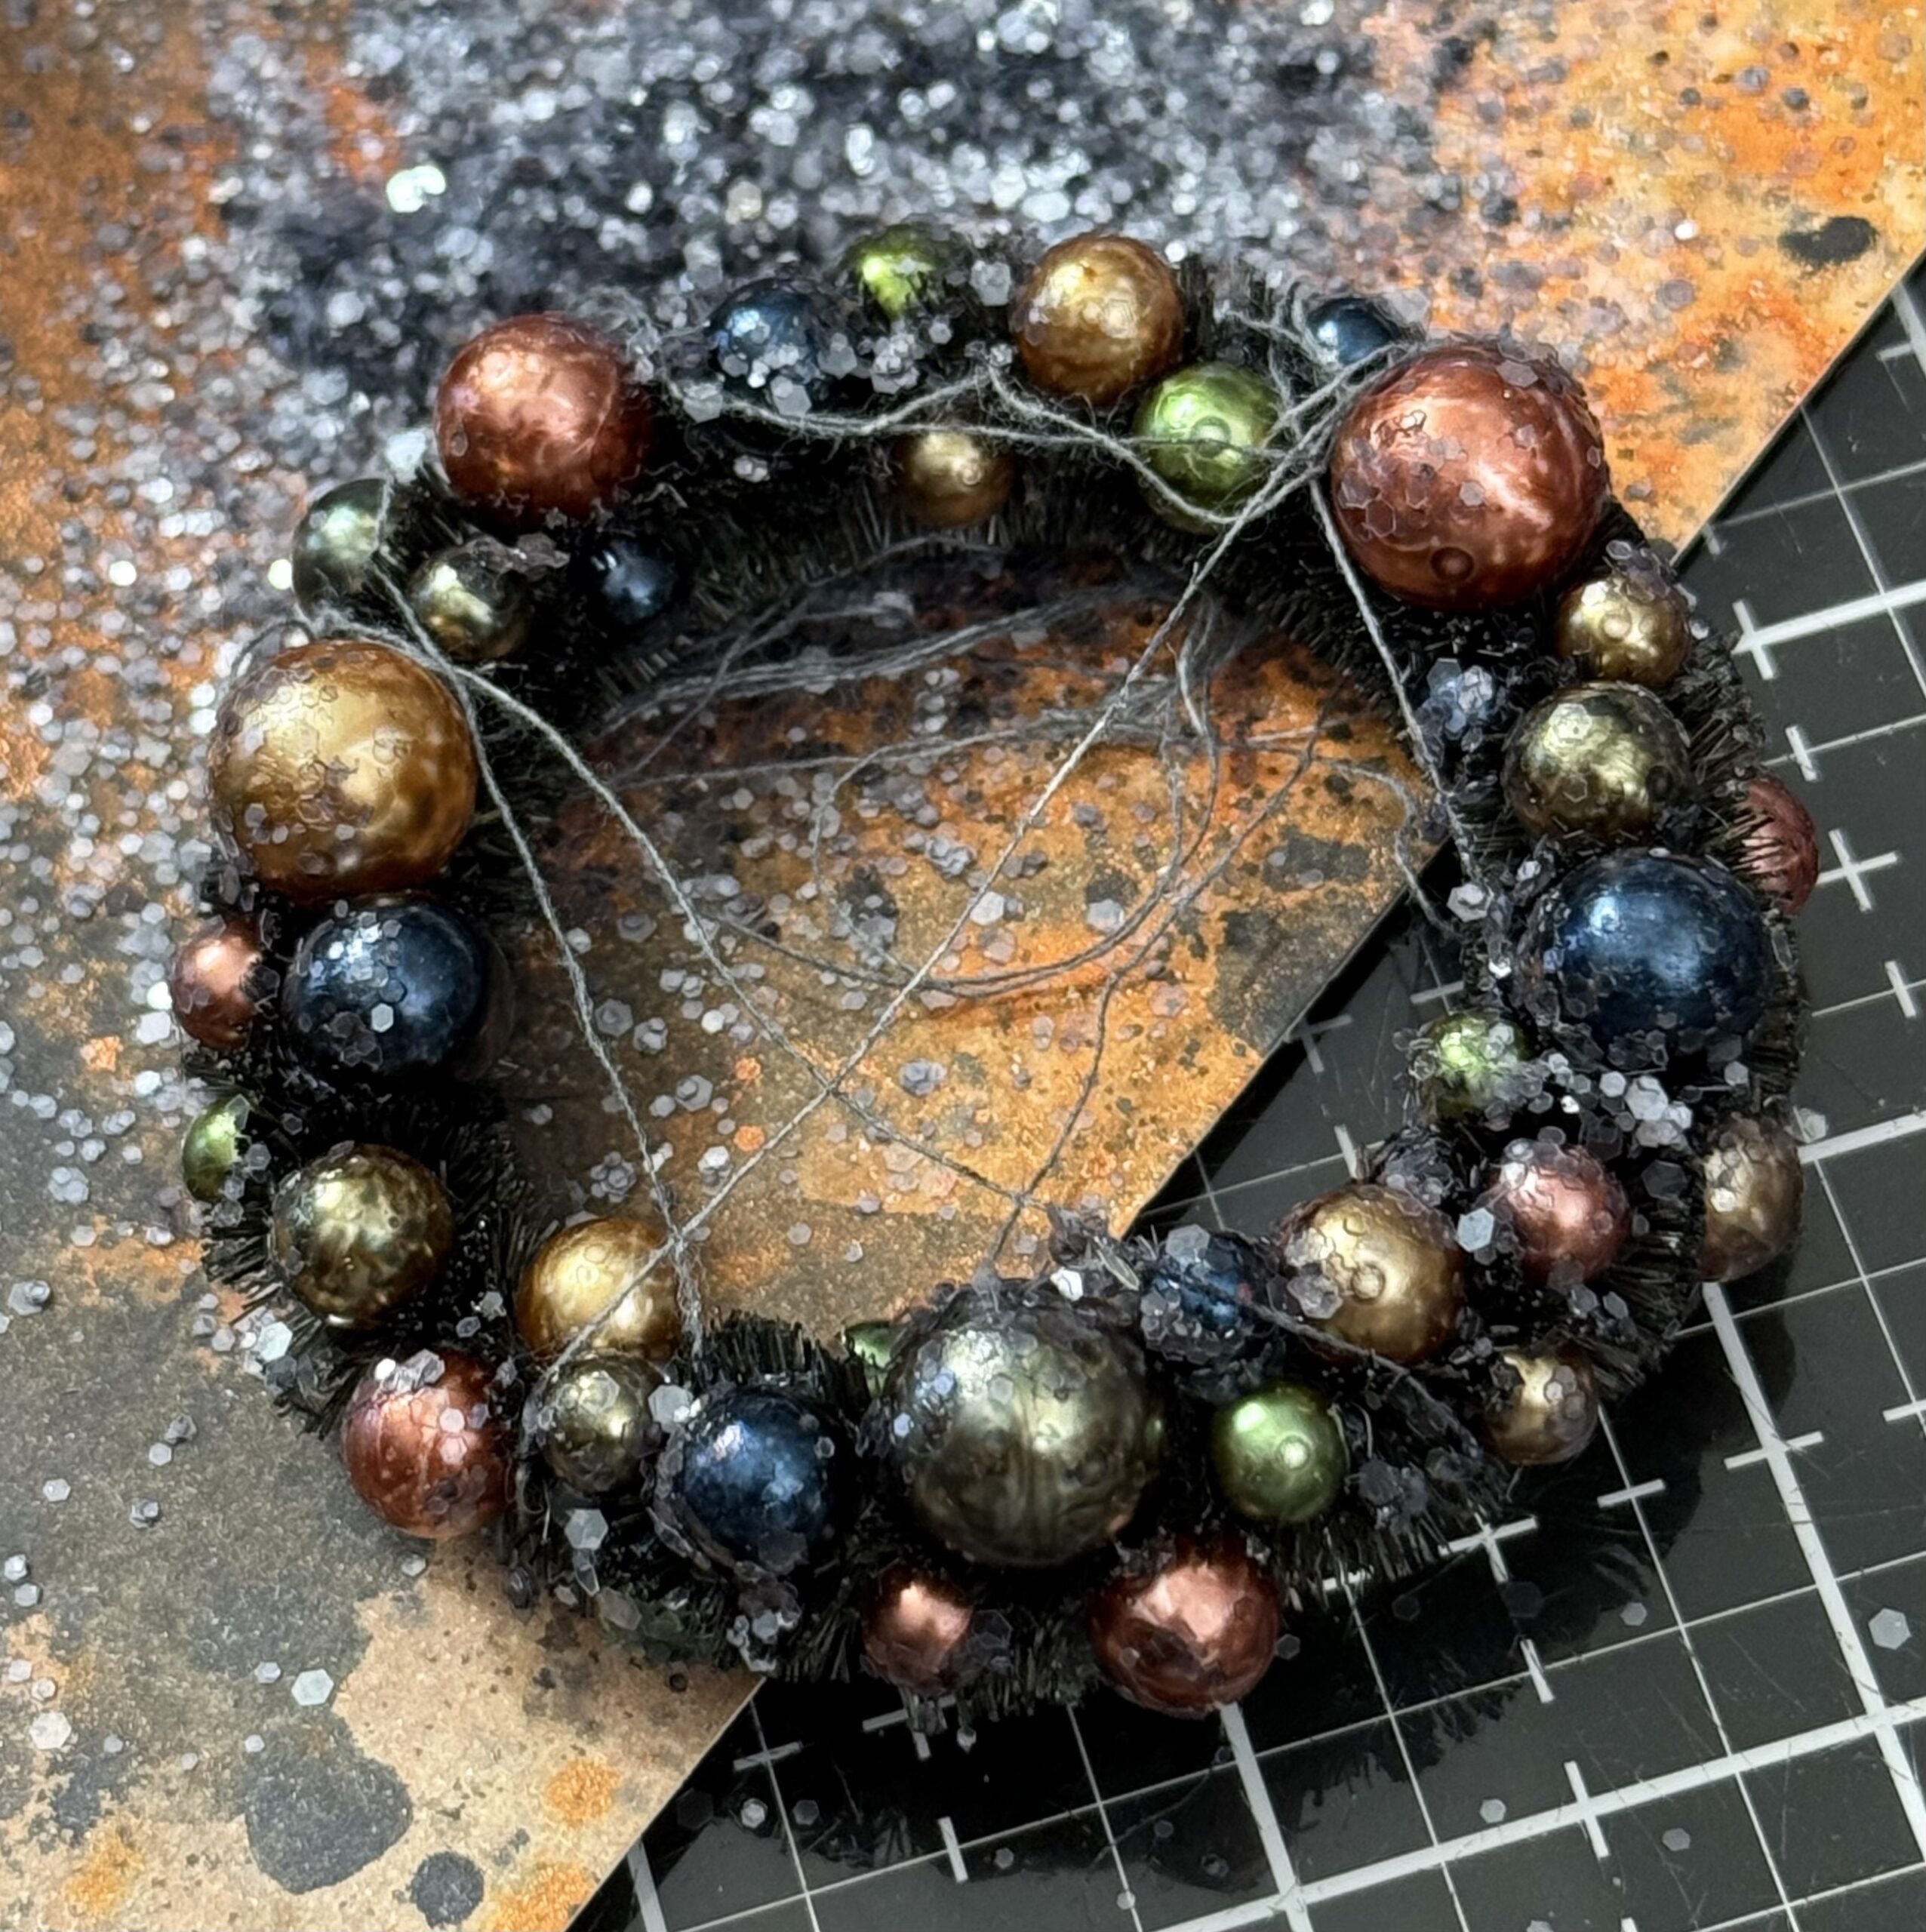
Here is the start…
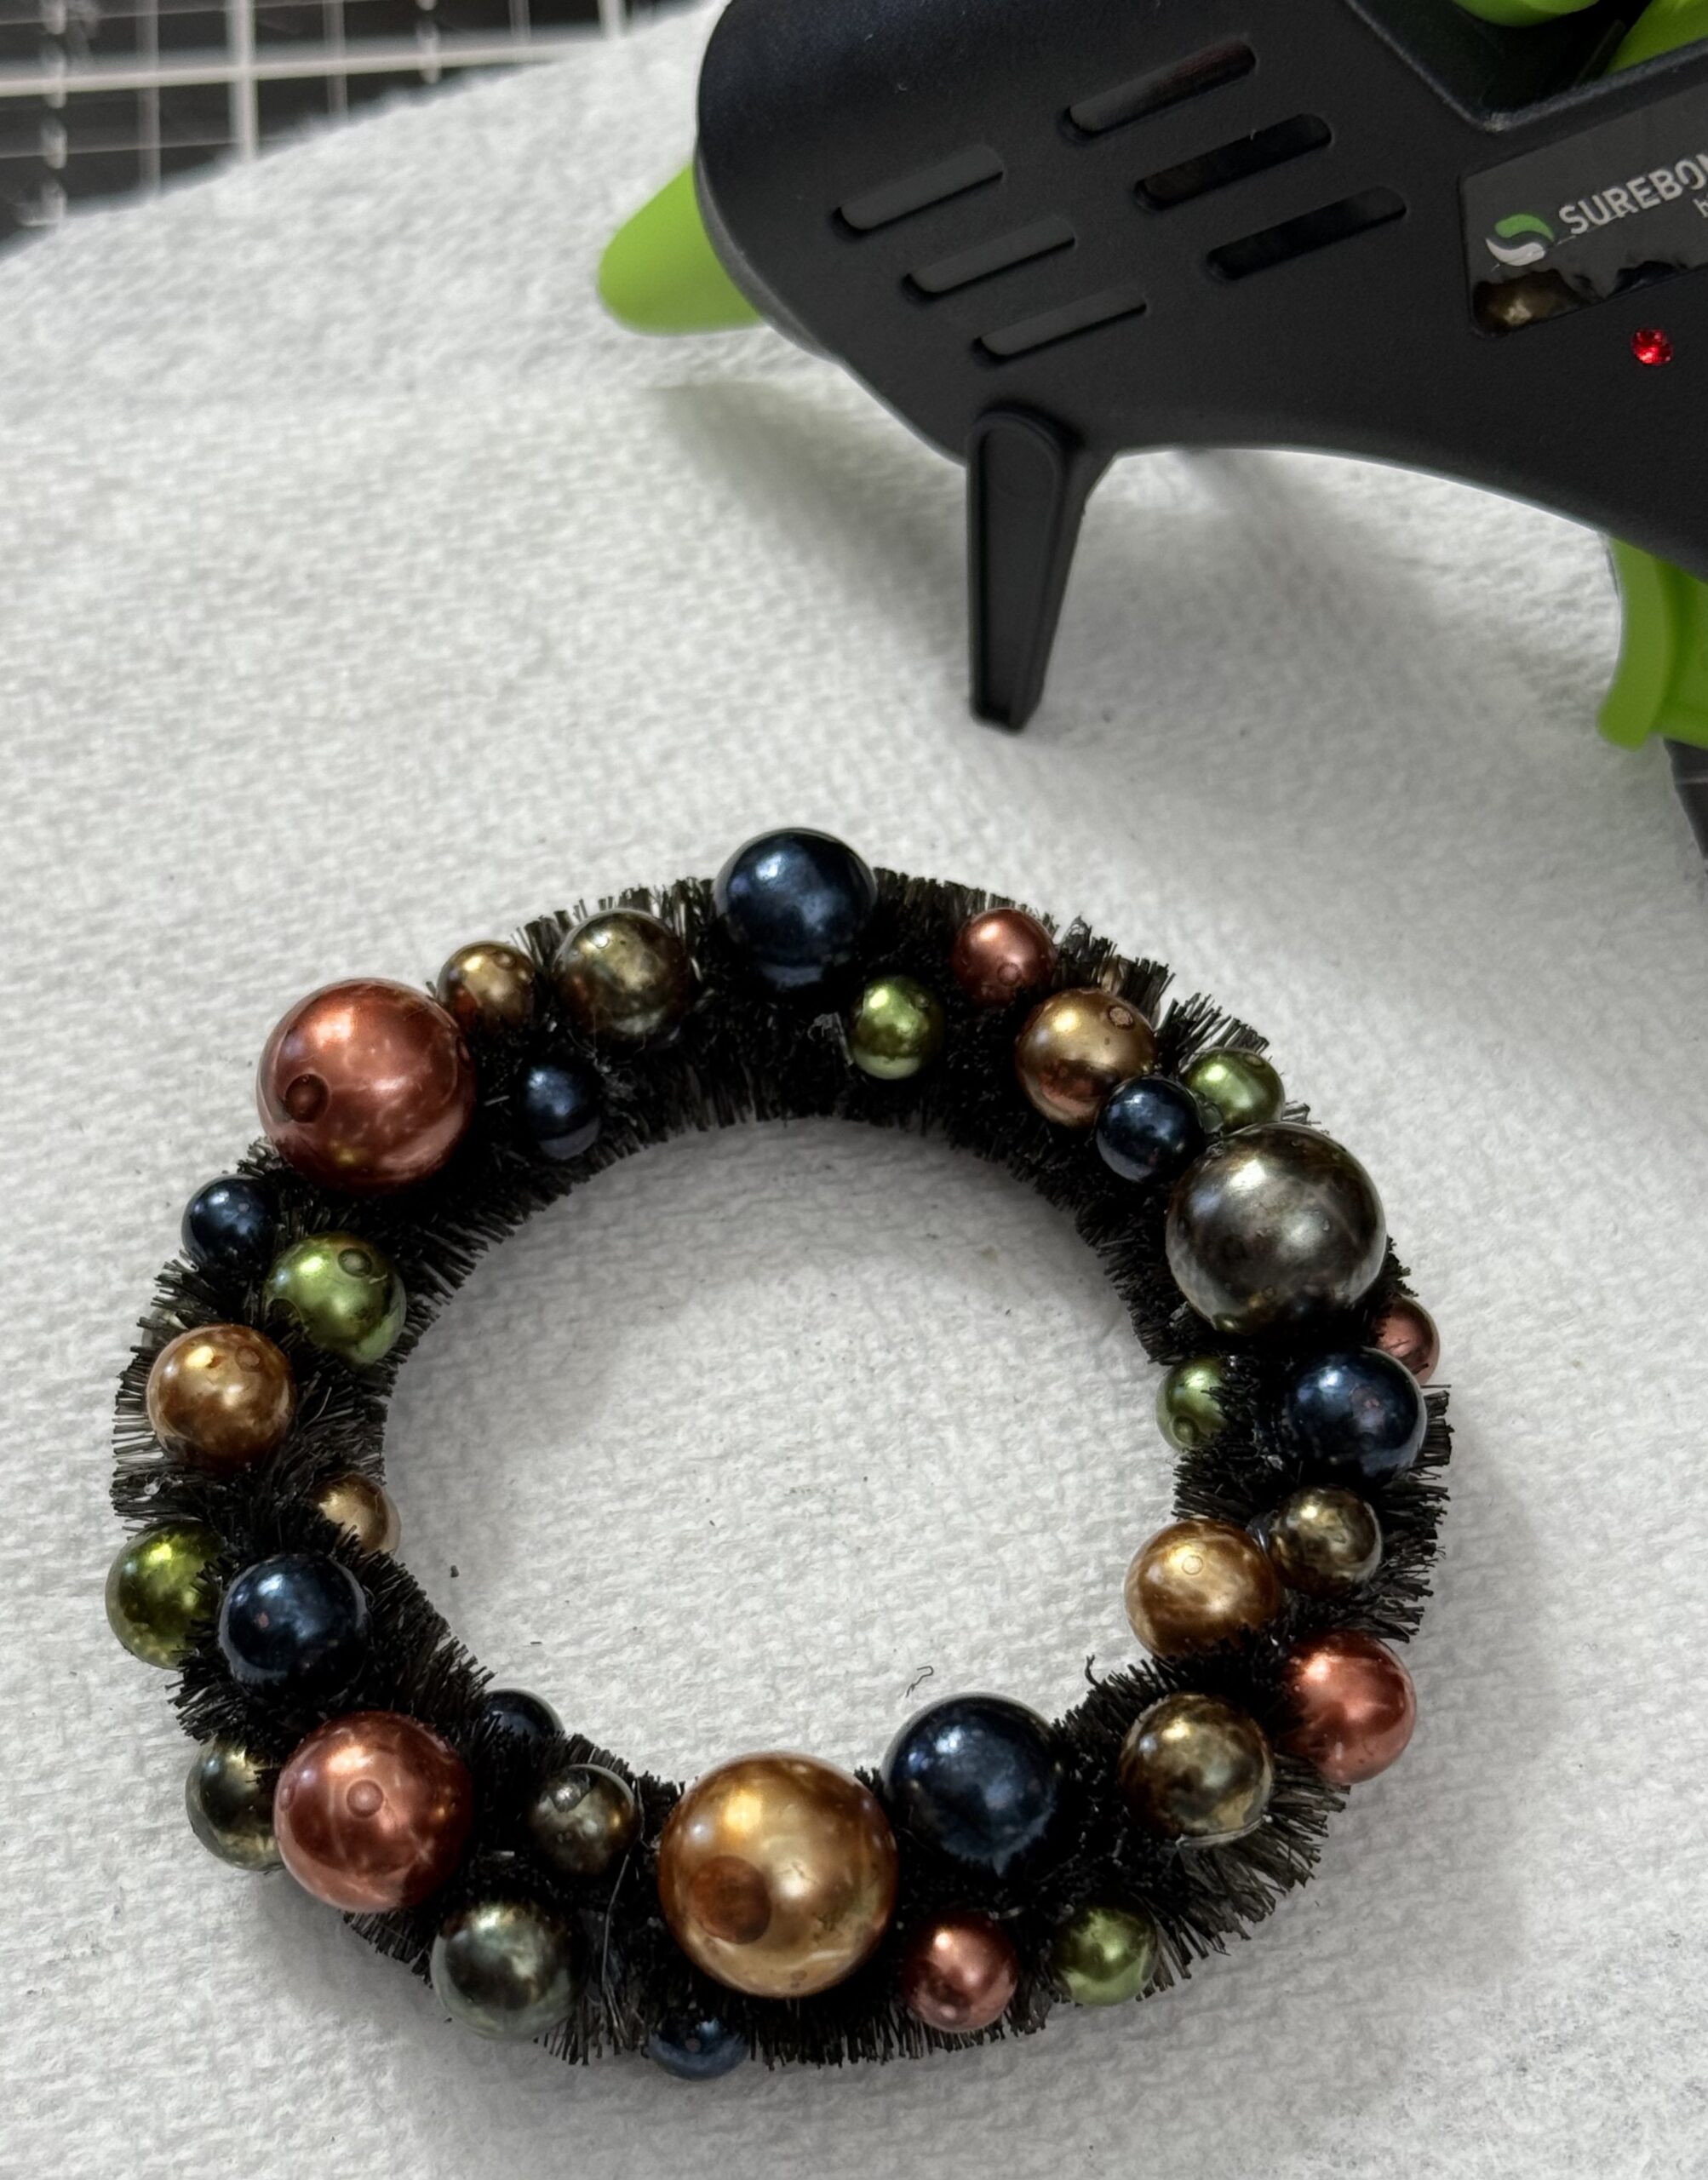
And, here is the finish… I made sure to add the variety of sizes to the wreath to fill it up.
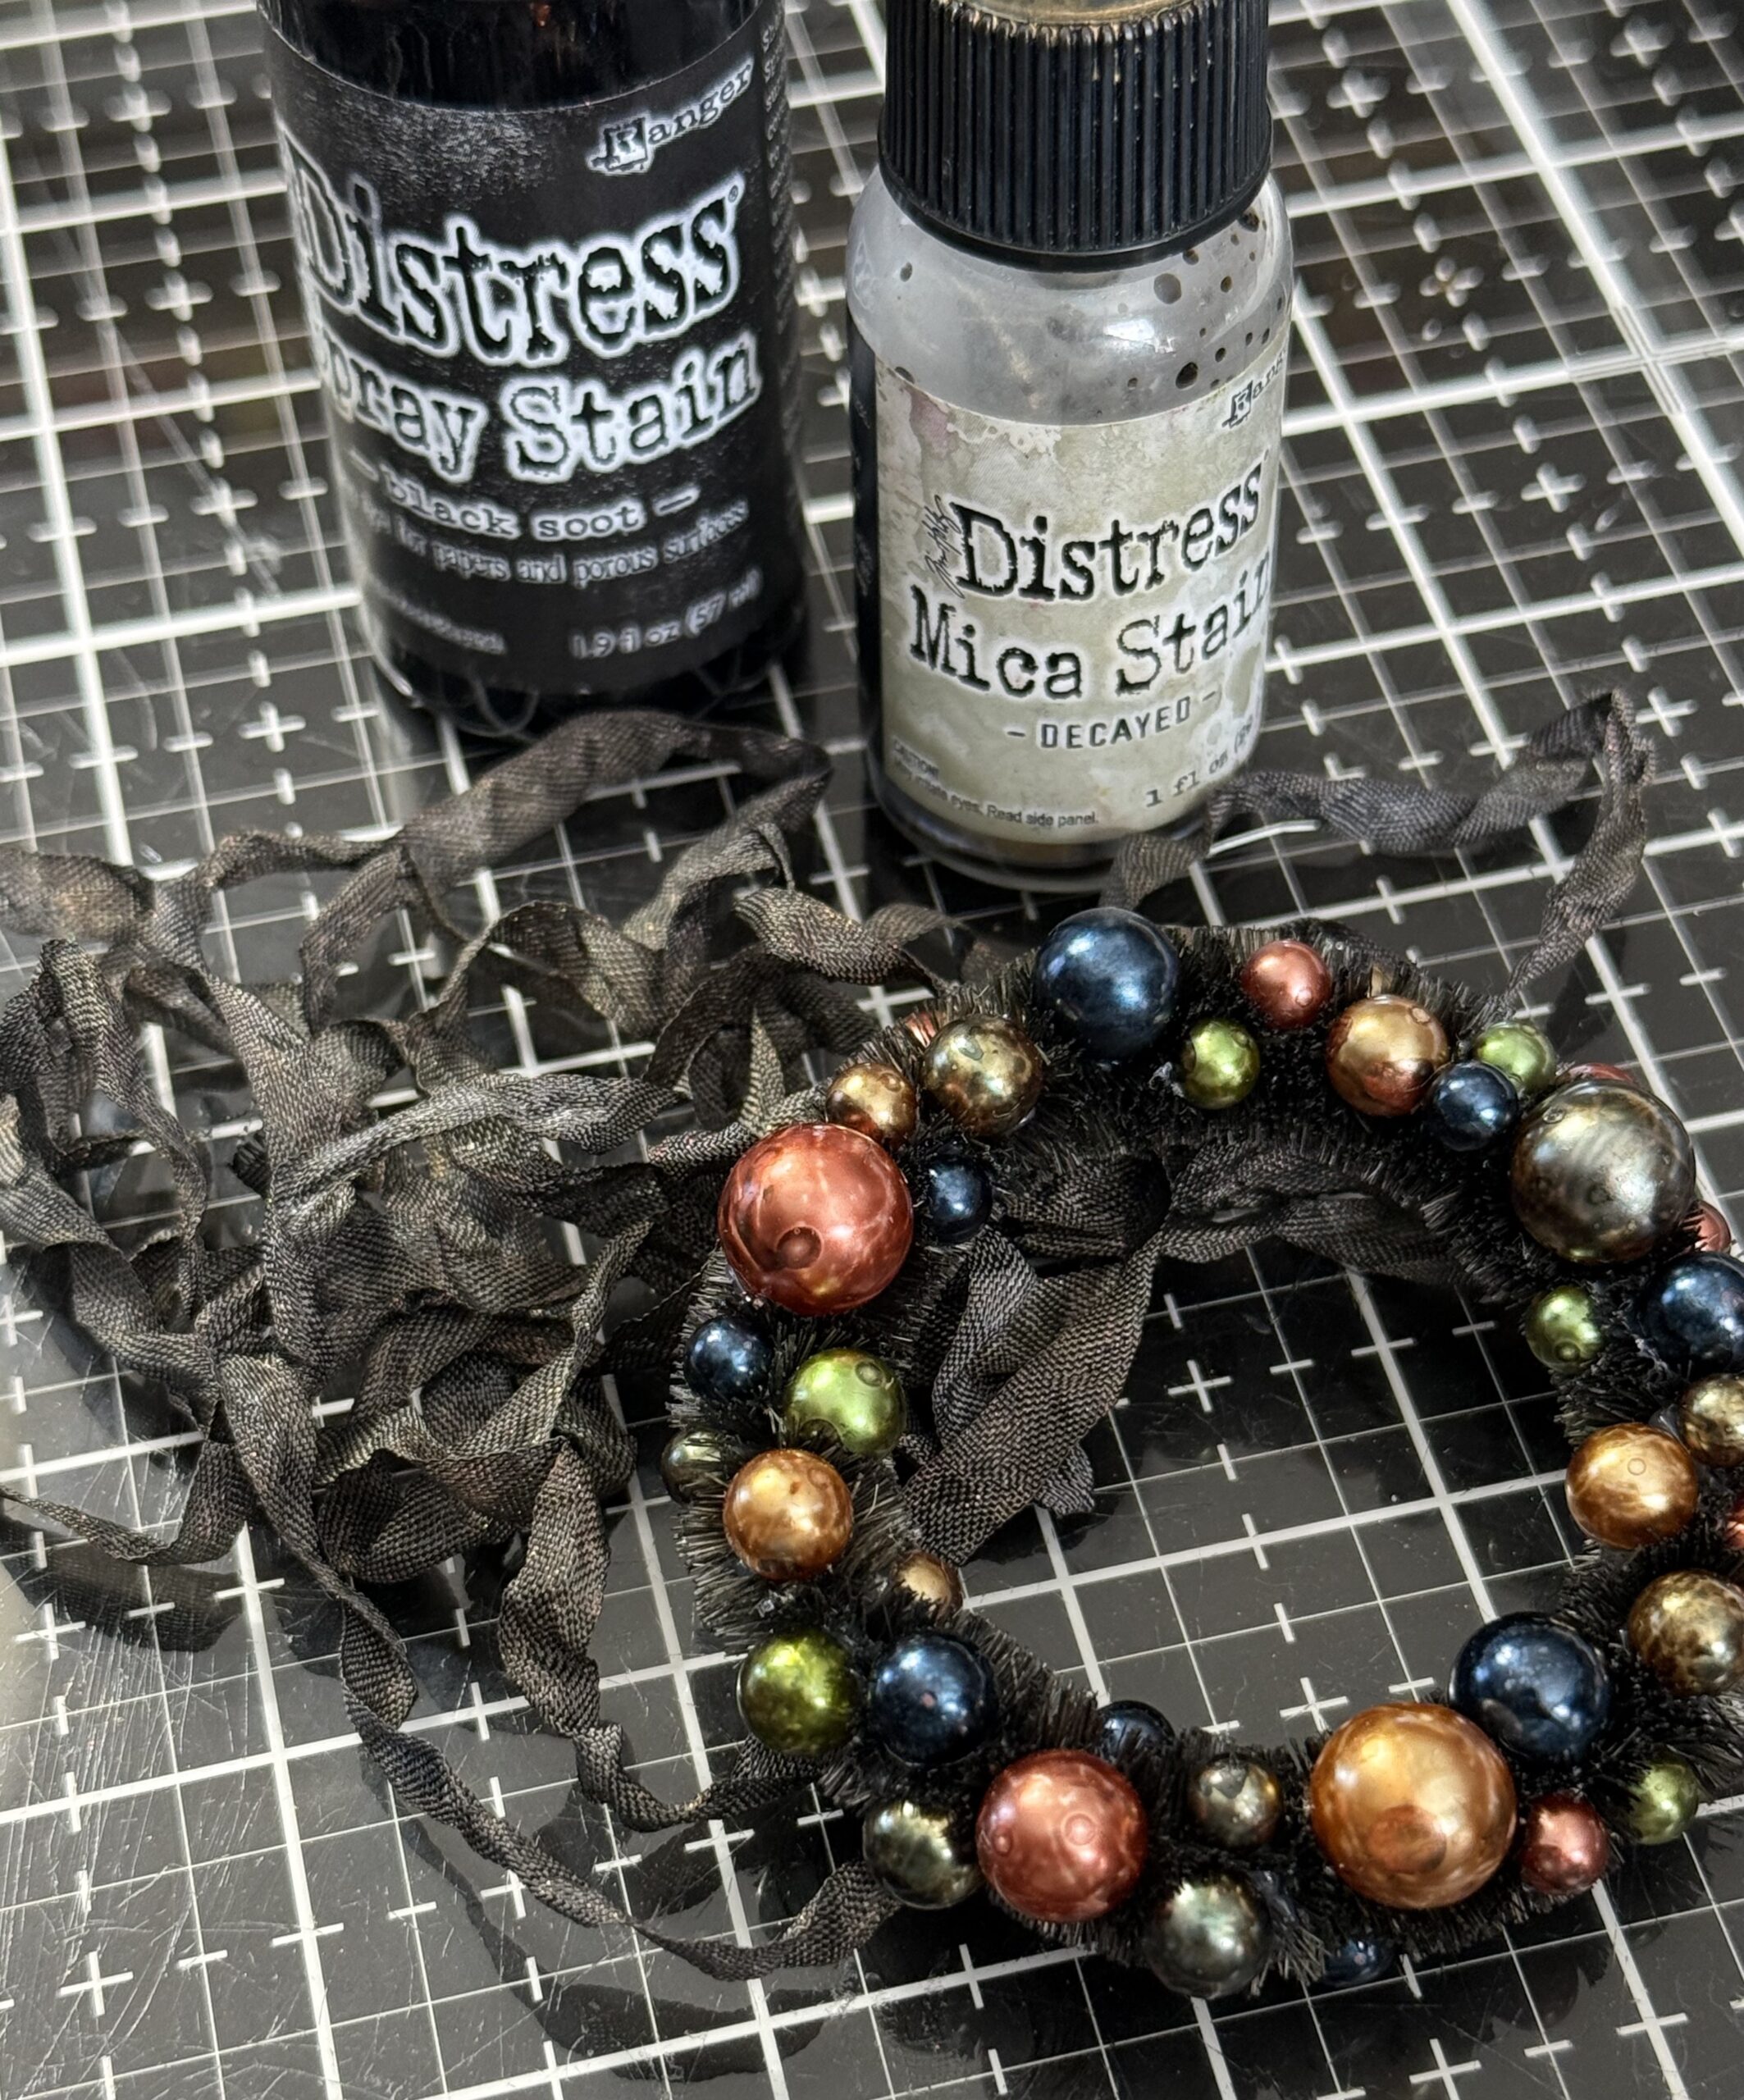
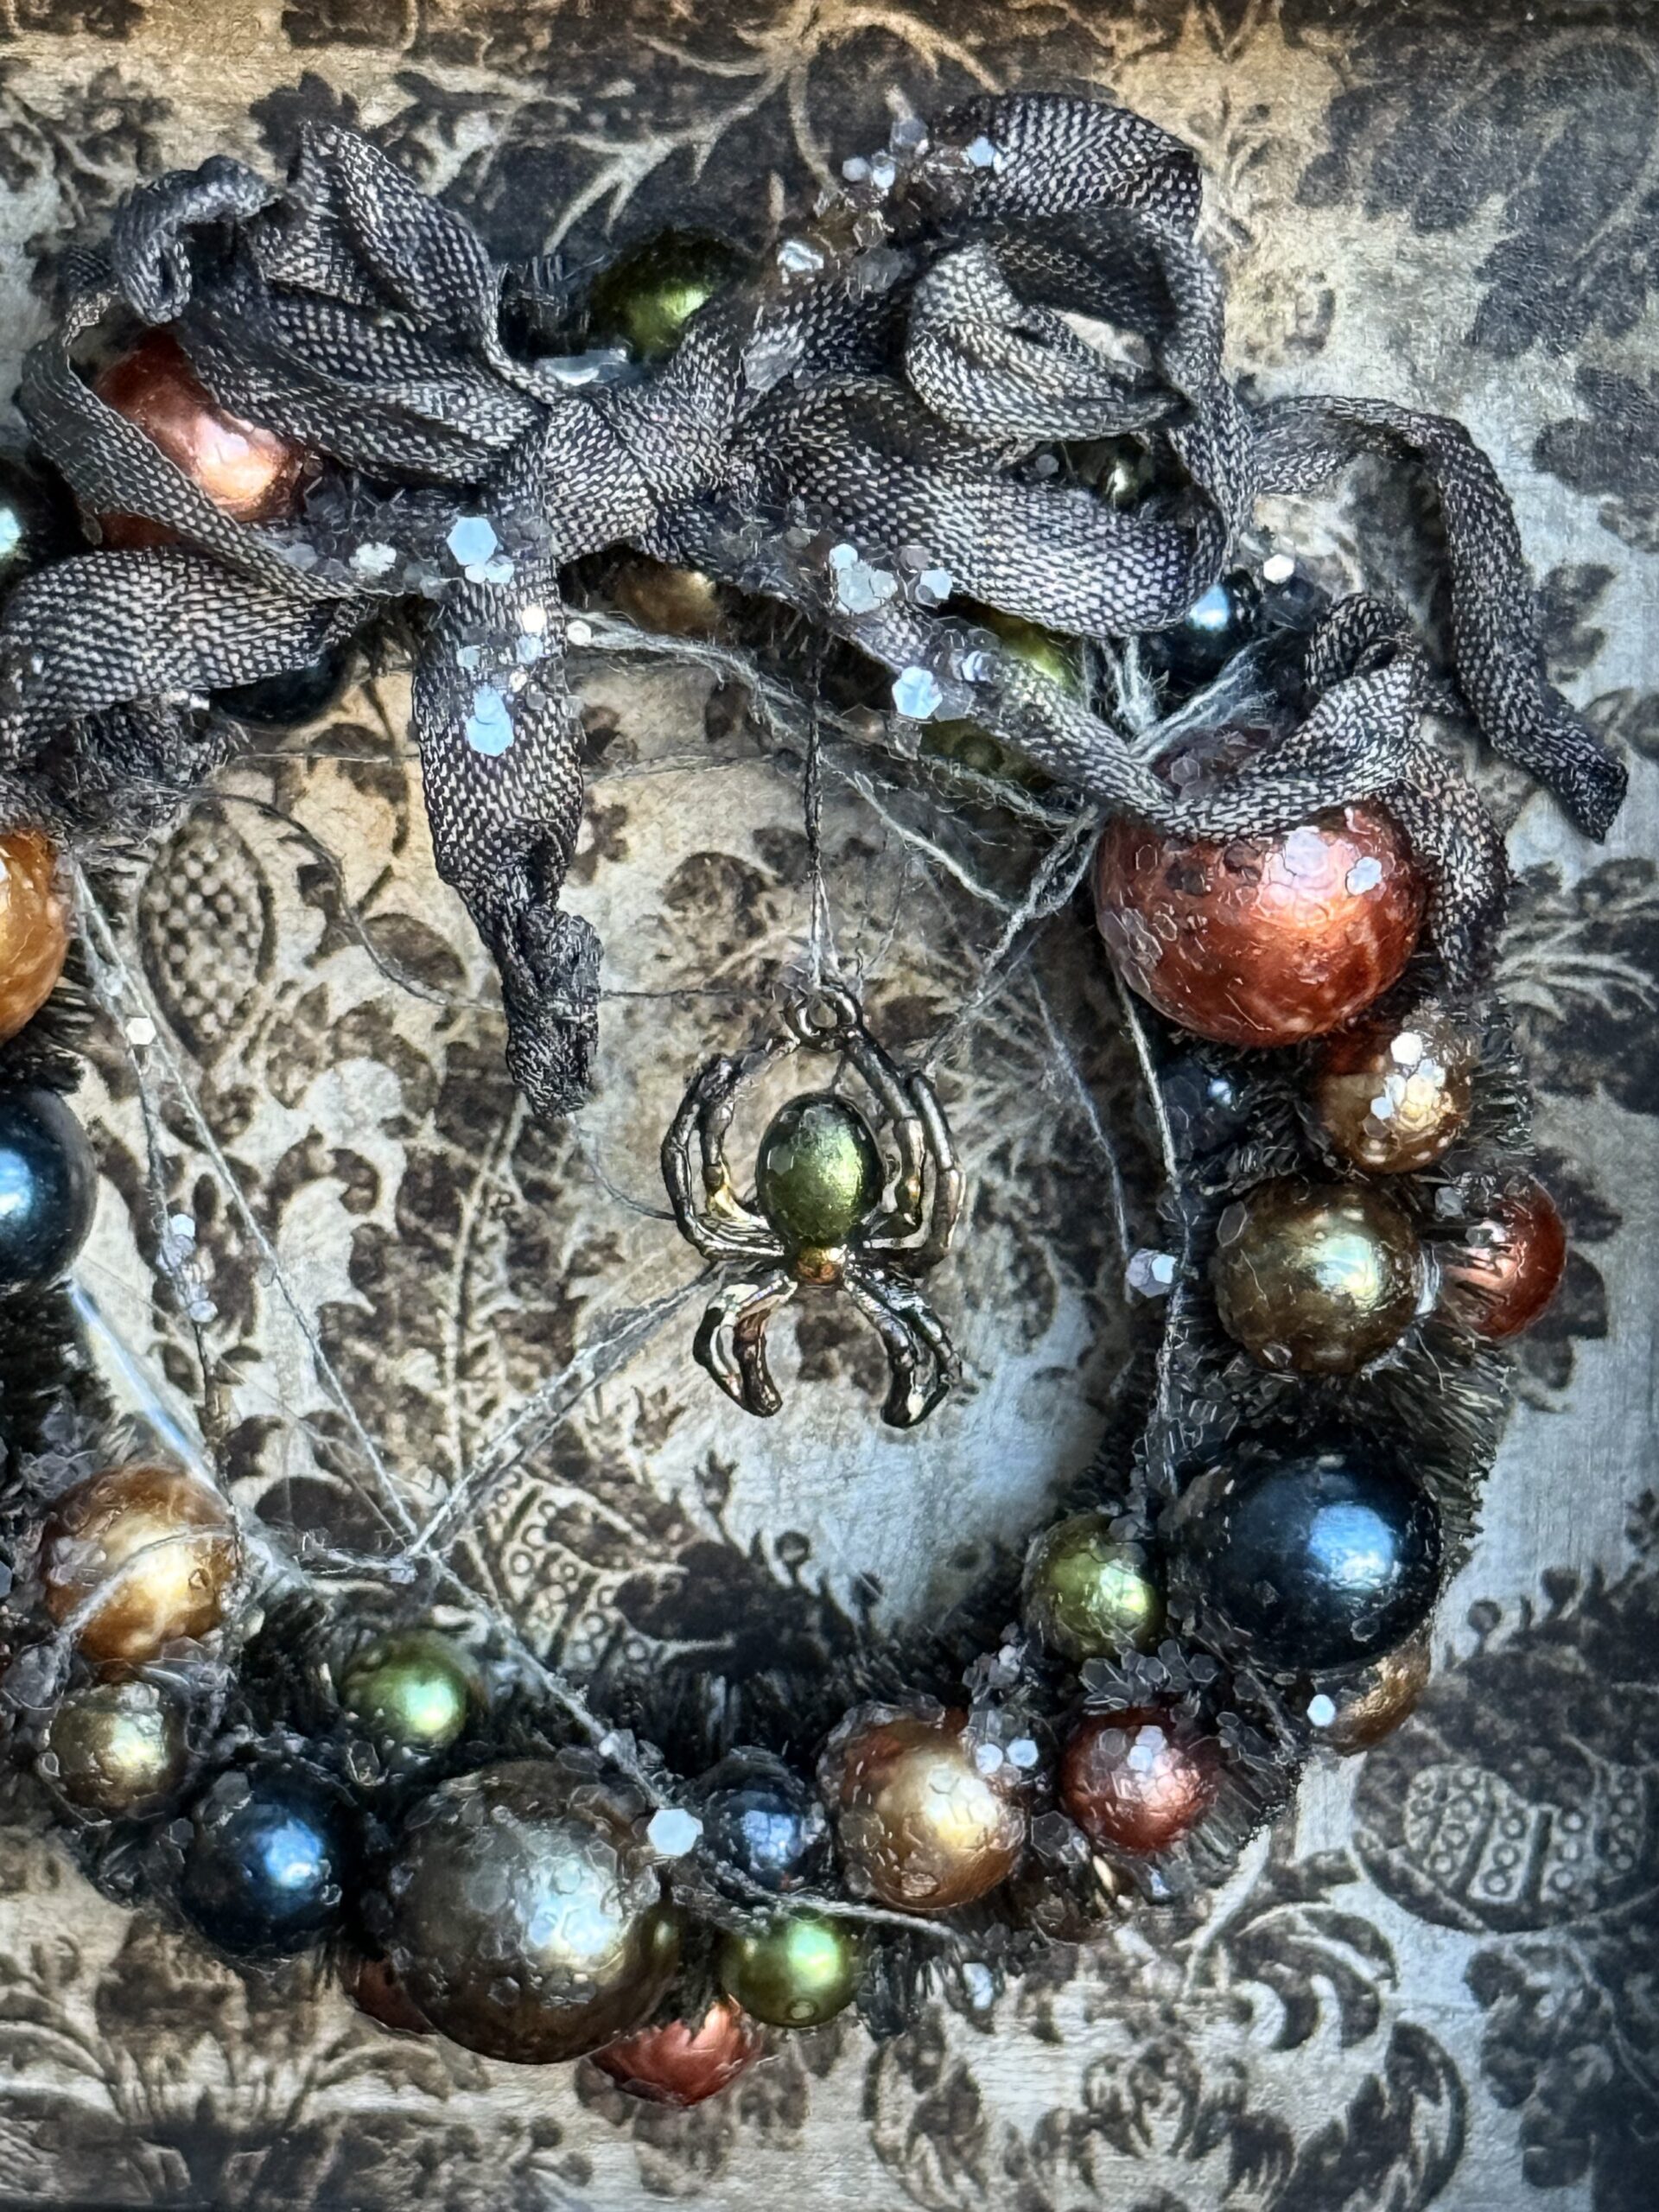
I dyed some 1/4″ Seam Binding Ribbon using a combination of water, Black SootDistress Stain and Decayed Mica Stain, then dried it with my heat tool. I tied a bow for the top and adhered it with the hot glue.
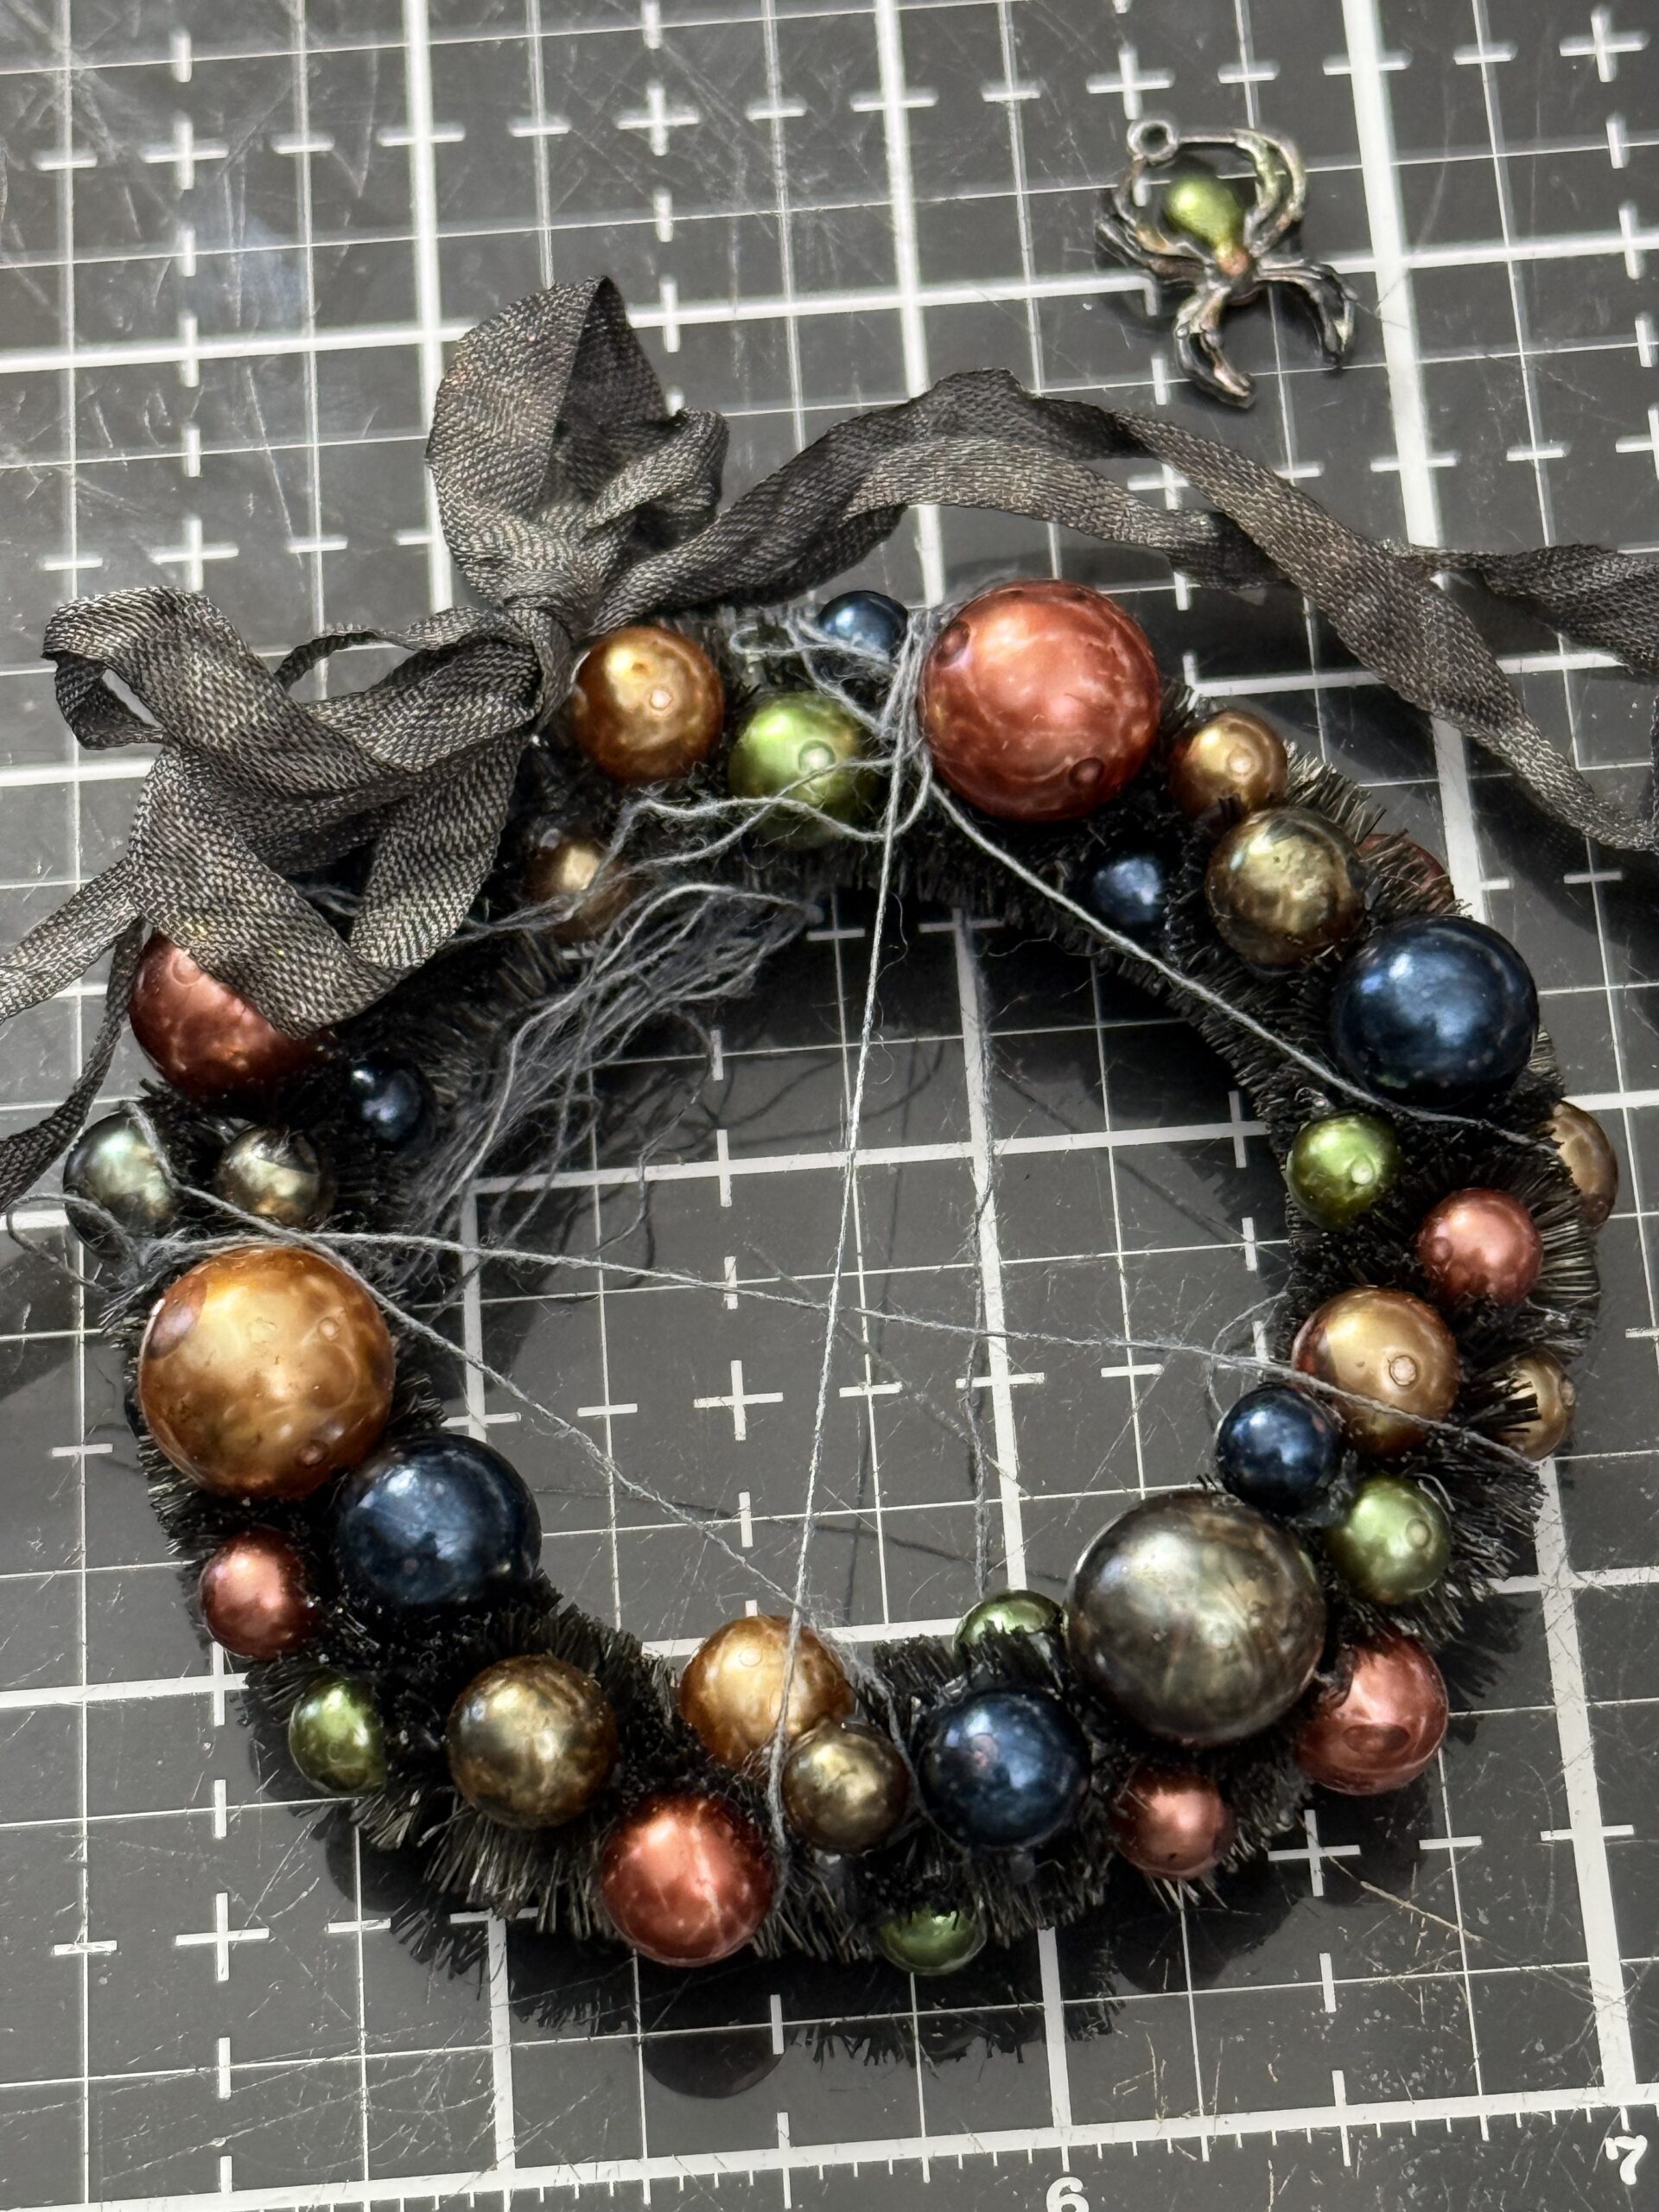
I painted a spider adornment charm using Black Soot Distress Paint and used some Alcohol Ink Pearls to color the body. I wrapped some scraps of string from some idea-ology mummy cloth around the wreath to look like spiderweb, and adhered it to the wreath using some Glossy Accents. The spider would be tied to some thread and attached to the wreath after adding some glitter.
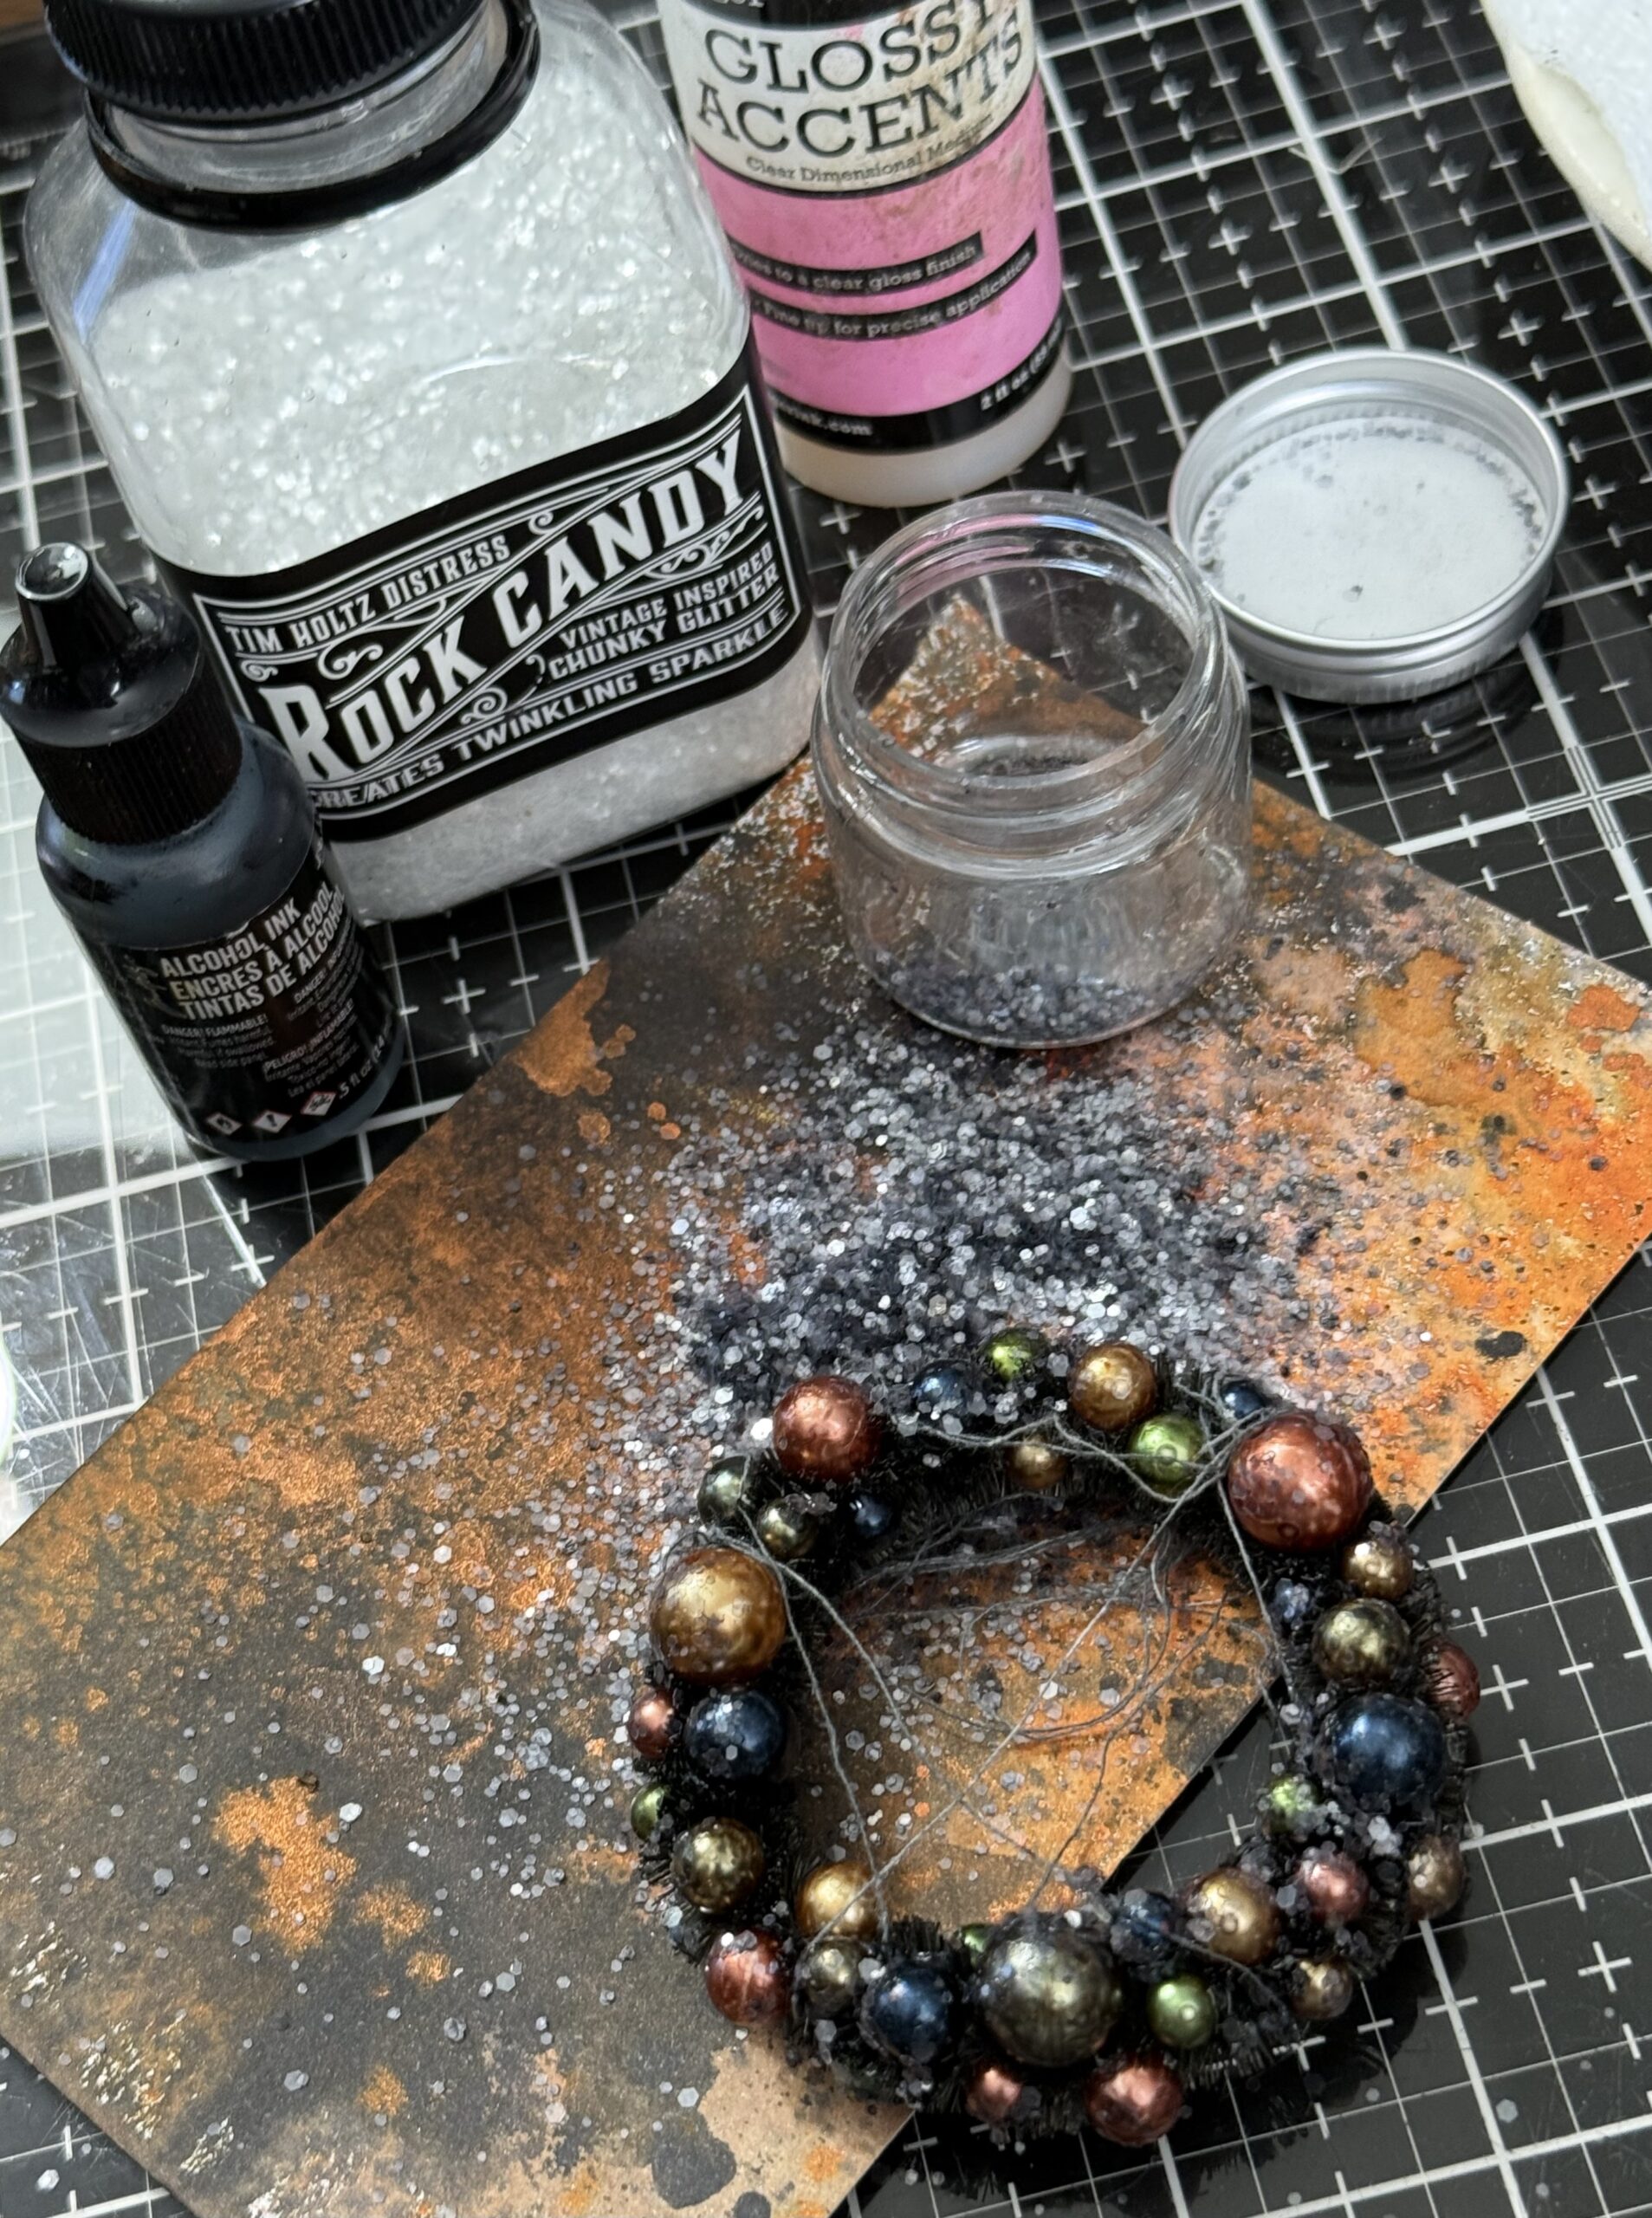
The glitter for the wreath…I adhered some black glitter around on the wreath and the baubles using Glossy Accents for the adhesive. The black chunky glitter was created using Chunky Clear Rock Candy Glitter and some Pitch Black Alcohol Ink. This is something that I did a while ago and have in my supplies for upcoming projects. Tim shared a while ago how to create colored glitter on his YouTube channel and the black was one of my first to create…it’s perfect for all Halloween makes!
Here is a link to Tim and how he made them...quite similar to making the Alcohol Inked baubles.
I rubbed the wreath with some Glossy Accents onto the baubles and wreath, and sprinkled on some of the glitter, then set it aside to dry.
Here is a look after I had the glitter all sprinkled over top…it really adds that more vintage look to the wreath!
I adhered the bow to the top of the wreath using my glue gun and then added the spider to a piece of thread and adhered it to the wreath using some glossy accents.
I selected some of the idea-ology Halloween Backdrops paper to add to the smallest square vignette box, then trimmed the papers to fit the box.
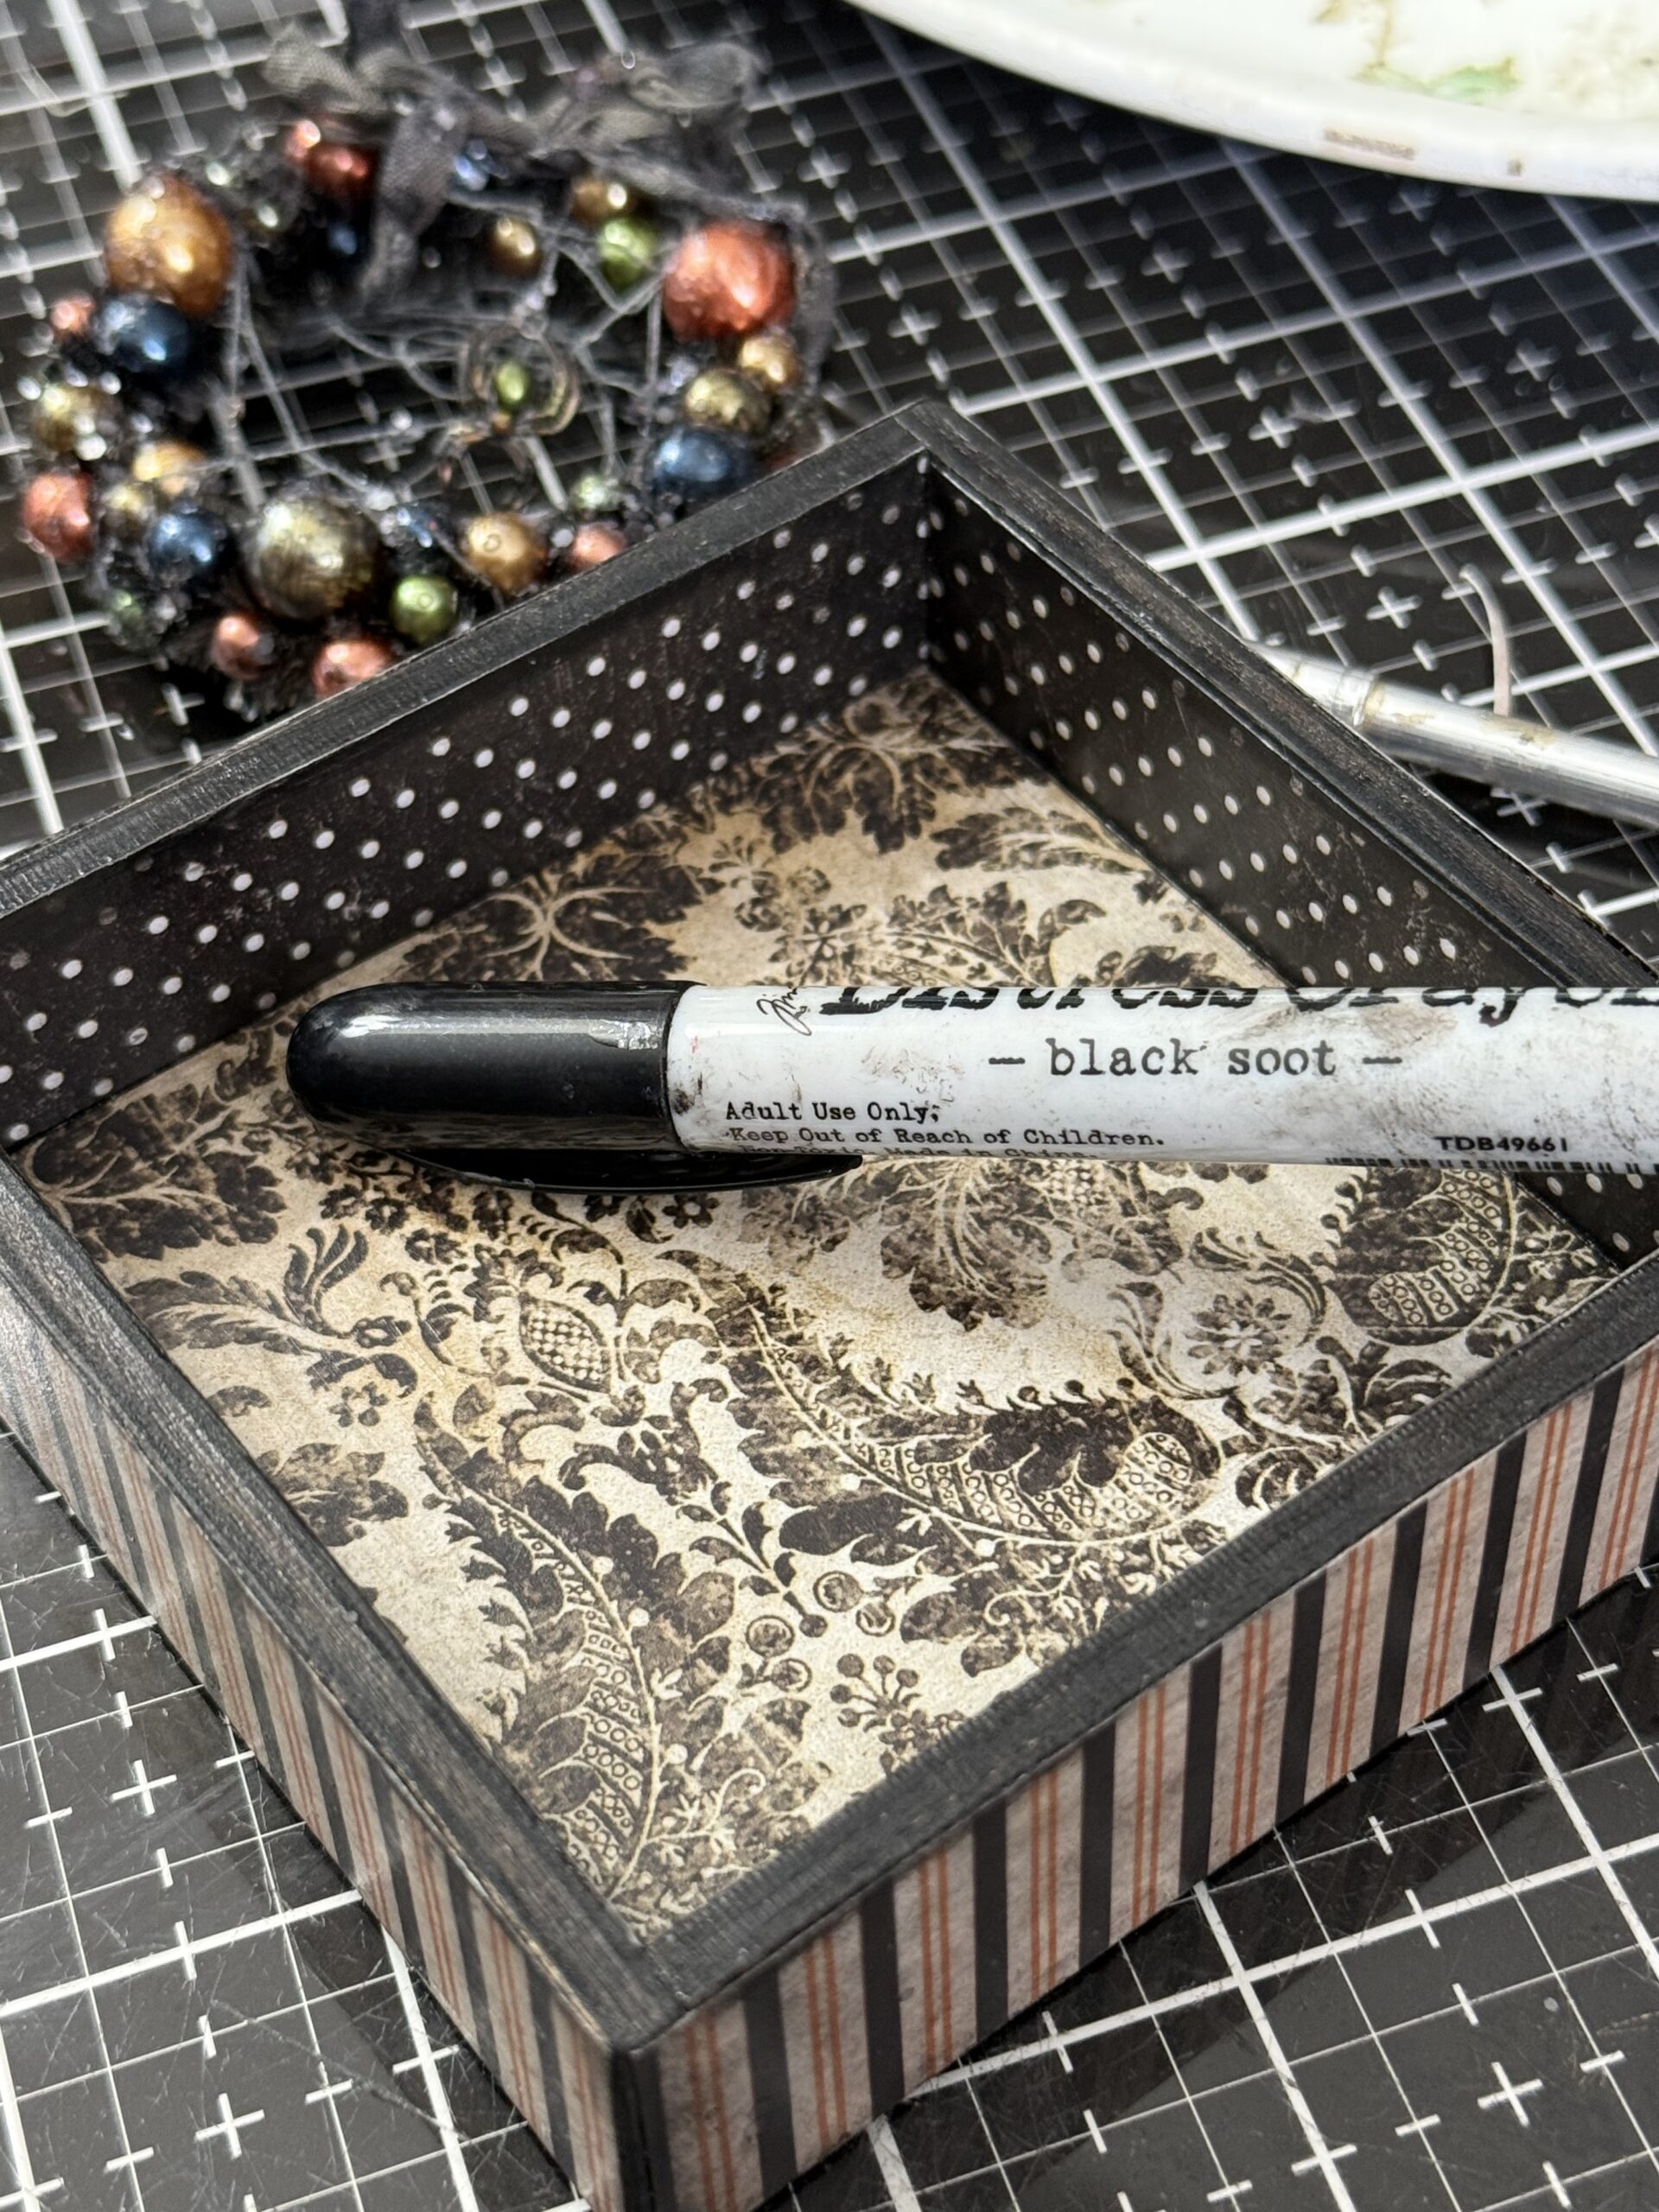
I painted the vignette square using Black Soot Distress Paint, let it dry, then adhered the paper pieces into place using Collage Medium. The Collage Medium was added to the front of all of the papers as they were adhered so that I could rub the papers with Distress Crayon to add grunge to the project.
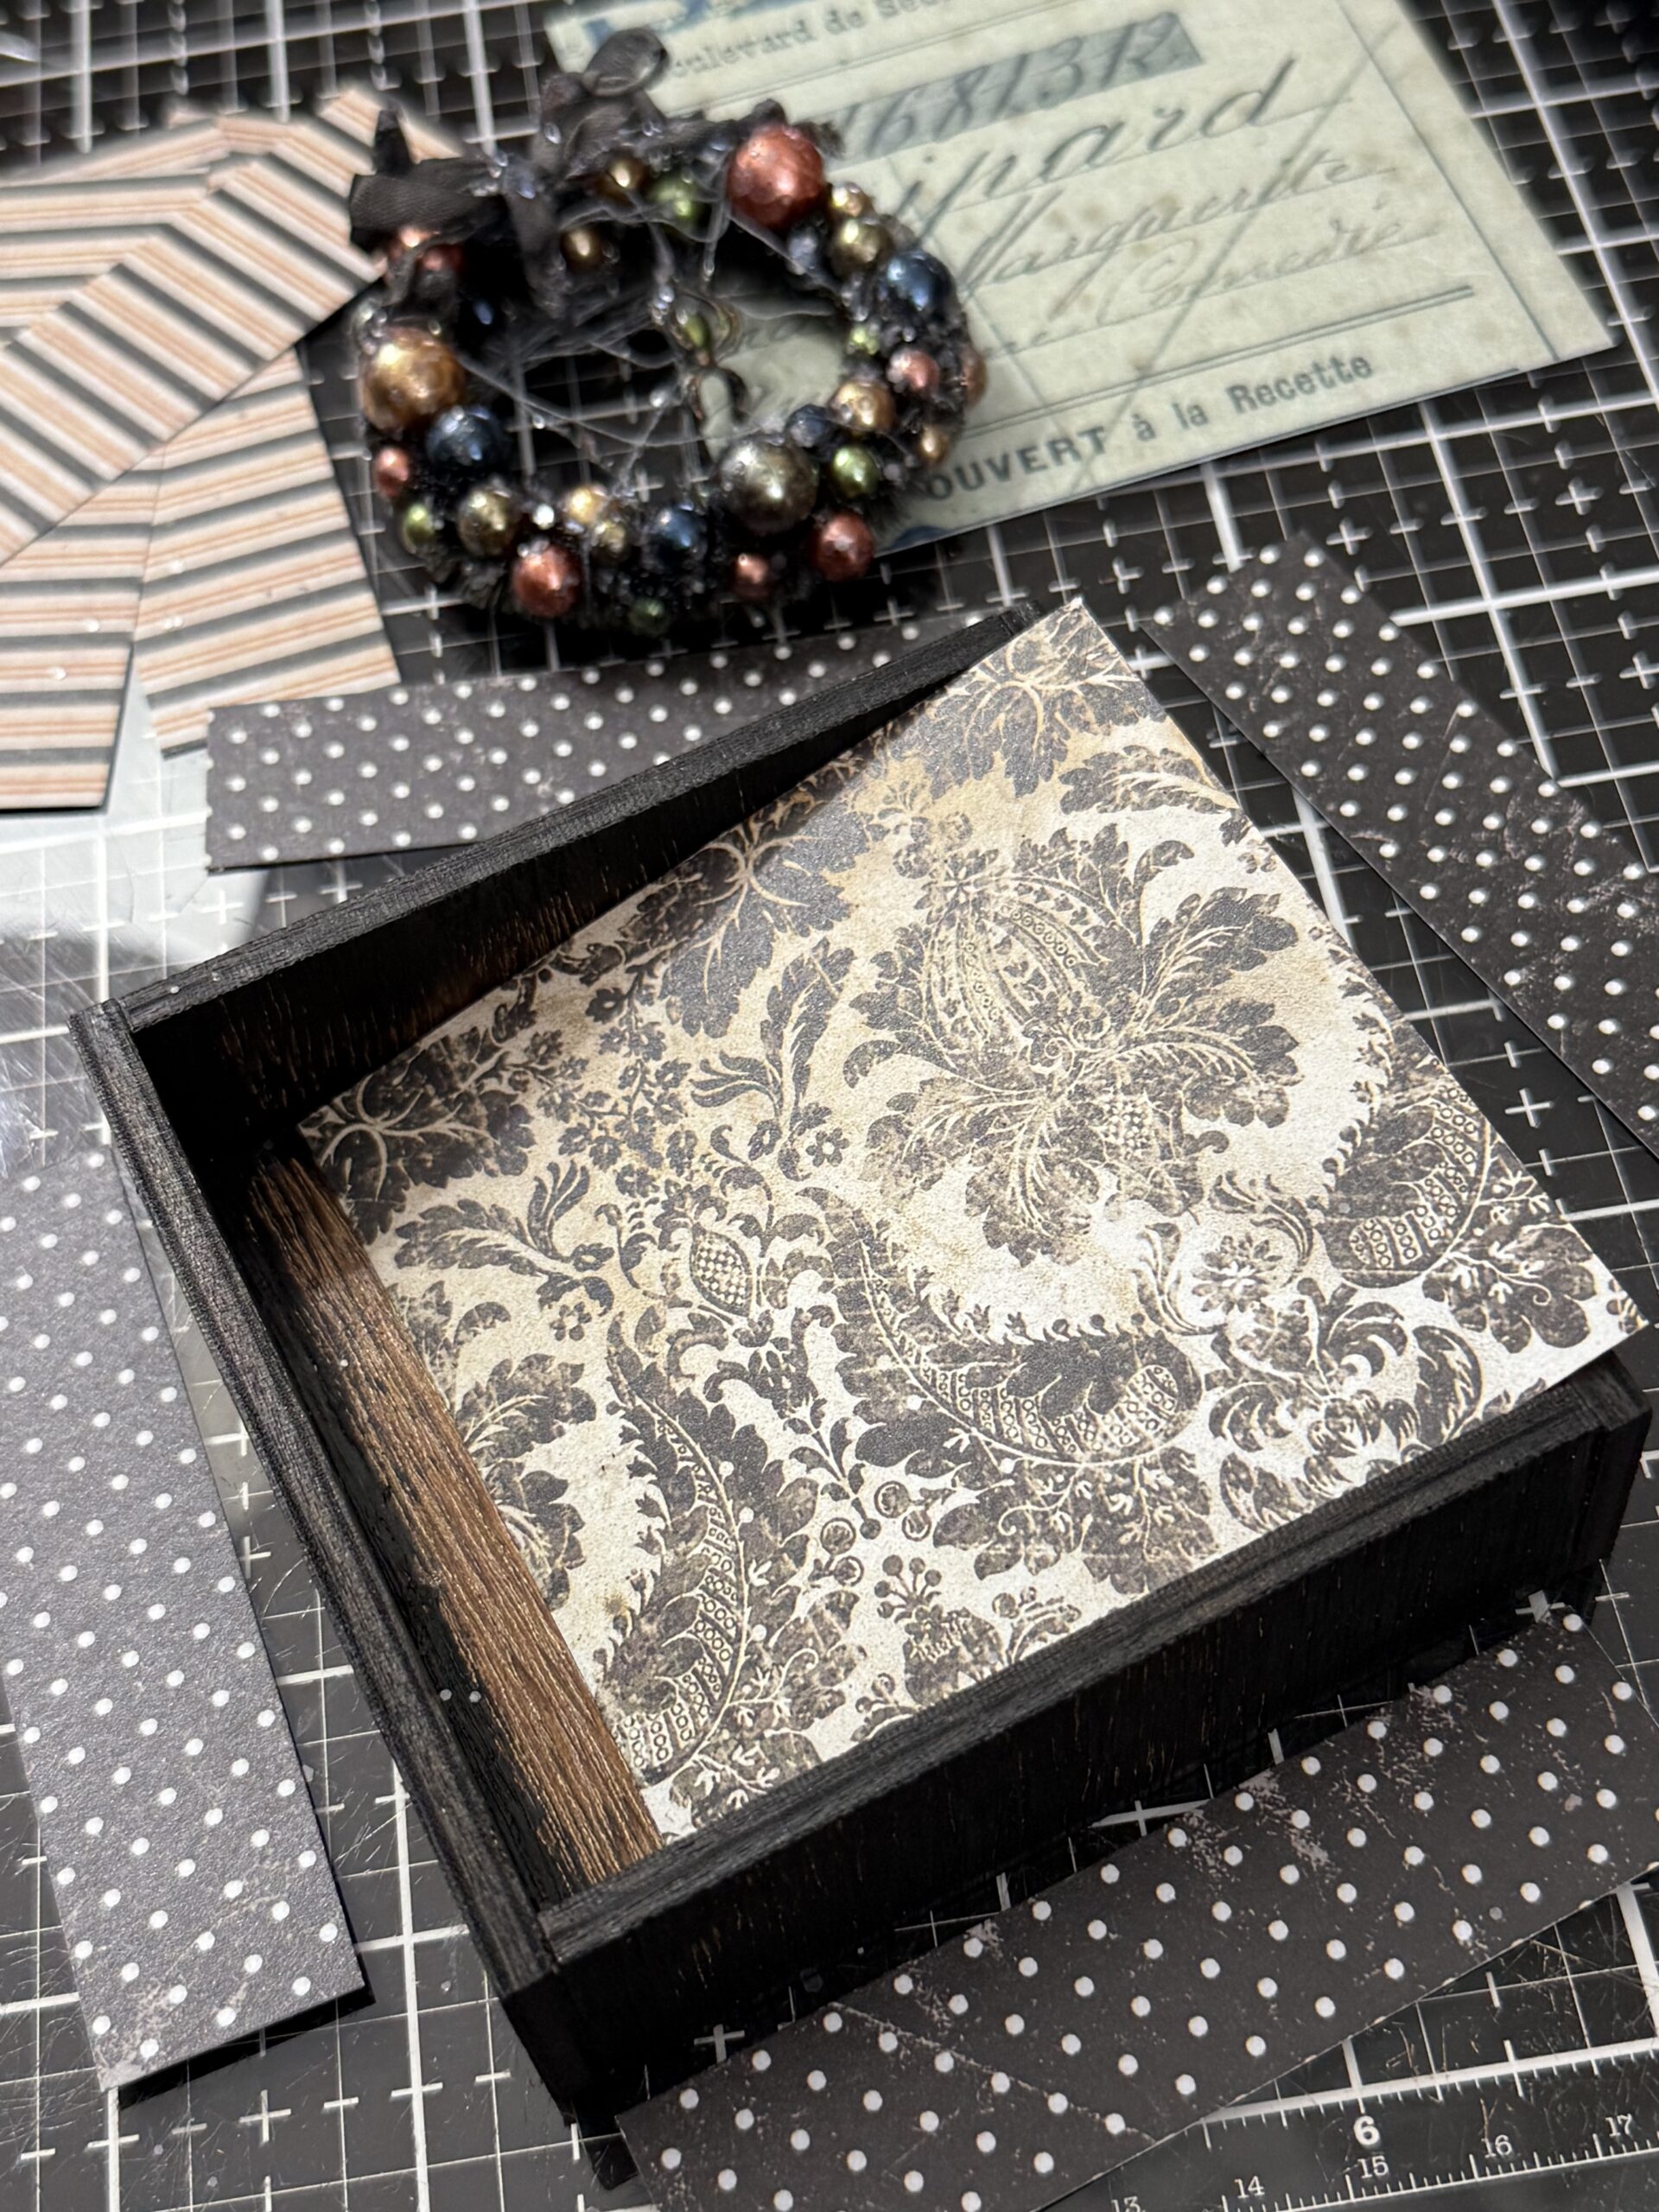
After the papers were adhered and dry, I scribbled on some Black Soot Distress Crayon around the edges of the vignette box to add age to the project.
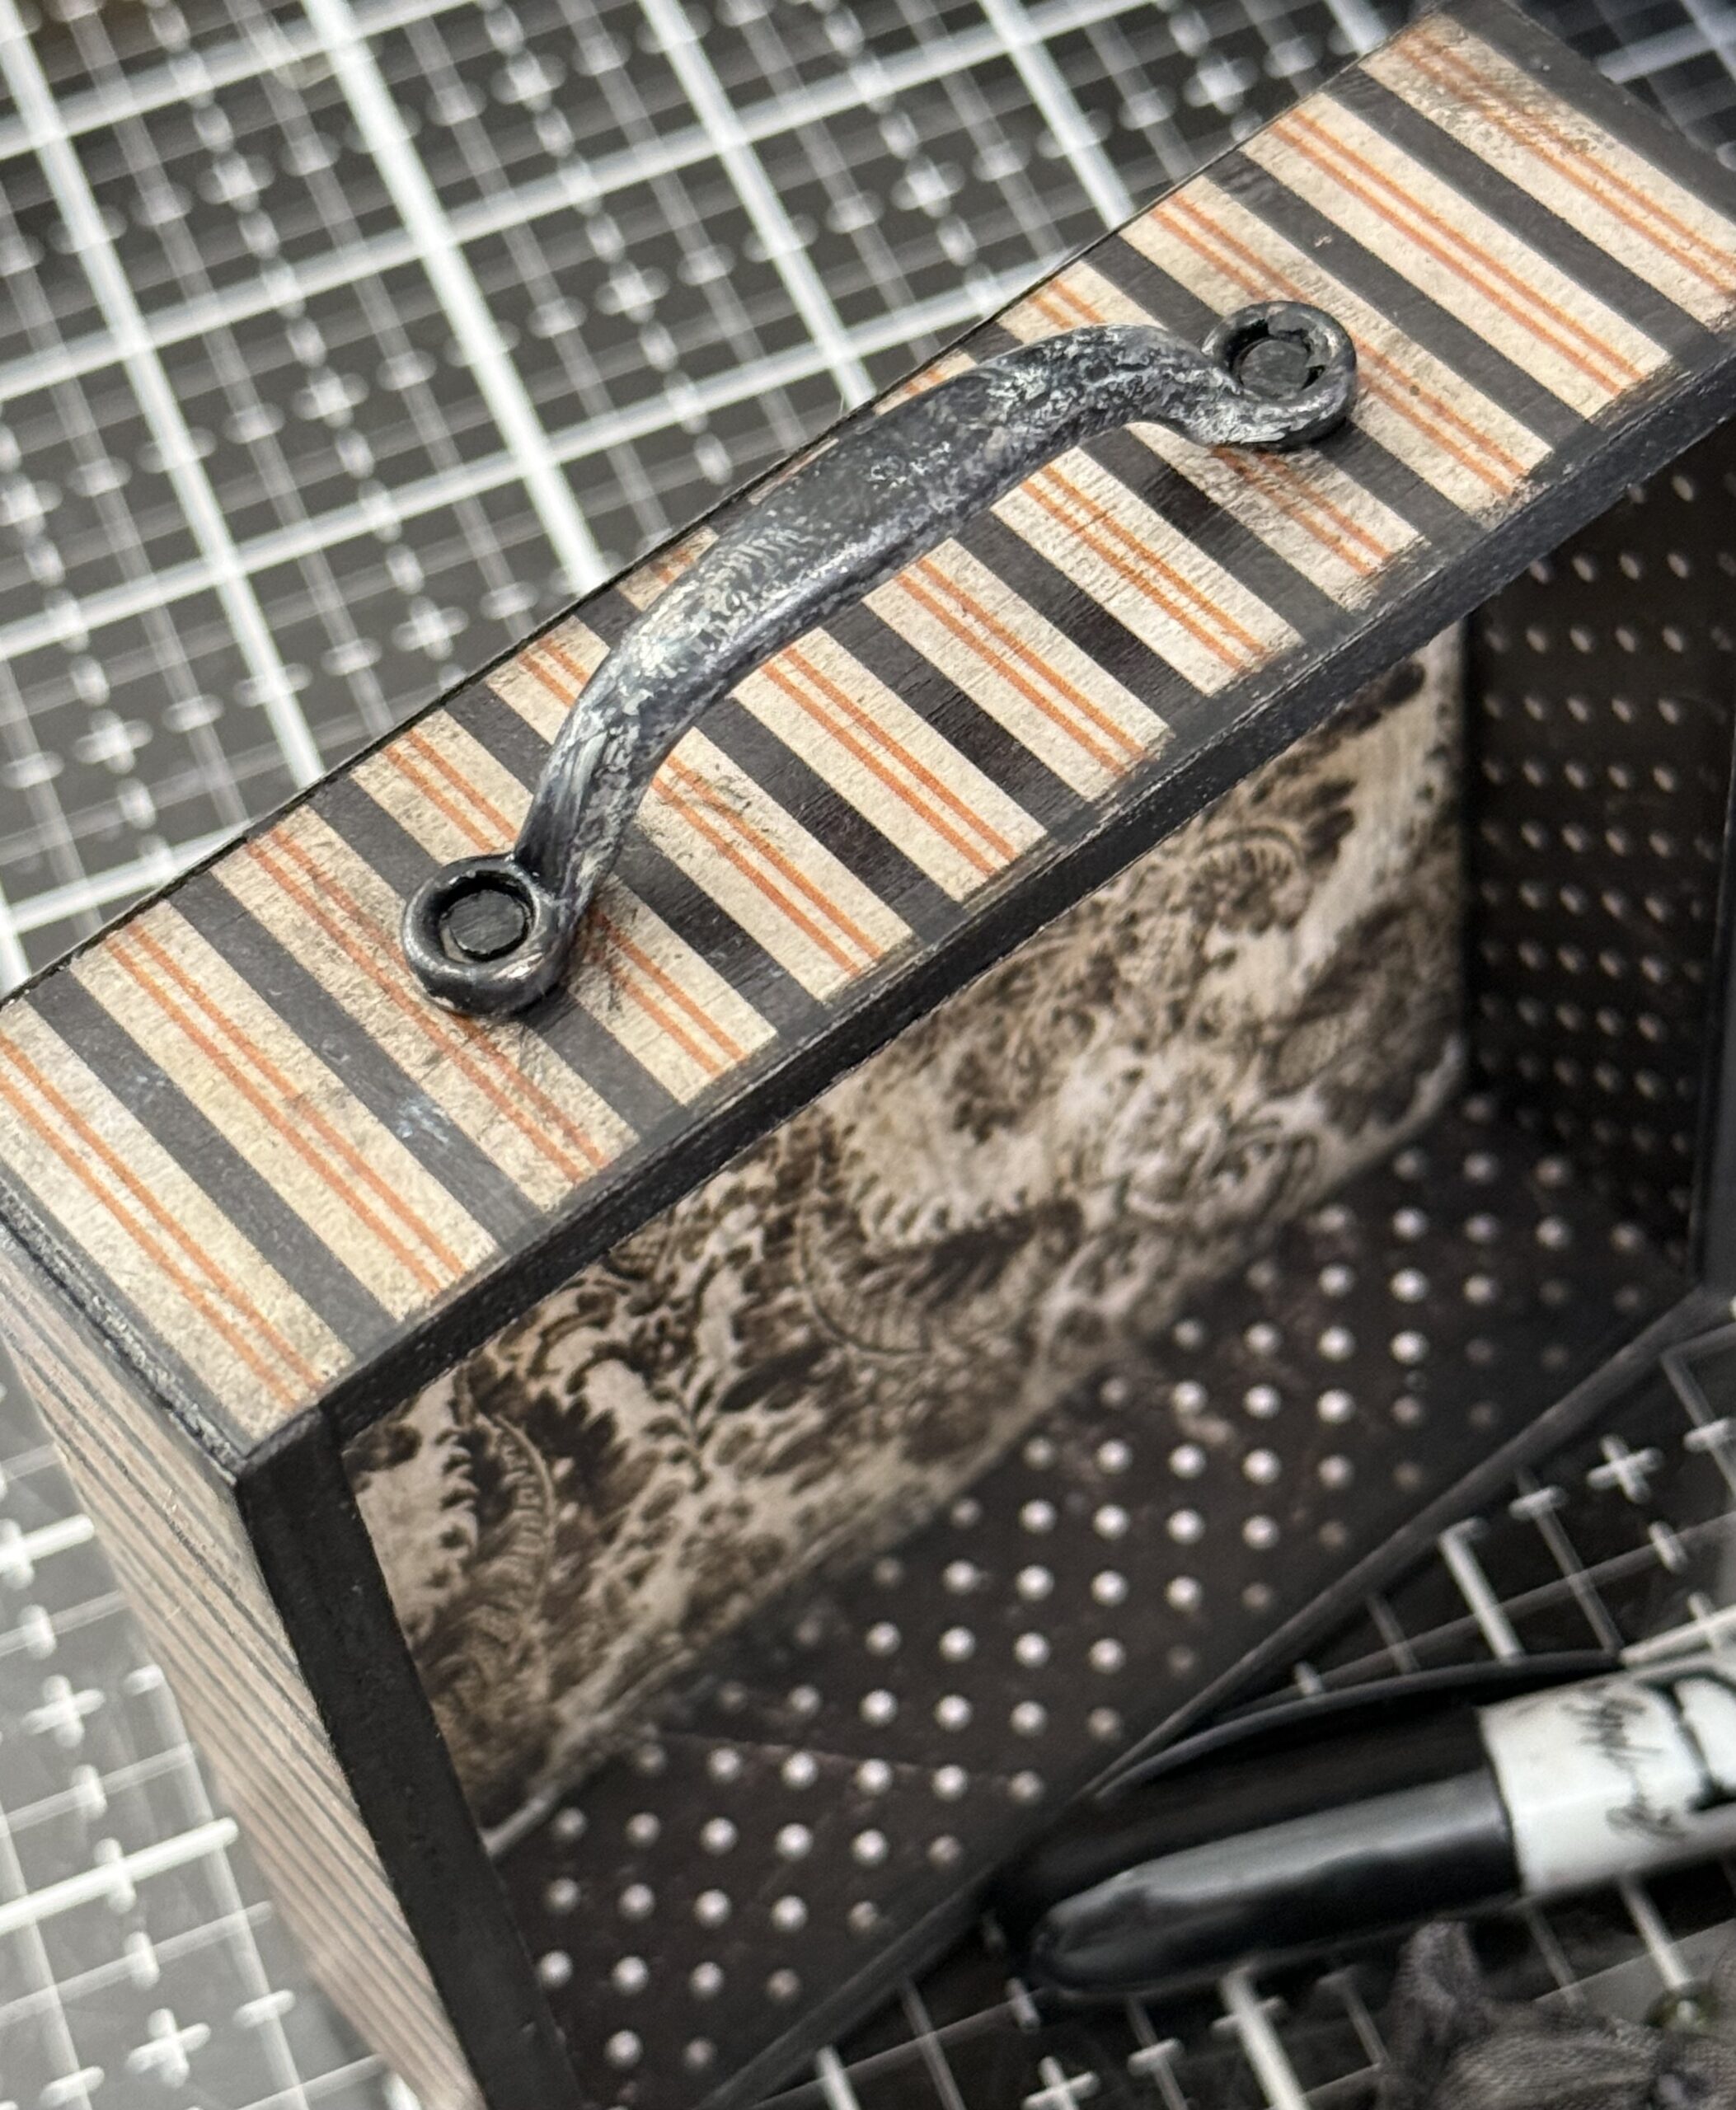
I painted an idea-ology drawer pull with some Black Soot Distress Paint, let it dry, then added it to the top of the box using some tiny tack nails and a hammer.
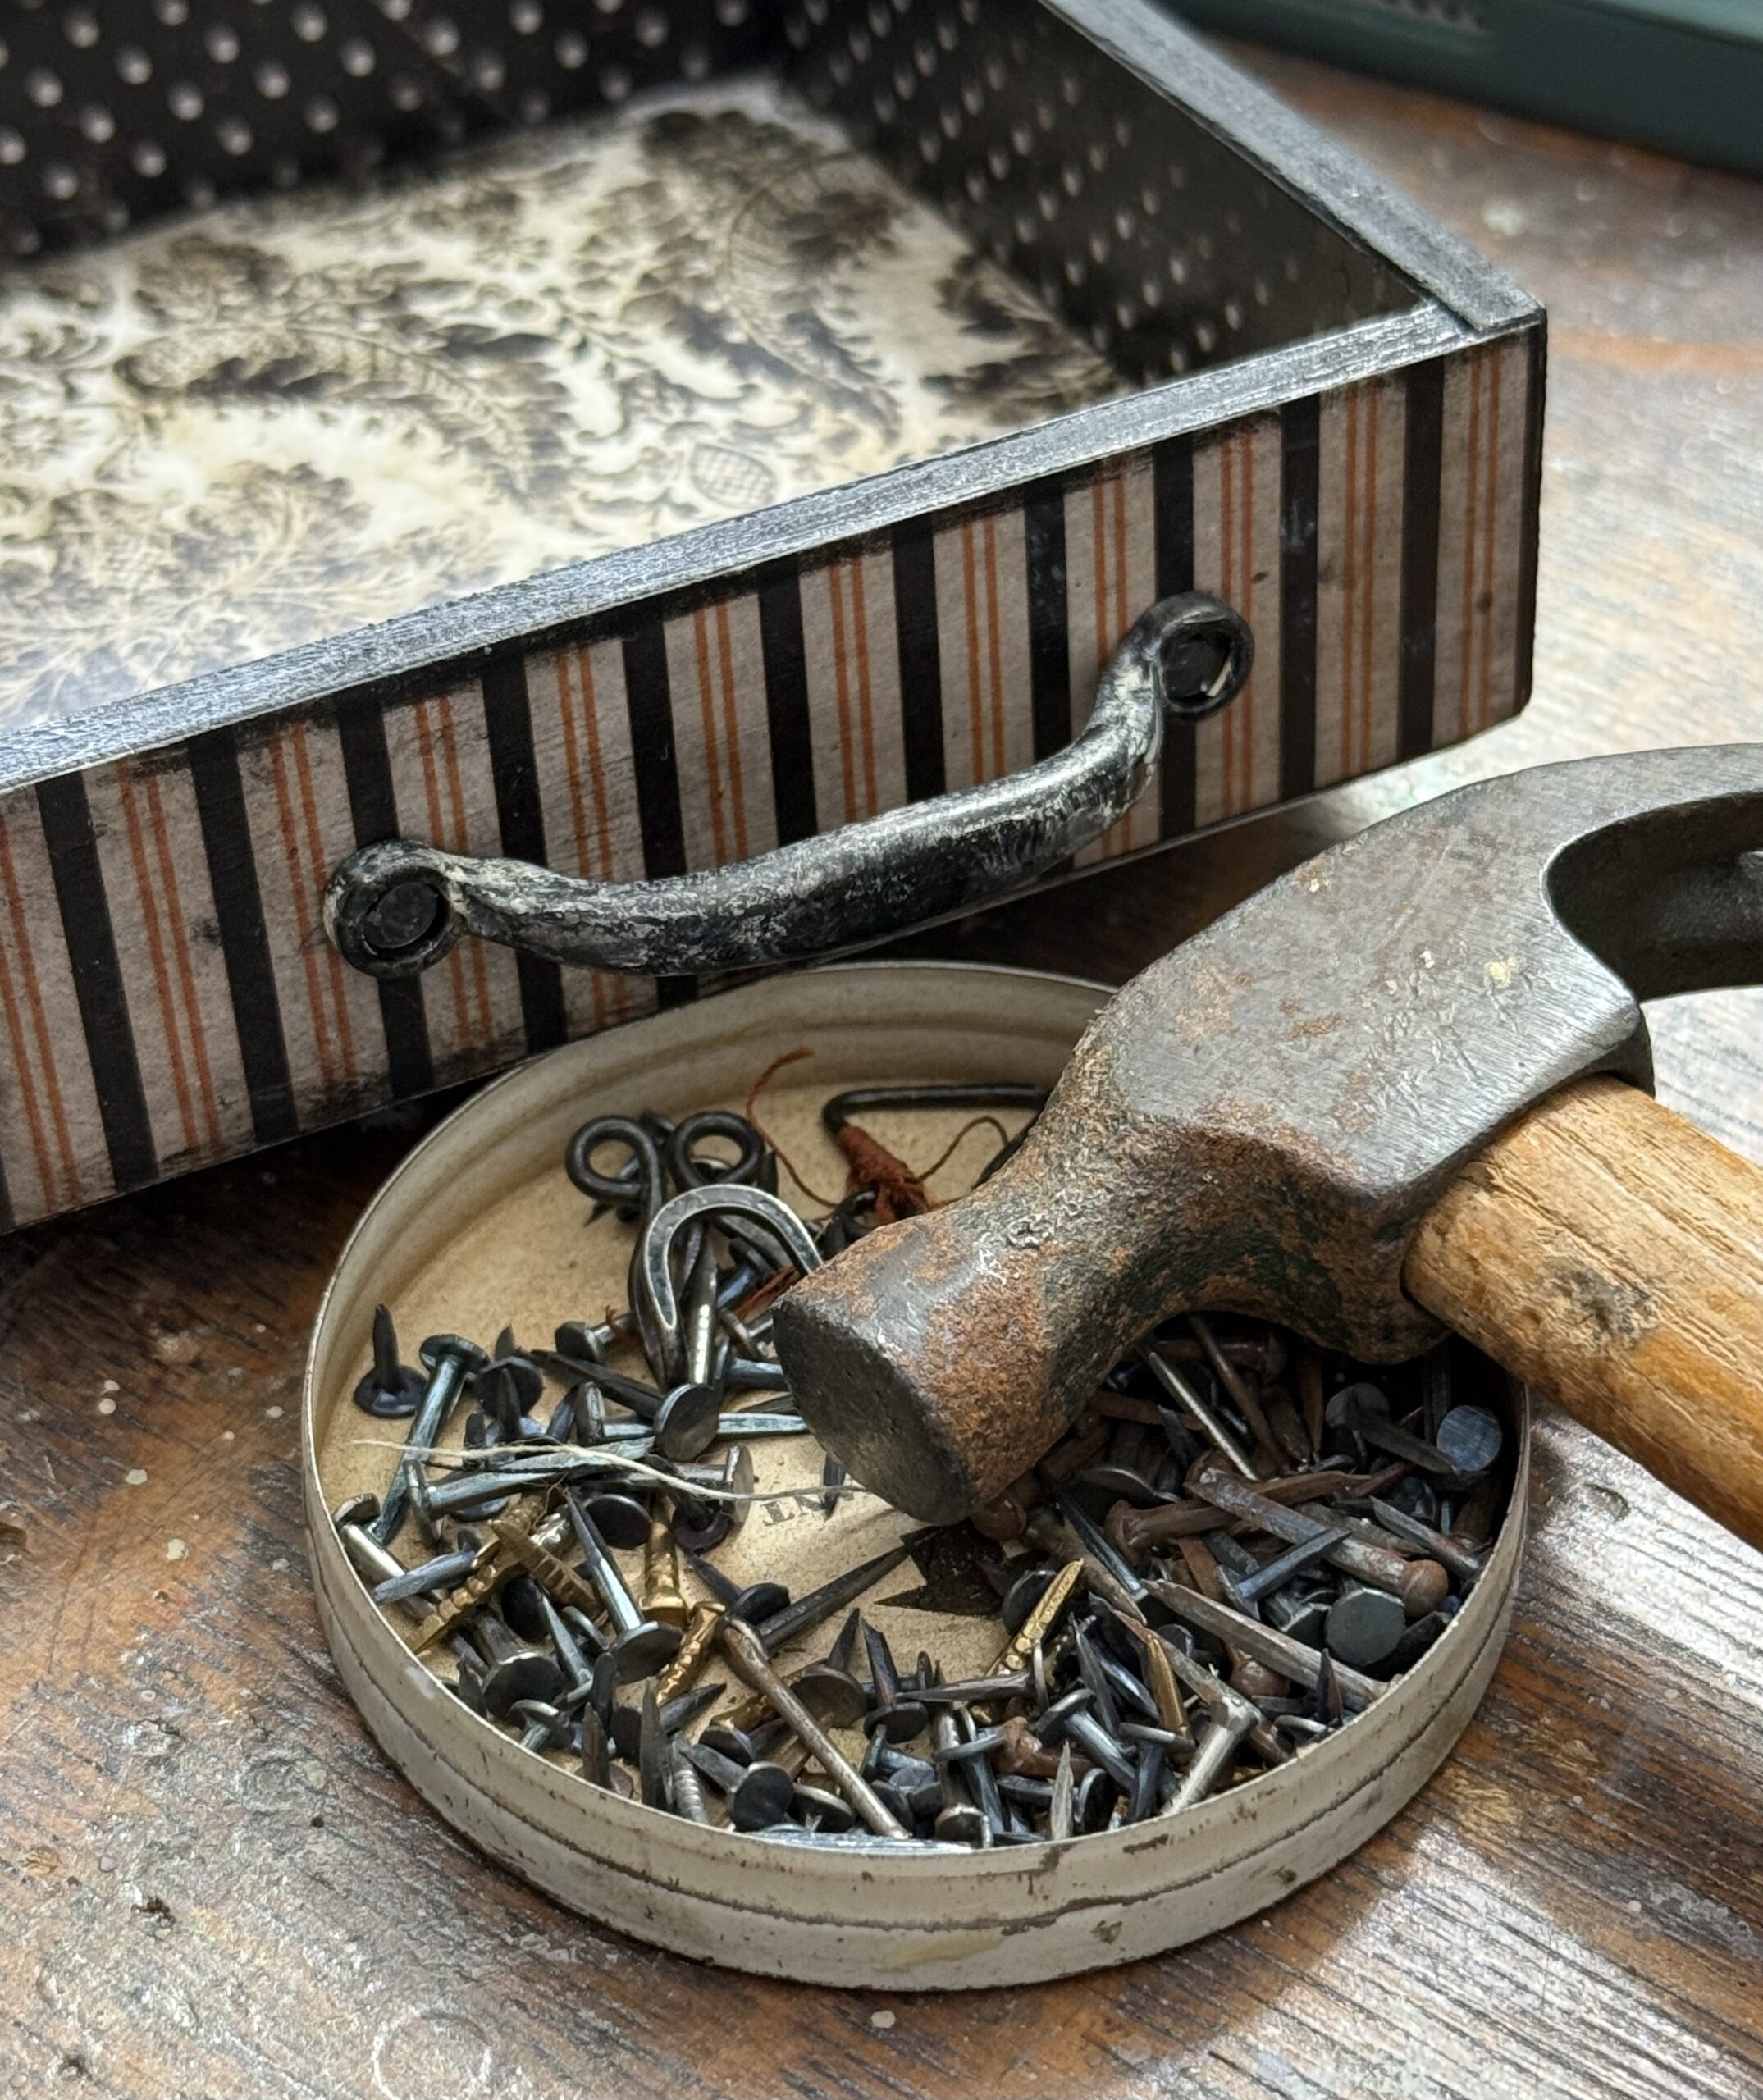
After the nails were in place, I scribbled on some Black Soot Distress Crayon over top of the heads to add some extra grunge.
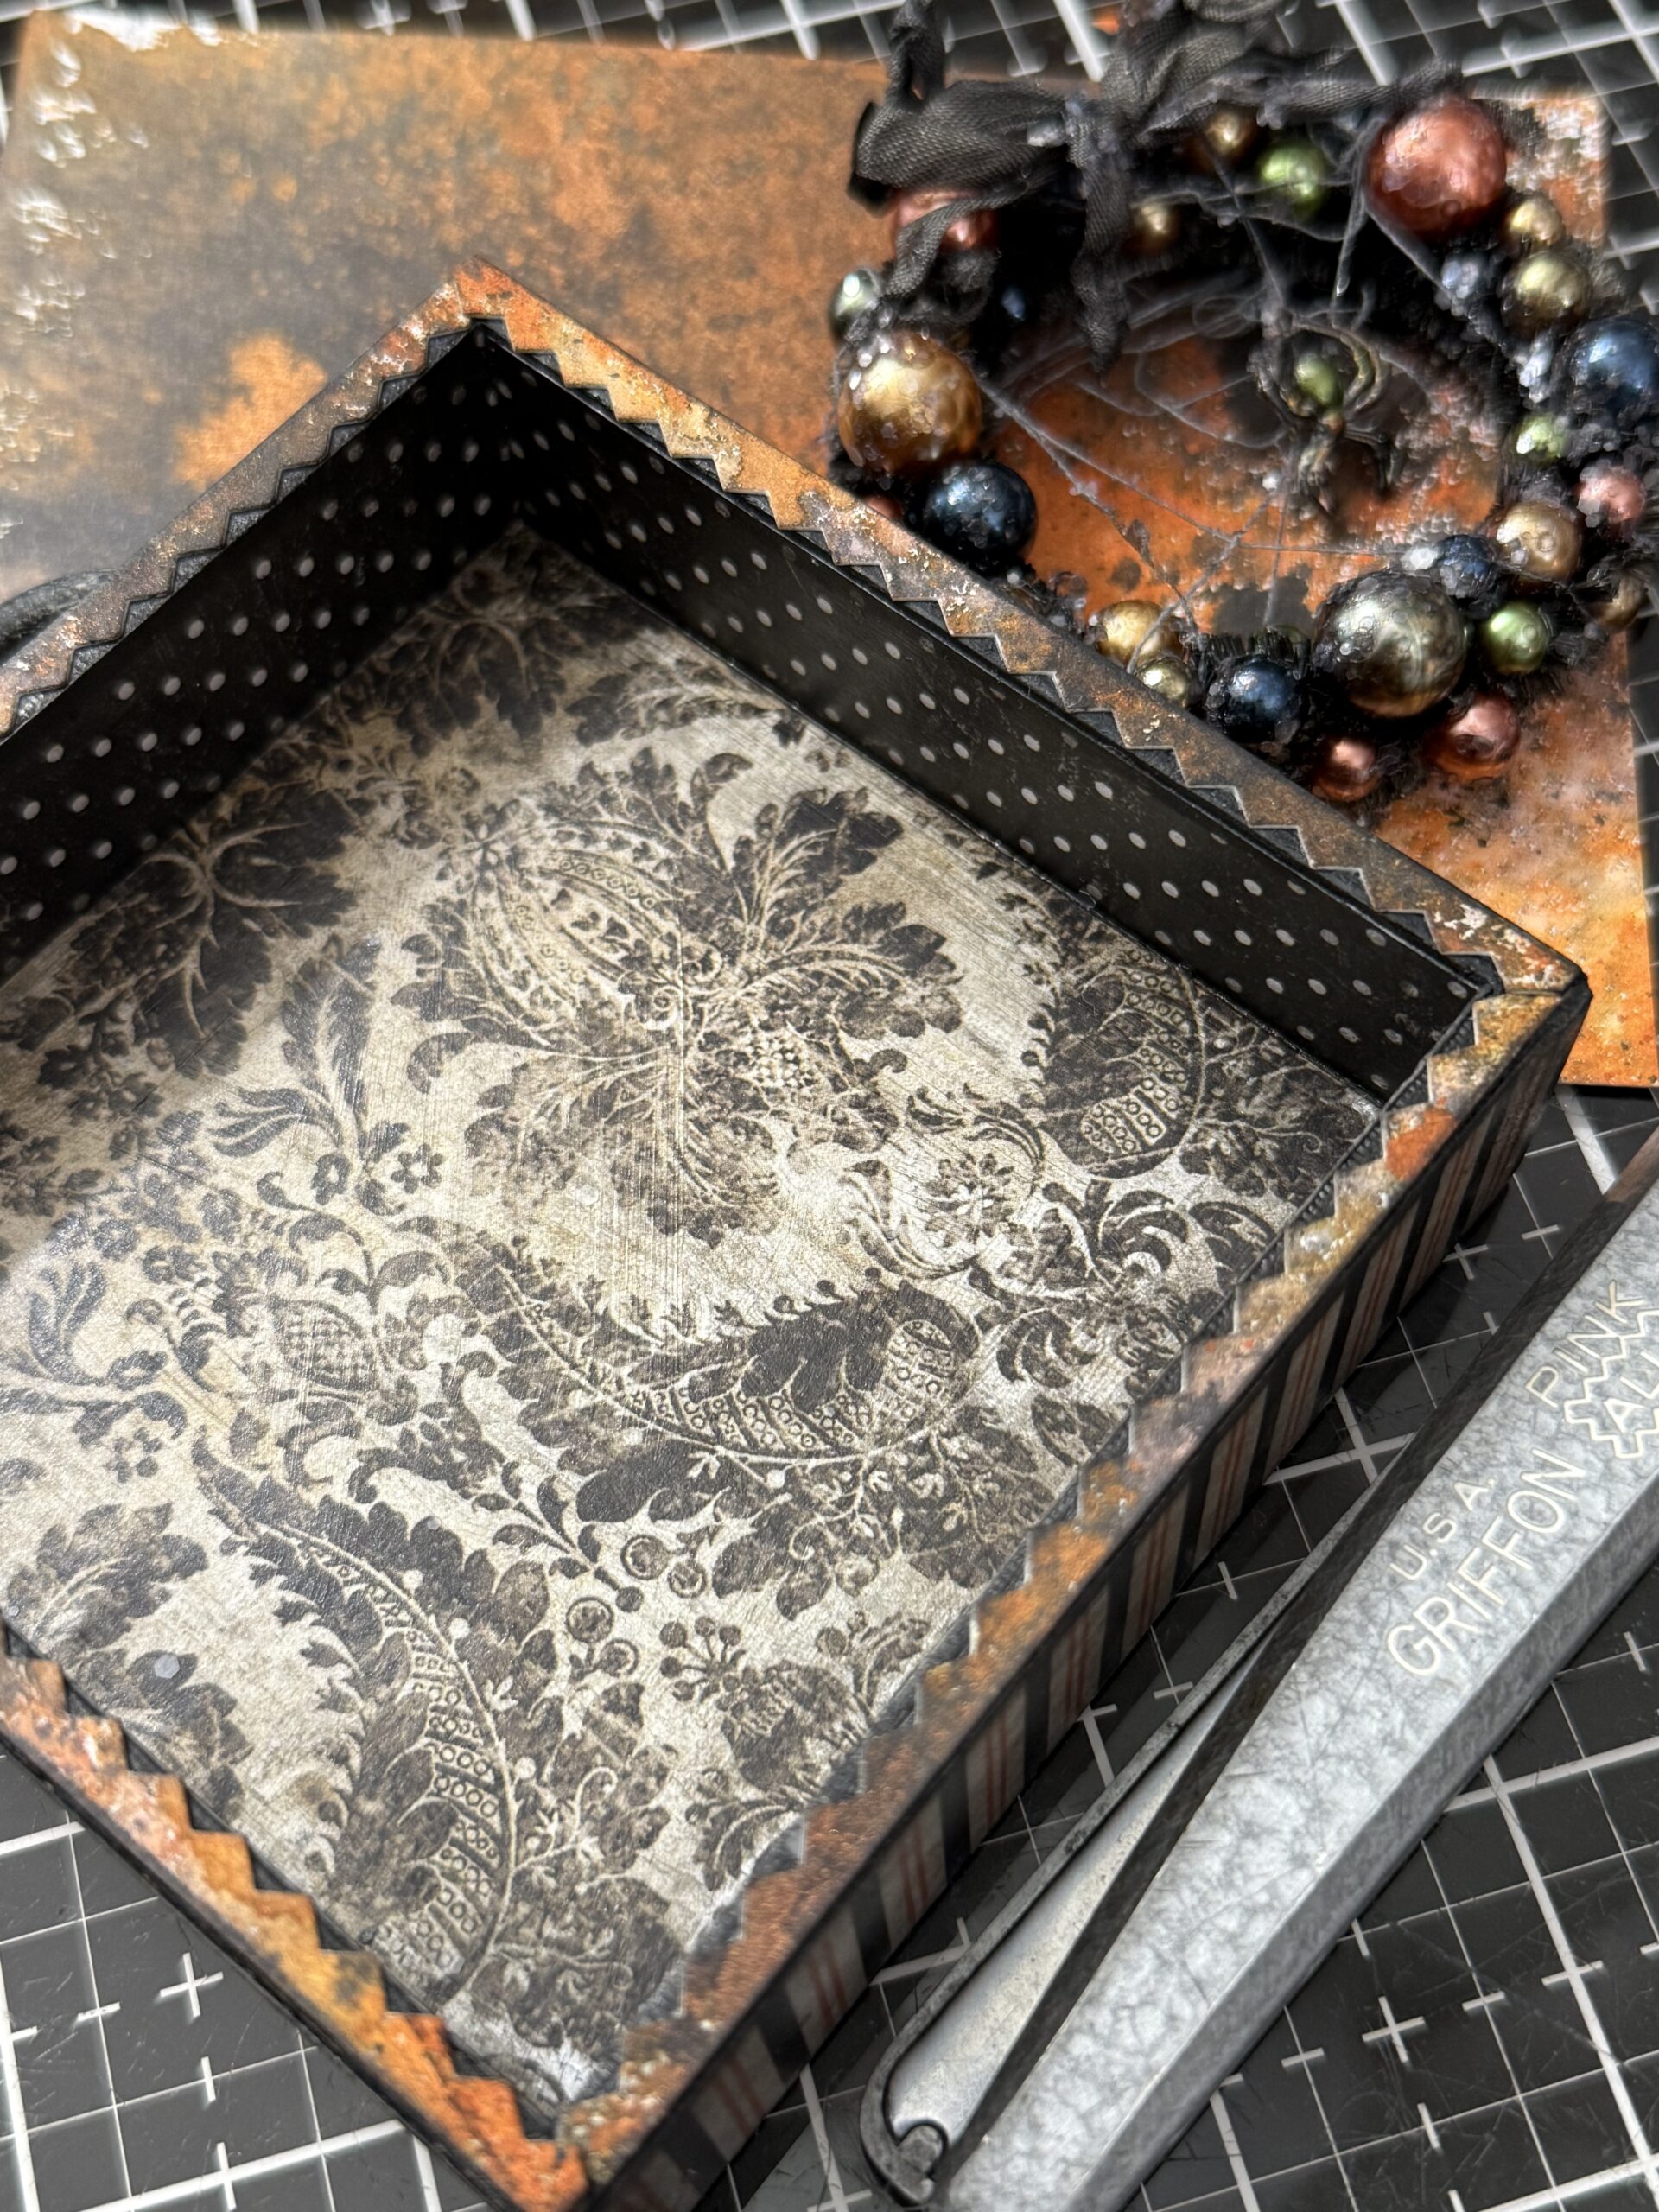
I dug through my inky papers and used a piece that was colored using a combination of Distress Sprays and Mica Stain, then using pair of pinking sheer scissors, trimmed off some paper edge pieces, then adhered them to the front of the box edges using collage medium.
I adhered the wreath in place using some hot glue in the center of the vignette box.
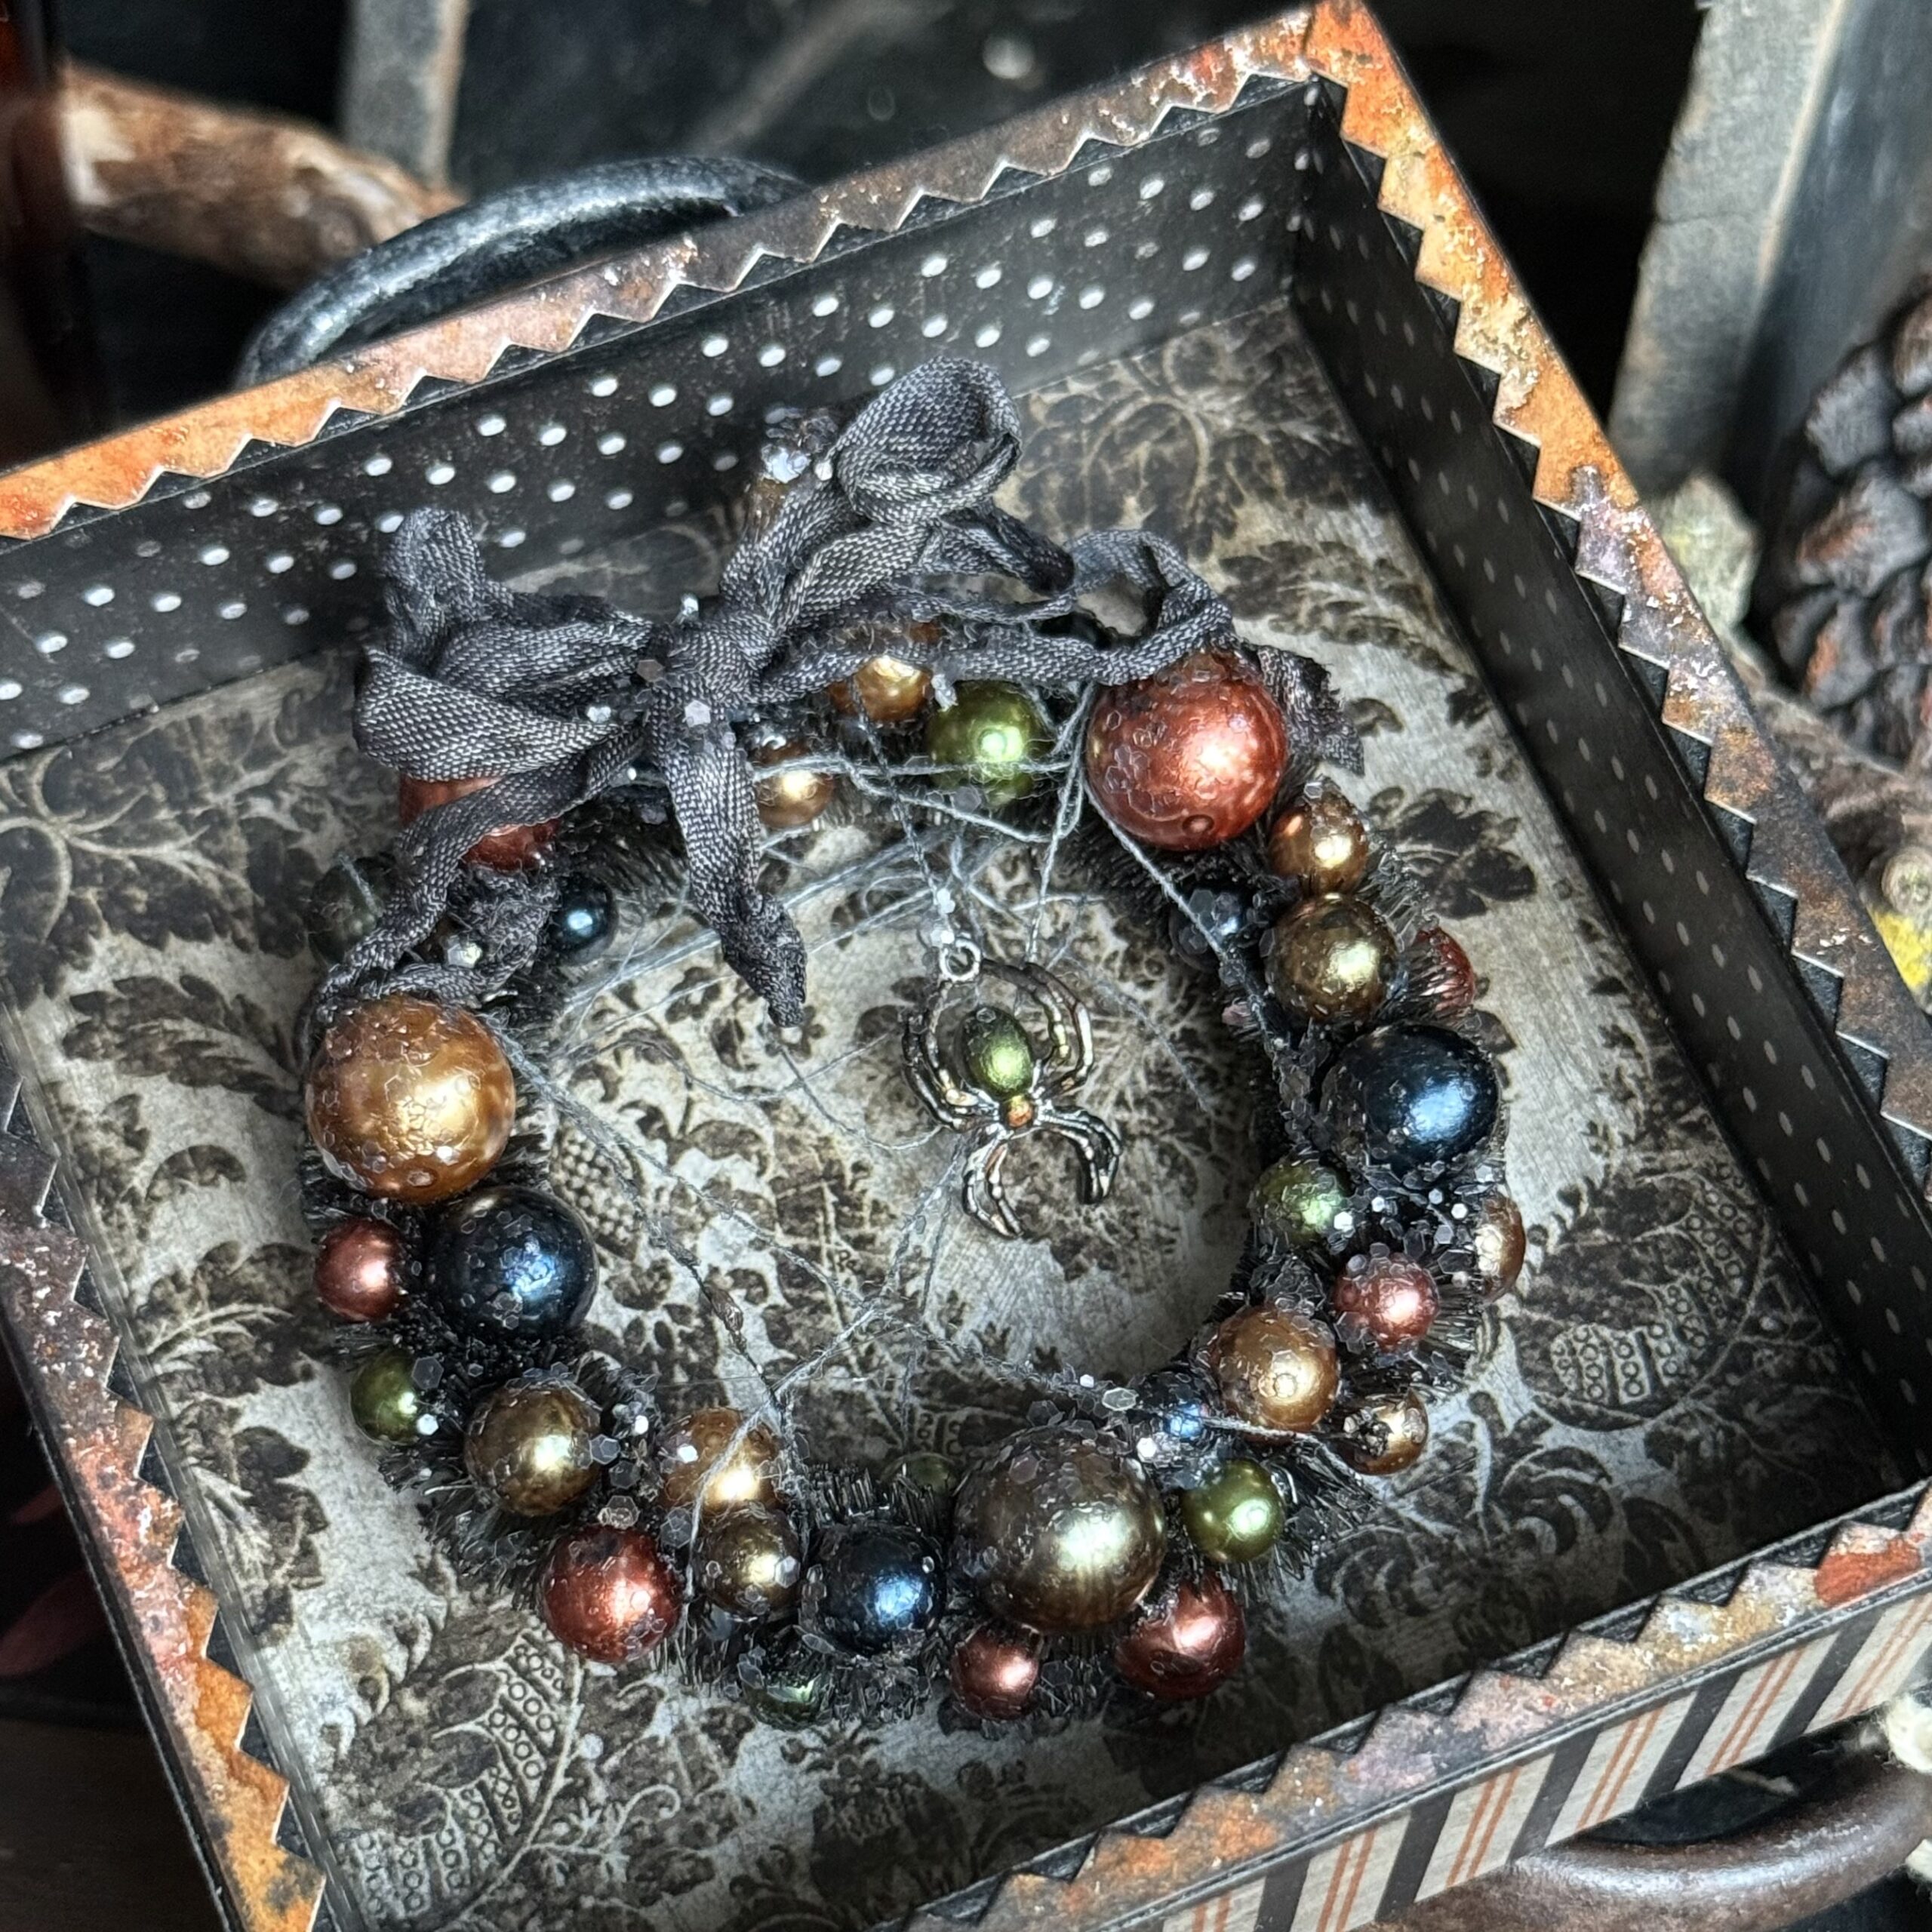
and with that, the project was complete!
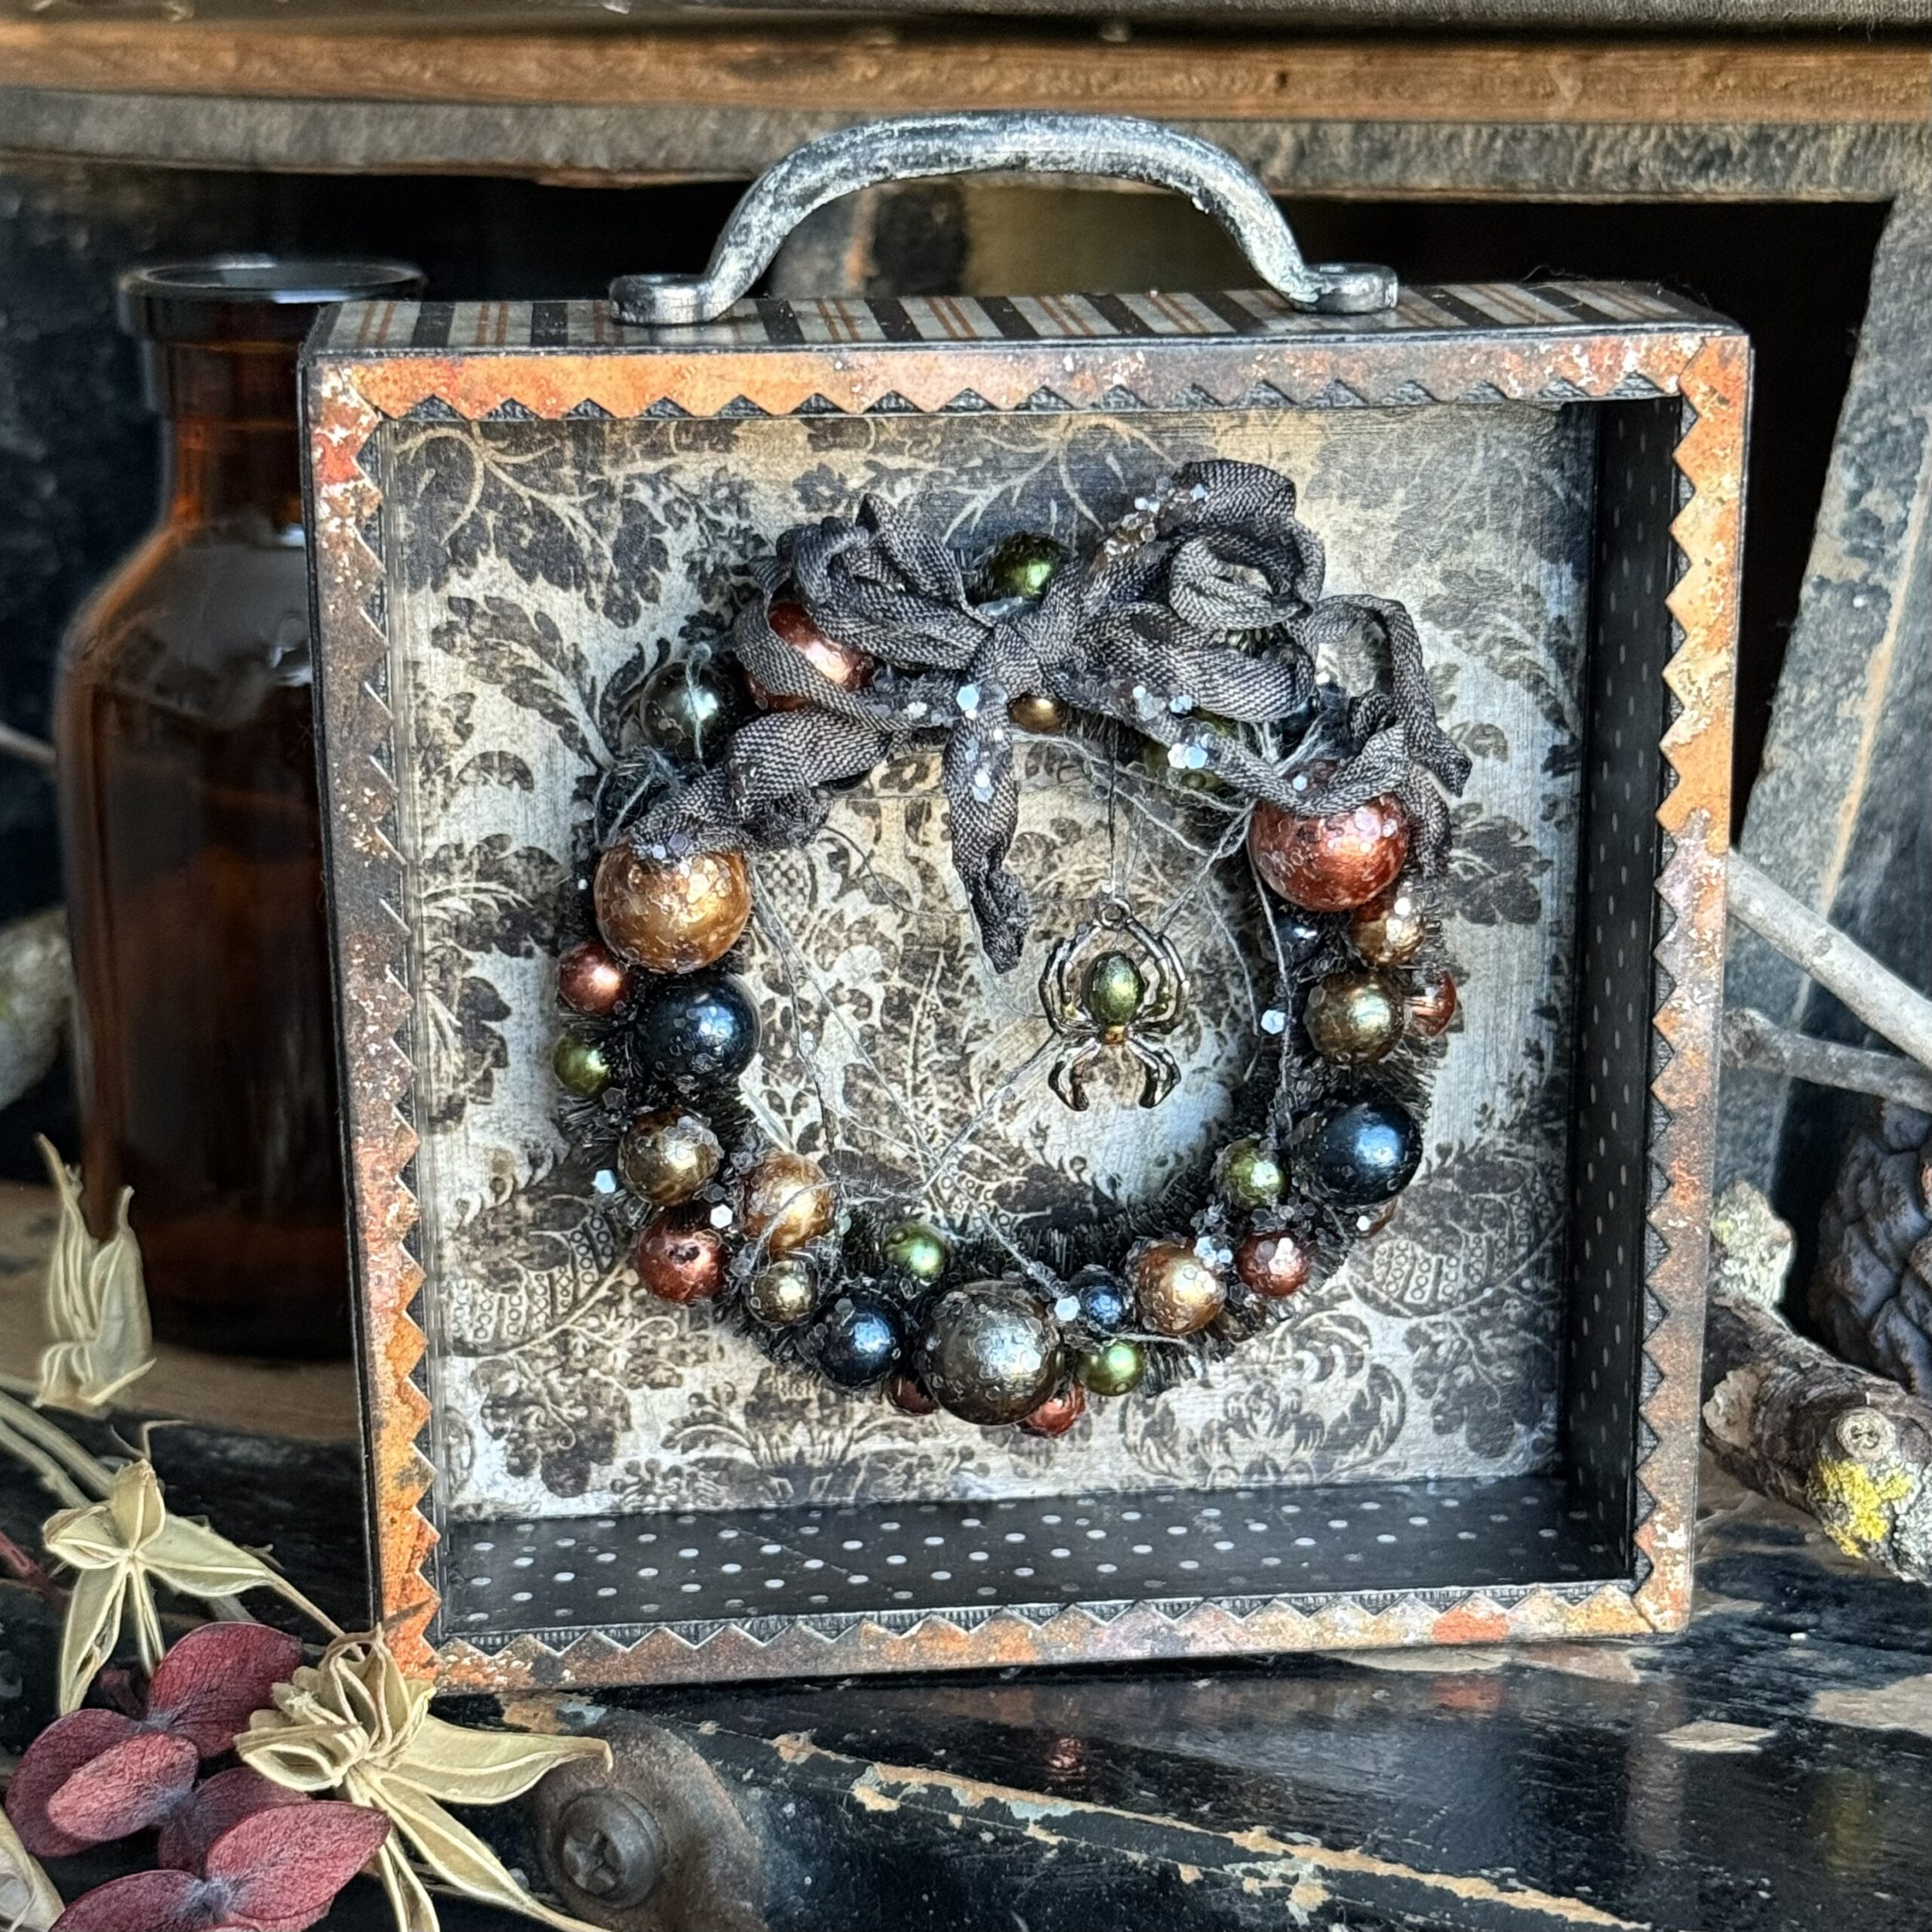
Thanks so much for stopping by today, and be sure to check out all the wonderful new Tim Holtz idea-ology for Halloween and Christmas! Click here to check it all out!
Creatively yours,
Stacy
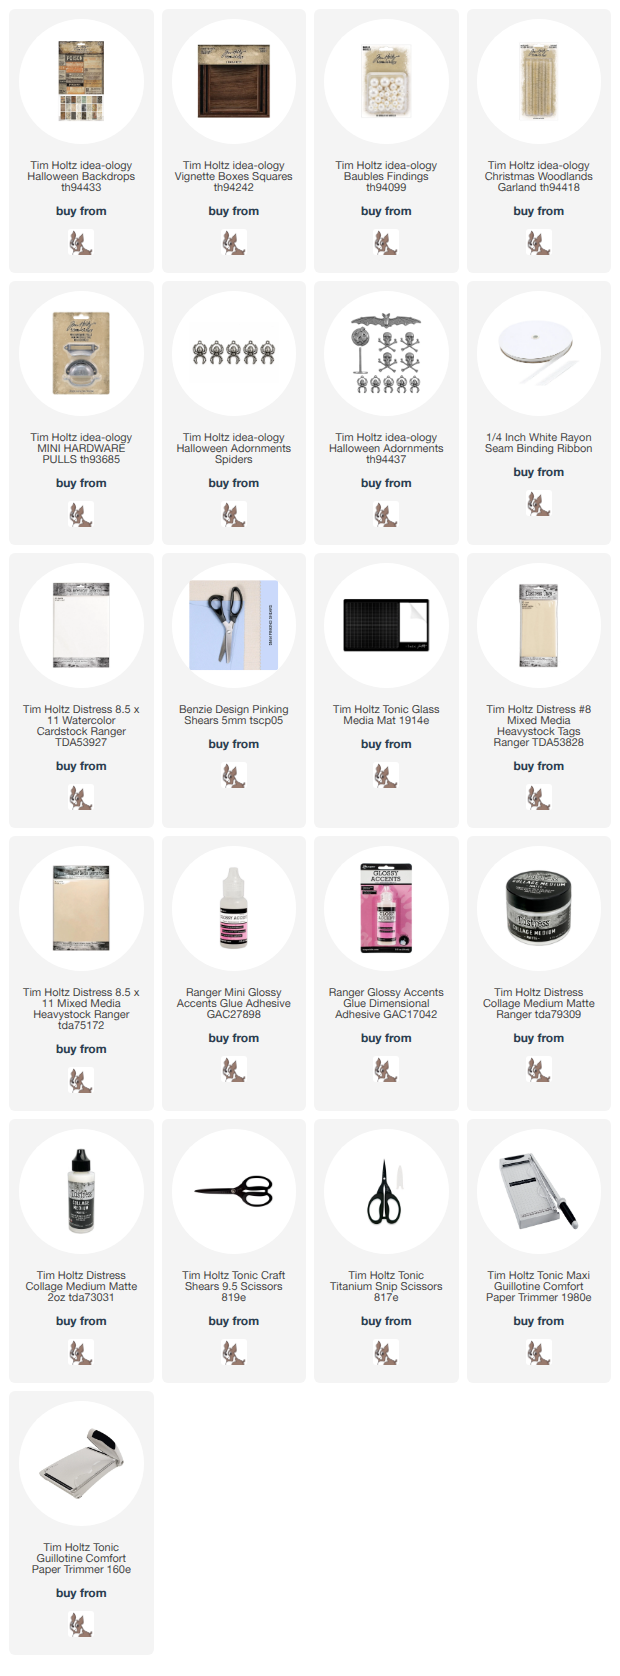
Shop Simon Says Stamp by clicking on this link. Thank you! I appreciate you for supporting me.
What is an affiliate program, and why should I click on the link and buy through you?
When you shop via the affiliate link on this blog, I receive a small commission from the affiliate provider (Simon Says Stamp) at no extra cost to you, whatsoever. These commissions help me to cover the hosting fees and other costs to run my blog and be able to provide you with FREE inspiration. If you shop the links, THANK YOU! I truly appreciate being able to share my love of creating with you.










Leave a Reply