Hello friends, happy Saturday! I hope you all are doing well…I have been playing a lot in my studio recently with all the new releases from Tim Holtz and his various brands, and I am back today with some new backgrounds to share with you.
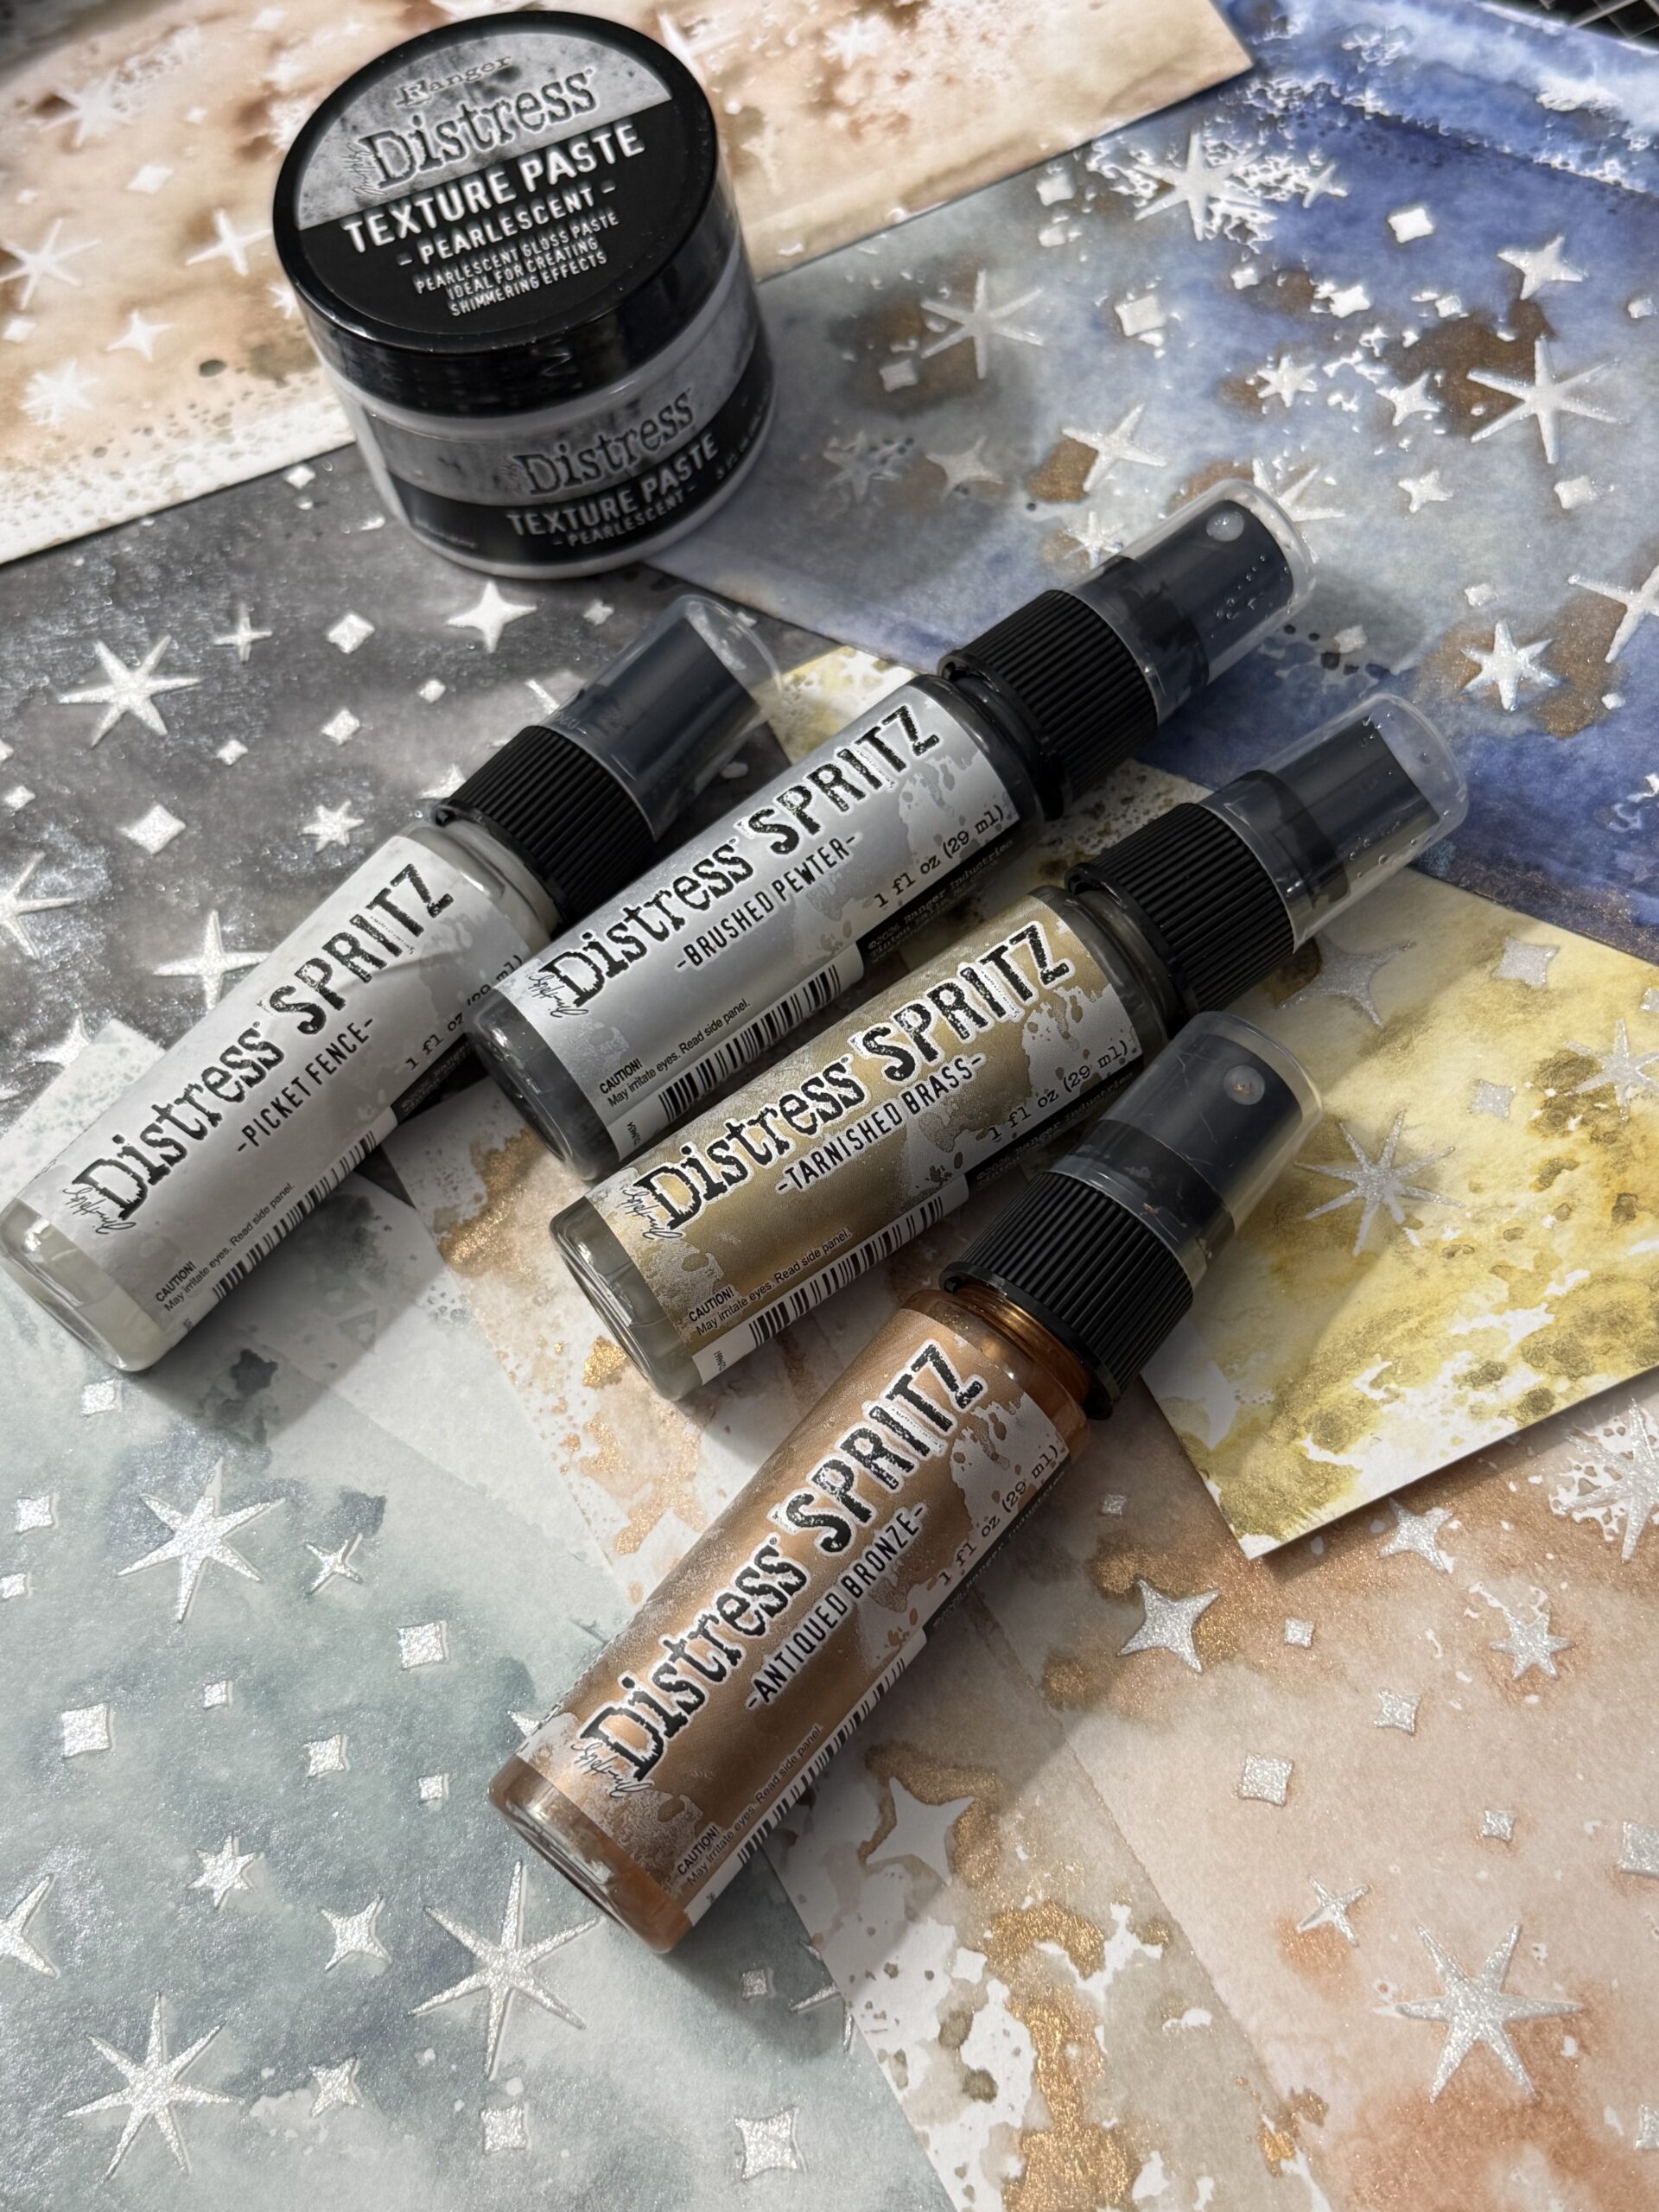
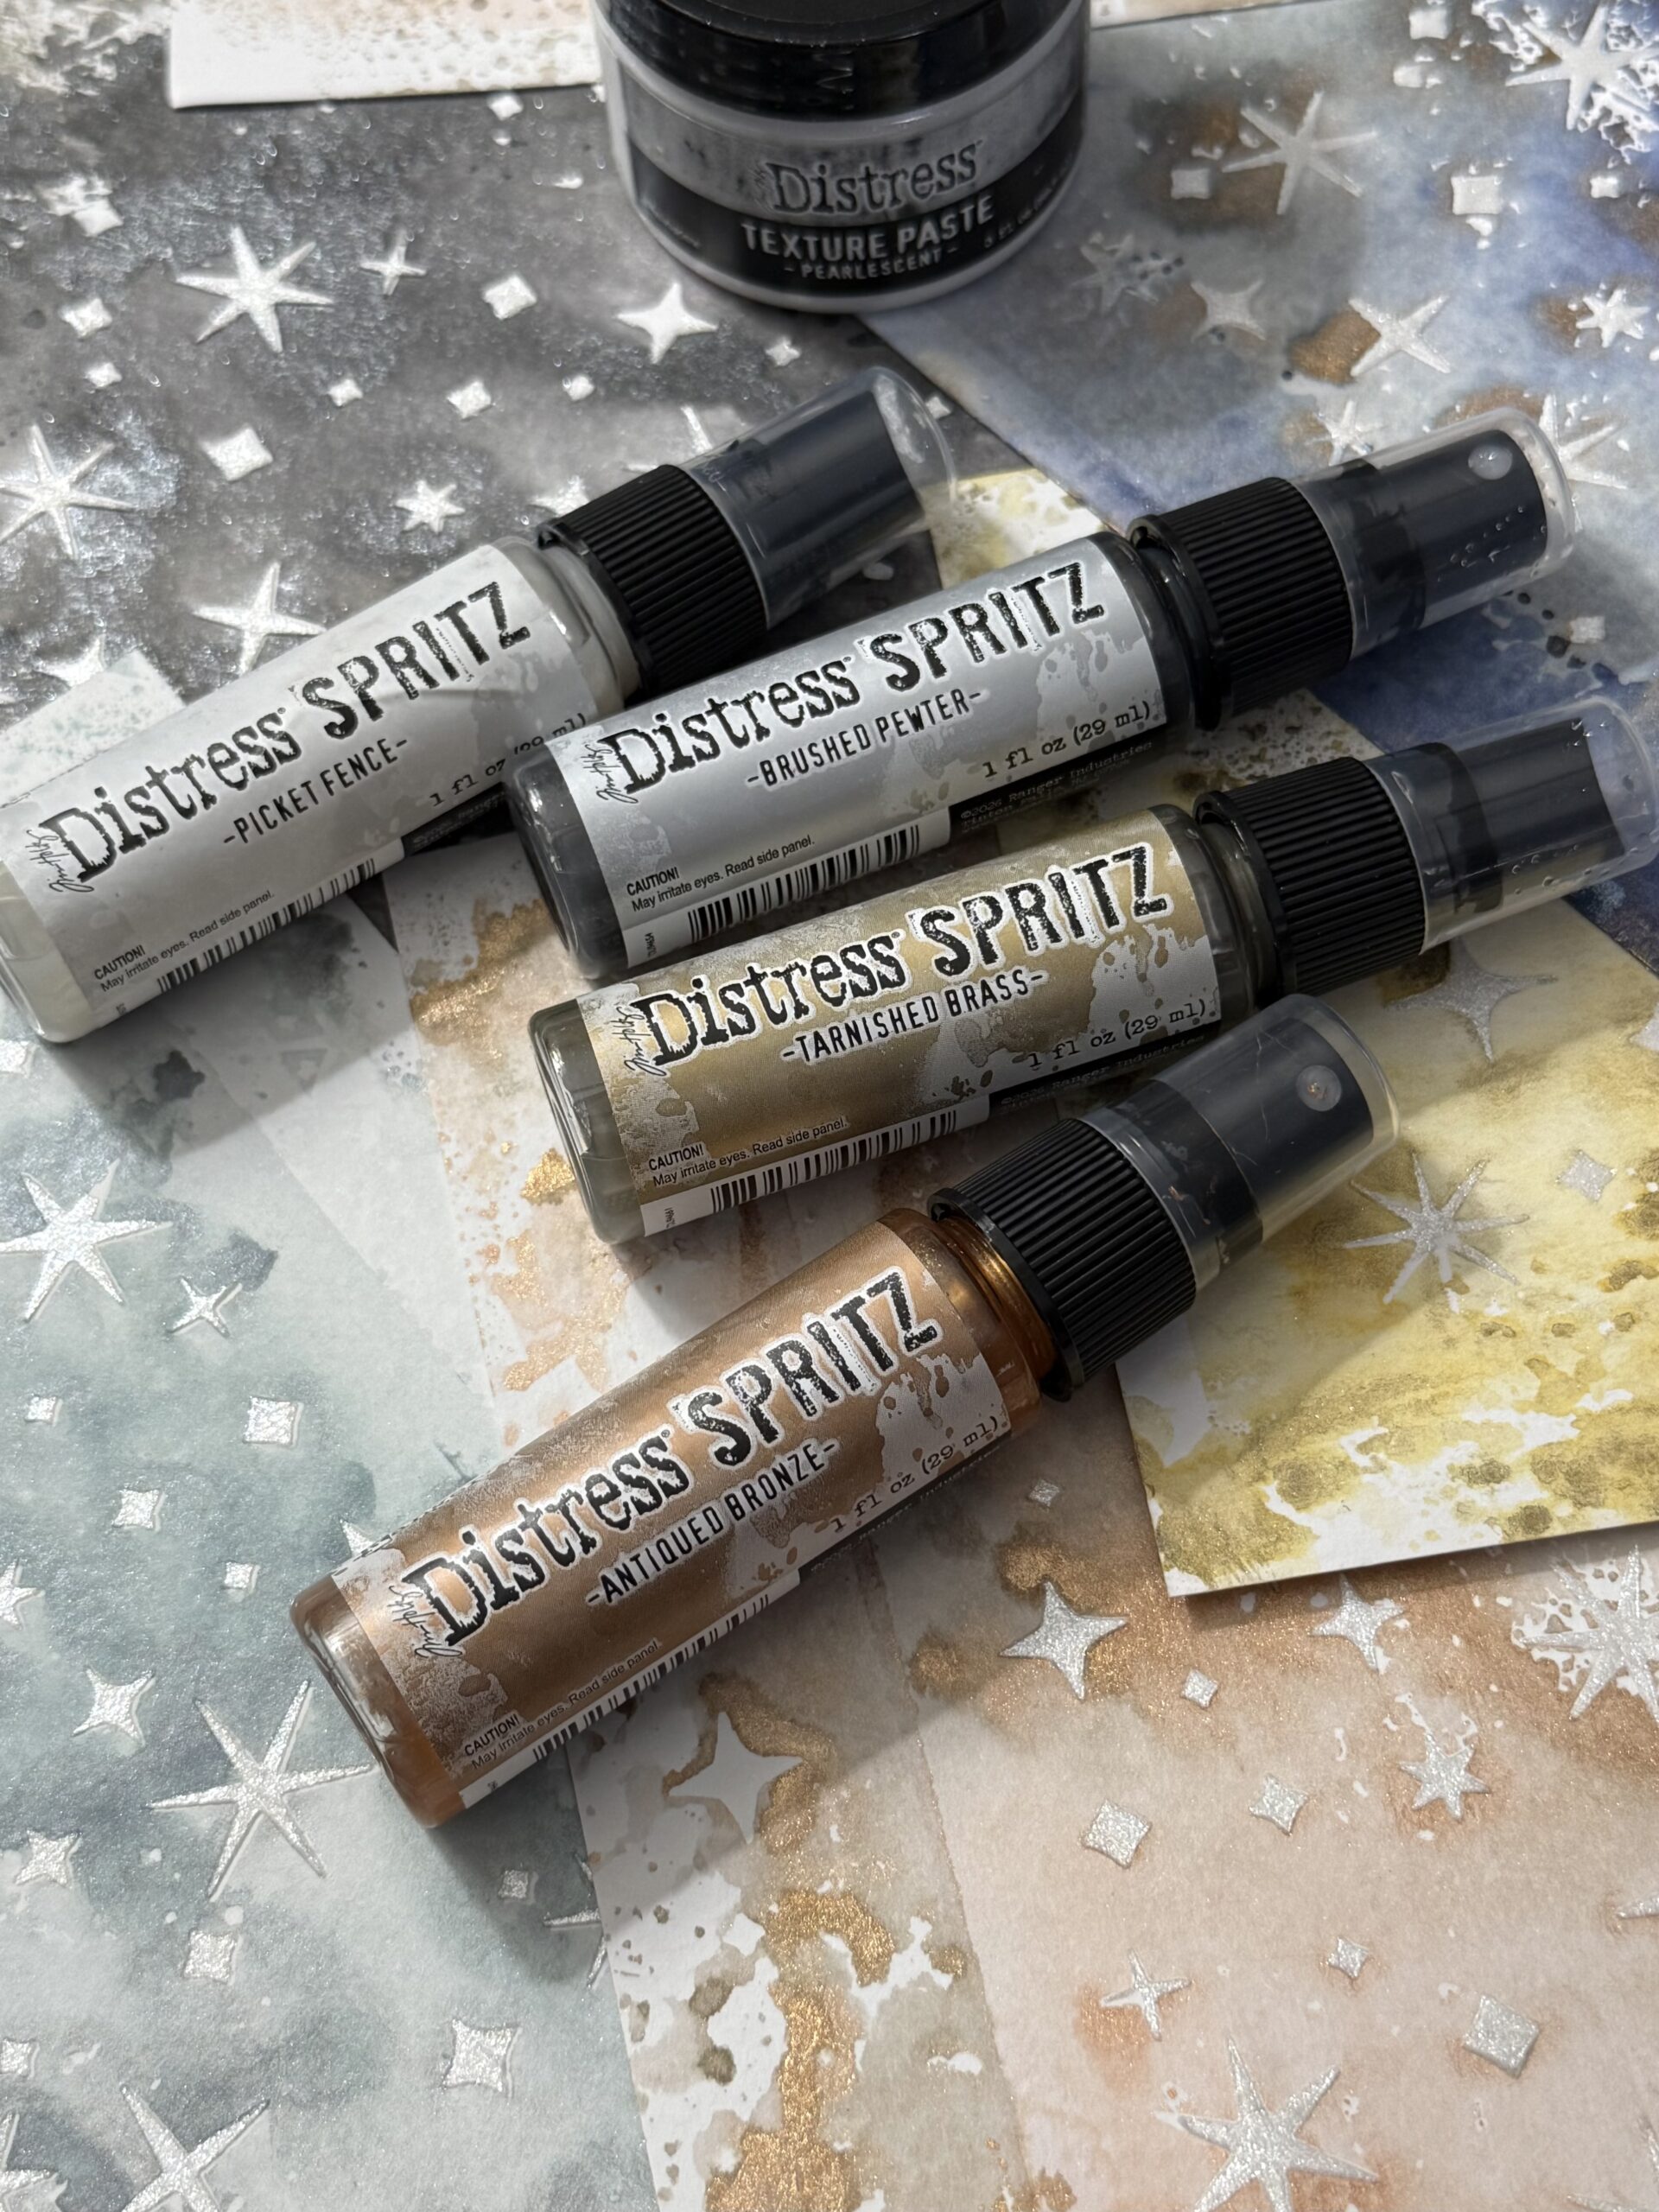
These were made using the new Tim Holtz and Ranger Ink release that includes 4 new Distress Spritz colors, Pearlescent Texture Paste, Collage Glue and….a vintage inspired milk bottle MICA FLAKES! 🙂 All sorts of wonderful things!
In fact, Tim Holtz was LIVE today on his Youtube channel sharing the products and demoing, so be sure to pop over there by CLICKING HERE and check that out!
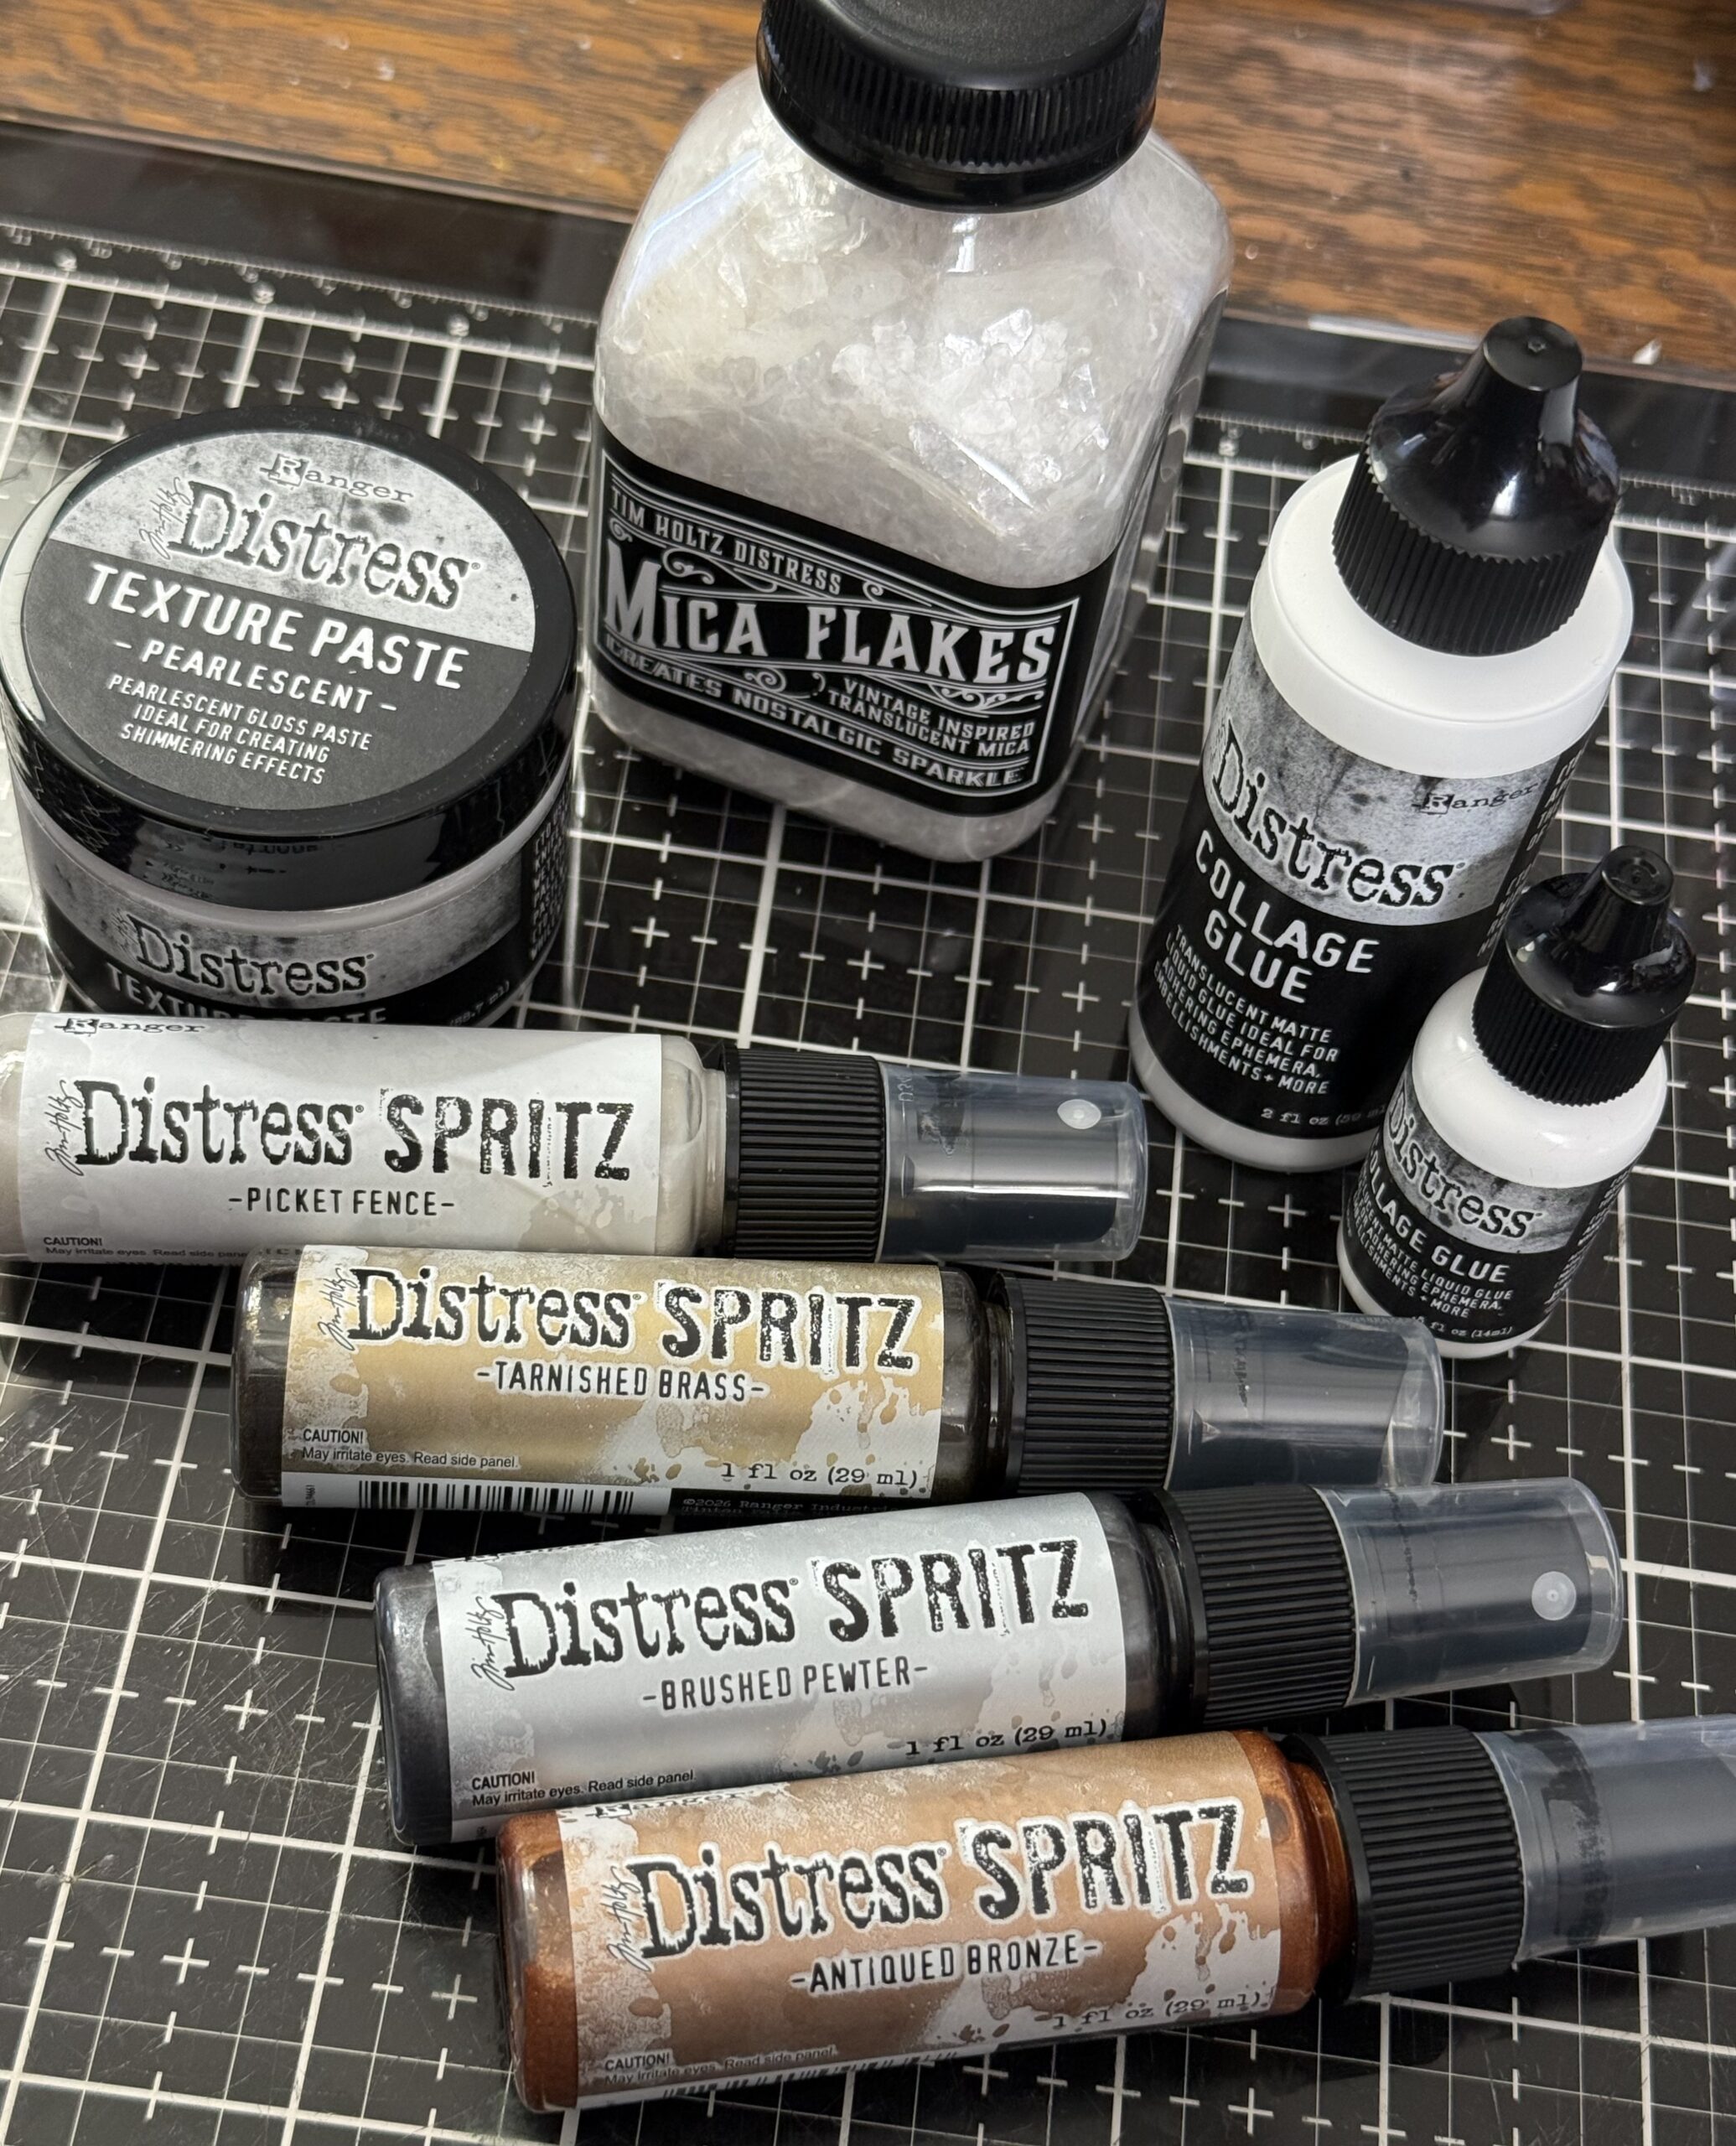
The sparkle factor of this new release is perfect for holiday making… which led me to creating some “sparkled” backgrounds with them, this tutorial focuses in on the Distress Spritz, Pearlescent Texture Paste along with using Distress Spray Stains. I LOVE making backgrounds, and am thrilled to have a new stack to use for card making, vignettes and future projects. In my opinion, you can never to many!
Here is a link to see the entire release from Tim Holtz and Ranger.
Also, before I go into the tutorial I just want to take a moment to say how being able to create and make things to share with you all, fills my day with so much JOY… and friends, that is because of you, for following along, commenting, sharing your love of creating and supporting me by clicking on the links when you are inspired and want to purchase any of the things that I am sharing, it means so much to me, and I am SO GRATEFUL, so, THANK YOU!
I couldn’t be doing any of this without YOU! Your support is everything. It’s weird sometimes how blogging and being an affiliate of these different brands is, as I don’t get to see who purchases what and I earn a little income from it, but with each little thing that gets purchased it makes it easier for me to spend time making and opens up more opportunities for me to share and create. I have worked in the retail side of things in the past and loved being able to thank customers personally, and not being able to do that kind of stinks, so, I just want to make sure that I say thank you… it will never be enough for all you do to support me, but it is important for me to tell you, you are appreciated and it does not go unnoticed. 🙂
Now, let’s get on to making…
I started with some Distress Watercolor Paper and a variety of Distress Spray Stains, the new Spritz colors and a stencil. This particular stencil is a Tim Holtz Stampers Anonymous Sparkle THS132.
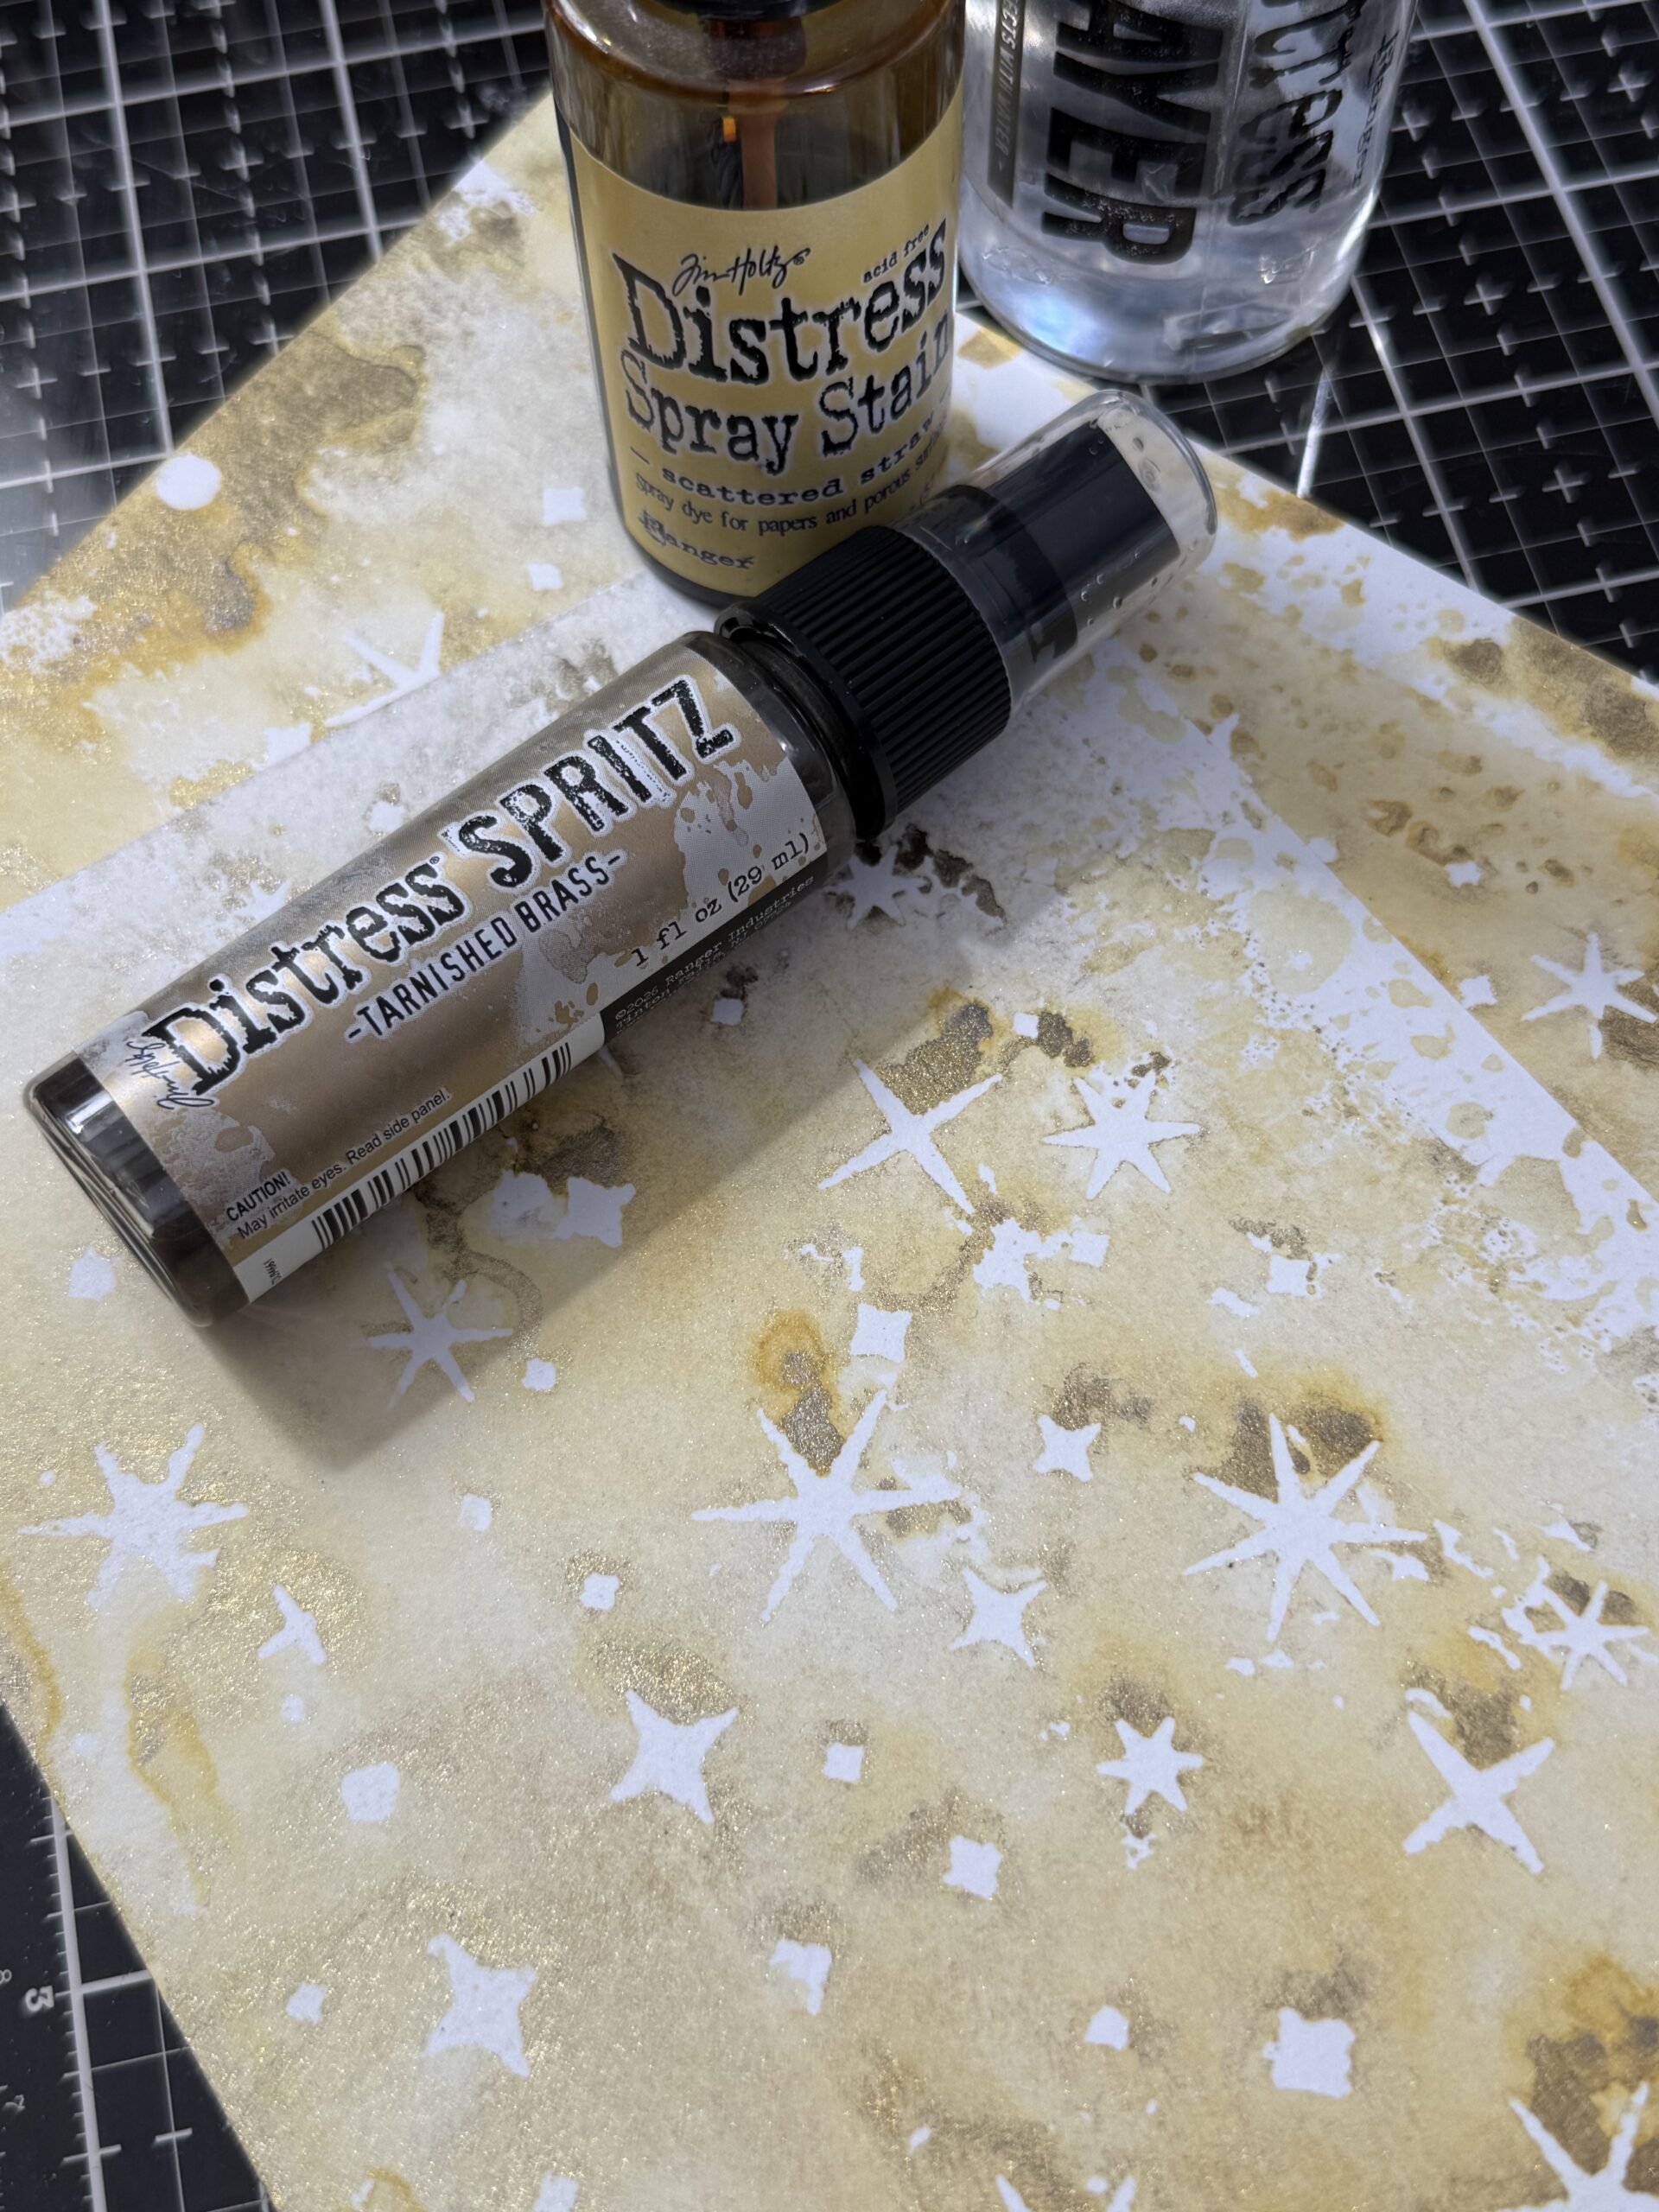
I started by spritzing the stencil inside a splat box using Scattered Straw Spray Stain and Tarnished Brass Spritz, then spritzed the stencil with water to activate the inks, and placed it over top of the piece of Distress Watercolor Paper that I had on my craft mat.
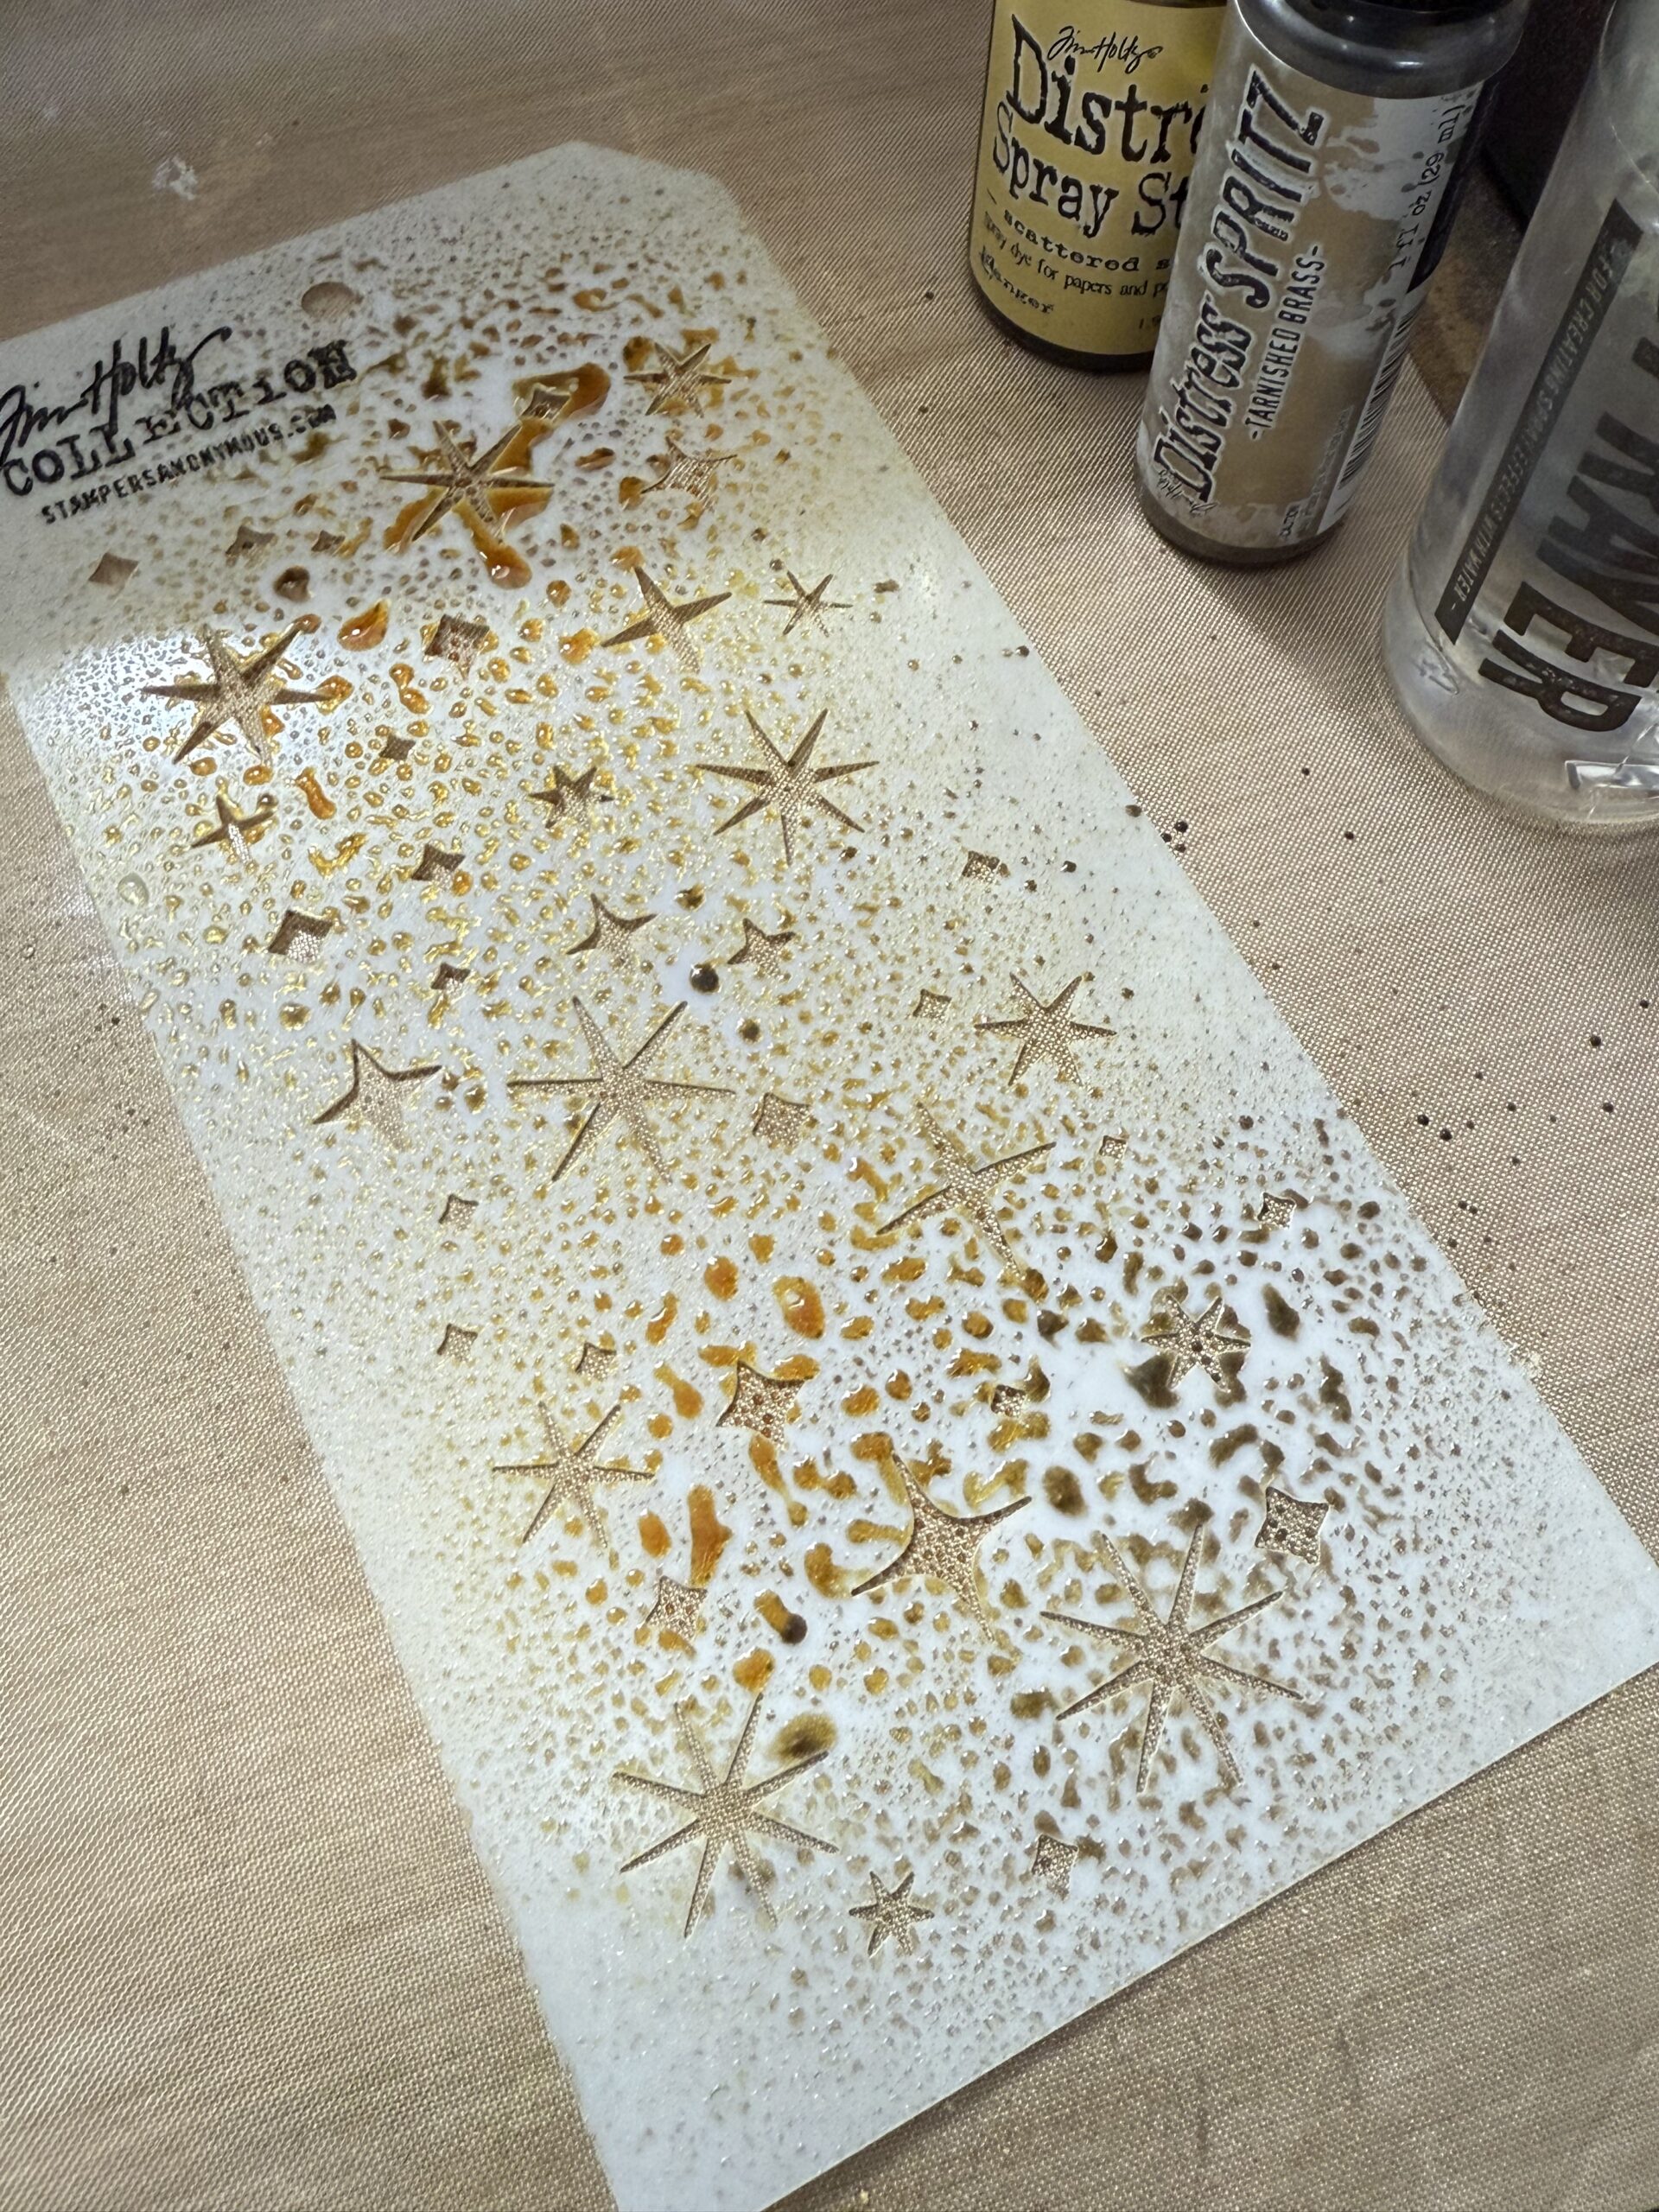
I pushed the stencil down onto the paper, then using a paper towel, placed it over the top of the stencil to soak up any of the ink that crept up through the stencil stars.
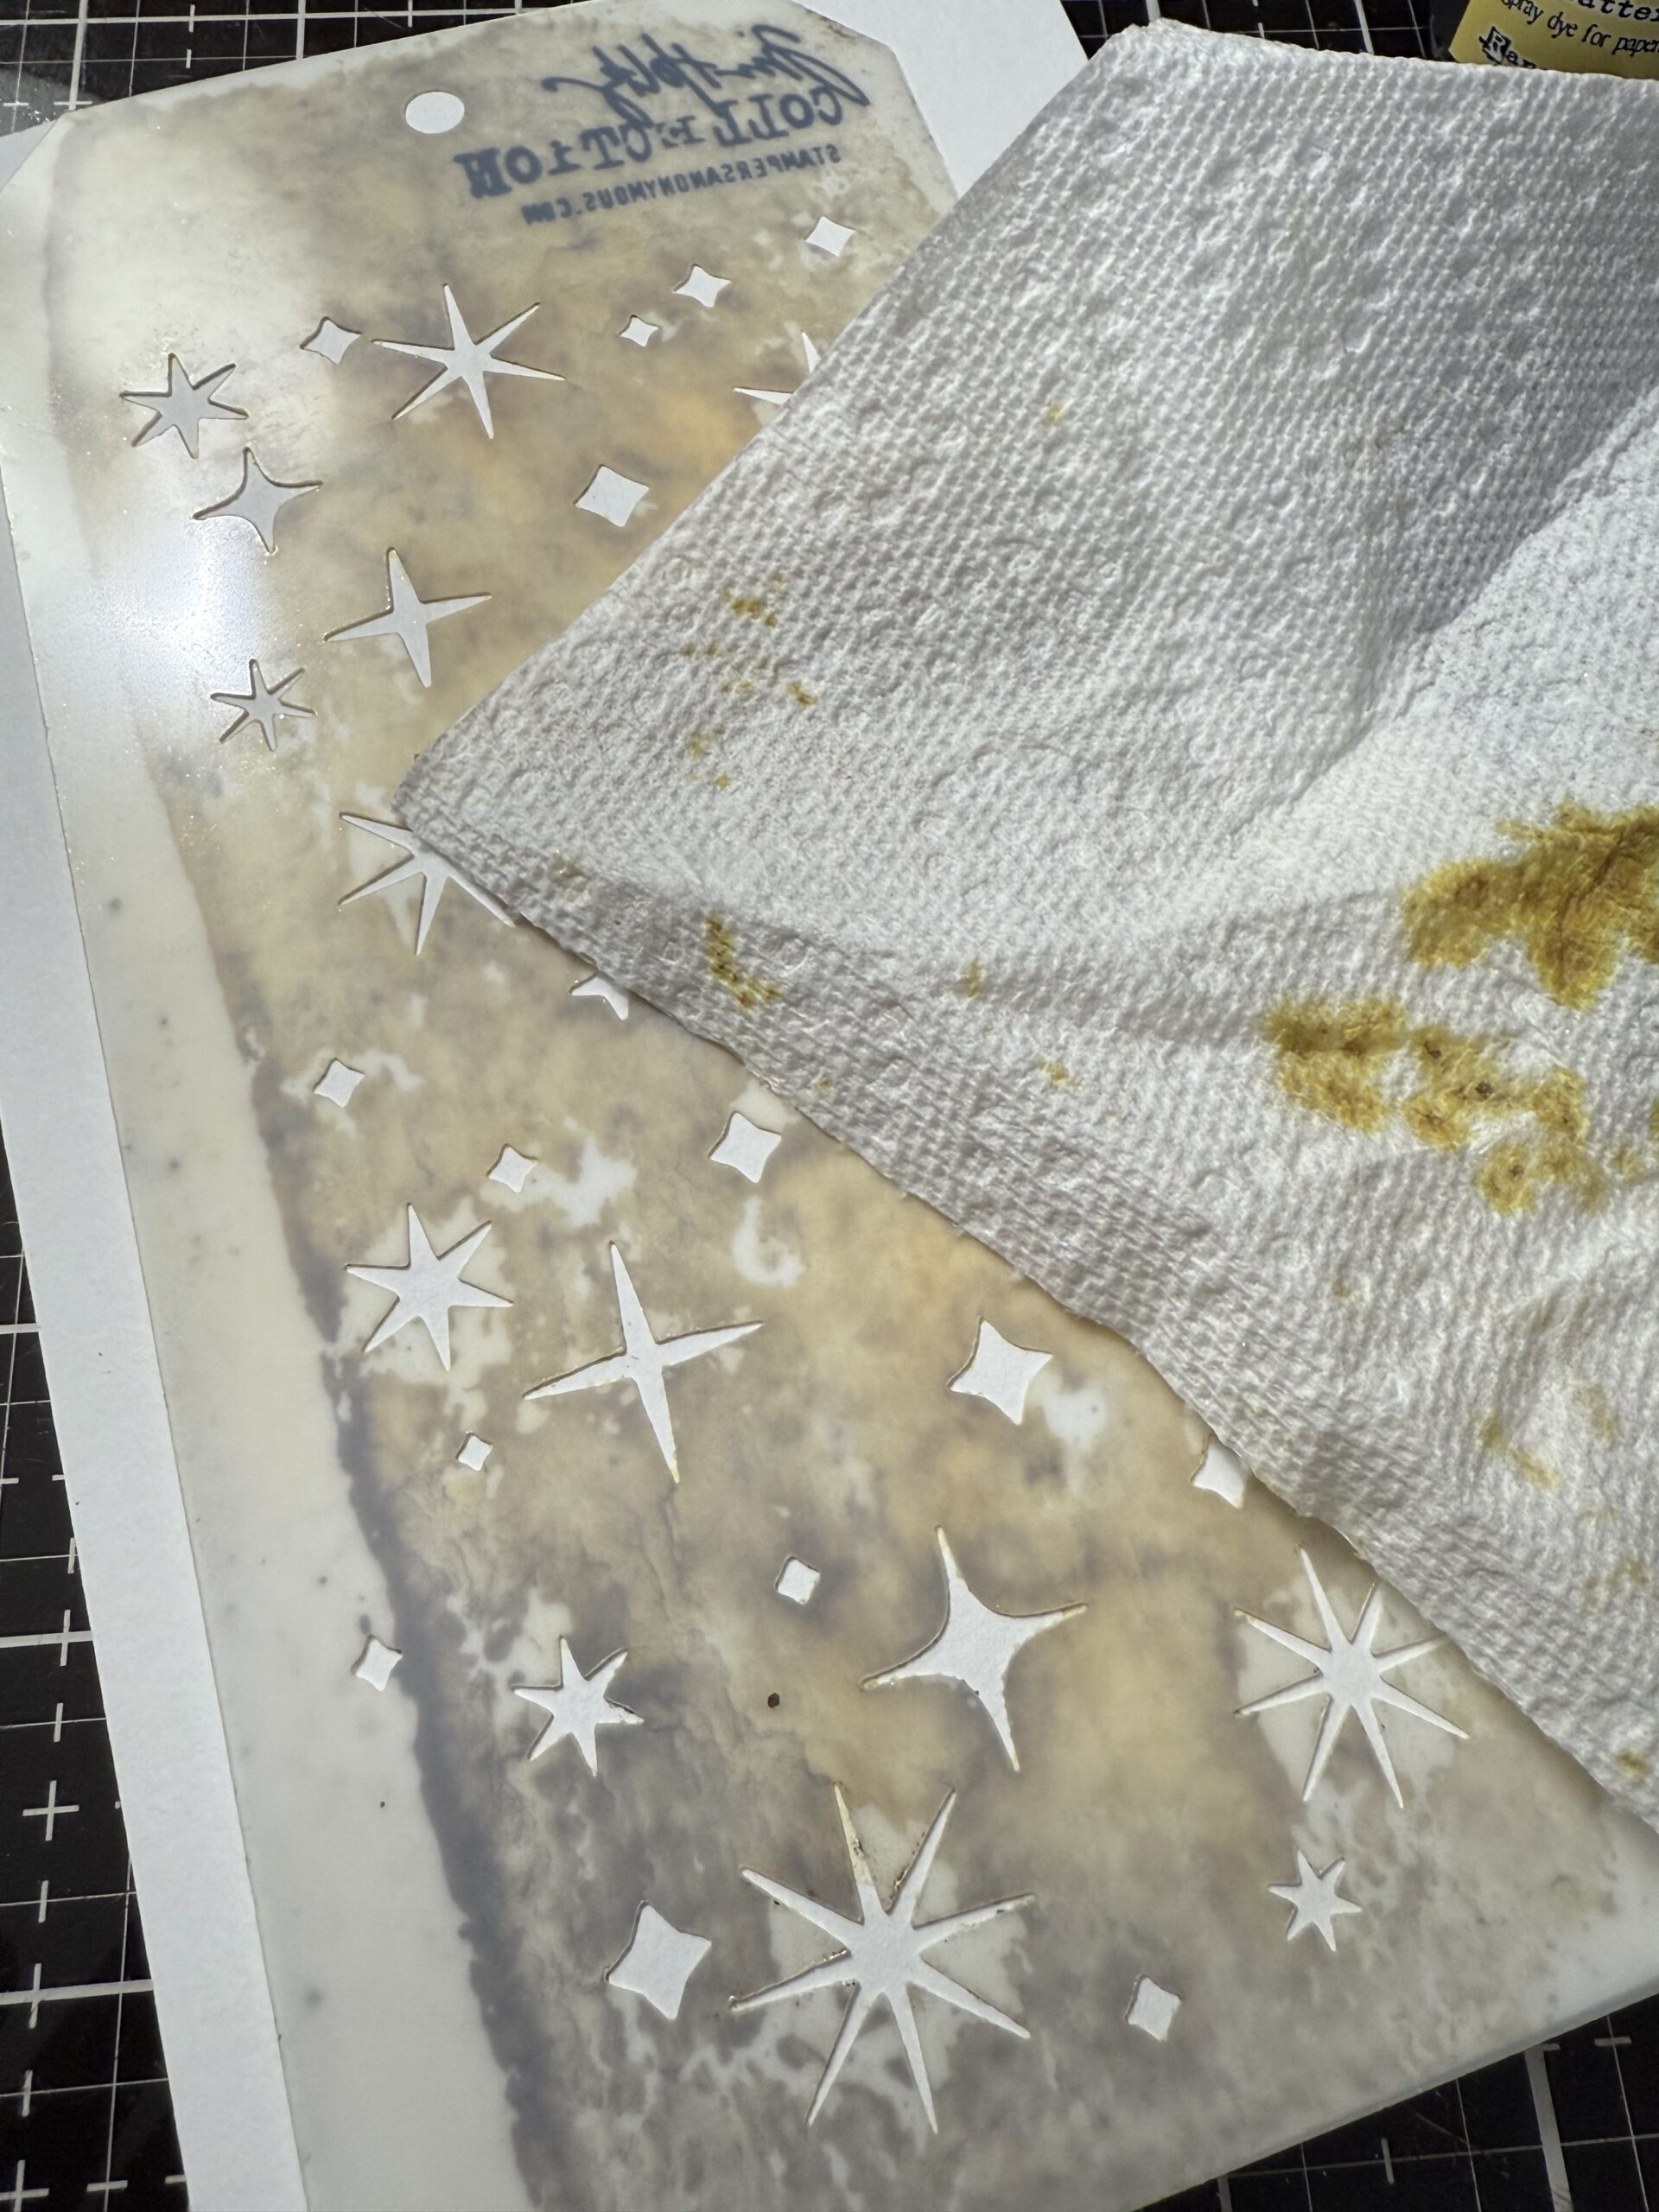
Then, I removed the paper towel and stencil to reveal the inky leftovers that were left on the paper and dried it withy heat tool. This process was done on every one of the backgrounds…I’ll show you my combos in photos below in a bit.
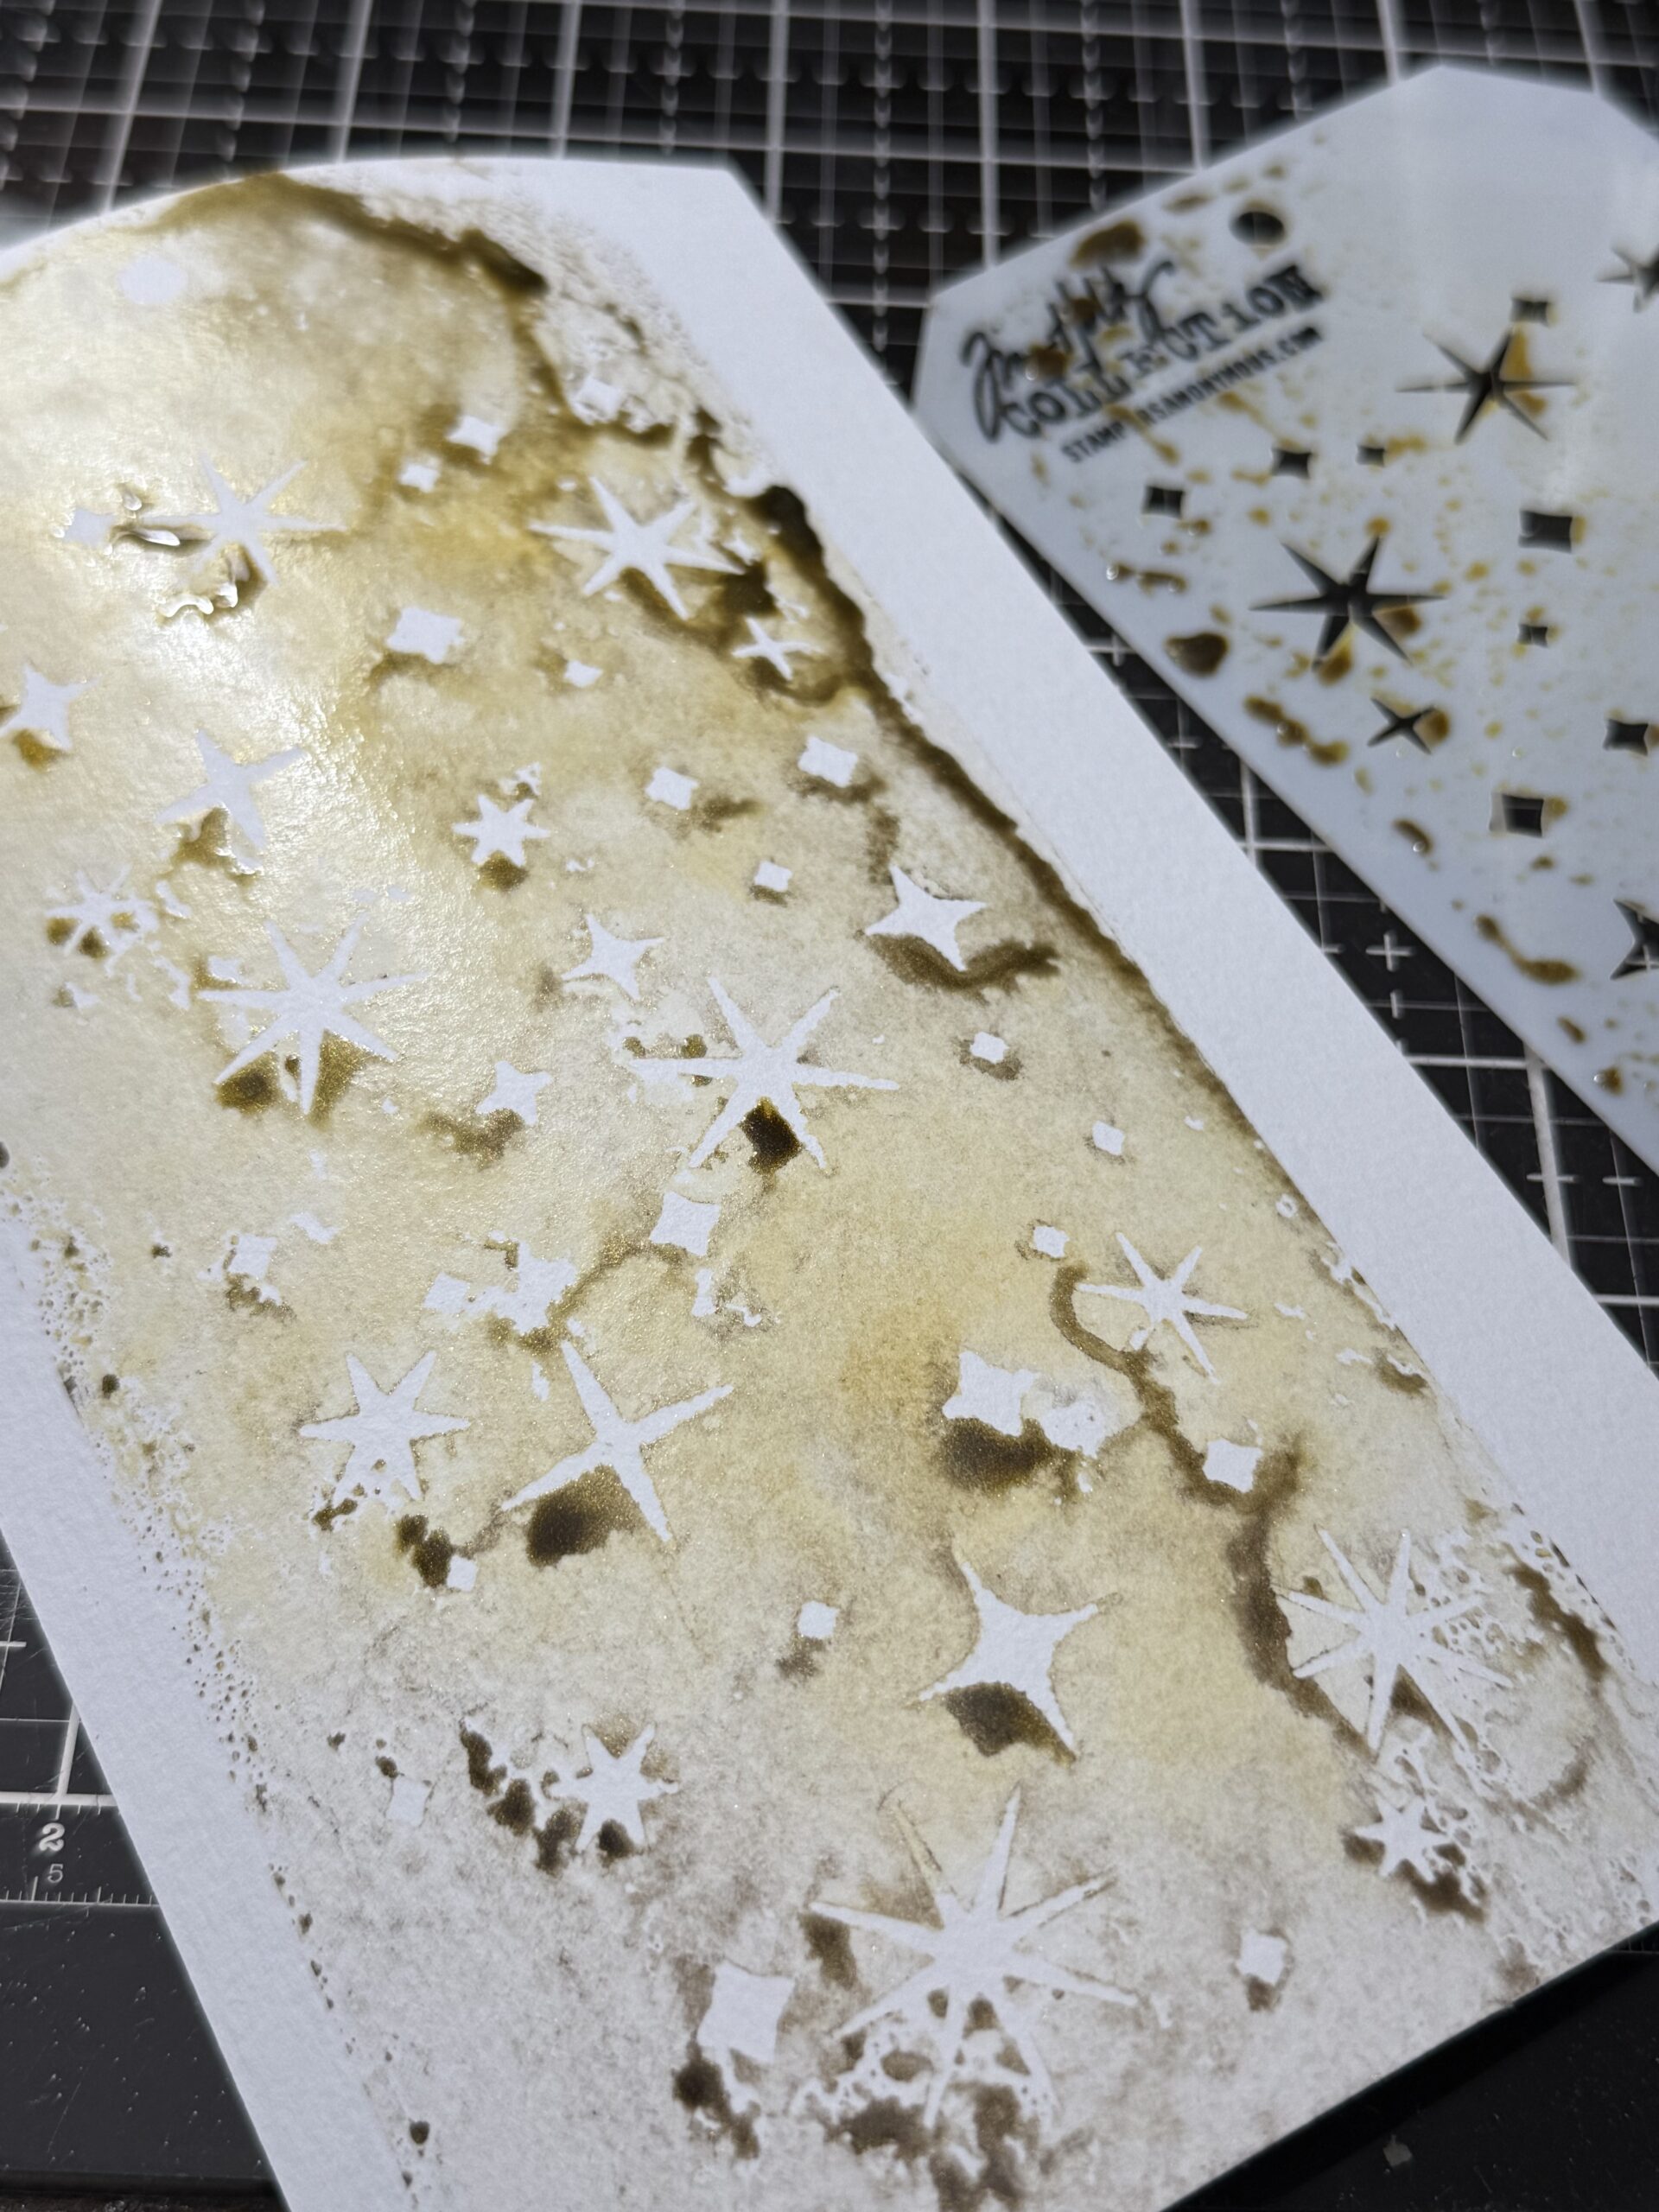
At first, it will look kind of messy and you won’t see much of the sparkle, but then, as you dry it, the sparkle appears …so patience is definitely needed for this type of background making, but it is so FUN! I set that background aside and began creating others…because, we never stop at one background!
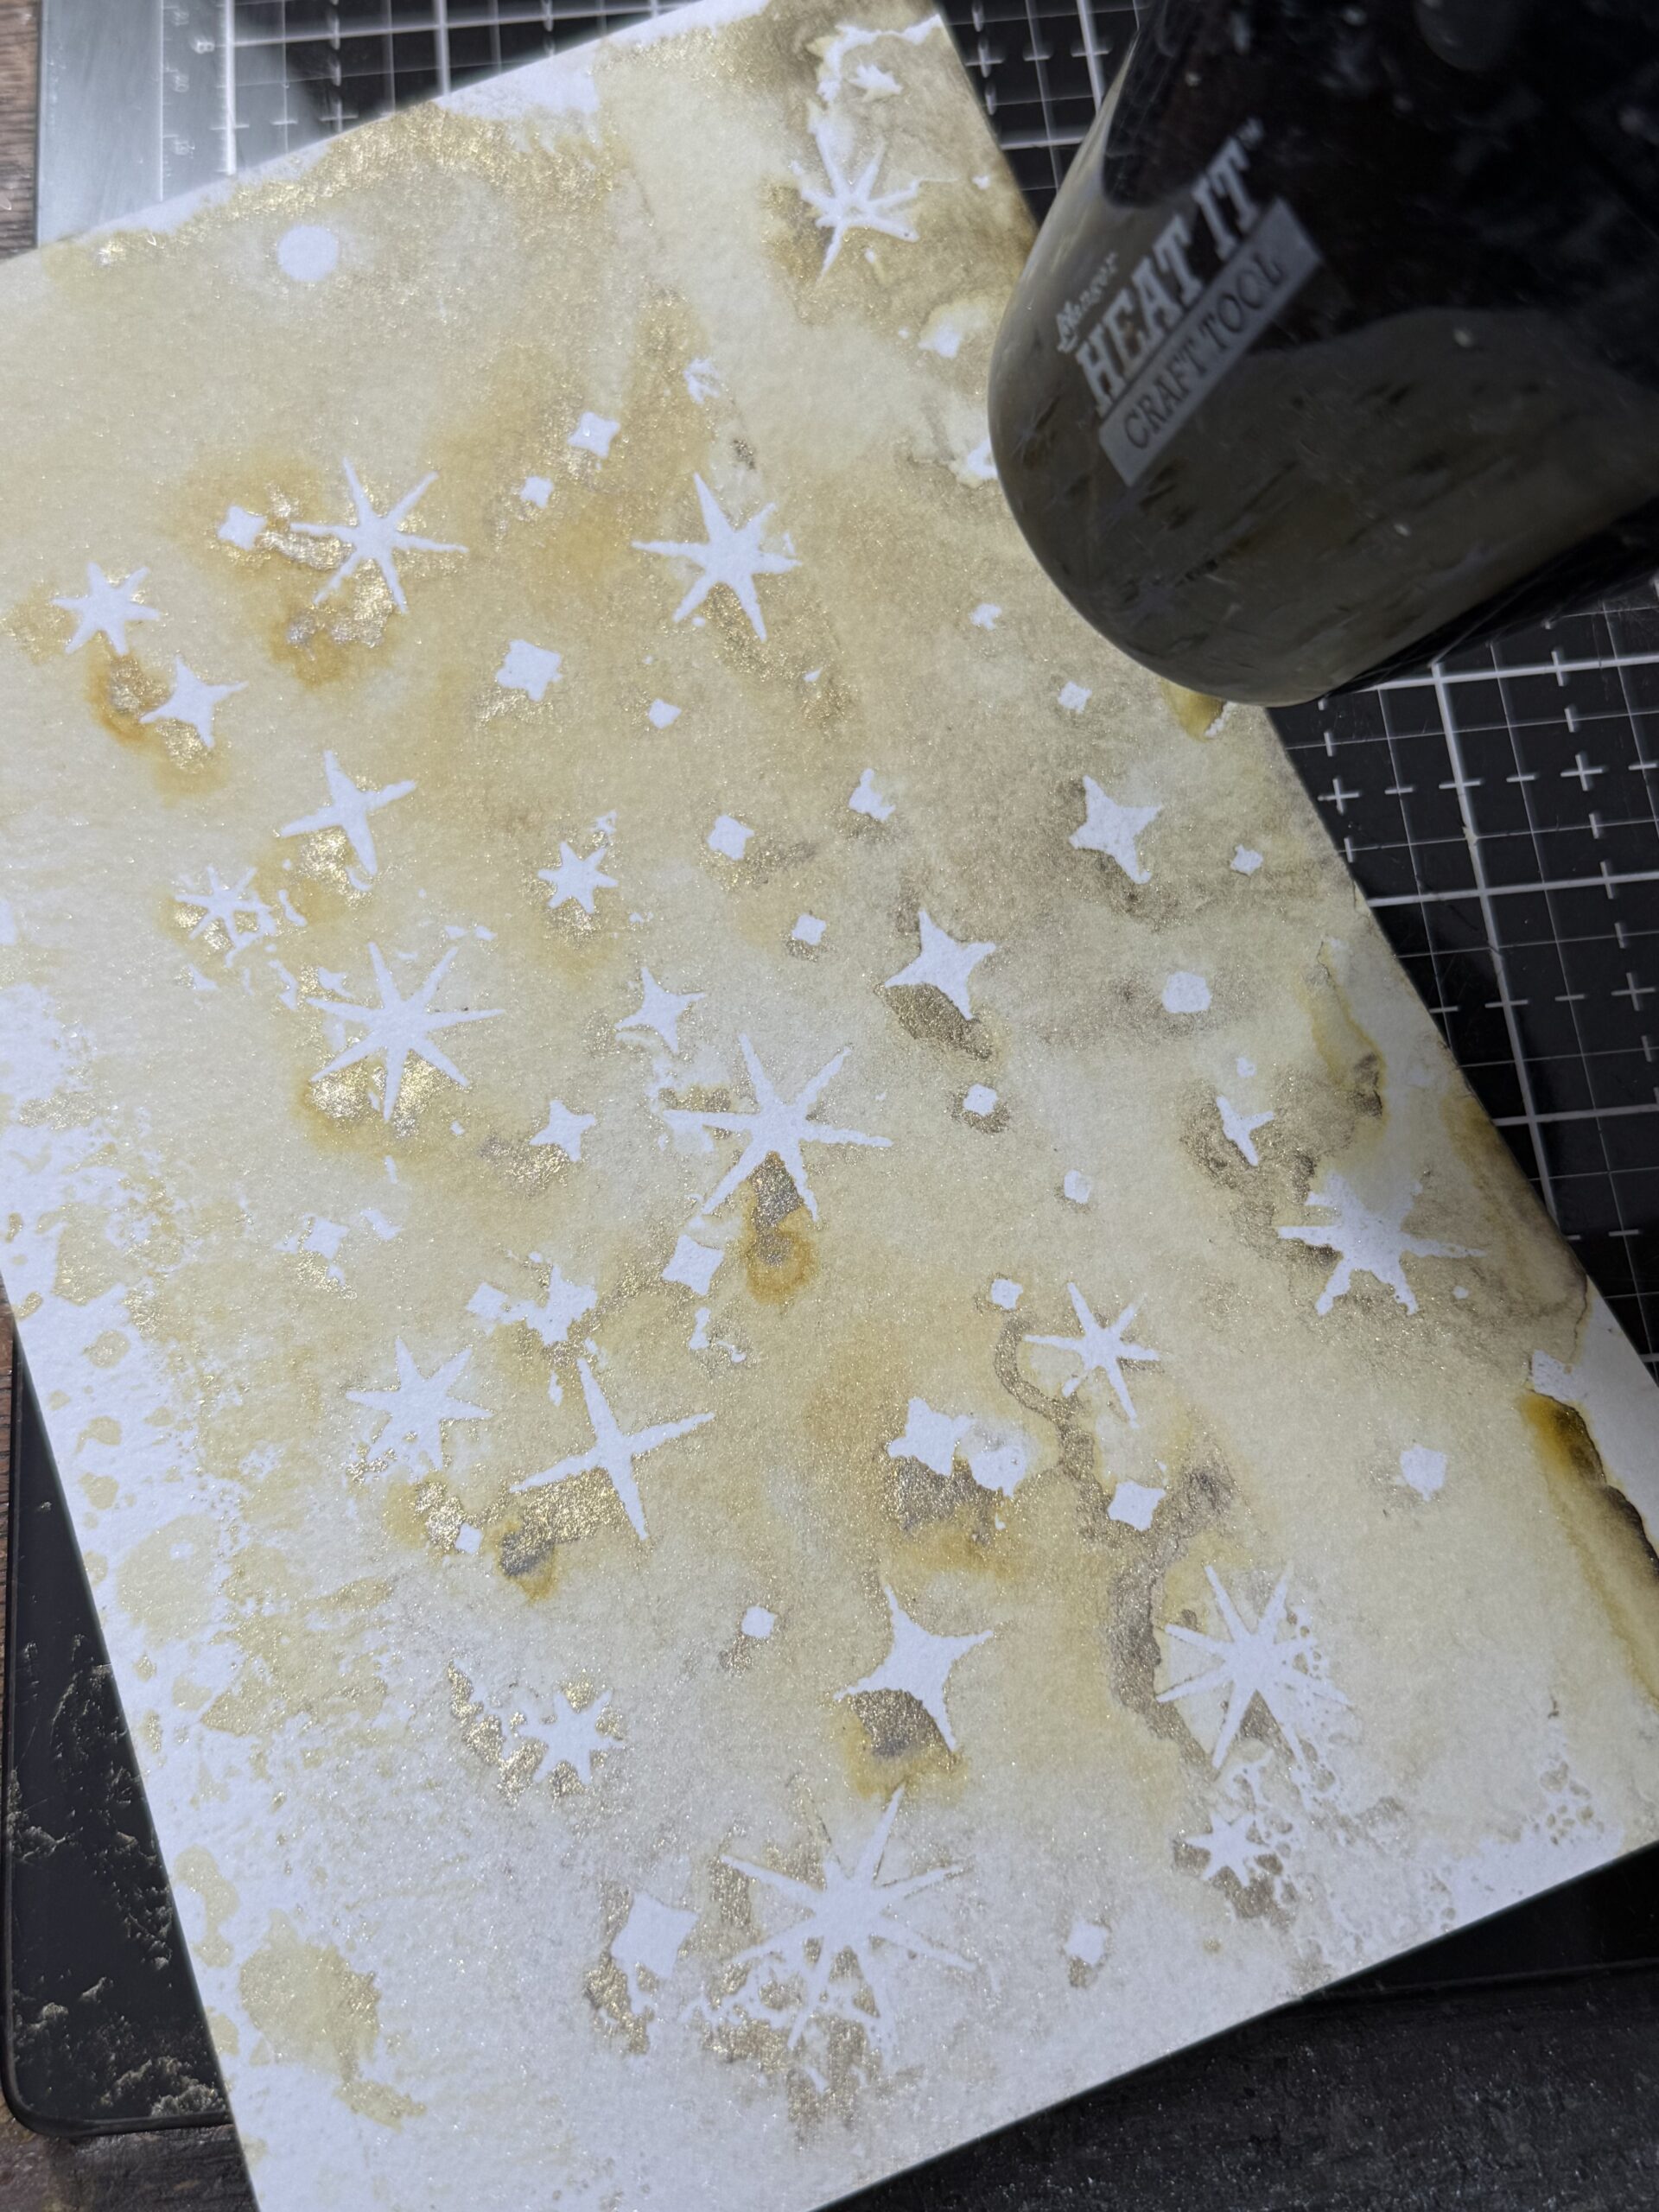
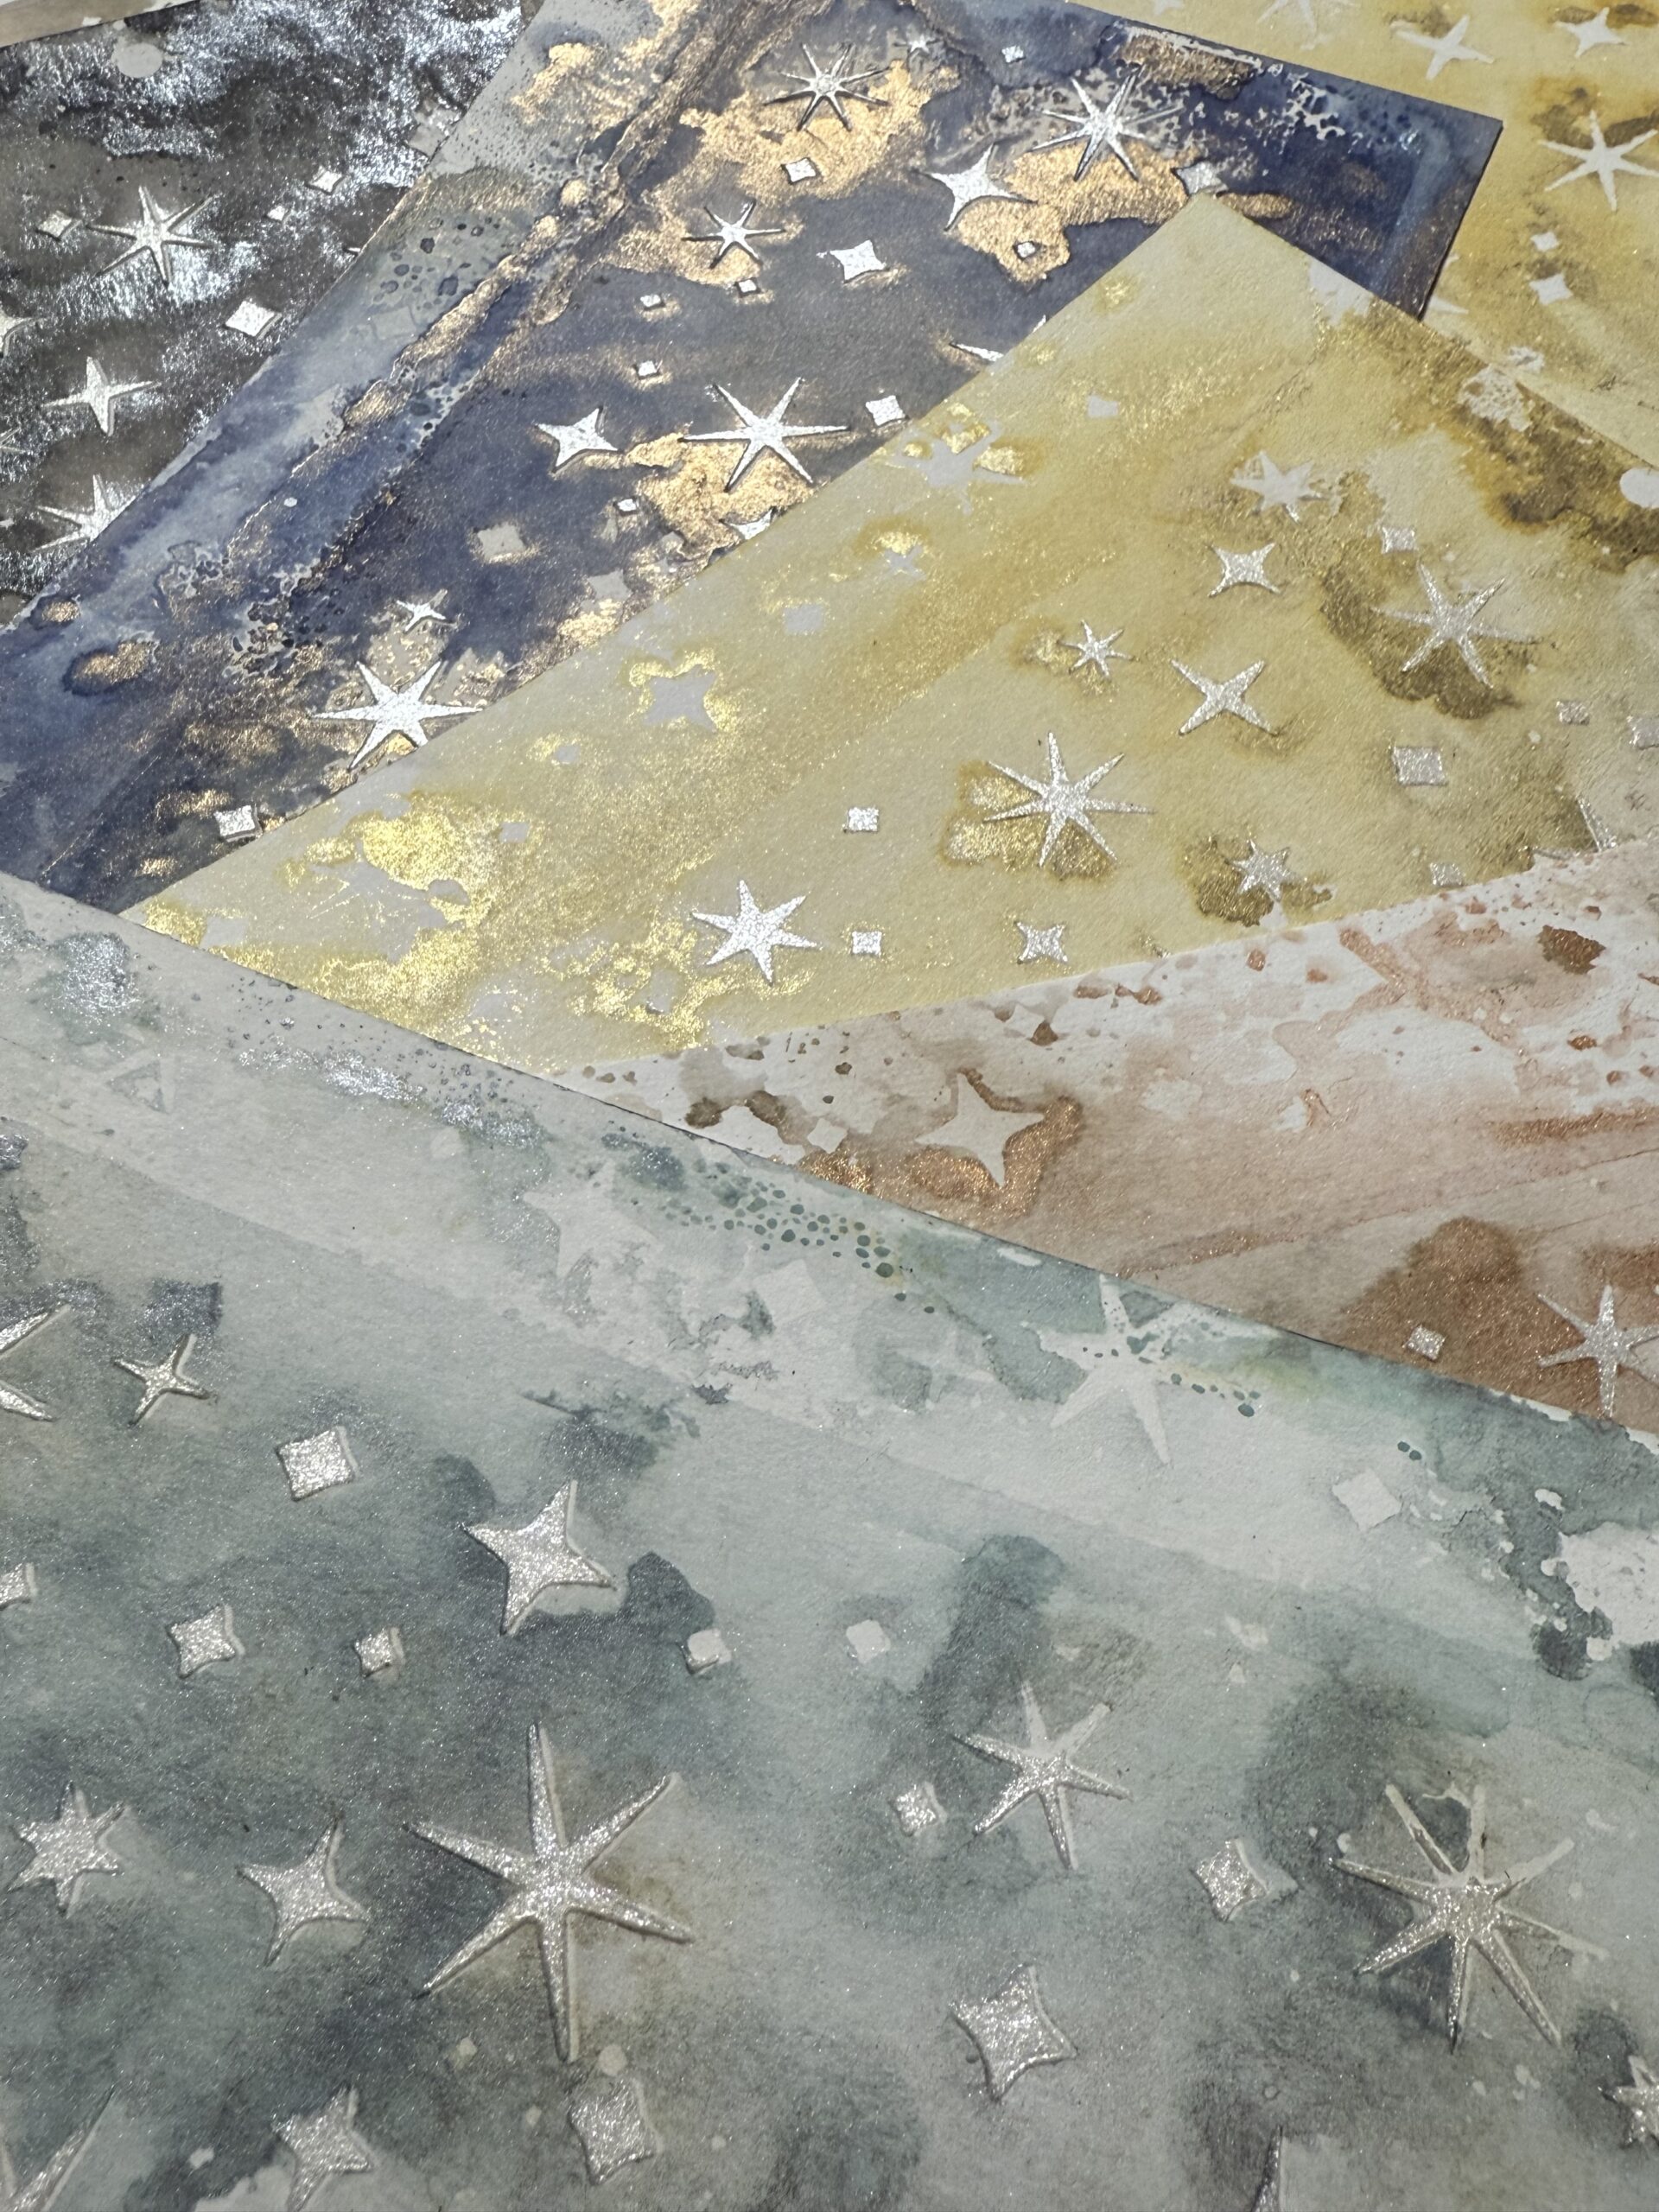
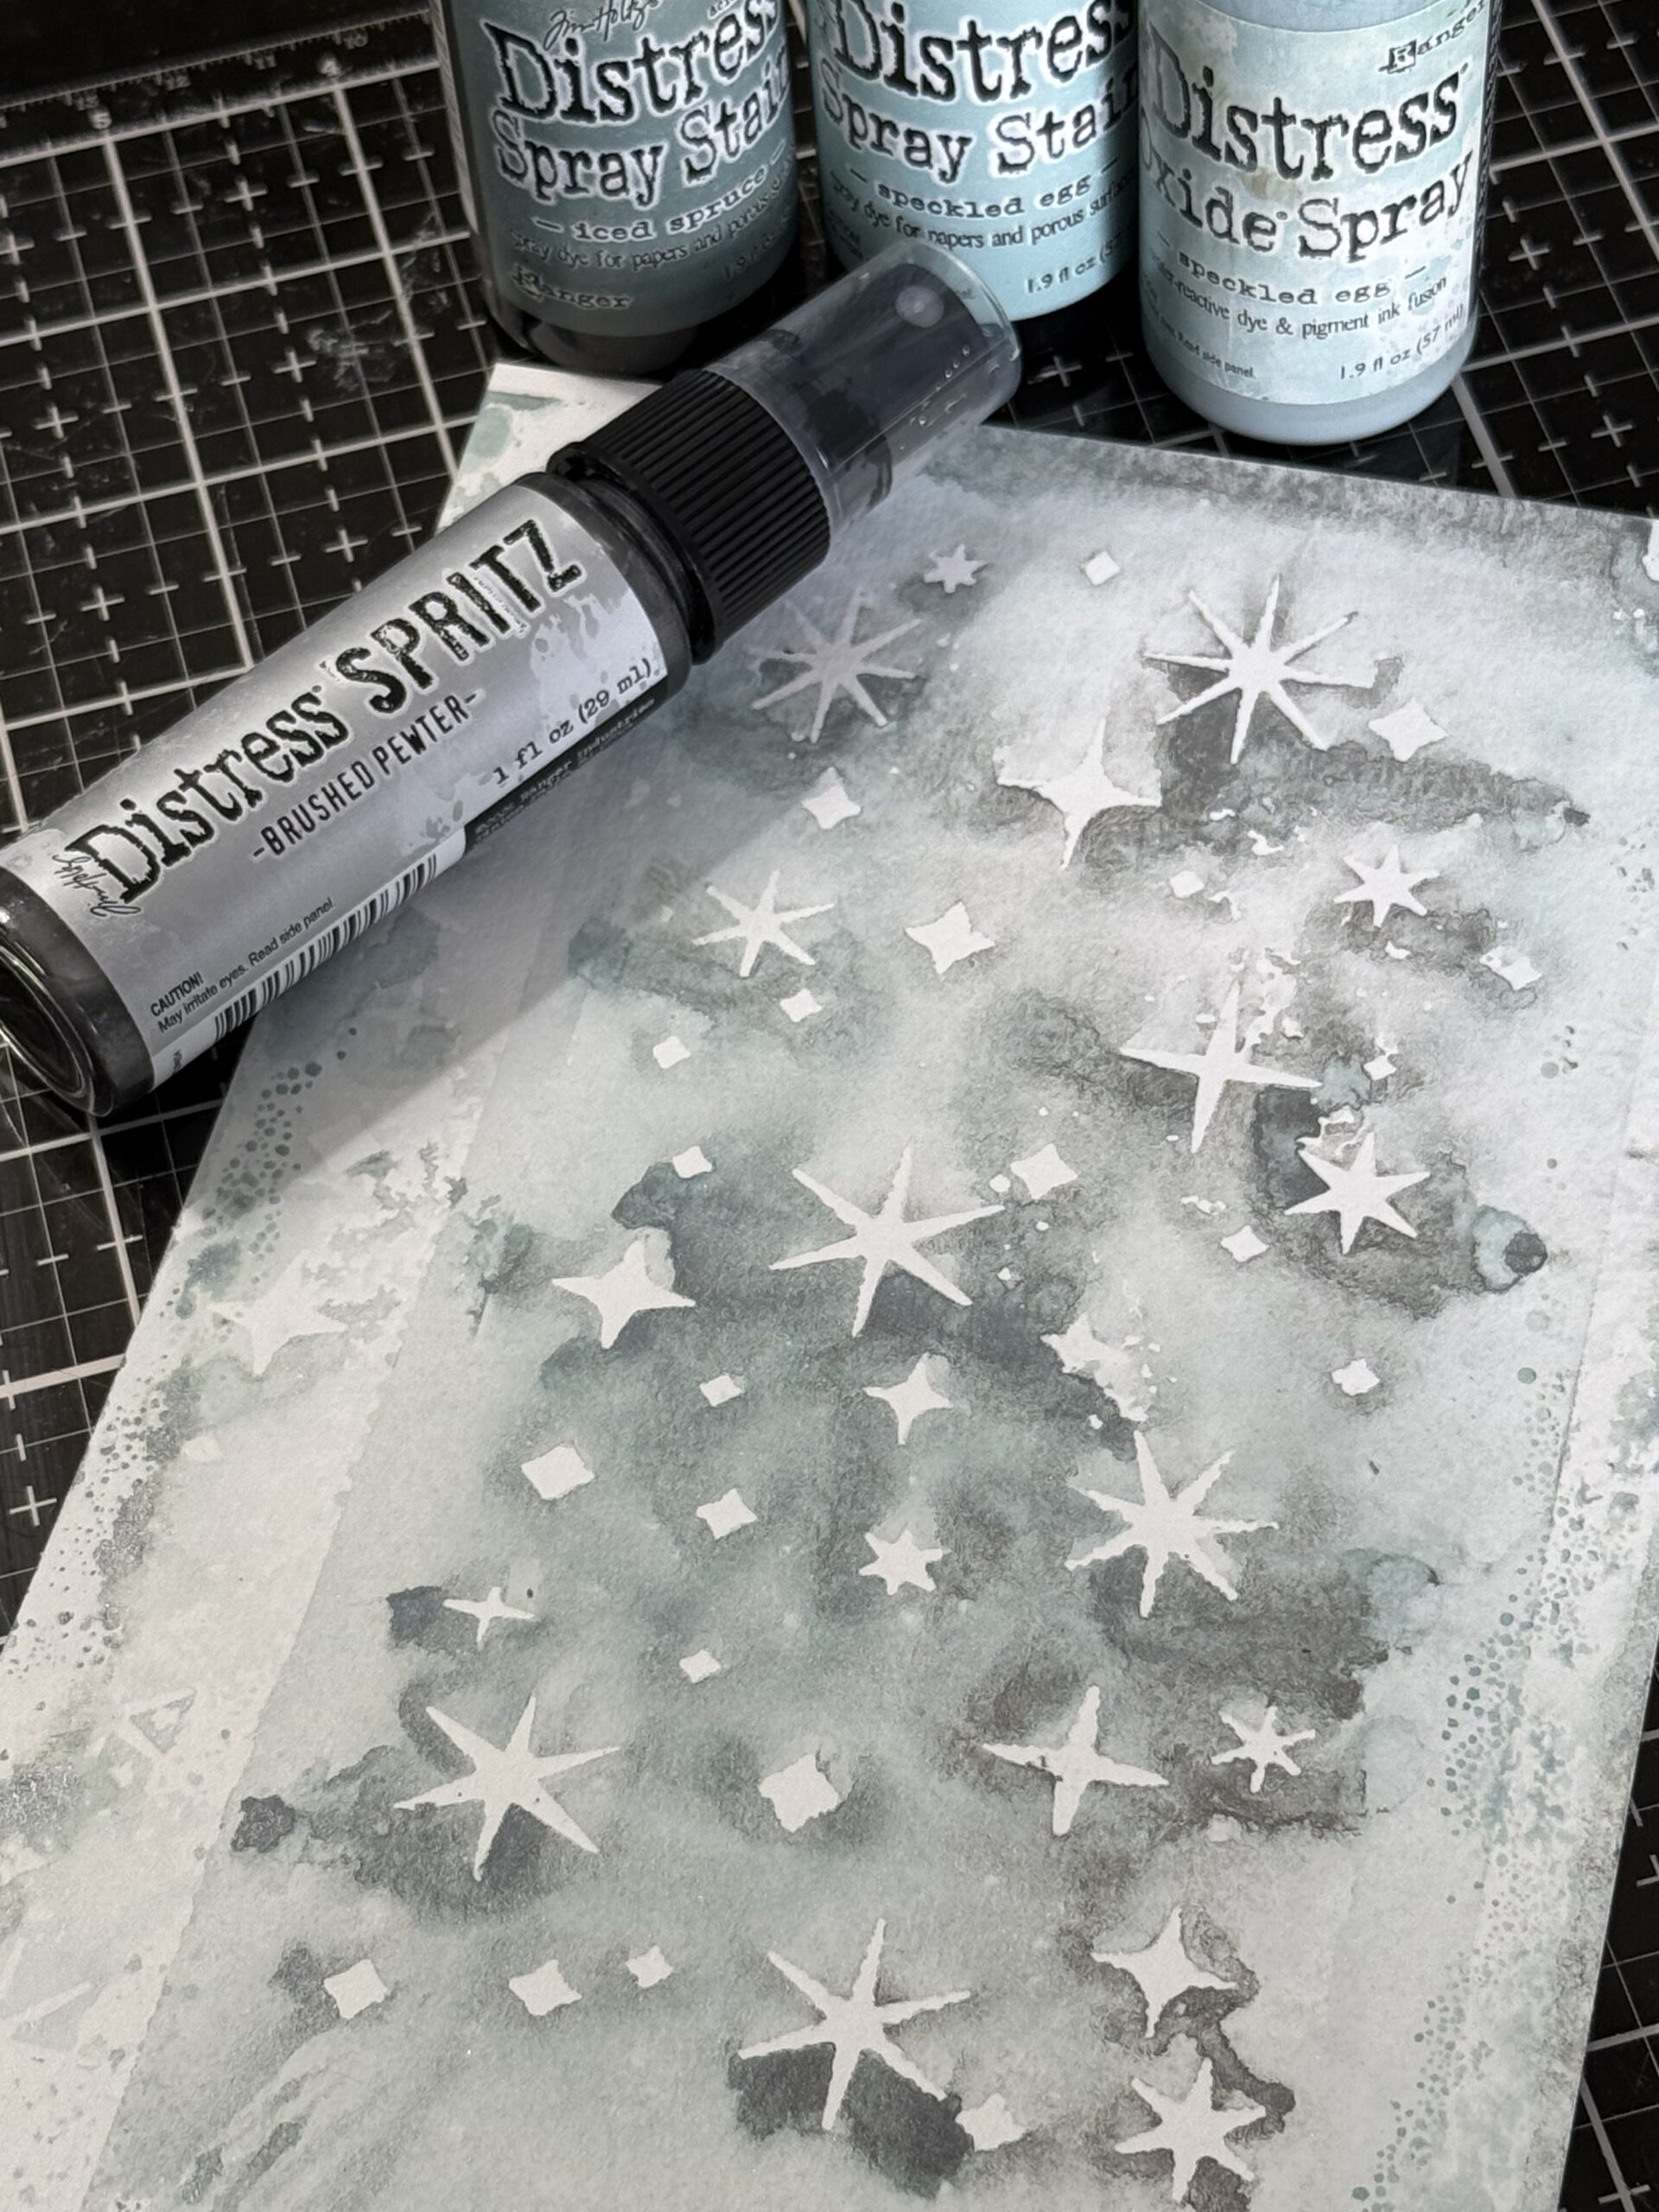
The next combo was made with Iced Spruce Spray Stain, Speckled Egg Spray Stain and Speckled Egg Oxide Spray along with some Brushed Pewter Spritz…
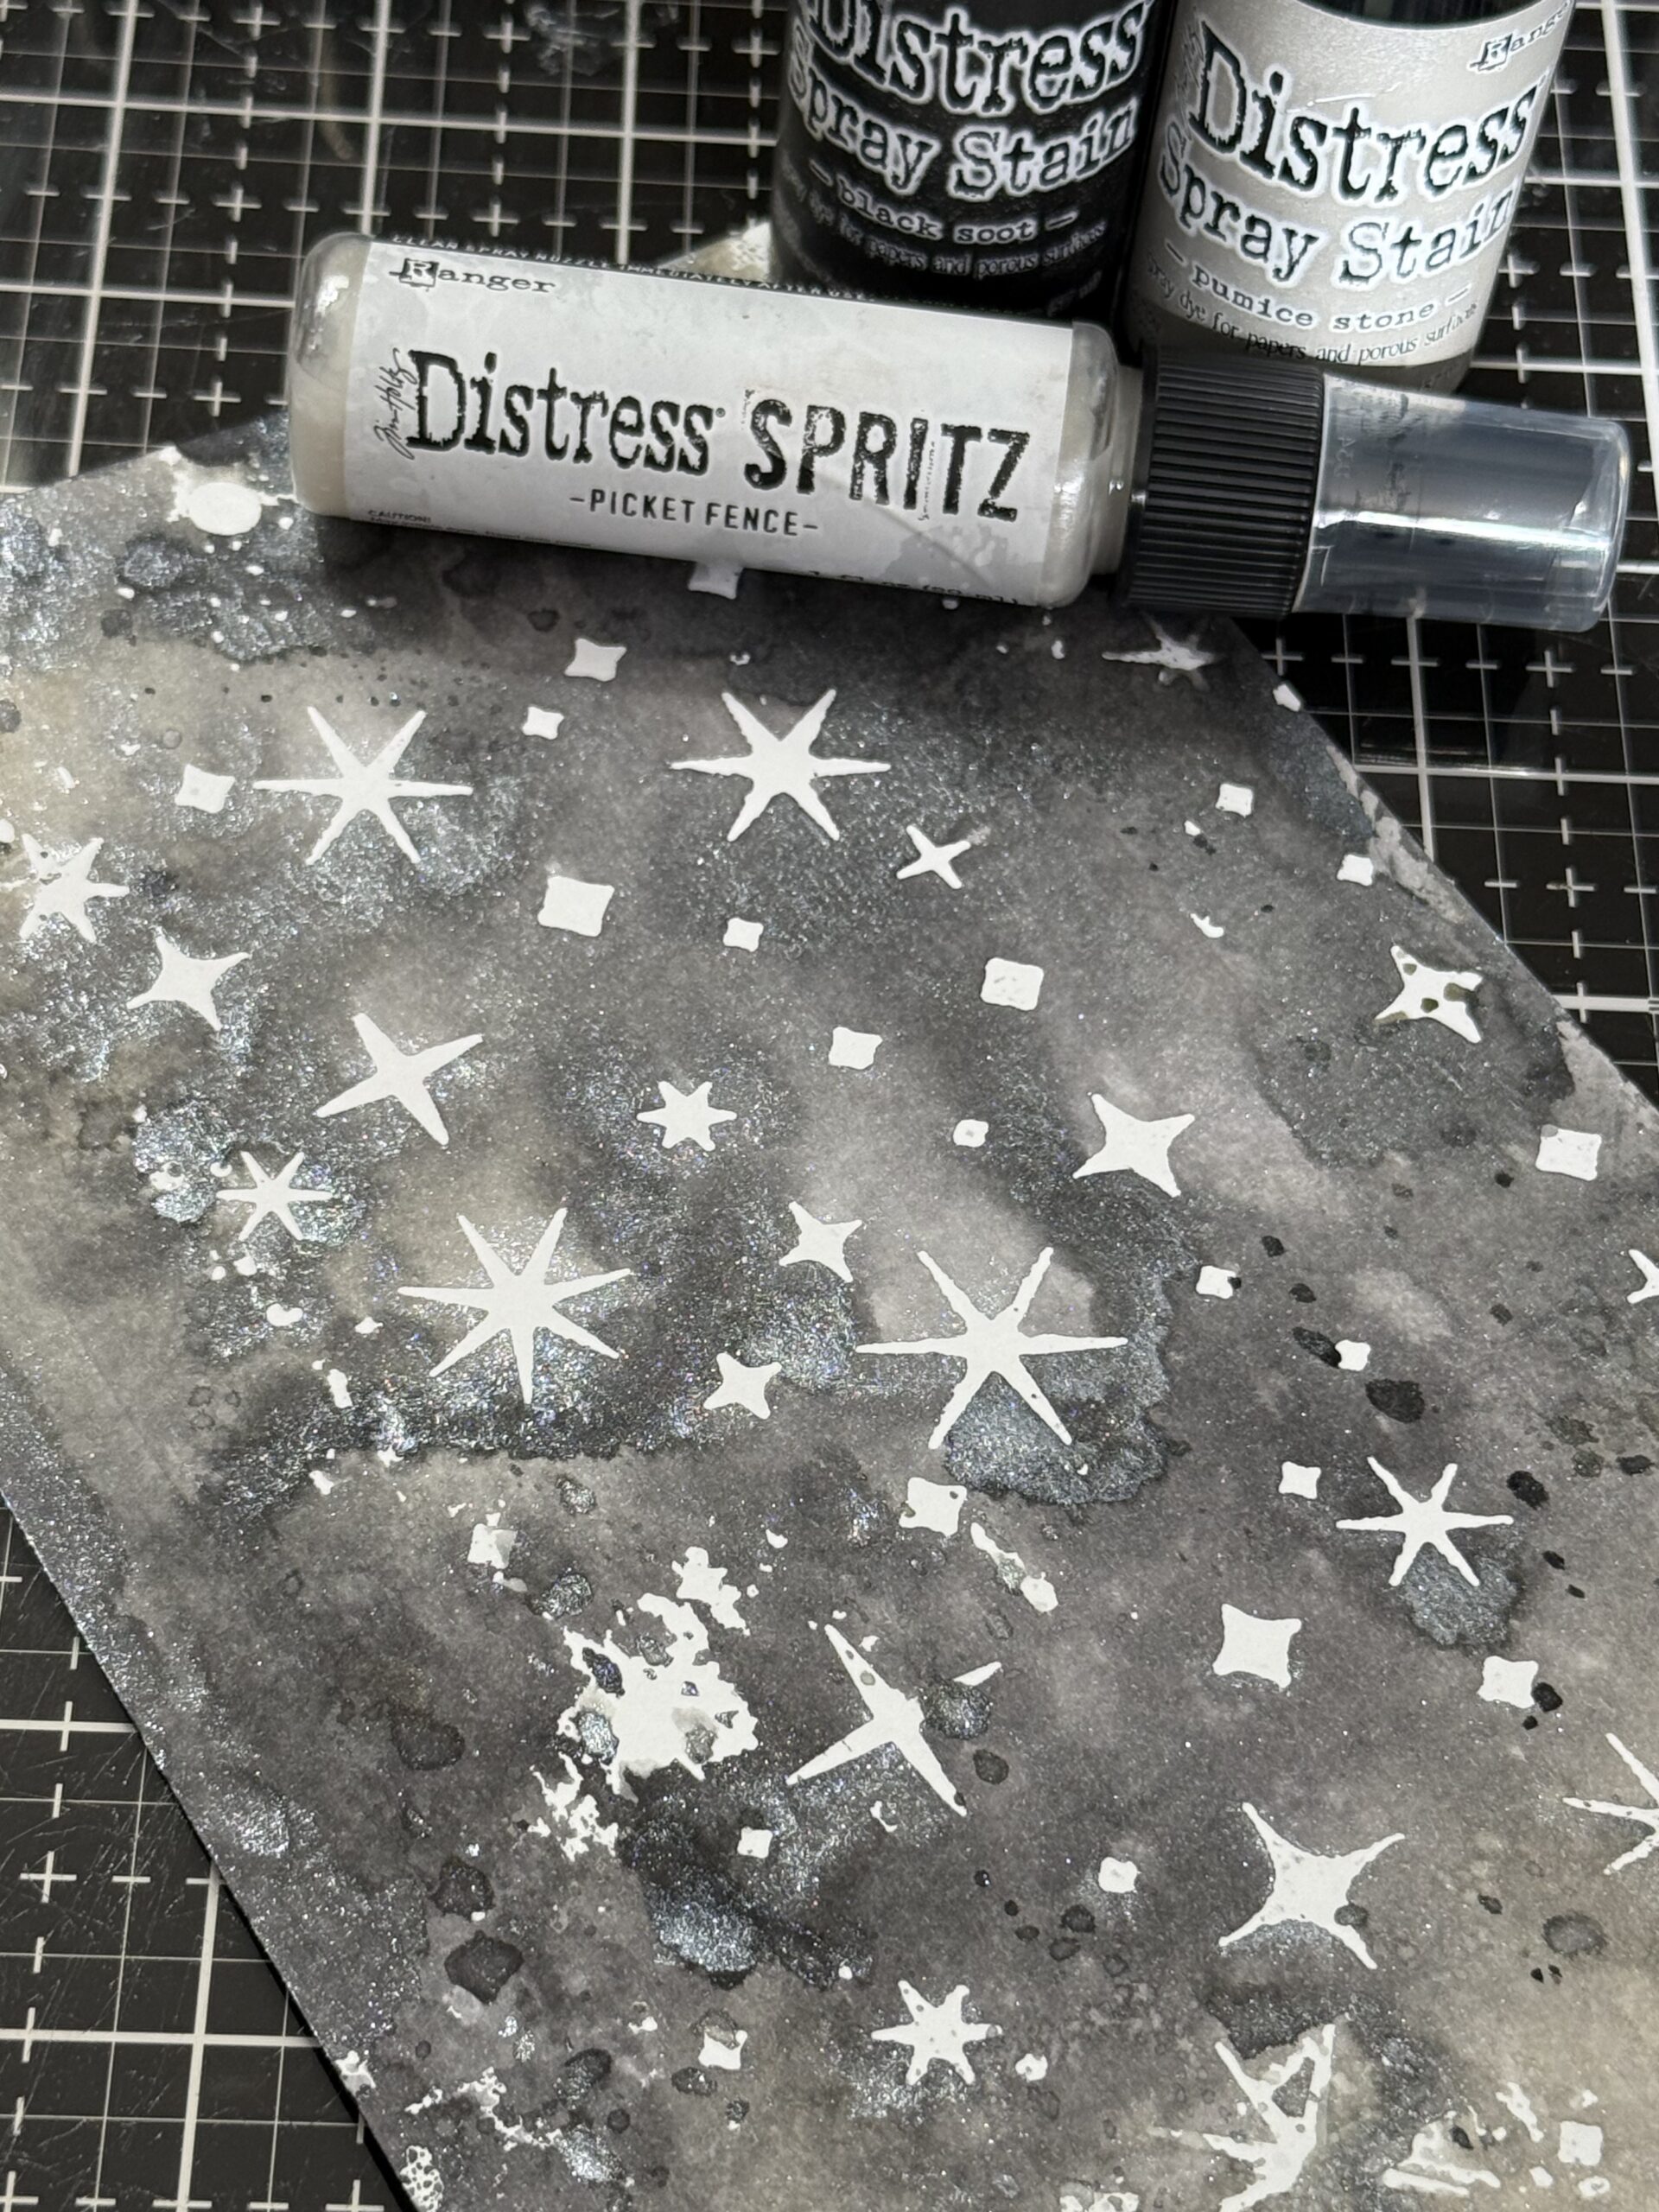
and then… Black Soot Spray Stain and Pumice Stone plus Picket Fence Spritz..
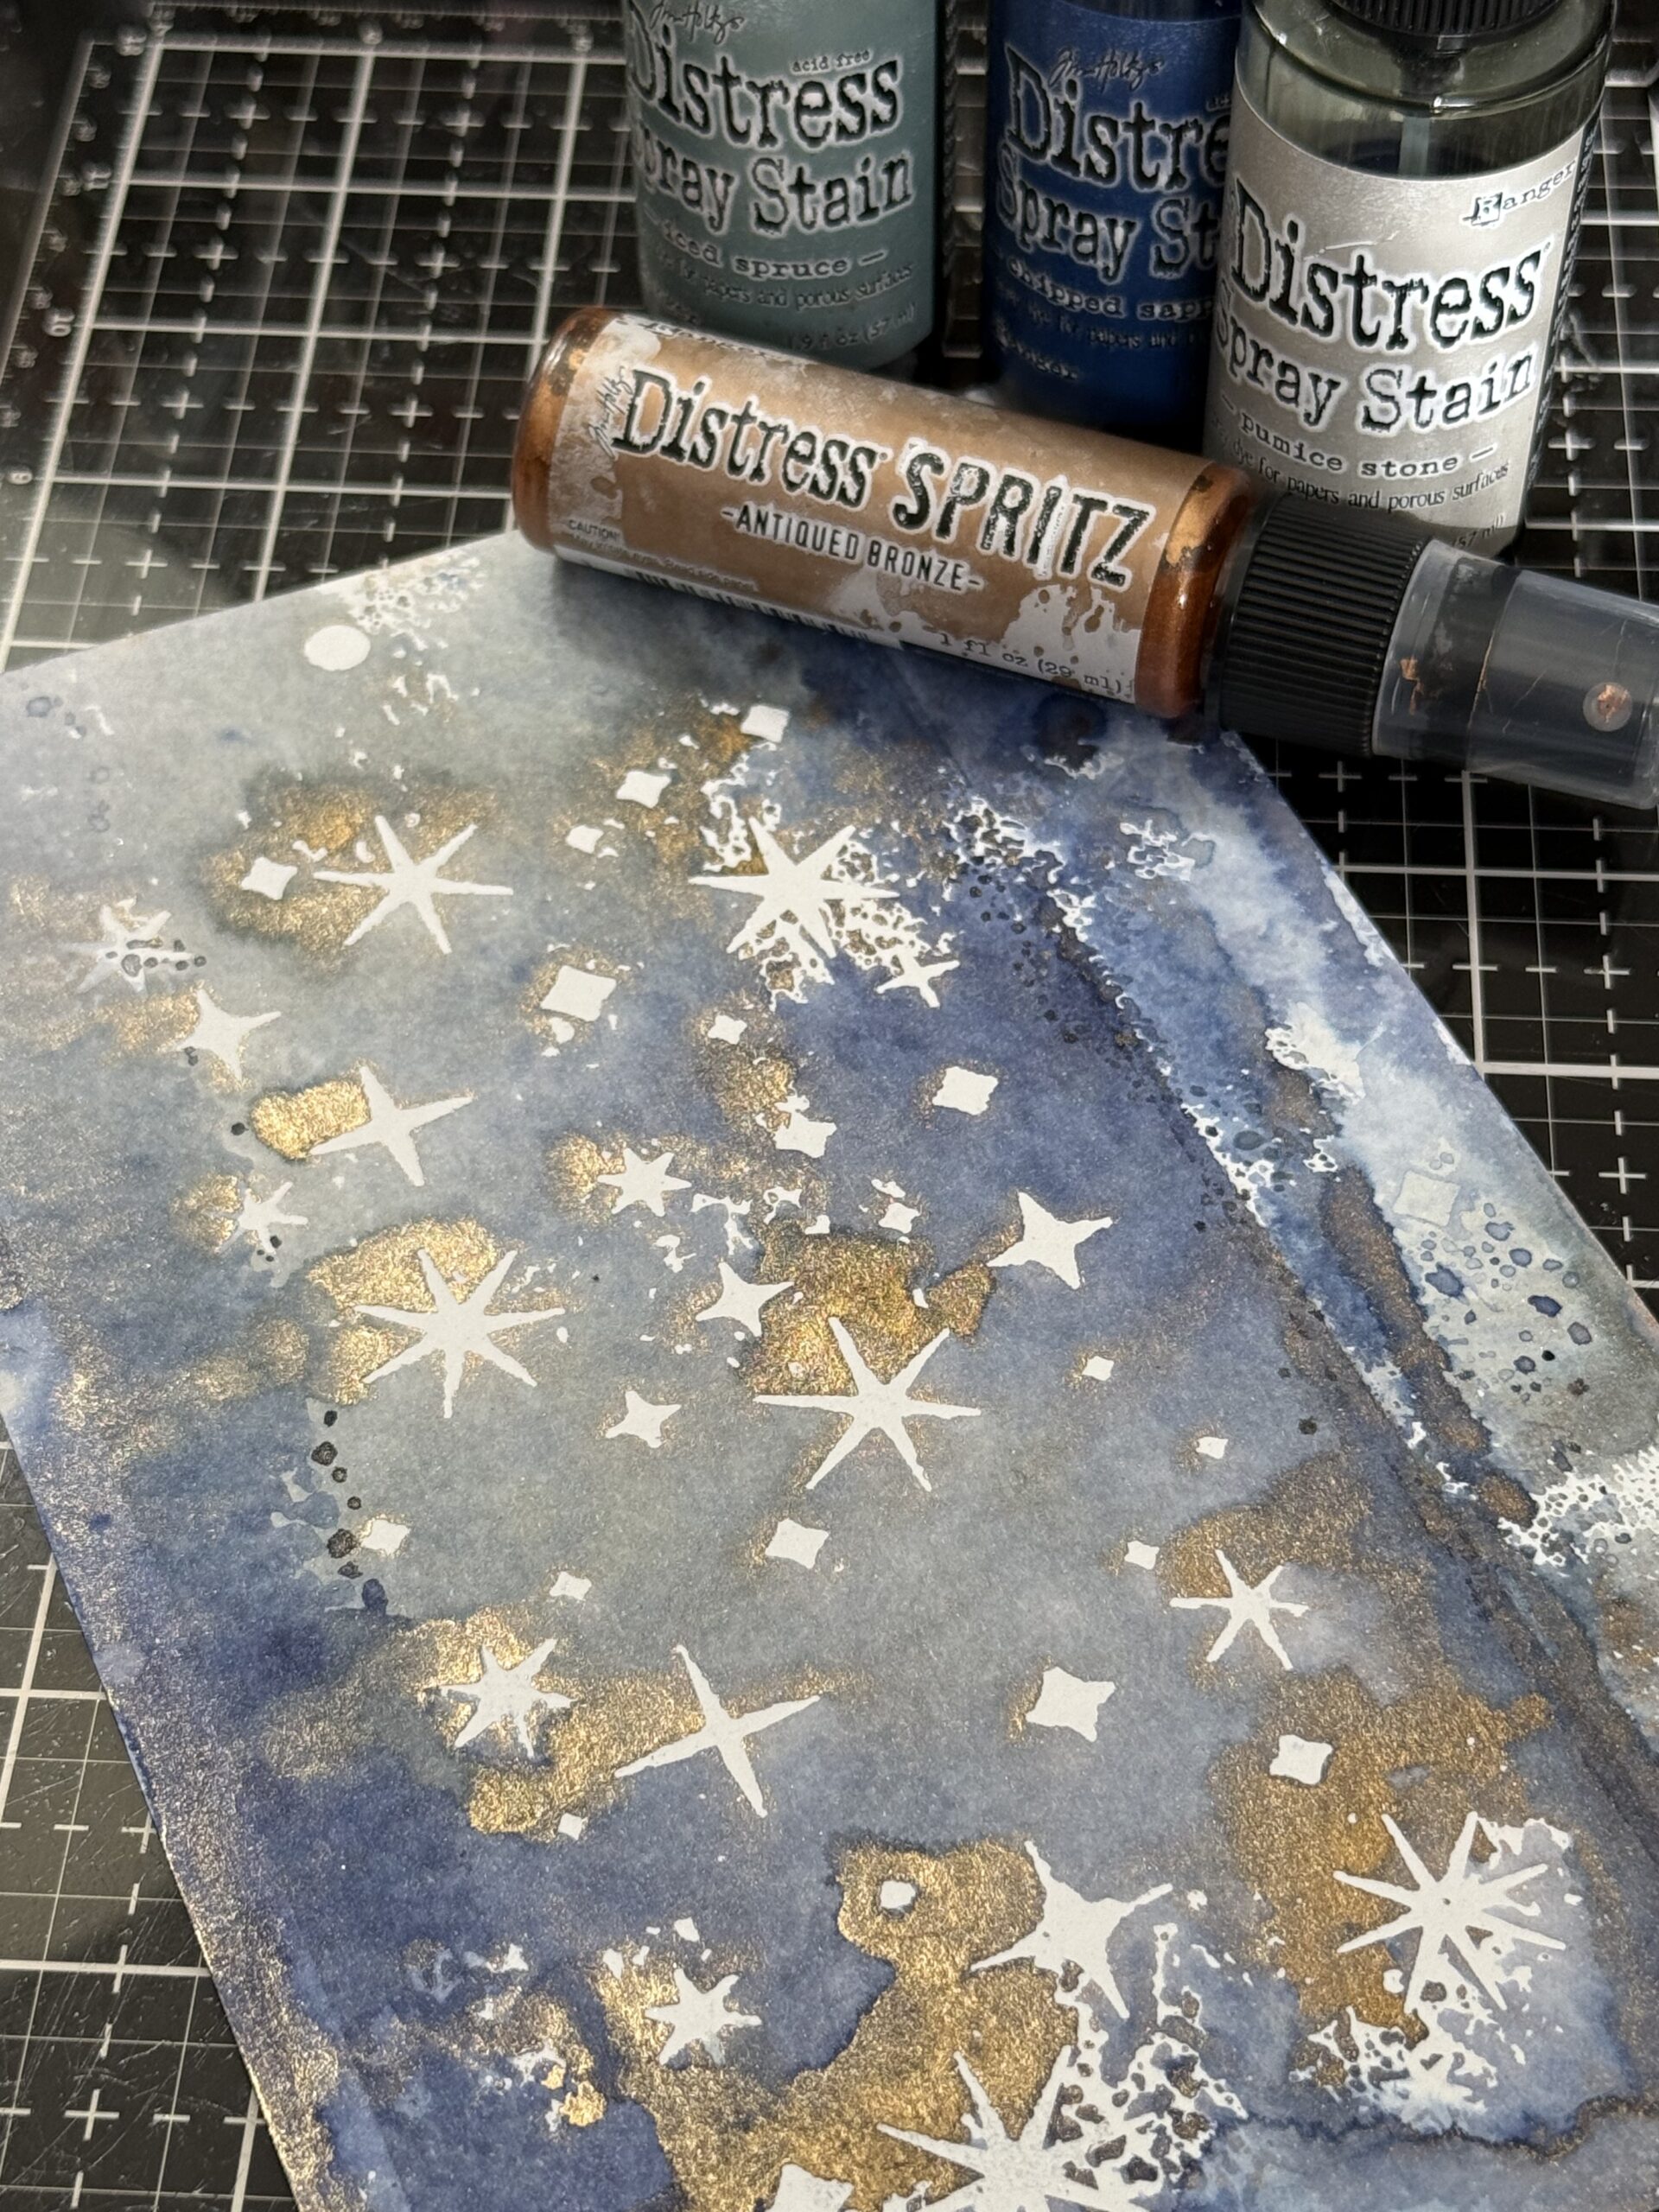
and then… Iced Spruce, Chipped Saphire, Pumice Stone and Antiqued Bronze.
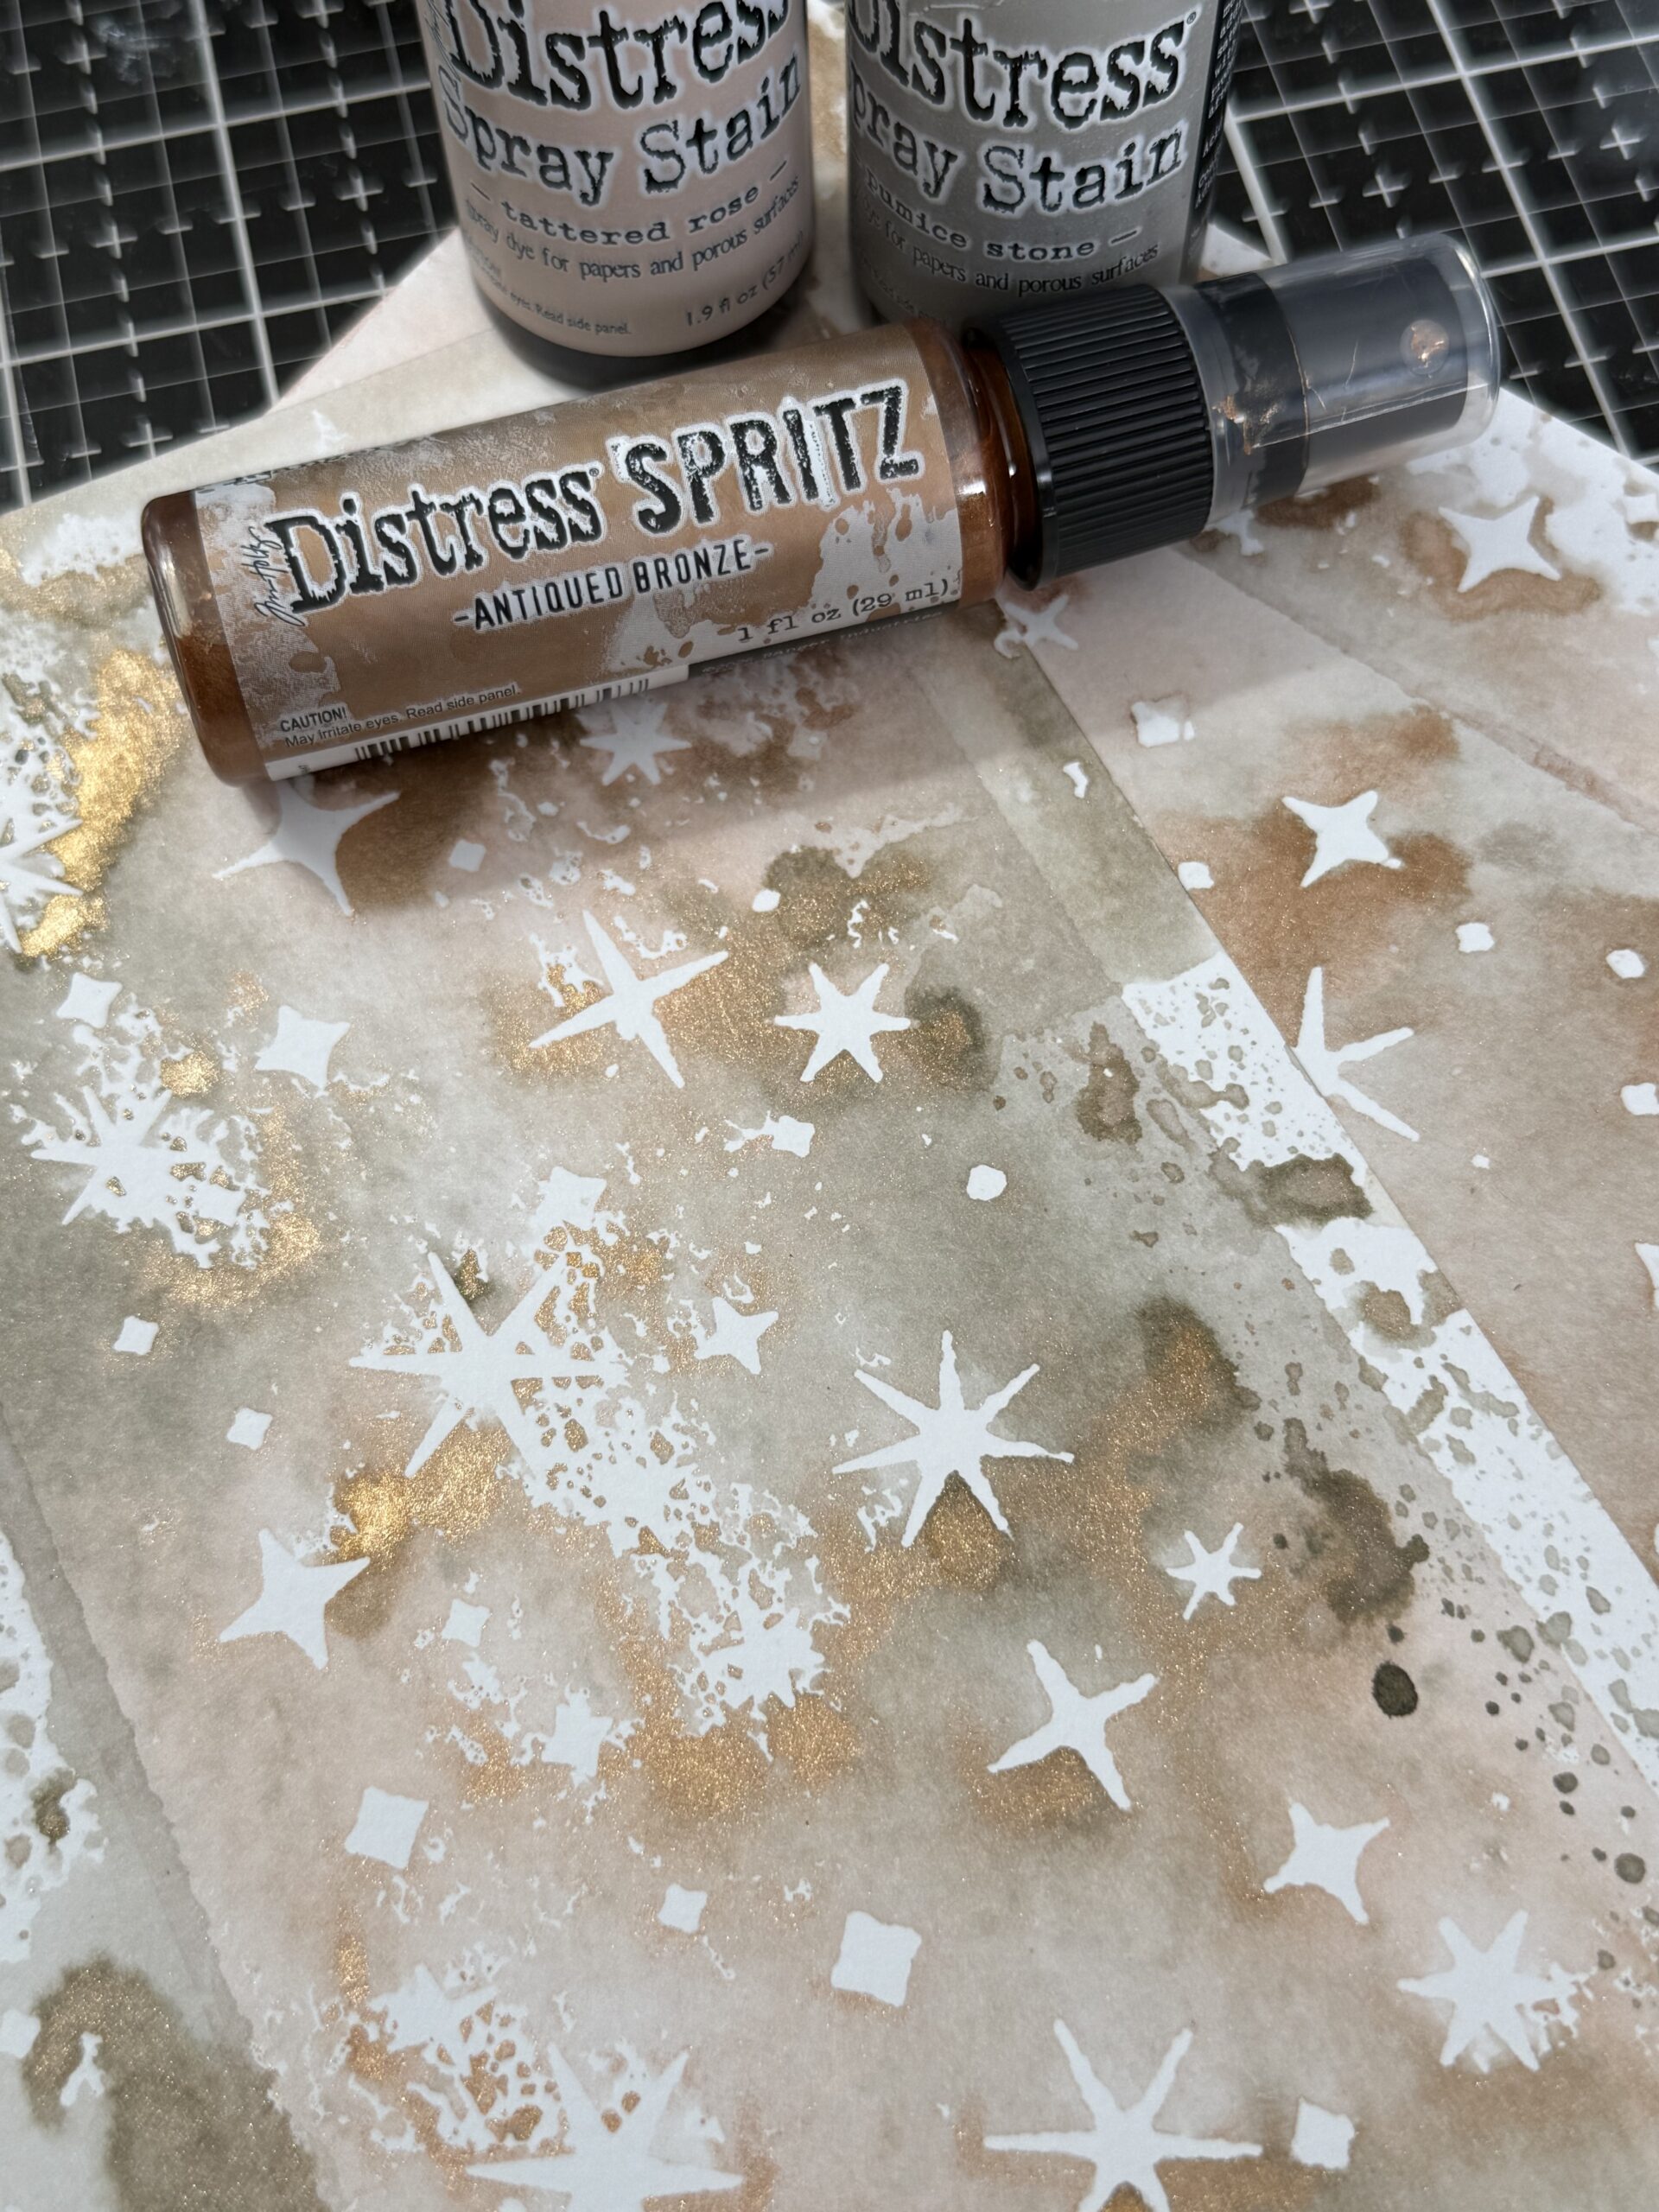
and finally, Tattered Rose and Pumice Stone and Antiqued Bronze… all of them are my favorites, I can’t believe how much sparkle the Spritz added to the backgrounds! I know it can be hard to see that in photos, but just know, it’s there and is magnificent!
Now, you’d think I would be done there…but, no, I wanted to play with the Pearlescent Texture Paste too! Plus, how perfect would pearly stars be?
I made sure all my papers were dry, and that the stencil was clean and dry, then started adding the pearly stars through the stencil using a palette knife.
I started with the Scattered Straw background and went from there… this paste is so easy to spread through the stencil and has a mayonnaise type of consistency, it gave every one of those tiny stars so much definition right down to their tiny tips.
As I finished each one, I set them aside to dry…I would say it took about 45 minutes for each of these to be dry, but I live in Ohio and we have had some humidity.
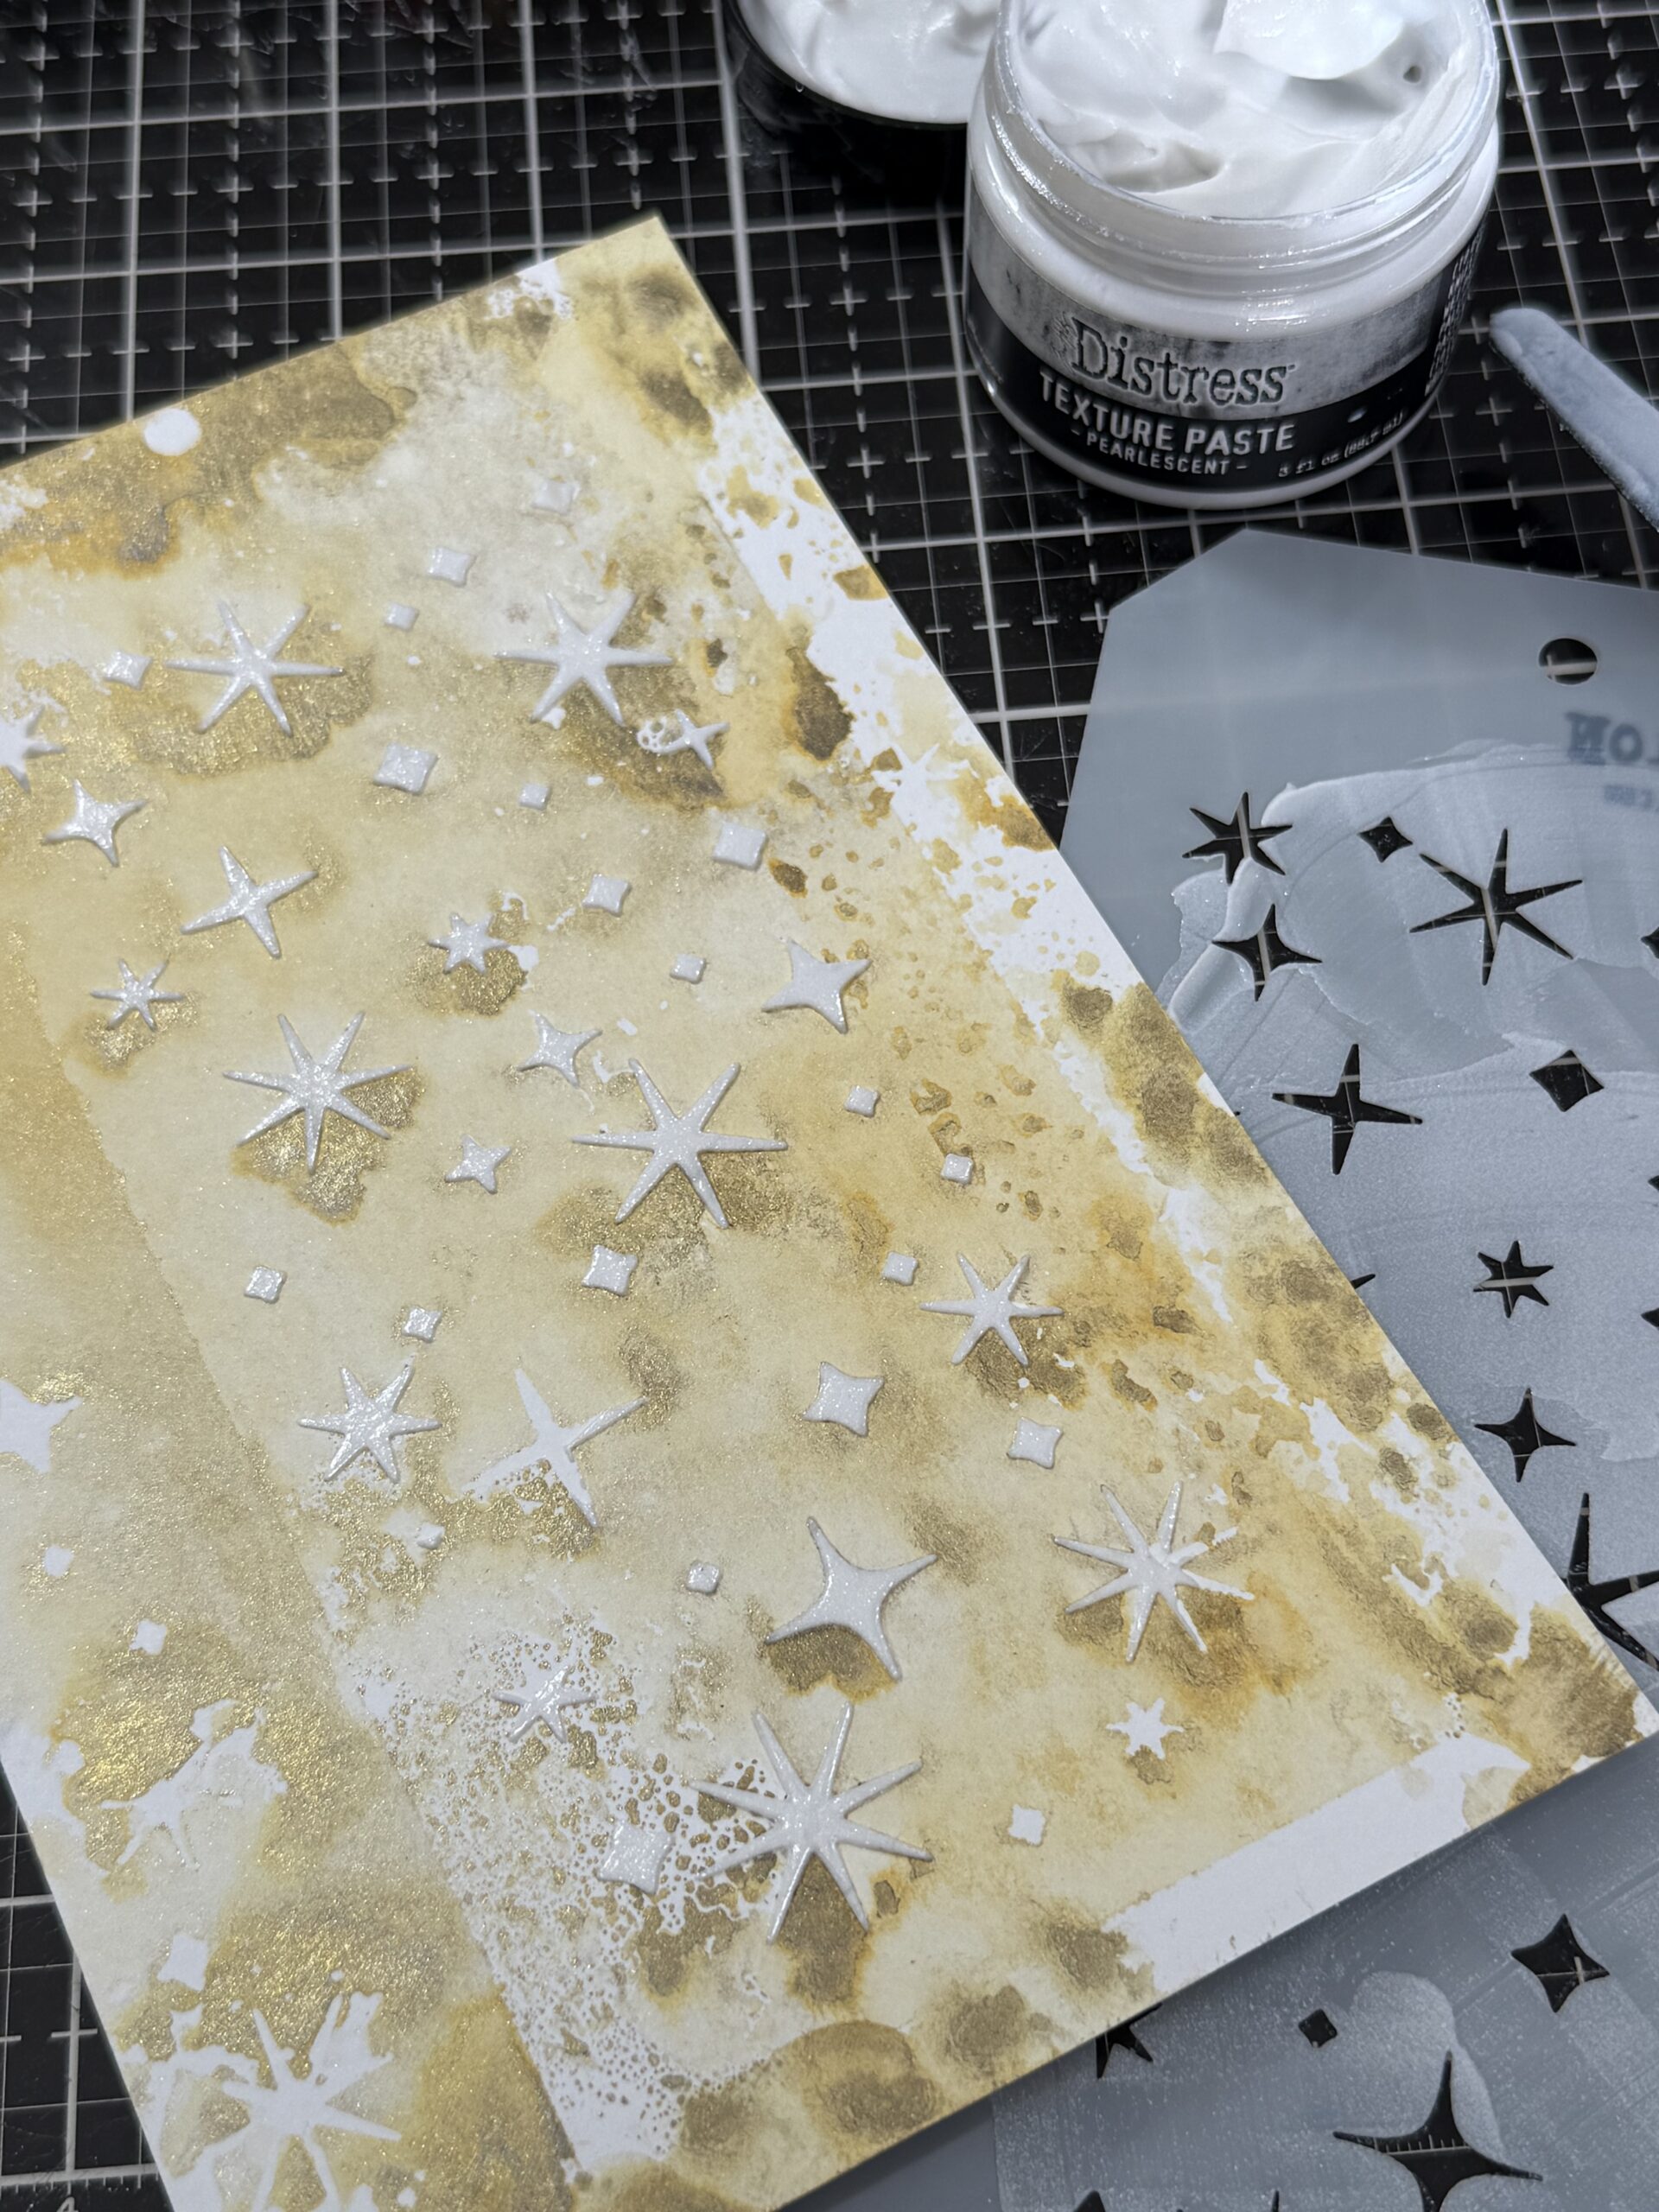
I just LOVE how they came out.
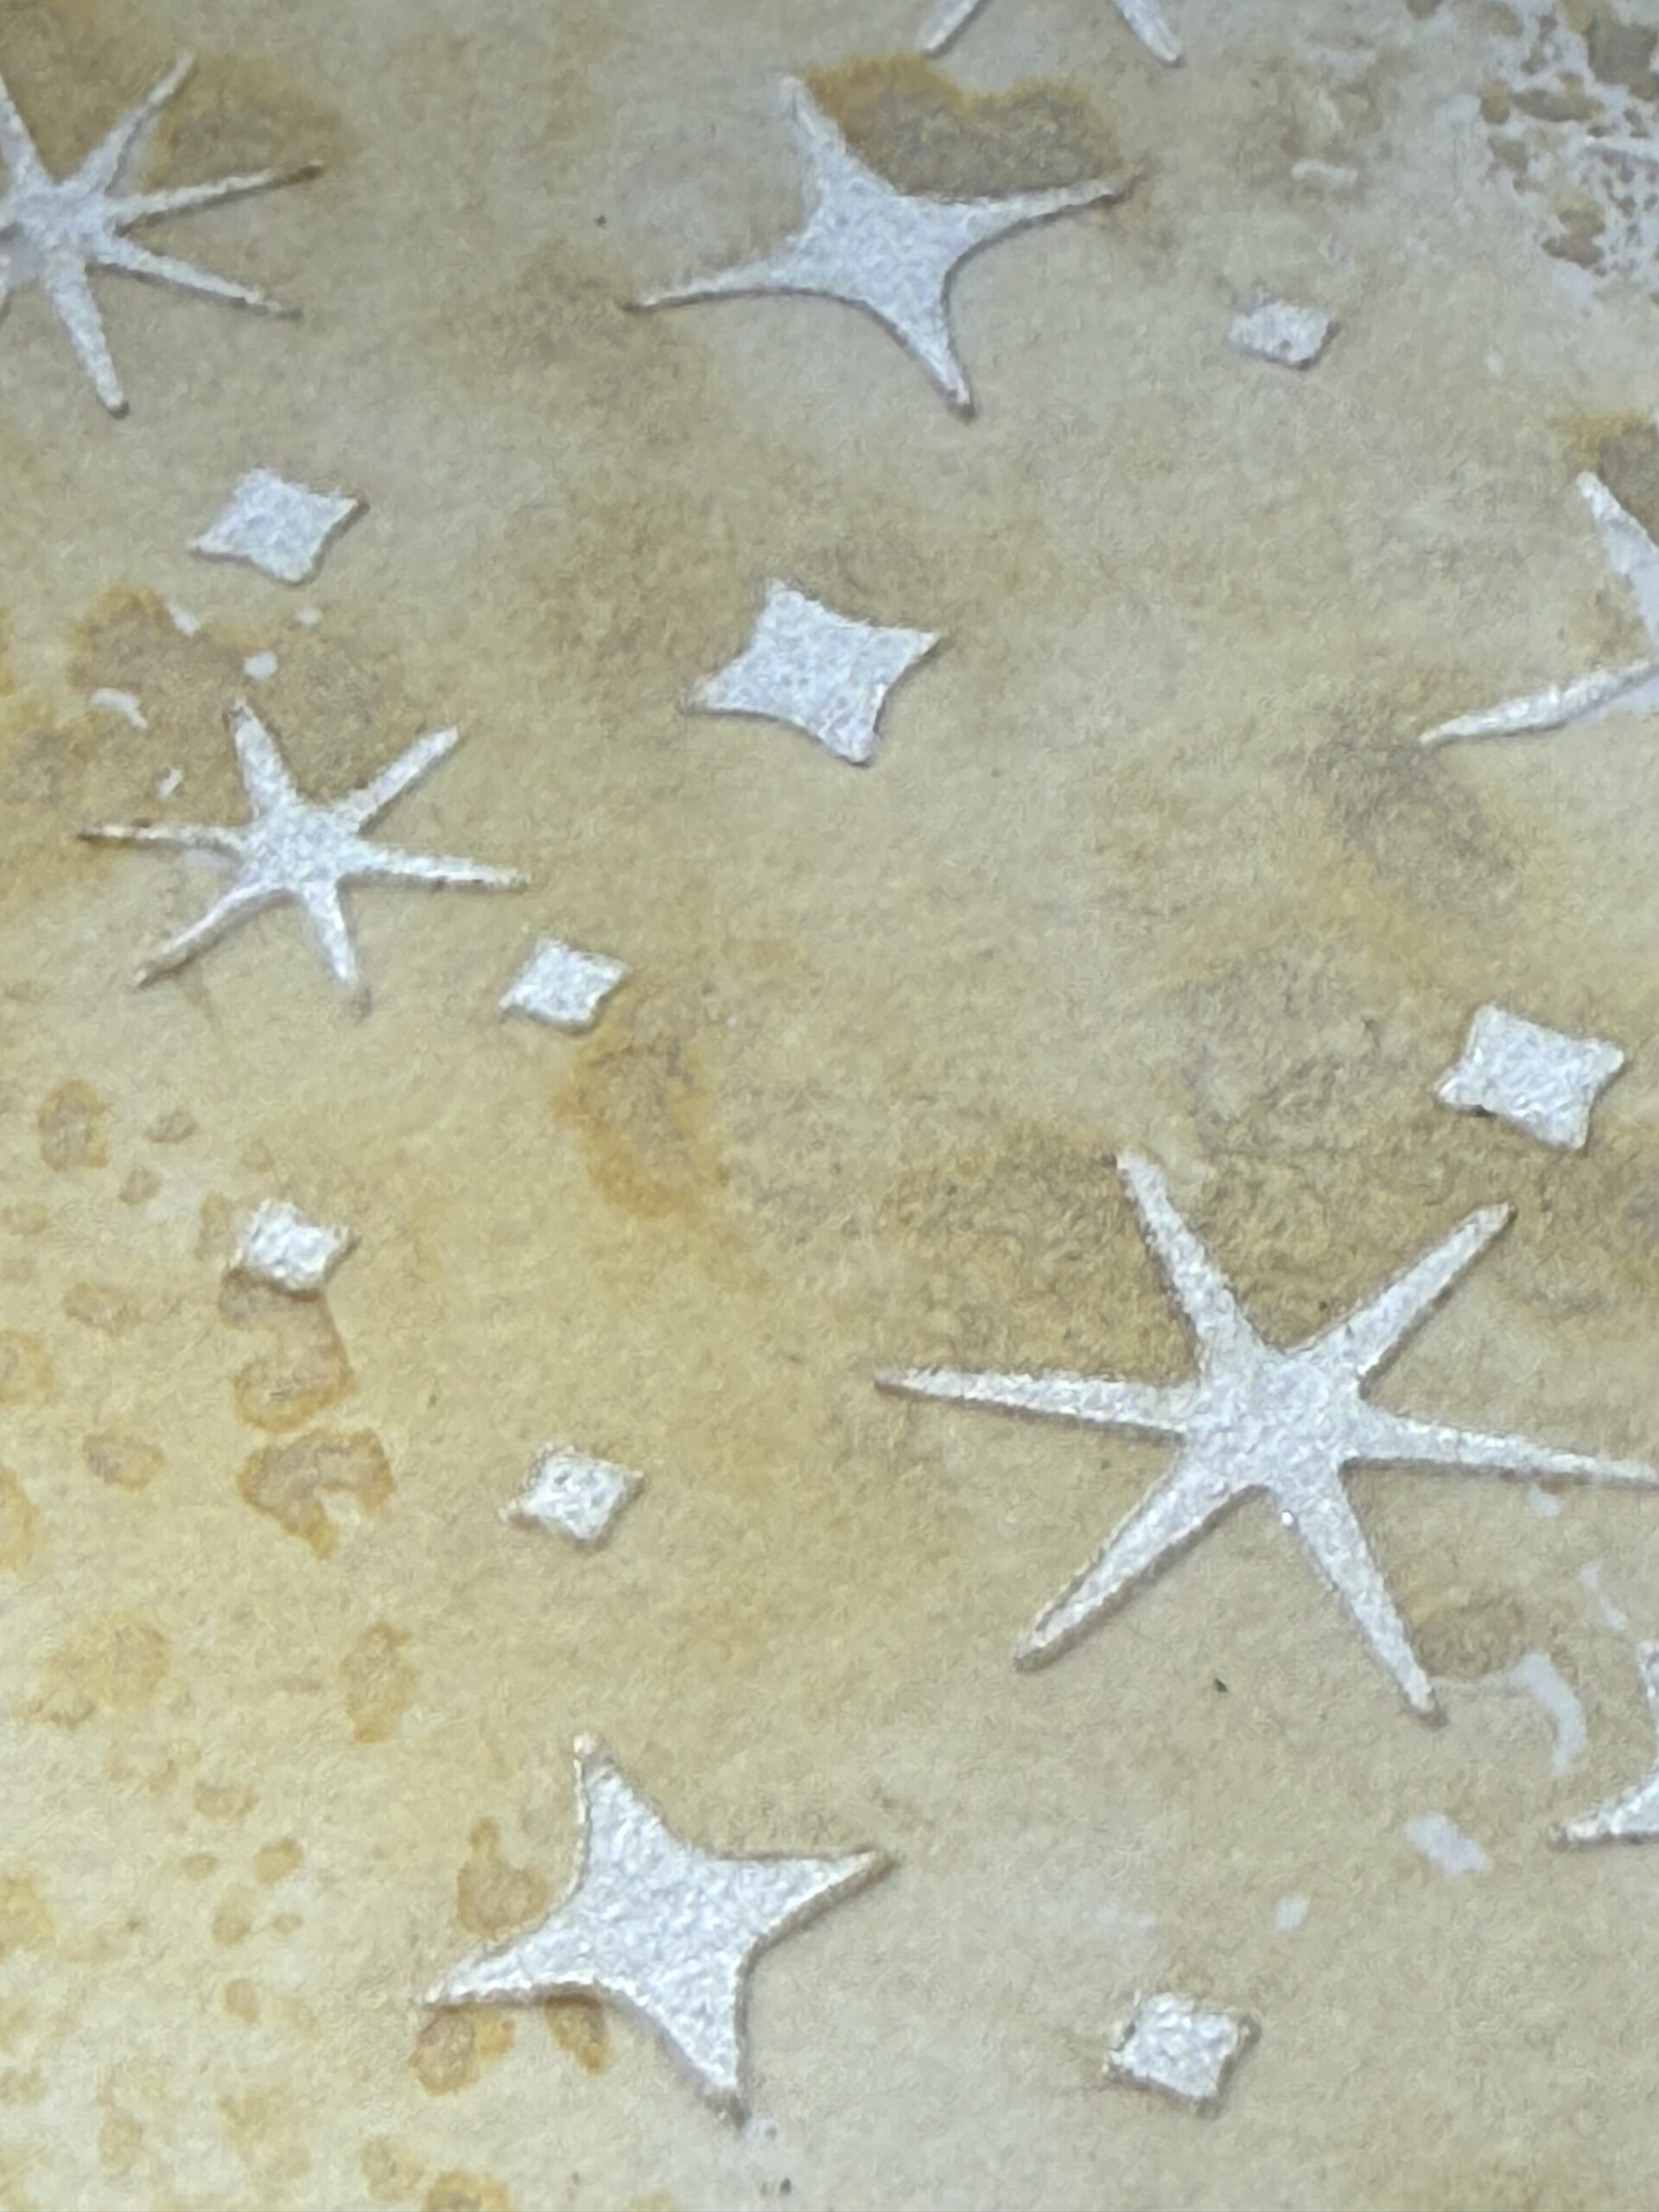
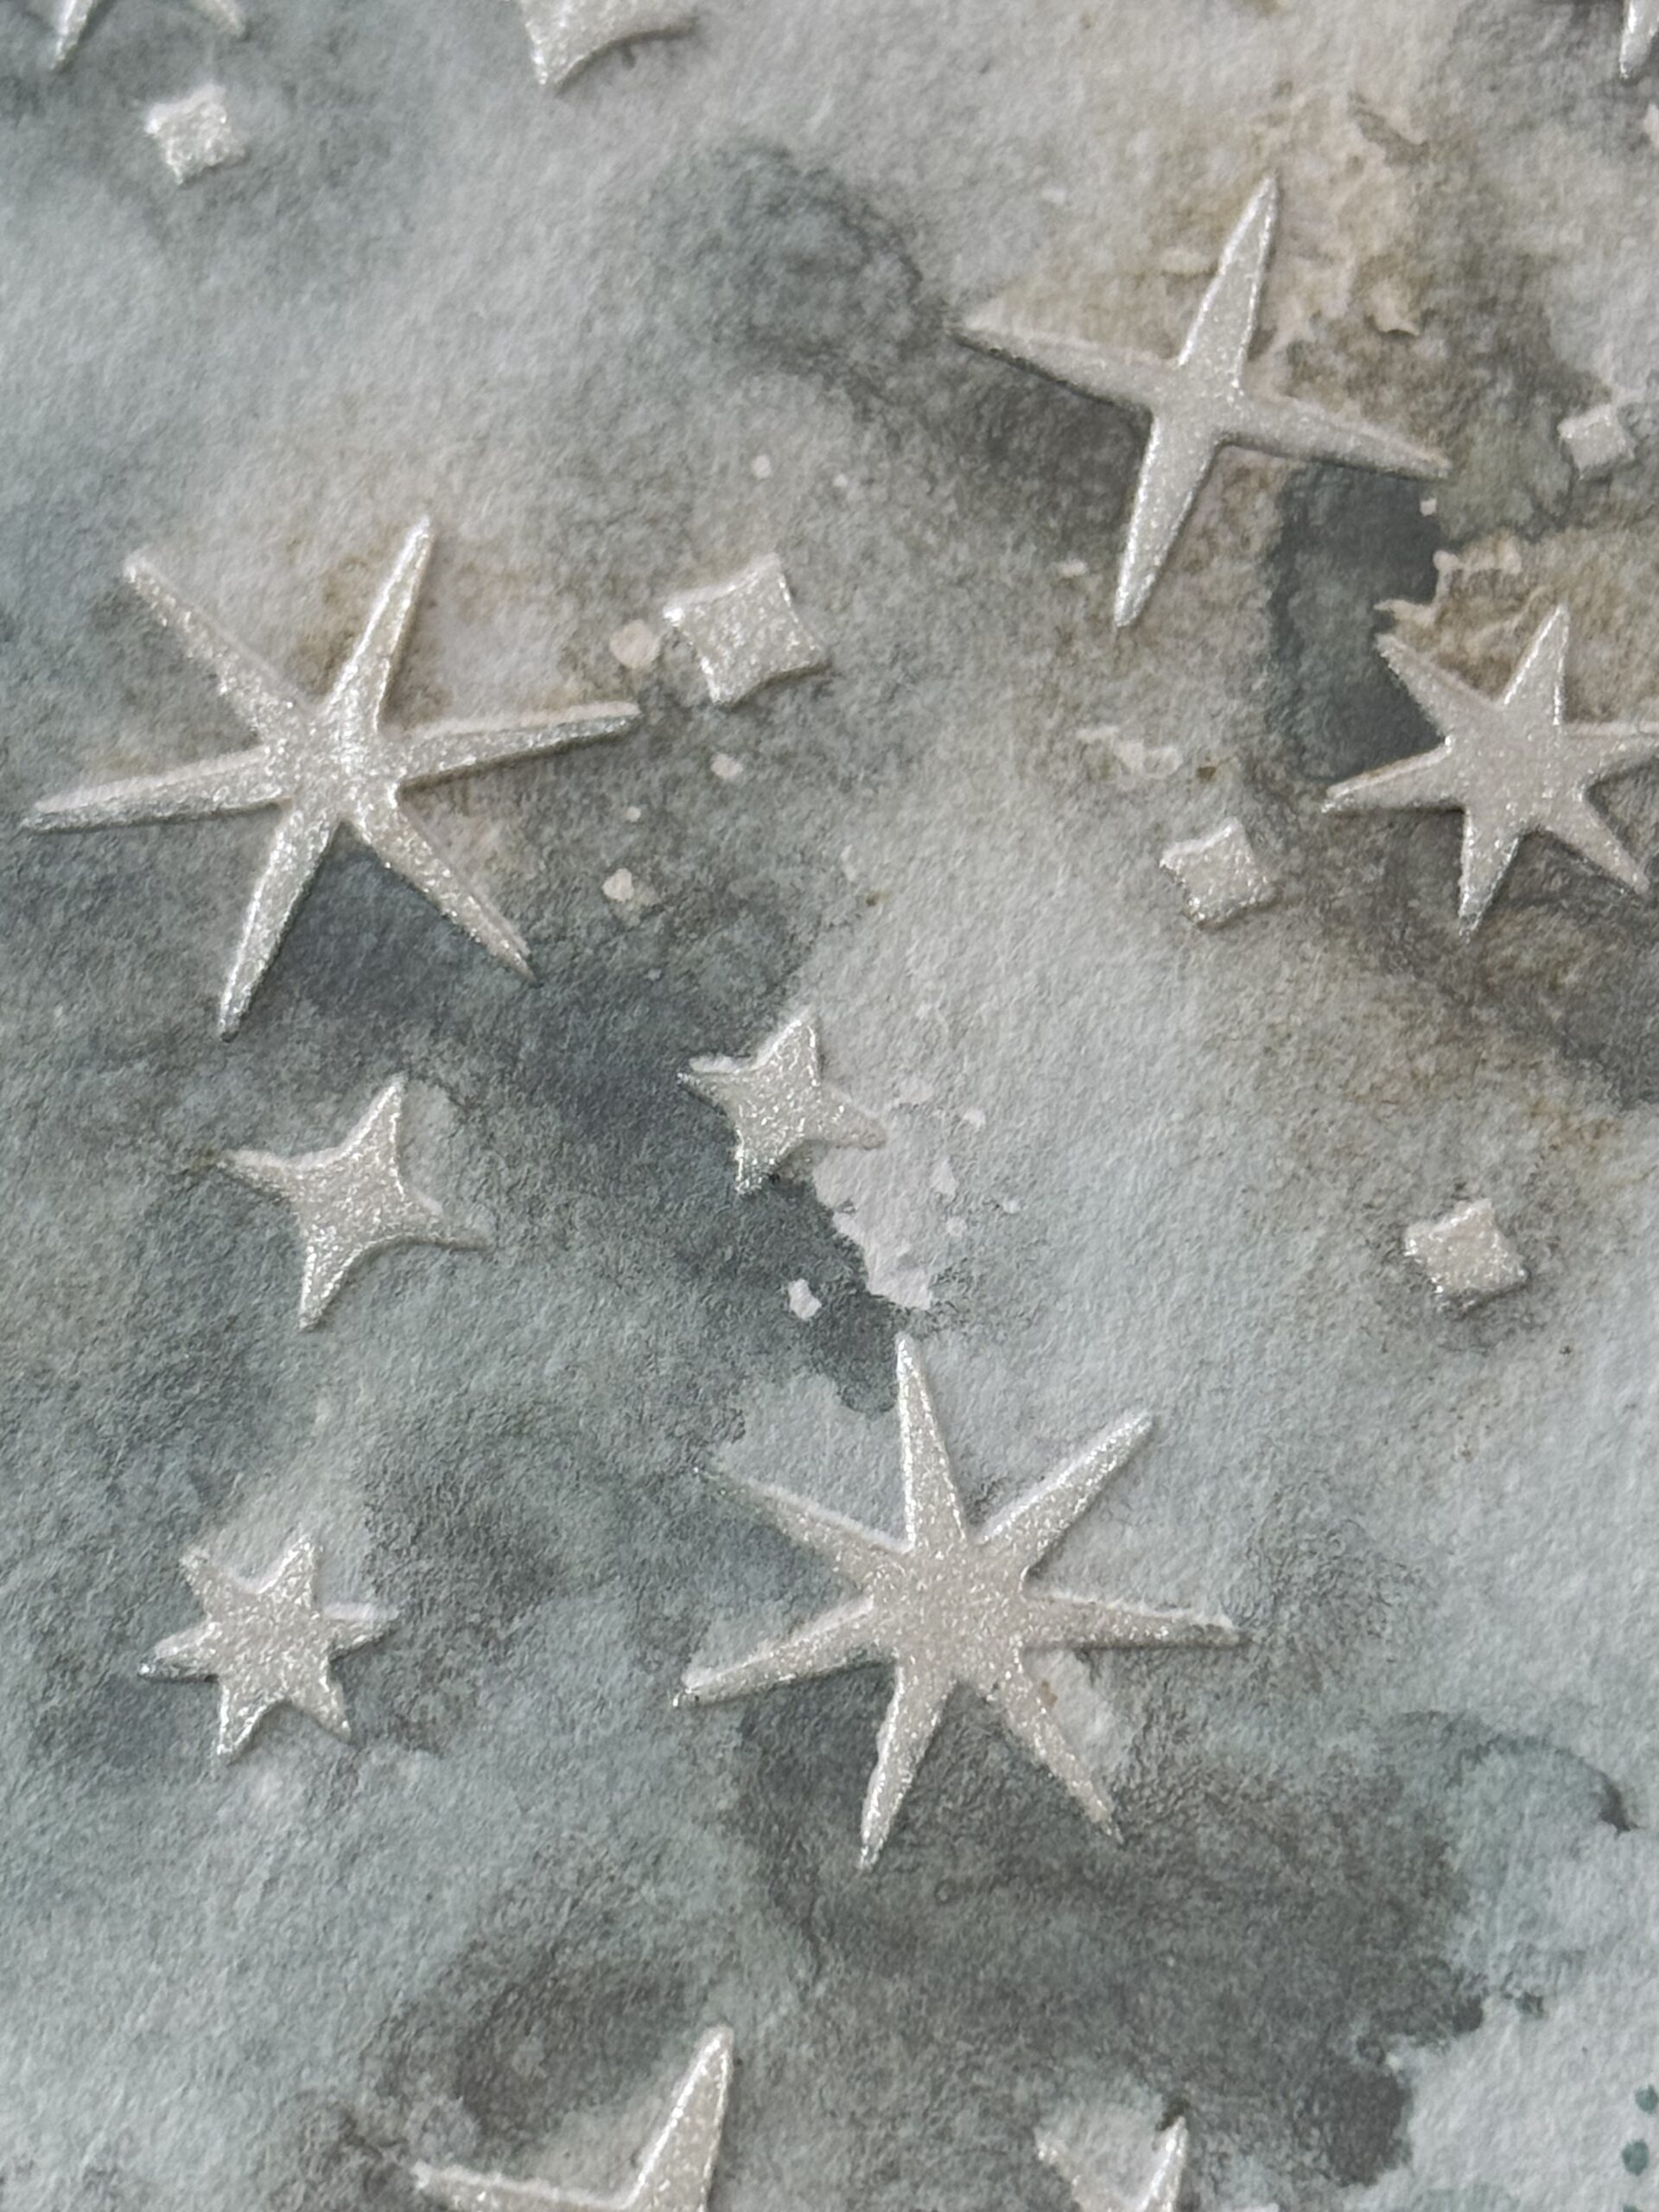
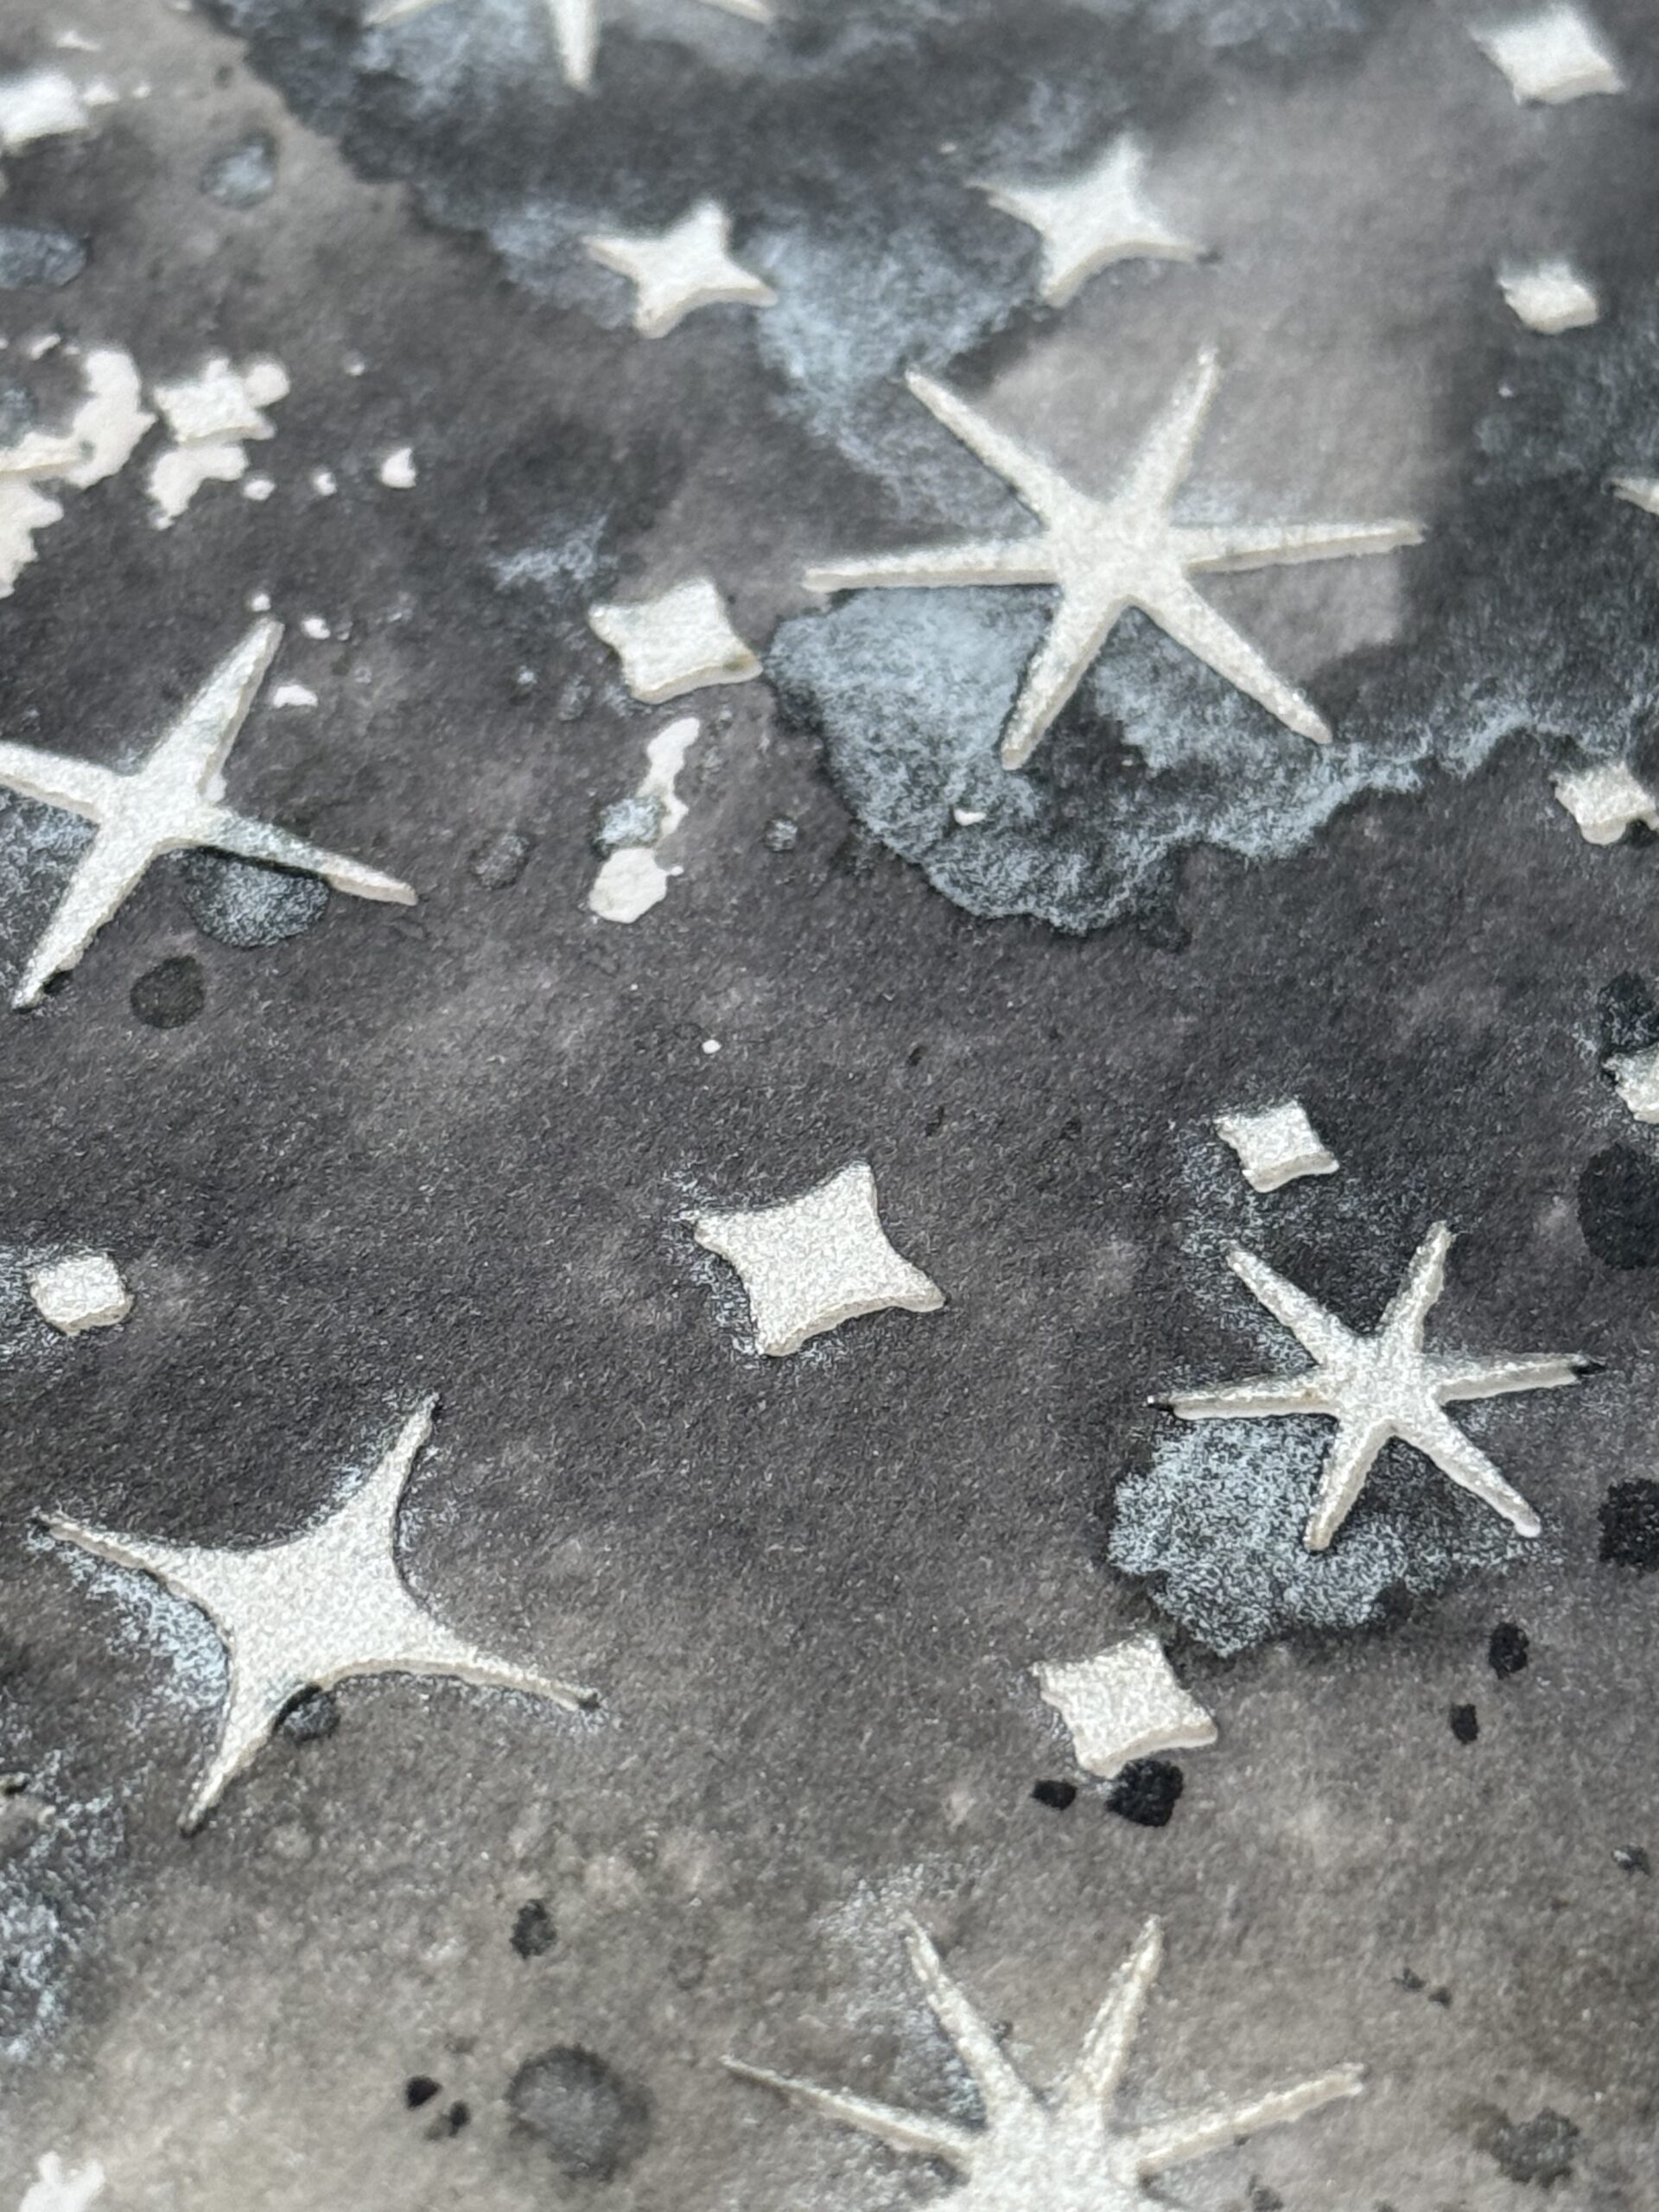
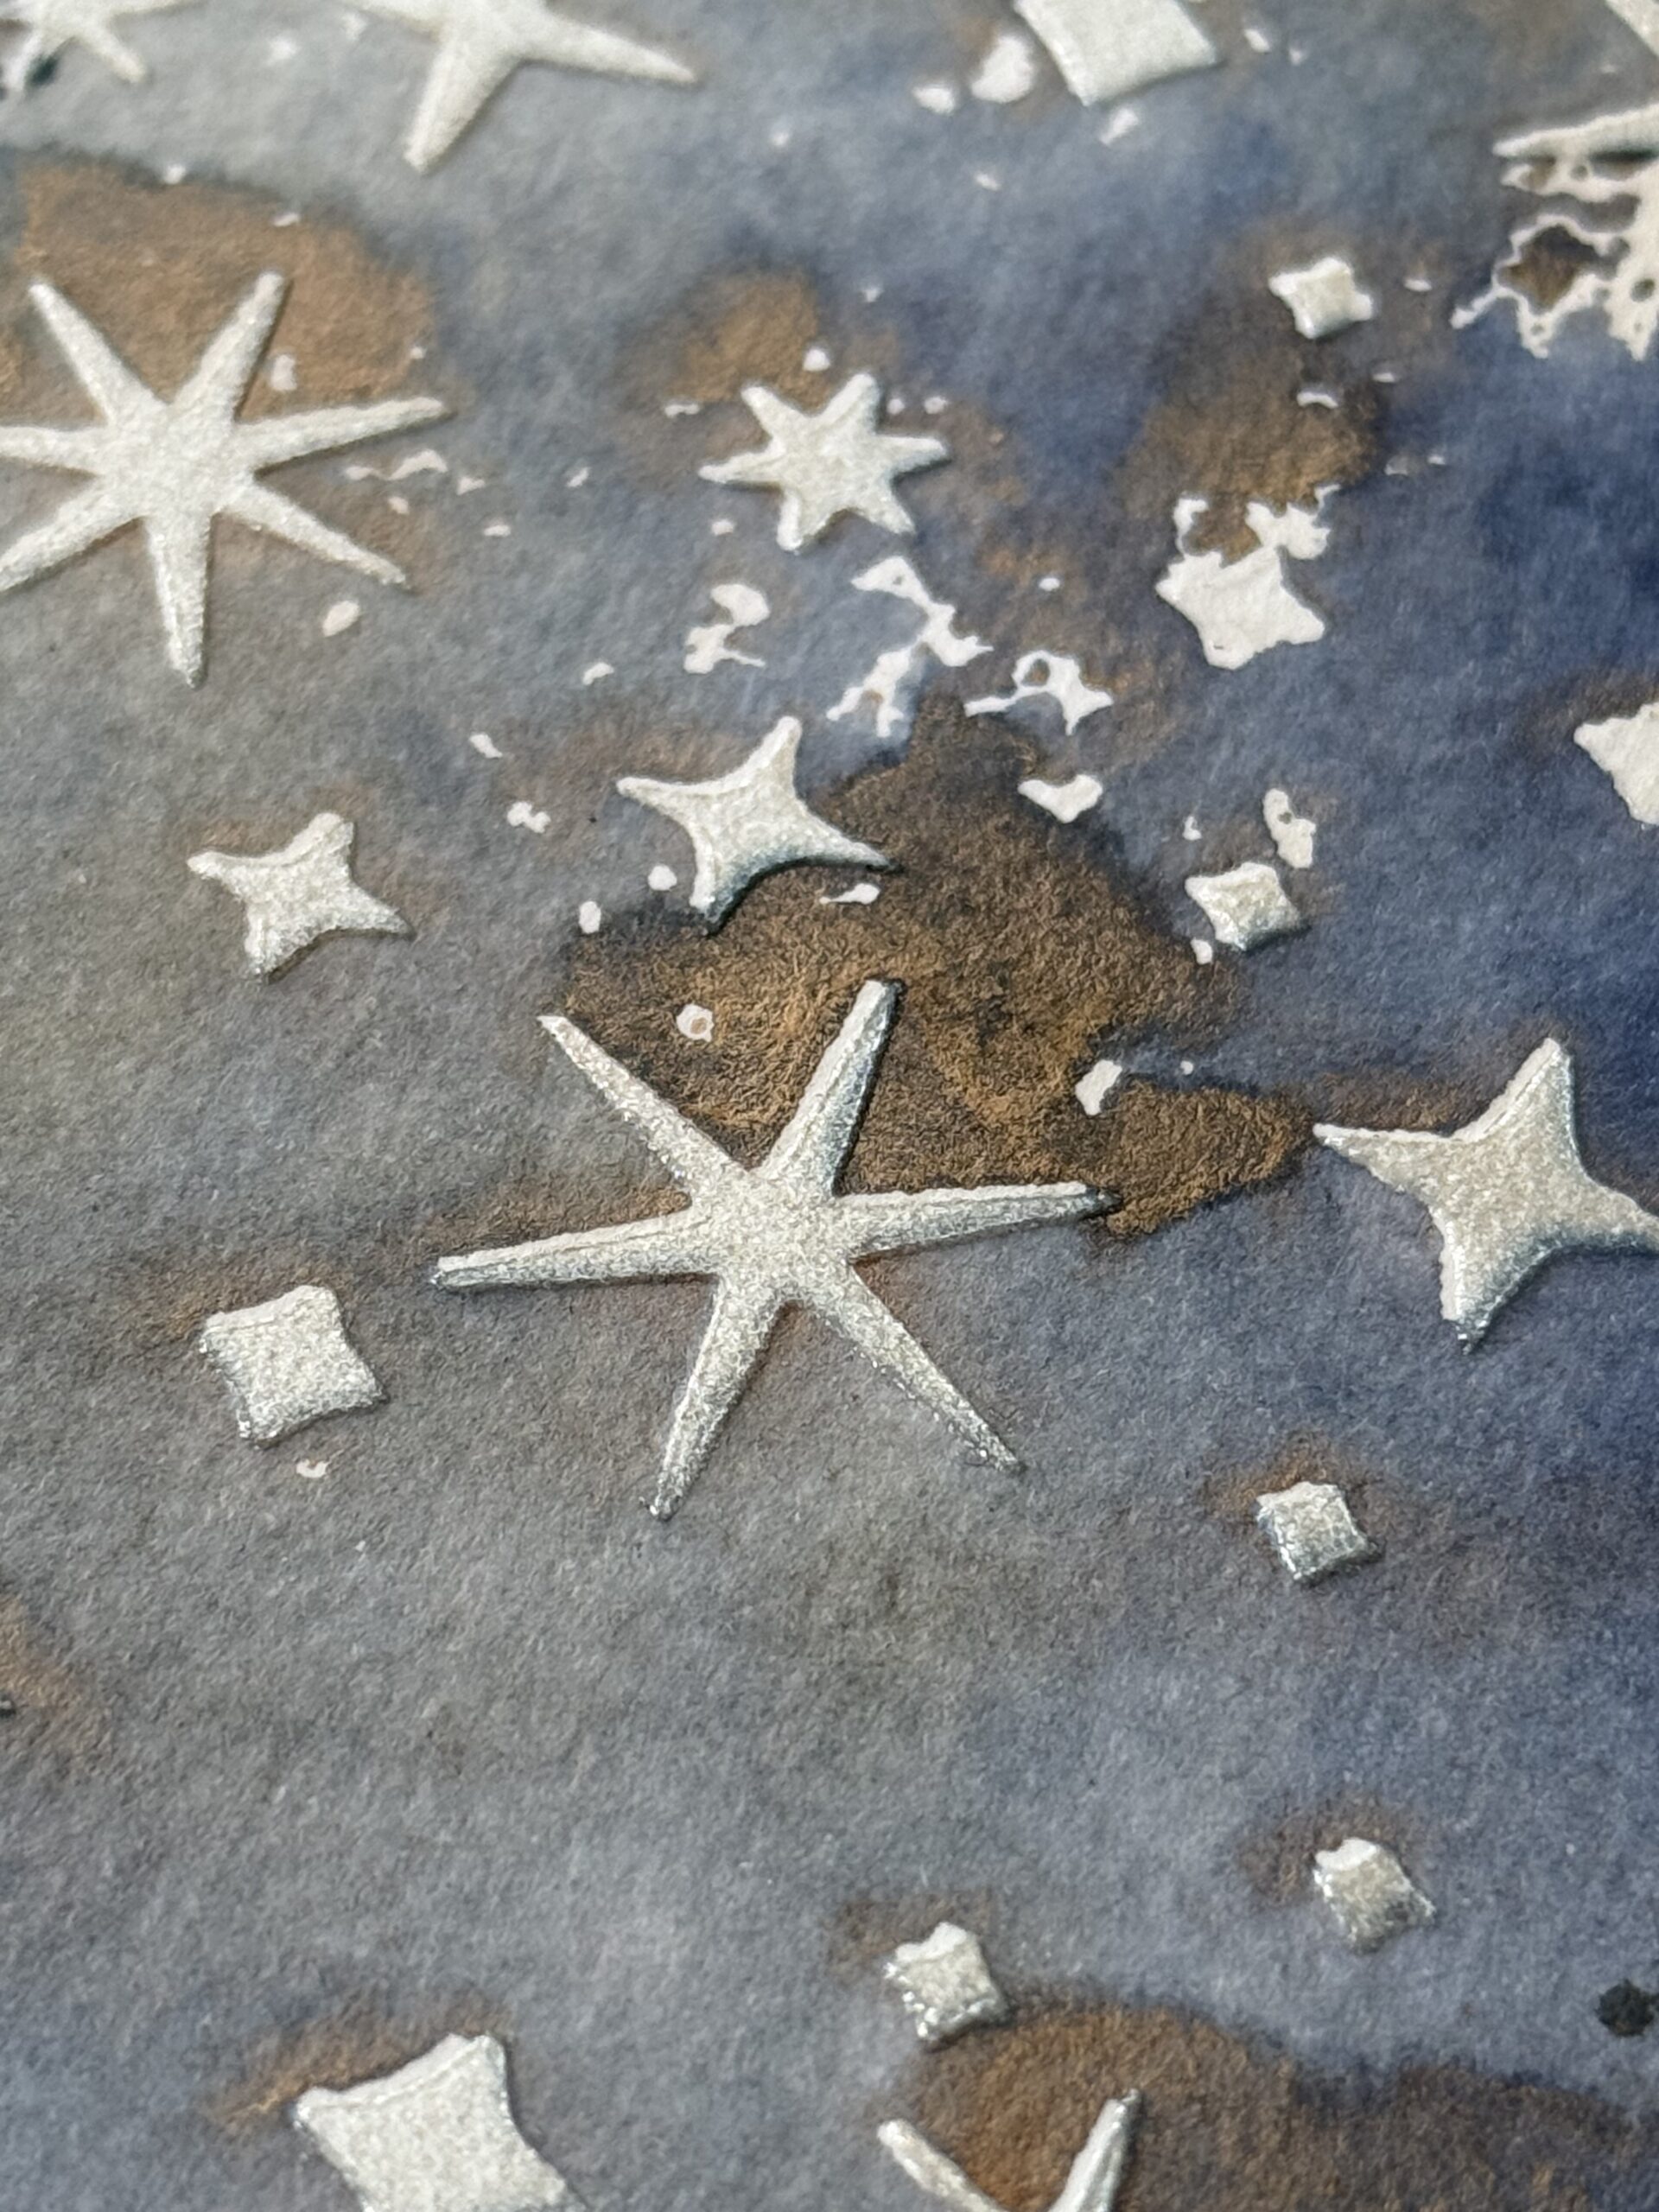
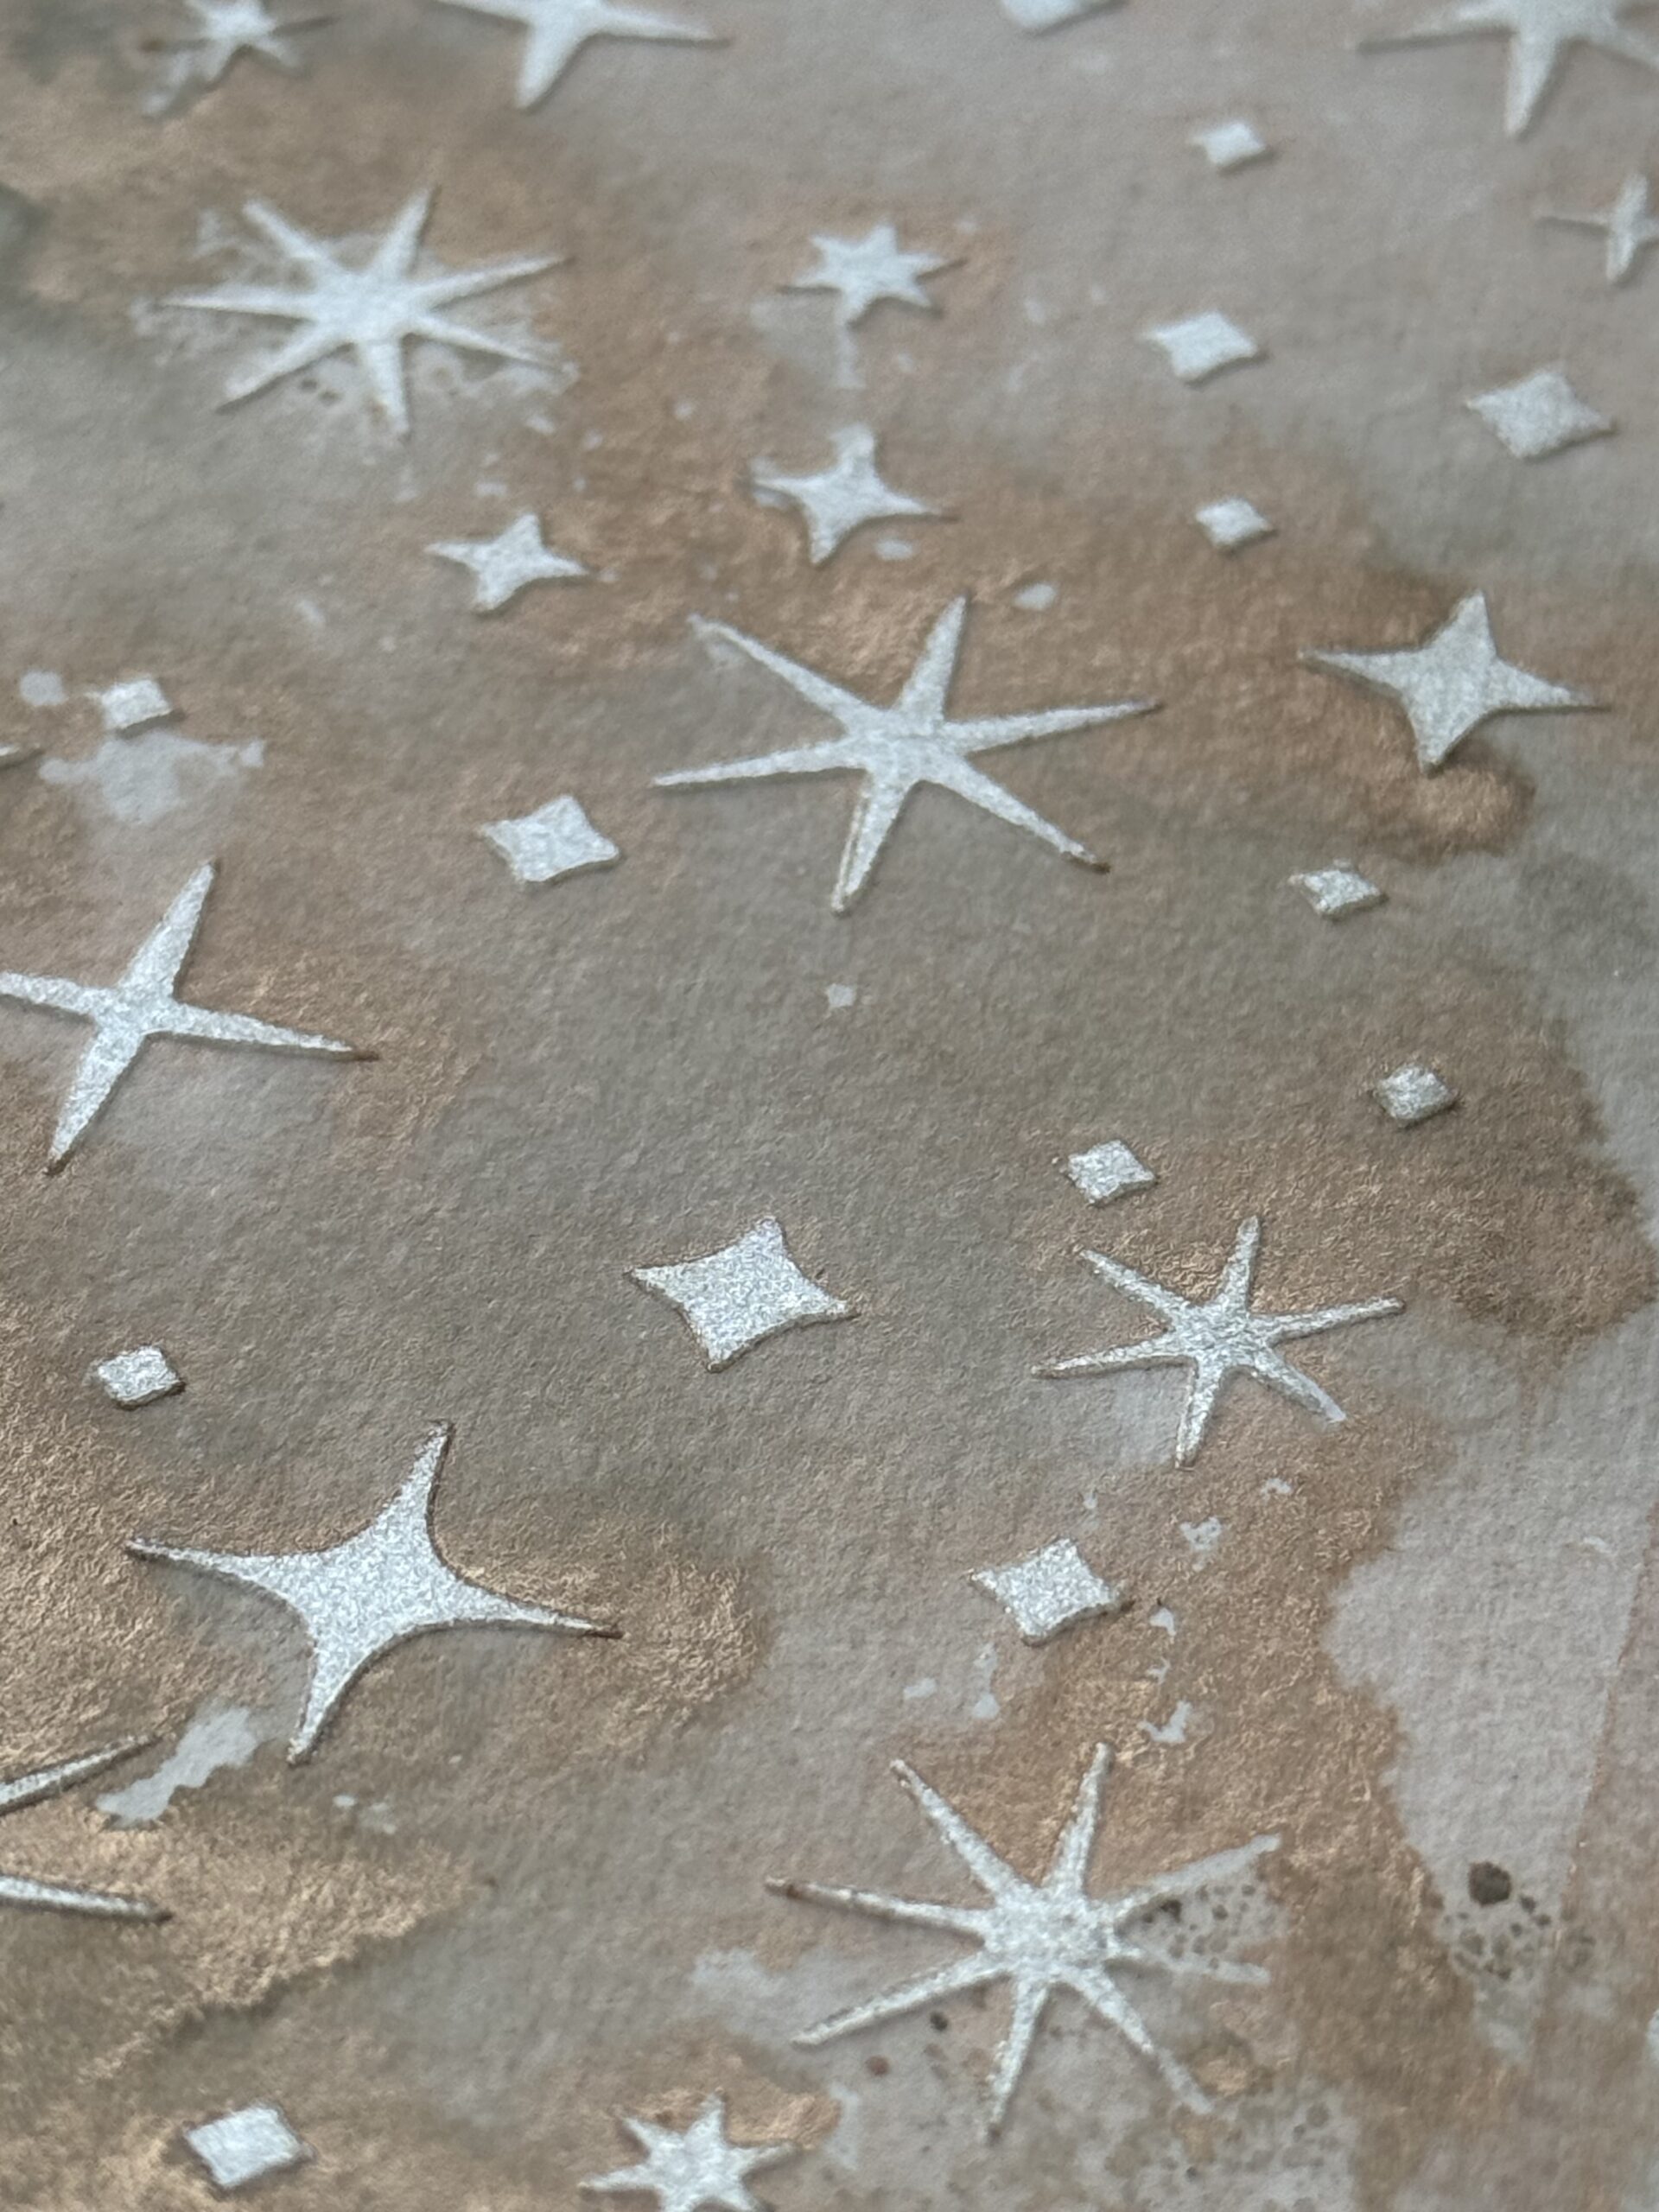
With that, all my backgrounds were complete, and ready for upcoming projects!
Thanks so much for stopping by today, and be sure to check out all of the new products, they are sure to be perfect for the holidays!
Creatively yours,
Stacy
Shop Simon Says Stamp by clicking on this link. Thank you! I appreciate you for supporting me.
What is an affiliate program, and why should I click on the link and buy through you?
When you shop via the affiliate link on this blog, I receive a small commission from the affiliate provider (Simon Says Stamp) at no extra cost to you, whatsoever. These commissions help me to cover the hosting fees and other costs to run my blog and be able to provide you with FREE inspiration. If you shop the links, THANK YOU! I truly appreciate being able to share my love of creating with you.










Leave a Reply