Hello friends! I am back again with another new addition to the Tim Holtz Sizzix family…the Village Upkeep is a new addition that coordinates with the Tim Holtz Paper Village Die Sets. It coordinates and gives you more creative options to go with your village. You must have the original Paper Village sets in order to build full houses and buildings.
Click HERE to check out the Upkeep and Paper Village Collection
I created an idea-ology dome along with a few ornaments for the latest Sizzix LIVE where Tim Holtz shared the release and the inspiration. I cut the village pieces using the new idea-ology Christmas Botanical Layers and Christmas Layers for the base of them. They work great because they are a bit thicker than cardstock and already are decorated with vintage ephemera and patterns.
Here is the dome and an ornament all shimmered up for a vintage Christmas using the gamut of Tim Holtz Shimmer things including Rock Candy Glitter, Mica Flakes and Liquid Tinsel.
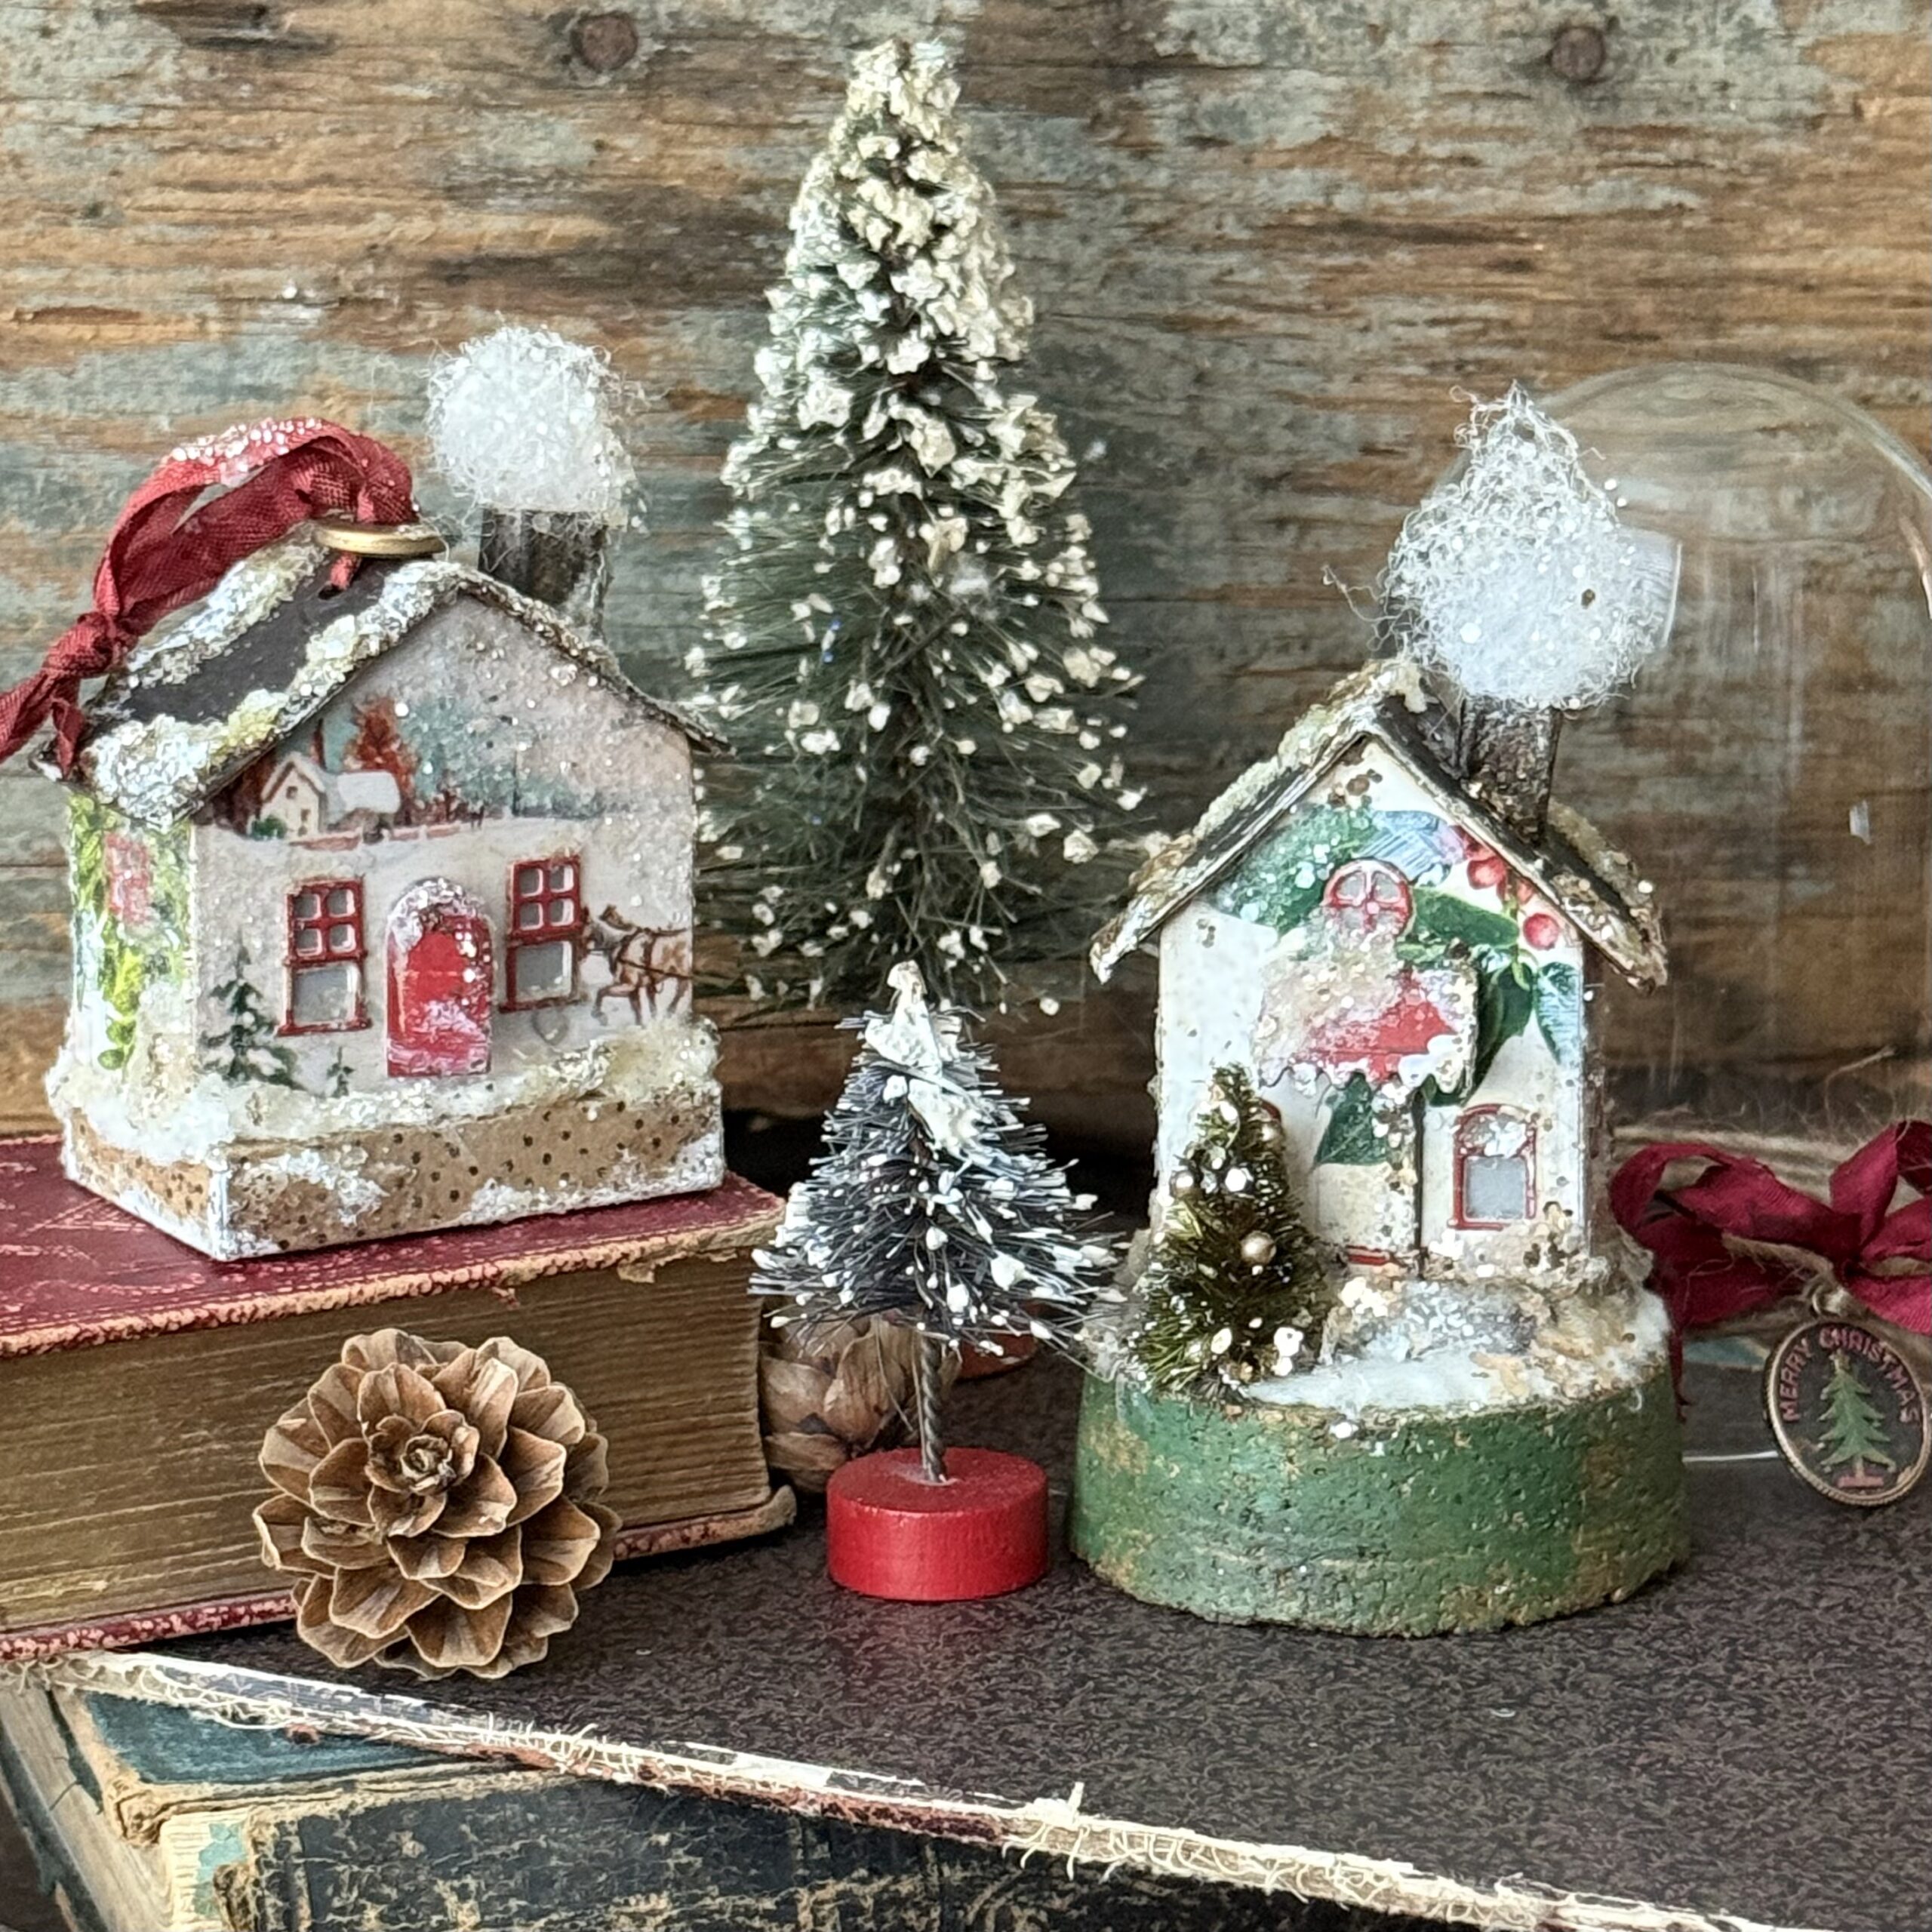
and here is the dome by itself and the set of ornaments made in the putz kind of way using the little “match box” as the base…this base is also included in the new set.
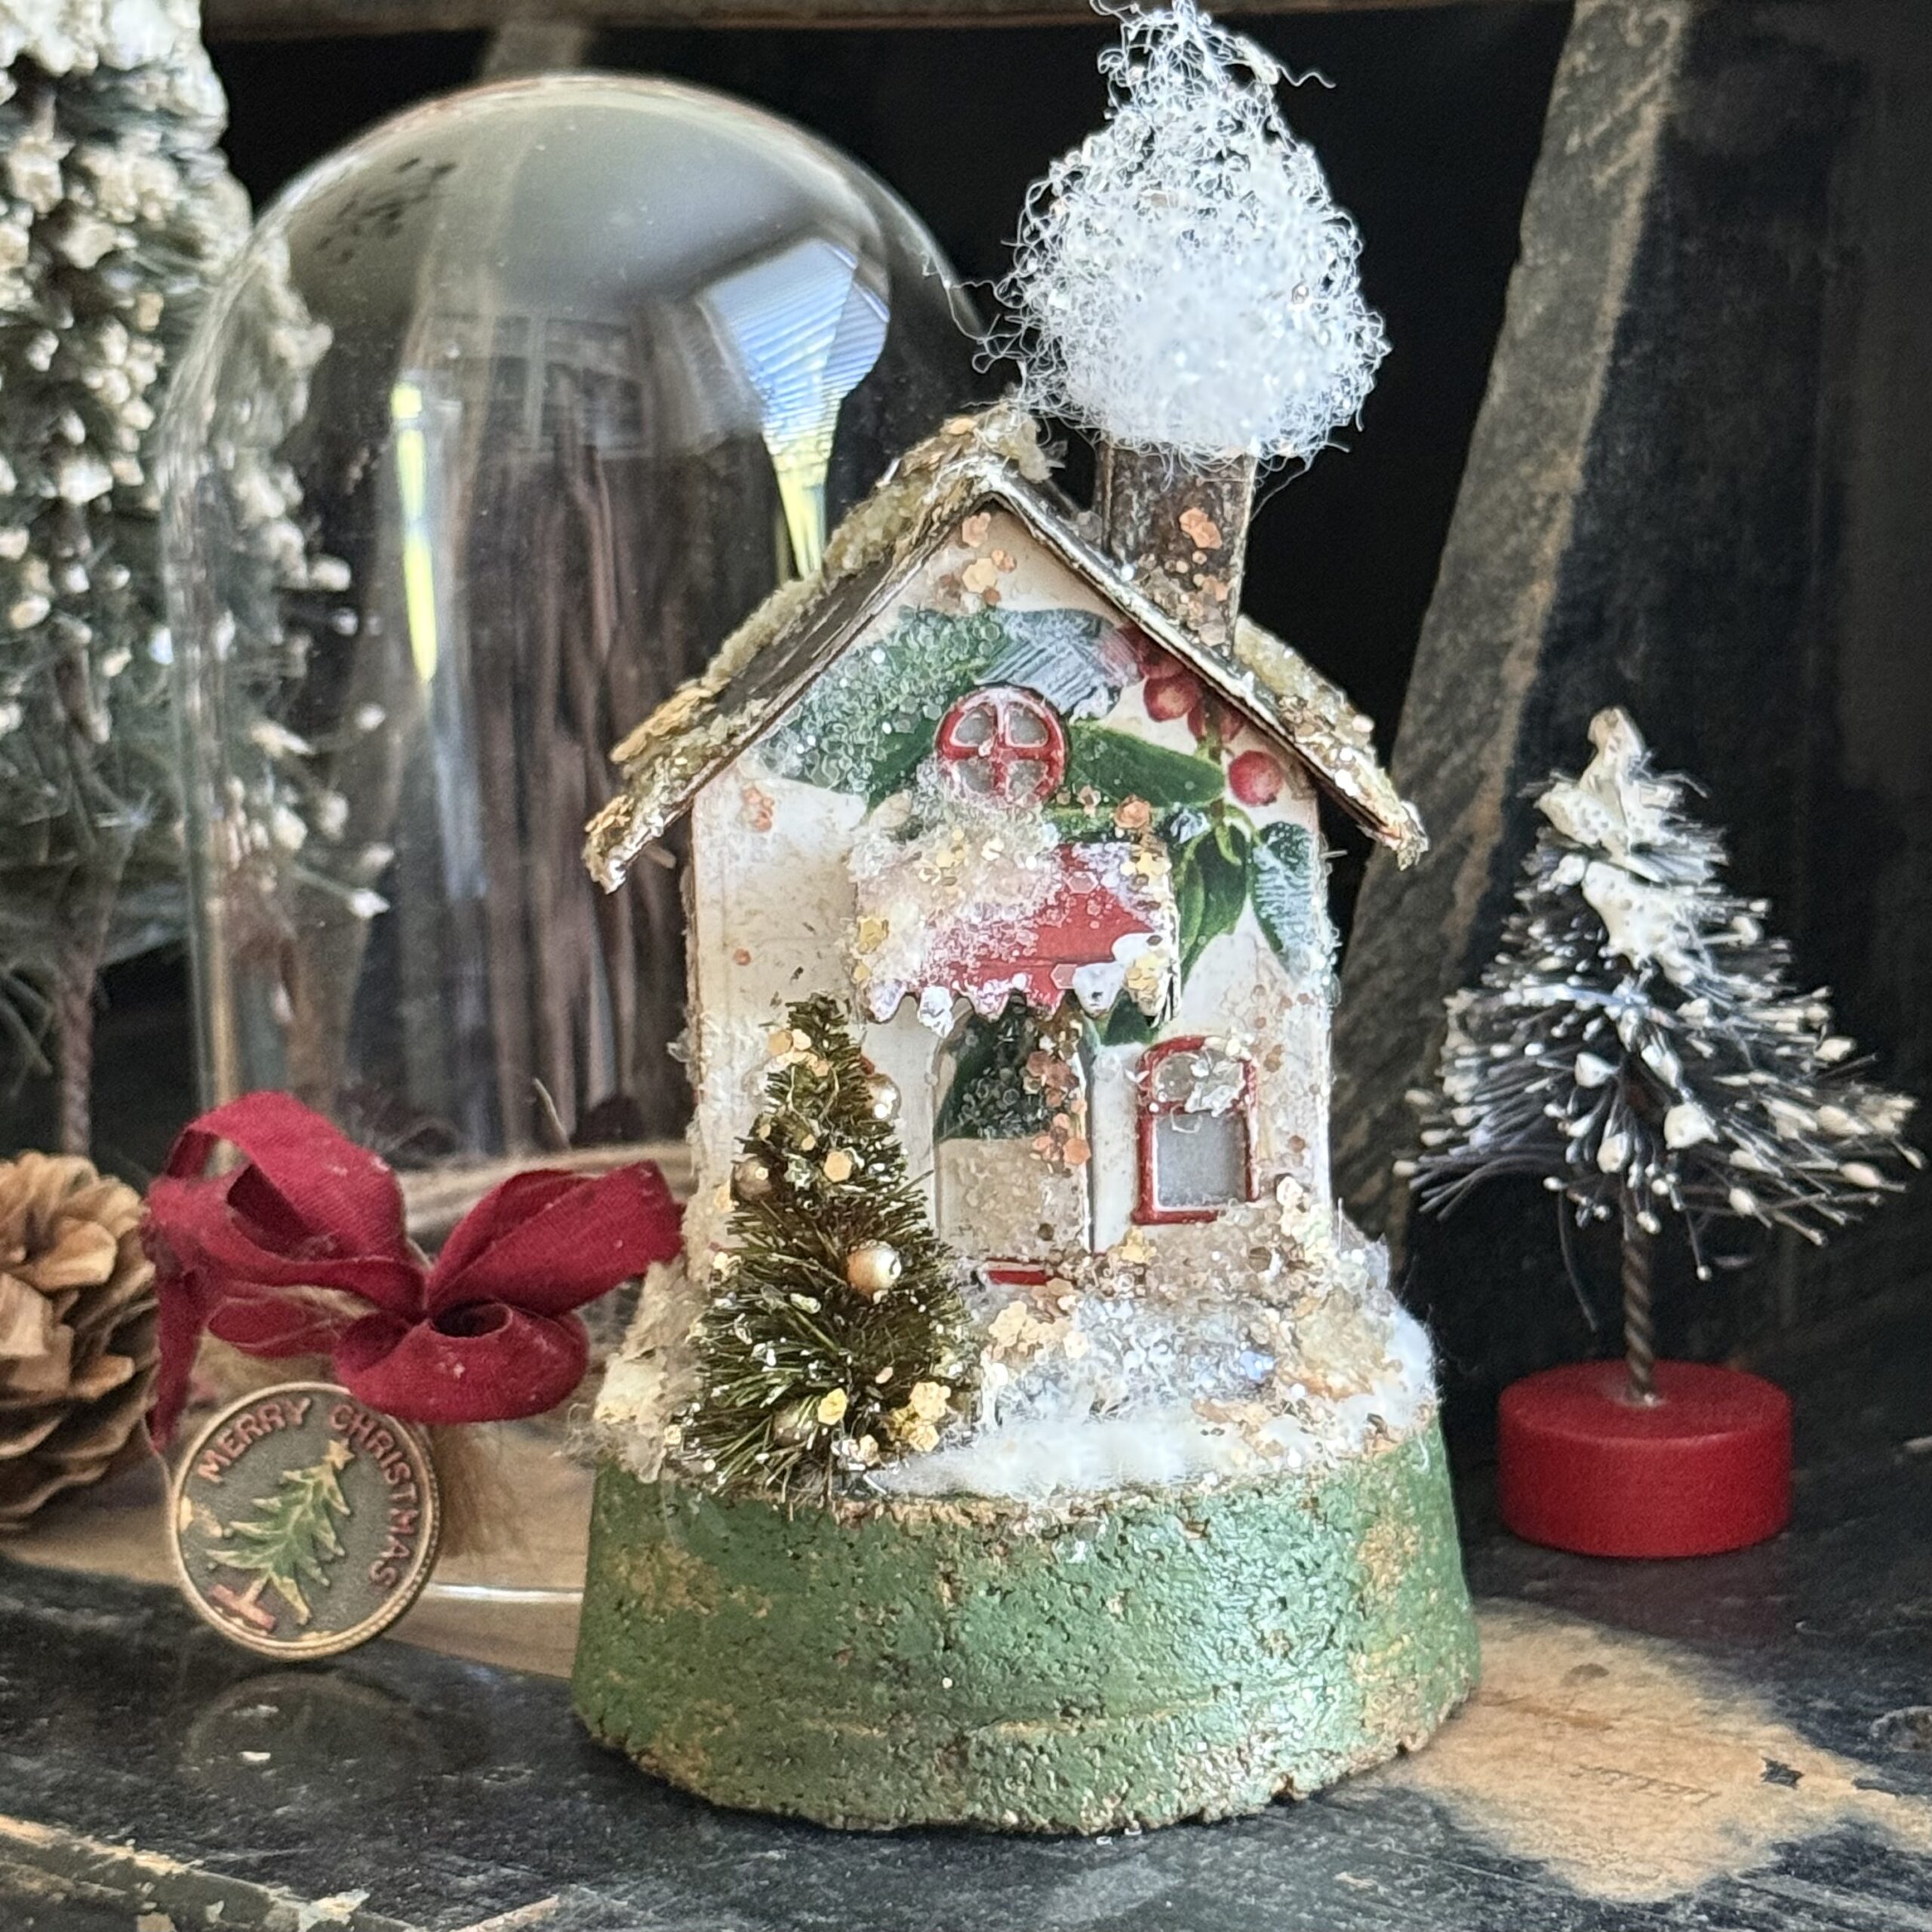
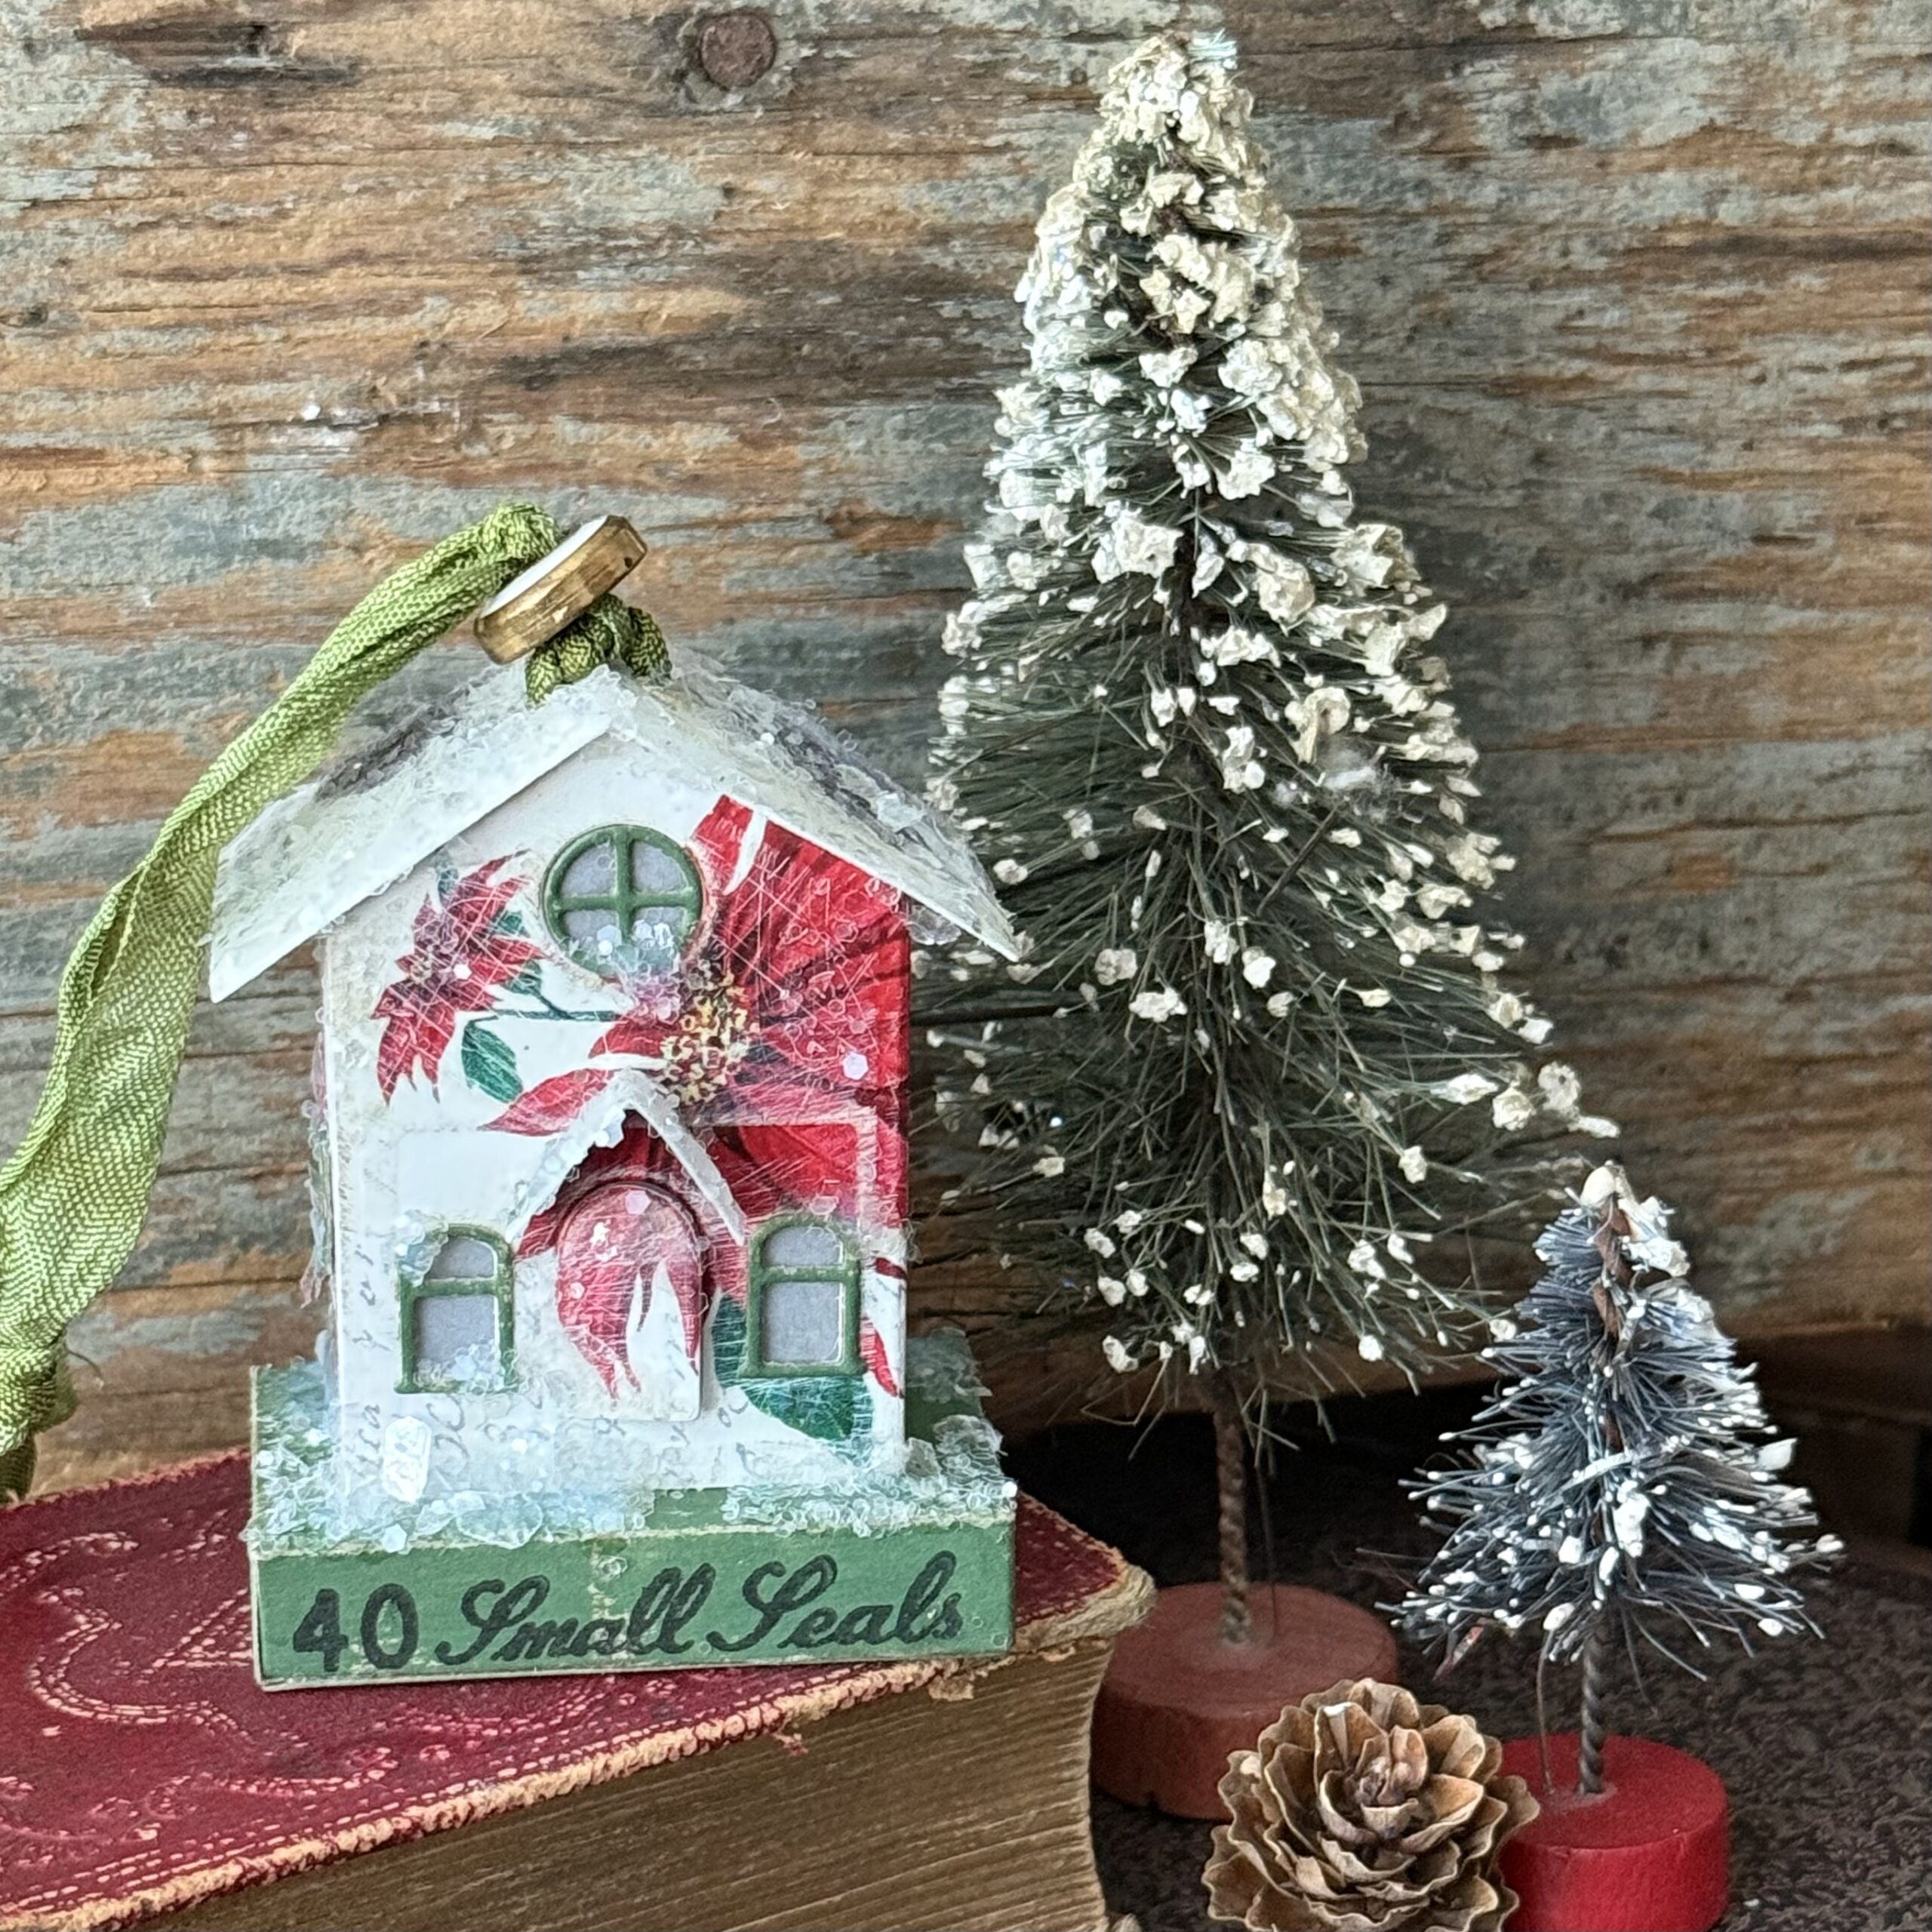
The little ornaments with the stamped bases are using the basics as they are found including Mica Flakes and Clear Rock Candy Glitter in regular and Chunky, just all white without the use of and Liquid Tinsels.
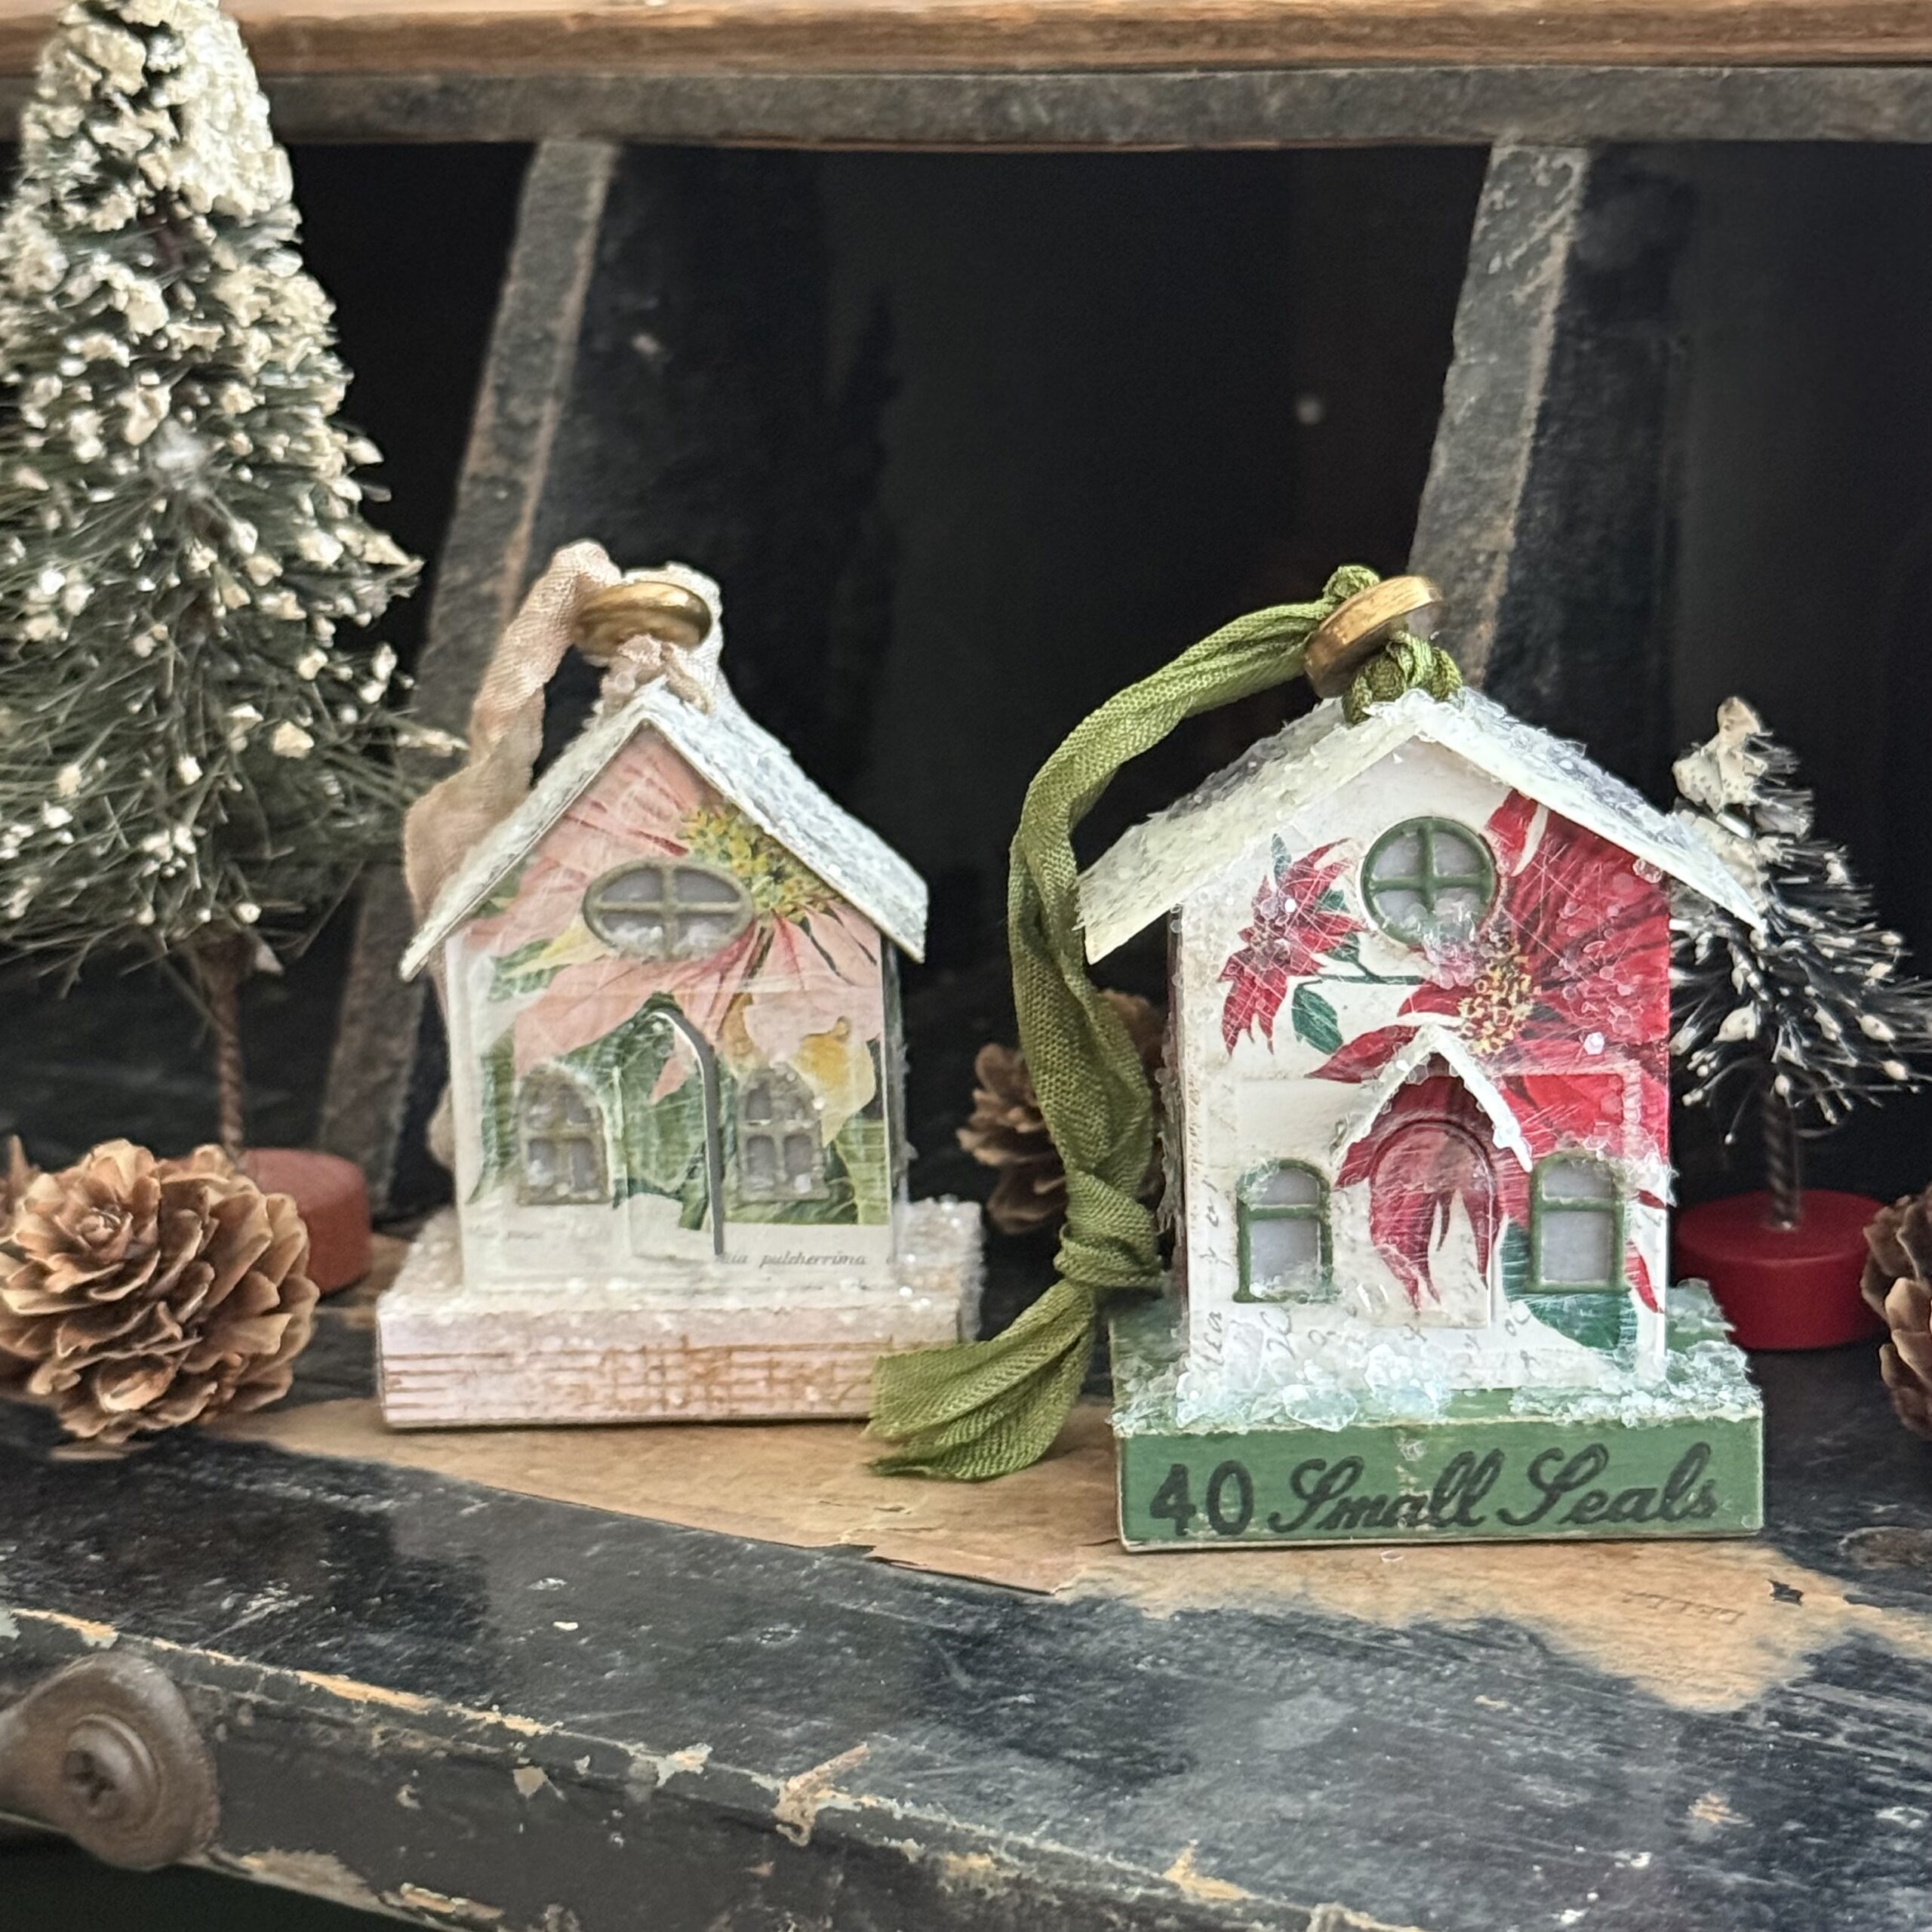
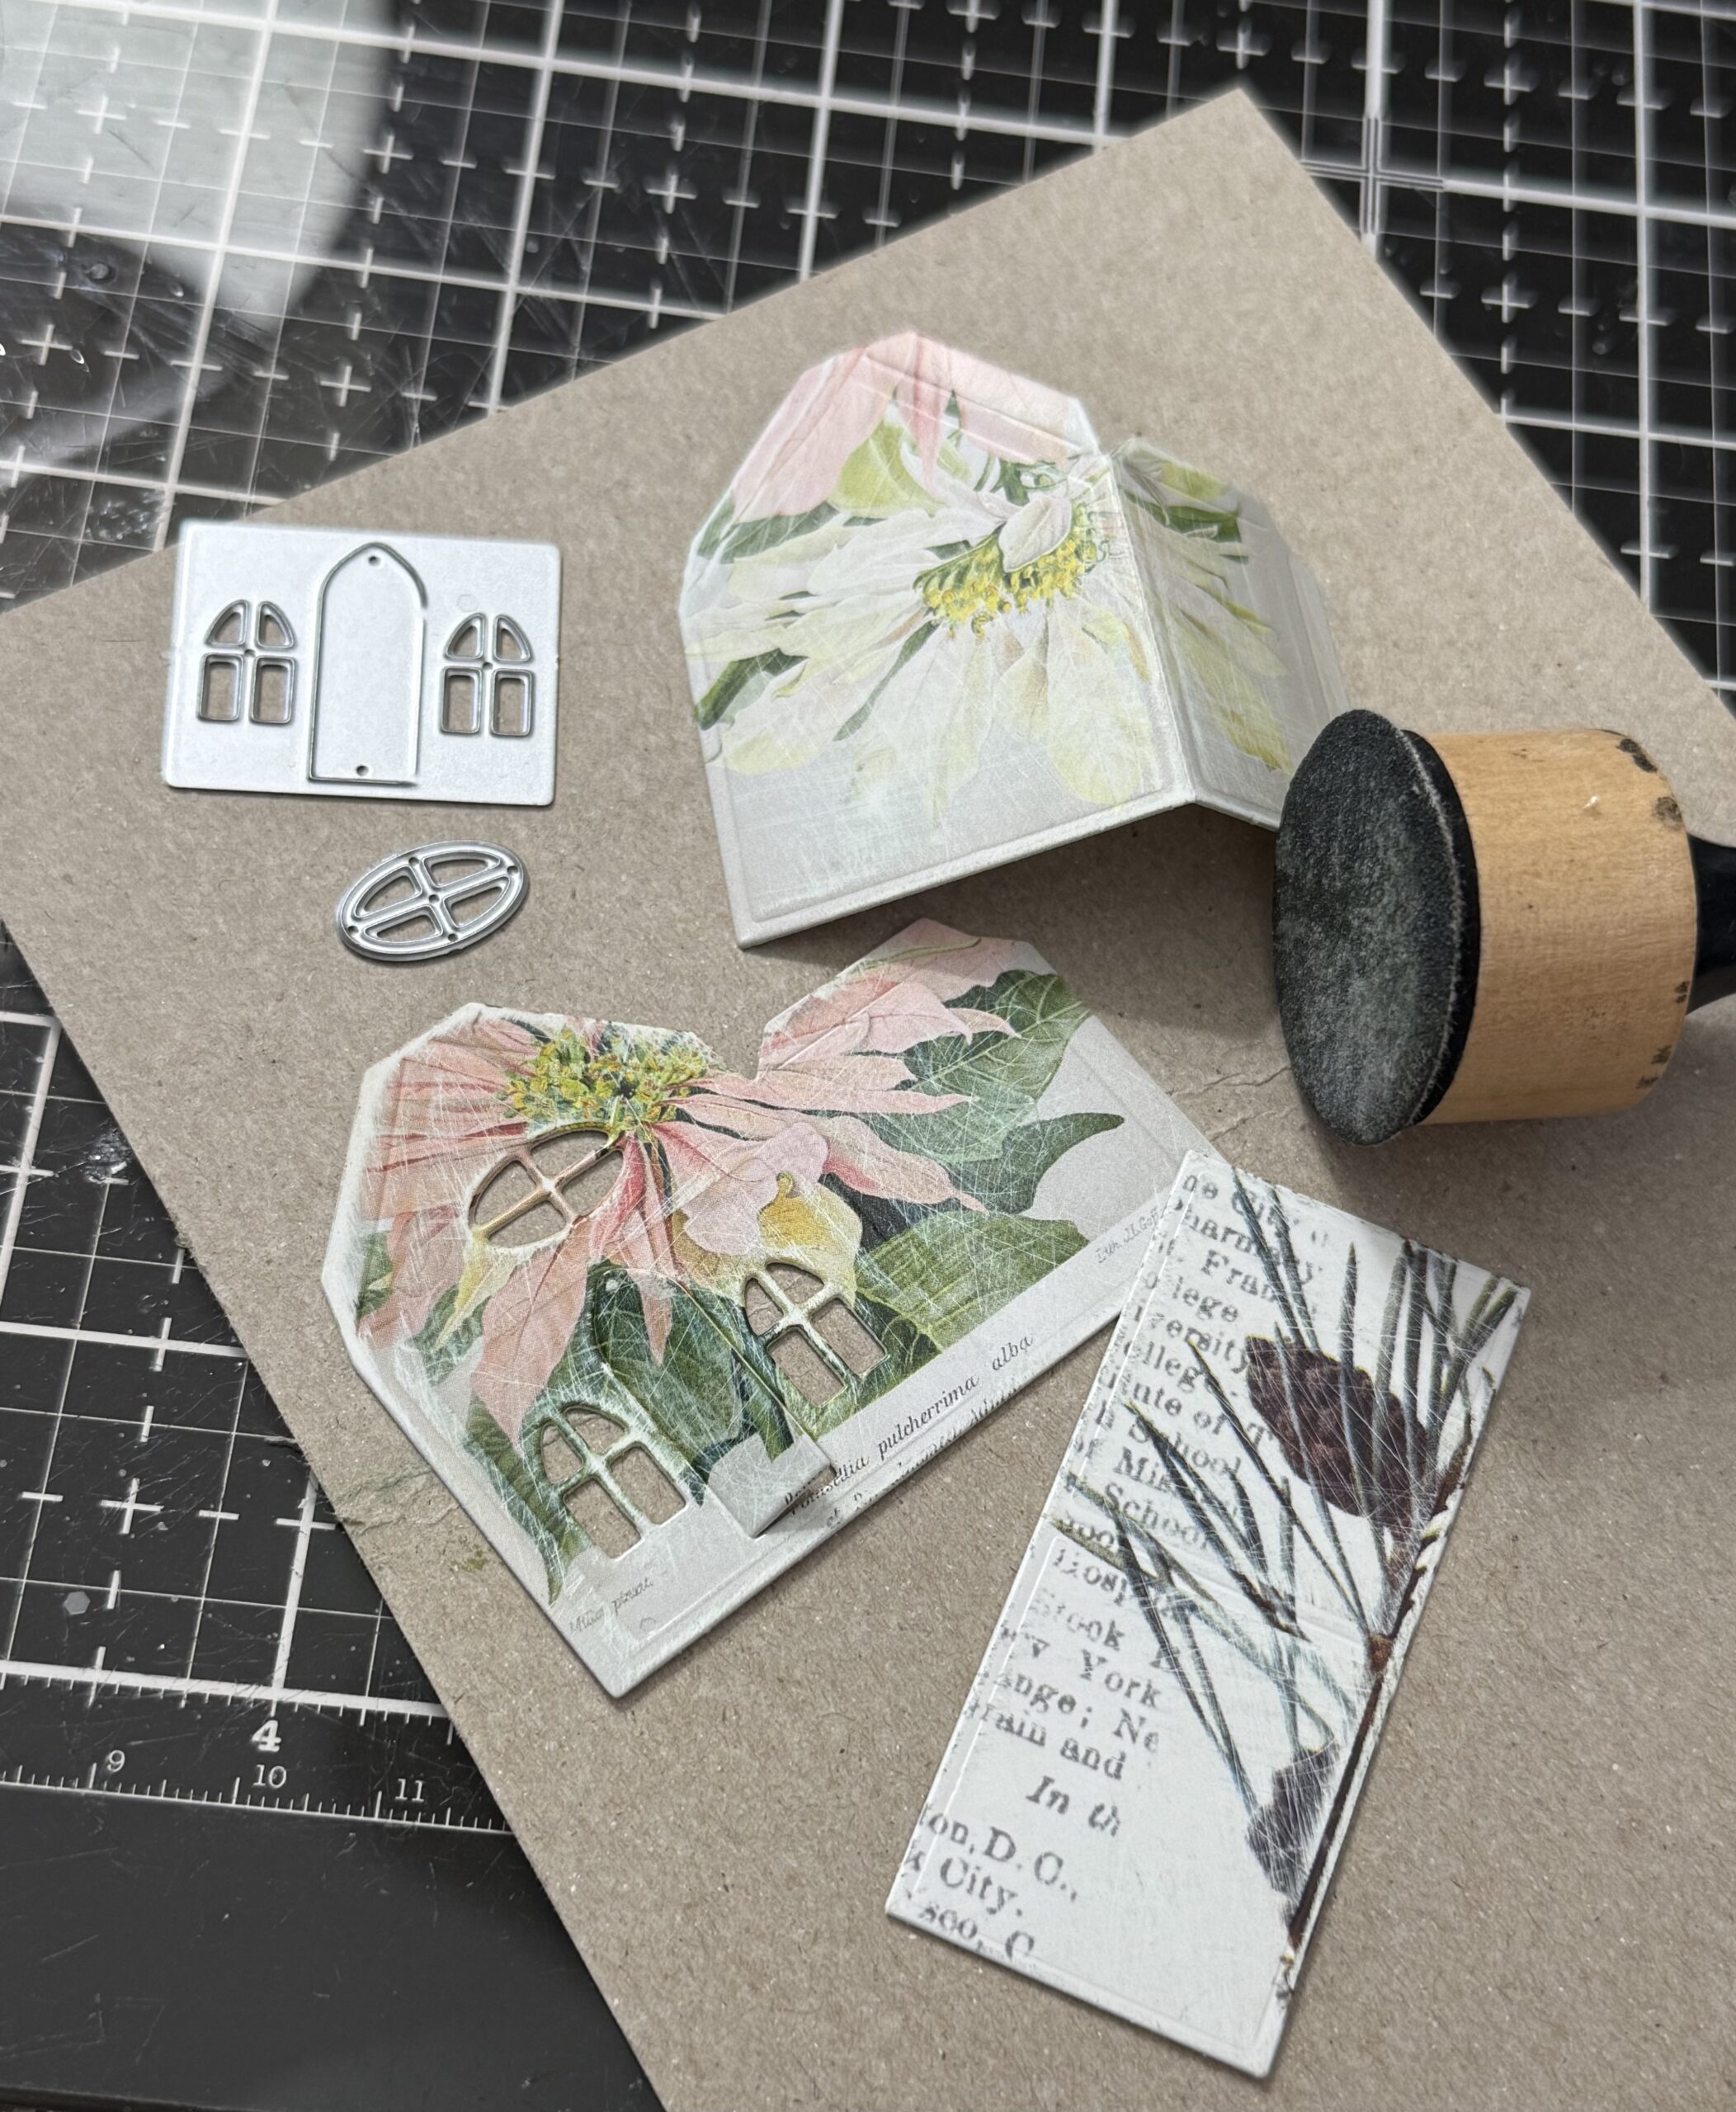
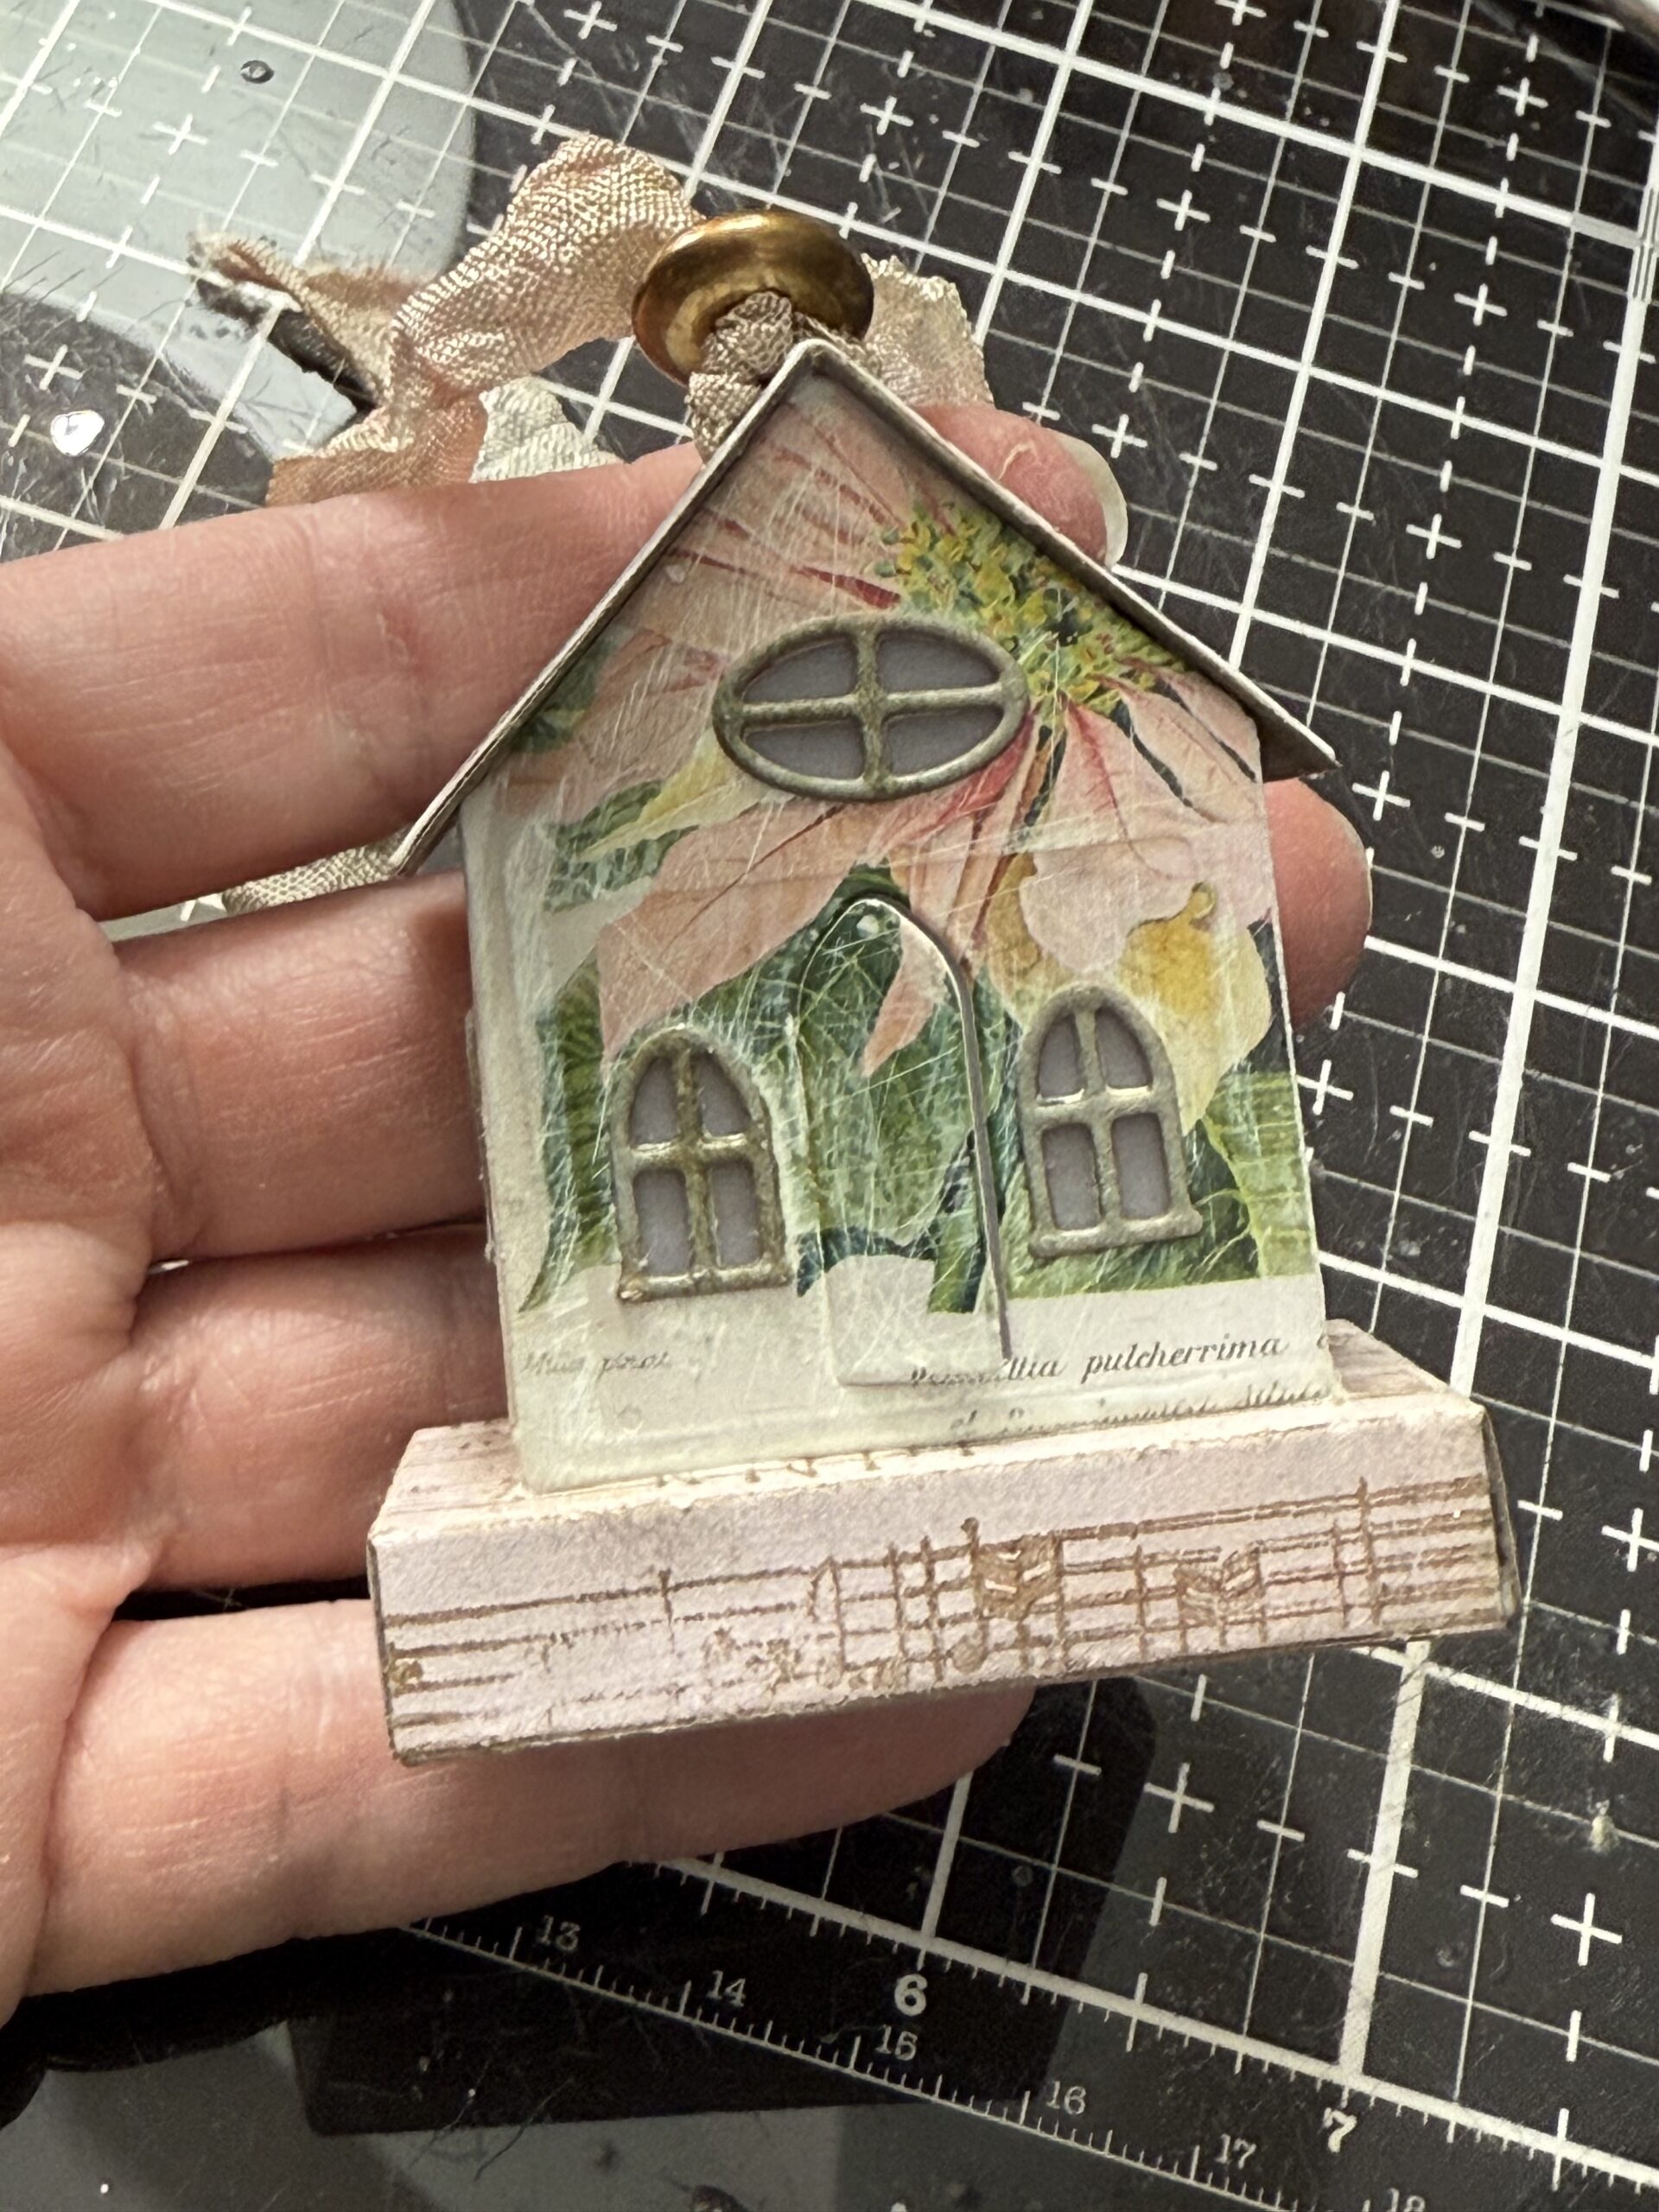
We’re going to start building these ornaments first… I started by selecting some of the Layers from the Christmas Botanicals Pack..I started with the pink one. I cut out a roof and two sides to create the basics of the house.
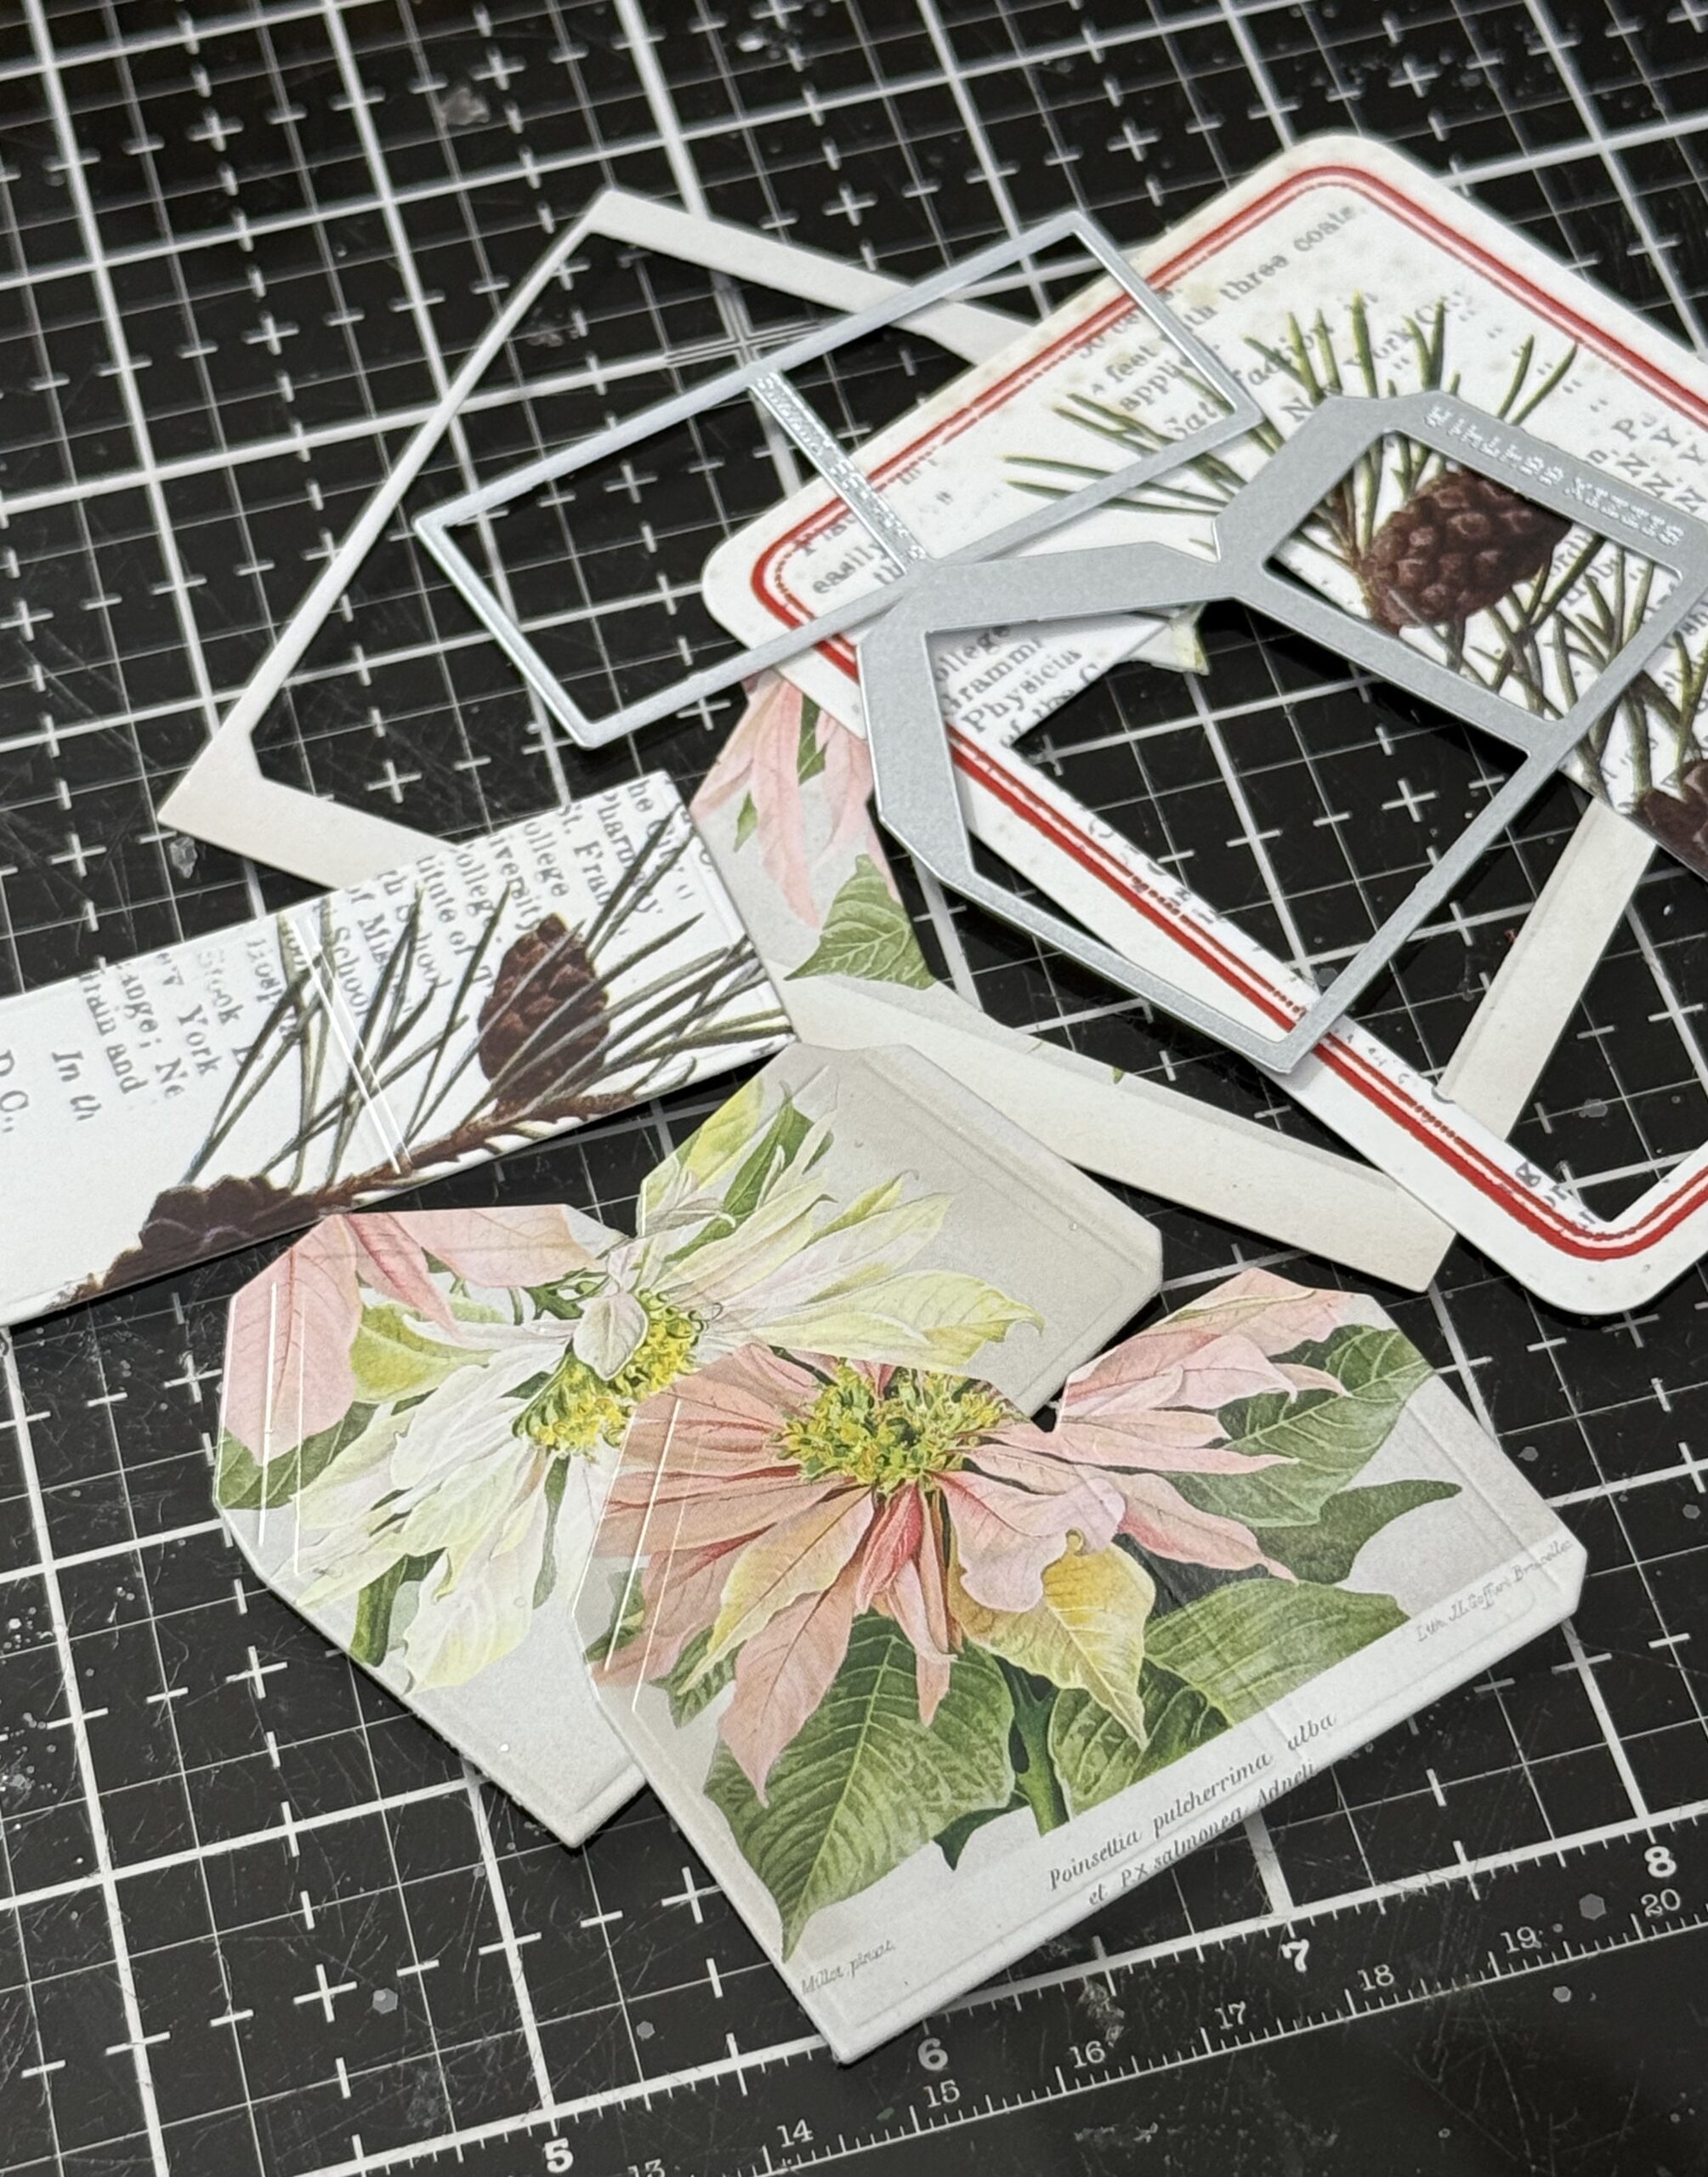
Once I had the pieces cut out I decided which windows and door pieces I wanted on the house and cut them out…I used my sanding grip to lightly sand and distress the pieces, then used a dry towel to dust them off.
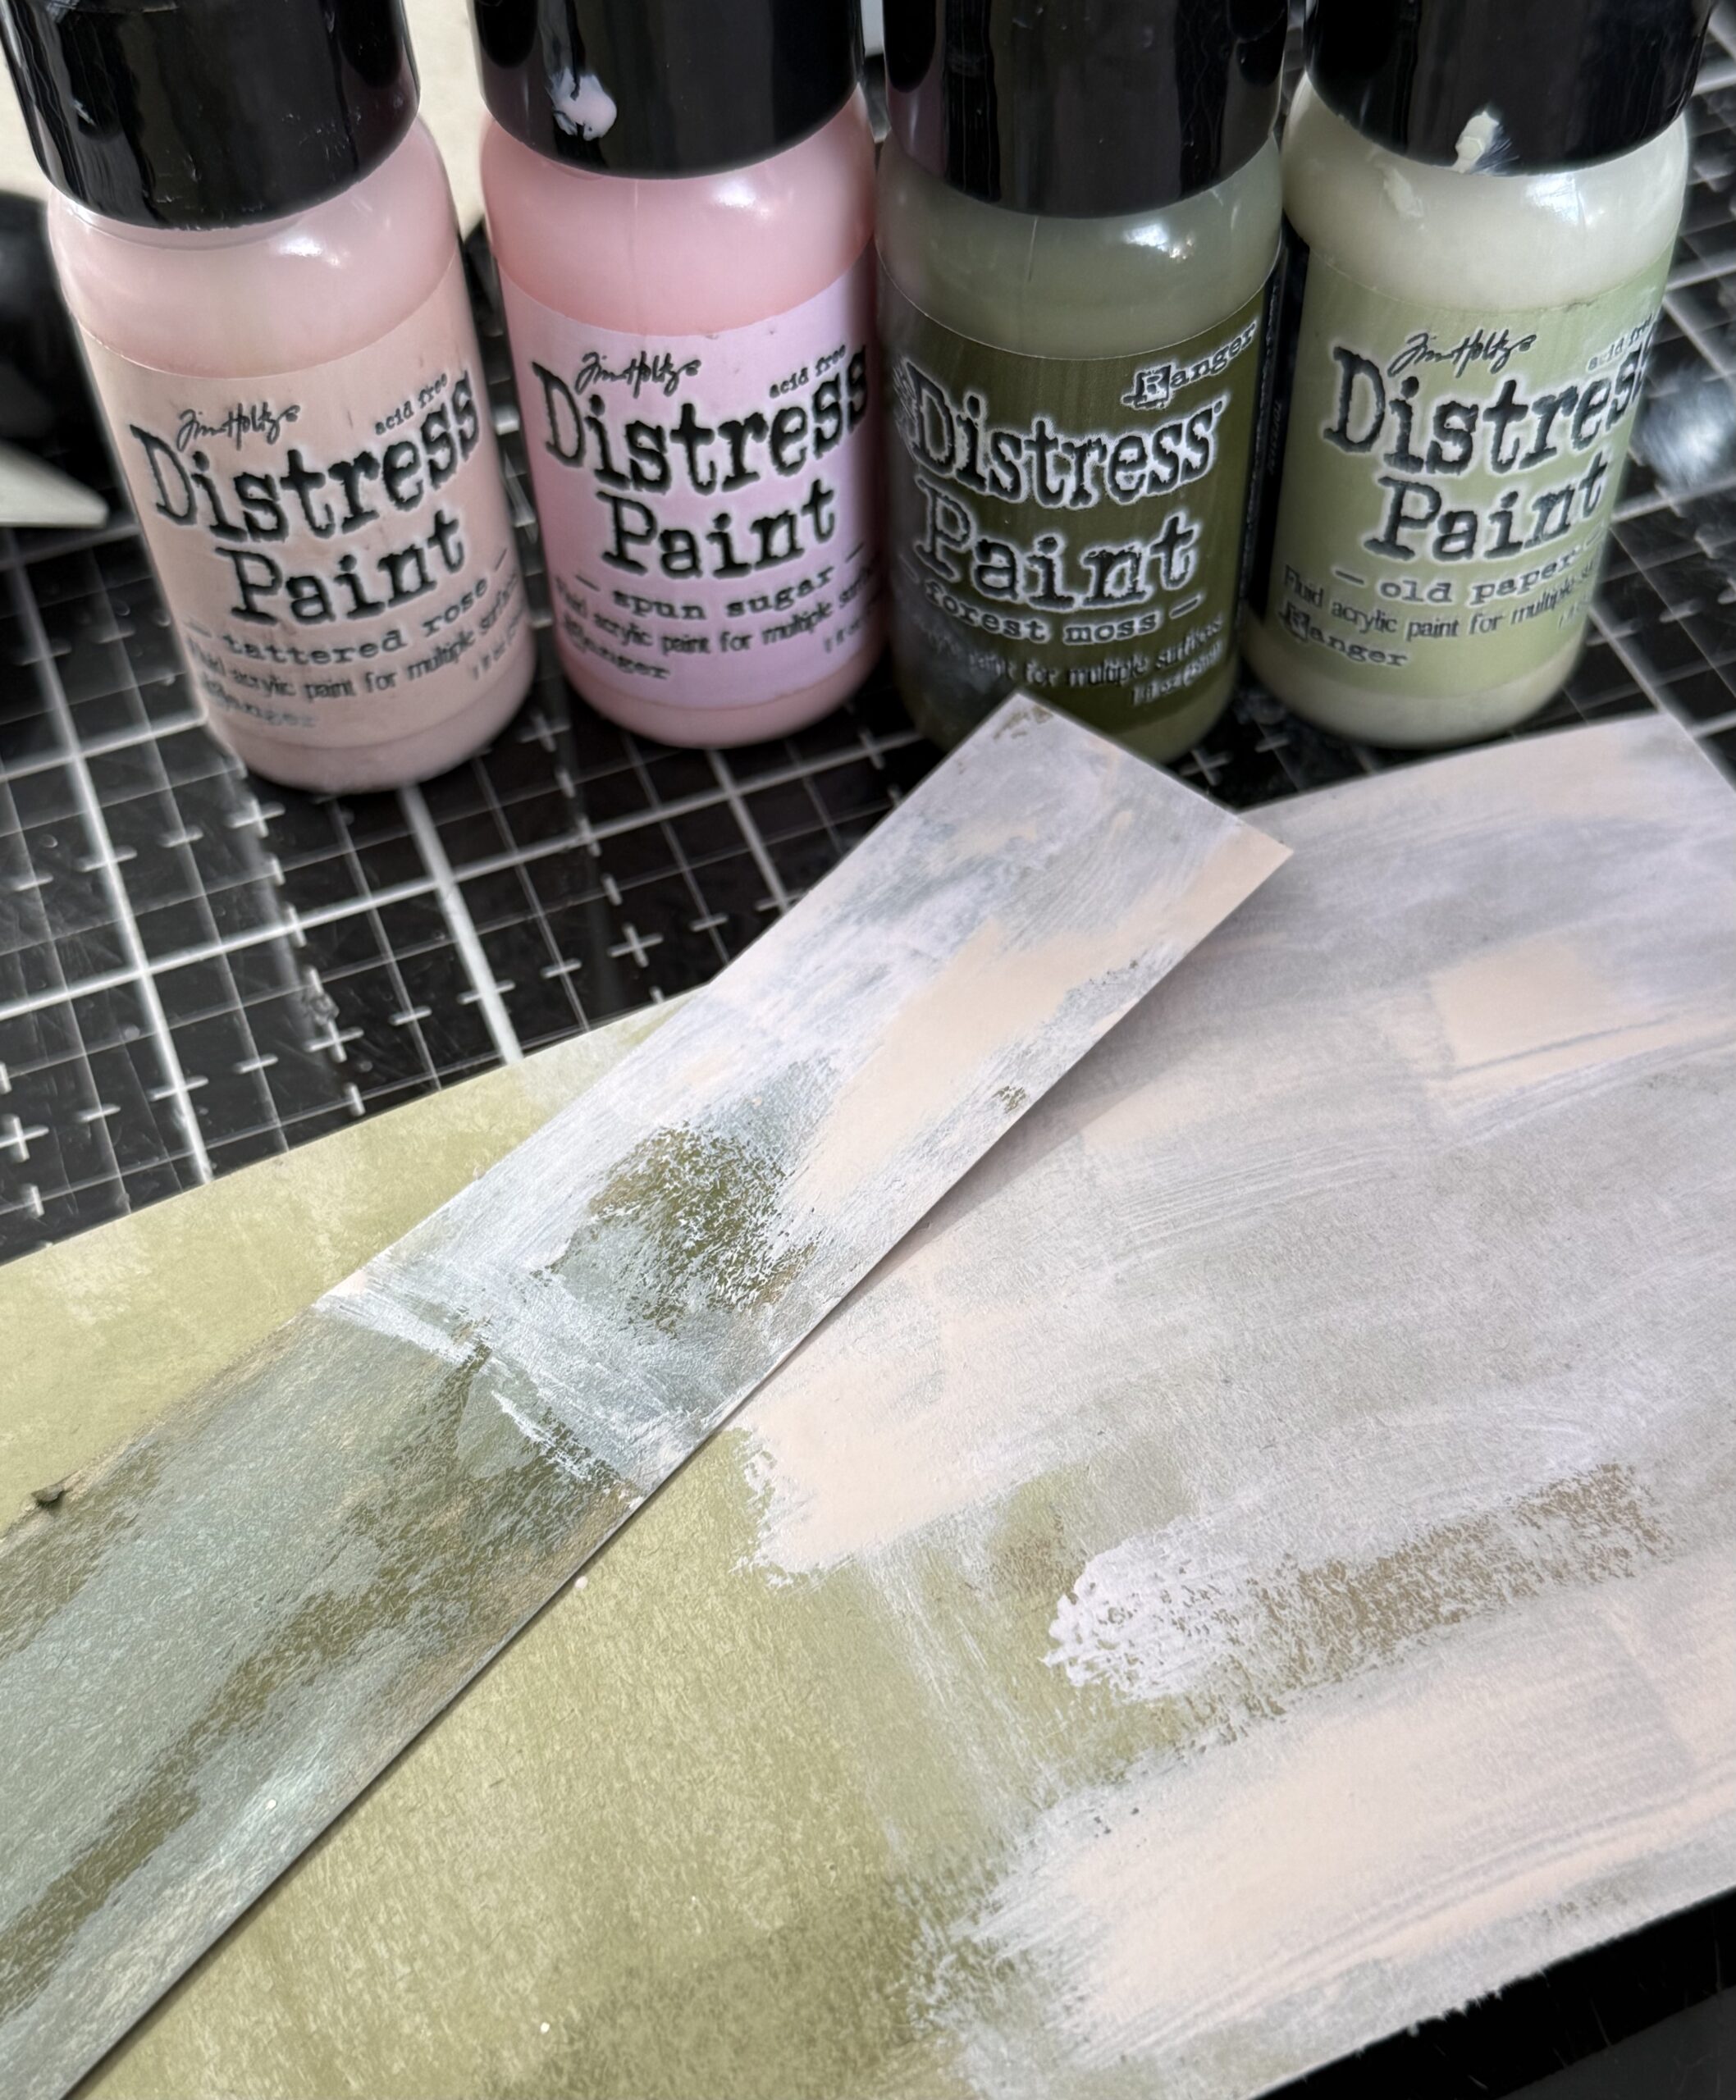
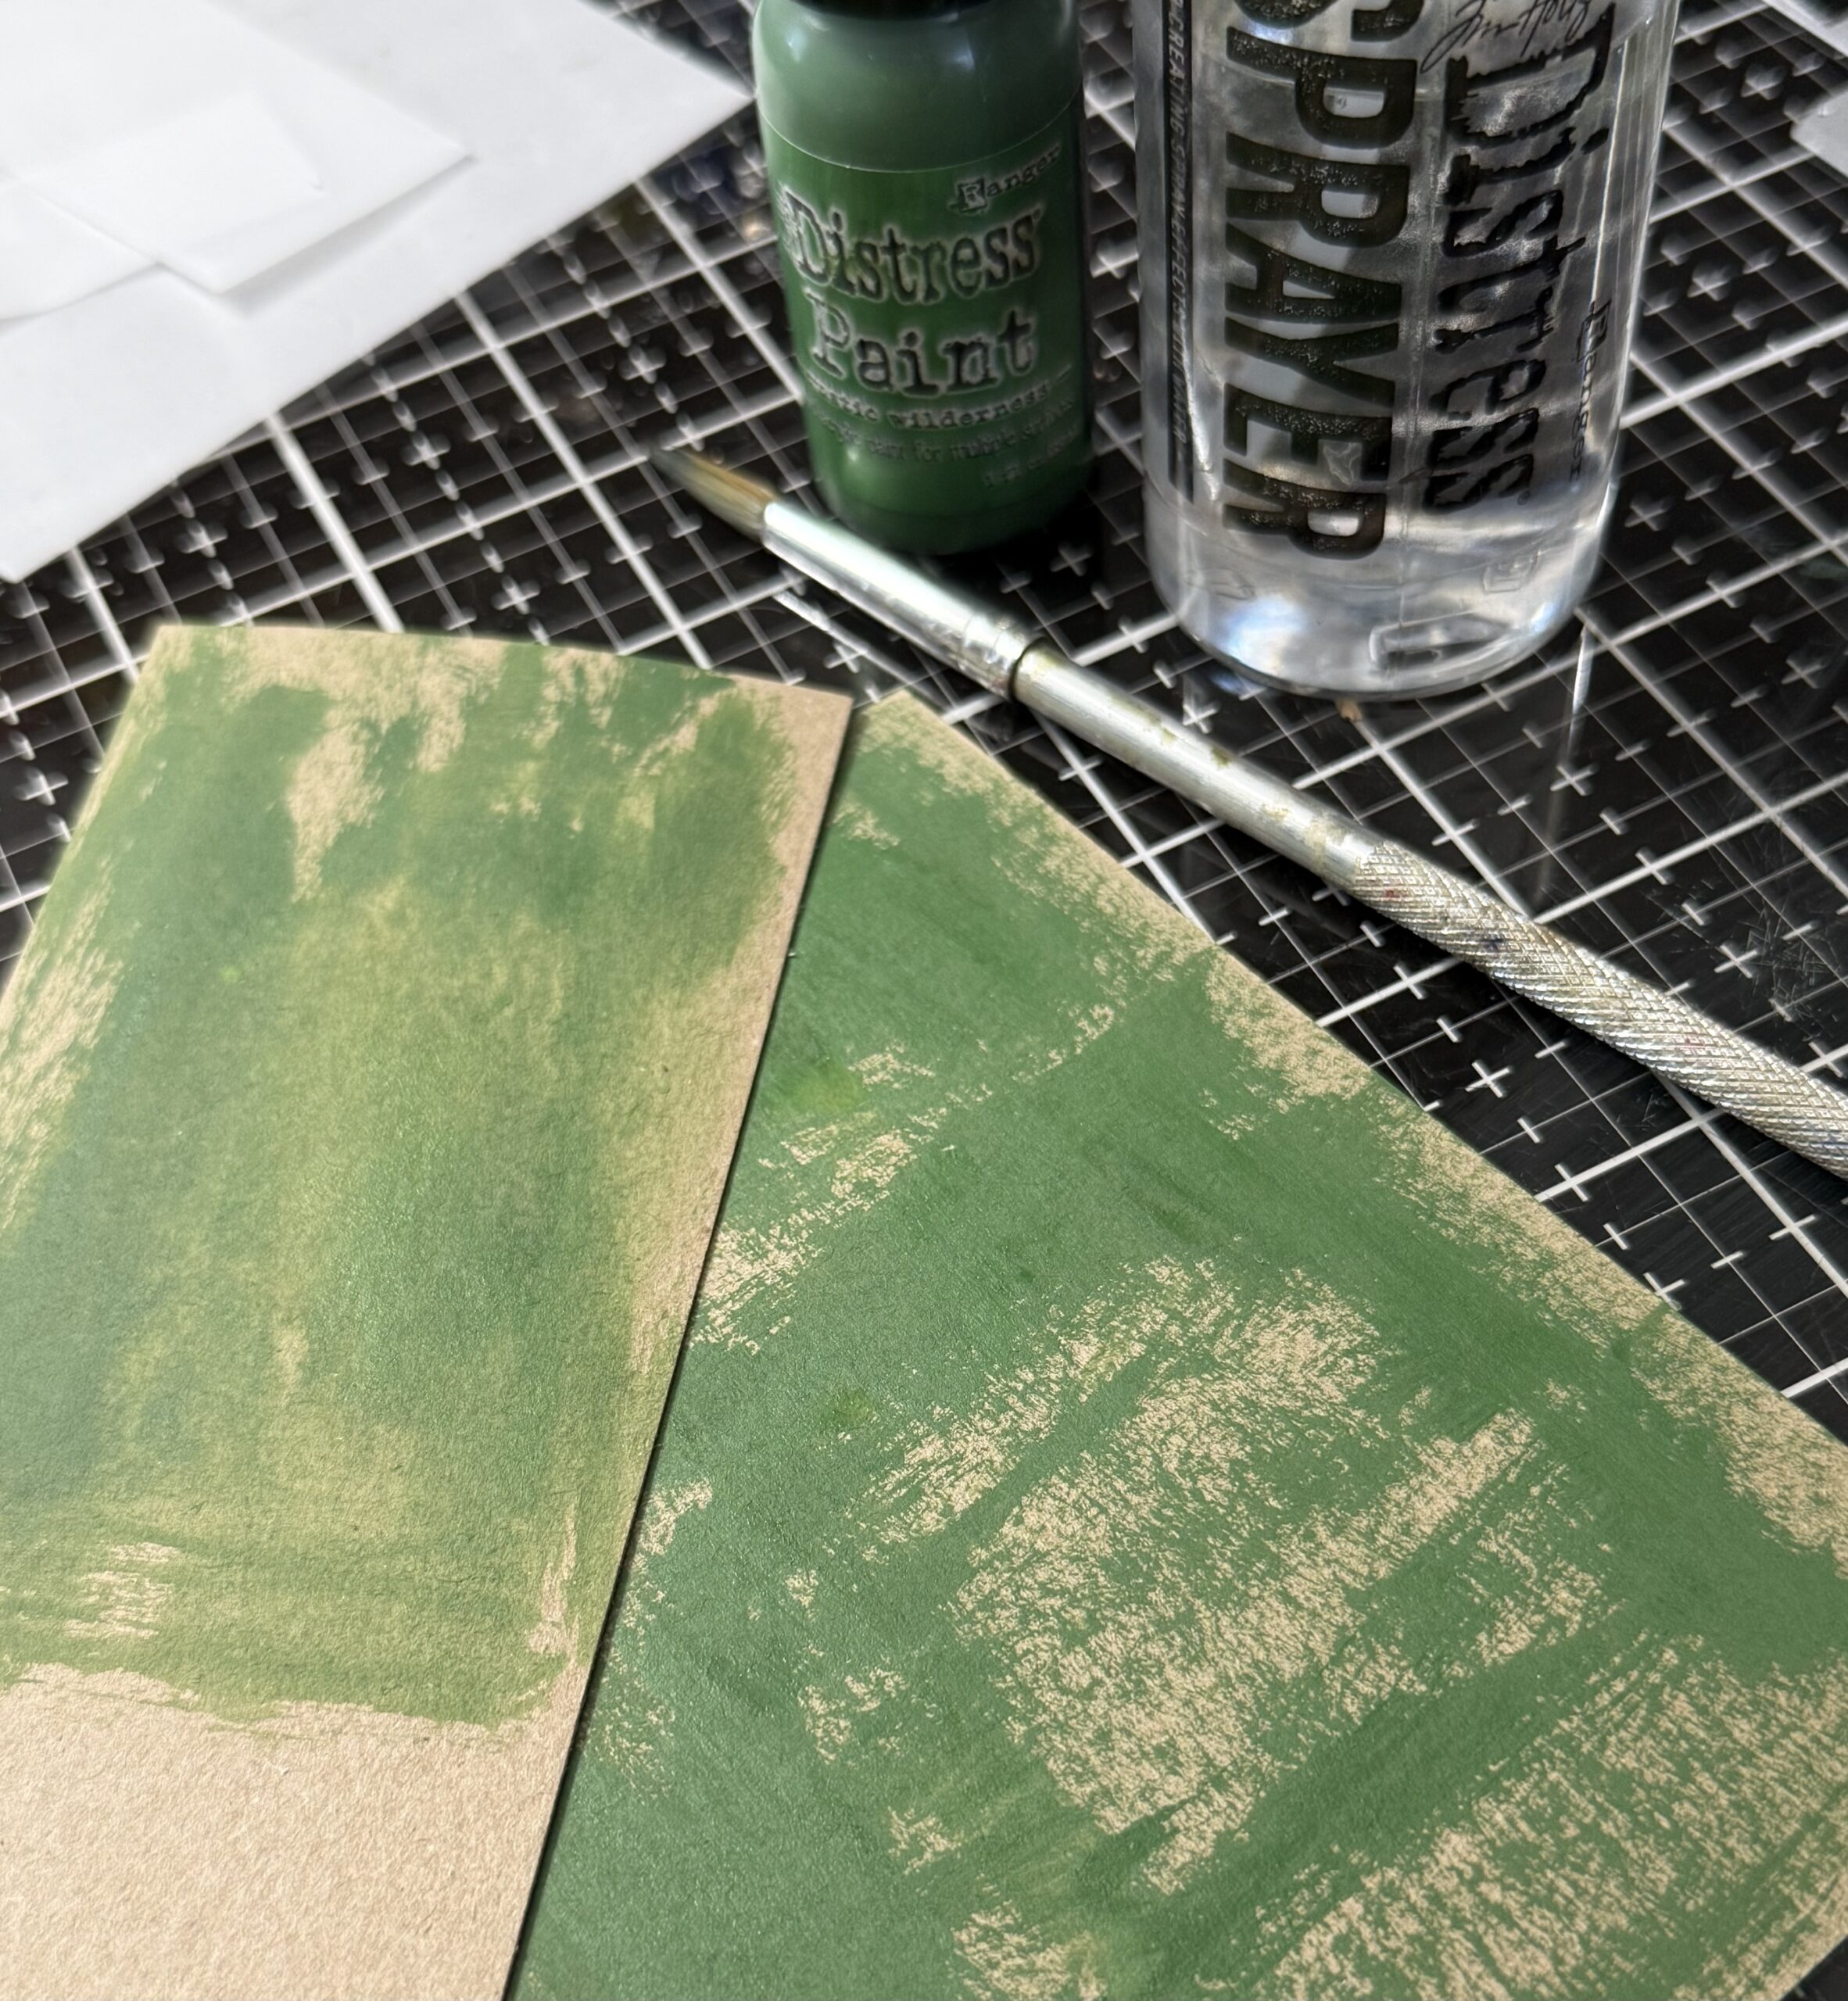
I painted some distress paint onto a couple scraps of Kraft Heavystock to use to cut out the window accessories and pieces. I used Distress Paint because once dry, it is permanent and when you add it with wet glue, the color doesn’t run.
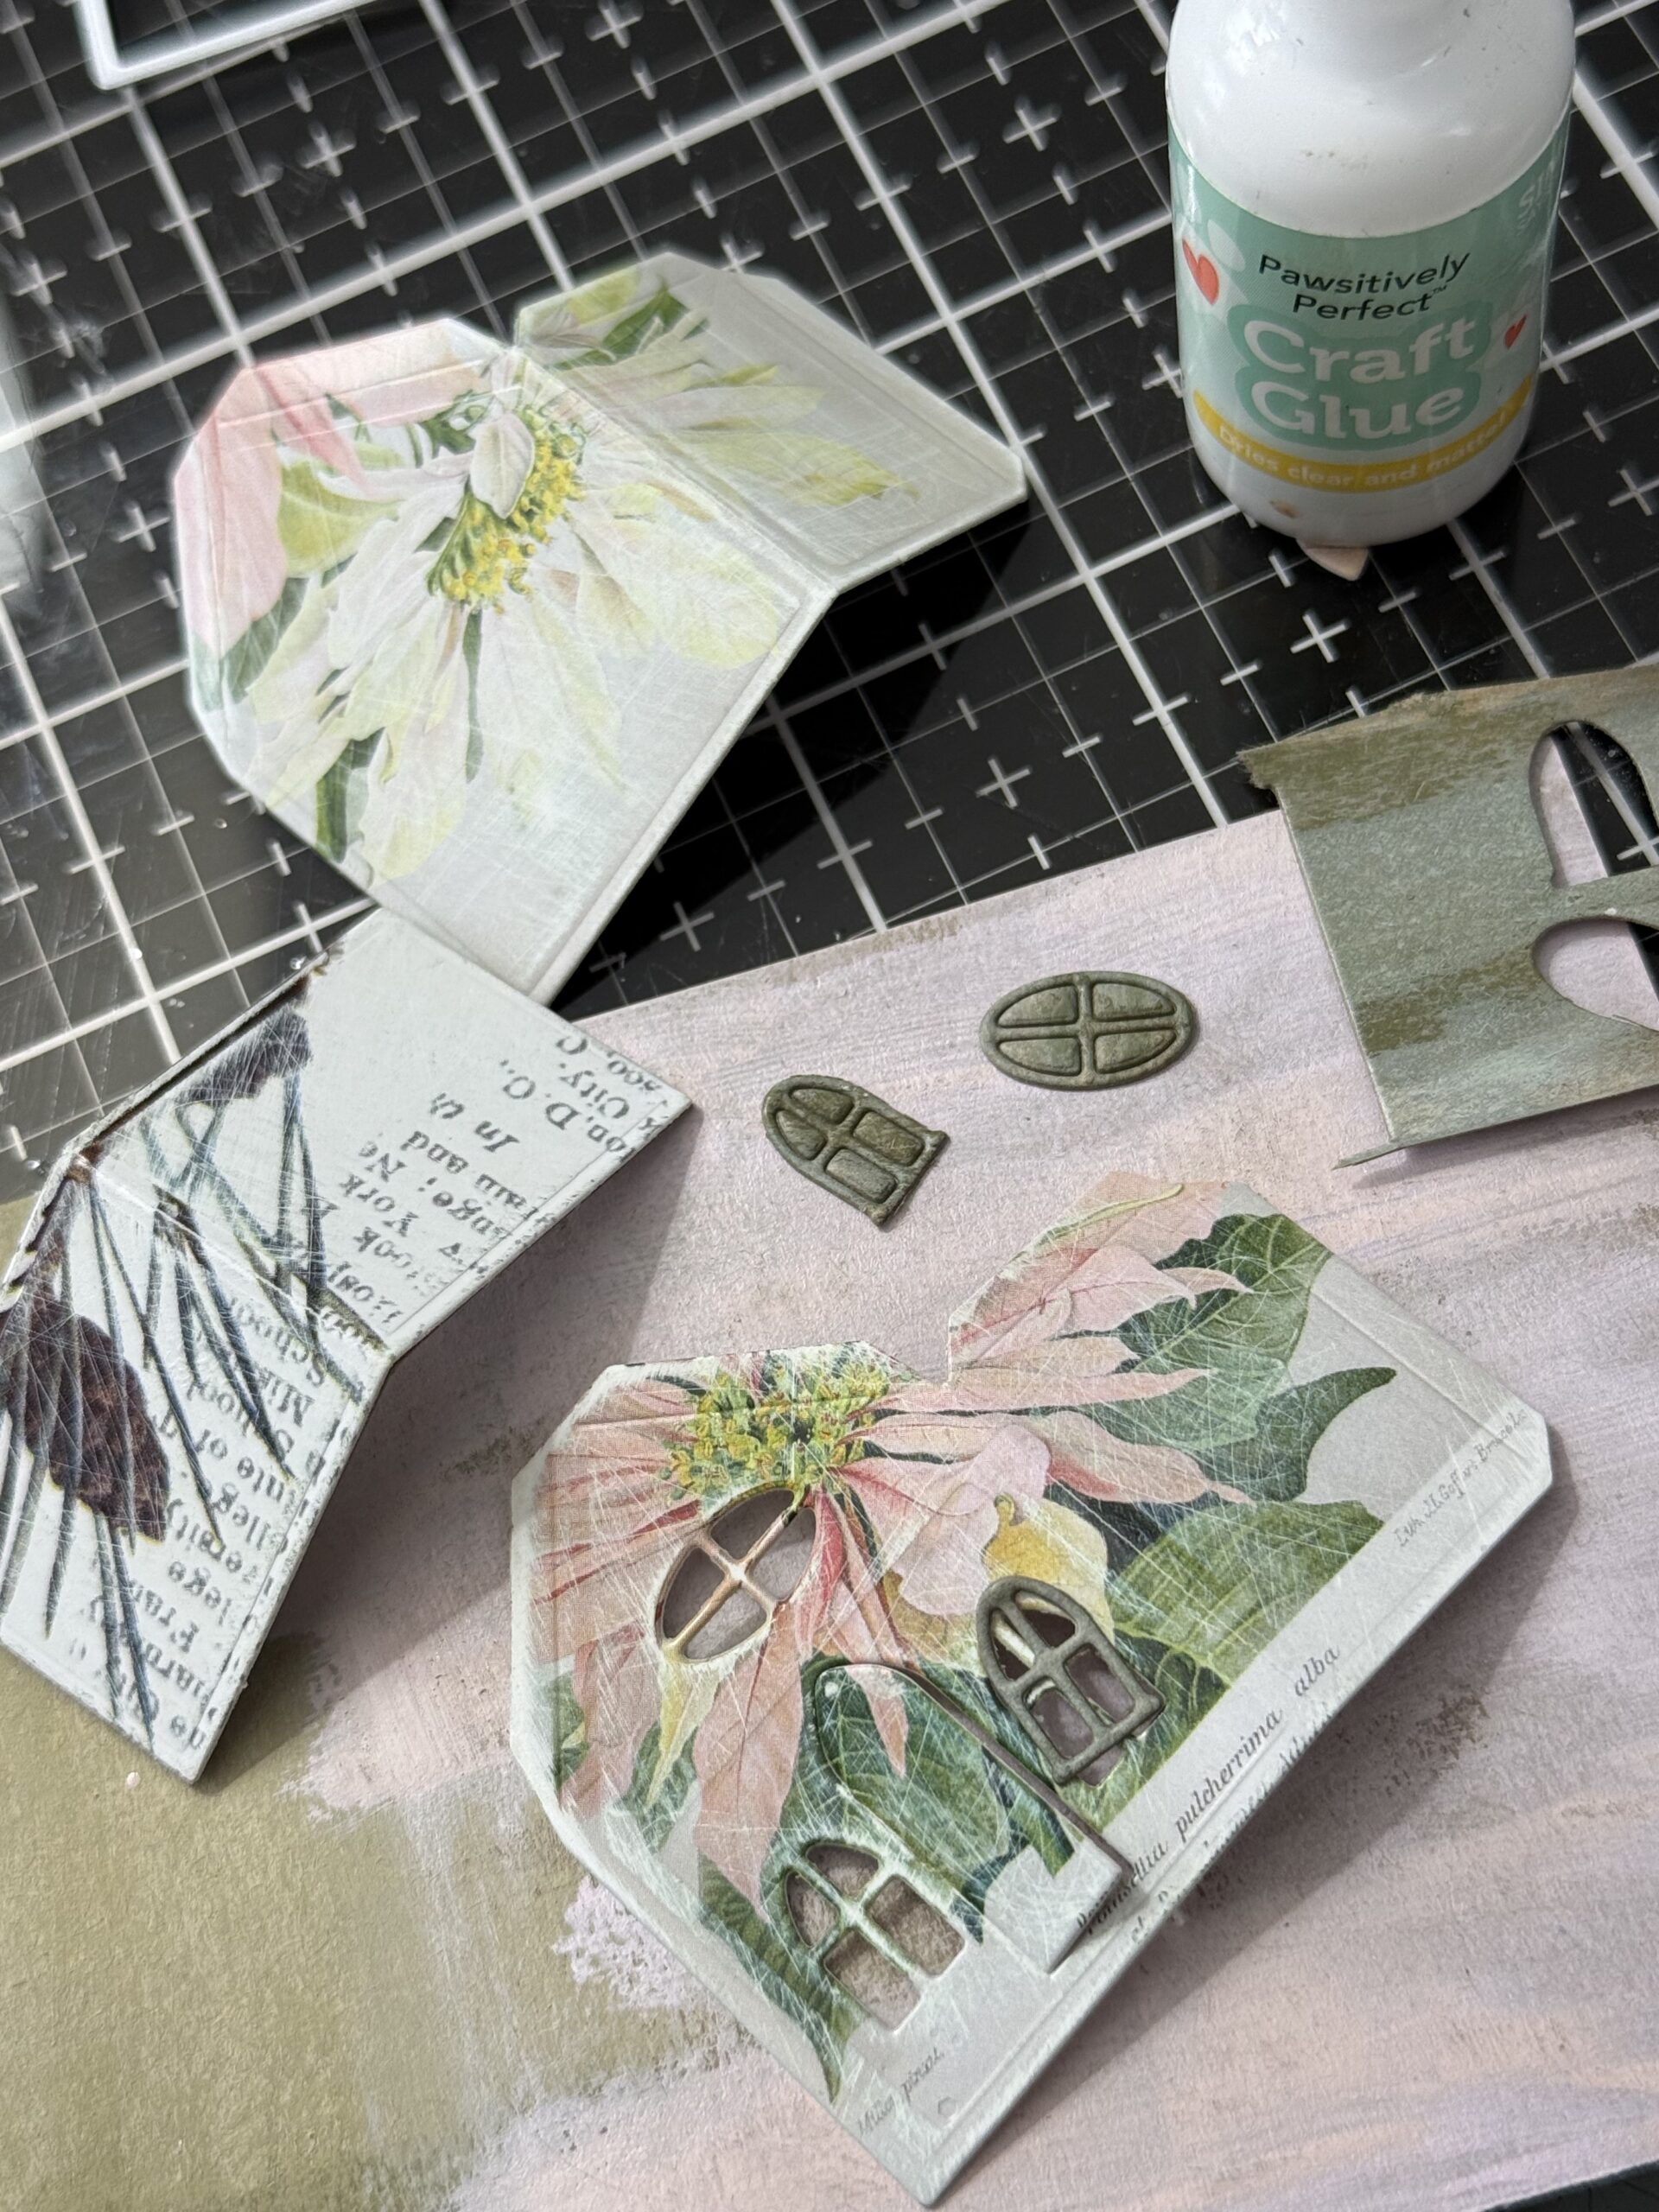
I cut the window frames out and adhered them to the house using some Craft Glue.
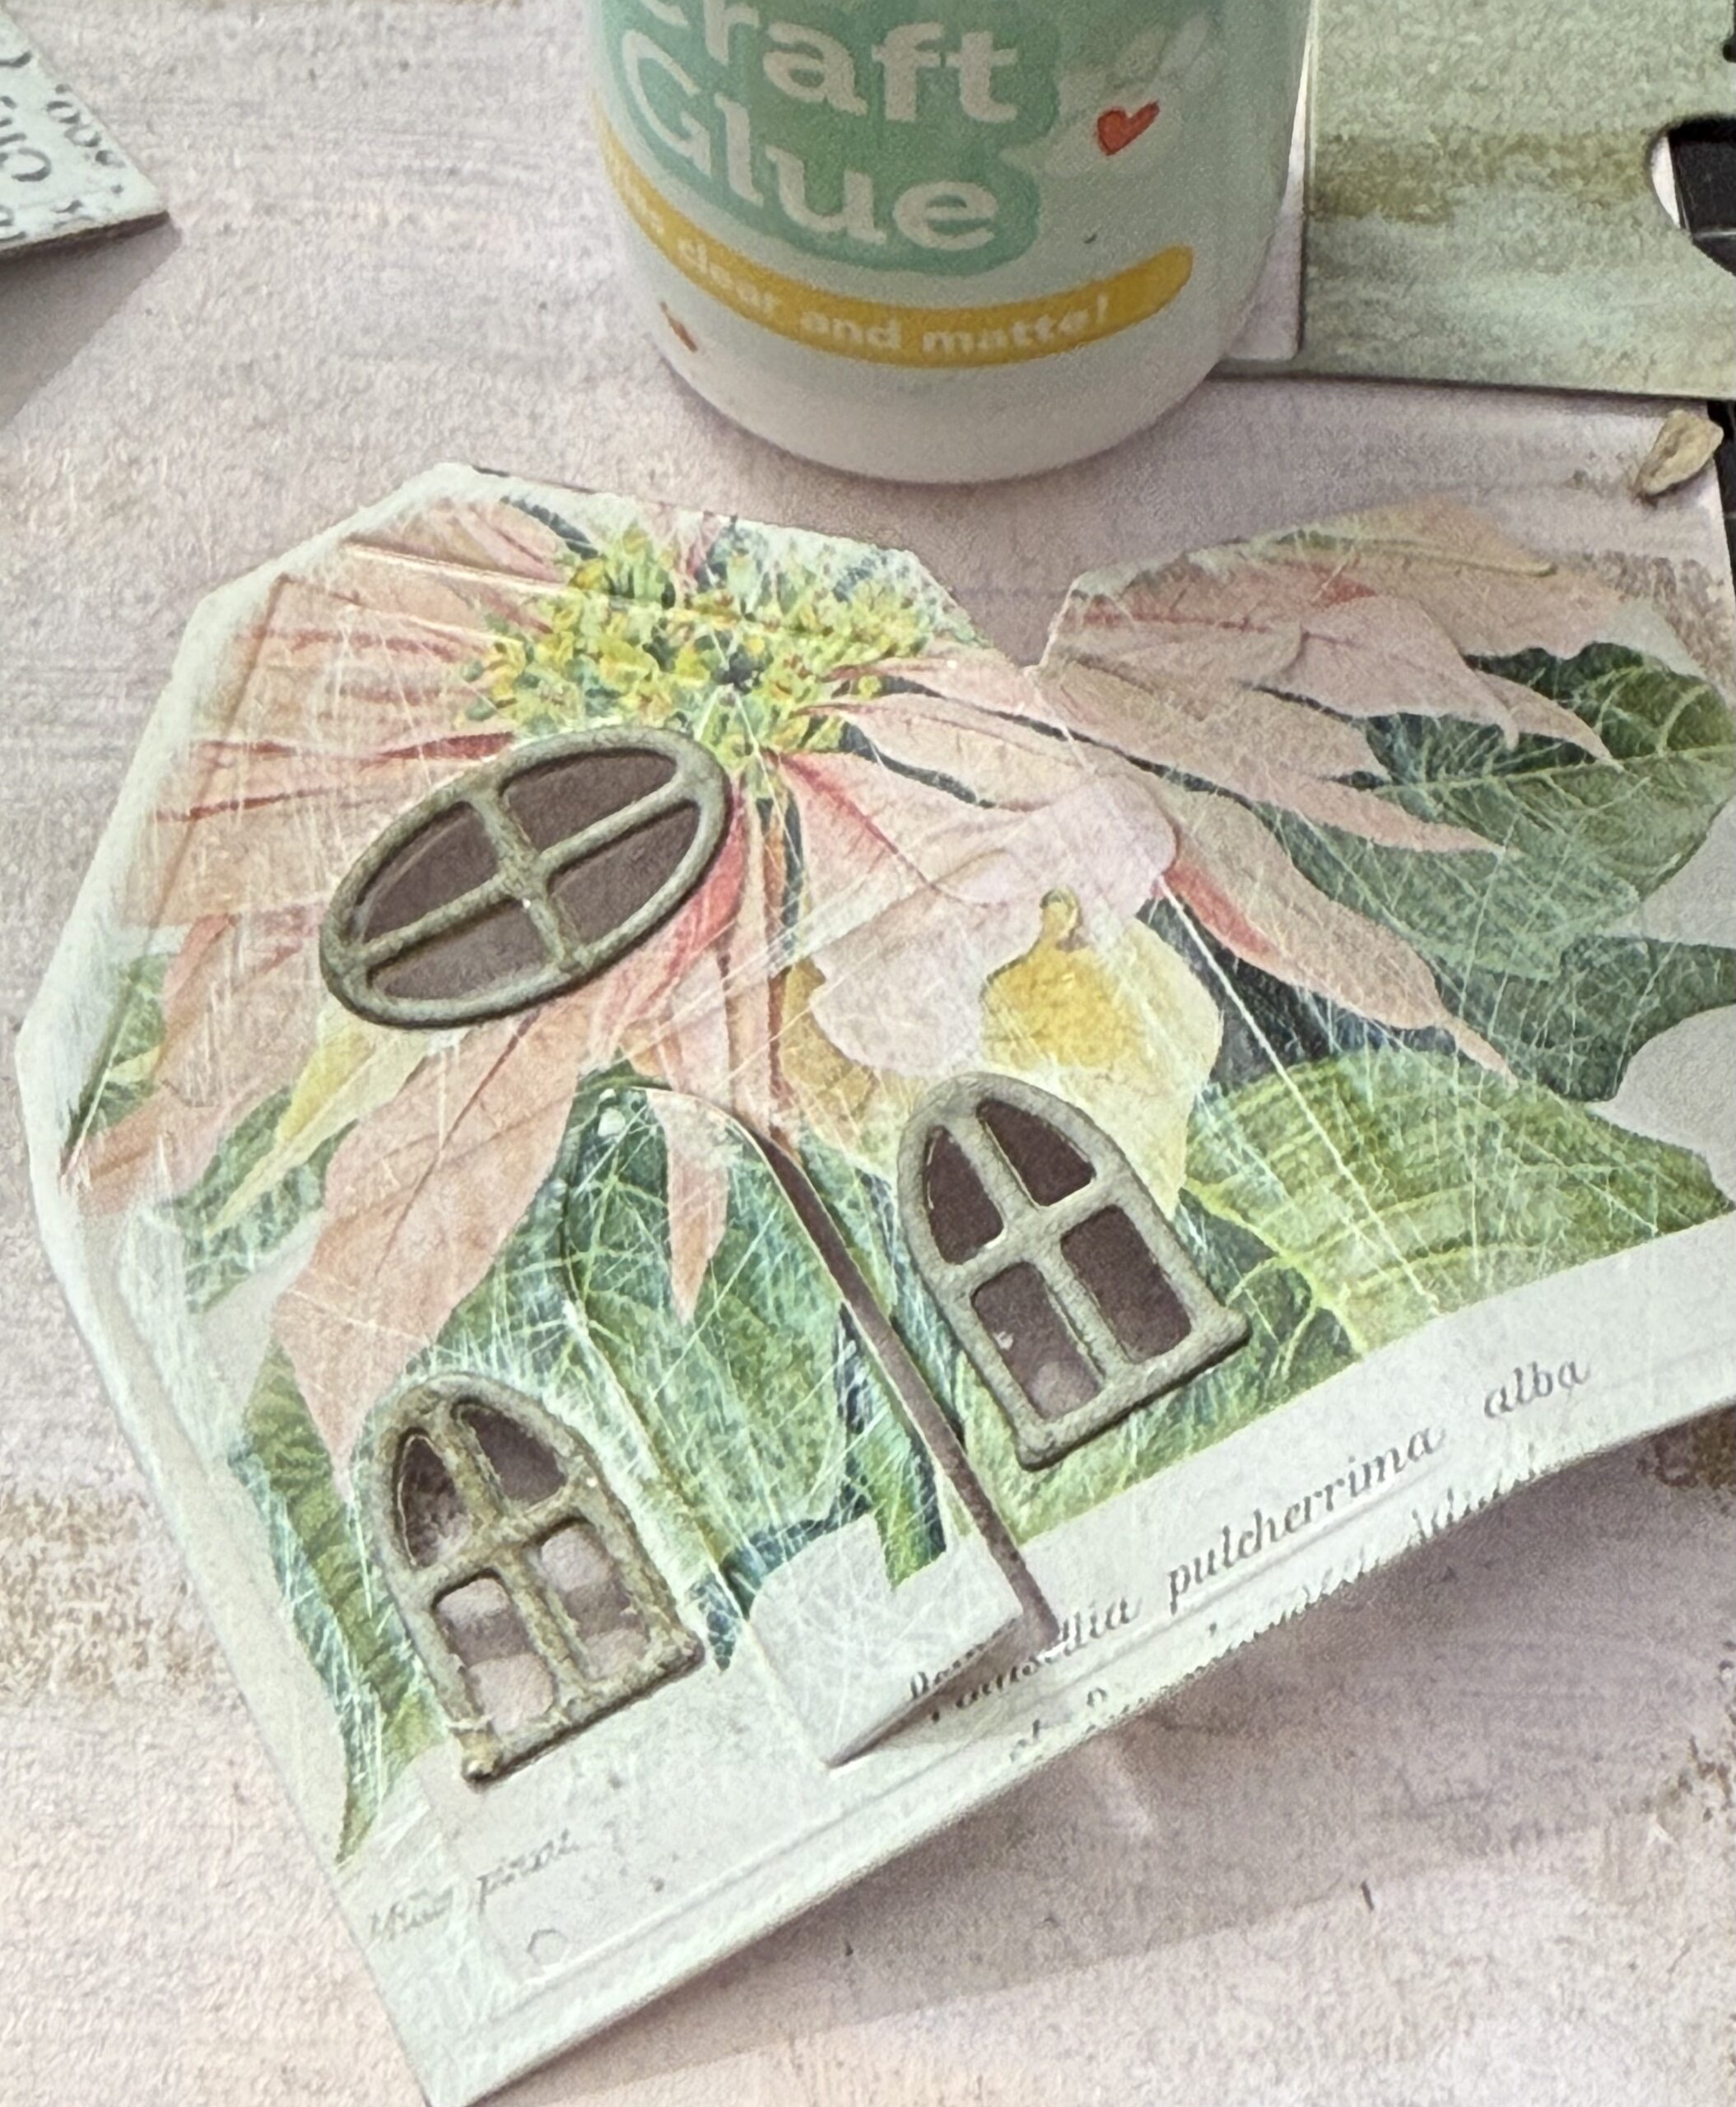
I cut a piece of Heavyweight Vellum roughly the size of the inside of the house then adhered it in place behind the windows, then I glued the two sides of the house together using the Craft Glue and set it aside to dry while I worked on the roof.
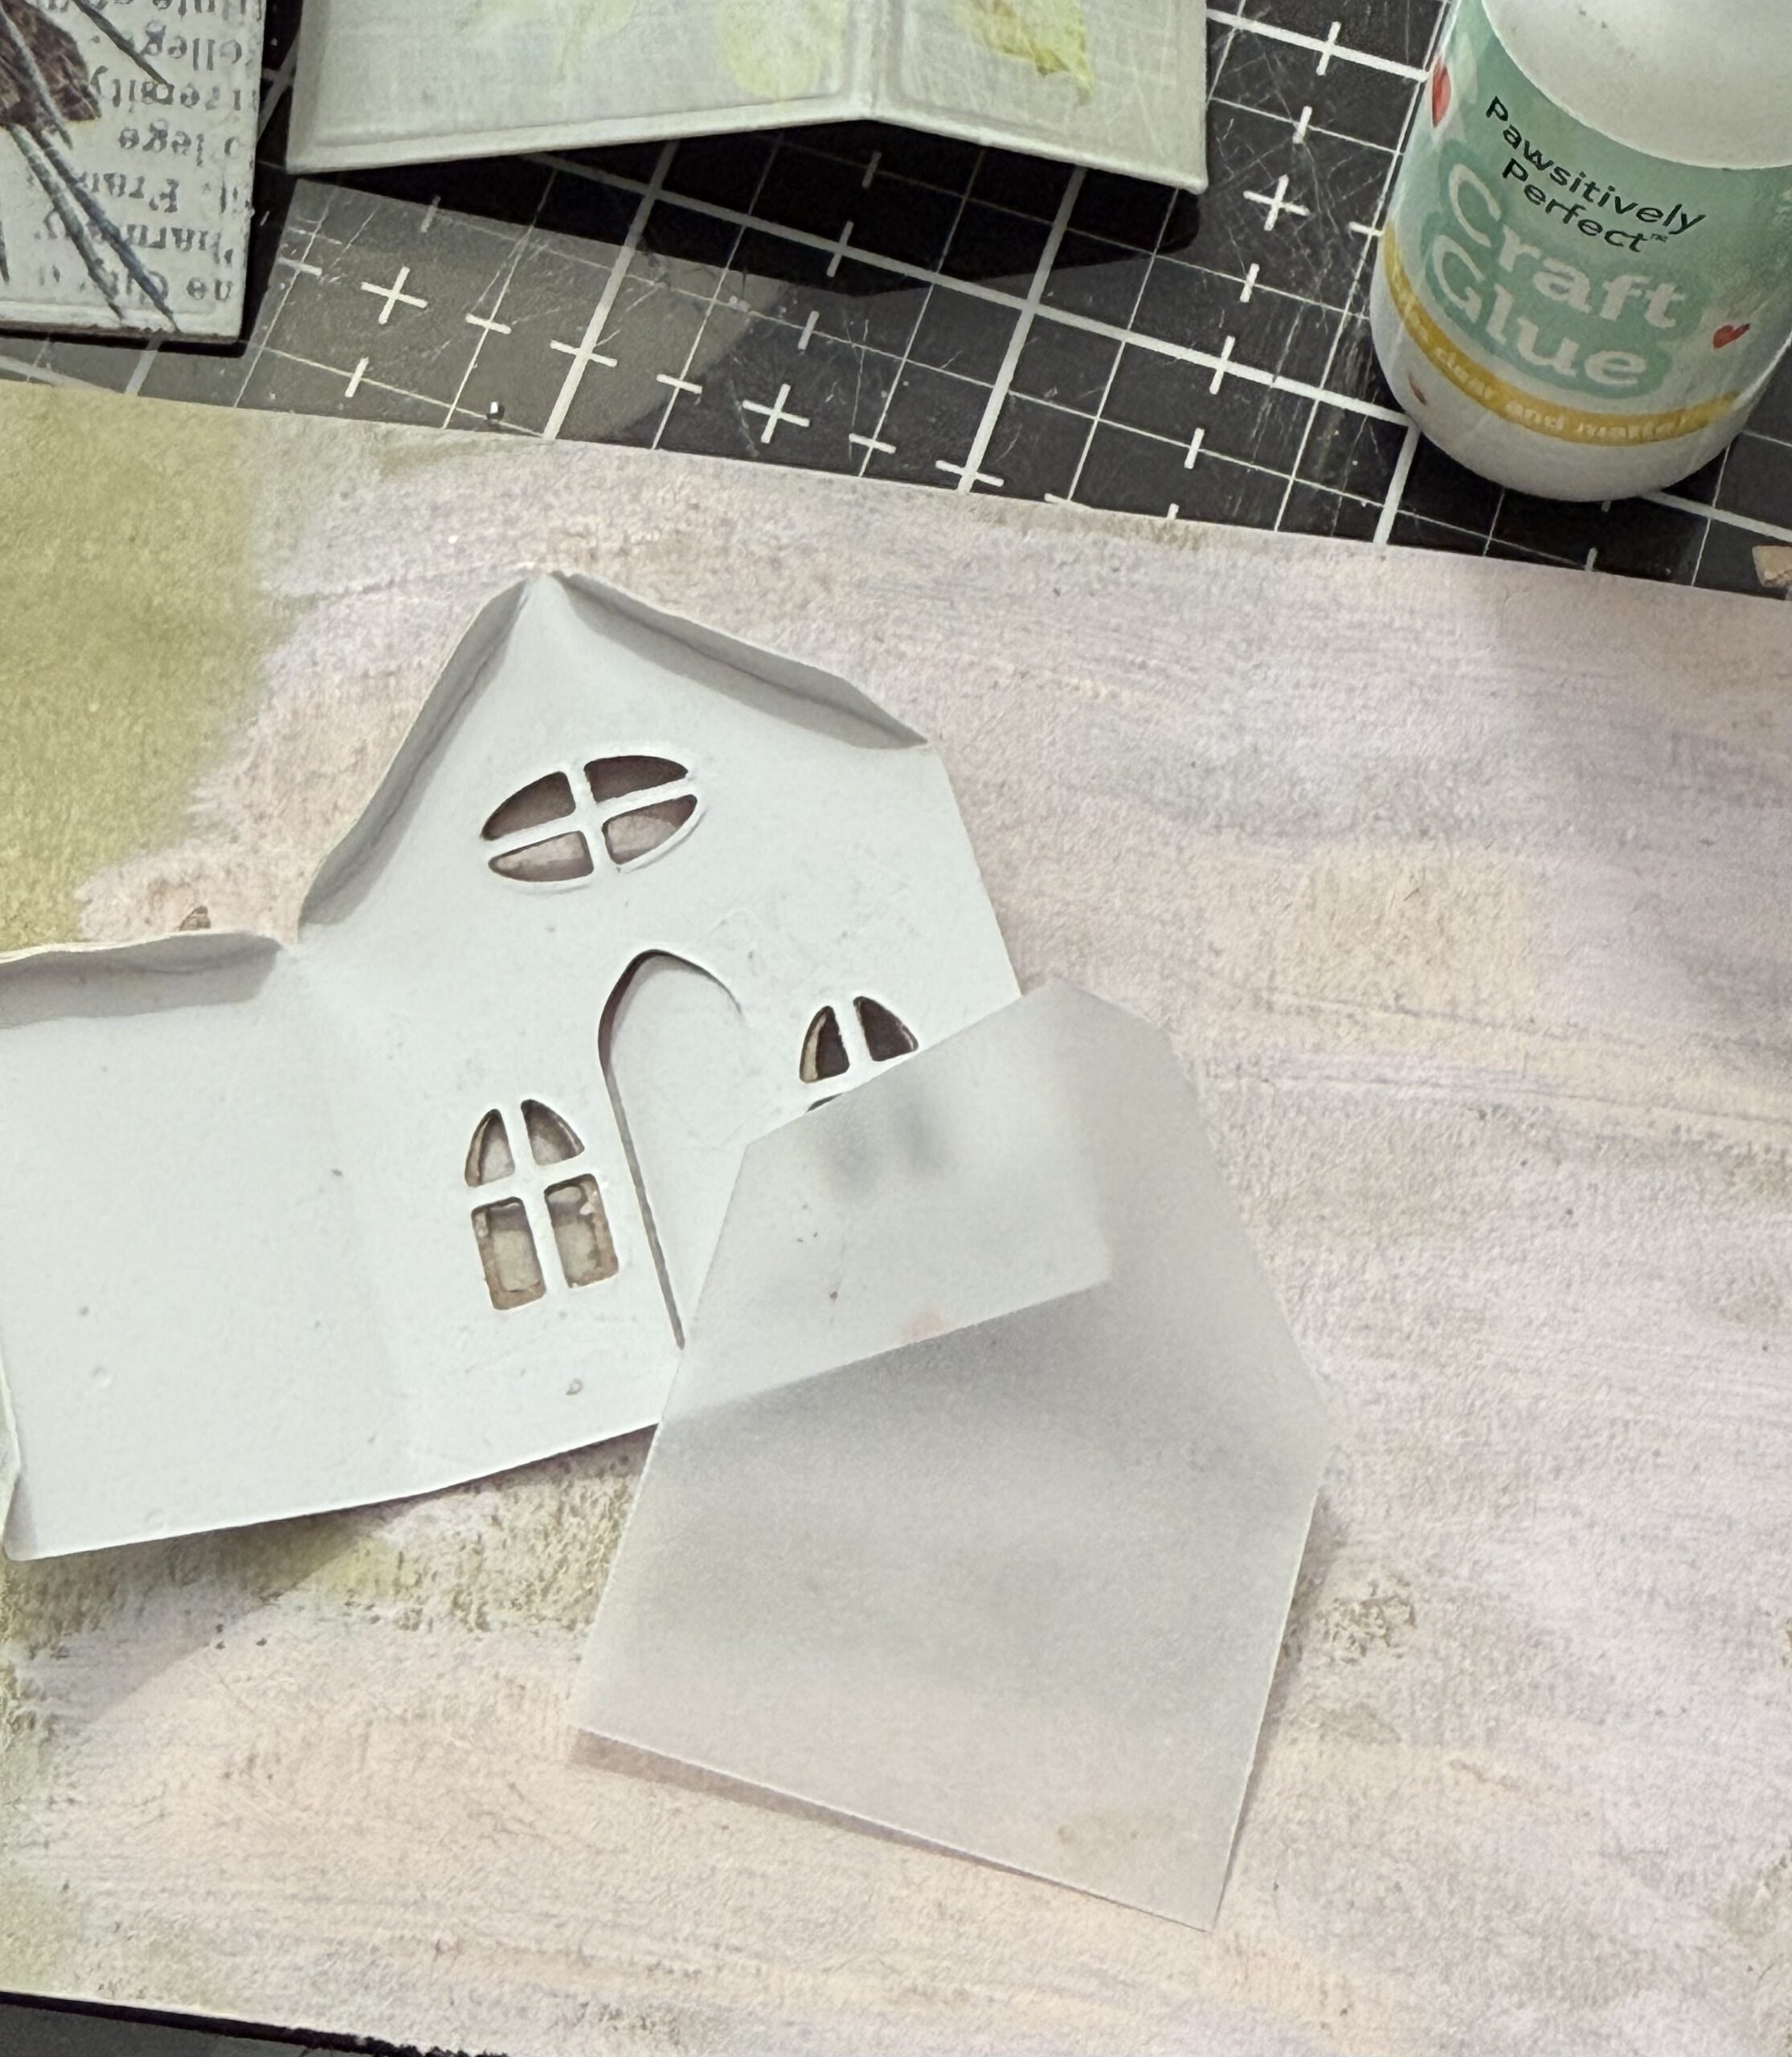
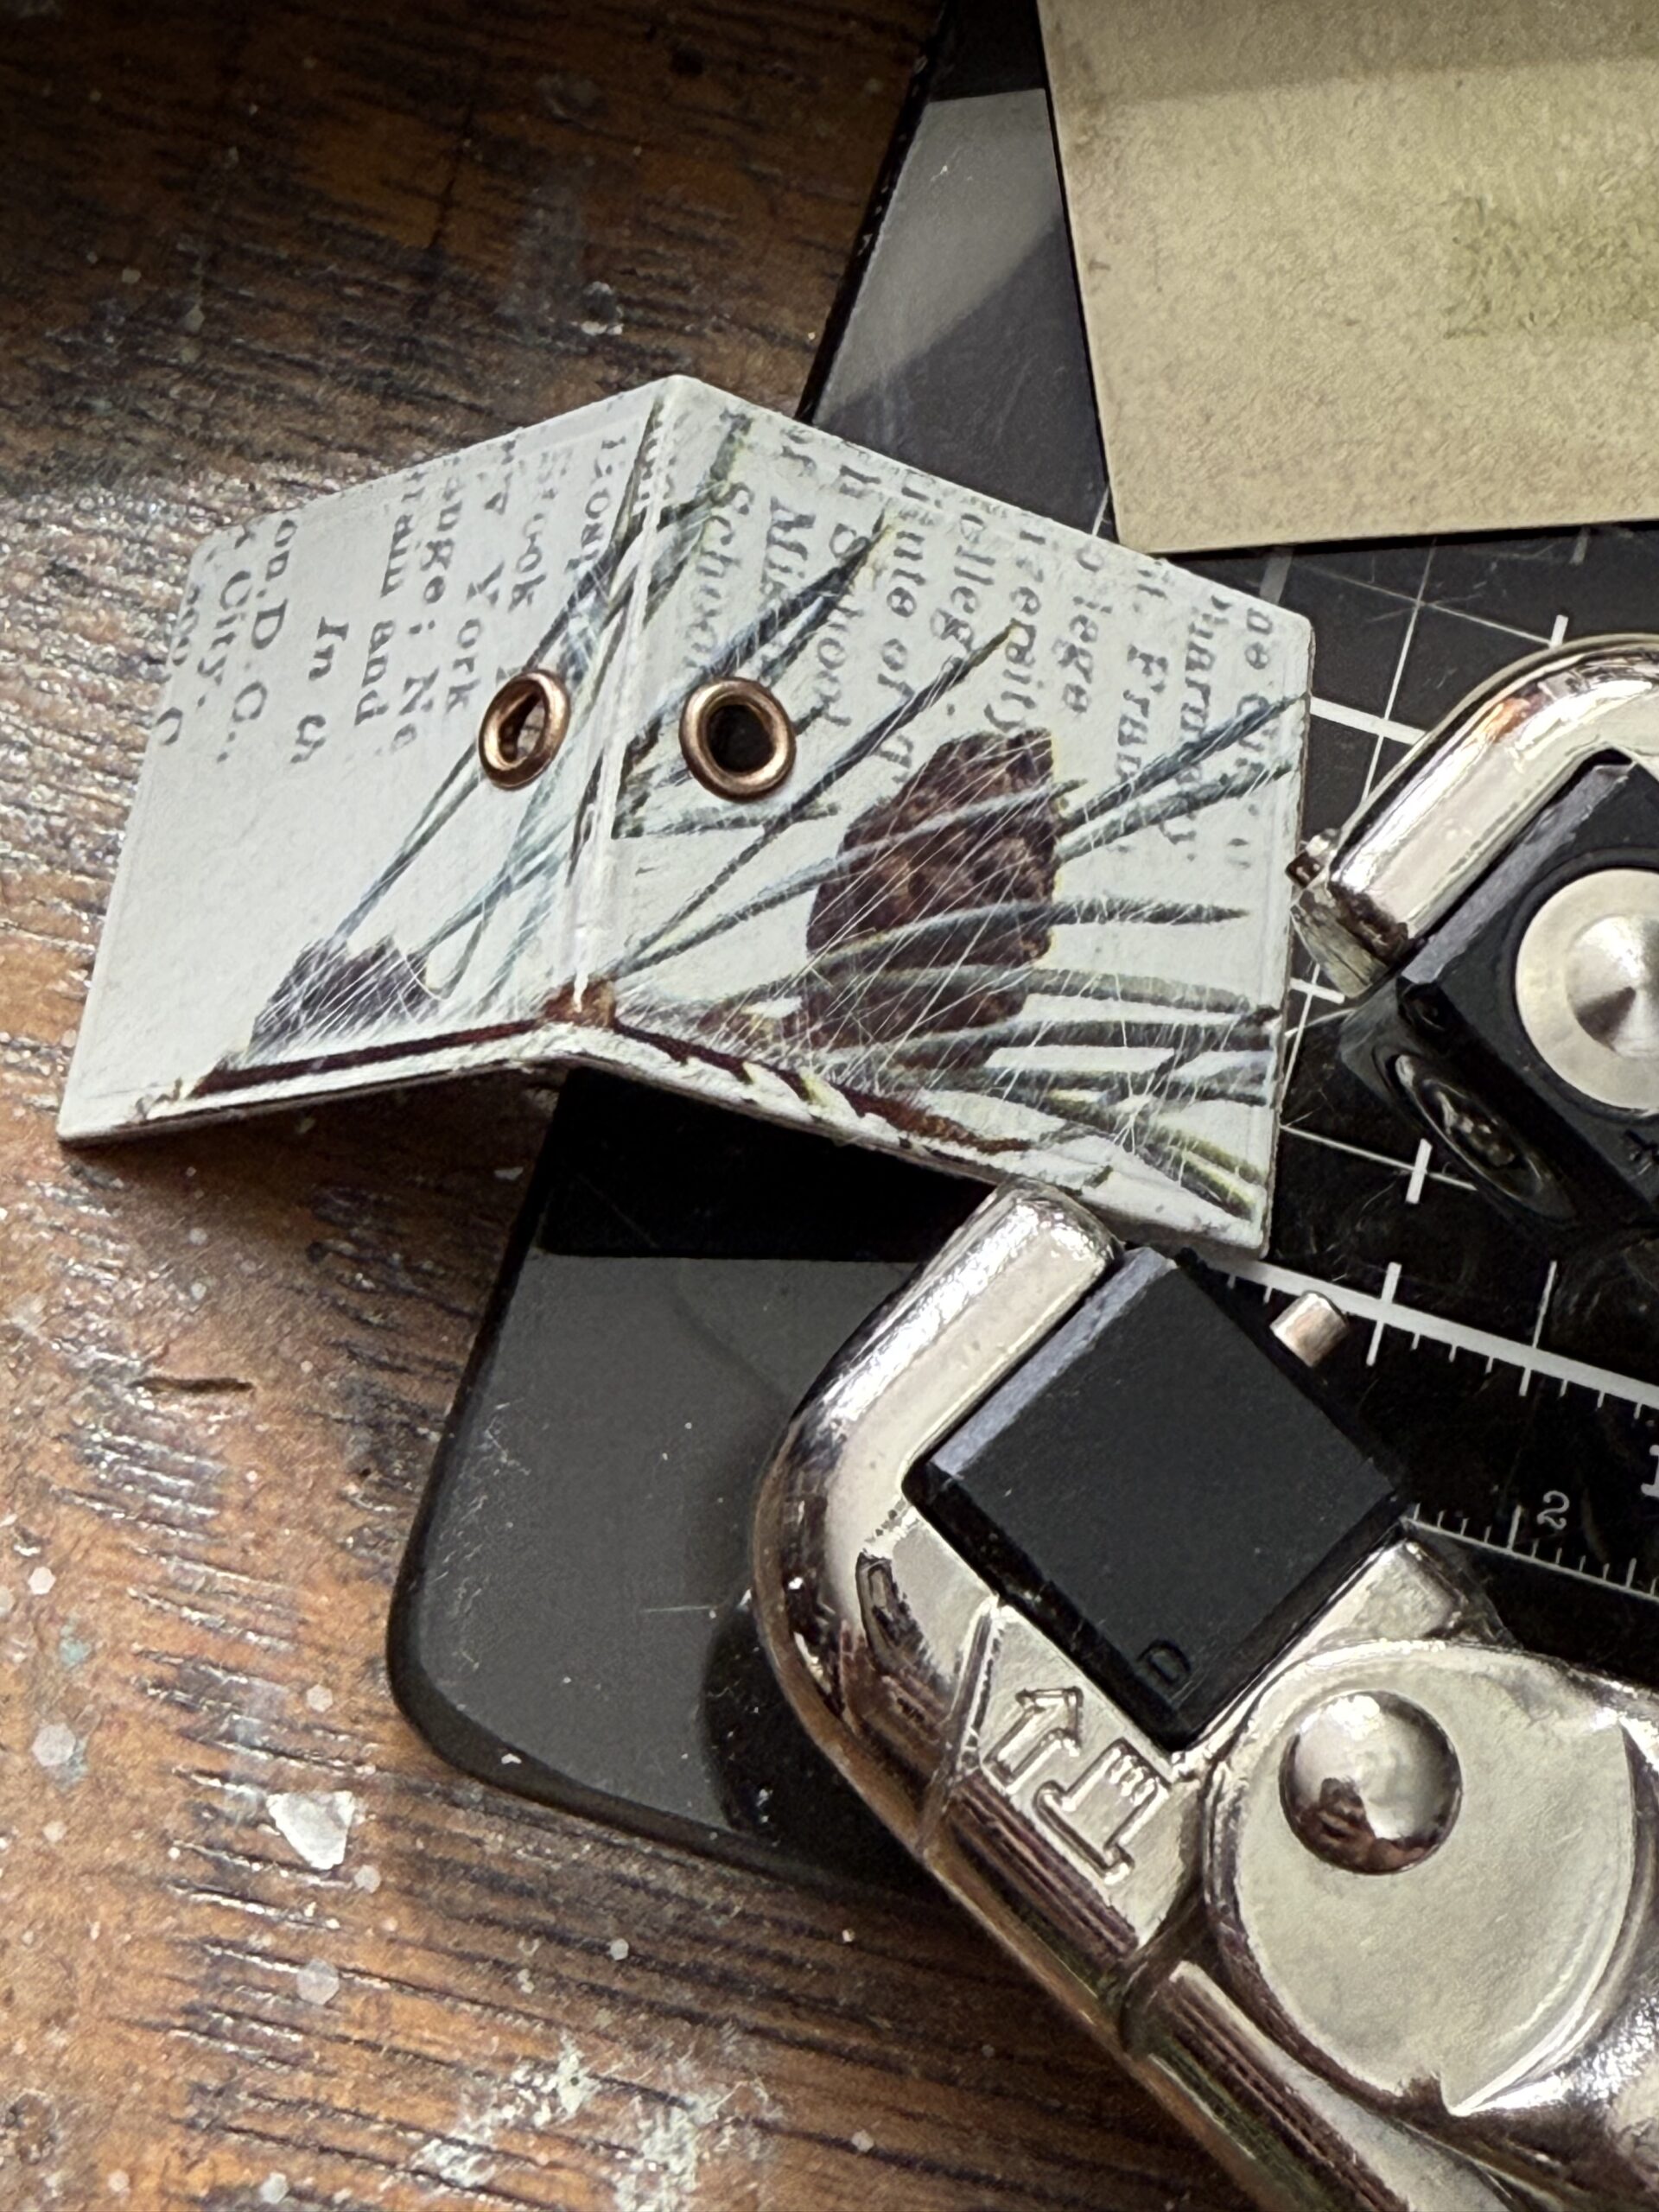
I knew I wanted to make these ornaments so I punched out two holes on the top of the roof on either side of the score line, then set some eyelets…
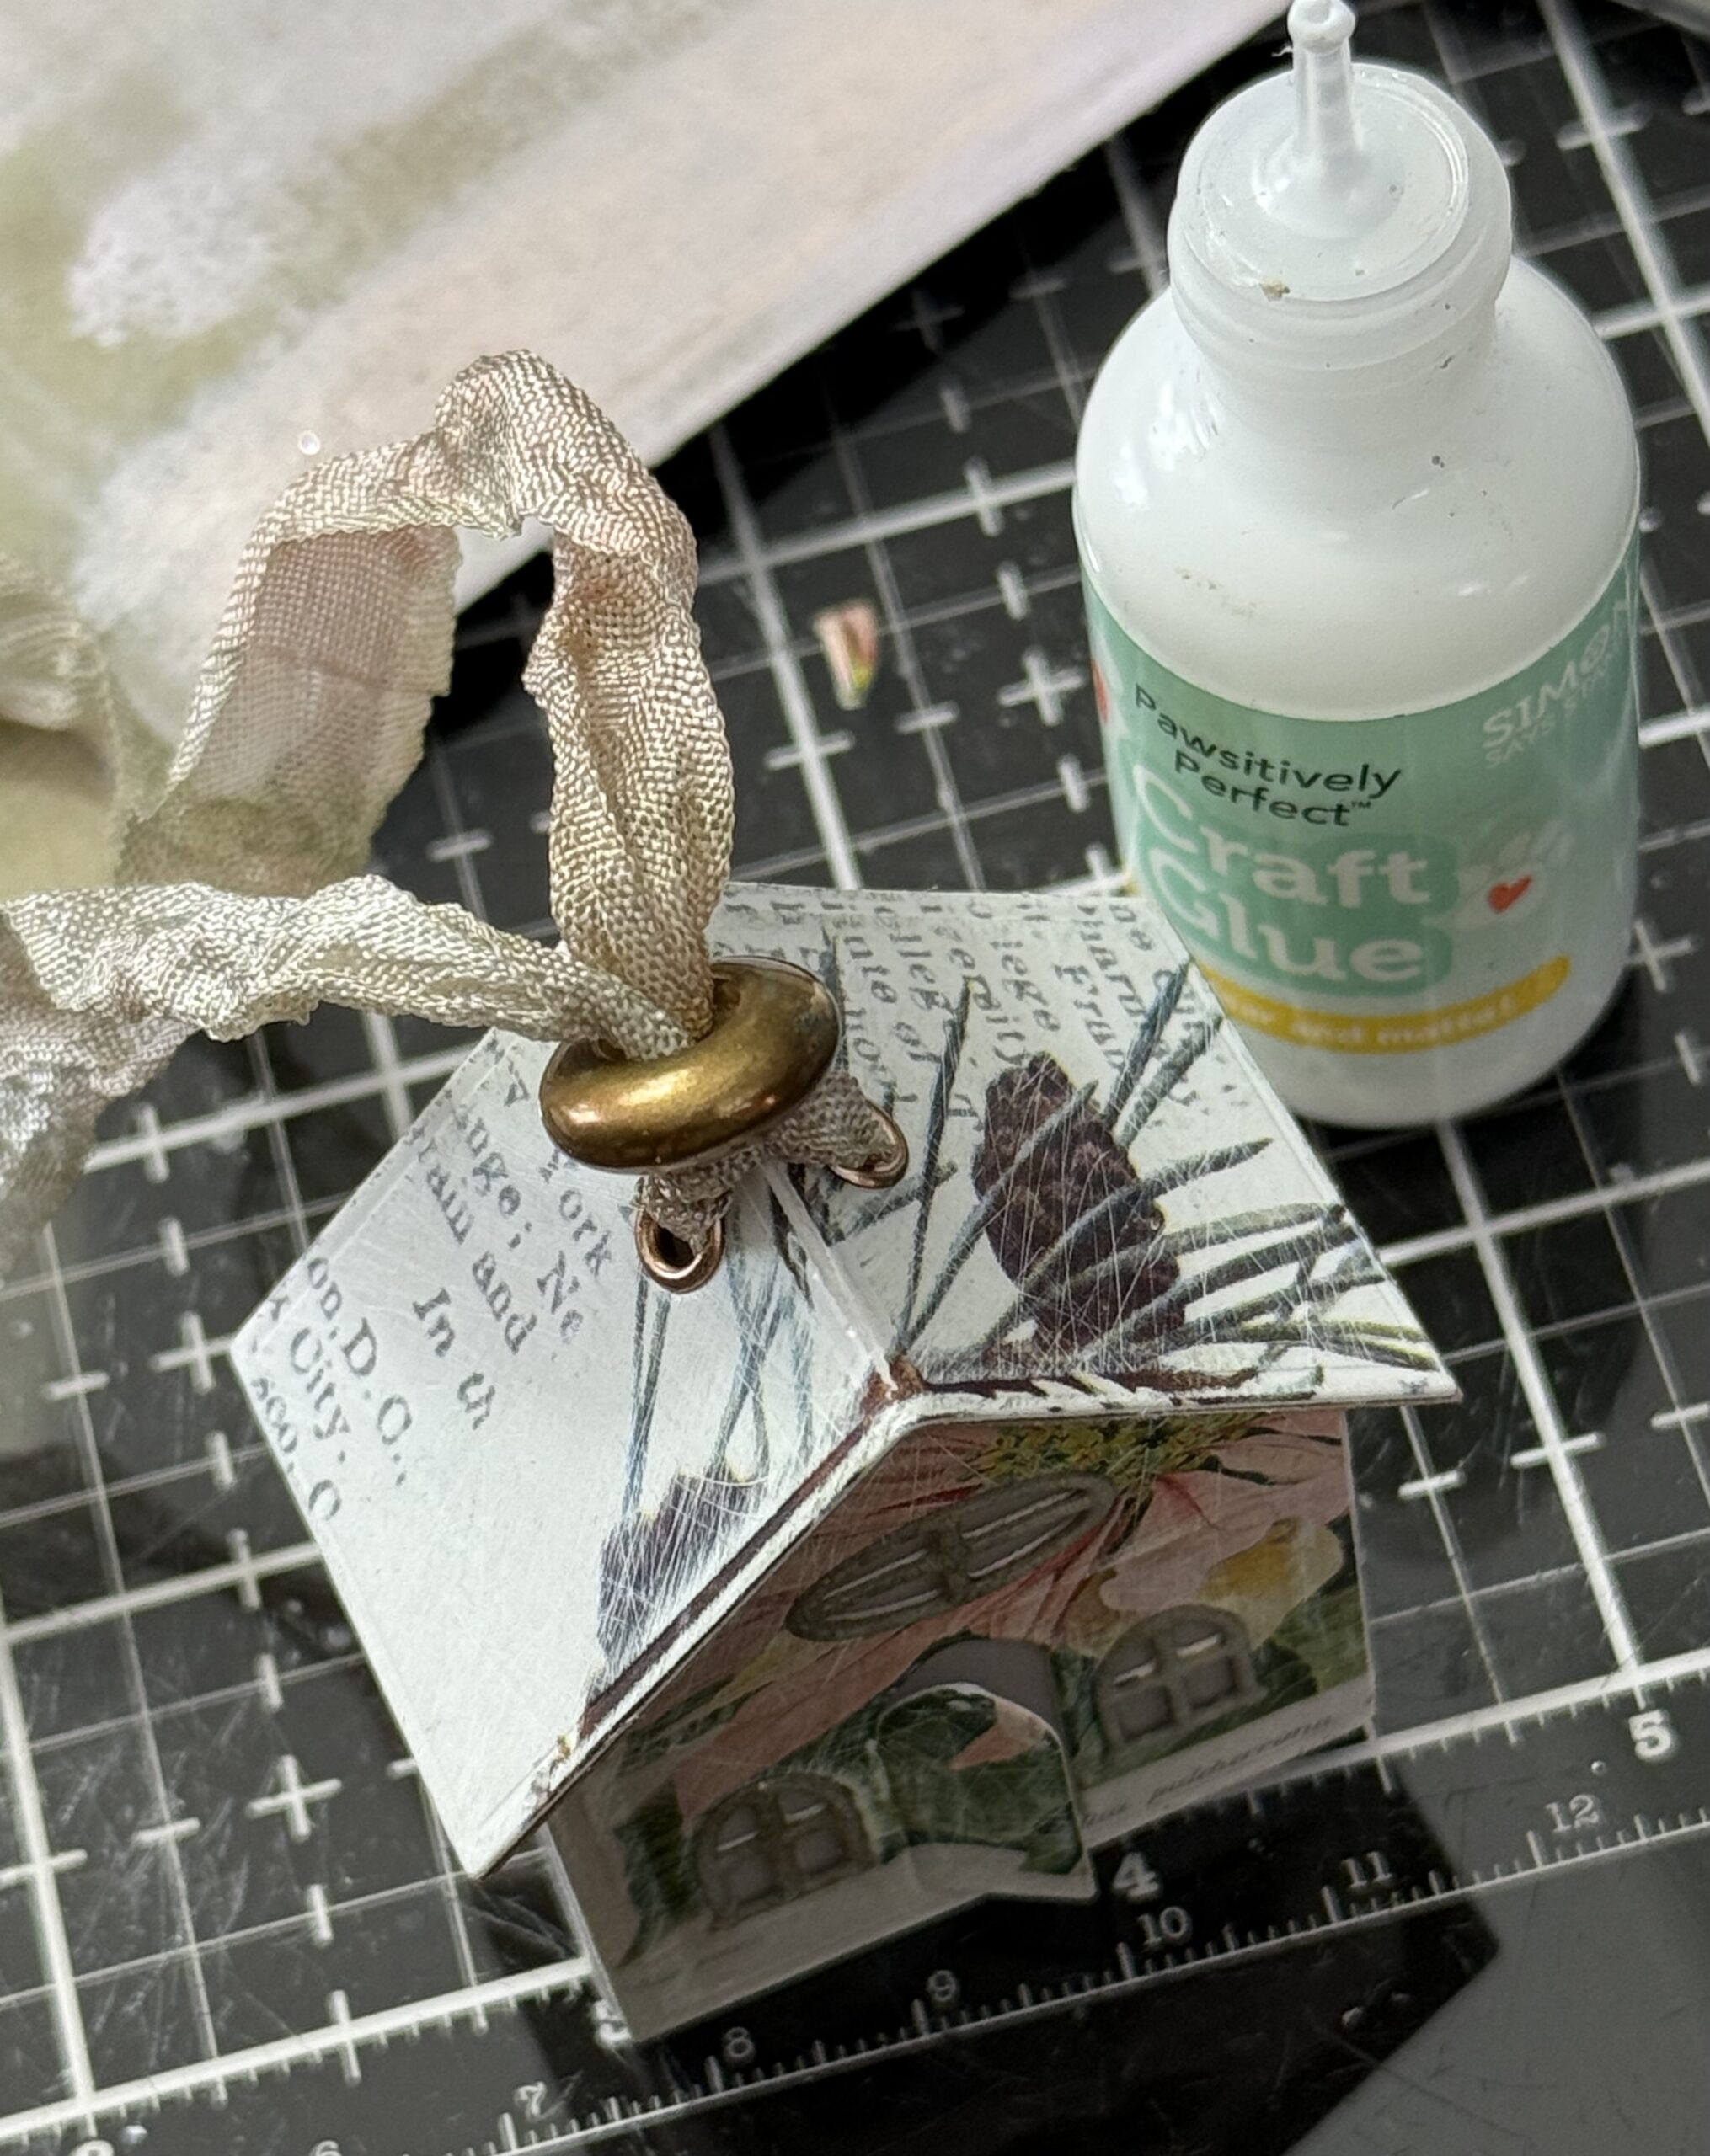
I laced in some inky ribbon into the holes then laced a two holed vintage button through the holes and tied a knot, I used some of the glue to add the roof in place then set it aside to dry.
While the glue dried, I cut out some more windows to decorate the sides of the house. I cut them out using some of the painted Kraft paper, then adhered them to a scrap of vellum paper and trimmed it to the size of the window.
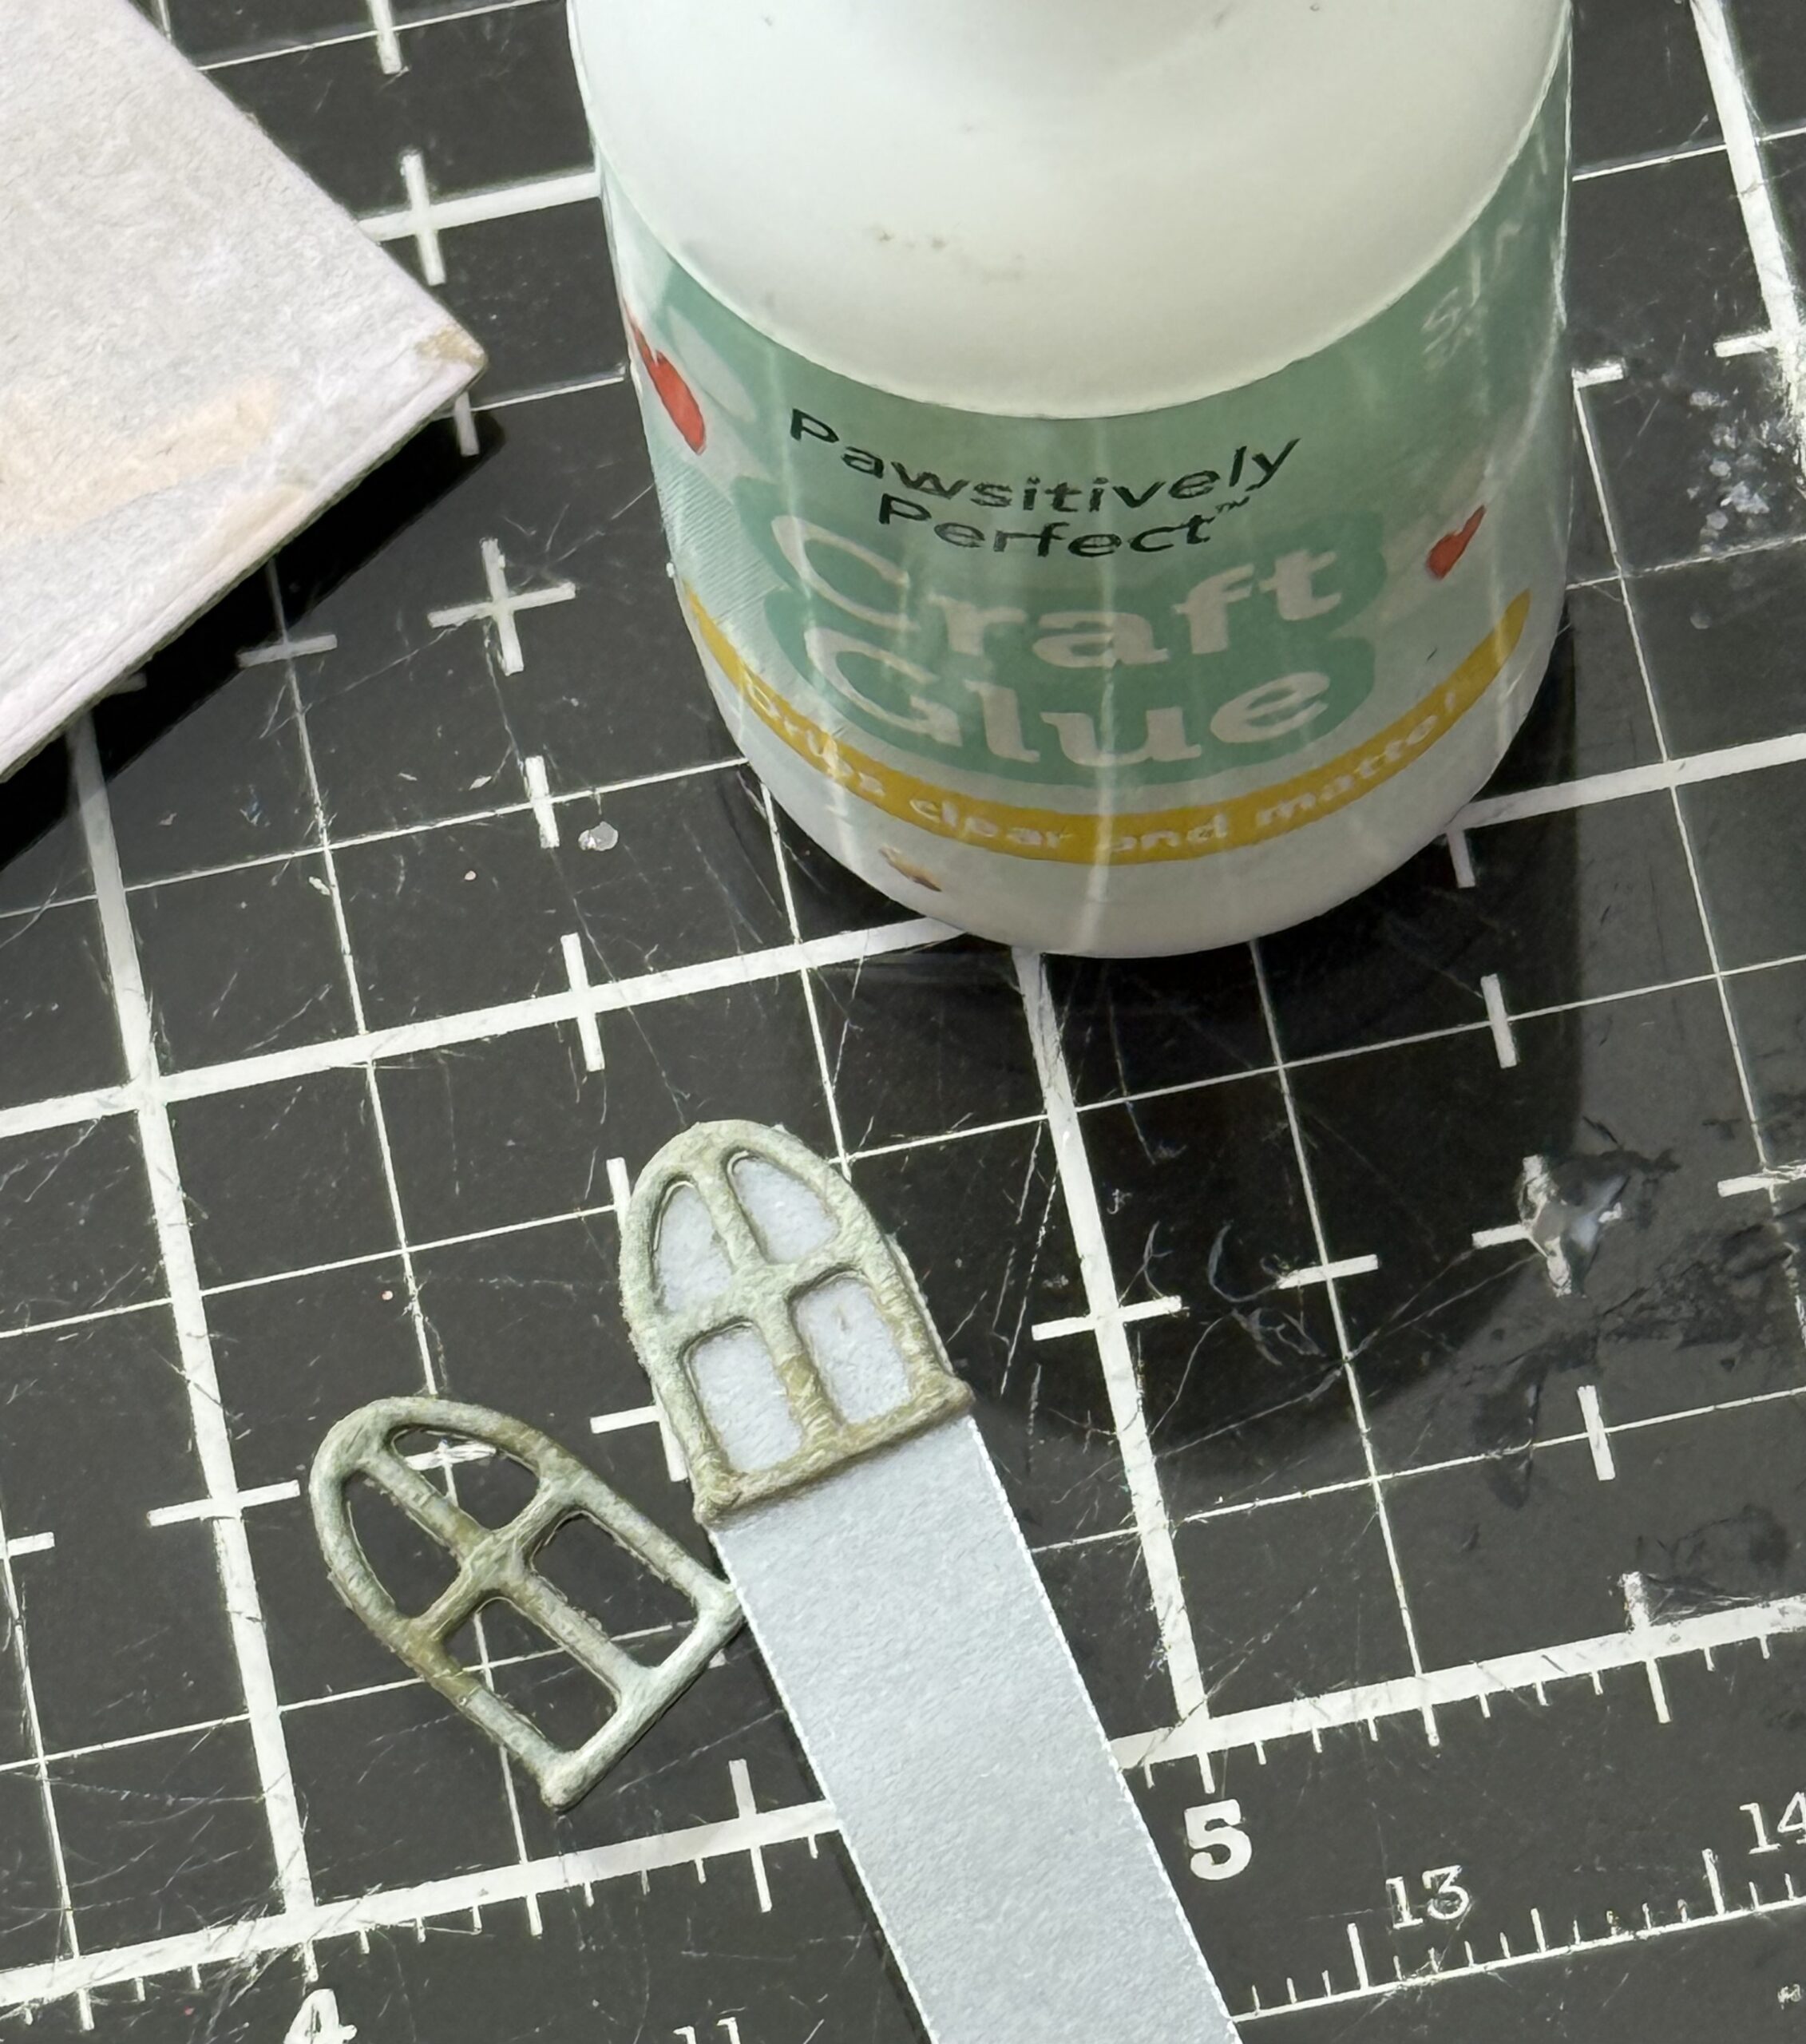
The windows were then adhered using the Craft Glue.
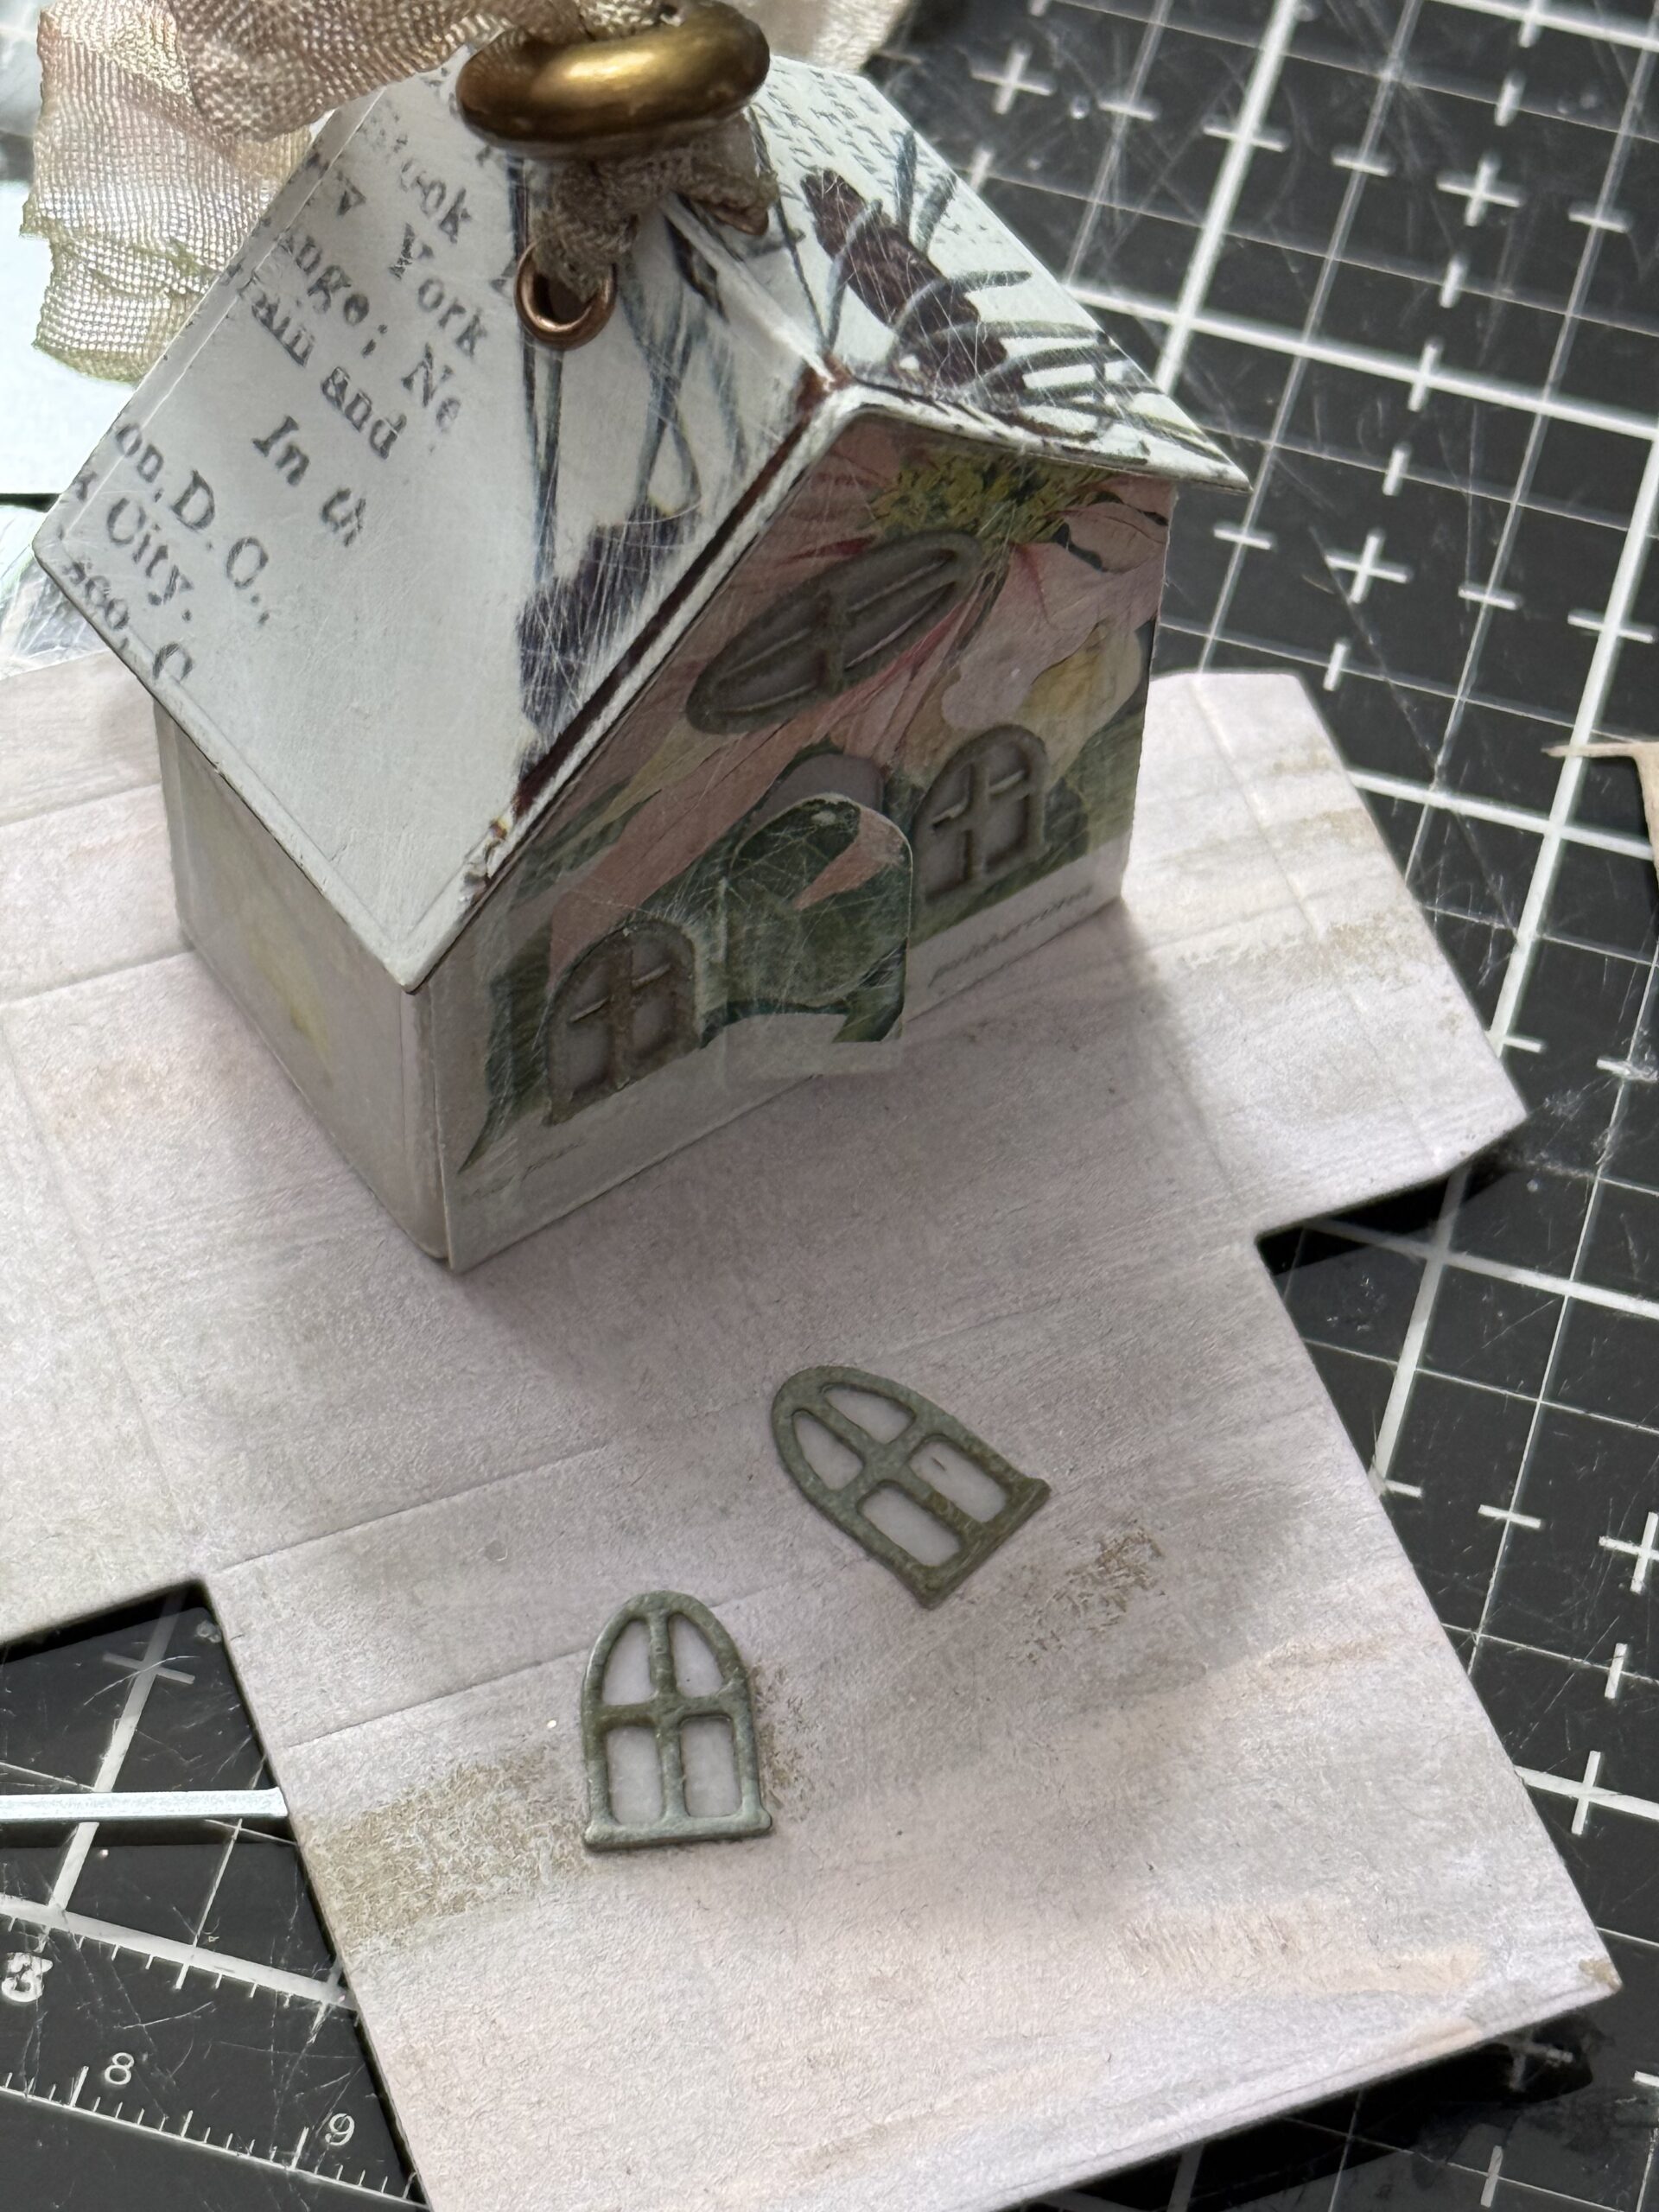
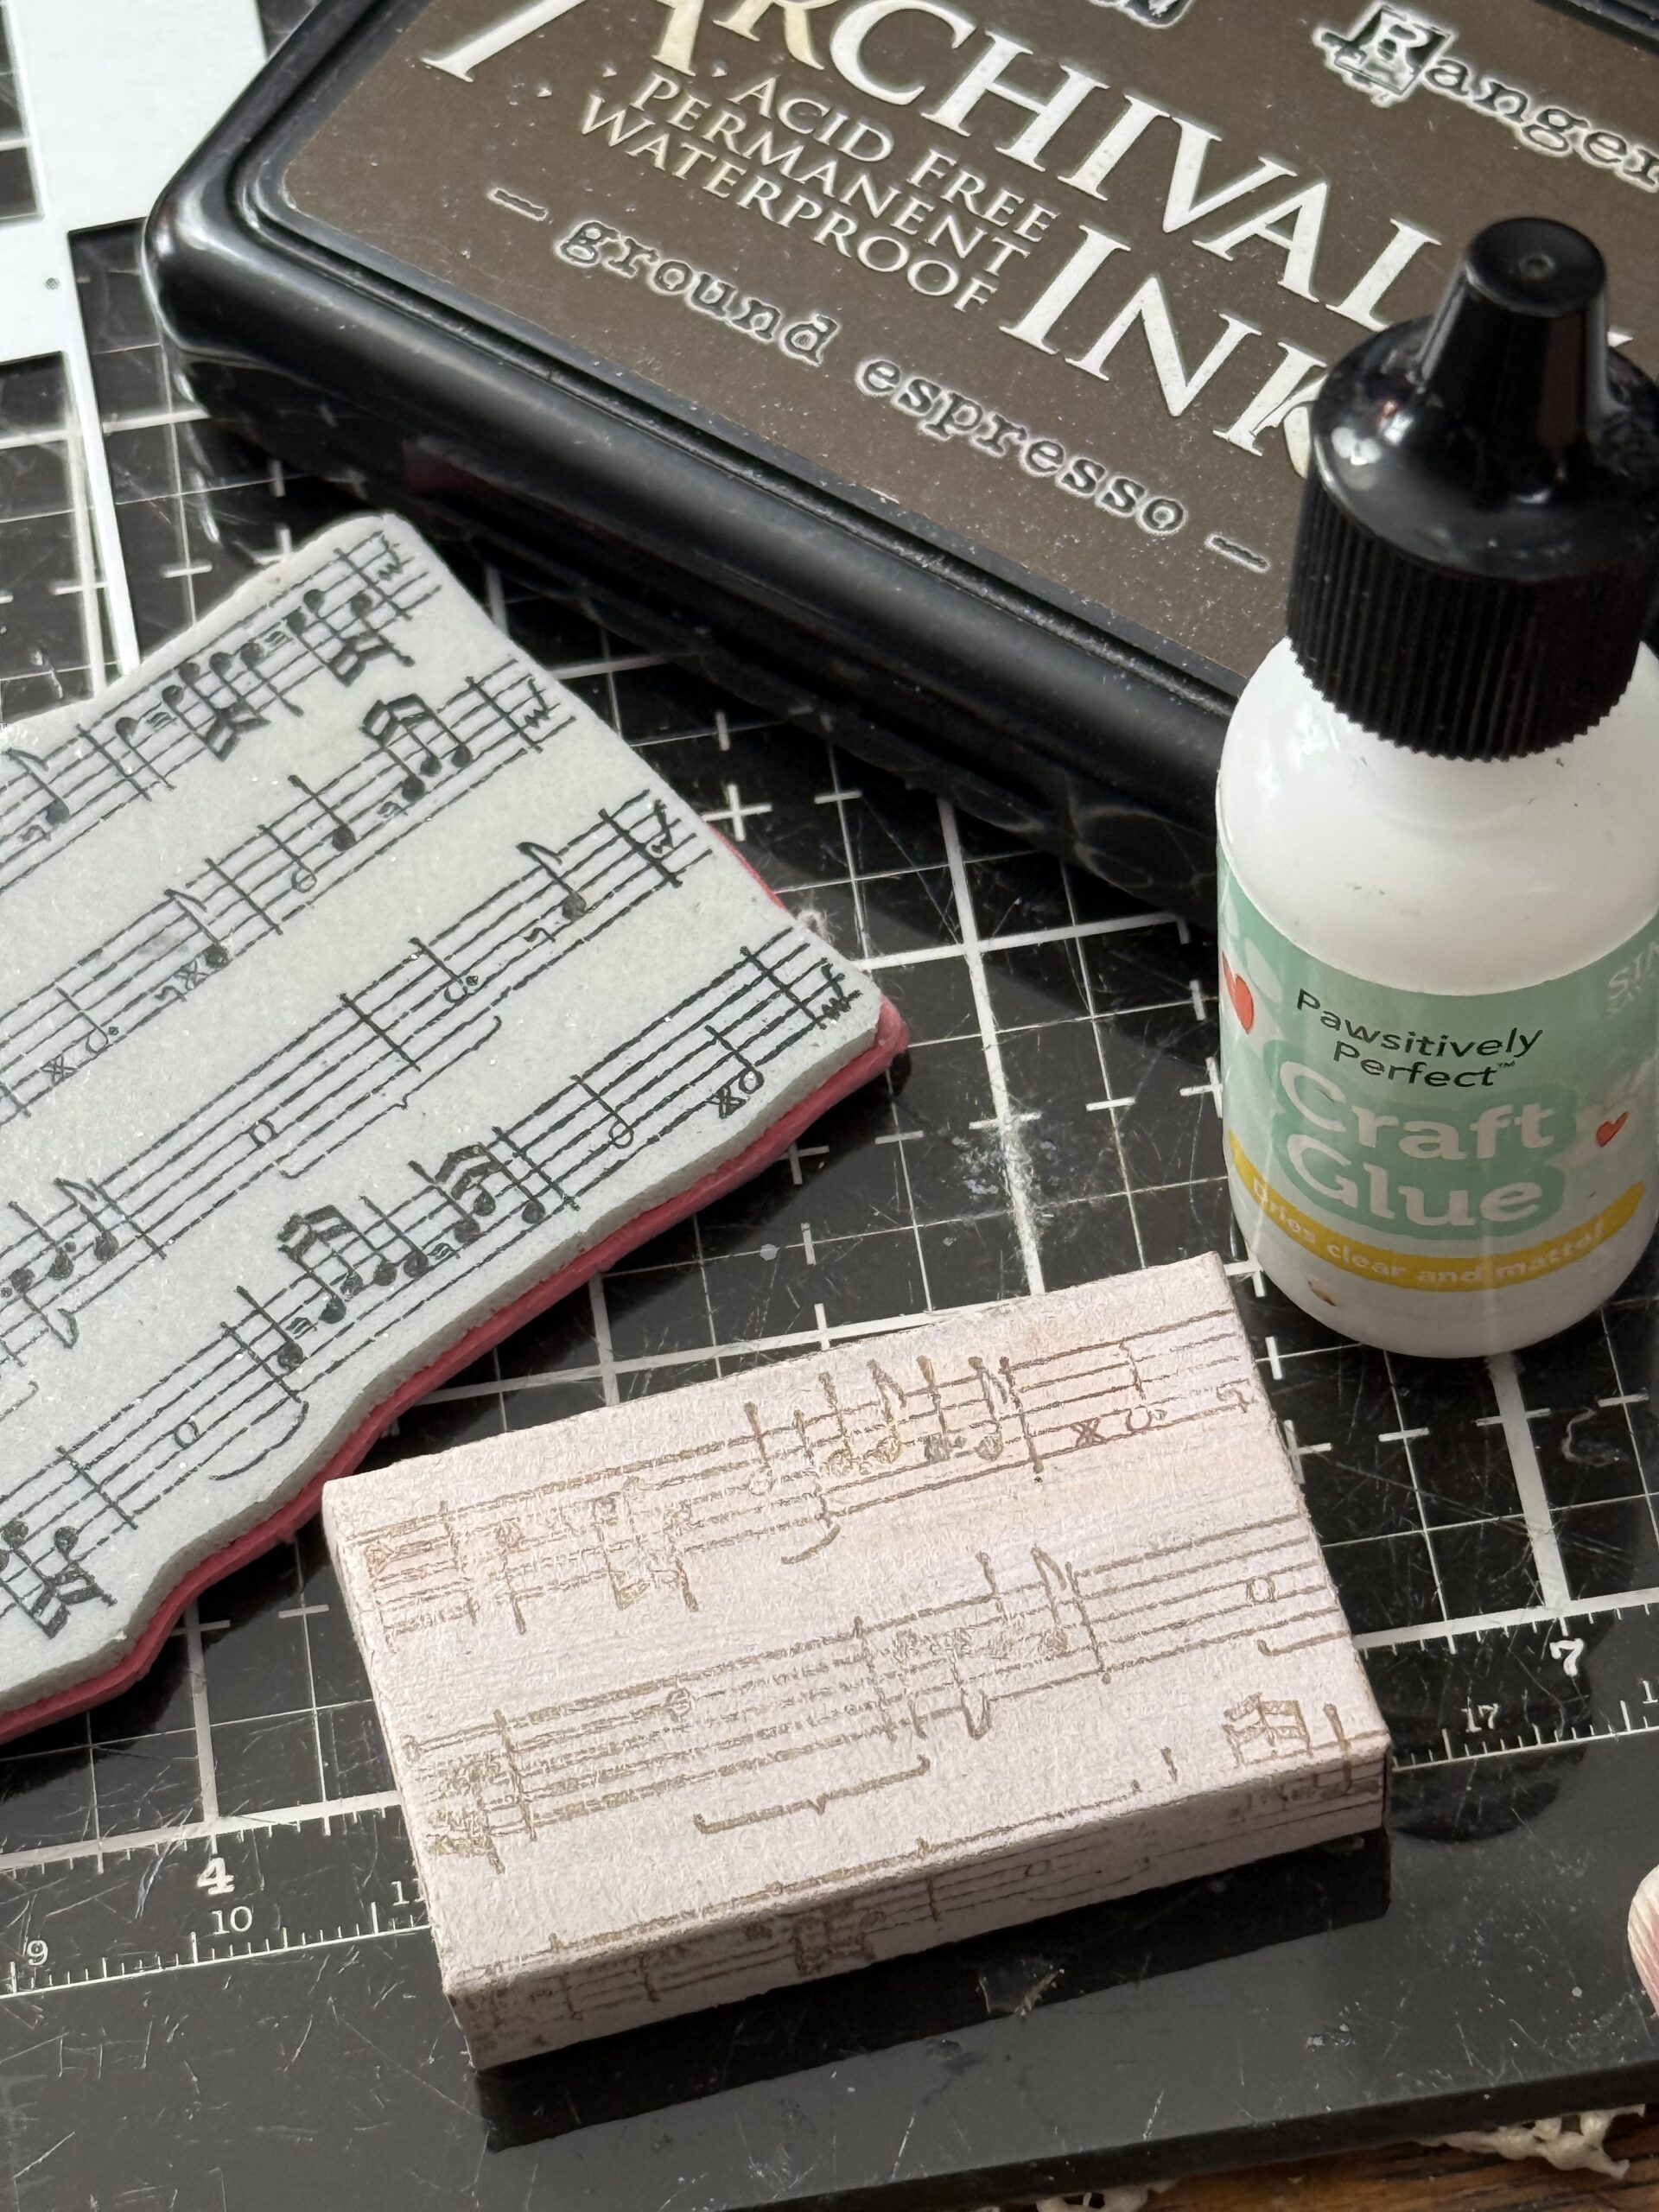
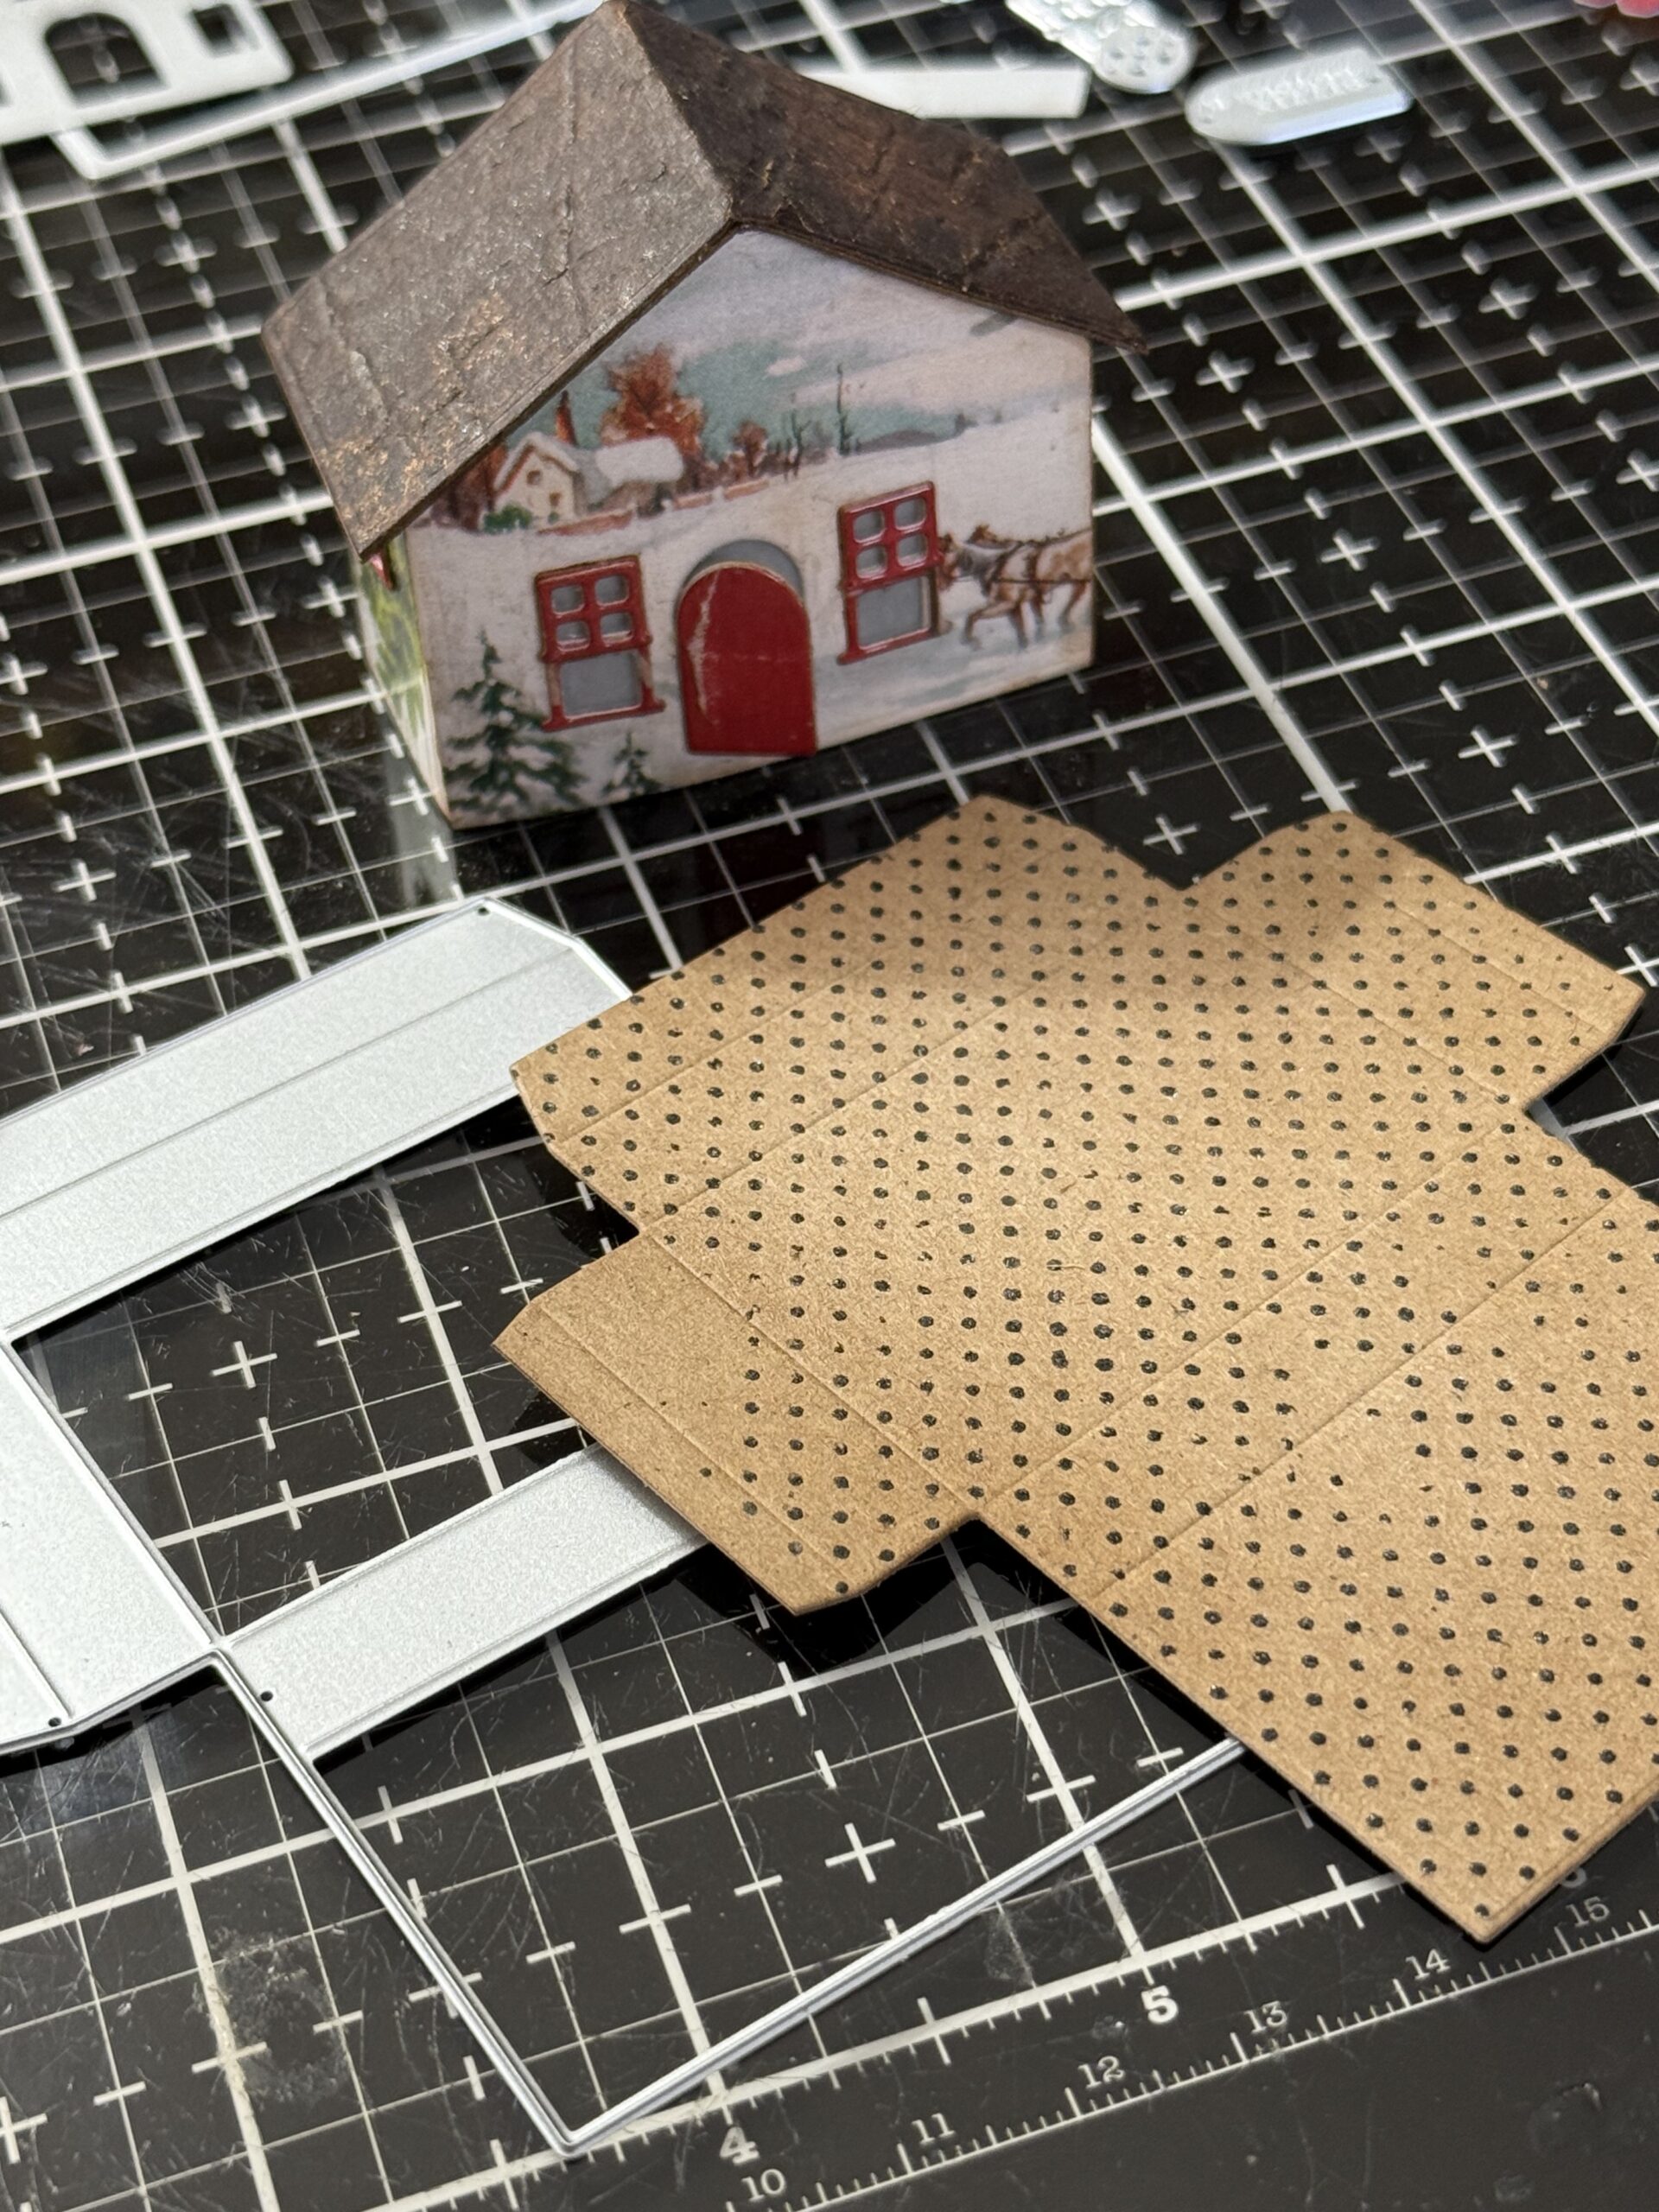
I cut out one of the Matchbox base pieces, then stamped a background stamp over top of it using a permanent ink, then folded the scored lines and adhered the box together using the glue.
I adhered the house to the top of the box and set it aside to dry.
While that one dried, I went on to building a second… I started by painting some Kraft heavystock paper with some Rustic Wilderness Distress Paint. This paper would be used to cut the bottom matchbox base and for the window frames of my next house ornament.
After the paint was dry, I cut out the matchbox piece and cut out a set of house pieces using some more pieces of the Layers Christmas Ephemera. This time I used the tall house design. I did the same process as I had before with sanding off a little bit of the shine to add to the vintage feel I was going for.
I also cut out the window frames using the green painted paper too and cut out the selected window and door combo and cut out a circle window for the top point of the house.
I sanded the pieces using my blending tool and sanding disk and cut out the matchbox base out of the green Kraft paper.
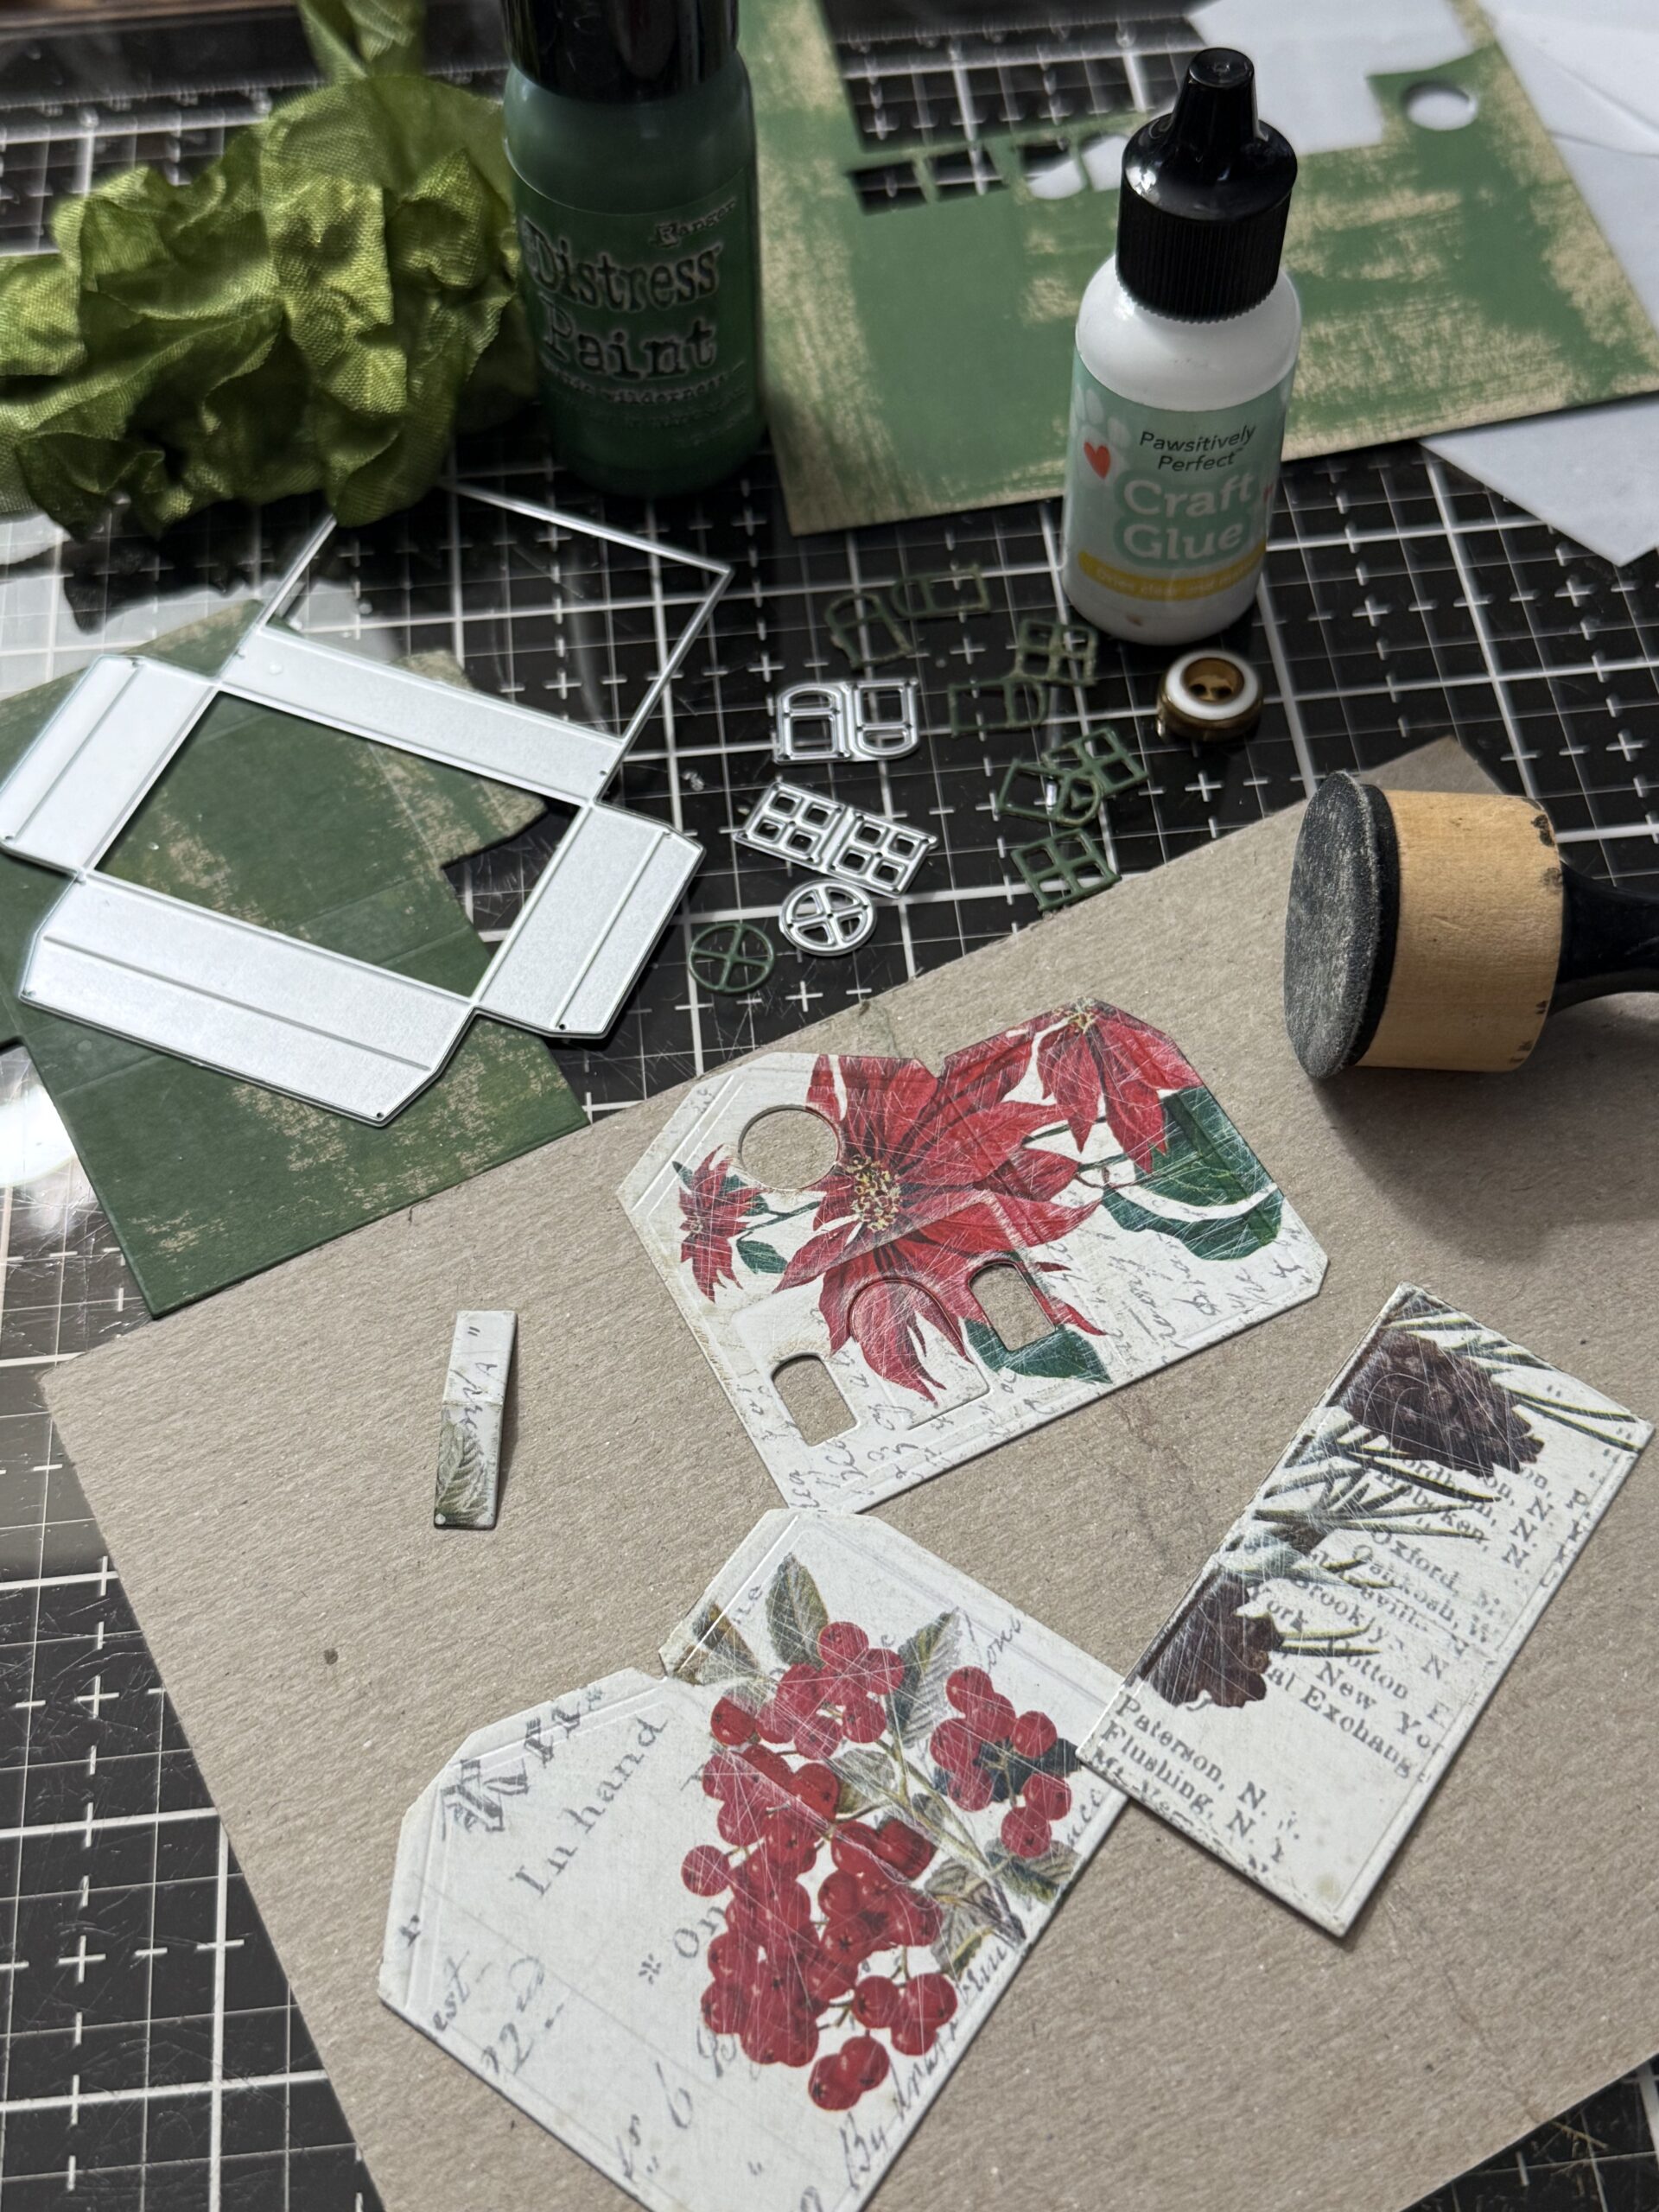
I folded the scored lines, then cut a piece of vellum to fit inside the house over the window openings.
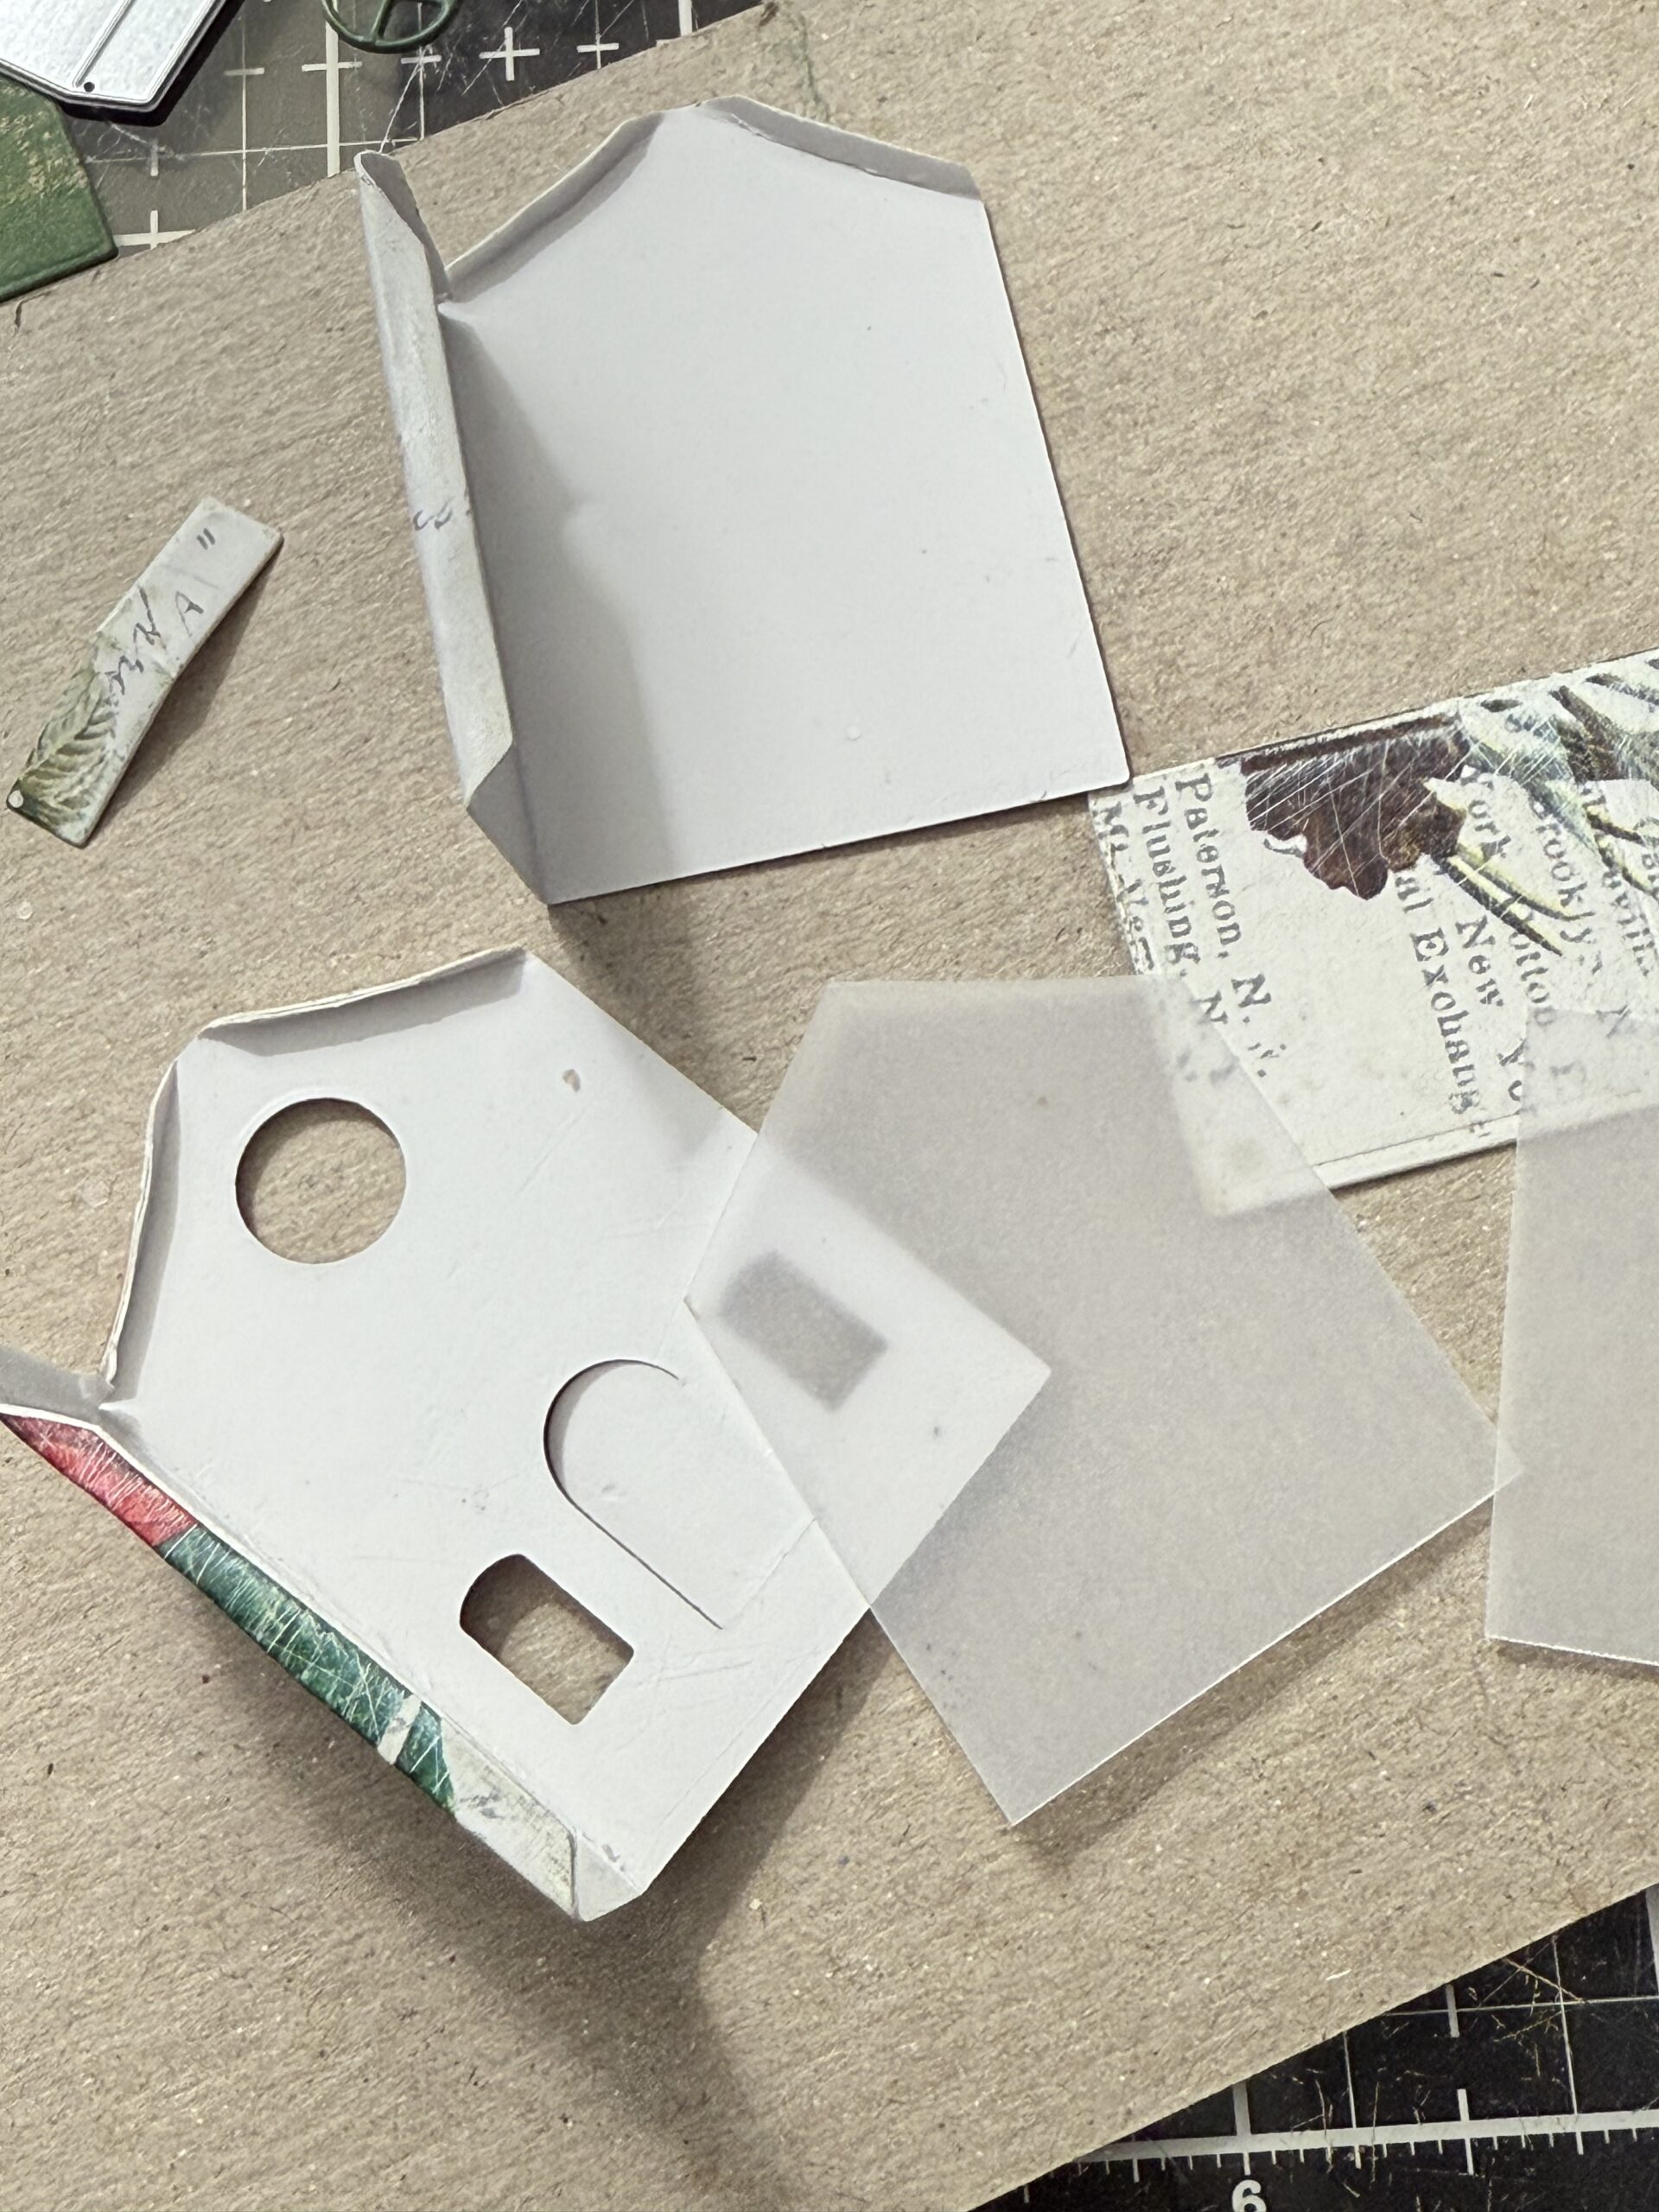
I used some craft glue to the house and adhered the vellum in place.
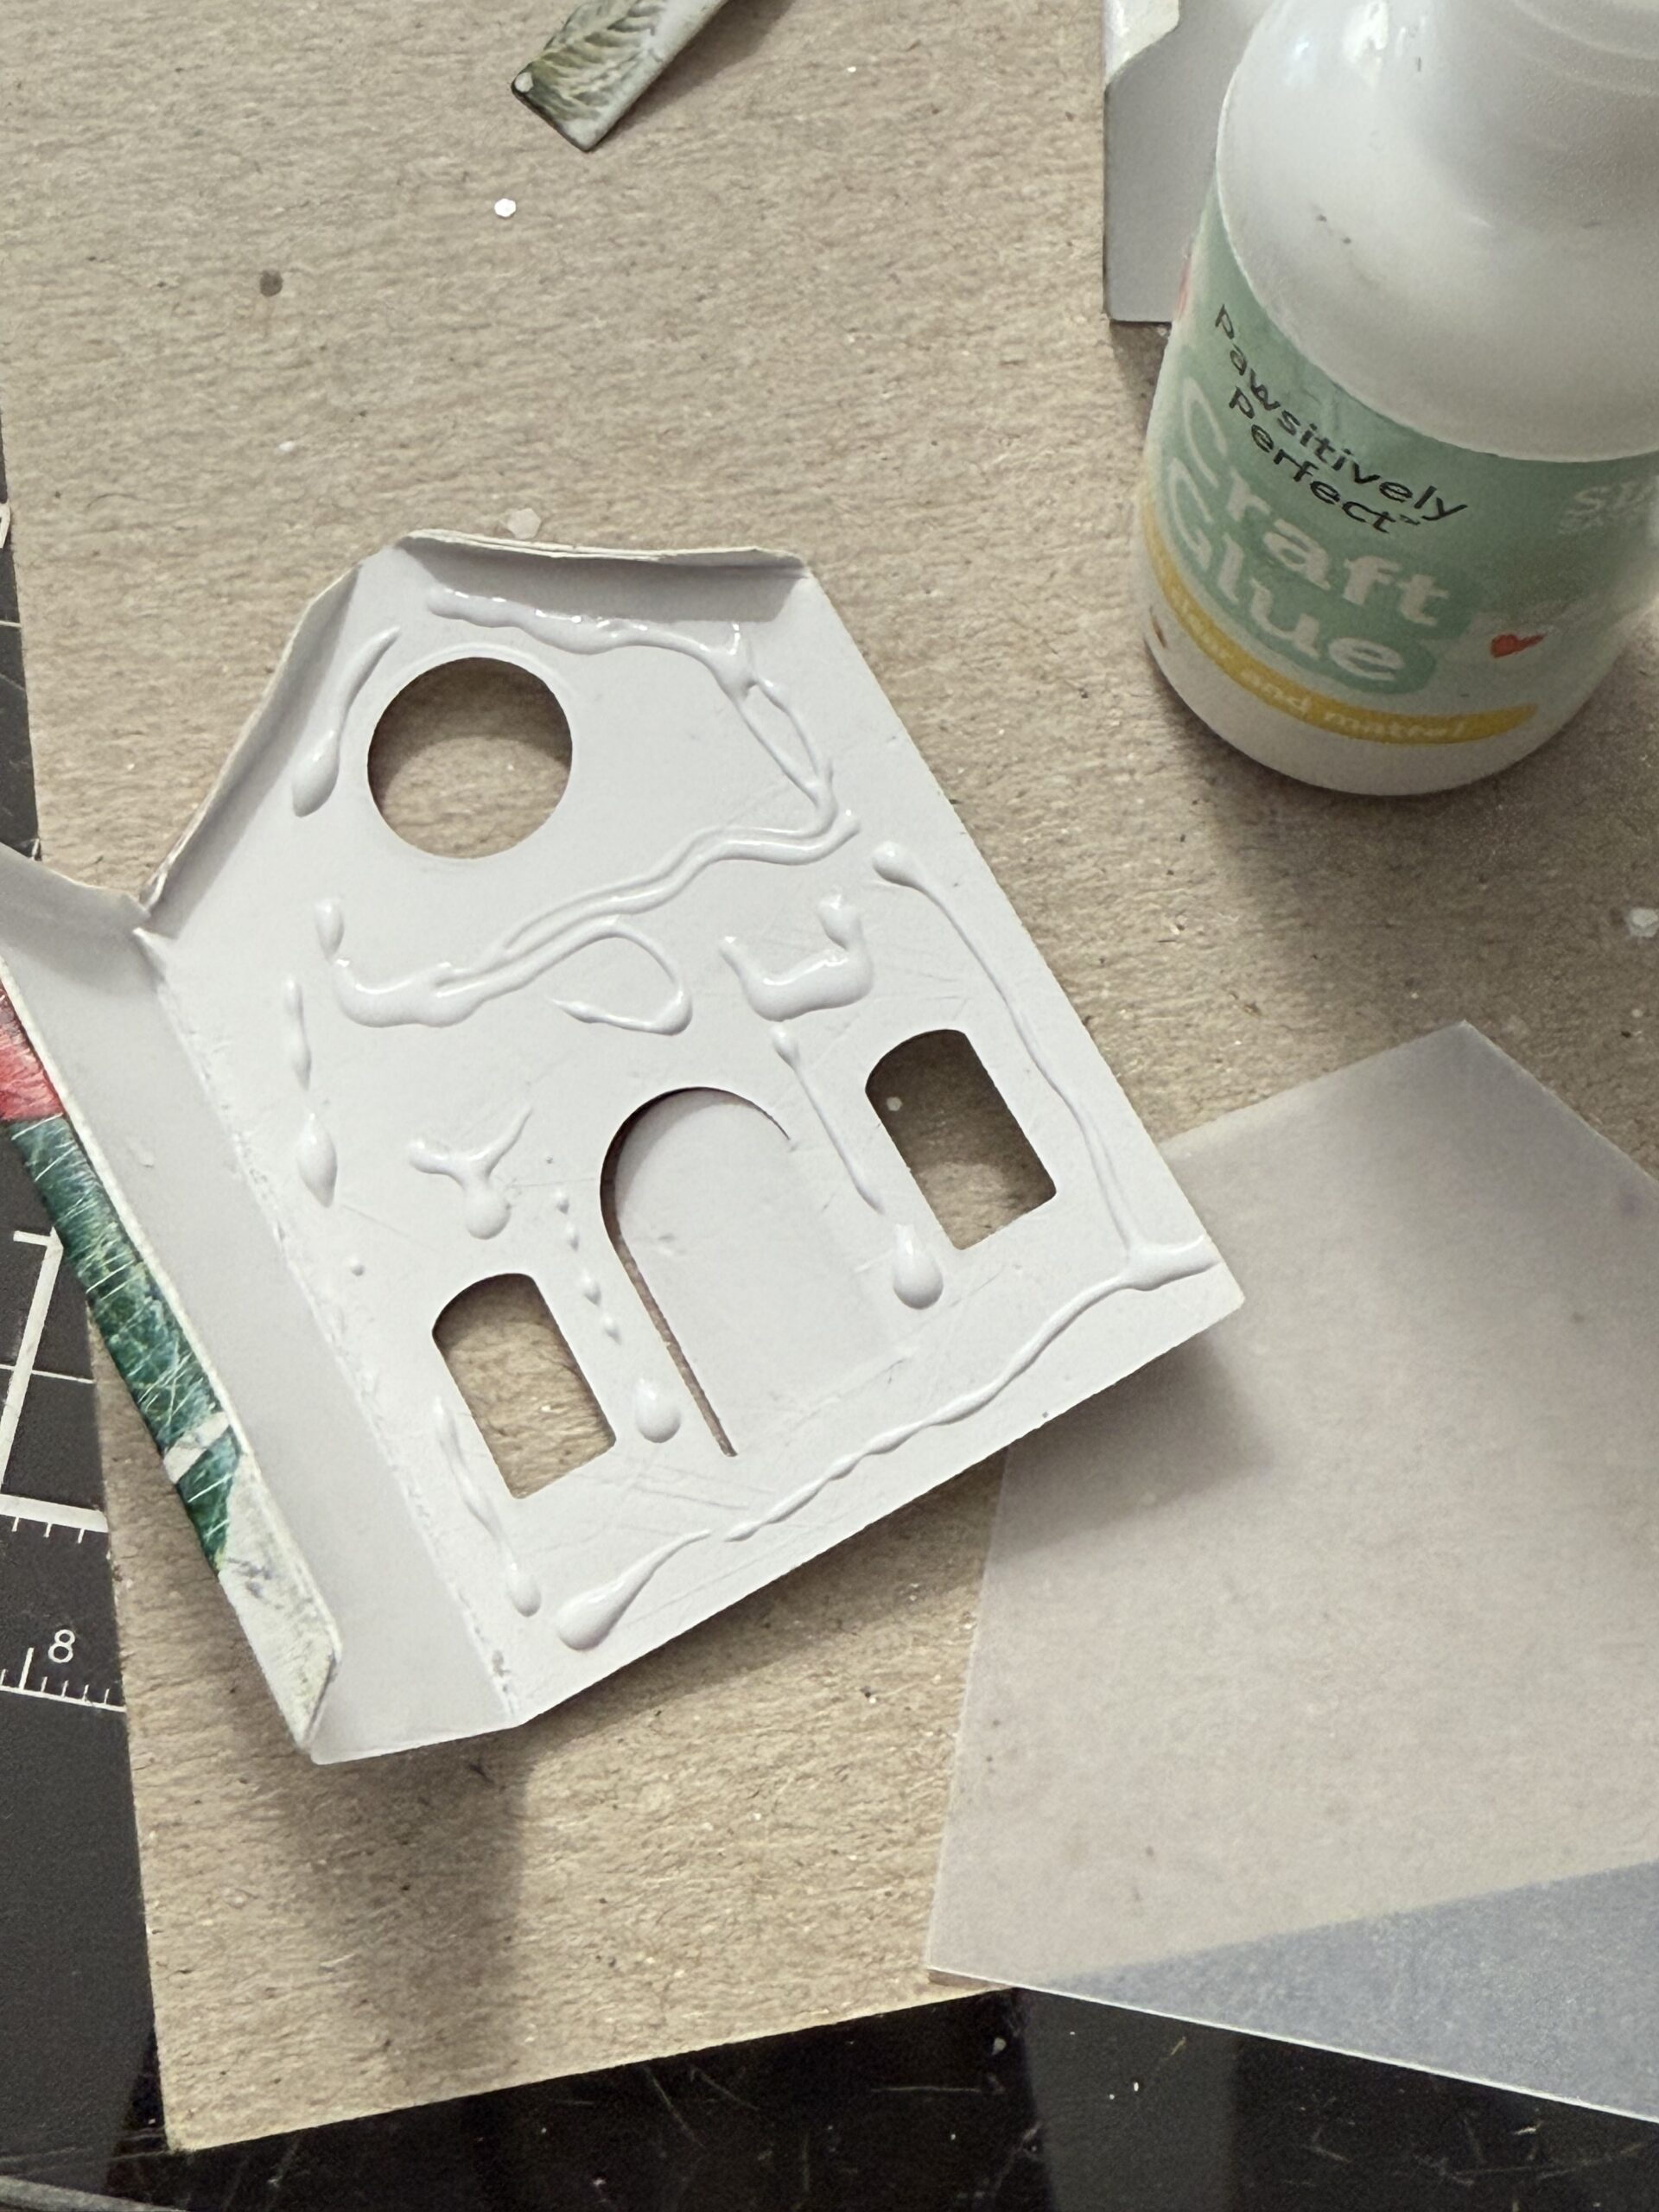
Then I used the adhesive again and build the house base and added the eyelets to the top of the roof and ribbon.
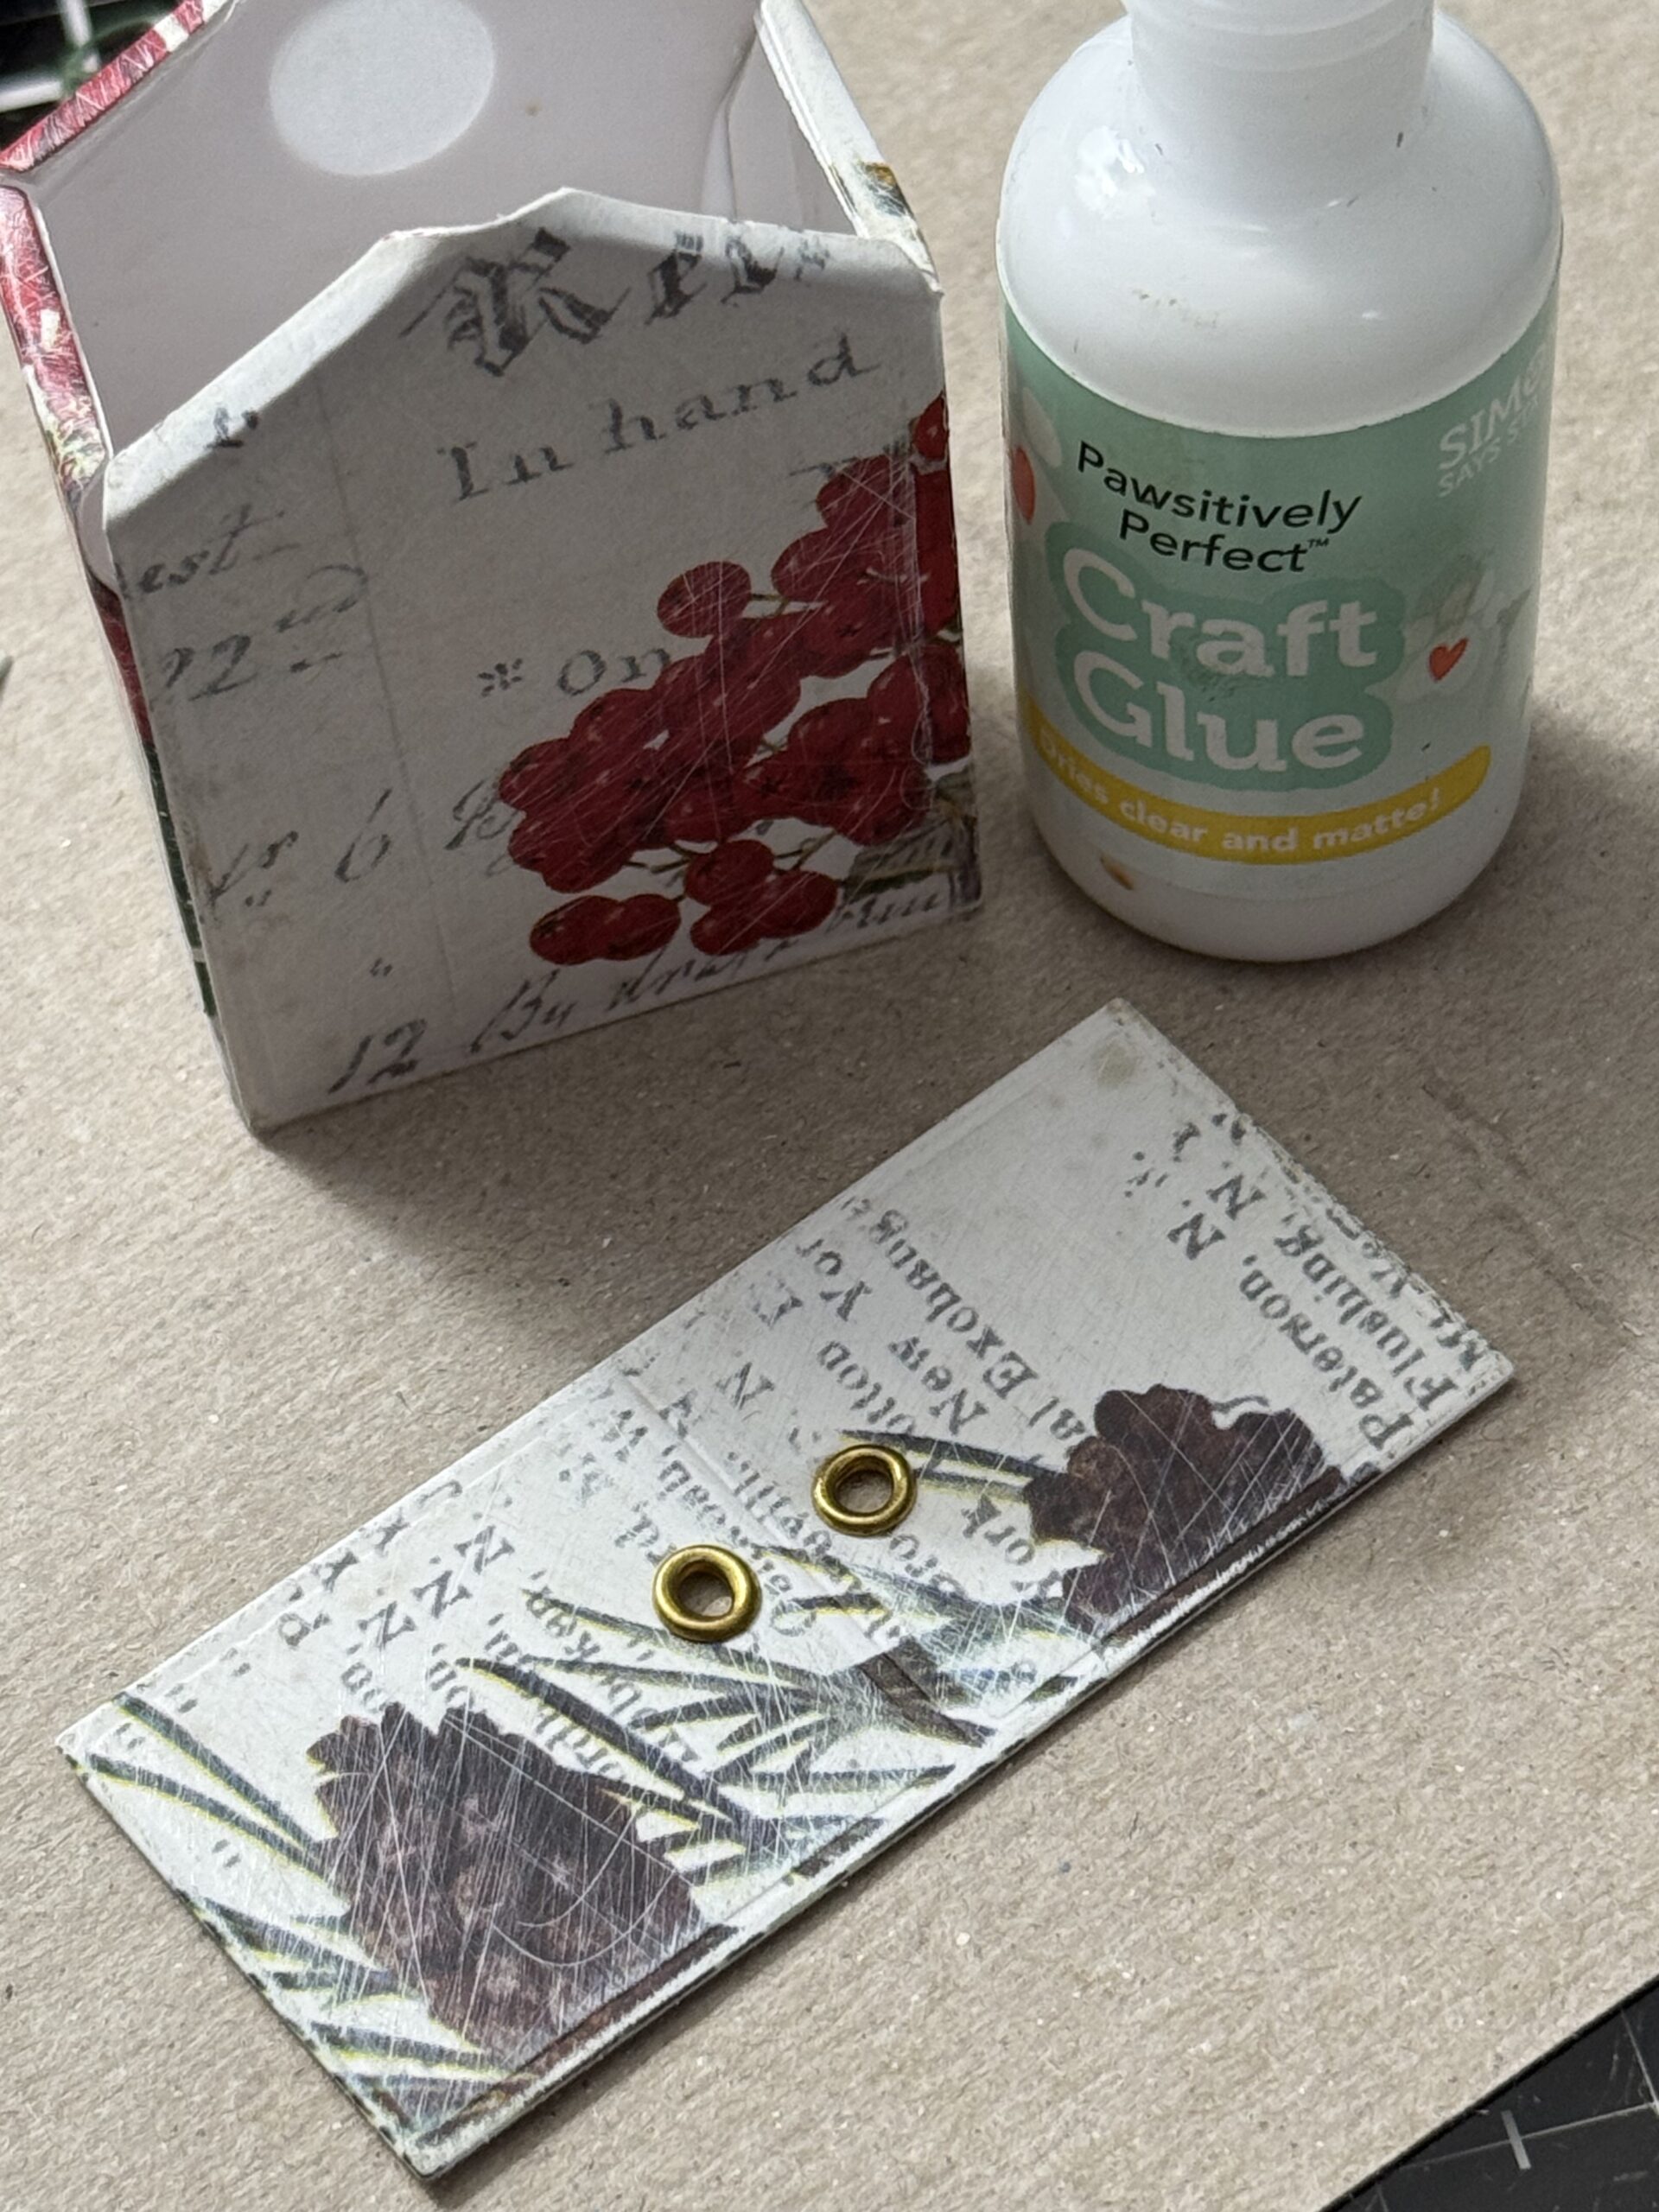
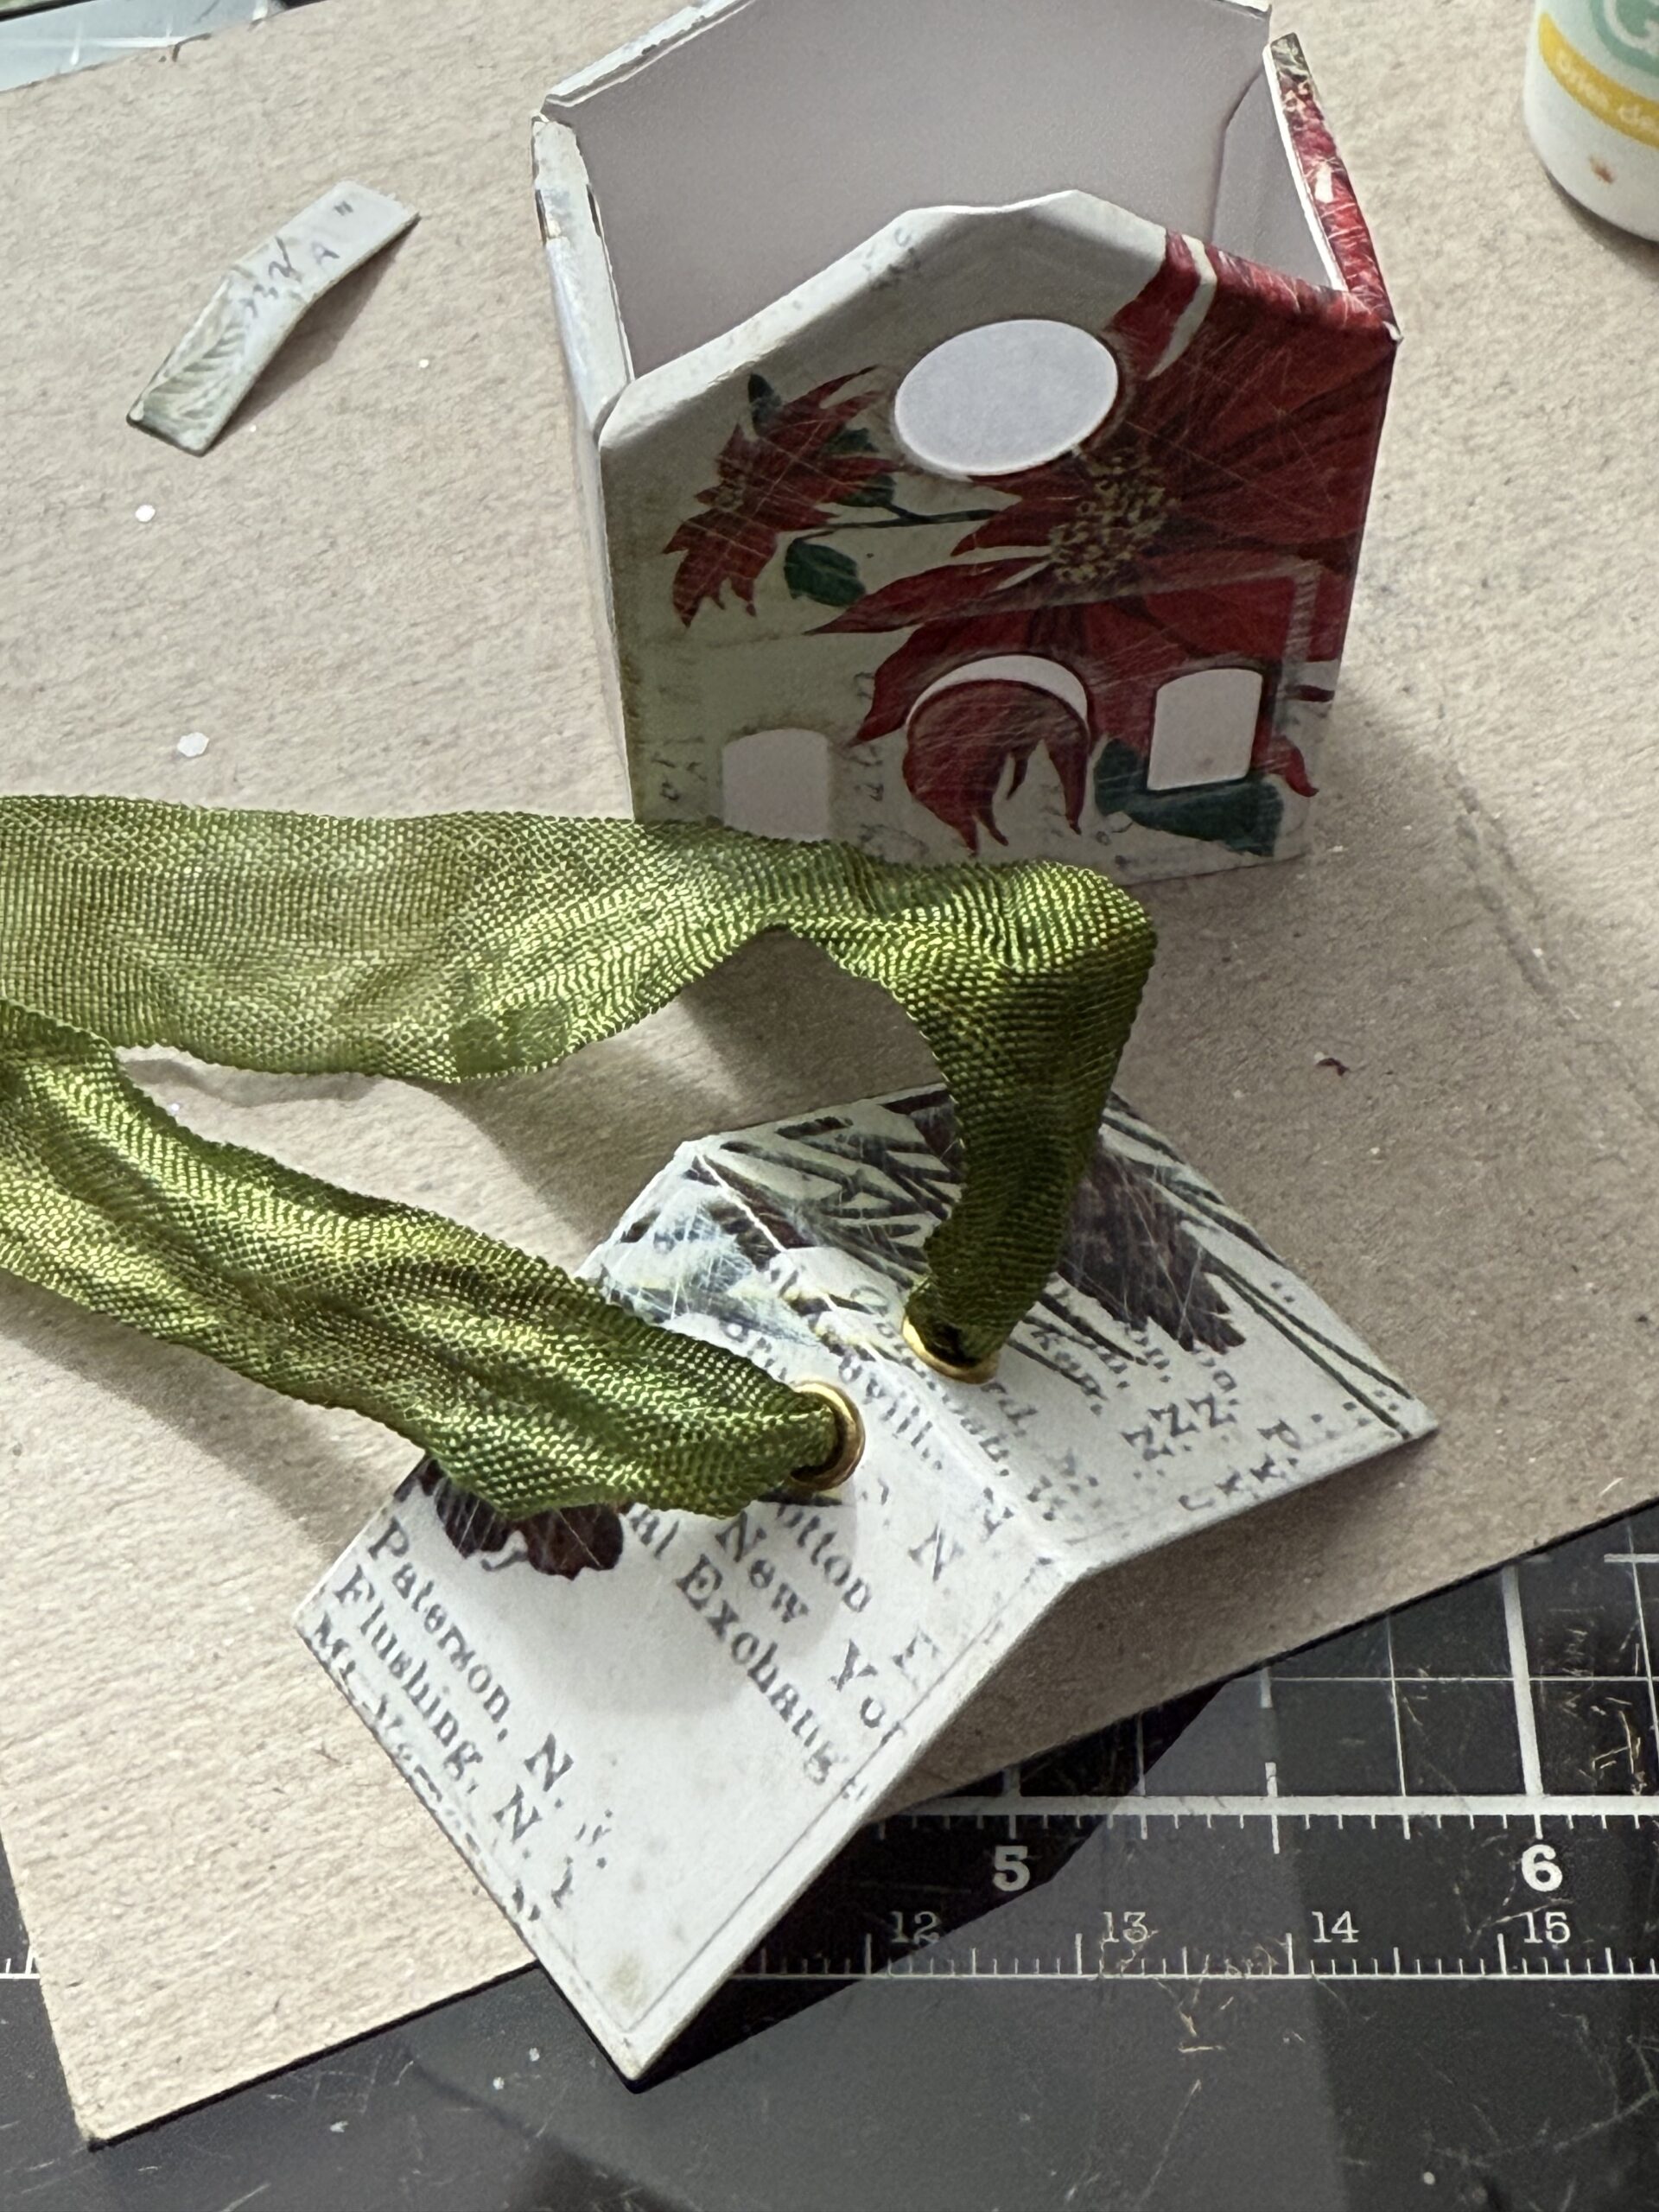
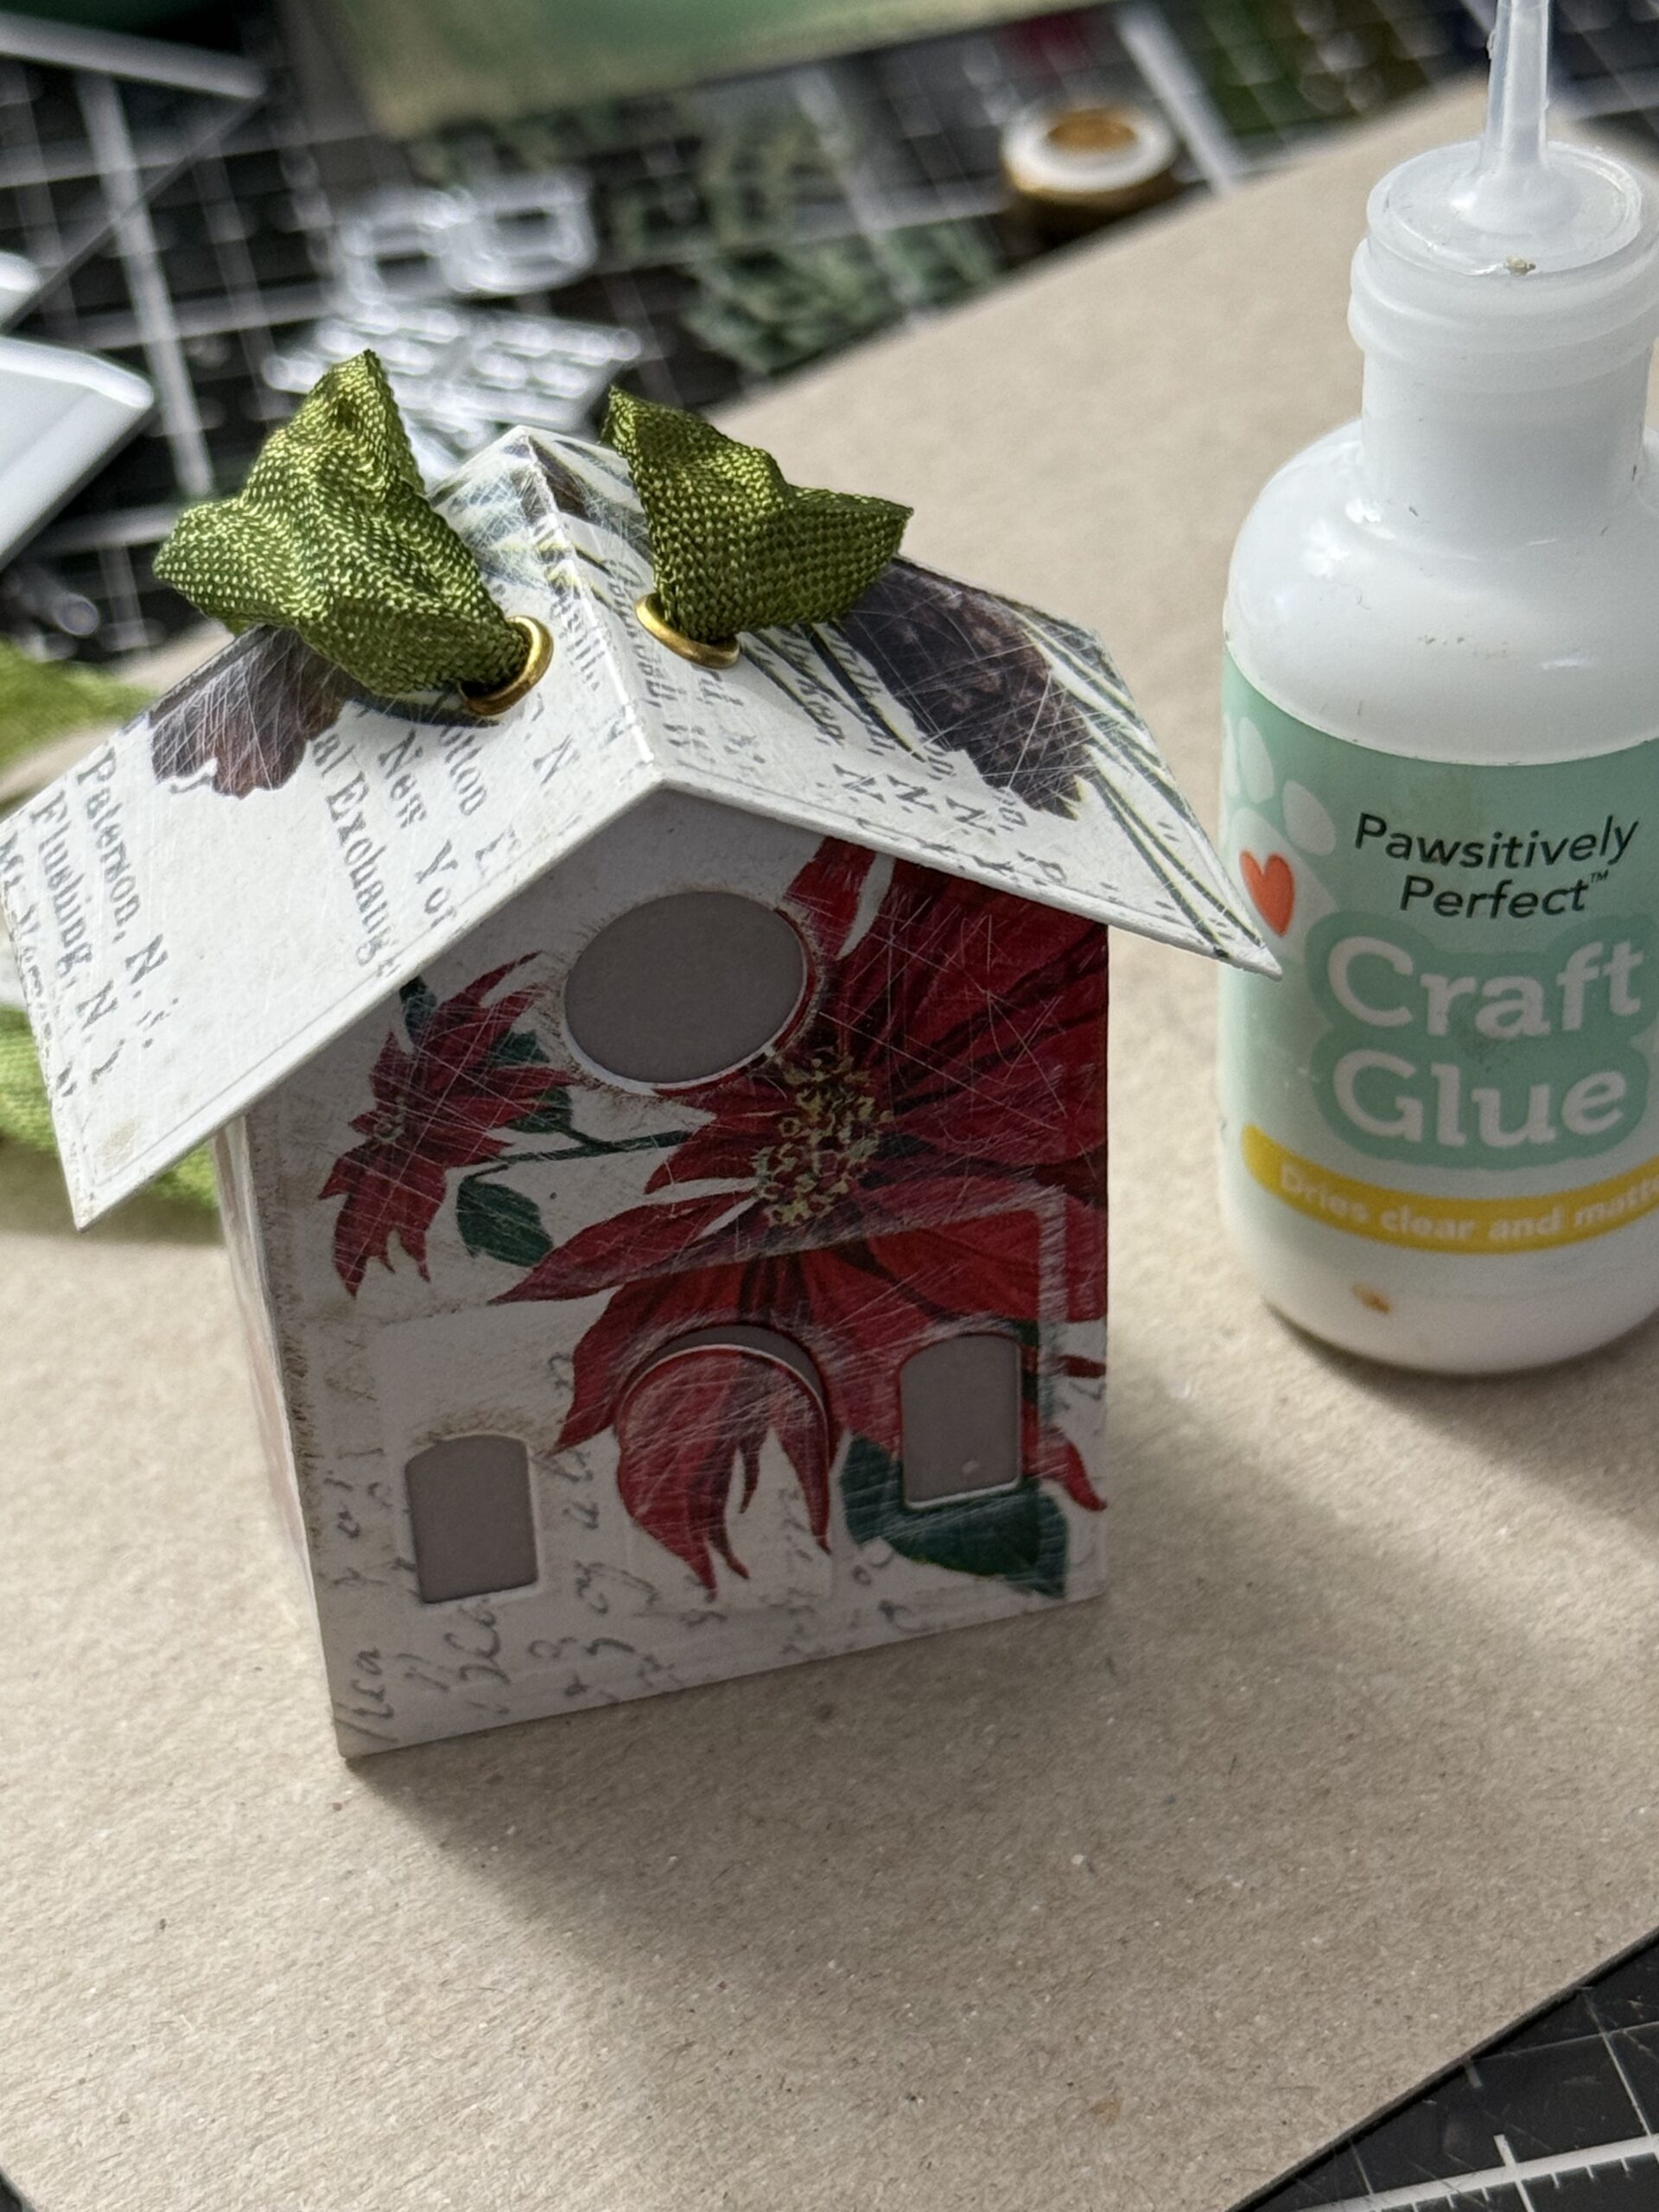
The little windows were added and the tiny porch roof to the front.
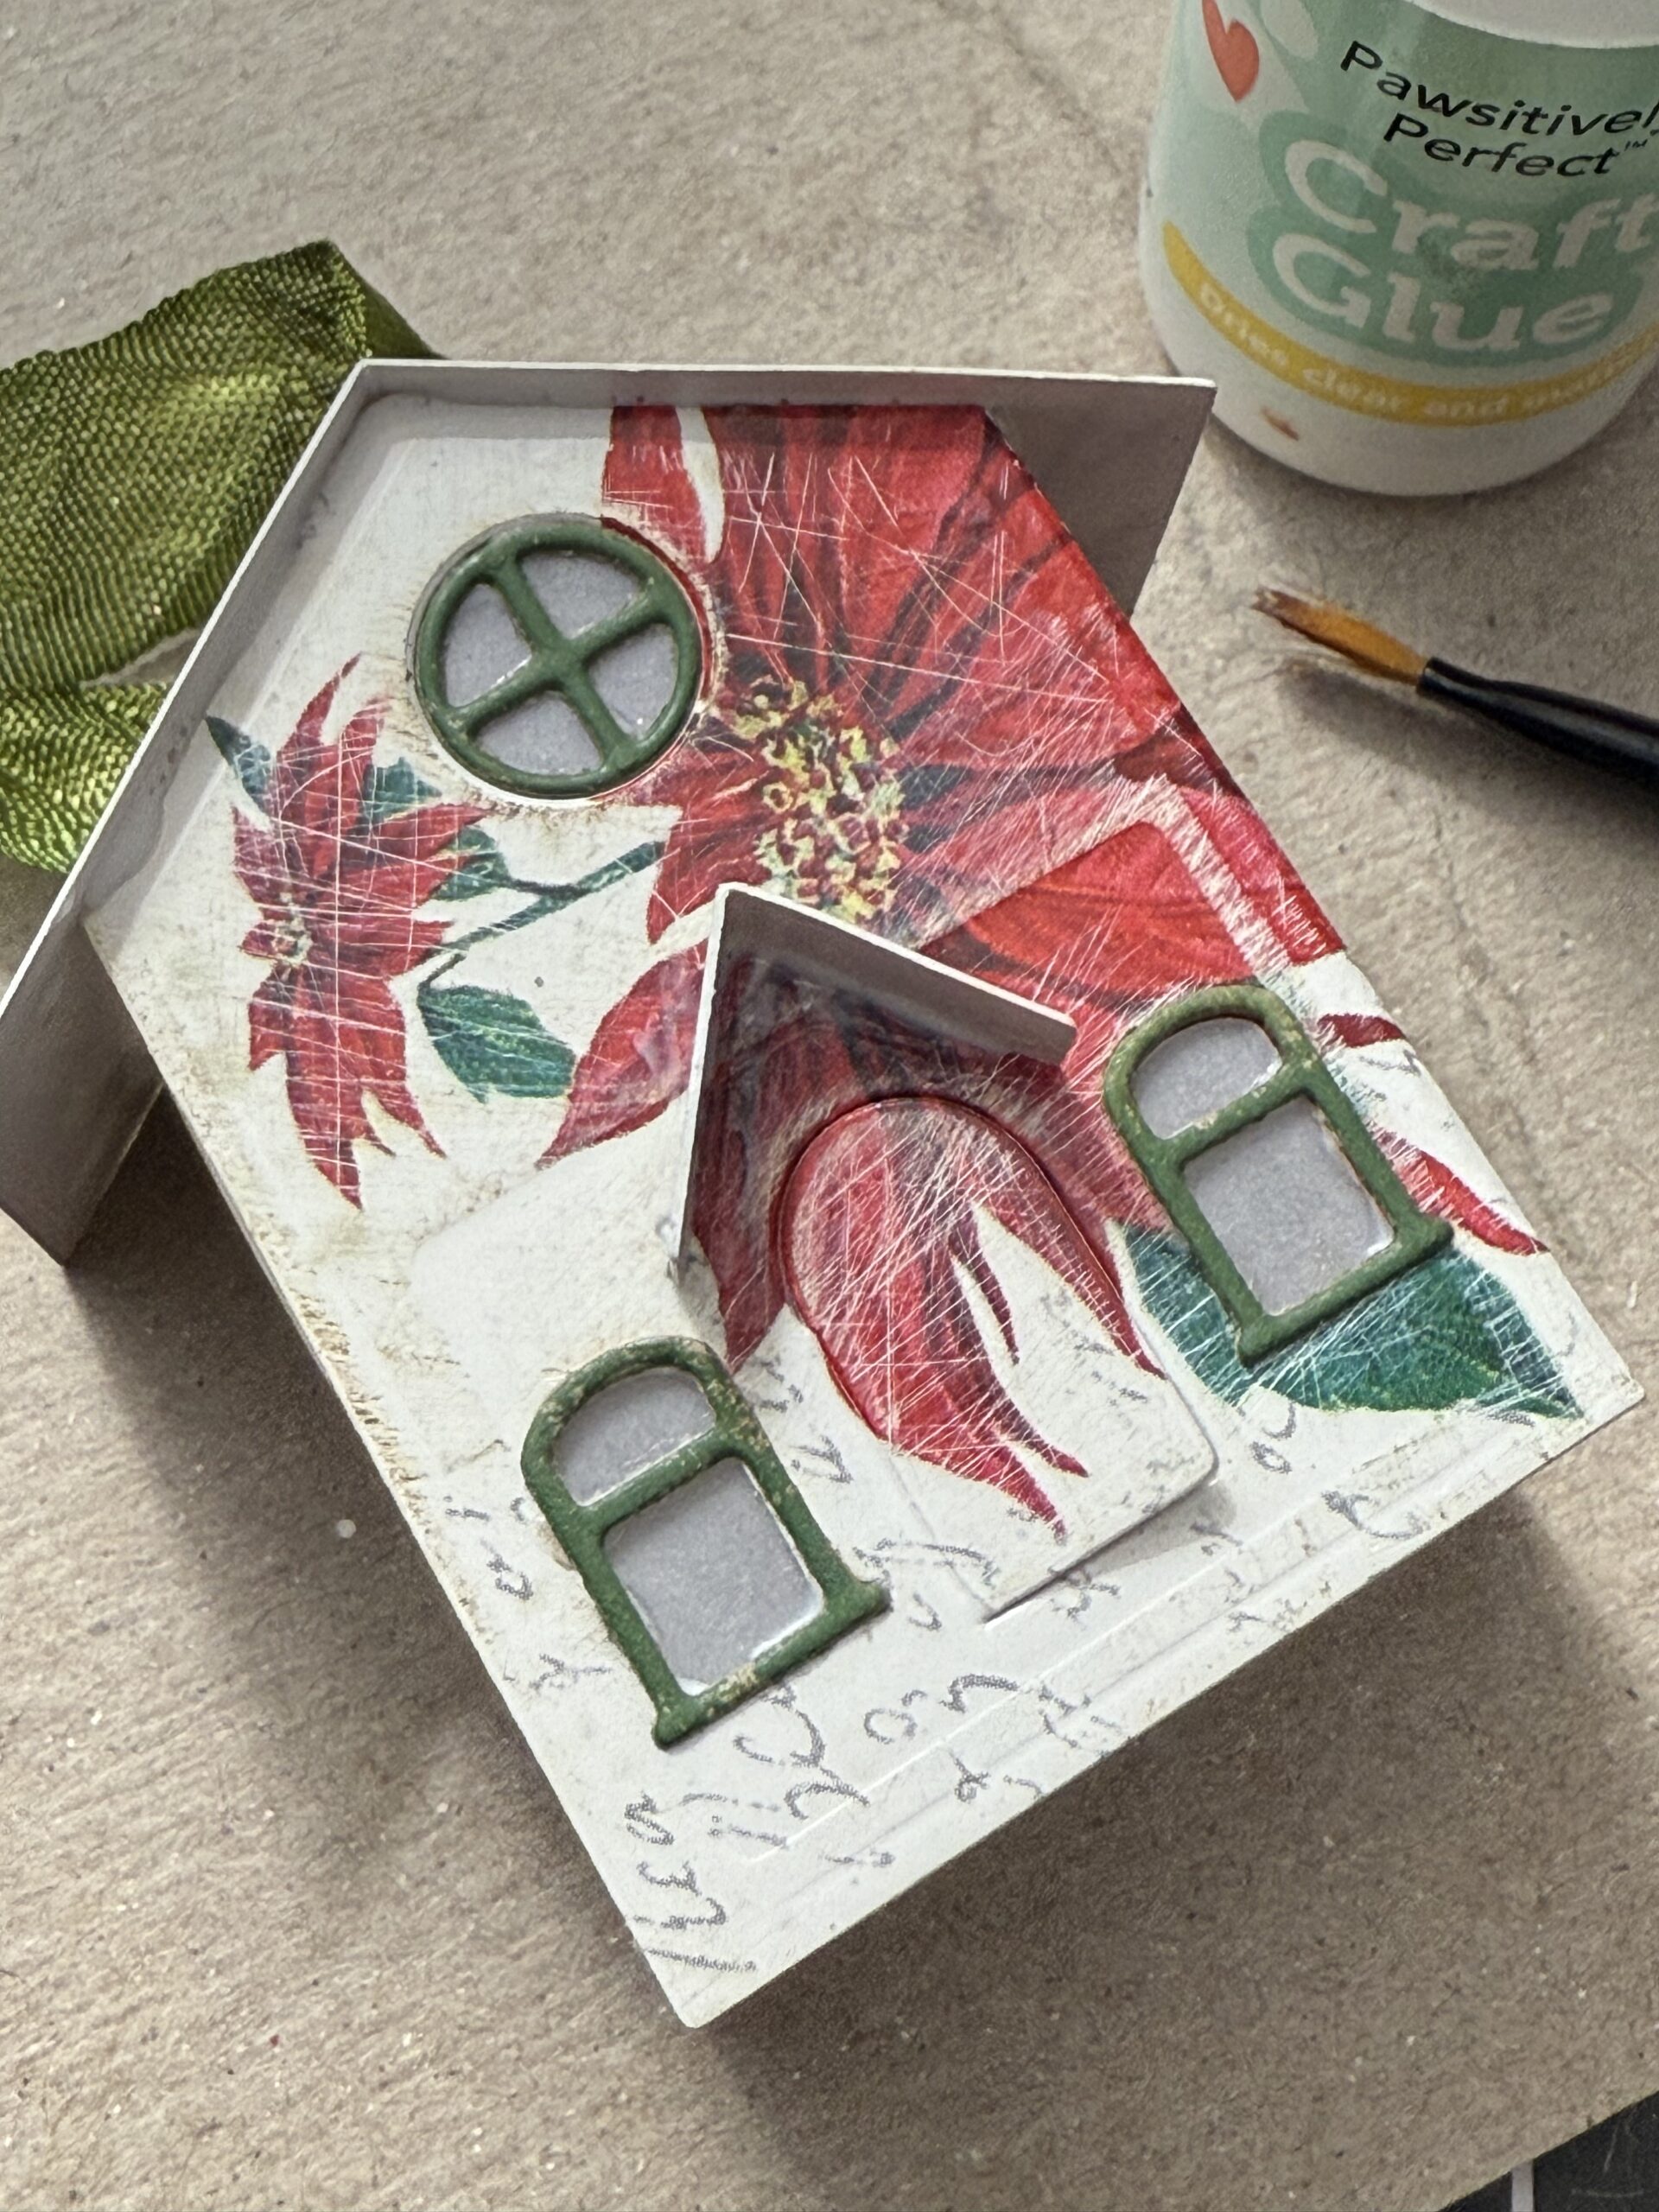
I stamped some vintage images from the Tim Holtz Christmas stamps using Black Soot Archival Ink.
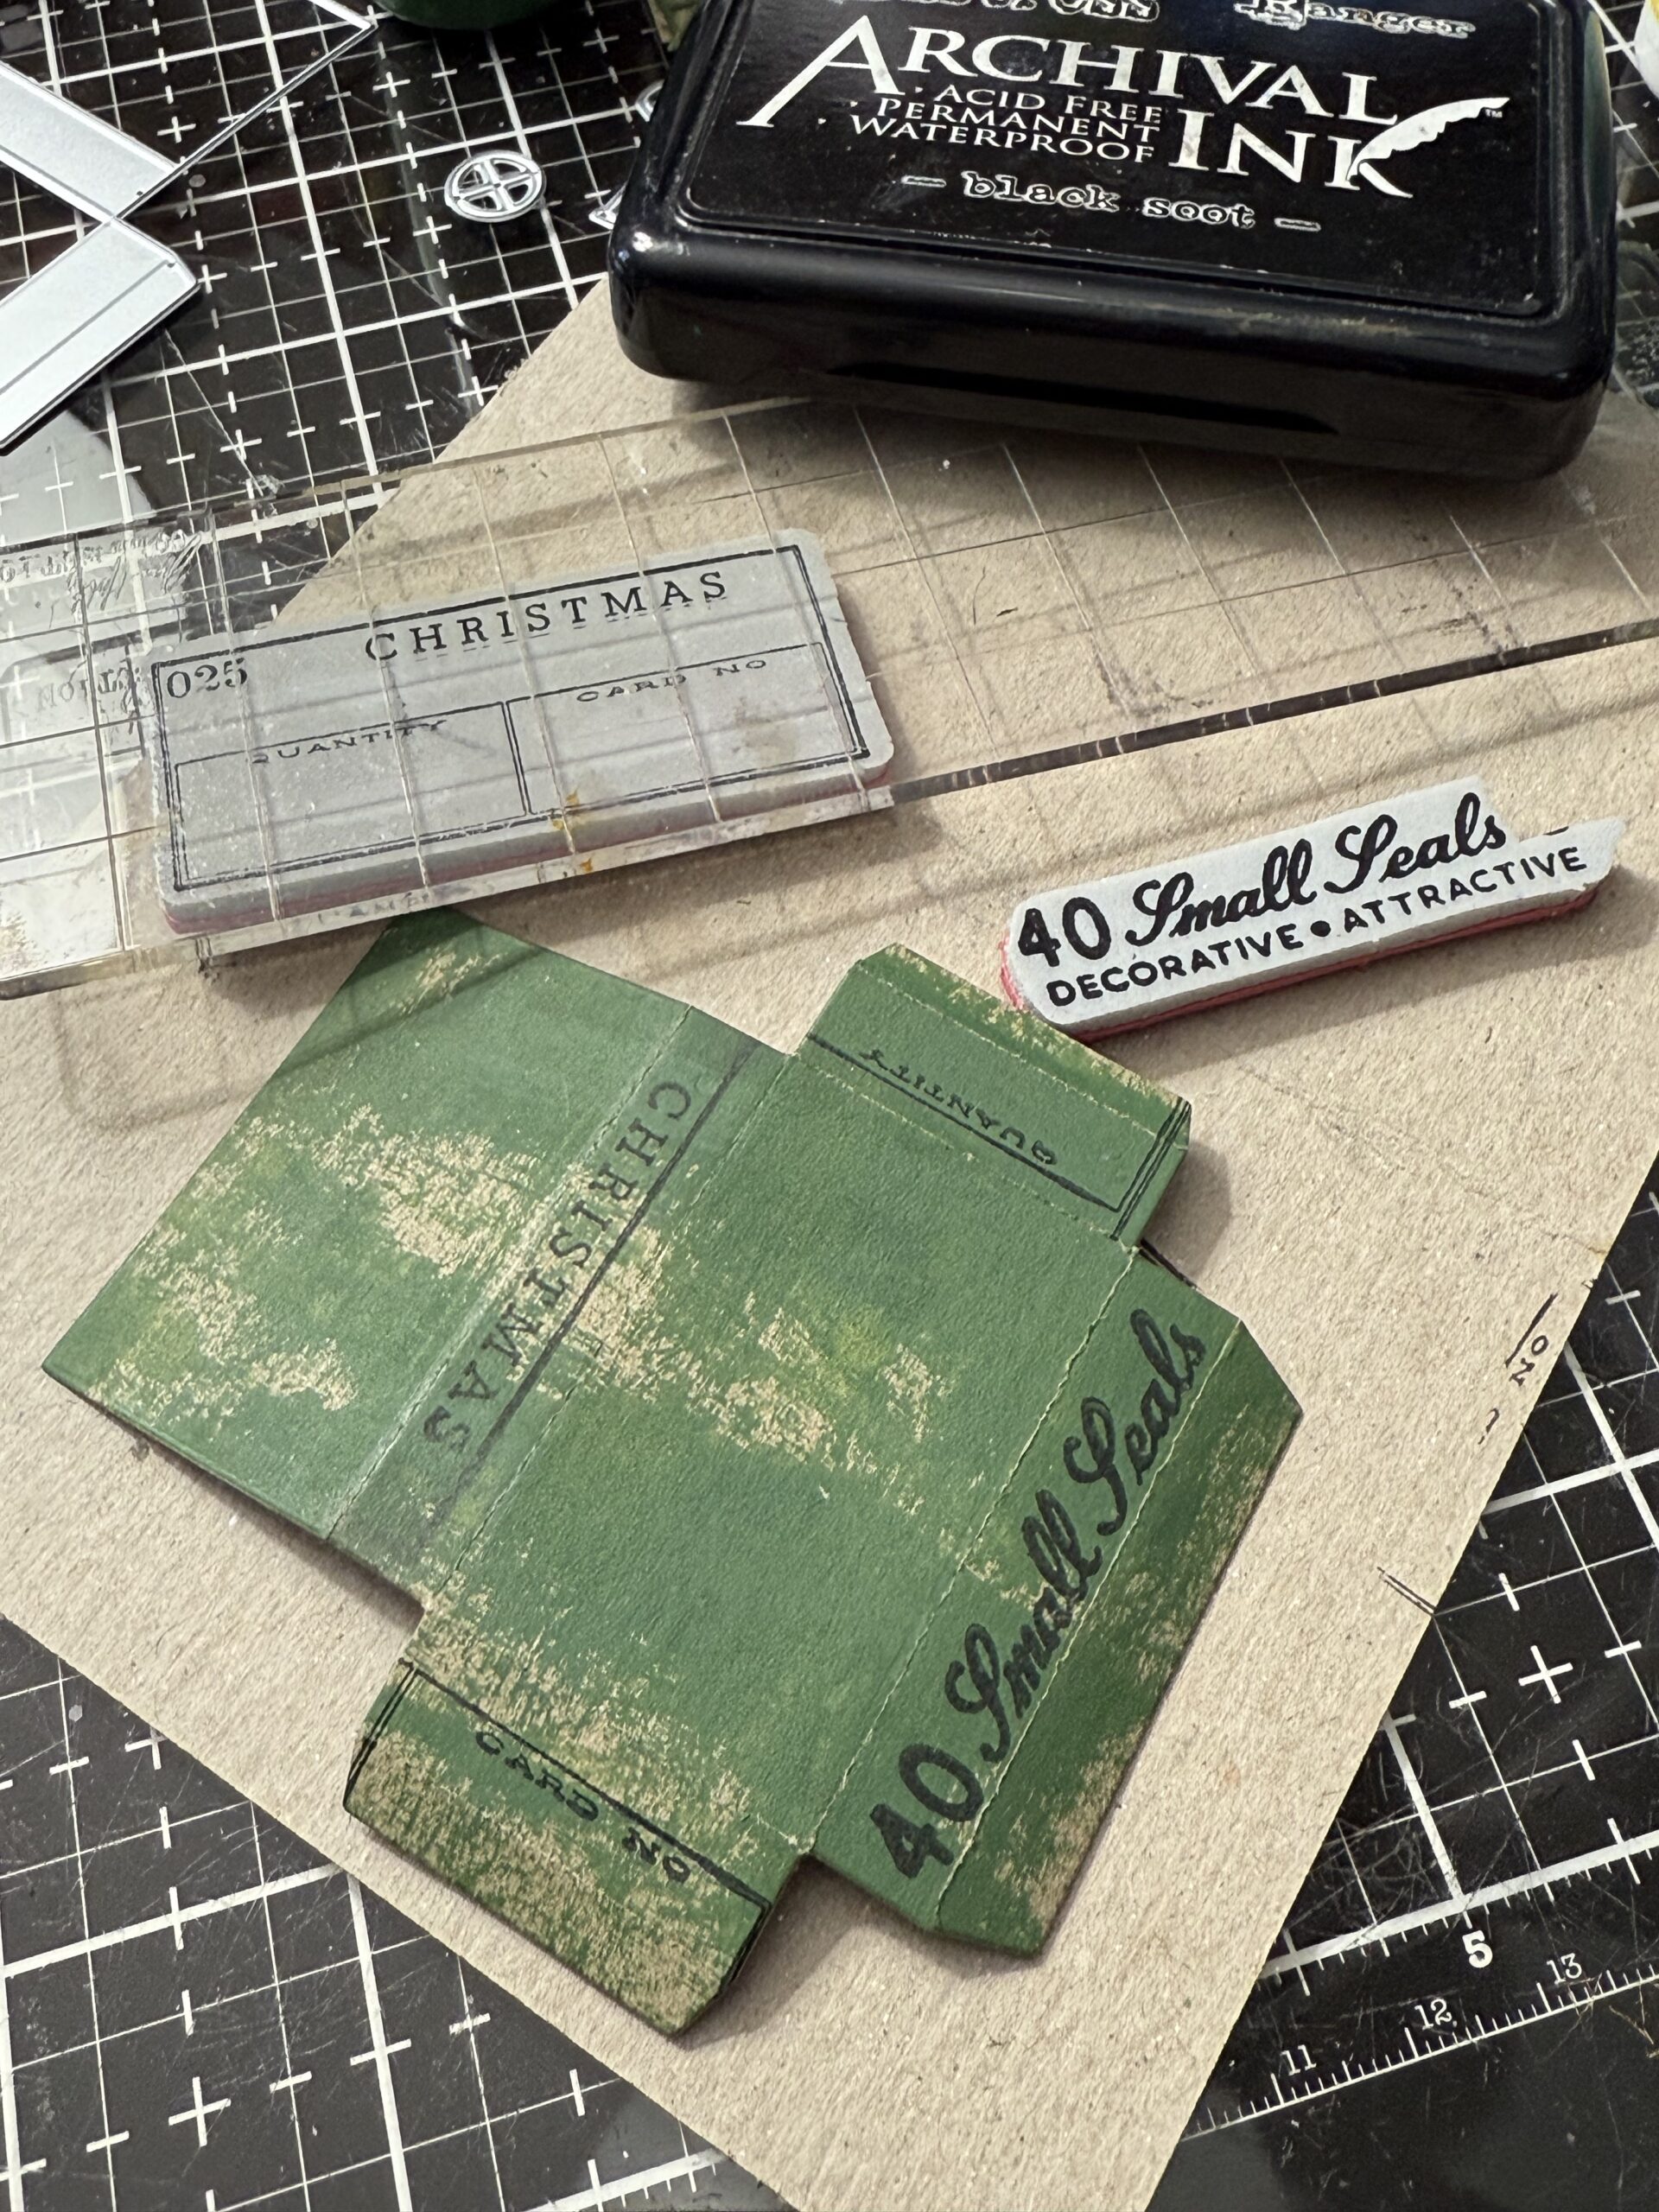
Then I cut some more windows for the sides and adhered them to some vellum, then they were applied.
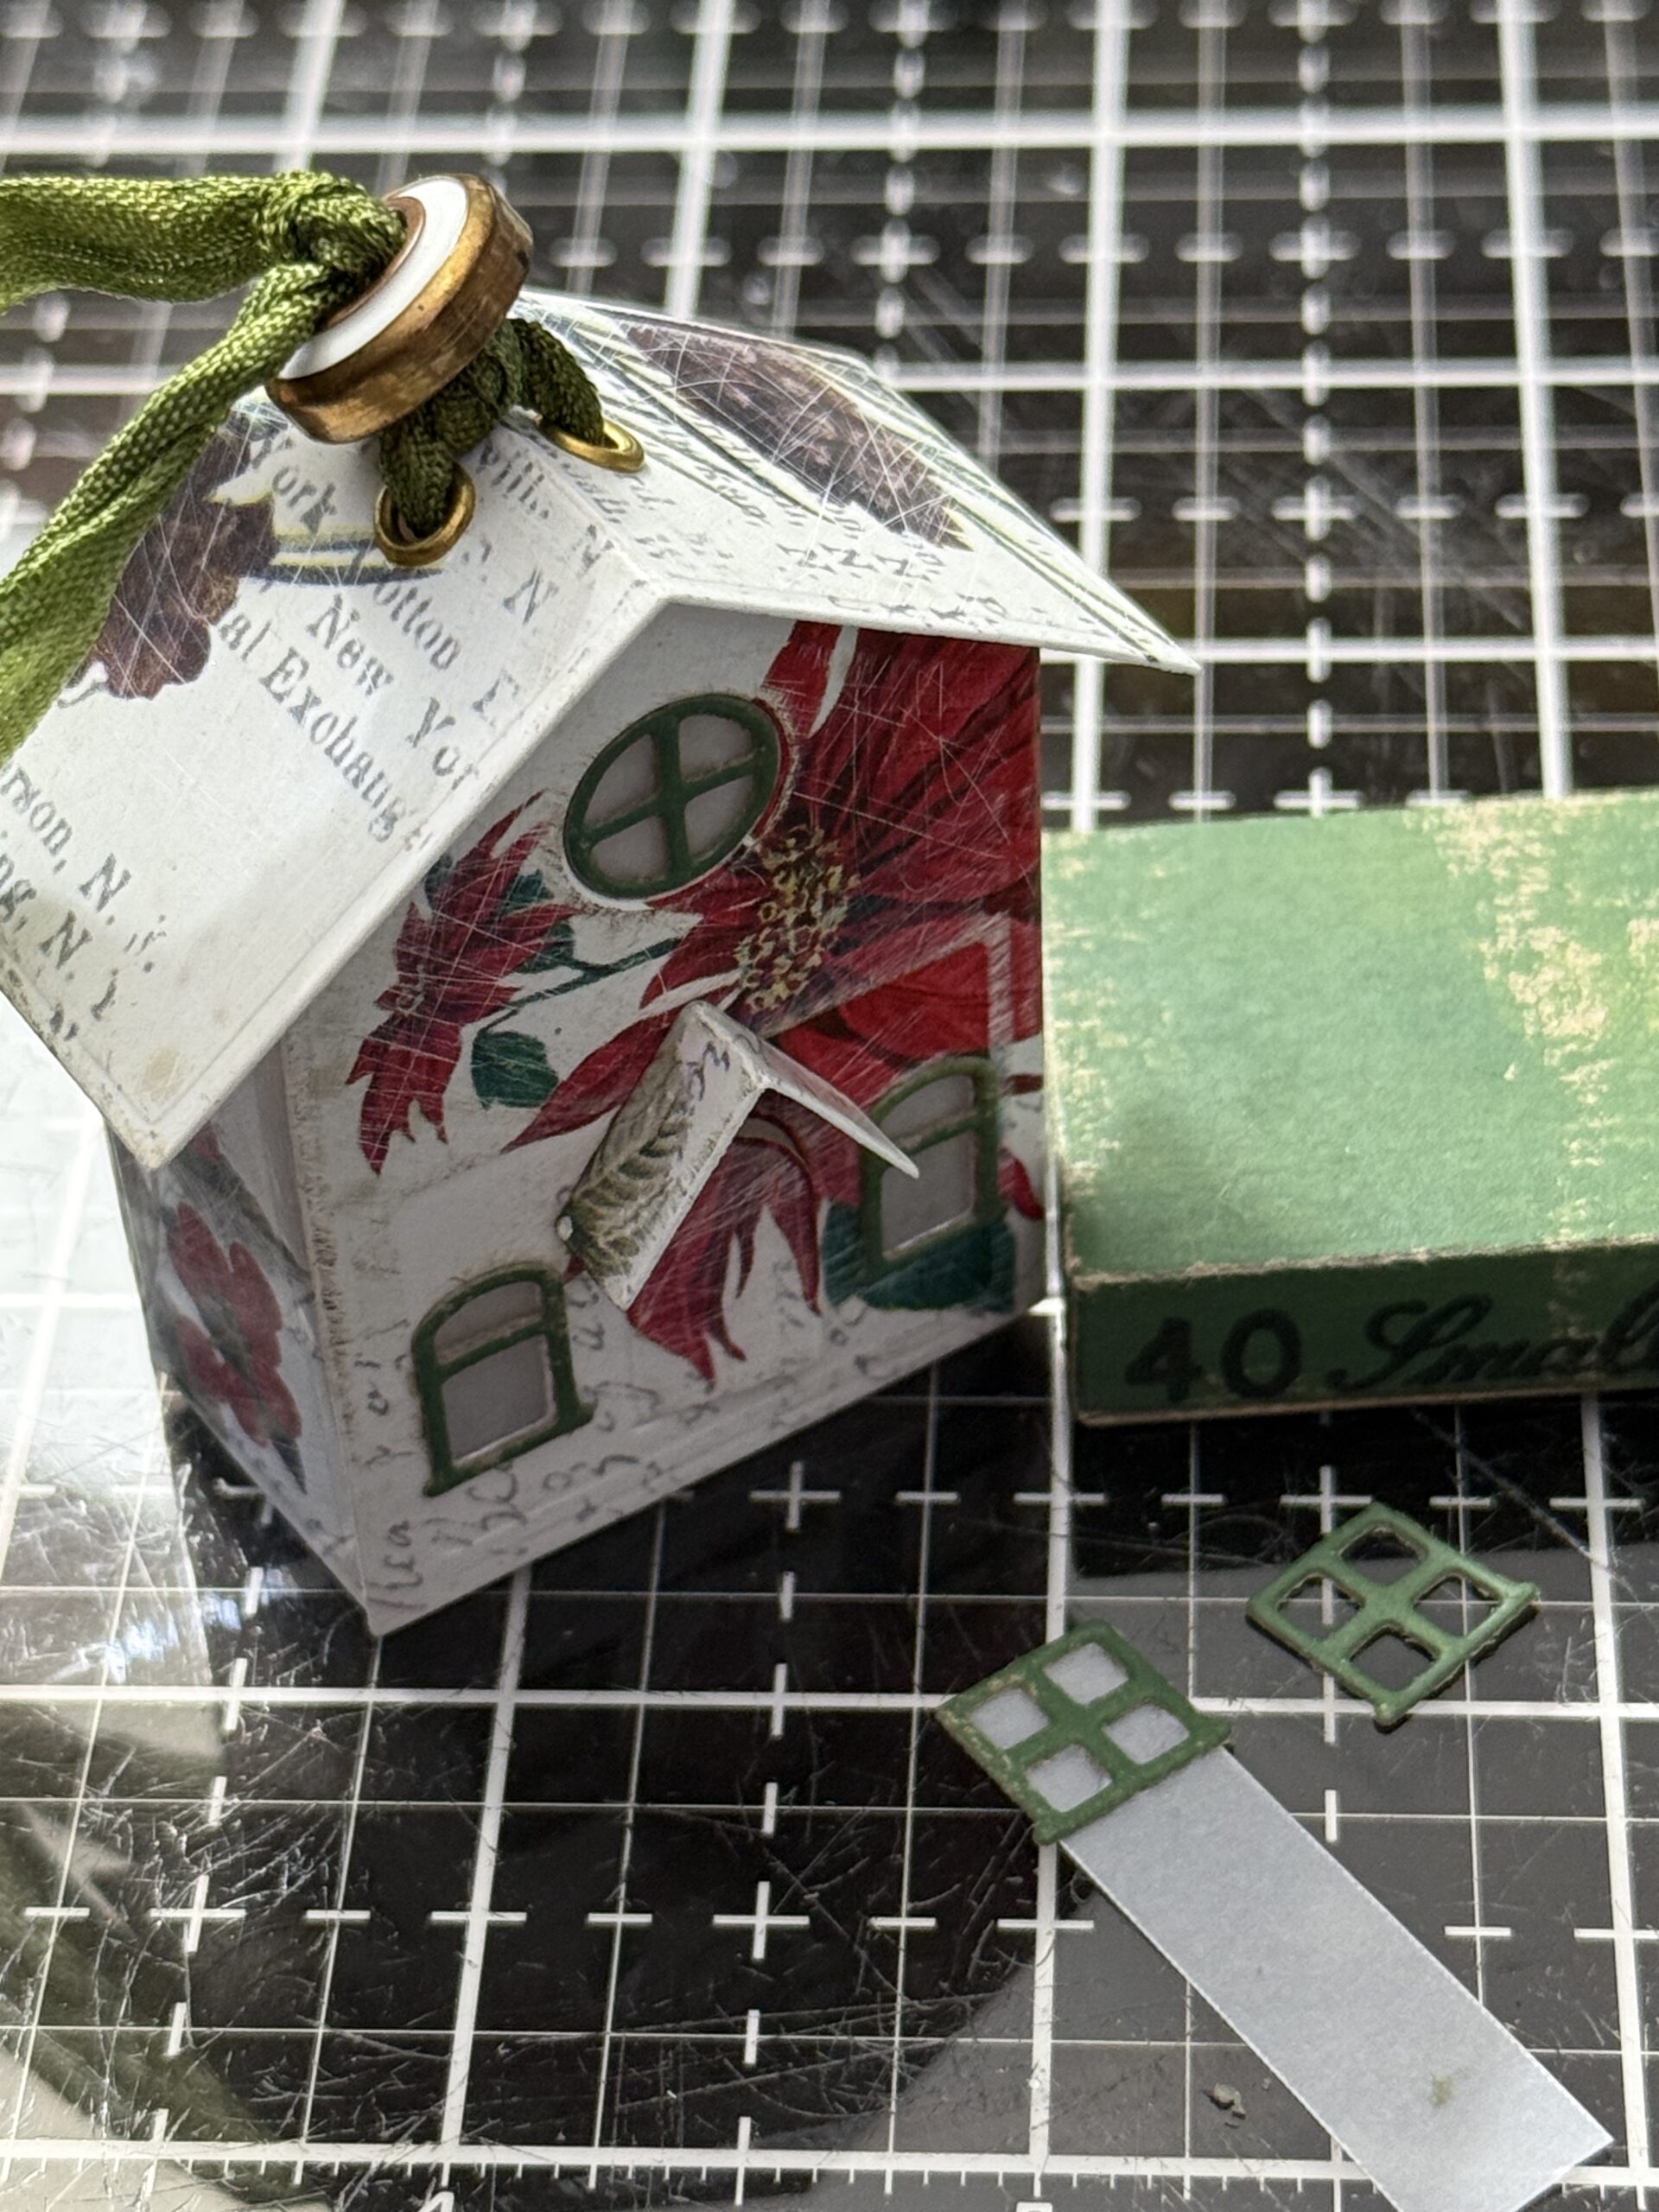
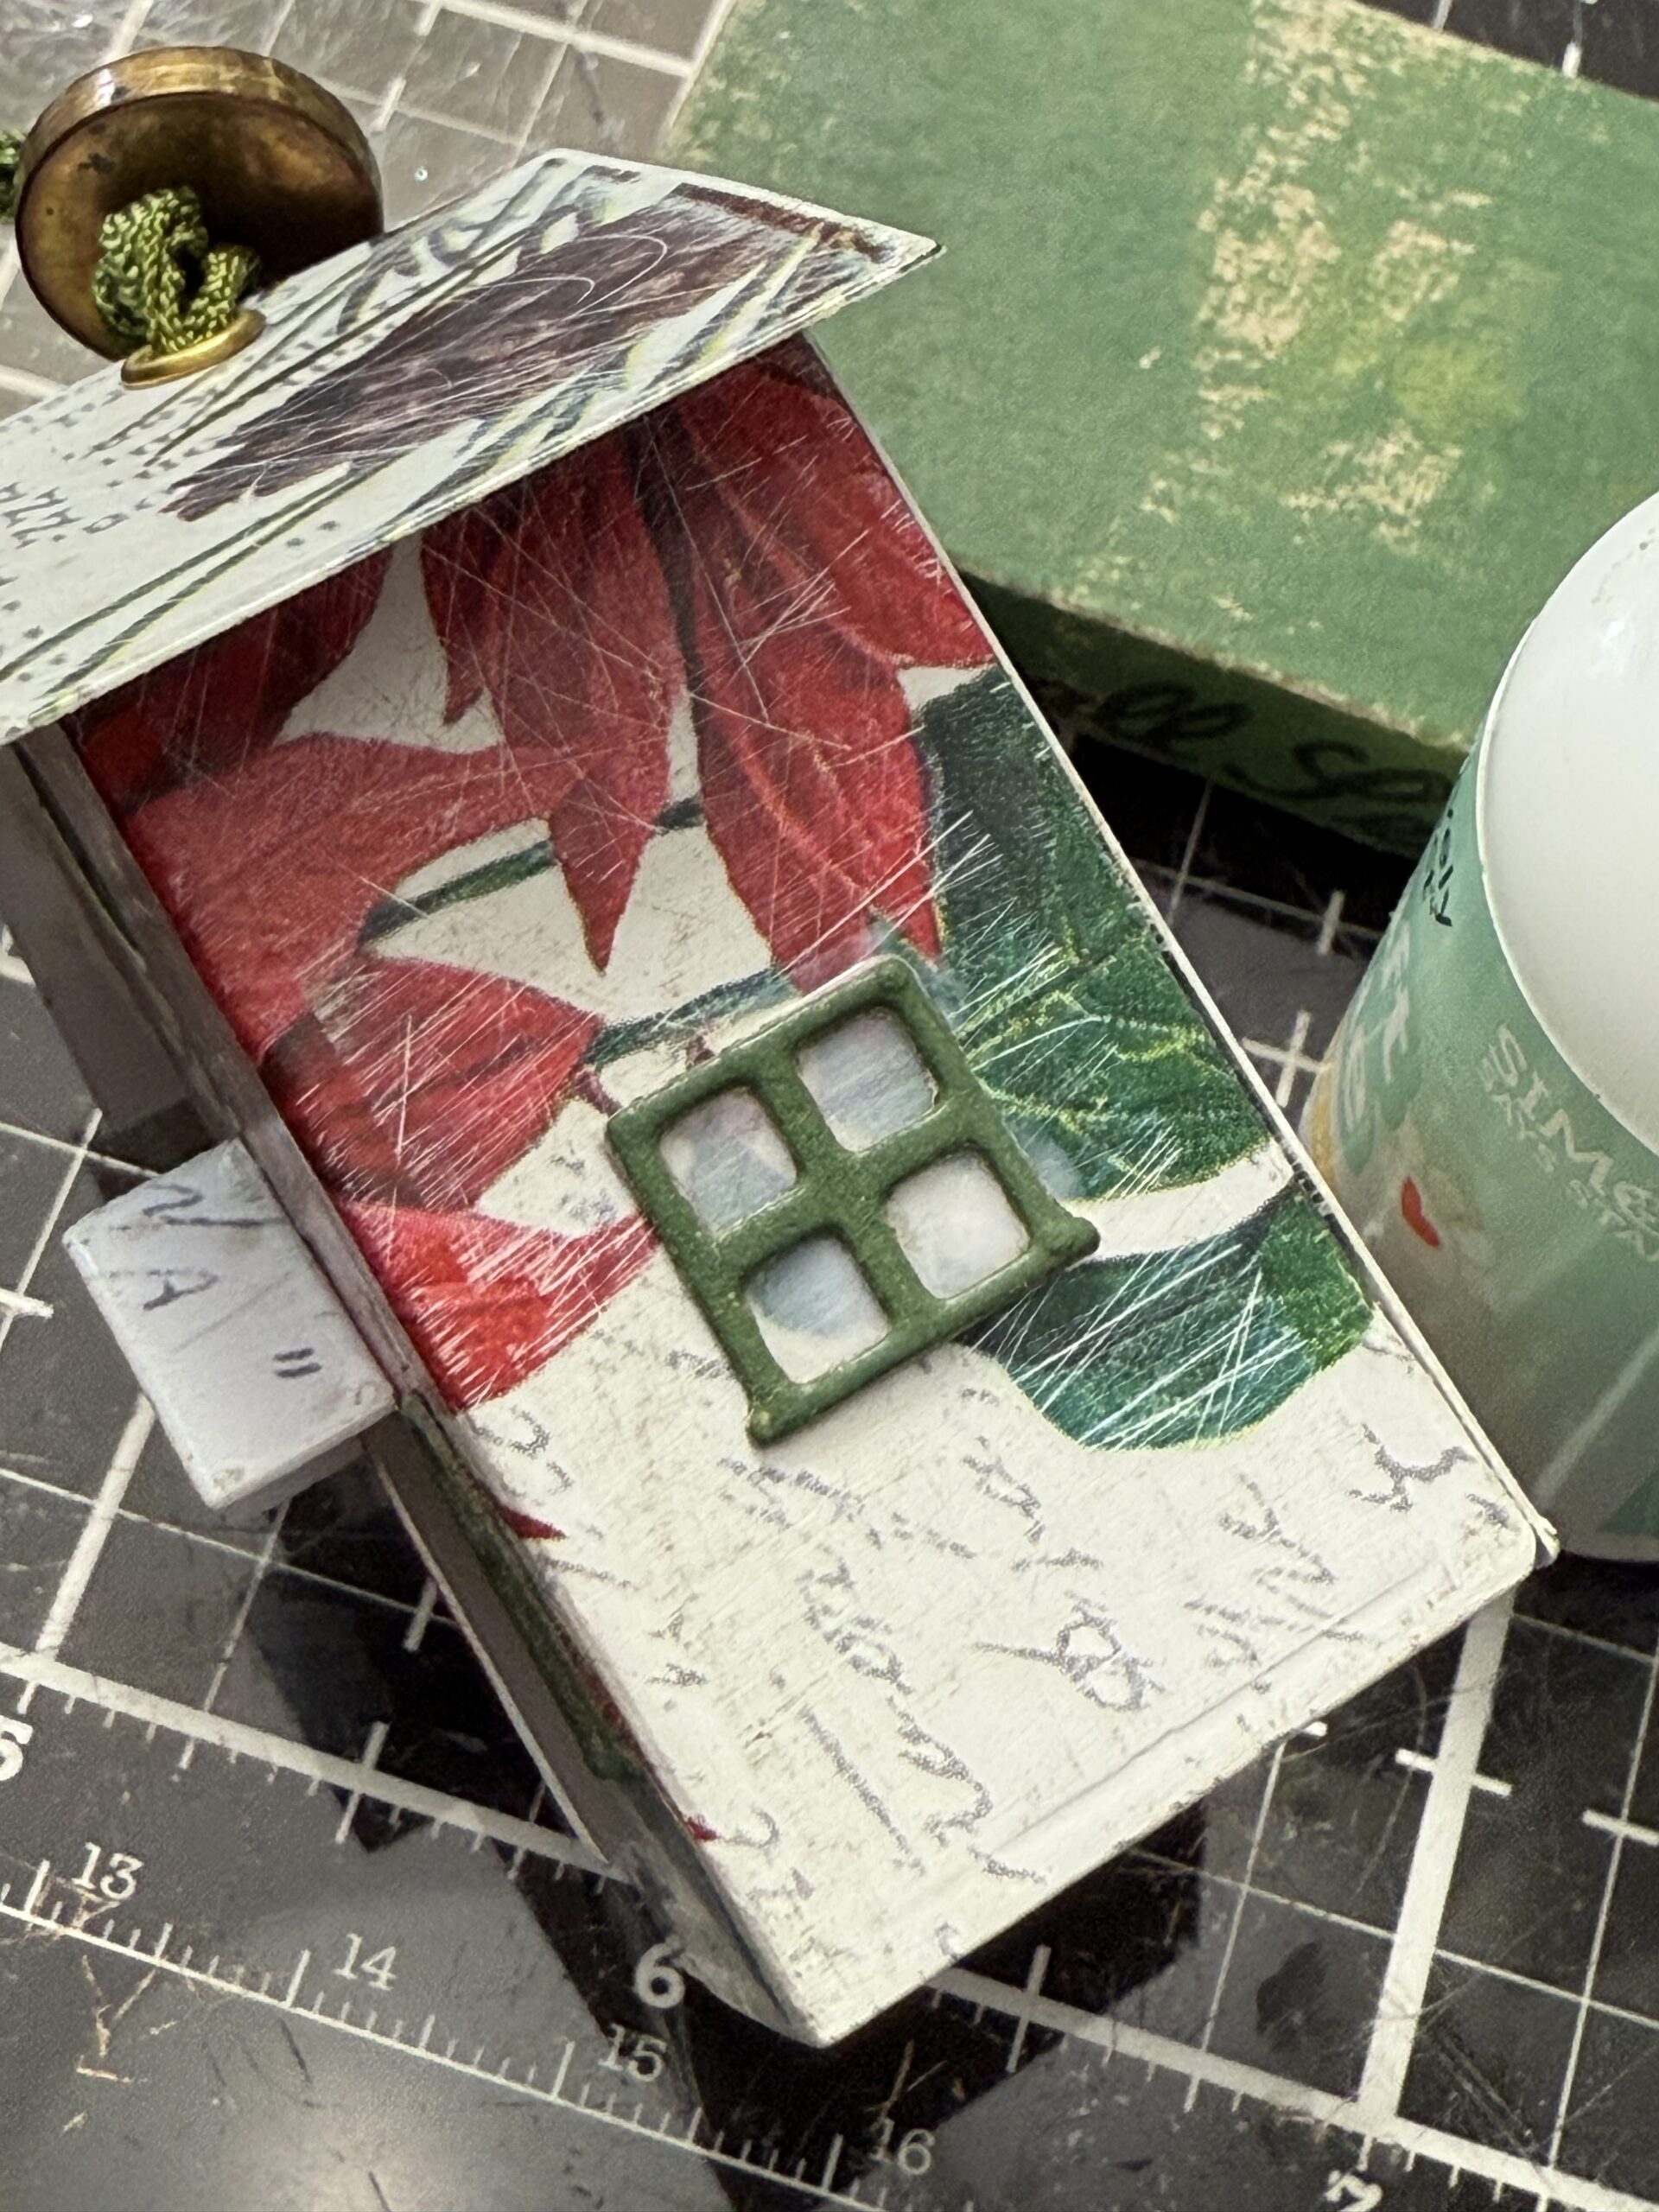
I cut some more windows for the back and added the vellum, then applied those to the back of the house.
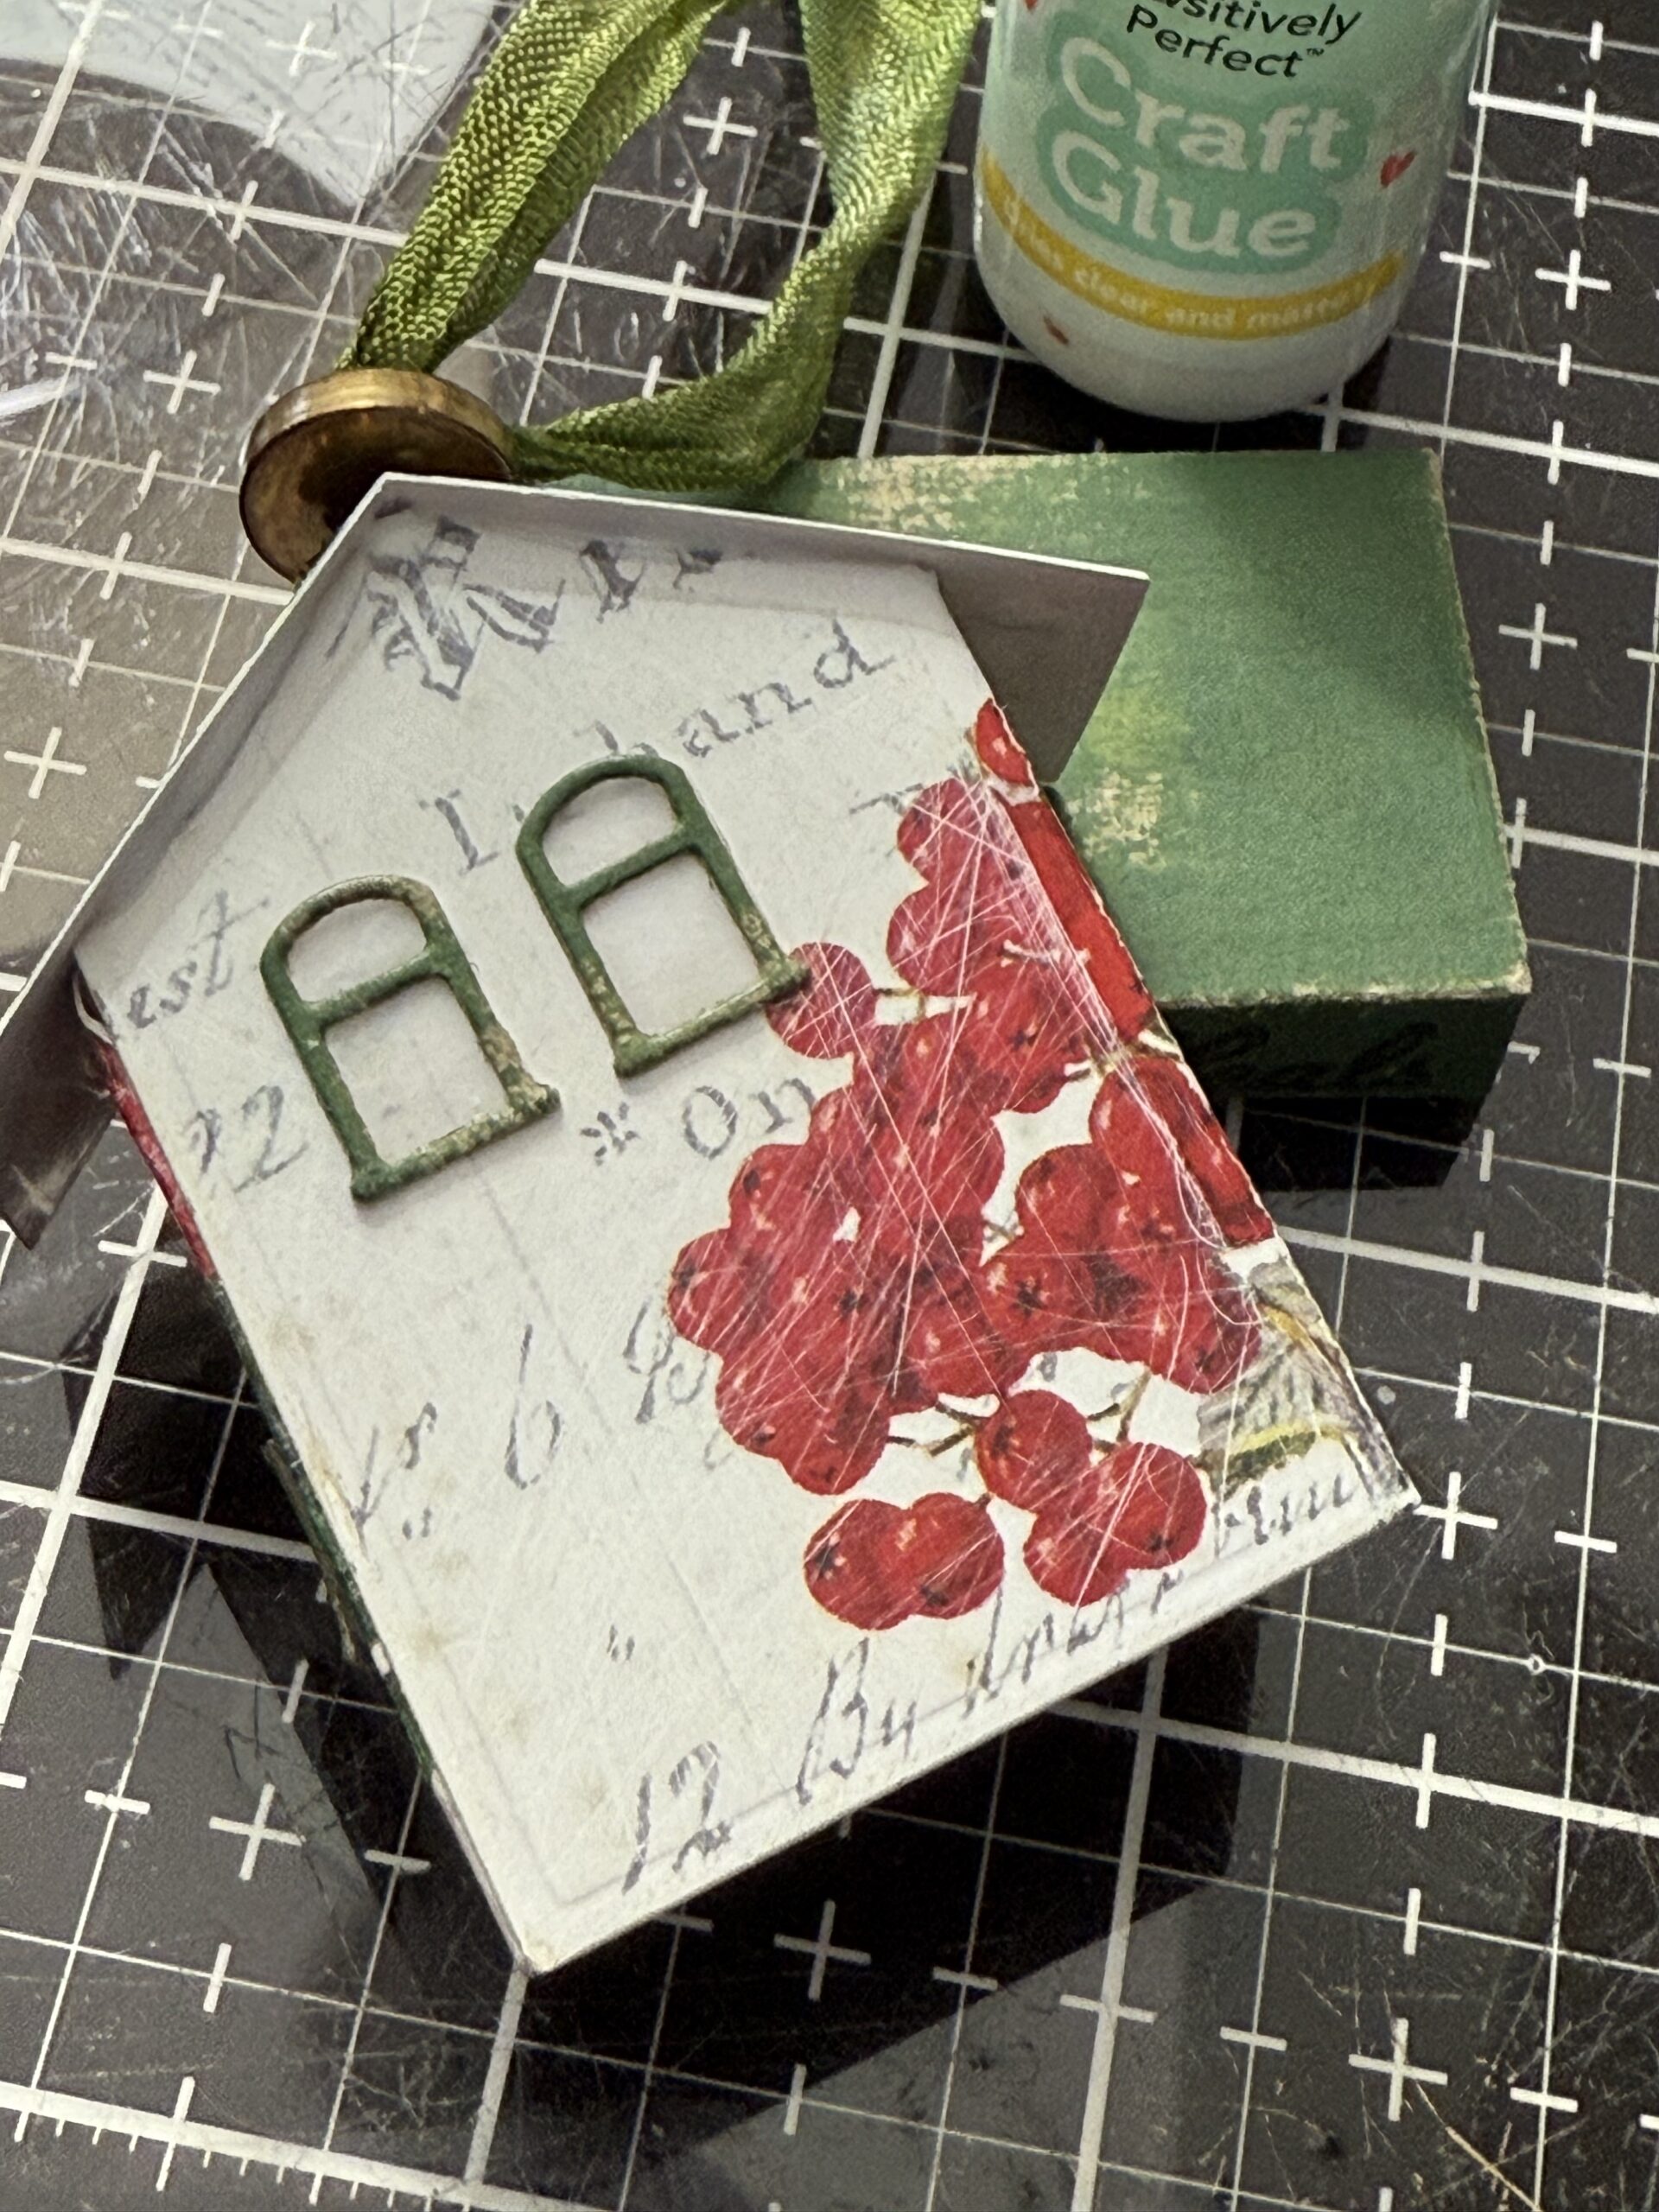
I adhered the box together, then added the house to the matchbox base. A quick tip, I like to apply the glue inside the house along the edge, then add it to the base, then run a small line of glue along the outside edge, as you would caulk, then using a fine paint brush, use it to blend the glue out and remove any excess.
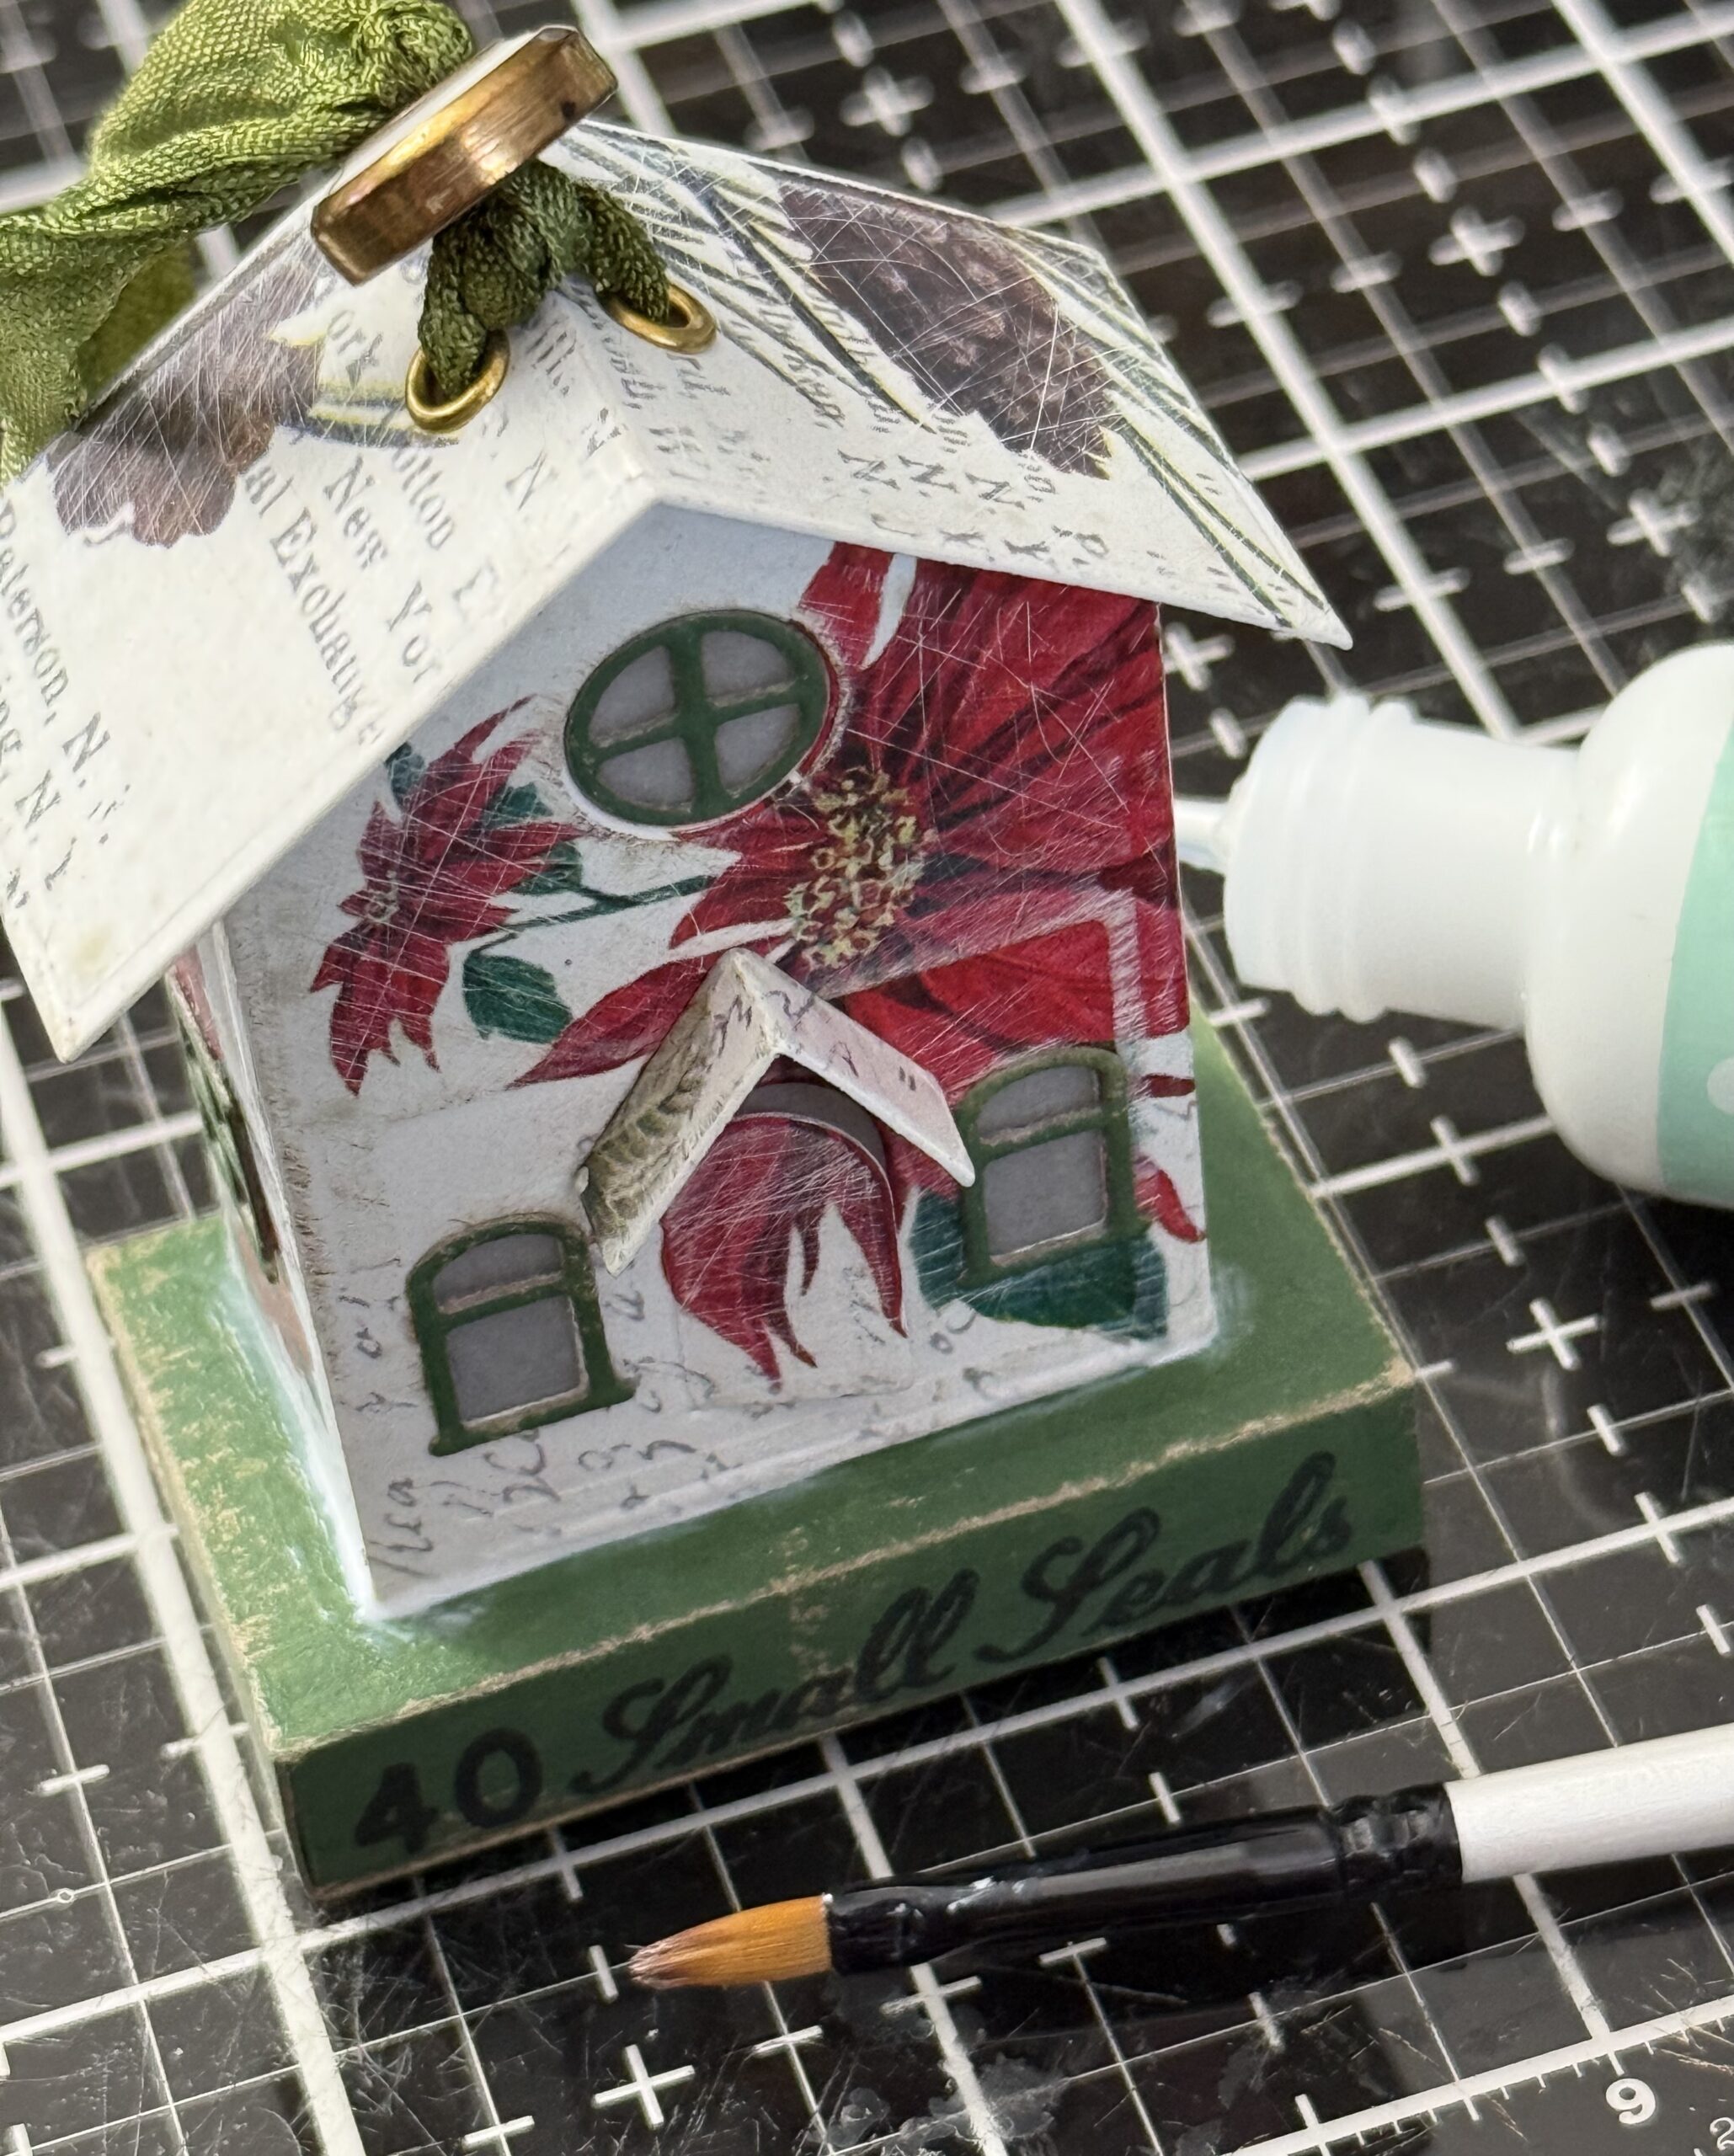
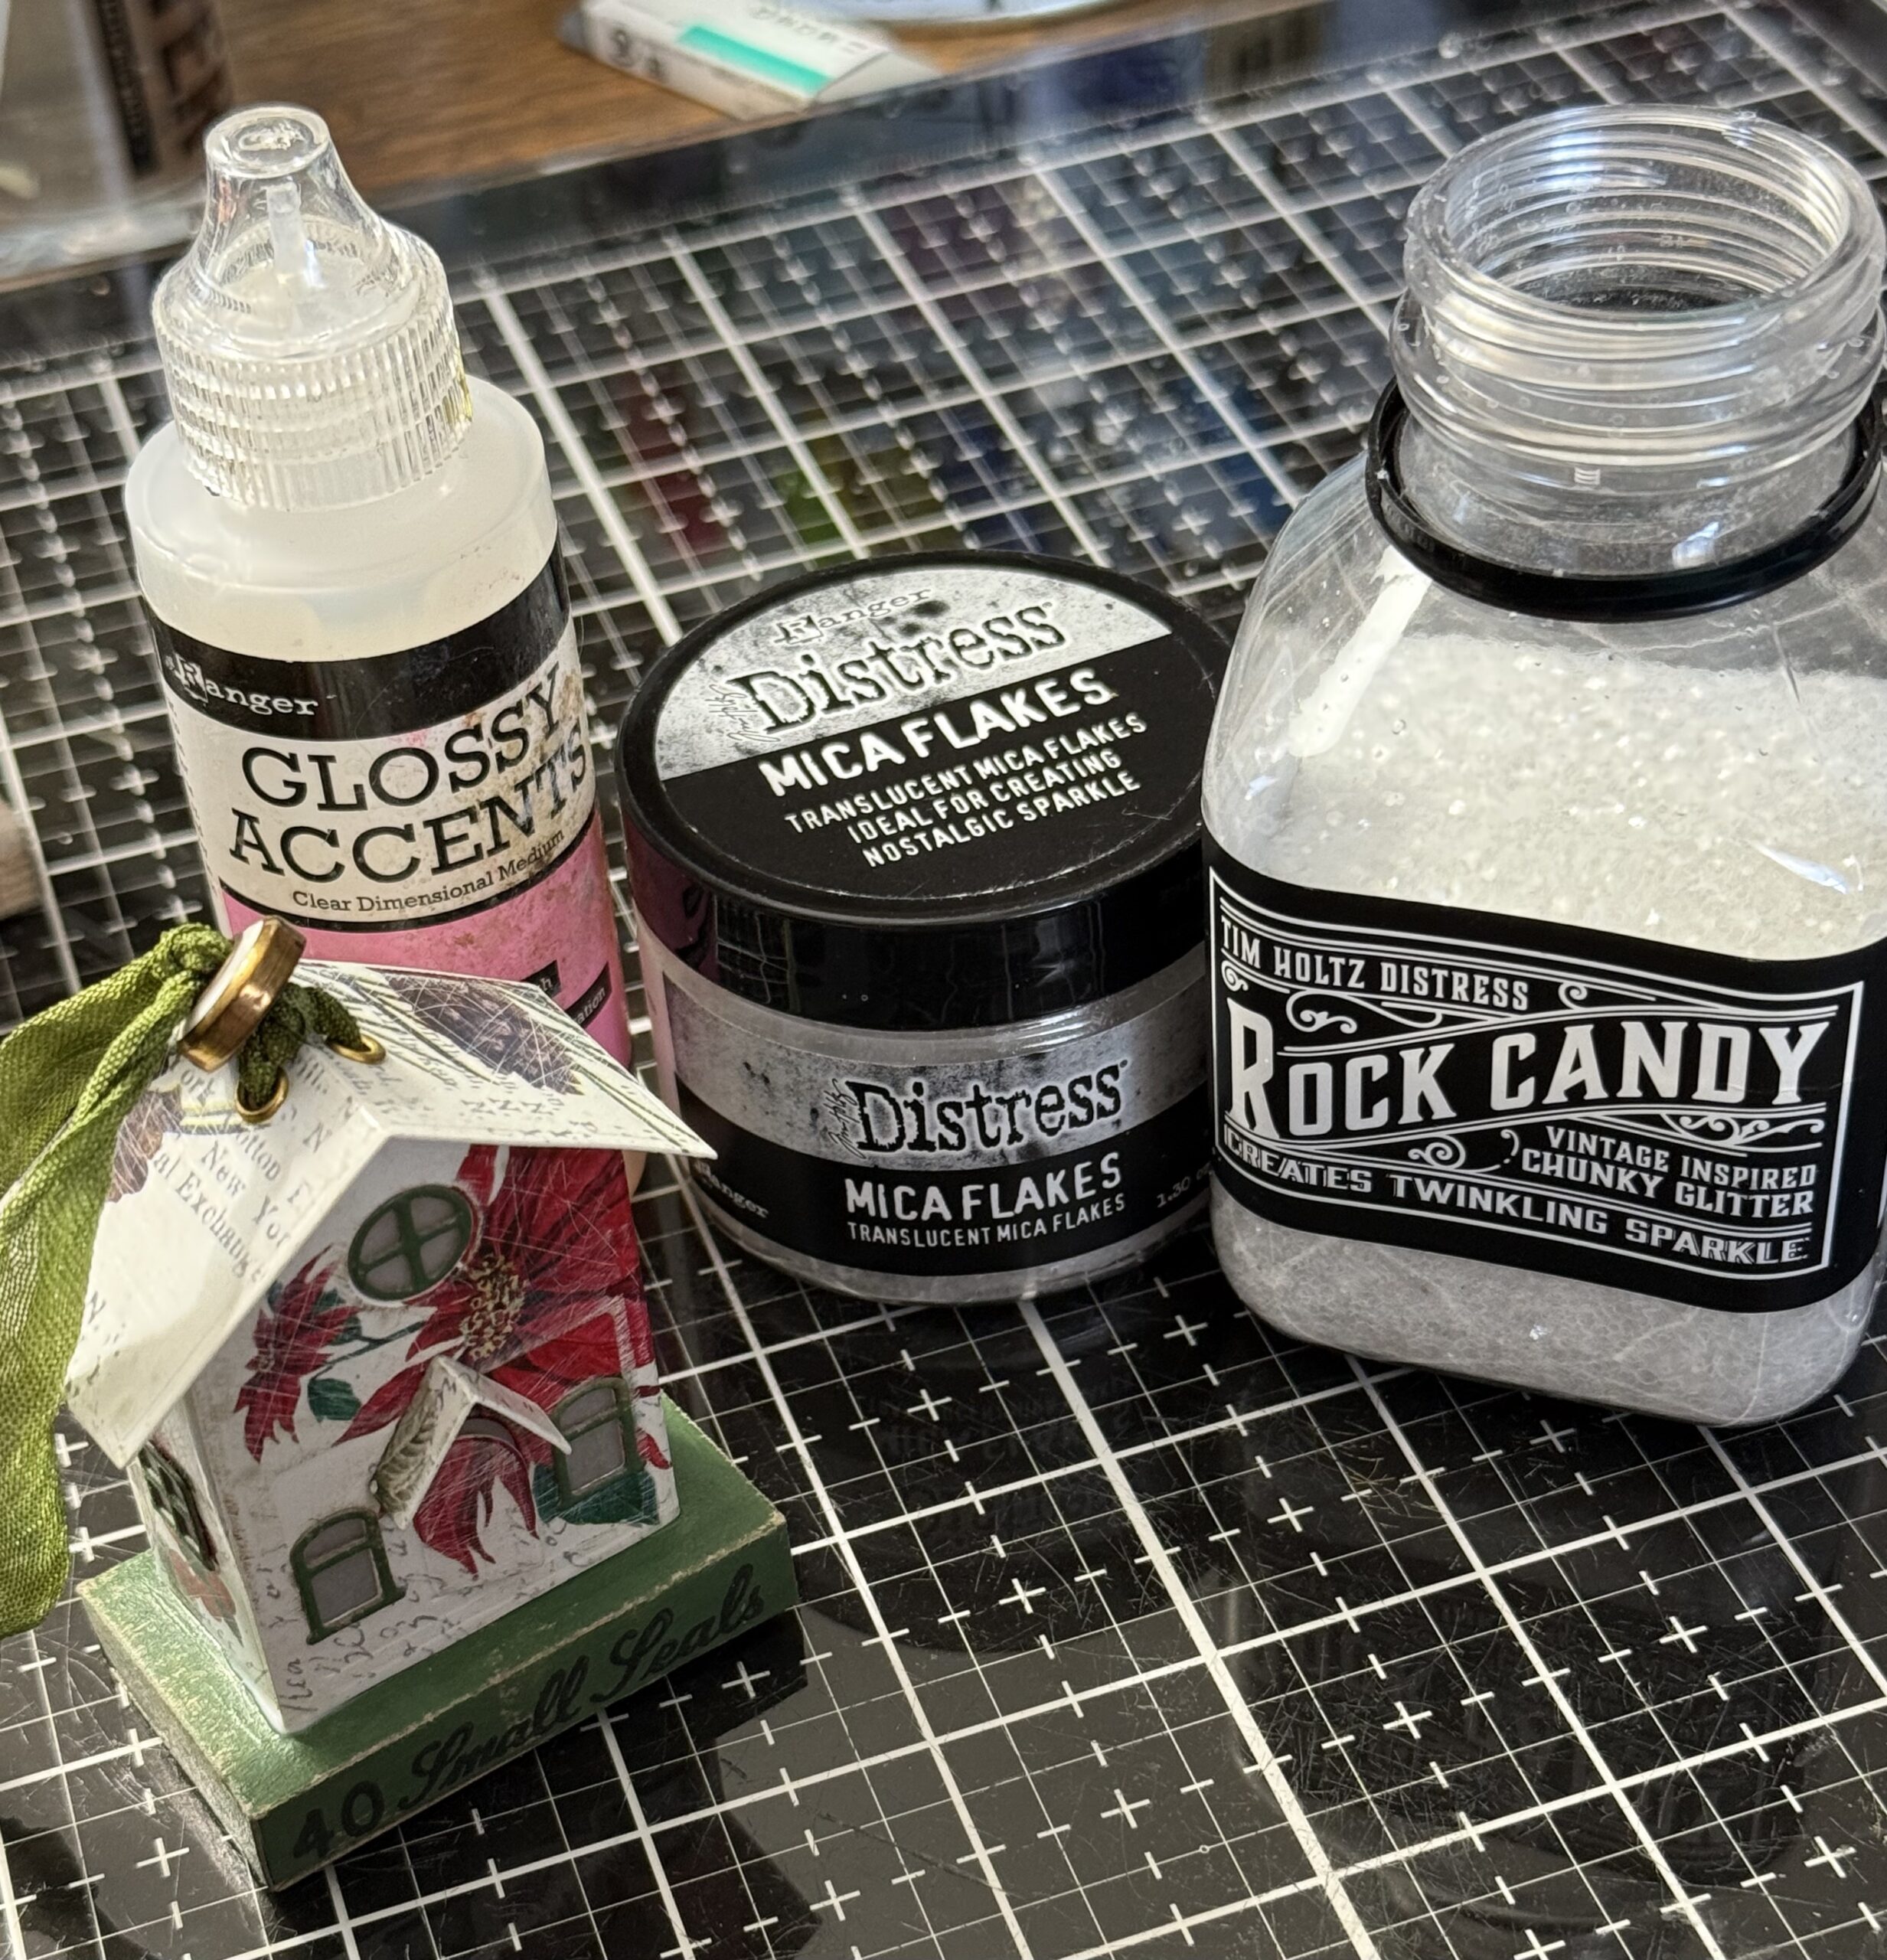
I used a combination of Mica Flakes and Clear Rock Candy Glitters that I applied with glossy accents.
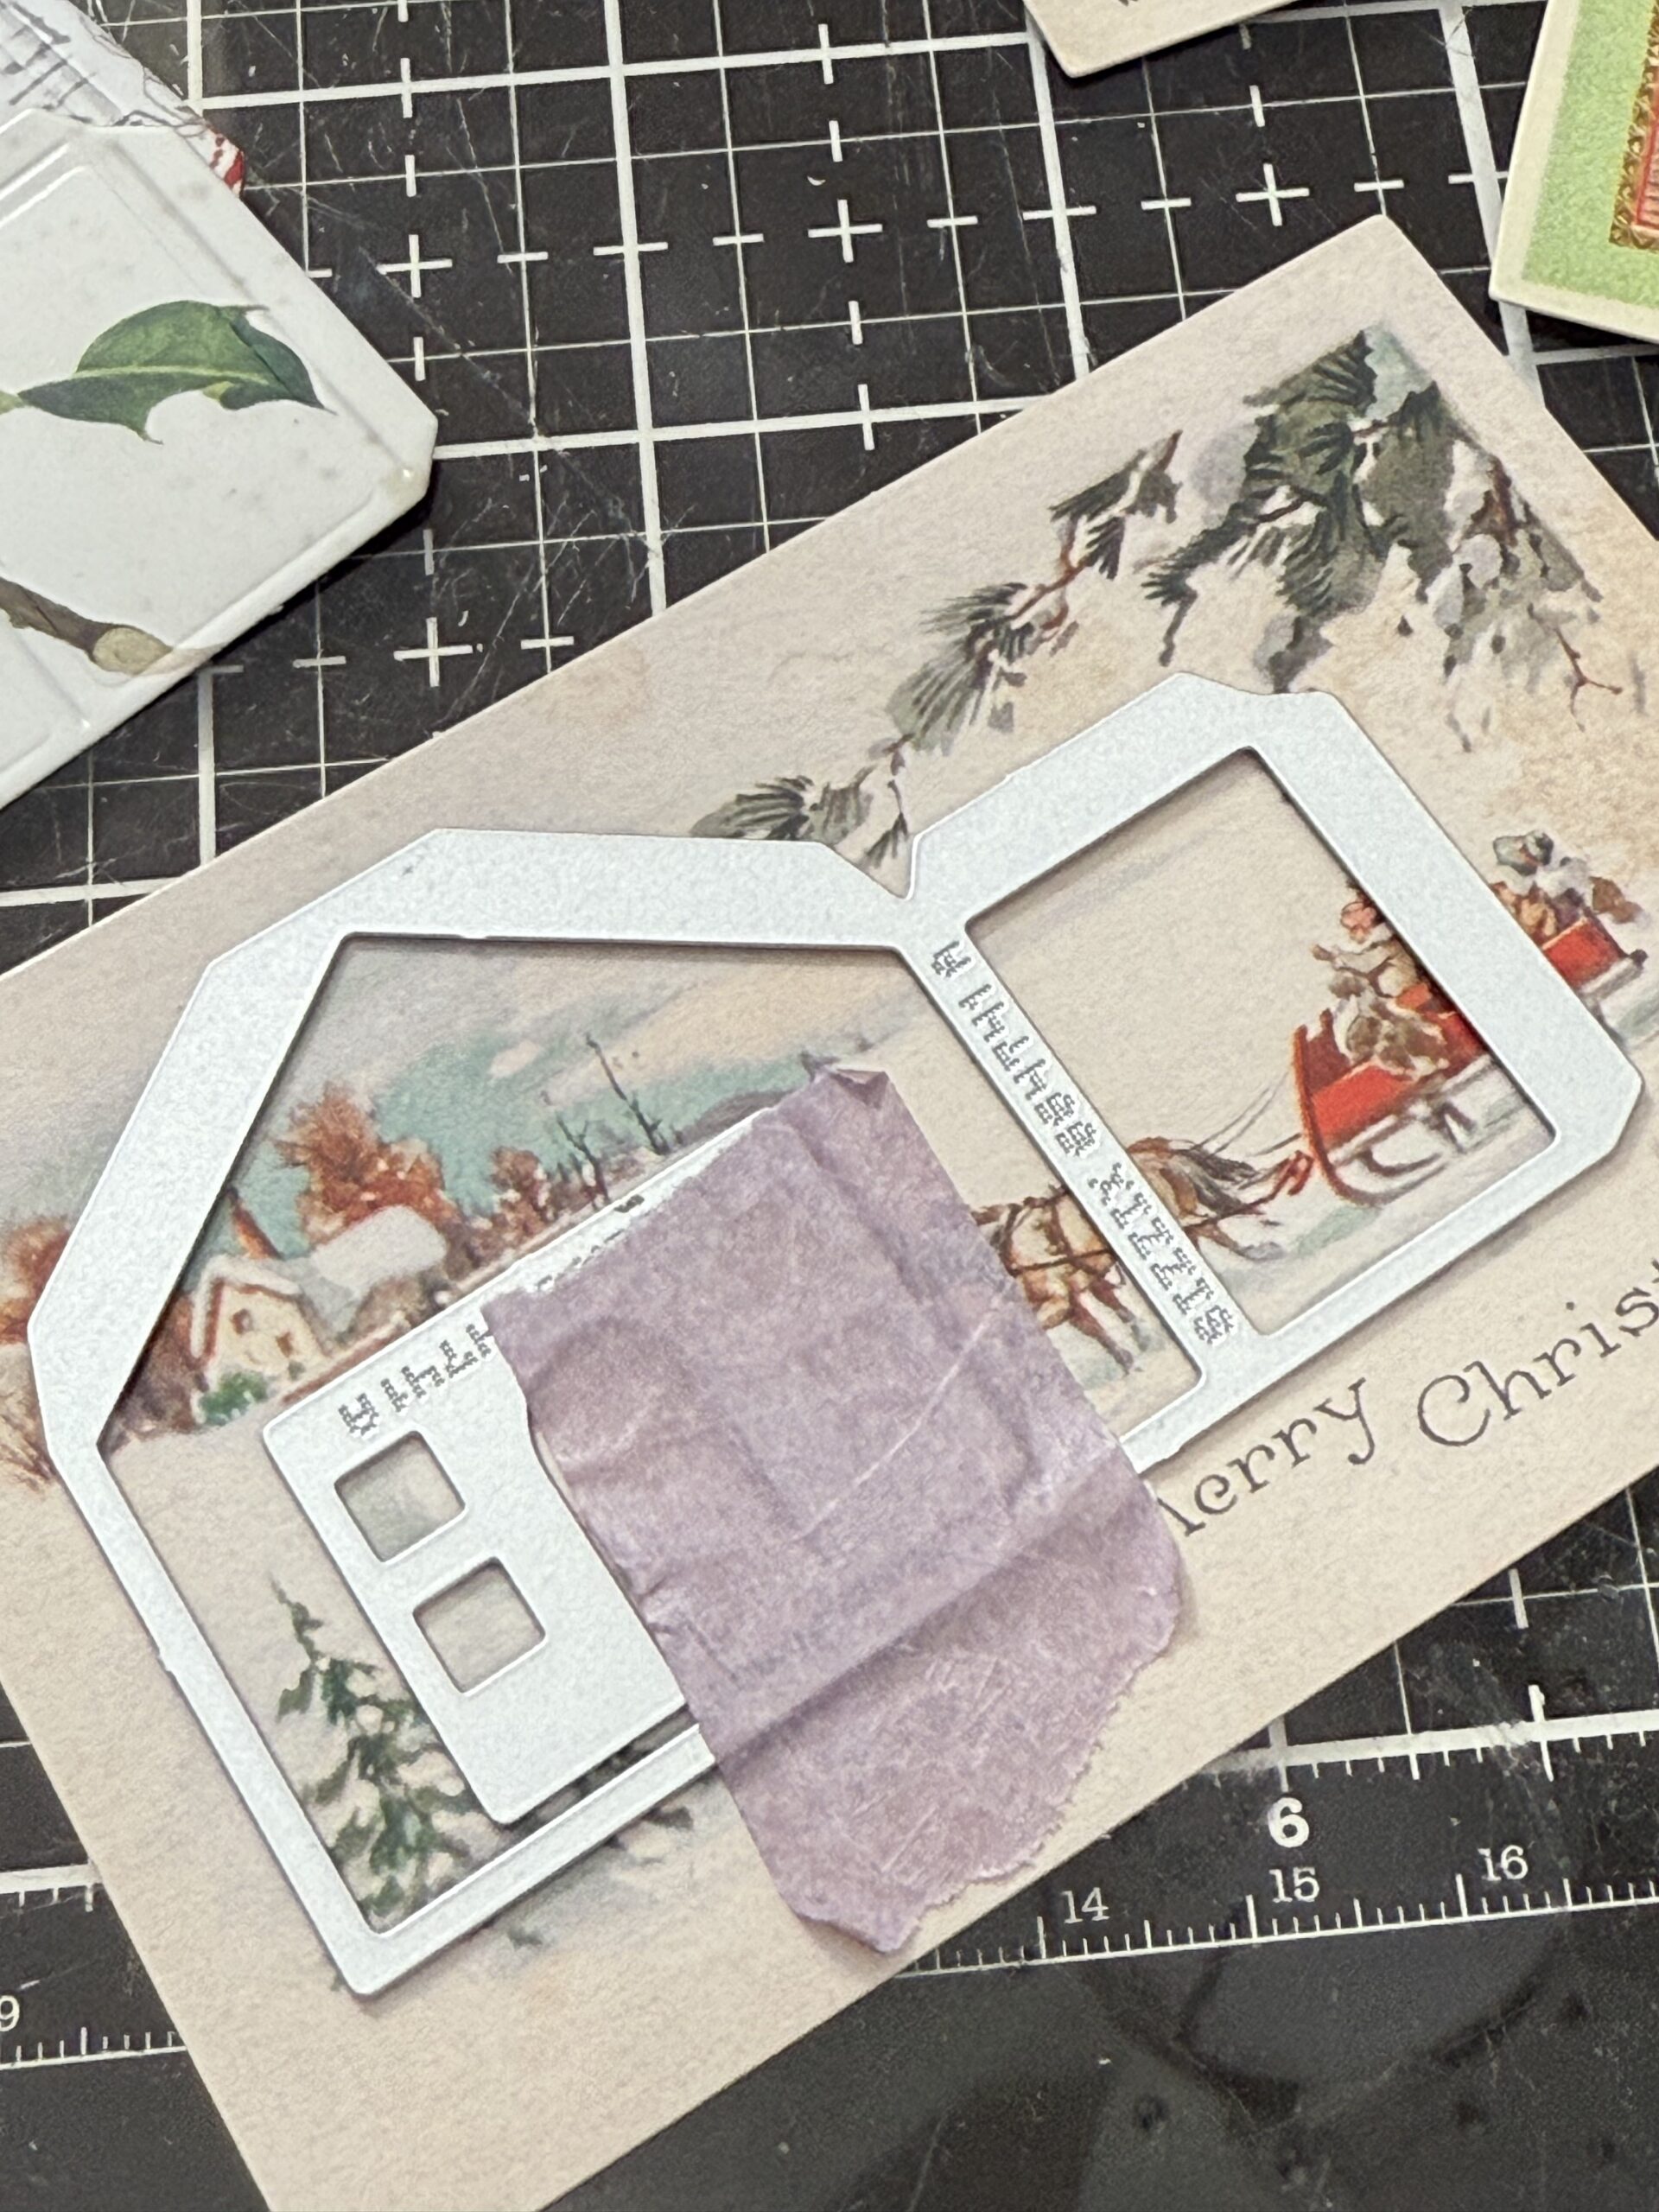
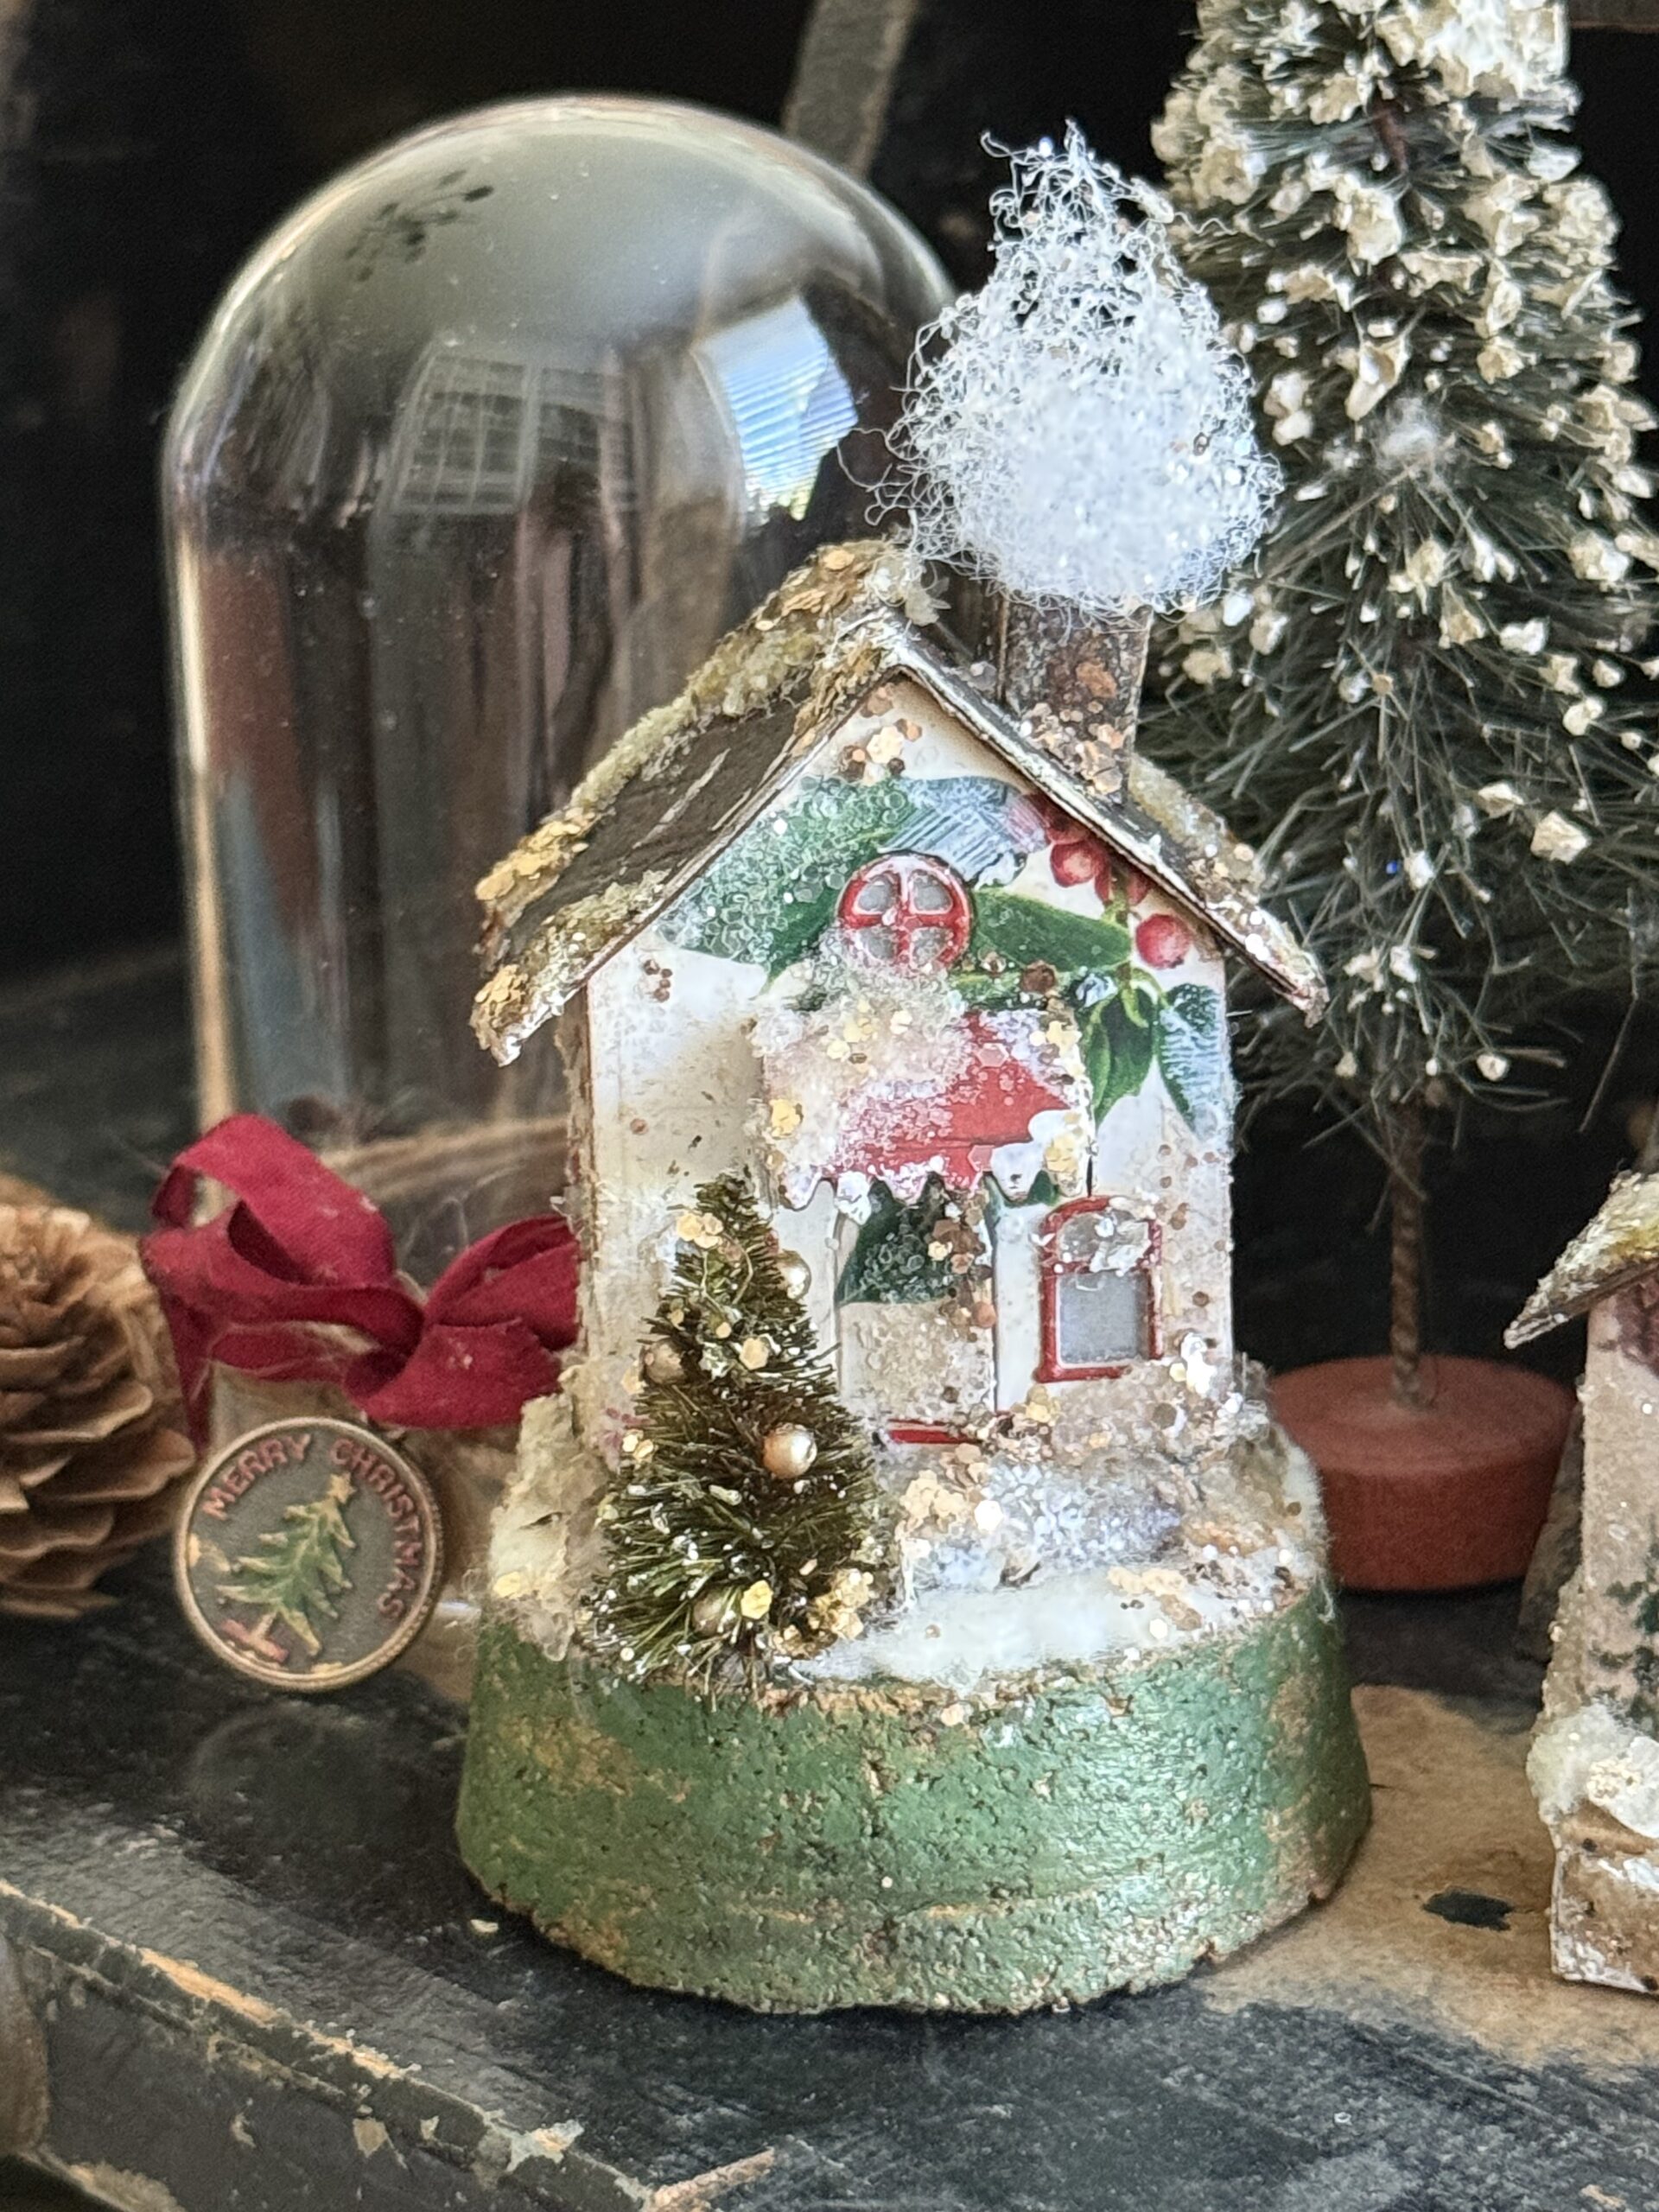
Now, moving on to the grungy vintage house and dome… I used some of the Postcard looking layers from the Christmas Layers pack. I figured out which areas I wanted to be on the house then placed the die on and used some tacky tape to hold the die in place as I cut it.
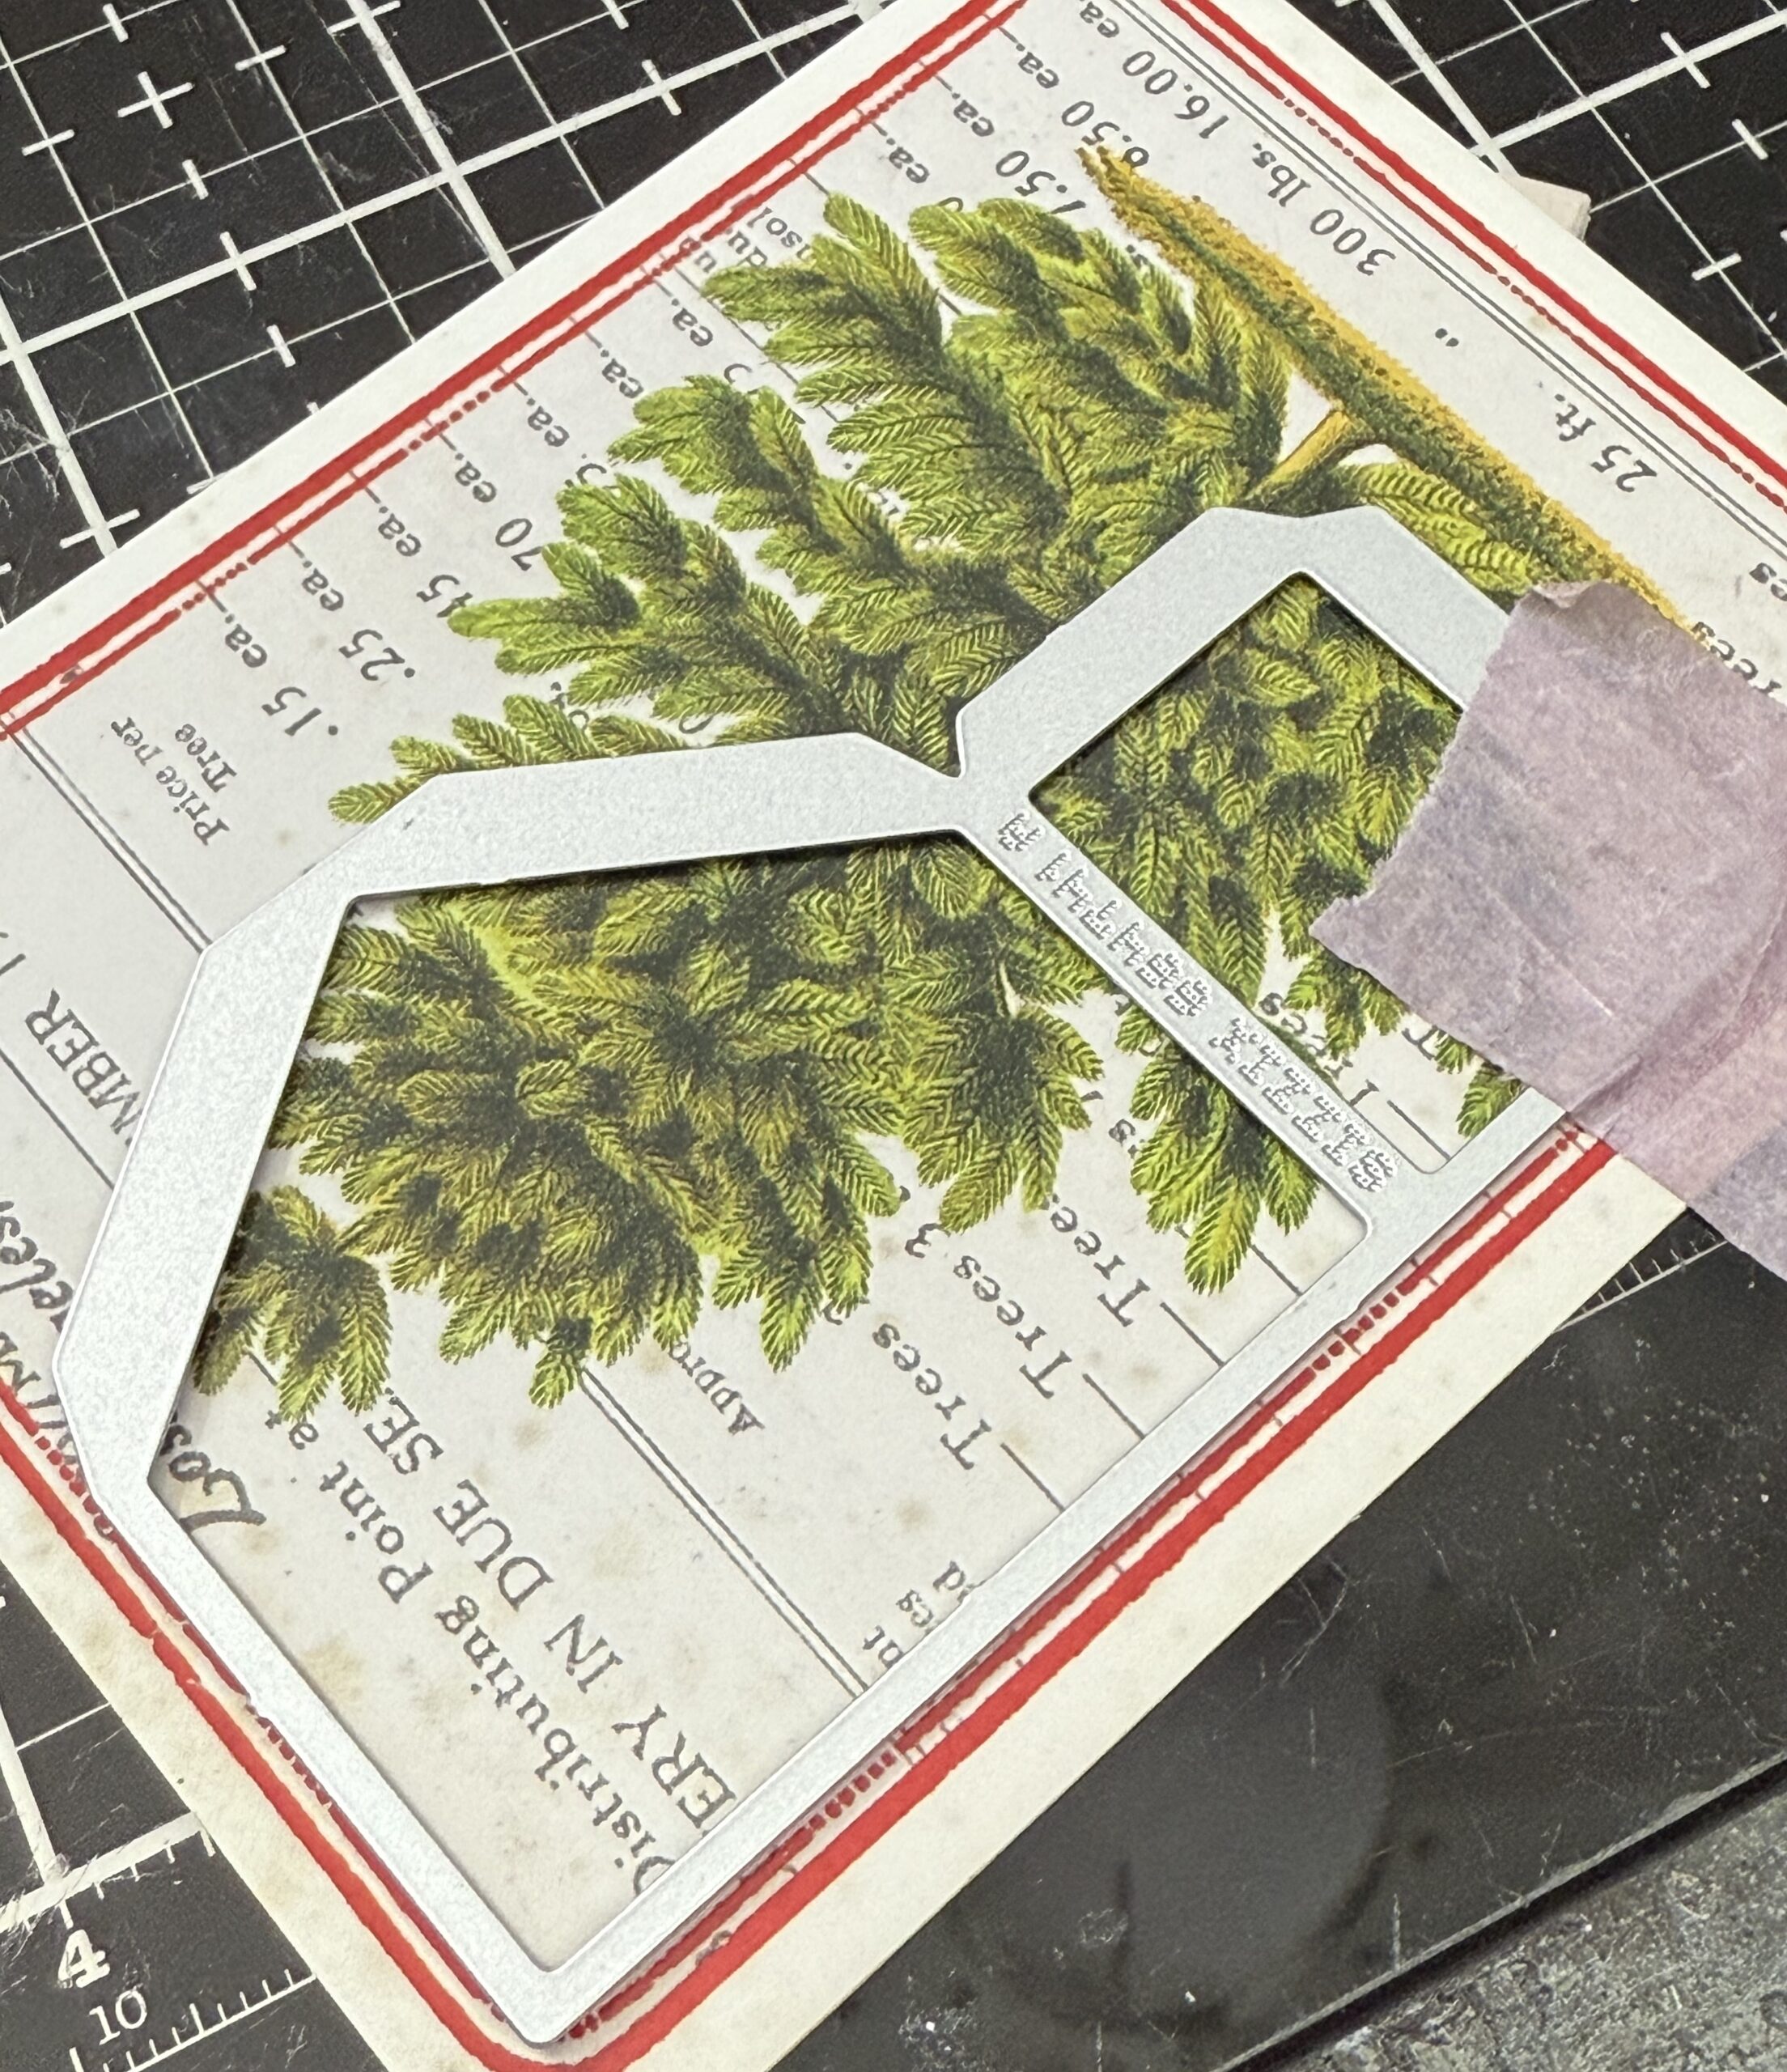
I did this process for both of these houses, then found a scrap of Wood embossed inky paper in my scraps, and cut the roof pieces then built them up using the same techniques that I used previously. I added windows with the vellum around the houses.
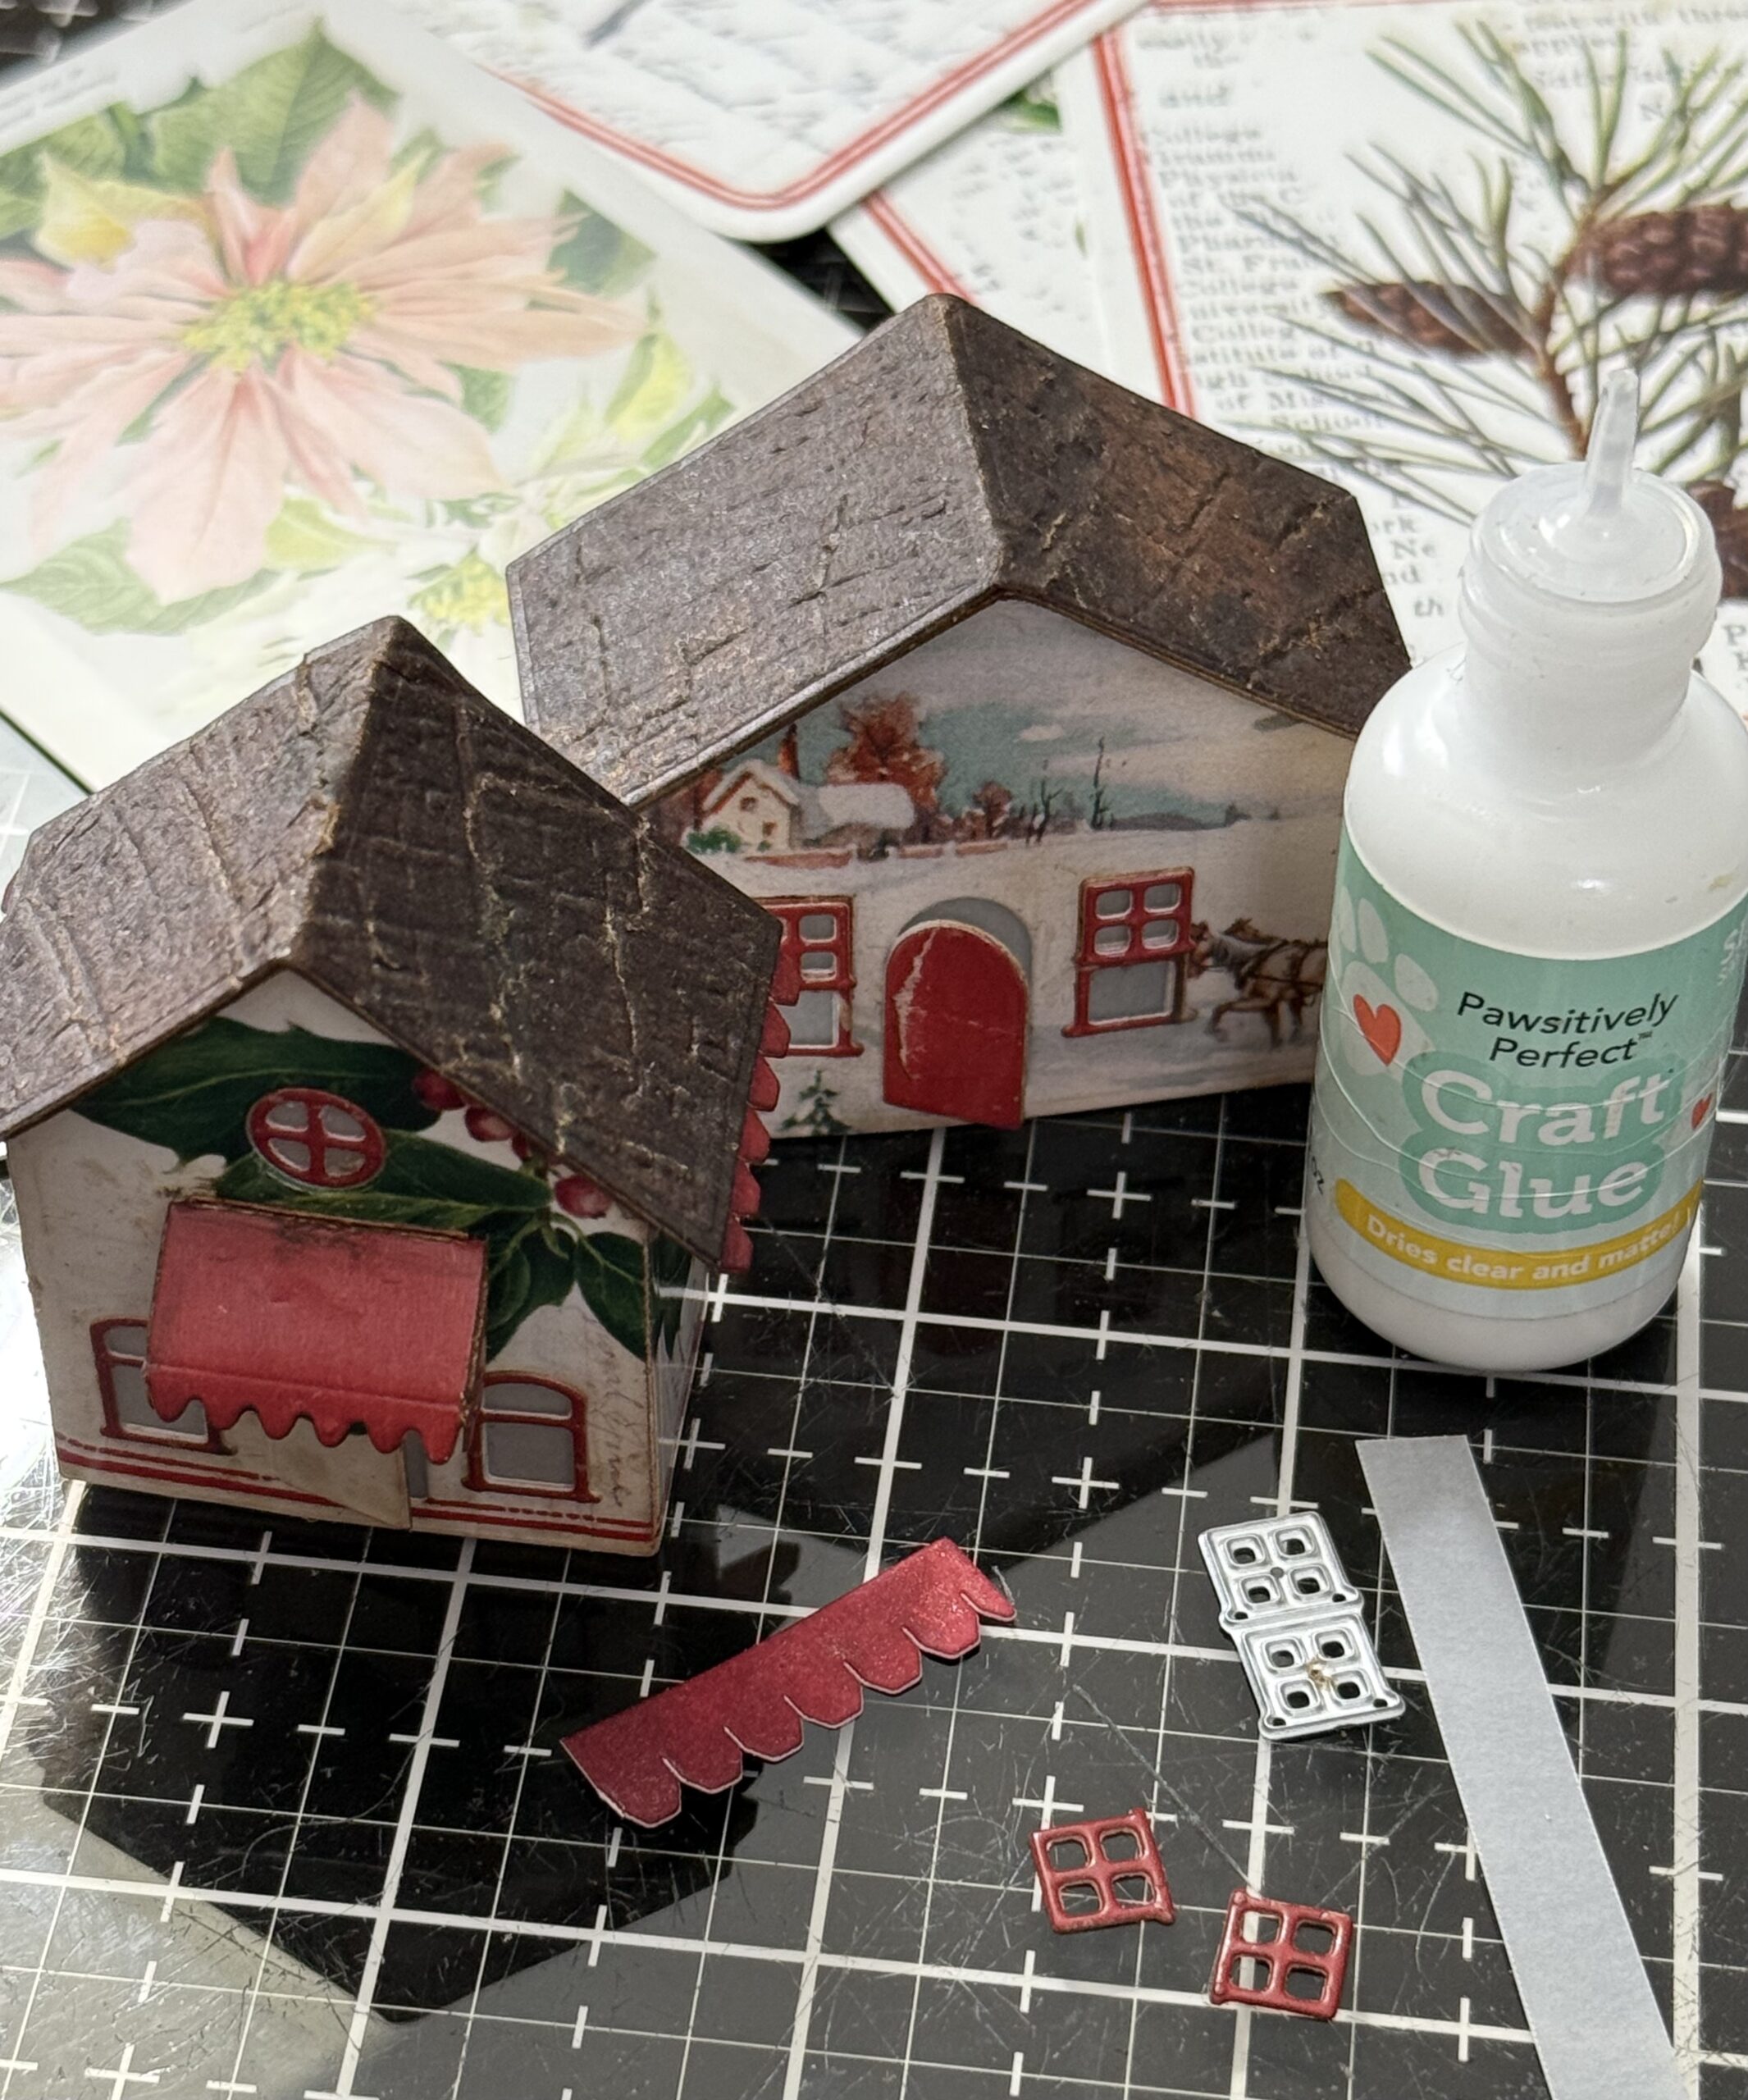
I cut out some inky red shingle pieces and applied them to just under the sides of the roof line as a decorative trim.
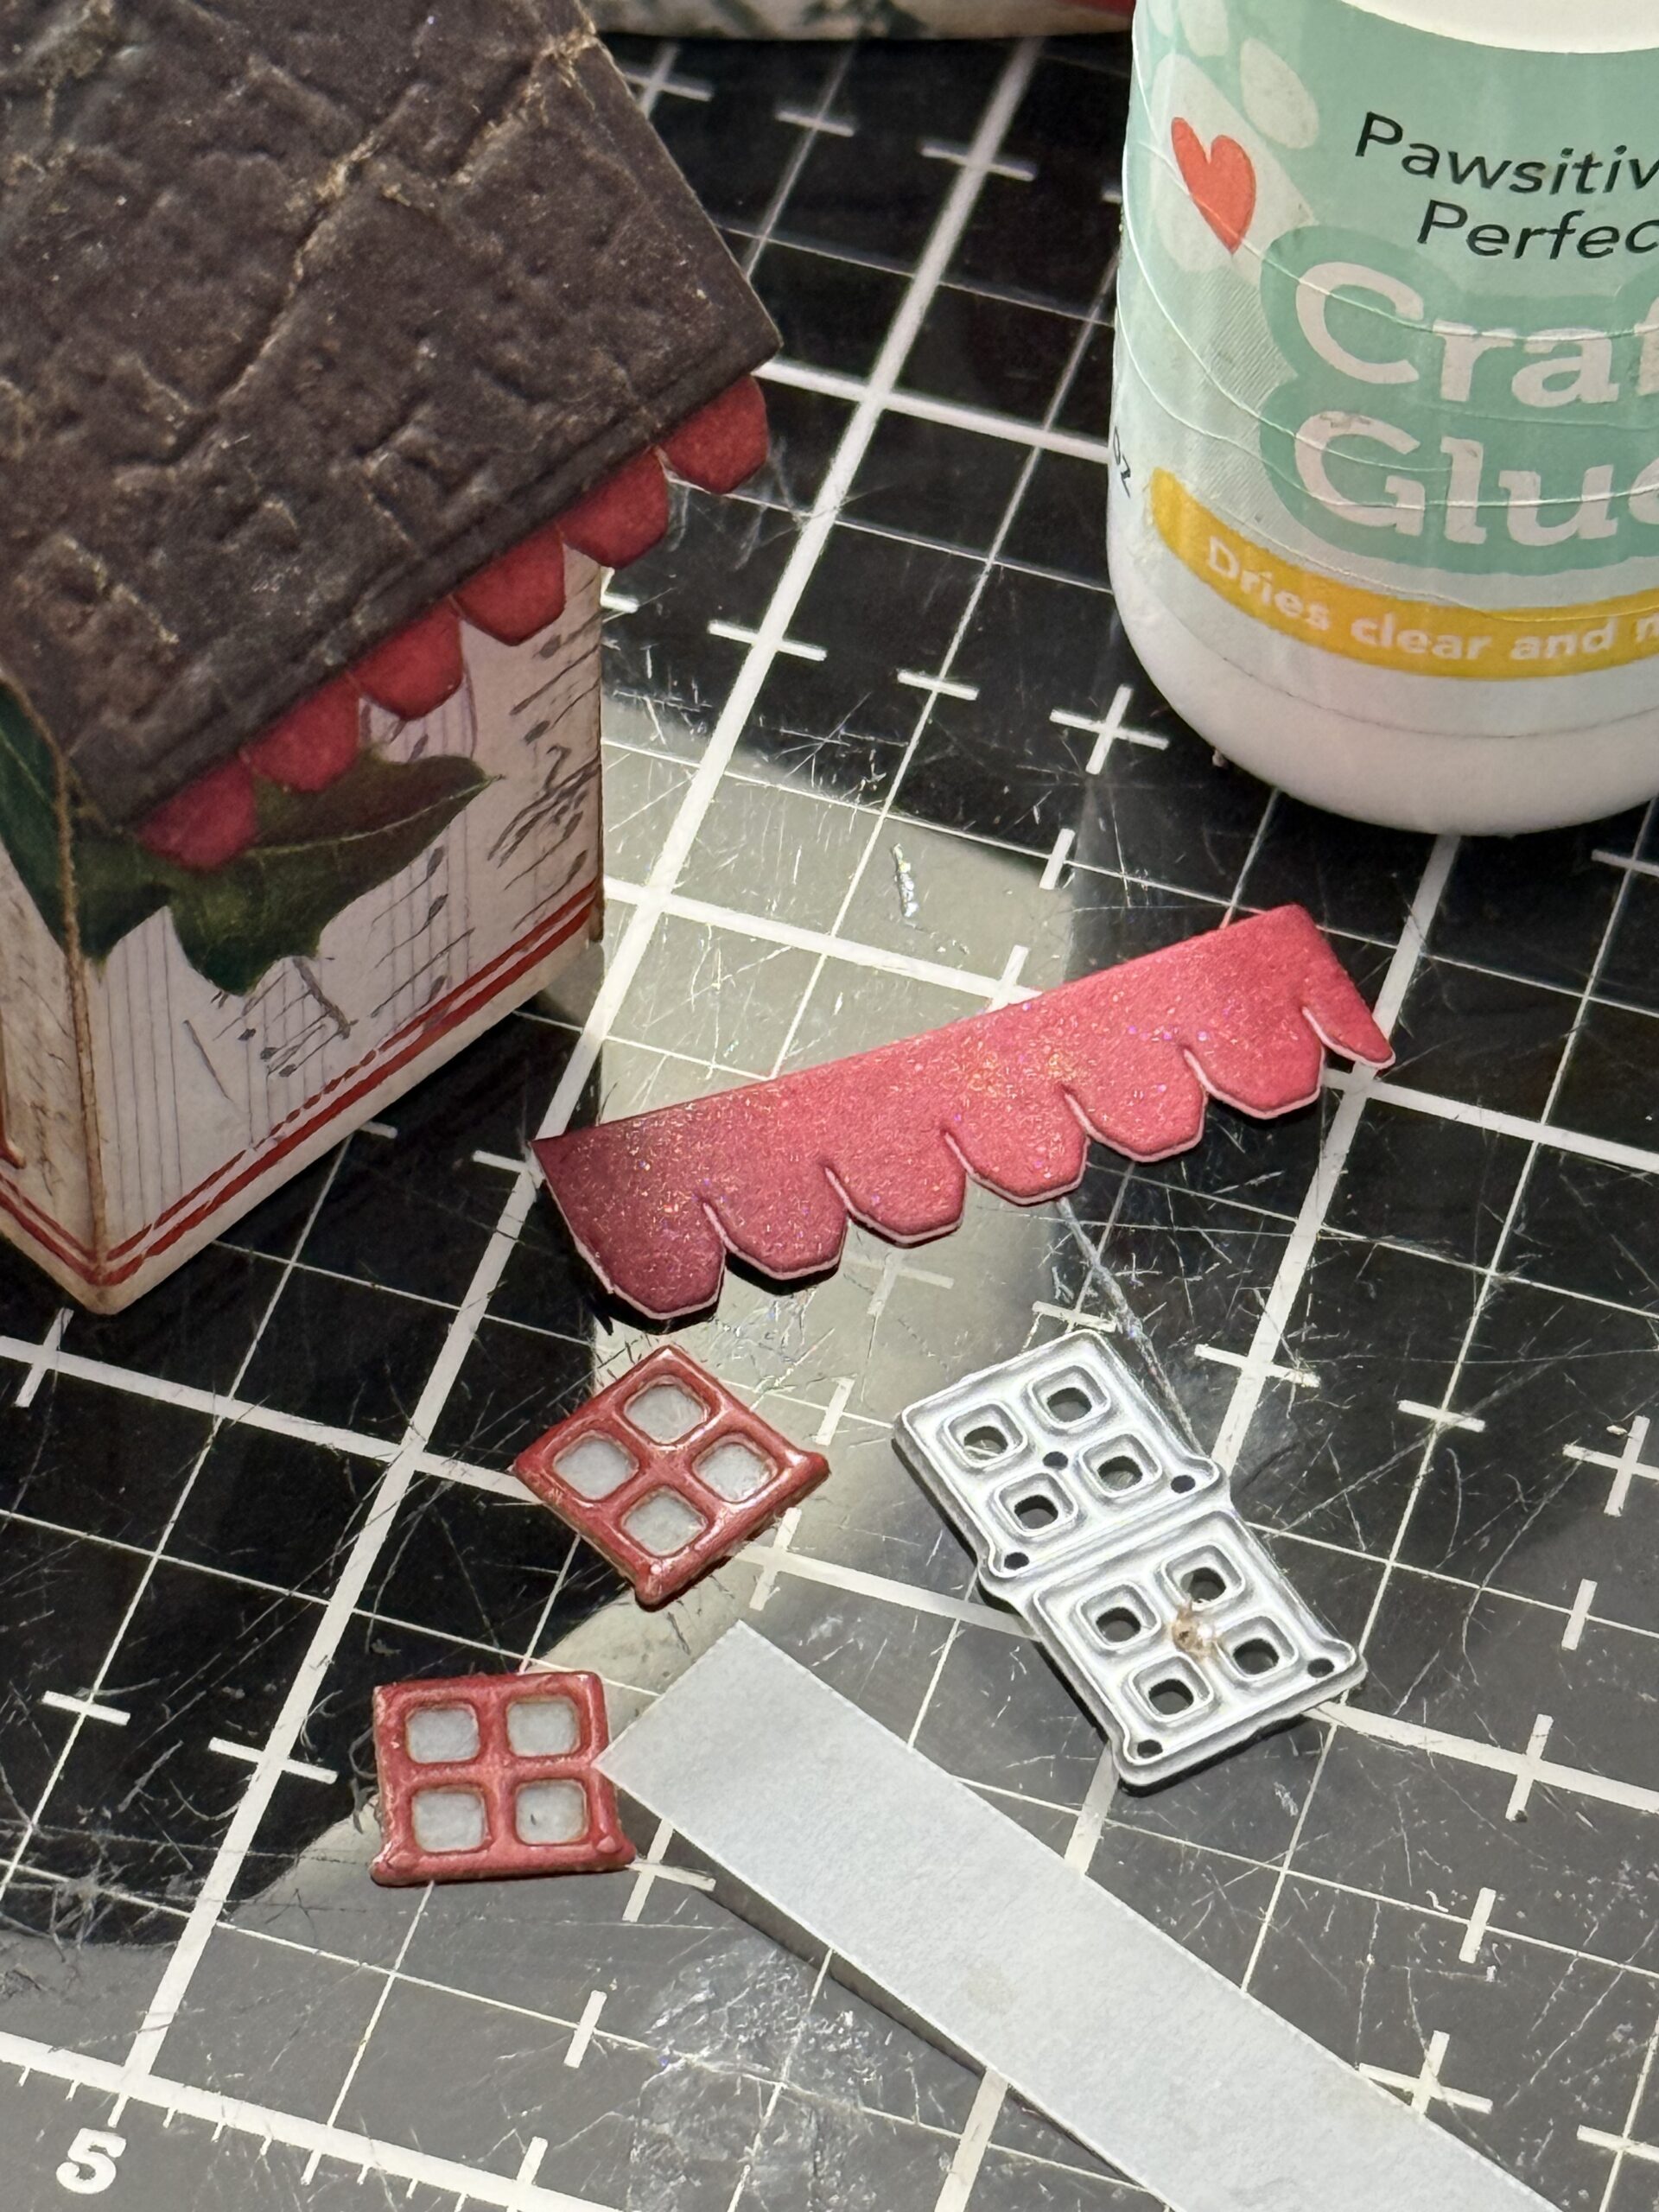
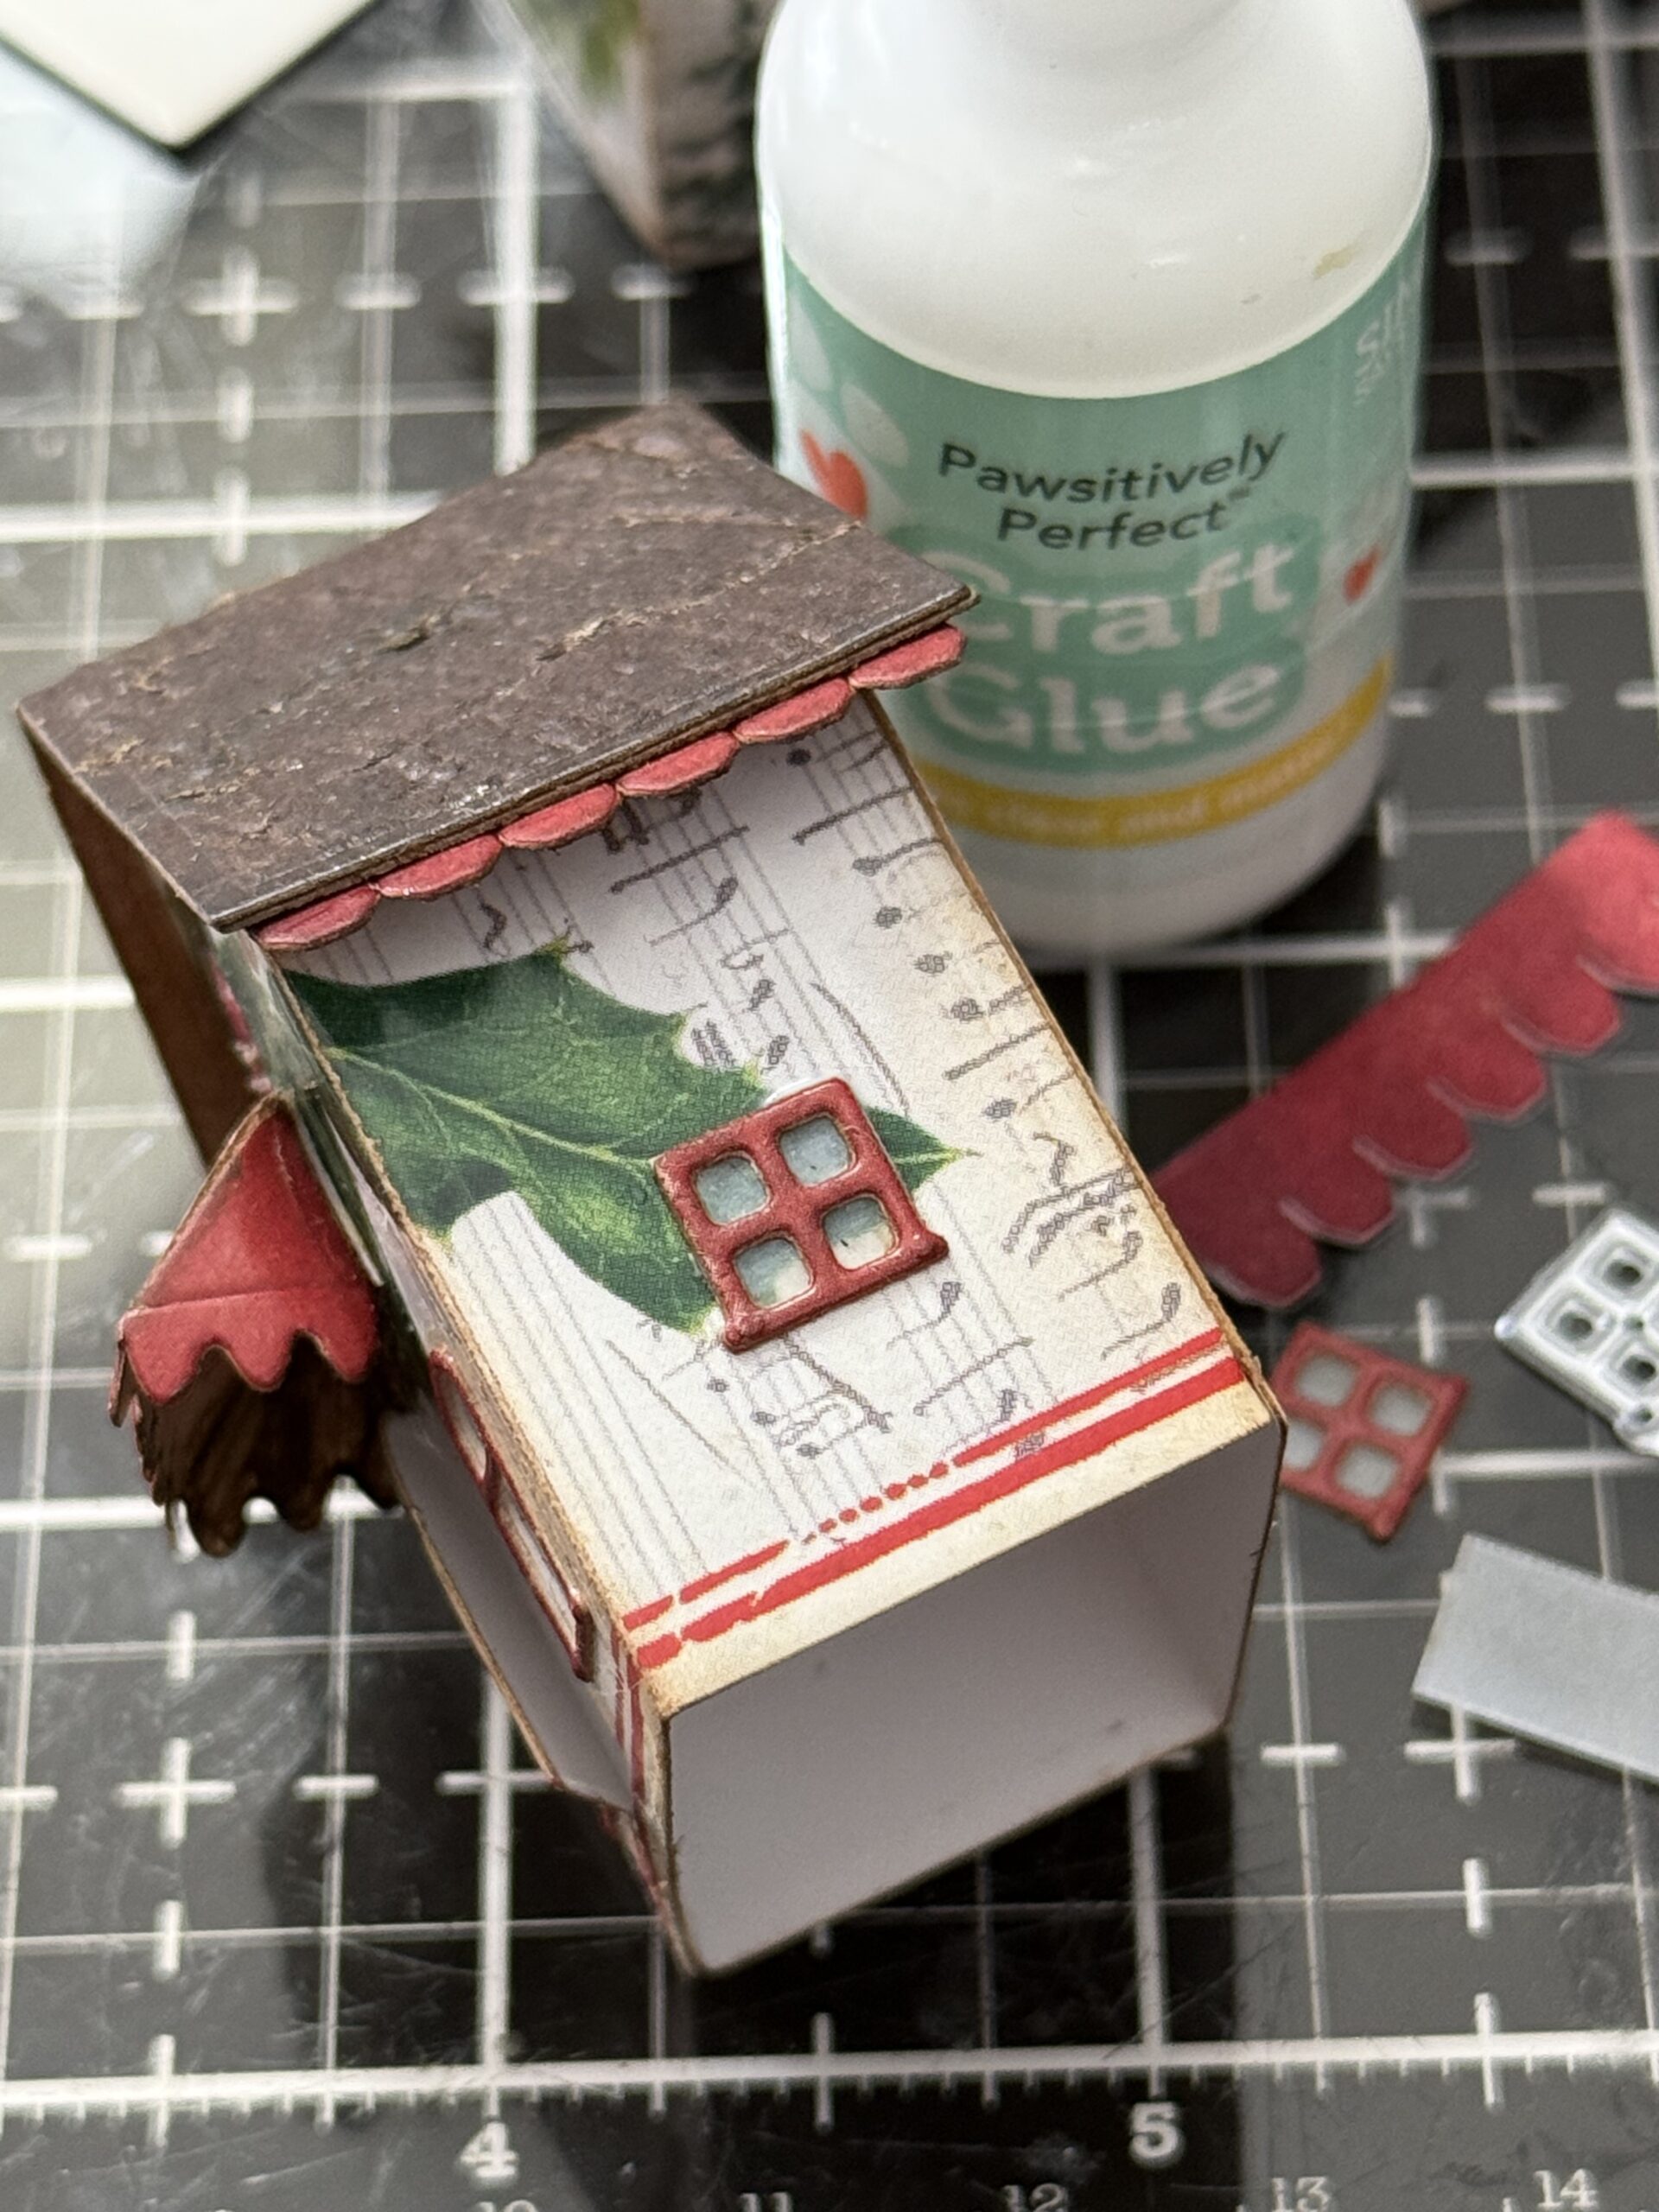
I cut out a matchbox base for the house for the ornament but you’ll notice that I didn’t know at the time that I was going to make it into an ornament…so, I punched a couple holes in the top BEFORE I added the base to the bottom, then I added the ribbon and button on top.
I added the ribbon with the button, then added the base with a piece of cotton batting that was cut using a pinking shears. I then cut a little chimney, folded it and added it to the top of the house, I used a small piece of cotton stuffing in the chimney to add some smoke.
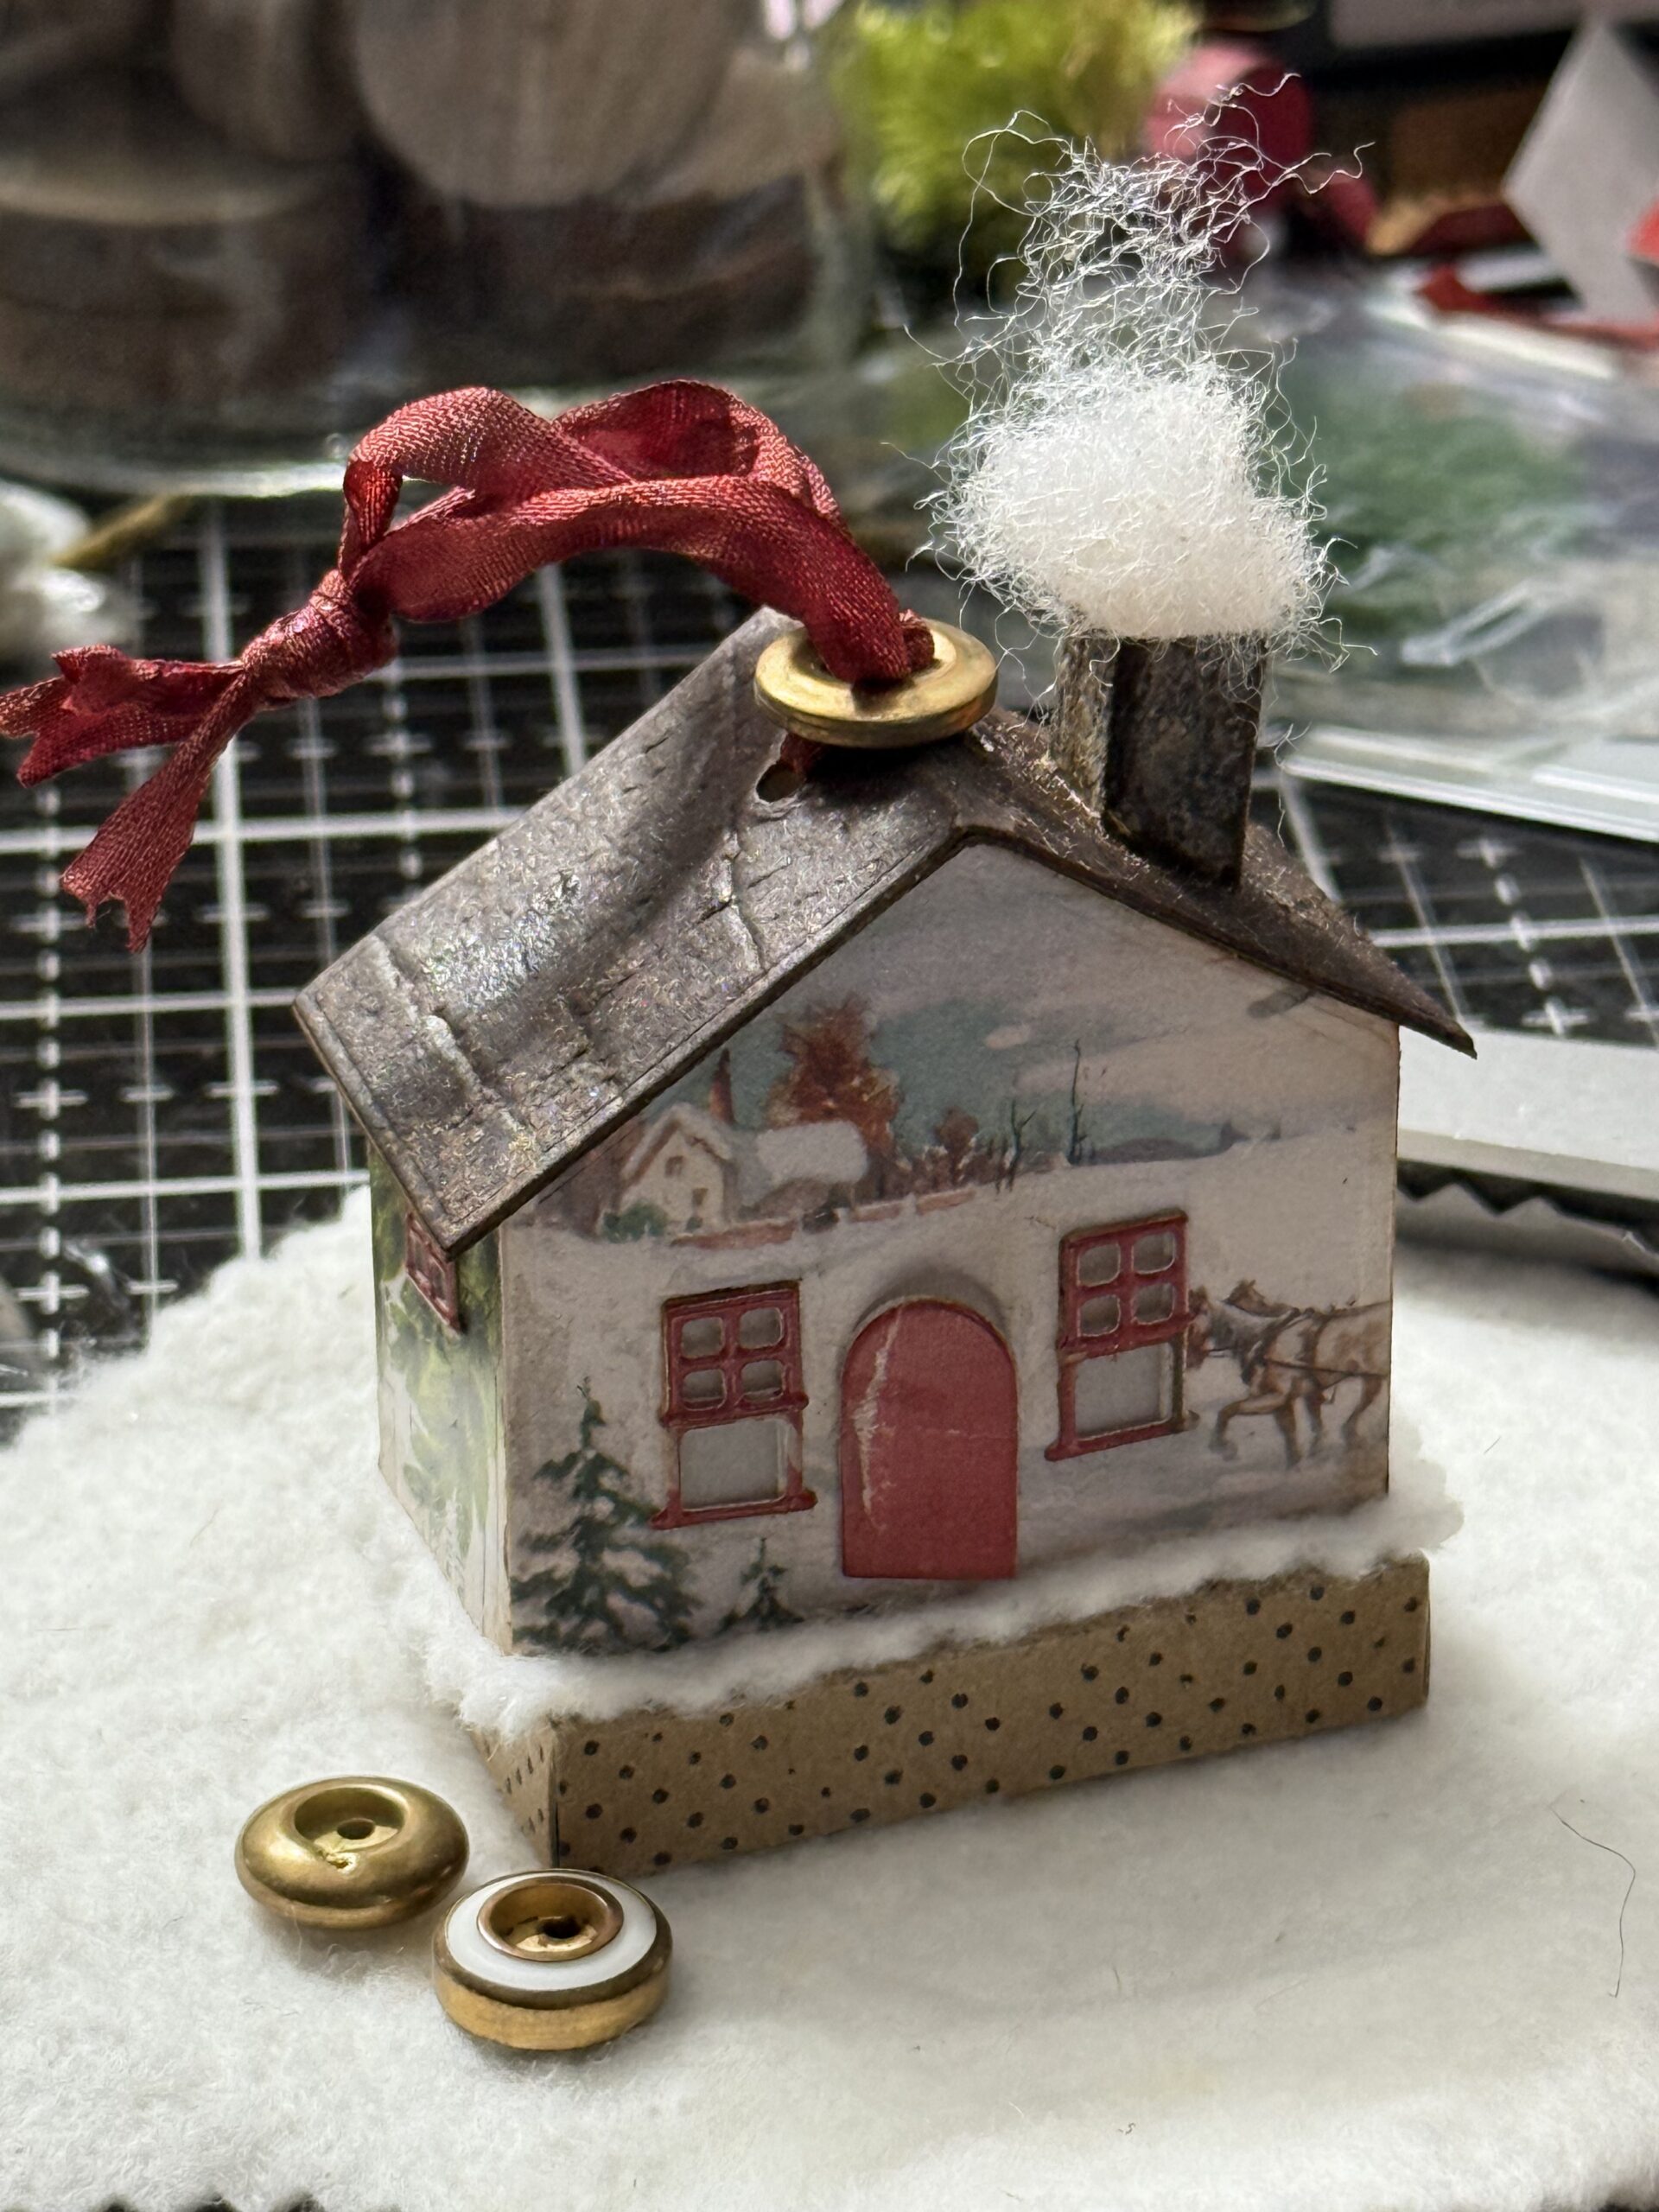
I finished the small house with a chimney and some smoke, this was the perfect size to fit inside one of the idea-ology Display Domes.
I painted the cork base of the Display Dome with some Rustic Wilderness Distress Paint, then set it aside to dry.
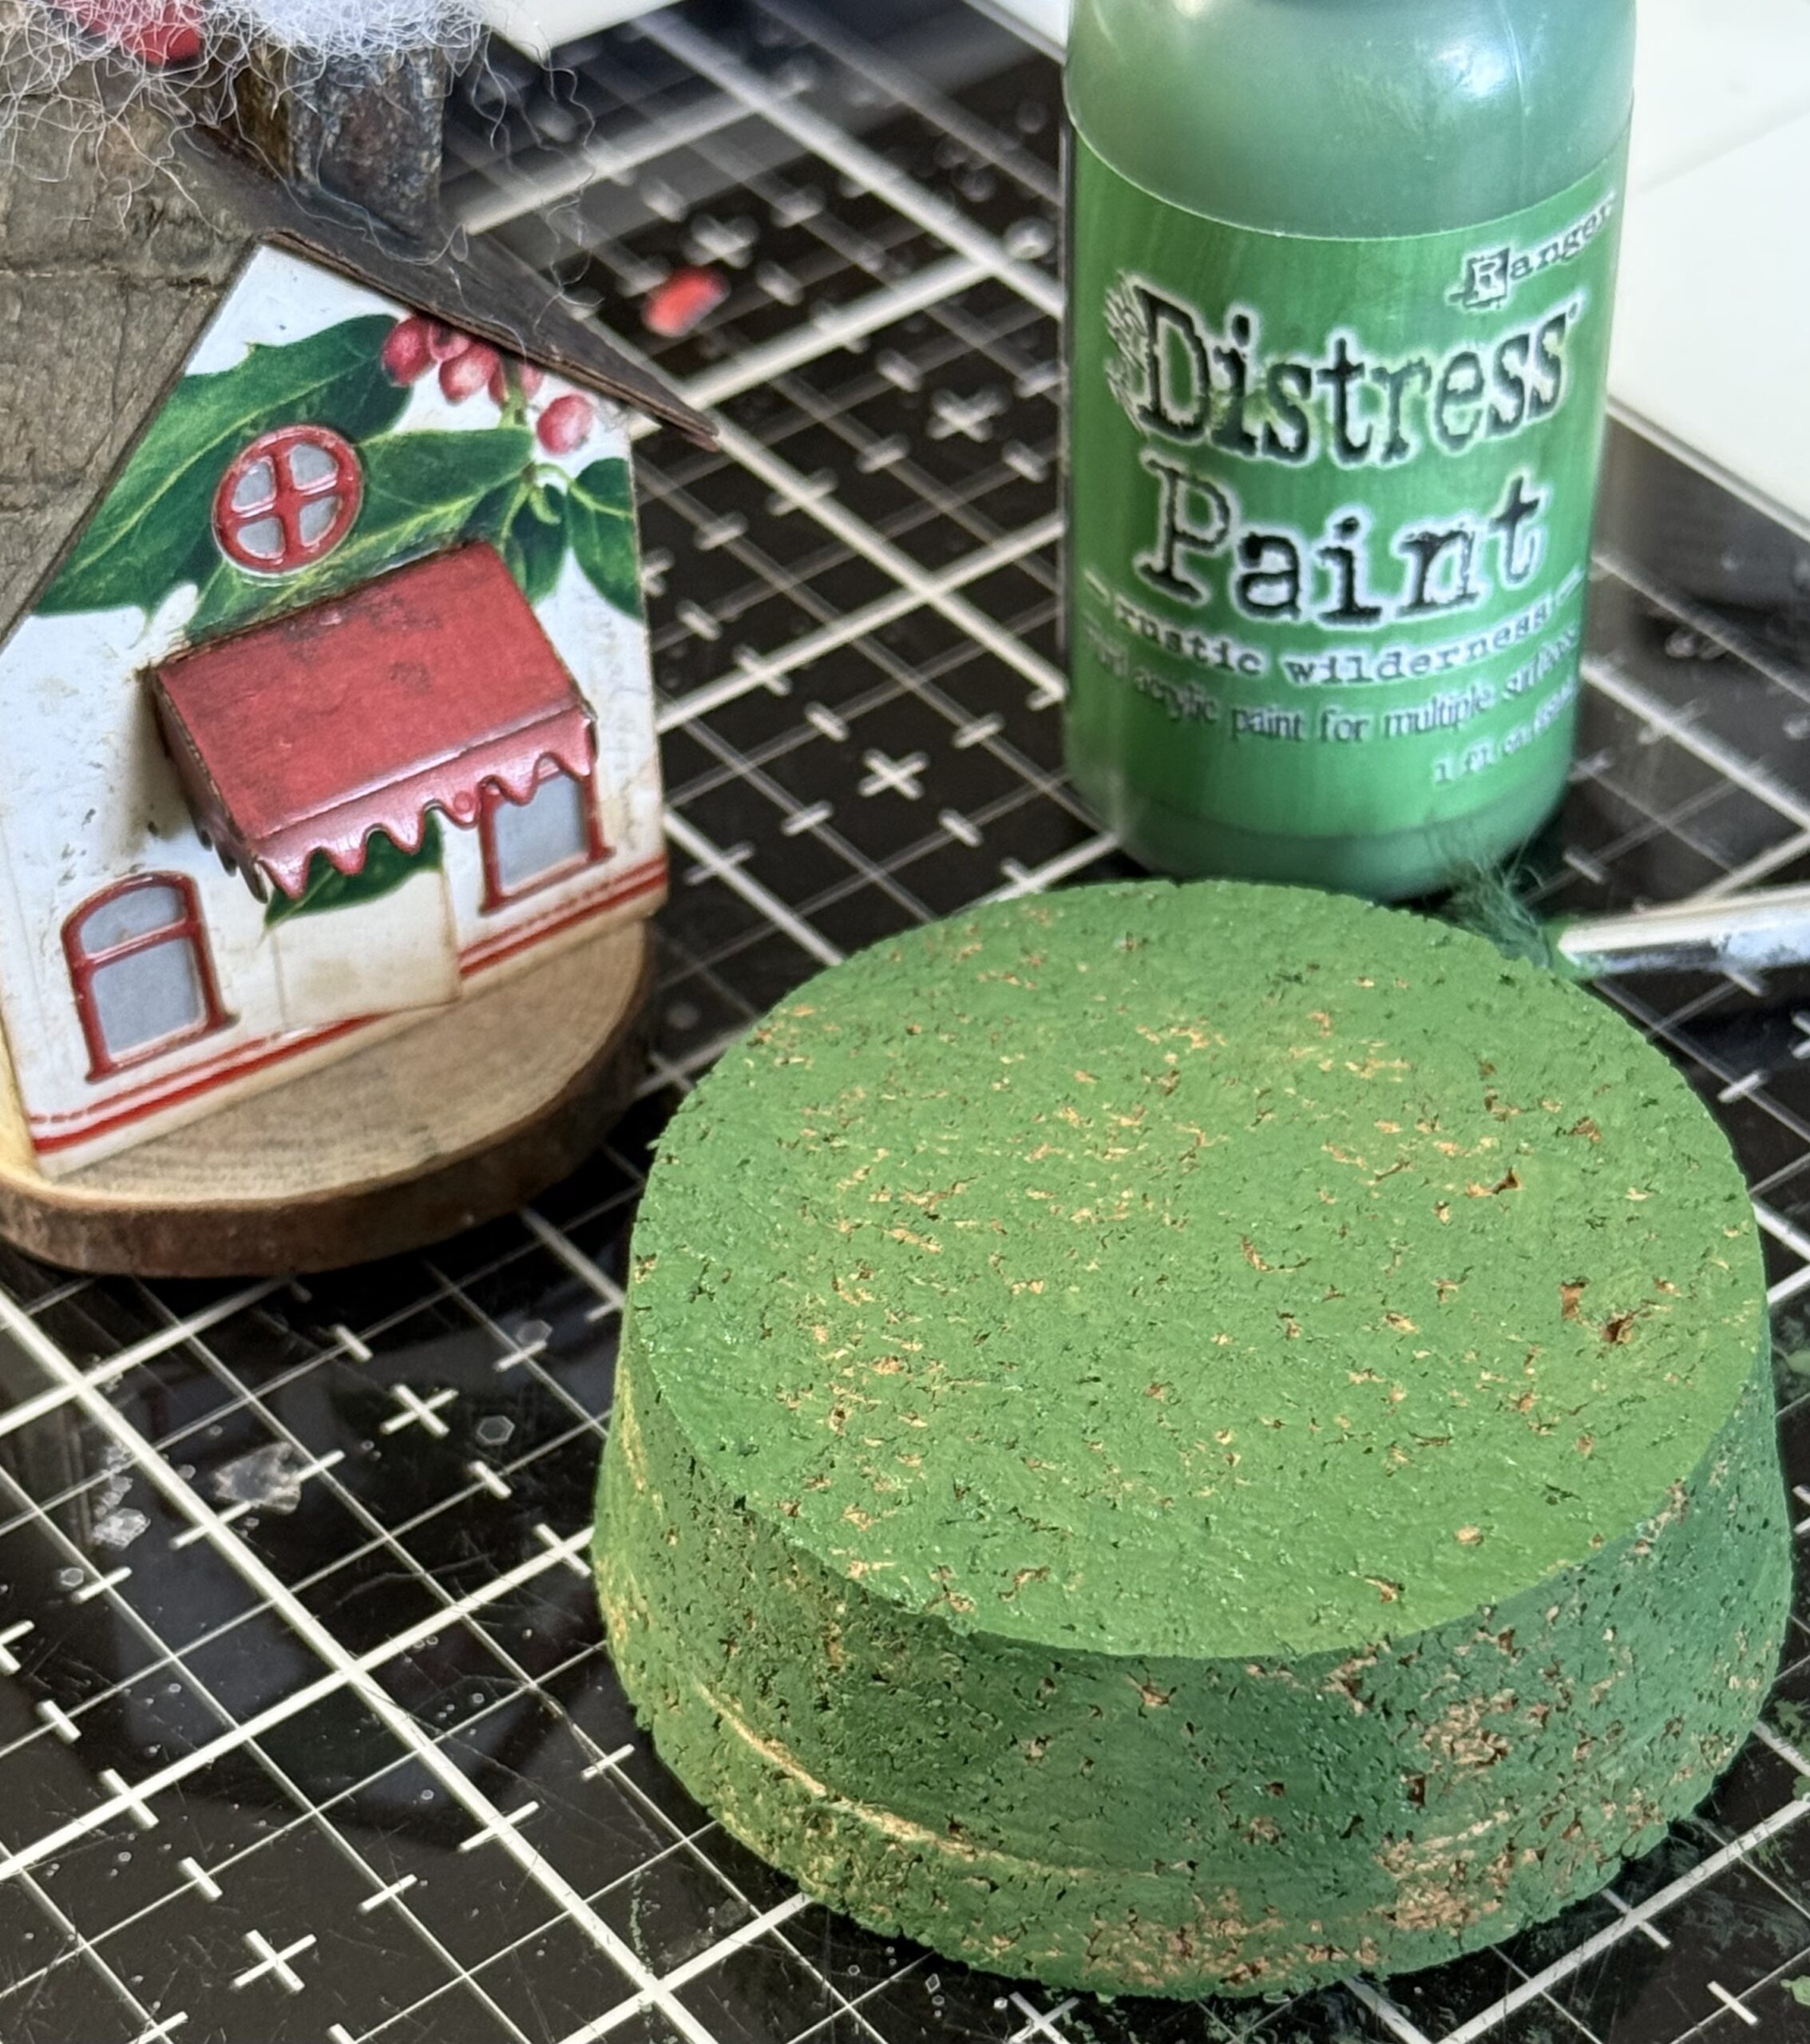
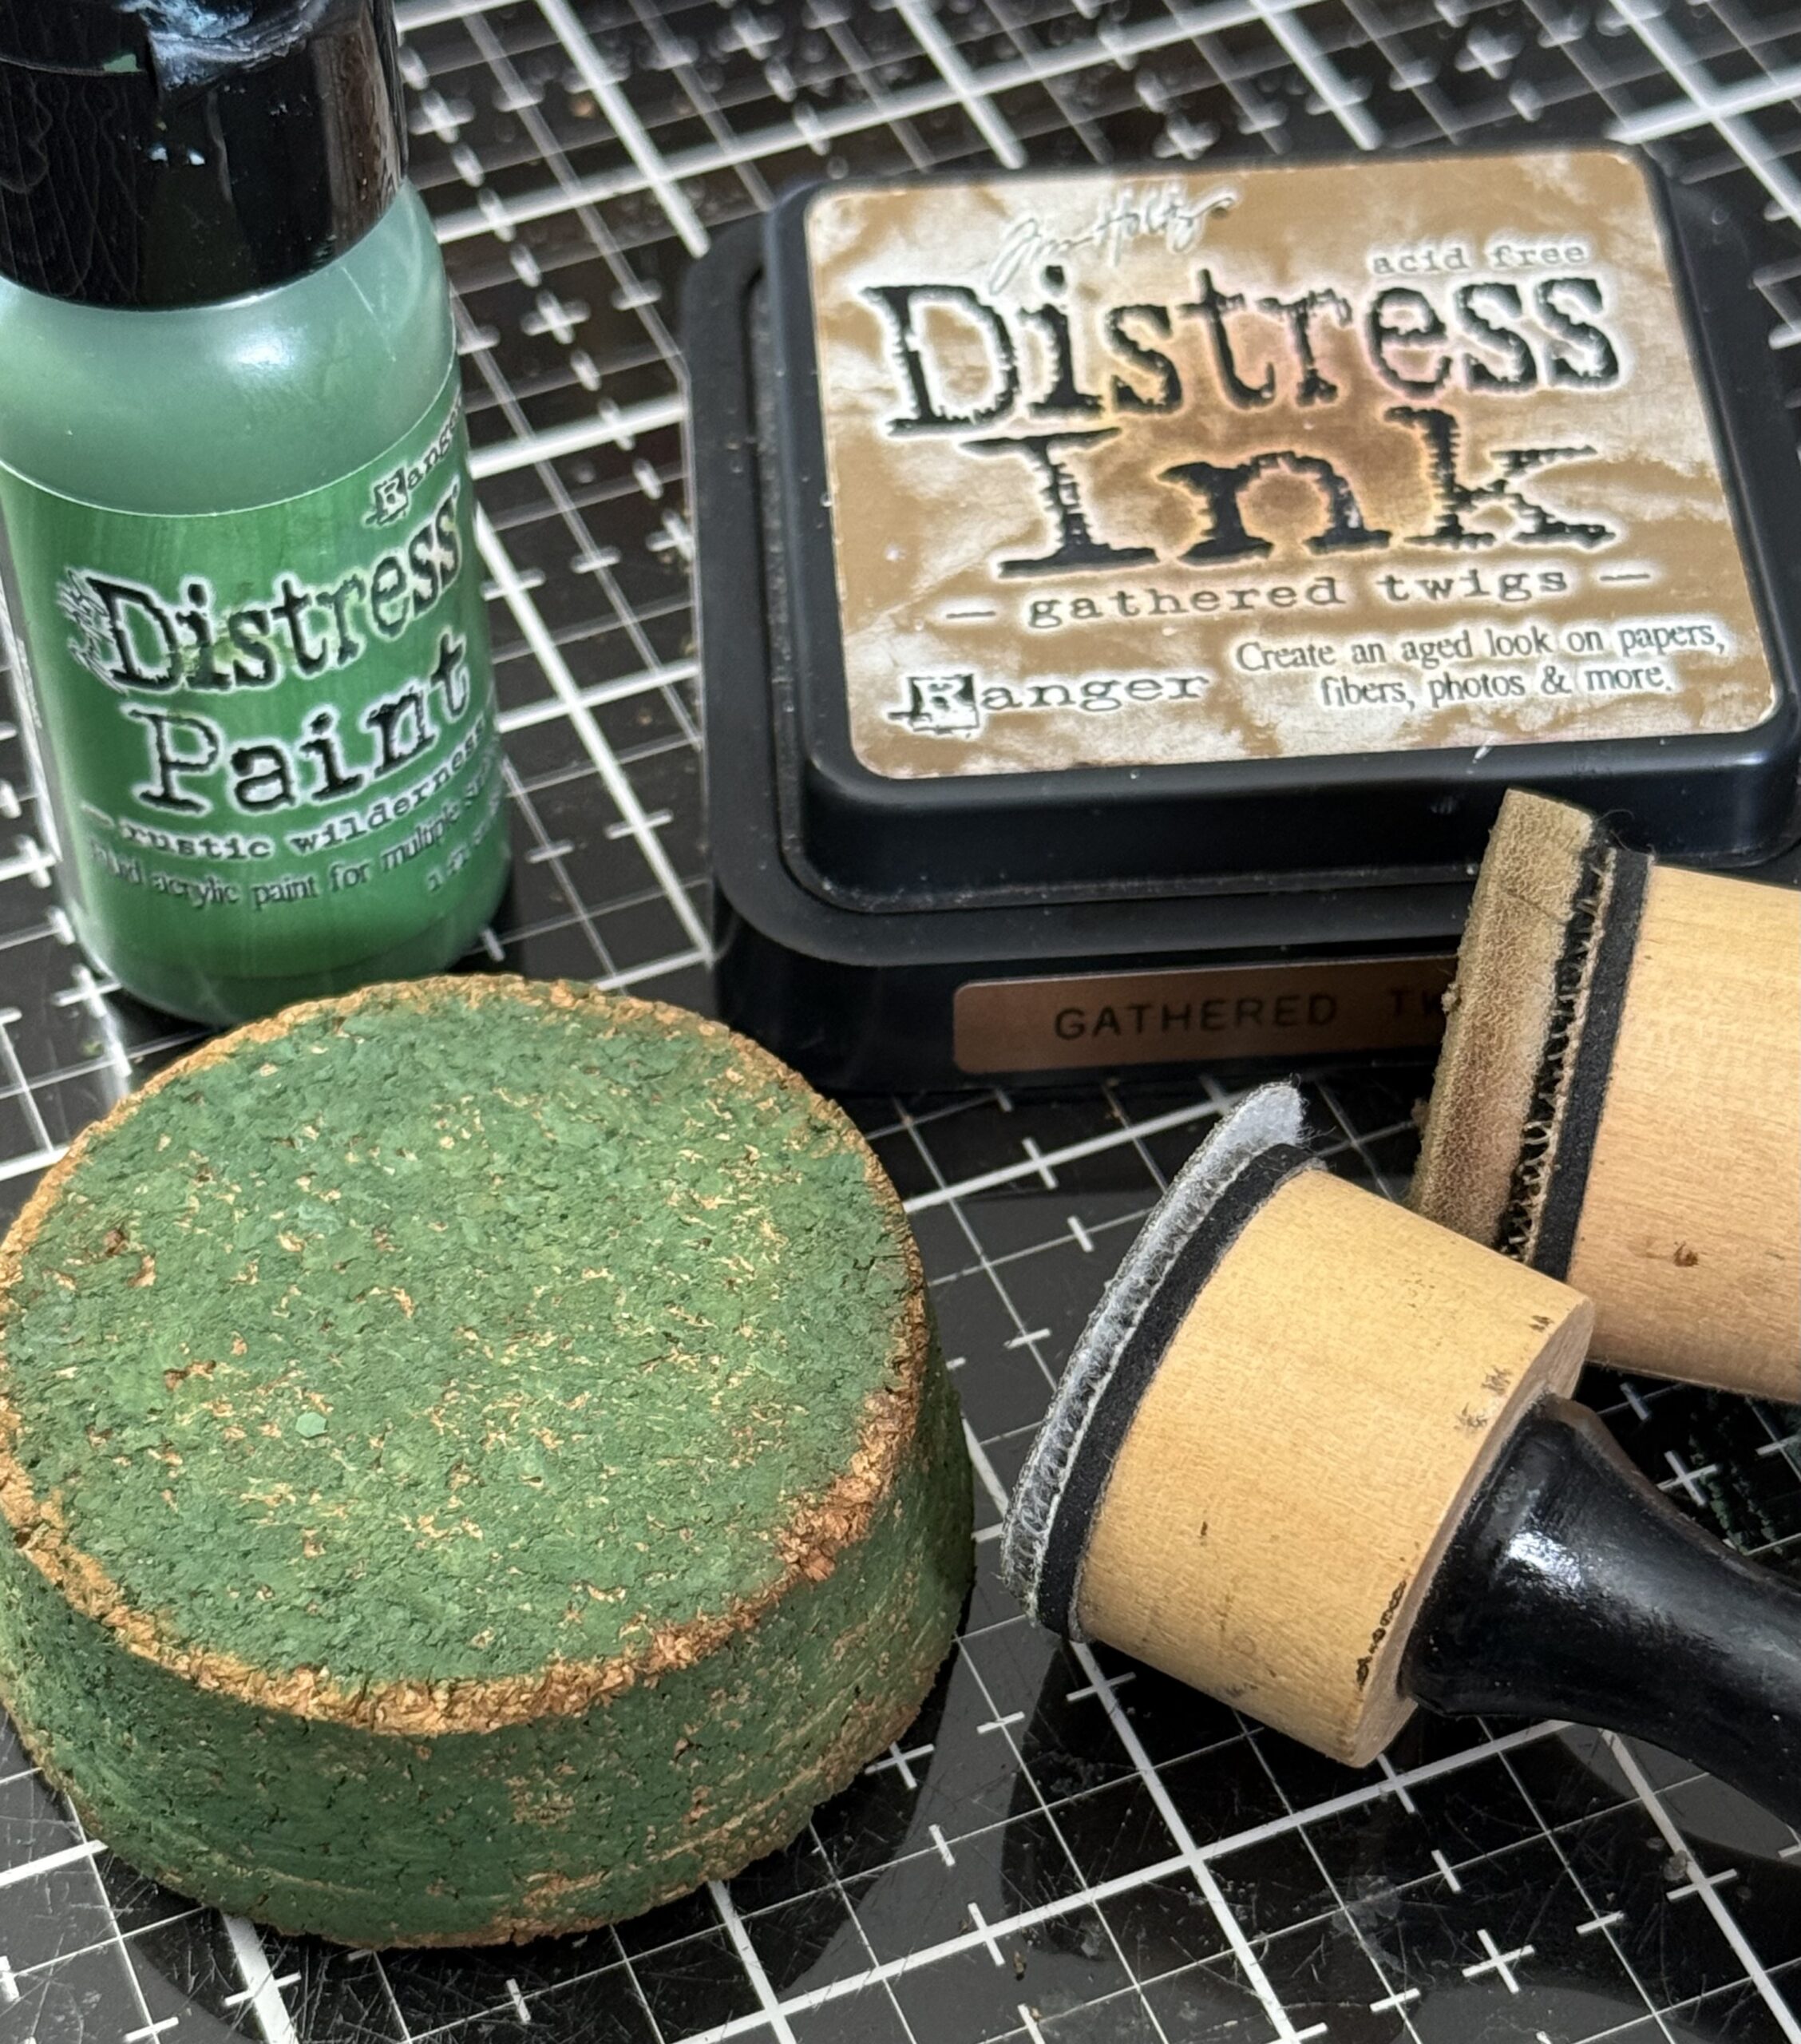
After the paint was dry, I used the sanding grip to sand off some of the edges of the cork making it look a little more vintage, then I rubbed the sanded edges with some Gathered Twigs Distress Ink using a blending tool, then set it aside to dry.
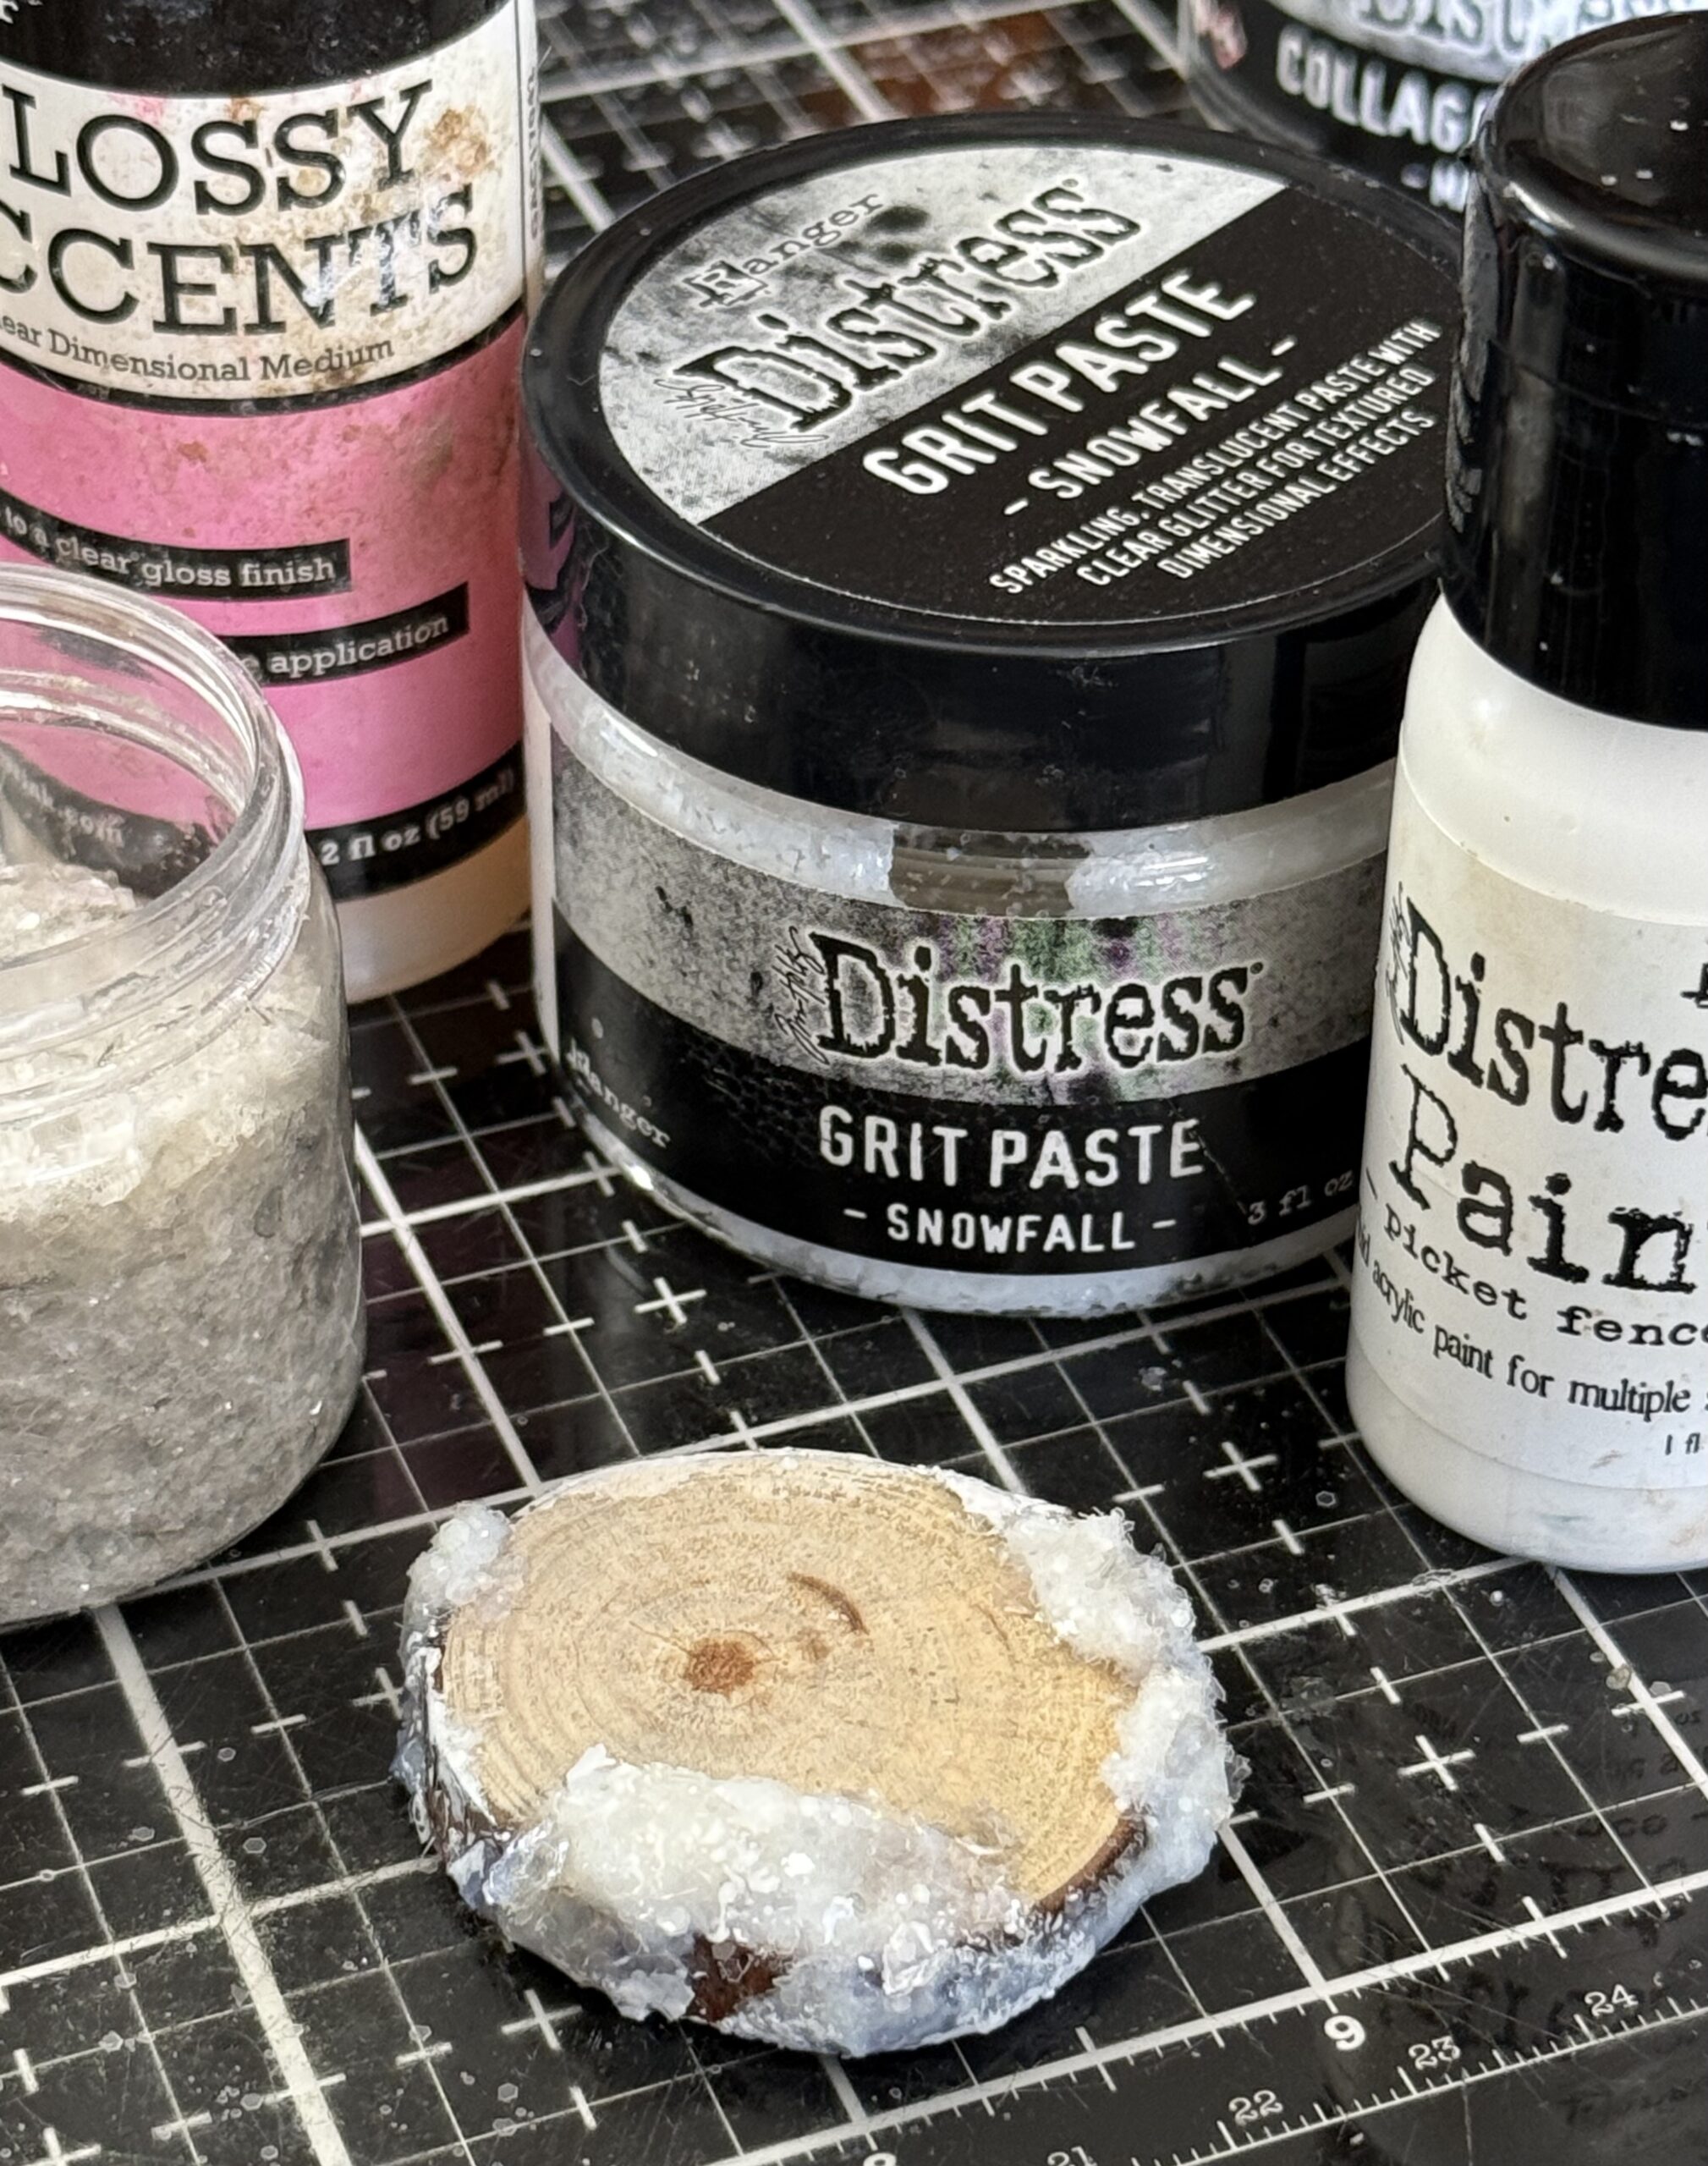
I decided to add a small wood slice under the house to give it a little more height within the dome, so I painted the edges with some Picket Fence paint and Snowfall Grit-paste to add some snow, then once dry, added some glossy accents and added some glitter and mica flakes to create a snowy scene.
I adhered the wood base and house on top of the cork base using some adhesive, then added a tiny Woodland tree that had been dyed with green spray stain and decorated with a few tiny gold beads. Then I added some more glossy accents around on the house and the base of the house then sprinkled on some more “snow” and added a little Liquid Tinsel to add some more vintage charm.
The cork was set aside to dry, then I worked on finishing the dome by adding an idea-ology charm and some jute and ribbon.
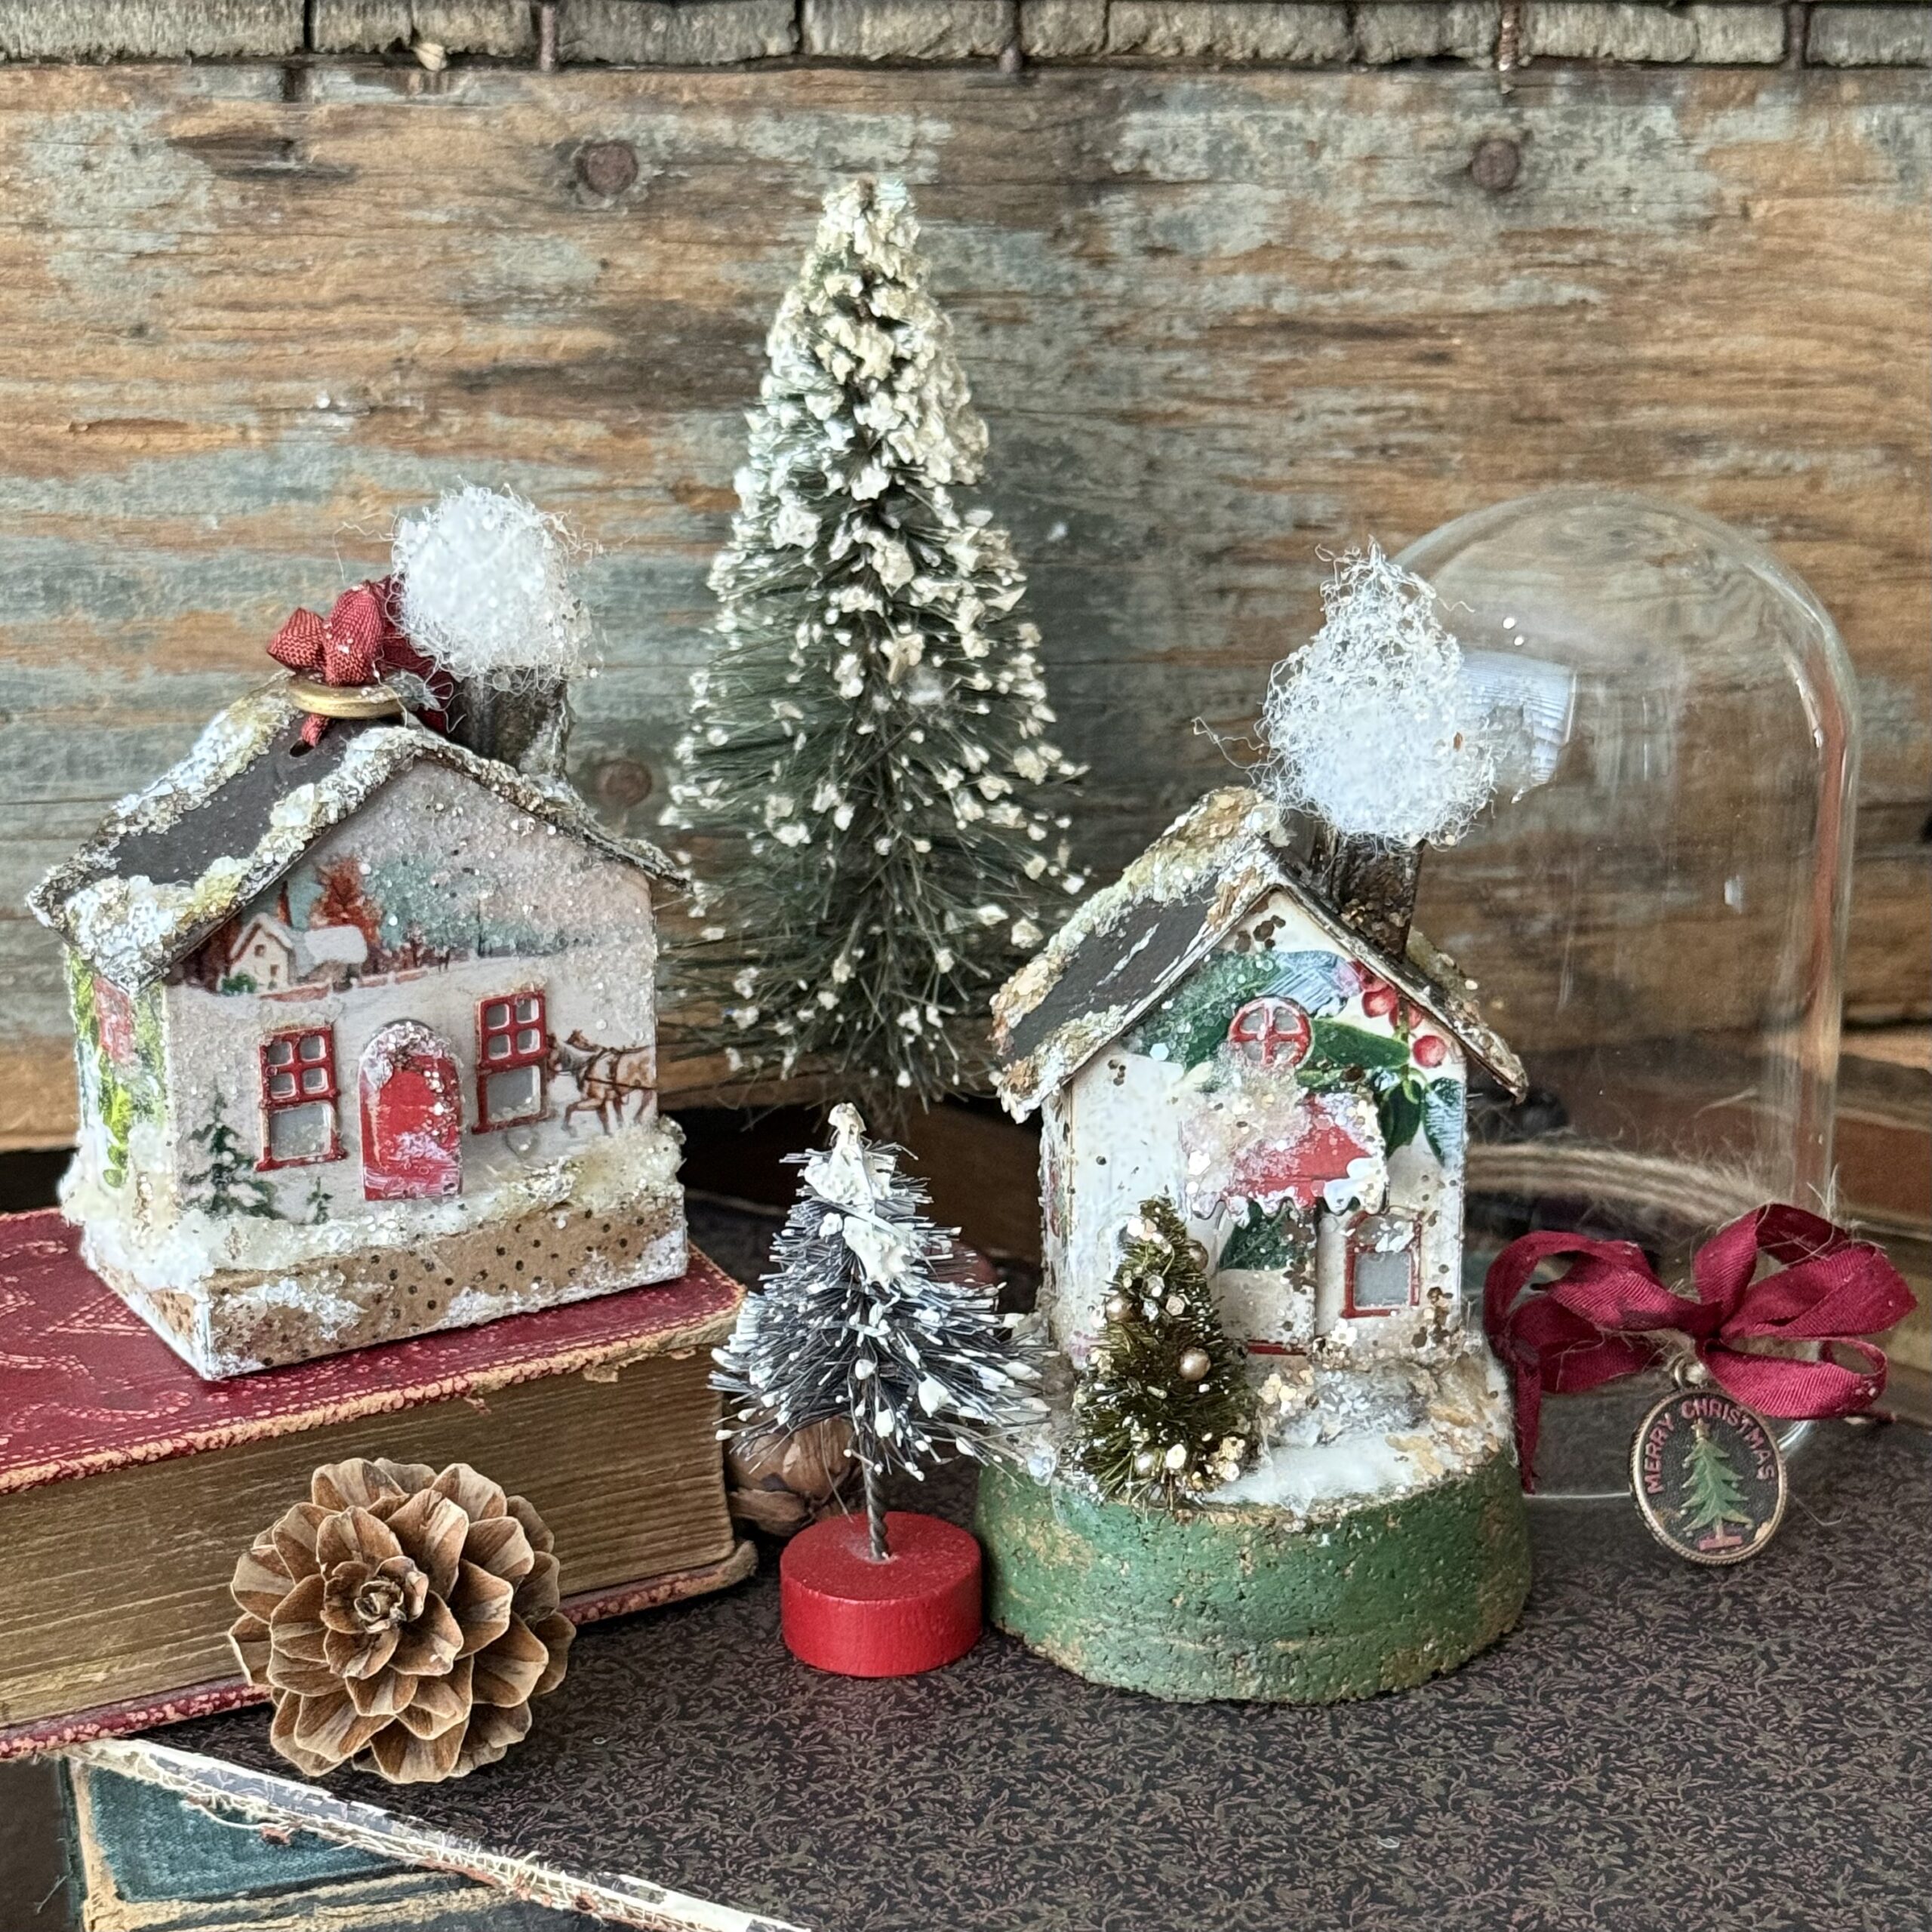
With that, all my tiny houses were complete… I am a collector of the real vintage Putz houses and these just make my heart happy being able to make a version of them for myself. Hope you enjoyed following along!
Creatively yours,
Stacy
Shop Simon Says Stamp by clicking on this link. Thank you! I appreciate you for supporting me.
What is an affiliate program, and why should I click on the link and buy through you?
When you shop via the affiliate link on this blog, I receive a small commission from the affiliate provider (Simon Says Stamp) at no extra cost to you, whatsoever. These commissions help me to cover the hosting fees and other costs to run my blog and be able to provide you with FREE inspiration. If you shop the links, THANK YOU! I truly appreciate being able to share my love of creating with you.










Leave a Reply