Hello friends and happy Monday! I hope you all are doing well! I am back today with a short tutorial for some easter treats that I made using the small Easter Blueprint Strip stamps THMB005, from Tim Holtz and Stampers Anonymous. My Easter treats were made for the Stampers Anonymous Spring Curated Collection that they shared last weekend.

These little treats couldn’t have been easier! I found a 5 pack of cardboard seedling flower pots at Dollar Tree and used them as the featured vessels for the treats. I watercolored the cute blueprint sketch images, then cut the shapes using a die set from my collection. I used the Sizzix Switchlet Embossing Folder and die set, which is retired, but I’m sure there are dies similar to this type of round label available.

Clear Treat Bags were stuffed with yummy Cadbury Mini Eggs, one of my favorite easter treats because they look like real eggs! The small pot was stuffed with some Easter grass, then the small bag of eggs placed inside. I tied on my little easter tag and tied a bow!
Easy peasy and so CUTE! I mean, tiny eggs all wrapped and tied with a cute tag and bow? YES, please!
Here’s some steps as to how I created the tags…
I spritzed a piece of Distress Watercolor Paper with water, then a combination of Antique Linen, Antique Linen Oxide Spray and Unraveled Mica Stain, the dried the paper using my heat tool. This gives a good base color yet still allows for coloring..I use this combo quite a bit when I want to Watercolor an image and don’t want plain white paper.

I placed the inky paper in my stamping platform, and placed the stamps, then stamped the images using Vintage Photo Archival Ink. Archival ink is permanent, and perfect for using with watercoloring. I left the inky and stamped paper within my stamping tool, then began watercoloring the images using Distress Watercolor Pencils.
I like to dip the pencils into a pot of water BEFORE coloring, this awakens the pigment and allows for the color to color more easily. If the pencil has too much water on the tip after soaking, I soak up the extra on a paper towel that I have next to me on my table.

While the colors are still wet, I used a damp brush to blend the colors and added color where it needed to go. I lightly dried the paper using my heat tool, (being careful not to heat up the paper too much, since it is still on the stamp platform), then re-stamped the image using the Archival Ink.

This brightens the outlined image after watercoloring.

Once the images were colored and dry, I cut them out using my die cut round labels. I punch a hole in the top, then tied them to the bags with a bow.

With that, they were complete!

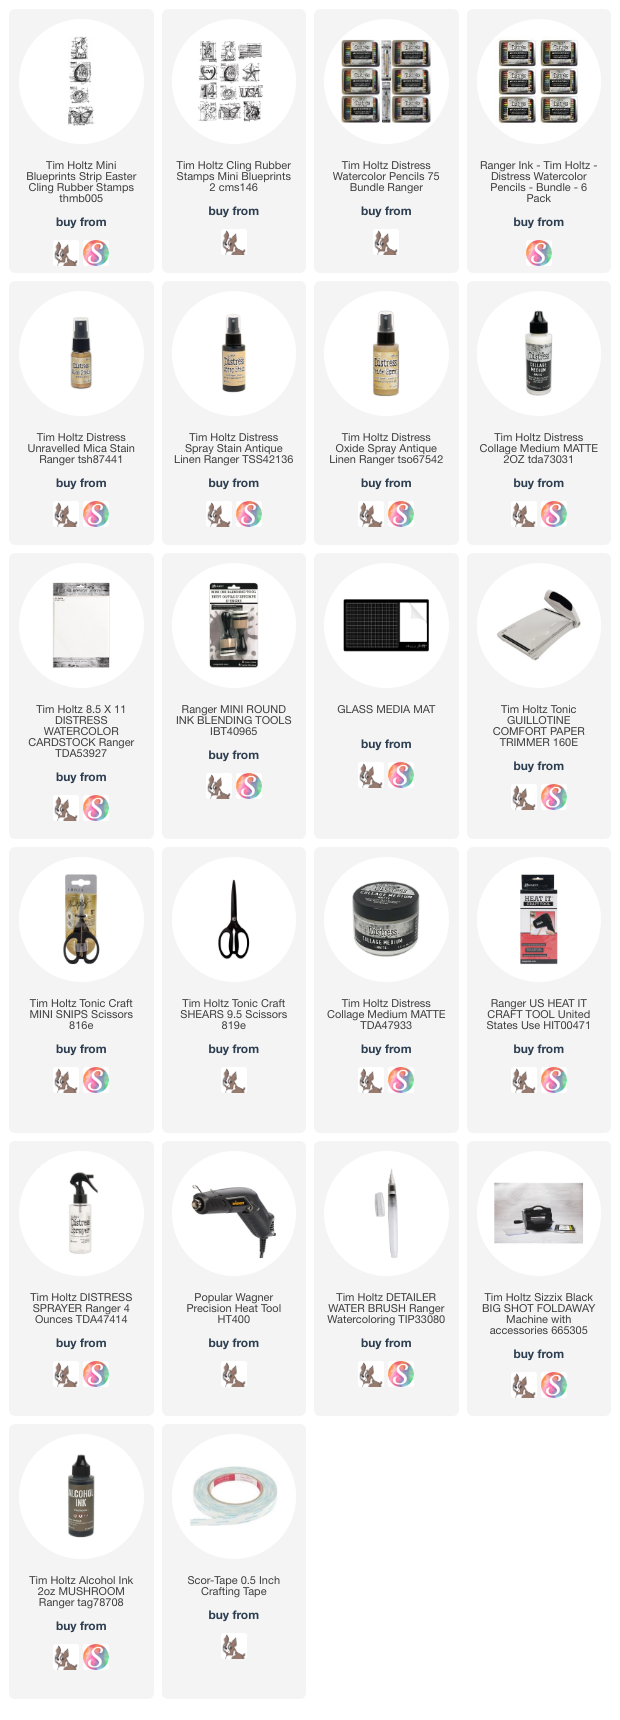
The products used to create this project are listed below with links to Simon Says Stamp. Thank you so much for supporting me through shopping through them. I appreciate it so much! – Creatively yours, Stacy
To shop at SIMON SAYS STAMP click HERE.
What is an affiliate program, and why should I click on the link and buy through you?
When you shop via the affiliate link on this blog, I receive a small commission from the affiliate provider (Simon Says Stamp) at no extra cost to you, whatsoever. These commissions help me to cover the hosting fees and other costs to run my blog and be able to provide you with FREE inspiration. If you shop the links, THANK YOU! I truly appreciate being able to share my love of creating with you.


I never comment but I should — I love your creations so much. I love when I see them in my mailbox. Each one is always cuter than the last but I have to say these little baskets are just adorable! Thank you for sharing your work.
Such a cute idea. These would make adorable place cards for Easter Dinner. Thanks for the details and inspiration.
You helped me get through the pandemic, and I’ve followed you ever since. These are the cutest baskets! Keep crafting; you just don’t know how far your impact will go!
Your blog is like a treat for my soul. Your creations are so beautiful and so inspiring. Thanks so much!!