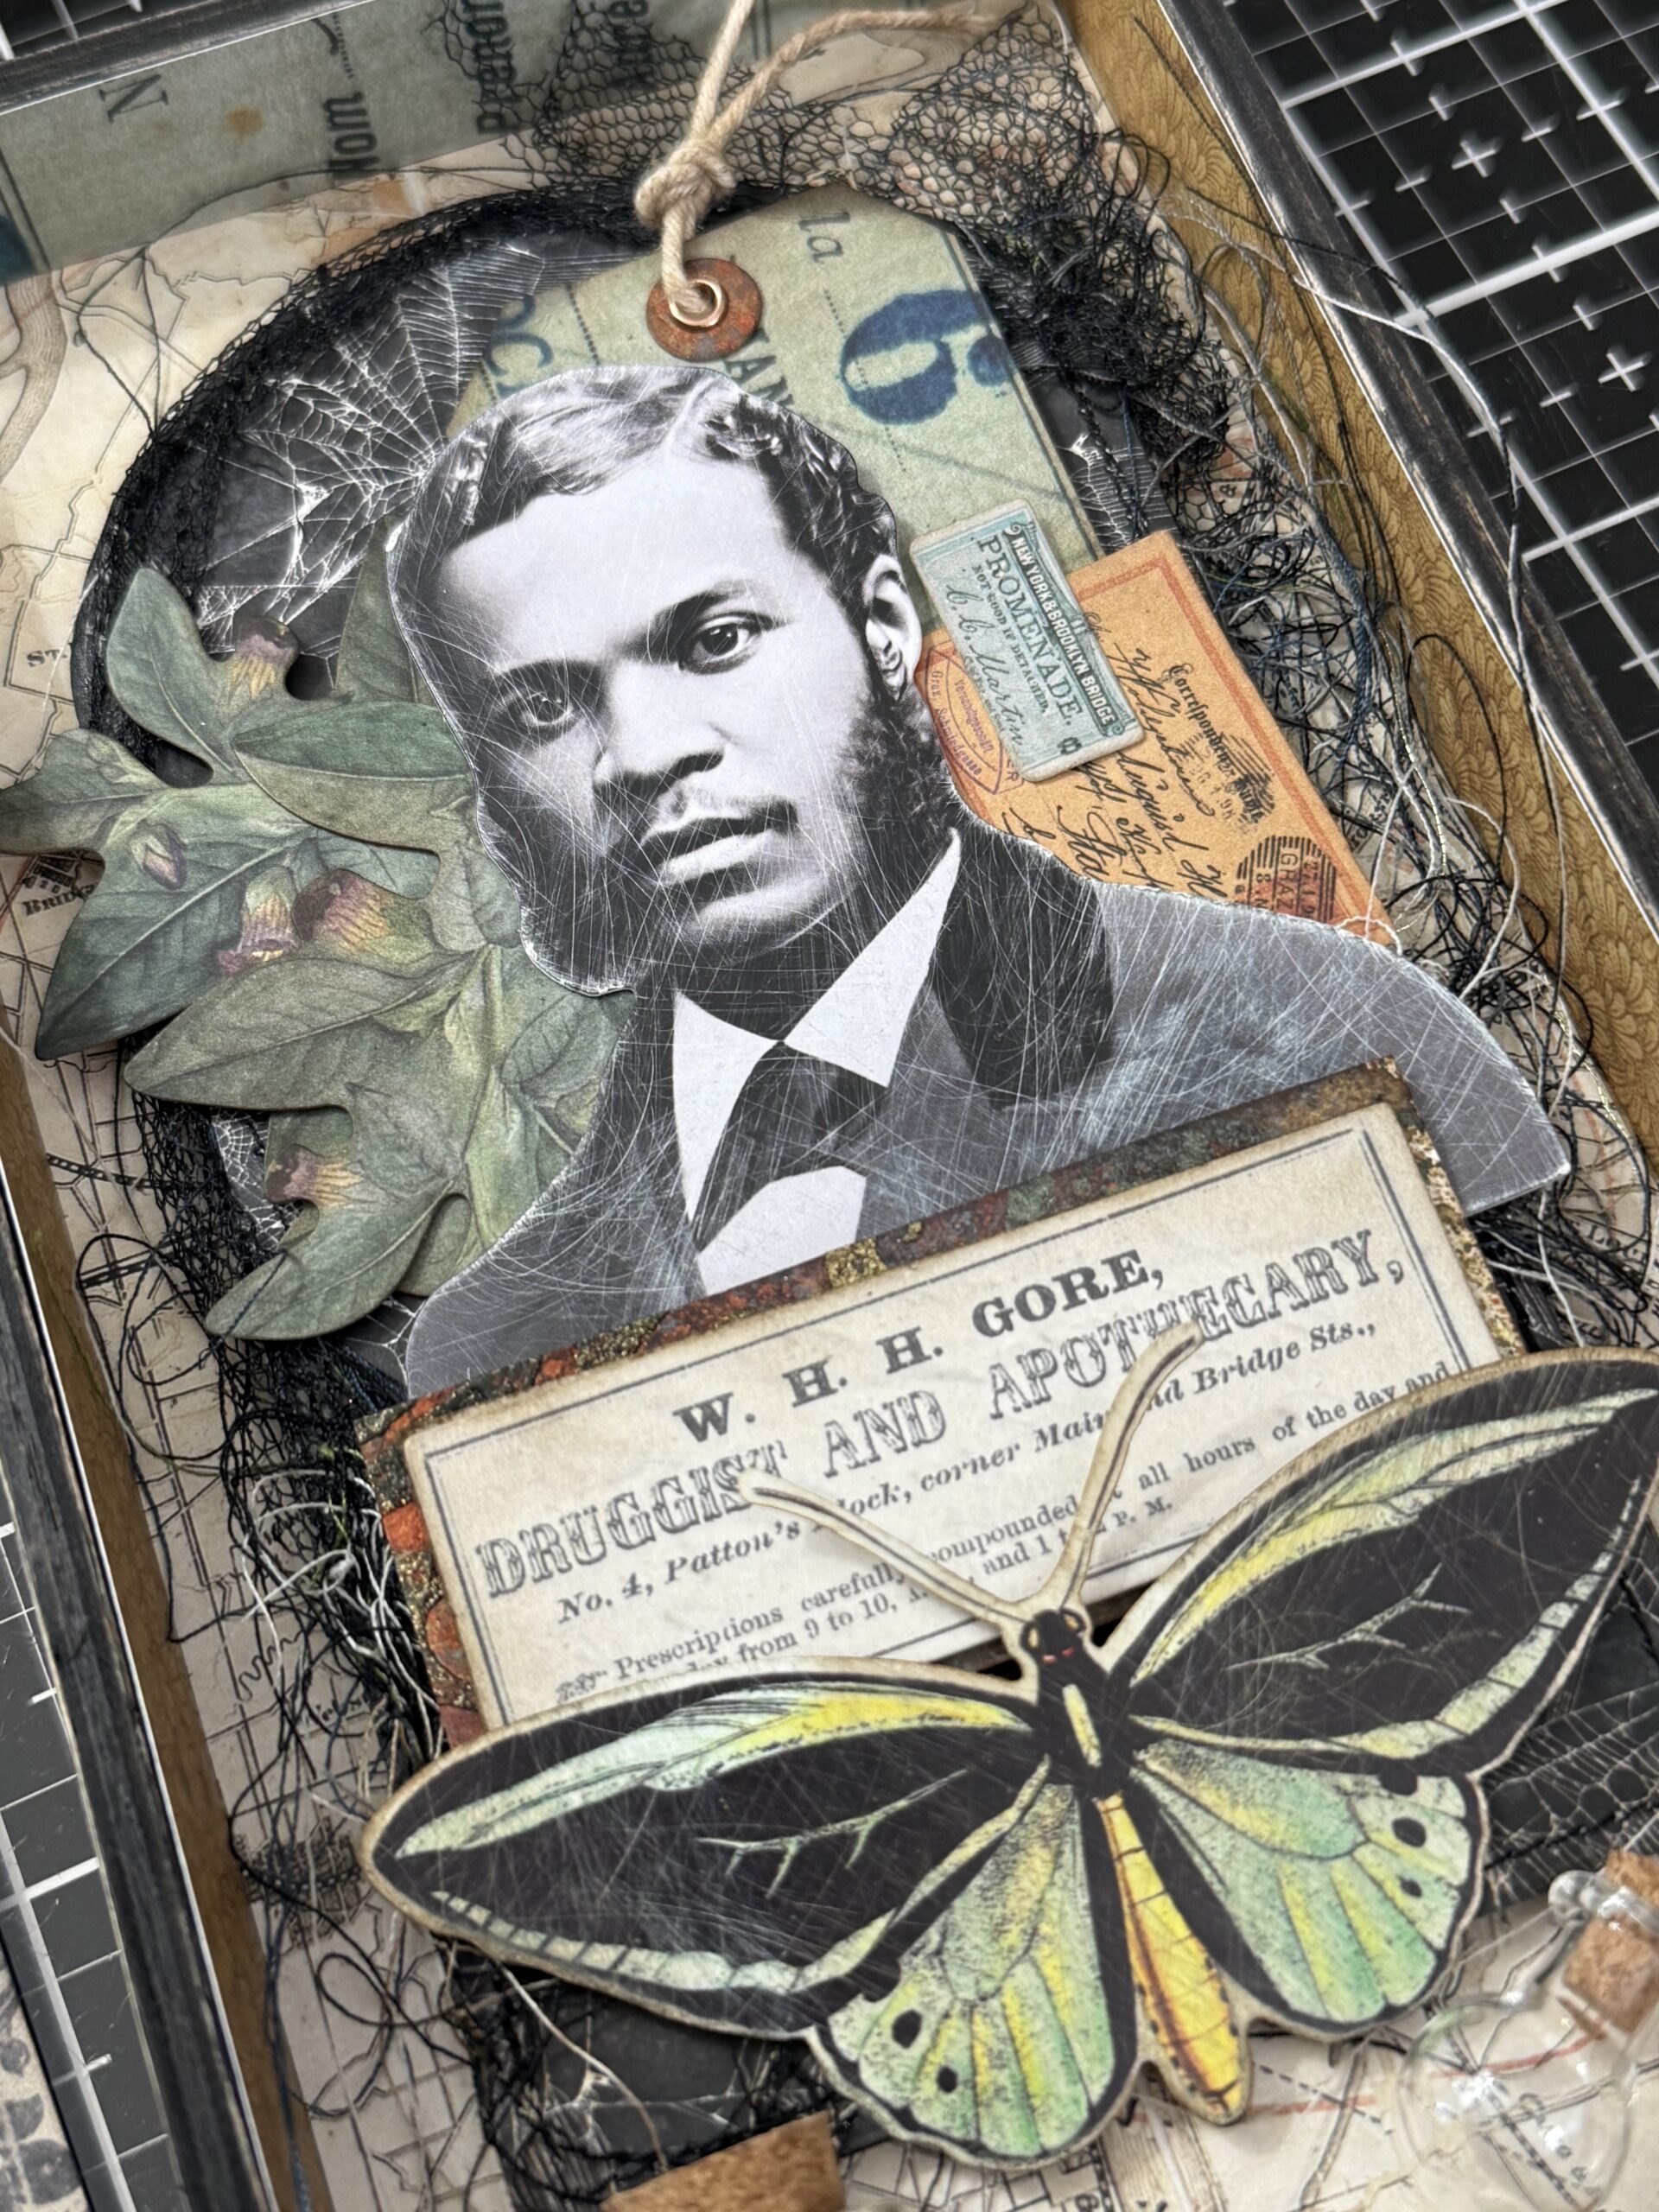
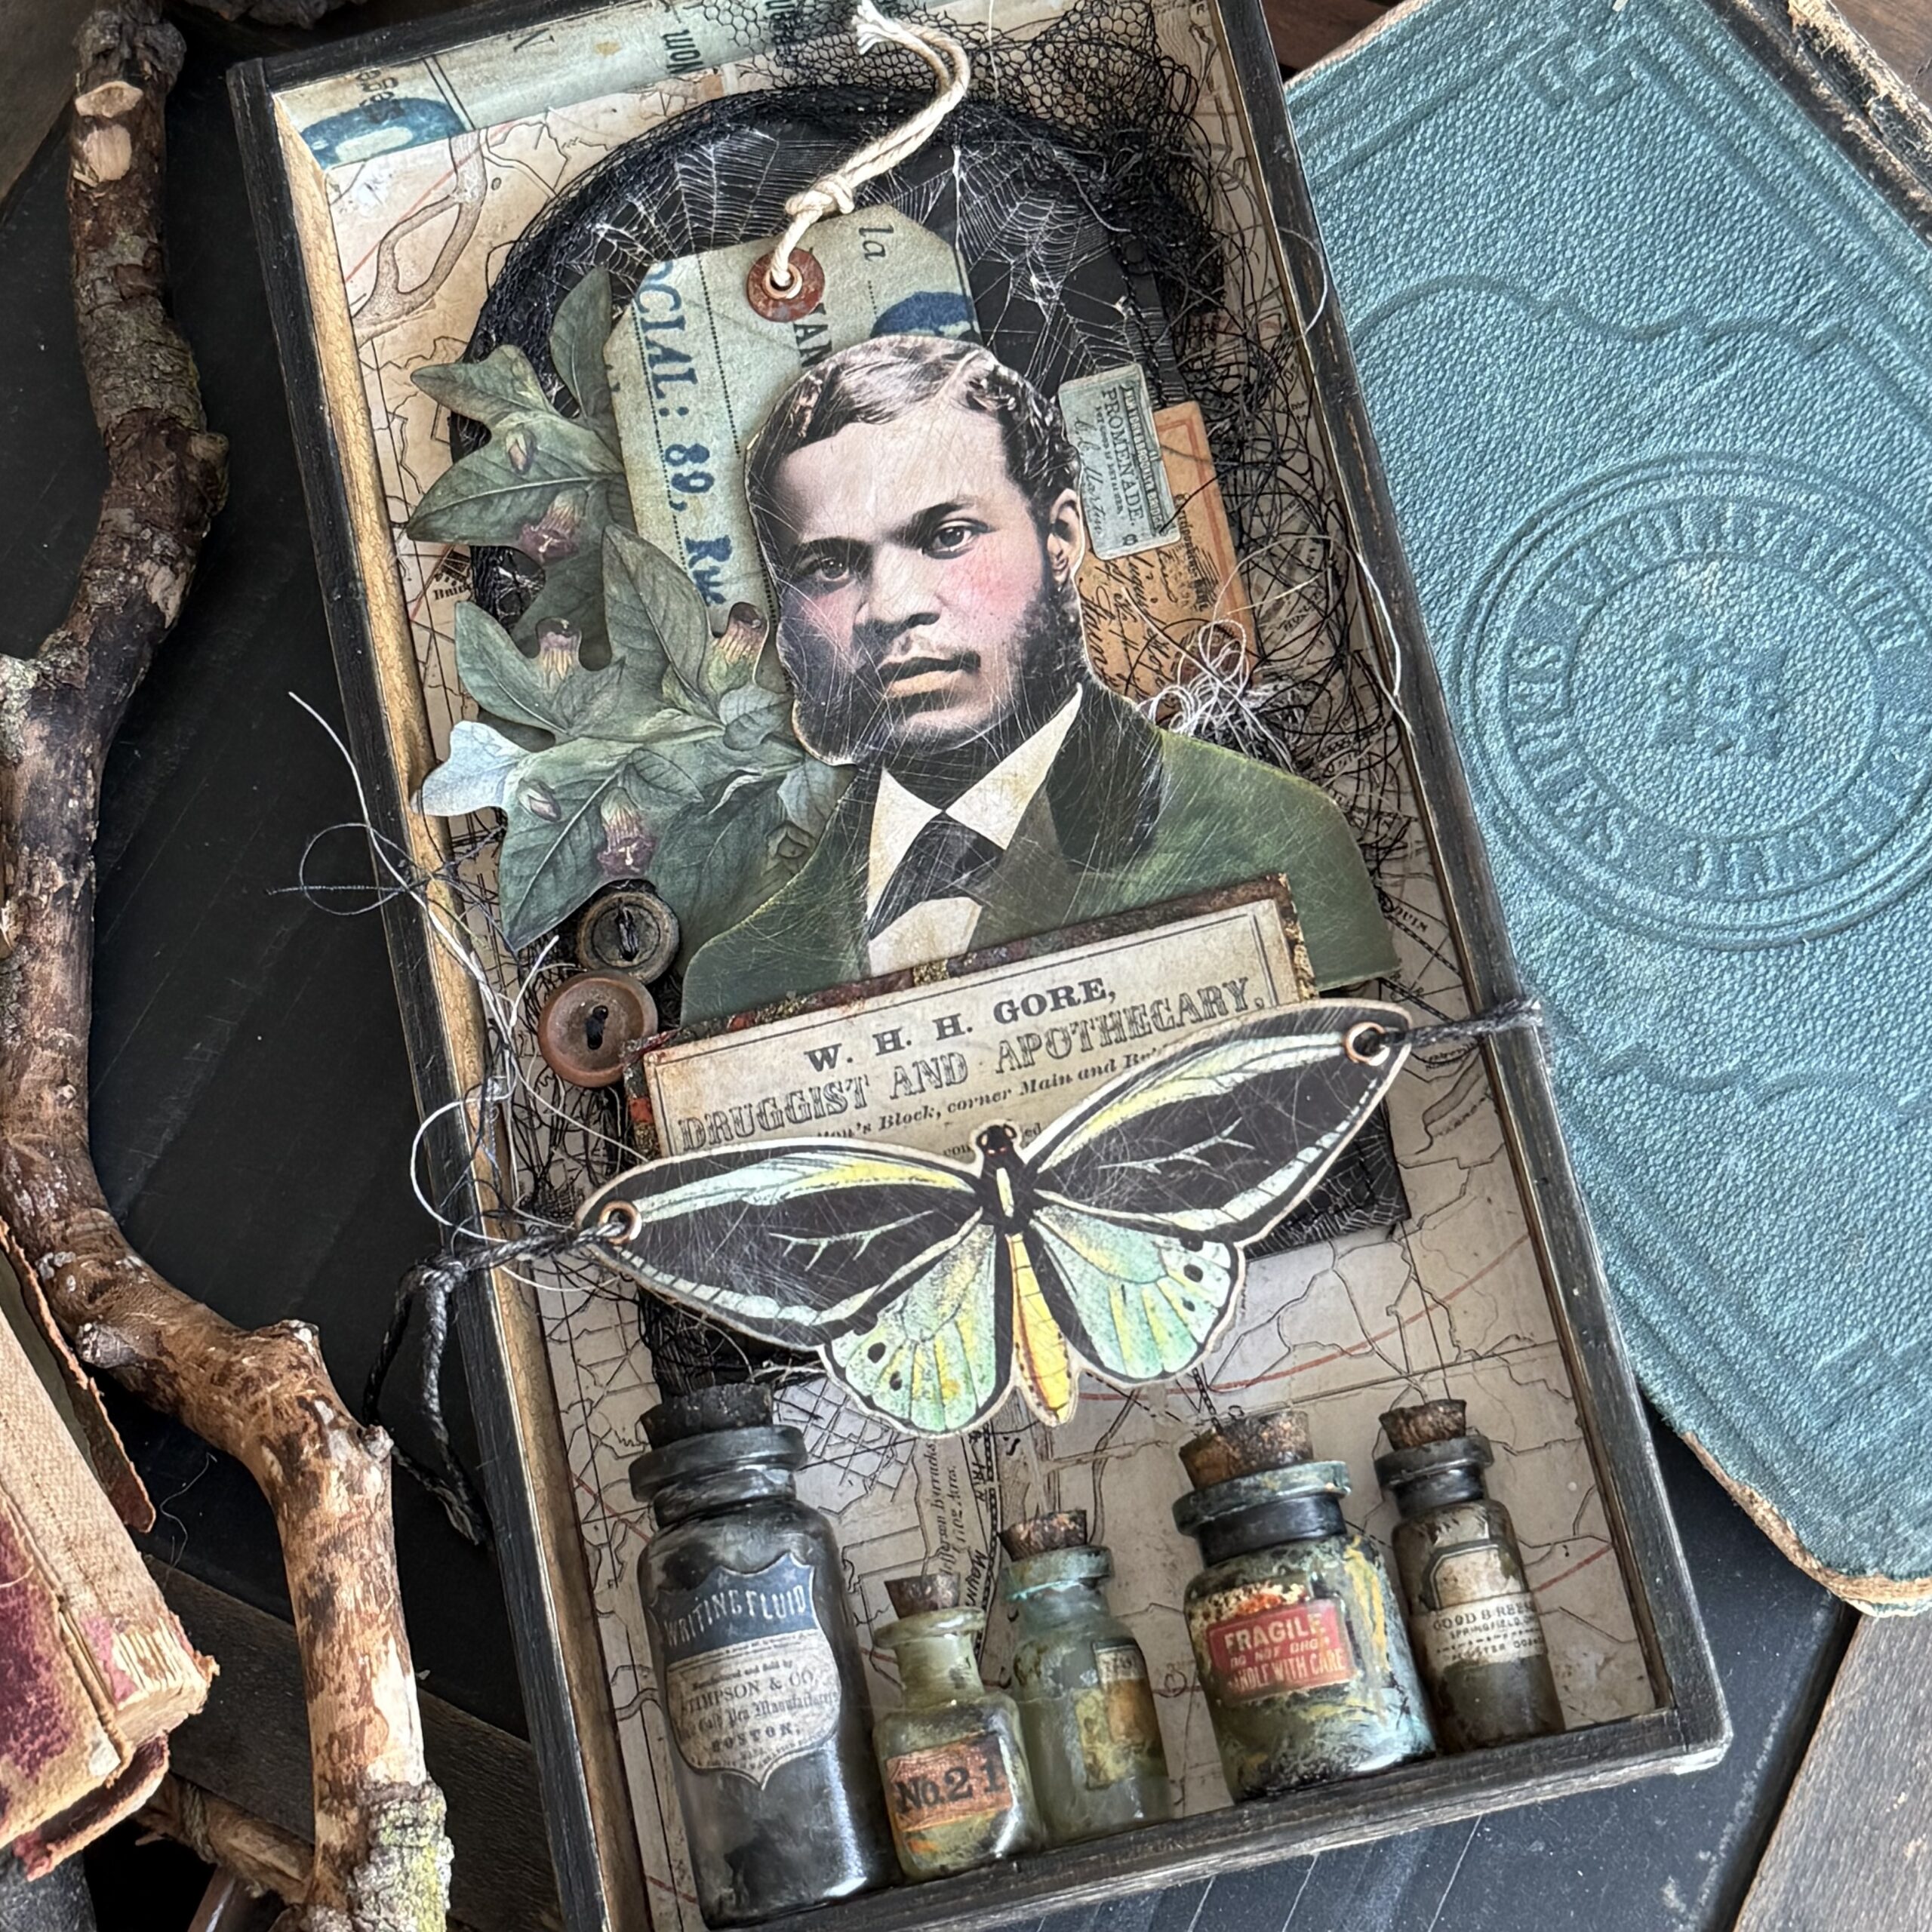
Happy Tuesday, friends! I am back today and just in time for Halloween this week! I am always a more haunting romantic type of creepy person when it comes to Halloween stories, and this project fit the bill. Is it creepy, or is it an autumnal story, you be the judge…and whether it is either of those, it uses the new Tim Holtz Halloween idea-ology, which is a beautiful collection that can be used in a variety of ways.
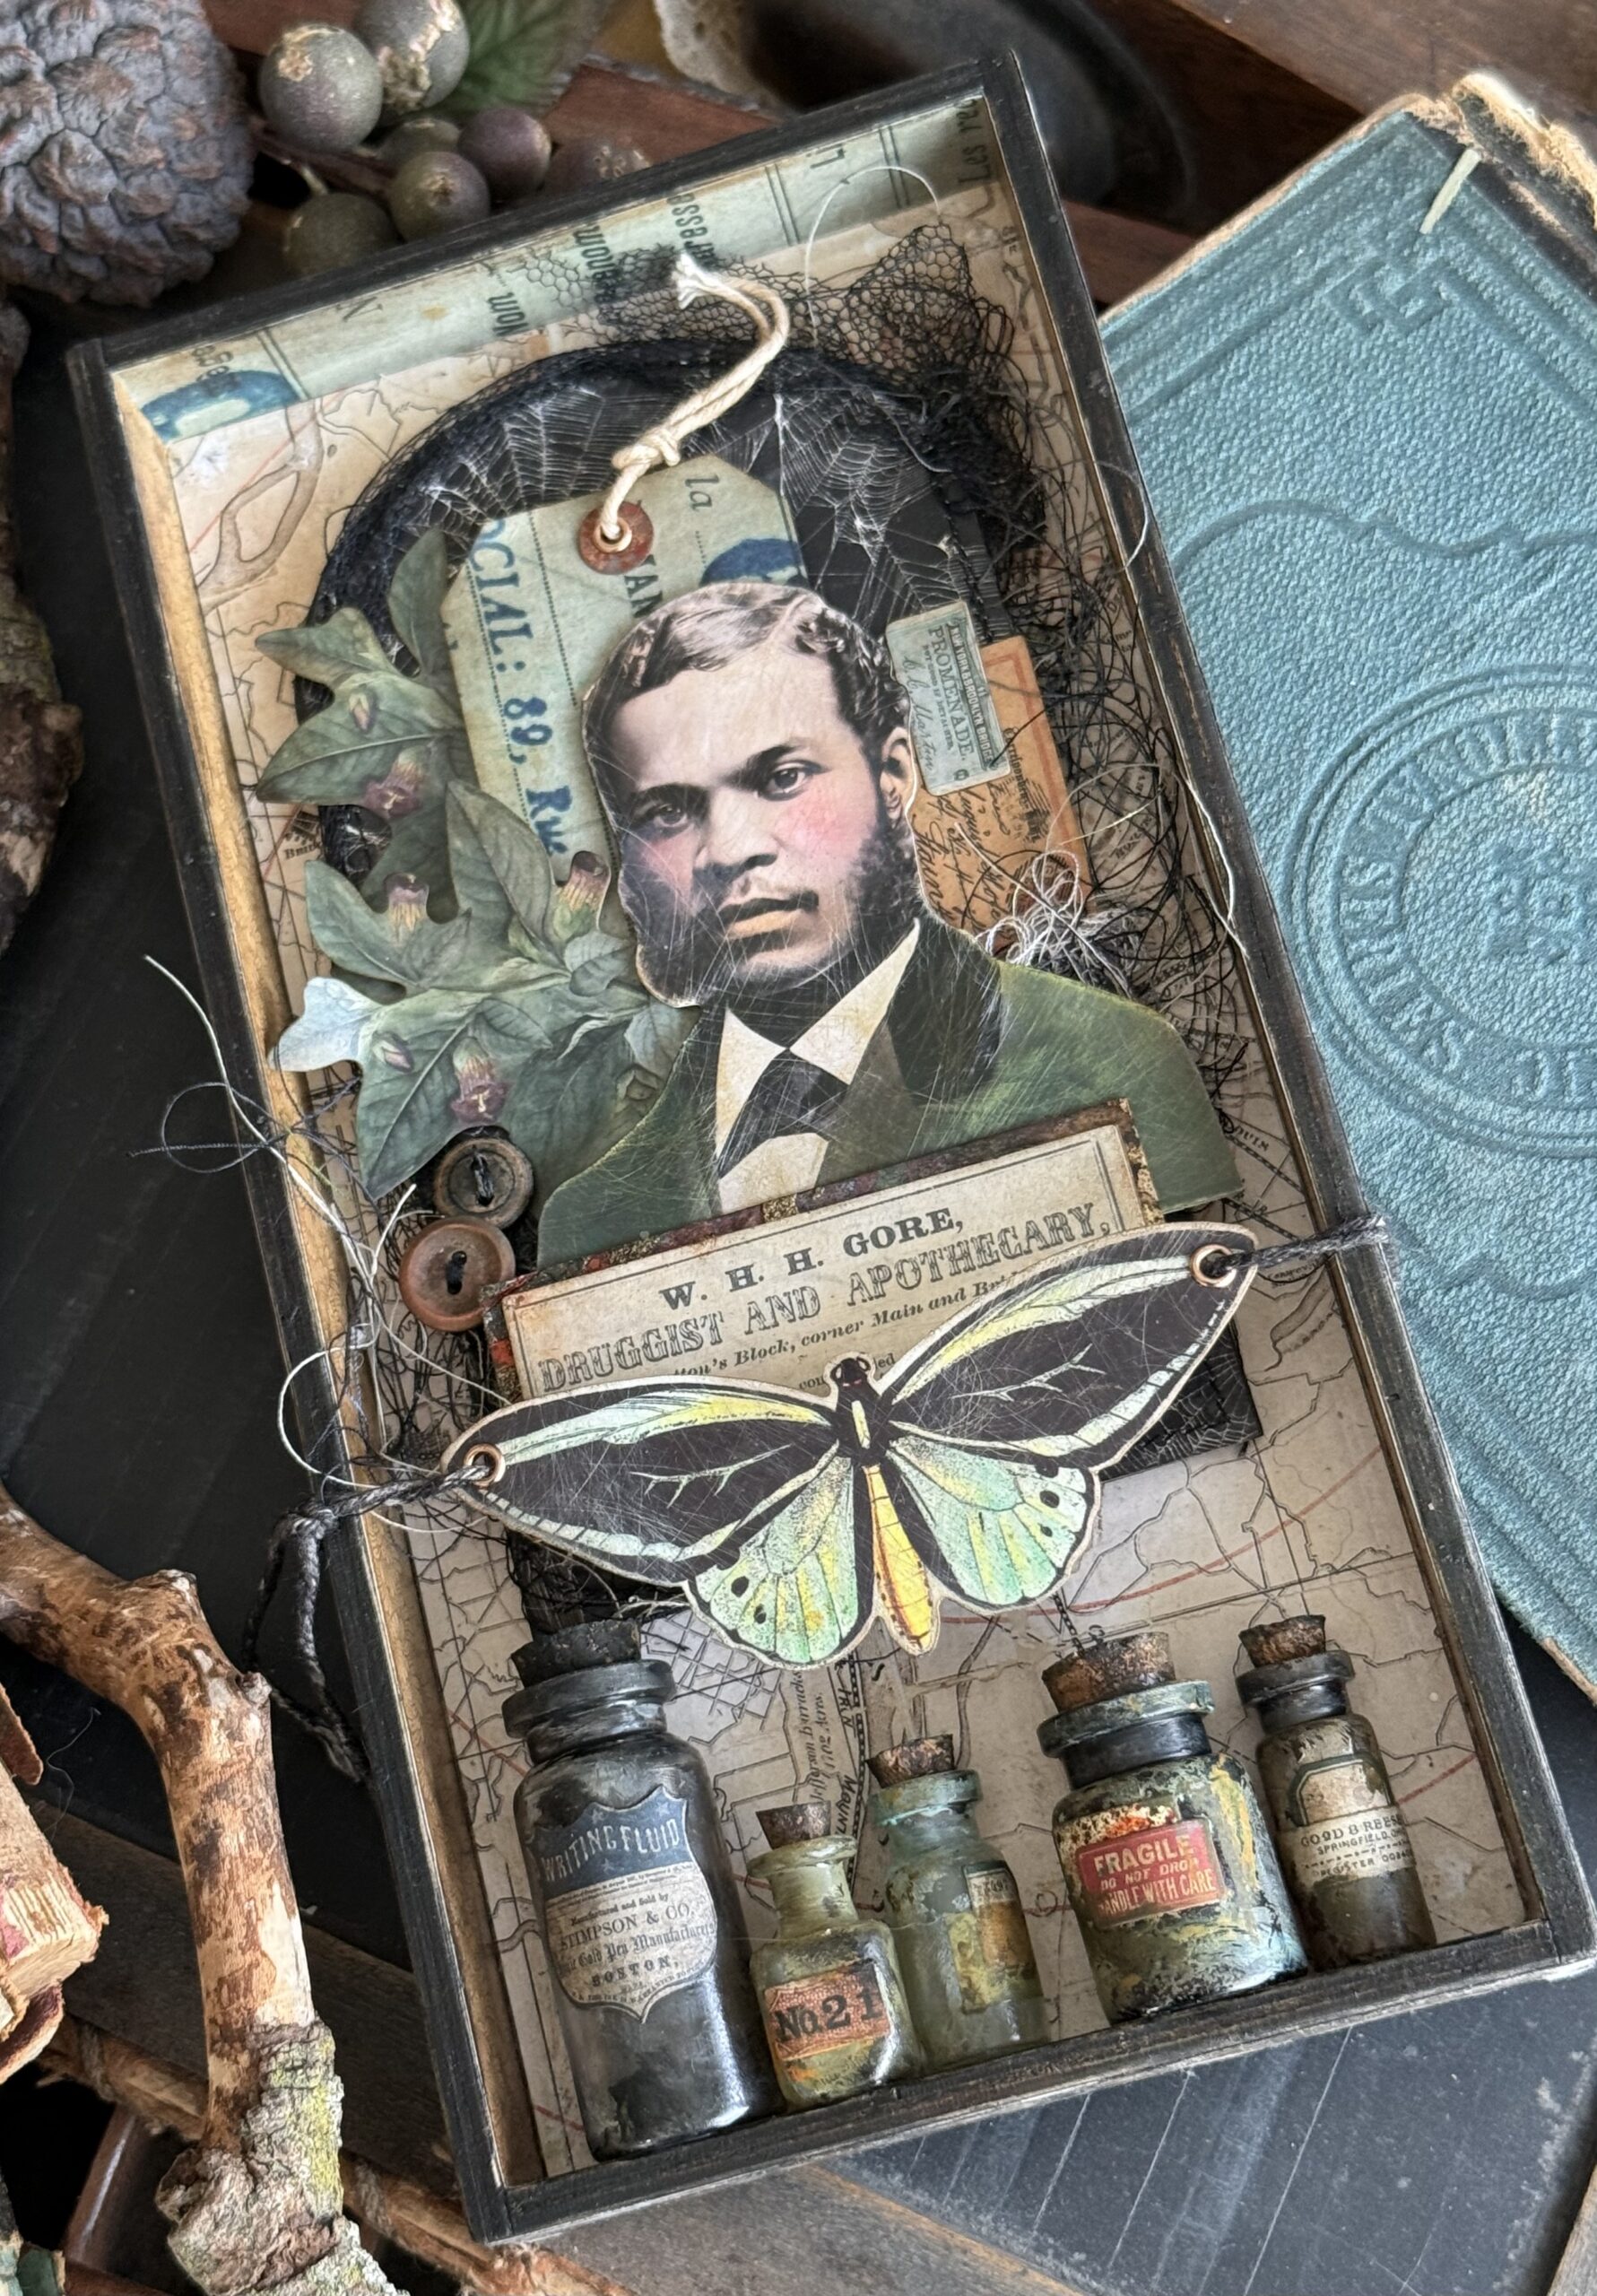
The Backdrop papers, ephemera and layers in this collection are gorgeously vintage and can fit all sorts of themes.
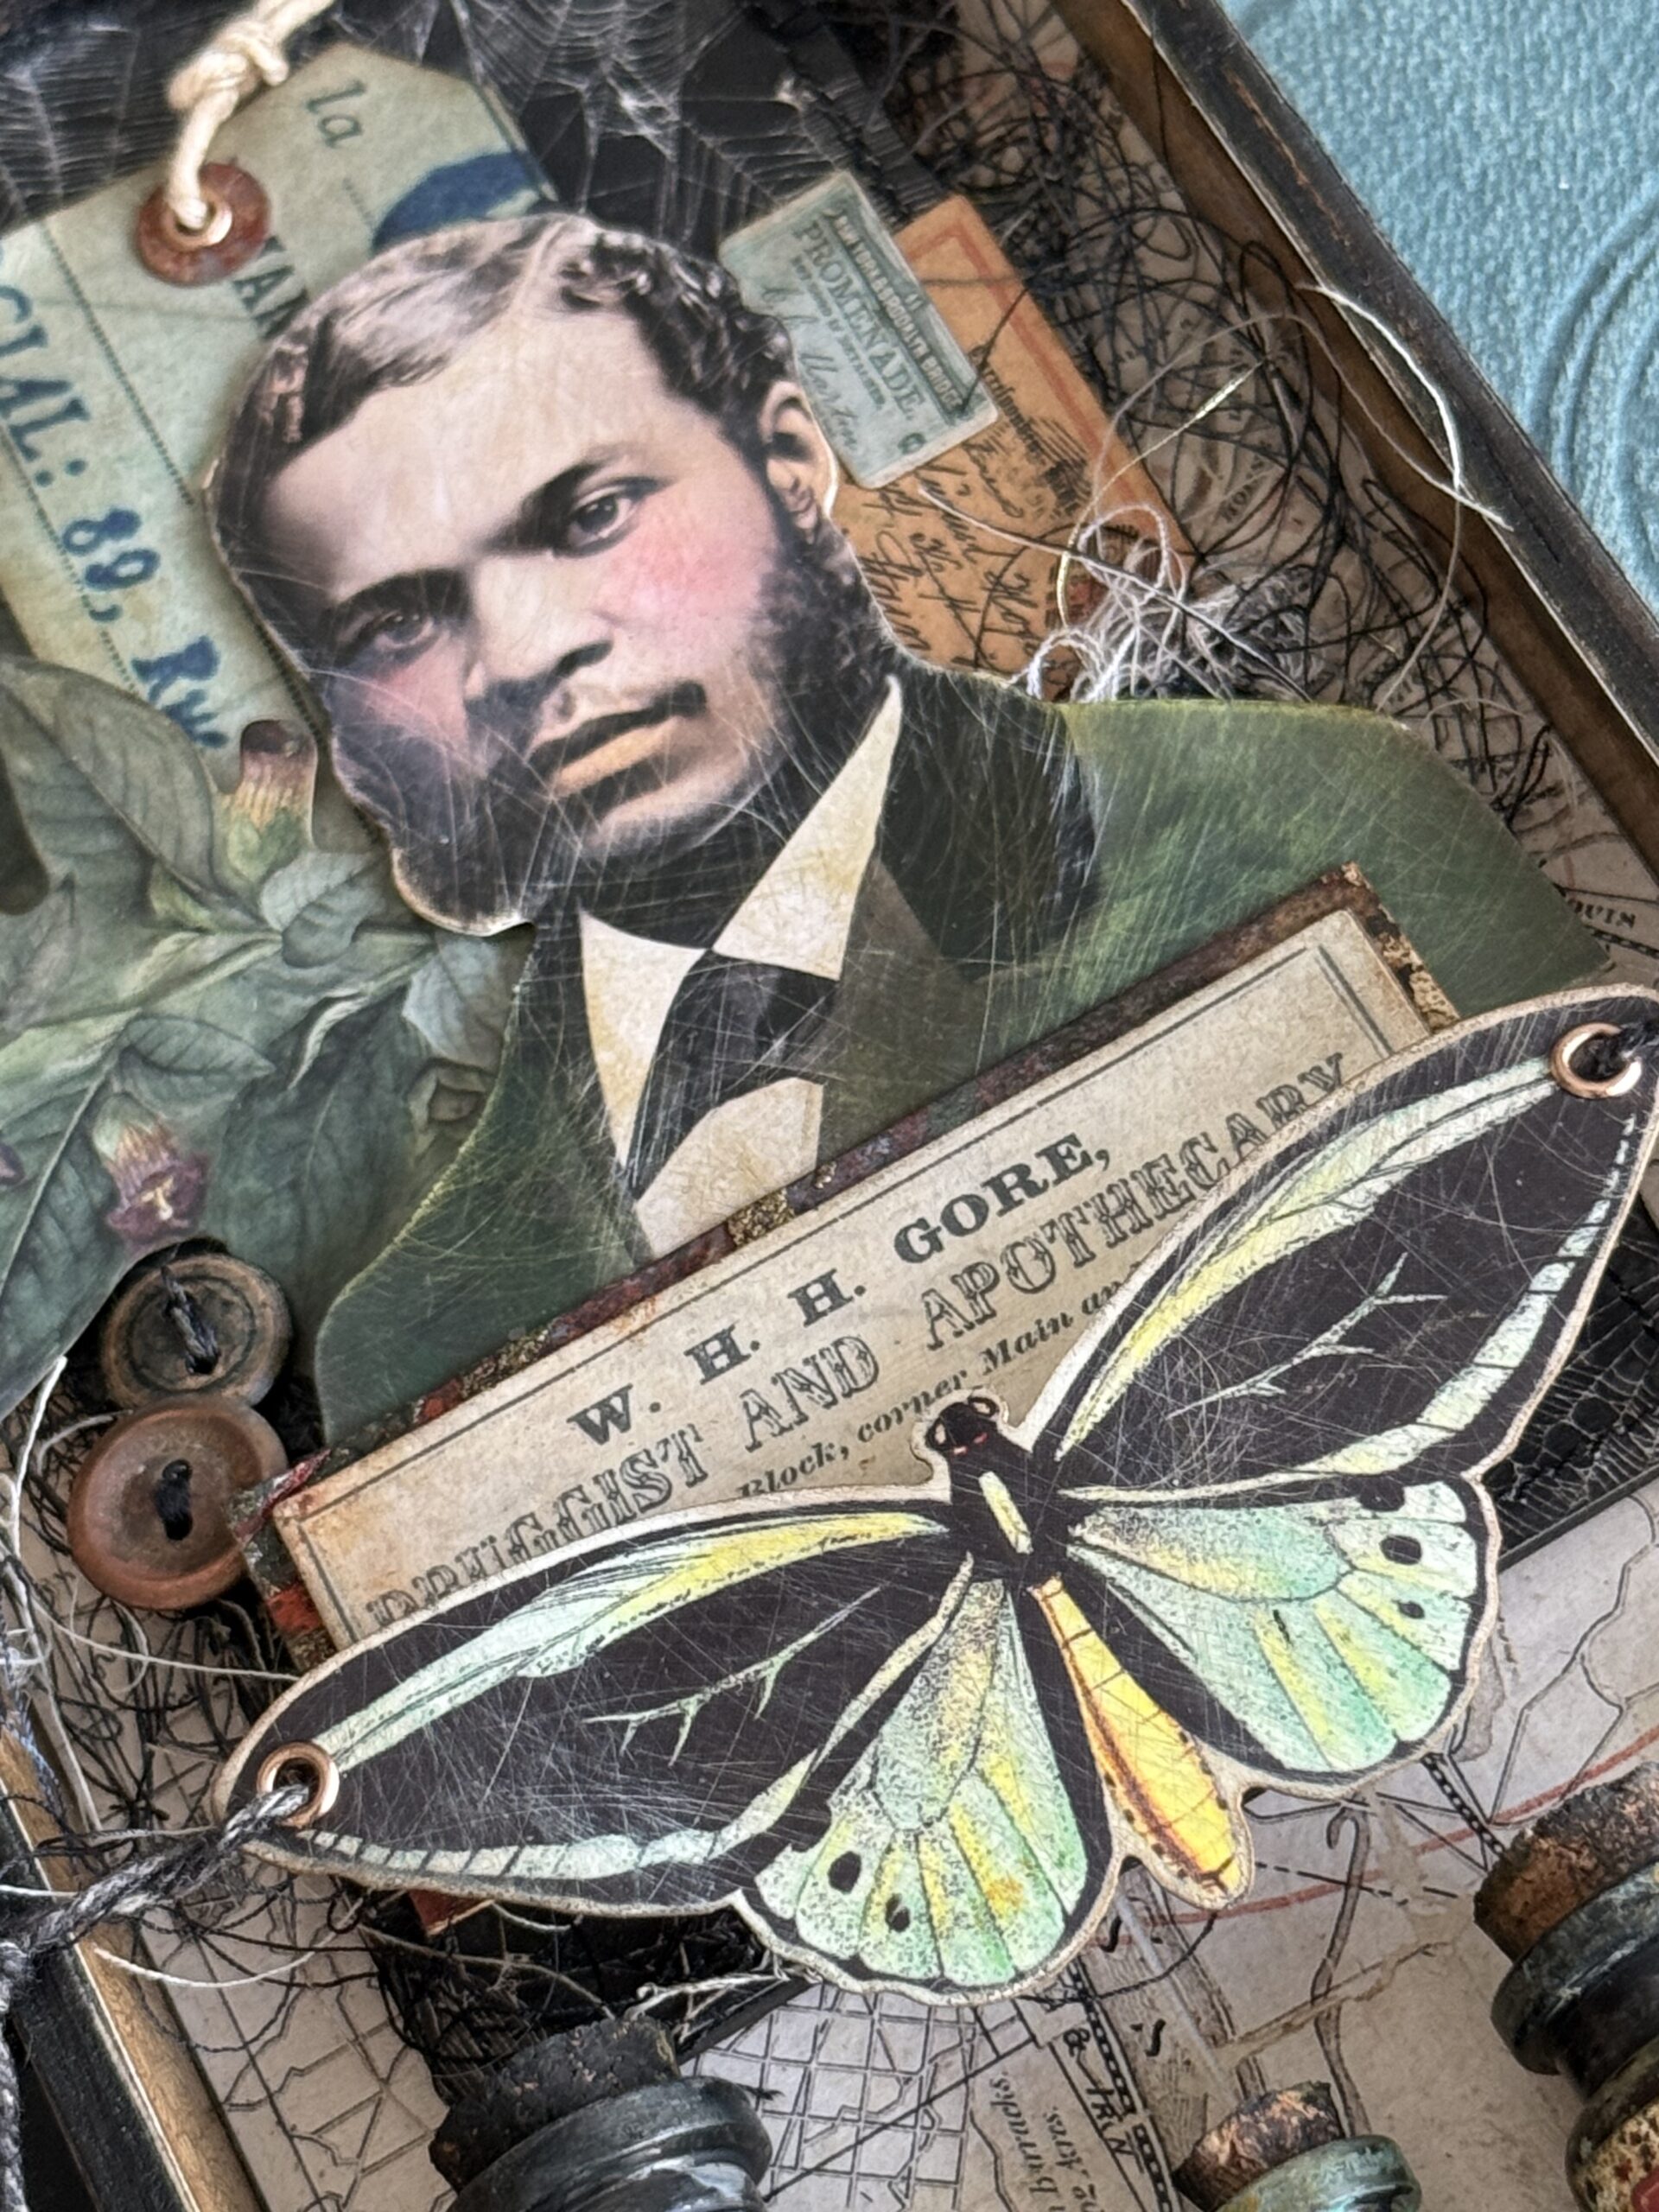
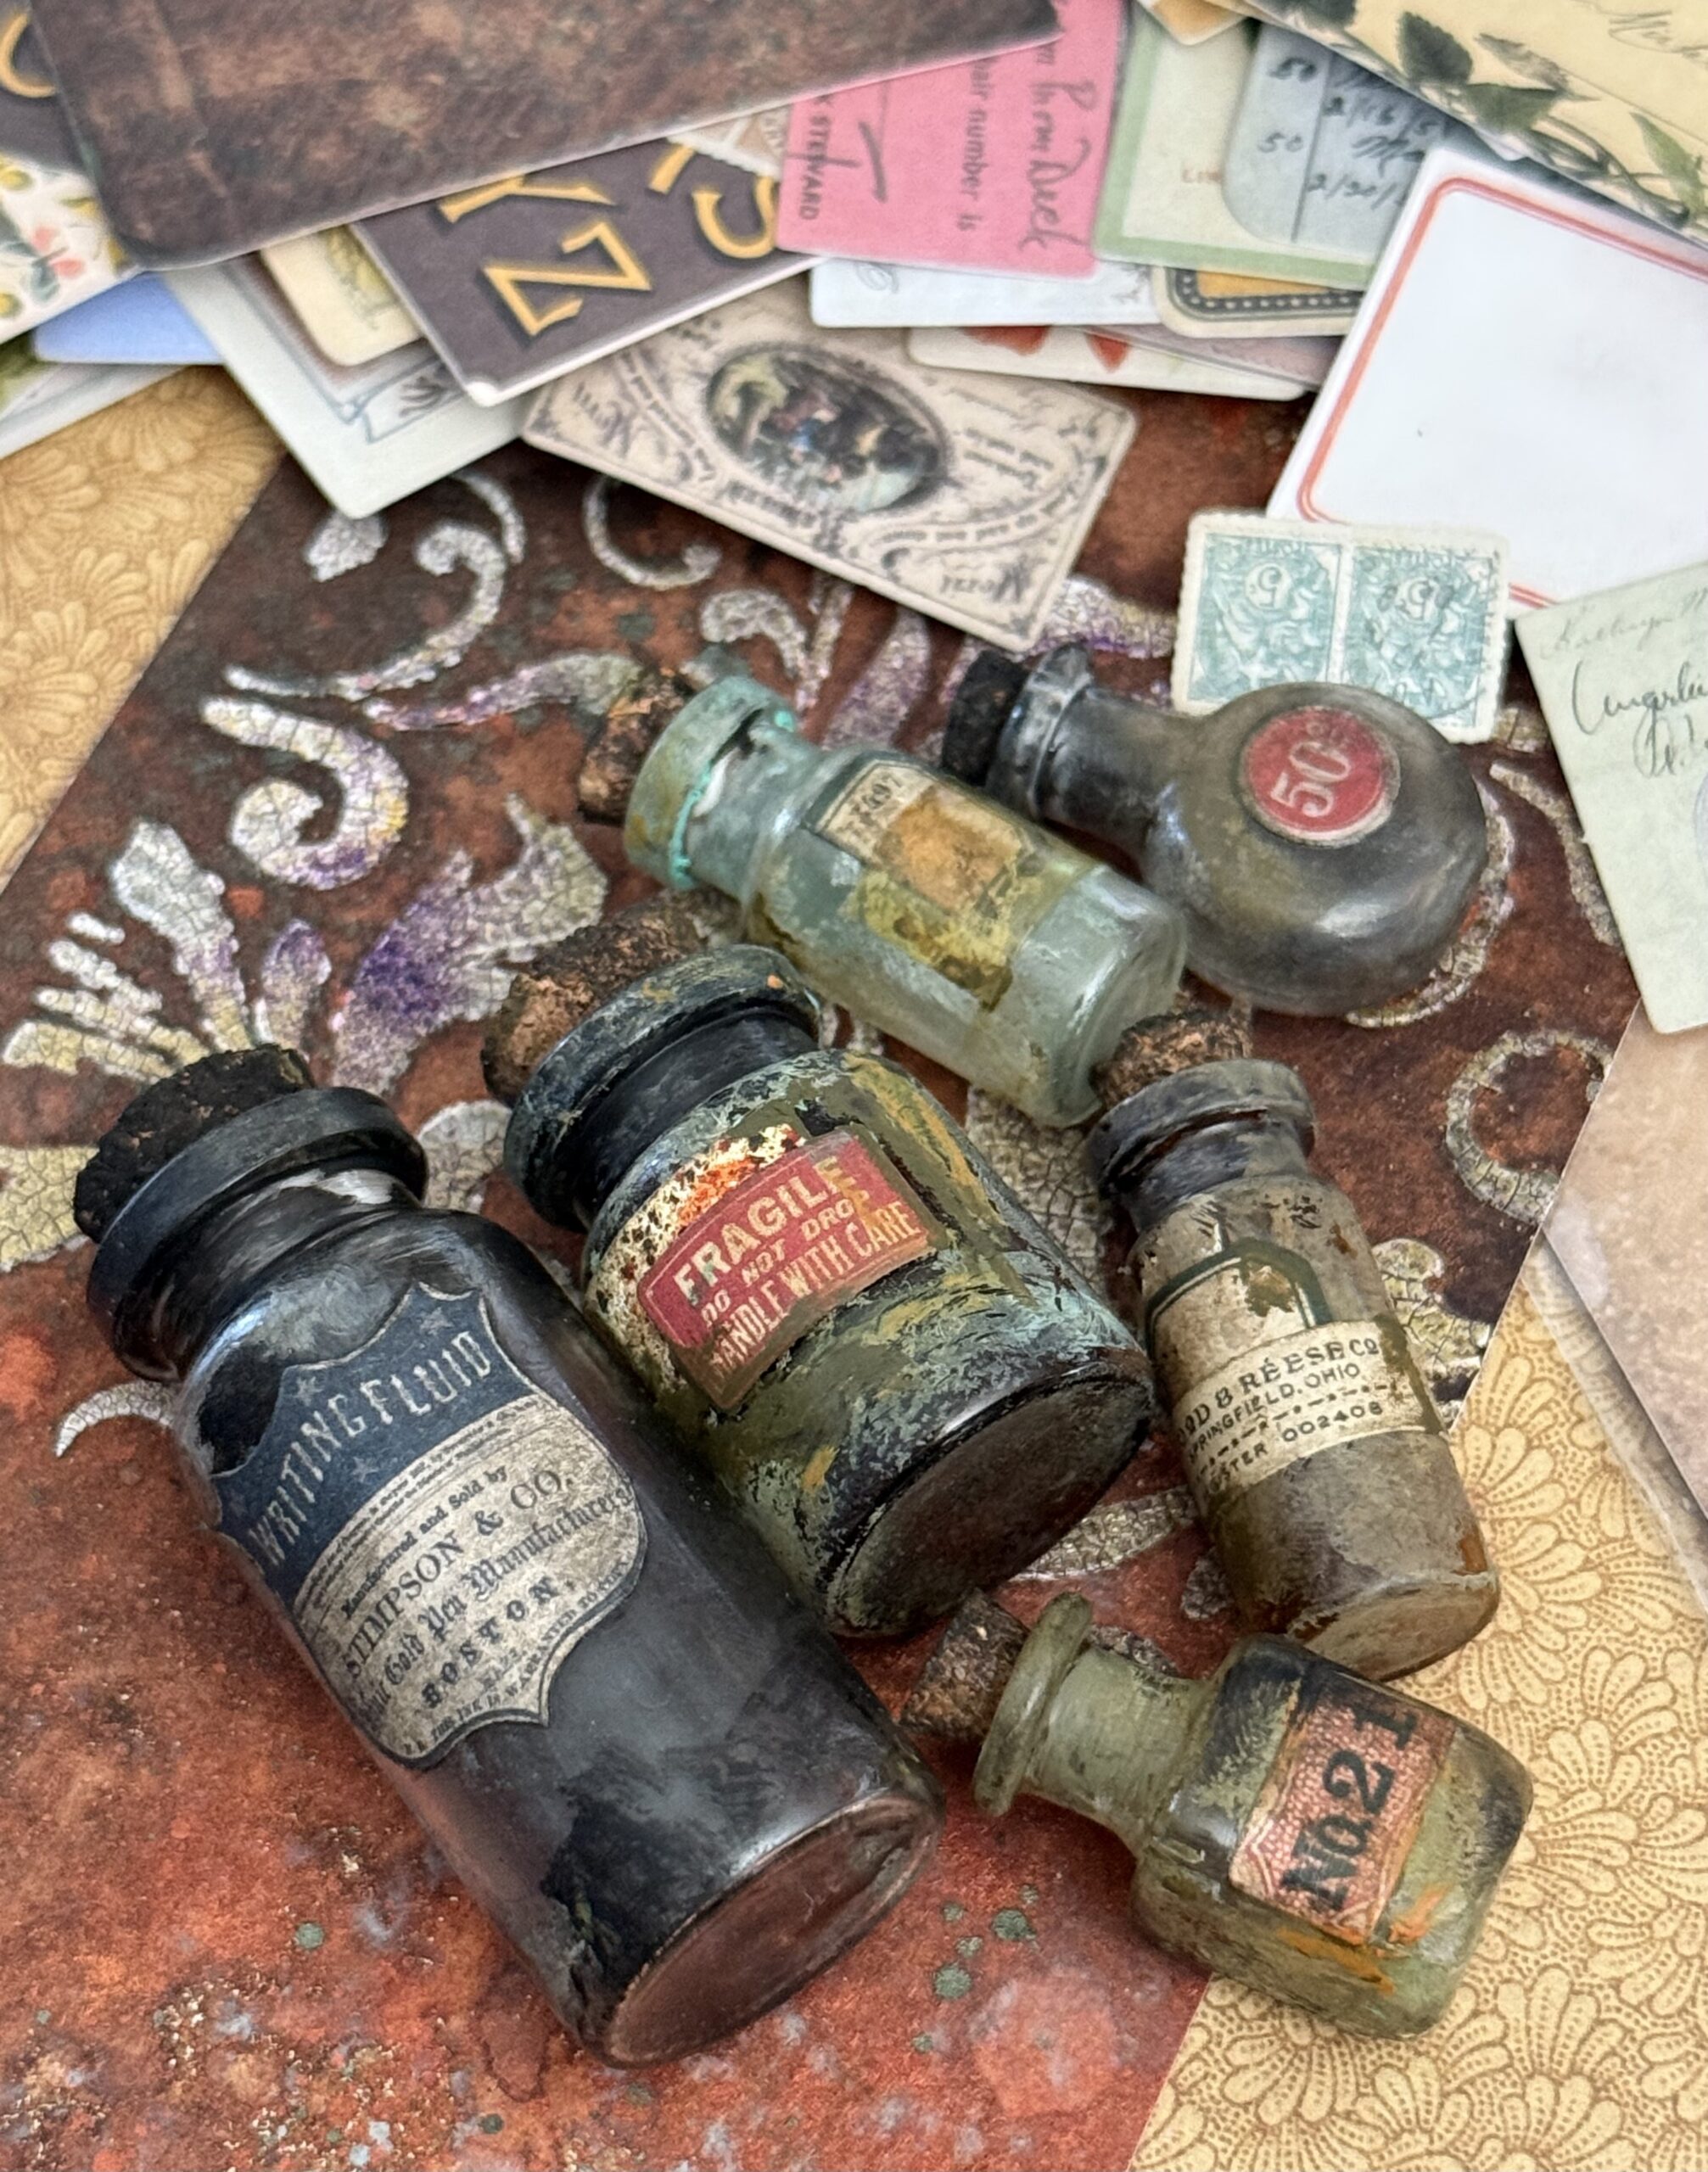
But, the regular line of idea-ology works well with it too. The moth from the Botanical Layers that I used is from the regular line of idea-ology along with the glass vials. The little ephemera pieces that I used on all the vials and throughout the piece were from the new Palette Snippets Ephemera, an adorable little pack of tiny bits of vintage that you have got to check out! They are so perfect, and tiny..did I mention that? SO GOOD!
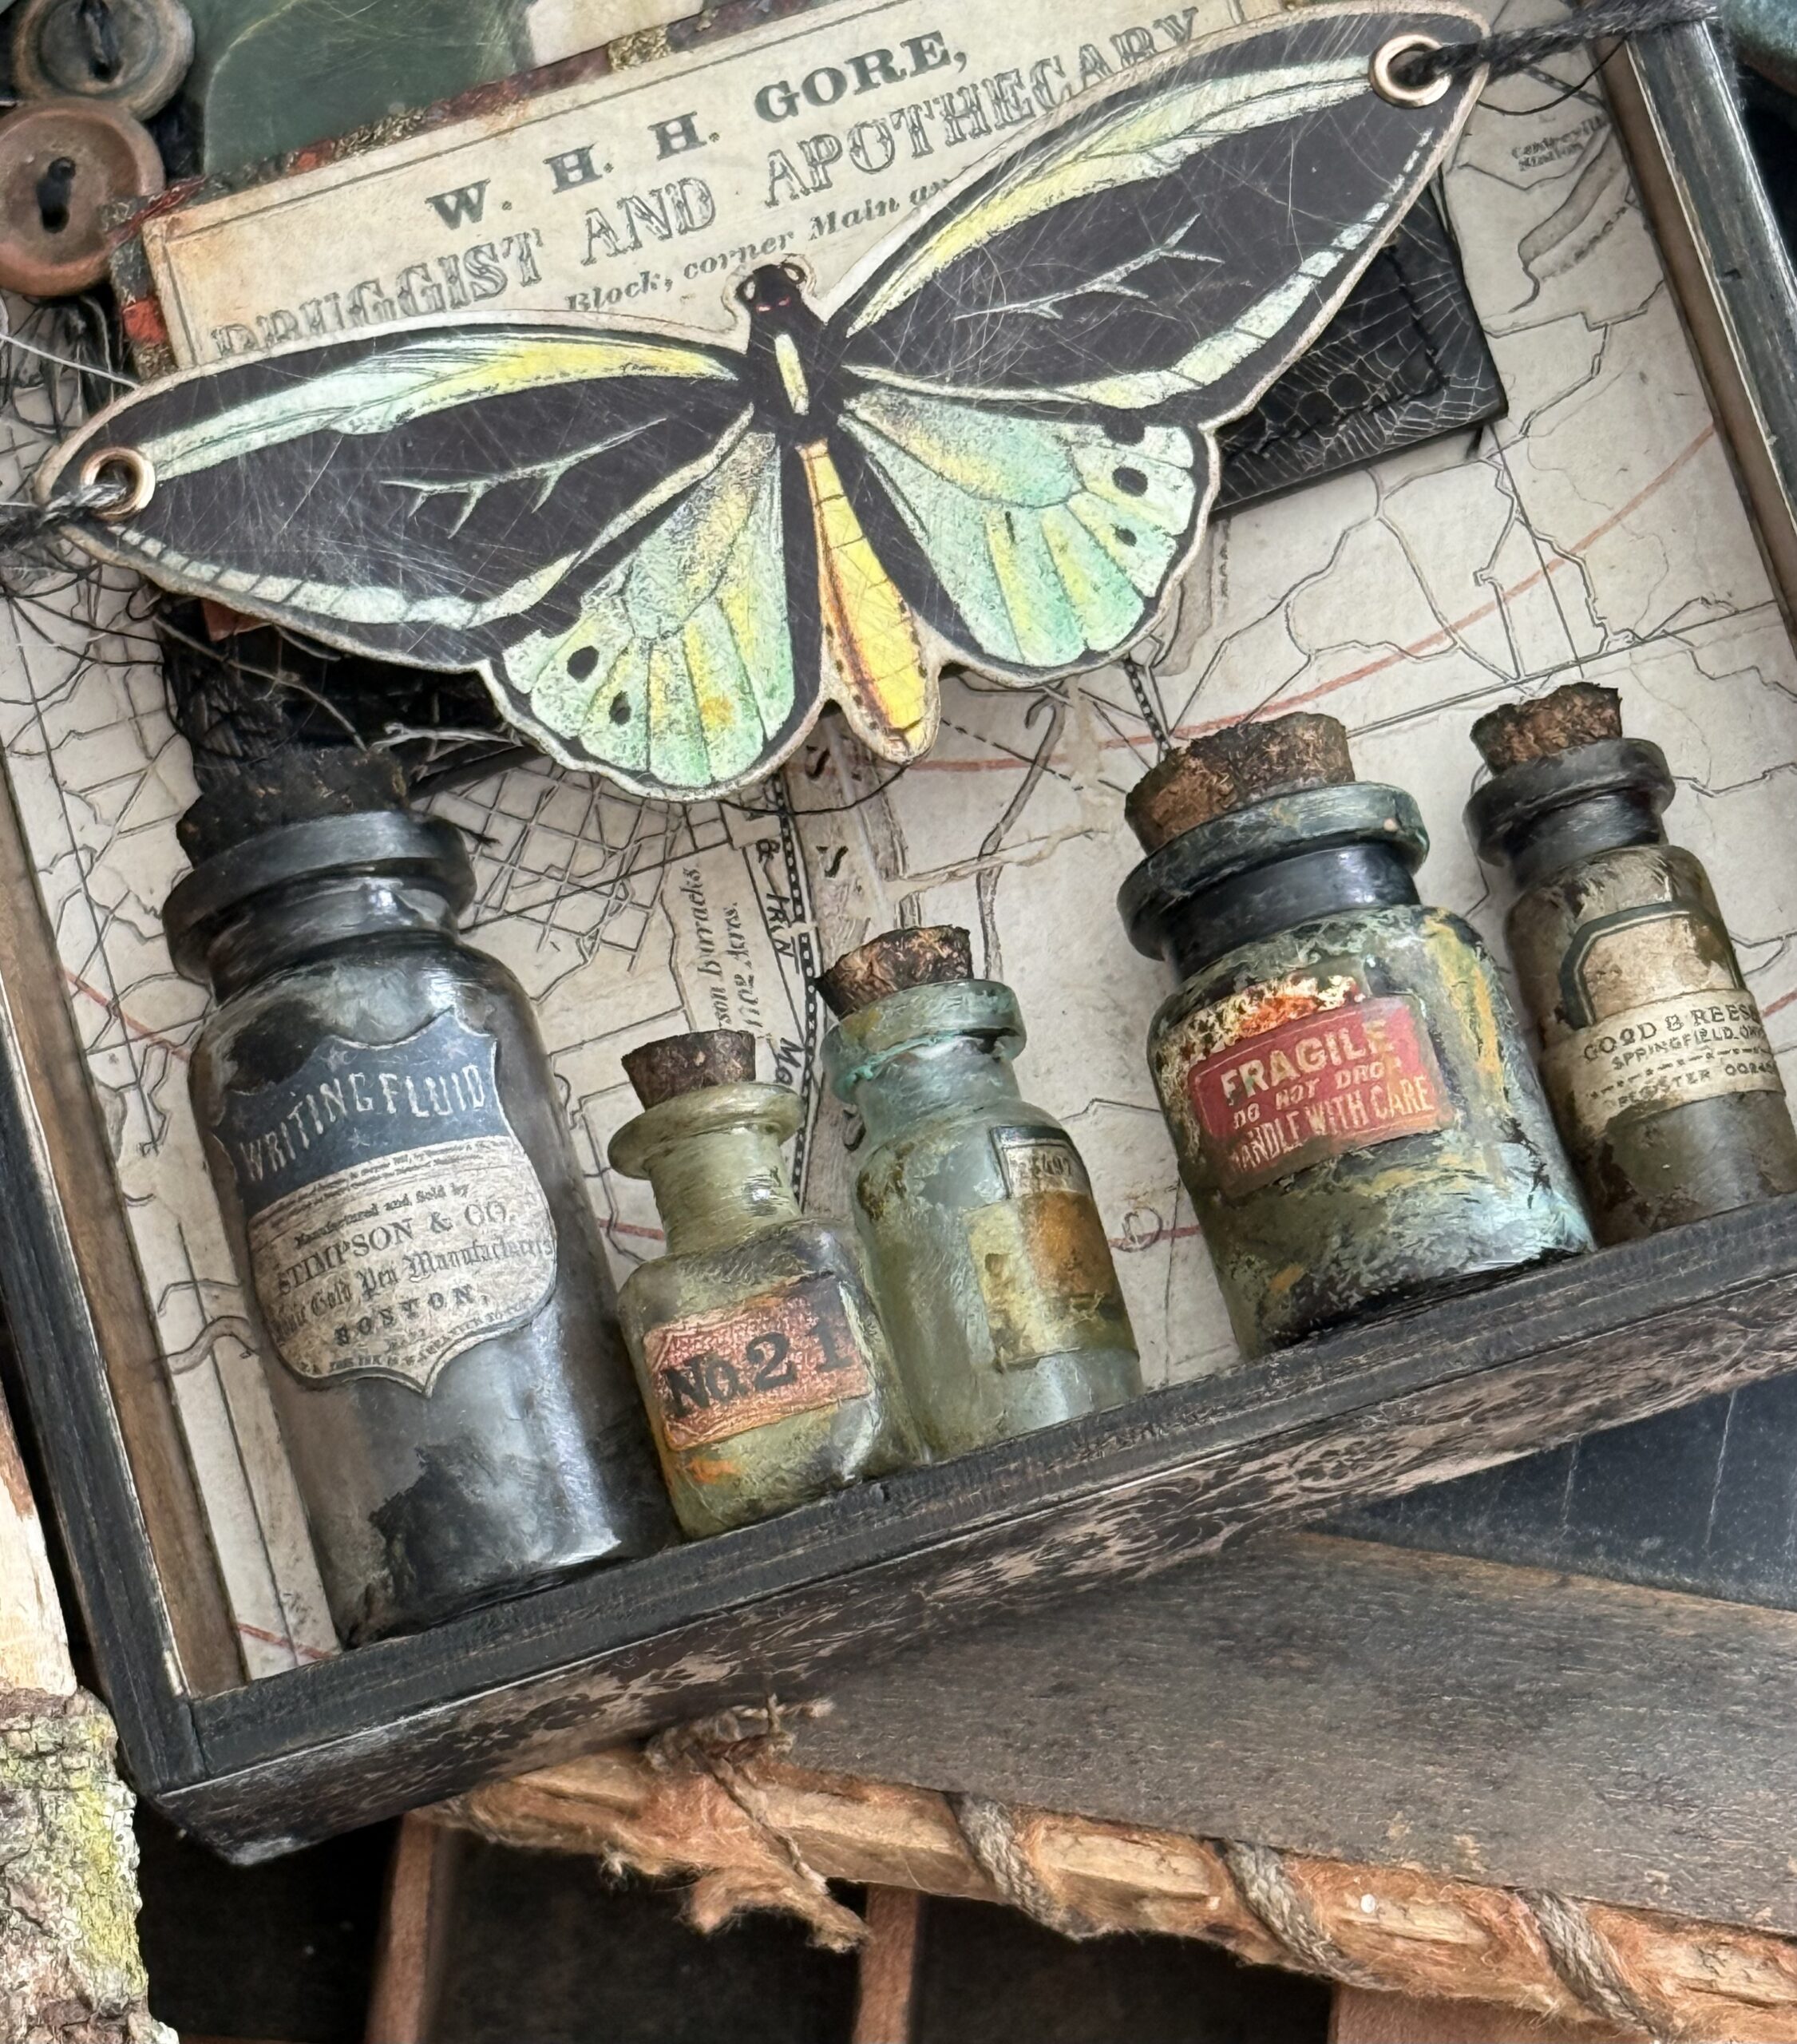
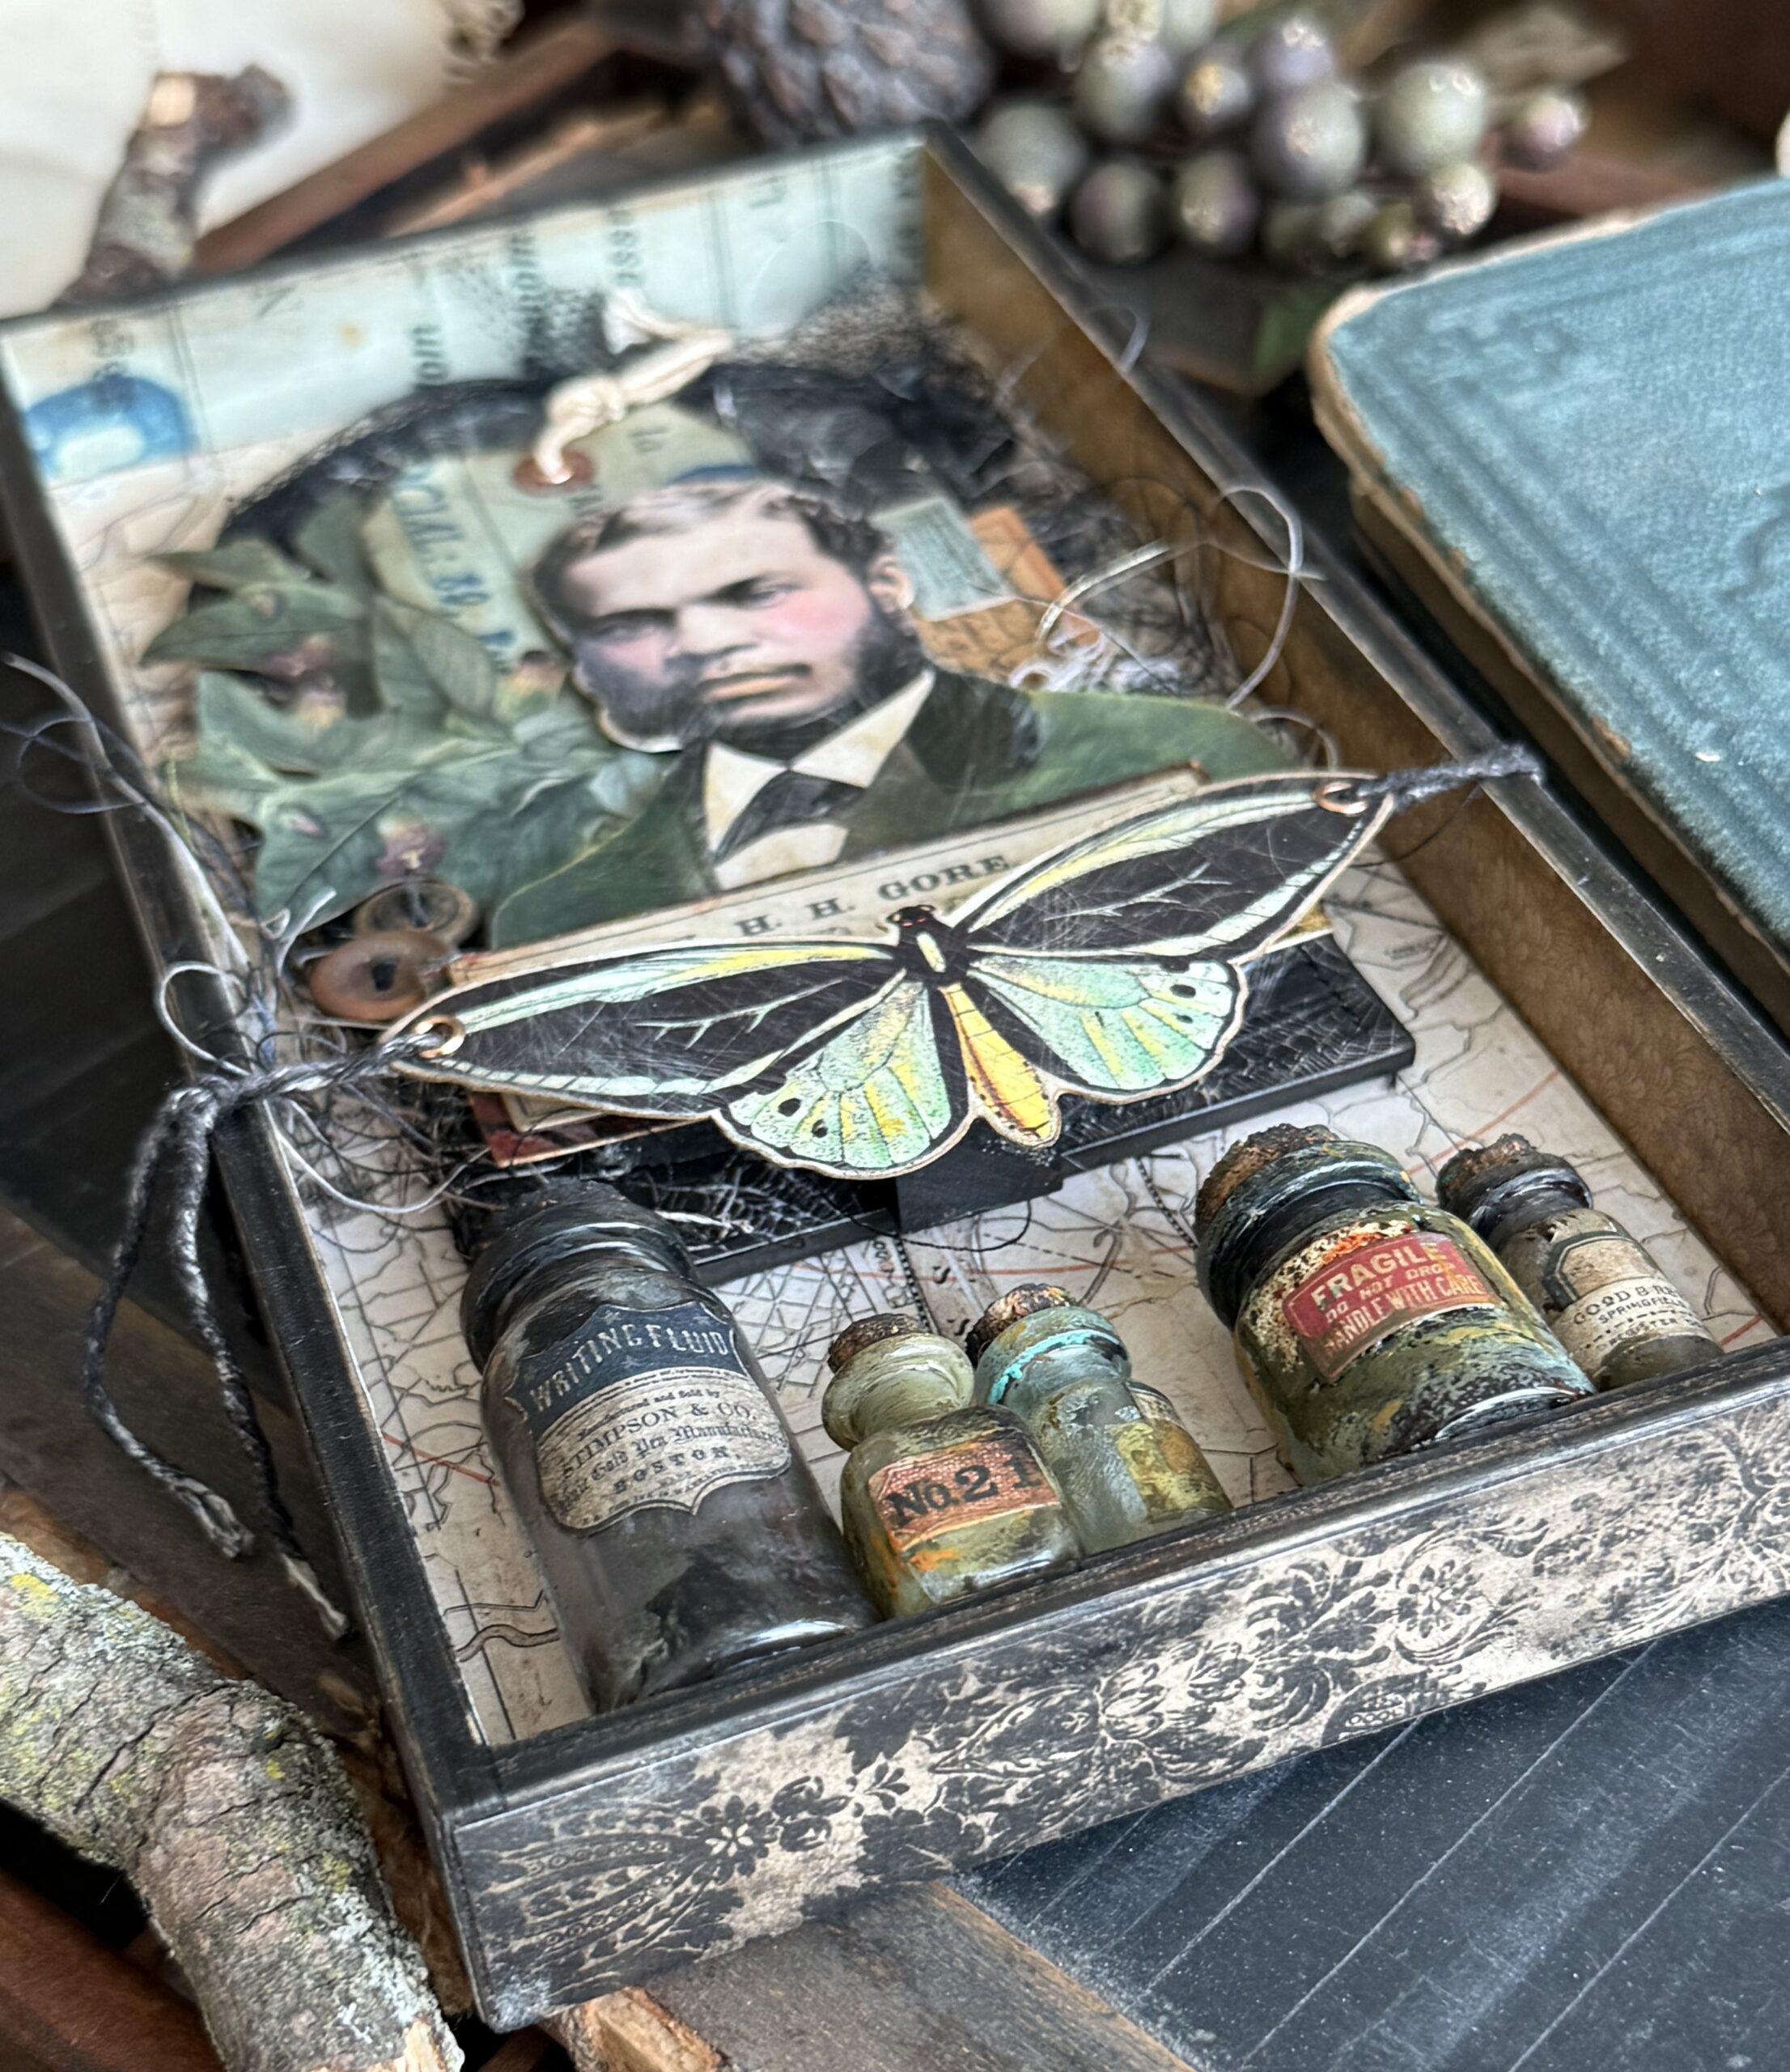
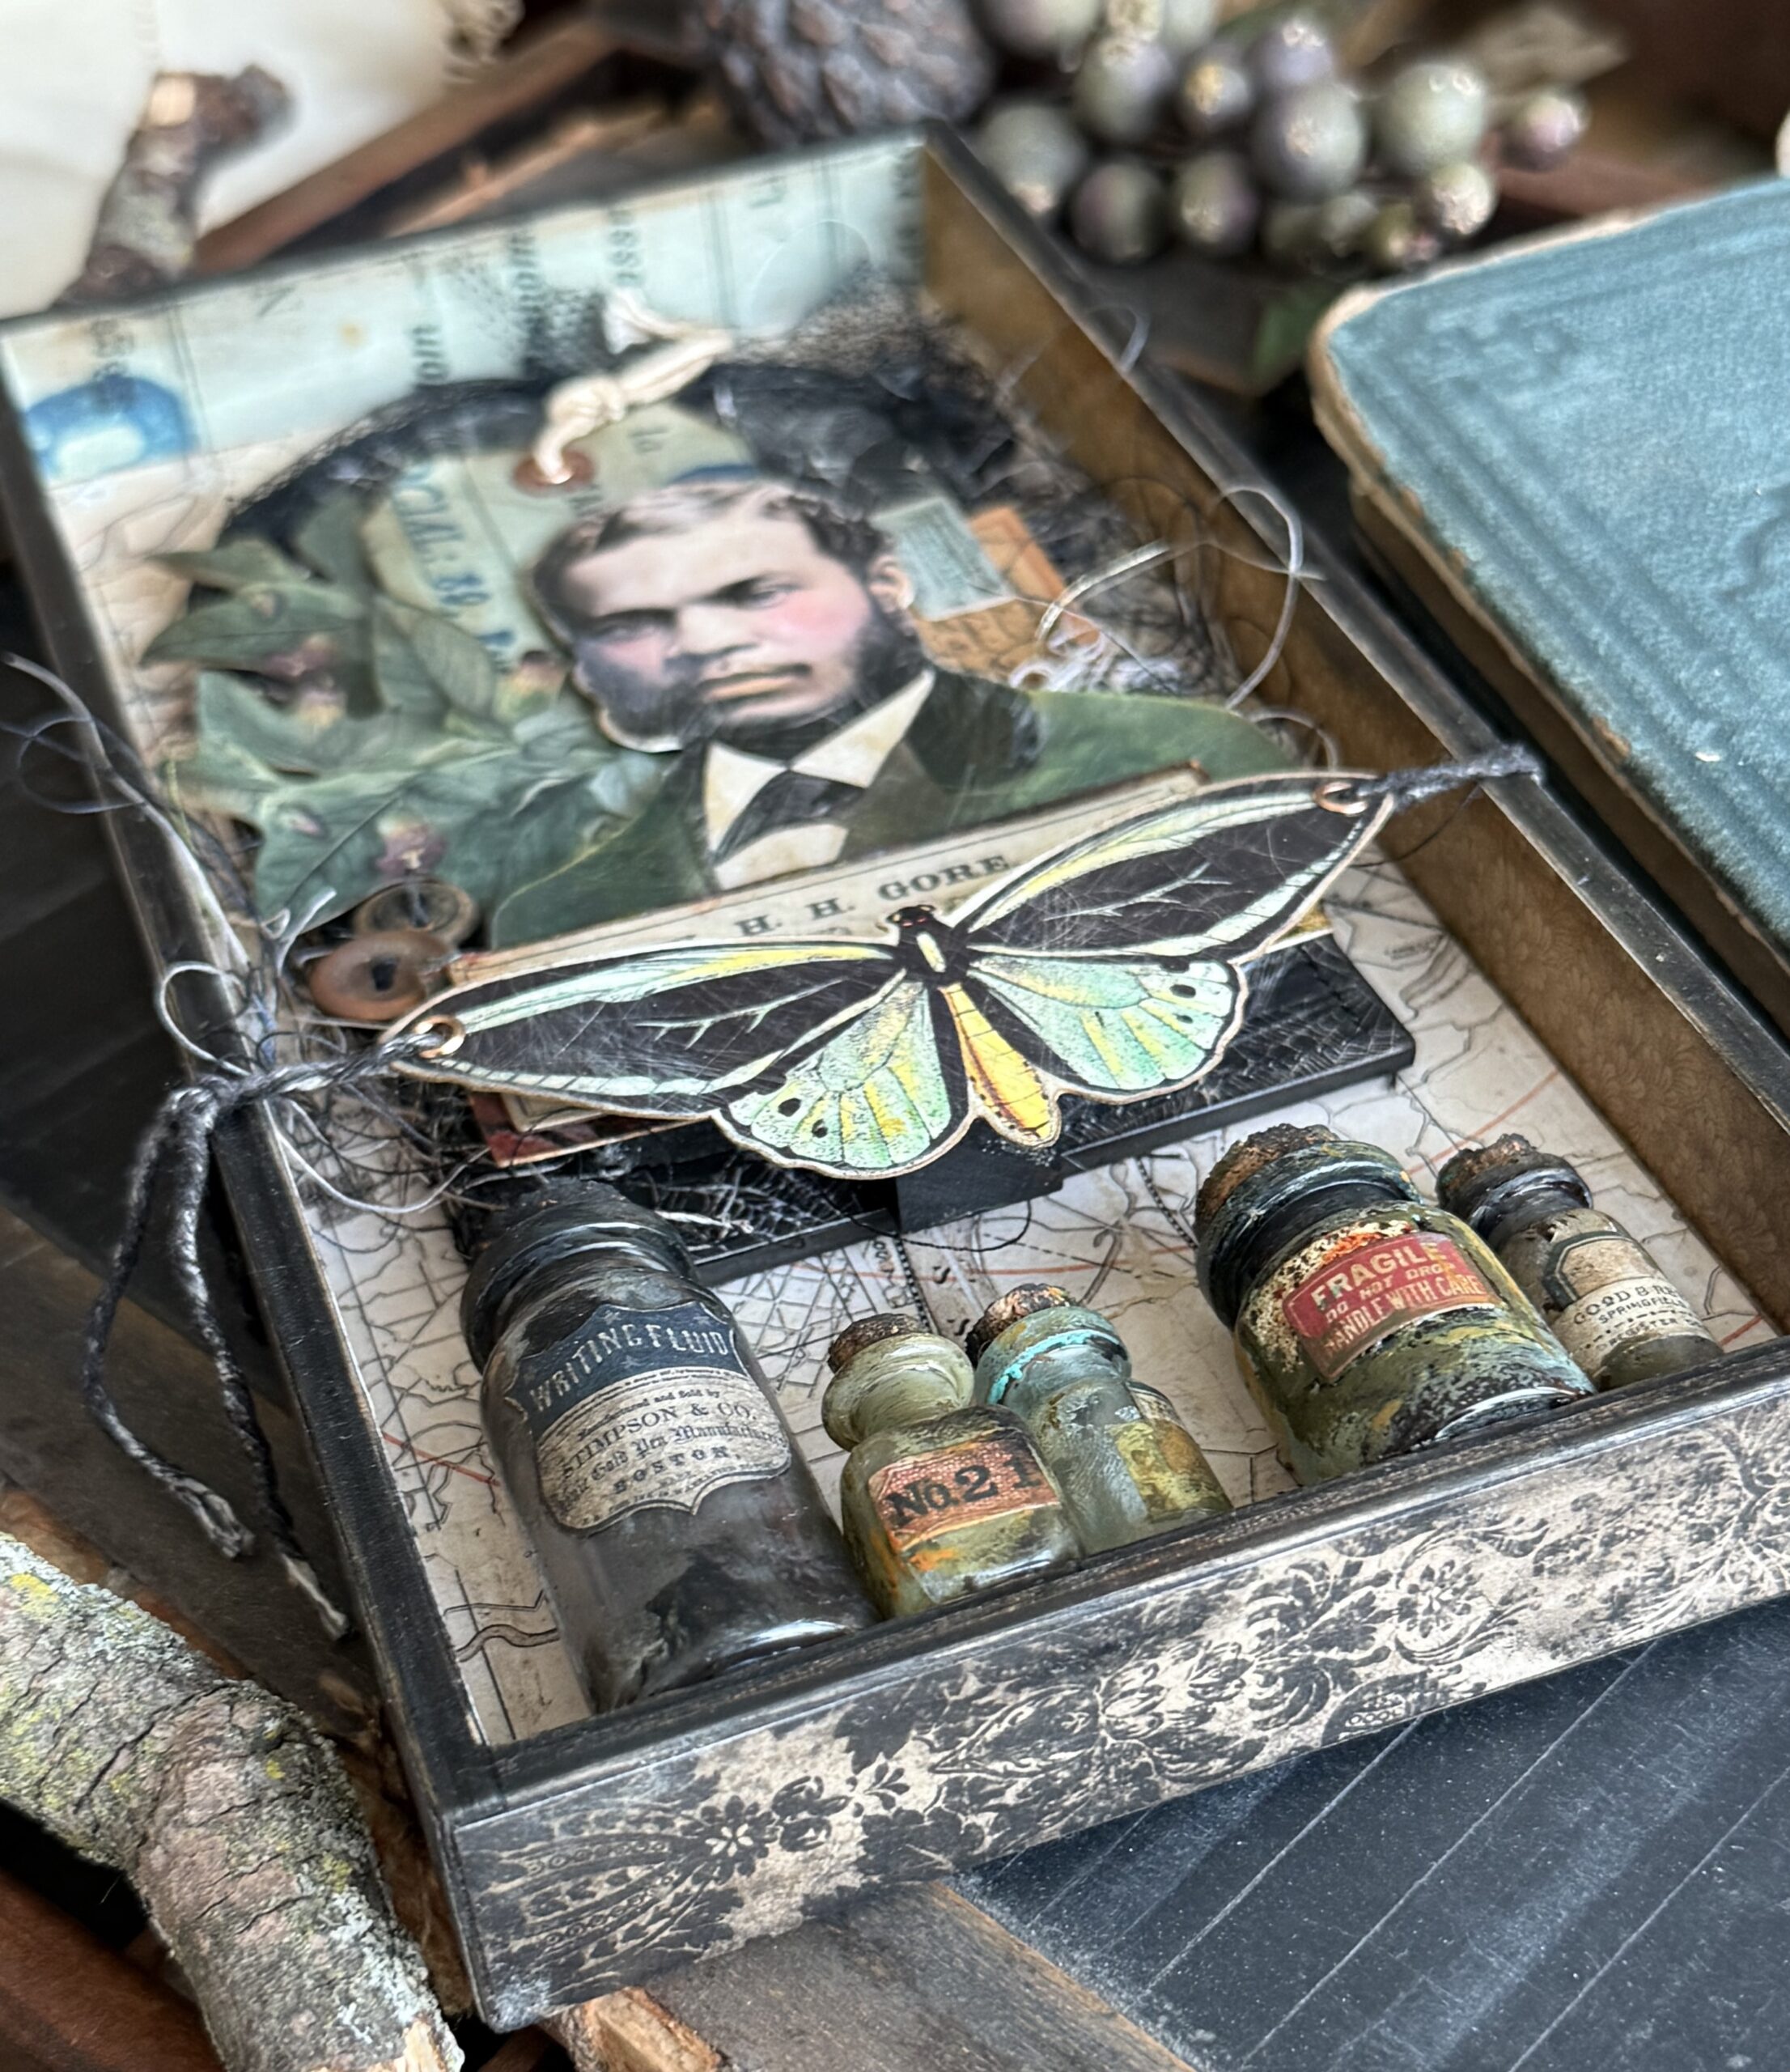
A small vignette tray was the perfect spot to gather all the collaged elements and fit one of the Etcetera Facade pieces that I used at the top as a decorative base of the centerpiece, and the space at the bottom to gather all the grungy vials and bottles.
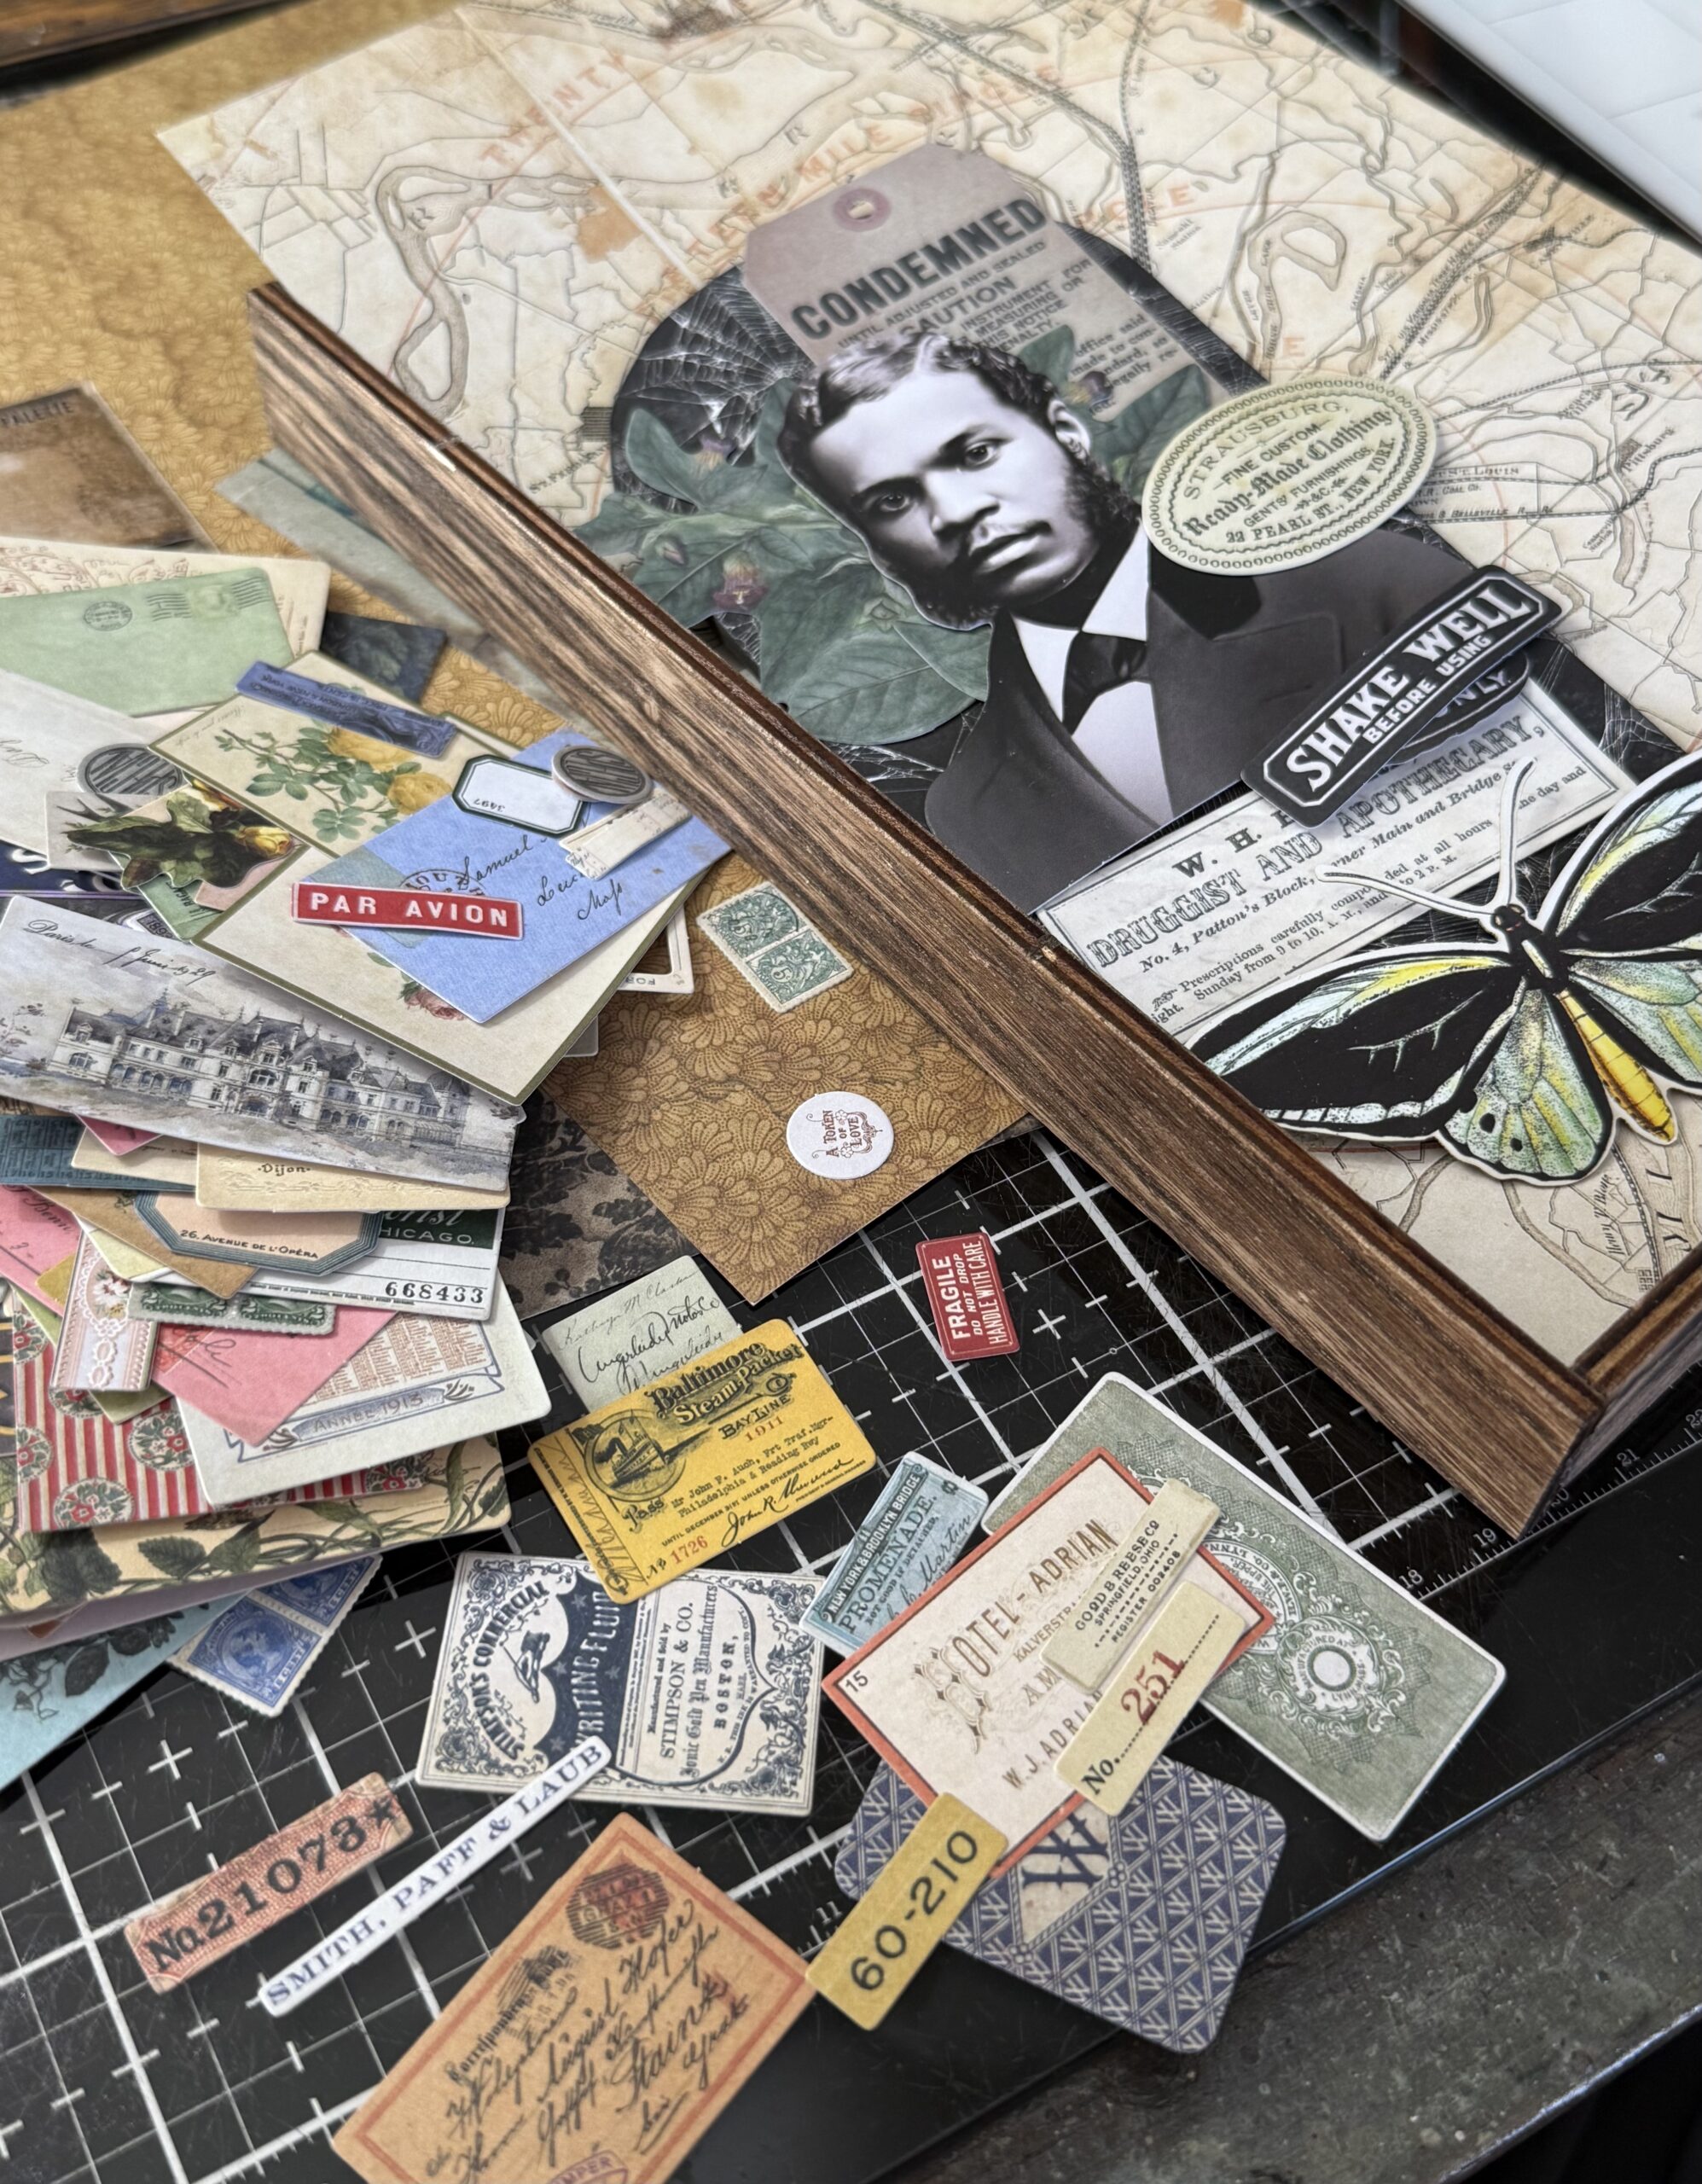
So, let’s get to making… I started by picking out all of the elements..the papers from the Halloween Backdrops, a spiderweb paper from the Halloween Palette 8×8 collection, Halloween Ephemera, the Palette Snippets Ephemera from the regular idea-ology line and the moth from the Botanical Layers.
Do you see all those ephemera pieces on the left? Those are the Palette Snippets…seriously, brilliant that Tim and Paula decided to make the Palette Ephemera mini, because they are simply precious, I can see myself using these again and again on all sorts of projects!
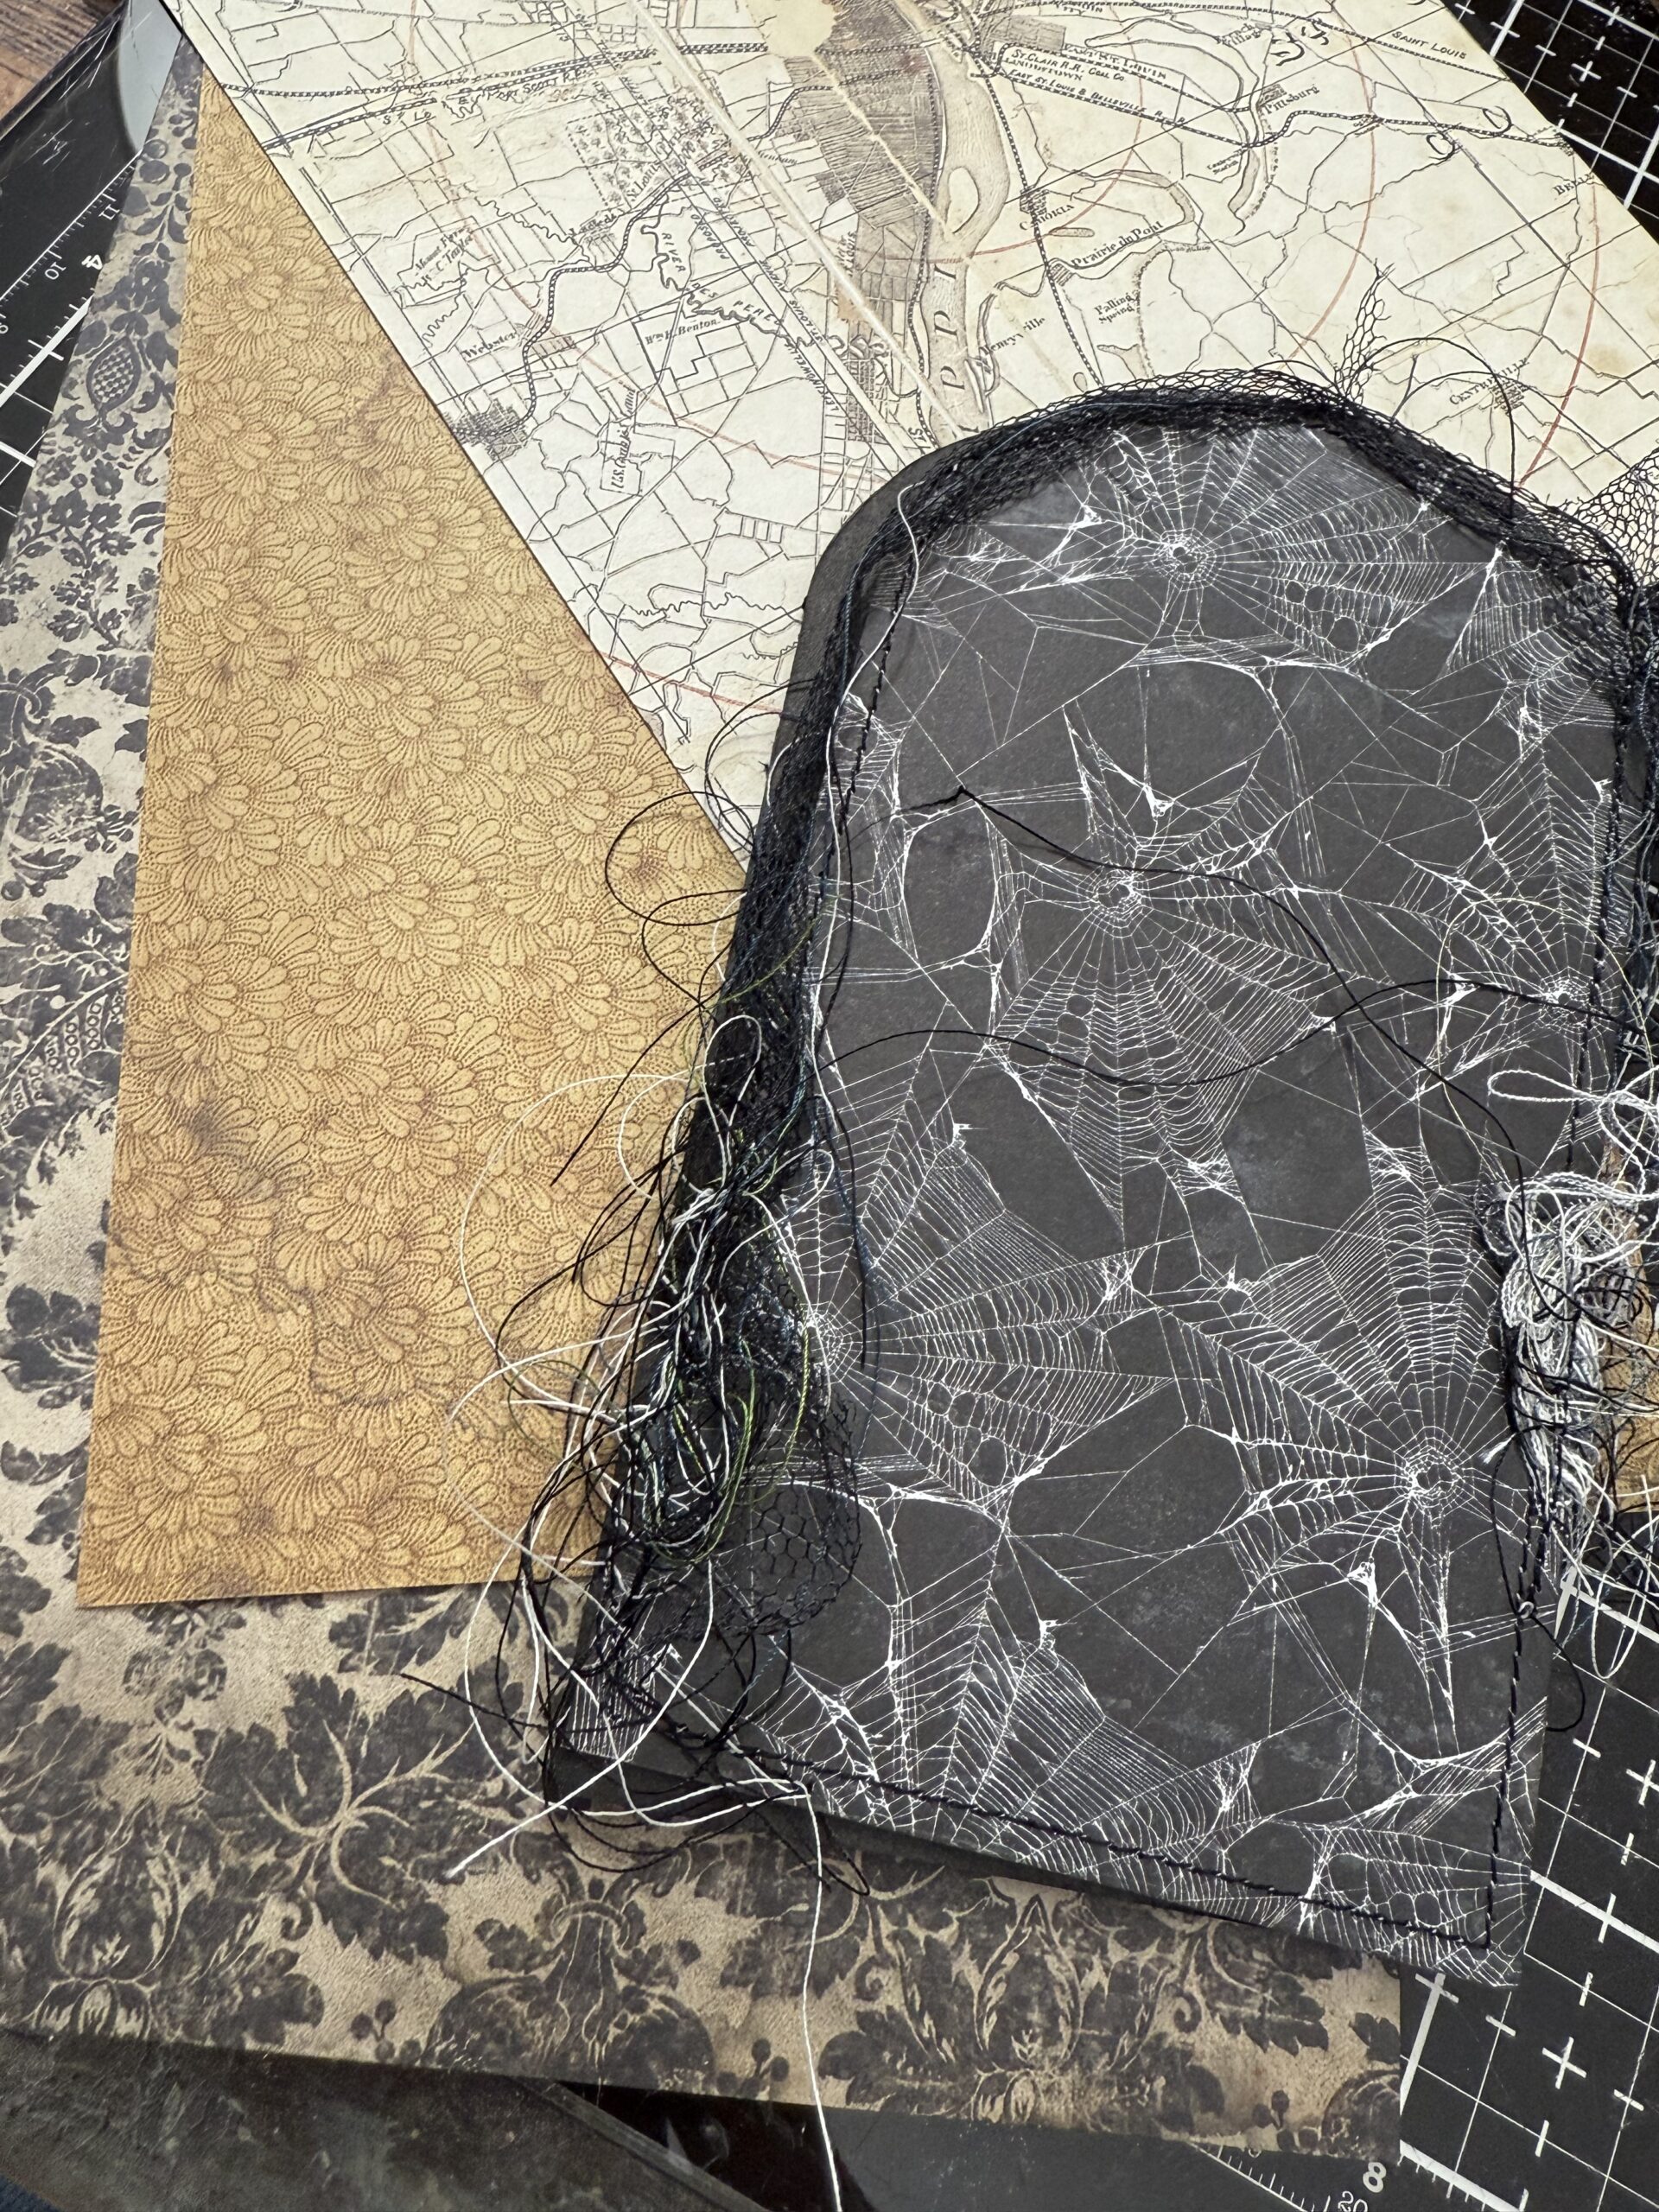
Here are the backdrops papers I chose, along with an Etcetera Facades. I cut a piece of the spiderweb paper from the Halloween Palette 8×8 paper pack to the size of the facade. Then I used my sewing machine to add the trim around the outside. The pieces that you see were scraps of black tulle and scraps of threads that were sitting next to my sewing machine. I stitched them on randomly around the edge to give the collaged look, then I adhered the paper to the Etcetera facade shape using some Collage Medium.
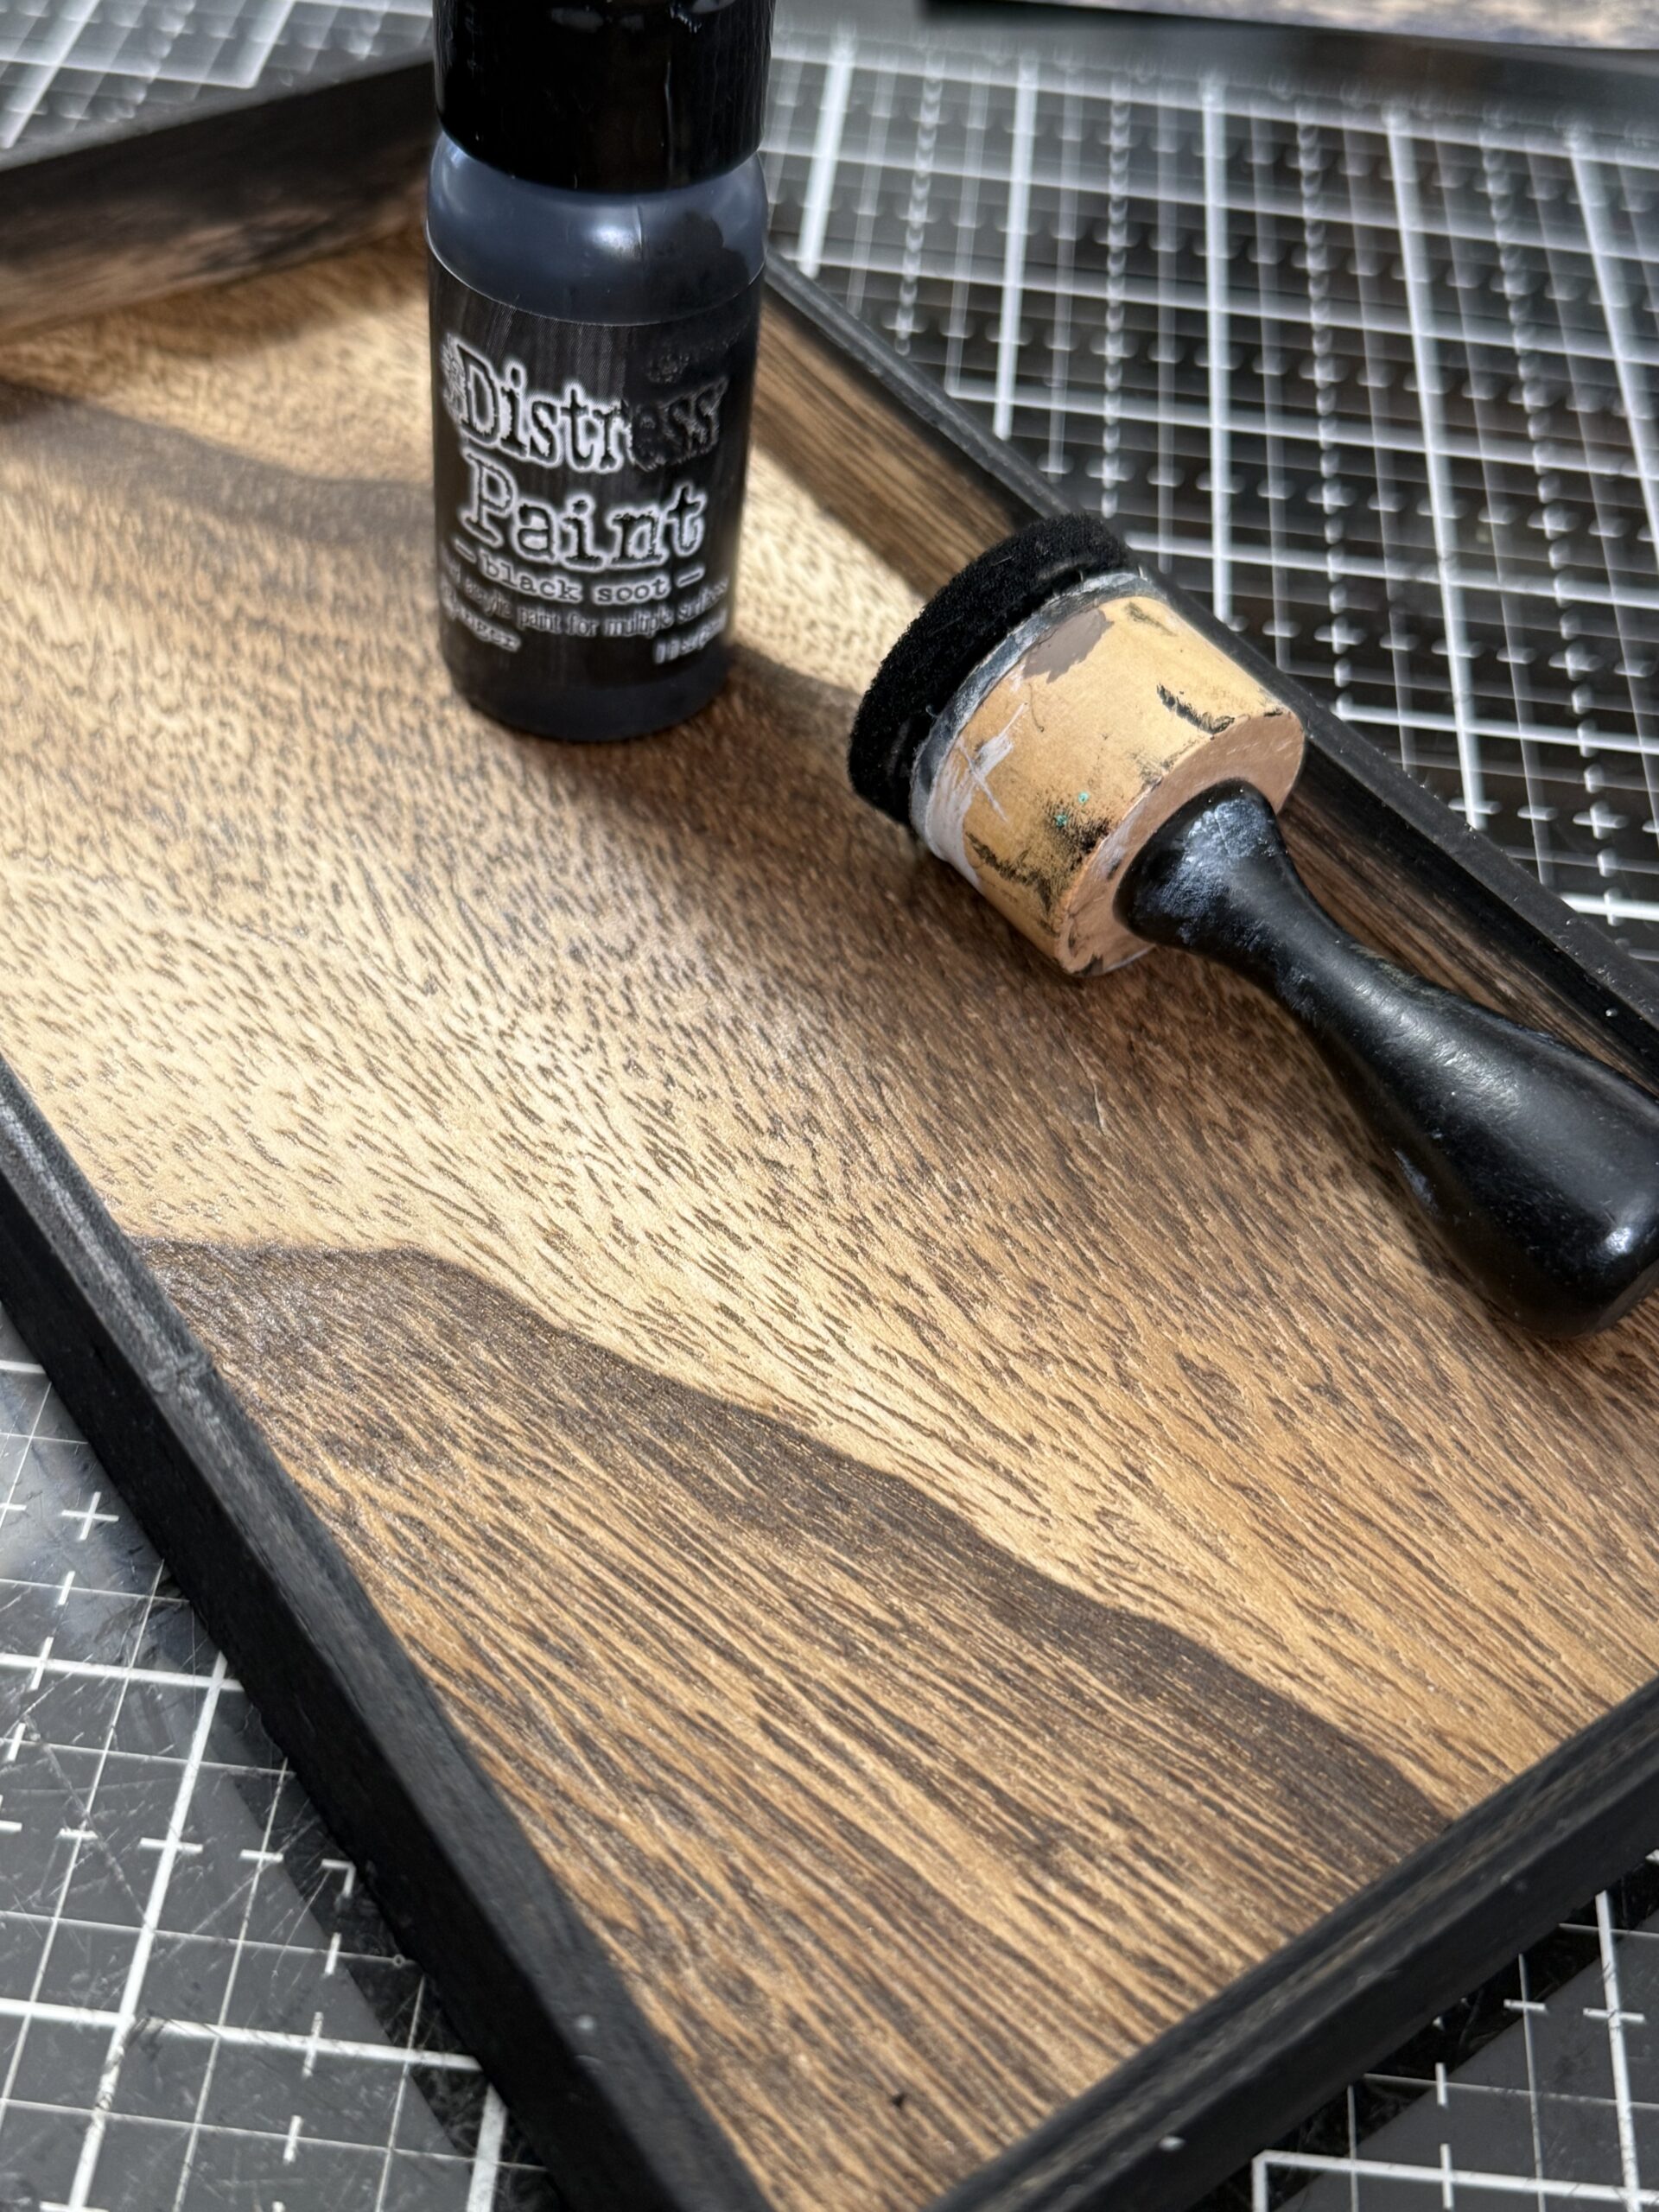
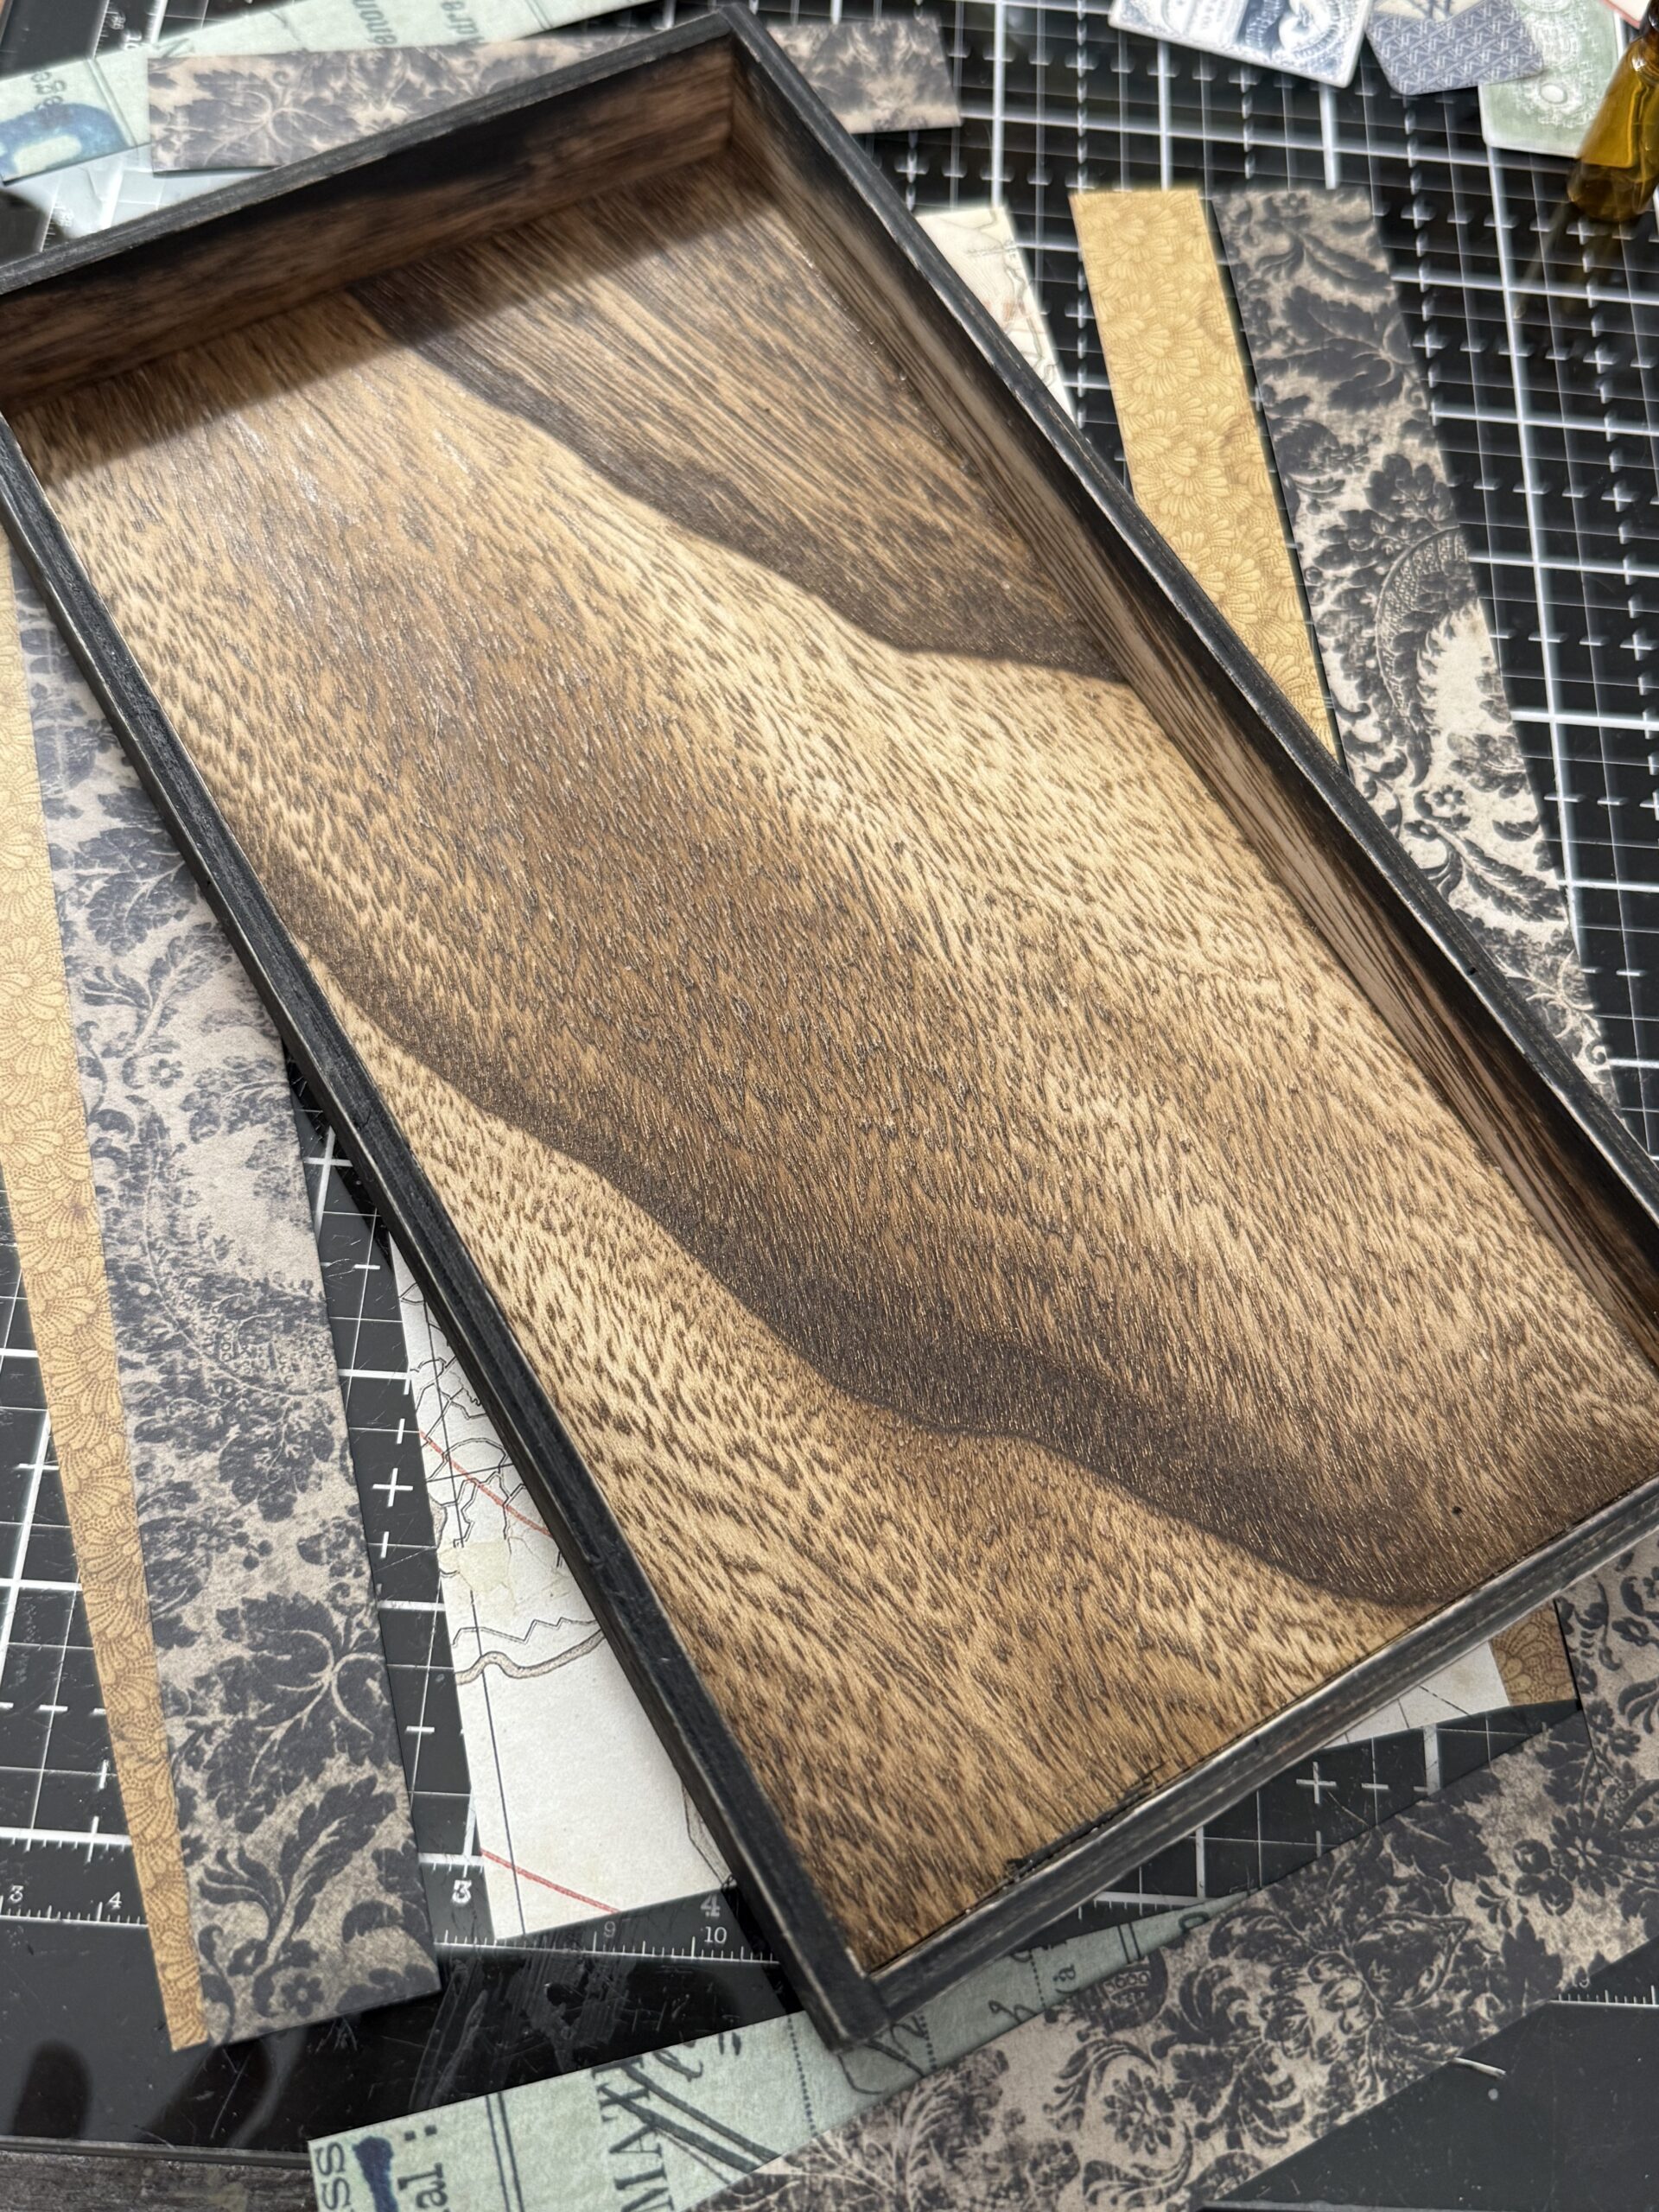
I painted the edges, inside and outside of the smallest idea-ology Vignette Tray using Black Soot Distress Paint and a blending tool, then I set it aside to dry.
I blended the edges of some the Ephemera pieces using Walnut Stain Distress Ink to add age. I also used my sanding disk and a blending tool to add some scratches to the idea-ology portrait from the Layers pack.
I cut some inky paper for behind the Apothecary Ephemera piece for the front of the project, this was used to mat the piece and give it more stability for the front of the vignette.
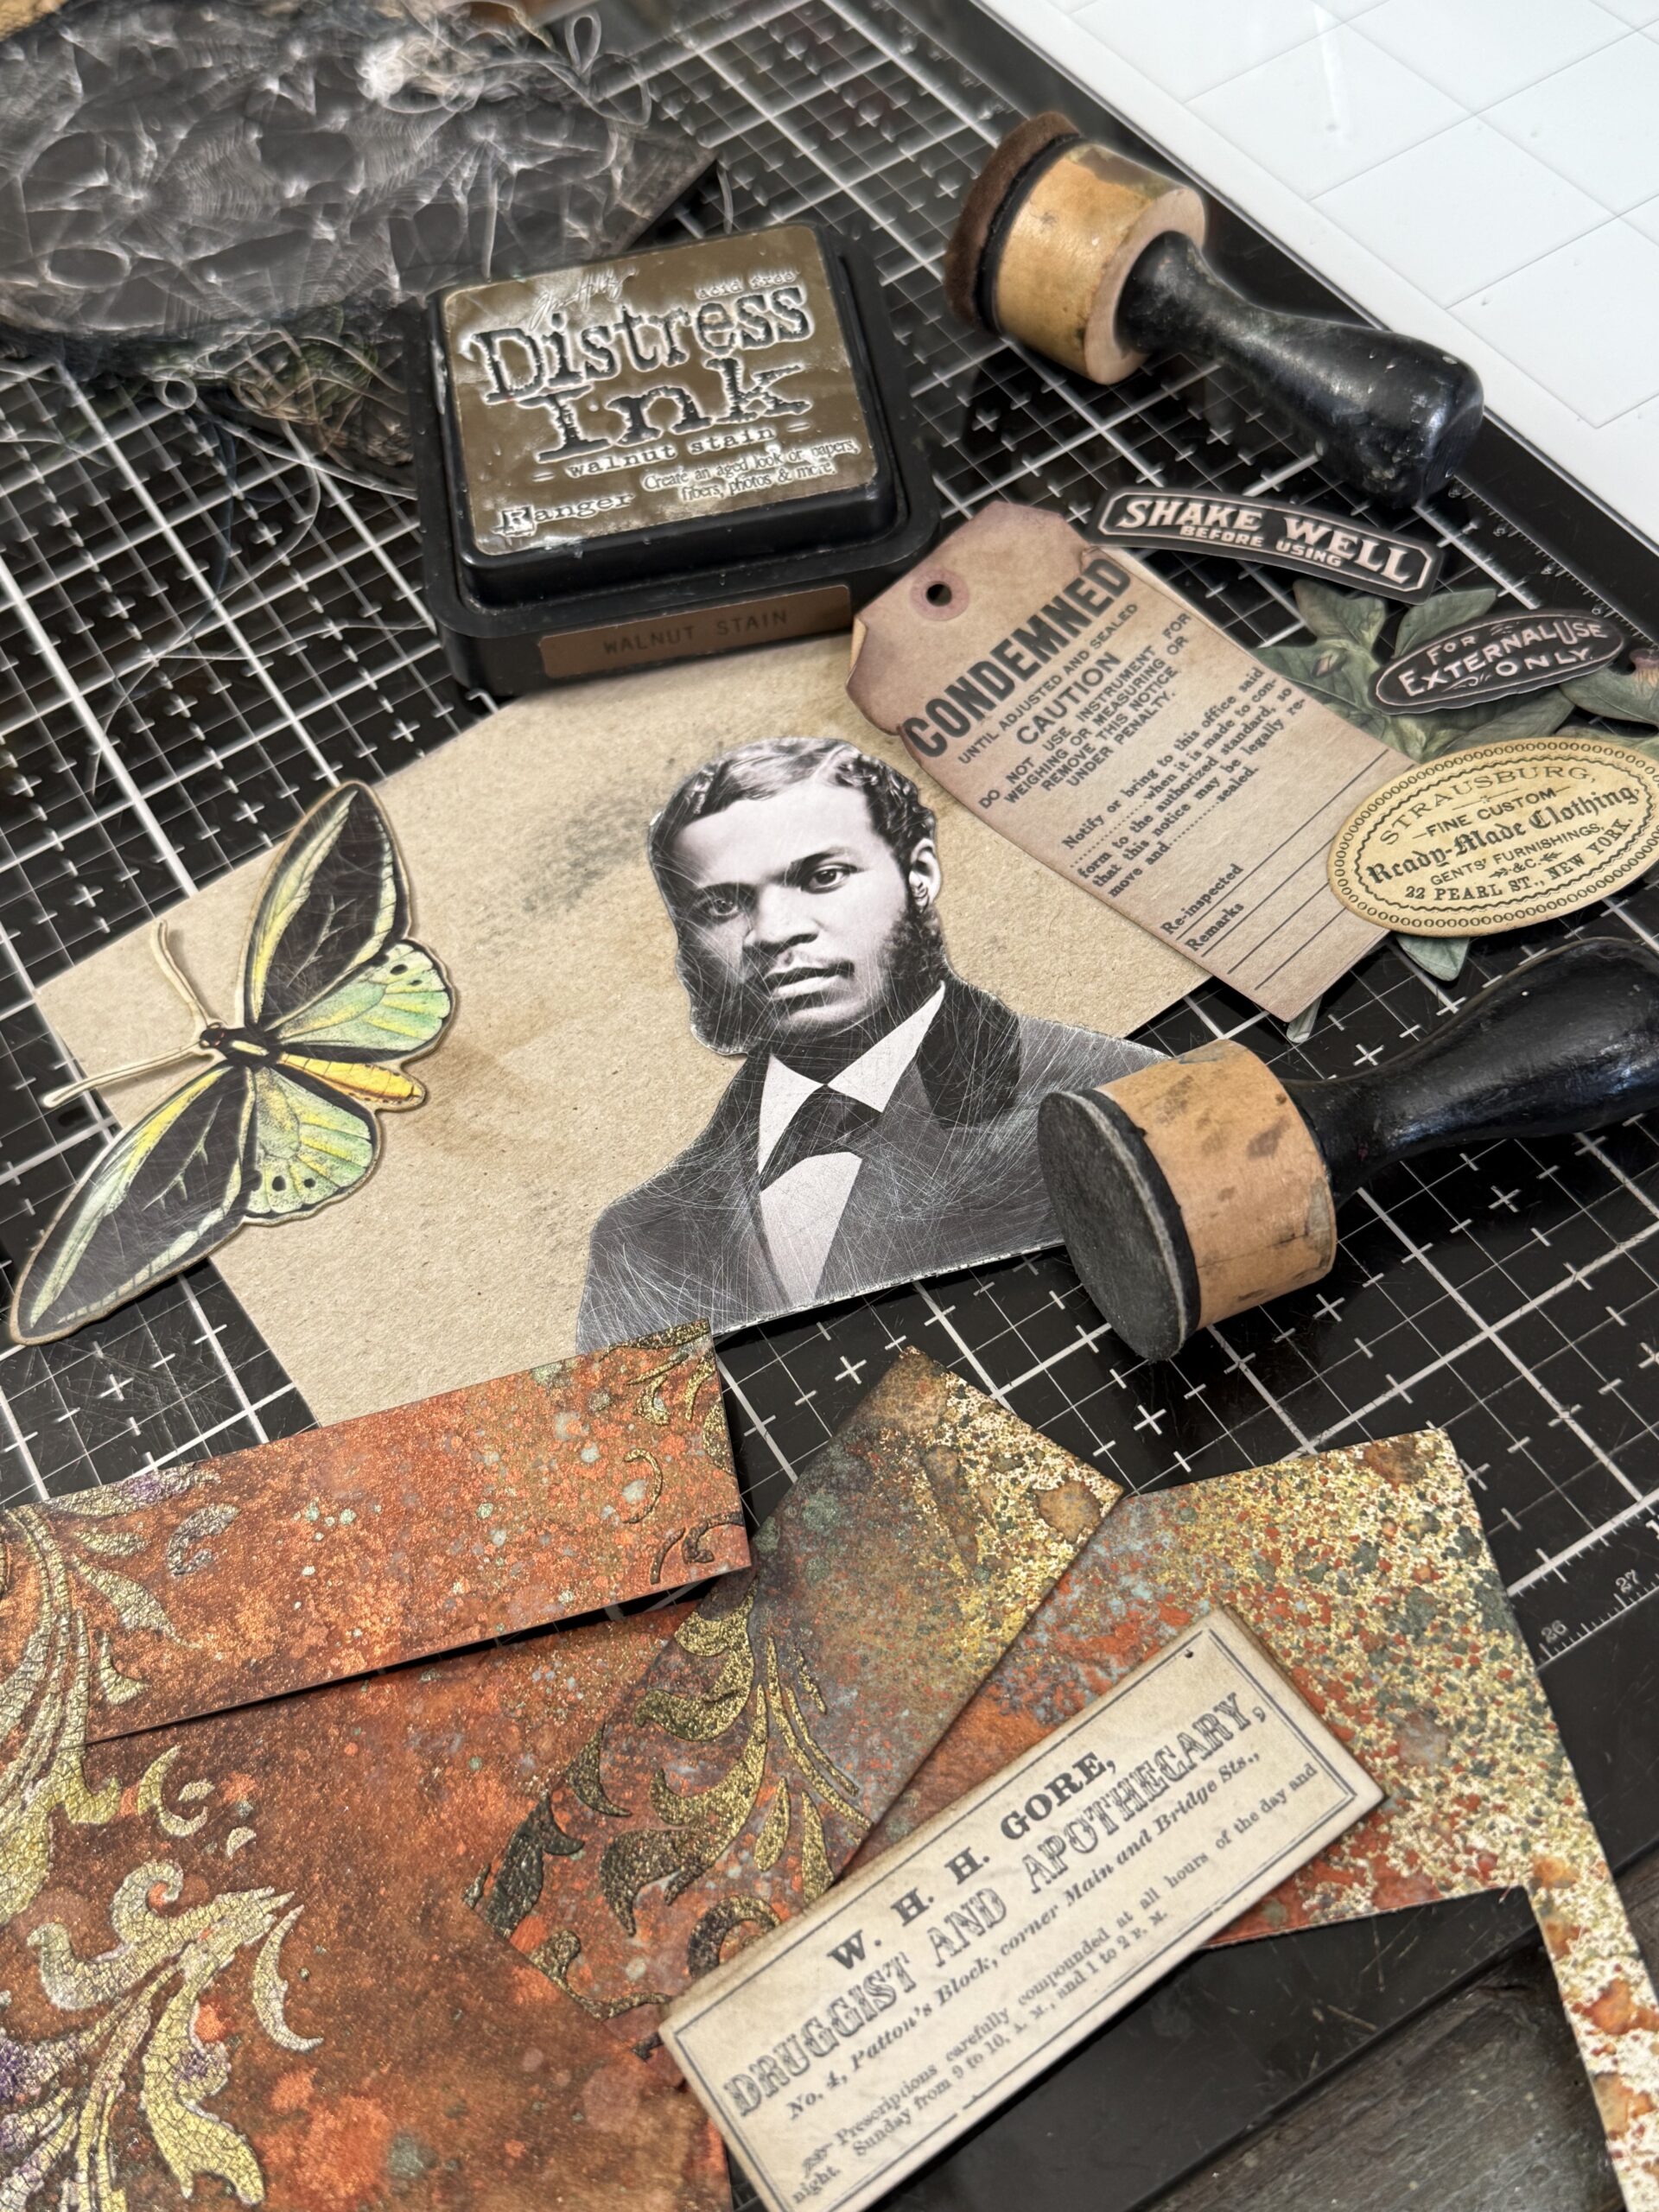
The tag that you see behind the portrait was scrap of the Halloween Backdrops, I just cut it into a tag shape…I punched a hole in top then added a small paper washer and added a eyelet. I tied on some string and this became some of the background collage. The other elements were Ephemera pieces found in the Halloween pack and those tiny snippet pieces from the Palette Snippets pack.
After the vignette was dry, I cut all the papers for the insides and outsides of the vignette tray, then I adhered them using collage medium, being sure to add collage medium to the top of the pieces so that I could add Distress Crayon age after they were dry.
The portrait that had been scratched up with the sanding disk was rubbed with some Distress Crayons for coloring.
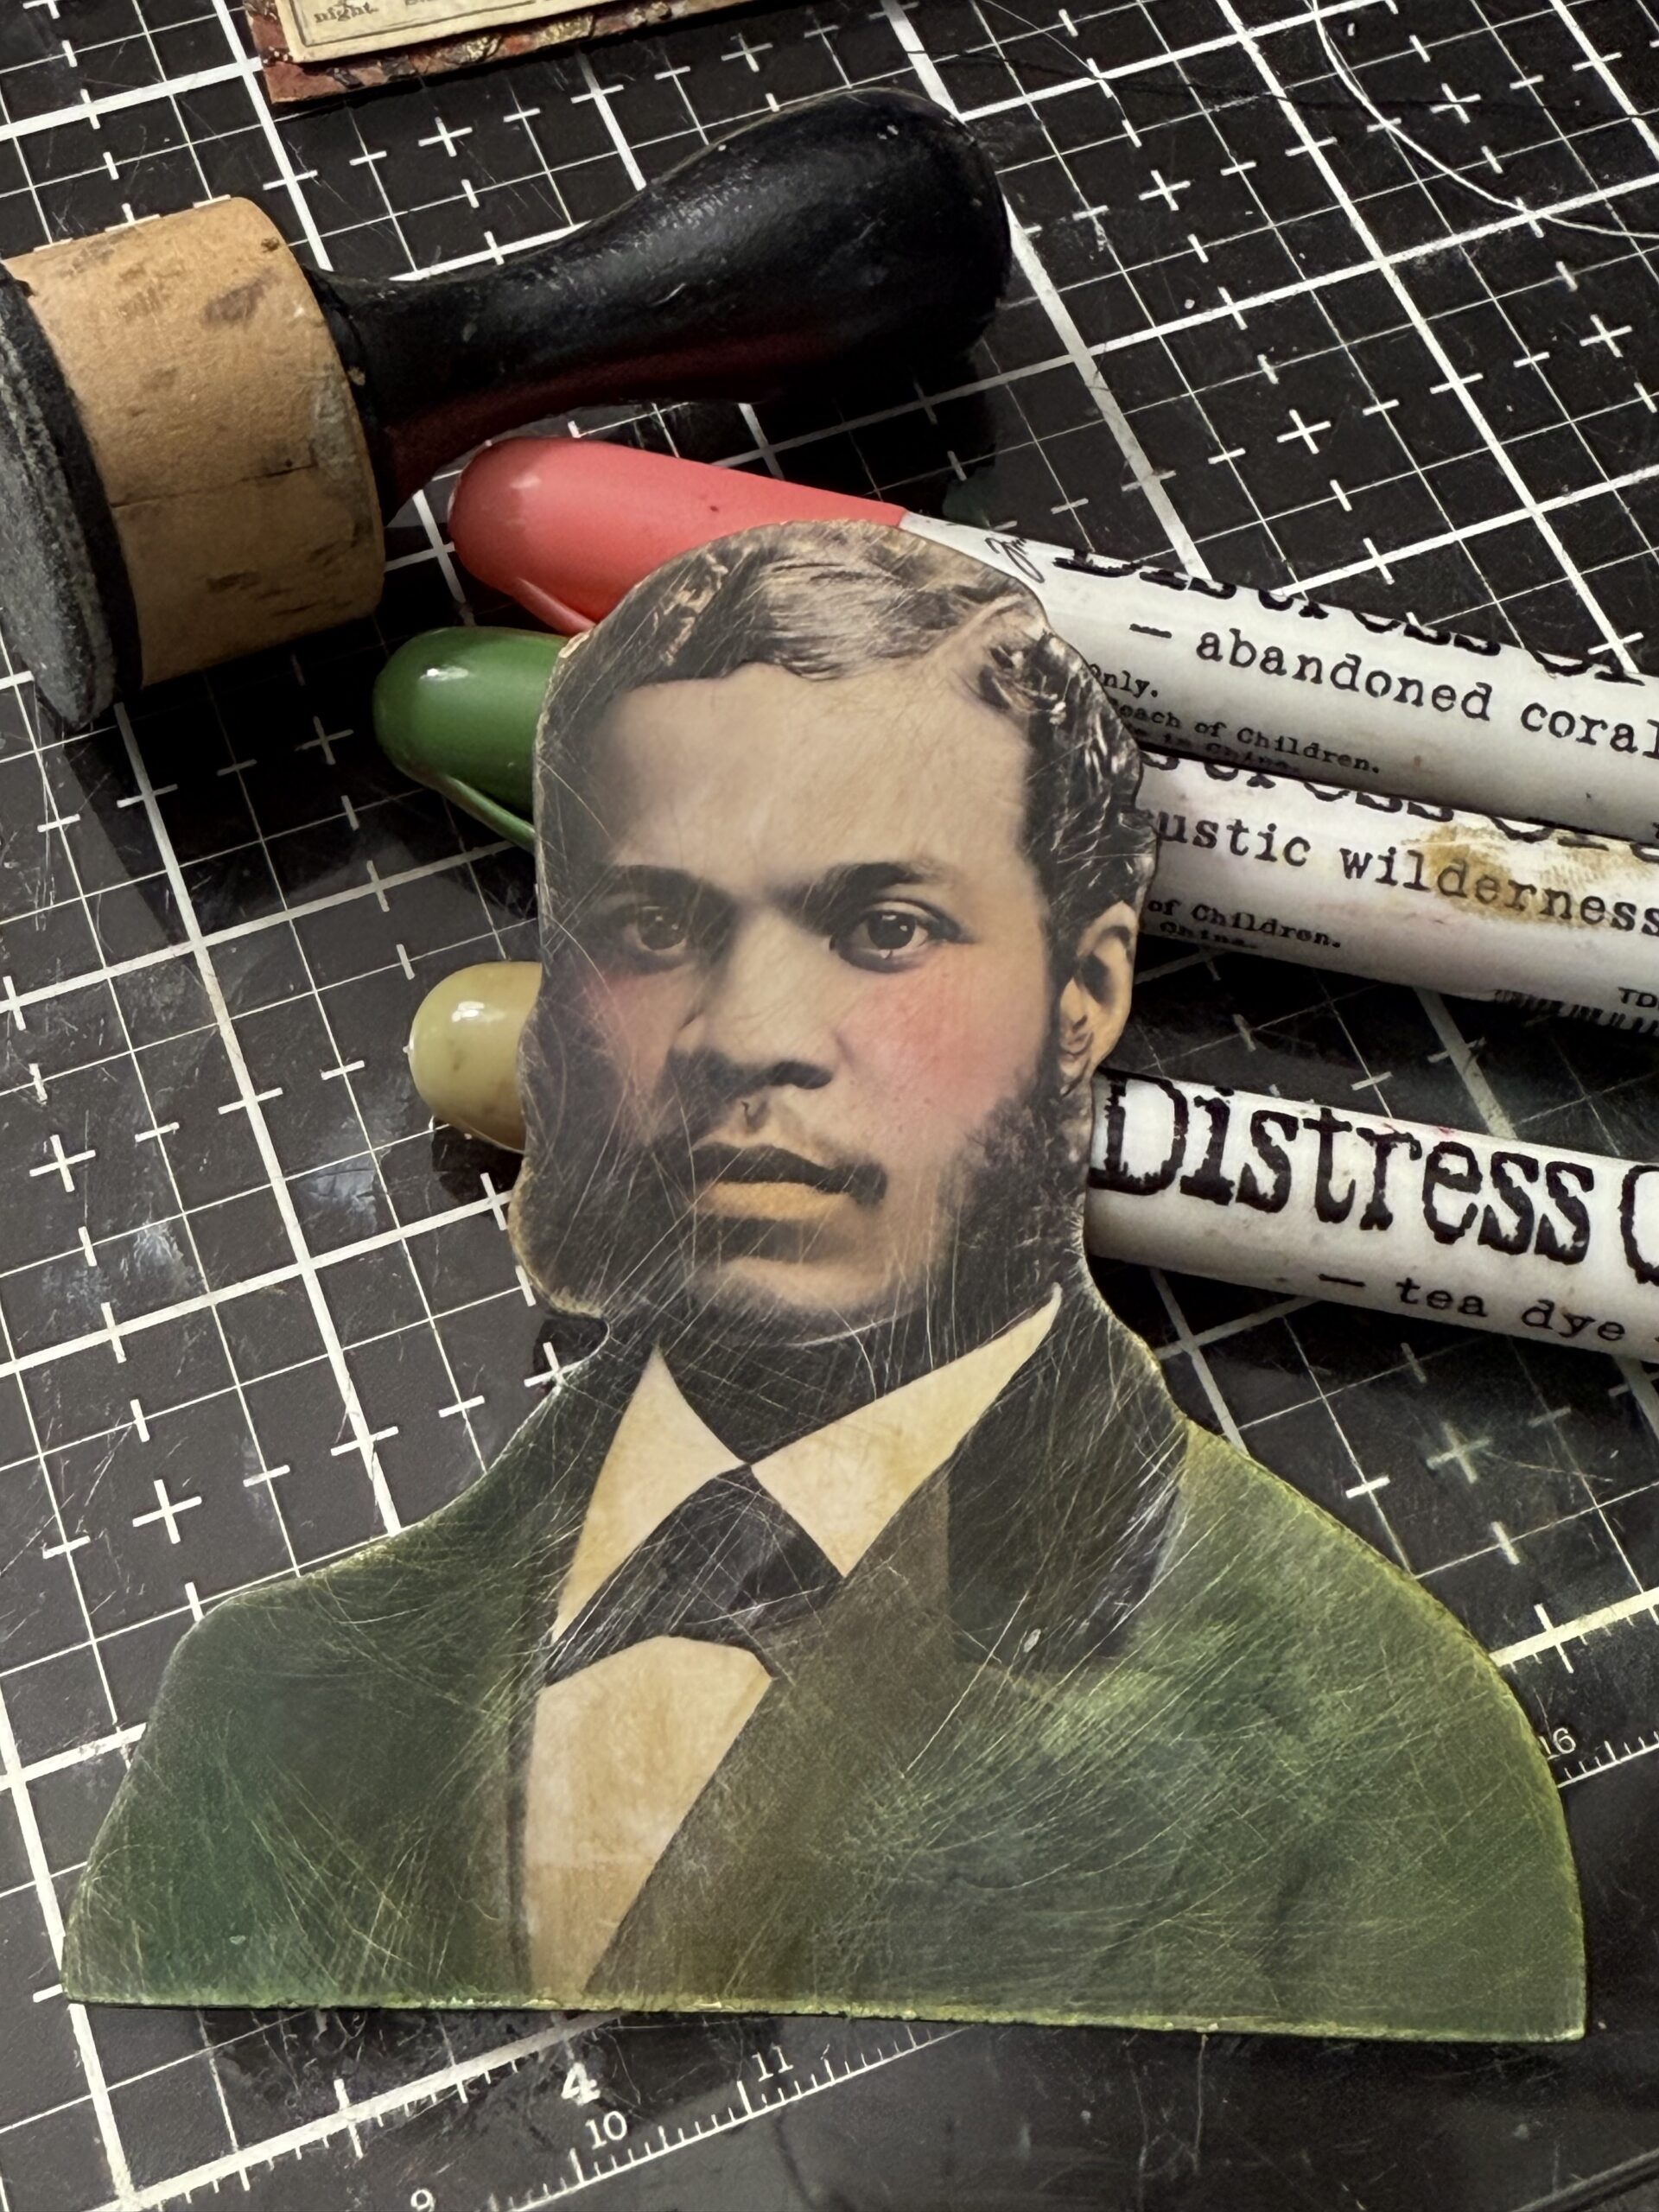
When the portrait was done, I set it aside to dry and set up and went on to the vials and bottles… one of my favorite parts of this project. I’m not sure why old grungy bottle give me so much joy, but they do… as I hope they give you too.
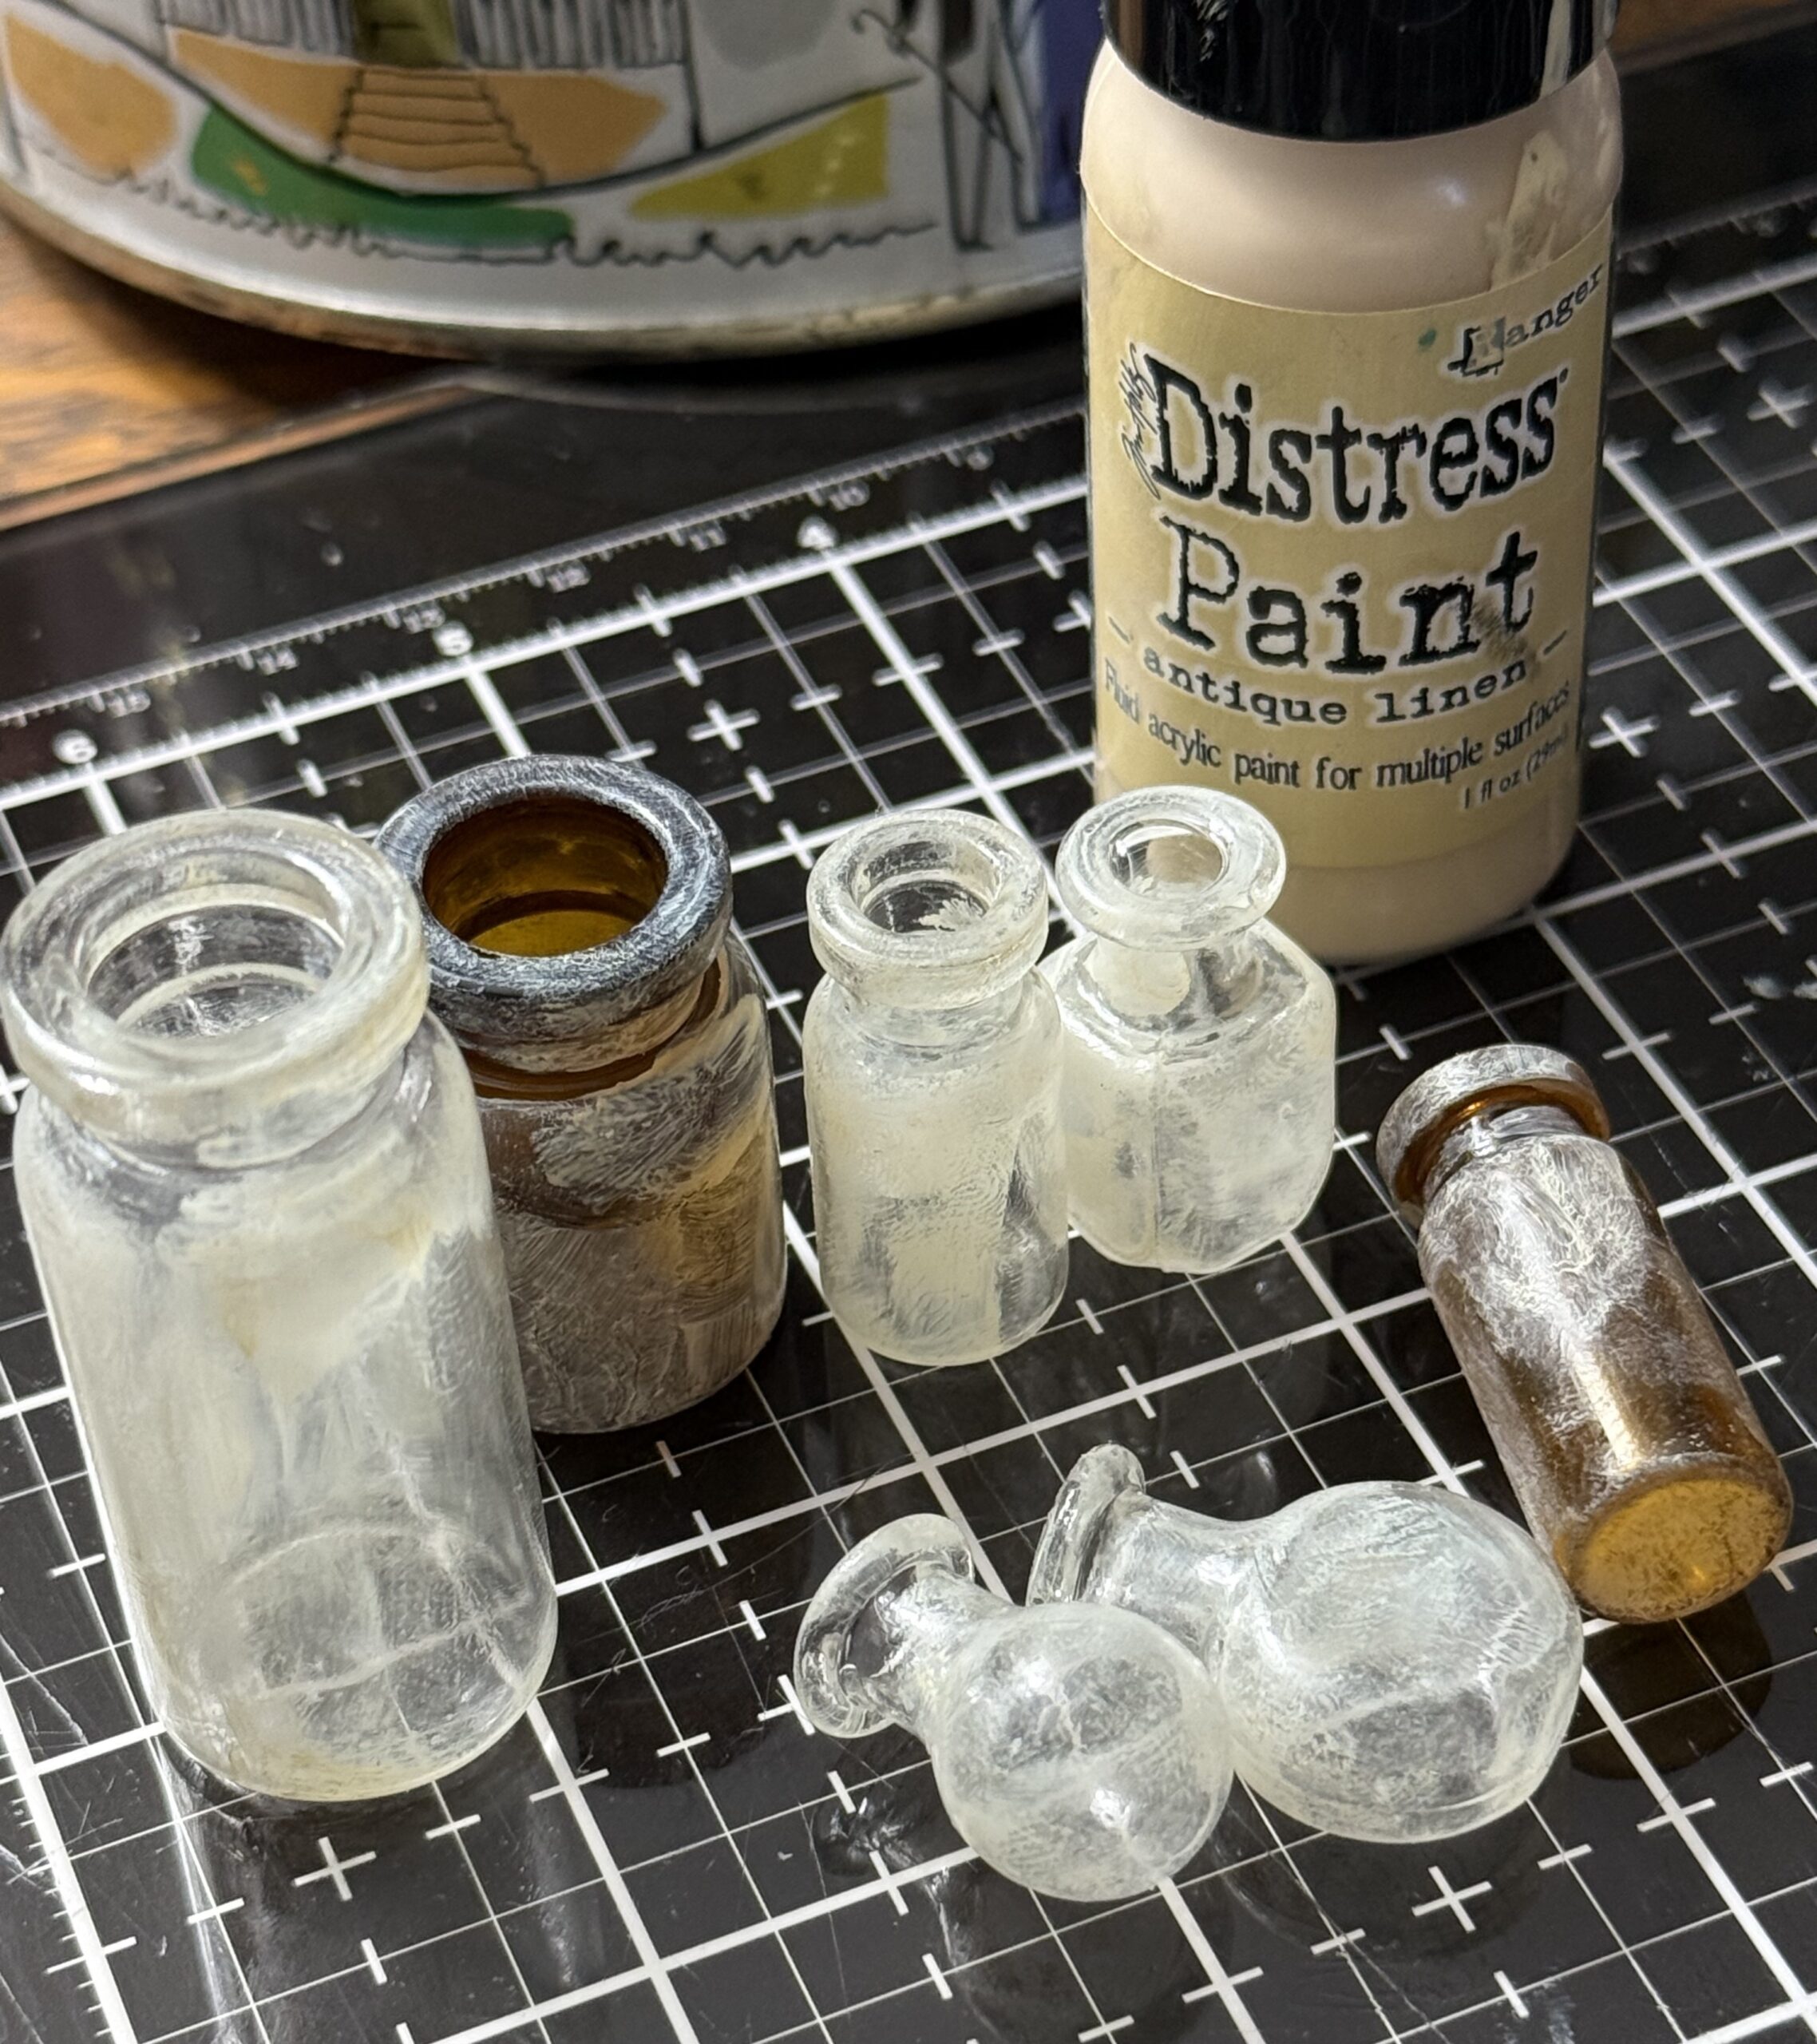
I took the cork off of each bottle then rubbed each bottle with some Collage Medium, then set them aside to dry. This process gives them tooth so that the rest of the grunge would stick to the bottles.
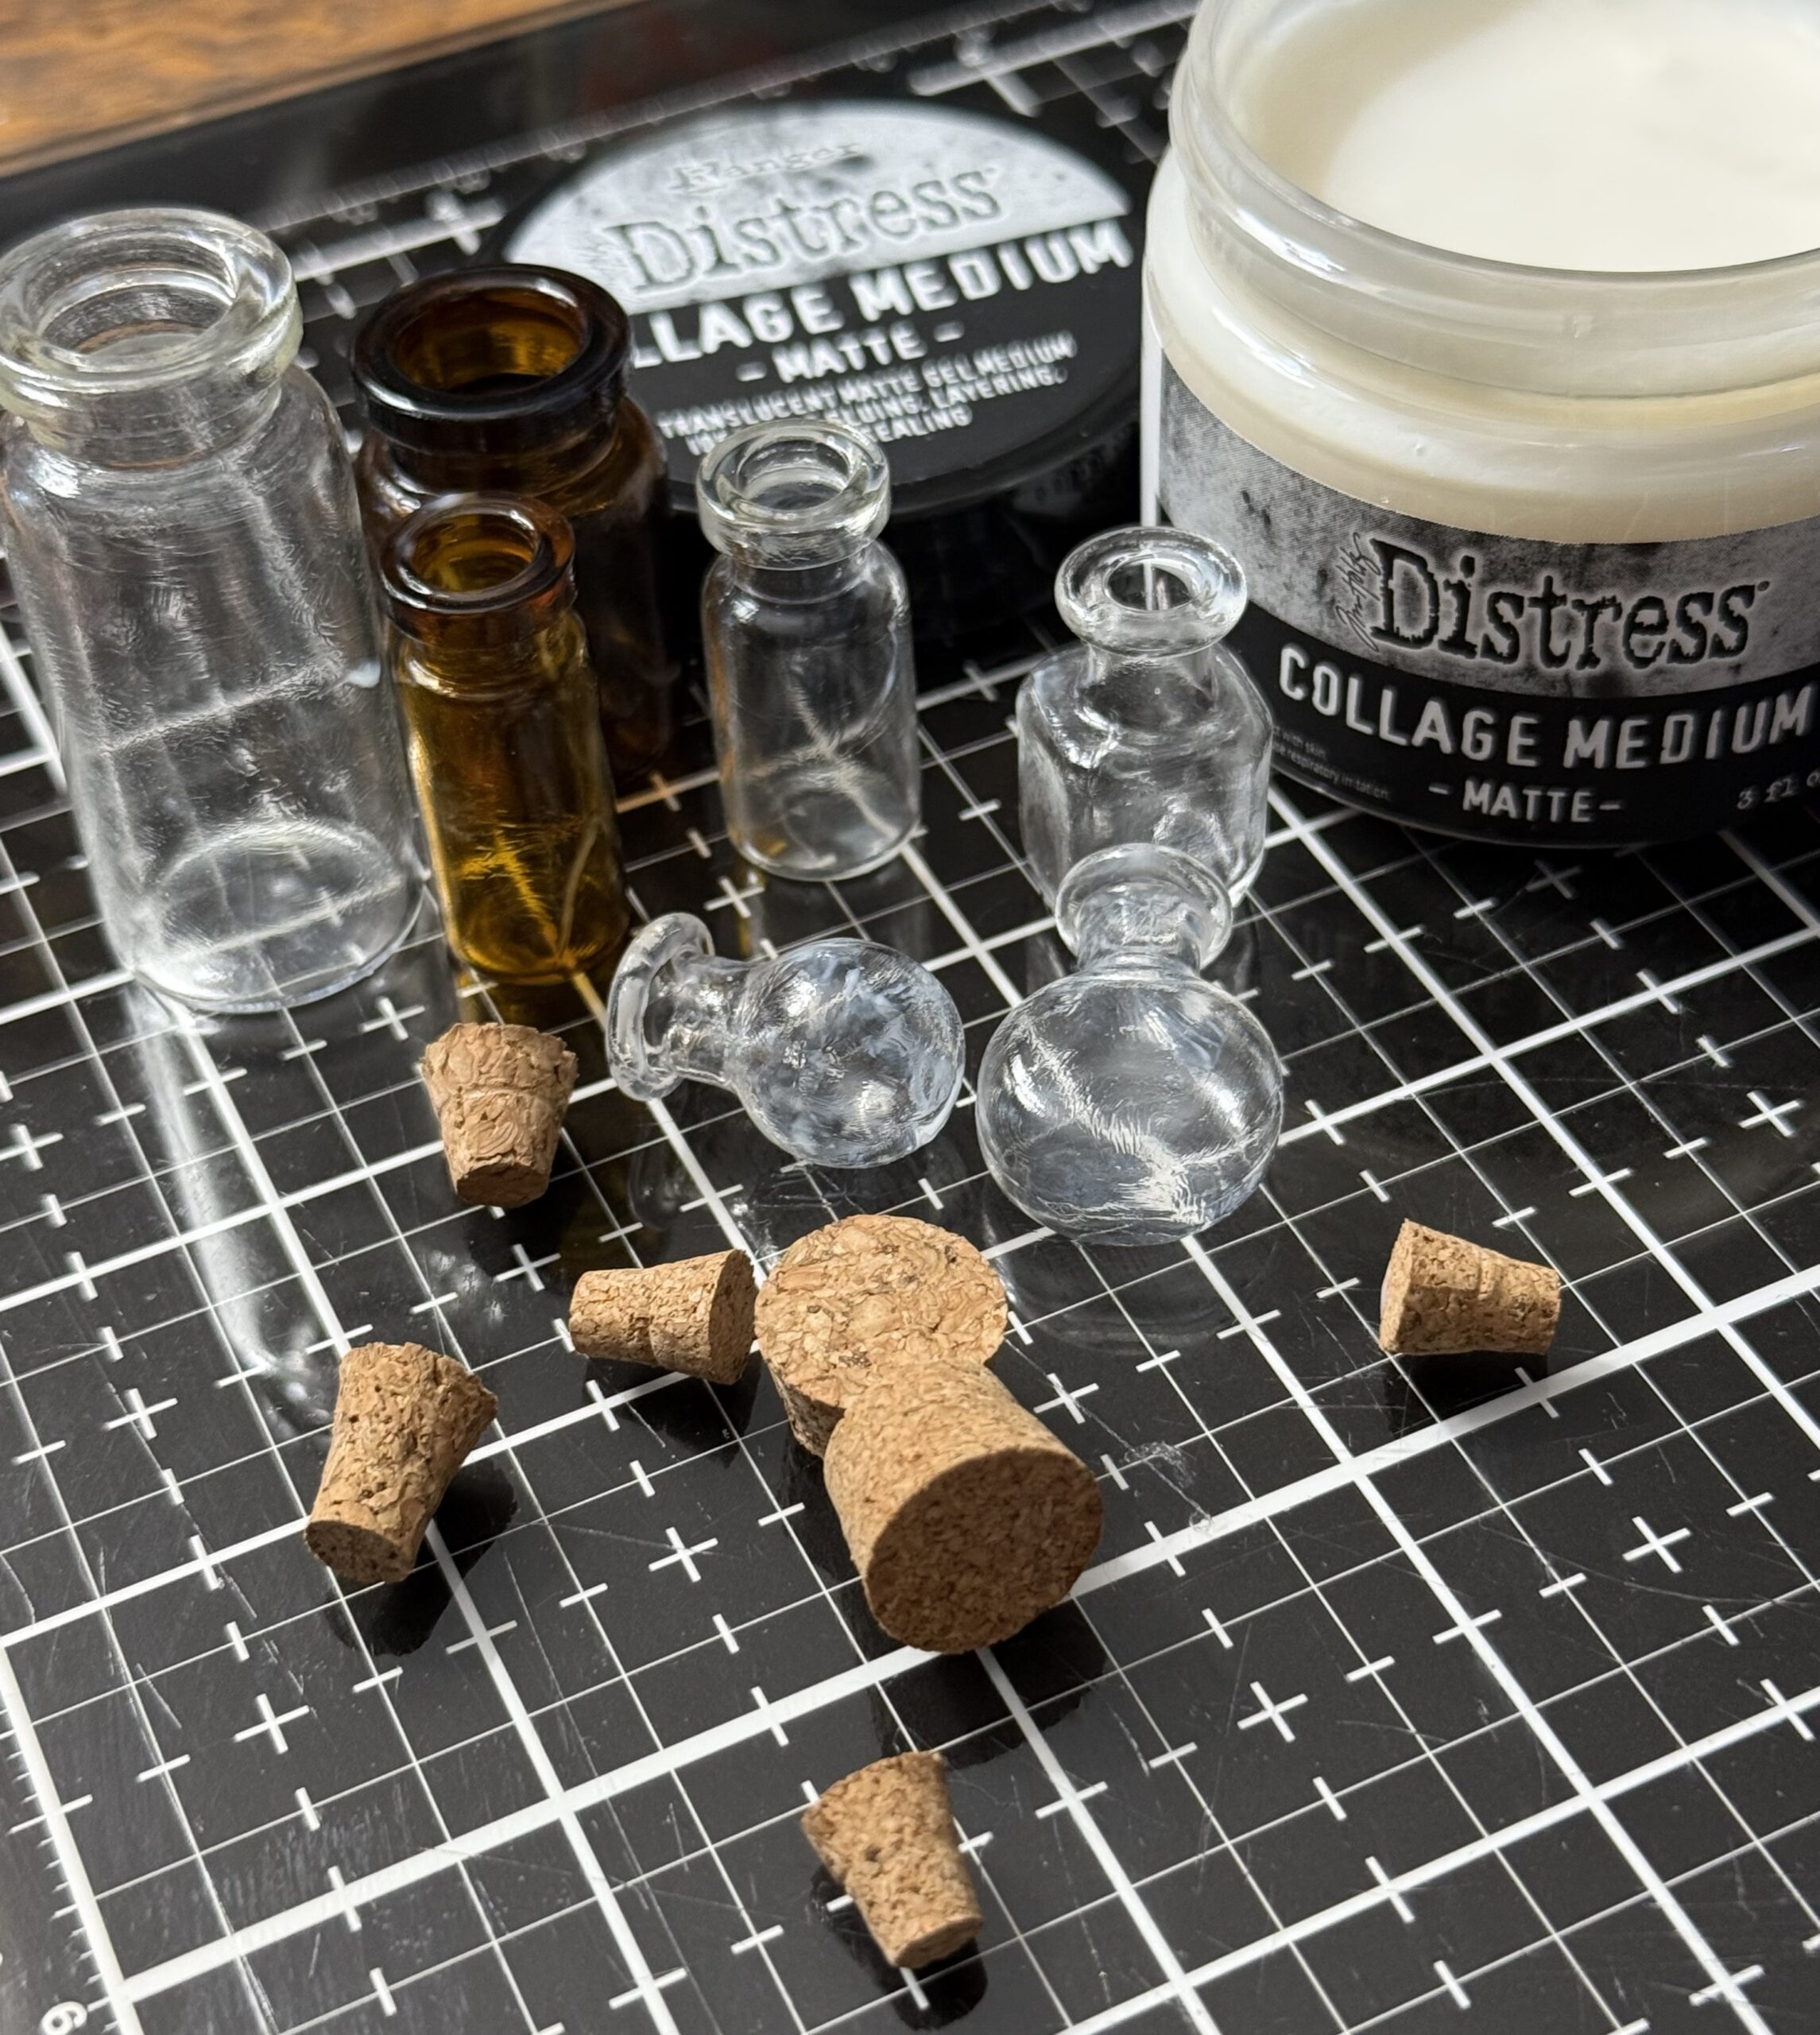
After the bottles were dry, they were all rubbed with some Antique Linen Distress Paint, then set aside to dry again.
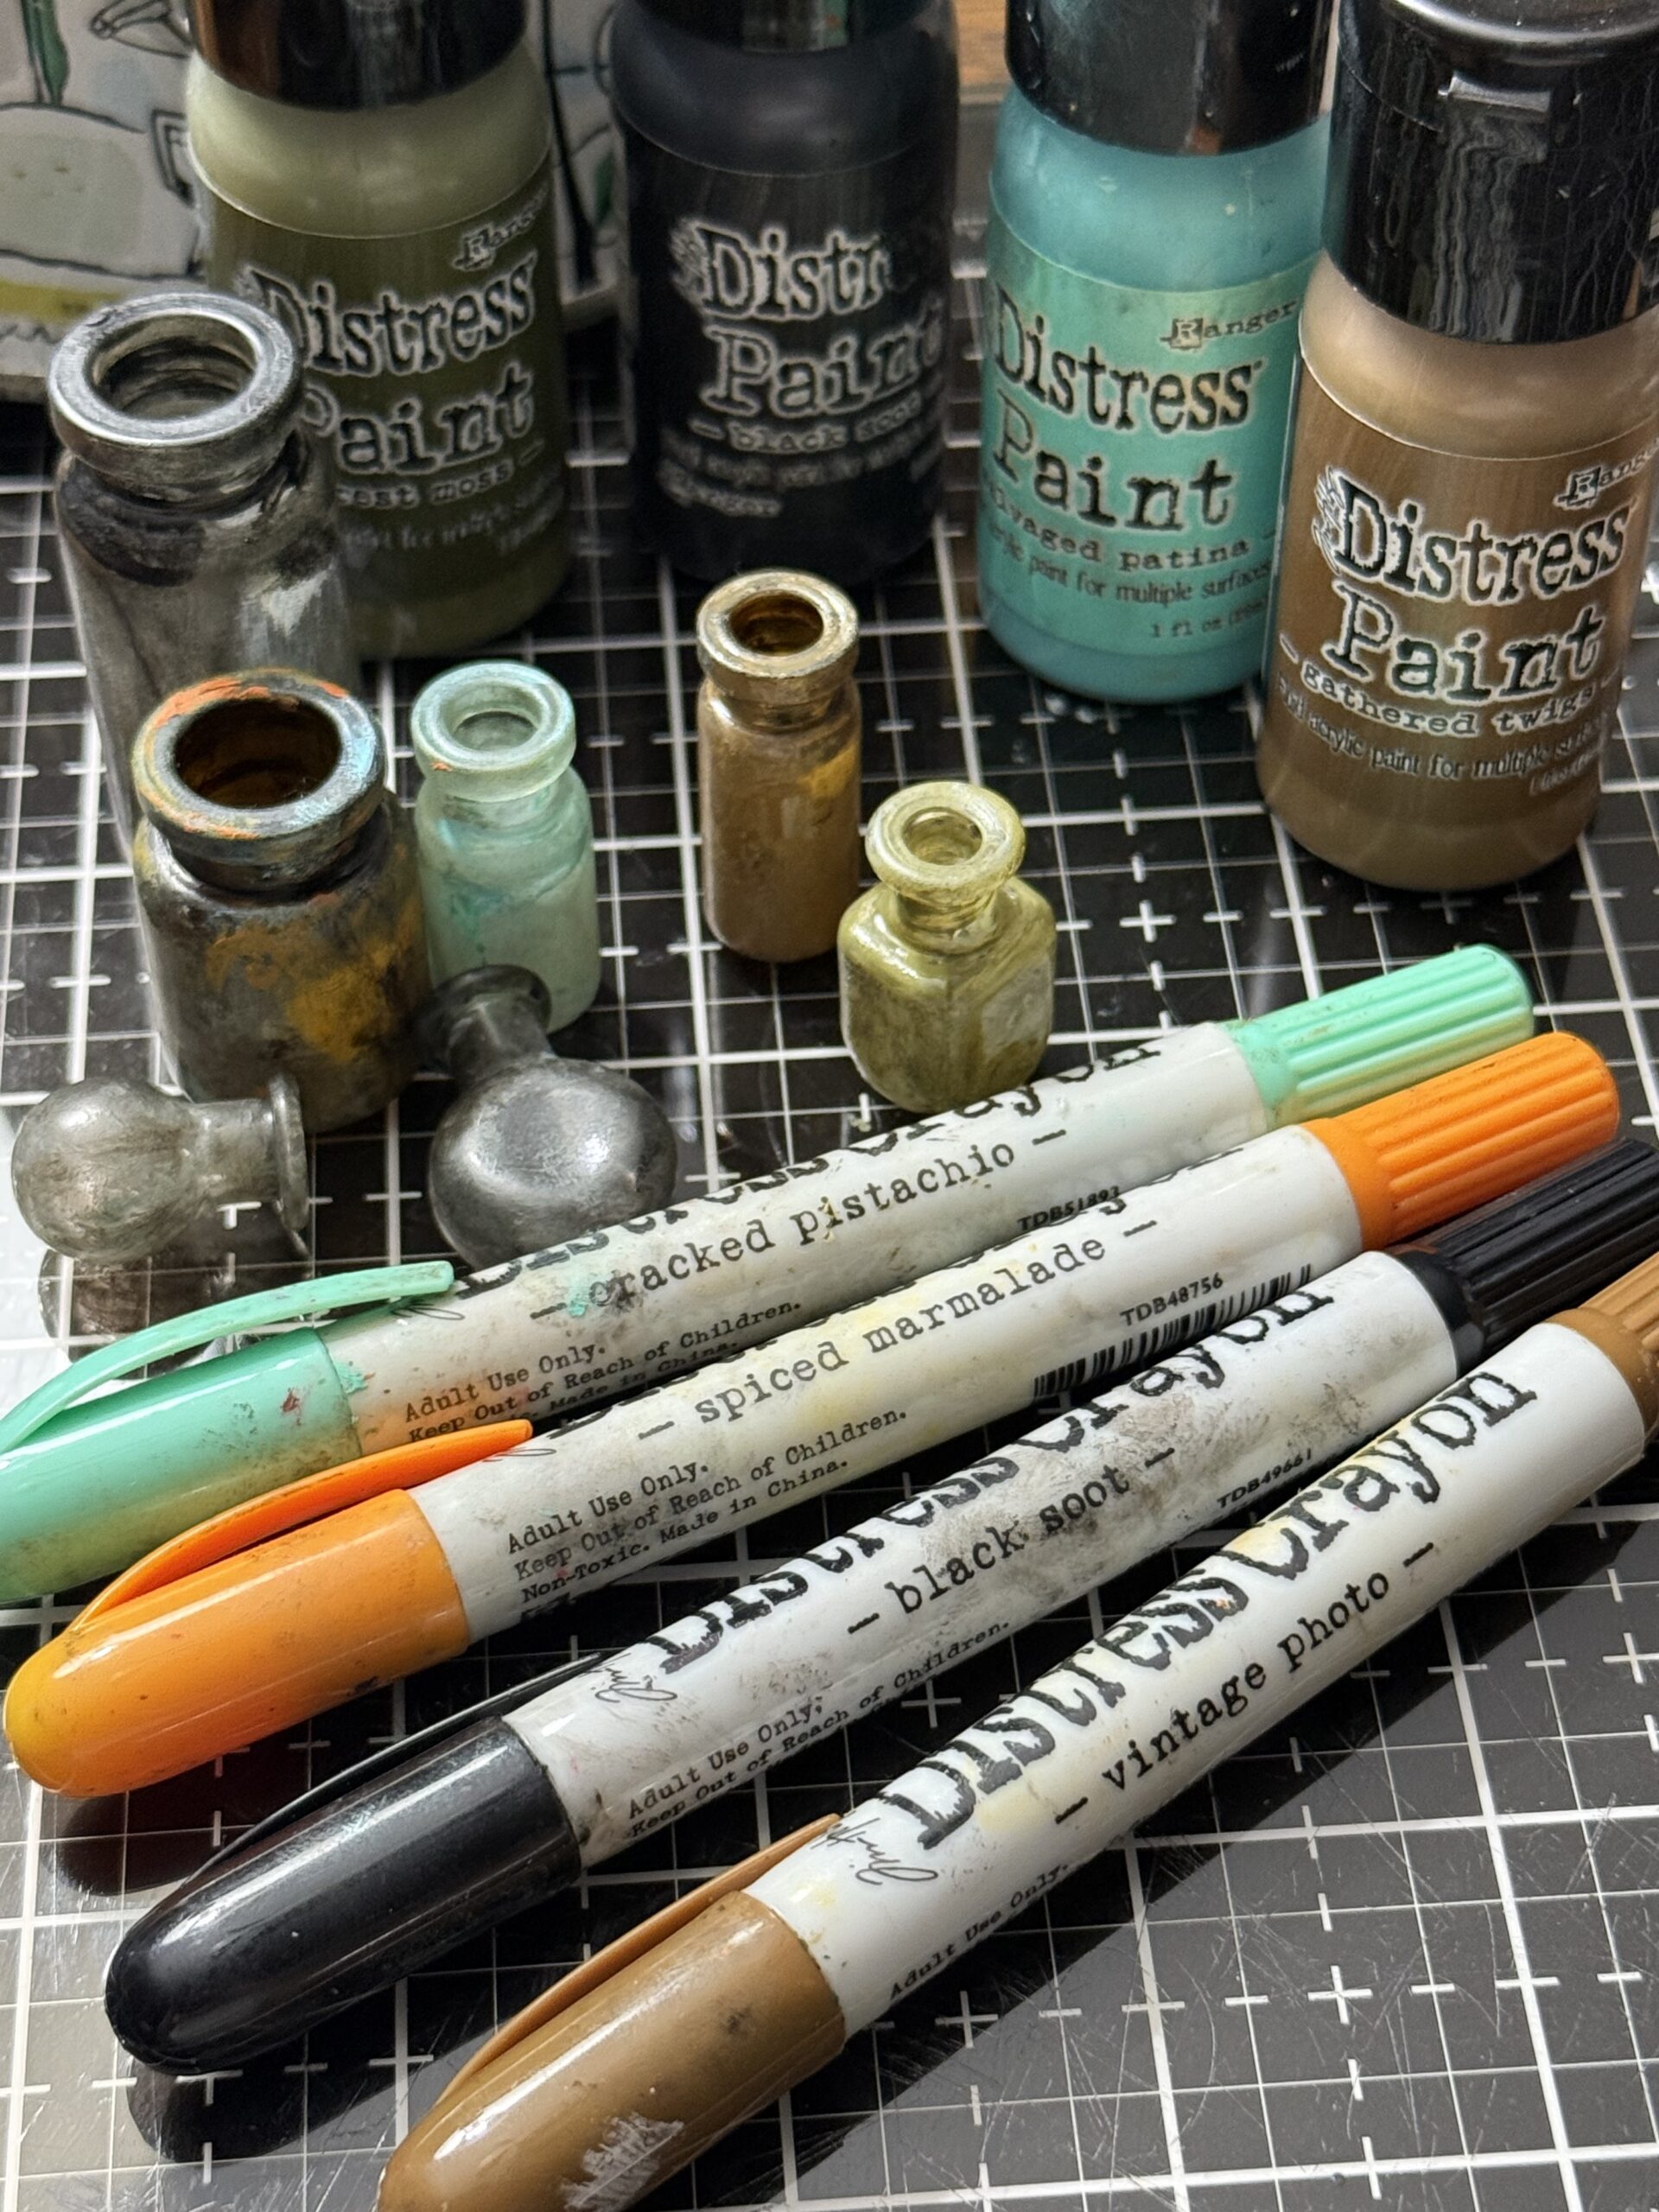
Next, I selected a variety of Distress Paints to add color to the bottles…these were some of the colors that I found in the collage. I used Forest Moss, Black Soot, Salvaged Patina and Gathered Twigs plus a variety of Distress Crayons. The bottles were painted then set aside to dry. After they were dry, I scribbled on some of the crayon.
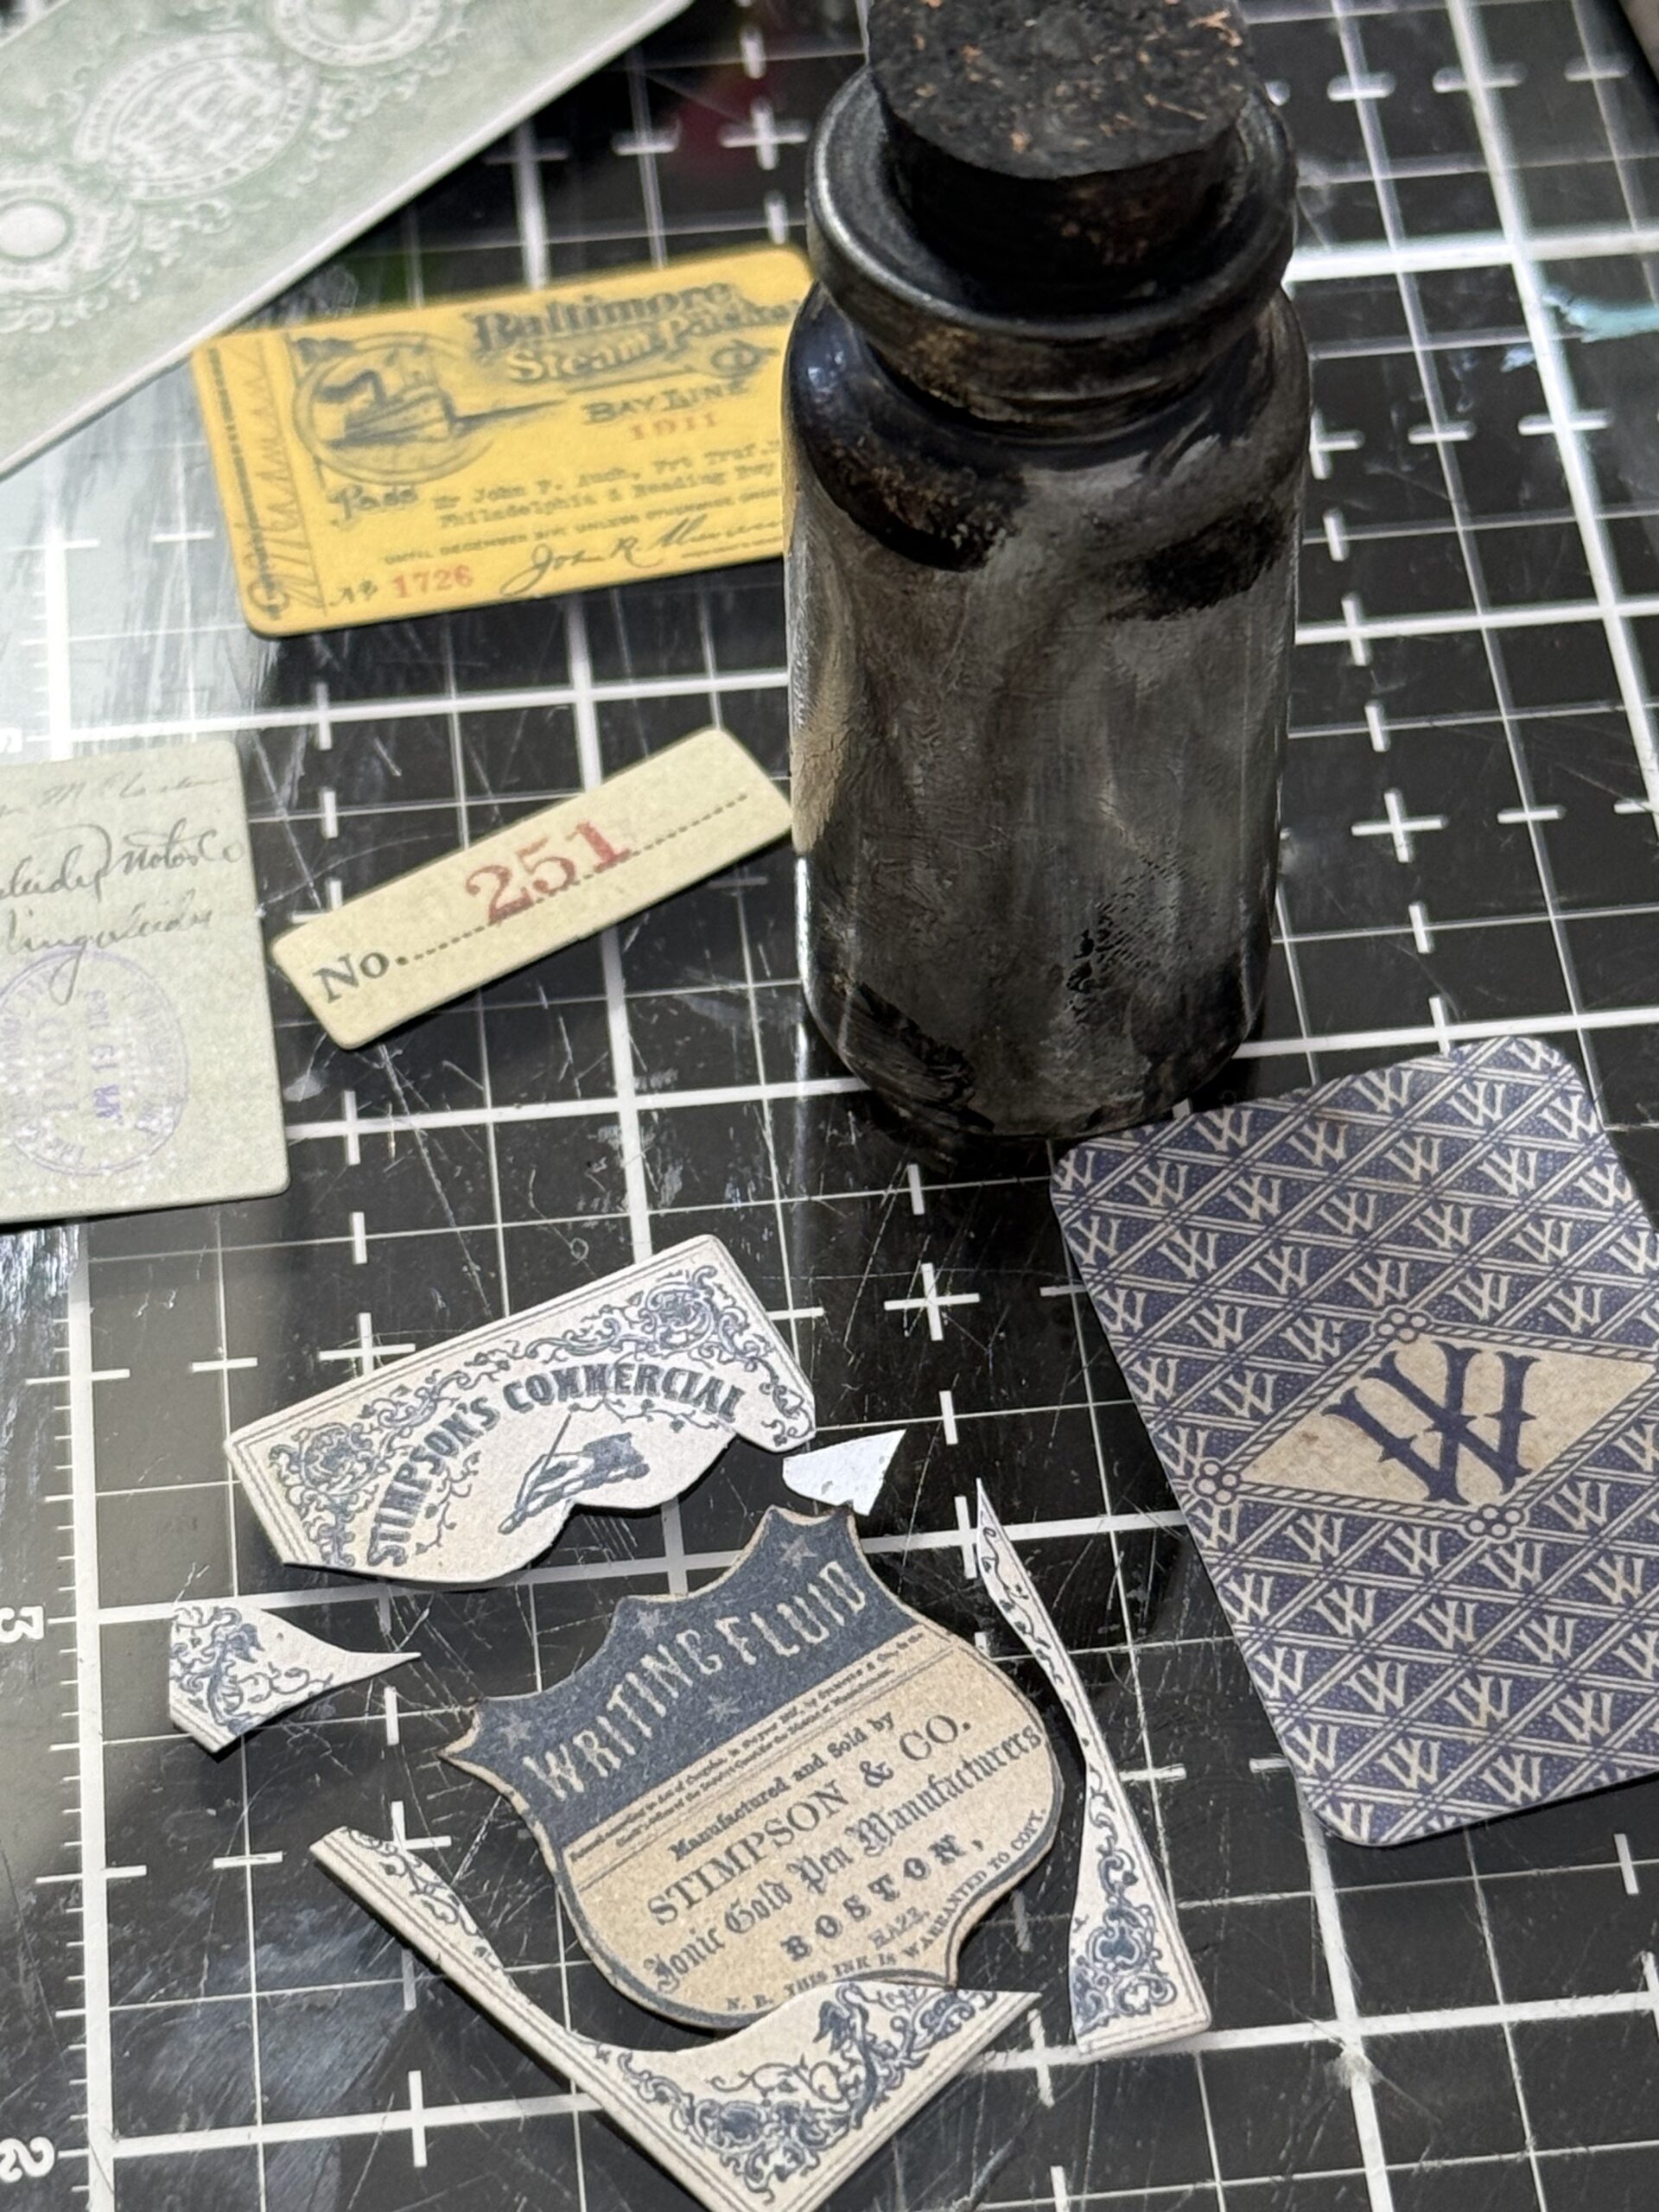
I selected some of the little snippet labels from the Palette pack and readied them with ink by blending and adding ink. The Writing Ink label below was used on the front of the largest glass bottle. I trimmed around the shape on the front of the label design.
Then I adhered the labels to each bottle. when I applied each label with Collage Medium, I made sure to rub the label with a little collage medium so that I could add some crayon on top.
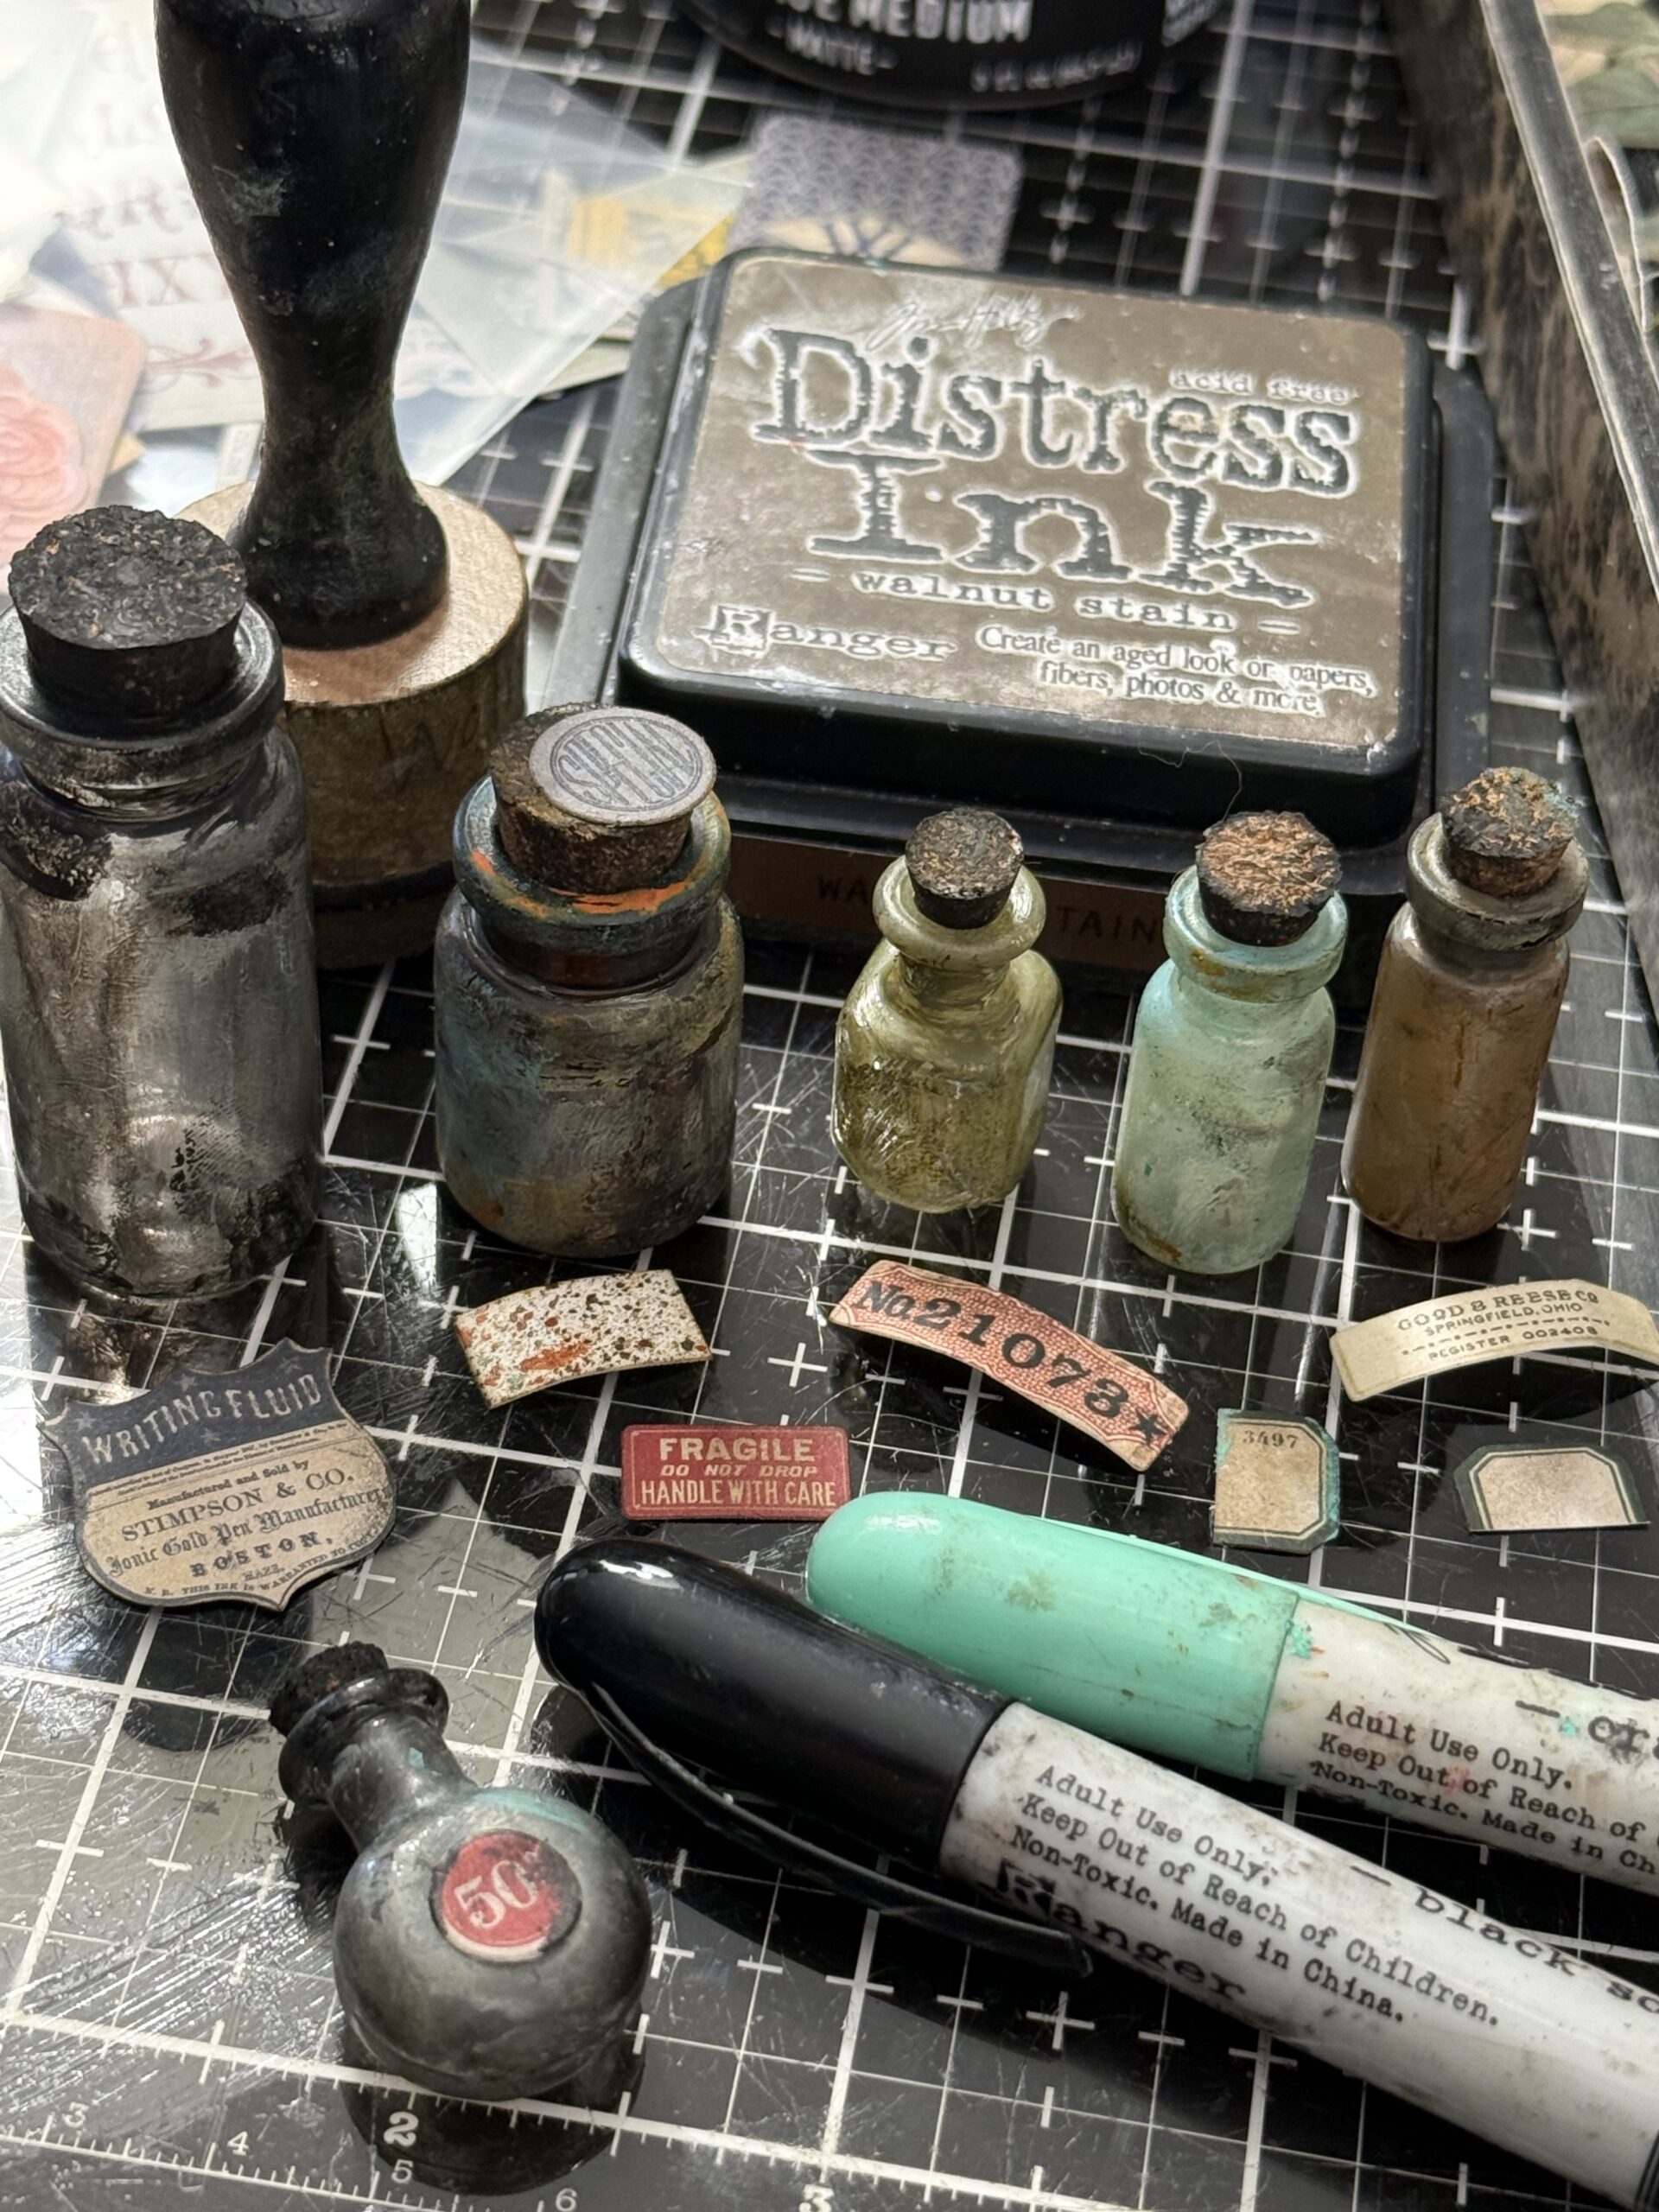
Here’s a look at the bottles once they were finished… I just love how they turned out! The corks were each rubbed with Black Soot Distress Paint, then set aside to dry. Once they were all dry, I applied a little collage medium to each and placed them inside to dry permanently.
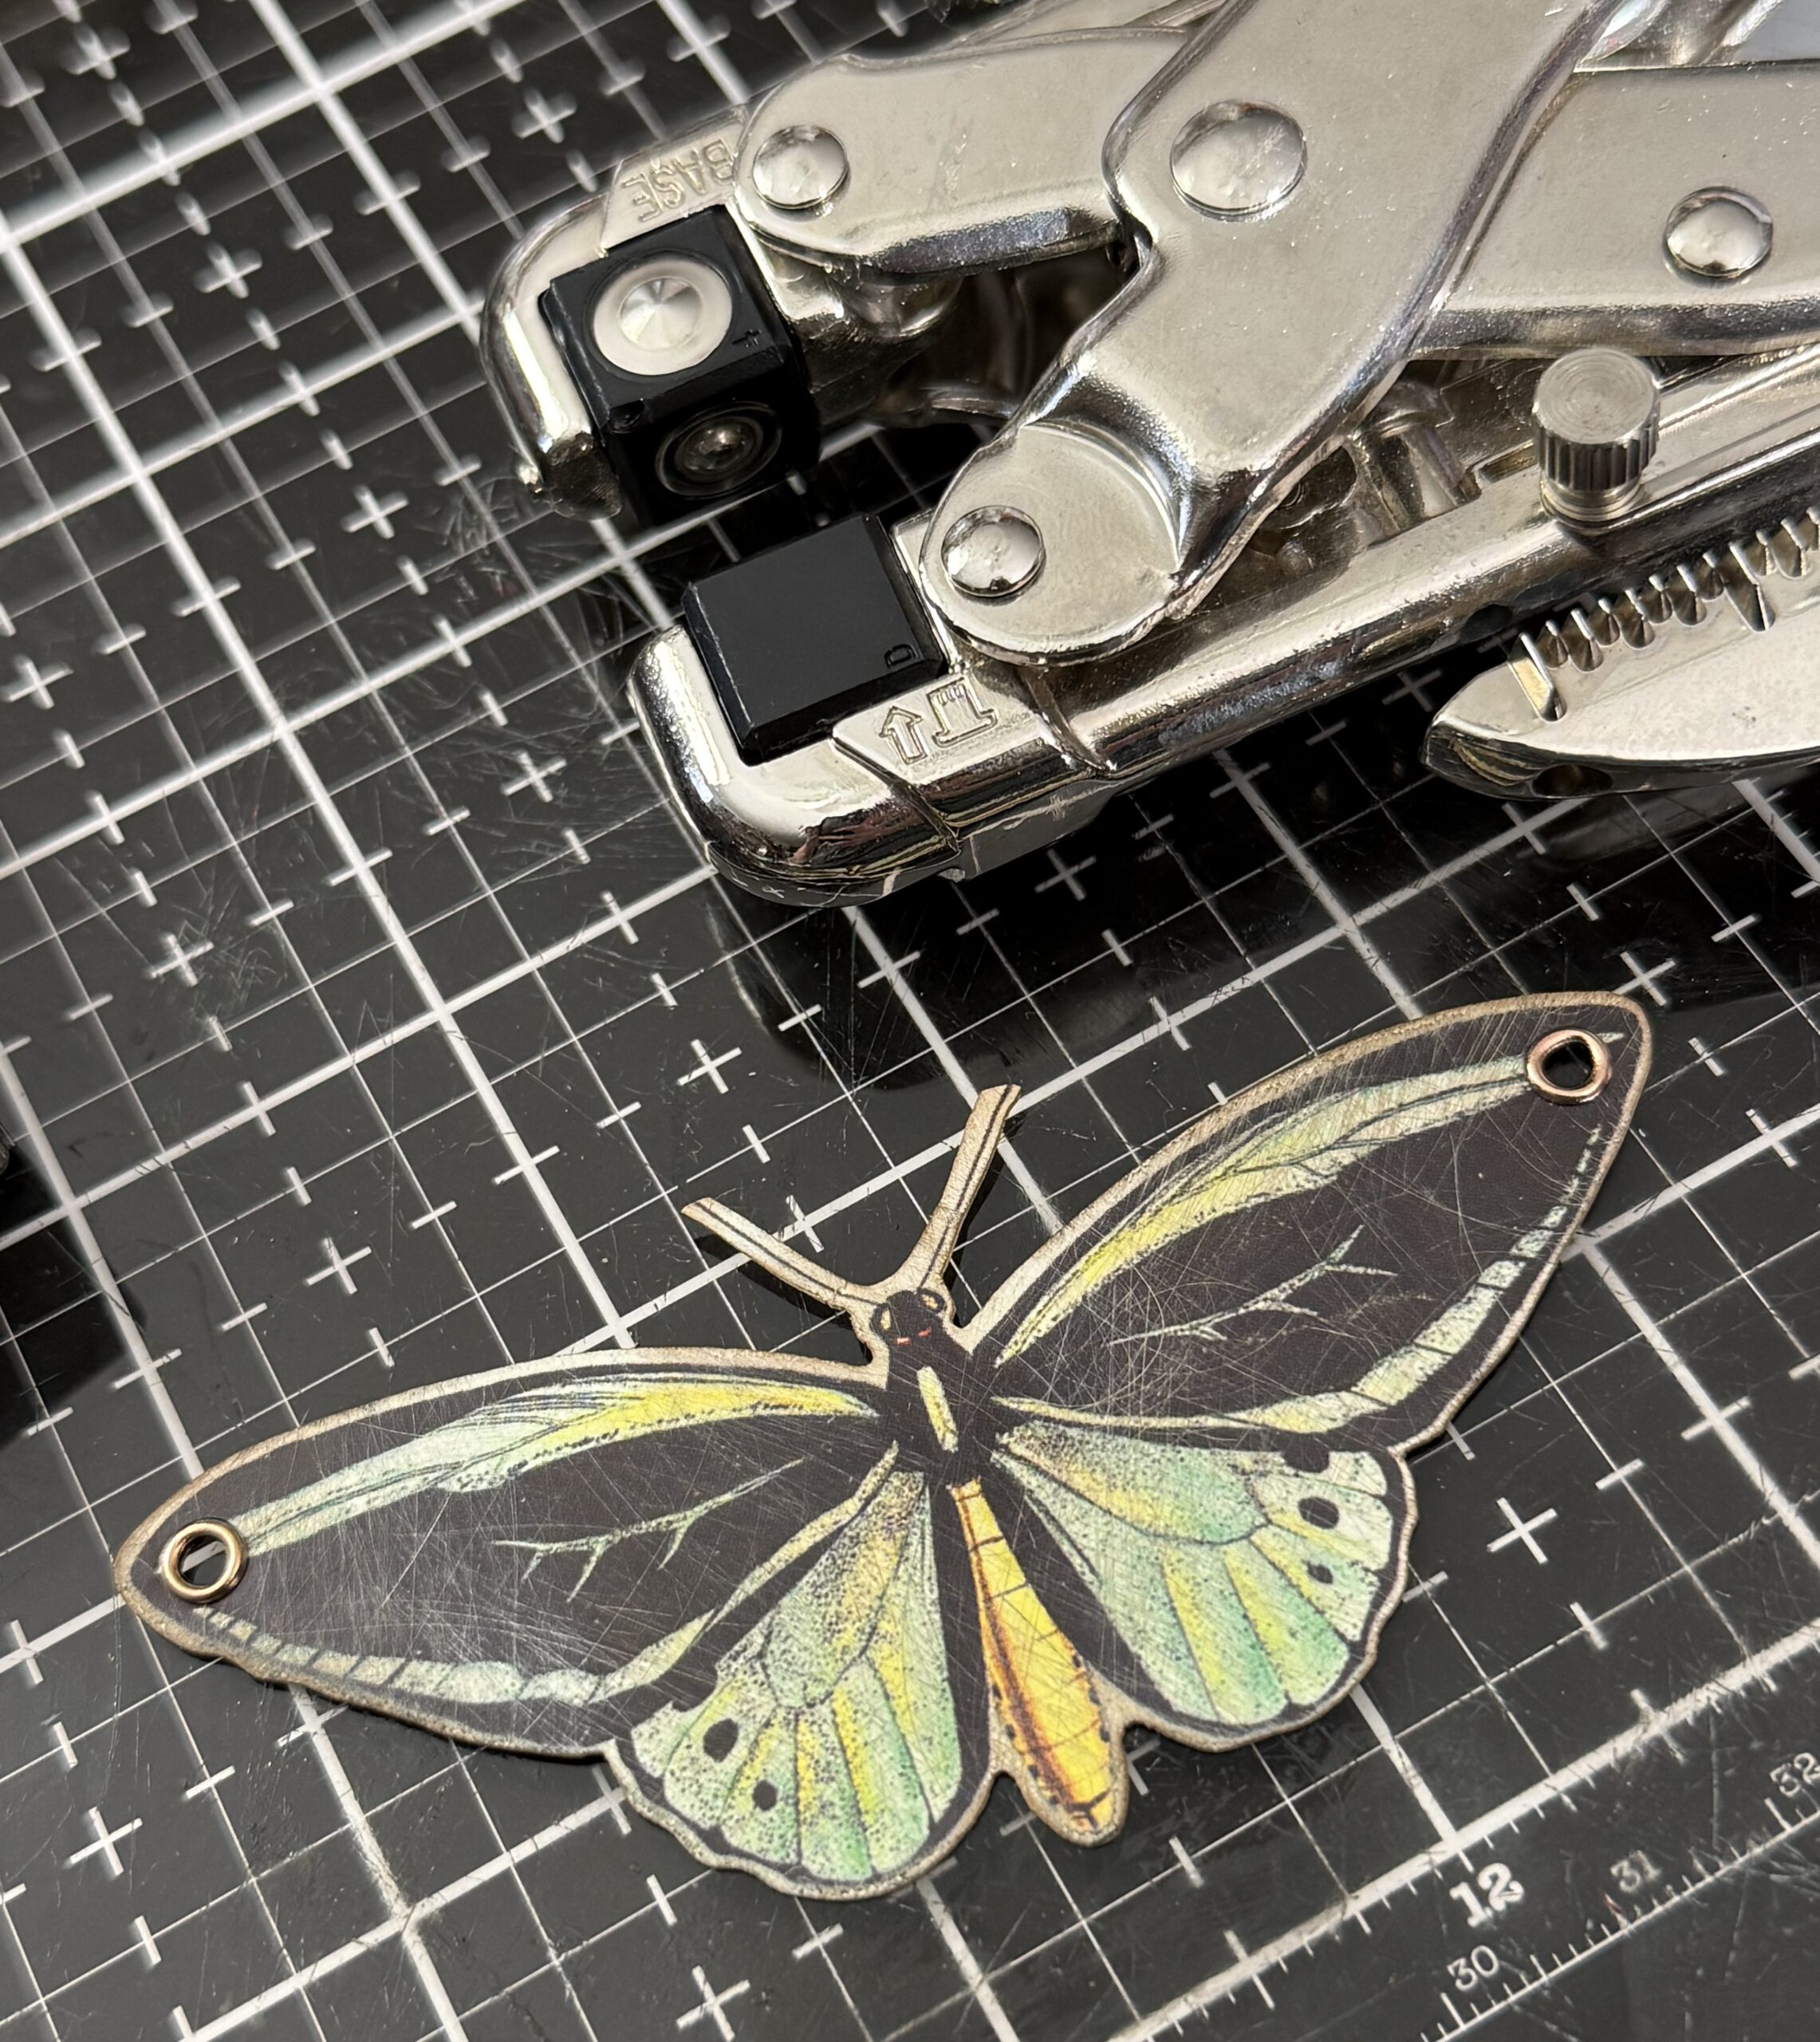
I decided that I wanted the Moth to be tied to the box, so I punched some holes using my Crop-a-dile Eyelet setting tool, then set two eyelets on the right and left wings of the moth. This was then tied to the front of the box after I had adhered the collage inside.
I used some inky cotton string then tied a small knot to the side of the tray.
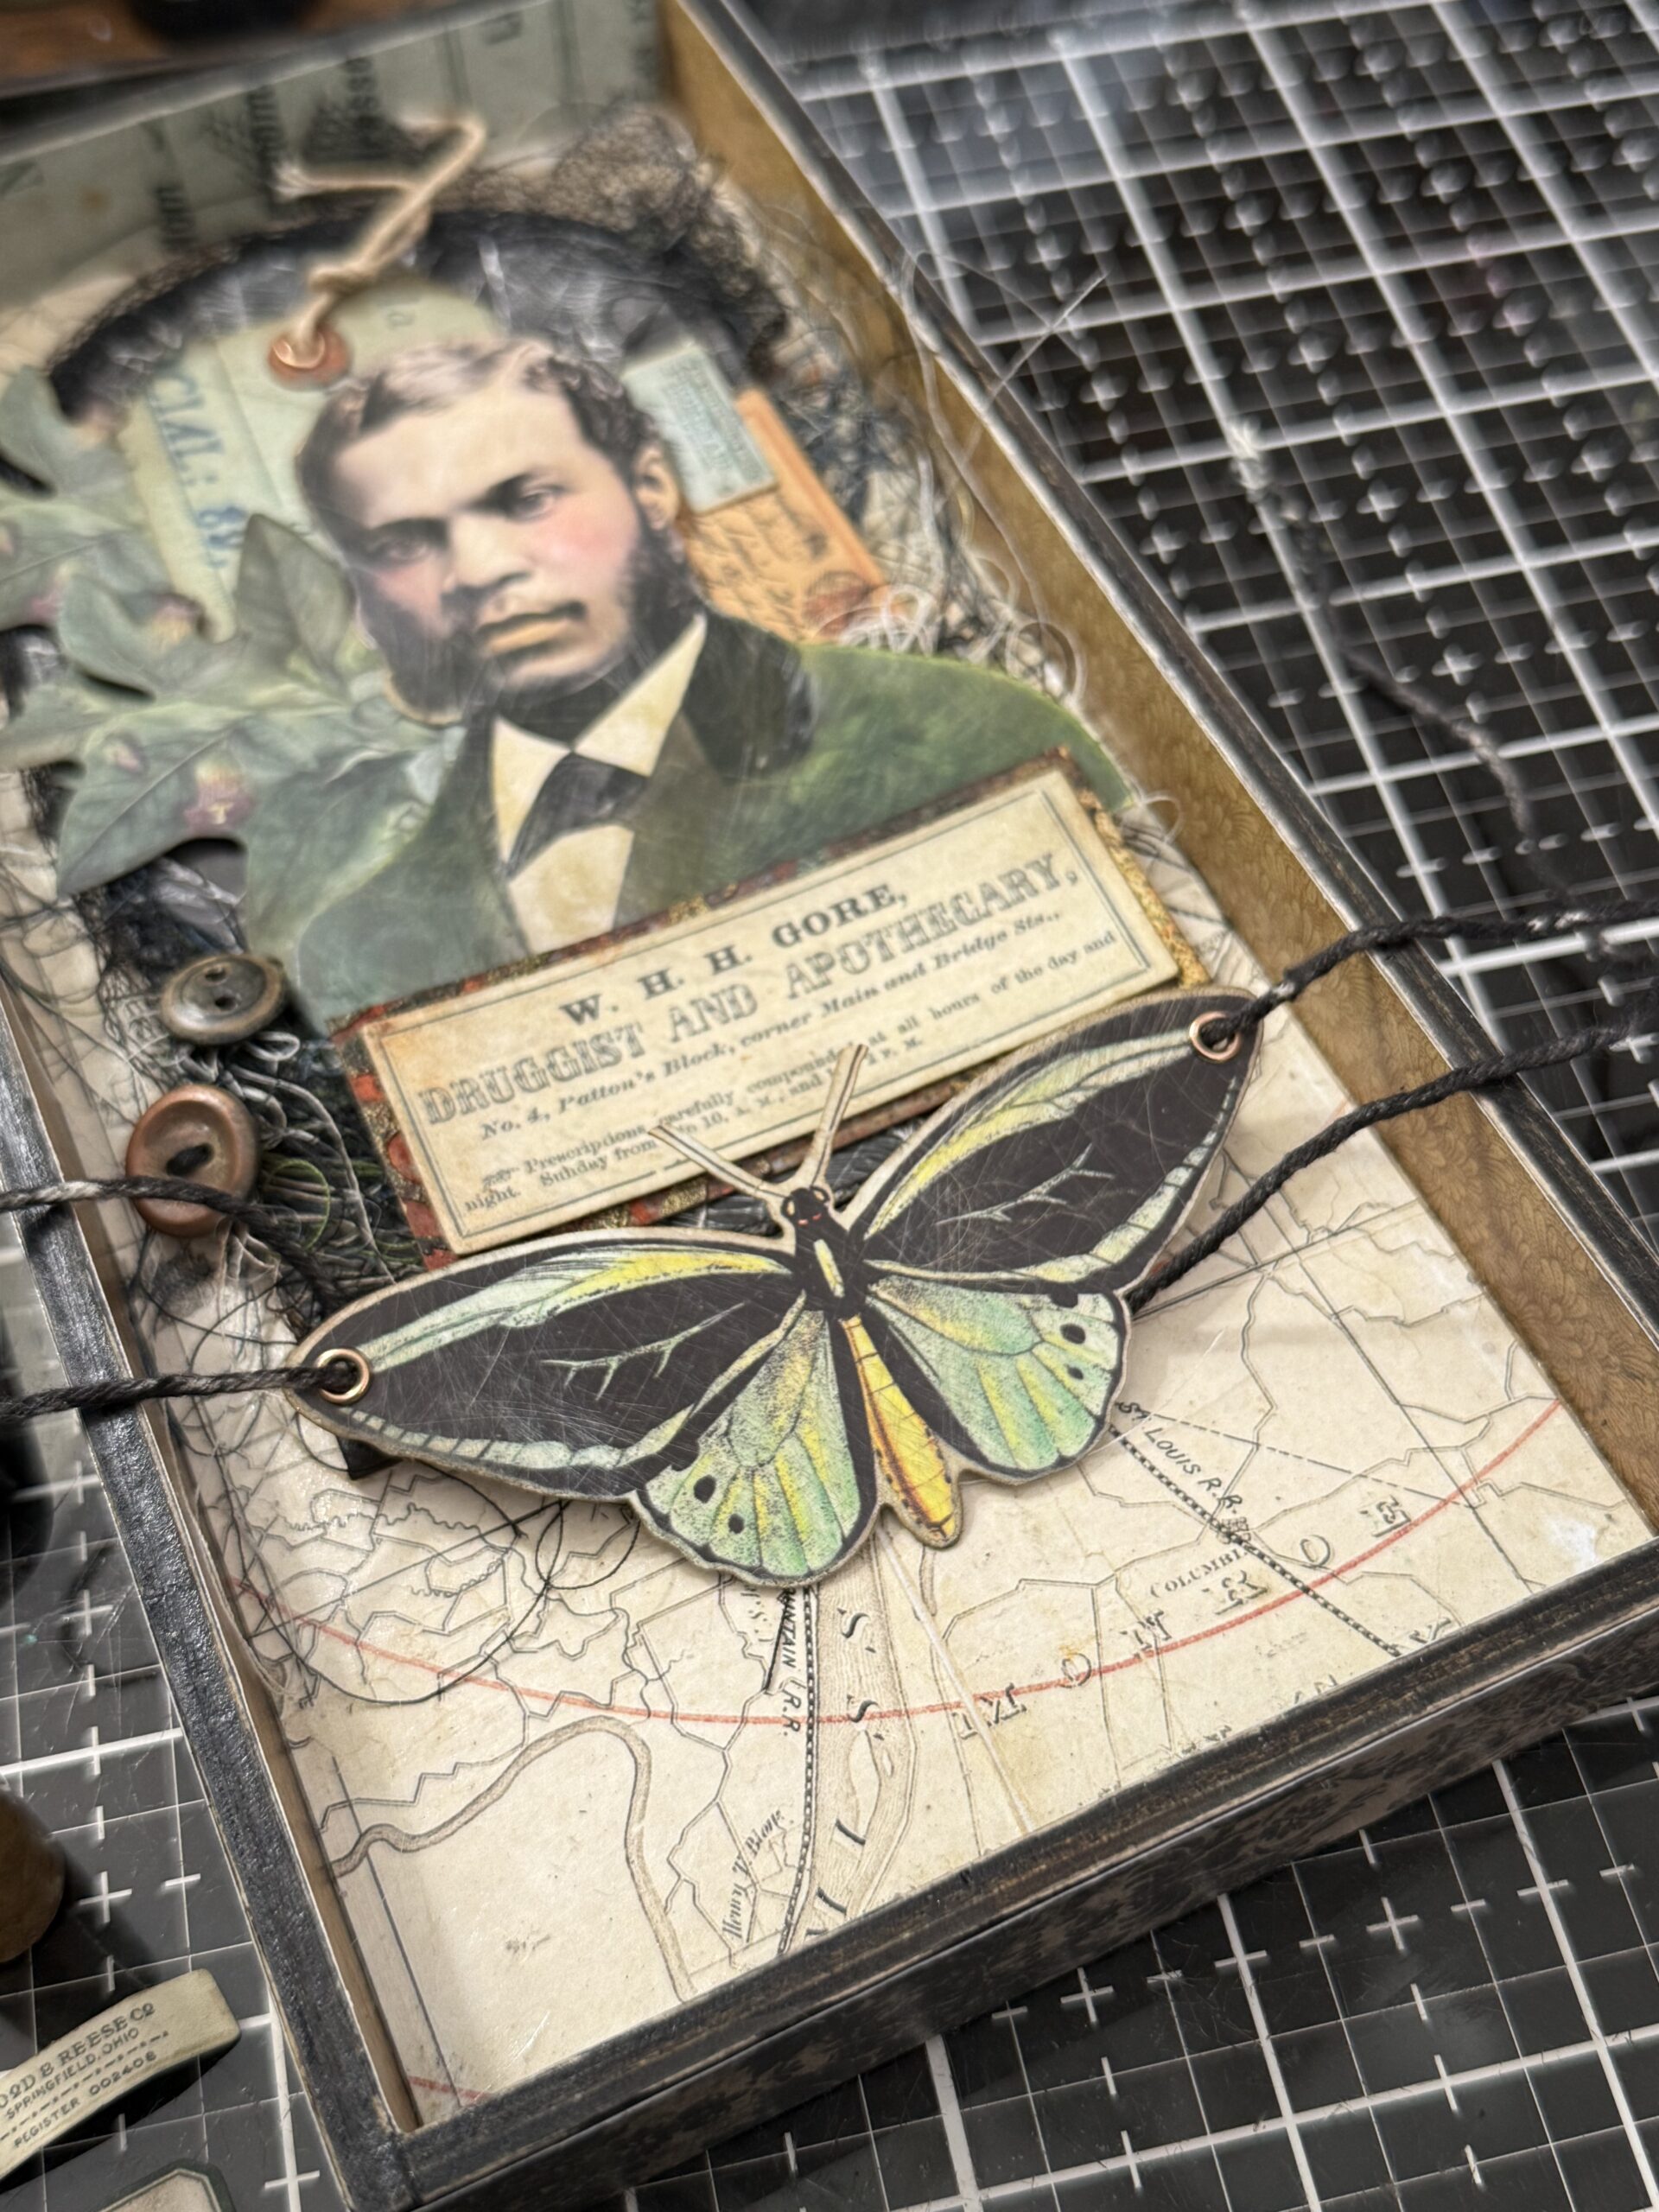
I gathered up all my pieces, then adhered the collage onto the Facade piece. After it was all adhered, I added some grungy buttons to the front near some of the threads that I previously stitched on. I added some Distress Crayon into the background of the vignette tray and along the edges to add more grunge, then I rubbed it in with my fingers. The Facade collage was added at the top of the vignette, then the bottles were arranged and adhered with collage medium. Then I set the project aside to dry.
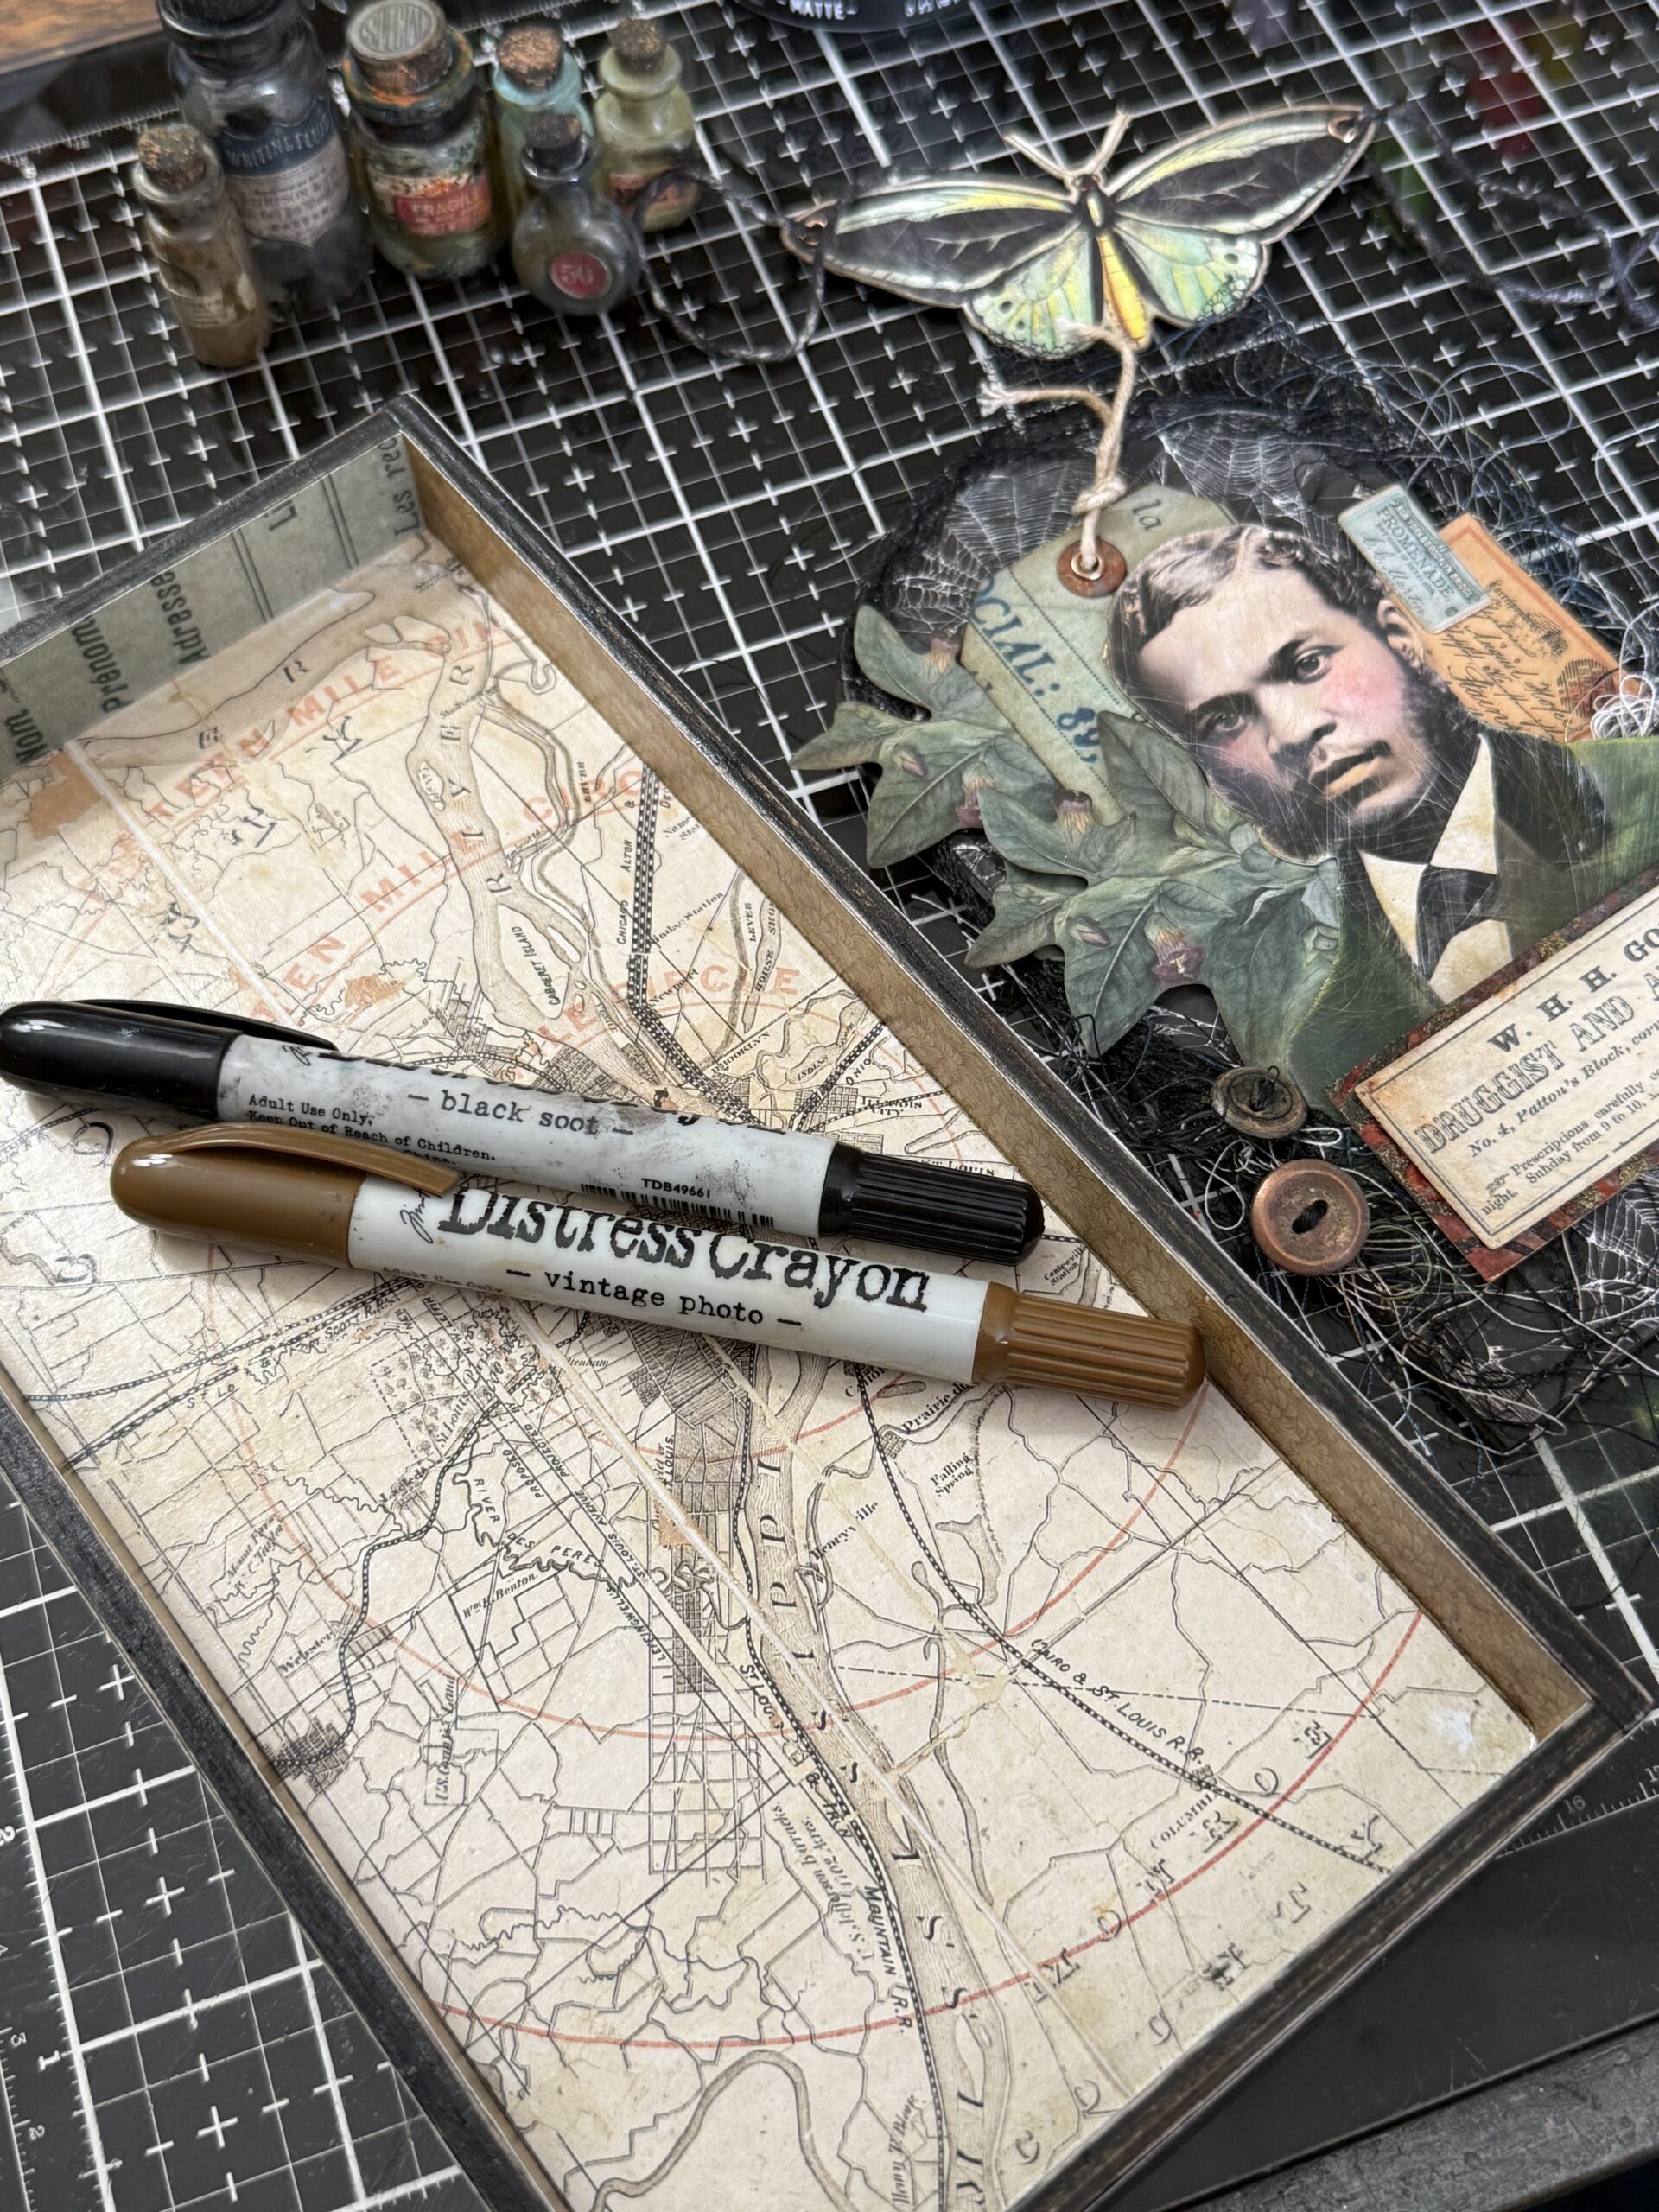
The final addition was the moth piece that was tied on.
With that, my project was complete.
Thanks so much for stopping by today and following along… appreciate you and your support of my making.
Creatively yours,
Stacy
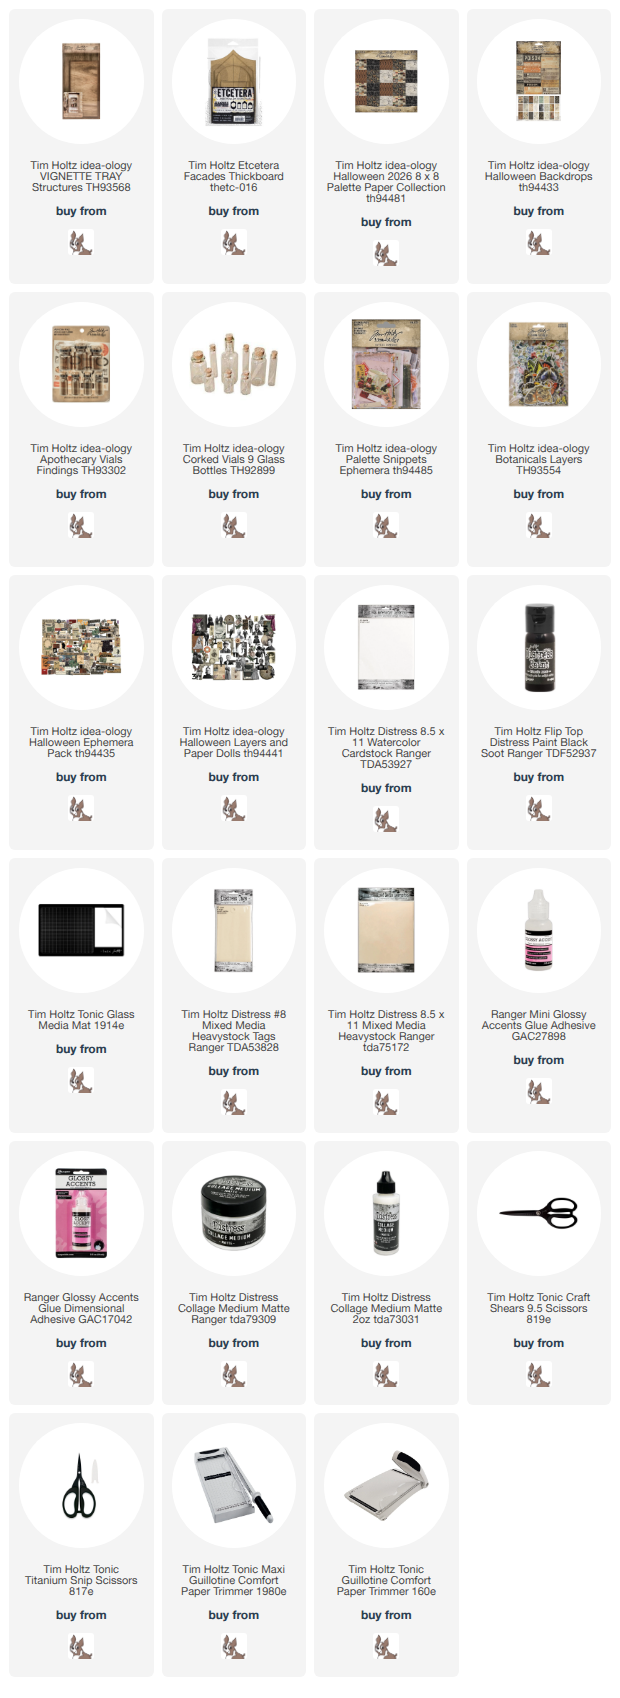
Shop Simon Says Stamp by clicking on this link. Thank you! I appreciate you for supporting me.
What is an affiliate program, and why should I click on the link and buy through you?
When you shop via the affiliate link on this blog, I receive a small commission from the affiliate provider (Simon Says Stamp) at no extra cost to you, whatsoever. These commissions help me to cover the hosting fees and other costs to run my blog and be able to provide you with FREE inspiration. If you shop the links, THANK YOU! I truly appreciate being able to share my love of creating with you.










Leave a Reply