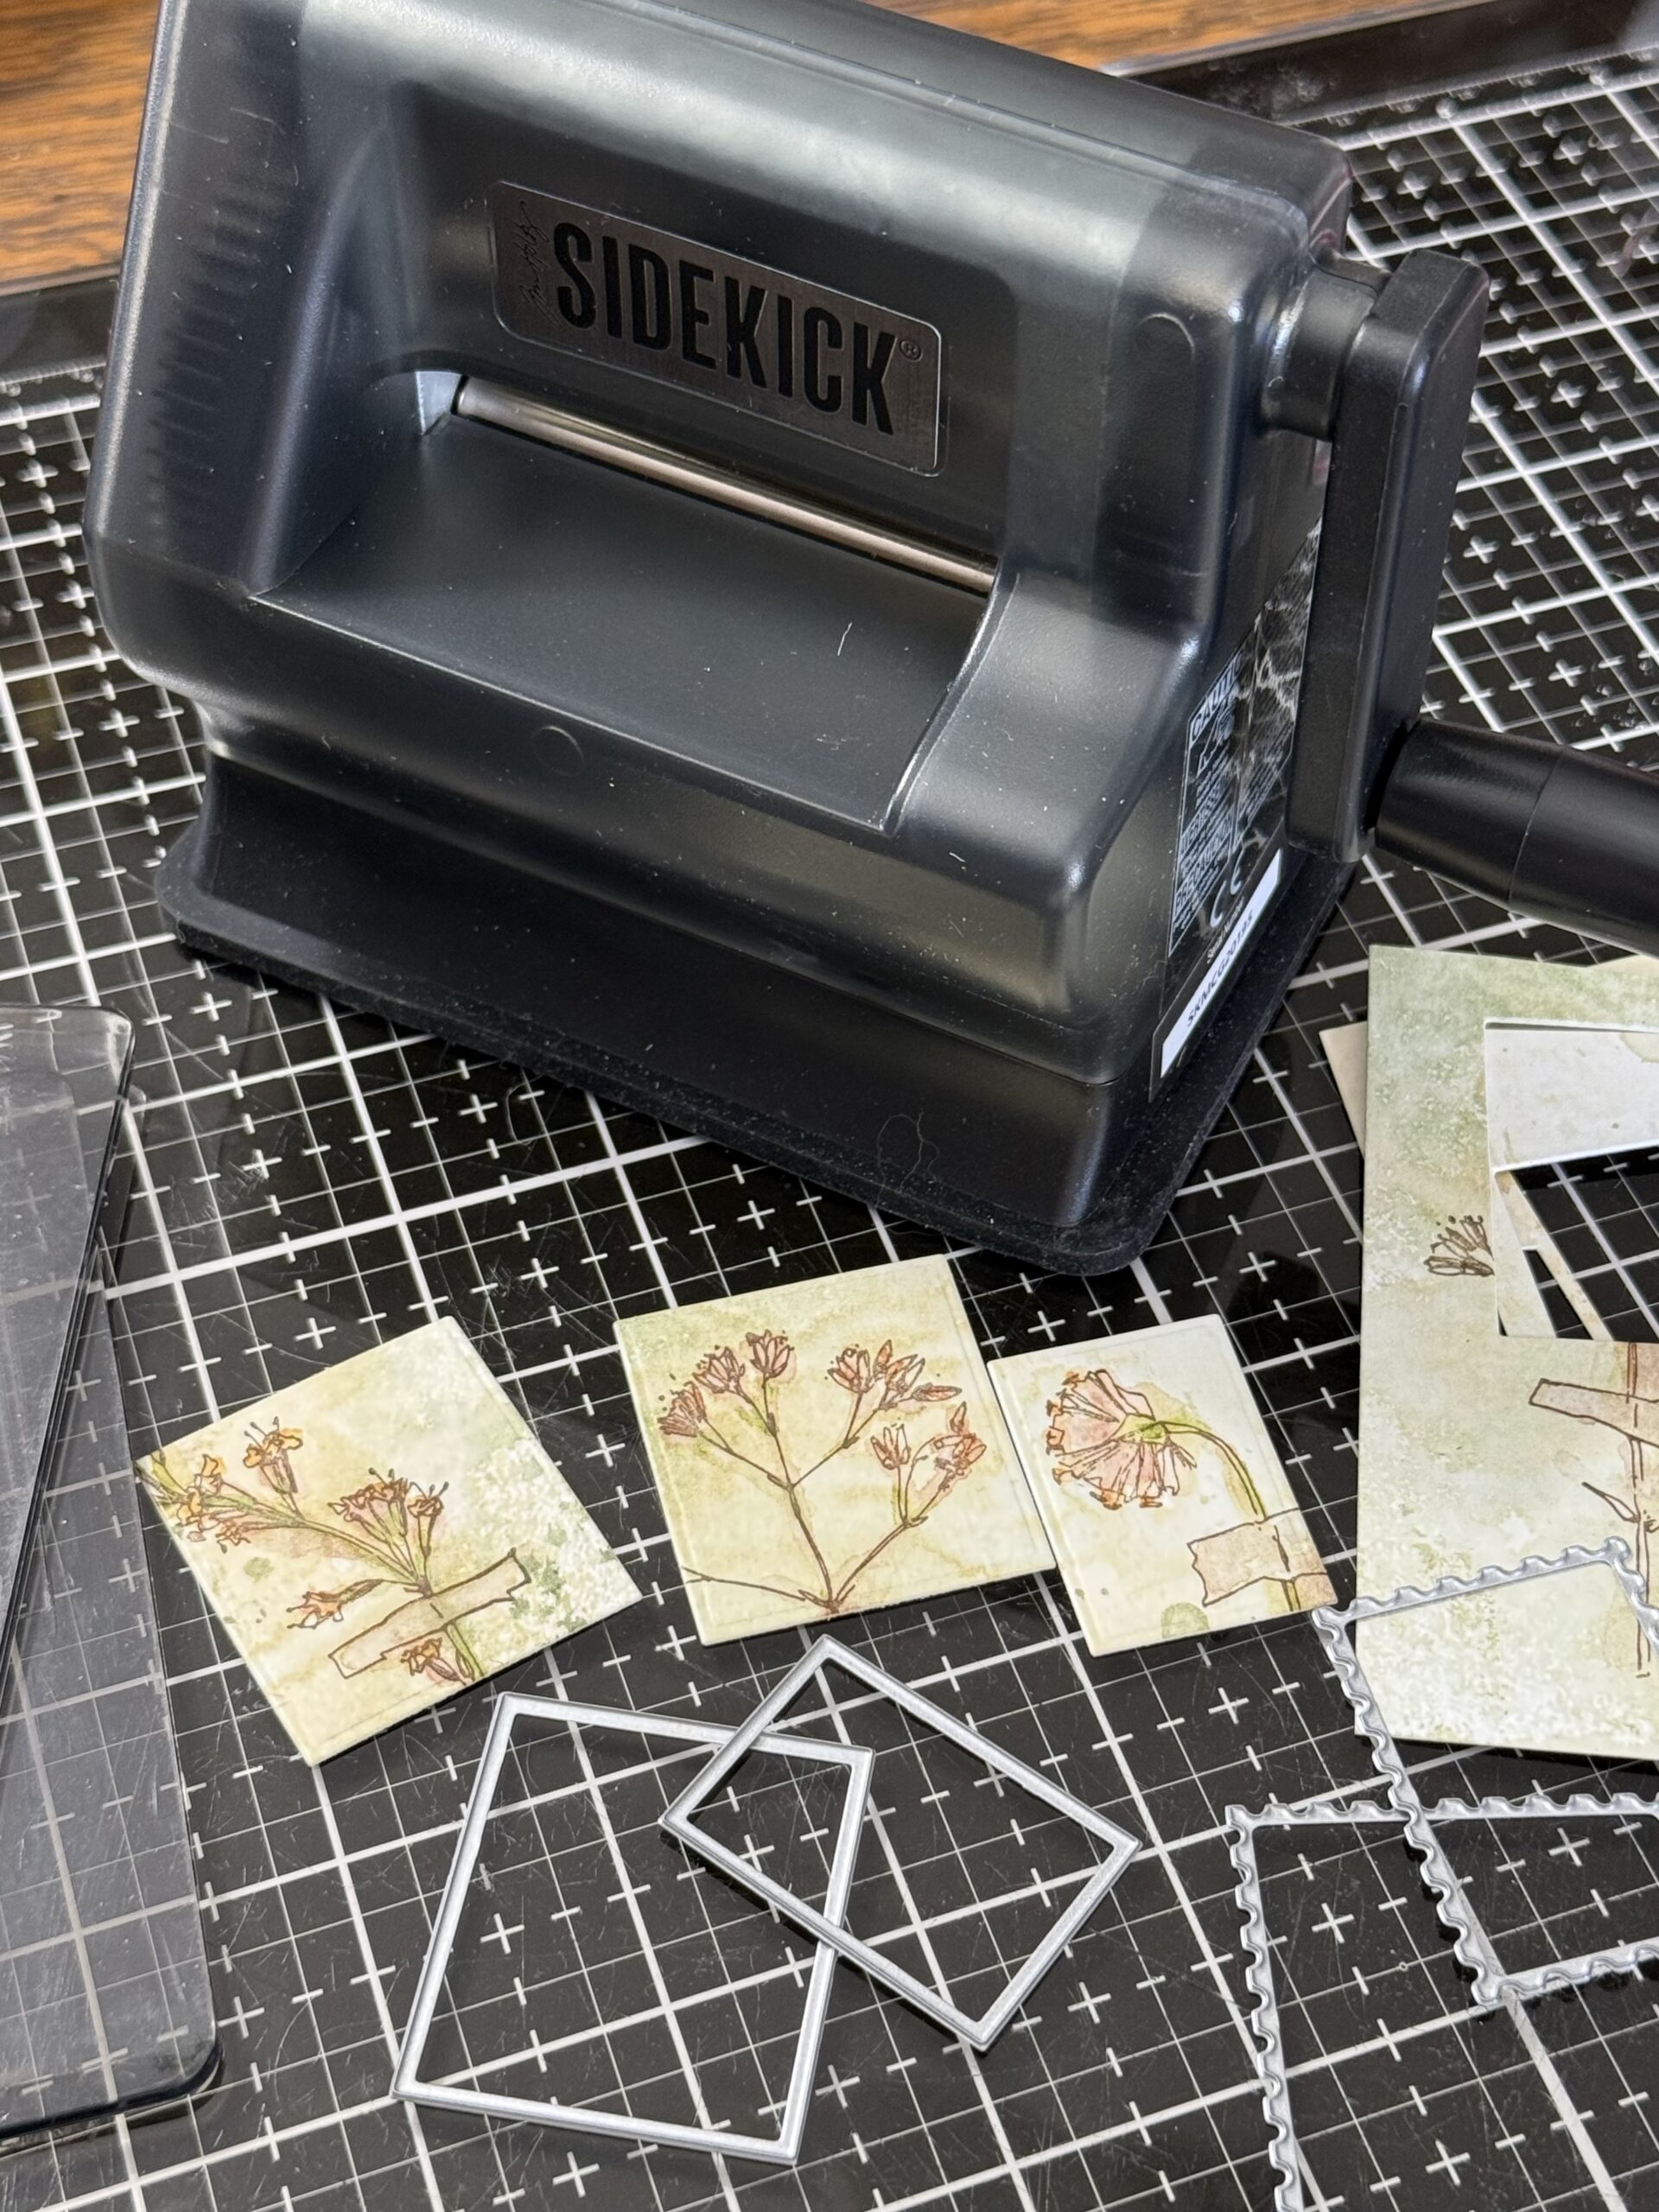
Hello friends! I am back today with another new tool brought to you by Tim Holtz and Sizzix…the NEW Sidekick, Wafer Dies and Mini Embossing Folder have been reimagined and brought up to date, I mean, if it’s time to replace your old one from years of use, then they have the hook up for you. The Sidekick is a super handy tool to have at the ready for all sorts of making and quick to use because it can be sat down right in front of your making space, and fits most of the small dies from various companies. It makes cutting wafer dies quick and efficient and who couldn’t use efficient with the upcoming holidays? Plus, they reimagined the included wafer dies and tiny embossing folder, and did I mention the tiny number dies? Oh my goodness…they thought of everything!
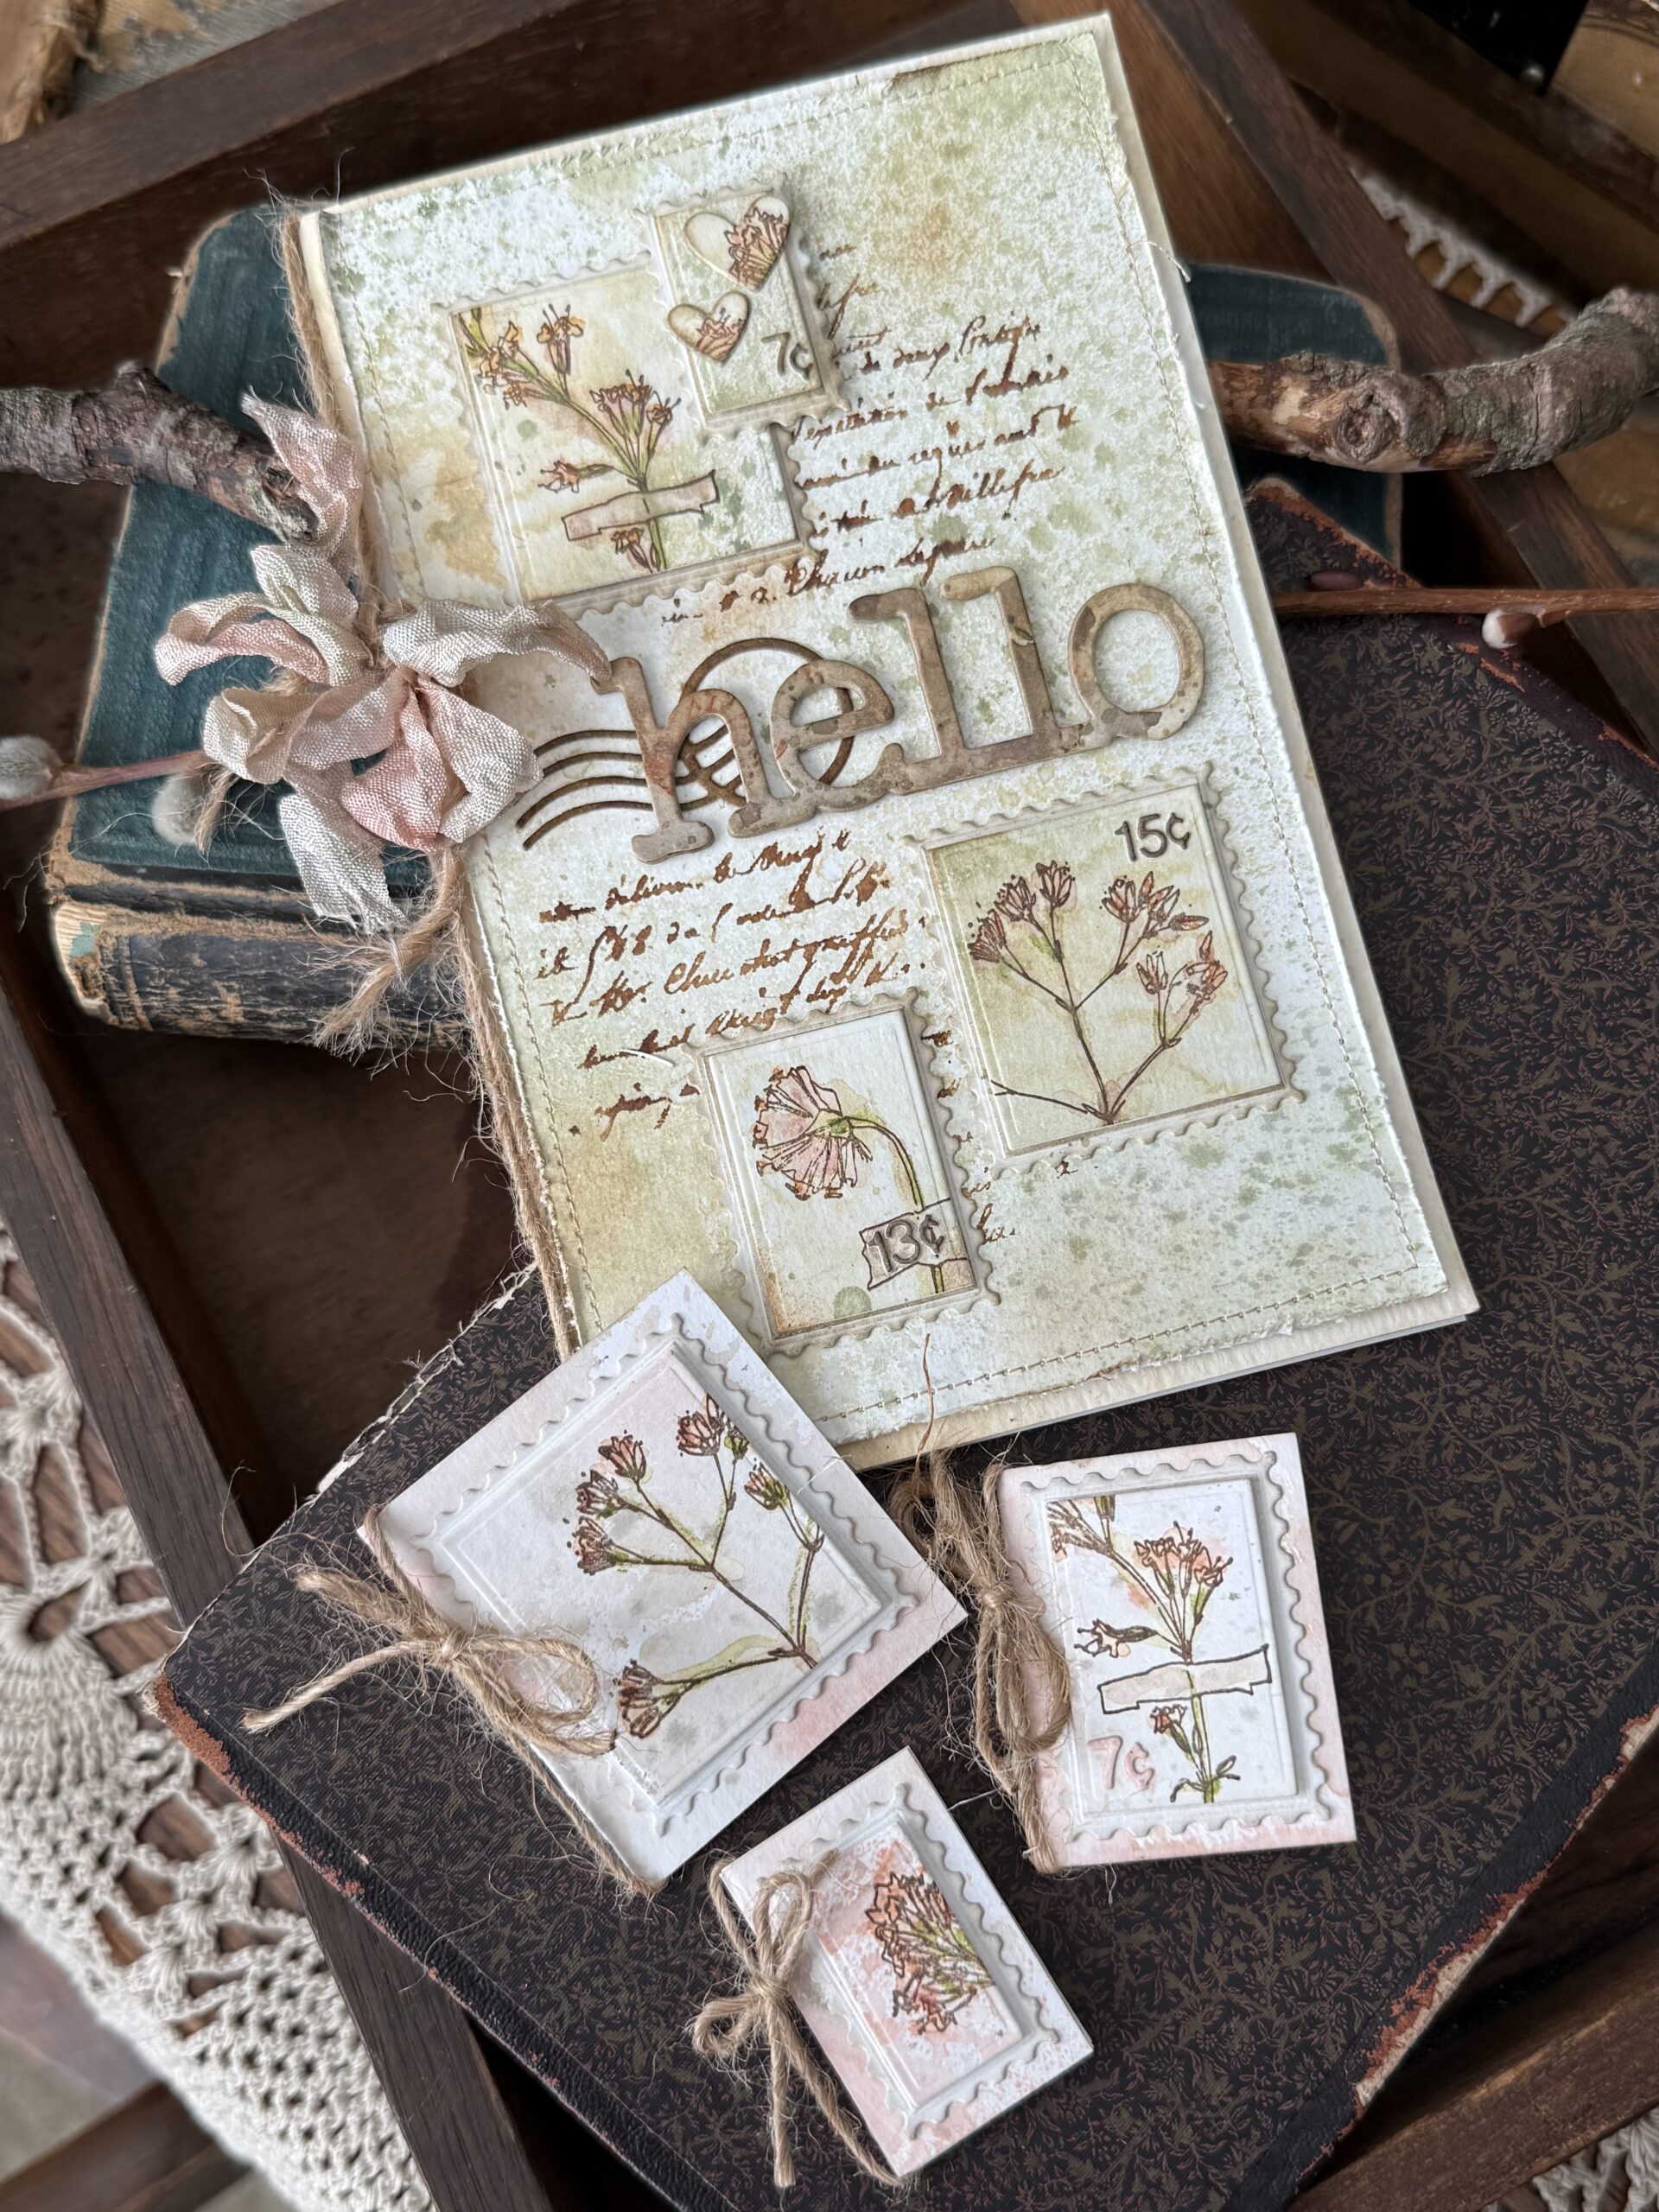
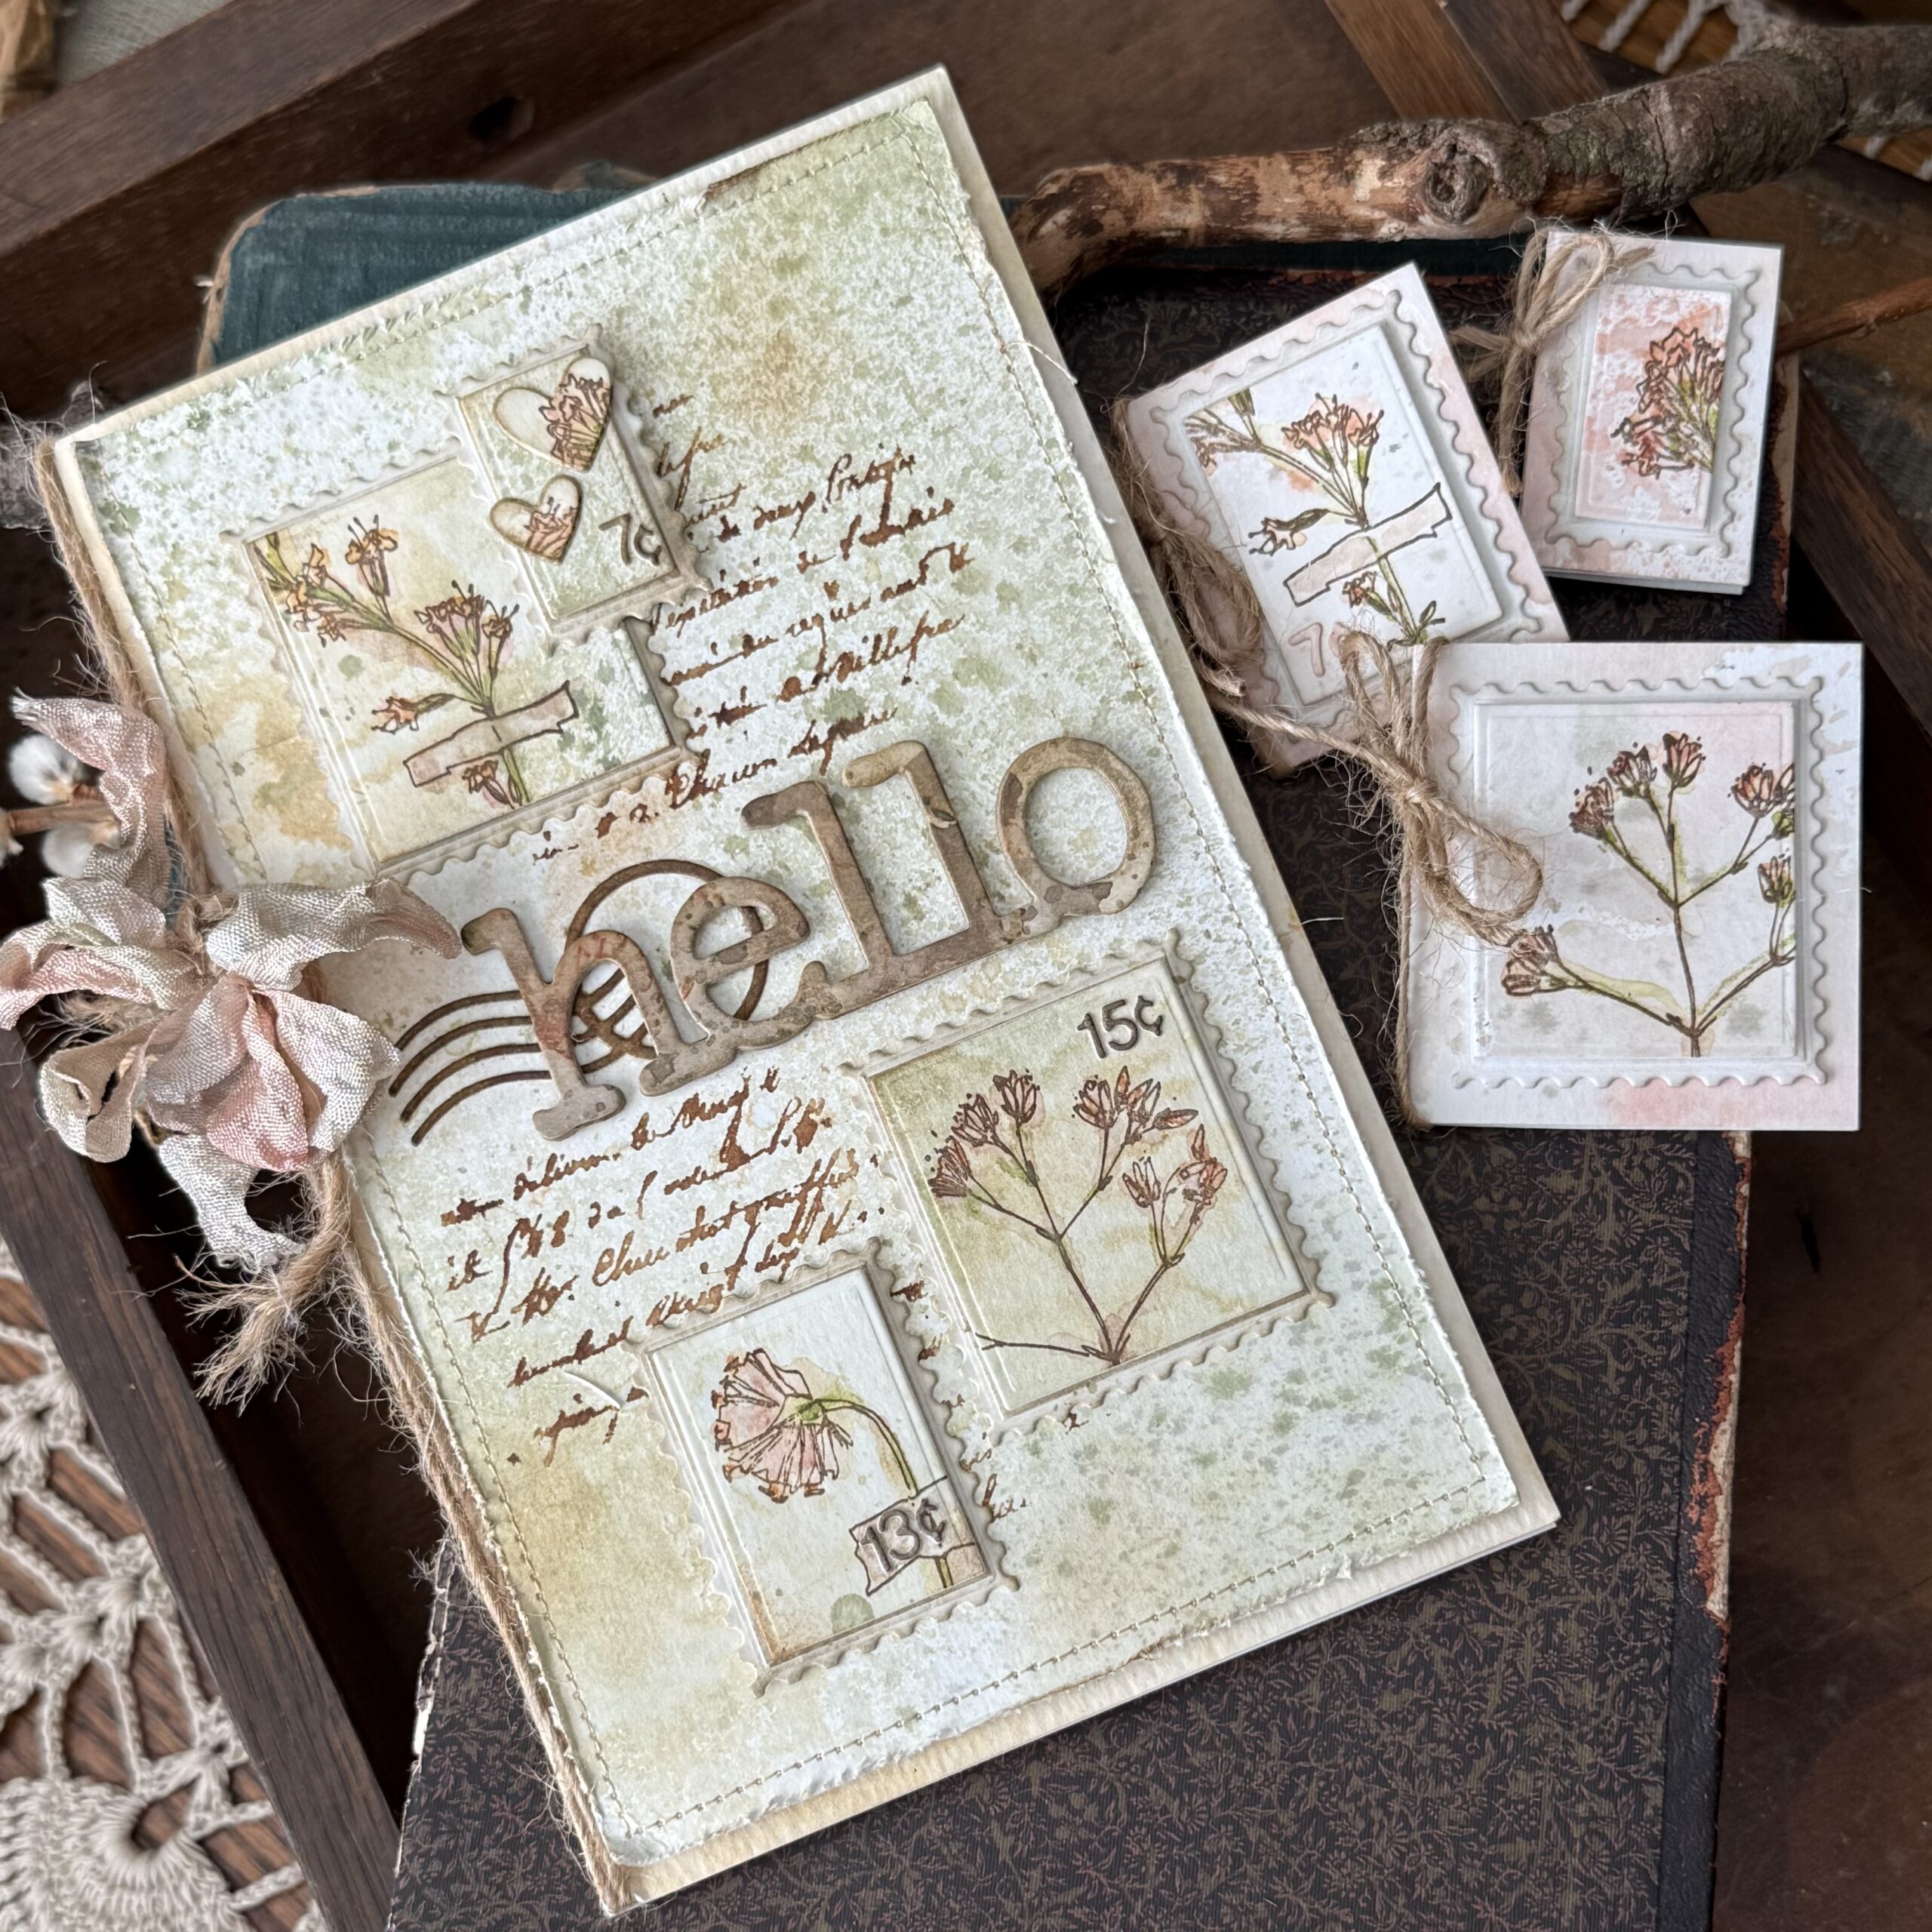
I chose to use it to make a card and some small gift tags or mini cards…and I just love how they turned out. I created them with a vintage postage theme using the dies along with a set of stamps from Tim Holtz and Stampers Anonymous entitled Forgotten Garden CMS481, this idea clicked right in as soon as I say the set of dies because I knew that portions of the little flowers and their tape would fit right within the little rectangles and postage dies, making them so perfect for cards…imagine these in a Christmas type of theme? Oh my goodness…the ways of using these is endless!
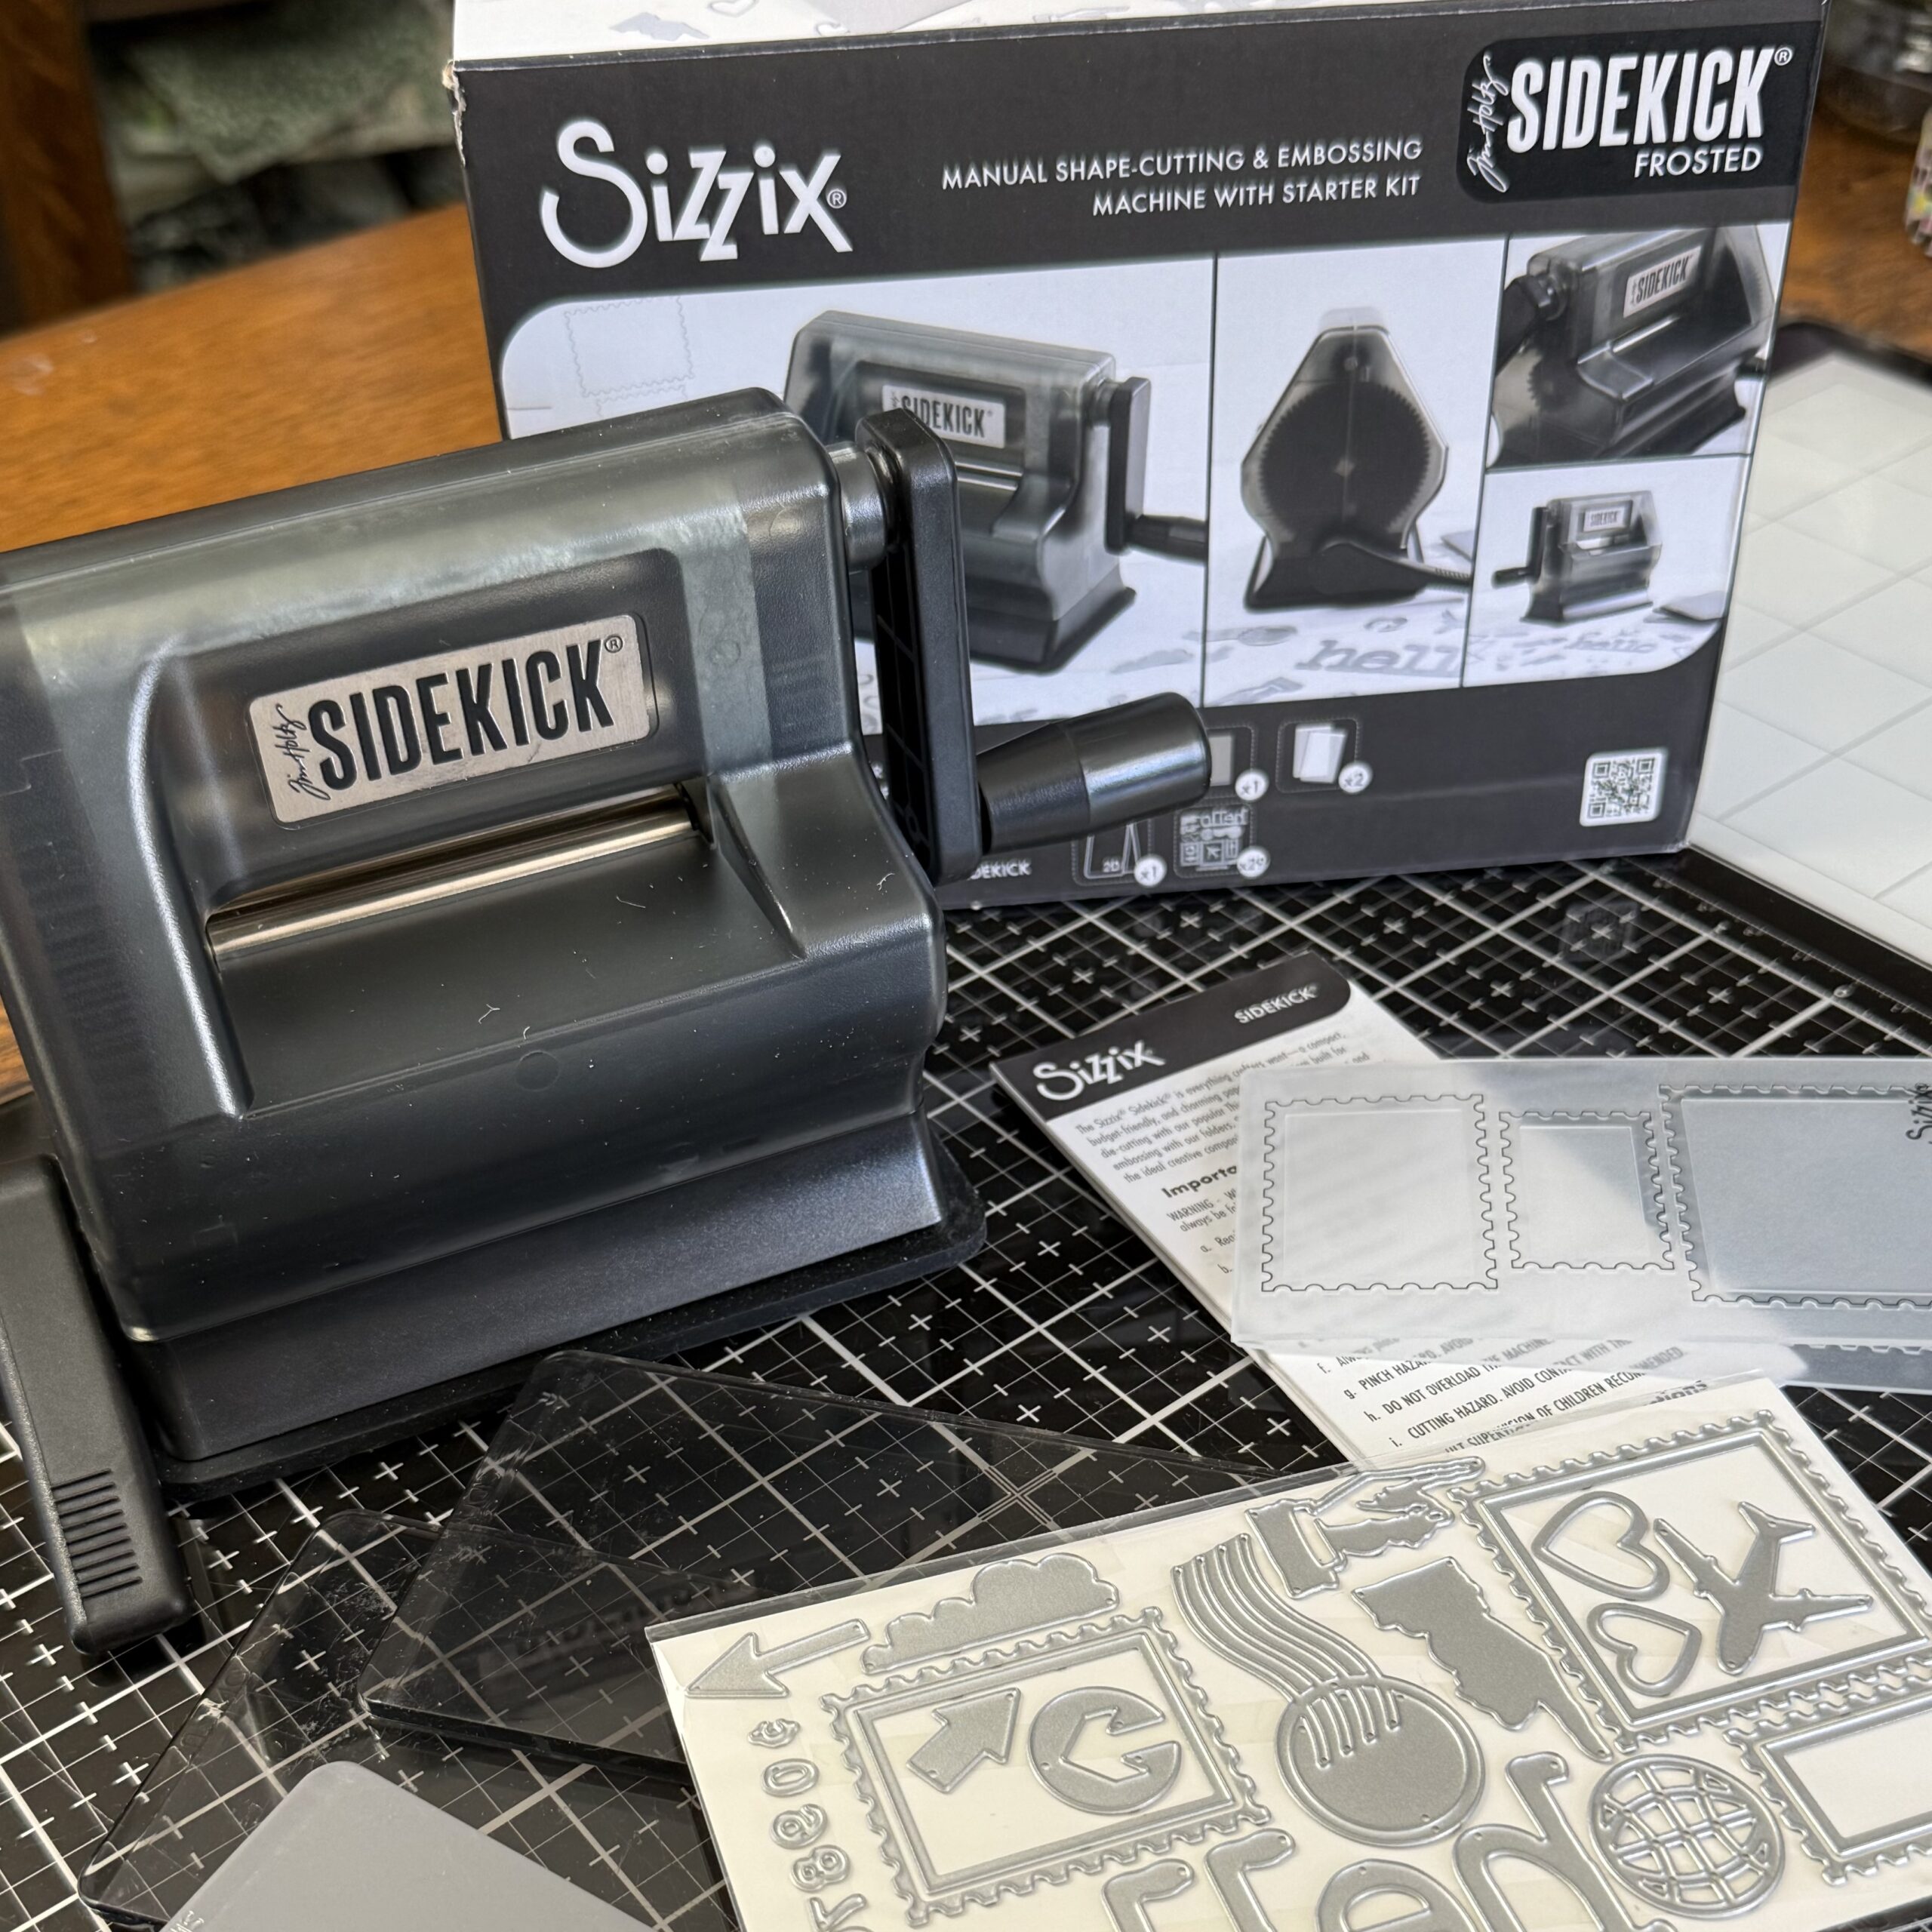
The Sidekick was reimagined and features a frosted clear case so that you can see the inner workings of the machine. It also comes with all the needed accessories to get you creating in no time, including the cutting pads, embossing pad, wafer die shapes, number dies and postage embossing folder.
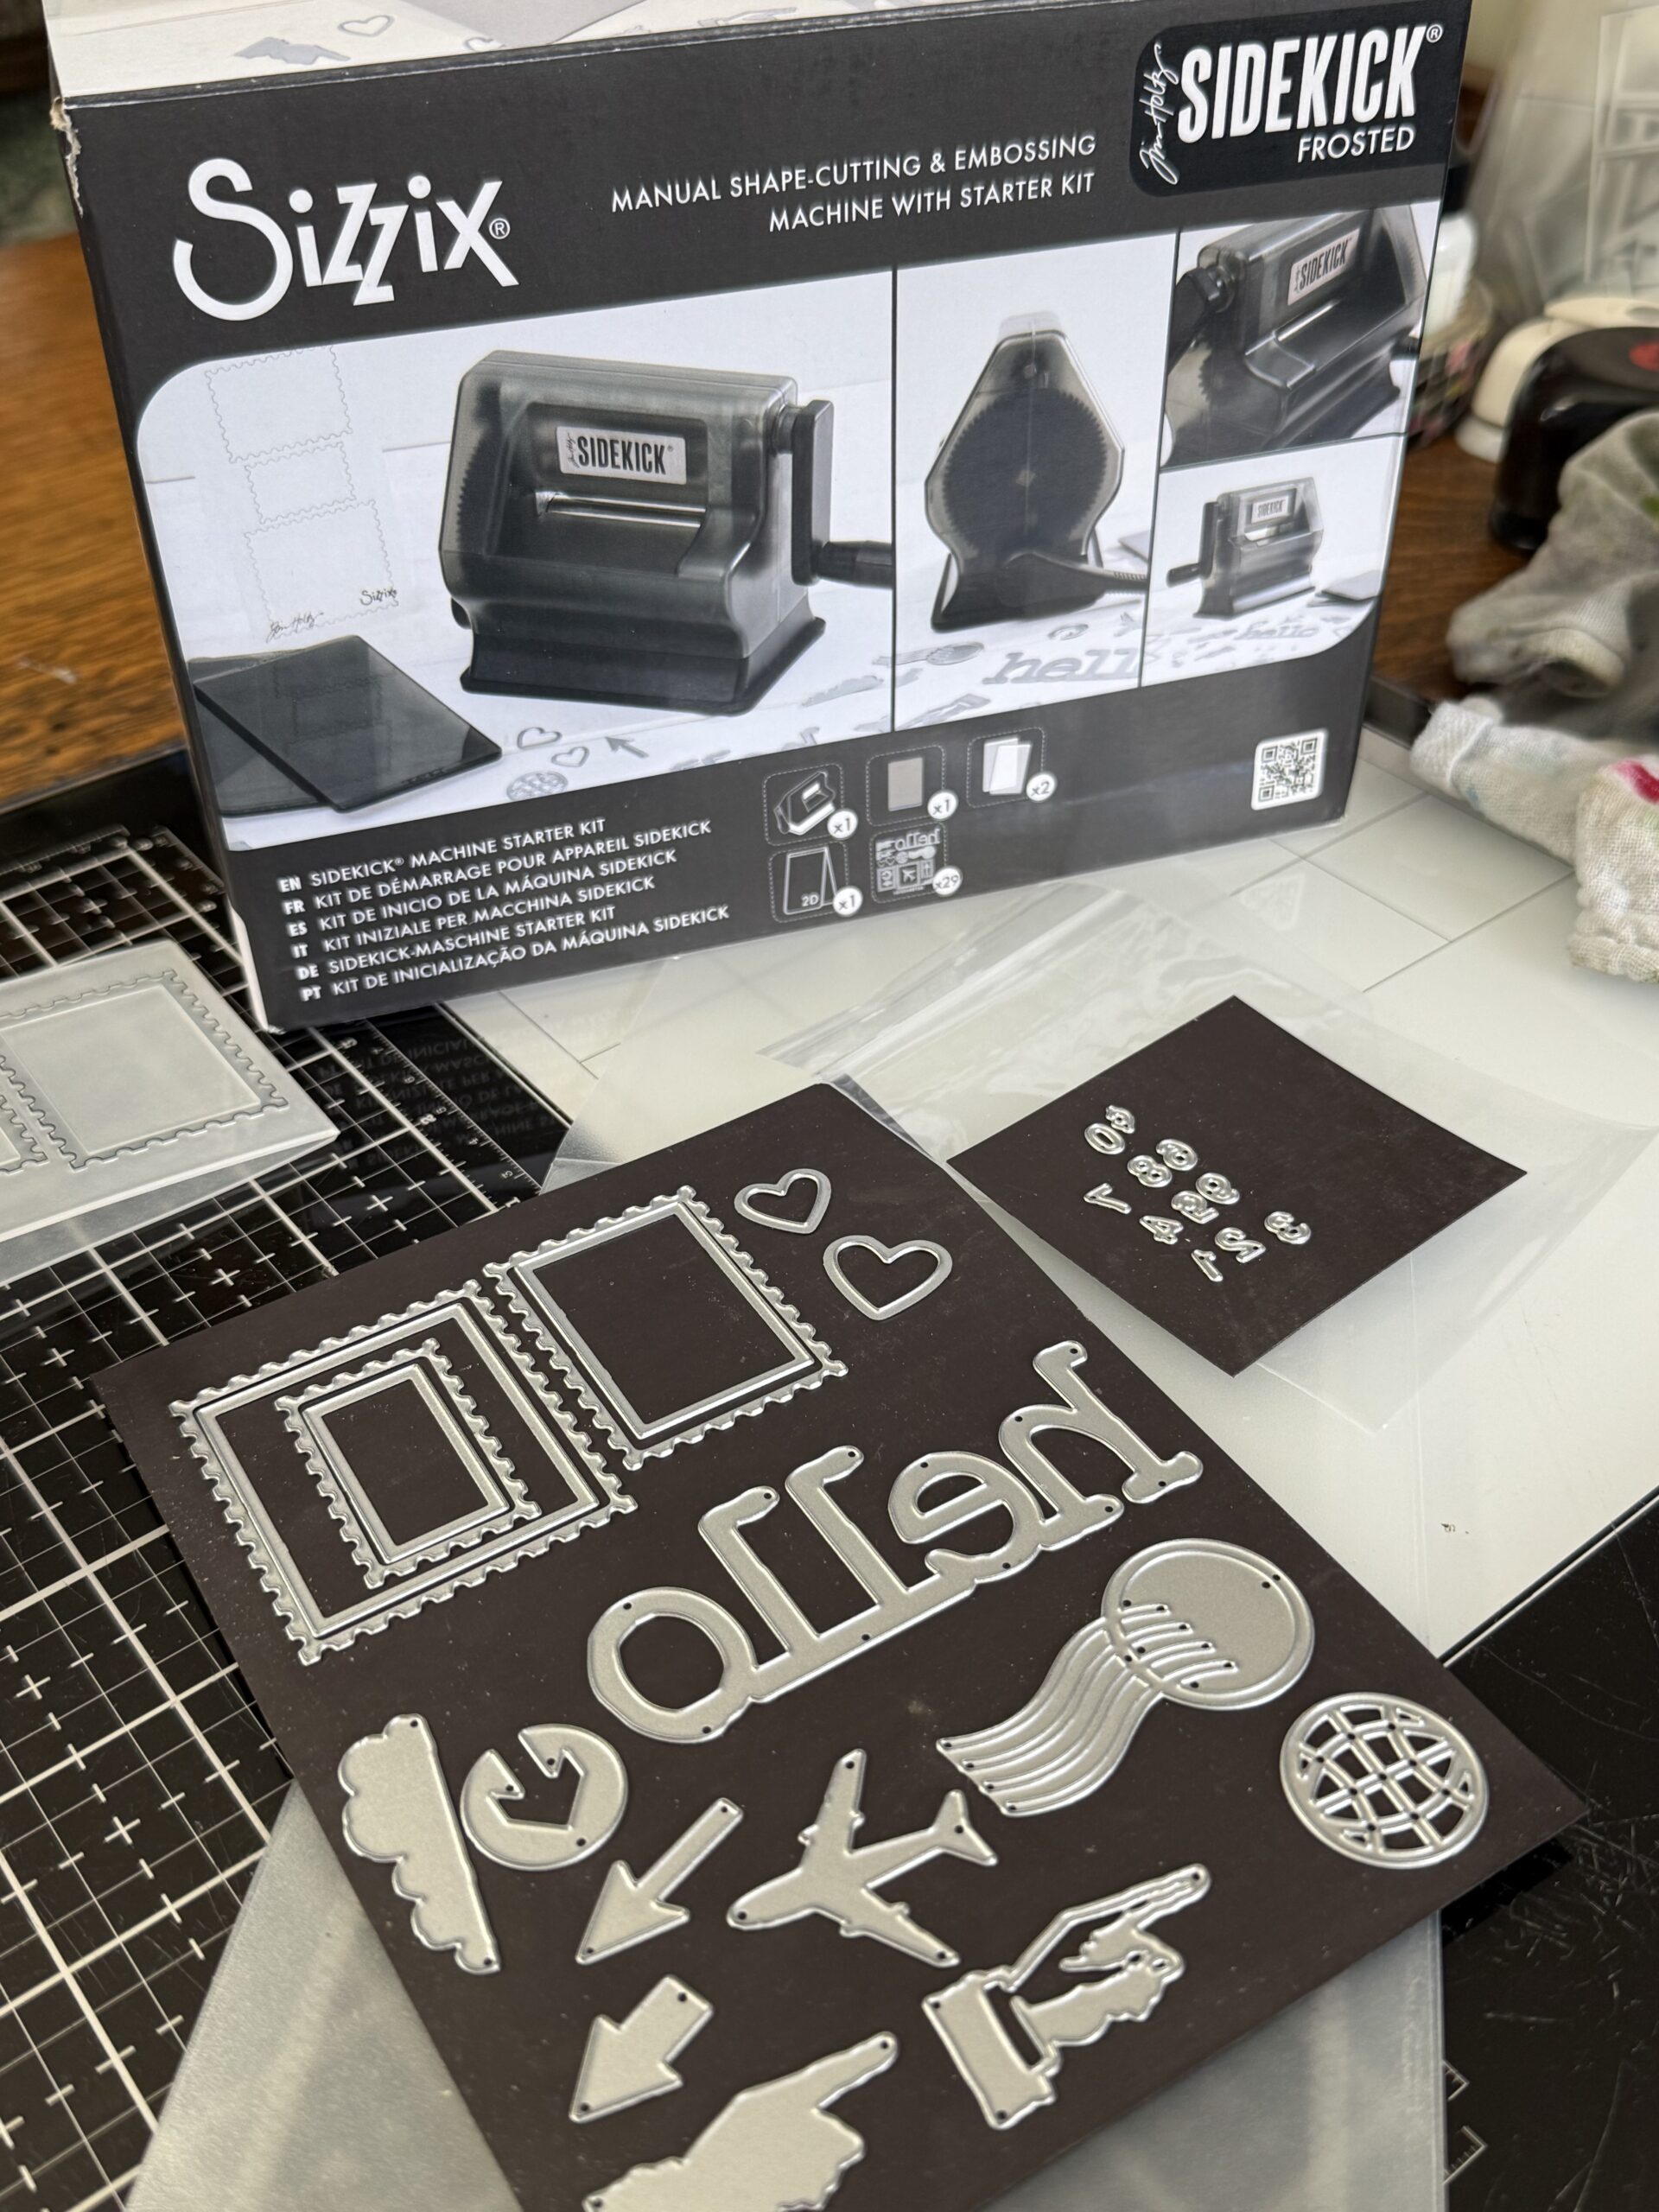
As soon as I opened the box, I cut a piece of magnetic sheet and found a plastic storage envelope in my stash of supplies for them so that I could keep all the pieces organized and together..(I provided the link to those down in my supply list just in case you were interested in those too) those tiny numbers have their own small piece of magnetic sheet that I am placed into a small ziplock within my large envelope to keep them together safe and sound.
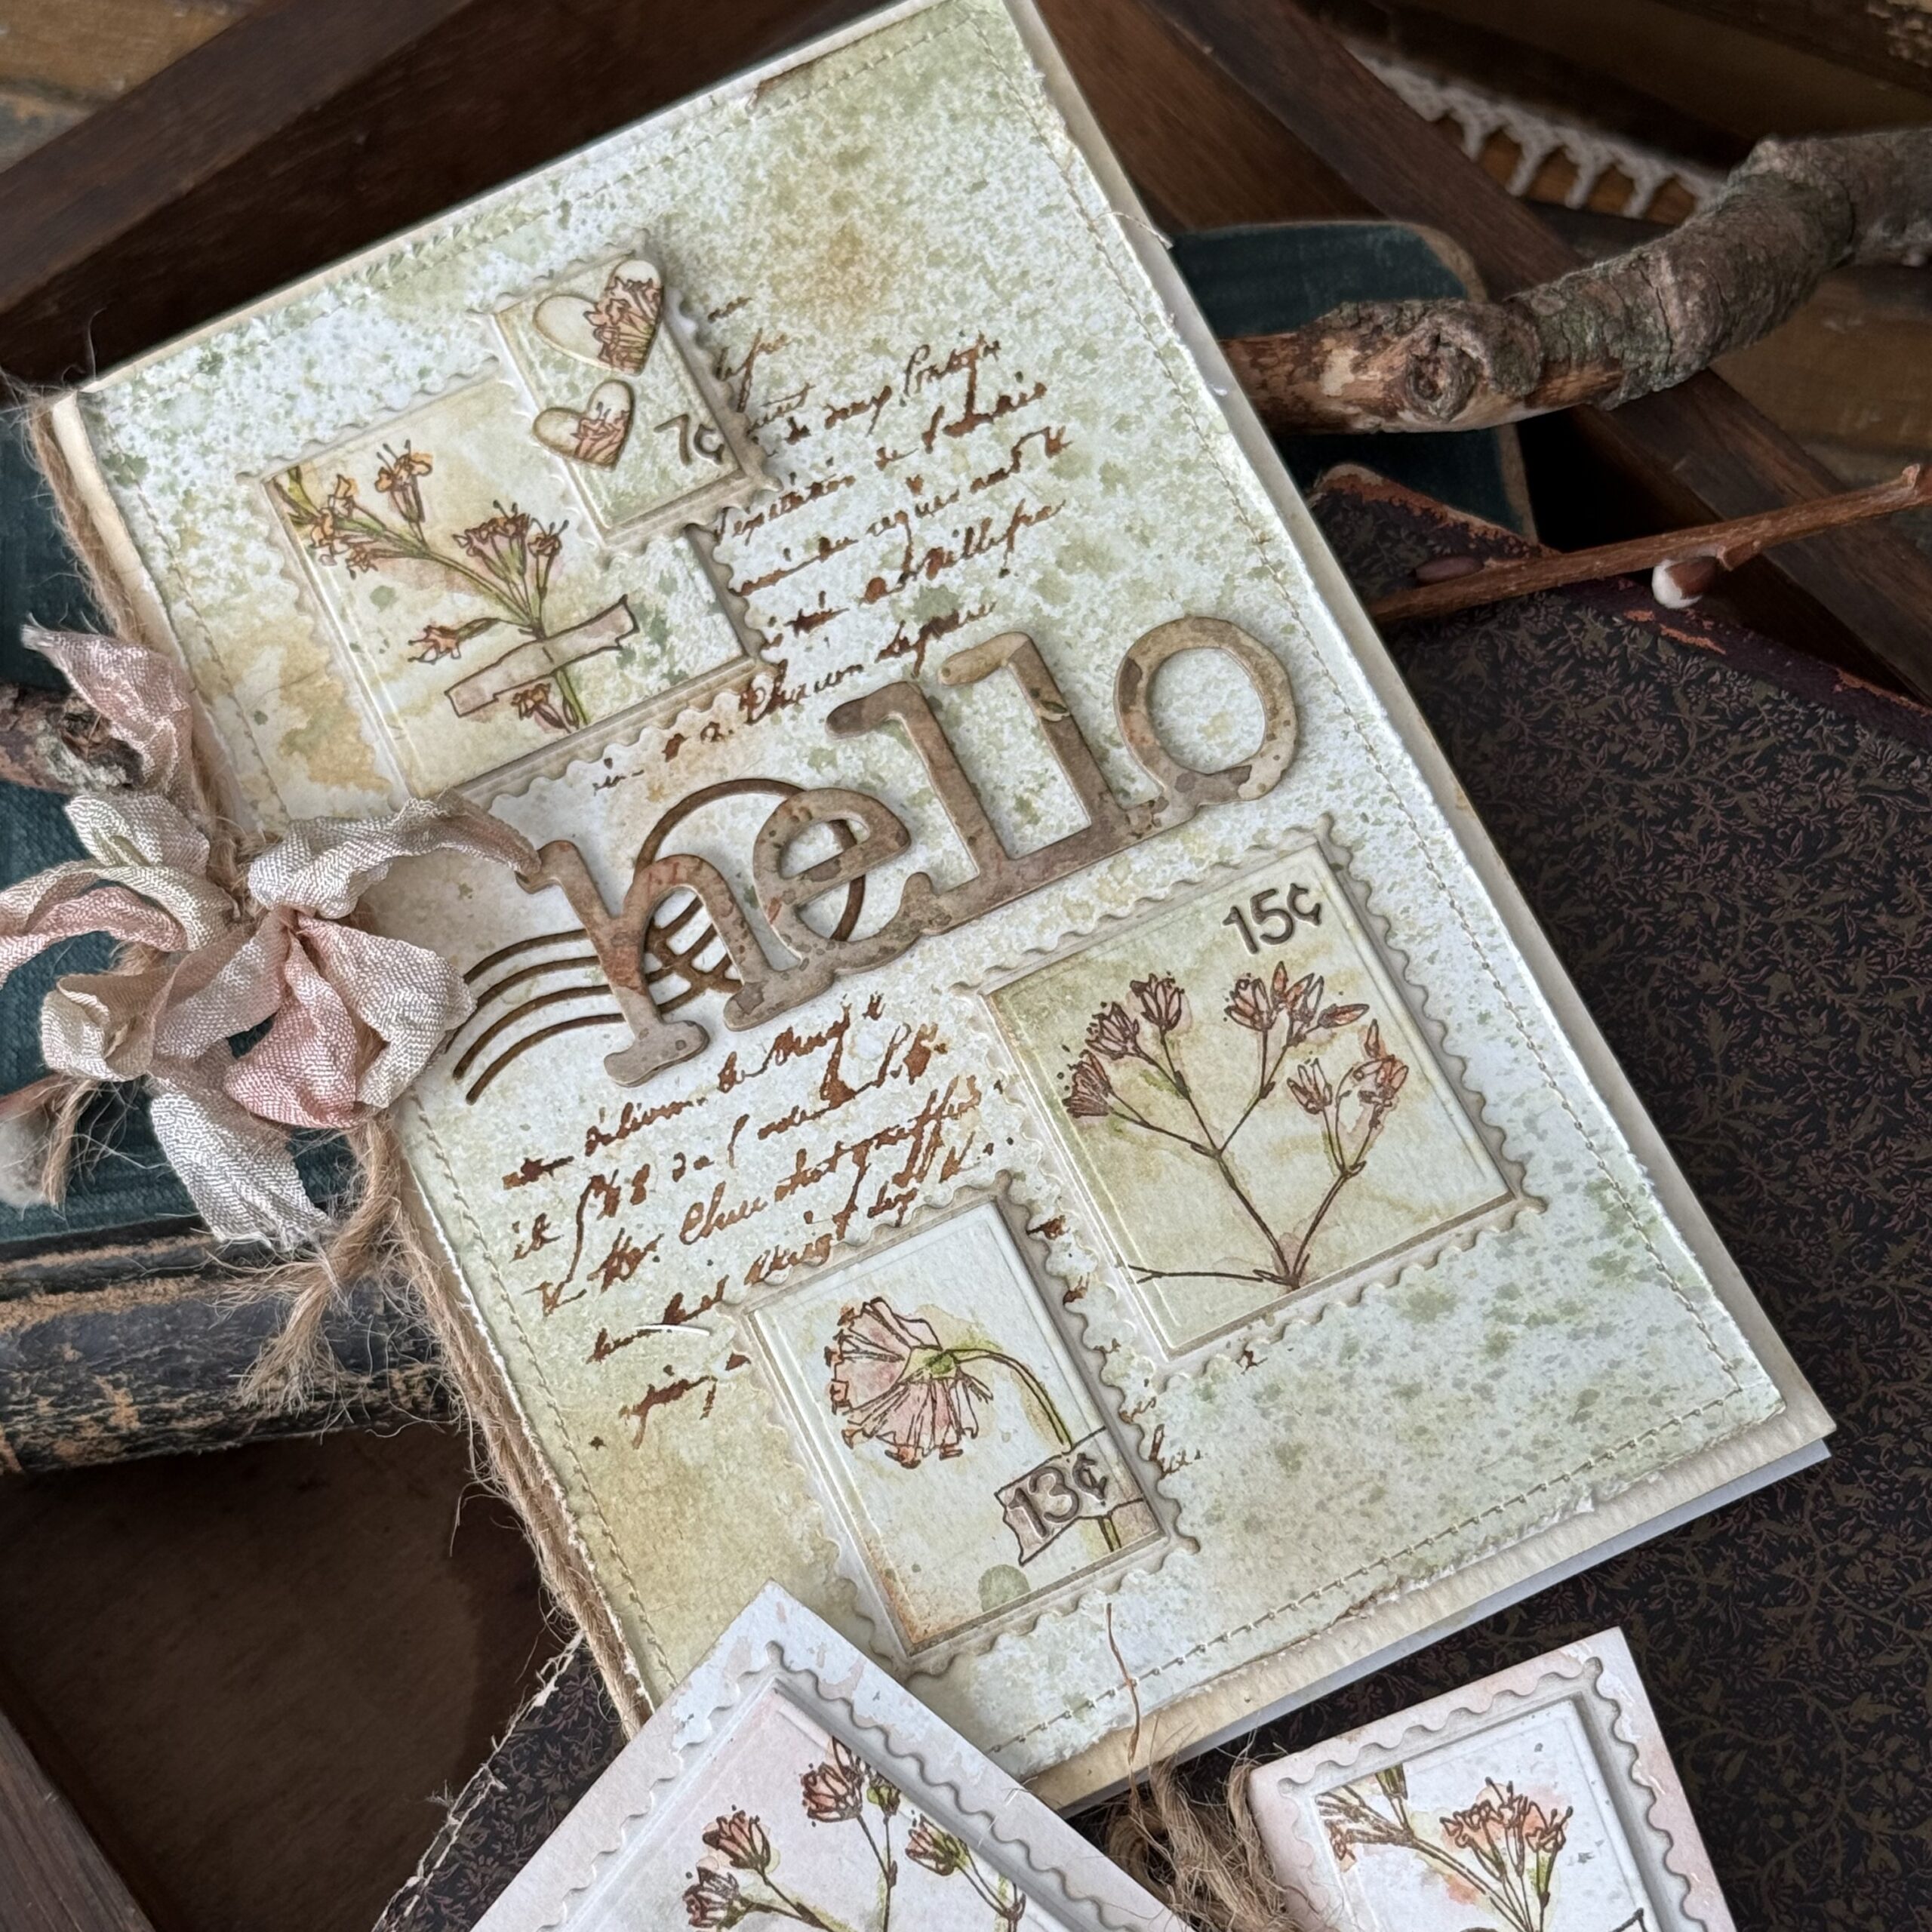
Here’s a closer look at the card…
and the small cards/tags perfect for gift giving or tying onto a package. See those tiny numbers? They add just the right amount of whimsy and personalization!
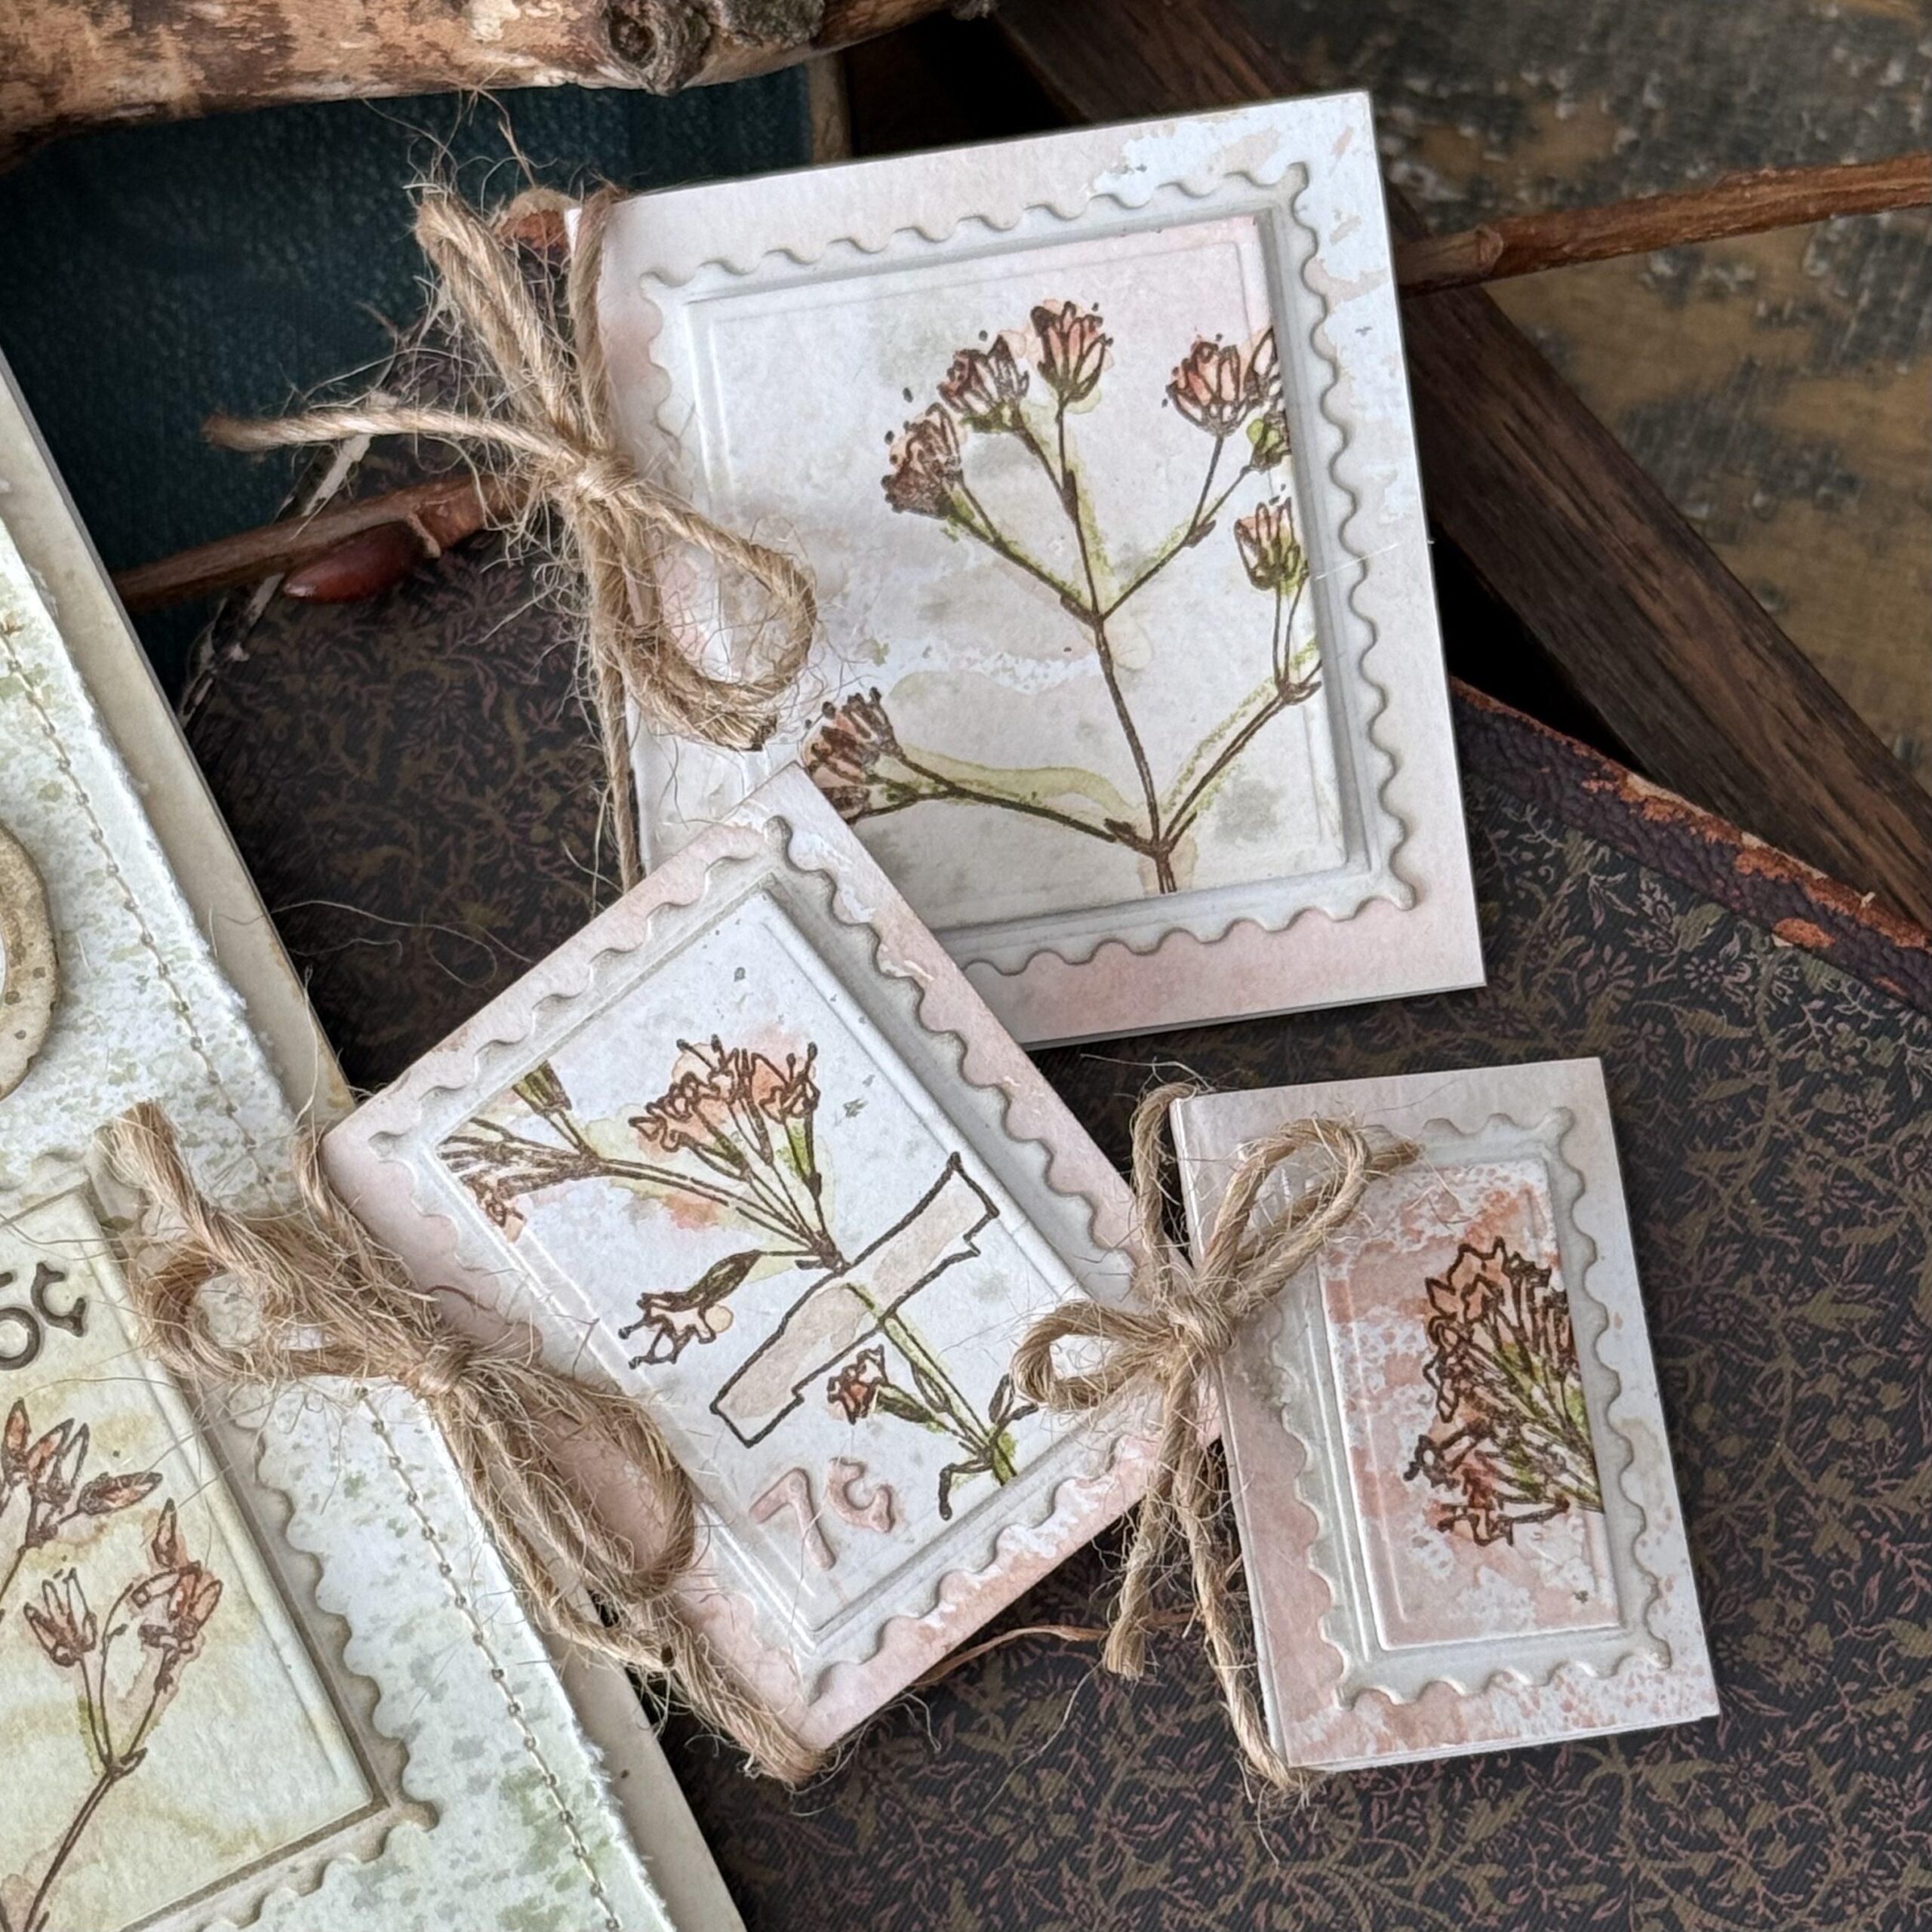
I started by creating the background to stamp my floral images onto…I started with a piece of Distress Watercolor Paper and a combination of water and bundled sage, old paper and antique linen spray stains, then dried with my heat tool.
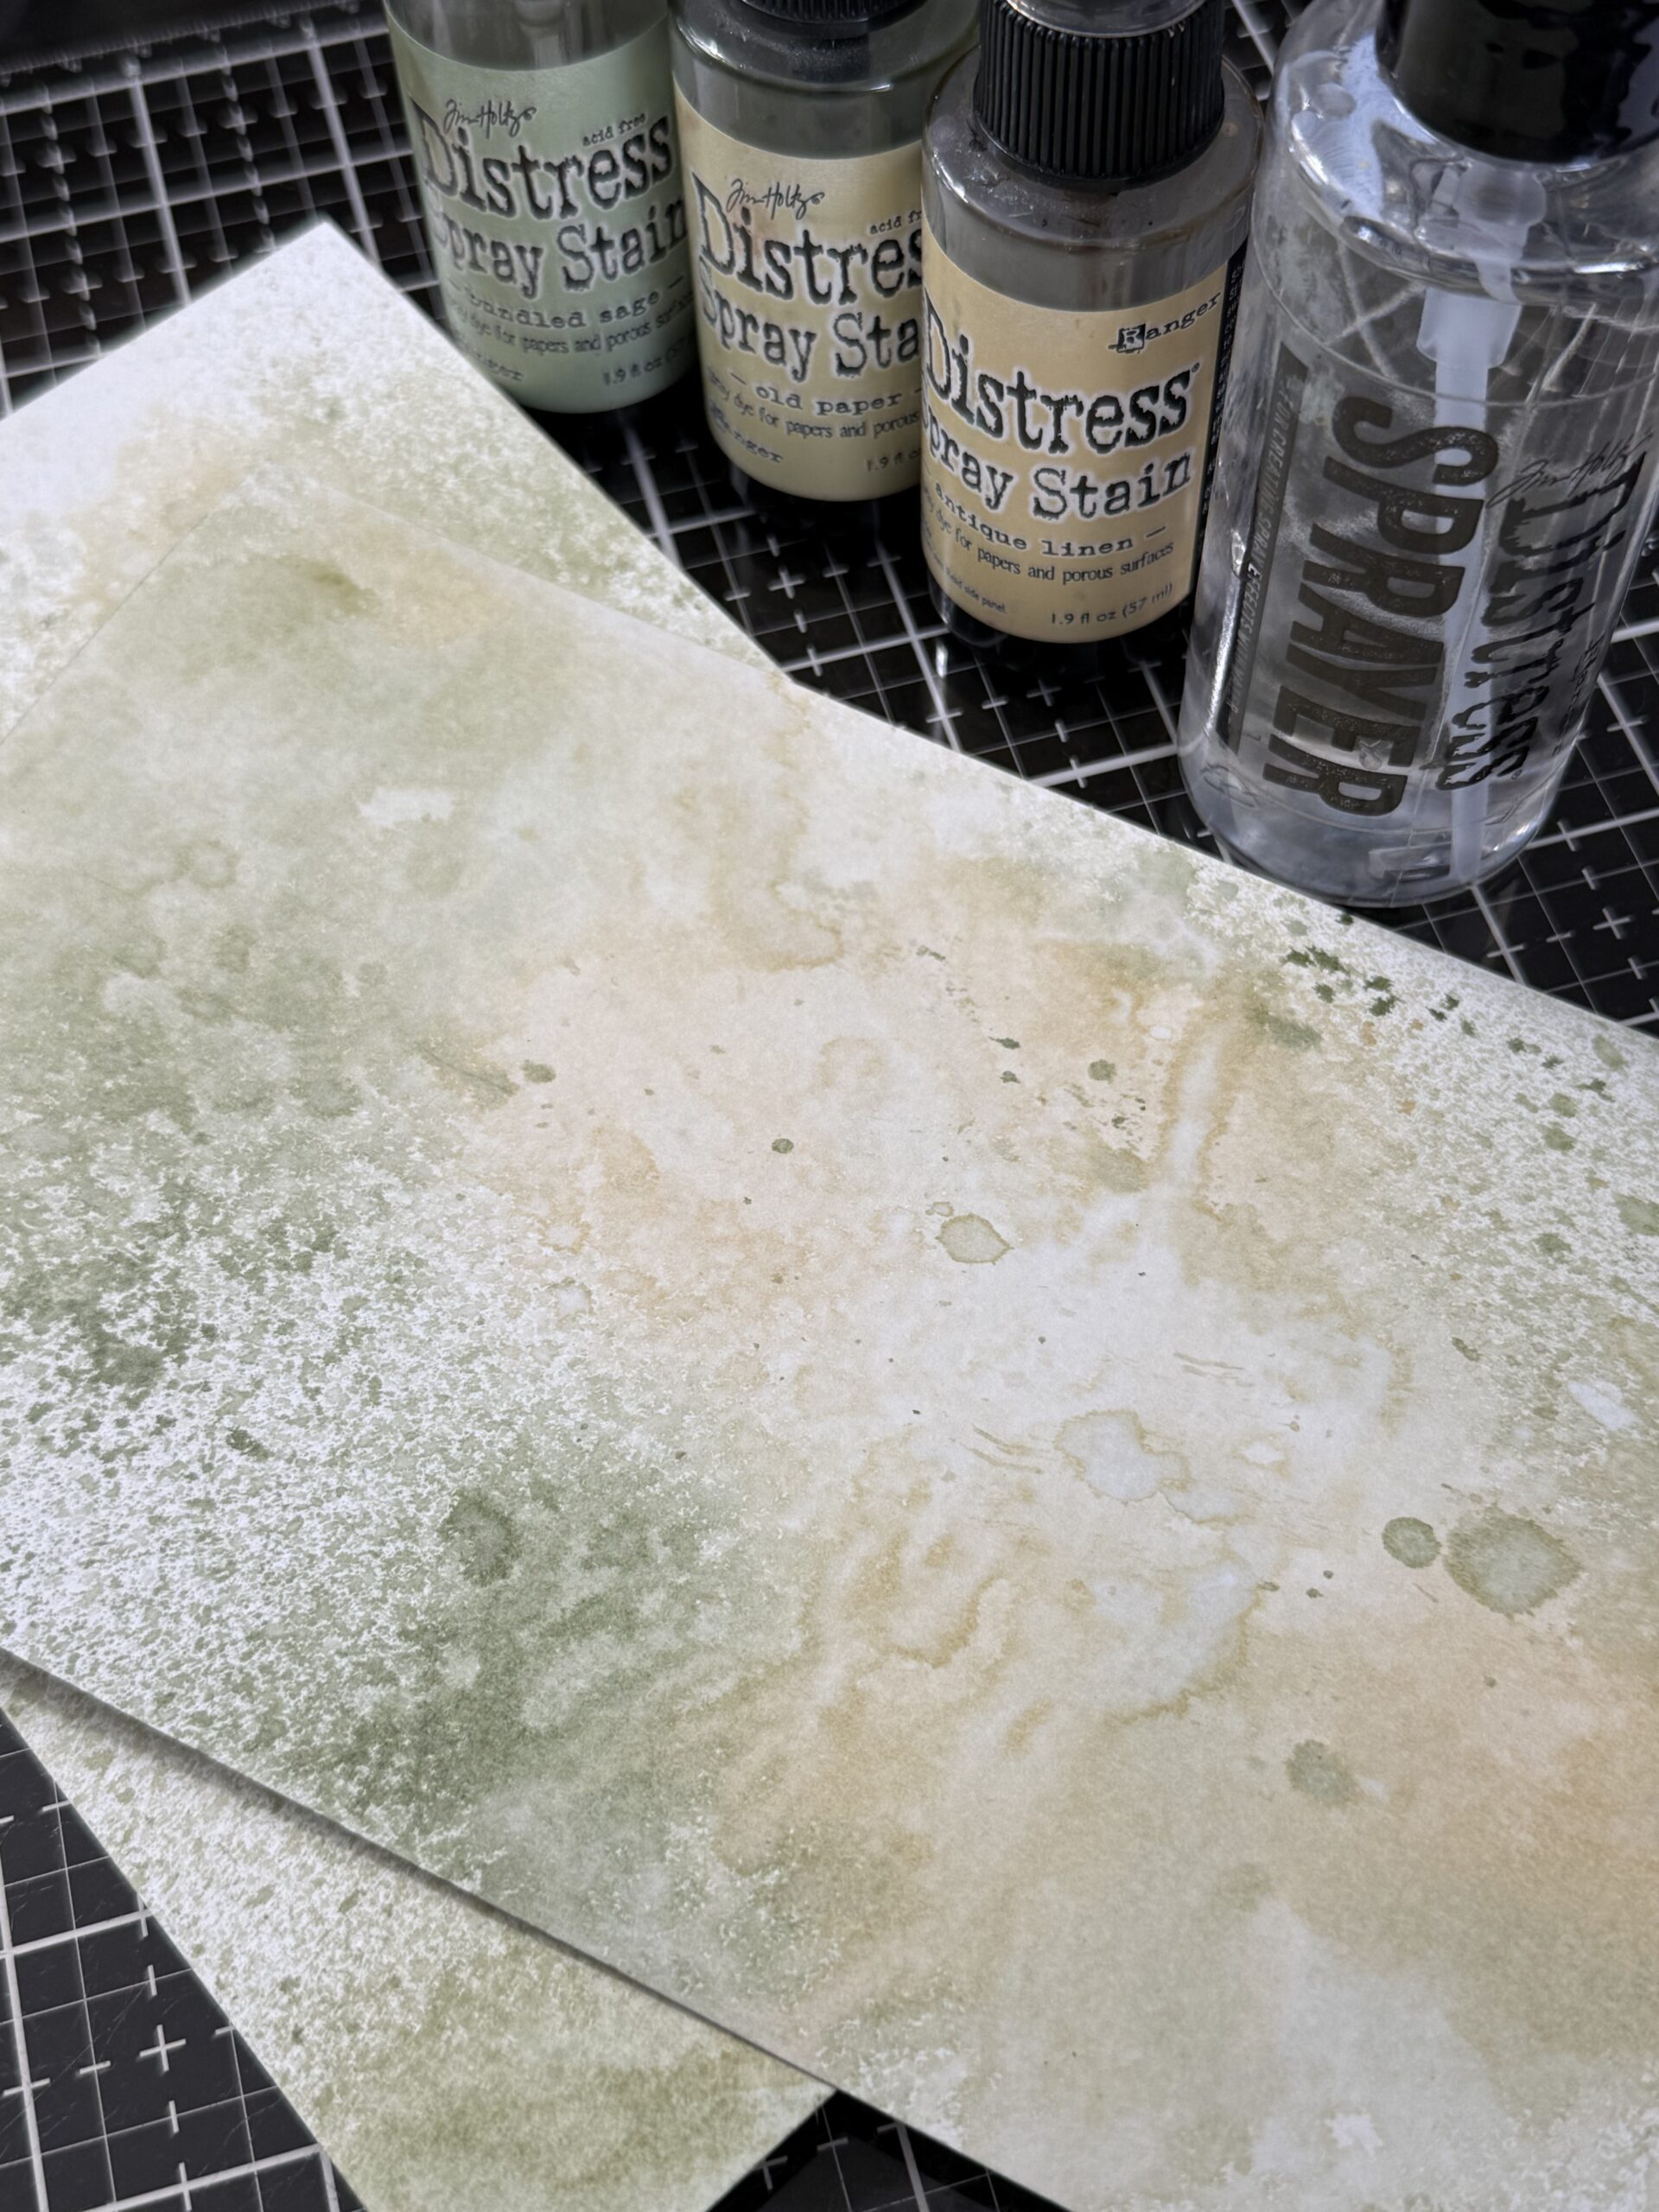
I stamped some images from the Forgotten Garden Stamp Set CMS481 using Ground Espresso Archival Ink using my stamp platform leaving the paper in place after stamping and coloring them while in the stamp platform.
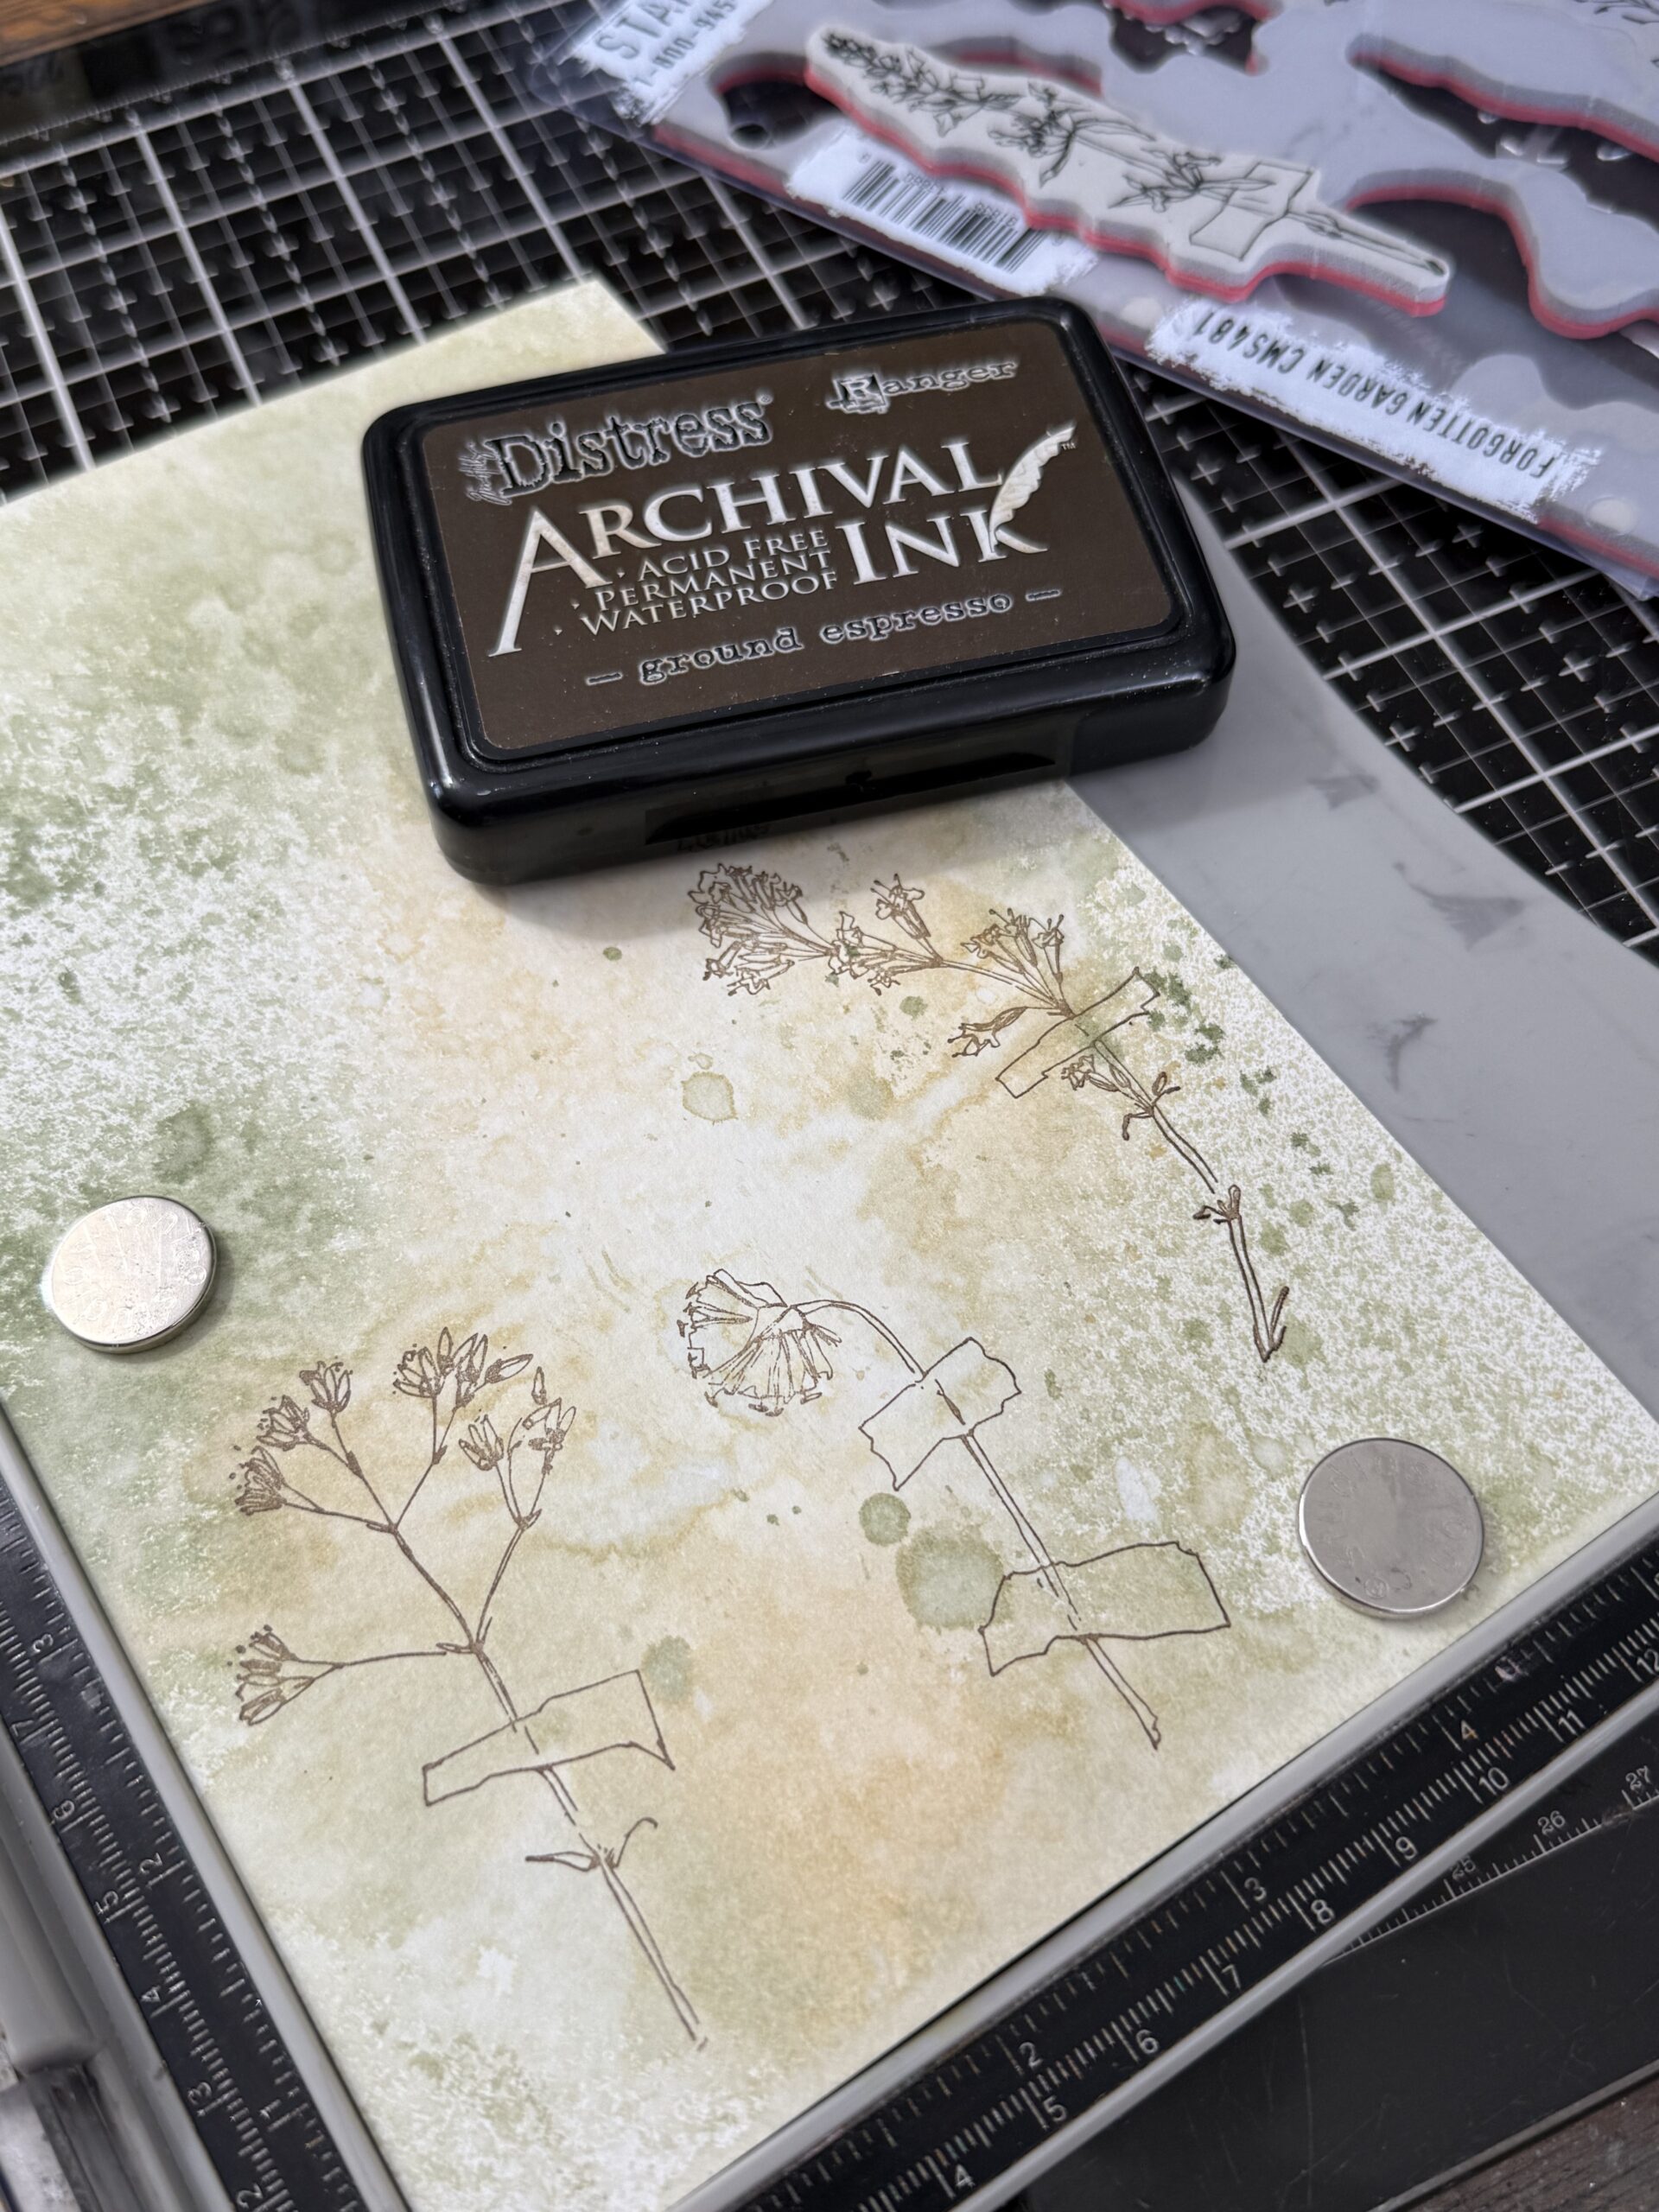
Then I used a fine tip paint brush to pick up color from some Distress Watercolor Pencils and colored the images…I dried them using my heat tool, then rest amped them to create a stronger line after they were colored.
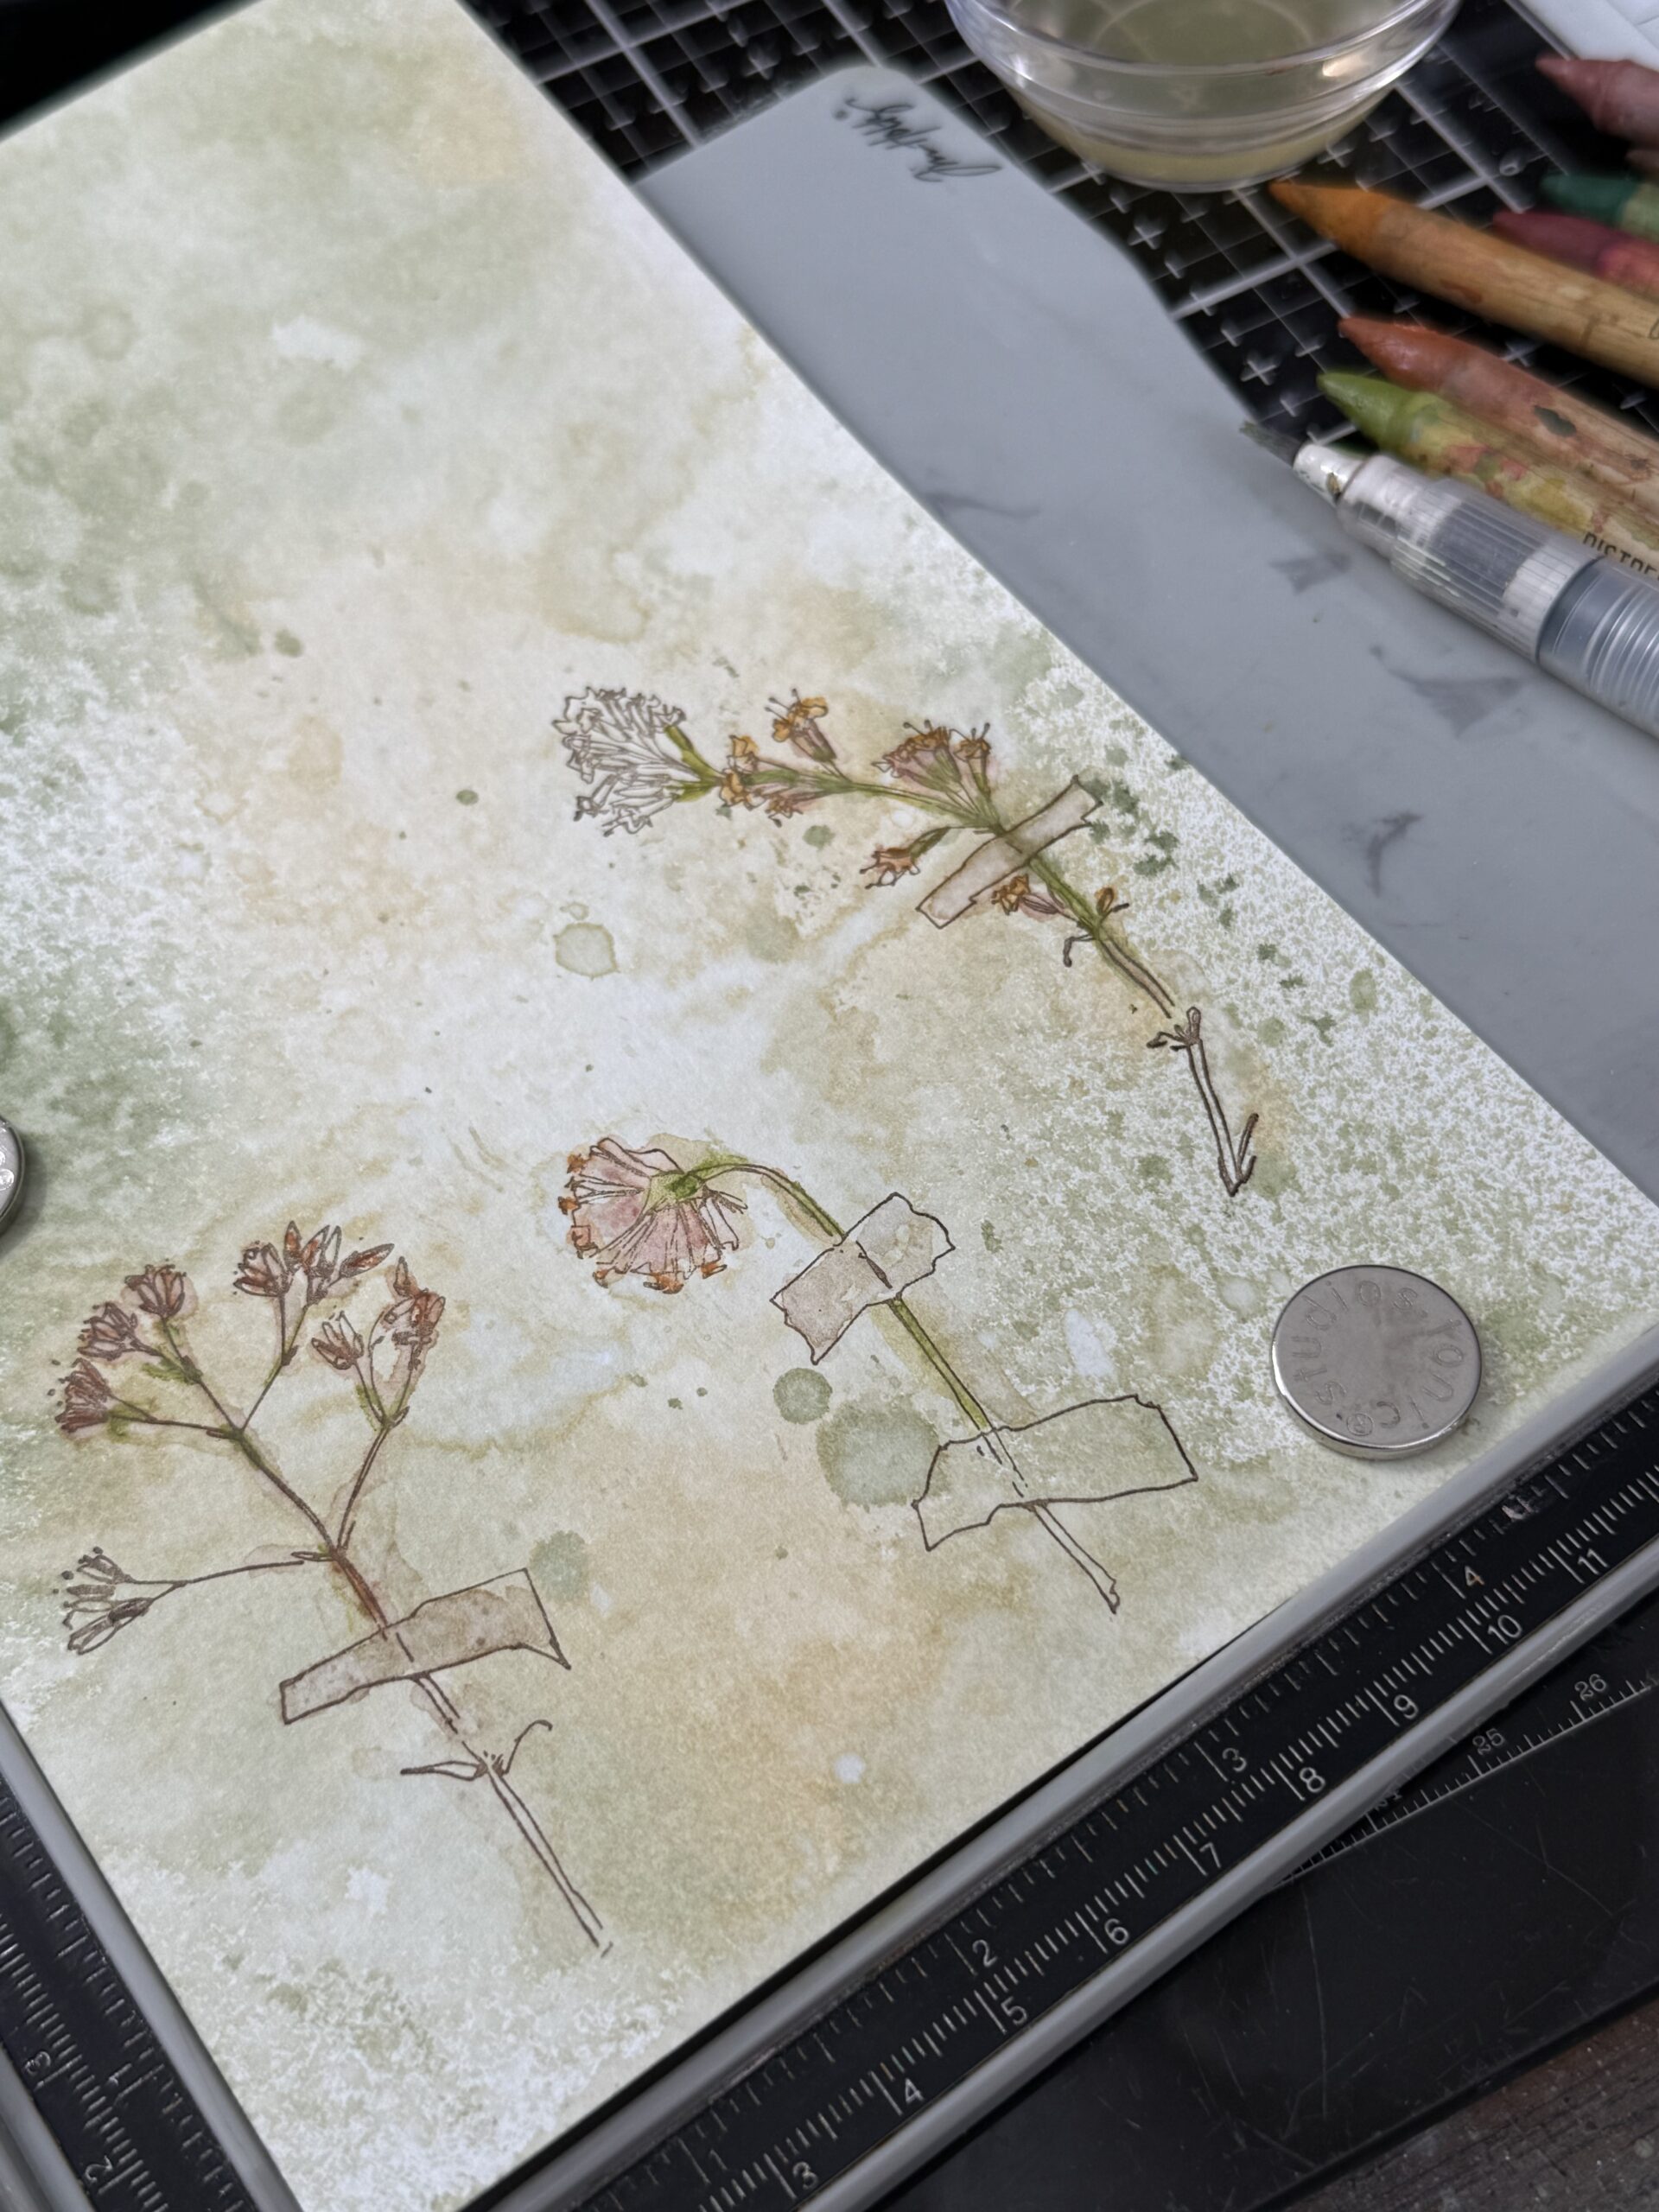
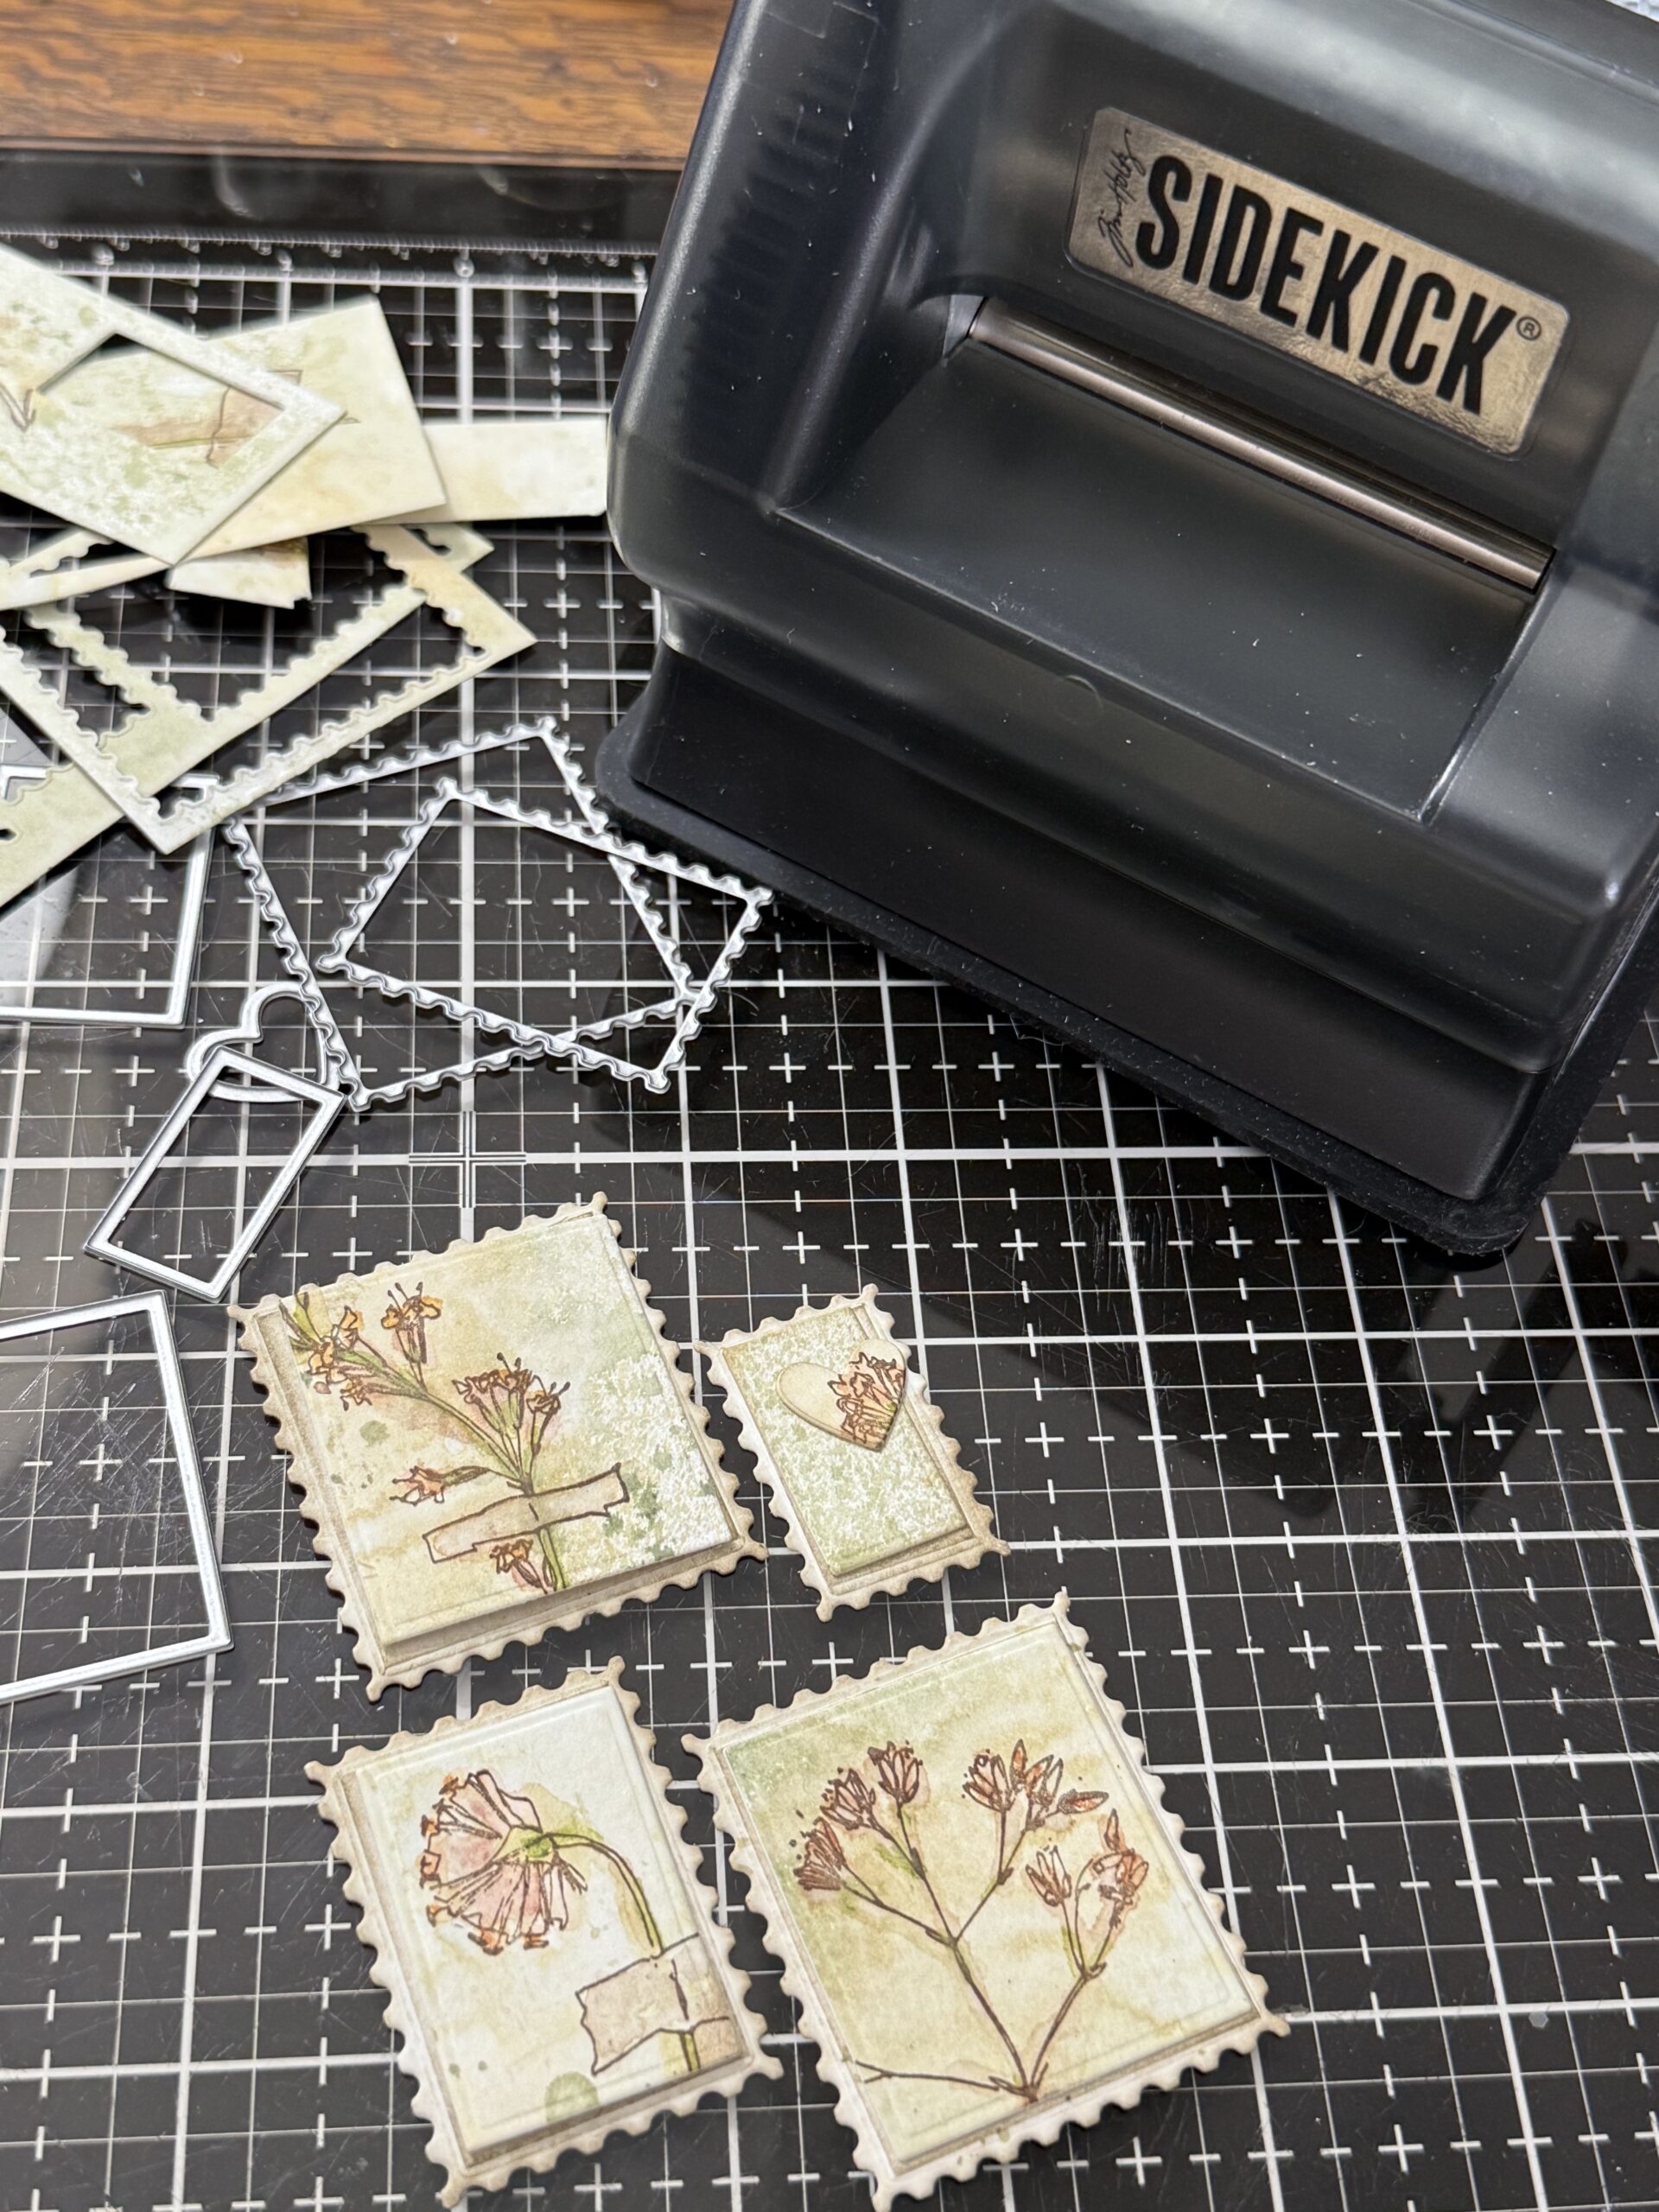
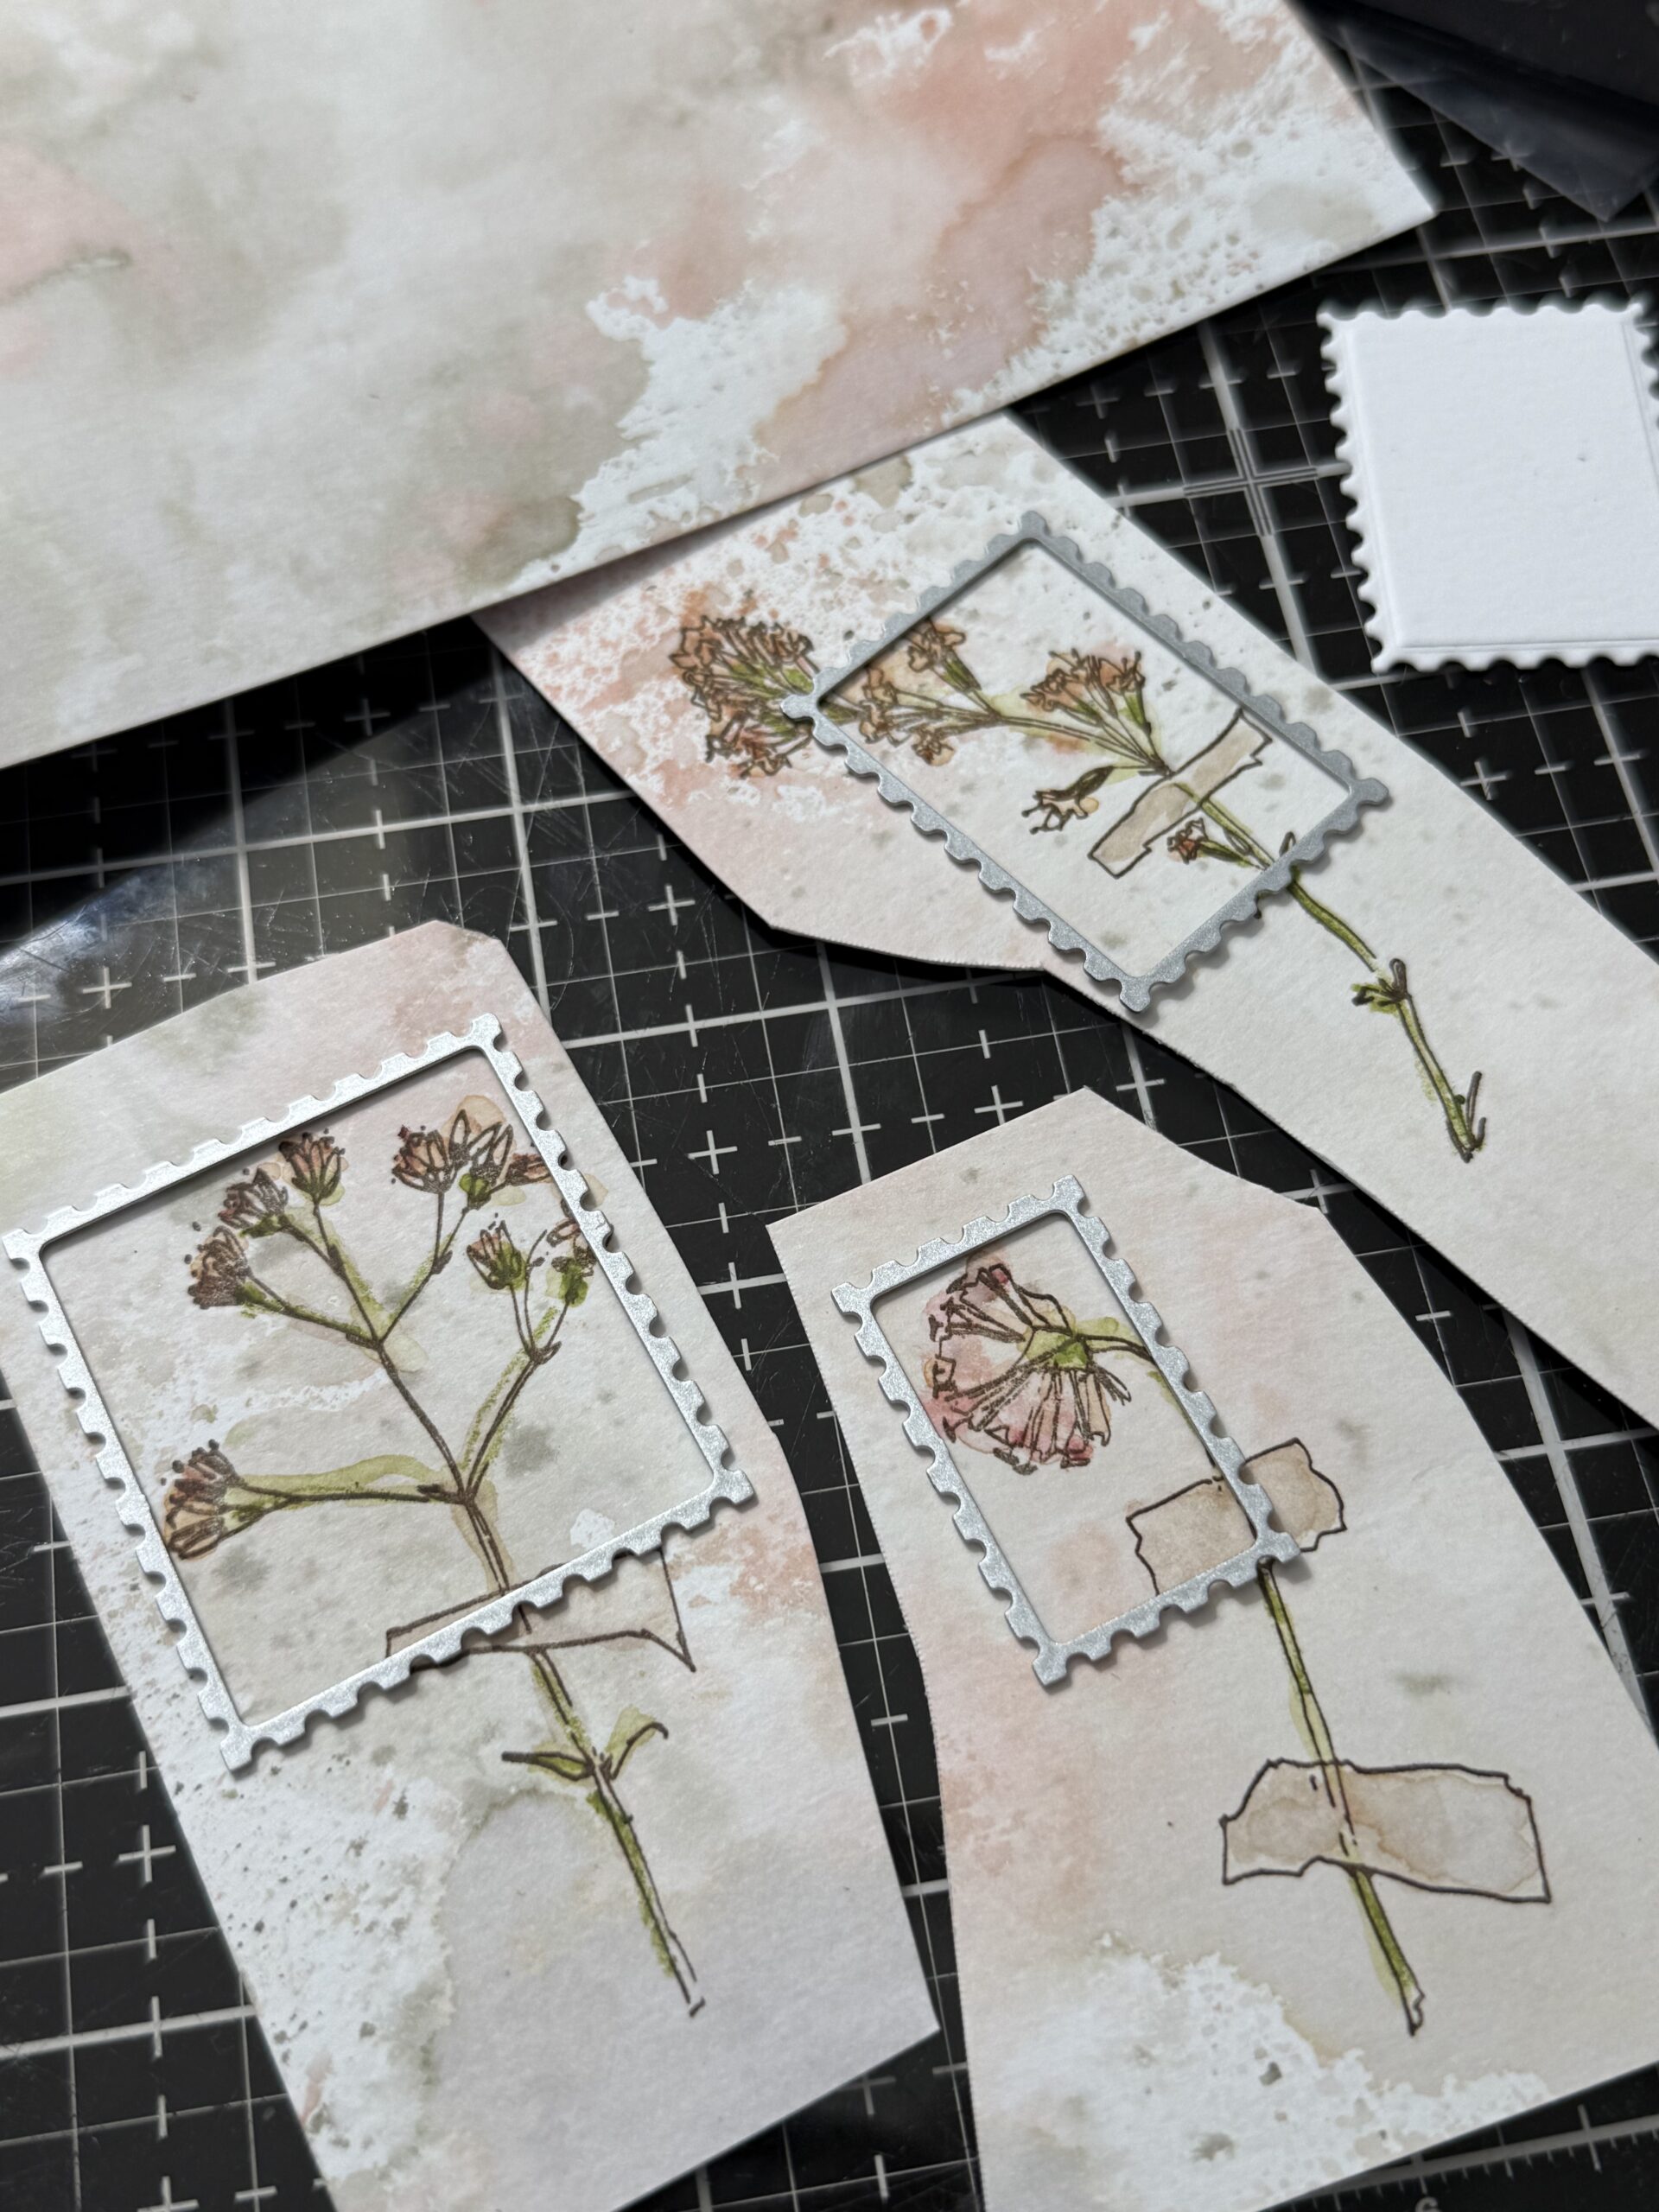
Then I began deciding which dies would cut which flowers…
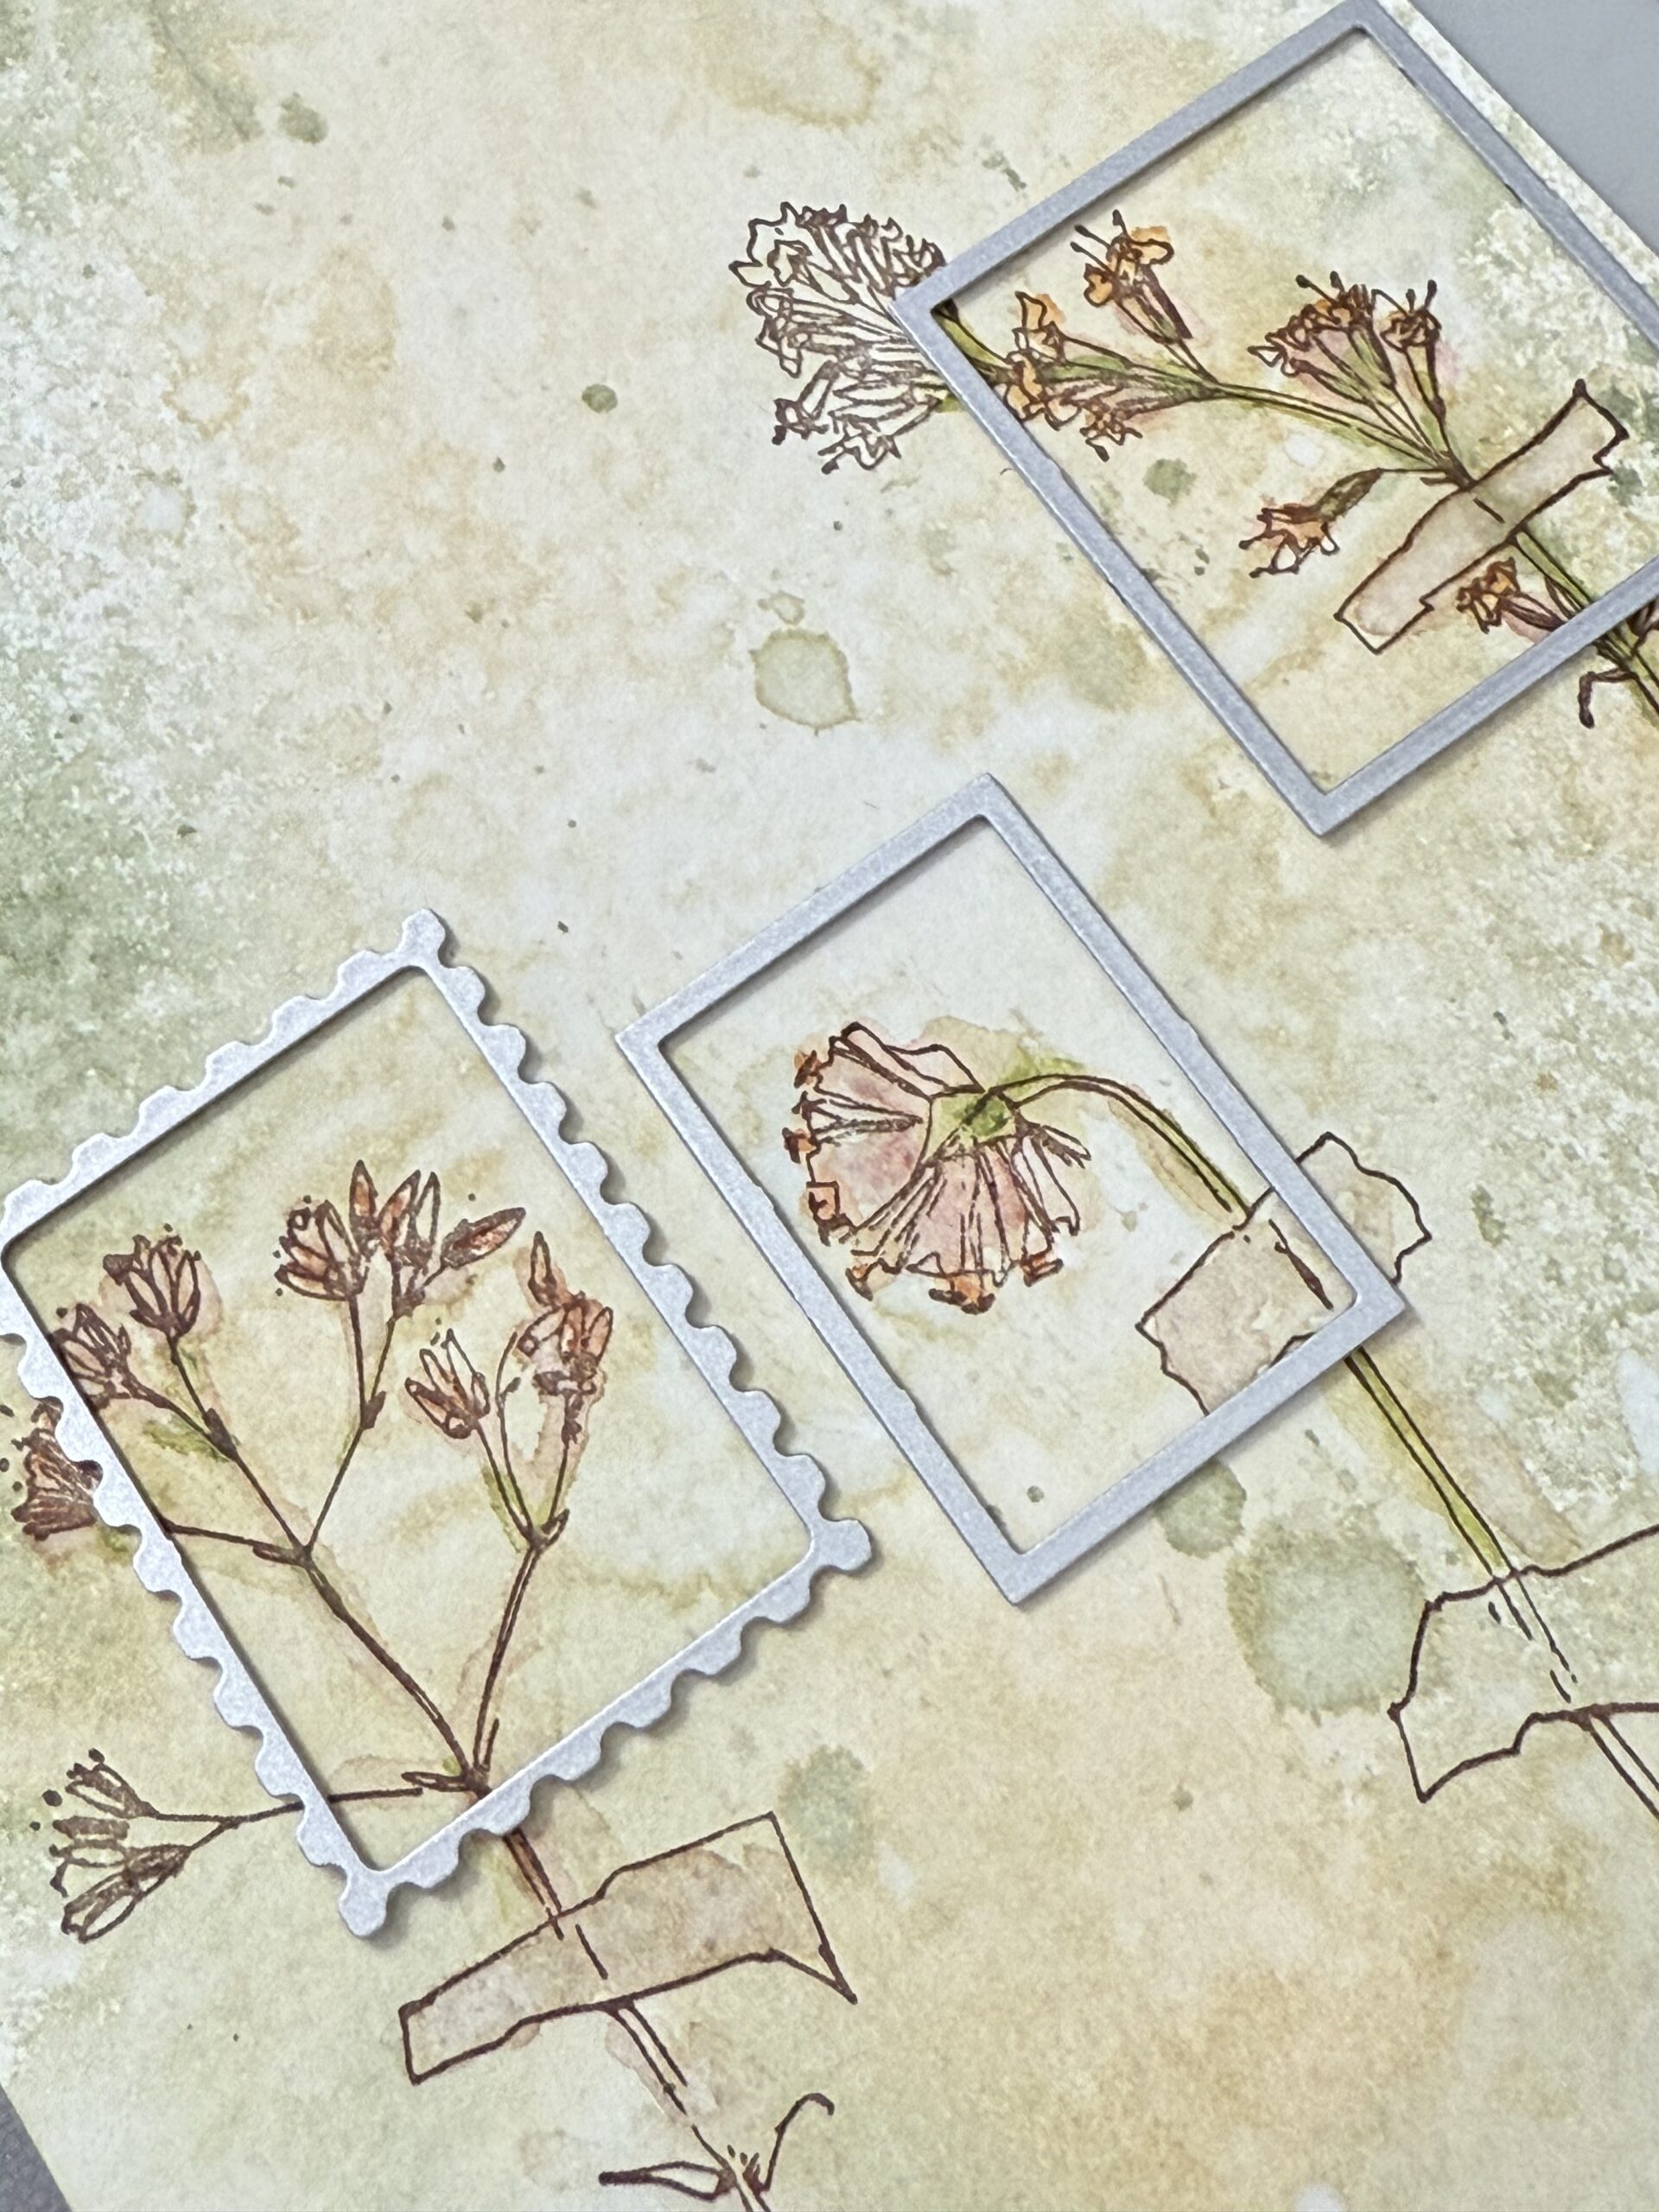
I used the rectangle piece provided in the kit to cut out a variety of sizes.
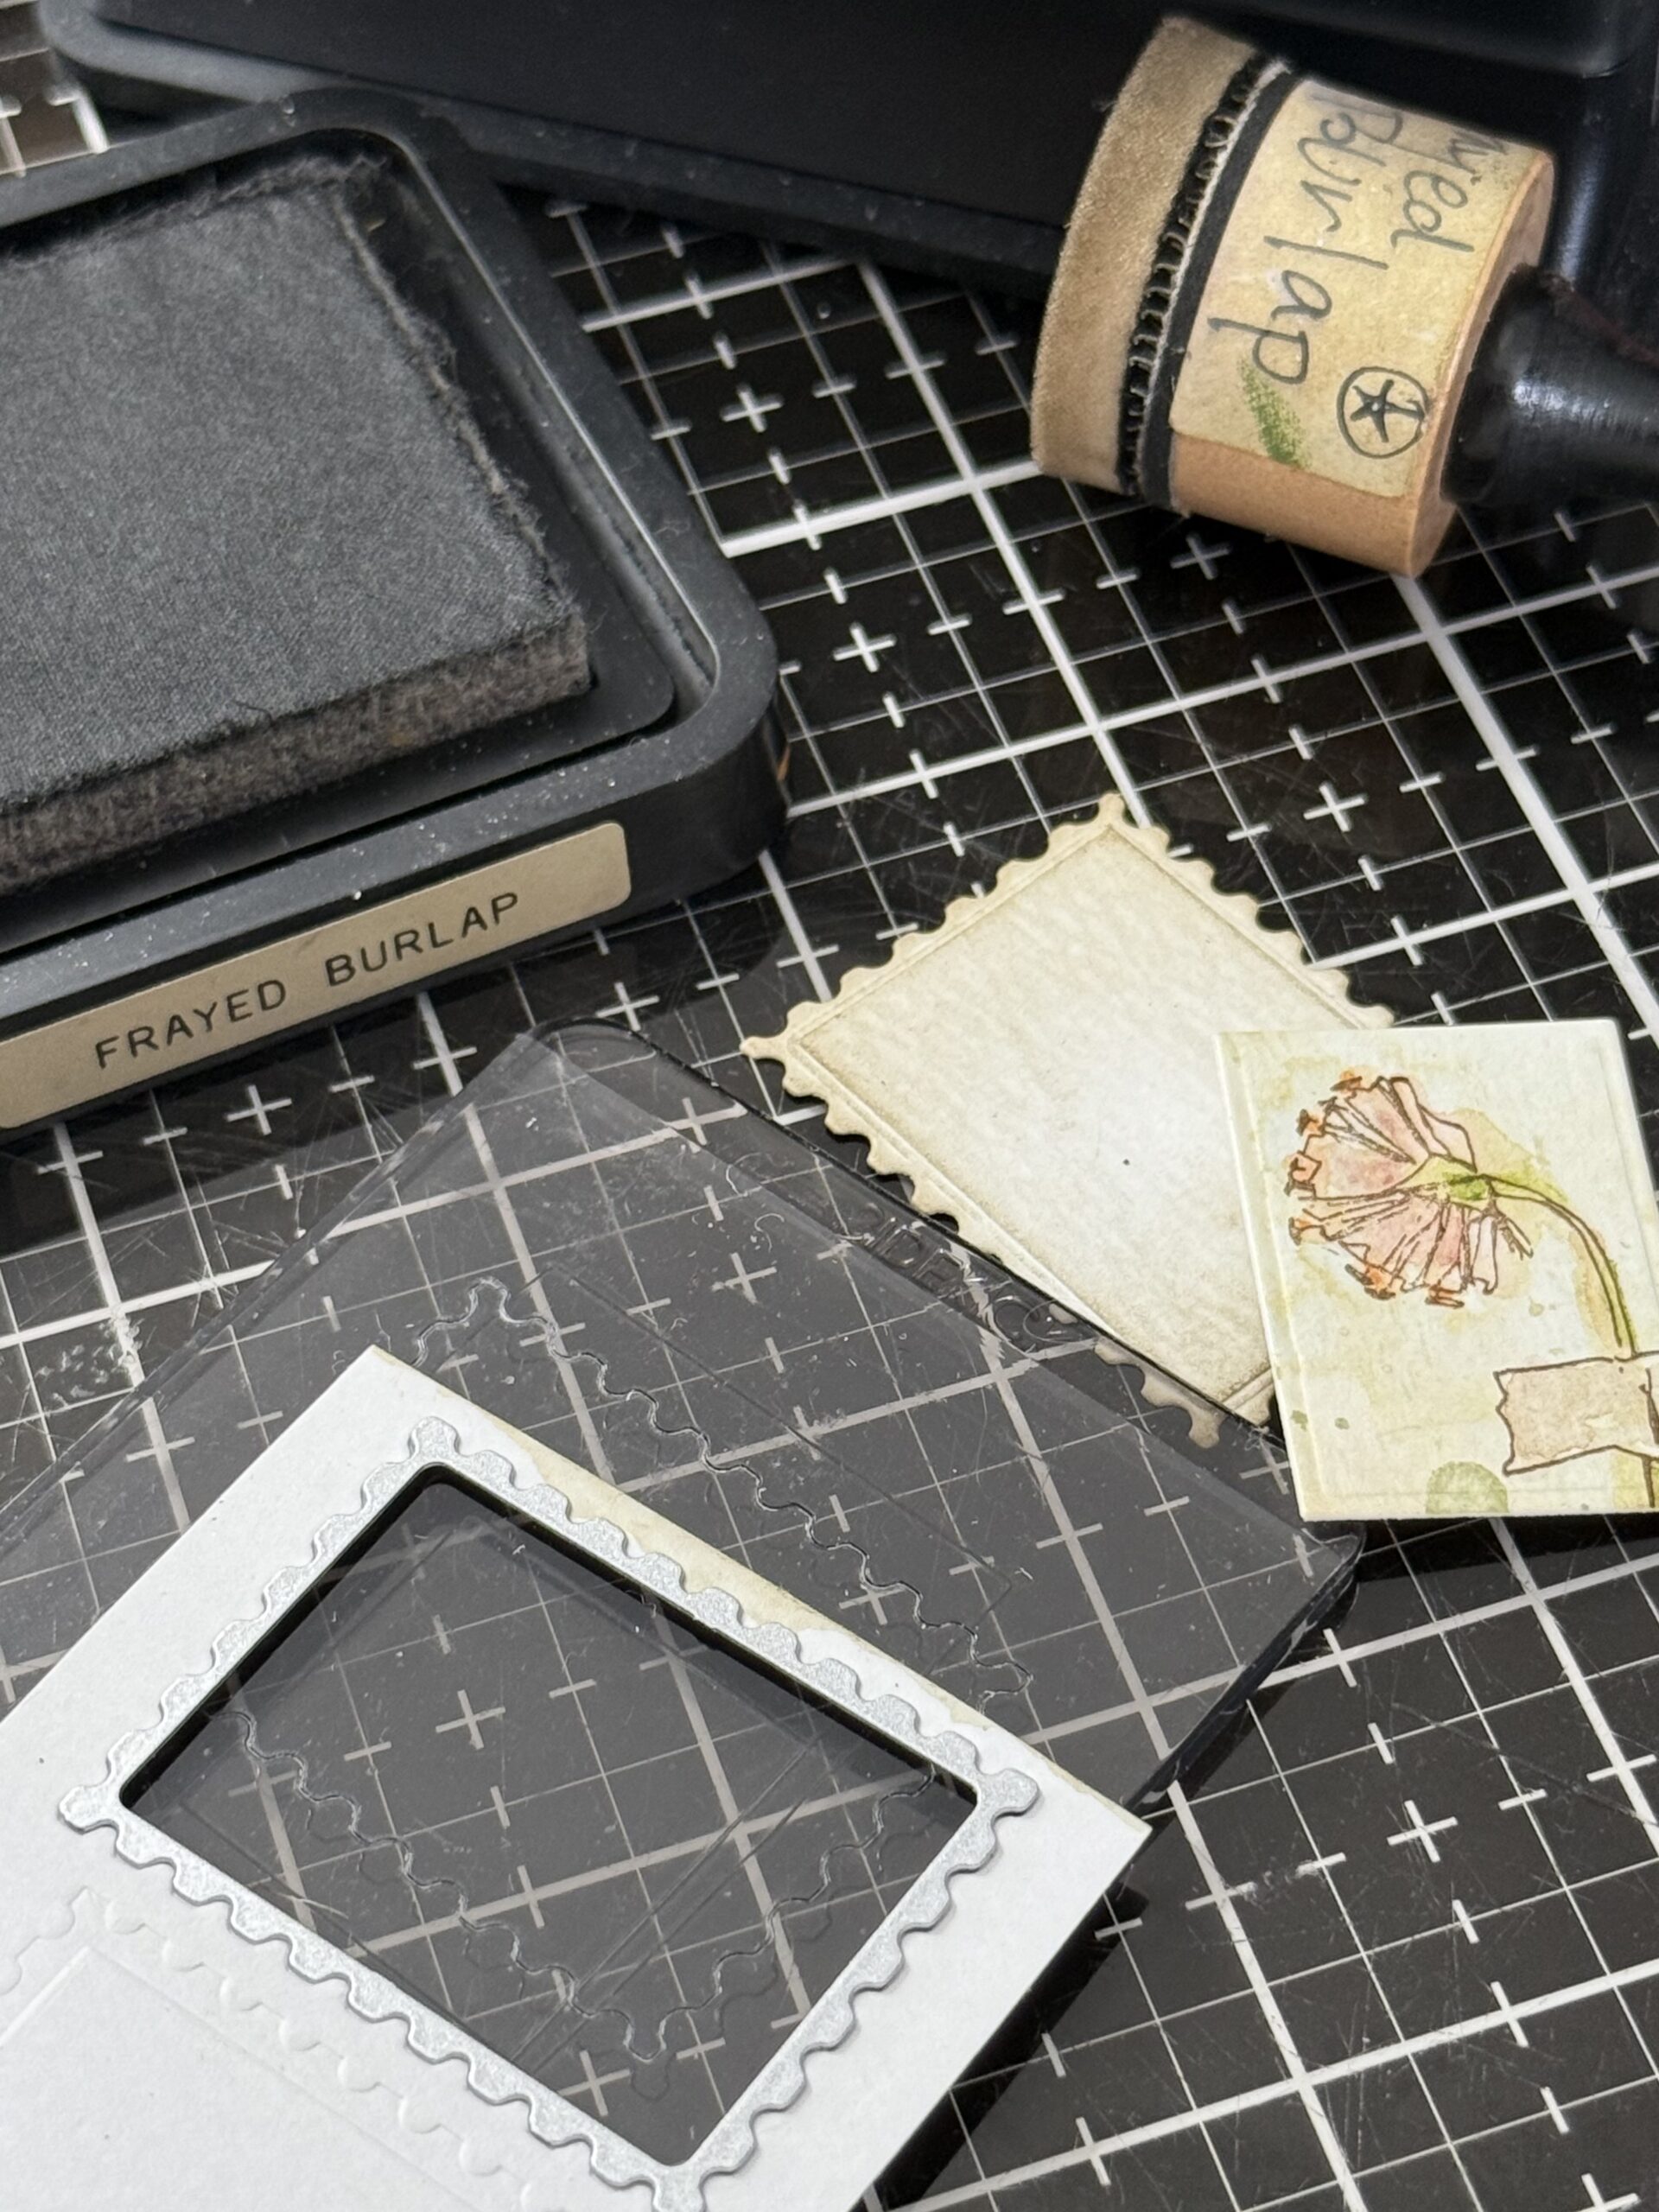
Then used the embossing postage folder and a scrap of the inky paper and ran it through my sidekick to emboss the postage stamp design…
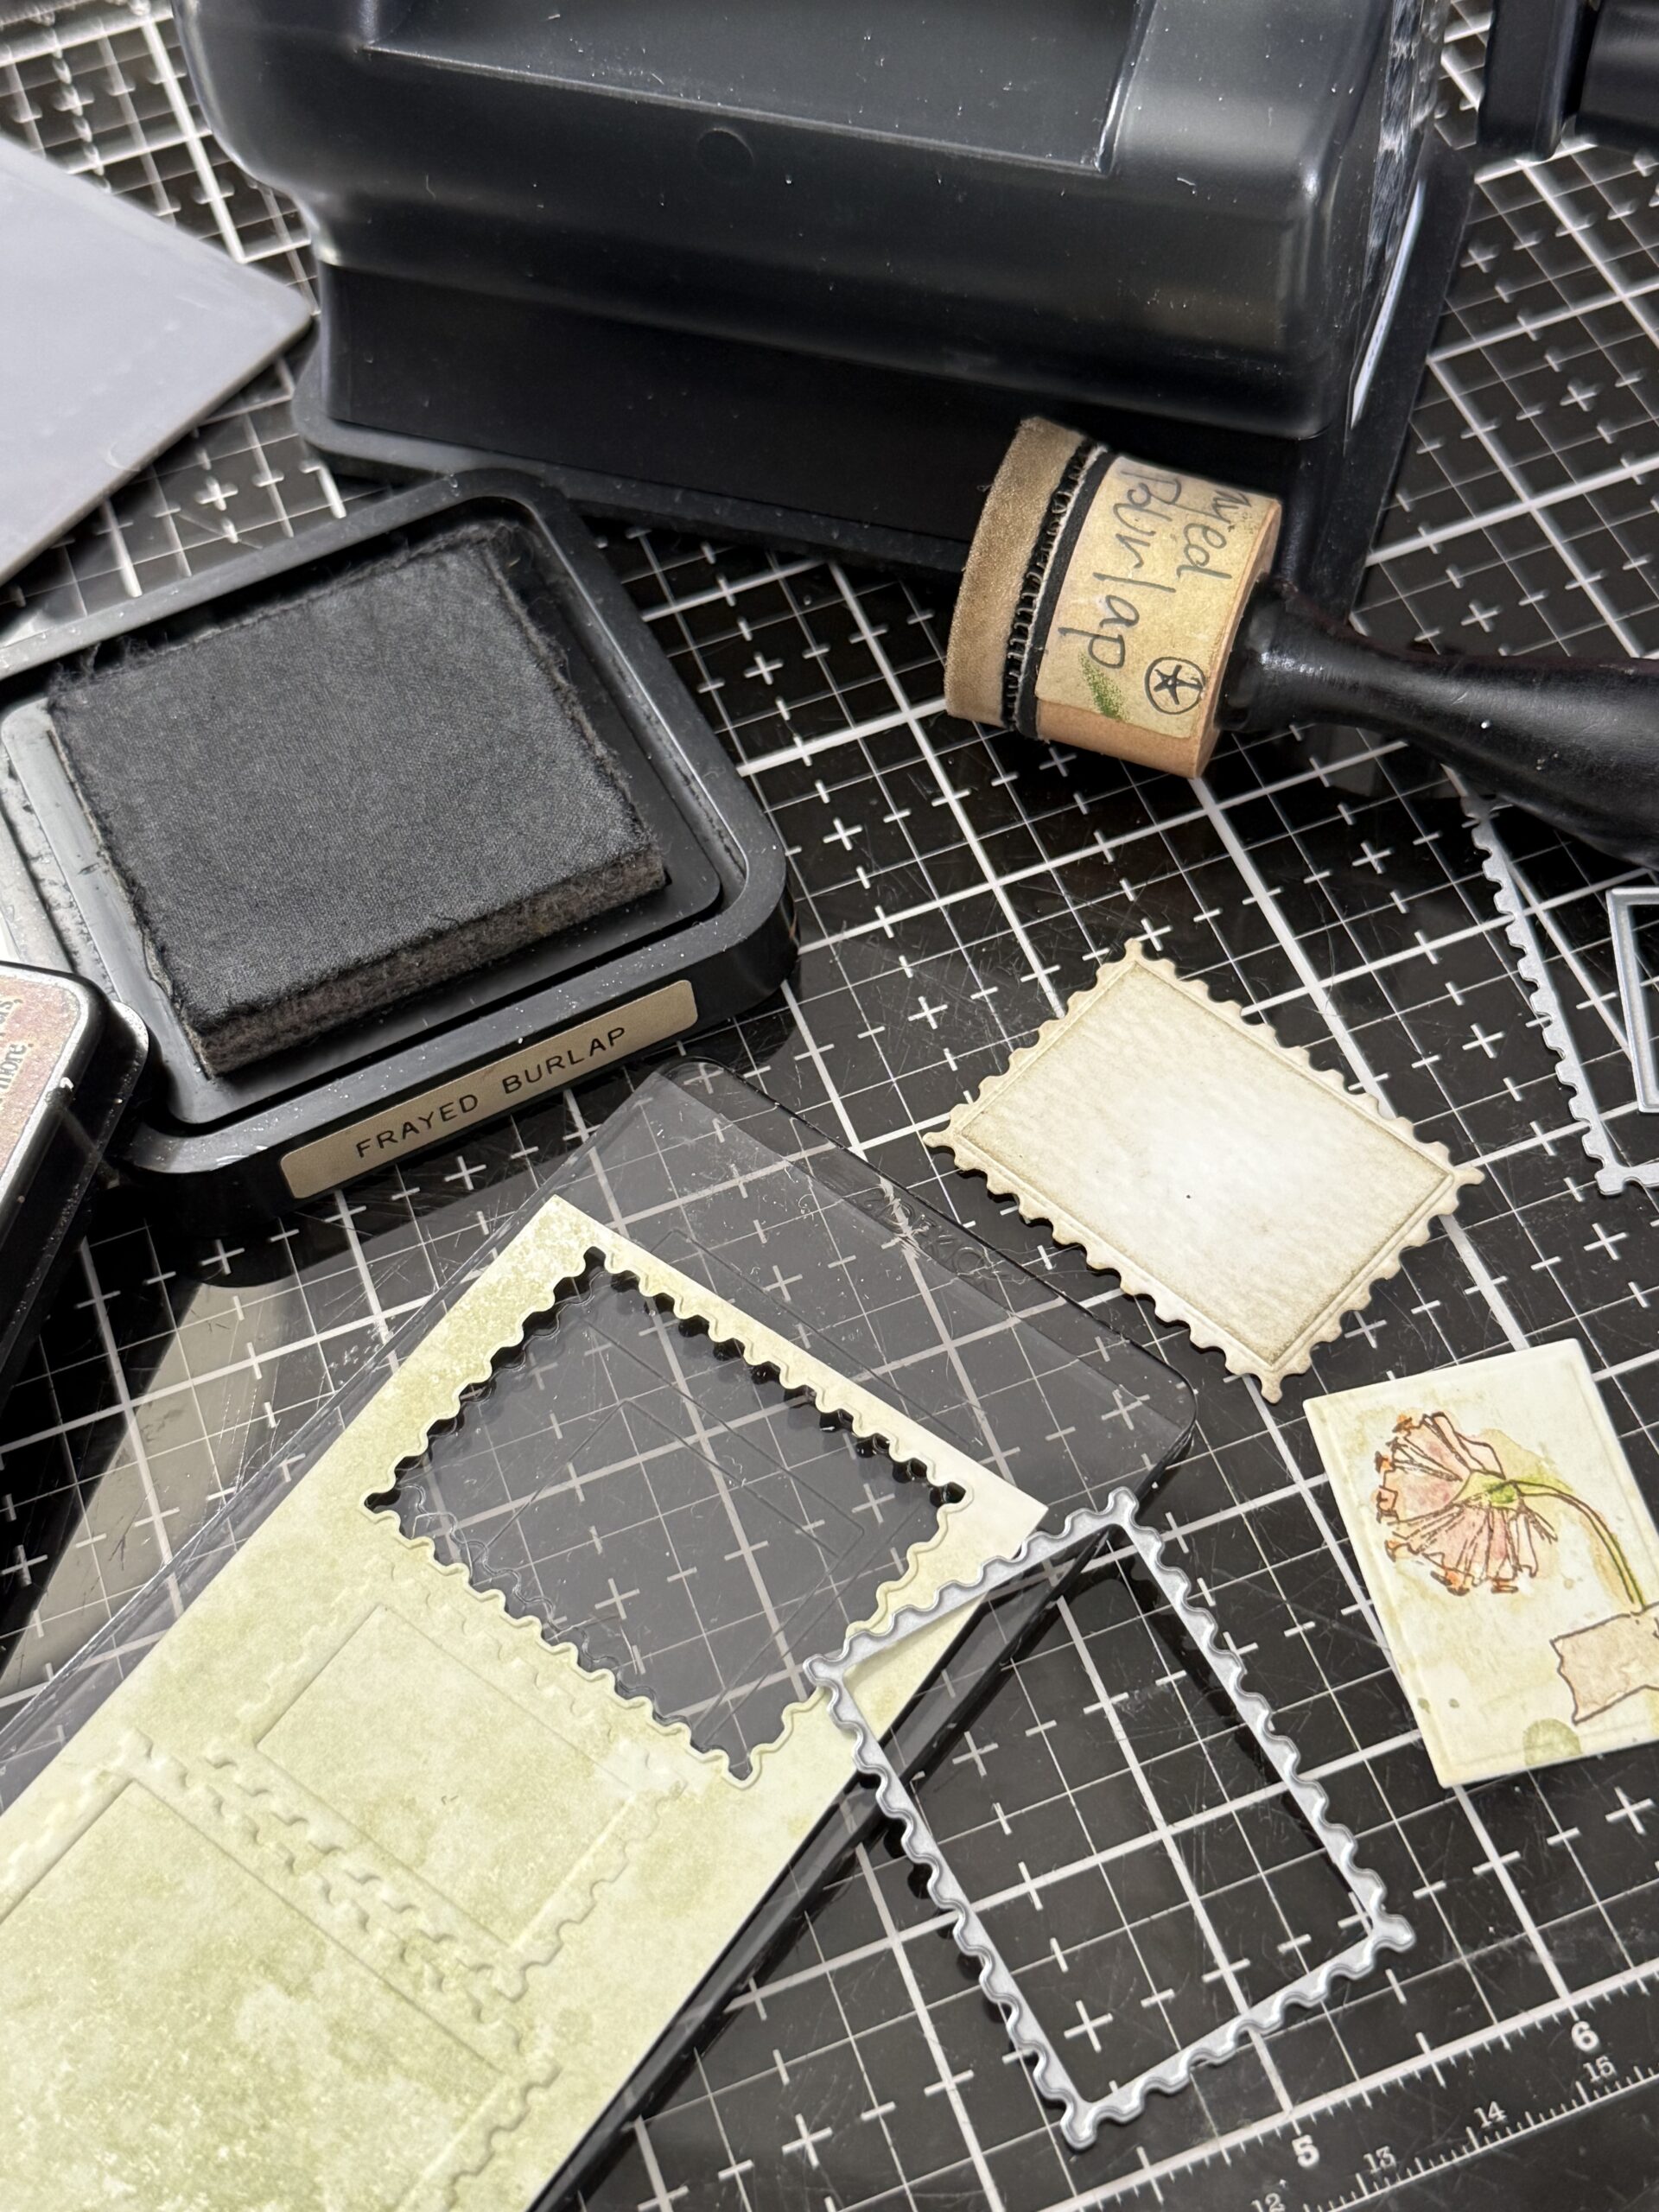
Once the stamp shapes were cut, I used a blending tool and Frayed Burlap Distress ink and blended the edges then attached the coordinating rectangle floral piece to each using foam adhesive to add interest.
I used some of the scrappy floral pieces to cut the tiny hearts that were in the kit as well…a great way to use some of those tiny scraps!
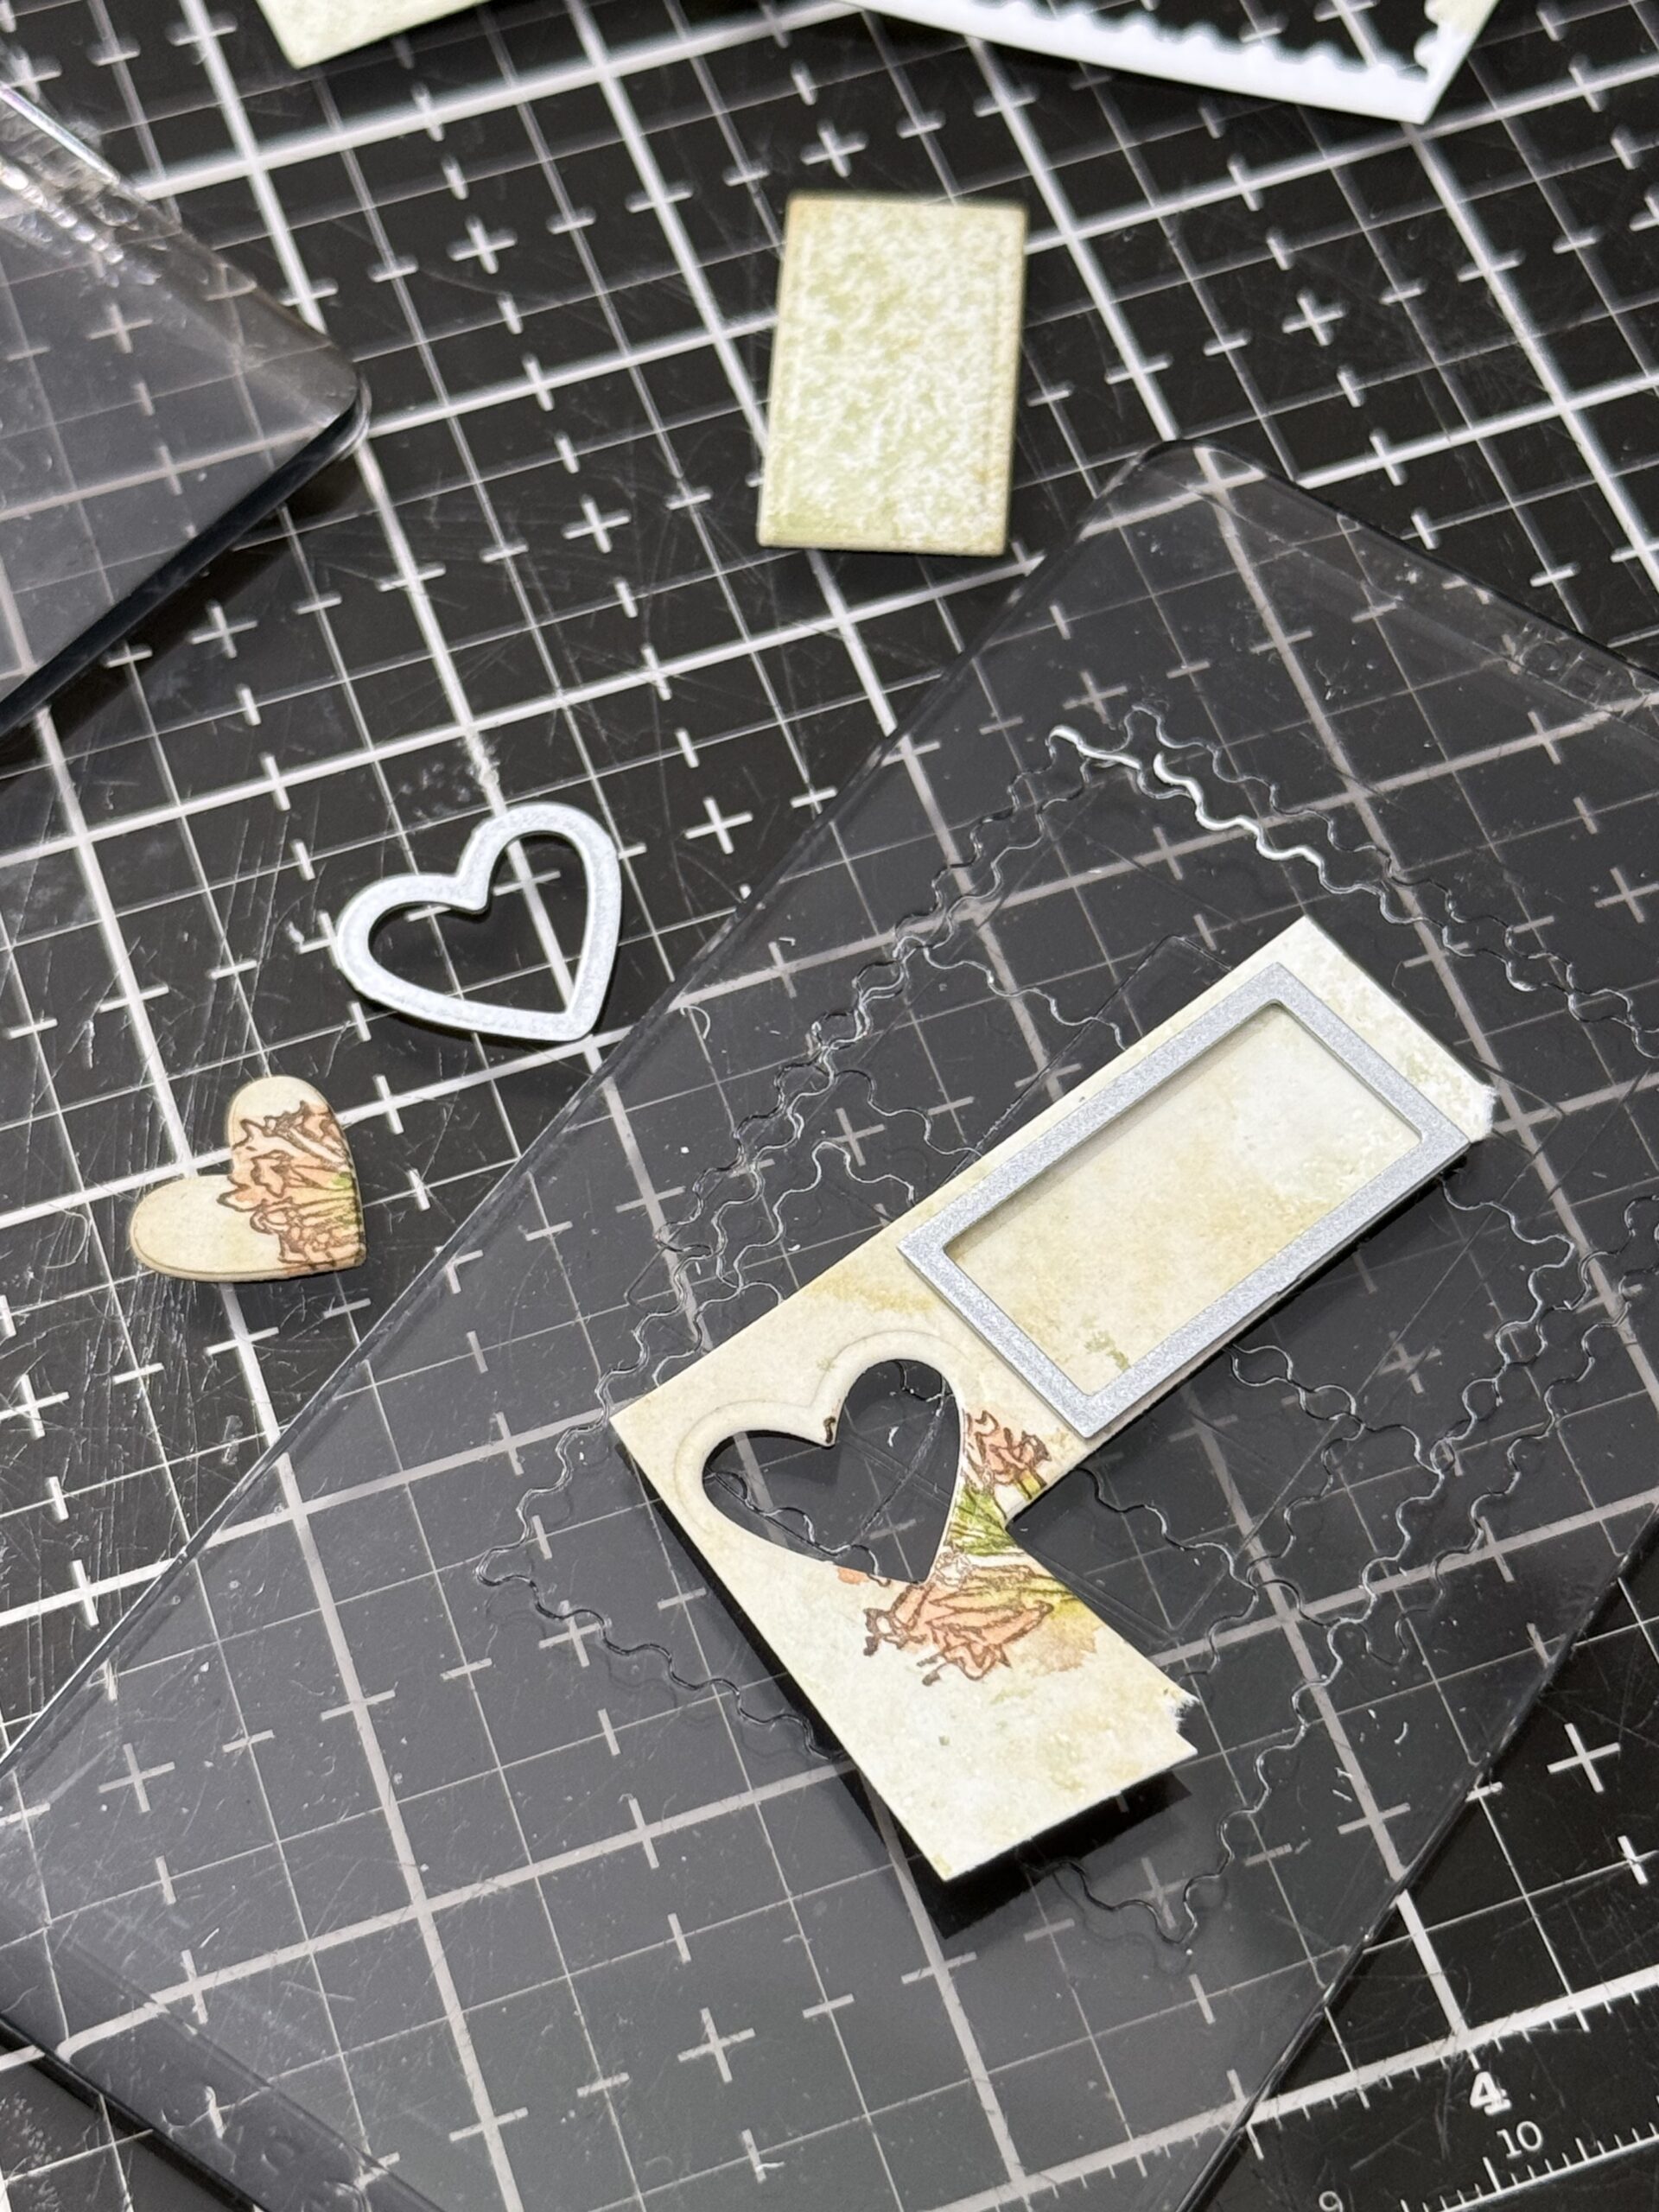
and here you’ll see them once the thin foam adhesive was added to each before I started arranging them for the front of the card.
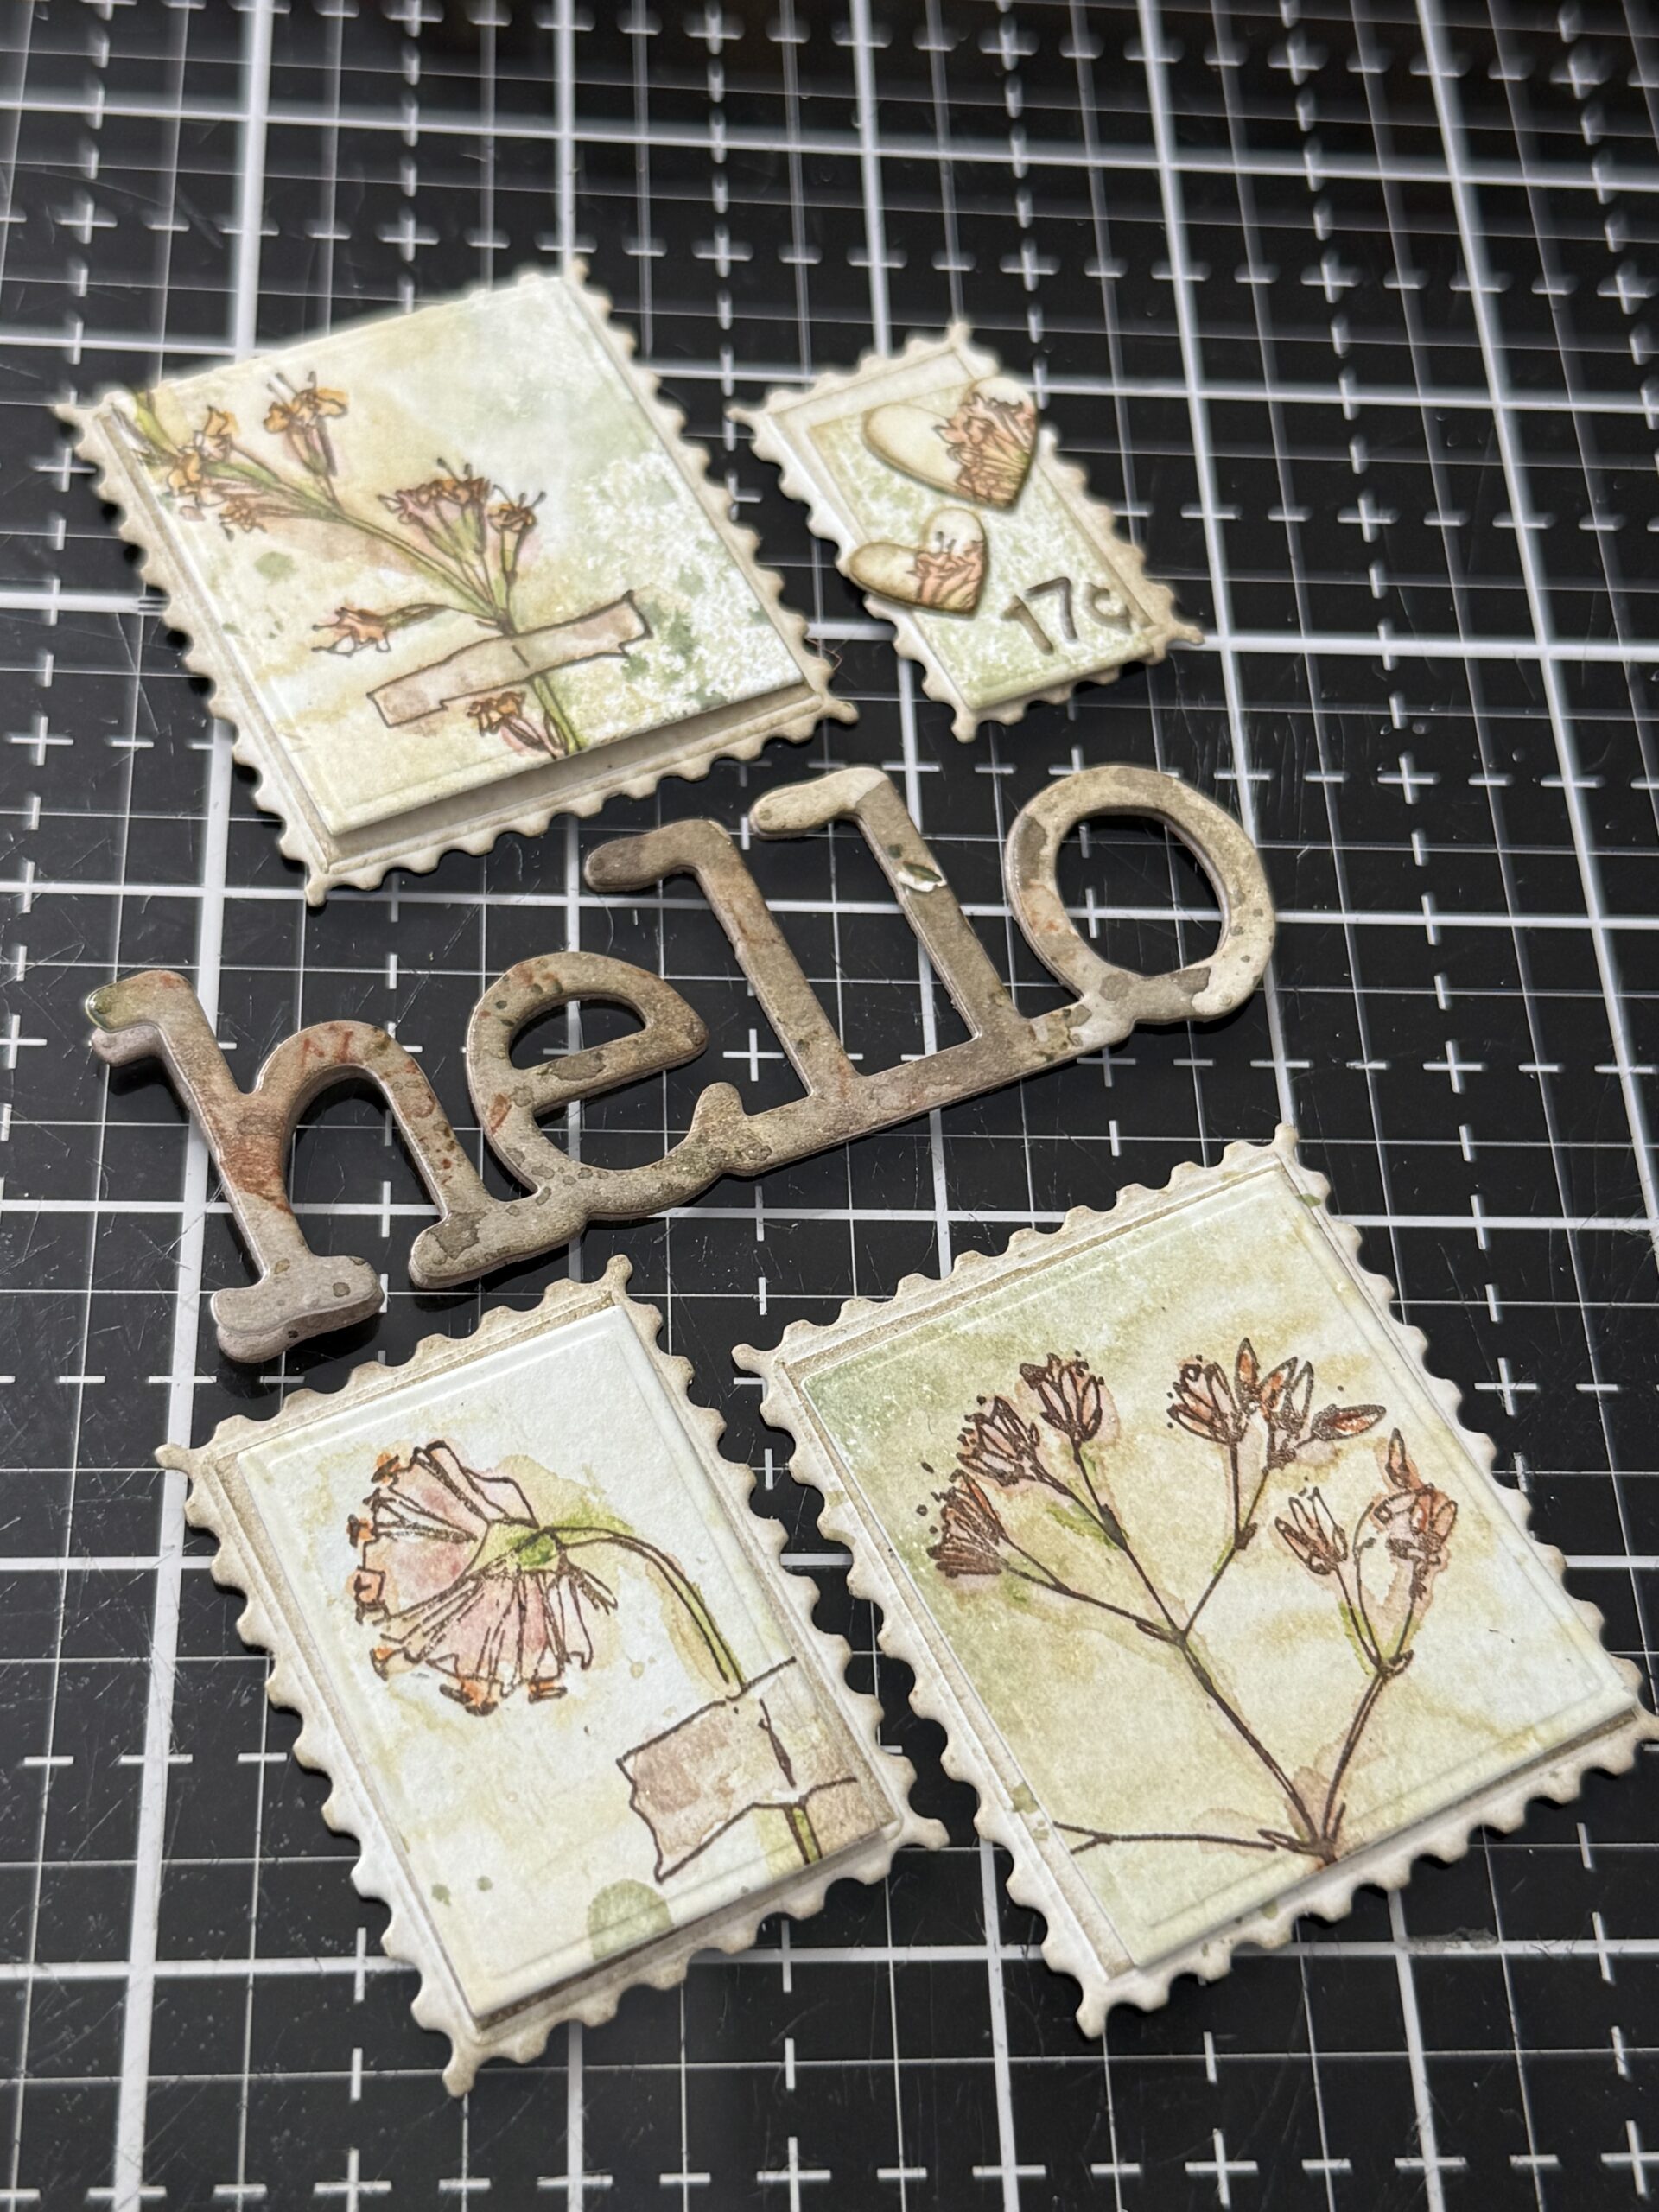
I cut out the word “hello” a couple of times from some inky kraft scrap paper that I had in my stash, then adhered the two pieces together to create a thicker piece for the focus of the card using Collage Glue.
Then, I began figuring out the front of my card using some more inky paper that I created for the background of the card. I also stamped some handwritten background areas using Gathered Twigs Distress Ink, water and a handwritten stamp found in another Tim Holtz Stamp Set (Exquisite CMS453) but, any type of handwritten or typewritten stamp would work perfectly, this was just to add more interest to the background and coordinate with the theme of the card. I cut the postage cancelled sign using the wafer die from the set from a piece of scrap paper and added that to the arrangement.
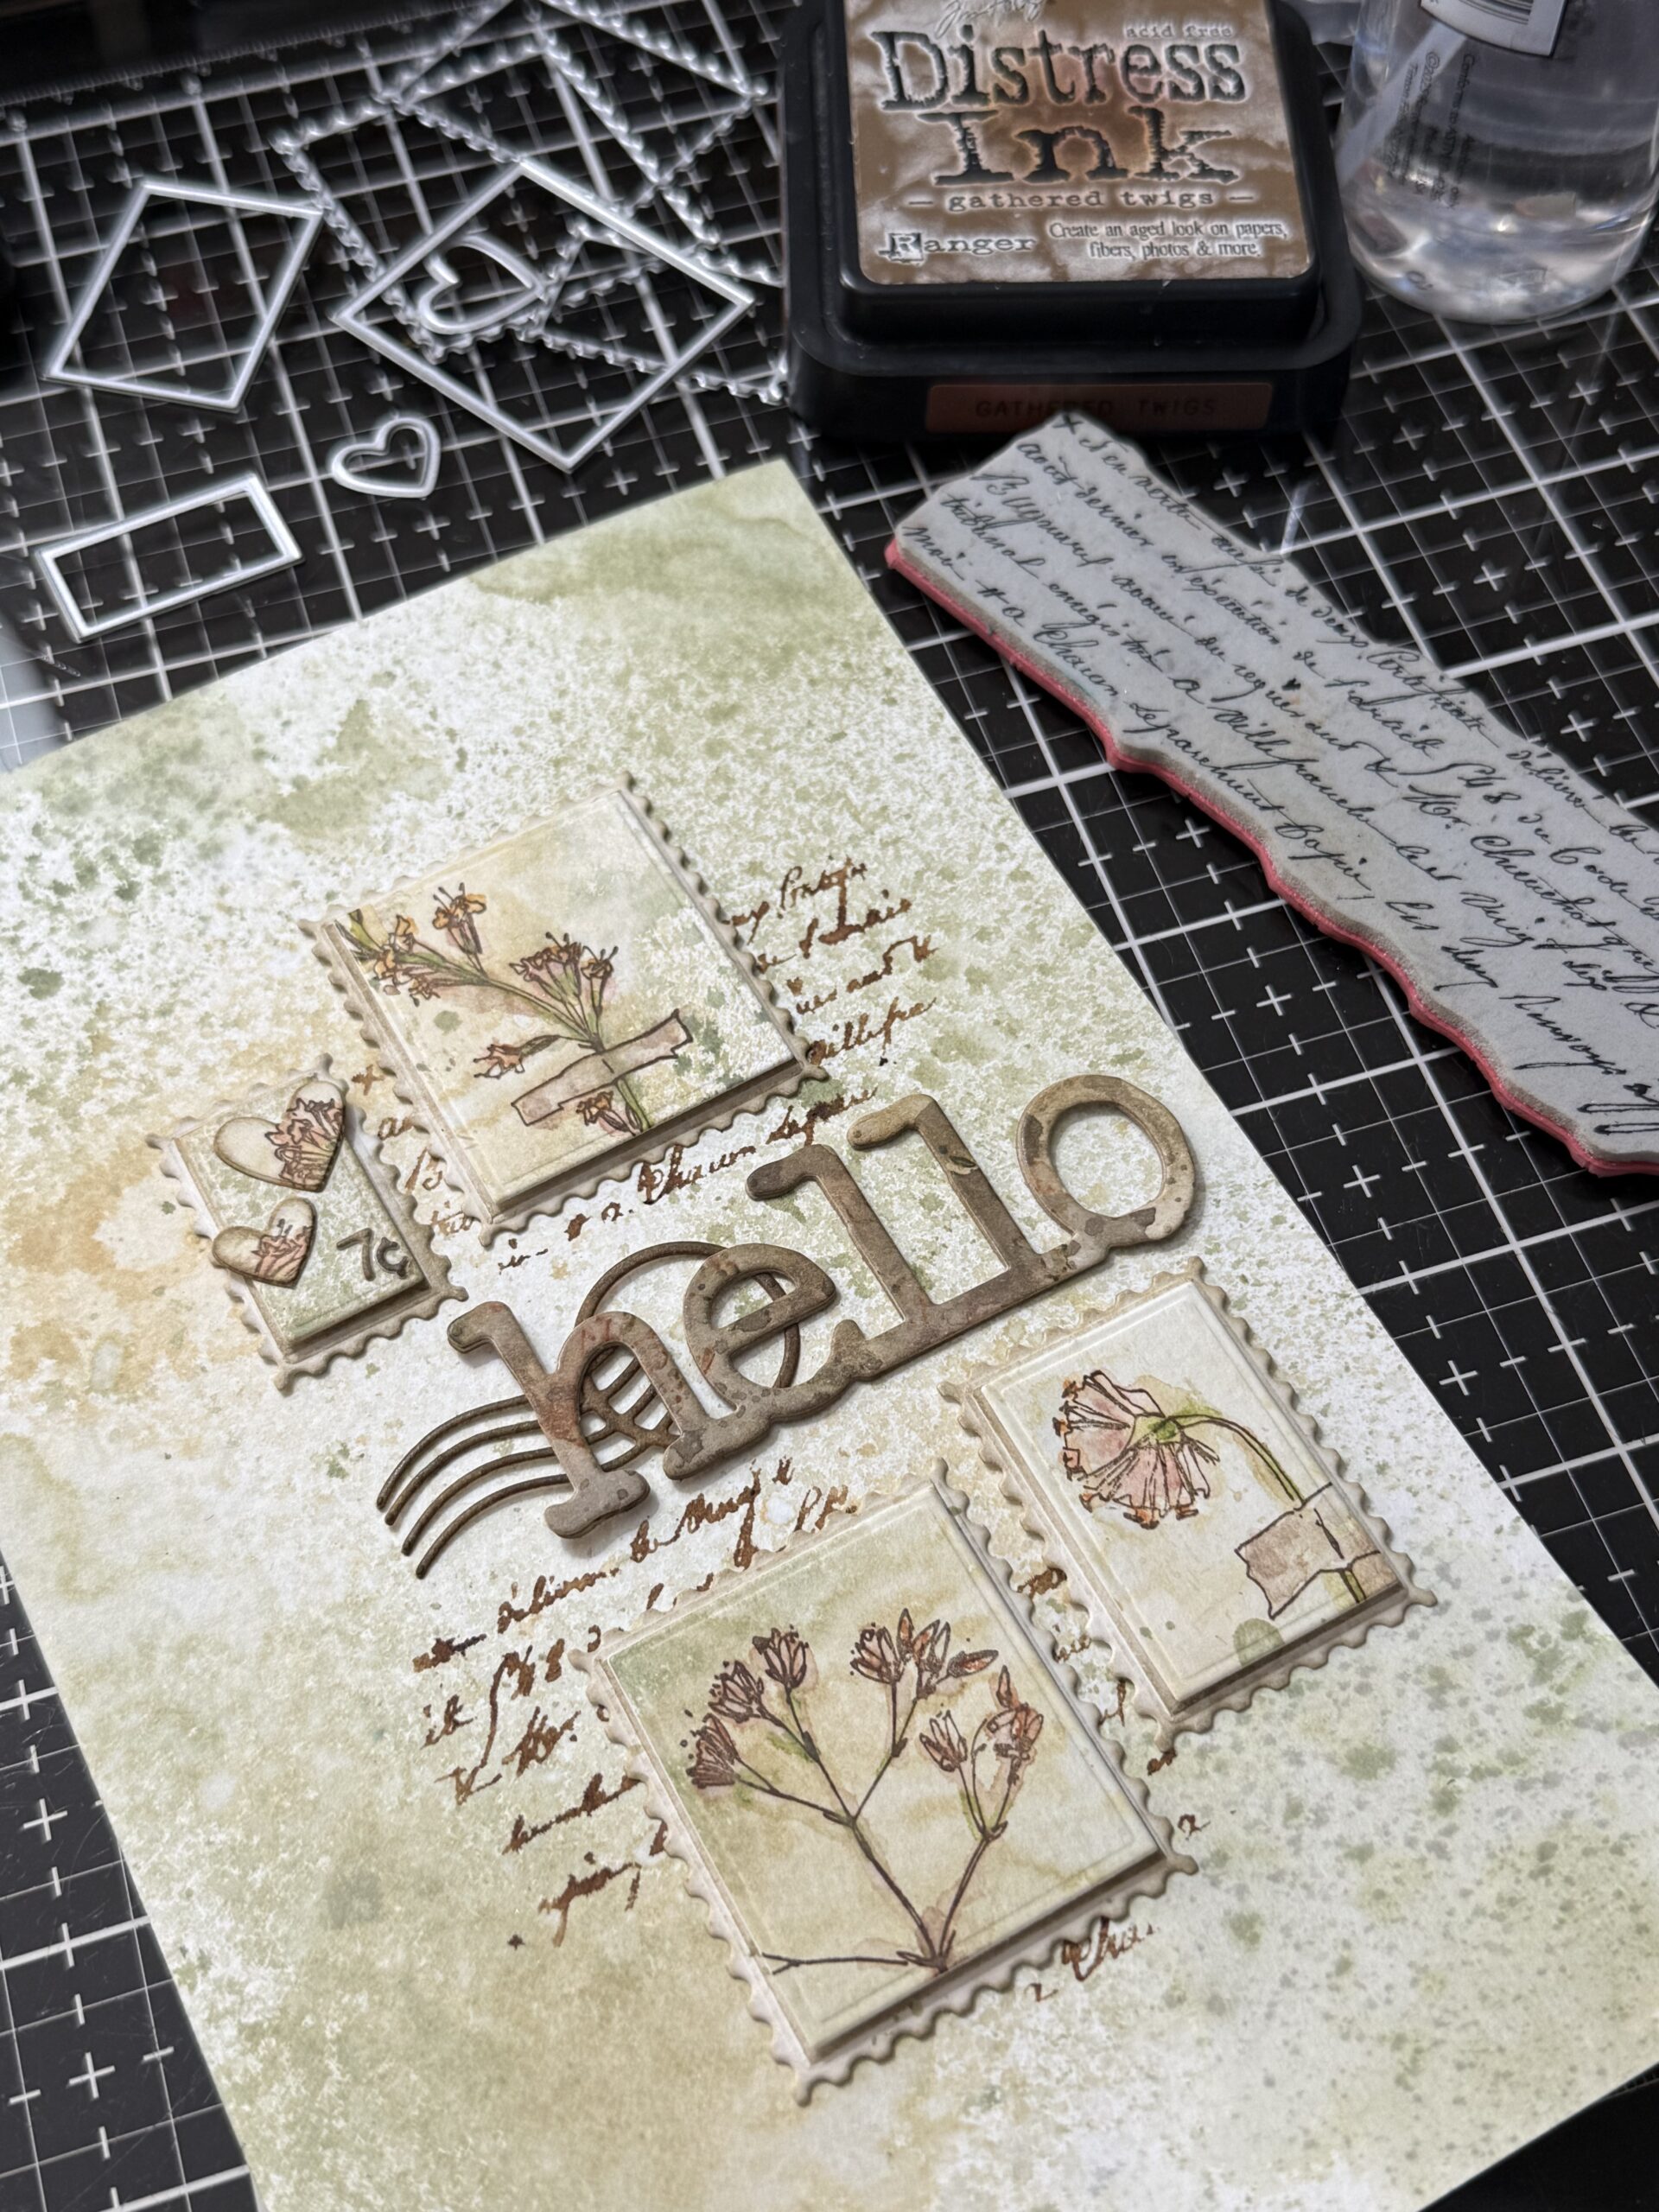
I used a distress edging tool to add some roughness to the edges then used my sewing machine to create a border around the edge of the card and added it to the front of a cardstock card base with foam adhesive. I tied some jute and some inky ribbon to the folded side of the card to finish it. In the photo below you can see that I added some of the little tiny number to a few of the stamps to add that postage whimsy to the card.
Next, I went back and made some more tiny postage pieces using some inky scrap paper and the floral stamps. These little flowers were colored using the same technique as I had with the ones for the cards, then cut out the same way and adhered together. I cut some piece of cardstock to create small cards then adhered the postage piece to the front.
After they were adhered to the small card bases, I used some jute and tied bows around the folded edge. The tiny number seven and the cents sign were cut using the sidekick and adhered to the front using adhesive…with that, my card and tags were complete!
Thanks so much for stopping by today, and be sure to check out the new Tim Holtz Frosted Sidekick and the lovely new accessories if you are in need of it, they would make a wonderful addition to any makers life!
CLICK HERE to check out the new Tim Holtz Sizzix Sidekick Frosted
Creatively yours,
Stacy
Shop Simon Says Stamp by clicking on this link. Thank you! I appreciate you for supporting me.
What is an affiliate program, and why should I click on the link and buy through you?
When you shop via the affiliate link on this blog, I receive a small commission from the affiliate provider (Simon Says Stamp) at no extra cost to you, whatsoever. These commissions help me to cover the hosting fees and other costs to run my blog and be able to provide you with FREE inspiration. If you shop the links, THANK YOU! I truly appreciate being able to share my love of creating with you.










Leave a Reply