Hello there… I hope that you are doing well.
I’m back today with another tutorial for a card created for the Stampers Anonymous booth at Creativation 2020. I’ve used the new and bigger and better Professor 2 Stamp Set (CMS395). Because if you loved the original Professor Stamp Set (CMS373), then you will do flips for this set. It comes with a larger professor and several awesome collage elements that fit with the professor perfectly. To create the card I also used the new Digits (THS145) Layering Stencil and the Glitch 1 (CMS403) and Tiny Text (CMS394) Stamp Sets.

To create some interest in the background I used a #8 tag on the card… because, come on.. what else goes so perfectly with the professor other than a tag? As some of you know, Tim Holtz is often lovingly referred to as “the mayor of tag town”! 😉
Did you know that Distress Crayons can be used to color stamped images?
The professor was colored by using a Detail Water Brush and Distress Crayons. Some of the crayons were applied directly to the image and blended out and other areas were colored by applying the crayon to the Media Mat and picking the colors up with a Detail Water brush. The colors are very vibrant and makes the professor’s image pop!
The professor’s goggles were accented with plastic circles that were cut out of emboss-able window sheets, then they were embossed using the new Distress Glazes in Antique Linen and Vintage Photo to create the look of mica.

Here’s how it all came together…
I created a few tags with a combination of Frayed Burlap Oxide, Chipped Sapphire and Old Paper Distress Sprays, and water and my heat tool.

I blended the edges of the tag with Walnut Stain and Frayed Burlap Distress Inks and then dipped the tag into a mix of Walnut Stain Distress Ink and water that I had on my craft mat.
I stamped some areas of the tag with stamps from the Glitch Stamp Set and Stamped a phrase from the Tiny Text Stamp Set. I smooshed, blended and colored a piece of Distress Watercolor paper by blending Frayed Burlap, Faded Jeans and Walnut Stain Distress Inks, and blended some number into the background using the Digits (THS145) Layering Stencil.
I stitched around the edge of the paper and added a few idea-ology Hardware Heads onto the background.

To color the professor I used a combination of Distress Crayons. The professor was stamped onto a piece of watercolor paper with BlackSoot Archival Ink and then it was trimmed out with the a pair of Paper Snips.

To color his face, I scribbled SpunSugar, Dried Marigold and Walnut Stain Distress Crayons onto my Media Mat and with a Water Brush, picked up color and added the colors. In-between layers of the colors, I dried with a heat tool.

I colored his hair with the Walnut Stain Distress Crayon, by scribbling onto the media mat and picking up the color and also by applying the crayon directly to the paper. When the crayon was applied to the paper, I blended the areas out with the water brush. This added a darker area to the finish.

I colored the professors jacket in the same way as I had done his hair. By applying the crayon directly to the paper and blending it out with the water brush.

Then I blended the jacket with some Faded Jeans Distress Ink using a blending tool.

After I had blended a bit more blue onto the jacket, I added some Walnut Stain Distress Crayon to add some shading and then stitched on a couple of buttons and fussy cut him from the paper.

I lightly applied a coat of Antique Linen to a few Hardware Heads, then added a bit of Mushroom Alcohol Ink and a bit of Rusty Hinge Distress Crayon. They were then added to the front of the card near the phrase.

I cut circles out of a piece of Judikins Embossable Window Plastic, then rubbed the circle with the Distress Embossing Dauber and embossed them with a combo of Antique Linen and Vintage Photo Embossing Glazes. Then they were adhered to his goggles with Collage Medium. I added one of the hardware heads into the center of the goggles and then arranged and adhered the rest of the card.

With that, my card was complete.
Thanks so much for stopping by today, see you soon!
Creatively yours,
Stacy
What is an affiliate program, and why should I click on the link and buy through you?..
When you shop via the affiliate link on this blog, I receive a small commission, from the affiliate provider (Simon Says Stamp), at no extra cost to you whatsoever. These commissions help me to cover hosting fees and other costs to run my blog and be able to provide you with FREE inspiration. If you shop the links, THANK YOU! I truly appreciate being able to share my love of creating with you.
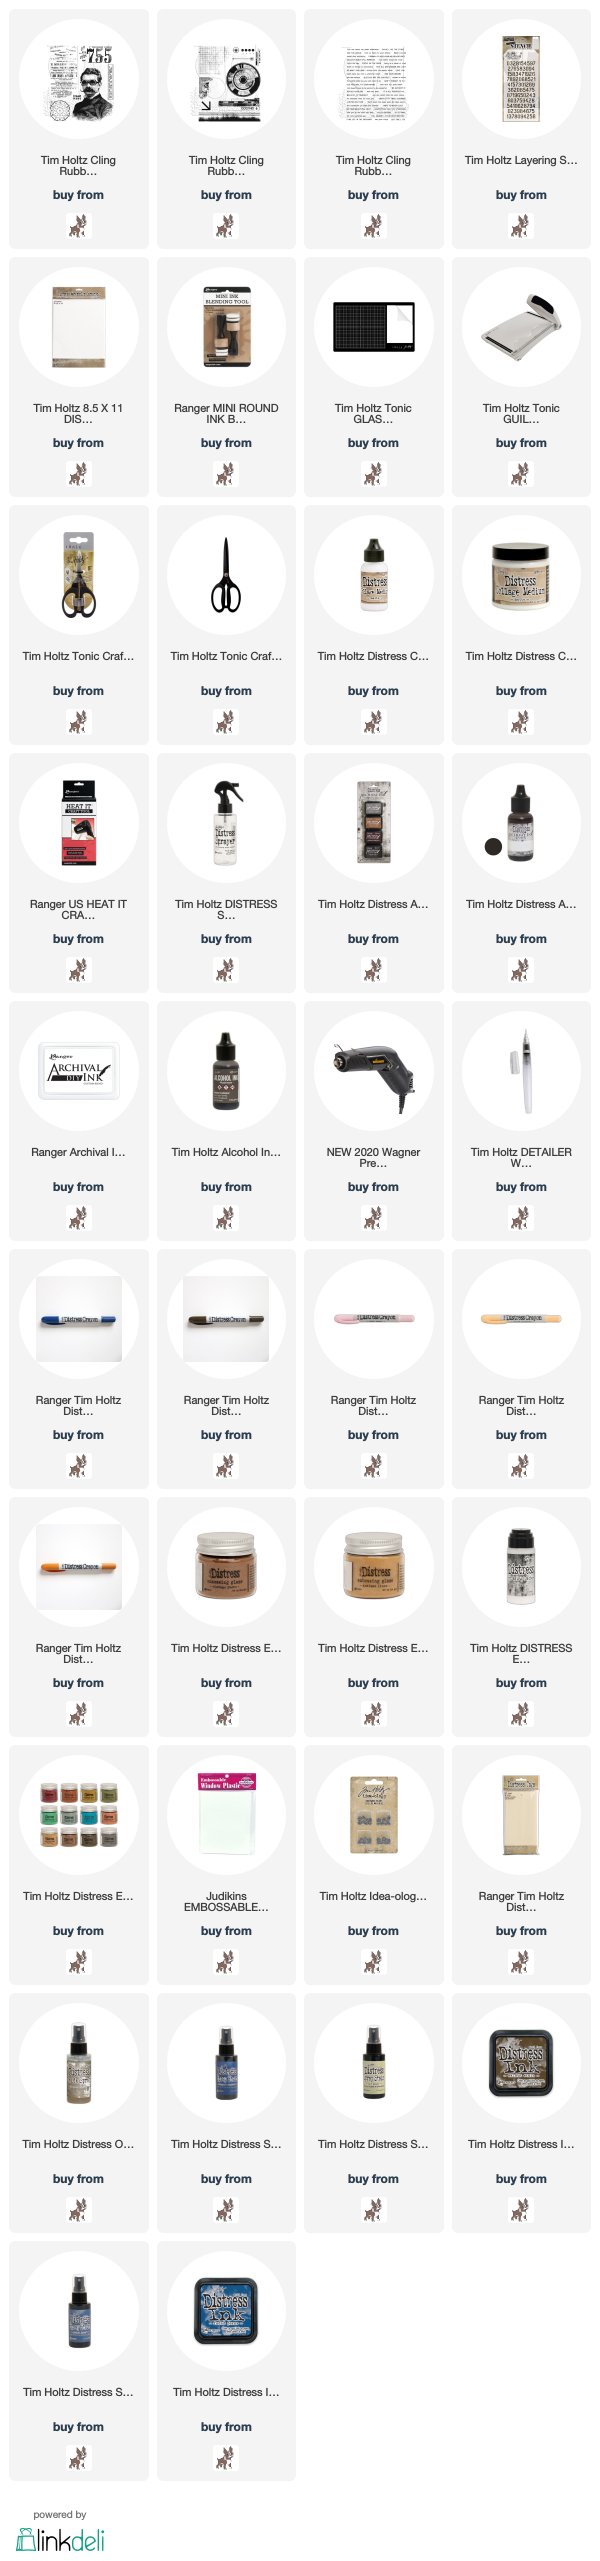
Gather Your Supplies-
Tim Holtz/Stampers Anonymous- The Professor 2 CMS395, Glitch CMS403, Tiny Text CMS394, Digits Layering Stencil THS145
Tim Holtz/Tonic- Tonic Guillotine Paper Trimmer, Tonic Shears
Tim Holtz/Idea-ology- Hardware Heads
Tim Holtz/Ranger- Distress Embossing Glaze- Antique Linen, Vintage Photo, Distress Embossing Dauber, Distress Watercolor Paper, Black Soot Archival Ink, #8 Mixed Media Tags
Distress Spray Stains and Oxide Spray- Frayed Burlap Oxide, Chipped Sapphire, Old Paper
Distress Crayons- Rusty Hinge, Chipped Sapphire, Walnut Stain, Spun Sugar, Dried Marigold,
Distress Ink- Walnut Stain, Faded Jeans
Distress Tools/Mediums- Distress Sprayer, Media Mat, Heat it Heat Tool, Blending Tools, Distress Collage Matte Medium
Other- Judi-kins Embossable Plastic Sheets, sewing machine and thread, vintage mini buttons


Magnificent as always! Absolutely love the colors you chose, especially the blues. And the background is gorgeous with the tag and stamping, just perfect! Really, I don’t know how you do it, time after time, which such inspirational makes!
perfection in every way, the glasses are fabulous with the embossable acetate and Distress Glazes, fab idea…
Help, please. What kind of paper did you use for the professor? What kind of ink did you use?
I have this set and my images do not turn out quite as clear as yours.
Thank you!
xo
SuZeQ
Hey SuZeQ, if you read the typed print it says “The professor was stamped onto a piece of watercolor paper with BlackSoot Archival Ink and then it was trimmed out with the a pair of Paper Snips.” Then if you look at the items below you can see a picture of each item and what brand they are…Tim Holtz of course…I hope the information is of help…
The “Mayor of Tag Town” would be impressed! I love this piece as always. Love the professor, like the colour choice and I will have to try the crayons on the stamp. Excellent piece of art!!! Love
Incredible and beautiful. Love the way you colored The Professor, thanks for your detailed tutorial. Was working on a gelli print swap using The Professor this weekend and couldn’t come up with any ideas on how to color him. Had him stamped and cut out in 3 different colors….Vintage Photo, Black Soot and Walnut Stain. Couldn’t decide what color to use until now. You have saved me a few days of thinking 🙂 Thanks again!
A pure delight to see him dressed like this…you are amazing! Pinned!
I just love this Stacy! Thank you so much for the very detailed description of your creative process and the great close up pictures! I always look forward to your posts. Be well and care!