Hello friends!
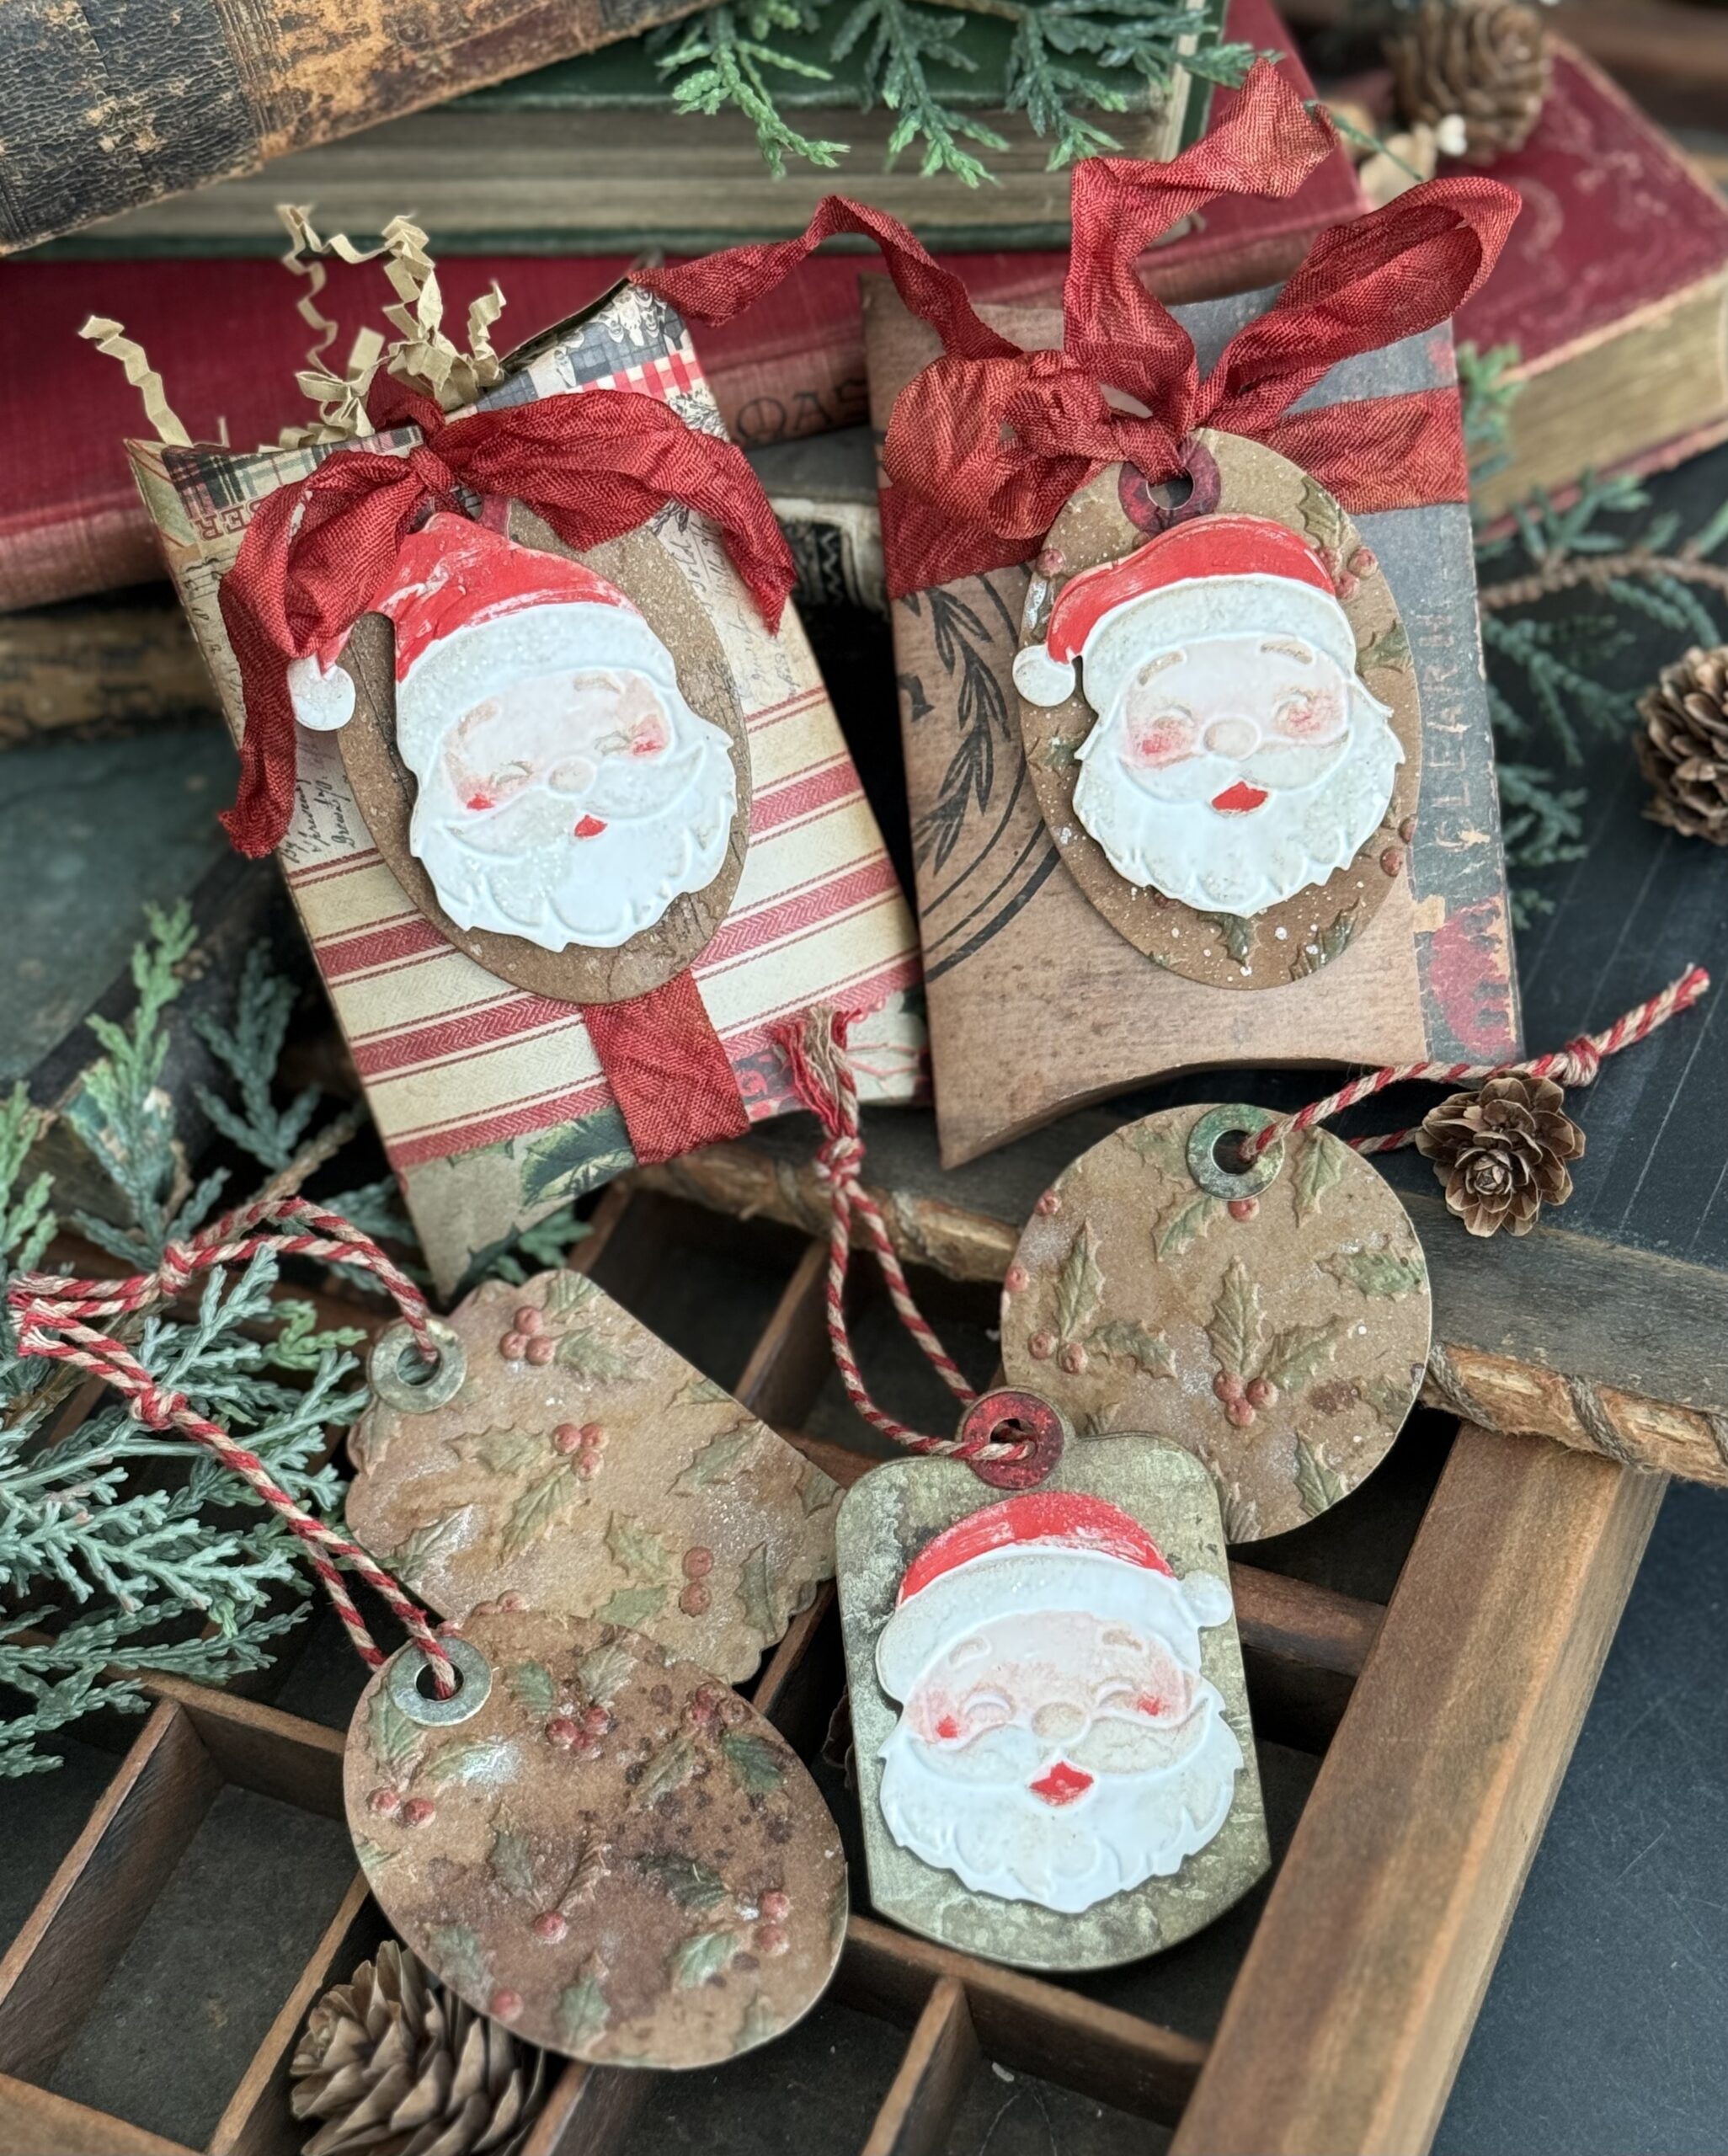
Happy Monday…I am writing today to share a cute little set of tags and pillow boxes that I created using a couple 3D Embossing Folders that are exclusively made by Simon Says Stamp. I recently discovered these and am so happy that I did! I am a long time fan of vintage Santa mugs all chippy and perfect for Christmas decorating, as I have collected as many as I can find throughout the years and instantly had to have this folder! I decided to use the Santa Face Embossing Folder along with a mini vintage Graceful Holly design folder and I love how the combination went so well together.
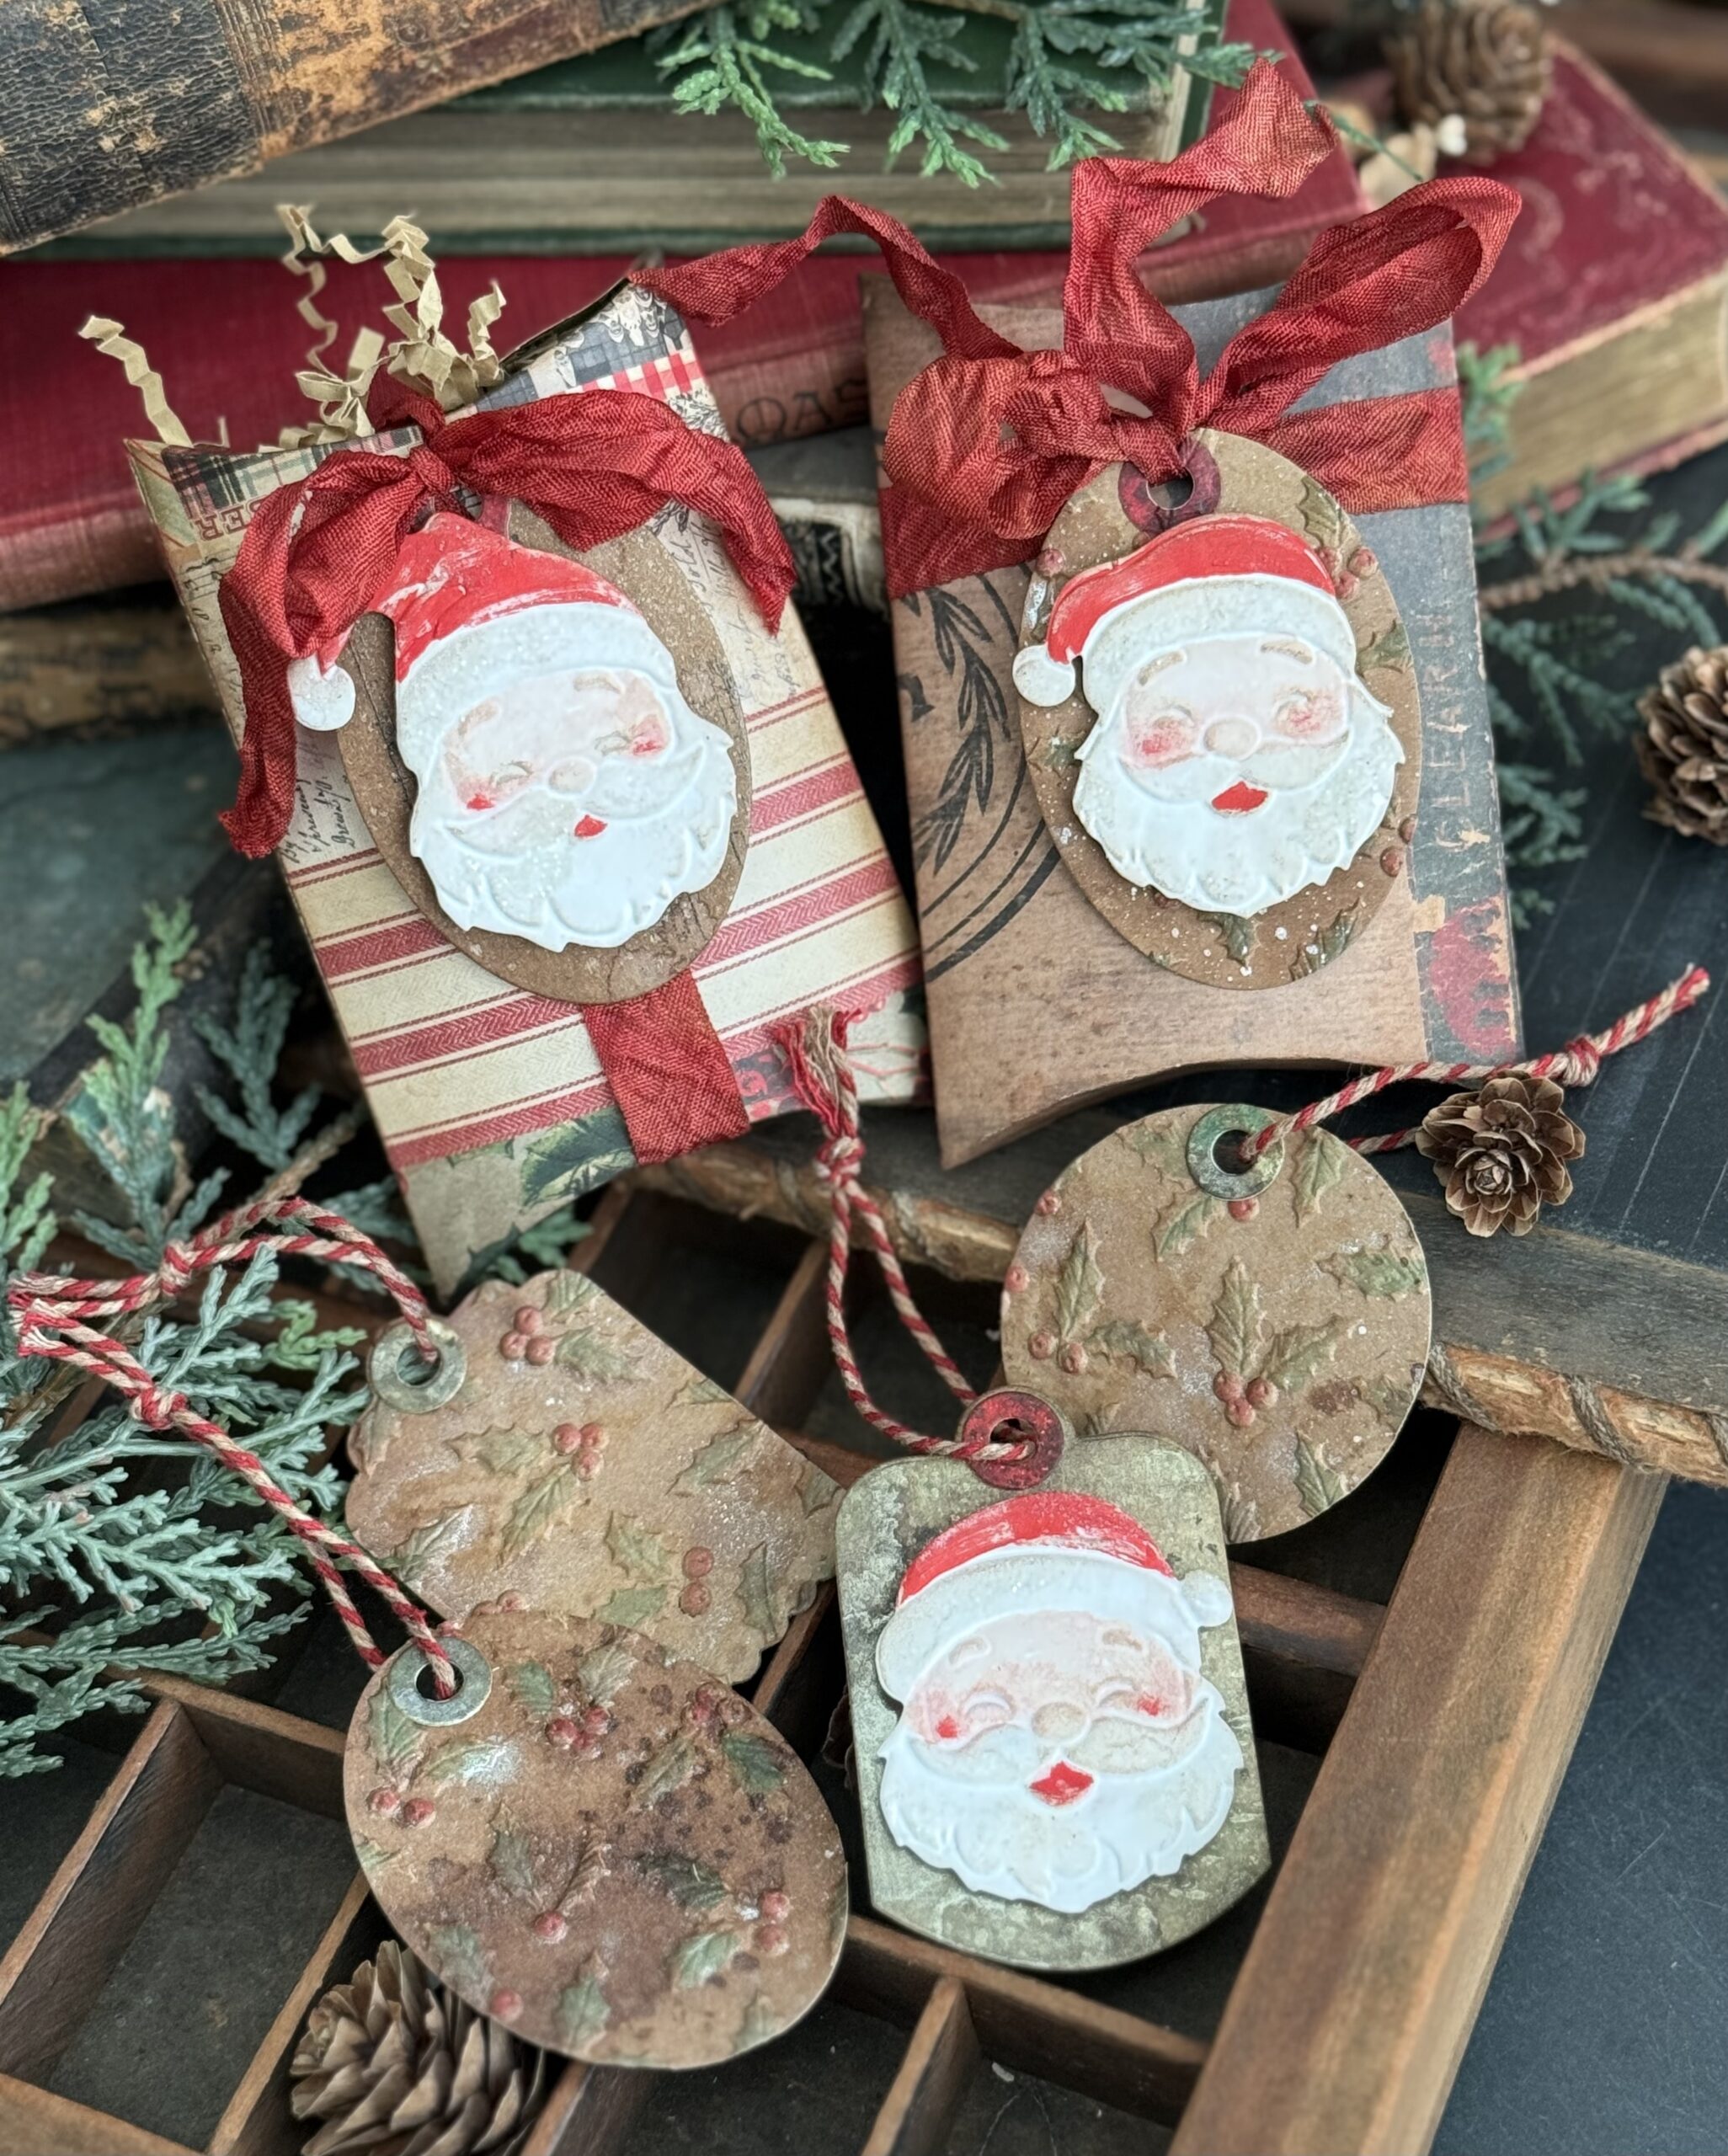
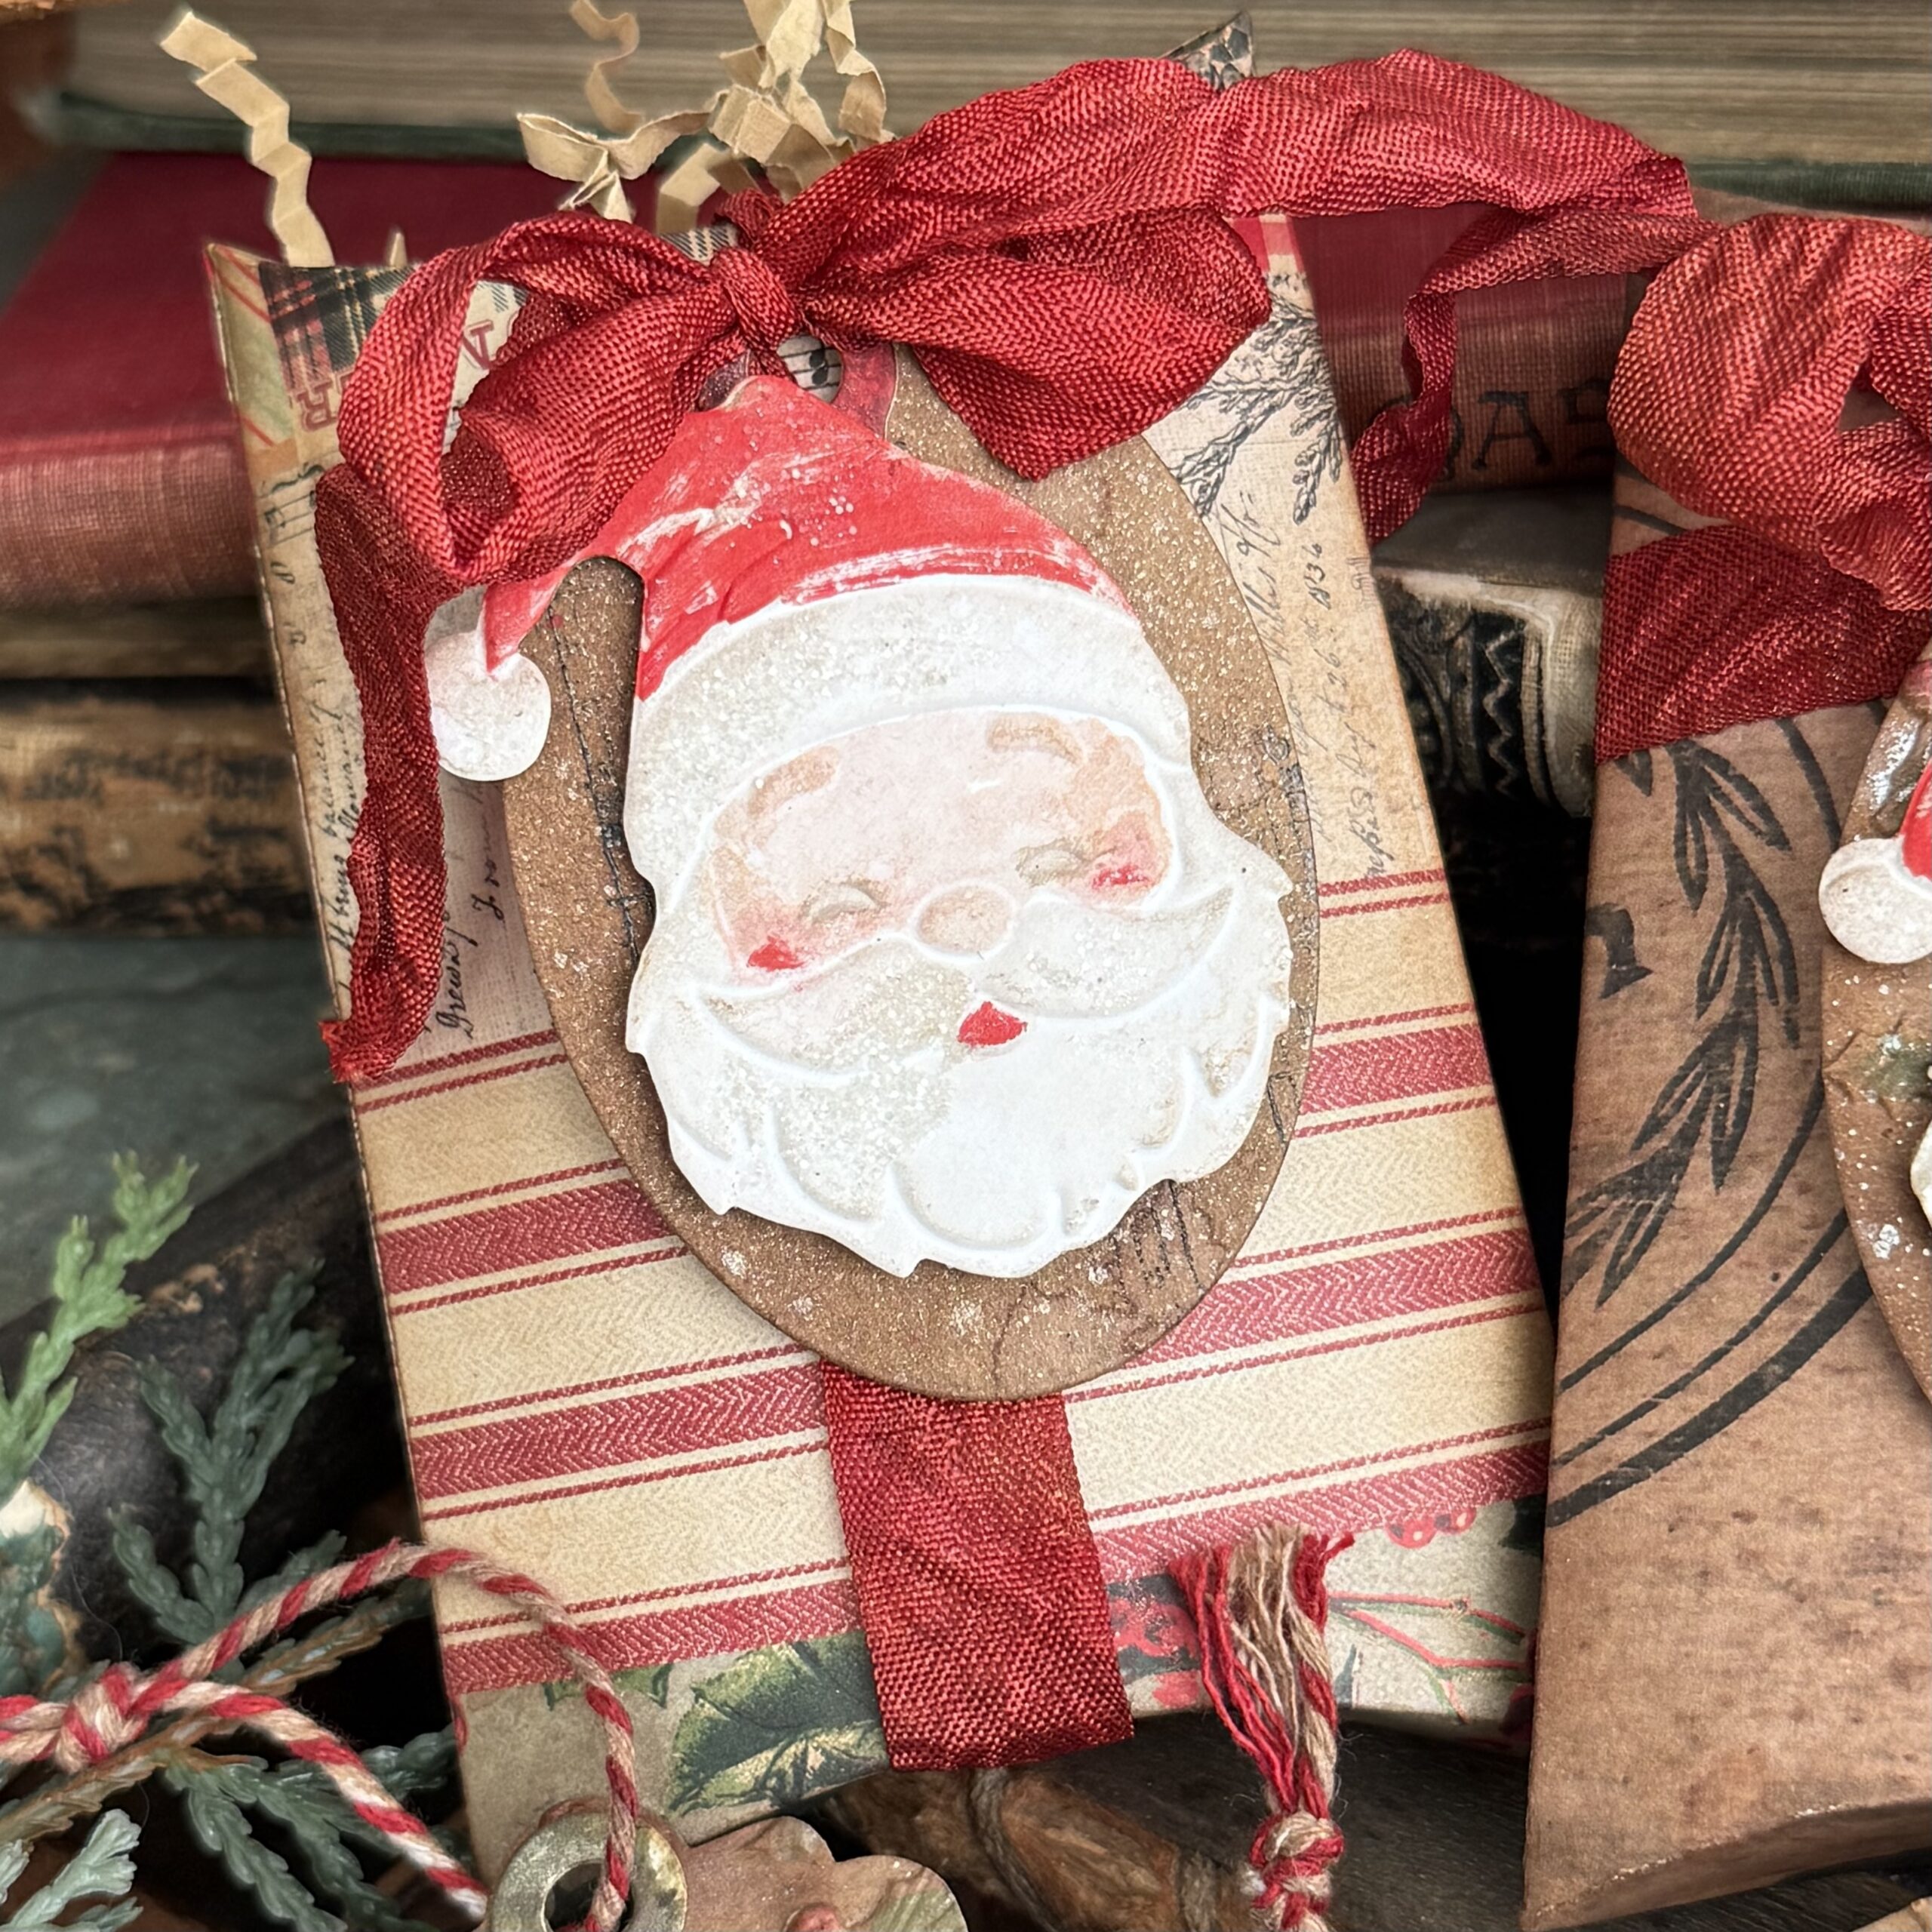
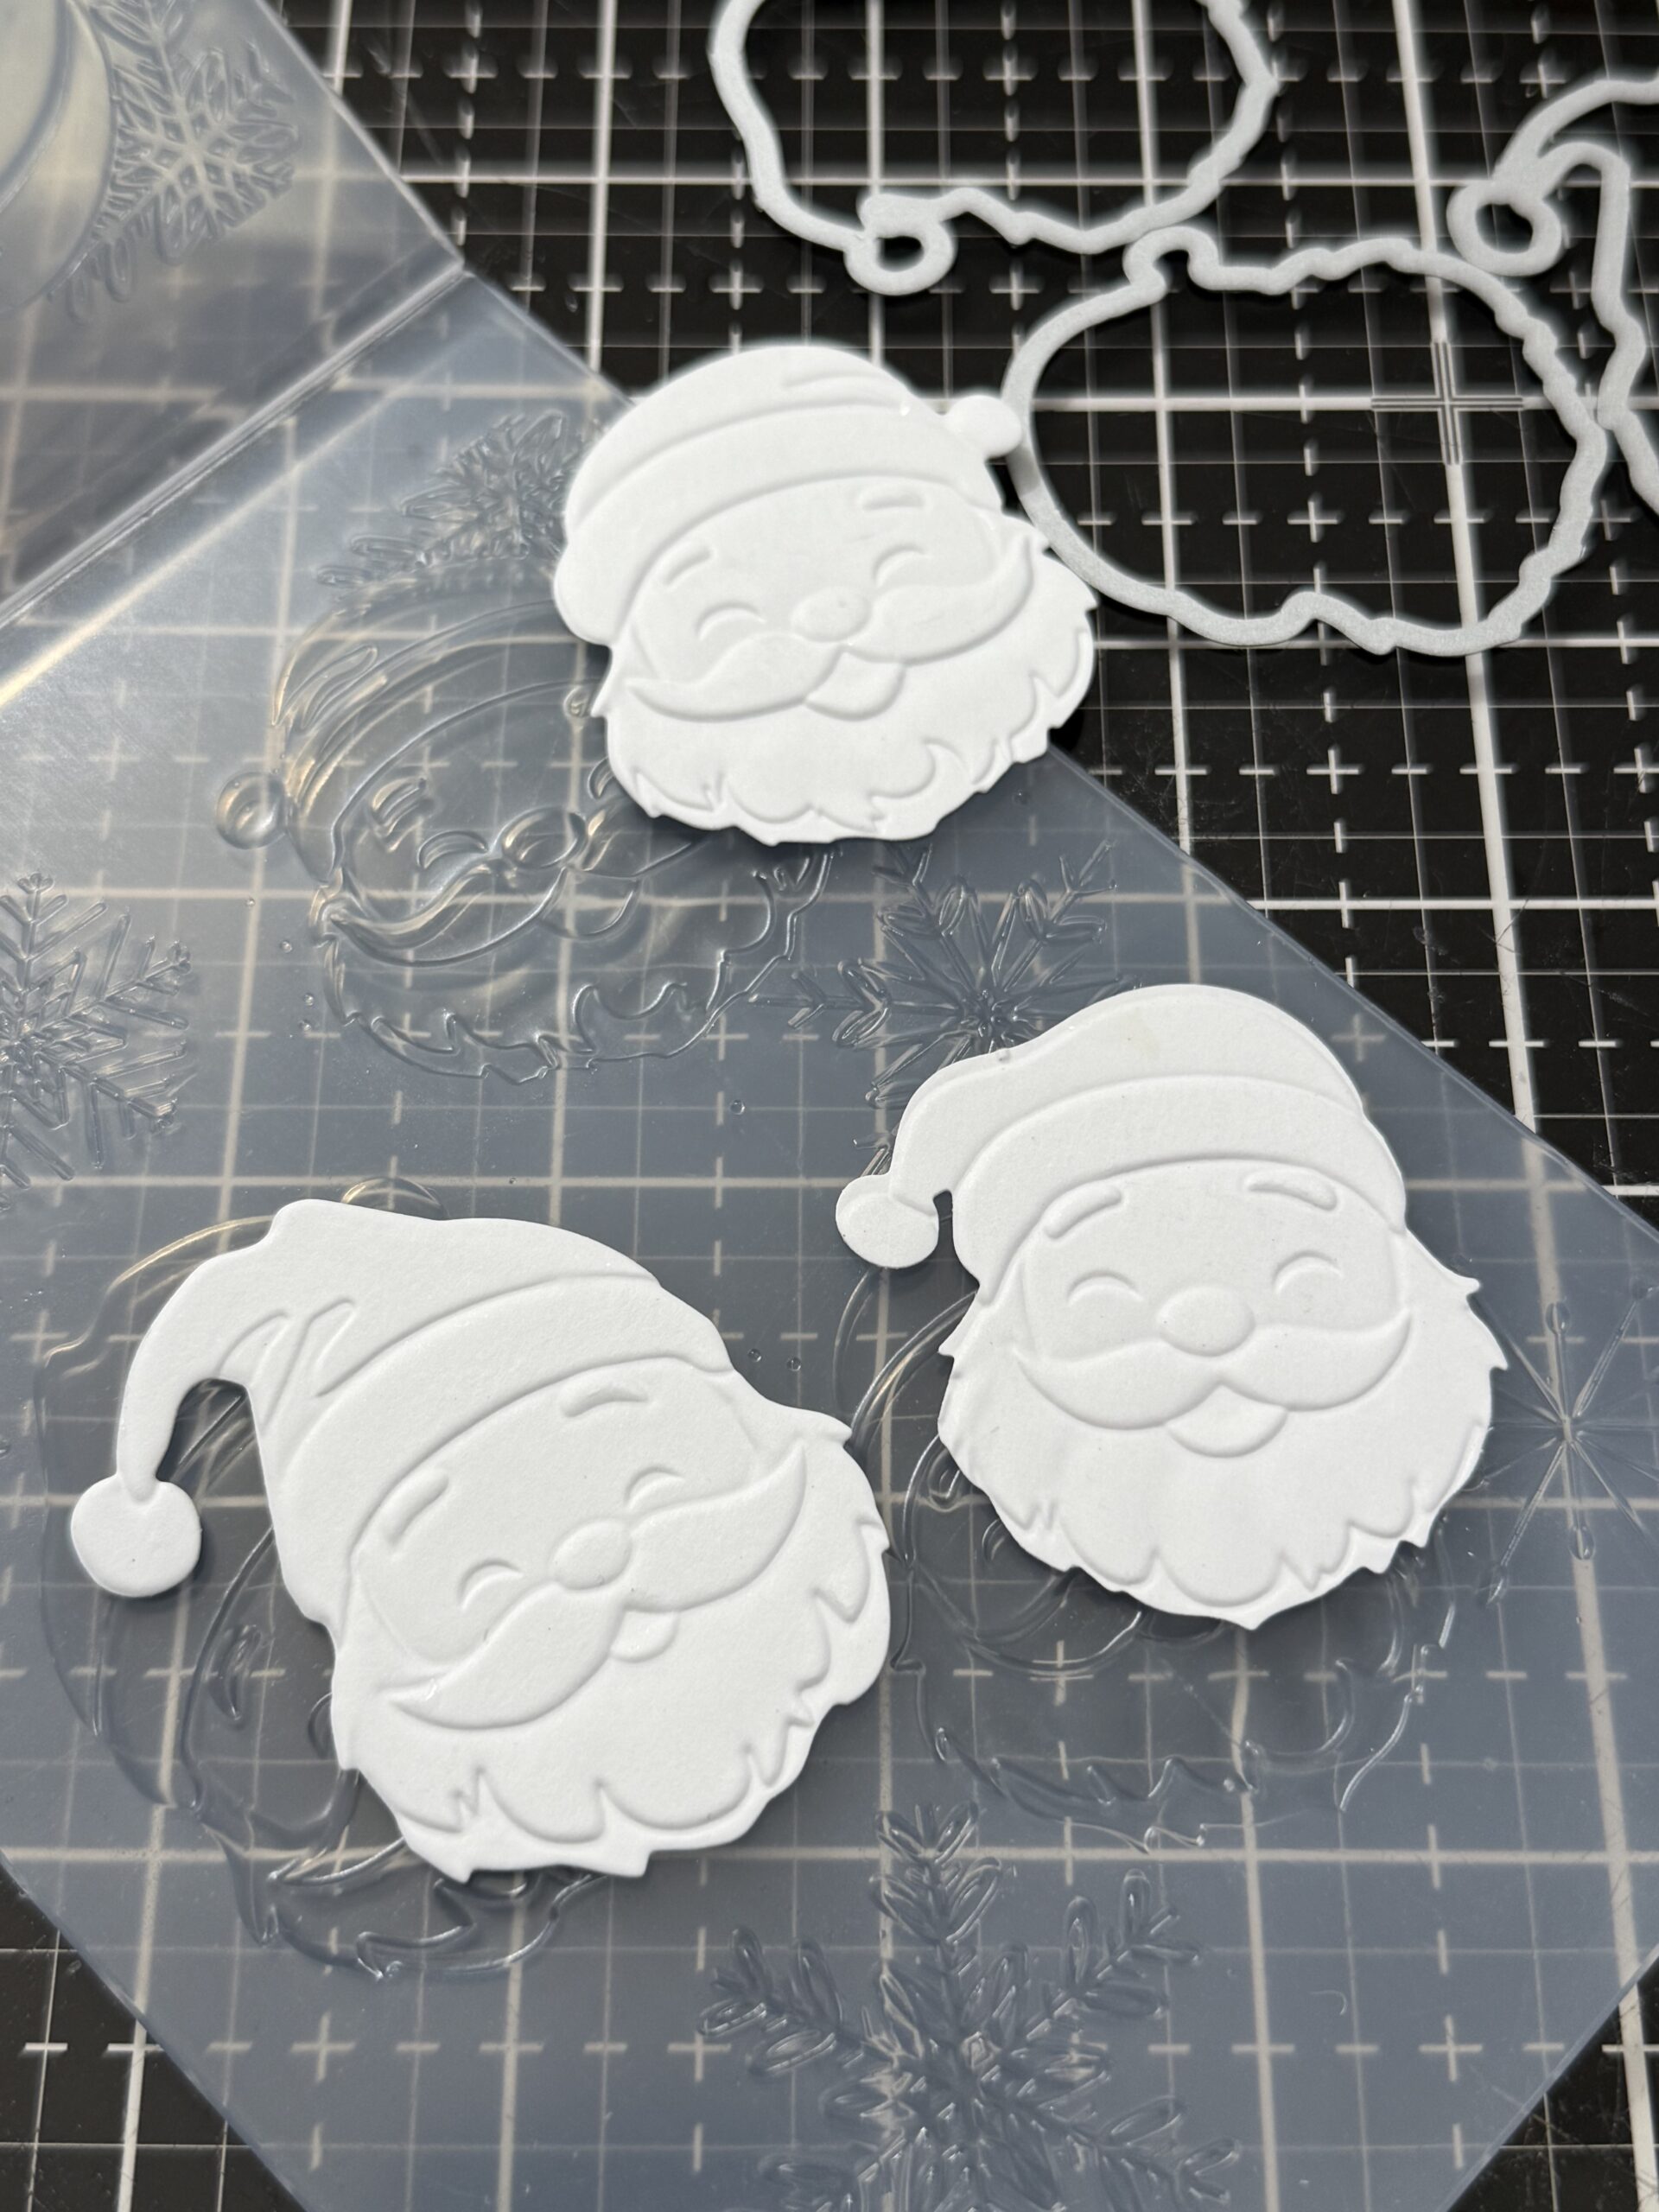
Their sweet embossed Santa faces are perfection and couldn’t be cuter for decorating Christmas packages and tags..so, let’s get to it!
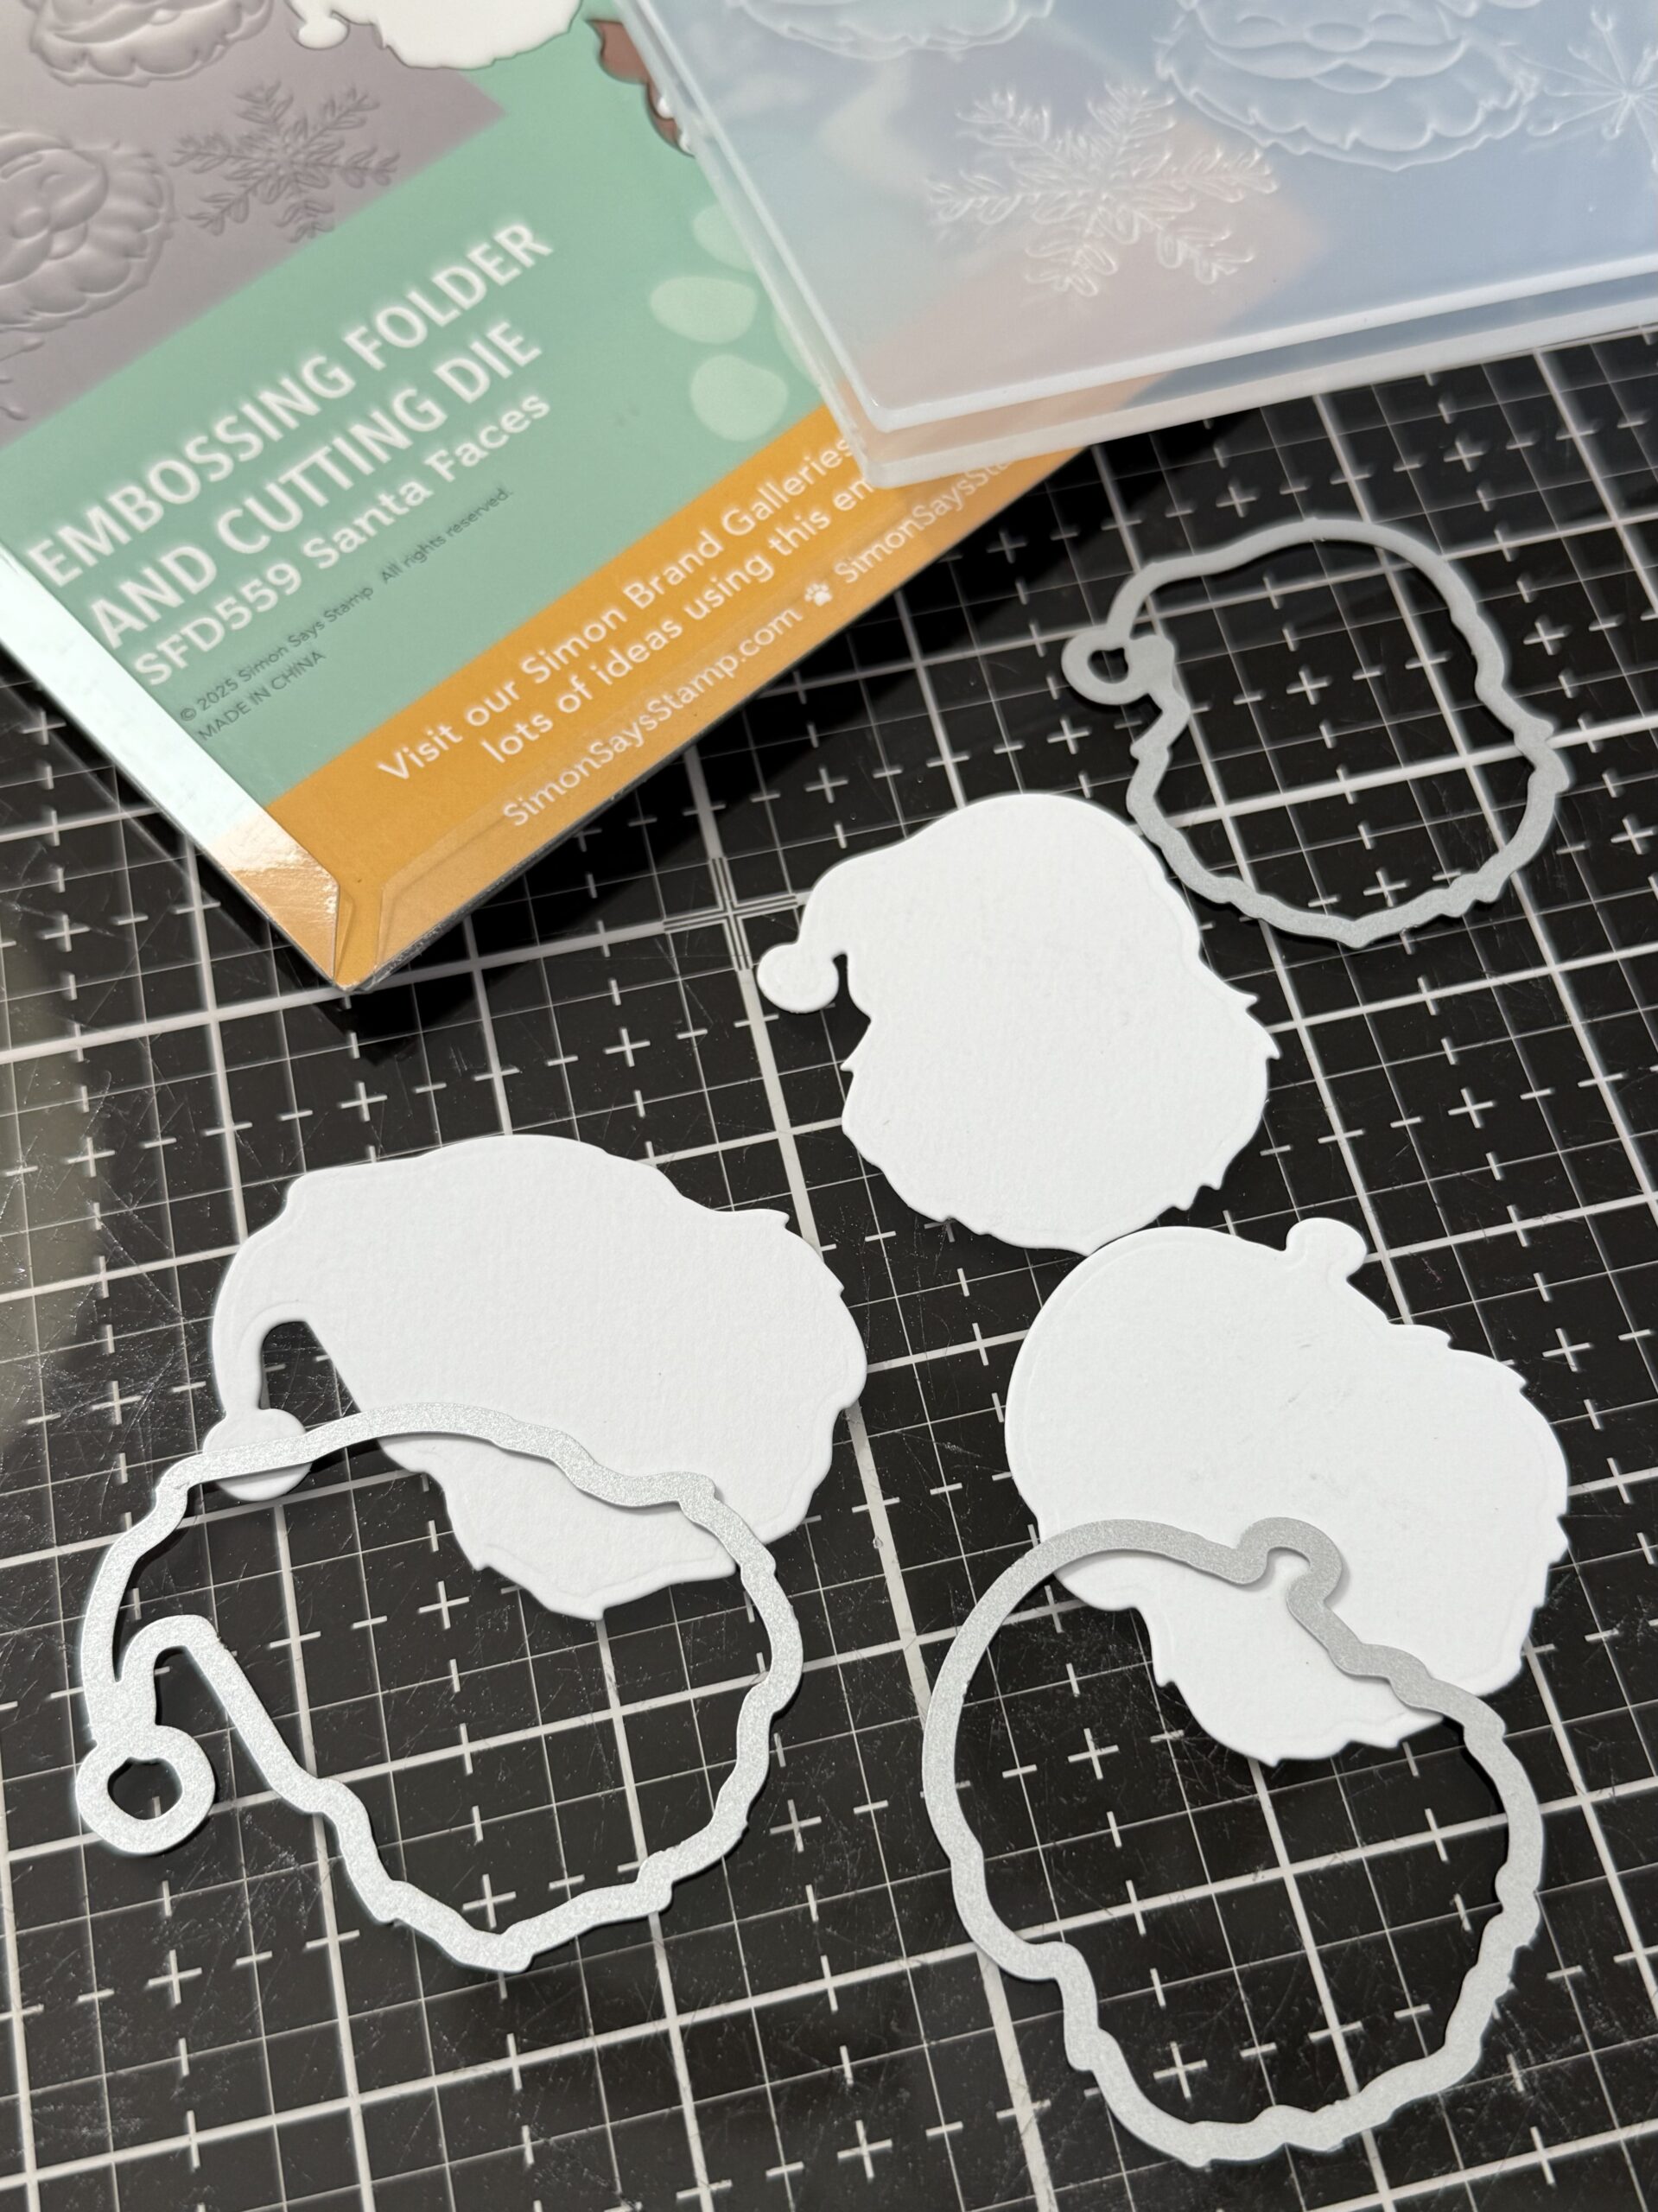
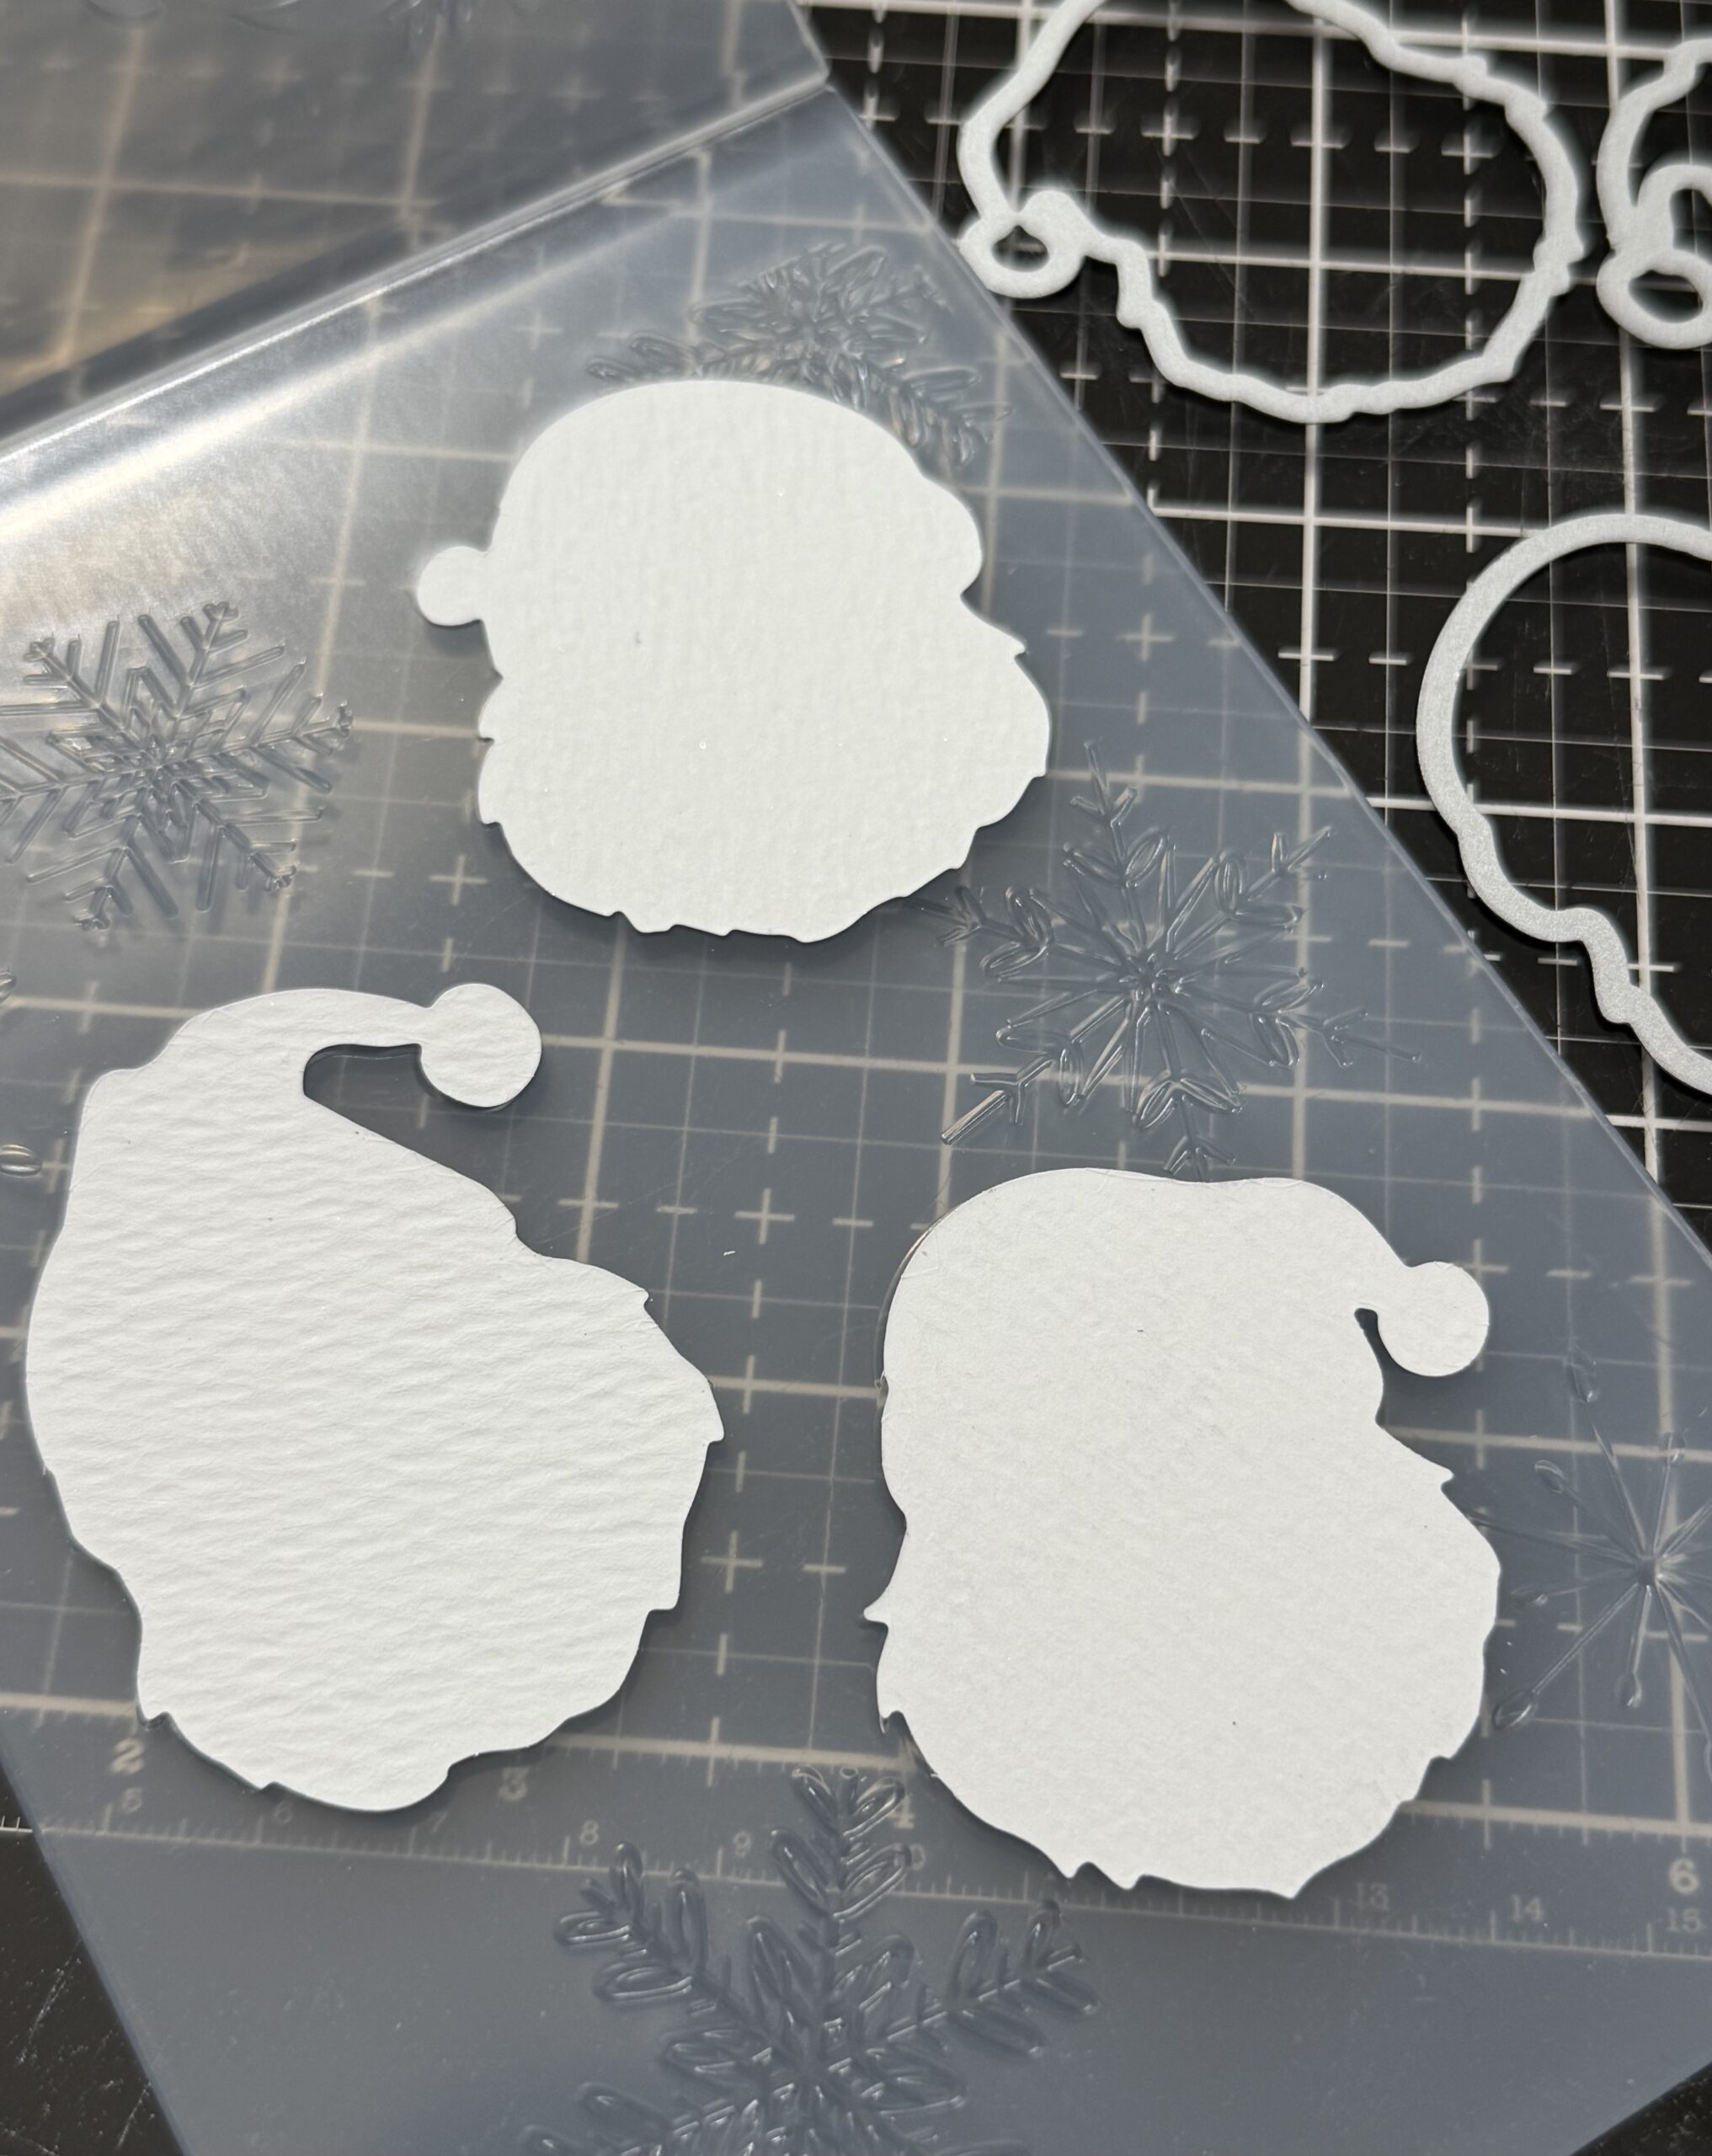
I started by cutting some Santa shapes out of Distress Watercolor Paper, then matched them to their coordinating shape inside the folder and ran the folder through my big shot.
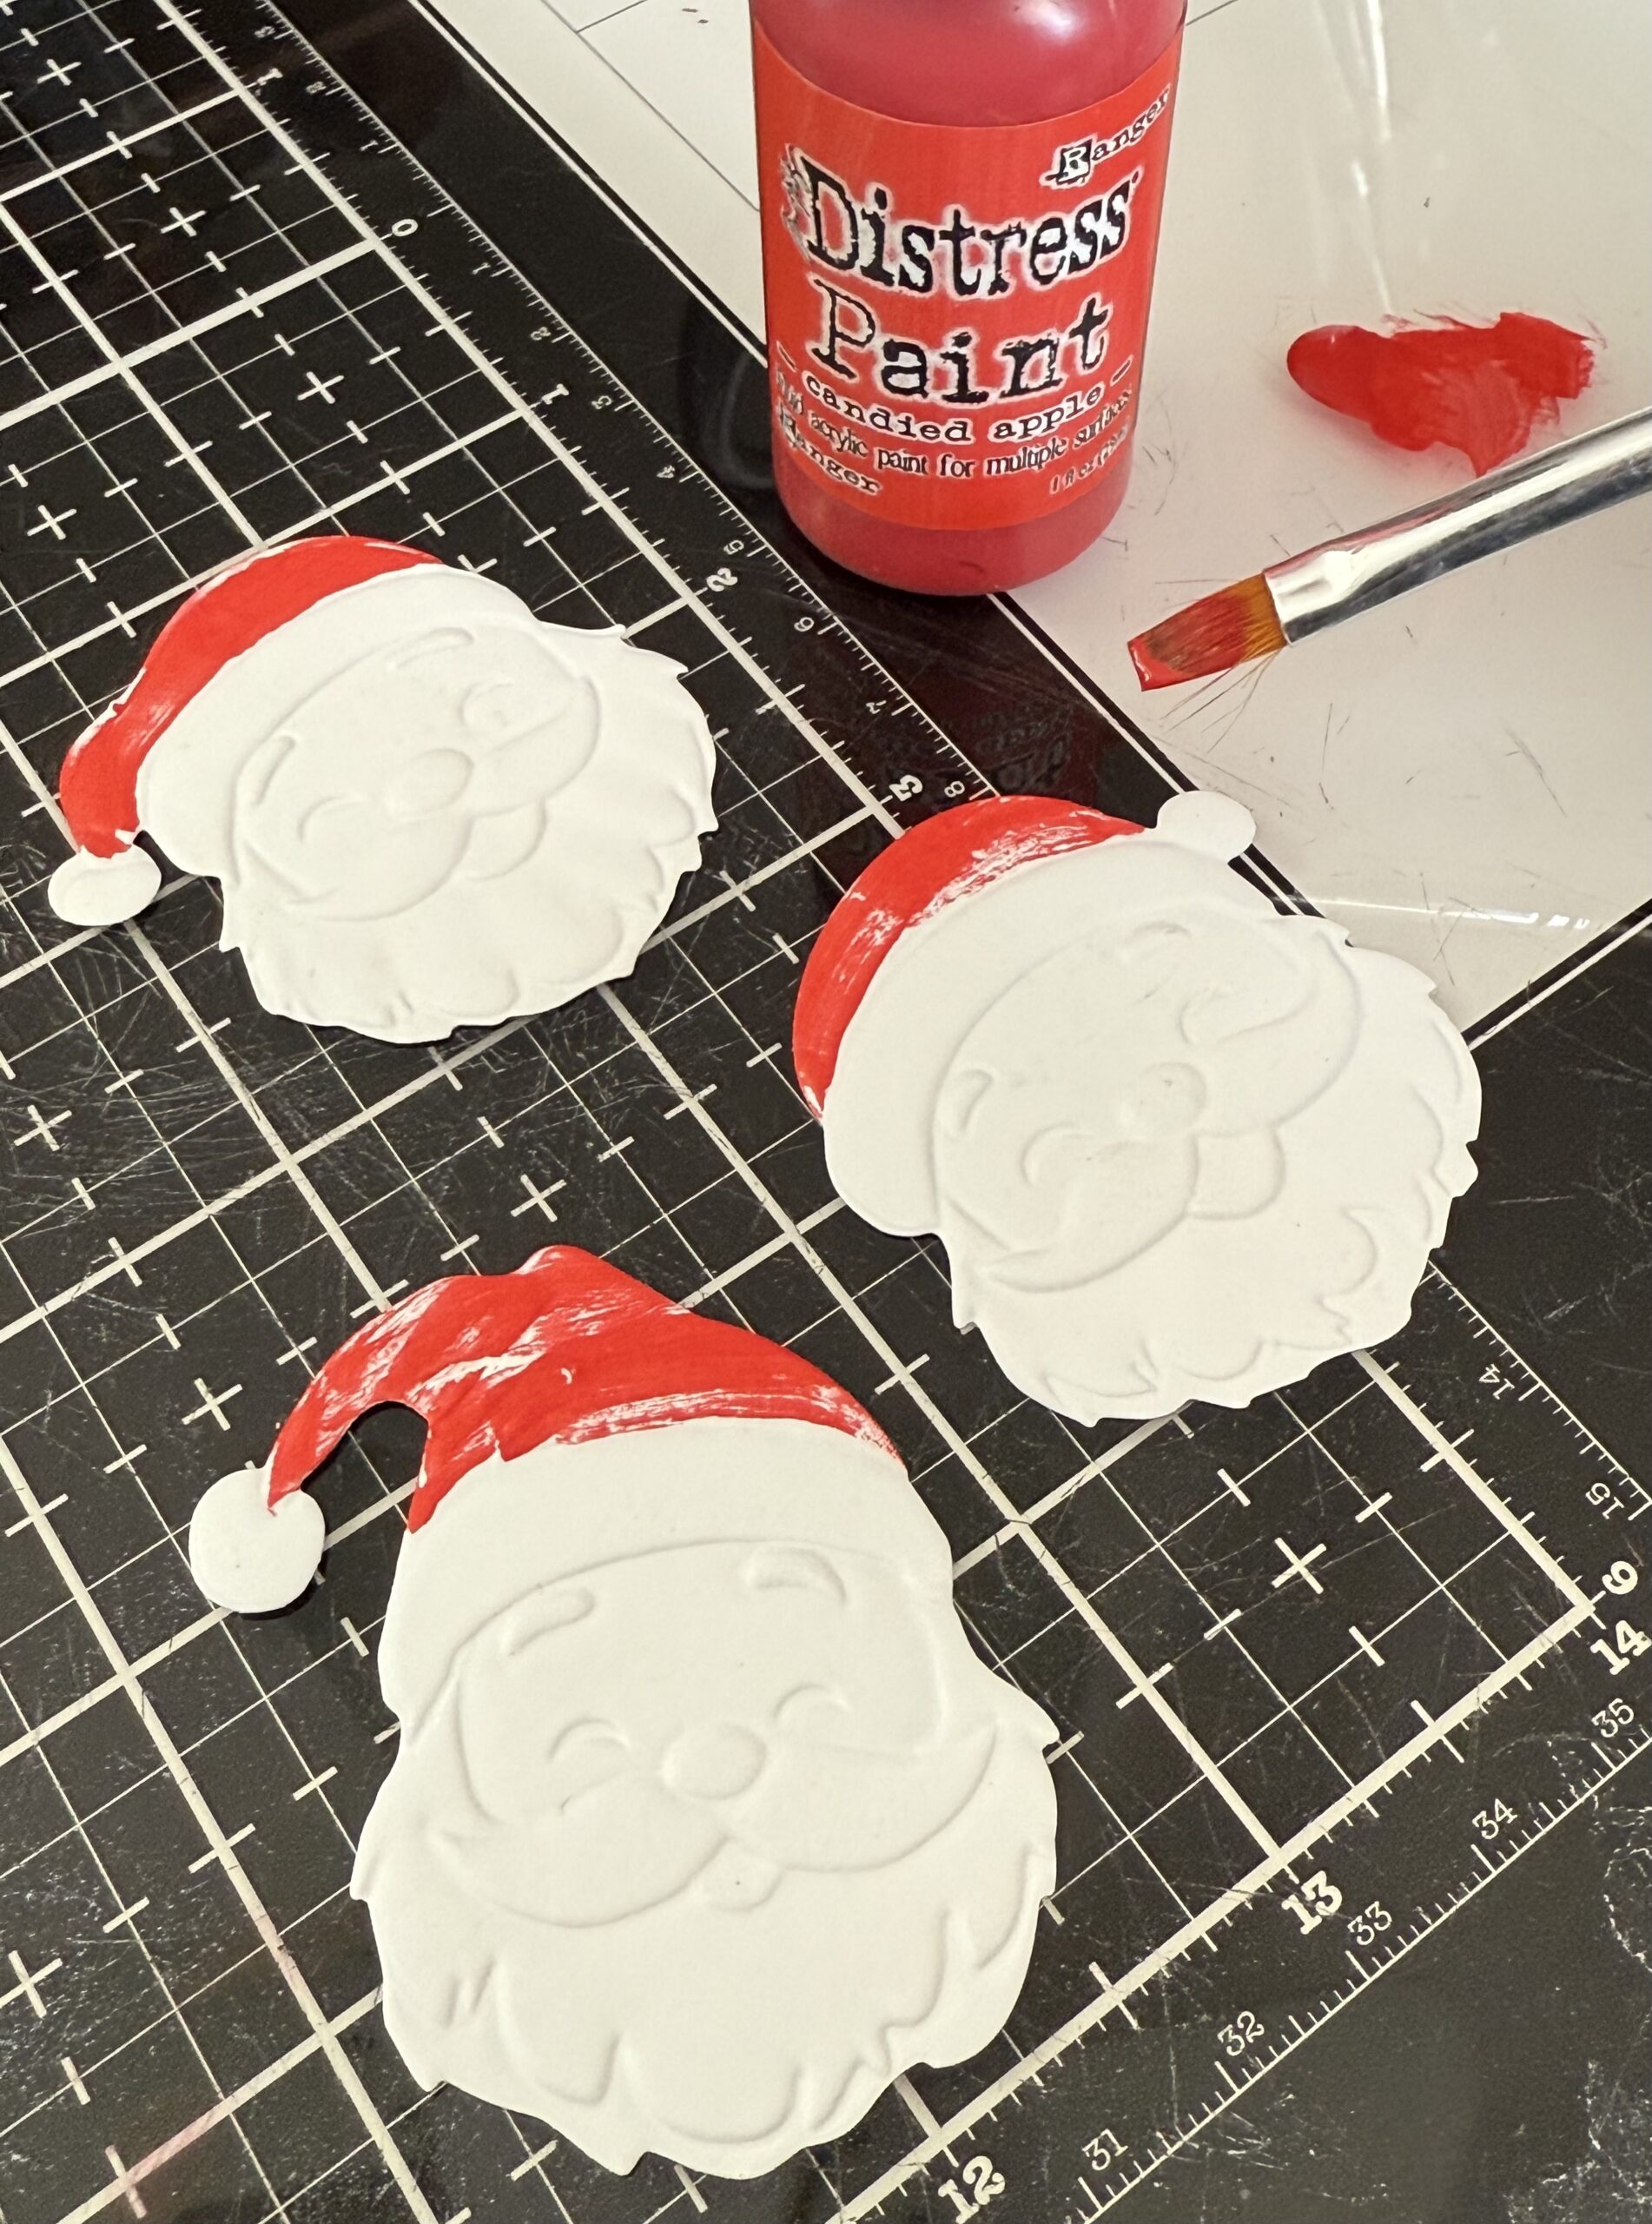
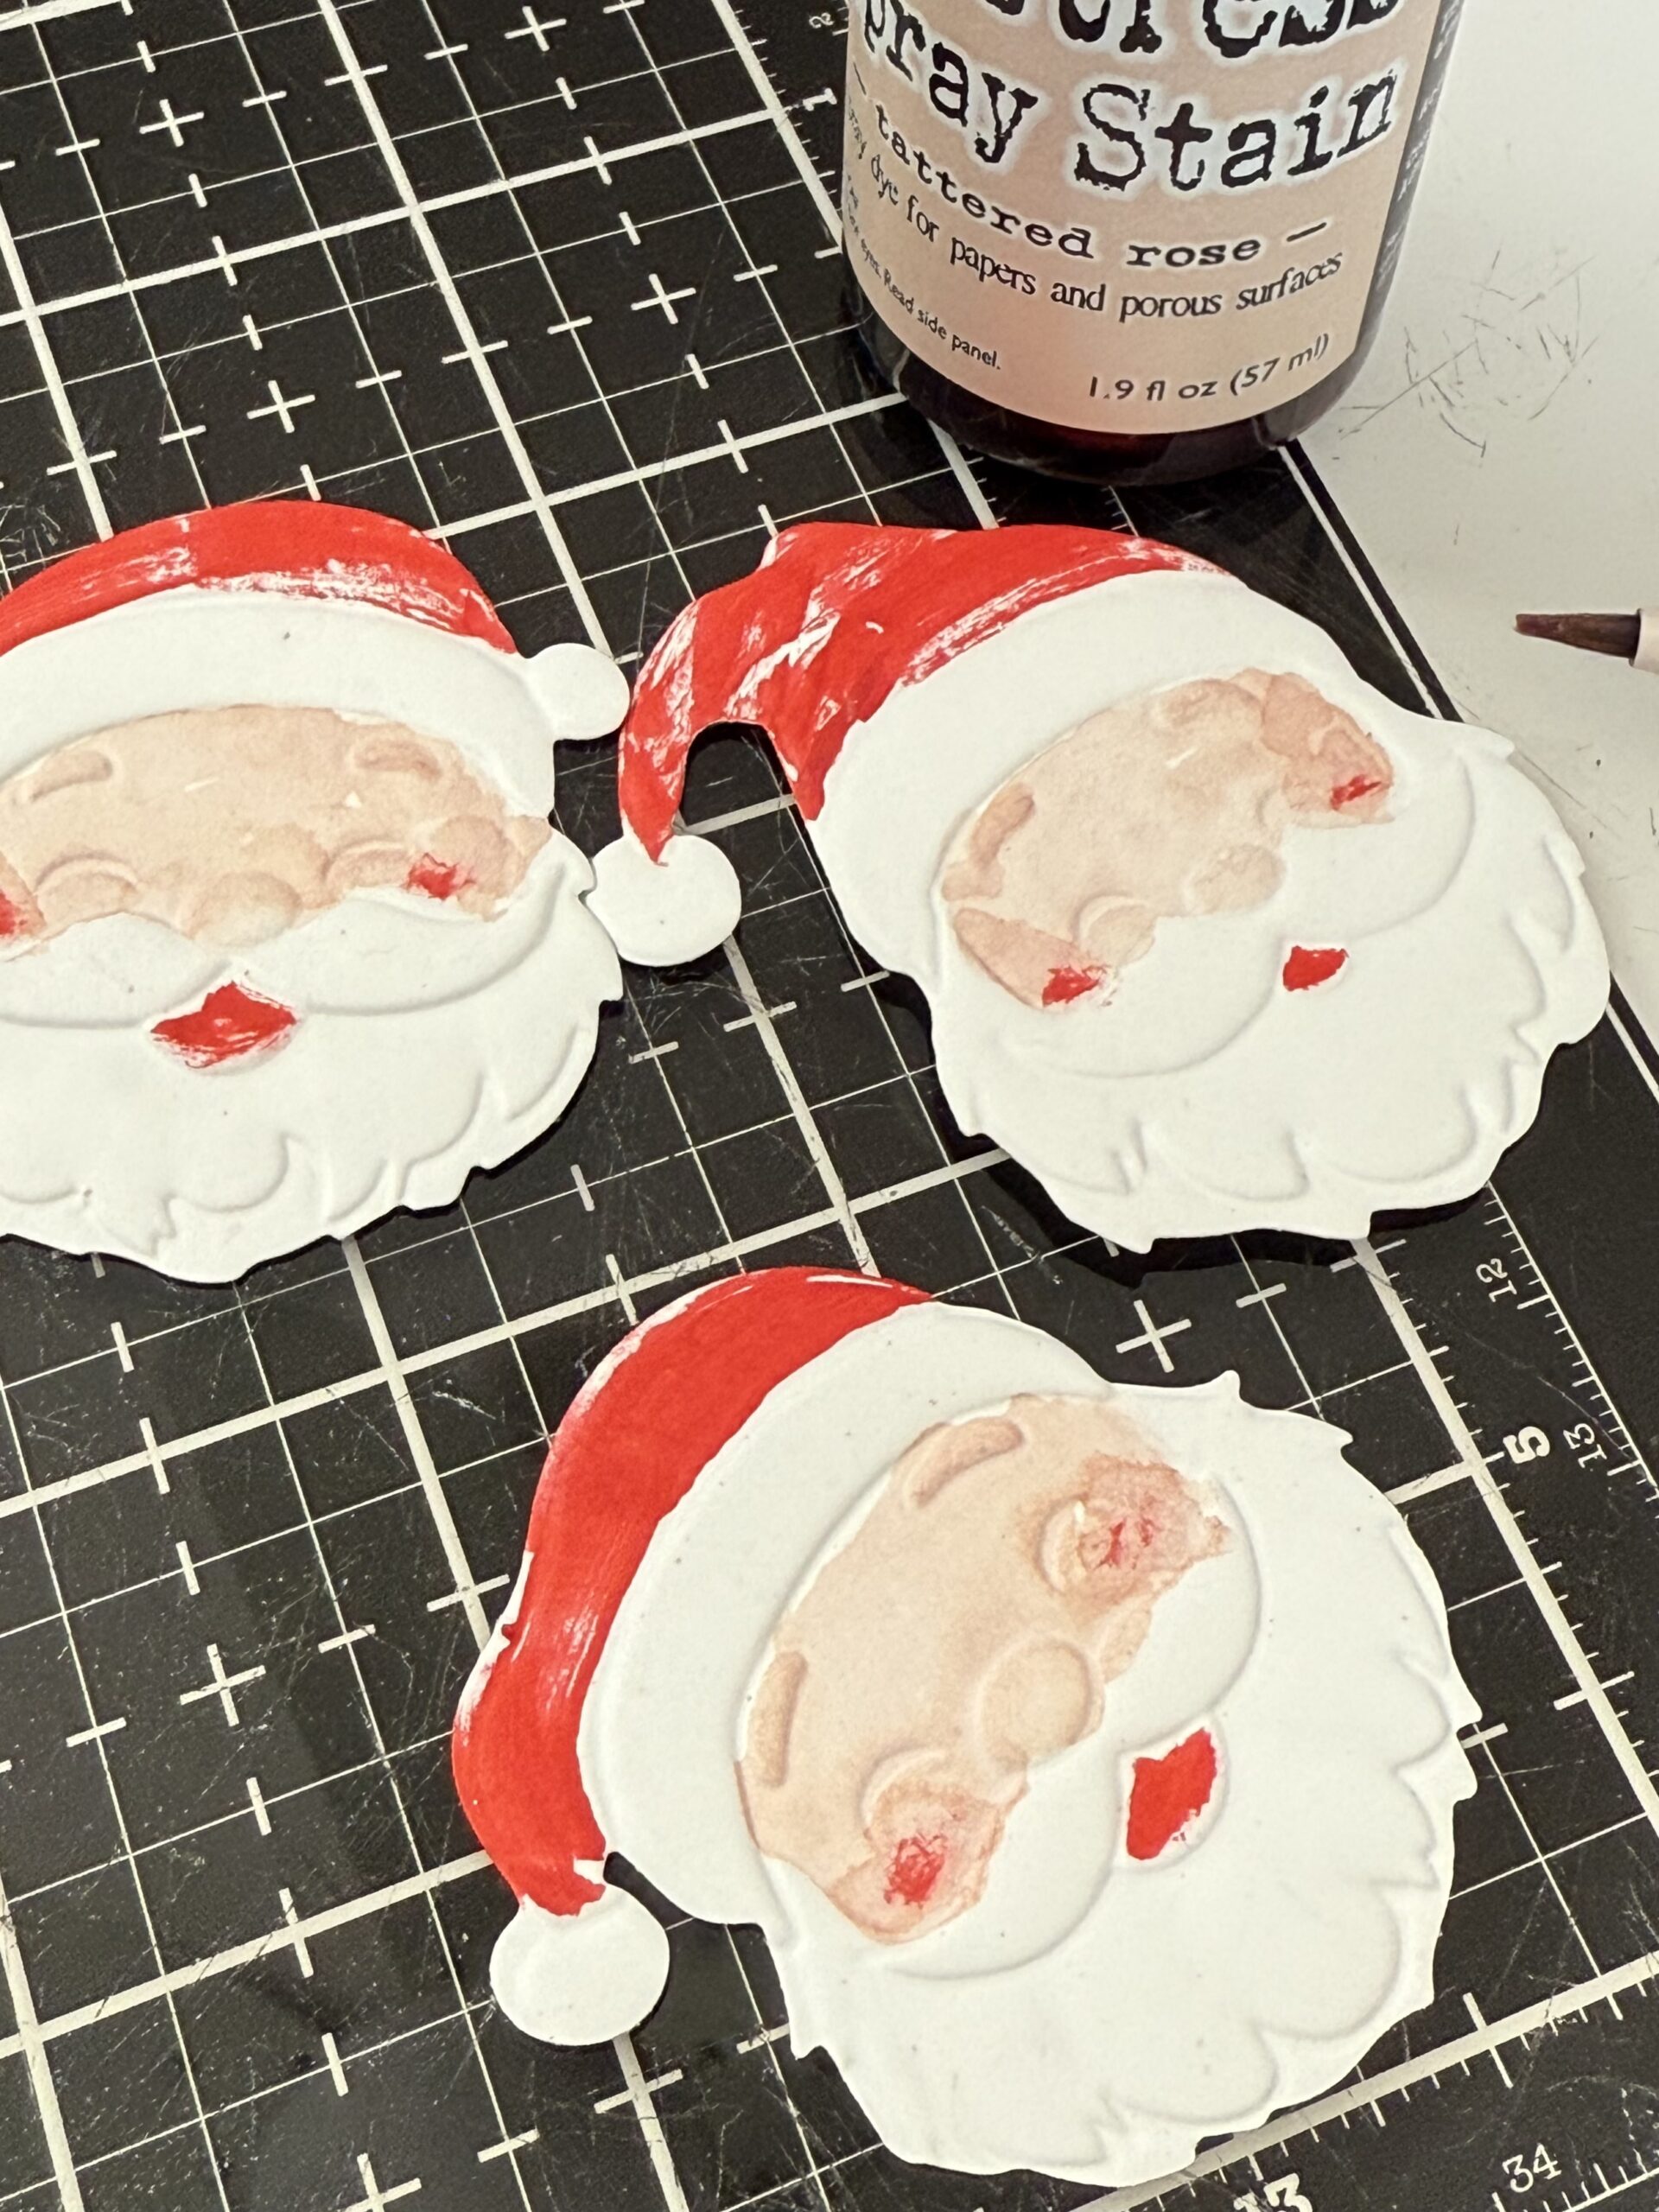
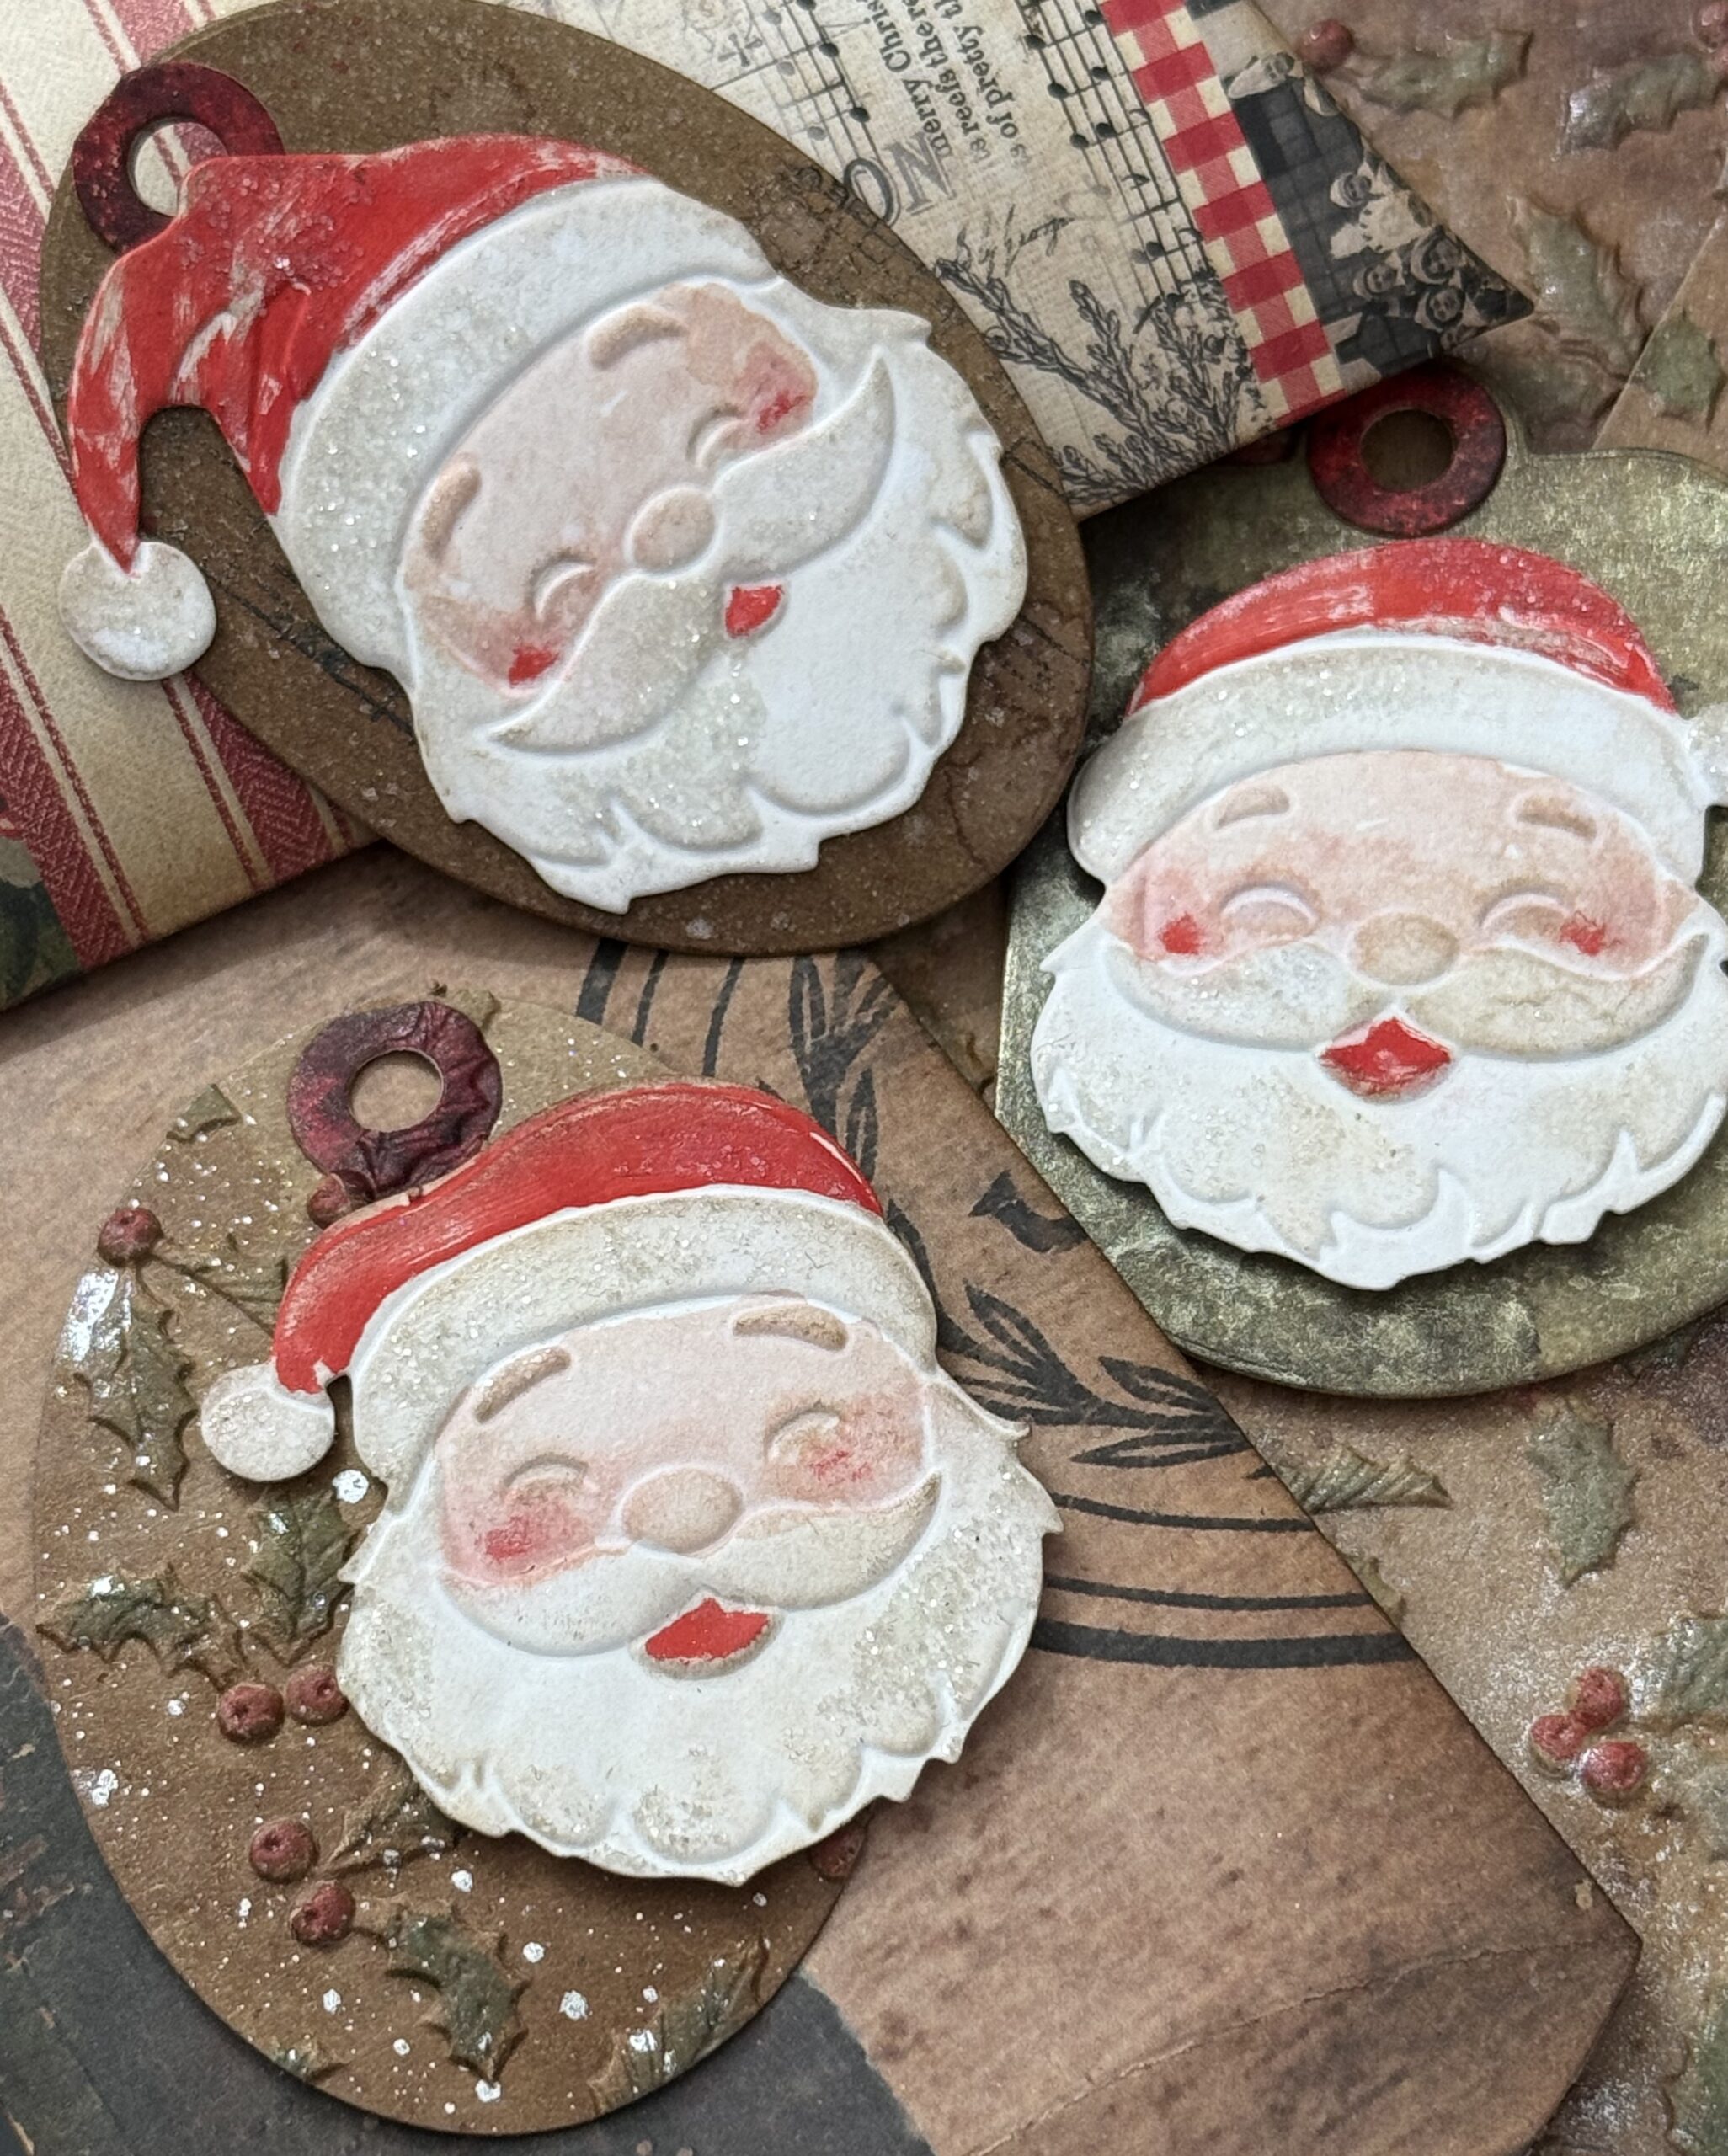
Next, I used a paint brush and some Candied Apple Distress Paint to paint the Santa hats. I left some areas of the hats white and dry brushed so that it gave them the look that they were chippy.
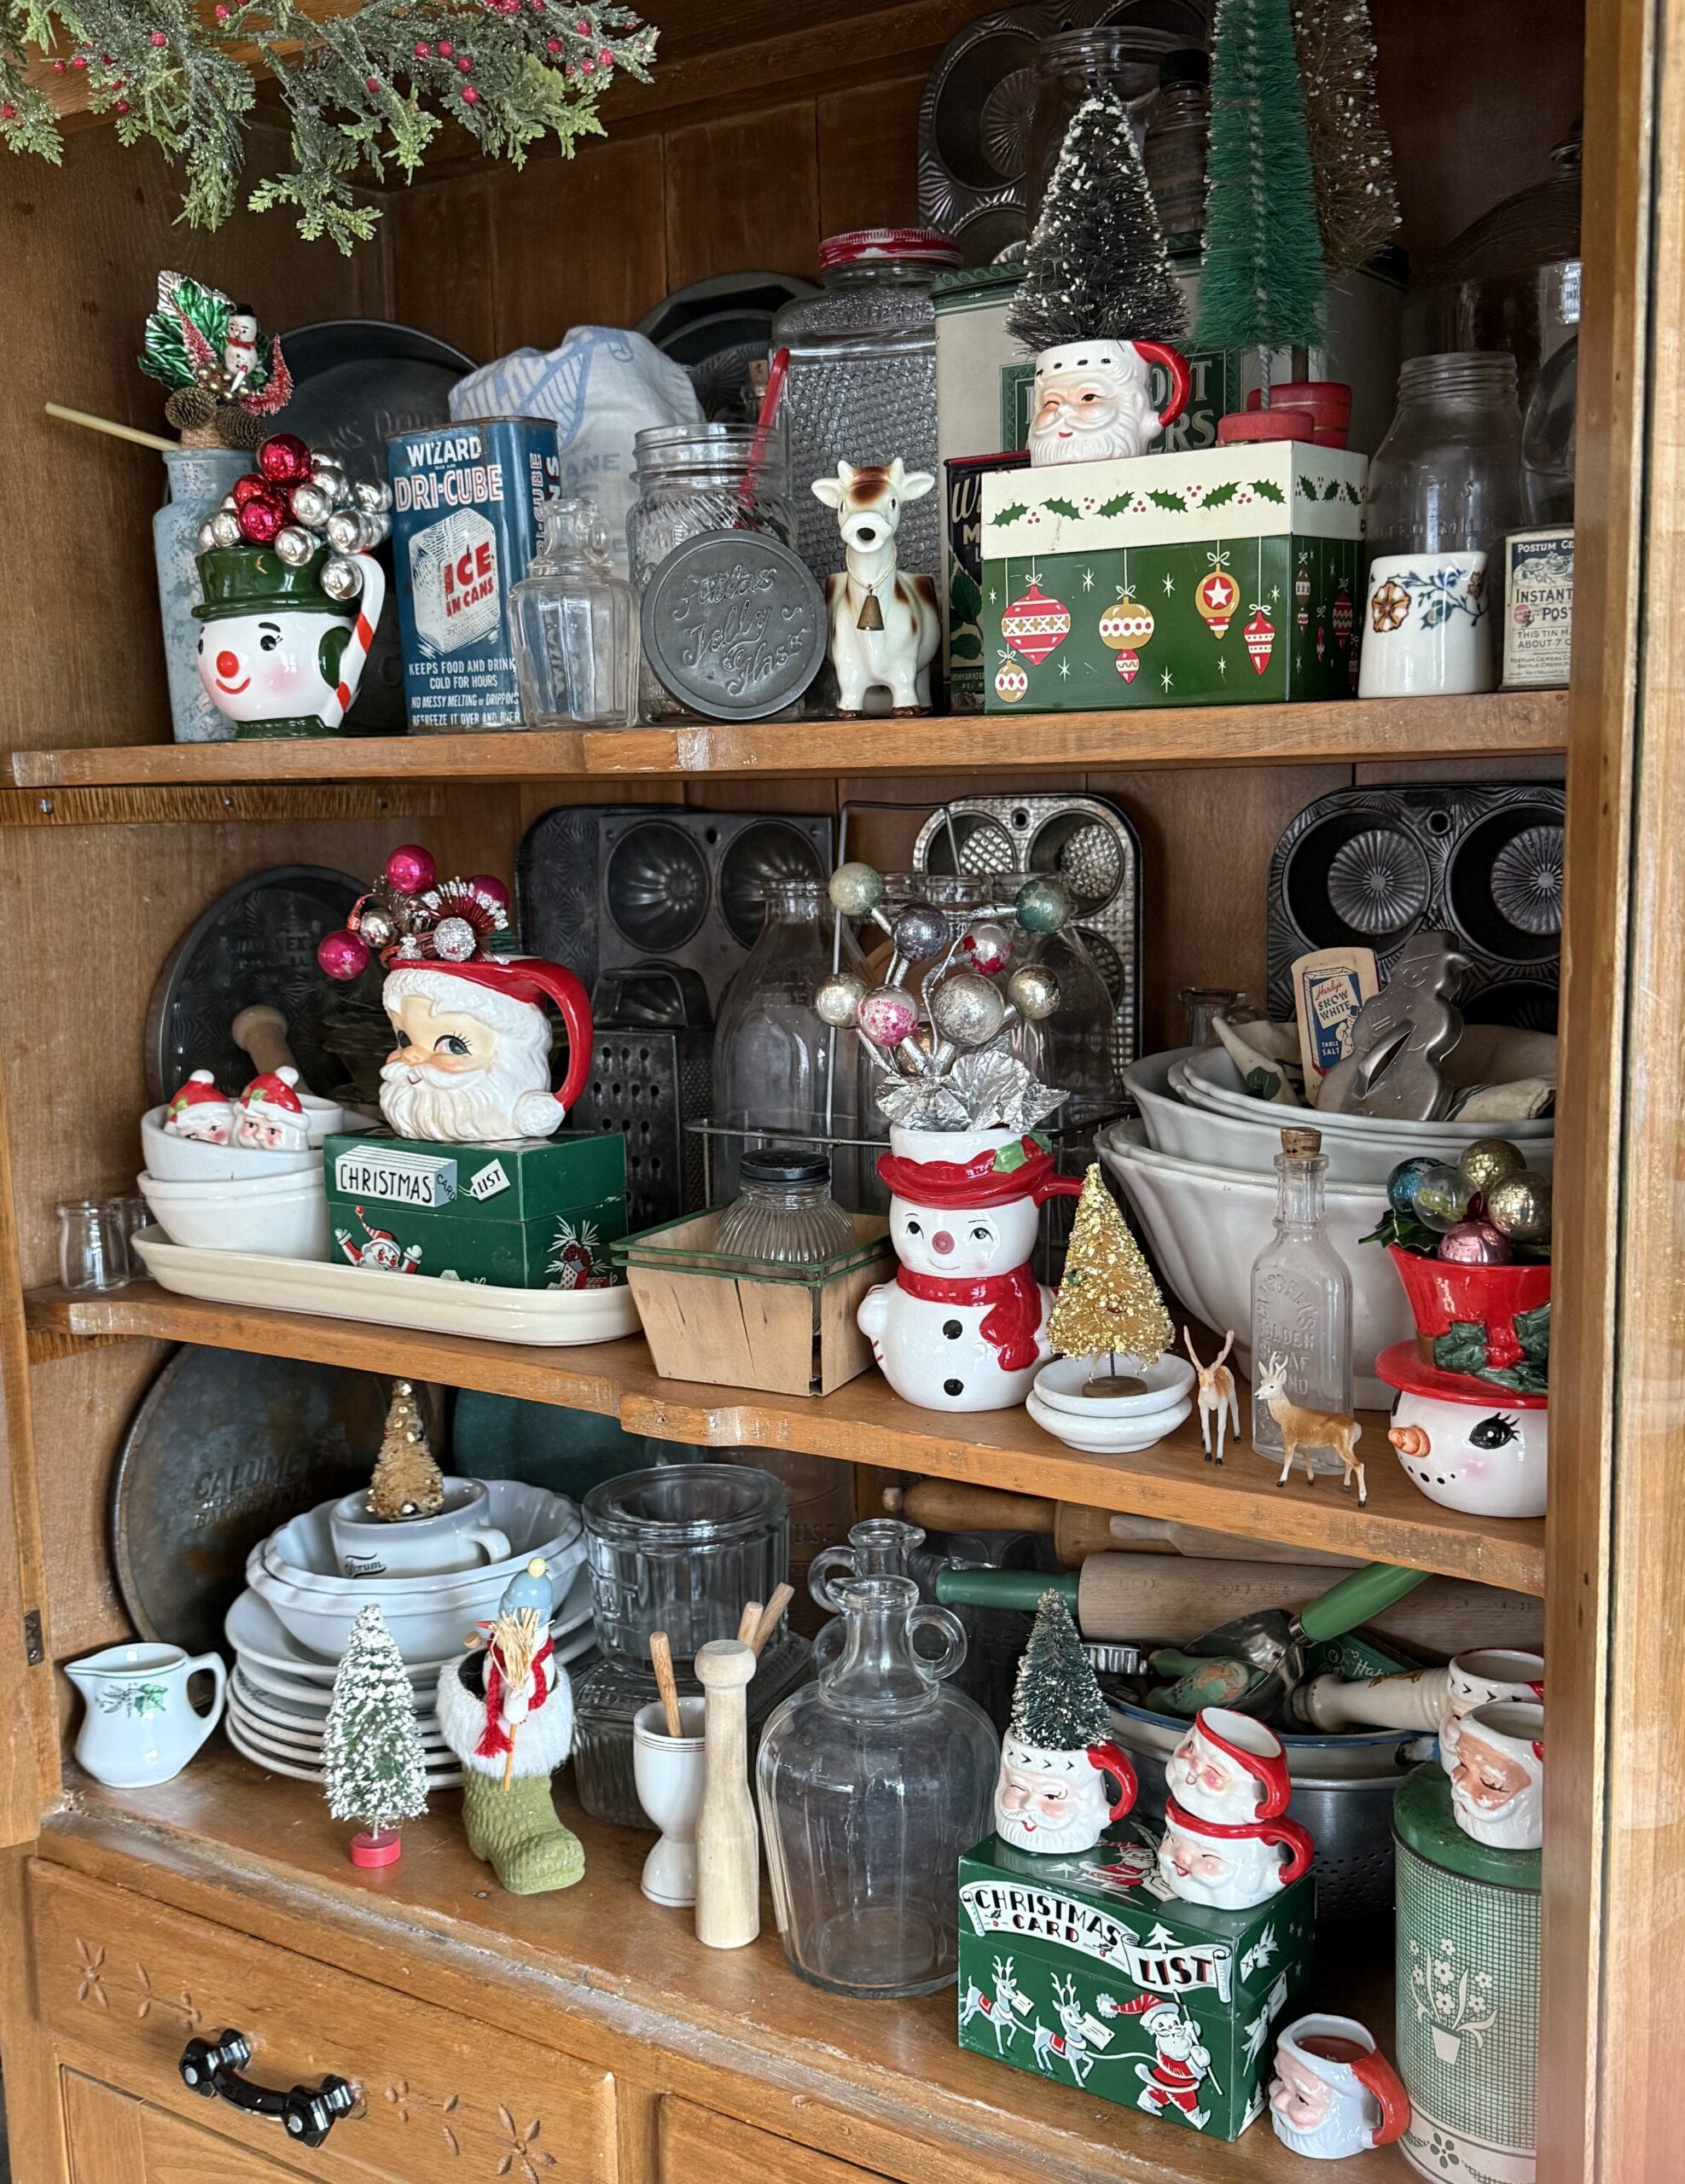
Here’s a peek at some of my collection.. they are so cute and have the sweetest faces (I love the snowmen too) they show their age with their worn scruffiness and scratches, and that is what gives them their personalities, I decided to make the Santa paper cut-outs very similar. 🙂
I added a little of the red to their cheeks with the paint and painted their faces using Tattered Rose Distress Spray, then I dried them with my heat tool.
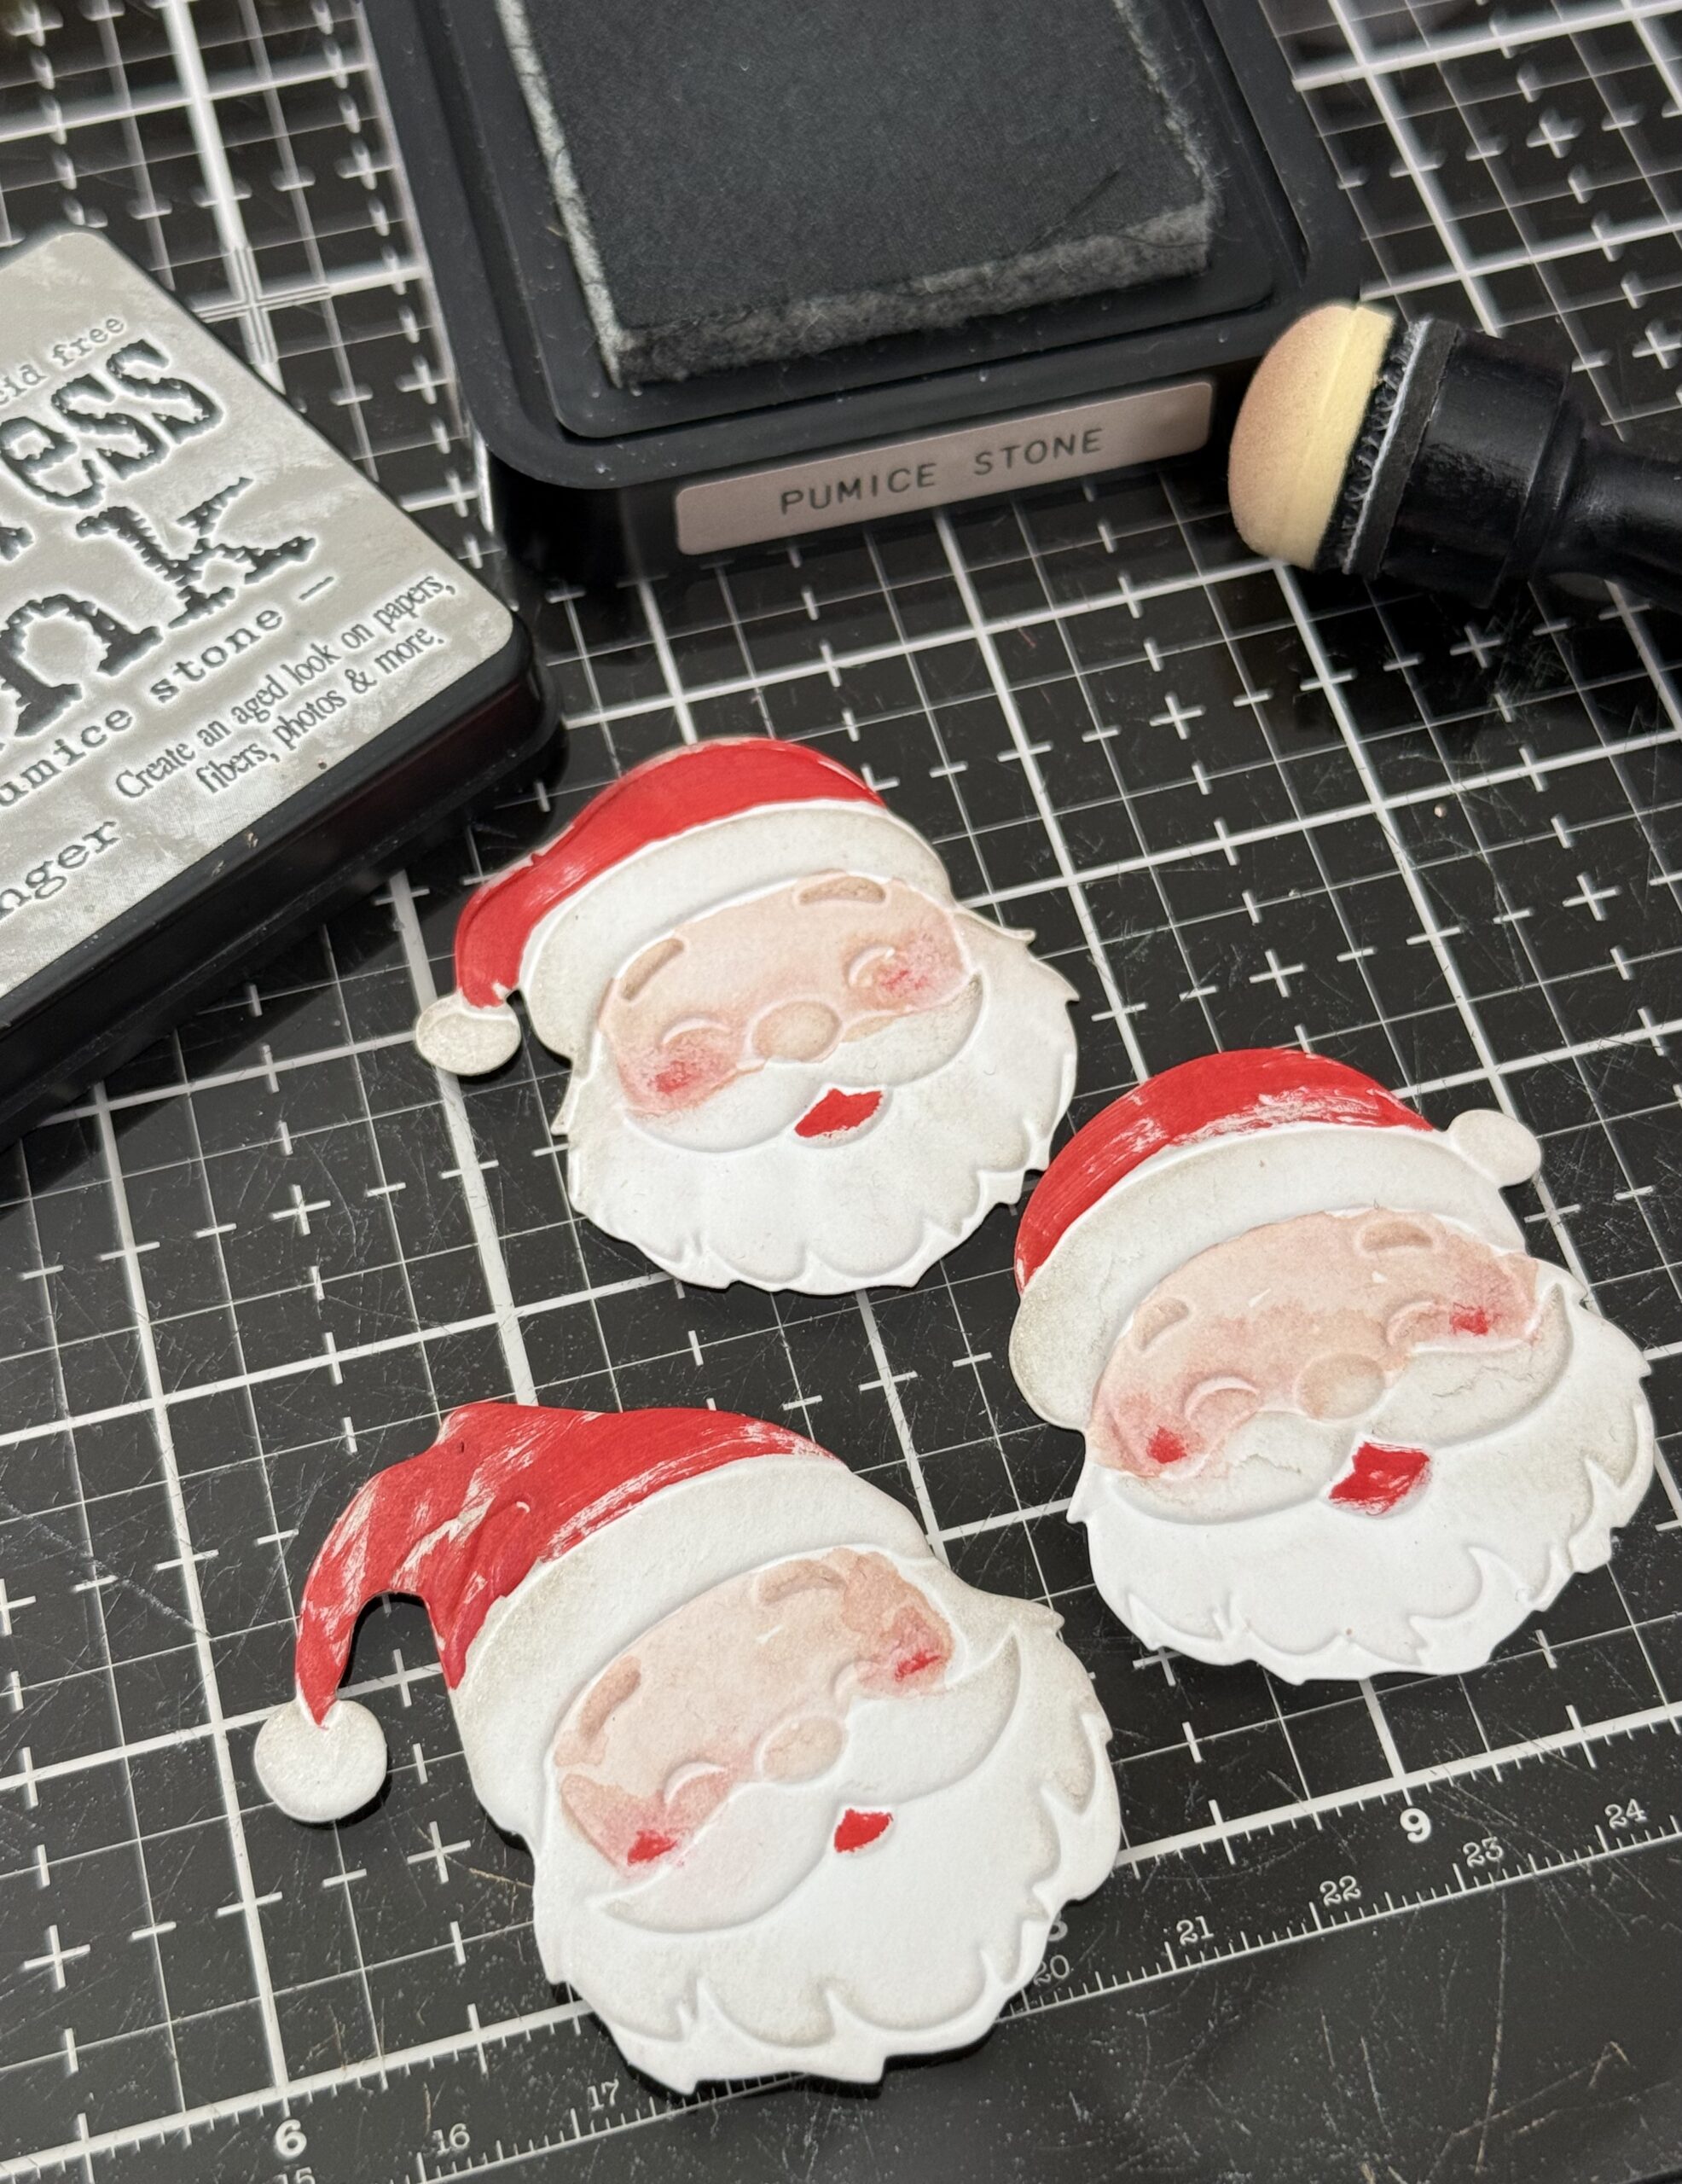
After their faces were dry, I rubbed each of them with some Pumice Stone Distress Ink using a mini blending tool to emphasize their features and add some grunge to them.
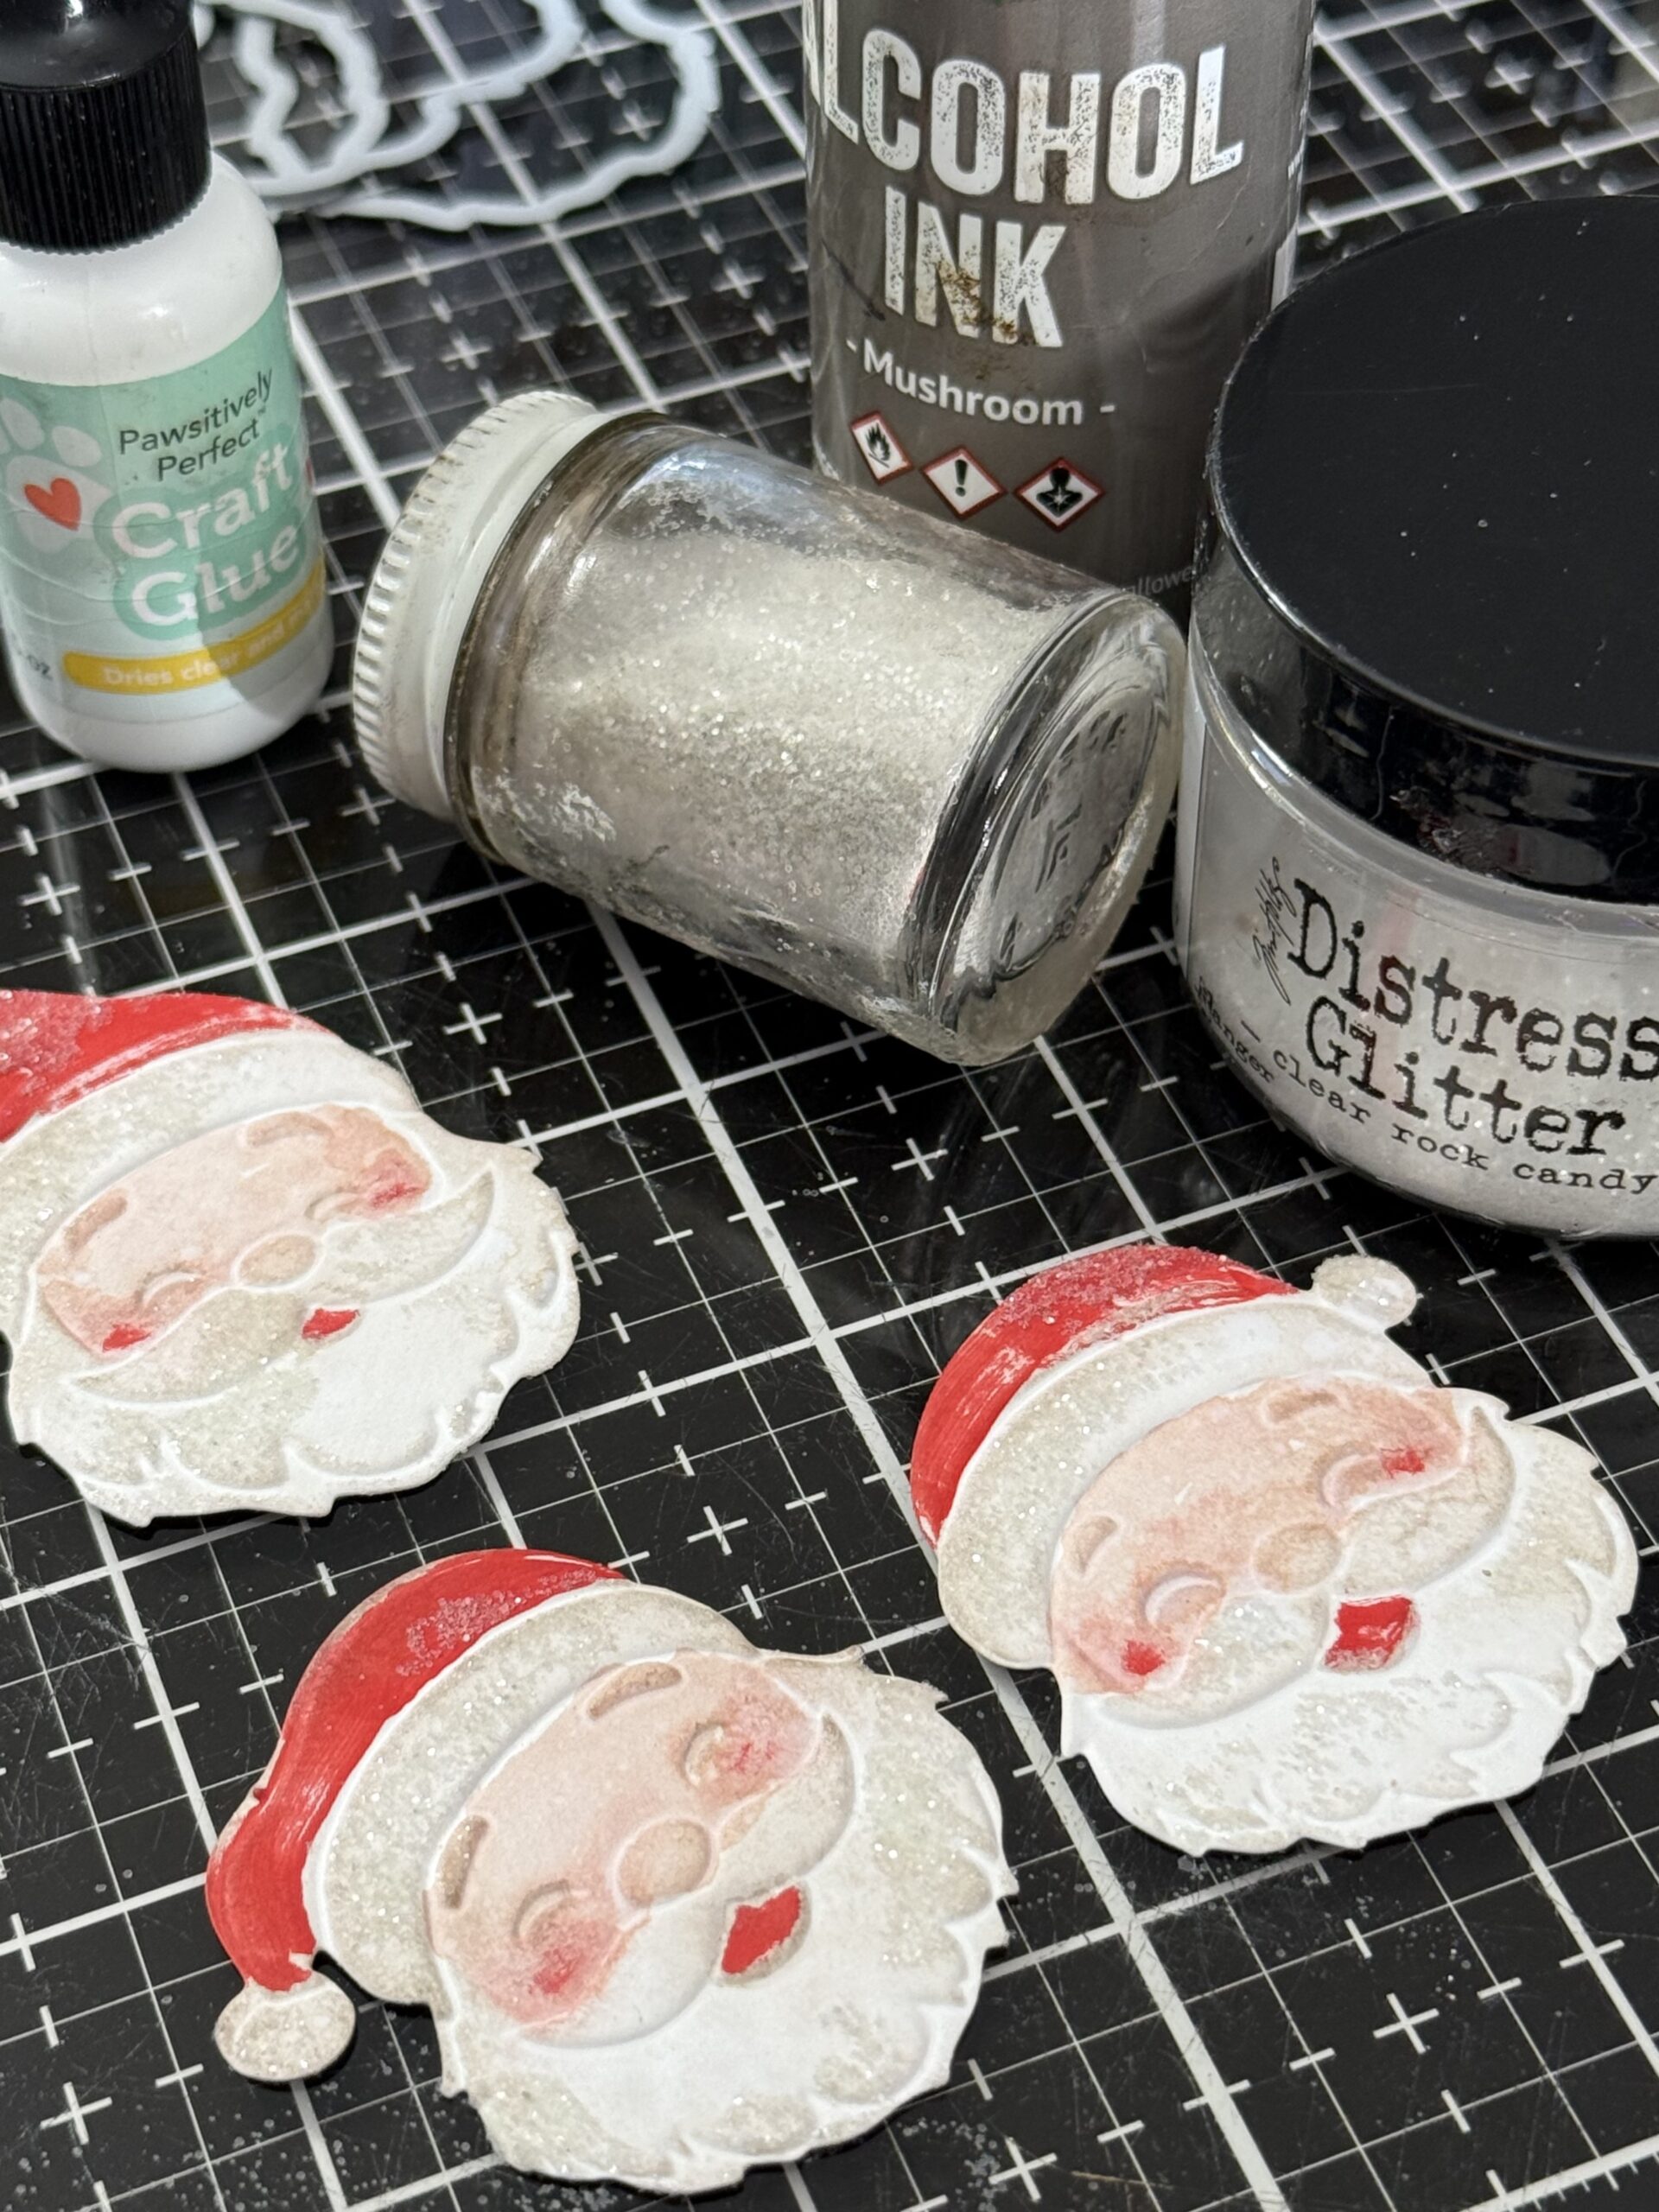
I rubbed their hats, pompoms and beards with a little glue, then sprinkled them with some Grungy Clear Rock Candy Glitter. This is glitter that I have made grungy by tinting it with some Mushroom Alcohol Ink.
Then I set the Santas aside to dry and began cutting some pillow boxes using the Tim Holtz Vault Pillow Box and some idea-ology Christmas Backdrops and Palette Paper Pack.
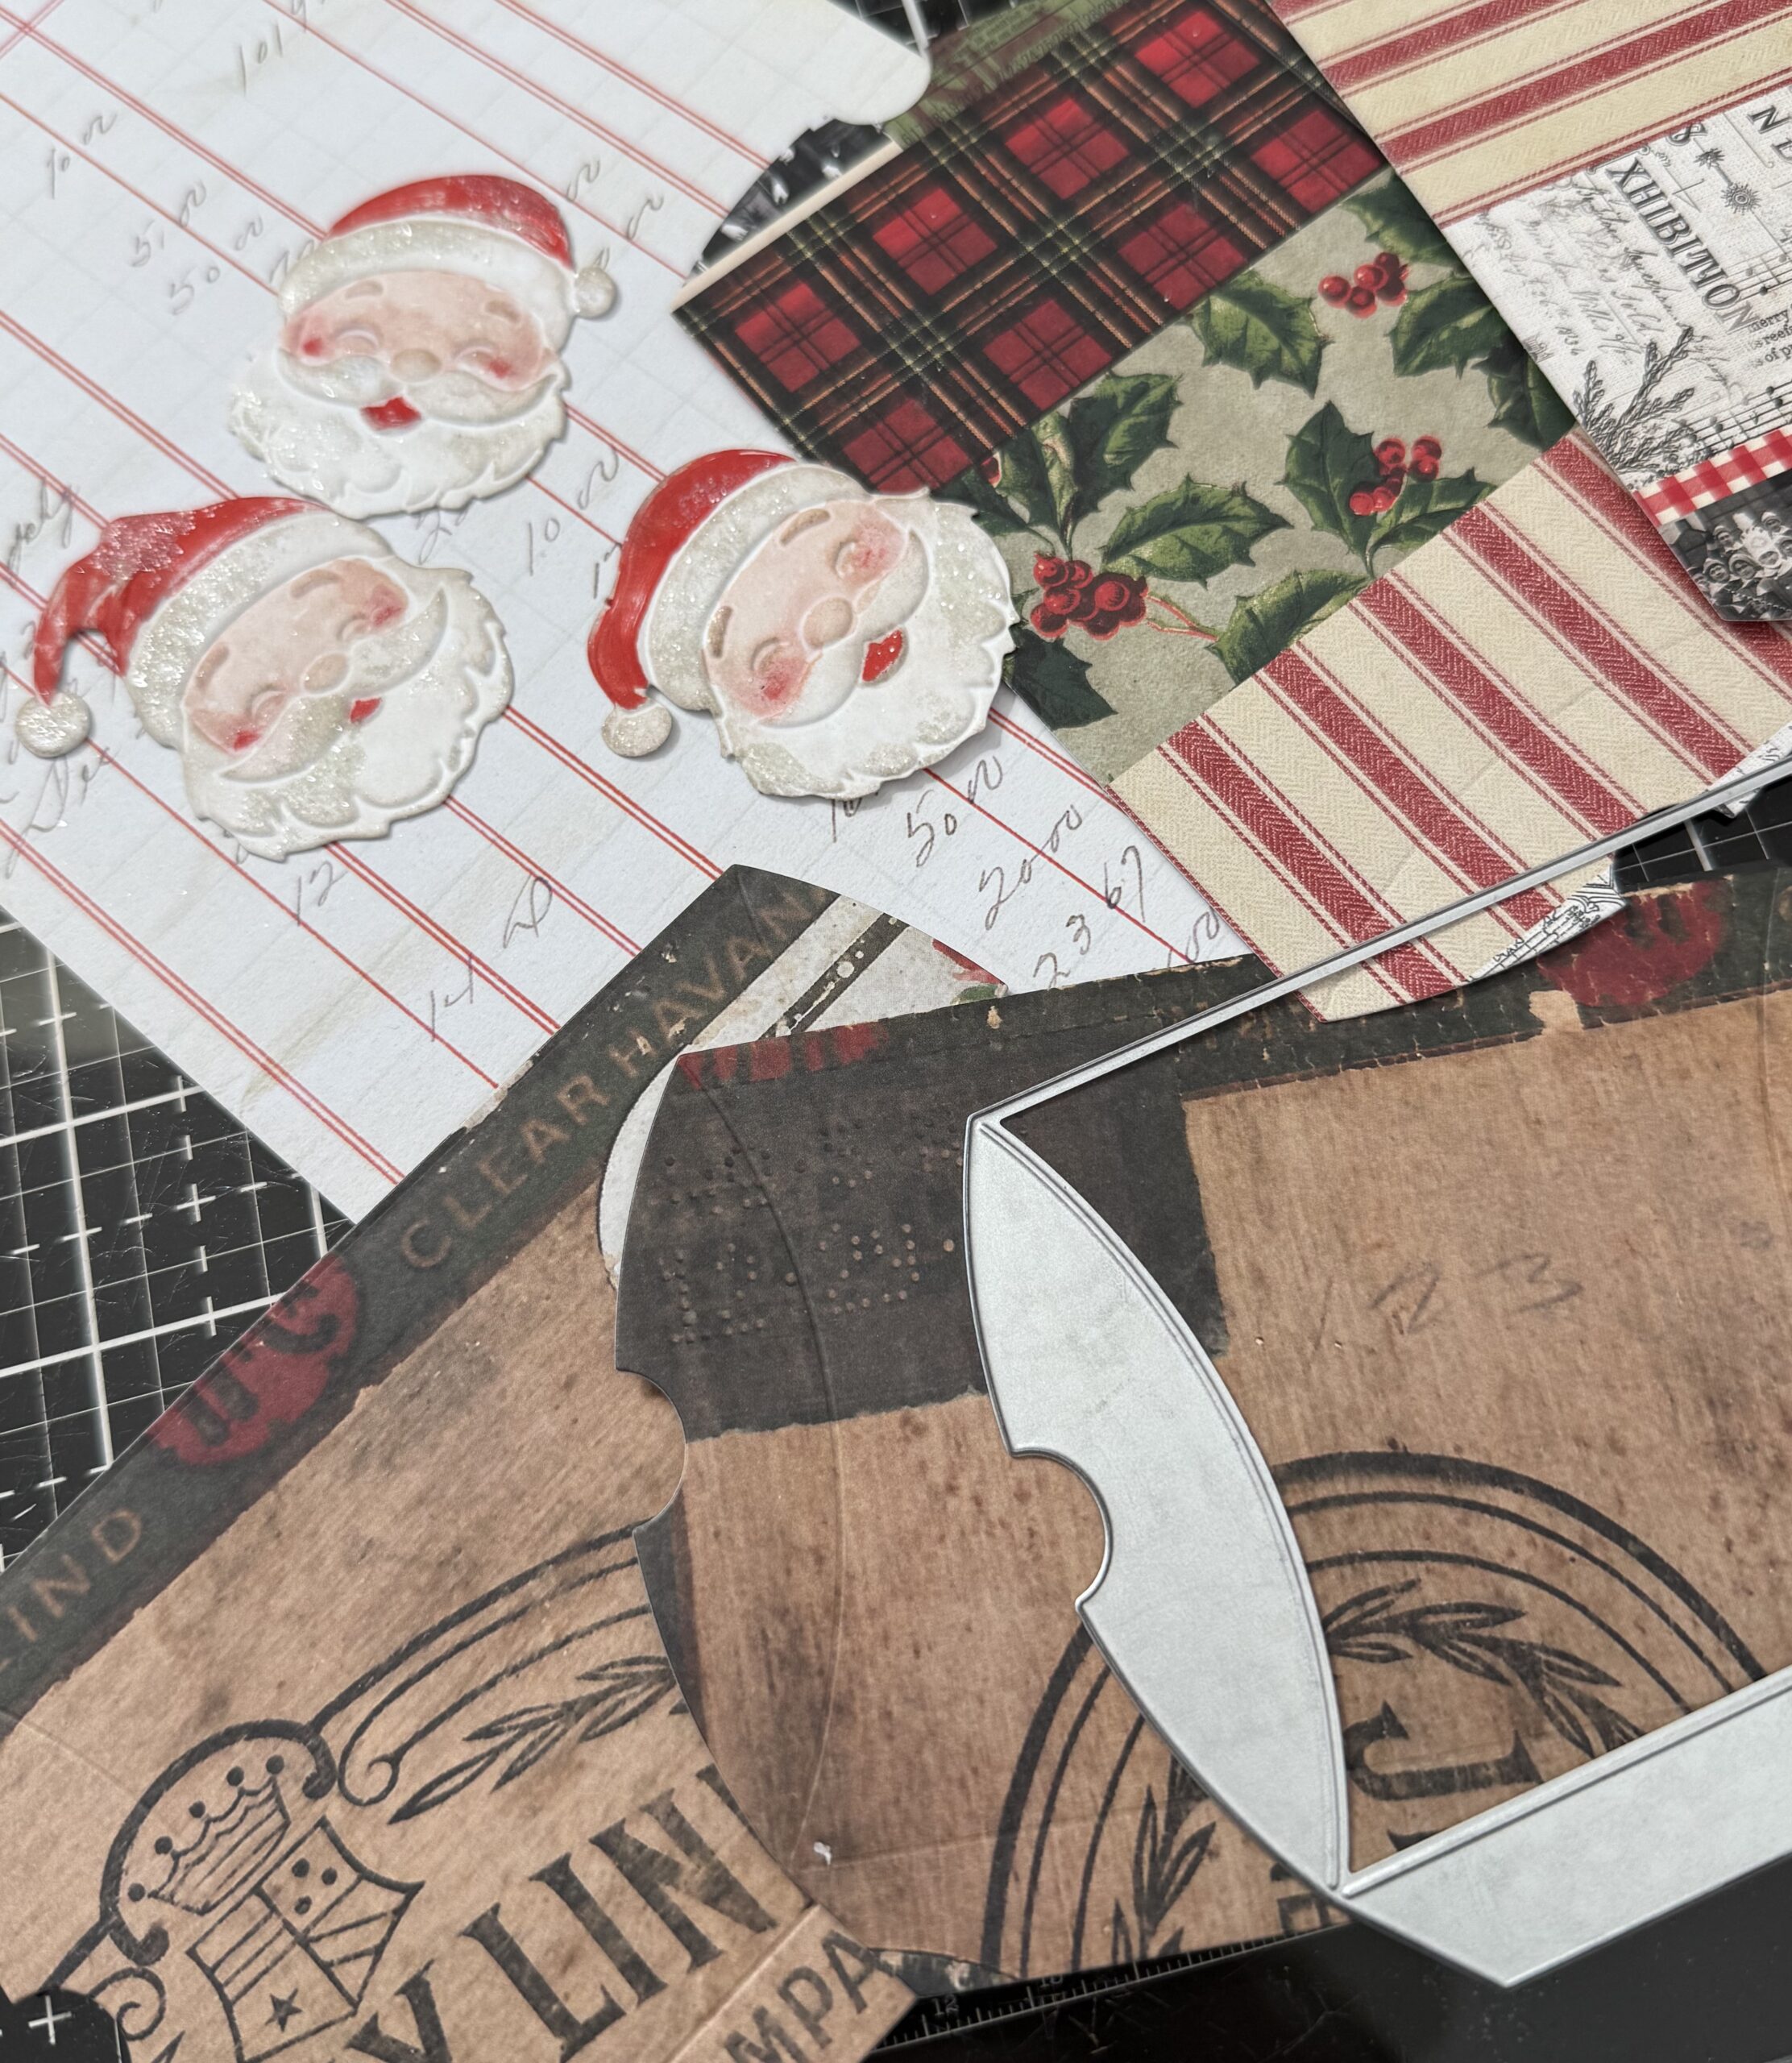
I adhered the boxes together using some Craft Glue then set them aside to dry.
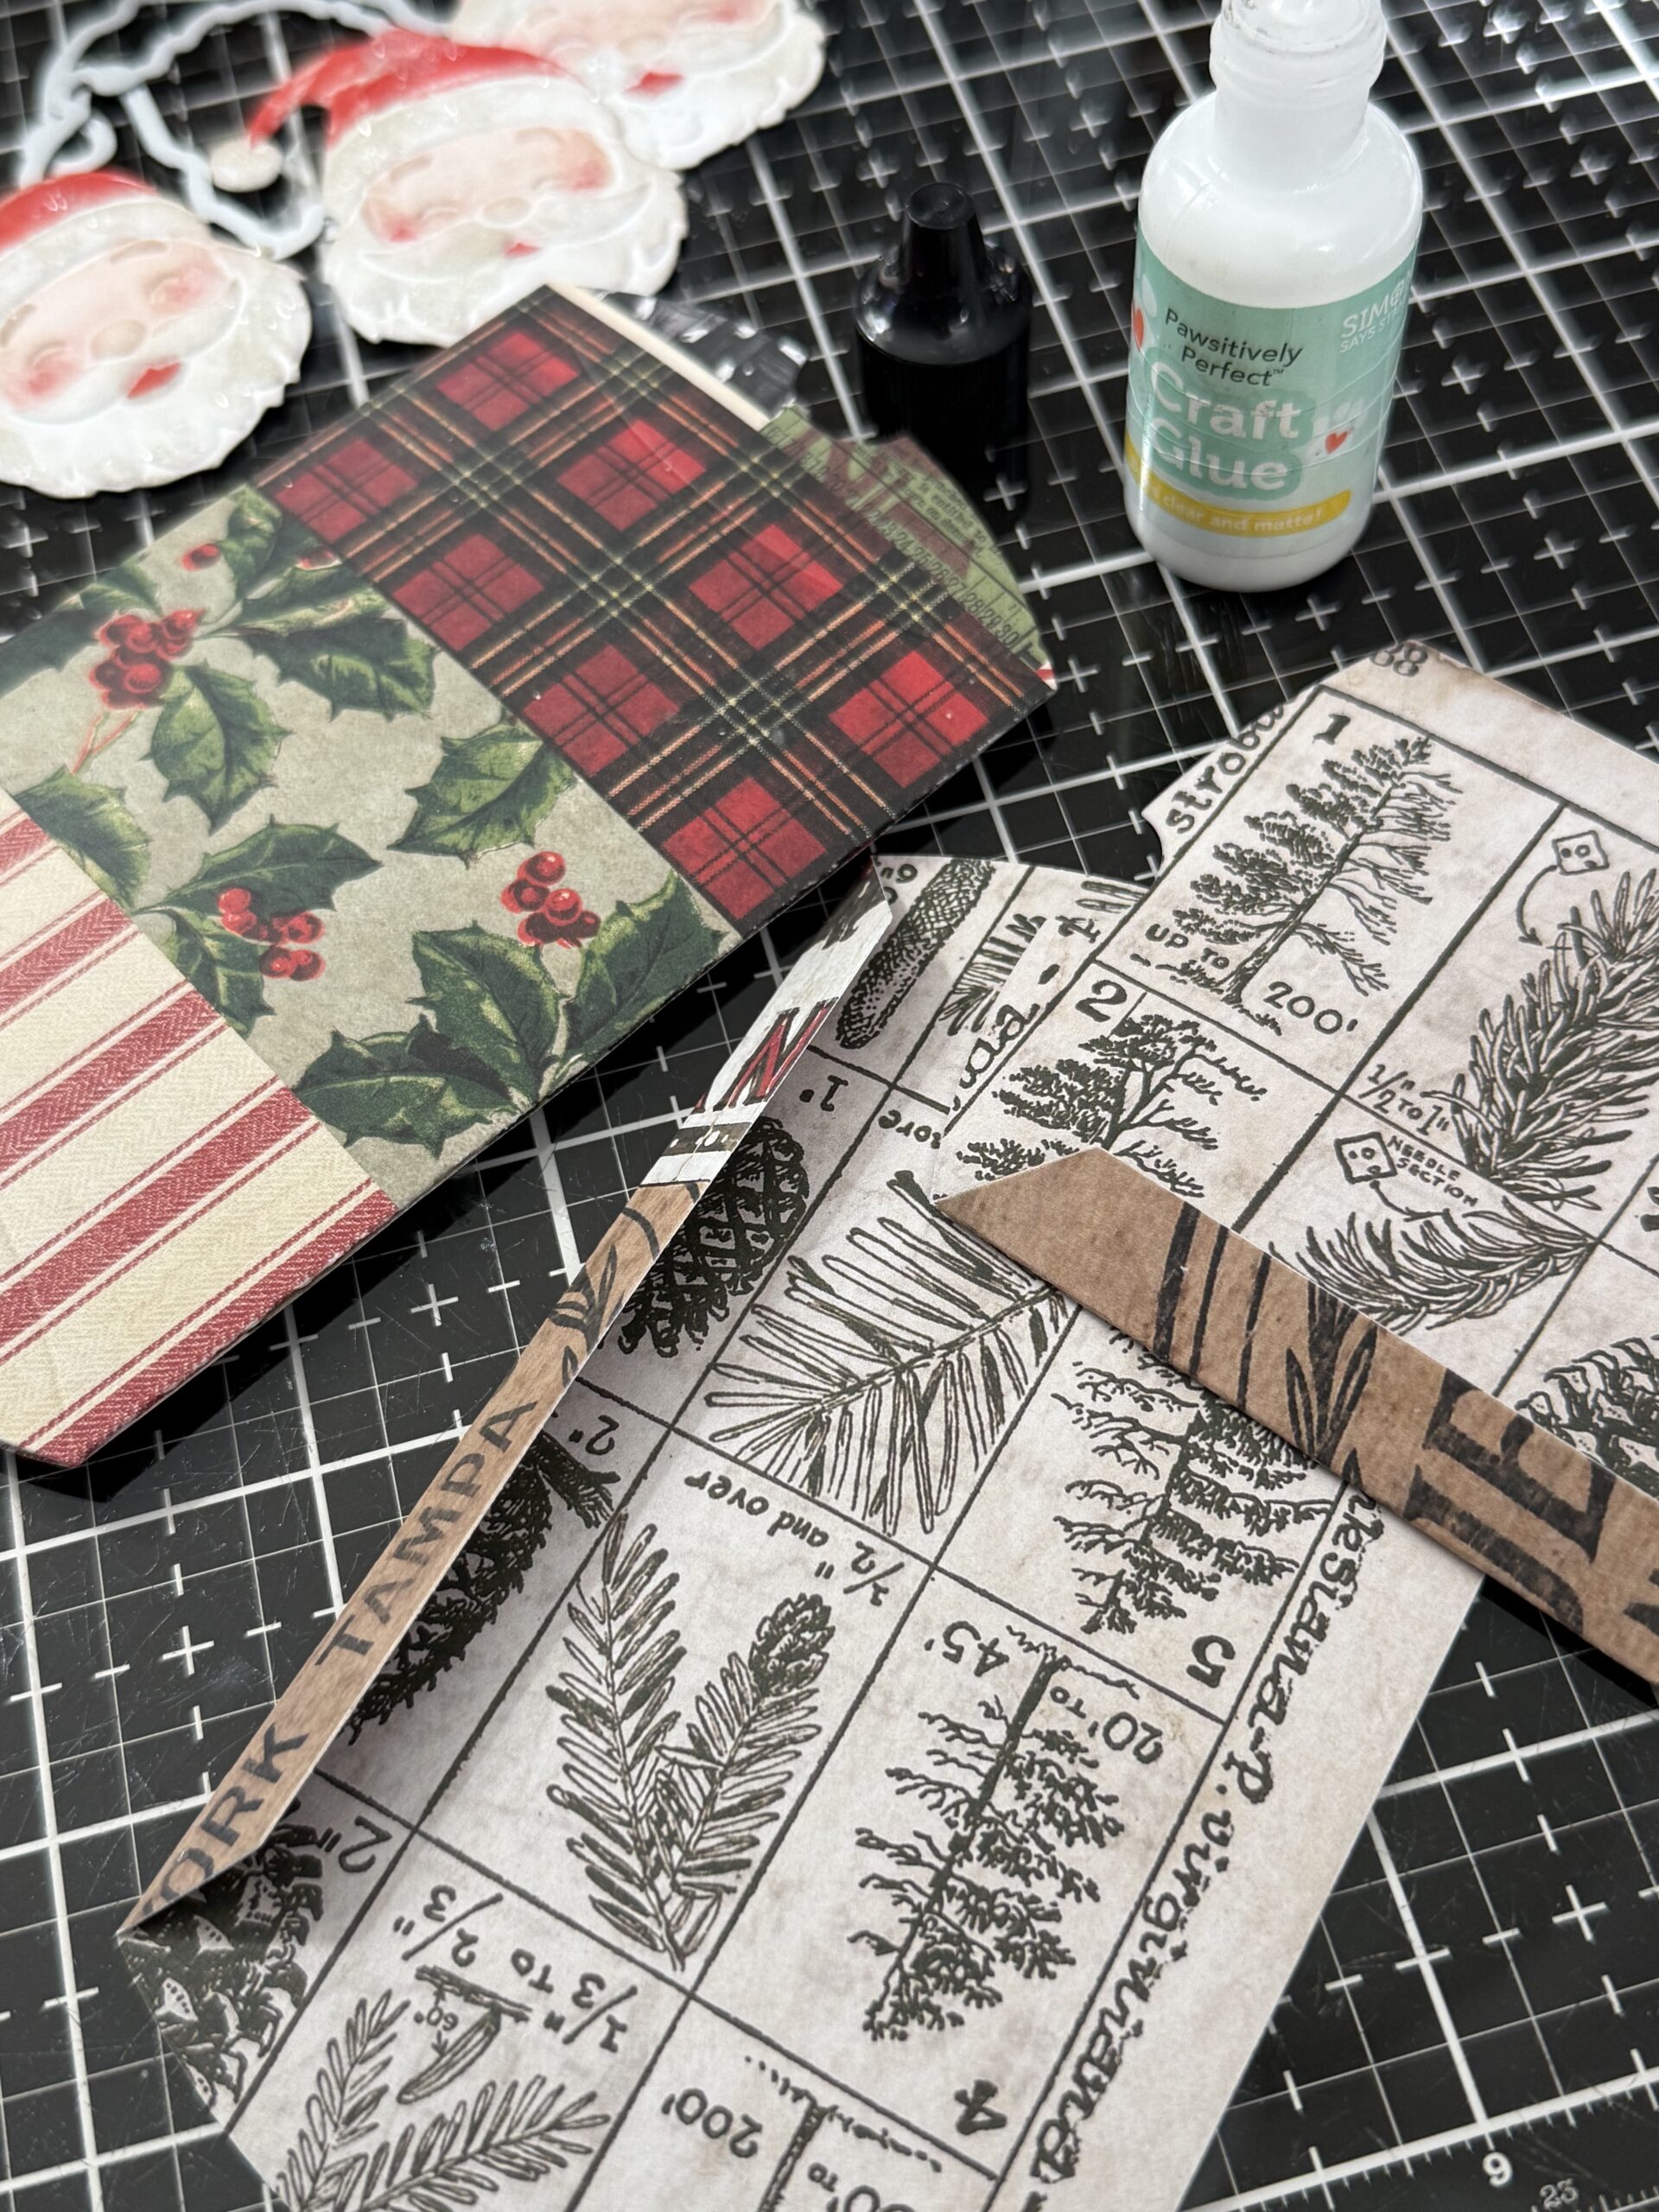
Next, I began creating some papers for the Holly tags…
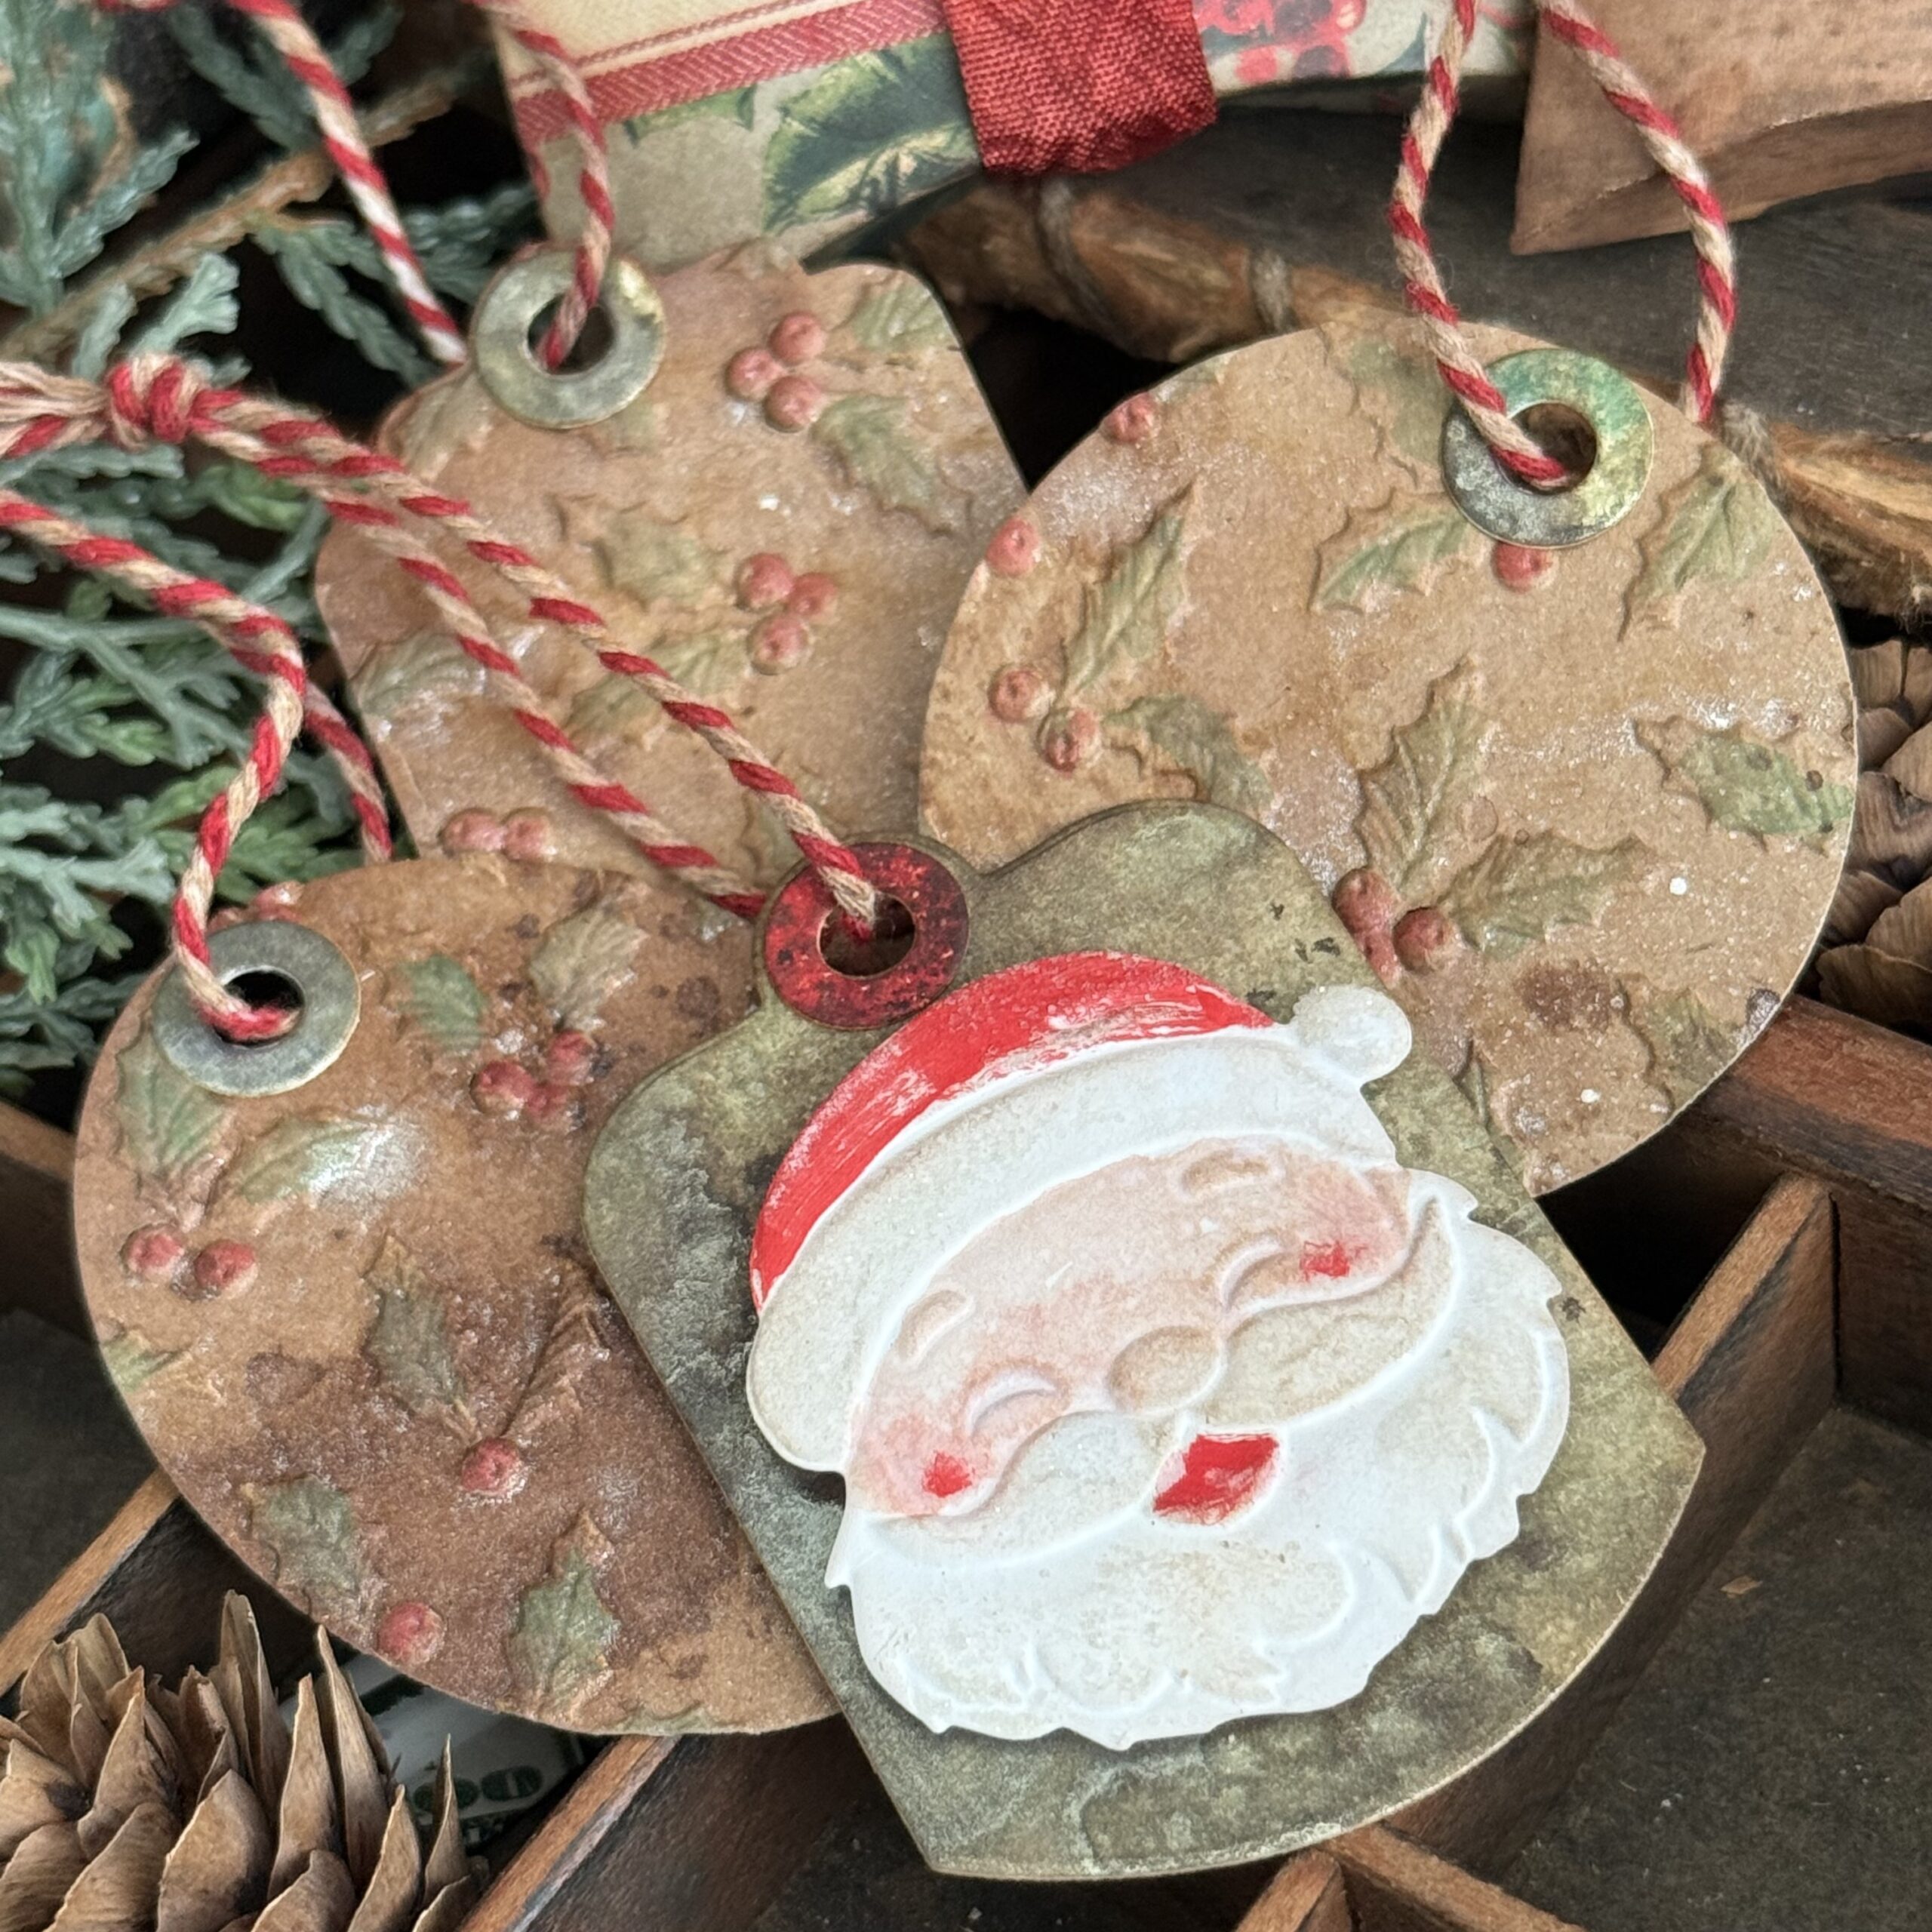
I spritzed a piece of Tim Holtz Kraft Heavystock paper with some water then some Gathered Twigs Spray Stain, then dried it with my heat tool. After the paper was almost dry, I spritzed the paper with some Picket Fence Distress Spritz to add some holiday sparkle.
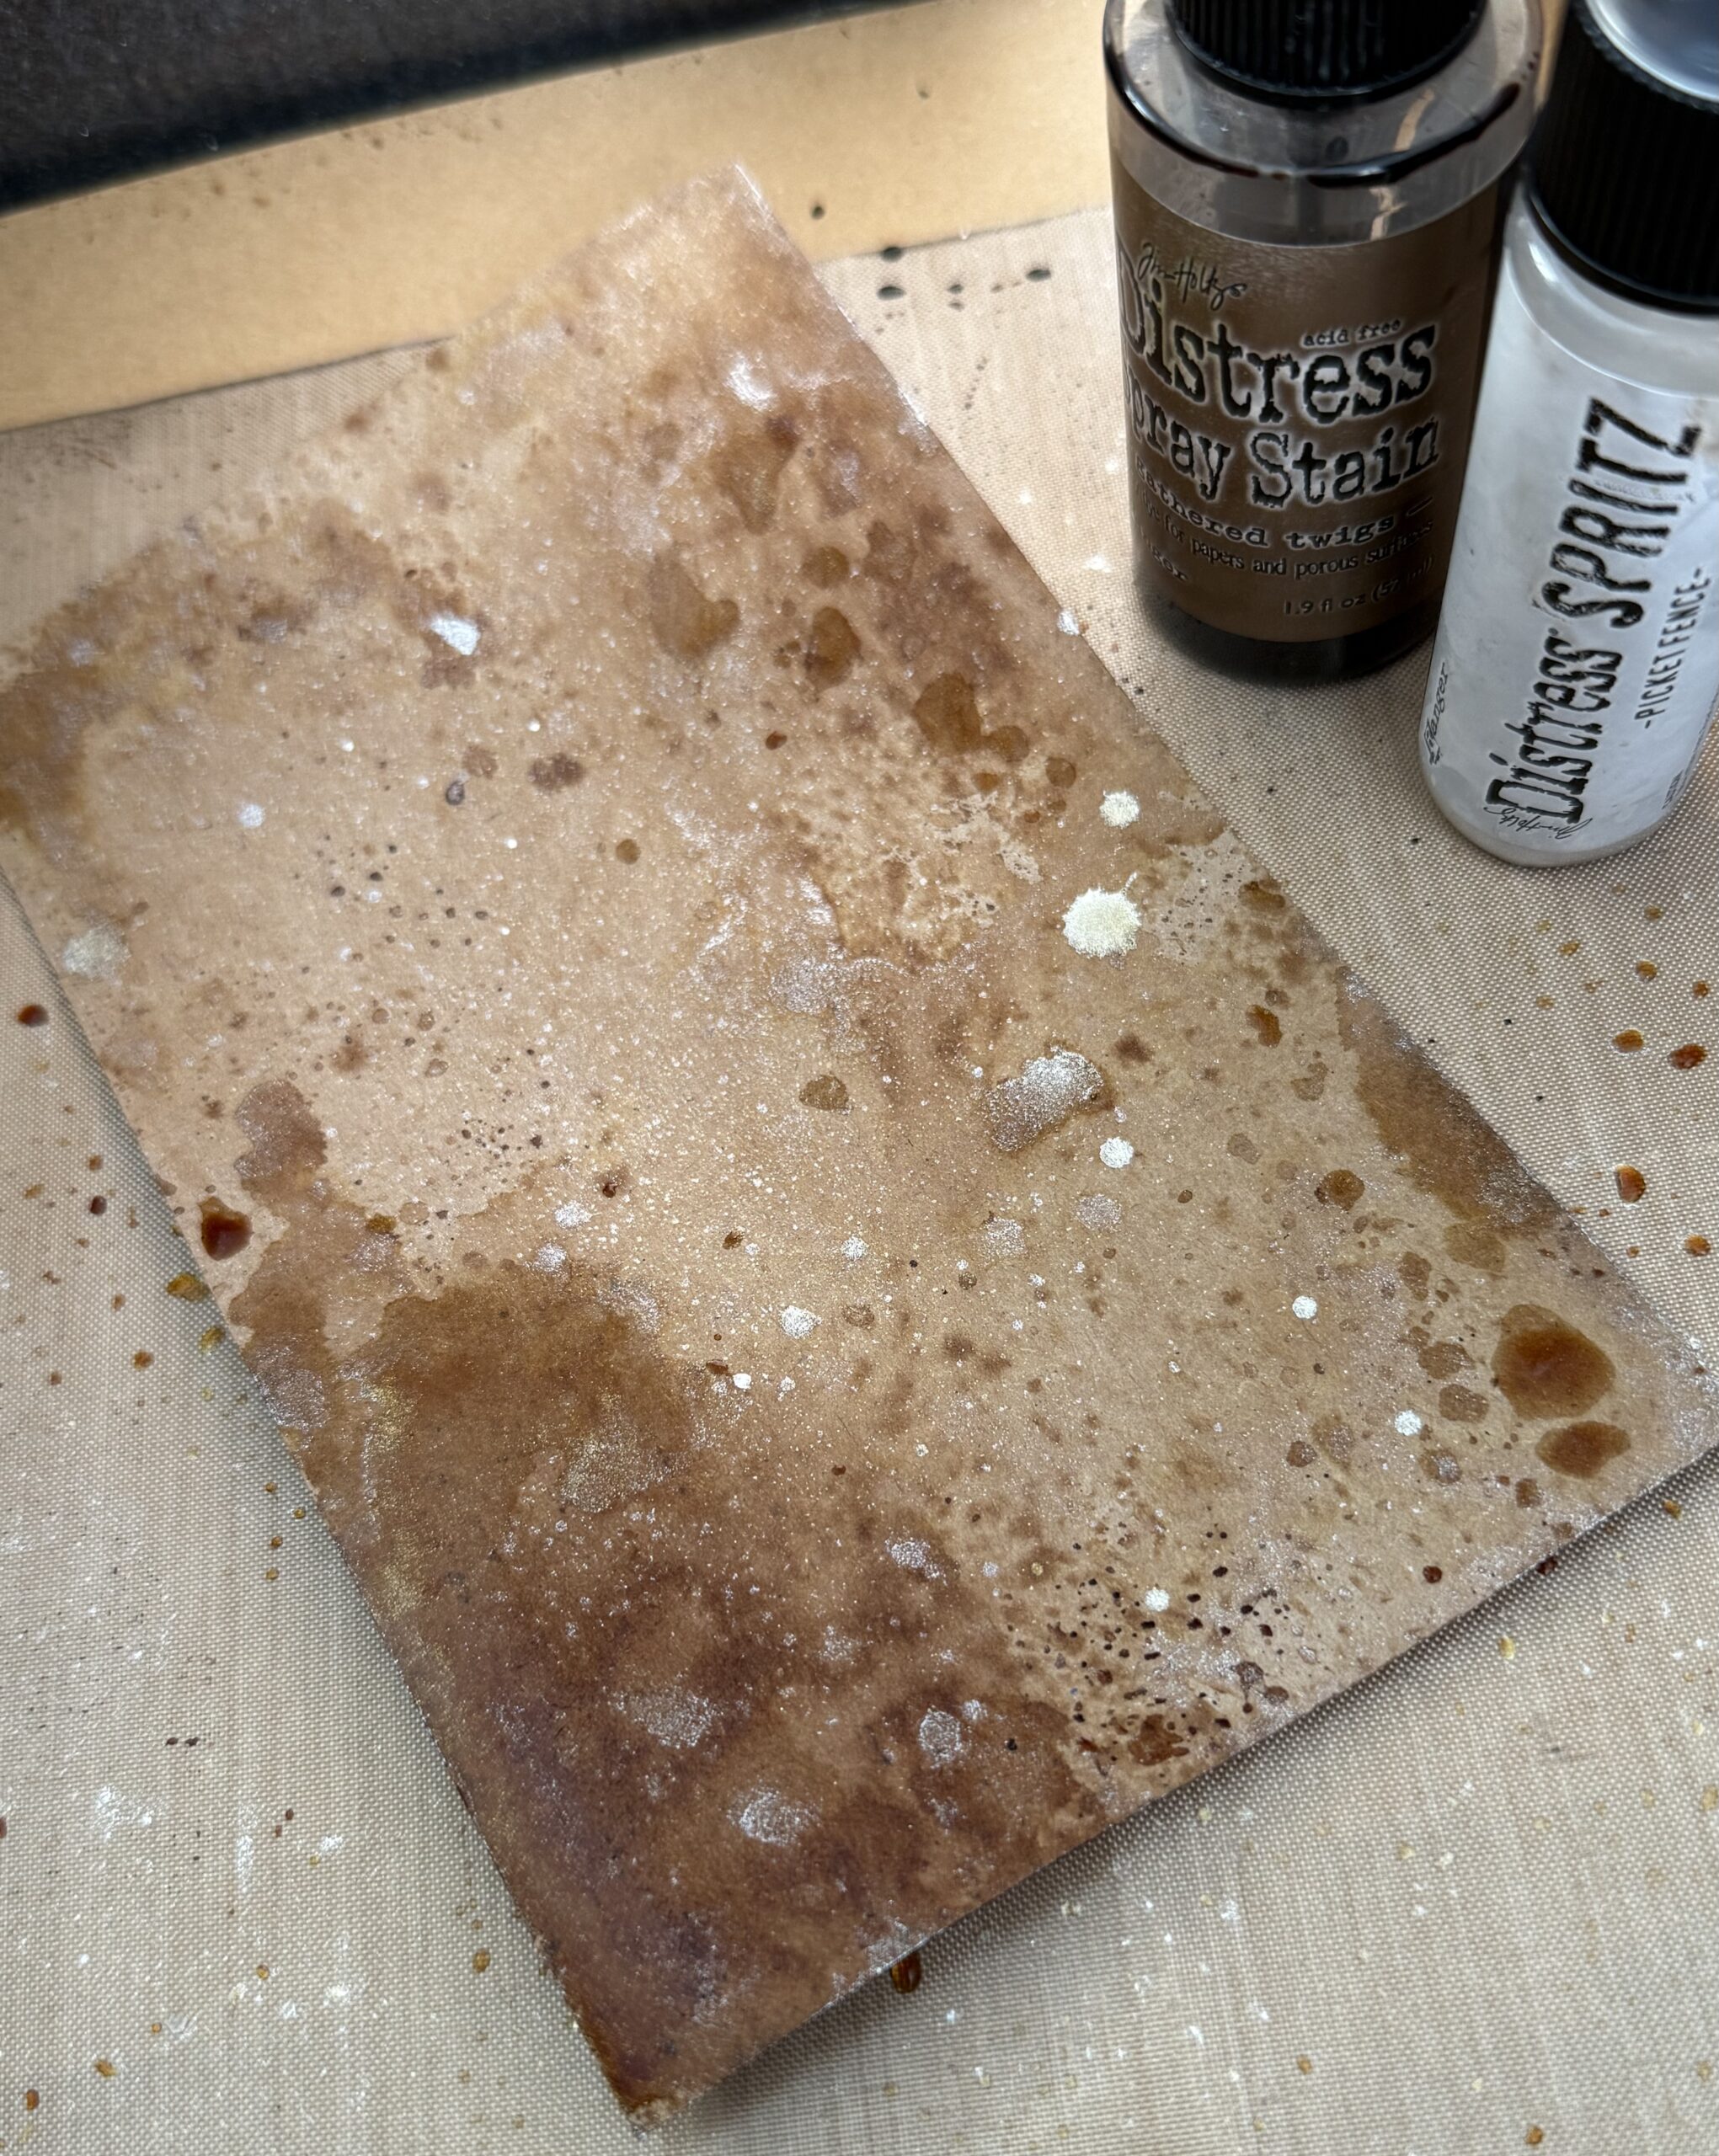
I ran the inky paper through the Graceful Holly 3D folder.
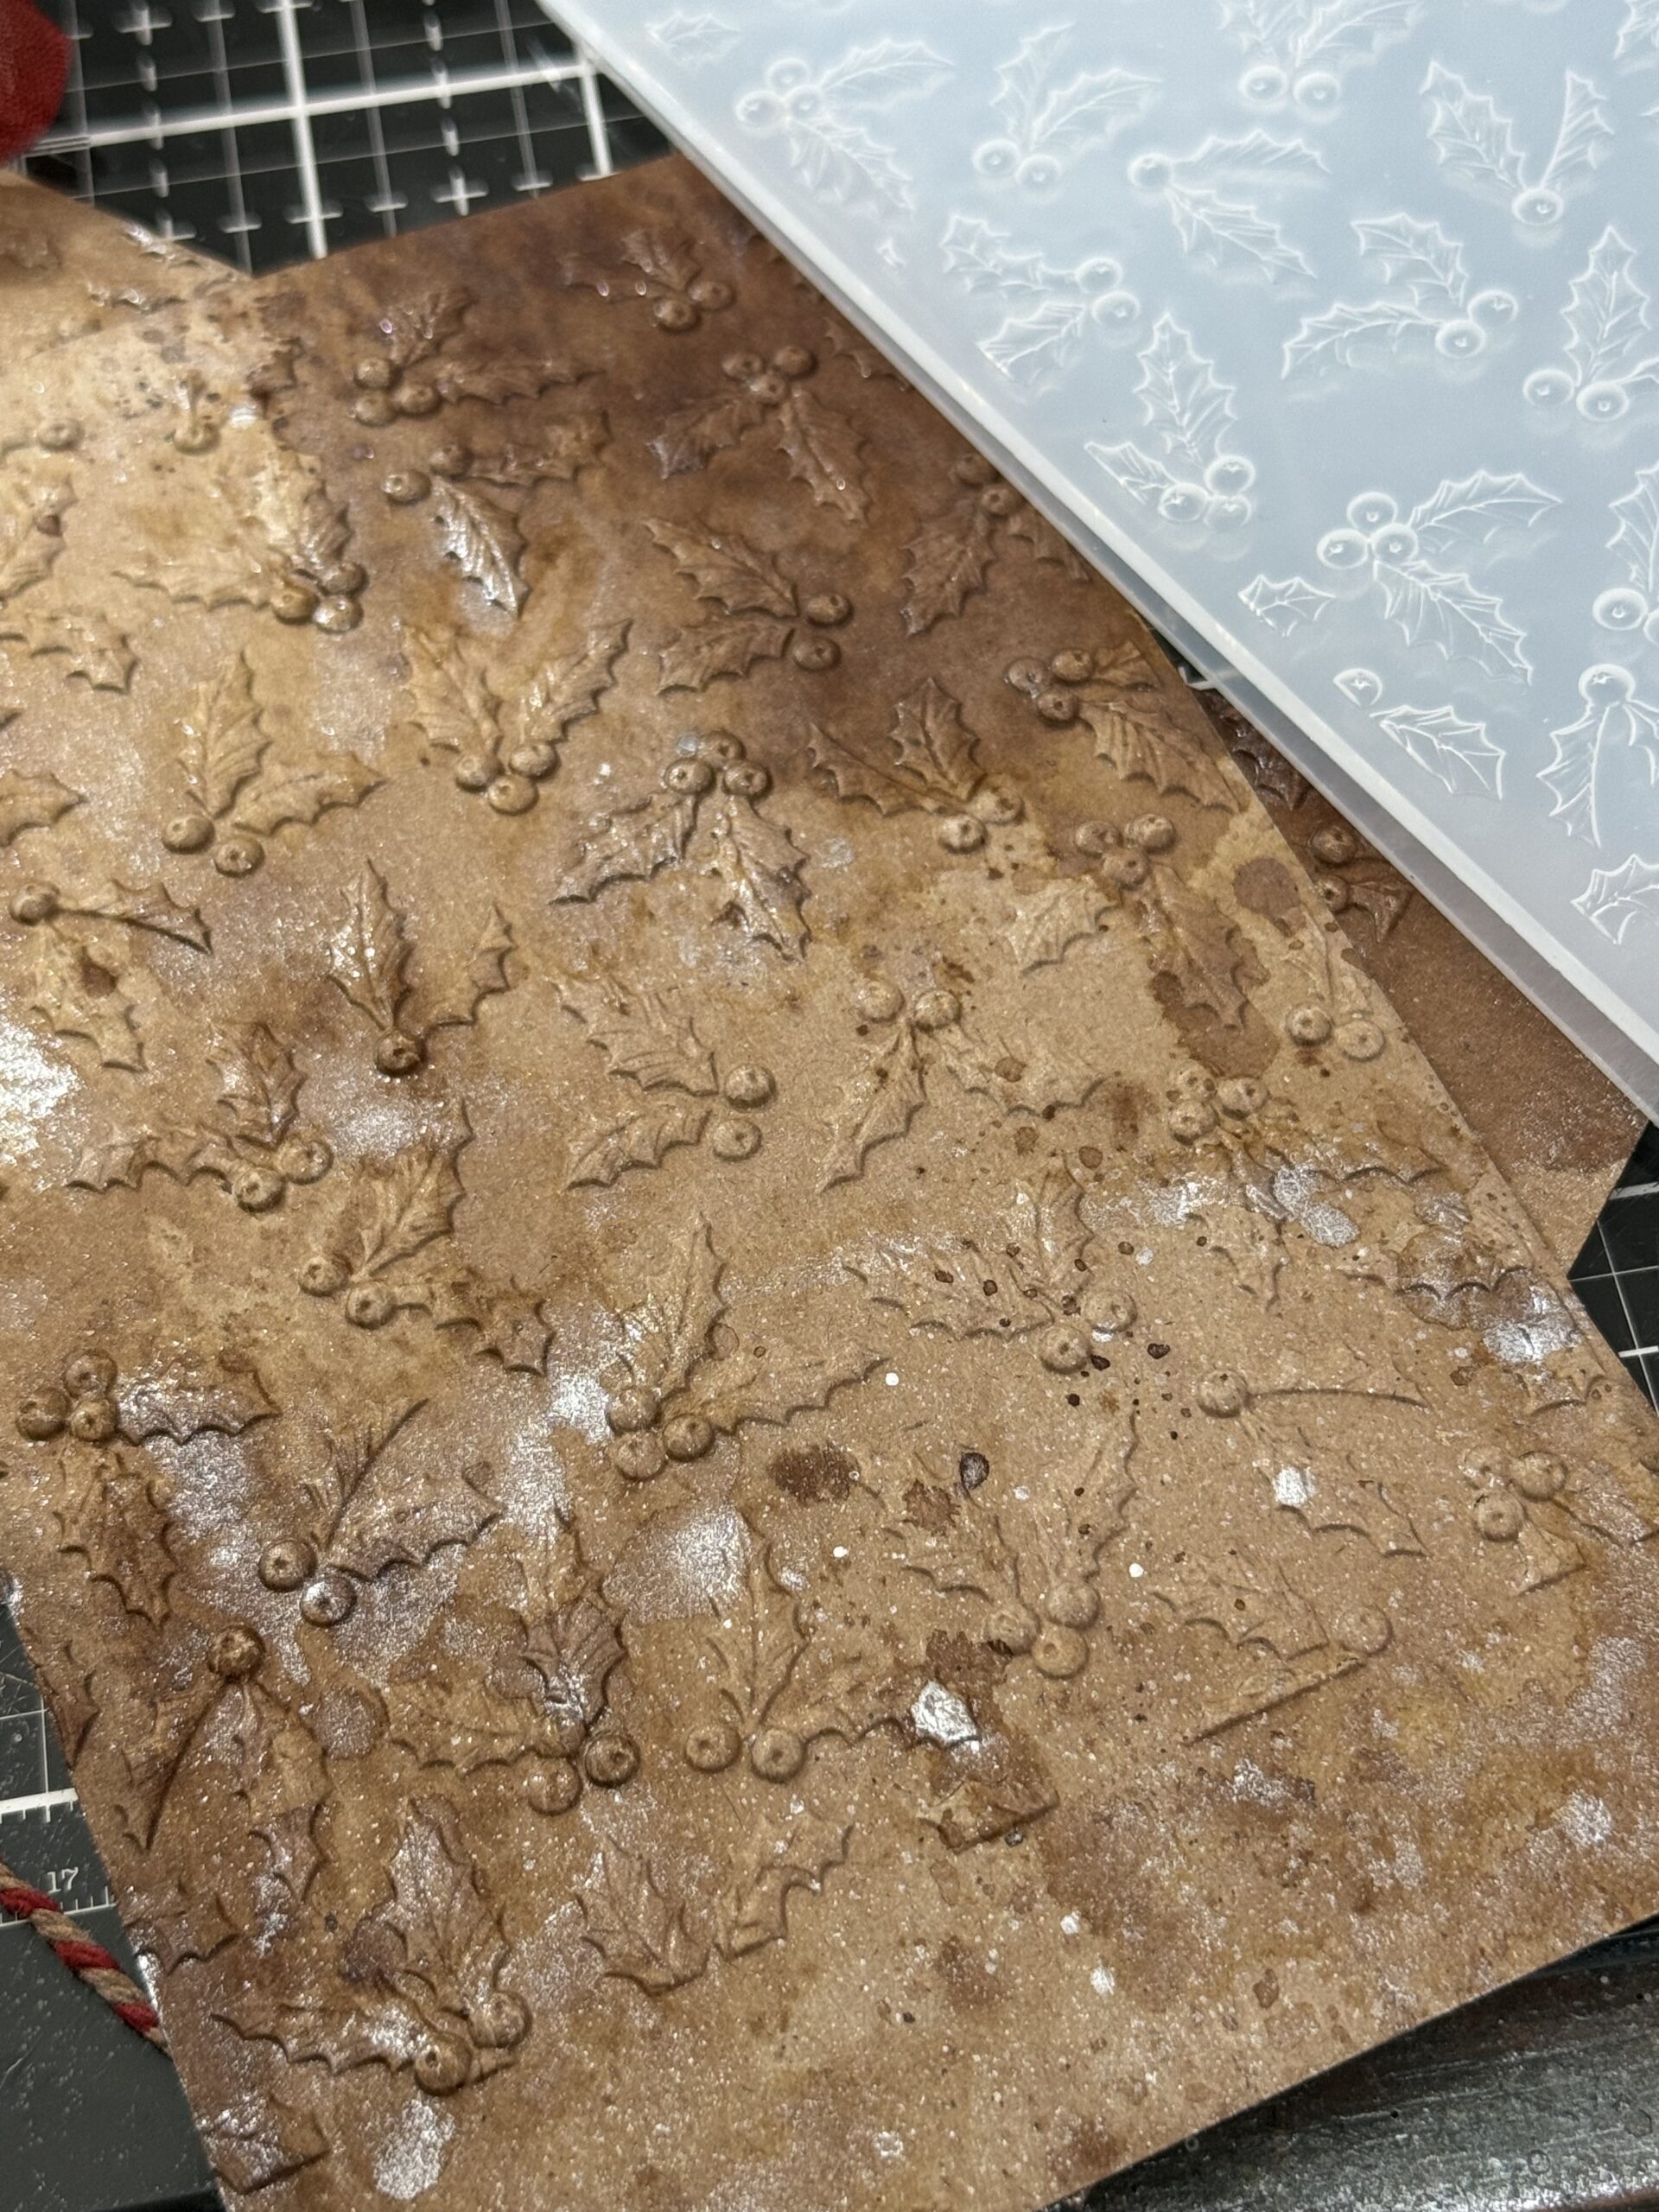
I added some green to the holly leaves by using Distress Paint that was watered down a bit. I used Rustic Wilderness distress paint because once it is dry, it is permanent and it is more Opaque, which worked great on the Kraft paper.
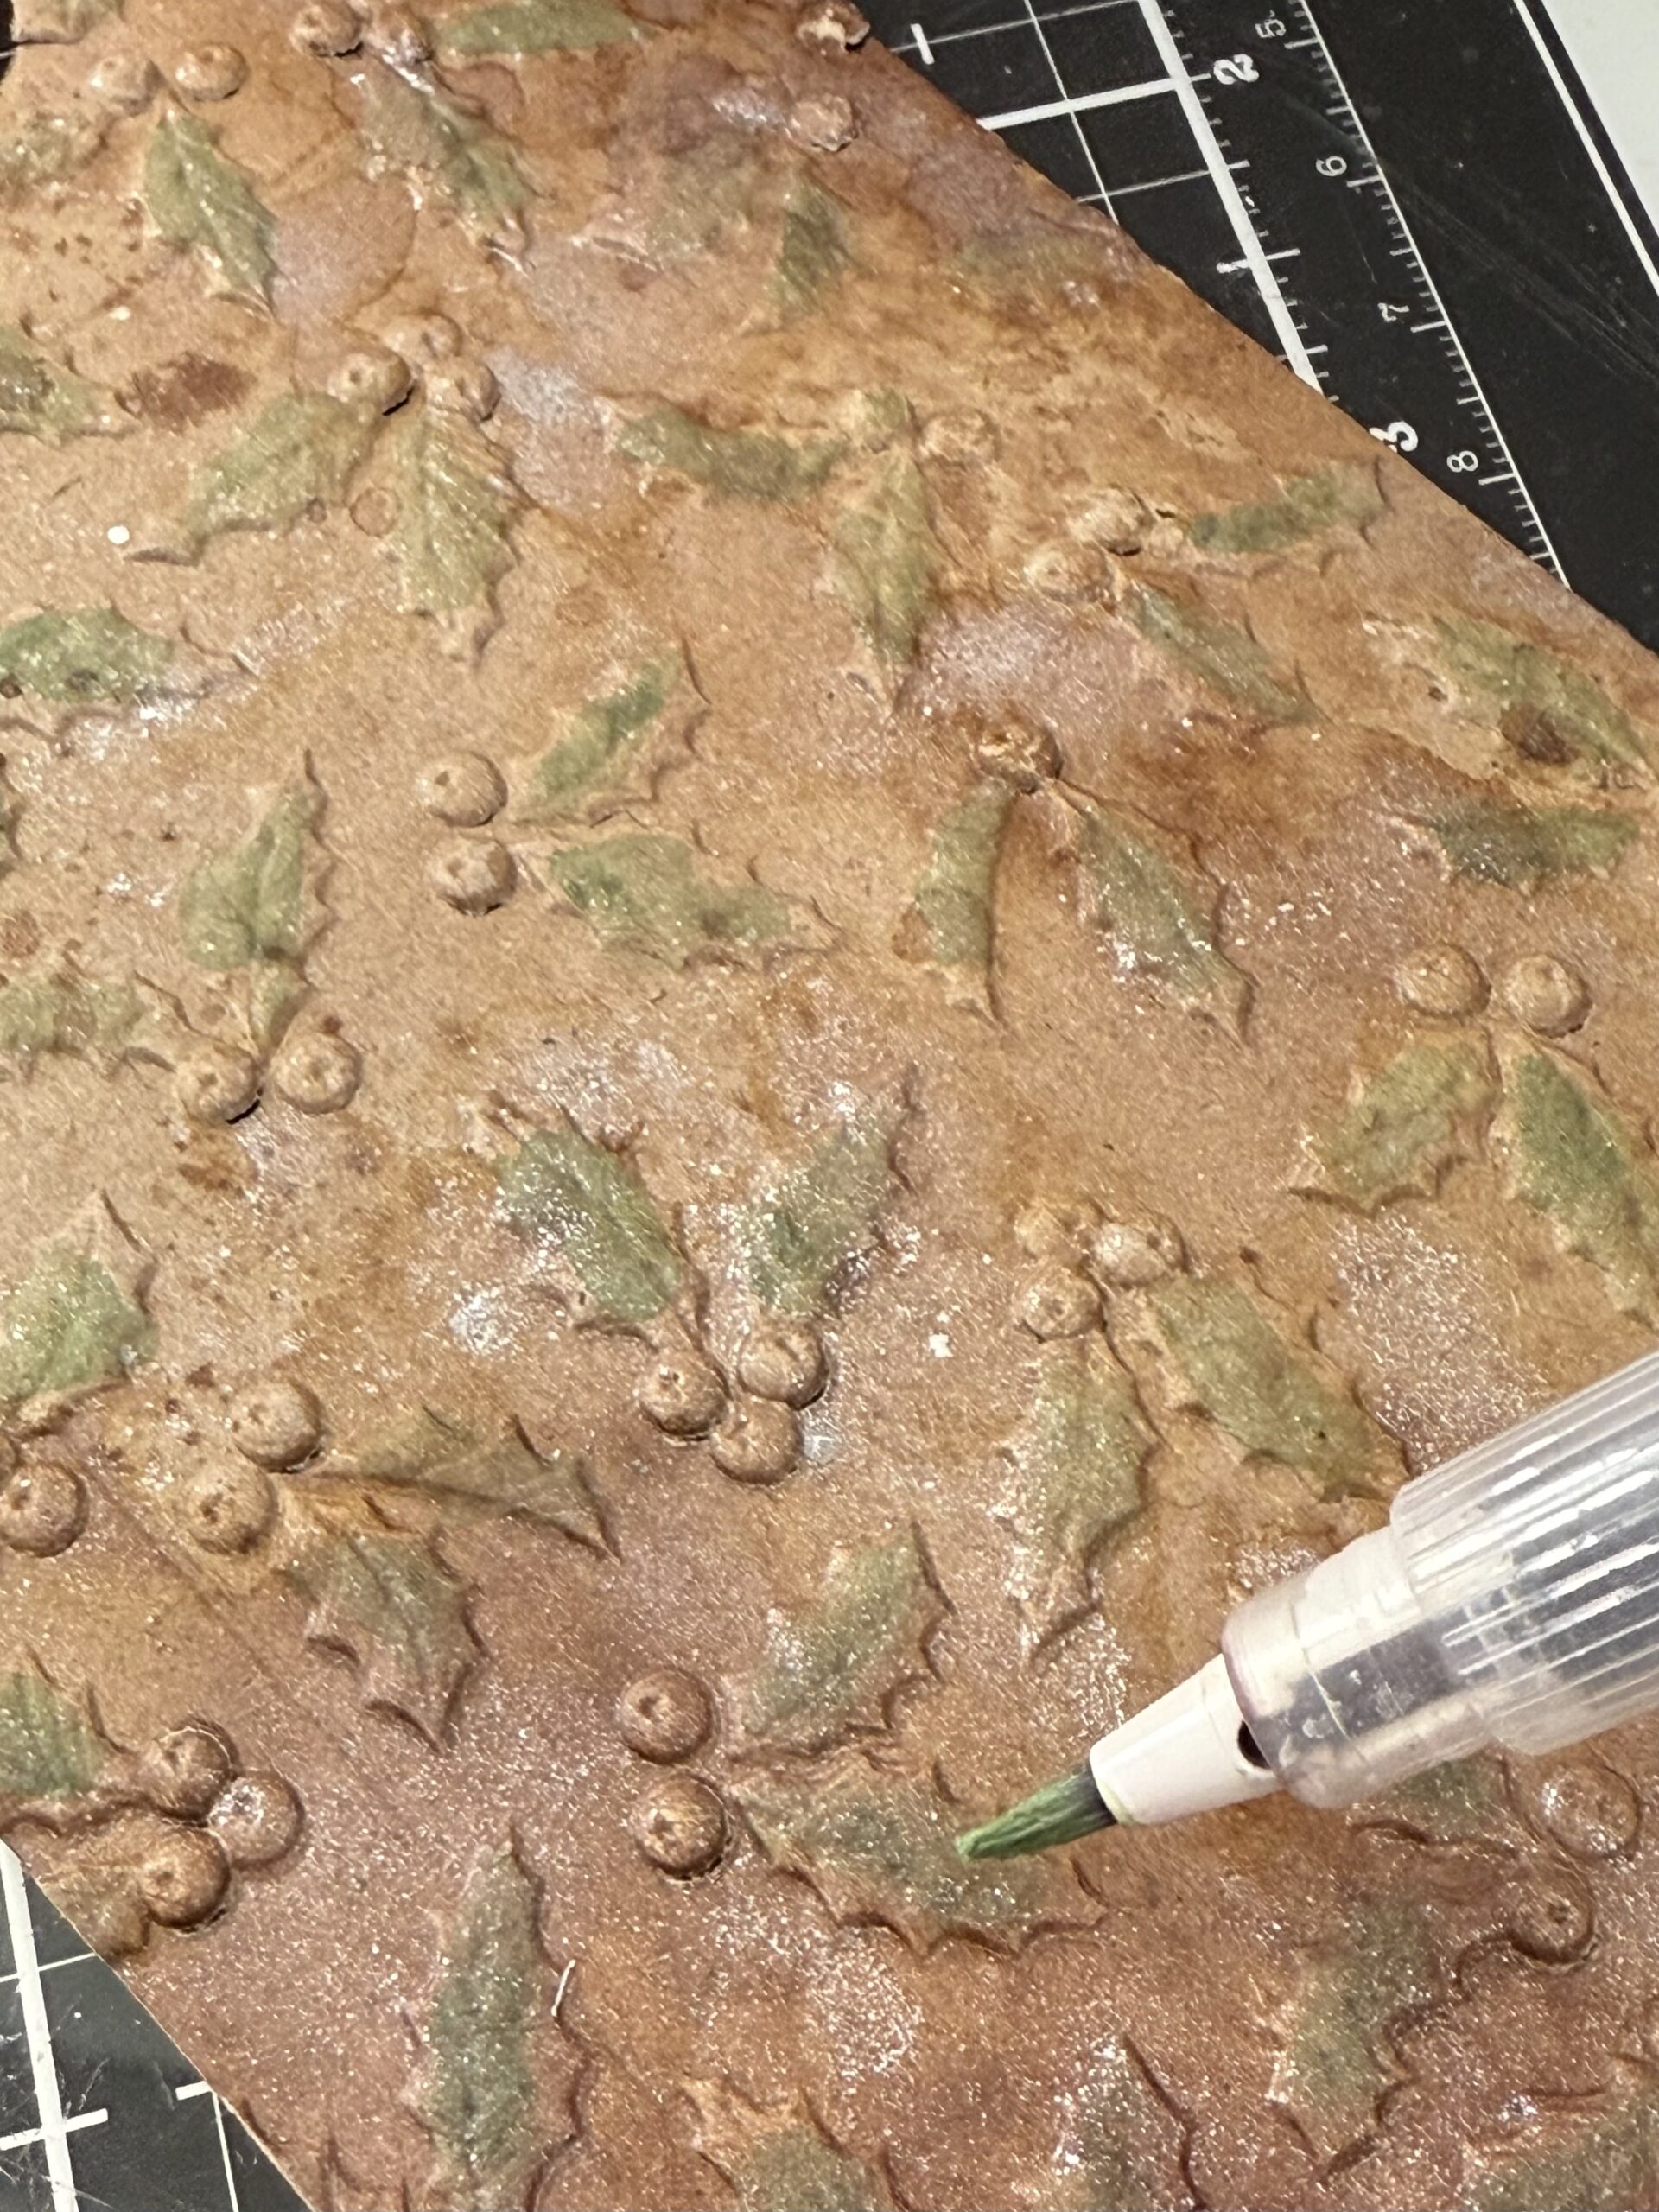
And then, after all the holly leaves were painted, I colored the berries with some Candied Apple distress paint that was thinned out with water. I dried the paper with my heat tool.
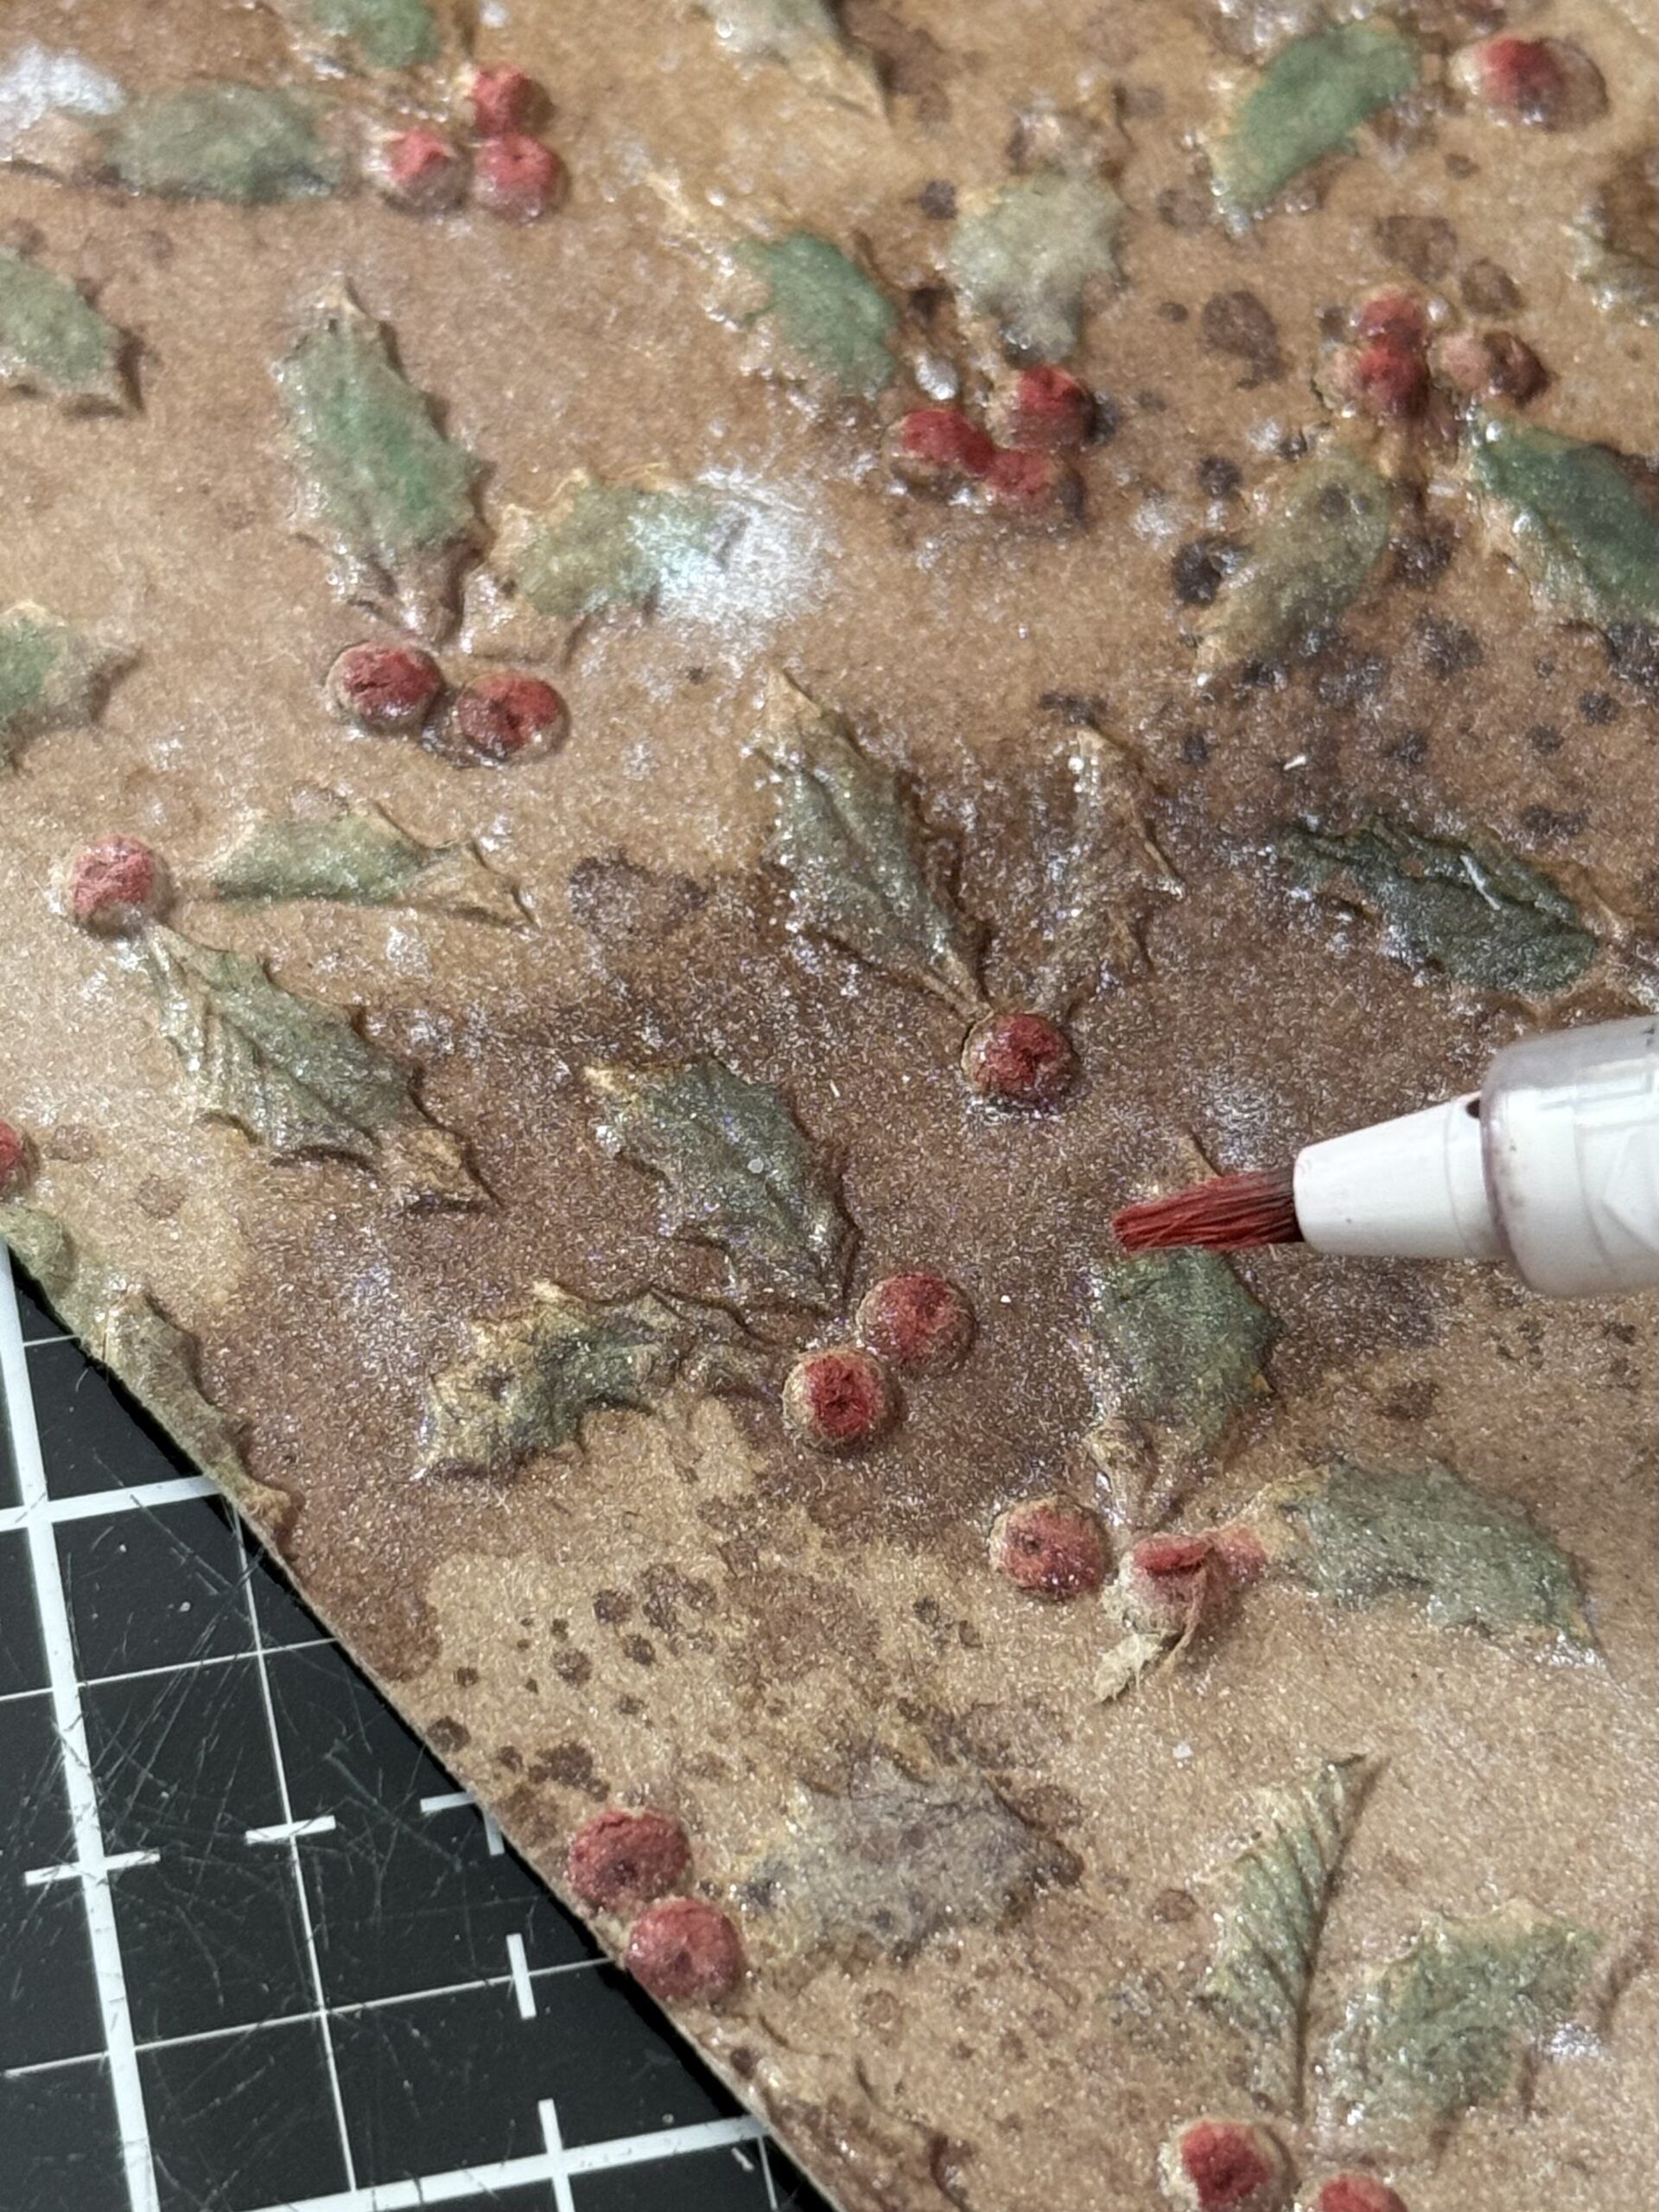
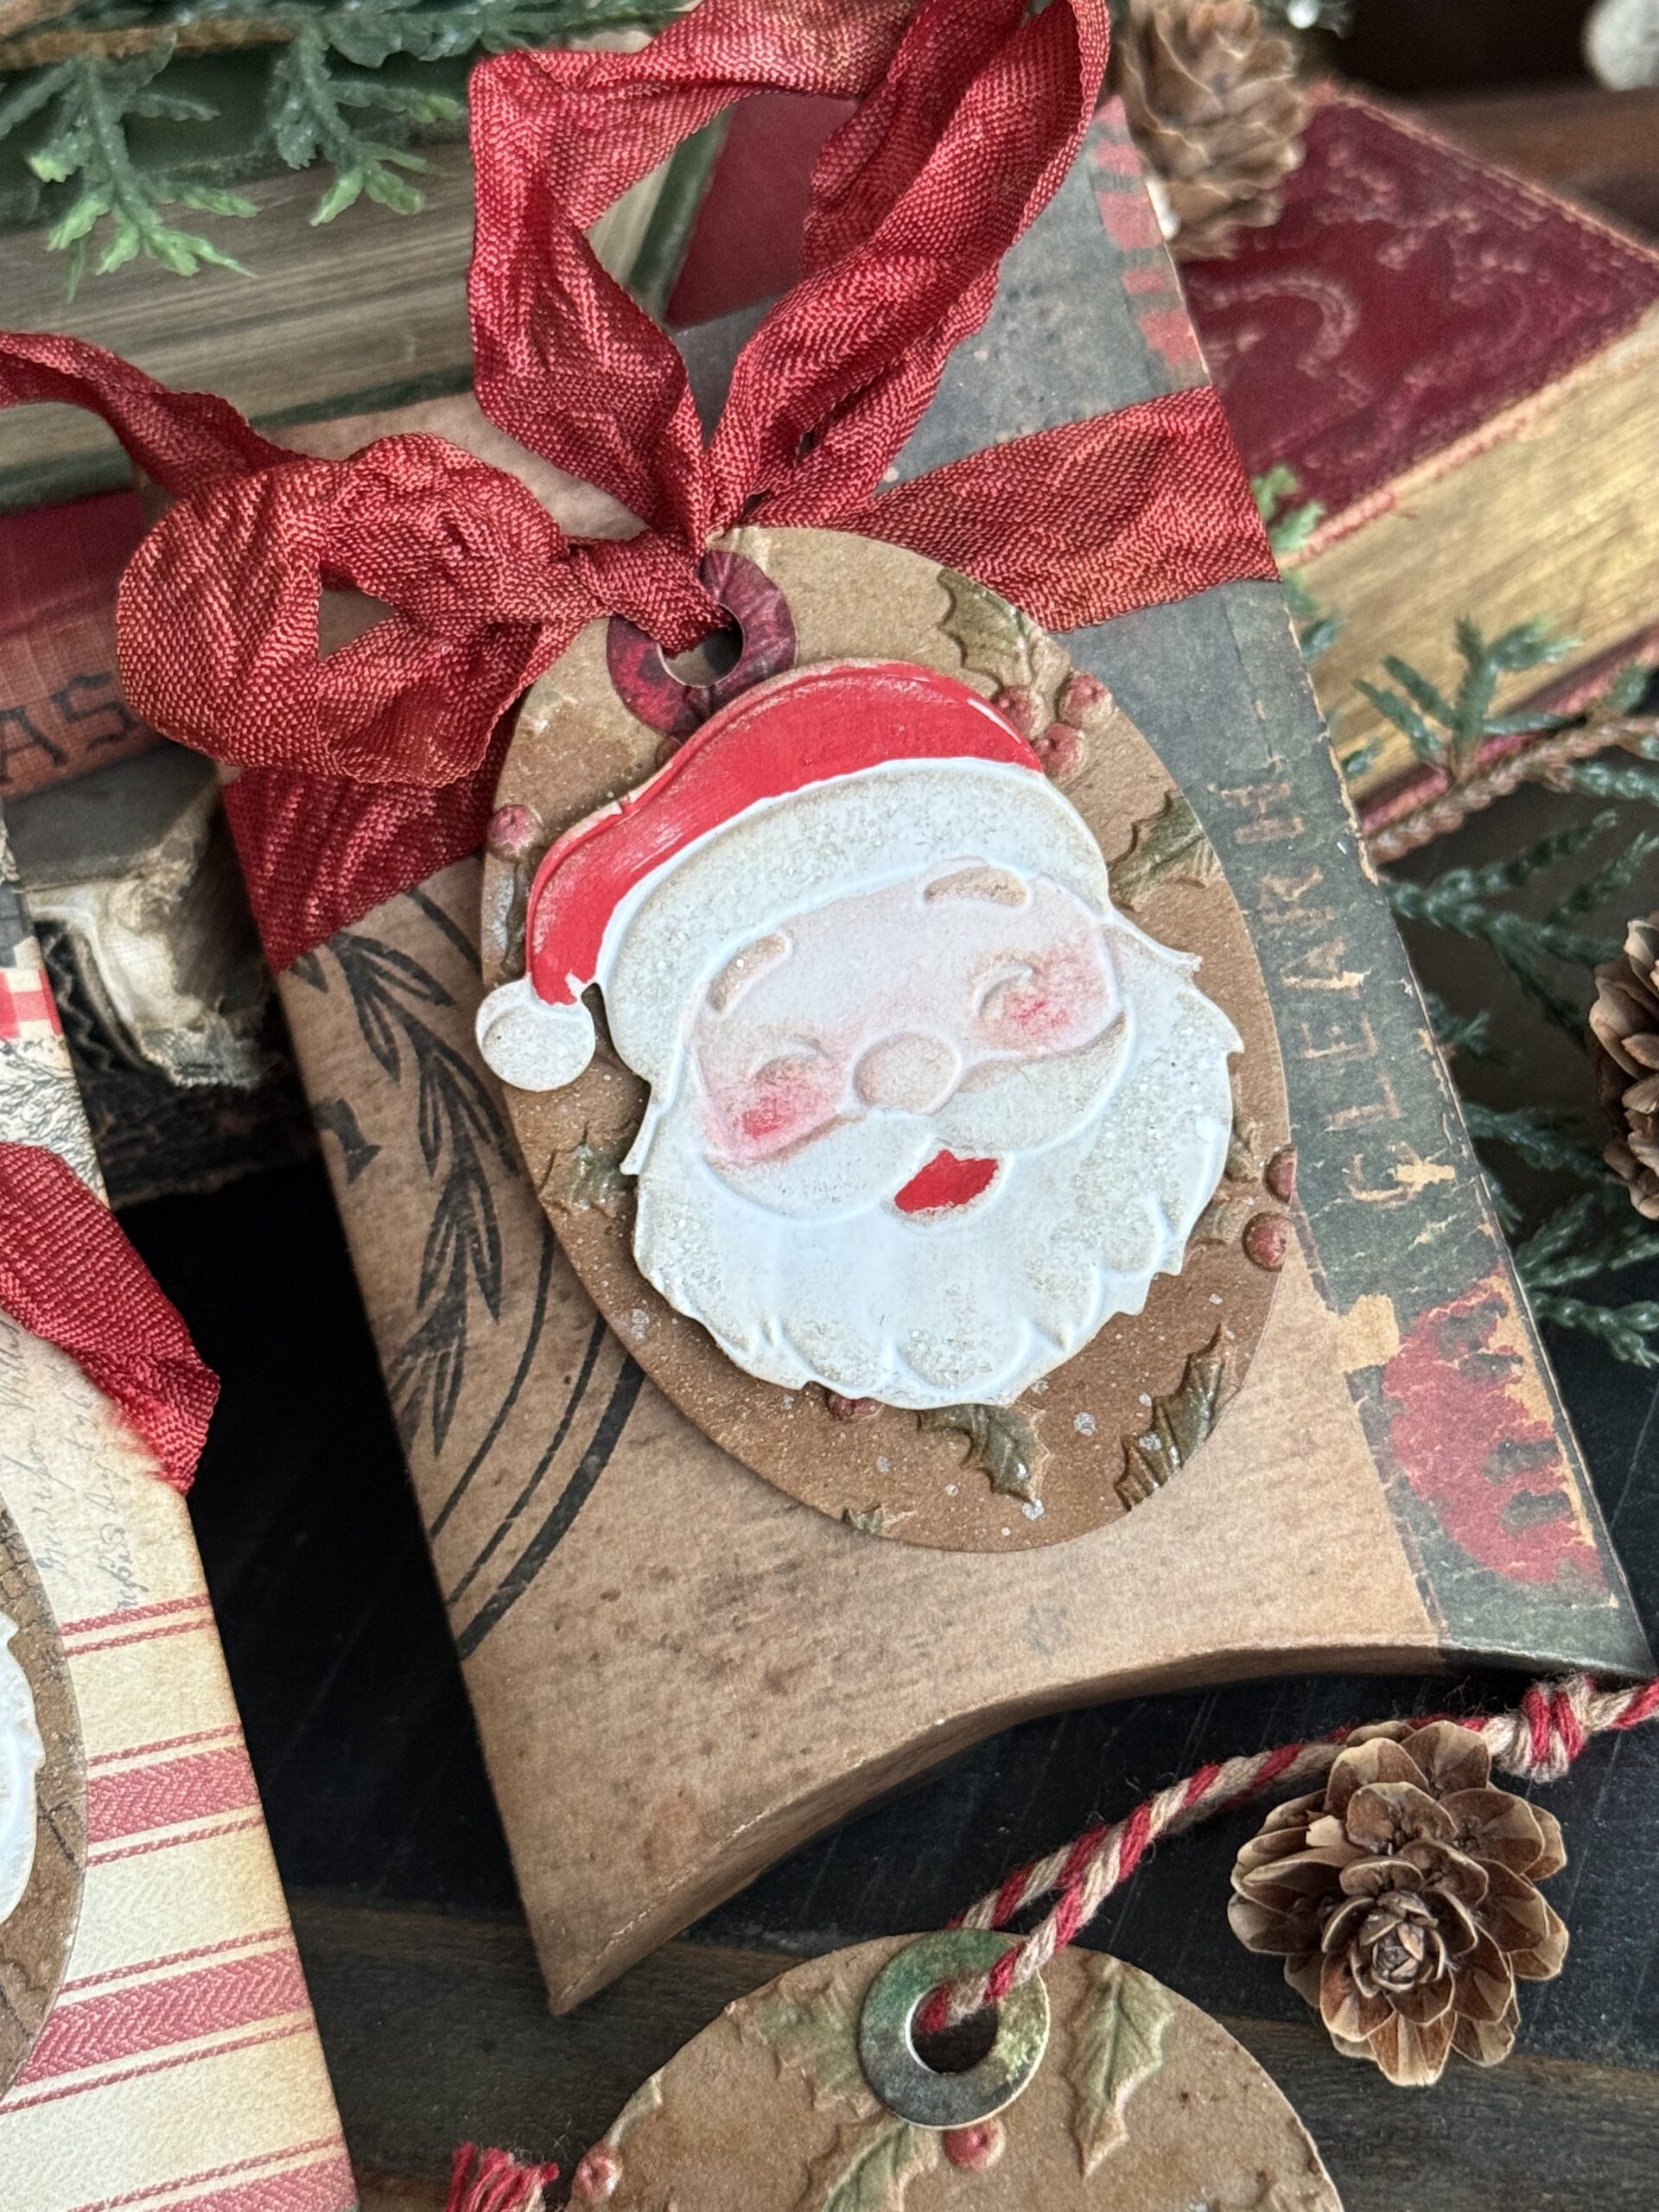
Then I cut out some tags using the Simon Says Stamp 4 in 1 Tag Die Set and washers from the Holes and Reinforcers die set. I added the Santa faces to the pillow boxes and a tag.
I added some inky bakers twine to each of the tags.
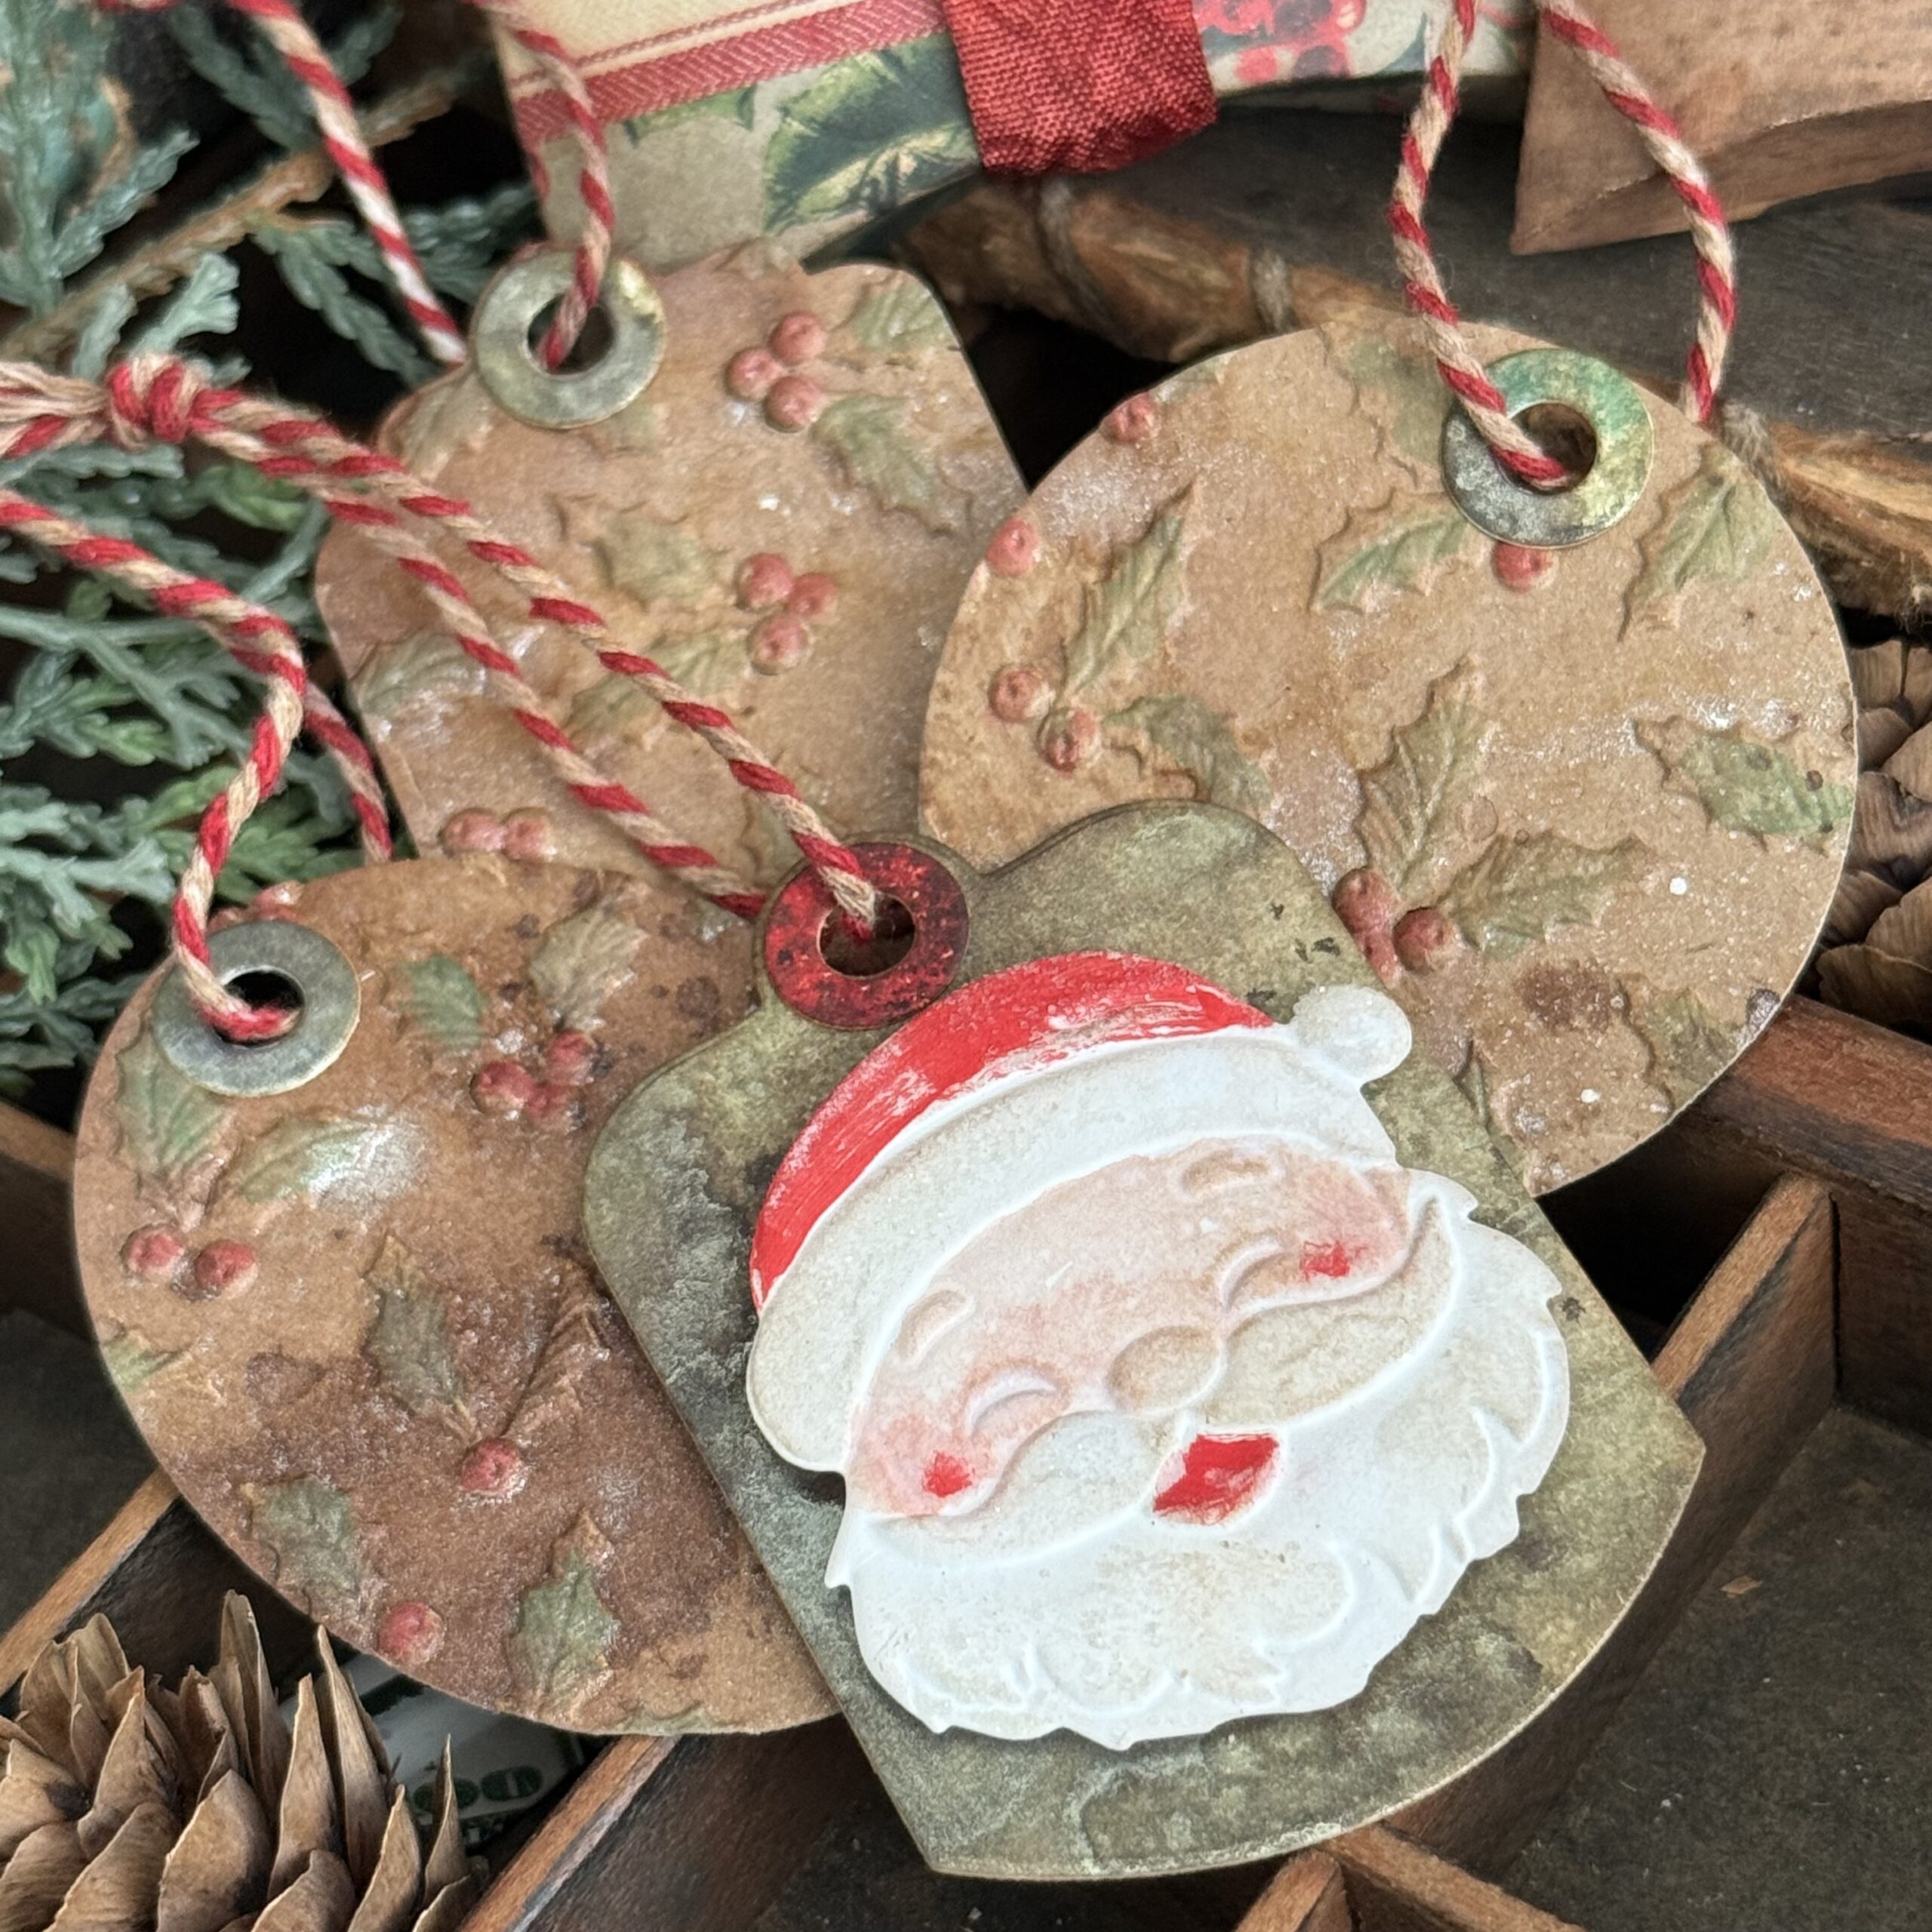
I tied some red inky ribbon to each of the boxes and tied on the Santa tags…with that, my boxes and tags were complete.
Thanks so much for stopping by today…see you soon! Have a great day!
Creatively yours,
Stacy
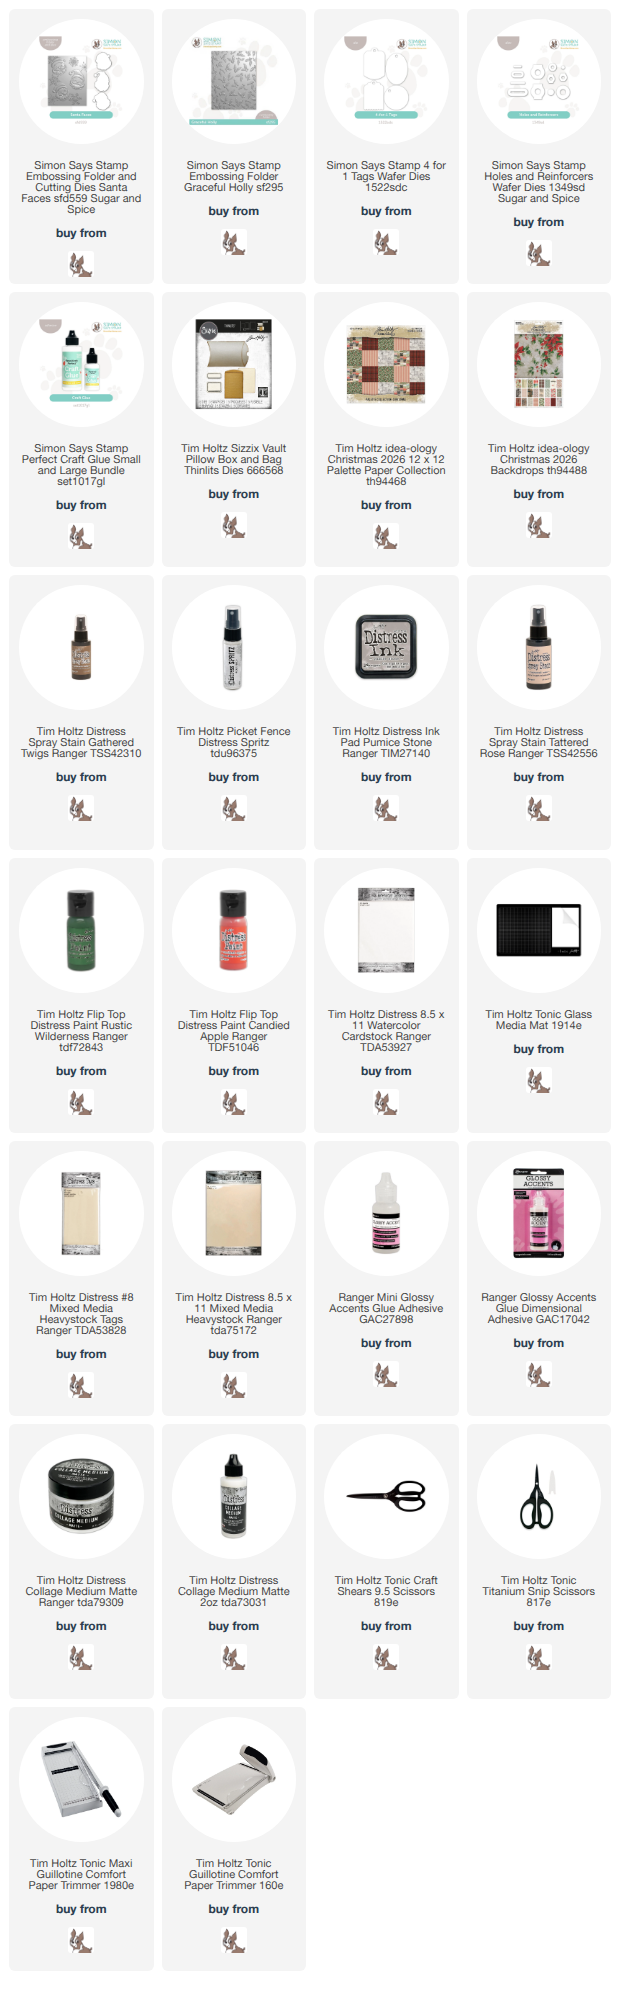
Shop Simon Says Stamp by clicking on this link. Thank you! I appreciate you for supporting me.
What is an affiliate program, and why should I click on the link and buy through you?
When you shop via the affiliate link on this blog, I receive a small commission from the affiliate provider (Simon Says Stamp) at no extra cost to you, whatsoever. These commissions help me to cover the hosting fees and other costs to run my blog and be able to provide you with FREE inspiration. If you shop the links, THANK YOU! I truly appreciate being able to share my love of creating with you.










Leave a Reply