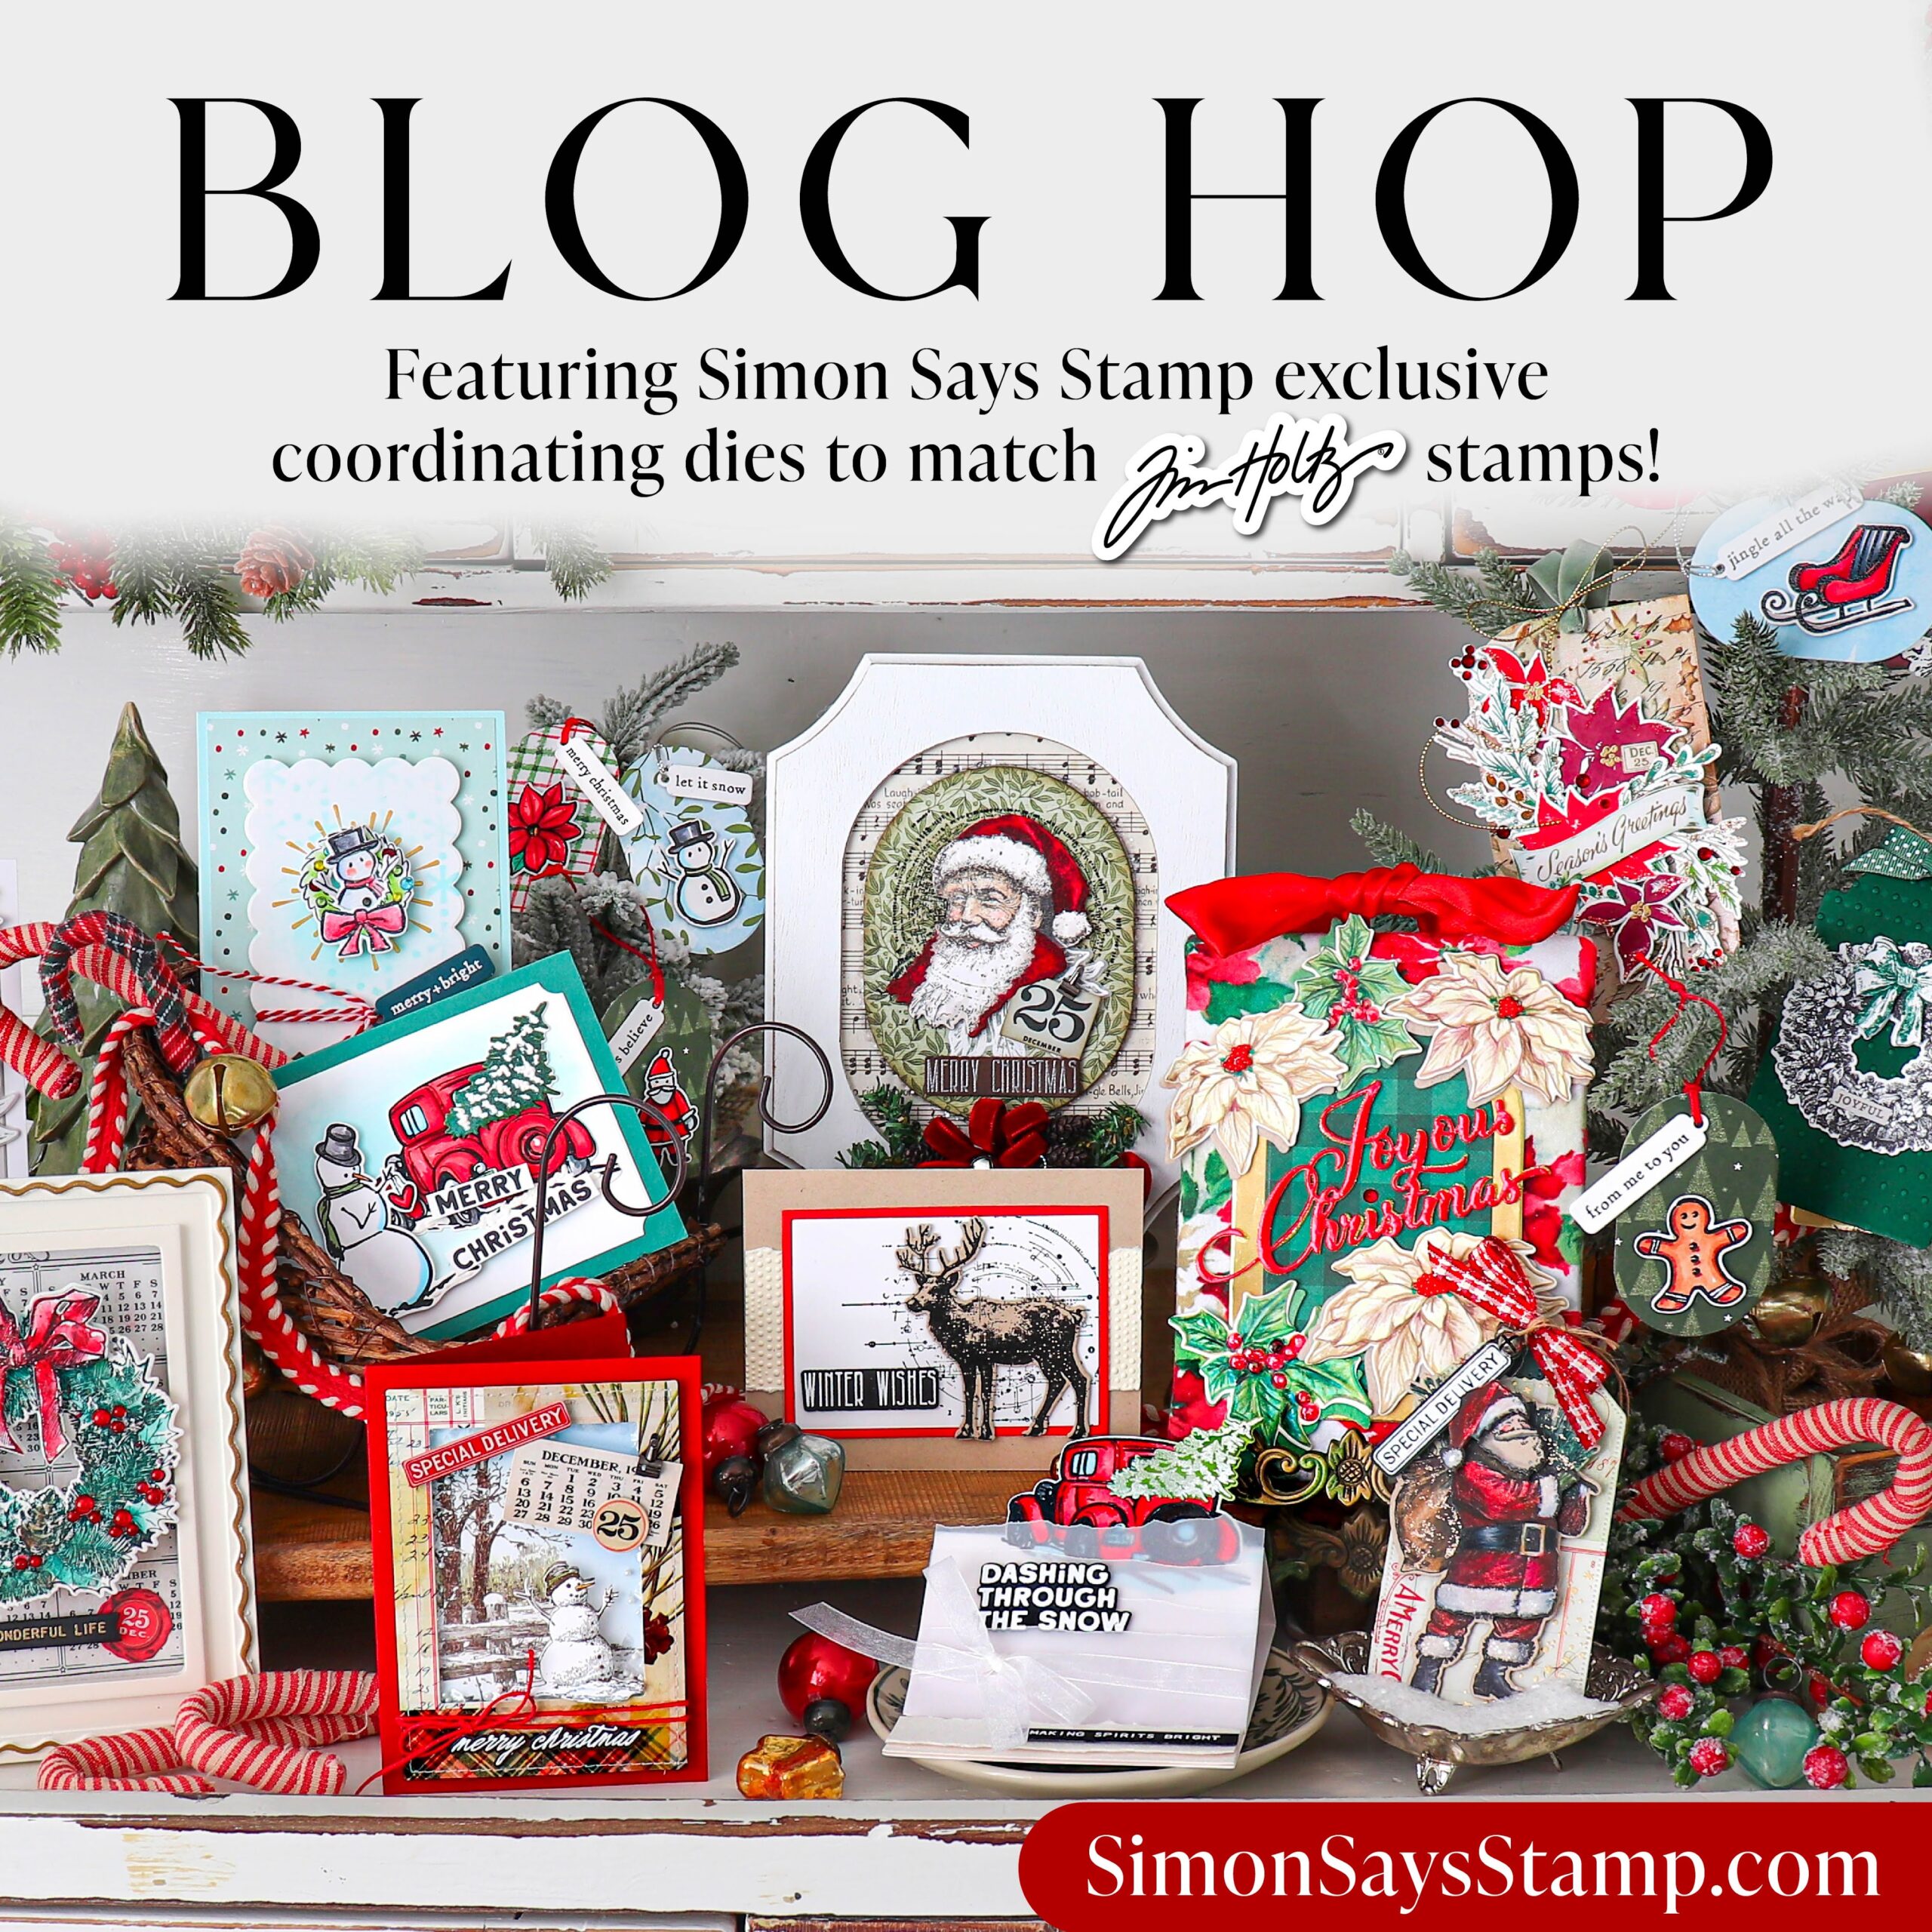
Hello friends! Are you ready to hop along for a Blog Hop? Join me and many other makers as we share some of the samples we created for the recently released matching wafer dies by Simon Says Stamp. These are specifically made to match some of the new and old Tim Holtz Stampers Anonymous Christmas Stamps. I chose to create a card made with the Holiday Botanical Set CMS503, one of his latest sets from this season.
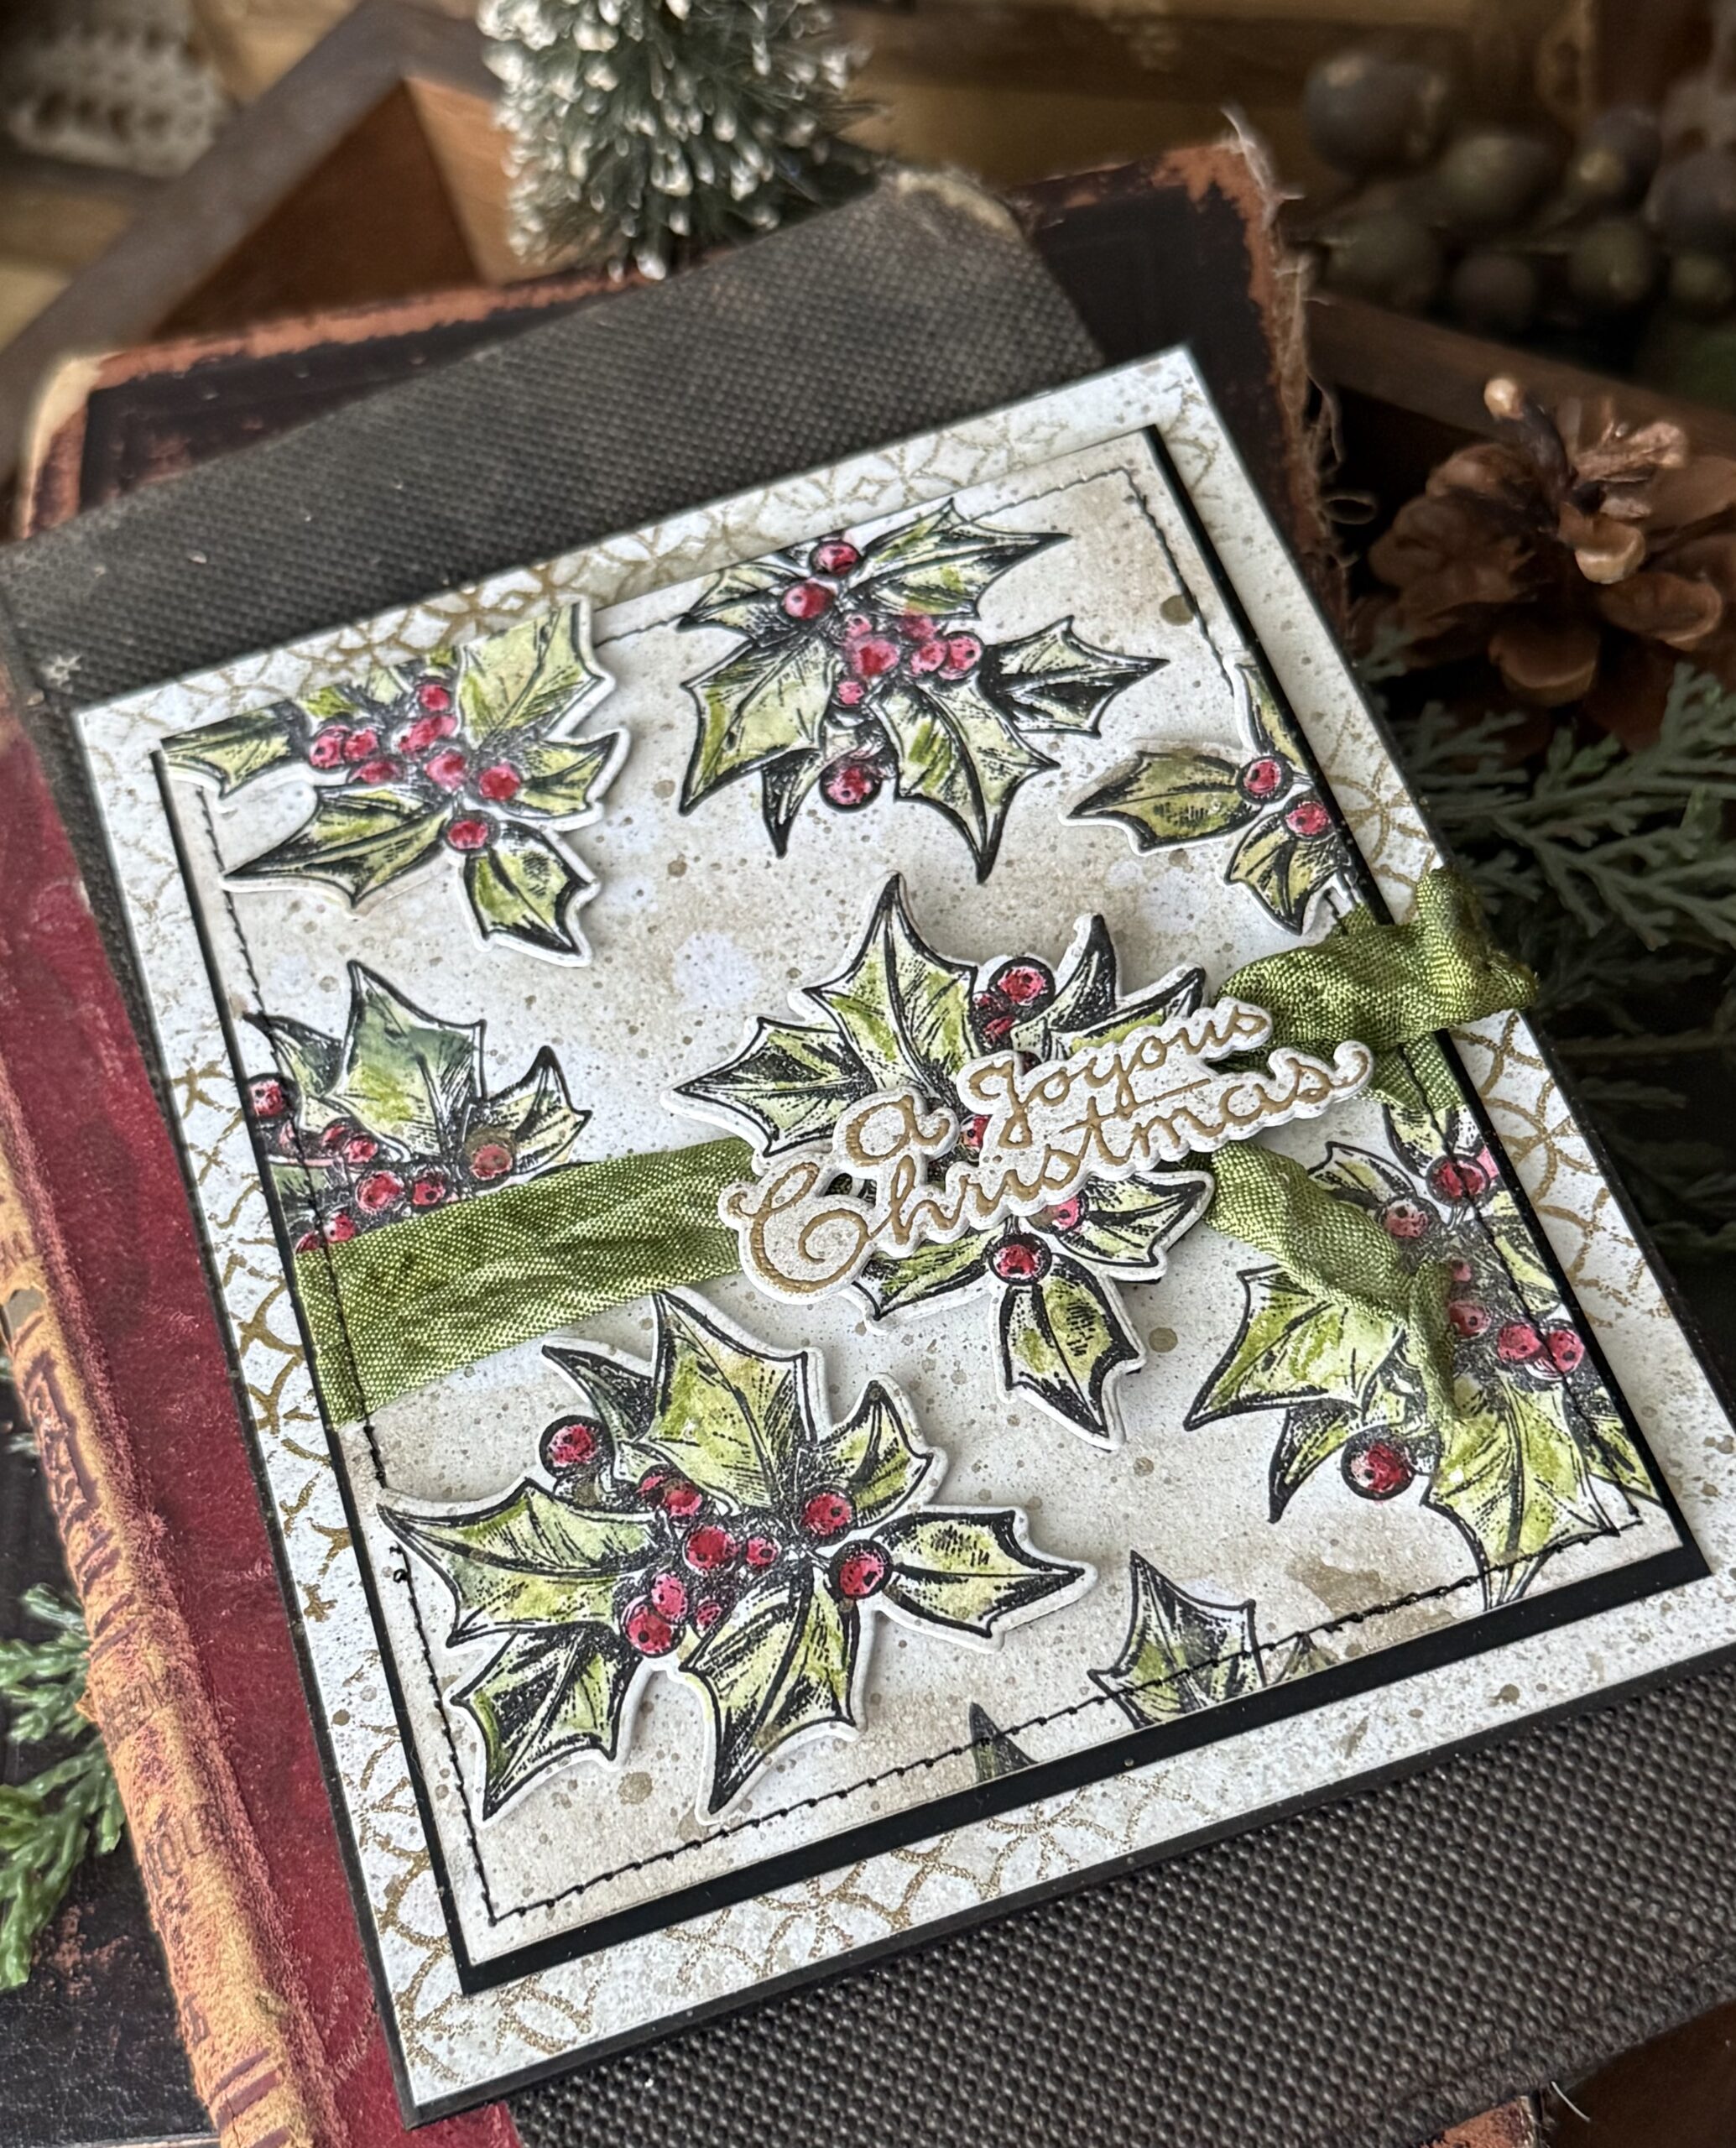
This is a beautiful set of Christmas Botanicals..and the handwritten greetings are perfect too! The stamps are wonderful in their own right, but being able to quickly cut on the shapes of all the images opens the door to endless possibilities. On my card you’ll see that I cut out several of the holly images and the phrase and used them to emphasize the other stamped images. I layered the cut out images over some of my background stamped images creating a very layered and festive card.
Here is a link to this entire release at Simon Says Stamp.
Here is the list of all the blogs included in the hop starting with Simon Says Stamp Blog, and continuing on to Nina-Marie Trapani, Heather Hoffman, Nichol Spohr, Emma Williams, Barbara Tarayao, Kath Stewart, Mindy Eggen, Stacy Hutchinson (that’s me), Tina Smith, Tami Bastiaans, and Barb Engler.
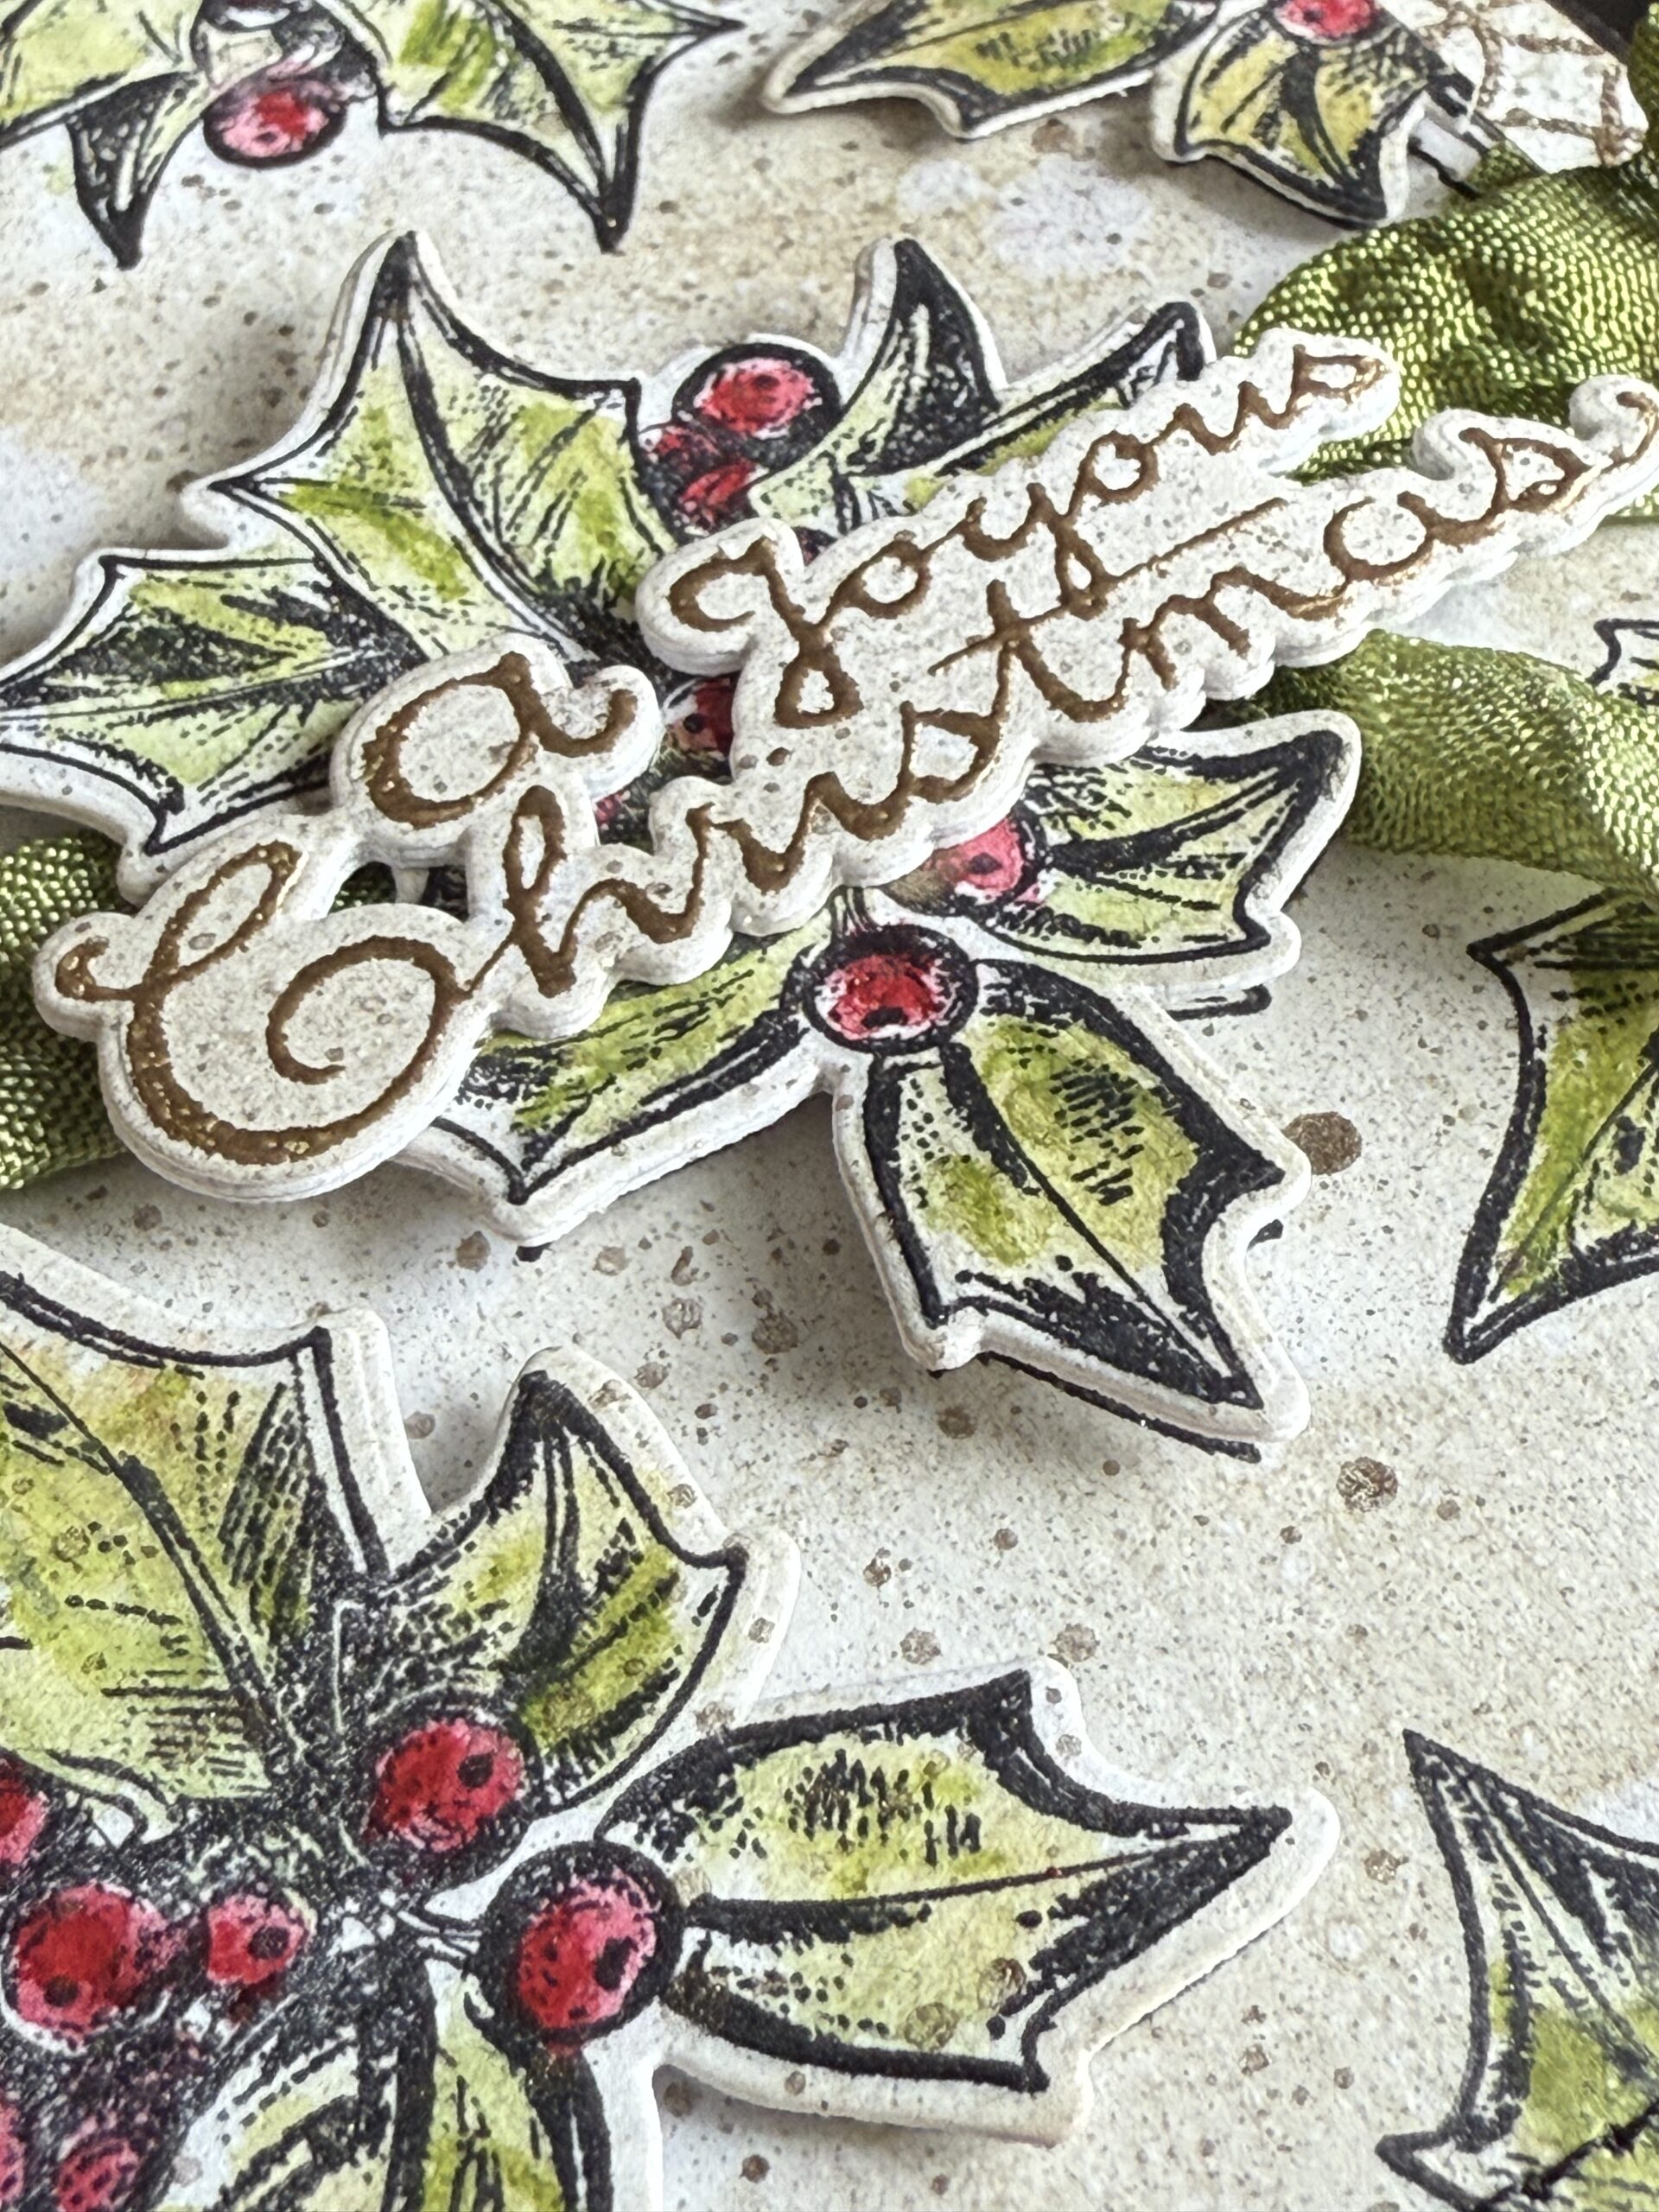
After I cut out the centerpiece images, I layered them using Craft Glue to create more substantial paper pieces for the front and center. The holly for the focal point was made using two layers of the holly shape and the phrase was three…I just LOVE how it gives the images so much depth, and would be much harder to created if not for the wafer dies to do it.
Here is a look at all the 5 NEW Tim Holtz Stamp Sets and Coordinating Dies from this years 2026 release, plus, another 8 from past years!
You can CLICK HERE to check them all out.

So, let’s get to it…
I started by using my stamp platform and the smallest holly image..I stamped the image using the platform and Black Soot Archival Archival Ink. I stamped the image then used some Distress Watercolor Pencils and a paint brush to color it in. I started by coloring the berries.. I used a small bowl of water to wet my paint brush, then picked up the color from each crayon and colored the images.
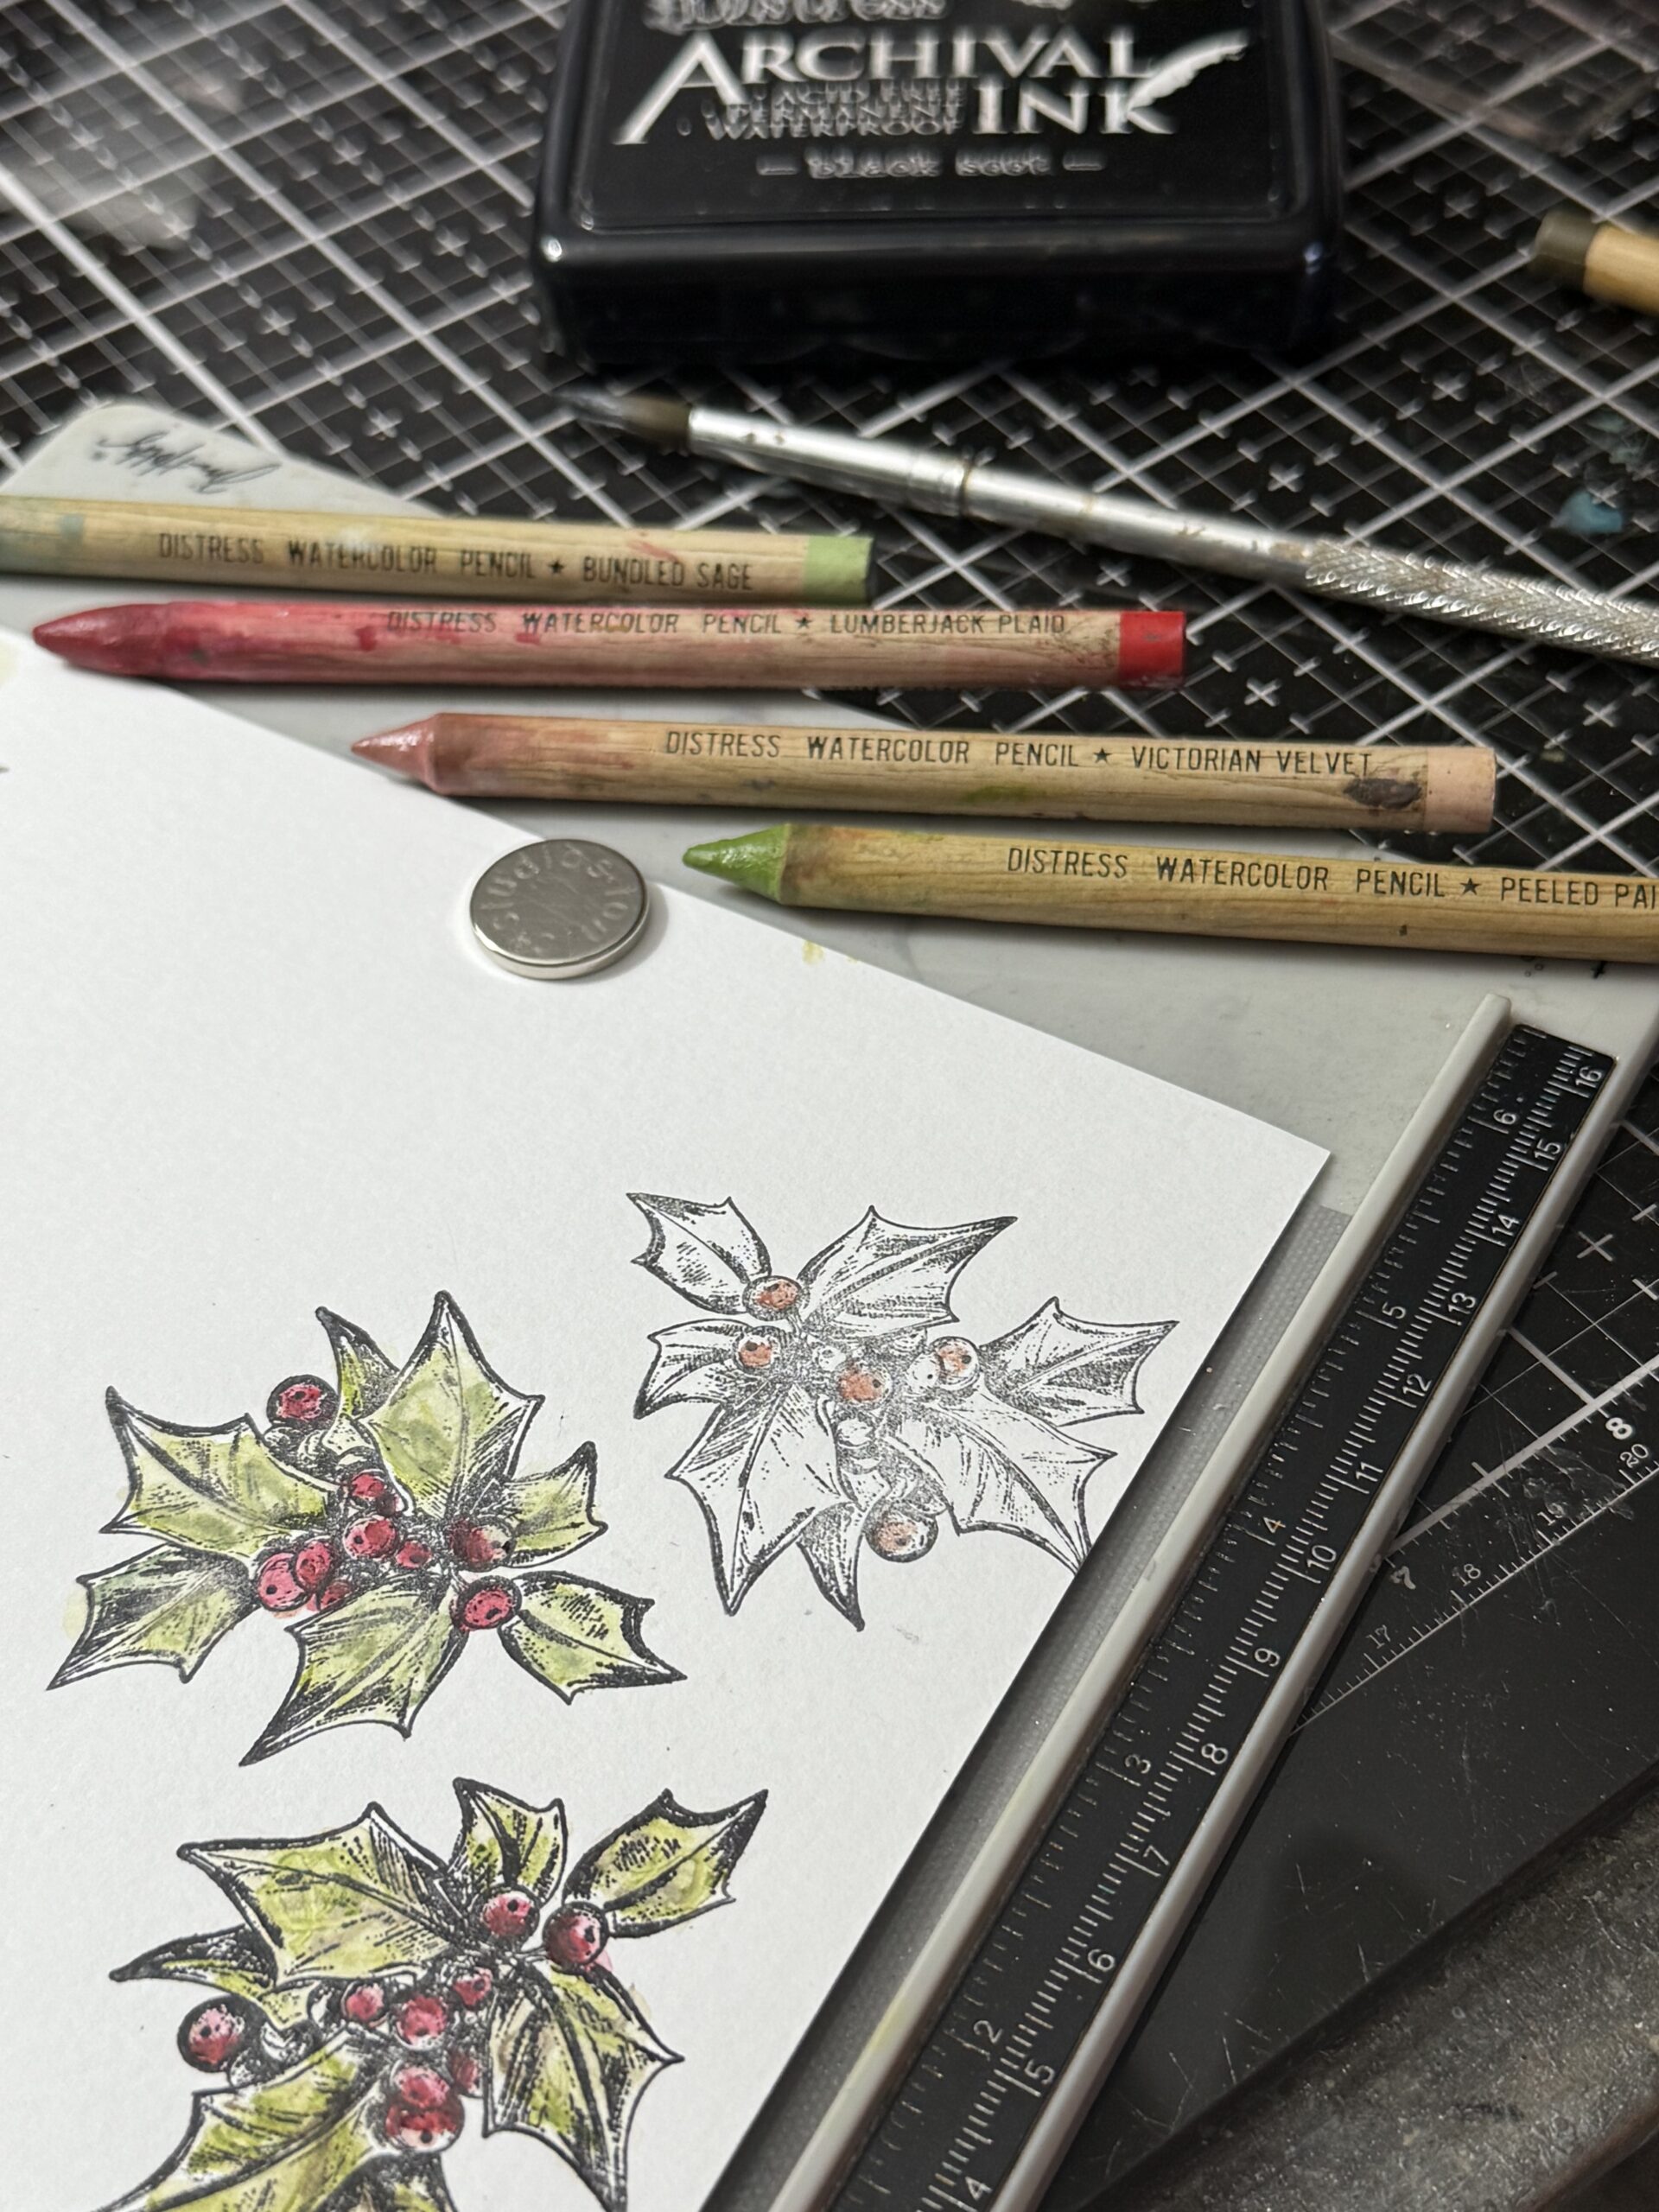
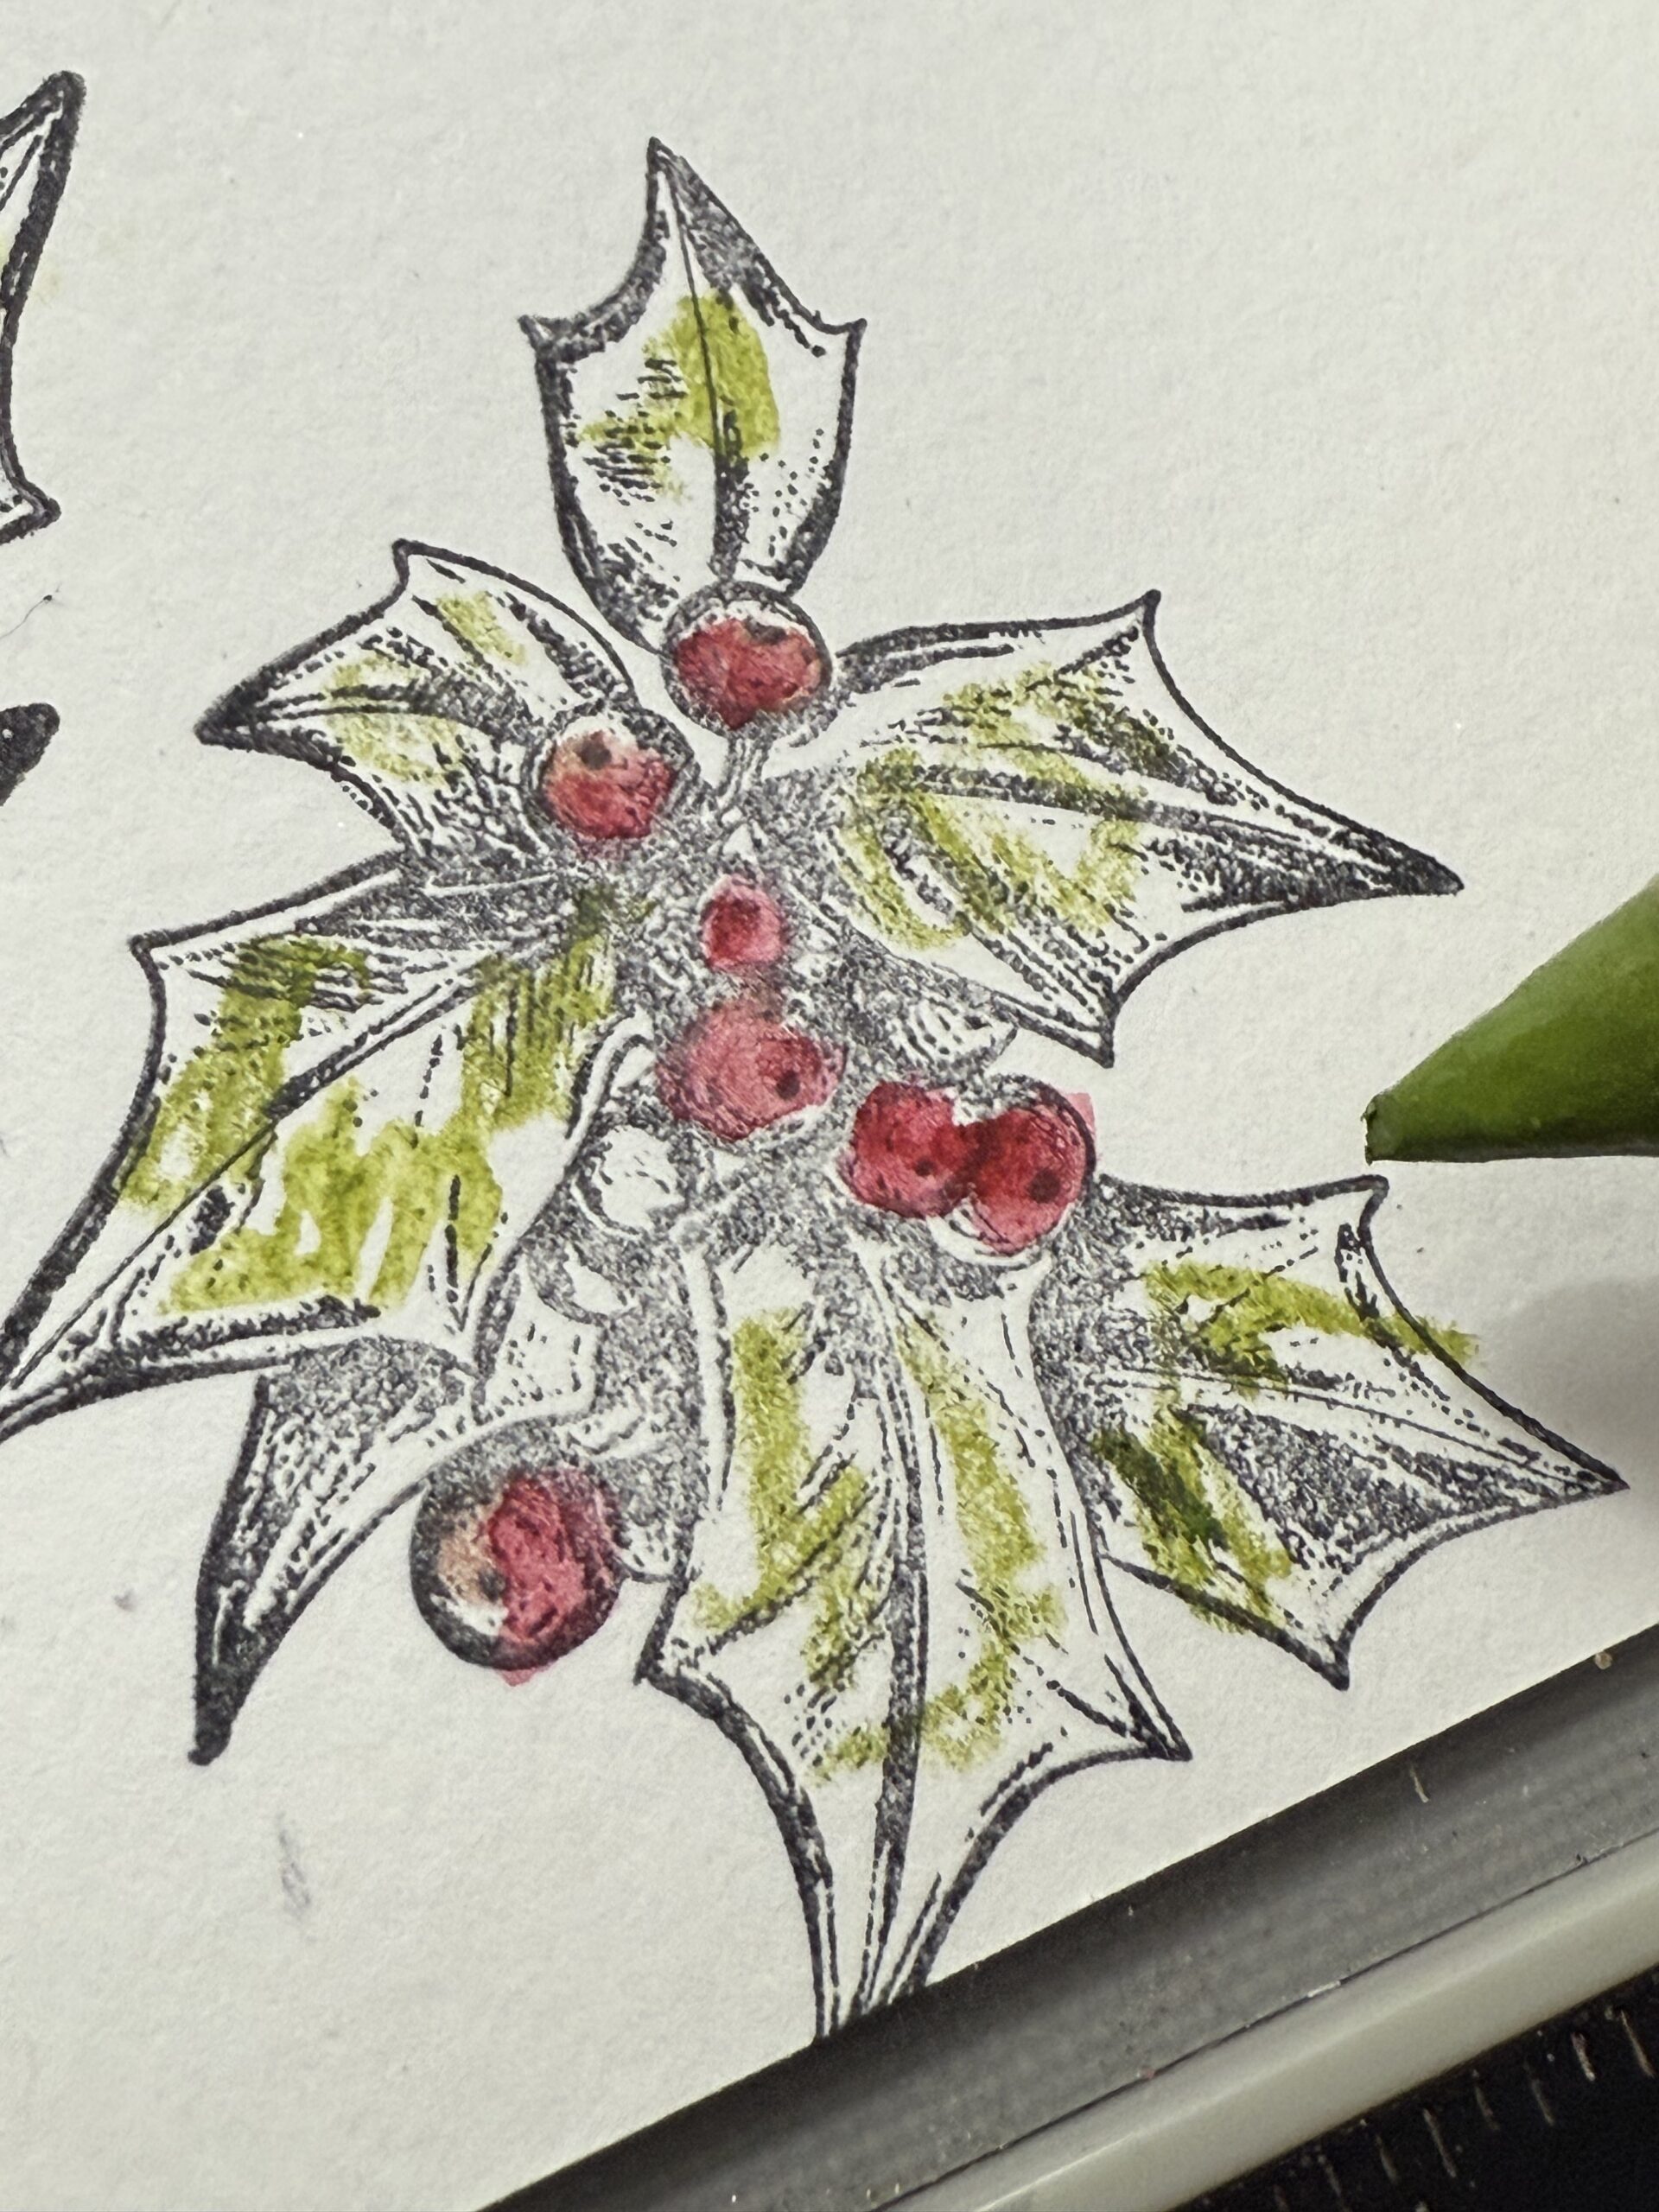
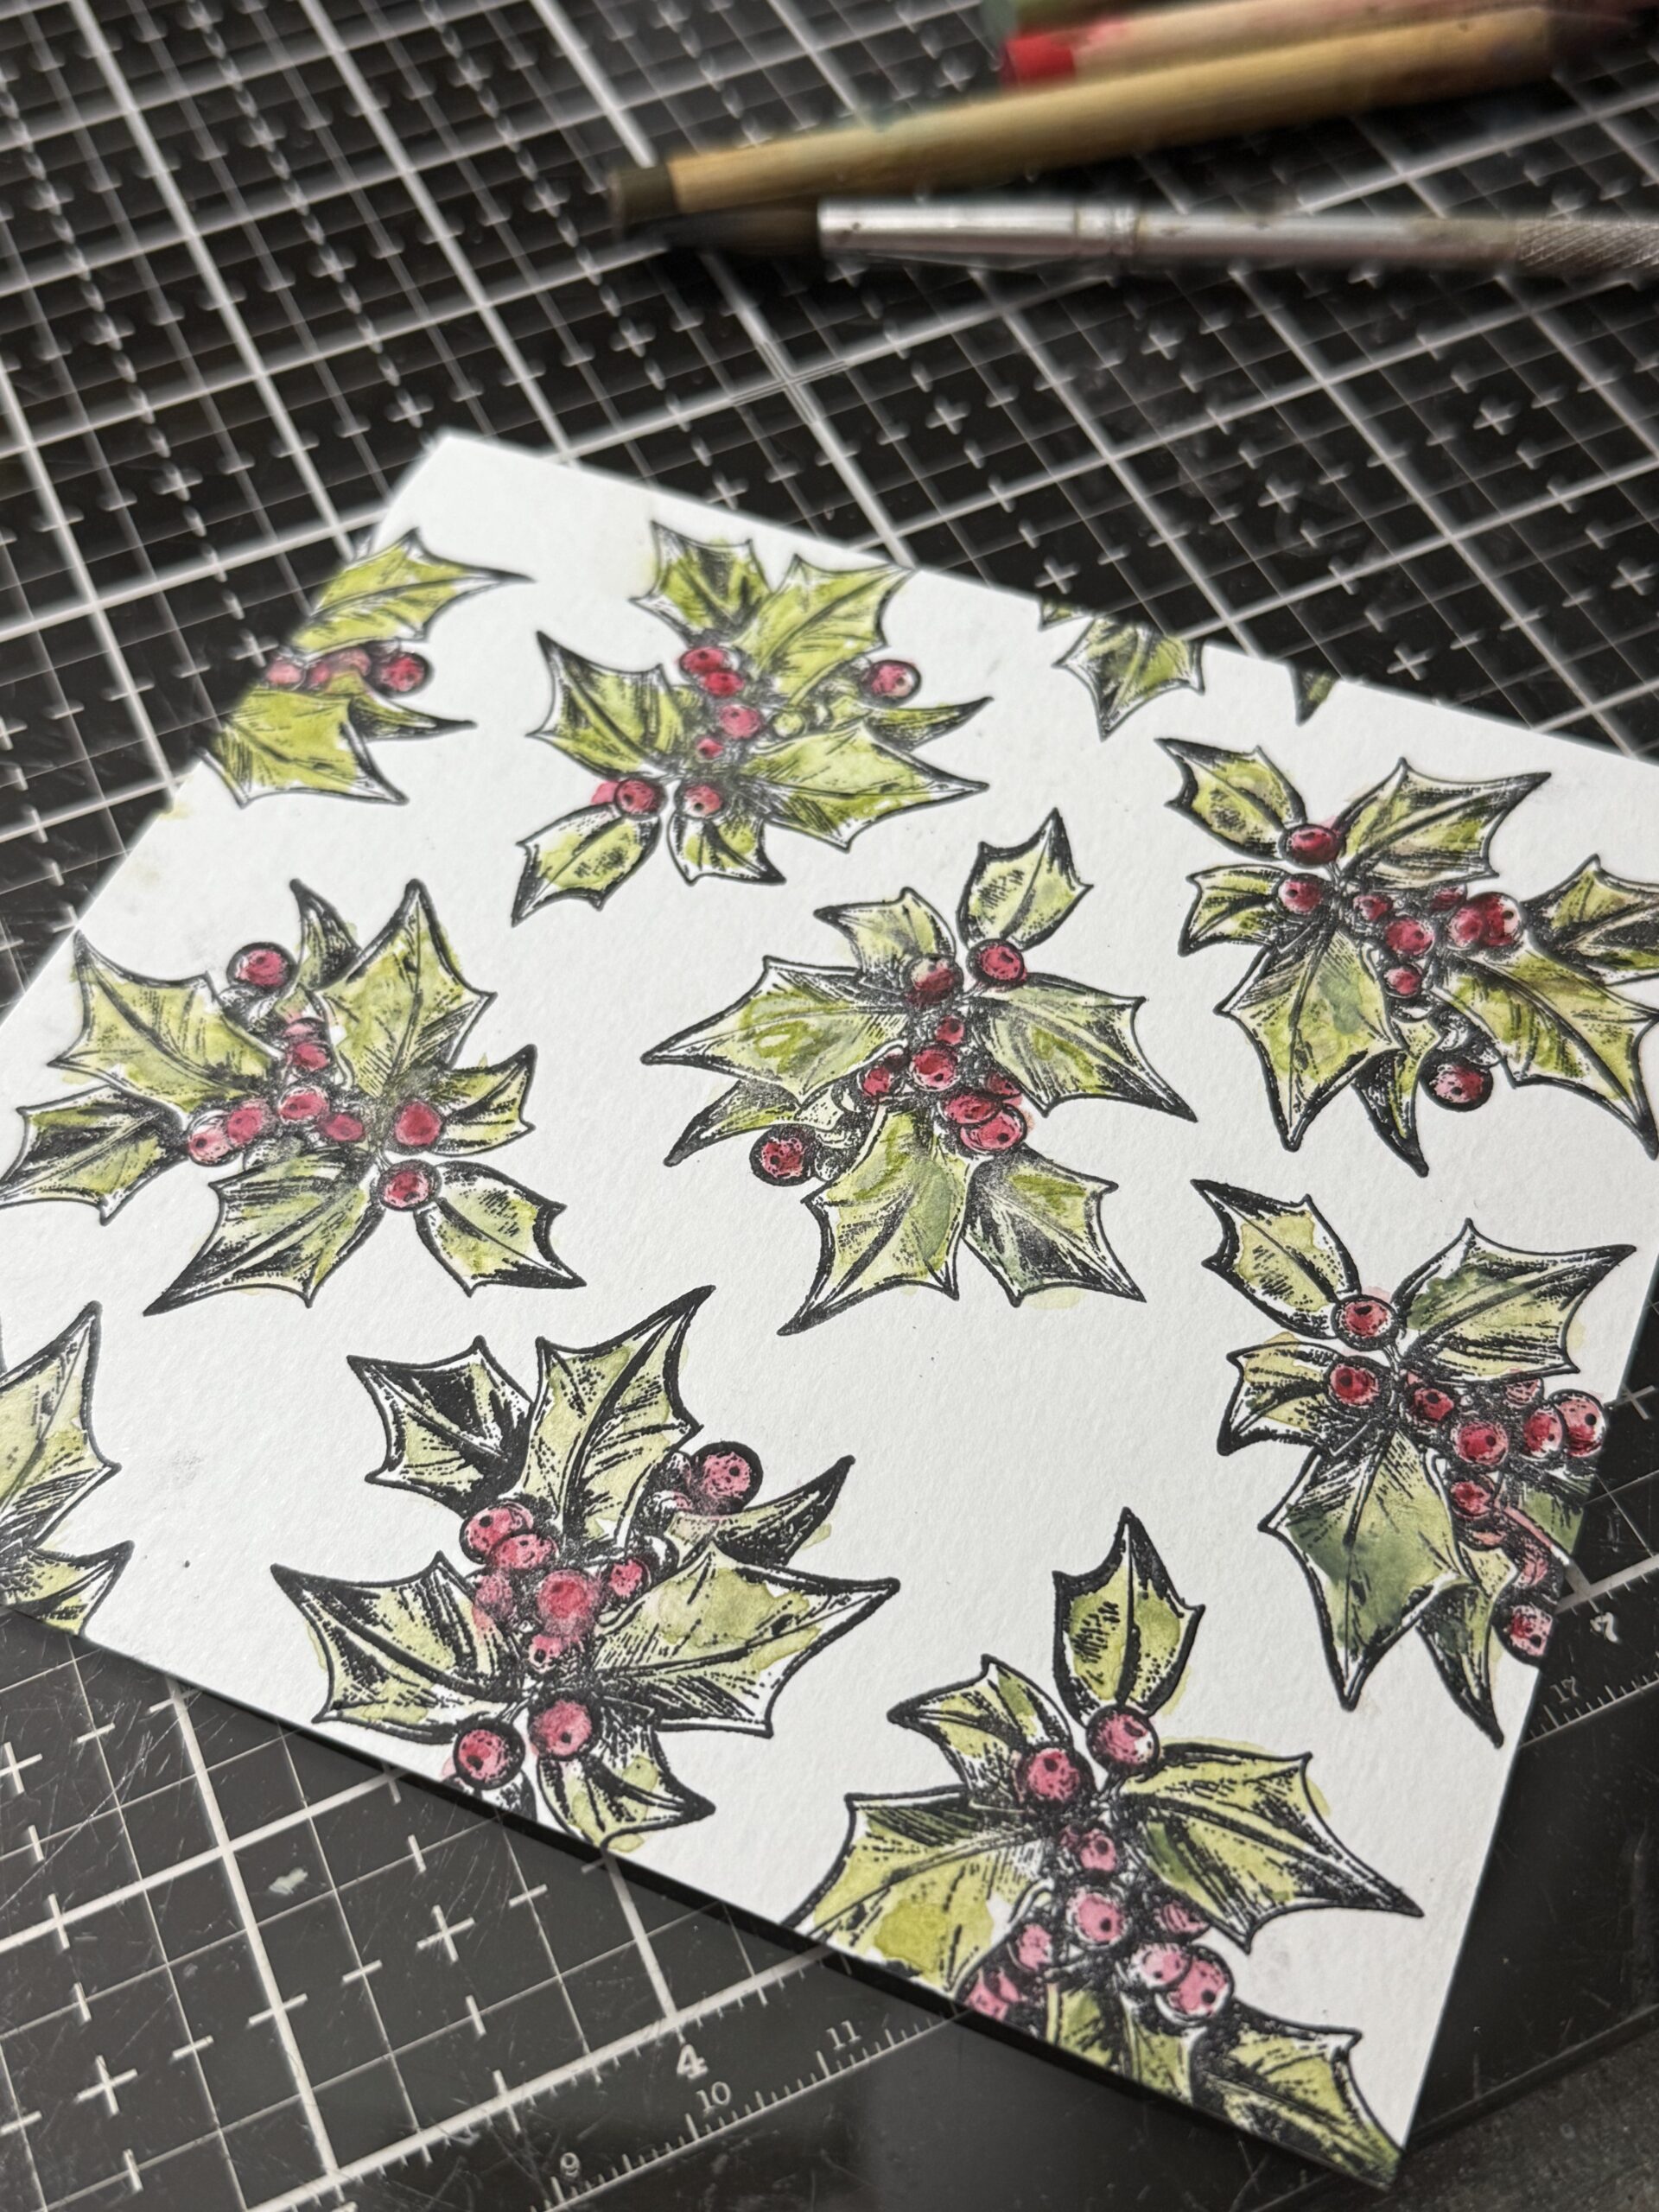
I stamped the image lightly, colored it in, dried it with my heat tool, then restamped the image to bring out darker details. Once I had each image complete, I moved the stamp around the paper to fill it in as I colored them up until the background paper was complete.
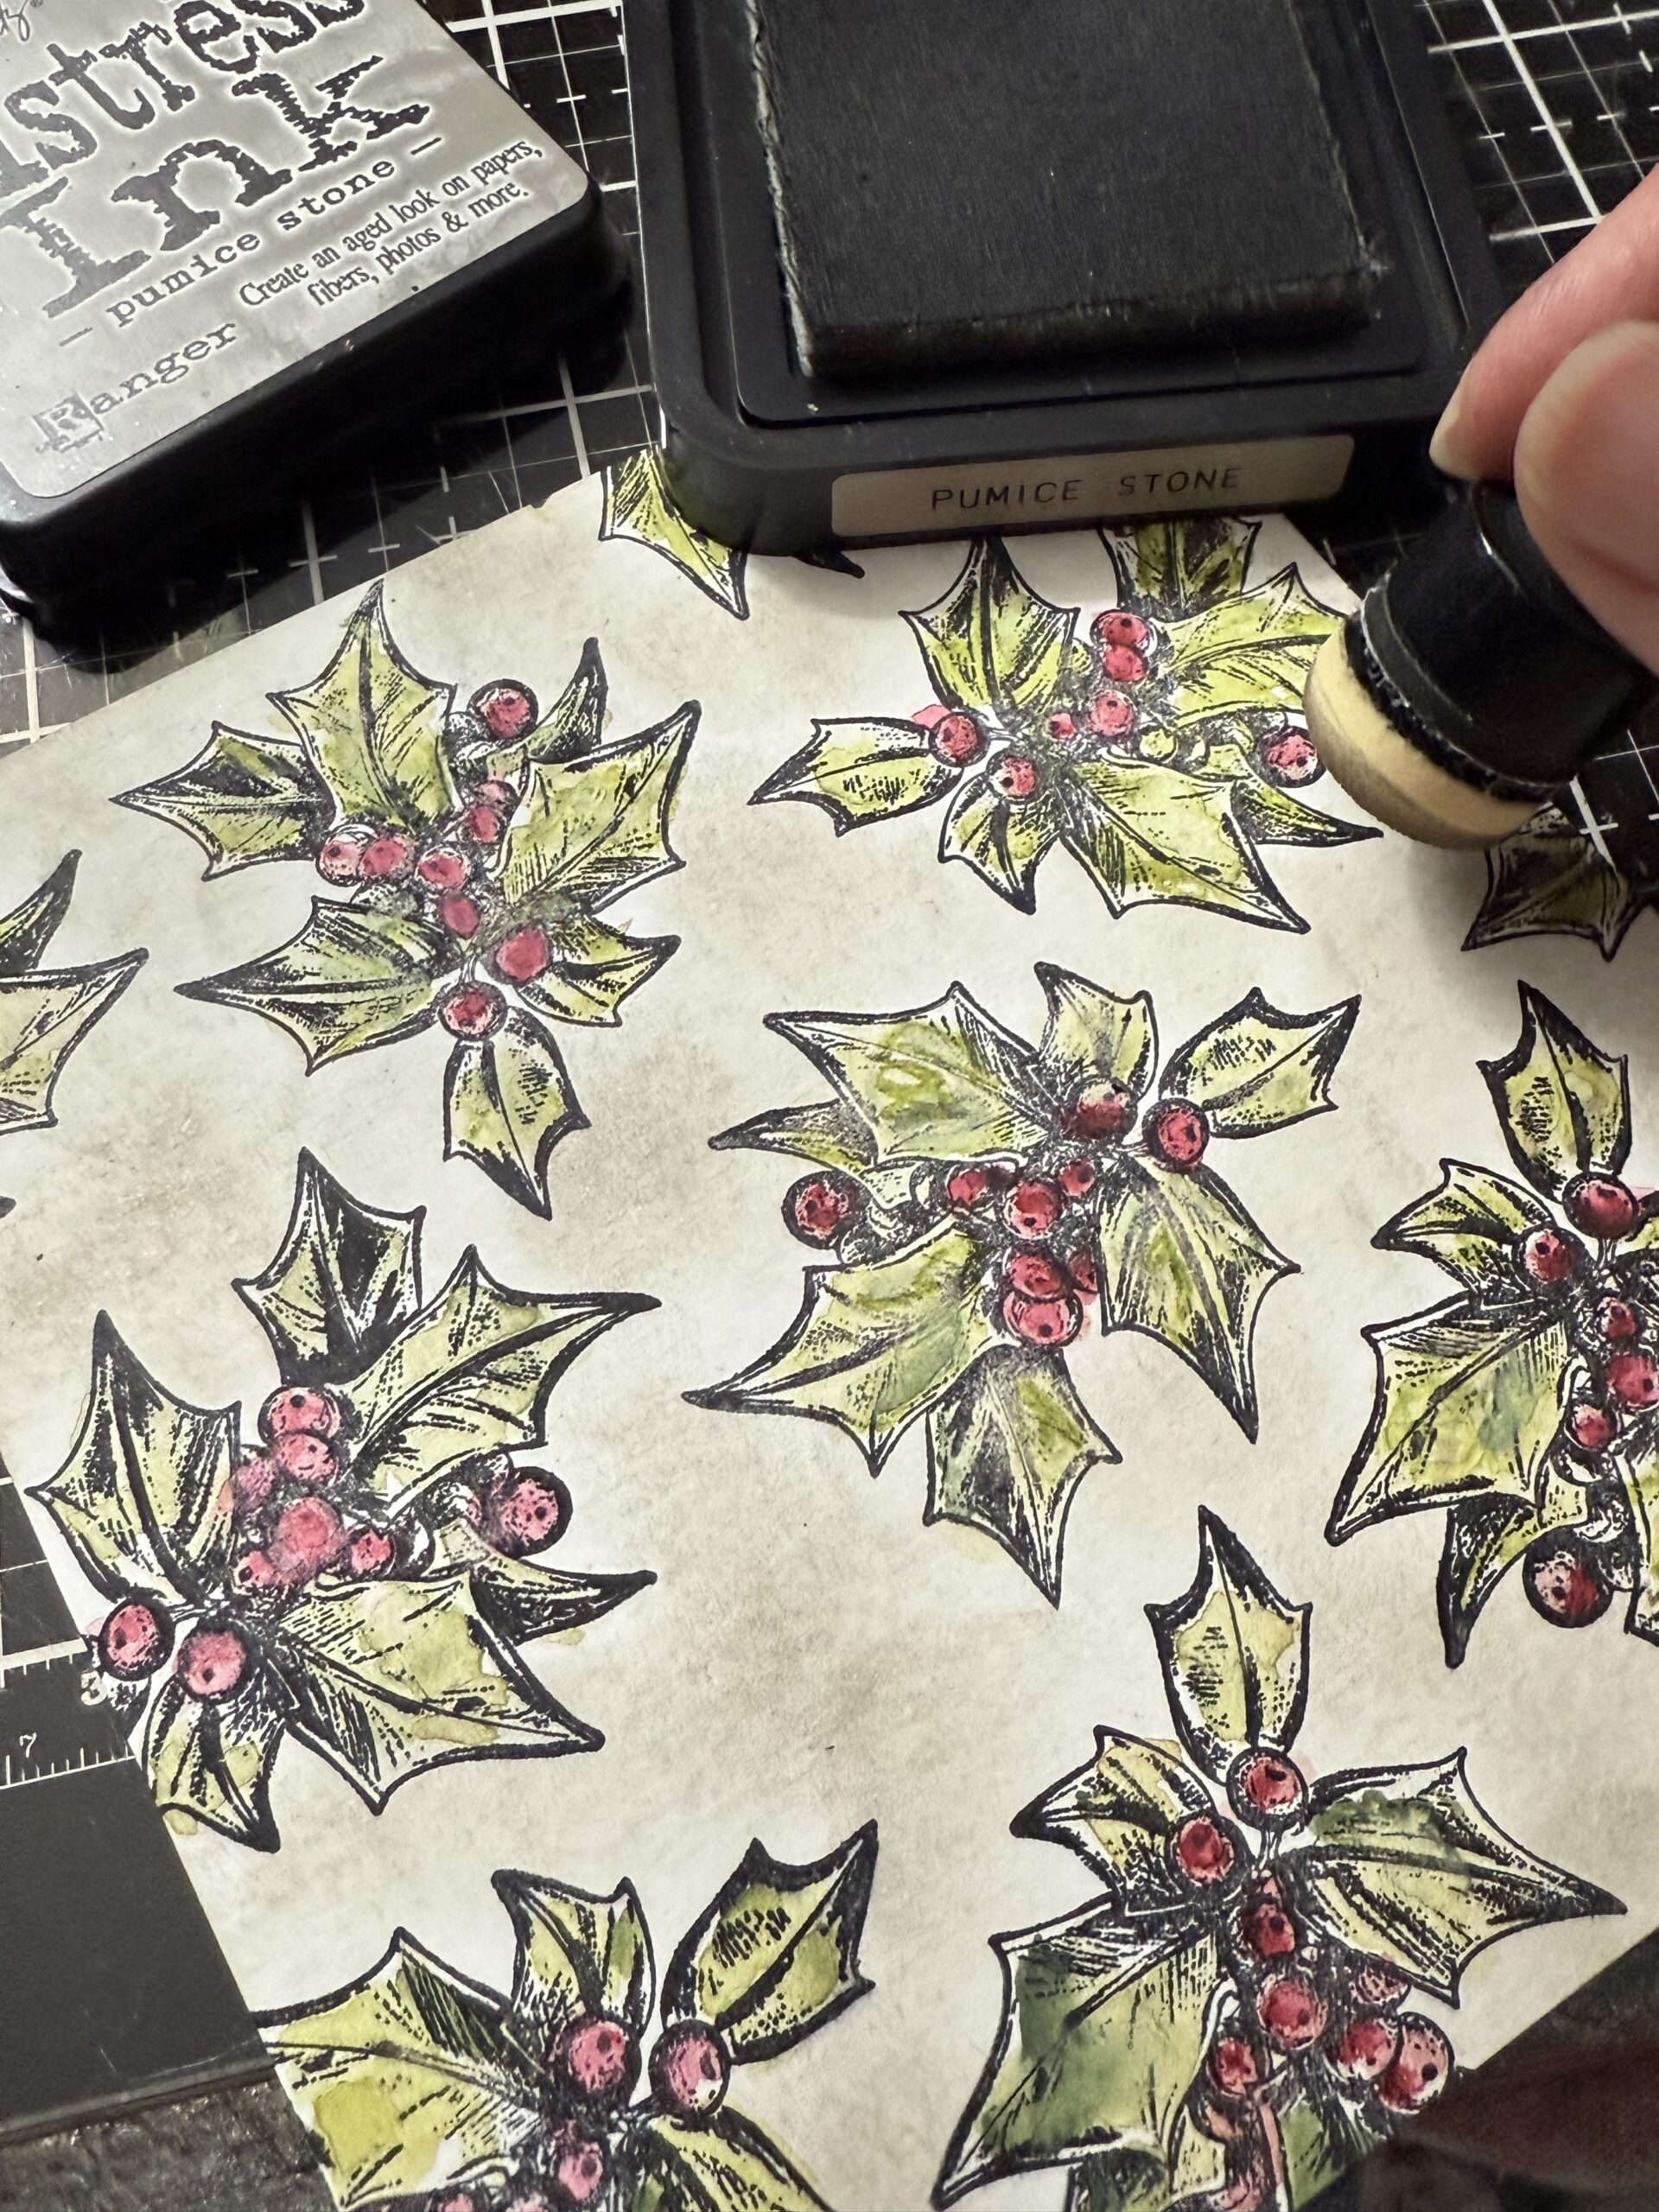
I blended the white background paper using Pumice Stone Distress Ink and a mini blending tool.
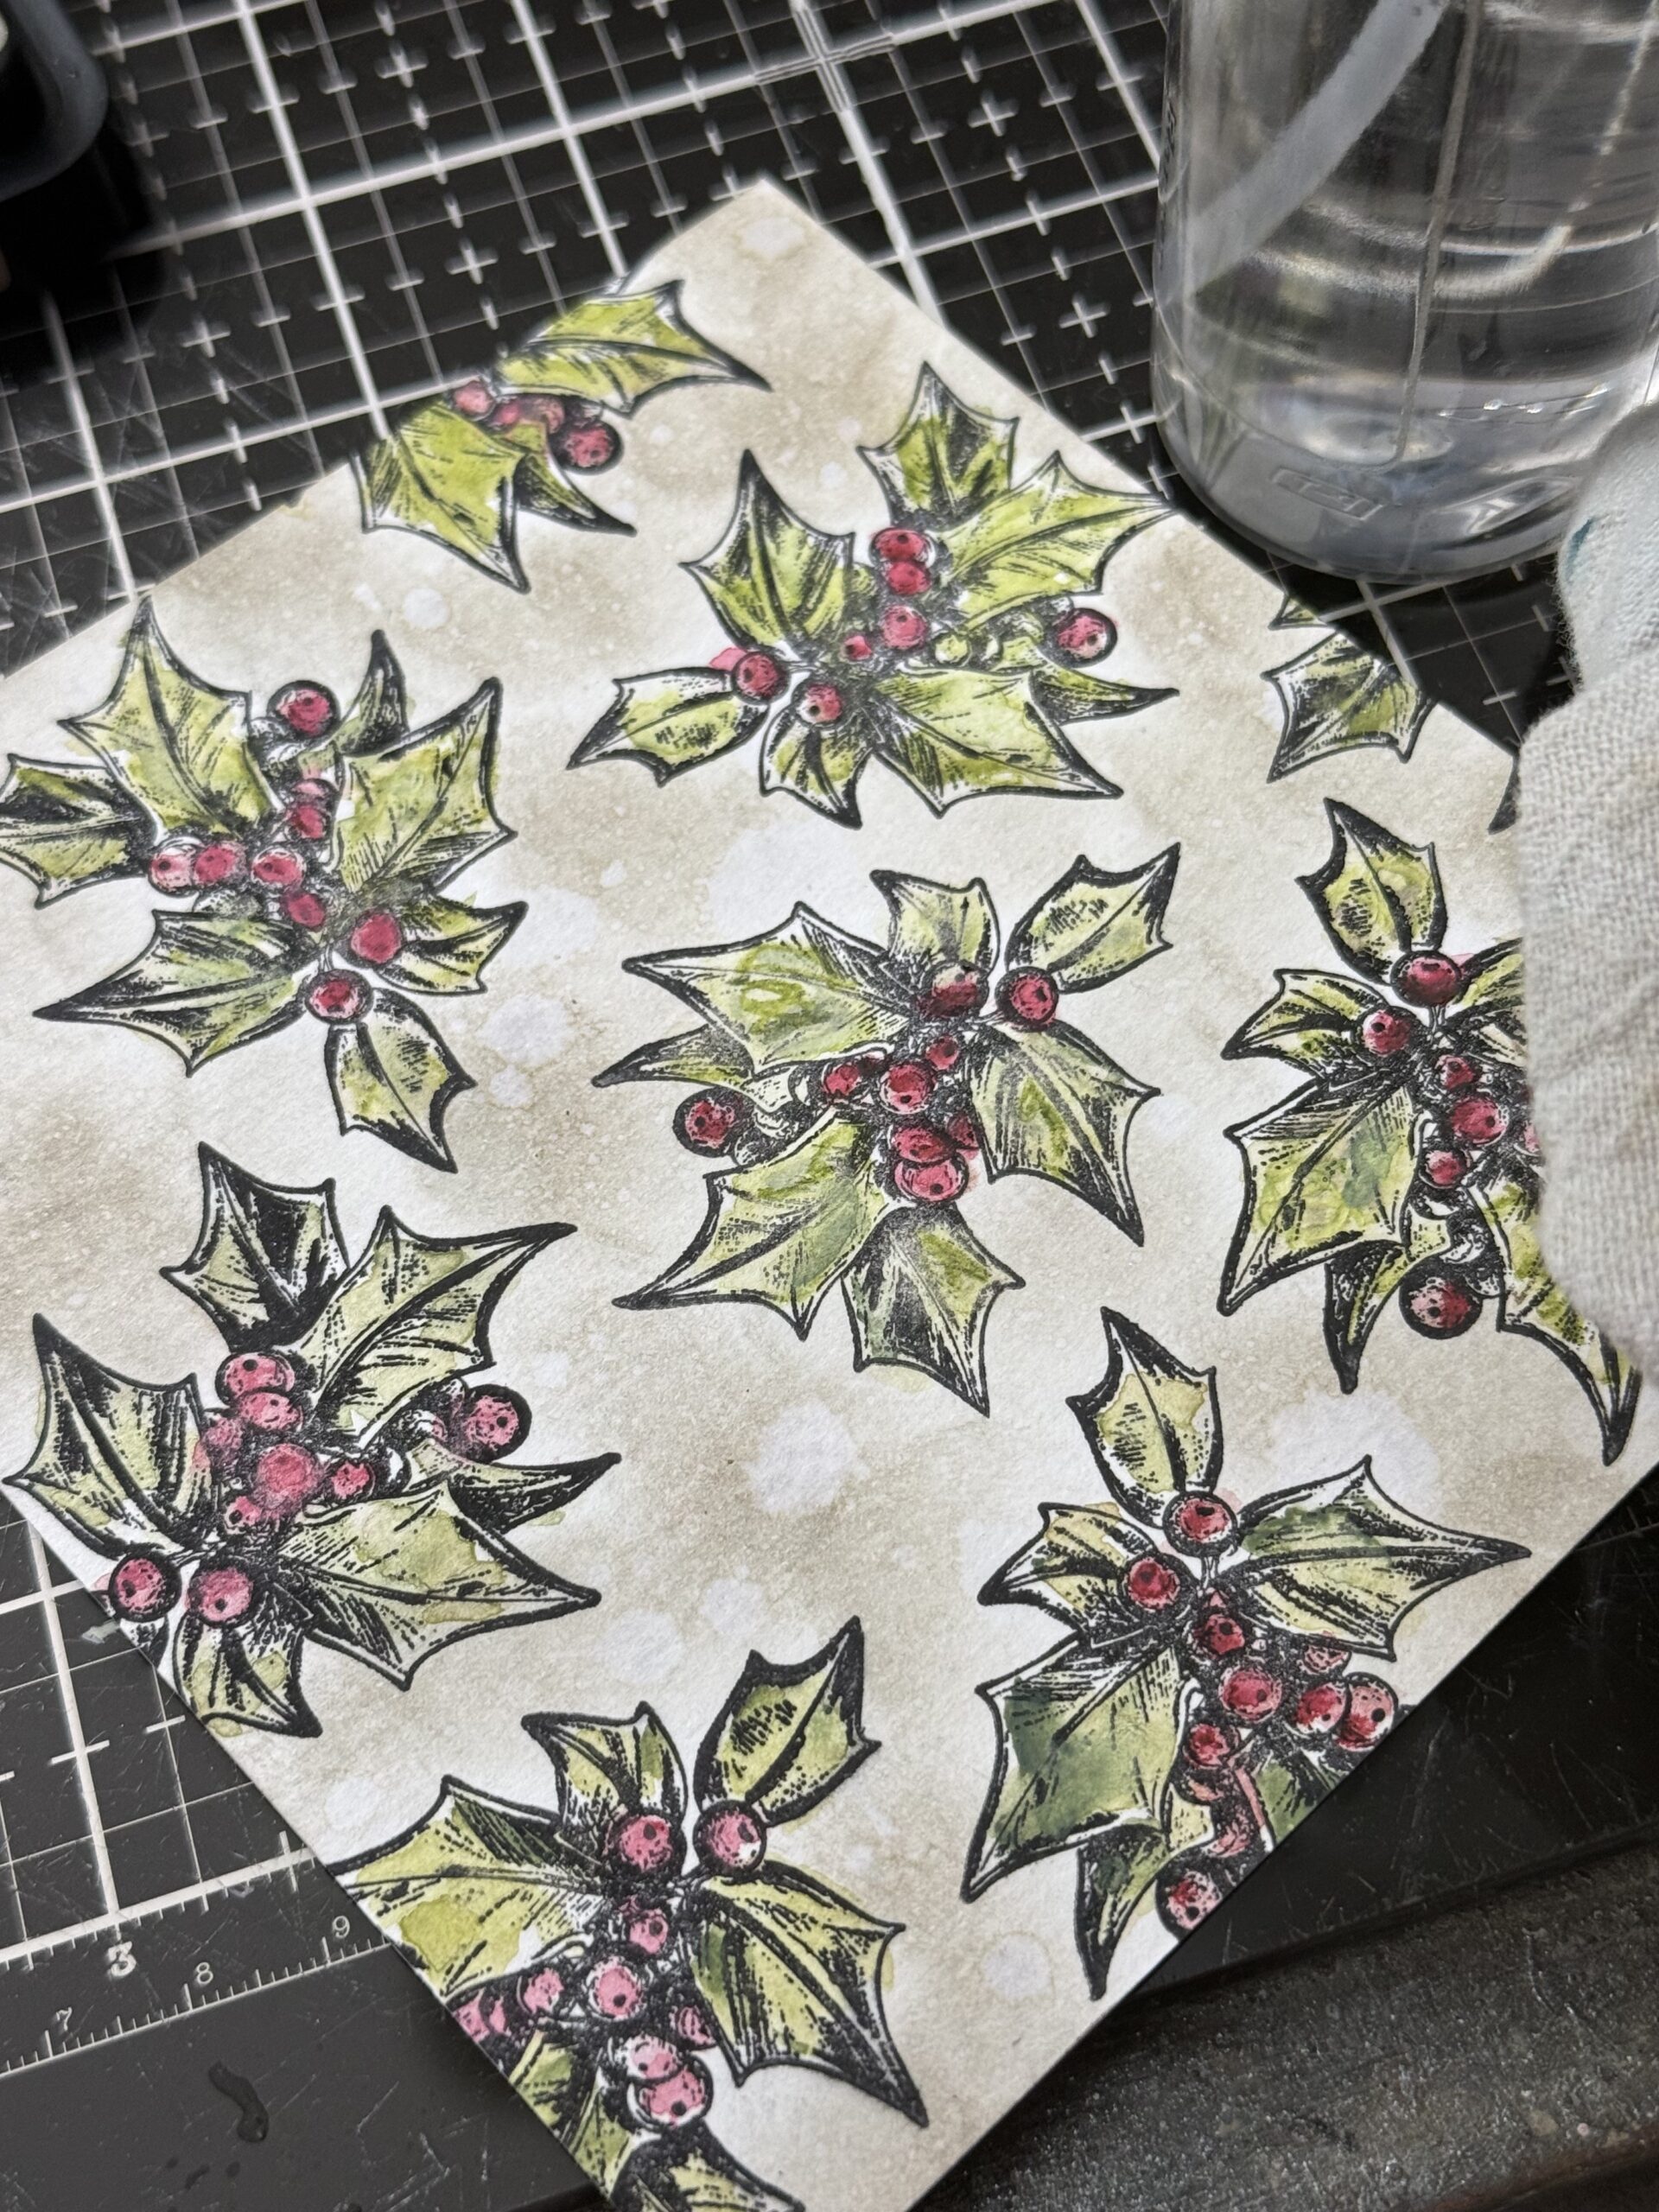
After the blending was done, I spritzed the paper with some water, left the water drops sit on the paper for a bit as I dried it with my heat tool, then daubed up the little bits to reveal the water splotches. This creates a vintage and distressed look.
Next, I spritzed some Tarnished Brass Spritz onto the paper, then used my heat tool to dry it.
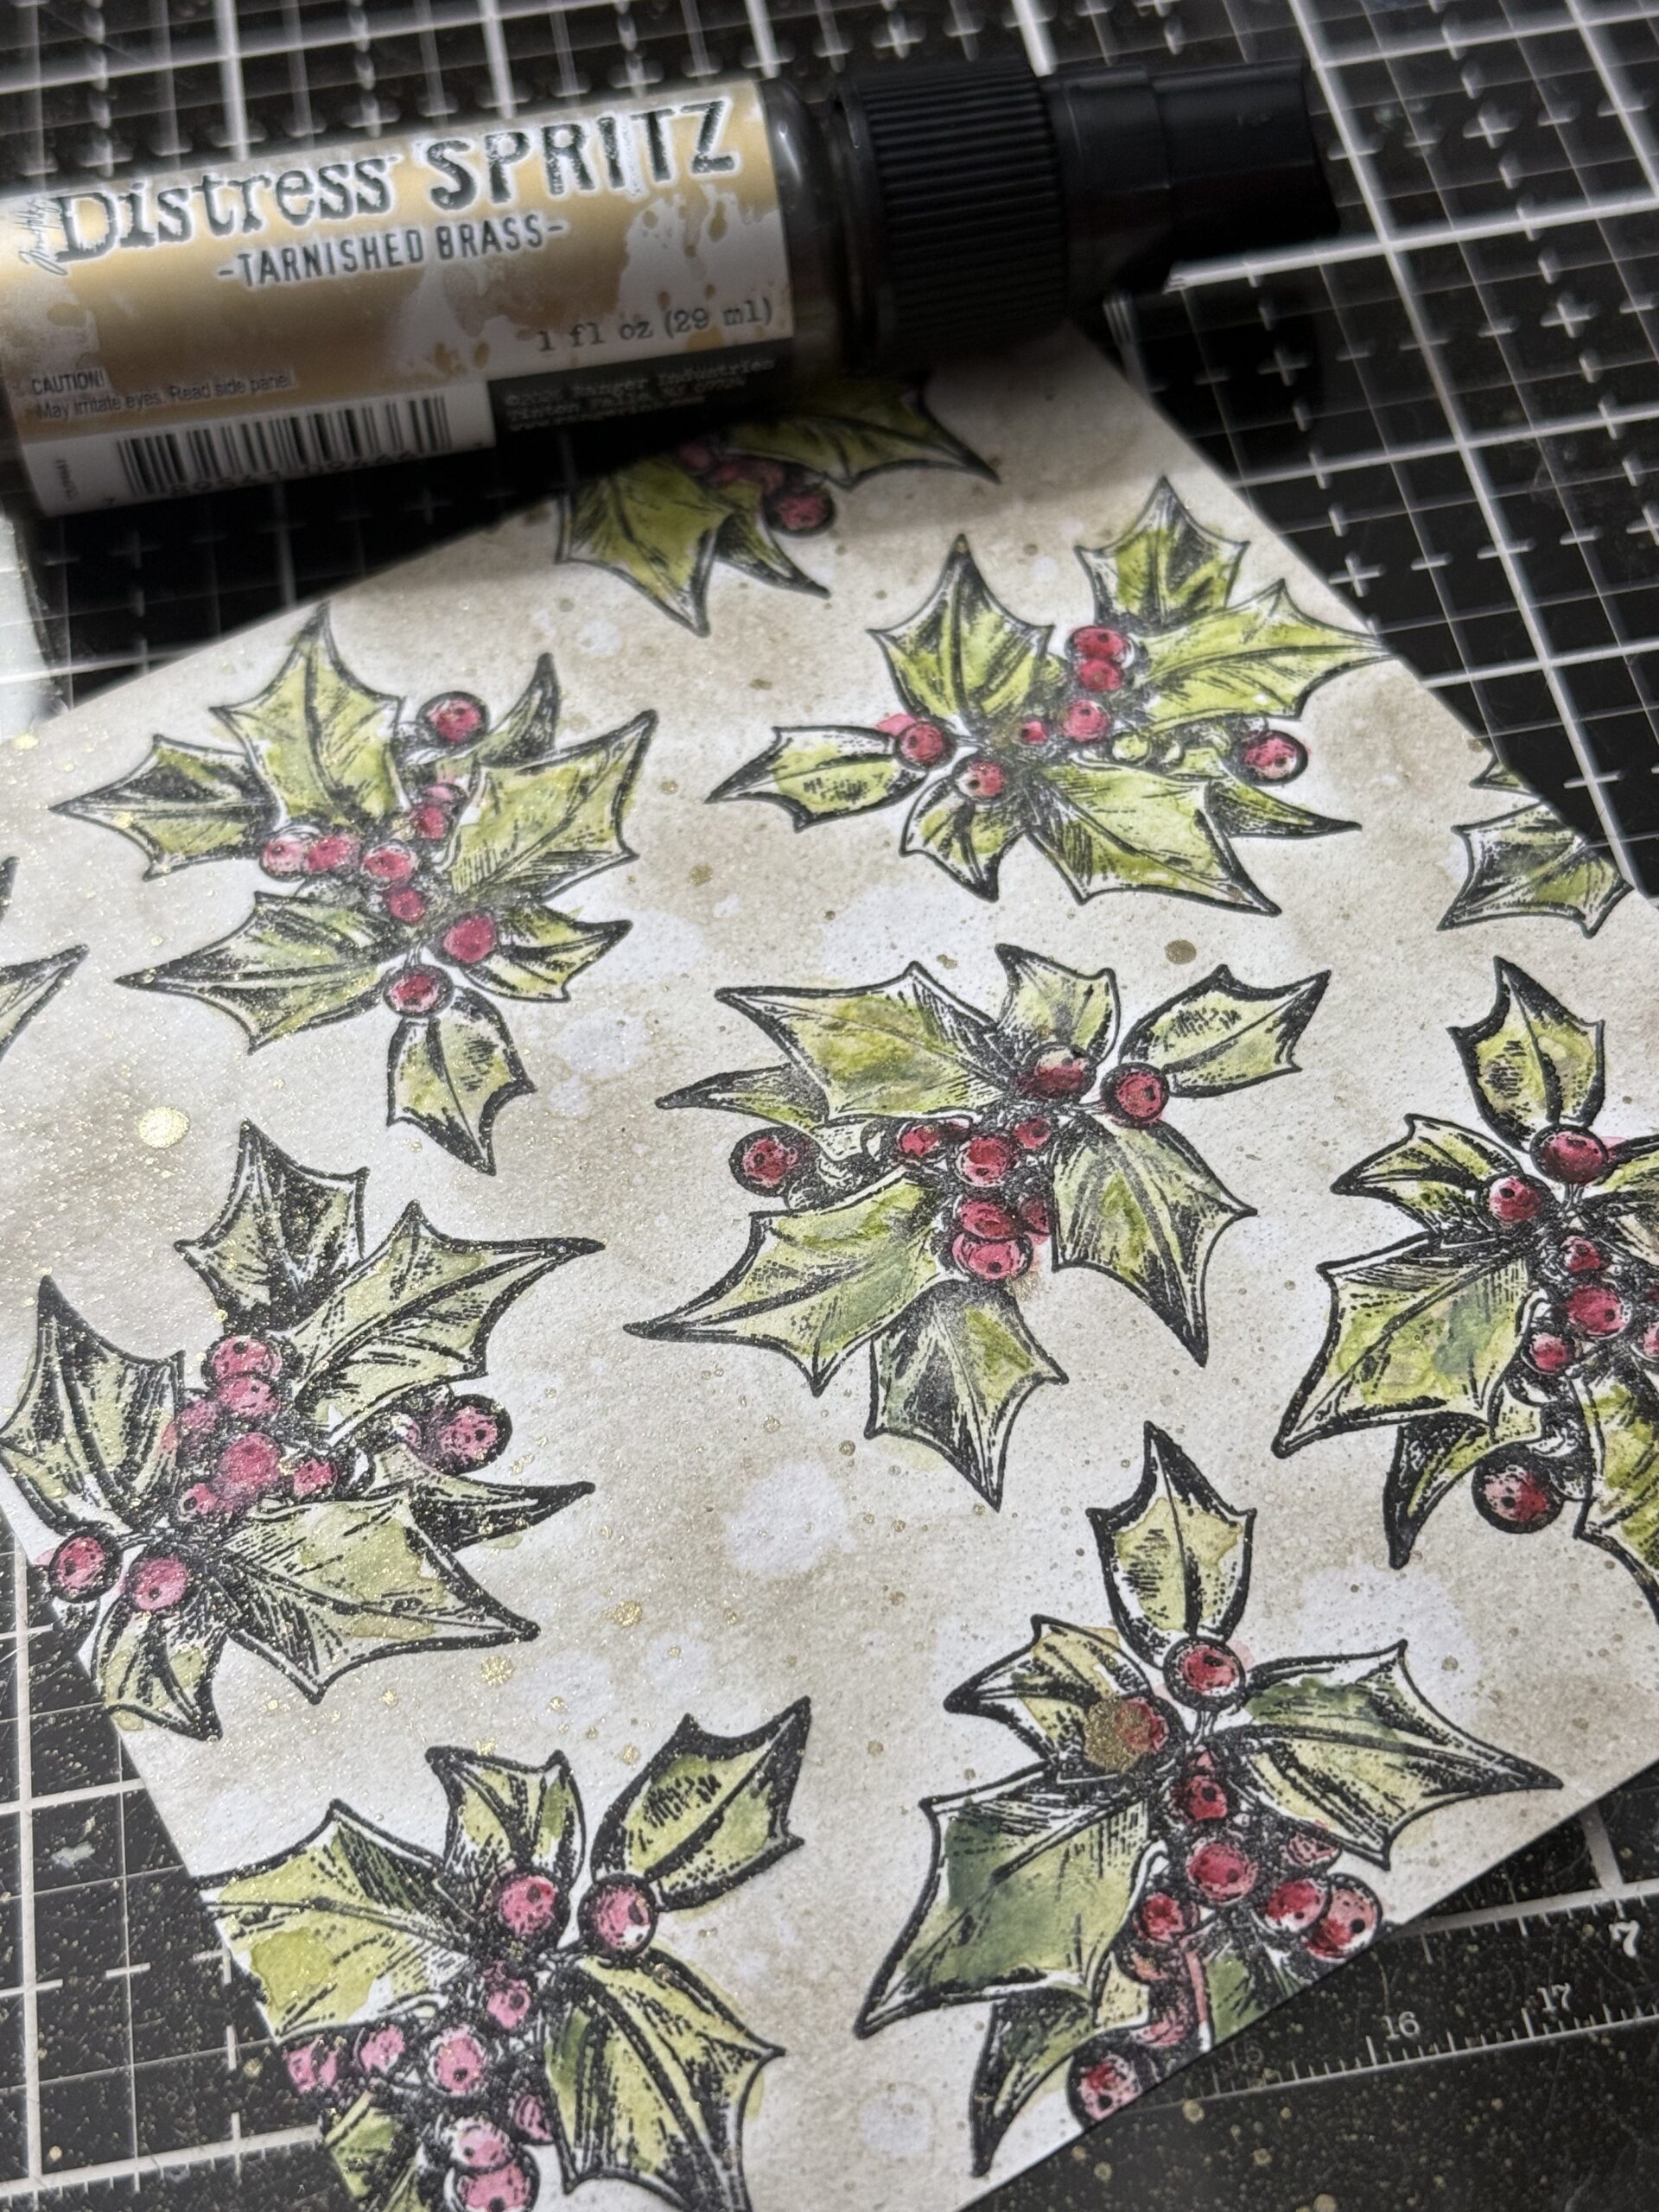
Here’s a peek at that lovely shimmer…it couldn’t be more perfect for Christmas!
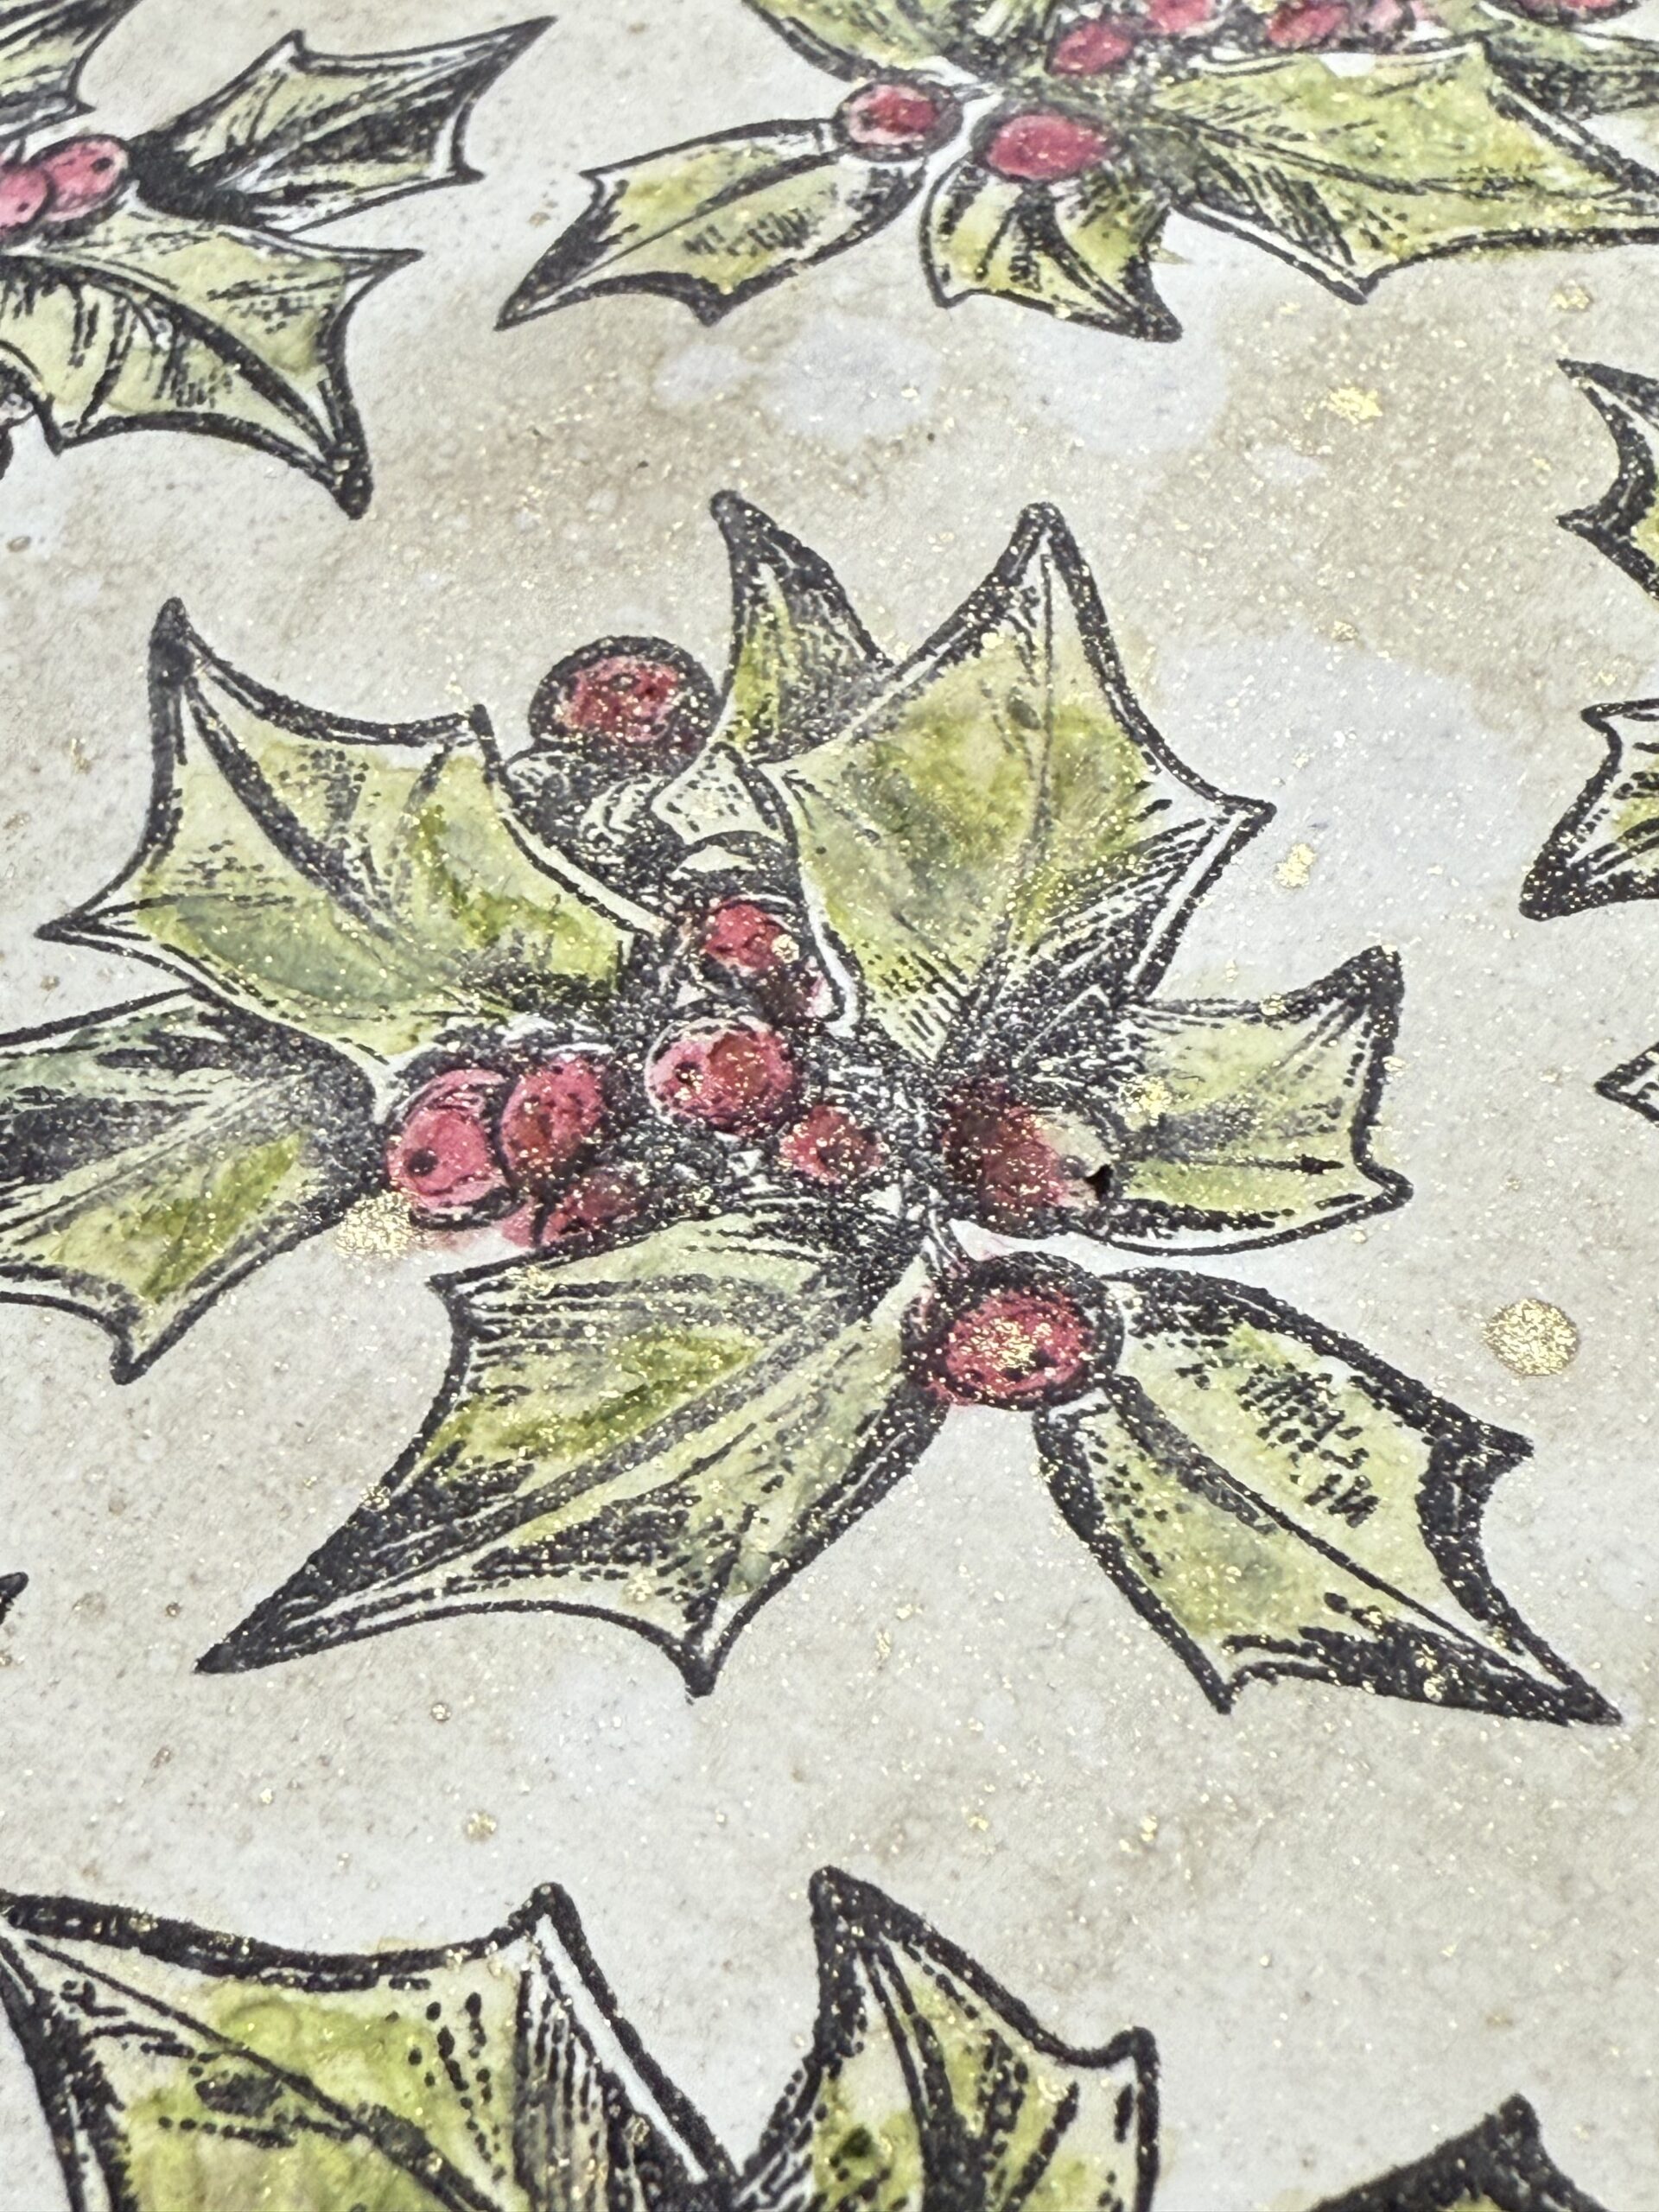
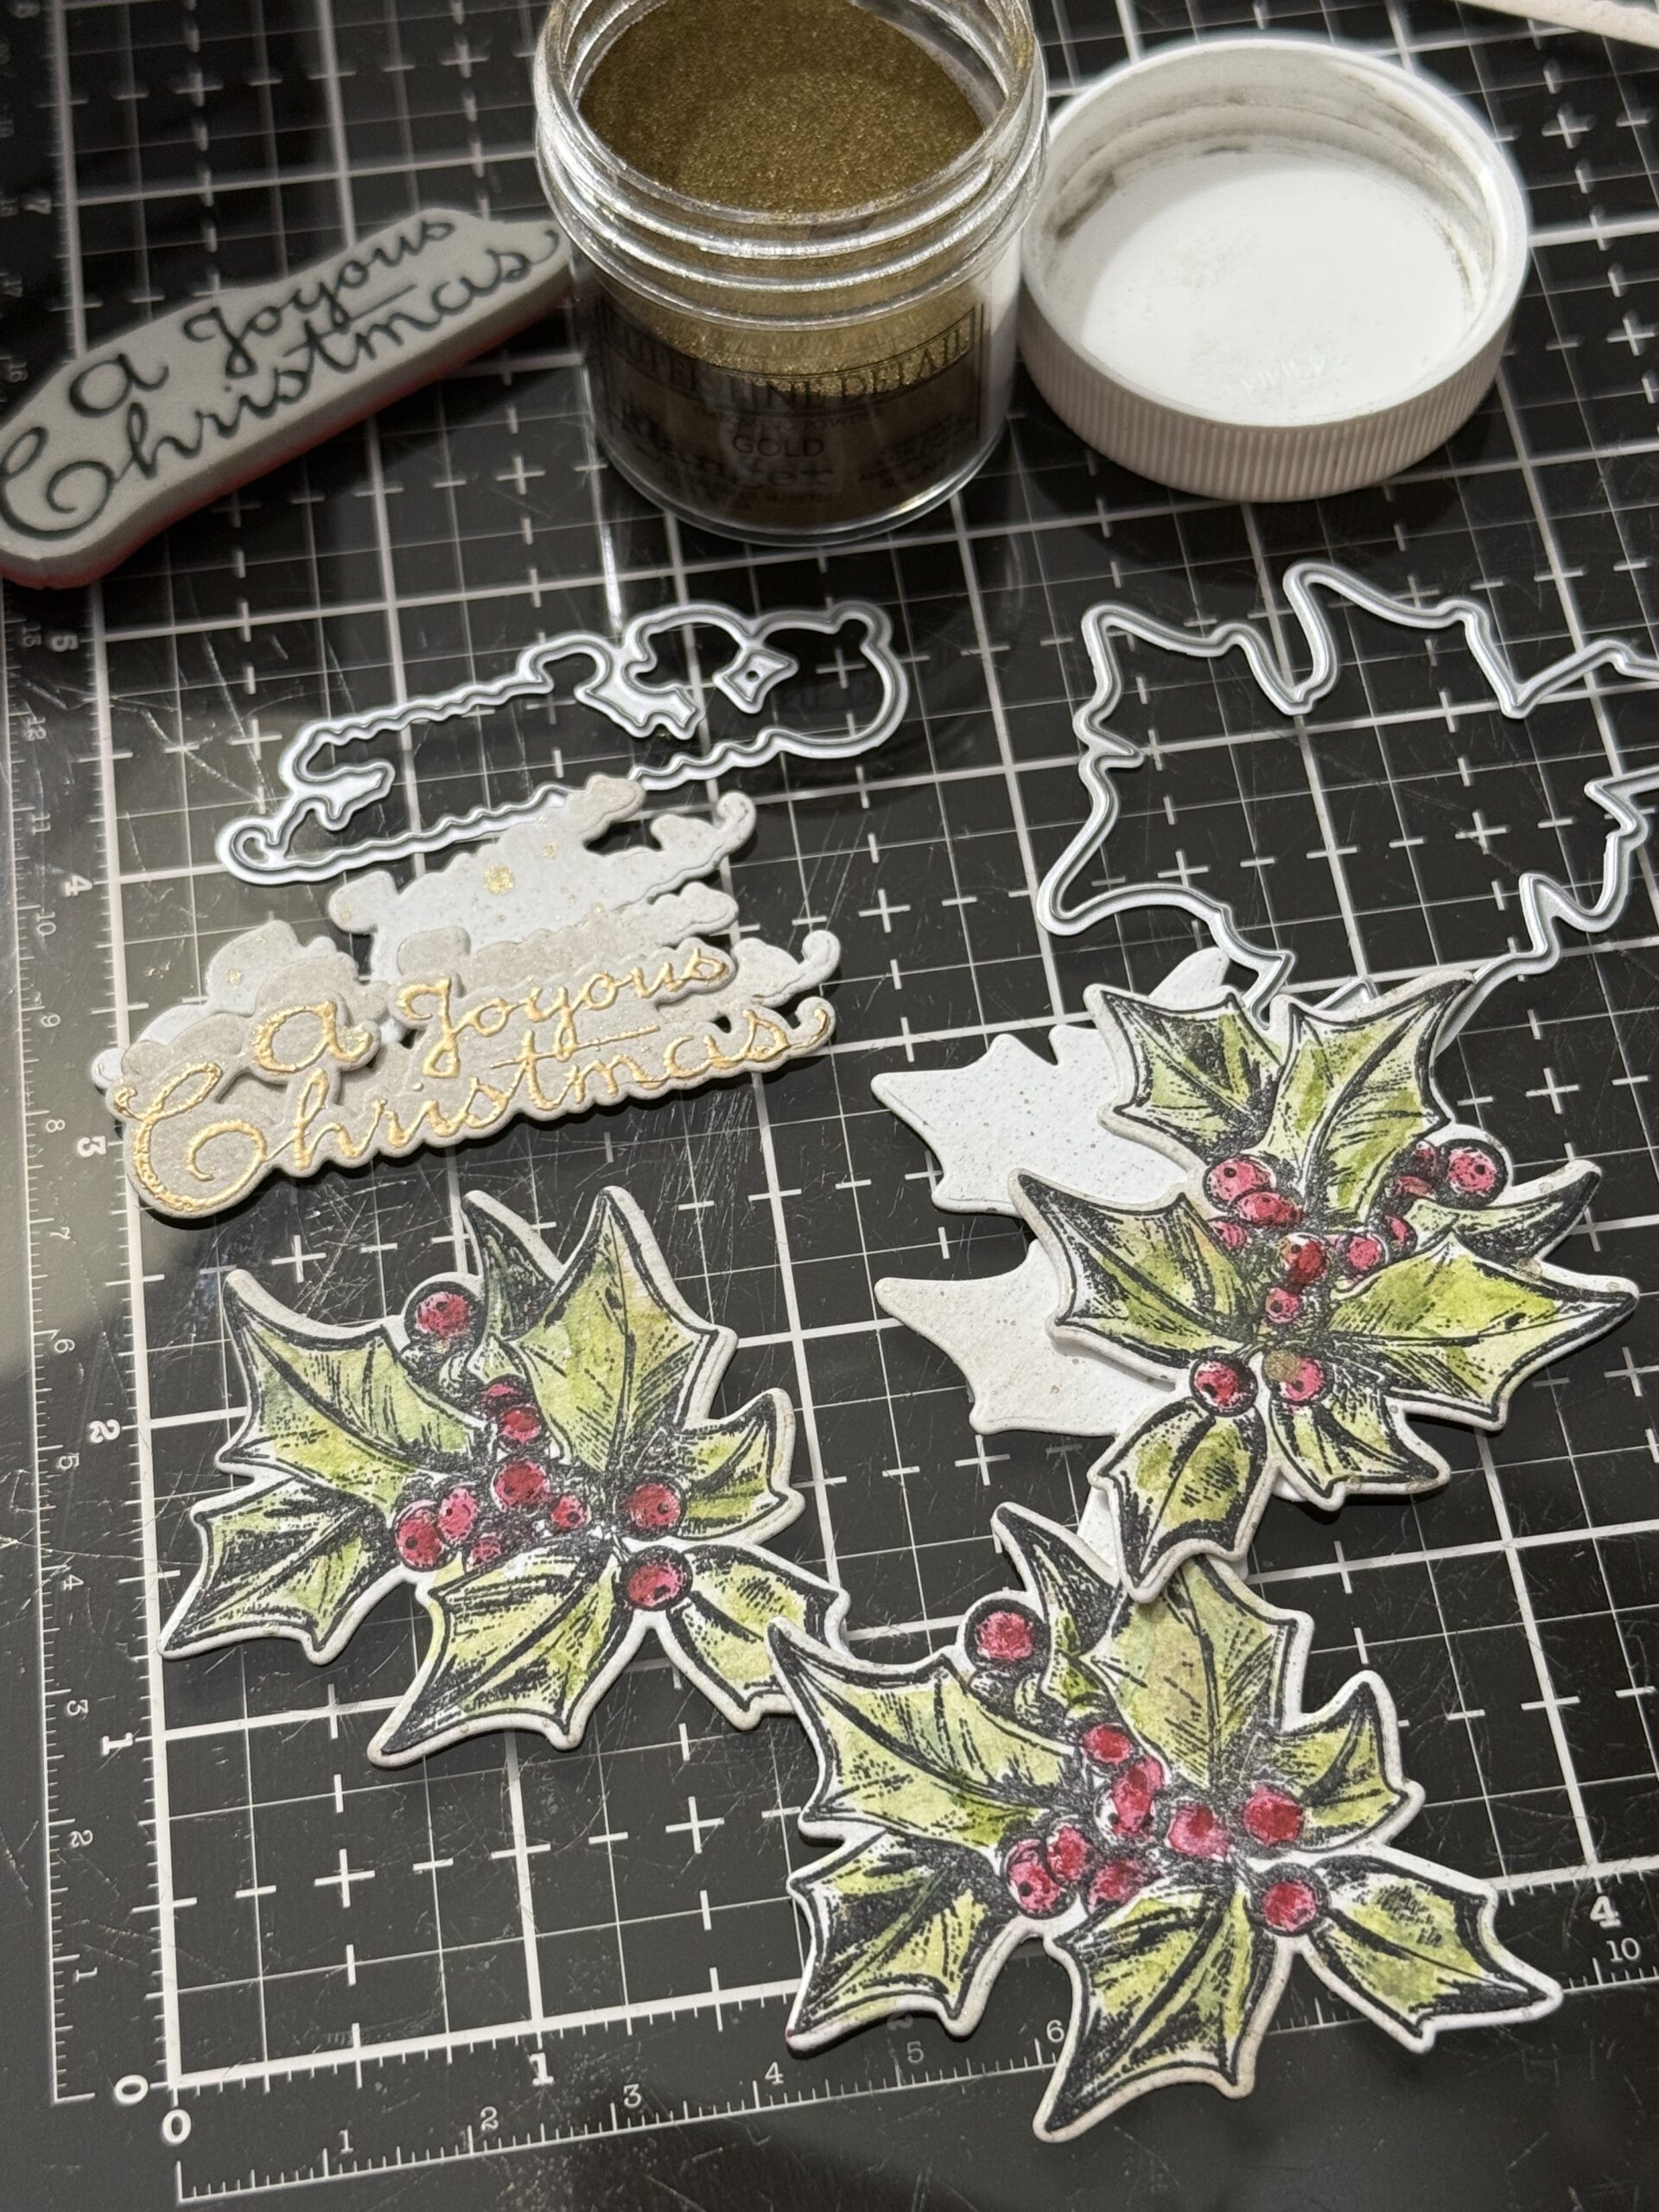
I stamped some more of the holly images onto a piece of Distress Watercolor Paper and stamped the images and colored them up in the same way as I had done for the background, except, made sure that the images were in full and not over any edges… these were the images that I was going to use as the 3D holly’s that cover the other images, so I needed them to be able to cover them, then the images were cut out using the matching wafer die.
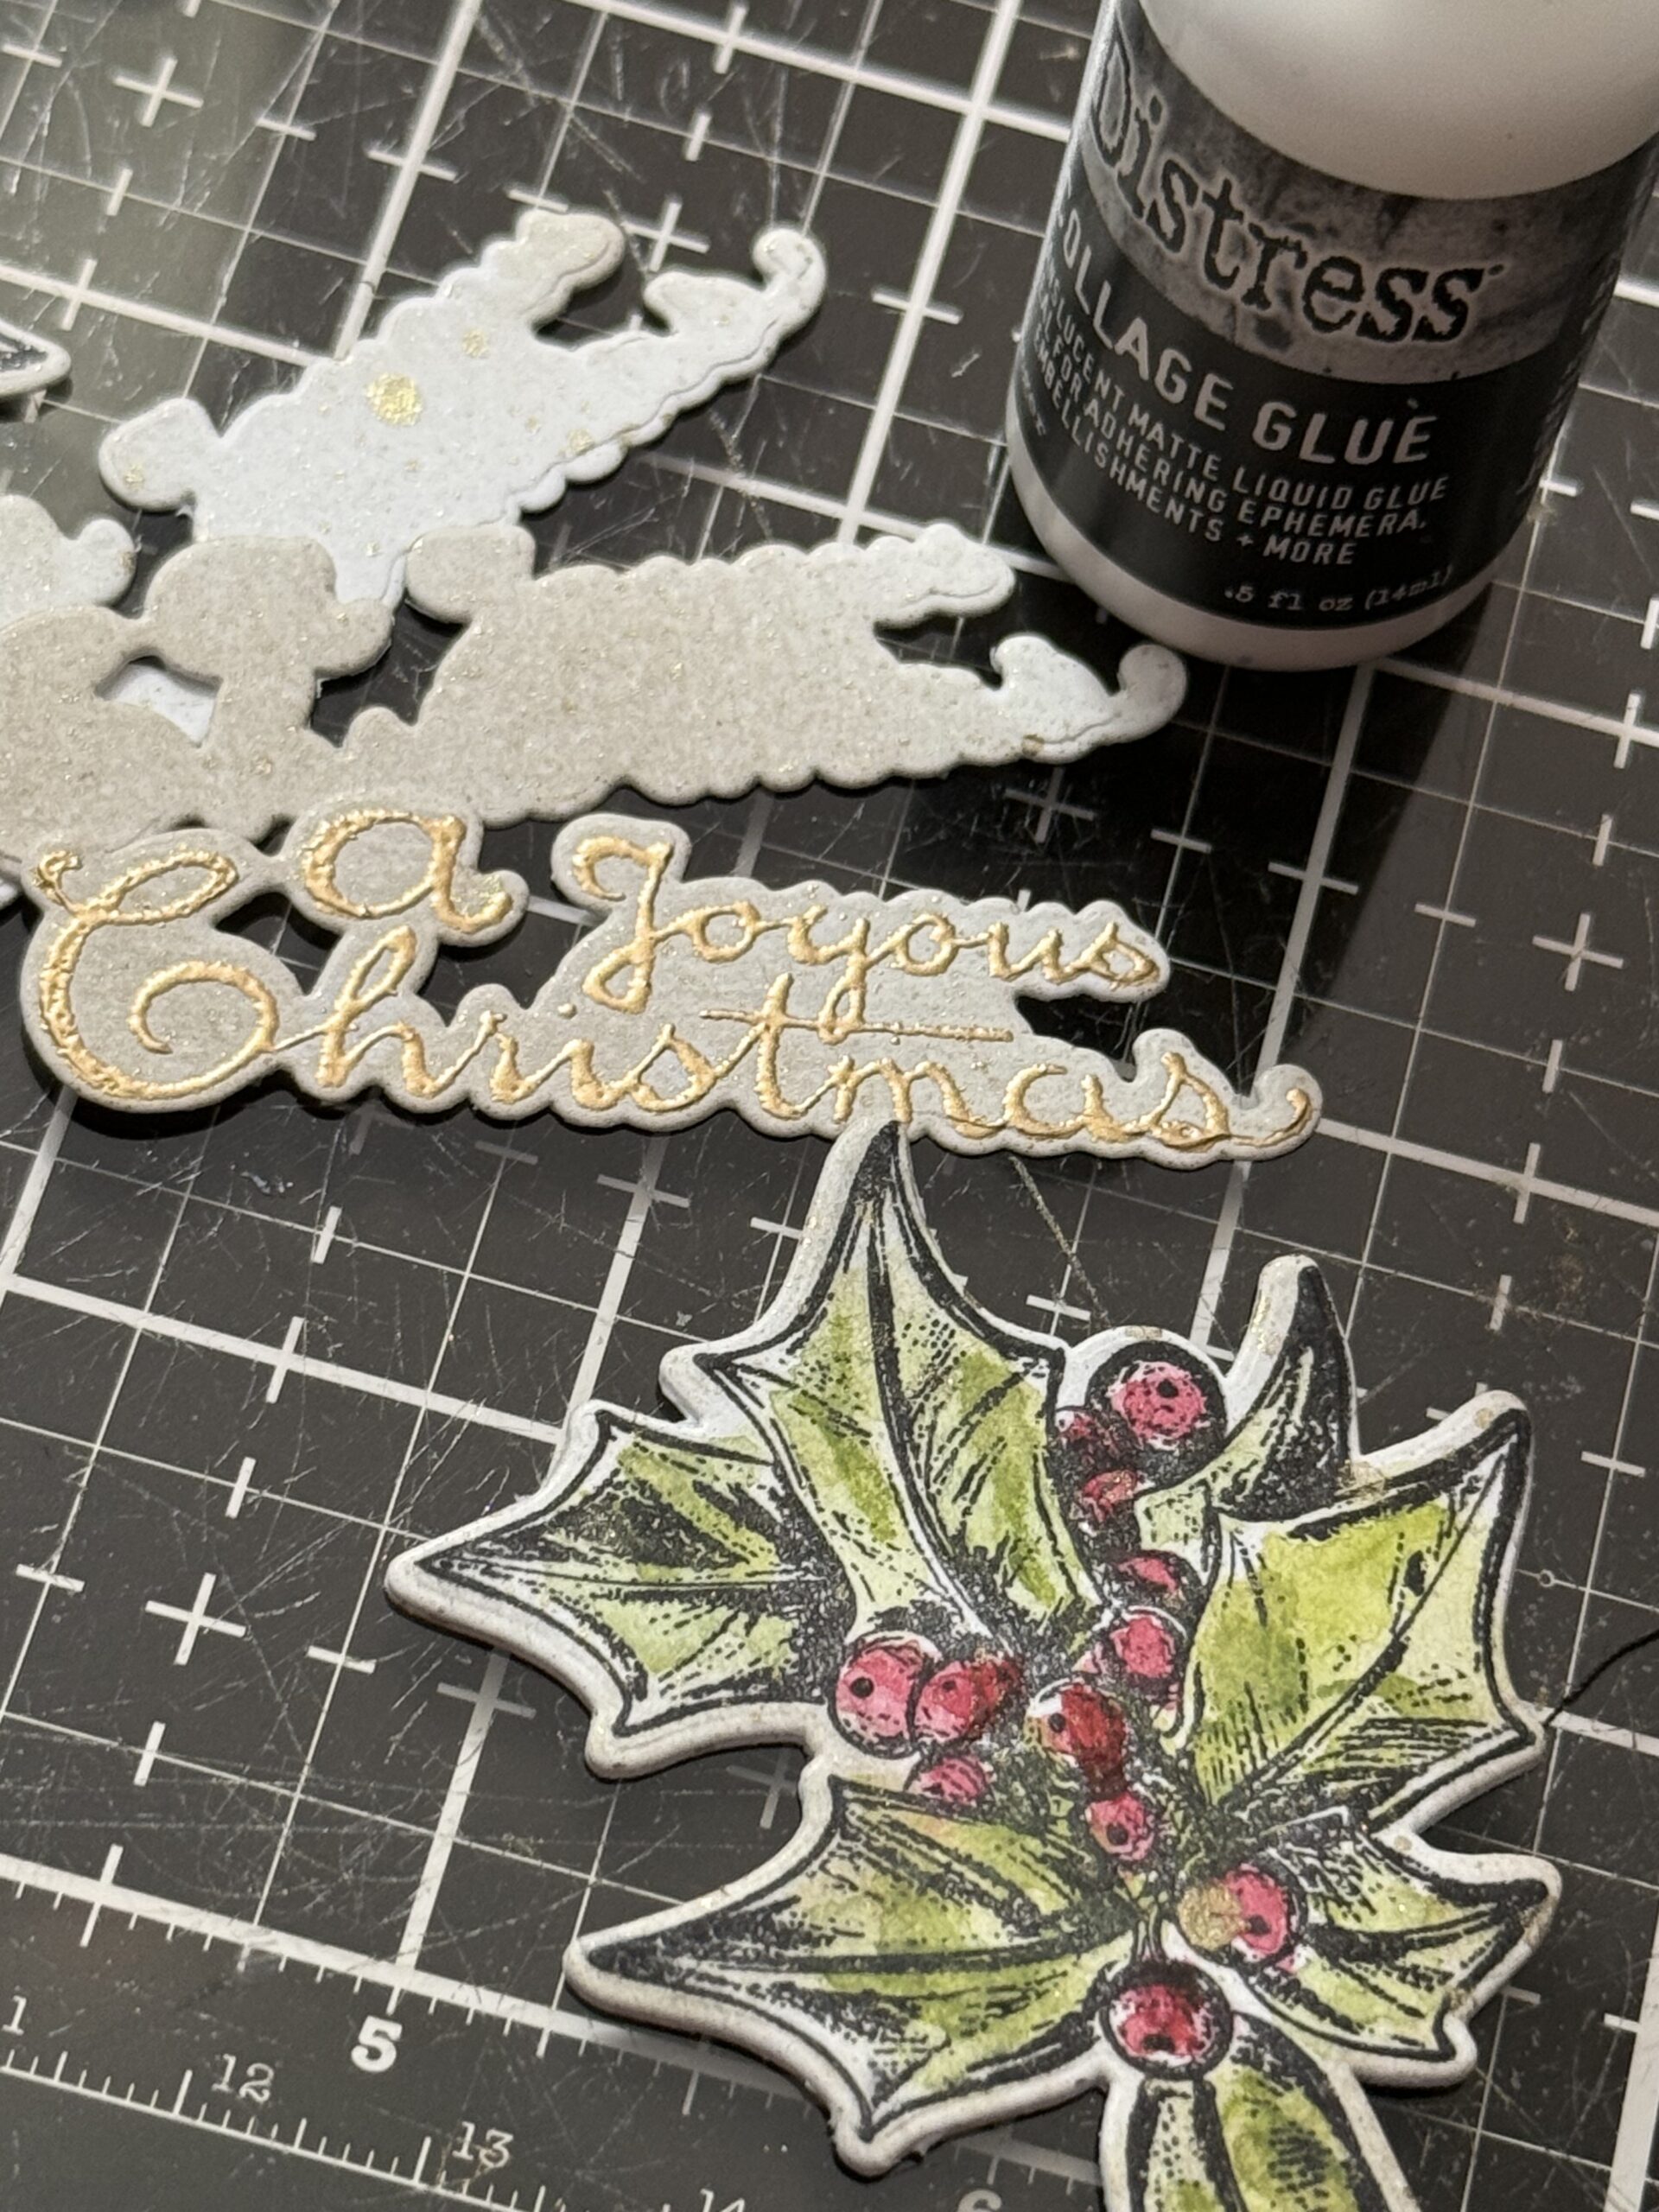
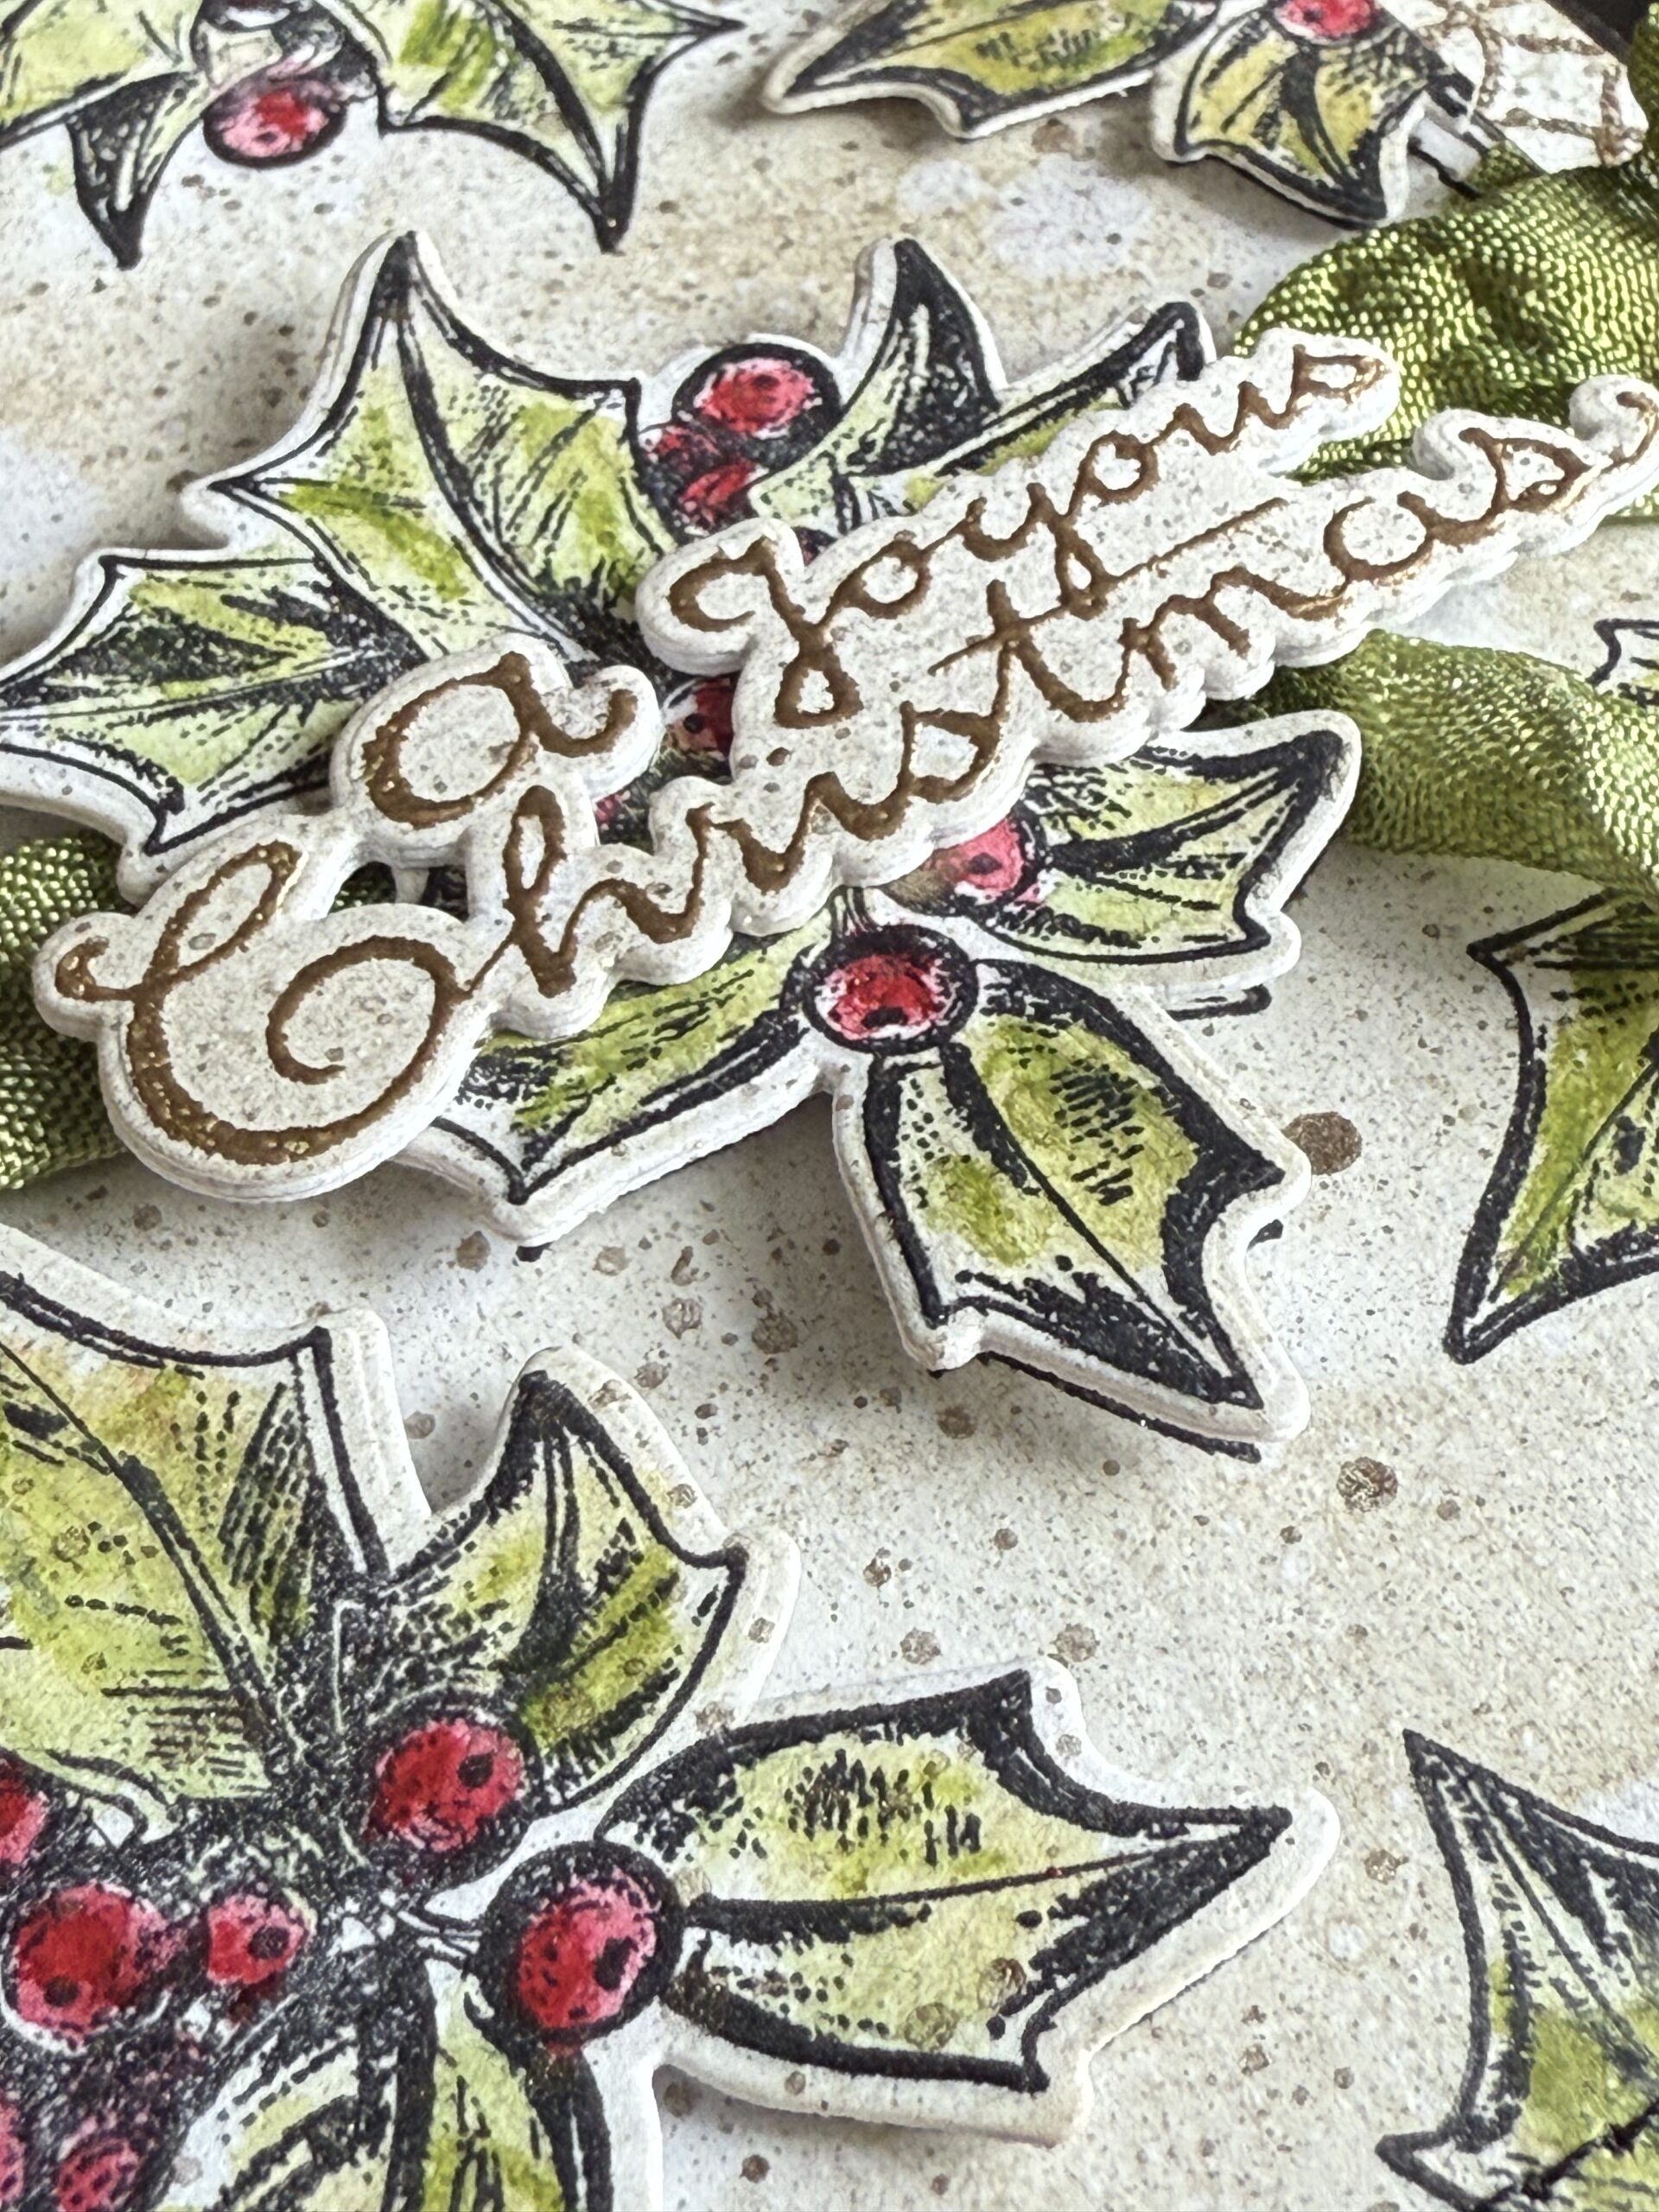
I stamped the phrase onto a piece of paper and embossed it using Super Fine Gold Embossing Powder, and embossed it using my embossing gun. I cut out additional images of the phrase shape and cut out an additional holly shape for the centerpiece front of the card.
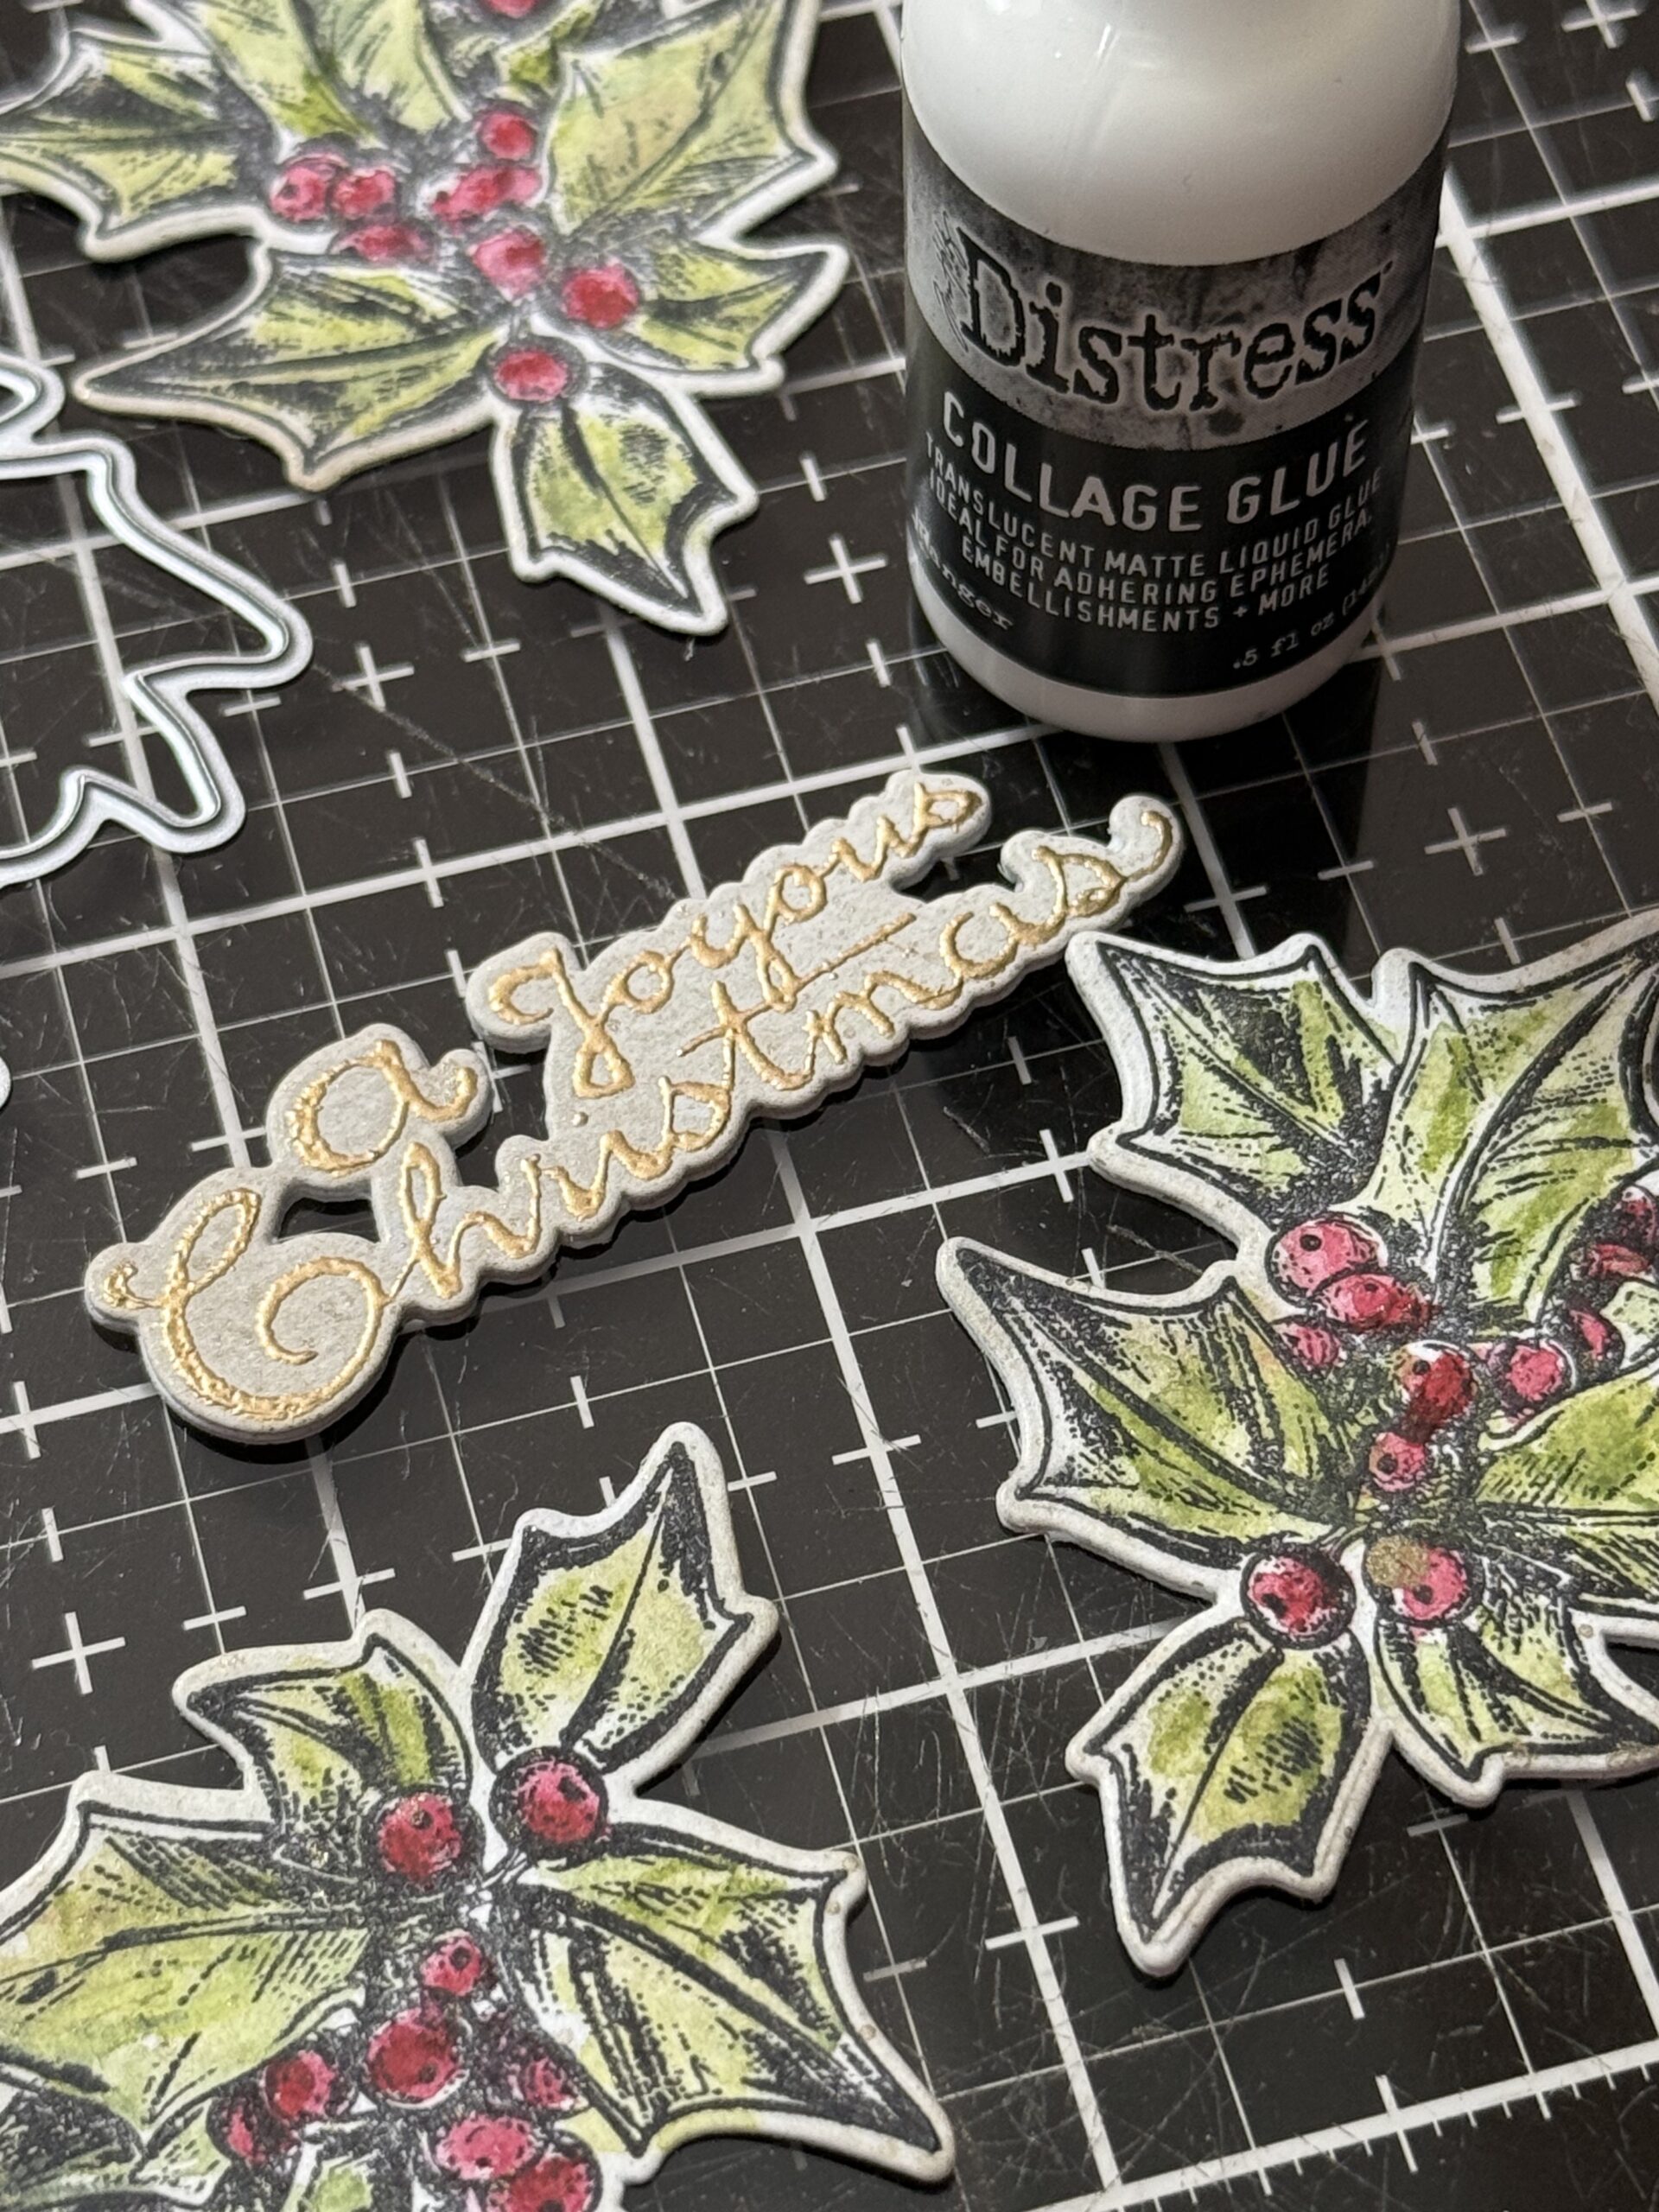
I adhered the layers together using Distress Collage Glue…this makes a wonderful embellishment because it gives the pieces more stability. Distress Collage Glue is the BOMB for card making..a fine tip and it dried super quick.
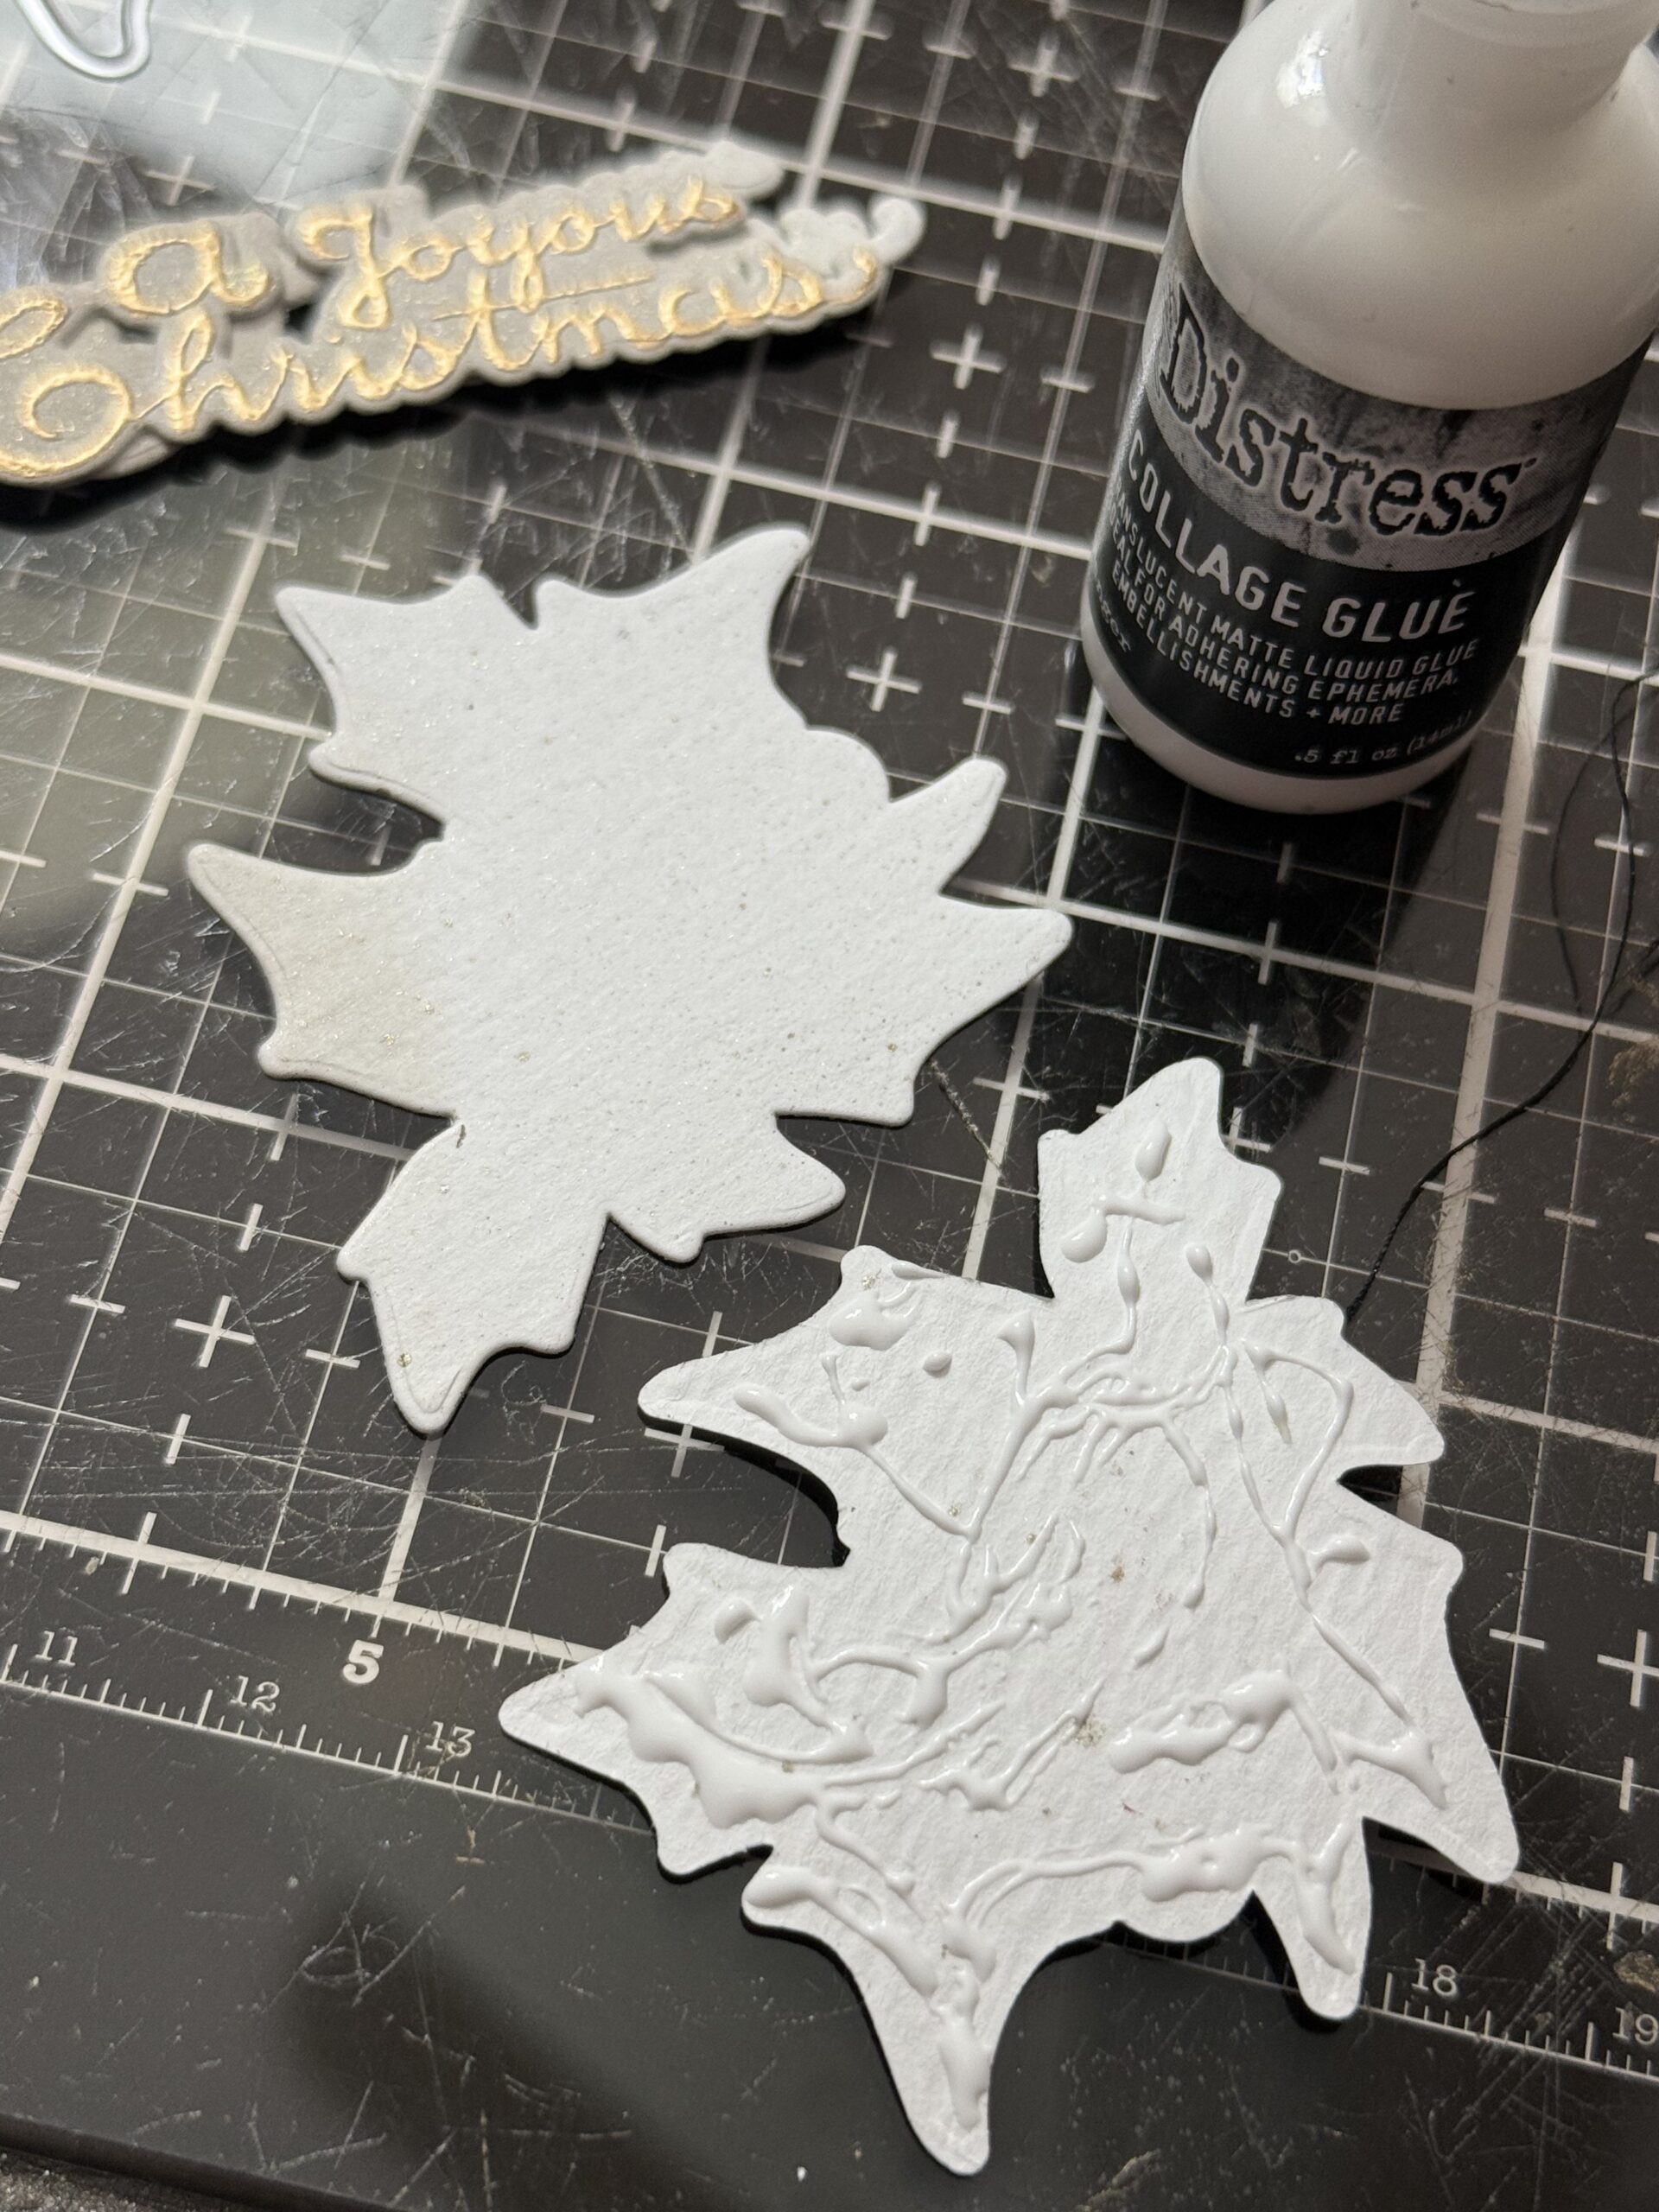
I adhered the phrase pieces together as well, then began building the card base.
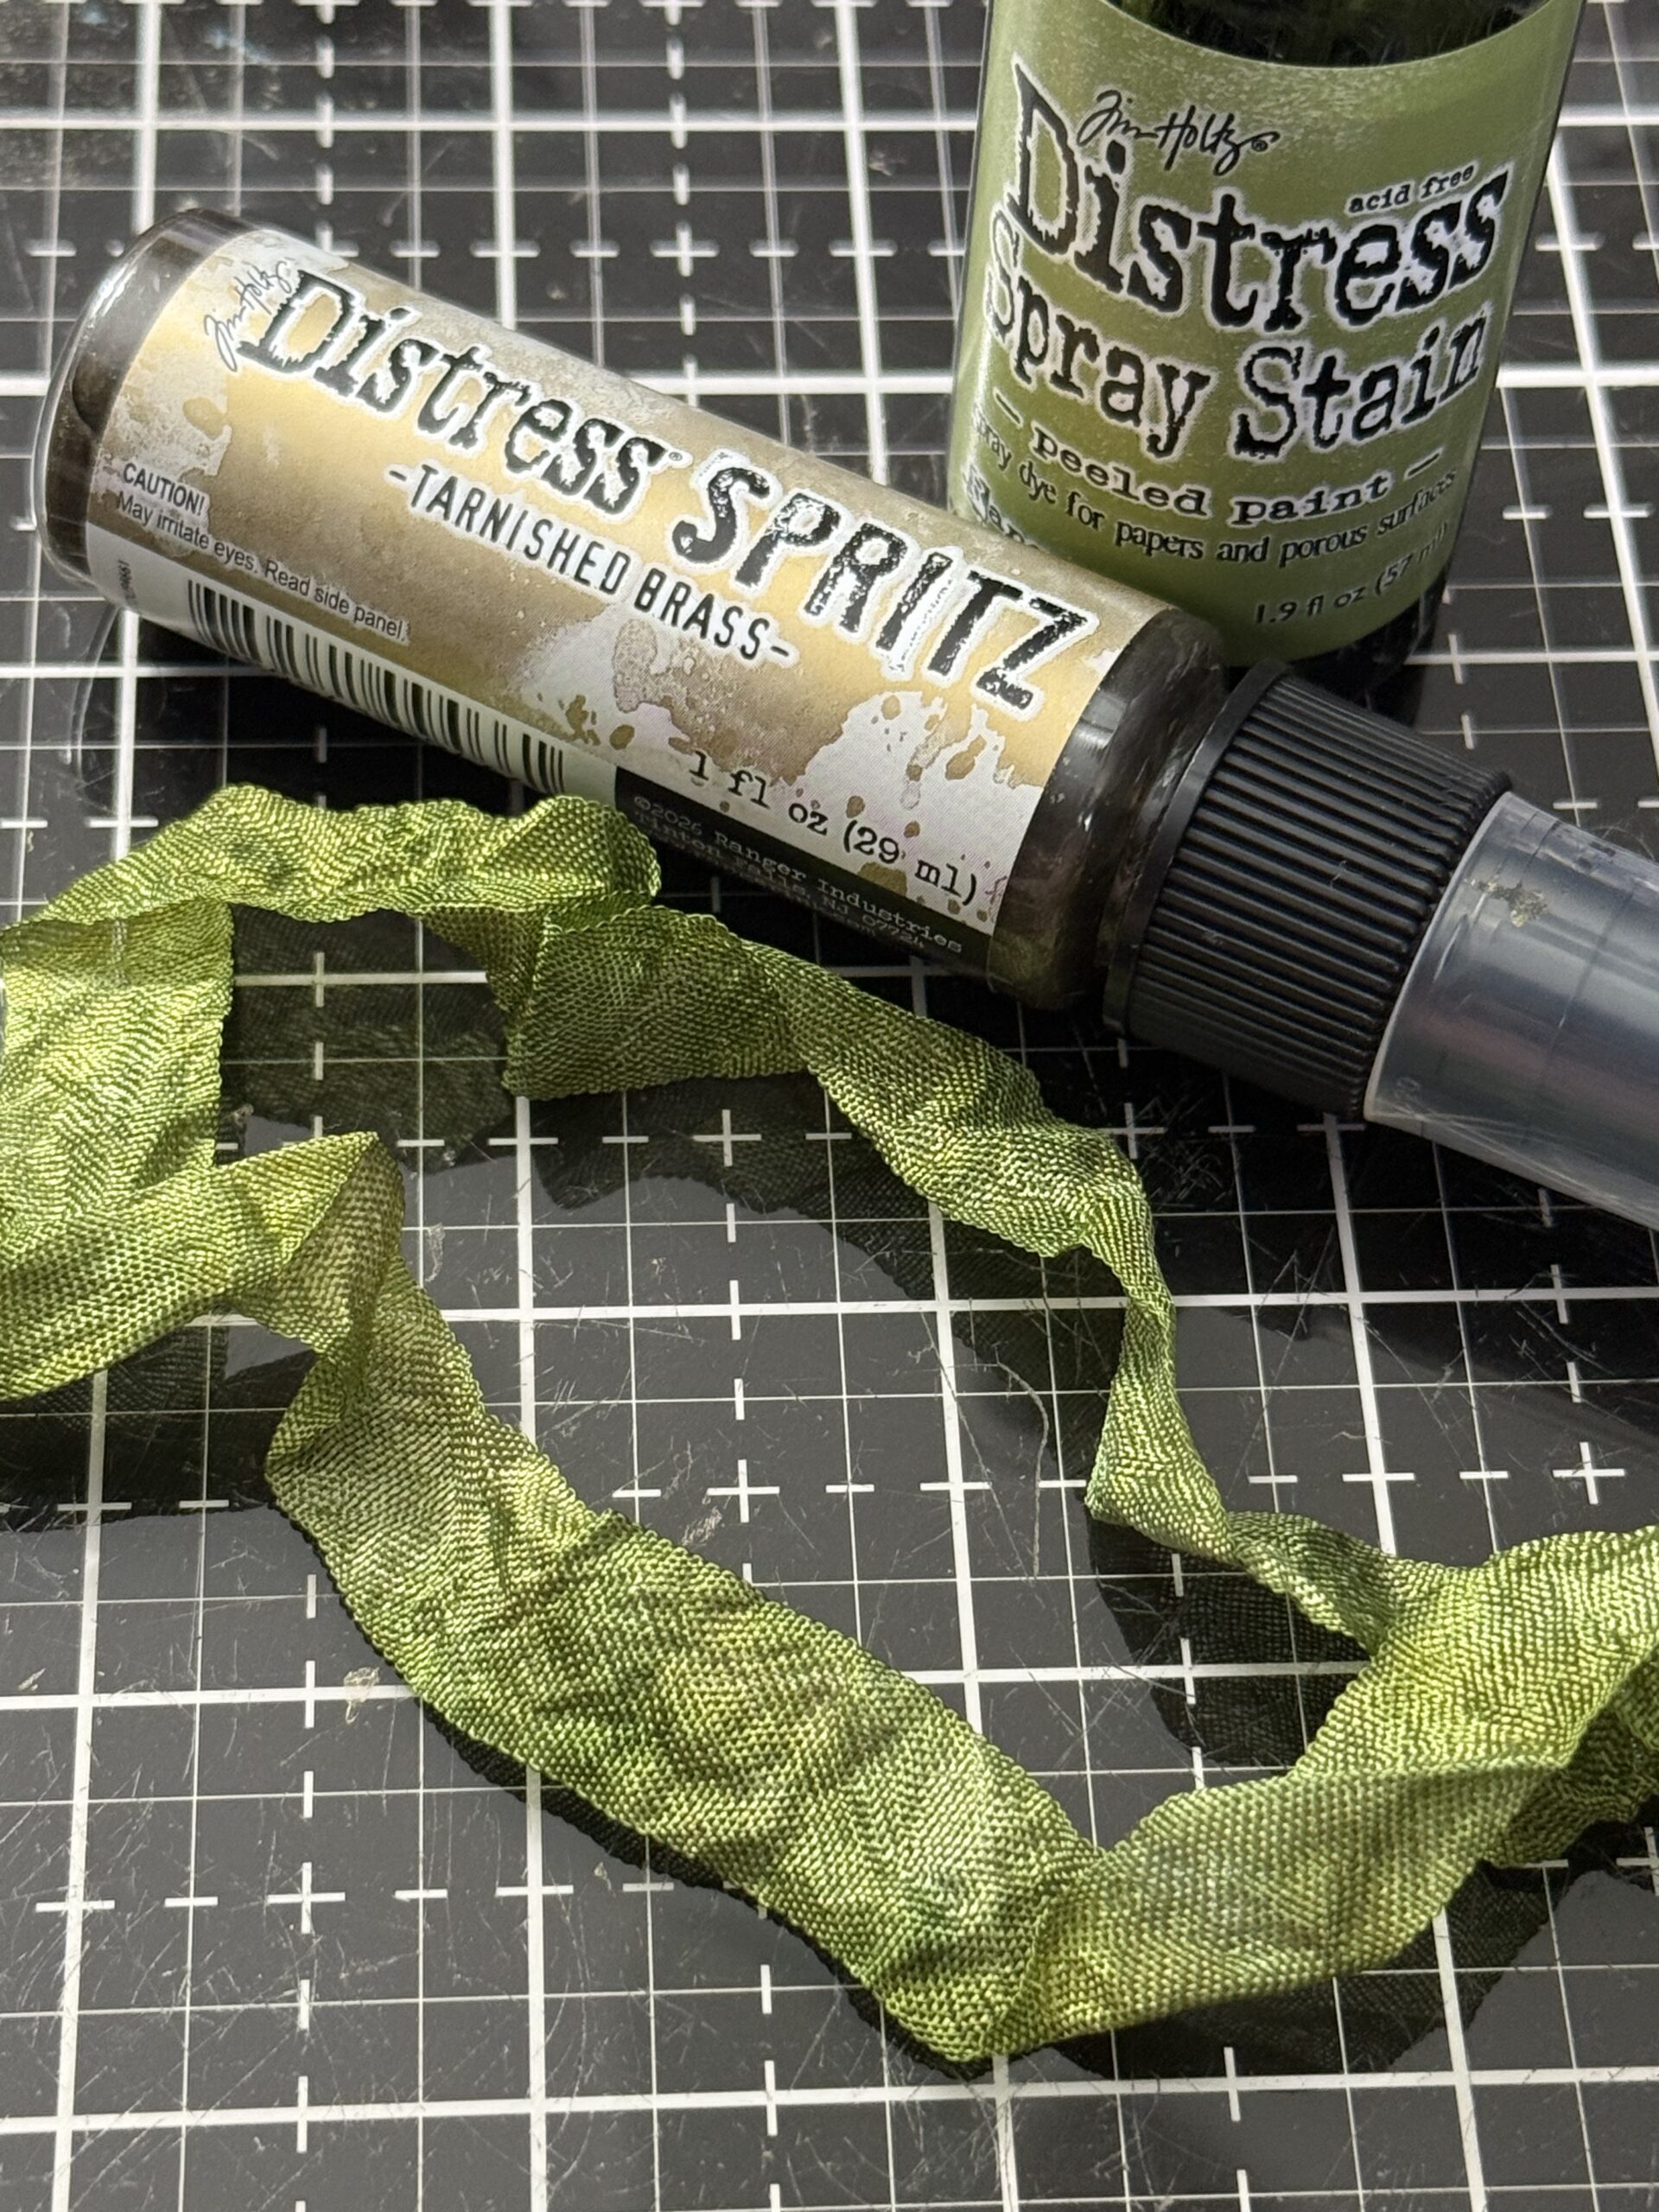
I colored up some seam binding ribbon using a combination of Peeled Paint Distress Spray and the Tarnished Brass Spritz, then dried it with my heat tool.
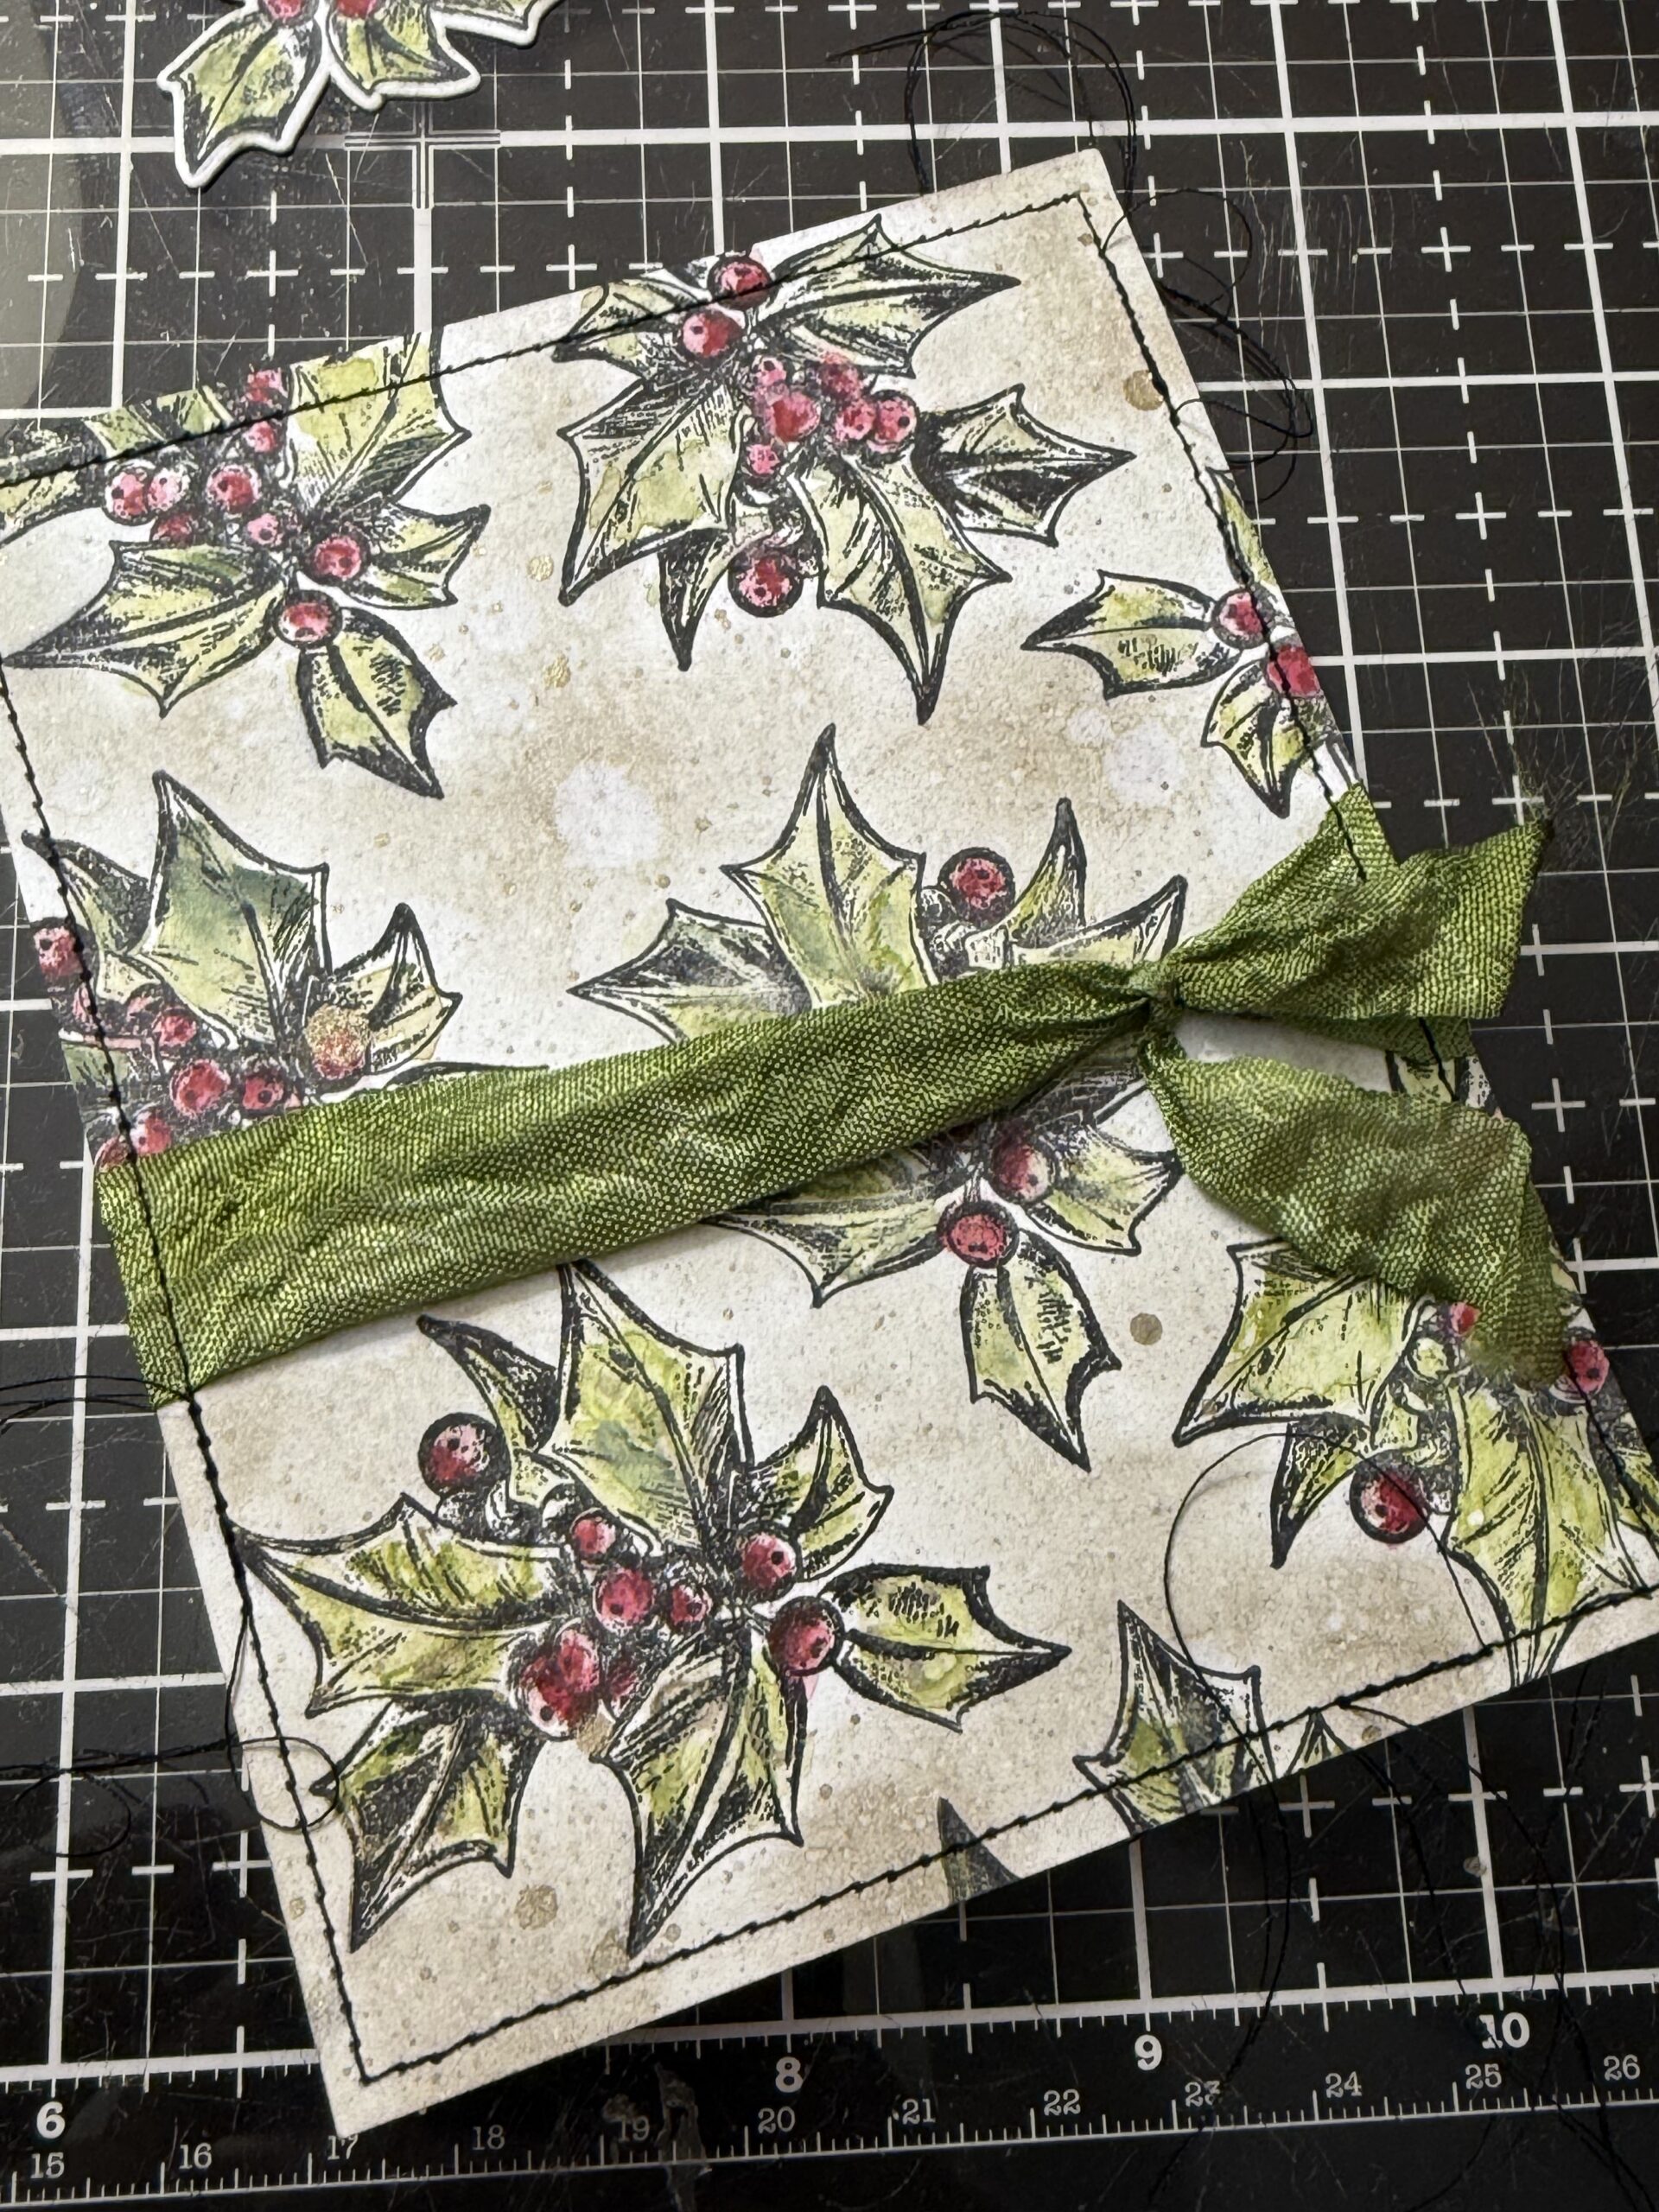
I cut the background paper to a size for a card front (4.25″x5.5″) then tied on the ribbon around the area where I would place the holly centerpiece and phrase. I tied a knot, then I stitched around the edge of the card front using my sewing machine.
I lined up the 3D holly images over top of the 3 areas where I was going to highlight them and adhered them using thin foam squares. You can see in the photo below that I did the holly image on the top left, the small portion of holly on the right side and then a full image down on the left side bottom. The centerpiece holly was added over top of where the ribbon ran across it, along with the phrase piece.
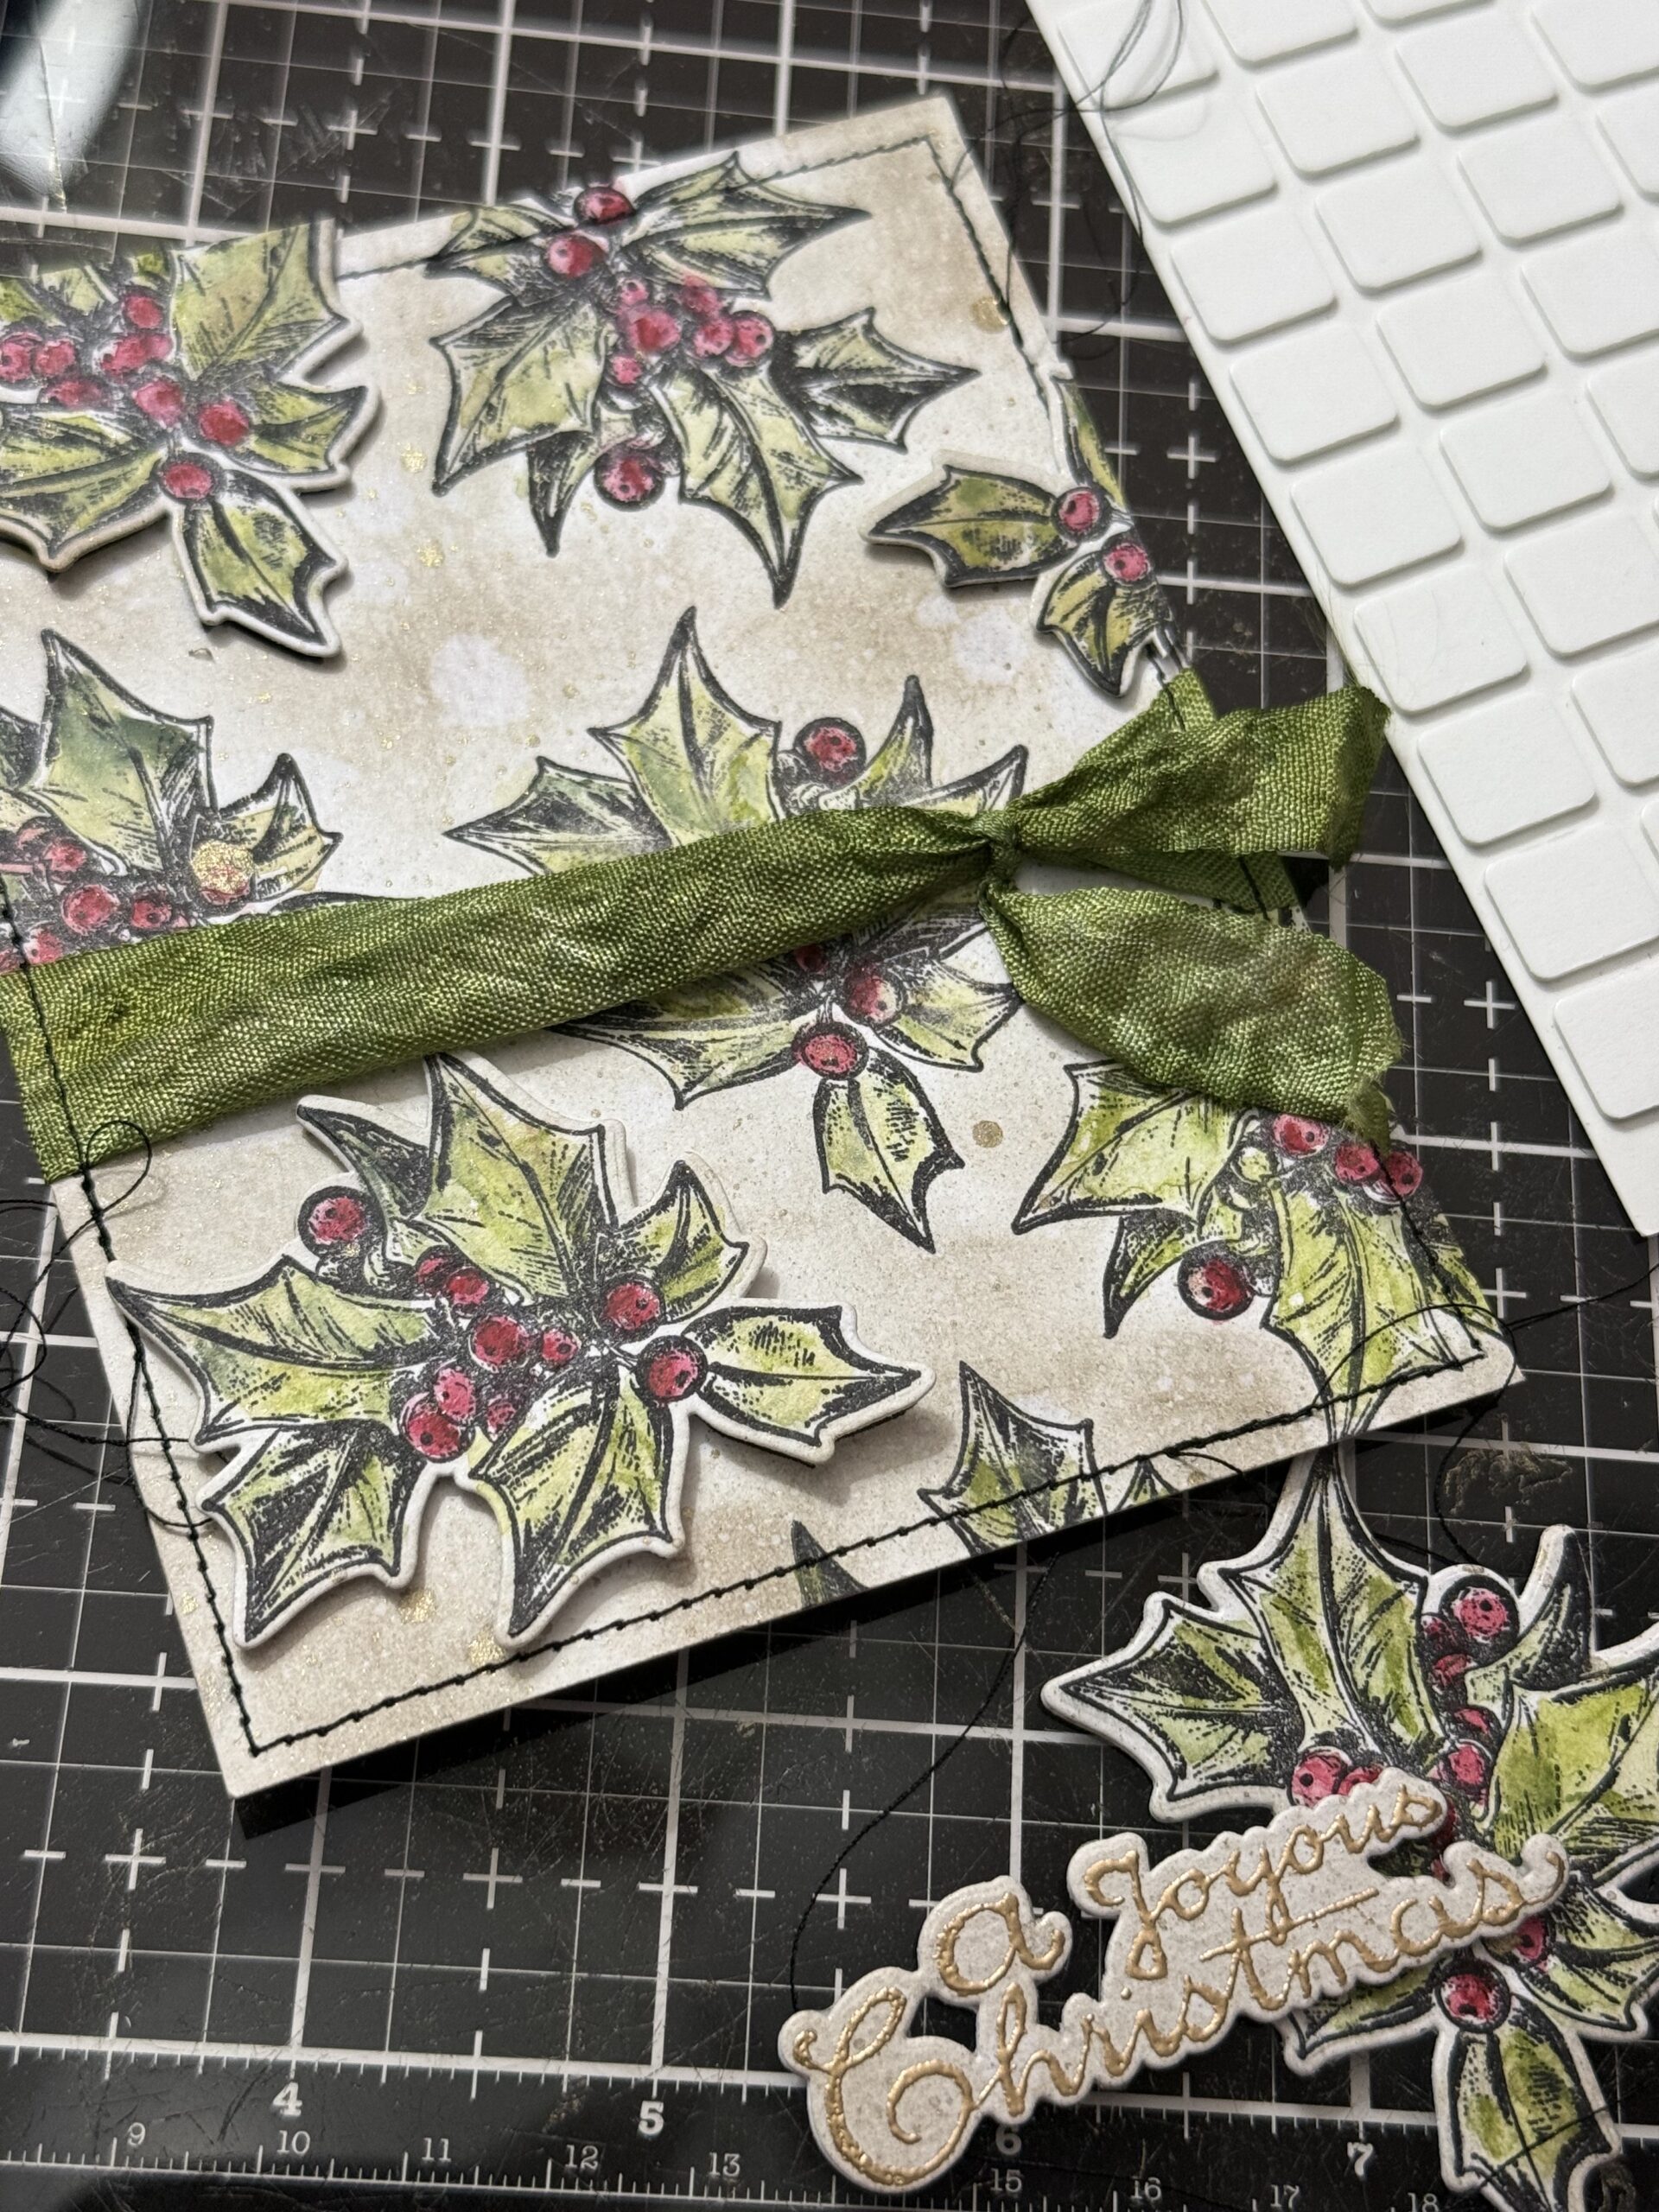
In this image below you can see the placement that I am talking about.
Some of the holly images were left as is, and some were the layered, adding the depth and interest to the card.
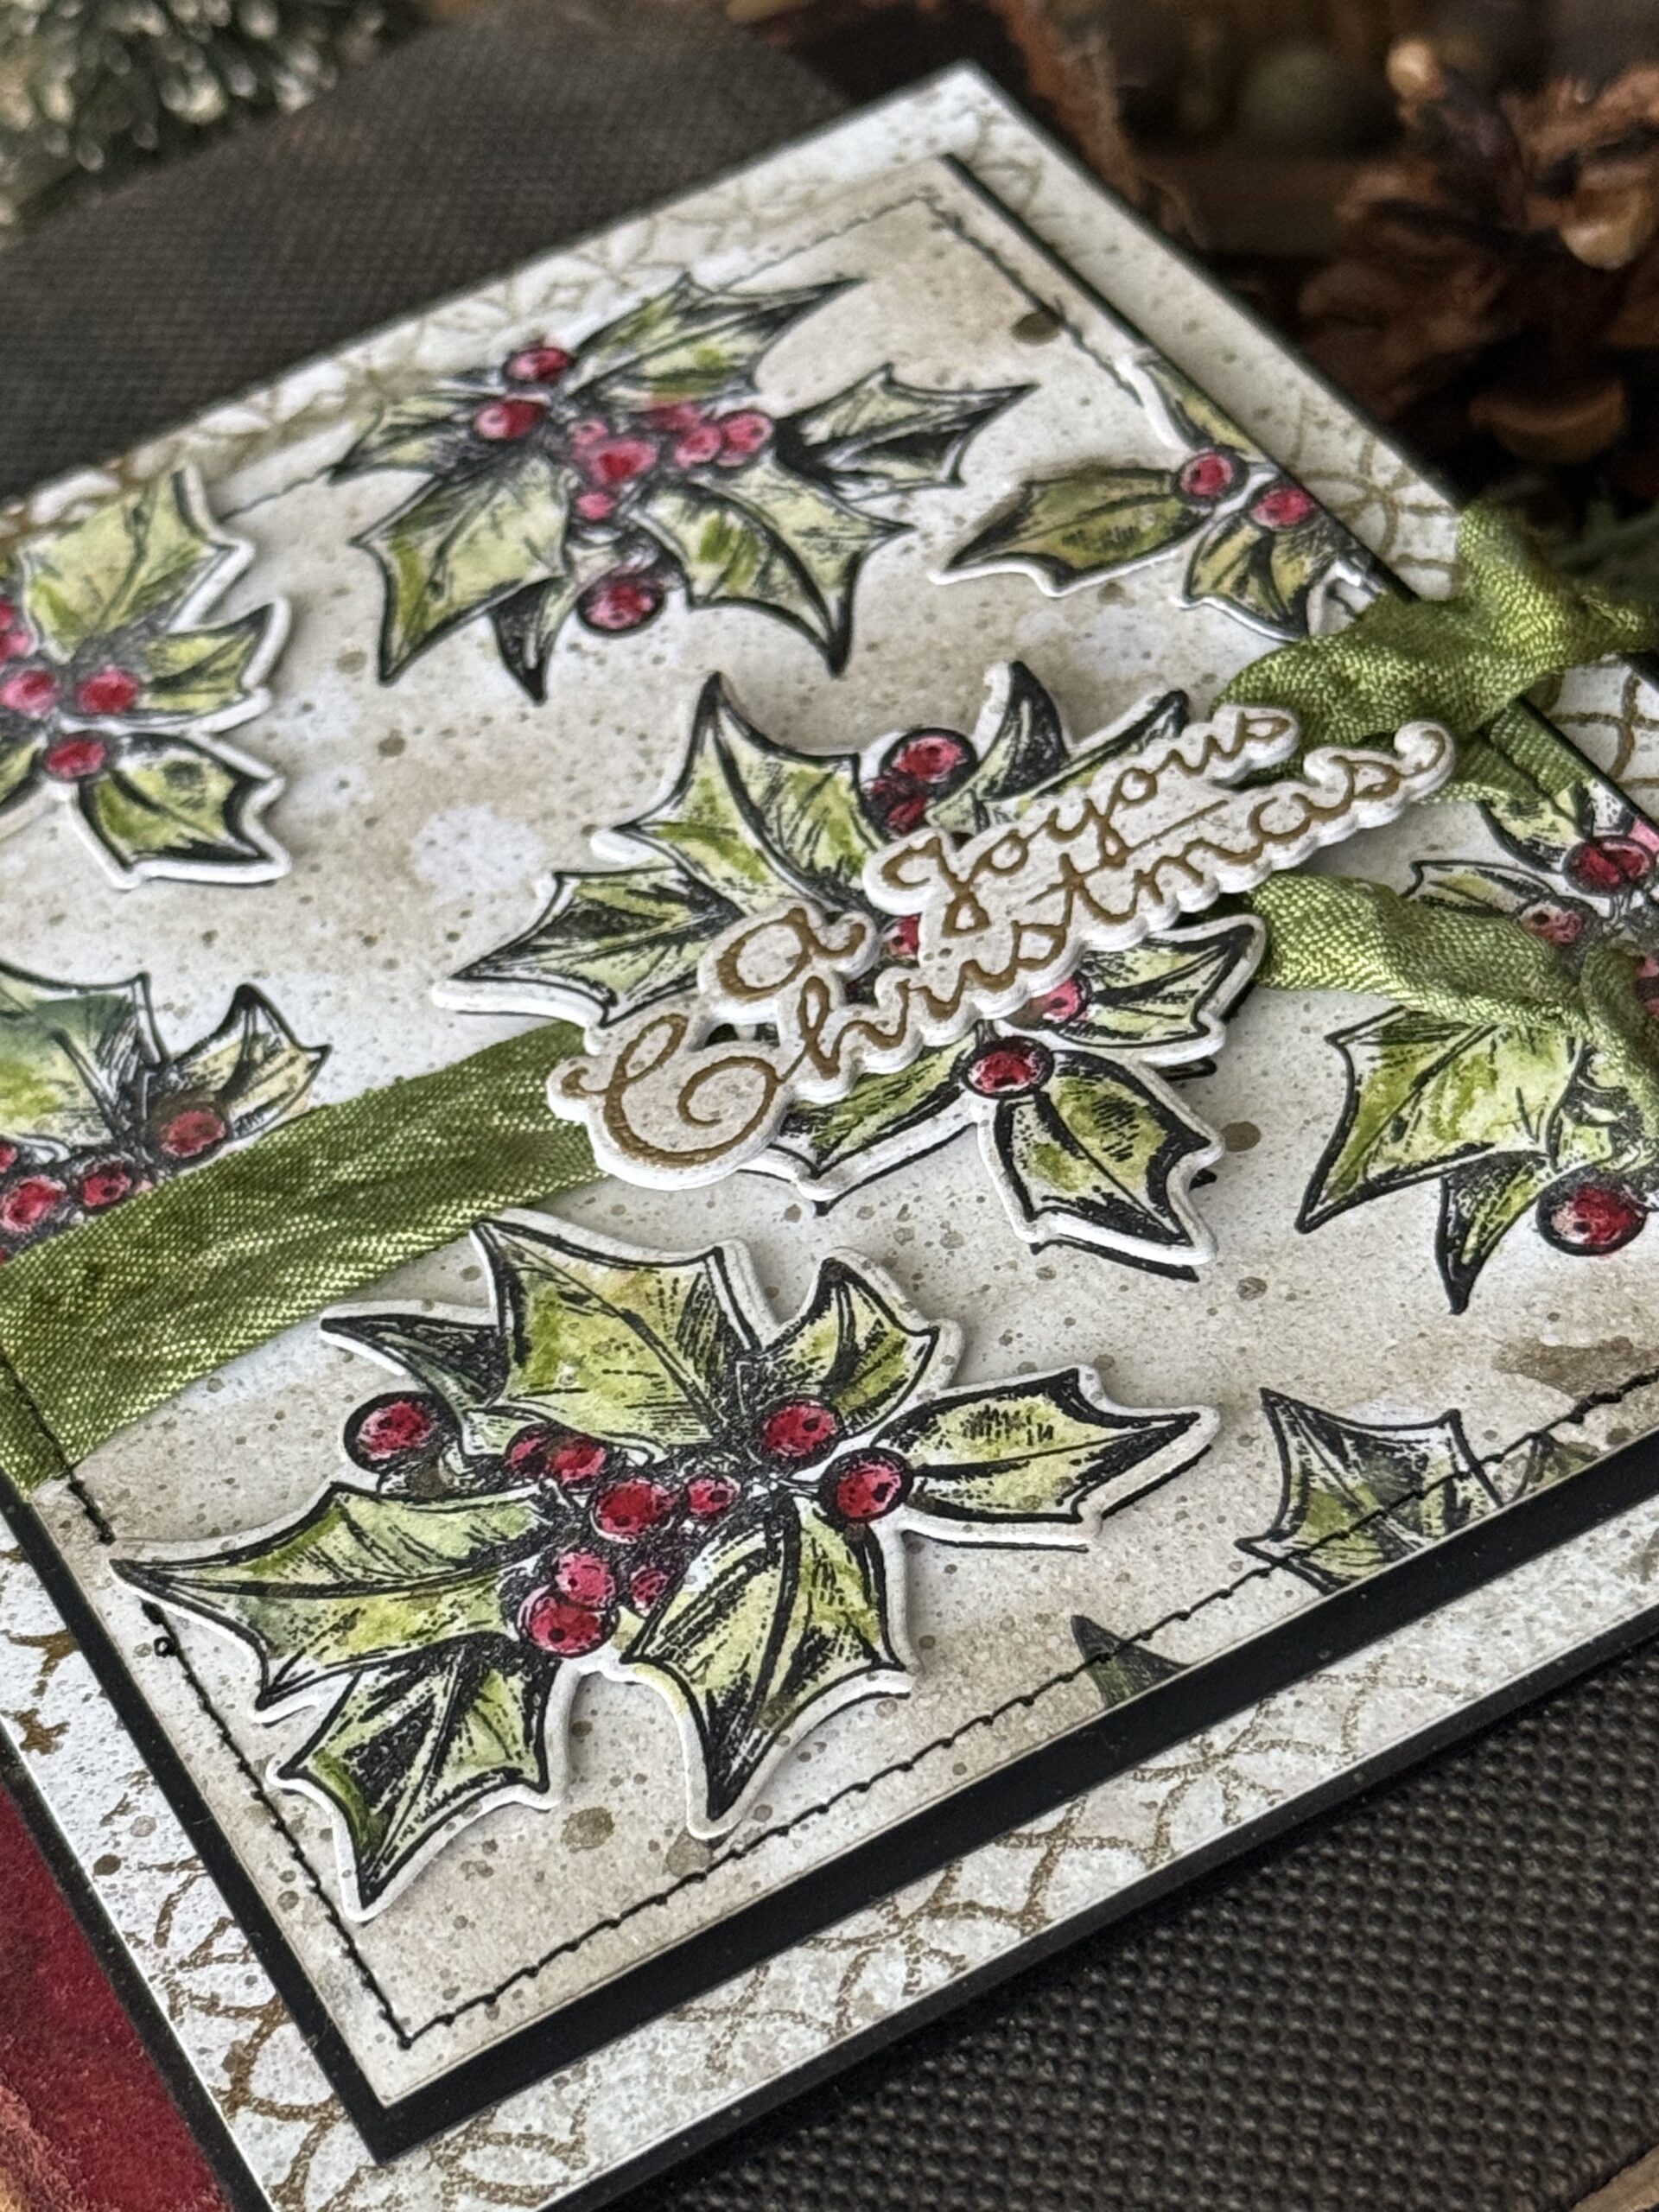
The centerpiece layers really make the card pop over top of the ribbon…
I stamped a background image from the Tim Holtz Lattice and Flourish Stamp Set CMS257, and embossed it with the gold embossing powder, then I sprayed on some Pumice Stone Distress Spray Stains and dried it, then I spritzed on some of the Antique Brass Spritz to coordinate with the other background.
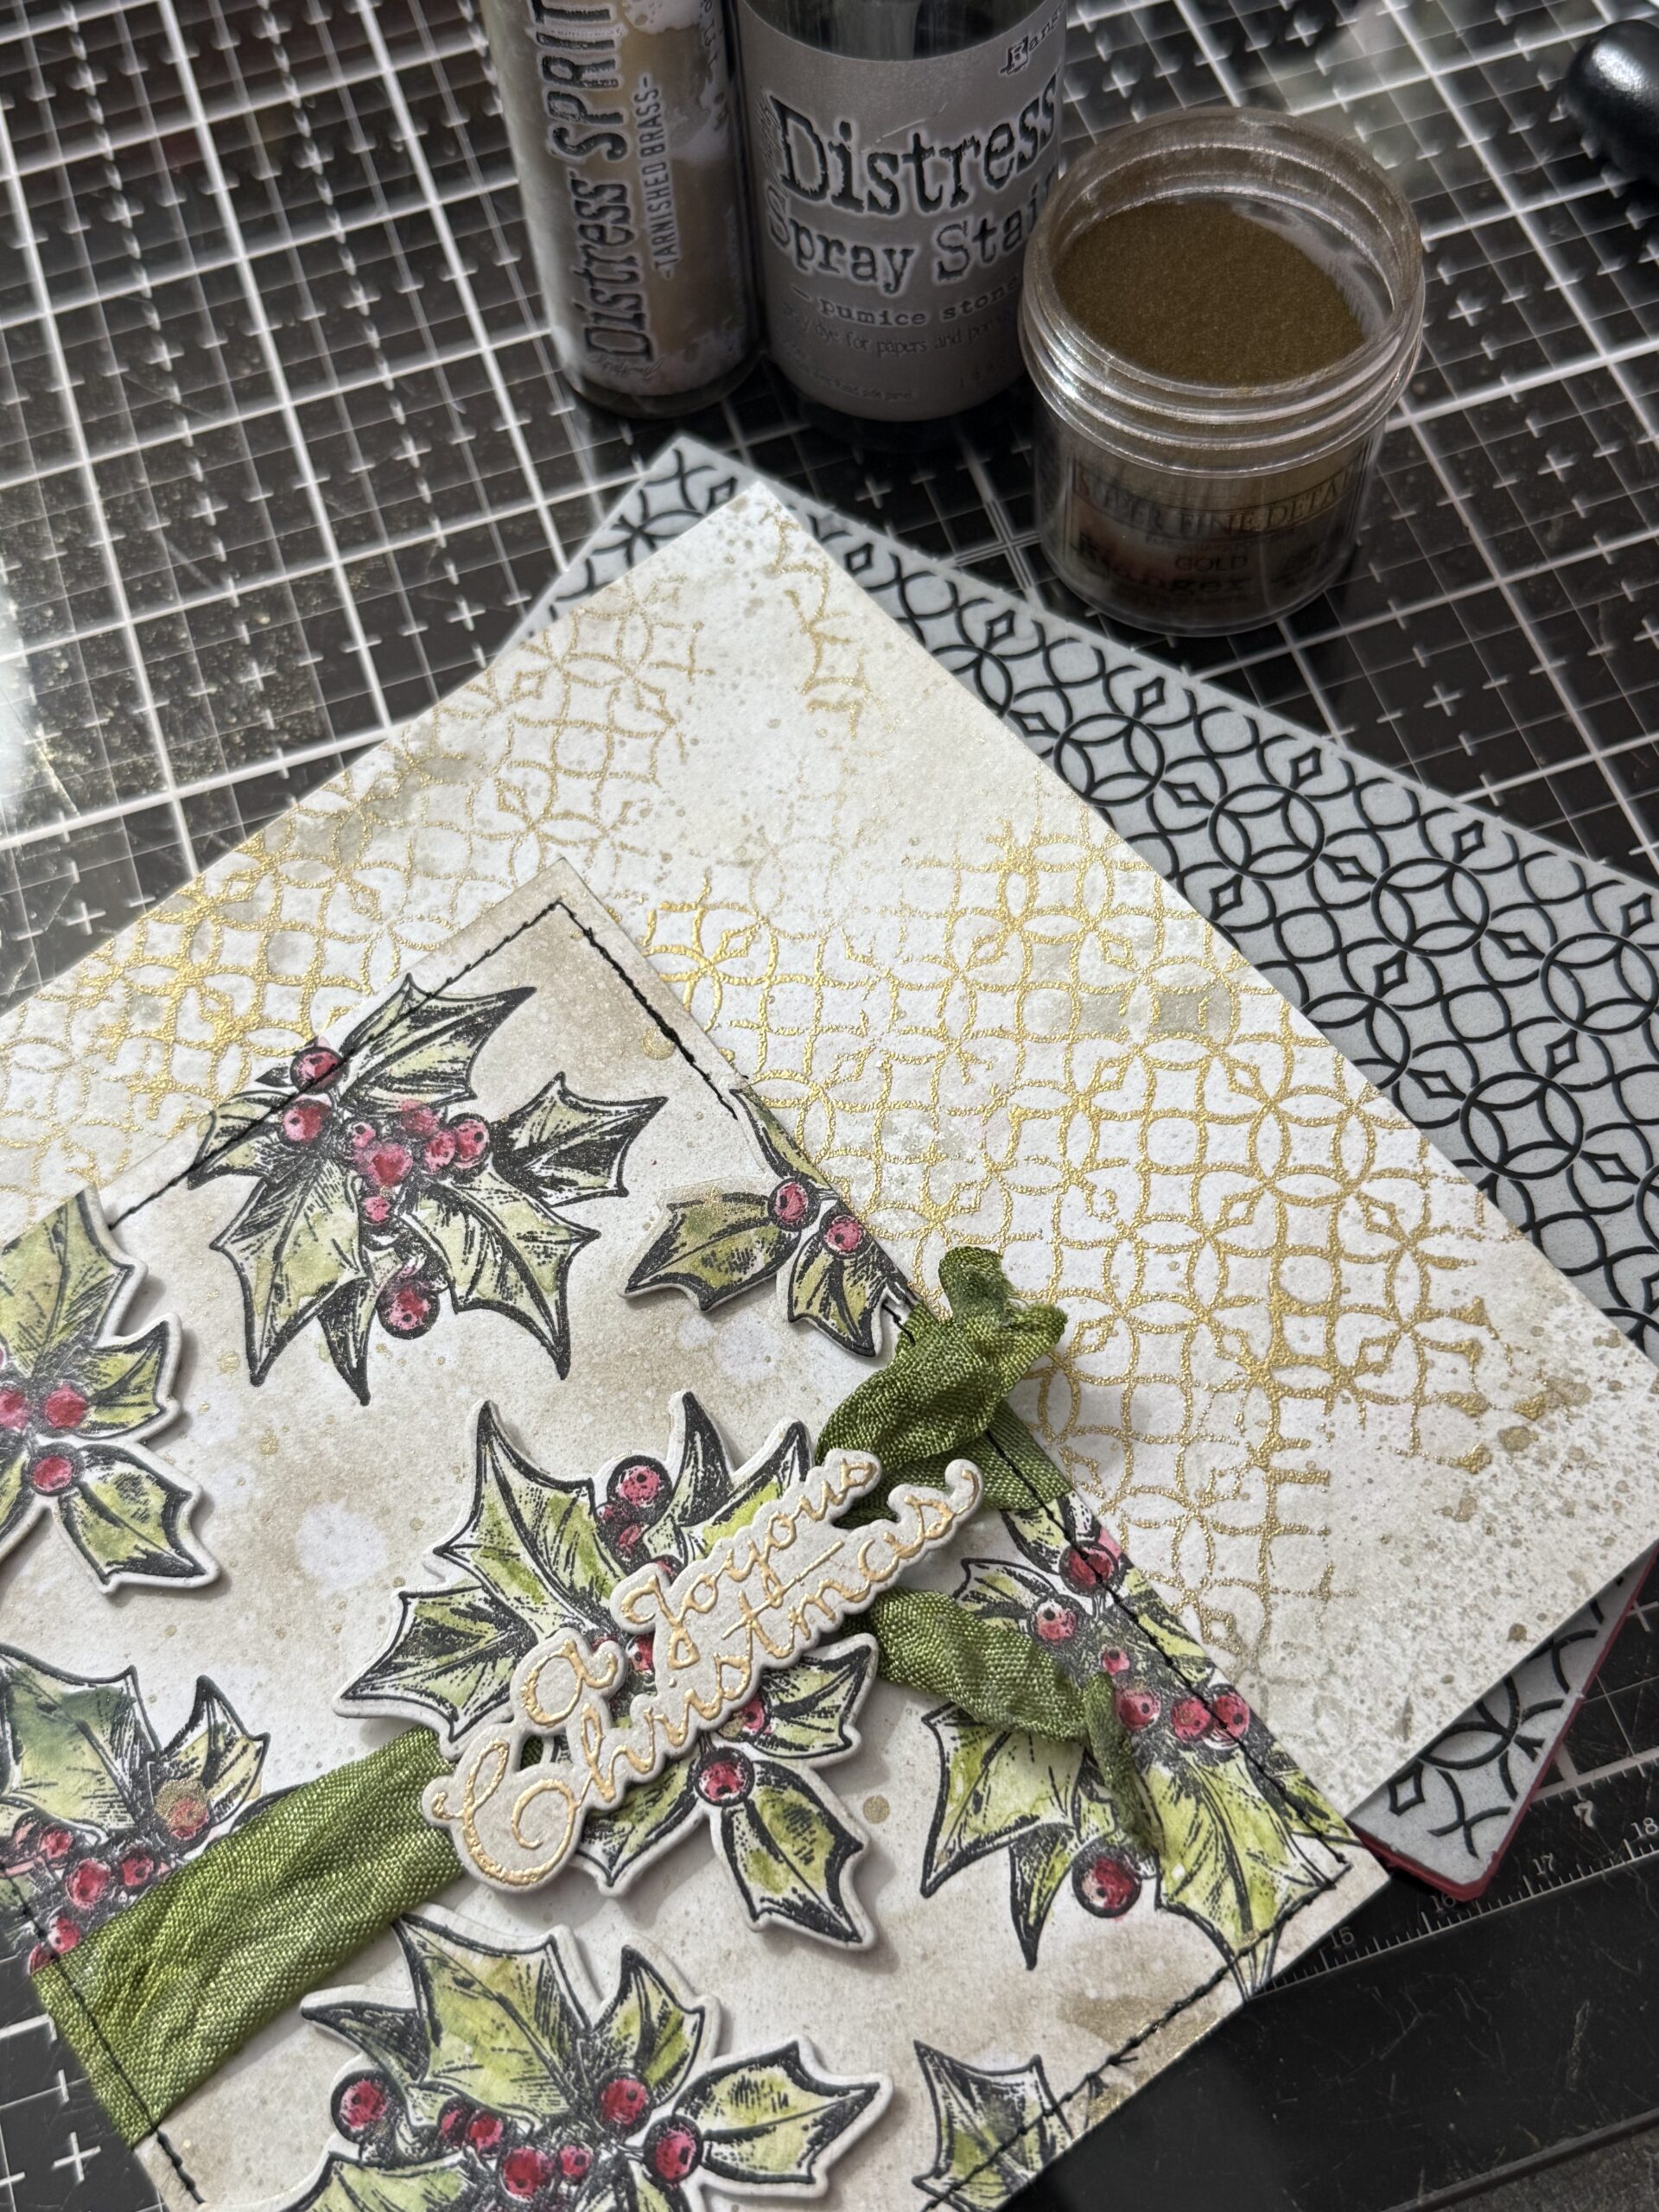
I matted the card front to a piece of black cardstock and trimmed it to have a fine mat, then adhered it to the front of the background stamped Lattice piece, and adhered it to the front of a black cardstock base.
With that, my card was complete…be sure to stop by all the makers blogs and follow along, you are sure to be inspired! Next on your list of blogs is to visit Tina Smith by clicking HERE. Thanks for stopping by!
Creatively yours,
Stacy
Shop Simon Says Stamp by clicking on this link. Thank you! I appreciate you for supporting me.

What is an affiliate program, and why should I click on the link and buy through you?
When you shop via the affiliate link on this blog, I receive a small commission from the affiliate provider (Simon Says Stamp) at no extra cost to you, whatsoever. These commissions help me to cover the hosting fees and other costs to run my blog and be able to provide you with FREE inspiration. If you shop the links, THANK YOU! I truly appreciate being able to share my love of creating with you.










Leave a Reply