Happy Monday to you!
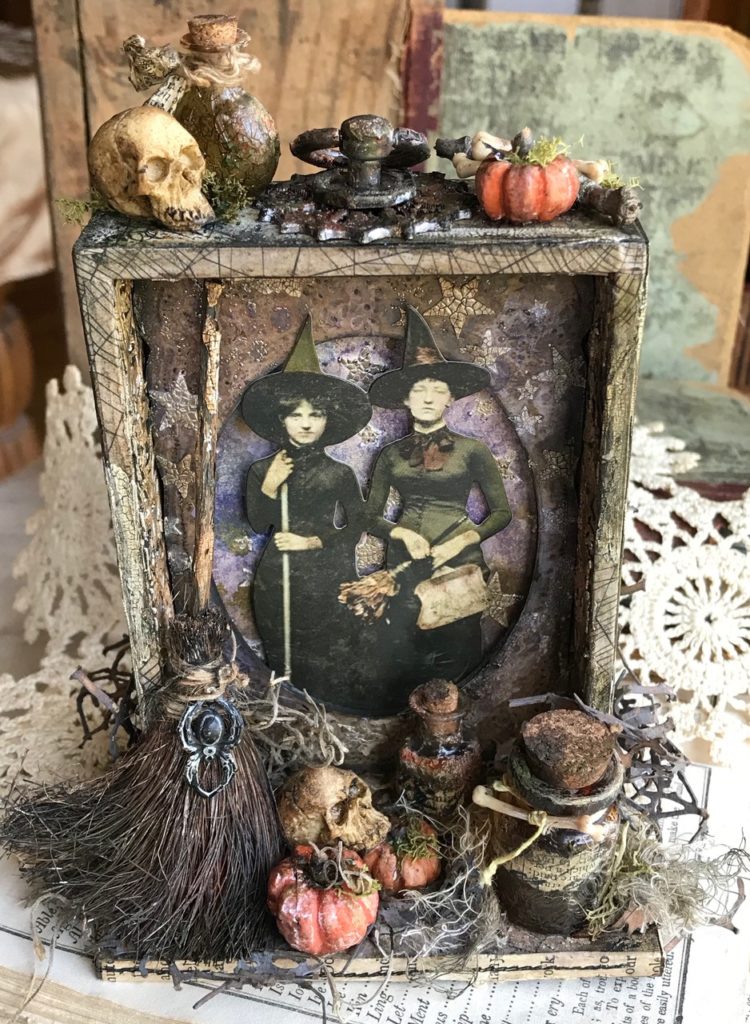
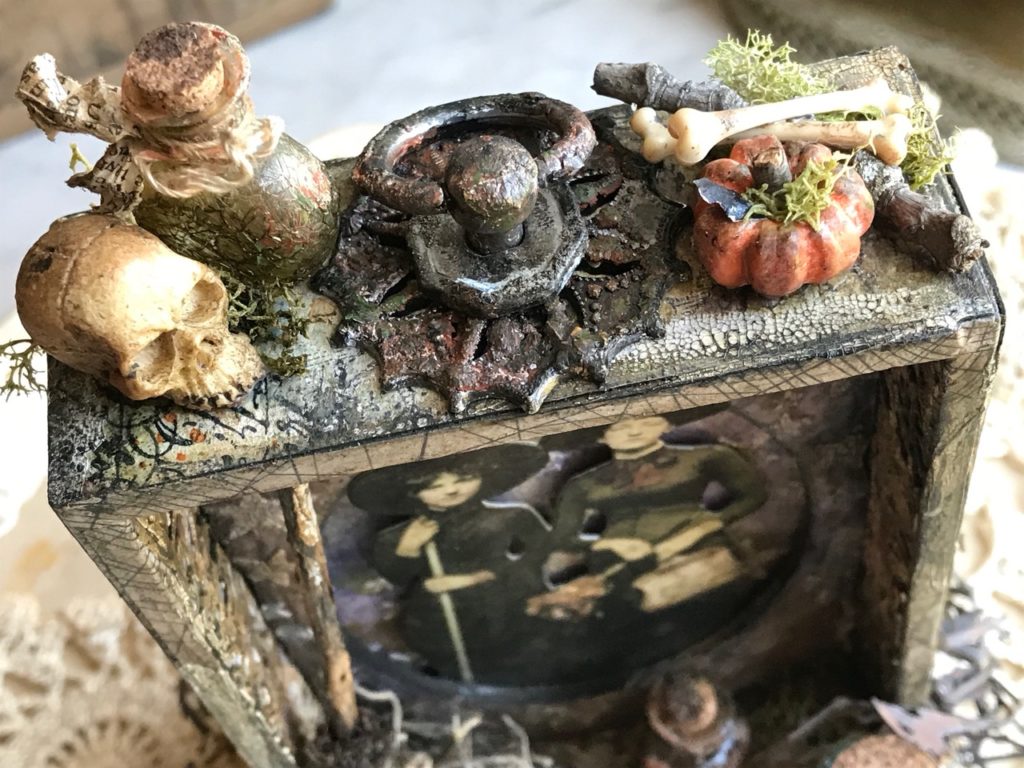
I’m back today with a witchy Halloween make for you.. the Tim Holtz Halloween and Christmas Sizzix has been released and that got me to thinking that I had almost forgot to share a Halloween make that I created a few months back. So I thought I’d share it and maybe it would get some more Halloween juices flowing, as if the Sizzix release wasn’t enough… and rumor has it, they’ll be some new Halloween idea-ology coming out soon too!!!! 😉
It’s full of all sorts of halloween goodness! I had a day of ink blending, stamping and paper making prior to creating the vignette box so I decided to show you some steps as to how all of those were made. The papers then became the background papers to cover the inside and outside of the vignette box. Think of it as a little bonus since I’ve been on blog-cation for a few weeks. 😉
Also, keep an eye out later this month for a special treat that I’ll be debuting..I’ve got something else up my sleeve that I hope will be something that you might be interested in… here’s a little hint, Christmas is coming…
Let’s begin…
The background paper…
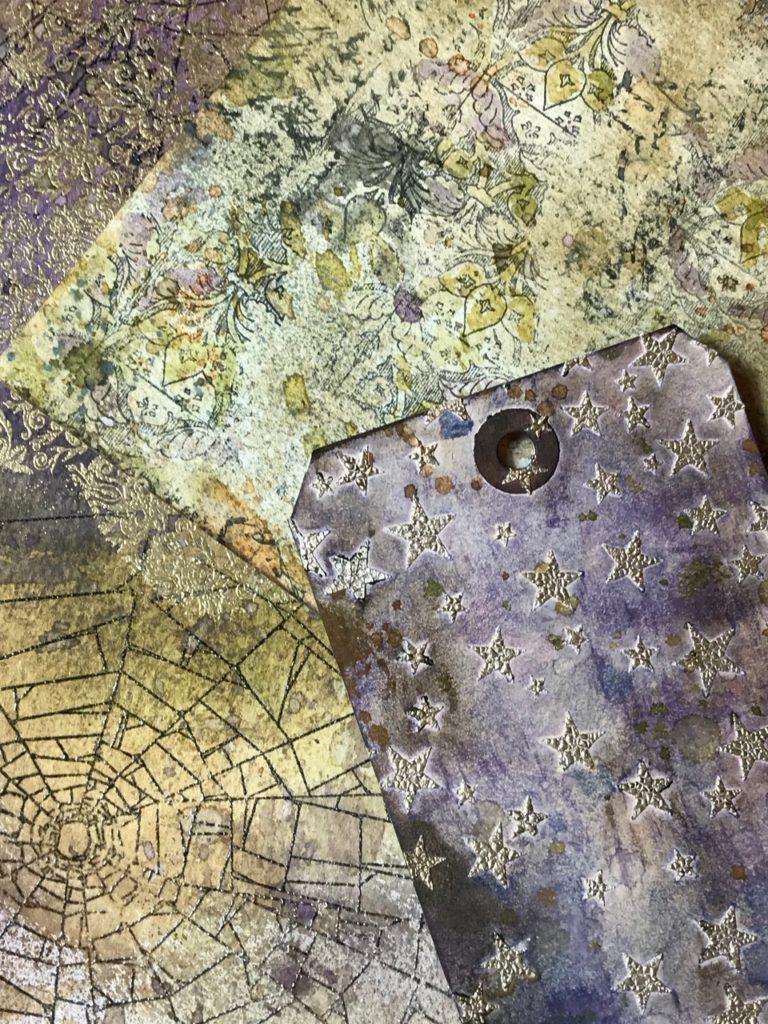
I randomly stamped one of the Tim Holtz Stampers Anonymous Fragments (CMS368) with Black Soot Distress Ink Archival ink. I wanted some of the black to blend when wet and other areas to stay when I watercolored it. This set came out at Creativation in January and I love it. It can be used for any kind of backgrounds including Halloween.
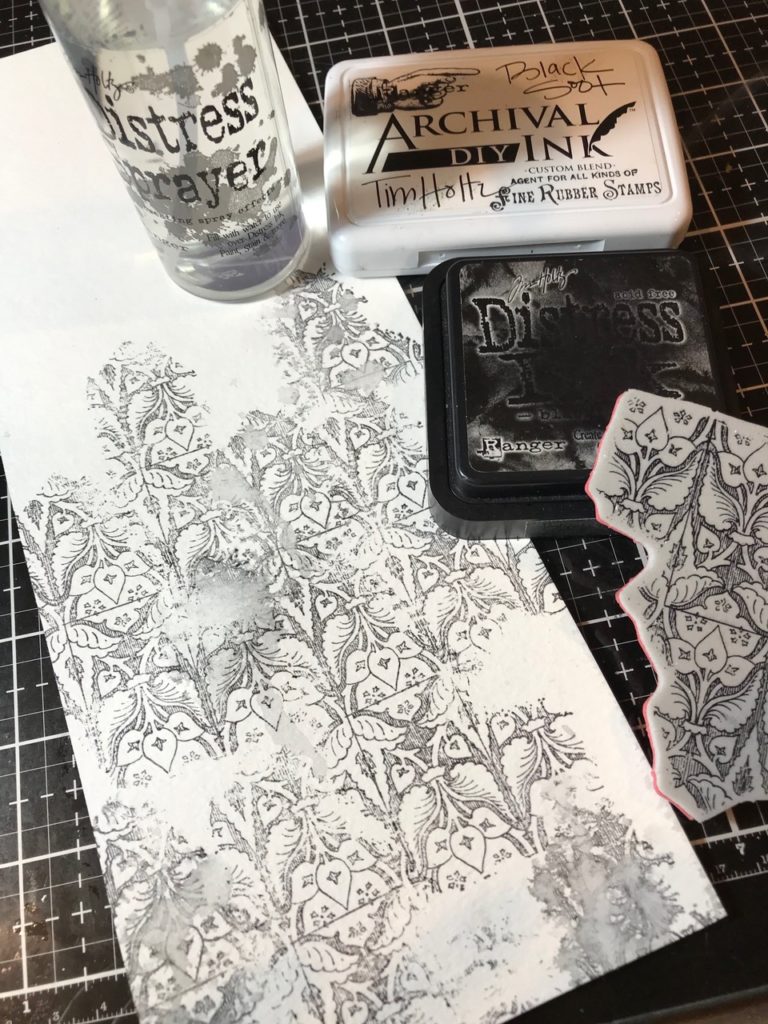
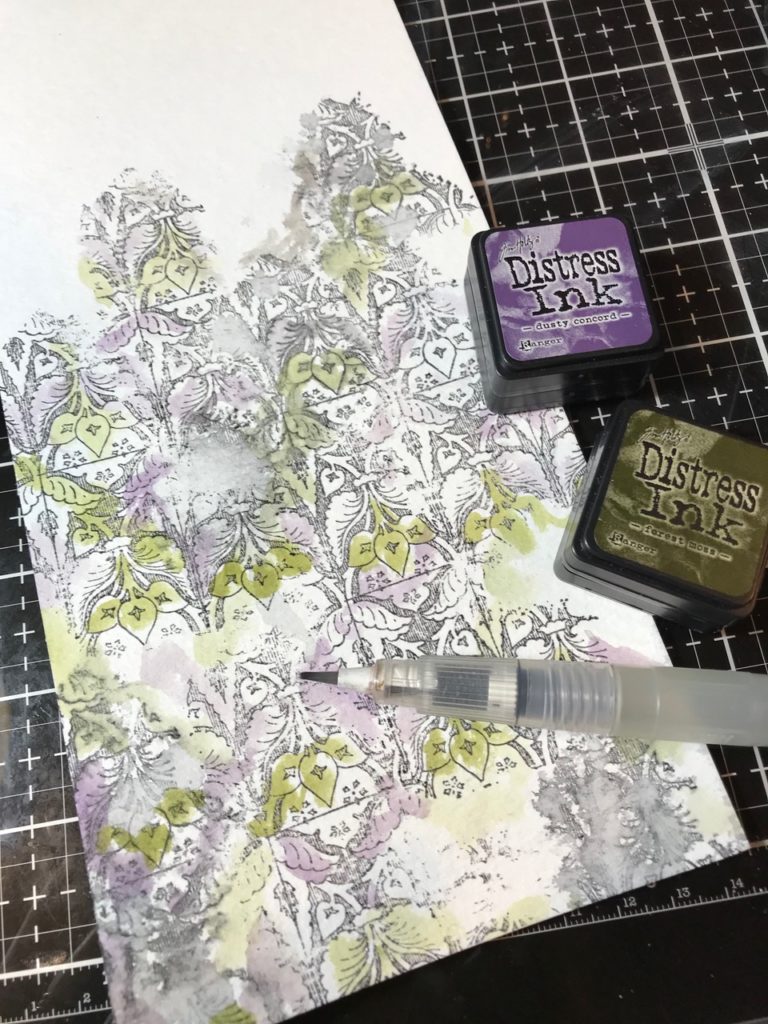
I began watercoloring the open areas with Dusty Concord and Forest Moss Distress Ink using a Detail Waterbrush.
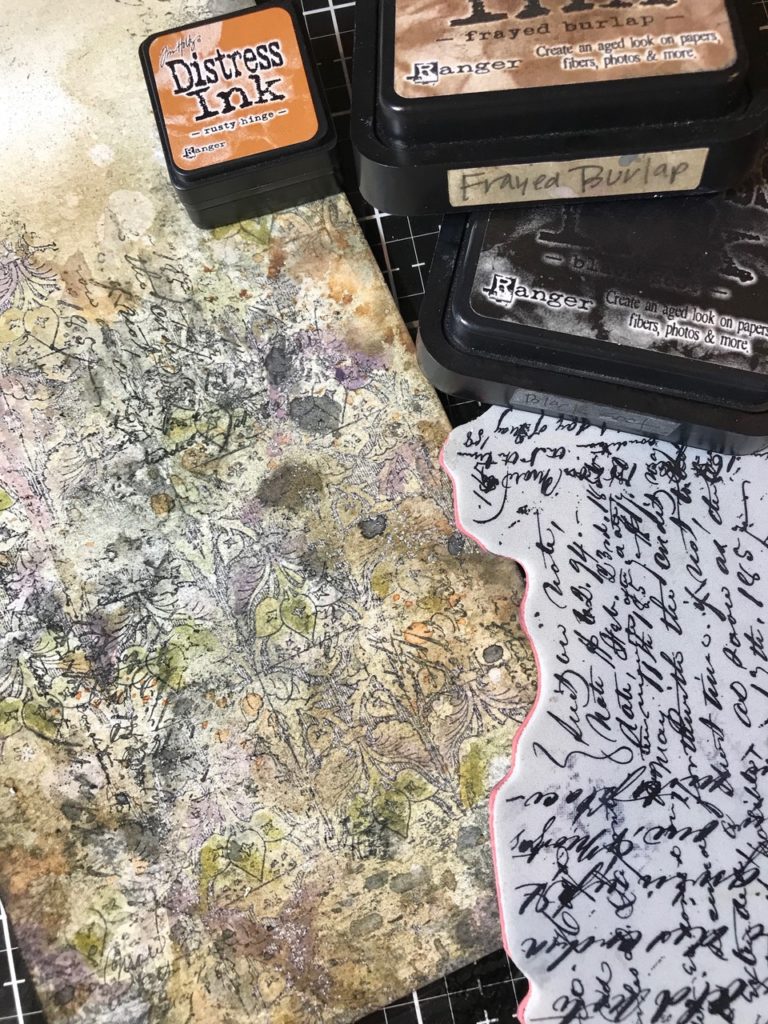
Then I watercolored a little Rusty Hinge and Frayed Burlap Distress Inks and stamped some Ledger Script (CMS241) around the page. I blended some Frayed Burlap around as well.
Then I made a few more background papers… they were made using the same distress ink colors and with the Tim Holtz Stampers Anonymous Skulls and Cobwebs stamp set (CMS306), Ledger Script (CMS241) and the Falling Stars Layering Stencil (THS115) and Ranger Crackle Texture Paste.
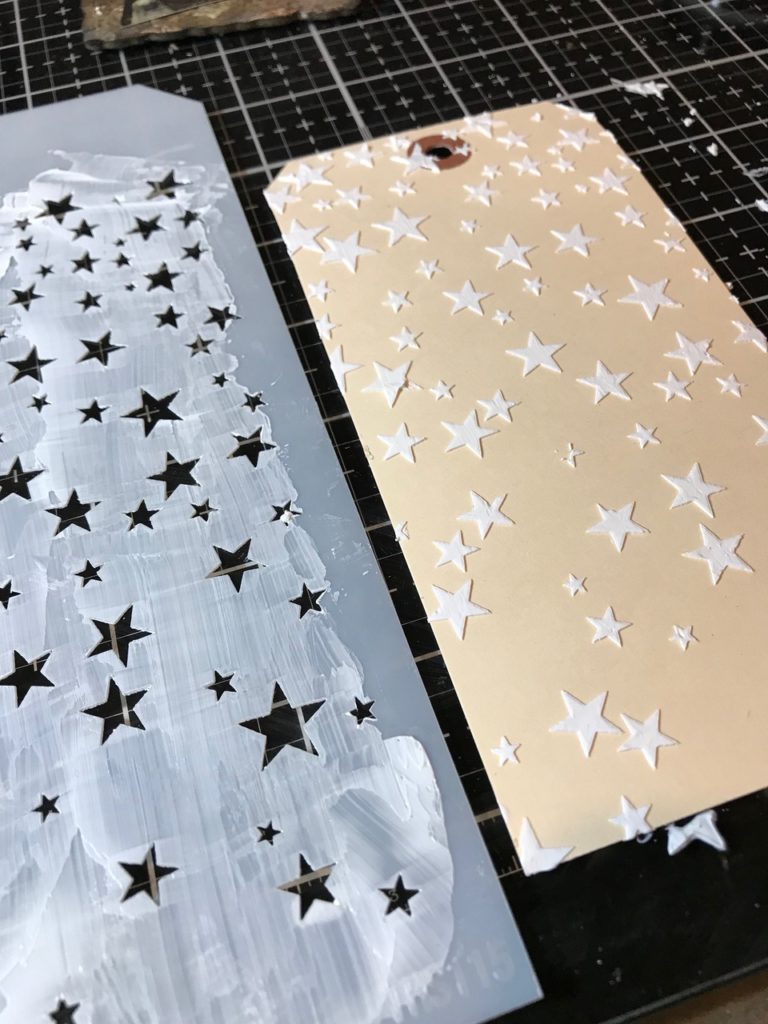
Using a palette knife, drag Crackle Texture Paste through the Falling Stars Layering Stencil. Sprinkle with Ranger Liquid Platinum Embossing powder and let dry and crackle. Emboss the stars with an embossing tool. Isn’t it cool how the stars are all crackly and embossed!! I love it!!
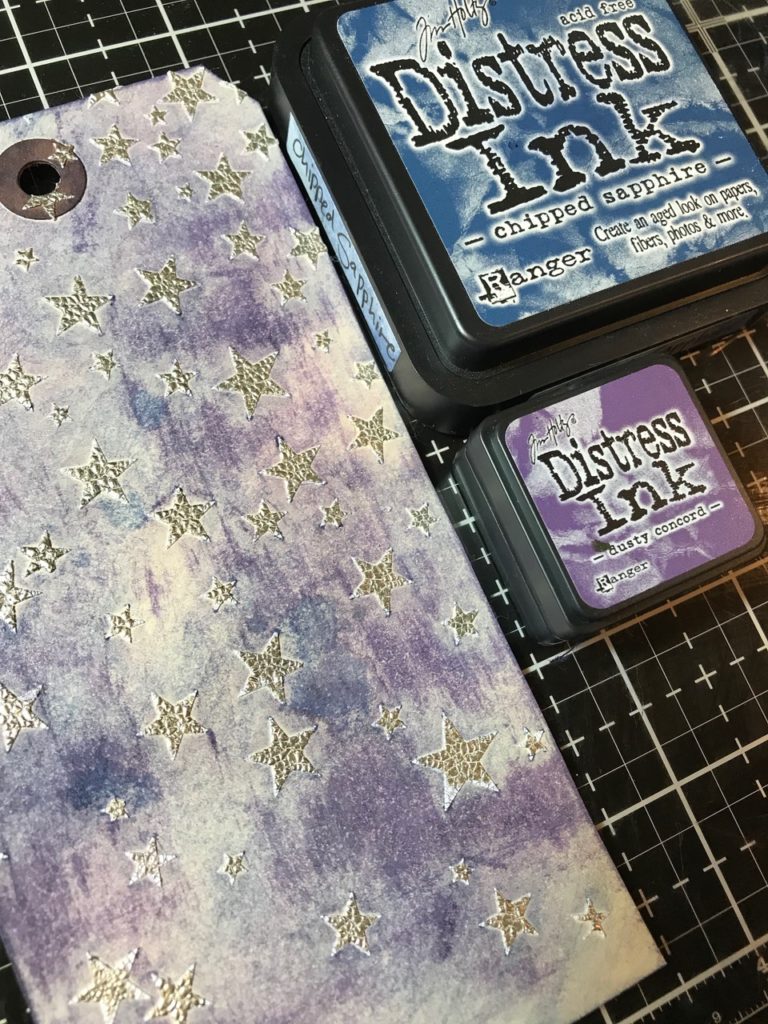
Drag Chipped Sapphire and Dusty Concord Distress Ink pad over top of the tag and blend with a blending tool.
Spritz tag with Vintage Photo Distress Oxide Spray and dip into Rusty Hinge and Forest Moss Distress Inks that have been smooshed and spritzed with water on a craft mat. Dry with a heat tool.

The vignette box and frame…
White wash the vignette box with a bit of Dina Wakley White Gesso and water, then dry with a heat tool.

I finished the edge of the box with some Halloween Design Tape.

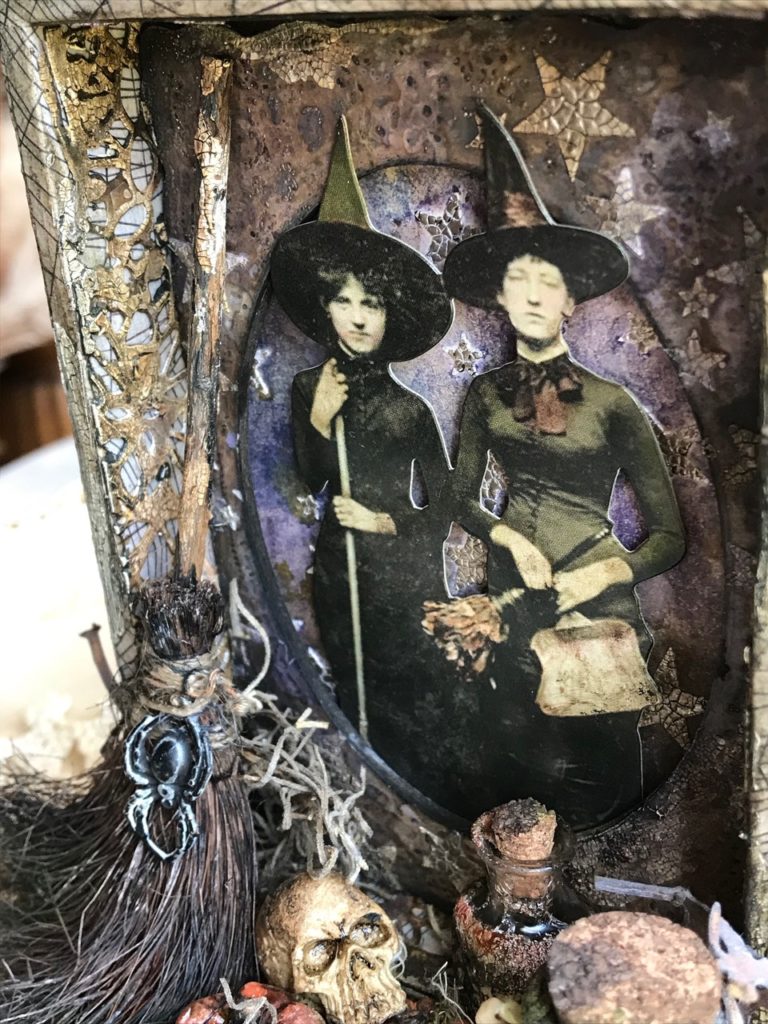
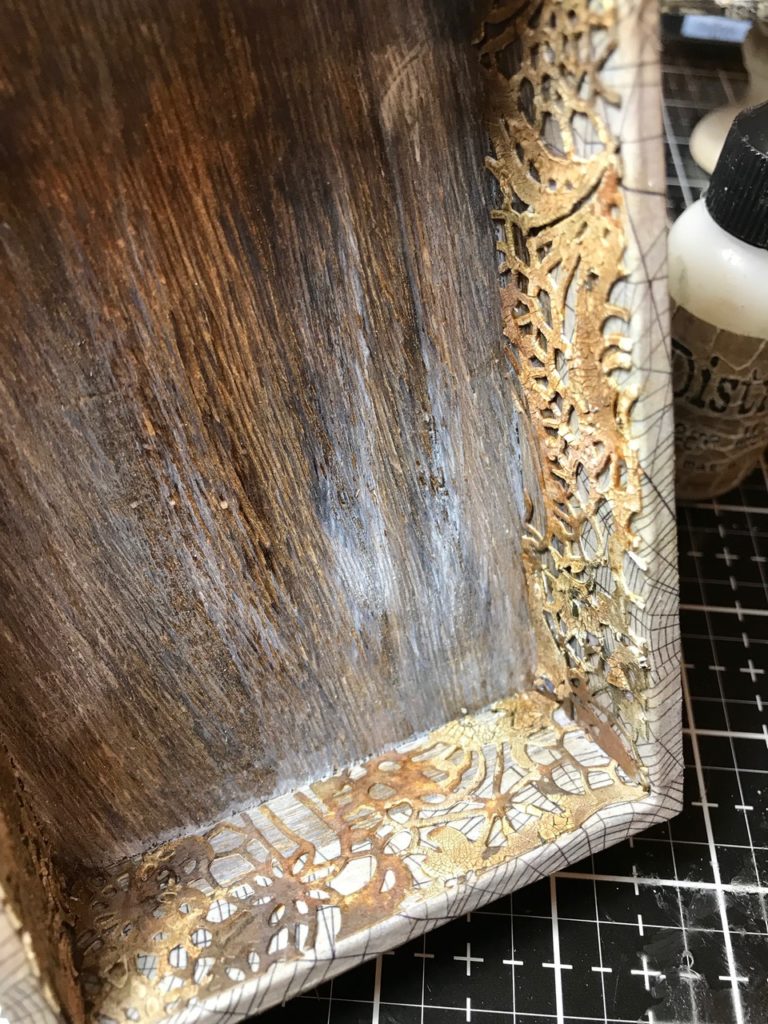
This was a piece of watercolor paper that was cut out with the Intricate Lace Sizzix Die. A bit of crackle texture paste was rubbed onto it and then it was set aside to dry. I then sprayed it with a variety of Brown Distress Spray Stains and Oxide Sprays. I cut it down into strips to fit the right, left and bottom inside of the box, then adhered it with Collage Medium.
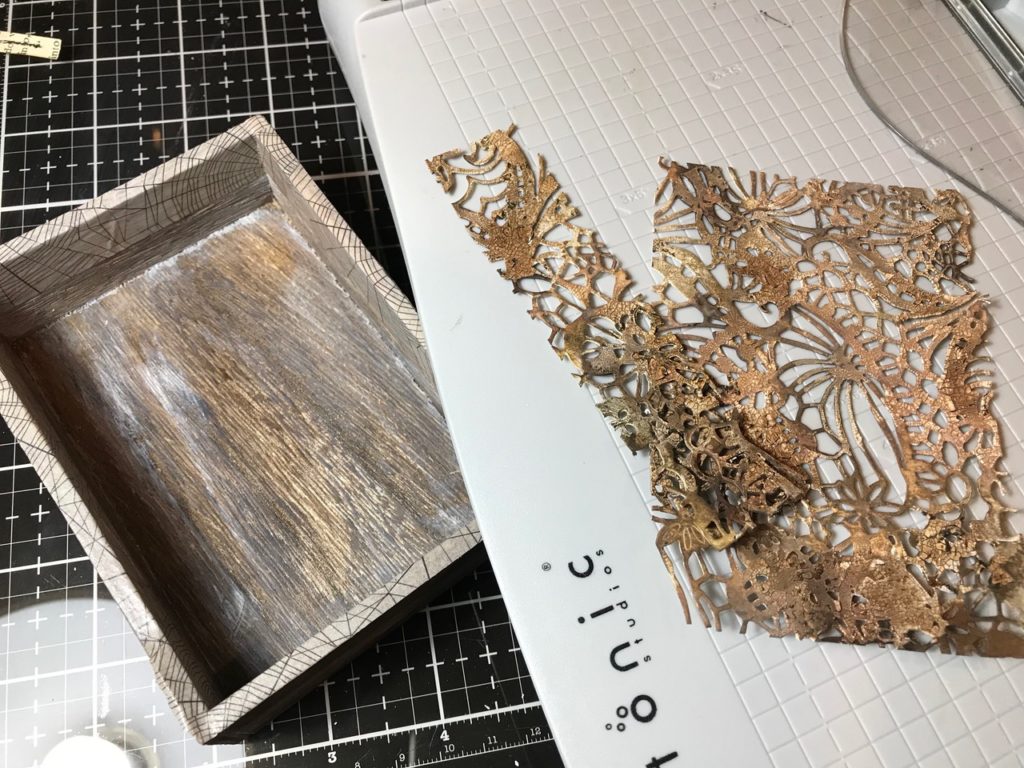
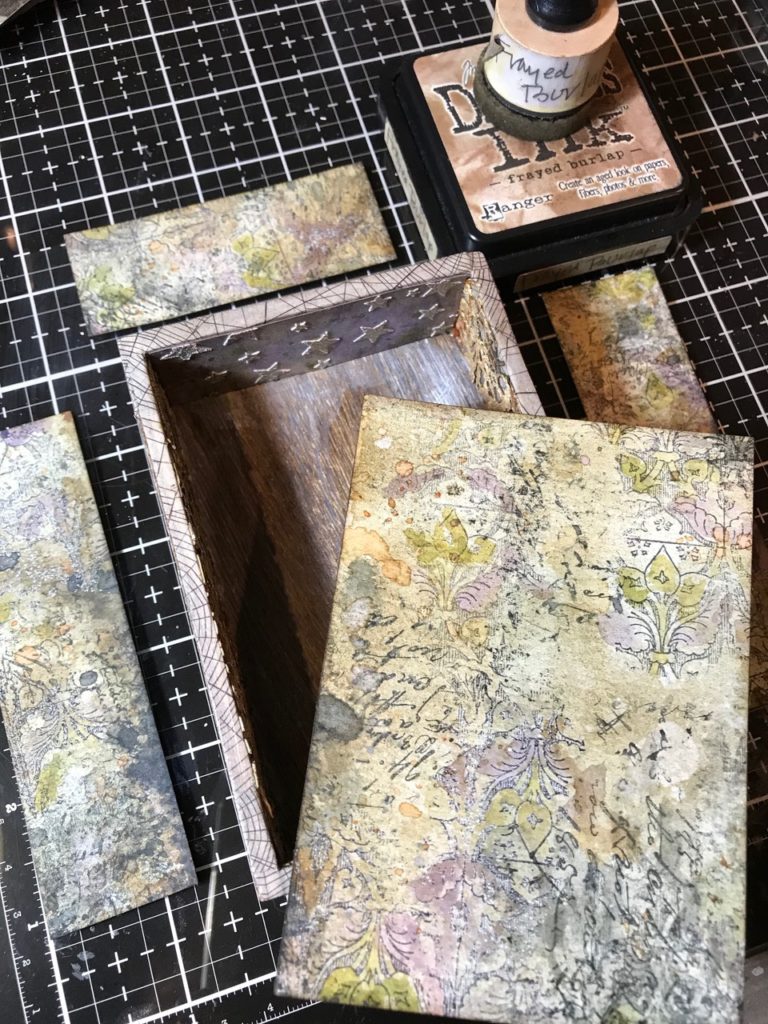
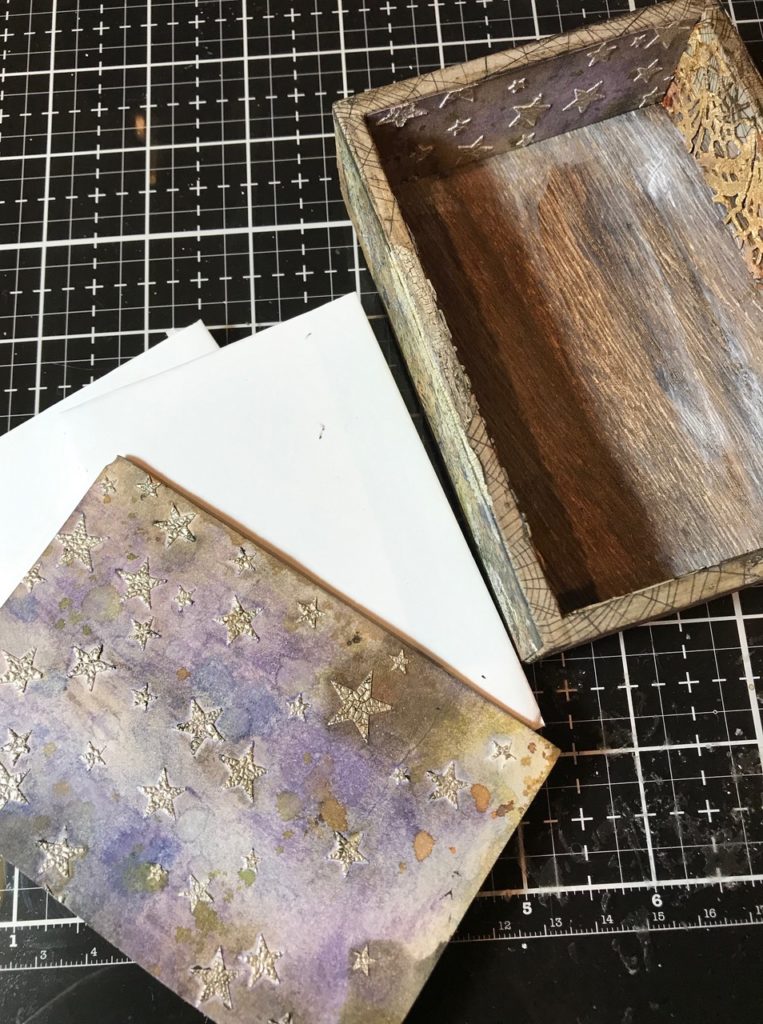
I cut the star patterned tag down to fit on the inside background of the box and trimmed a piece to adhere inside at the top of the box.

I smooshed some inks and water onto my craft mat and dipped one of the Lace Baseboard Frames into the drips, then spritzed it with a little Vintage Photo Distress Oxide Sprays.
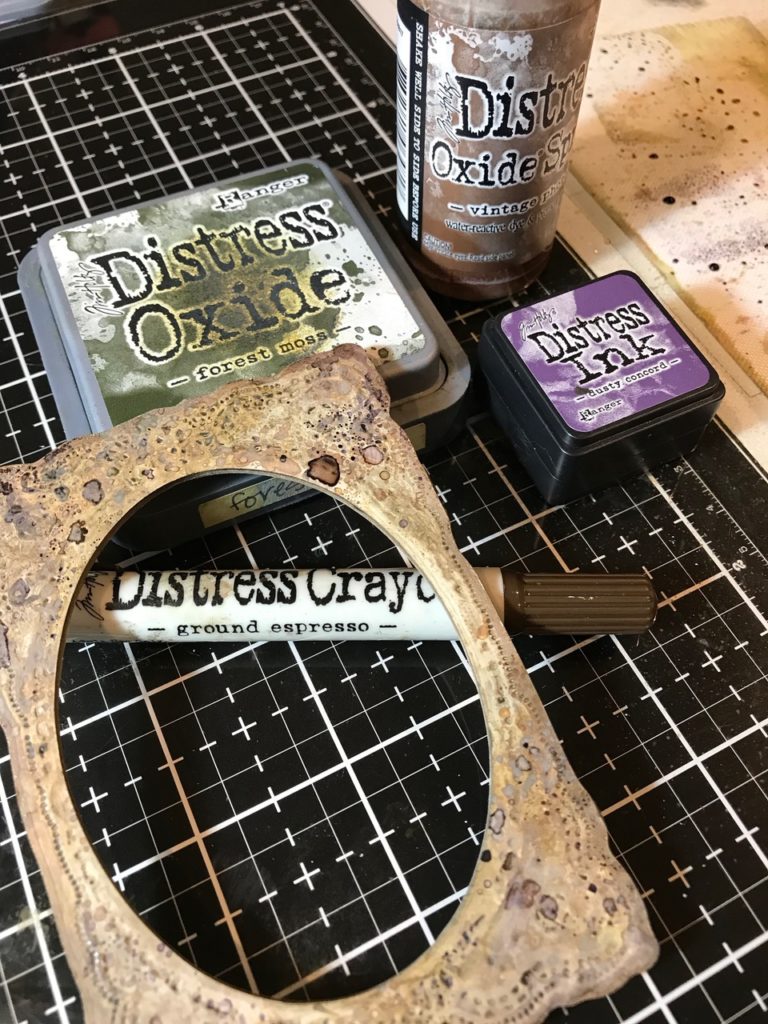
I then applied some of the Crackle Texture Paste through the Falling Stars Layering Stencil then sprinkled it with Liquid Platinum embossing powder, as I had done on the tag background. I embossed the powder after the texture paste was dry and crackled.

I cut the paper for the outside of the vignette box to fit and blended it with Frayed Burlap Distress Ink. Then adhered it with Distress Collage Matte Medium.
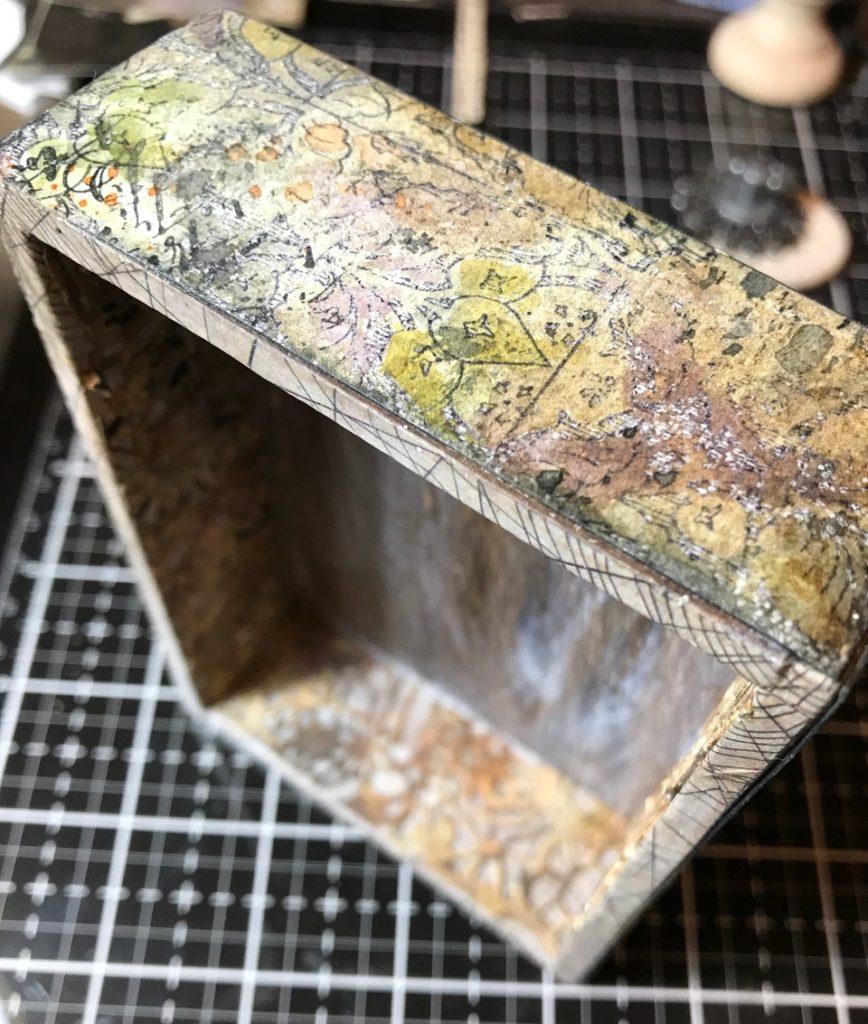
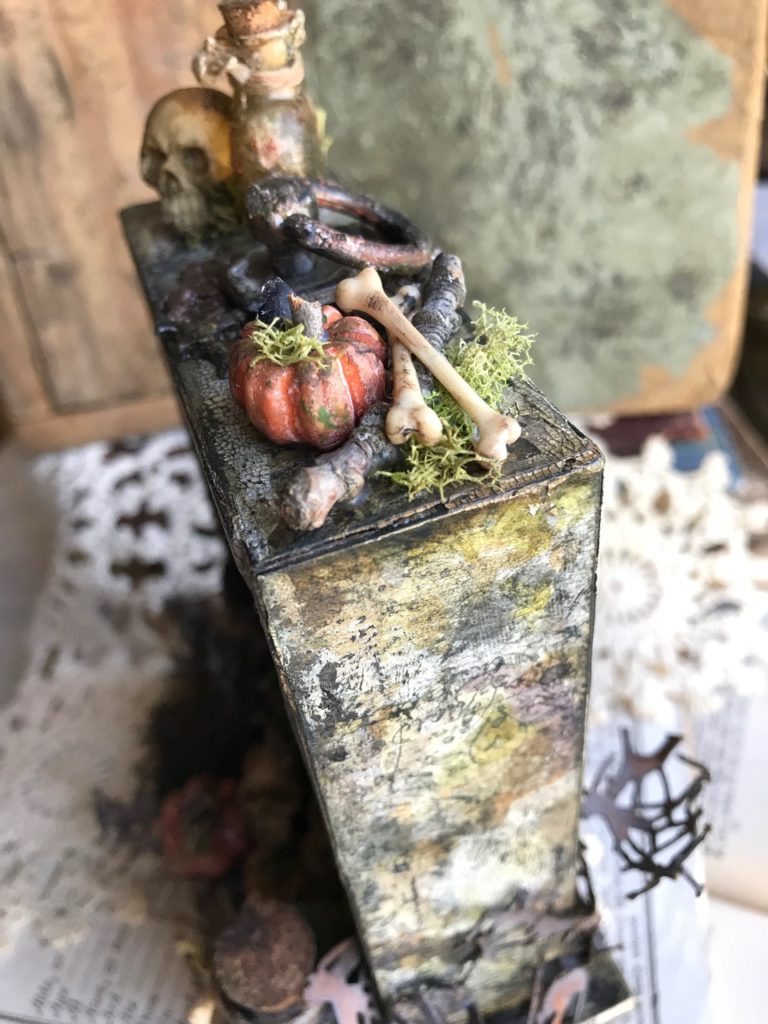
I rubbed some random areas on the box and box edges with crackle texture paste and let it dry and crackle.
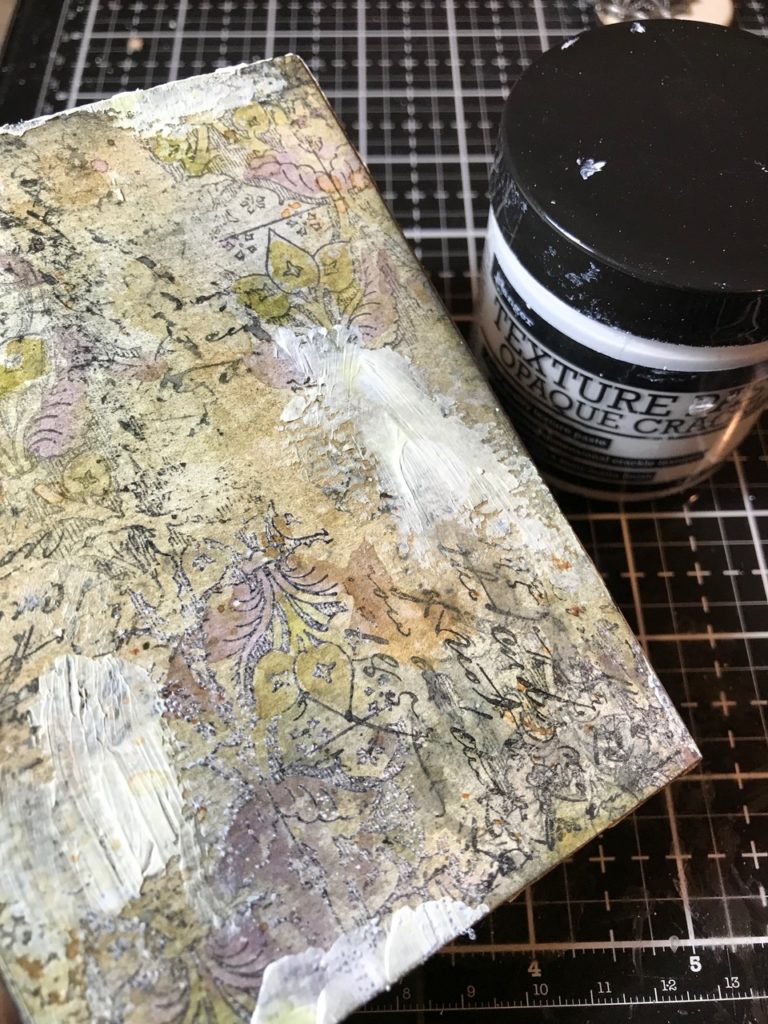
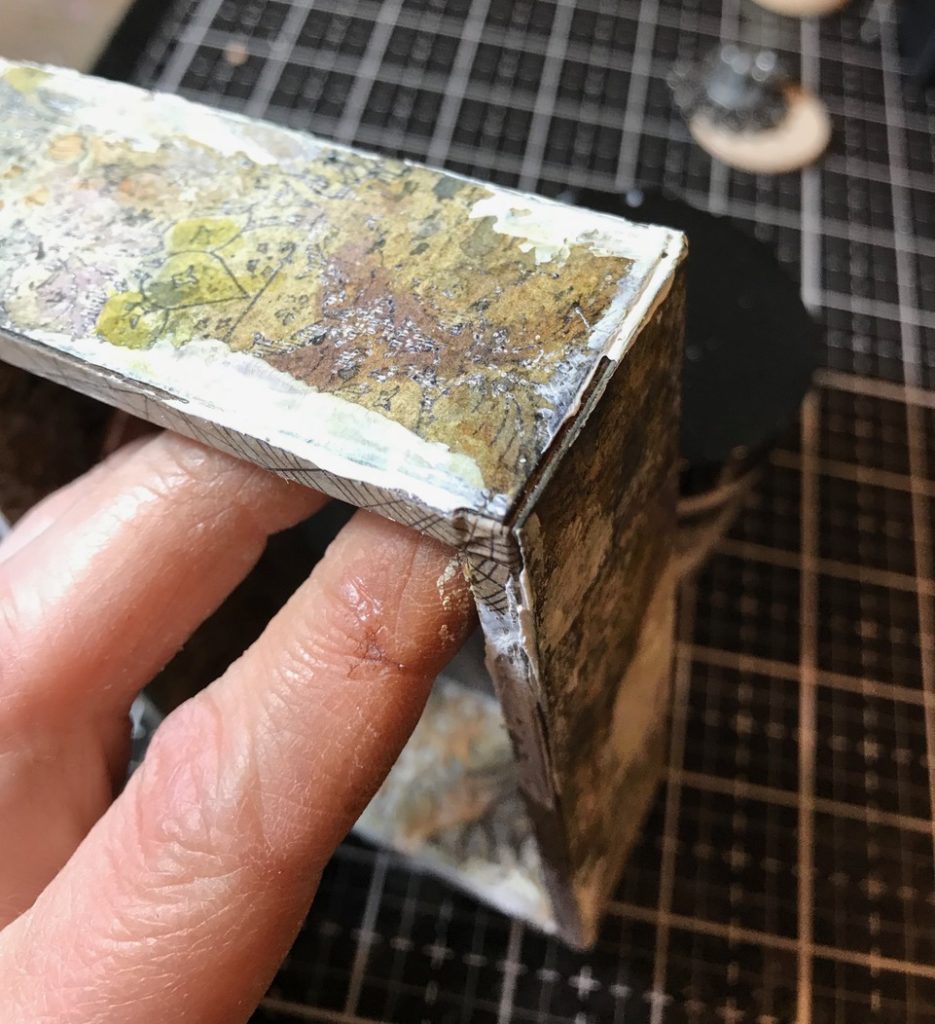
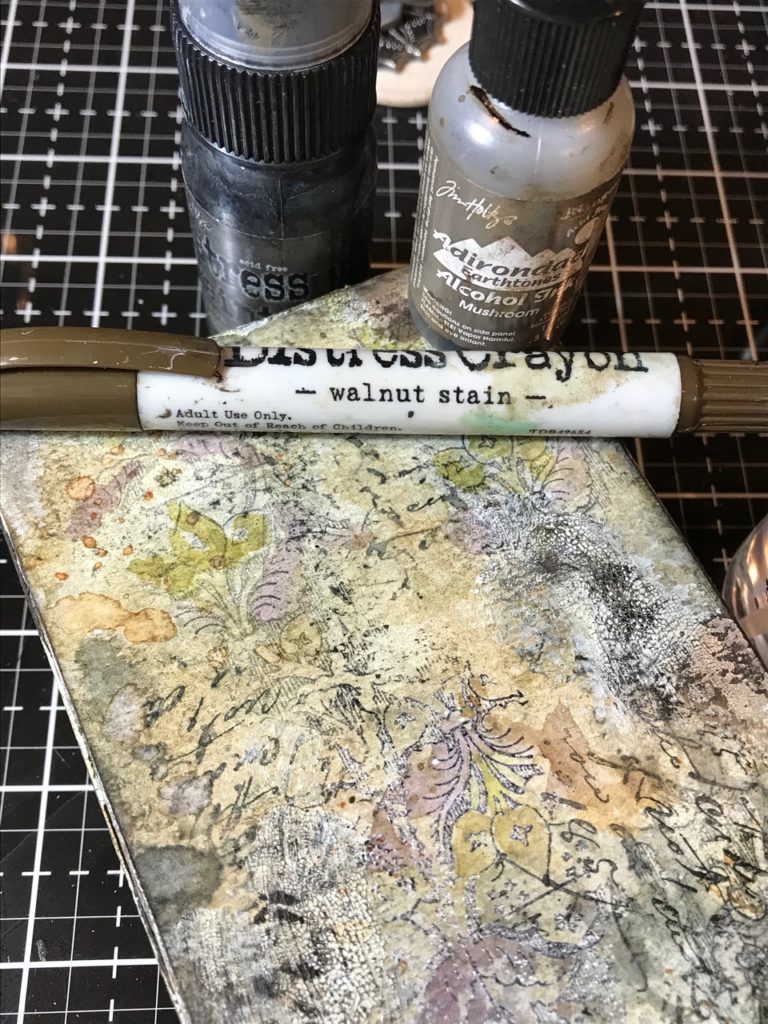
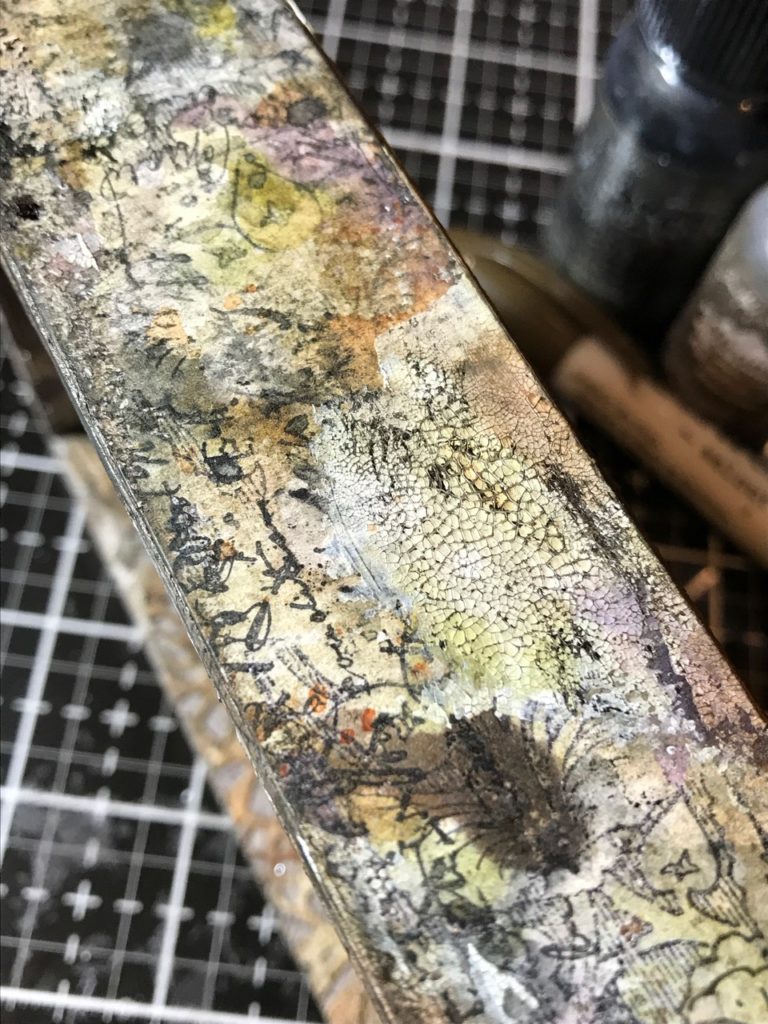
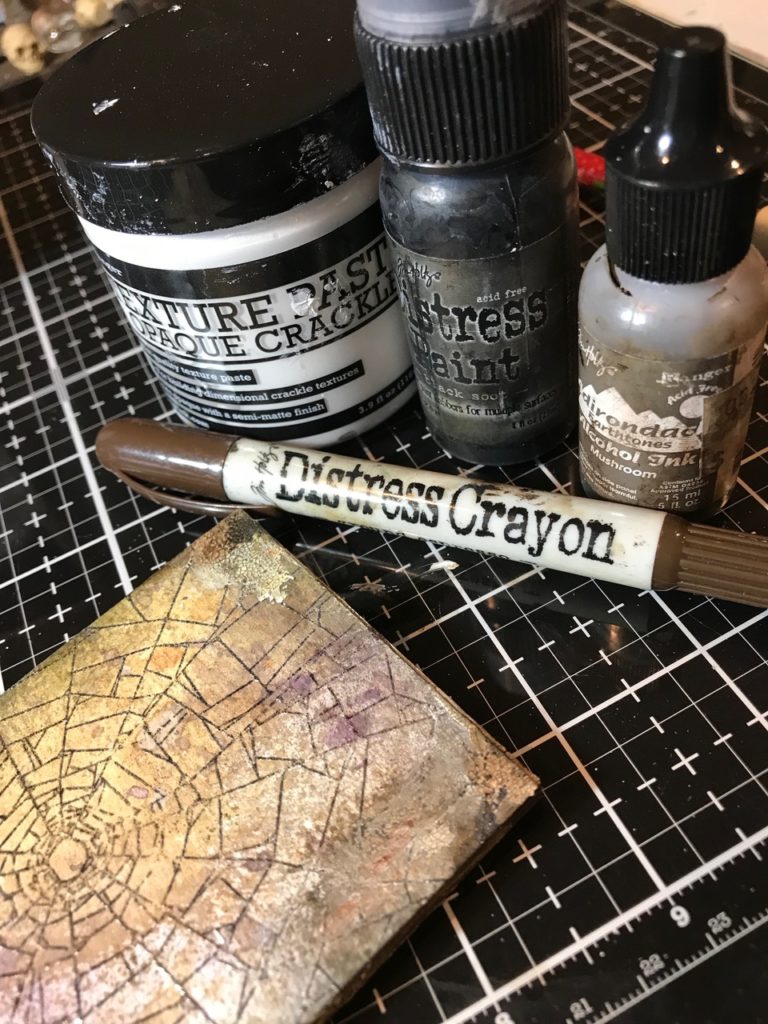
I blended some Walnut Stain Distress Crayon, Black Soot paint, and Mushroom Alcohol Ink into the crackled areas.
The knob…
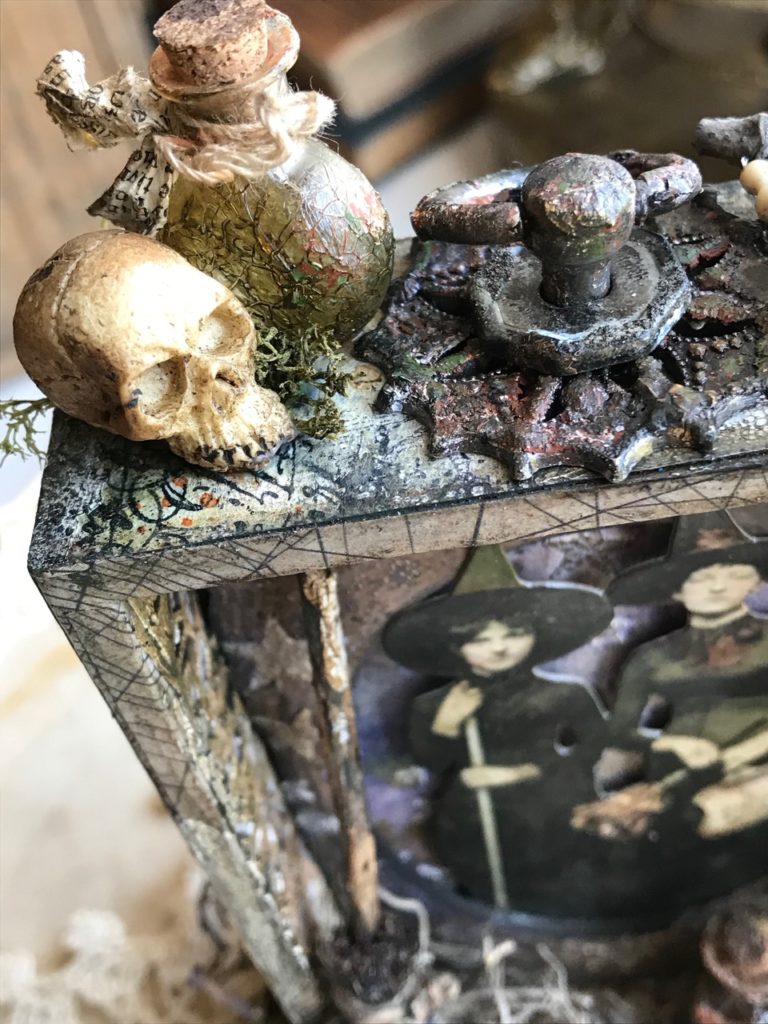
The knob was created by using the round vignette accent from last years Halloween Vignette Accents. I drilled a hole into it by using my Dremel Tool.
 I drilled a hole into it by using my Dremel Tool. Then attached a Mini Hardware Knob into the hole. I drilled a hole into the vignette box and then attached the newly created knob to see if it fit…YAY, it fit perfectly!!!
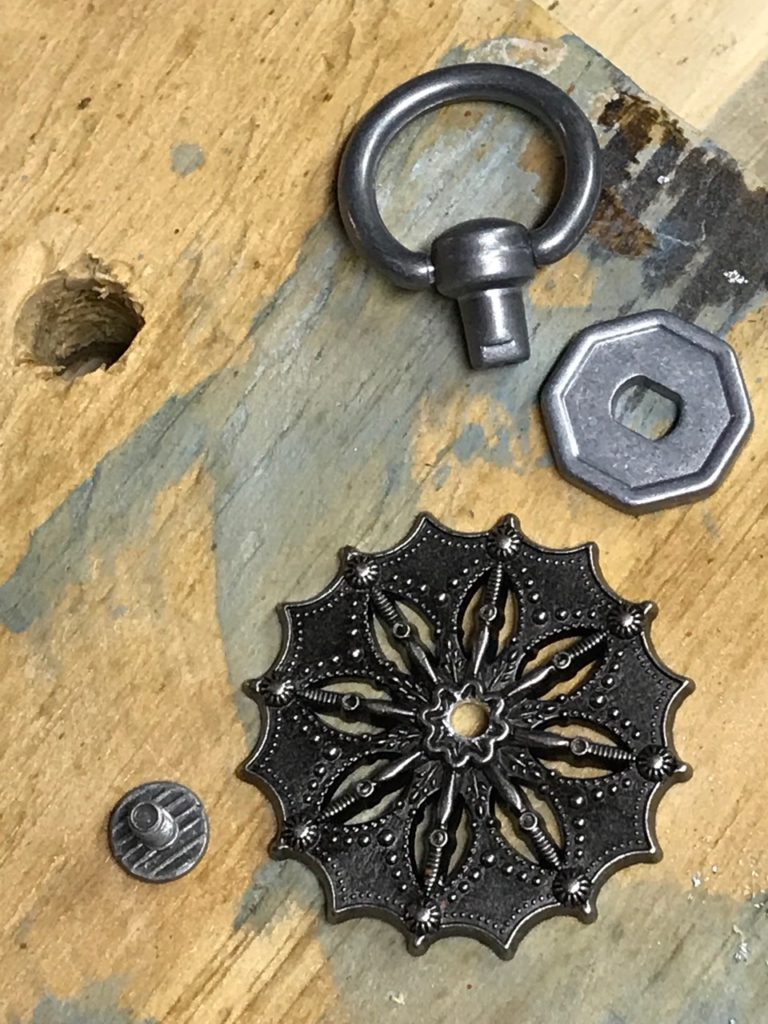
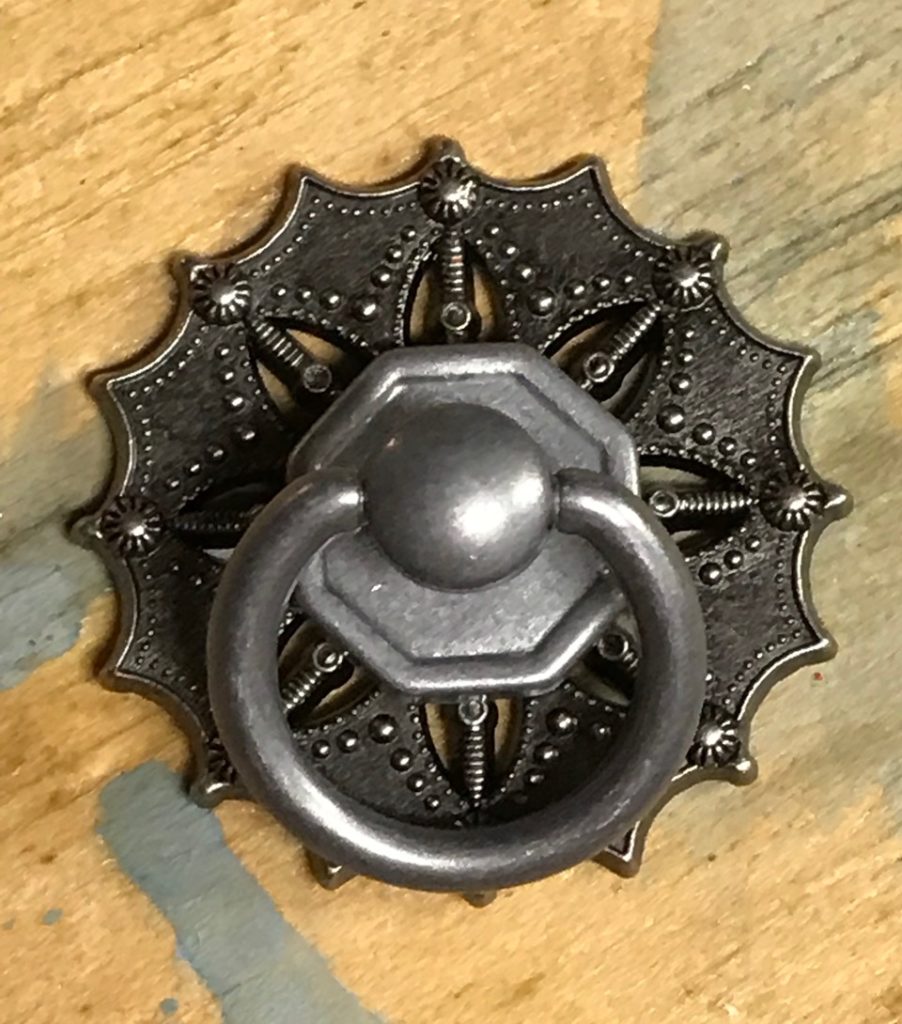
I LOVE the fact that you can drill and change the idea-ology accessories up to whatever way your heart desires! Now on to the next step to make it distressed and grungy!
I rubbed a small amount of white gesso and grit-paste onto the pieces then set them aside to dry.

Then, with my finger, added bits of Black Soot, Antique Linen, Tarnished Bronze Distress Paint and Mushroom Alcohol Ink. Then I rubbed a combo of Peeled Paint, Rusty Hinge, and Gathered Twigs onto the pieces.

to get this …WOWZA, isn’t it COOL!!!
Grungy rusty crusty GOODNESS!!

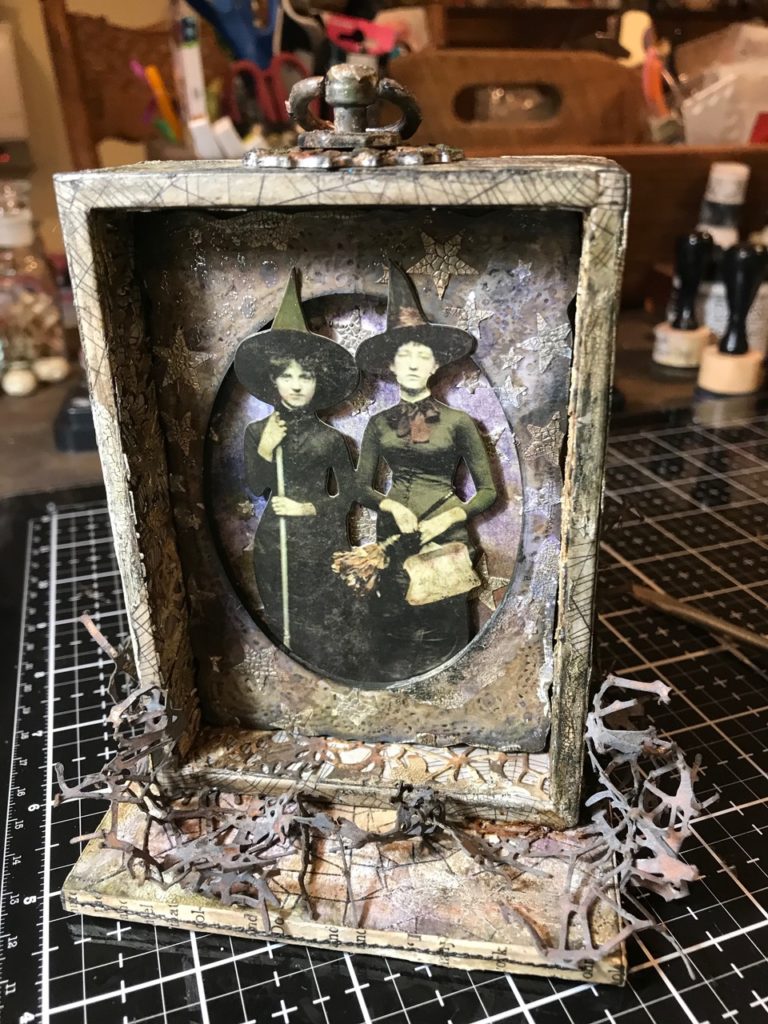
I attached the knob onto the box and then adhered two pieces of foam core and the star background paper into the box. The foam core was used to bring the background more forward so that the frame and witches could stand closer to the front of the box.
The witches and vignette panel base…
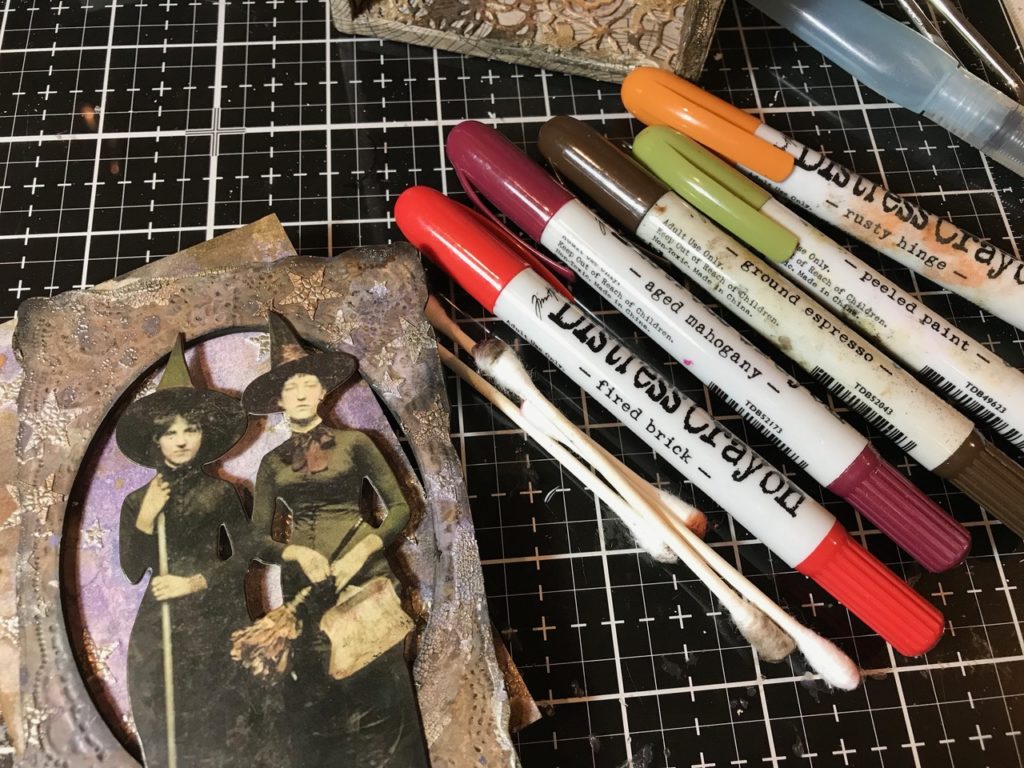
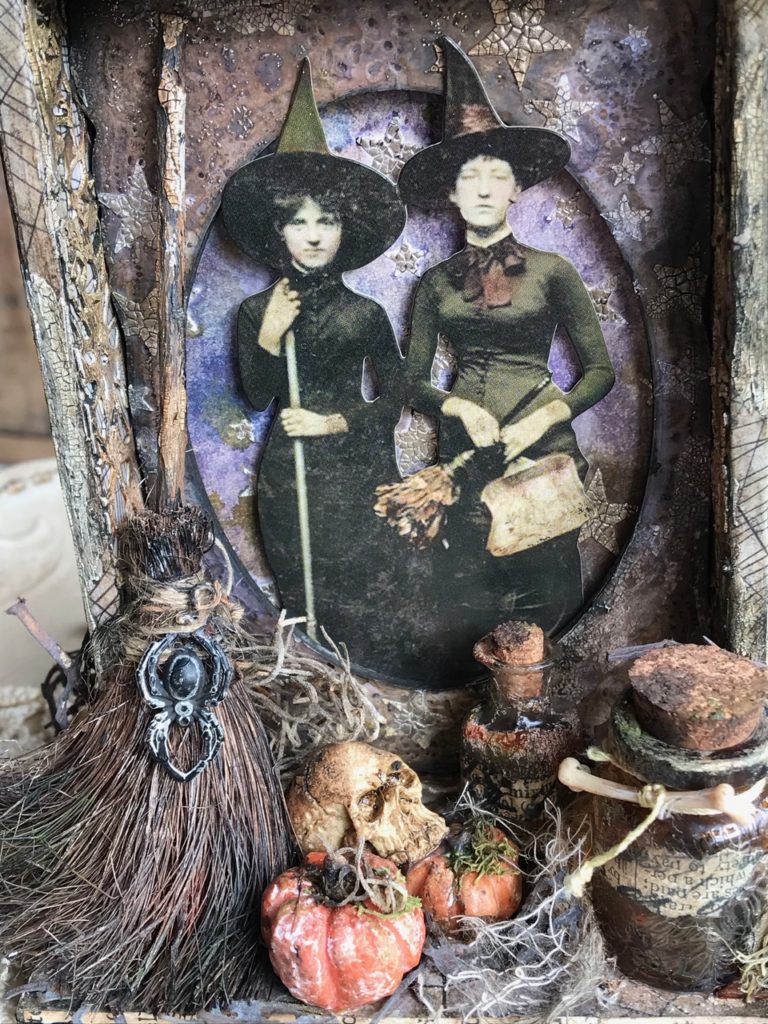
I colored the witches with a variety of Distress Crayons and some damp q-tips.
I created a base for the box with a Vignette Panel. I covered the panel with a piece of the paper I made previously with the cobweb stamp.
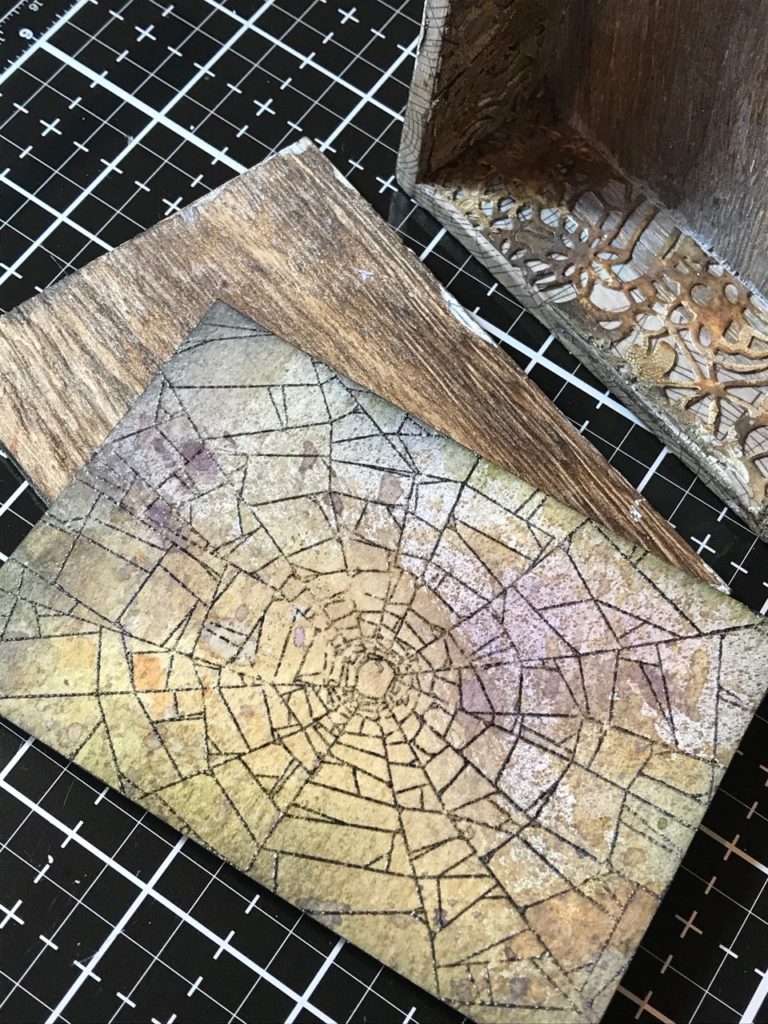
Attached it to the panel and blended texture paste in some random areas. Then blended Black Soot Distress Paint and Mushroom Alcohol Ink into the cracks.
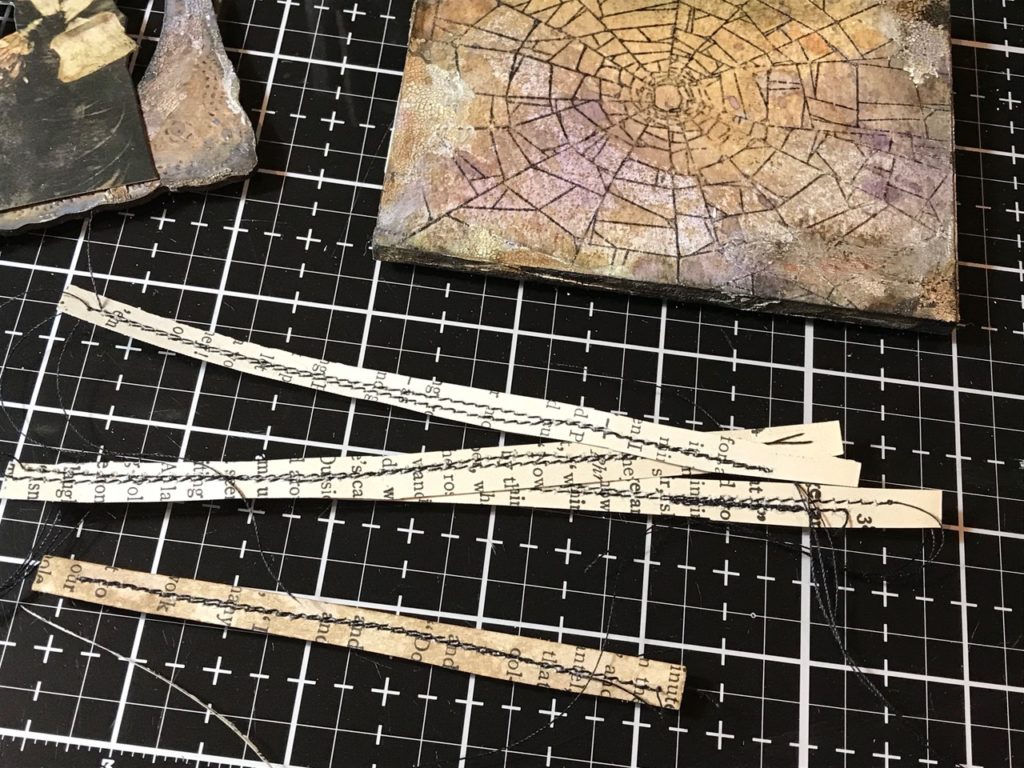
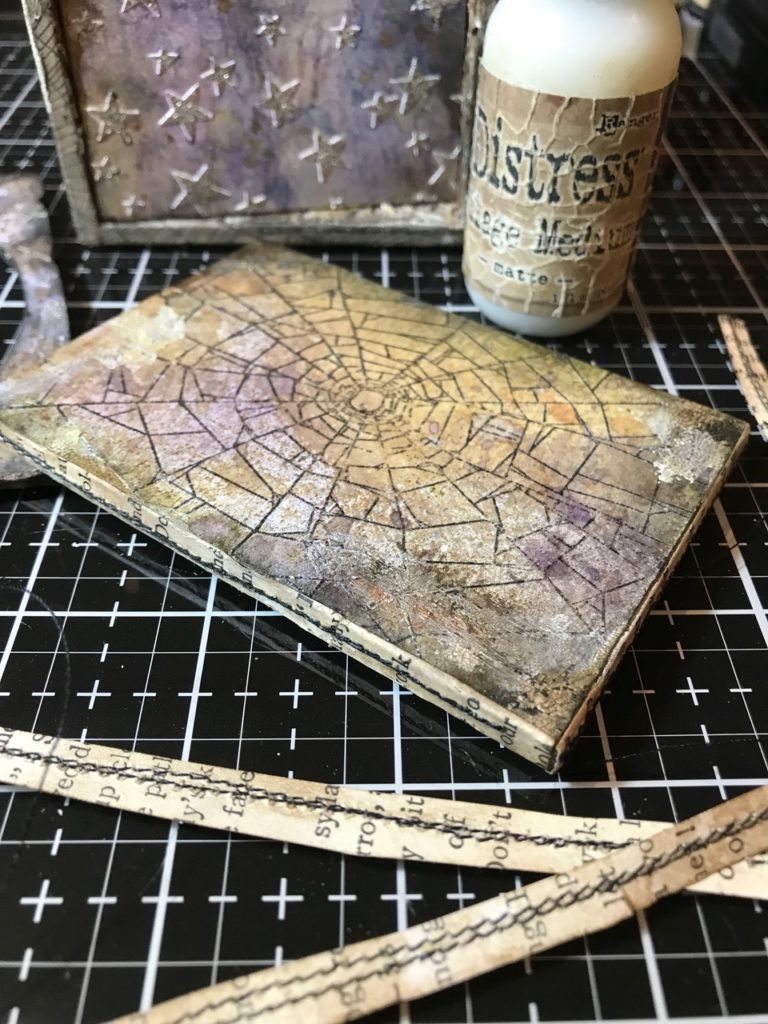
I cut some strips of vintage book pages down to fit the edge of the panel, stitched them with black thread and my sewing machine. I wrapped them around the panel edge and adhered with collage medium.
I cut a piece of watercolor paper with the Tangled Twigs Sizzix Die and sprayed it with a variety of brown distress sprays and oxide sprays. I tore some bits off of it, crumpled it and then adhered it in-between the vignette box and the vignette panel.
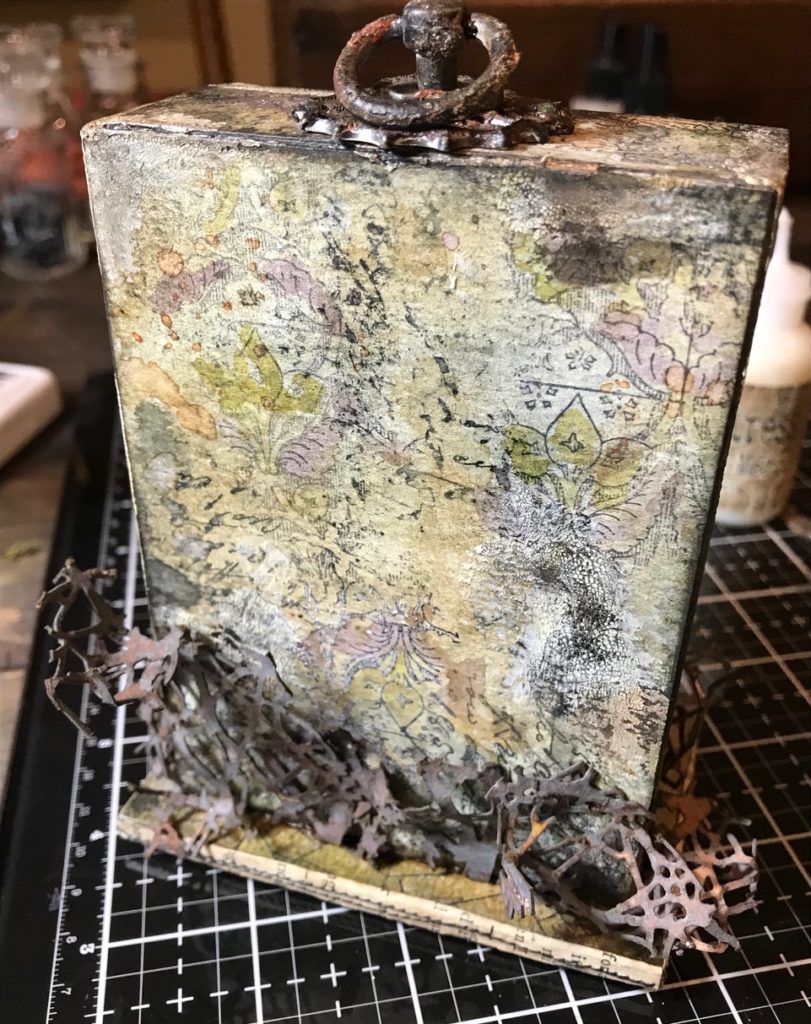
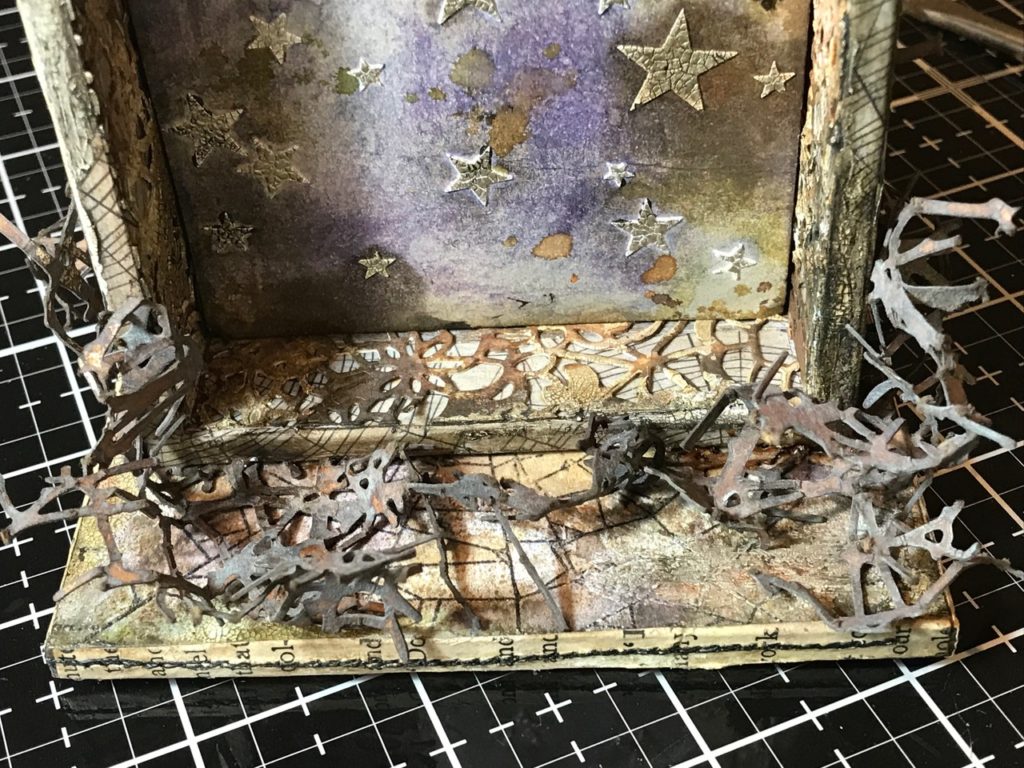
Then I adhered the witches with-in the frame and placed it into the vignette box.
The idea-ology accessories…
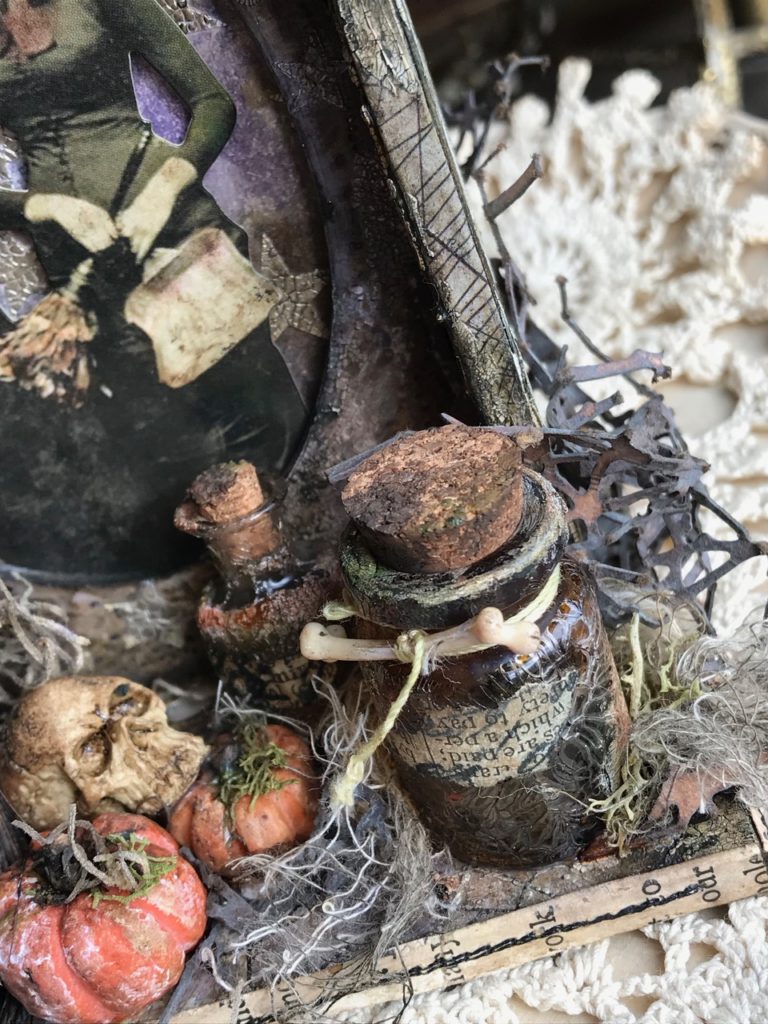
I created the creepy, crackled vials by adding Distress Collage Matte Medium to the outside of them, letting it dry. Then adding some Clear Rock Candy Paint to them. When the rock candy was dry, it had created the cracks that appear to be in the glass.
Then, with my finger, I added a little bit of grit-paste to them.
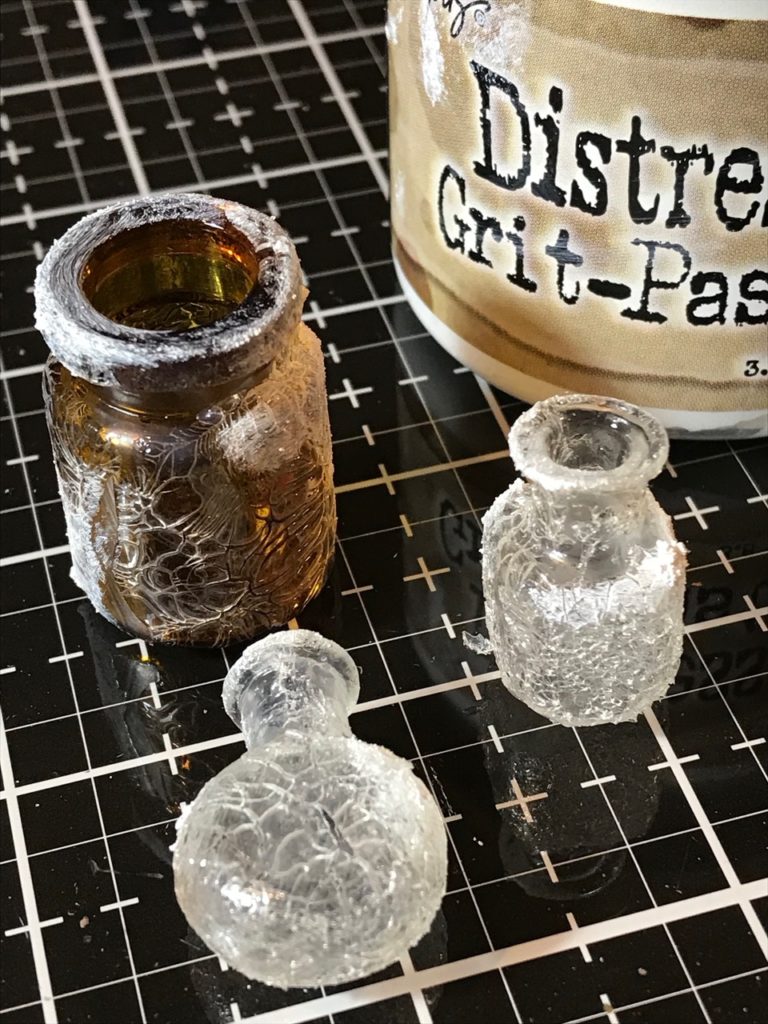
Then blended them with Gathered Twigs, Rusty Hinge and Peeled Paint Distress Crayon and a bit of Mushroom Alcohol Ink.
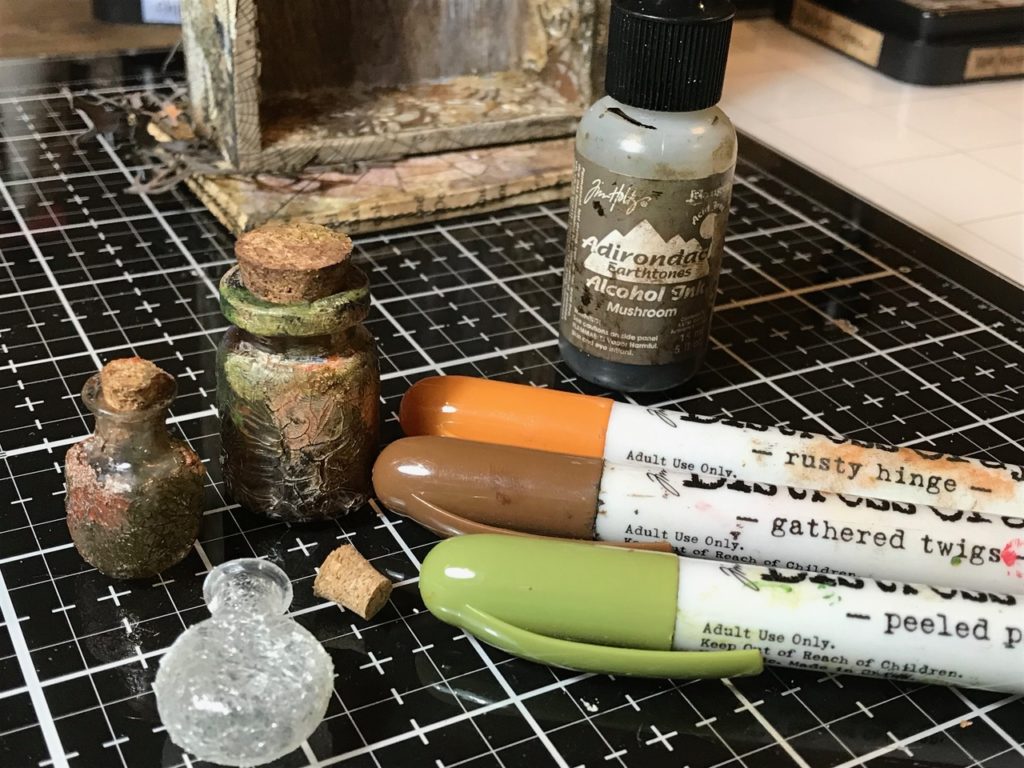
And began adding tiny details to all the other accessories…
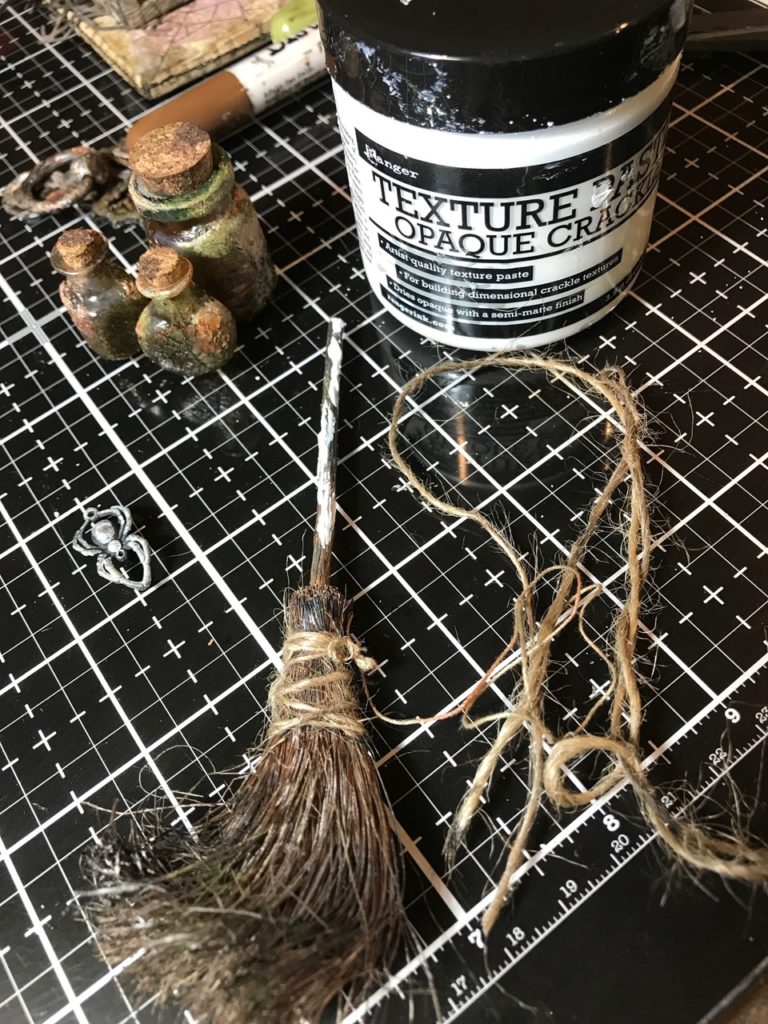
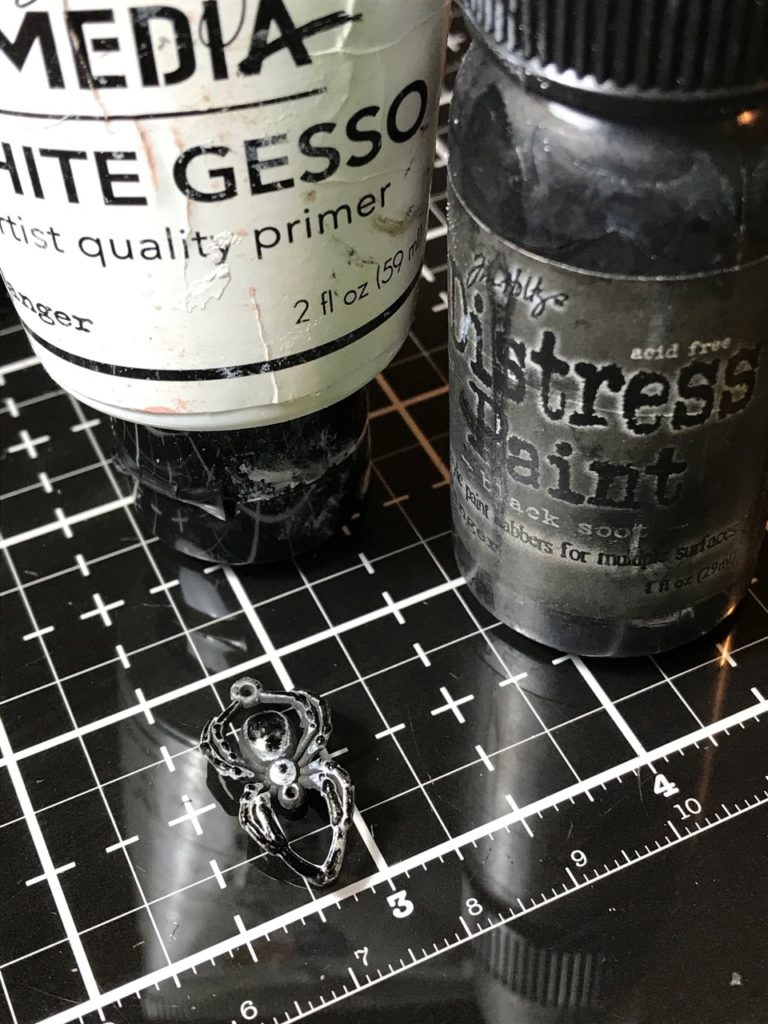


And began arranging and adhering them with-in and on top of the box…
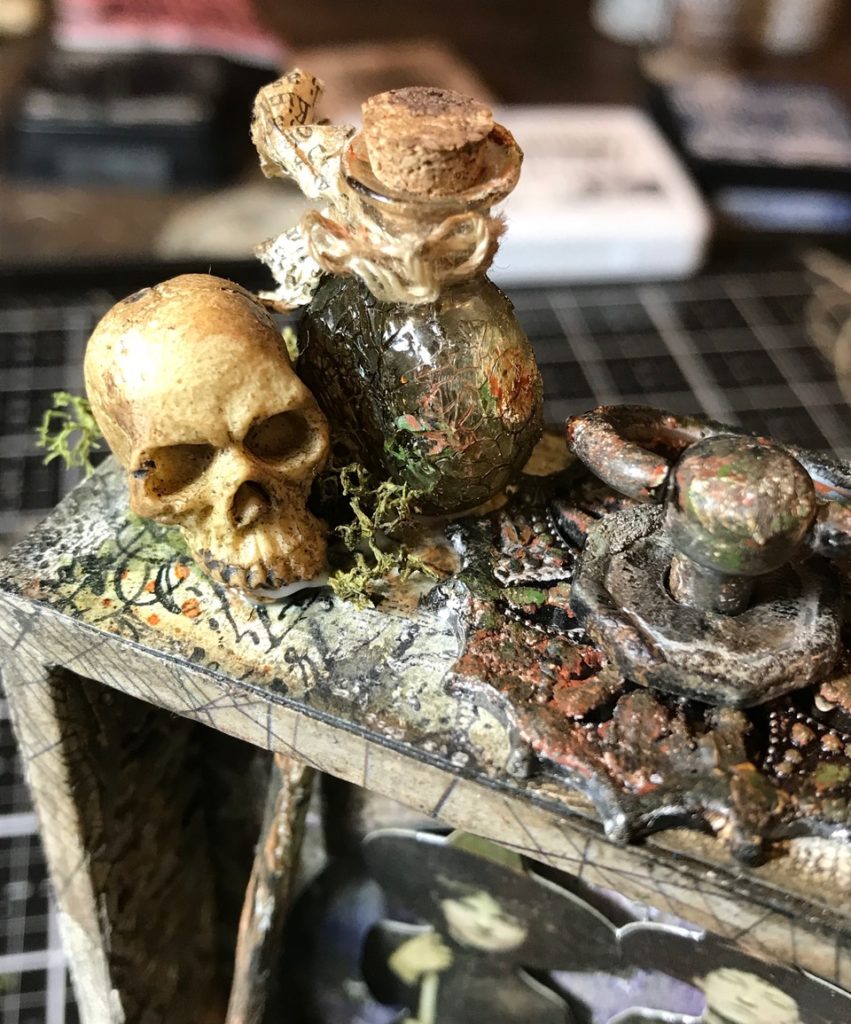
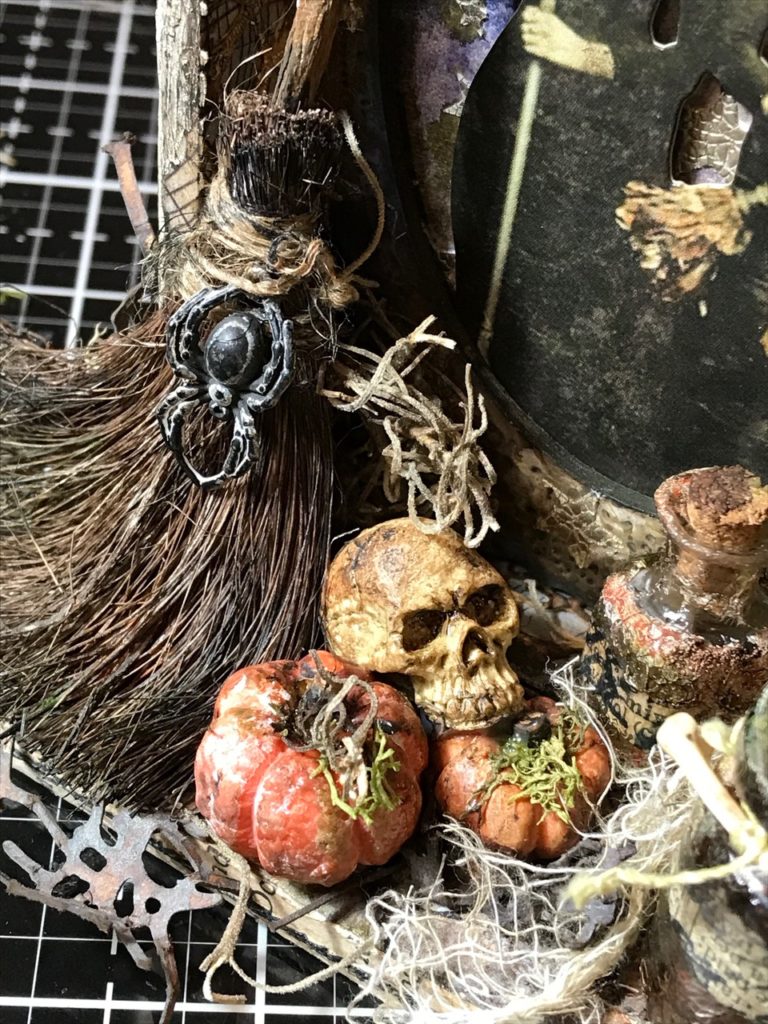
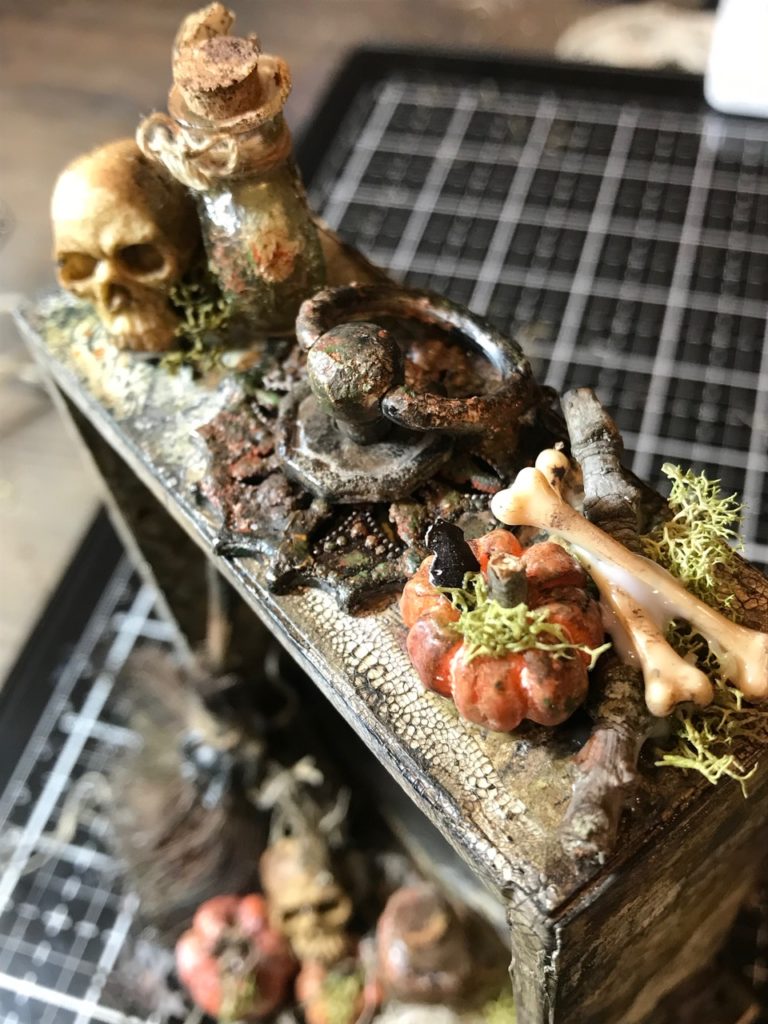
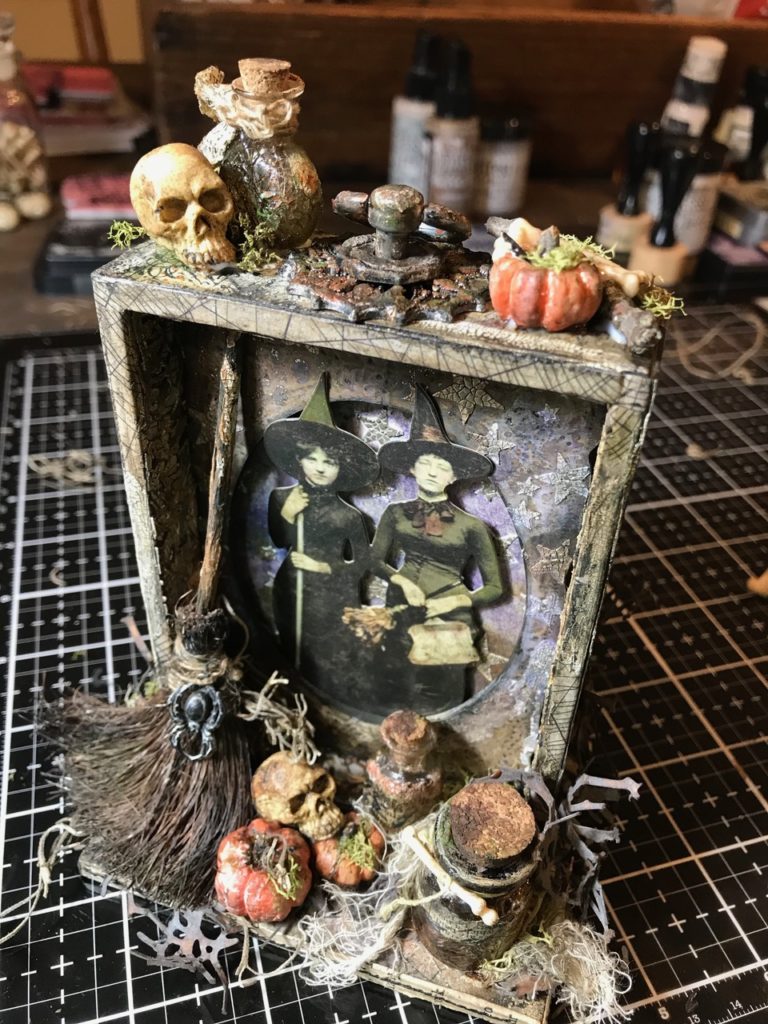
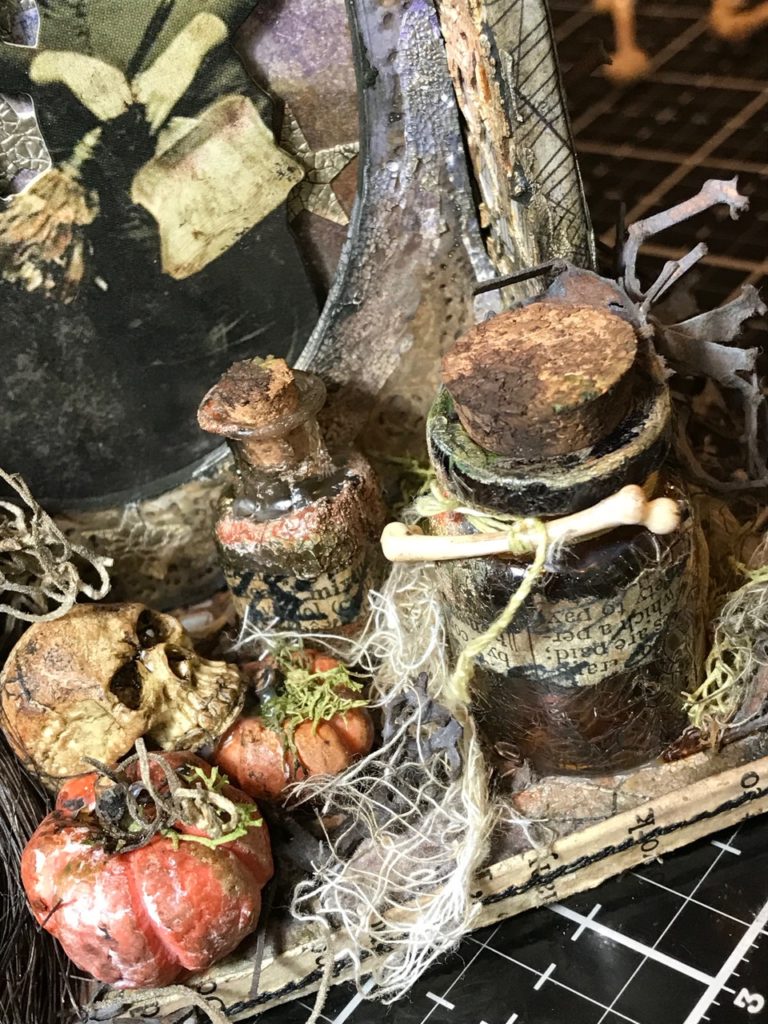
With that…the witchy vignette was complete!

Thank you so much for stopping by today…and be on the lookout for some more tutorials and treats coming soon! Have a wonderful day!
Creatively yours,
Stacy
 What is an affiliate program, and why should I click on the link and buy through you?..
When you shop via the affiliate link on this blog, I receive a small commission, from the affiliate provider (Simon Says Stamp), at no extra cost to you whatsoever. These commissions help me to cover hosting fees and other costs to run my blog and be able to provide you with FREE inspiration. If you shop the links, THANK YOU! I truly appreciate being able to share my love of creating with you.
Gather Your Supplies-
Tim Holtz/Stampers Anonymous- Fragments (CMS368), Skulls and Cobwebs (CMS306), Ledger Script (CMS241), Falling Stars (THS115)
Tim Holtz/Sizzix- Tangled Twigs, Intricate Lace
Tim Holtz/ Idea-ology- Lace Baseboard Frame, Corked Vials, Skulls, Boneyard, Broomsticks, Halloween Design Tape, Mini Pumpkins, Apothecary Vials, Corked Vials, Halloween Adornments, Halloween Paper Dolls, Mini Hardware, Halloween Vignette Accents, Vignette Box
Tim Holtz/Tonic- Tonic Guillotine Paper Trimmer, Tonic Shears
Tim Holtz/Ranger- Mushroom Alcohol Ink, Opaque Crackle Texture Paste, Dina Wakley White Gesso, Black Soot Archival Ink, Distress Watercolor Paper, Liquid Platinum Embossing Powder, Clear Rock Candy Paint, Grit-Paste
Distress Ink- Walnut Stain, Chipped Saphire, Dusty Concord, Frayed Burlap, Forest Moss, Rusty Hinge, Peeled Paint
Distress Spray Stain- Walnut Stain, Vintage Photo, Ground Expresso
Distress Oxide Sprays- Vintage Photo, Ground Expresso, Walnut Stain
Distress Crayons- Walnut Stain, Rusty Hinge, Peeled Paint, Gathered Twigs, Fired Brick, Aged Mahogany, Ground Expresso
Distress Paint- Antique Linen, Black Soot, Picket Fence, Peeled Paint, Antiqued Bronze
Distress Tools/Mediums- Distress Sprayer, Media Mat, Heat it Heat Tool, Blending Tools, Distress Collage Matte Medium, Detail Water brush
Other- Vintage Book Pages, Twigs from my yard, Floral Moss, String, Cheesecloth, Dremel Tool, Sewing Machine and Thread, Jute, Foam Core


This is really good, Stacy. You have such a talent for distressing things!
Over the top magnificent, Stacy! There are so many bits and pieces that it is mind-boggling how you pulled it all together for the spooky vignette! Totally amazing… Thanks for the detailed tutorial and great inspiration! (Read that as “I could never do that in a million years😬, but totally love ❤️ and enjoy it!”) I am, however, going to try some of the tips for the gorgeous papers! Can’t wait to see the other tutorials and surprises coming our way! Happy crafting!
Now that is some crackly grungy goodness at it’s finest!!! I am ready to get my grunge on and start Halloween projects…perfect inspiration! EeeK! New Halloween Idea-ology before too long…yay! Can hardly wait to see your special Christmas surprise, too!!!
My goodness, this is truly incredible. I was wondering as I looked at each frame if you know in advance where you are going or does it just happen in the end to be perfect. Your background papers are so perfect, and all the finishing touches are amazing. Just happening in the end is what happens for me. Sometimes, though, what happens in the end is in the trash when finished. Experimenting has its drawbacks sometimes. You are so talented. I think I’m going to retain this article in my computer so I can find it again.
Stacy I love receiving your blog emails. You are one of the most talented people I have ever seen. Everything you do is amazing. I love the way you distress everything, the way you use all products to create a vintage look and the variety of projects you do. Looking forward to more of your creations.
wow !! this has so many layers and depths it is truly wonderful.
Witchy goodness is right! Glad you are prepping us for the new releases too! Glorious inspiration!
OMG. This is so wonderfully grungy. I love it. And the way you share your knowledge with us, is amazing . Thank you so much for giving us so much inspiration.
Perfectly grungy and creepy, Stacy! I’m sitting on the edge of my seat, taking in every detail–so many to love! You are amazing, and how wonderful you are so willing to share your process! My favorite detail is the book page stitched edge on the base. But wow, there’s just so much to love about this fabulous project! hugs!
Hi Stacy, will you still be doing your on line tutorials?,love your work but live in the UK your first kit is fabulous but your UK followers will miss out, would you do a digital tutorial for all of us that live out of the USA. Just a thought, kindest regards Lydia
Hi Lydia… thank you and I sure will be continuing to do tutorials on the blog. No doubt about it!
Wow, so many incredible details to create this wicked piece. Thanks for sharing your process to great grungy goodness.
This is so amazing! Lots of detail and creativity…inspiring!!!