Hello and Welcome back!
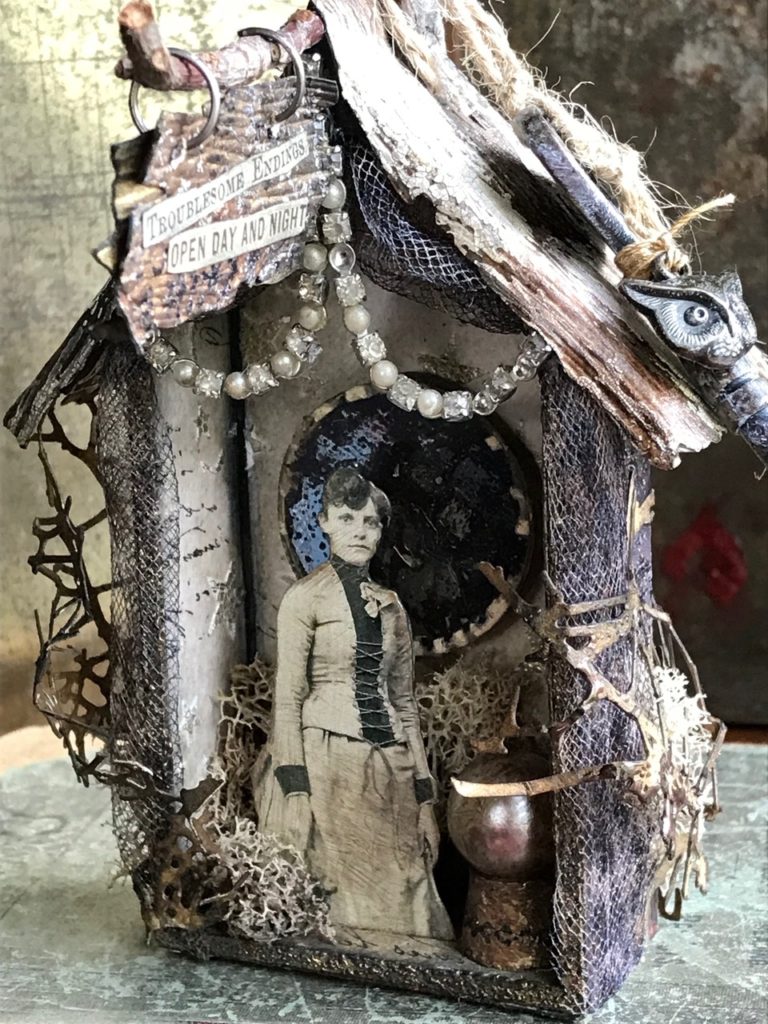
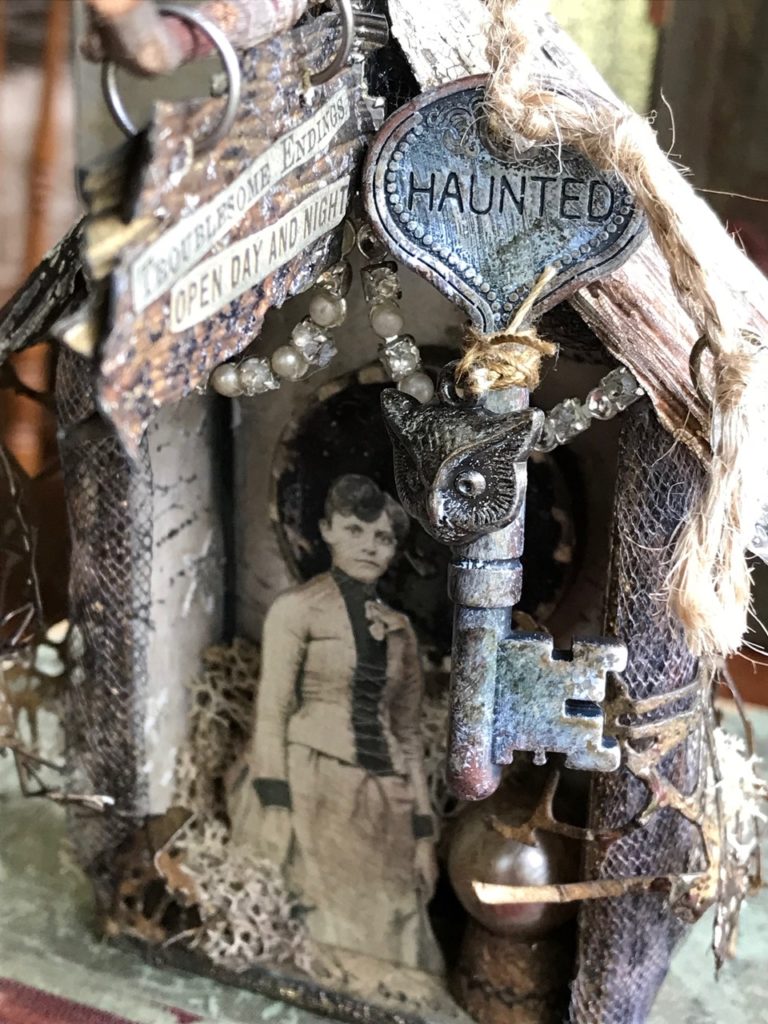

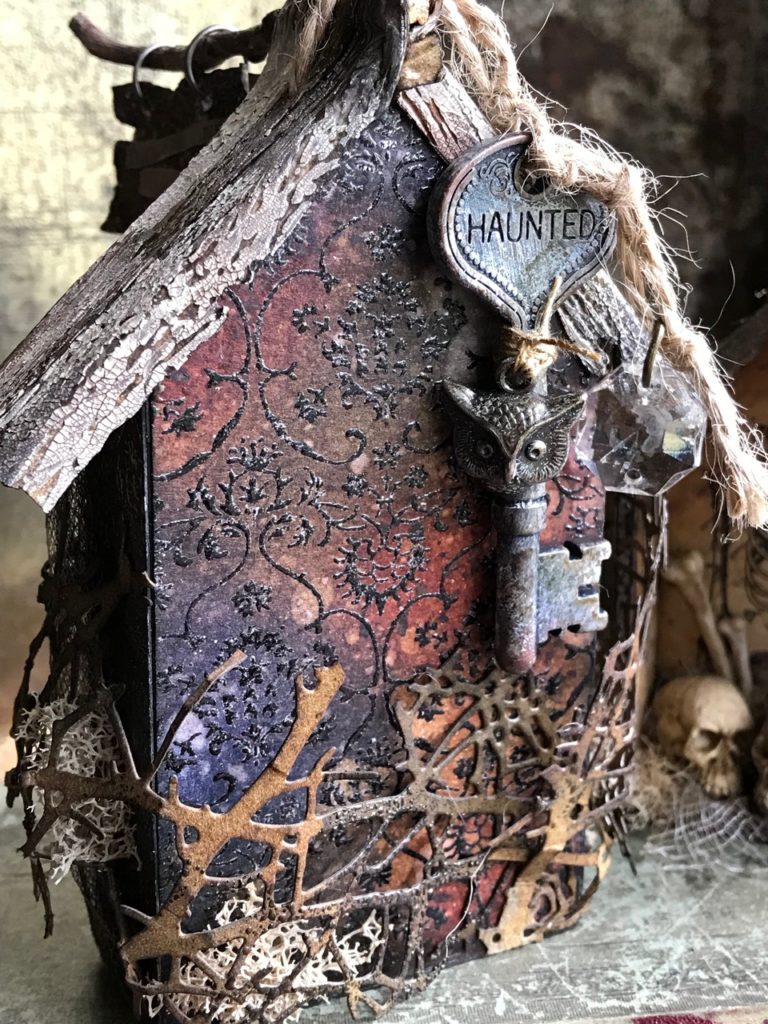


I’ve been having a ball creating these little Halloween ornaments and wanted to share my next one with you. If you hadn’t had a chance to see the tutorial on my other one titled “Keeper of the Bones” you can check it through this link. I won’t be sharing every step of this make as it is extremely similar to the other one, but the house went together just like the other except I created paper and embellishments that went with my Gypsy & Fortune Teller theme.
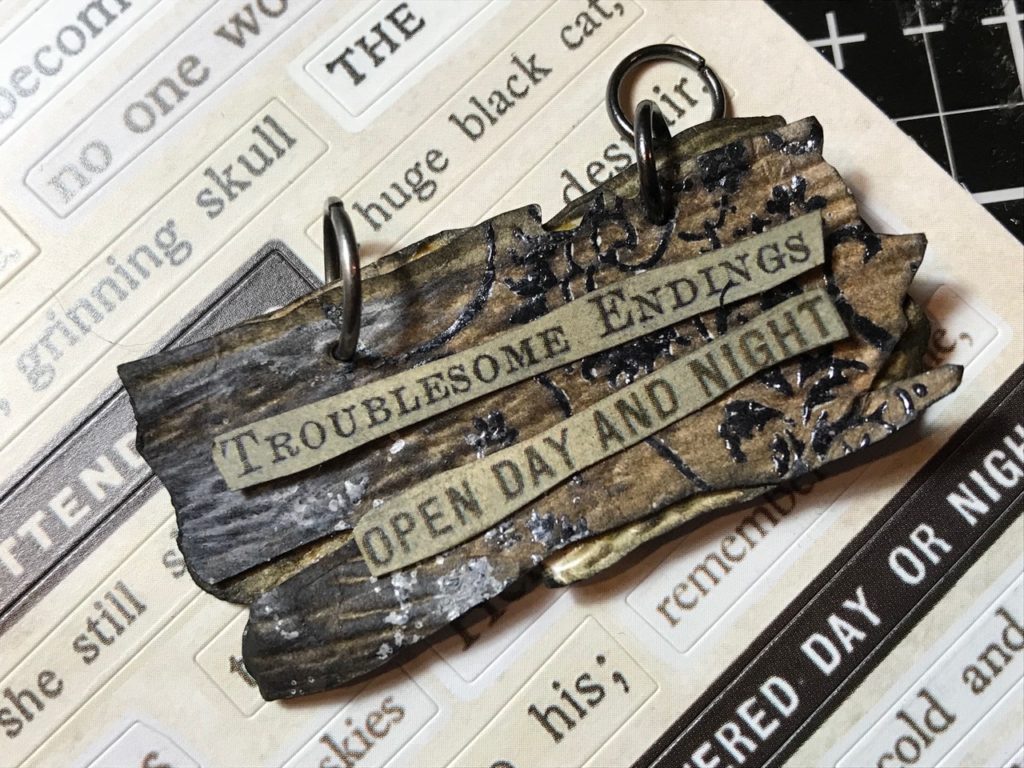
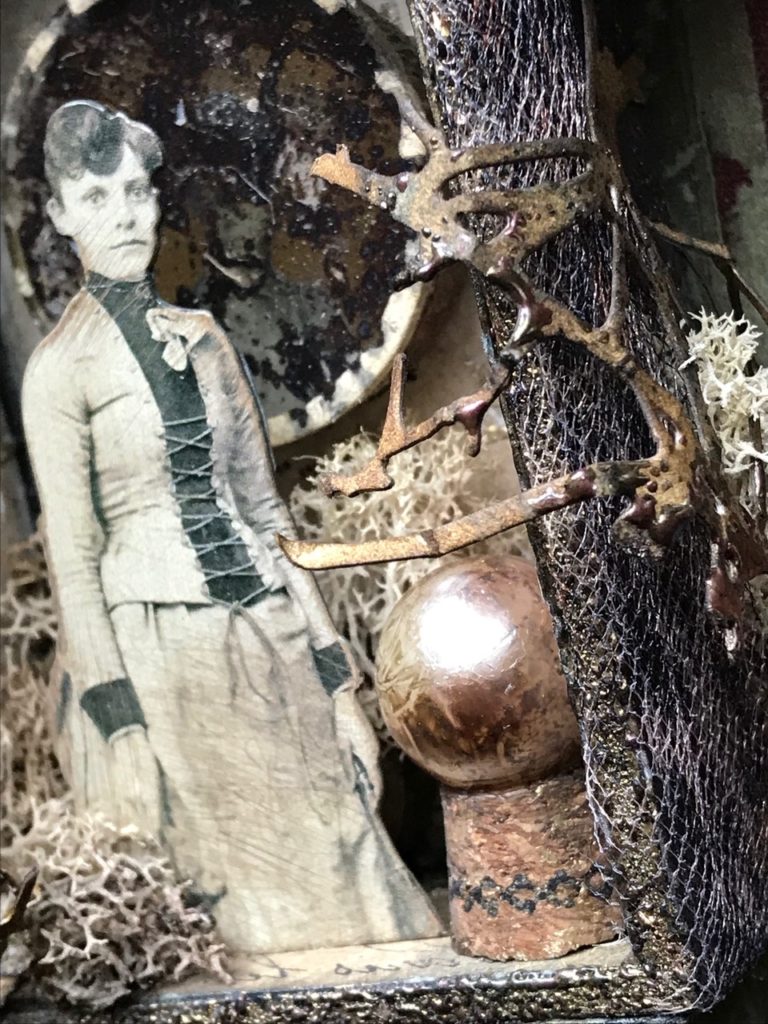
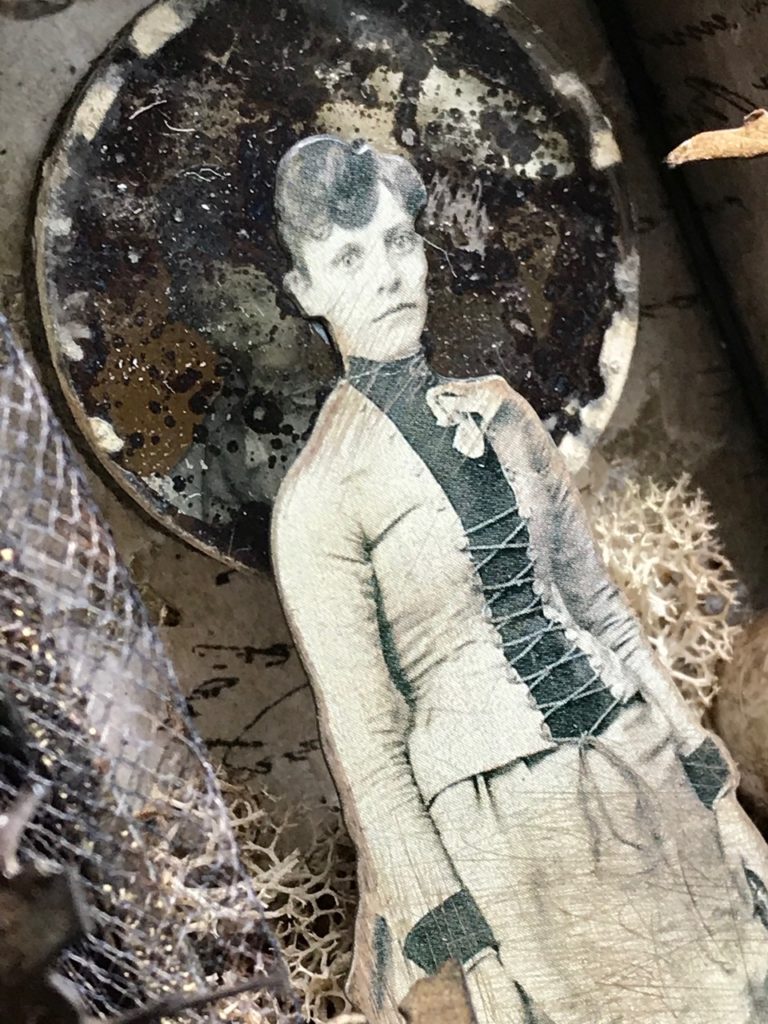
She is a Fortune Teller who has a special gift for chatting with troubled souls. I named her shoppe Troublesome Endings which I found on a clipping in the Halloween package…I thought it was perfect!! One of my favorite parts is the little friend who is hidden in the mirror. Both of the paper dolls were from the Halloween Idea-ology pack. All the products used were Tim Holtz with the exception of the house form, vintage costume jewelry necklace that I used for the swag, and the mirror I found in my junk stash.

Let’s Begin!
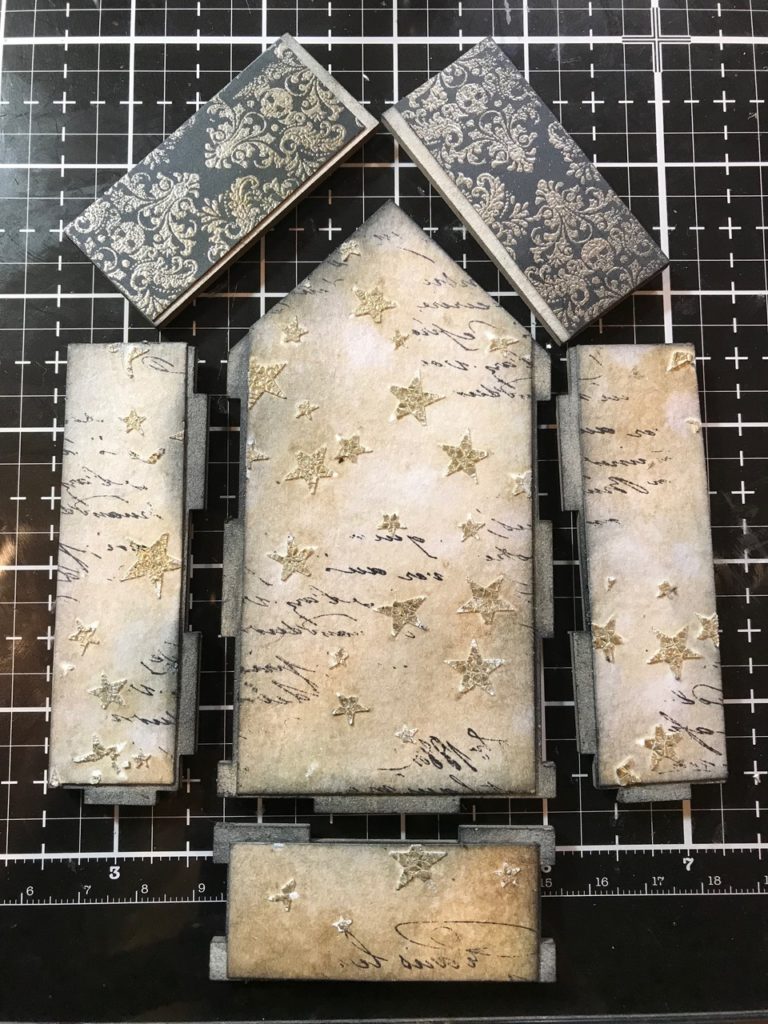
I started by creating the background papers… the star paper was made from Watercolor Paper, Opaque Crackle Texture Paste, the Falling Stars Layering stencil and a Palette Knife. I sprinkled gold embossing powder onto the stars before they were dry and crackled. When it was dry, I embossed them with my heat tool. Then I blended the background with Pumice Stone and Antique Linen Distress Ink and a bit of Black Soot. I randomly stamped the handwritten background stamp from the Reflections Stamp Set (CMS111).
Once the papers were cut to fit onto the house form, I blended them with some Black Soot Distress Ink. The roof papers were cut from some scraps I had on my desk from another project.

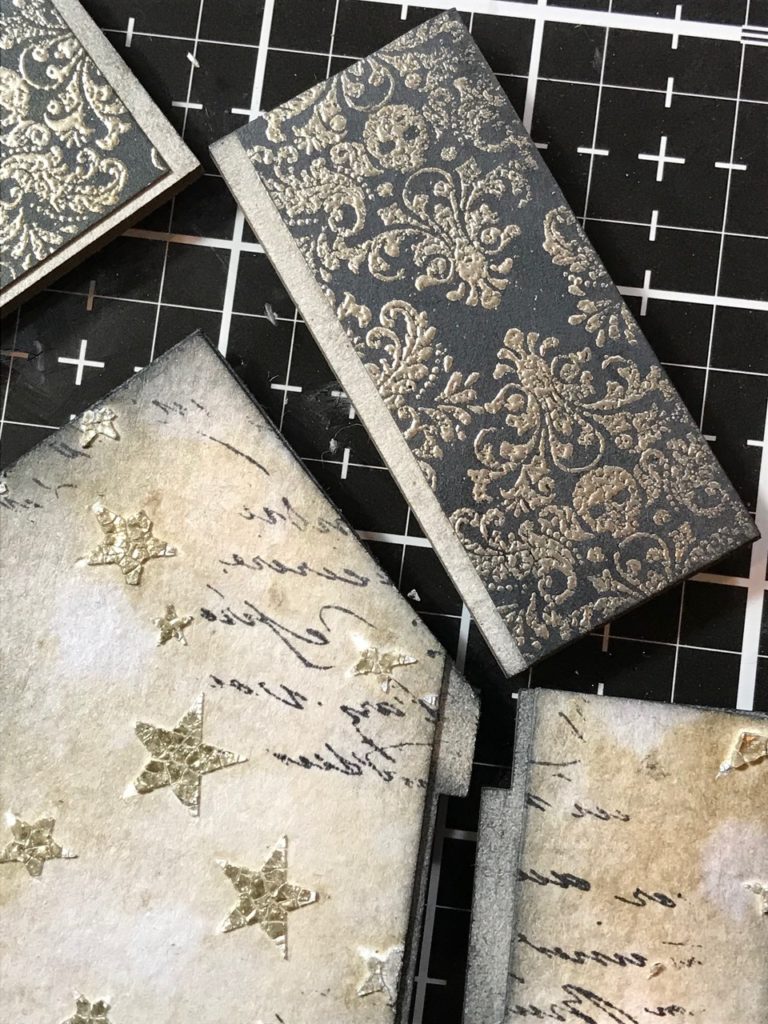

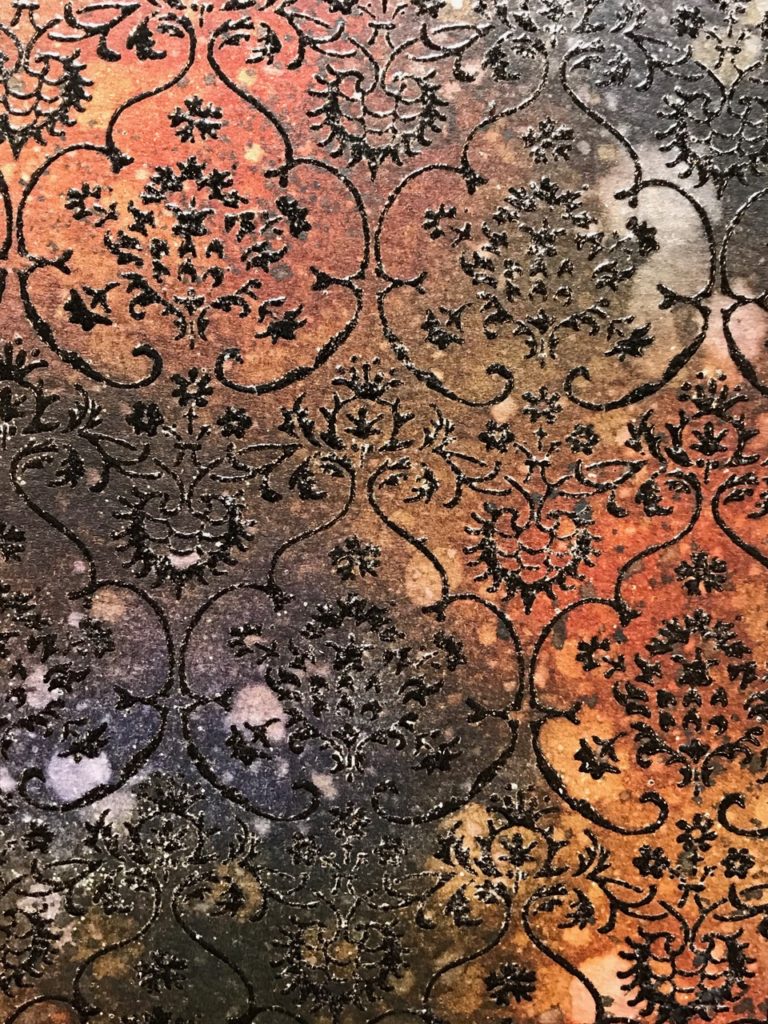
The background paper for the outside of the house was a blend of distress ink and oxides…I really don’t know exactly what my combo was for it. 🙂 I was going for a “gypsy look” so I stamped the Ornate Background onto a piece of Watercolor Paper with Black Soot Archival Ink then embossed it with clear embossing powder. The colors were blended on after the paper had been embossed. The colors innately were too bright, so I kept blending browns and spritzing with water and drying until it was the look that I wanted.
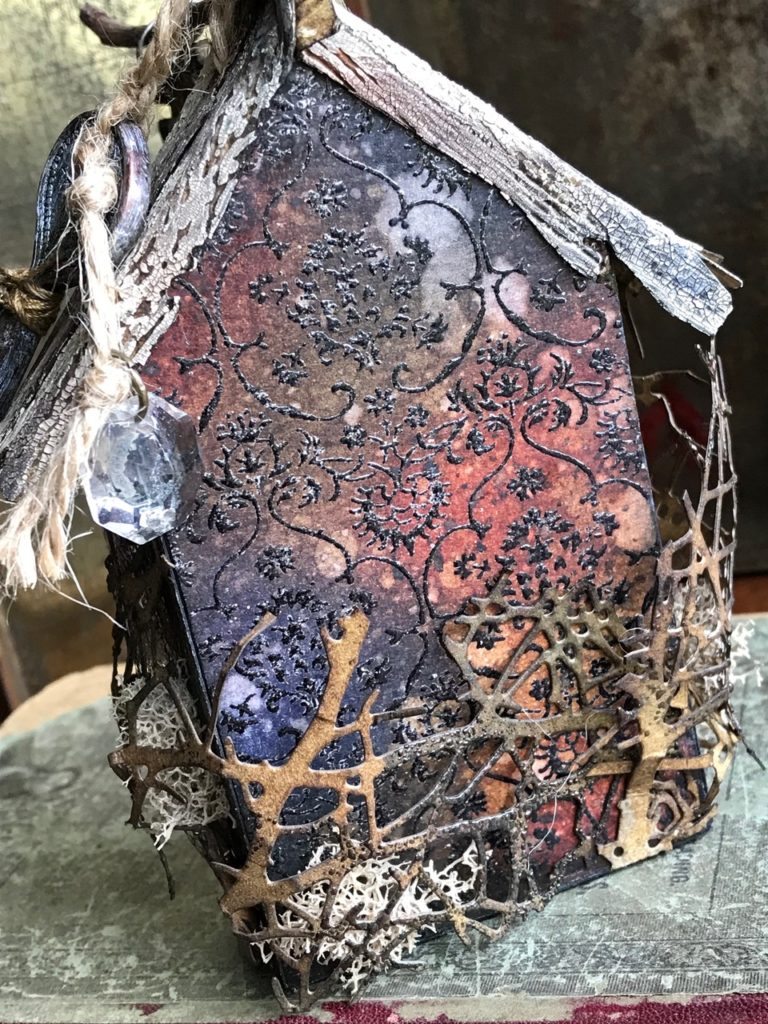


I adhered all the pieces together with Distress Collage Matte Medium and let it set to dry. I blended the edges of the house with an embossing dauber and embossed them with embossing powder. Then I added the piece of a vintage necklace and some Tulle to create a swag. These were adhered with a hot glue gun. I did this before I added the roof so that the ugly parts would be hidden.
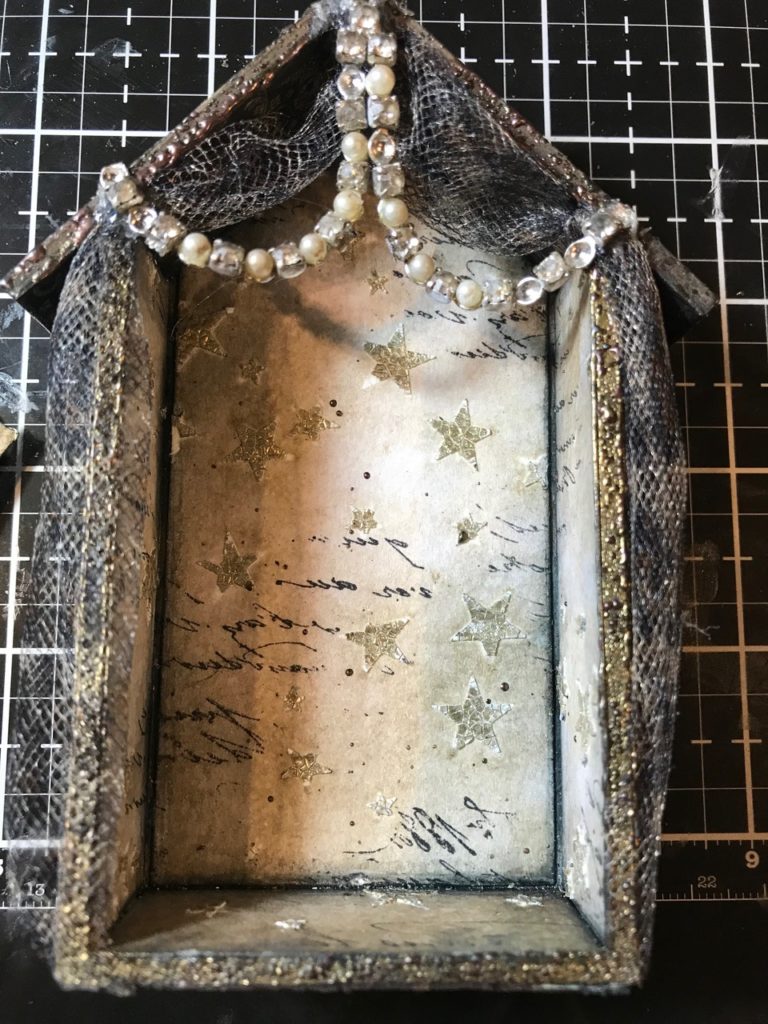

I added some planks for the roof of the house, but then decided it might be cute to add a hanging sign. So I found a stick in my front yard and glued it to the roof line, just under the planks. Then I made a shoppe sign to hang from it.



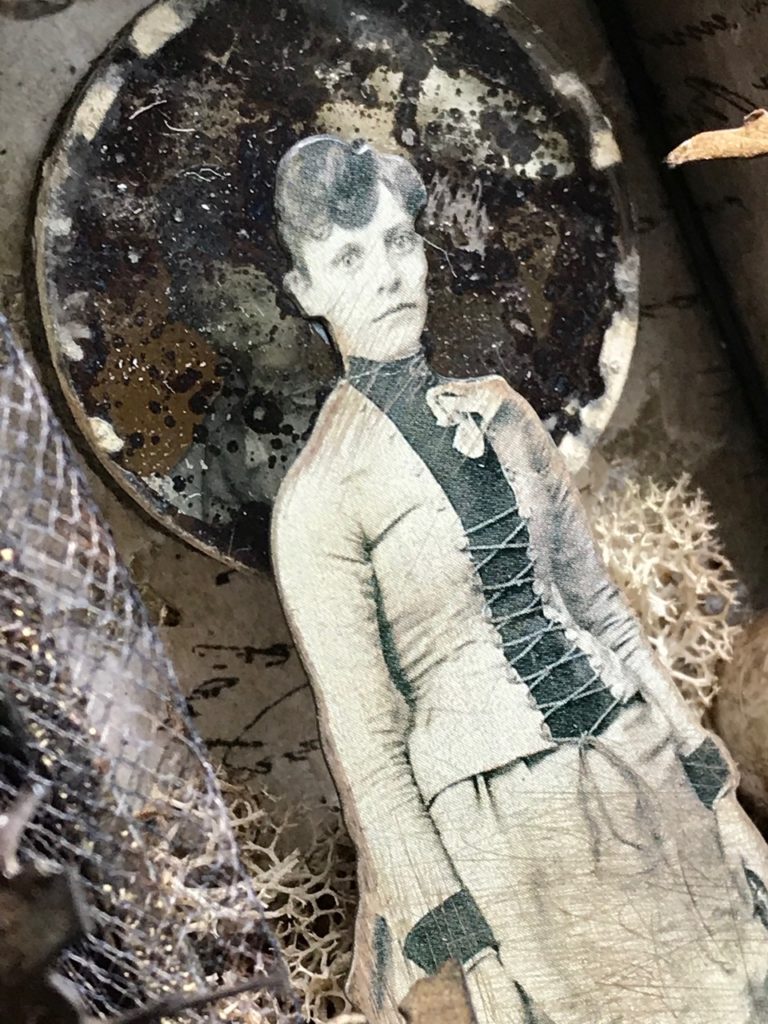
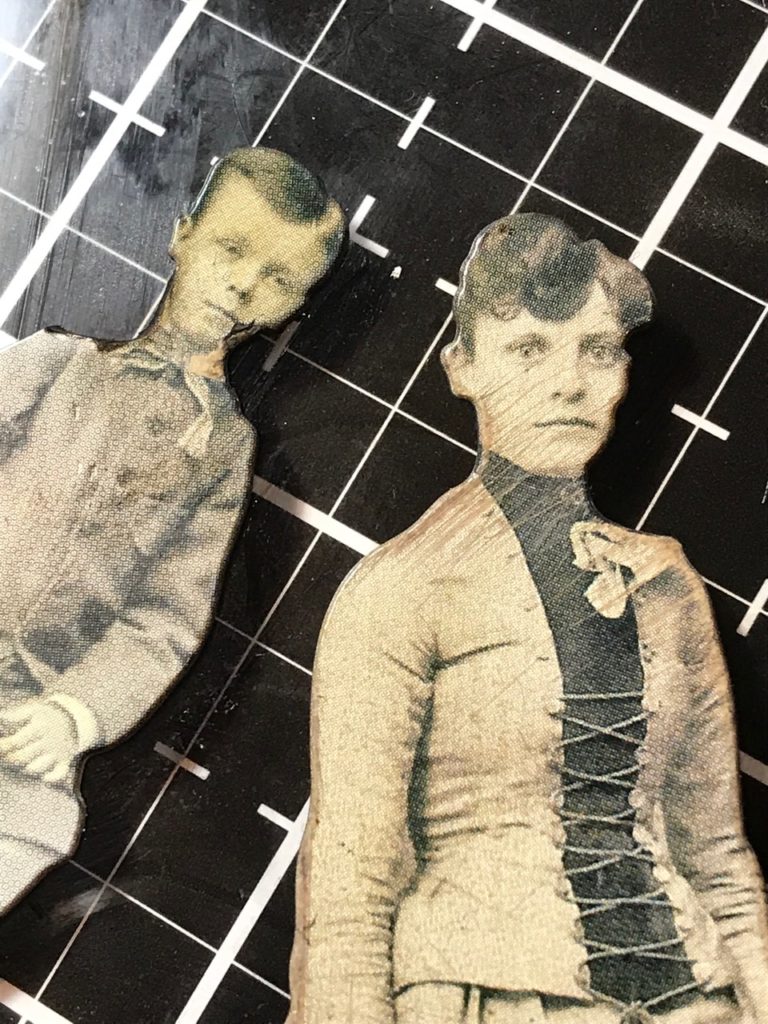
The paper dolls were scratched up a bit with my sanding grip, blended with some ink and glued together. I trimmed the little boy a bit so he would fit behind her.

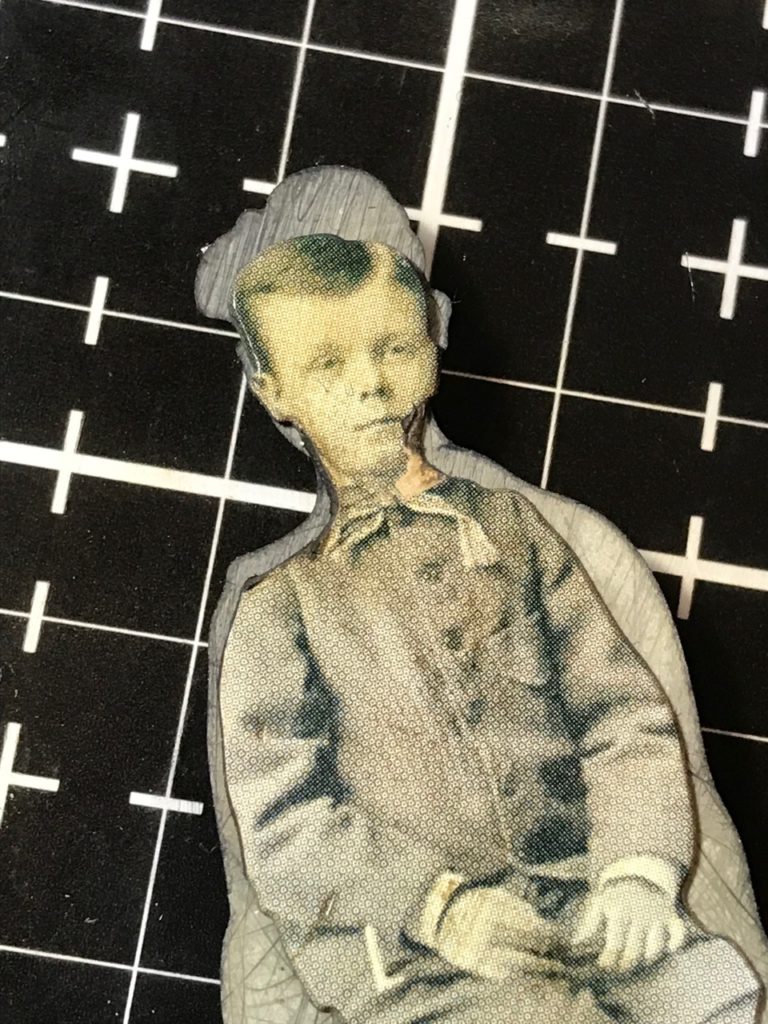

In the mirror you can’t see that I trimmed him down or that her head is larger than his.


I adhered the mirror to a wood slice and adhered it into the house. The wood slice helps the mirror to be lifted so you can see the boy in the mirror more easily.
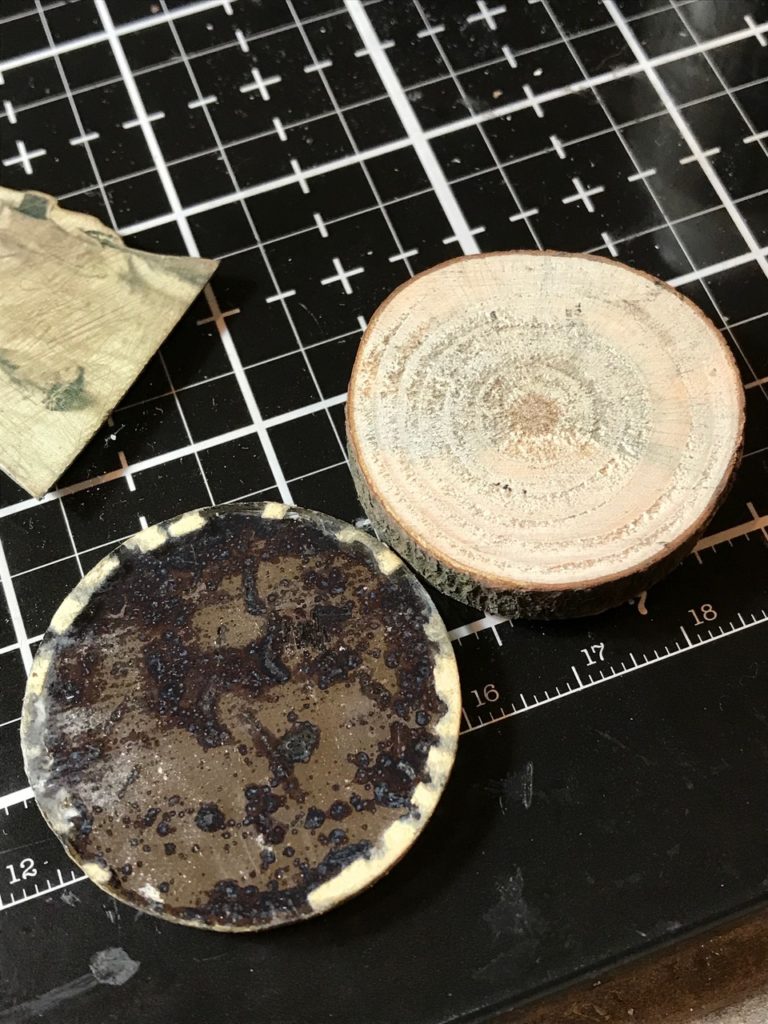

I used a couple more wood slices behind her.
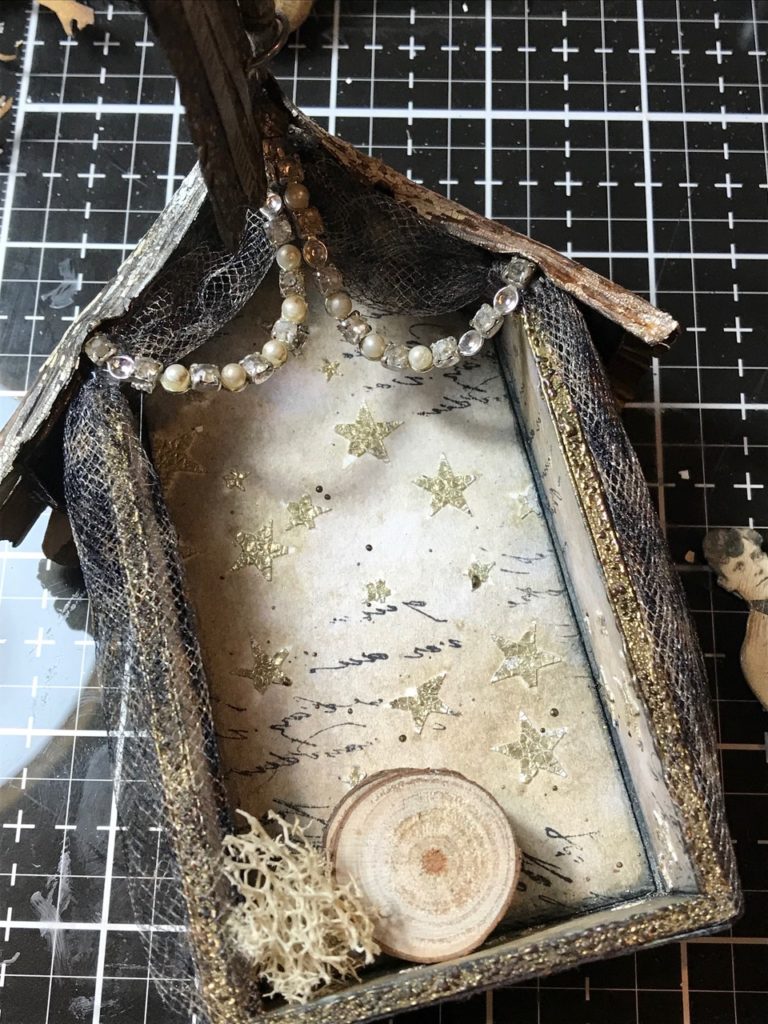

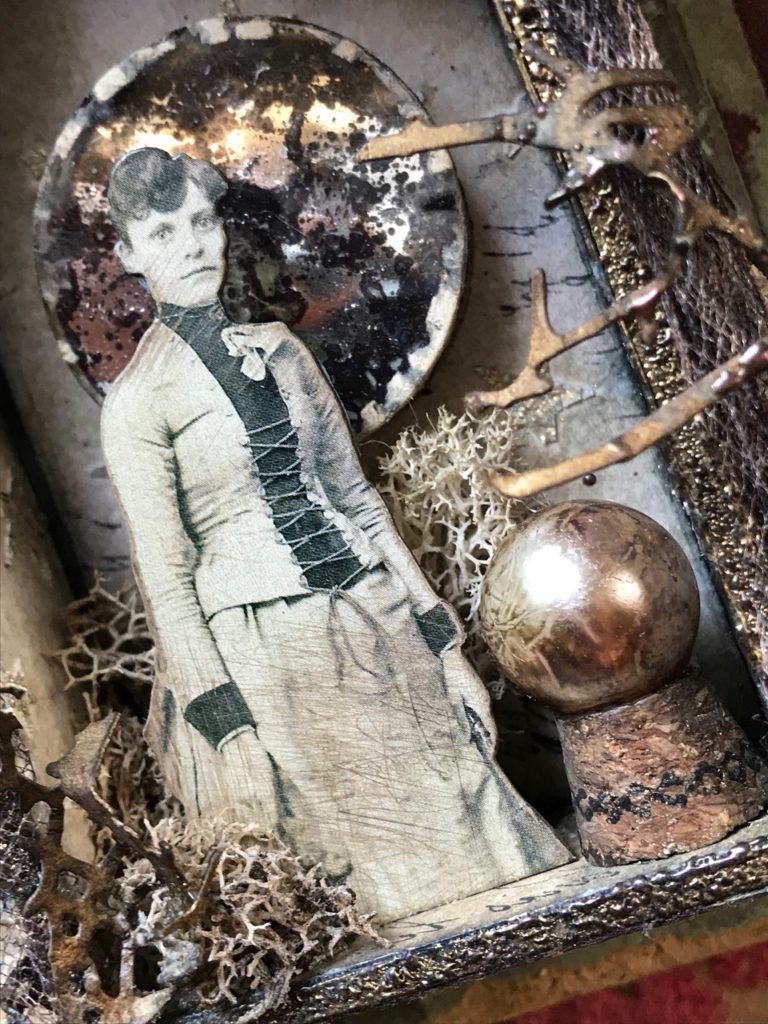

You can’t consider yourself a Fortune Teller without a crystal ball! So, I created one with a medium size idea-ology bauble that was blended with some Mushroom Alcohol Ink. The base is a cork blended with some brown and black distress ink and stamped with an ornate trim (CMS326) around the outside. I also added some moss within the box.
The tangled twigs were cut from a piece of watercolor paper and blended with a variety of brown and black distress inks. It was trimmed a bit, then embossed in a couple areas with some embossing powder. I then wrapped it around the outside of the house and added some moss.
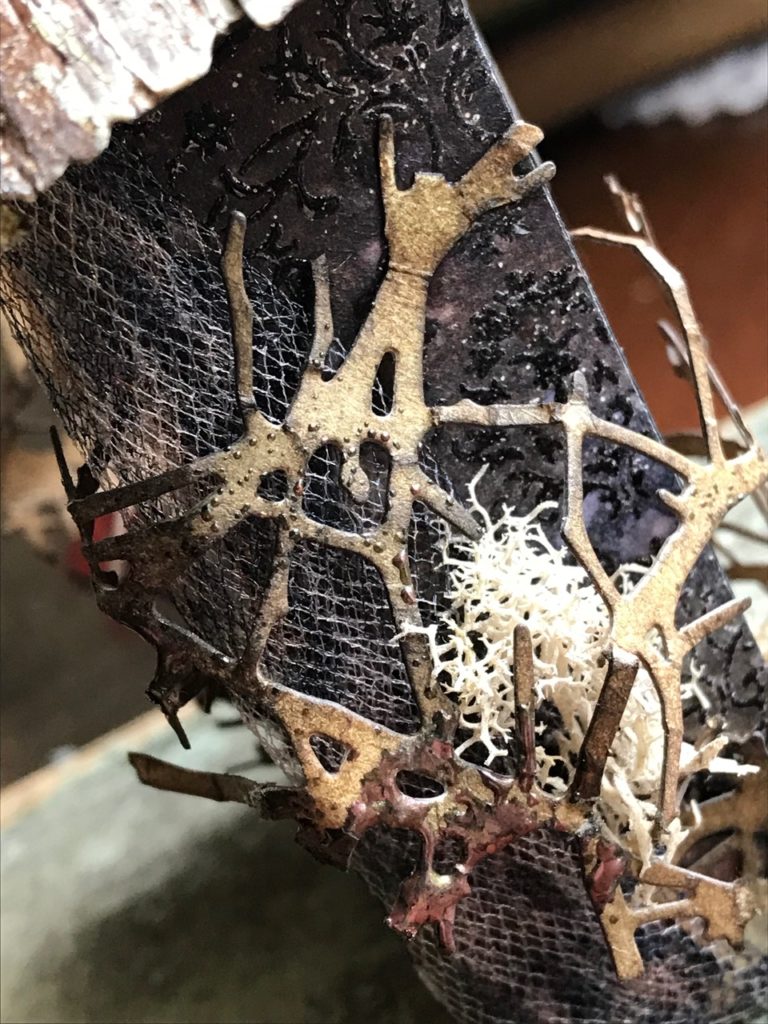

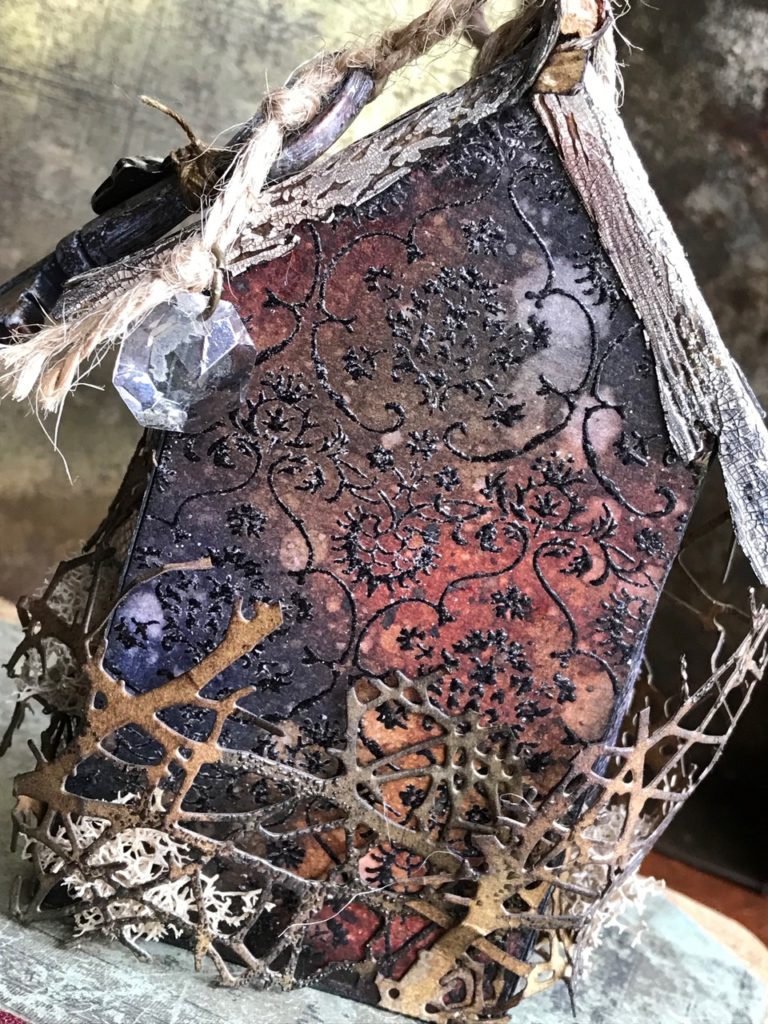

The twigs are kind of creeping around the outside and
wrapping around to the front.

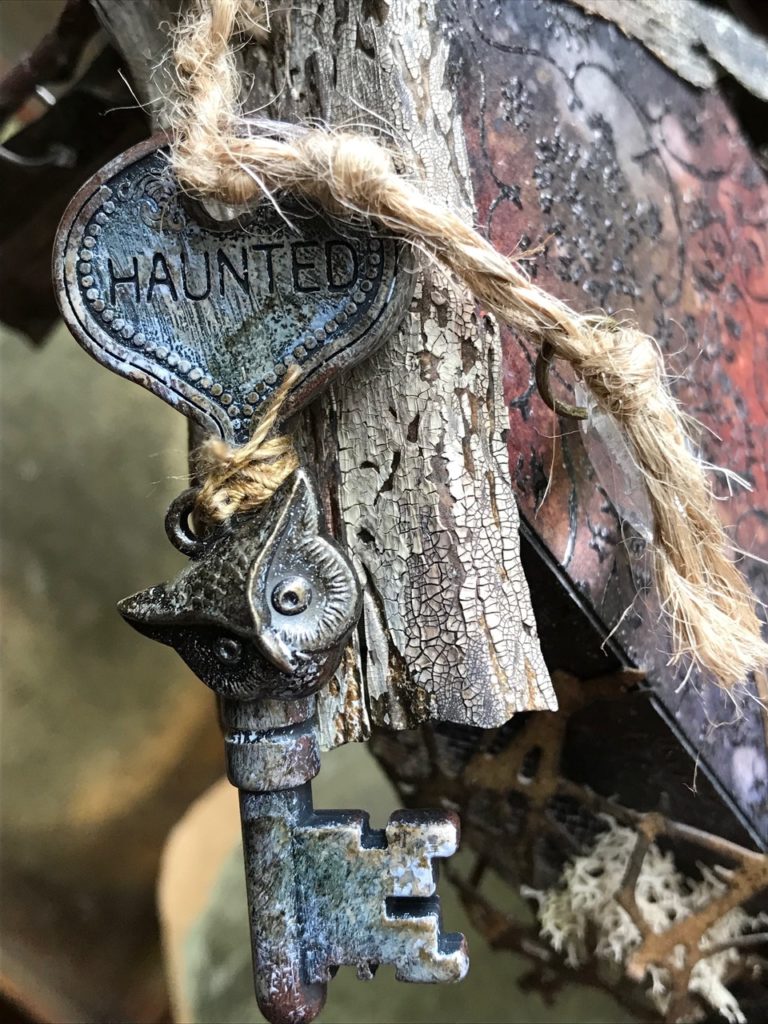
I then added a piece of jute for the tie on top and tied on a Halloween Key, Owl charm and an old gem. The key and owl were both distressed with Picket Fence Distress Paint and a bit of Mushroom Alcohol Ink.


And here it is alongside of the other house.
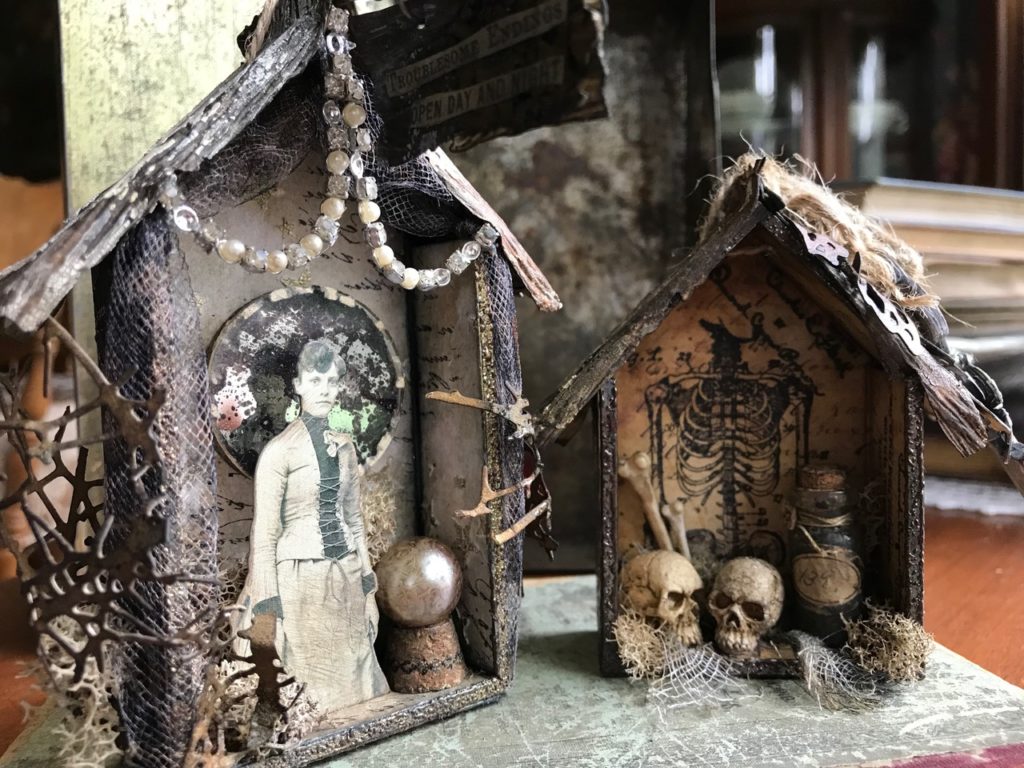

These ornaments have been a blast to make, now I just need to get busy and decorate my house!!



Thank you so much for stopping by today!! I hope you have a wonderful day!
Creatively Yours,
Stacy
What is an affiliate program, and why should I click on the link and buy through you?..
When you shop via the affiliate link on this blog, I receive a small commission, from the affiliate provider (Simon Says Stamp), at no extra cost to you whatsoever. These commissions help me to cover hosting fees and other costs to run my blog and be able to provide you with FREE inspiration. If you shop the links, THANK YOU! I truly appreciate being able to share my love of creating with you.
GATHER YOUR SUPPLIES –
Tim Holtz/Stampers Anonymous- Falling Stars Layering Stencil (THS 115), Ornate & Lace (CMS348), Reflections (CMS111), Ornate Trimmings (CMS326)
Tim Holtz/Ranger- Black Soot Archival Ink, Embossing Dauber, Clear Embossing Powder, Mushroom Alcohol Ink, Sanding Grip,
Distress Paint- Picket Fence
Distress Ink- Gathered Twigs, Black Soot, Walnut Stain plus a variety of colors
Distress Tools/Mediums- Distress Sprayer, Media Mat, Heat it Heat tool, Blending Tools, Watercolor Paper
Tim Holtz/Sizzix- Tangled Twigs, Planks Bigz Die, Vagabond 2
Tim Holtz/Idea-ology- Halloween Paper Dolls, Halloween Word Keys, Corked Vials, Halloween Adornments, Baubles, Halloween Clippings, Jump Rings, Wood Slices
Emerald Creek- Burnt Copper Leaves Embossing Powder
Other- Tulle, String, Dried Moss, Jute, Cork, Vintage Necklace, Mirror
Gypsy Soul Laser Cuts- Mini House Shadowbox


Just love the details, as usual. Such a wonderful piece!
Wow I cannot belueve all the detail of this. So gorgeous ♡♡♡
Home run hit out of the park! This is so fabulous, and all of the details are so perfect to carry out your theme. Especially love the sign and swag…. Terrific!
Very cool and gorgeous piece. I really like your style and your choice of colours.
These are so cool!!!
Another masterpiece Stacy! Love it! You Halloween pieces have been spectacular, I am enjoying them immensely!
This is one of the nicest creations I’ve seen in a long time. Your photos are wonderful and show the attention to detail that makes this so outstanding.
It is difficult to know where to start with this Stacy, I could not pick out a favourite part, it is all so beautiful! I love the colour tones you achieved on the house, the netting and twig die look fabulous and I love the pearls and bling. The Fortune Teller with her crystal ball looks amazing, I love the way you did her alter ego in the mirror, that is so clever. This whole piece is hauntingly beautiful, I had to bookmark it so I can look at it again… and again…. lol ! Hugs, Anne xx
You are amazing! When I think you cannot possibly come up with another creative idea, you prove me wrong! Tim is lucky to have such a creative person on his team! Keep the ideas coming!
great project, my favorite thing is the wonderful way you decorated the house, it is really beautiful. Thank you also
for the complete directions.
Stacy, I’m always so inspired by your work! The detail and craftsmanship are over the top and your inventive techniques are wonderful! Thanks for always showing the steps. 🙂