Hello Friends and Happy Wednesday!!
I hope you are having a great day! I’m back with a short tutorial for you, highlighting a cool technique I was playing around with the other day while working with the new Tim Holtz Sizzix 3D Elegant Texture Fade and 3D Medallion.
Funny thing though, the start of this background started out in the garbage bin. I had used one of my favorite techniques where you stamp directly onto the the texture fade, spritz your watercolor paper with water and then run it through the Vagabond and dry it with a heat tool. I thought the stamped image came out a bit too fuzzy, so I tossed it into the garbage. You know how it is…we all have those days when you think way too much and things don’t go in the direction that you thought they would.
I left my studio and went off and did some other things, then came back the next day. I saw the background sitting on top of the trash can, pulled it out and began blending the background with some Distress inks and then decided to swipe the textured areas with my finger and a tiny bit of Black Soot Distress Paint.
The background turned out WAY better then I had expected and took on a look of marble. I was pleasantly surprised that my trash had turned into something that I will definitely be doing again…don’t you love it when that happens?!!!
So let’s get started…
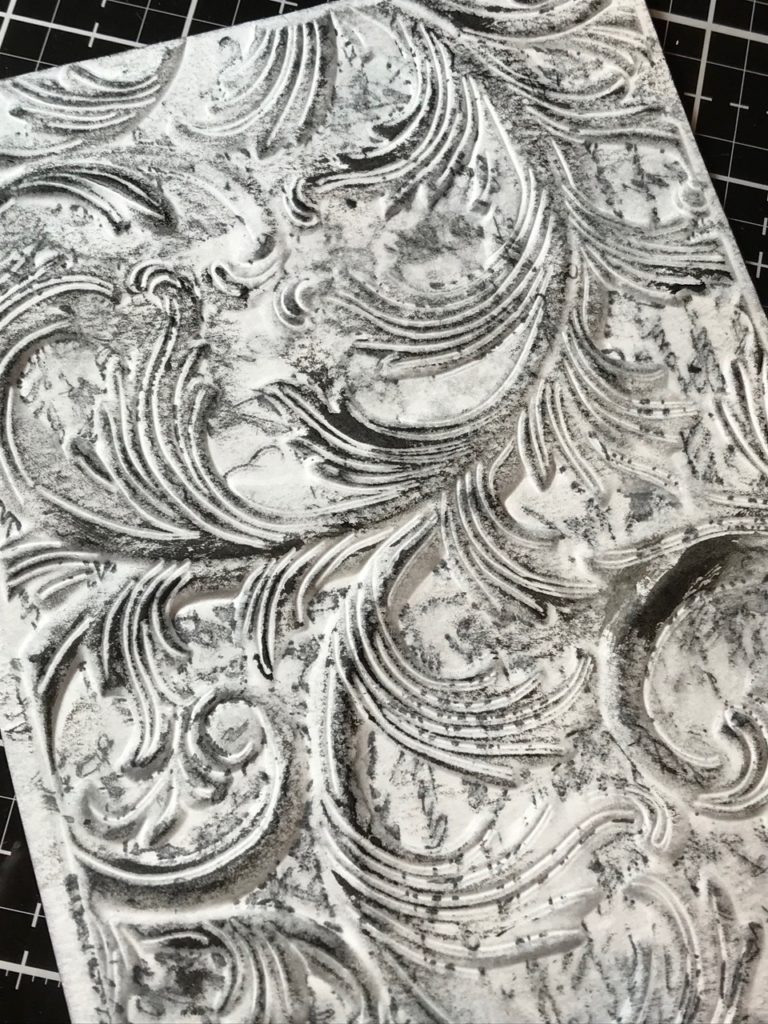
I started with a piece of Distress Watercolor Paper cut to a size that fit with in the Elegant 3D Texture Fade. I stamped randomly, one of the Ledger Script Background stamps with Black Soot Distress Ink onto the flat background of the texture fade. Spritzed the watercolor paper with a spritz of water and carefully laid the paper with in the folder. then I ran it through the Vagabond. I removed the paper and dried it with my heat tool. Then I tossed it into the trash, LOL, you should probably skip this step! 😉

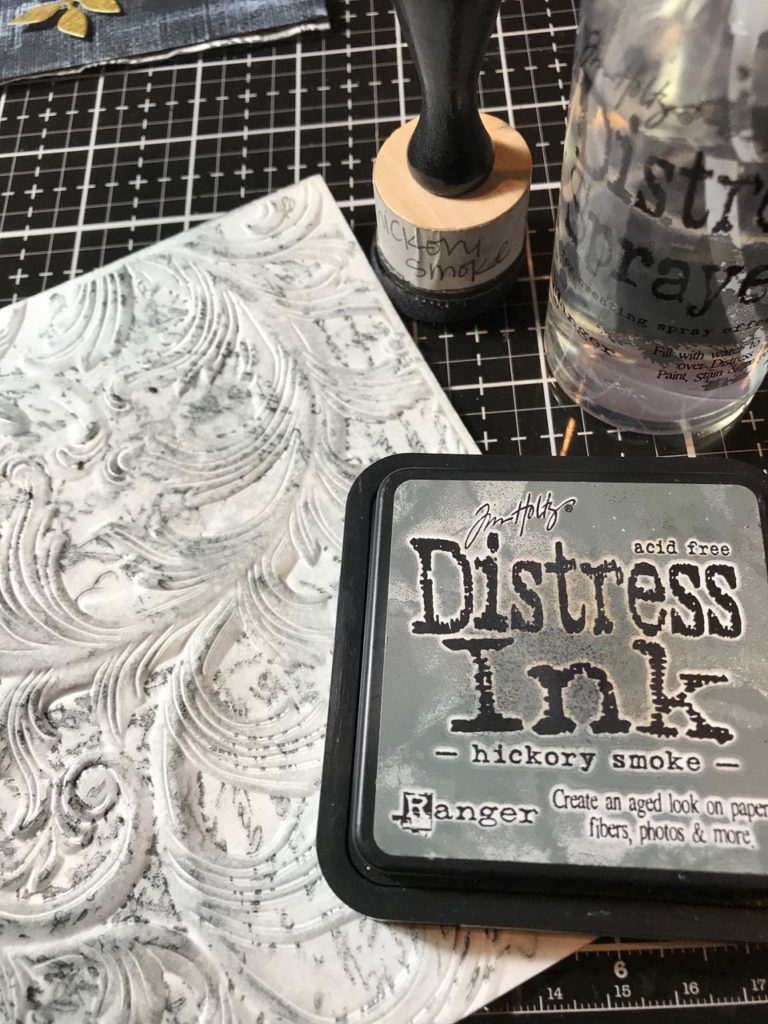
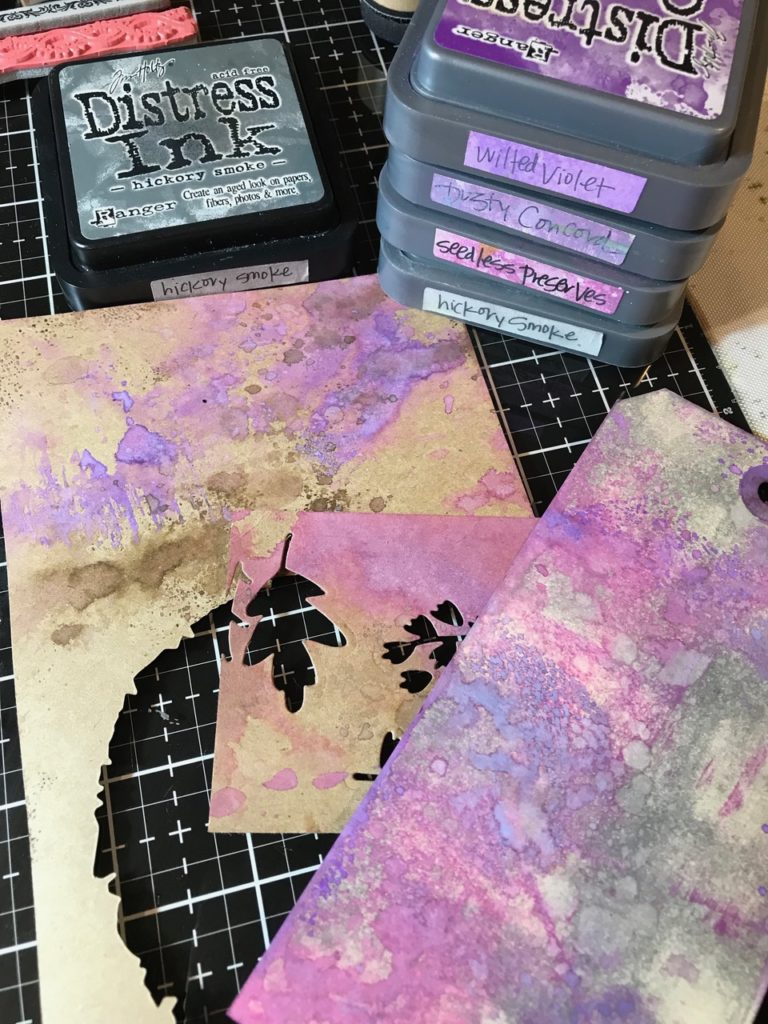
Then I blended the background with Hickory Smoke Distress Ink, spritzed it with water, dabbed up some of the drips with a towel, and dried it with my heat tool. I also blended the paper with some Hickory Smoke Distress Oxide Ink and spritzed, dabbed and dried the paper again.
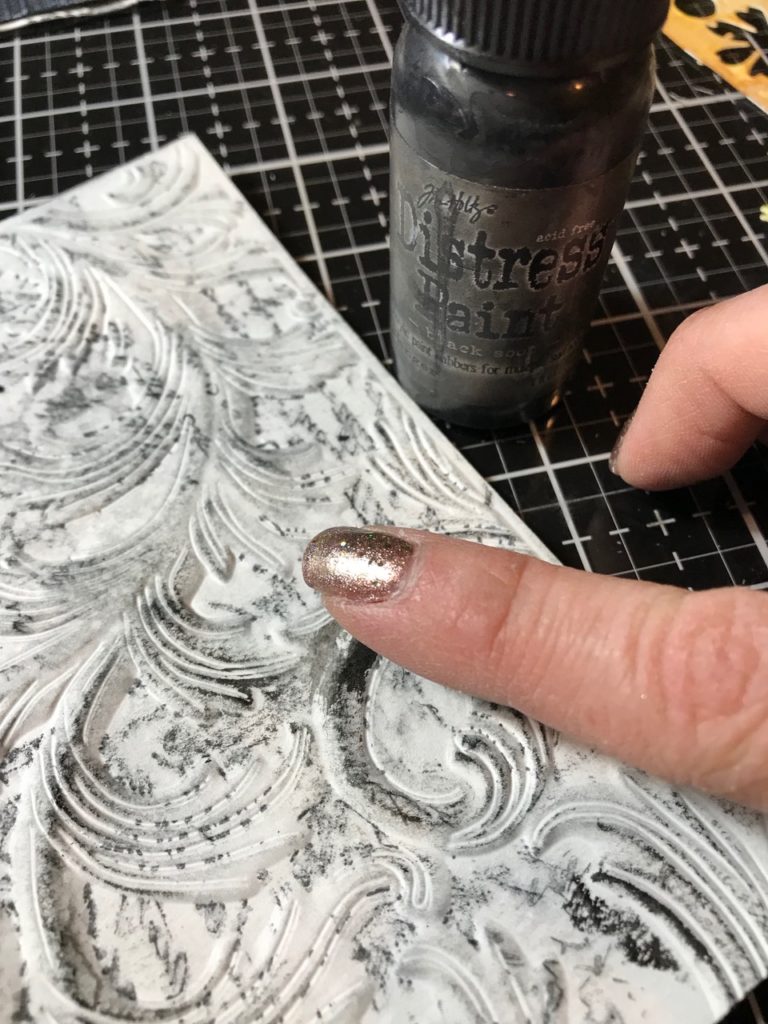
I lightly blended the 3D embossed areas with Black Soot Distress Paint and my finger. This step only takes a small amount of paint…and be sure to do it with a light touch, I’m just skimming the top of the embossed pattern.
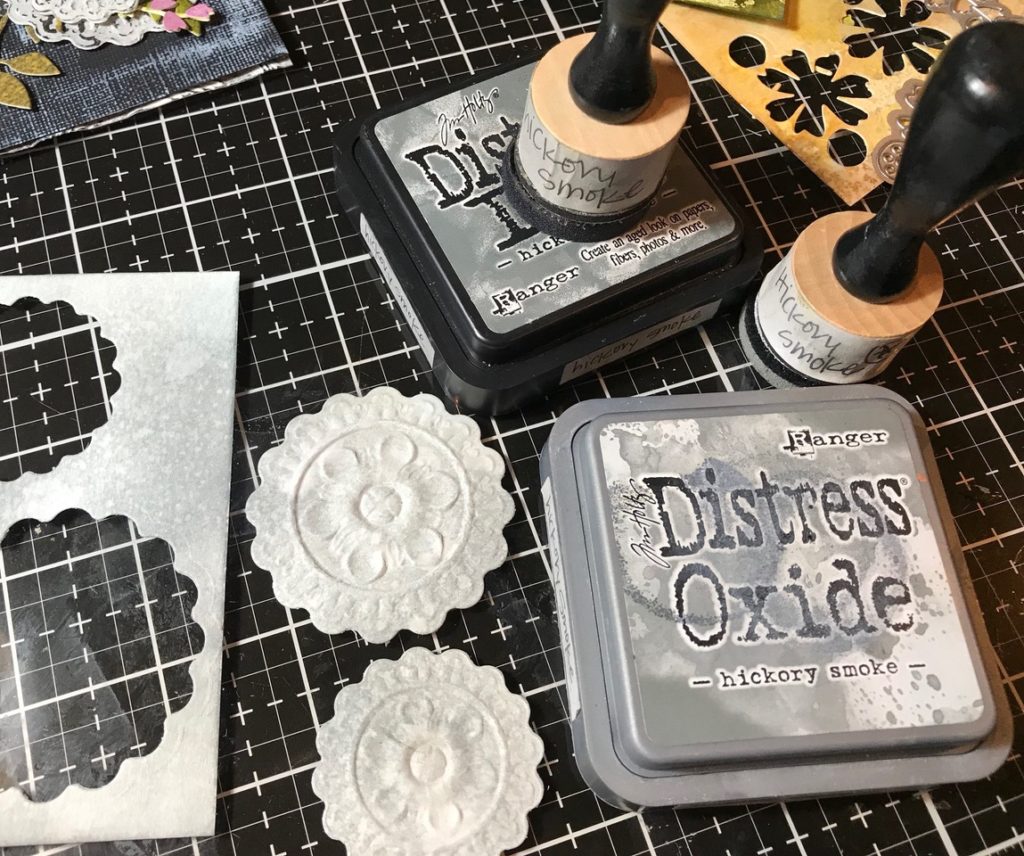
I then sat my background aside and created a background for the 3D Medallions to be cut from. I blended a scrap piece of watercolor paper with Hickory Smoke Distress and Oxide inks, spritzed the paper with water, dabbed with a towel and dried with a heat tool.
I spritzed the back of the watercolor paper with a light mist of water and inserted the paper within the 3D folder and cut out a pair of medallions.
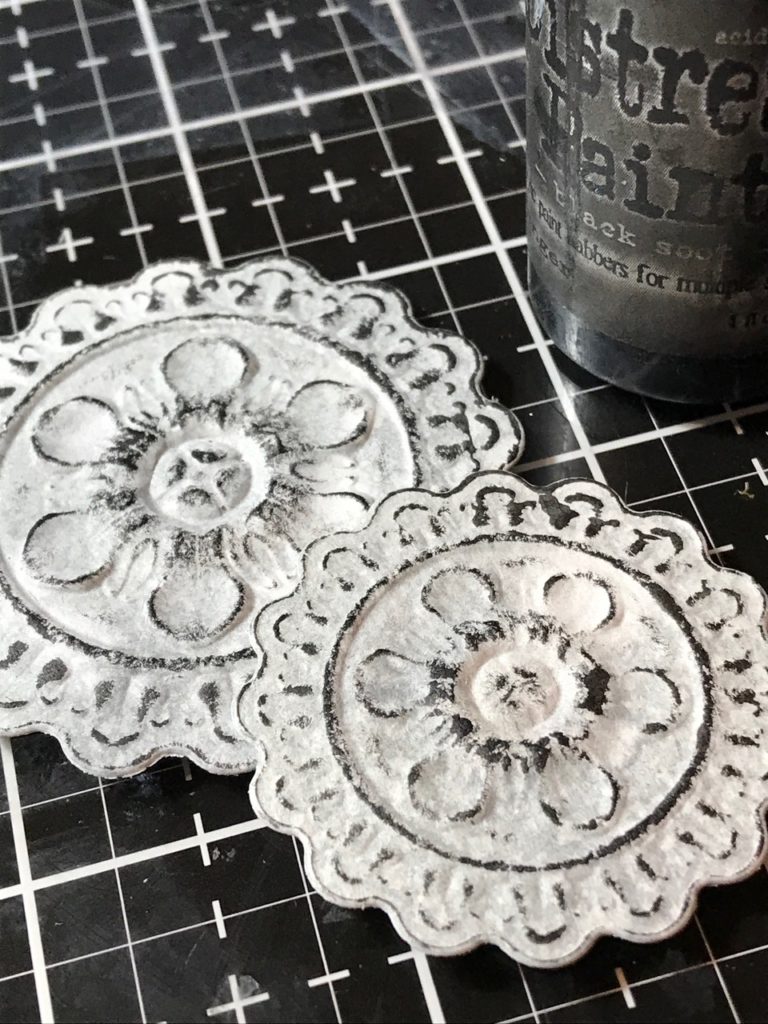
I repeated the Black Soot Distress Paint and finger blending technique and dried the medallions with my heat tool.
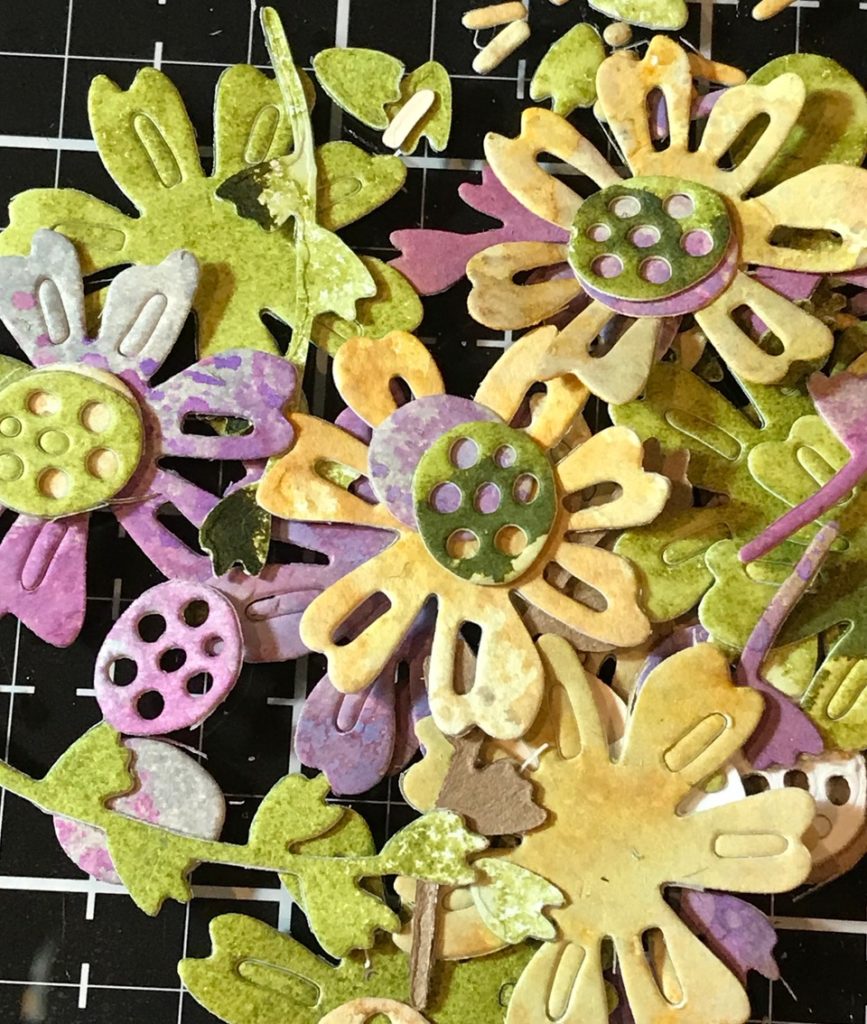
I went digging through my scrap box and found a variety of distress inked backgrounds for cutting flowers and greens from the Funky Foliage and Garden Greens thinlet die sets.
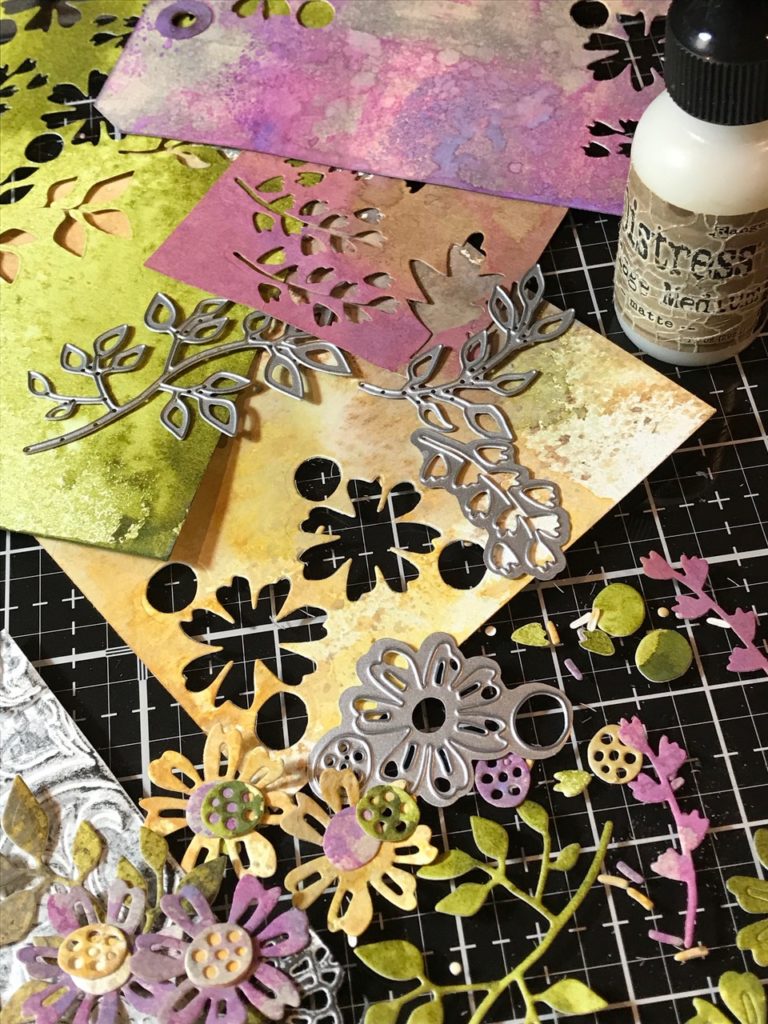
I discovered that I didn’t have enough of a purple background for the flowers, so I created one by blending and smooshing inks onto a Distress Mixed Media Tag. I used a combo of Distress Inks which included Hickory Smoke Distress Ink, Wilted Violet, Dusty Concord, Seedless Preserves and Hickory Smoke Oxide Inks.
YUM, look at all those lovely flowers, several to use for this project and some to keep for others in the future!!!
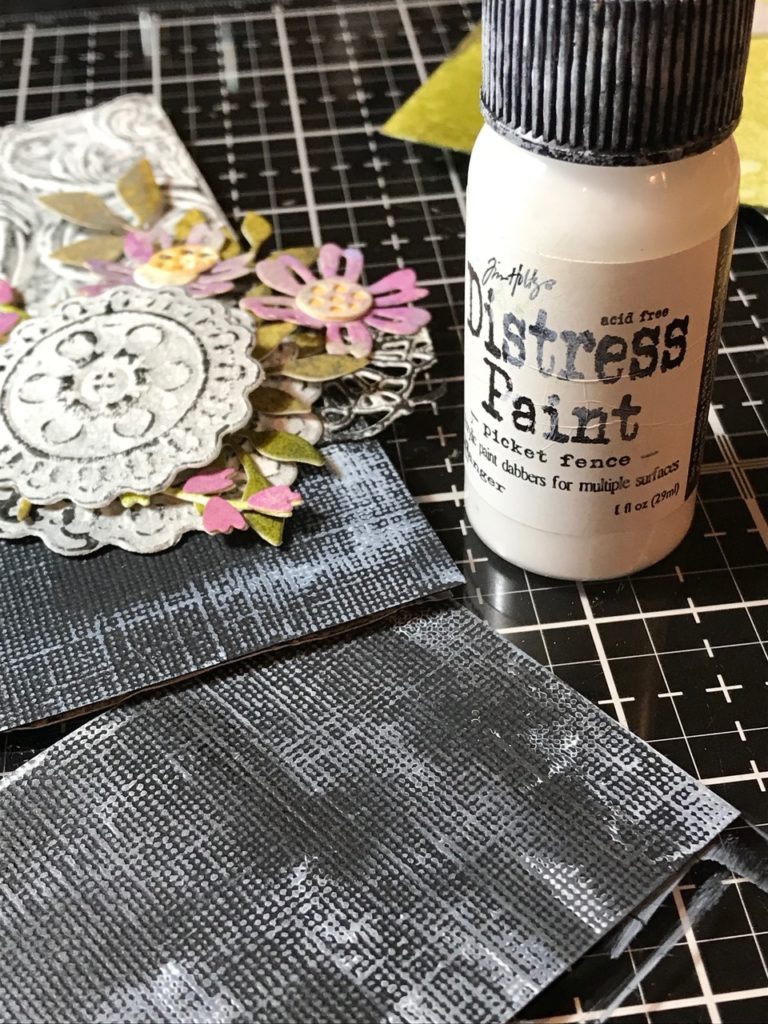
I cut a piece of black textured cardstock for the bottom of the card front.
With my finger, and Picket Fence Distress Paint, I lightly blended paint onto the paper.
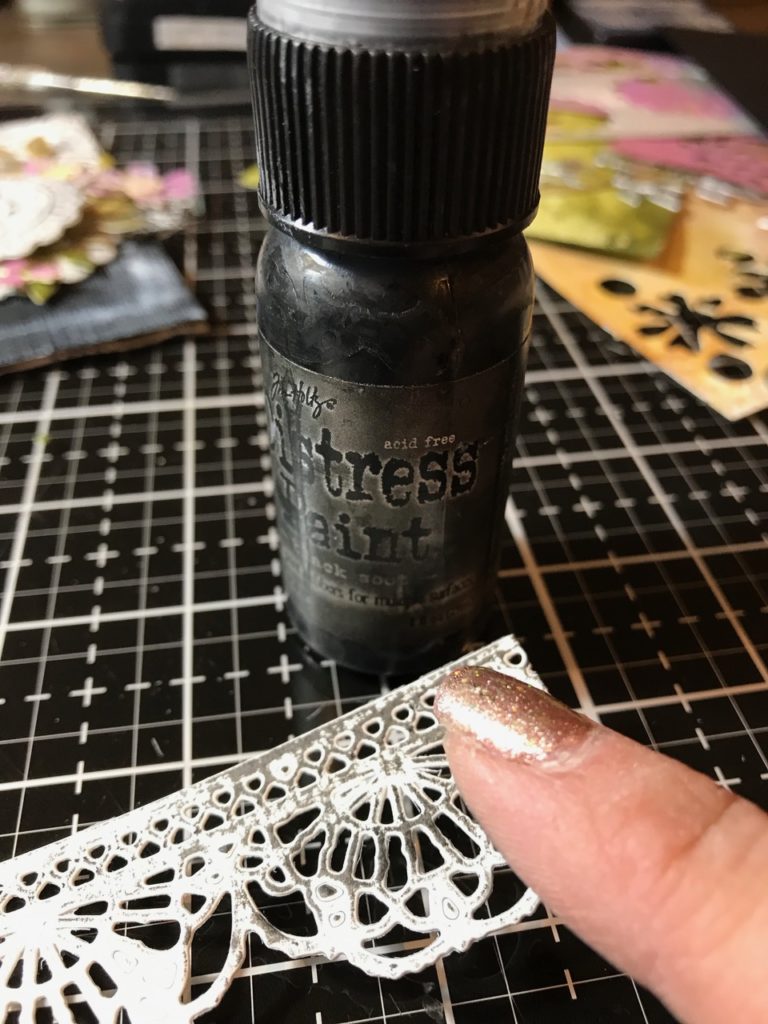
I cut a piece of Crochet trim out of Distress Watercolor paper.
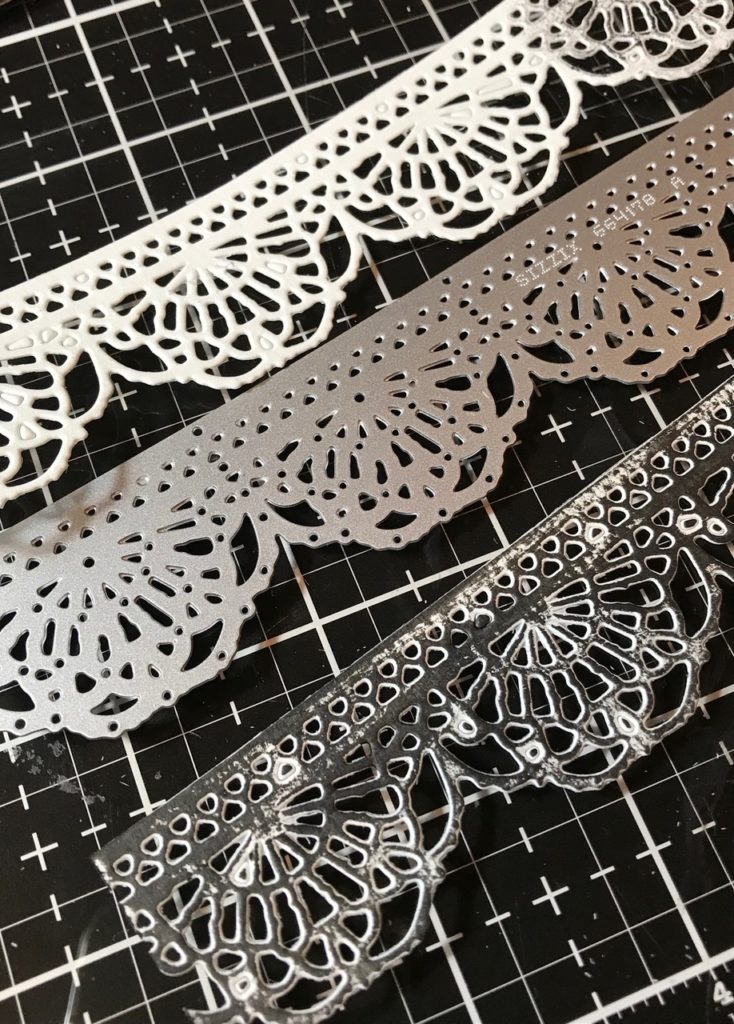
Then blended a bit of Black Soot Distress Paint over top of the trim with my finger.
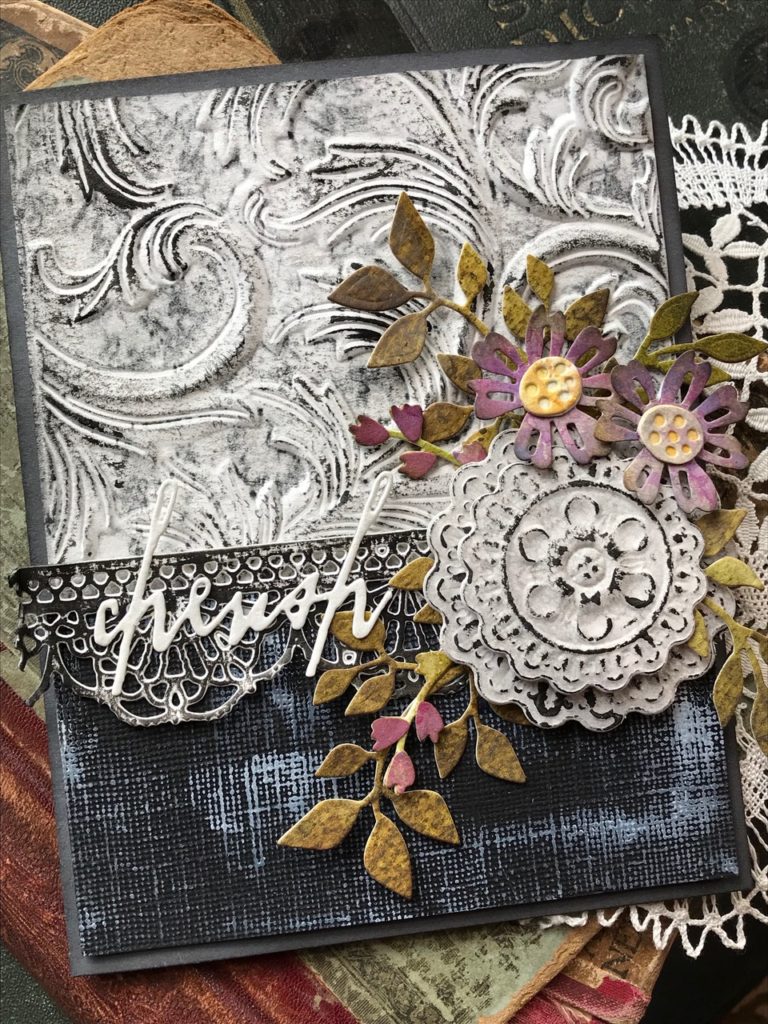
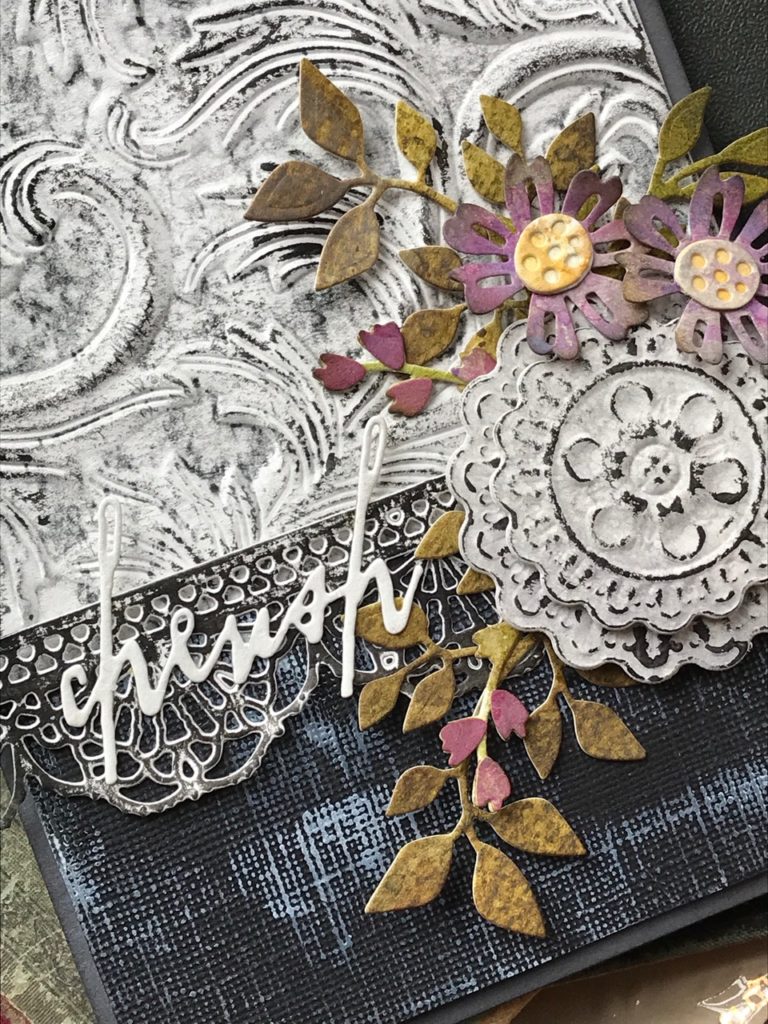
I began arranging my card, and added the word “cherish” that had been cut from watercolor paper. With that, my card was complete.

Thanks so much for stopping by today… I’m off on an inspiration adventure tomorrow as I’m heading to watch Tim Holtz demo up at the Great Lakes Mega Meet!!
I plan on coming home with a head full of ideas to share, see you soon!
Creatively yours,
Stacy
What is an affiliate program, and why should I click on the link and buy through you?..
When you shop via the affiliate link on this blog, I receive a small commission, from the affiliate provider (Simon Says Stamp), at no extra cost to you whatsoever. These commissions help me to cover hosting fees and other costs to run my blog and be able to provide you with FREE inspiration. If you shop the links, THANK YOU! I truly appreciate being able to share my love of creating with you.
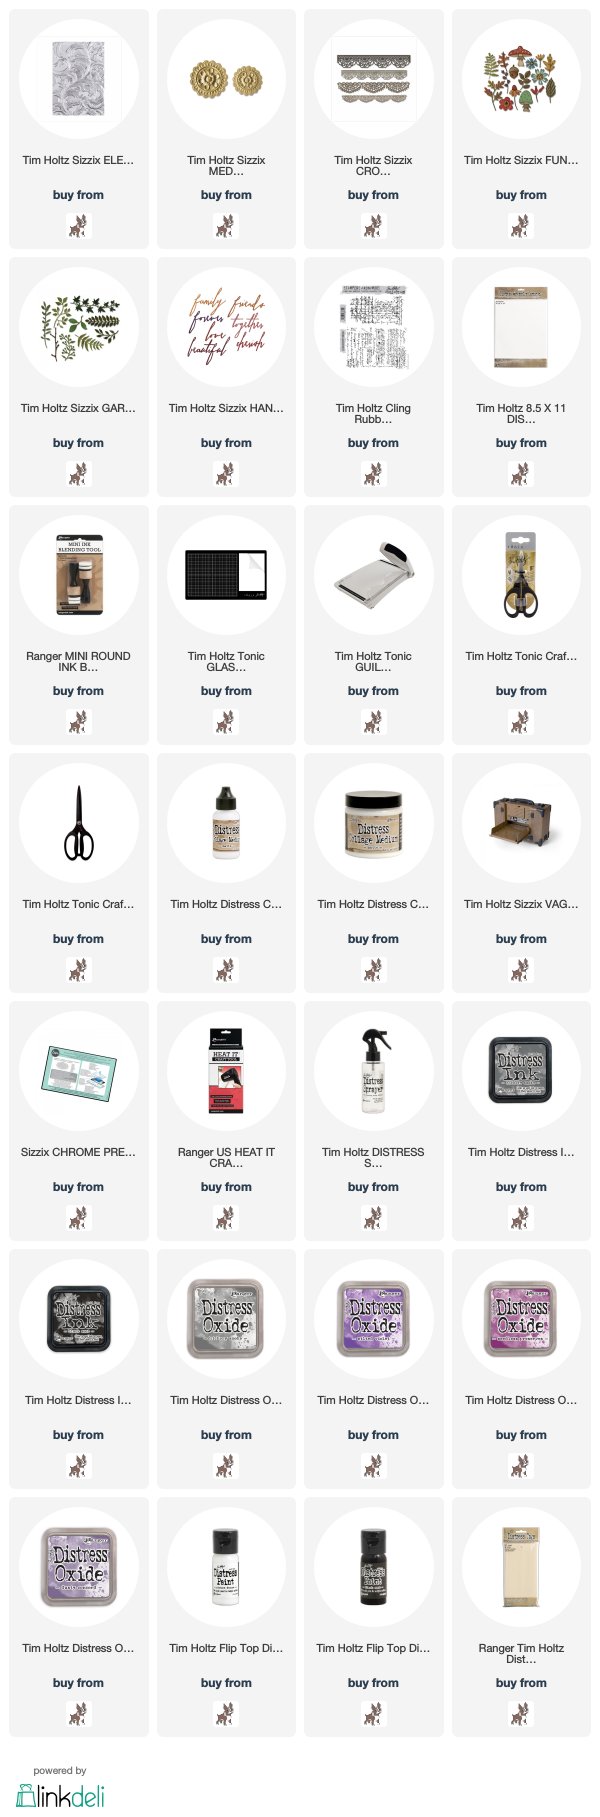
Gather Your Supplies-
Tim Holtz/Stampers Anonymous- Ledger Script (CMS241)
Tim Holtz/Sizzix- Elegant 3D Texture Fade, 3D Medallion, Crochet, Funky Foliage, Garden Greens, Handwritten Love
Tim Holtz/Tonic- Tonic Guillotine Paper Trimmer, Tonic Shears
Tim Holtz/Ranger- Distress Watercolor Paper, Mixed Media #8 Tags,
Distress Ink- Hickory Smoke, Black Soot
Distress Oxide- Hickory Smoke, Wilted Violet, Dusty Concord, Seedless Preserves
Distress Paint- Black Soot, Picket Fence
Distress Tools/Mediums- Distress Sprayer, Media Mat, Heat it Heat Tool, Blending Tools, Distress Collage Matte Medium
Other- Black Textured Cardstock


I am an over-thinker, have an exact idea of what something should look like and when it is not–out of here! LOL I need to learn to at least keep it for the scrap box, there is not much in mine…all used up. I love that it all came together in the end…and the Black Soot finger painting over the top…WOW! Great effect!. Hey, I found a Botany Book online and got it yesterday…ready to start whenever the rain stops…it is so humid that it will take forever for anything to dry and it is so dark and gloomy with the rain and storms…rain, flood watches, tornado warnings, oh yes Spring is here…might snow tomorrow morning…at least it will be brighter…LOL
This is absolutely DIVINE my friend. All the feels for this one ♡♡♡♡
Really a great piece and I’m so glad you got it back out of the garbage. Simply stunning now. Love this card. I only have the Snowflake 3D folder, must pick up this one. Looks great and thank you for the tutorial Stacy. Have a lovely Wednesday.
Your processes are always inspiring to read and view! Adore this creation!
Beautifully elegant! Looking forward to hear what ‘the Professor’ has to share. Jillian
Love the 3-D Elegant embossed background as well as the Medallion technique. So keen to try this technique now. Time for a craft room visit!! Thank you for the inspiration.
Stacy, I love the simplicity of only a couple of colored elements with black and white! And handwritten words are one of my favorite dies. This is very charming. Thanks for the tutorial and inspiration.
Beautiful card, Stacy! I love the look of that “marble” paper! Will have to go try this!
Another awesome make. Thanks for sharing the process with us.
The bin? No way! Love that you embossed on watercolor! Gorgeous combos too!!!
What an amazing save, Stacy! I loved seeing how this came together, and got a good laugh out of your first step. And I’m loving the outcome even more! Now you have me itching to go play! Thank you for your inspiration and step by step! Hugs!
Very cool, good thing you took a look in your trash because this turned out terrific!