Hello again…
I hope that you are doing well, staying busy making things, taking care of yourself and your family and staying healthy. I’ve been really trying to keep myself busy in my studio since we’ve been given all sorts of bonus time to stay at home. I really think that’s the way we should be looking at it. Although, I know it’s hard with everything in the news and social media, believe me, my anxiety level has hit an all time high… but escaping into a hobby and choosing to be happy is the way to go.
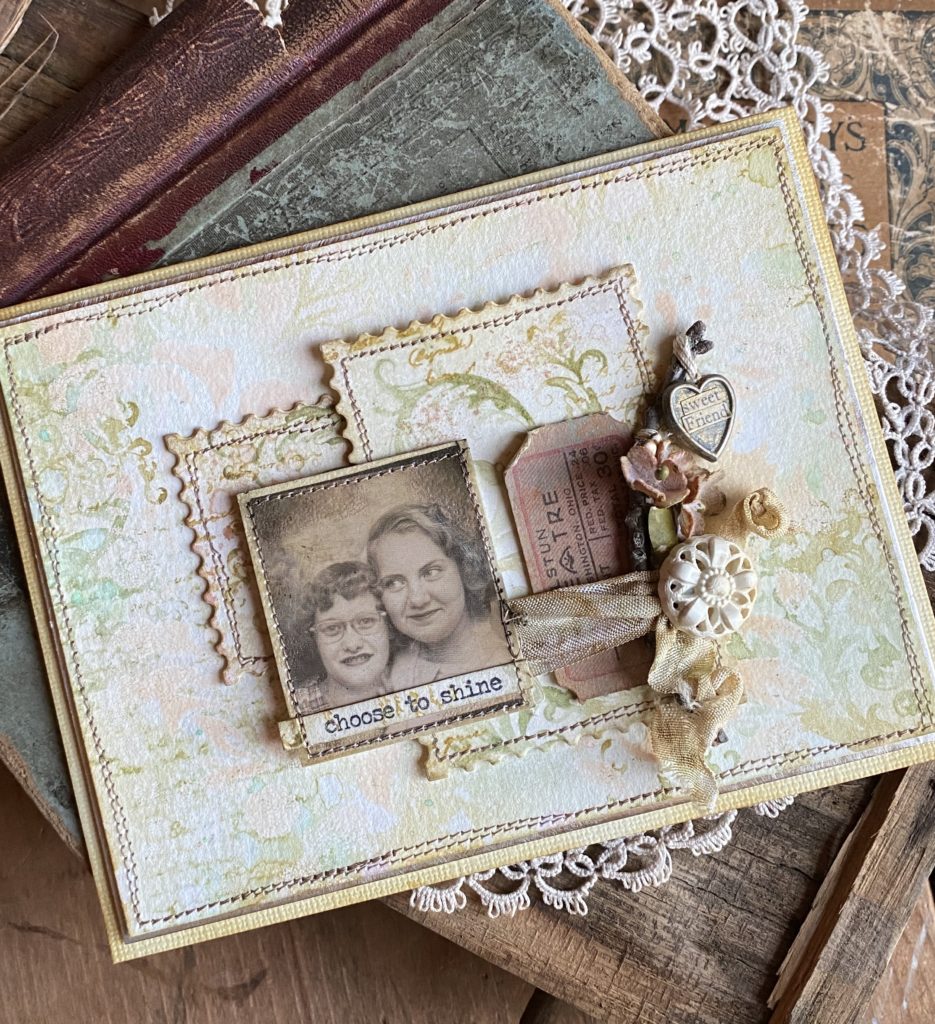
Today I have a short tutorial for a card that I created for the Stampers Anonymous booth at creativation in January, which with everything going on, seems so long ago. This card uses the new Baroque Stamp Set (CMS400) and the new Bouquet Layering Stencil (CMS143), they worked perfectly together to create a very vintage, dainty and feminine background. Plus, my creations always seem to need a little typography in the background of some sort, so I used the tiny script background stamp found in the Entomology Stamp set (CMS328).. it’s just one of my things.

So, let’s begin…
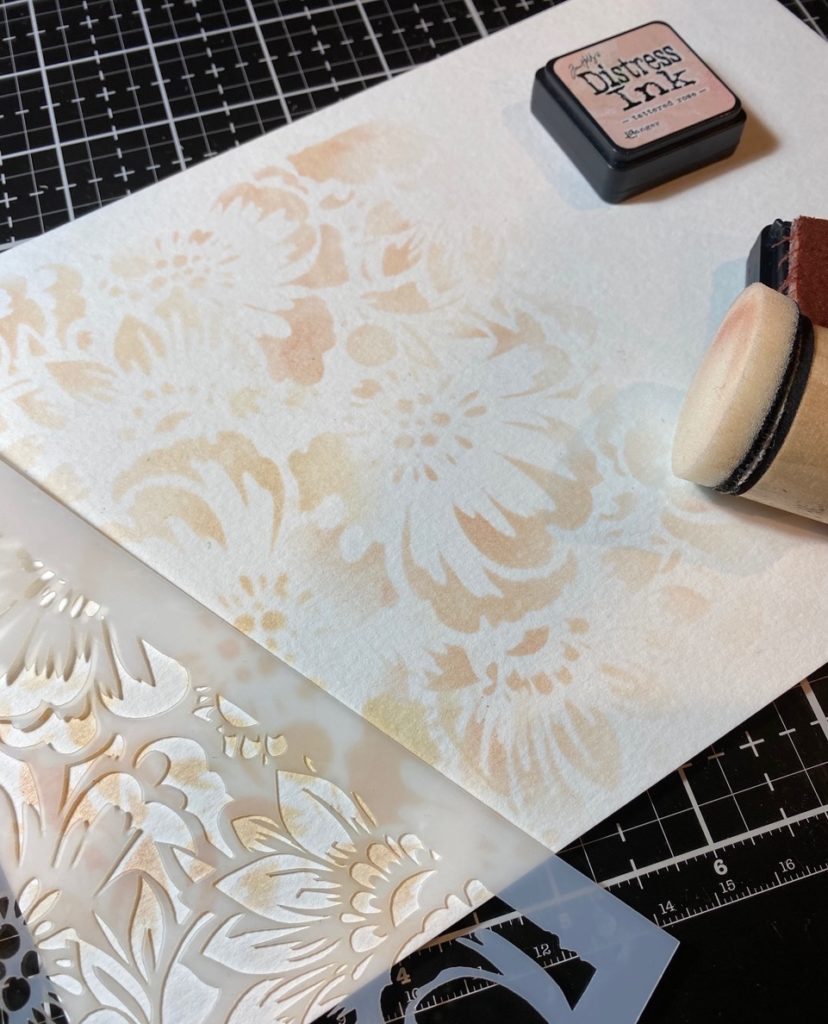
I started out with a piece of Distress Watercolor paper. With a blending tool and the Bouquet Layering Stencil, I blended Tattered Rose Distress Ink through the stencil. Although not pictured, I sprinkled the area with Tattered Rose Embossing Glaze and then heat set it with my heat tool, until the ink was embossed.

Next, I pounced the Bundled Sage and Brushed Corduroy Distress Ink pads onto the Baroque Stamp. Once the two colors of ink were on the stamp, I spritzed the stamp with a light mist of water and stamped the paper randomly. Then I dried the paper with my heat tool.
I stamped some areas of the paper with the script background stamp found in the Entomology Stamp set with Brushed Corduroy Distress Ink but before stamping, spritzed the stamp with water. Then dried it with my heat tool. By spritzing the stamp, it creates more of a watercolor effect and adds depth to the background instead of a stark print that a stamp sometimes can leave behind.
I then blended the paper using a blending tool and Bundled Sage Distress Ink.
I smooshed some Cracked Pistachio Distress Oxide ink onto a clear acrylic stamp block, spritzed the ink with some water to activate the oxide, and stamped some random dots of the ink onto the background. Then I dried it with my heat tool.
(The photo below shows the acrylic stamp block in the right corner with the smooshed and spritzed ink.)
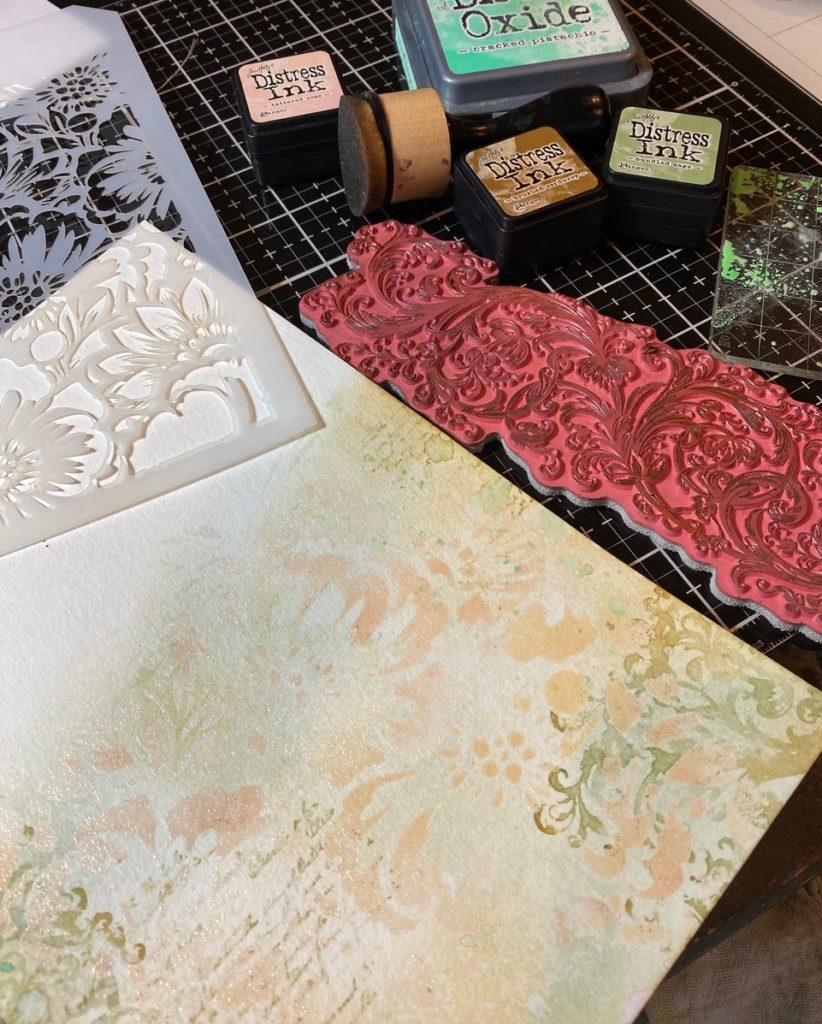

And here’s a photo of the completed background…see all those yummy bits of oxide drips? They just add a little more inky goodness!


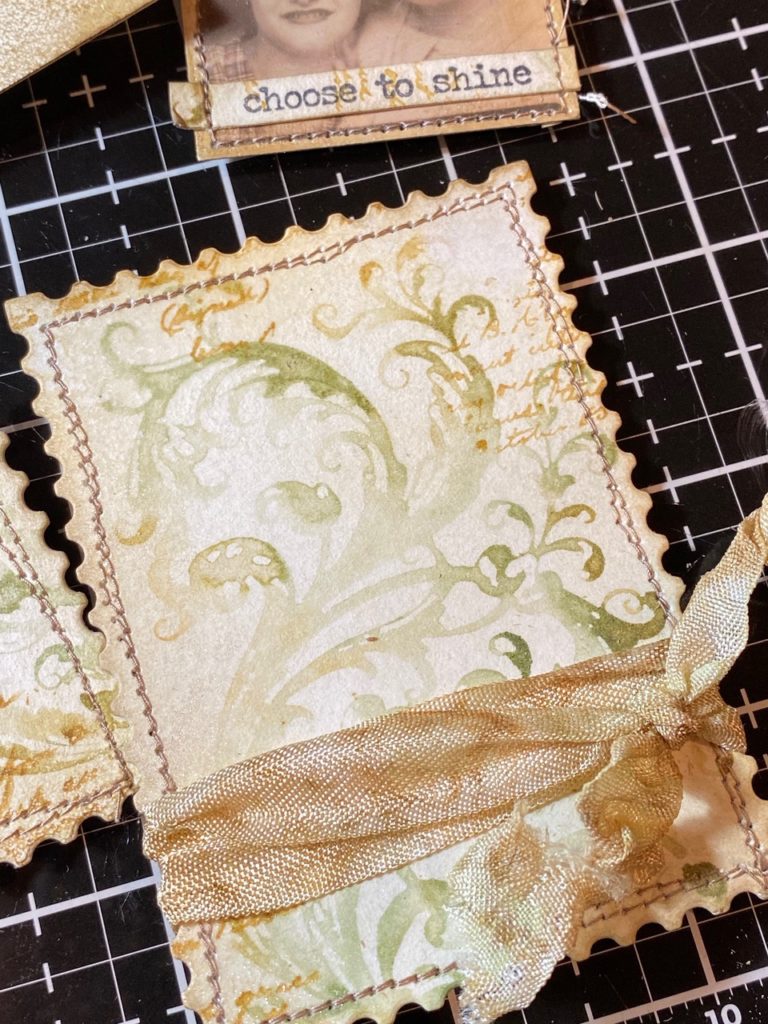
I did the same type of backgrounds to two pieces of watercolor scrap paper that had been cut using the Sizzix Stacked Postage Thinlet set. I stamped, blended and smooshed ink onto them and then blended the edges with Brushed Corduroy ink and messy stitched around the edges using my sewing machine and cream thread.

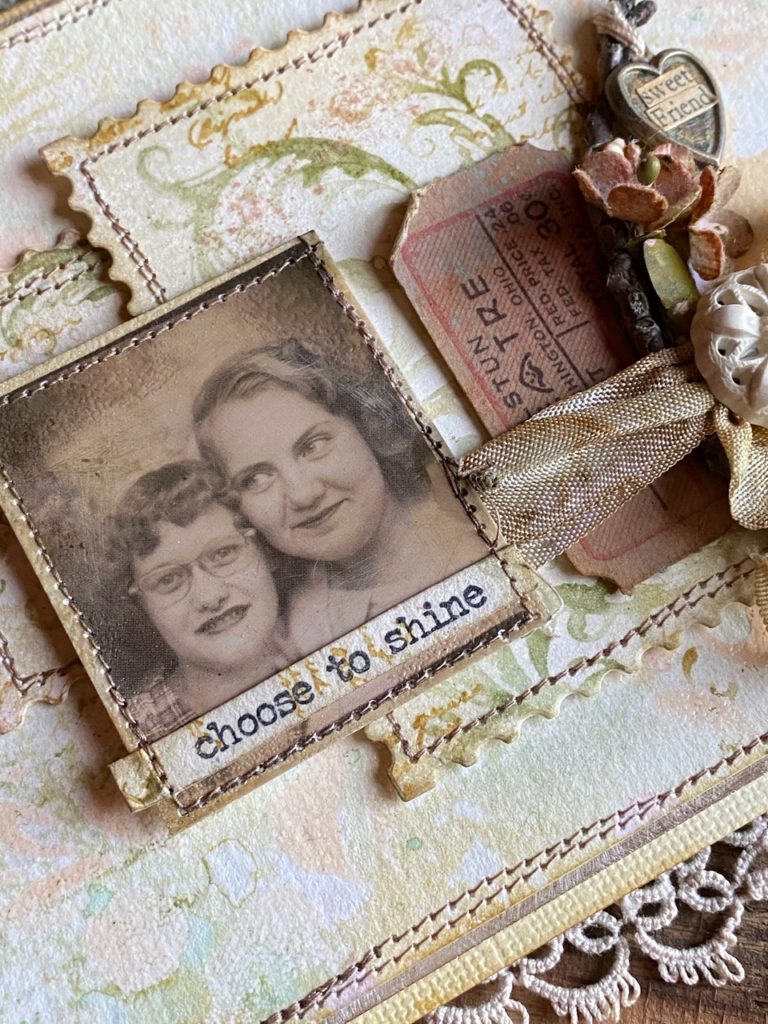
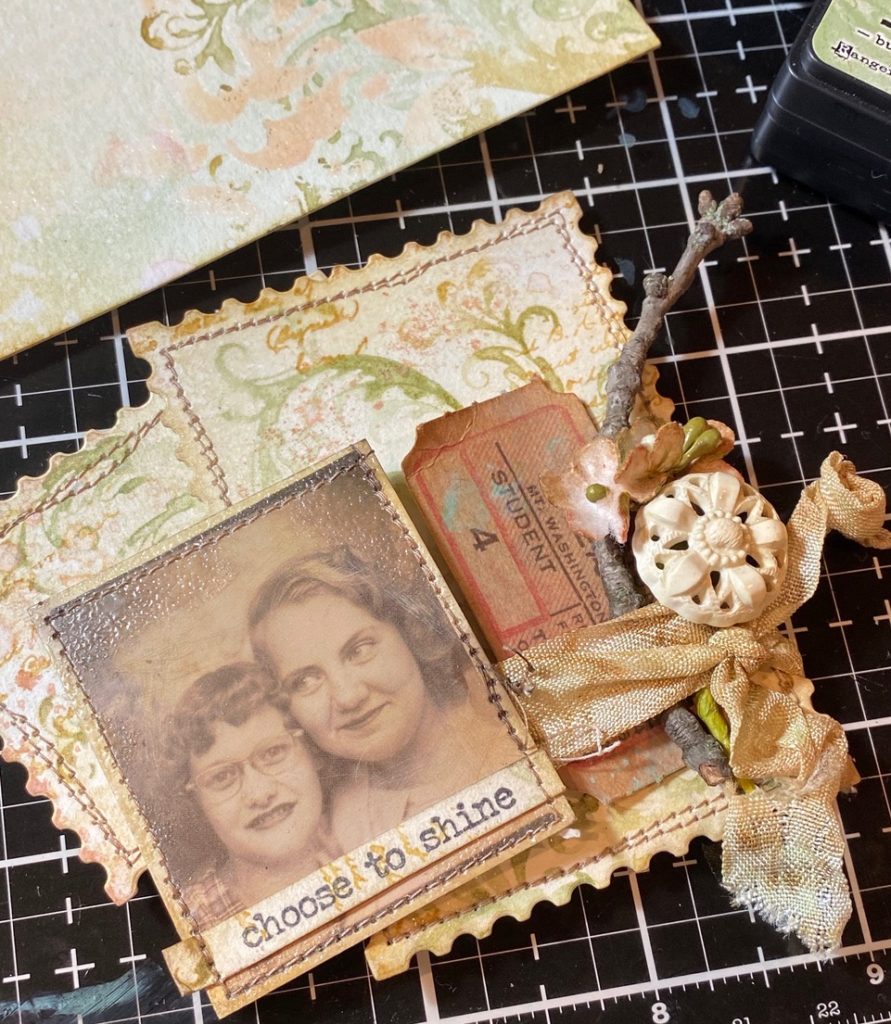
I selected a photo from the idea-ology photobooth pack and some little trinkets and bits to create a small collage.
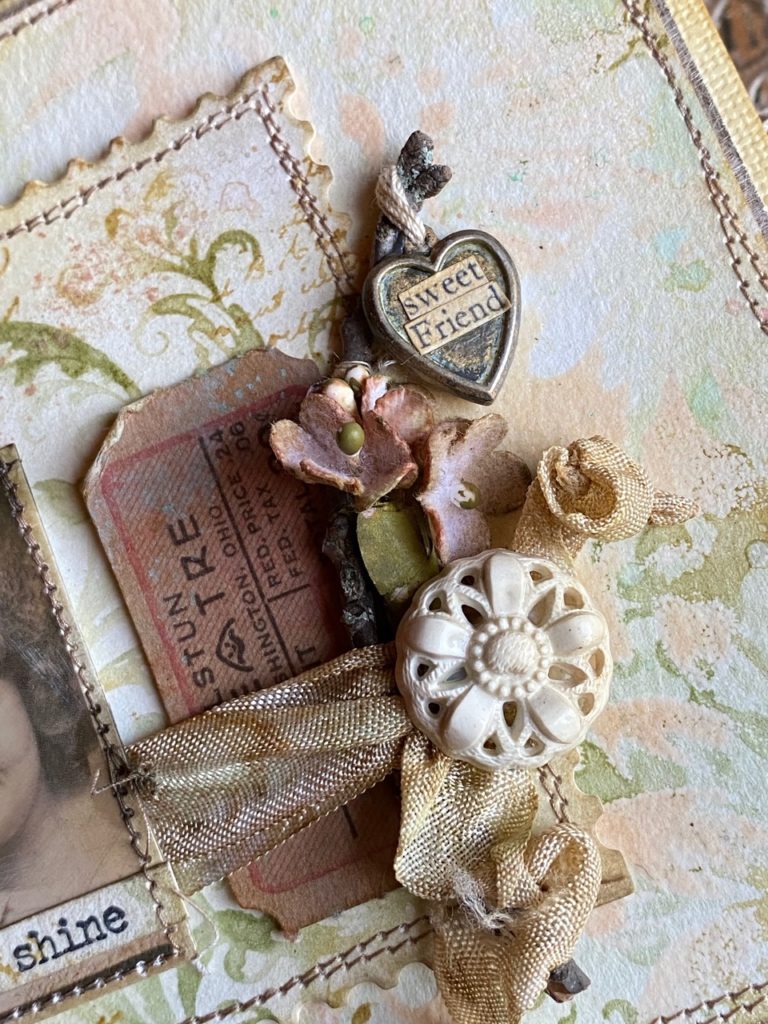
A twig, vintage button, idea-ology ticket (from the new ticket book) and small paper bouquet were stuffed behind a scrap of ribbon and then tied around the largest postage rectangle. Once the items were adhered in place, I wound a piece of string around the twig and added a heart charm. The “sweet friend” phrase was found in an idea-ology Sticker Clippings pack and adhered with some collage medium.

The adorable photo fit the theme of my card perfectly and was distressed by sanding, blending with some ink and embossed with Antique Linen Distress Glaze. Once the glaze was cooled down, I sanded the photo a little bit again and blended the photo with Walnut Stain and Pumice Stone Distress Inks.
I stamped “choose to shine” onto a scrap of paper, then stitched it onto the photo and added some more stitching around the edge.

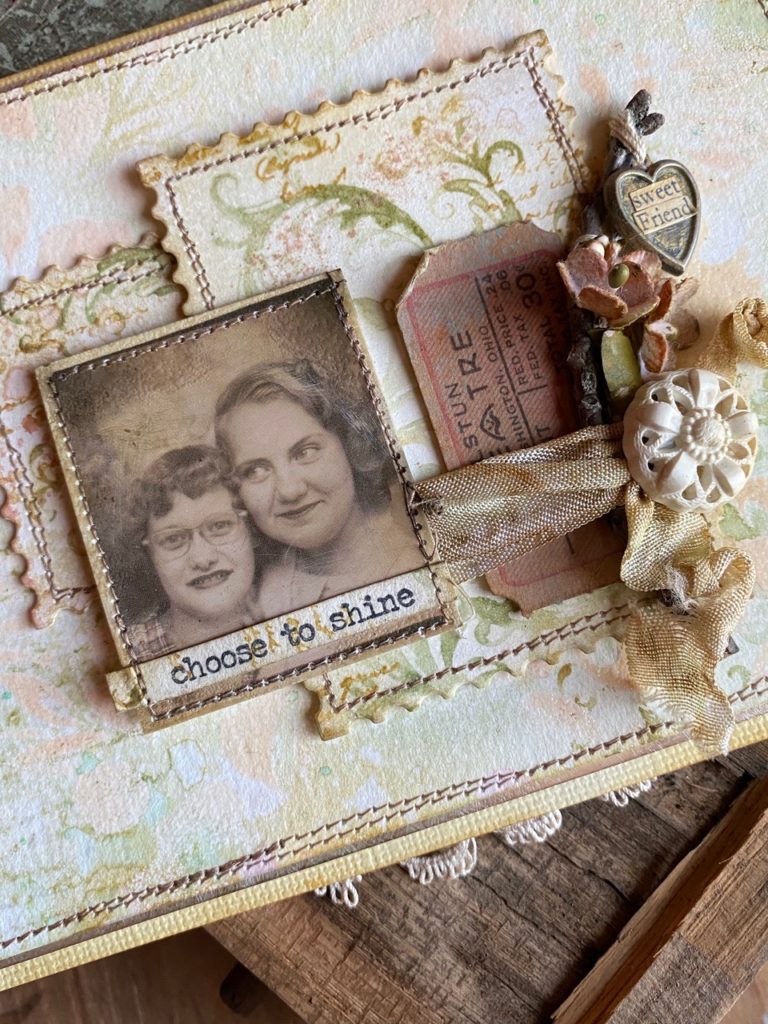
I layered all the pieces to the card background using foam dots and collage medium and with that, my card was complete.



Thanks so much for stopping by today, see you soon and take care!
Creatively yours,
What is an affiliate program, and why should I click on the link and buy through you?..
When you shop via the affiliate link on this blog, I receive a small commission, from the affiliate provider (Simon Says Stamp), at no extra cost to you whatsoever. These commissions help me to cover hosting fees and other costs to run my blog and be able to provide you with FREE inspiration. If you shop the links, THANK YOU! I truly appreciate being able to share my love of creating with you.
Gather Your Supplies-
Tim Holtz/Stampers Anonymous- Baroque CMS400, Entomology CMS328, Tiny Text CMS394, Bouquet Layering Stencil THS143
Tim Holtz/Sizzix- Stacked Postage
Tim Holtz/Tonic- Tonic Guillotine Paper Trimmer, Tonic Shears
Tim Holtz/Idea-ology- Ticket Book, Bouquet, Photobooth, Heart Charms, Metallic Paper Gold
Tim Holtz/Ranger- Distress Embossing Glaze- Antique Linen, Tattered Rose, Embossing Dauber, Distress Watercolor Paper
Distress Ink- Cracked Pistachio Oxide, Bundled Sage, Tattered Rose, Brushed Corduroy
Distress Tools/Mediums- Distress Sprayer, Media Mat, Heat it Heat Tool, Blending Tools, Distress Collage Matte Medium
Other- Sewing Machine and Thread, Vintage button, Stick, Ribbon


Stacy – thankyou for sharing your creativity – it is a highlight of my week! Your amazing backgrounds of multiple layers of ink are so sutle, this one so beautiful. I have learnt so much. Keep doing what you are doing!
I’ve come to expect beauty from you, and you never disappoint. I particularly like what happens to photos under your talent. The photos are wonderful anyway, but your magic takes them to another level. The stitching is always such a nice touch also. Thank you as always for presenting the details. I so look forward to your posts.
Yes, we have to look and find the silver lining in our lives right now, and choosing Happy is just another way to stay positive. I positively love your backgrounds and this one does not disappoint. The Distress Glazes are so amazing…added to just about anything….keep on keeping on…
Another beautiful creation!
The soft palette you chose really works. This is a great little project and I thank you for doing what you do, it kinda keep our part of the world “normal” as we can. Thx again Stacy, stay well and creative.
So beautiful!!!!
so sweet, love it!
Stacy, that background is magnificent; I don’t know how you do it every single time, but love them so much! Thanks for the inspiration and easy to follow tutorial! ❤️