Hello all… How’s about a little Christmas inspiration before I hop back over and finish Part 3 of my Witch’s Cauldron project? After all, it’s that crazy time of the year when all the holiday products are coming out. Isn’t it the BEST! It’s so EXCITING!
![]()
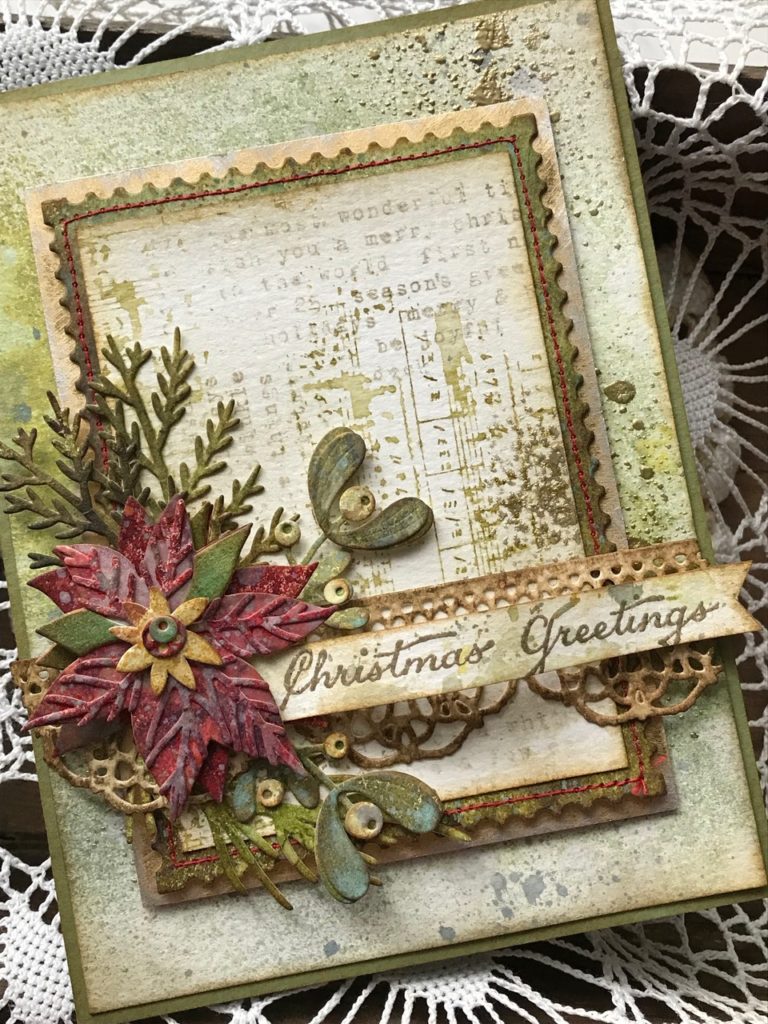
This is a very short tutorial for a Christmas card that I created using some of the new Sizzix Chapter 3 that were released a few weeks ago. The card was made using some of the leftover Distress Oxide background papers that I created for my Christmas tags and had shared in the tutorial entitled…you can check out that tutorial by clicking on the link below.
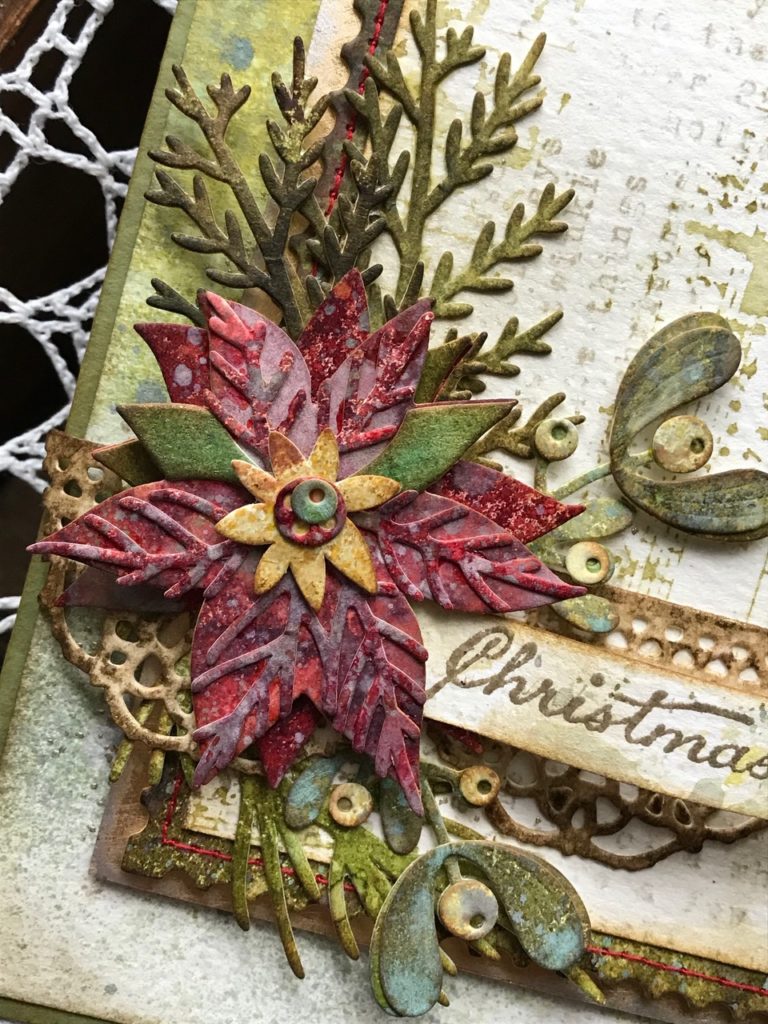
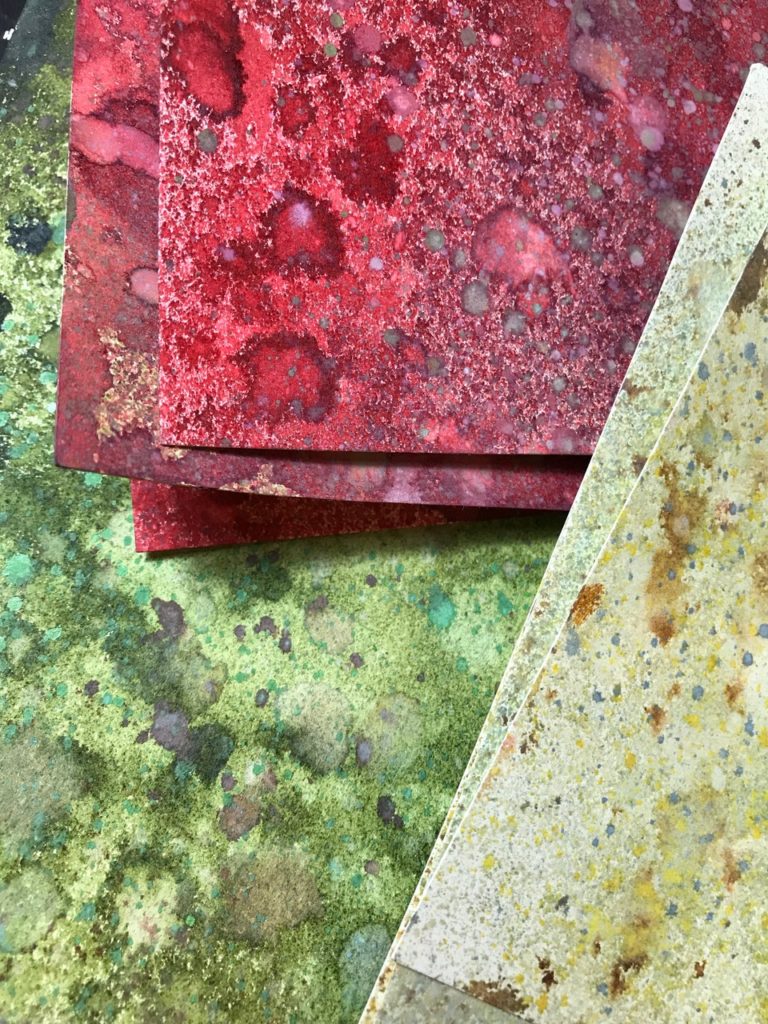
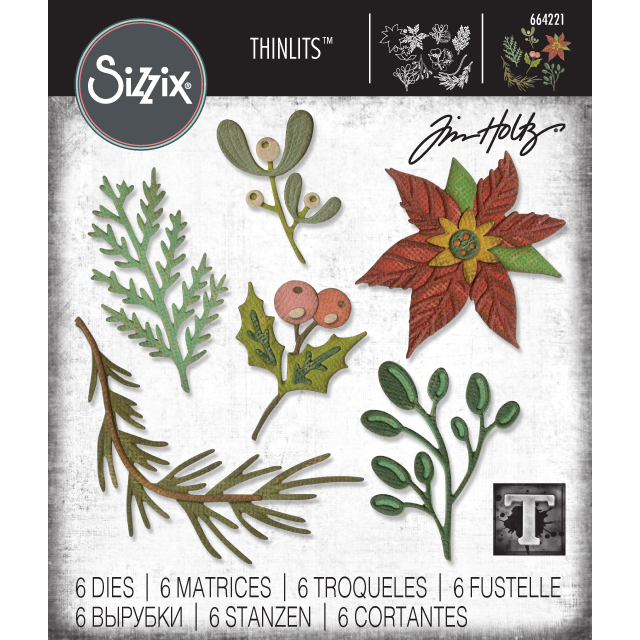
I made the background papers with Distress Sprays and Oxide Sprays then used them to cut out all the flowers from the new Large Funky Festive. The Large Funky Festive was definitely one of my favorites from the Chapter 3. I’m a sucker for any kind of flower dies and these are larger and perfect for cards.
…so many possibilities when it comes to distress sprays and dies.
You can pop over to that tutorial to see the steps to create the backgrounds…they are super fun and easy!
Today’s tutorial is just highlighting a couple steps that I used to create the card.
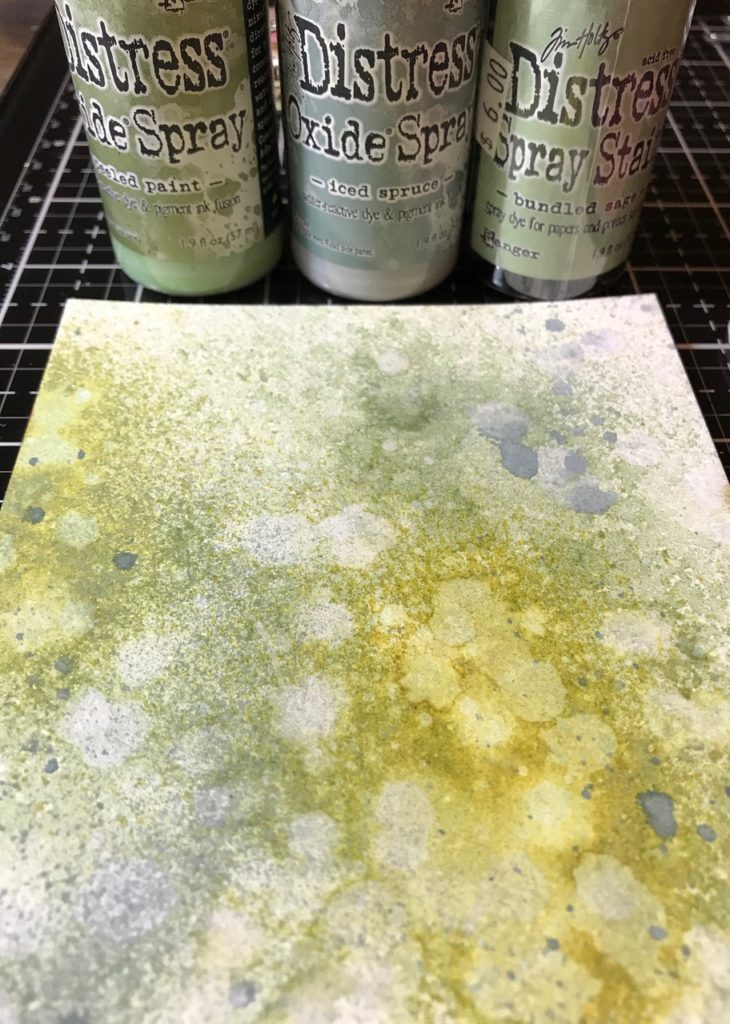
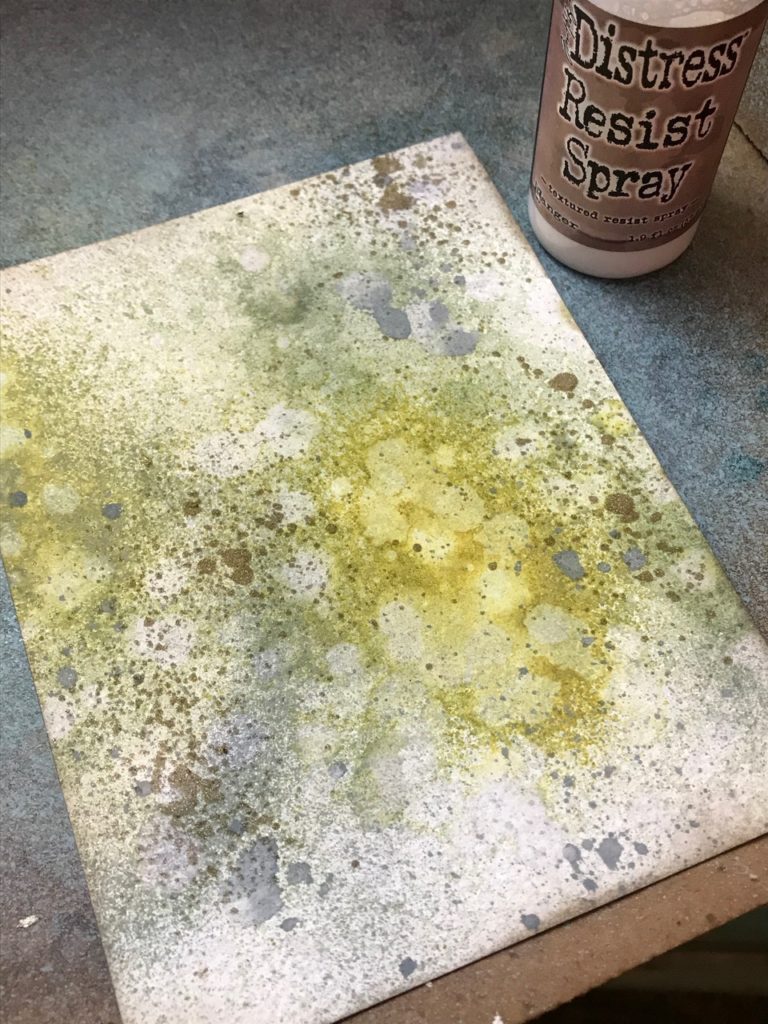
I created a background for the card by combining a few colors of Distress Spray and Oxide Sprays, (Bundled Sage, Peeled Paint Oxide Spray and Iced Spruce Oxide Spray) onto a damp piece of Distress Watercolor Paper, then dried it with my heat tool.
I spritzed the background with a couple sprays of Distress Resist Spray and sprinkled the drip with Gold Embossing Powder and set it aside to dry. When it was dry, I melted the embossing powder.
I cut a piece of my distress sprayed green backgrounds out with a larger size of the stacked postage thinlet.

I took another small piece of the Distress Watercolor Paper and randomly stamped some background stamps using Frayed Burlap and Pumice Stone Distress Ink (Stripes and Holiday CMS281 and Music and Adverts CMS358), then matted it onto the stacked postage piece, and stitched in red around the outside with my sewing machine.
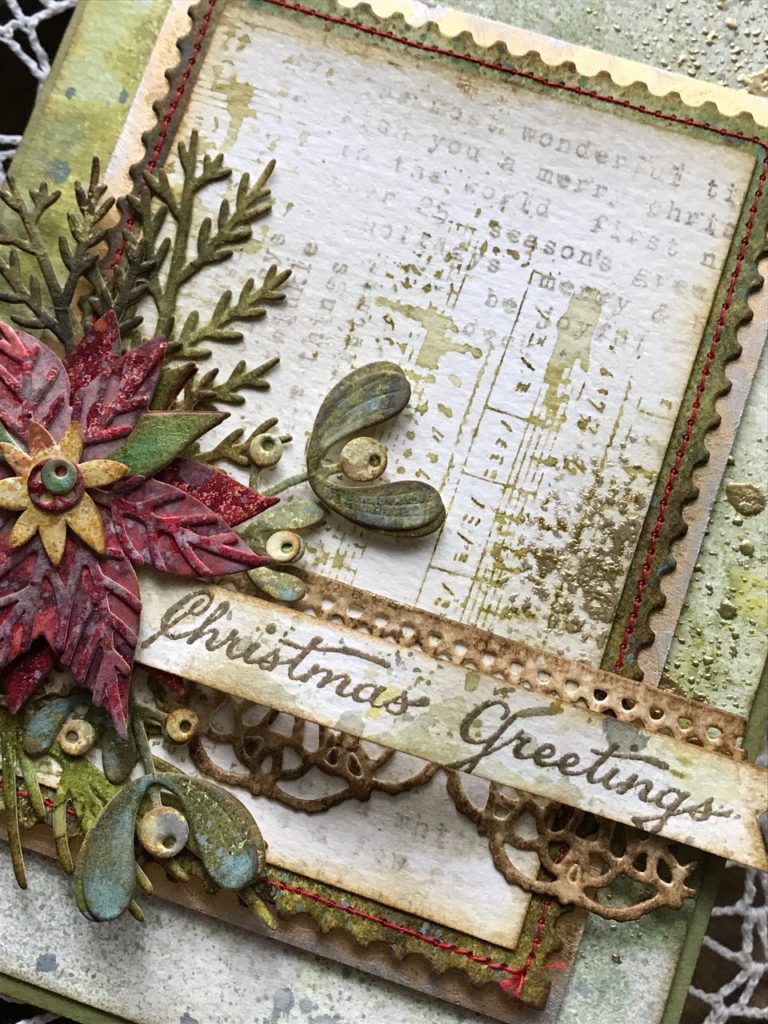
The Christmas Greeting (Yuletide CMS356) was stamped onto a piece of scrap paper then heat embossed with Gold Embossing Powder. I trimmed the greeting and matted it onto a piece of paper blended with Walnut Stain Distress Ink, then cut with one of the Crochet Trims.
I layered my Large Funky Floral pieces to create an arrangement and then adhered it all onto my backgrounds, which included a piece of Gold Metallic Kraft paper that had been sanded with my sanding block to give a worn look. Then I added it to a card base.
Thanks so much for stopping by today…
Creatively yours,
Stacy
What is an affiliate program, and why should I click on the link and buy through you?..
When you shop via the affiliate link on this blog, I receive a small commission, from the affiliate provider (Simon Says Stamp), at no extra cost to you whatsoever. These commissions help me to cover hosting fees and other costs to run my blog and be able to provide you with FREE inspiration. If you shop the links, THANK YOU! I truly appreciate being able to share my love of creating with you.
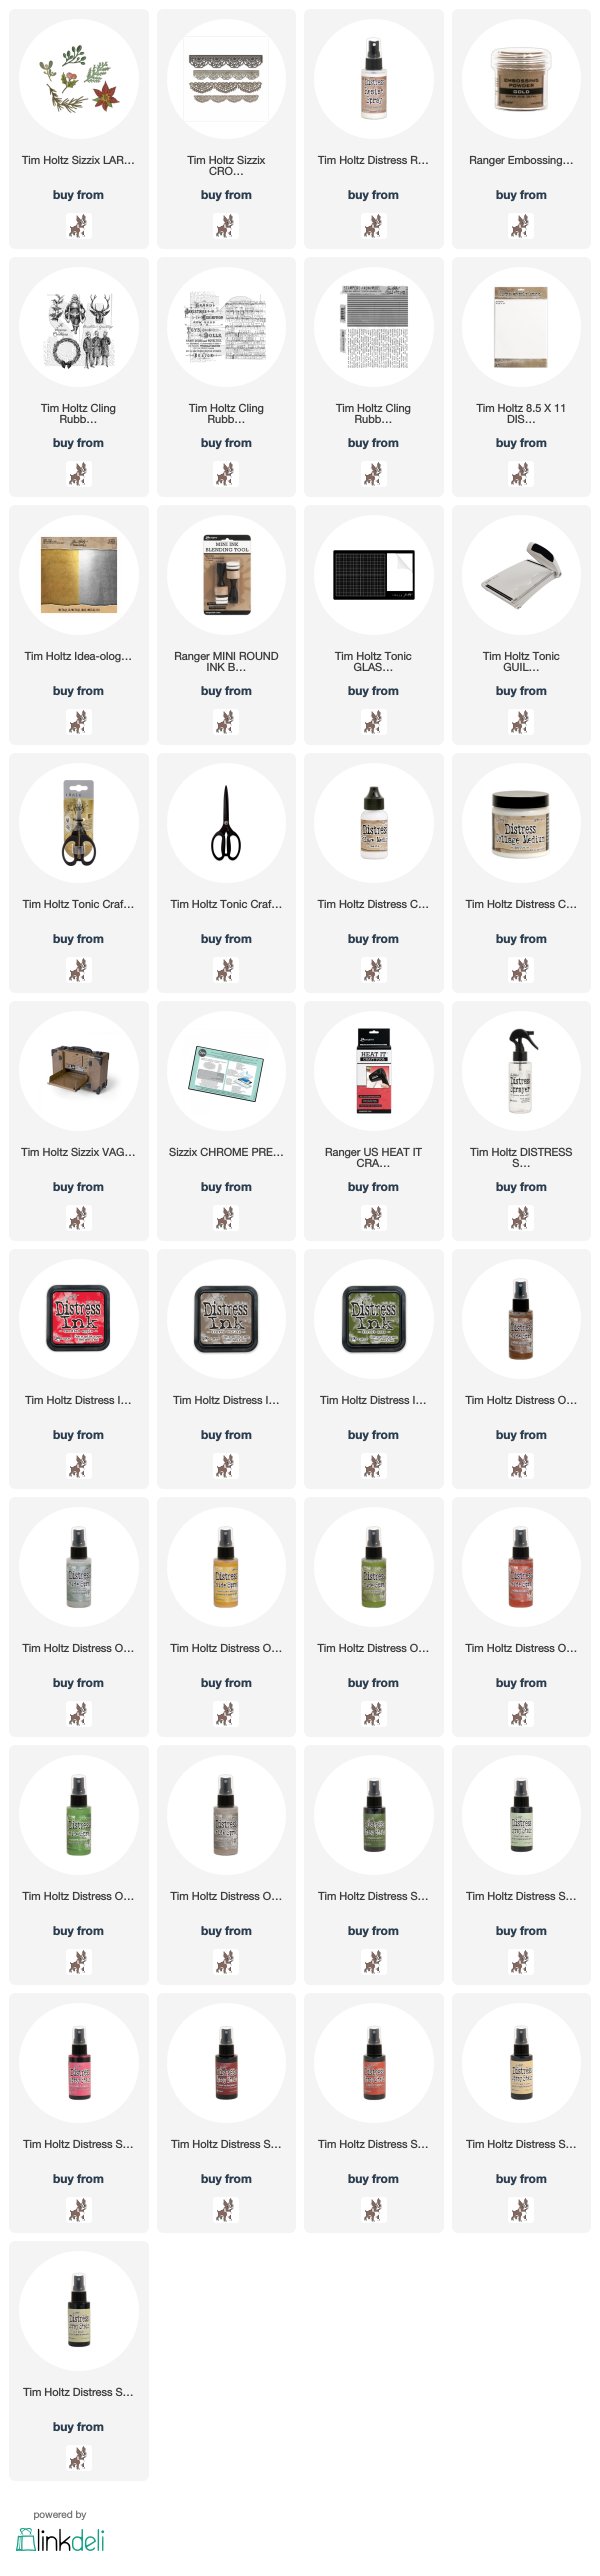
Gather Your Supplies-
Tim Holtz/Stampers Anonymous- Stripes and Holiday (CMS281), Yuletide (CMS356), and Music and Advert (CMS358).
Tim Holtz/Sizzix- Large Funky Festive, Stacked Postage, Crochet
Tim Holtz/Tonic- Tonic Guillotine Paper Trimmer, Tonic Shears
Tim Holtz/ Idea-ology- Crinkle Ribbon, Stars, Gold Metallic Paper Stash
Tim Holtz/Ranger- Distress Watercolor Paper
Distress Ink- Frayed Burlap, Forest Moss, Candied Apple
Distress Oxide Spray-Pumice Stone, Mowed Lawn, Fired Brick, Peeled Paint, Fossilized Amber, Vintage Photo, Iced Spruce
Distress Sprays- Forest Moss, Bundled Sage, Festive Berries, Aged Mahogany, Fired Brick, Old Paper, Antique Linen
Distress Tools/Mediums- Distress Sprayer, Media Mat, Heat it Heat Tool, Blending Tools, Distress Collage Matte Medium


Classic Stacy…. just beautiful …
This vintage looking card is really outstanding. I just love the way you have created such a special background and then stamped over. You made this card so special – thank you so much for sharing your talent with us!
Just love it!
you do such beautiful work!
Absolutely gorgeous. I just bought that die so I really appreciate the wonderful inspiration. Thank you.
What a lovely card. I hope I can find your tutorial on how to make the background papers. The red is absolutly gorgeous!
Who wouldn’t love to get this card in the mail…so vintage and beautiful….
Meant to add…most people are moaning and groaning…Christmas stuff already. Well, I worked retail my whole working life and I am excited to this day when I see the Fall, Halloween and Christmas “stuff” arrive in the stores…still a kid at heart and I just adore this time of year…plus, love it when I can put “real” clothes on and not sweat…LOL. Live for the Fall, Winter and Spring times…
Love this card, Stacy! your backgrounds are always beautiful, but I love how you’ve added the gold embossing and of course, your stitching adds a special vintage touch. So inspiring and a delight for someone to receive this coming Christmas! Hugs!
Gorgeous card! I love all the layers and textures. Thanks for sharing how you made the background papers.