Hello friends!
Whew…what a crazy, FUN and busy week this has been! I can’t believe that I’ve been to Phoenix and back again already. The trip to Creativation was, in a word, AMAZING…and completely better than I ever could have imagined. I am in awe of the creativity involved with bringing the show together and the magic that happens behind the scenes. If you are a maker, designer, blogger or have anything to do with the crafting industry and you’ve never gone, I highly recommend going at least once. It’s a HUGE celebration of the industry as a whole, and being with those who have inspired you to create, is truly a gift!

Today I have a tutorial for a vignette that I created for the show. This project was the last one that I made just before I left and it quickly became one of my favorites.
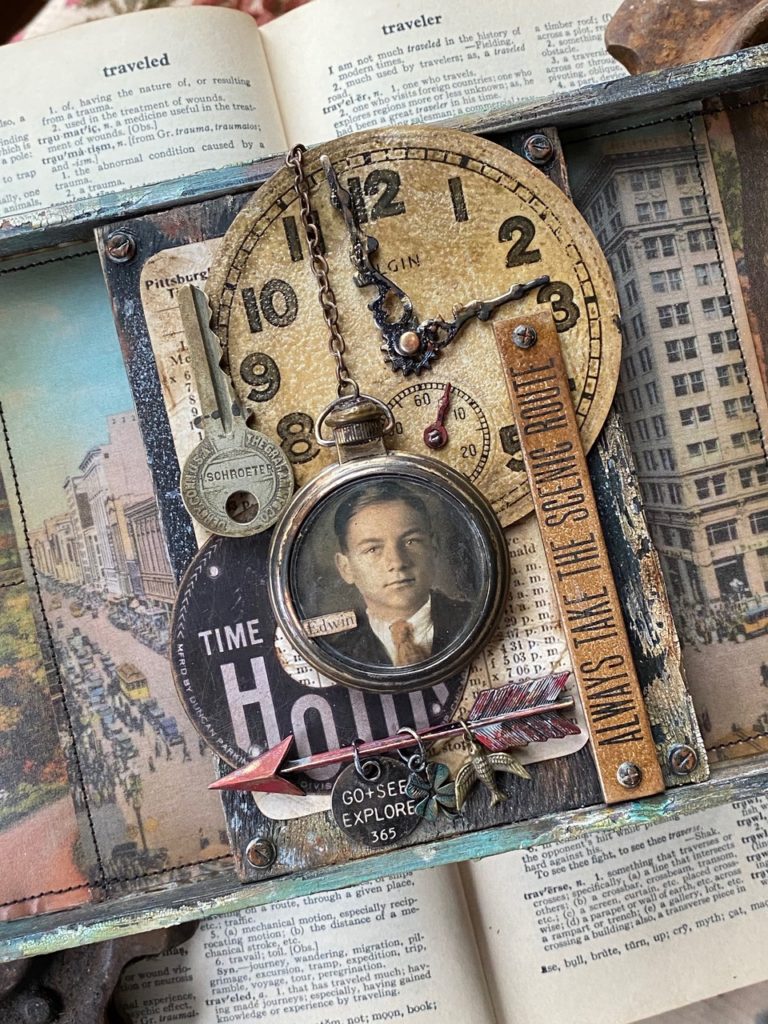
Some of the new idea-ology things used it the vignette were.. Vellum Scenes, Clipping Sticker Book, Thought Tokens, Quote Chips, and Urban Layers. I combined it with a few other idea-ology things that included… a large Vignette Tray, Vignette Panel, Pocket Watch, Hardware Heads, Photo Booth, Milagros, Treasures, Clock Hands and Arrow Adornments.
A few of the idea-ology pieces were coated using a couple colors of the new Embossing Glazes that Tim released with Ranger. It adds that extra little “something” to the already yummy embellishments.
Here’s a peek at it inside the idea-ology booth!
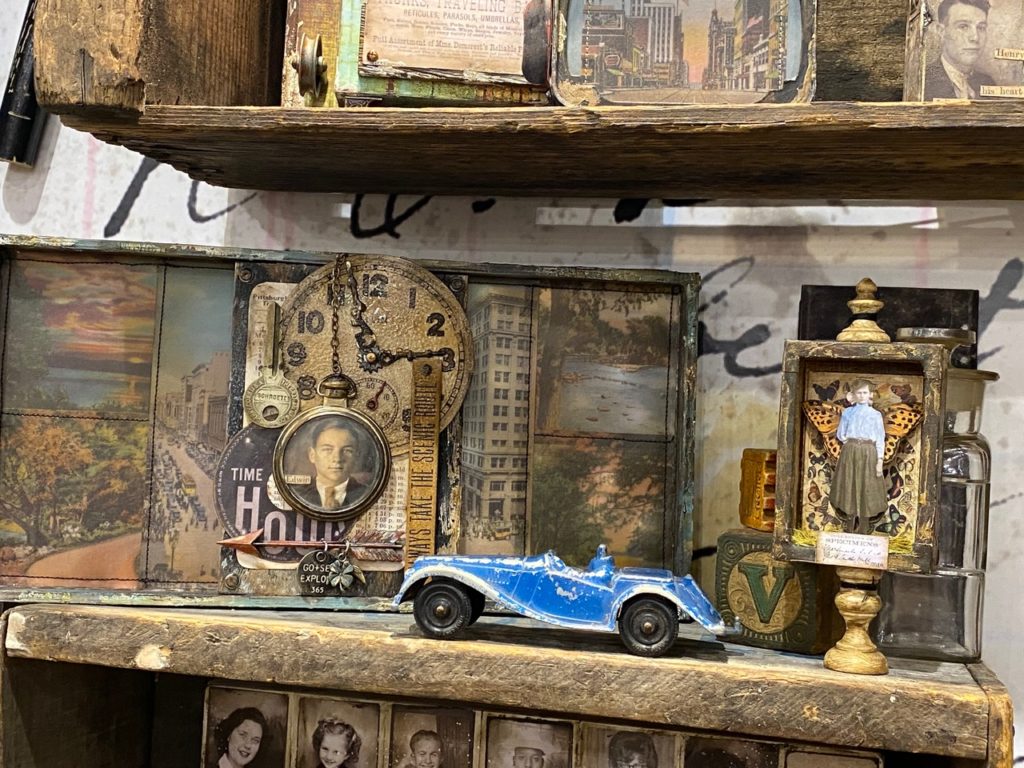
Besides using all the new idea-ology included in the vignette, one of my absolute favorite parts of this project… is the yummy crackle and layers of color that surrounds the outside of the vignette tray. It was created using the new Distress Crackle Texture Paste plus Distress Paint, Sprays and Crayons!! I’m so excited that Ranger has released it specifically in the distress line. Crackle and Distress go so perfectly together!
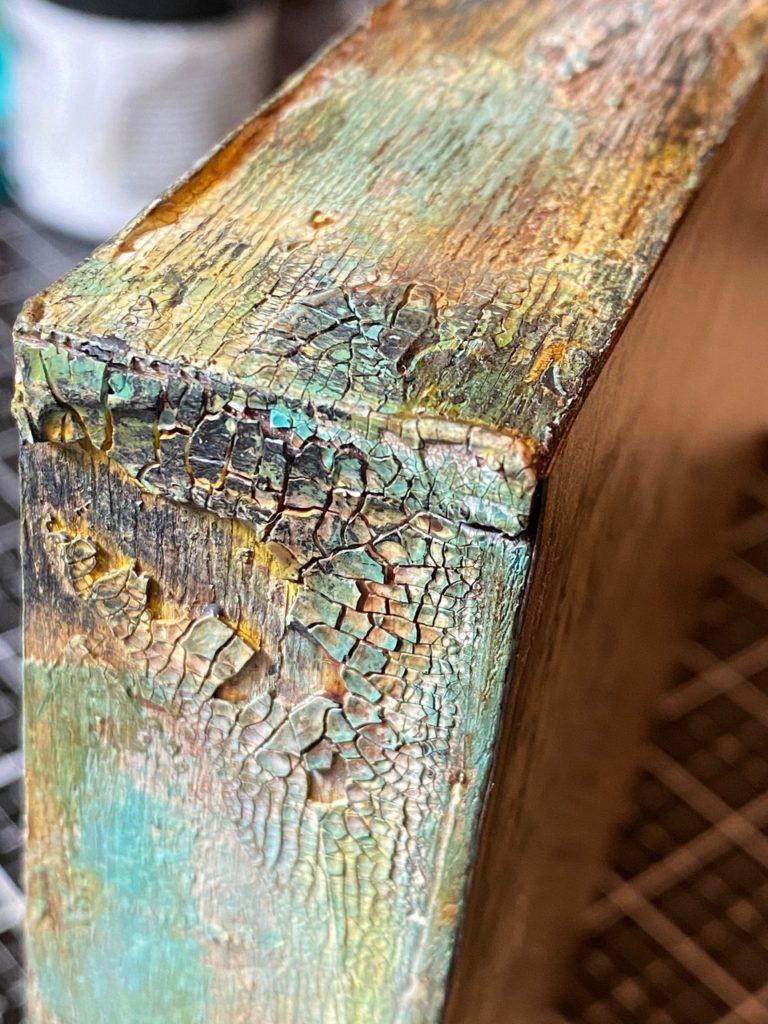
YUM!! Crackle layered love!
The vignette tray…
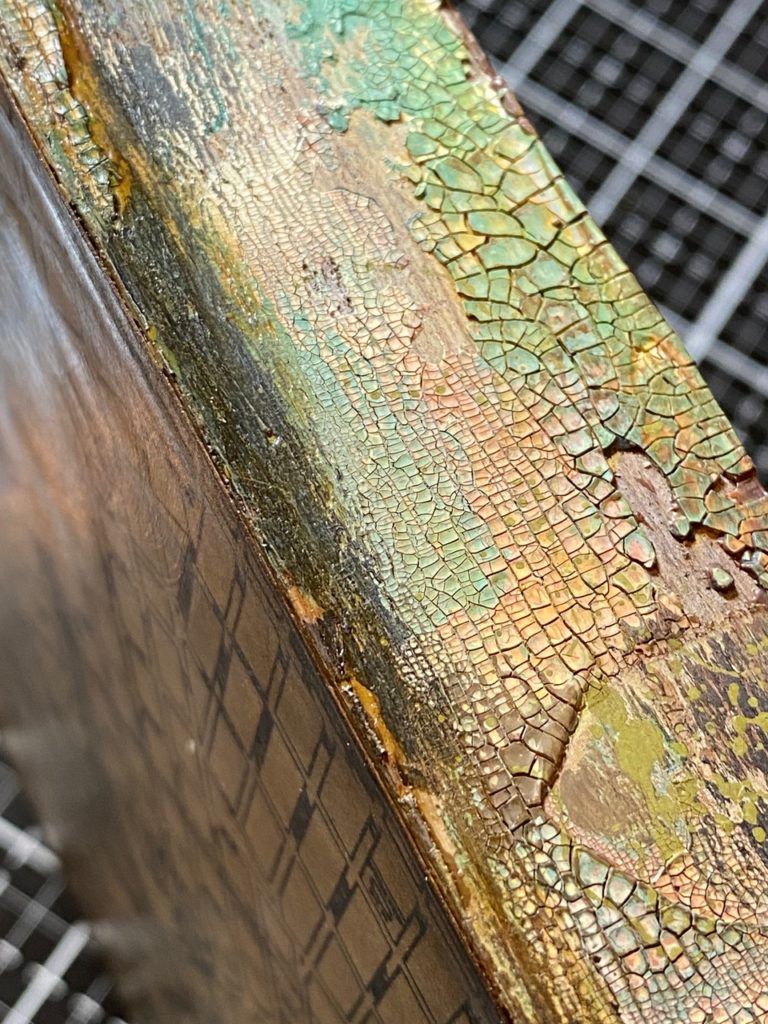
The crackle was created by layering lots of different Distress colors and products. Just like you would see on an old sign or shelf at a flea market, I painted over top of paint and chipped yumminess to get an old vintage patina.
But, I’ll warn you now, I had no idea what the outcome of all these layers would be. In fact, somewhere in the middle I almost chucked it into the garbage…all I can say is that the magic of distress came through and by adding layers of color here and there, it created the yummy outcome. I absolutely had no “plan”, I just kept playing and a wonderful accident happened!
So let’s begin…
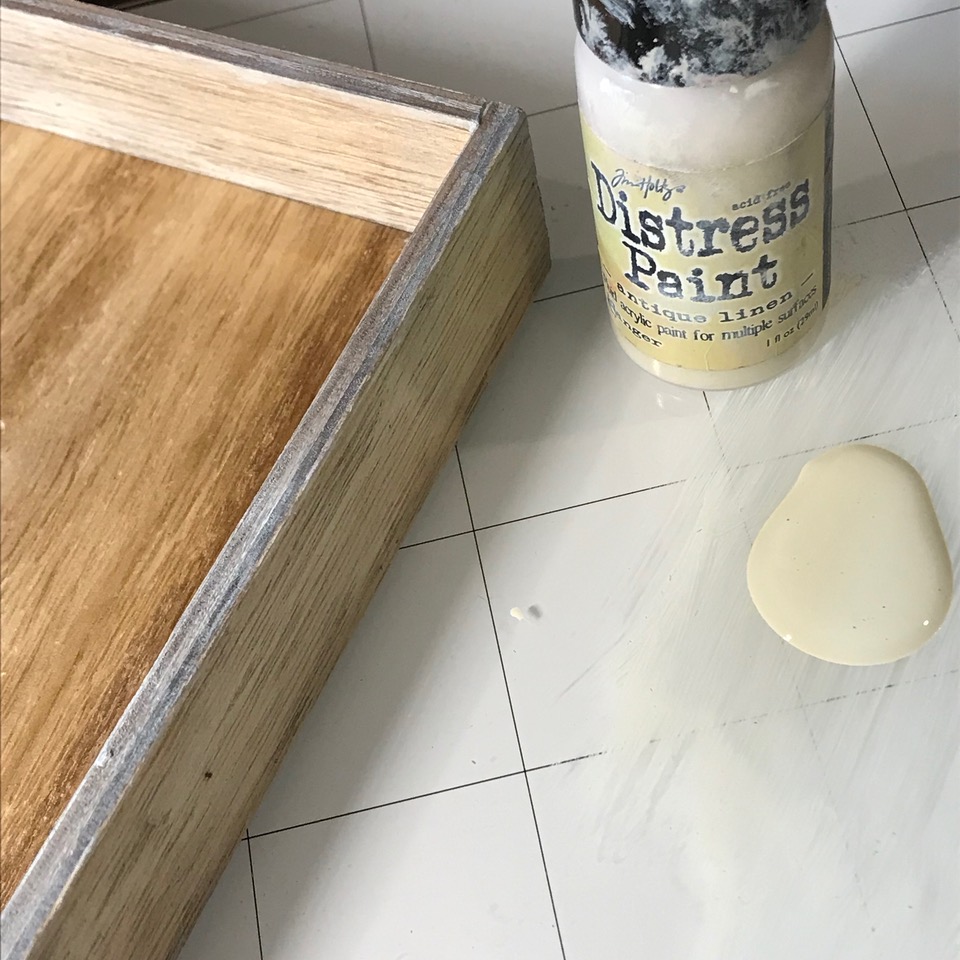
I started by lightly blending Antique Linen Distress Paint onto a Vignette Tray with my finger. This can also be done with a blending tool, I just prefer my fingers…then I applied Distress Crackle Texture Paste with a Palette Knife onto the box and let it set aside and crackle. The paint adds “tooth” for the crackle to hang on to.


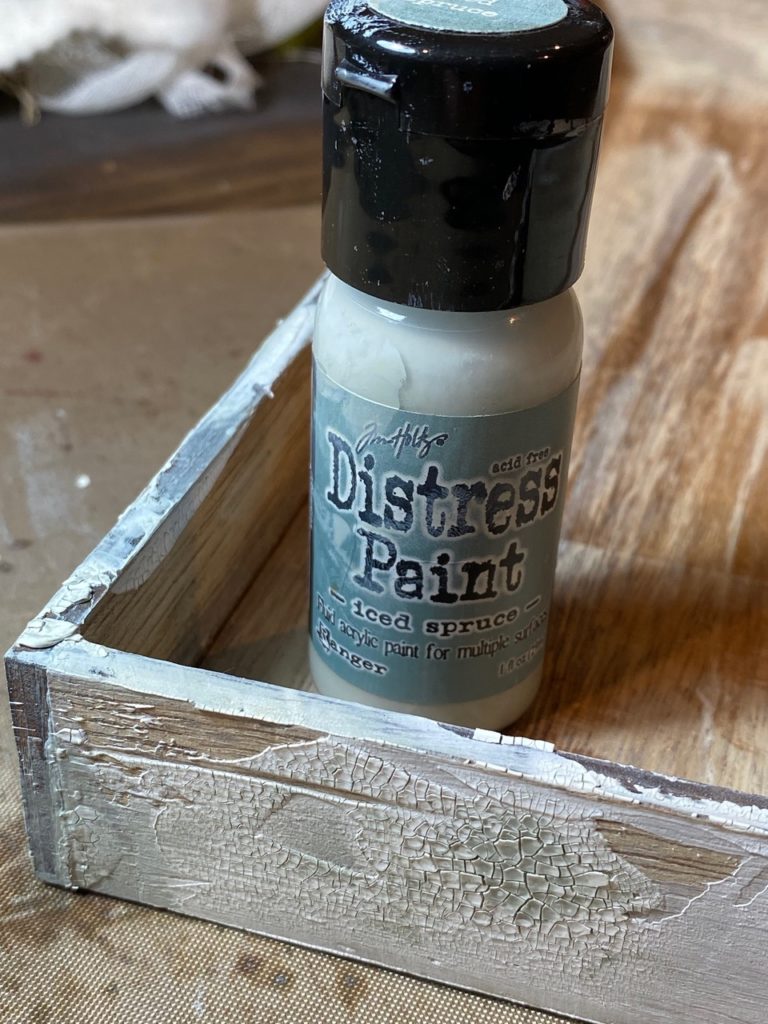
After the crackle was dry, I rubbed on a bit of Iced Spruce Distress Paint randomly and dried it with my heat tool.

Then I rubbed the crackle with Evergreen Bough Distress Paint and sprayed it with a bit of Gathered Twigs Distress Spray Stain. Then I dried it with my heat tool. Yum, but we’re not quite there yet…
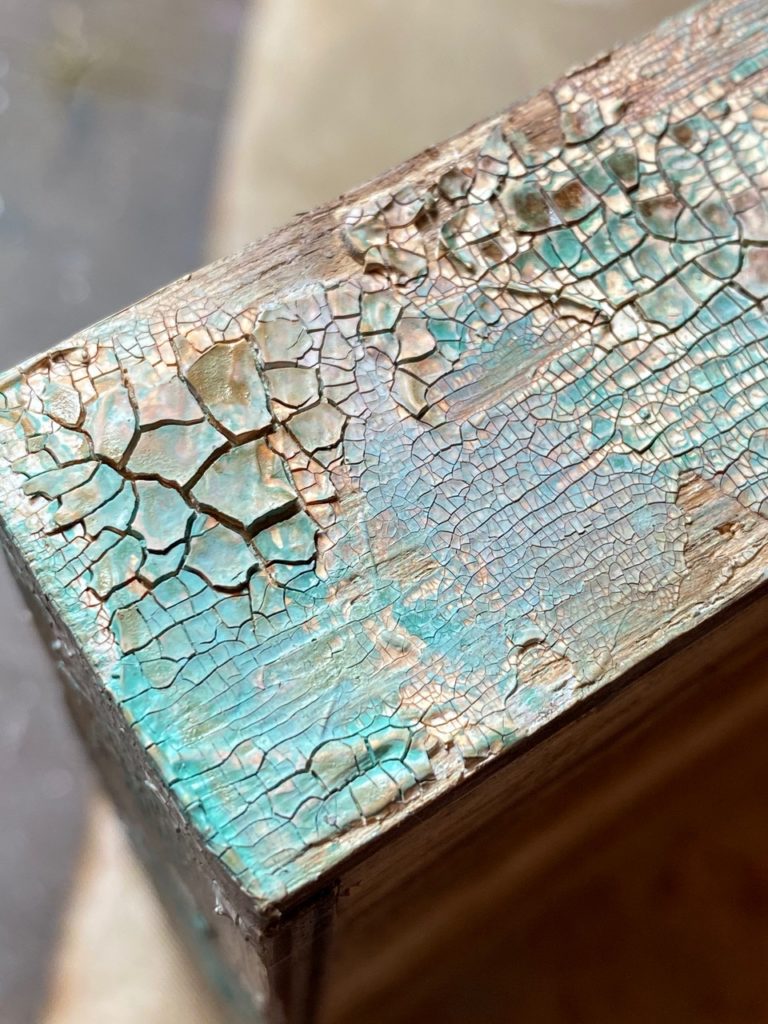

I then sprayed it with Frayed Burlap Distress Oxide Spray and spritzed it with water to activated the oxide. Then I dried it with my heat tool.
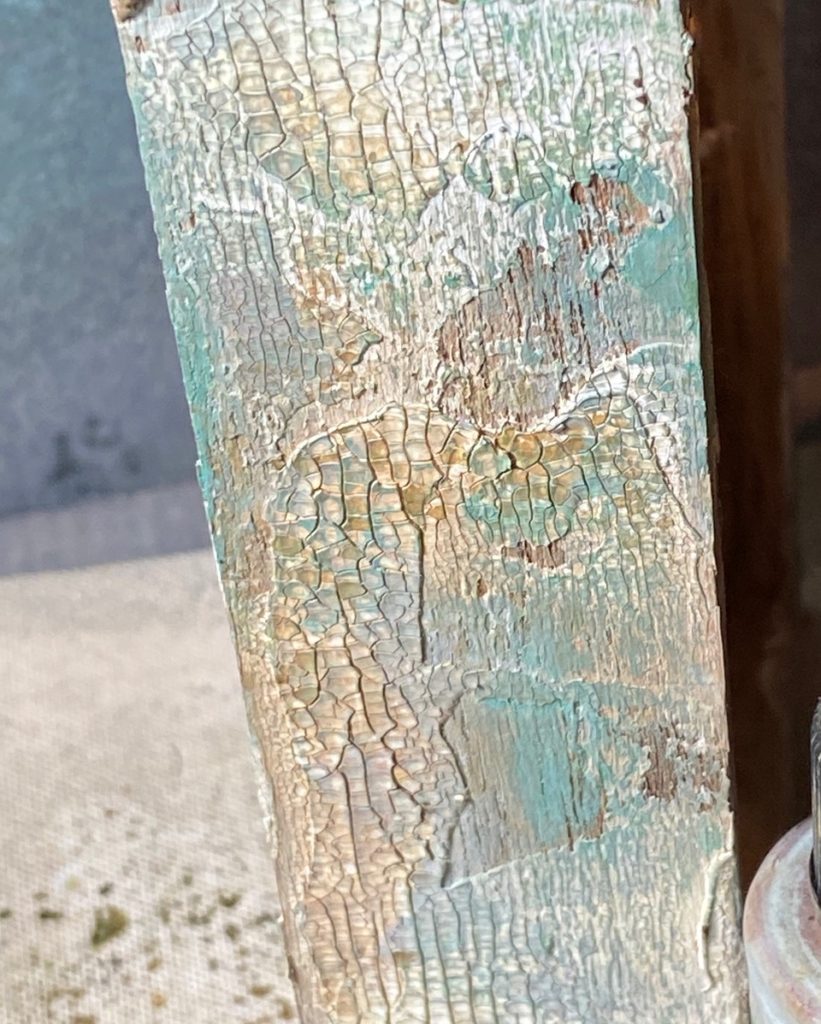

I plucked off some of the crackle with my finger and rubbed a bit of Vintage Collage Medium over top, as to hold on some of the chips.
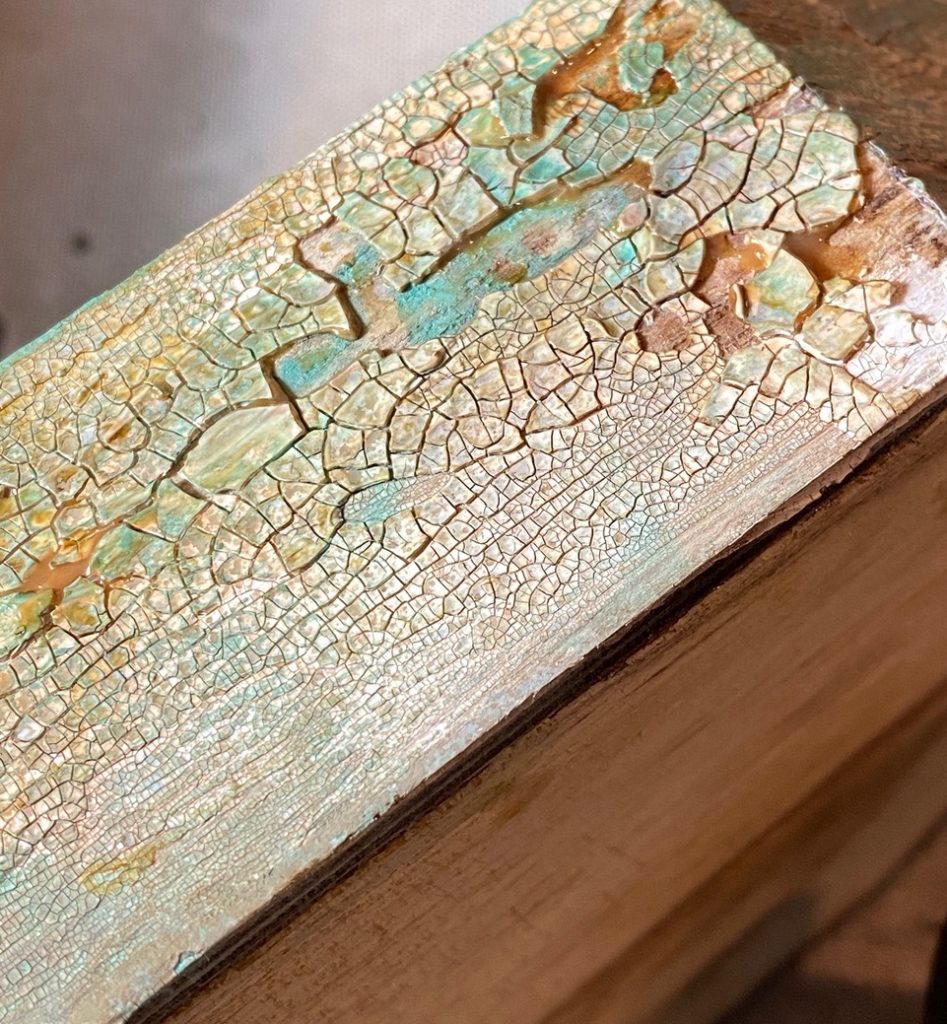

I then rubbed on some more Evergreen Bough Distress Paint, let it dry, and blended on some Fossilized Amber Distress Paint.
Initially the Fossilized Amber was way too bright, so I spritzed it with a light mist of water and daubed it off with a dry towel. The yellow tint soaked into the cracks and made the magic below happen..
With my finger, I then rubbed a TINY bit of Black Soot Distress Paint onto the crackled areas to emphasize the cracks and set it aside to dry. I blended in some areas of the crackle with a Walnut Stain Distress Crayon and water.
YUMMO!!! I love it when happy accidents happen!!


The Vellum Scene background…
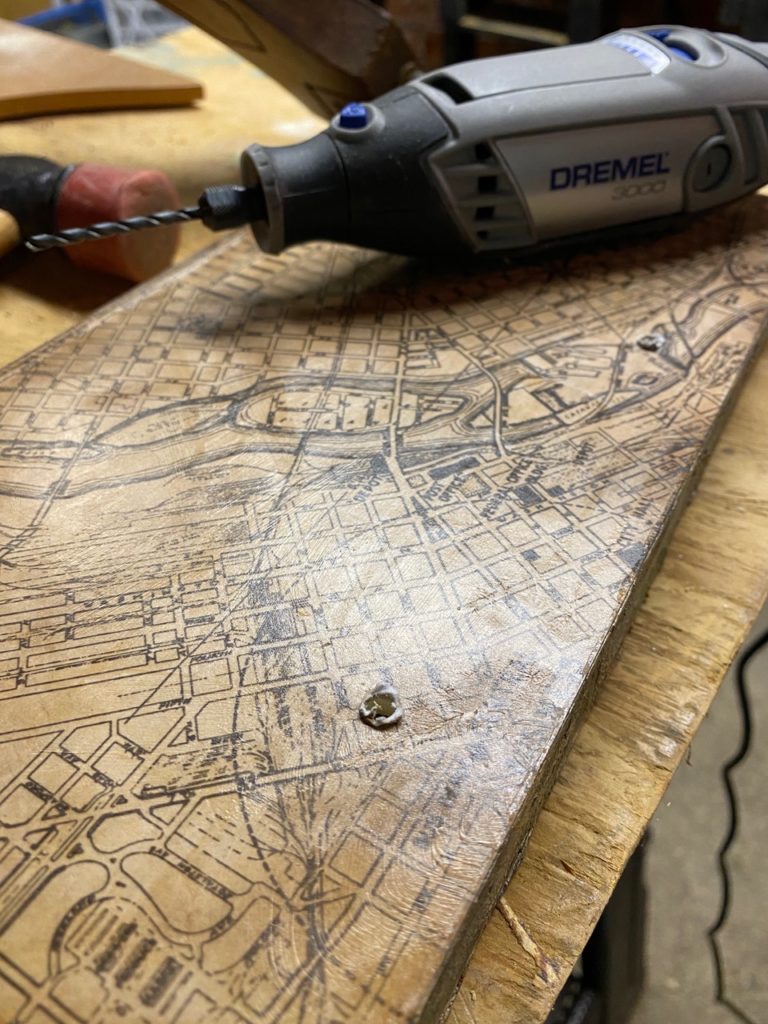
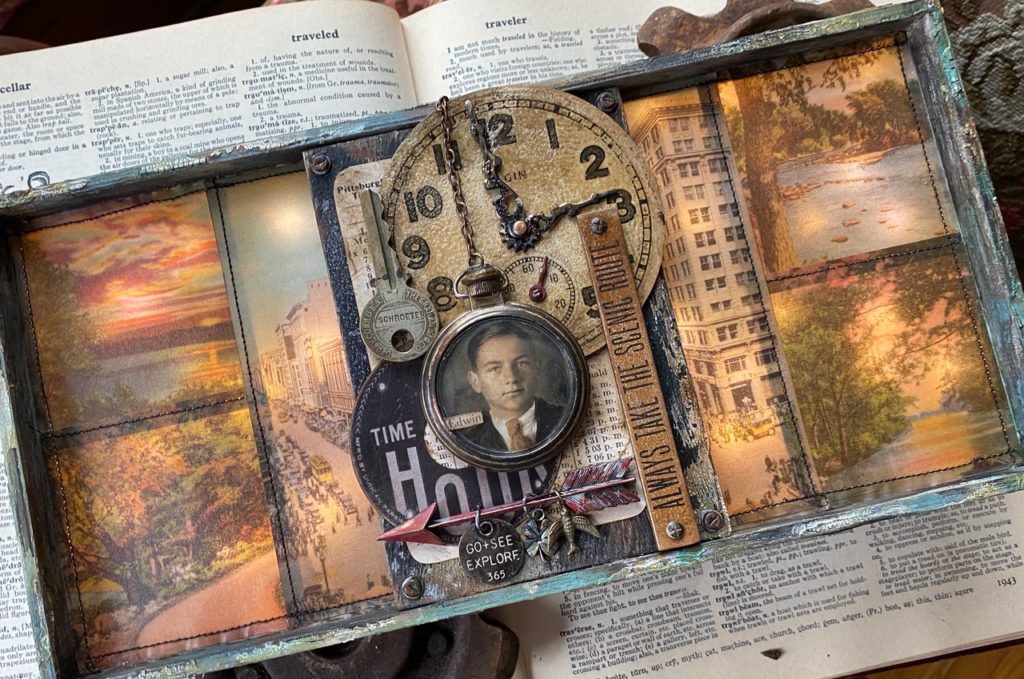
I used several of the vellum scenes to create a patchwork background. I lightly glued them together with a tiny daub of distress collage medium then stitched them together with my sewing machine. The background was then trimmed to fit within the tray. I drilled a couple holes into the back of the tray for the tiny lights, and then pop dotted the scene within the vignette tray.
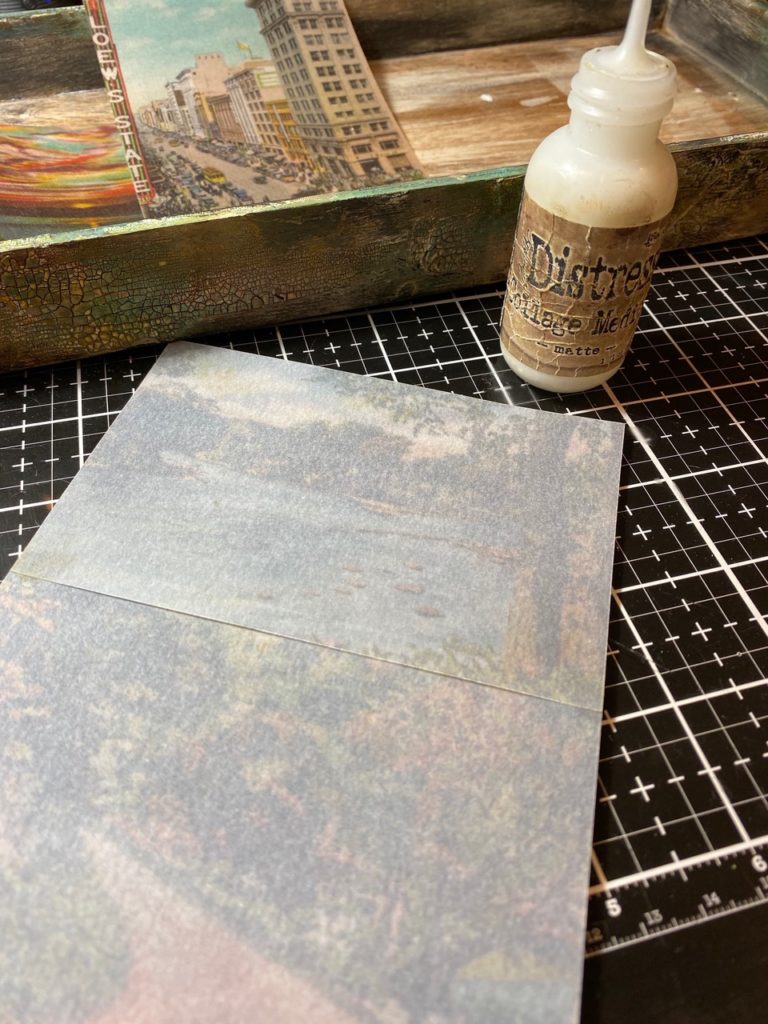

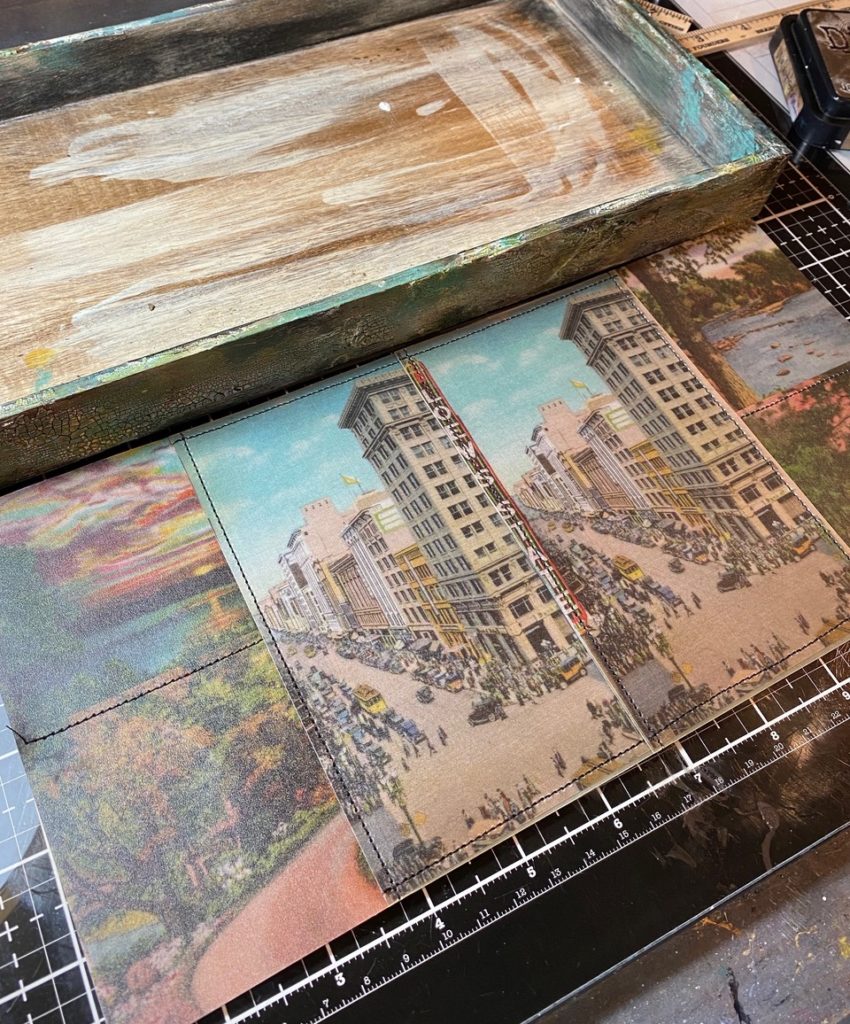


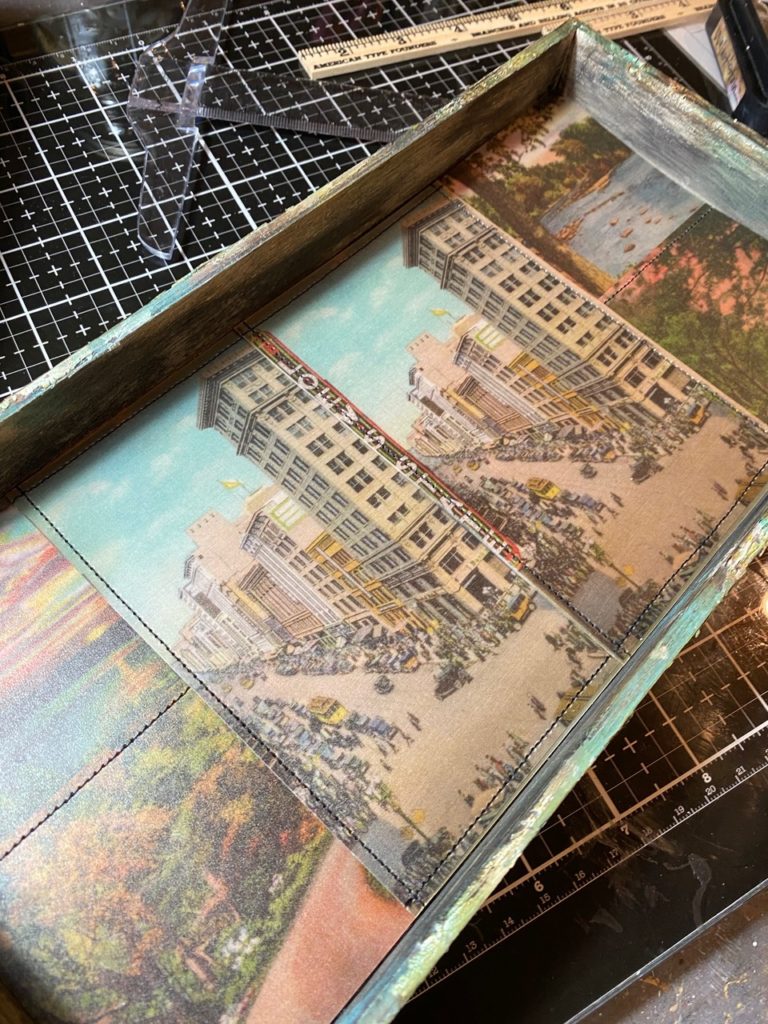

The vignette panel…
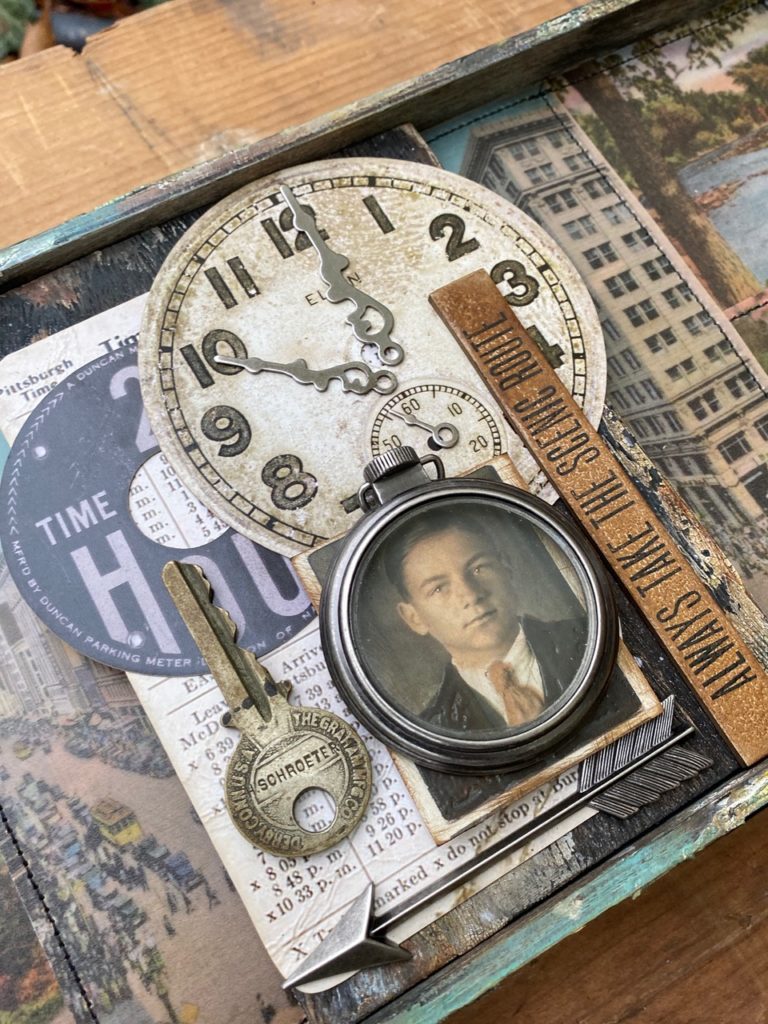

I painted a large vignette panel (that fit perfectly in the front of the vignette tray) with Black Soot Distress Paint and added some crackle texture paste around the edges. I let it dry and crackle and then blended the crackled areas with Rusty Hinge and Walnut Stain Distress Crayons and a damp finger. This became the base for the collage on the front of the tray.
I gathered a few of the new idea-ology pieces and began arranging the collage. The clock, time schedule and two-hour time card came from the new Urban Layers. I blended the clock with the new Clear Embossing Dauber and embossed it with Antique Linen Embossing Glaze. Then I scuffed it up with a piece of Sand Paper. The other pieces were scuffed with sand paper and blended with Distress Crayons to give them a more vintage look.
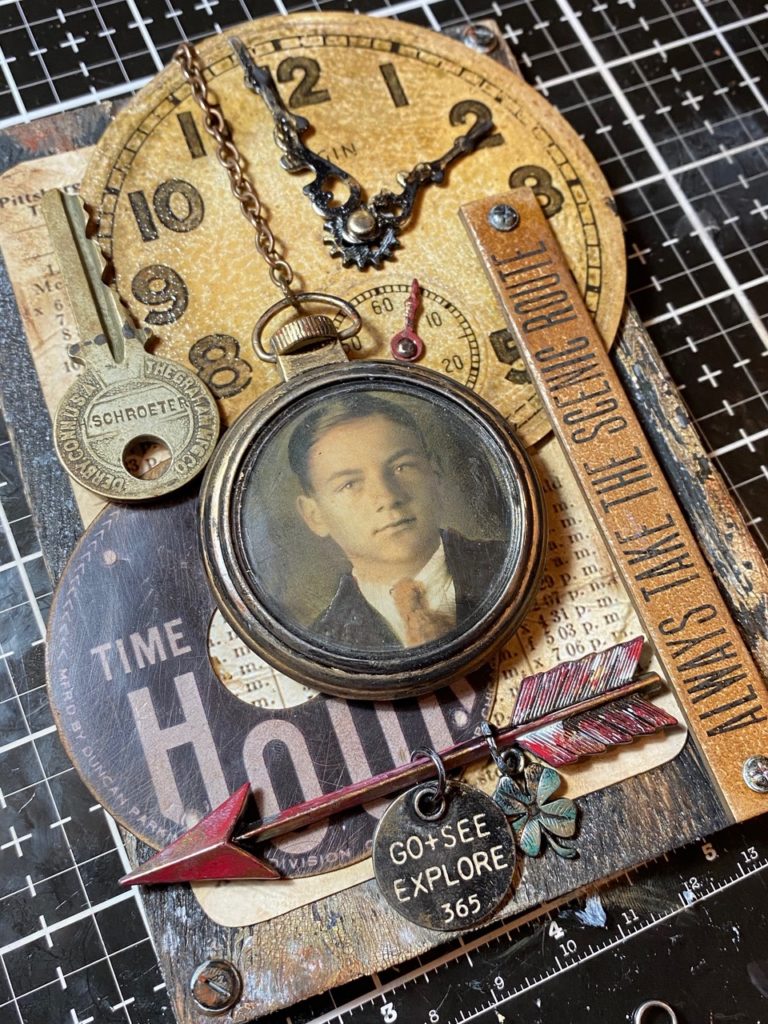

The Quote Chip “Always Take The Scenic Route” was blended with the embossing Dauber and embossed with Vintage Photo Embossing Glaze, Then scuffed up with sand paper.
The Pocket Watch was blended with Gold Alcohol Ink Mixative, Walnut Stain Distress Crayon, and Black Soot Paint.
The Arrow and charms were painted with various Distress Paints.
The Clock Hands were embossed with Hickory Smoke and Fired Brick Embossing Glaze and rubbed with Gold Alcohol Ink Mixative.
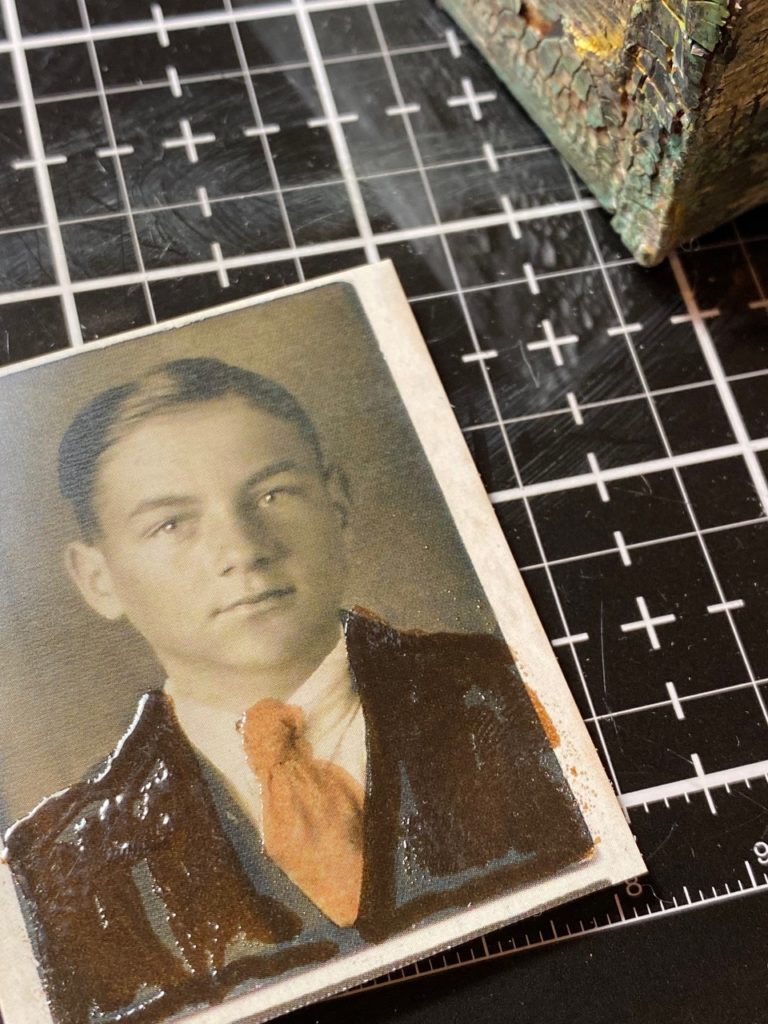

I colored “Edwins” jacket and tie with a clear embossing ink pen and embossed his jacket with Vintage Photo Glaze and his tie with Tattered Rose Embossing Glaze. I scuffed the photo and embossed areas with sand paper, blended on a little Walnut Stain Distress Crayon around the edges of the photo and then blended his face with Tattered Rose Distress Crayon and a dry finger. Then I cut him out and placed him within the Pocket Watch.
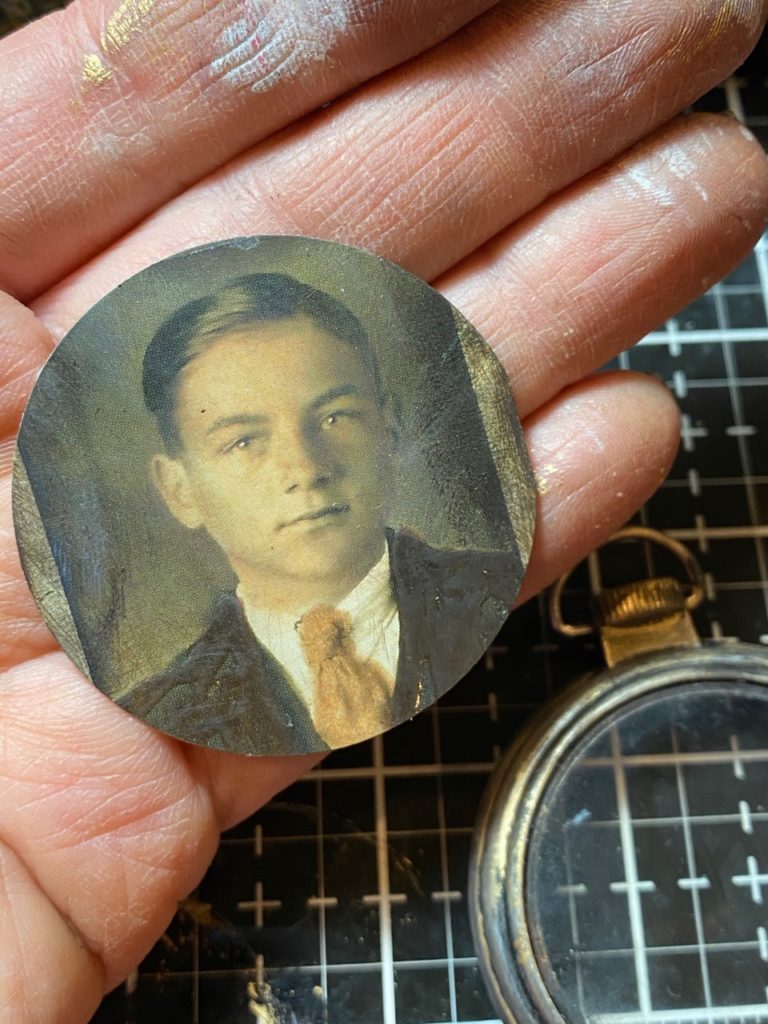

I added a chain, and old button to the pocket watch and then added a vintage key to the collage. All the embellishments were added to the vignette panel and then adhered within the vignette tray with pop-dots and adhesive.
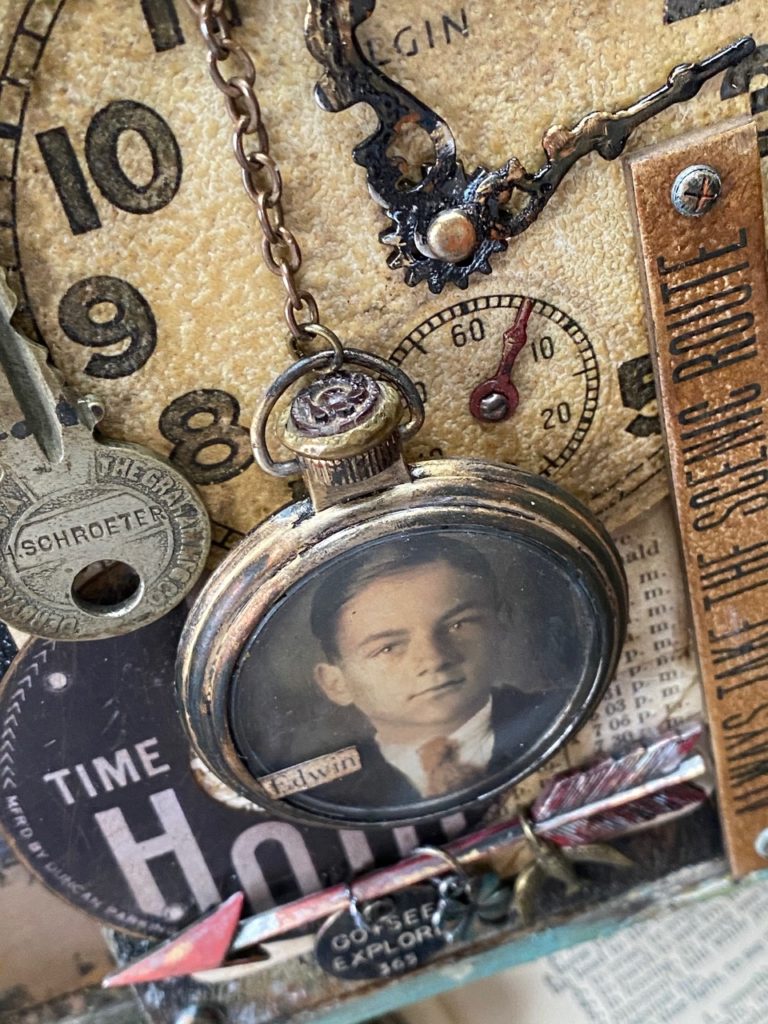

I finished off the collage with Hardware Heads on the Quote Chip and on the corners of the Vignette Panel.
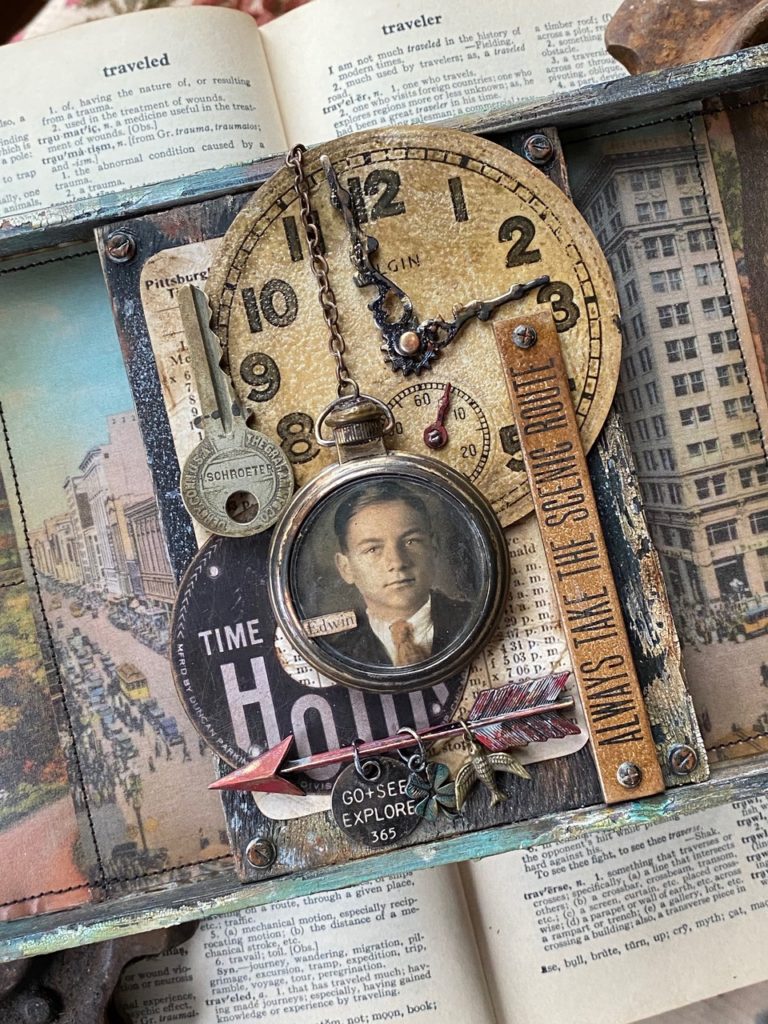

…and here it is all finished and lit up with the help of those wonderful idea-ology tiny lights!!

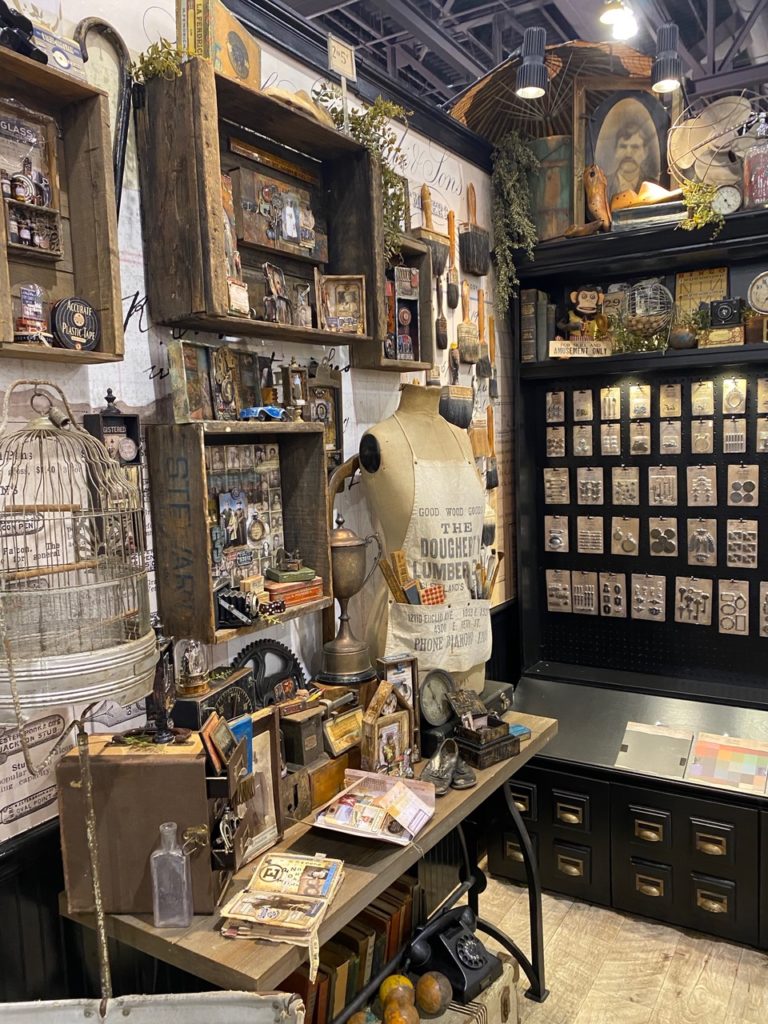
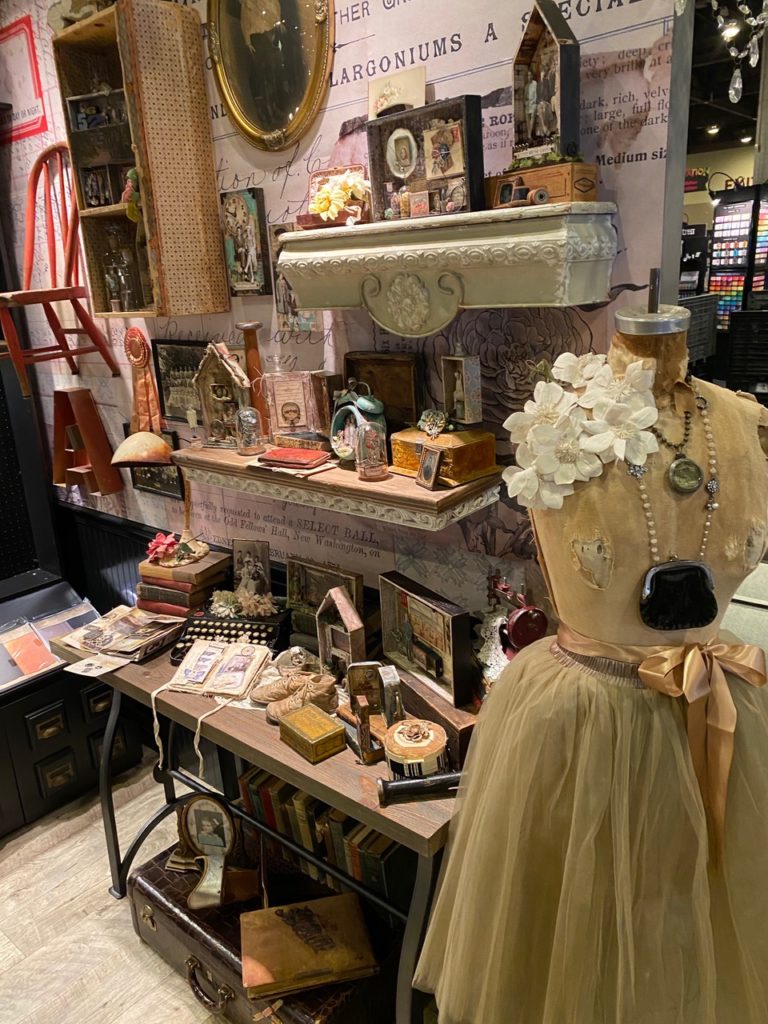
And I can’t sign off today without showing you some peeks into the idea-ology booth…


…and some of my favorite people!
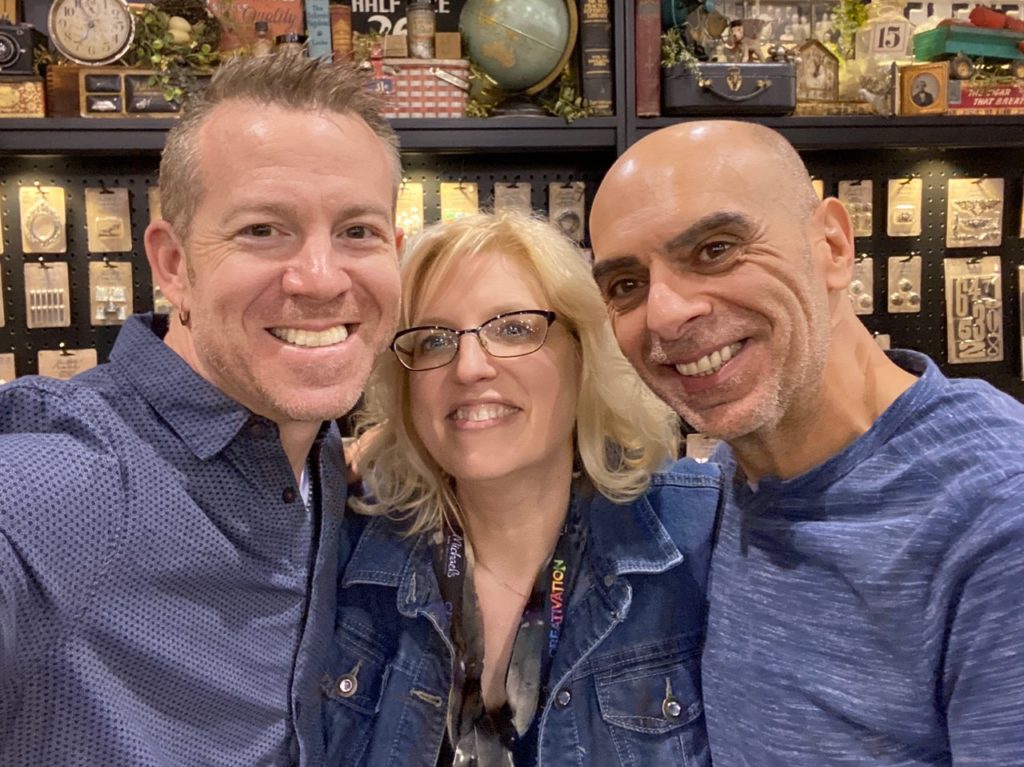

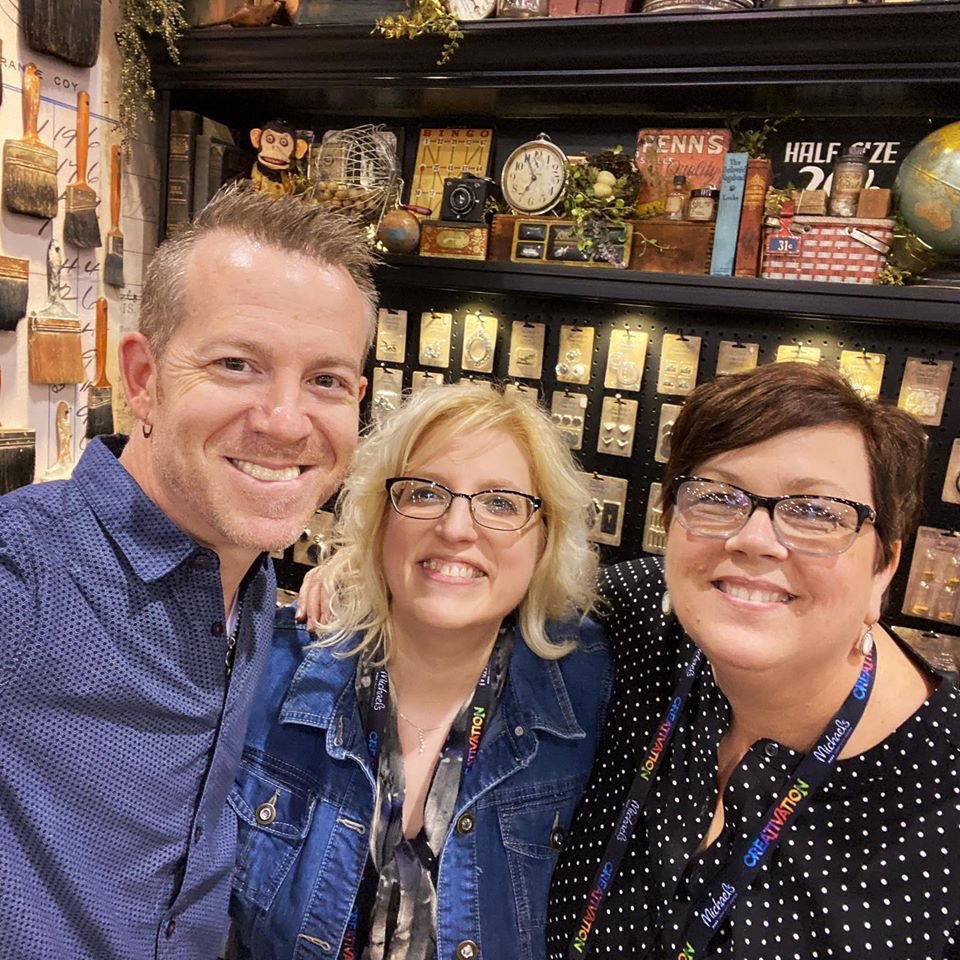

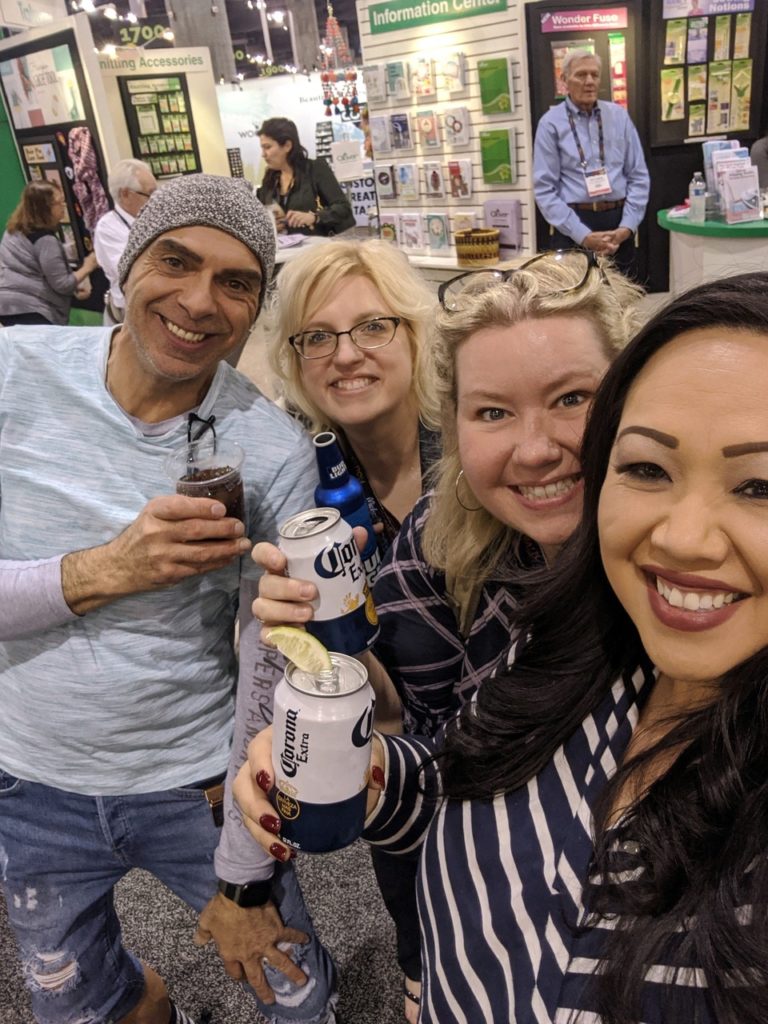

It was such a blessing to meet up and spend time with them, and I can’t wait to go back again next year!
Thanks so much for stopping by, have a wonderful day!
Creatively yours,
Stacy
What is an affiliate program, and why should I click on the link and buy through you?..
When you shop via the affiliate link on this blog, I receive a small commission, from the affiliate provider (Simon Says Stamp), at no extra cost to you whatsoever. These commissions help me to cover hosting fees and other costs to run my blog and be able to provide you with FREE inspiration. If you shop the links, THANK YOU! I truly appreciate being able to share my love of creating with you.
Gather Your Supplies-
Tim Holtz/Tonic- Tonic Guillotine Paper Trimmer, Tonic Shears
Tim Holtz/Idea-ology- Large Vignette Tray, Vignette Panel, Vellum Scenes, Clipping Sticker Book, Thought Tokens, Quote Chips, Urban Layers, Pocket Watch, Hardware Heads, Photo Booth, Milagros, Treasures, Clock Hands and Arrow Adornments.
Tim Holtz/Ranger- Distress Crackle Texture Paste, Embossing Glazes in Tattered Rose, Vintage Photo, Hickory Smoke, Fired Brick, Antique Linen, Embossing Dauber, Embossing Pens
Distress Paint- Black Soot, Evergreen Bough, Iced Spruce, Antique Linen, Fossilized Amber, Candied Apple, and more..
Distress Spray Stains- Gathered Twigs
Distress Oxide Spray- Frayed Burlap
Distress Ink- Walnut Stain
Distress Crayons- Walnut Stain, Black Soot, Rusty Hinge
Alcohol Inks- Mushroom, Gold Mixative
Distress Tools/Mediums- Distress Sprayer, Media Mat, Heat it Heat Tool, Blending Tools, Distress Collage Matte Medium
Other- vintage button, key and chain


Stacy I’ve always assumed that creativation is not open to the general public. I love all things Tim Holtz (and others!) and I would LOVE to go, just to see everything. Are you saying that it is open? I know they are not there to sell, it’s about business contacts etc.
Hi Mary! If you run a blog, are a teacher, or are in the creative industry in some way its worth checking into to see if you could go. Their website is creativationshow.org hope that helps 🙂
Stacy, your project is just over the top! It just amazes me how much creativity and techniques you use on each project. Thank you so much for always giving us a visual tutorial- I learn so much from you. Have you considered making a regular video tutorial for your followers? Please do , you are so talented and we admire your work so much! Thanks for sharing.
Such a great project. I so want to go to Creativation one of these years…LOL. Looks like a real blast, and to see all the new products in person…WOWZERS! And, all the people and projects…glad you had a great time…
When all else fails put crackle on it. 🙂 Love your project Stacy, looks amazing and thank you so much for your tutorial on how you made it, your process. Just looks great! I would love to make it to a creativation but I would probably be overwhelmed. Too much fun stuff. Just too much. In a good way.
I can’t wait to see more video’s on the event.
This is such a great piece! That distress crackle finish is so authentic and the colors play really well with the vellum scenes. Sounds like Creativation was amazing I love seeing all the happy faces. Thanks for sharing your talents!
Dear Stacy,
this again is so impressive. I love how you always manage to create something looking so aged from brandnew items! Even though you wrote this happened by accident. As Bob Ross always said: We don’t make mistakes, we only have happy accidents!! I am so happy with your “accident”! 😉
I’d really love to attend Creativation, but unfortunately I live in Germany, this is way too far. Sadly.
Thank you for inspiring us!
Hugs from HirschEngelchen
Anka
Stunning Stacy! As always, such inspiration and always appreciate your tutorials !
Hi Stacy! Love it! Question – would it help to gesso the trays first before painting?
Thanks so much, Rose! I like to first paint a light coat of paint for the crackle paste to stick to because I like it when some chips off. But using gesso would create the tooth too. I’m not sure if the crackle would chip off as easily.
Such a fabulous creations, I so love the crackle effect you got with that, so cool, and thanks for sharing your progress. Also thanks for sharing pictures of the booth too, glad you had a good time!
Tracey, you have created an inspiring vintage vignette here, and an added wow that it lights up! Seeing how each piece came together adds to my amazement over your incredible talent in taking the ordinary and making them into an extraordinarily aged decor piece. Great collage that tells a story! I’m so happy you shared some of your photos from the show with us! So great to see those happy faces! Big hugs!