Hello all…I hope that you are well and have been enjoying the holidays with your family and friends, and I hope you’ve had some time to create holiday magic, by making gifts, cards and decorations to give and decorate your home.
I can’t believe how quickly this year has flown by and can’t believe that we’ll be in the new year in just a little over a week…
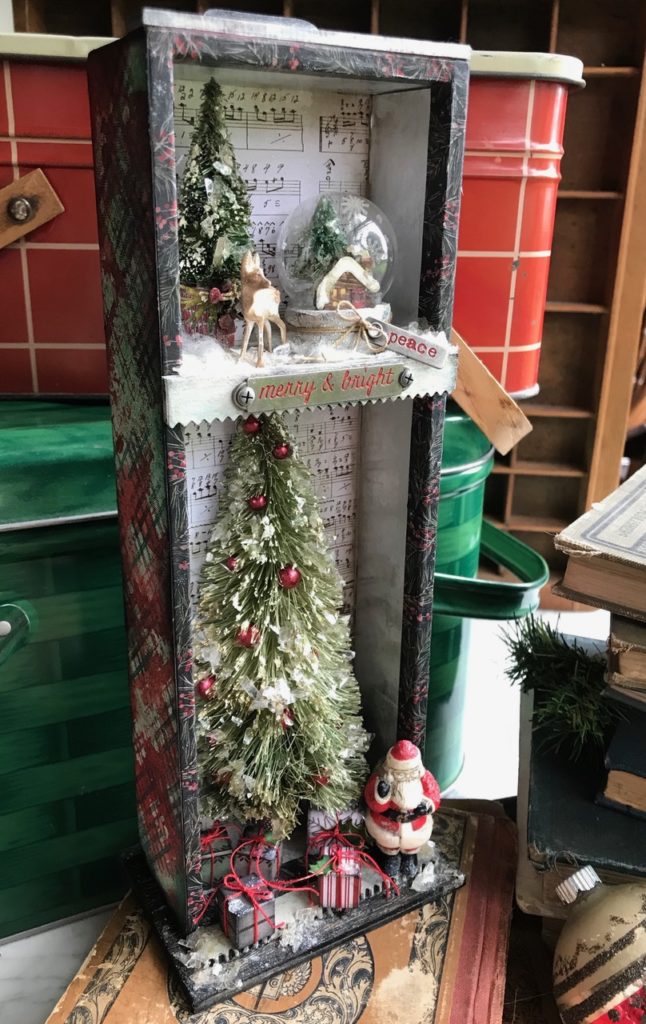
I’m back today with a tutorial for a project that I created for the Tim Holtz idea-ology Facebook Live. It was inspired by some vintage metal picnic baskets that I’ve collected over the years. They are scattered around my house, but are especially handy in my studio. They hide supplies perfectly and look wonderful stacked together, and believe me when I say you can store lots of goodies inside them… you can see a couple of the baskets in the backdrop of the photo. 🙂
I created the paper that is around the outside of the Vignette Divided Drawer to replicate the picnic baskets by using a combo of Distress Spray Stains, Oxide Sprays, Distress Inks and the new Stampers Anonymous Perfect Plaids Background Stamp Set (CMS383).
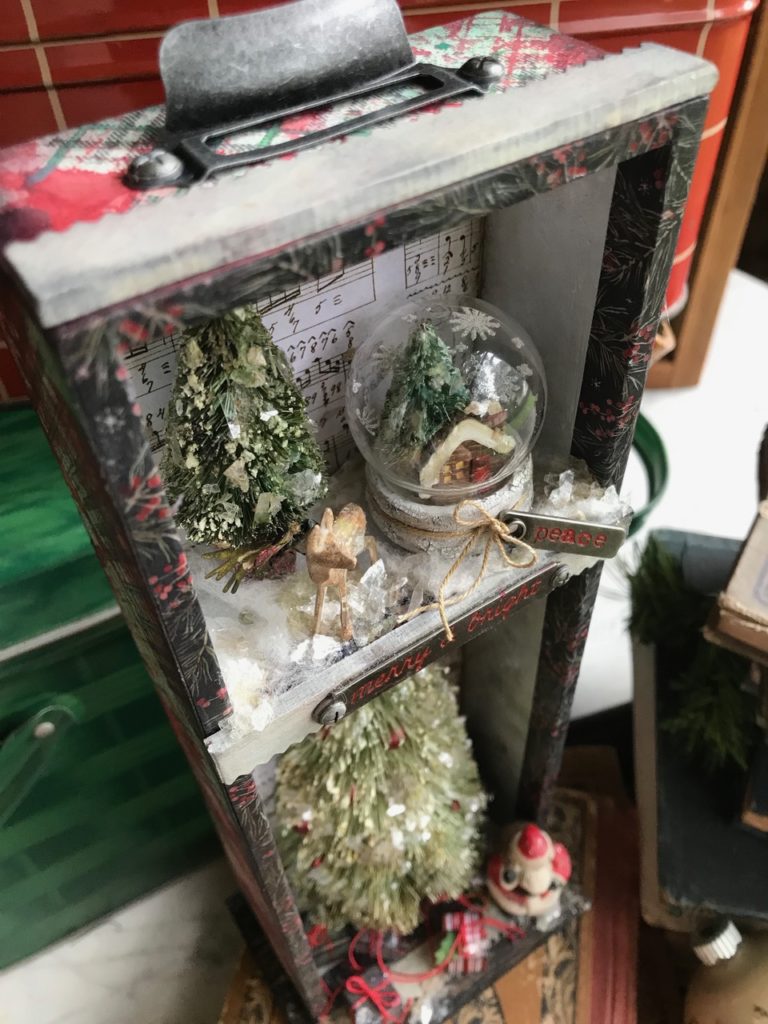
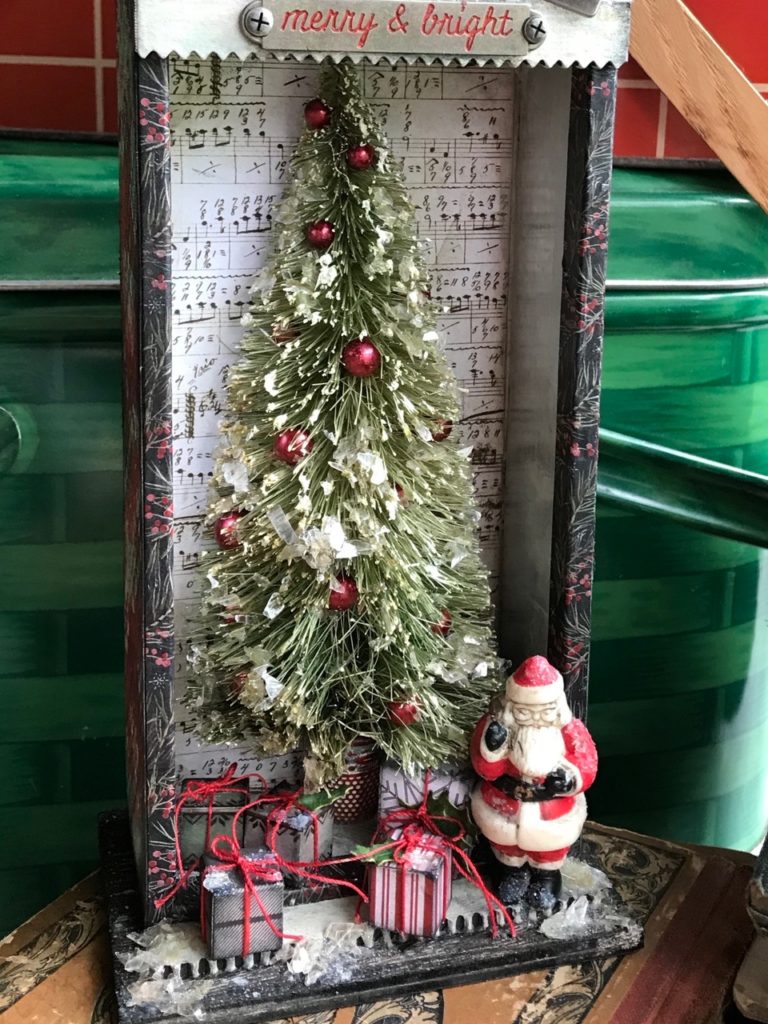
I love the effect the paper had on the Vignette Drawer..
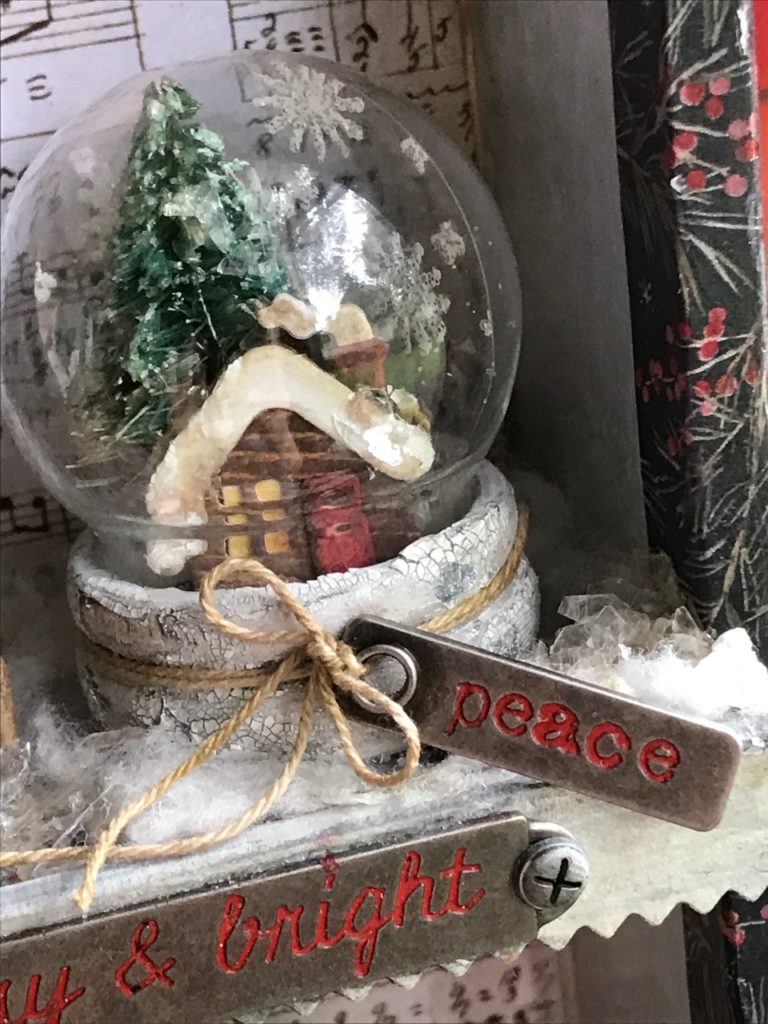
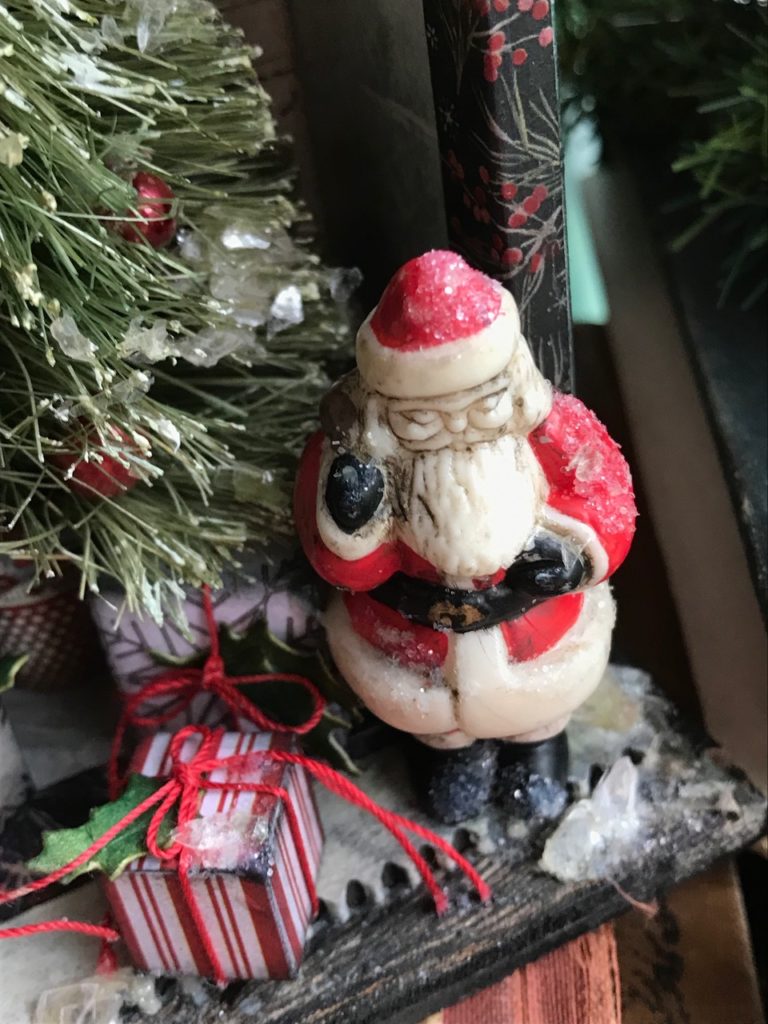
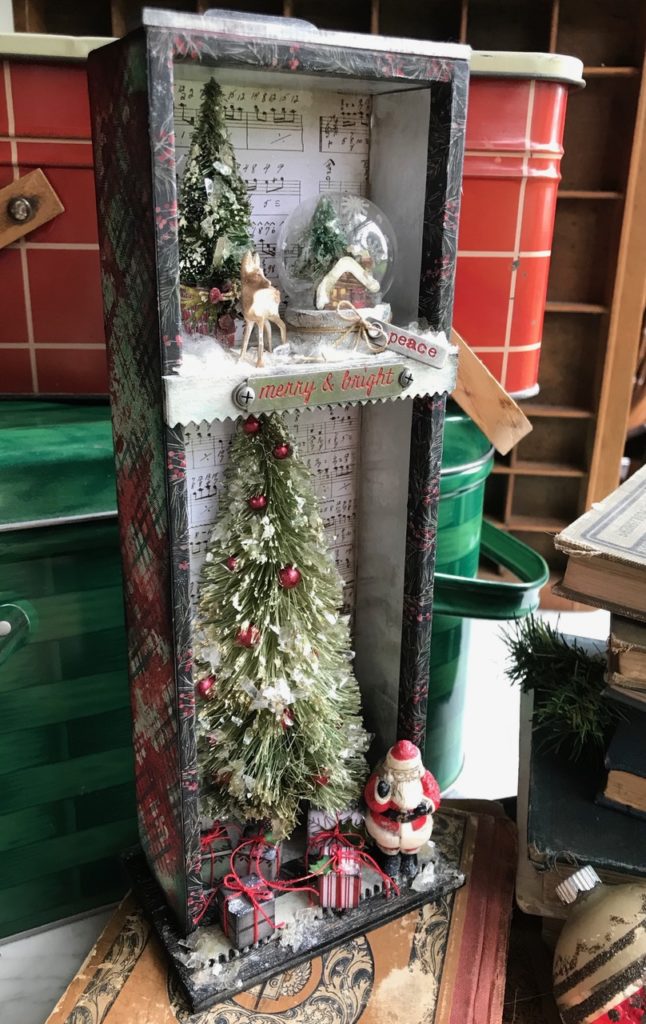
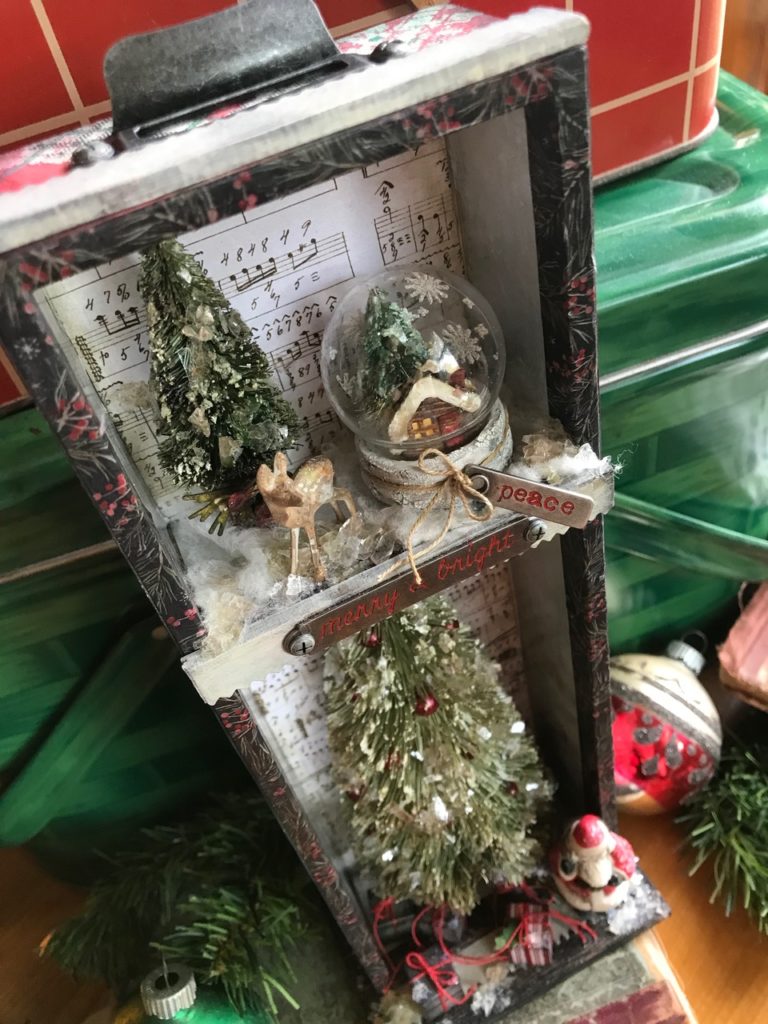
This vignette features a new idea-ology snow globe and one of my all time favorite embellishments, the Salvaged Santa, all spiffed up and ready for his big night.
Here’s the how to…
The plaid paper…
I cut pieces of watercolor paper to fit around the outside of the Vignette Divided Drawer. Then I sprayed one of the Perfect Plaid Background stamps with a combination of Festive Berries Distress Spray Stain and Candied Apple Distress Oxide Spray, then did a light mist of water onto the stamp before stamping randomly onto the watercolor paper. Then I dried the paper with my heat tool.
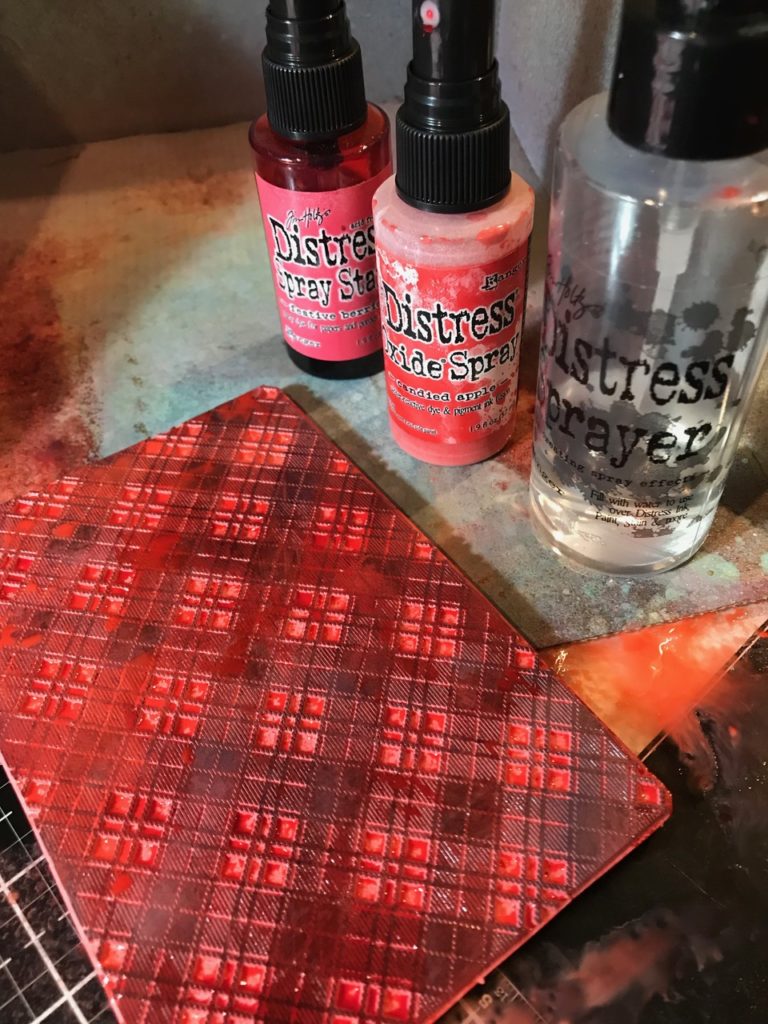
Then I dried the paper with my heat tool.

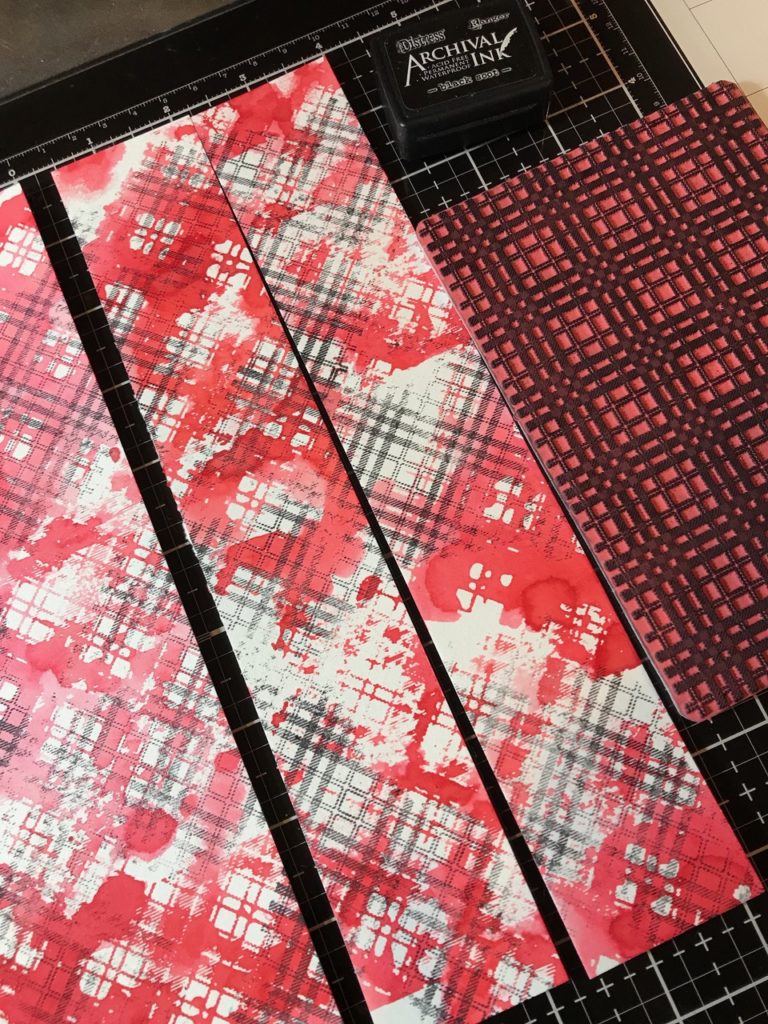
Then, using the other plaid stamp in the set, I randomly stamped onto the paper with black soot Archival Ink. You’ll notice that the stamped images are running diagonally…it just added a bit more interest to the paper.
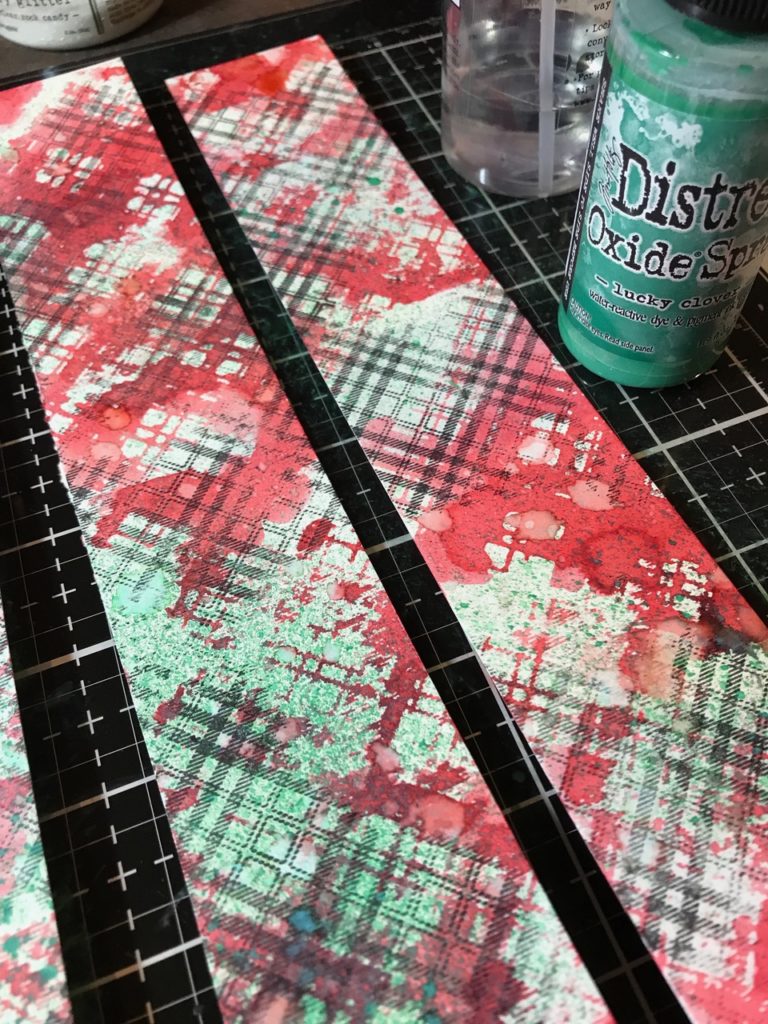
I lightly spritzed a few areas randomly with Lucky Clover Distress Oxide Spray and added a few random drips to the papers. Then I lightly misted the oxide sprayed areas with water to activate the oxide.
I blended a bit of Candy Apple and Pine Needles Distress Inks around the papers.
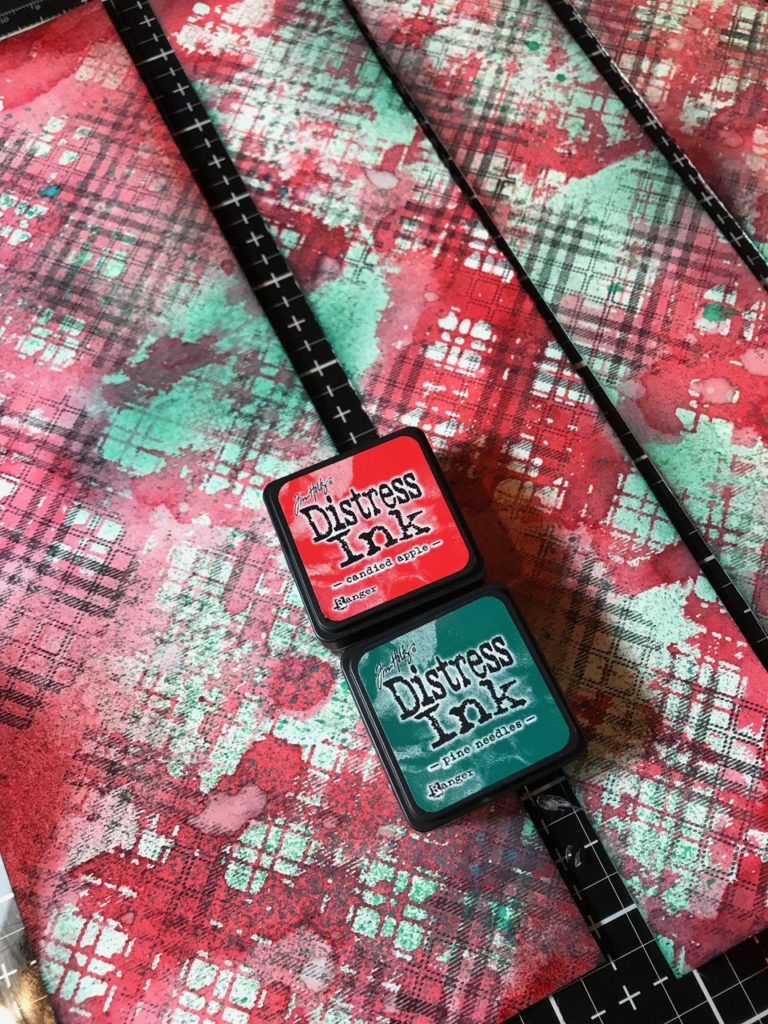
Then I spritzed some of the Lucky Clover Oxide Spray onto my media mat, picked up some of the color with my Detail water brush and colored in some of the fine plaid lines.
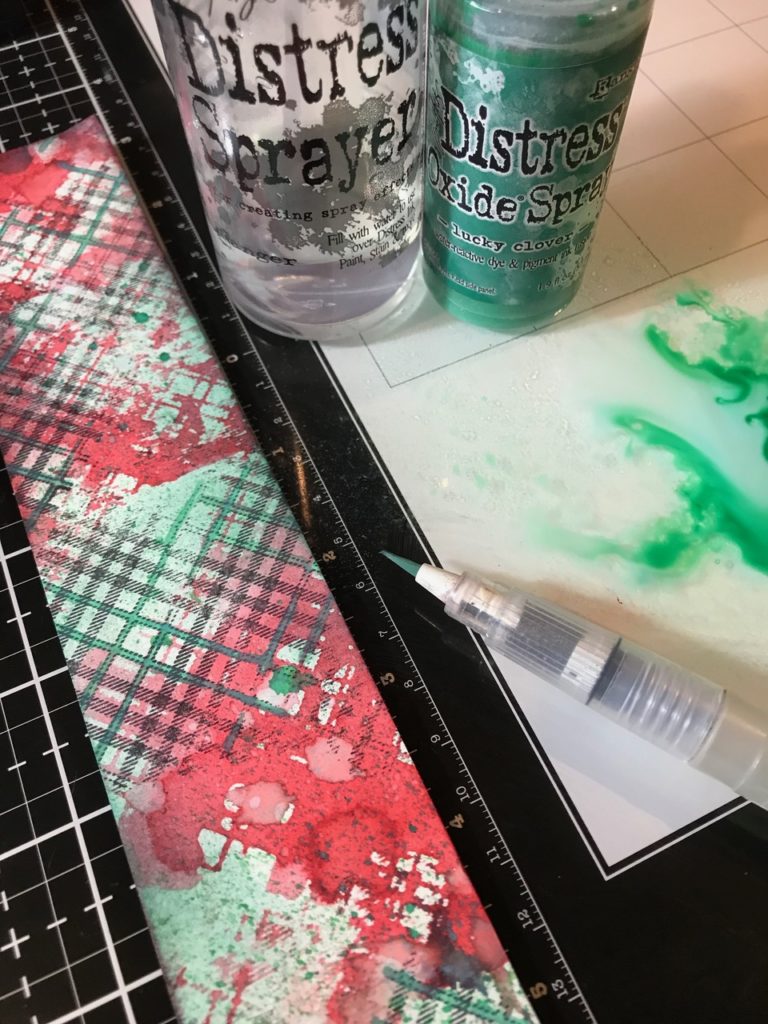
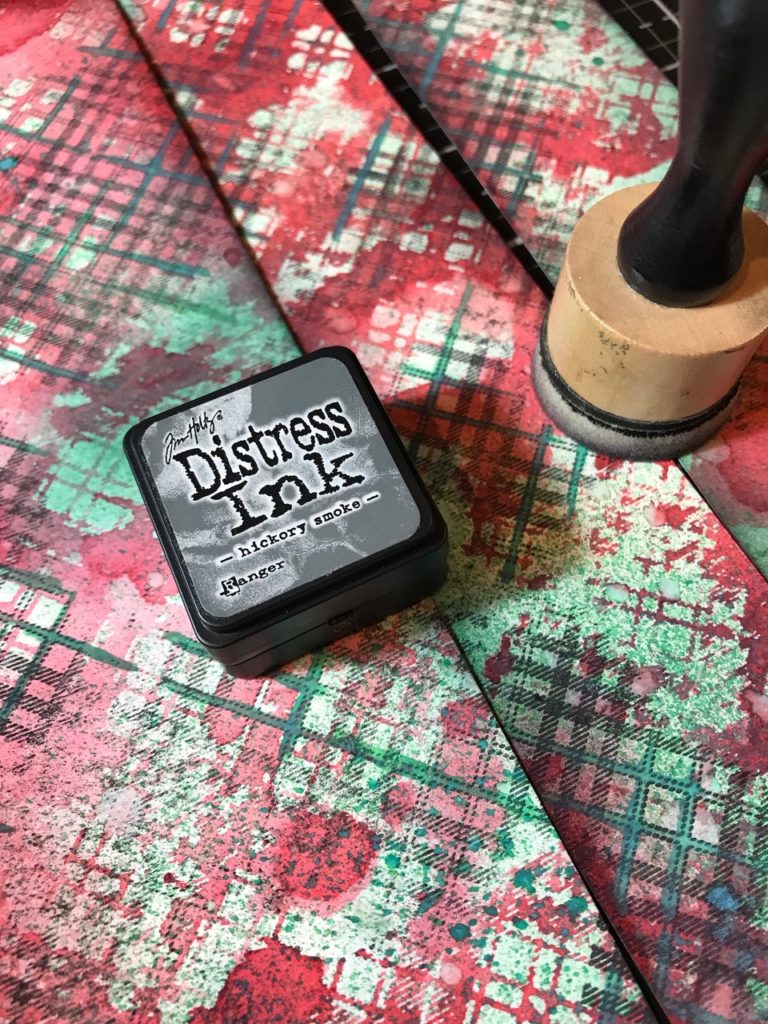
After the coloring was complete and dried with my heat tool, I blended some Hickory Smoke Distress Ink onto the papers.
The inside of the box…
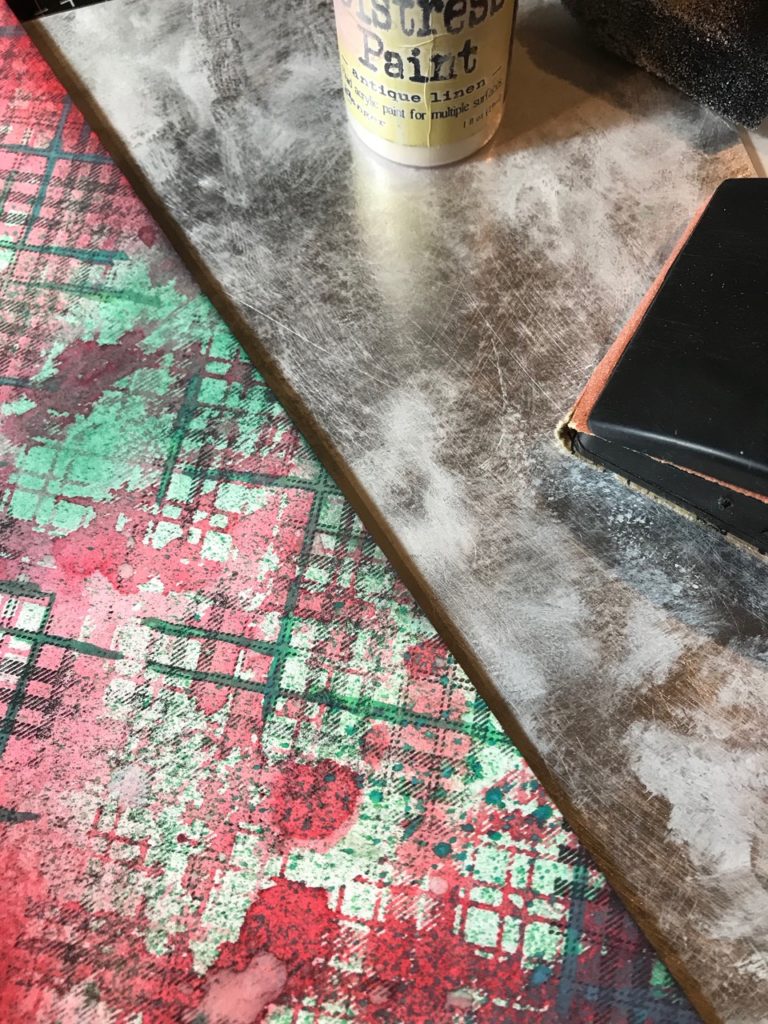
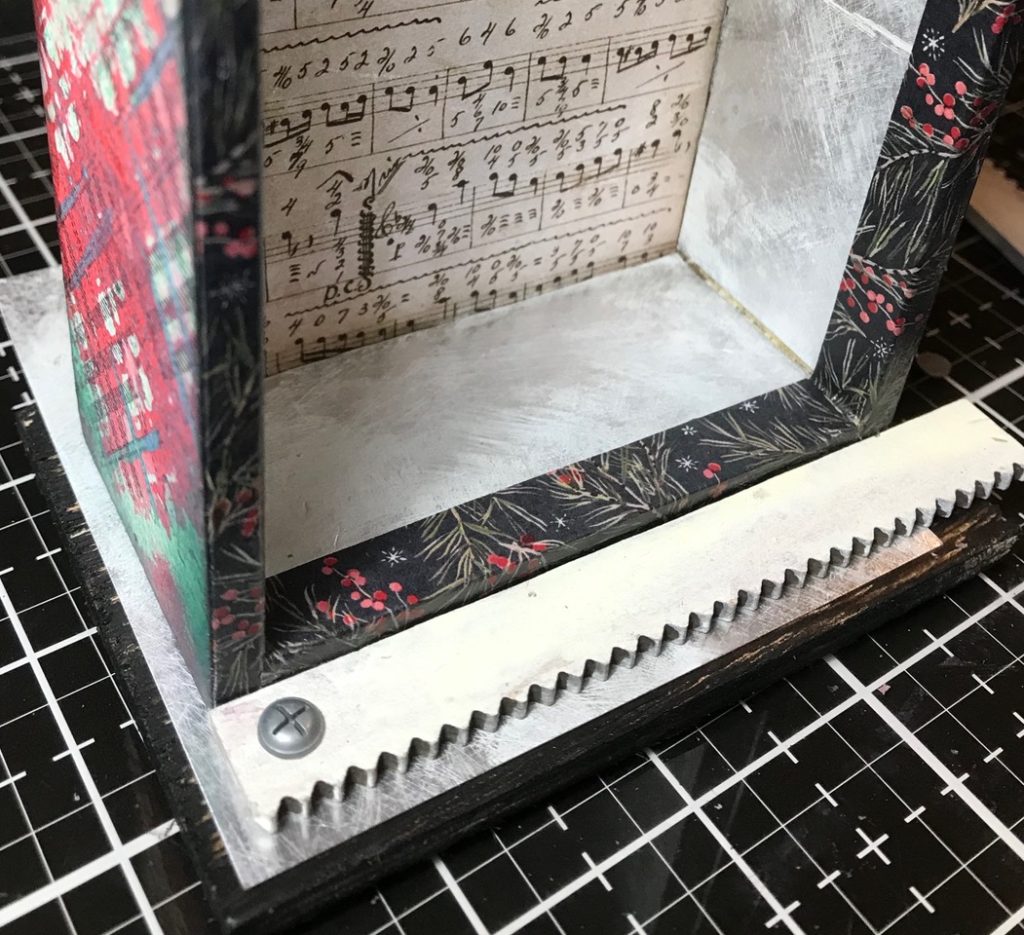
I decided to run with the “tin” idea and trimmed a piece of silver metallic paper to trim the inside edges of the drawer. With my Sanding Grip I scuffed up the silver paper and then with my finger, blended on a bit of Antique Linen Distress Paint. This added a well worn look to the inside of the drawer.
Then I cut a piece of music patterned paper from the Christmas Paper Stash to fit at the back of the drawer.
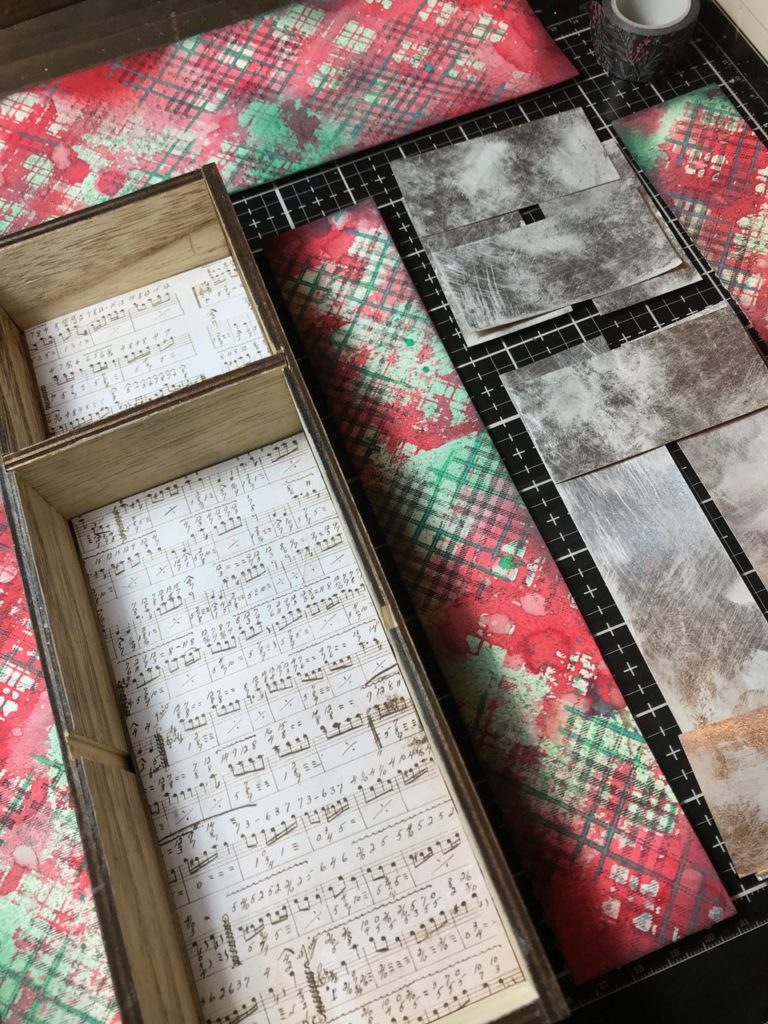
You’ll notice that I chose to remove one of the shelves from the drawer…it’s super easy to modify it since the shelves are removable. Just decide your arrangement and then adhere the shelf or shelves into place.
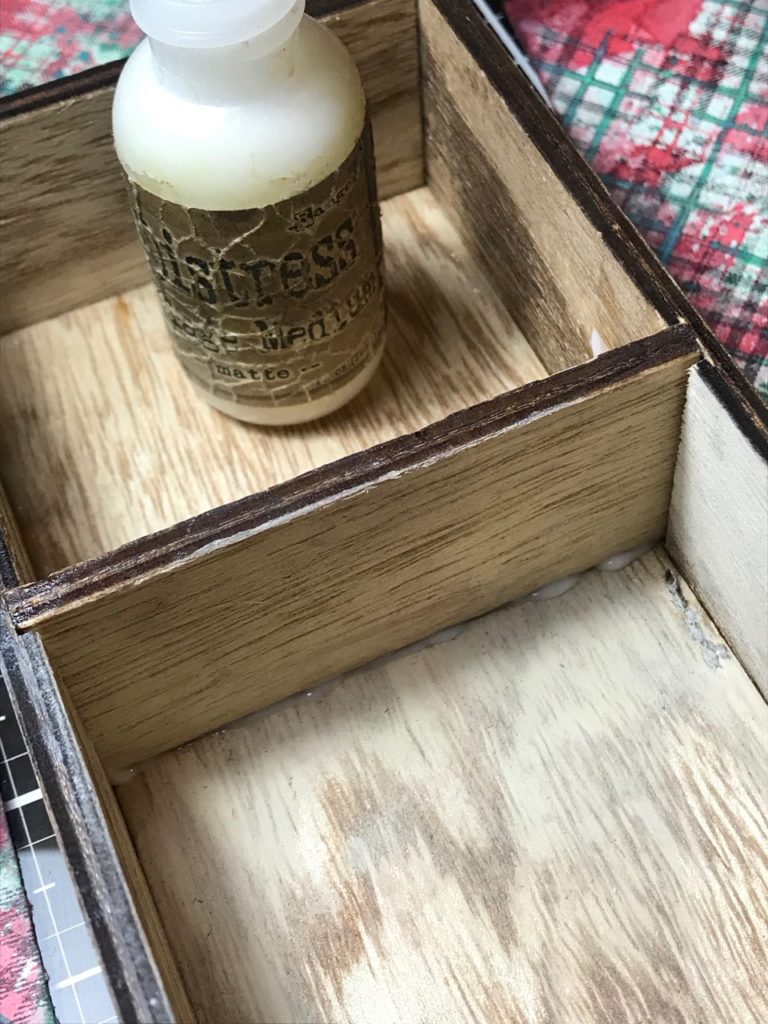
I glued the background and edge pieces into place with Distress Collage Matte Medium and then added a Christmas Design Tape around the edges of the drawer.
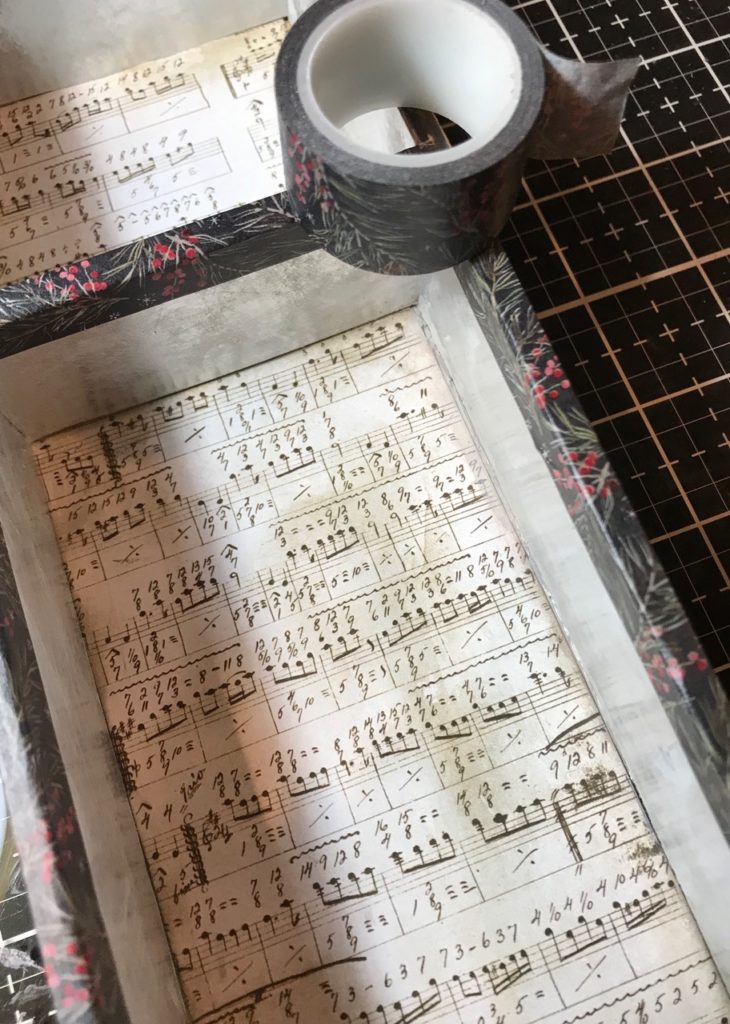
Then I adhered the plaid paper strips to the outside of the drawer.
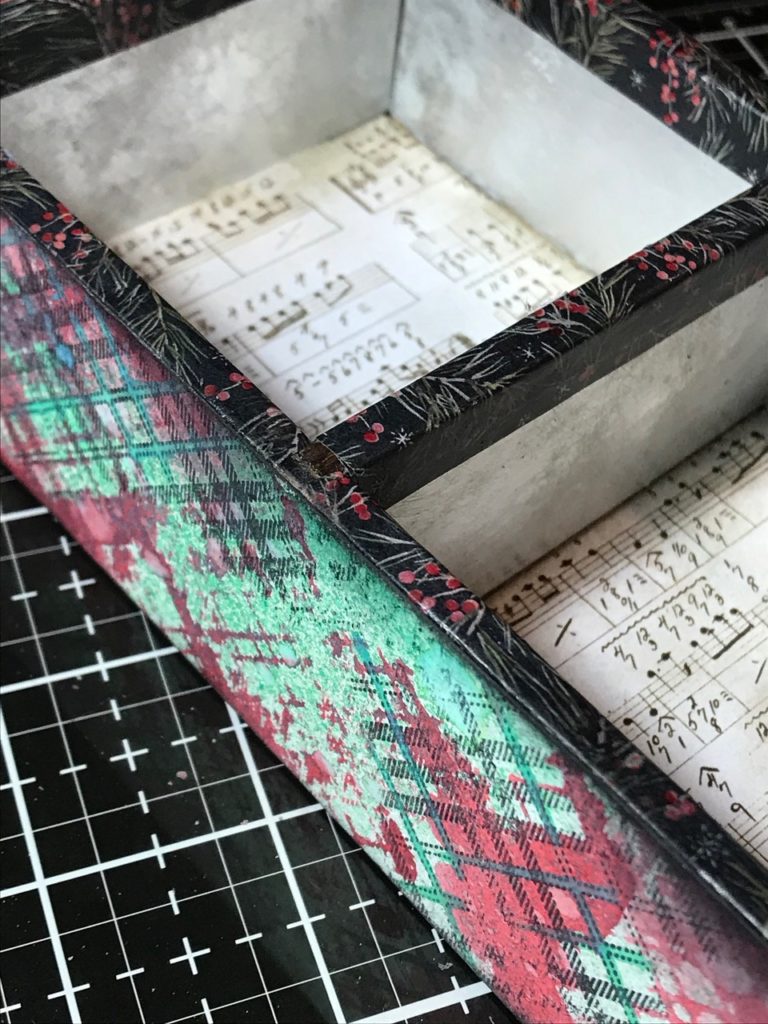
I painted a vignette panel with Black Soot Distress Paint and attached it to the bottom of the drawer to add stability and more area for Santa and the gifts to be attached. In the photo below you’ll notice that I have a piece of metallic paper on top of the black base, that didn’t make it into my final piece, LOL! But you get the idea of having a base.
The Trims…
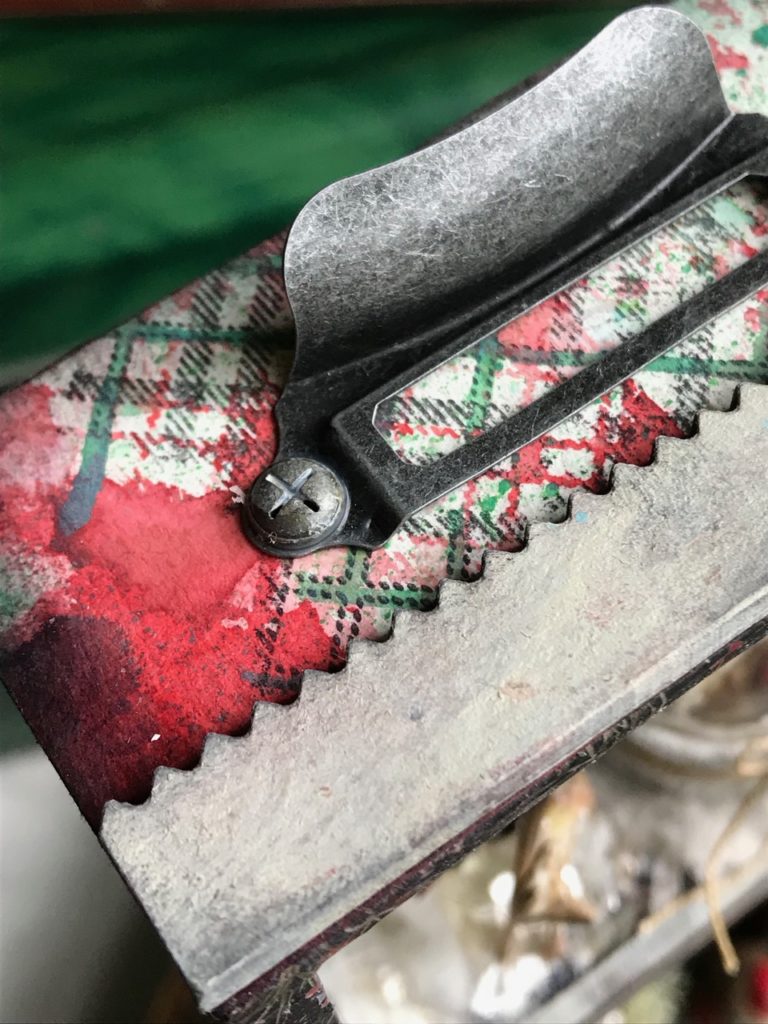
I added some pieces of Etcetera Pinked Trims that were painted with Antique Linen Distress Paint and blended with a little Black Soot Distress Ink. The trims were added to the bottom and top edges and to the shelf.
The snow globe…
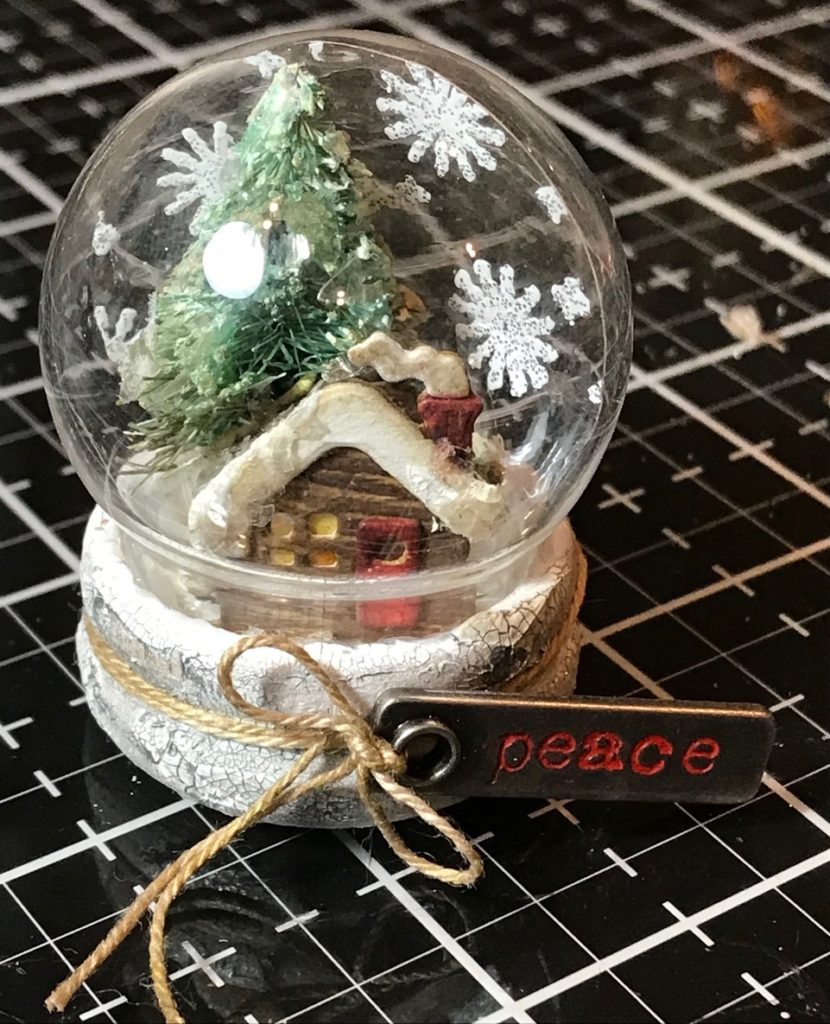
Out of the new Tim Holtz idea-ology Holiday release came these wonderful, tiny little snow globes. They are sure to be a favorite and I hope they make a reappearance next year. They are so darn cute and would be fun to fill with all sorts of things..
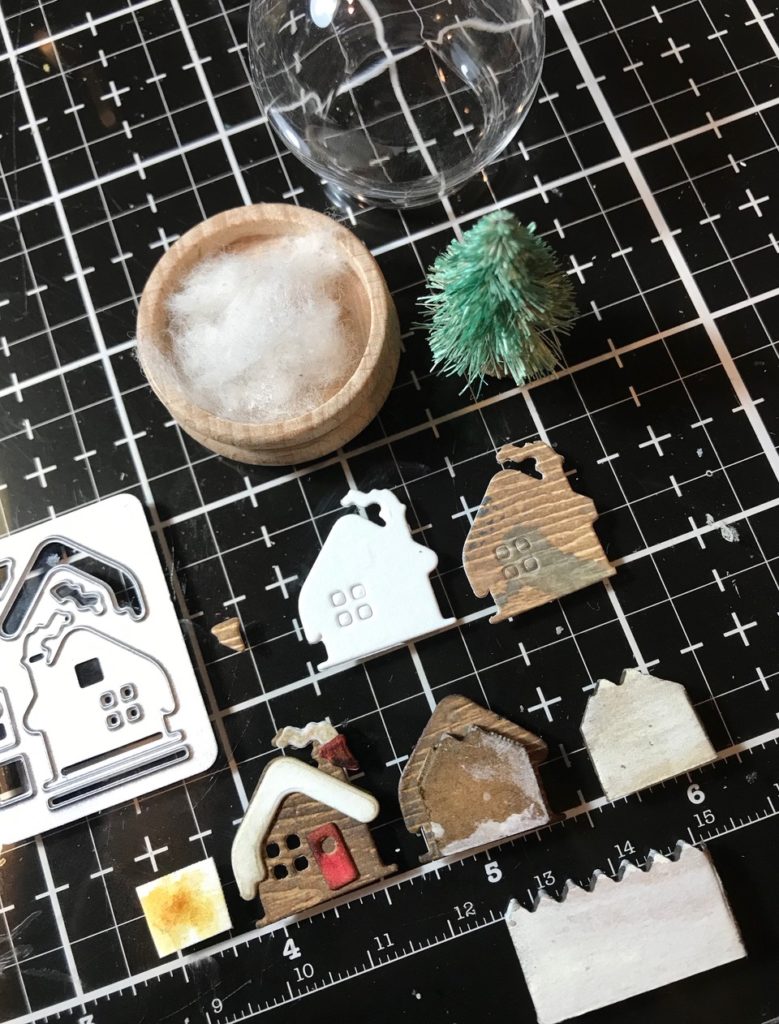
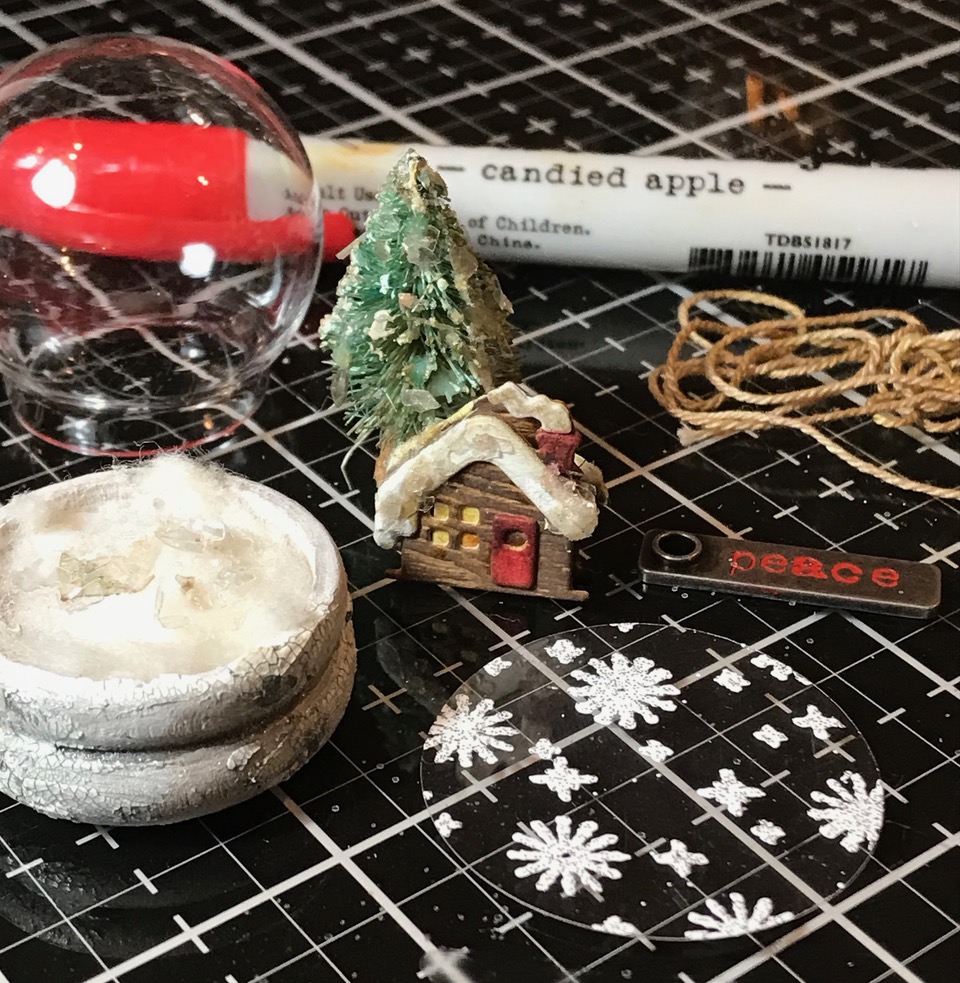
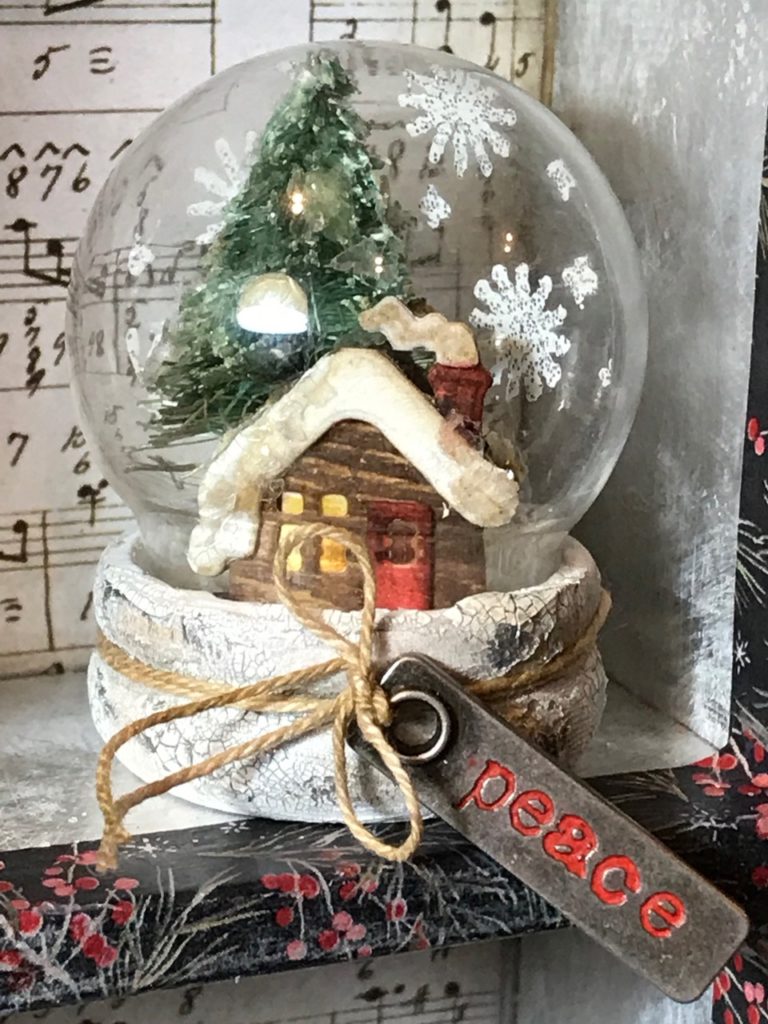
I chose to fill mine with a little log cabin, tiny woodland tree, a piece of quilt batting for snow and a piece of clear emboss able window sheet that I embossed with some snowflakes…but the possibilities are endless!
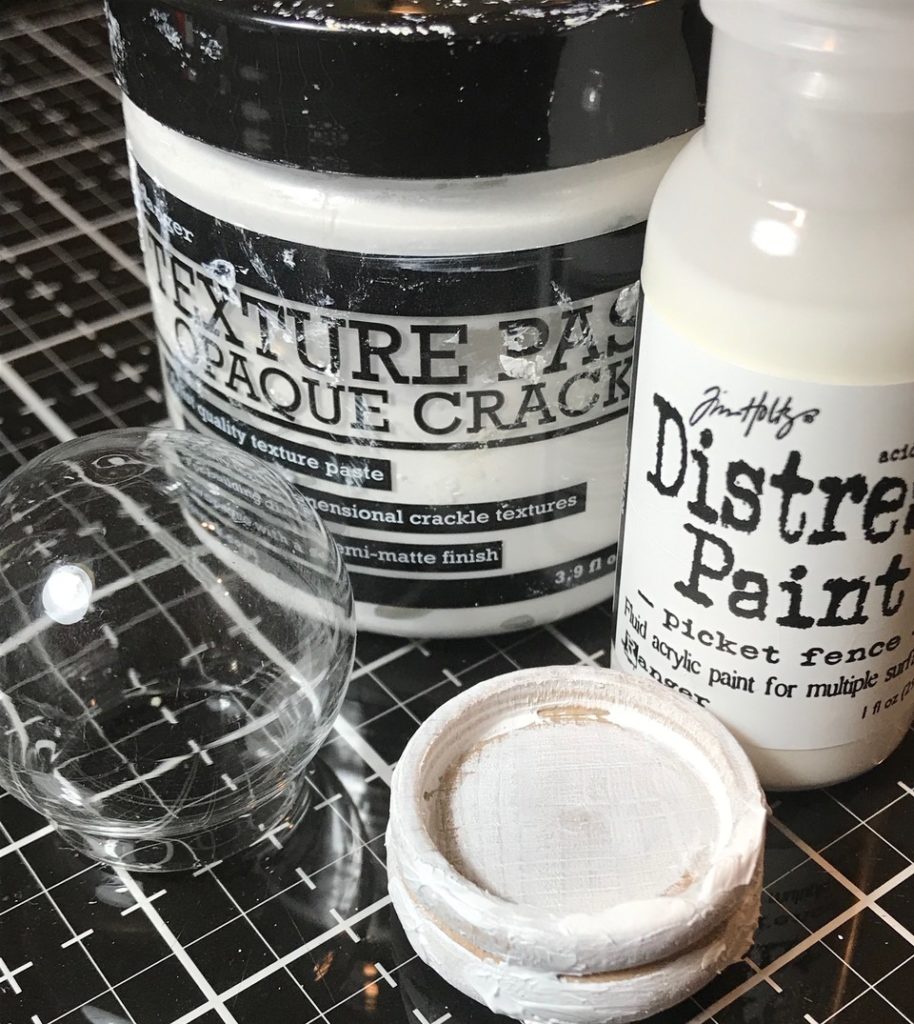
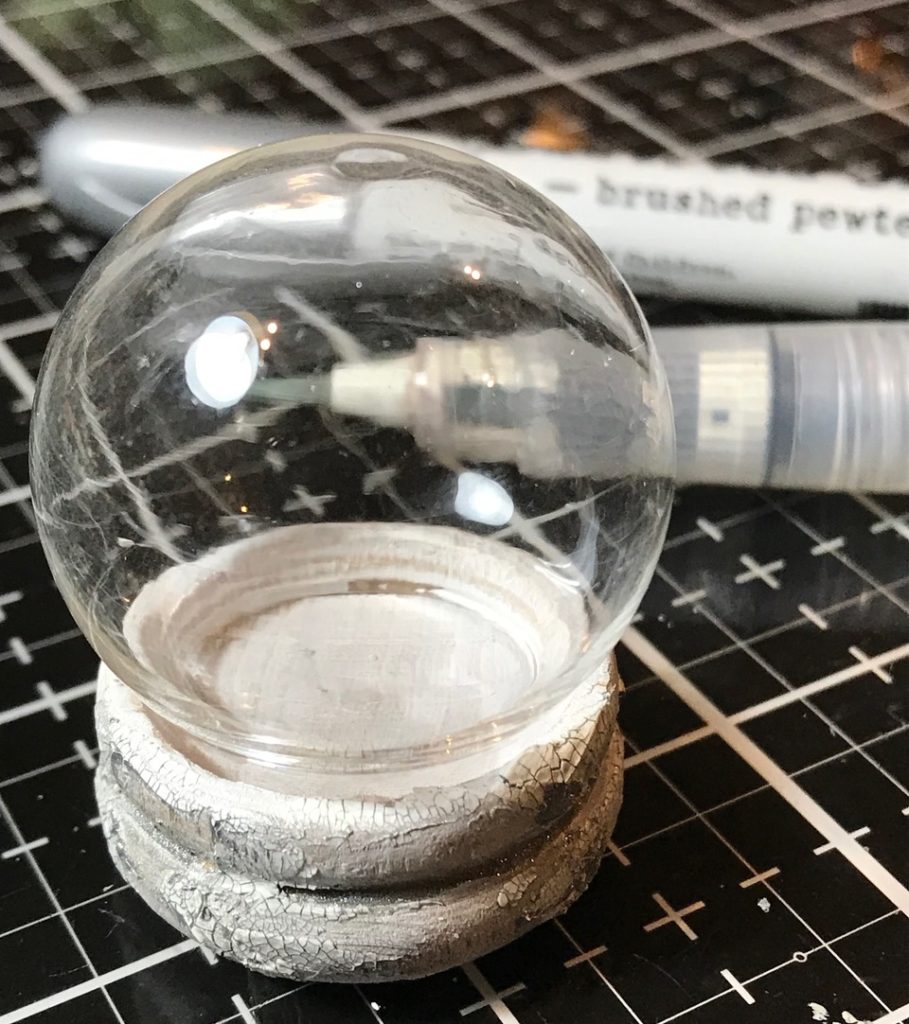
You can see in the photos below the steps I took to decorate the little snow globe.
The top shelf…
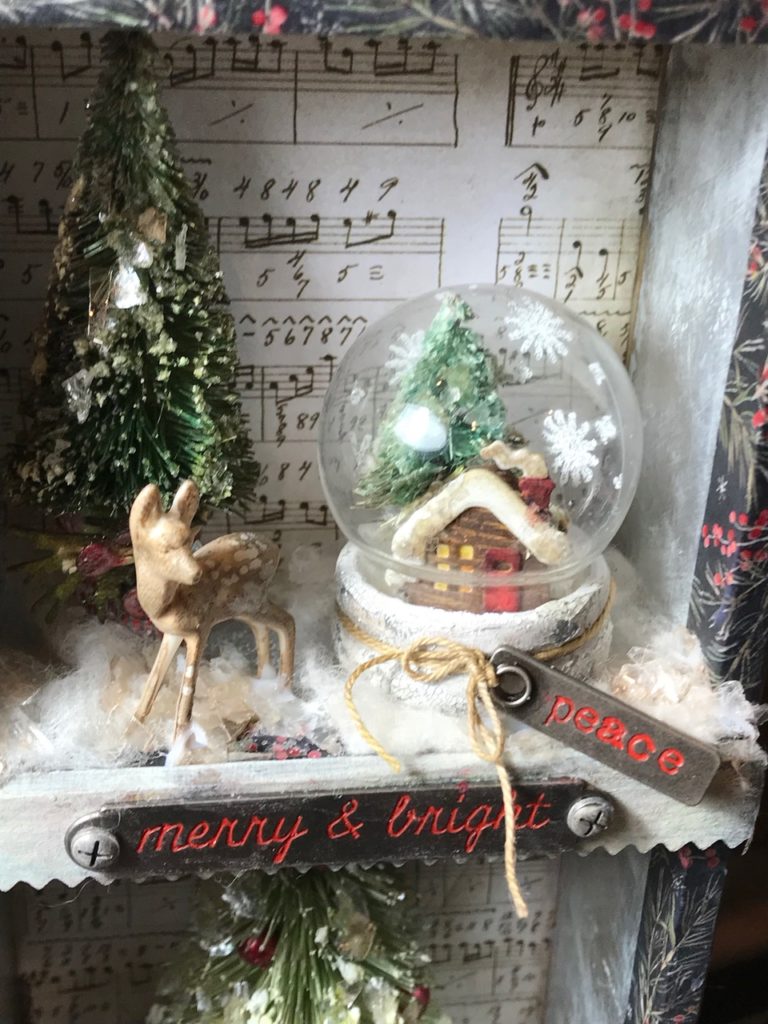
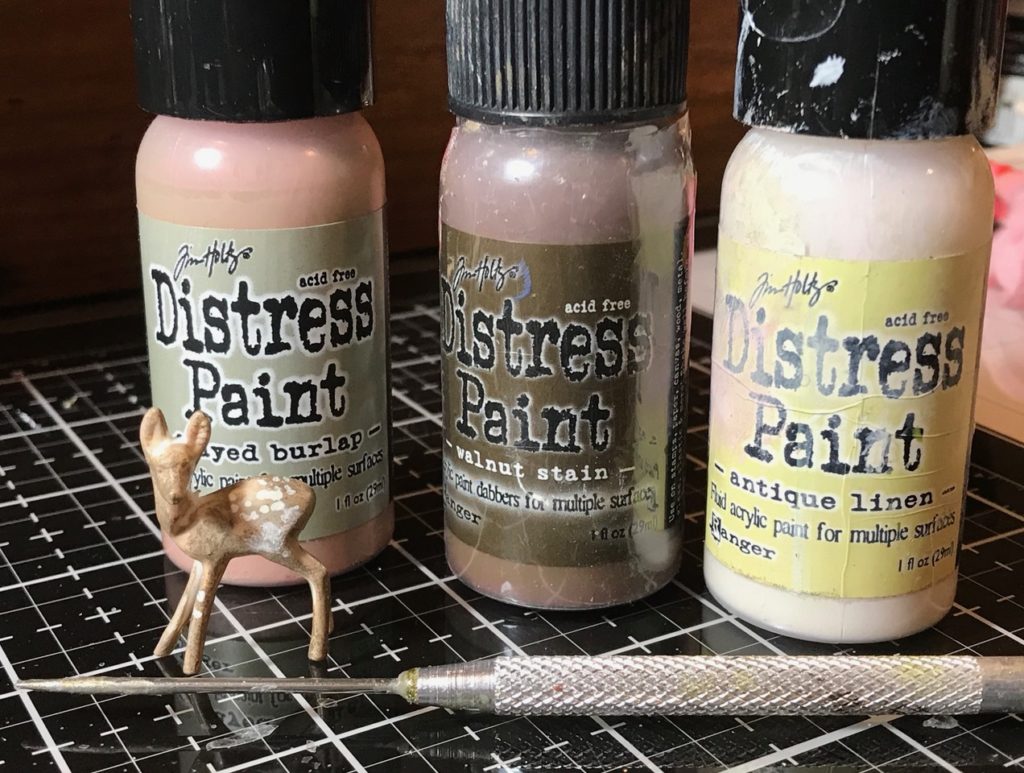
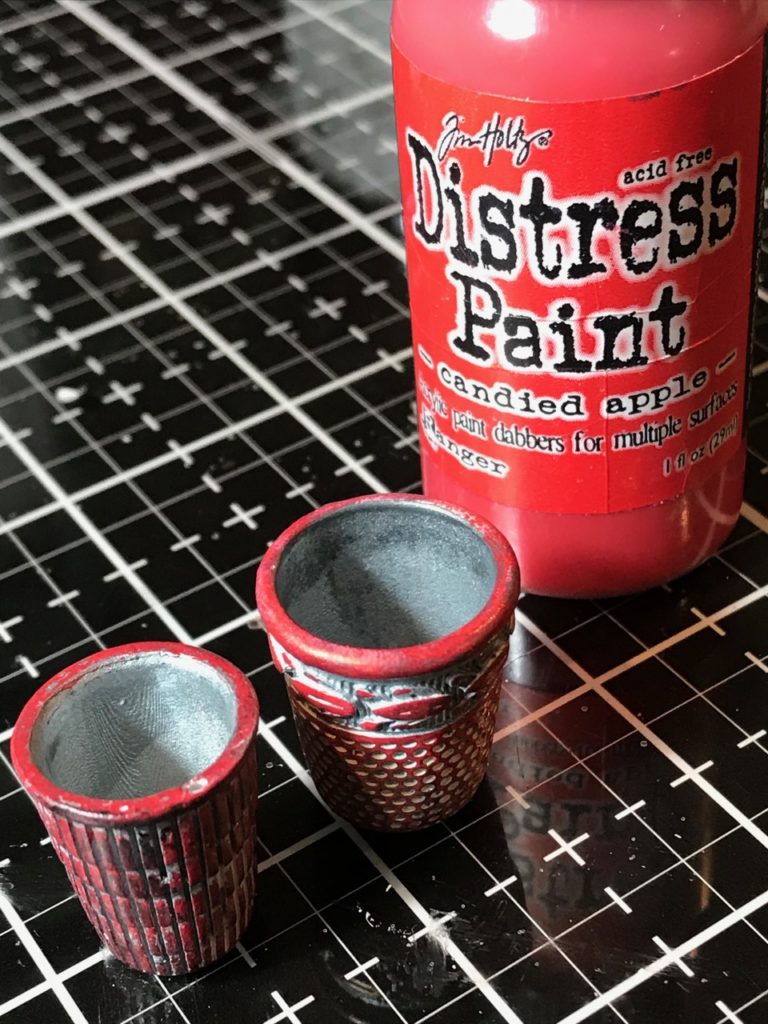
In addition to the snow globe, I added a tiny reindeer and a woodland tree in an idea-ology thimble that had be painted with distress paint. In added a small amount of quilt batting that was blended with some Walnut Stain Distress Ink and then the top shelf was dusted with Distress Mica Flakes and Clear Rock Candy Glitter.
I added the piece of Pinked Etcetera Trim and added a Christmas Word Band.
The tree, packages and Santa Claus…
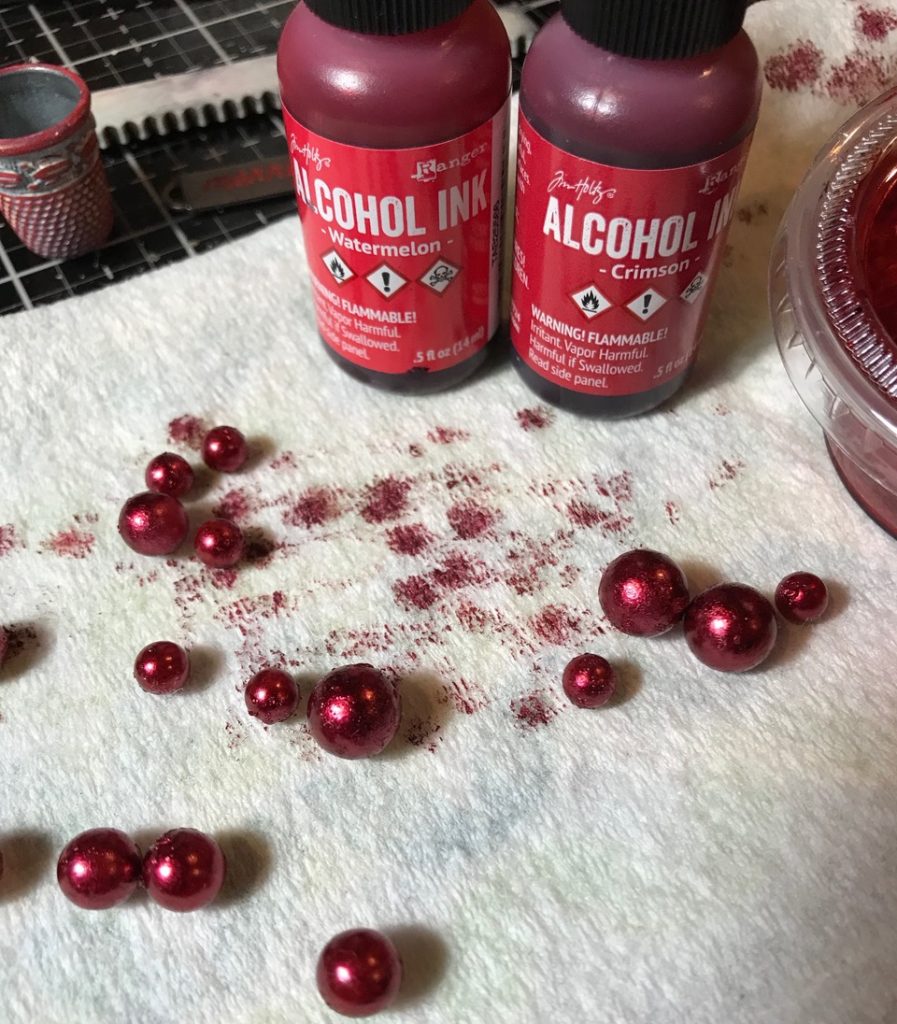
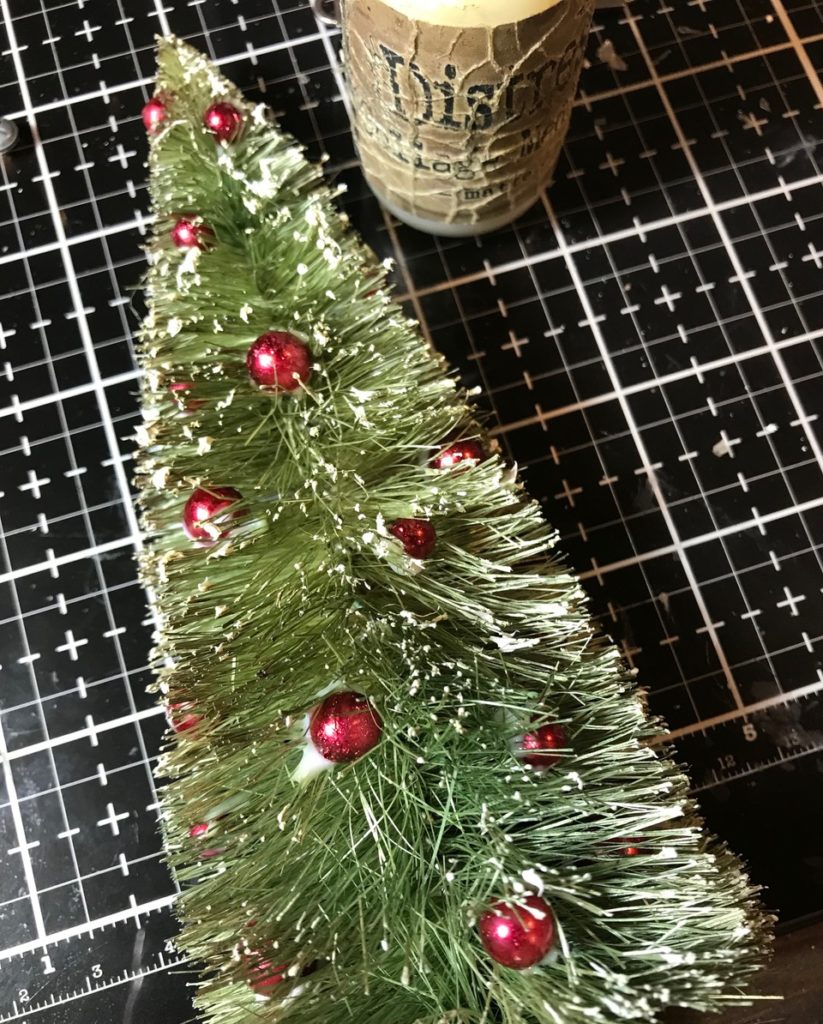
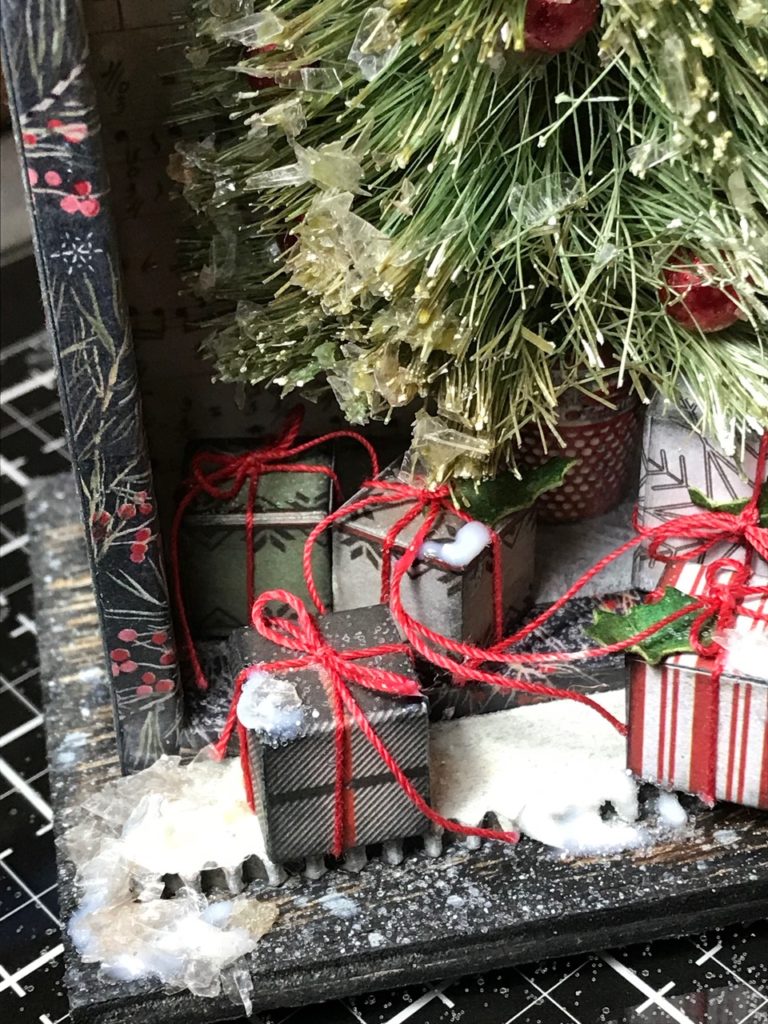
I dyed a large Woodland Half Tree with Distress Spray Stain and embellished it with some colored Baubles, Crackle Texture Paste and a Painted Thimble.
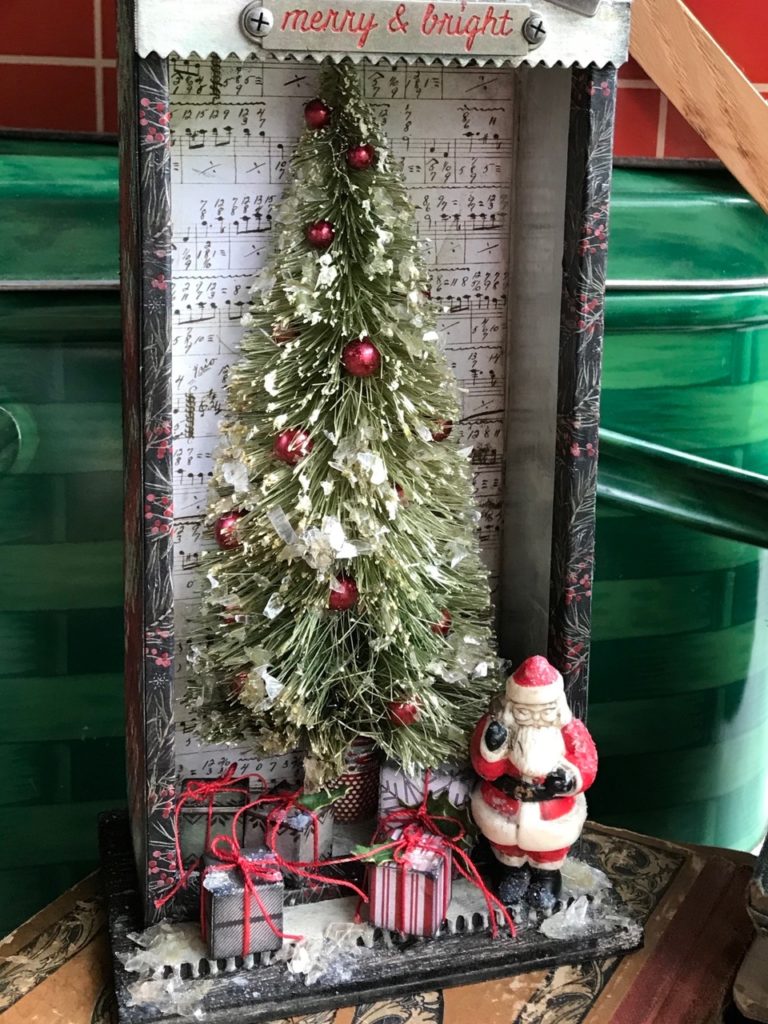

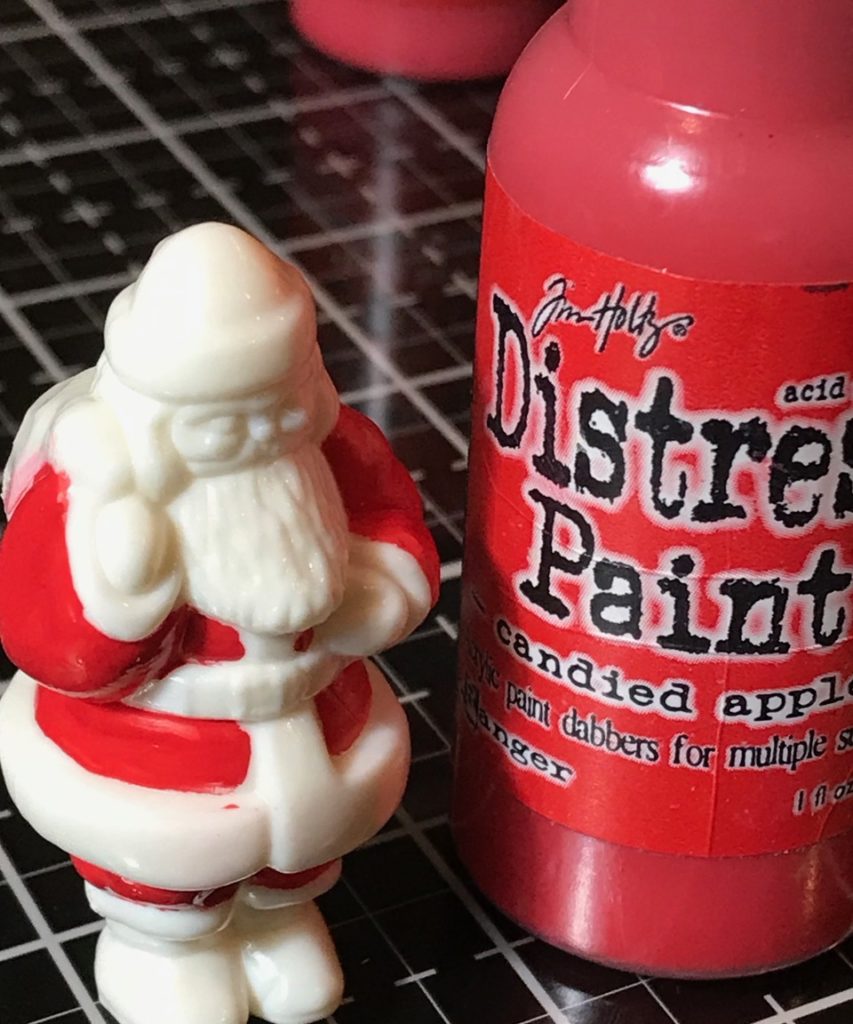
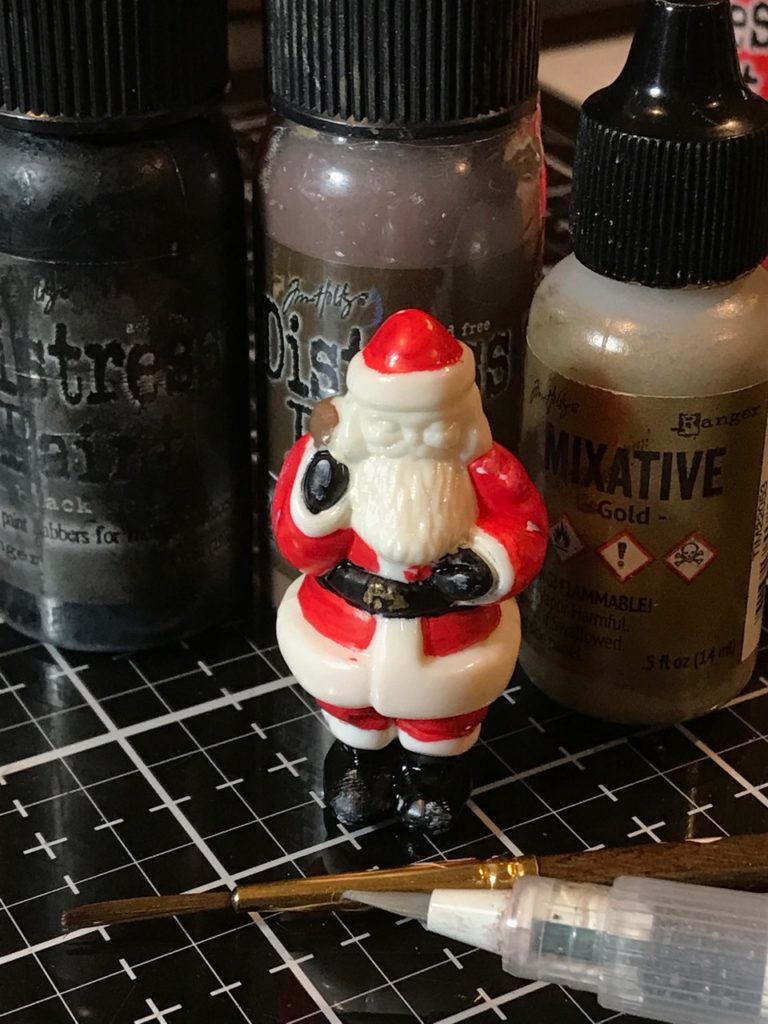
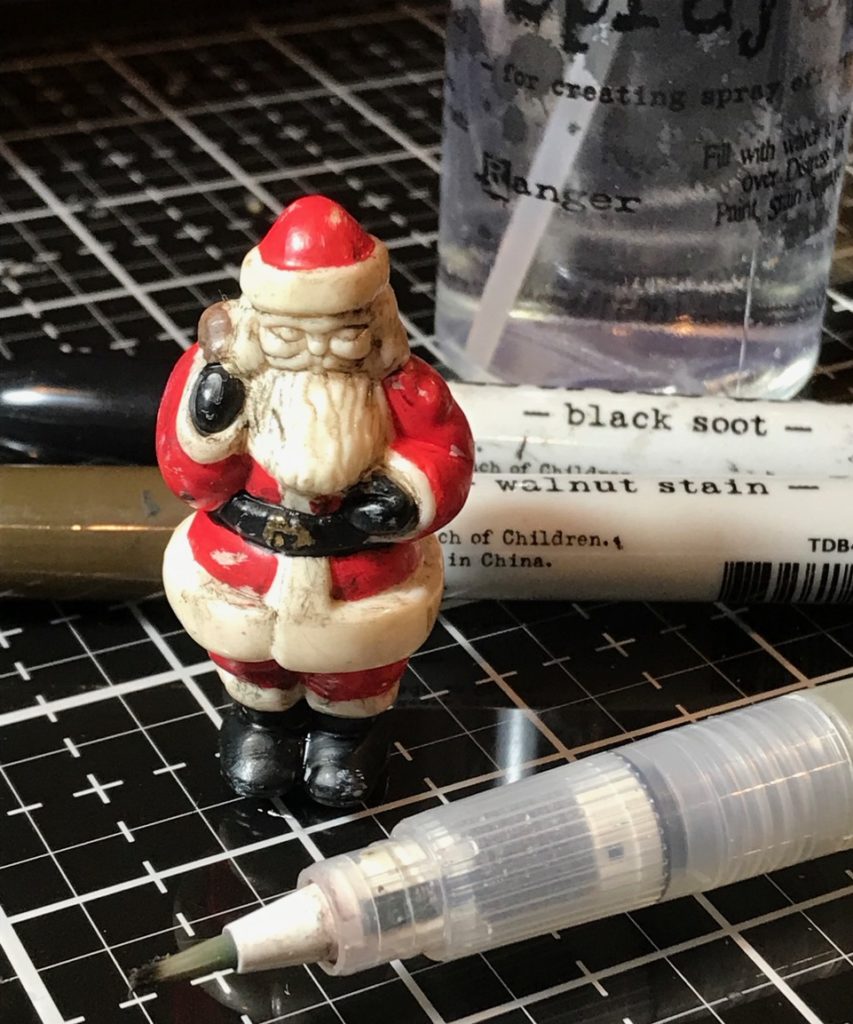
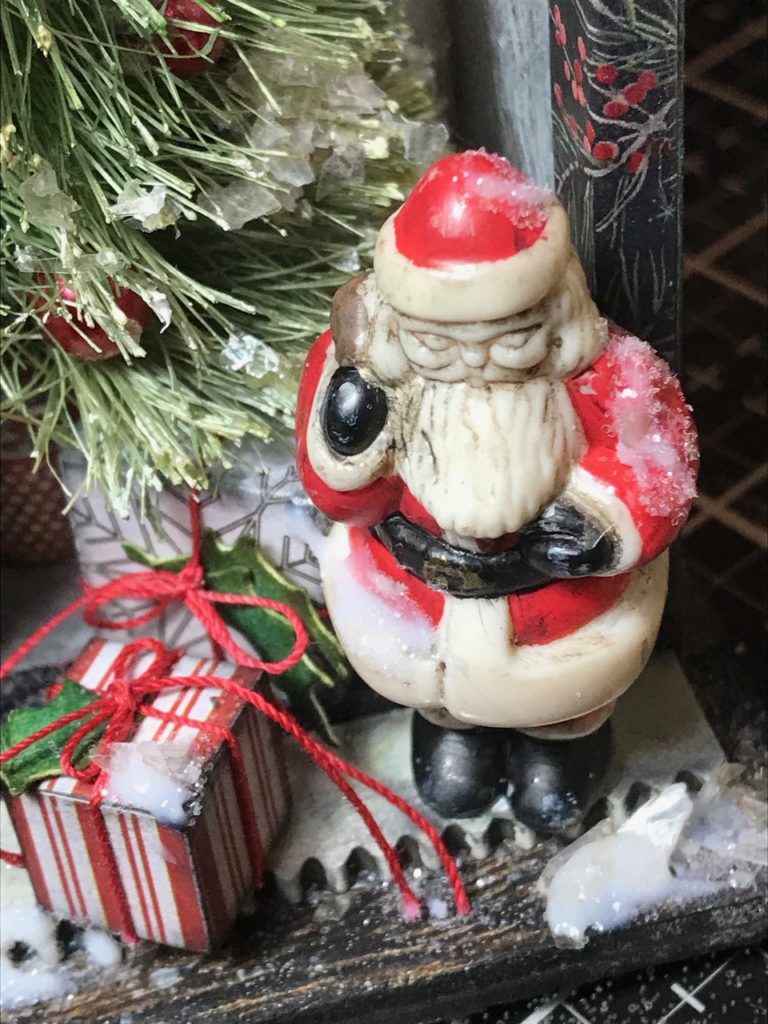
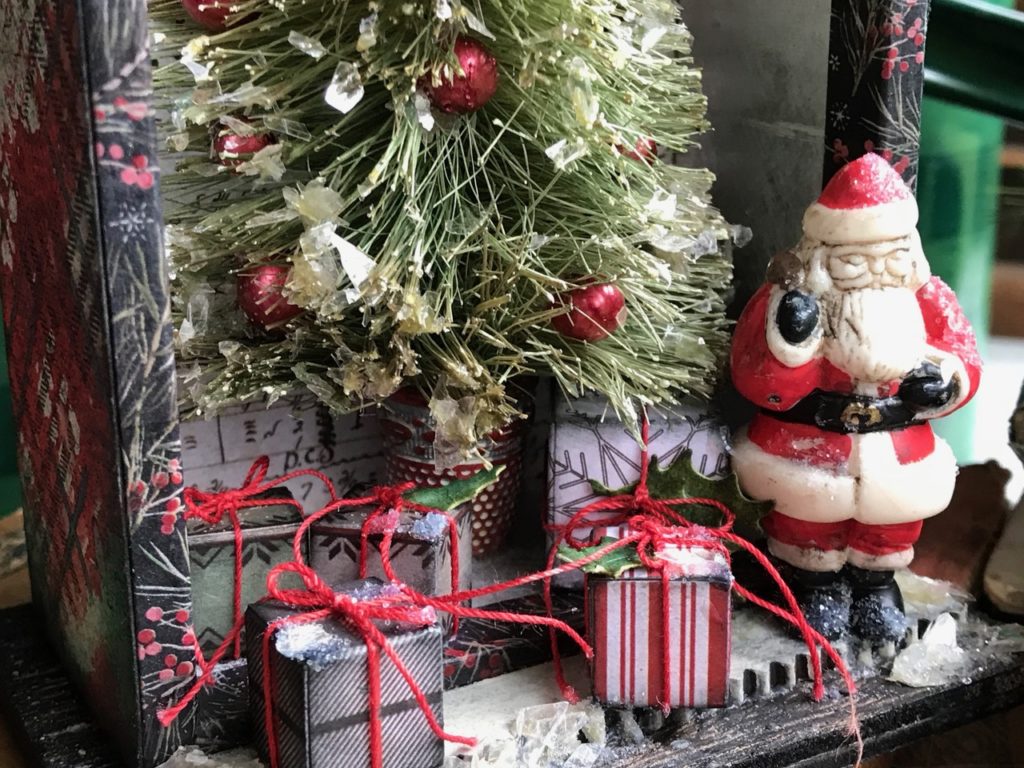
Santa was painted and glitter dusted.
Presents were wrapped with Christmas Paper Stash Strips and tied with string.
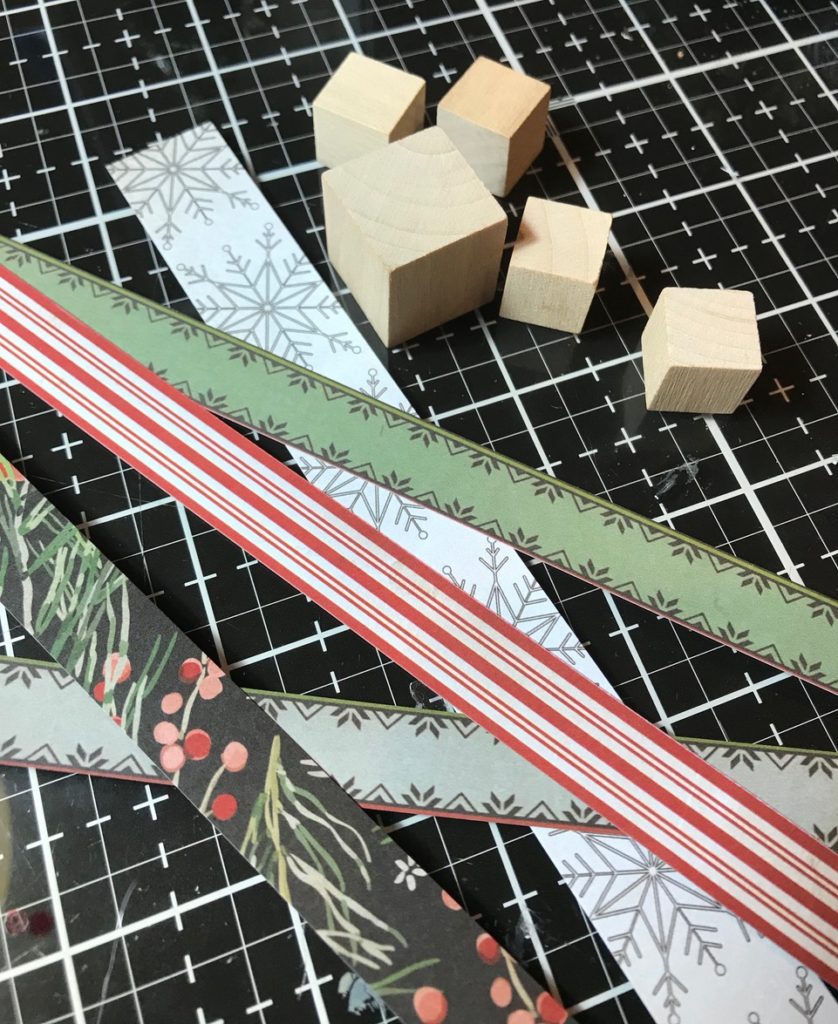
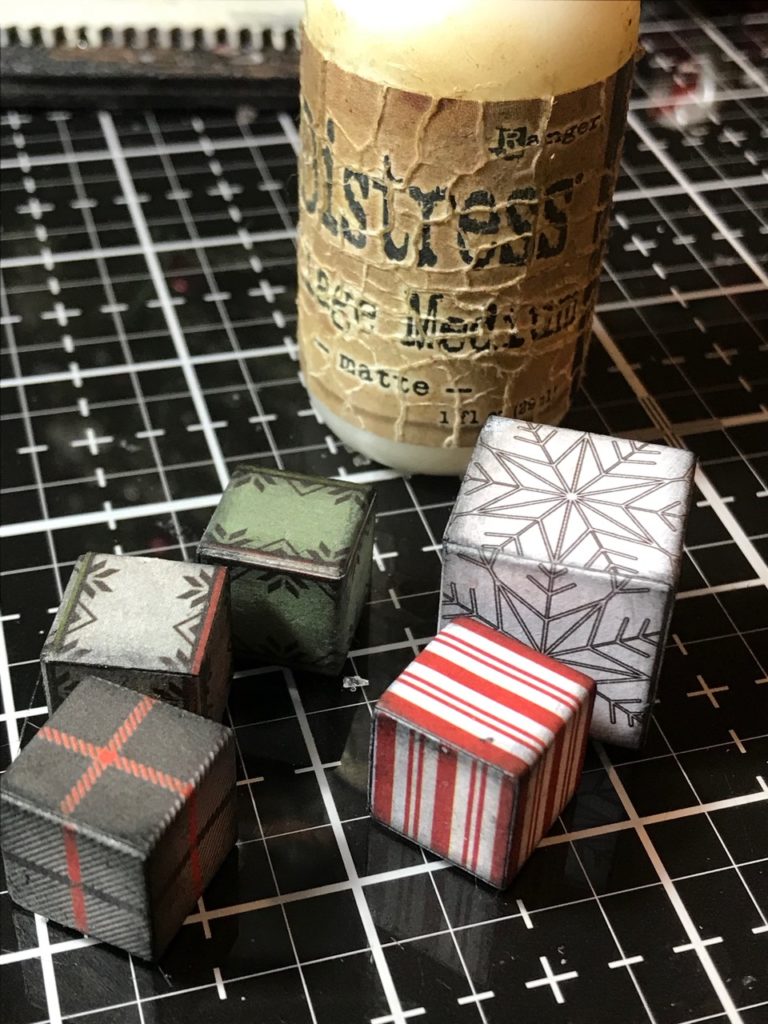
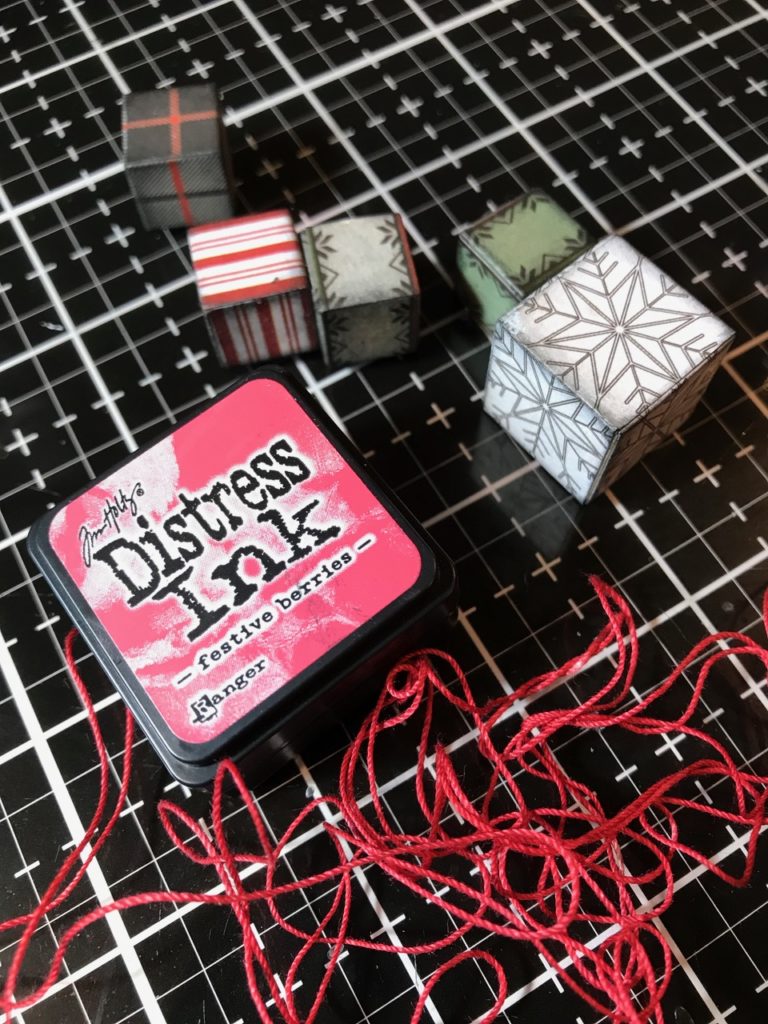
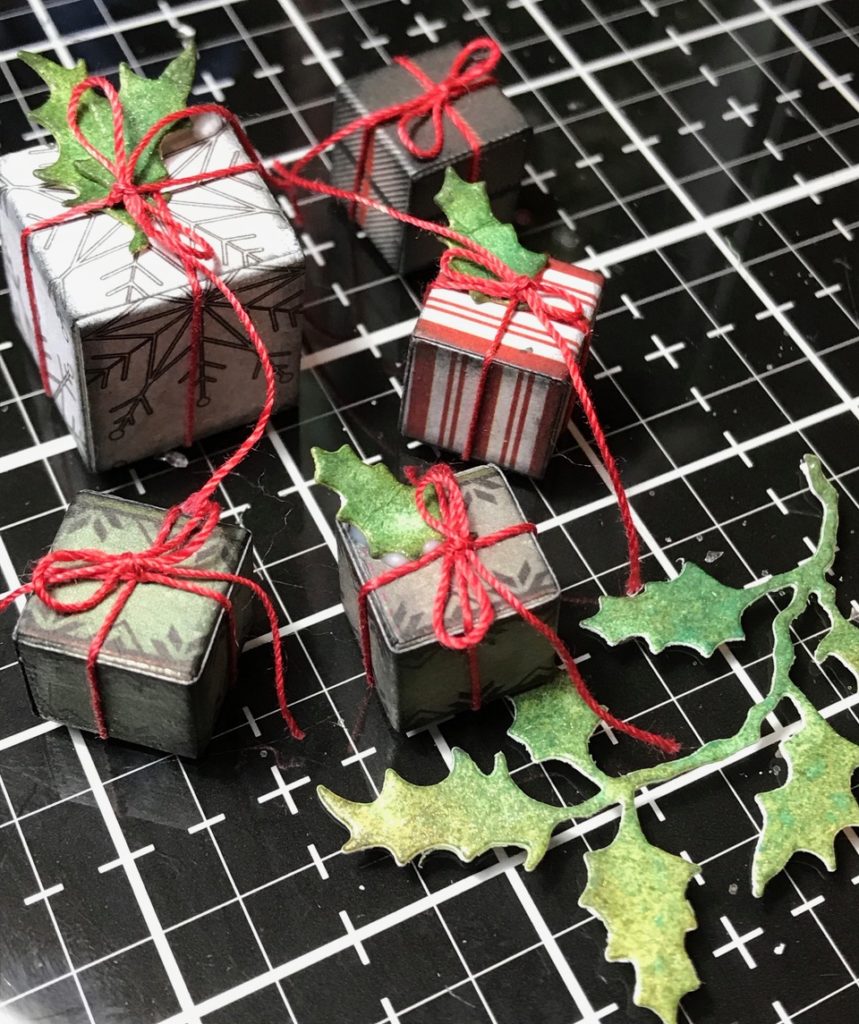
Then they were added to the drawer, a bit of quilt batting sbow was added and then it was all dusted with mica flakes and clear rock candy glitter.
And with that my vignette was complete…

As I reflect on this past year I am so very thankful for each one of you that has shared my love of all things Tim Holtz. All of your kind comments mean the world to me. I can’t begin to tell you how much I love creating and then being able to share that love with you makes my heart so happy. So I just wanted to say thank you for that. I appreciate you so much and hope that you all have a Merry Christmas, Happy Holidays and a Happy New Year! I can’t wait to share with you this coming year!
Creatively yours,
Stacy
What is an affiliate program, and why should I click on the link and buy through you?..
When you shop via the affiliate link on this blog, I receive a small commission, from the affiliate provider (Simon Says Stamp), at no extra cost to you whatsoever. These commissions help me to cover hosting fees and other costs to run my blog and be able to provide you with FREE inspiration. If you shop the links, THANK YOU! I truly appreciate being able to share my love of creating with you.
Gather Your Supplies-
Tim Holtz/Stampers Anonymous-Perfect Plaids (CMS383), Etcetera Pinked Trims, Glitter Duster, Splatbox
Tim Holtz/ Sizzix- Tiny Snowglobes, Holiday Greens Mini
Tim Holtz/Tonic- Tonic Guillotine Paper Trimmer, Tonic Shears
Tim Holtz/Idea-ology- Vignette Divided Drawer, Salvaged Santa, Christmas Paper Stash, Woodland Trees, Decorative Deer, Snow Globes, Tiny Bells, Thimbles, Baubles, Vignette Panels, Nailheads, Christmas Story Stick, Christmas Design Tape, Label Pull
Tim Holtz/Ranger- Distress Watercolor Paper,Black Soot Archival Ink, Mushroom, Watermelon, Crimson Alcohol Ink, Gold Mixative,
Distress Ink- Black Soot, Candied Apple, Lucky Clover, Hickory Smoke, Festive Berries
Distress Spray Stains- Festive Berries
Distress Oxide Sprays-Candied Apple, Lucky Clover
Distress Paints- Black Soot, Candied Apple, Antique Linen
Distress Crayons- Candied Apple, Black Soot, Walnut Stain
Distress Tools/Mediums- Distress Sprayer, Media Mat, Heat it Heat Tool, Blending Tools, Distress Collage Matte Medium, Distress Mica Flakes, Clear Rock Candy Glitter
Other- String, wood cubes


This is so cute. I just love your creations. Could you please share what company makes the little log cabin die?
Thanks so much, Catherine…I’m thrilled that you do 🙂 I just updated the list of supplies through Simon Says Stamp and included the die set..it’s called Tiny Snowglobes by Tim Holtz and Sizzix. Thanks for catching that. Merry Christmas!
One of my favorites of the season! I love the custom paper covering the vignette box and oh the fillings are just so perfect for creating this festive piece! Merry Christmas Stacy! I can’t wait to see what you will create in the coming year xxx
Wow, I LOVE the top part with the globe and deer. Really like it. The complete project is a real piece of eye candy. I like everything about it, but especially the top <3
Have a very Happy holiday season, Merry Christmas and Happy New Year!!!
Holy Smokes…this one is over the top fabulous, wonderful tutorial, too! The made paper is crazy good. Love it…I think my crafty person want to be you when it grows up…LOL. Can hardly wait to see what is coming our way next year…some fabulous “stuff”, for sure! Merry Christmas, hope Santa is good to you this year!
Amazing as usual! I’ve loved seeing your creations throughout the years. Thank you for sharing your creativity! Happy Holidays to you and yours! 🎄
Dear Stacy, your vignette drawer is a work of art, as always! I admire your ideas and inspirations and the way you realize them! It is so amazing! Thank you for sharing this with us!
I wish you and your beloved a very Merry Christmas and a happy and creative New Year!
Hugs from Germany
Anka
Just had to pop over to see more of this gorgeous creation and to say thank you for all your wonderful inspiration this year Stacy. Merry Christmas to you and yours! Anne xx