Hello friends! Happy Tuesday! Happy Holidays and Merry Christmas…is it too early? Well…it’s never too early when you’re a maker!
This is the best time to get a jump start on all those making projects and Tim Holtz and Simon Says Stamps has got some goodies for you to start with. Holiday Coordinating Wafer Dies that match previously released stamps by Tim Holtz and Stampers Anonymous and are an exclusive from Simon Says Stamp. There are 6 sets with new matching wafer dies in this release.
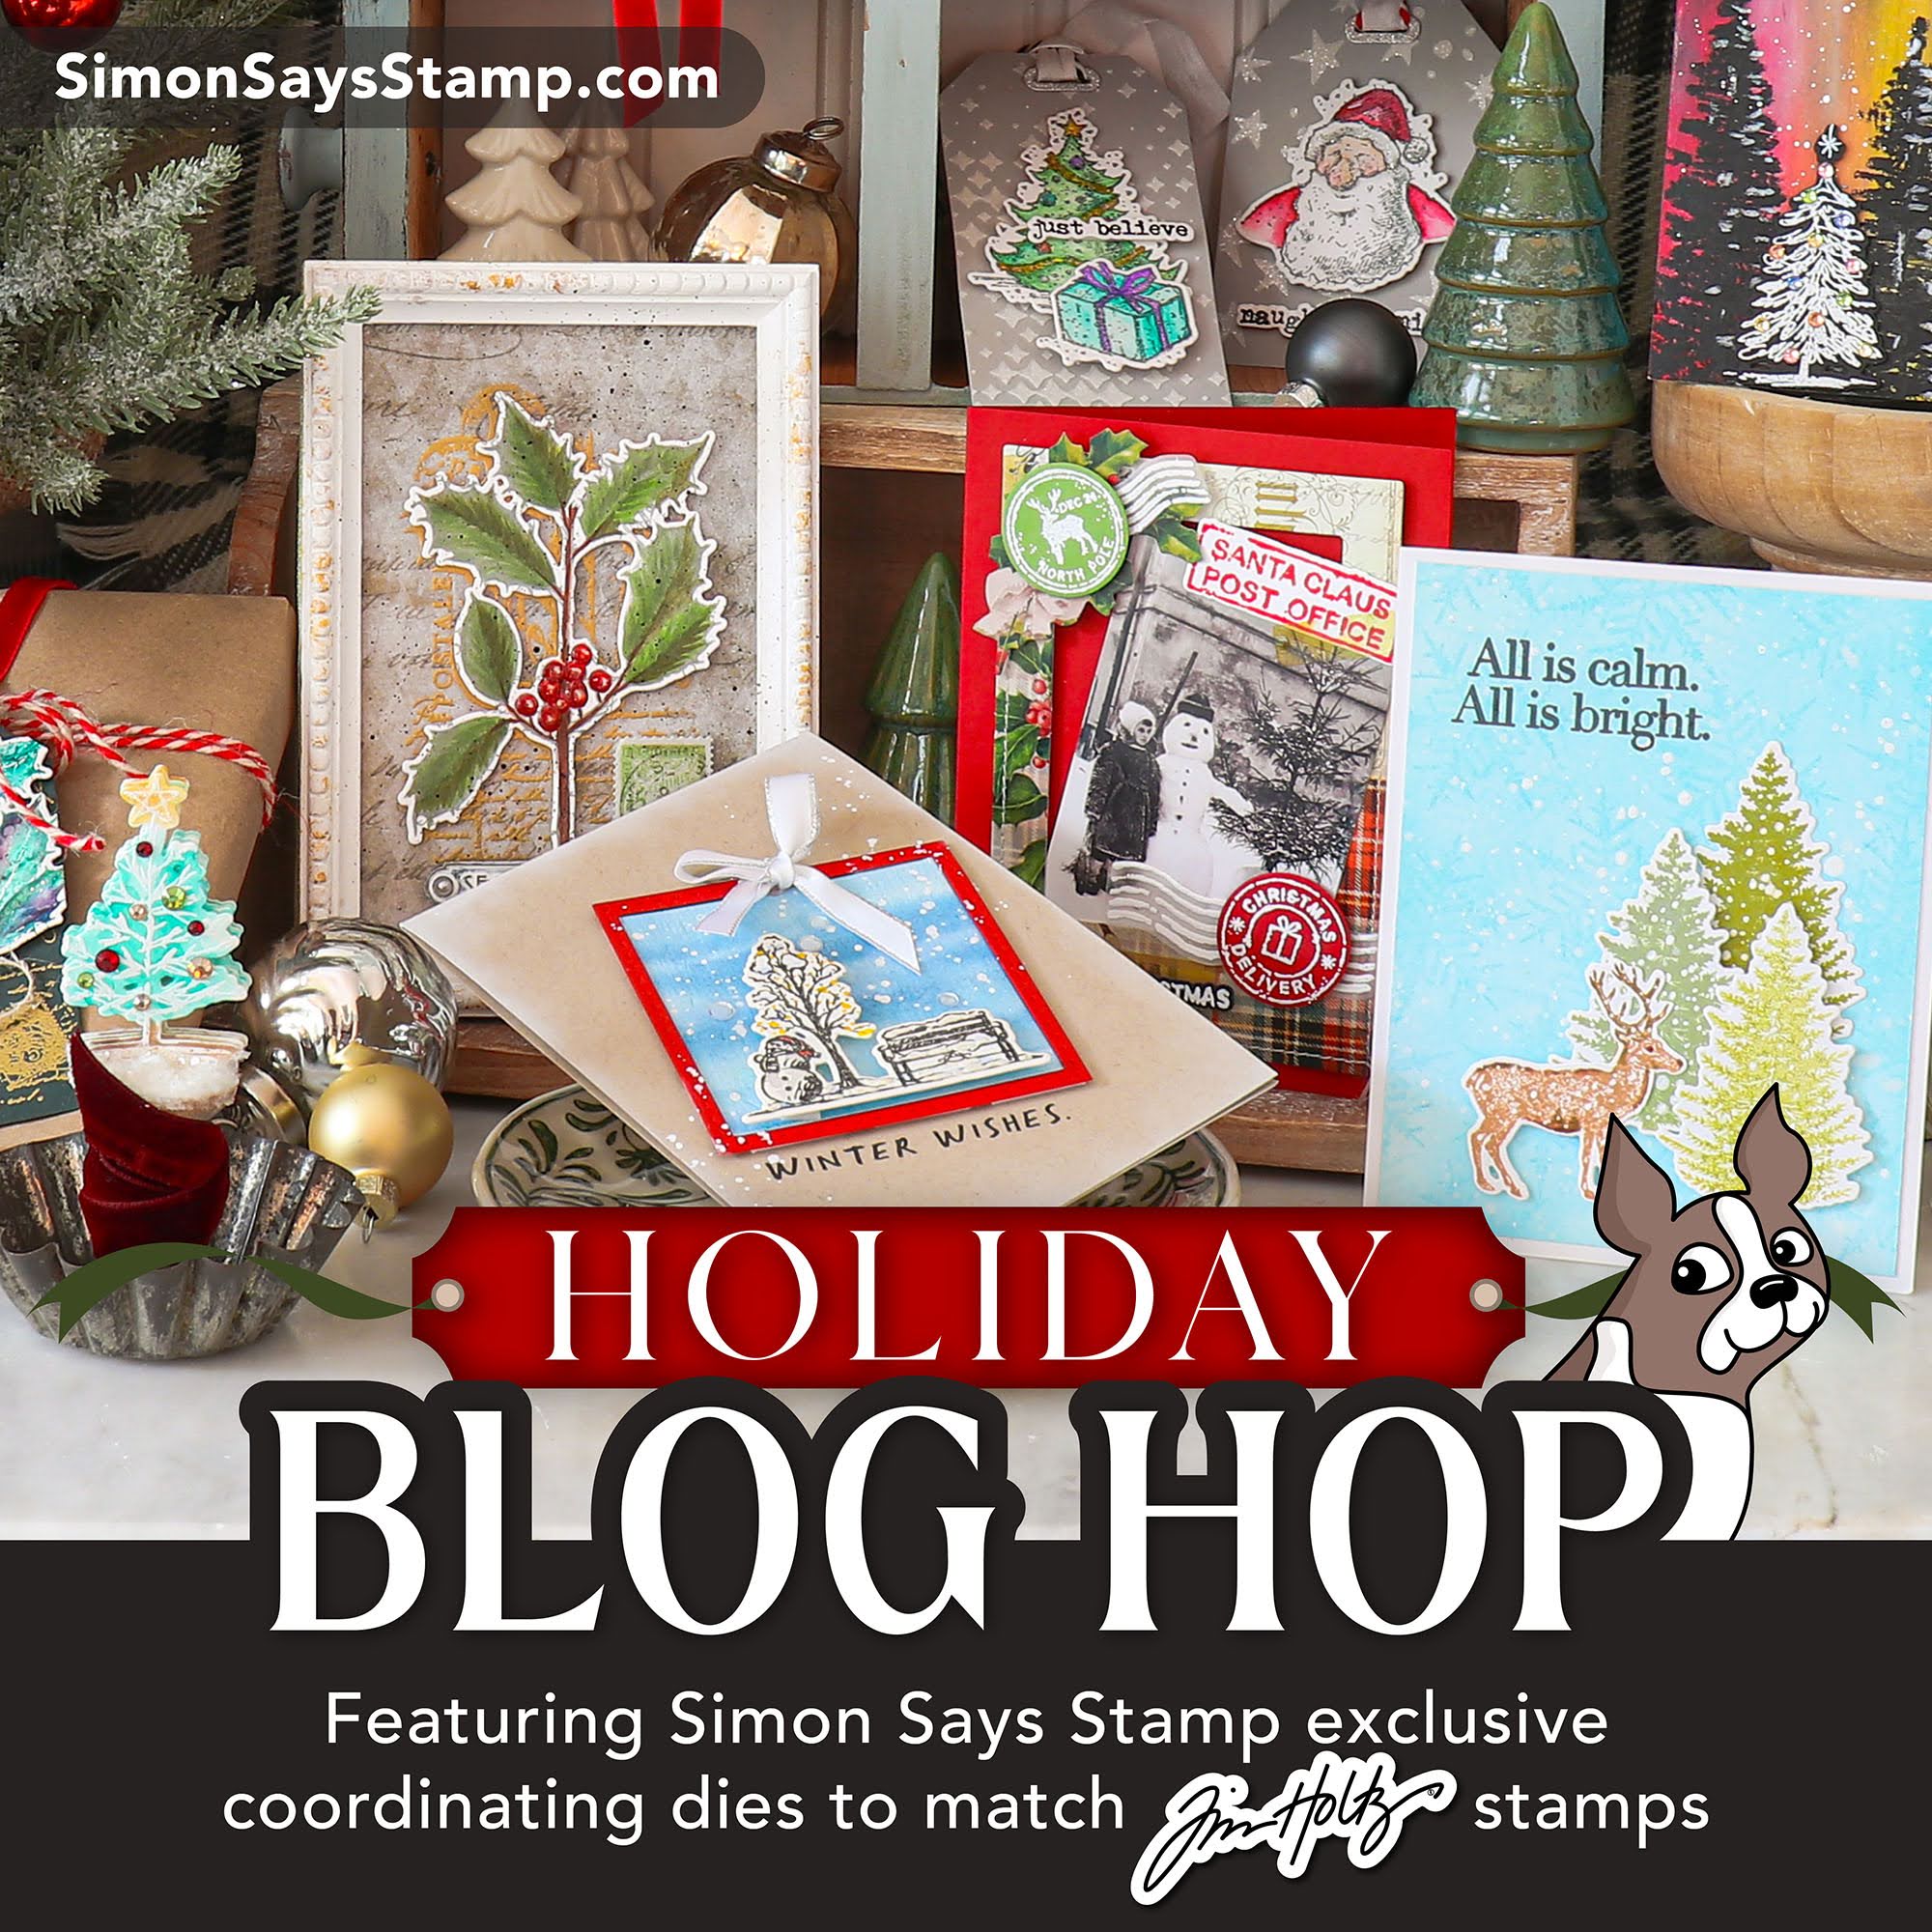
Today, Simon Says Stamp is hosting a Blog Hop to share the new products and some beautiful inspiration, so grab yourself a mug full of hot chocolate, find a comfy spot and follow along. You won’t want to miss all the inspiration we have is store for you… your next stop on the hop will be over to Barb Engler.
Here is a complete list of all the participants in the Blog Hop with links.
Simon Says Stamp Blog, Nina-Marie Trapani, Cheiron Brandon, Nichol Spohr, Emma Williams, Heather Hoffman, Tami Bastiaans, Tina Smith, Jenn Shurkus, Jean Doeringsfeld, Stacy Hutchinson (me), and Barb Engler
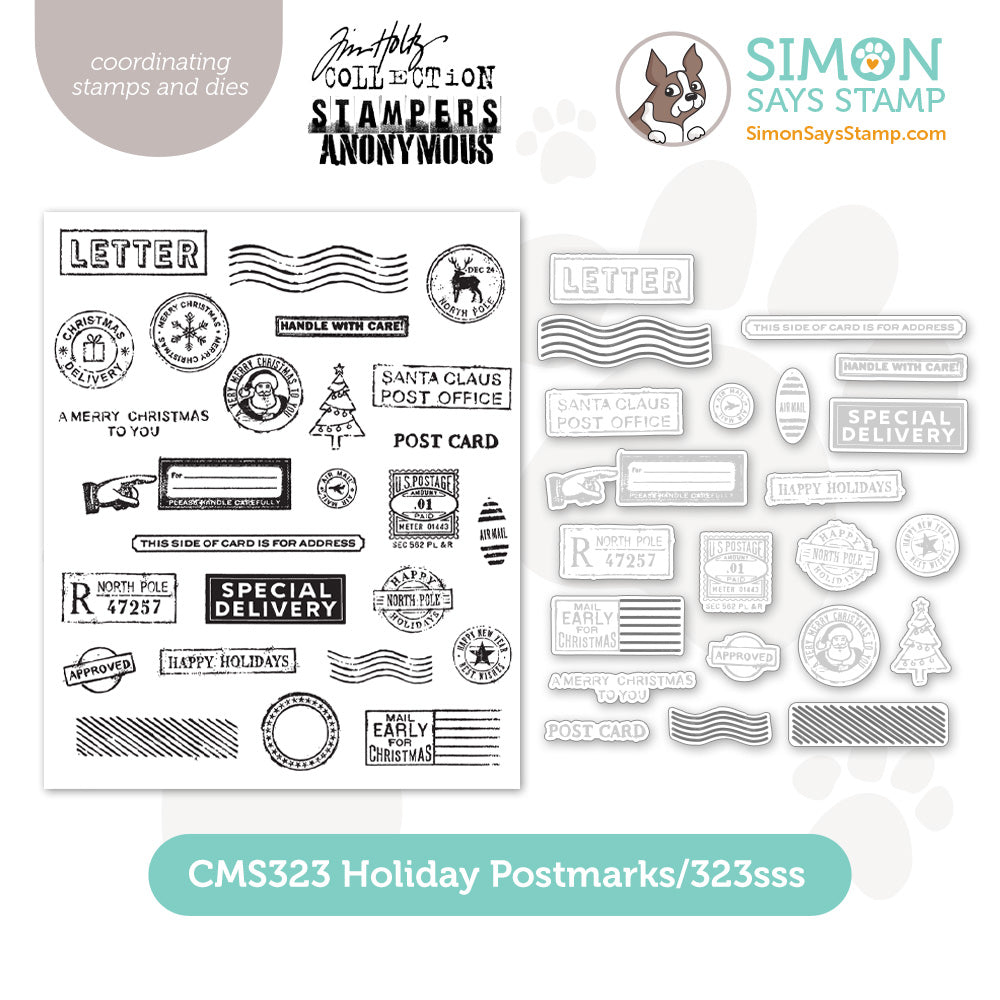
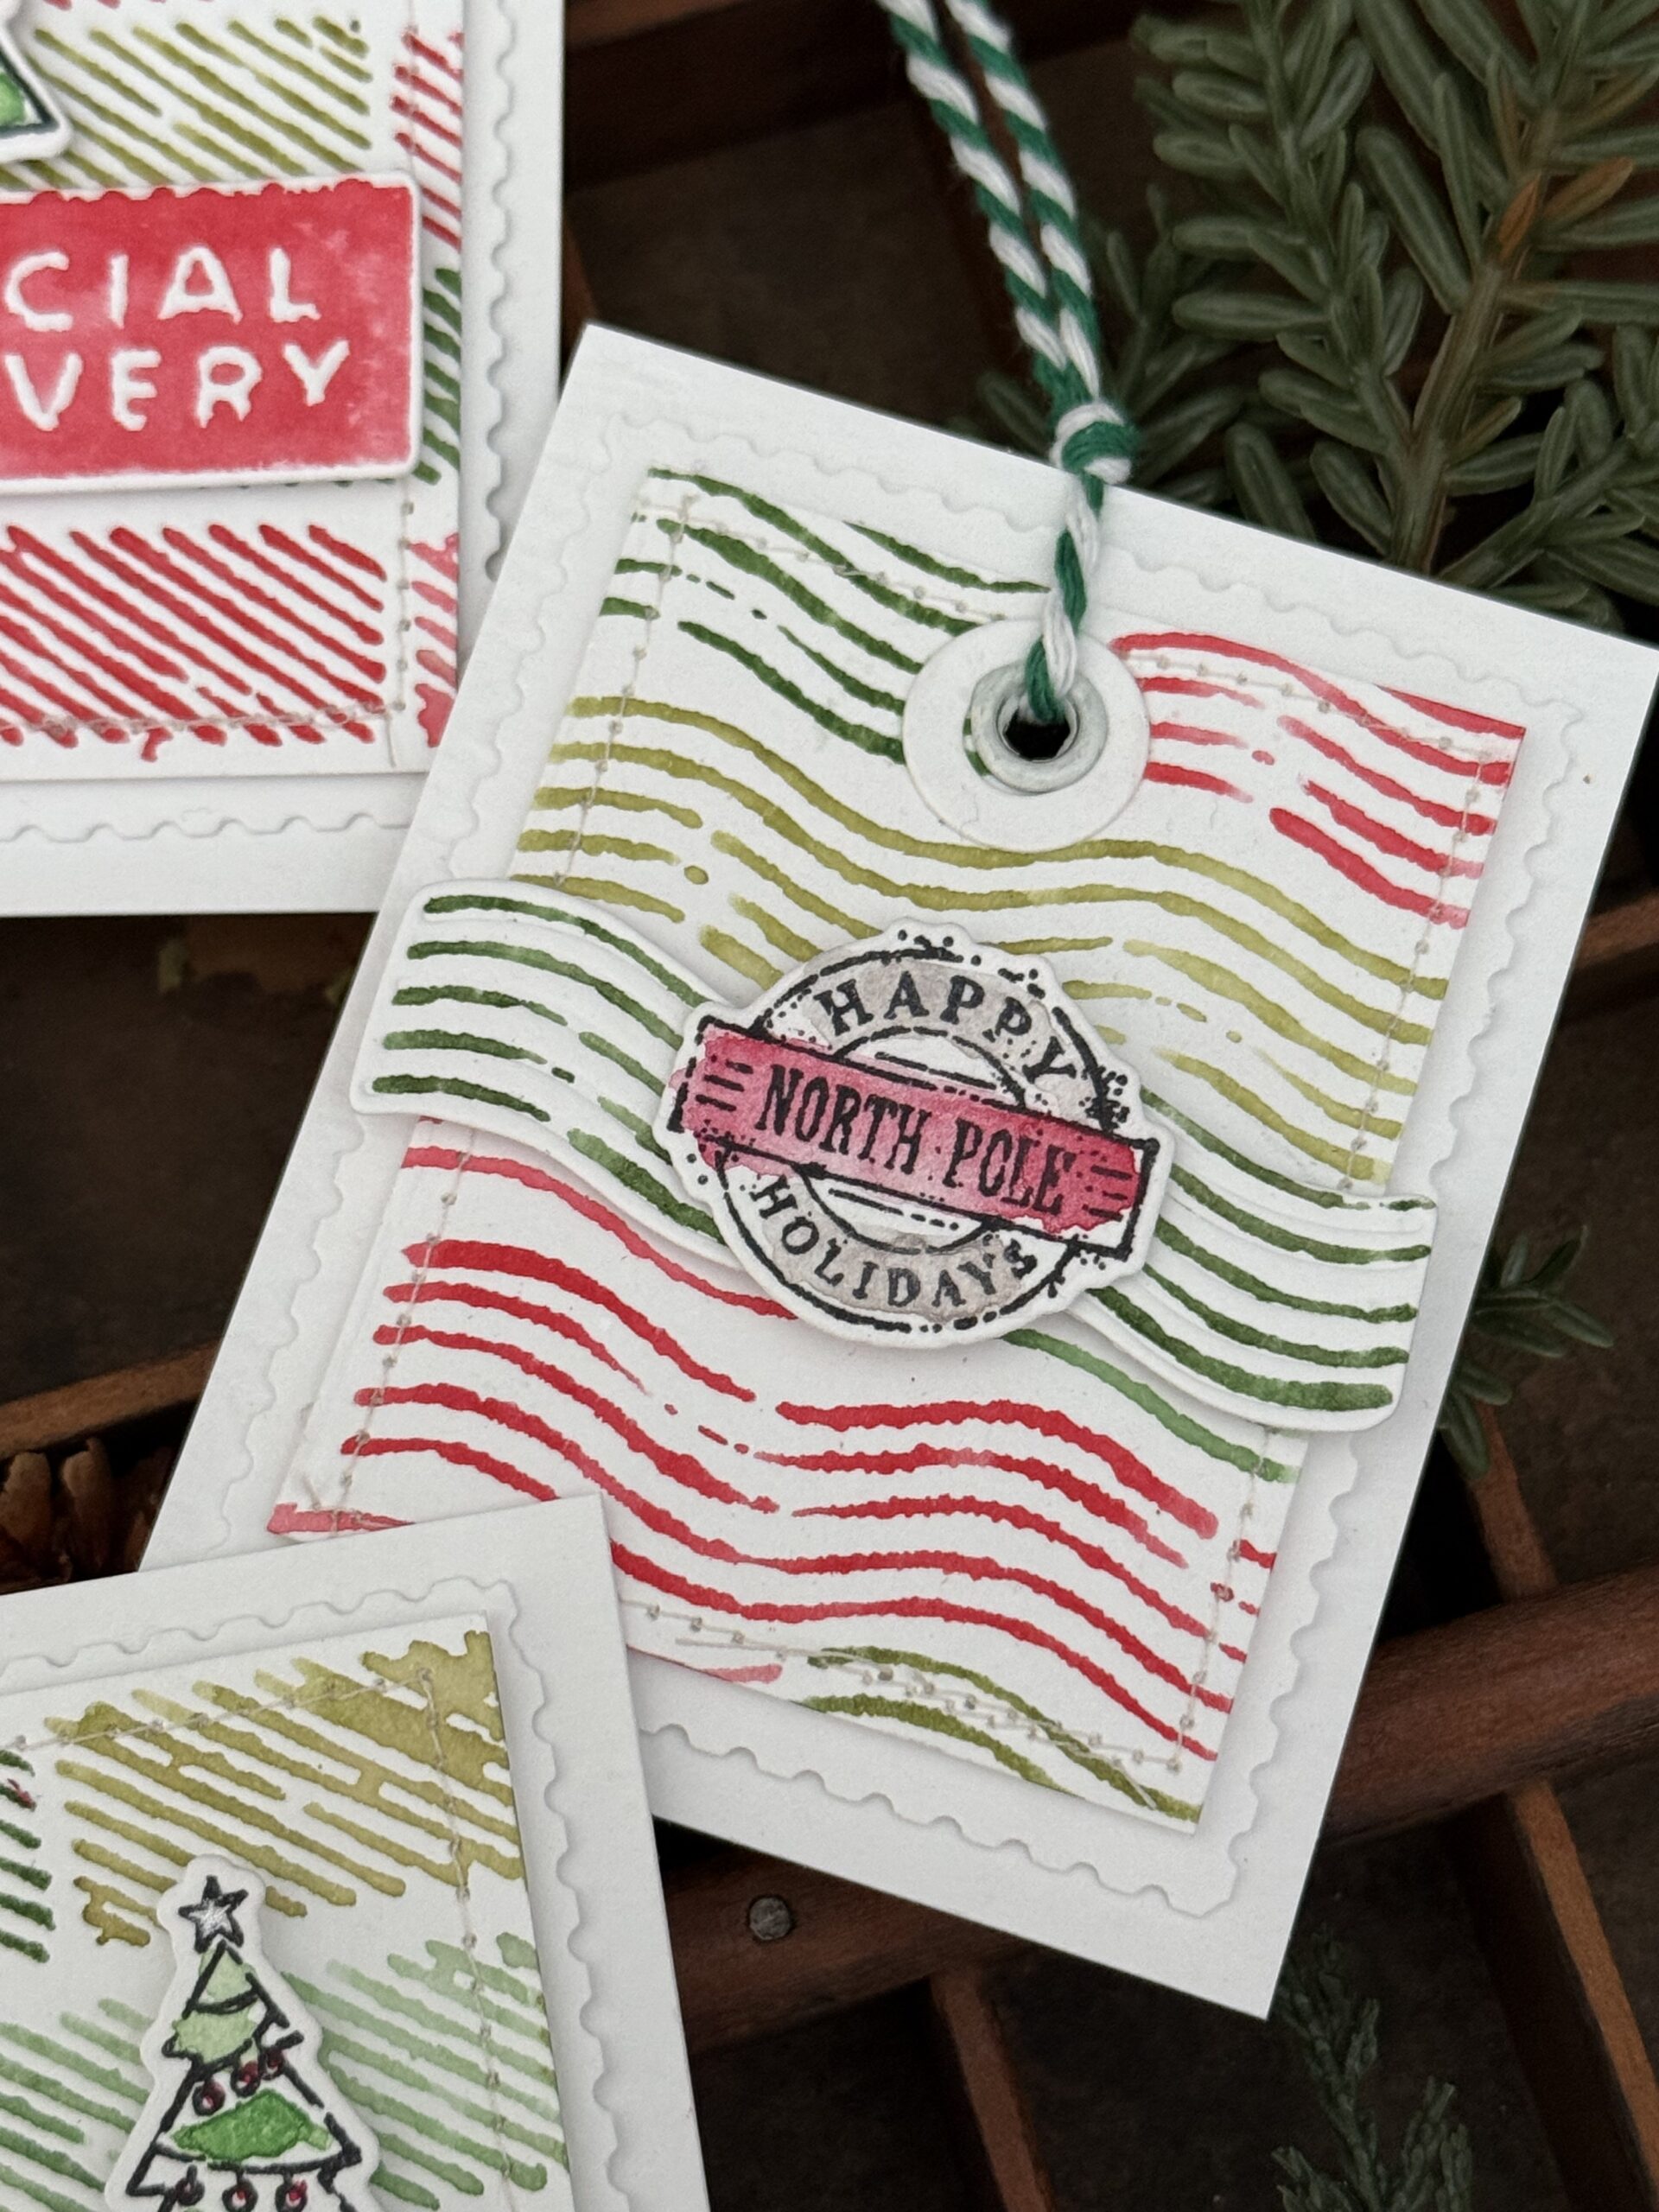
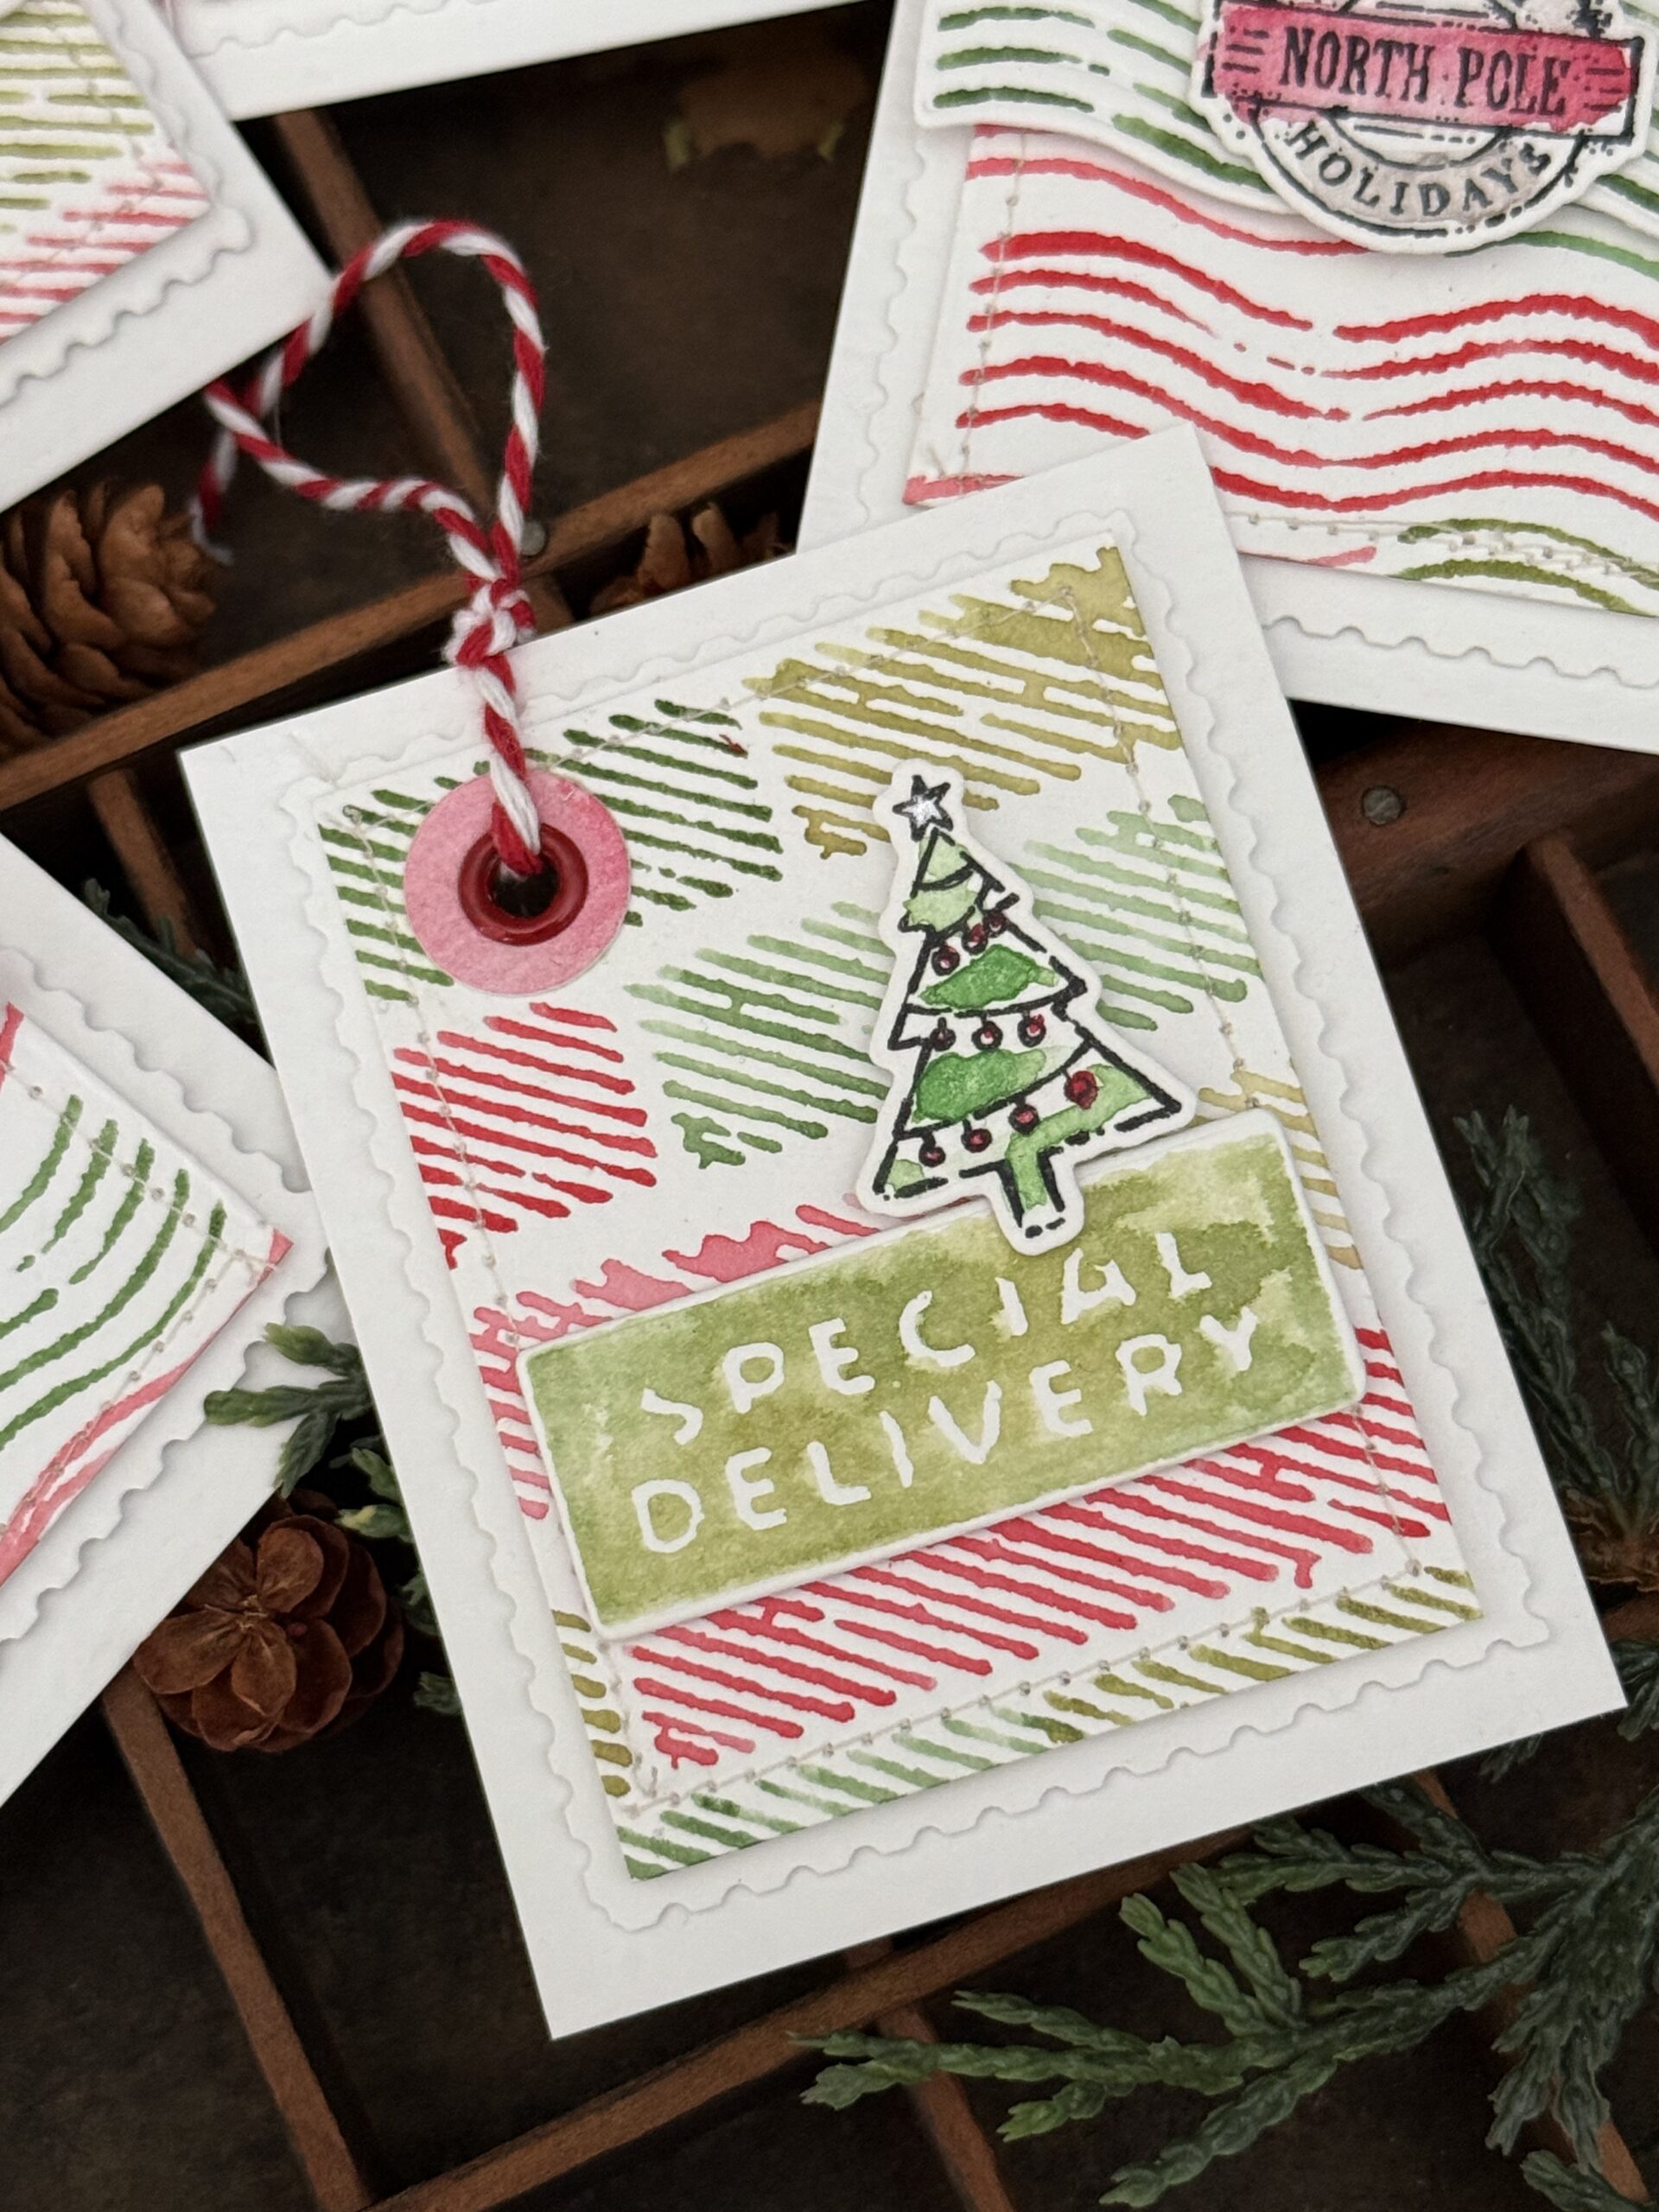
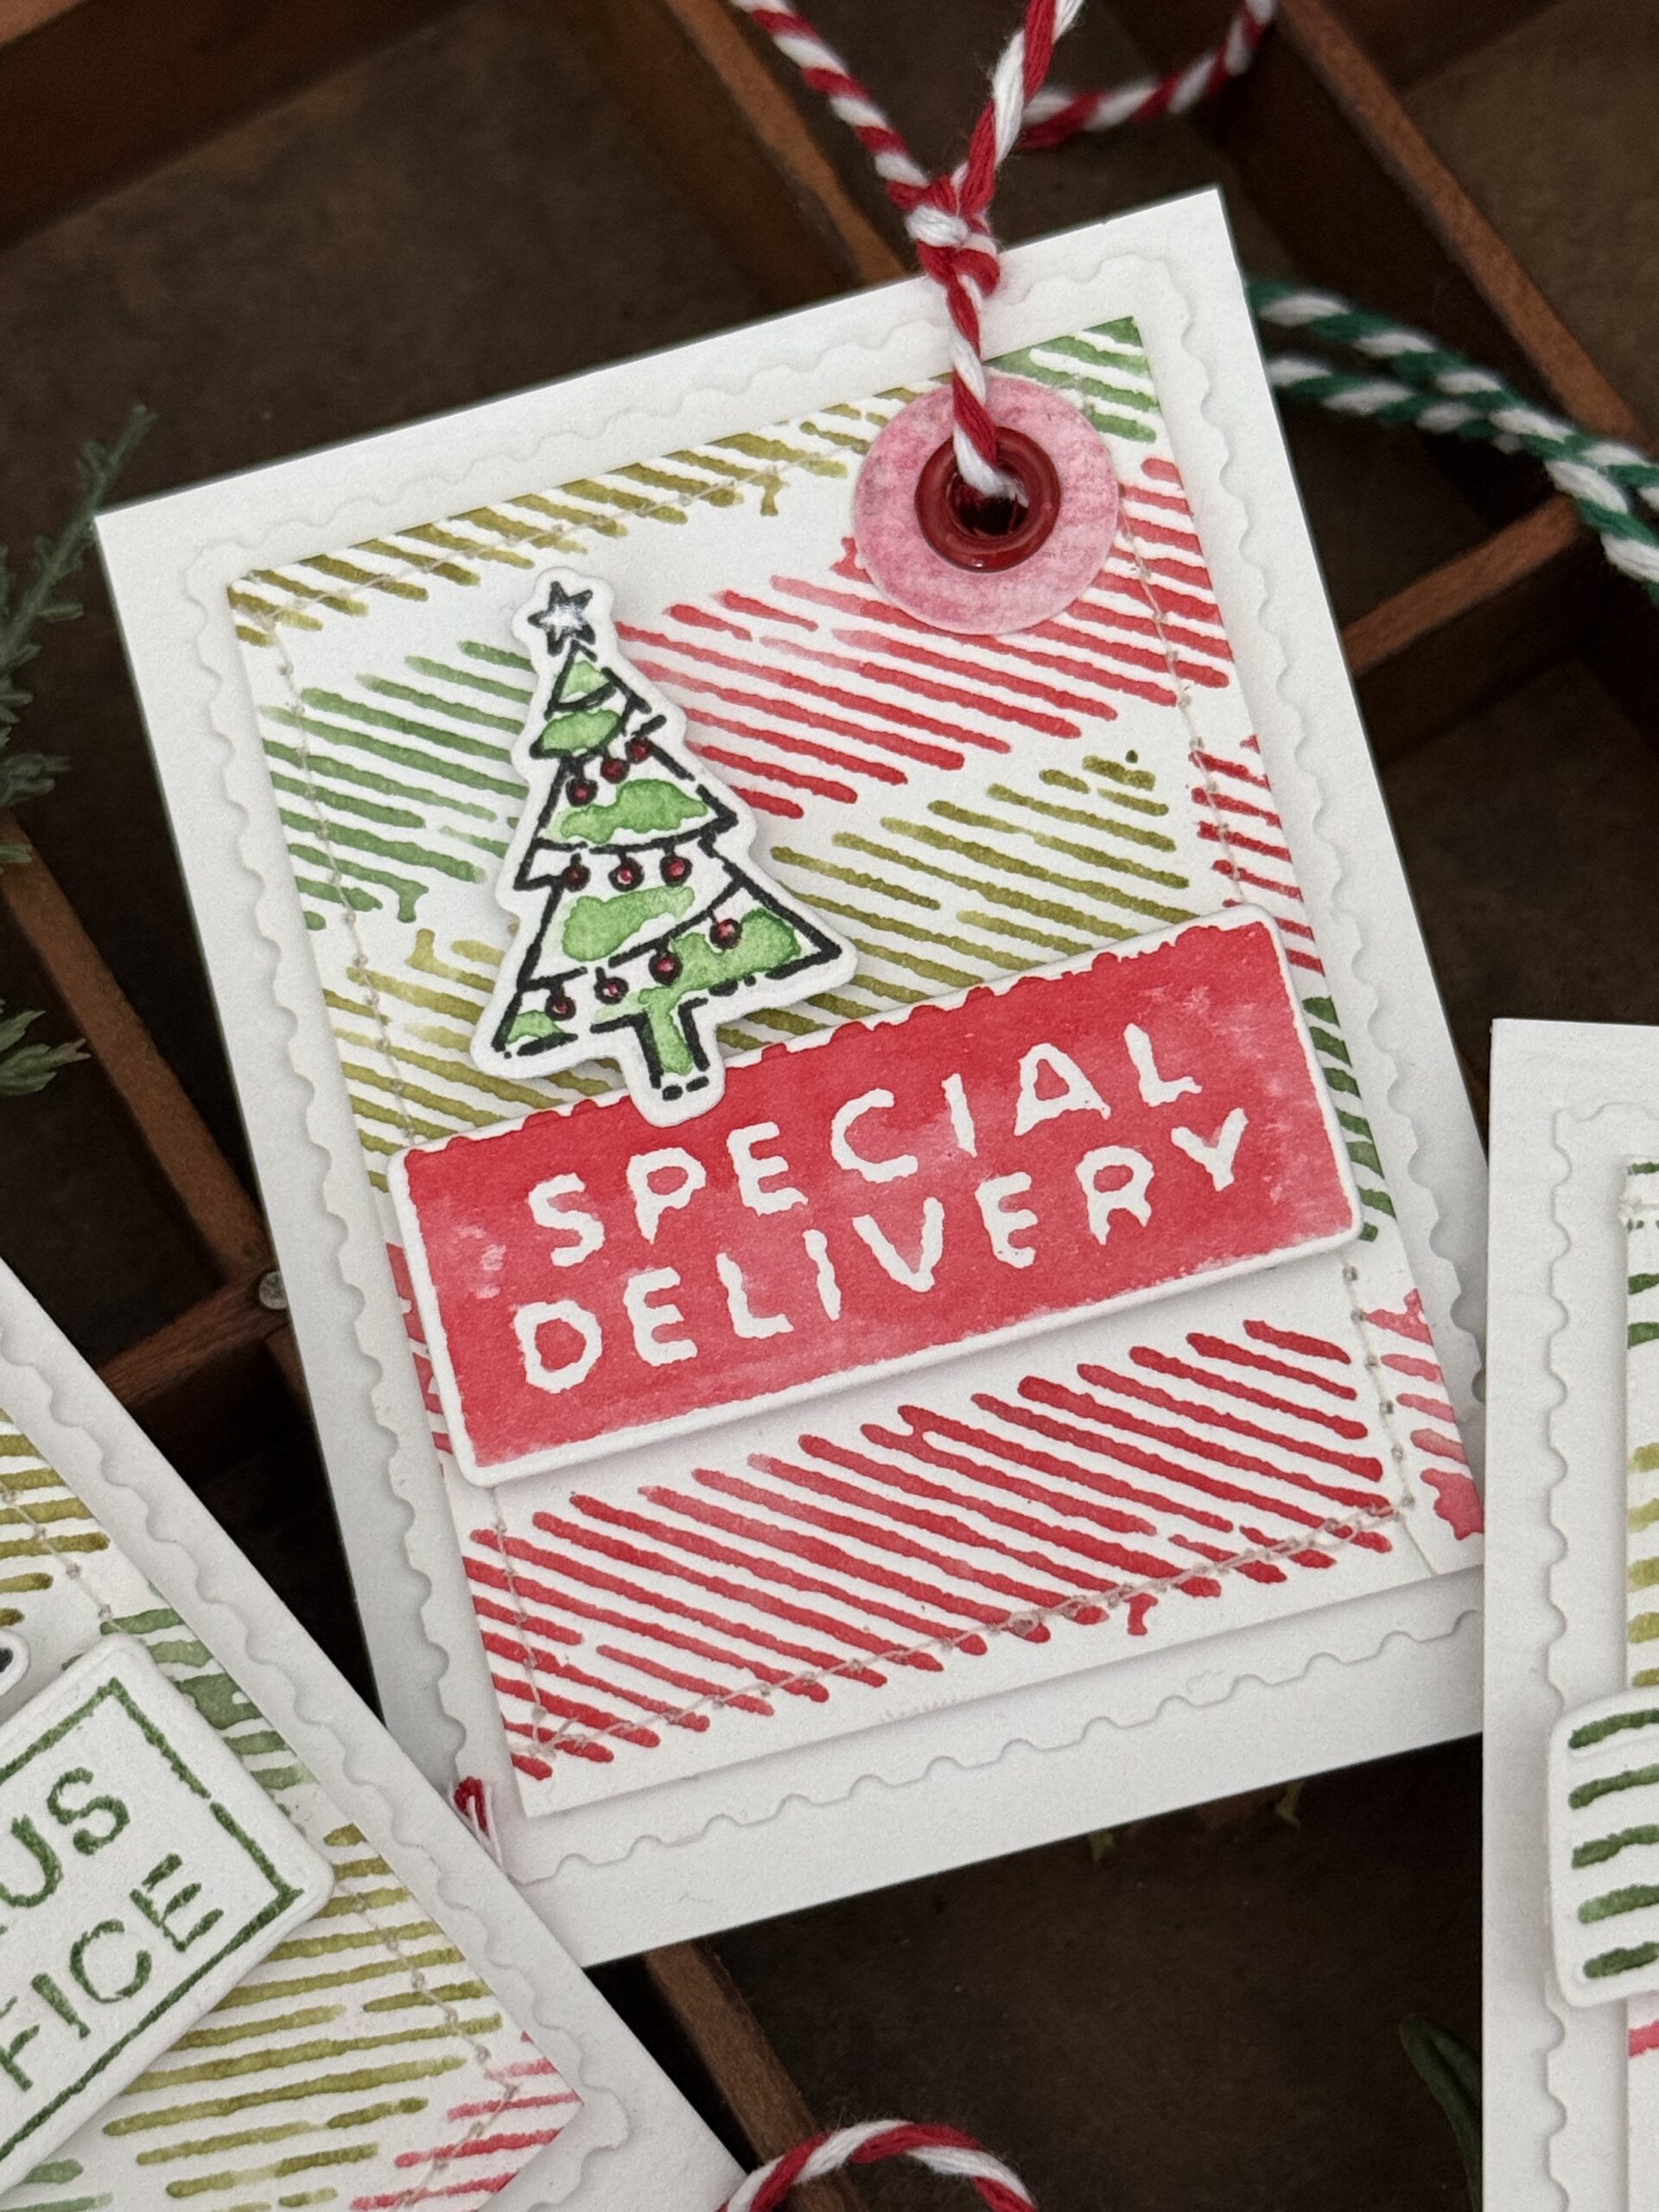
Today, I am sharing a group of tags that I created using the Holiday Postmarks CMS323 and coordinating Wafer Die Set. They are so perfect for tag making!
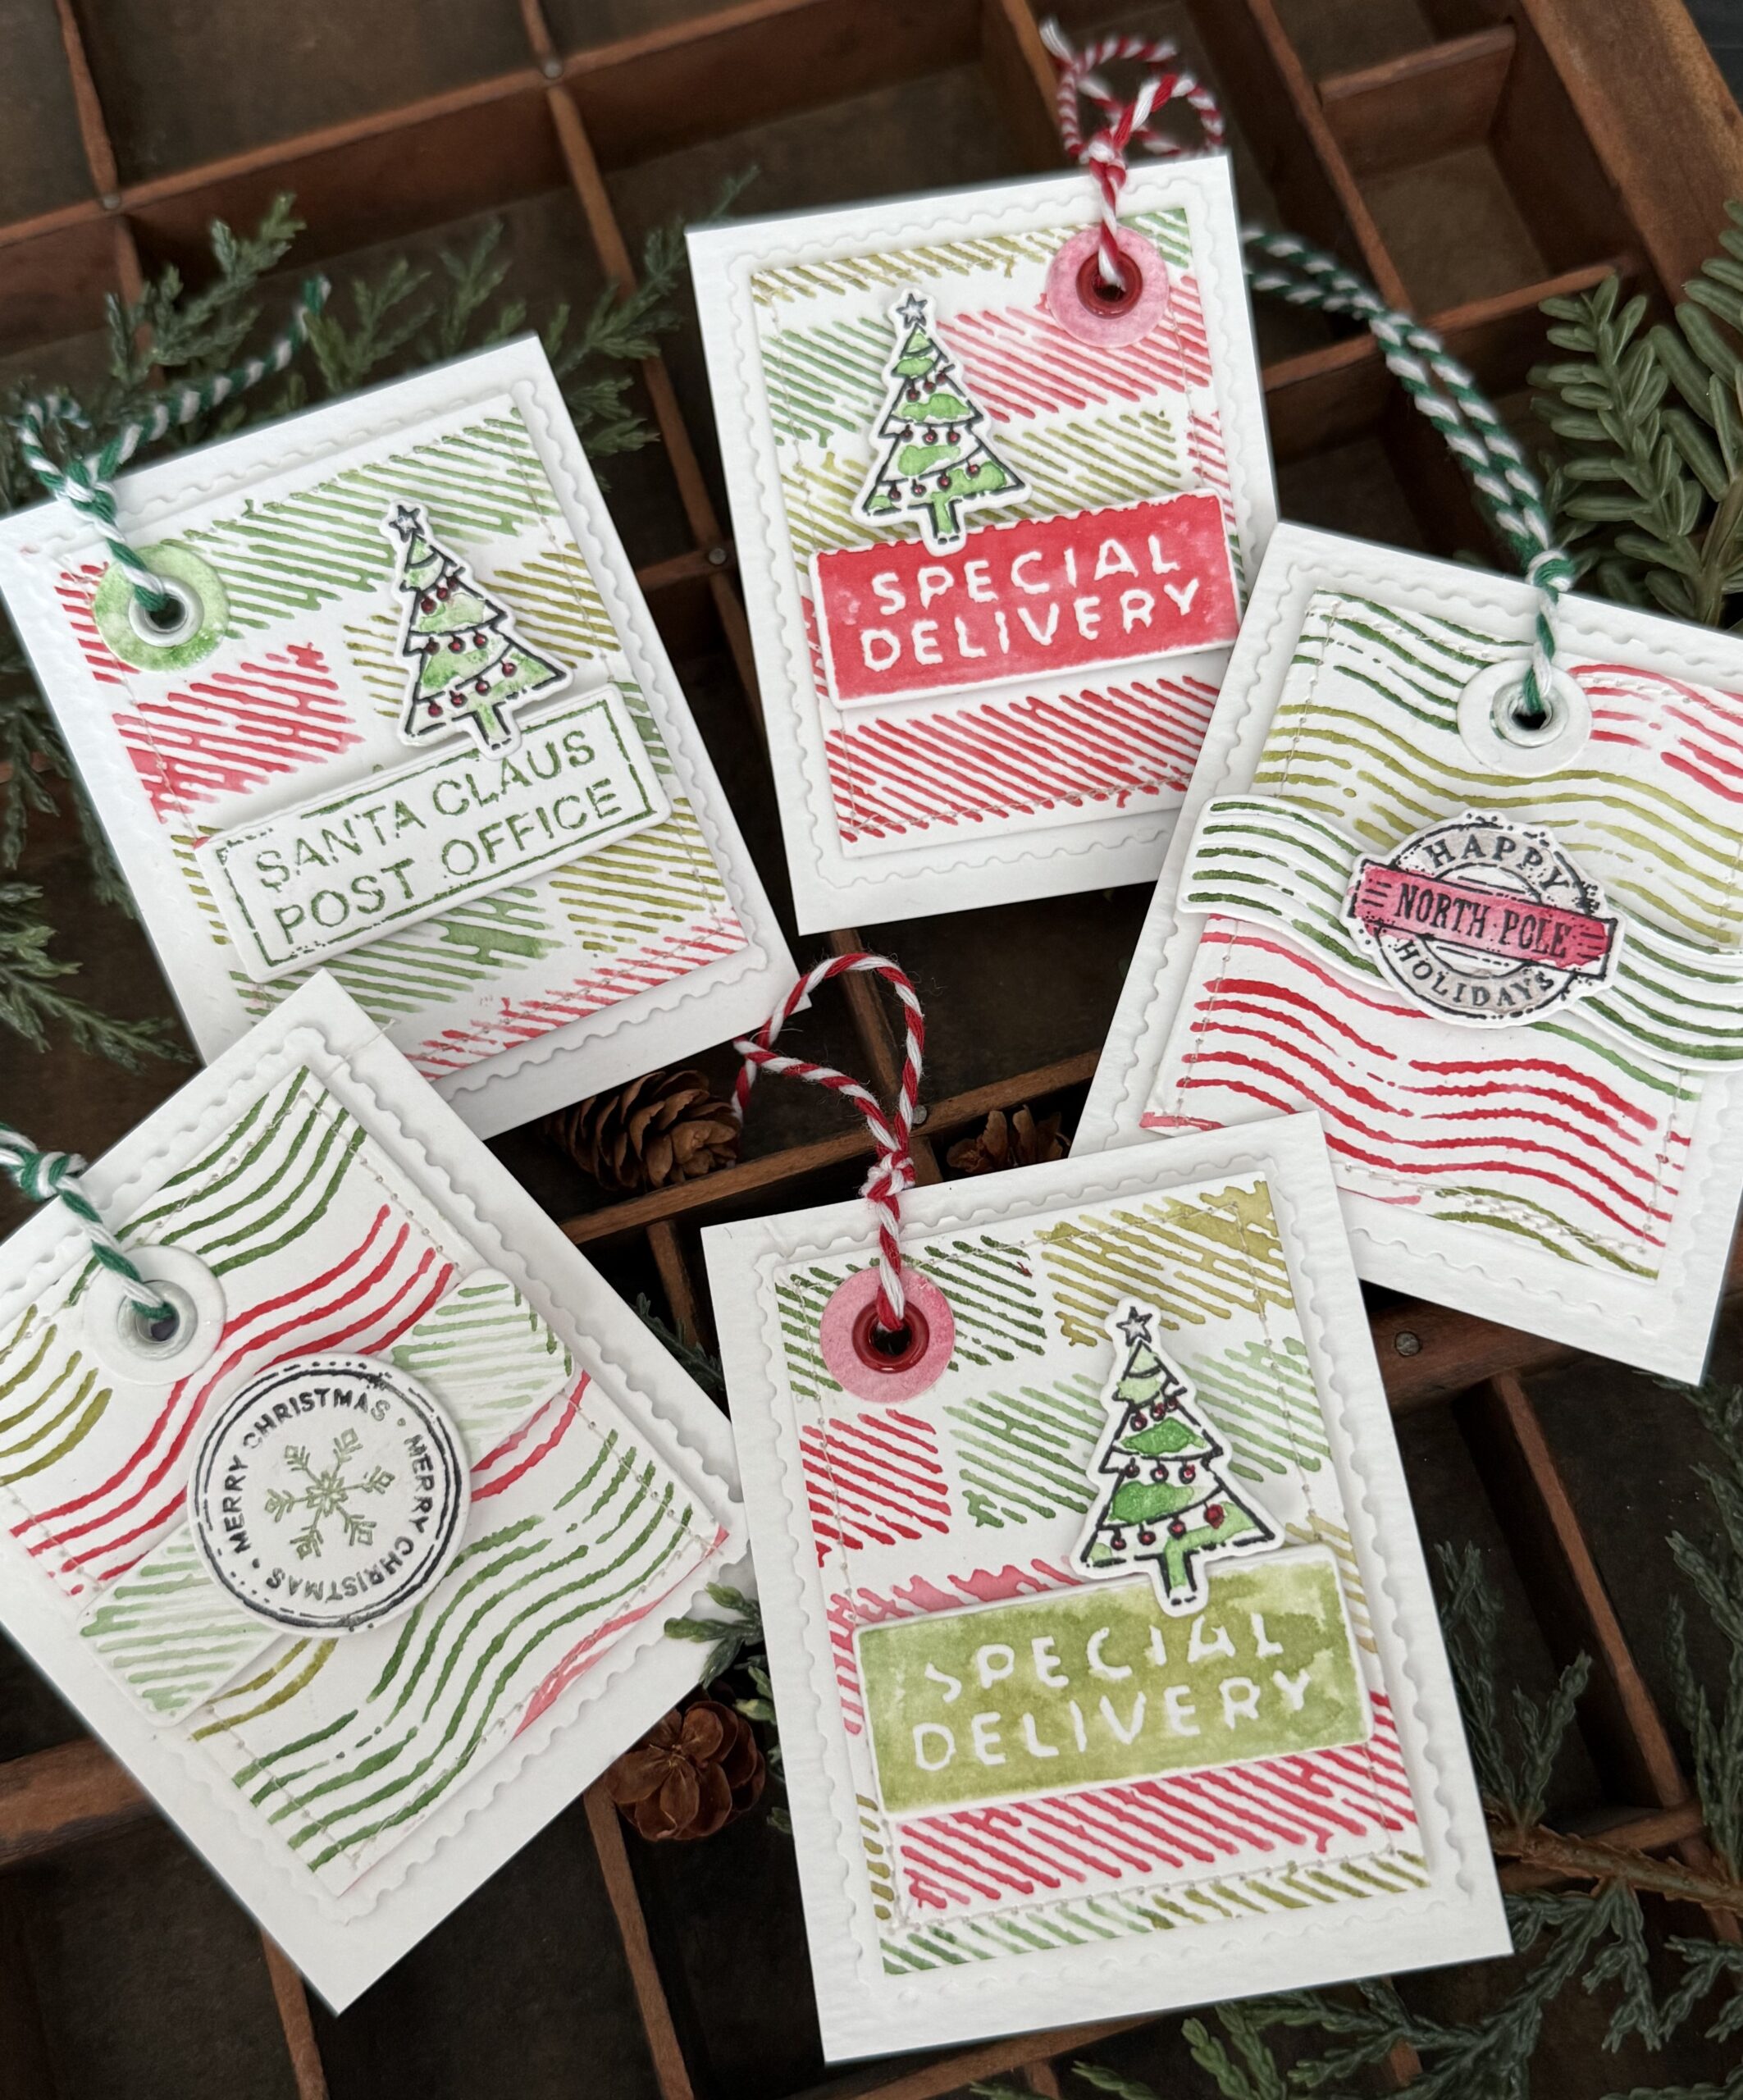
Here’s a peek at the set of stamps and wafer dies that were used to create the tags.
Aren’t they the cutest? I love the Holiday postage theme..so perfect for gift giving!
To create the tags I used a few colors of Distress Ink that included Candied Apple, Peeled Paint and Rustic Wilderness to create the backgrounds using the postal stripes and varying the colors. In this one you’ll notice that I used the wavy stripes pattern. I coordinated all of my little postal pieces using that same combo of colors but also used Black Soot Archival Ink when I wanted to color the little pieces.

The backgrounds were created, trimmed to a small size, then I stitched around each one using my sewing machine.
I then I began cutting the postal pieces using the wafer dies, and began building the tags. The pieces were adhered to the backgrounds using foam adhesive to add depth.
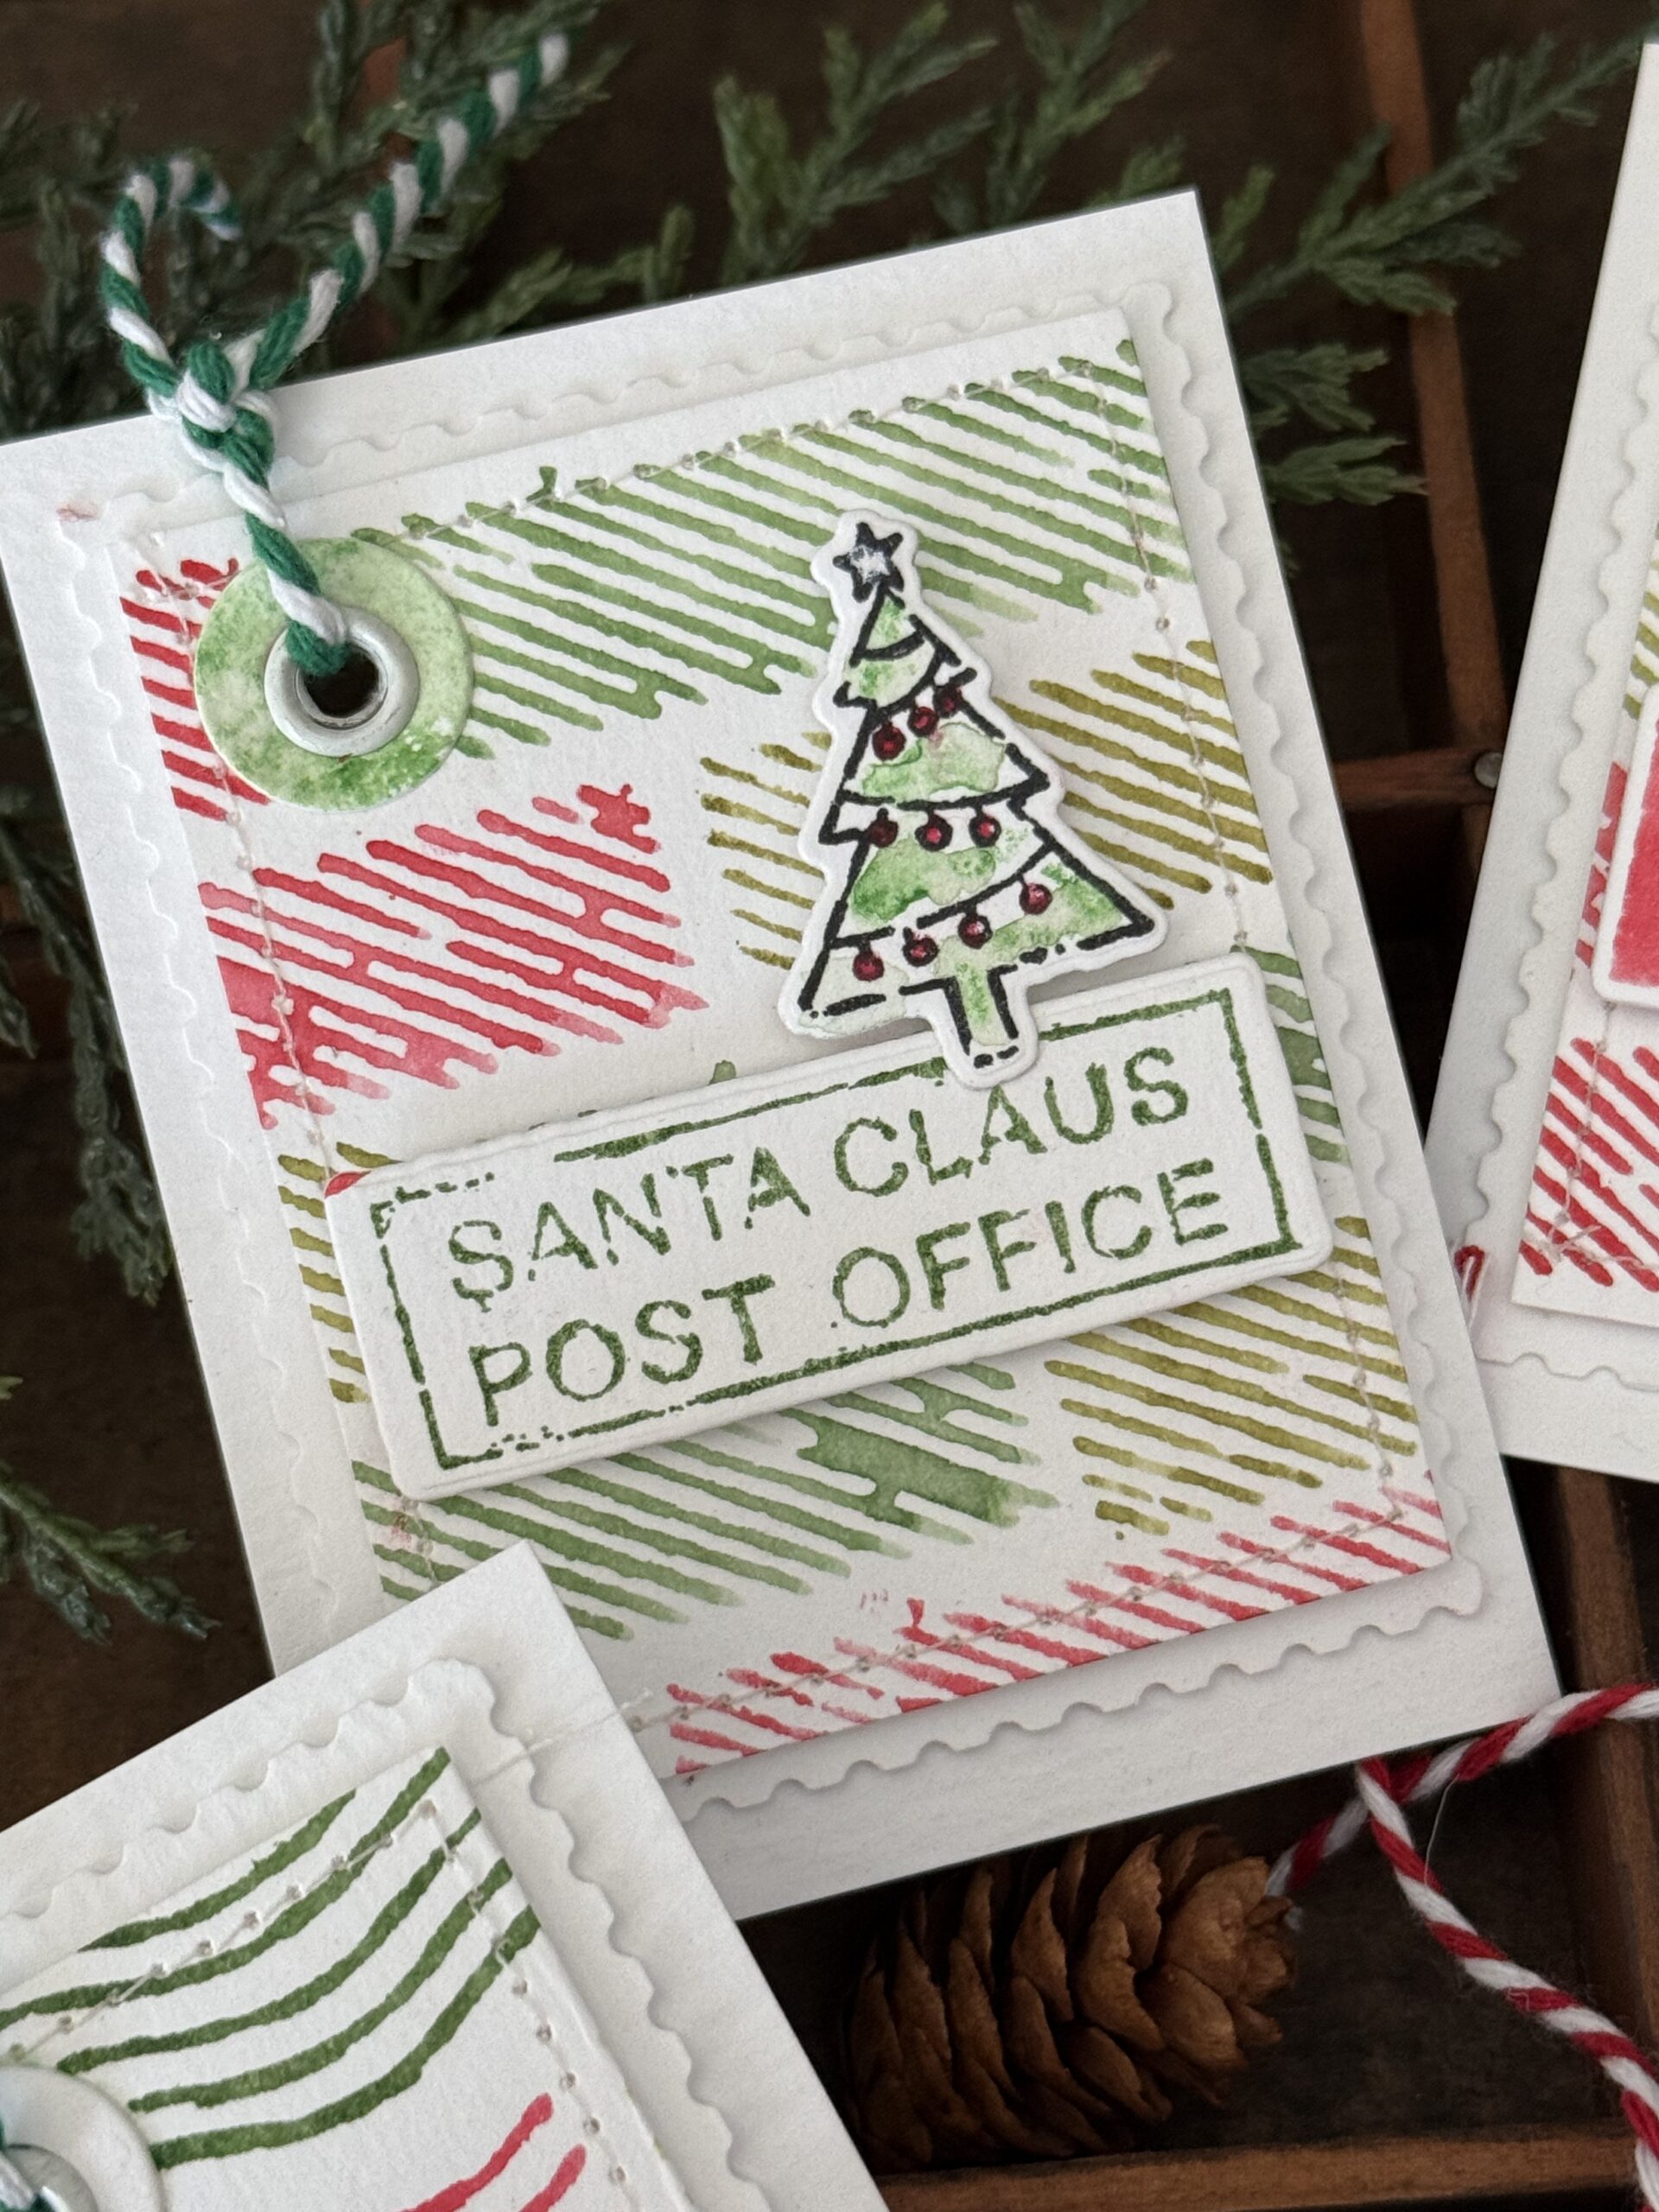
After the tags were complete, I punched holes, added some eyelets and tied the tags together using green and red bakers twine. The postage edges of each of the tags were cut using “old school” postage edging scissors.
Once I had the bakers twine tied to each of the tags, they were complete!
Thanks so much for stopping by today and be sure to hop on over to Barb Engler’s blog by clicking on the link HERE. Have a great day!
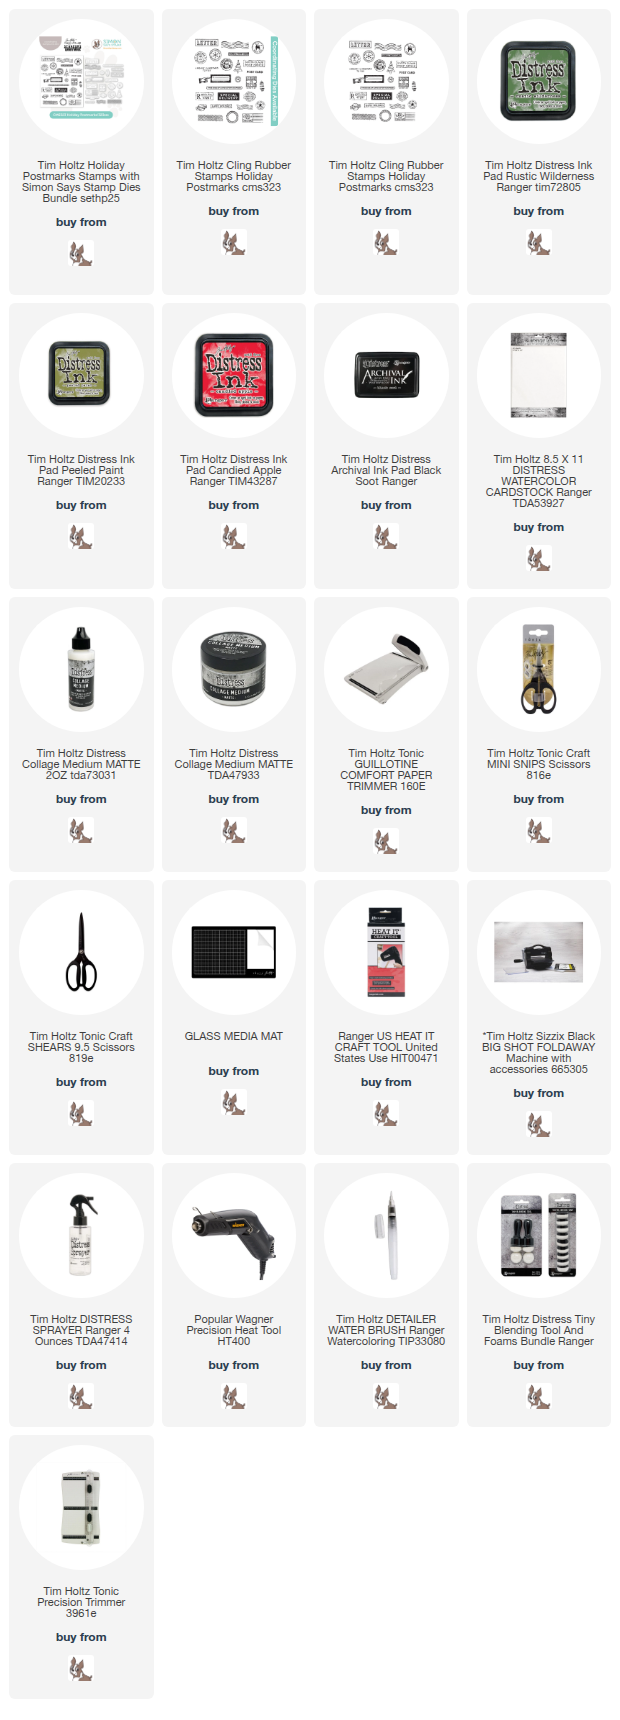
The products used to create this project are listed below with links to Simon Says Stamp. Thank you so much for supporting me through shopping through them. I appreciate it so much! – Creatively yours, Stacy
What is an affiliate program, and why should I click on the link and buy through you?
When you shop via the affiliate link (linkdeli) on this blog, I receive a small commission from the affiliate provider (Simon Says Stamp) at no extra cost to you, whatsoever. These commissions help me to cover the hosting fees and other costs to run my blog and be able to provide you with FREE inspiration. If you shop the links, THANK YOU! I truly appreciate being able to share my love of creating with you.


Oh, I think this is my favorite on the hop. Love the Holiday Postmarks and these are beautifully designed. Love the colors.
I really love the tags you created.