Hello friends! I’m back again..this time with some adorable Christmas tags using another new Tim Holtz and Simon Says Stamp collaboration! Simon Says Stamp has exclusively released more Tim Holtz matching Wafer dies for some of his existing Christmas Stamp Sets and I couldn’t be happier…being able to quickly cut out a stamped image makes creating so much quicker, especially during the holiday making season!
Making tags to match you Christmas gifts and bags is one of my favorite ways to make for the season, they’re quick to make, but add so much to a package! It’s one of my favorite ways to share my creativity during the season.
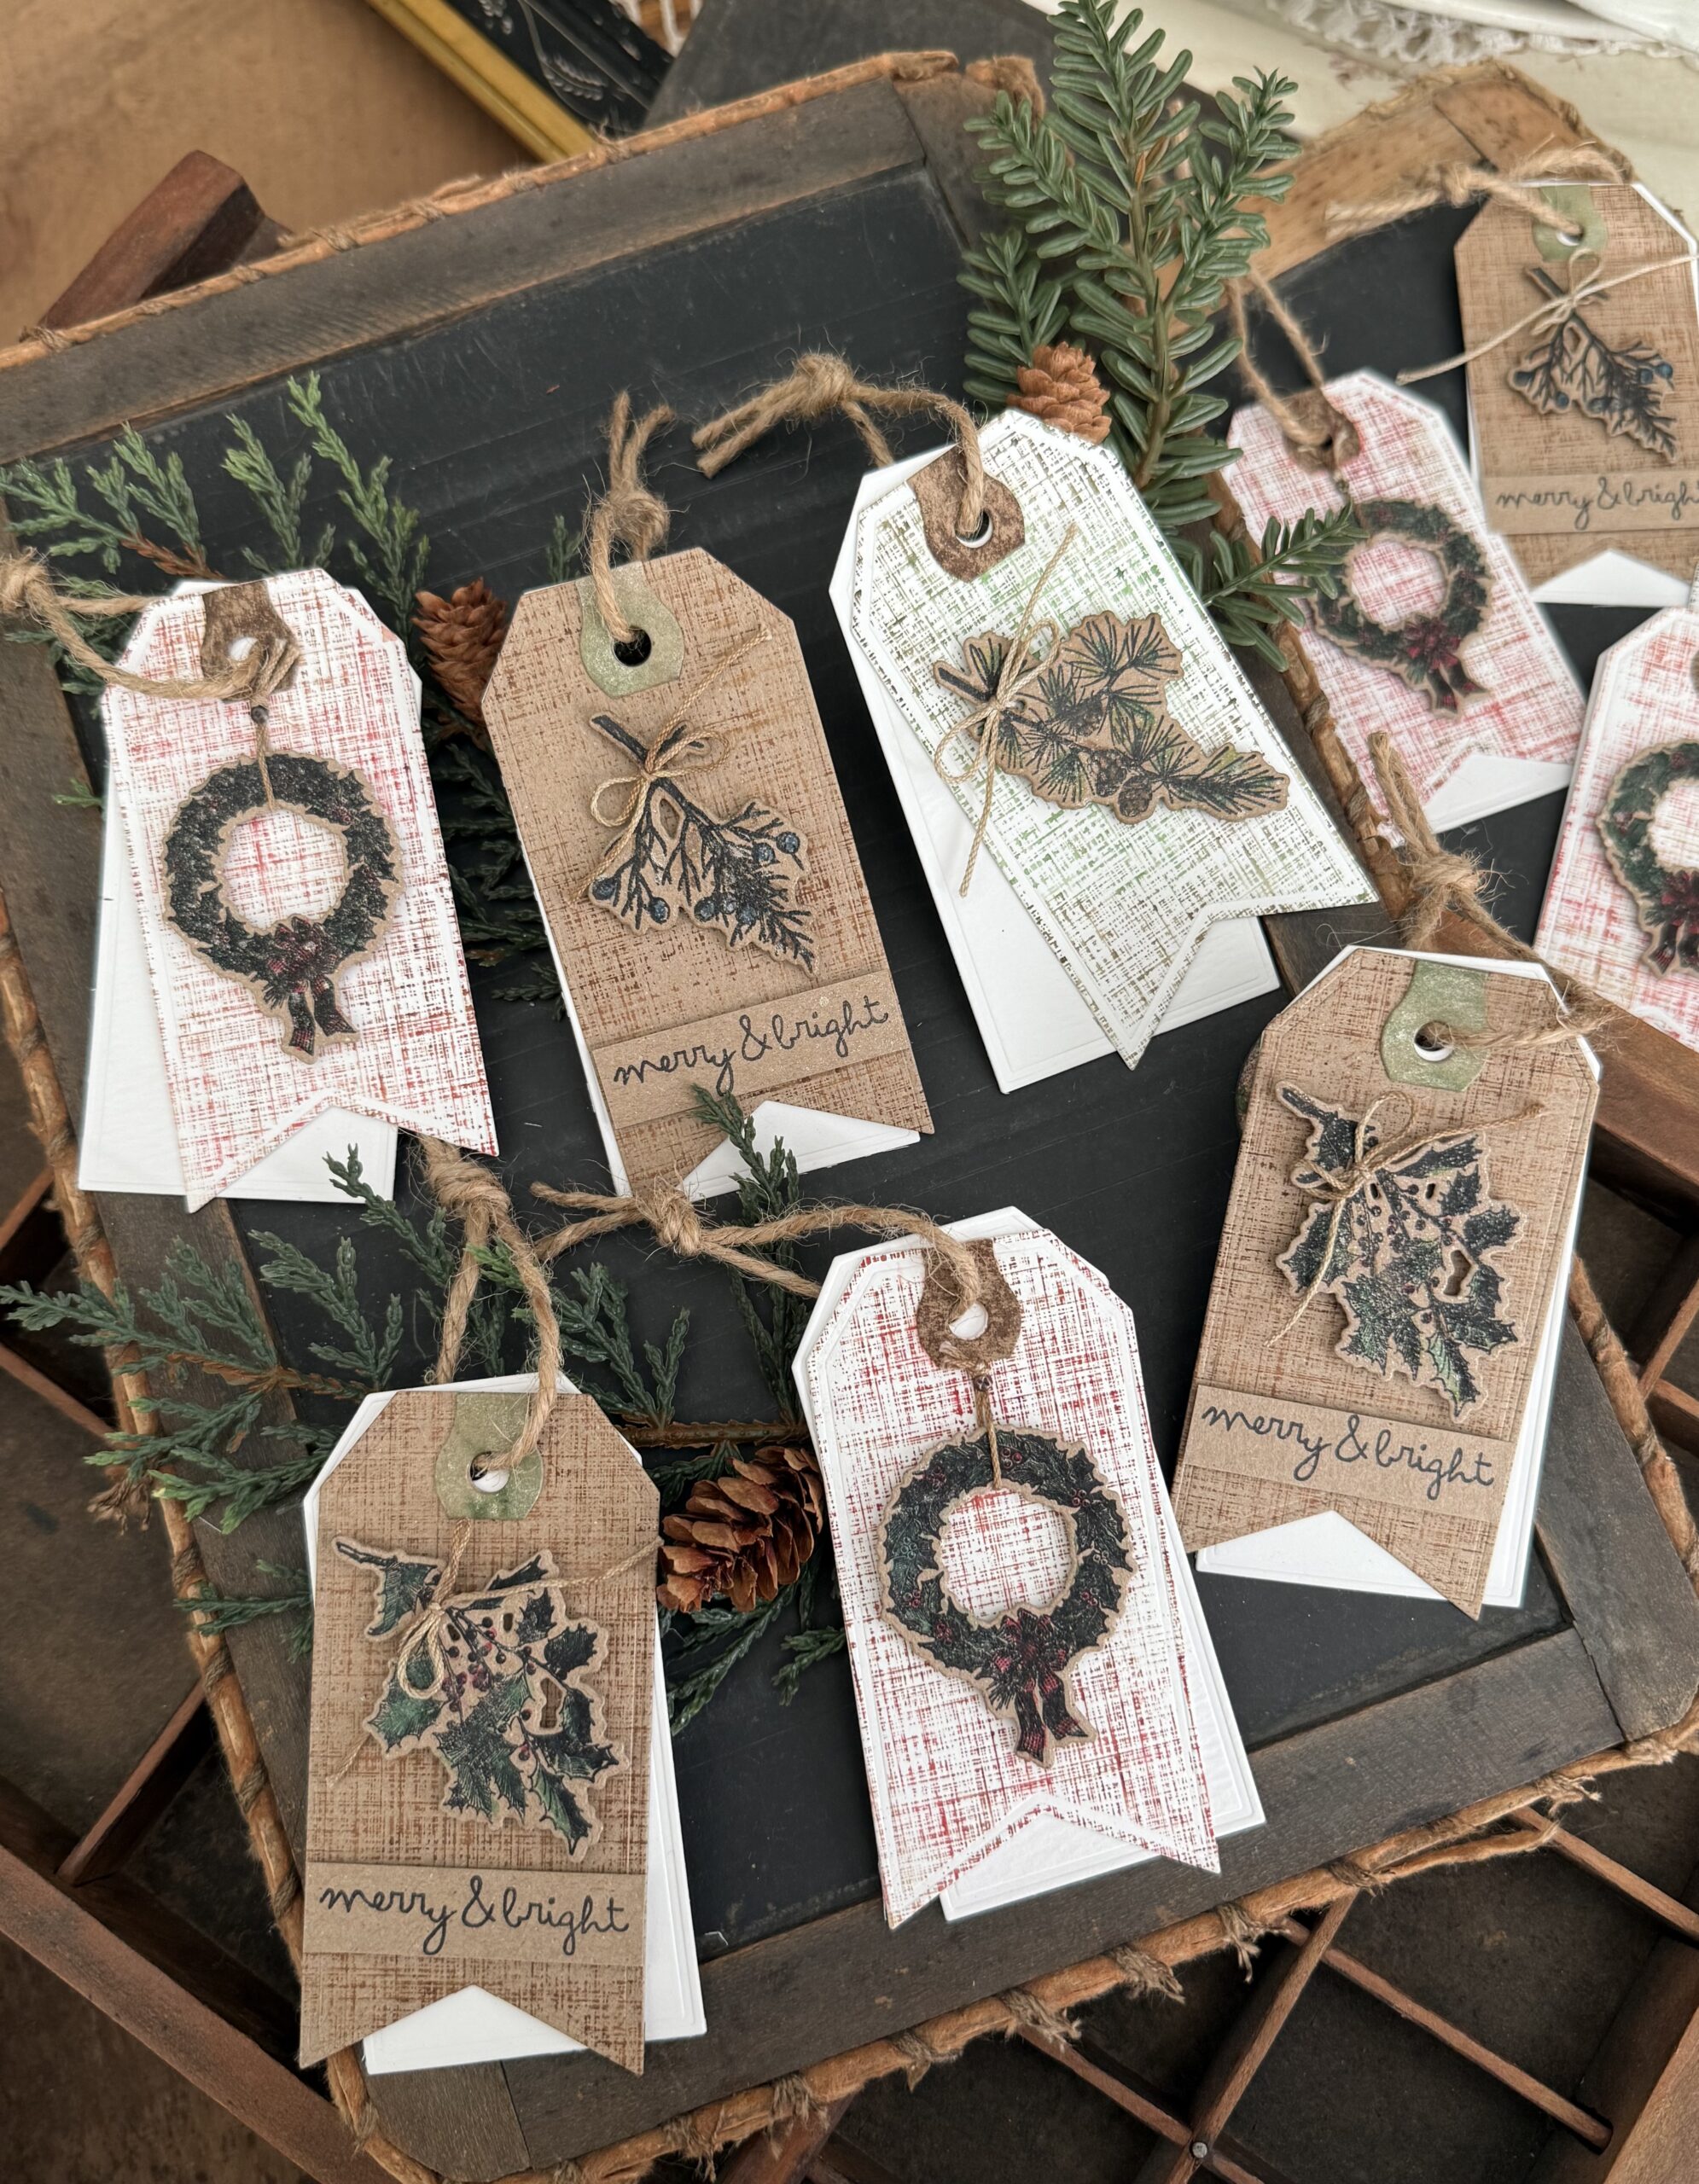
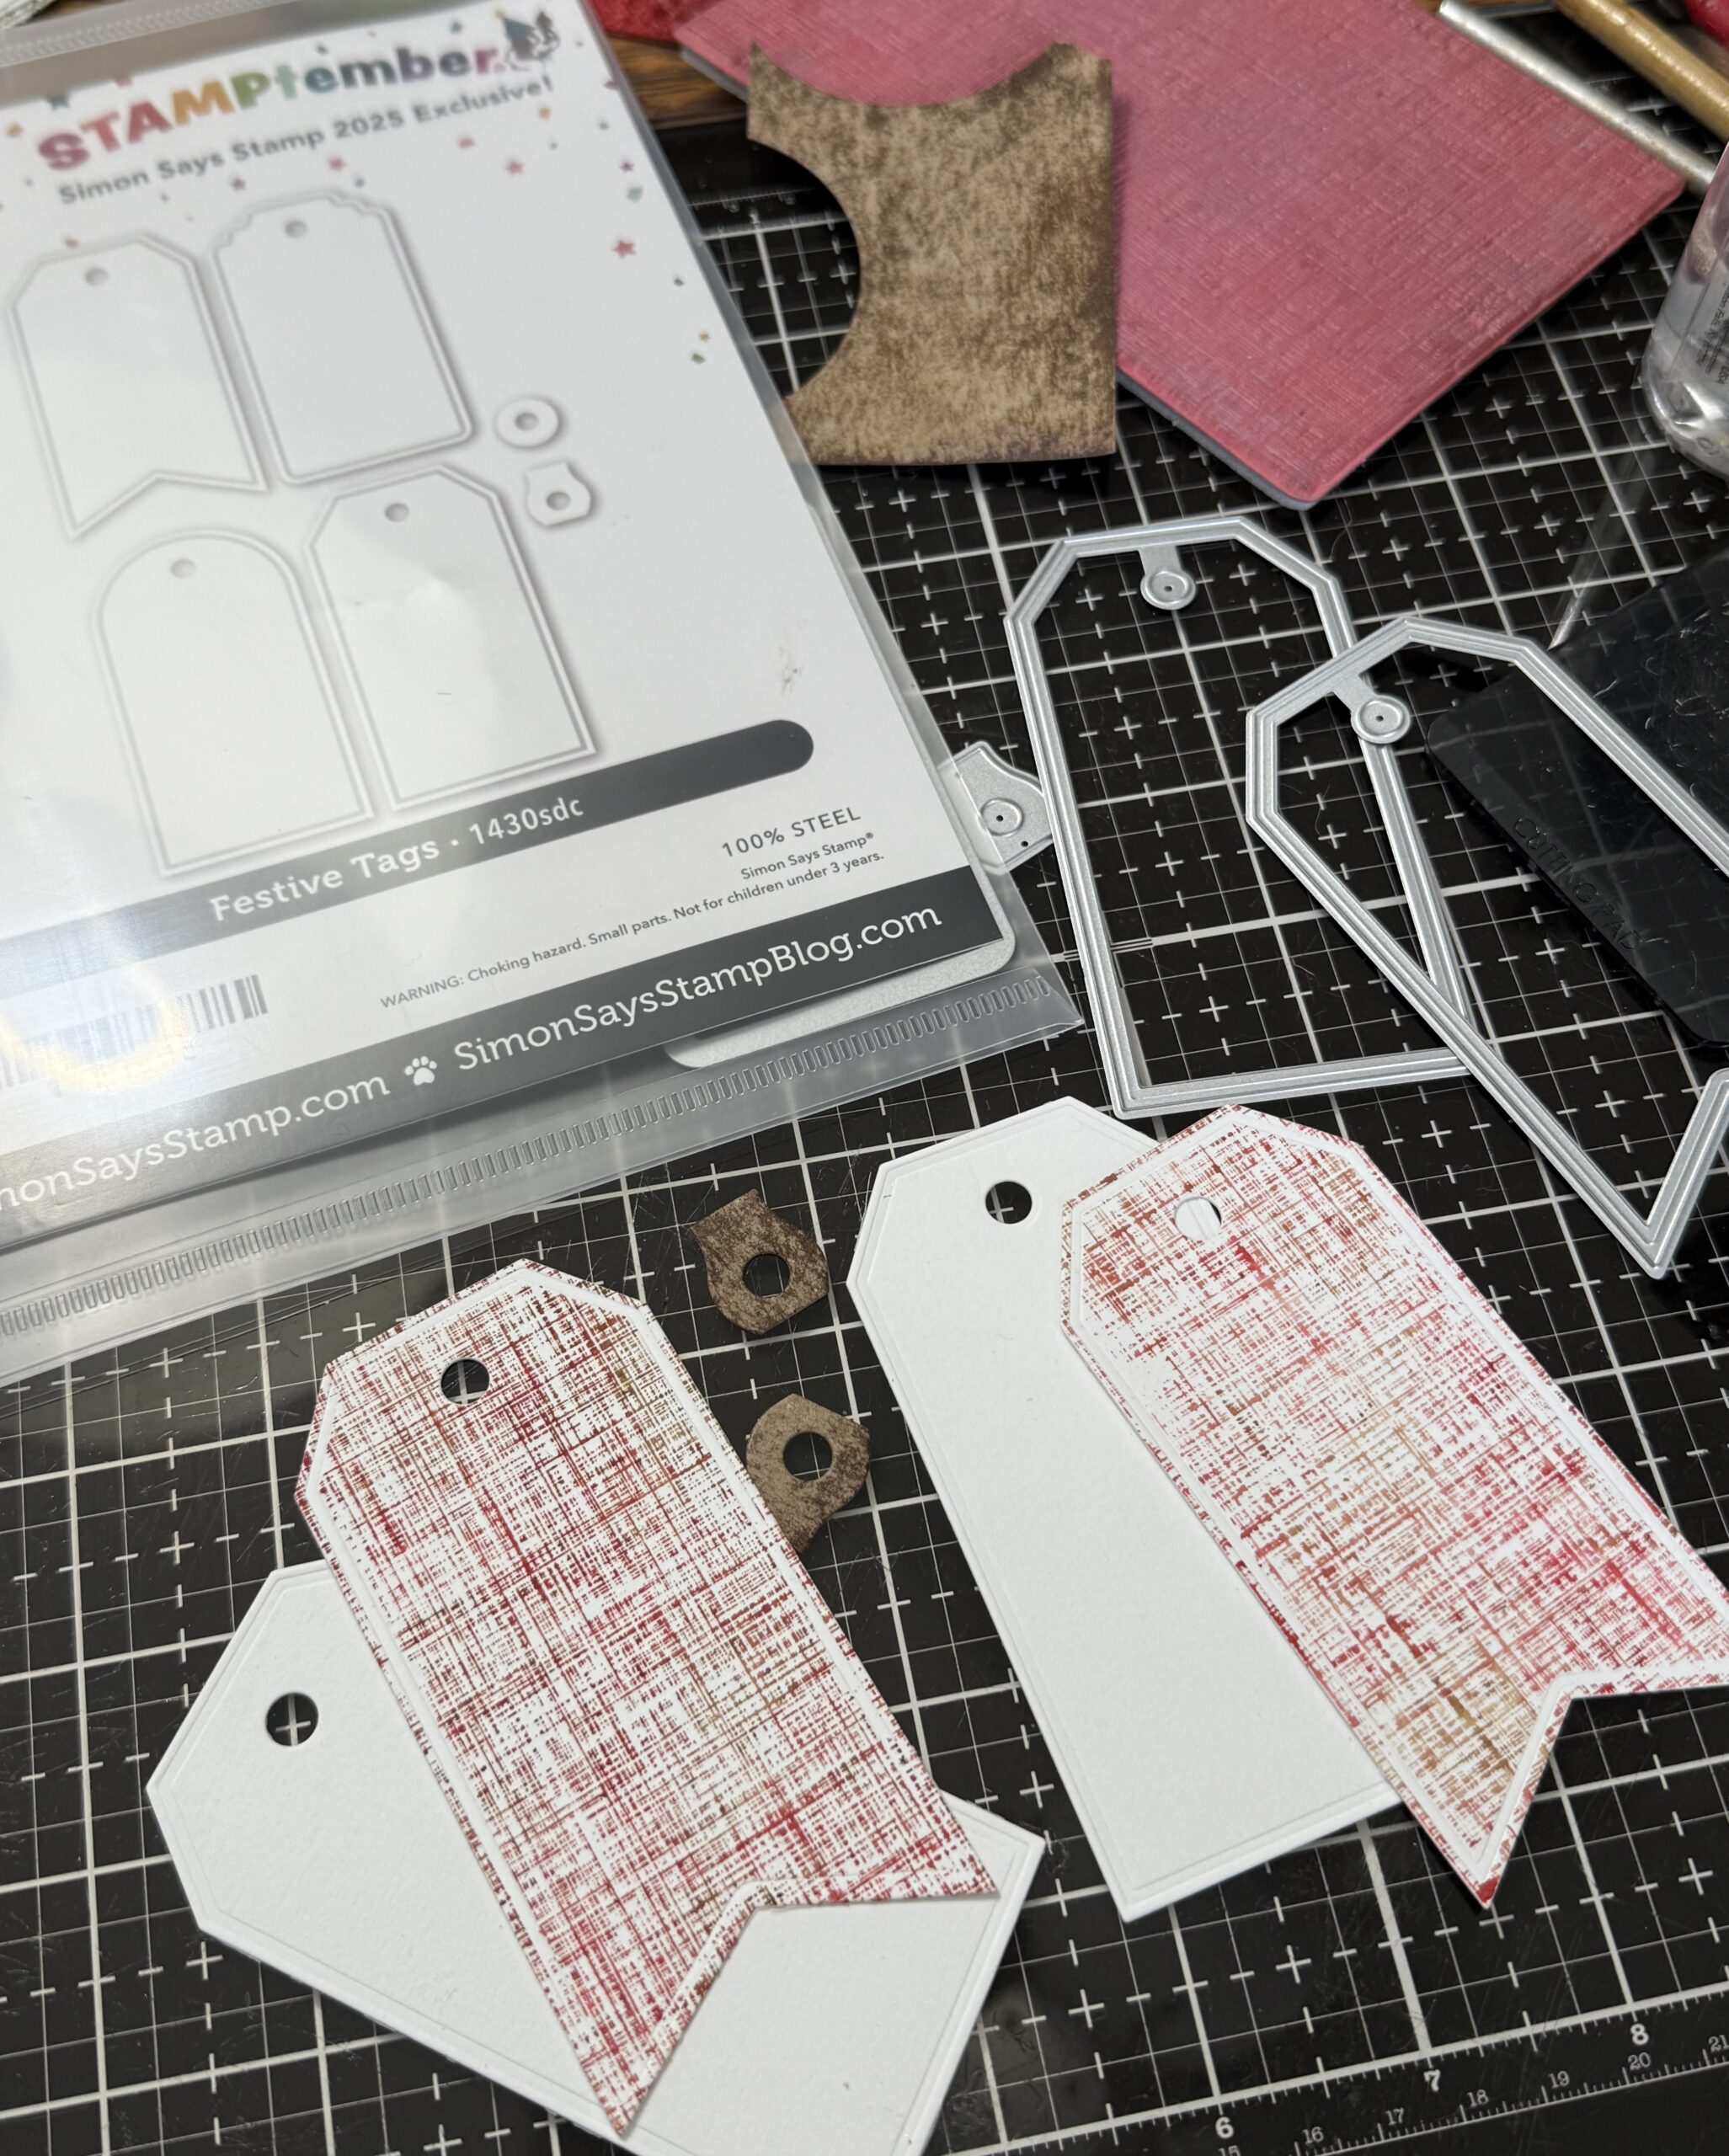
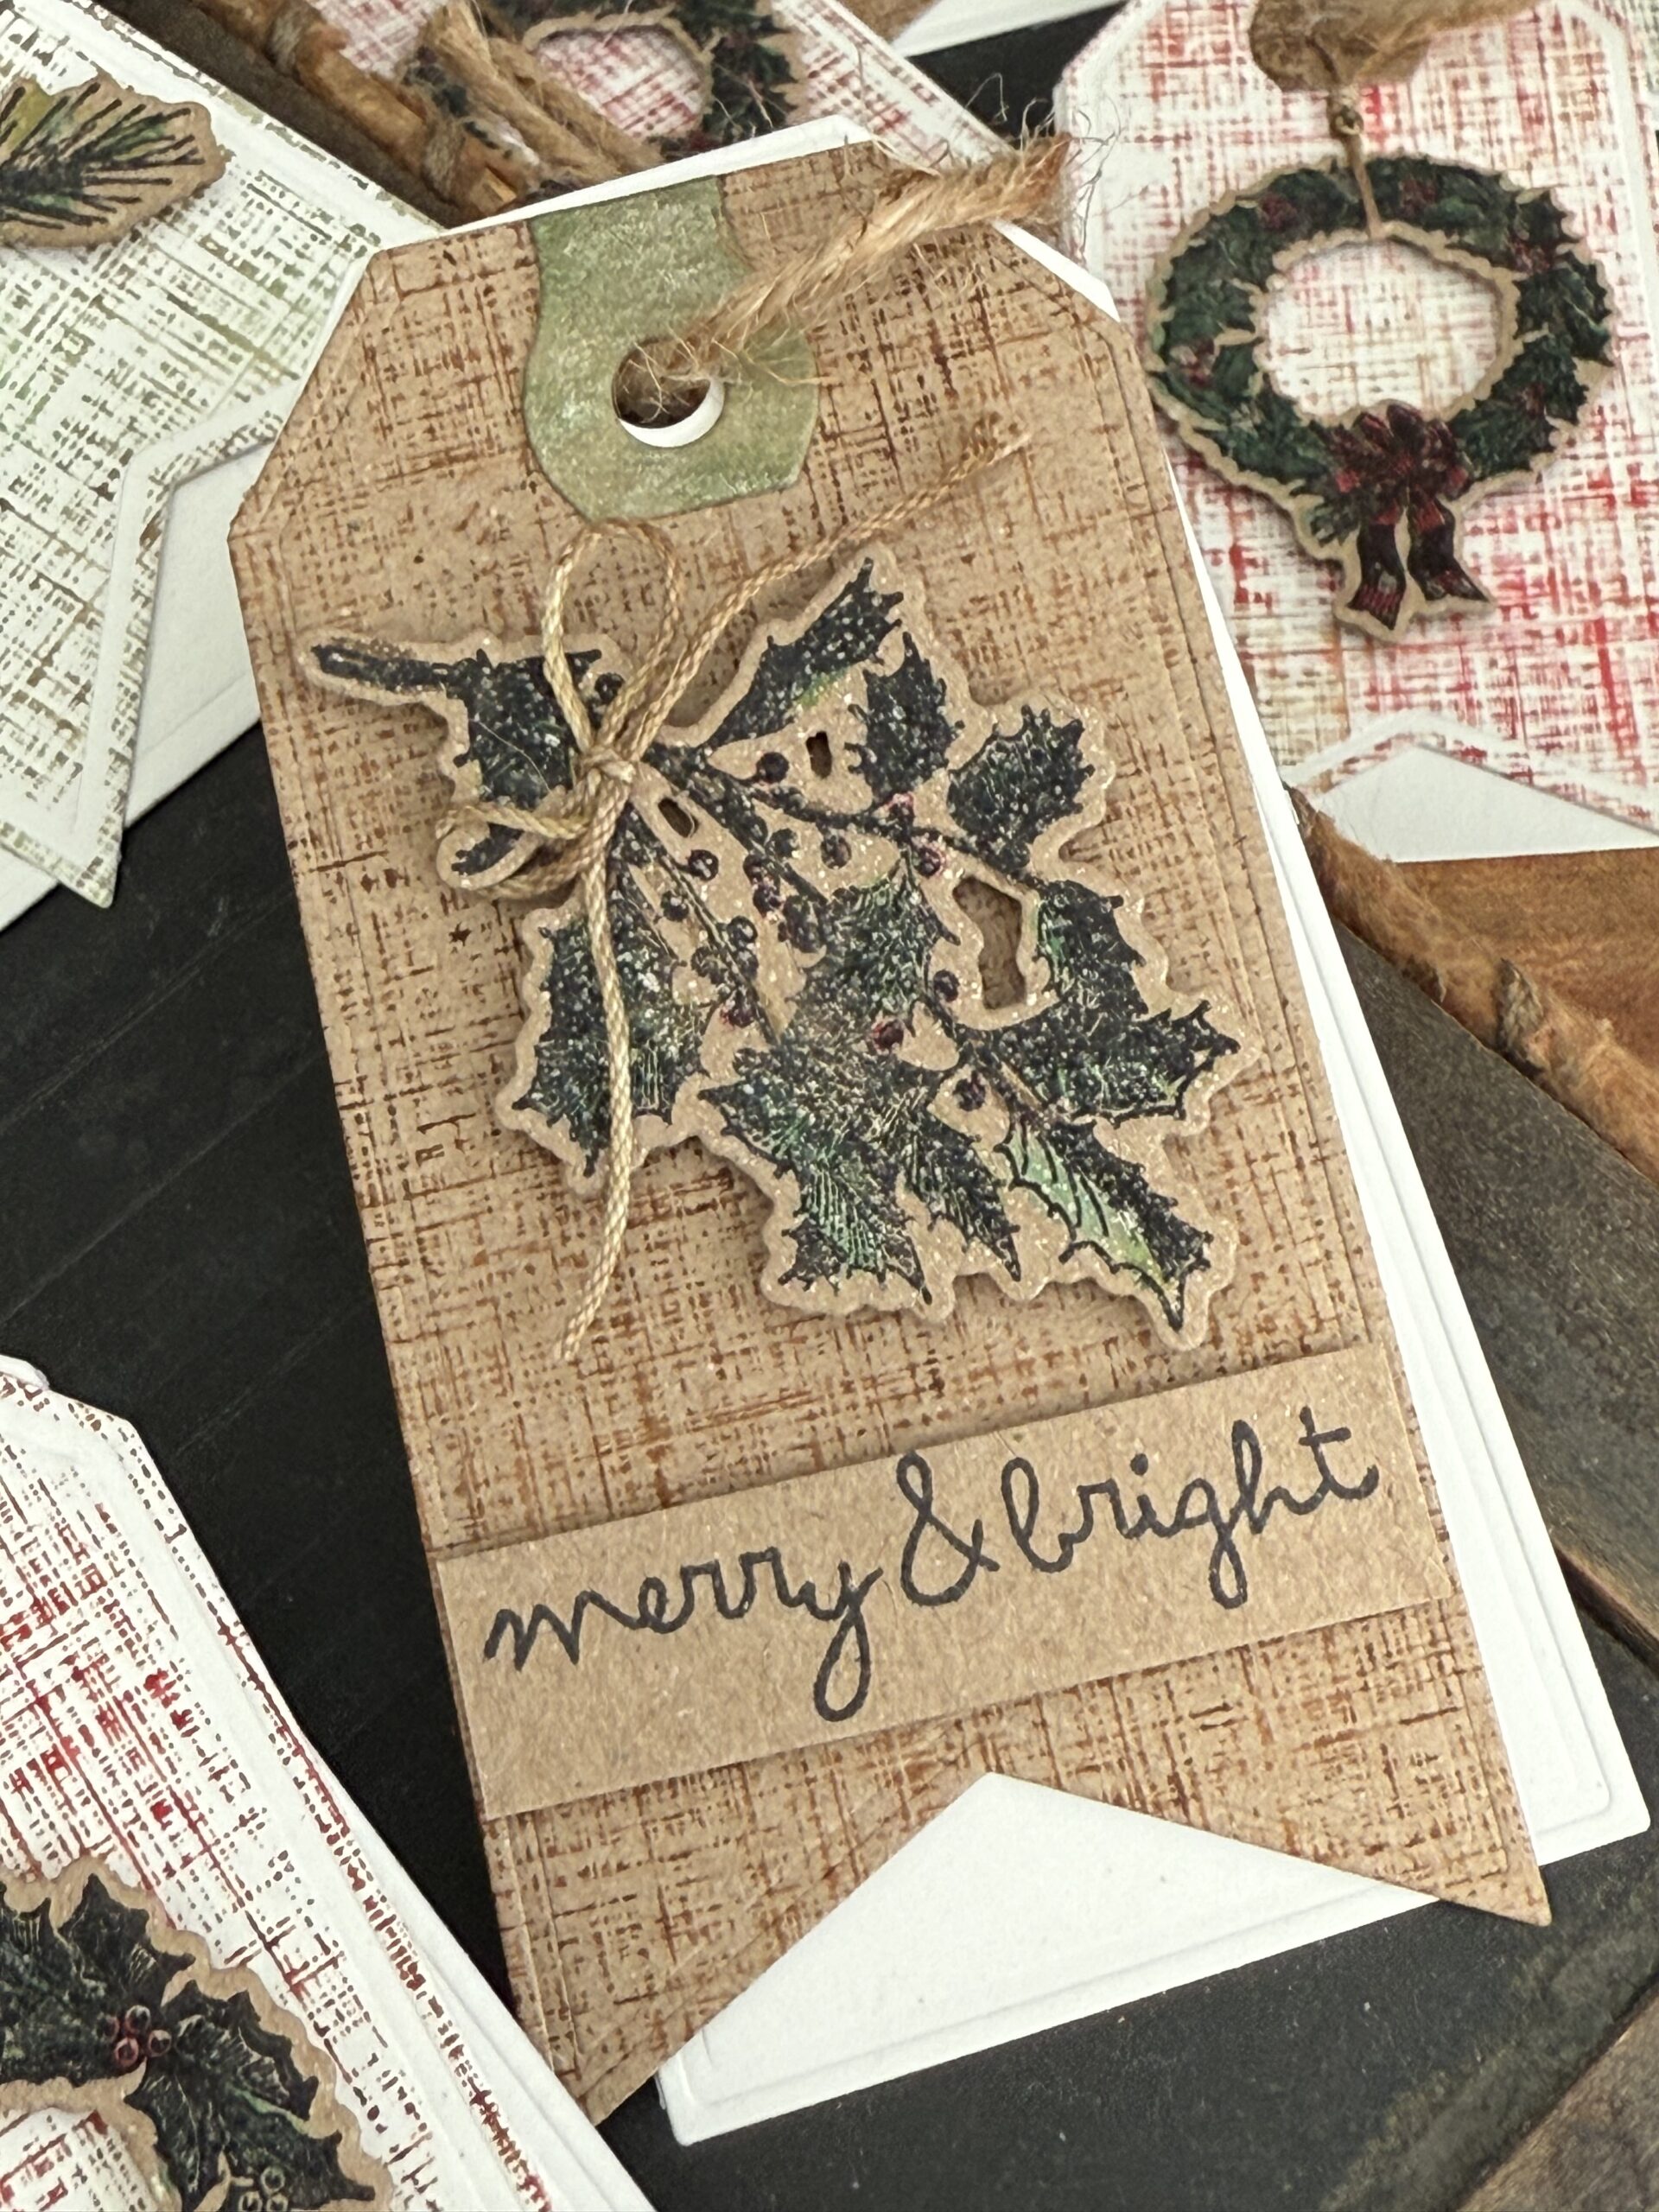
My tags focus on using the Holiday Things Stamp Set CMS441 and matching wafer die set. These are sold separately or in a combo depending on if you have the stamp set already. The “merry & bright” phrase was from the Scribbly Christmas Stamp set but using something you already have in your stash works too!

I combined the Holiday Things with another background stamp set that looks like linen (Linen and Mesh CMS221), to give these tags a fabric/homespun look.
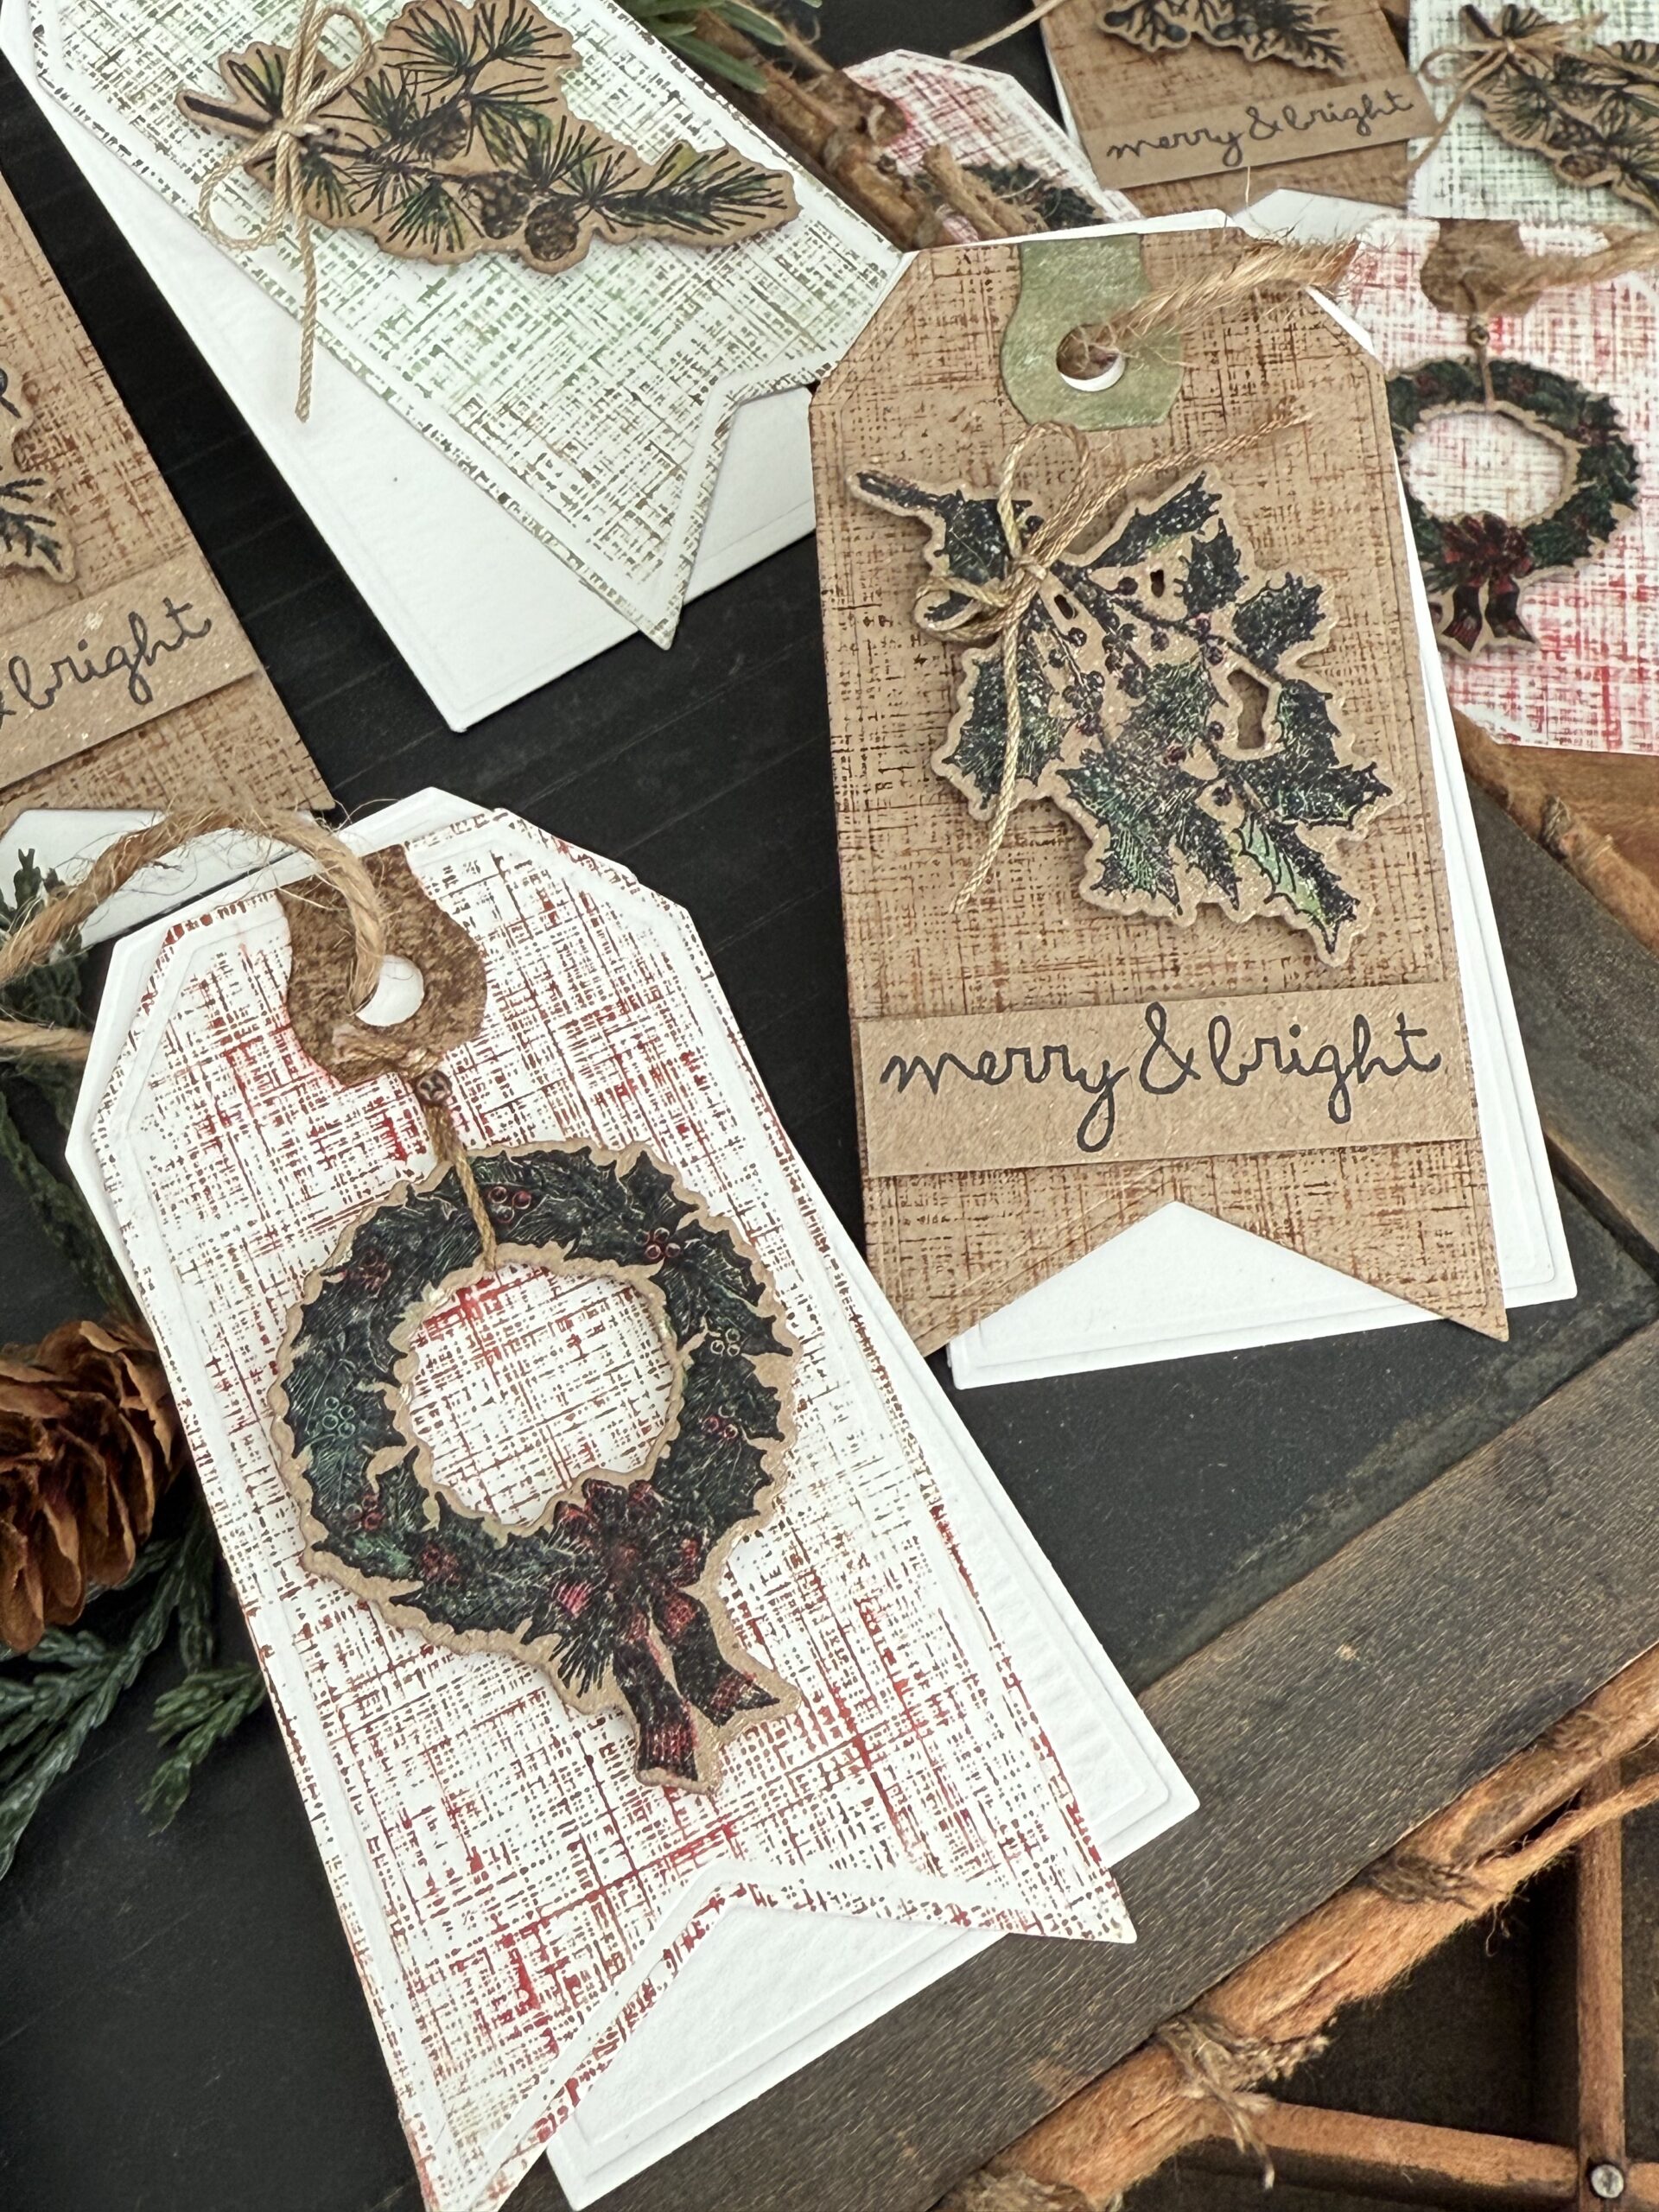
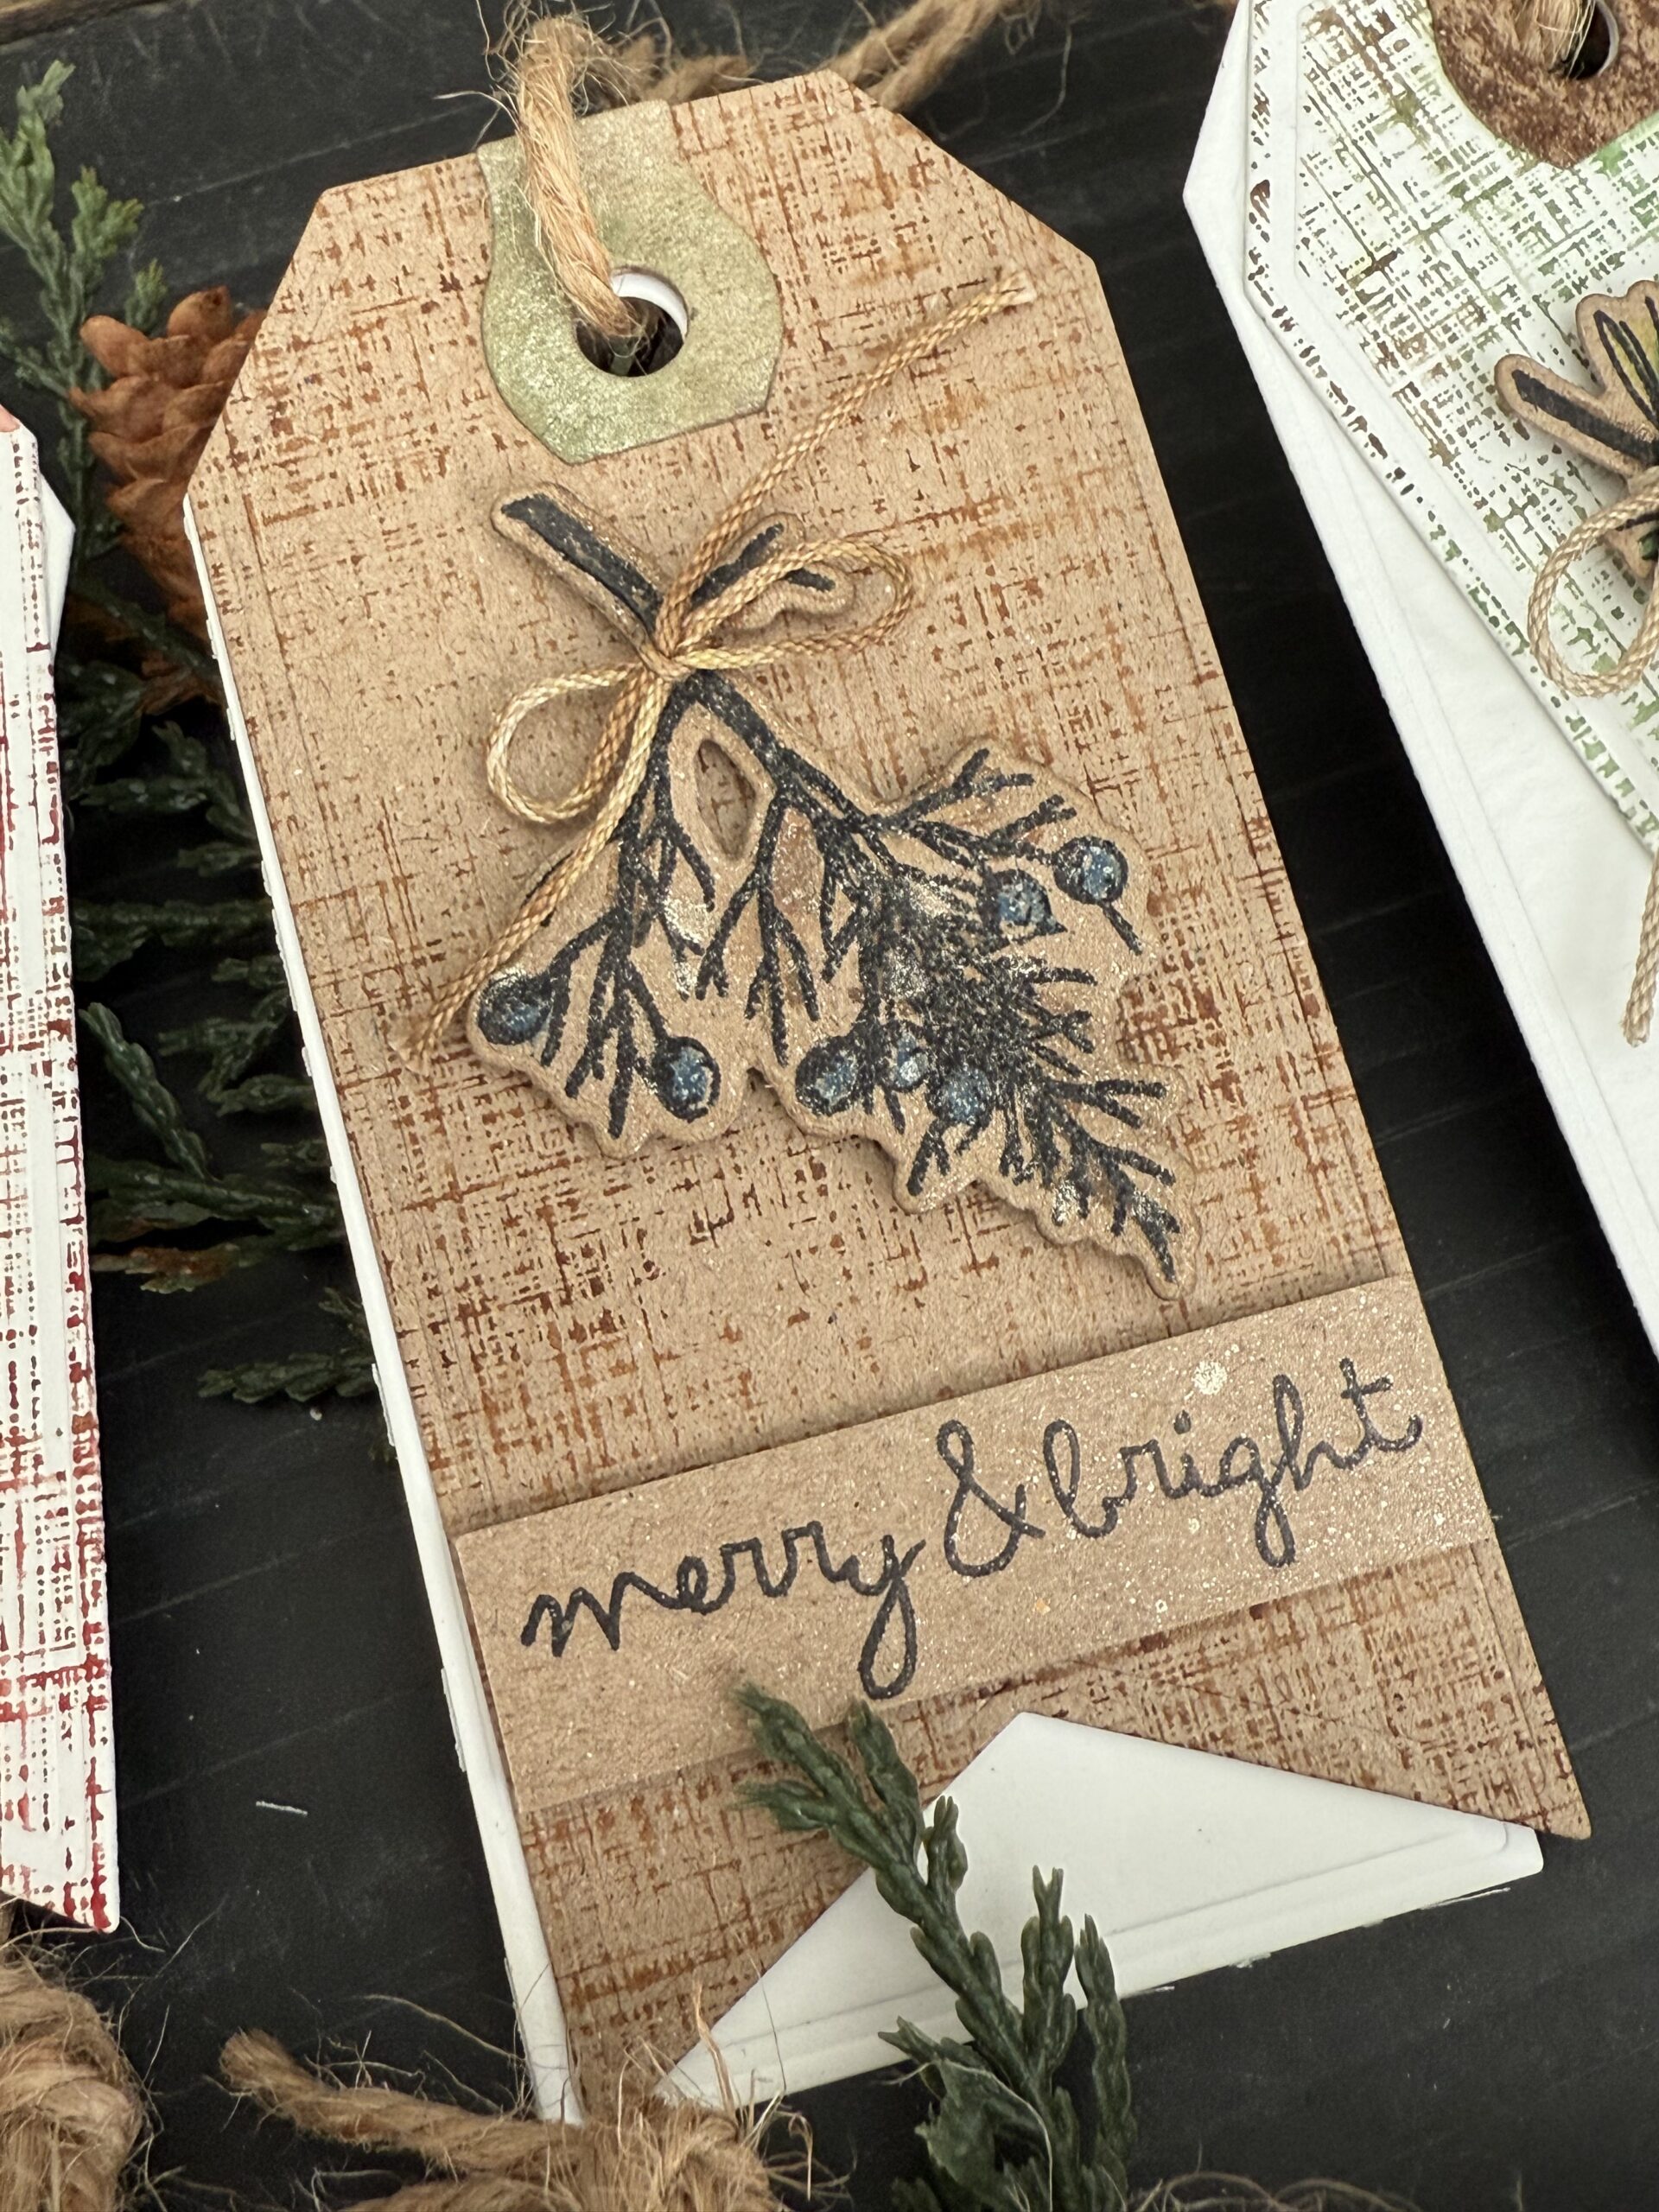
The Holiday Things for the front of the tag were all stamped on Tim Holtz Heavystock Kraft Paper and colored using the Distress Watercolor Pencils.
Distress Watercolor Pencils worked perfectly for the coloring of the images because they are pure pigment and especially when they’re wet. So, let me show you how I did it!
Let’s make one of the tags from start to finish…
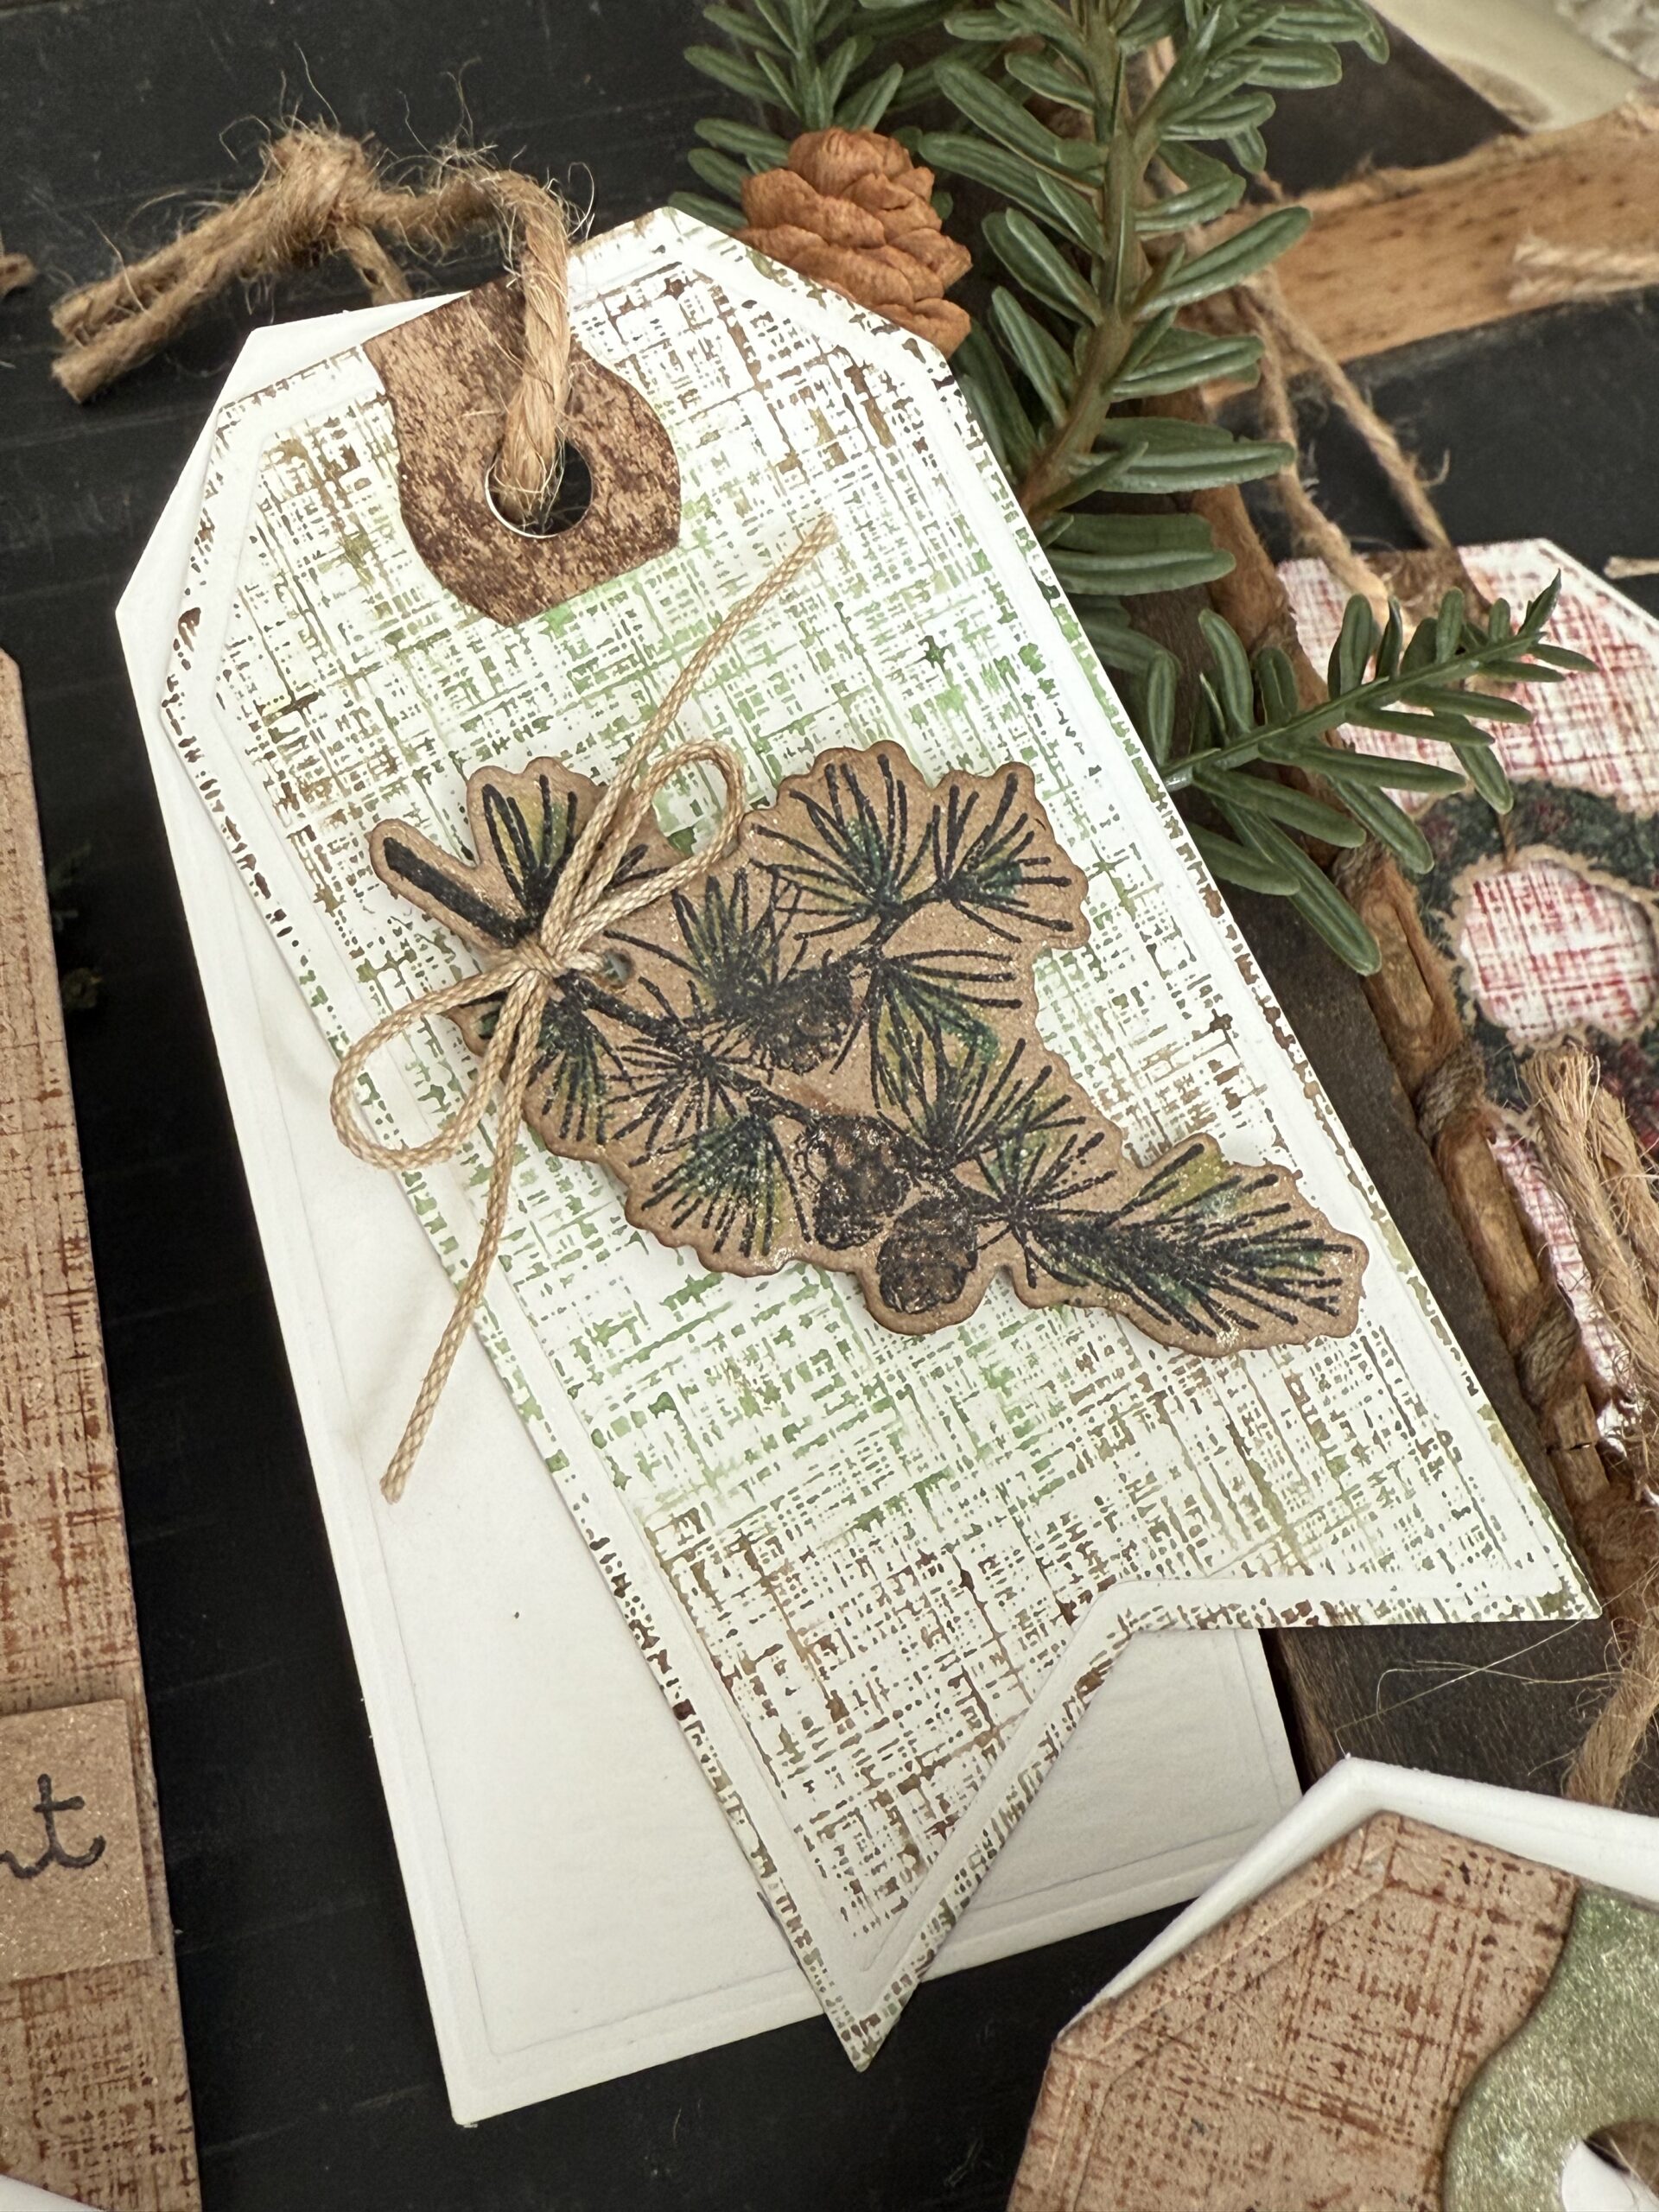
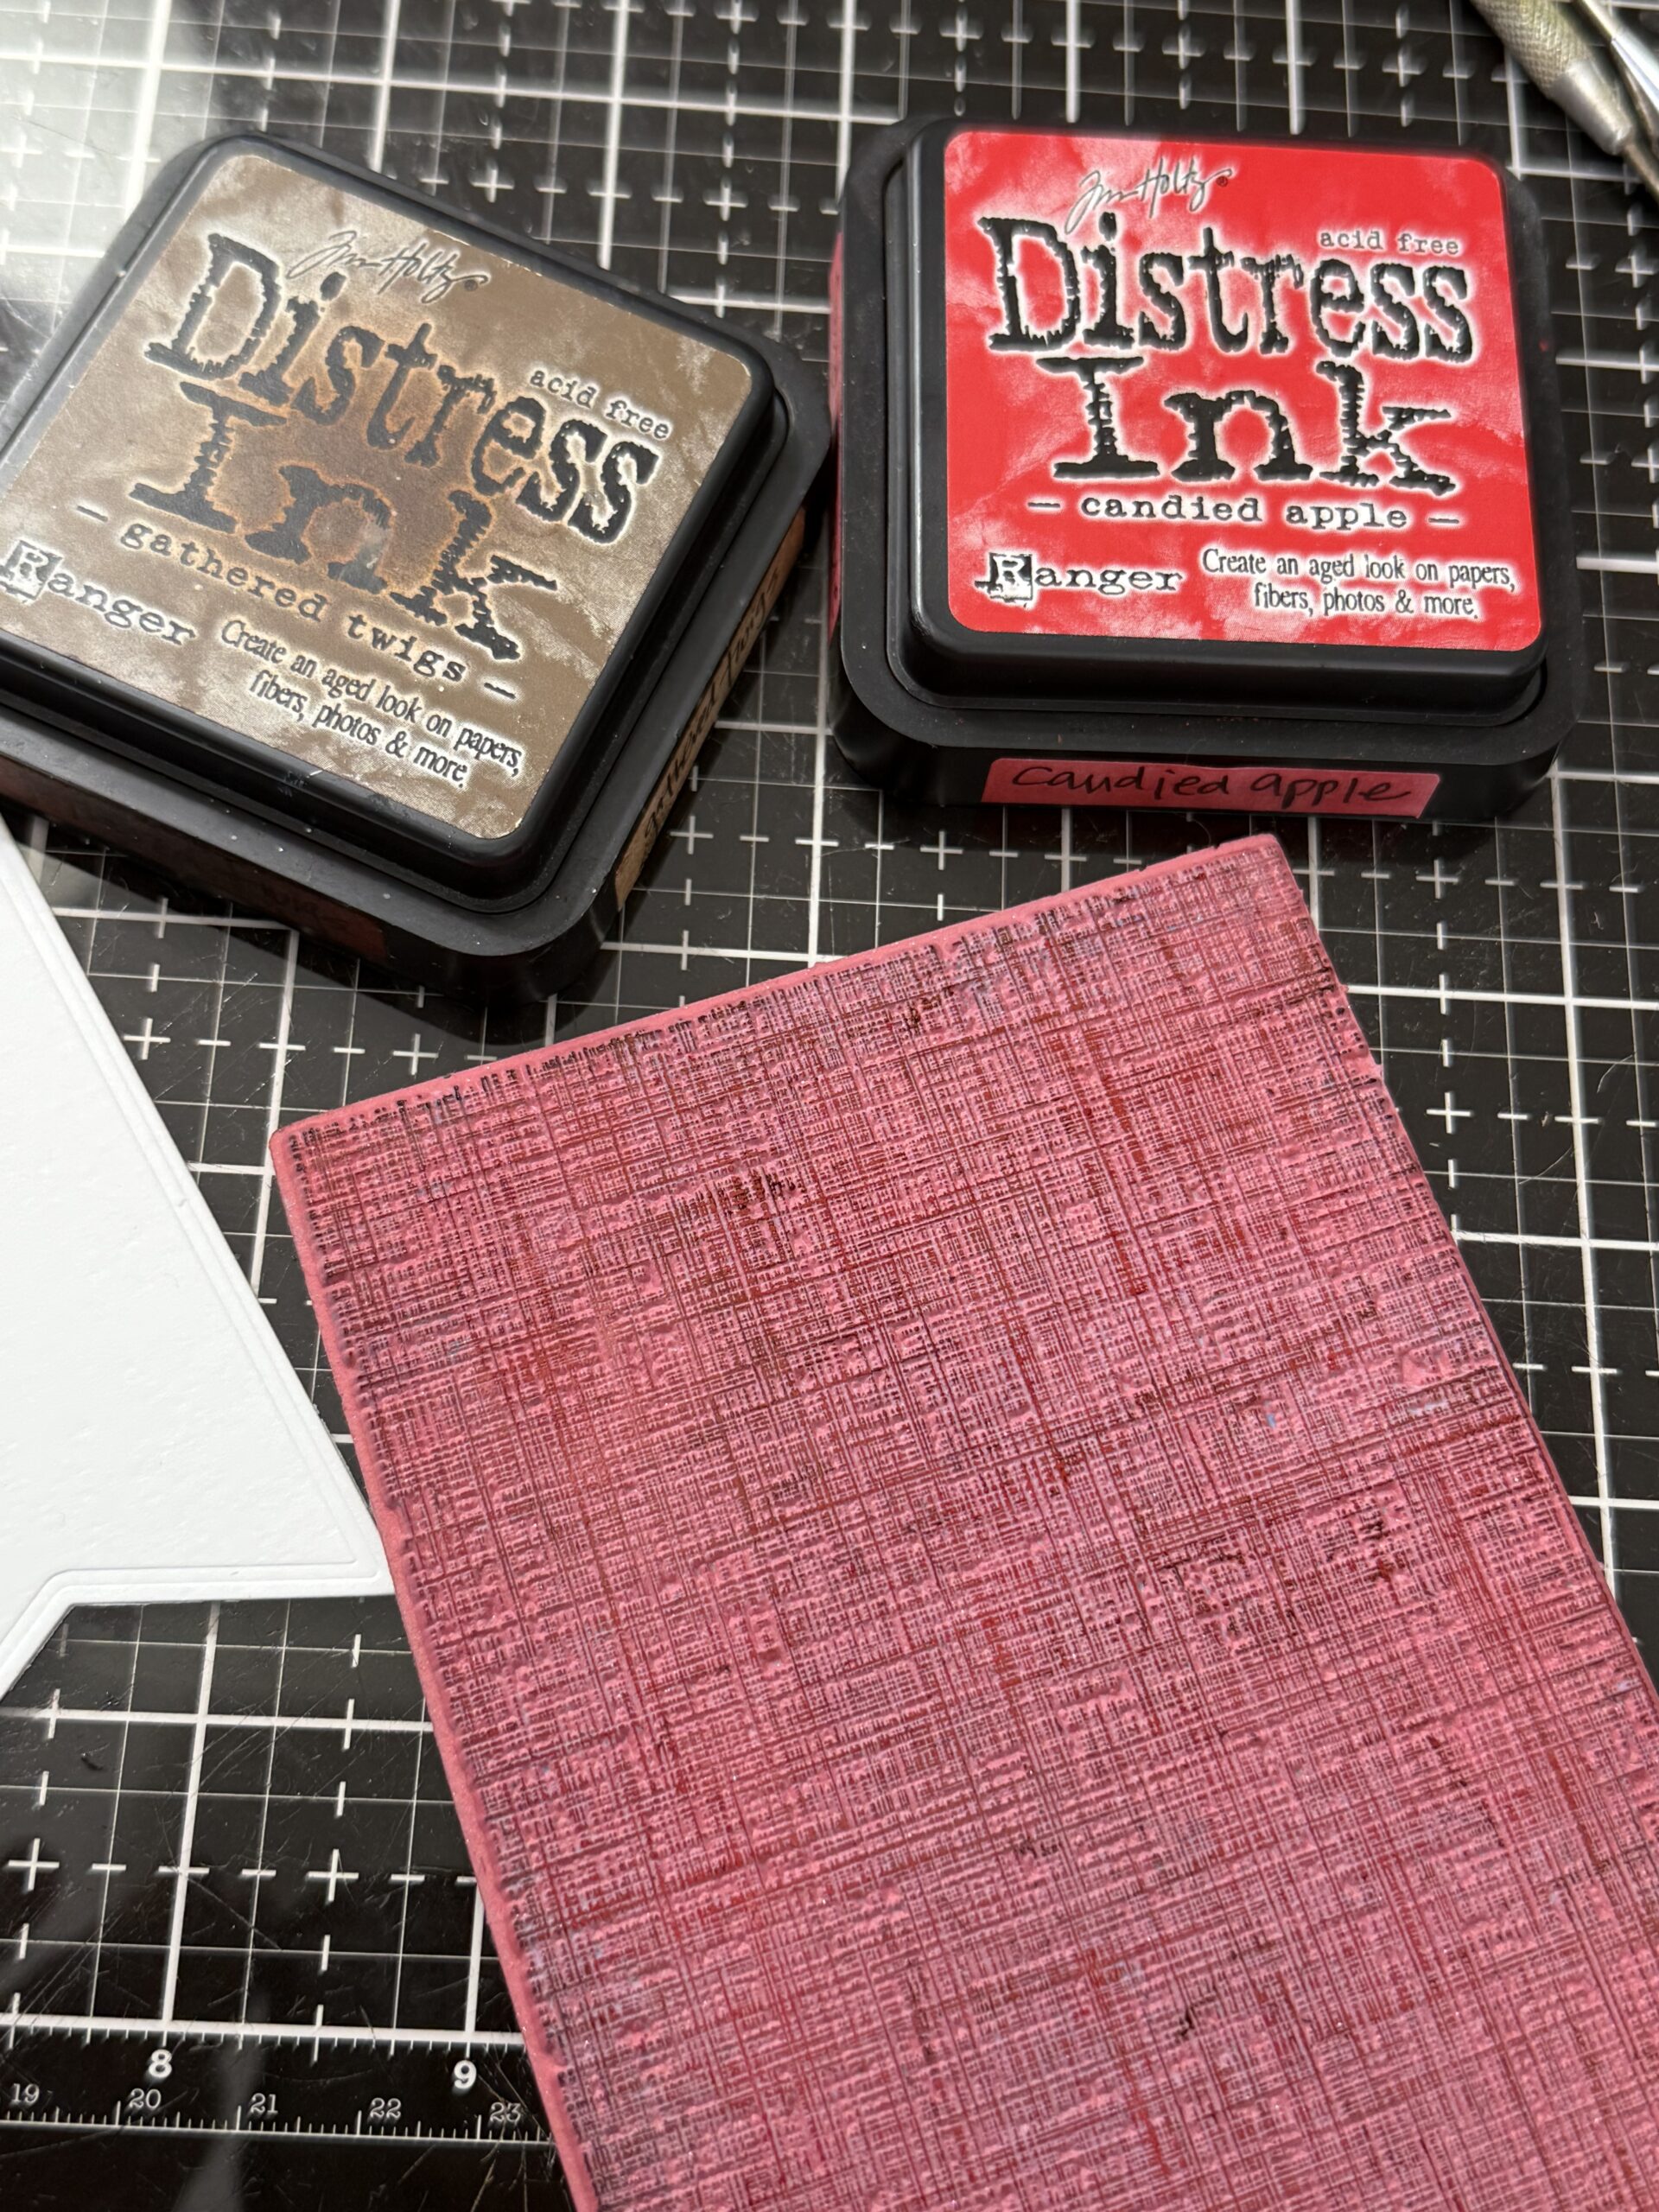
I started by cutting a few tags out of Distress Watercolor Paper, smooth side. Then, I applied Gathered Twigs and Candied Apple Distress Ink randomly onto the Linen background stamp. I did this technique with out using a block for the stamp.
After the stamp was loaded with ink, I spritzed the stamp with a quick mist of water…
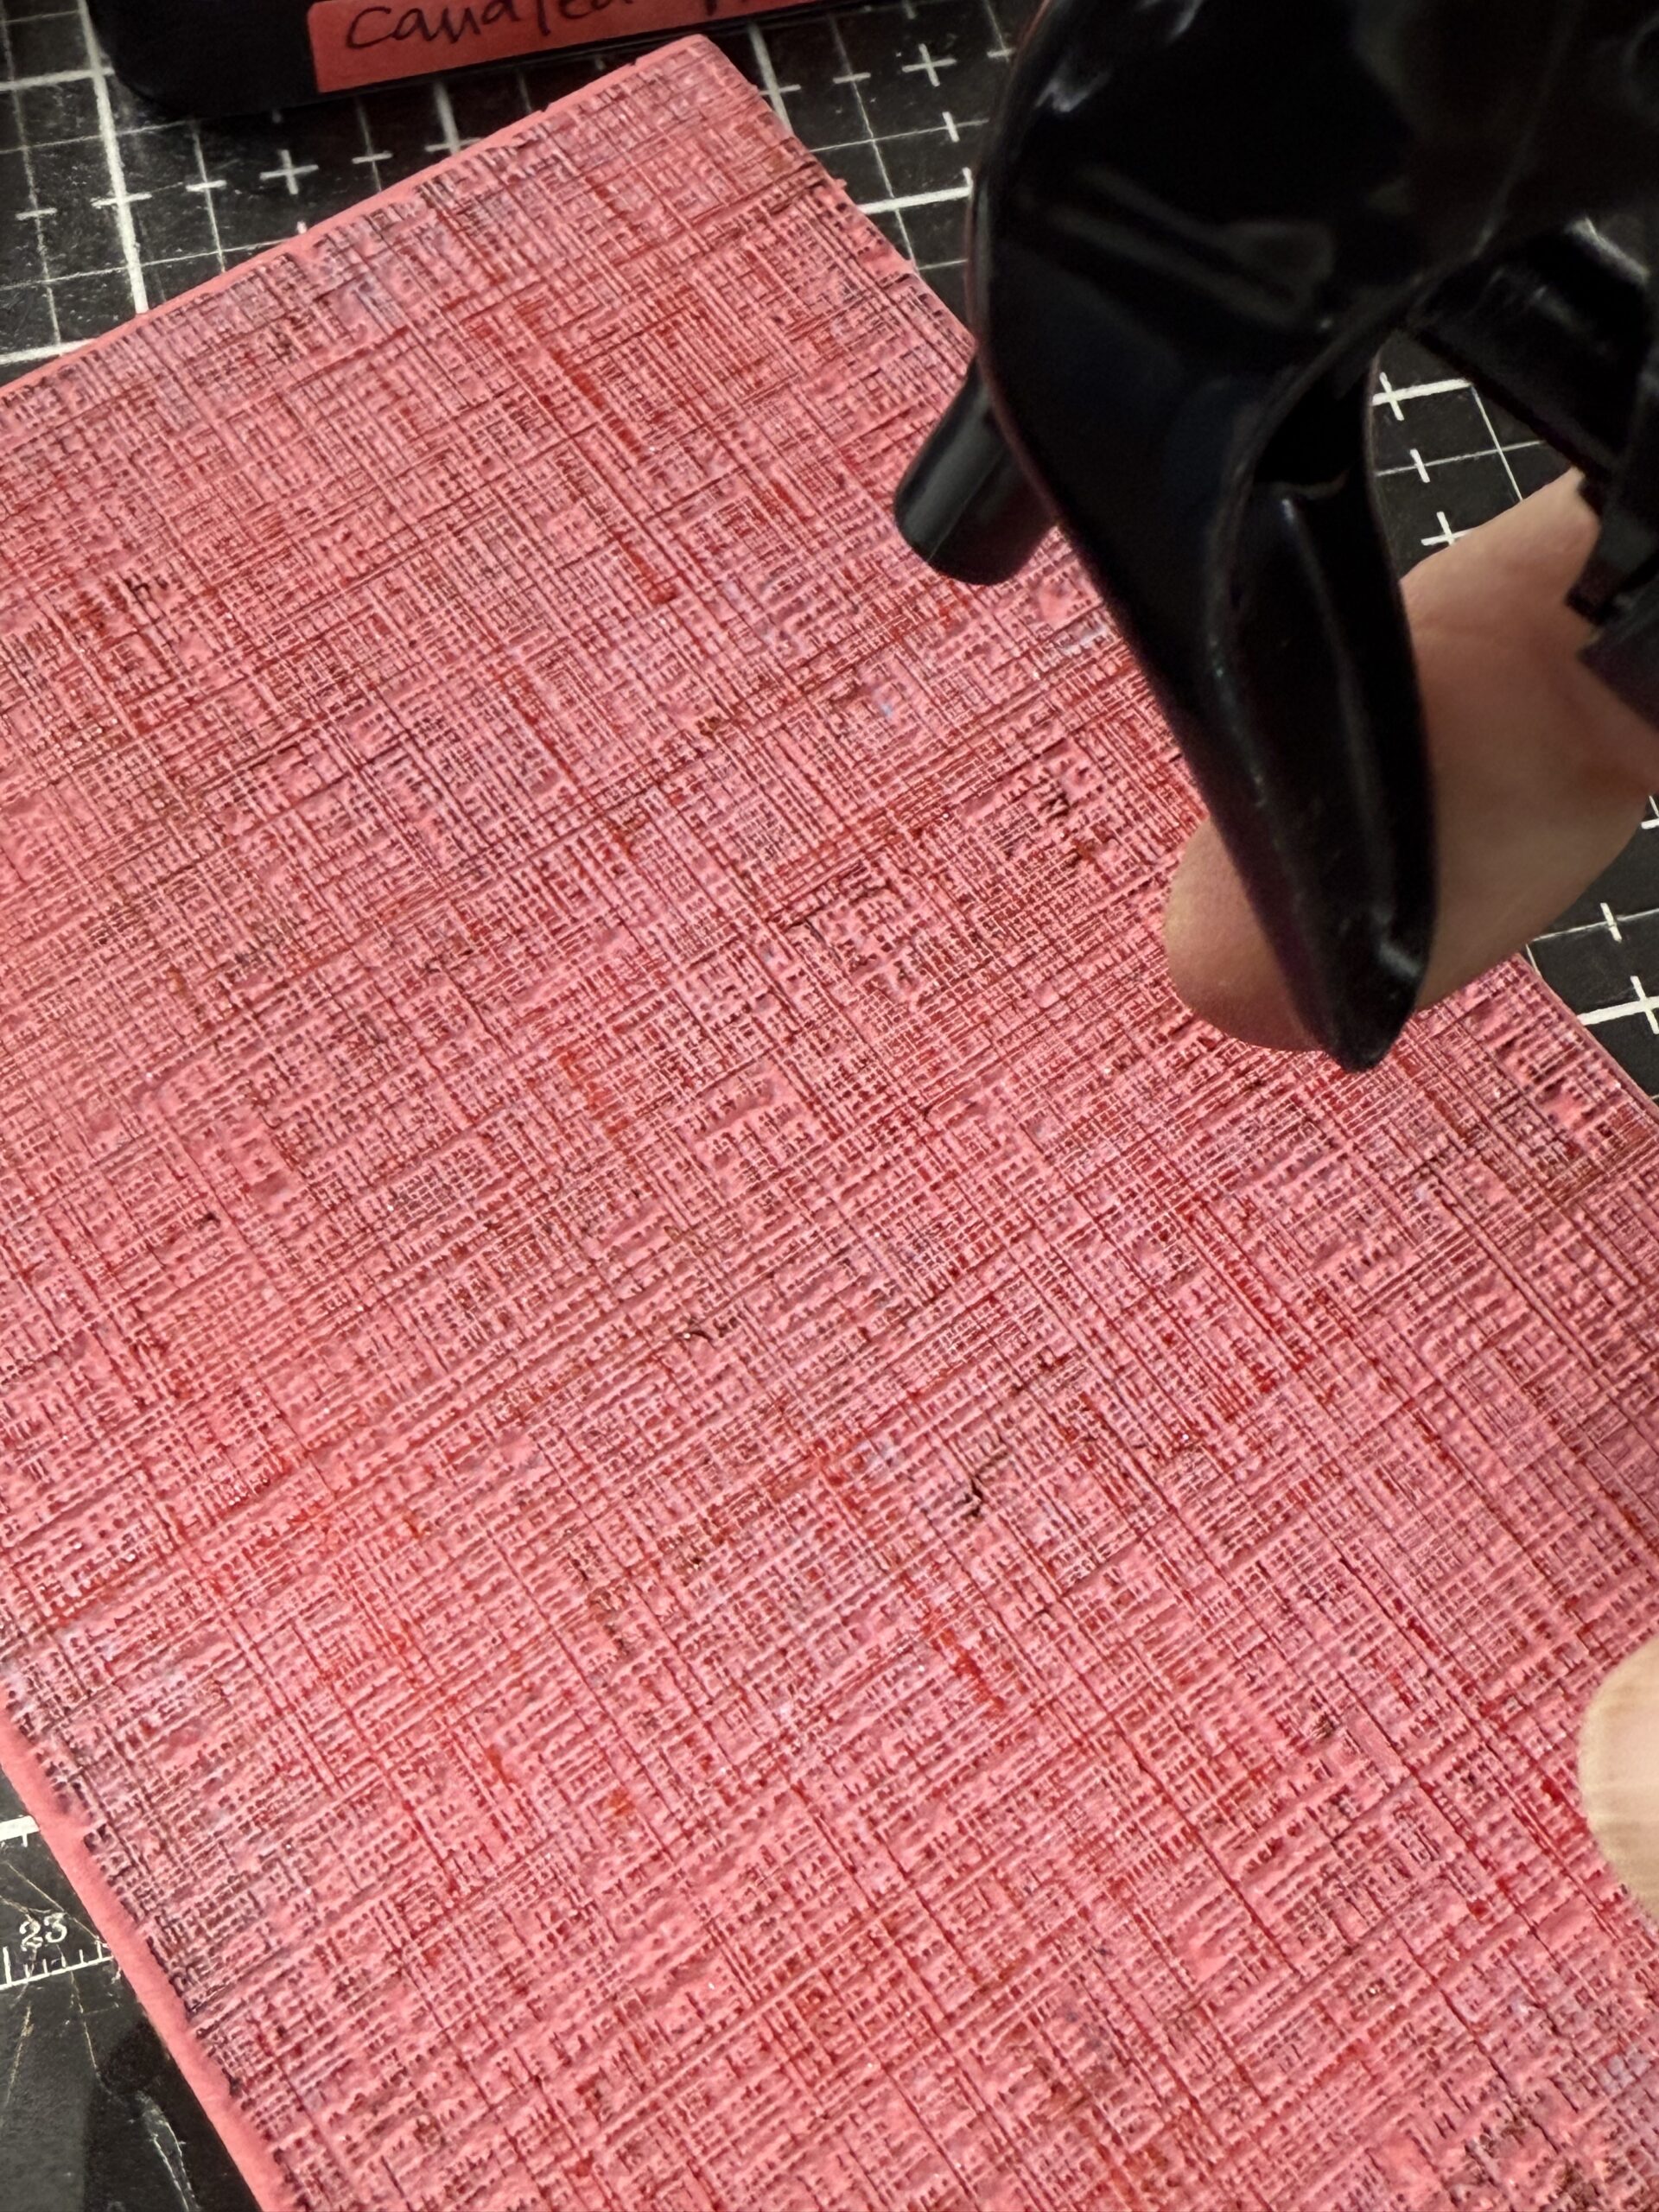
then, stamped the linen design onto the tag by placing the entire stamp over the tag.
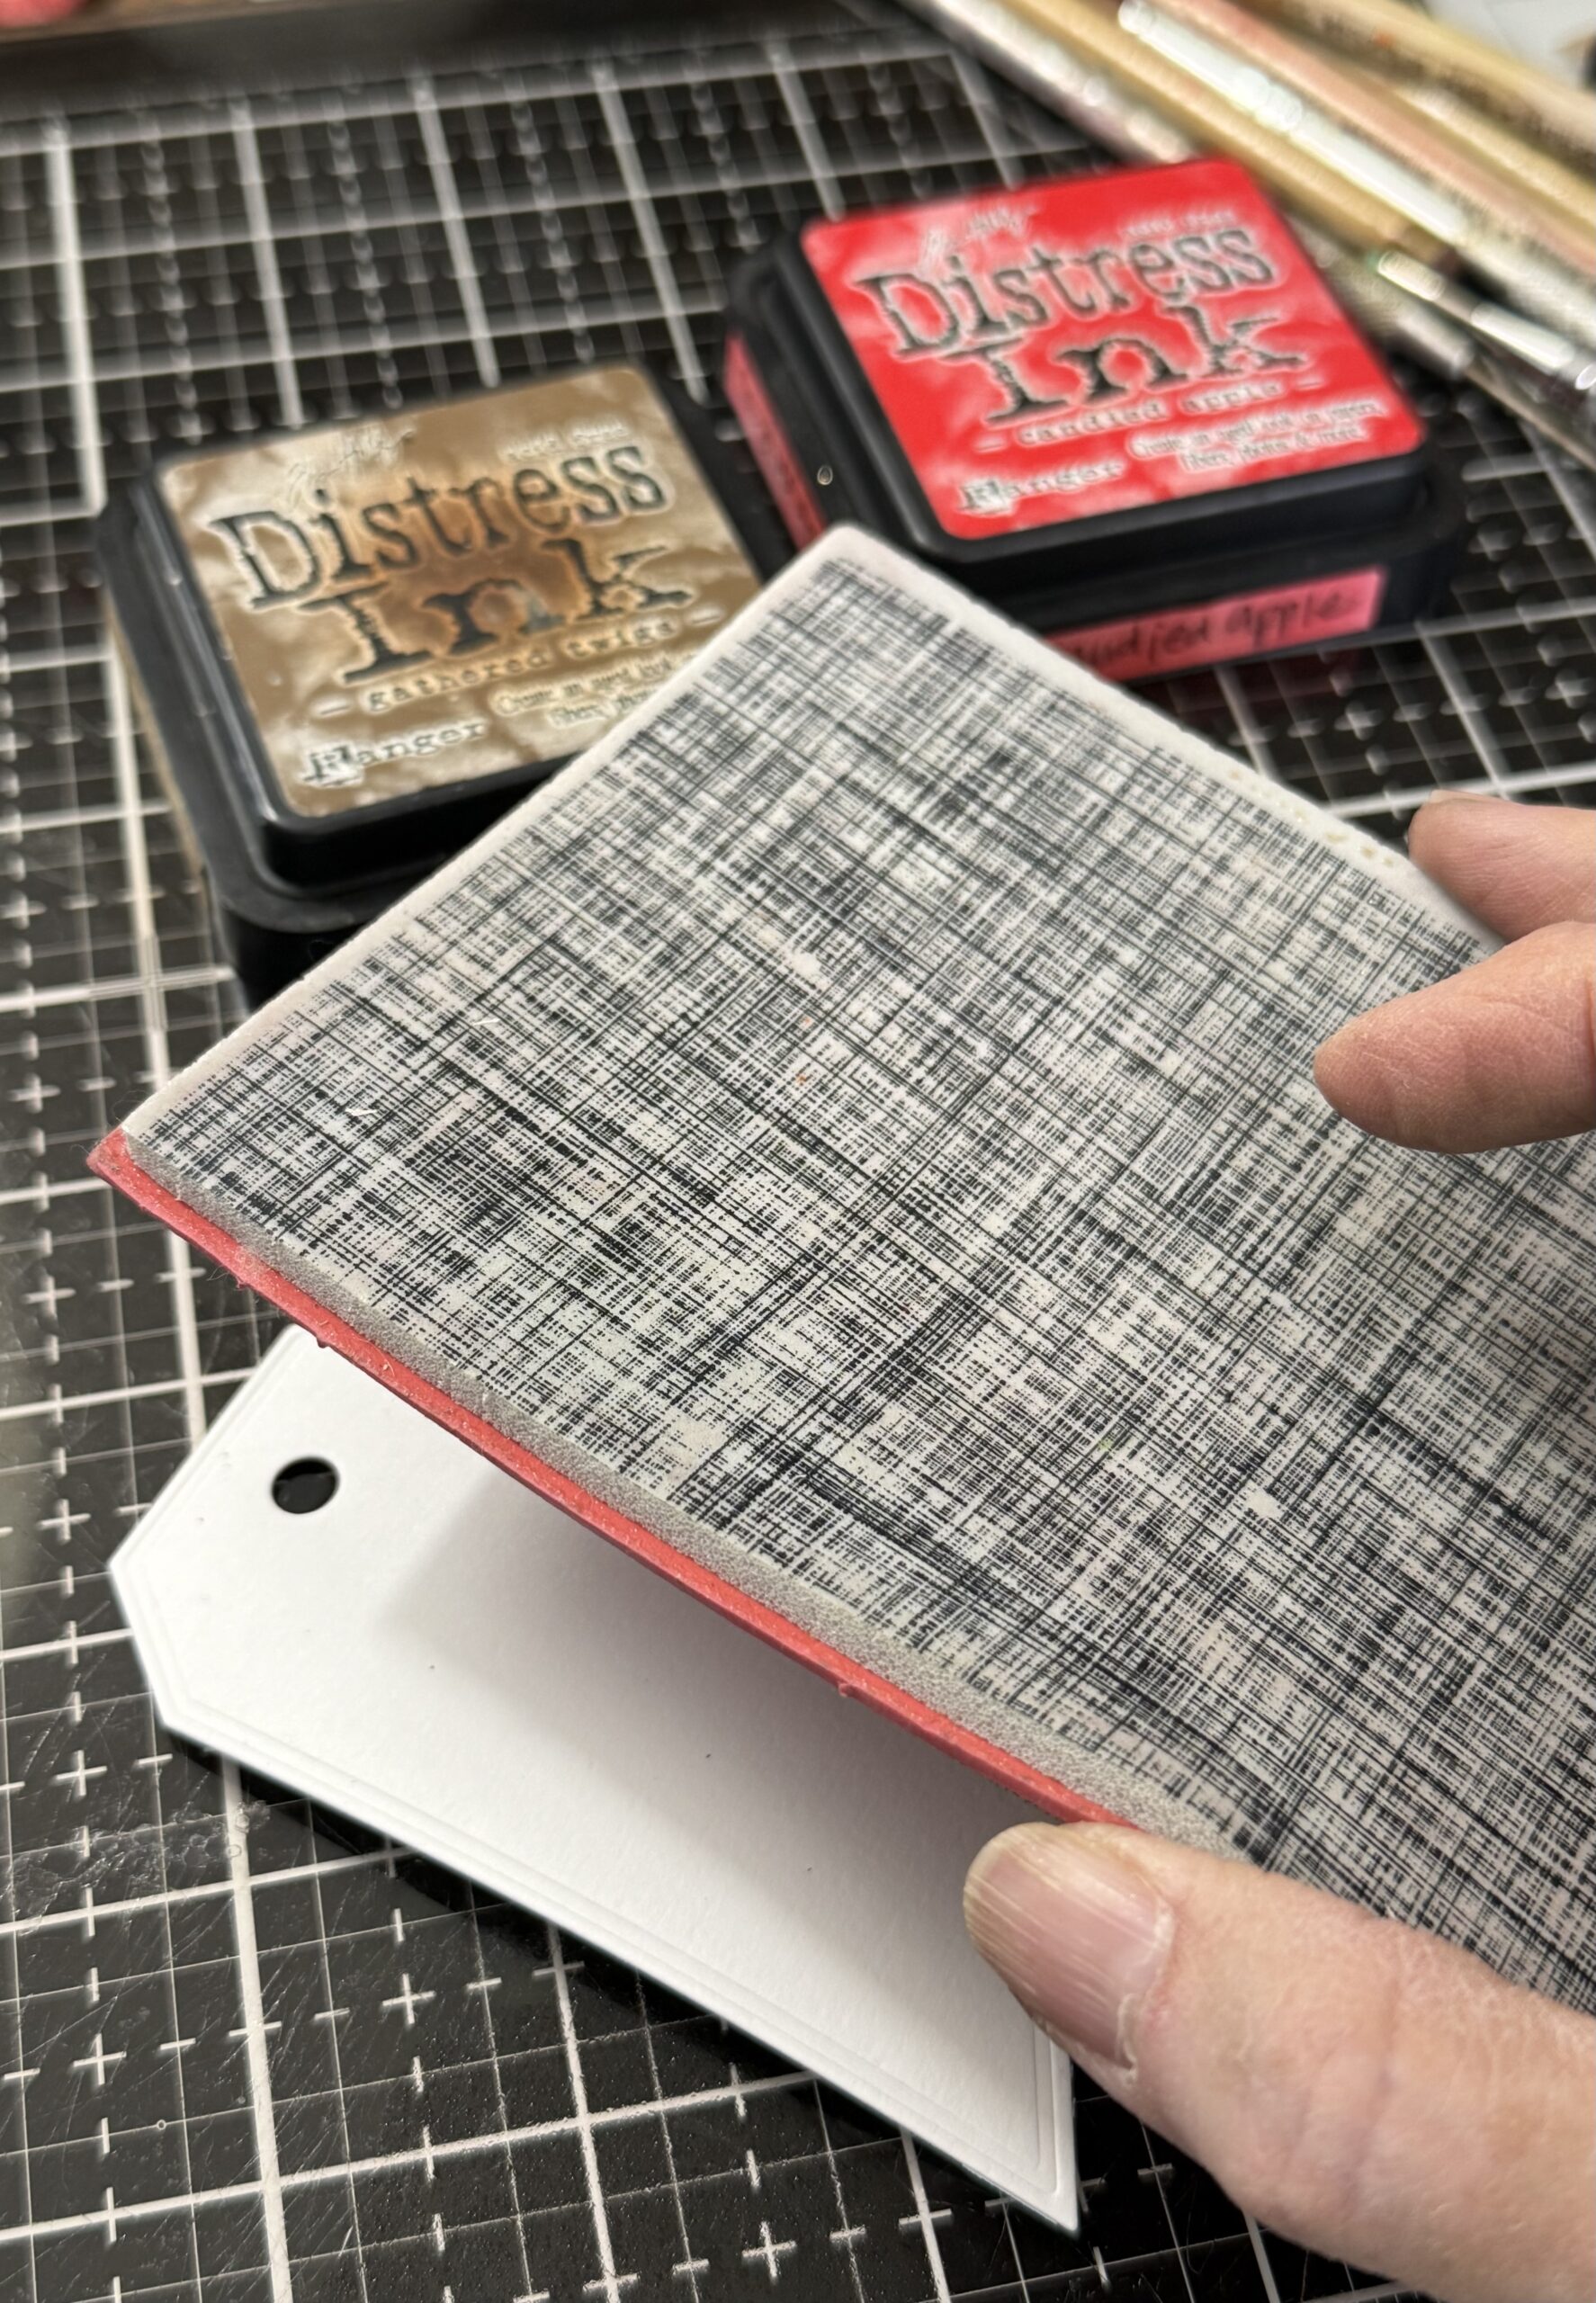
Here’s a little peek at what it looked like as I took the stamp off of the tag.
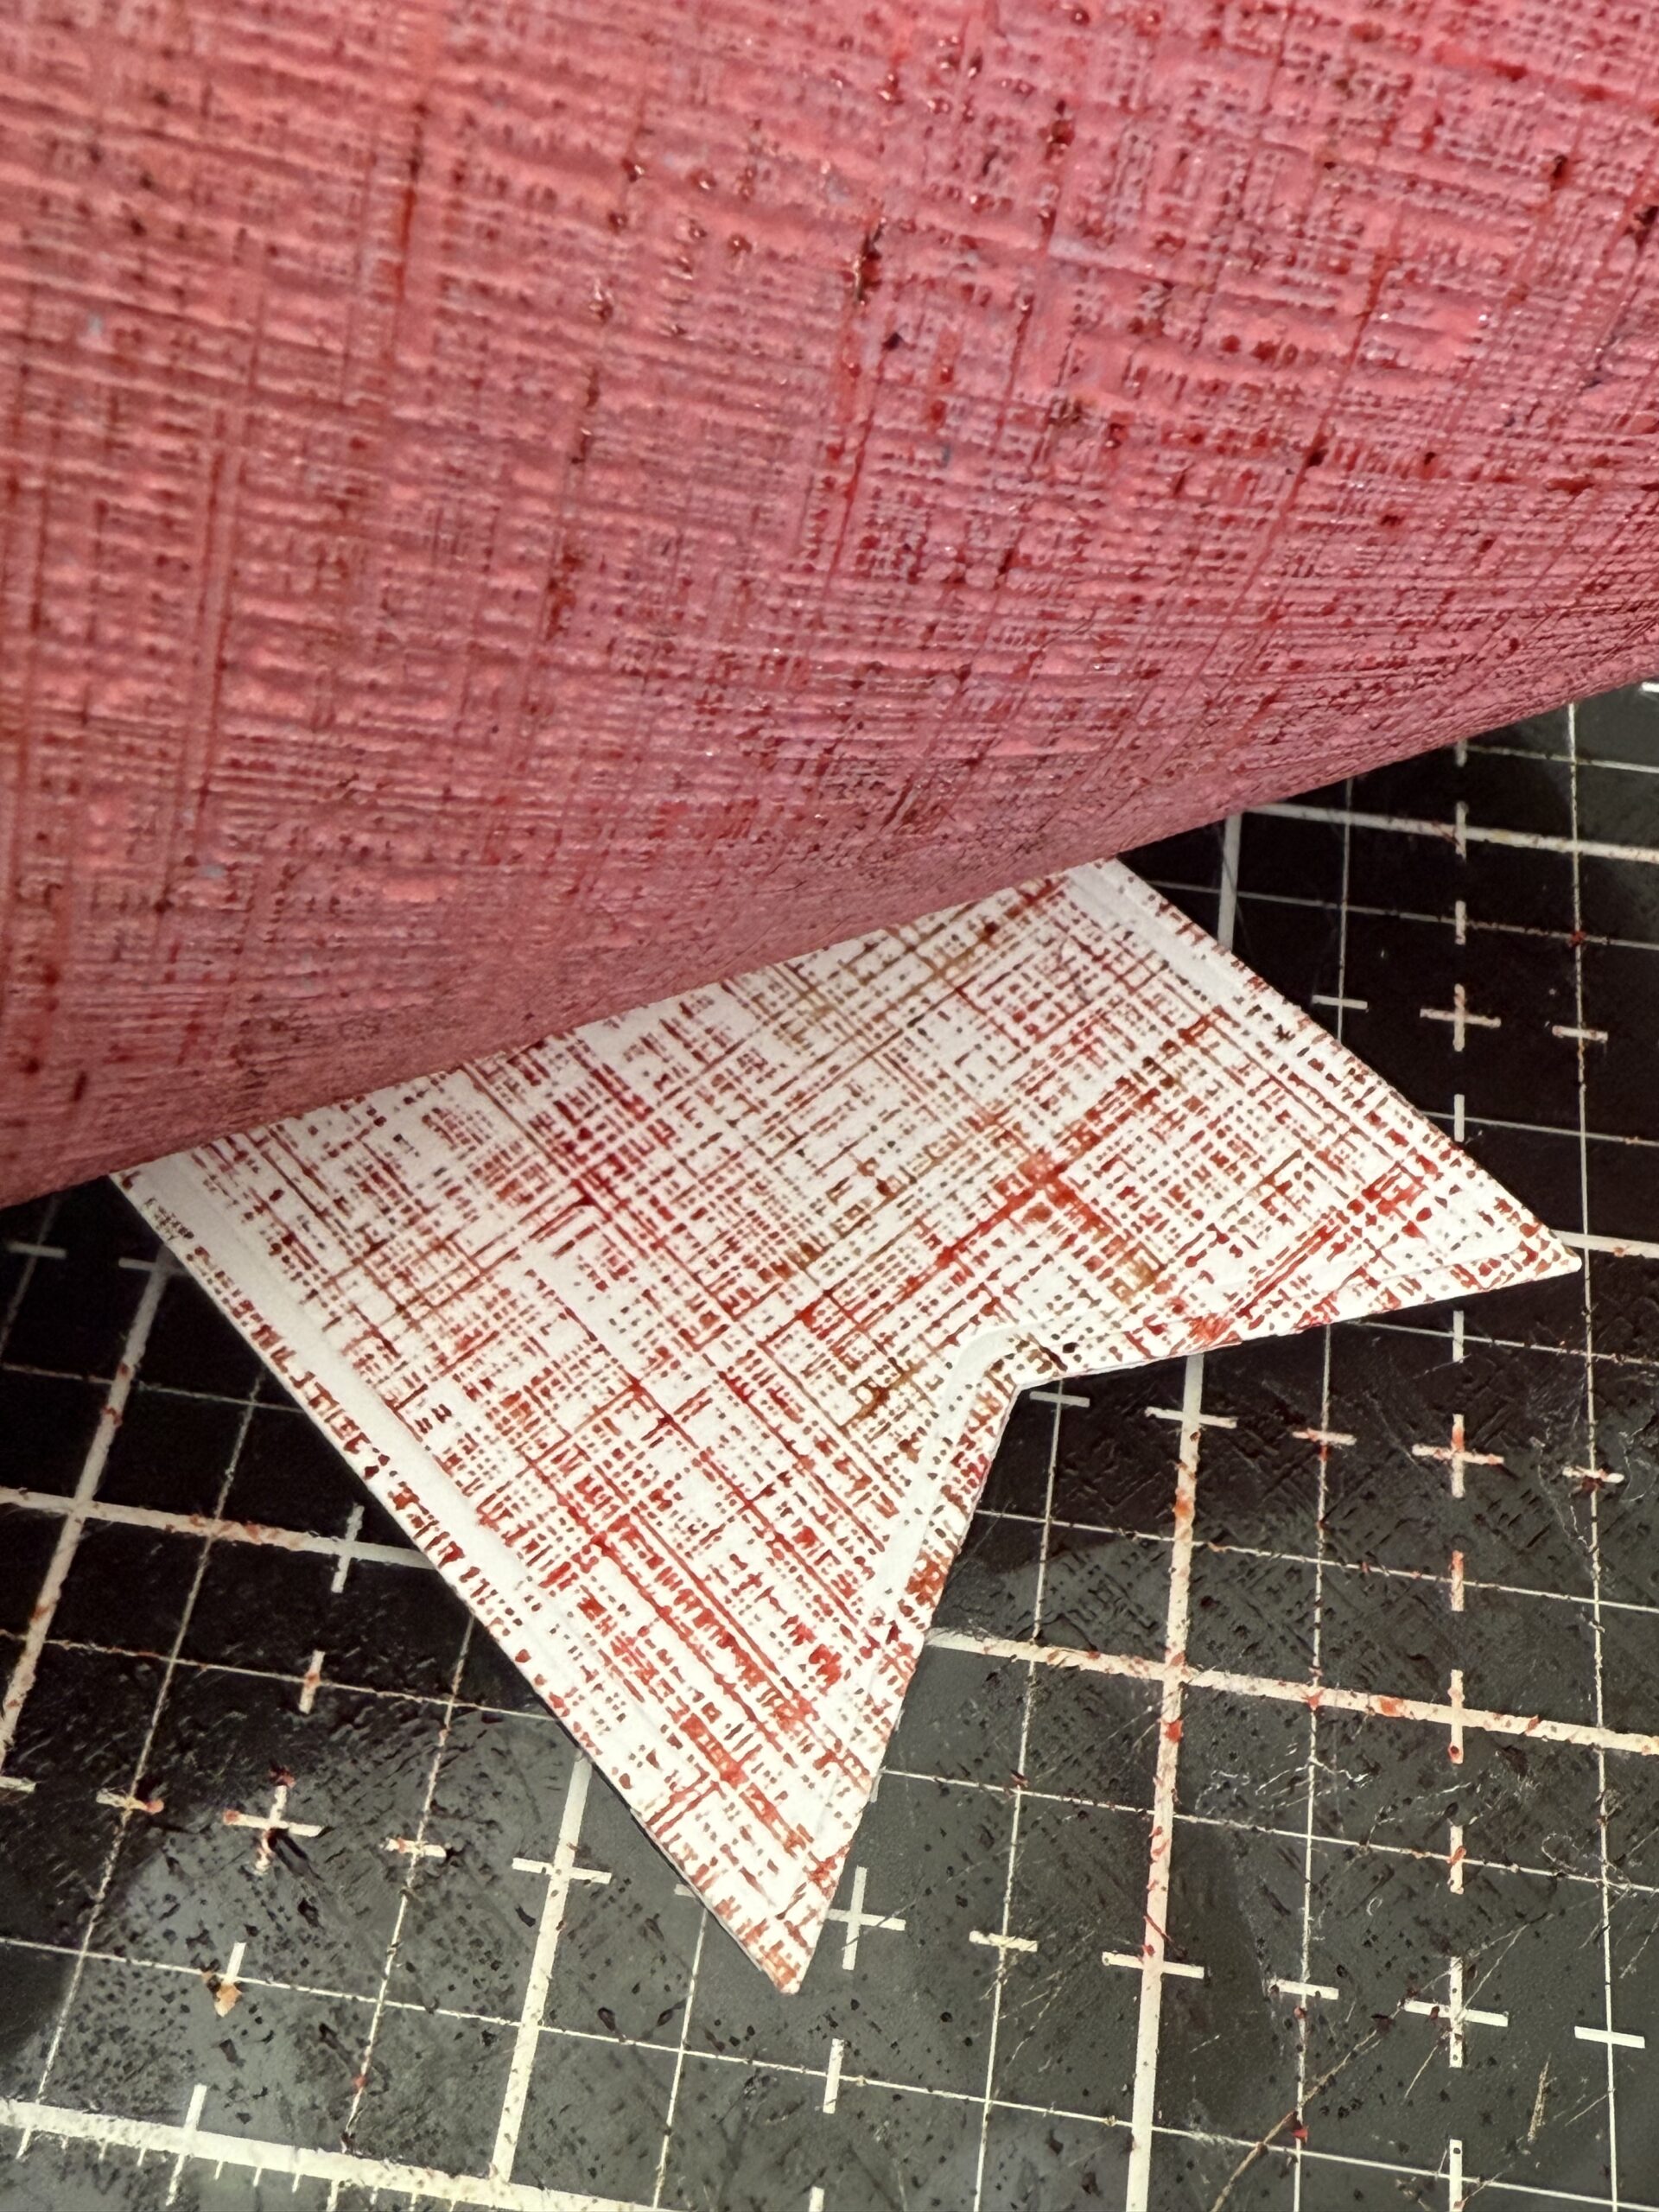
There was enough ink left on the stamp to re-spritz the stamp with water and stamp the linen again onto a second tag. That is how I did each of the other tags as well…use as much of the leftover ink on the stamp as you can!
Now, let’s move on to coloring the images…
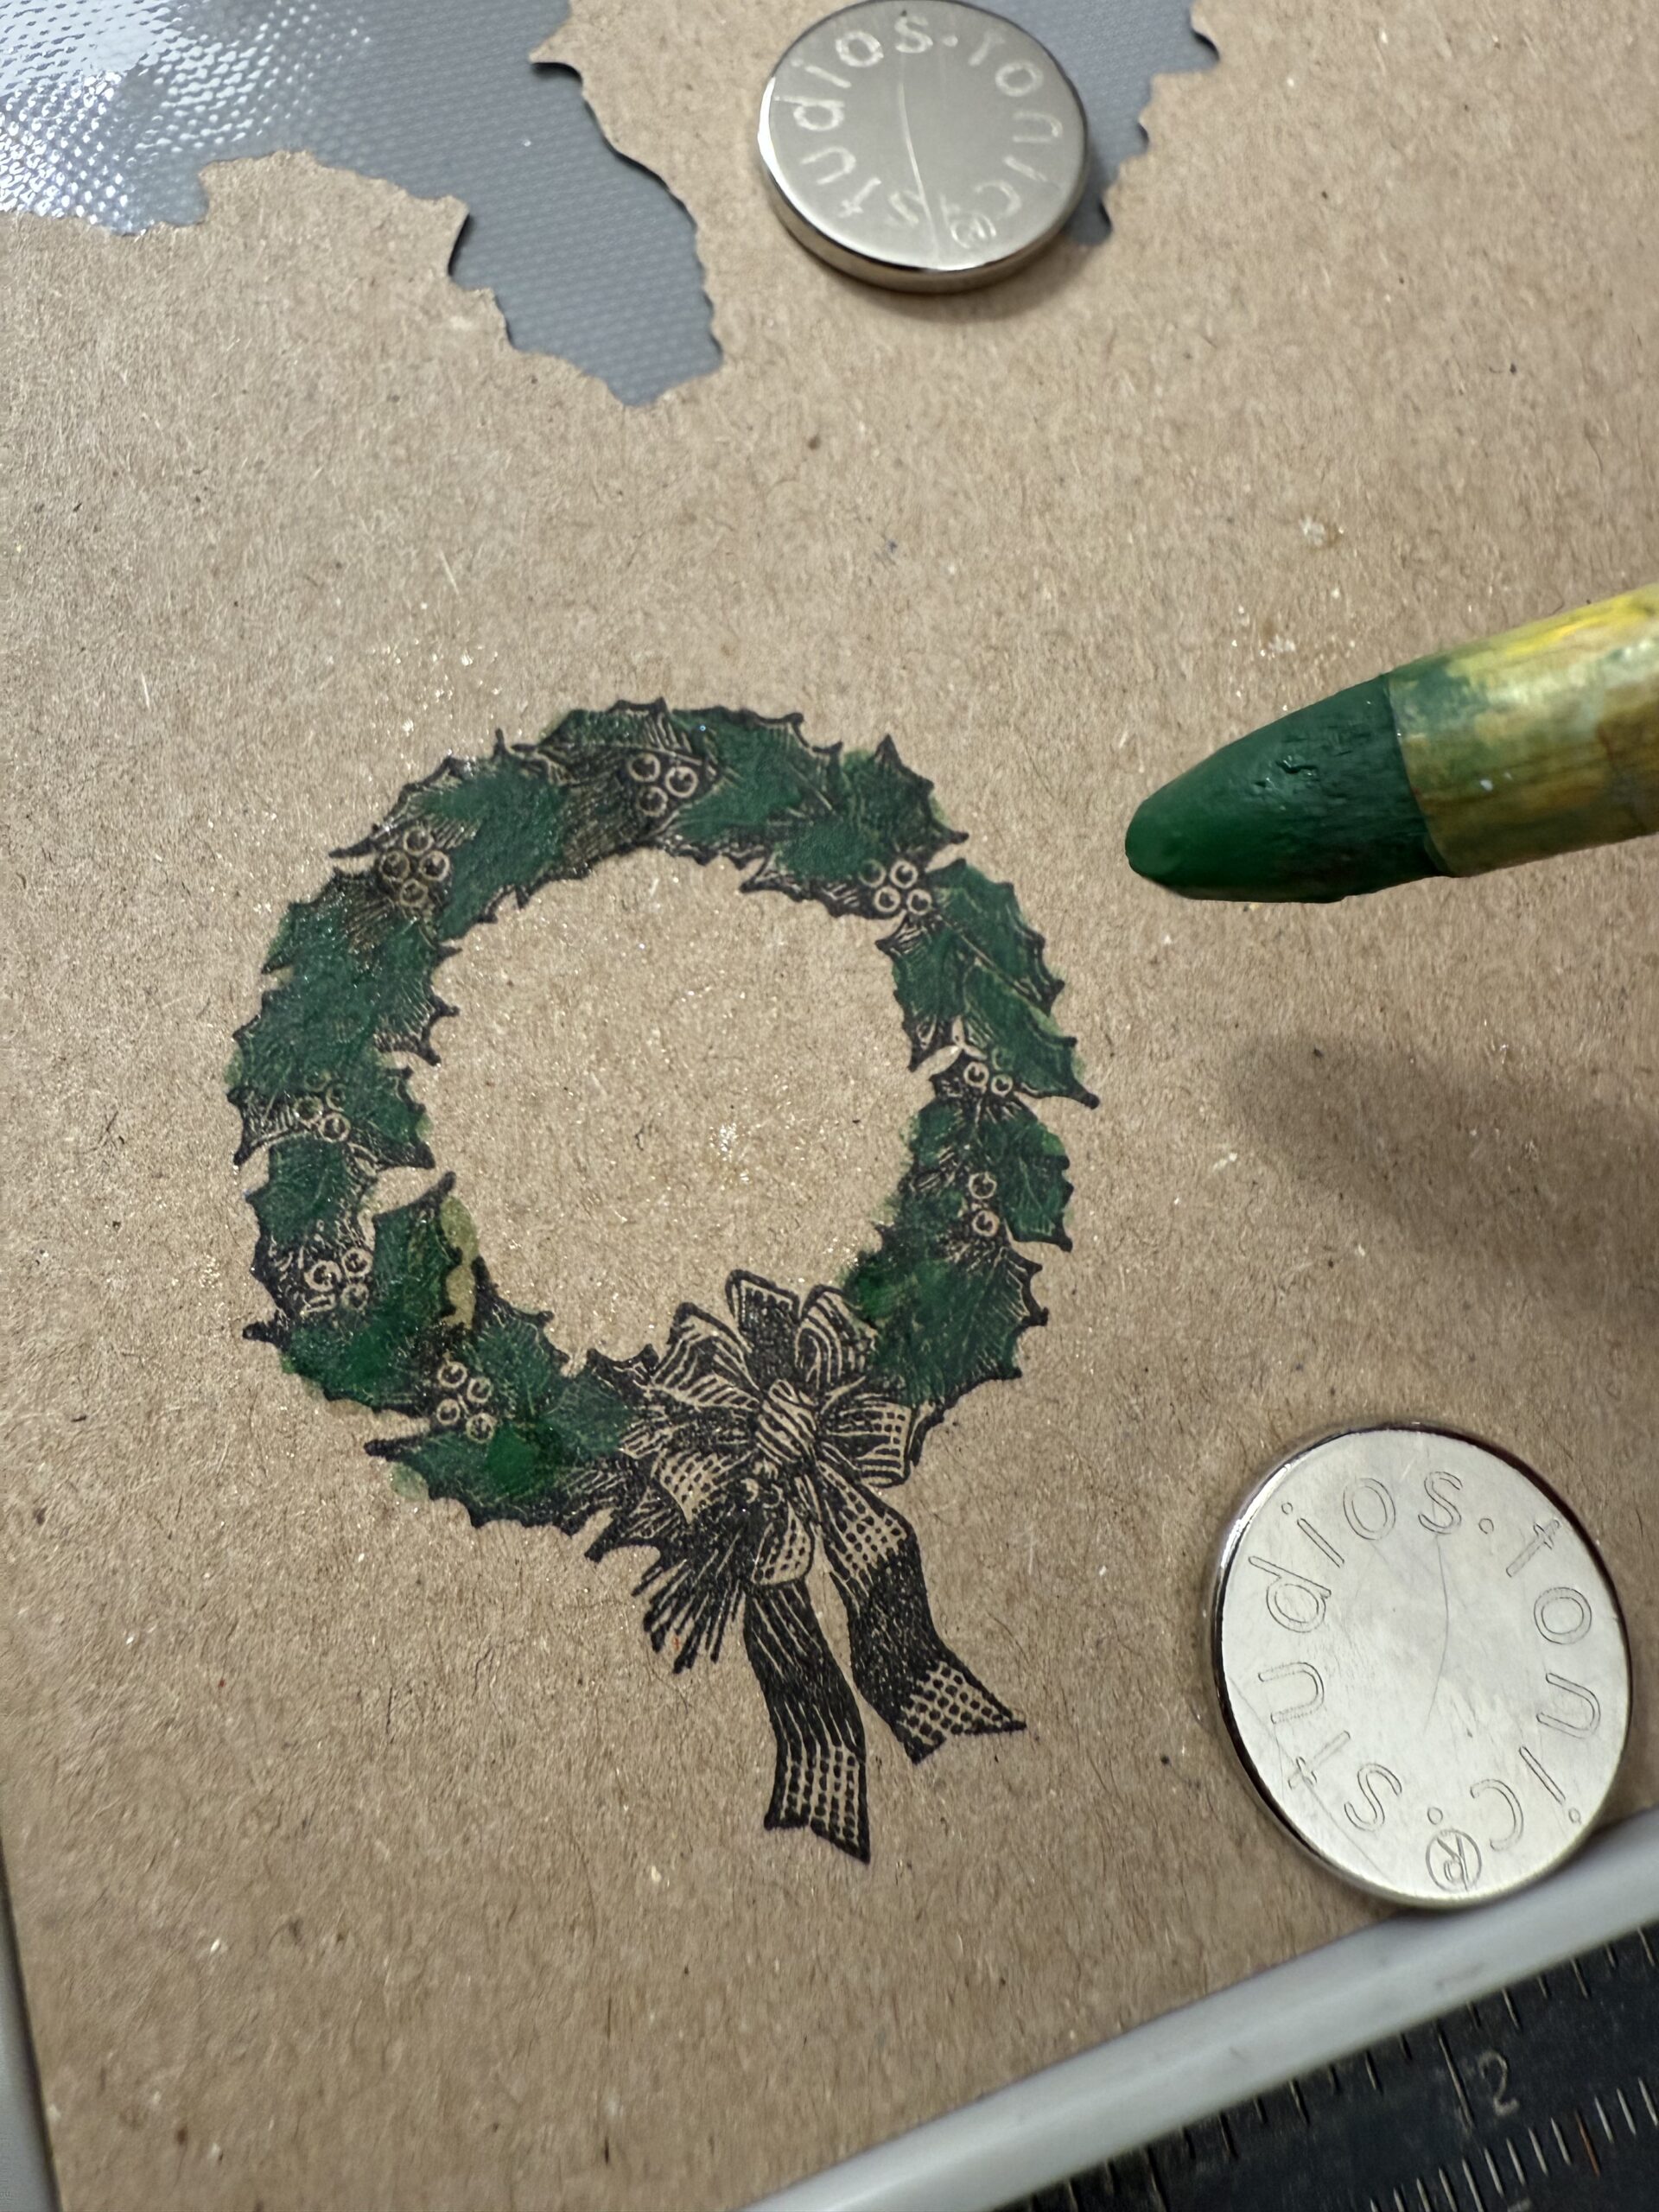
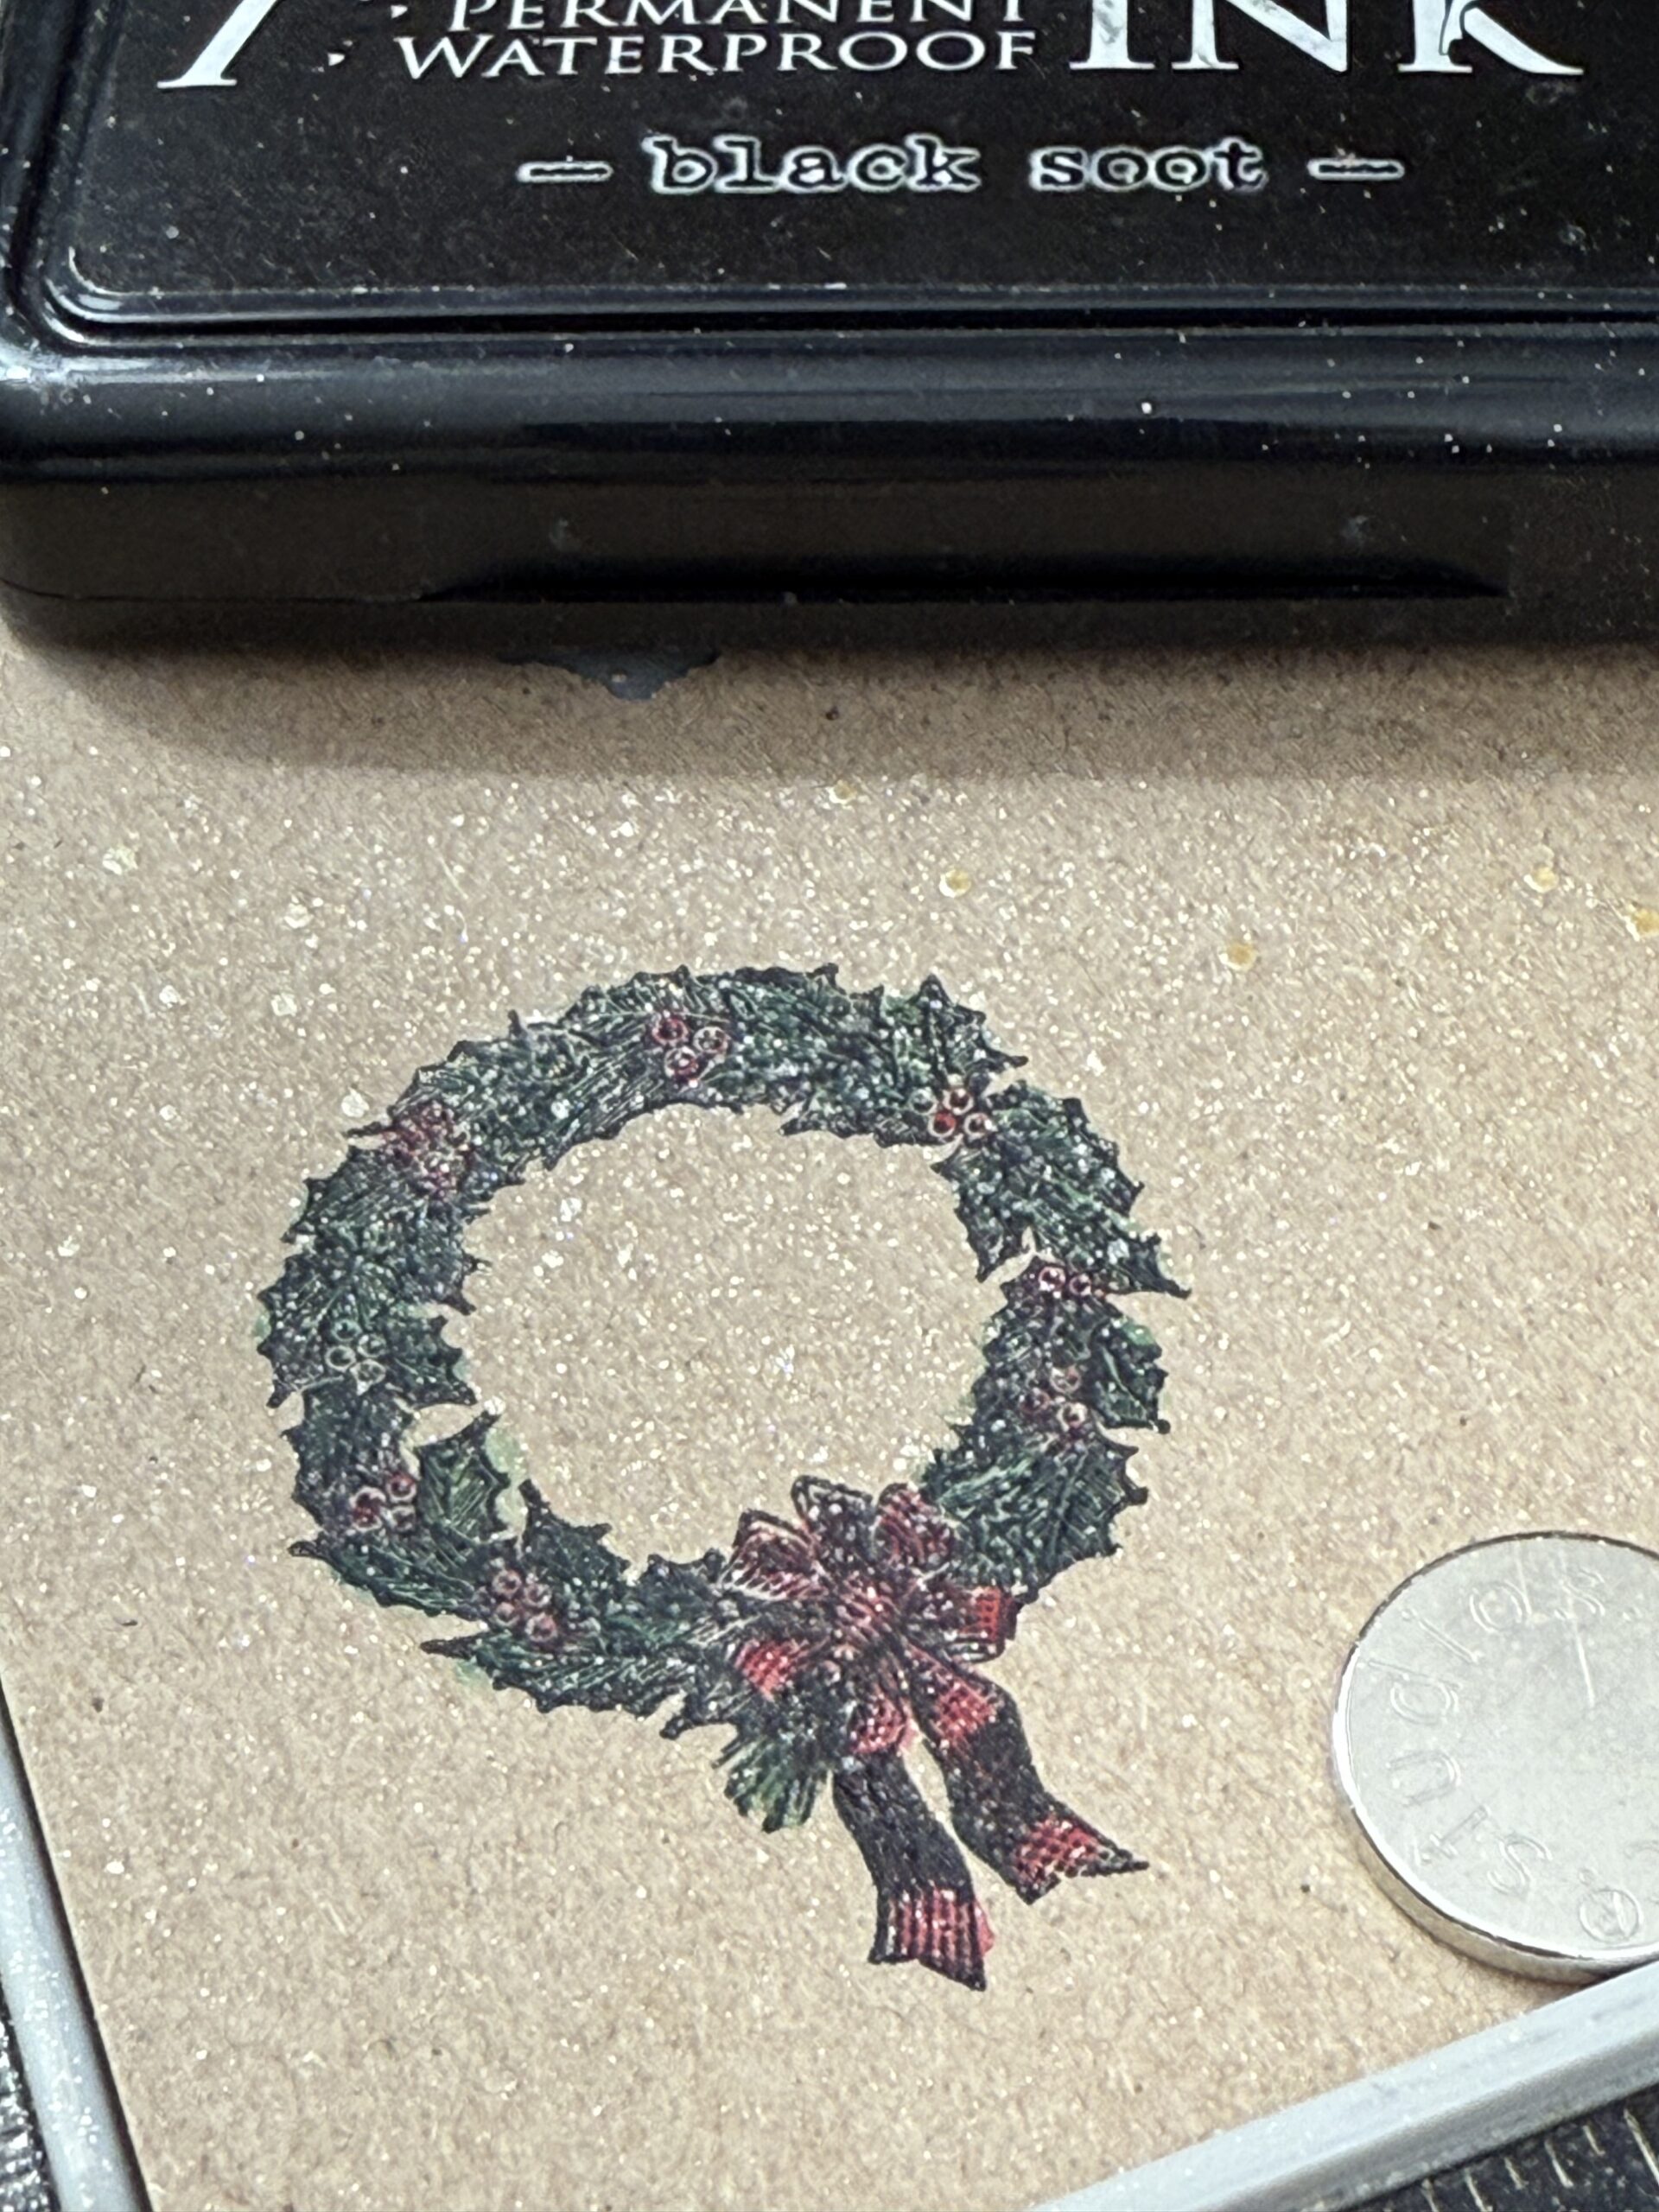
I stamped each of the images using my stamp platform and Black Soot Archival Ink. Archival ink is permanent, so that makes it perfect for using as a base for watercoloring. I stamped the wreath onto a piece of Distress Kraft Heavystock and just lightly stamped the image so that I could see the design.

Leaving the image inside of my stamp platform, I colored the image using my Rustic Wilderness watercolor pencil. I dipped my pencil into a bit of water to activate the pigment, the began filling in the color over top of the leaves of the wreath. You won’t be able to see much of the initial image after you color the area, but not to worry, we will get to that in a bit.
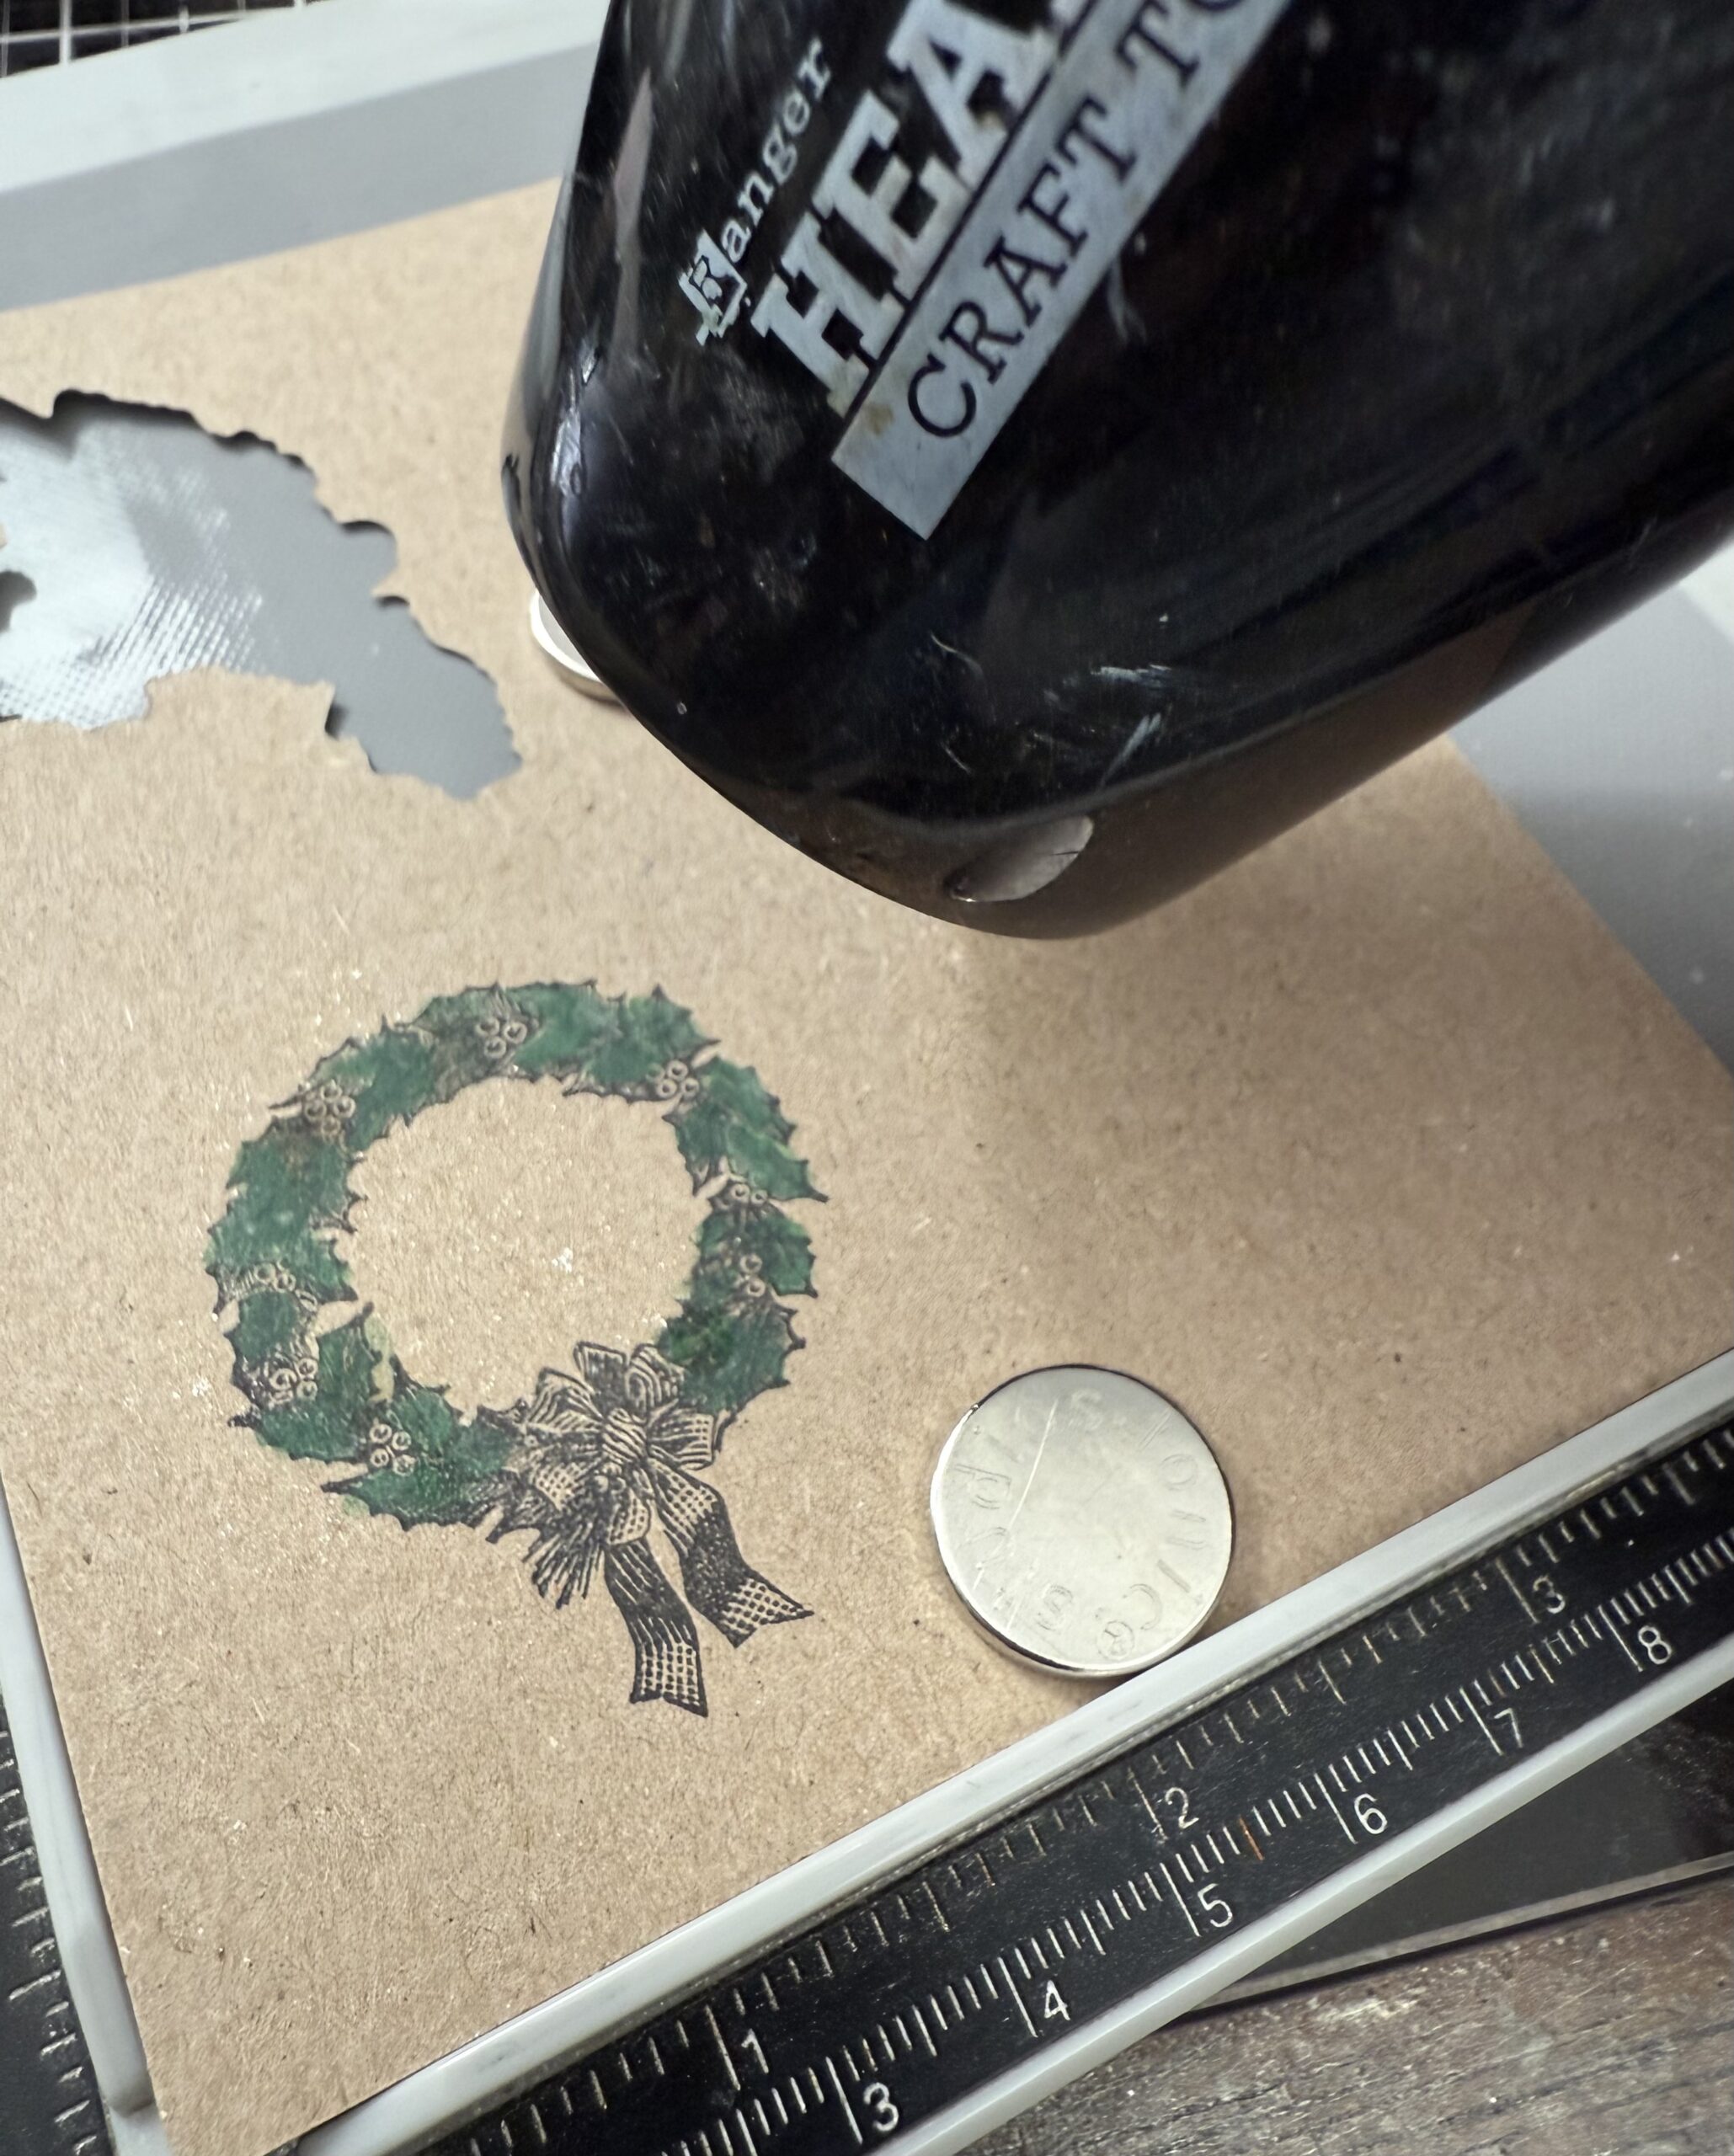
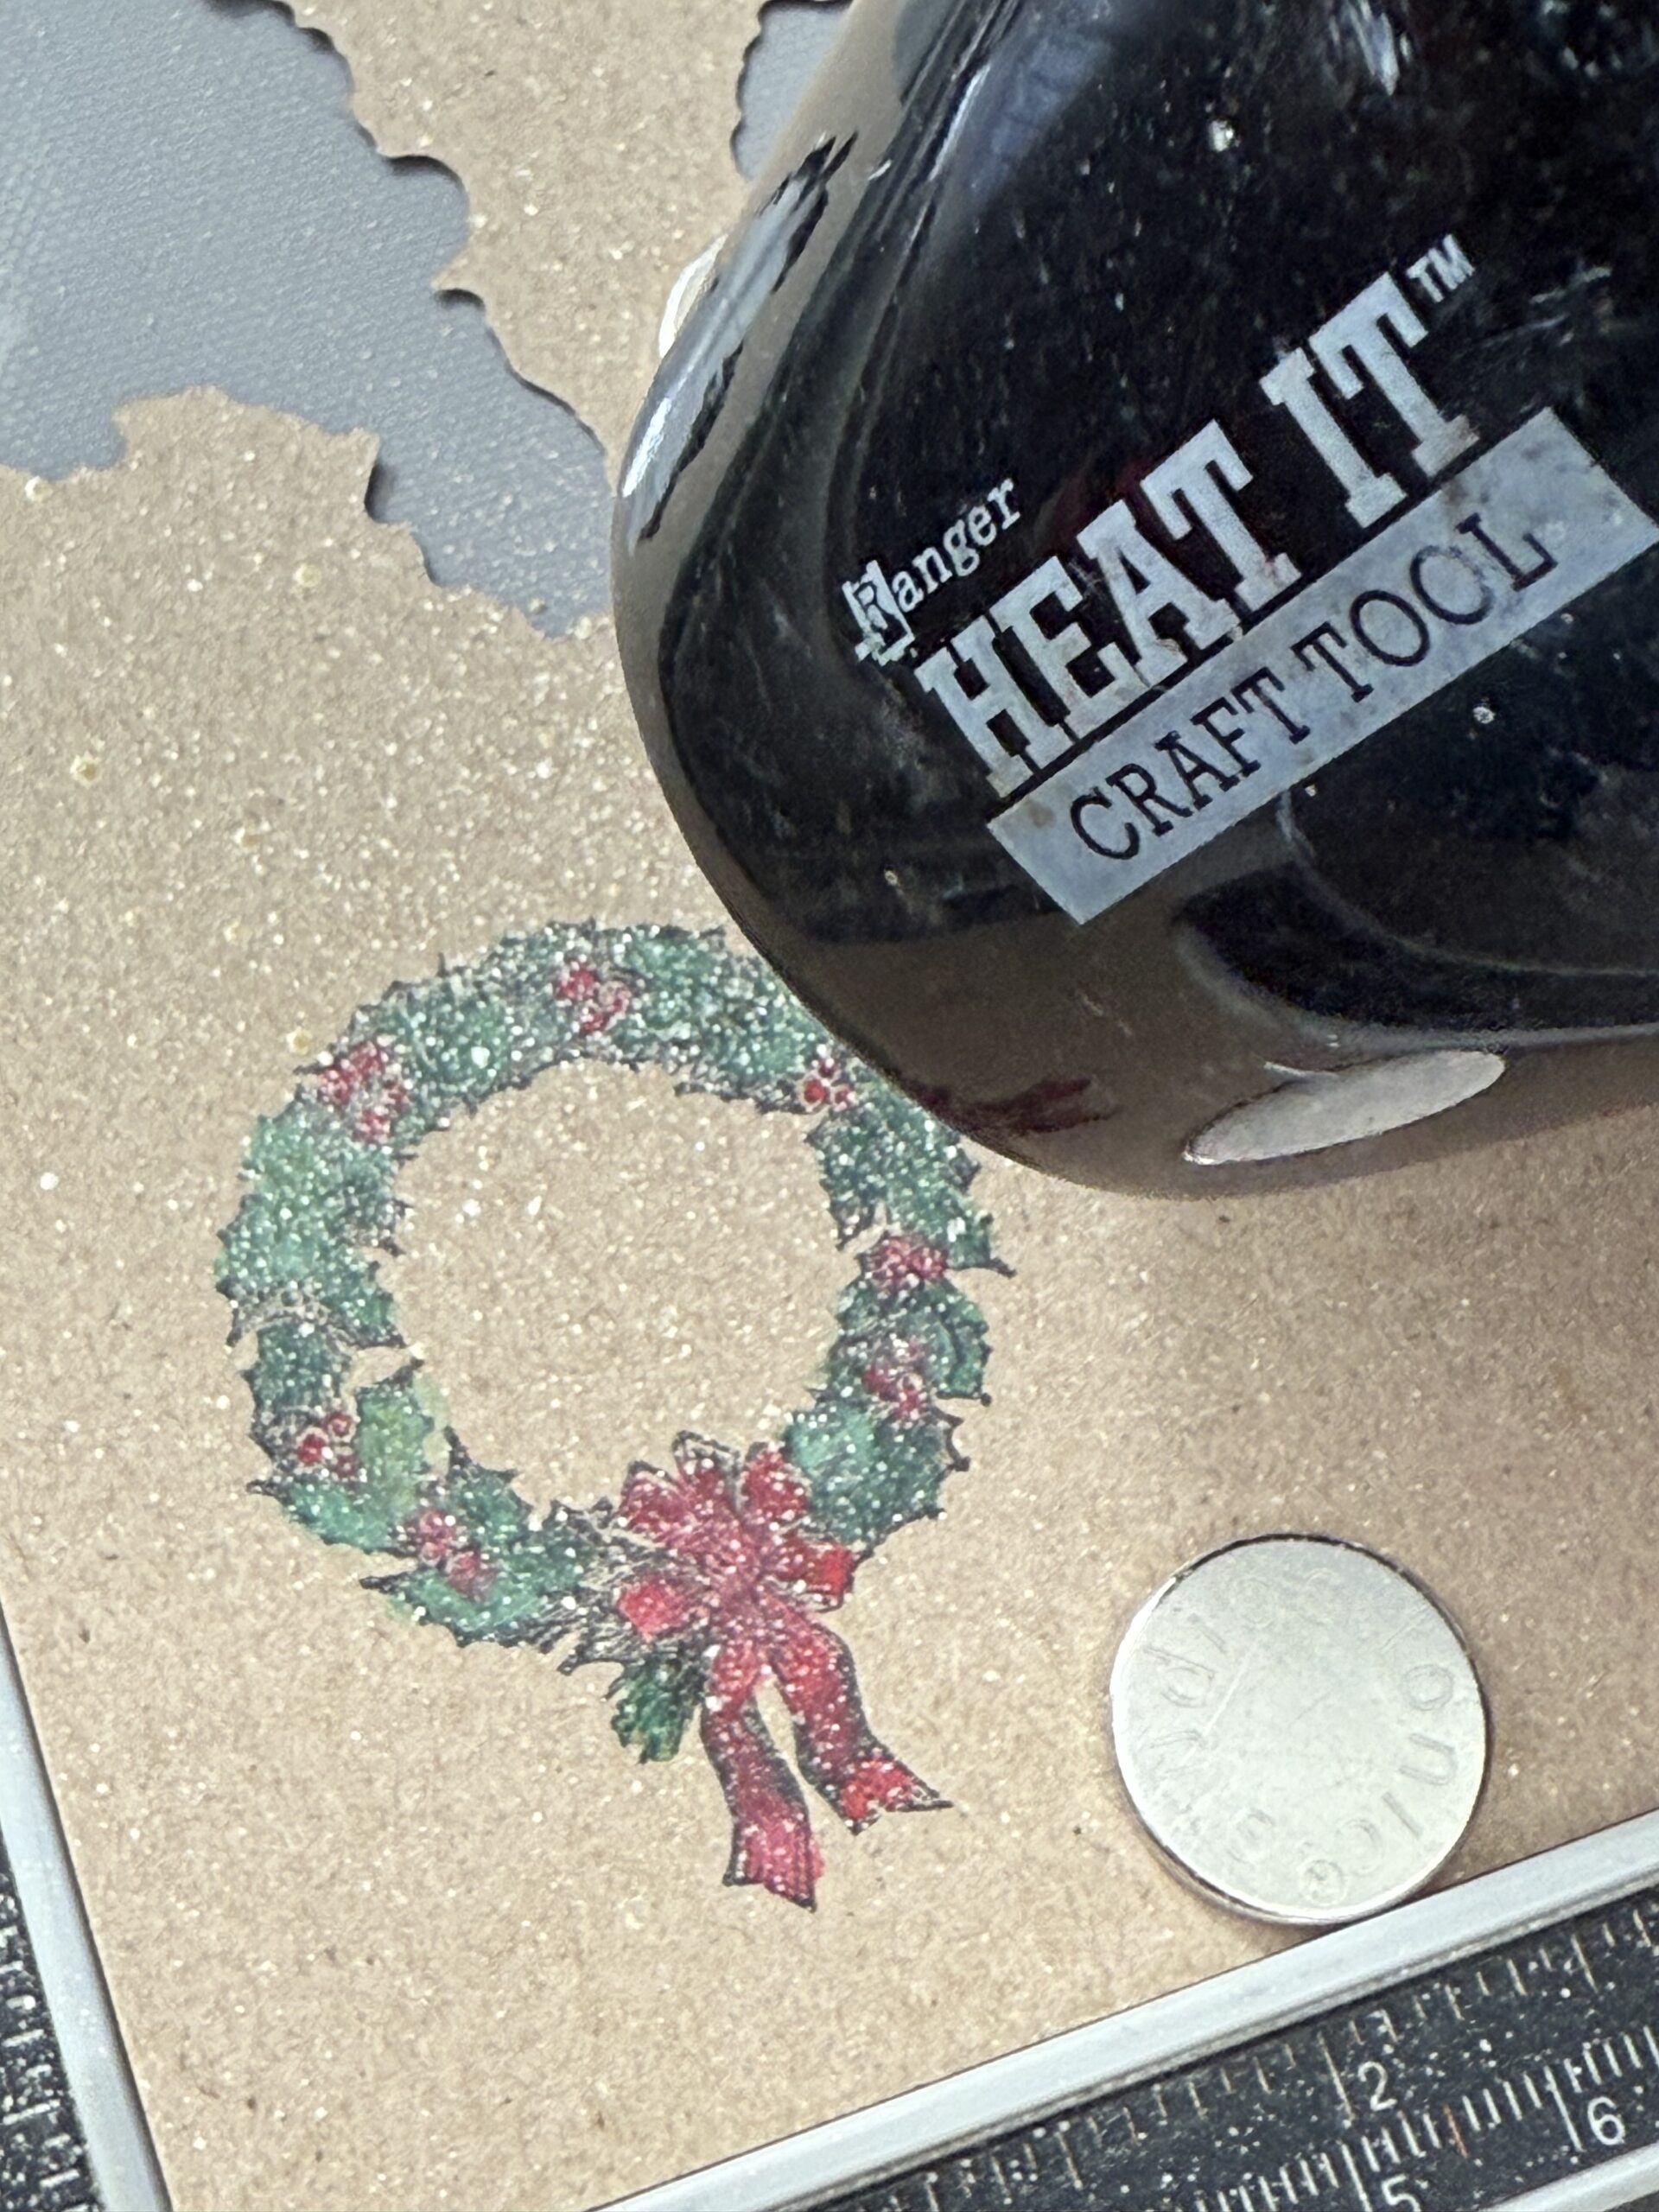
After I had all the green areas colored, I used my Heat Tool and quickly dried the color before moving on to the bow and berries.
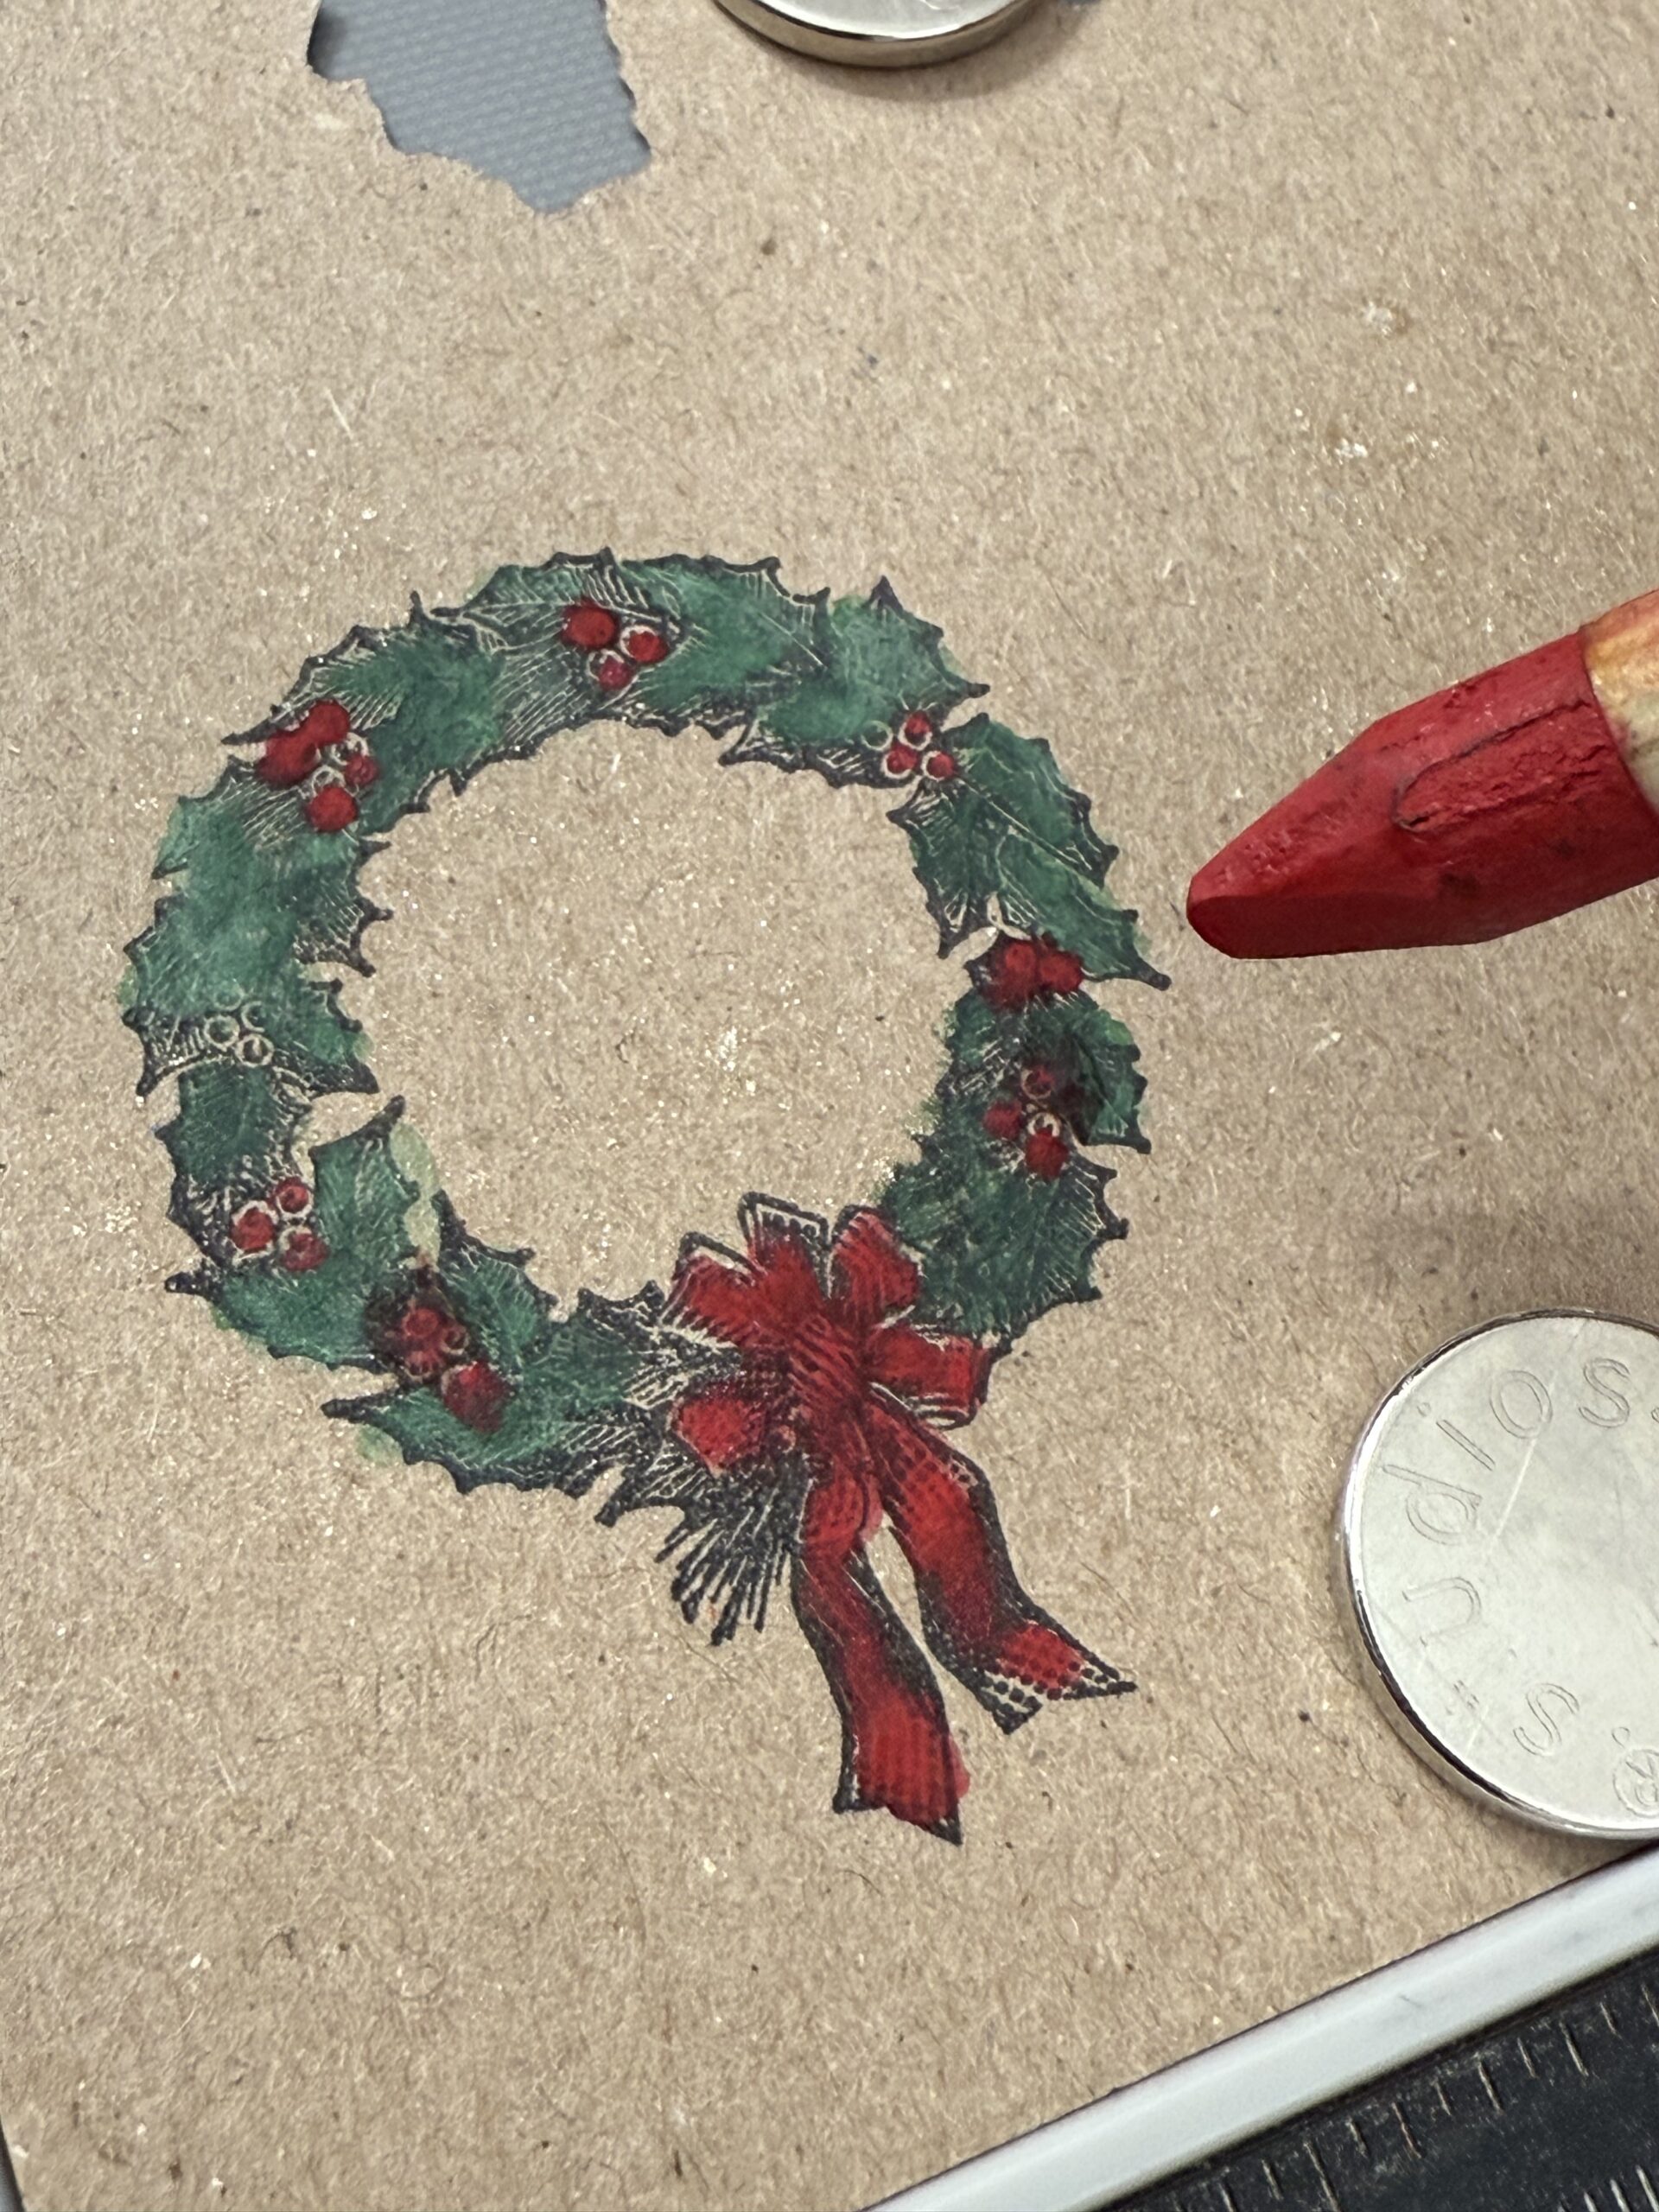
Using my Candied Apple Watercolor Pencil, I dipped the tip into a little bit of water, then colored in the berries and bow… then I quickly dried that area again by using my heat tool.
This next part creates some Christmas magic…
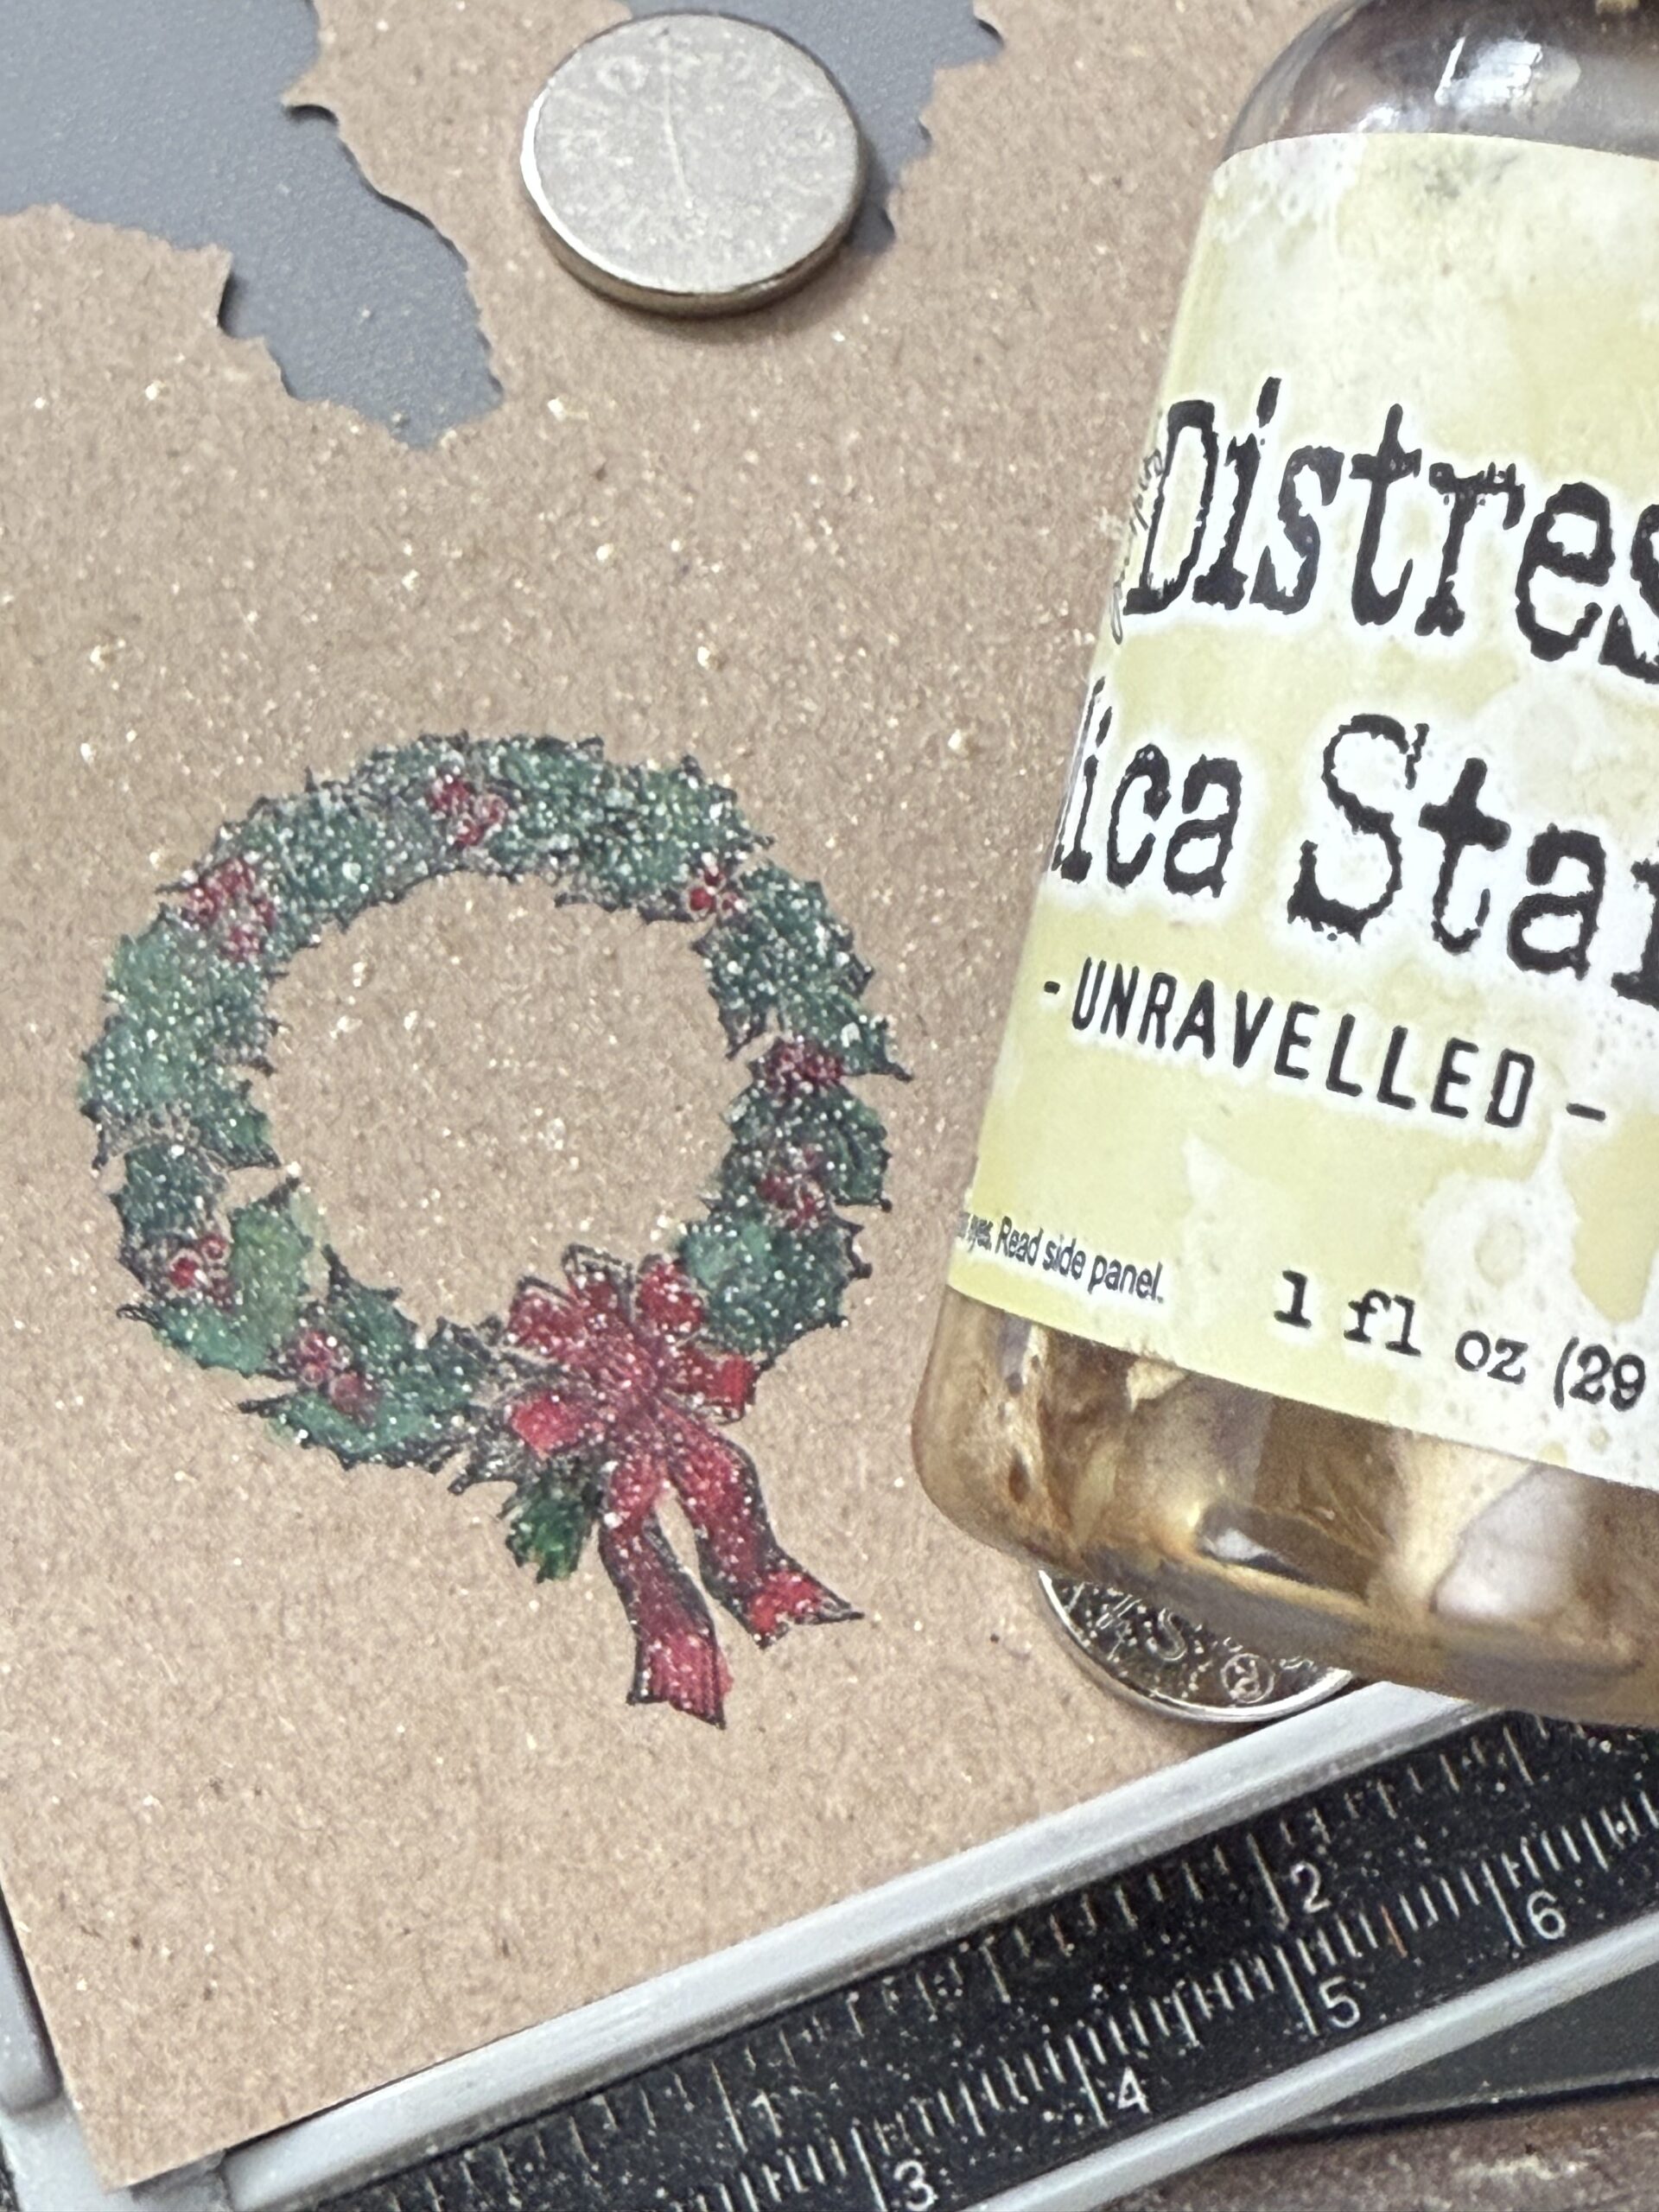
All still while keeping the wreath paper in the stamping platform, I used my Unraveled Mica Stain and did a quick mist of spray over top of the colored wreath being sure to keep my distance slightly high as I sprayed it, to create a bit of mist over the image, not drowning it in sparkle, then I dried the image with my heat tool again.
Then, I inked up the wreath image again with Black Soot Archival Ink, and restamped the image to add all the details of the wreath back to the colored image.
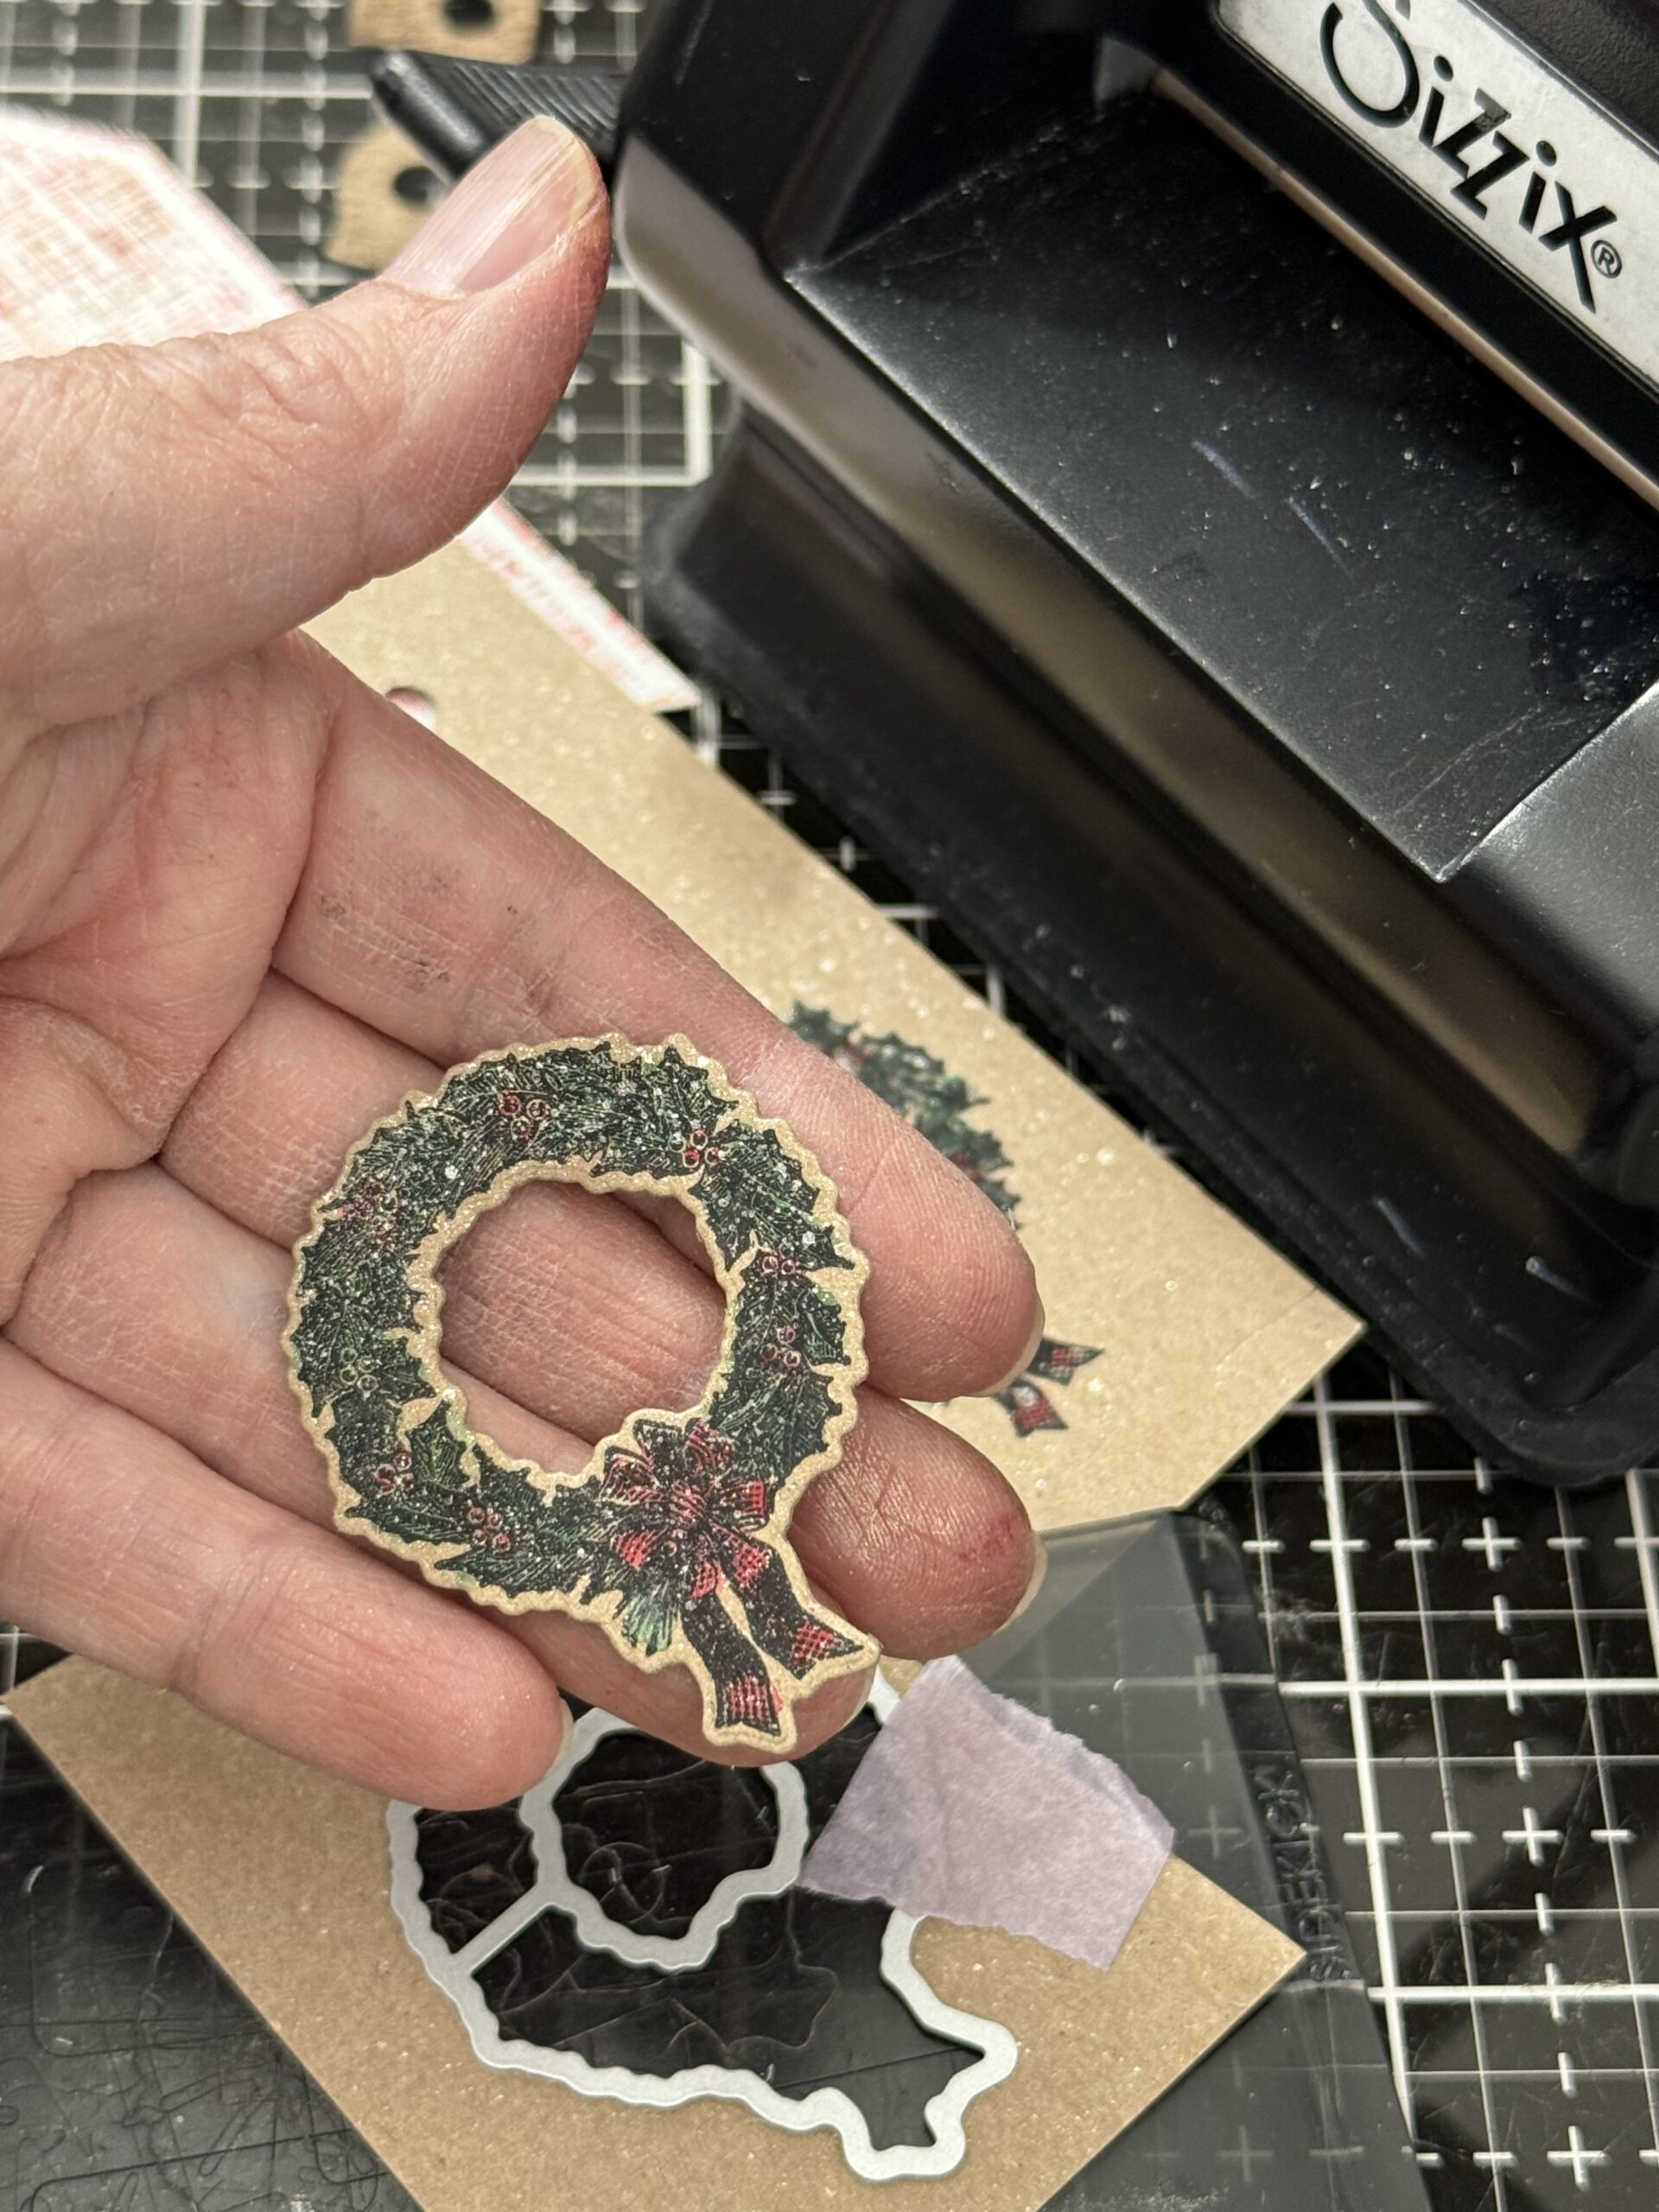
I did that whole wreath process again to create a few, then went on to cutting them out using the matching wafer die.

Using my Sizzix Sidekick, I cut out the wreath by layering the stencil over the image, adding tacky tape to keep the die in place, then ran it through the cutter…lickety split, I had the cute little wreath, with the center cut out and all! 🙂
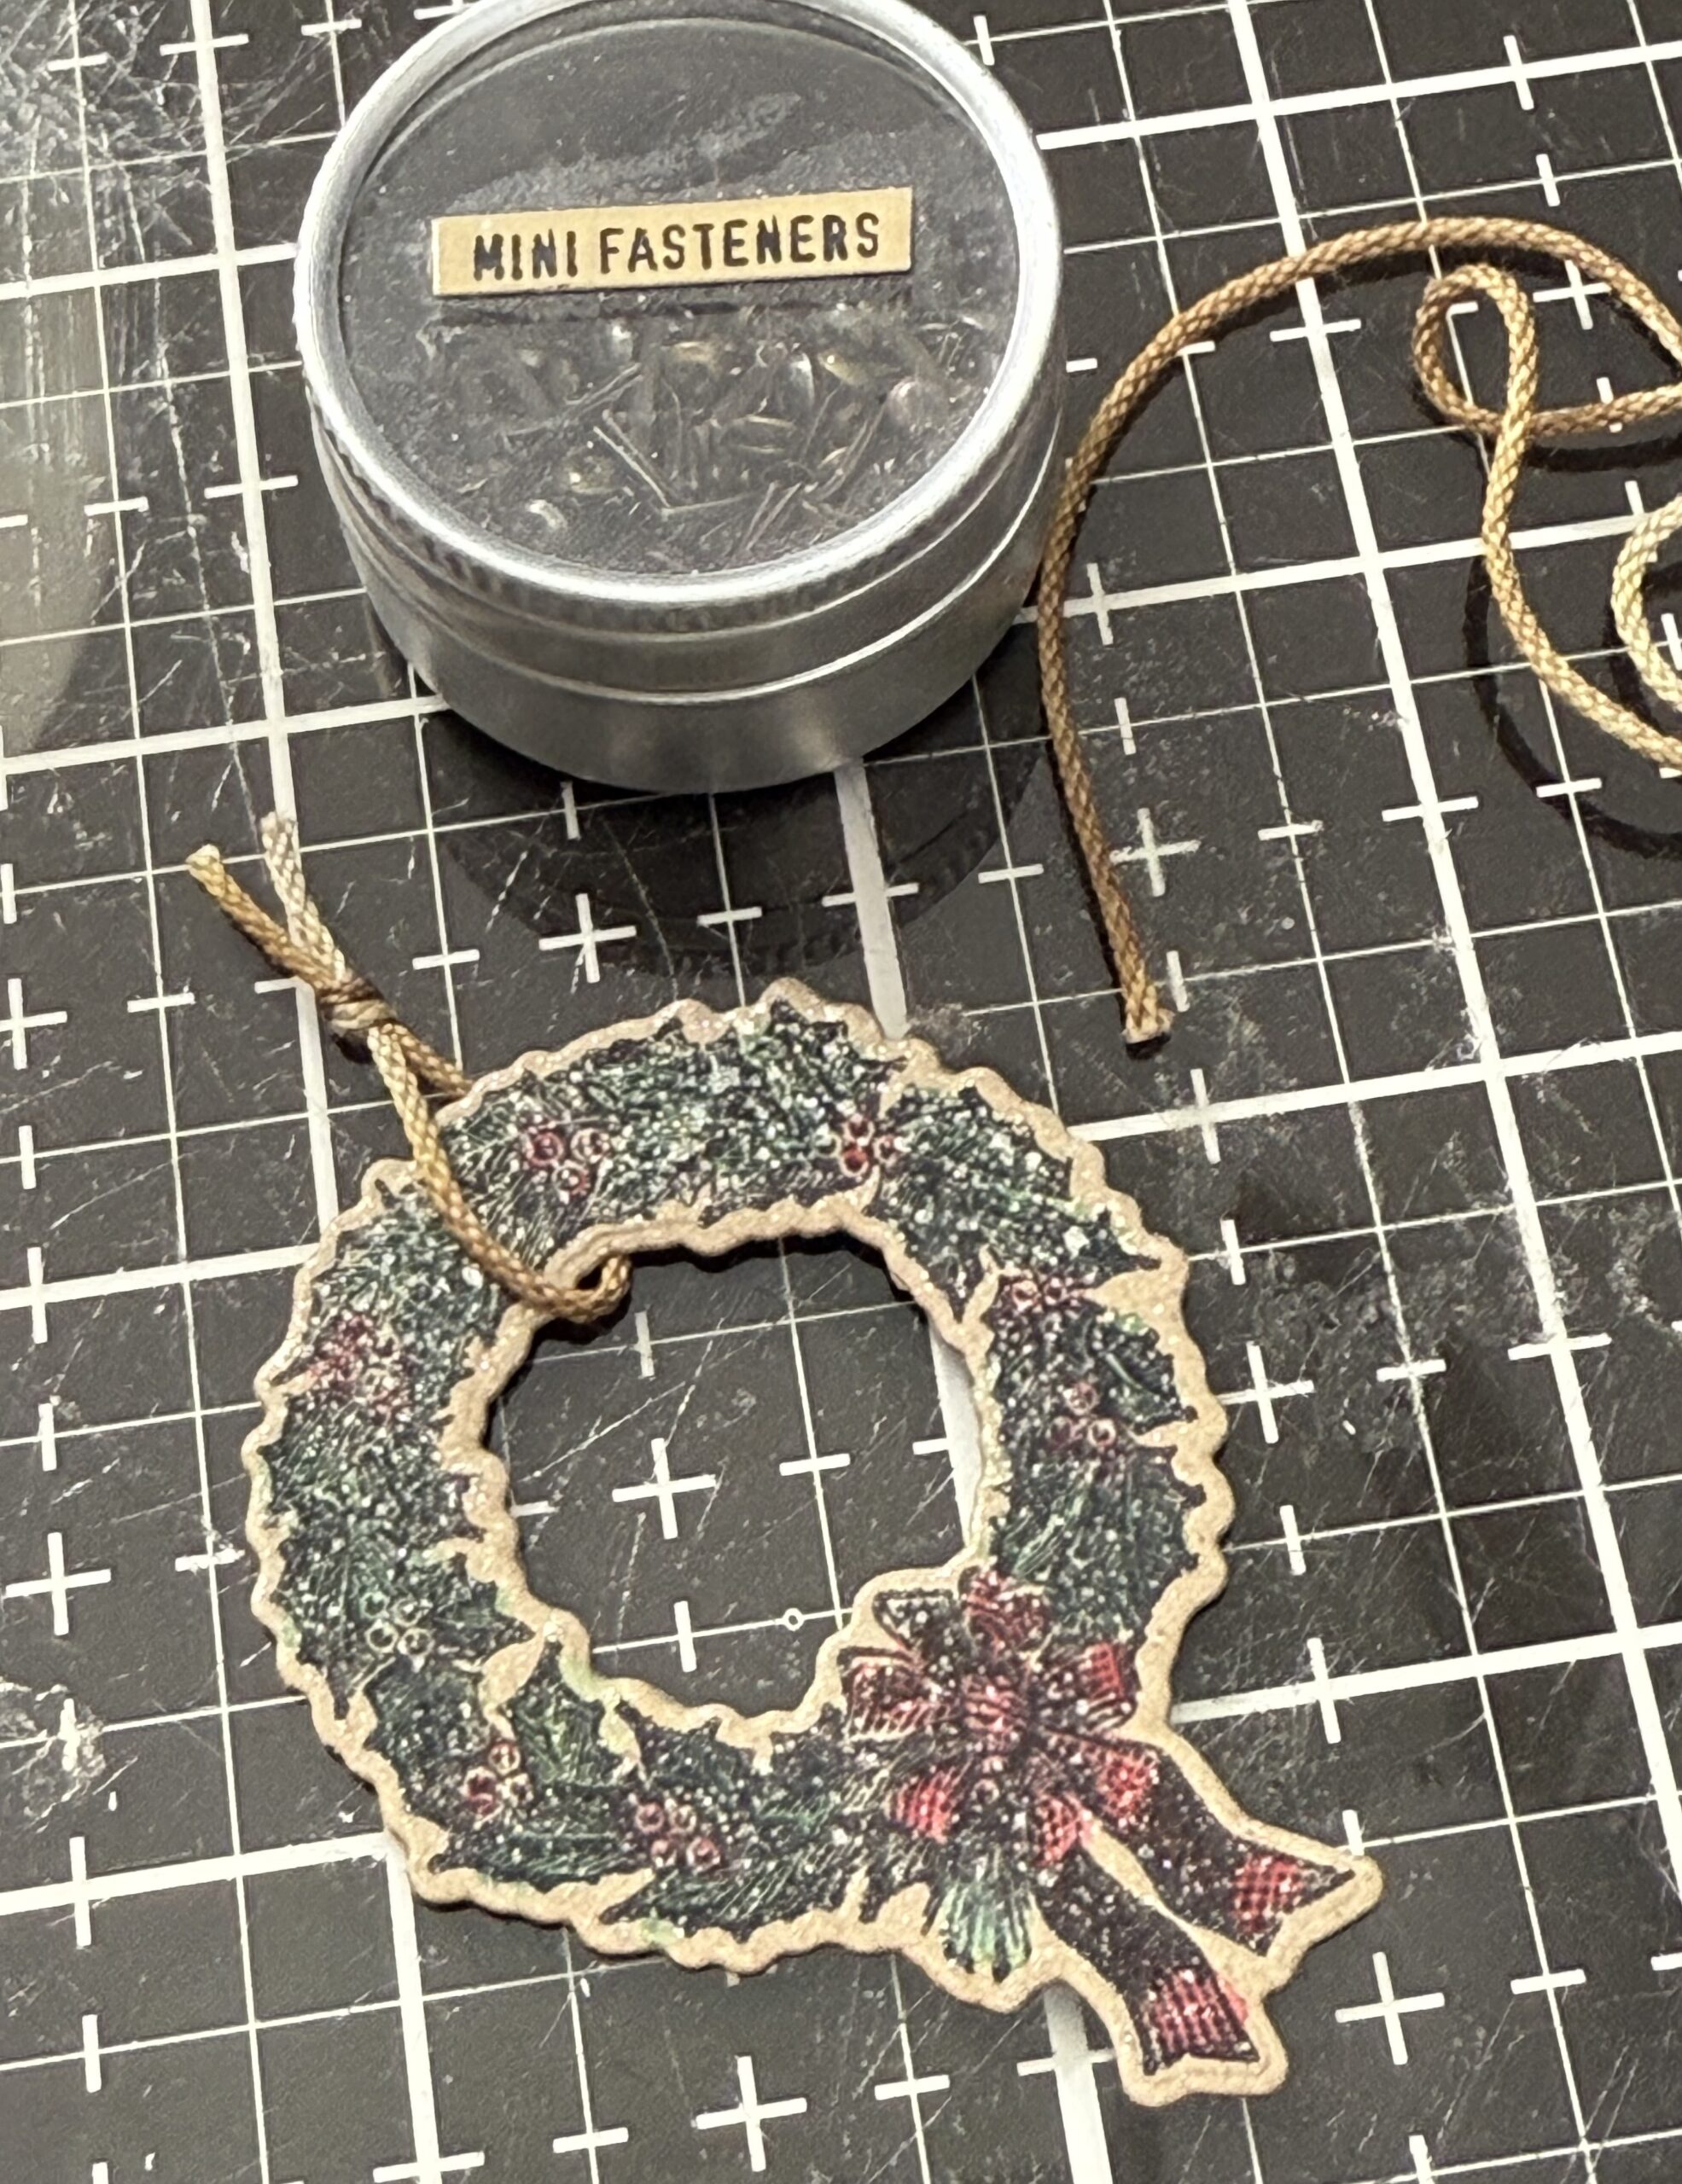
A quick note…all of the Holiday Things that I used were all embellished with a small piece of string. I tied a bow to each of the greens but couldn’t really do that with the wreath, so I decided to give it a look as though it were hanging. So instead of a bow, I tied a piece of string around the wreath, added a knot on top and added a tiny brad to give it that look.
This is how I did that… I tied the string around the wreath and tied a knot.
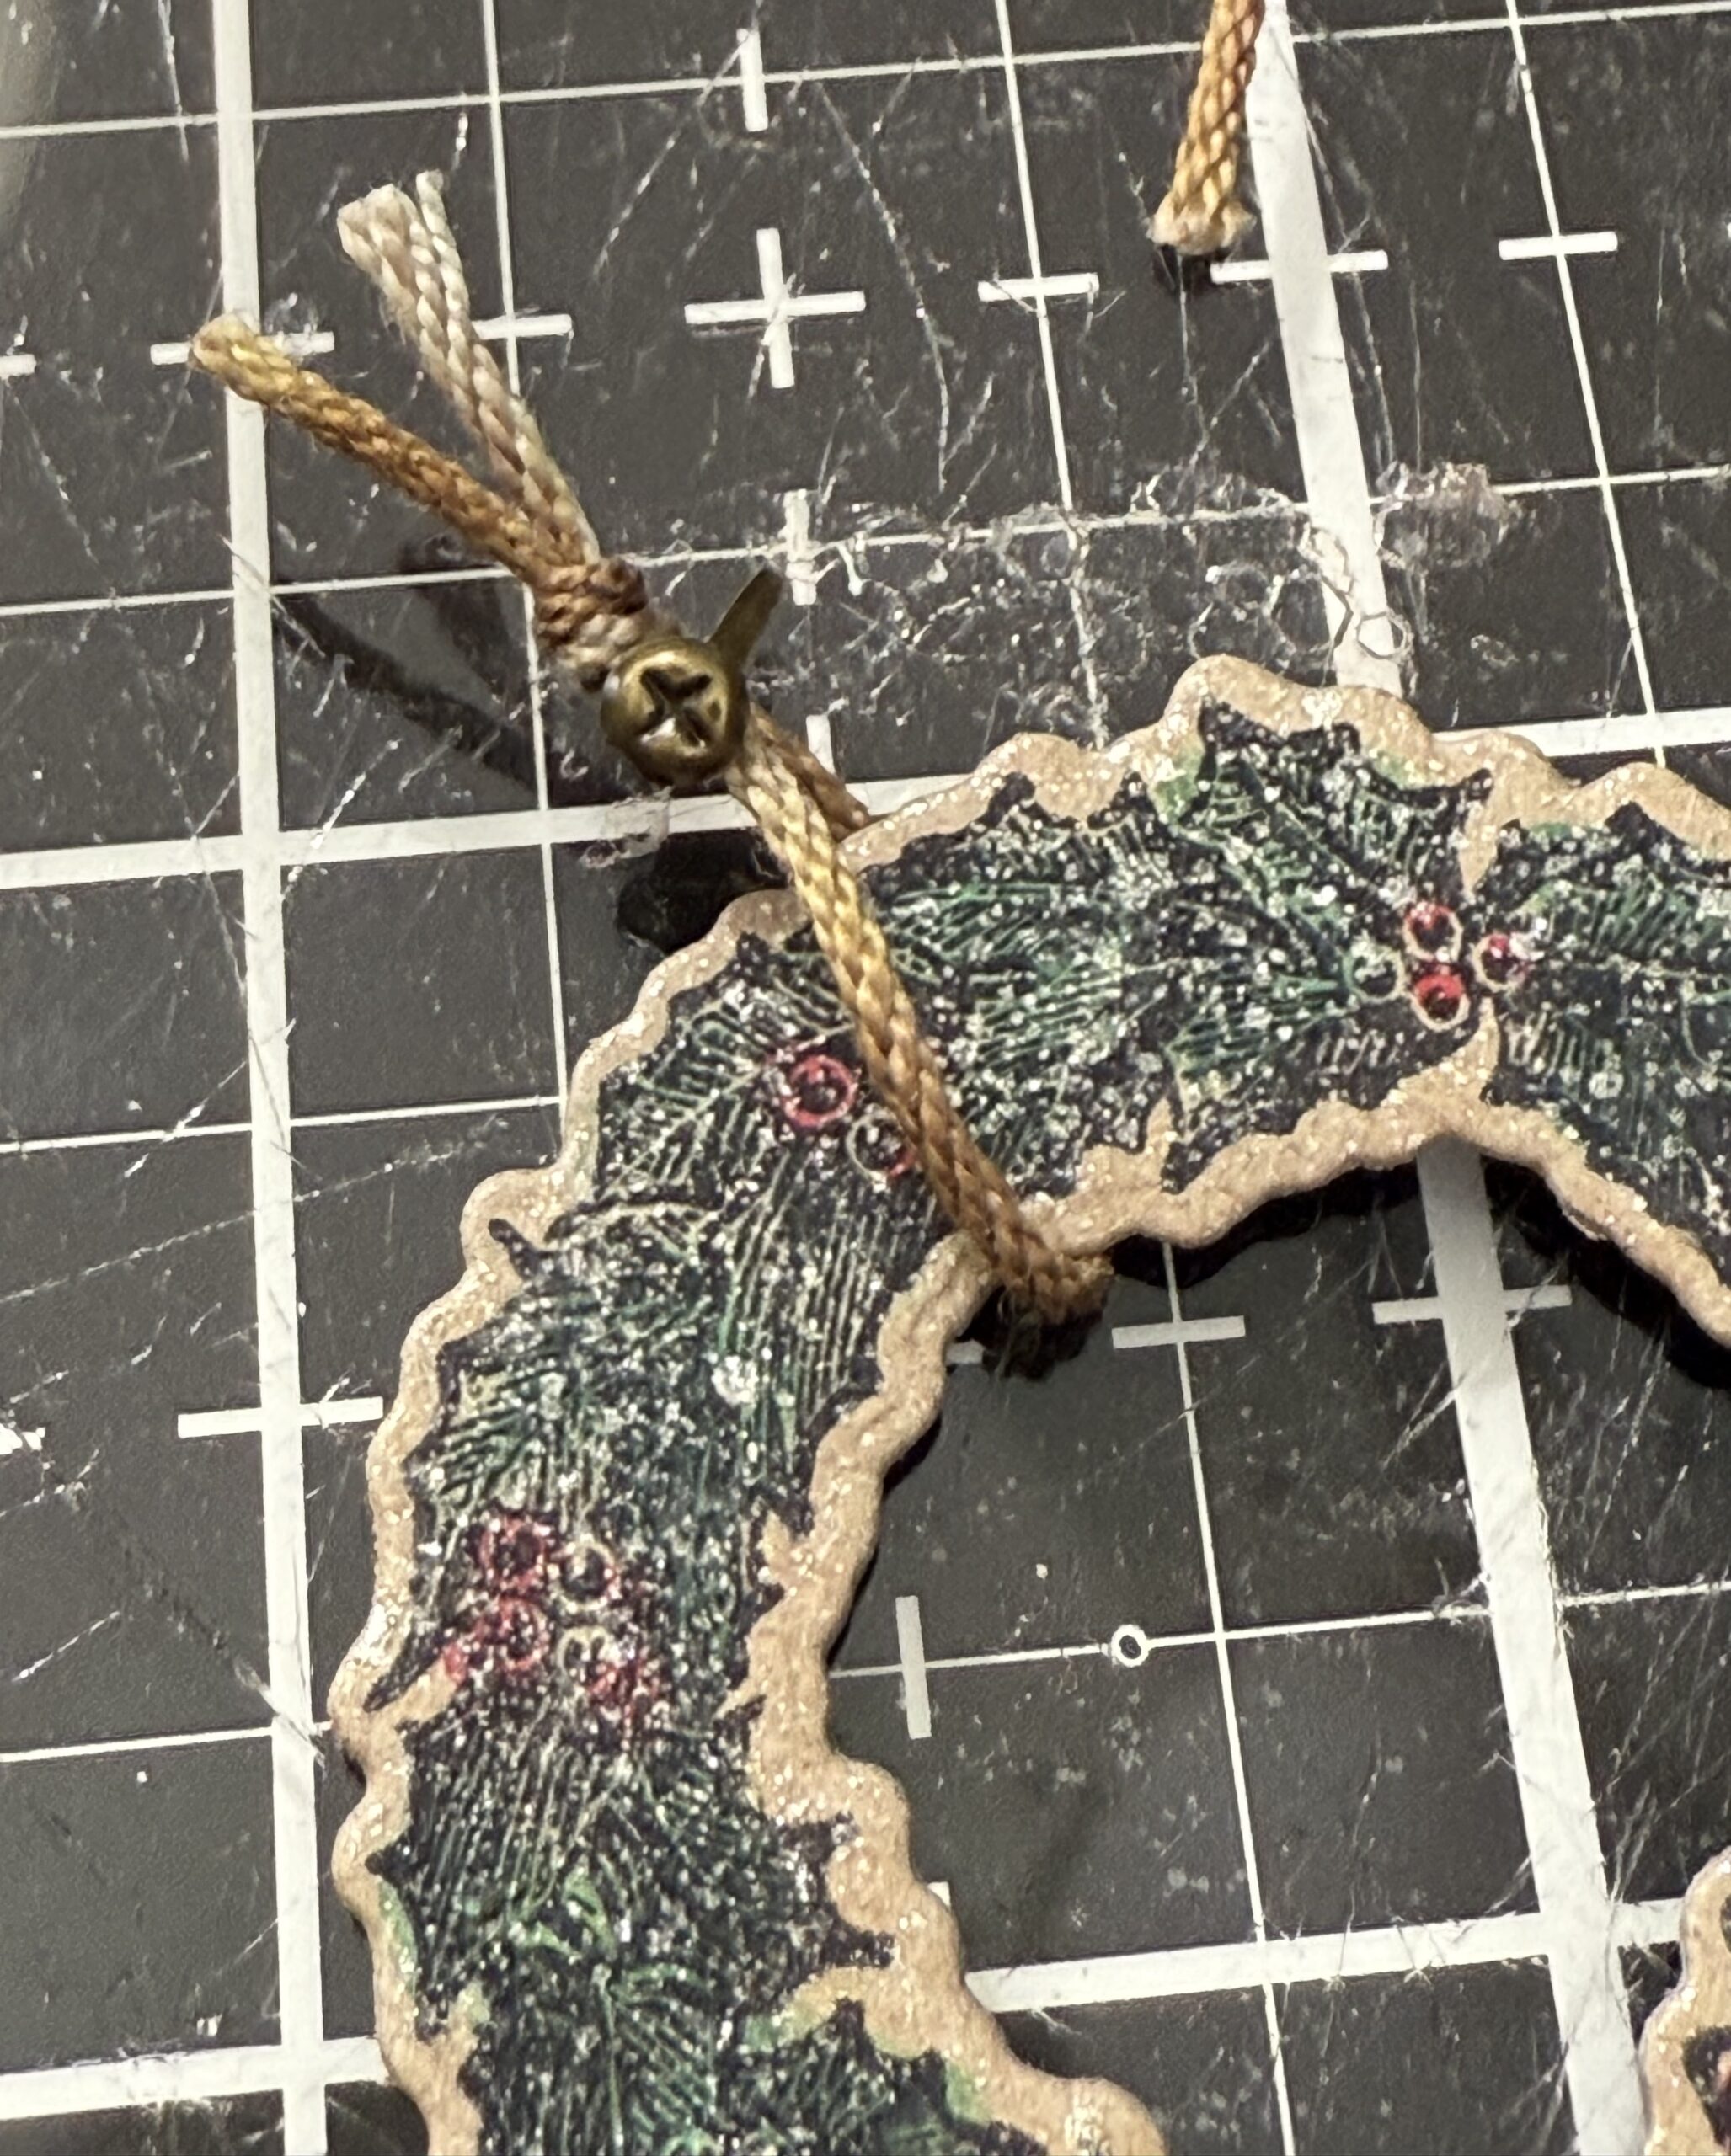
I used an idea-ology mini brad to hang the wreath. I added the arms of the brad around the string while using the knot on top to keep the brad in place.
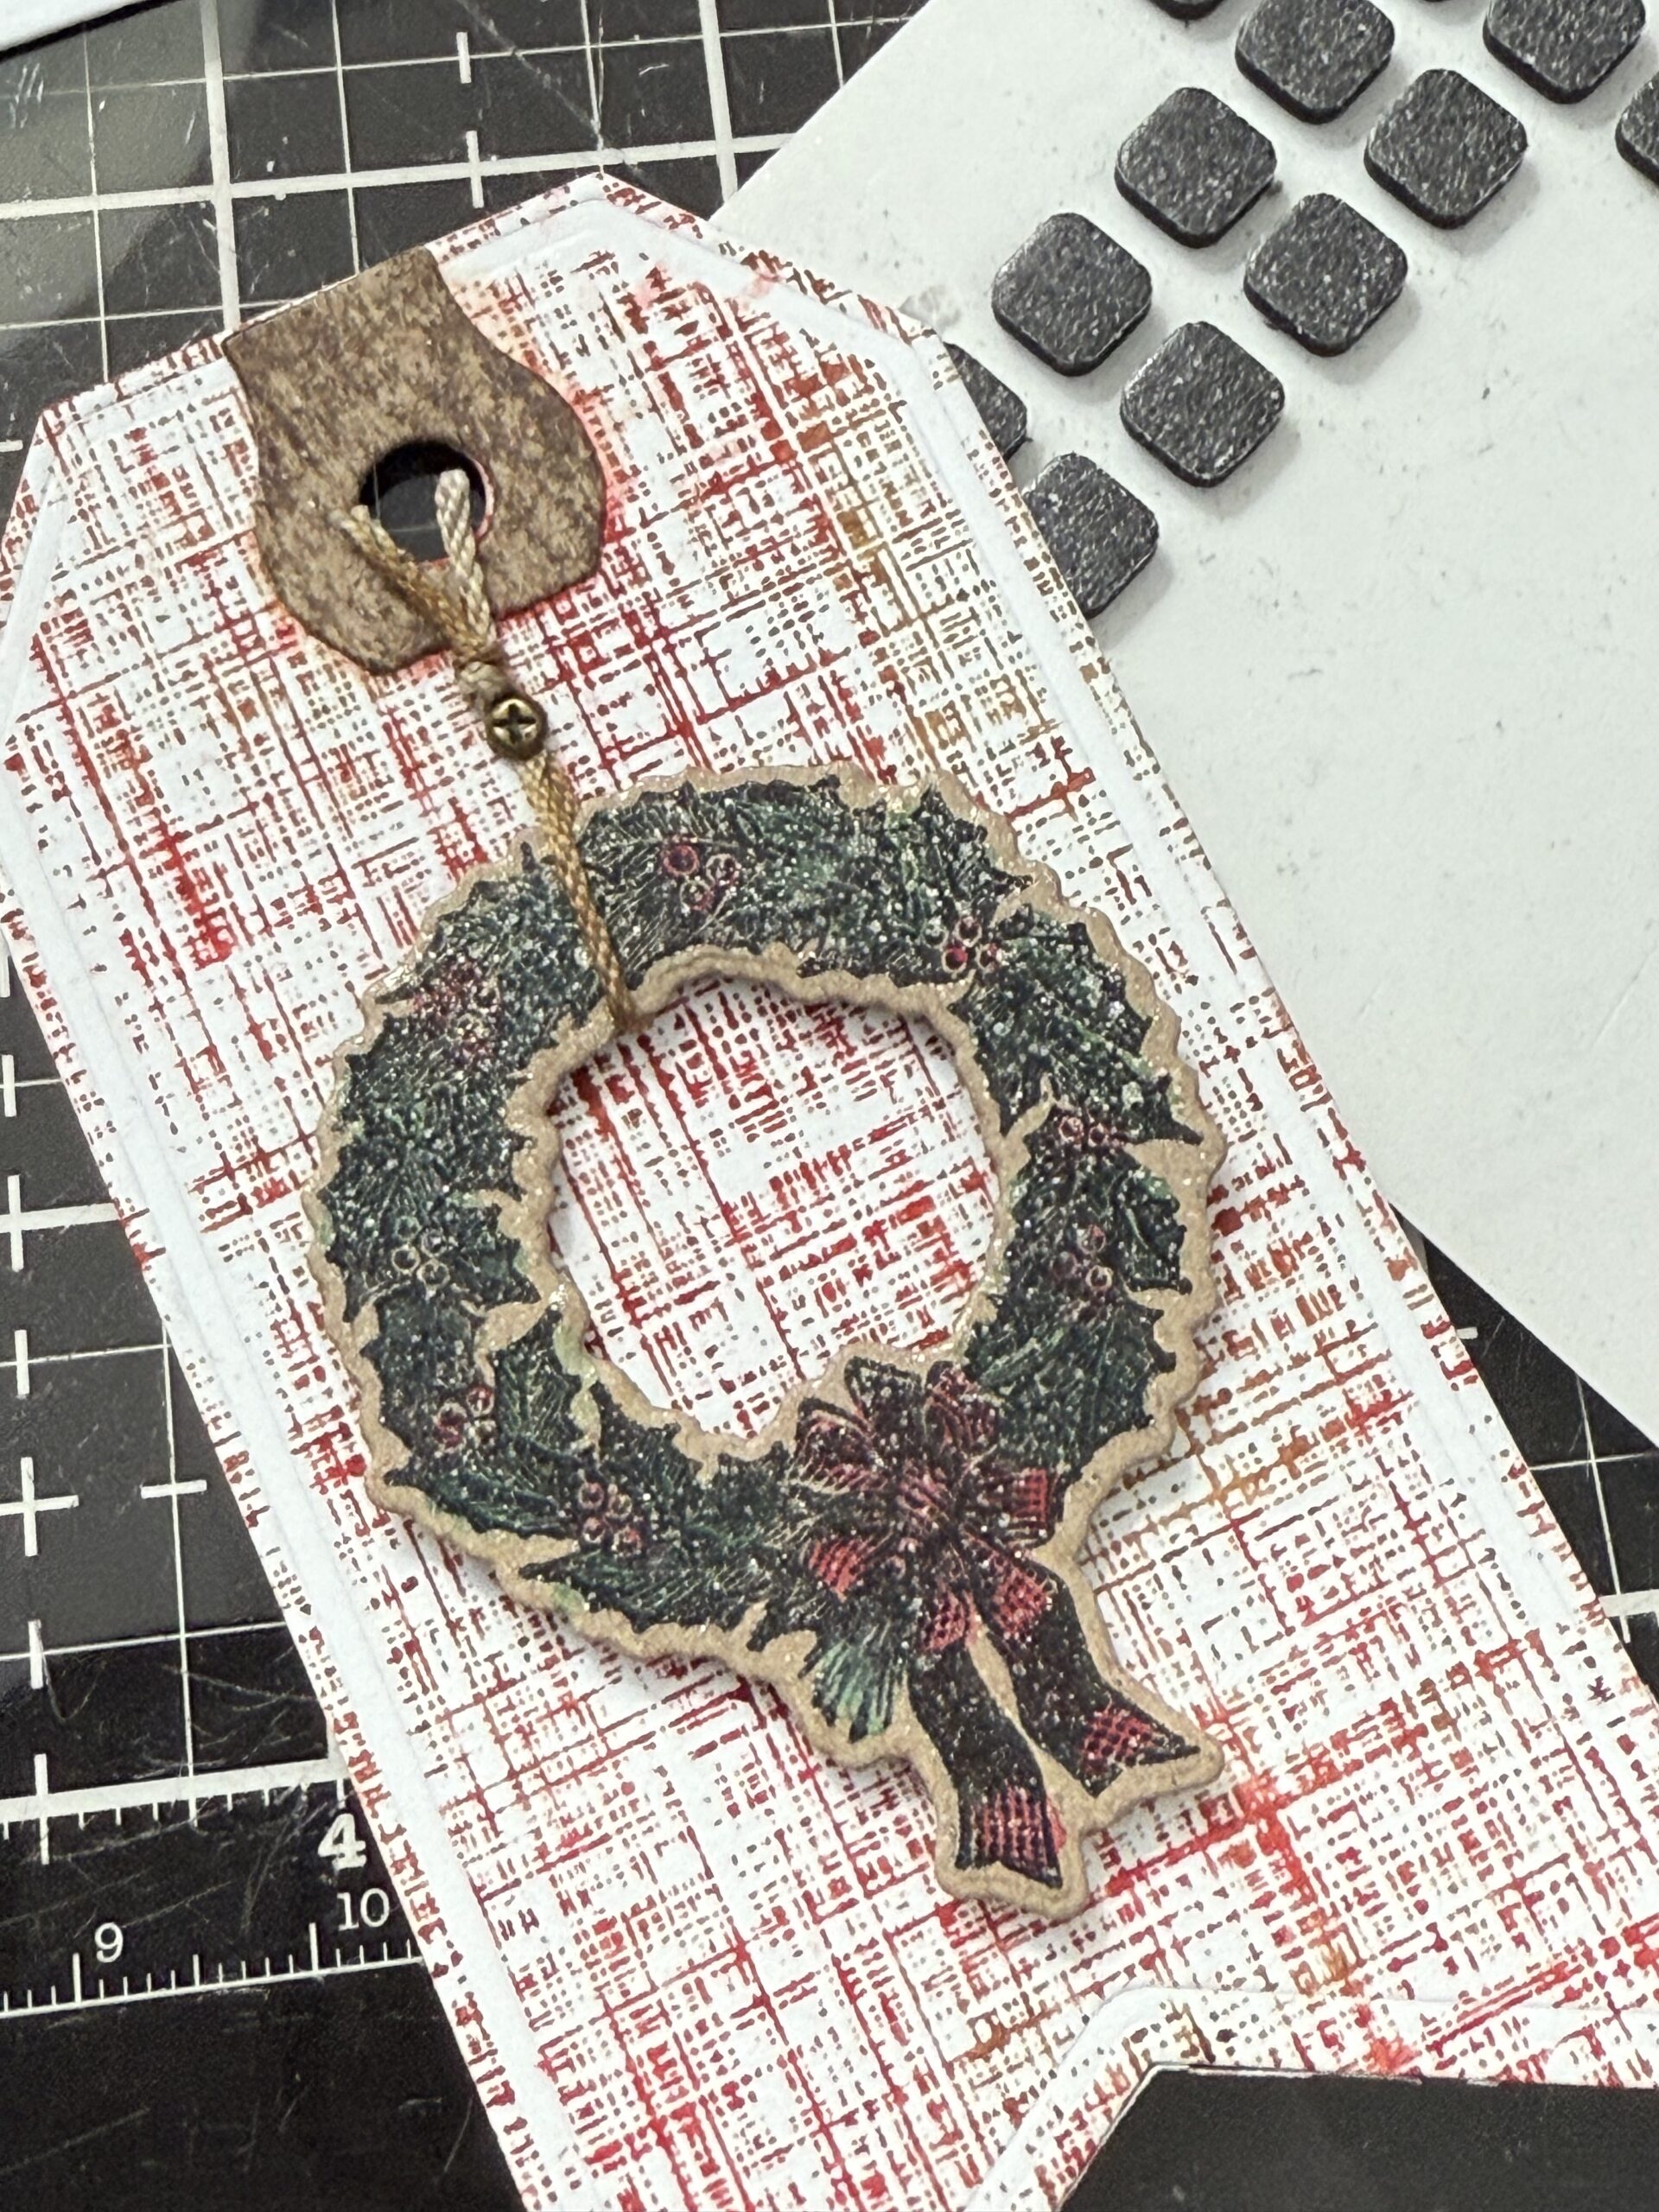
Using a needle tool, I poked a tiny hole towards the top of the tag, then placed the brad in the hole and pressed the arms down on the back of the tag. I adhered the tag topper reinforcement to the top of the tag and added some pop dots behind the wreath.
I tied a plain white tag behind the linen tag and tied them together using jute…each of the other tags were made the same way except by changing up the colors and images.
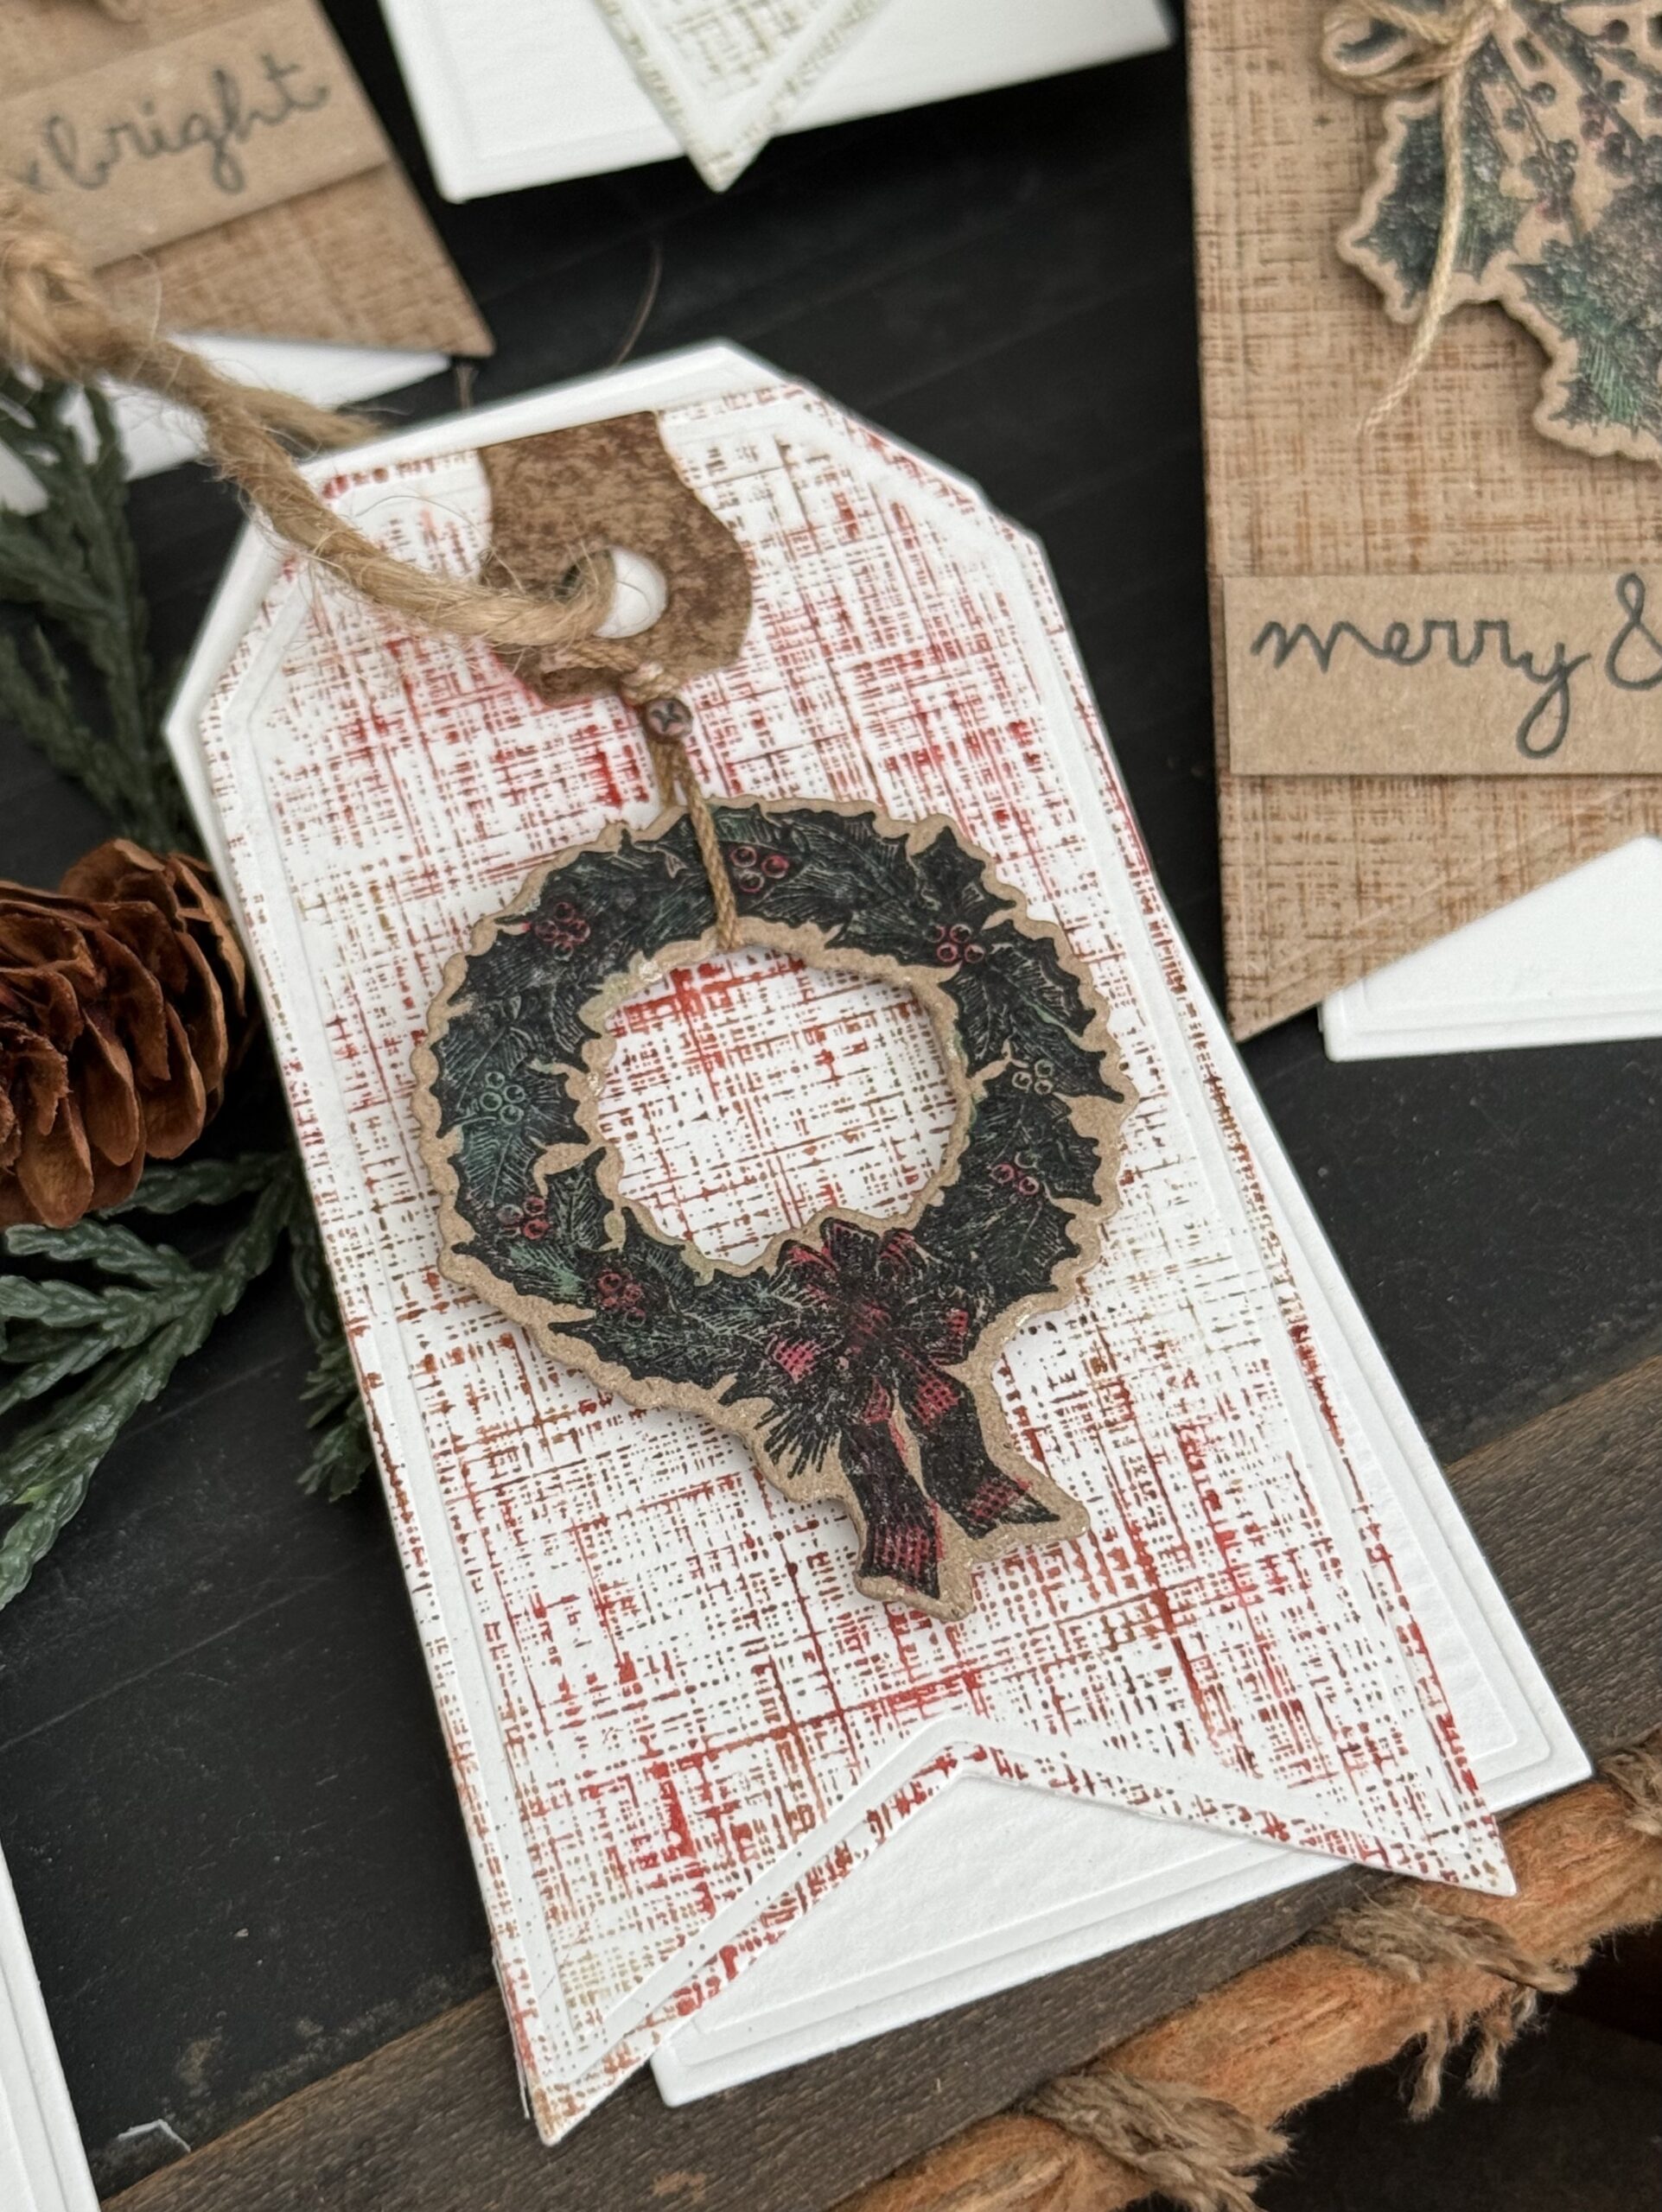
Some of the tags were made by using the Kraft Heavystock as the main tag. I just changed up the color of tag reinforcement to add variety and added the phrase at the bottom.
With that, my tags were complete… I really could hardly stop making these because they were so fun to make, which means, I’ll be prepared for my gift giving this year! Thanks for stopping by!
Creatively yours, Stacy
To shop at SIMON SAYS STAMP click HERE.
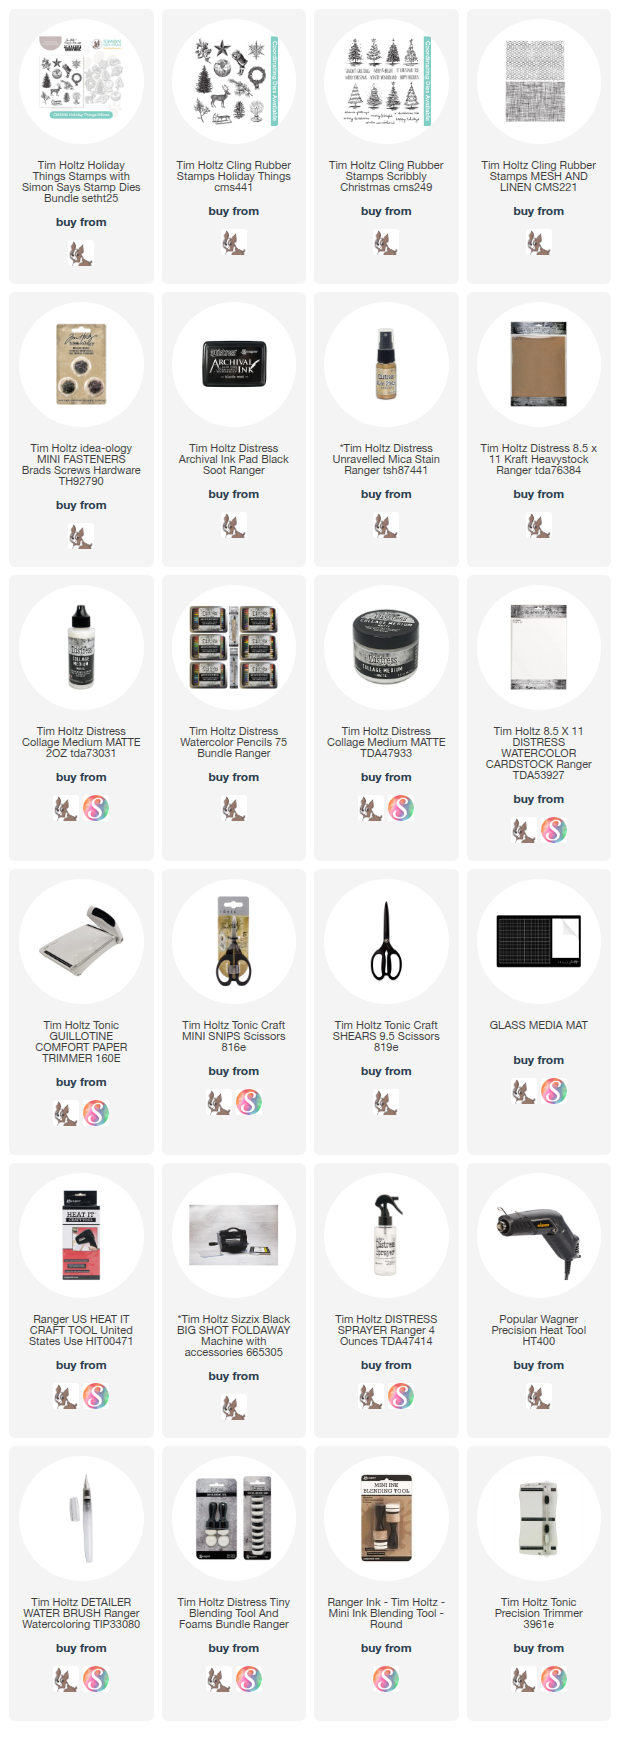
Products used to create this project are included in the links below. Each time you are inspired and shop through those links, you are supporting me and my blog. I appreciate it SO MUCH as it helps me to provide you with tutorials and to cover the blog fees. THANK YOU!
What is an affiliate program, and why should I click on the link and buy through you?
When you shop via the affiliate link on this blog, I receive a small commission from the affiliate provider (Simon Says Stamp) at no extra cost to you, whatsoever. These commissions help me to cover the hosting fees and other costs to run my blog and be able to provide you with FREE inspiration. If you shop the links, THANK YOU! I truly appreciate being able to share my love of creating with you.


Absolutely perfect for gifting, and easier than a lot of other ideas I have seen on other platforms. This is awesome!
Beautiful! ❤️❤️❤️
These tags are beyond amazing – I LOVE them !! I tried to find the Festive Tags die set, but I couldn’t find it – is it available for purchase ?? Thanks so much in advance – beautiful work !!