Hello friends! Happy Friday! Hope you are doing well…I am back today on my blog to share a project I create using the new Tim Holtz idea-ology Yellow Palette Paper Pack..this was made using the 8×8 paper pack but these also come in 12×12 as well. Tim introduced the Palette collection earlier this year and I decided to give one of the latest color collections a go.
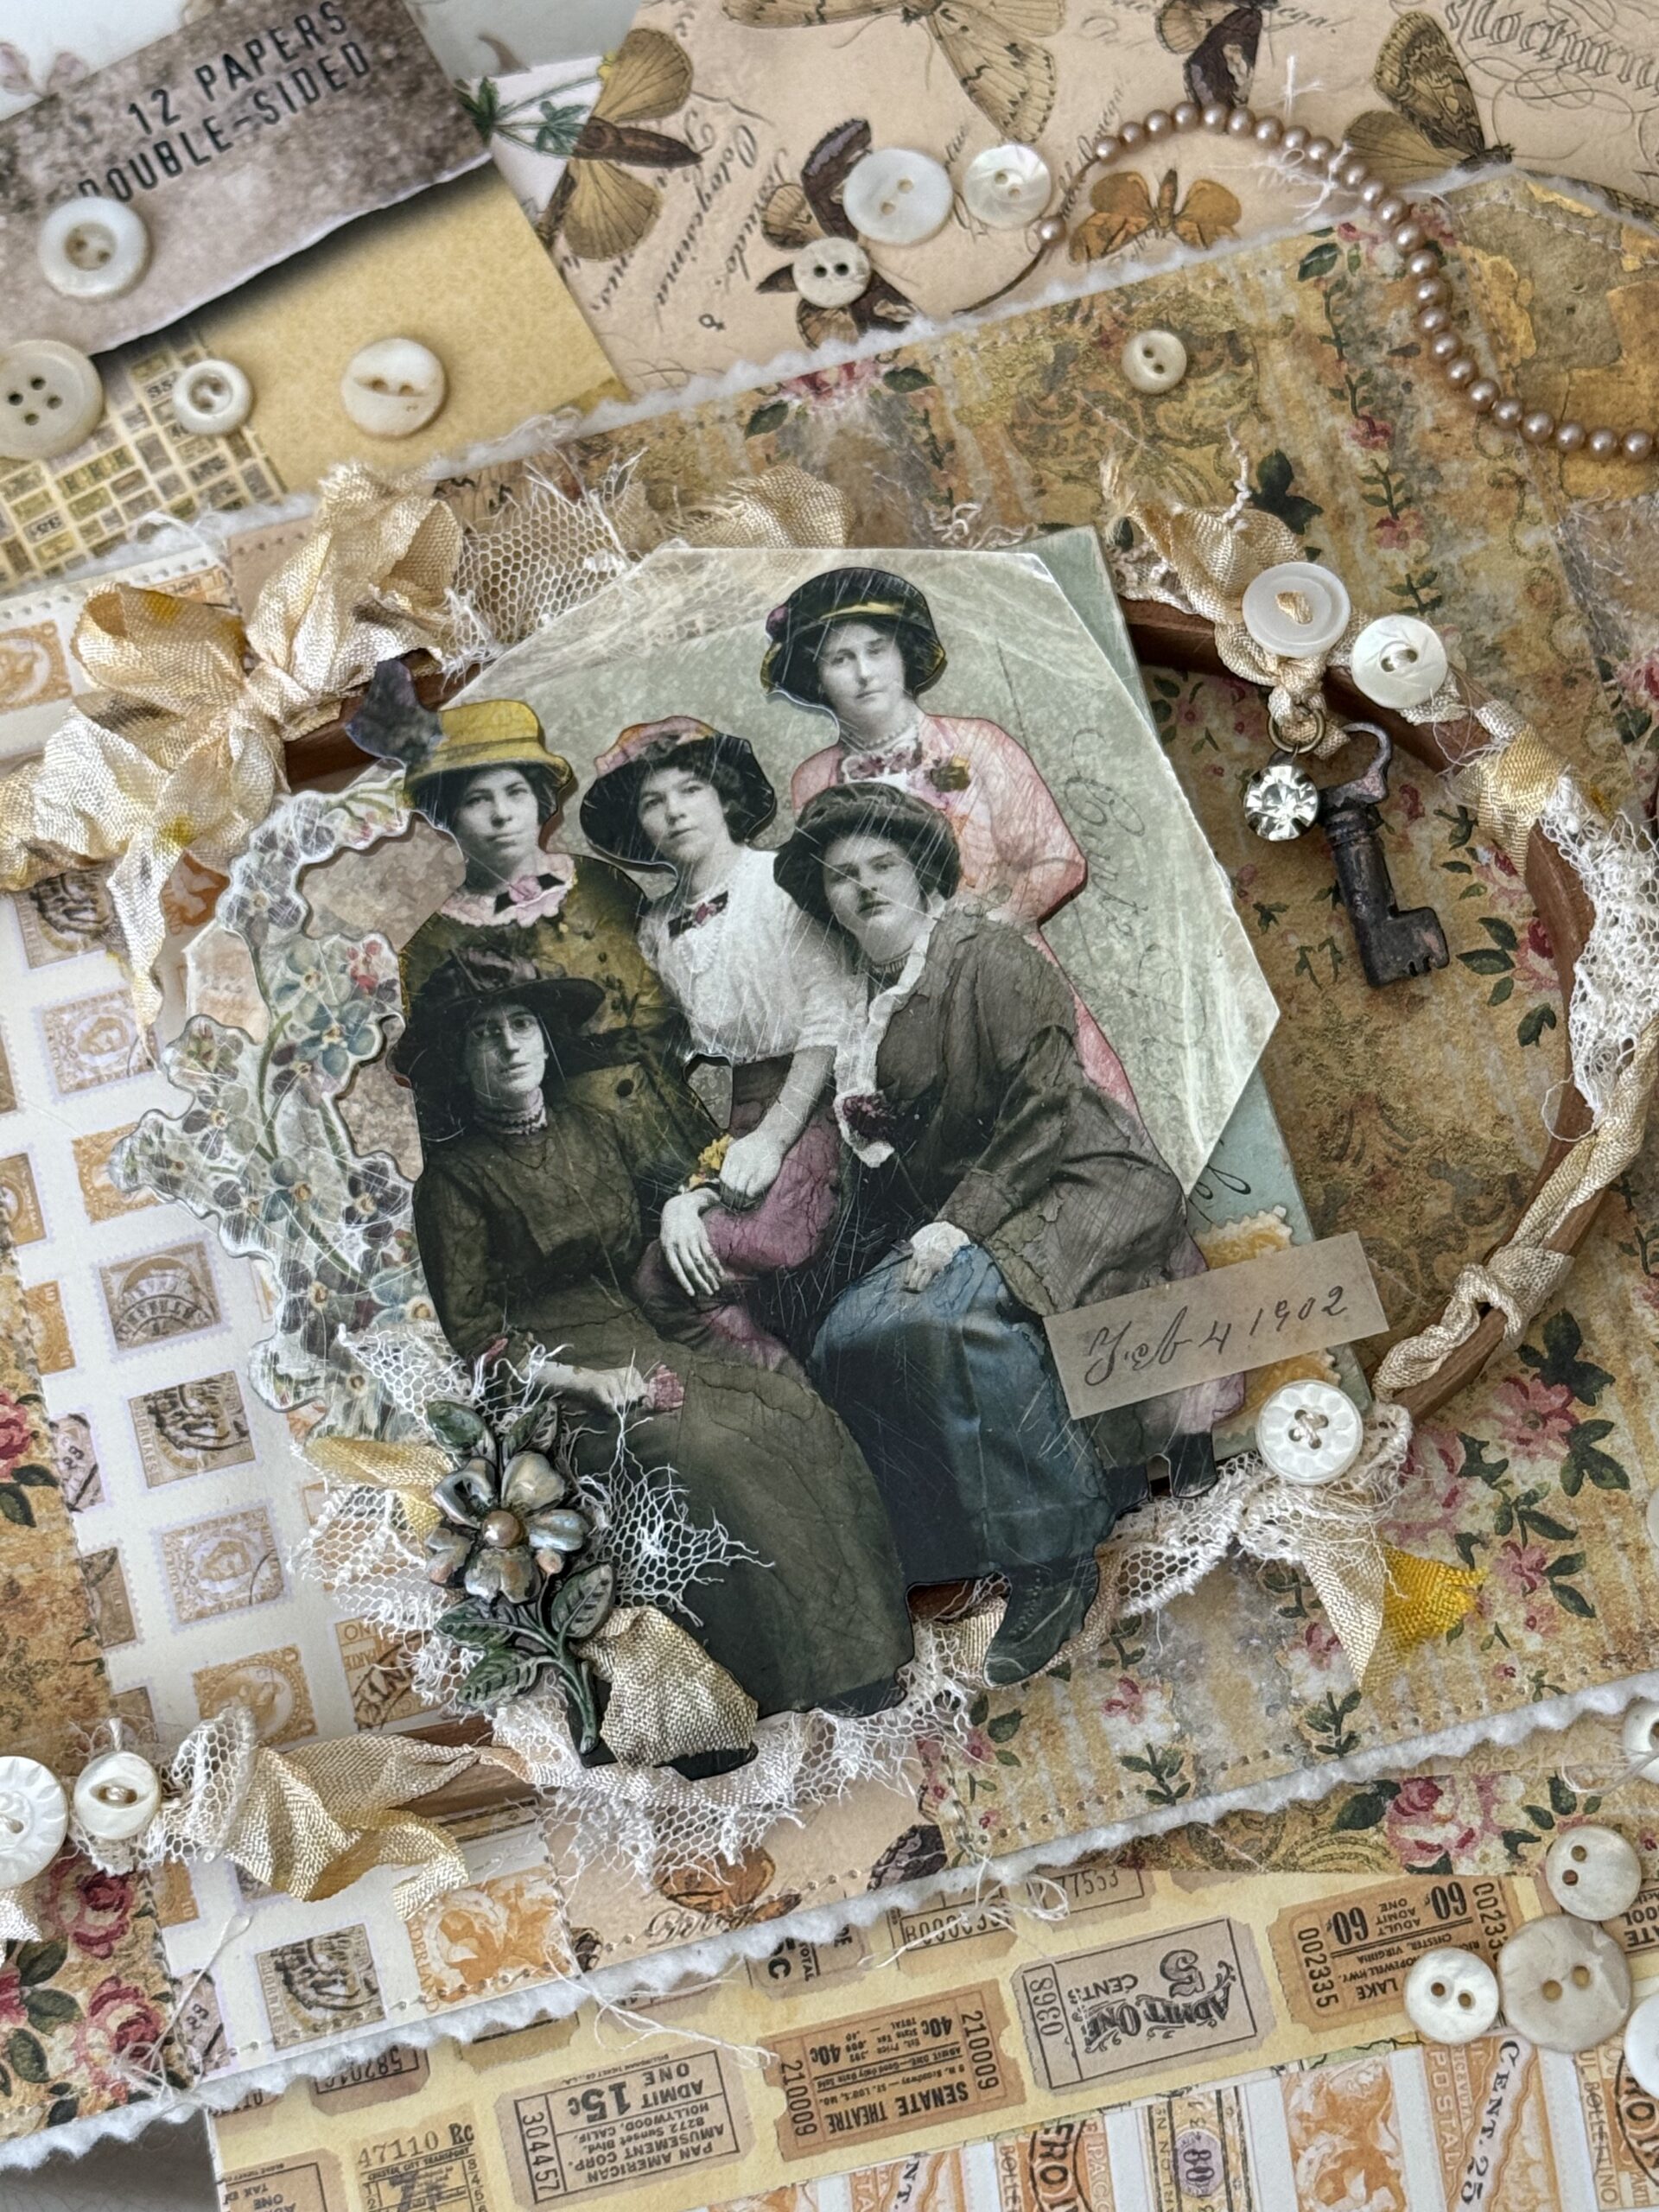
Hello is such a sun-shiny color and perfect for making spring projects. This pack includes doubled sided heavyweight patterned paper and were inspired by last years release of the Palette Fabric Collection. So many different designs, it was hard to choose which one to start with, so I chose one of the collage strip papers making it an easy way to decide.
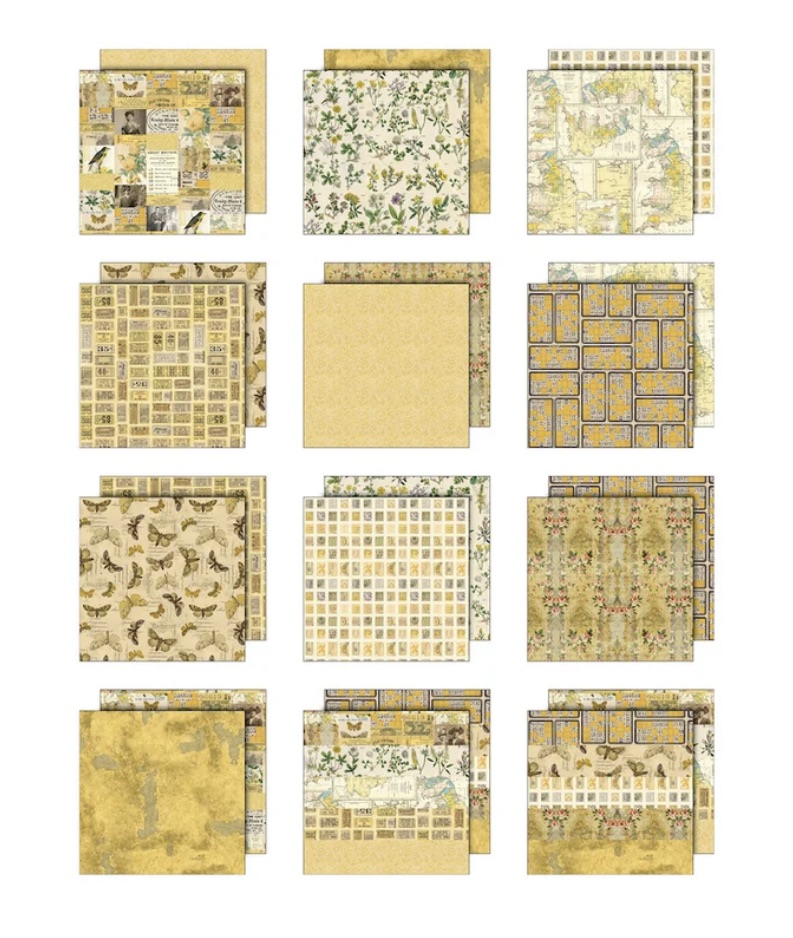
Here’s a look at all the designs and their double side behind them.
I have been collecting wood embroidery hoops for quite some time and decided it would be fun to have it be part of this project.
This oval hoop is more unique than the “normal” round type, and fit so perfectly onto the front of a Small Etcetera Tag, the project came together pretty easily and was the perfect way to add some whimsy inspired by the Yellow Palette papers.
So, let’s get to making…
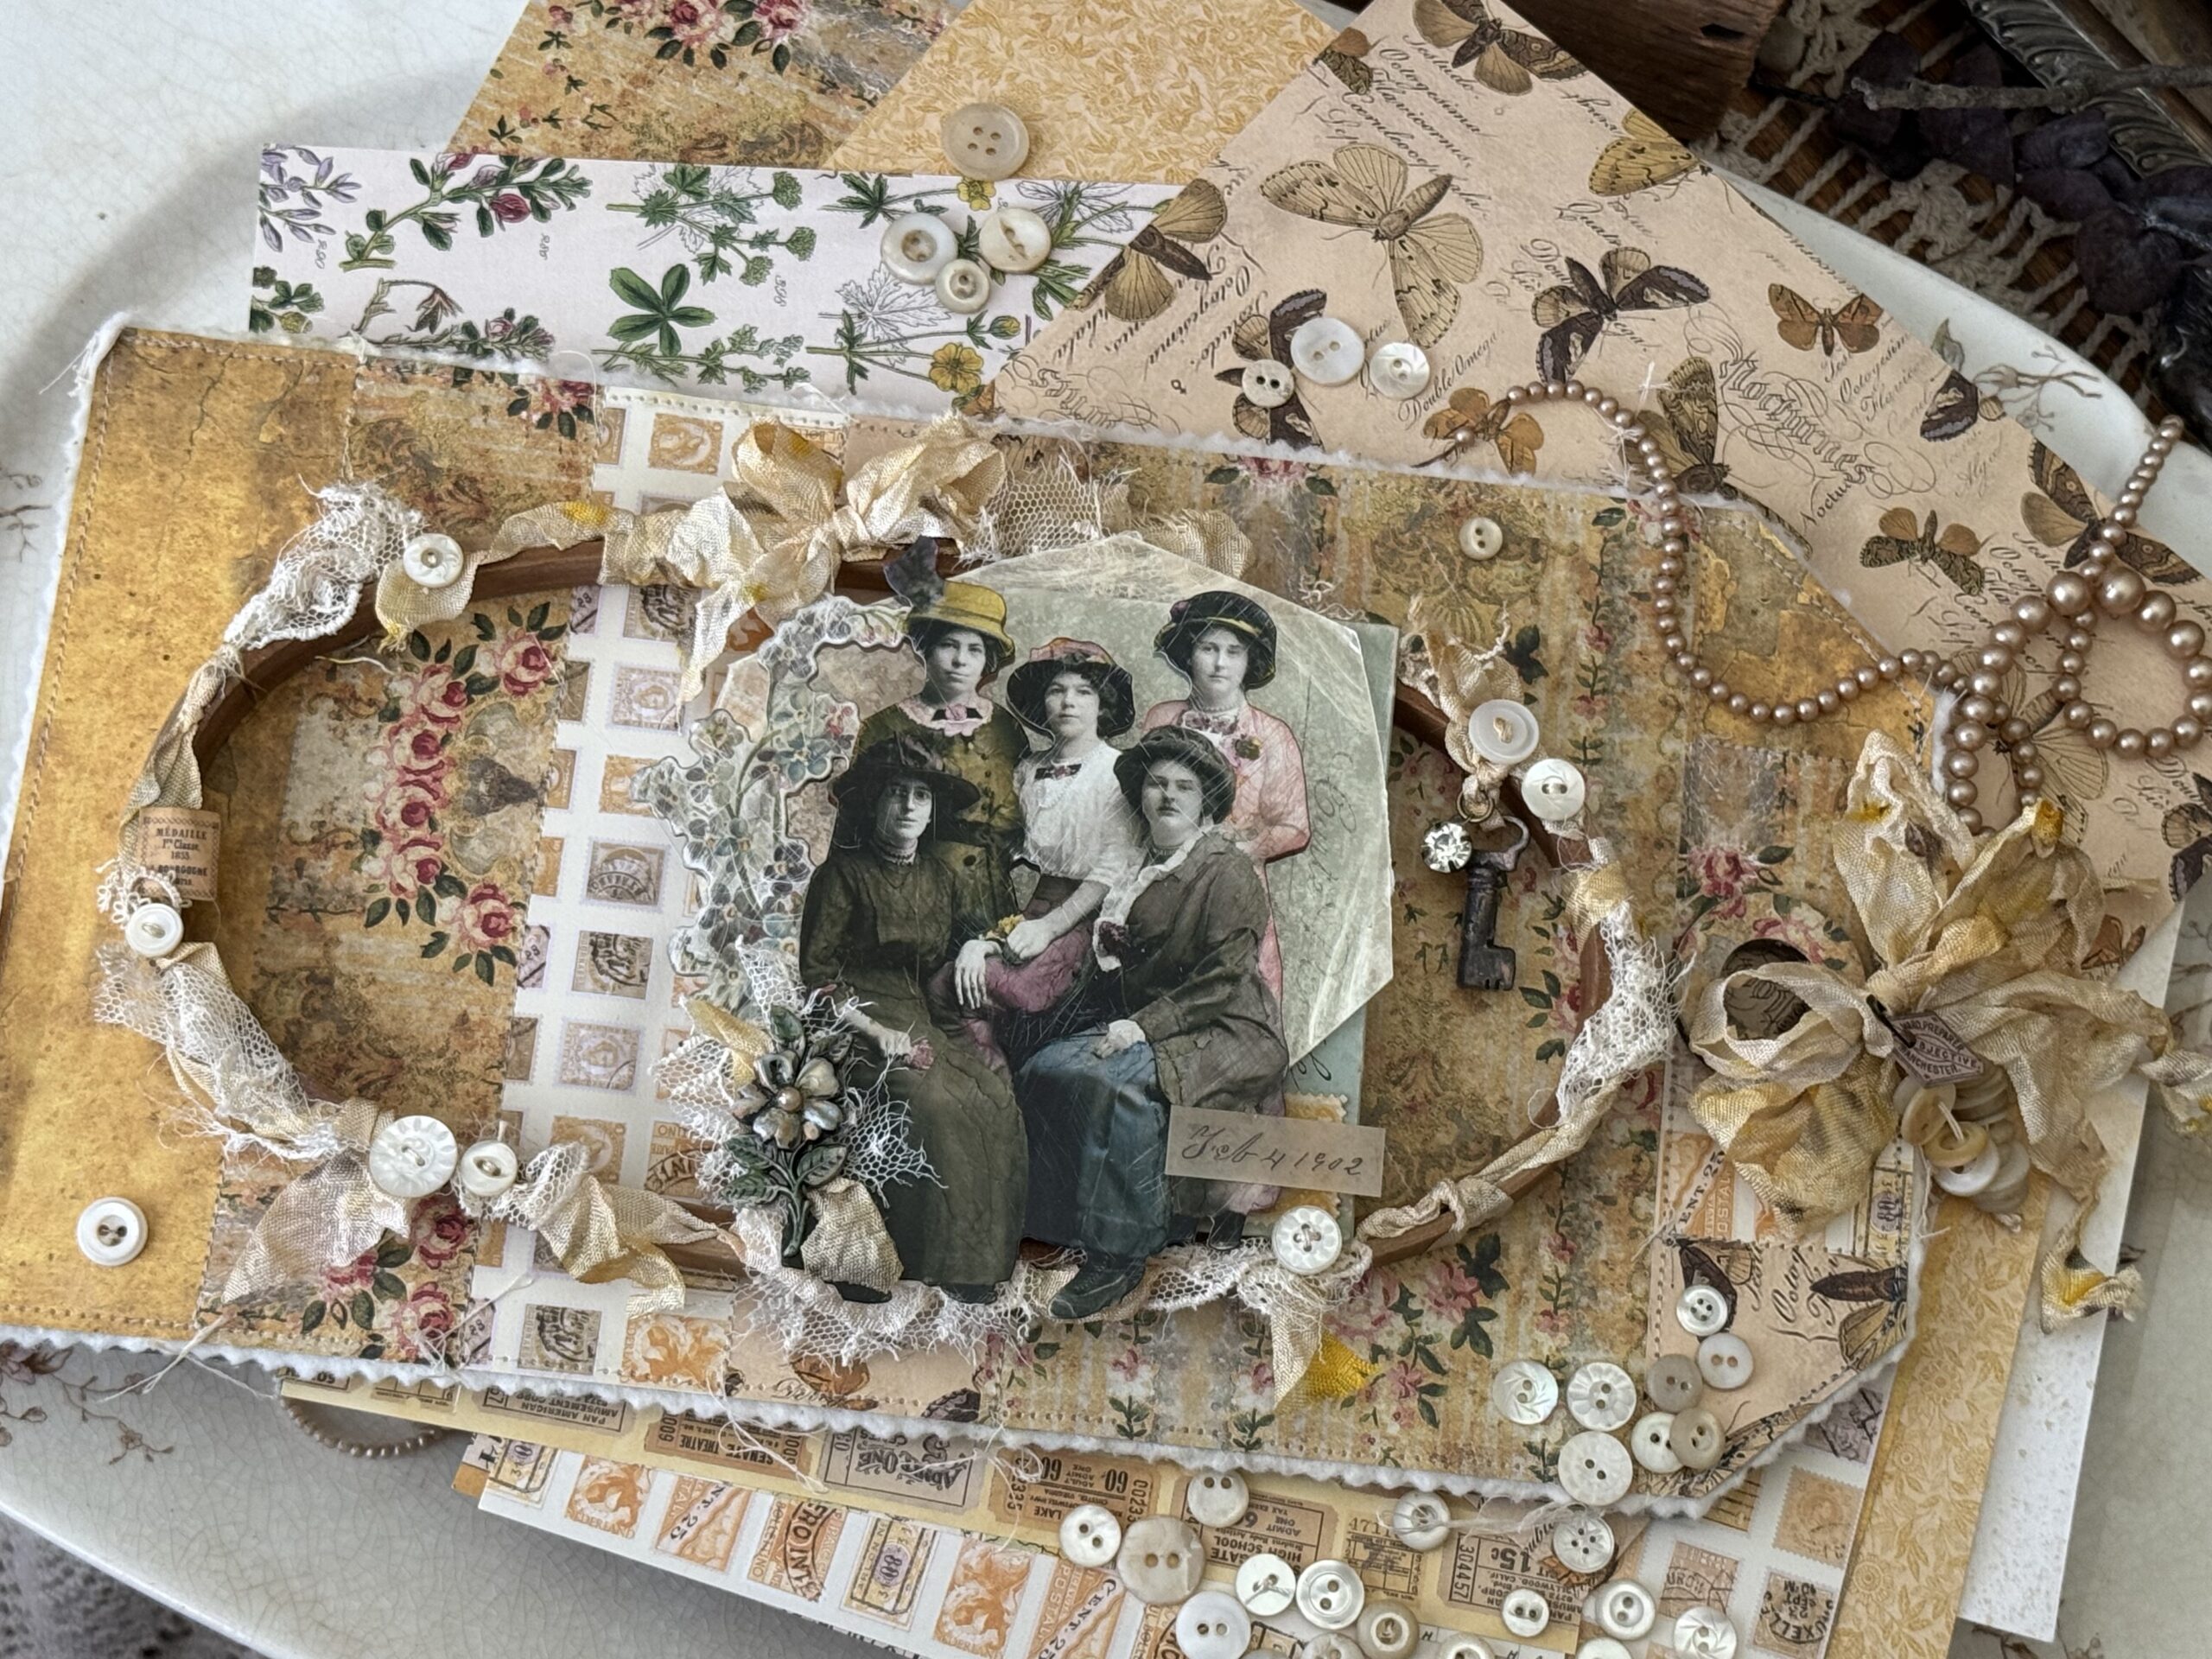
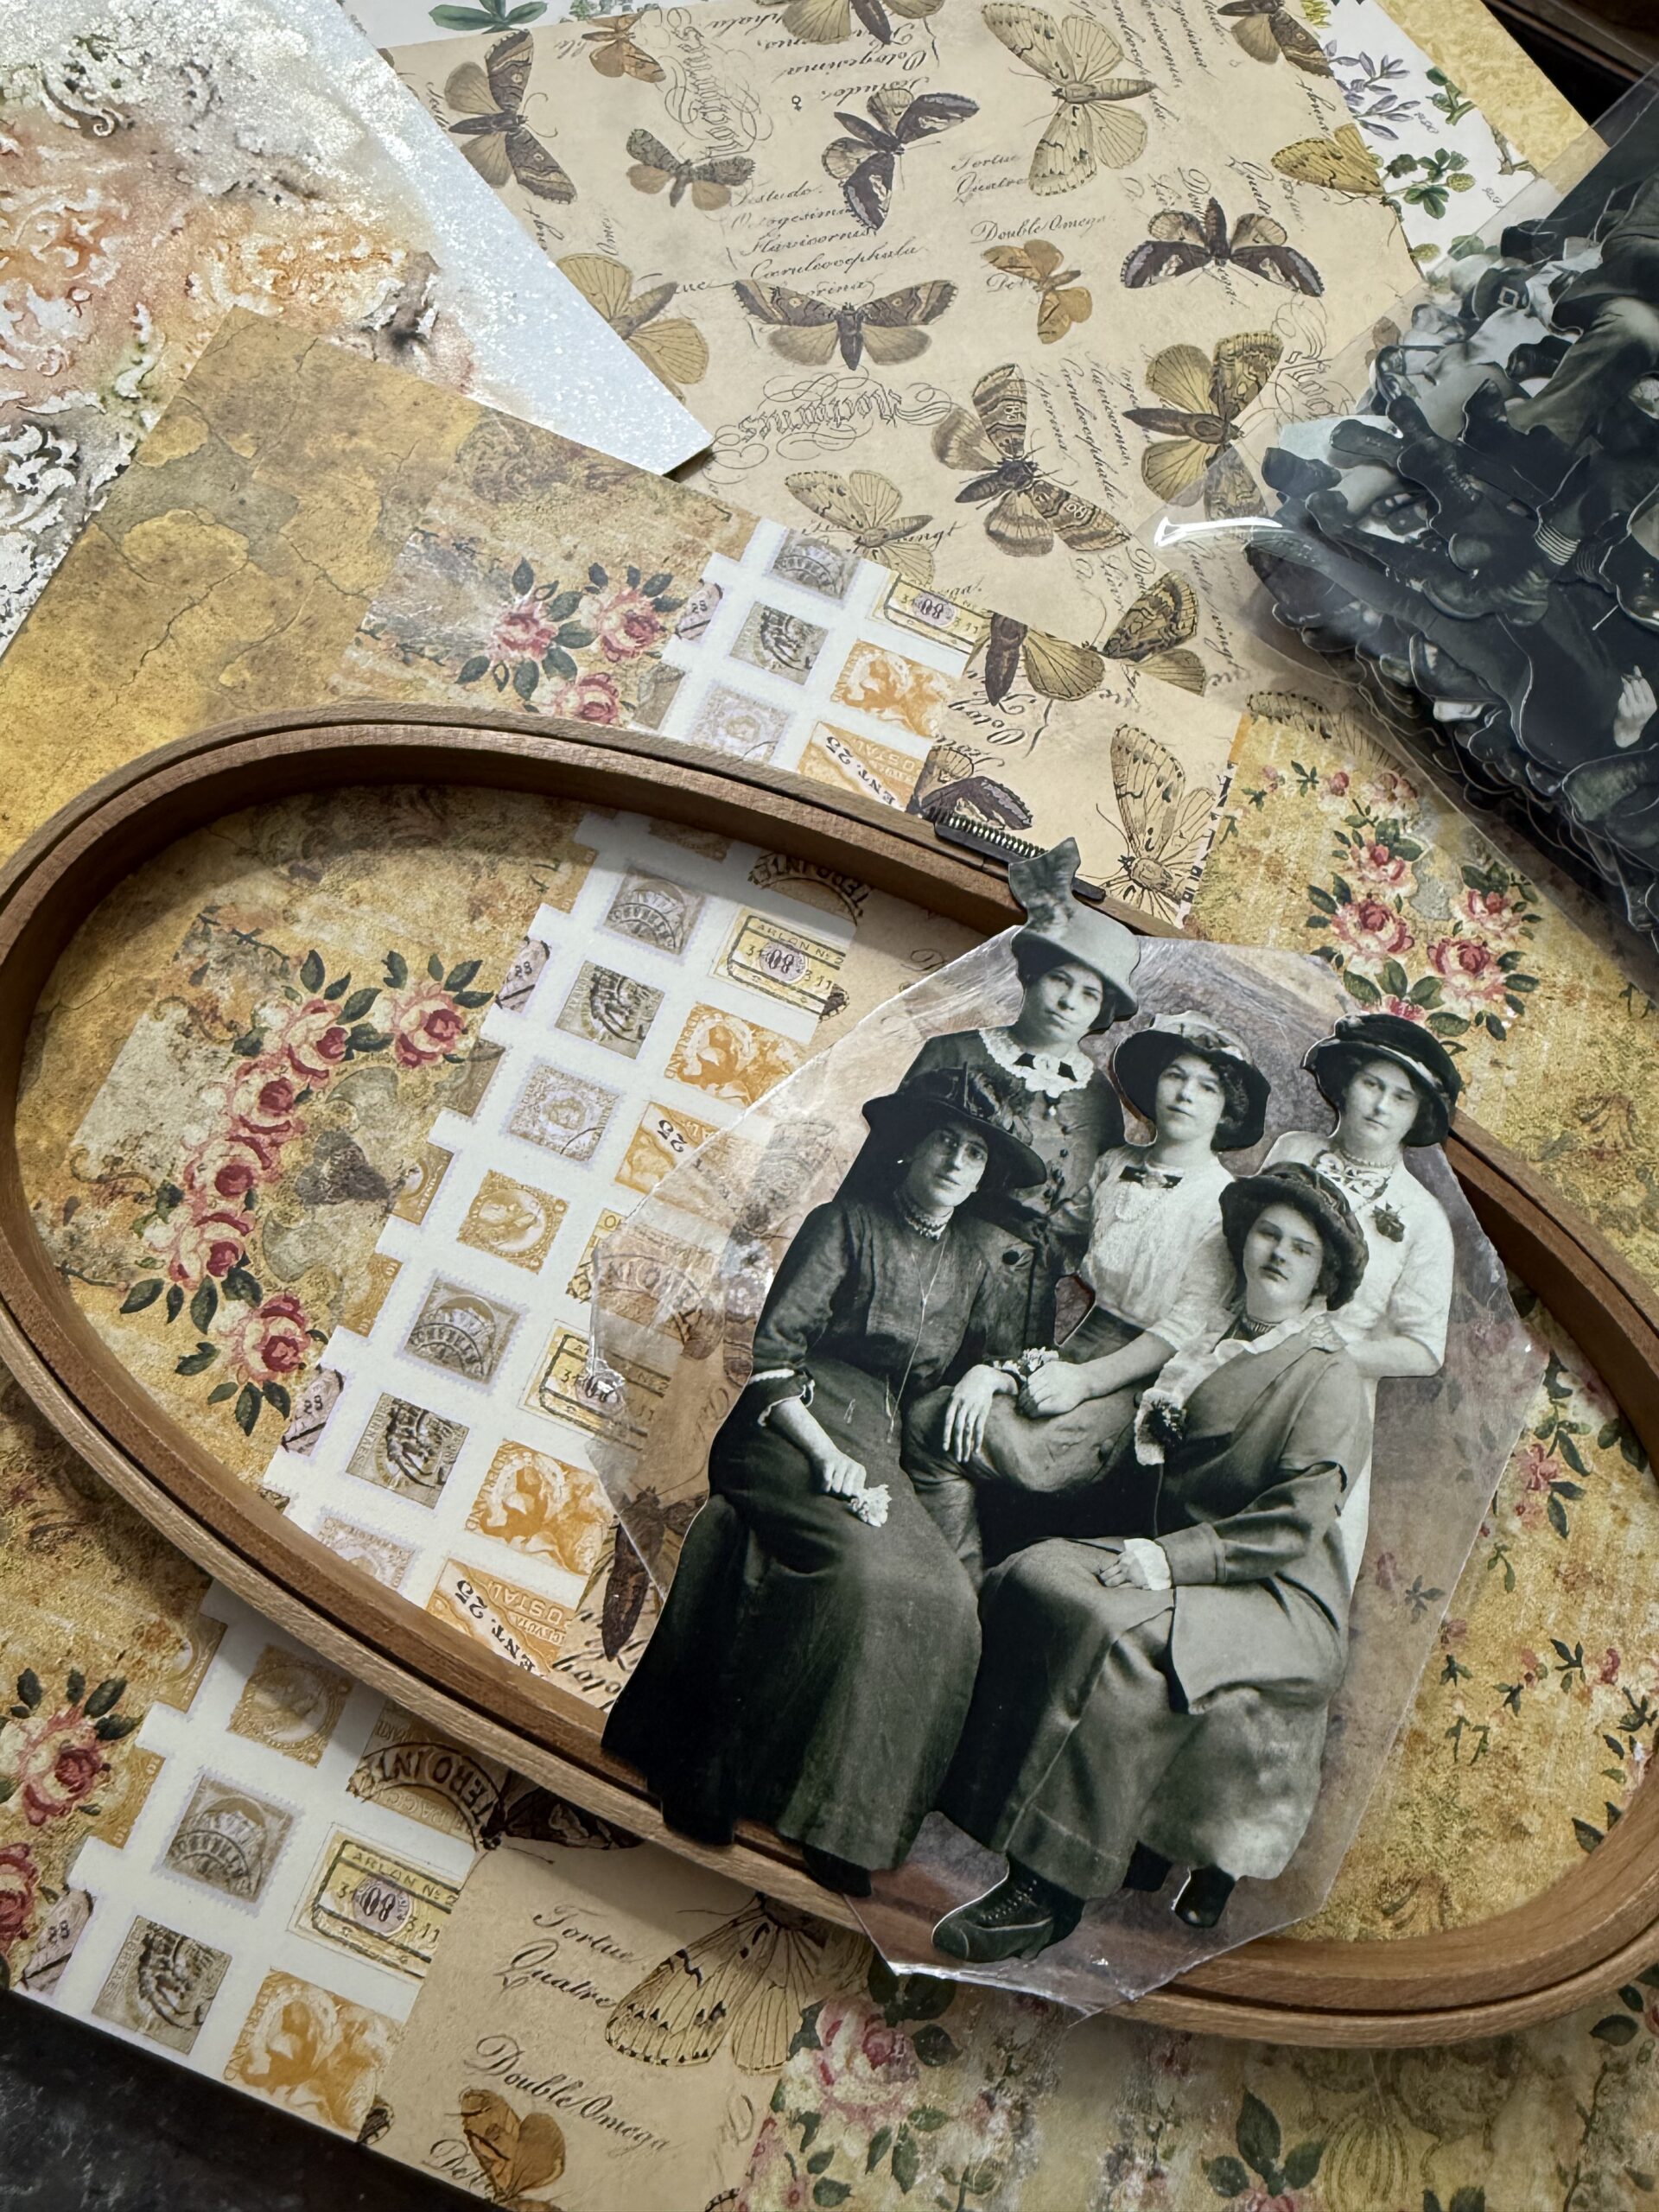
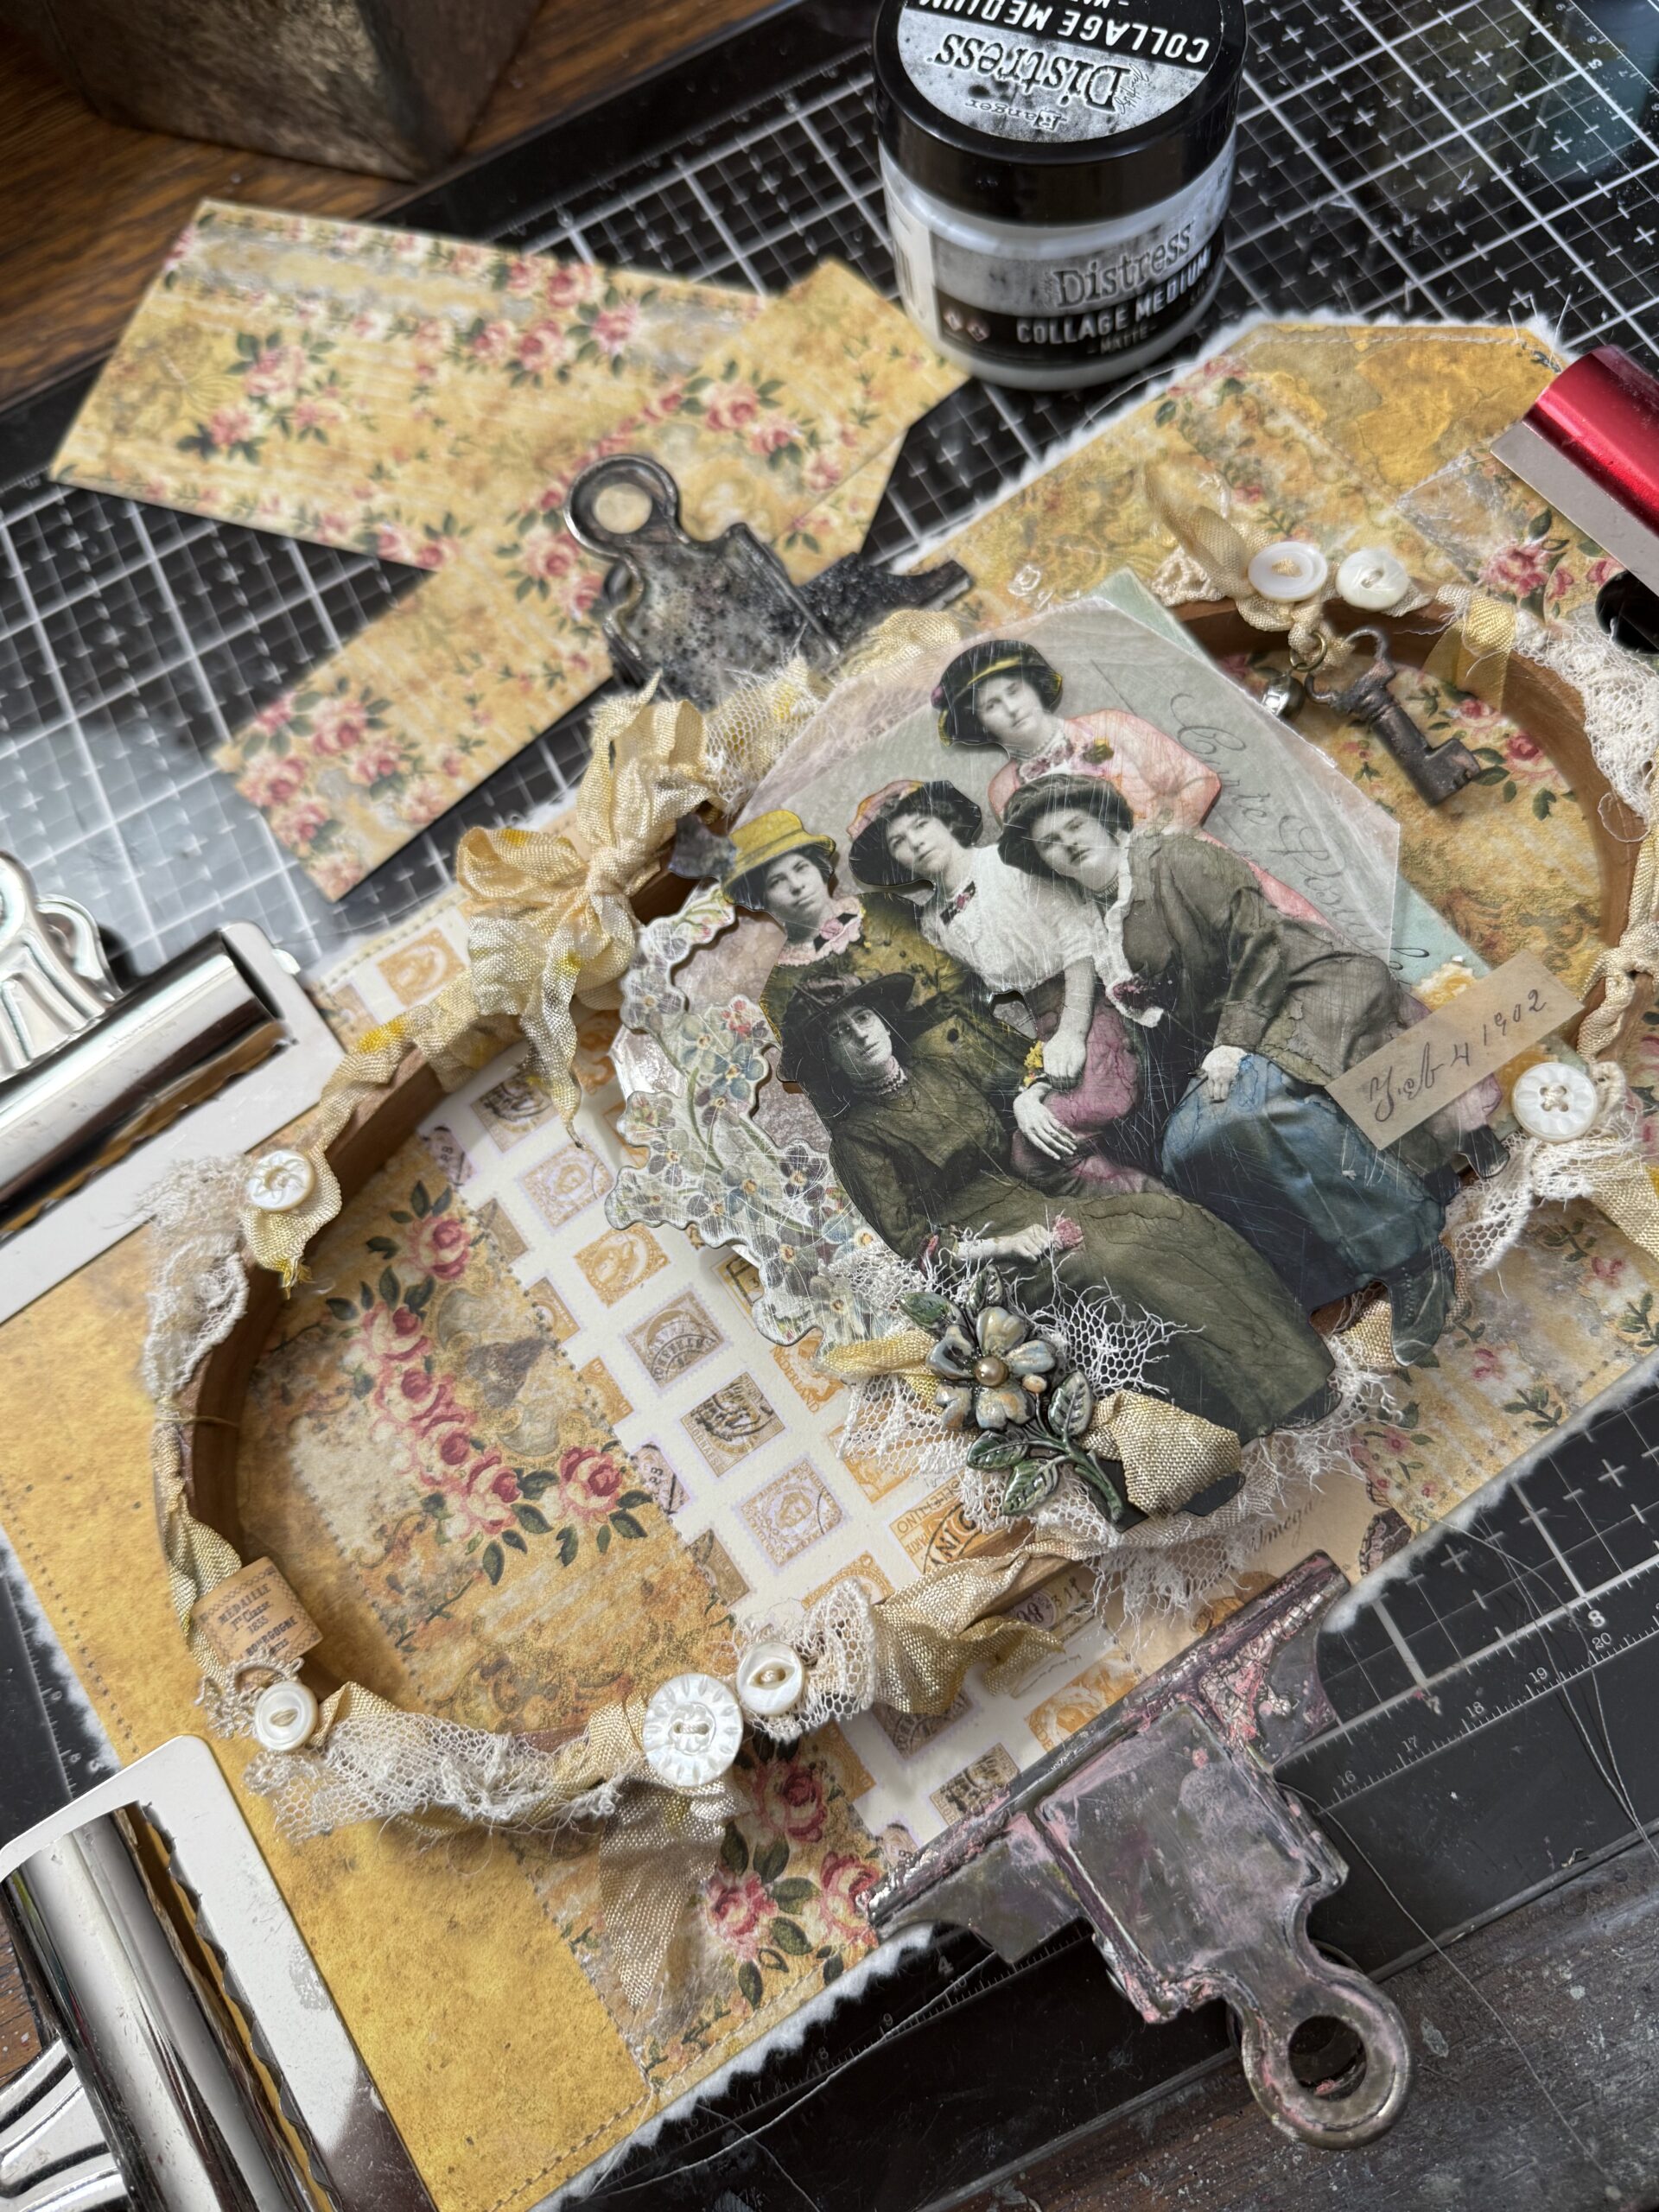
I started by sorting through the pack of papers and deciding the layout of the background. The papers I chose included one that had several “strips” of some of the papers already arranged, so I used a portion of that paper, then selected the floral pattern to place next to the stripes. My thought was to stitch along the “seams” of the stripes to create a stitched background on the Small Etcetera Tag. I chose a piece of mica tile to use as the base for my collage. It fit perfectly across the embroidery hoop. I began scouring through some of my idea-ology ephemera packs and selected the paper doll group that I thought would work with my theme.
Then, I gathered some idea-ology pieces and some vintage pearl buttons to create with. As I was gathering supplies to use, I grabbed some previously dyed ribbons I had in my stash and came up with the idea of tucking pieces of ribbon and lace within the seam of the two hoops.
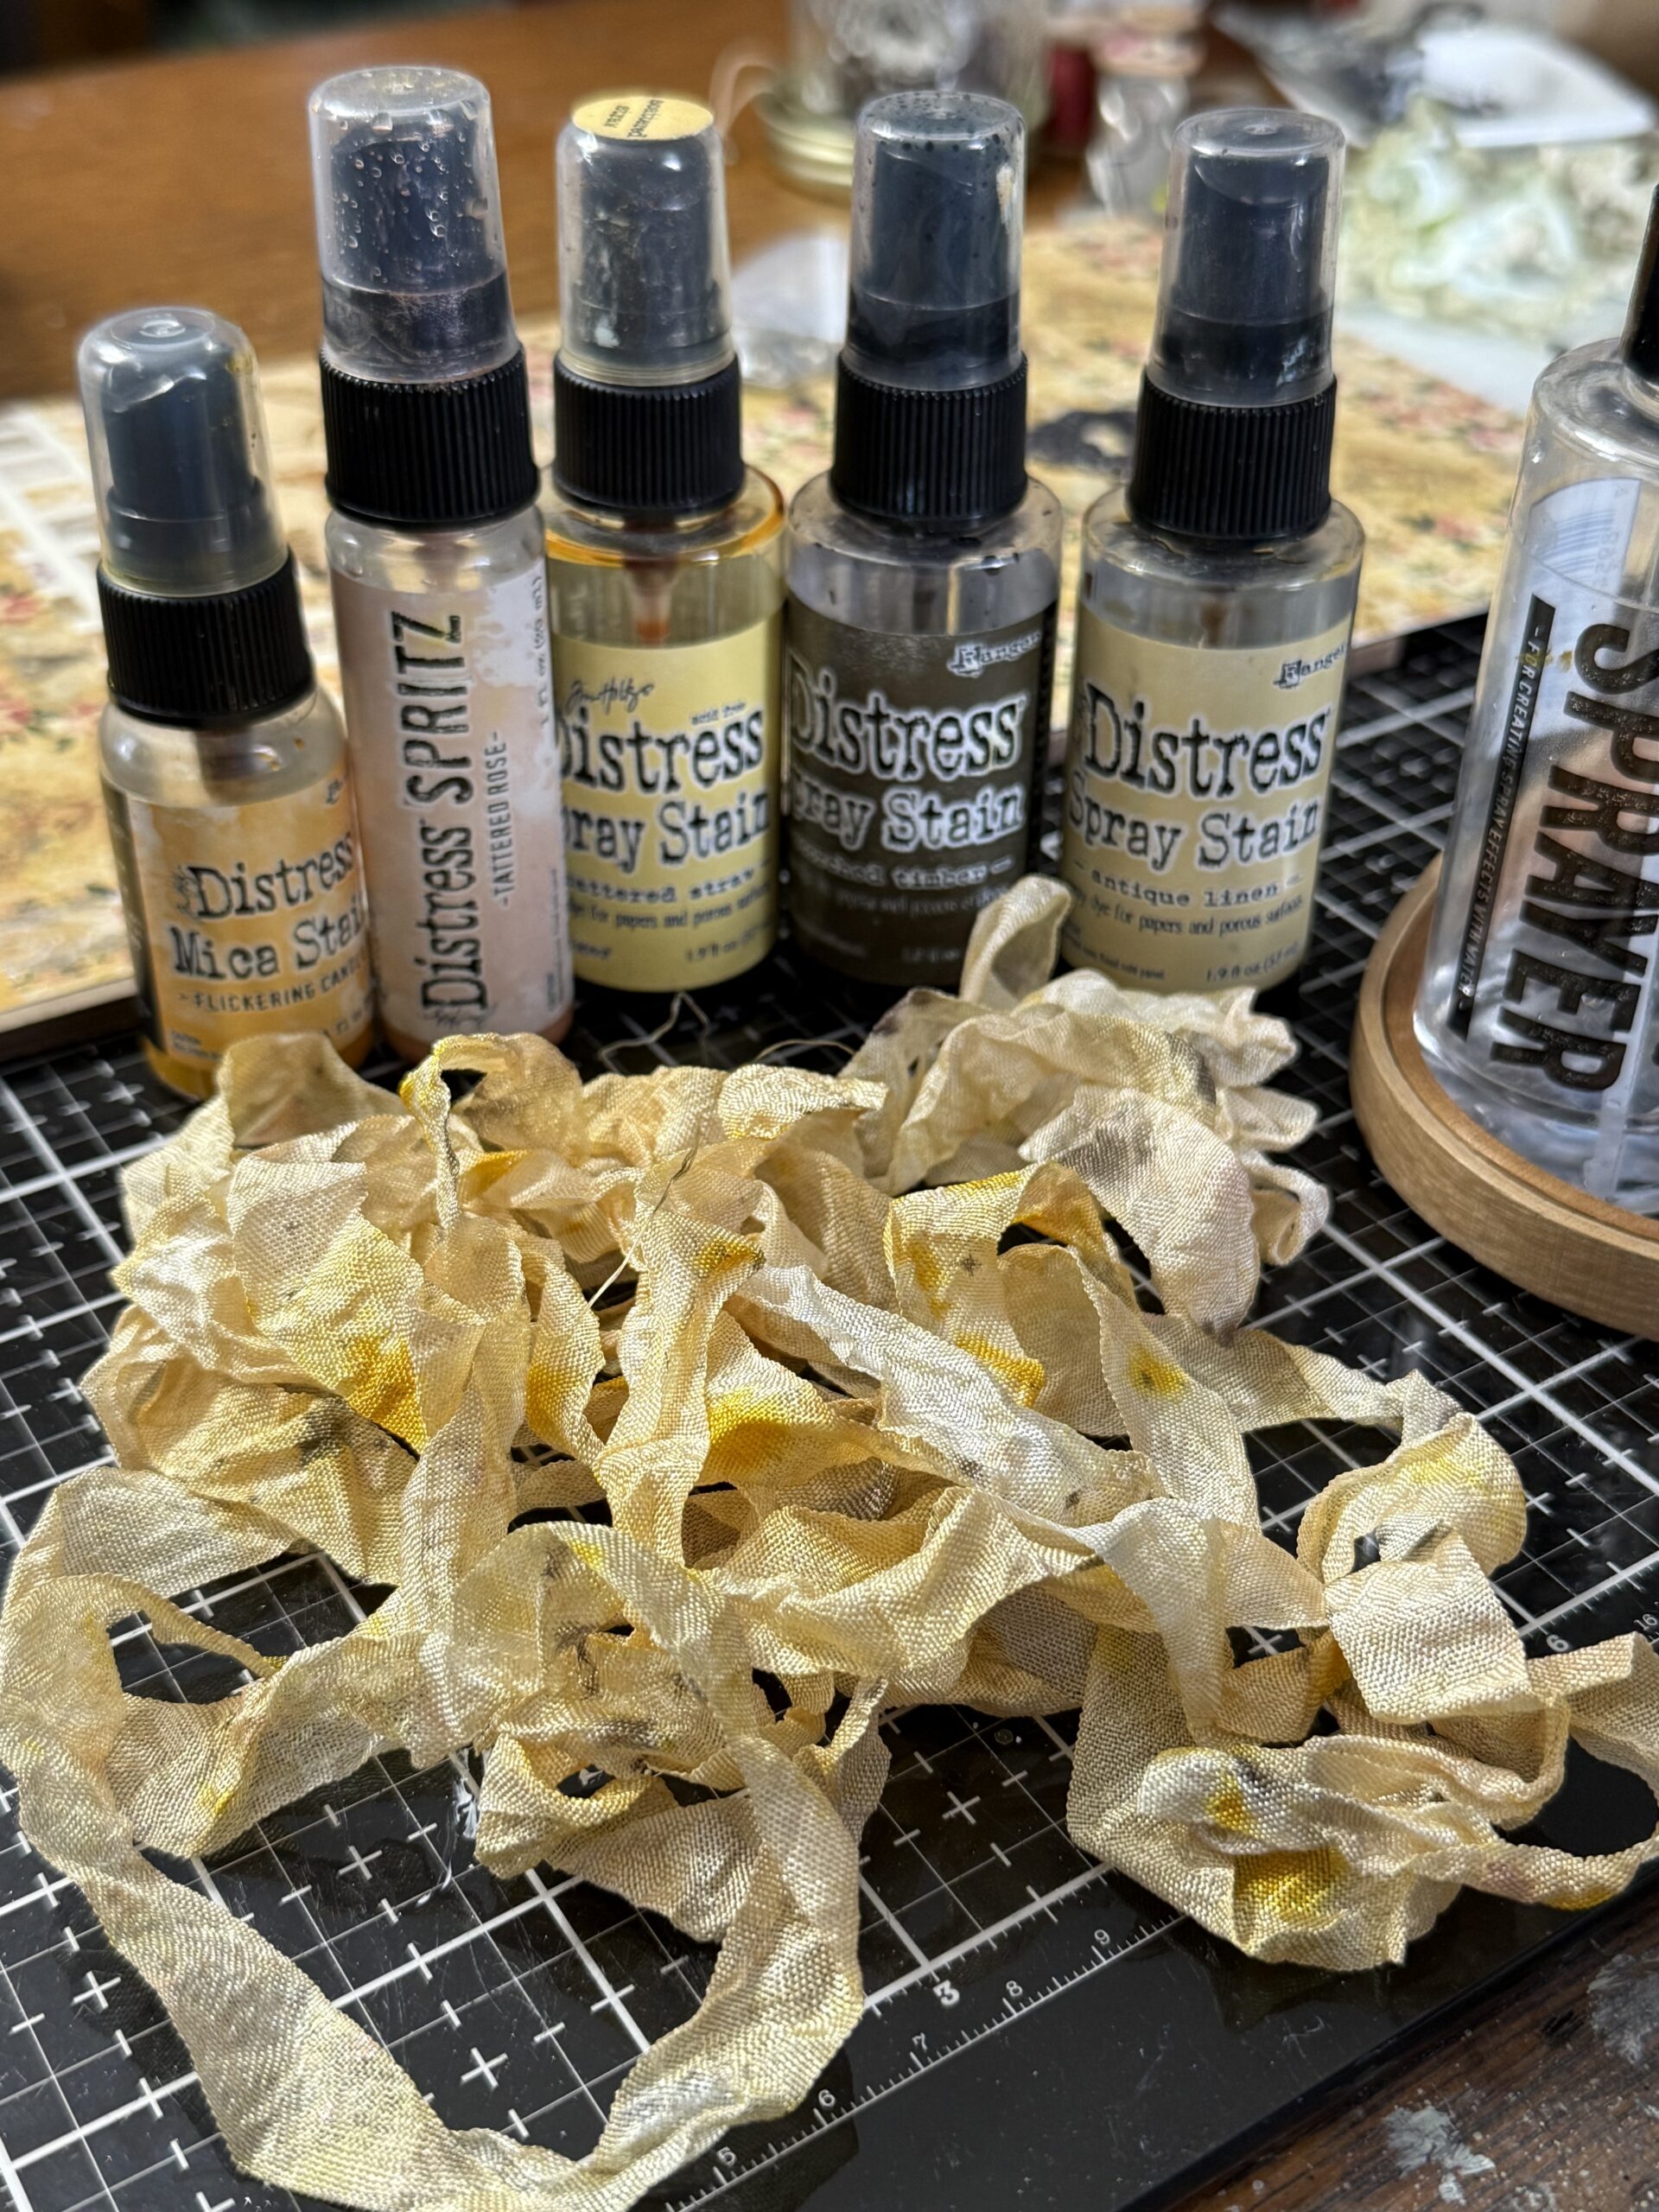
I chose to dye some seam binding ribbon in yellow tones to coordinate with the paper. I grabbed several colors of Distress Sprays, Mica Spray and Spritz, then spritzed a yard or two of ribbon with water and spritzed until I had a good combination, then dried the ribbon using my heat tool.
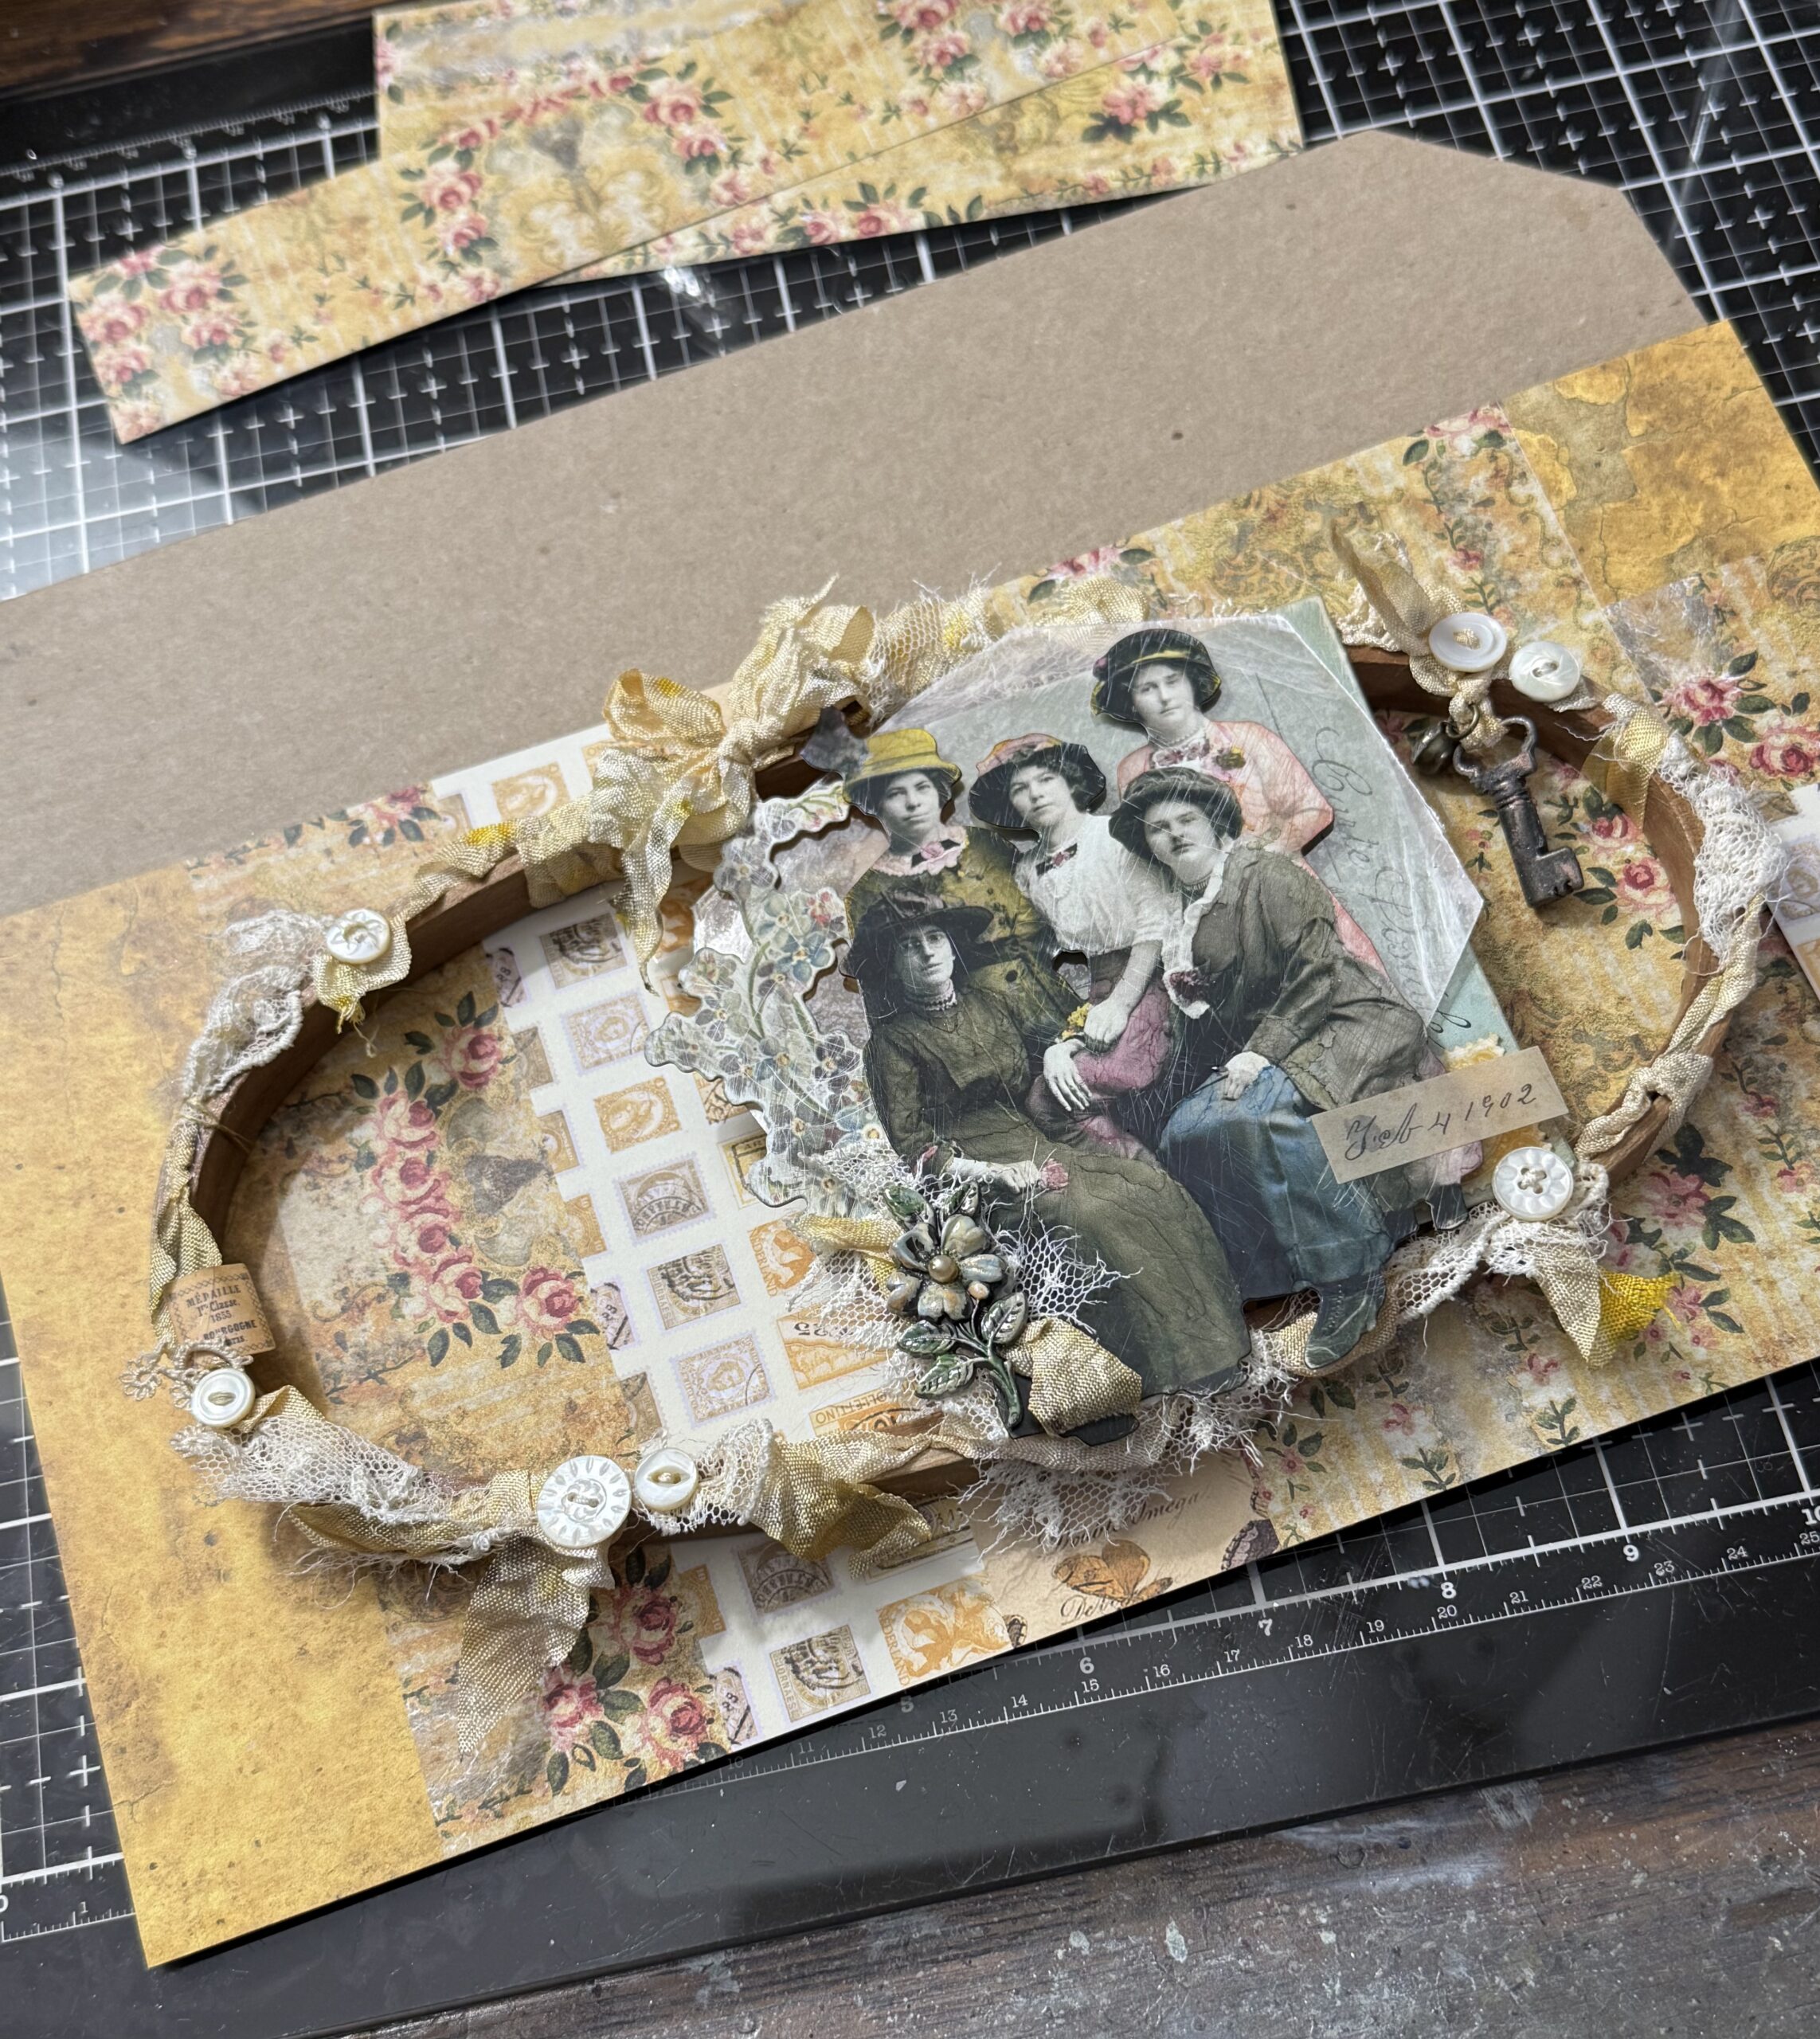
I started with the ribbon and tore pieces of vintage lace and tucked the pieces within the hoop seam. The ribbon and lace was adhered within the seam using Craft Glue, then used my exacto knife to push the ribbon and lace into place. After I adhered the ribbon and lace in place, I added some buttons and a small ephemera snippet along the edge. I wrapped the ribbon around some areas of the hoop whenever I thought it looked good to do so.
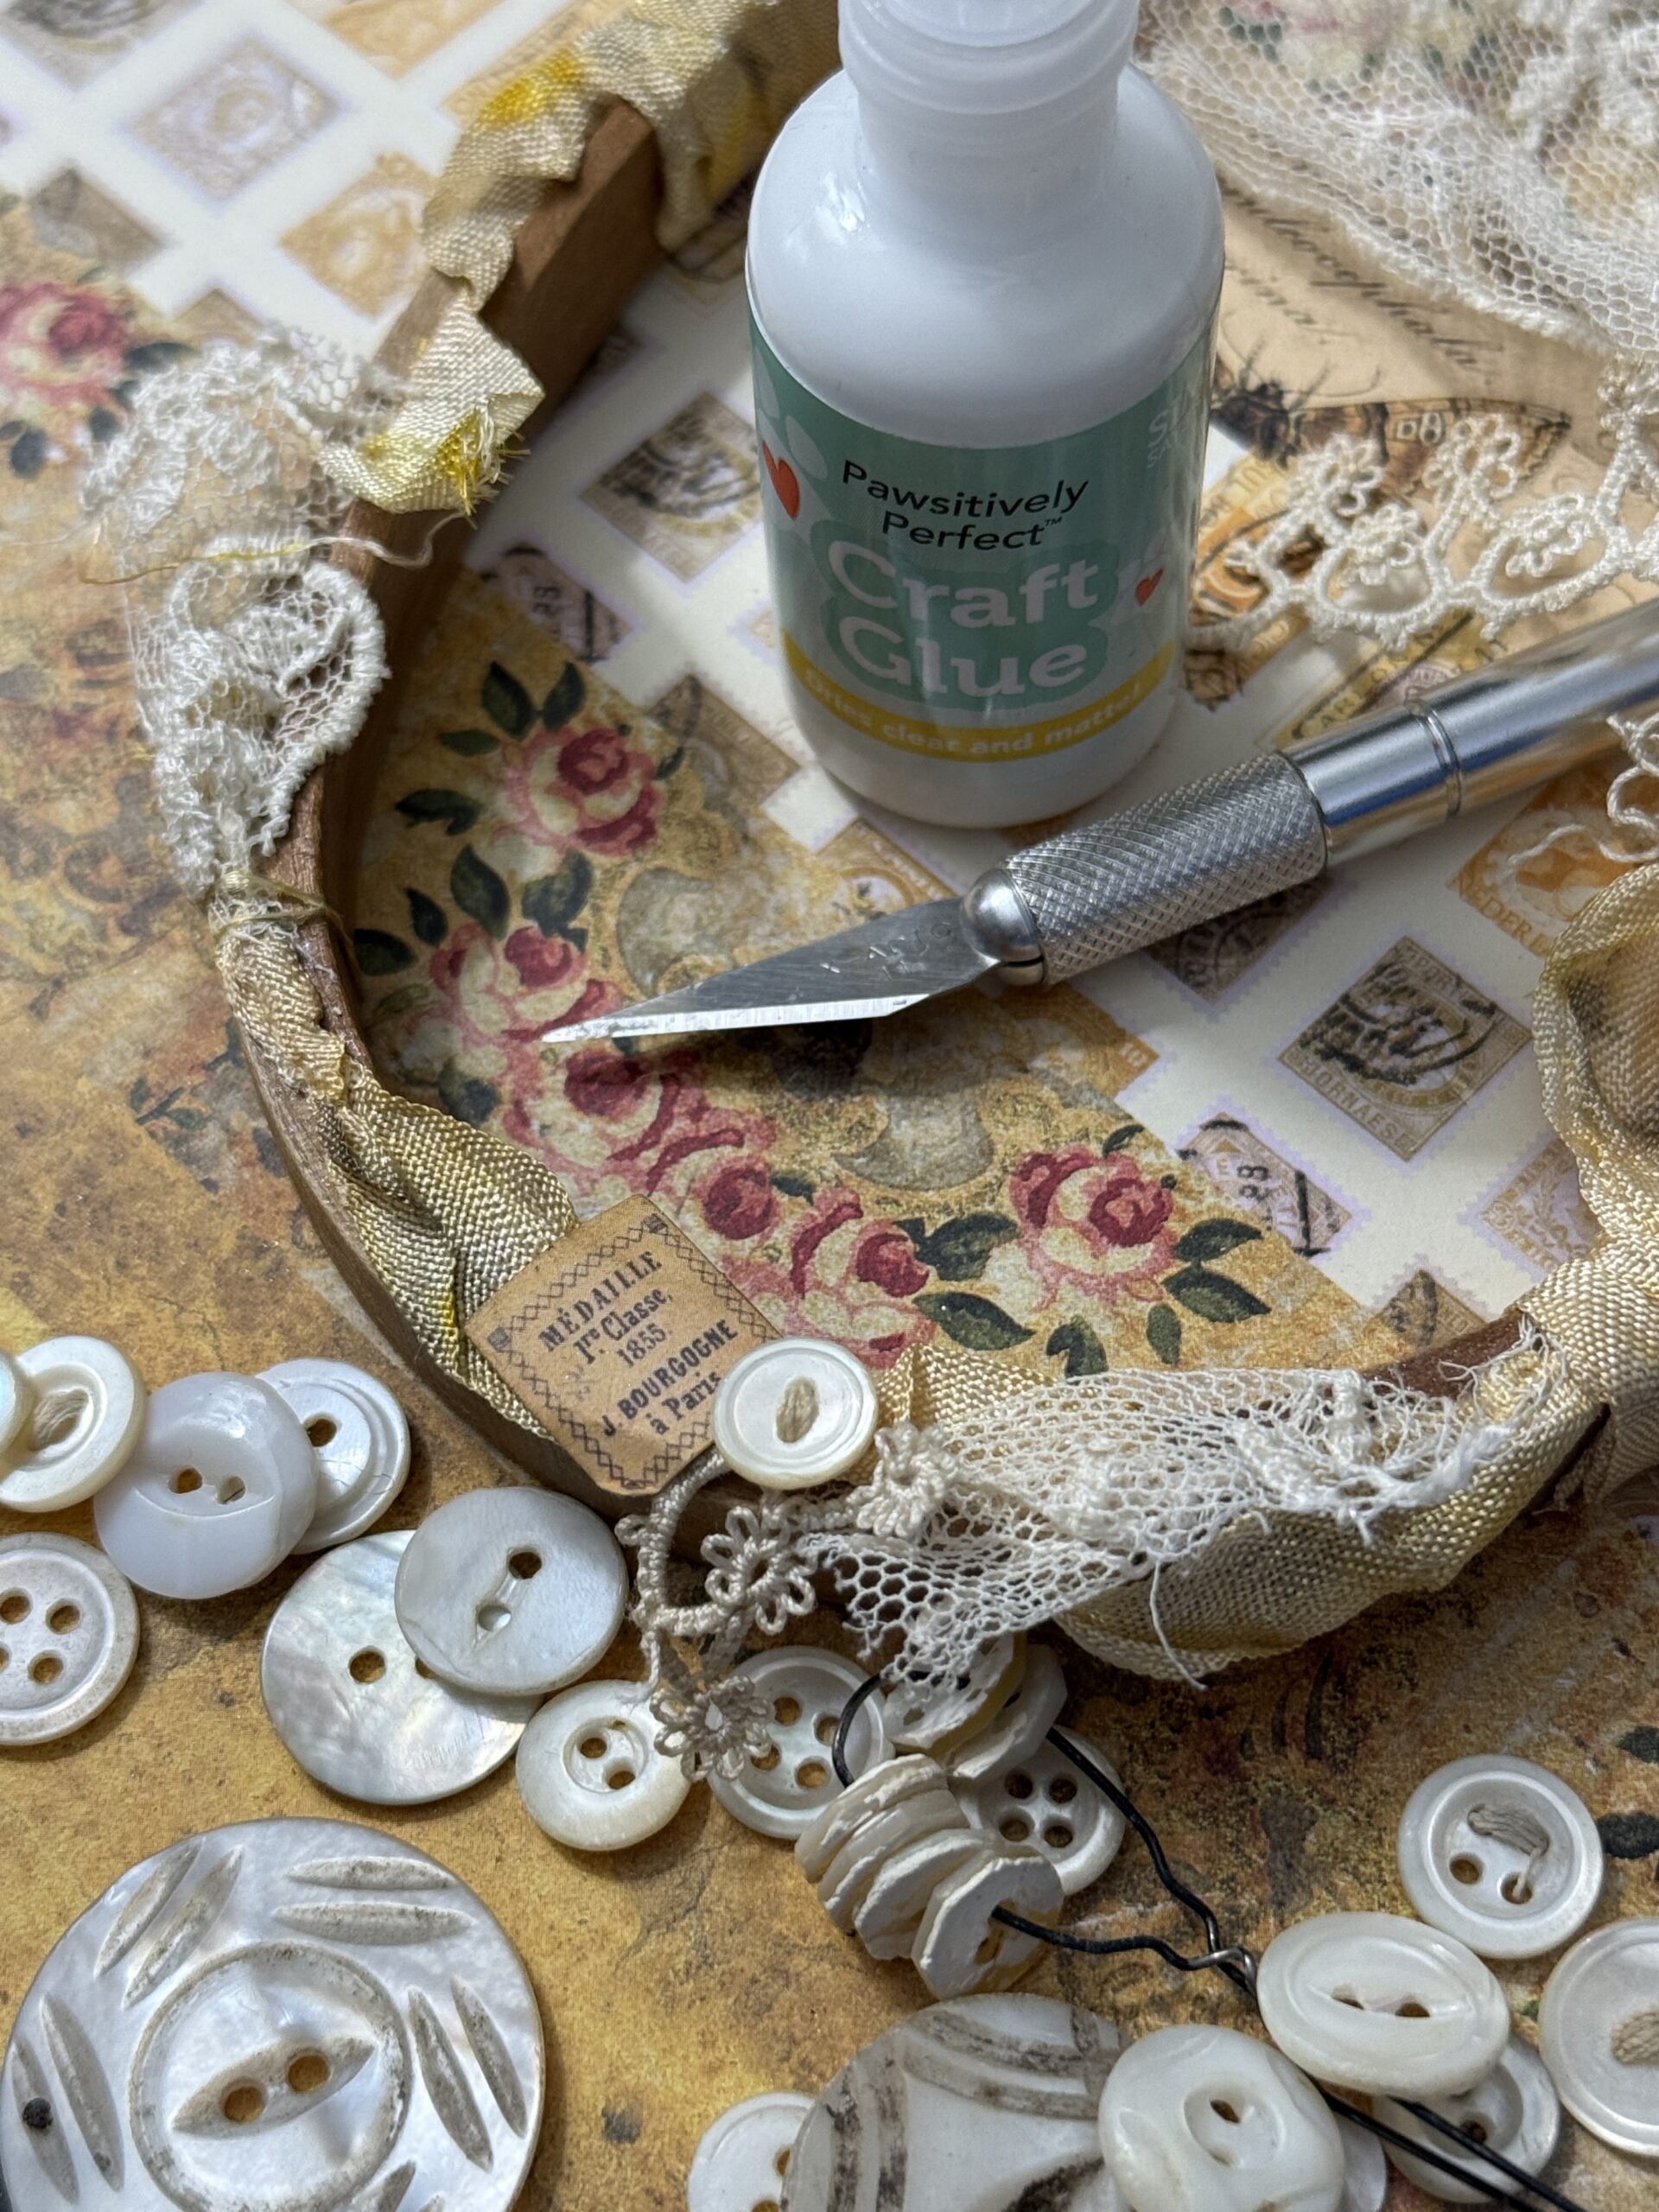
These wrapped areas became a good base area to place the buttons, the ribbon and bow that I tied at the top and a good place to tie on the small key and adornment that you see on the right side of the piece.
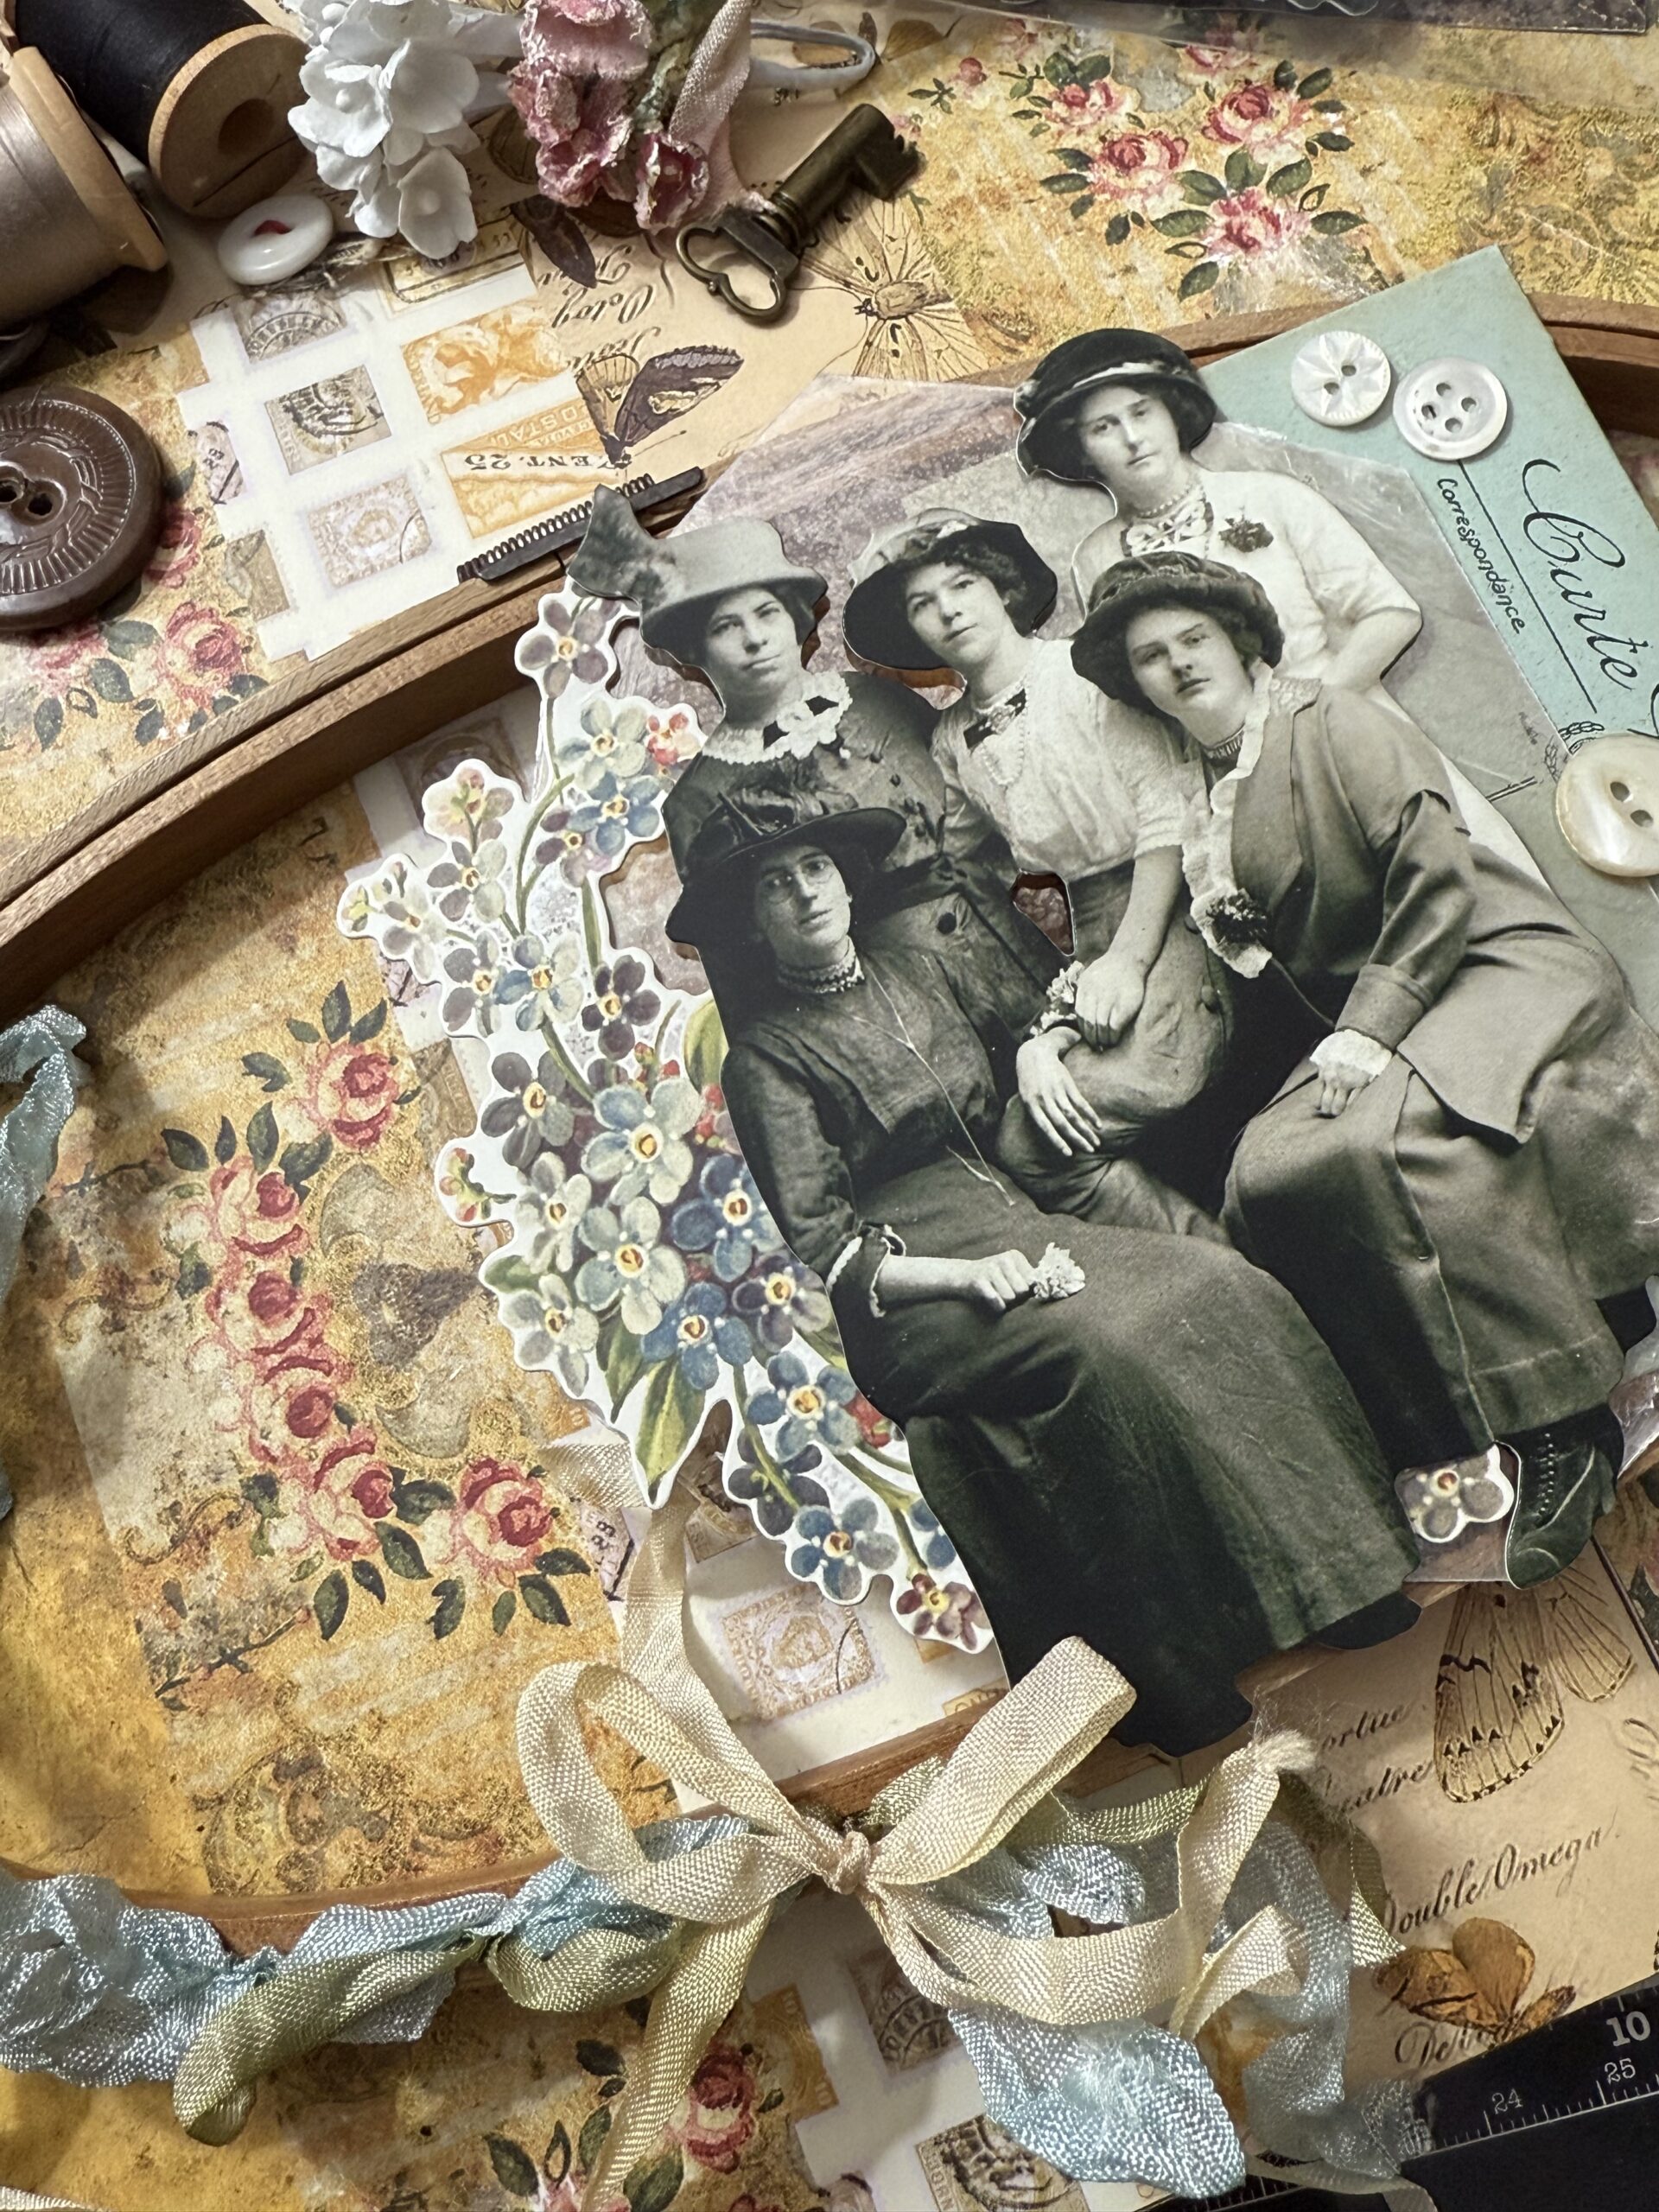
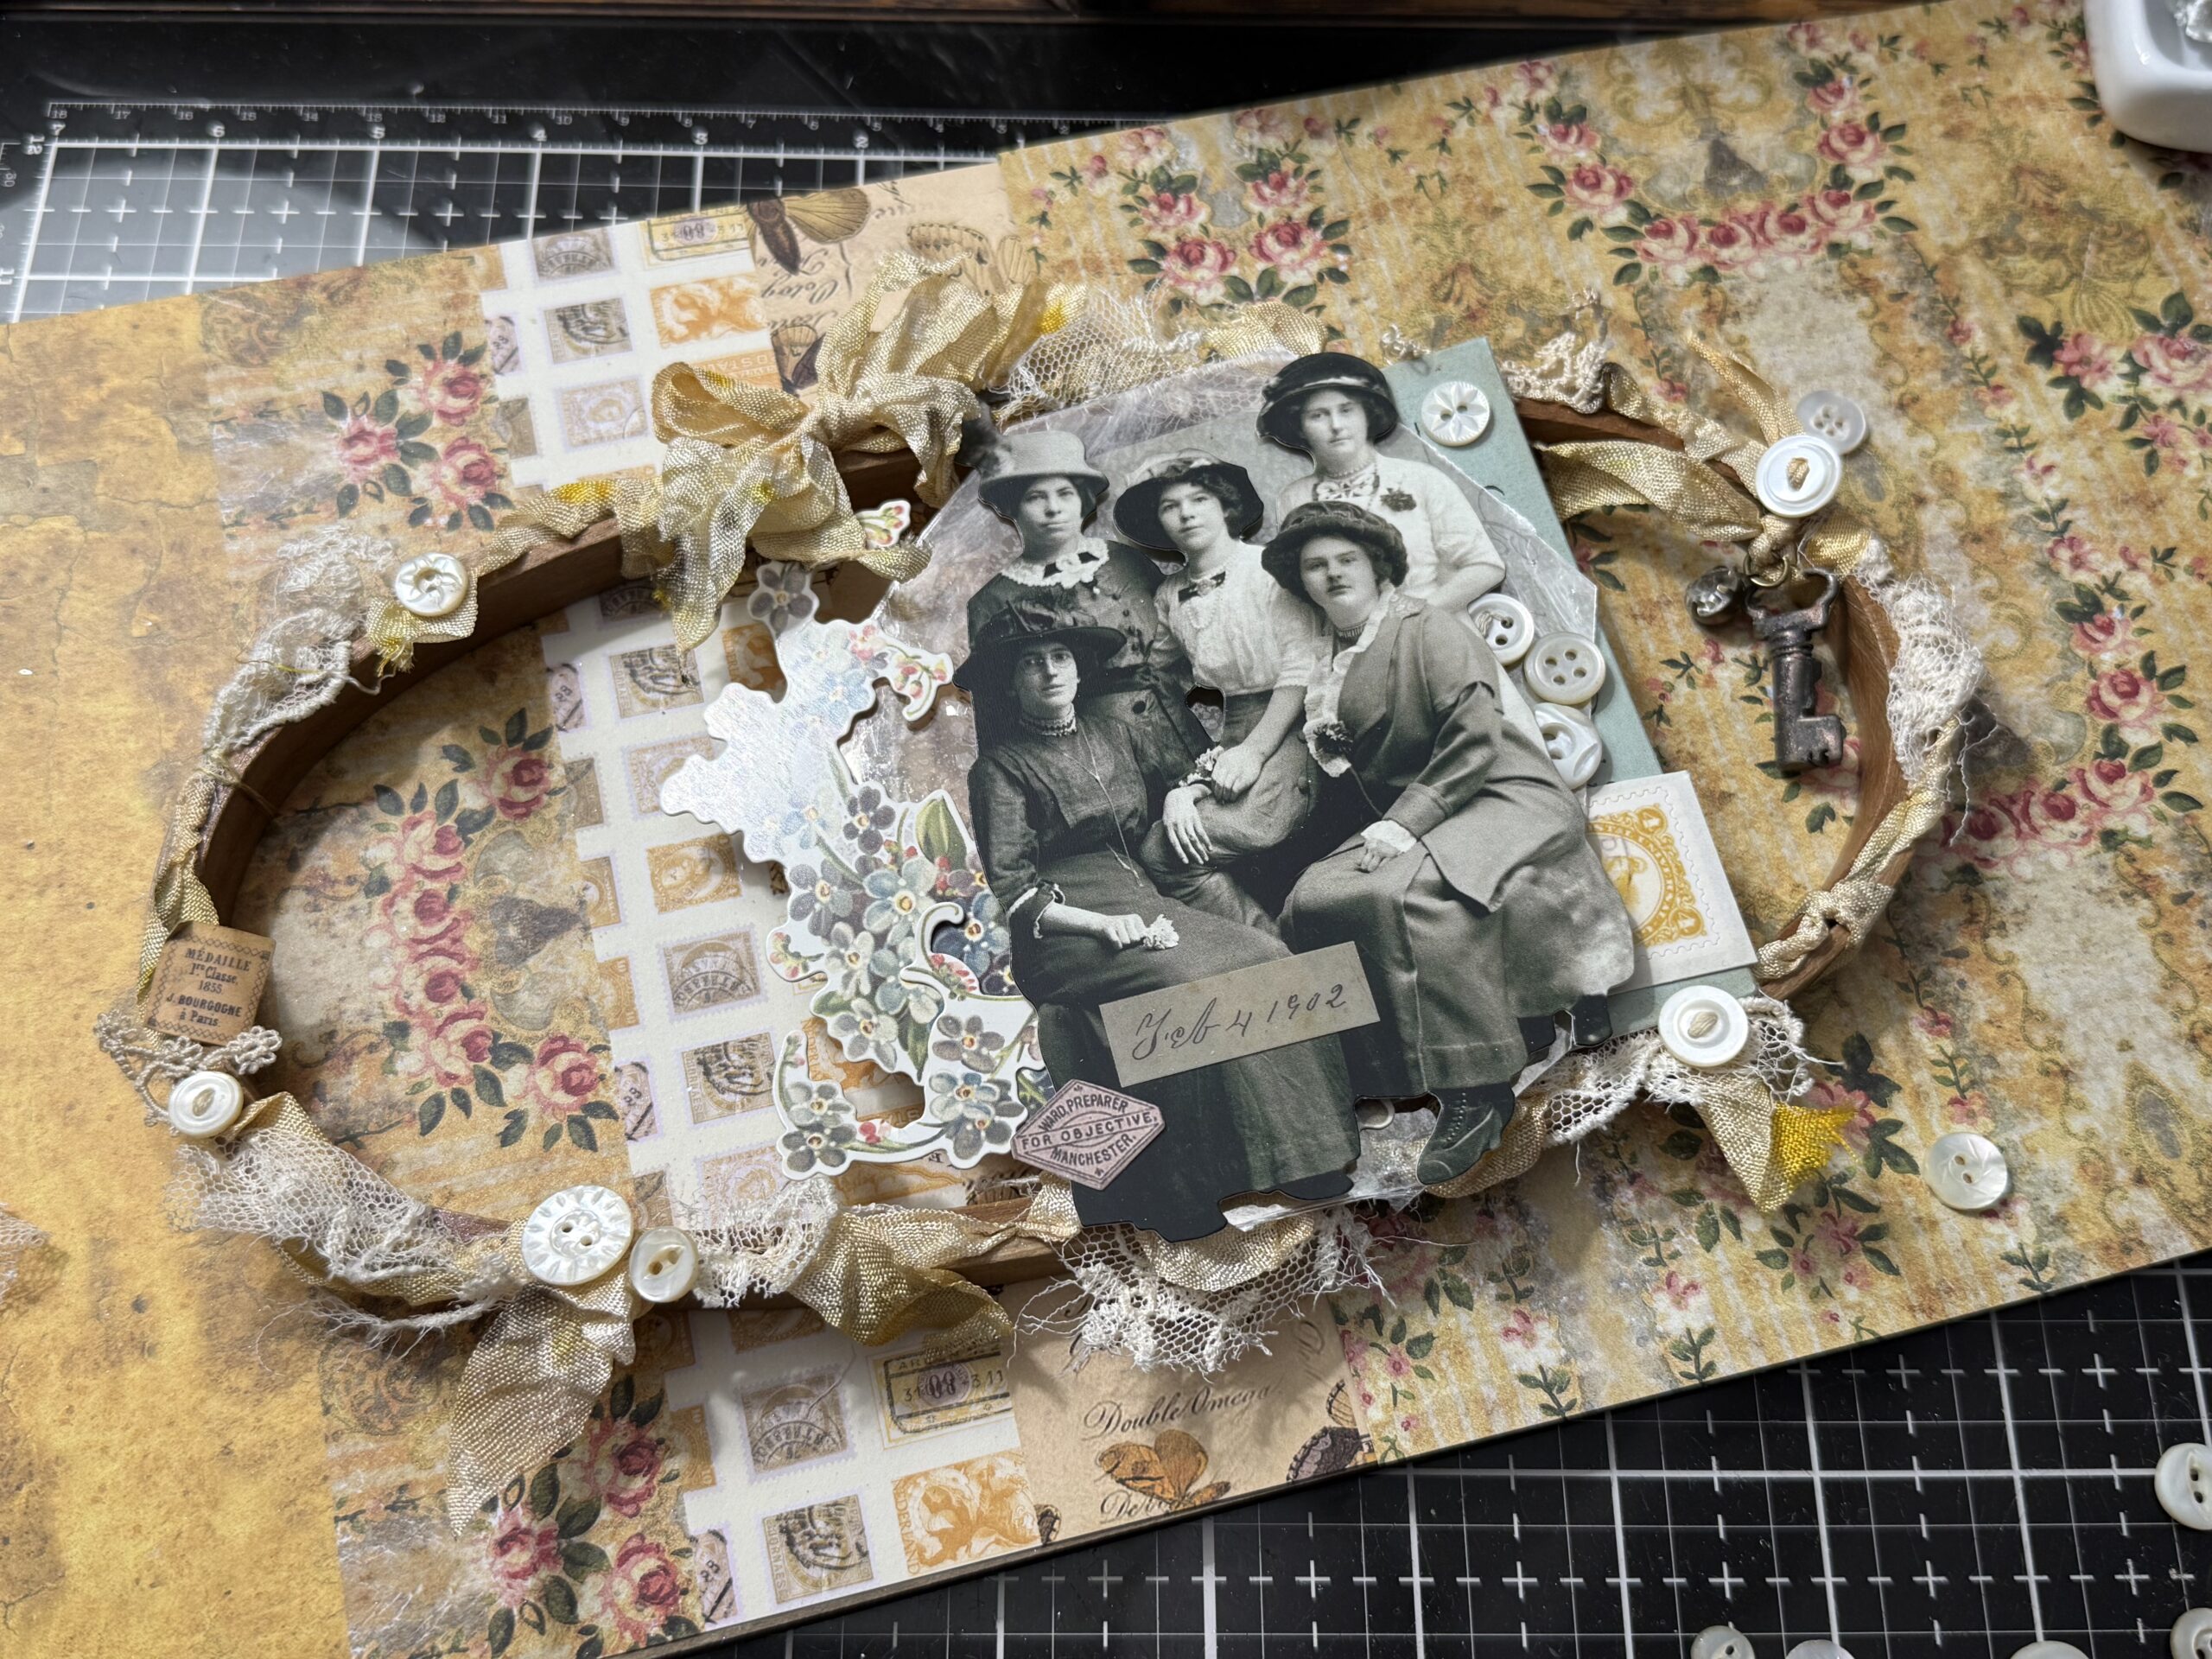
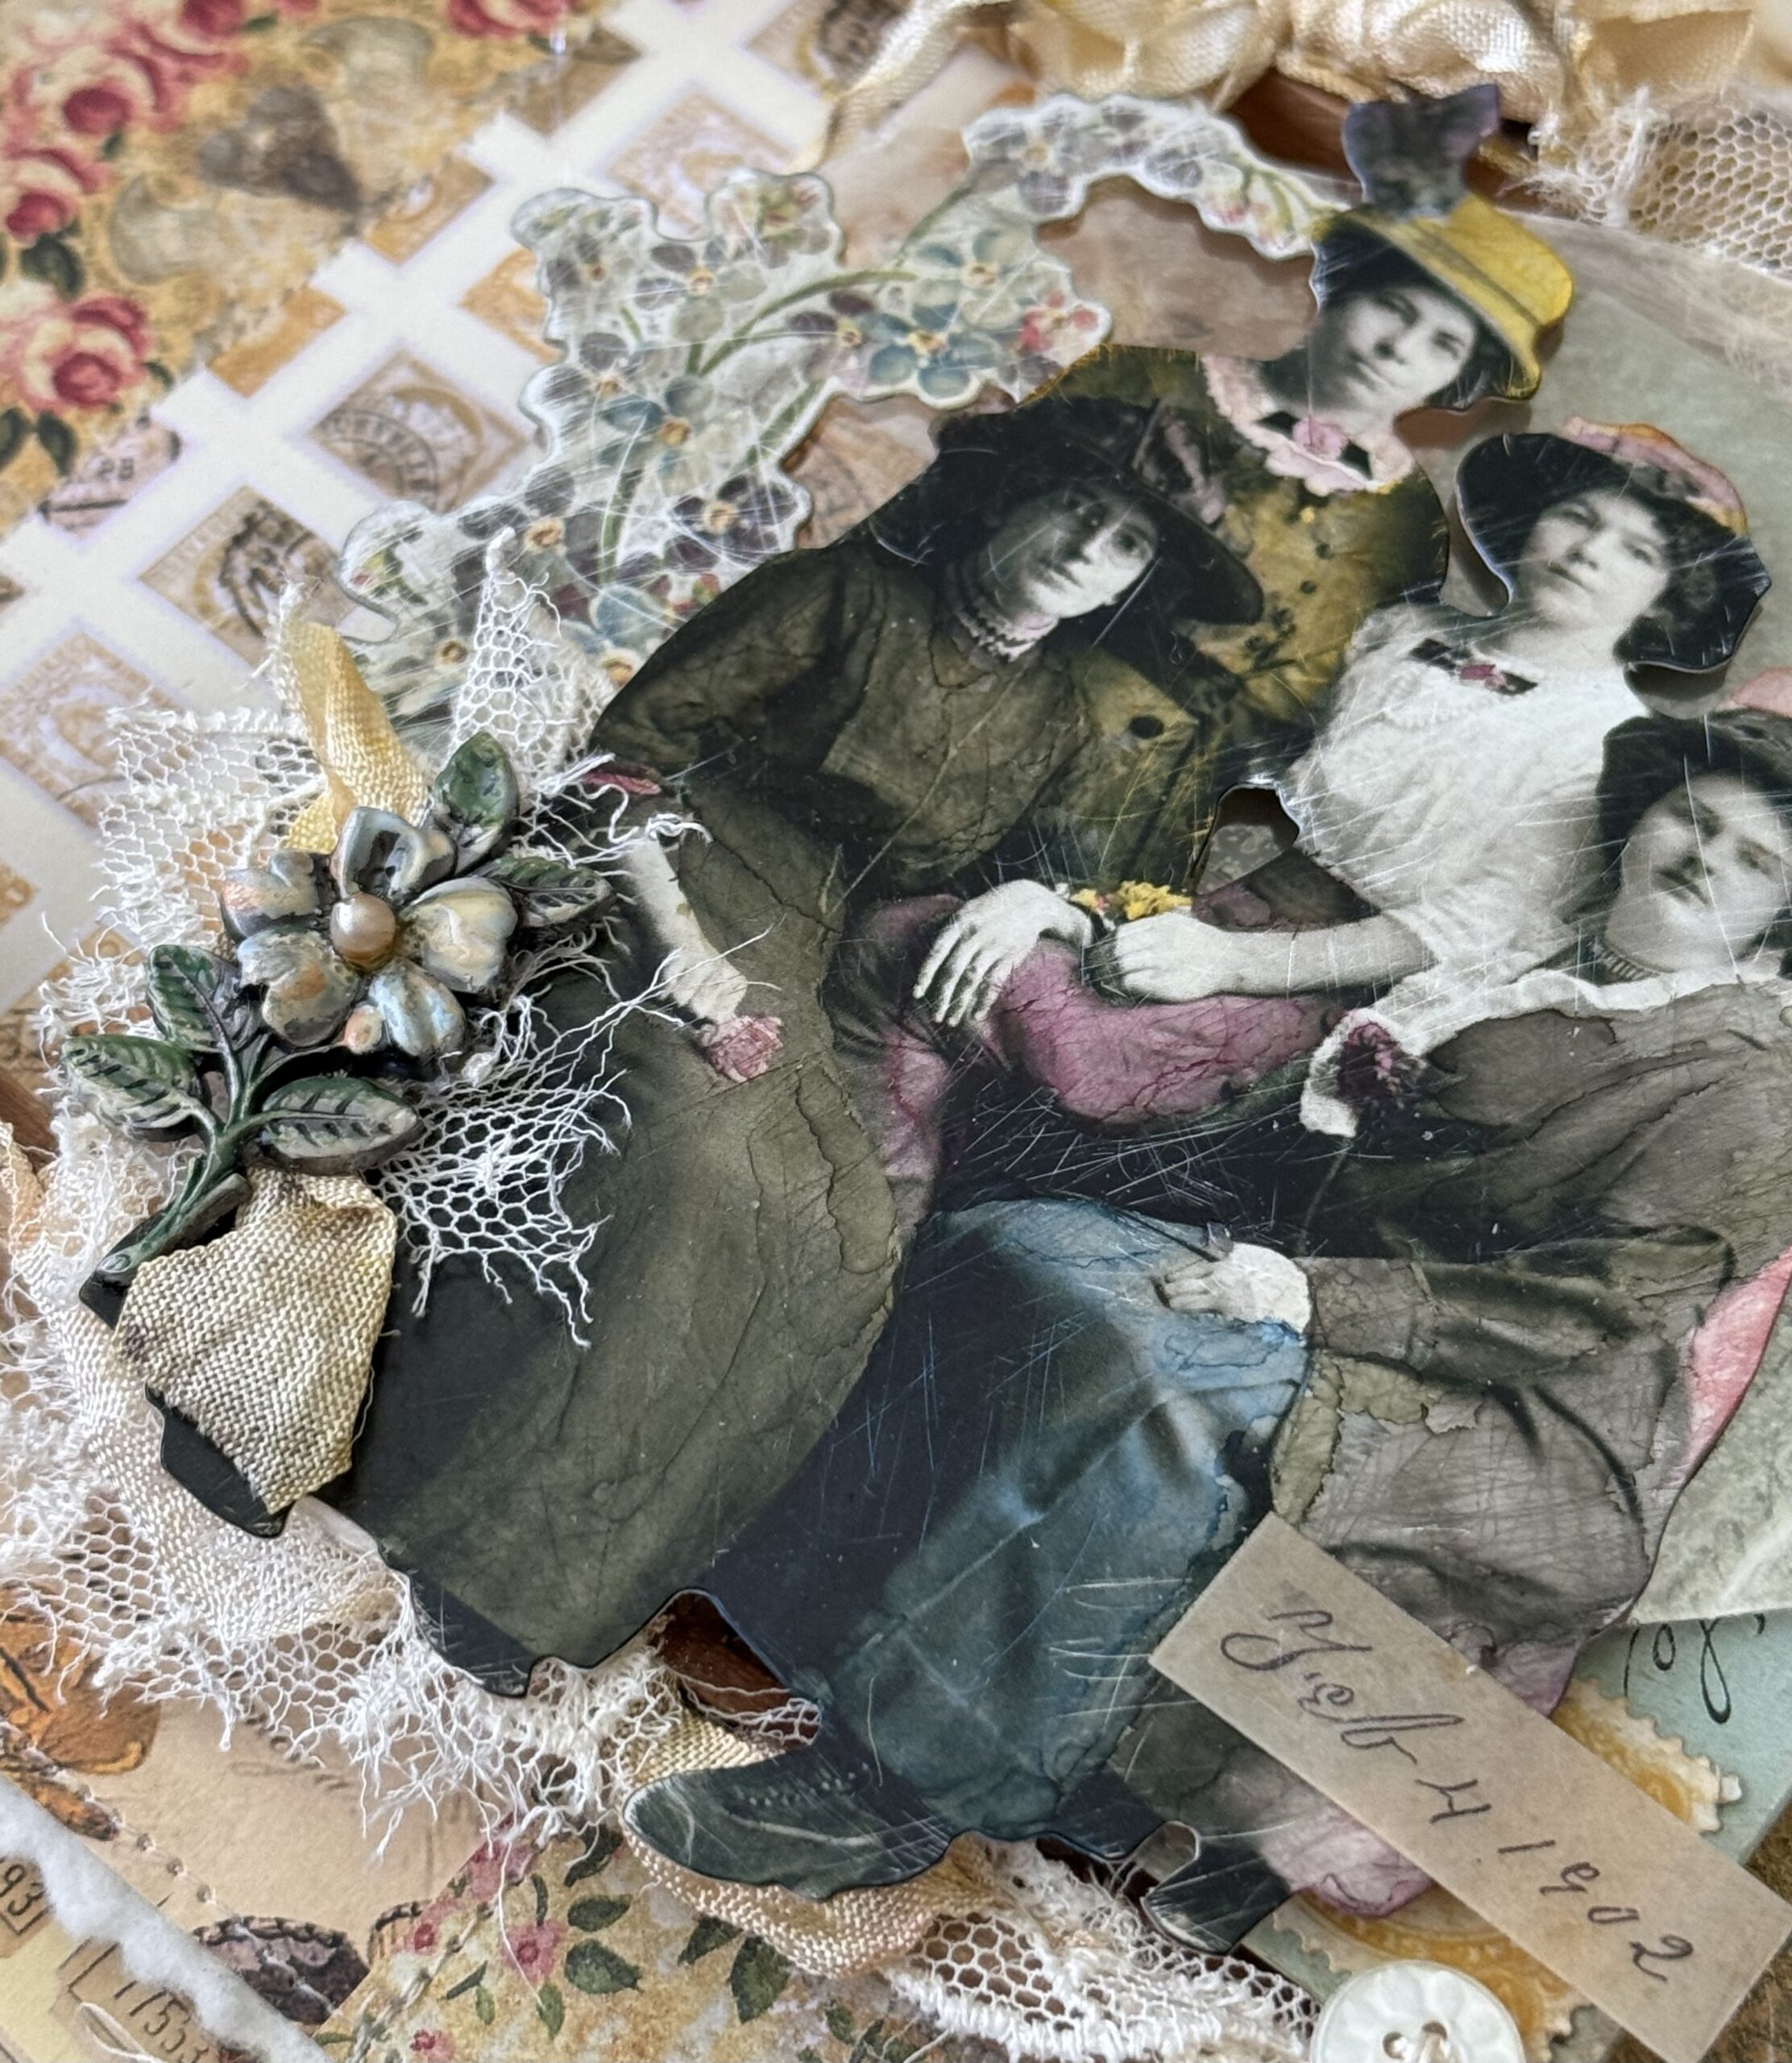
In the photo below you’ll see the approximate placement of all my ribbons, lace and buttons. I also added an idea-ology floral Ephemera piece to the left of the ladies, and added a light blue Ephemera envelope to the right. I also added an idea-ology sticker stamp in yellow to the front of the envelope to make it look more realistic. This photo below shows the process of the piece before the elements were adhered, so you’ll notice a slight change as the piece came together.
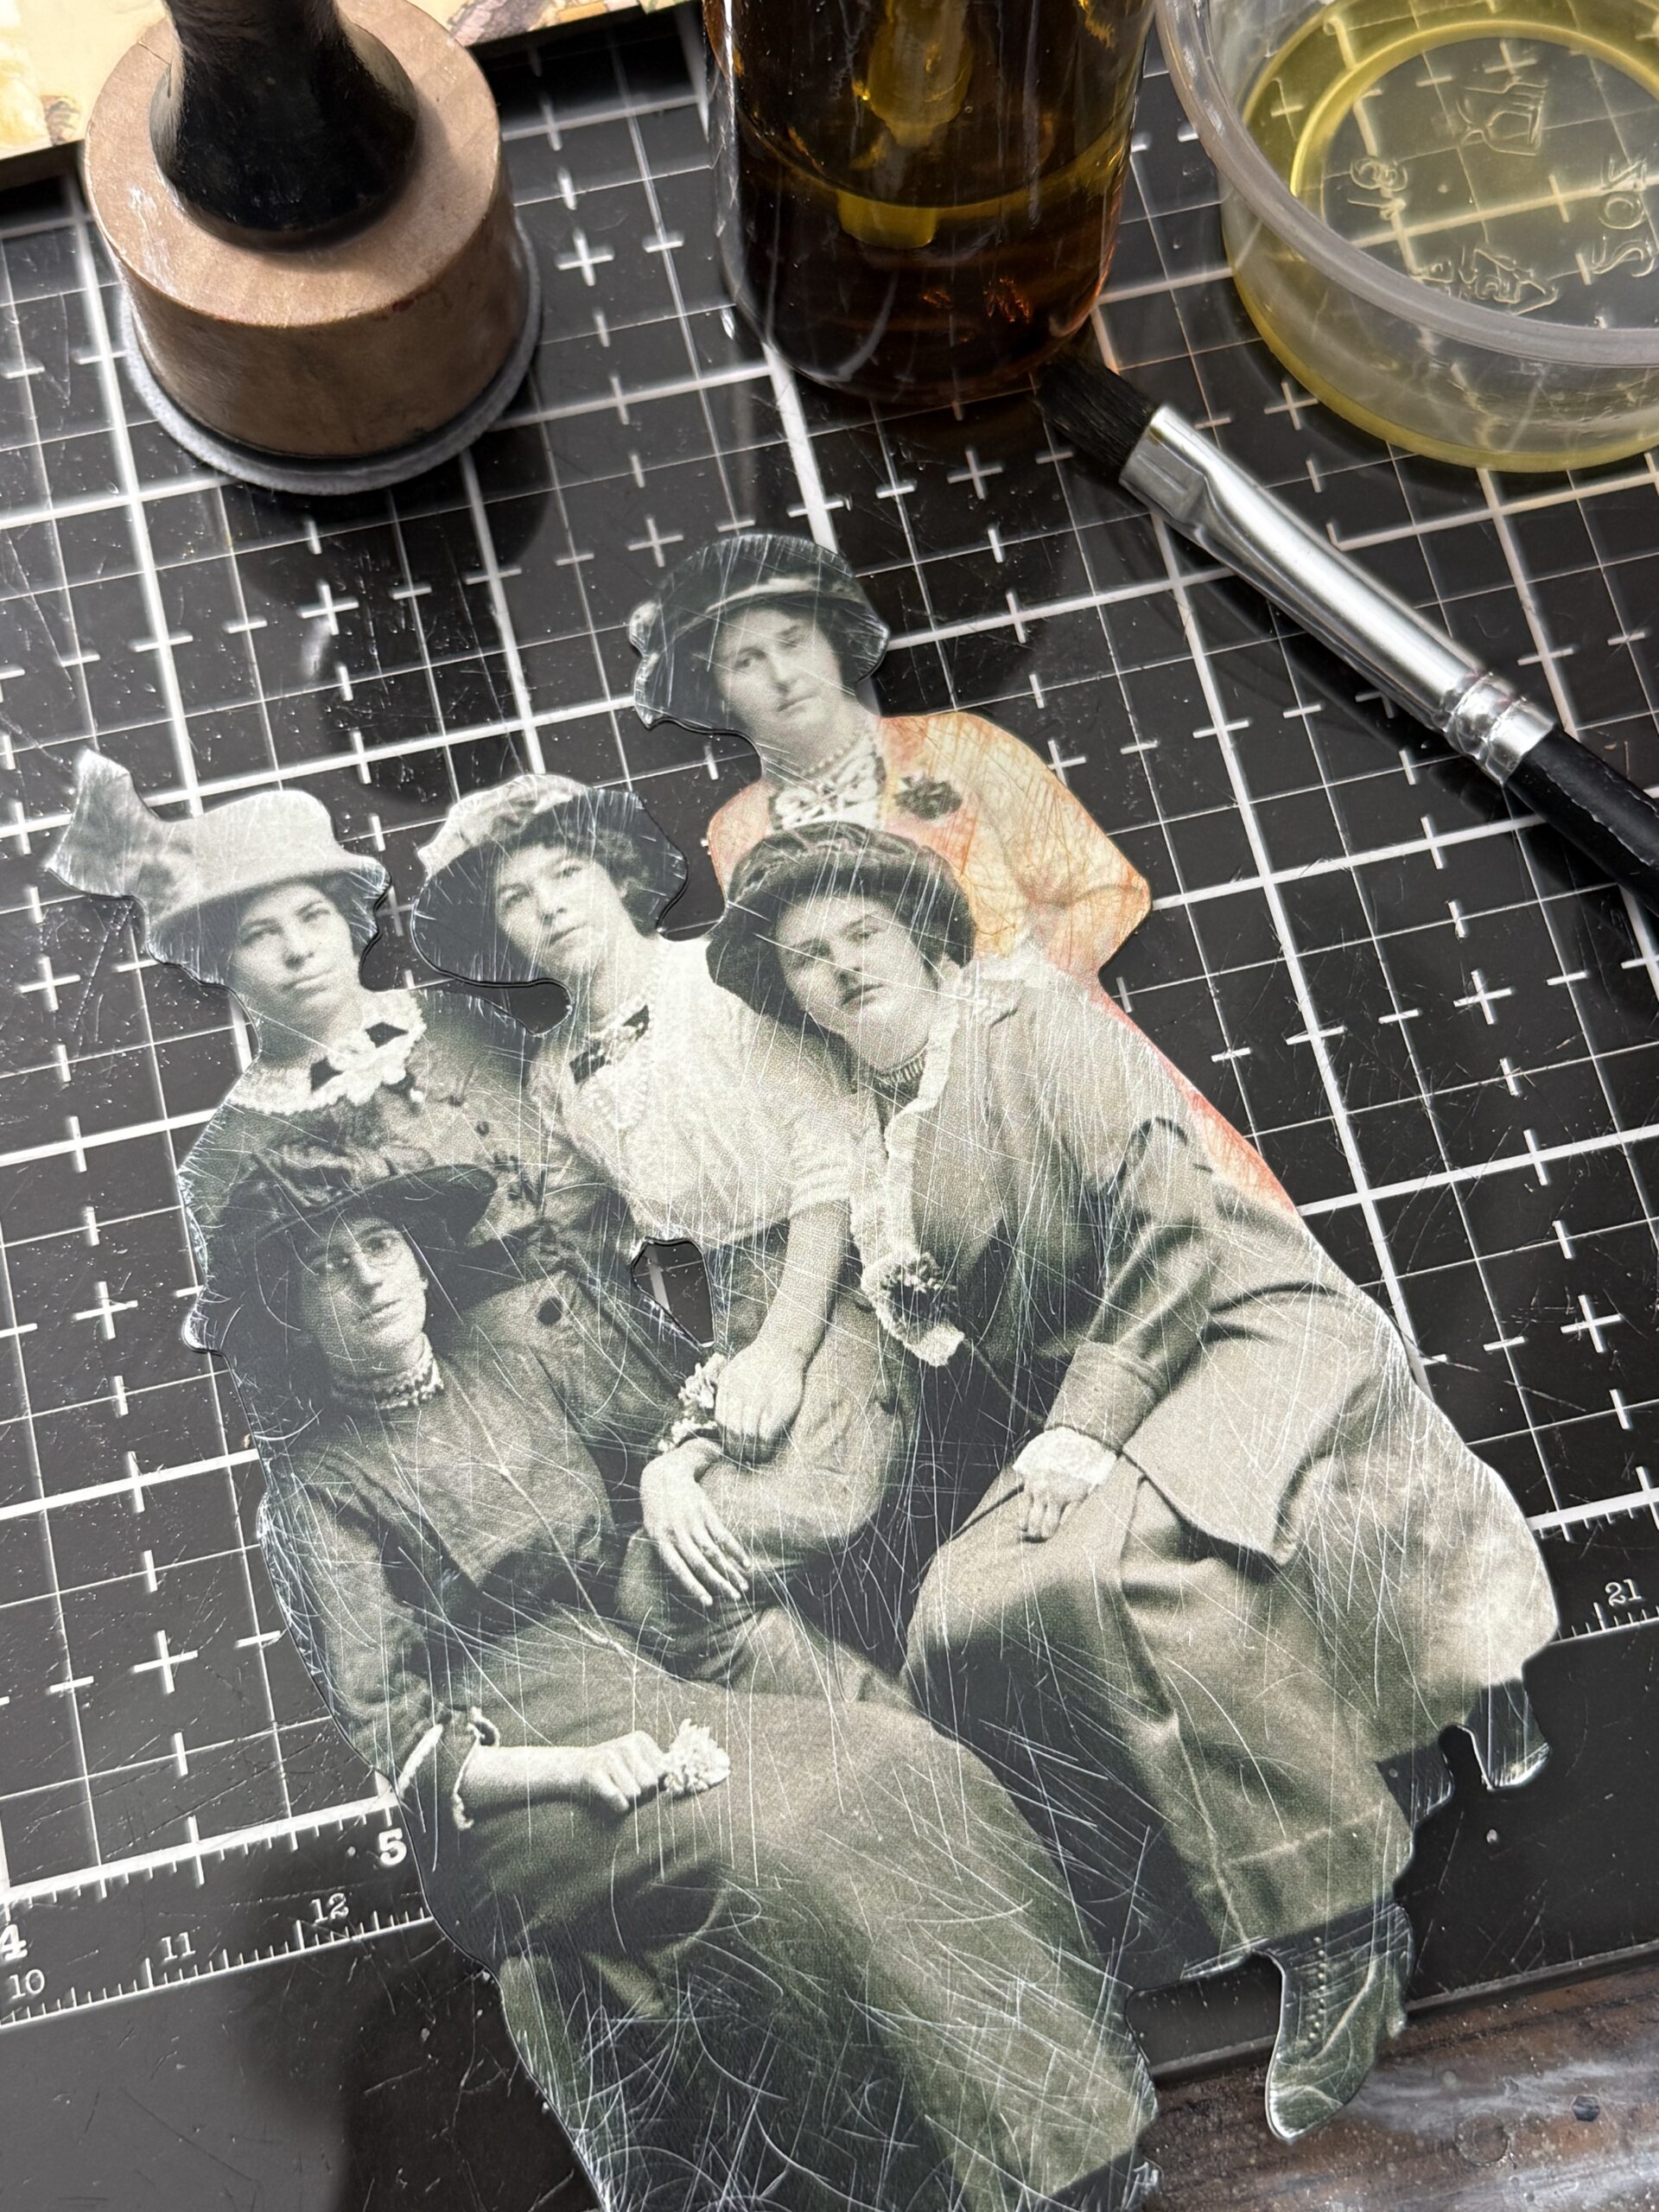
To color the paper doll group I used a variety of Alcohol Ink colors by applying them using a paint brush. I started by scratching up the surface of the paper dolls using a sanding disk on a blending tool, then began to color. This is the first time I have ever tried to color paper dolls this way, but I found it very easy.
Using Alcohol Ink makes the color permanent but if you make a mistake…a tiny bit of rubbing alcohol on your brush and daubing off with a cotton towel does the trick.
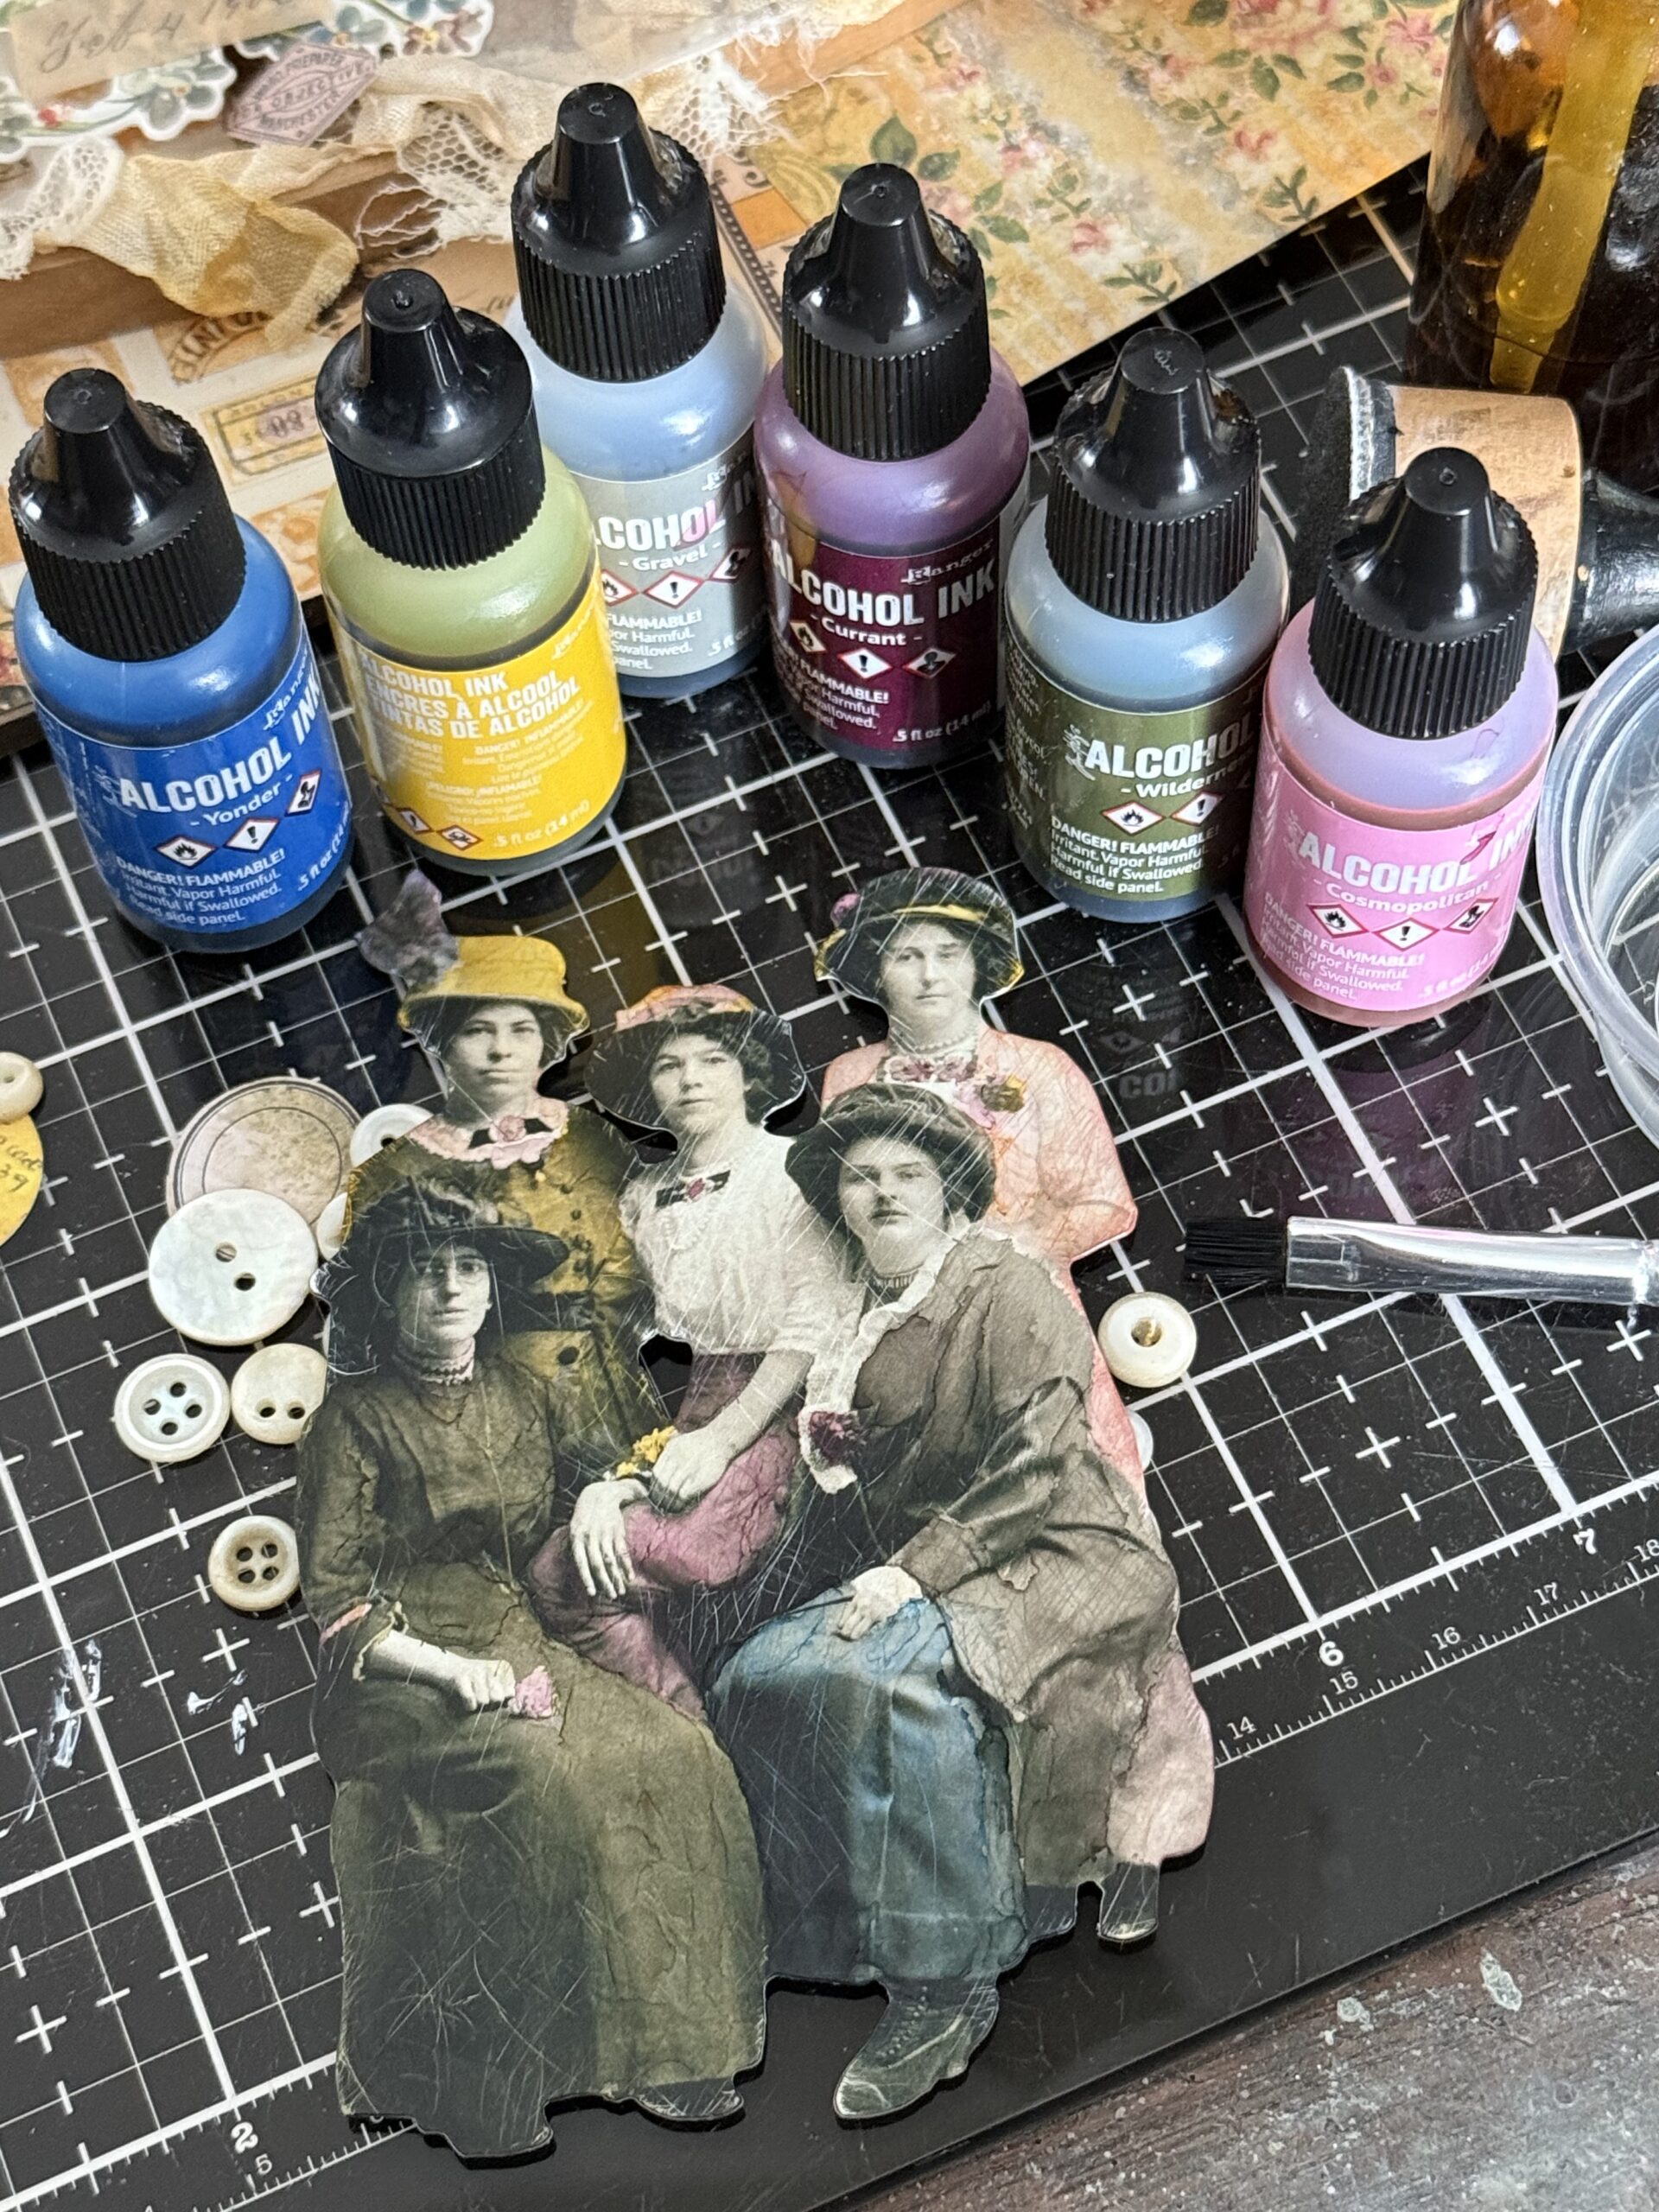
Here you’ll see all the colors I used and the finished paper doll. I colored each of the ladies with their color using the brush, then dried the ink with a heat tool before moving on to the next lady. This kept my colors from running together. In between colors, I used a small container of isopropyl alcohol in a cup to wash the brush, then continued with the coloring. I just love how it turned out… Using a brush to get those tiny flowers on their collars and those that they are holding in their hands couldn’t have been easier with this method.
Here again is the paper dolls once they were placed onto the finished piece.
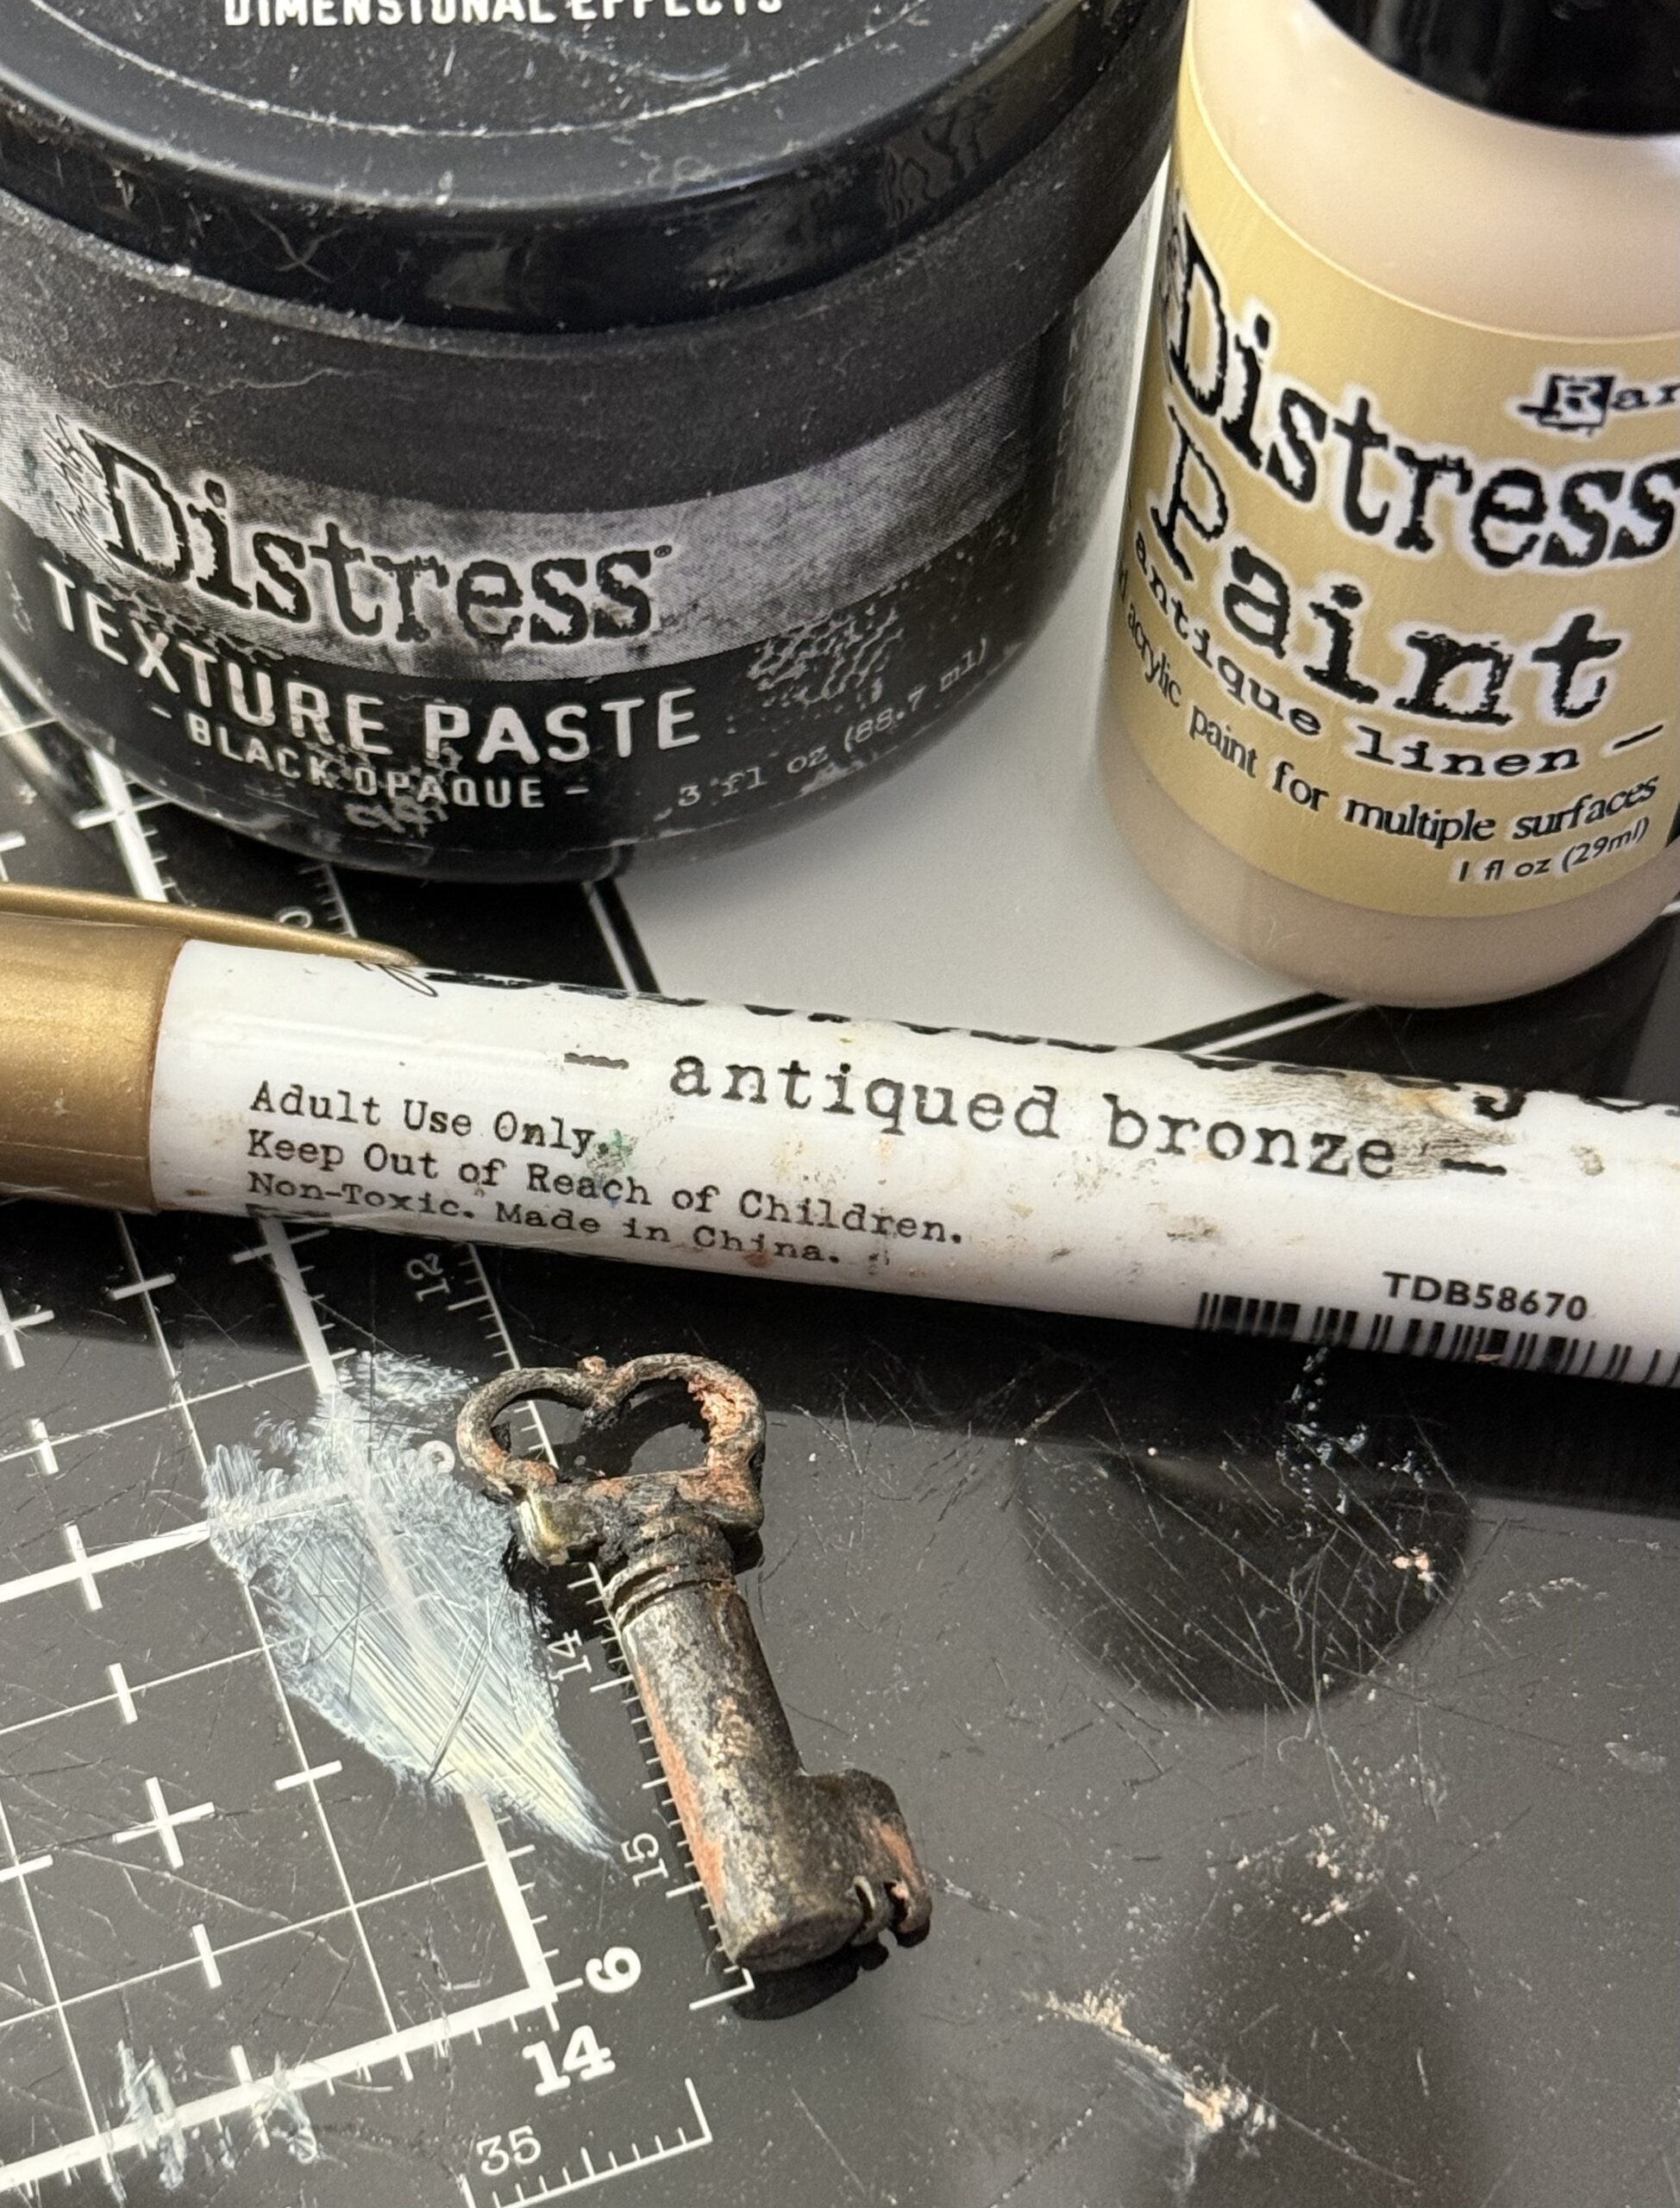
The Key and Flower Adornments-
These were both rubbed with a small amount of Antique Linen Distress Paint, then set aside to dry.
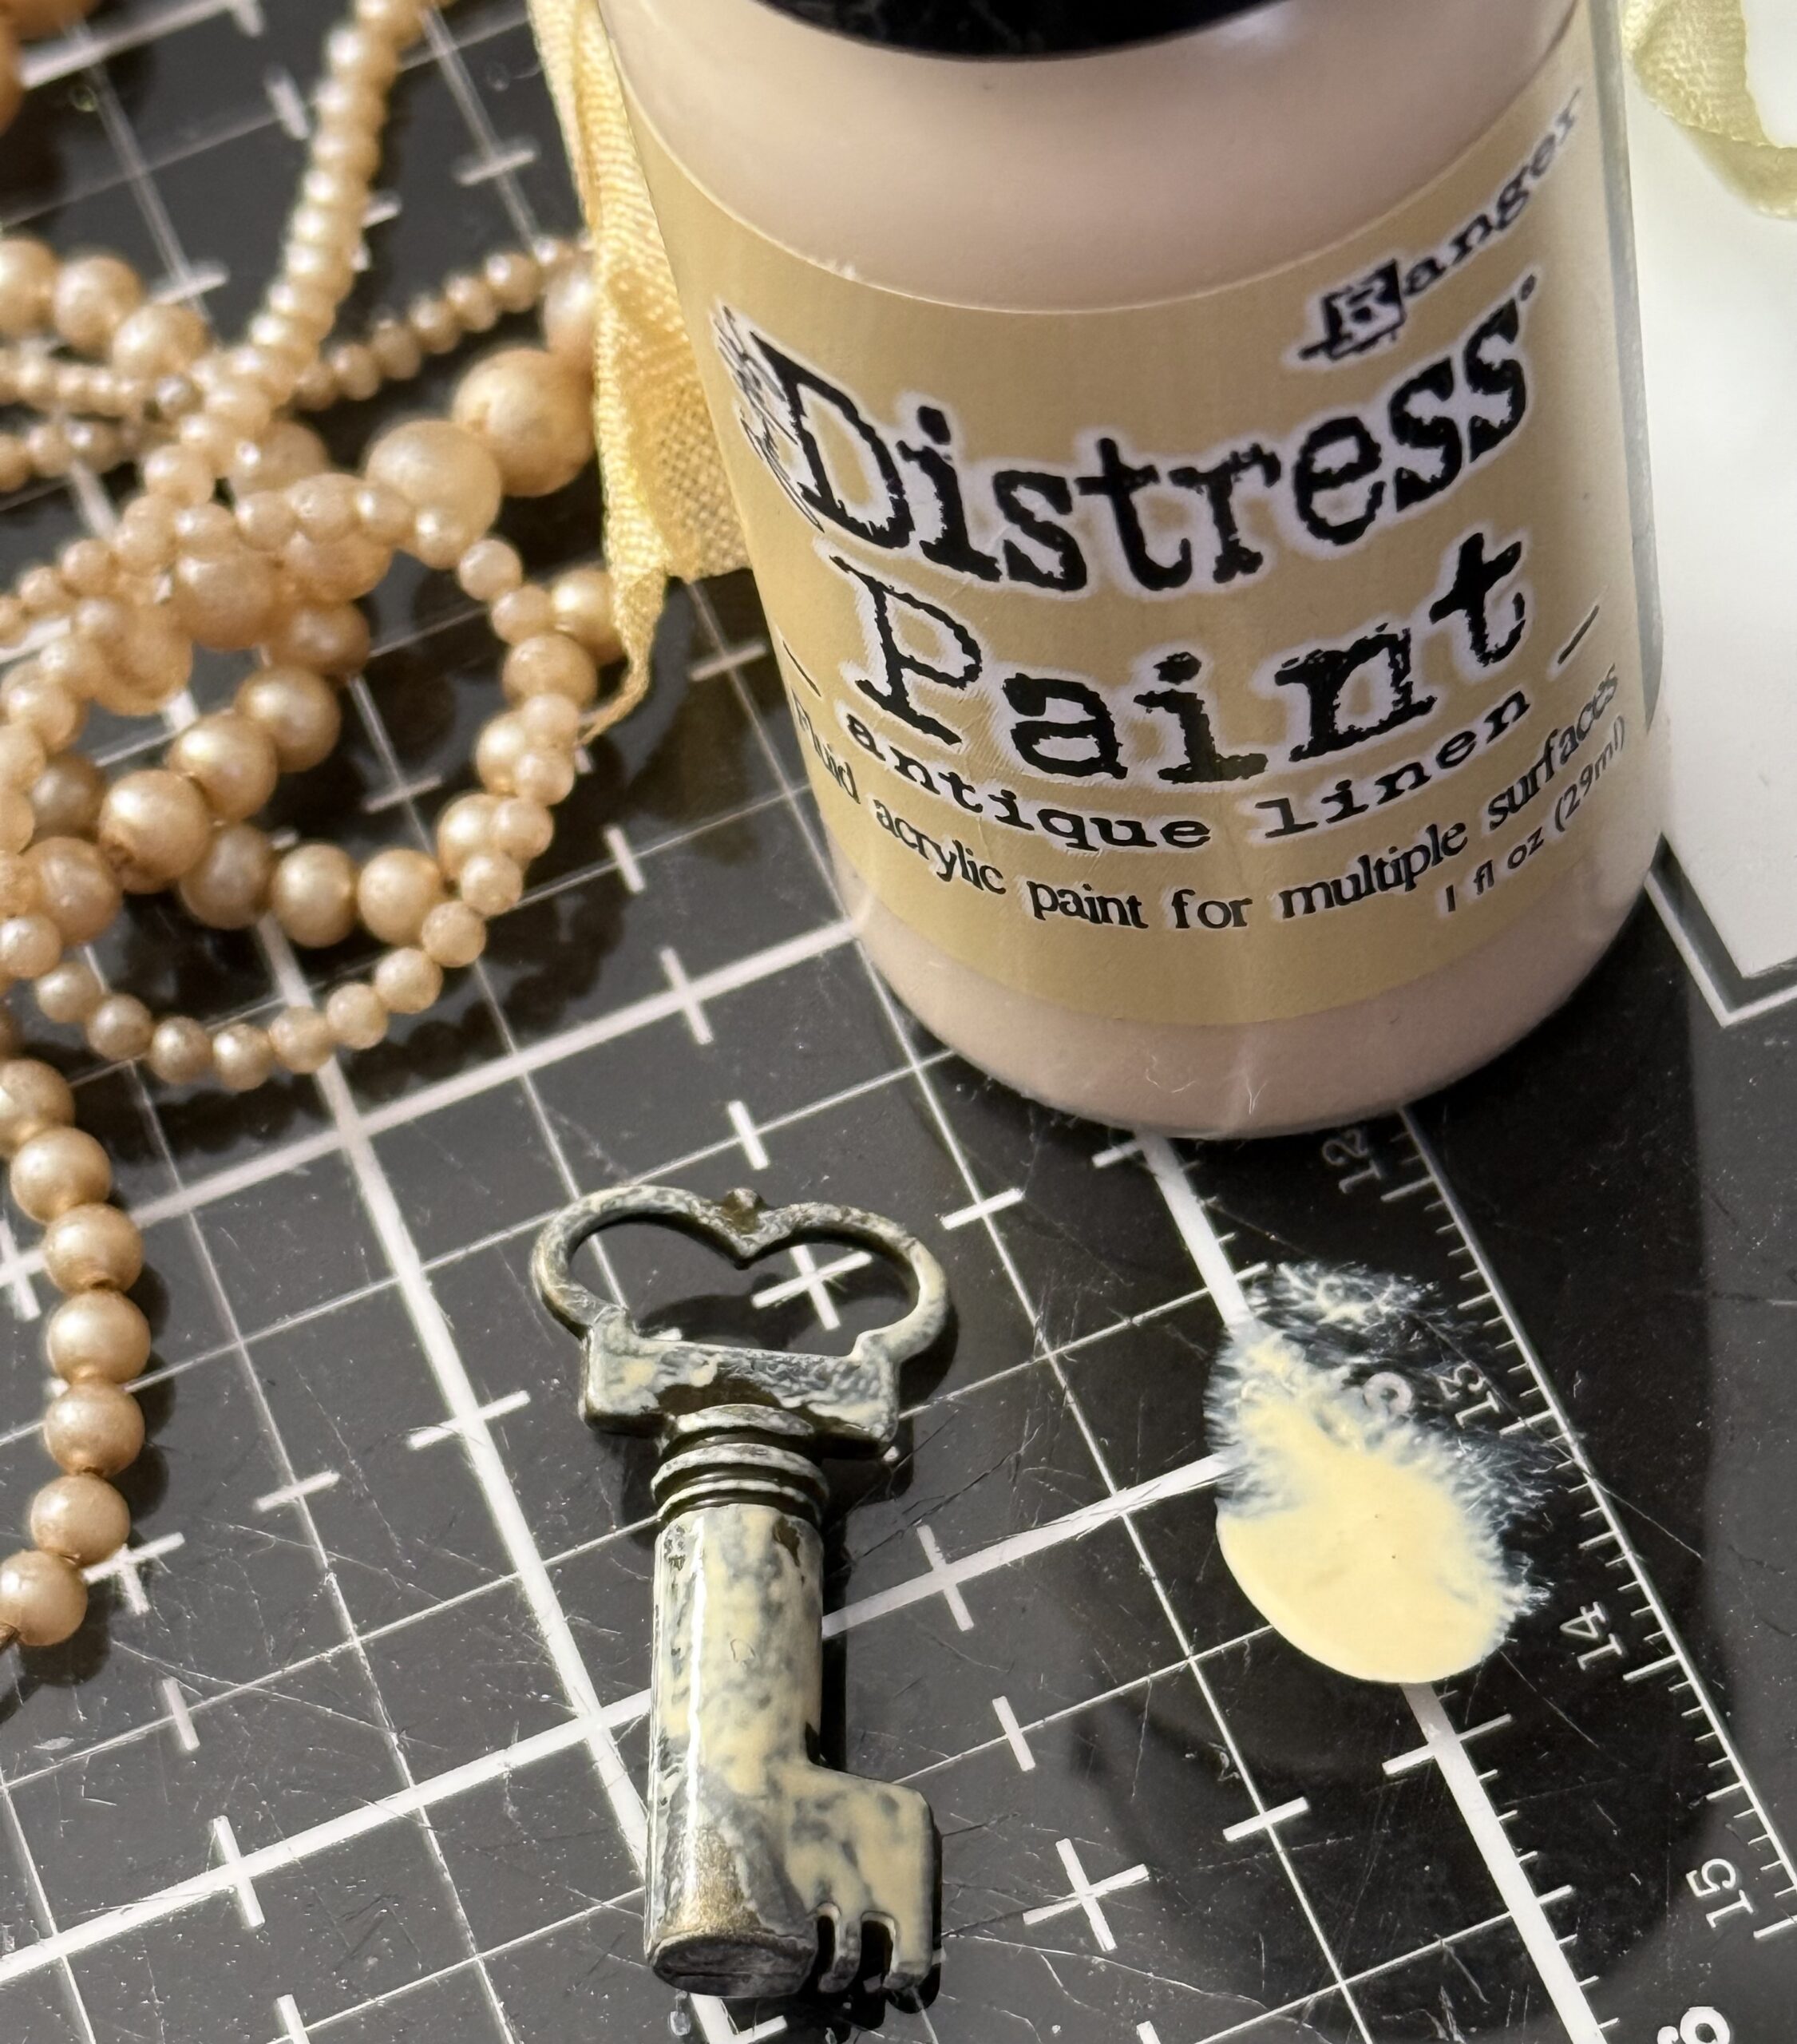
After the paint was dry on the key, I rubbed some black opaque texture paste onto it, then set it aside to dry. This created some “grunge” as an real vintage key would have. After the texture paste was dry, I scribbled some Antiqued Bronze onto it, then rubbed that in with my finger. This gave the key an old look.
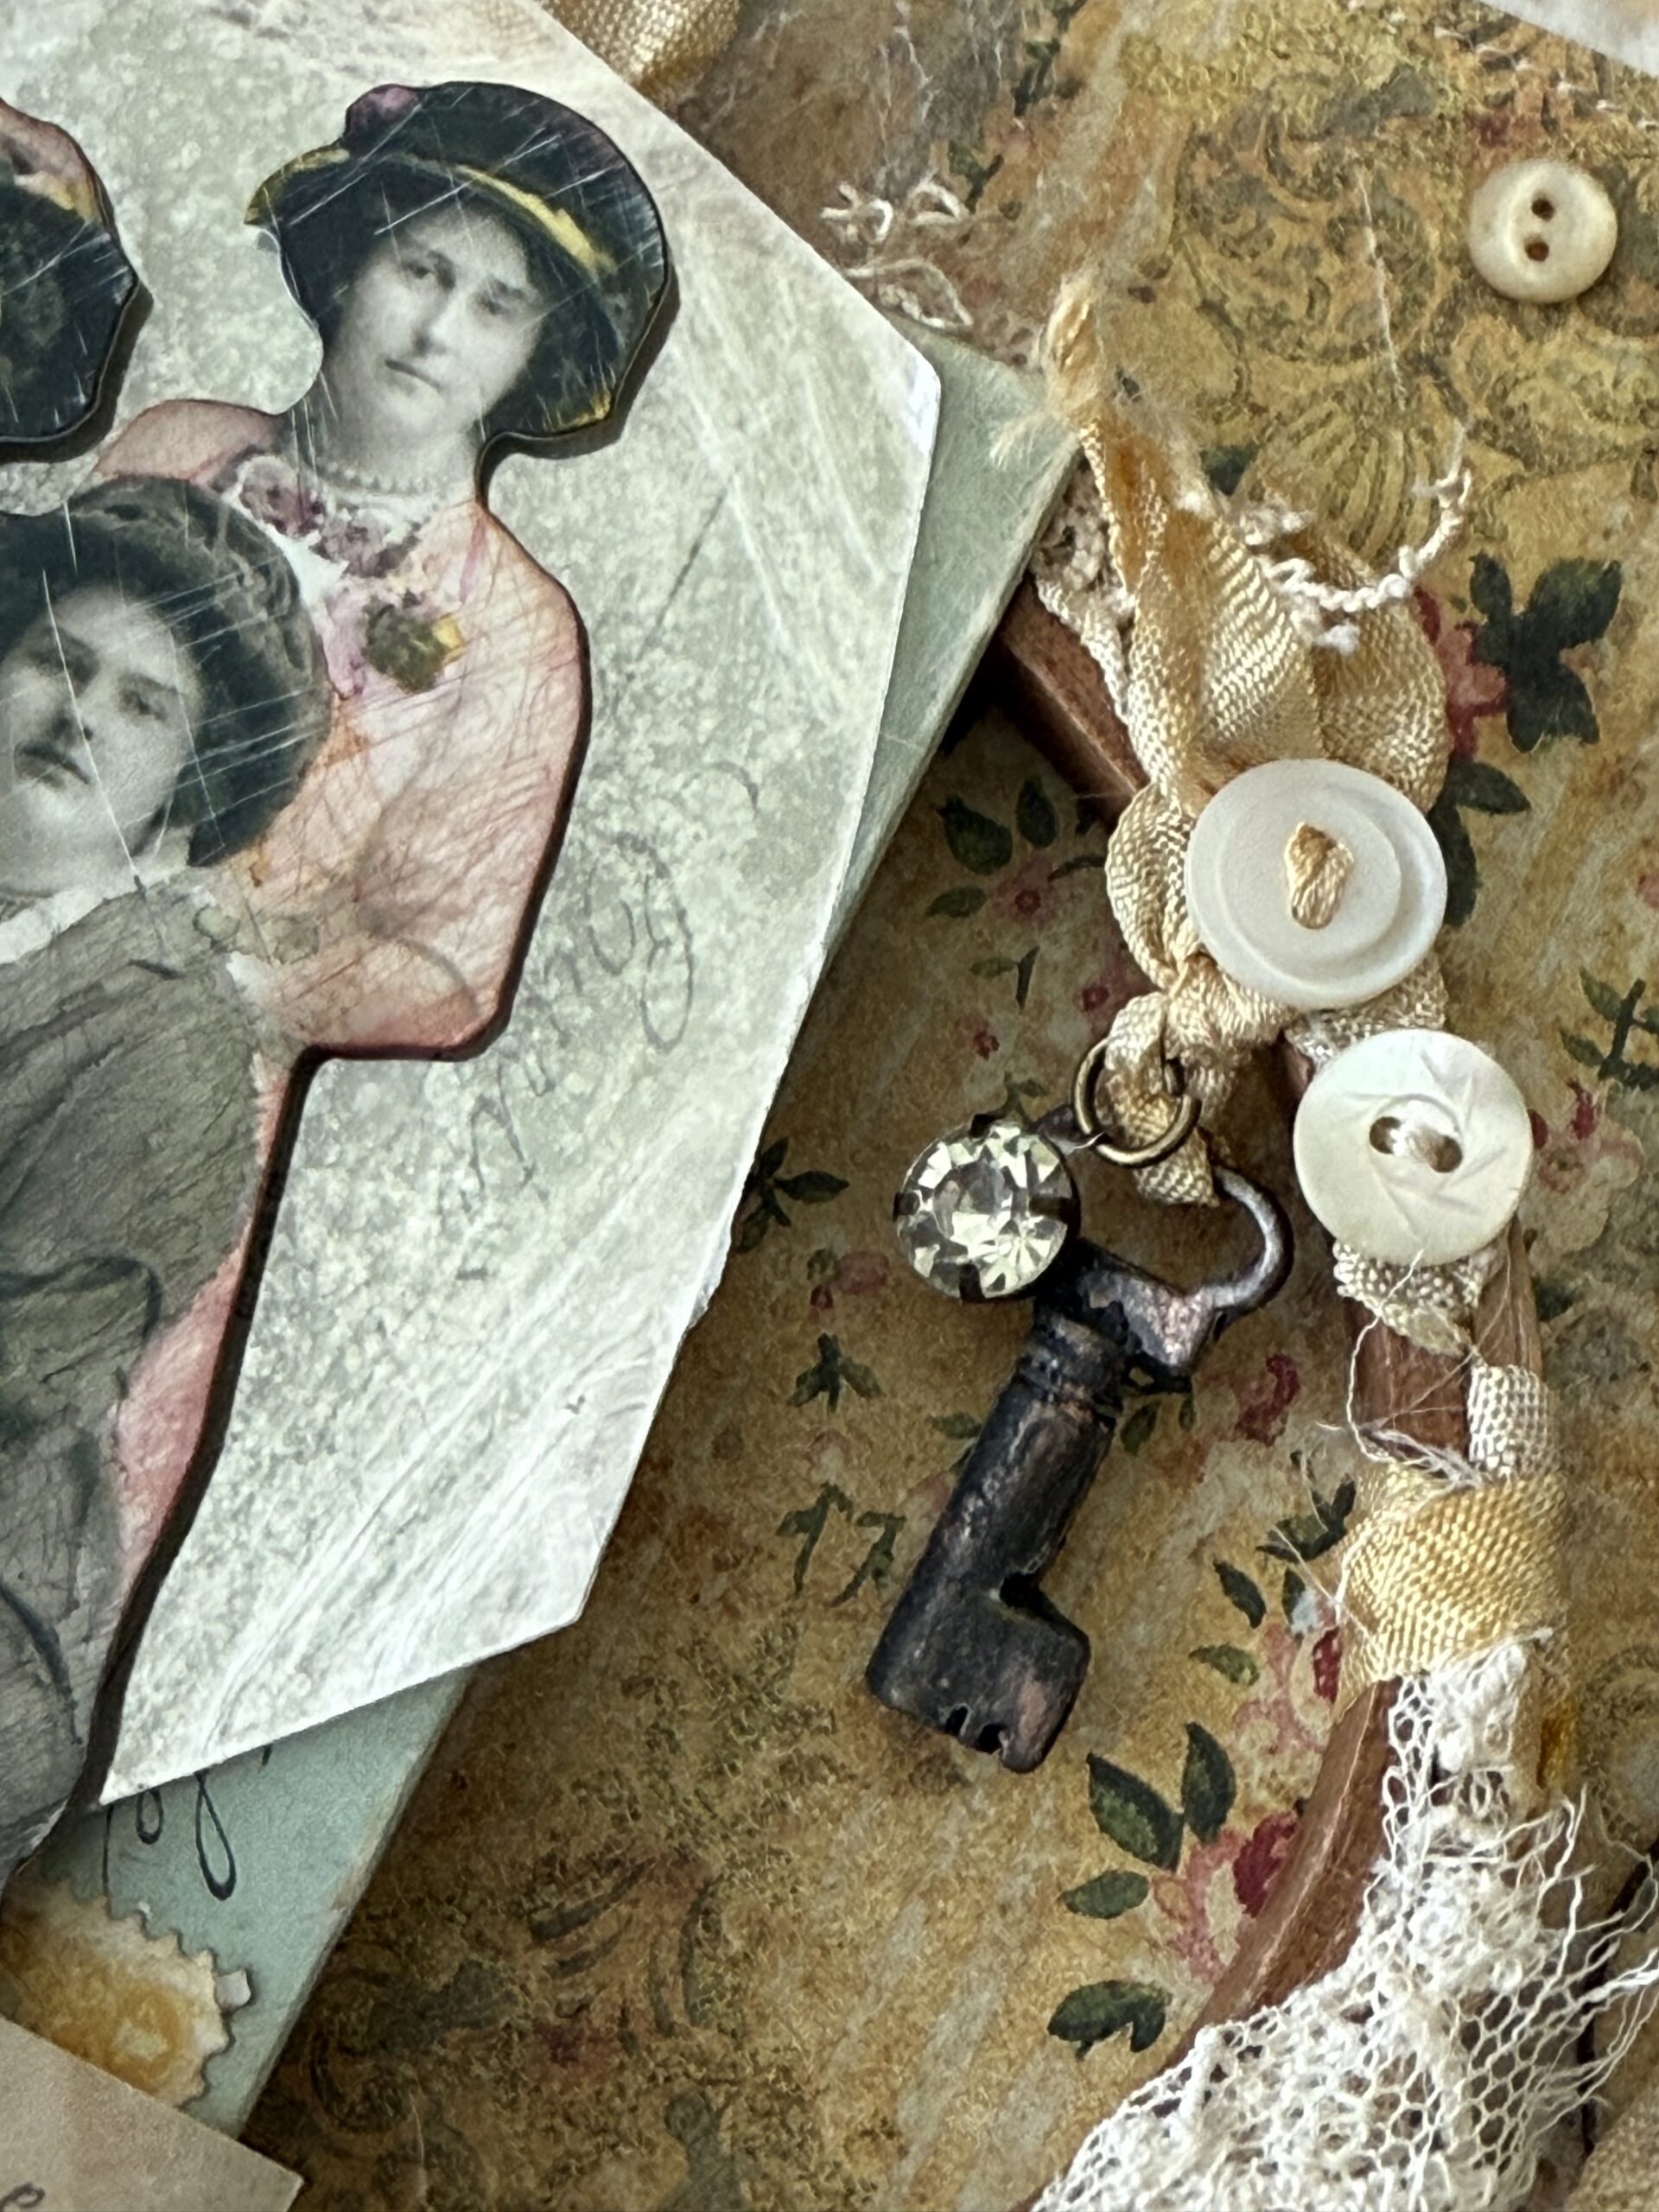
The key was tied with some ribbon, and an idea-ology Antiqued Gem was tied to the key. I then wove a button onto the ribbon through the button holes. This piece was then placed to the right of the oval hoop with hot glue.
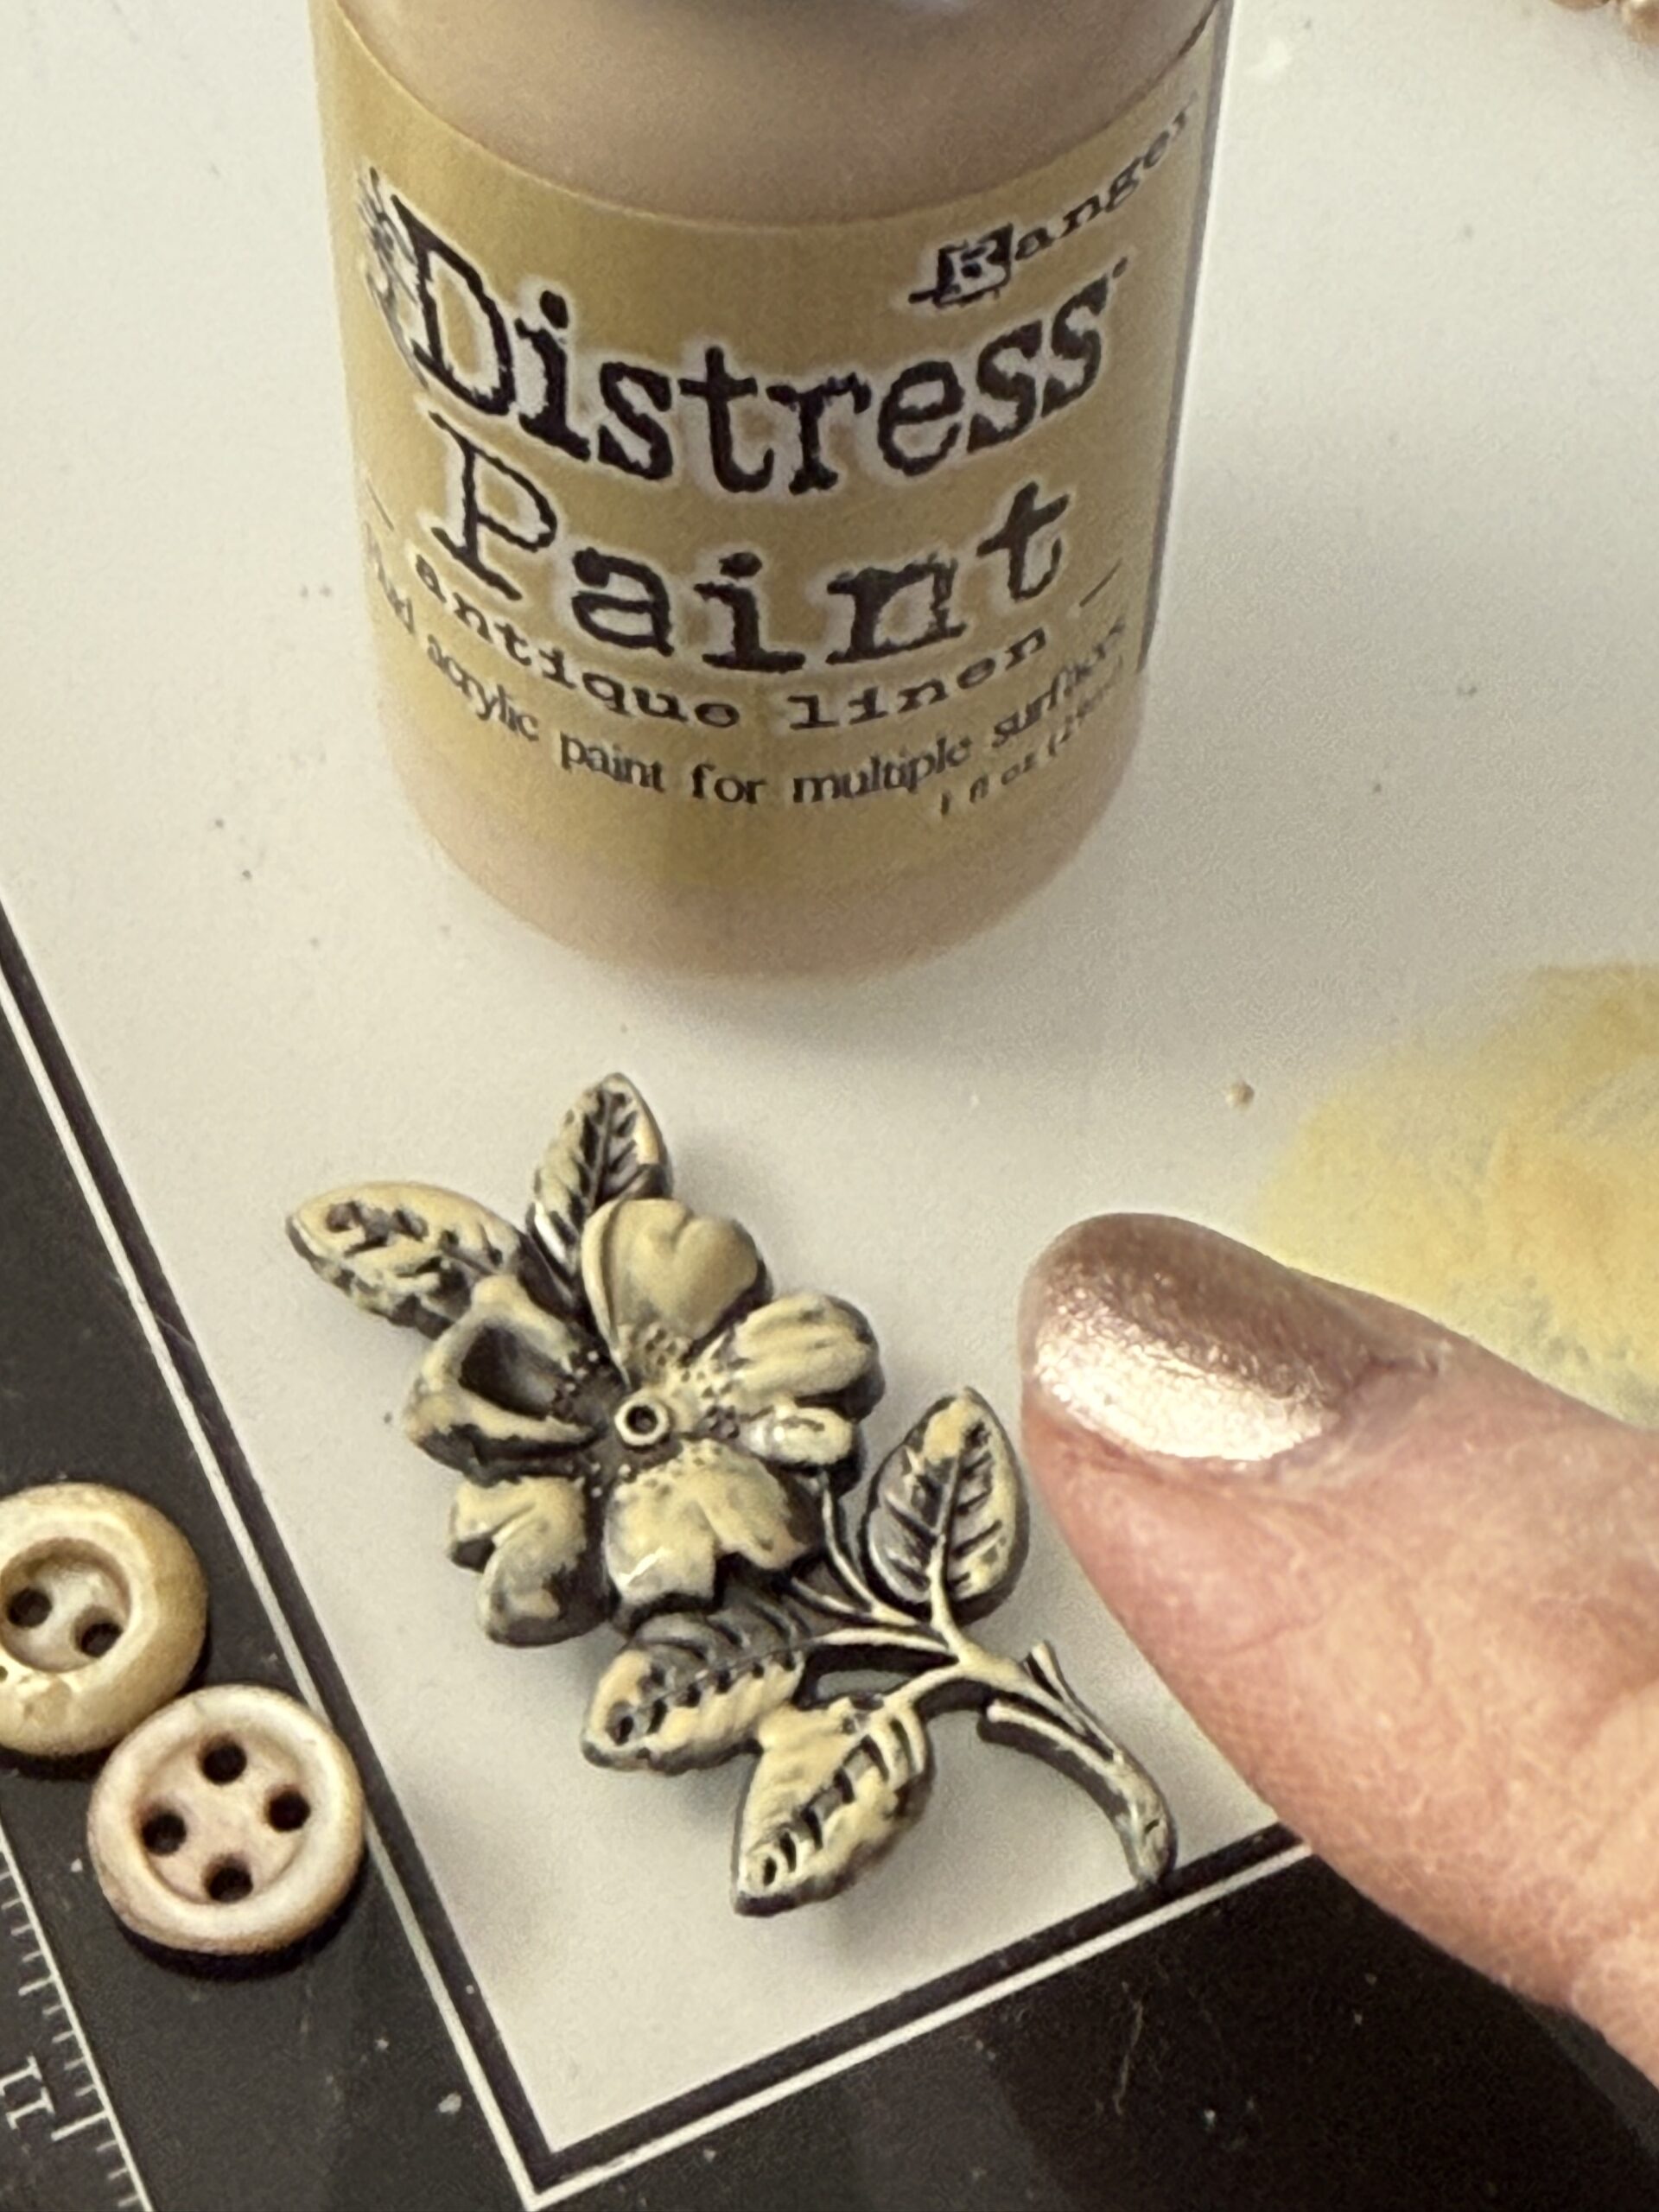
The flower adornment was rubbed with the Antique Linen Distress Paint, then set aside to dry.
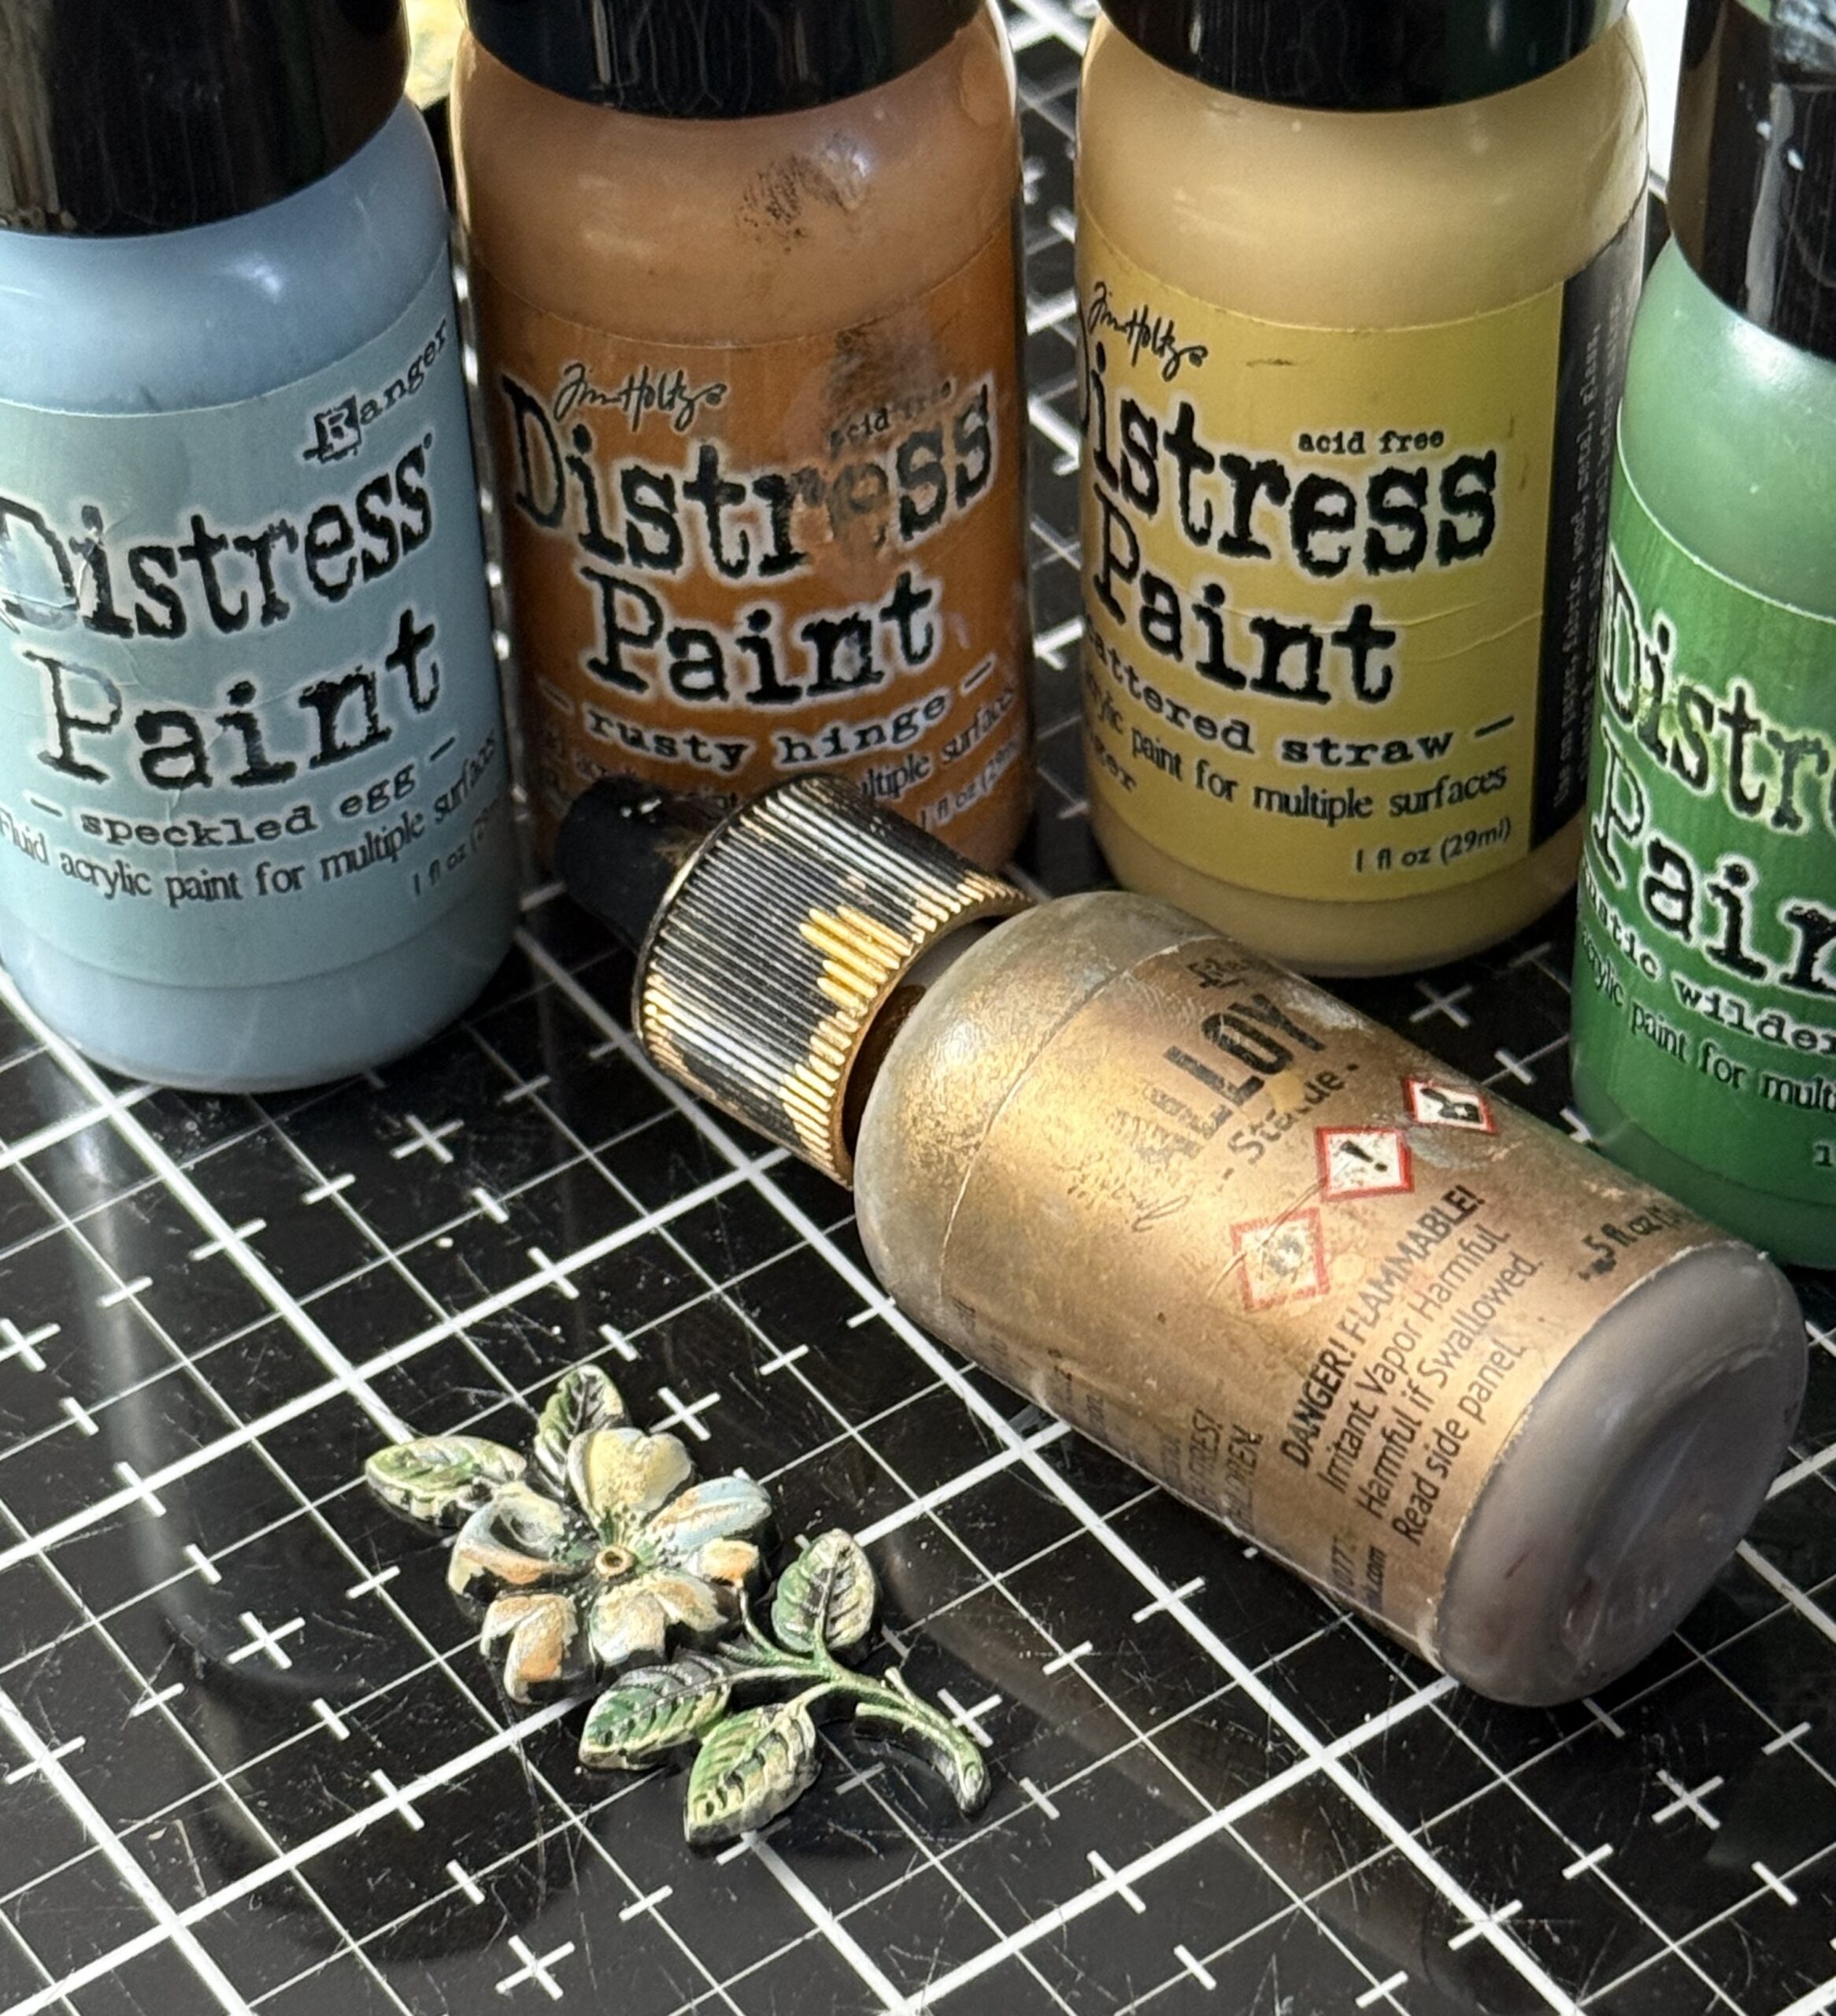
I applied some other colors of paint to the flower and the leaves using a small paint brush then, once dry, rubbed the front of the piece with some Statue Alloy Alcohol Ink. This gave the flower a look of an old broach.
I used a bit of glossy accents to adhere a small pearl bead from an old pearl necklace, then added some onto the painted areas of the petals and the leaves. You can see in the photo below where I added the glossy accents. It leaves a cloudy look but once dry, creates a shine.
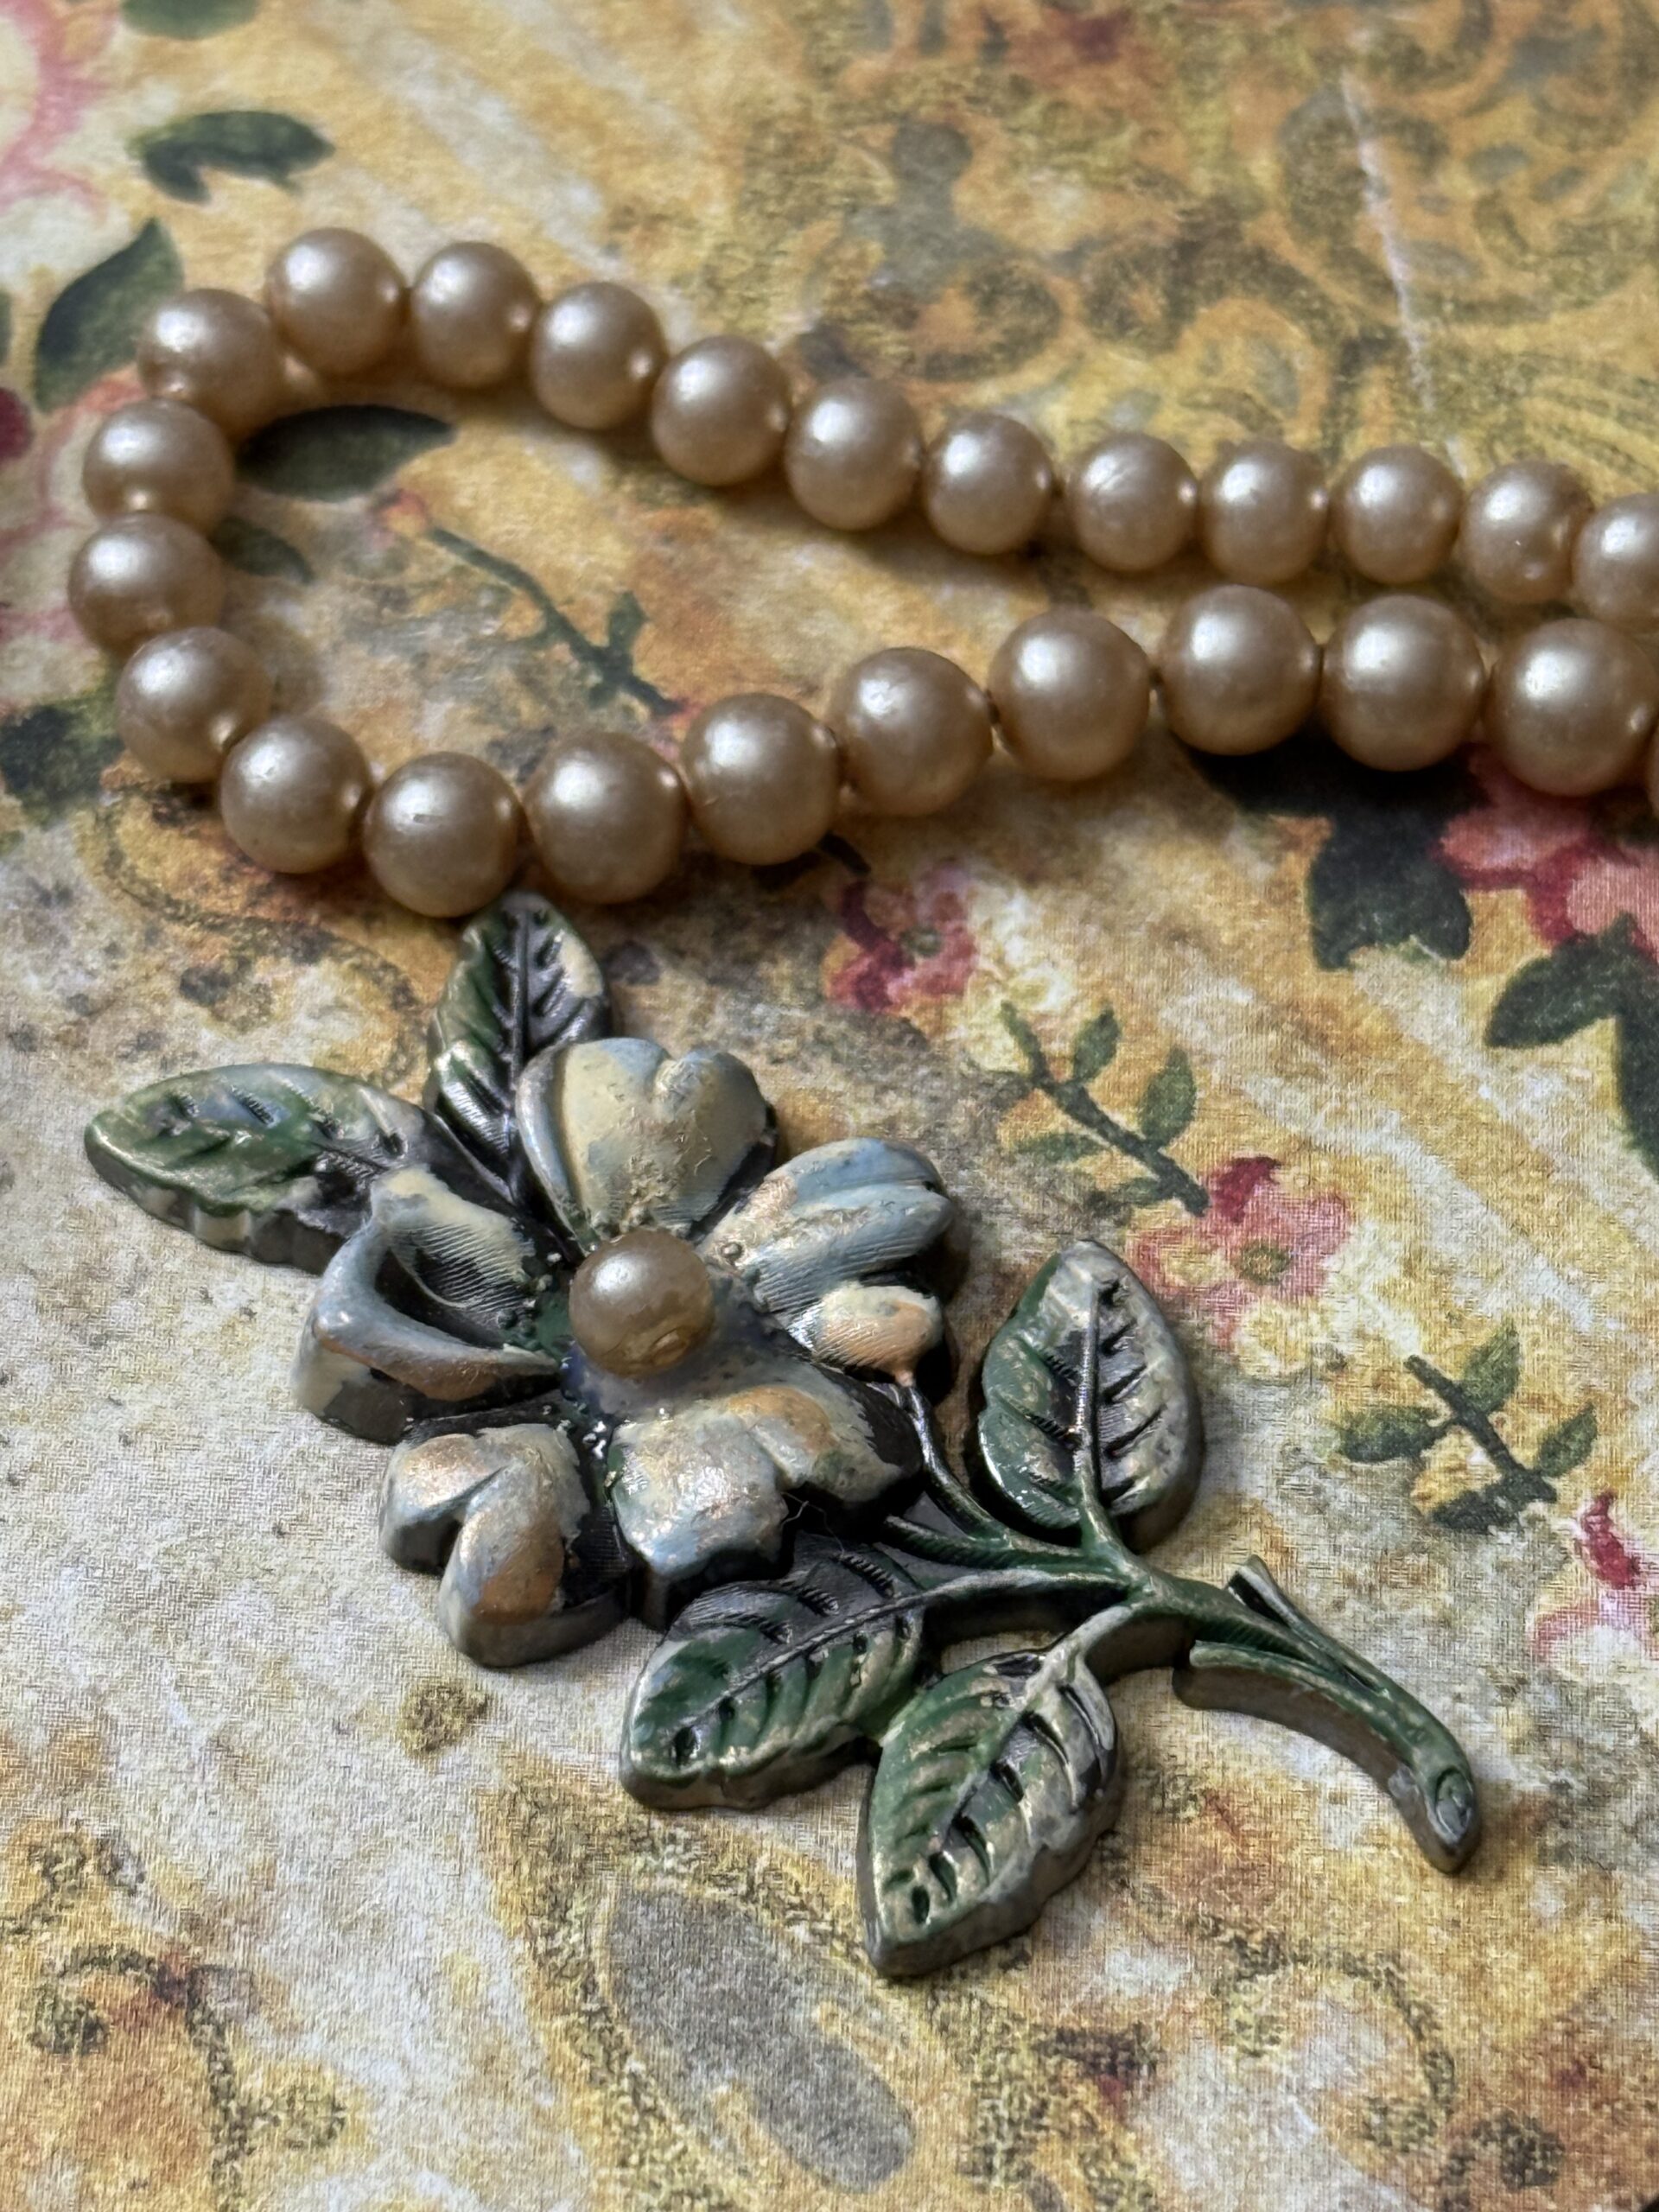
And here is what it look like all shined up giving it the look of enamel. I added a small piece of torn vintage lace and a tiny snippet of ribbon before adhering the piece to the front of the vignette. The perfect little embellishment for these lovely little ladies!
I adhered all the pieces of the front oval hoop collage in place using foam adhesive, collage medium and hot glue. I tied a ribbon with additional yellow dyed ribbon and placed it on the top of the hoop and placed the ladies and their collage and adhered it in place. I added a small date snippet above the stamp embellishment, from the Transparent Things Ephemera pack. Once all these elements were added, I set it aside and began working on the background of the piece using the Yellow Pallete papers I had selected.
I started by cutting the paper down to fit the front of a small Etcetera Tag, being sure to remember to cut the circle for the reinforcement of the tag.
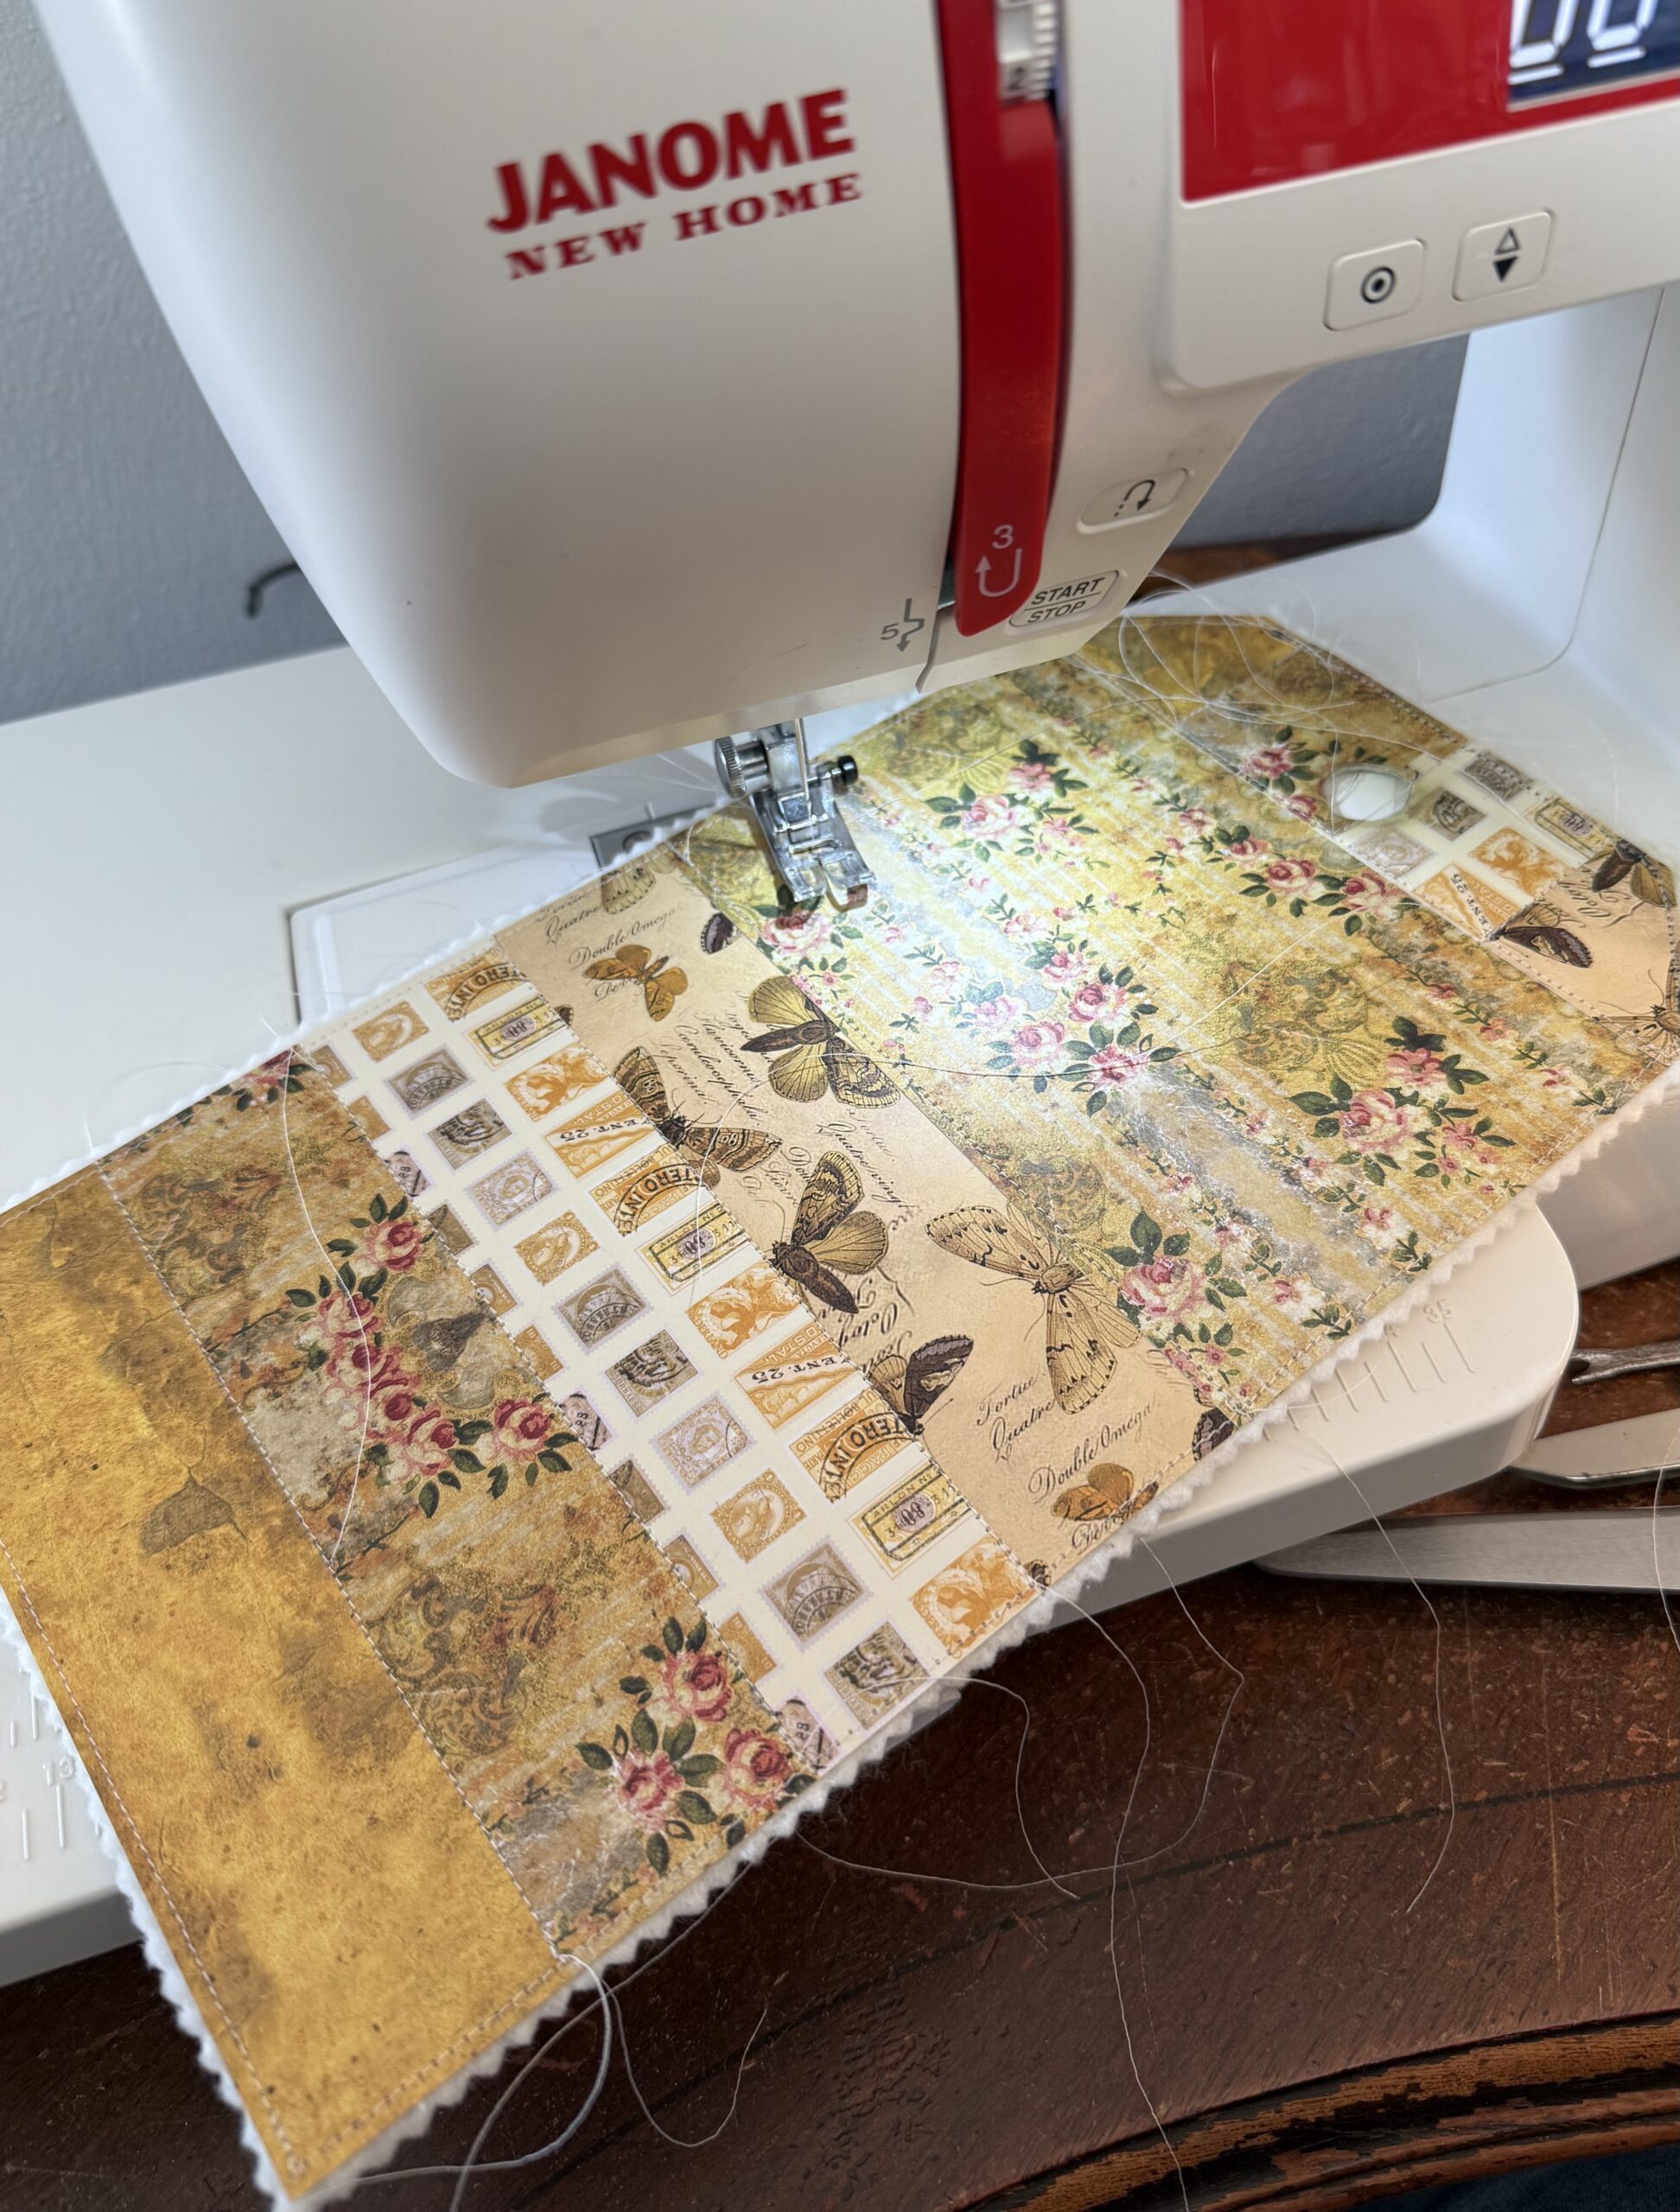
Once I had the piece cut into the tag background shape, I cut a piece of cotton quilt batting the approximate size of the tag, then stitched the paper to the front of the quilt batting. I stitched around the edge of the paper using my sewing machine, then after the edges were stitched, I used a pinking sheer and cut the edge of the batting to give it a more finished look.
Once the batting was pinked, I stitched along all the paper seams of the patterned paper making the piece look like it had been quilted and paper pieced. I left all the threads of the stitched seams so that later in the process, I could twirl them around on the edges to create some additional stitchy embellishments.
After the background piece was all stitched, I brought it back to my workspace and adhered the piece to the front of the small Etcetera Tag using collage medium. I used some large clips to hold the piece in place, then set it aside to dry. Collage medium works great to adhere all things, even fuzzy quilt batting, it just takes pressure holding it in place till it’s dry.
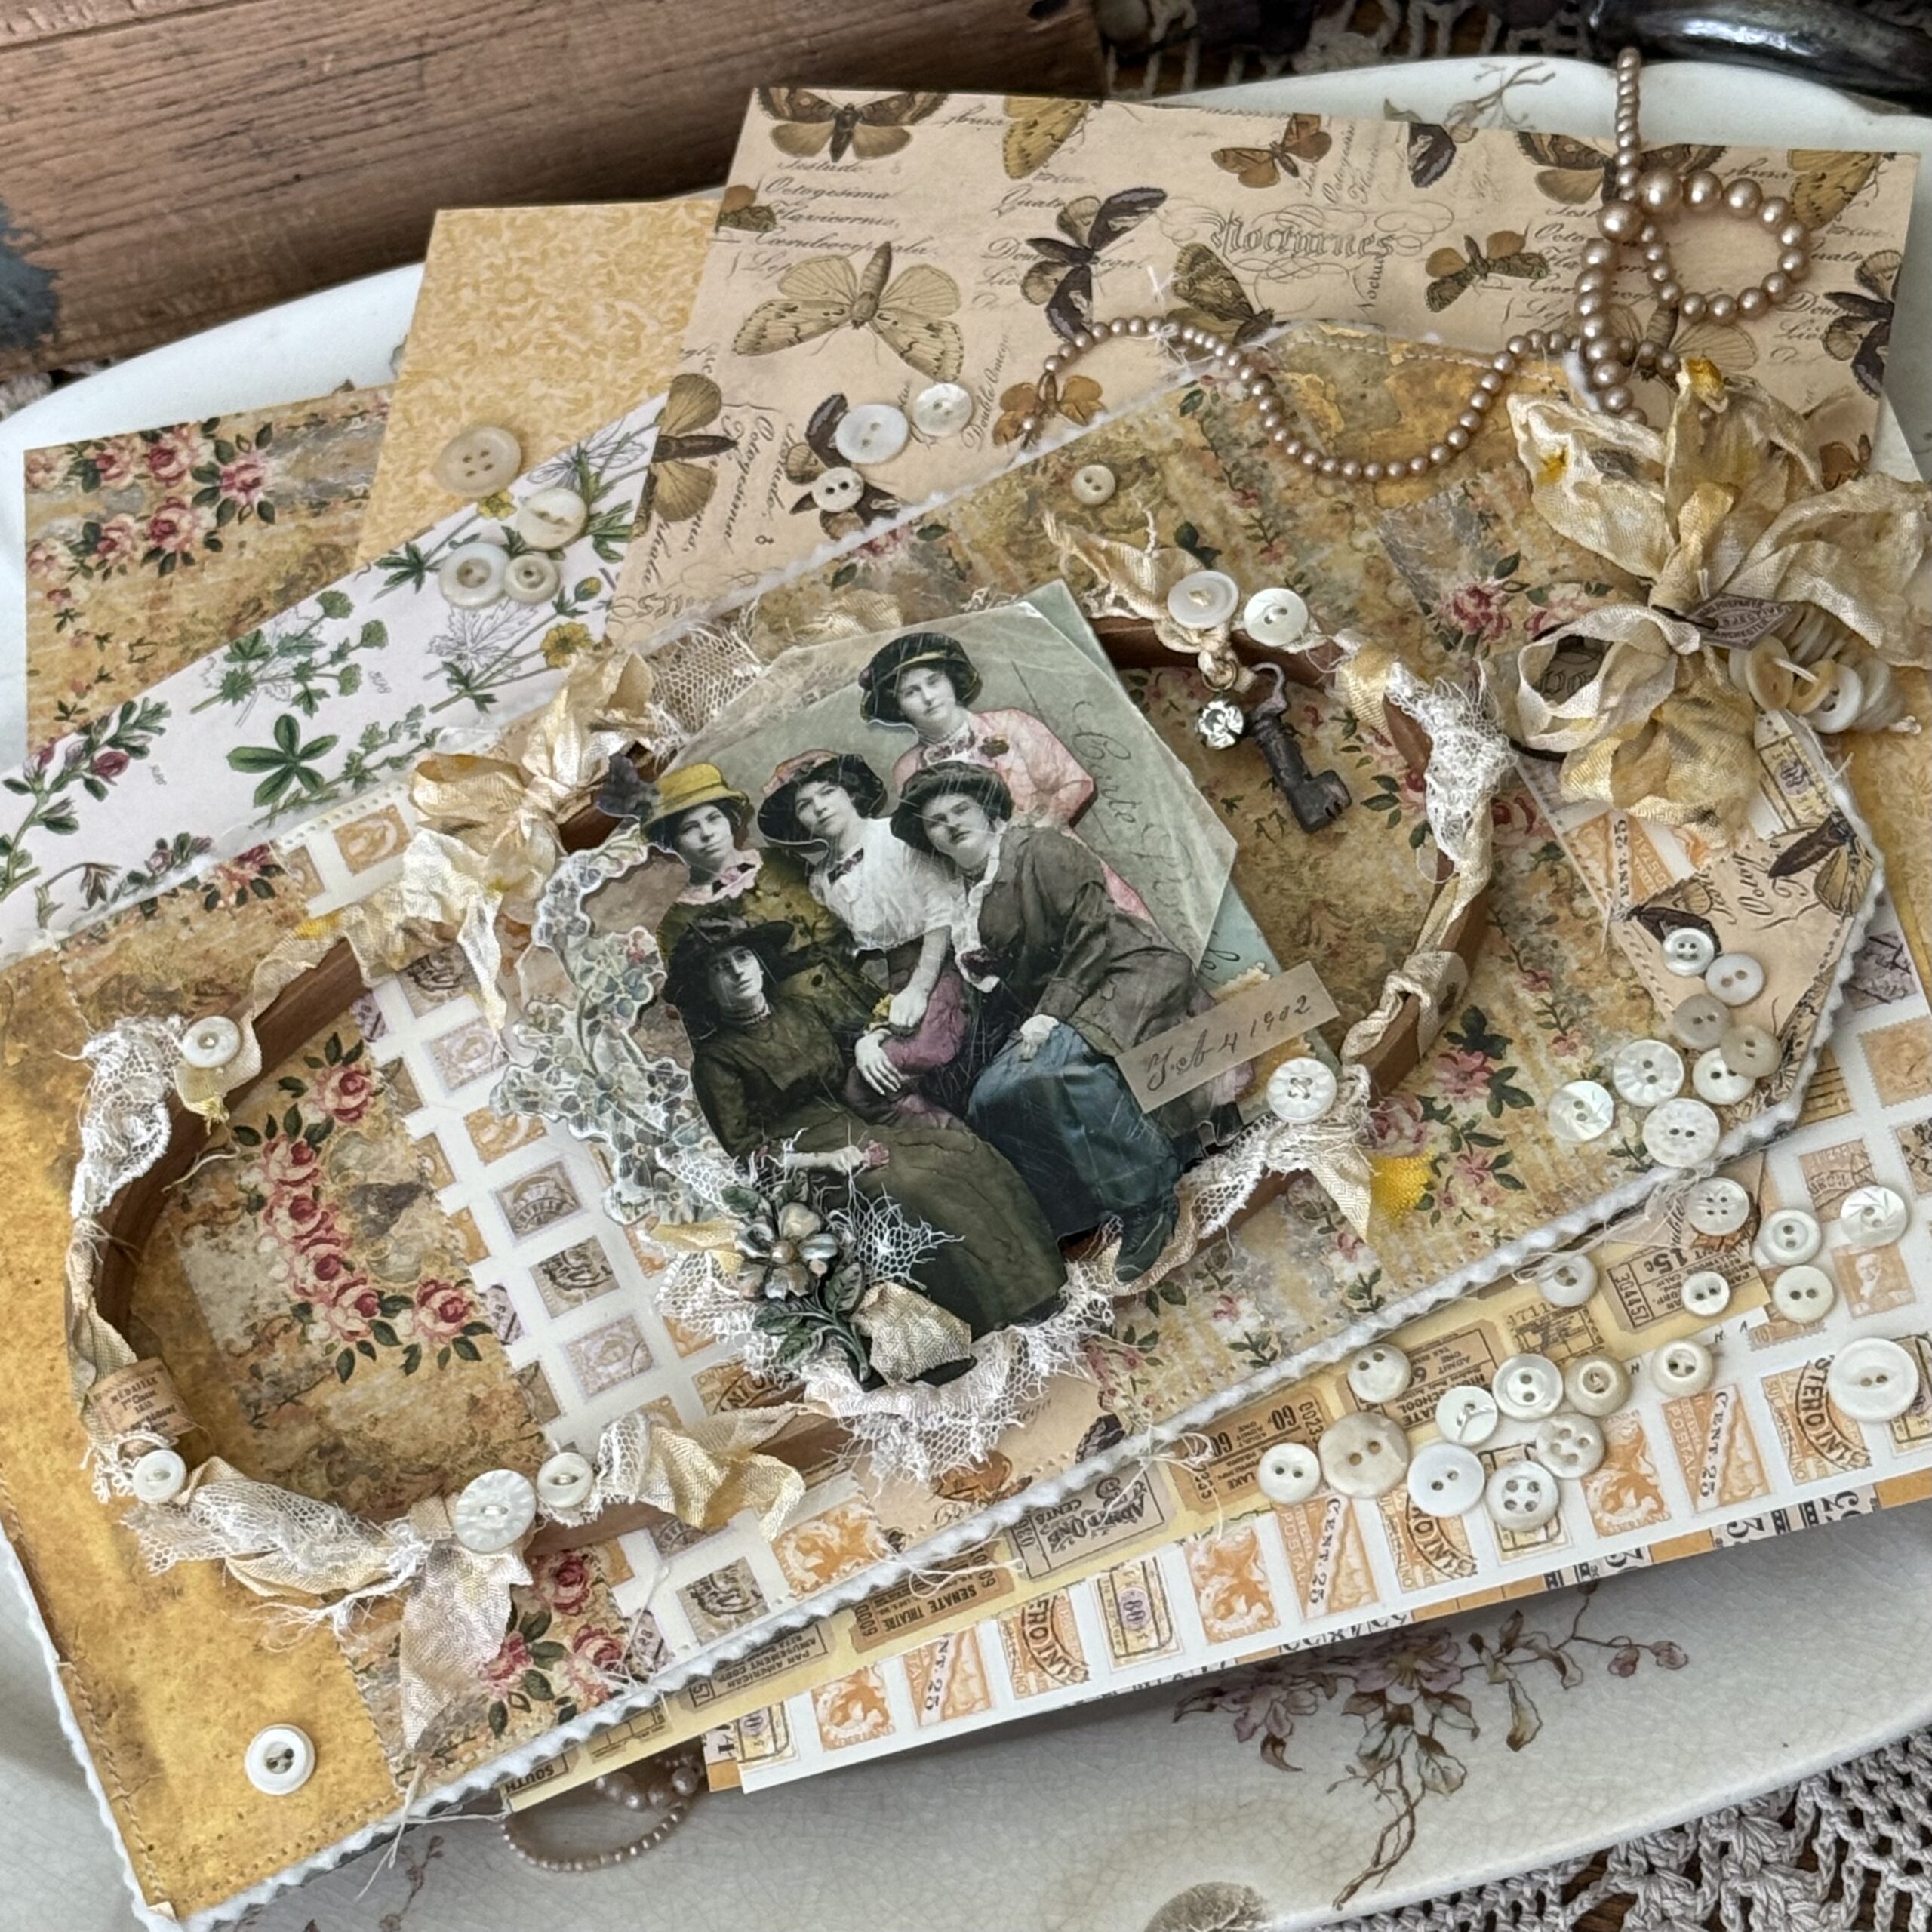
The embellished oval hoop was added to the front of the large tag using hot glue to keep it in place.

I covered the tag reinforcement using a scrap of the same patterned paper, and adhered it the the front of the tag using collage medium.
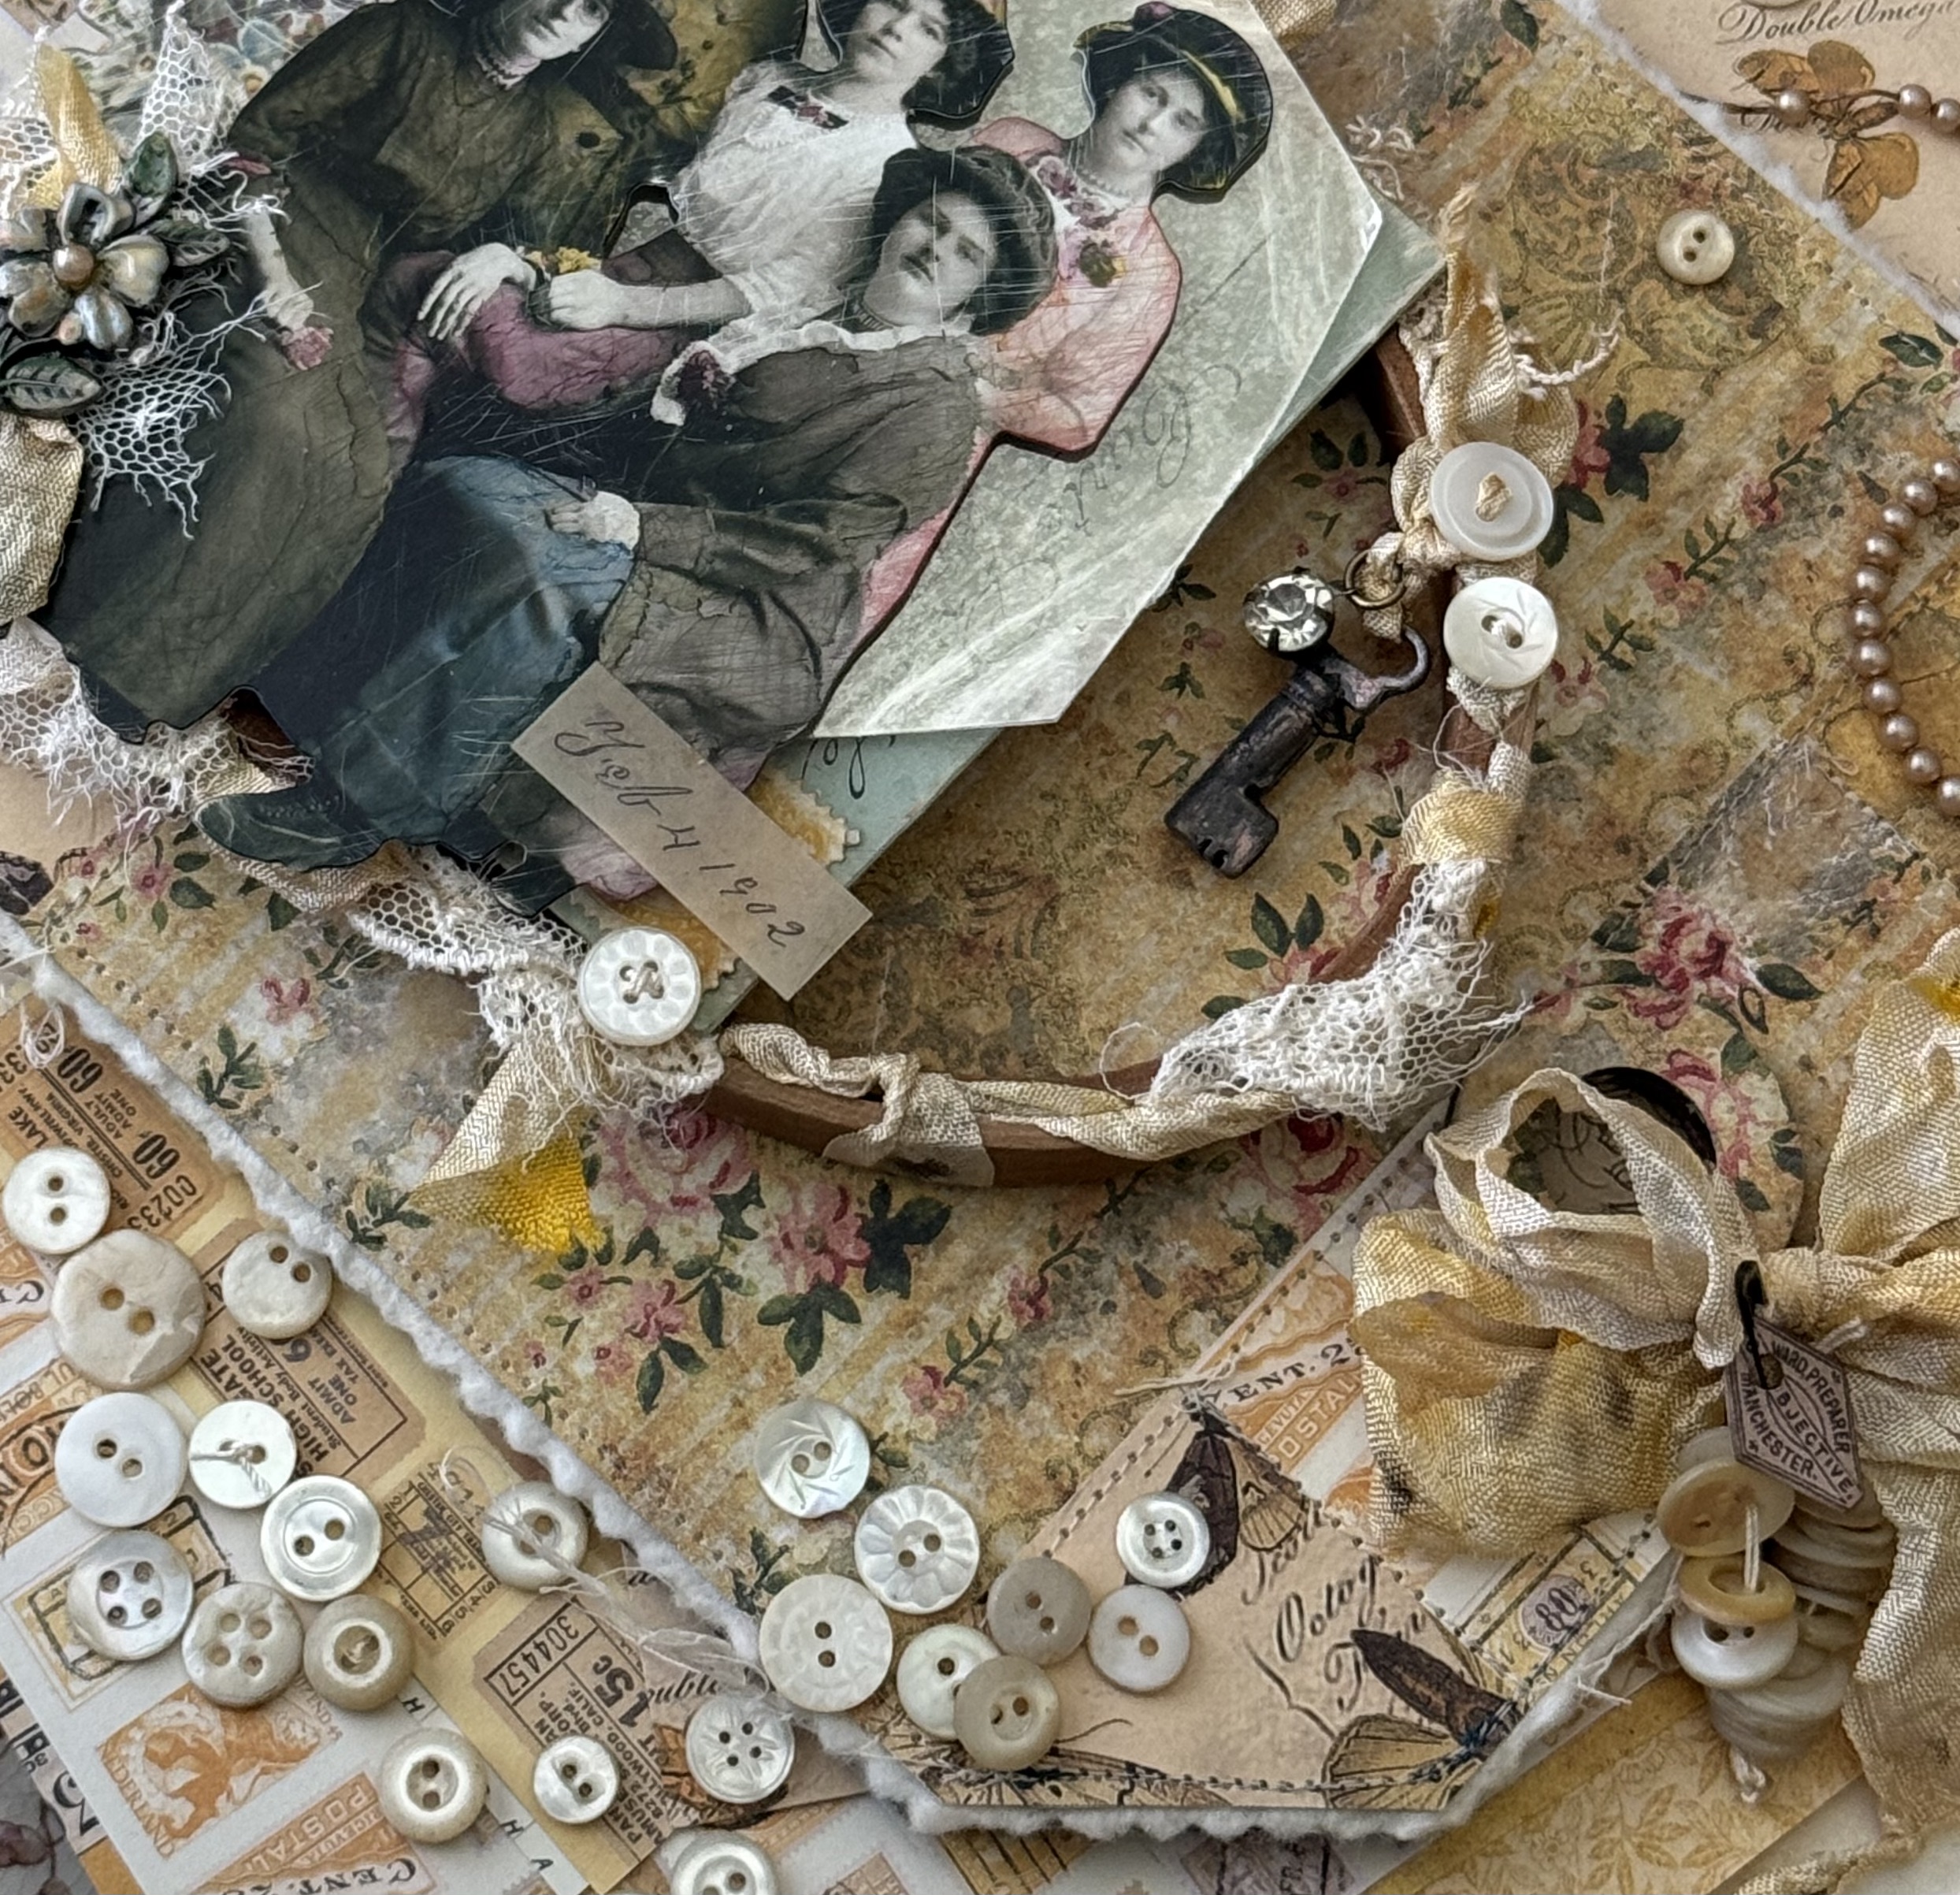
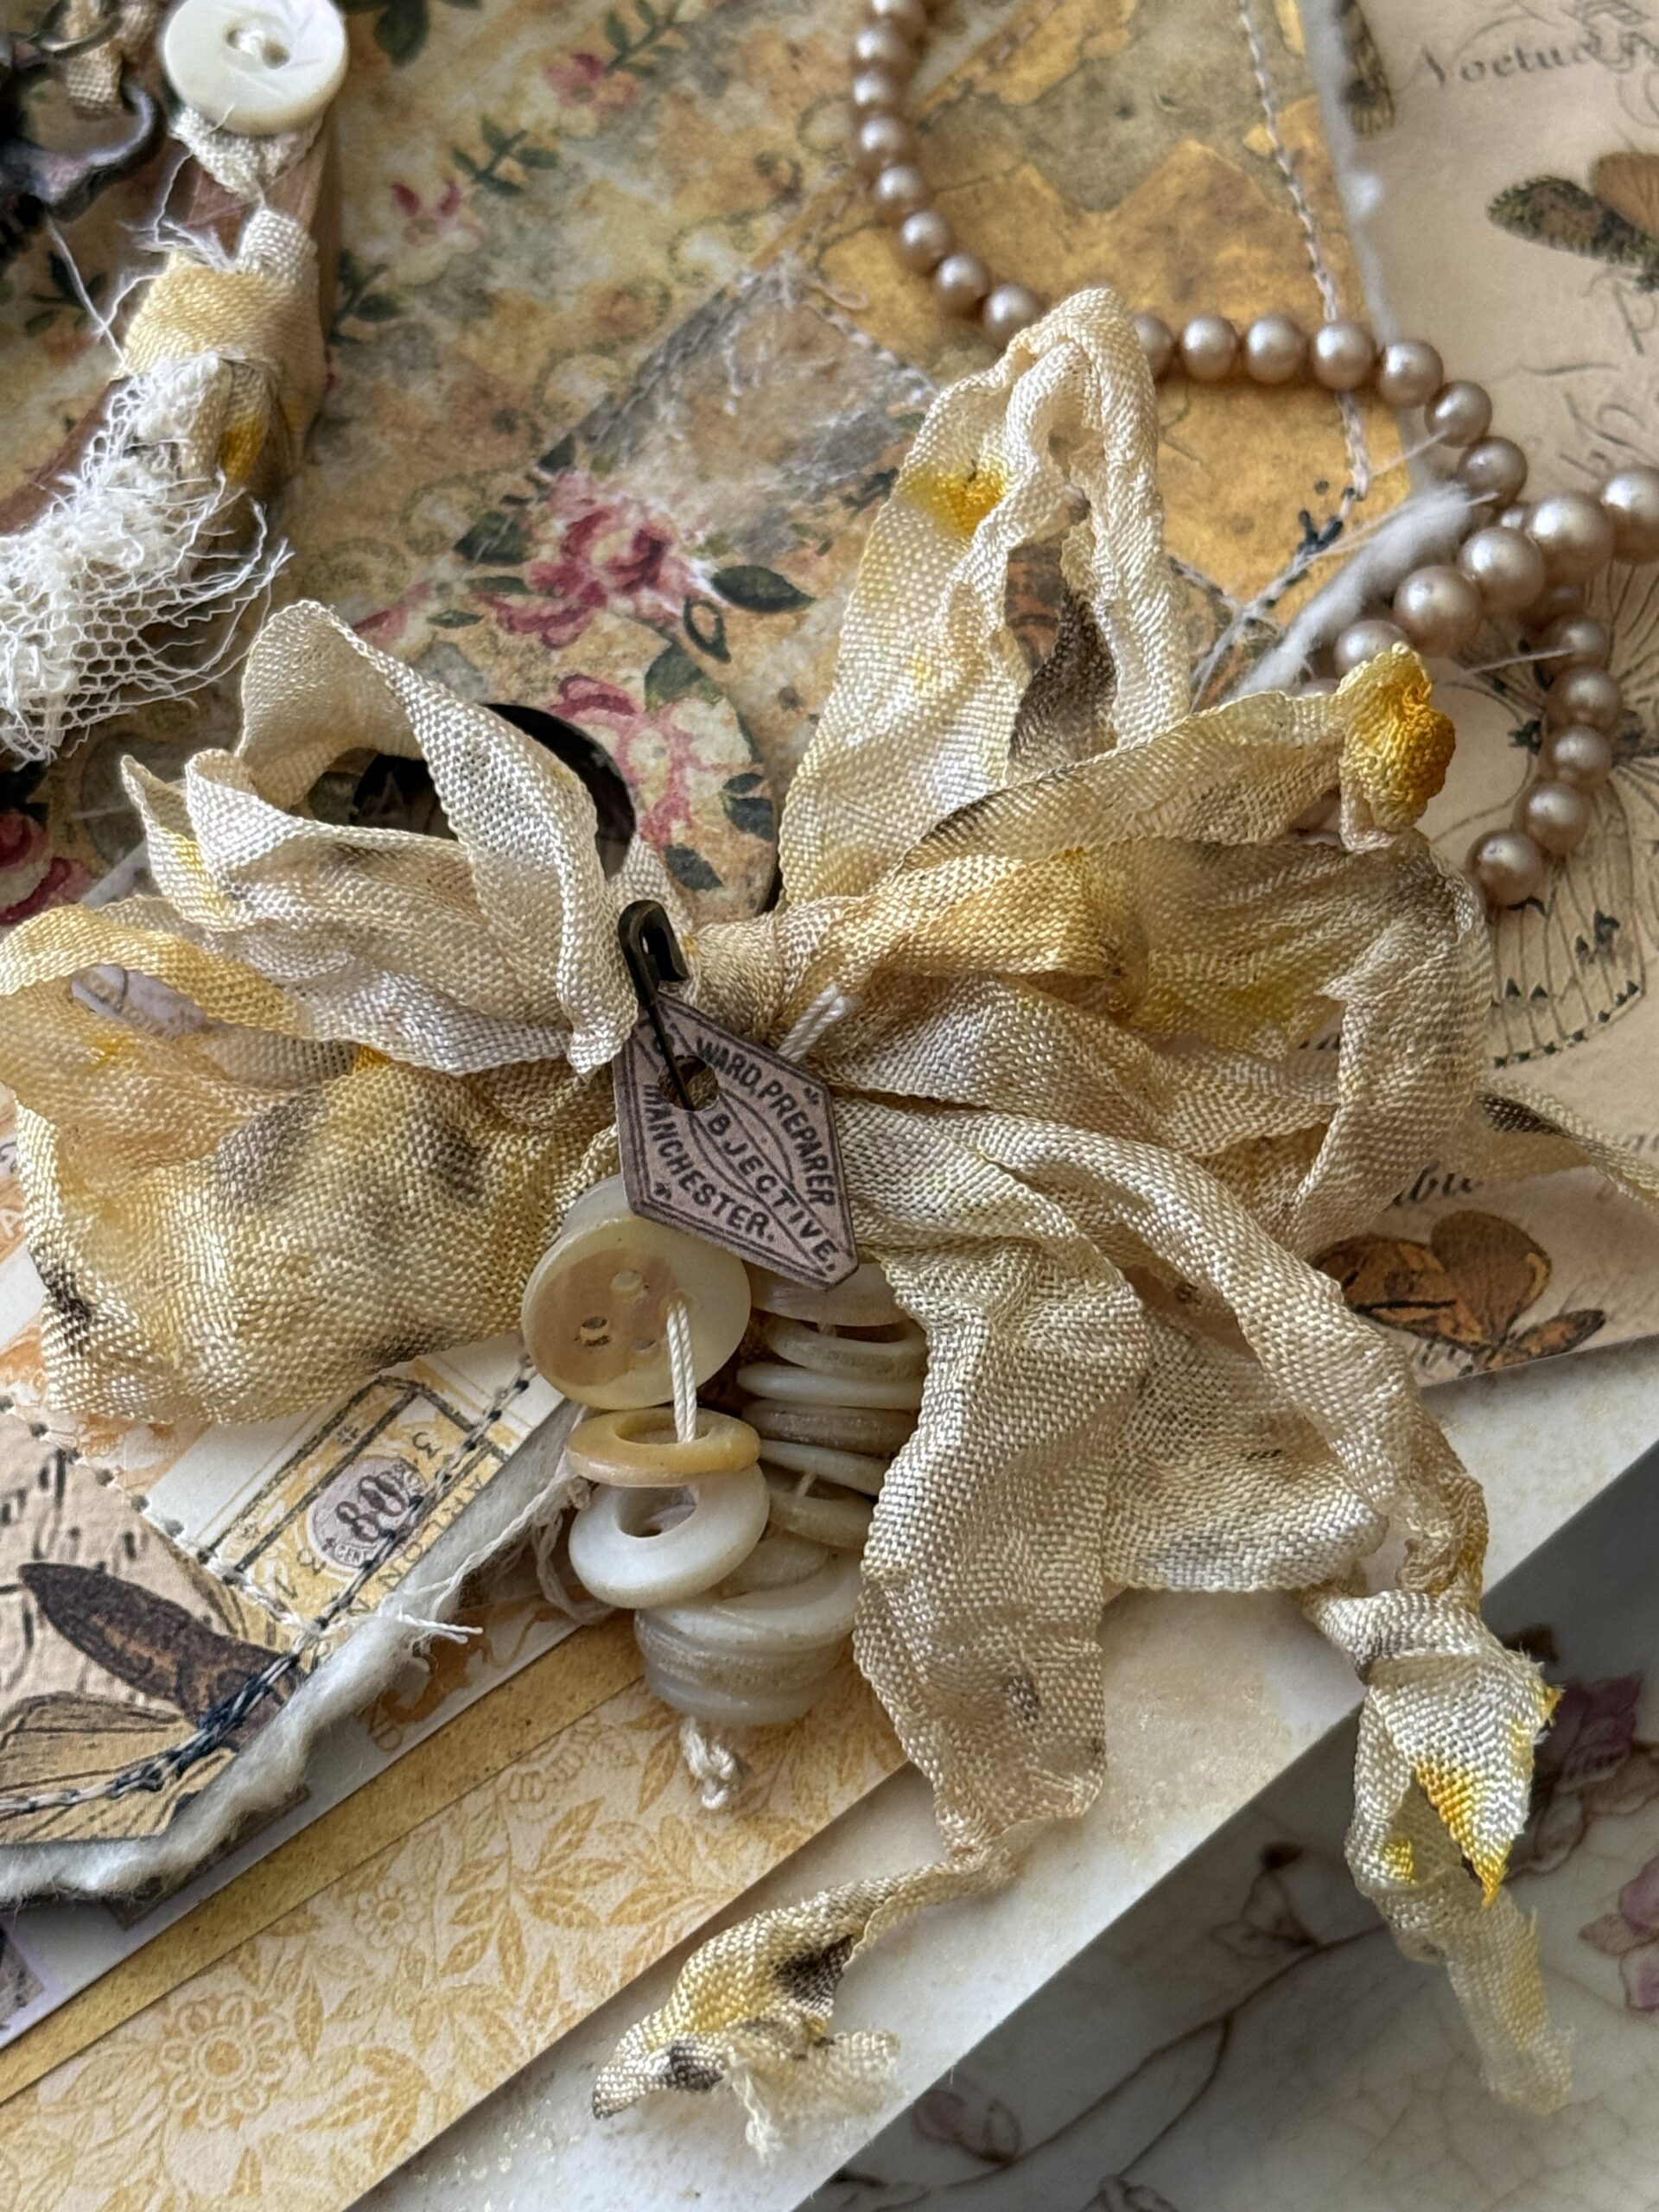
Then, I used more of the leftover ribbon and tied a bow through the reinforcement. I gathered several of the buttons that I hadn’t used directly on the project, and added them onto a piece of string. Once I had about a good amount strung, I tied it into a loop and pinned it to the ribbon. I punched a whole into a tiny idea-ology snippet from the Curator Snippet Pack, then added the piece onto the pin with the buttons.
Vintage buttons that I find in thrift stores and antique stores are sometimes strung together, so this gave me inspiration. I assume these ladies at one time or another would have strung some buttons to keep for future projects, so it just seemed right to add that as the final embellishment of the piece.
With that, my project was complete! I hope this has inspired you to give the new idea-ology Palette Paper Collections a look. They were the perfect inspiration and jumping off point of this piece. As always, I appreciate you for stopping by to take a look!
Creatively Yours, Stacy
Here is a list of all the products used, unfortunately I am having trouble with the thumbnail photo links through to Simon Says Stamp, but if you click on the link below, you can find the products if you search for them. So sorry, Stacy 🙂
idea-ology Yellow Palette Paper 8×8 pack, Botanicals Ephemera, idea-ology Snippets, Antiqued Gems, Locket Keys and Keyholes, idea-ology groups paper dolls, Sweetheart Adornments (flower), Botanicals Layers, Alcohol Inks (in pictured colors above), Alcohol Ink Statue Alloy, Collage Medium, Glossy Accents and more…
Shop Simon Says Stamp by clicking on this link. Thank you! I appreciate you for supporting me.
What is an affiliate program, and why should I click on the link and buy through you?
When you shop via the affiliate link on this blog, I receive a small commission from the affiliate provider (Simon Says Stamp) at no extra cost to you, whatsoever. These commissions help me to cover the hosting fees and other costs to run my blog and be able to provide you with FREE inspiration. If you shop the links, THANK YOU! I truly appreciate being able to share my love of creating with you.


Leave a Reply