Hello friends! I am back today to share a set of mini Halloween cards that I created using a featured set that Stampers Anonymous shared on their Curations Youtube LIVE today. Stampers Anonymous has gathered up some older Tim Holtz stamp sets and stencils and had us, some makers, reimagine and put our creative take on them…it has been so much fun rediscovering them. They call them Curations and this is their most recent for Halloween and Fall.
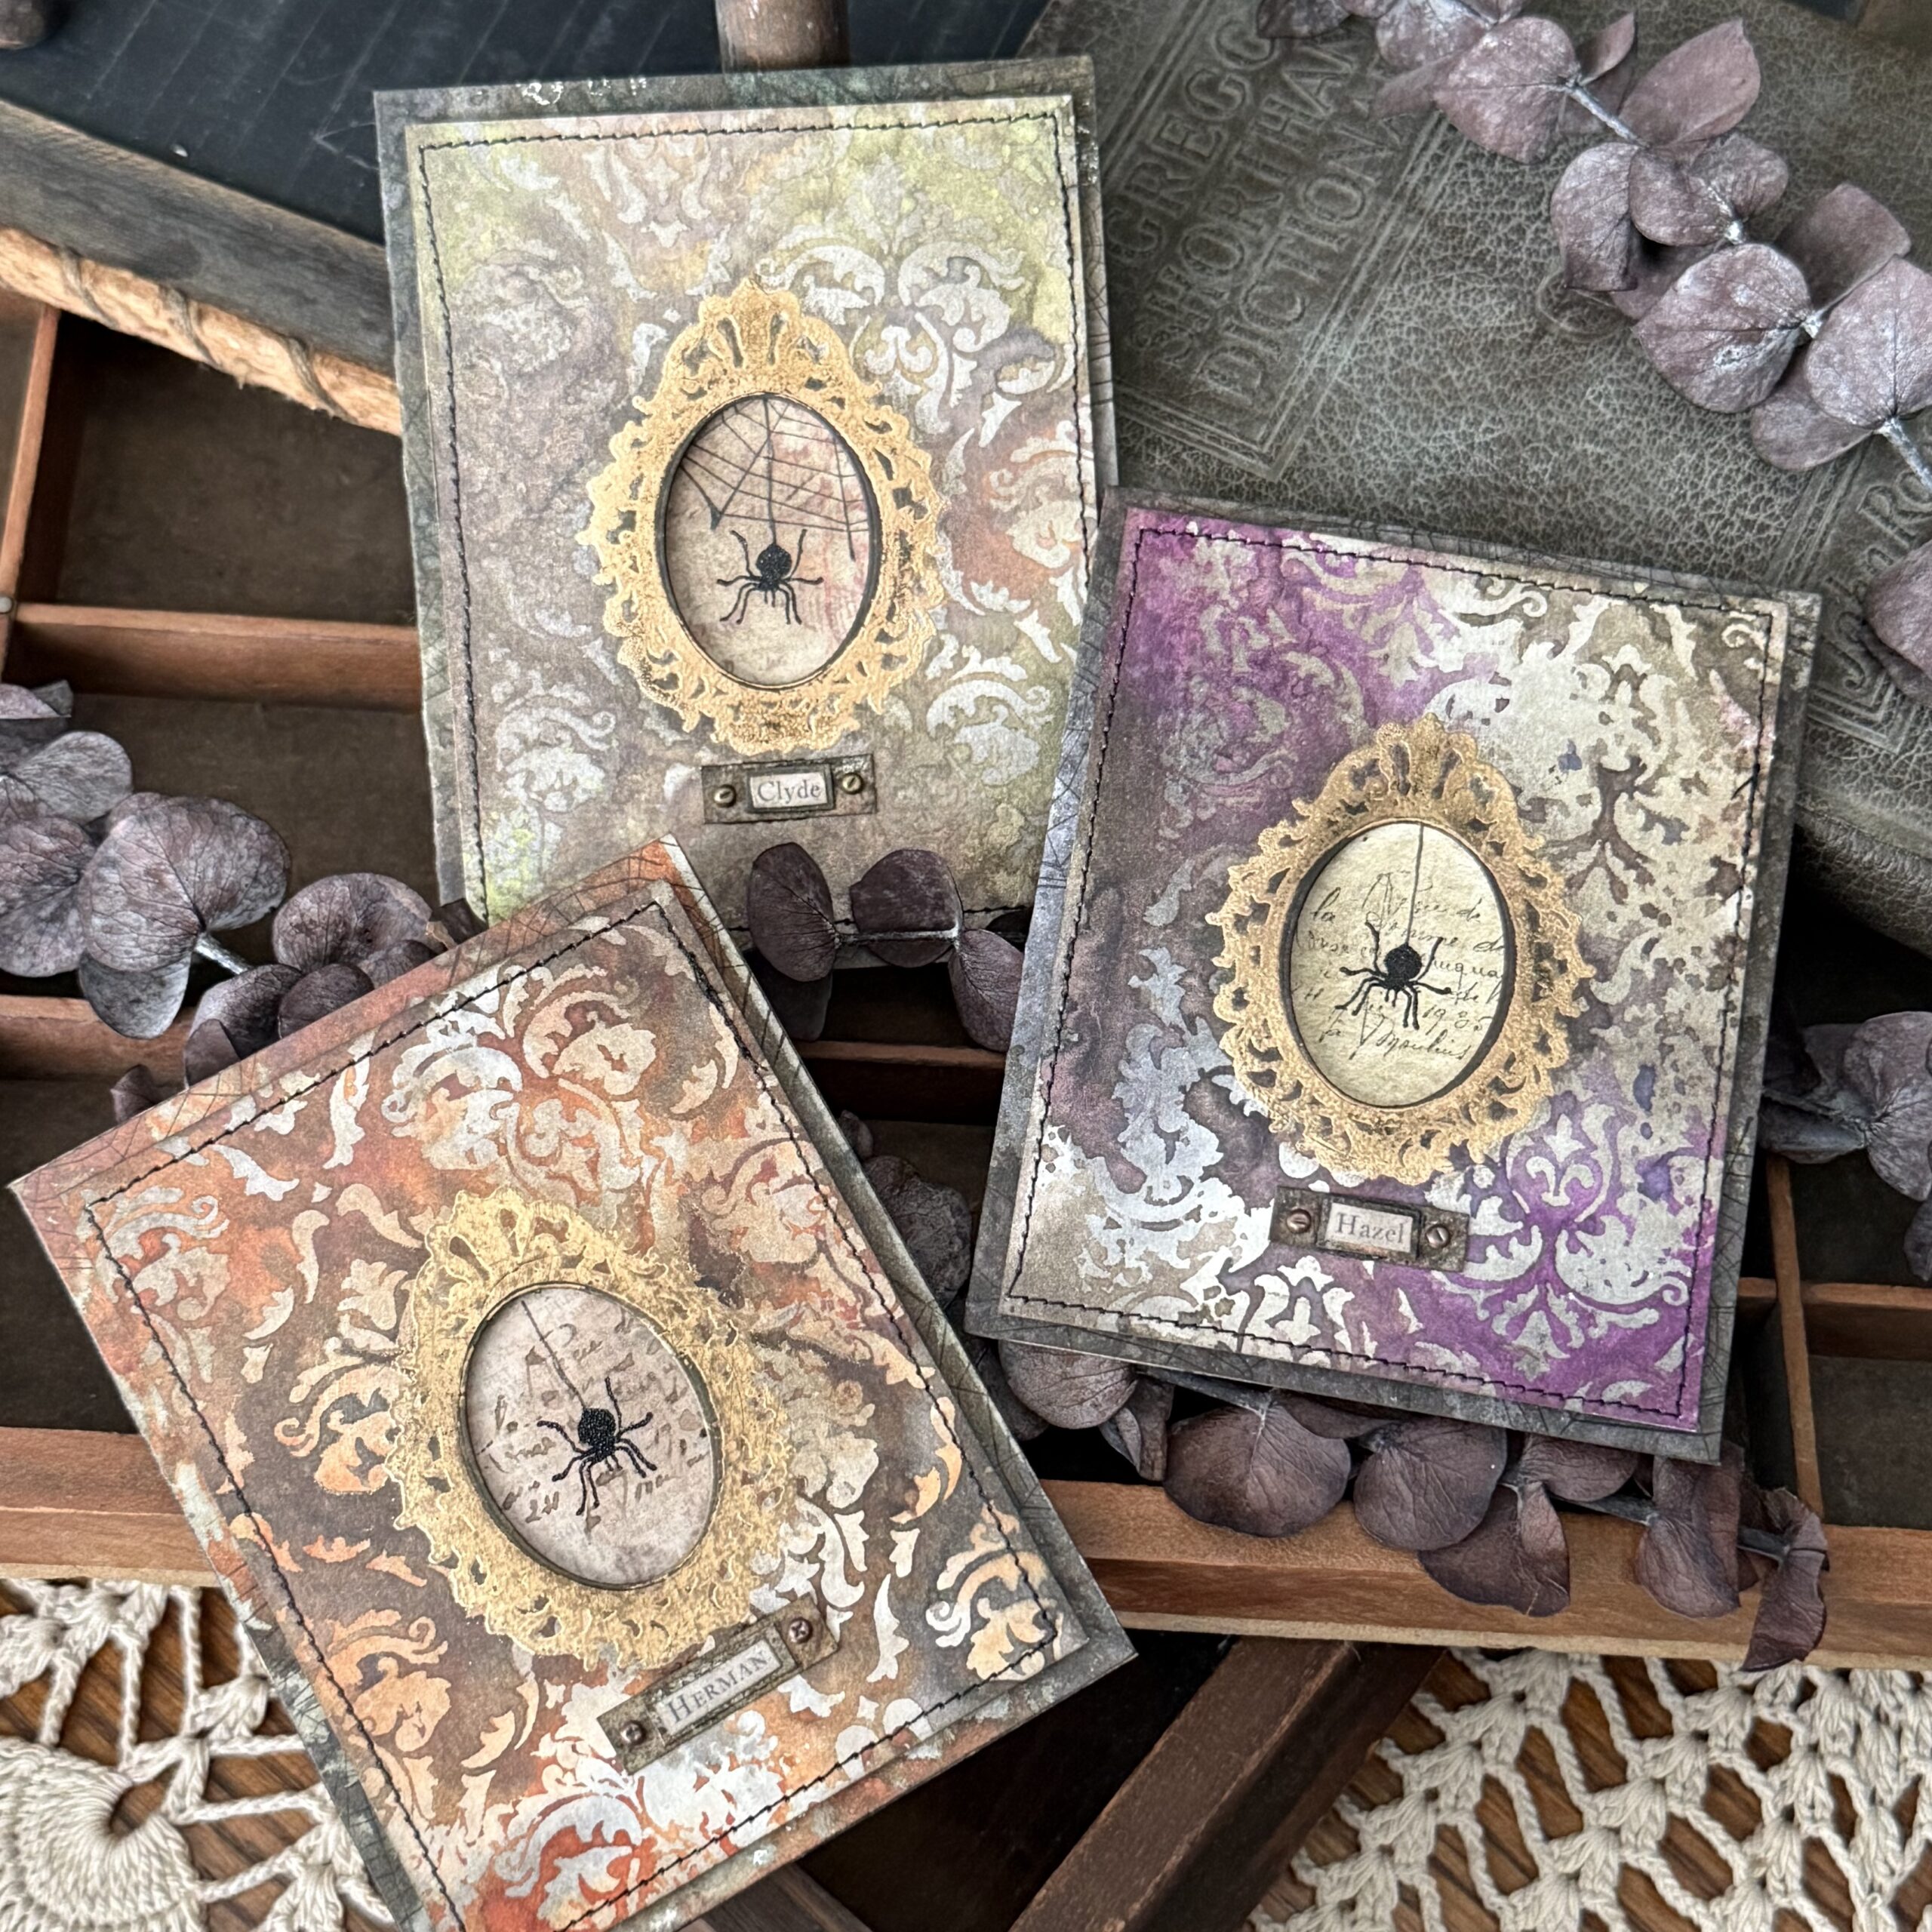
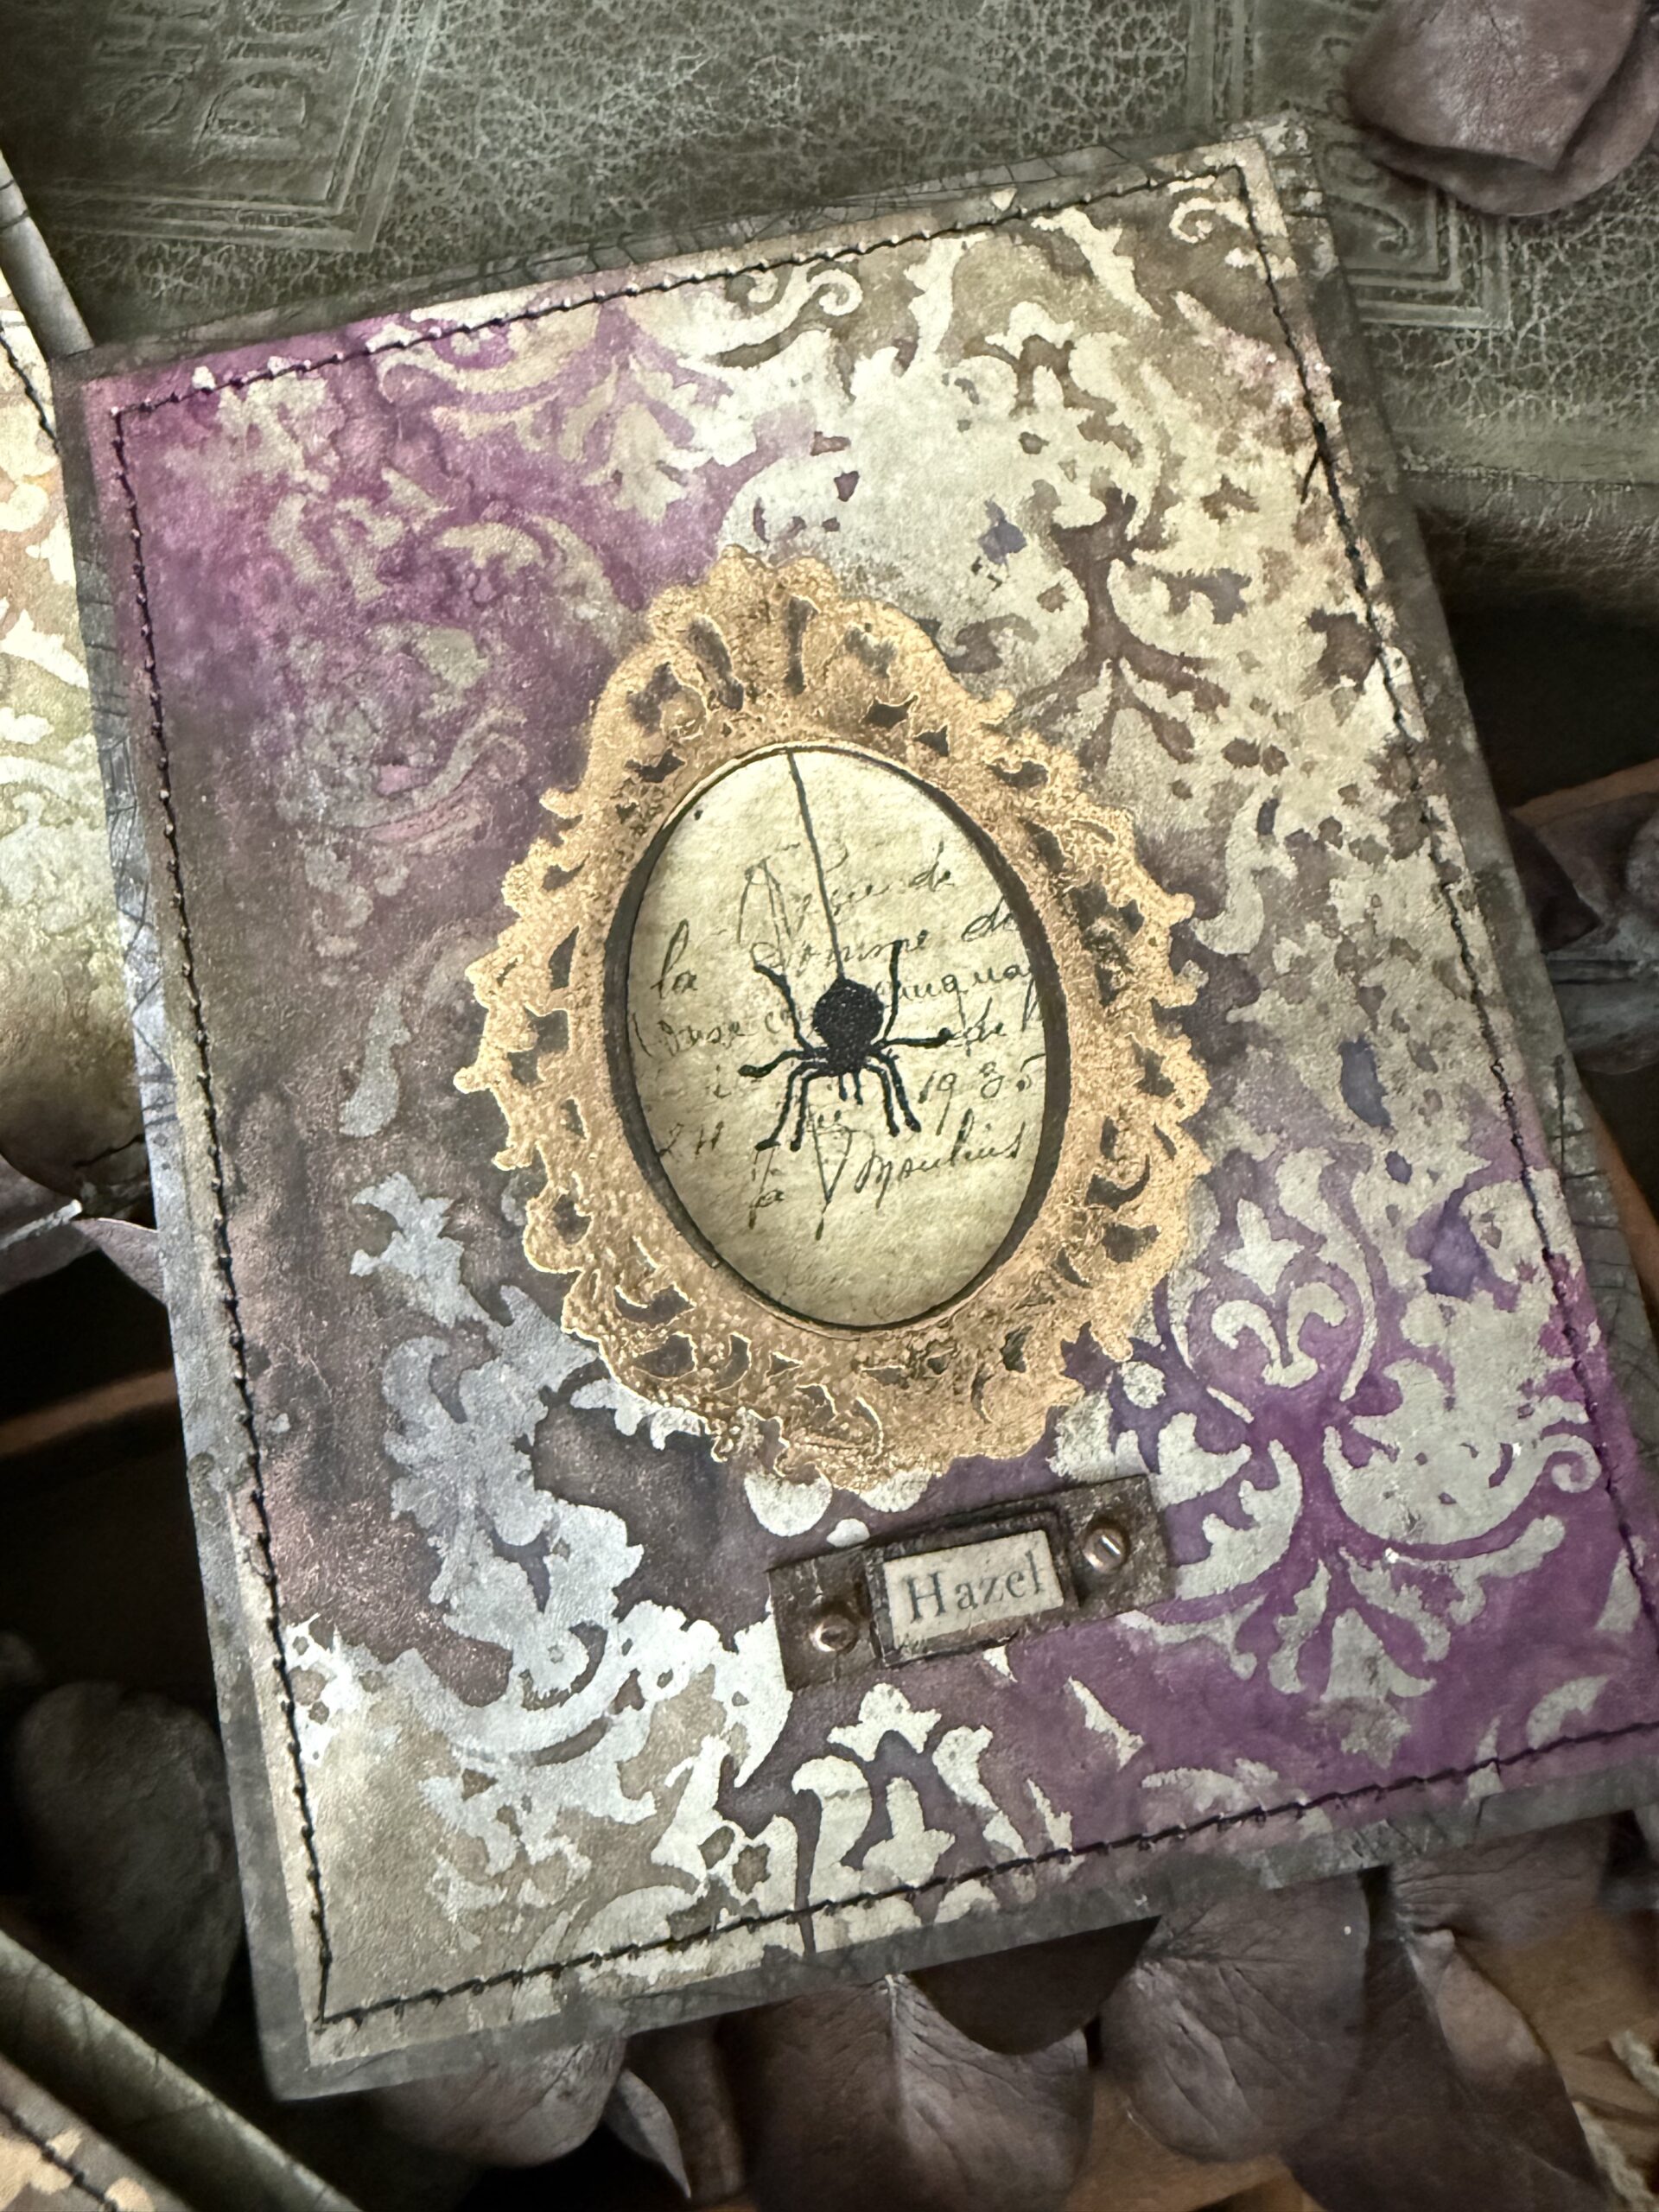
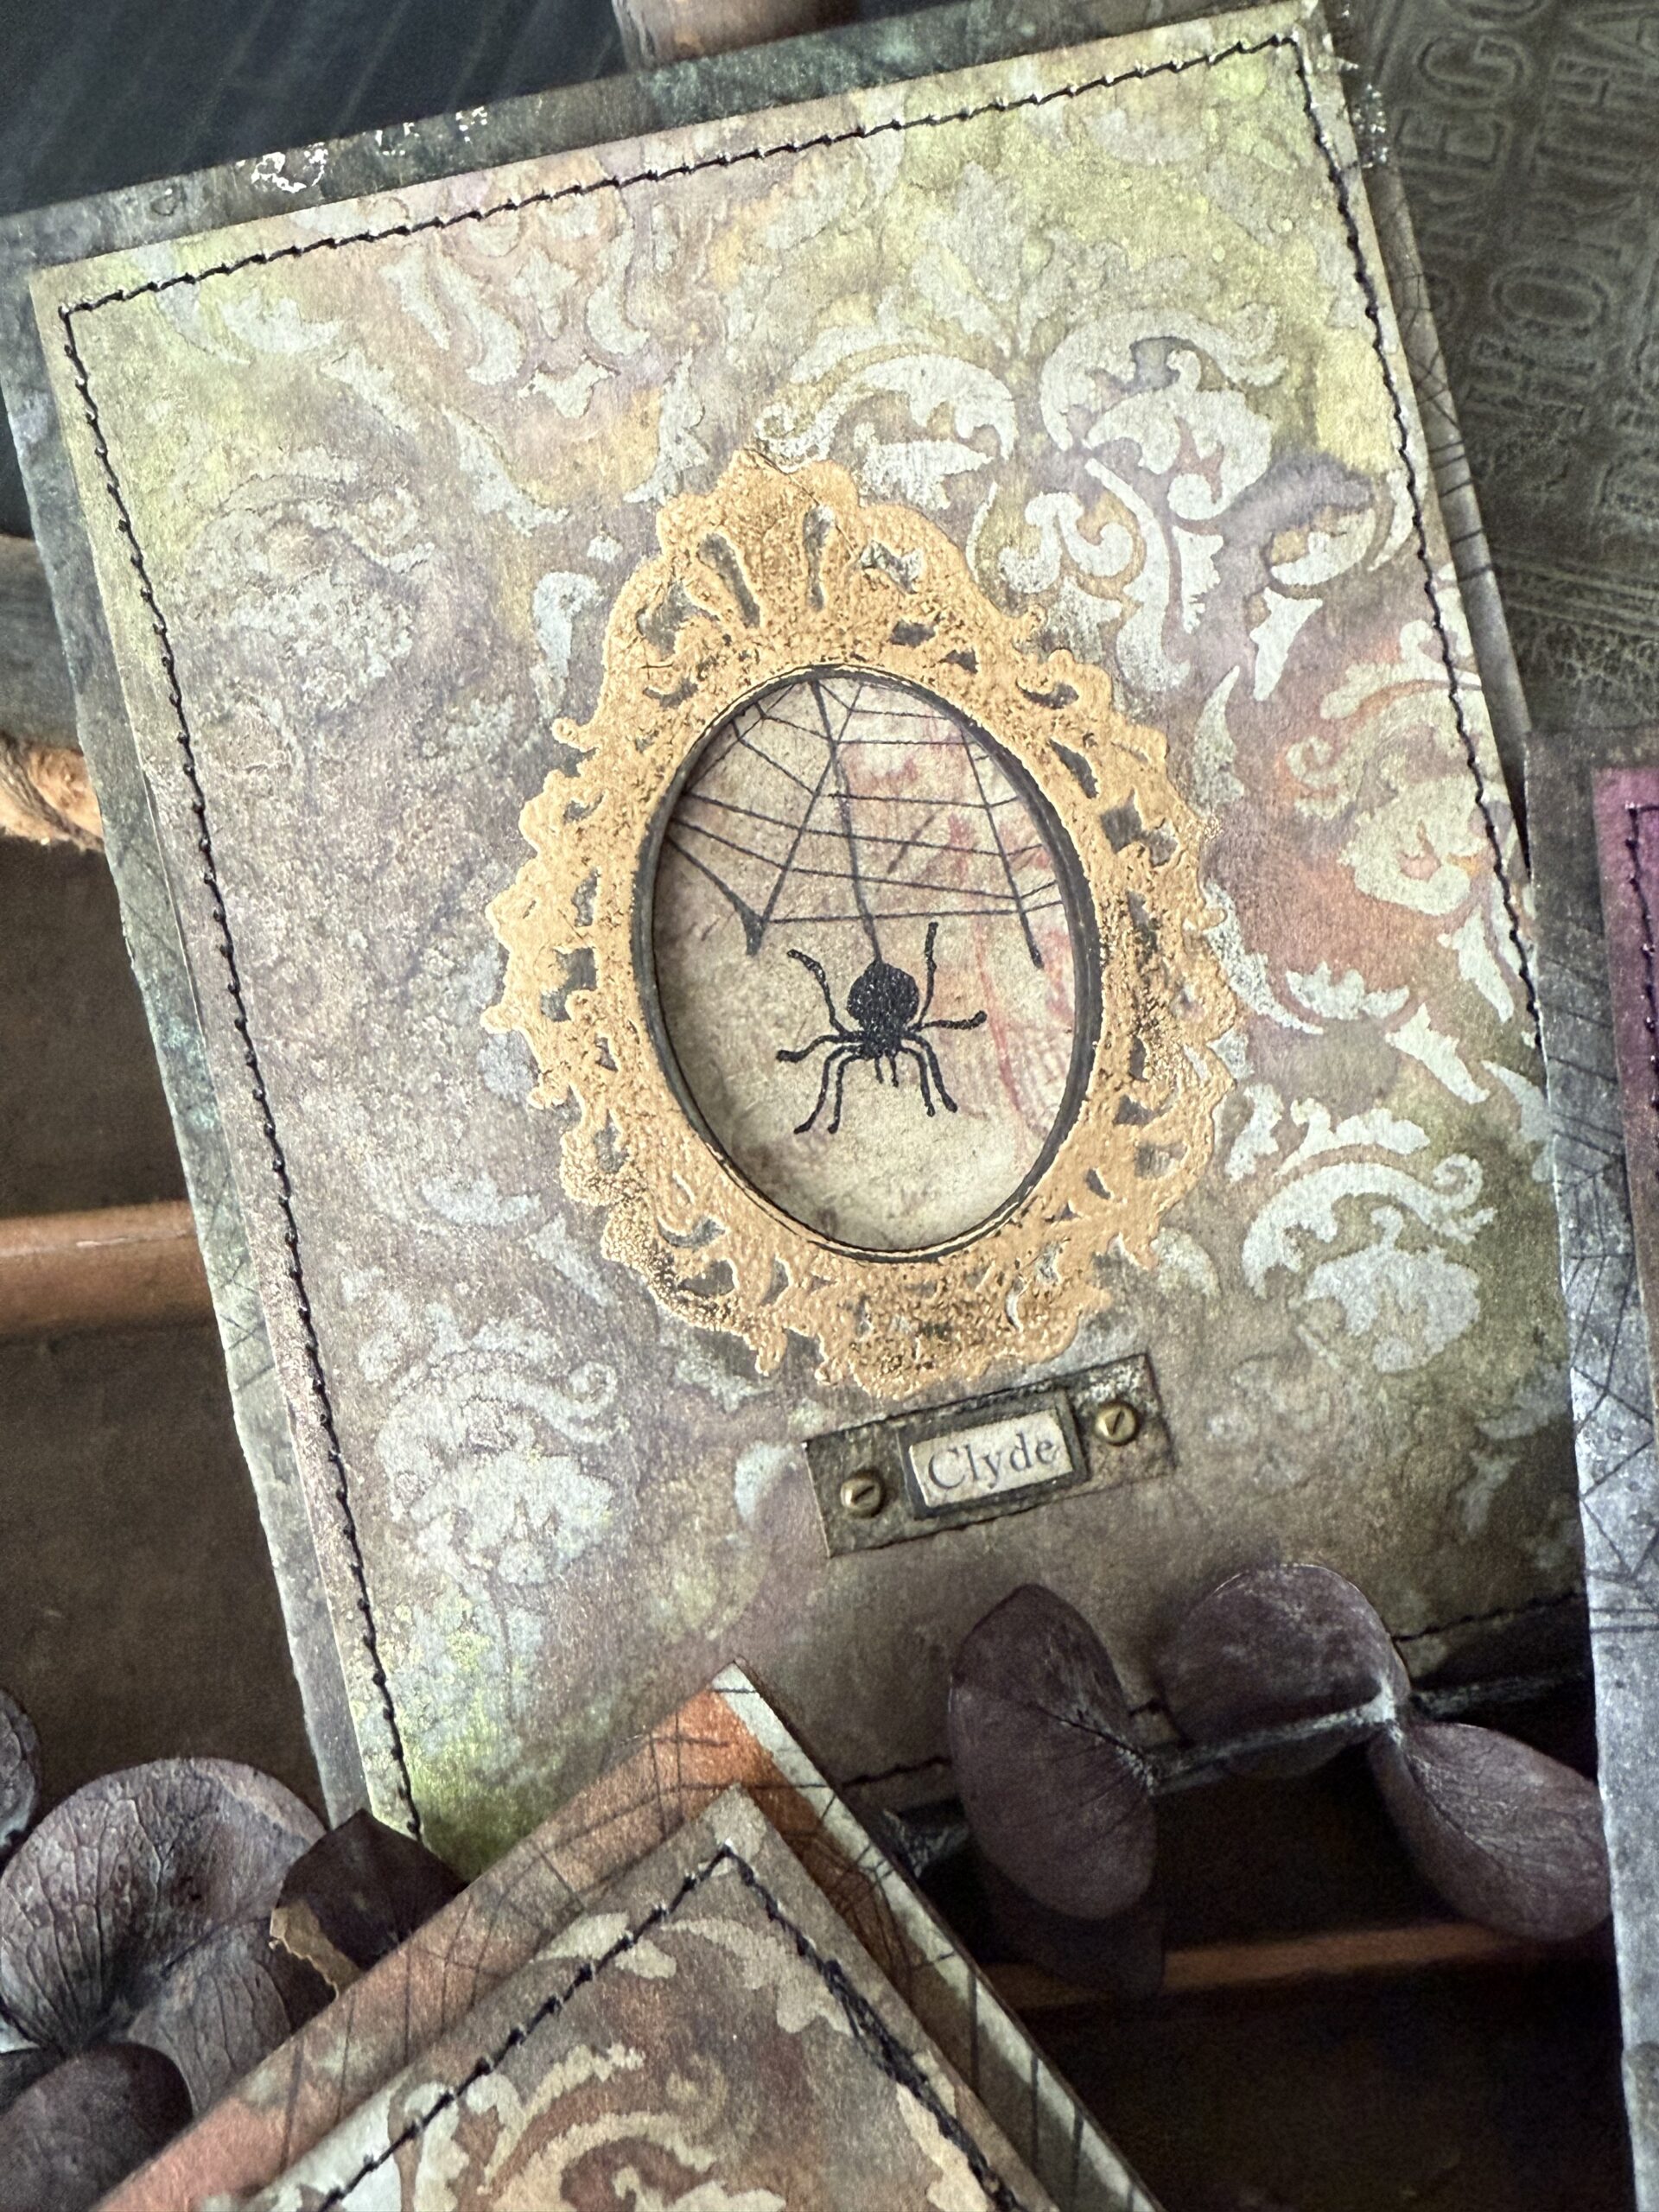
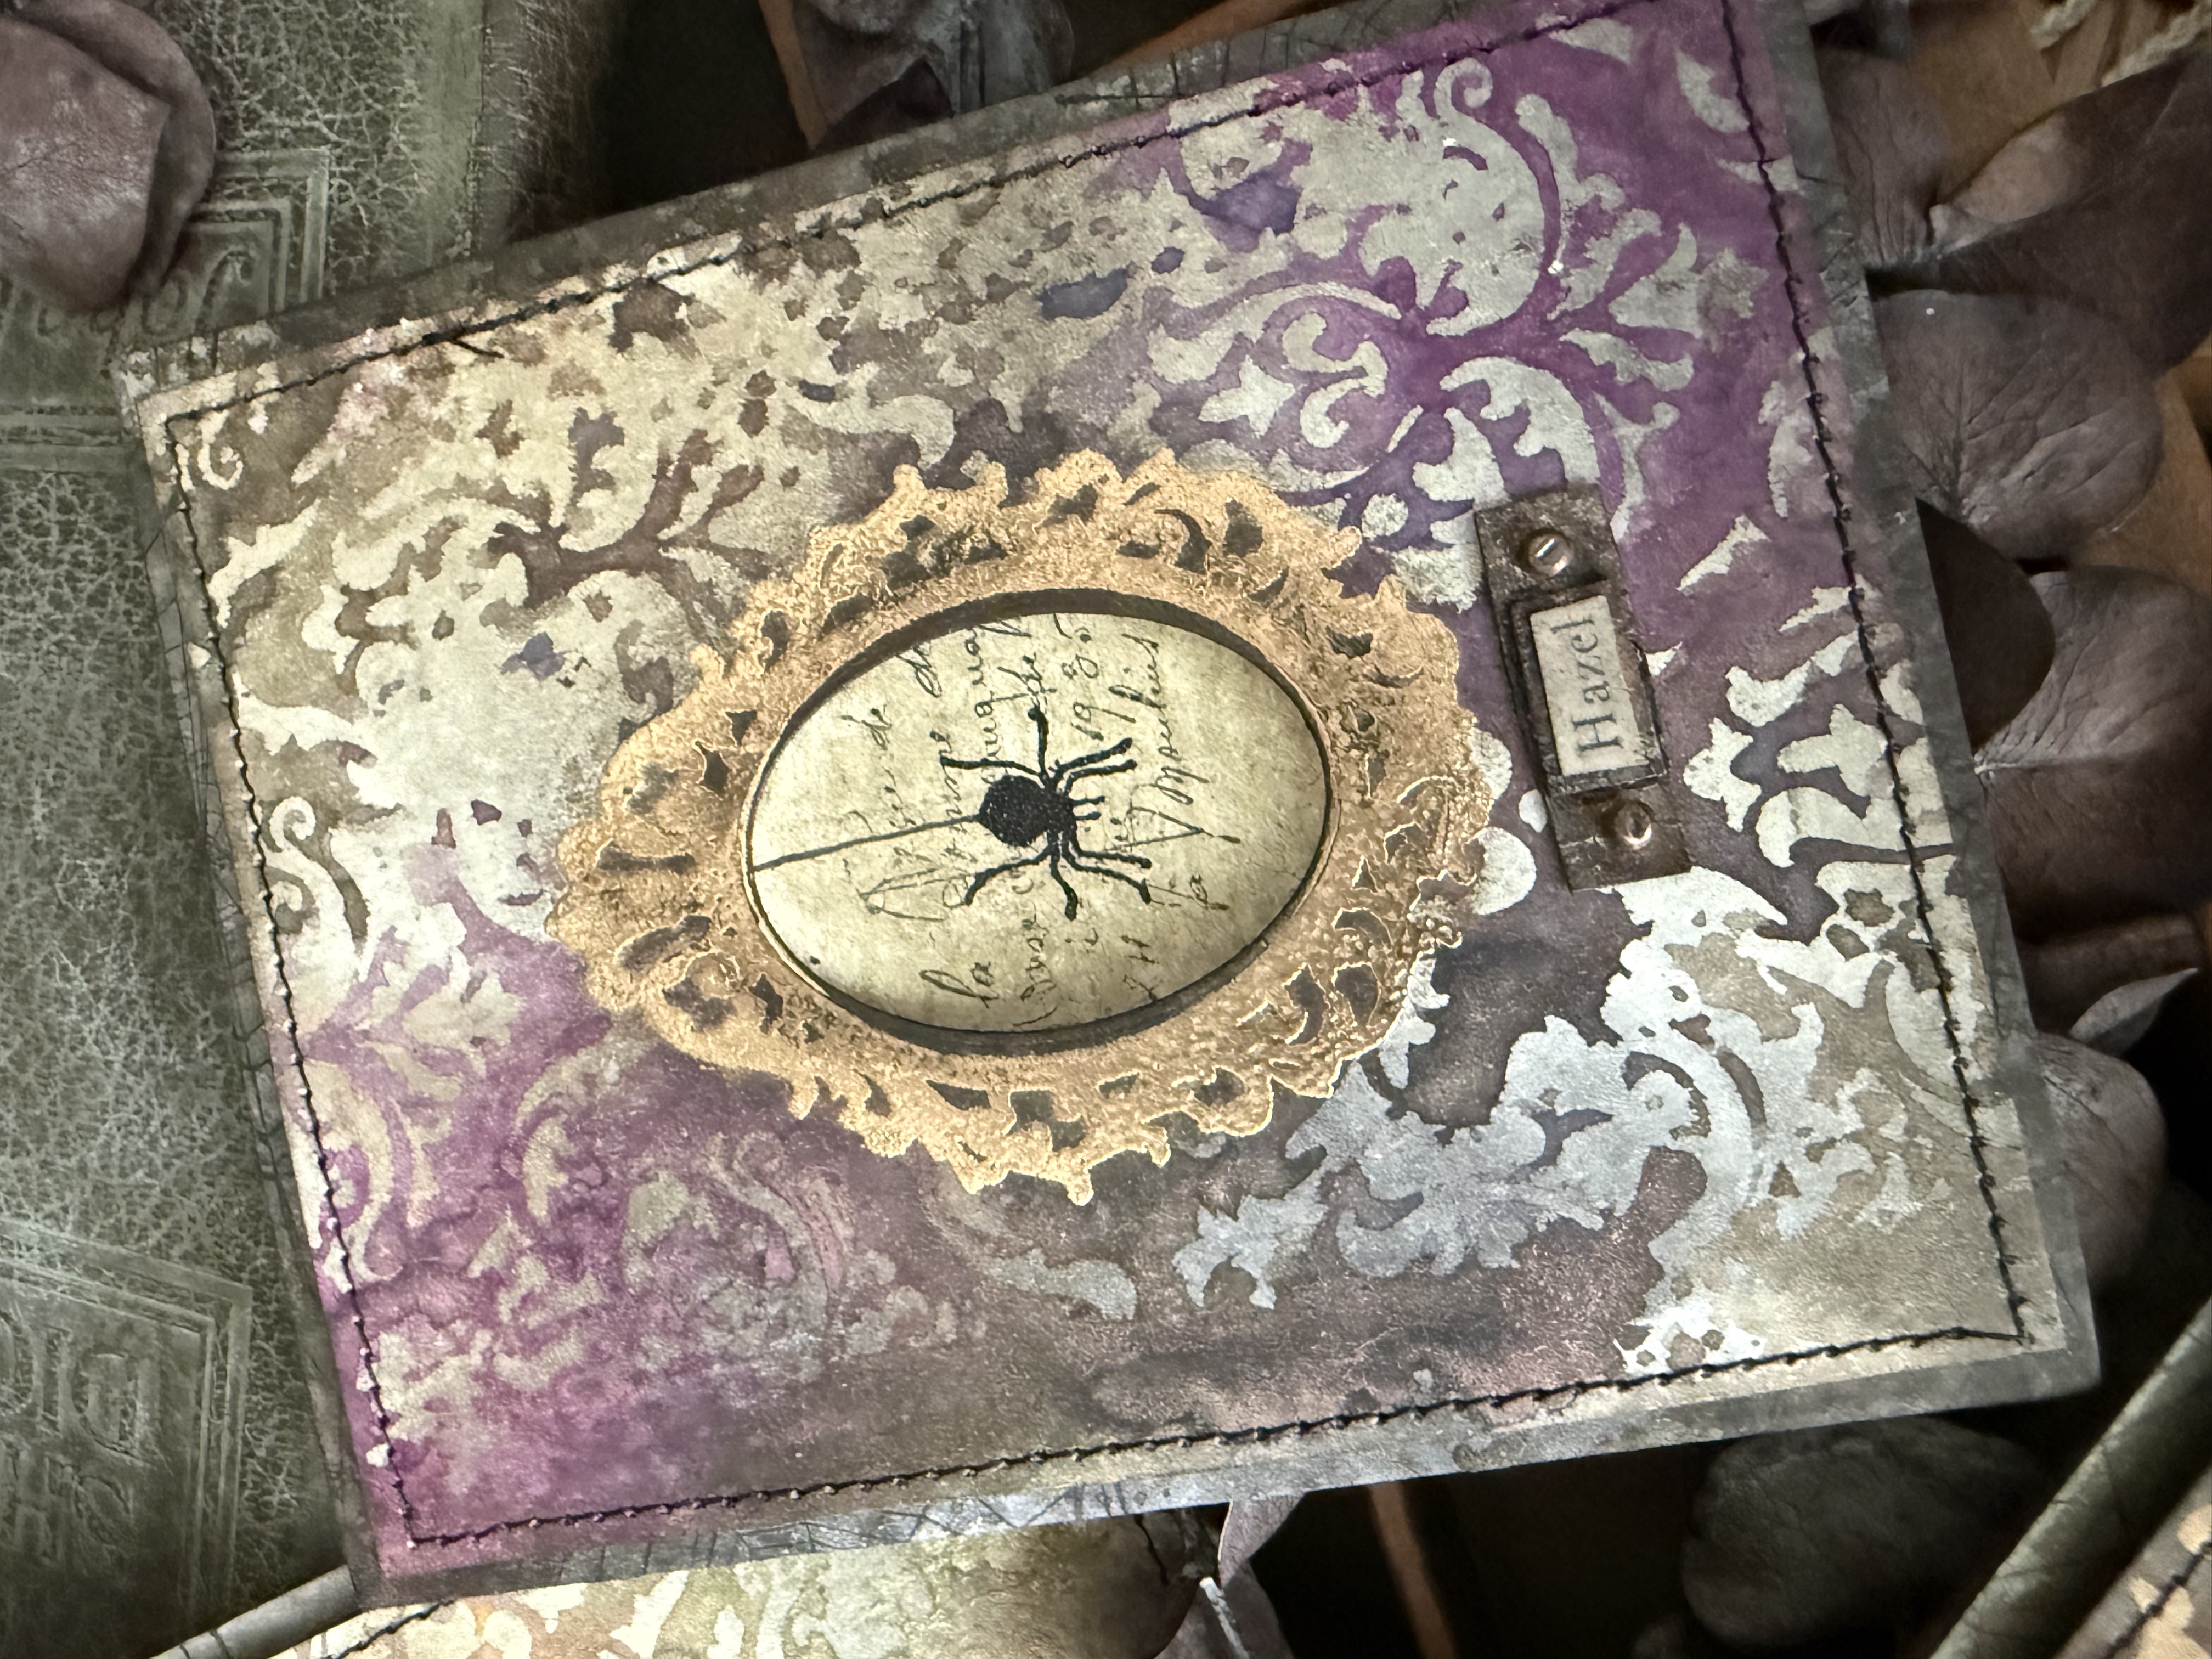
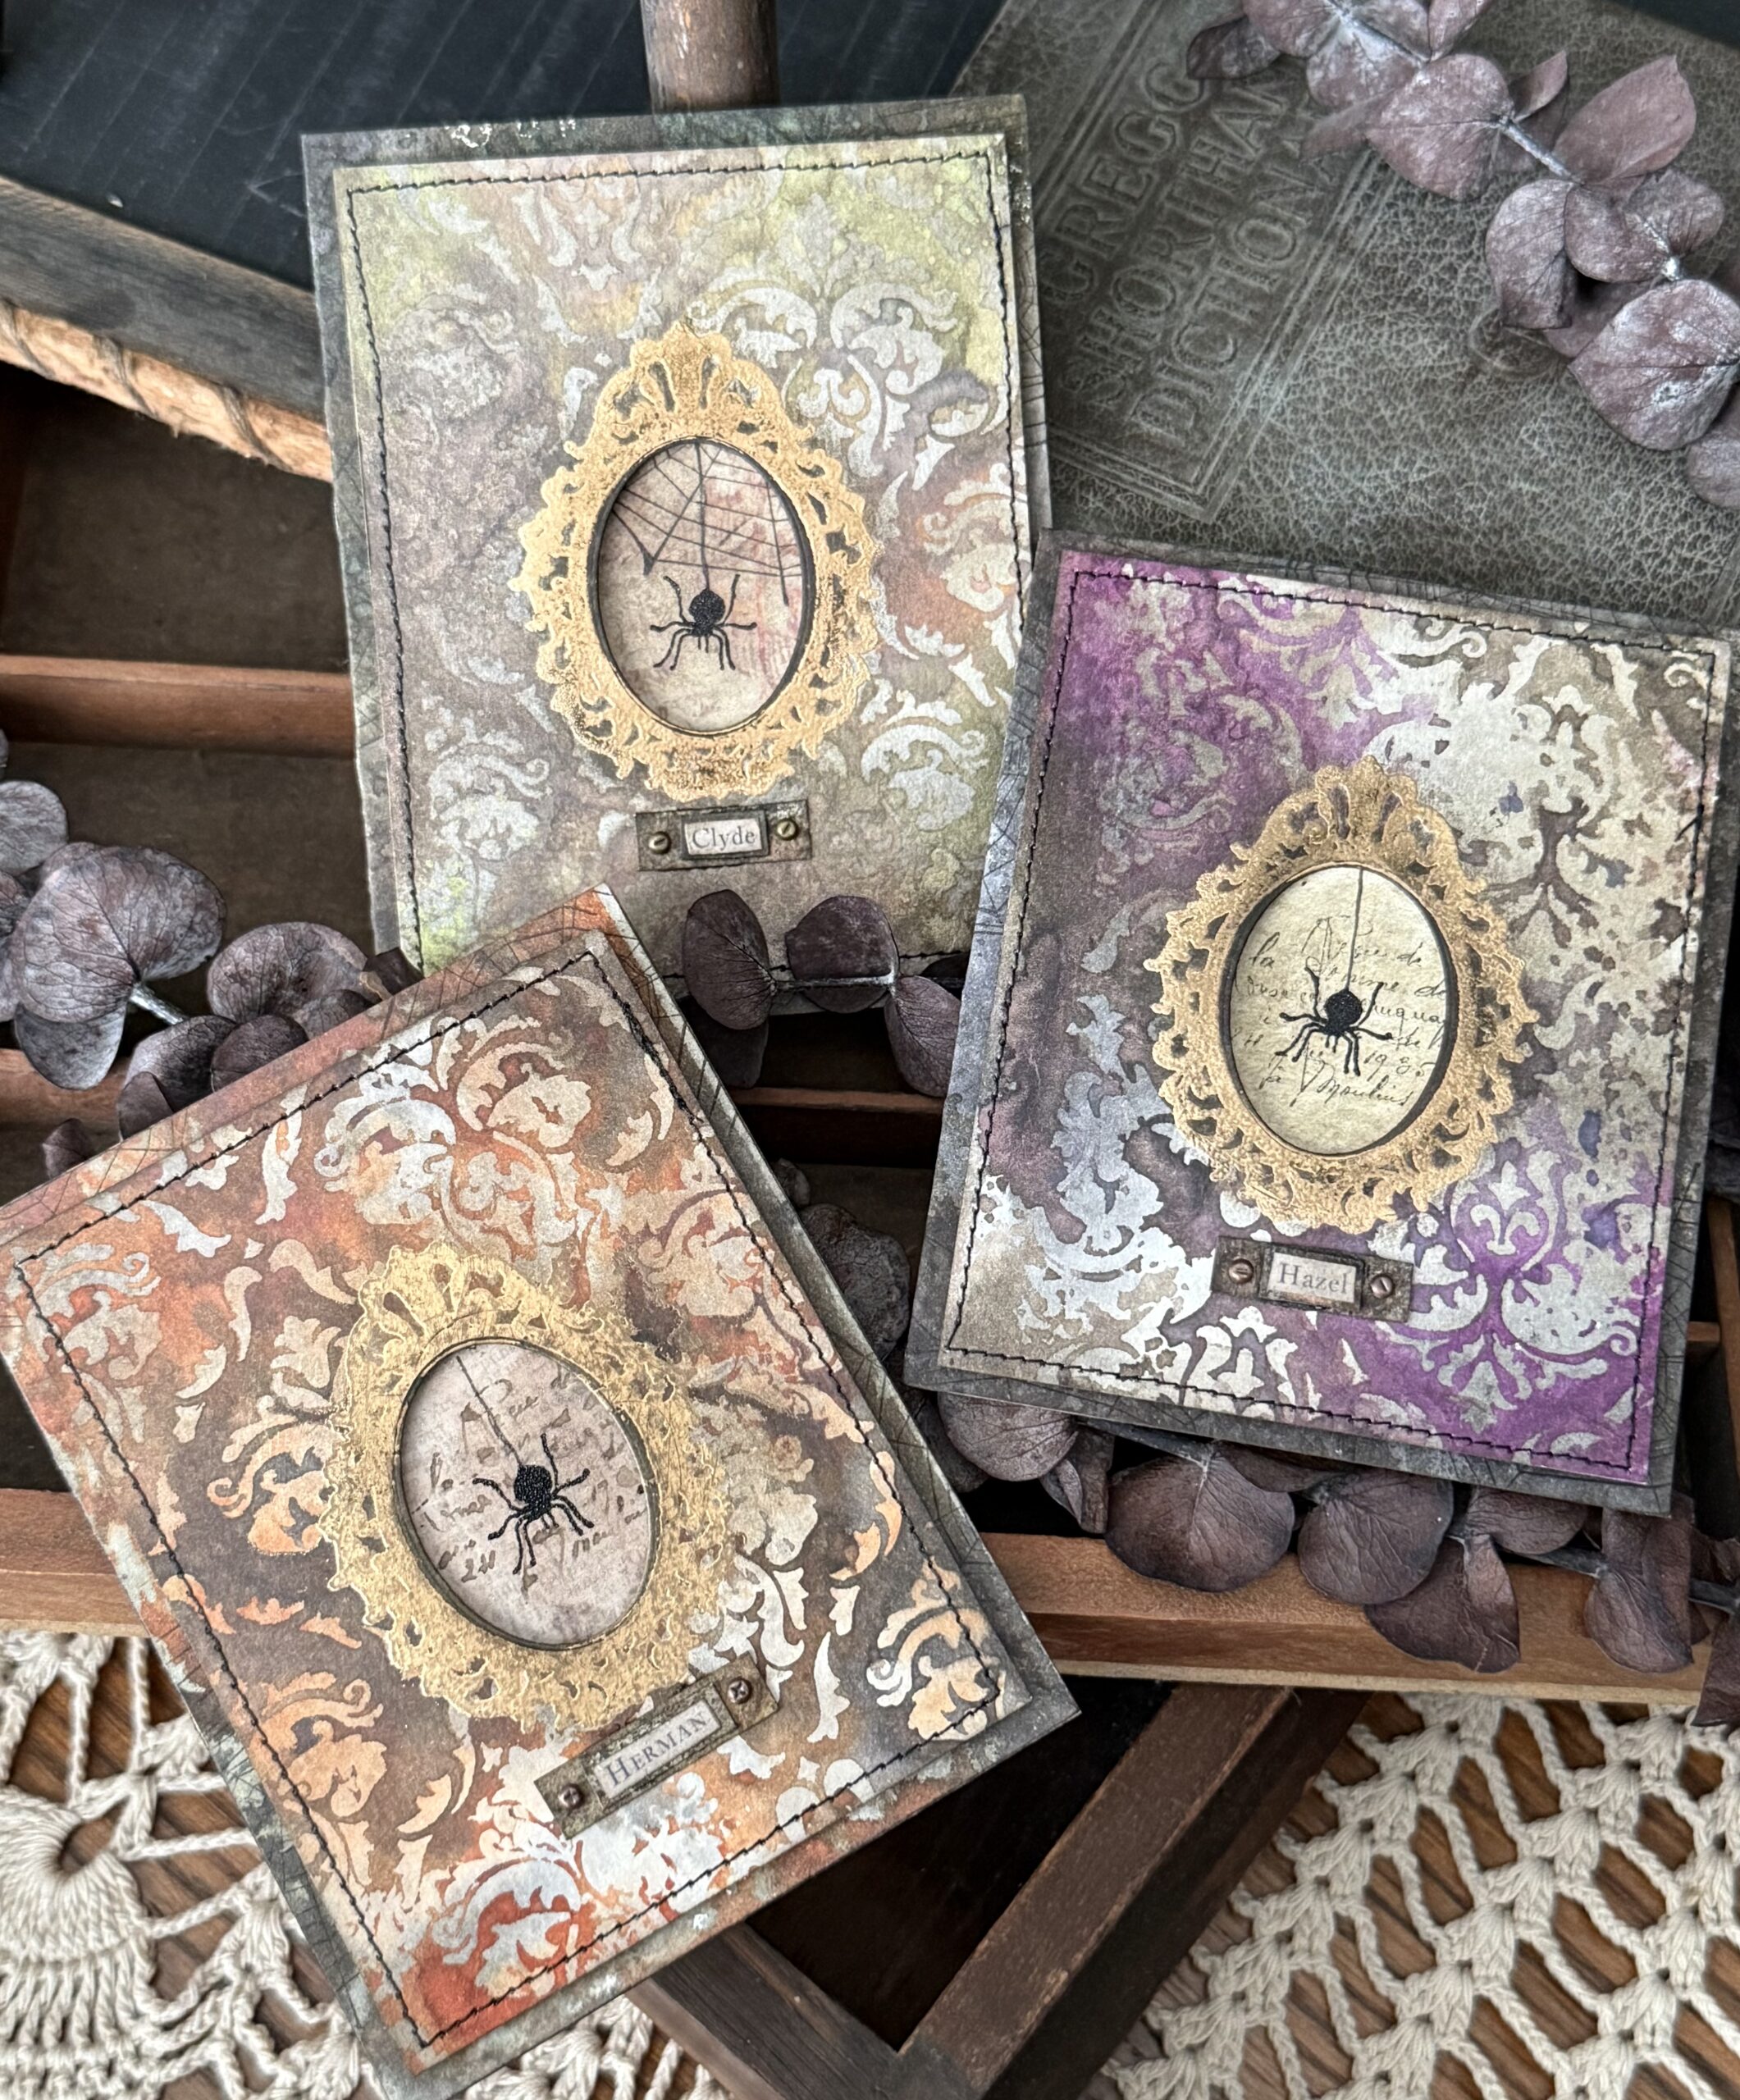
Today, I am sharing a small set of cards that I made using the Mini Halloween CMS140. I just love how they turned out…it’s something about little things with me, the little frame and spider just makes me happy! And I had so much fun naming them…the names are from the idea-ology clippings stickers.
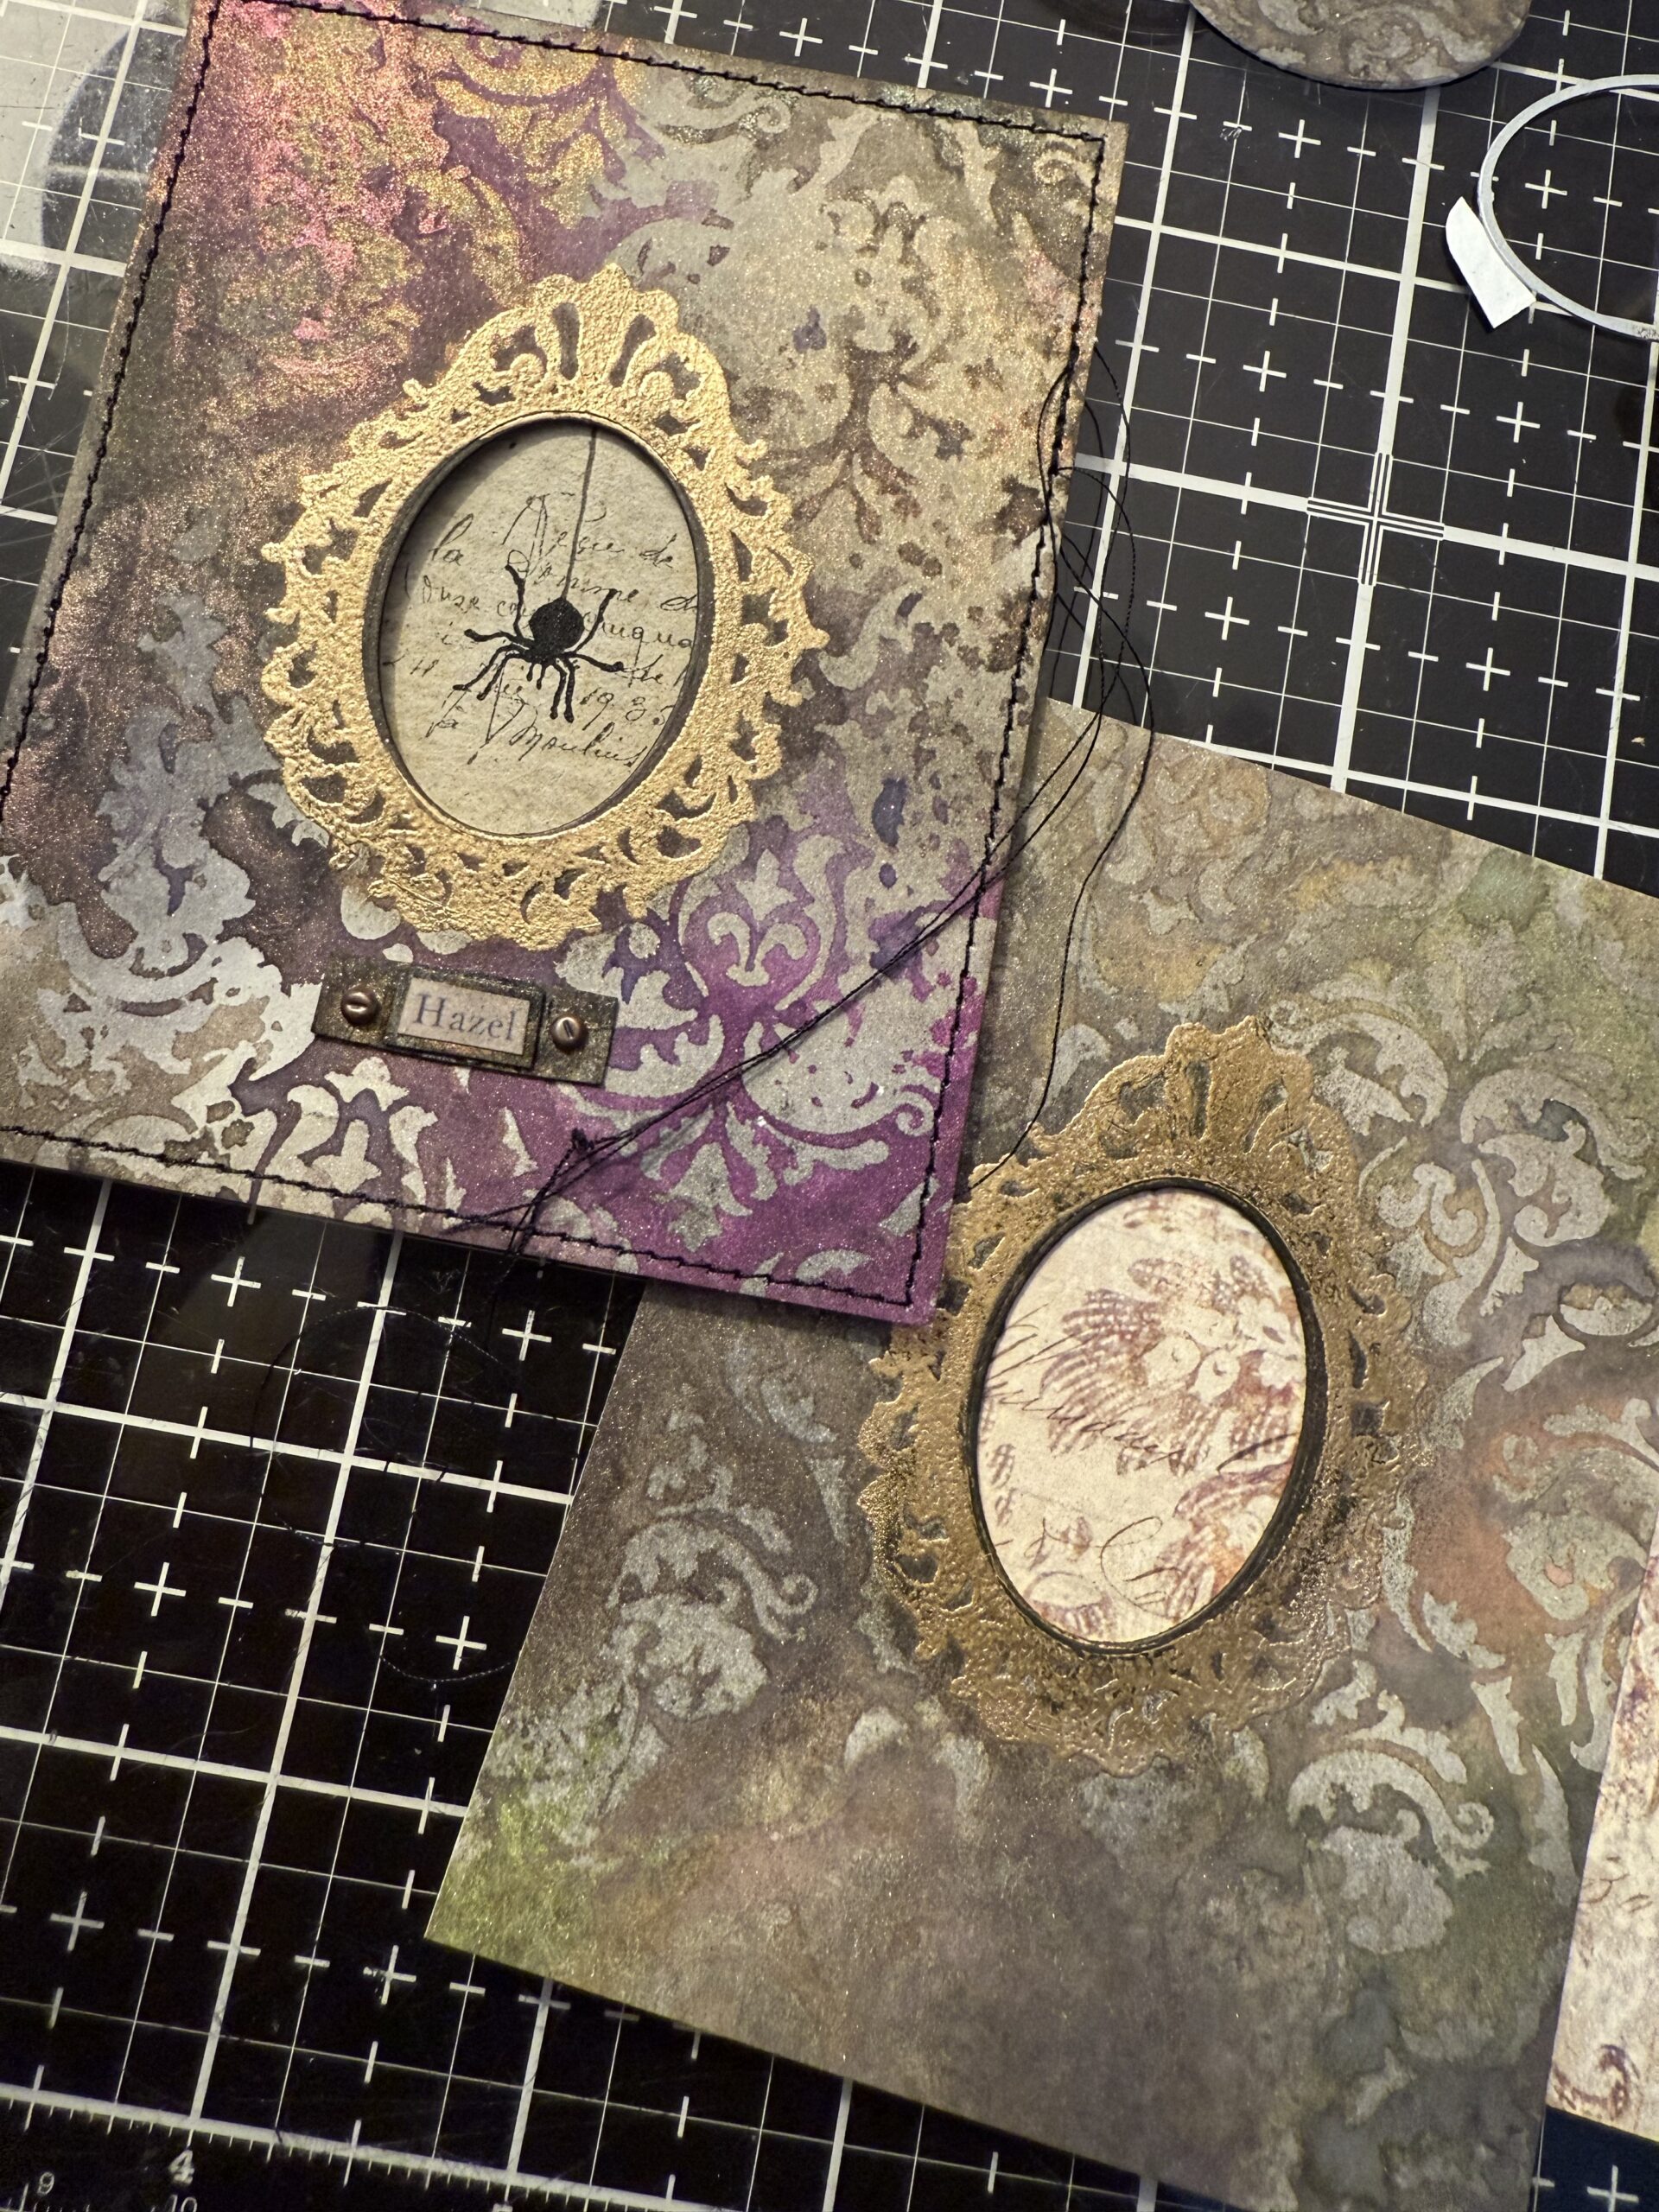
Here’s a look at the whole set..the cutest little halloween things. Quite a good little variety.
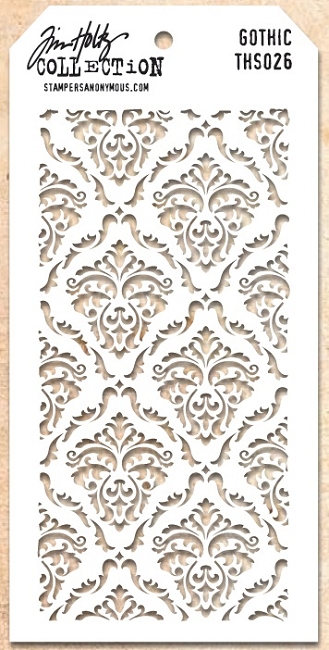
The backgrounds for each of the cards were created using the Gothic Layering Stencil THS026, one of my all time favorite stencils, in fact as I was digging through my stencils I realized that I own 4 of them, and they all have been used. LOL! That’s how much I love it!
It’s a classic and can be used for so many things other than Halloween, it has that classic “vintage wallpaper hung in a haunted house” look. Herman, Hazel and Clyde all have different backgrounds created by just changing up the color combos of Distress Ink and Mica Sprays.
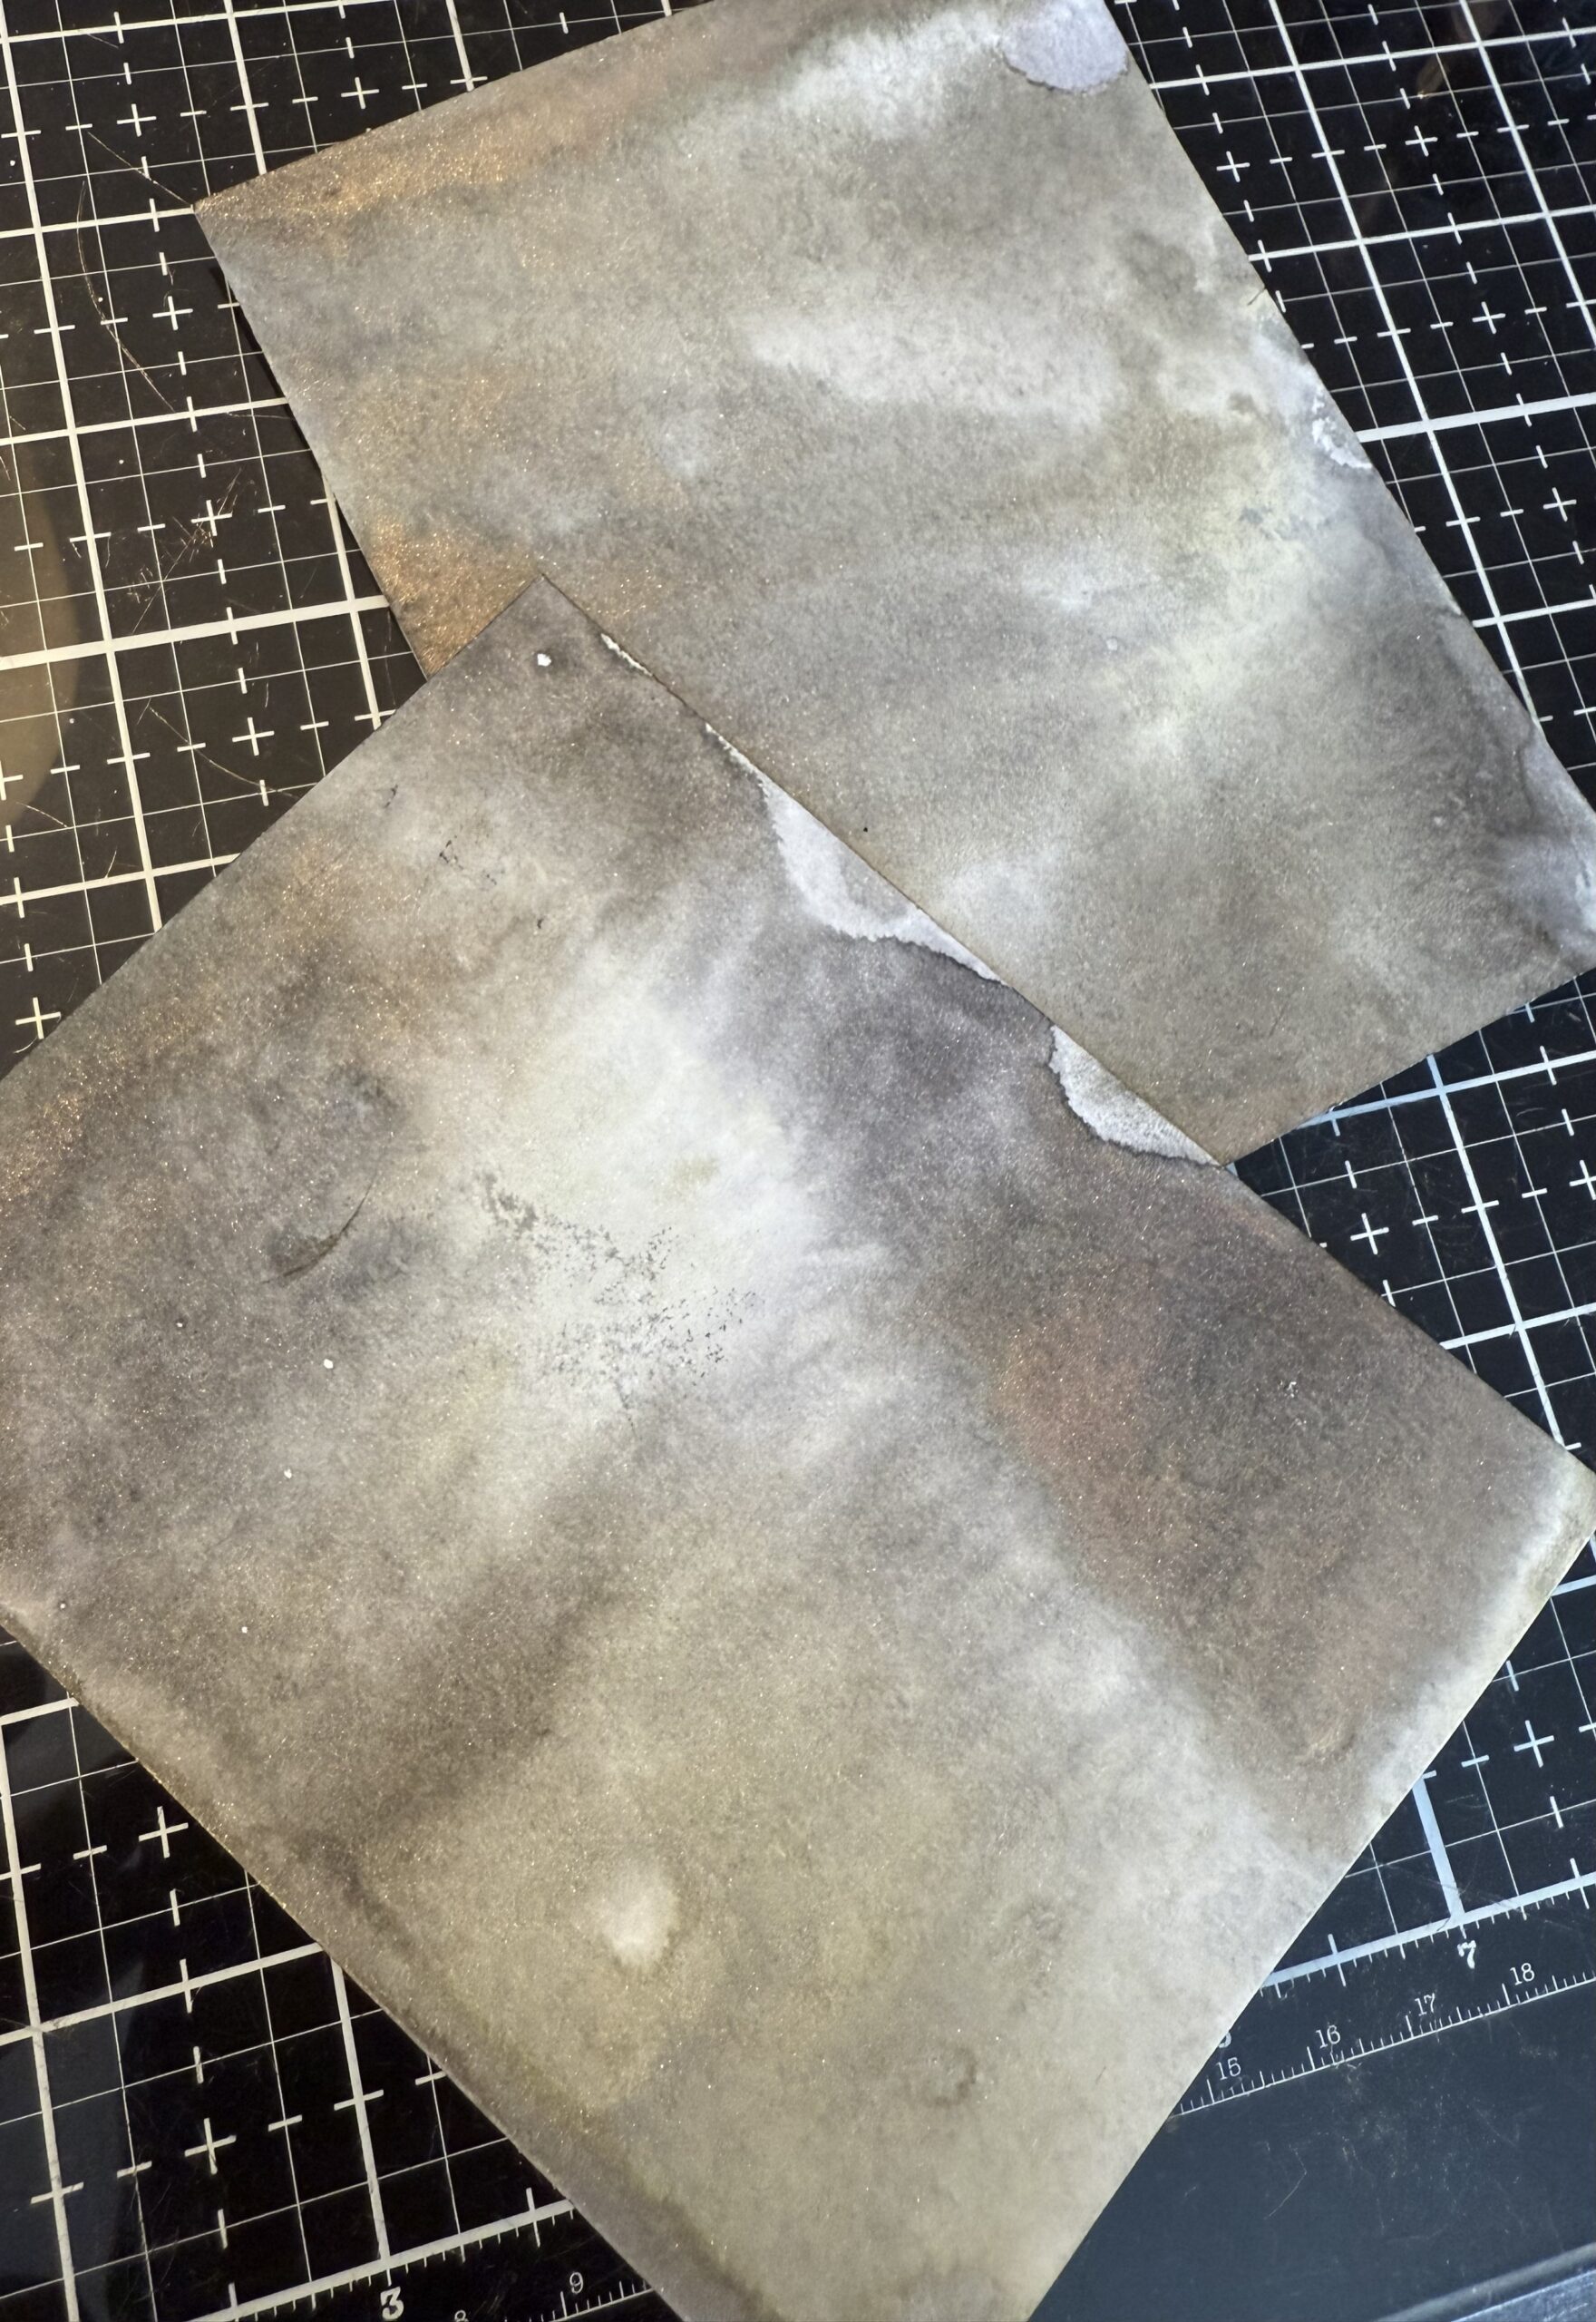
So, let’s get to making them! I started by spritzing some Distress Watercolor Paper with water, then a combo of Hickory Smoke, Pumice Stone and Frayed Burlap Spray Stains, then I dried them with my heat tool.
I smooshed some Villainous Potion Distress Oxide onto the stencil.
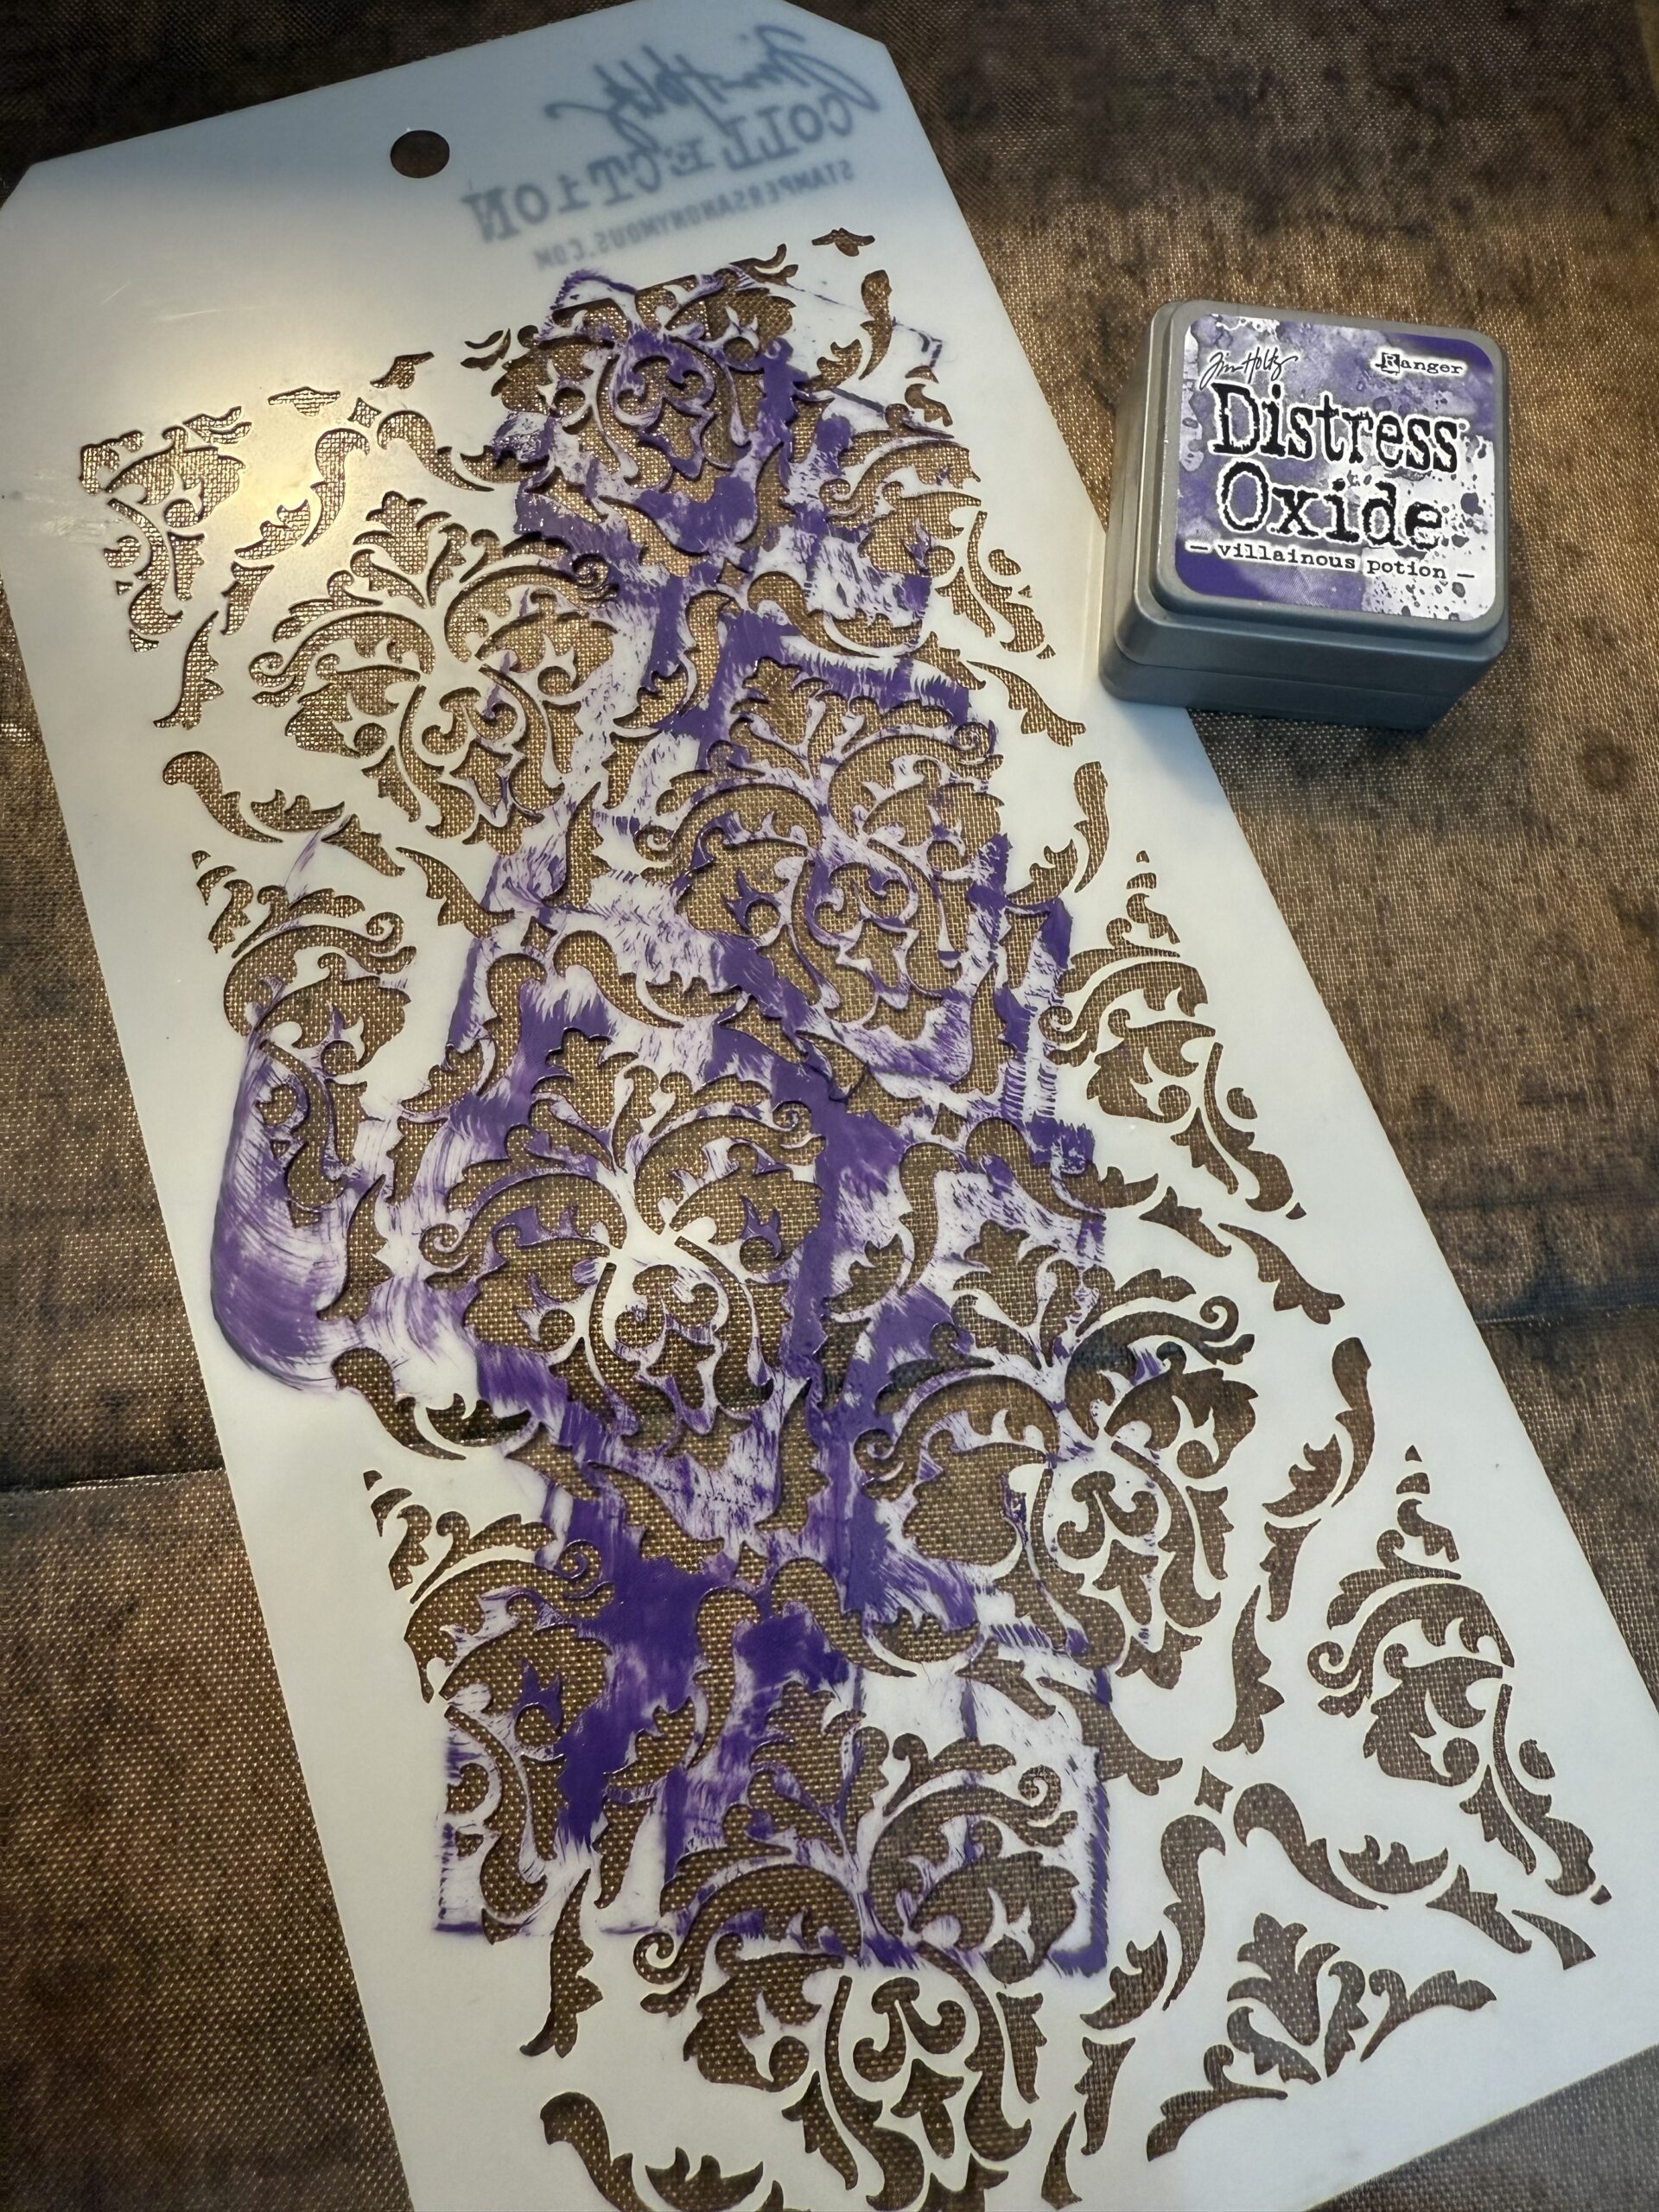
Then sprayed the stencil with Scorched Timber, Specimen and Fortune Teller Distress Mica Spray, then a quick mist of water. I flipped the stencil onto the piece of paper, lifted it and dried it with my heat tool.
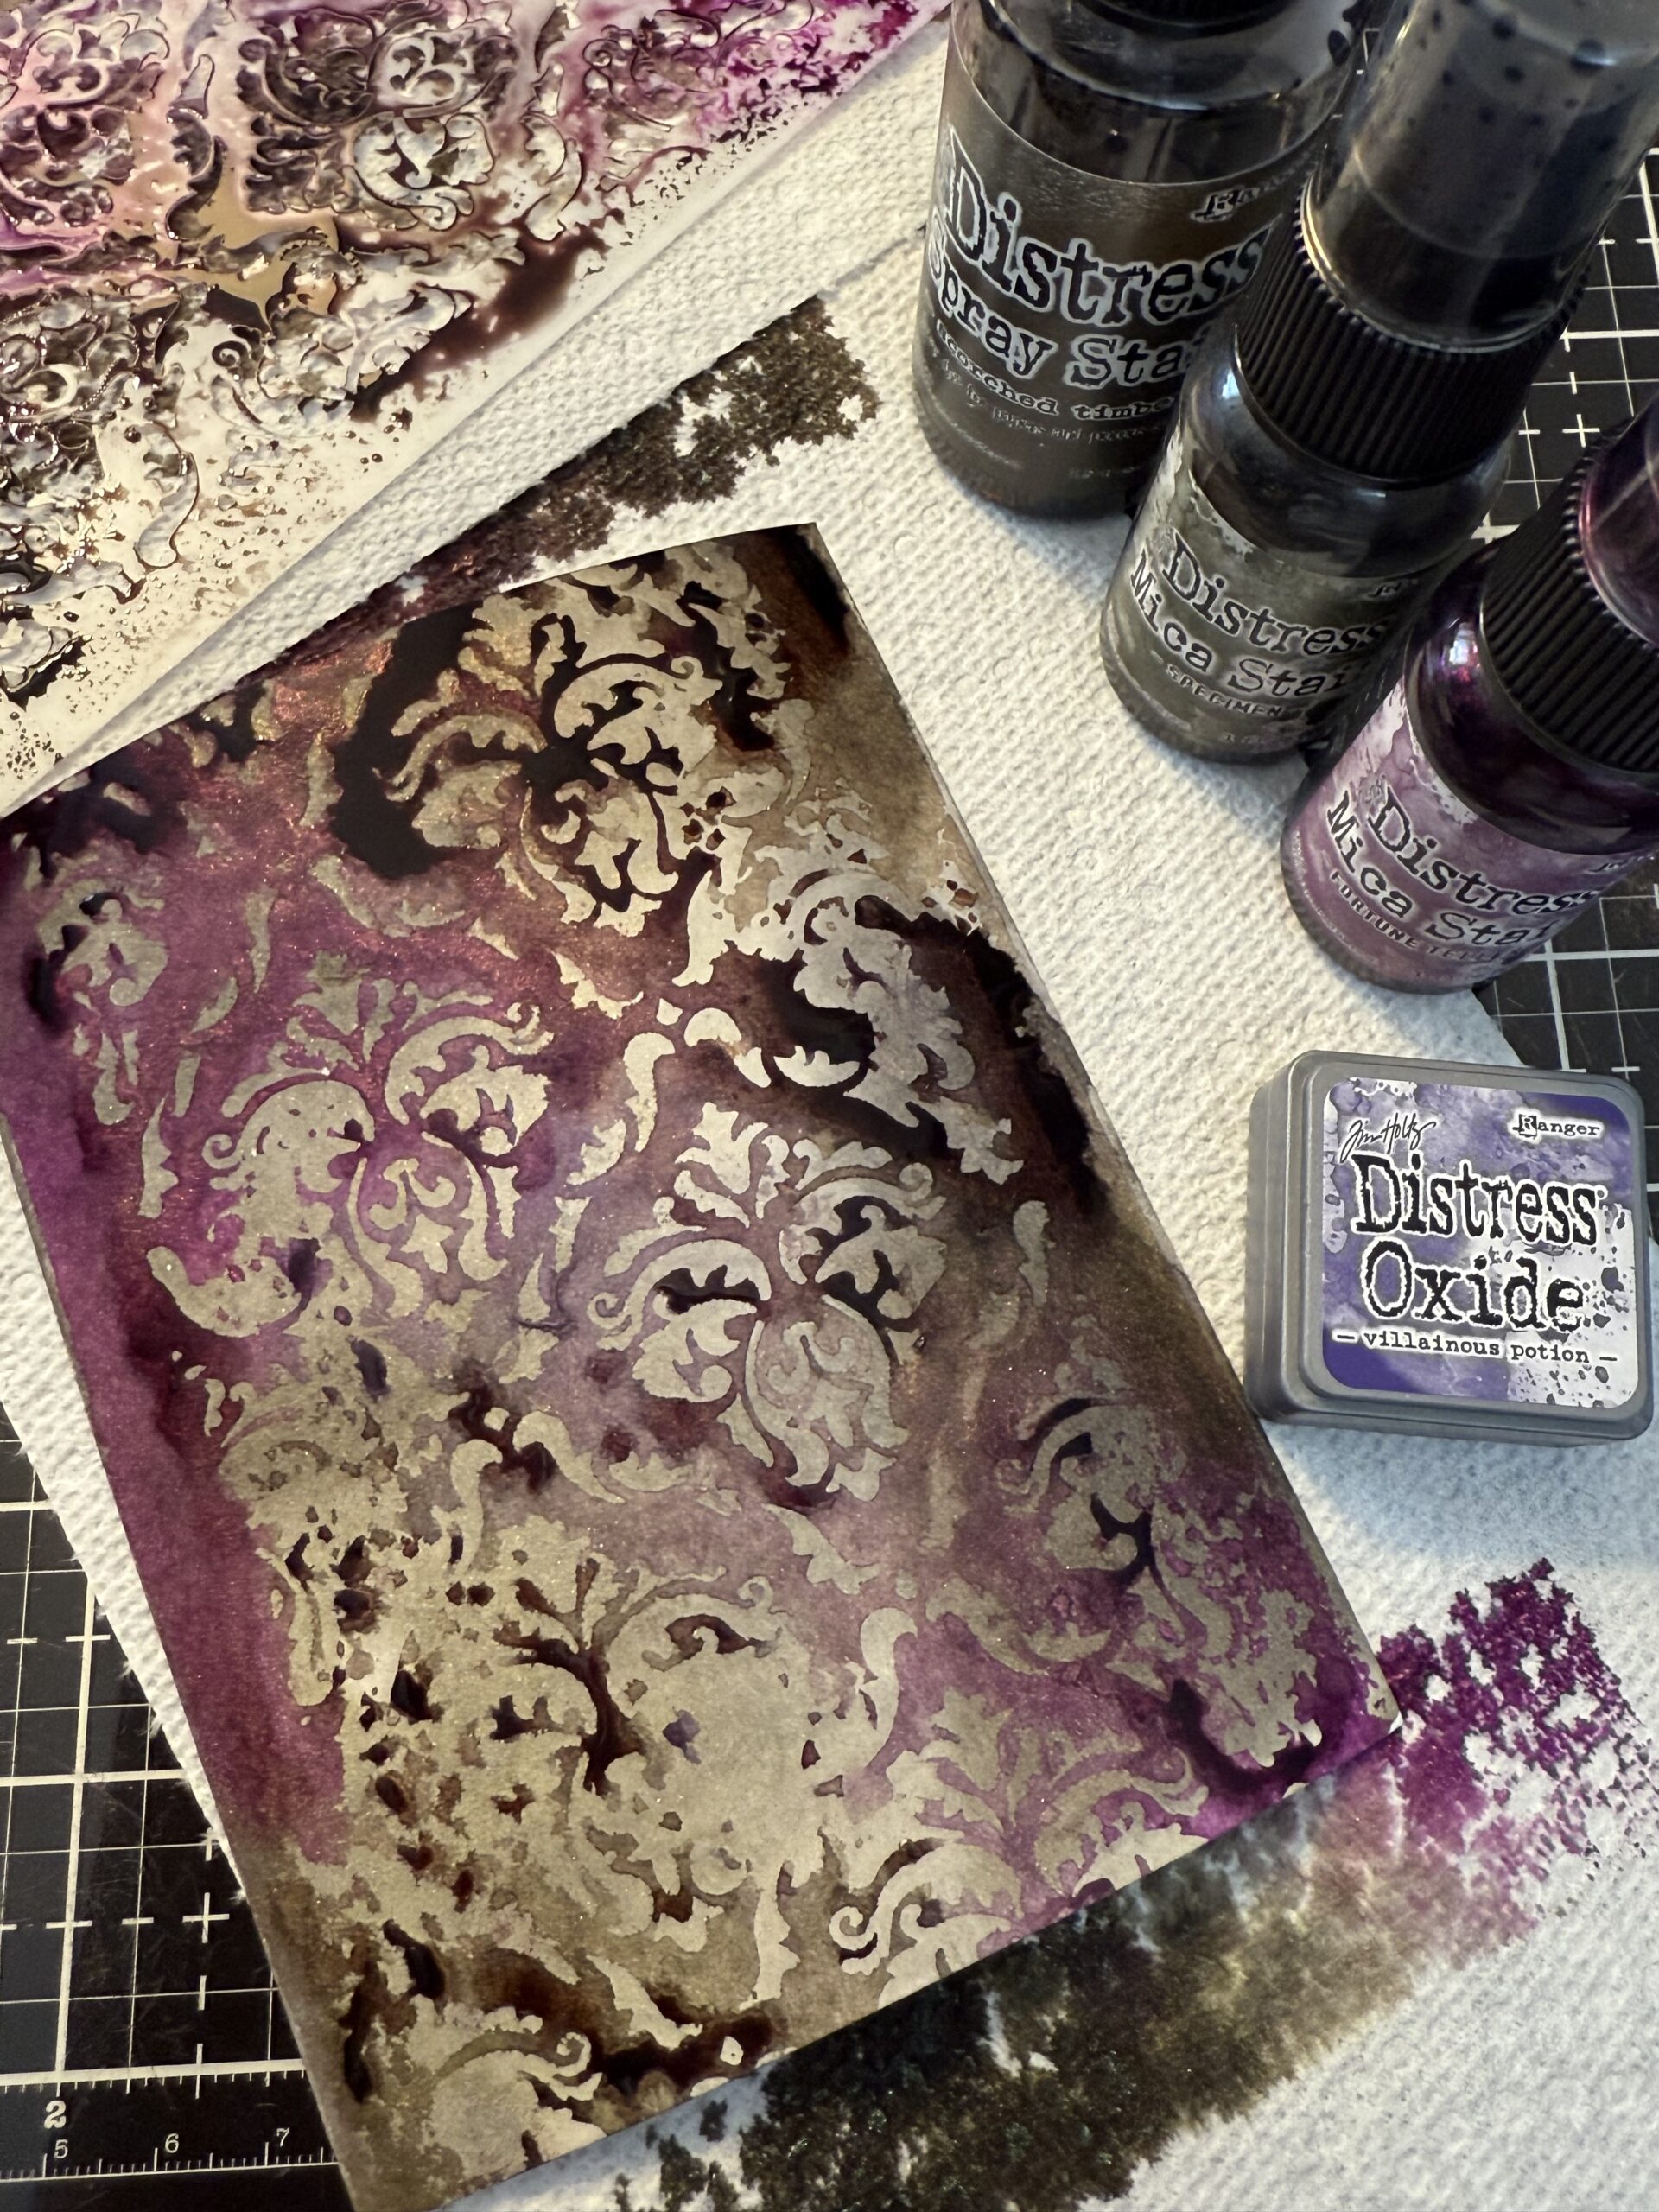
Here are the final results of that combo.
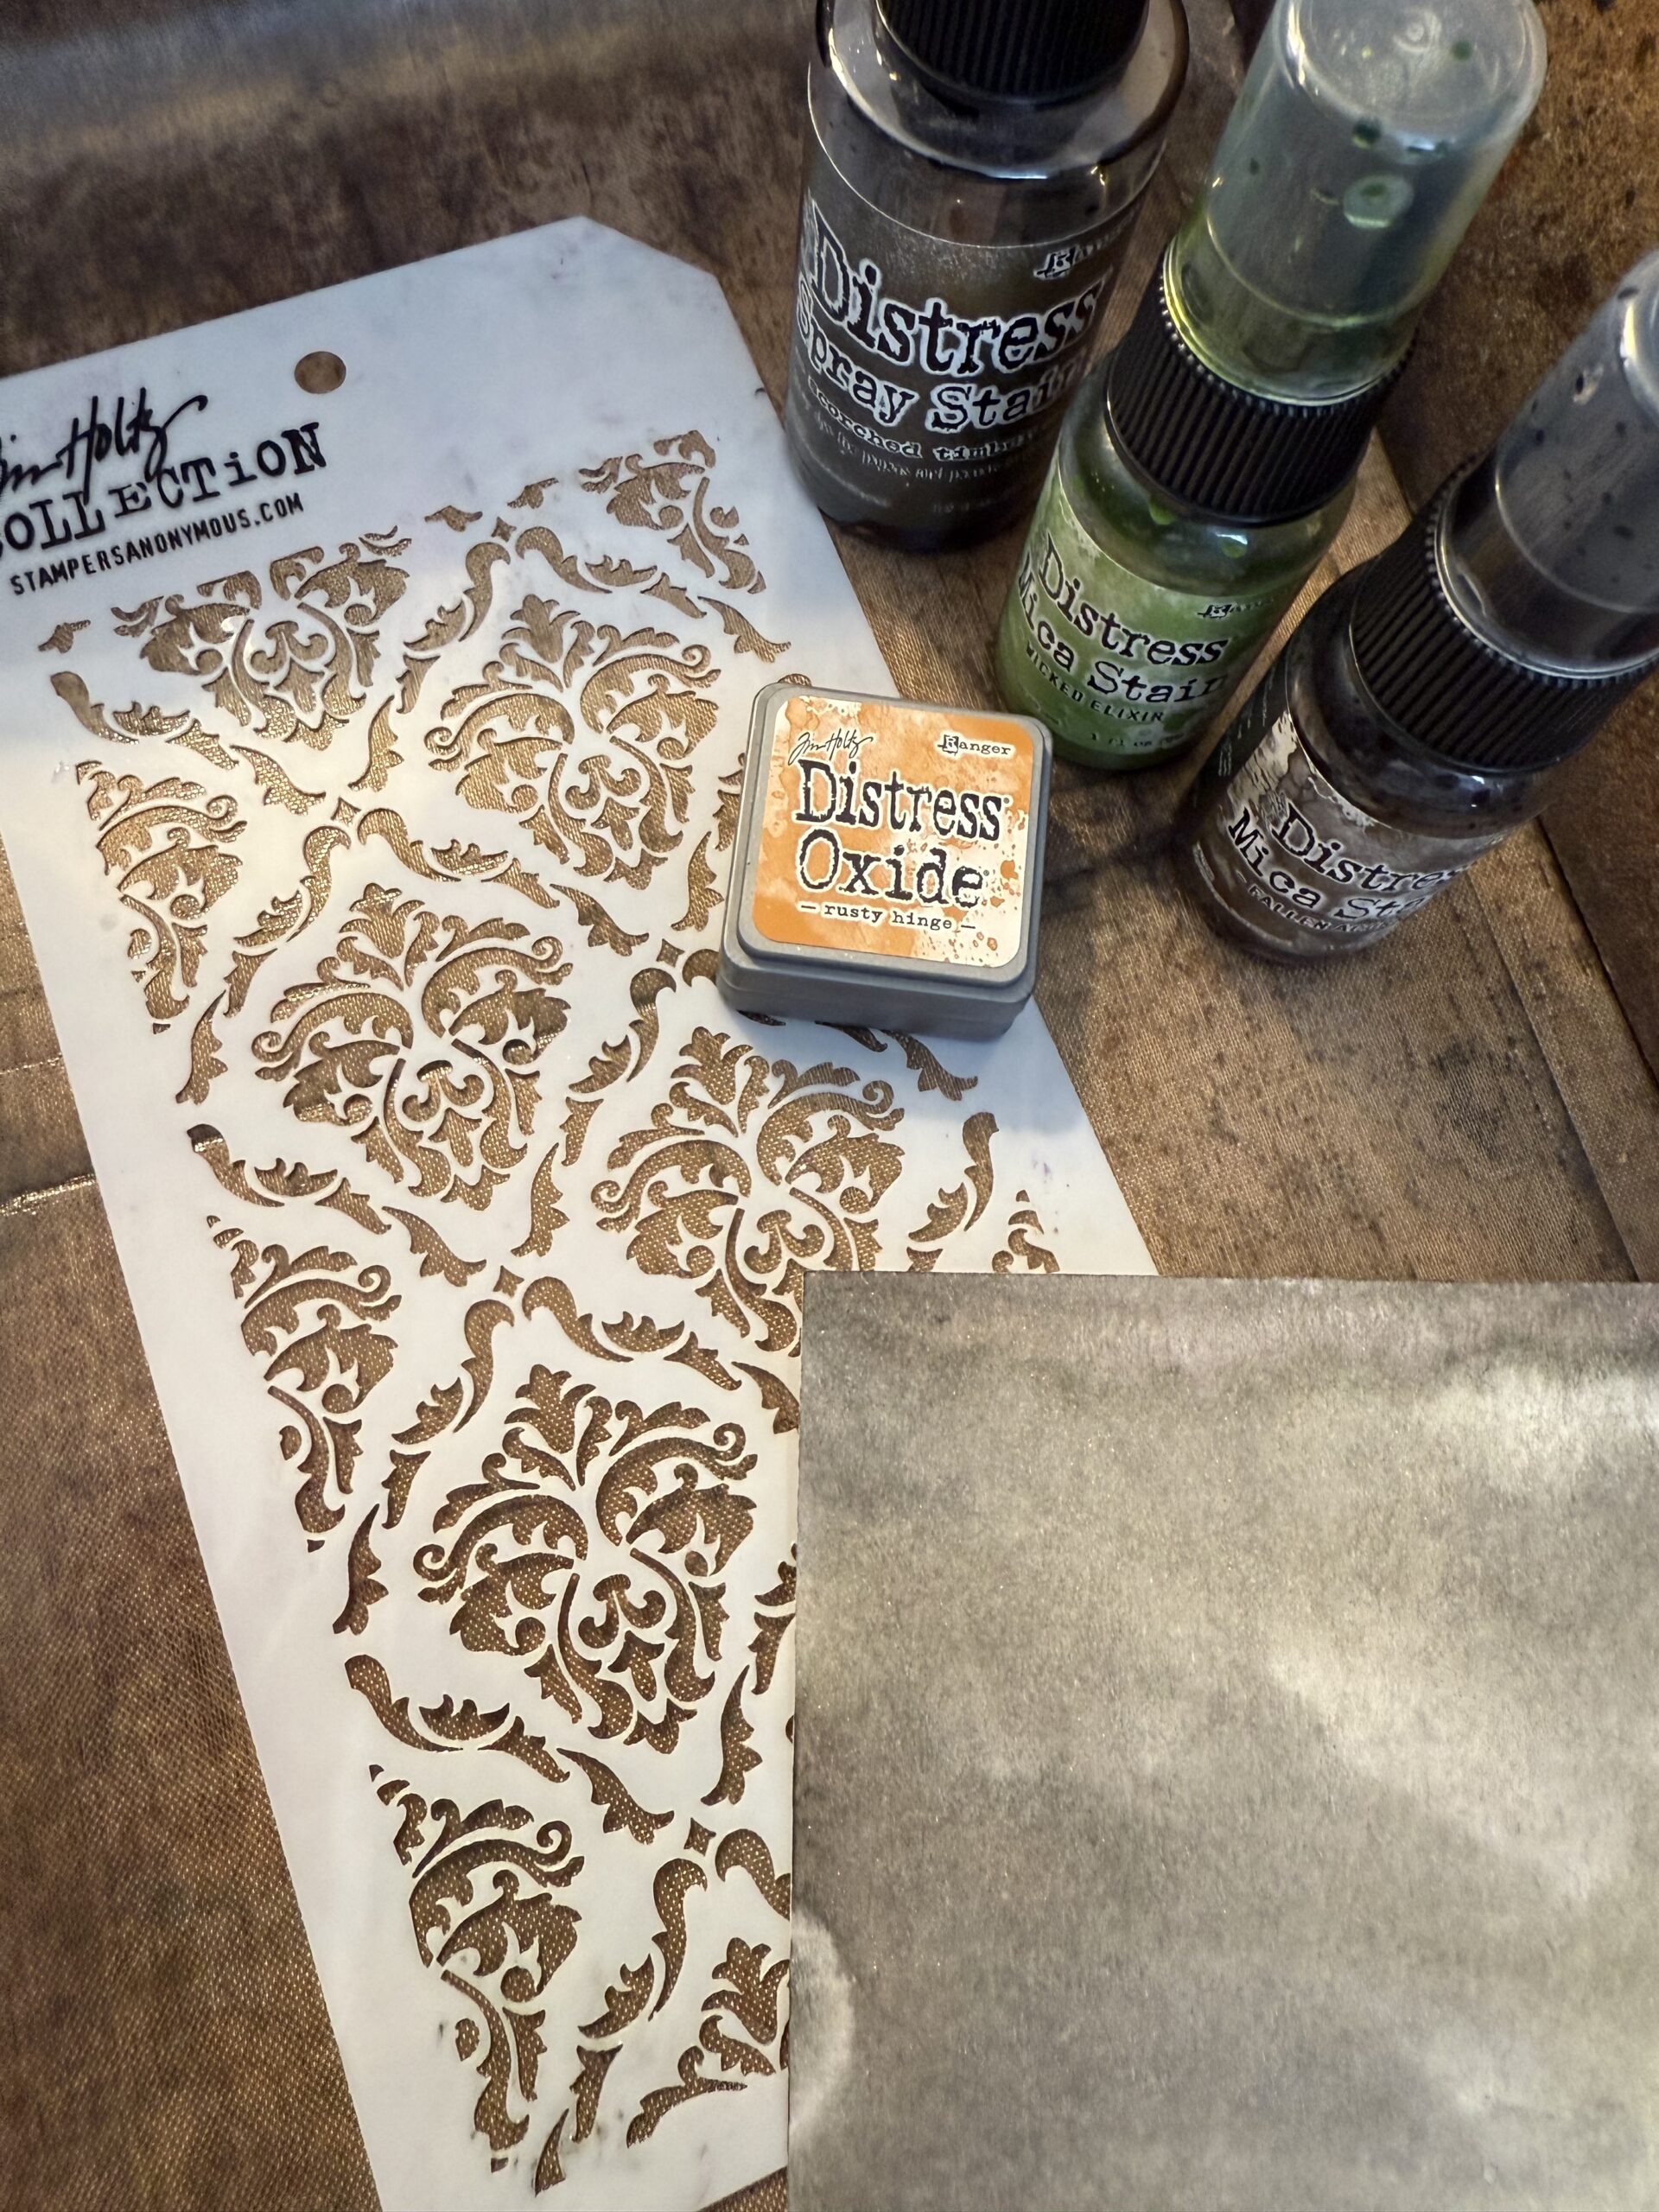
I made a variety using the combos of Distress Sprays and Mica Sprays until I had my 3 for my cards. This combo was Rusty Hinge Oxide ink Smooshed, then sprayed Scorched Timber, Wicked Elixir, and Fallen Acorn.
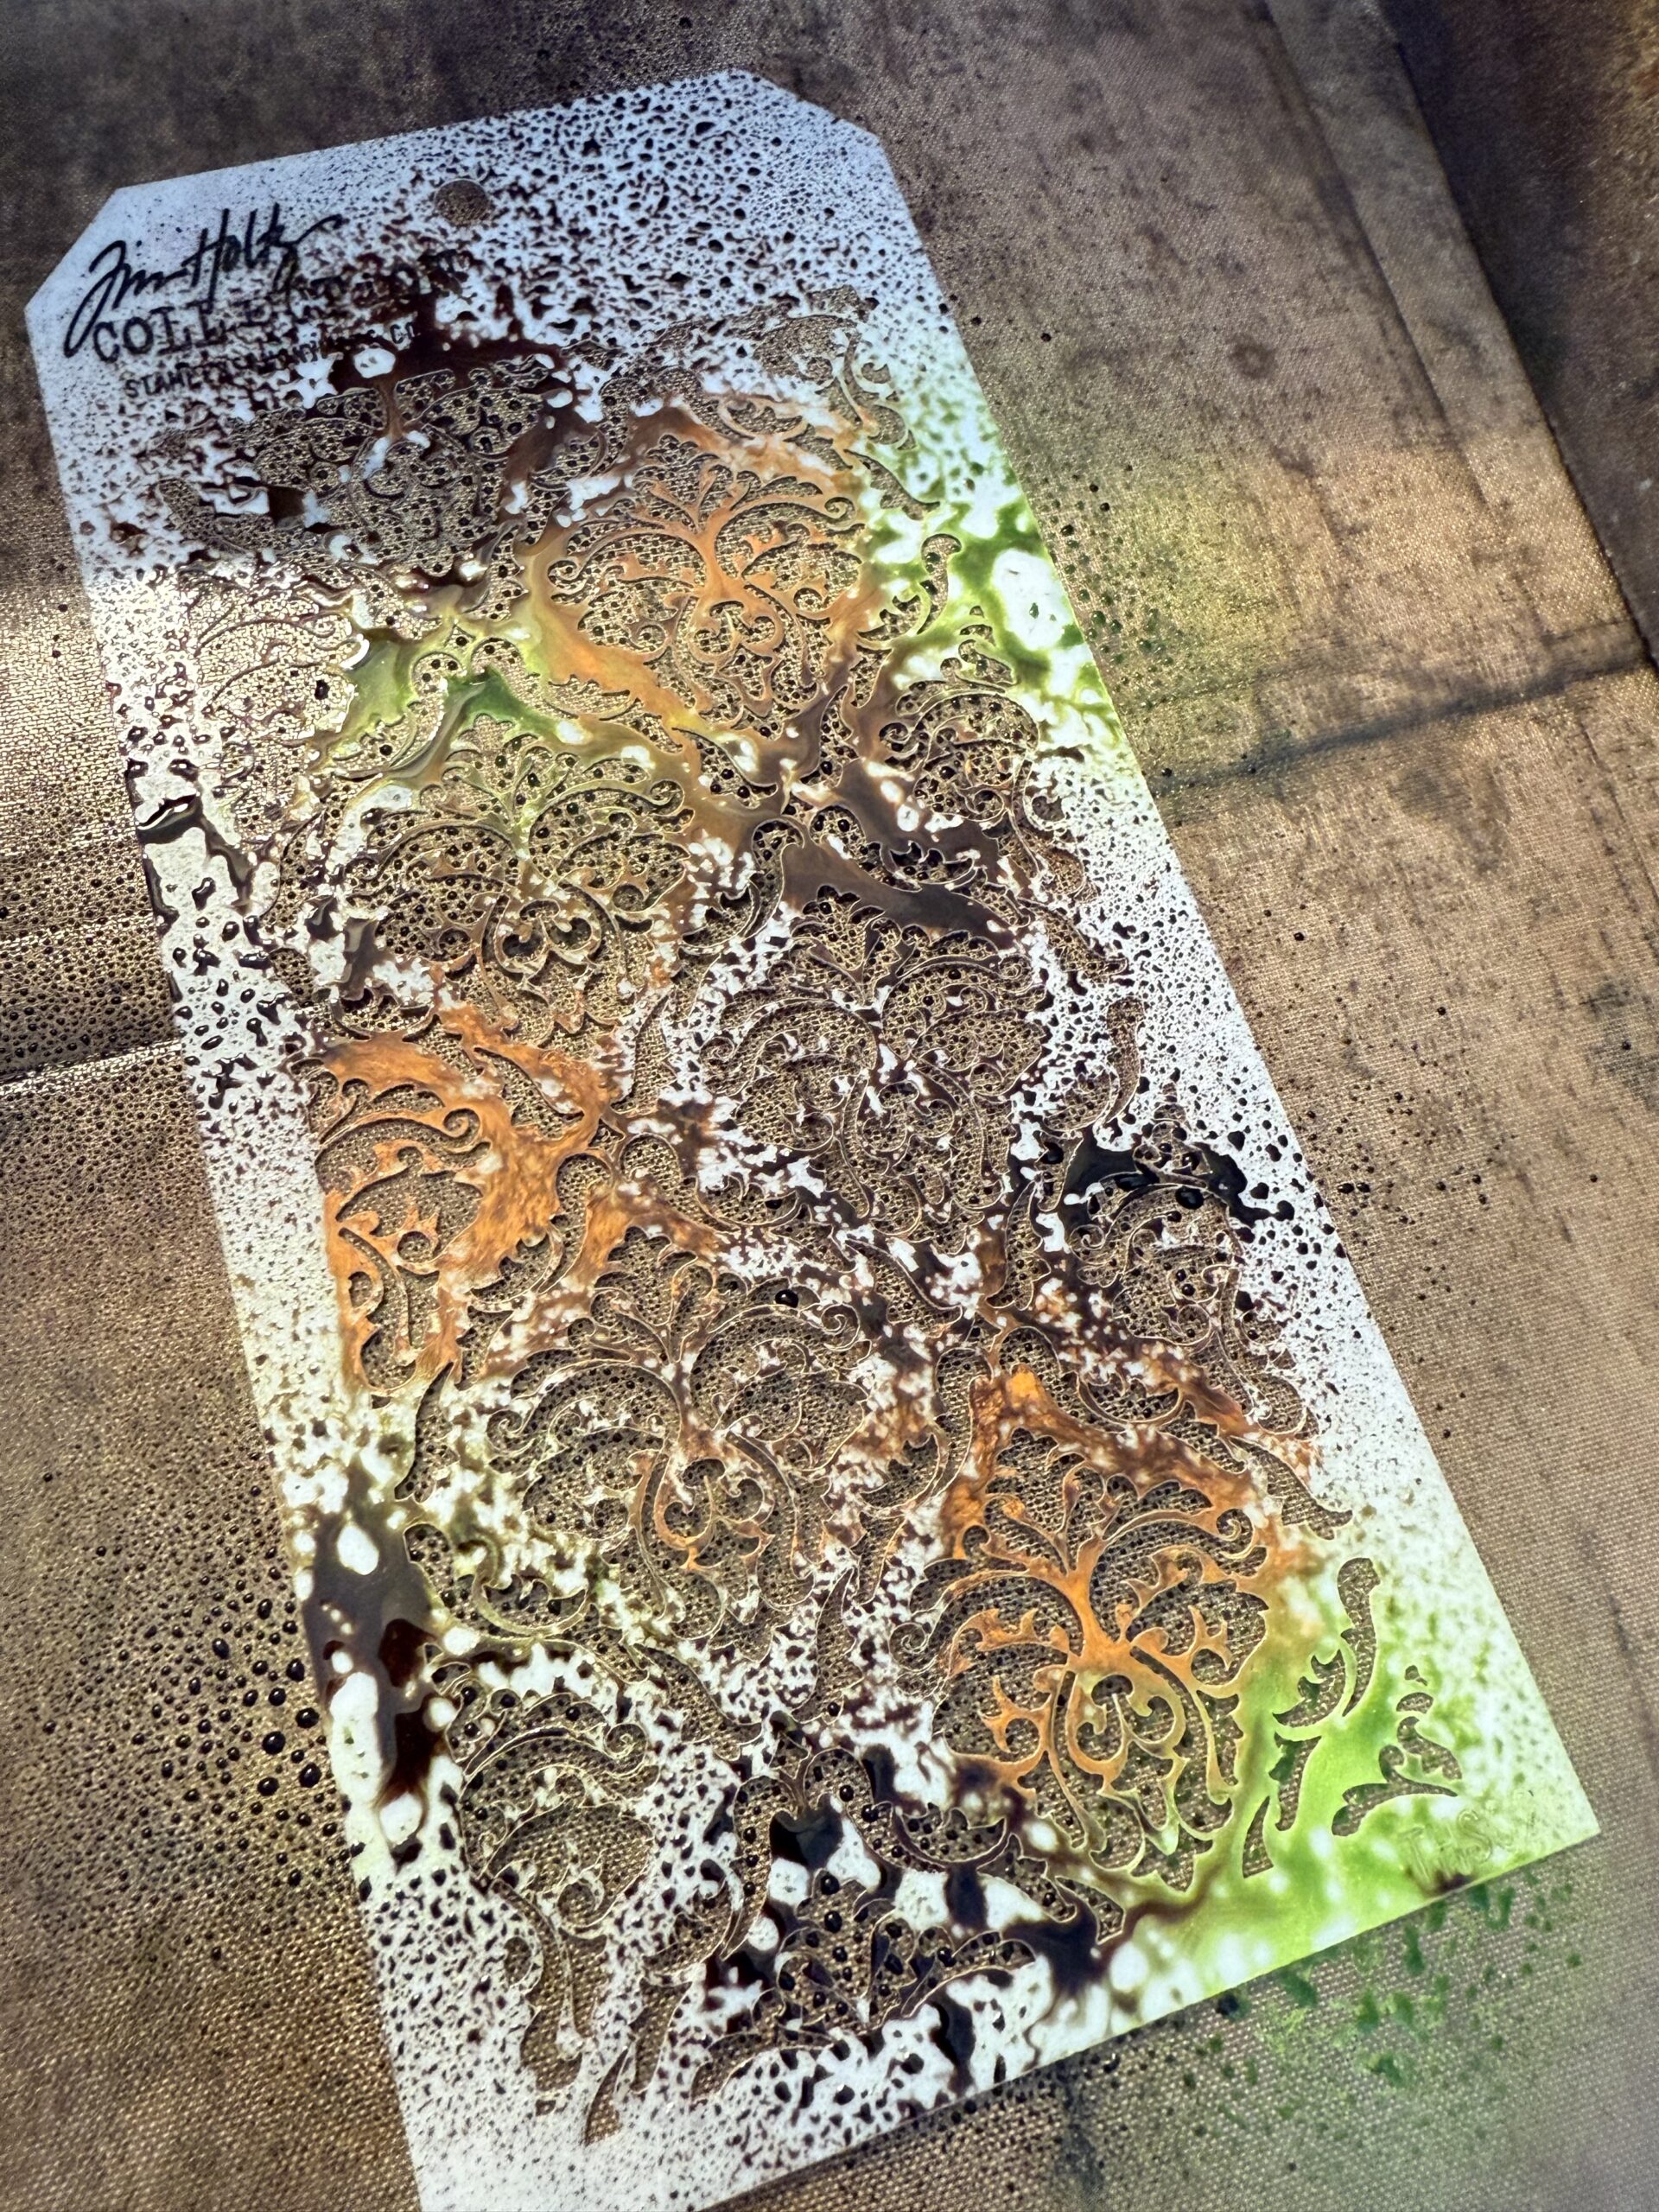
And here is the final result.
The last combo was Crackling Campfire Oxide Smooshed, Black Soot Spray, Mulled Cider.
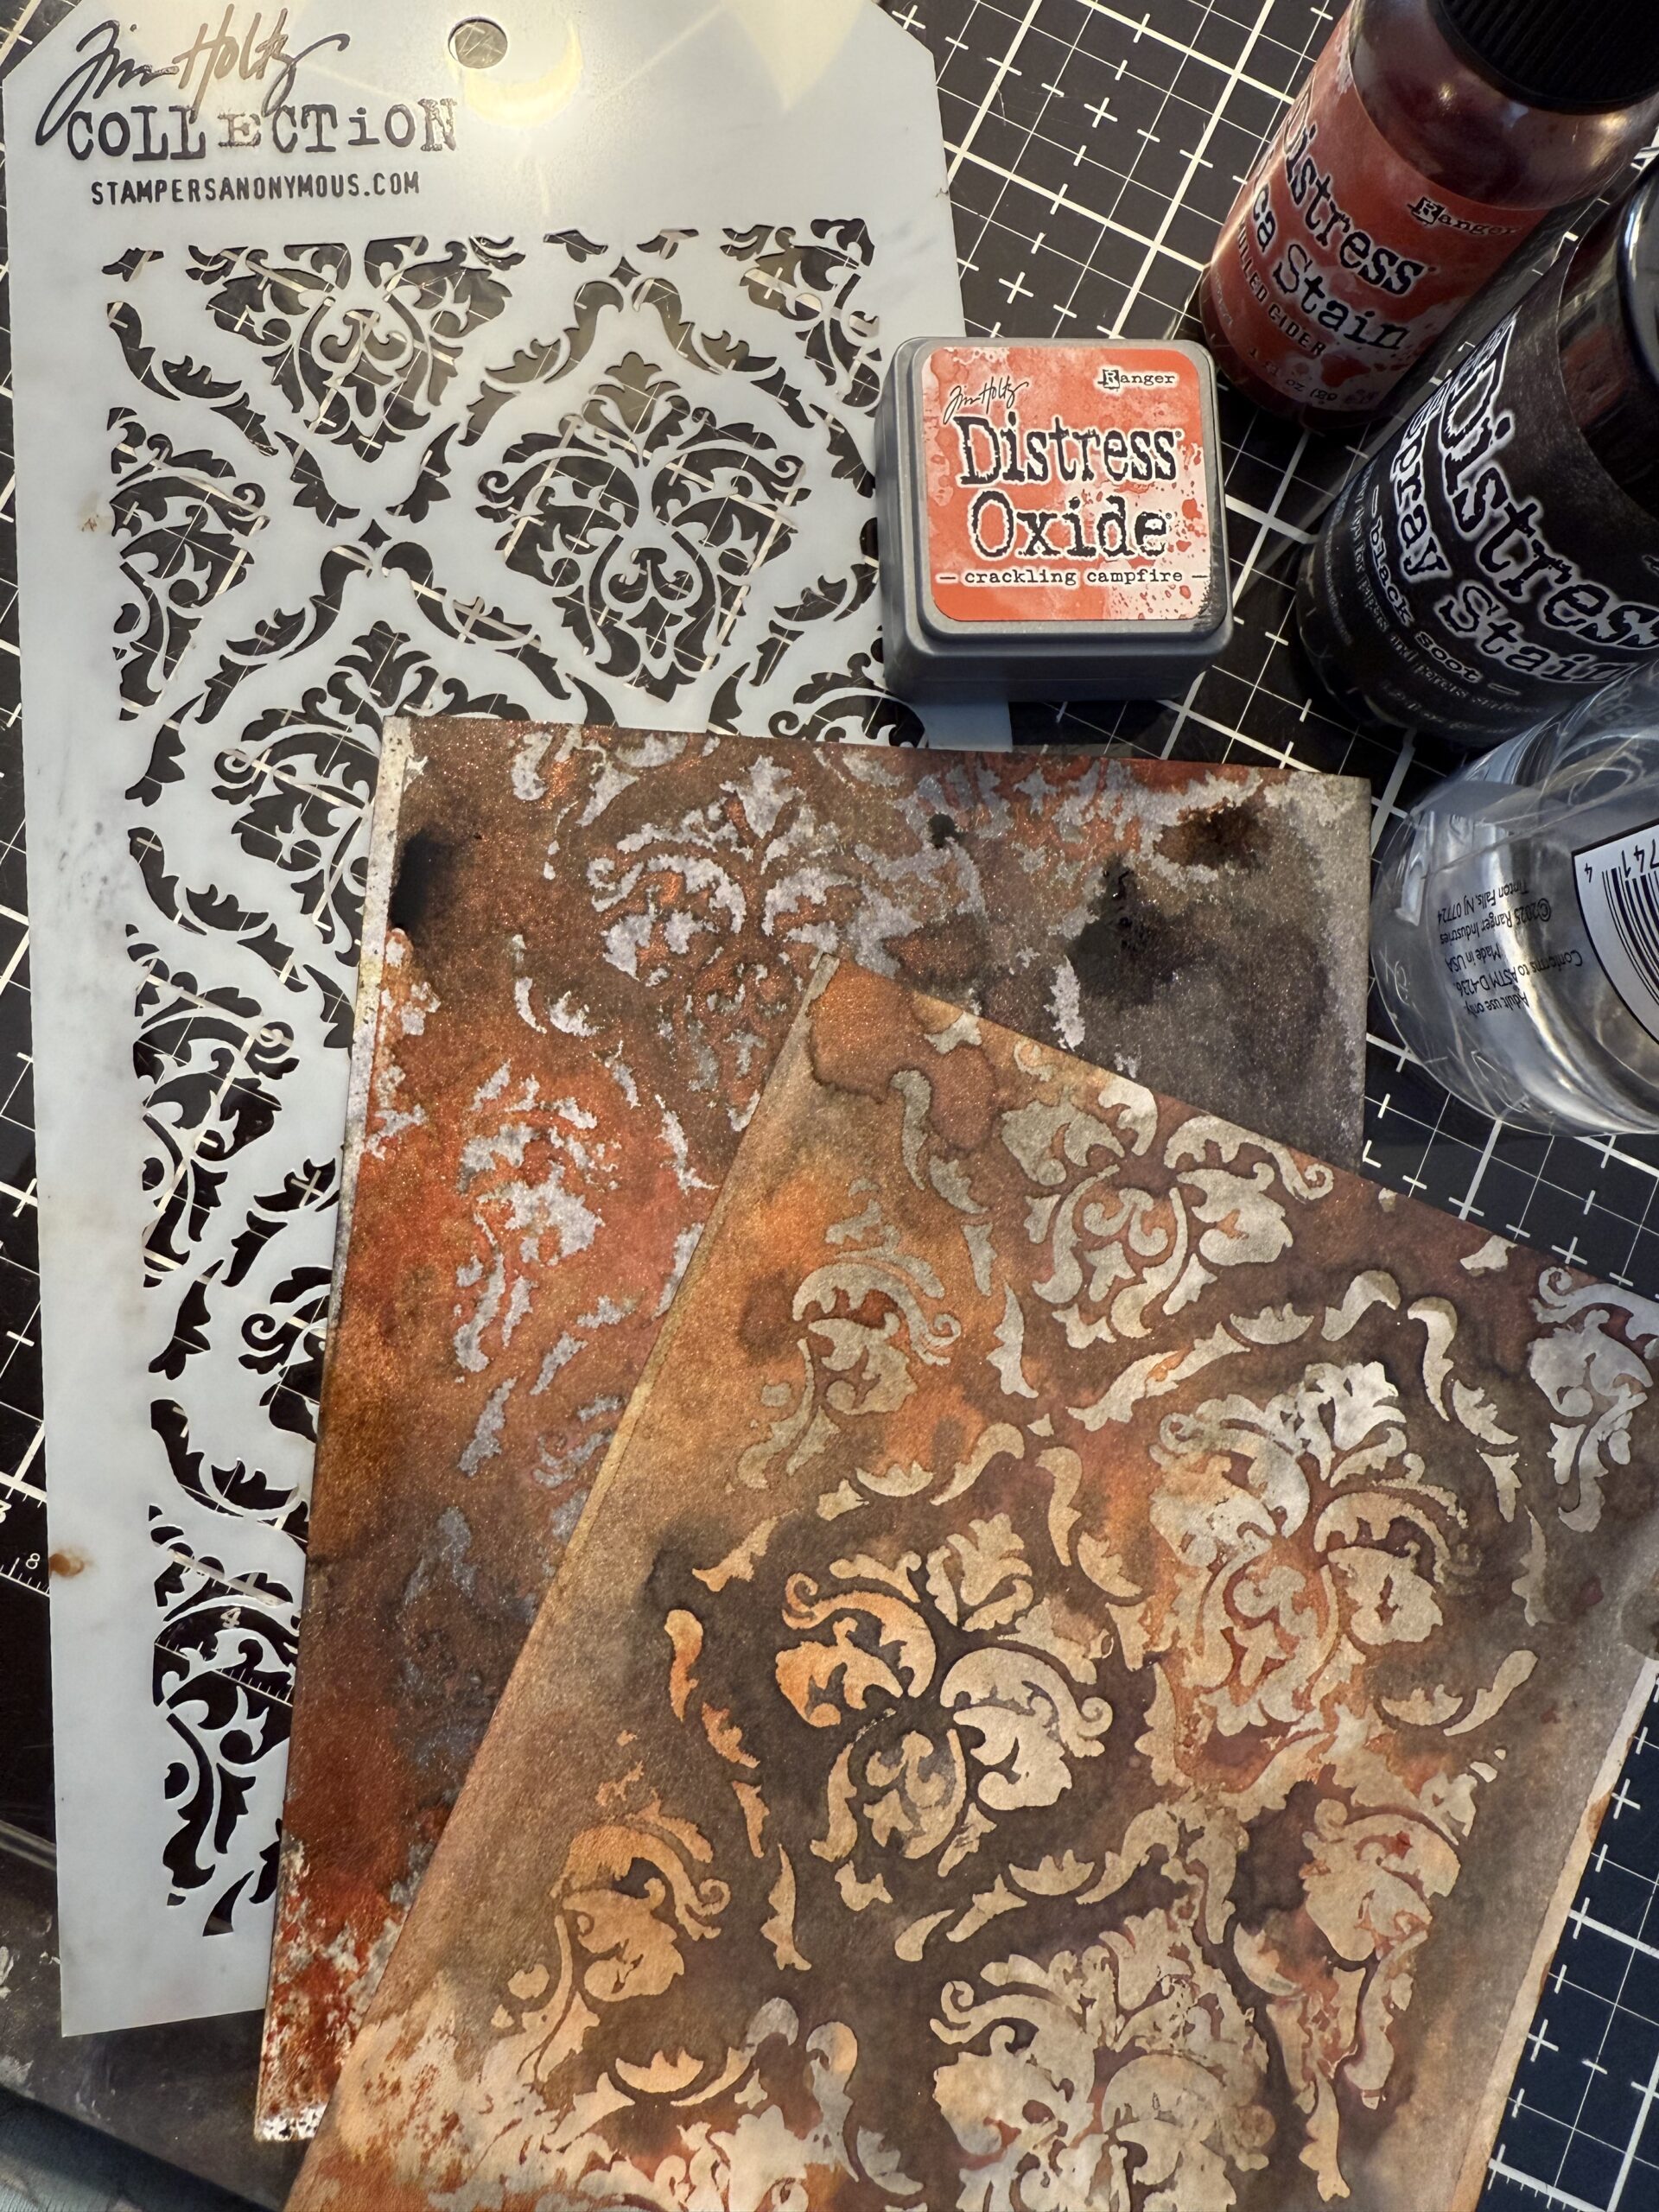
And those results… Halloween goodness! Once I had all my papers for the backgrounds, I began building.
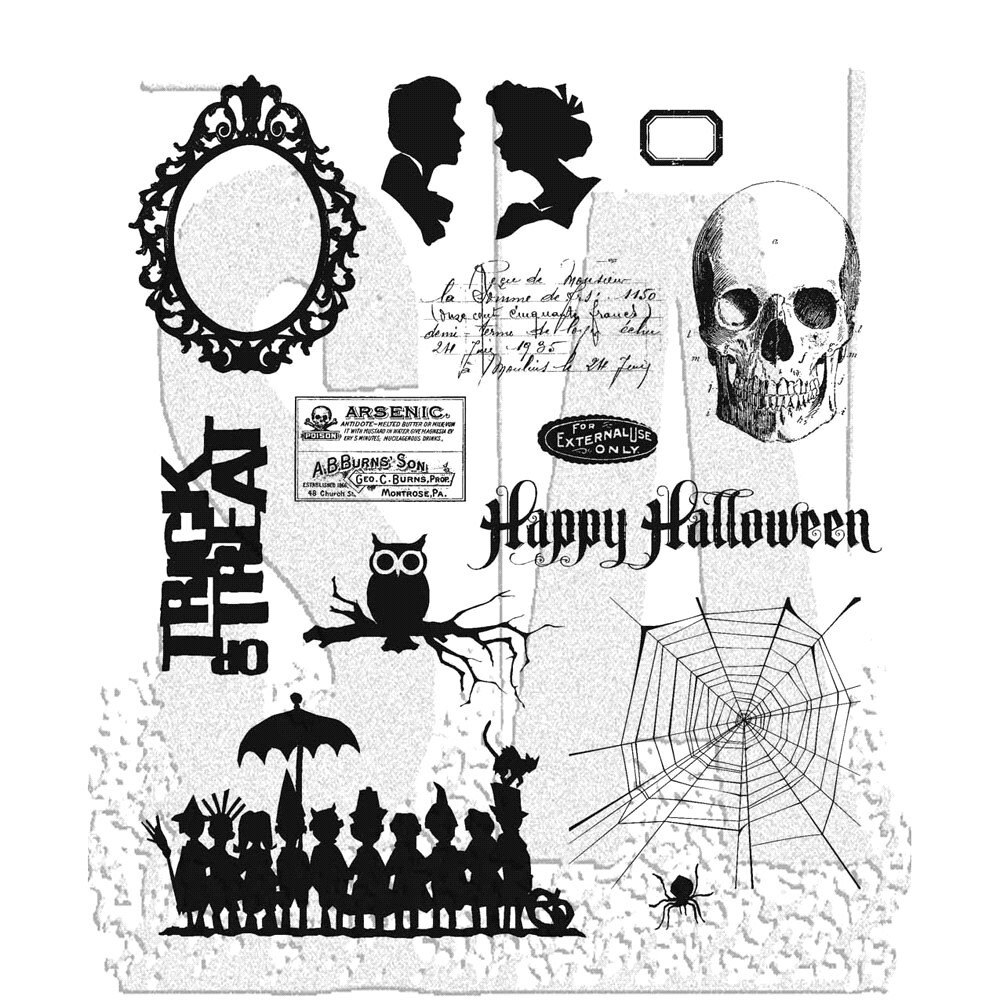
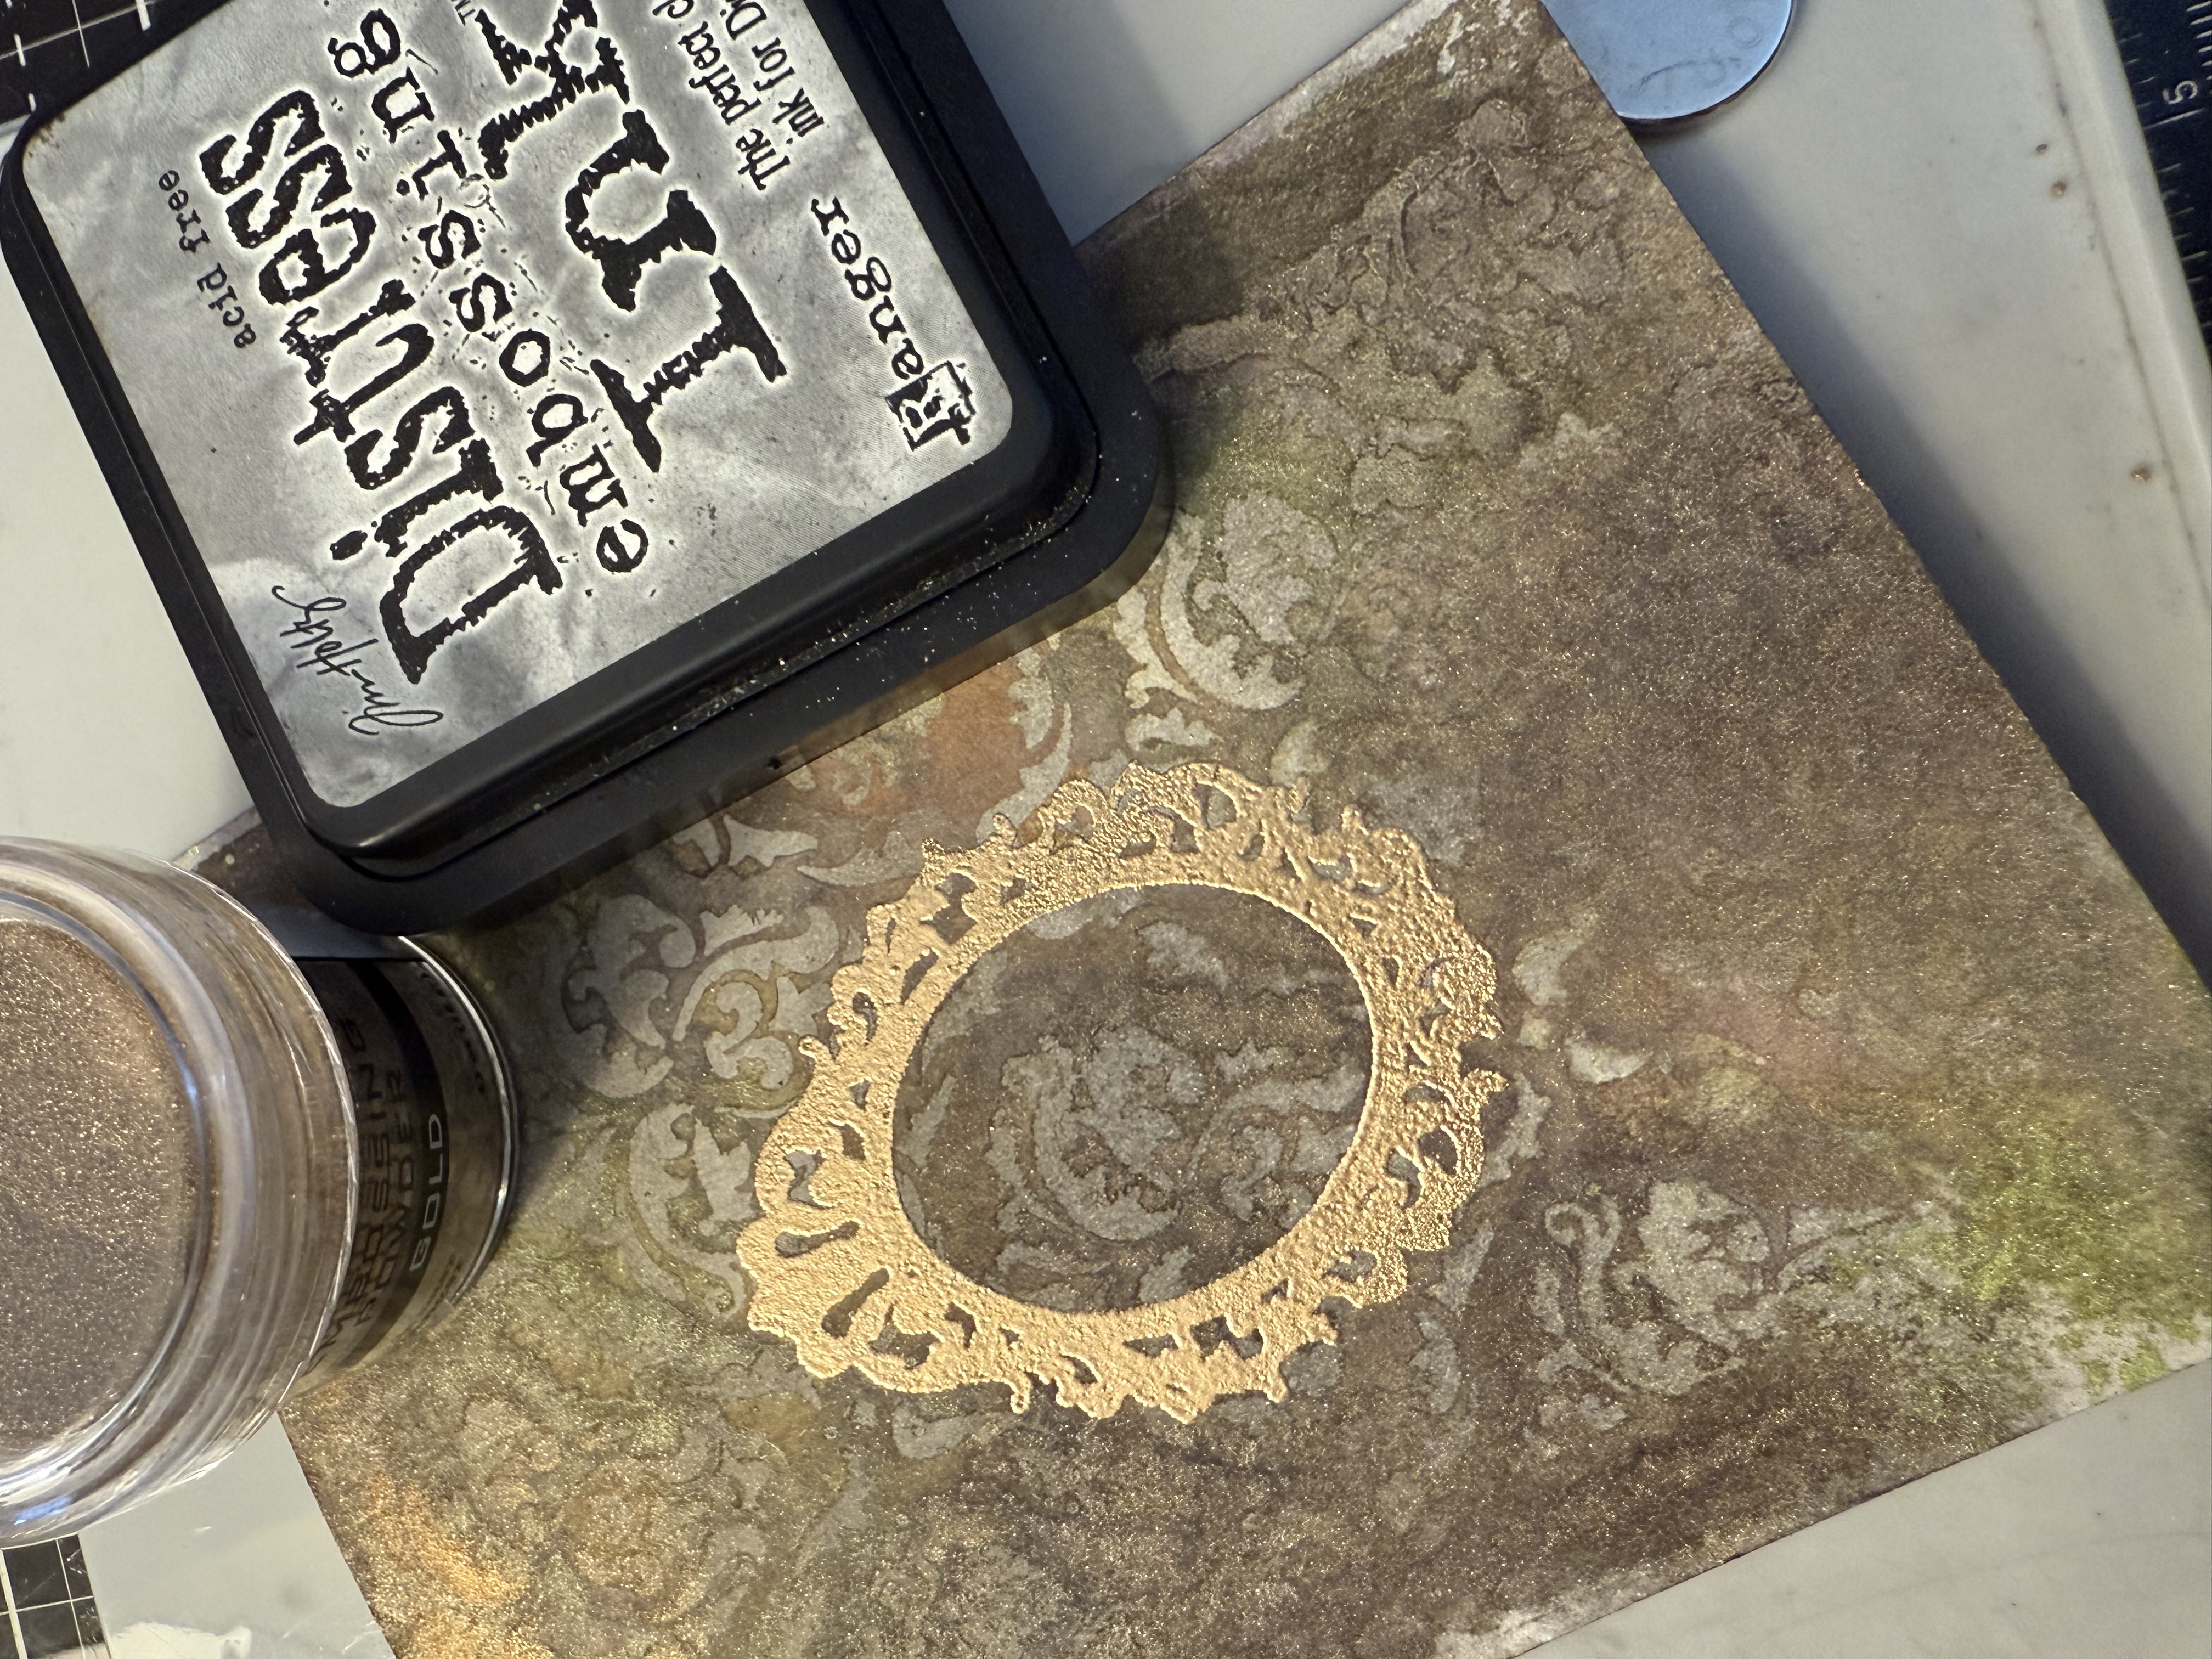
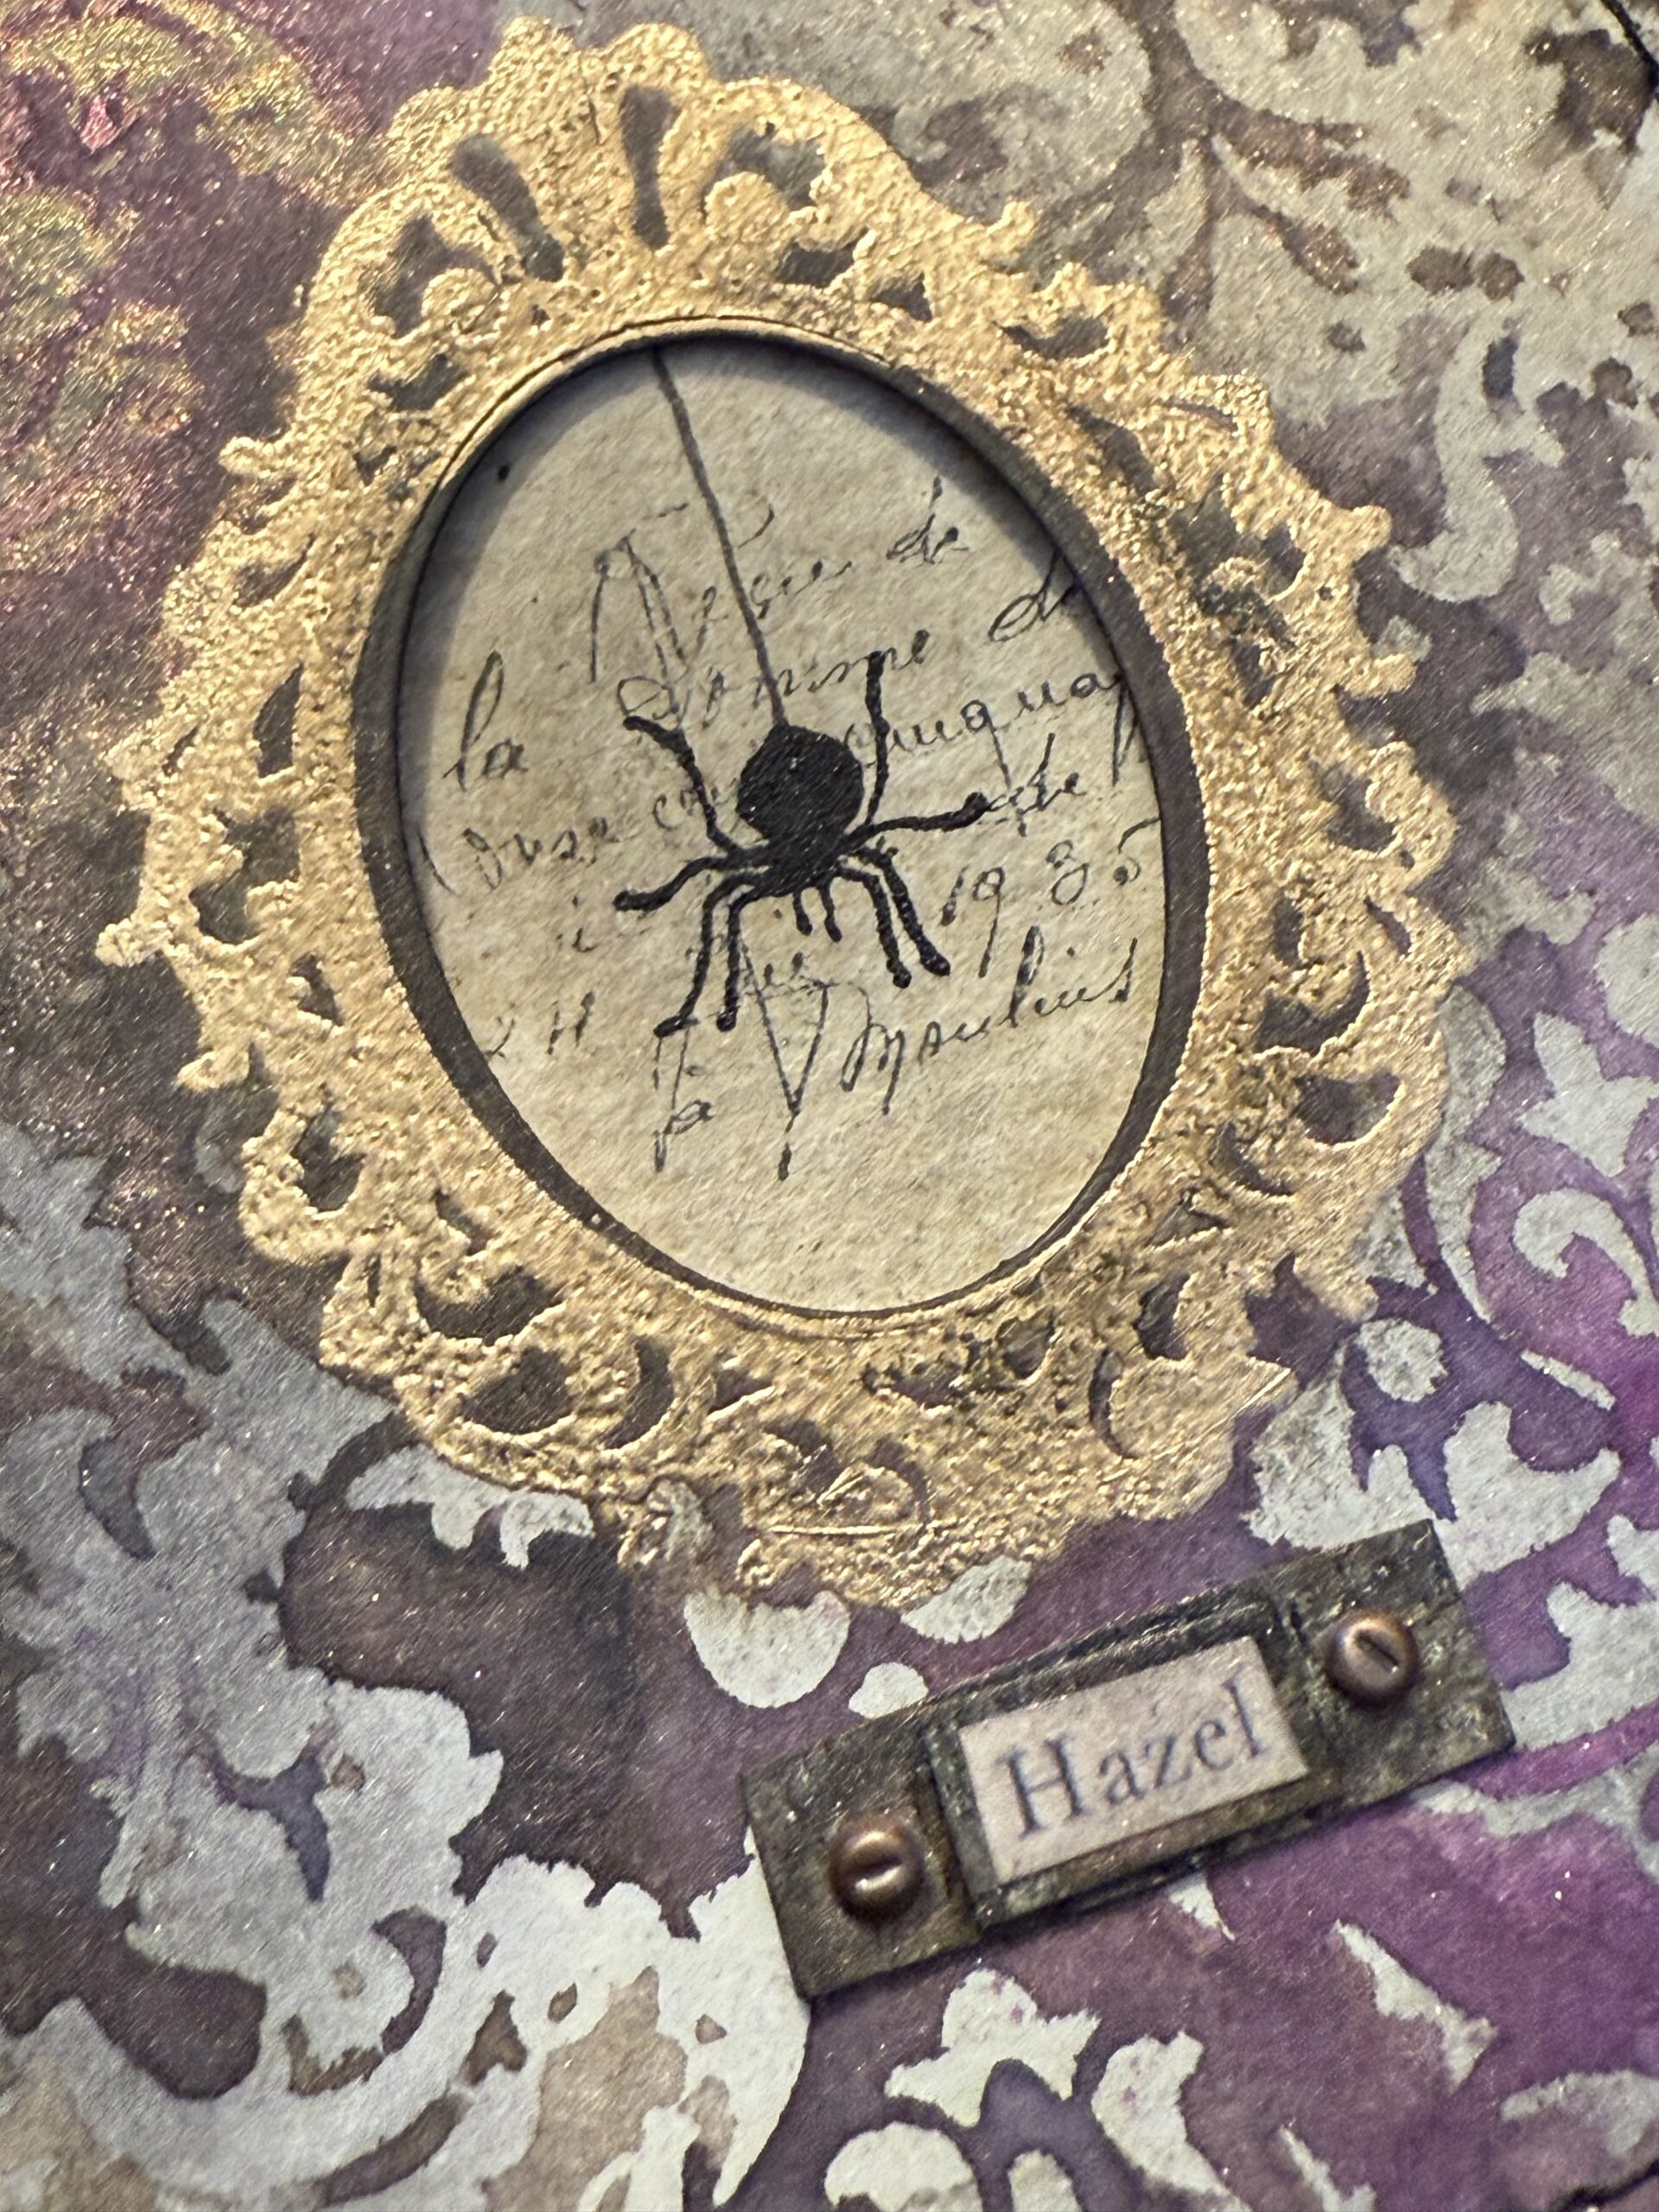
I stamped the frame stamp in the center of my background, then embossed it using Gold Embossing Powder. I did this process to each of the backgrounds. When stamping, I used a stamp platform to make sure that the frame was centered and stamped well.
Next, I used the Framelets Stacked Ovals Die Set from Tim Holtz to cut out the center of each frame, I was so excited that I had an oval to fit the frame…that was pure luck! Love that when it happens 🙂
I used a piece of tacky tape to place the die, then ran it through my Sizzix Big Shot.
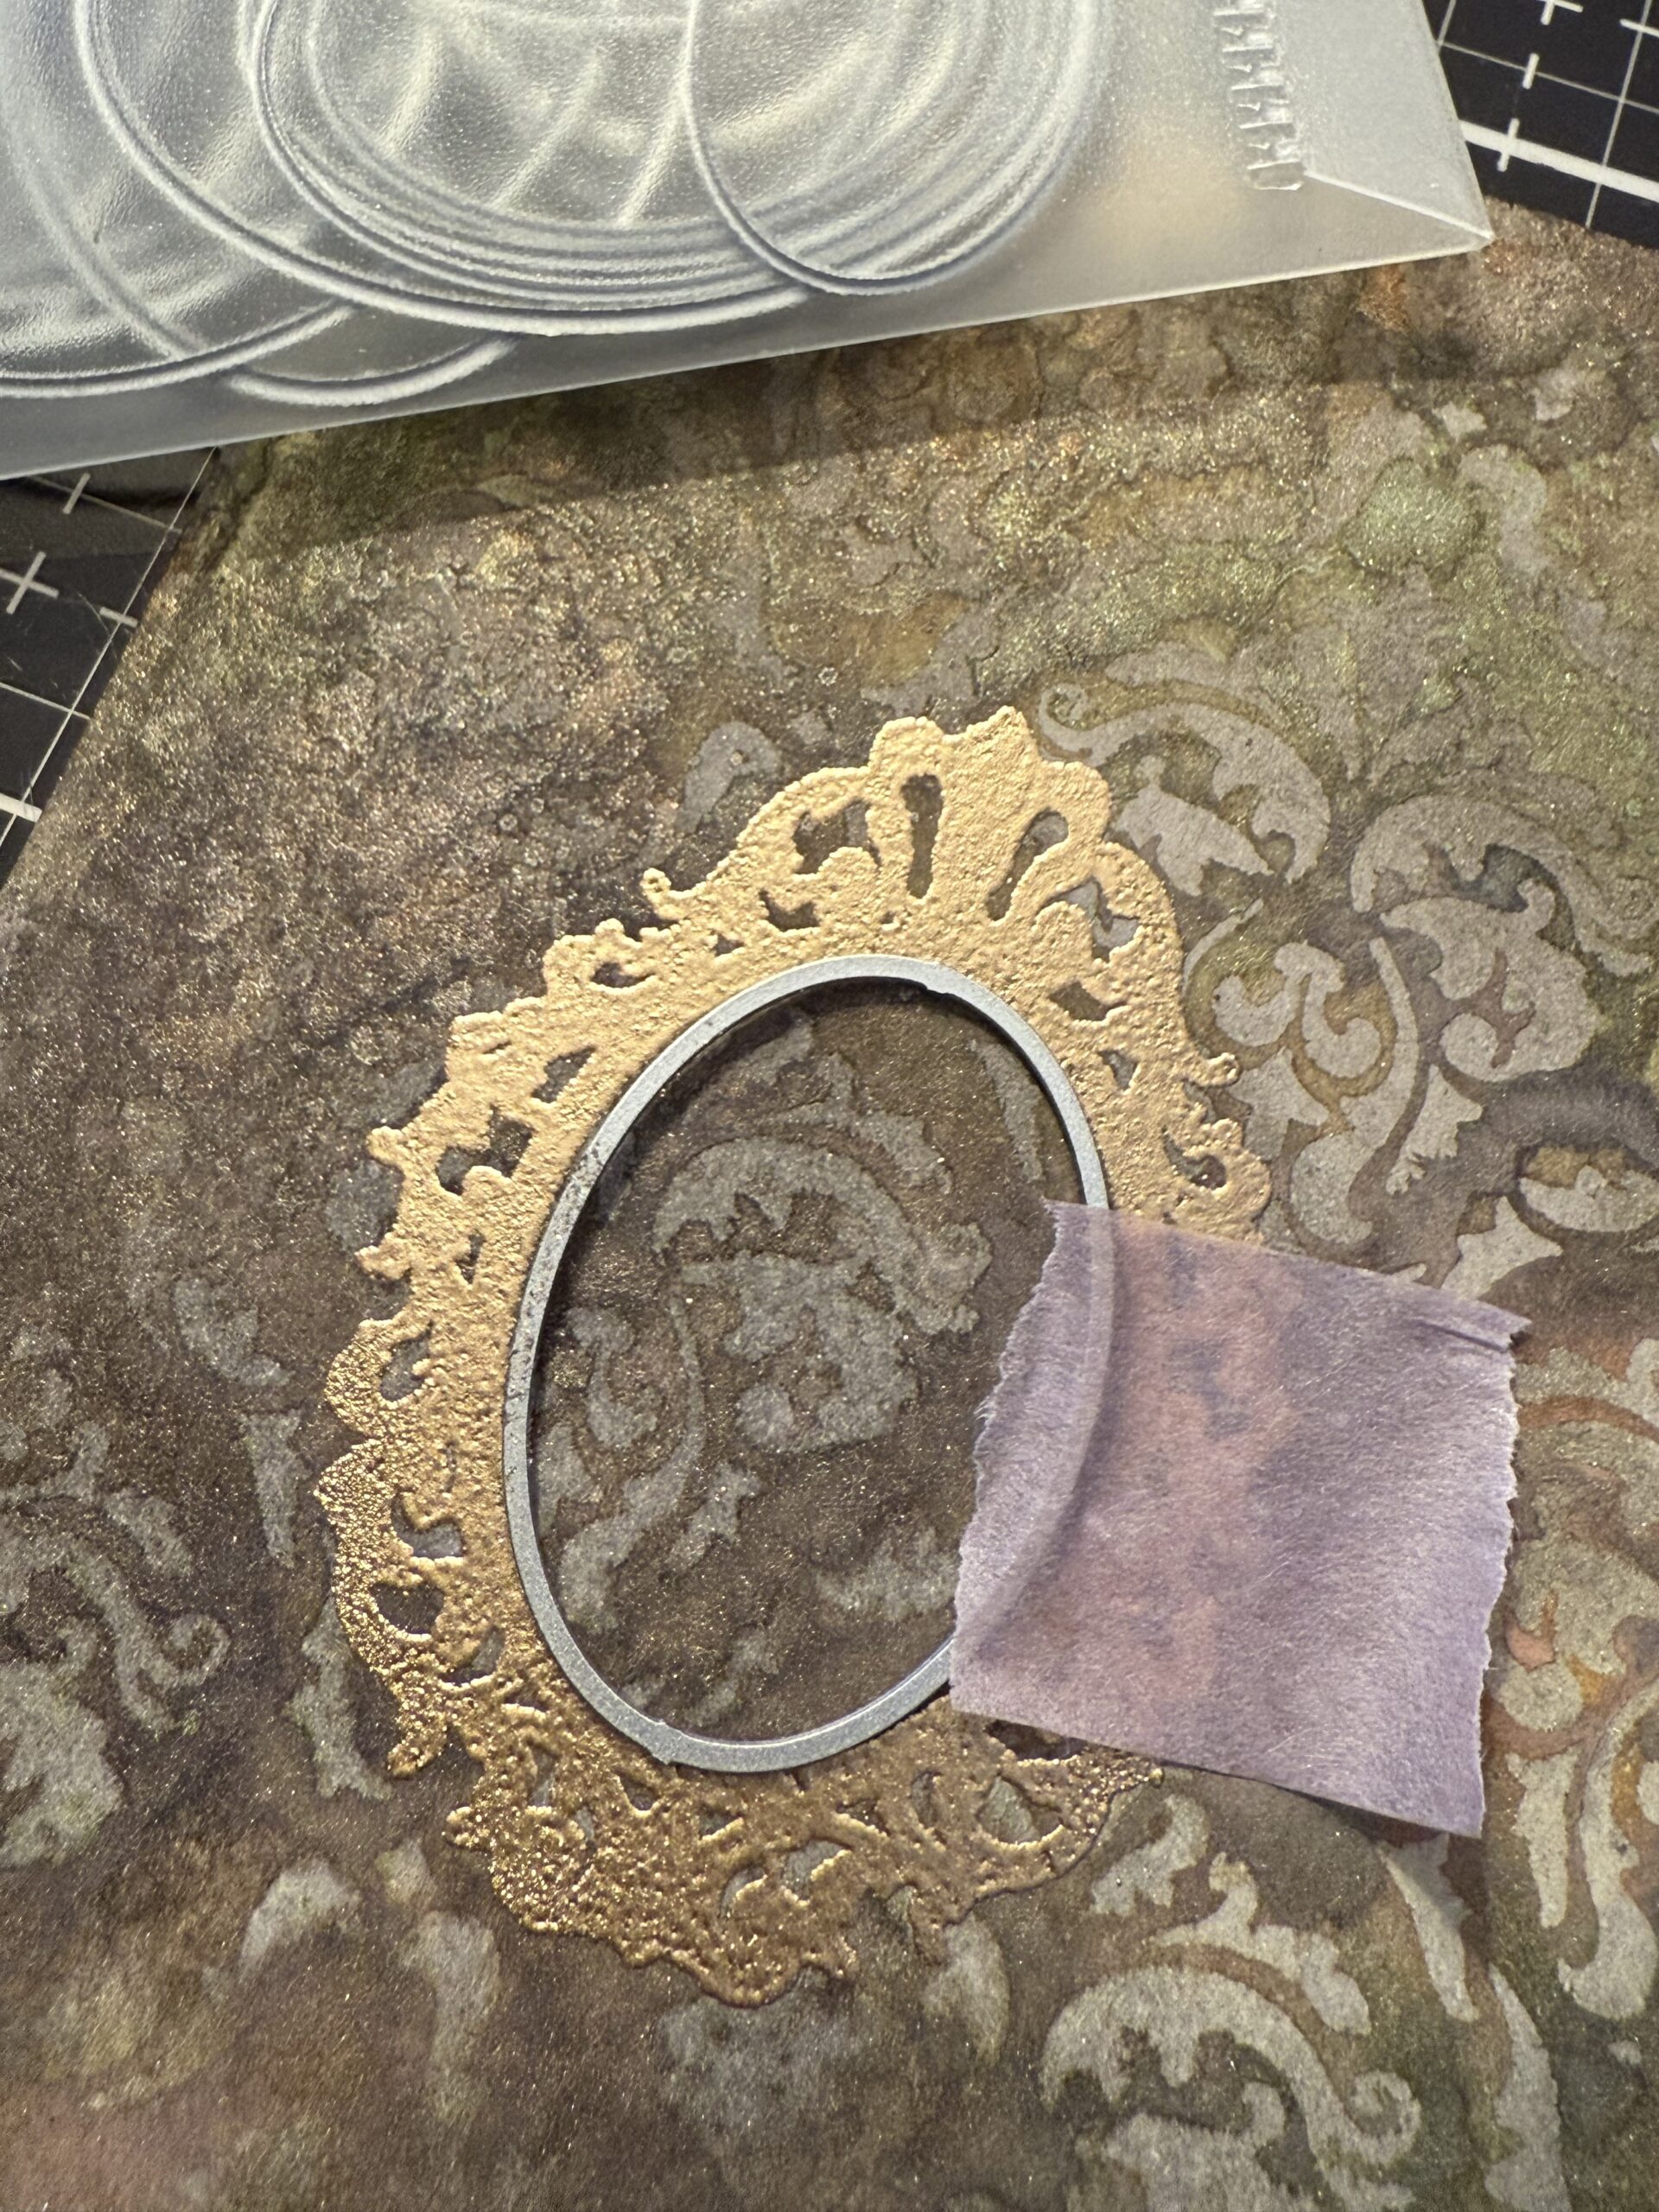
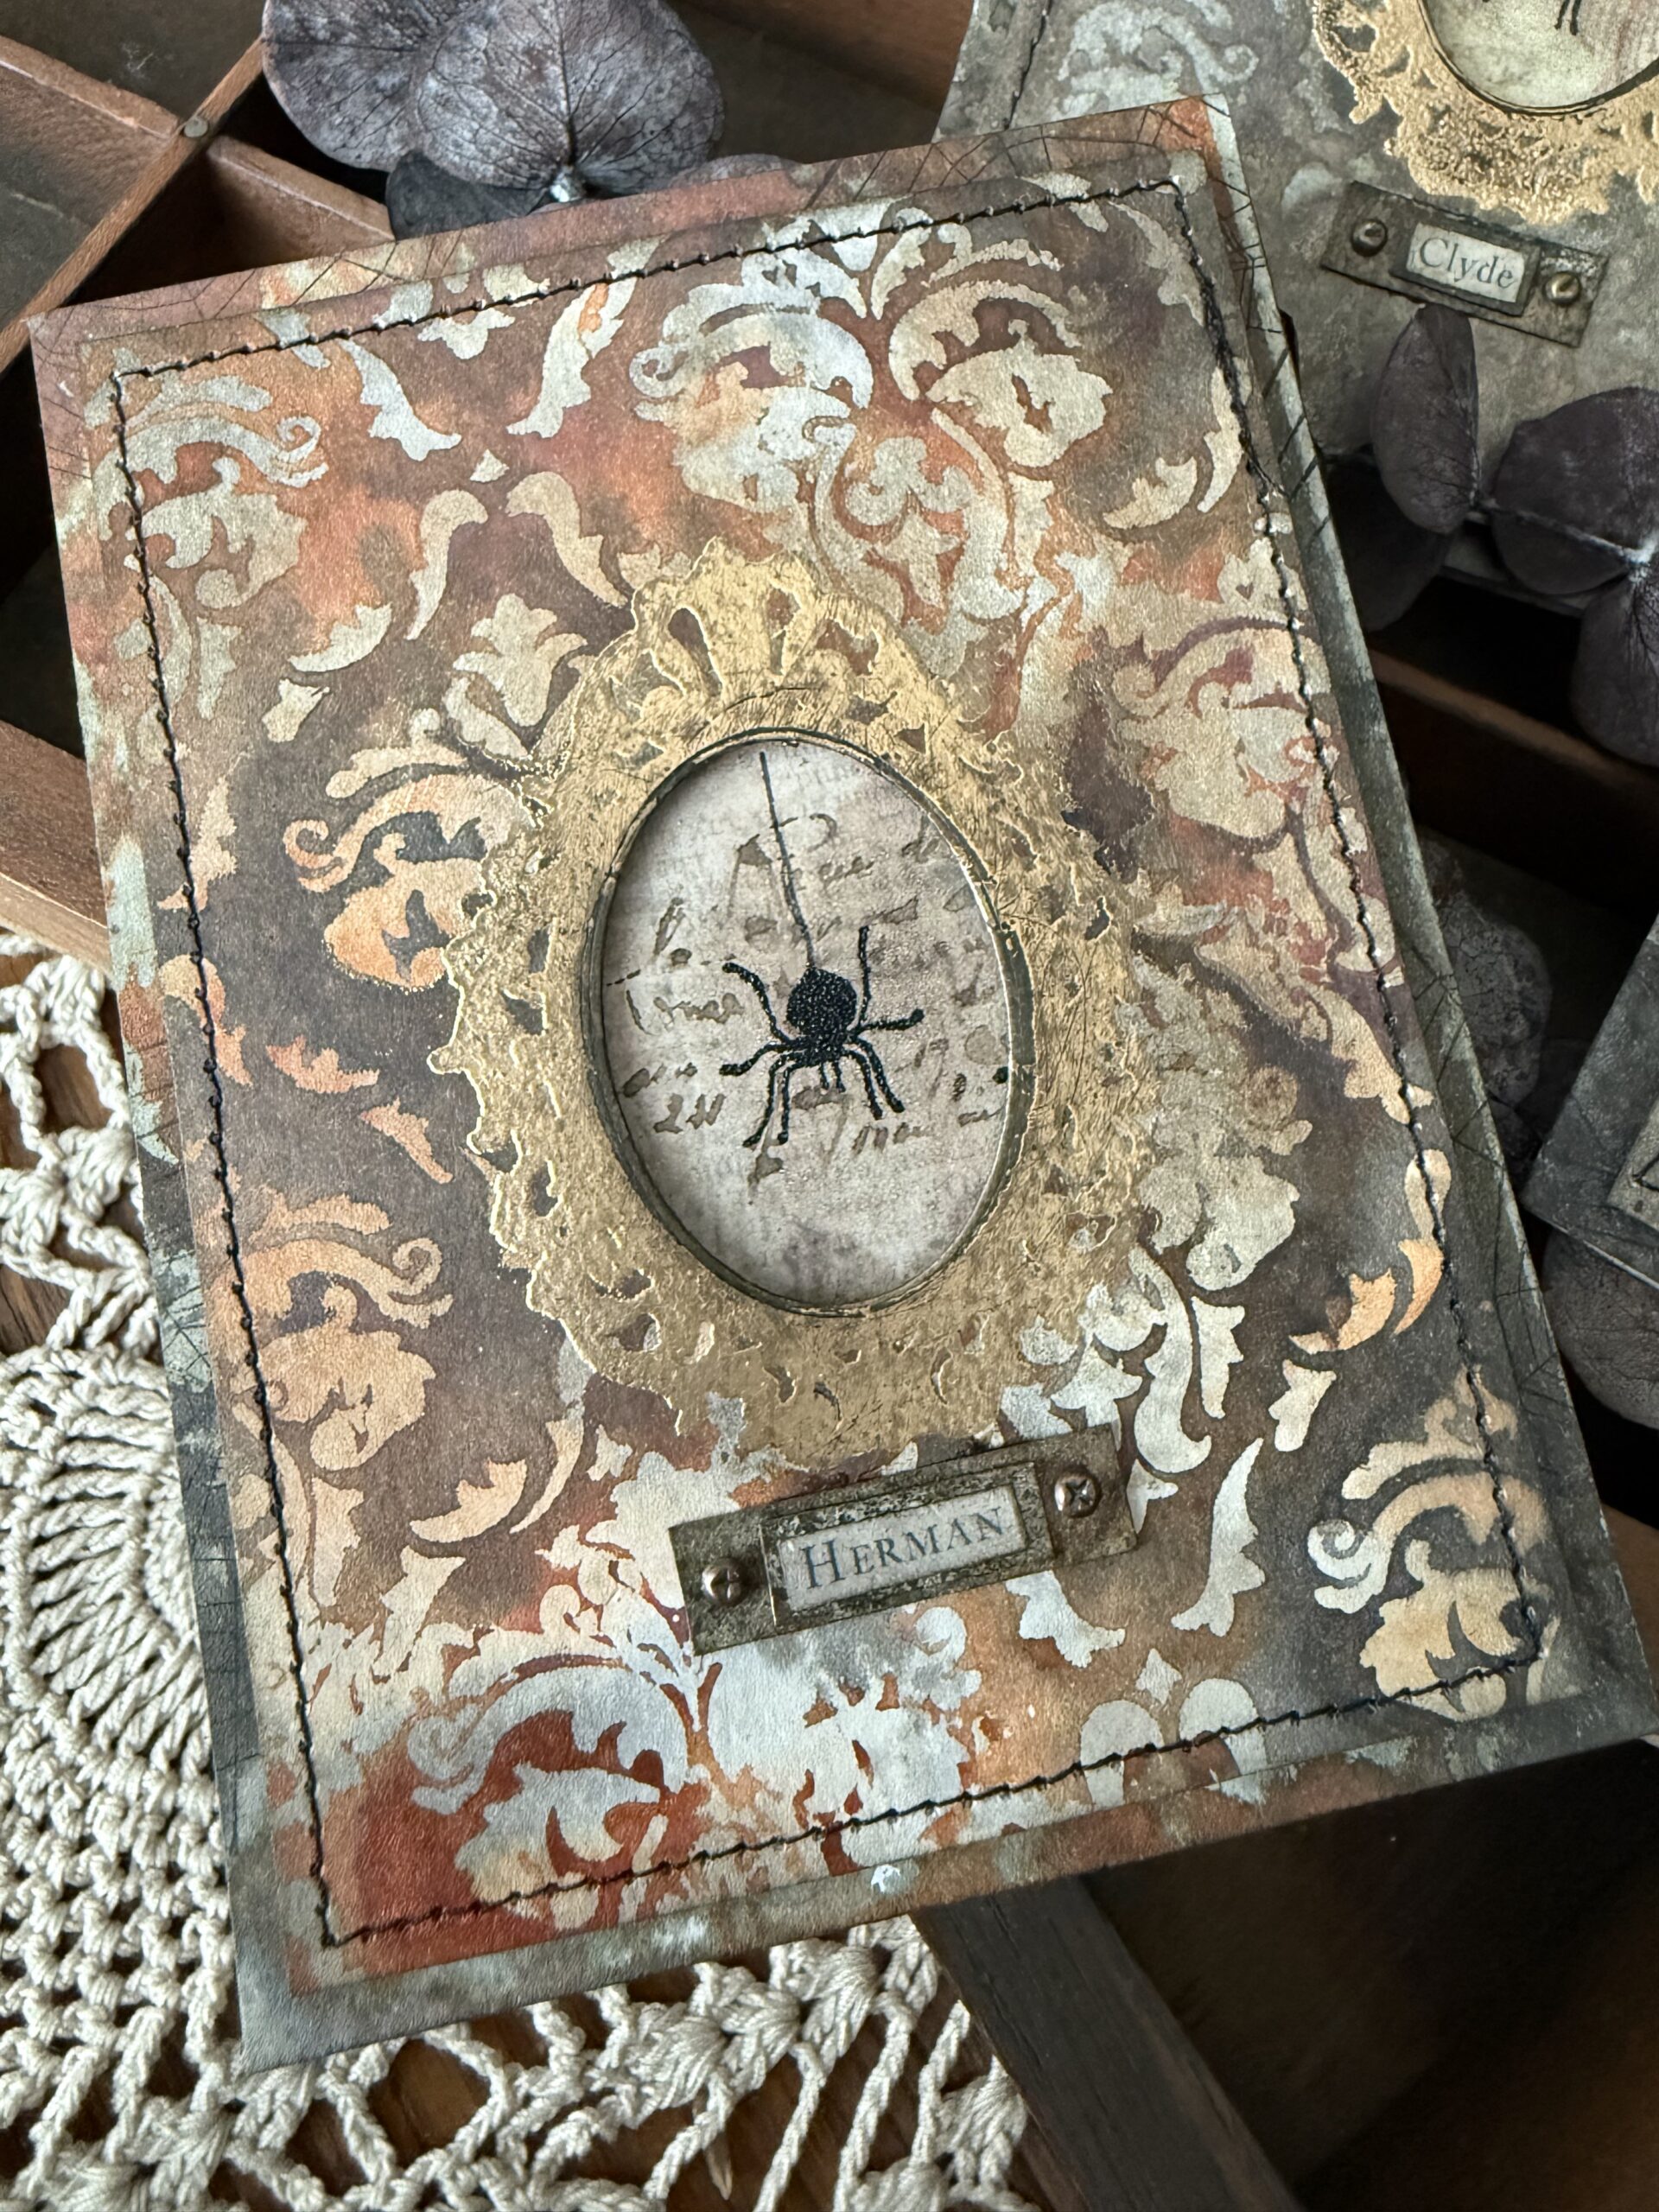
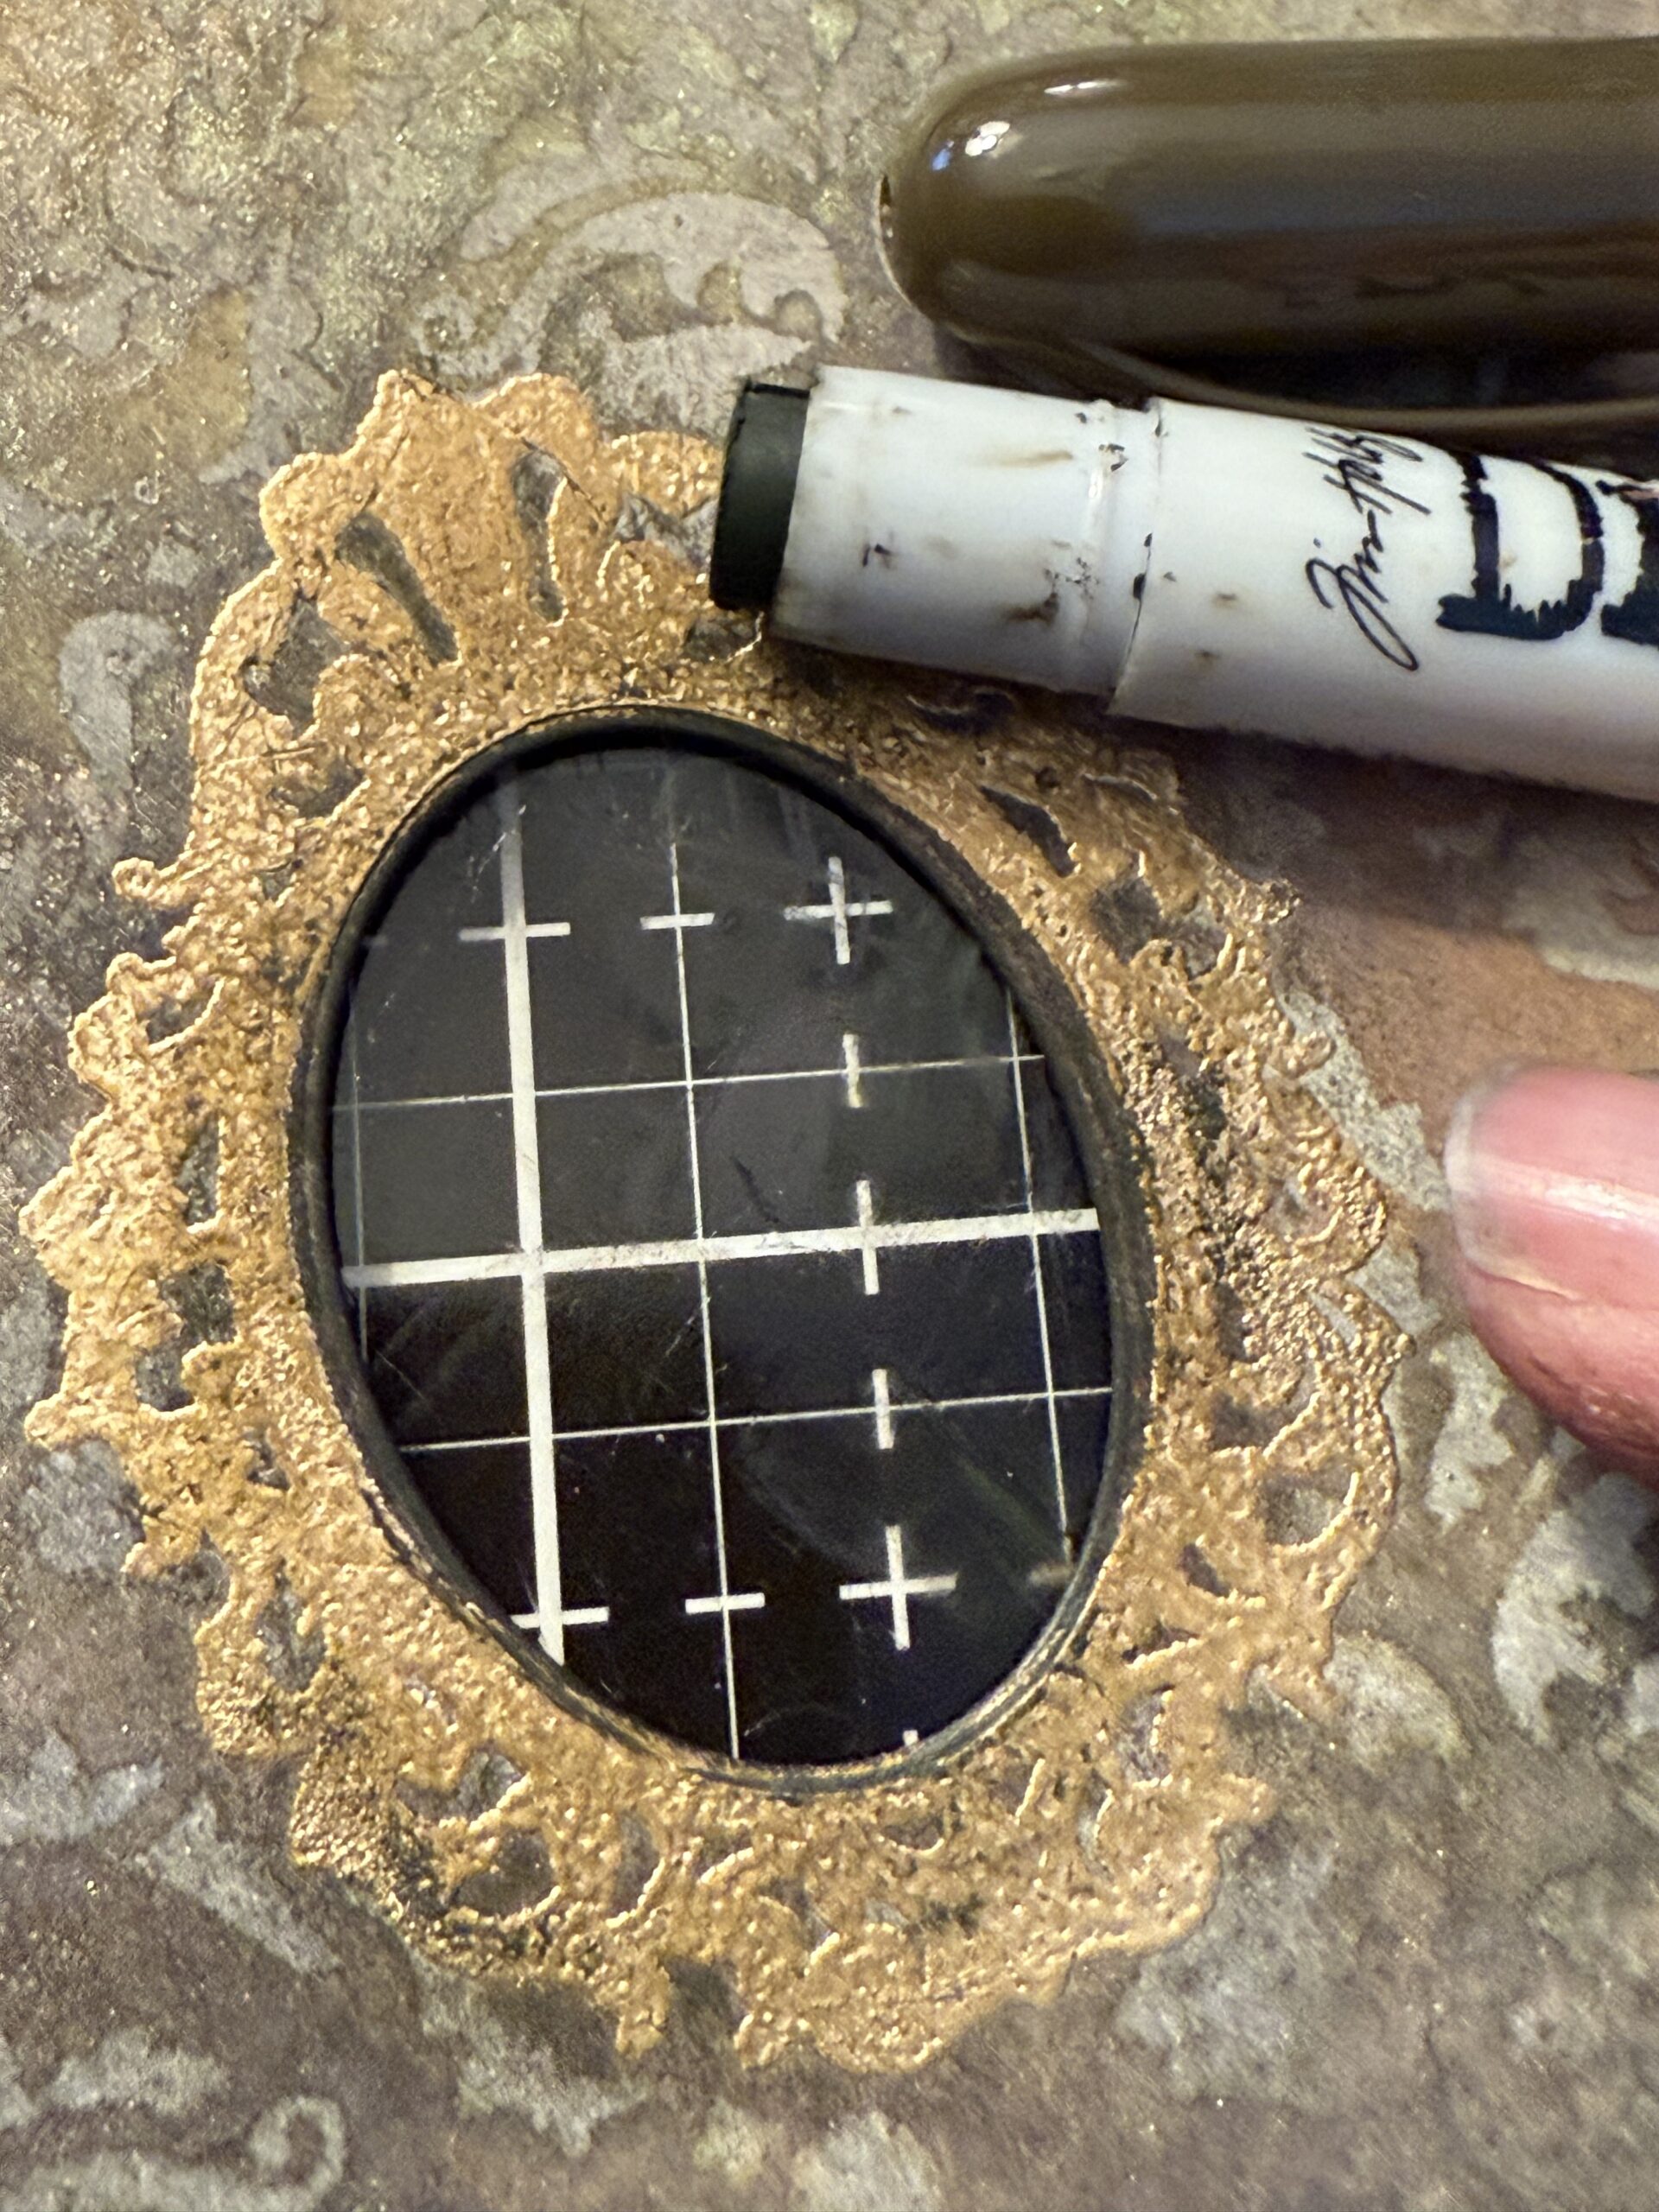
I used a Walnut Stain Distress Crayon to scribble around the frame to add some age, and used my finger to rub in the crayon. I did this around the oval cut as well as to darken it to make it more of a matted look. I did this same process to each of my backgrounds.
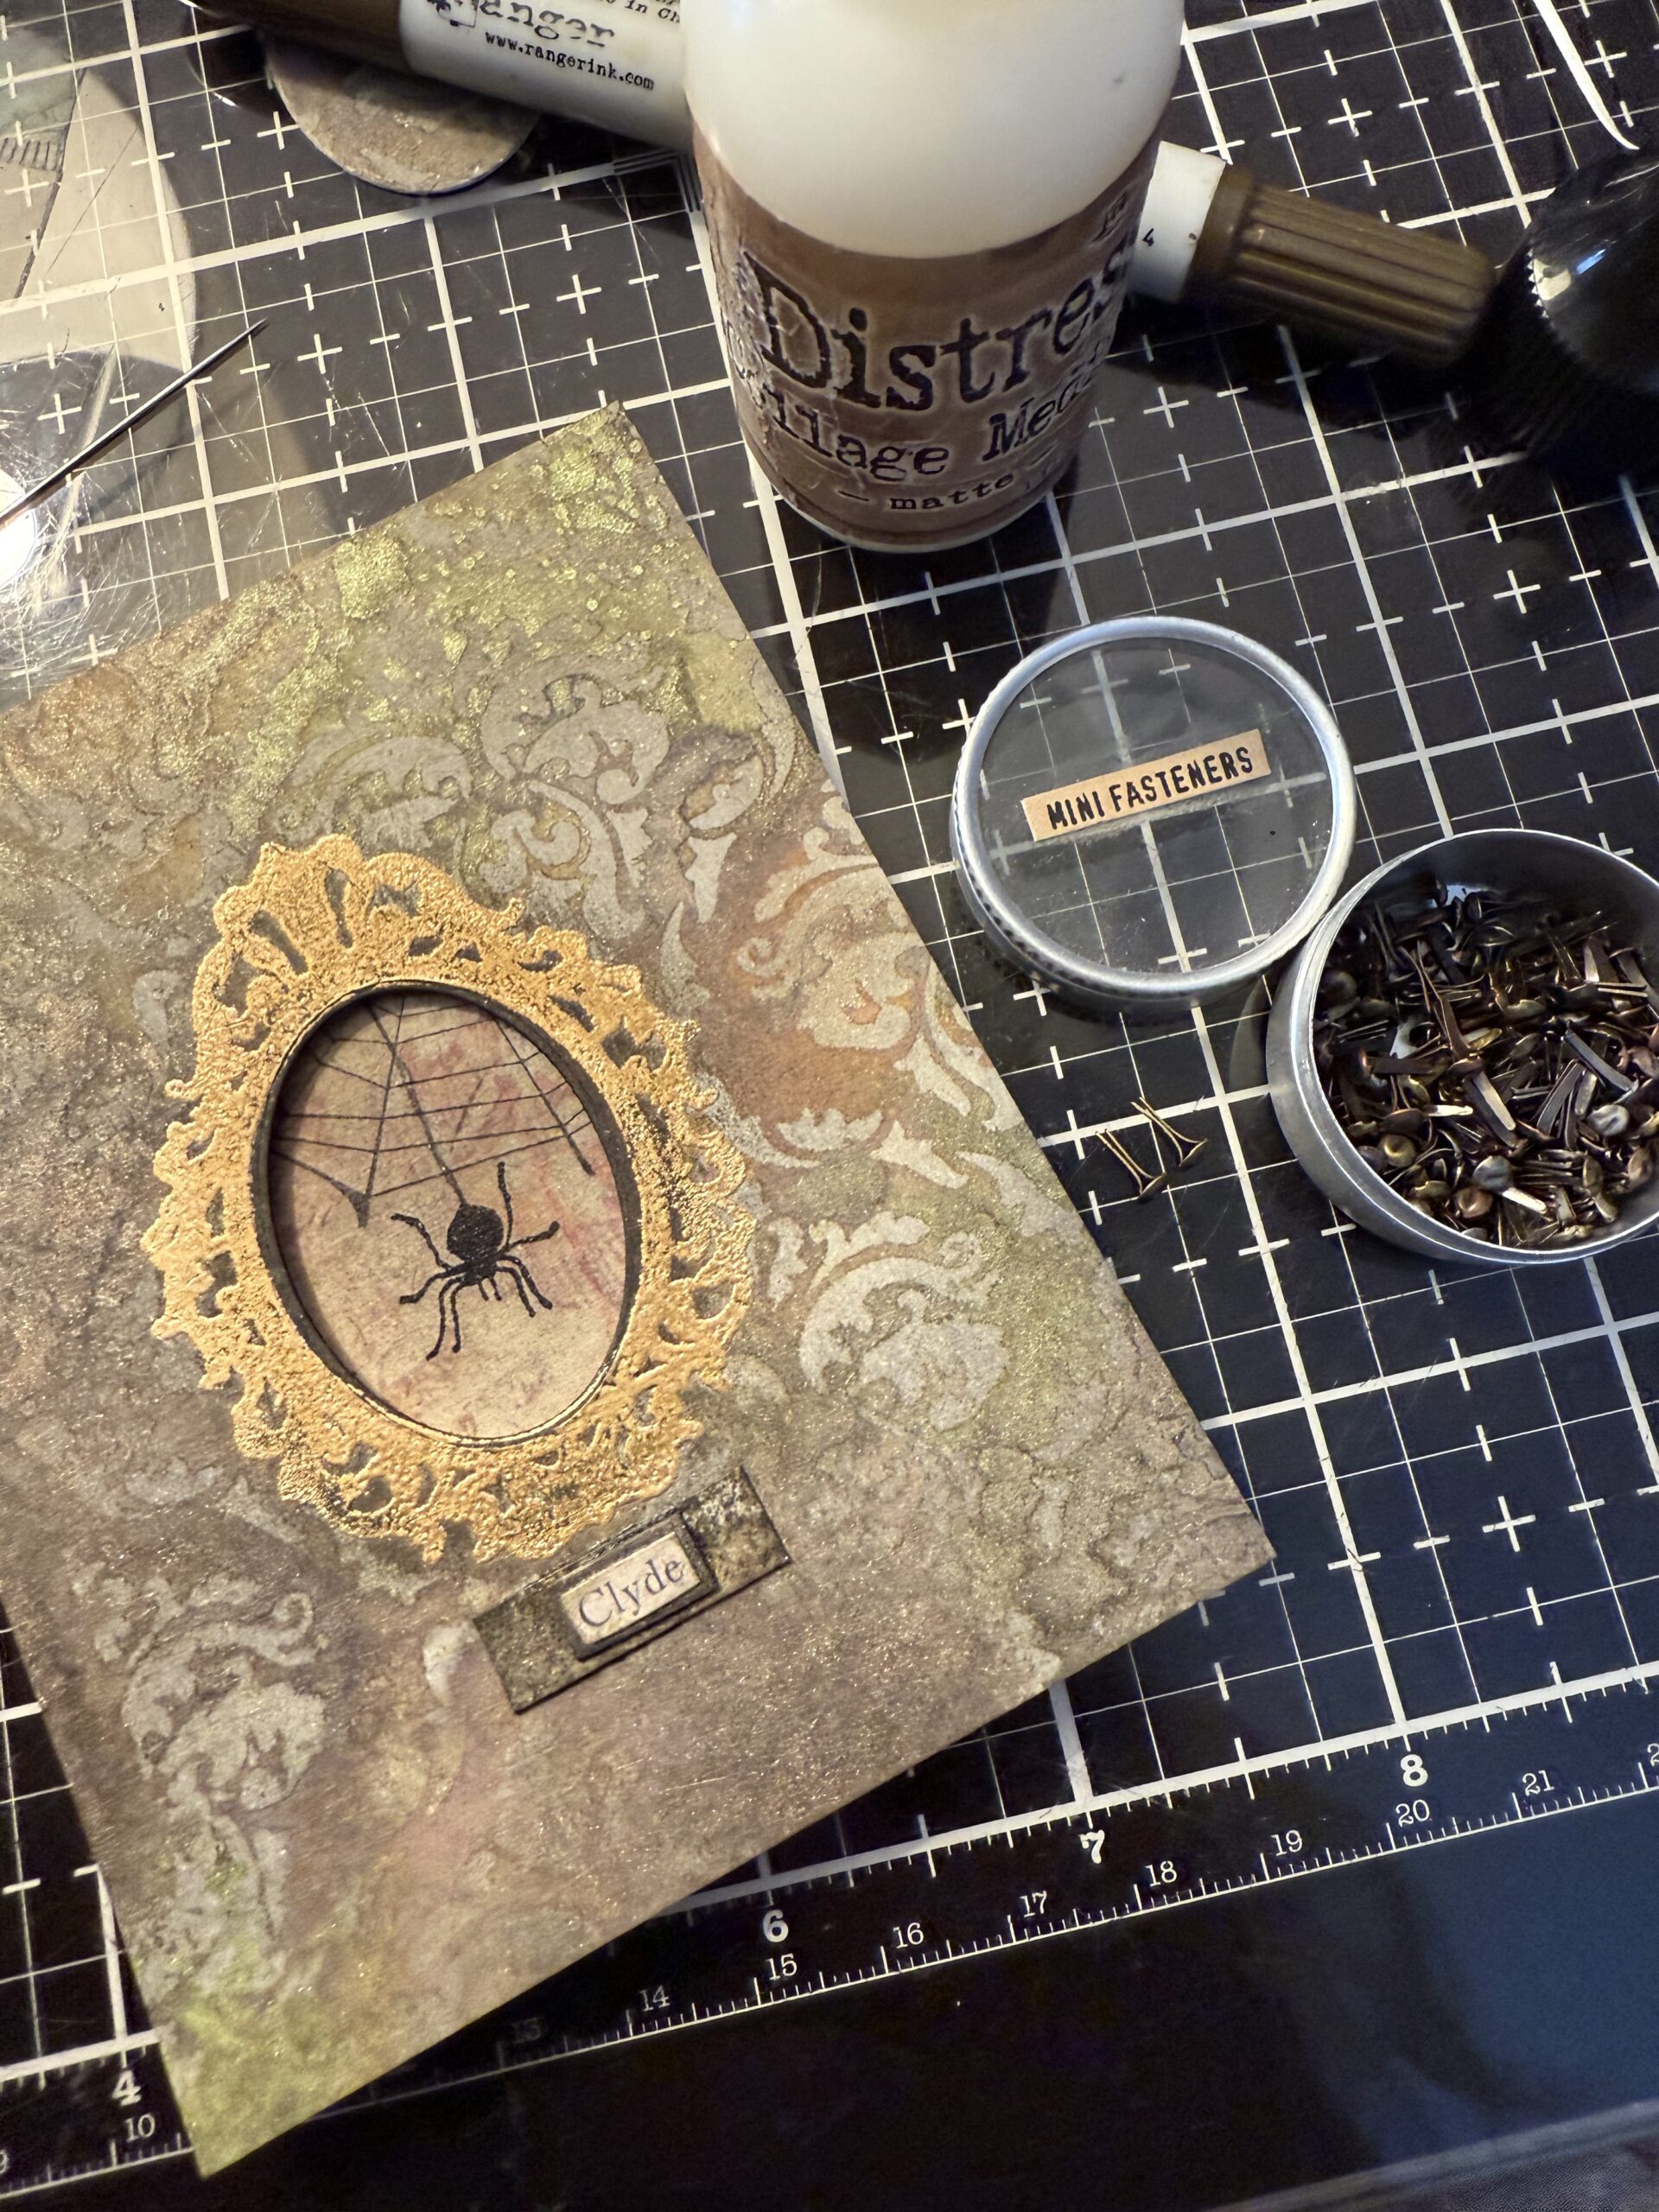
I gathered up some scrap pieces of paper from my scrap box to use as the base paper to stamp the spider. I stamped a little of the handwritten background or a spiderweb in the background, then stamped the spider and drew a little line to make it look as though he were hanging within the frame. All of these stamps are included in this particular stamp set! Yay!
Once I had the spider section stamped and done, I adhered it in place behind the frame using foam adhesive to give it a little depth.
Then, I stitched around the edge of each of the backgrounds using my sewing machine.
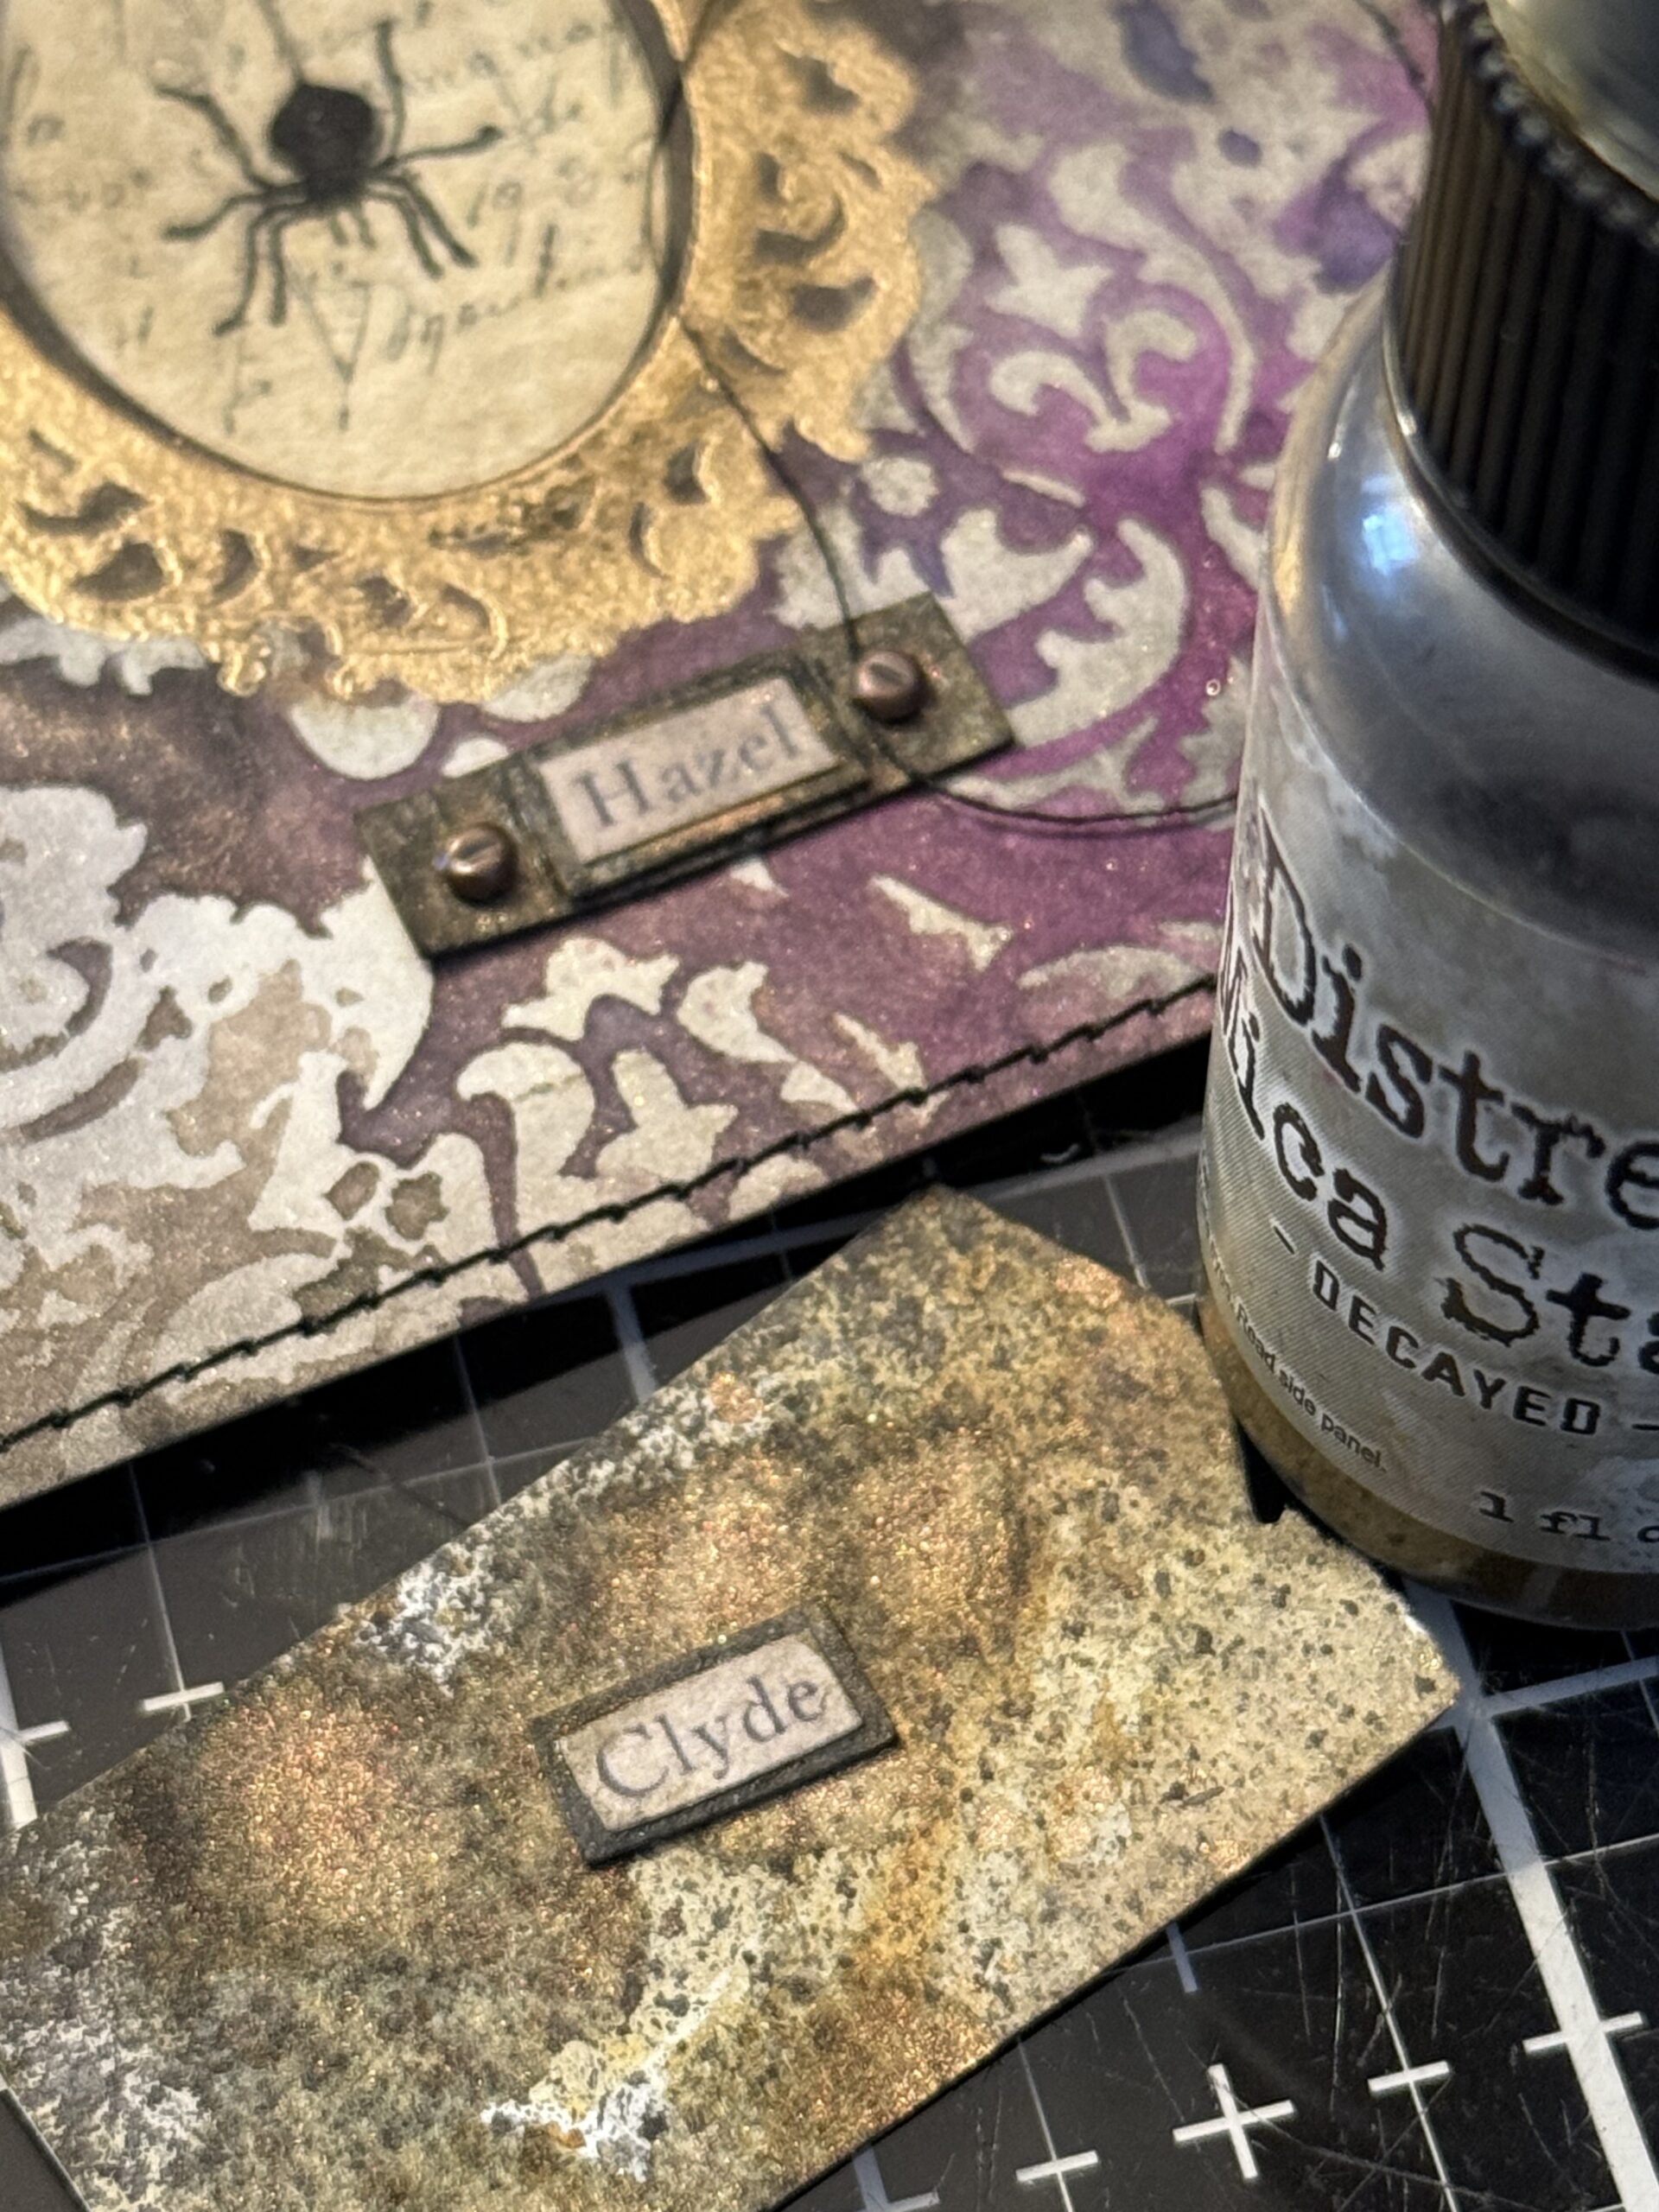
The tiny little name plates were the cutest to make…I mean, everything little just makes my heart happy! These were made using names that I found in the regular idea-ology line of Sticker Clippings. Did you know that there are names included in the clippings? They were so perfect for this.
I started with a scrap of paper that was inky and I sprayed it with a little Decayed Mica Stain..there is a gold tiny to this color and I thought it would show up and create a fancier look.
I adhered the name sticker to the front of one of the scraps, trimming around it leaving a tiny border, then adhered it to a slightly larger piece of the scraps, leaving an area on both sides to poke a tiny hole and place an idea-ology mini fastener. I used a needle to poke the holes then placed the fastener.
I then adhered the little name plate below each of my spiders.

They just are too cute and really make the card special… they remind me so much of a Haunted house and what you’d might find hanging there on display.
Once each of the backgrounds were built, I stitched them all using my sewing machine and adhered them to card bases.
With that, my cards were complete!
Thanks so much for stopping by today!
Creatively yours, Stacy
To shop at SIMON SAYS STAMP click HERE.
What is an affiliate program, and why should I click on the link and buy through you?
When you shop via the affiliate link on this blog, I receive a small commission from the affiliate provider (Simon Says Stamp) at no extra cost to you, whatsoever. These commissions help me to cover the hosting fees and other costs to run my blog and be able to provide you with FREE inspiration. If you shop the links, THANK YOU! I truly appreciate being able to share my love of creating with you.


I so enjoy your tutorials, both, printed and on YouTube. You always answer all my questions that arise while I’m progressing through the tutorial. I find it a wonderful feature that list each and every supply or tool necessary to replicate what you have created. Major thanks for posting your tutorials!! Wonderfully spooky Halloween cards that I will enjoy making. Again, thank you!
very kind of you to say, thanks so much! 🙂