Hello All and Welcome!
Today I have a TRIPLE treat for you… no tricks!
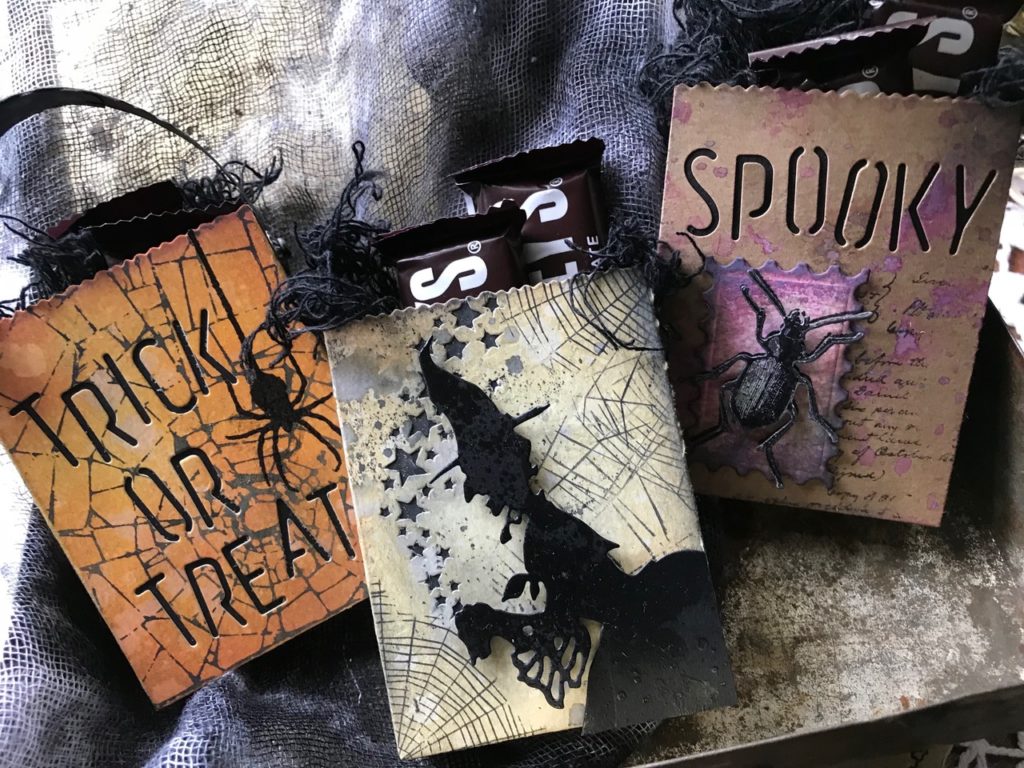
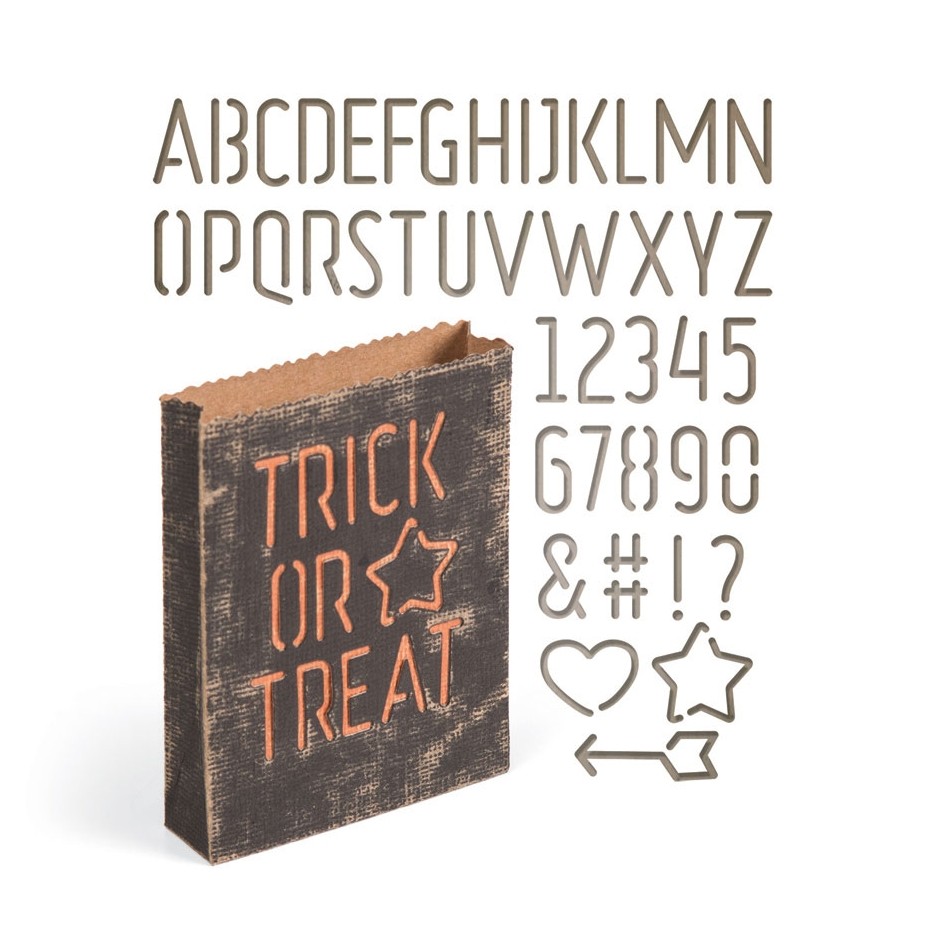
Three mini tutorials using the new Tim Holtz Treat Bag Die Set.
It comes with the bag die and this fantastic font!
These bags are so addictive to make and can be used for Halloween or for any occasion that a tiny bag would be handy…and they’re so darn cute!!! They’d even be perfect for wedding favors. So many possibilities!

Let’s Begin…
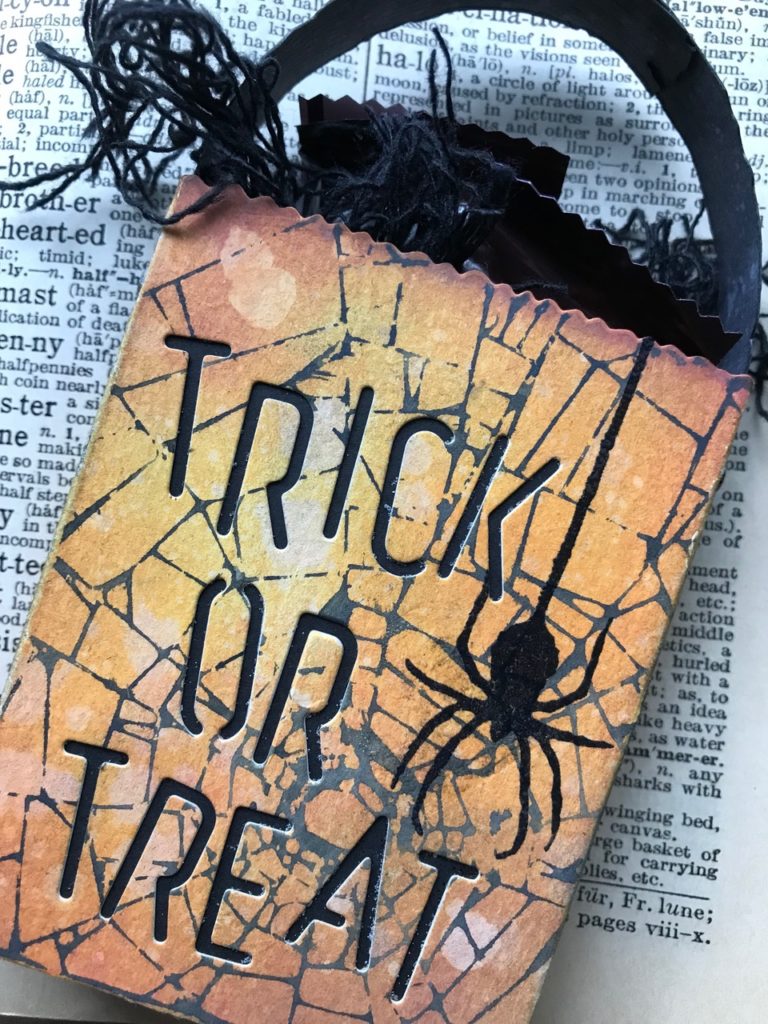
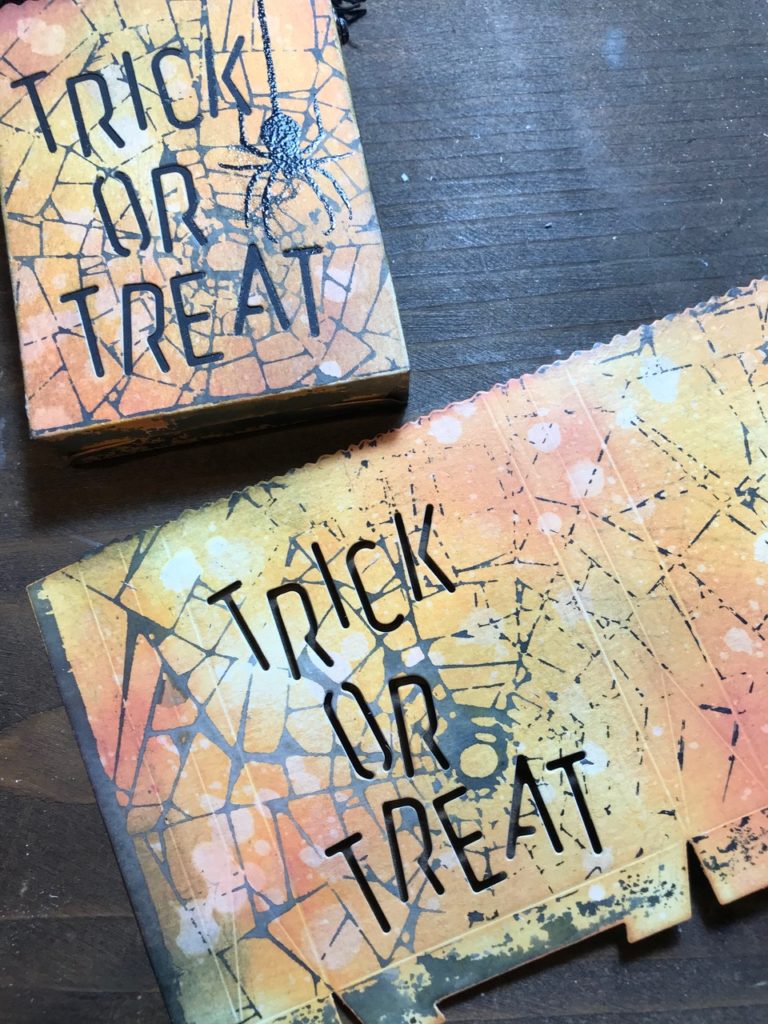
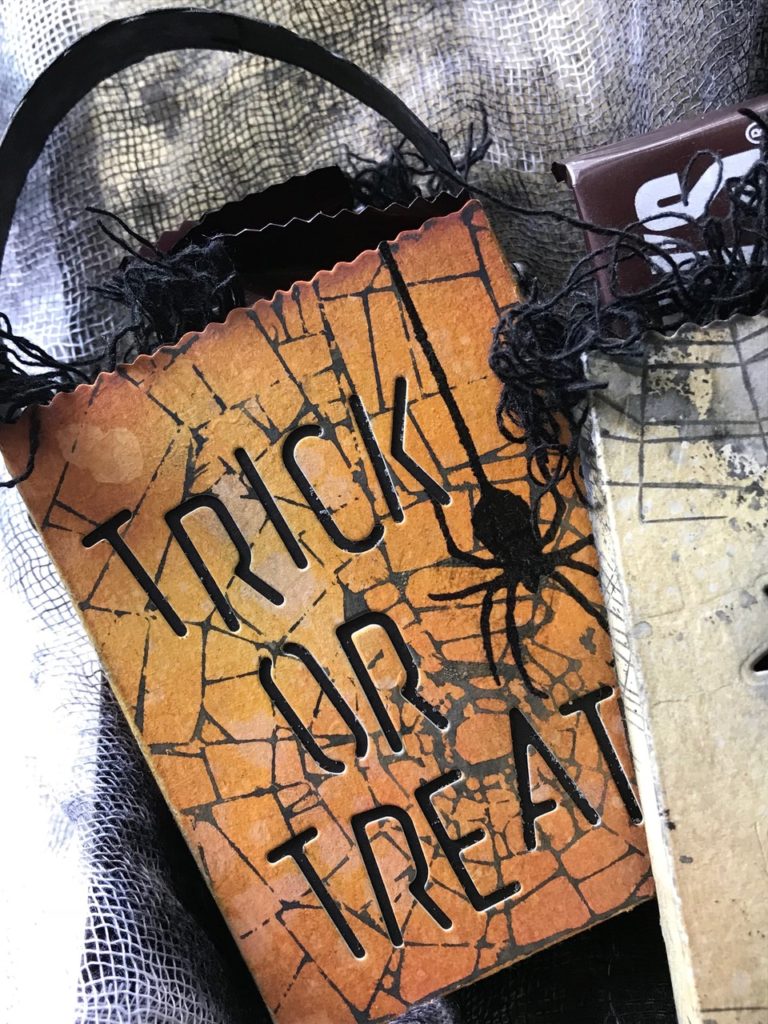
#1 A Trick or Treat bag…

This bag was fairly simple to create…
I used a form of mono-printing to do this, super easy and oh so effective, especially if you have several treat bags to make…
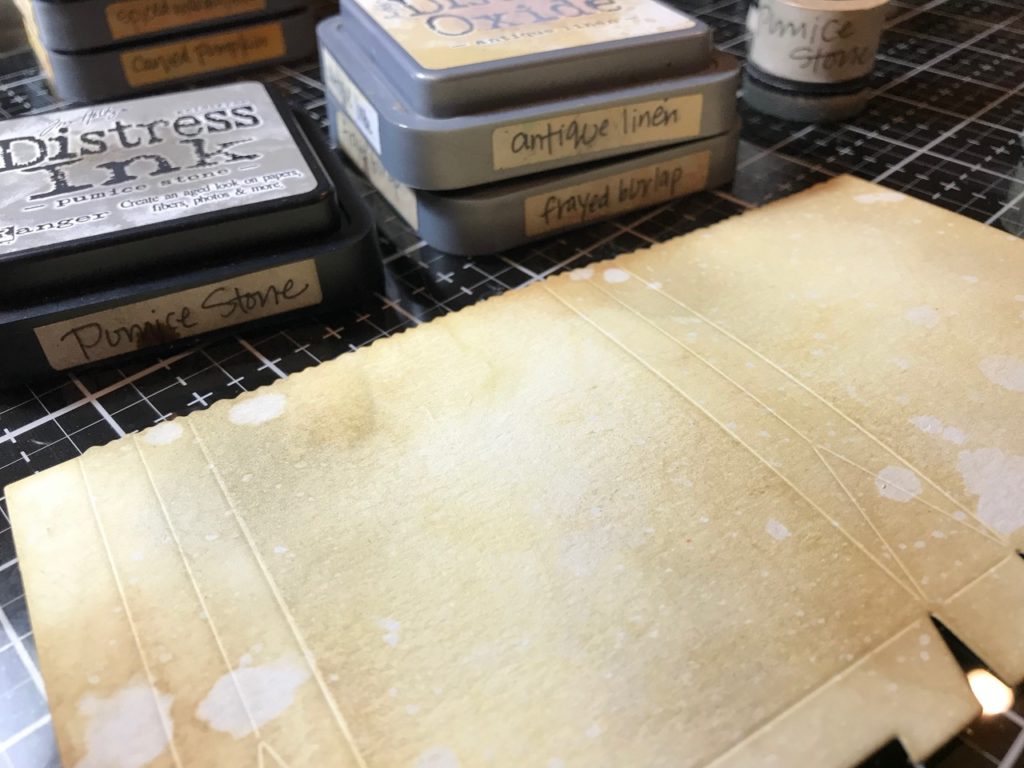
I cut the bag with my Vagabond out of Watercolor paper and blended it with Carved Pumpkin, Spiced Marmalade, and Fired Brick Distress Oxide Inks with a blending tool and spritzed my paper with water, dabbed it with a towel and dried it with my heat tool.
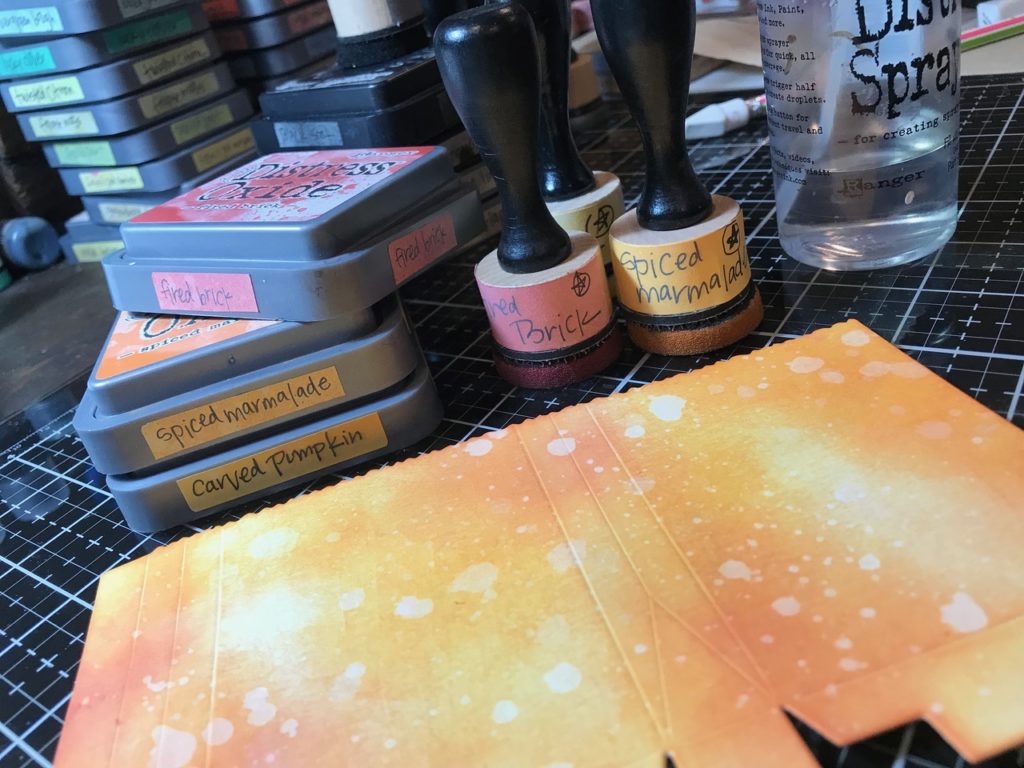
I then smooshed my Shatter Layering Stencil (THS014) with Black Distress Ink directly on to the stencil.
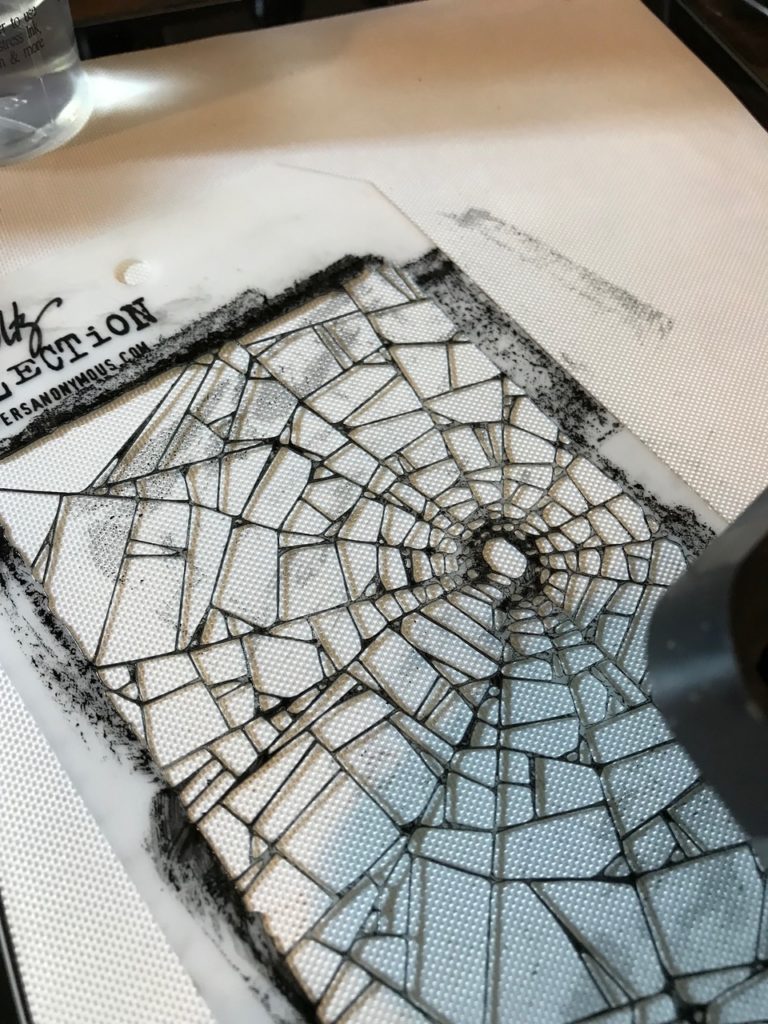
Spritzed it with water and flipped it onto the orange blended bag.
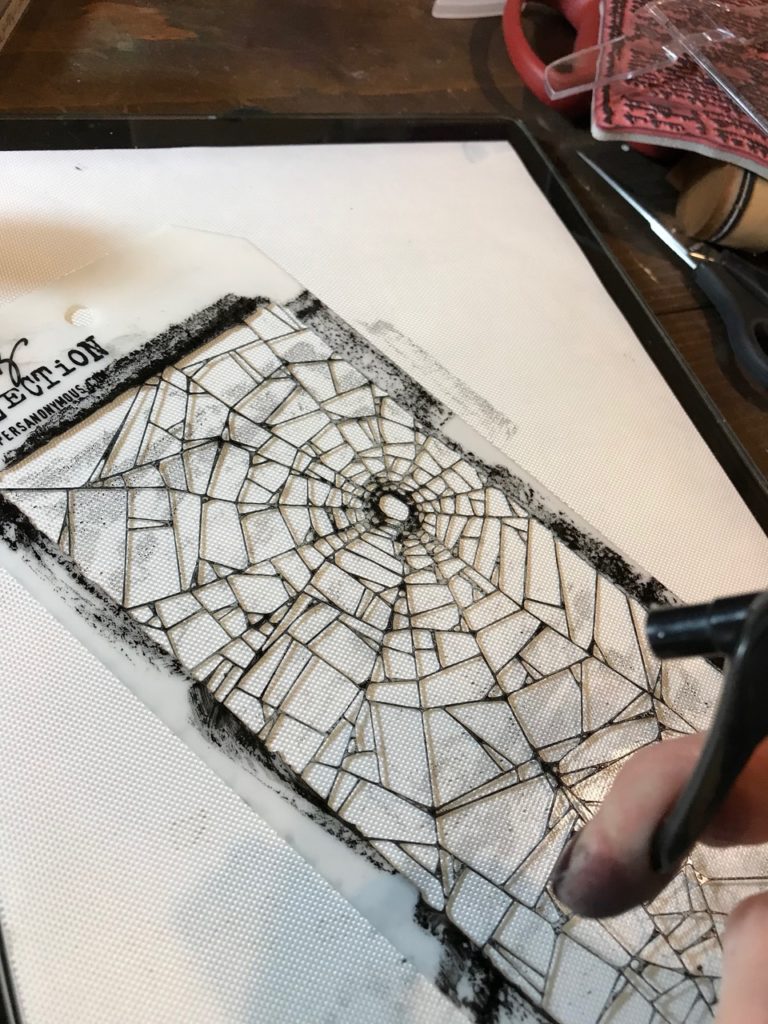
I covered it with a paper towel to soak up any ink that may have smooshed through the stencil. Then dried it with my heat tool. After it was dry, I blended a bit of Black Soot Distress Ink along the deckled edge of the bag. Then I laid out the letters to get an idea of where I wanted them to go.
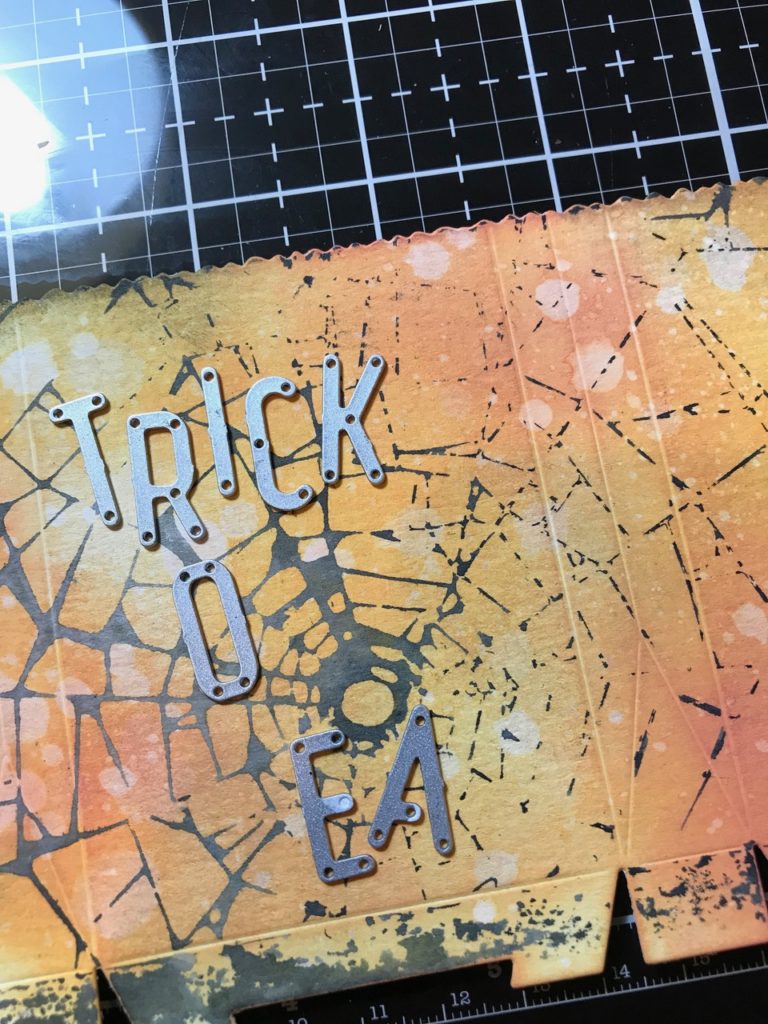
I taped them down with removable post-it tape and kept space for the next round of letters.
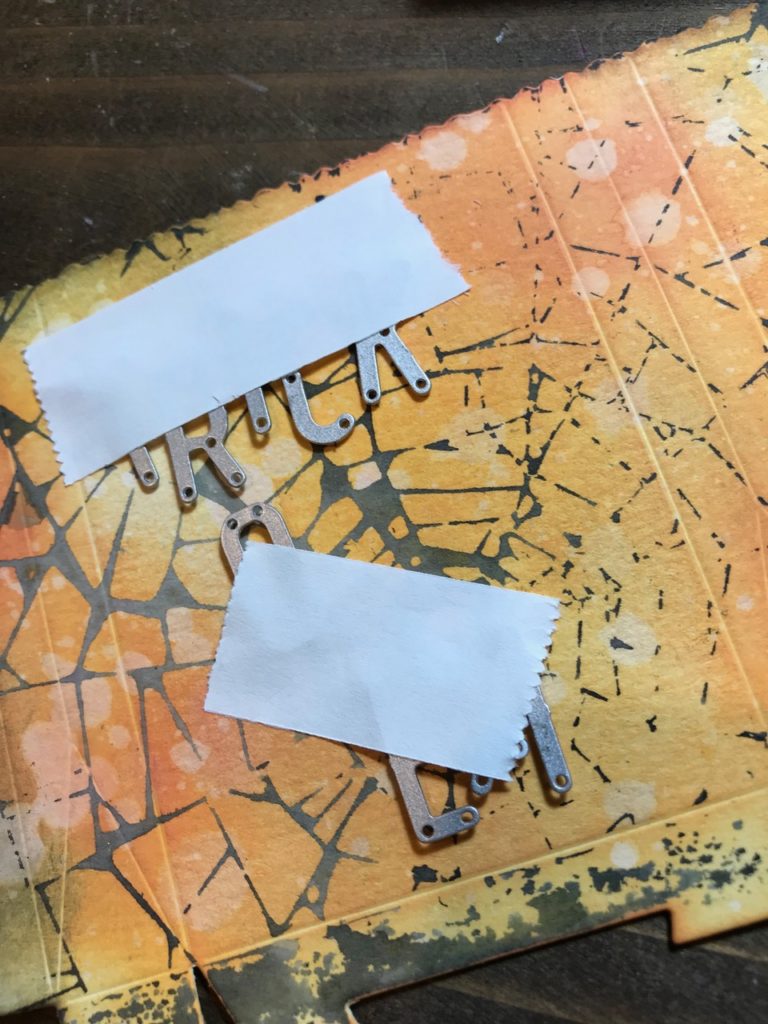
I added the letters that were missing and ran it thought the Vagabond again.
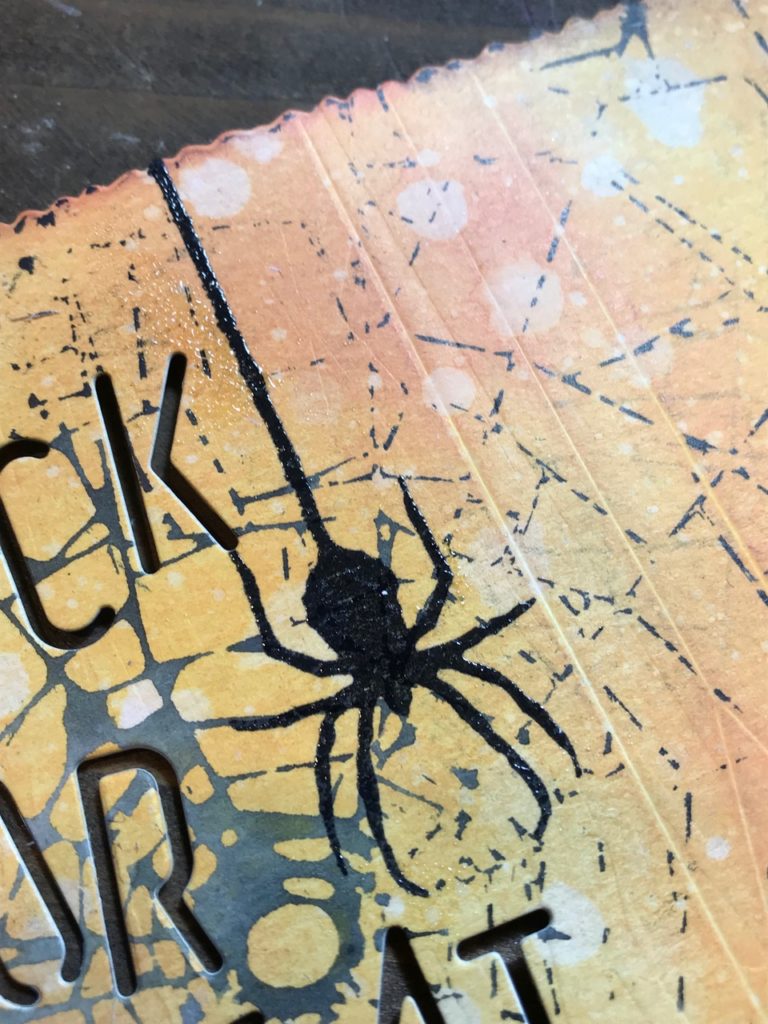
I stamped the spider from the Halloween Silhouettes Stamp Set (CMS115) with Black Soot Distress Ink and Embossed it with Clear Embossing Powder.
I cut a couple of the small planks from the Planks Bigz Die and colored and spritzed them with a Black Soot Distress Crayon.
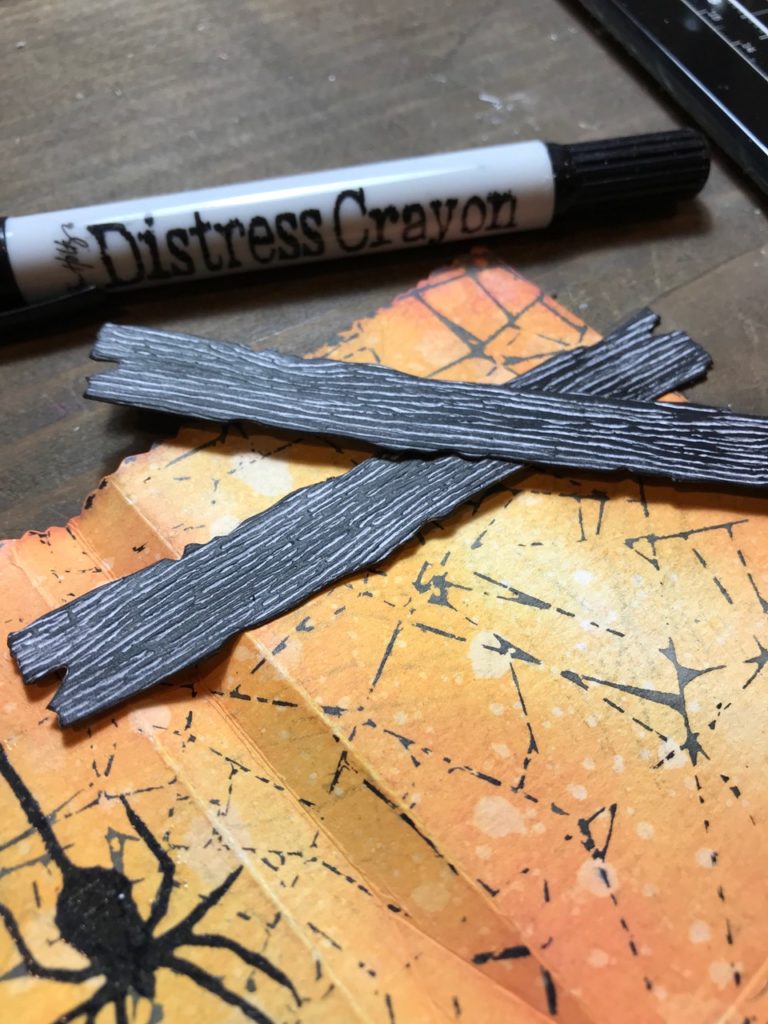
I adhered them together with Distress Collage Medium and attached the ends to form a swing handle with a couple Idea-ology Fluted Fasteners. The Fasteners had been dabbed with a tiny bit of Picket Fence Distress Paint and some Pitch Black Alcohol Ink. I also adhered a black piece of card stock inside the bag behind the letters.

Then adhered the bag together.
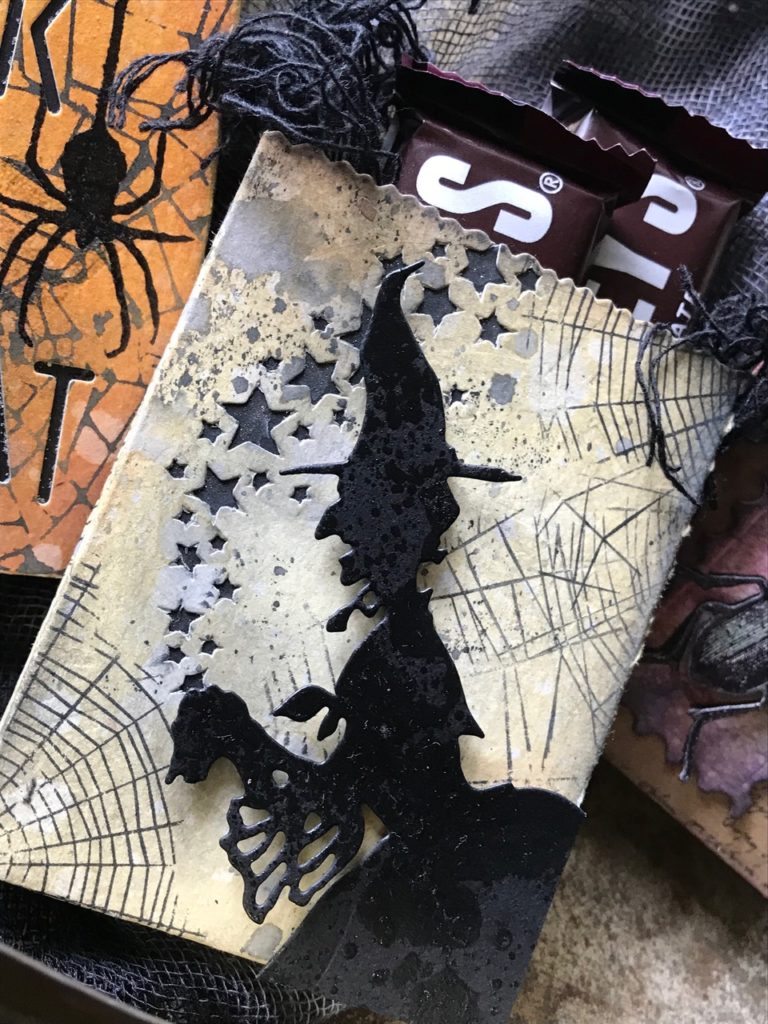
#2 The Witchy Witch and her Black Cat… this one is my favorite!
and back…
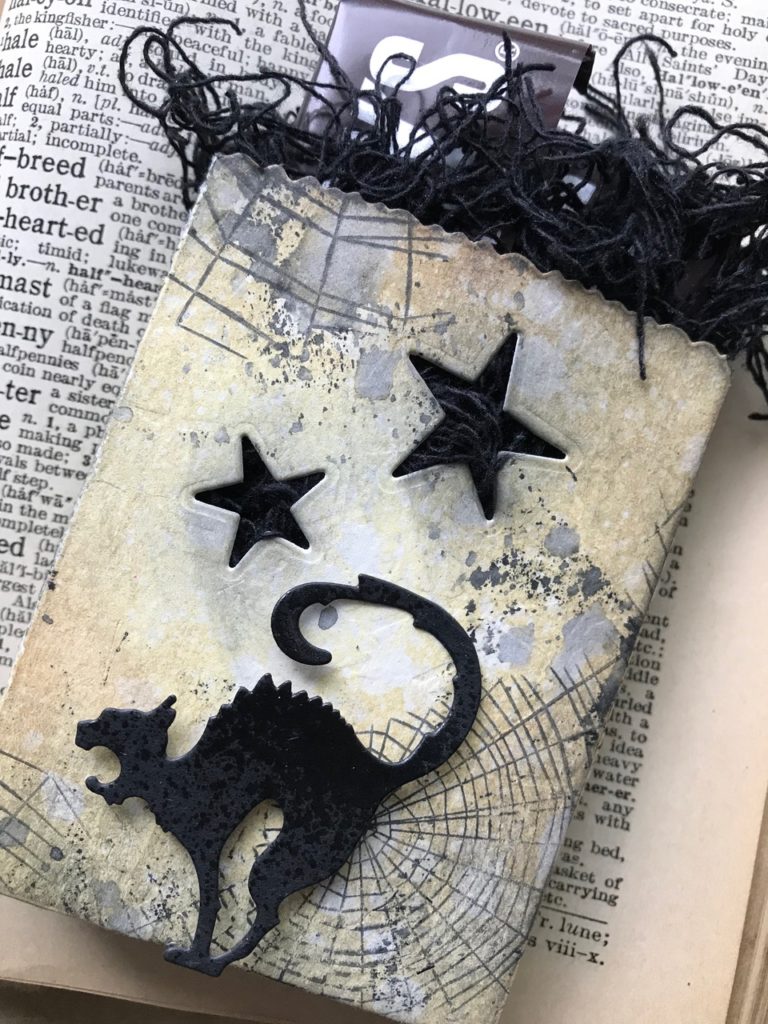
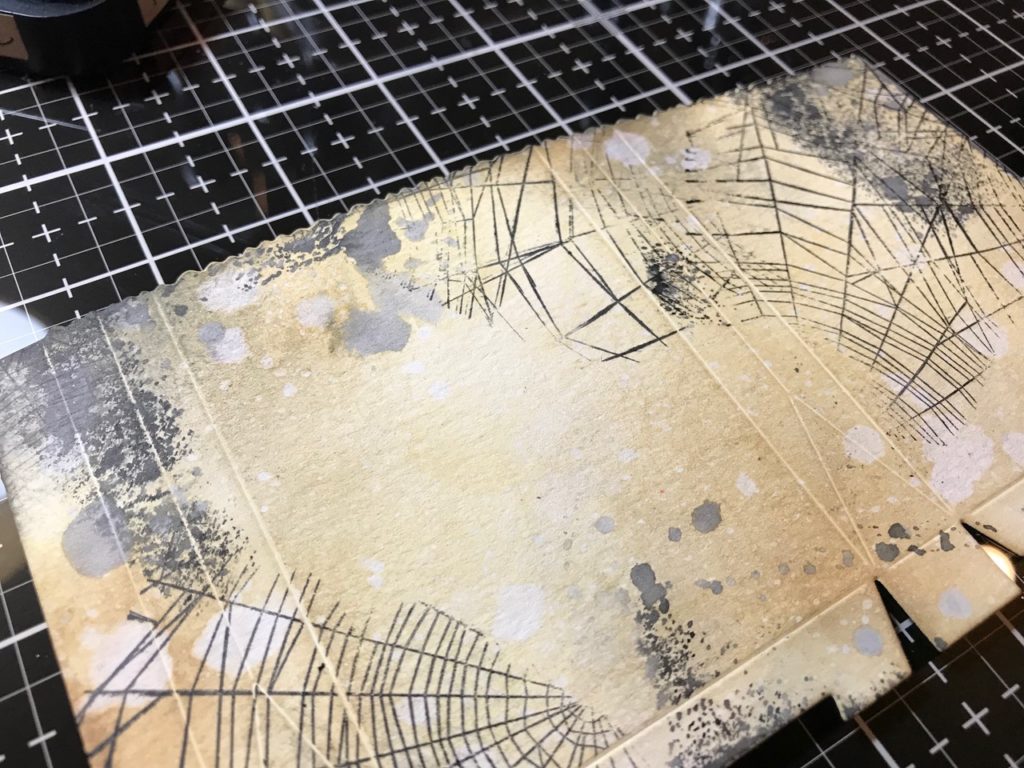
I cut the bag out of a piece of Watercolor Paper and blended the bag with Antique Linen and Frayed Burlap Distress Oxide and Pumice Stone Distress Ink. Then spritzed it with water and dabbed it off with a towel and dried it with my heat tool.
I smooshed my Black Soot Distress Ink onto my craft mat and spritzed it with a touch of water, then dipped and dragged the bag into it, dabbed it with a towel and dried it with my heat tool.
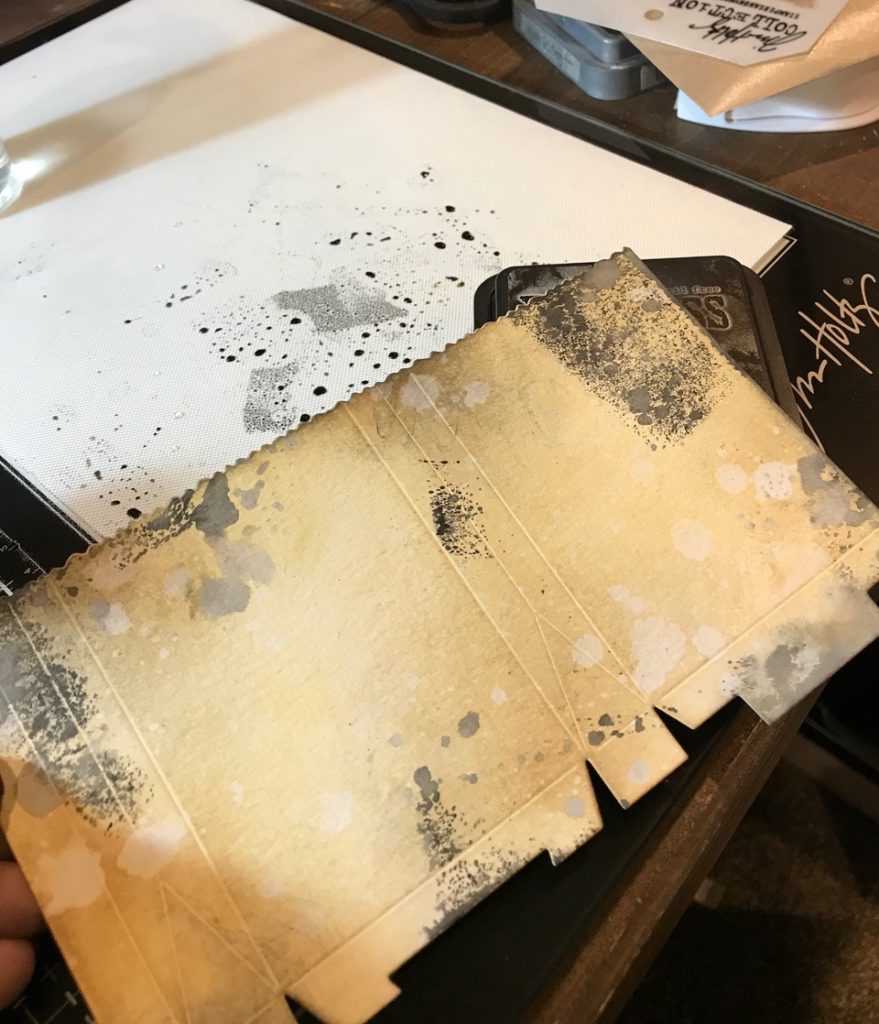
Then I stamped the Cobwebs (CMS306) randomly around the bag with Black Soot Distress Ink.
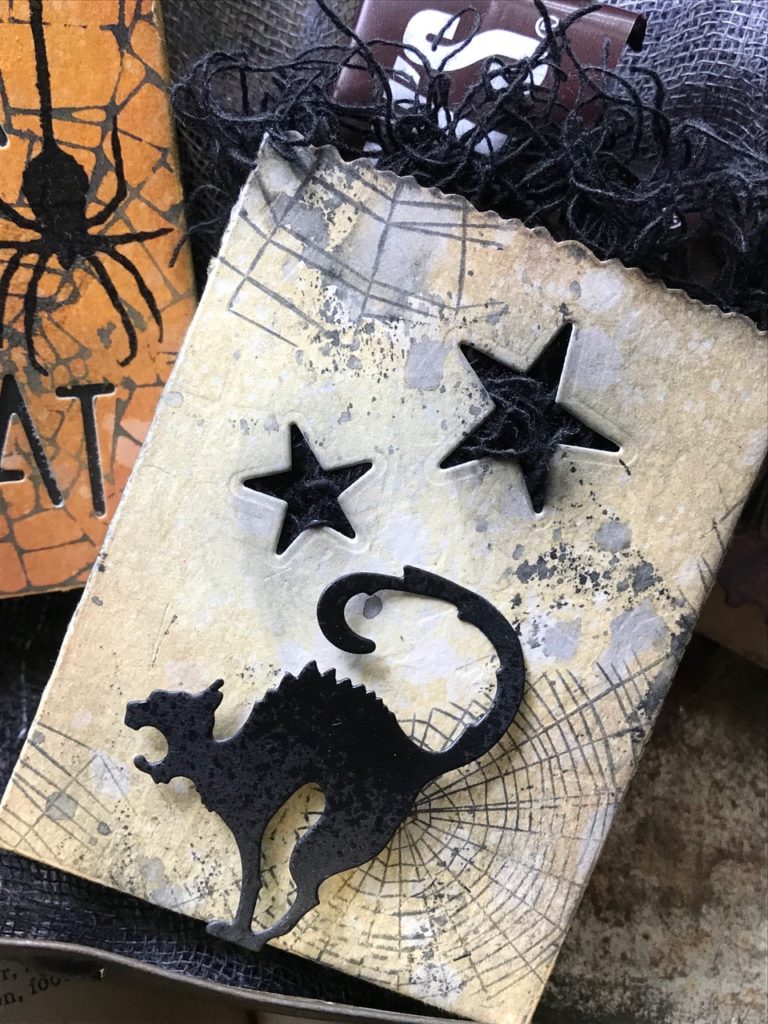
Then using the new Swirling Stars Die set, placed a couple stars either side of the bag and ran it through my Vagabond. Leaving space for my witch and cat.
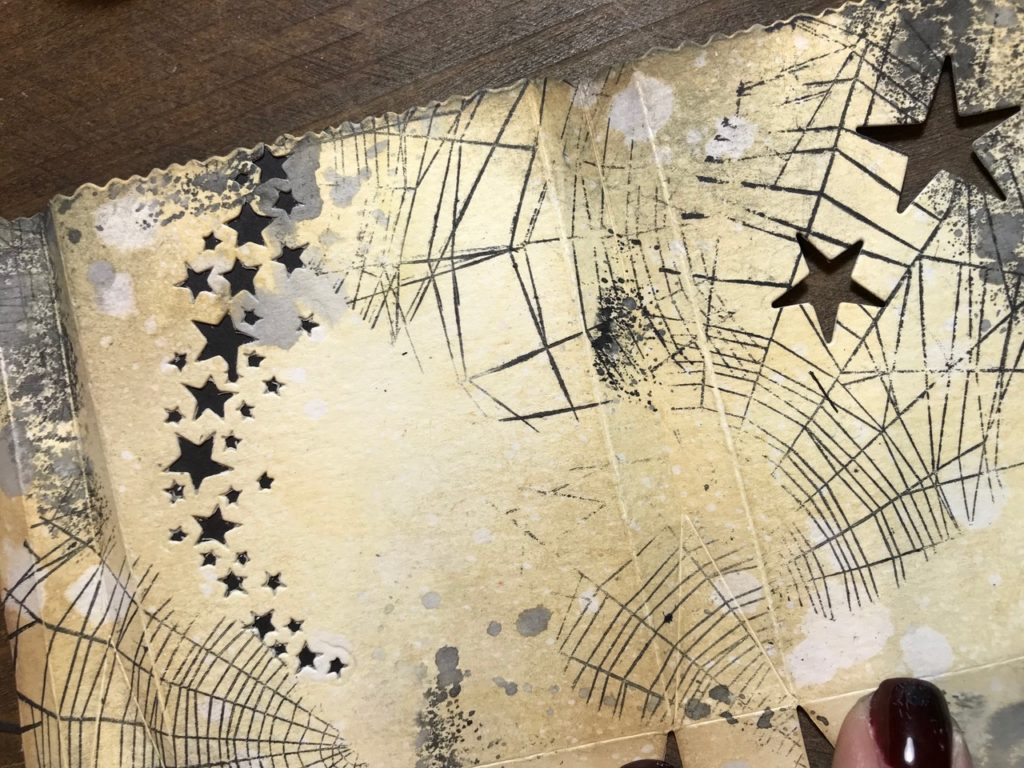
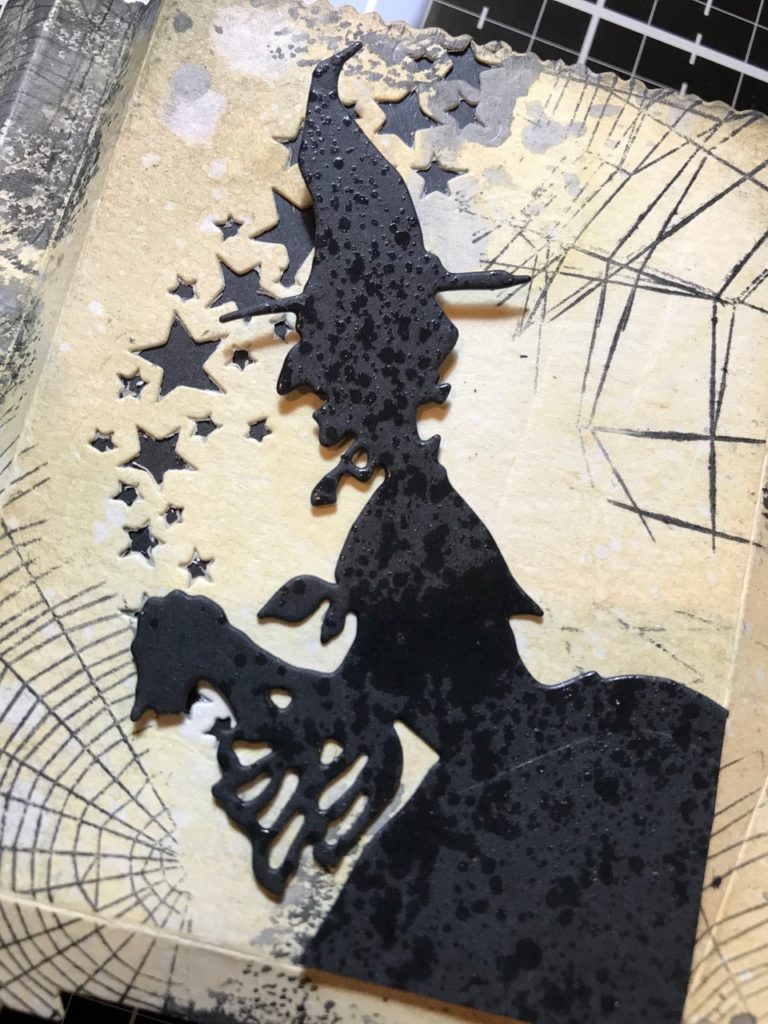
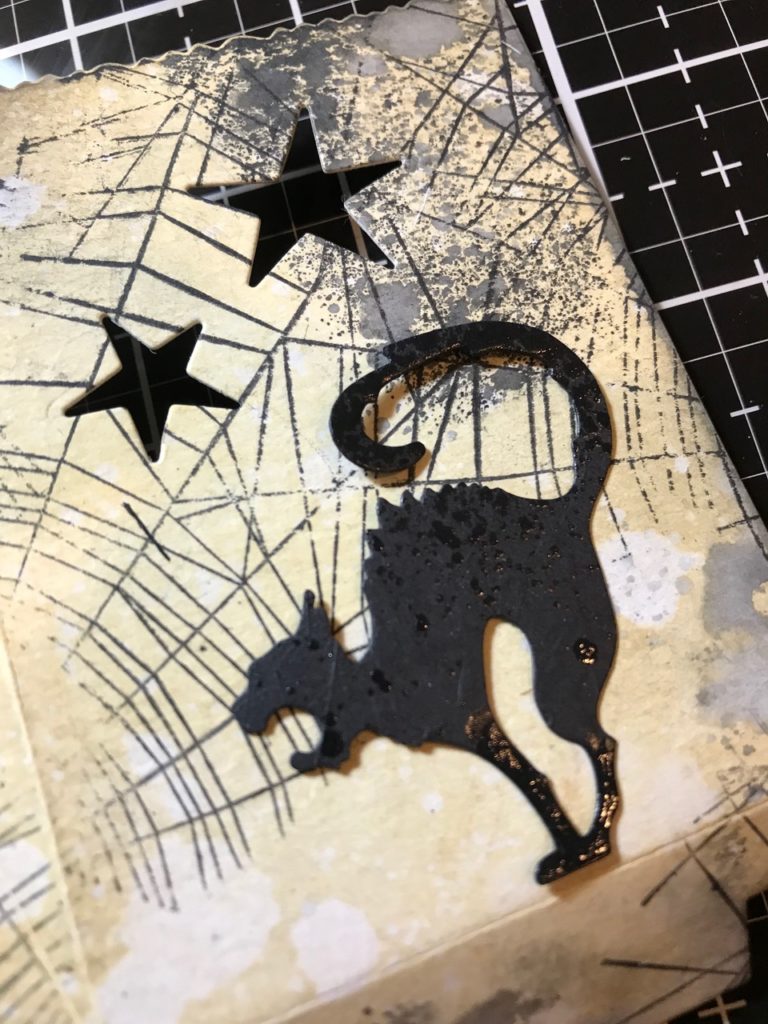
I backed the front swirly stars with black cardstock and left the large stars open. Then cut out the witch and cat from black card stoc. I trimmed the witch to fit in the corner of the bag and sprayed them both with a bit of Distress Resist Spray.
Then adhered the bag together.
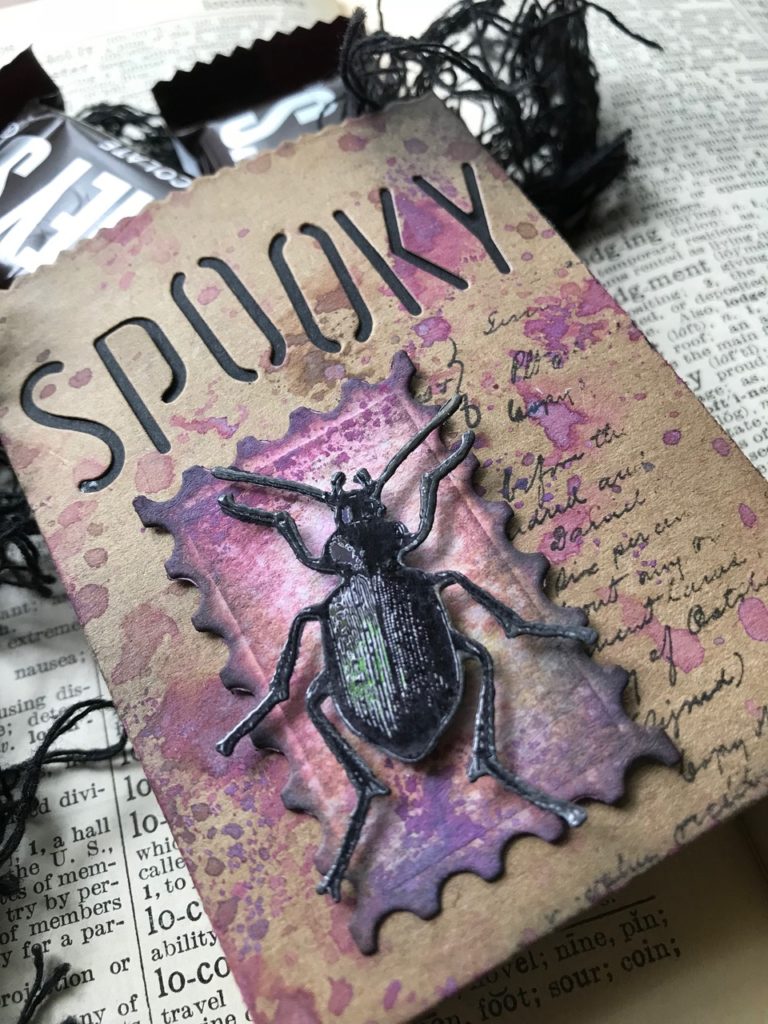
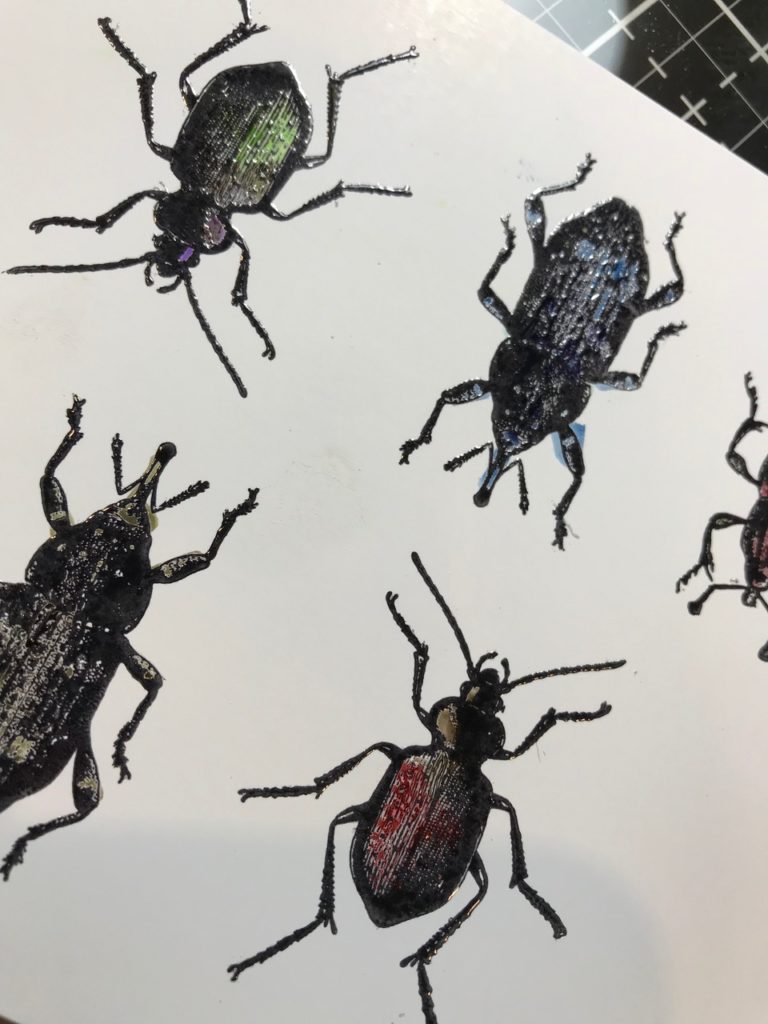
And finally, #3 A Spooky Bug Bag…
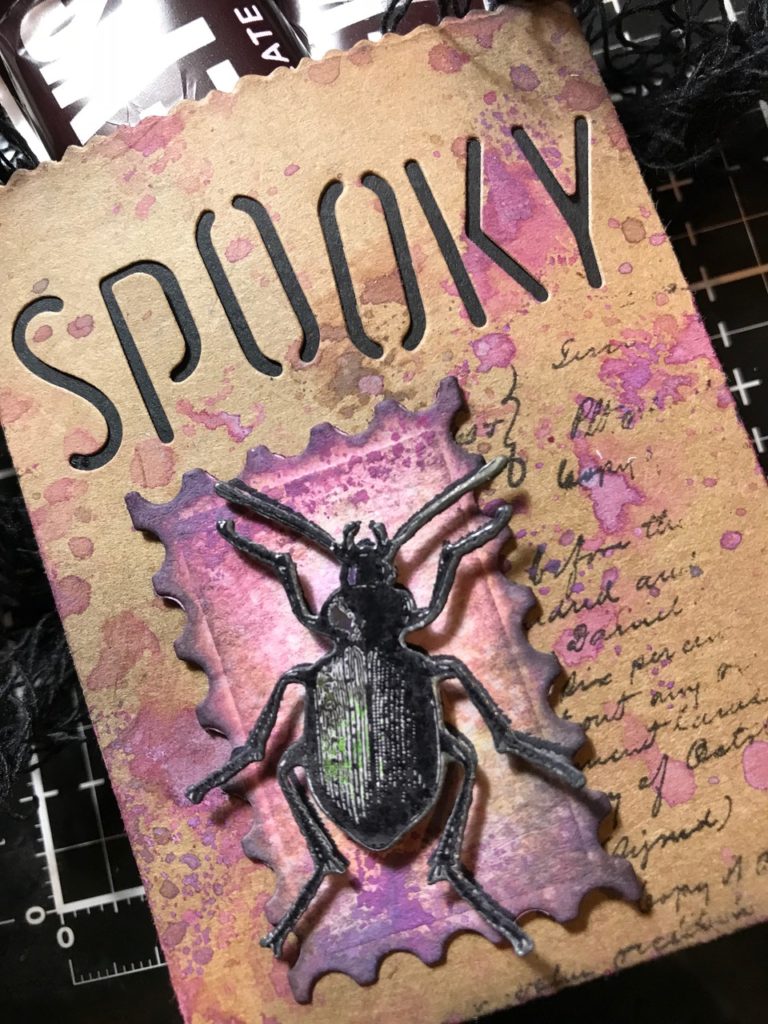
I stamped with Black Soot Distress Ink several bugs from the Entomology Stamp Set (CMS328) and Embossed them with Clear Embossing Powder. Then Colored them with a variety of Distress Markers.
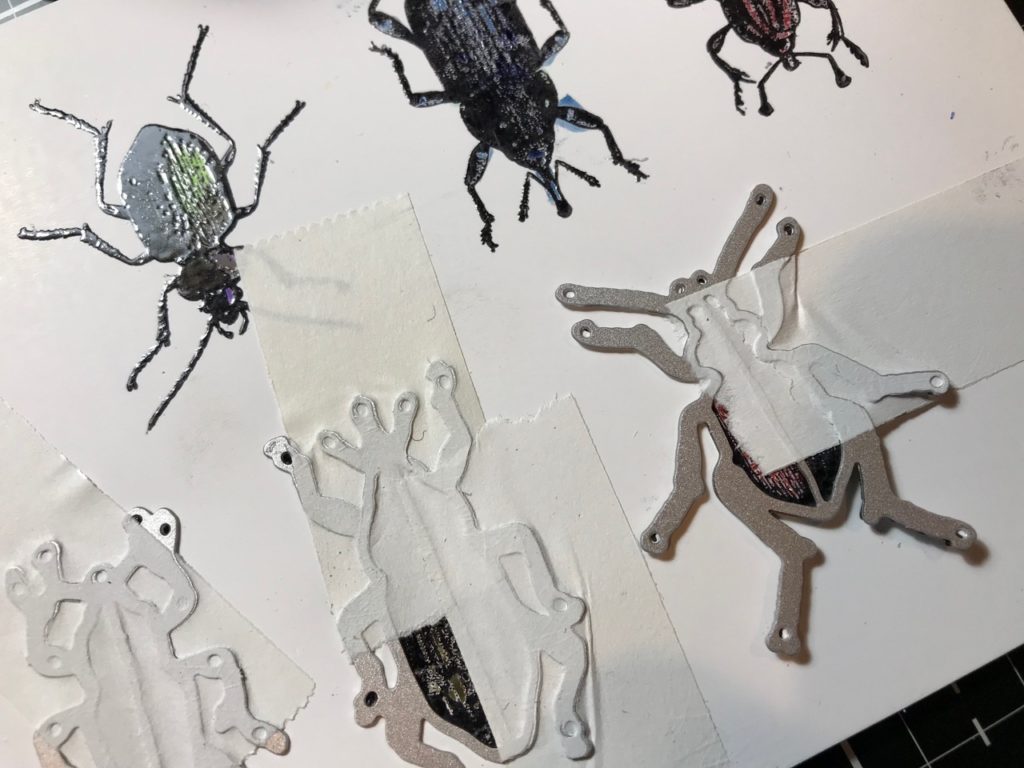
I cut the bugs out with the new Entomology Sizzix Die Set, have I mentioned that these are FABULOUS!! They cut out all the antenna and legs without any problems!! Love them! The best way to do this is to line up their tiny legs with the tiny holes on the die and then using post-it removable tape, tape them down to keep them in place to run through the Vagabond.
Then I cut a bag out of Kraft card stock. Smooshed Seedless Preserves Distress Oxides and Dusty Concord Distress Ink onto my craft mat, spritzed it with water, smooshed the bag into it, dabbed it with a towel and dried it with my heat tool. I stamped the Entomology Background Stamp onto the bag in random places with Black Soot Distress Ink. I cut out the word “Spooky” and placed a piece of black card stock behind the word.
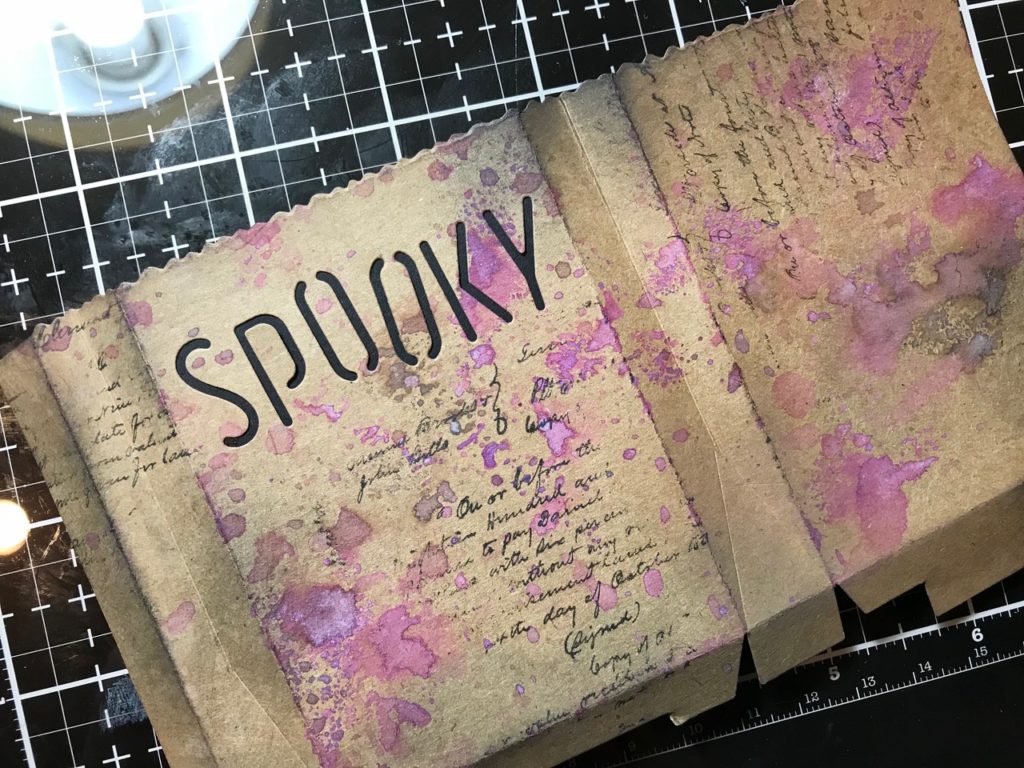
I cut a stamp shape from the Labels Sizzix Die Set out of a scrap piece of Watercolor paper and blended it a bit with the same color inks. I stamped a bug on to the stamp shape and placed the bug that I cut directly over the bug with a pop dot and adhered the bag together.
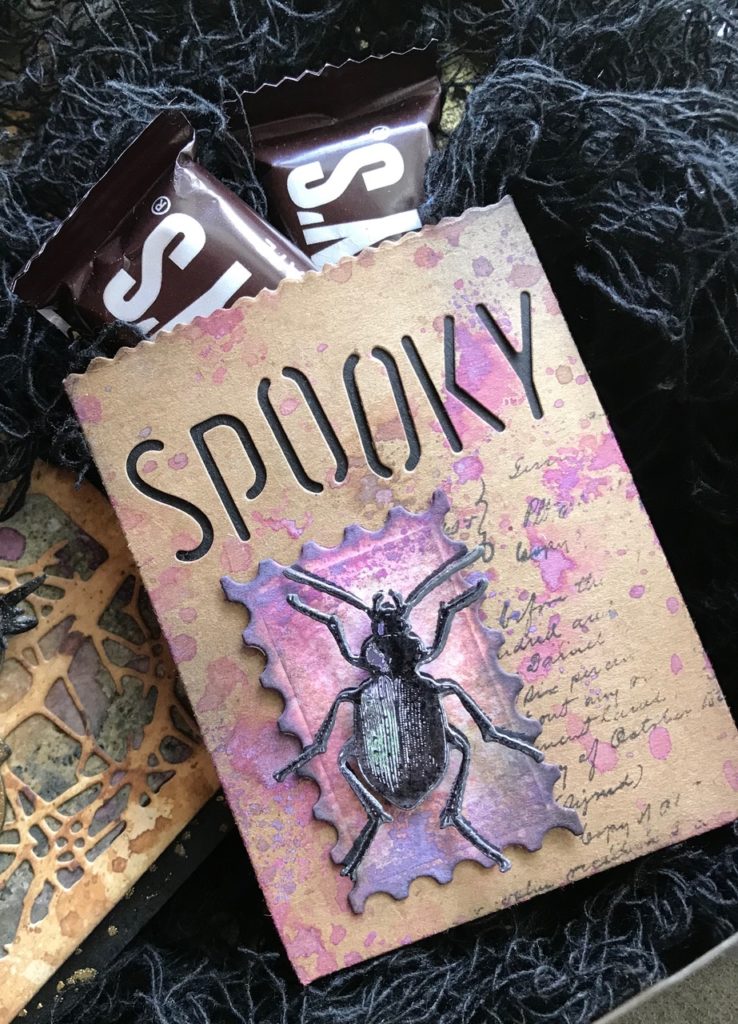
This one was the easiest of them all!!
I hope you enjoyed this tutorial and are inspired to get to making your own bags for some special trick-or-treaters!
Creatively Yours,
Stacy
What is an affiliate program, and why should I click on the link and buy through you?..
When you shop via the affiliate link on this blog, I receive a small commission, from the affiliate provider (Simon Says Stamp), at no extra cost to you whatsoever. These commissions help me to cover hosting fees and other costs to run my blog and be able to provide you with FREE inspiration. If you shop the links, THANK YOU! I truly appreciate being able to share my love of creating with you.
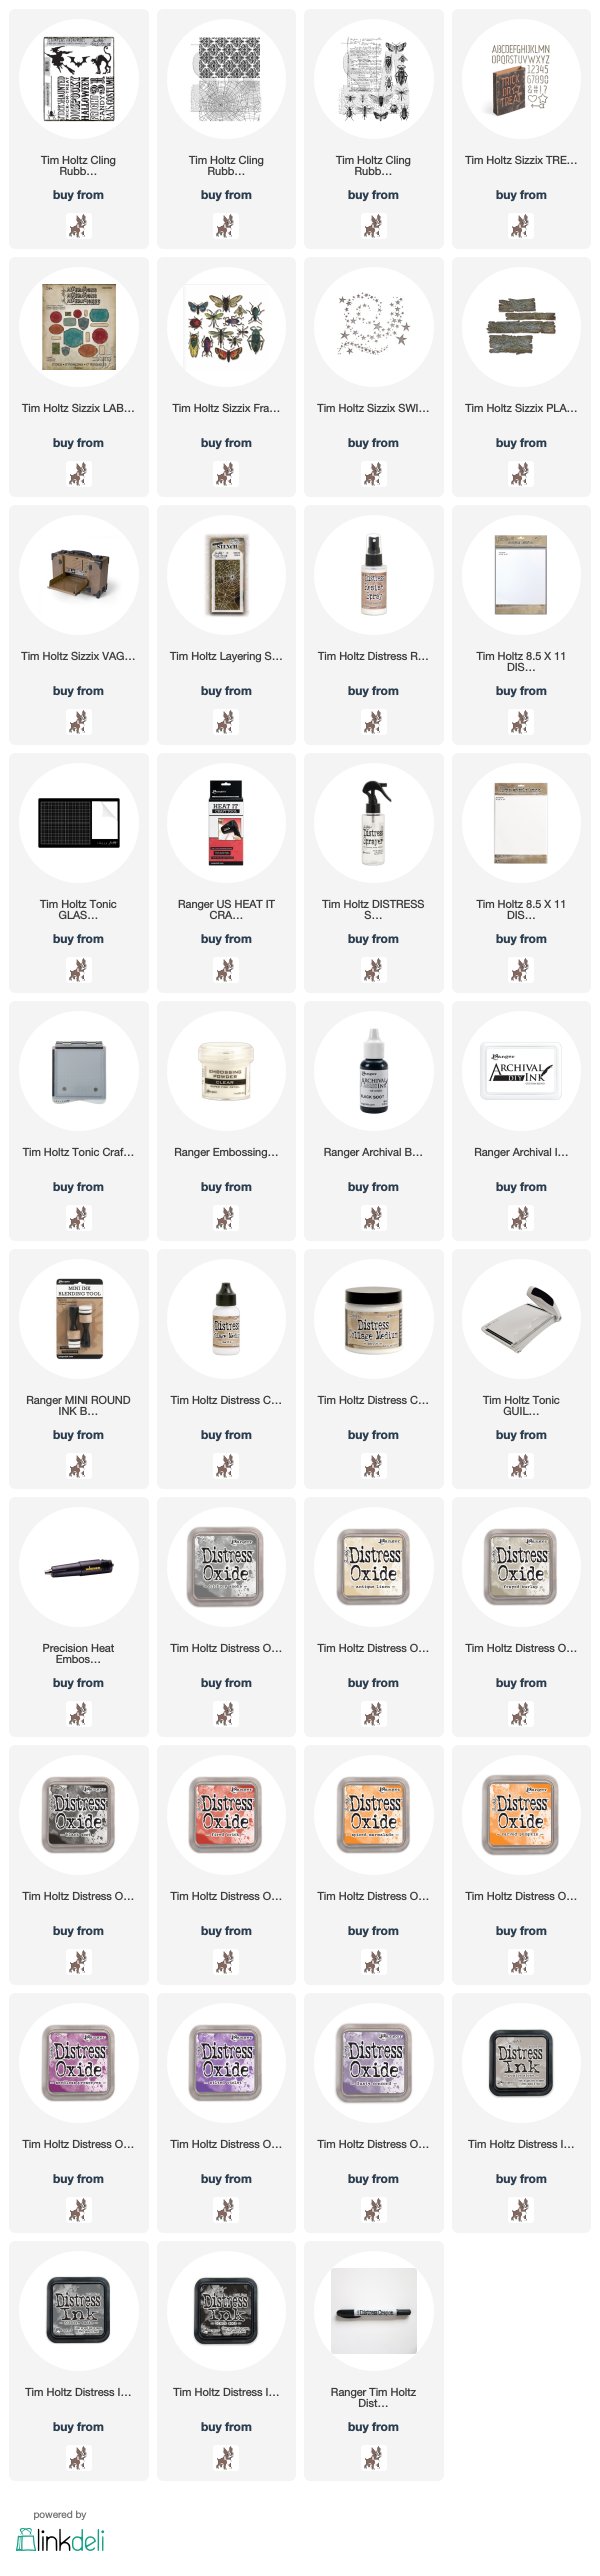
GATHER YOUR SUPPLIES –
Tim Holtz/Stampers Anonymous- Halloween Silhouettes Stamp Set (CMS115), Shatter Layering Stencil (THS014), Skulls and Cobwebs (CMS306), Entomology ((CMS328)
Tim Holtz/Distress Oxide and Inks- A Variety of Colors
Distress Markers- A Variety of Colors
Tim Holtz/Sizzix- Treat Bag, Entomology, Labels, Witchcraft, Swirling Stars, Planks Bigz
Distress Tools/Mediums- Distress Sprayer, Craft Mat, Heat it Heat tool, Blending Tools, Watercolor Paper, Clear Embossing Powder, Distress Resist Spray, Embossing Heat Tool


So stinking cute, so stinking cute, so stinking cute, won’t you be my neighbor! Love them!
Love, love your treat bags!! Just my style!
I love all of these, from the coloring to the dies used….just so clever! I can’t even pick a favorite!!!
So cute!
So clever and cute! I love the inspiration for each different bag; the backgrounds are truly magnificent and add to the character of each one. I so love the bug die! Thanks for sharing!
These are frightfully fantastic! Great tutorial, too. 🙂
fantastic!
Awesome designs – thanks for showing us How To!!
So cute! You have the best tutorials and photos–fabulous inspiration and *how-to* happening here!
I’m so happy that you like them, they were fun to create! ♥️
So frightfully adorable! Thanks for the tutorial!
Great tutorial, I am just starting my distress journey, I have made witch ones and loved following your guide, you are very creative thank you for the inspiration:)
I’m so glad that you’ve discovered distress!!! It’s my favorite… I’m so happy you’ve found the tutorial helpful!! Happy distressing! 🖤
Stacy these are so fabulous, love them! I need to try these techniques. Thanks for sharing. Hugs Zowie xx