Hello friends! Happy Spring! I’ve been busy creating but haven’t blogged much lately about some of my makes, so, I am back today to share what I created using the new Tim Holtz idea-ology Teal Palette Paper pack.
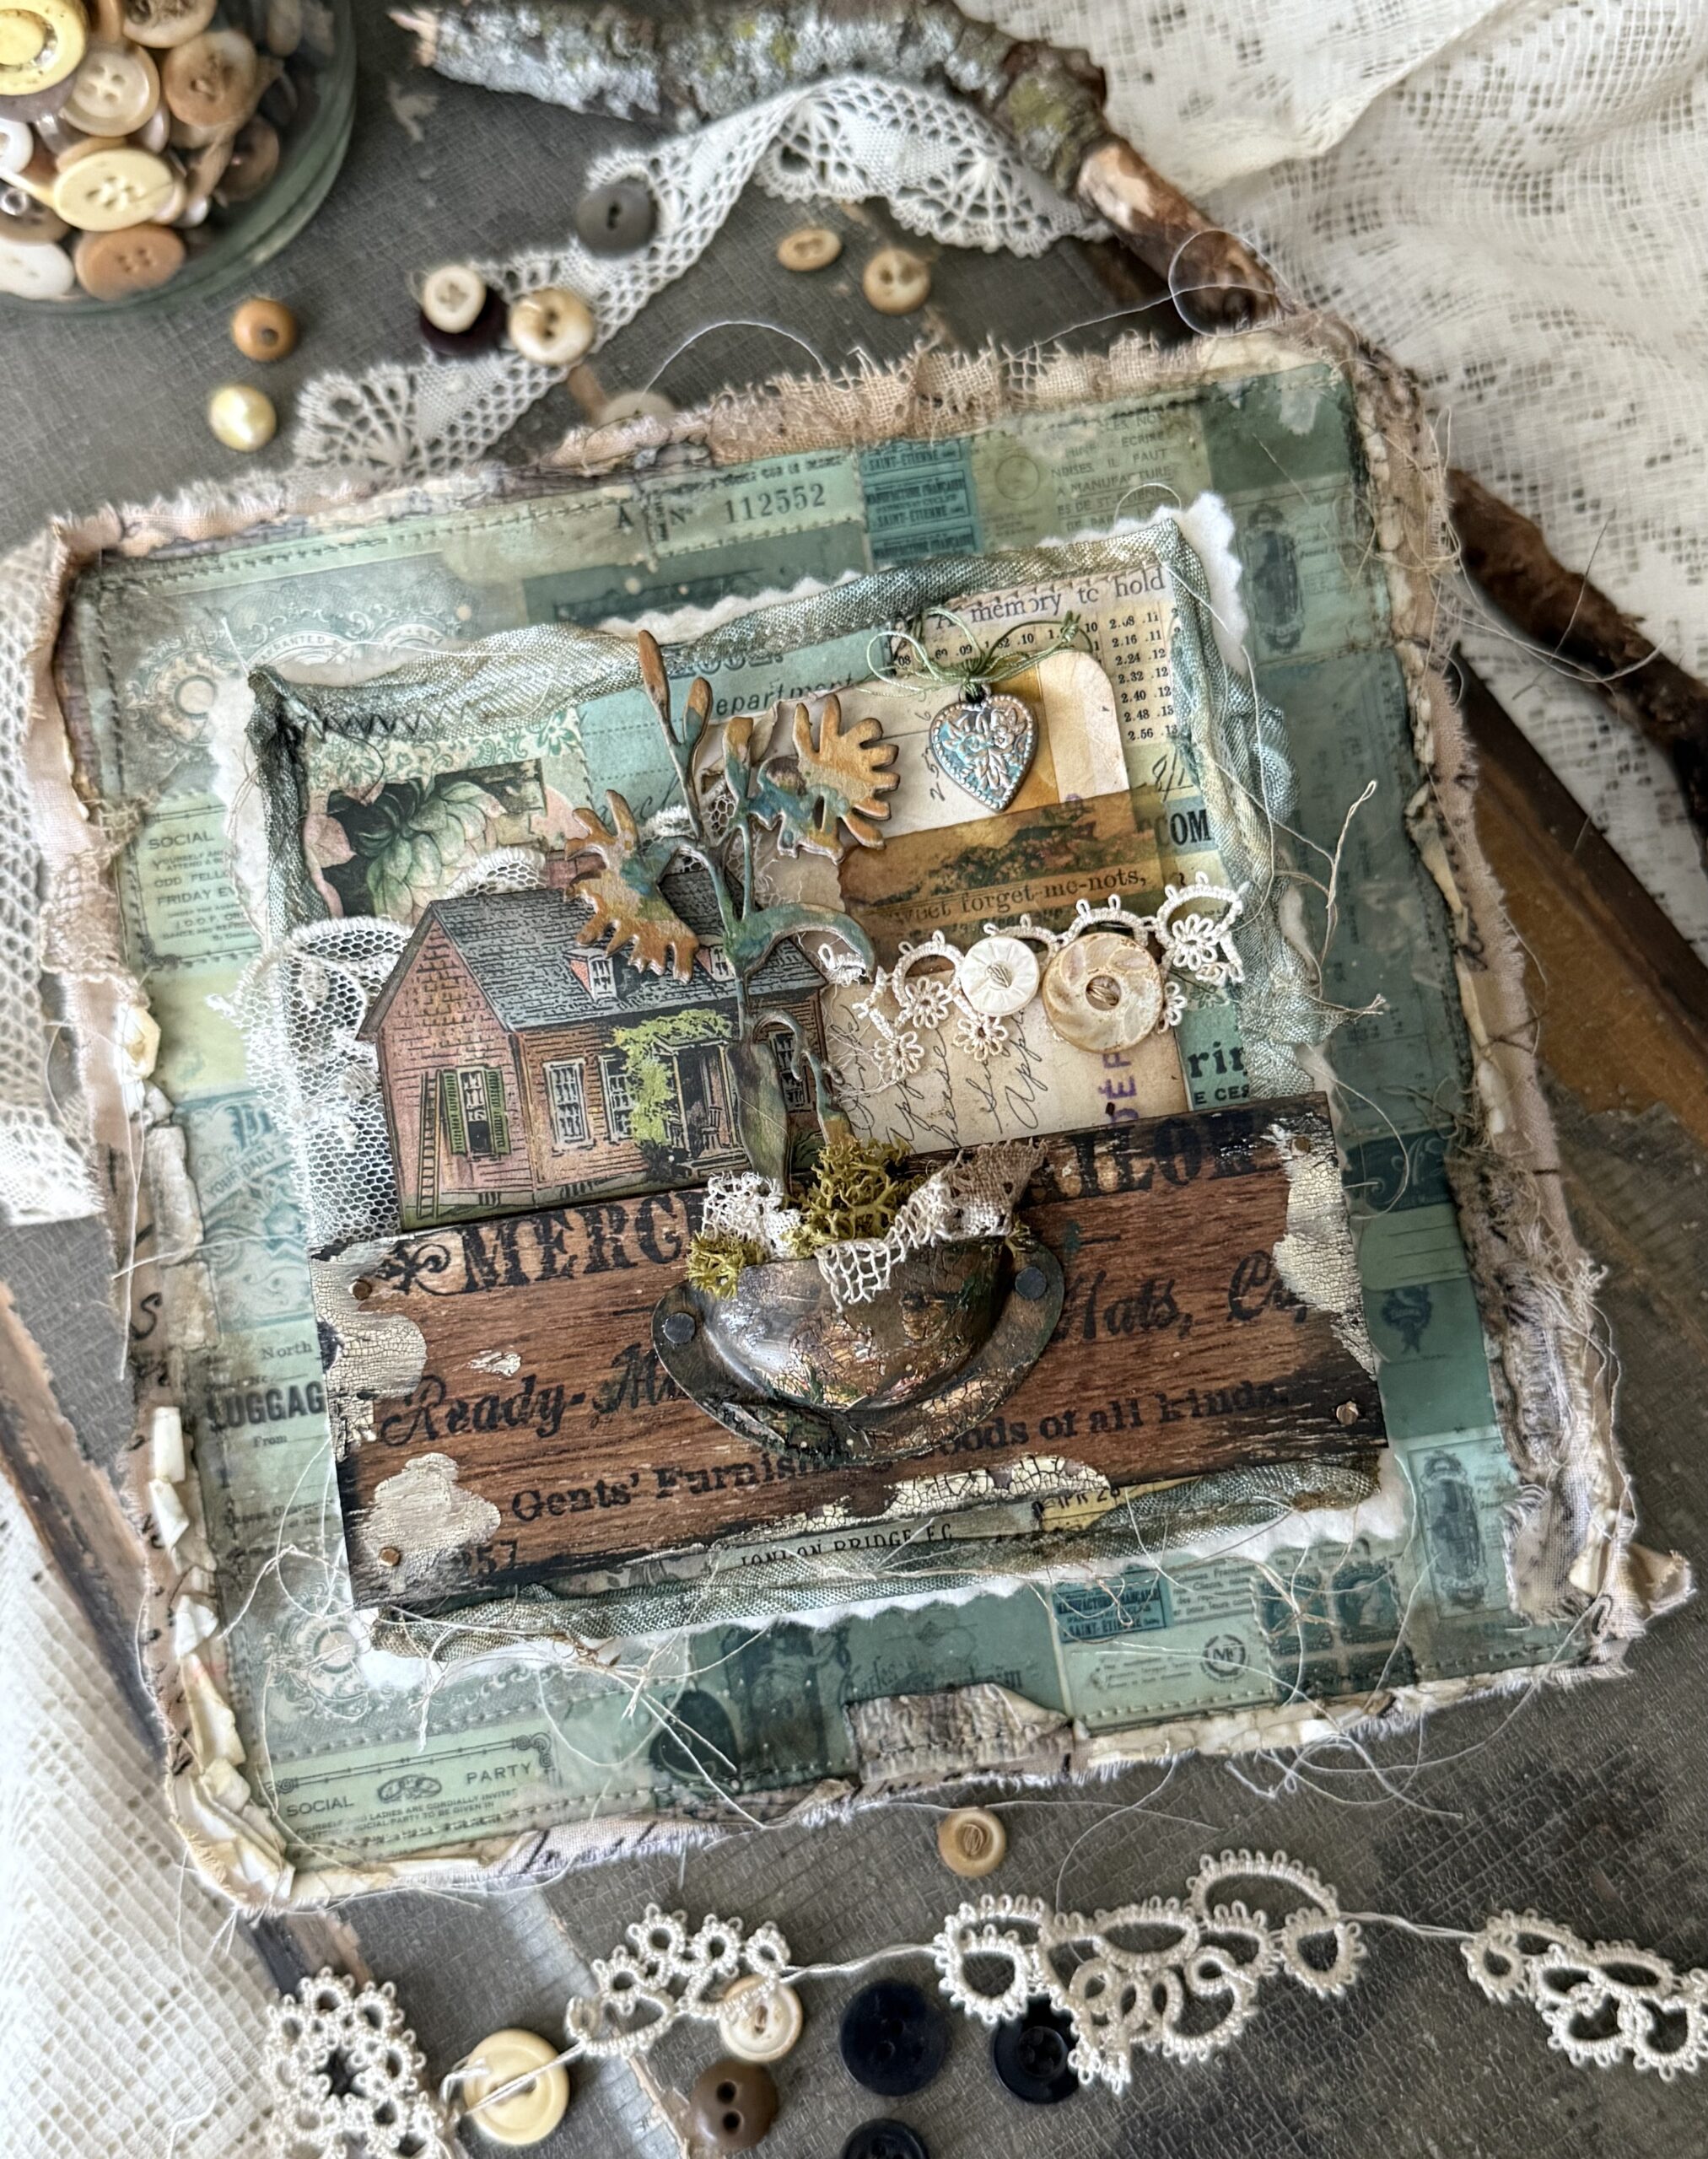
This project was created using the 8×8, but it comes in 12×12 as well. My project size fit the 8×8 paper perfectly. I created my project using an idea-logy large square vignette box and an Etcetera Square Panel.
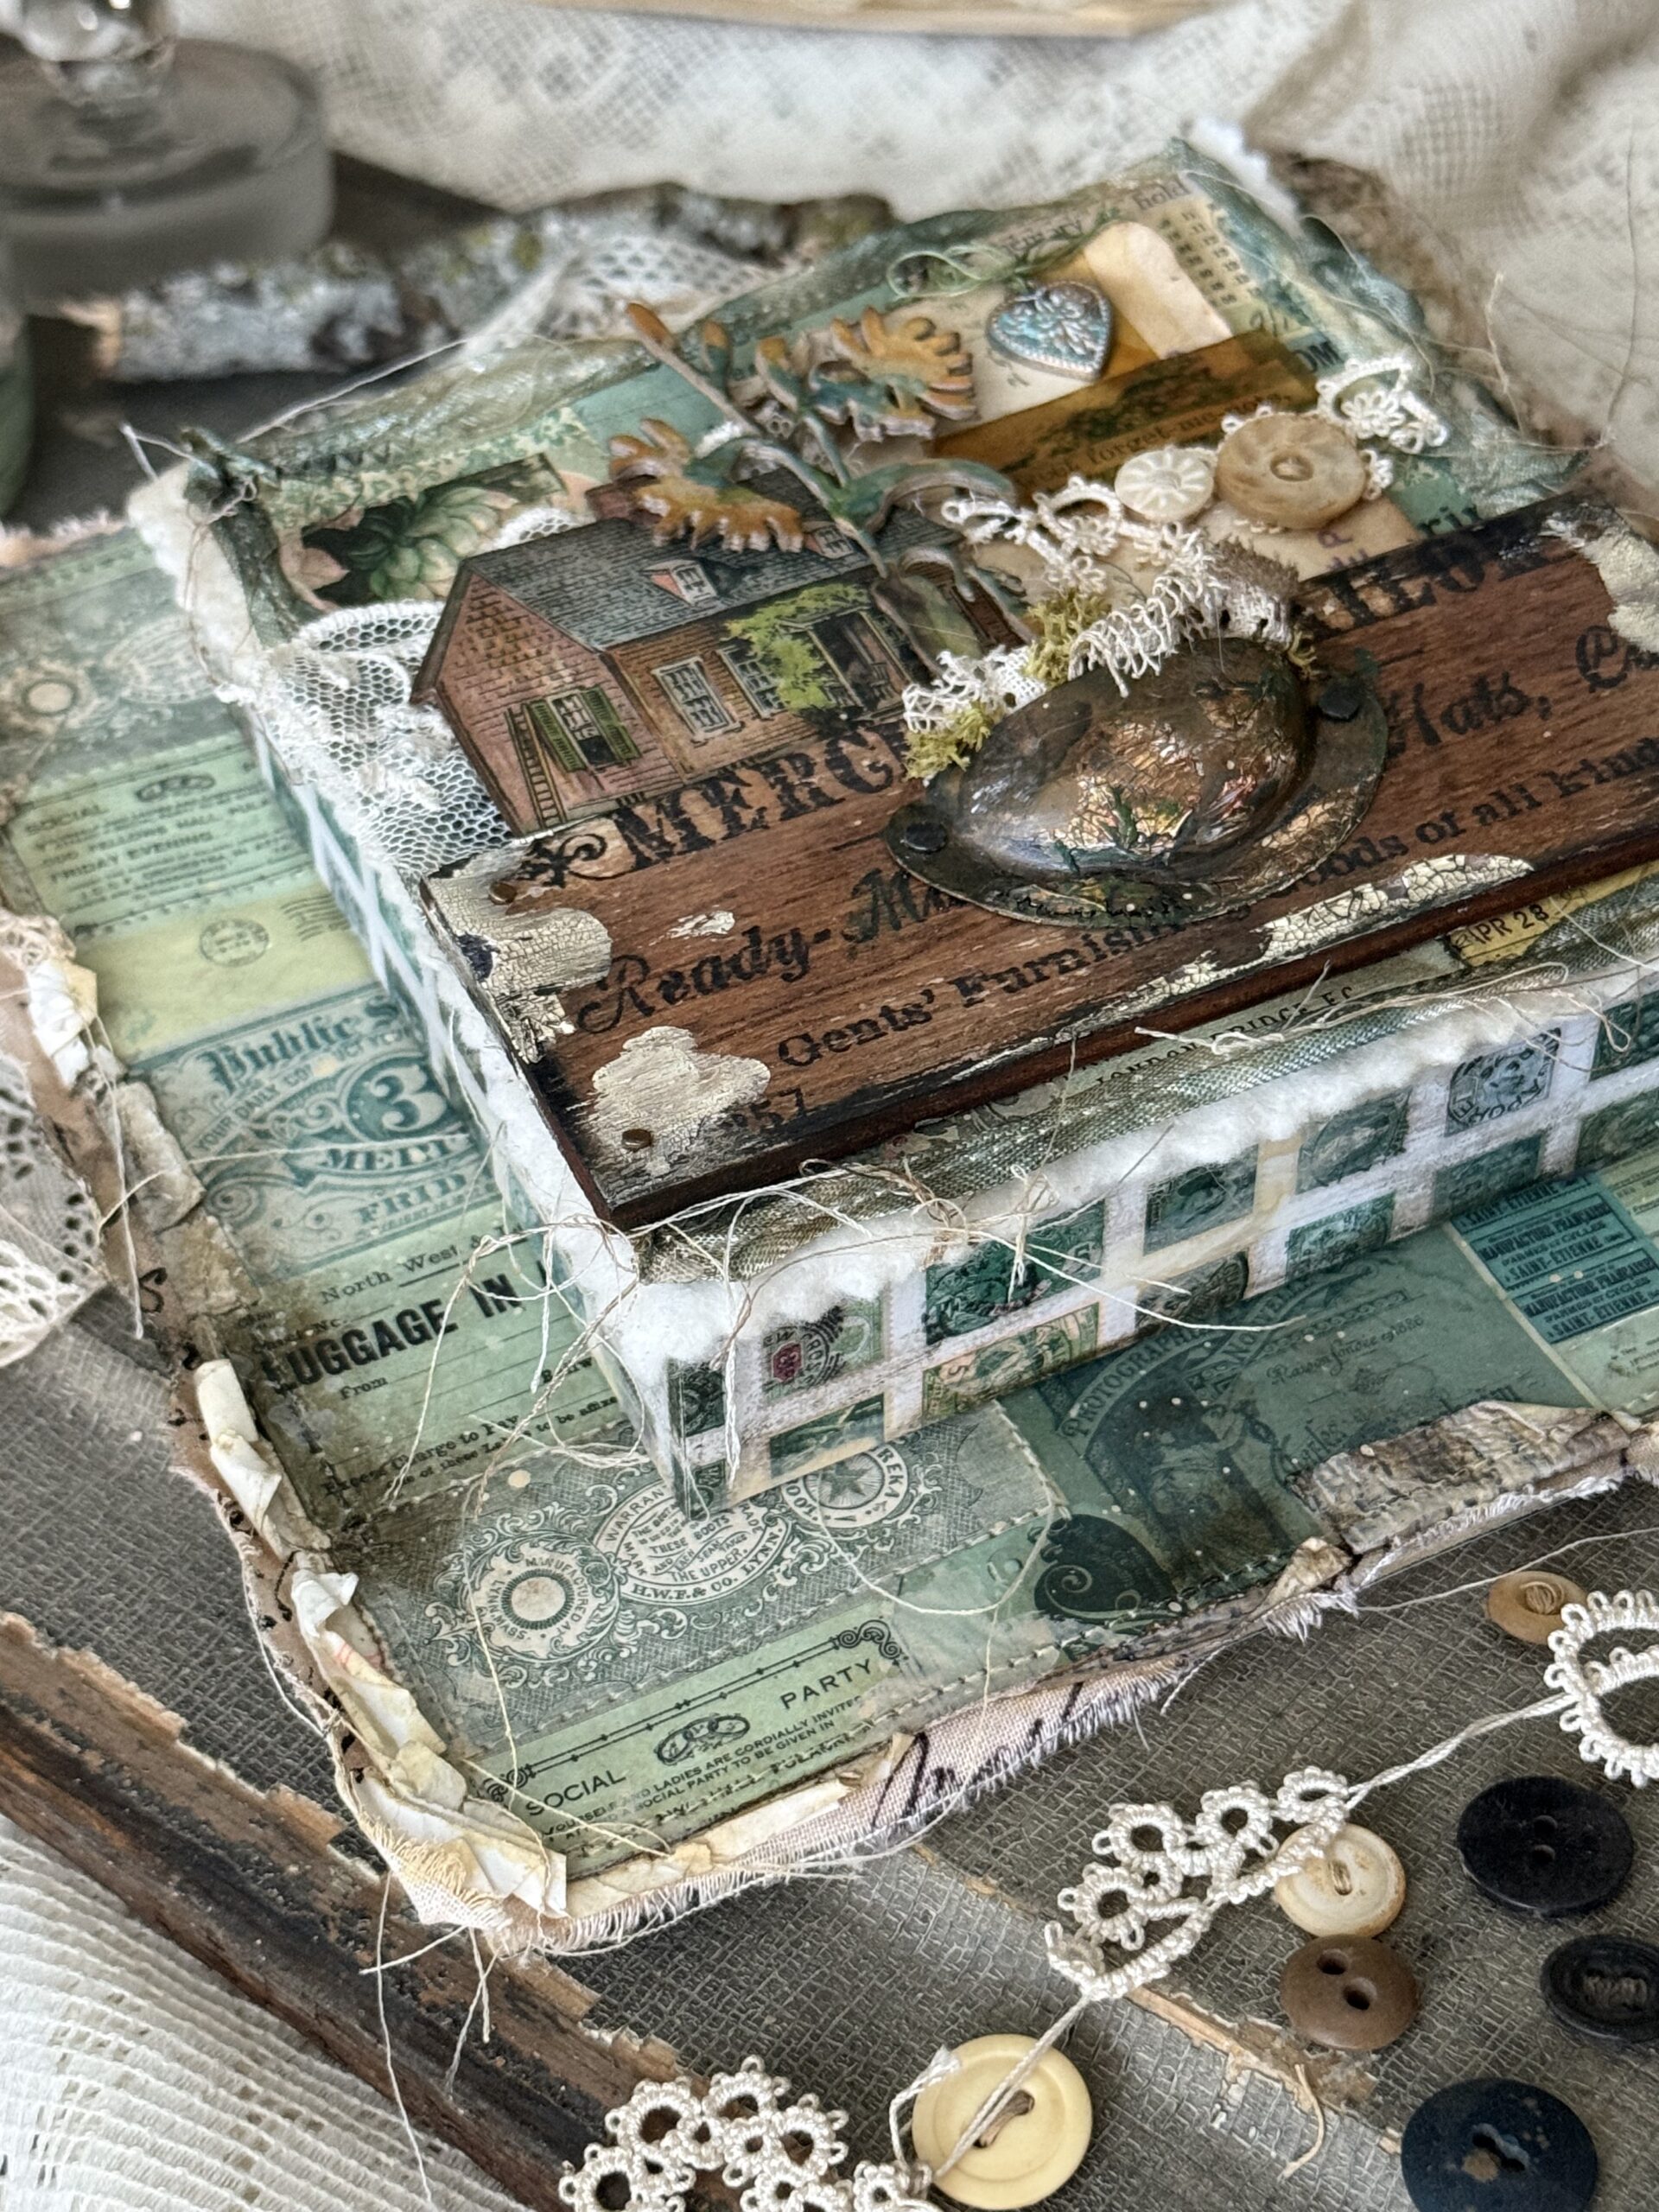
The Teal along with all the recently released Palette papers are a wonderful jumping off point for all sorts of makes. Here below you’ll see where this project started…I dug through a collection of my scrap pieces and started off there by blending bits and pieces that matched this collection of papers.
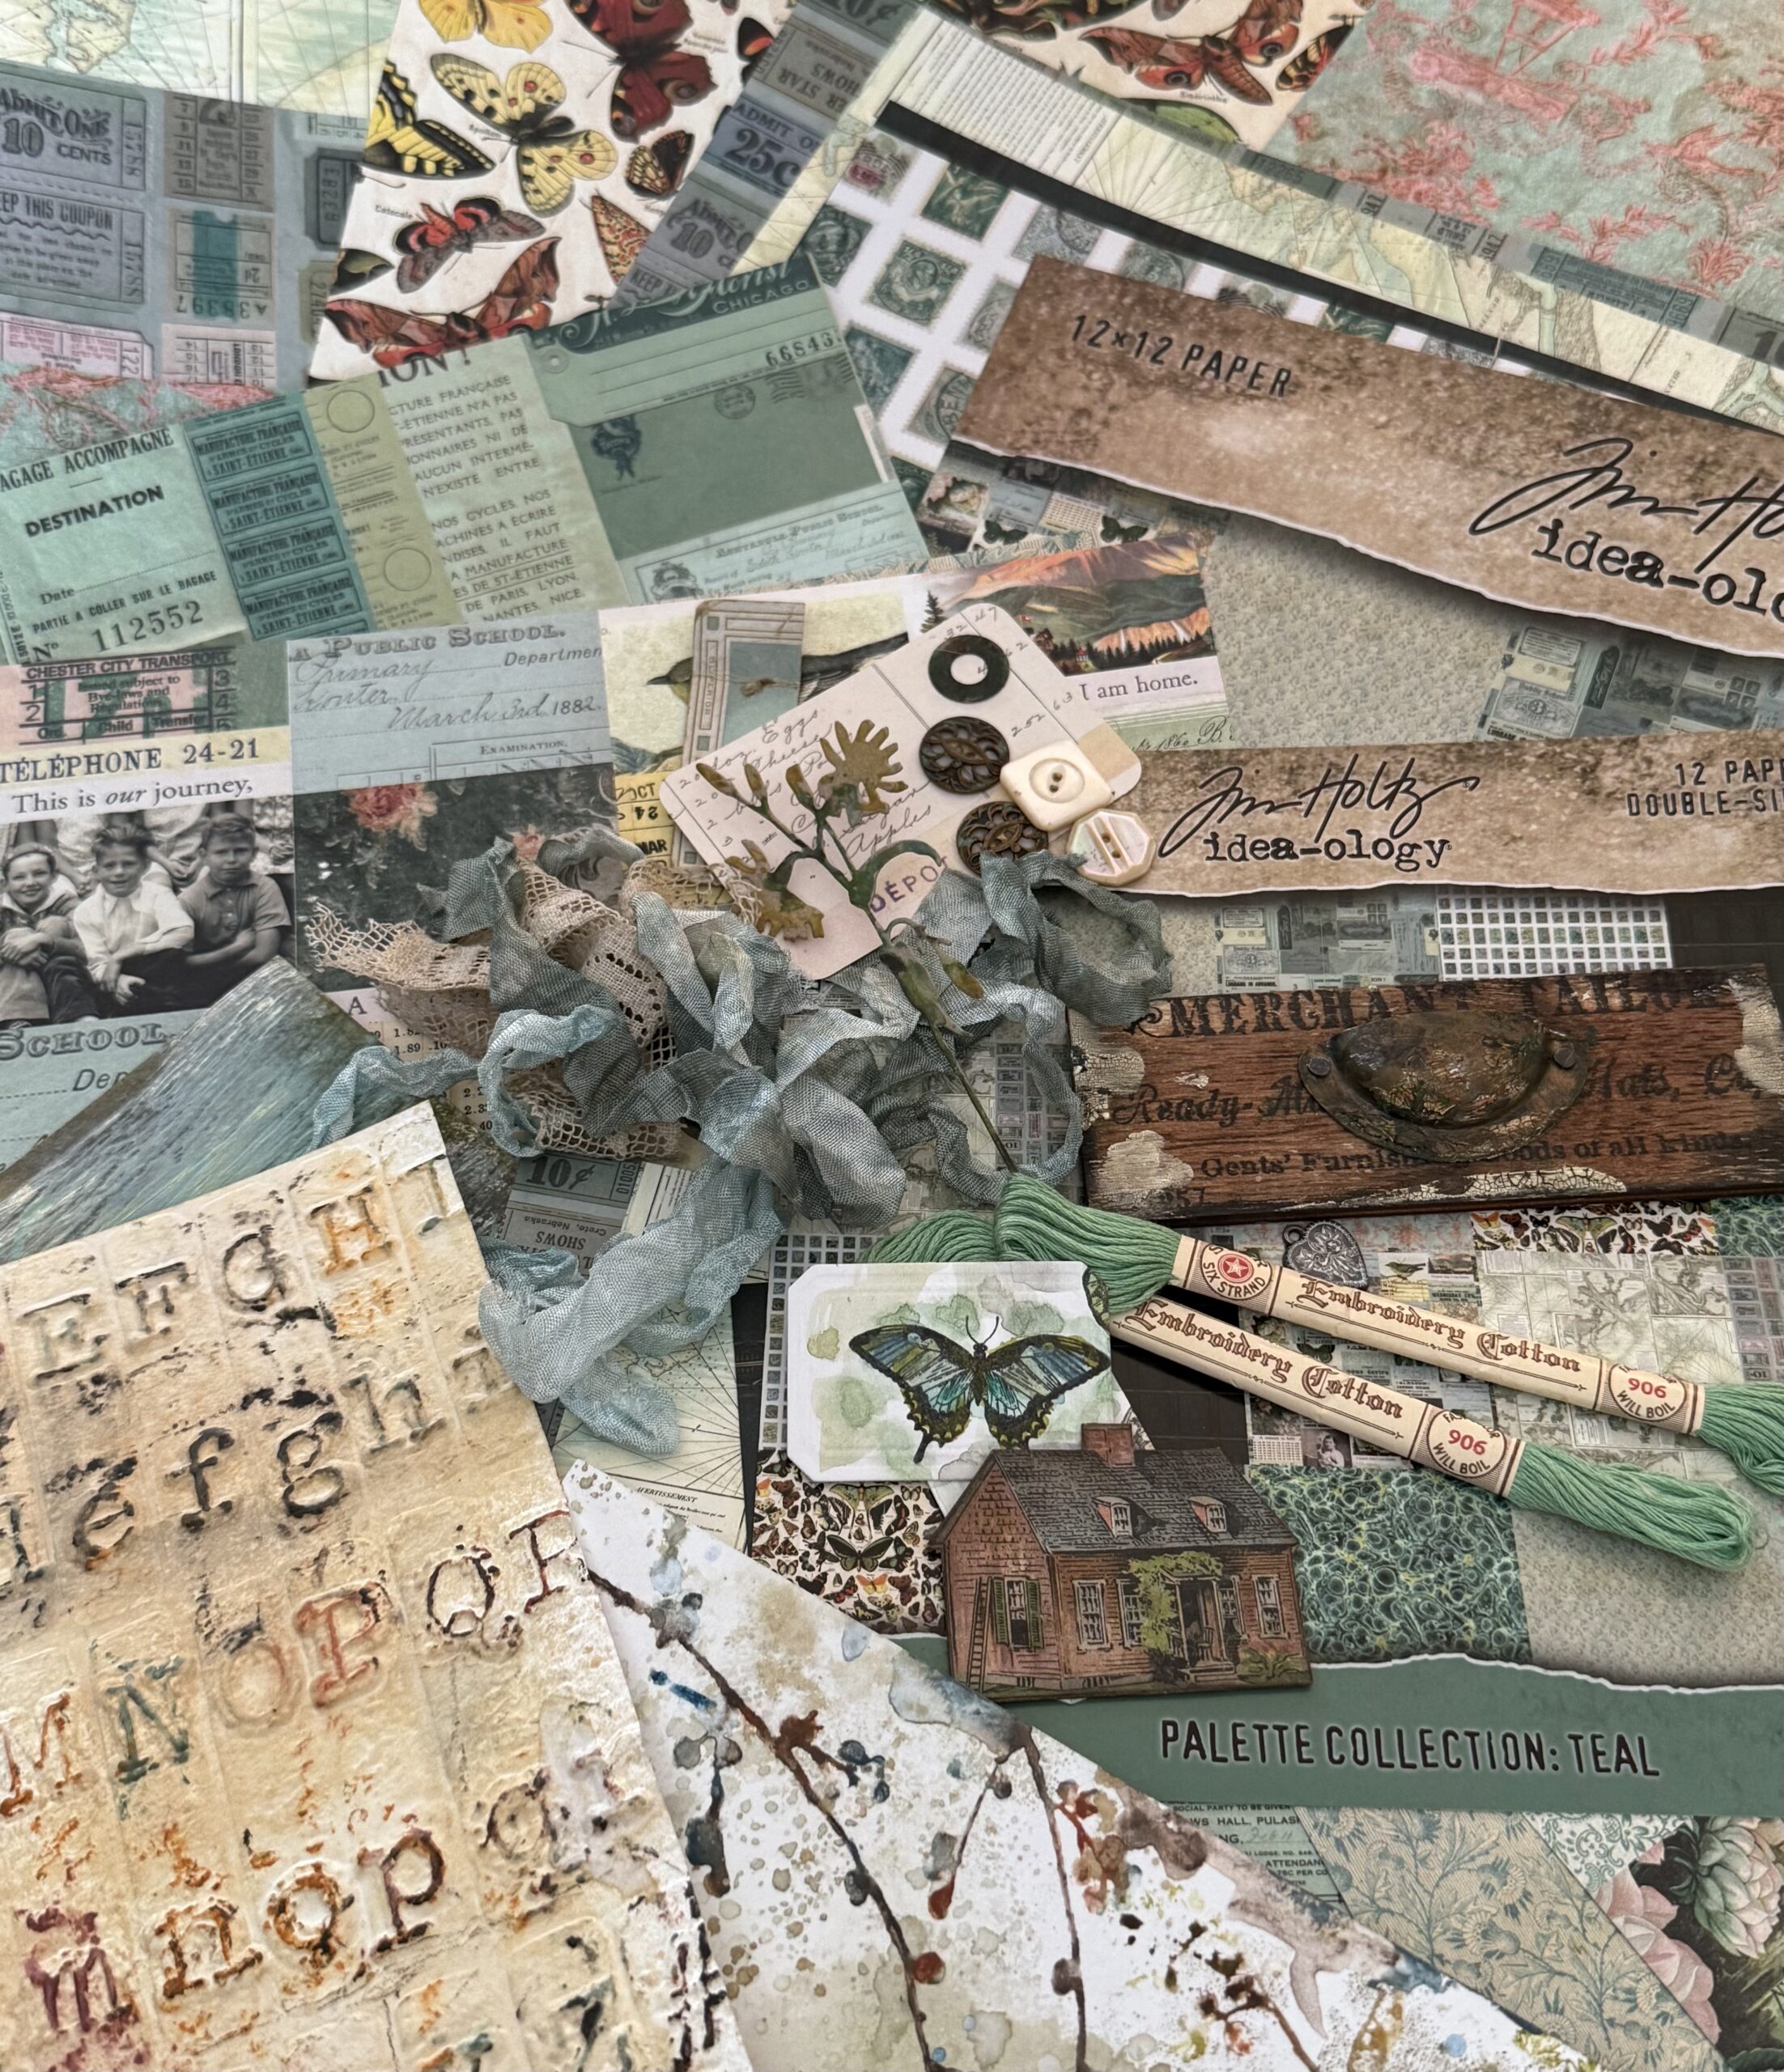
So, let’s get to it! I began placing some of the papers in the background and placed some of the Ephemera pieces together until it looked good to my eye. I had an idea-ology Advert vignette panel that was distresses using crackle Texture Paste and with a drawer pull added using vintage nails. This would become the base of my vignette gathering. The crackled areas on the panel were rubbed with Walnut Stain Distress Crayon.
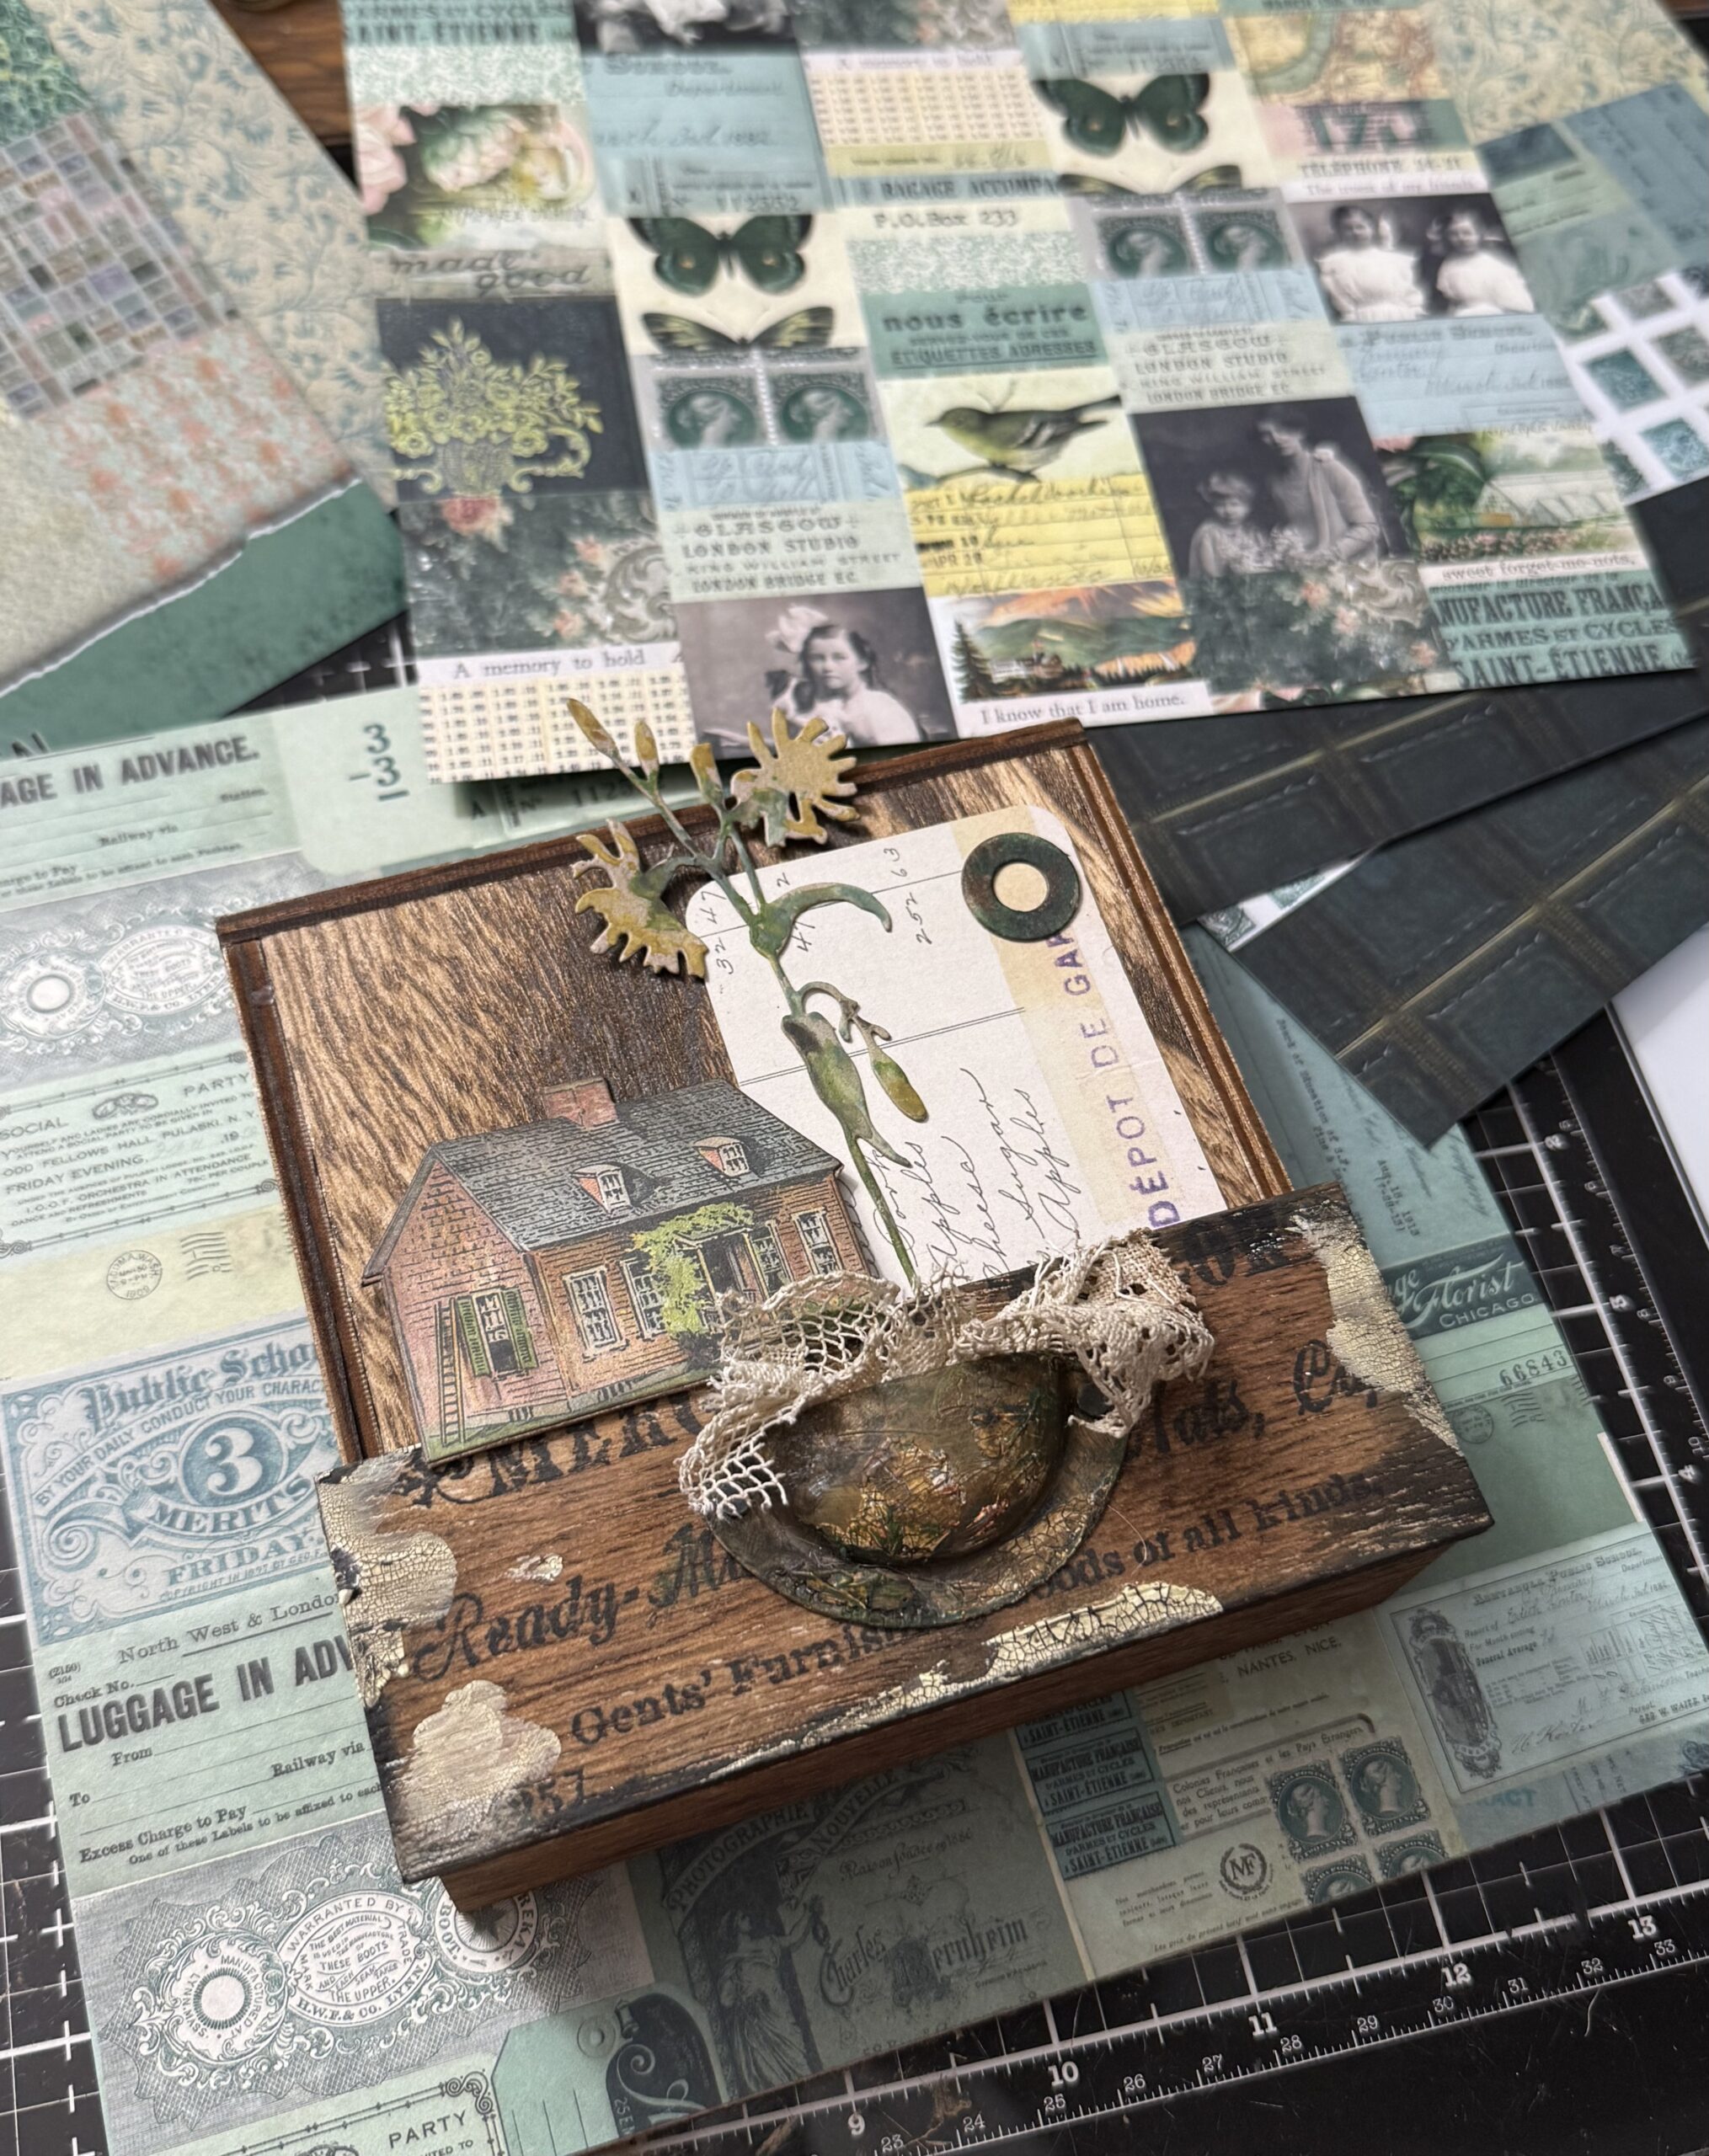
I trimmed my chosen background paper and trimmed it to fit the front of the Etcetera Panel. Then I began adding scraps of papers and lace from my scrap basket.
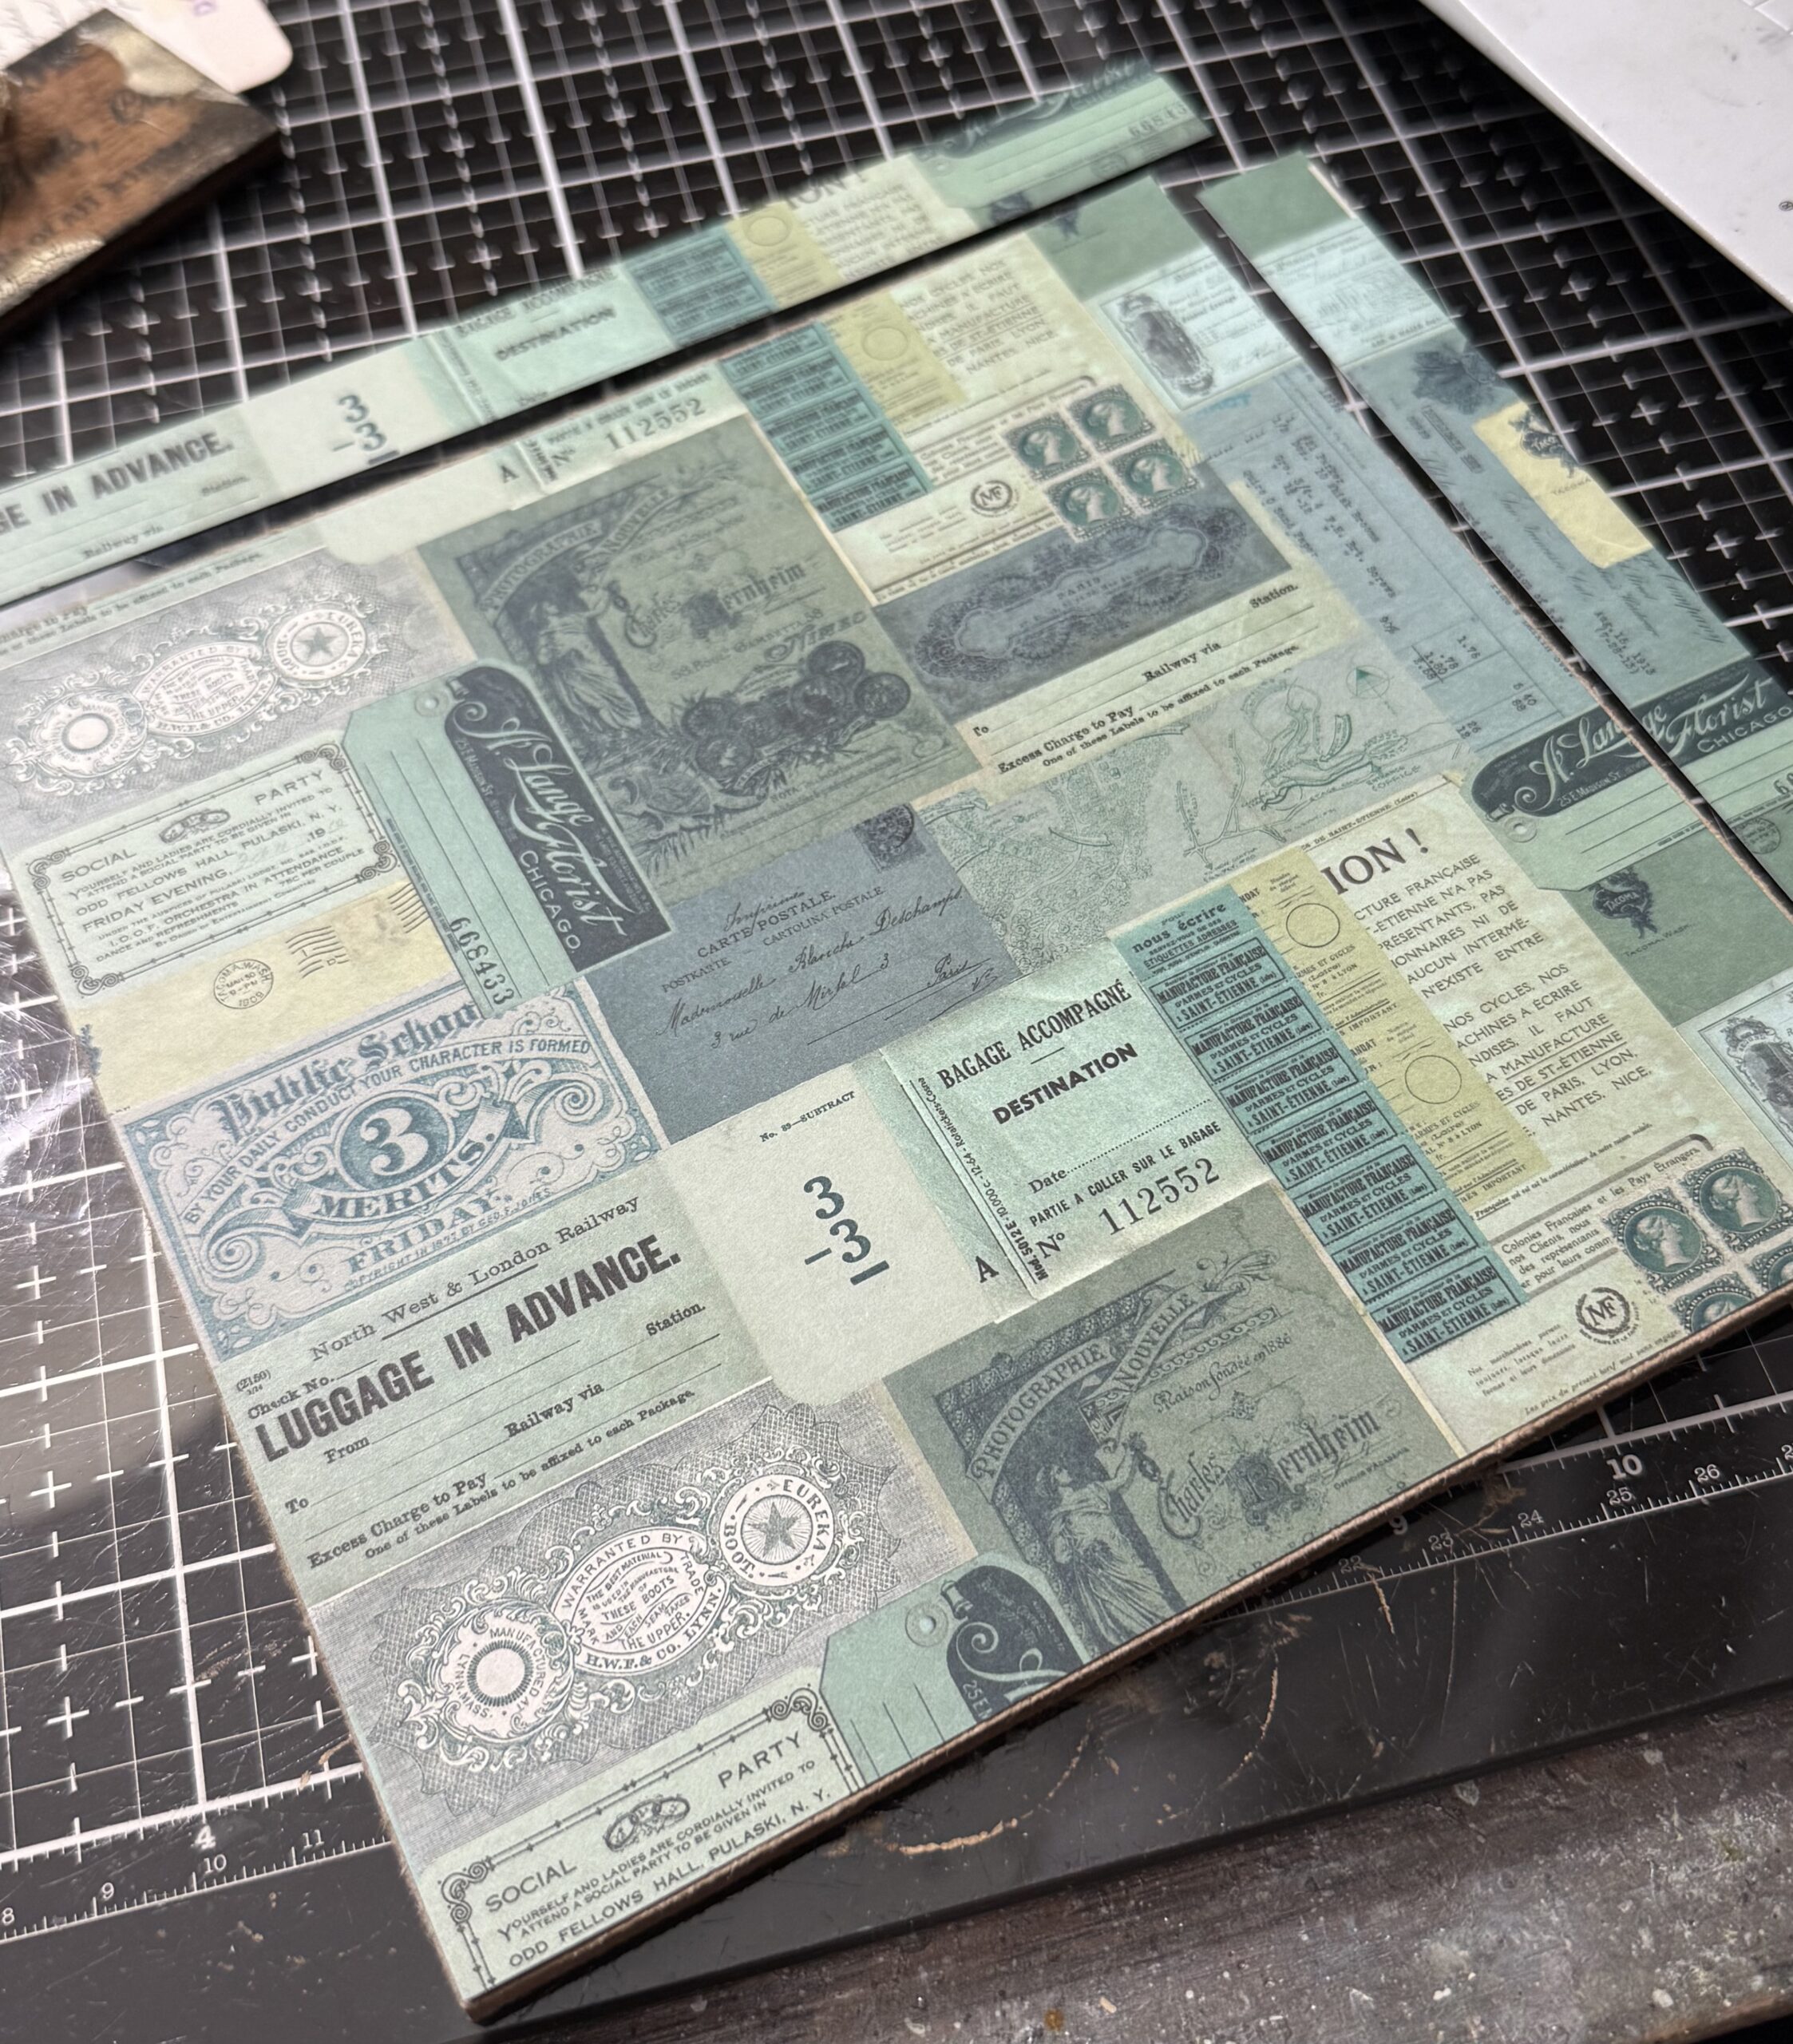
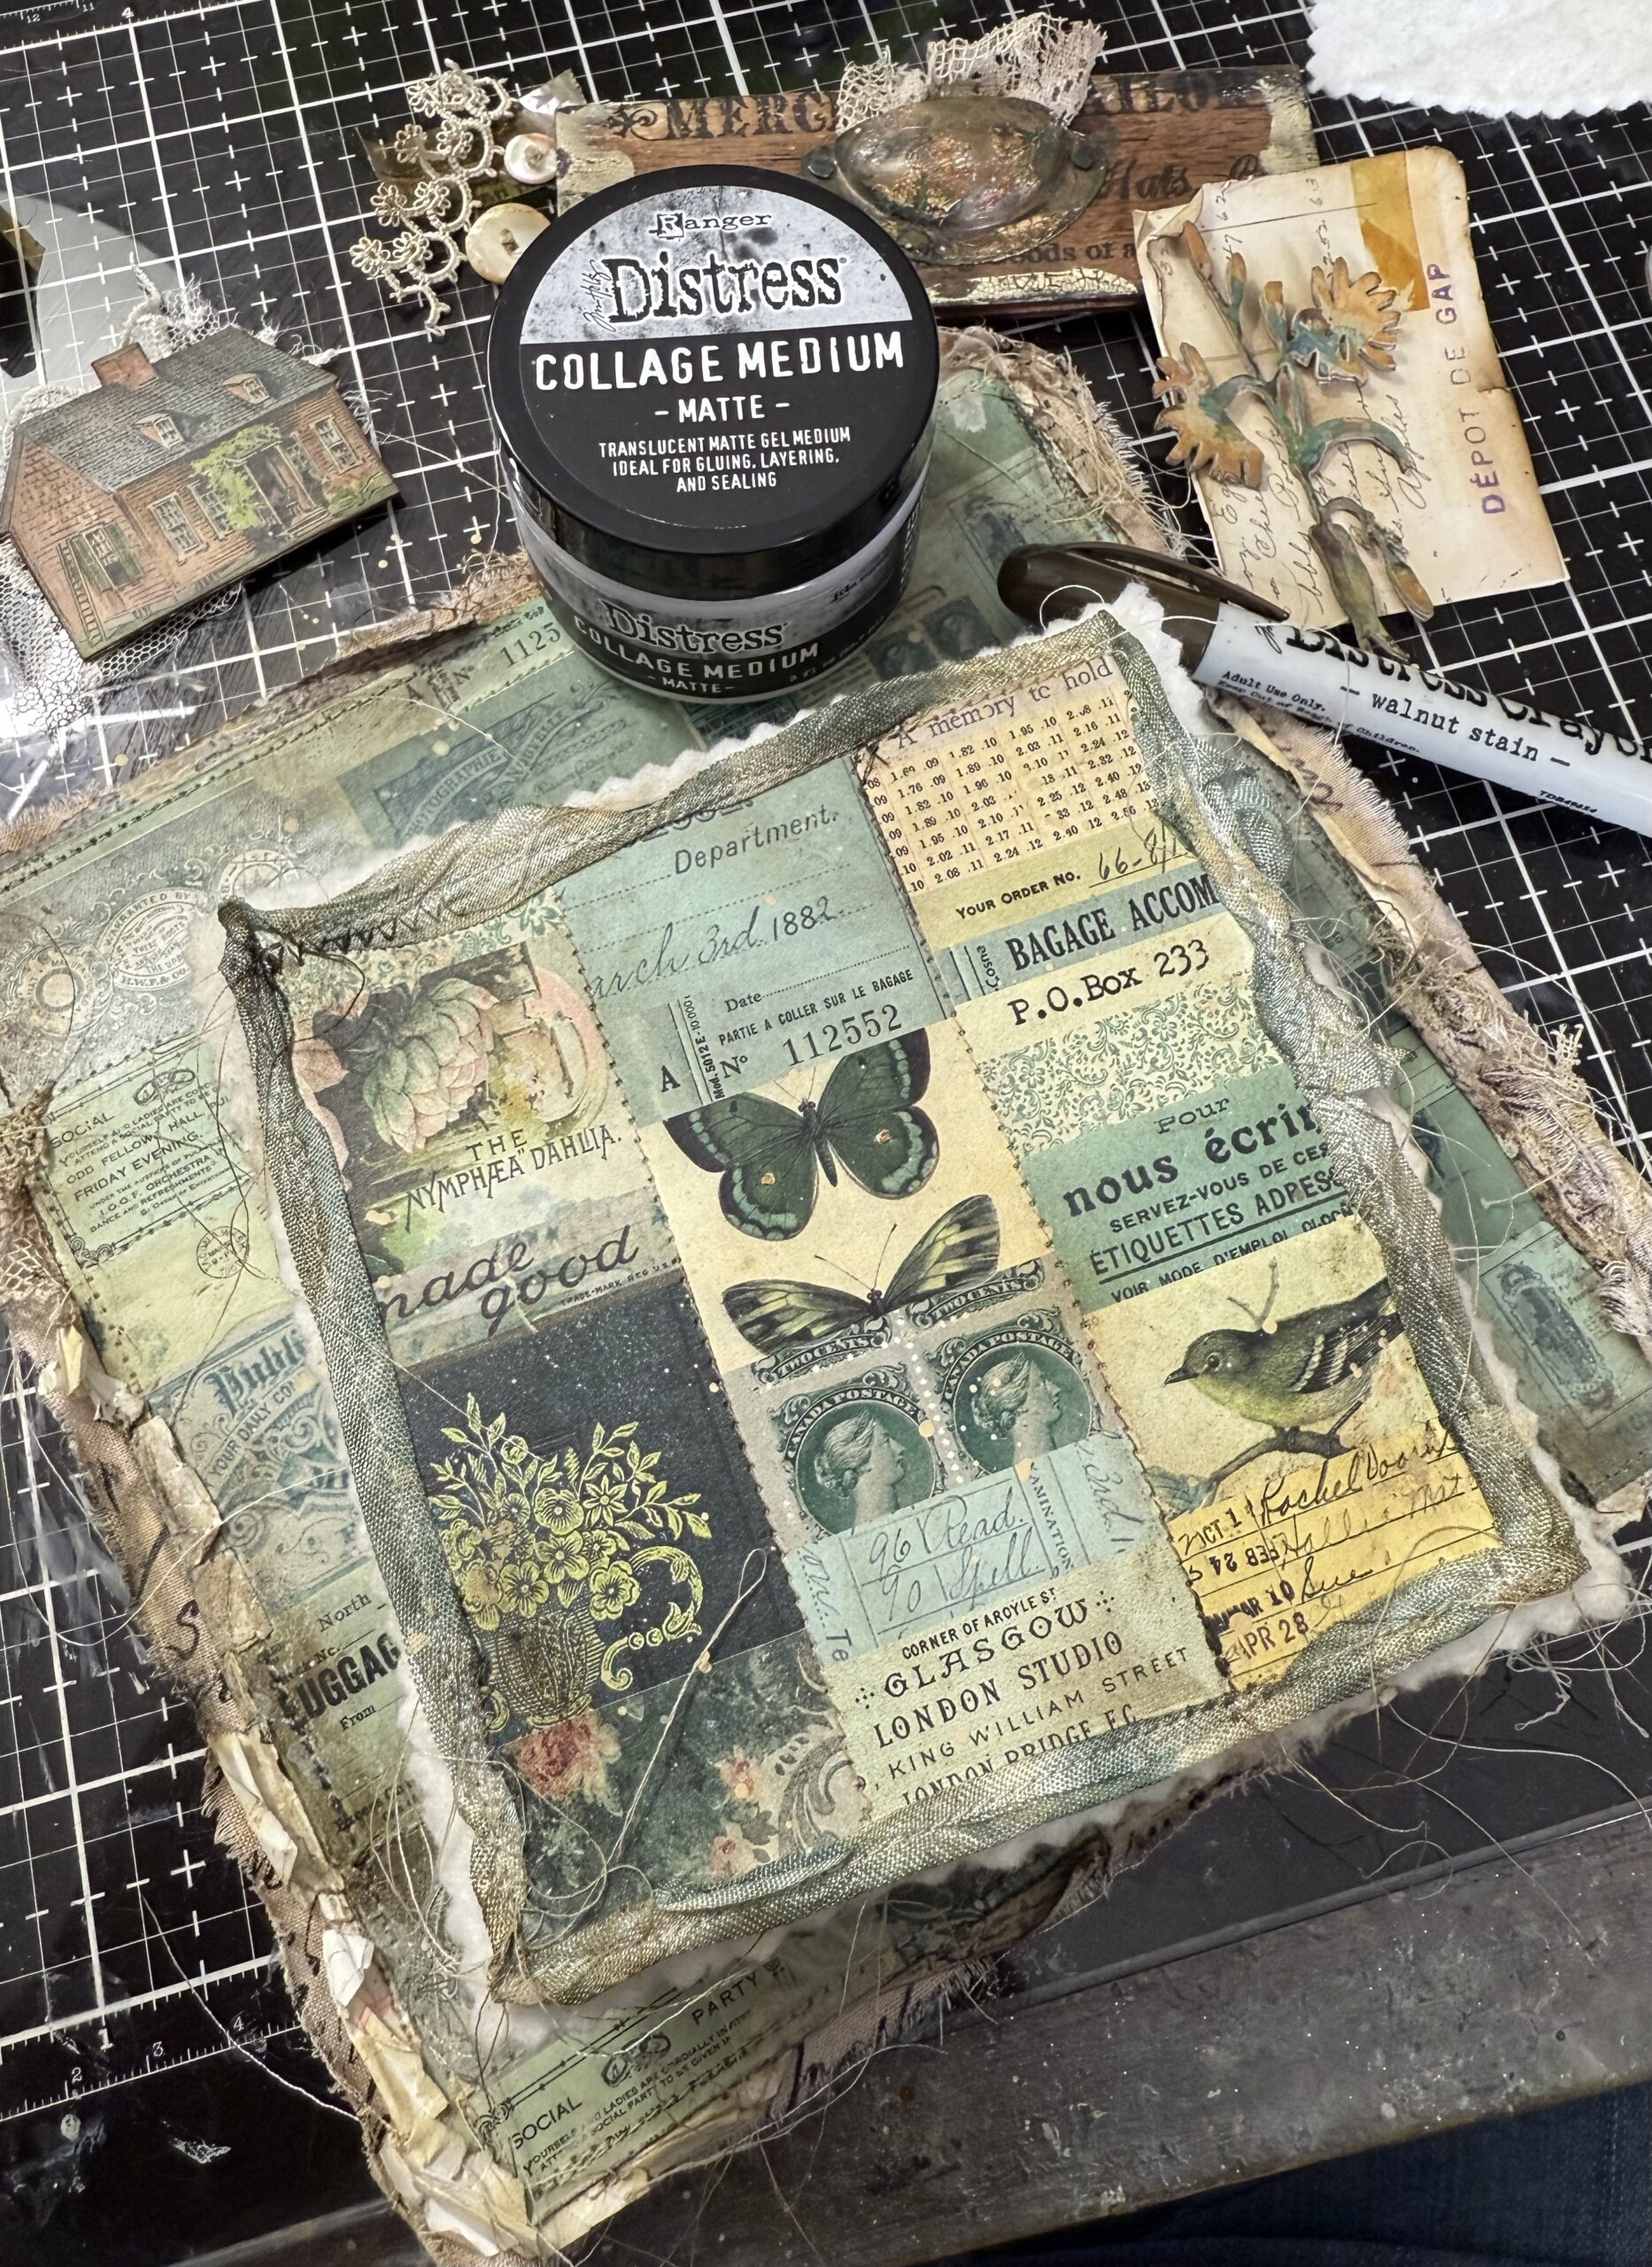
These were adhered onto the edge using collage medium, then messy stitched using my sewing machine. There was no rhyme or reason to this process, just what looked good to my eye. In addition to stitching the scraps in place, I added some sitches around some of the printed ephemera on the background paper. I did this process to both of the papers for the vignette square and the etcetera panel.
You’ll also notice that I added some pinking trimmed quilt batting to the back of the square vignette. These were then adhered to the fronts of both of the pieces using collage medium. After the pieces were adhered, I used a small amount of collage medium to the fronts of each of the vignette pieces, let it dry, then rubbed on some Walnut Stain Distress Crayon.
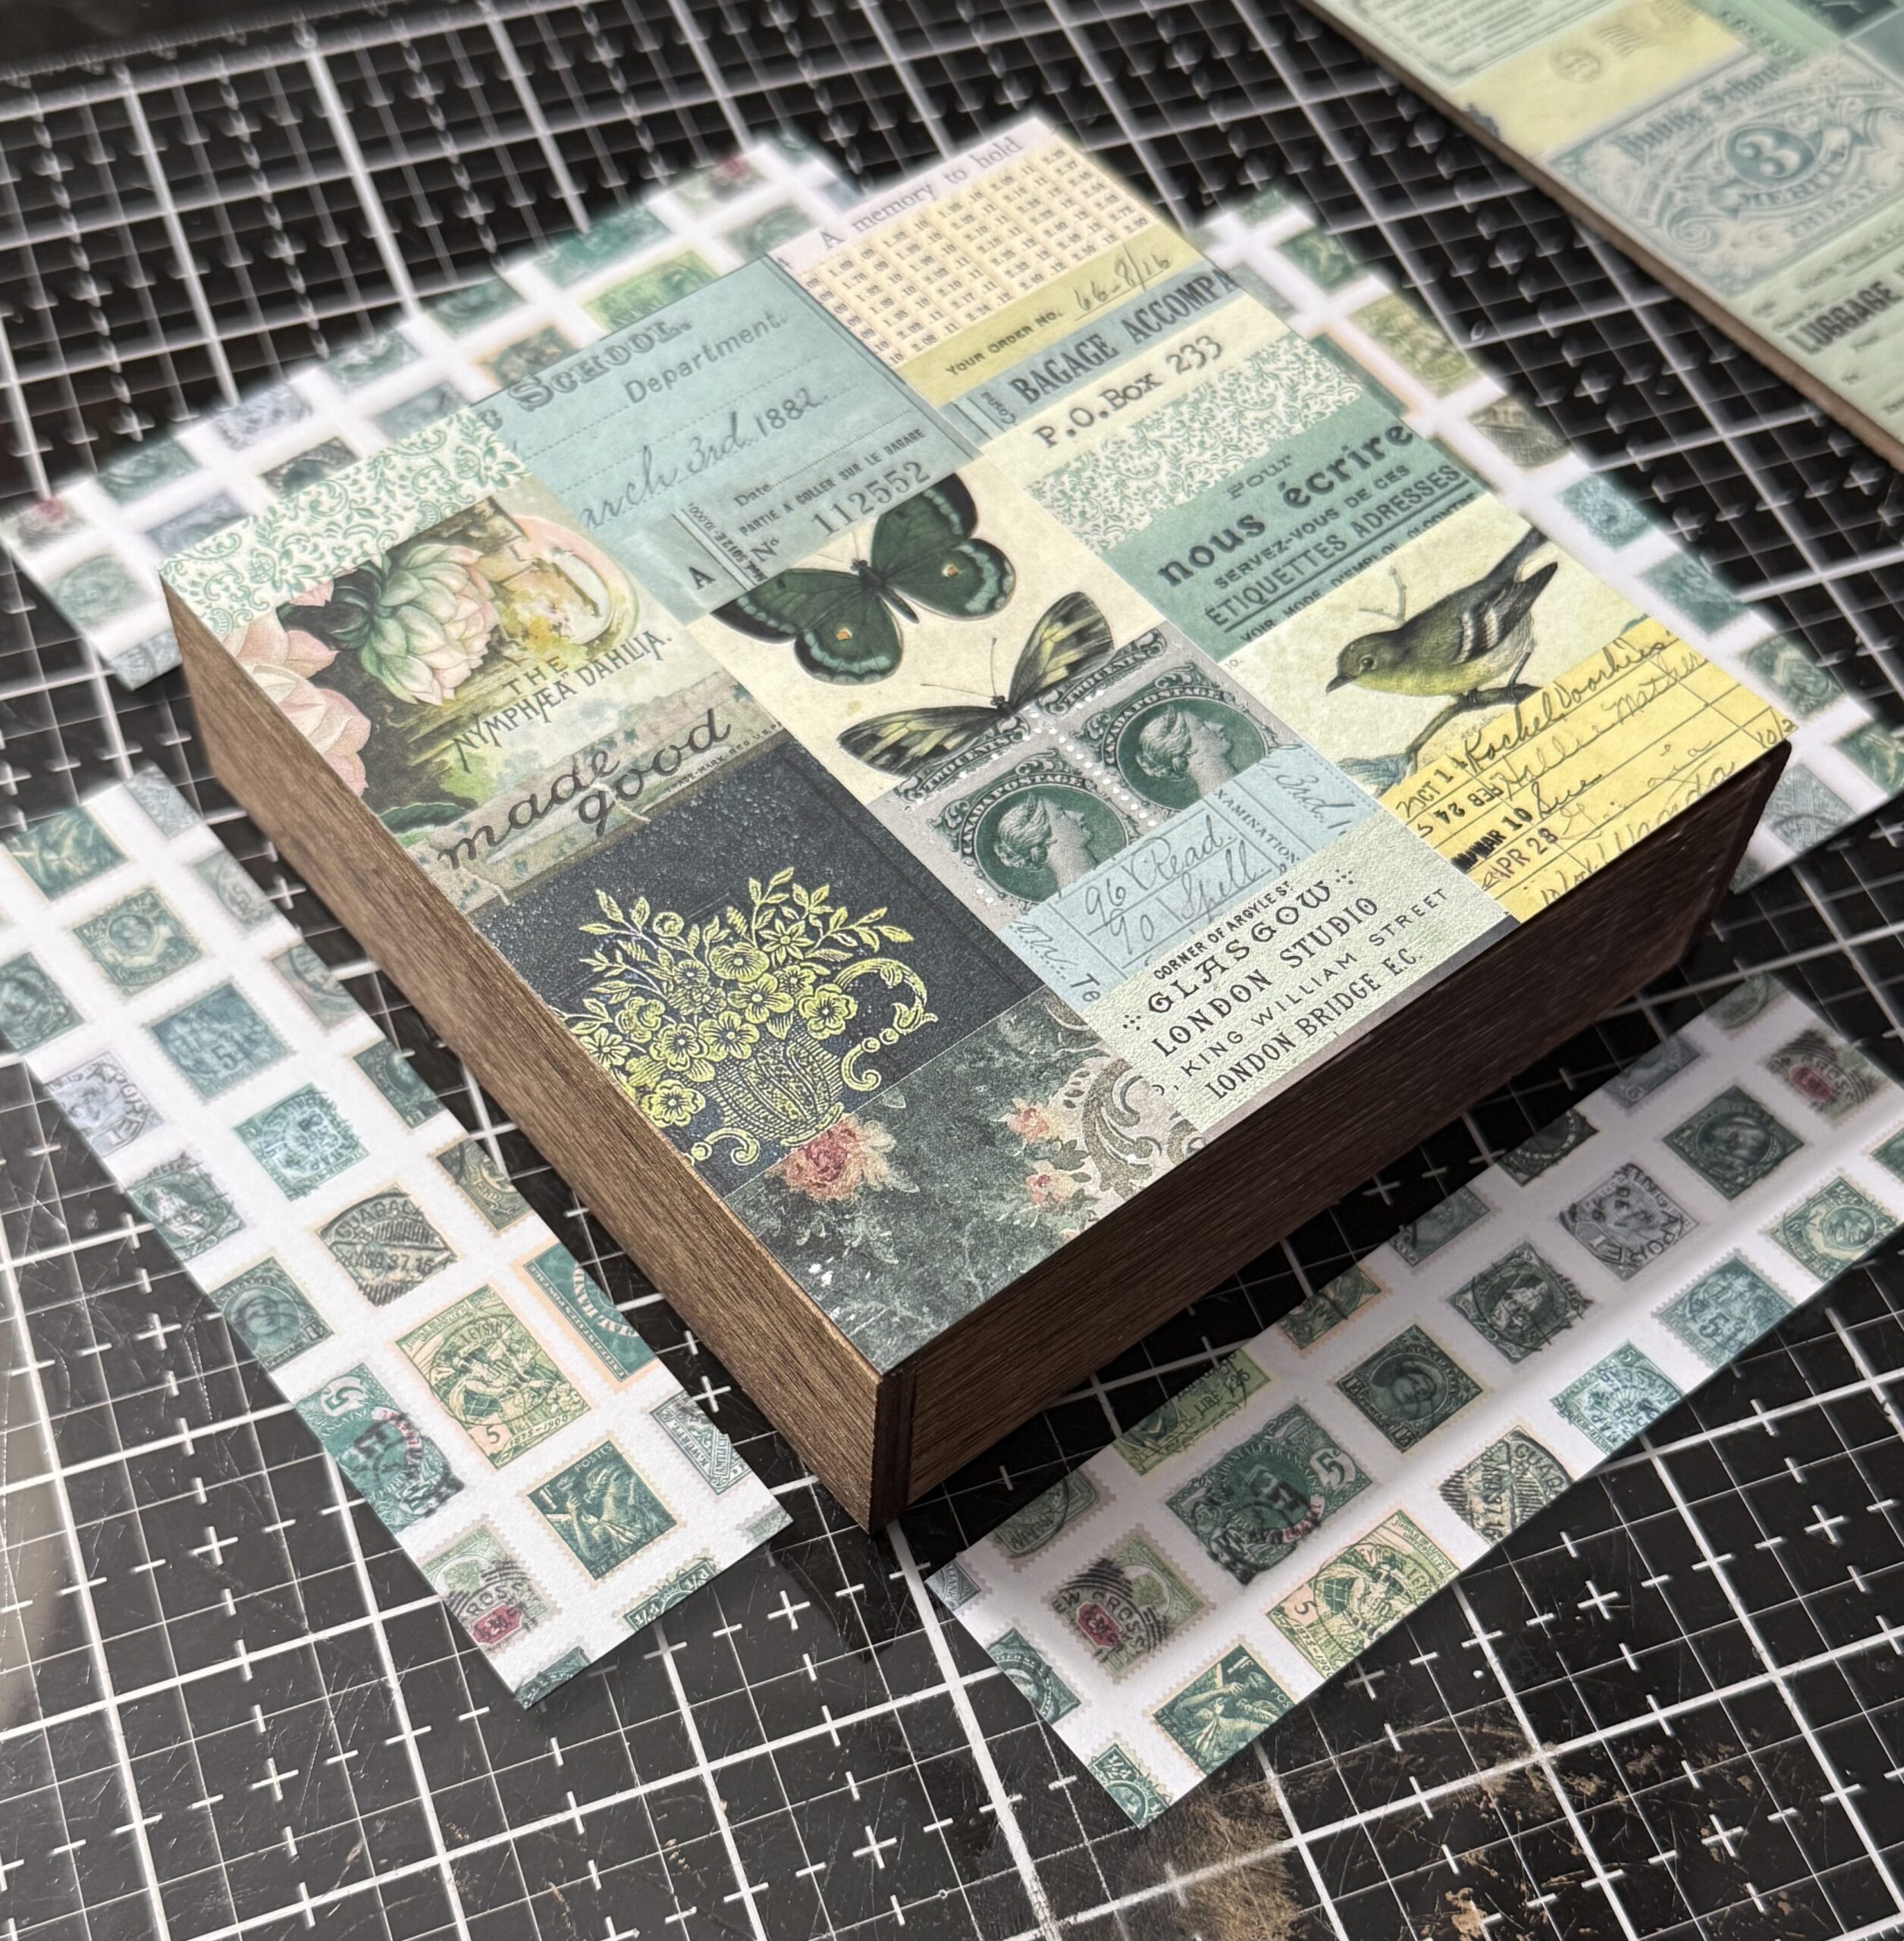
In this photo below, you’ll see that I edged the vignette square box using the Teal Stamp Paper. I did this prior to adhering the stitched pieces to the front of the box.
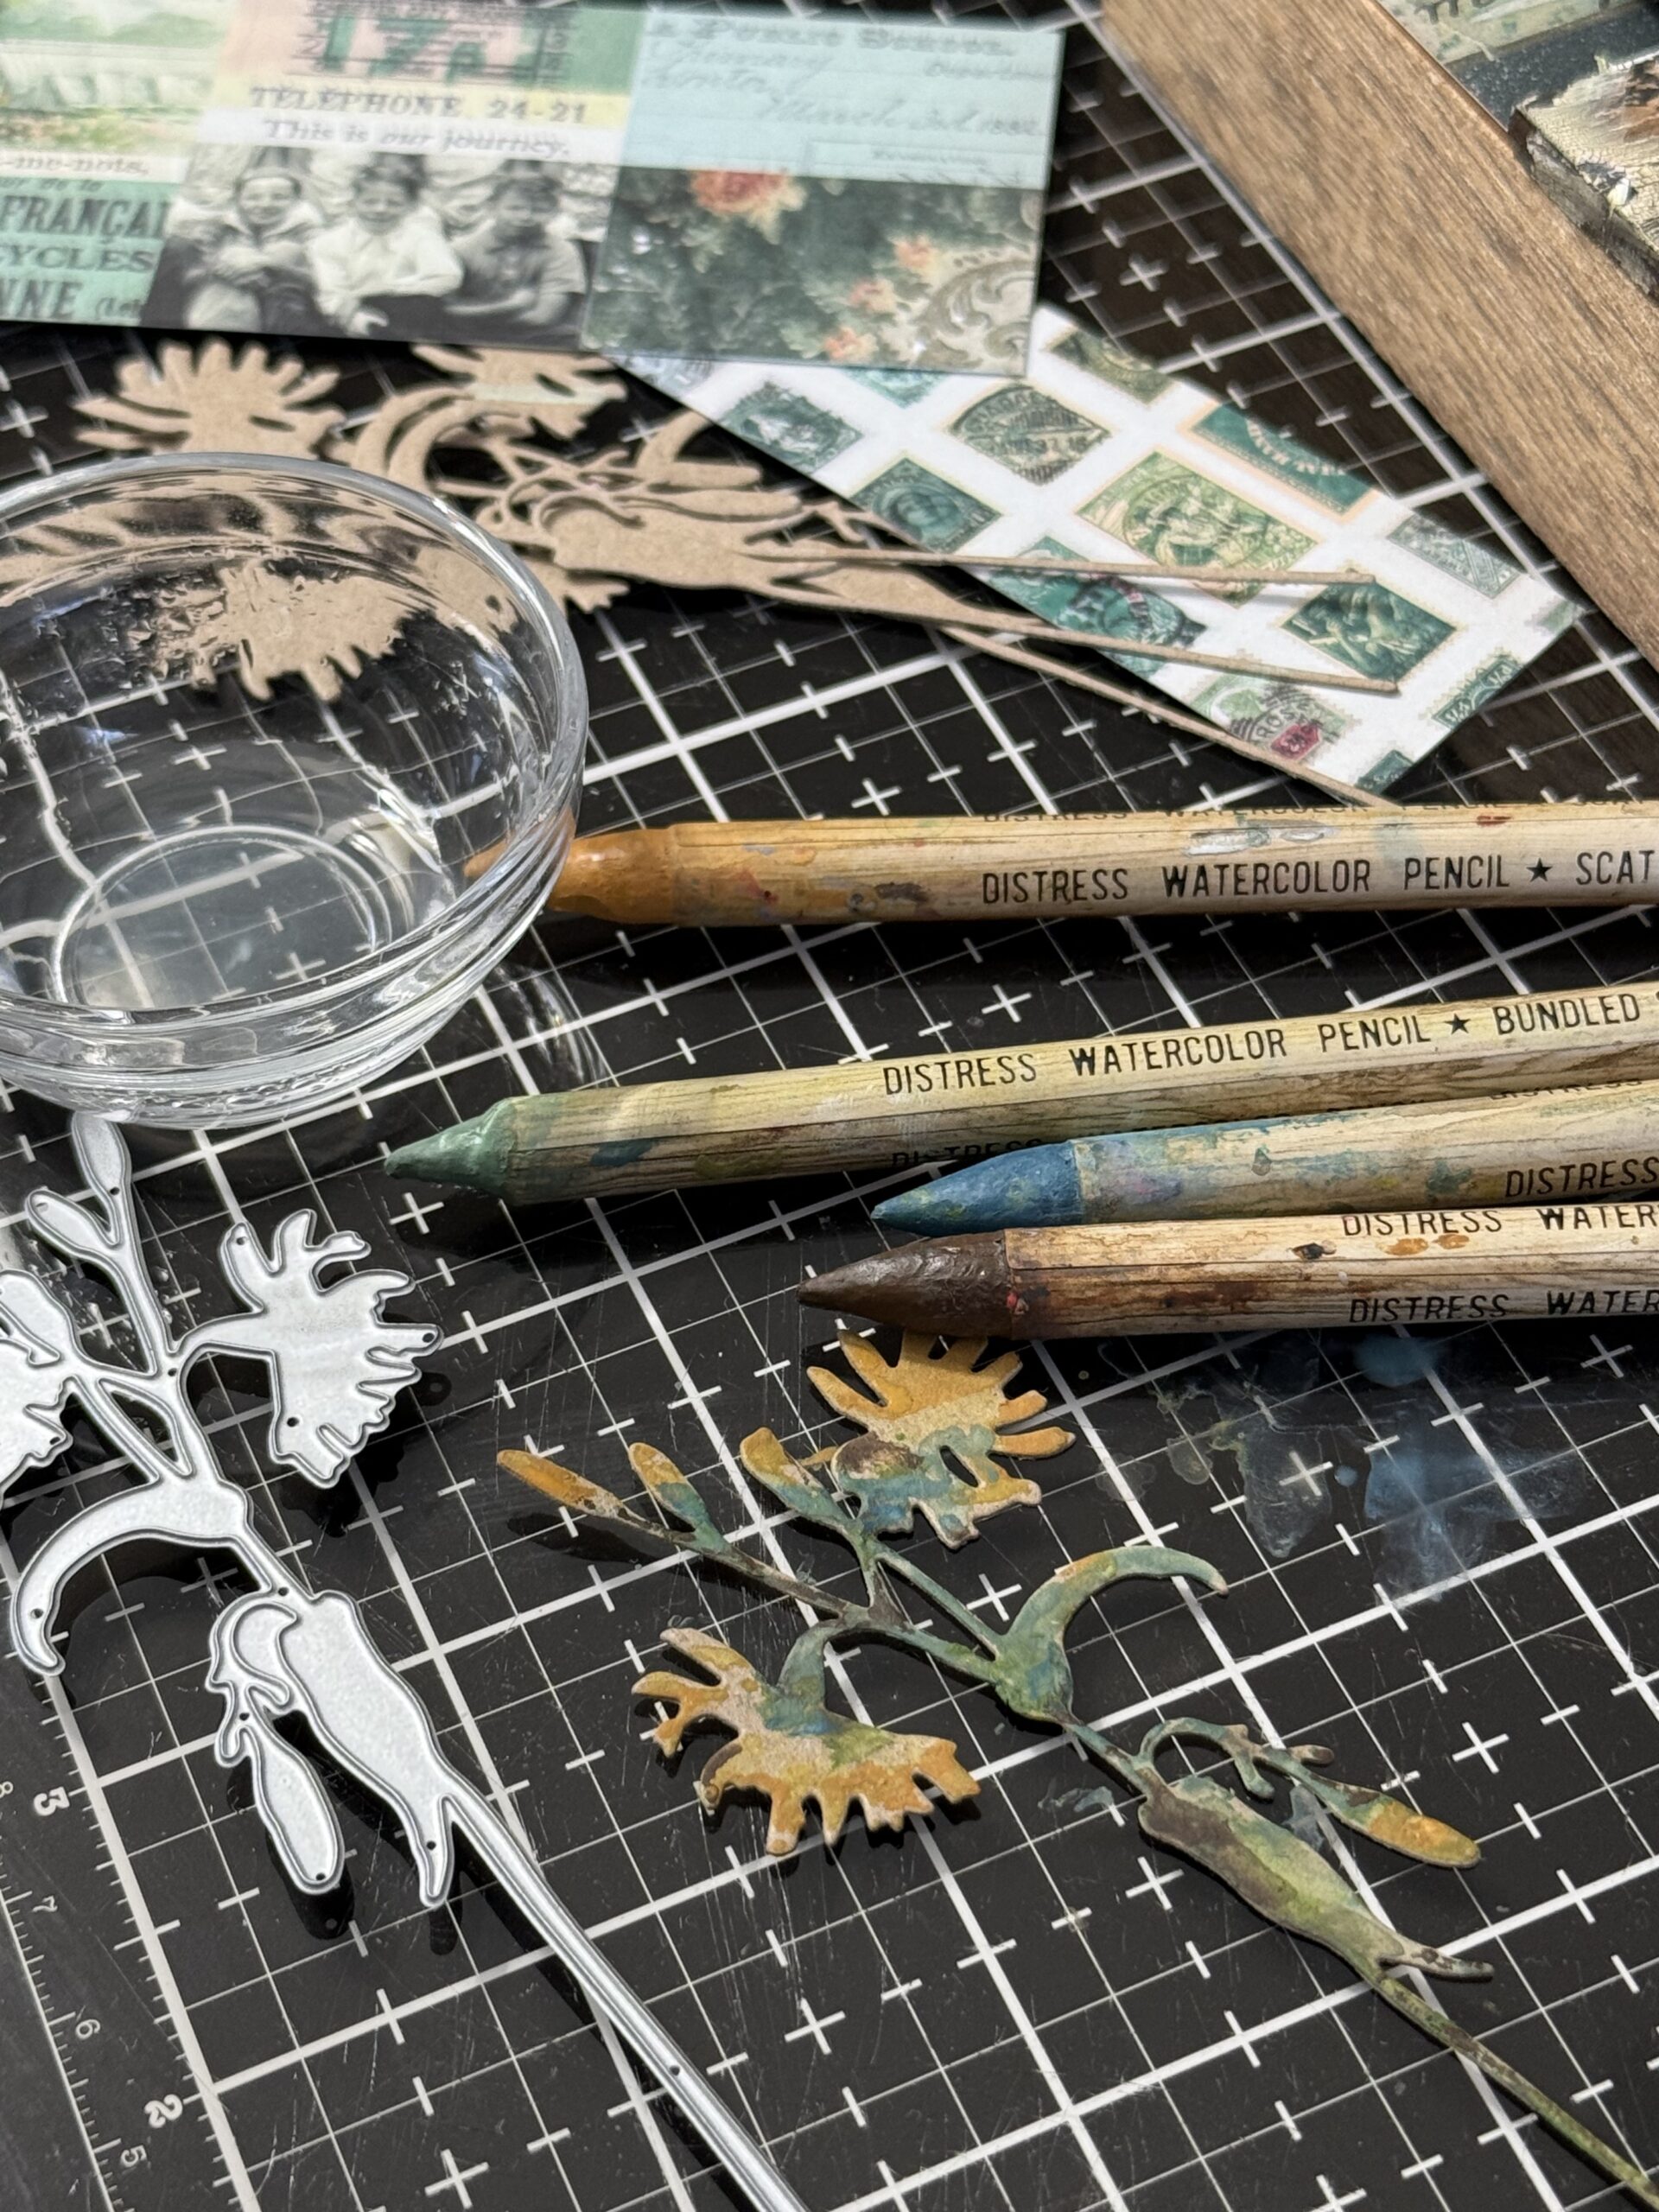
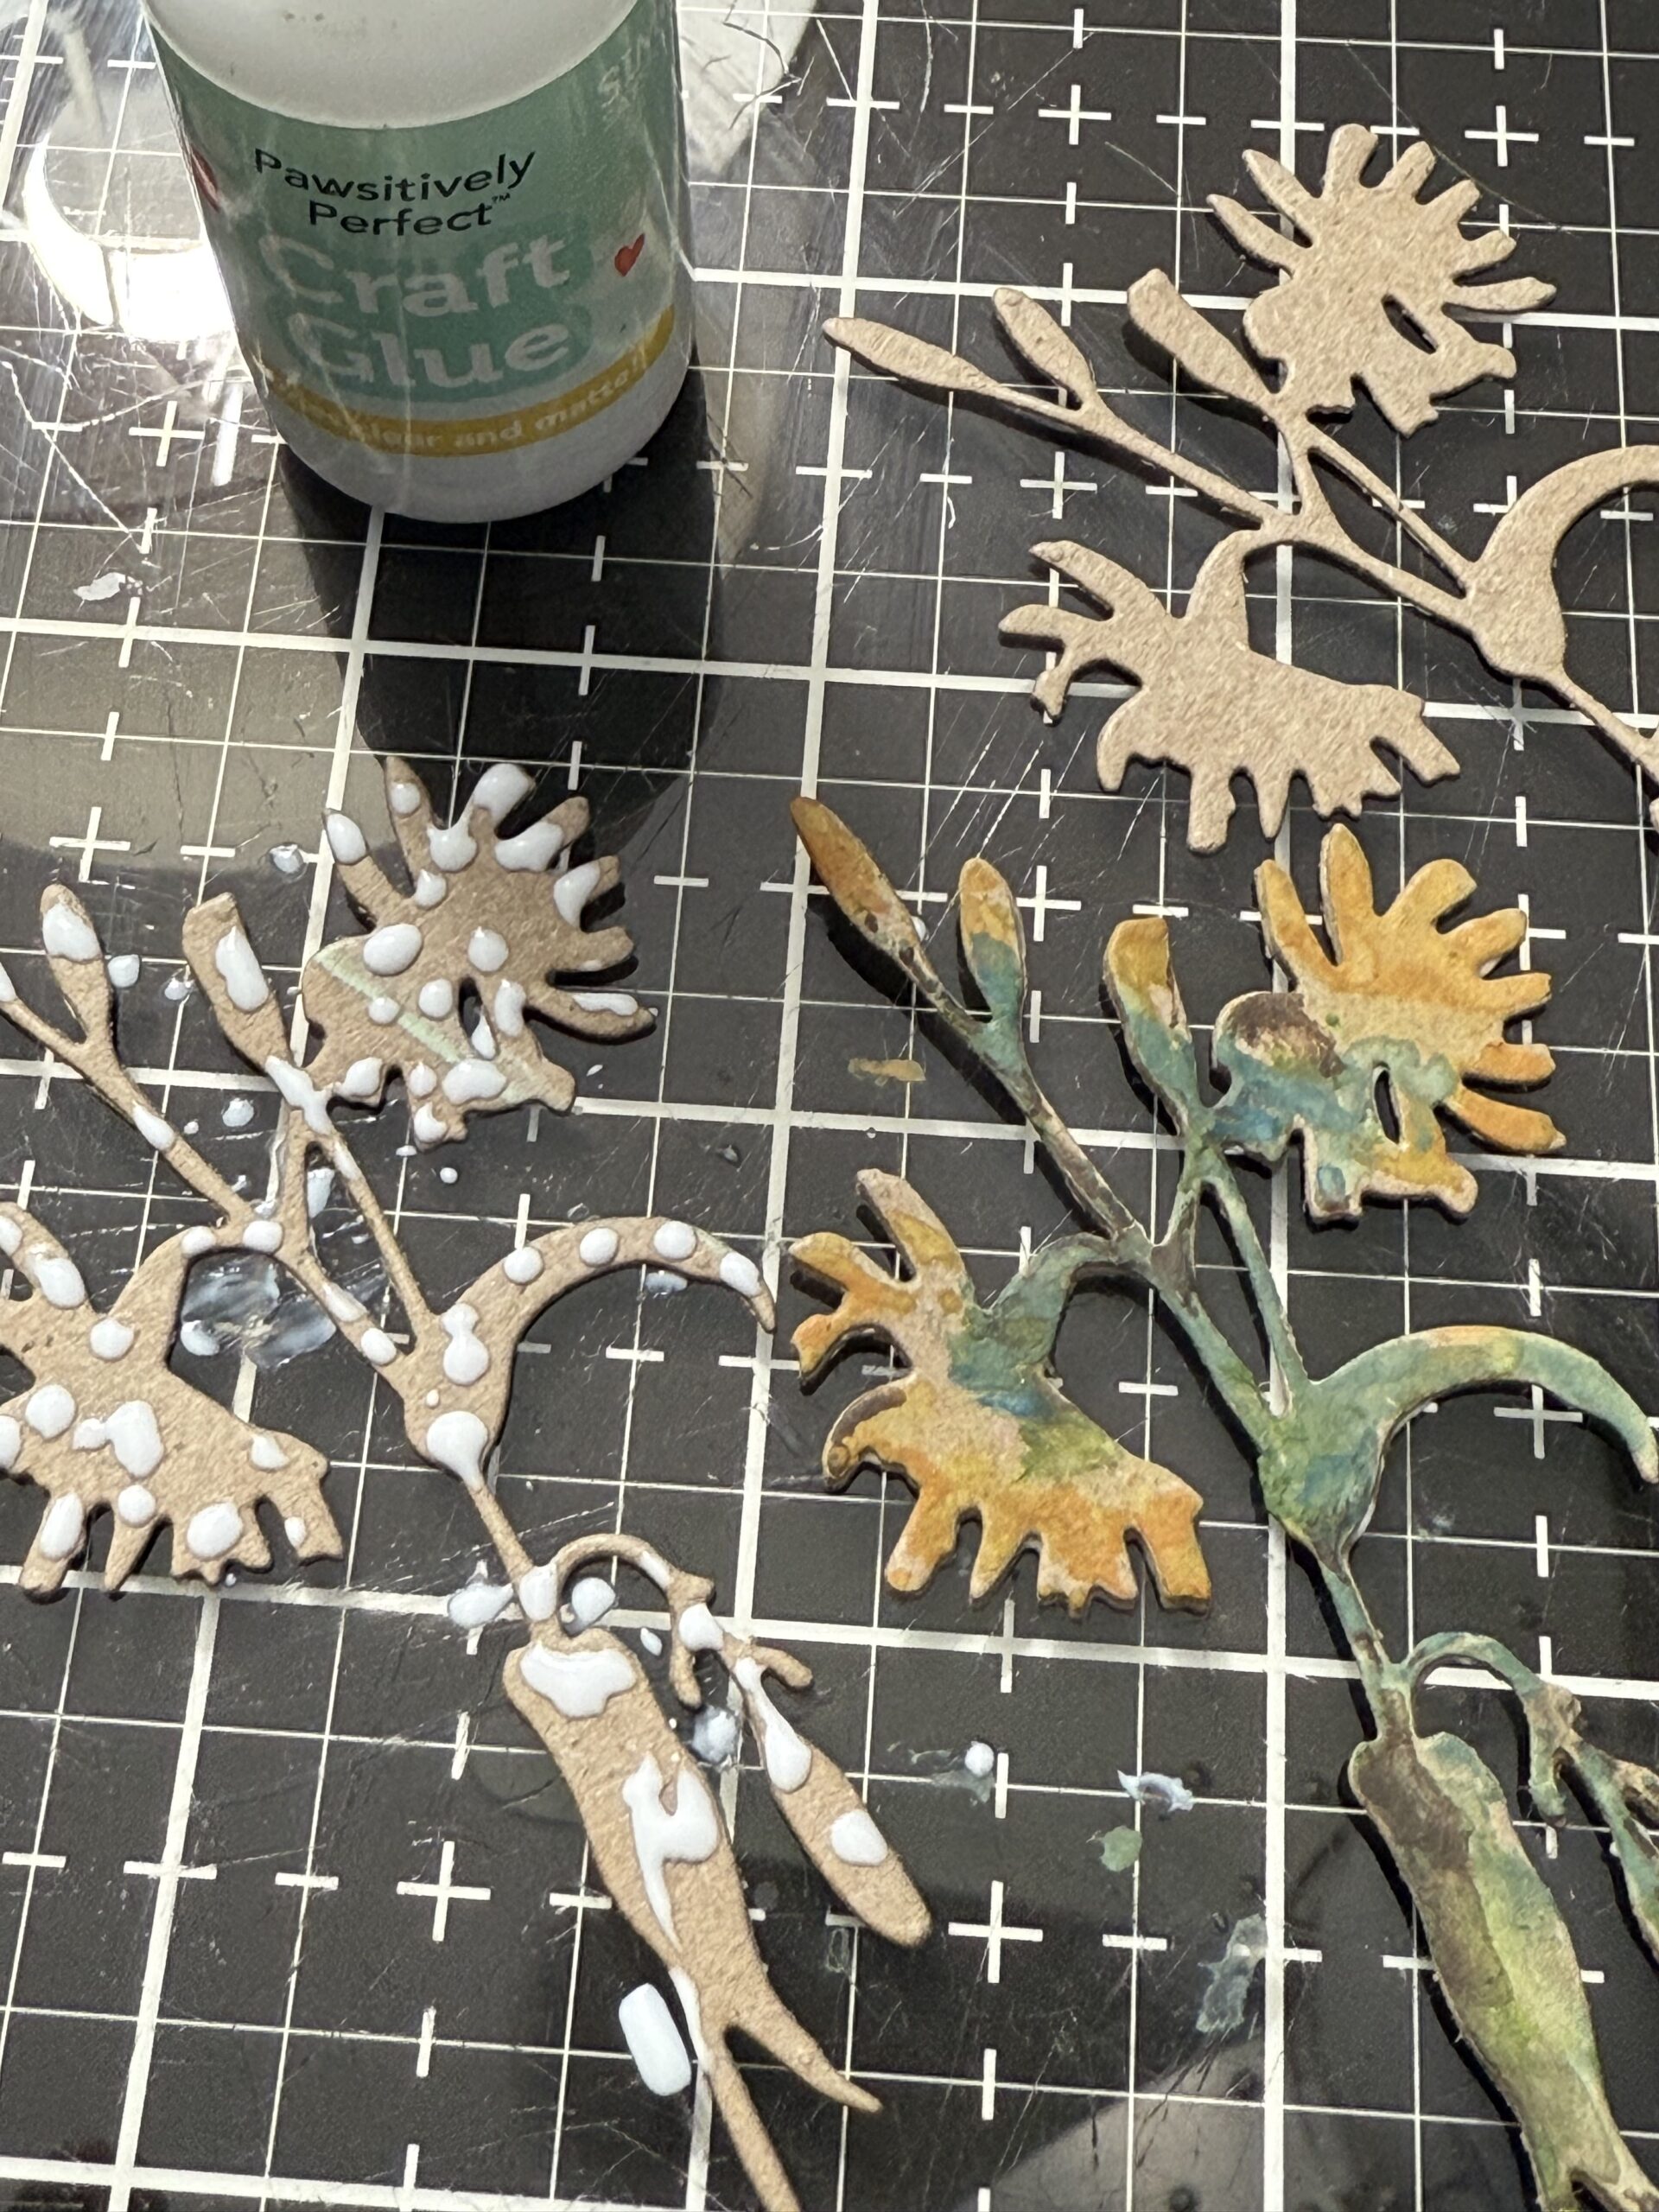
The Wildflower that I had found in my scraps was perfect for the vignette but needed some more color added to blend with the color teal of the vignette, so I used some of my Distress Watercolor Pencils to add some additional colors.
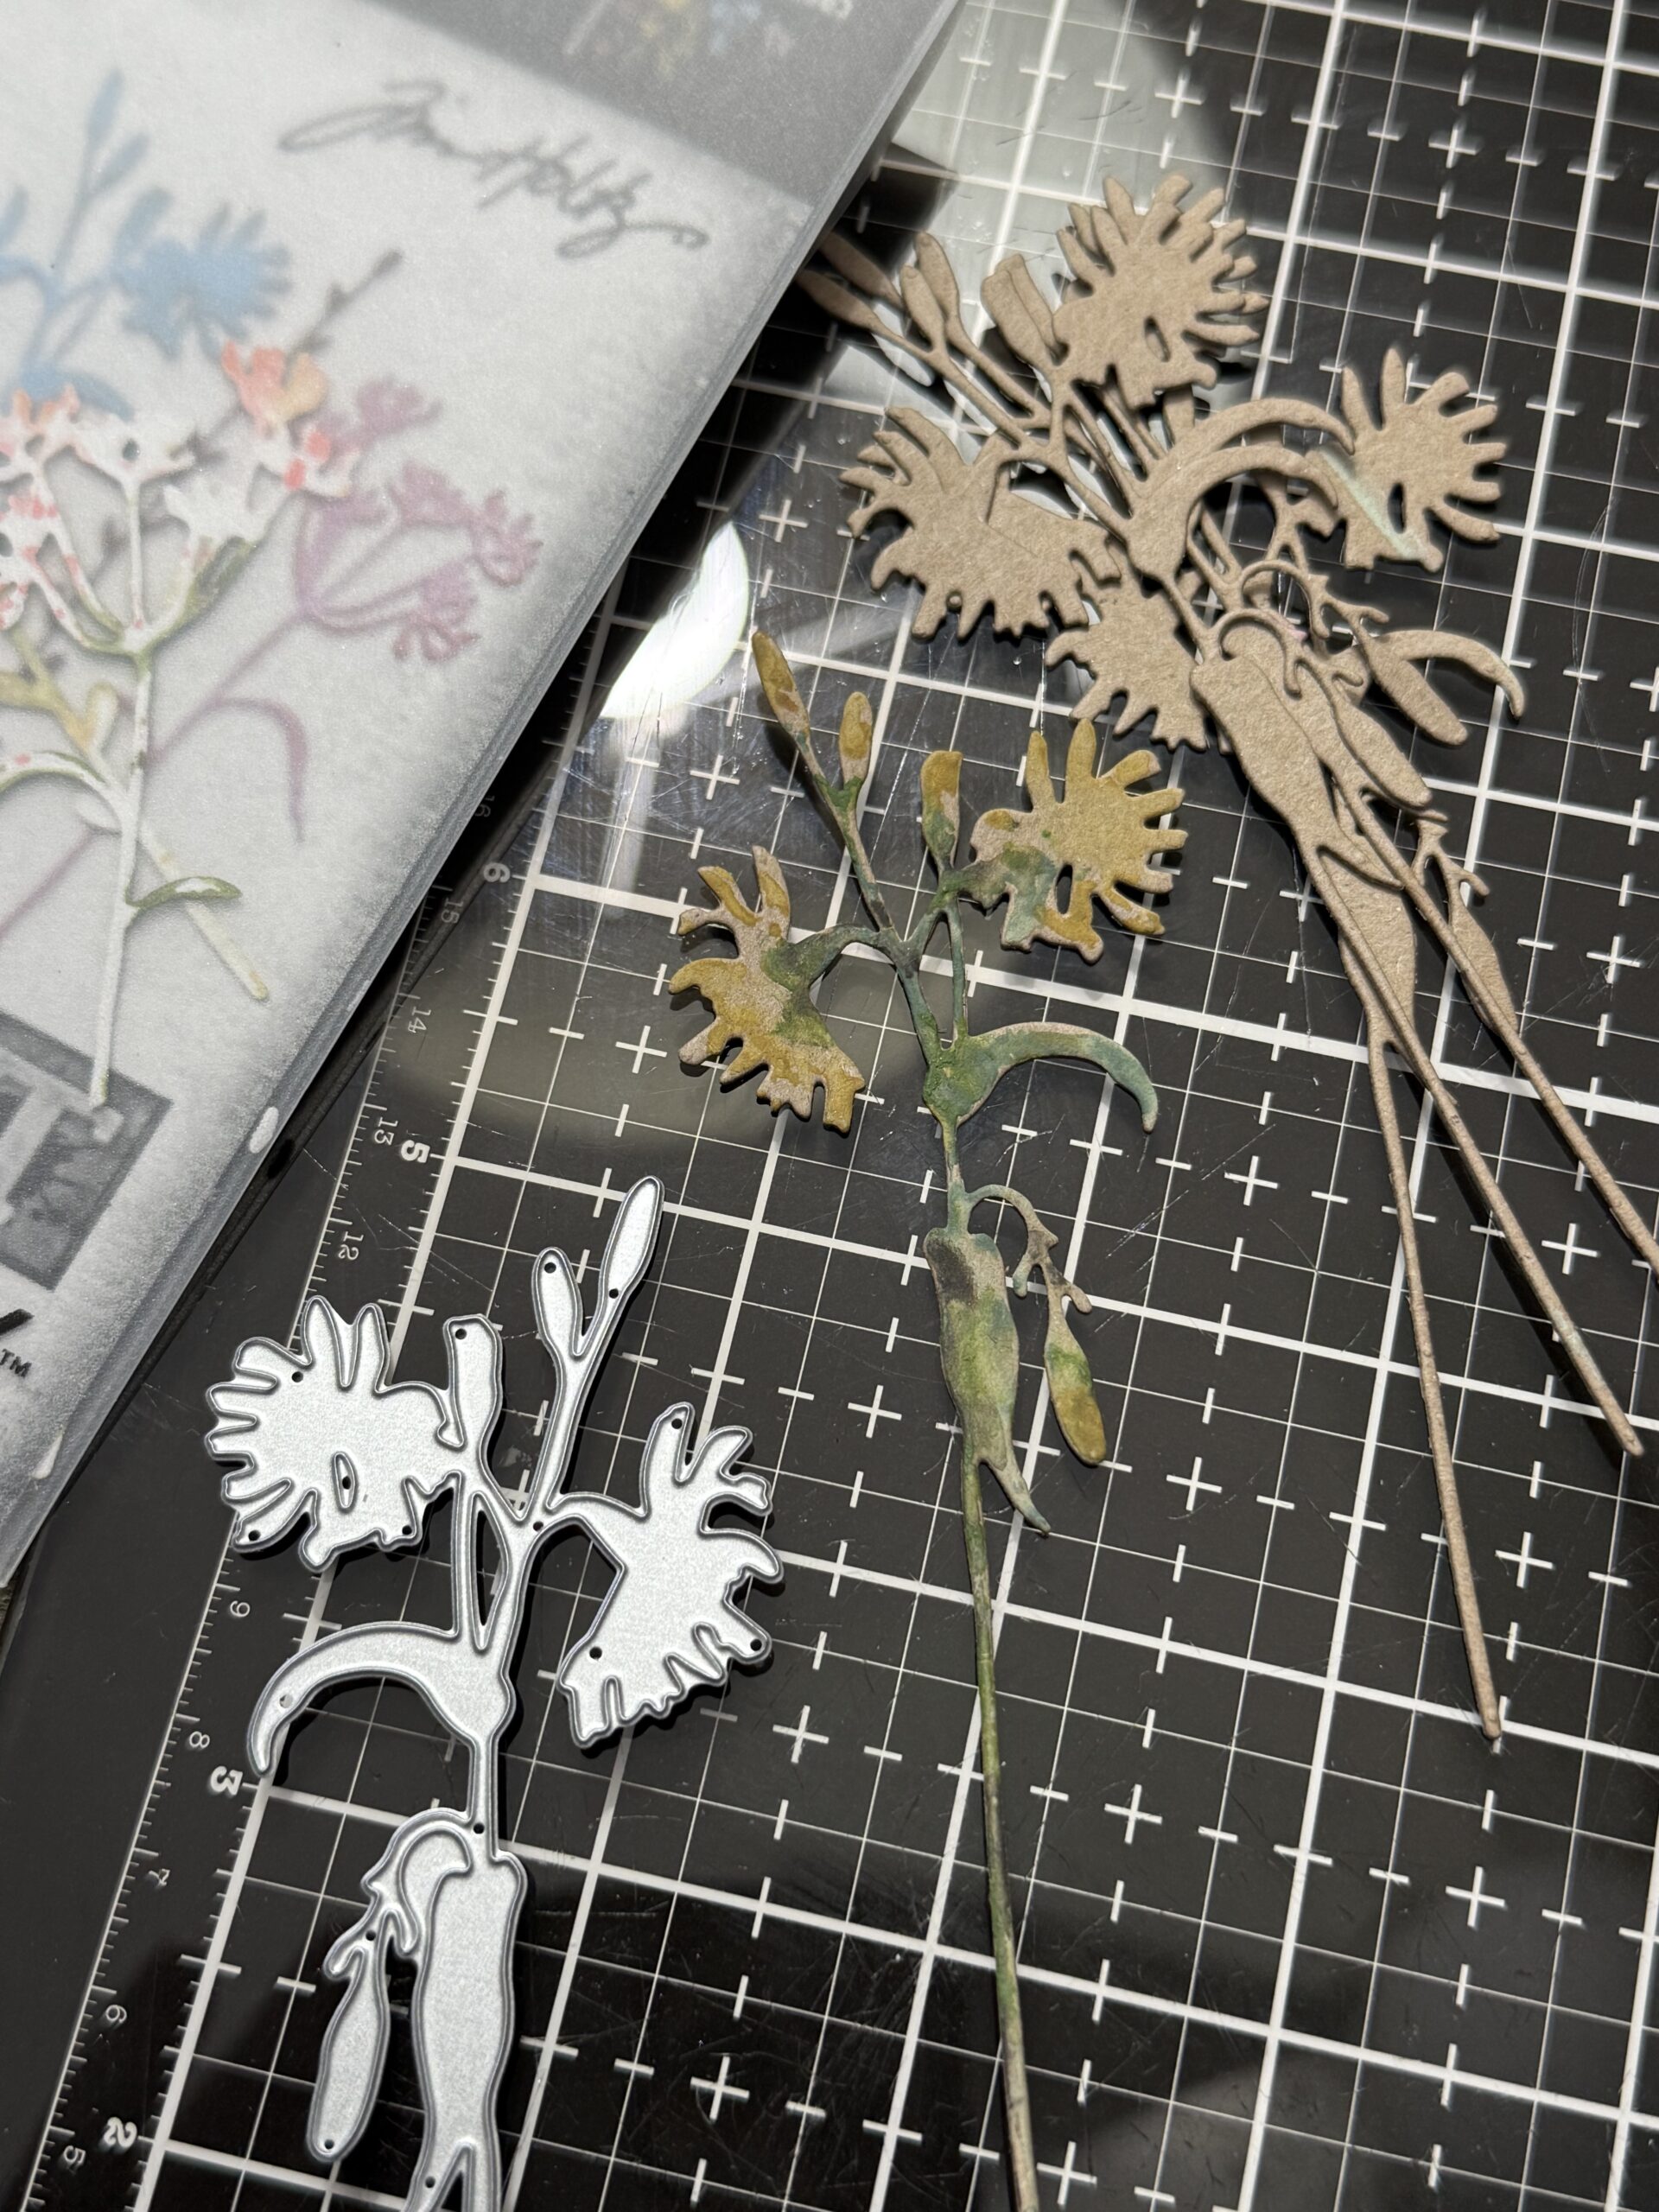
I dipped the watercolor pencils into a small bowl of water to activate the pigments, then colored them onto the flower, then I dried it with my heat tool and adhered some additional cut outs of them behind to give the flower more stability for the vignette.
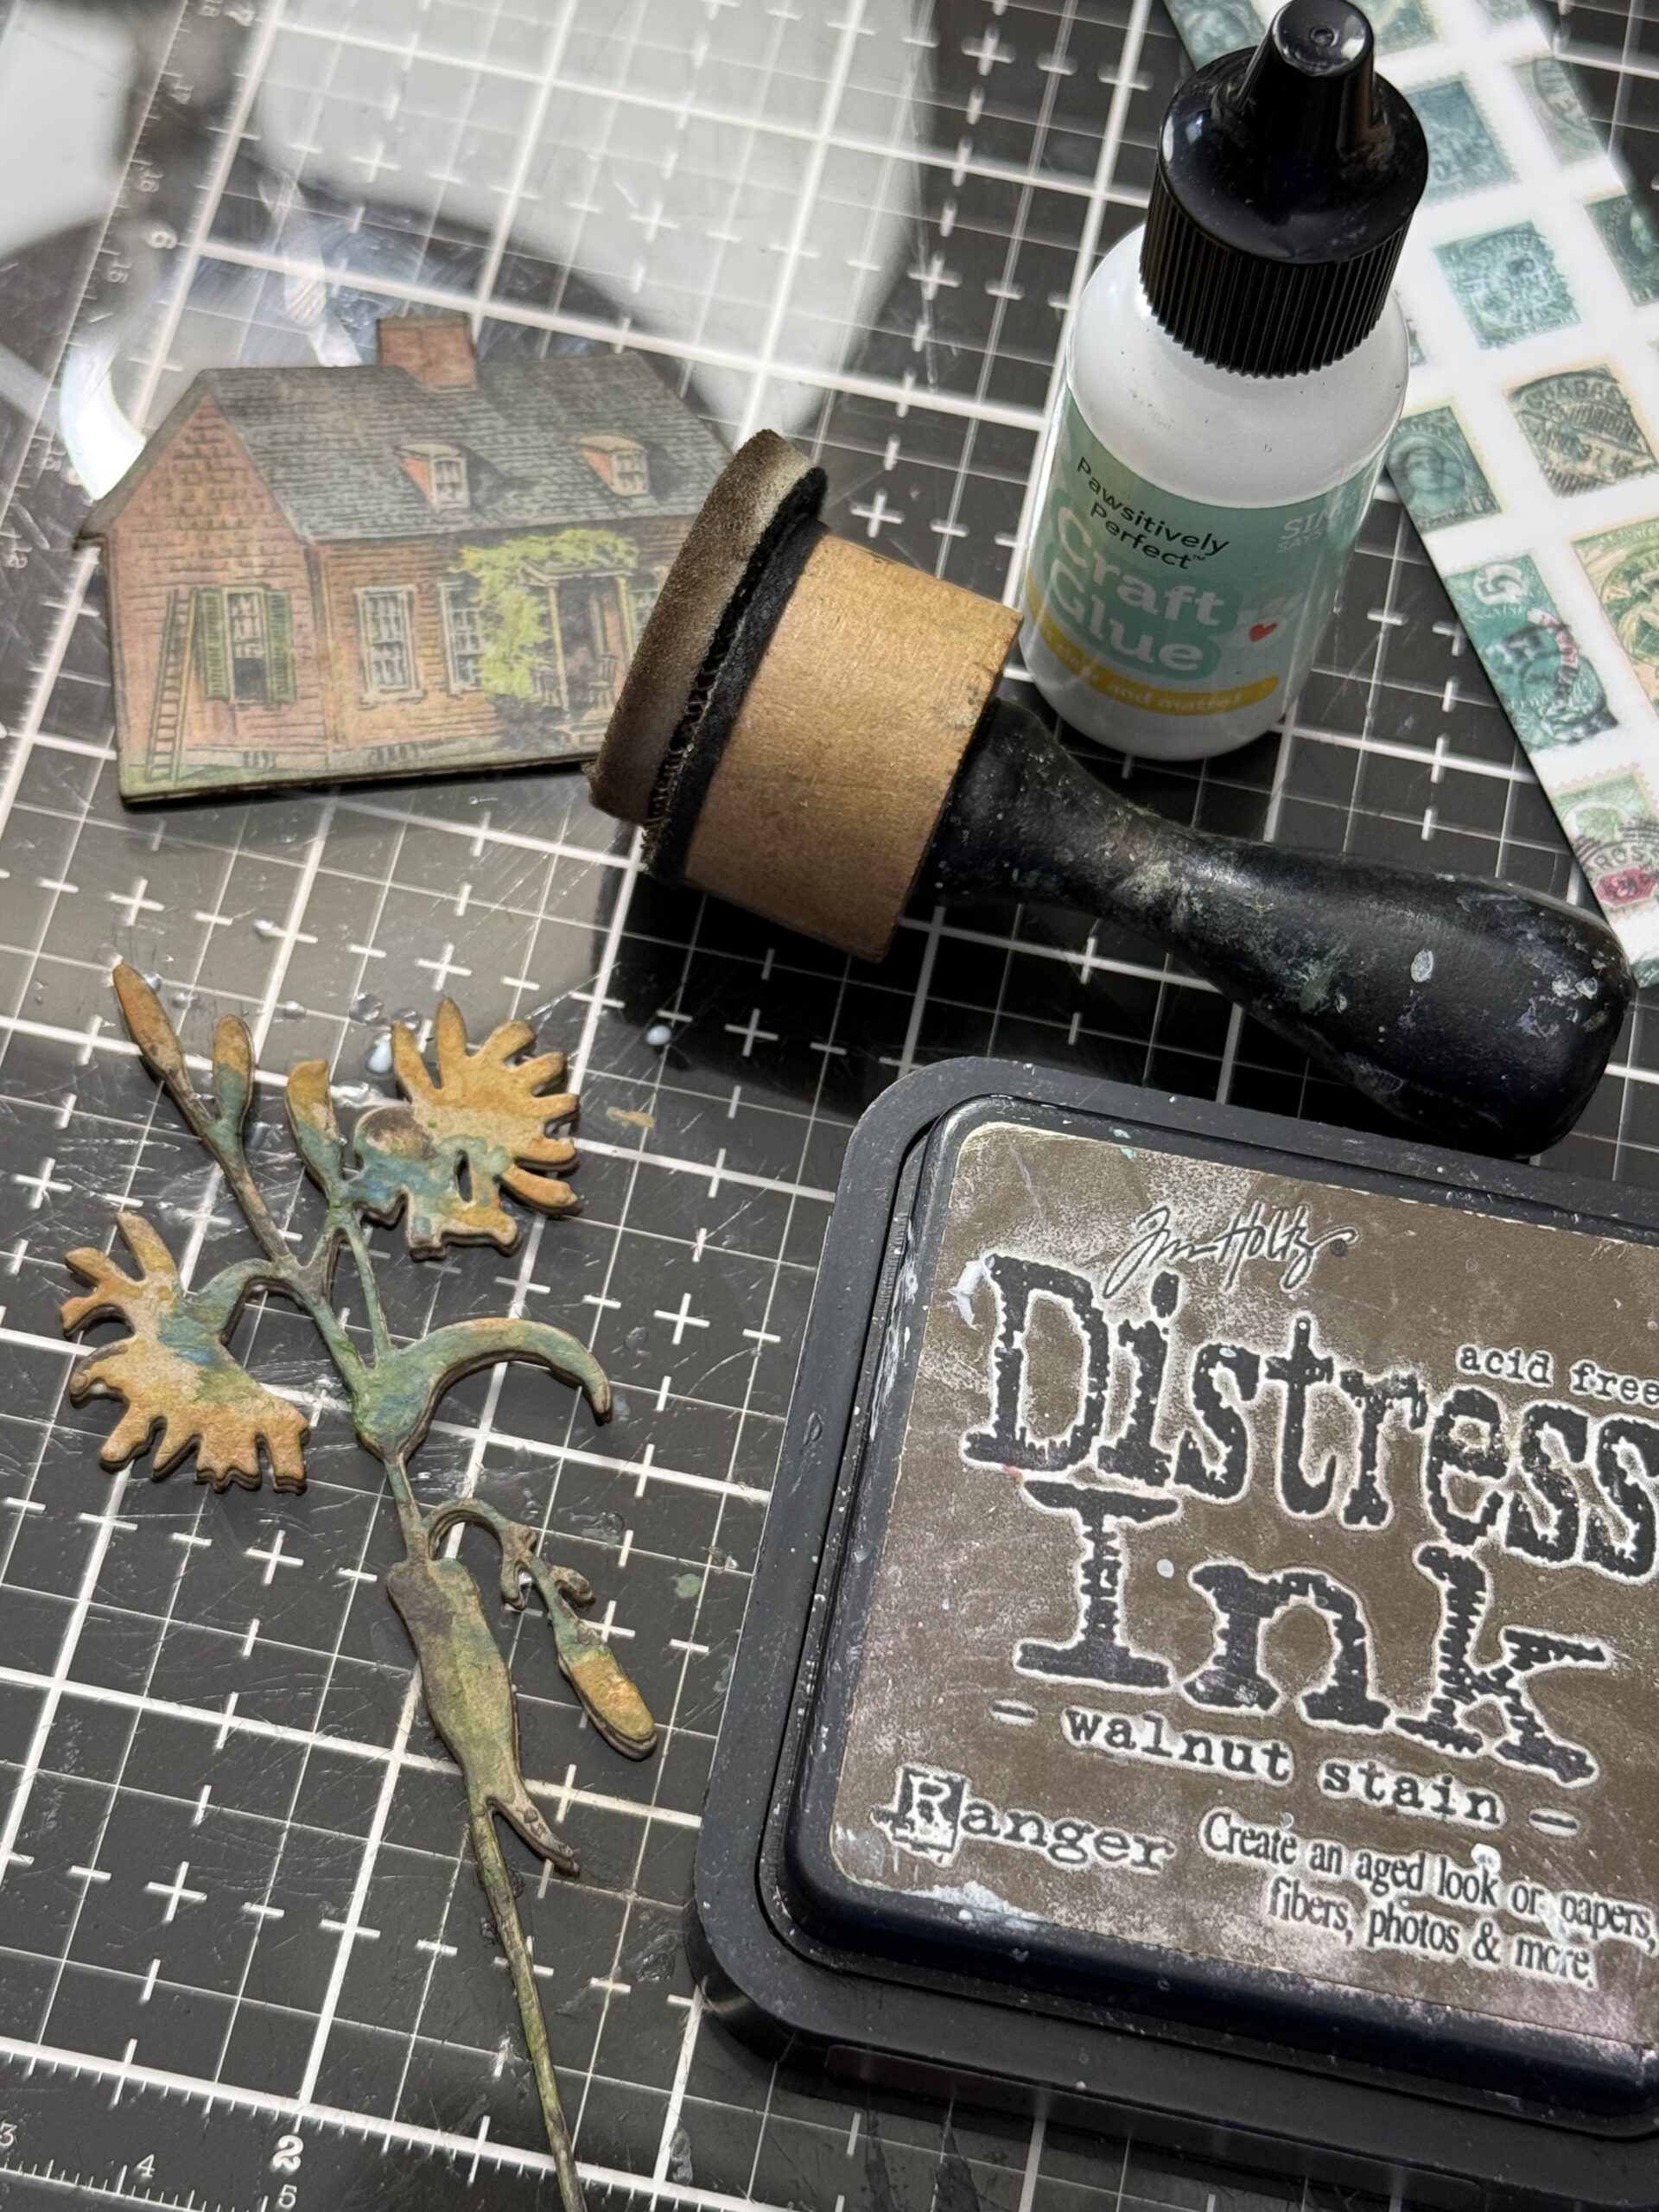
I blended the edges of the flower and ephemera pieces using Walnut Stain Distress Ink using a blending tool.
I blended the edges of a small piece of paper from a package of idea-ology Journal cards, and roughed up the edges using a distress tool. I added the “sweet forget me-not’s” phrase onto a piece of cello tape, then added it to the front of the card. I punched a small hole into the top of the Journal card then added a small piece of string and tied on a small heart charm that had been distressed using paint and Statue Foundry Wax. I added the scrap of lace trim under the phrase then adhered on a couple of vintage pearl buttons.
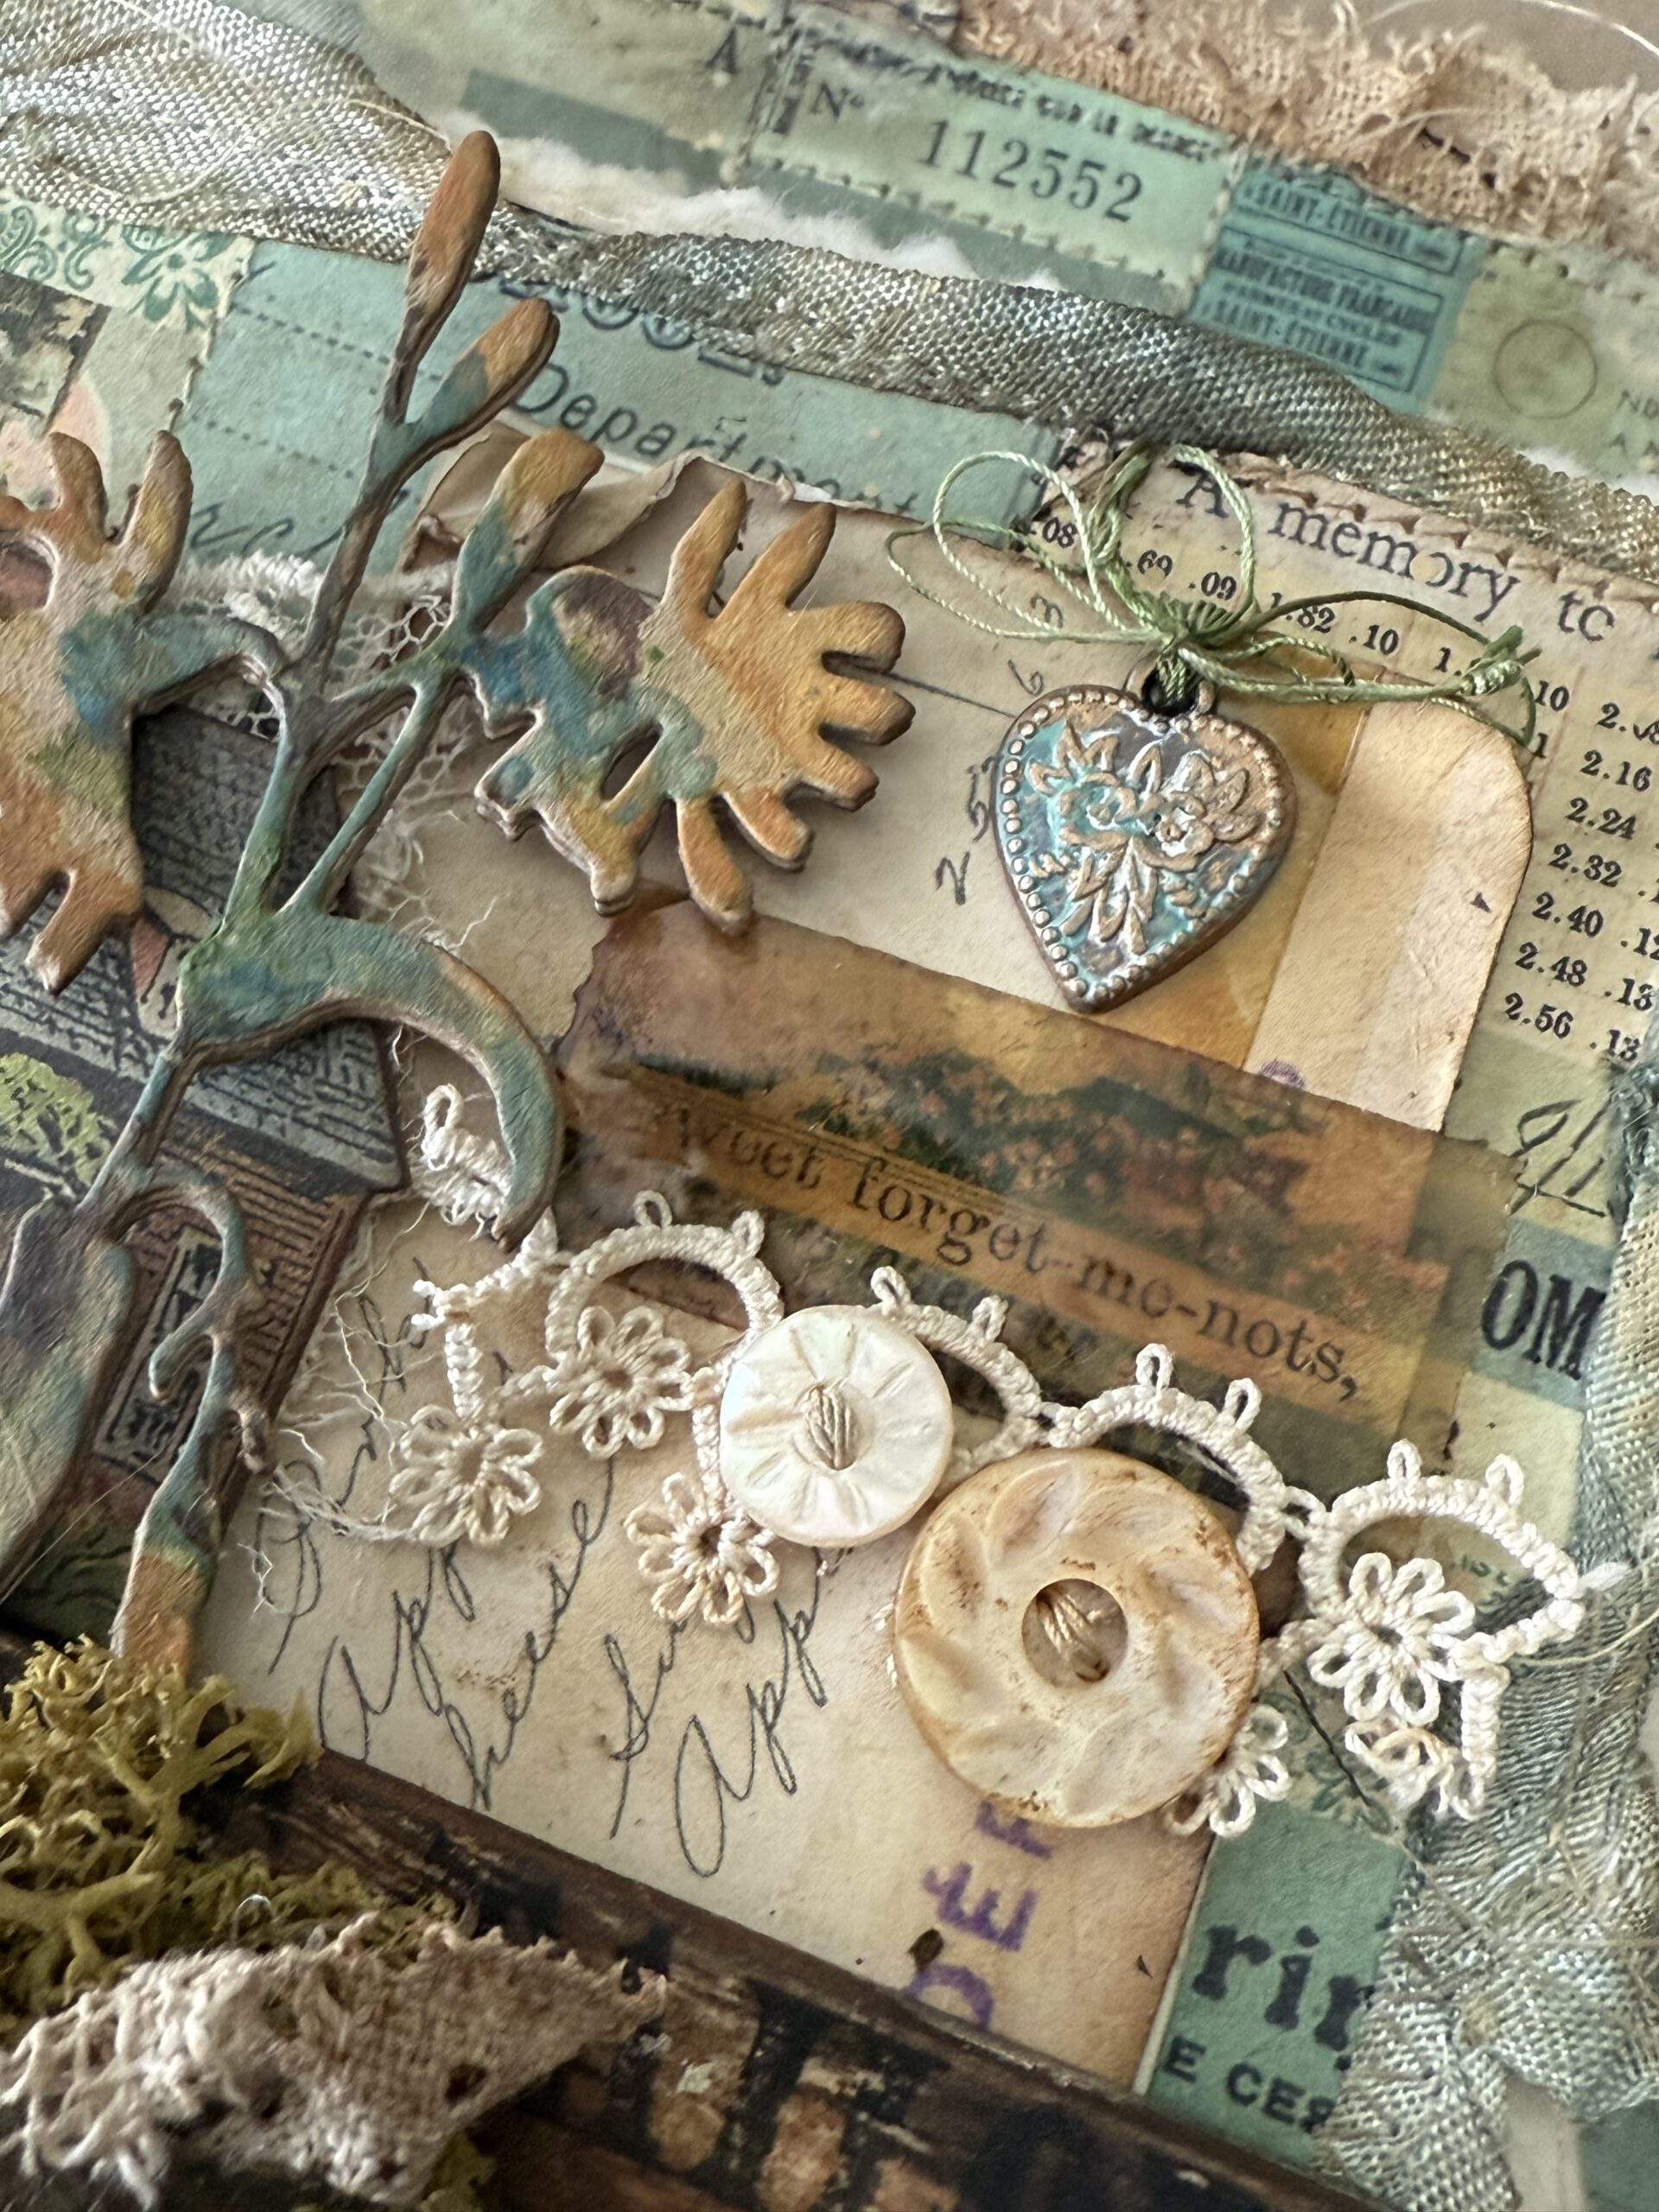
I added the Ephemera house to the front of the vignette using foam squares and added the wildflower, making sure to add the flower stem into the cup of the drawer pull. Then I added some moss and a bit of lace into the pull using a glue gun.
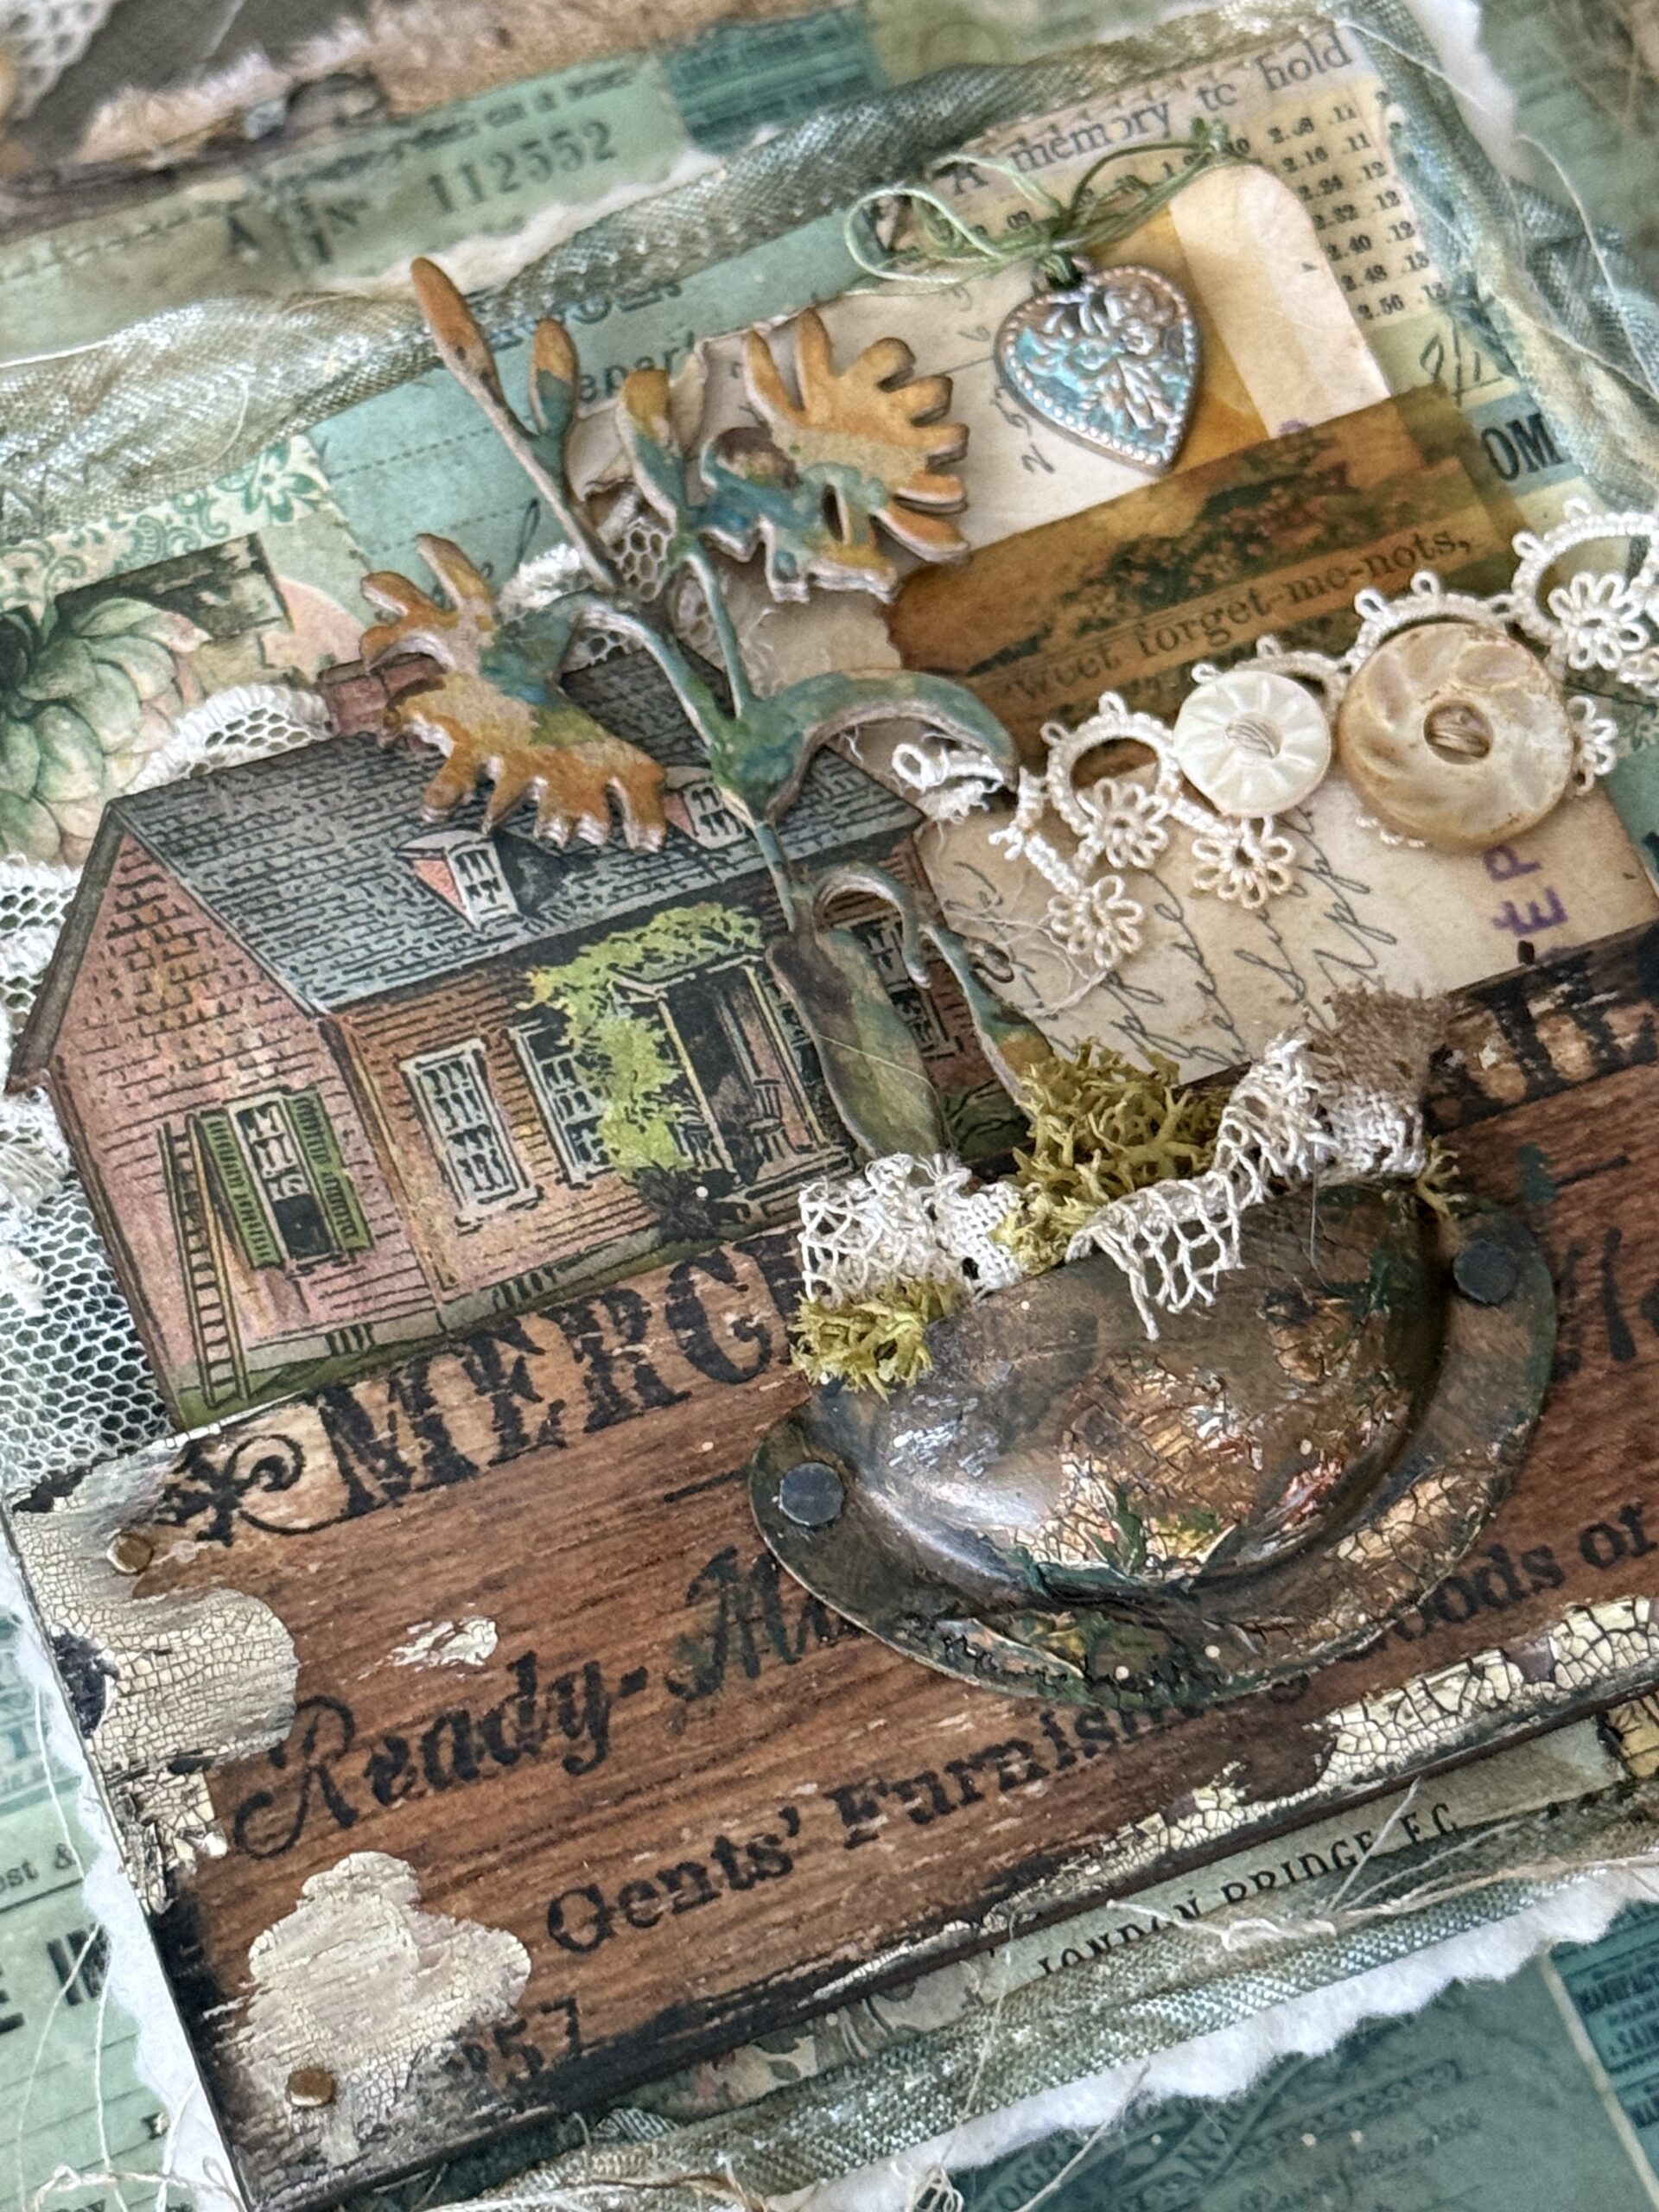
The final addition was the Advert Panel making sure to hammer some vintage nails into the right and left side using my hammer.
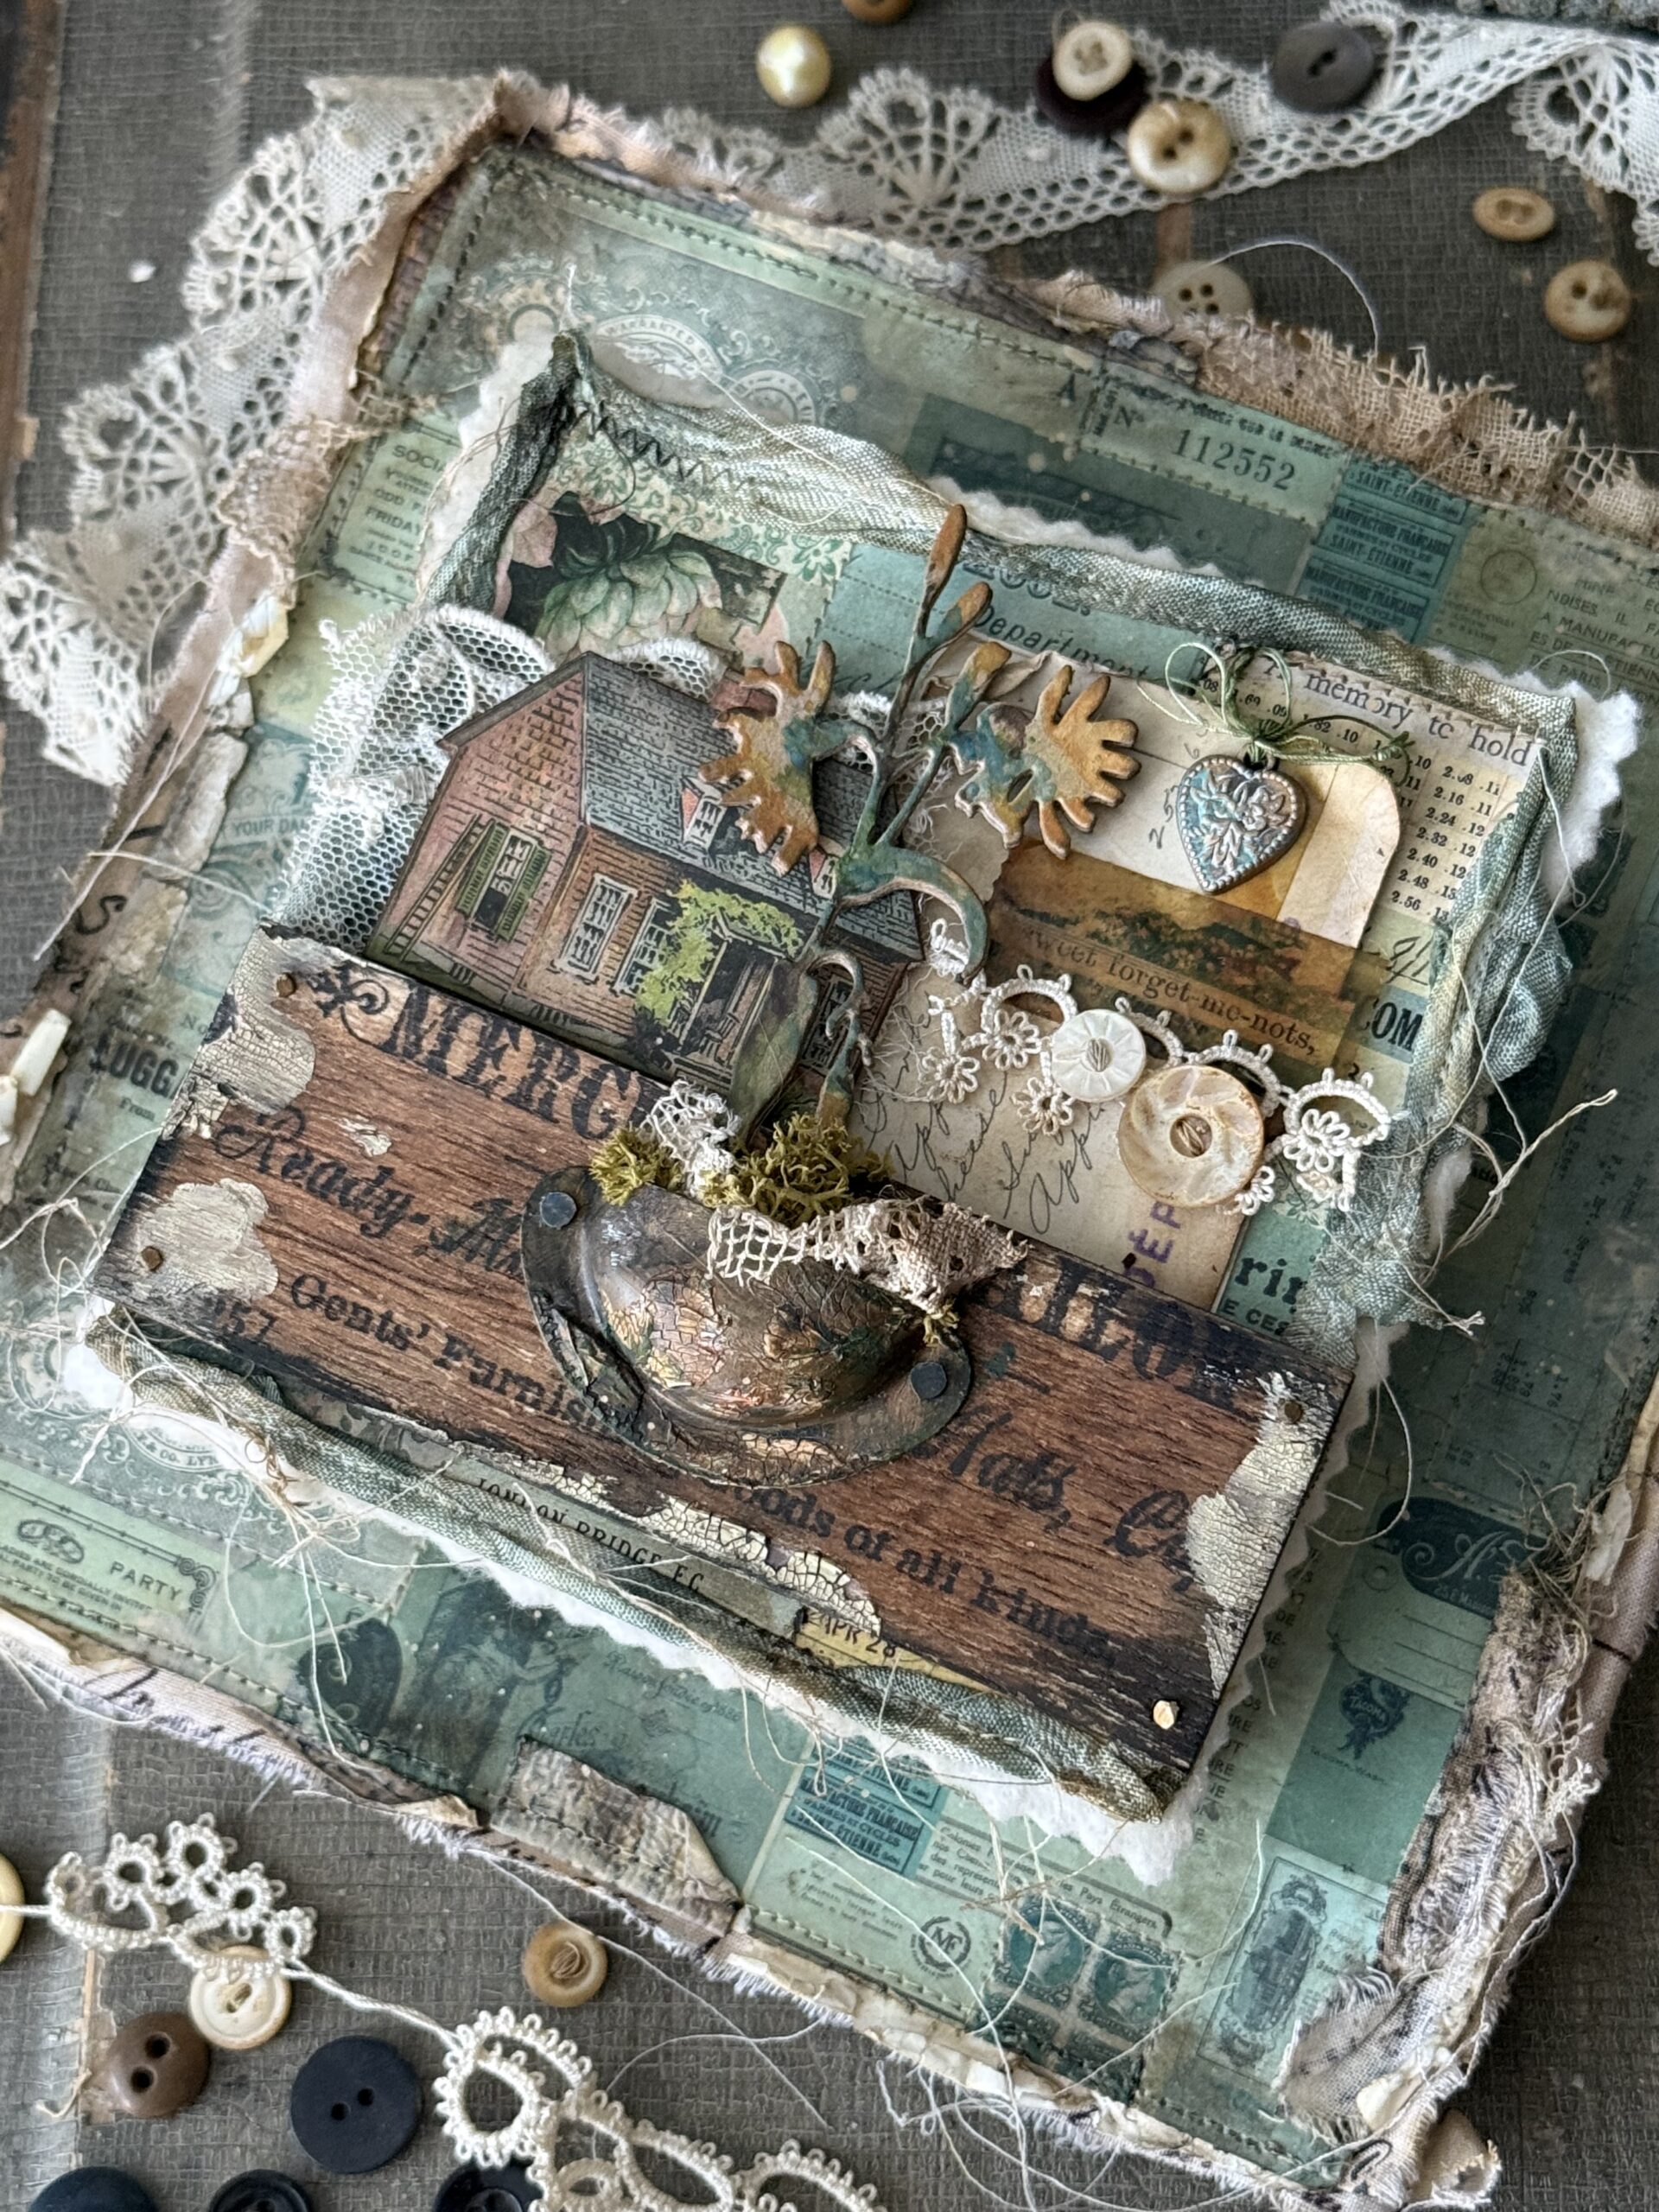
With that, my project was complete. Thanks so much for stopping by today…and be sure to take a peek at the new Distress Palette Papers, you’re sure to be inspired as I was, to make a project using them. Creatively yours, Stacy
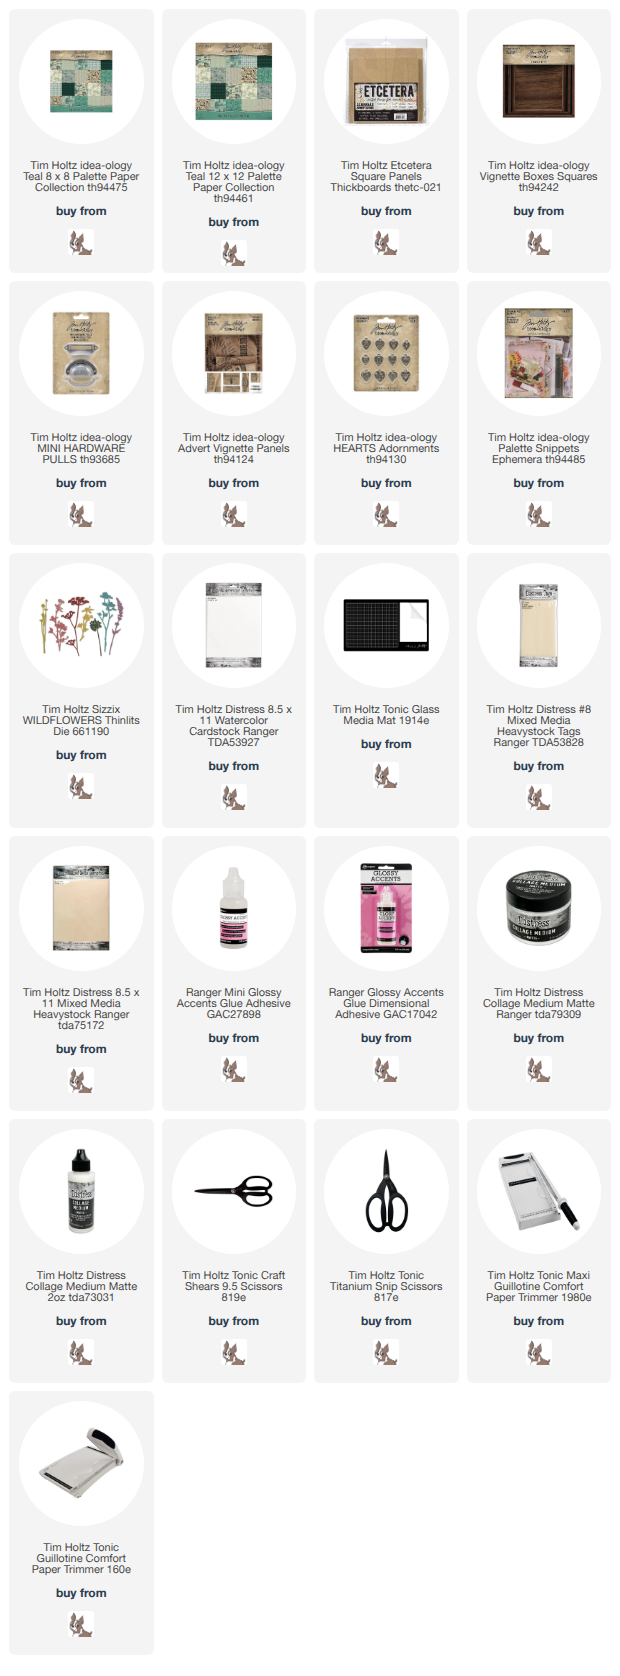
Shop Simon Says Stamp by clicking on this link. Thank you! I appreciate you for supporting me.
What is an affiliate program, and why should I click on the link and buy through you?
When you shop via the affiliate link on this blog, I receive a small commission from the affiliate provider (Simon Says Stamp) at no extra cost to you, whatsoever. These commissions help me to cover the hosting fees and other costs to run my blog and be able to provide you with FREE inspiration. If you shop the links, THANK YOU! I truly appreciate being able to share my love of creating with you.










Leave a Reply