Hello friends! Happy Saturday!
I hope that you are doing well…I am back today with a project that I created for the release of the new idea-ology 2023 Everyday collection. Tim introduced it over on his Youtube Channel today and the inspiration today was over the top AMAZING! If you didn’t have a chance to catch it, you can CLICK HERE to check it out!
The collection is loaded with some awesome vintage inspired goodness, as it always is. Tim and Paula do such a wonderful job of curating and collecting the best inspiration and making it into the products that make all of our mixed media projects just perfect!
This project was inspired by my love of all things vintage floral and gardening. I have recently been introduced to winter sowing and have been busily filling empty milk jugs with seeds and, fingers crossed, will be adding bushelfuls of flowers into my flower beds this spring. Anything related to gardening and flowers has enveloped my thoughts. The new idea-ology is absolutely packed with vintage ephemera and floral goodness.
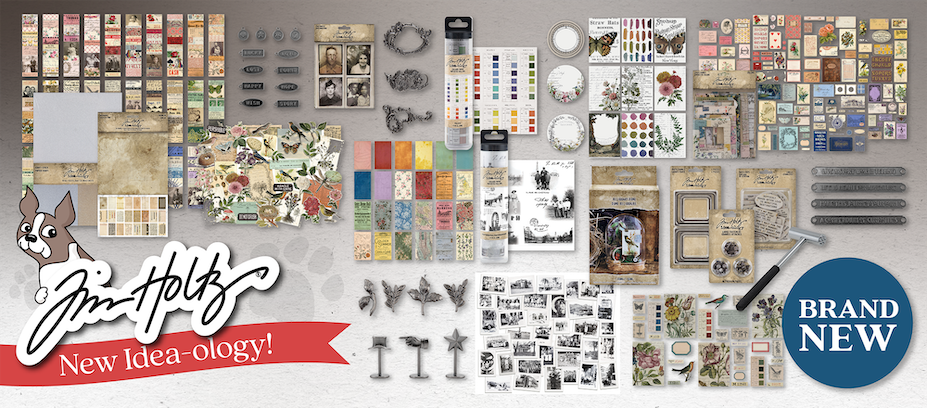
Here’s a glimpse of some of the new products in the collection.
For a closer look, CLICK HERE to check out all the details.
The new products I used for this project included Word Tags, Transparent Layers, Texture Hammer, Large Fasteners, Snapshots Volume 2, Organic Layers, Palette Ephemera Pack, Backdrops Volume 4, plus several products from the regular line.

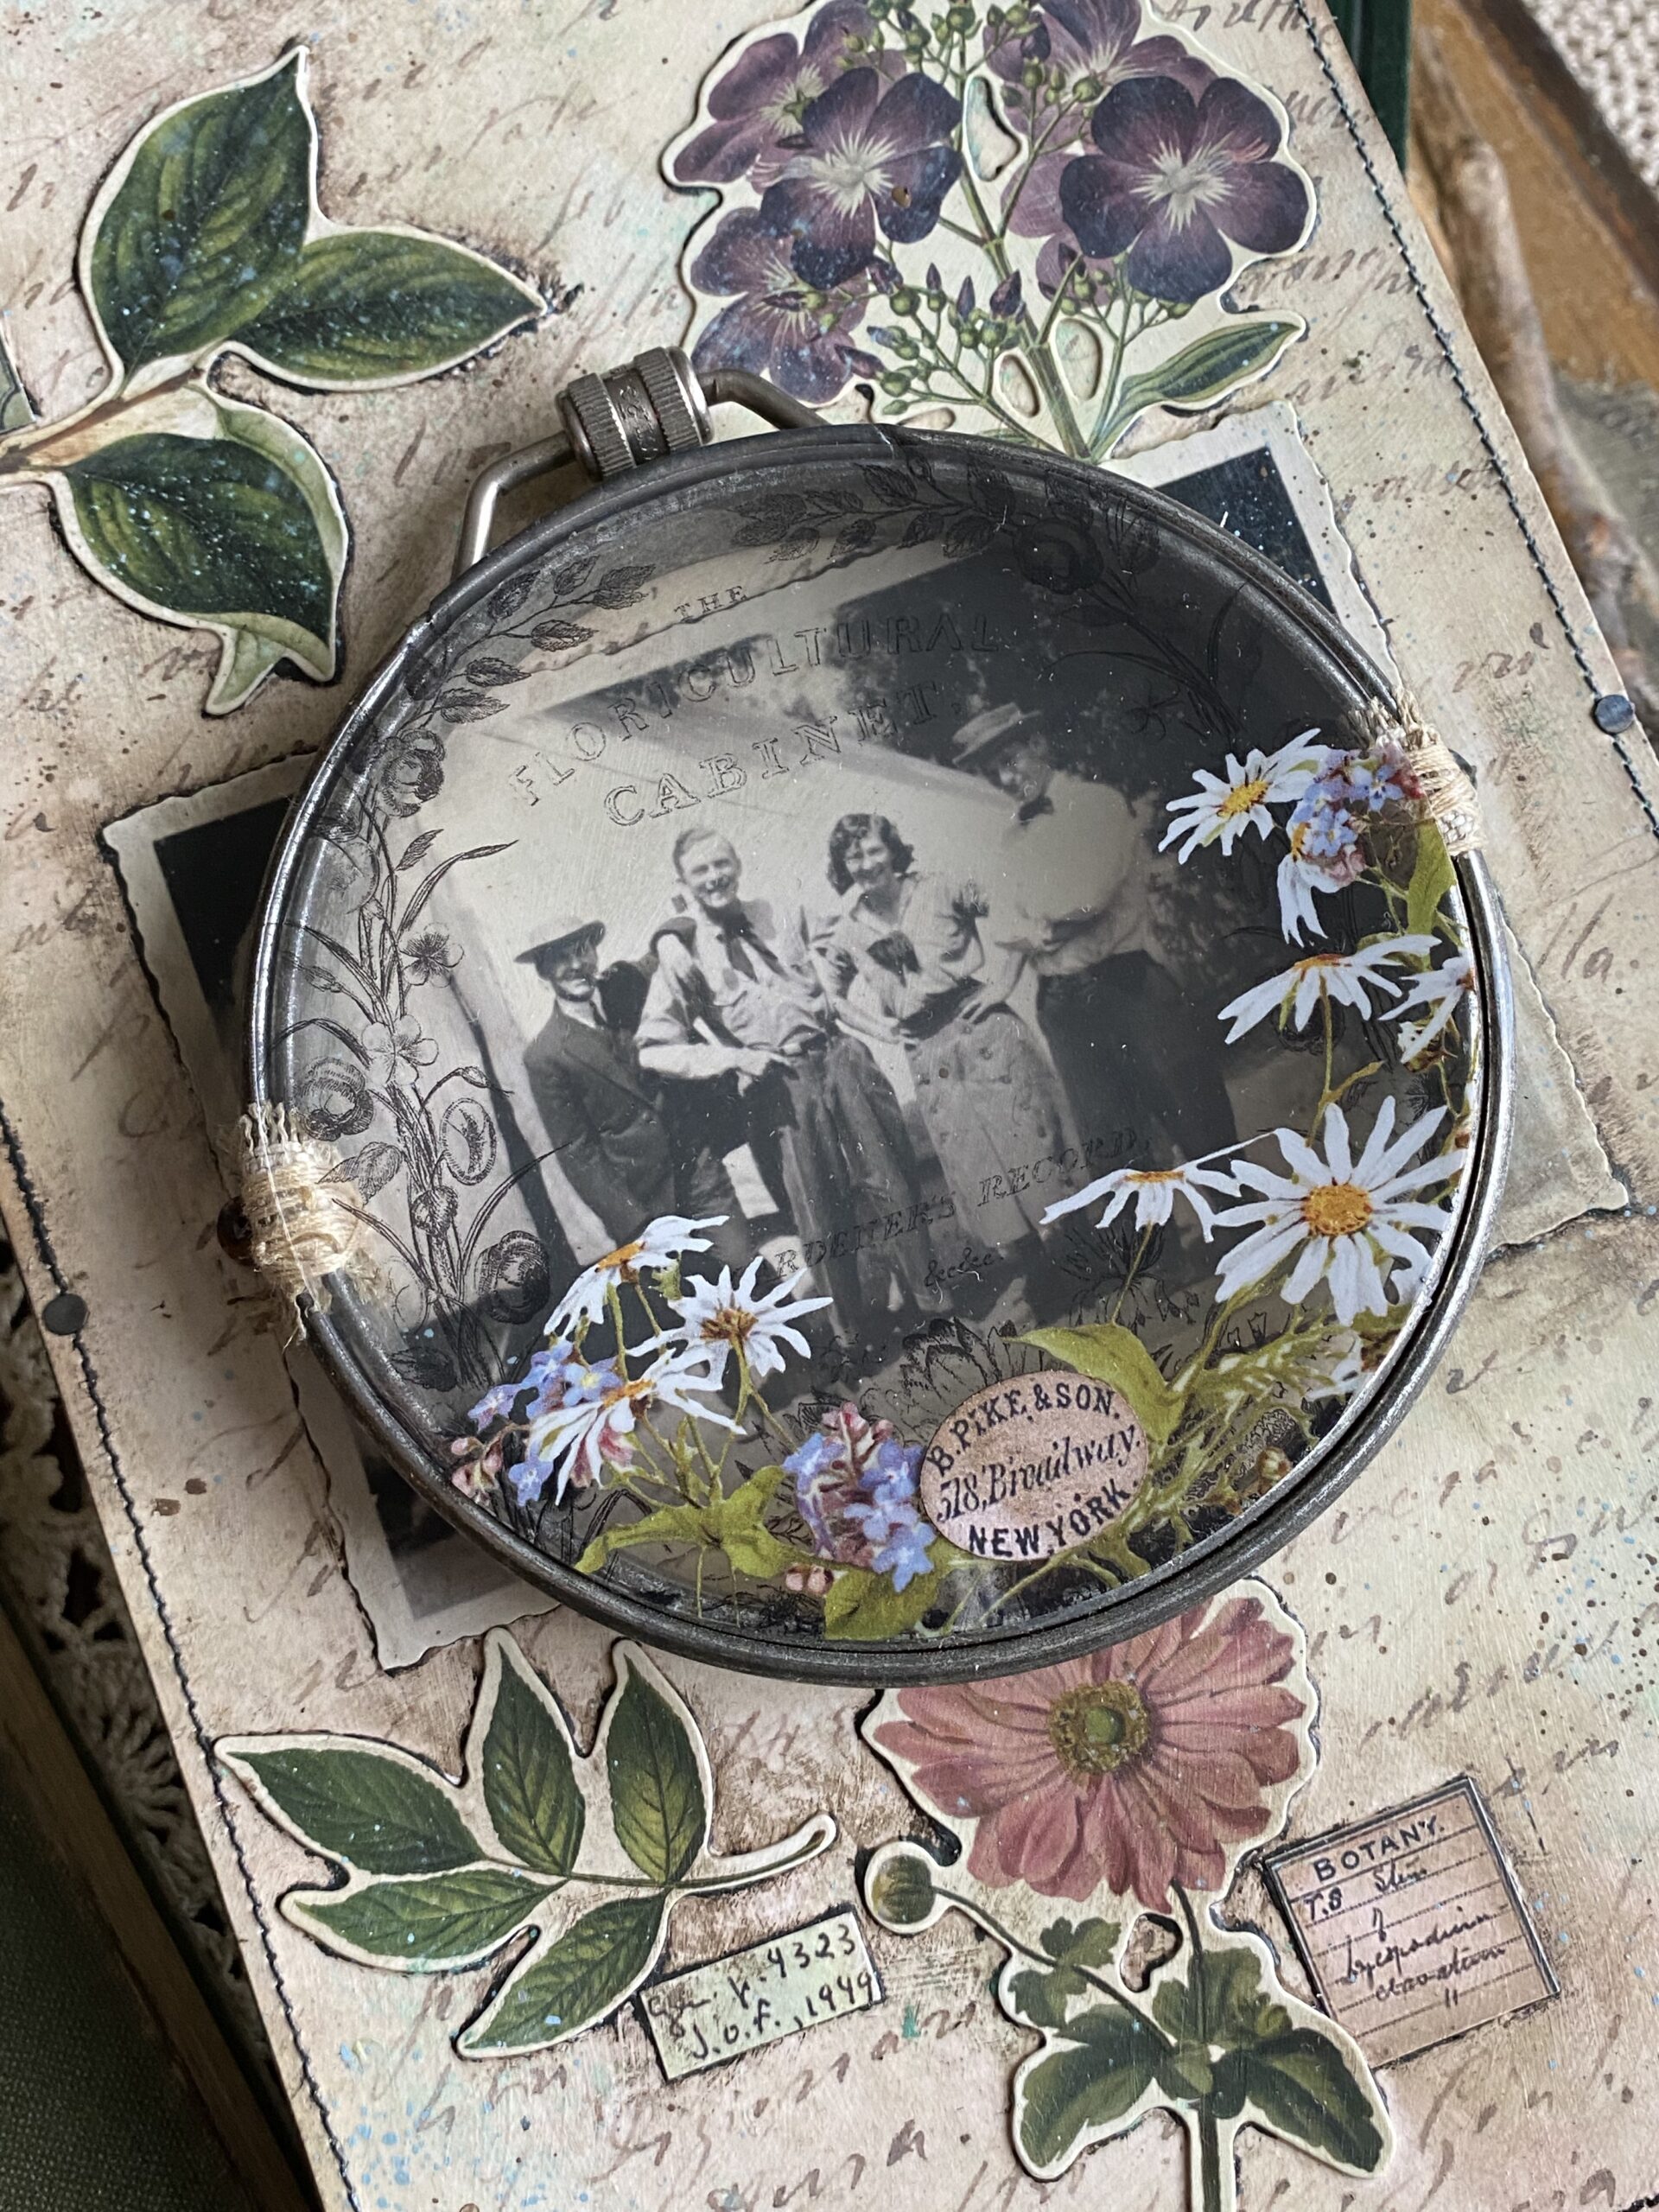
The Transparent image below is included in the Transparent Layers collection and fit so well on a vintage embroidery hoop I had in my junk collection. And that snapshot, from the new Snapshots Volume 2, couldn’t have been more perfect. It was my jumping off point and became the focus of the project.


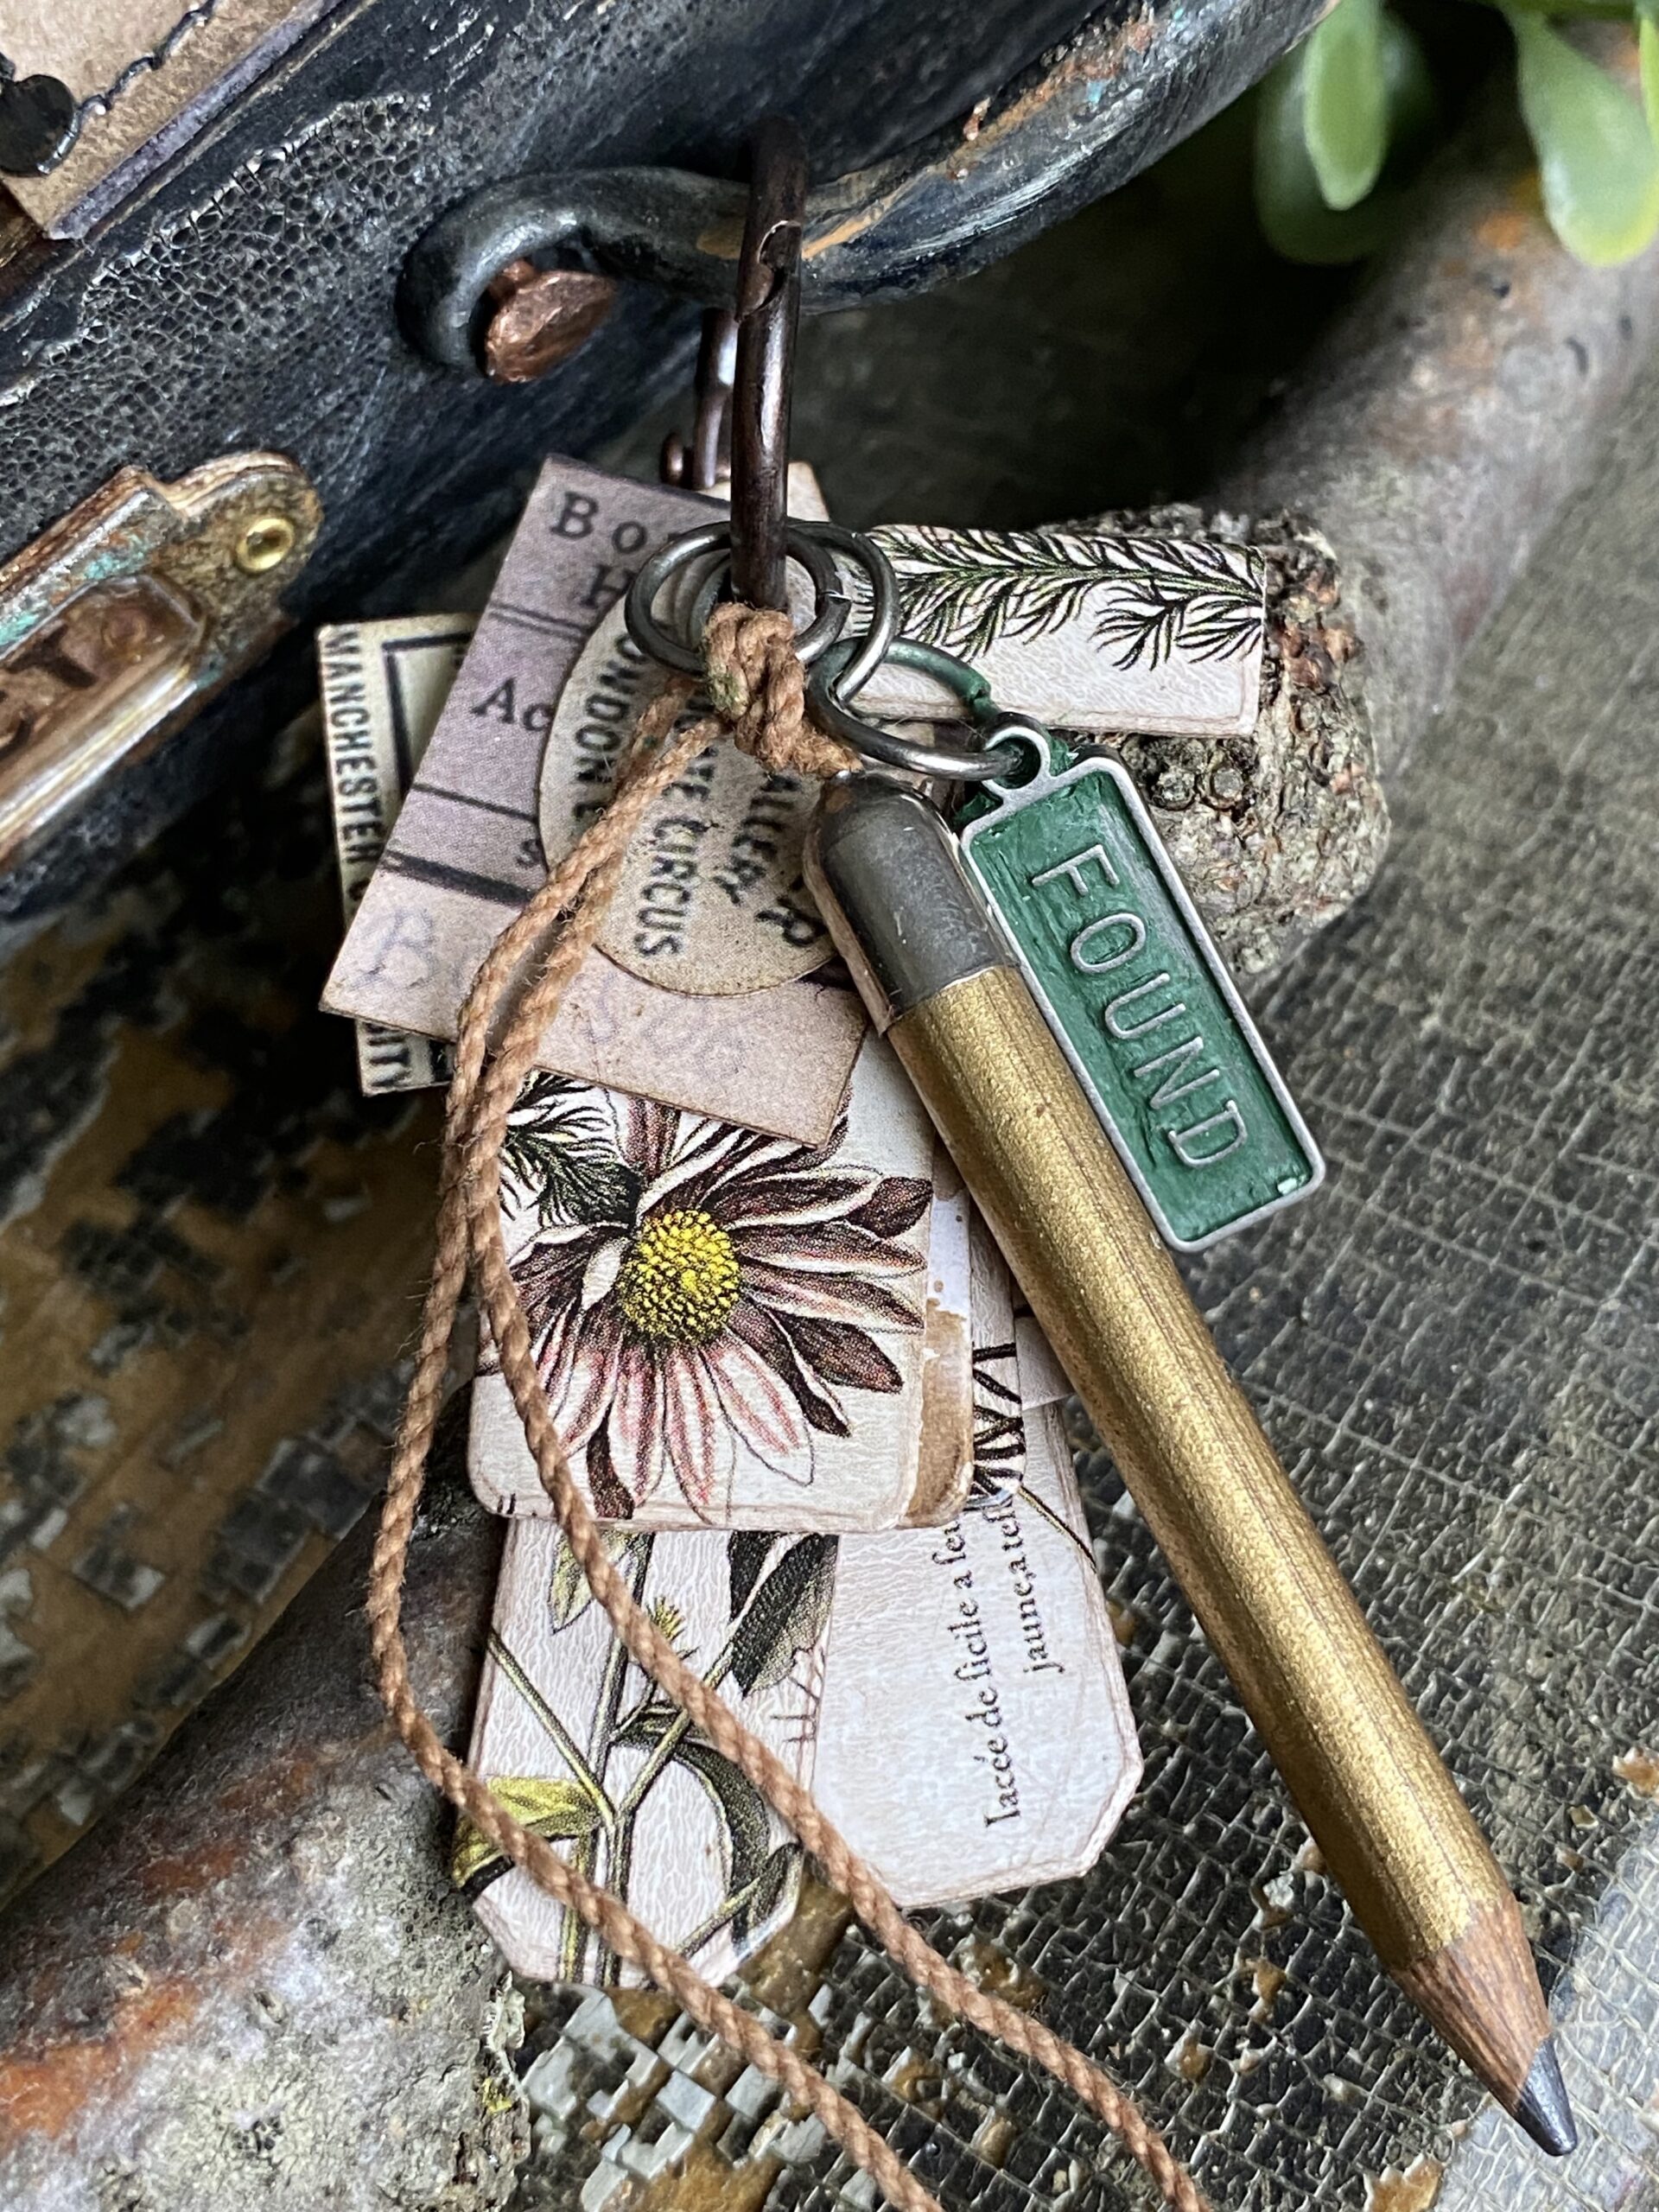
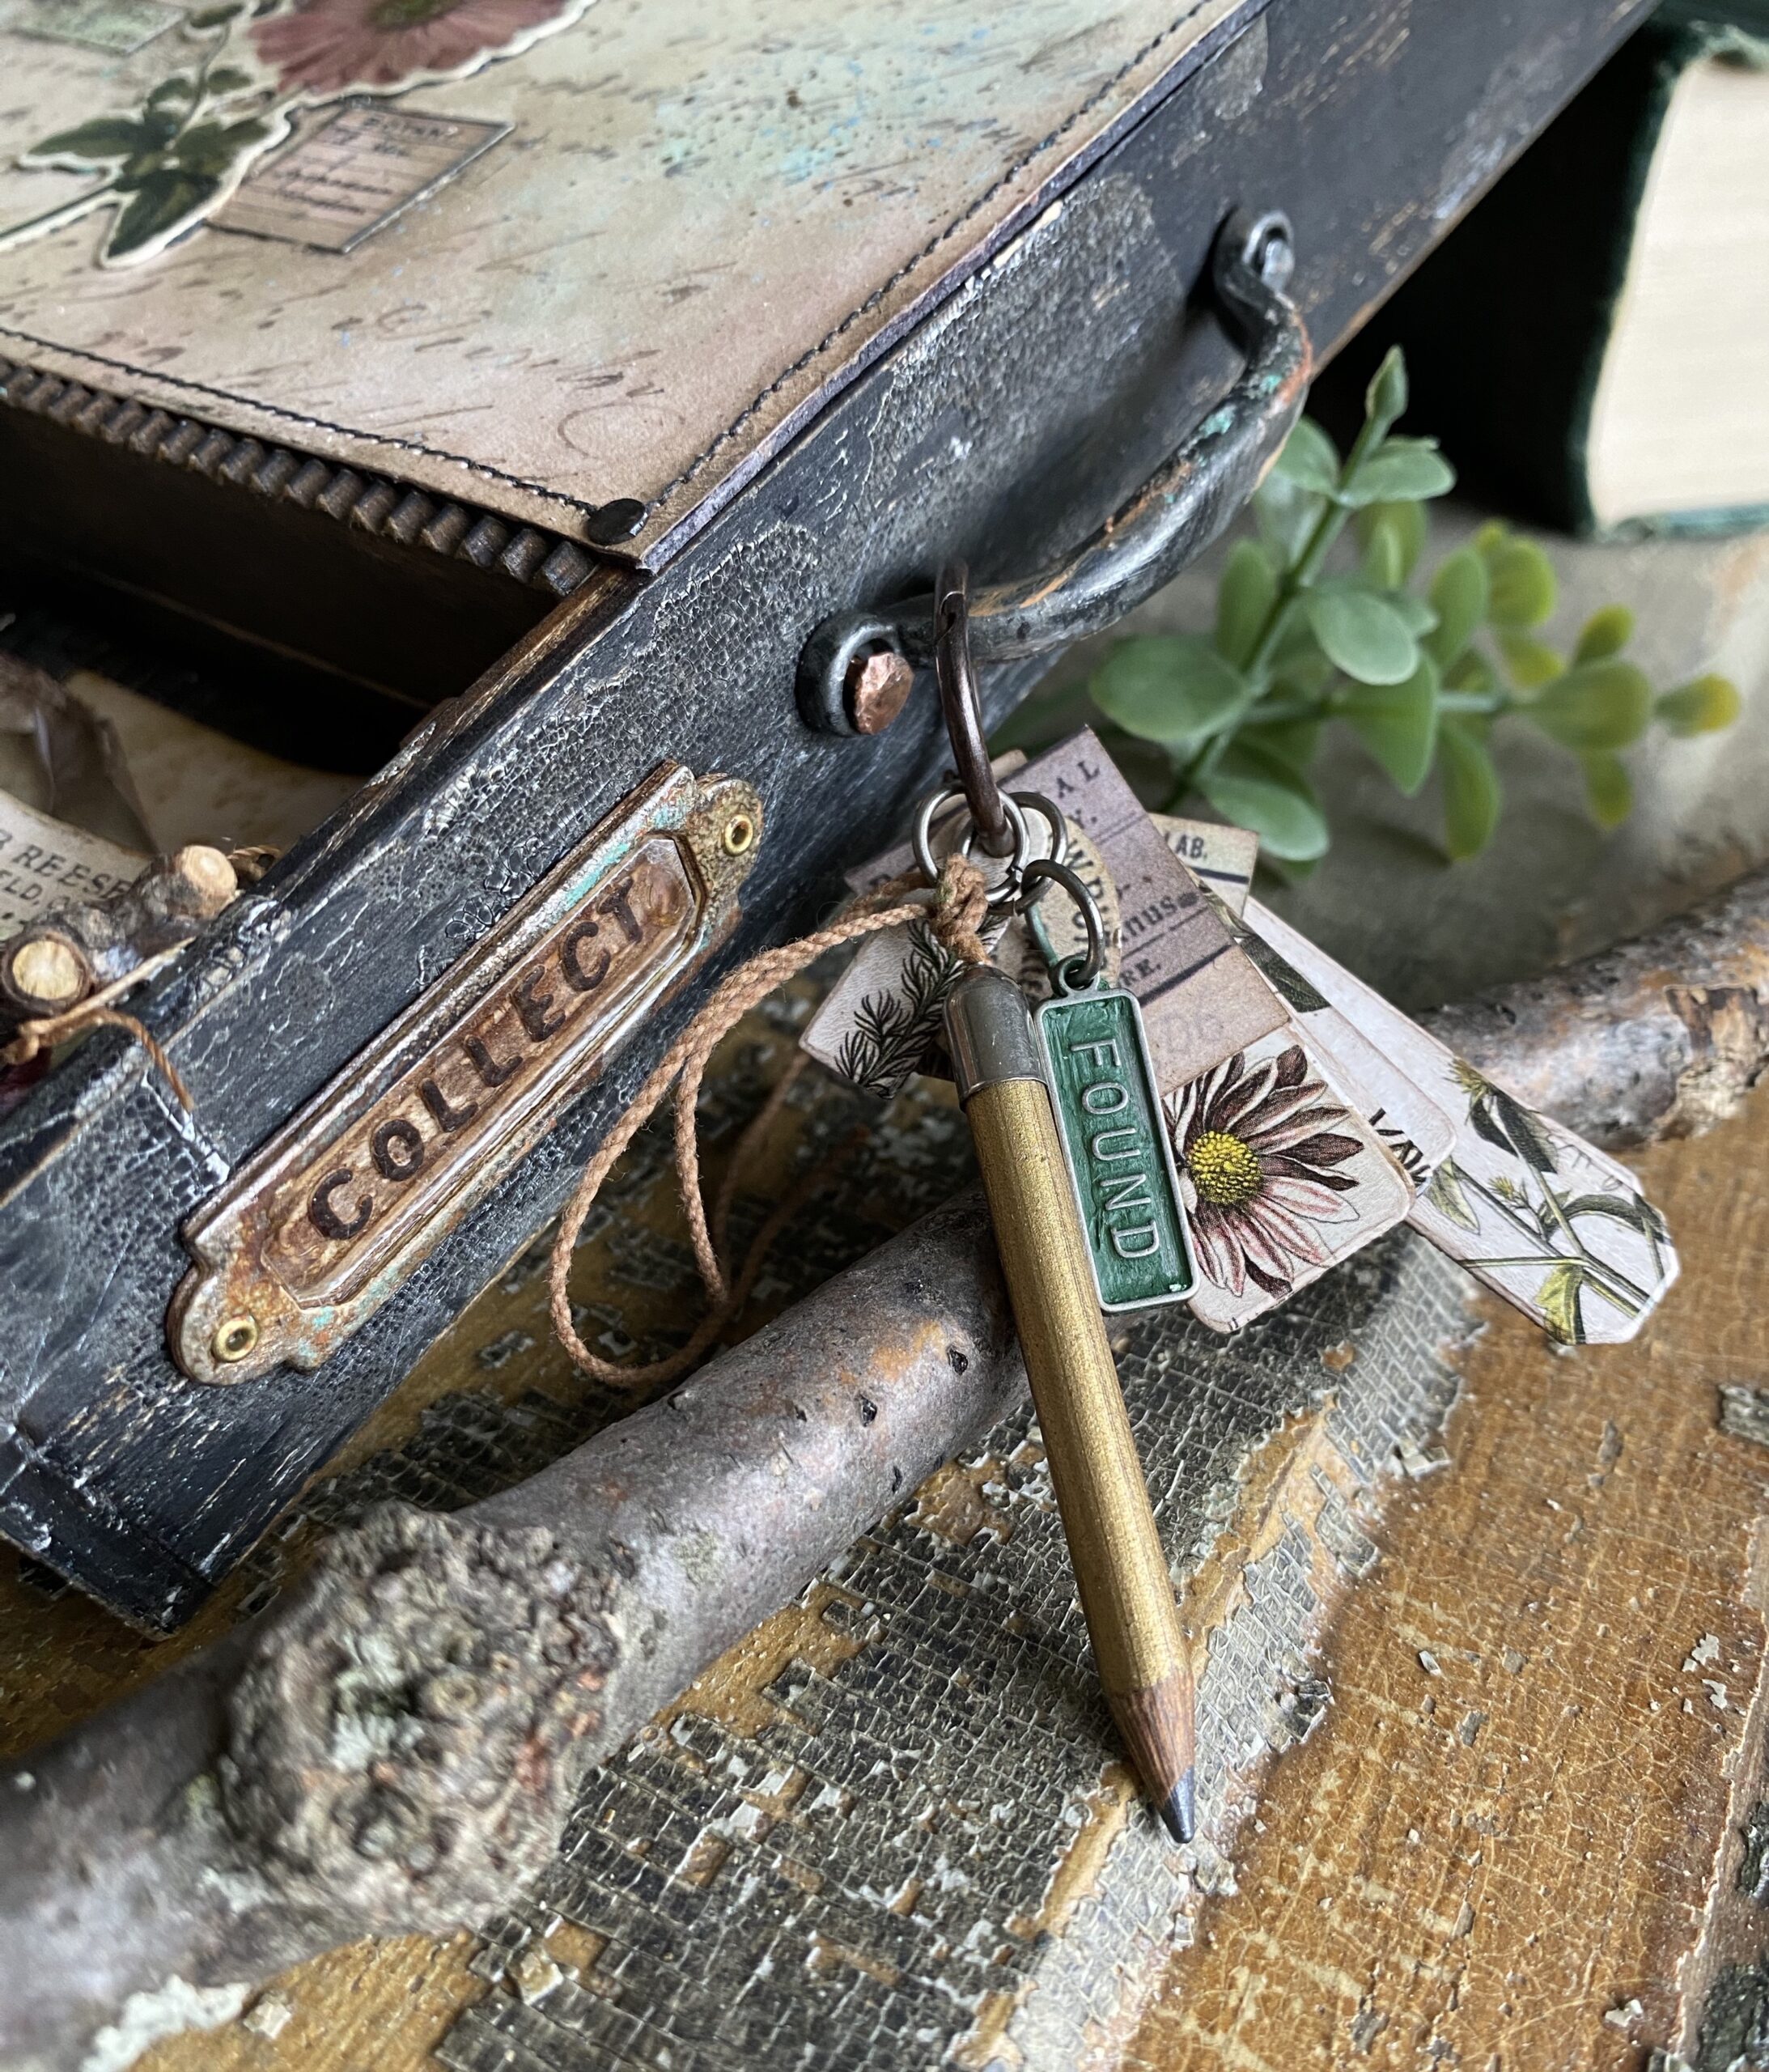
Another favorite of this project were the small tags and labels that I placed on an idea-ology small book ring and hooked onto the side of the drawer. The small tags were cut using tag shape thinlets and cut from the Organic Layers, Tiny Labels were added from Snippets Ephemera pack. The tiny Word Tag was the perfect addition to the book ring and was simply colored in using the Rustic Wilderness Distress Crayon and added using a jump ring. The tiny vintage dance card pencil added another vintage touch.




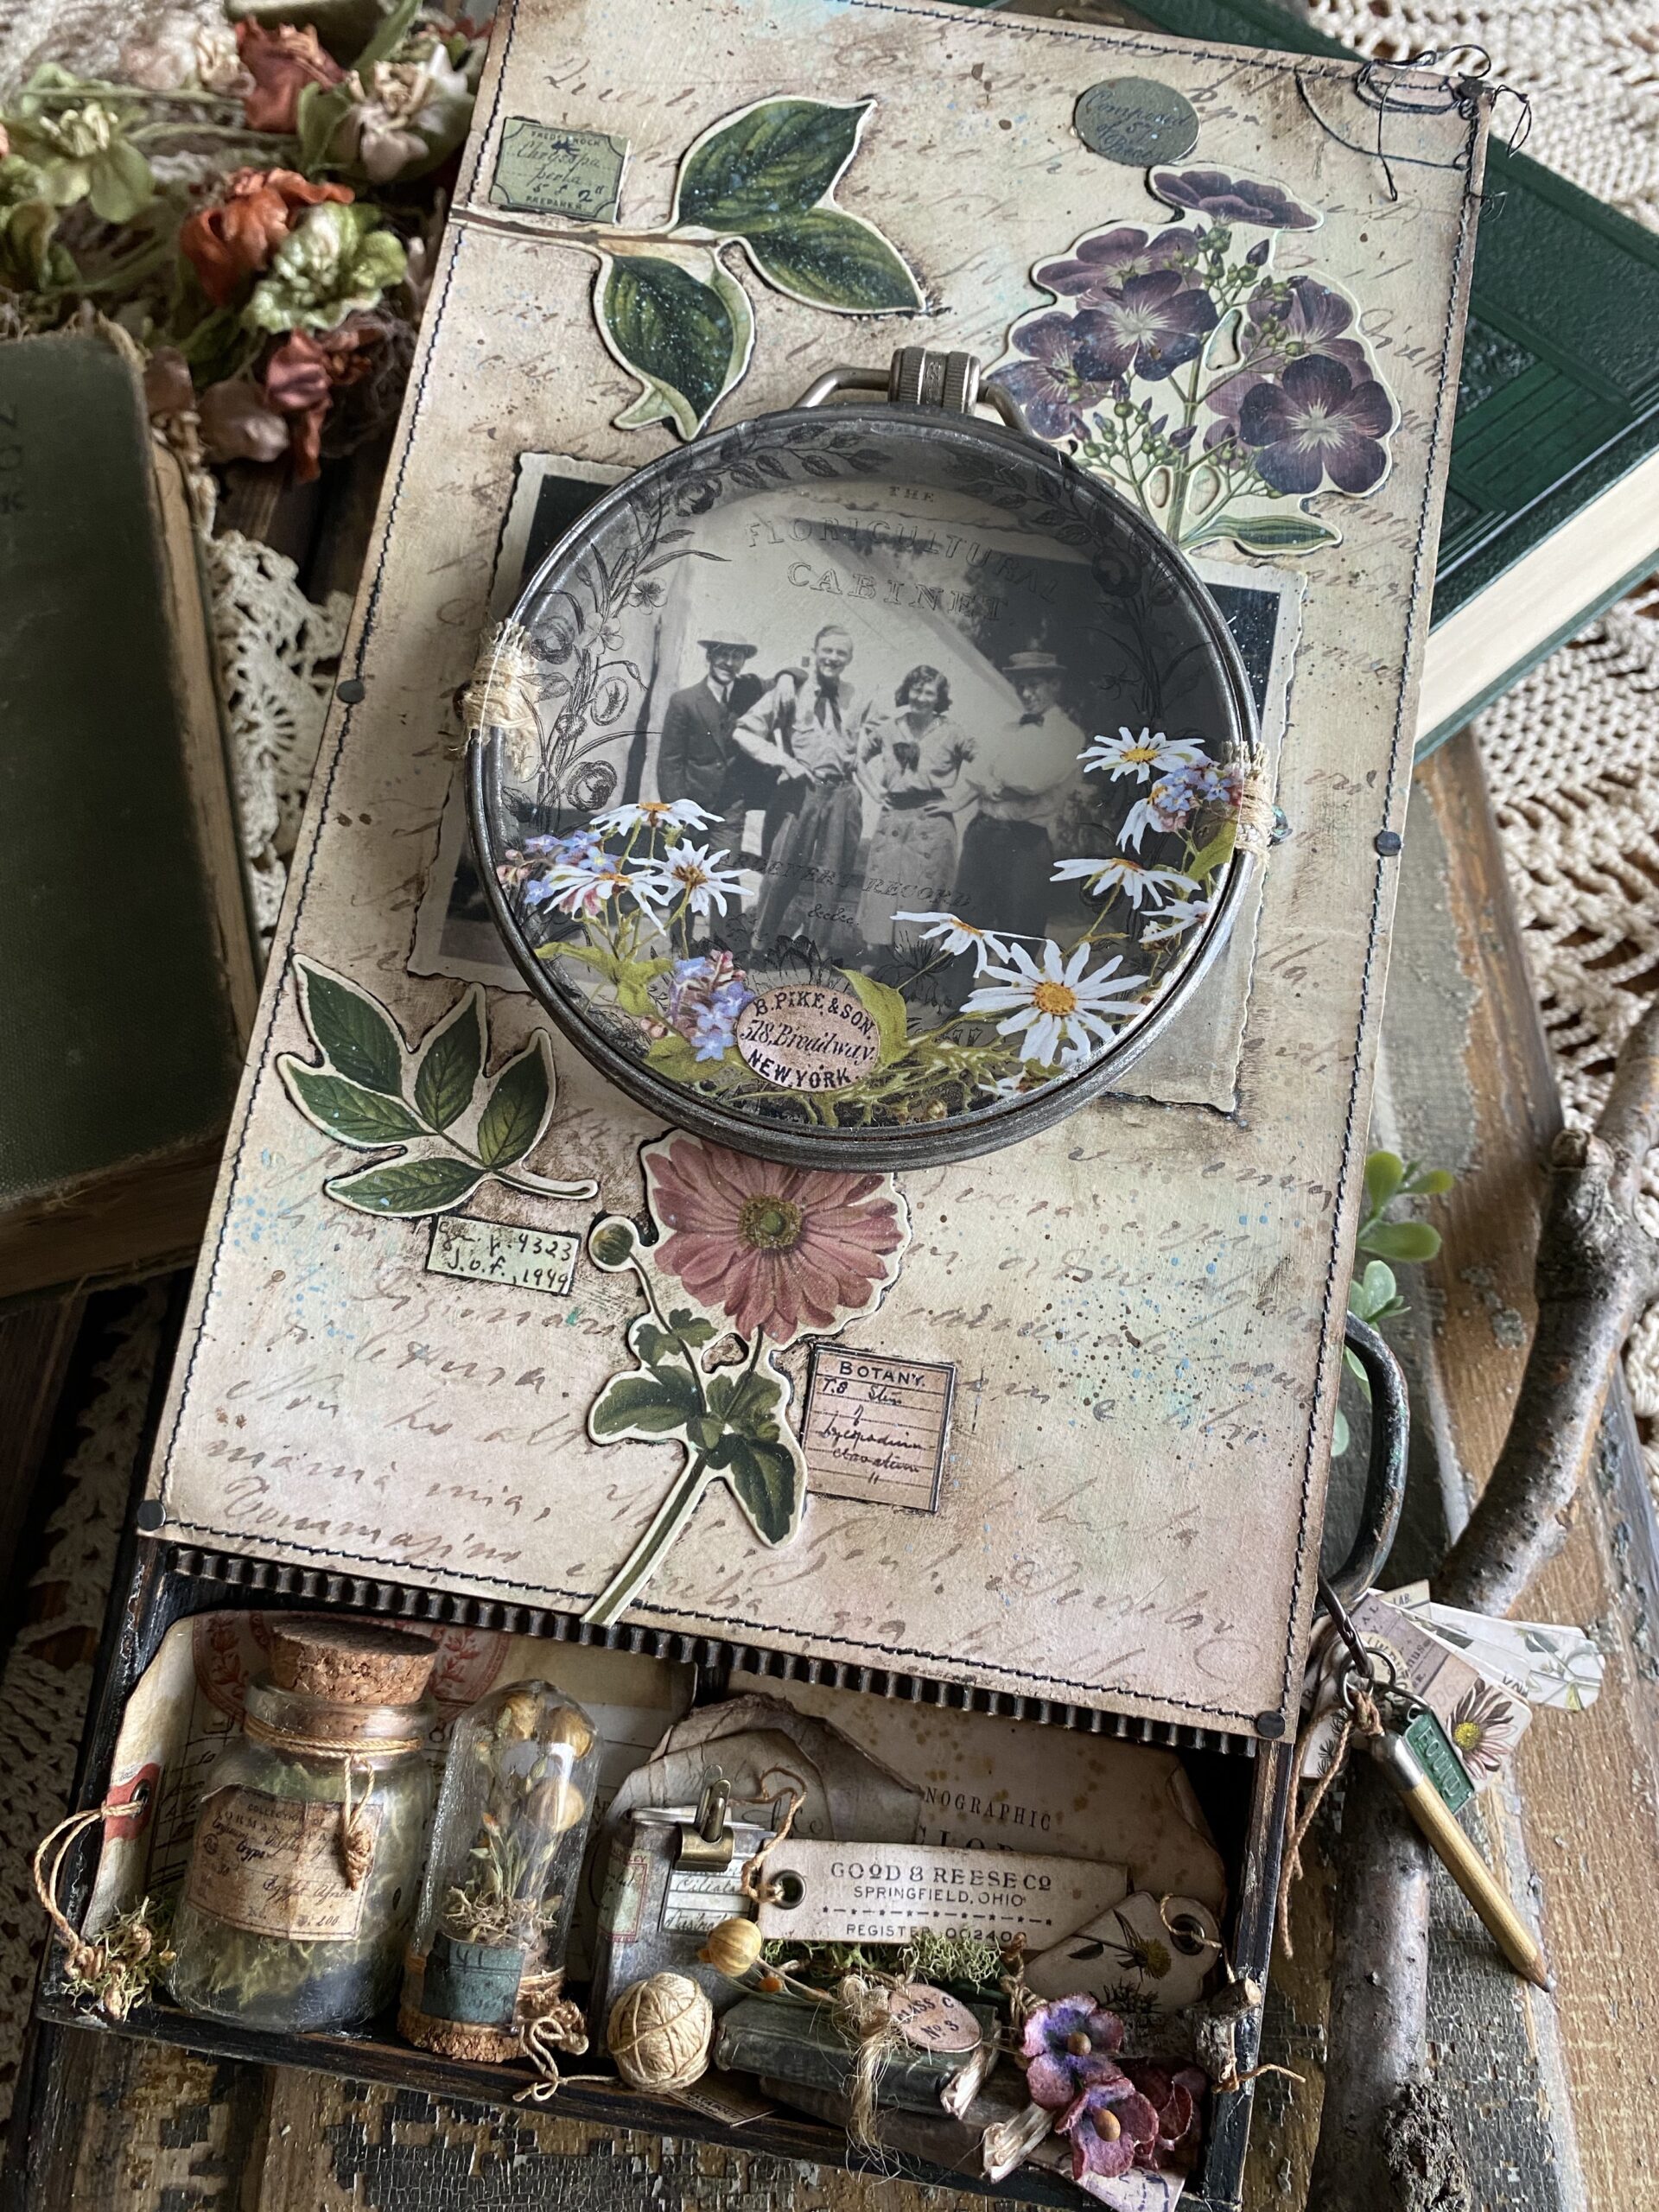
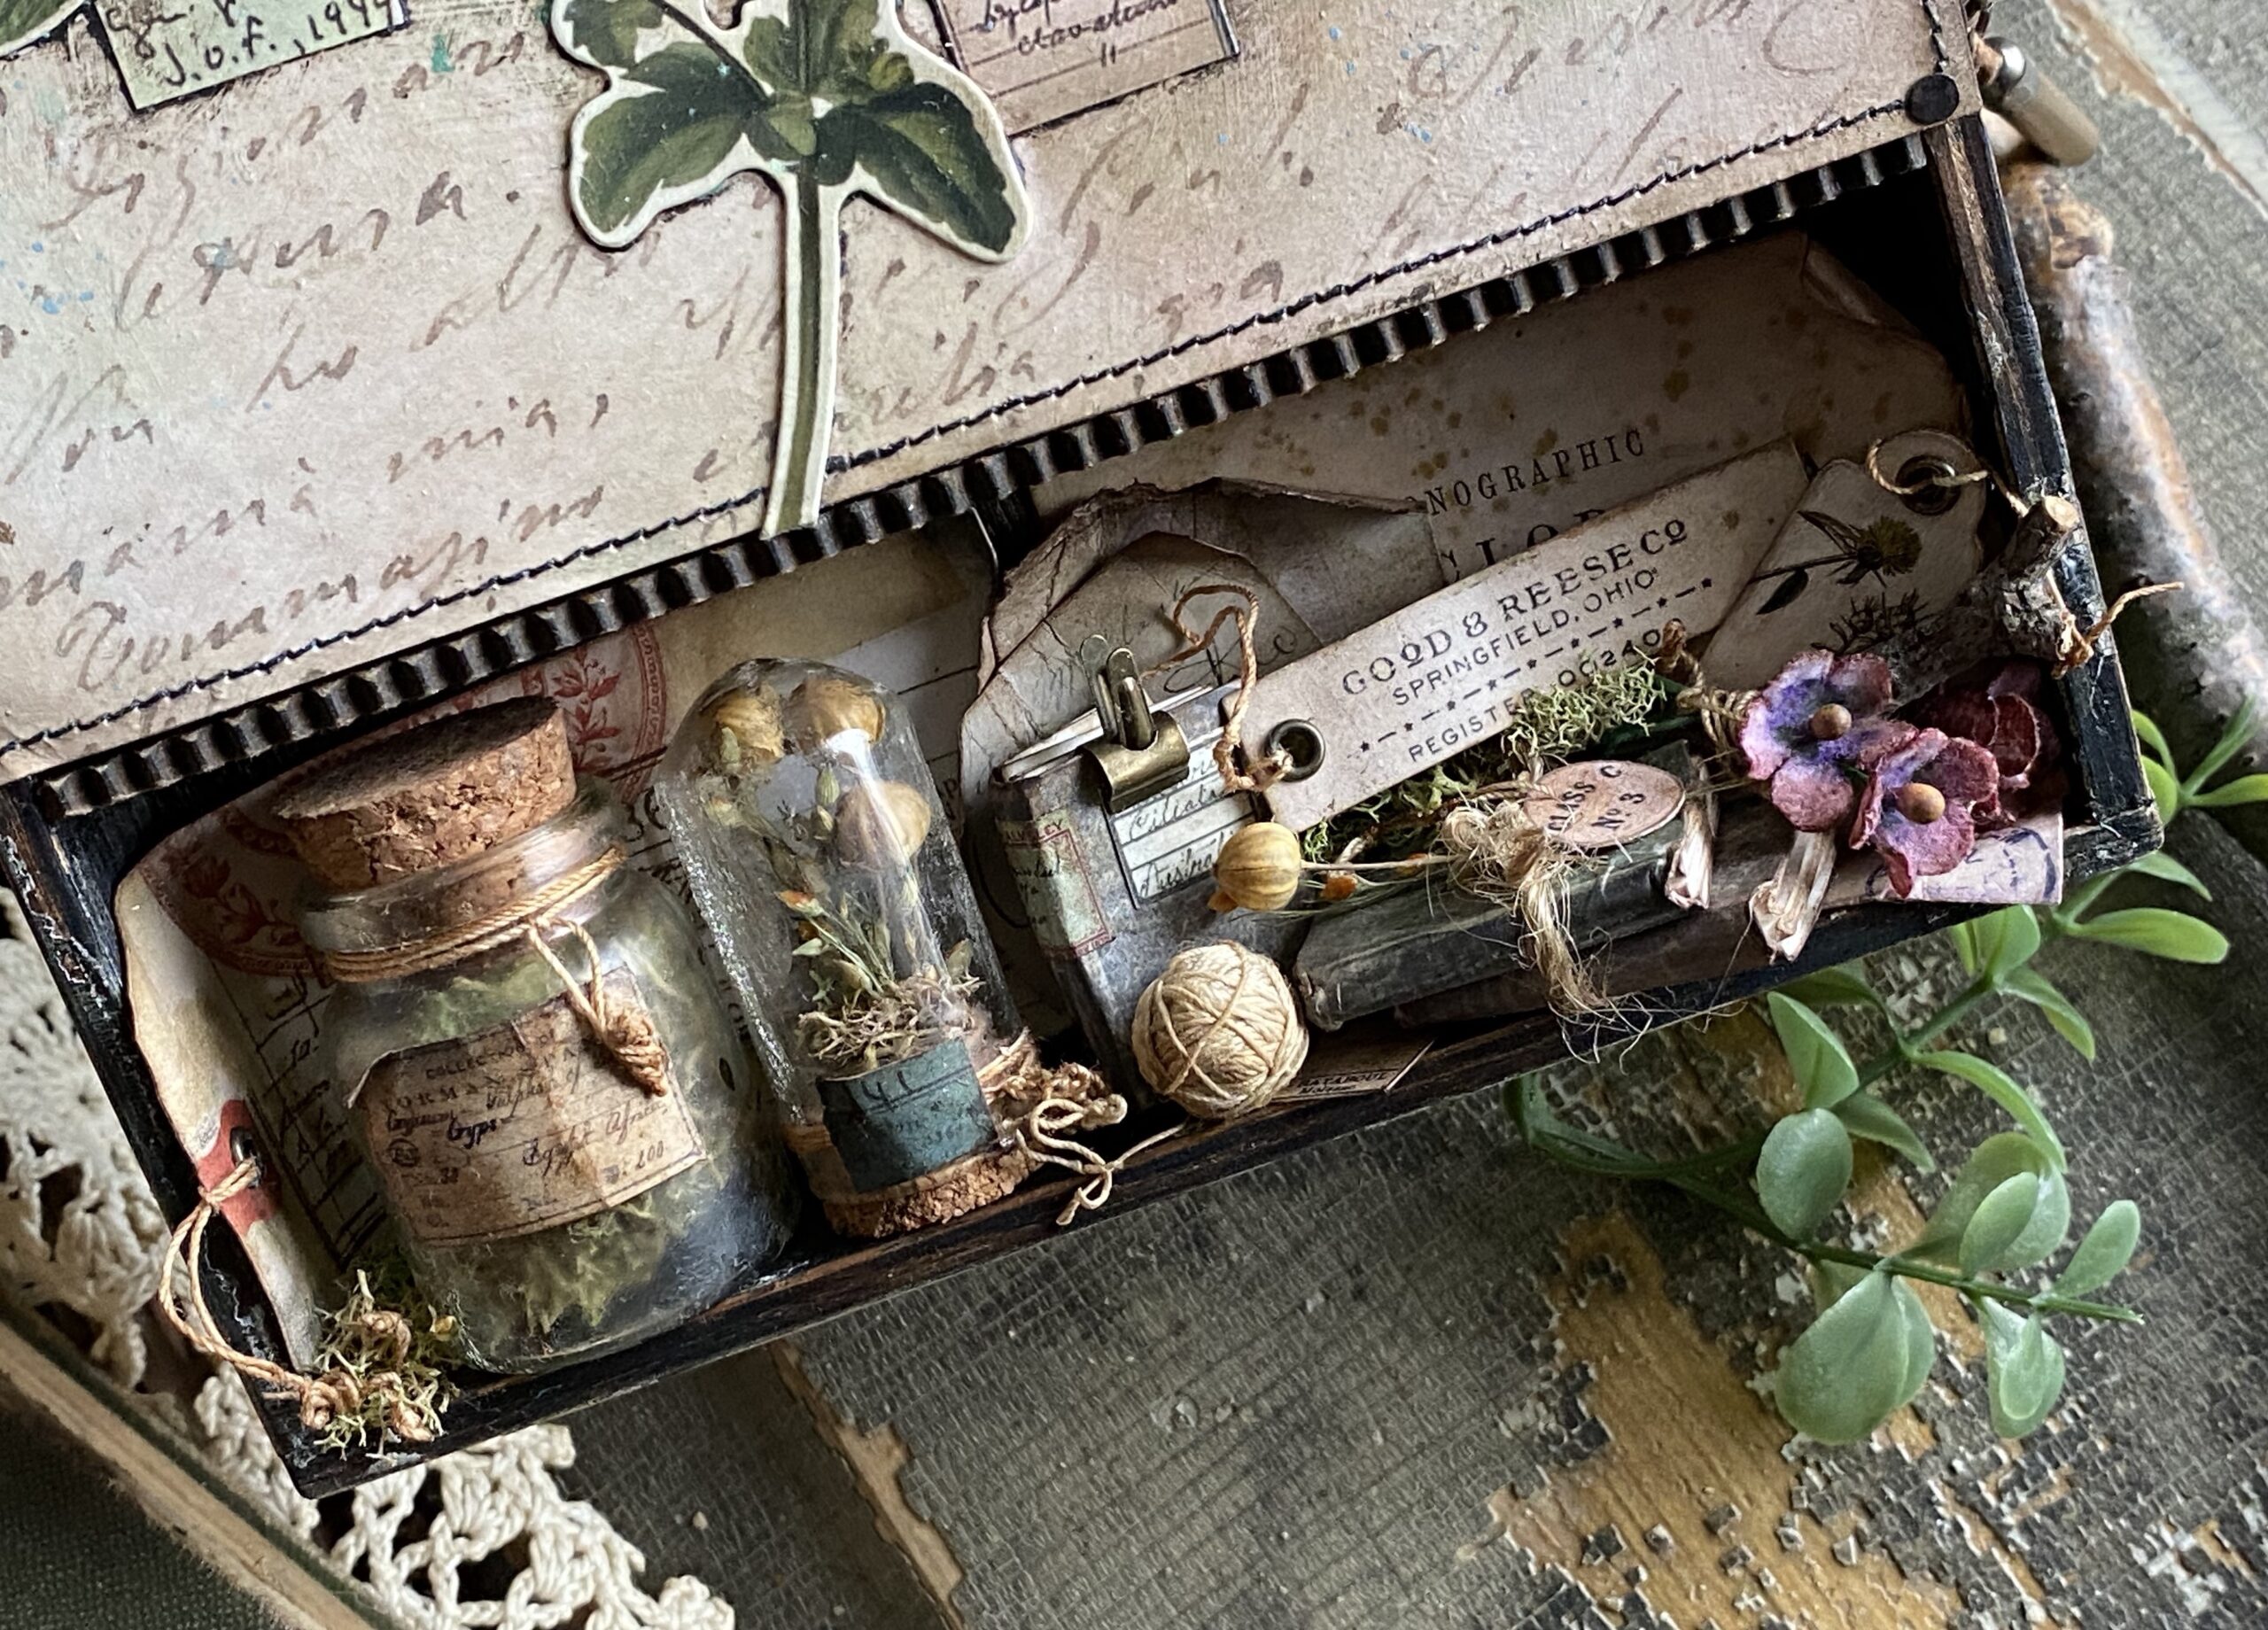
I gathered up several idea-ology bits and pieces and created a shelf collection of items that went with the theme of my project.


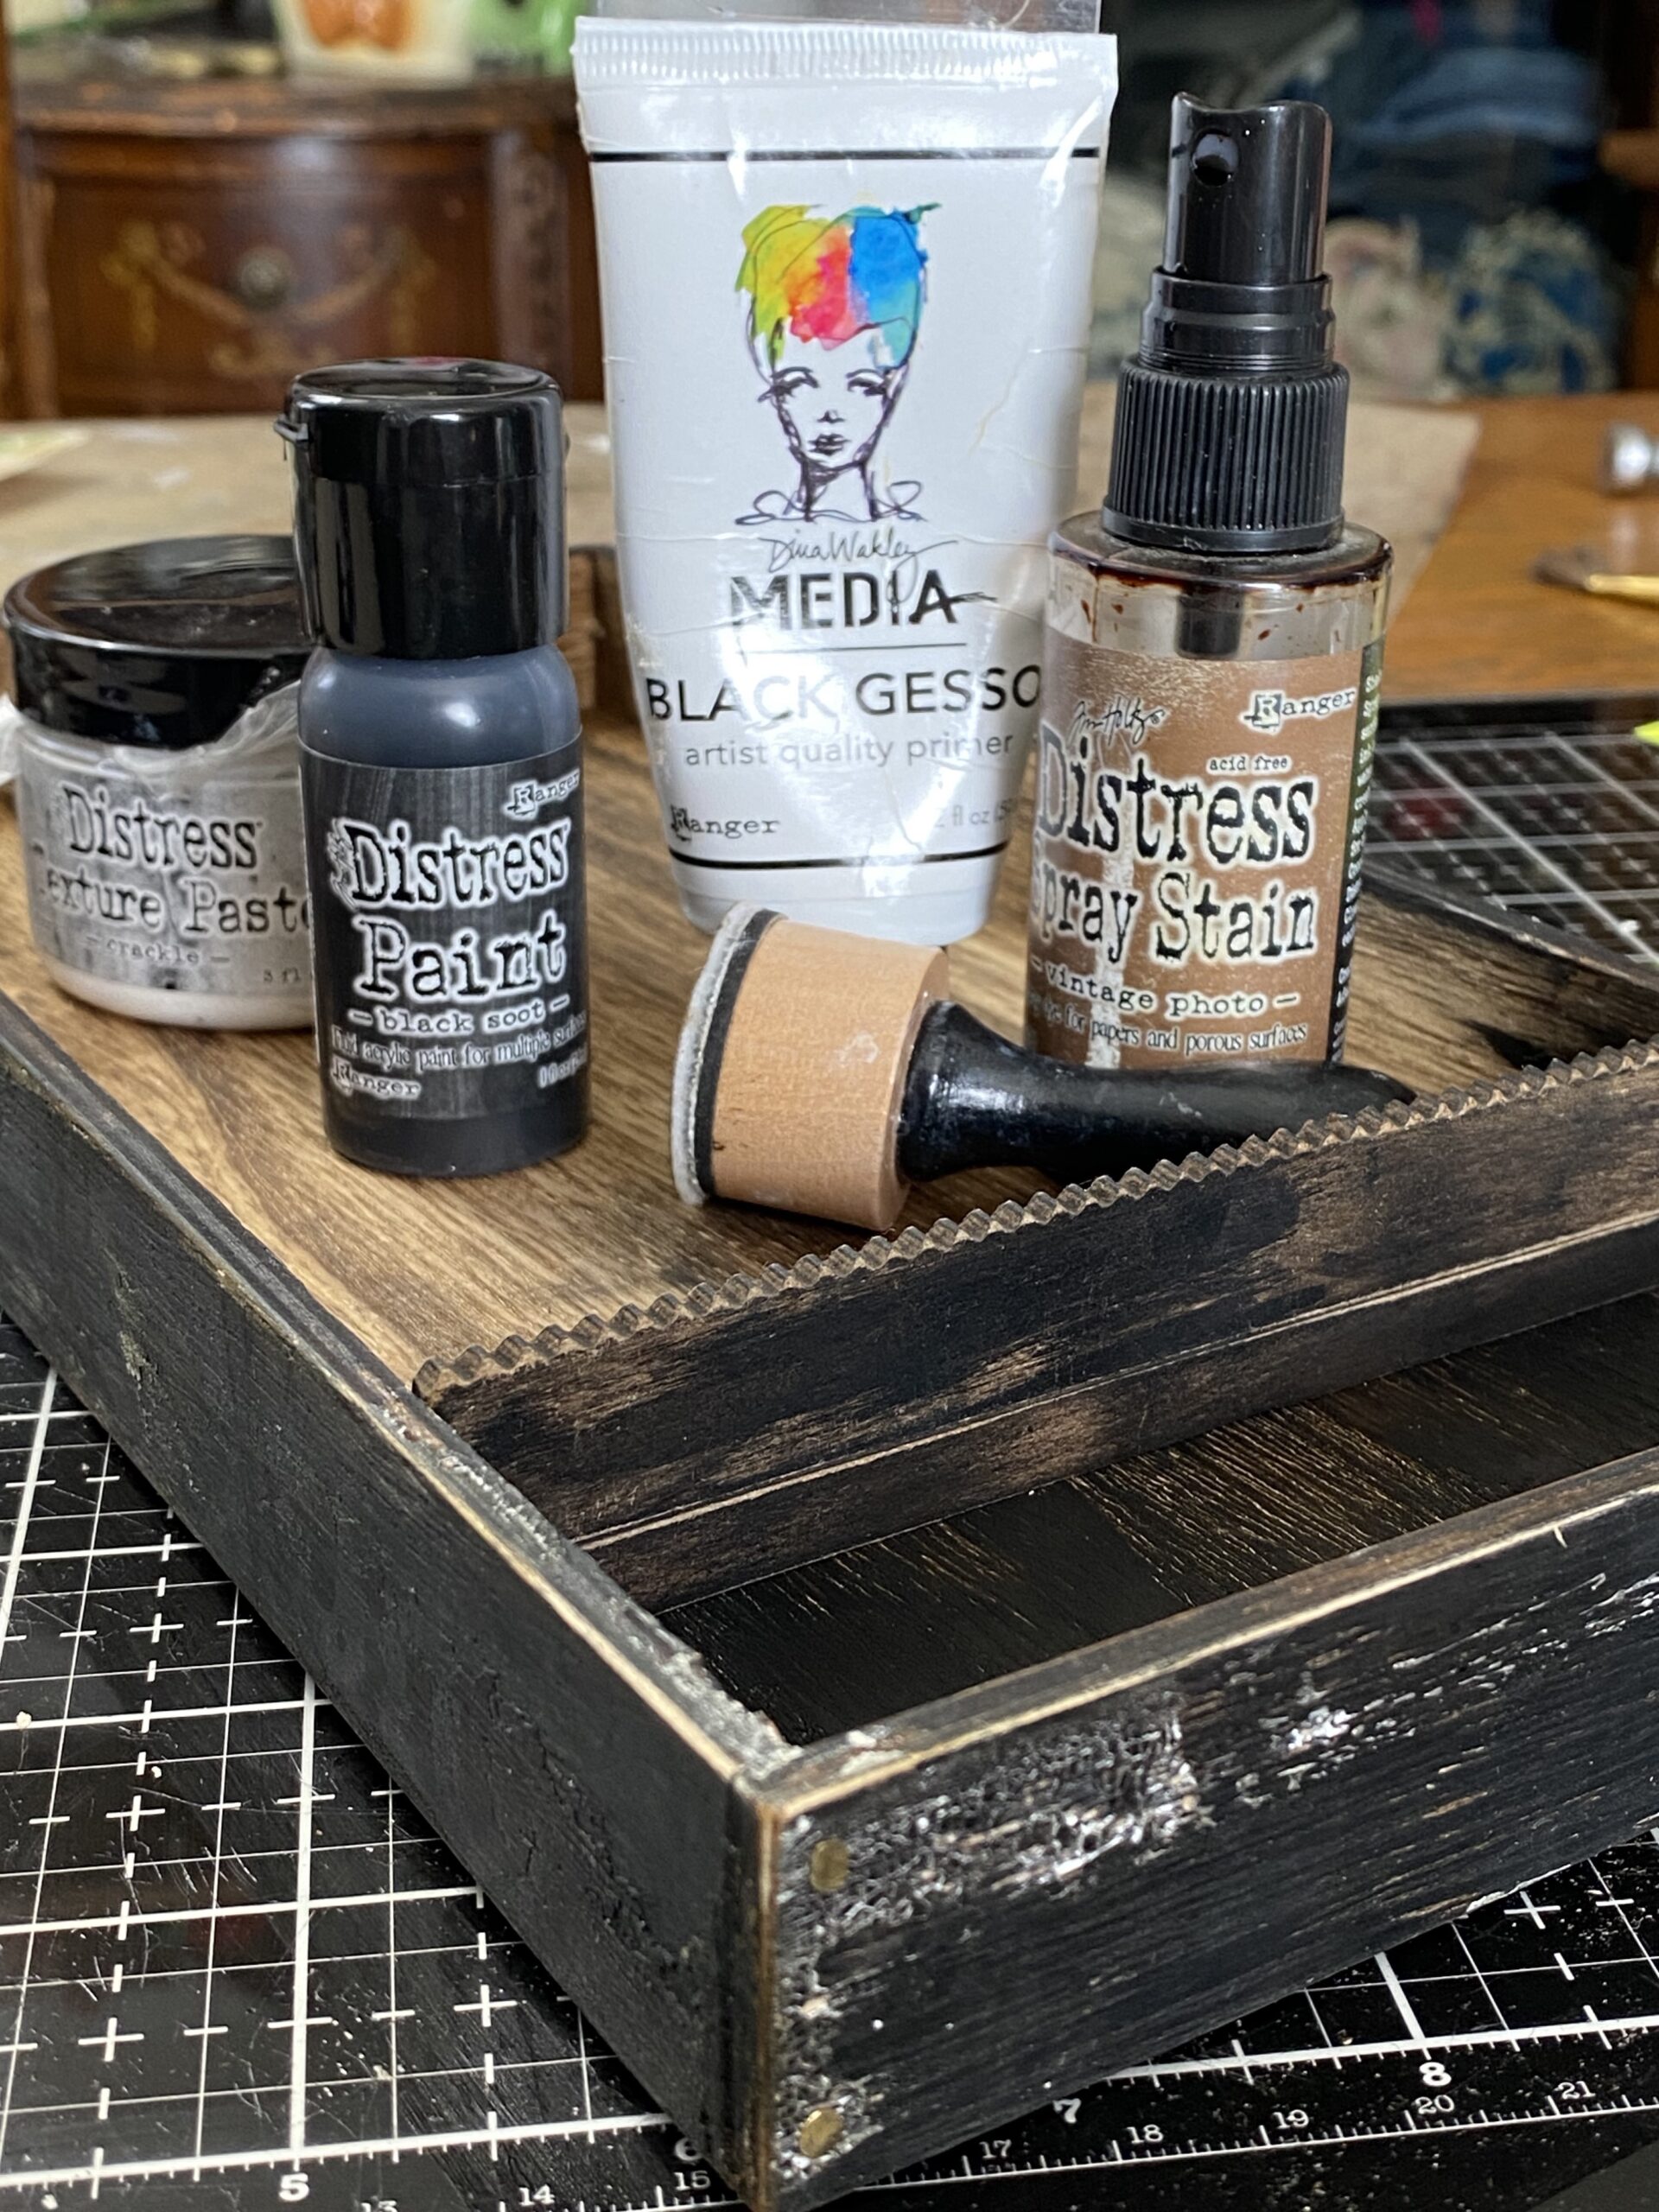
Let’s get to it…I started with a Large Vignette Tray that I adhered a couple Etcetera Trims to at the bottom to create a shelf. The “shelf” space was approximately 2 inches wide…just enough space to make a tiny collection space, plus enough room at the top to create a beautiful display featuring the embroidery hoop photo and floral background pieces.
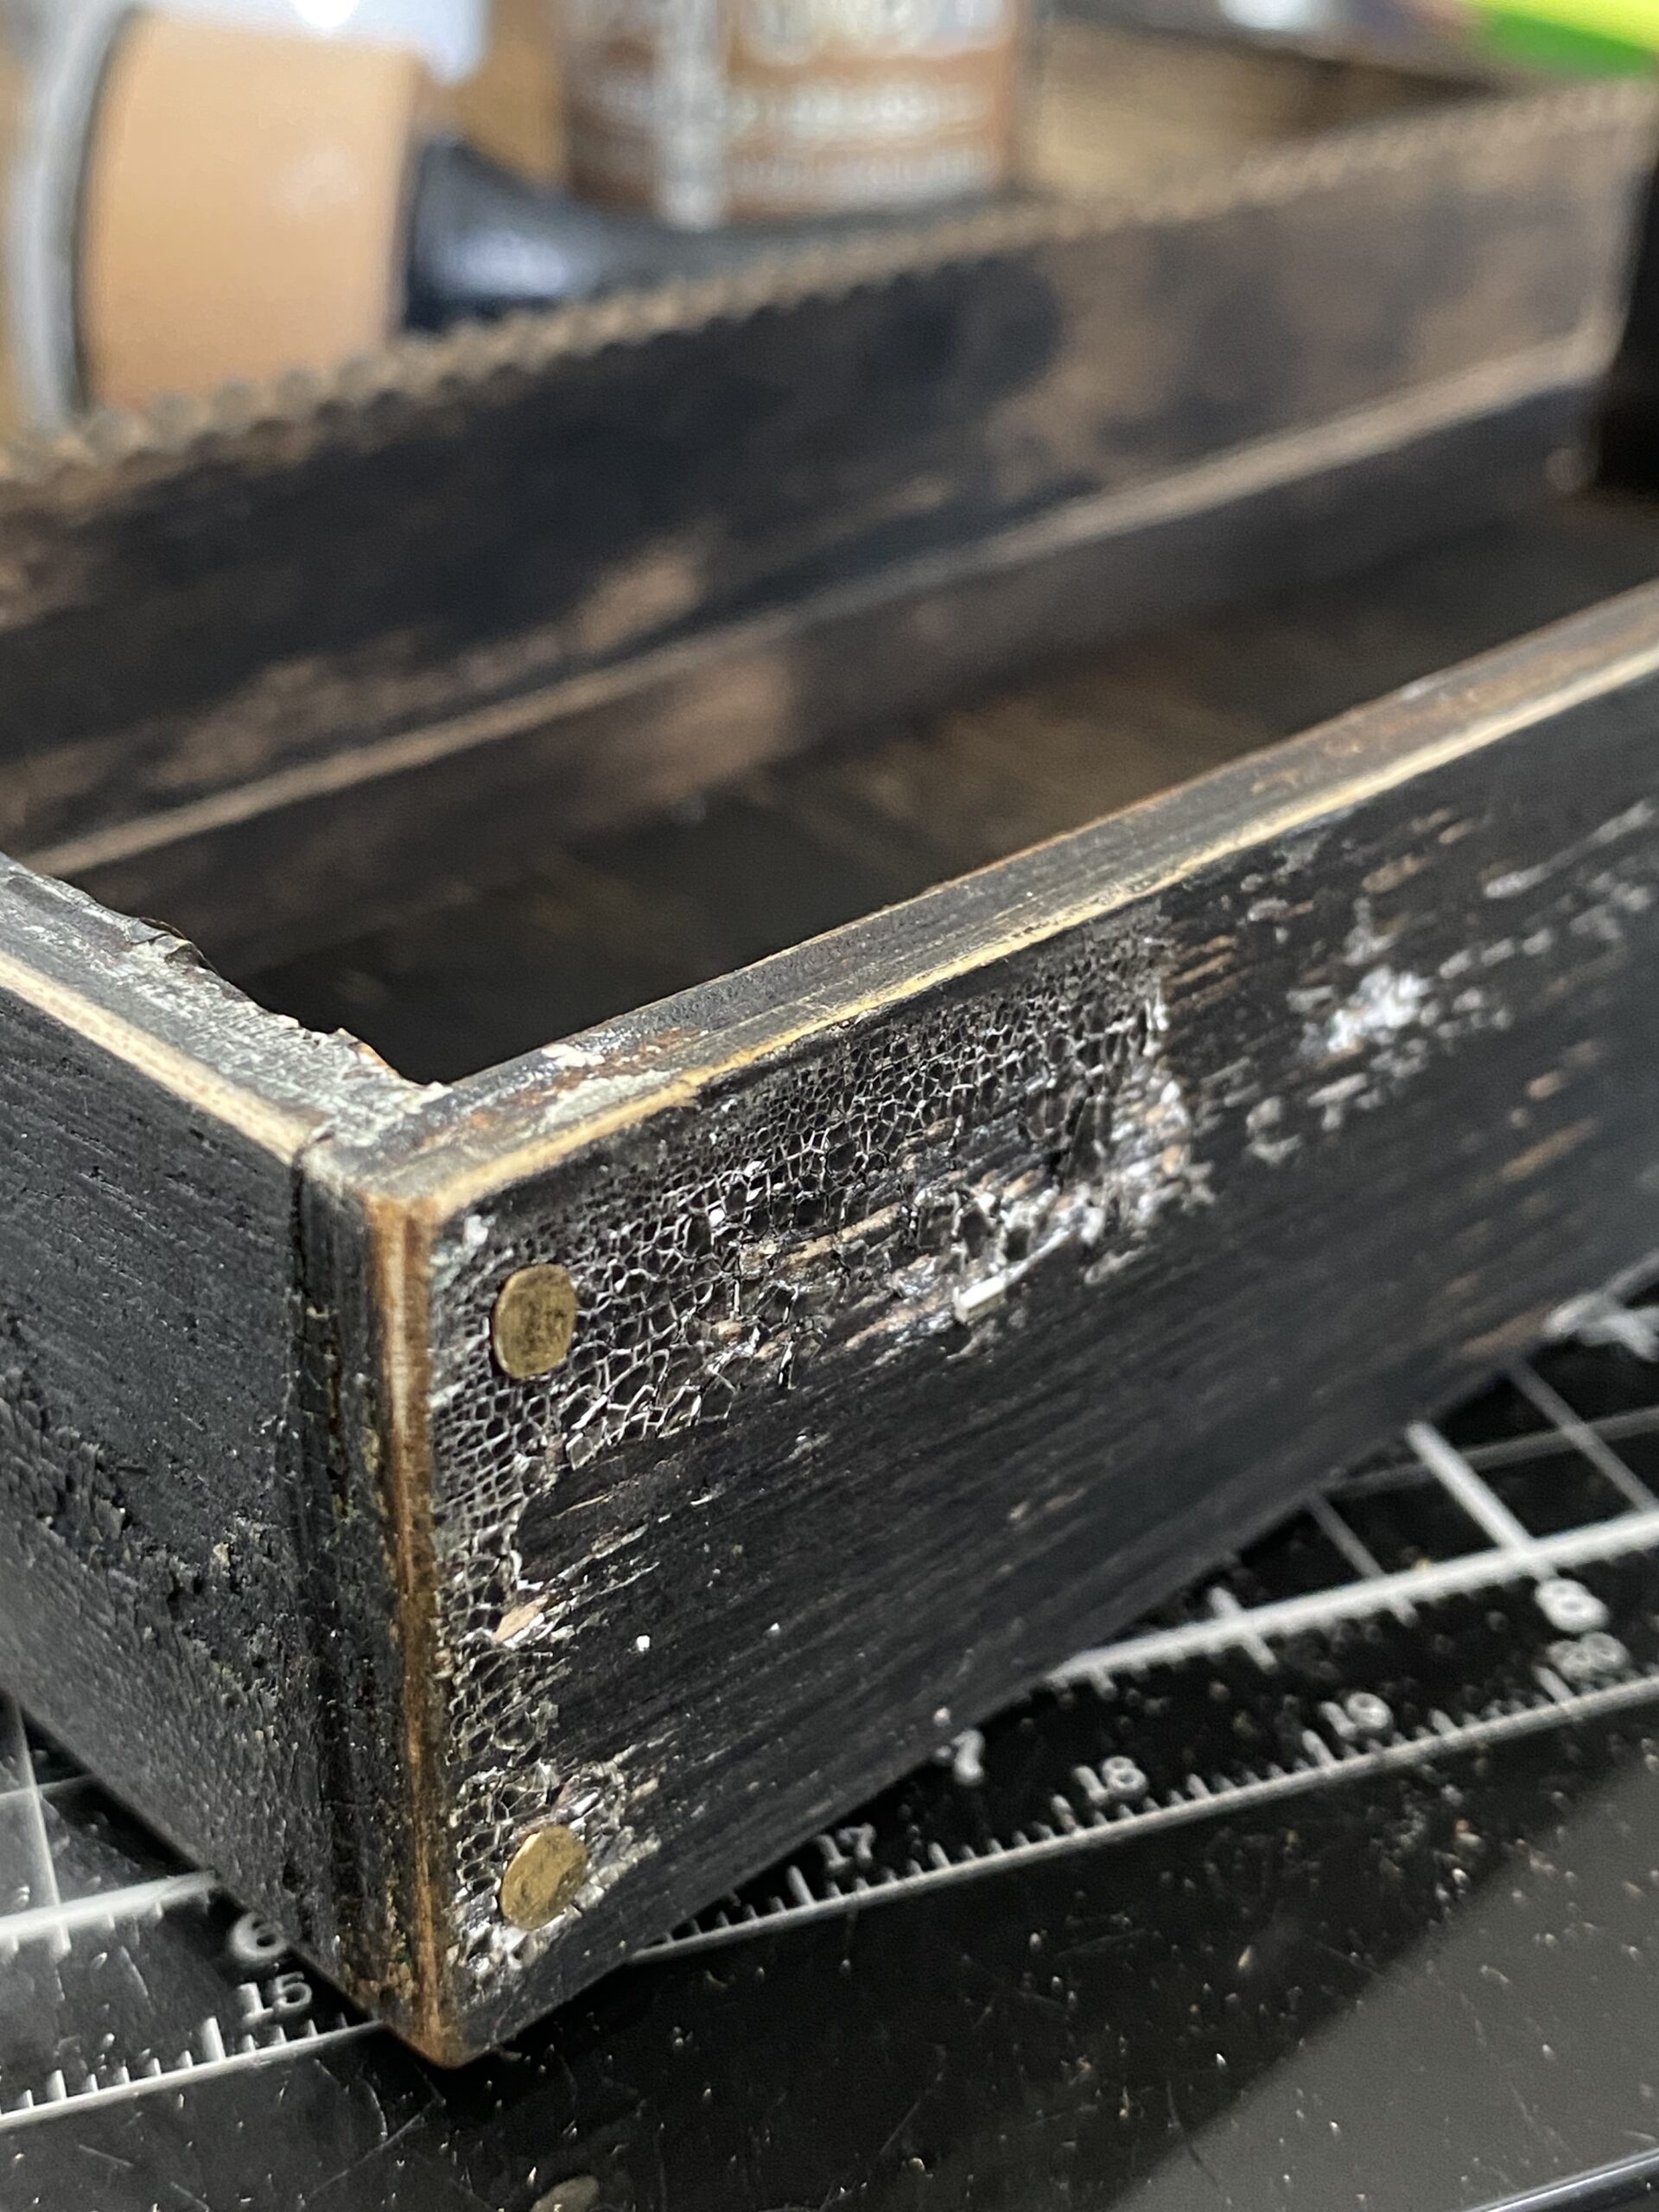
I painted both the trim and vignette tray with a light coat of Black Gesso. Then I applied some Distress Crackle Paste in random areas using a palette knife. I set the tray aside to dry and crackle then once the paste was crackled, lightly rubbed on some Black Soot Distress Paint to emphasize the crackled areas.
I sanded the edges of the tray using my Sanding Tool, then sprayed the tray with some Vintage Photo Spray Stain. This added some grunge and age to the piece.

Using my hammer and some found vintage nails, I hammered in a couple nails around the edges of the tray.

I set the tray aside and began on the embroidery hoop and display area. This was accomplished by first selecting a piece of paper from the Backdrops Collection 4 pack.
I trimmed the backdrop paper and a piece of black chipboard to fit the top portion of the vignette tray, then stitched around the edge of the paper. I adhered the paper to my piece of chipboard using collage medium.
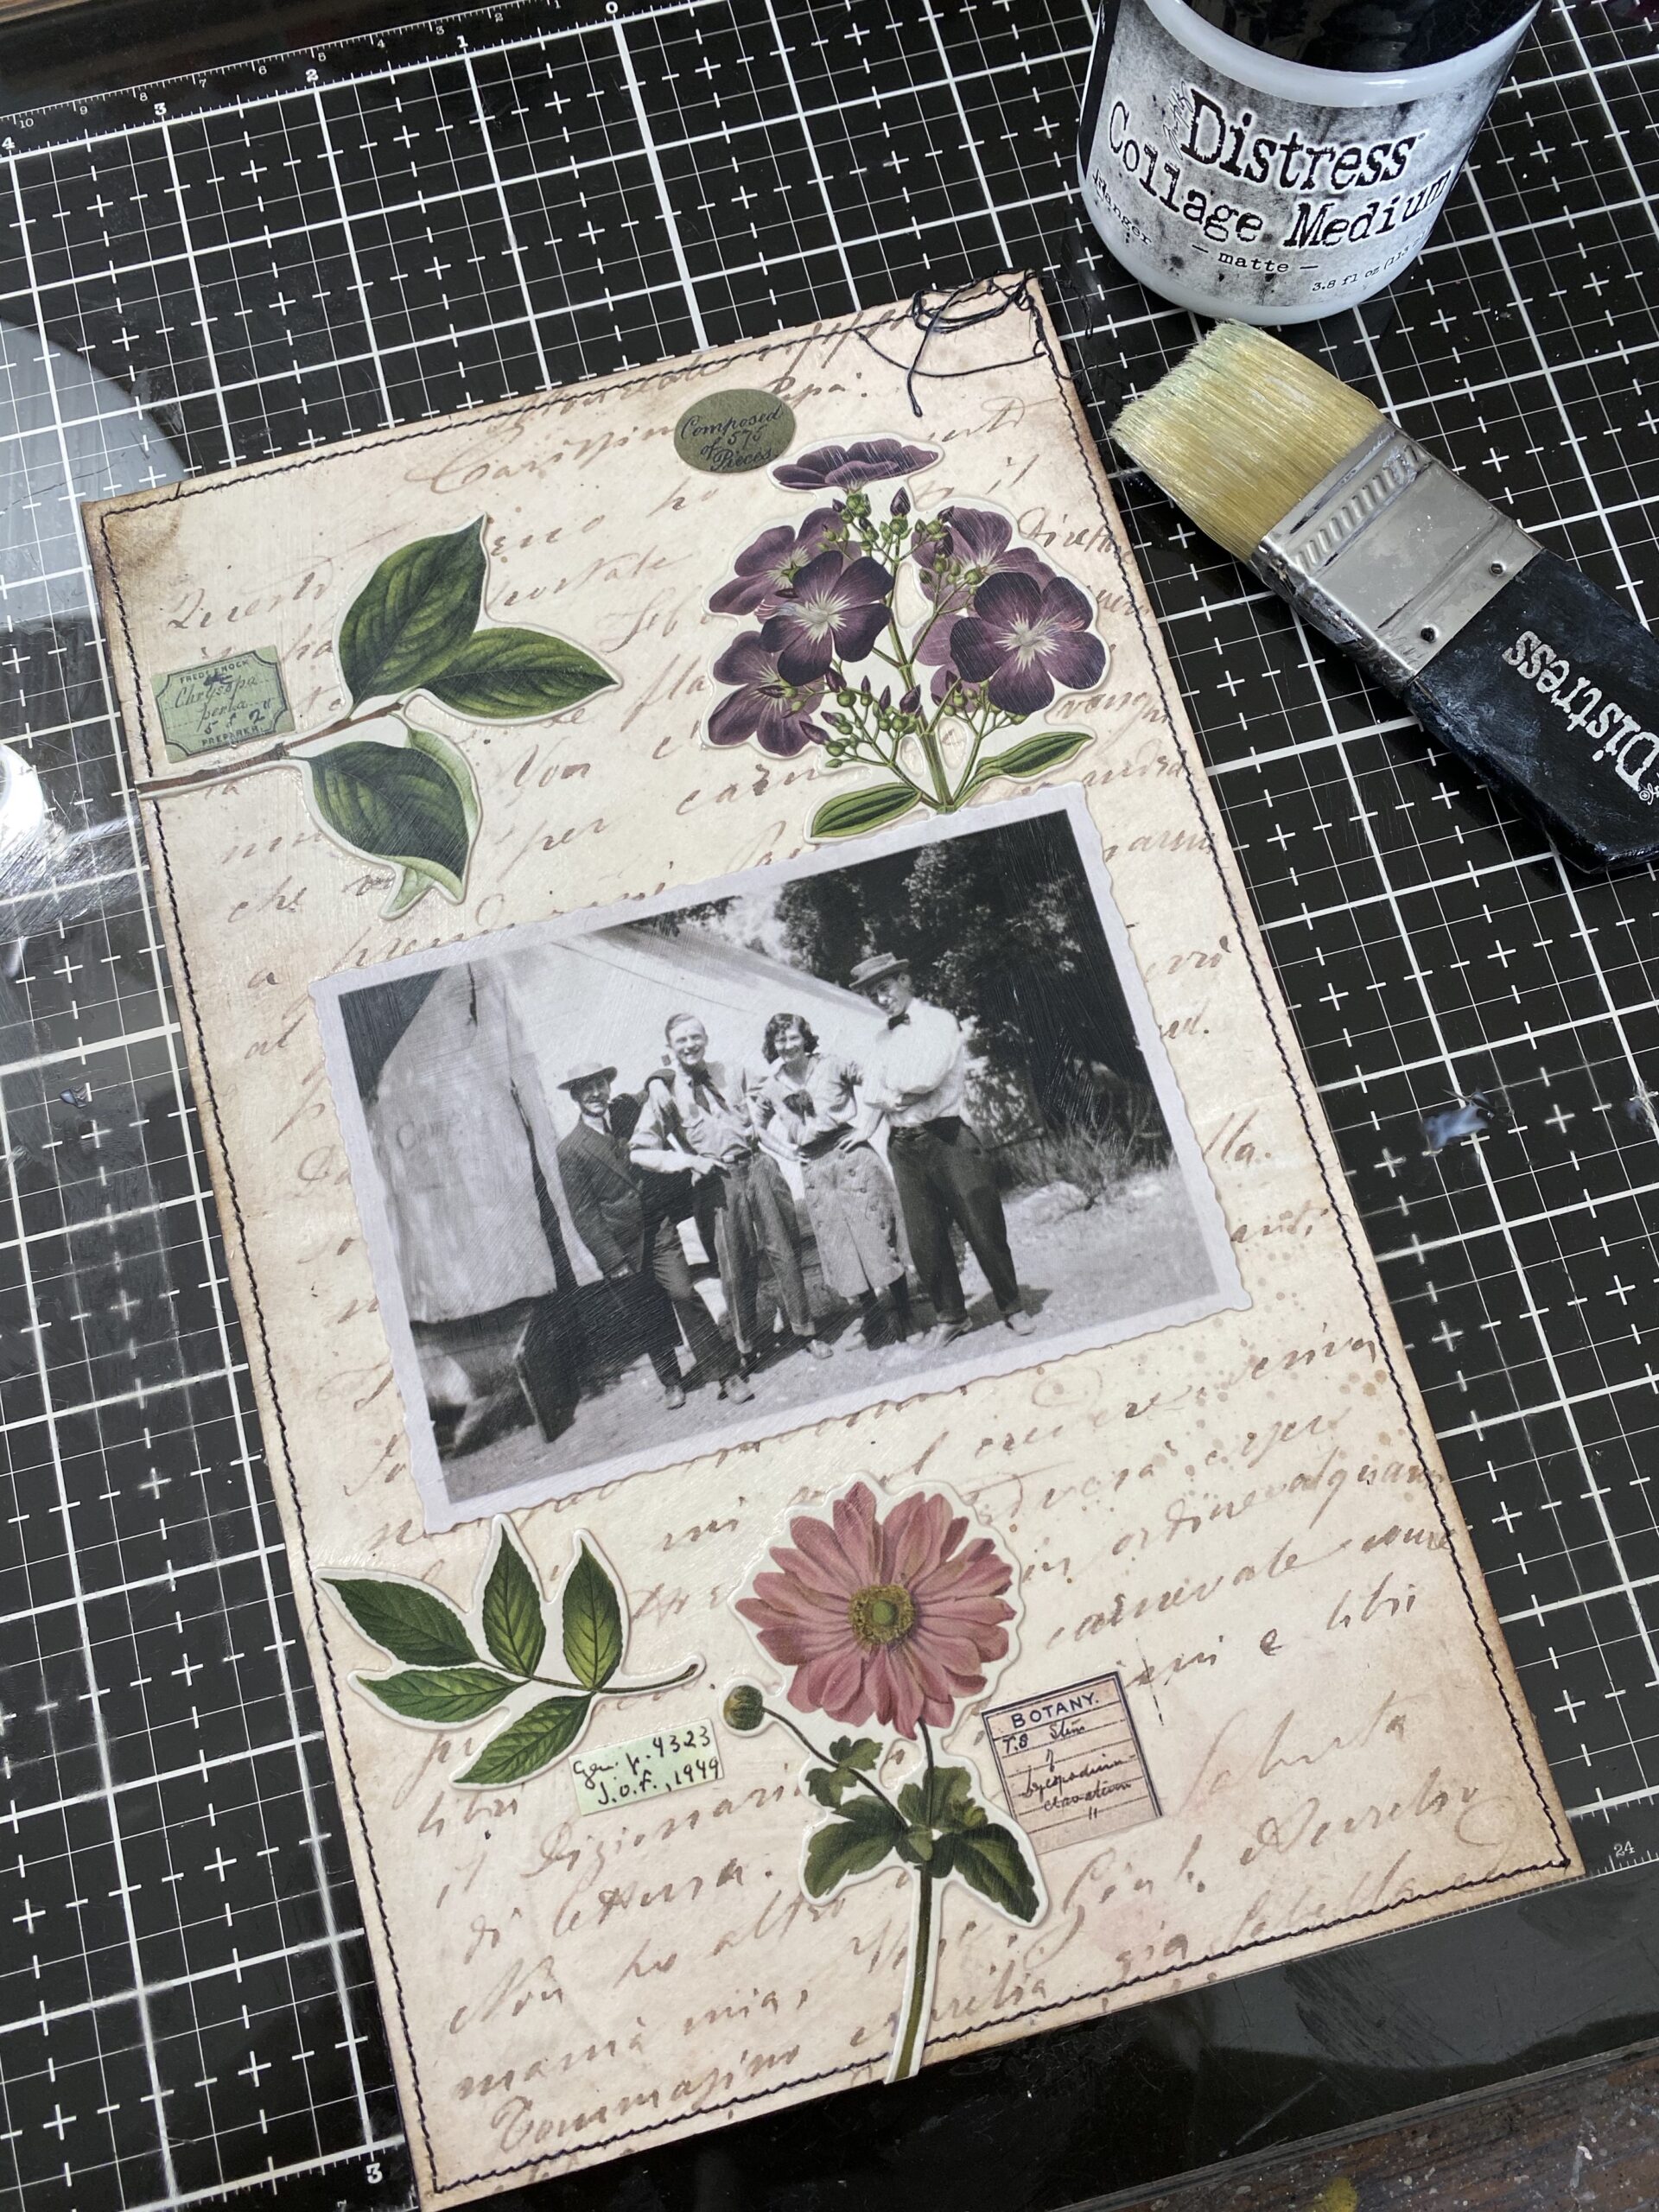
I selected the floral pieces from the Organic Layers pack and found some tiny labels for them in the Snippets Ephemera pack. They were all adhered to the front of the backdrop paper using a brush and Collage Medium.
I also adhered the snapshot photo to the center, then, once all the pieces were applied, put a thin layer of collage medium over the entire top of all the pieces. This created a slick surface so that I could work in some grunge and age into the background.

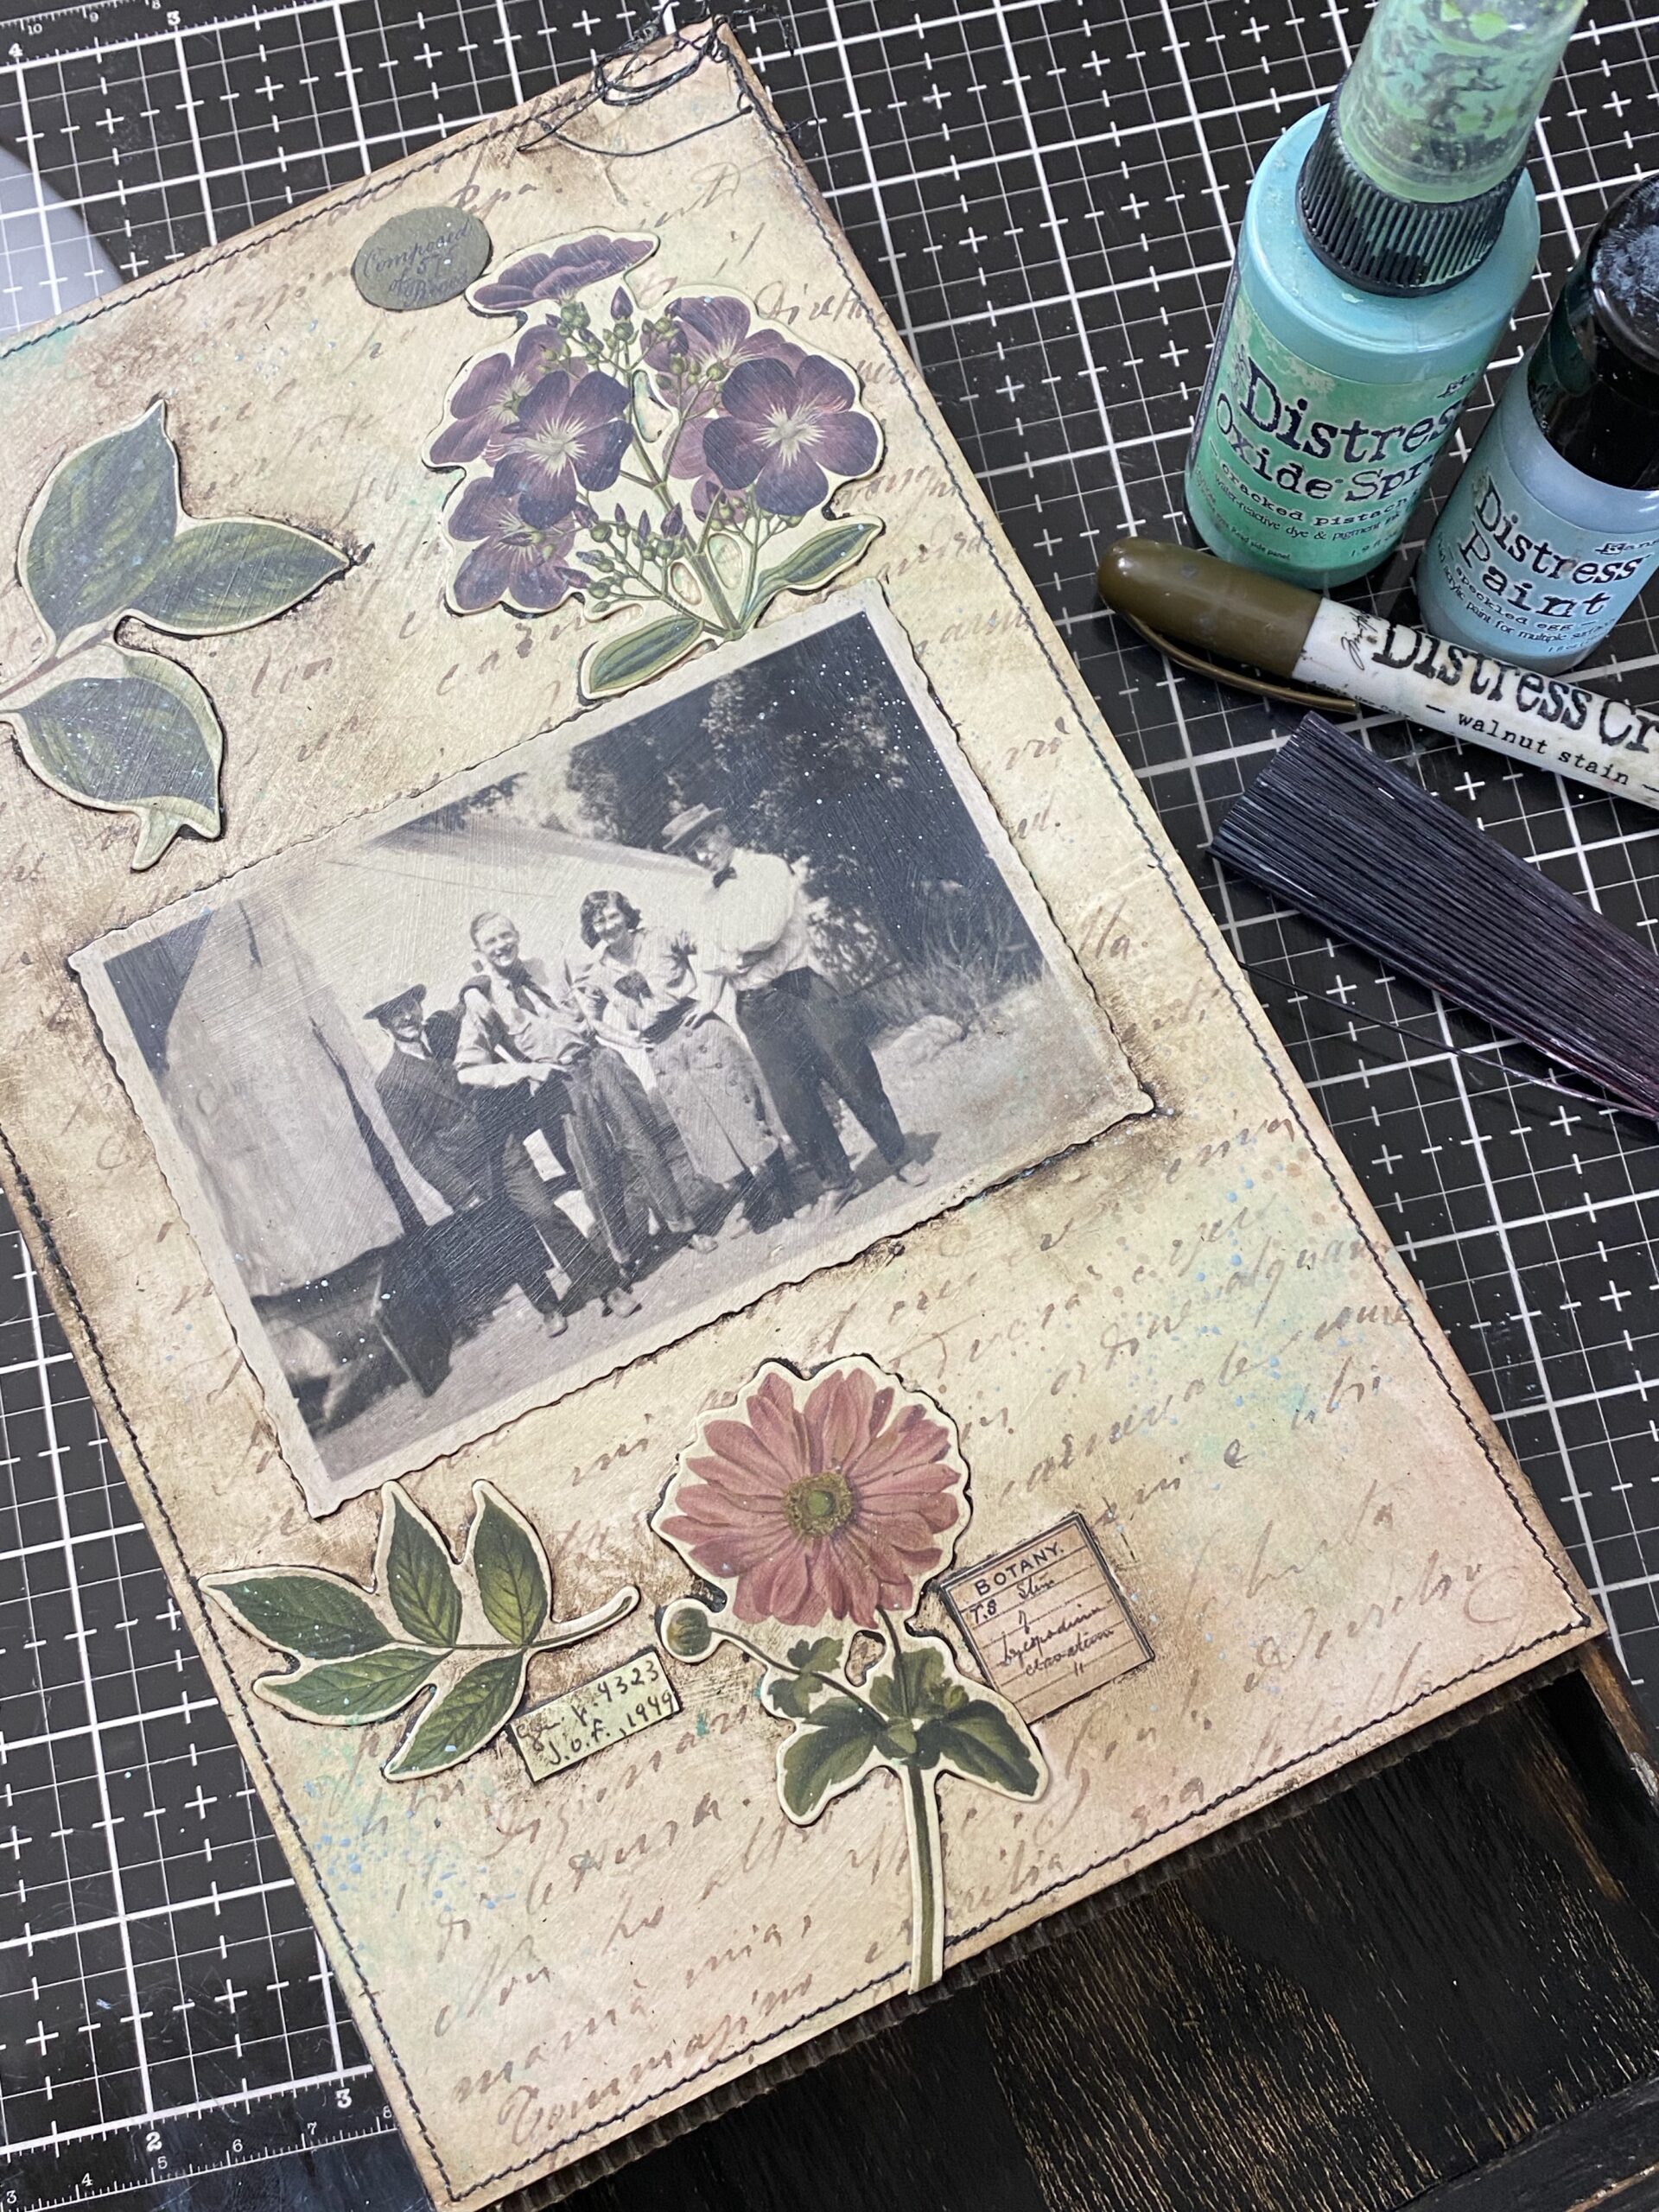
Once the collage medium was dry, I scribbled around each of the embellishments and edges of the entire background with a Walnut Stain Distress Crayon. Using my finger, I rubbed the crayon into the edges of the flowers, labels and photo. To create a moddled look, I took a baby wipe and lightly smooshed it over the crayon areas.
I spritzed and flicked on some Cracked Pistachio Distress Oxide Spray Stain and using a Splatter Brush, flicked on some Speckled Egg Distress Paint. Then I set the background aside the dry.

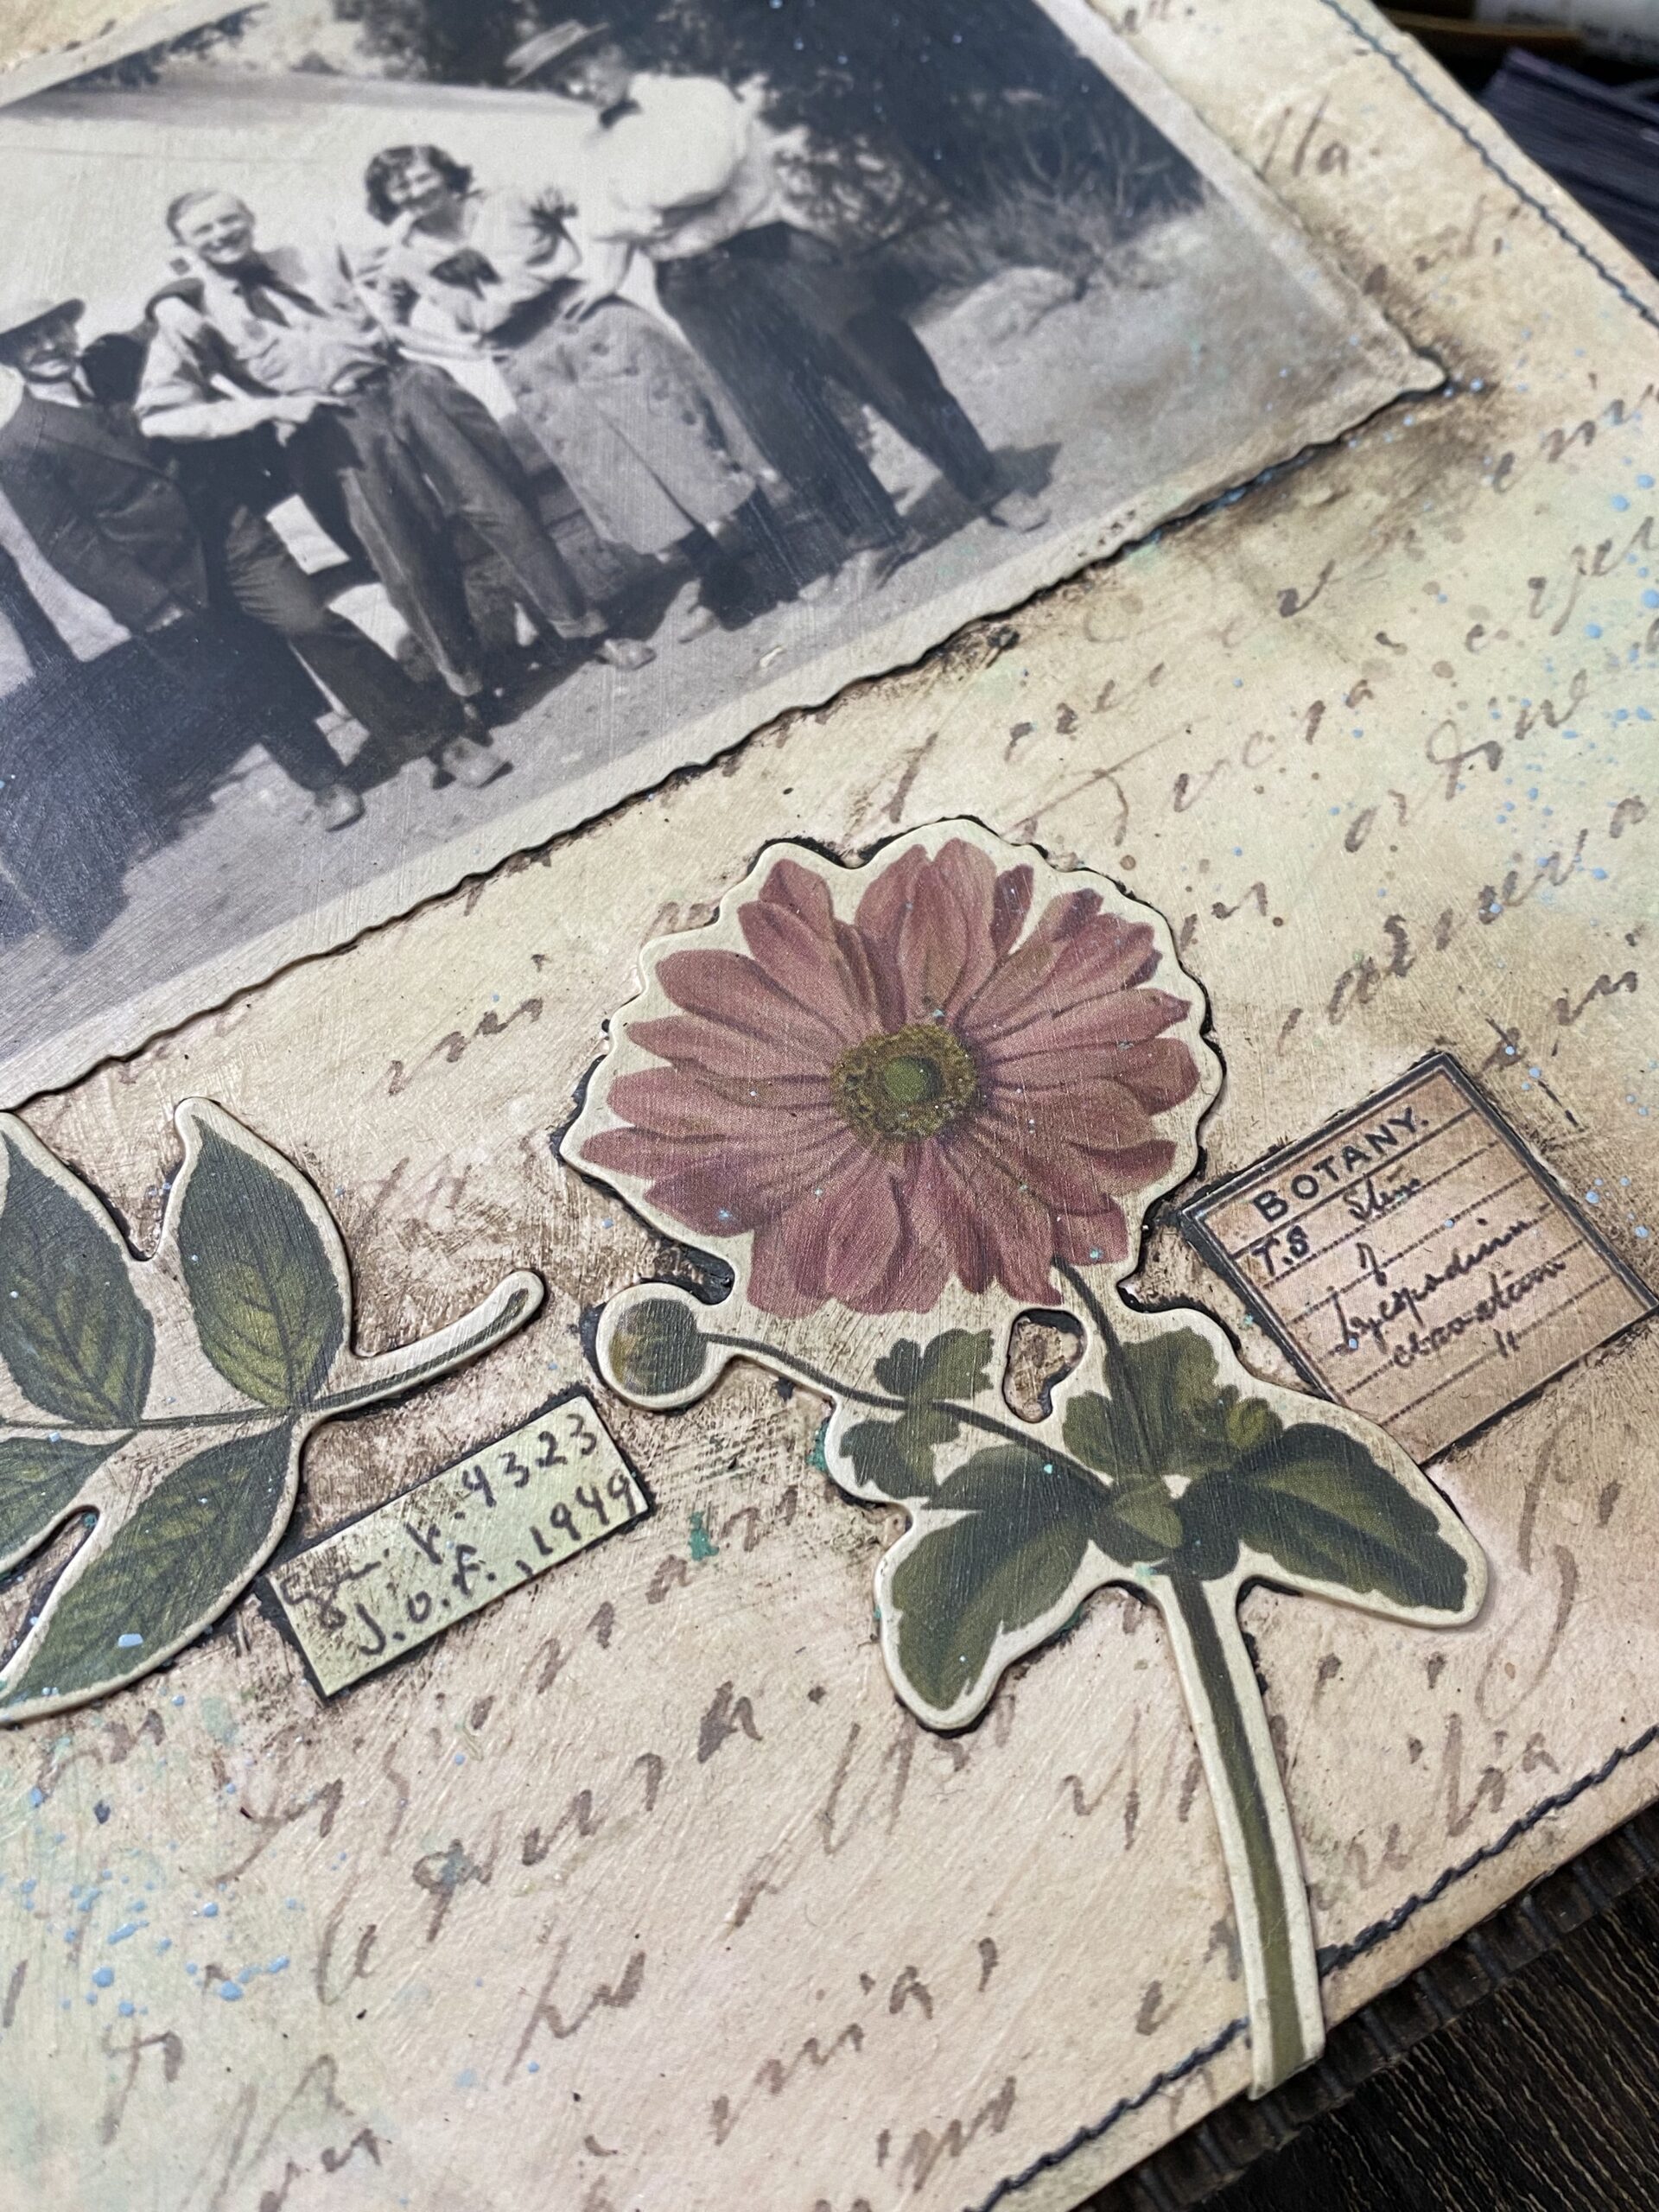
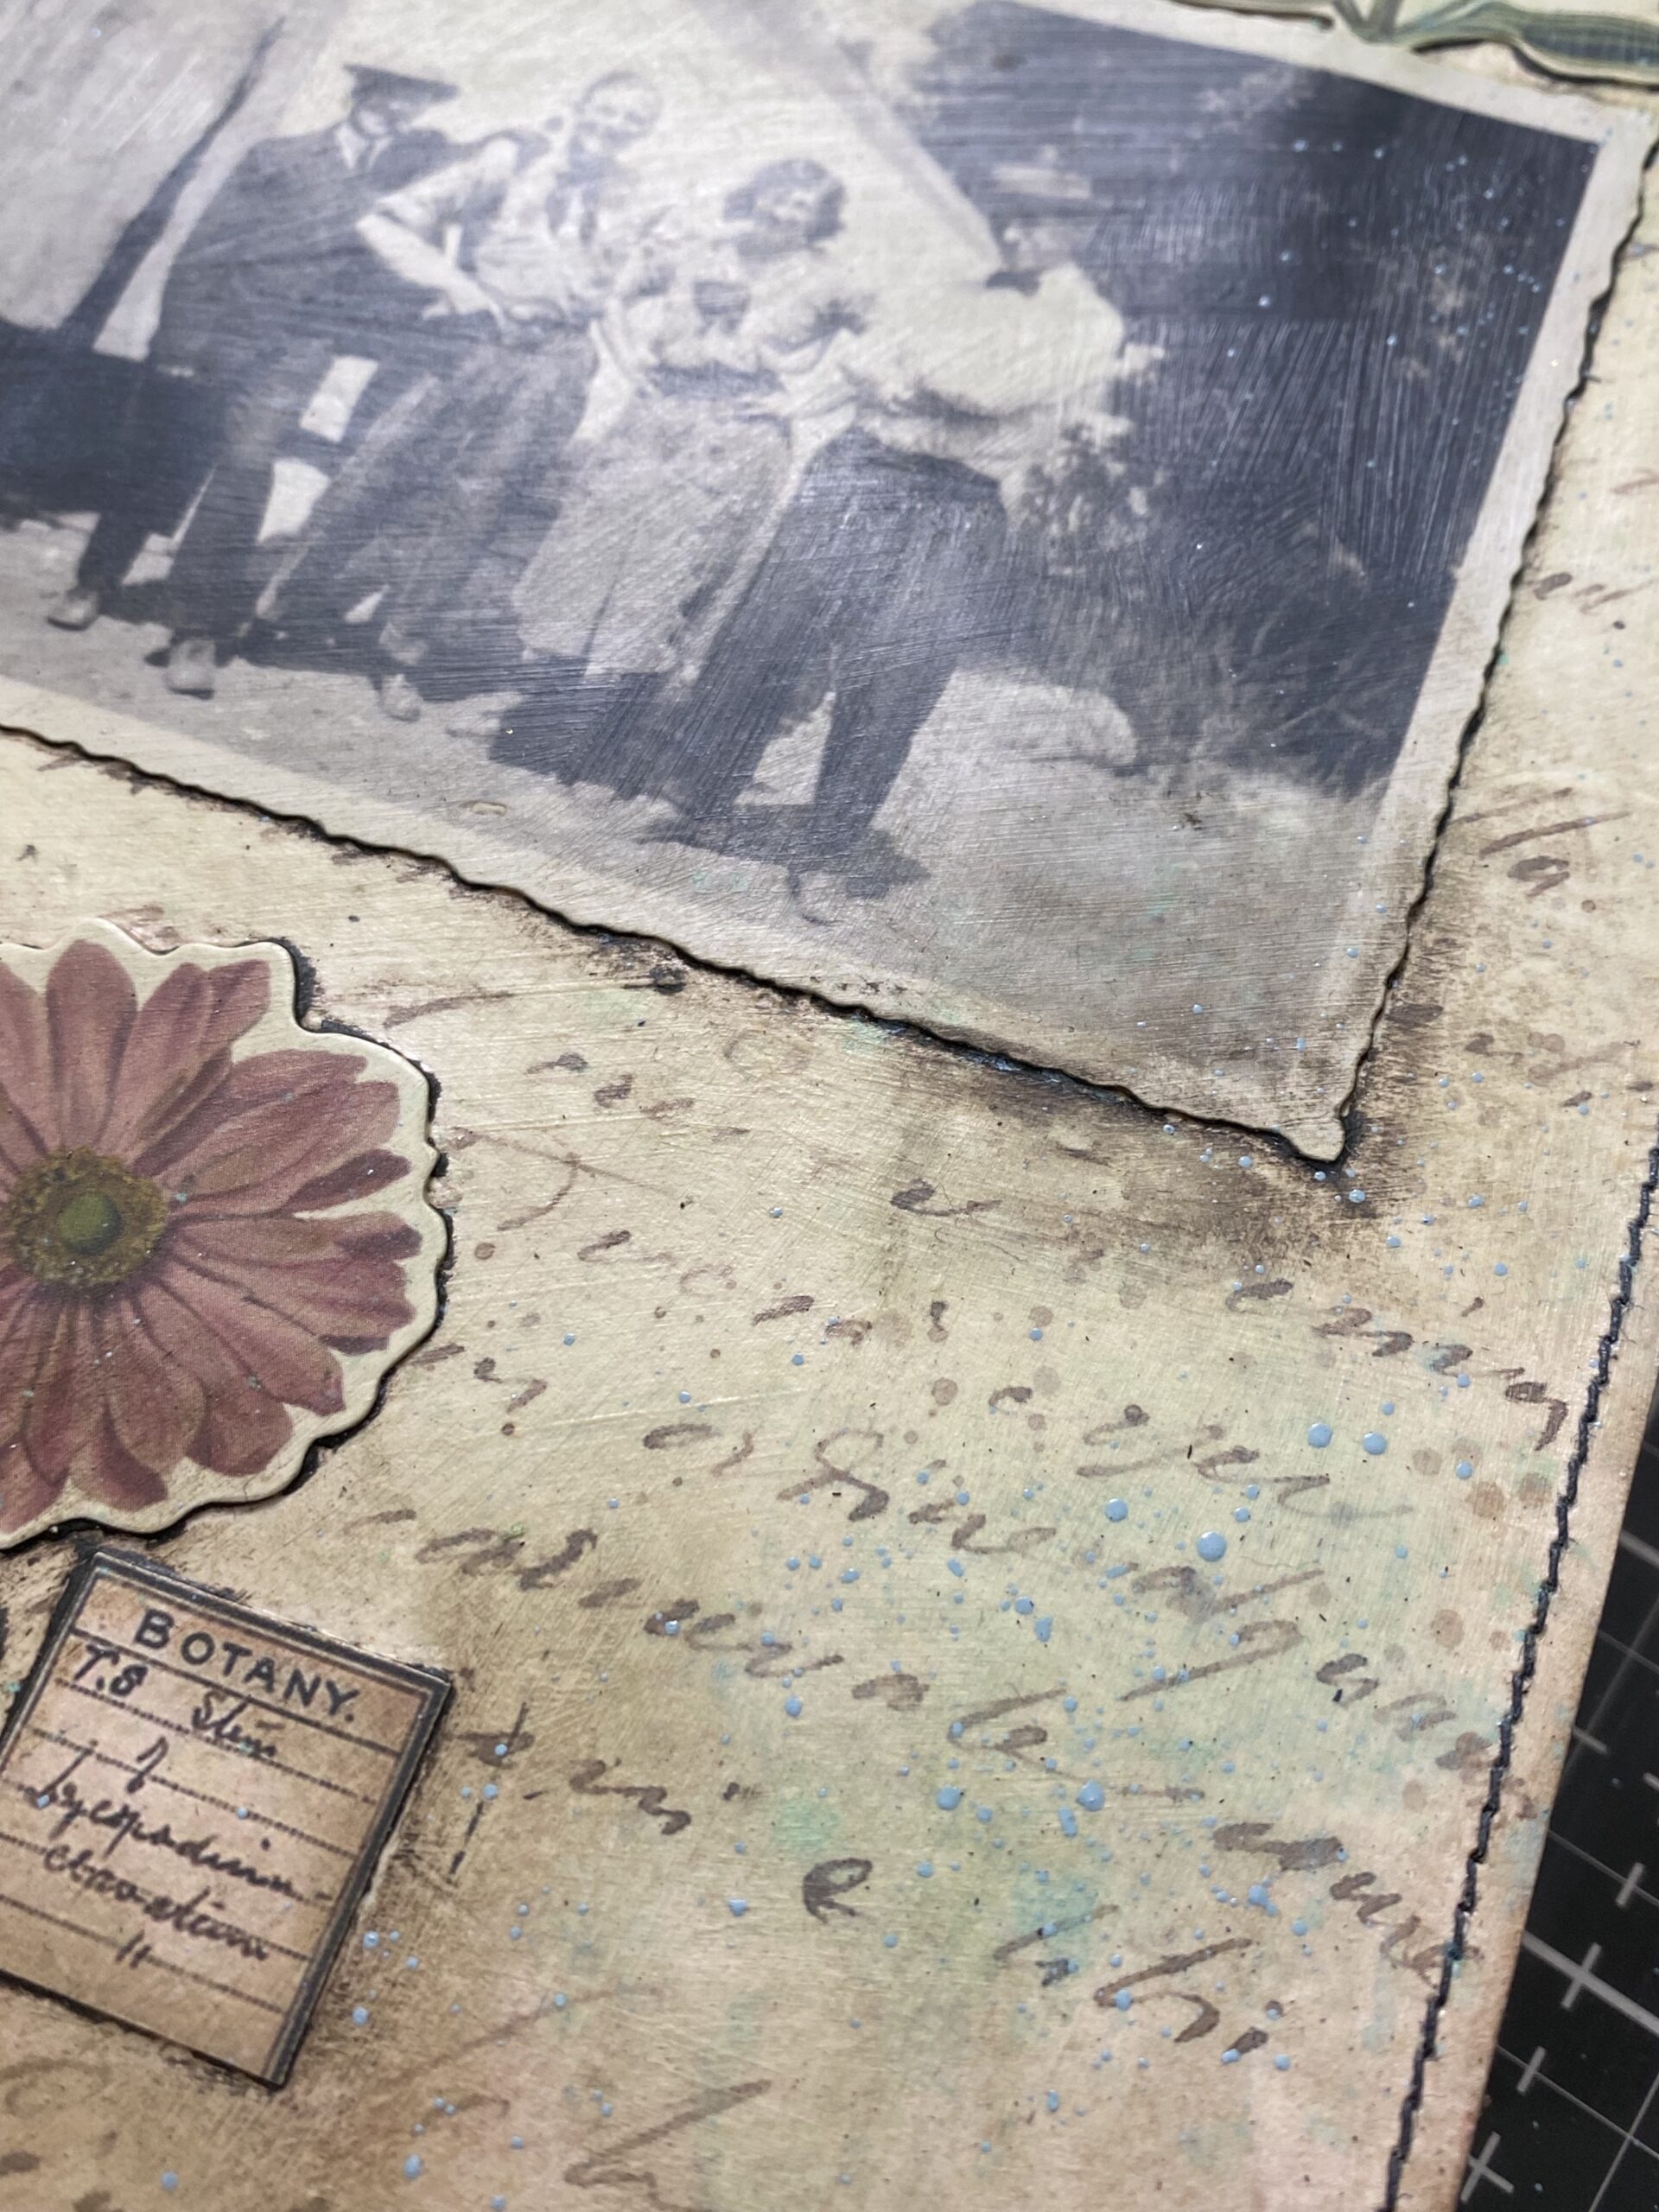
Here’s a good look at the grungy flicked and spritzed areas.


While the background was drying I went to work on the tags, label and pull…


I went through my pack of Snippets Ephemera and gather some that I thought looked like gardening and floral bits. Then I went through the new Organic Layers Pack. I found a few large layers that looked like they were from a vintage floral study book. So I grabbed a couple tags and label dies and cut out portions from them to create the tags.
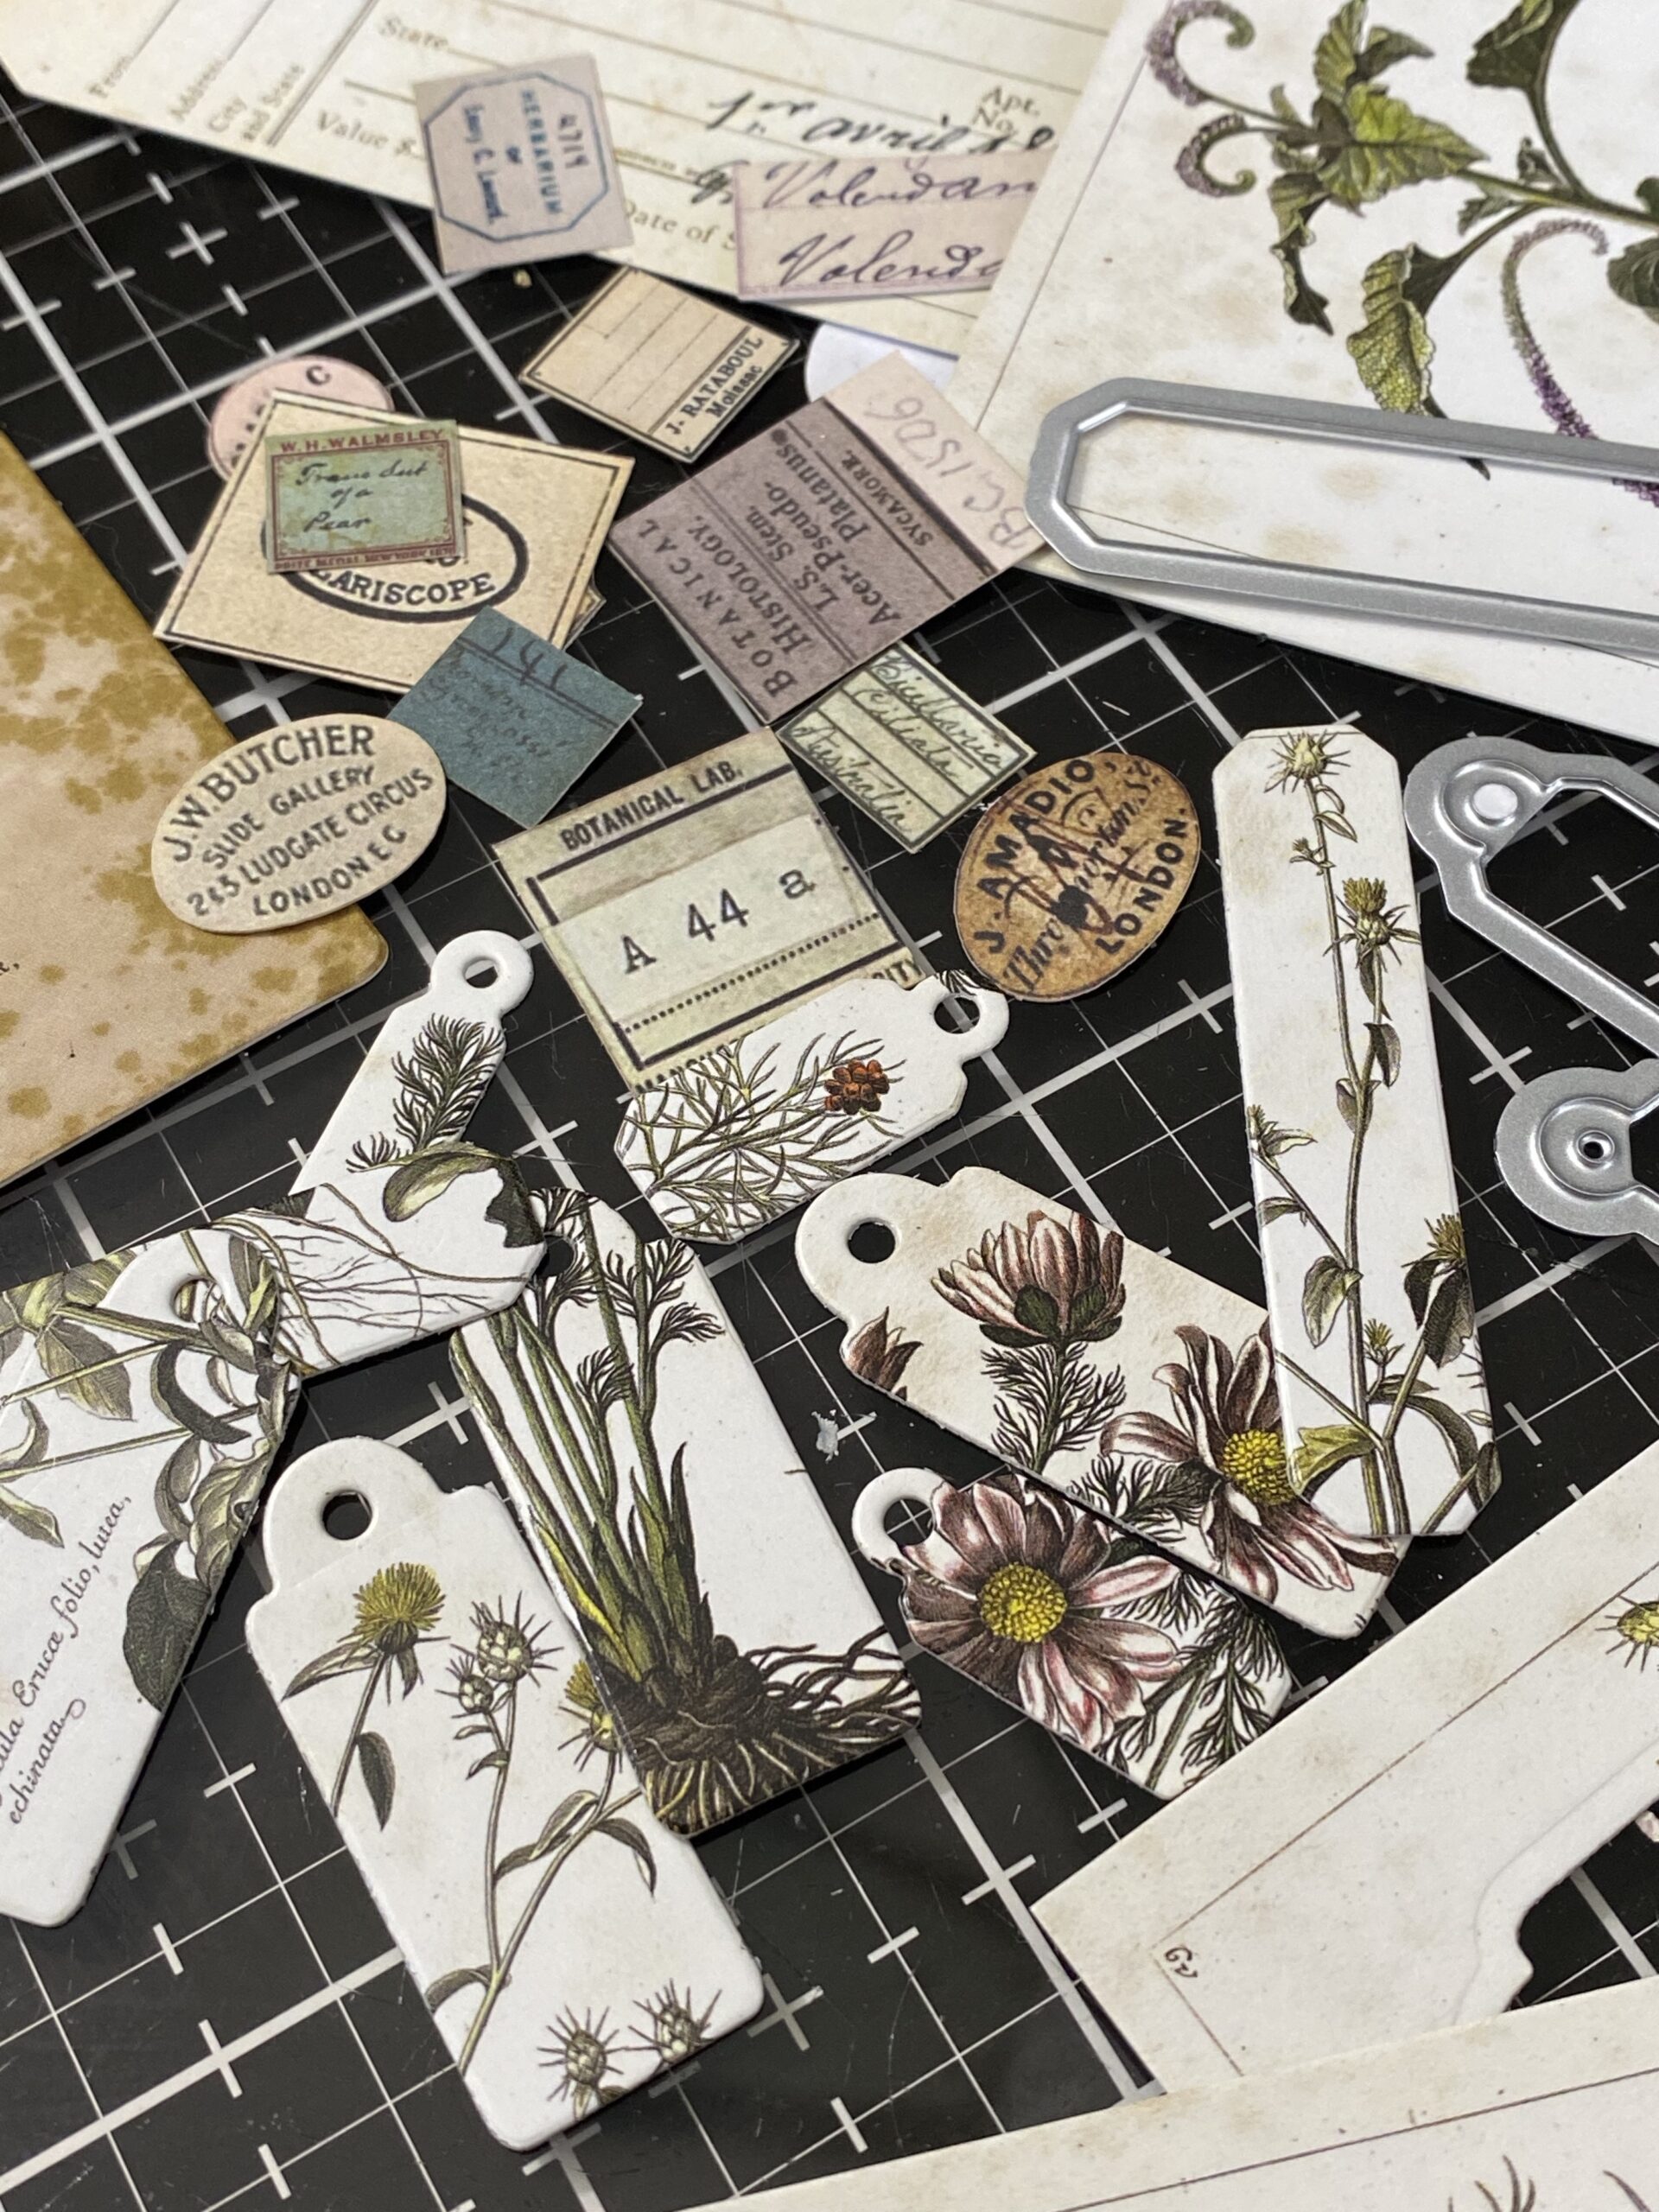

How perfect could these be?? I only used two of the backgrounds but was able to cut several tags and labels from them.
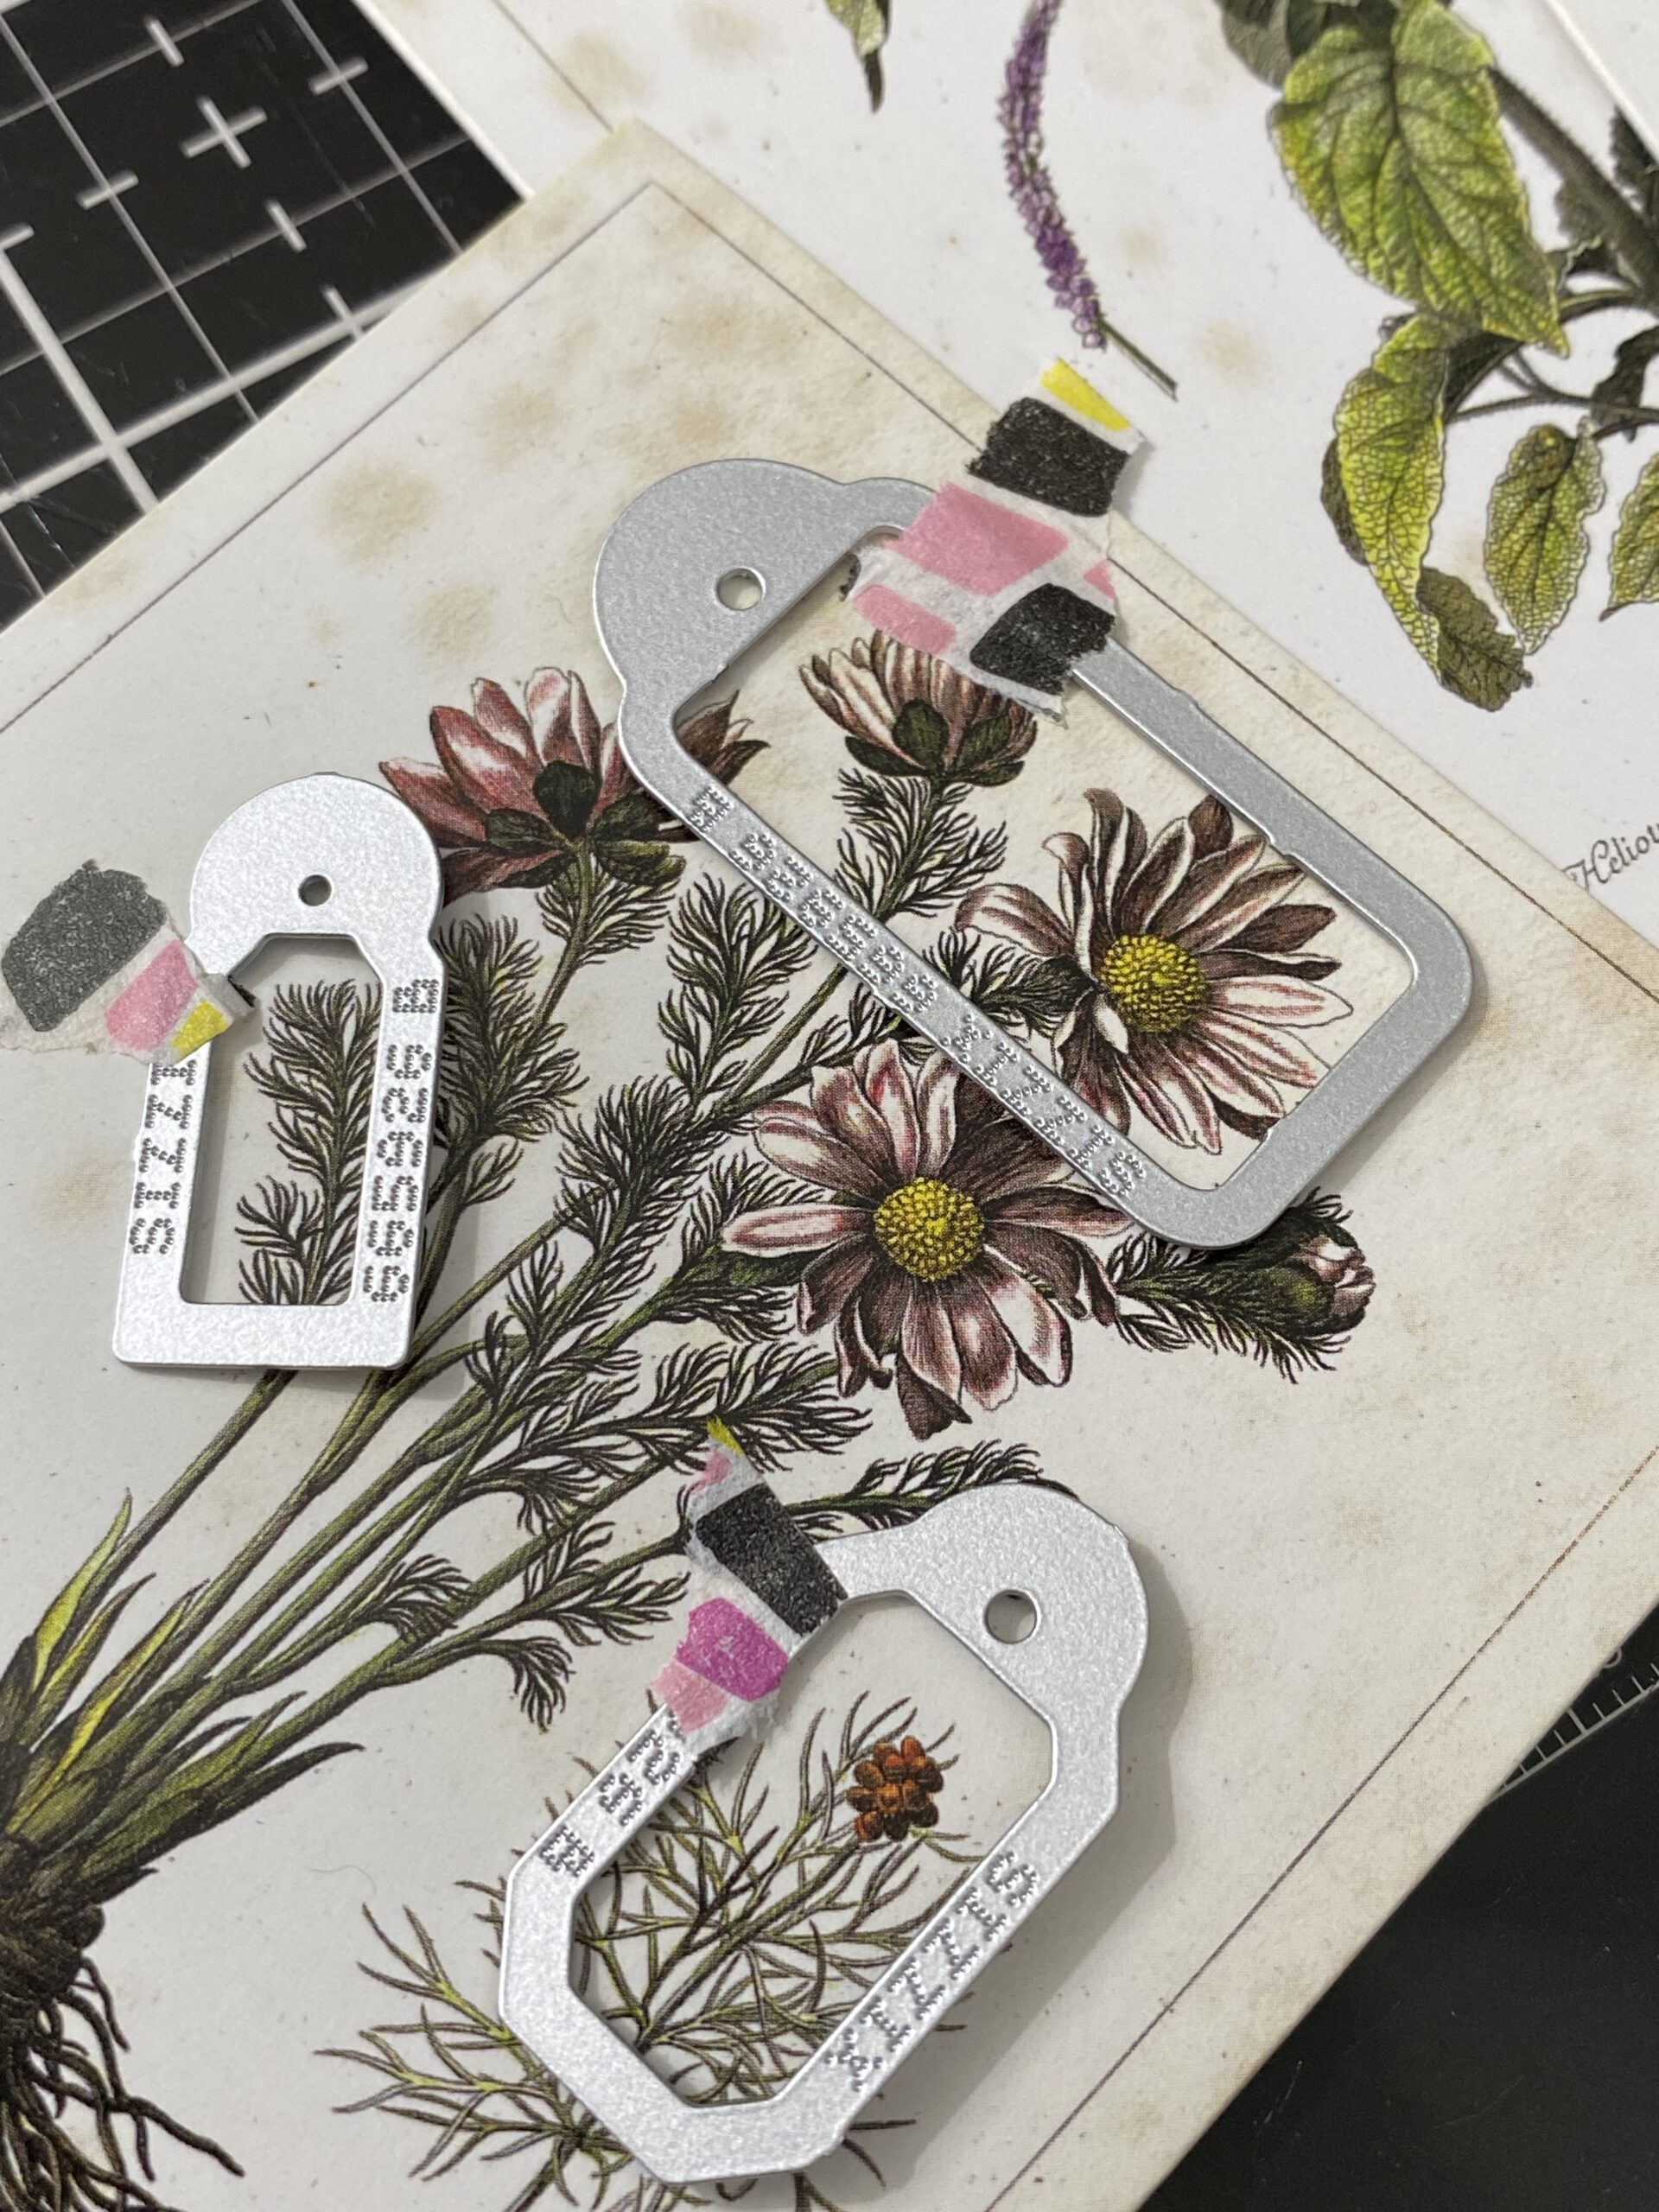

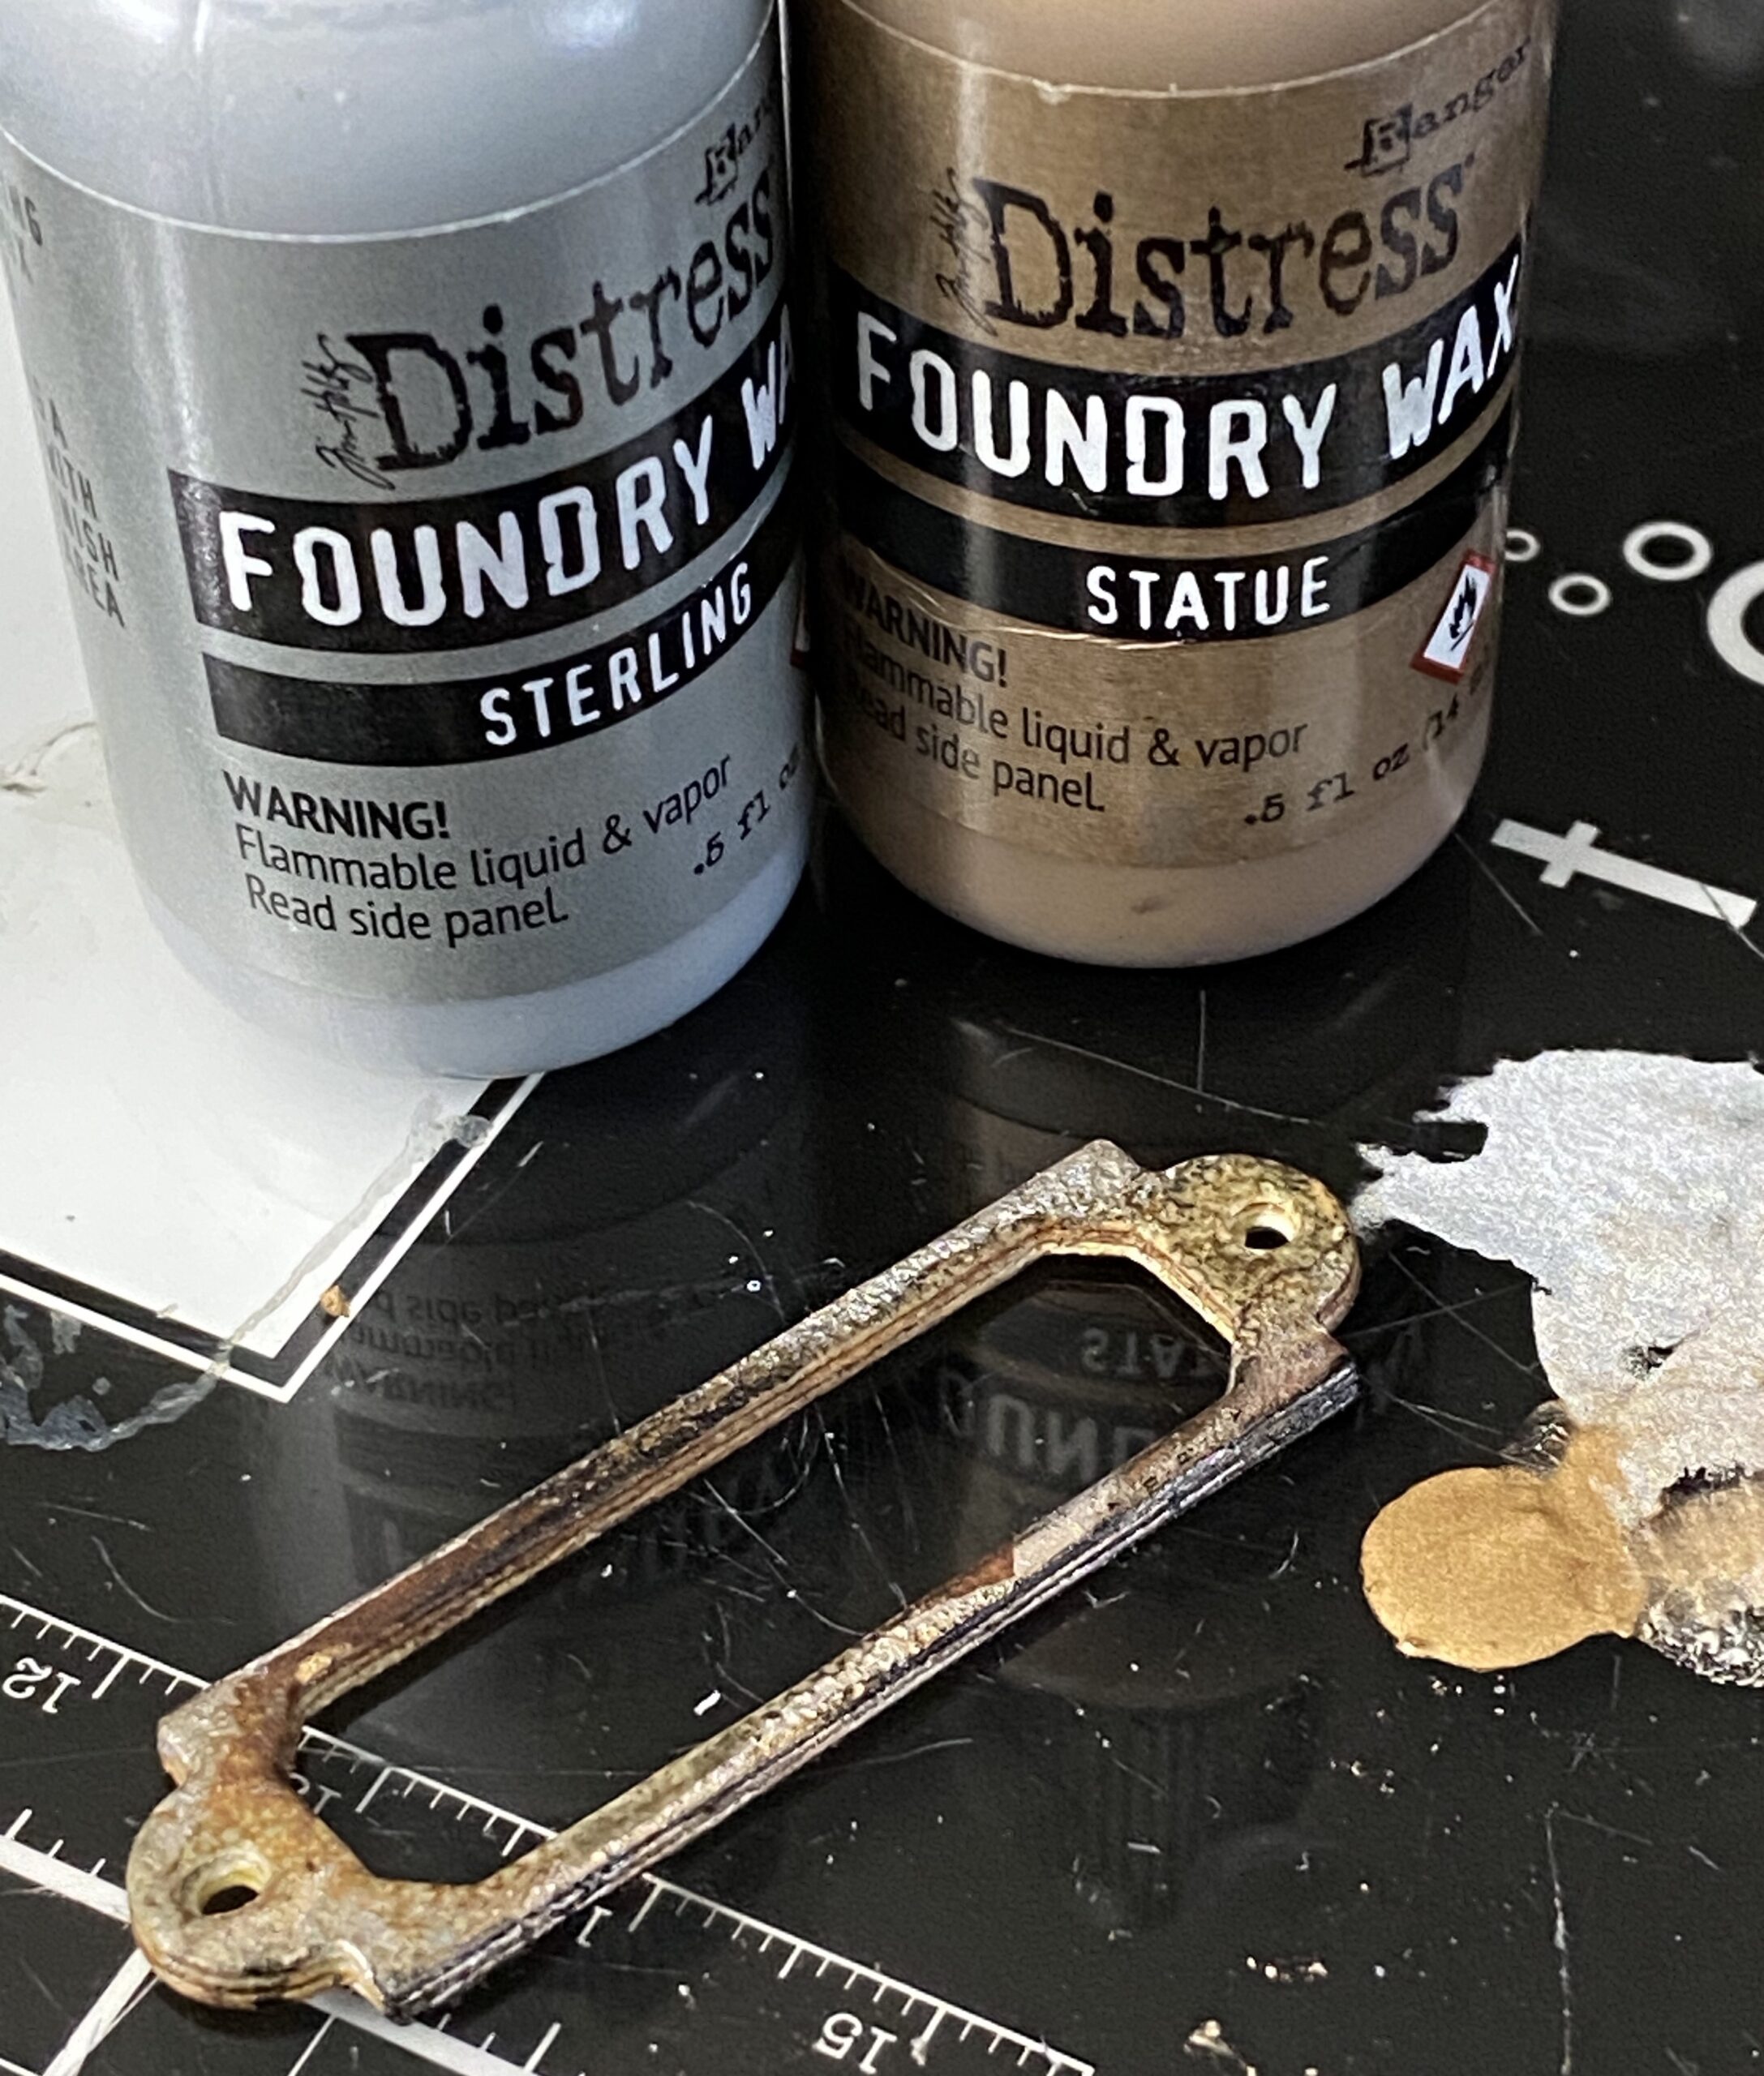
The drawer label for the was created using the Specimen Thinlet Set. I cut several layers from scrap paper, then adhered them together using collage medium. Using my finger, I rubbed a combination of both Sterling and Statue Foundry Wax onto it, then heated it to bring out the shine. I rubbed some Walnut Stain Distress Crayon into the edge to create some grunge.

I created a “Collect” label to place within the holder using the same thinlet set.
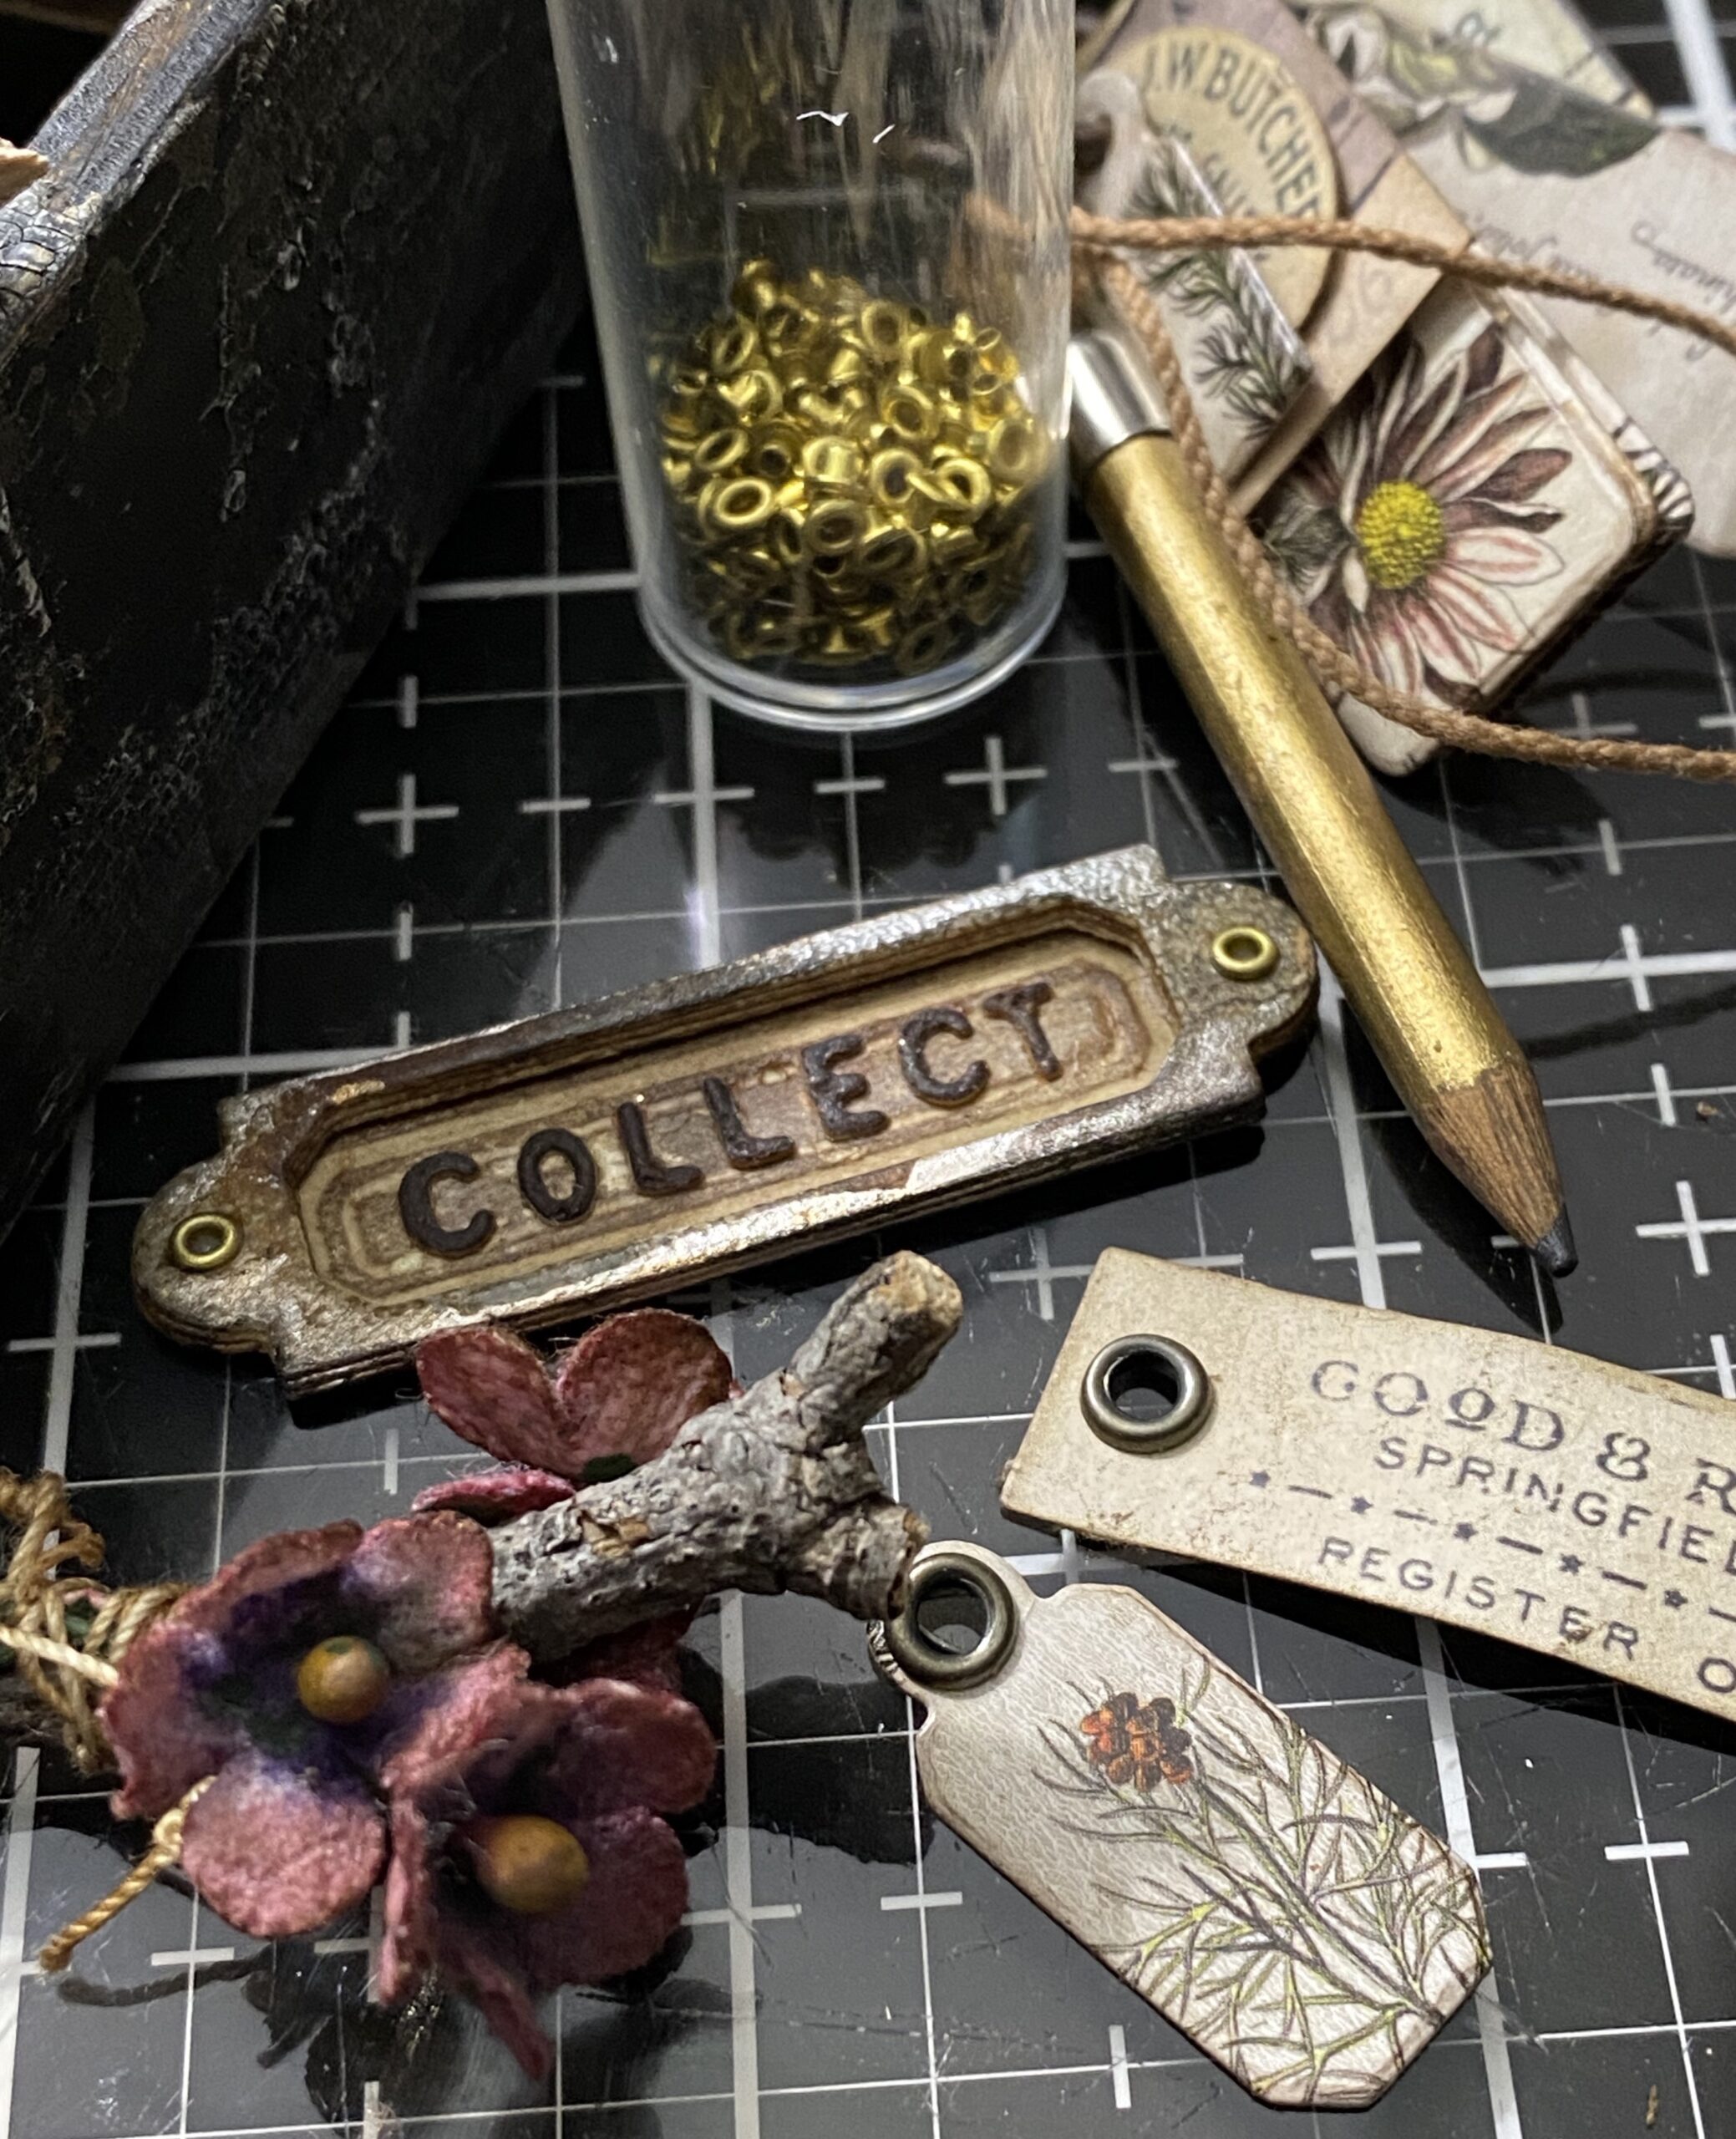

Then, using some of my eyelets, added them to my tags and to the sides of the drawer label. I adhered a piece of mica over top of the word to create the look of old crackled glass.
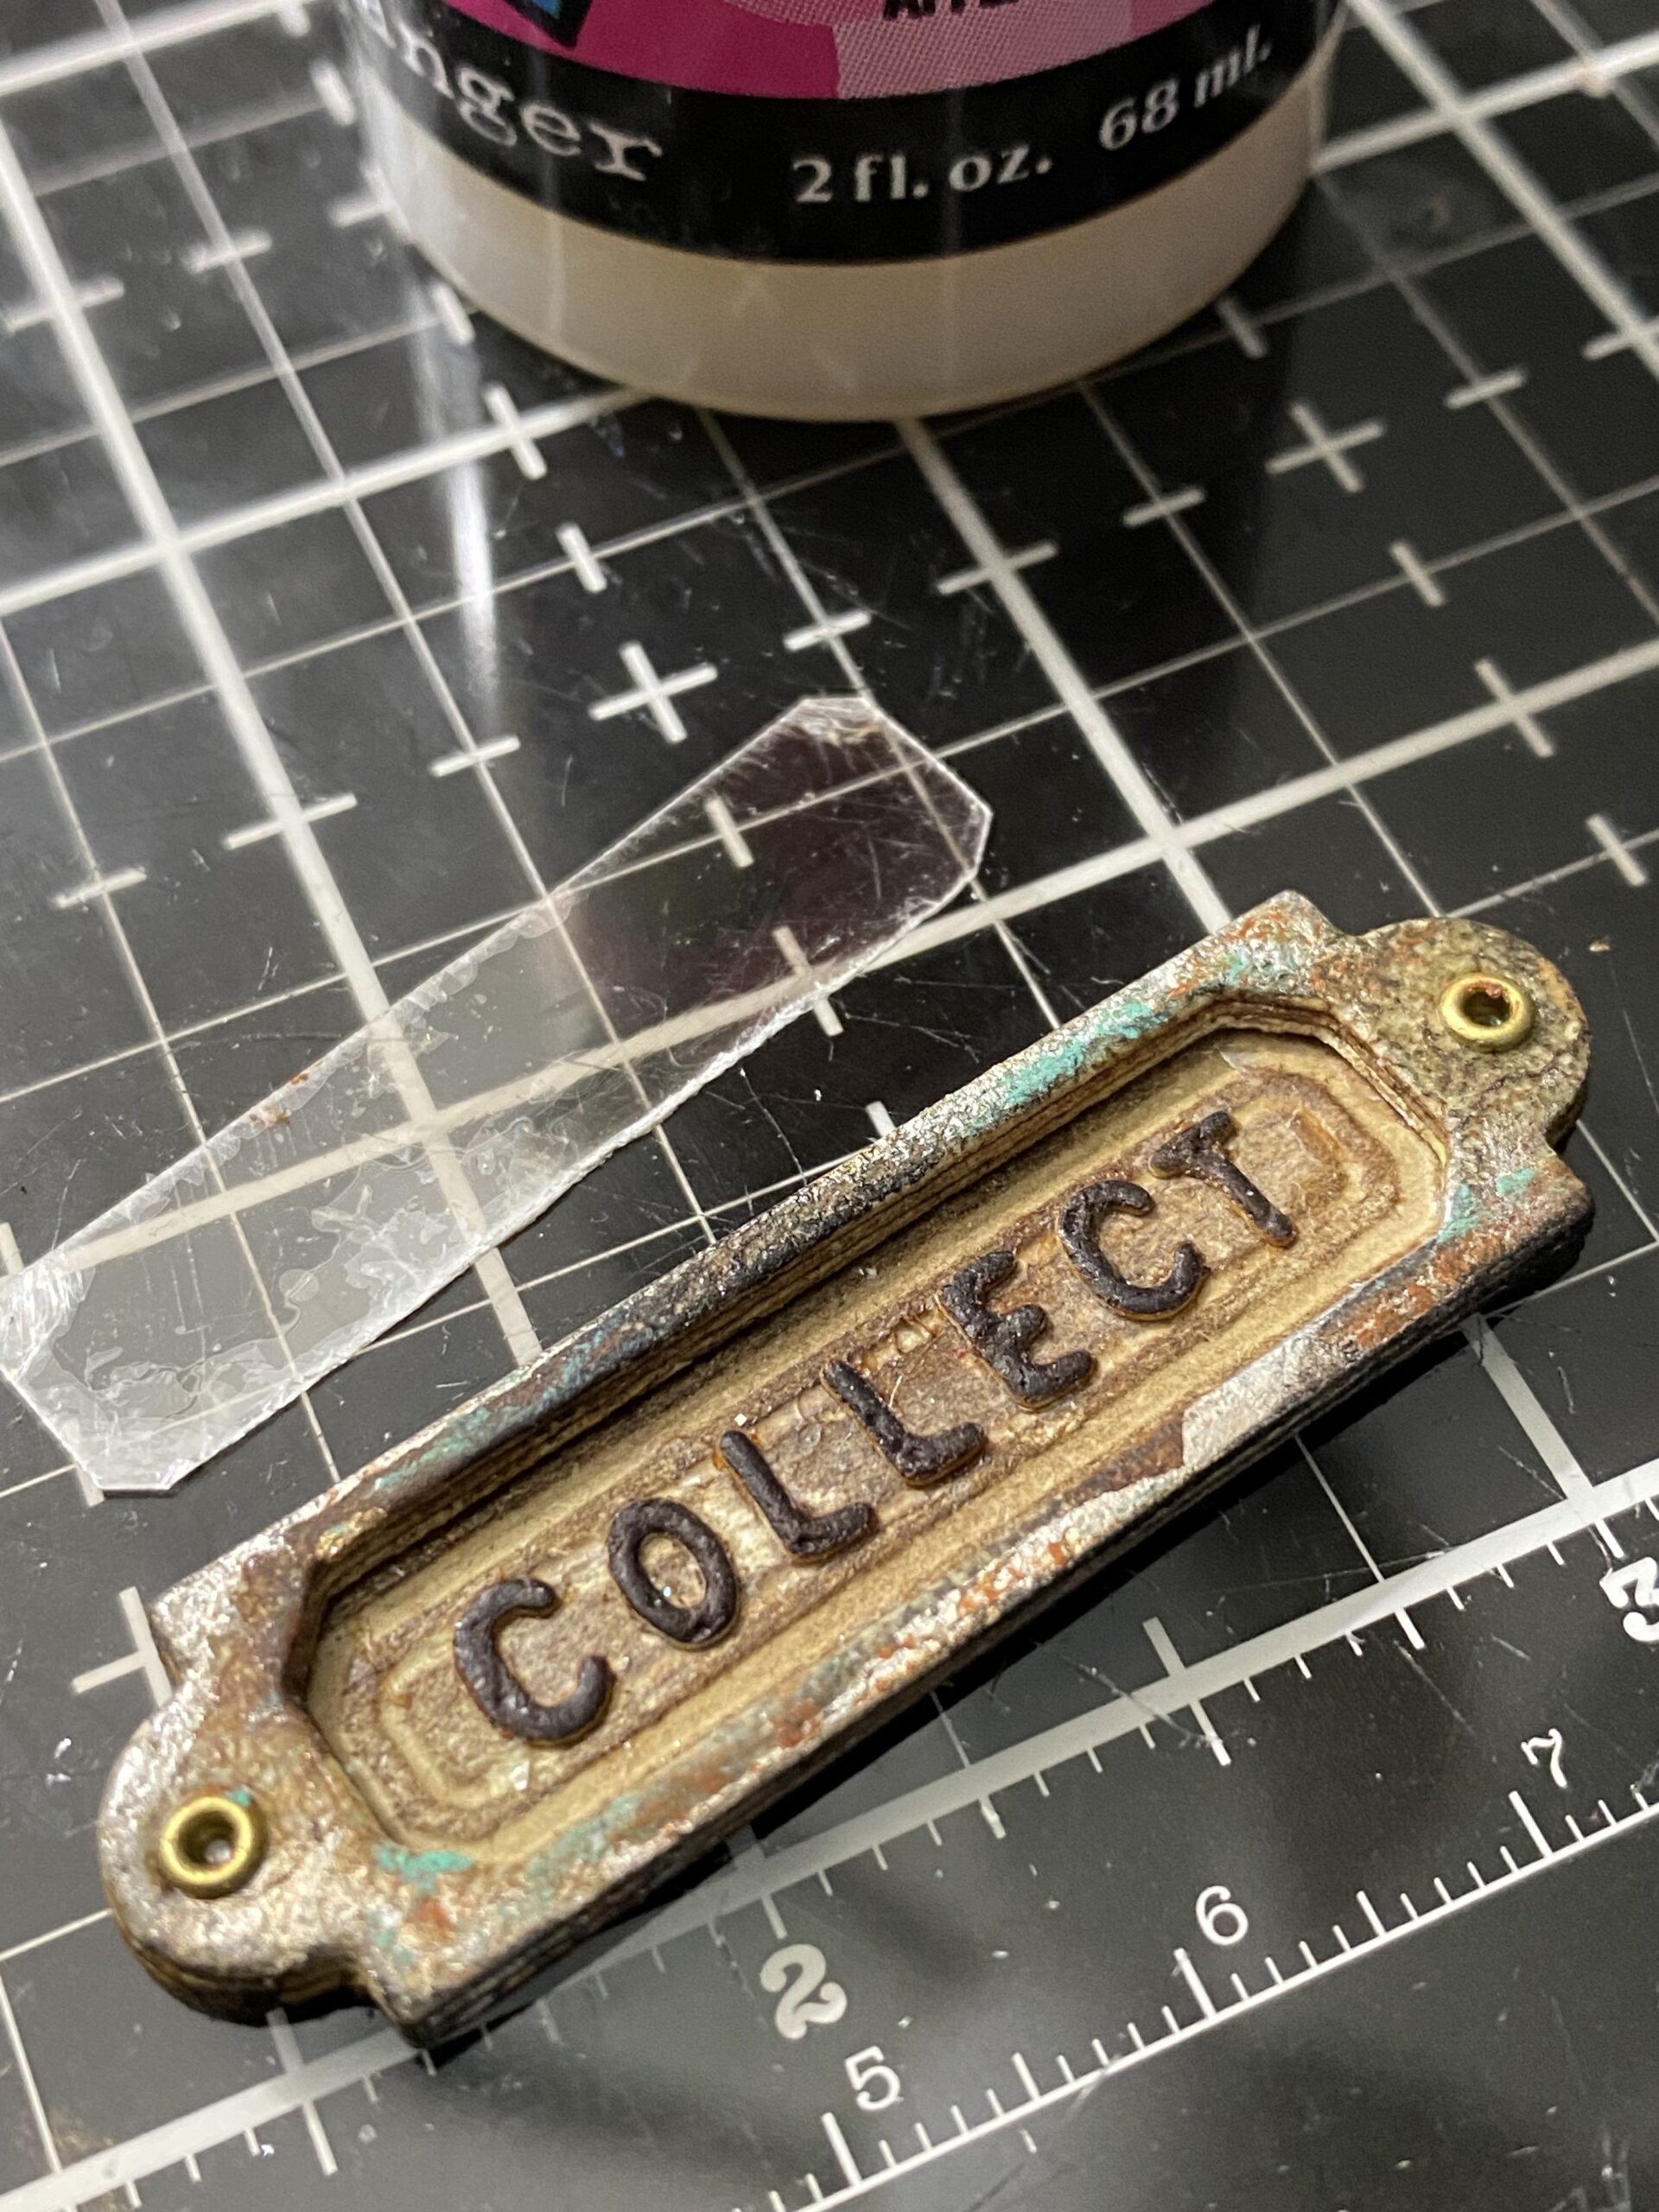


The drawer pull was painted with Black Soot Distress paint, dried, then rubbed with some Translucent Grit-Paste …although in the photo I have the Transparent Crackle Paste…oops, old eyes, sorry about that 😉
Once the grit-paste was dry, I rubbed it with both Rusty Hinge and Cracked Pistachio Distress Crayon.
The drawer label was adhered to the side of the tray using collage medium, and the drawer pull attached with a couple vintage nails.
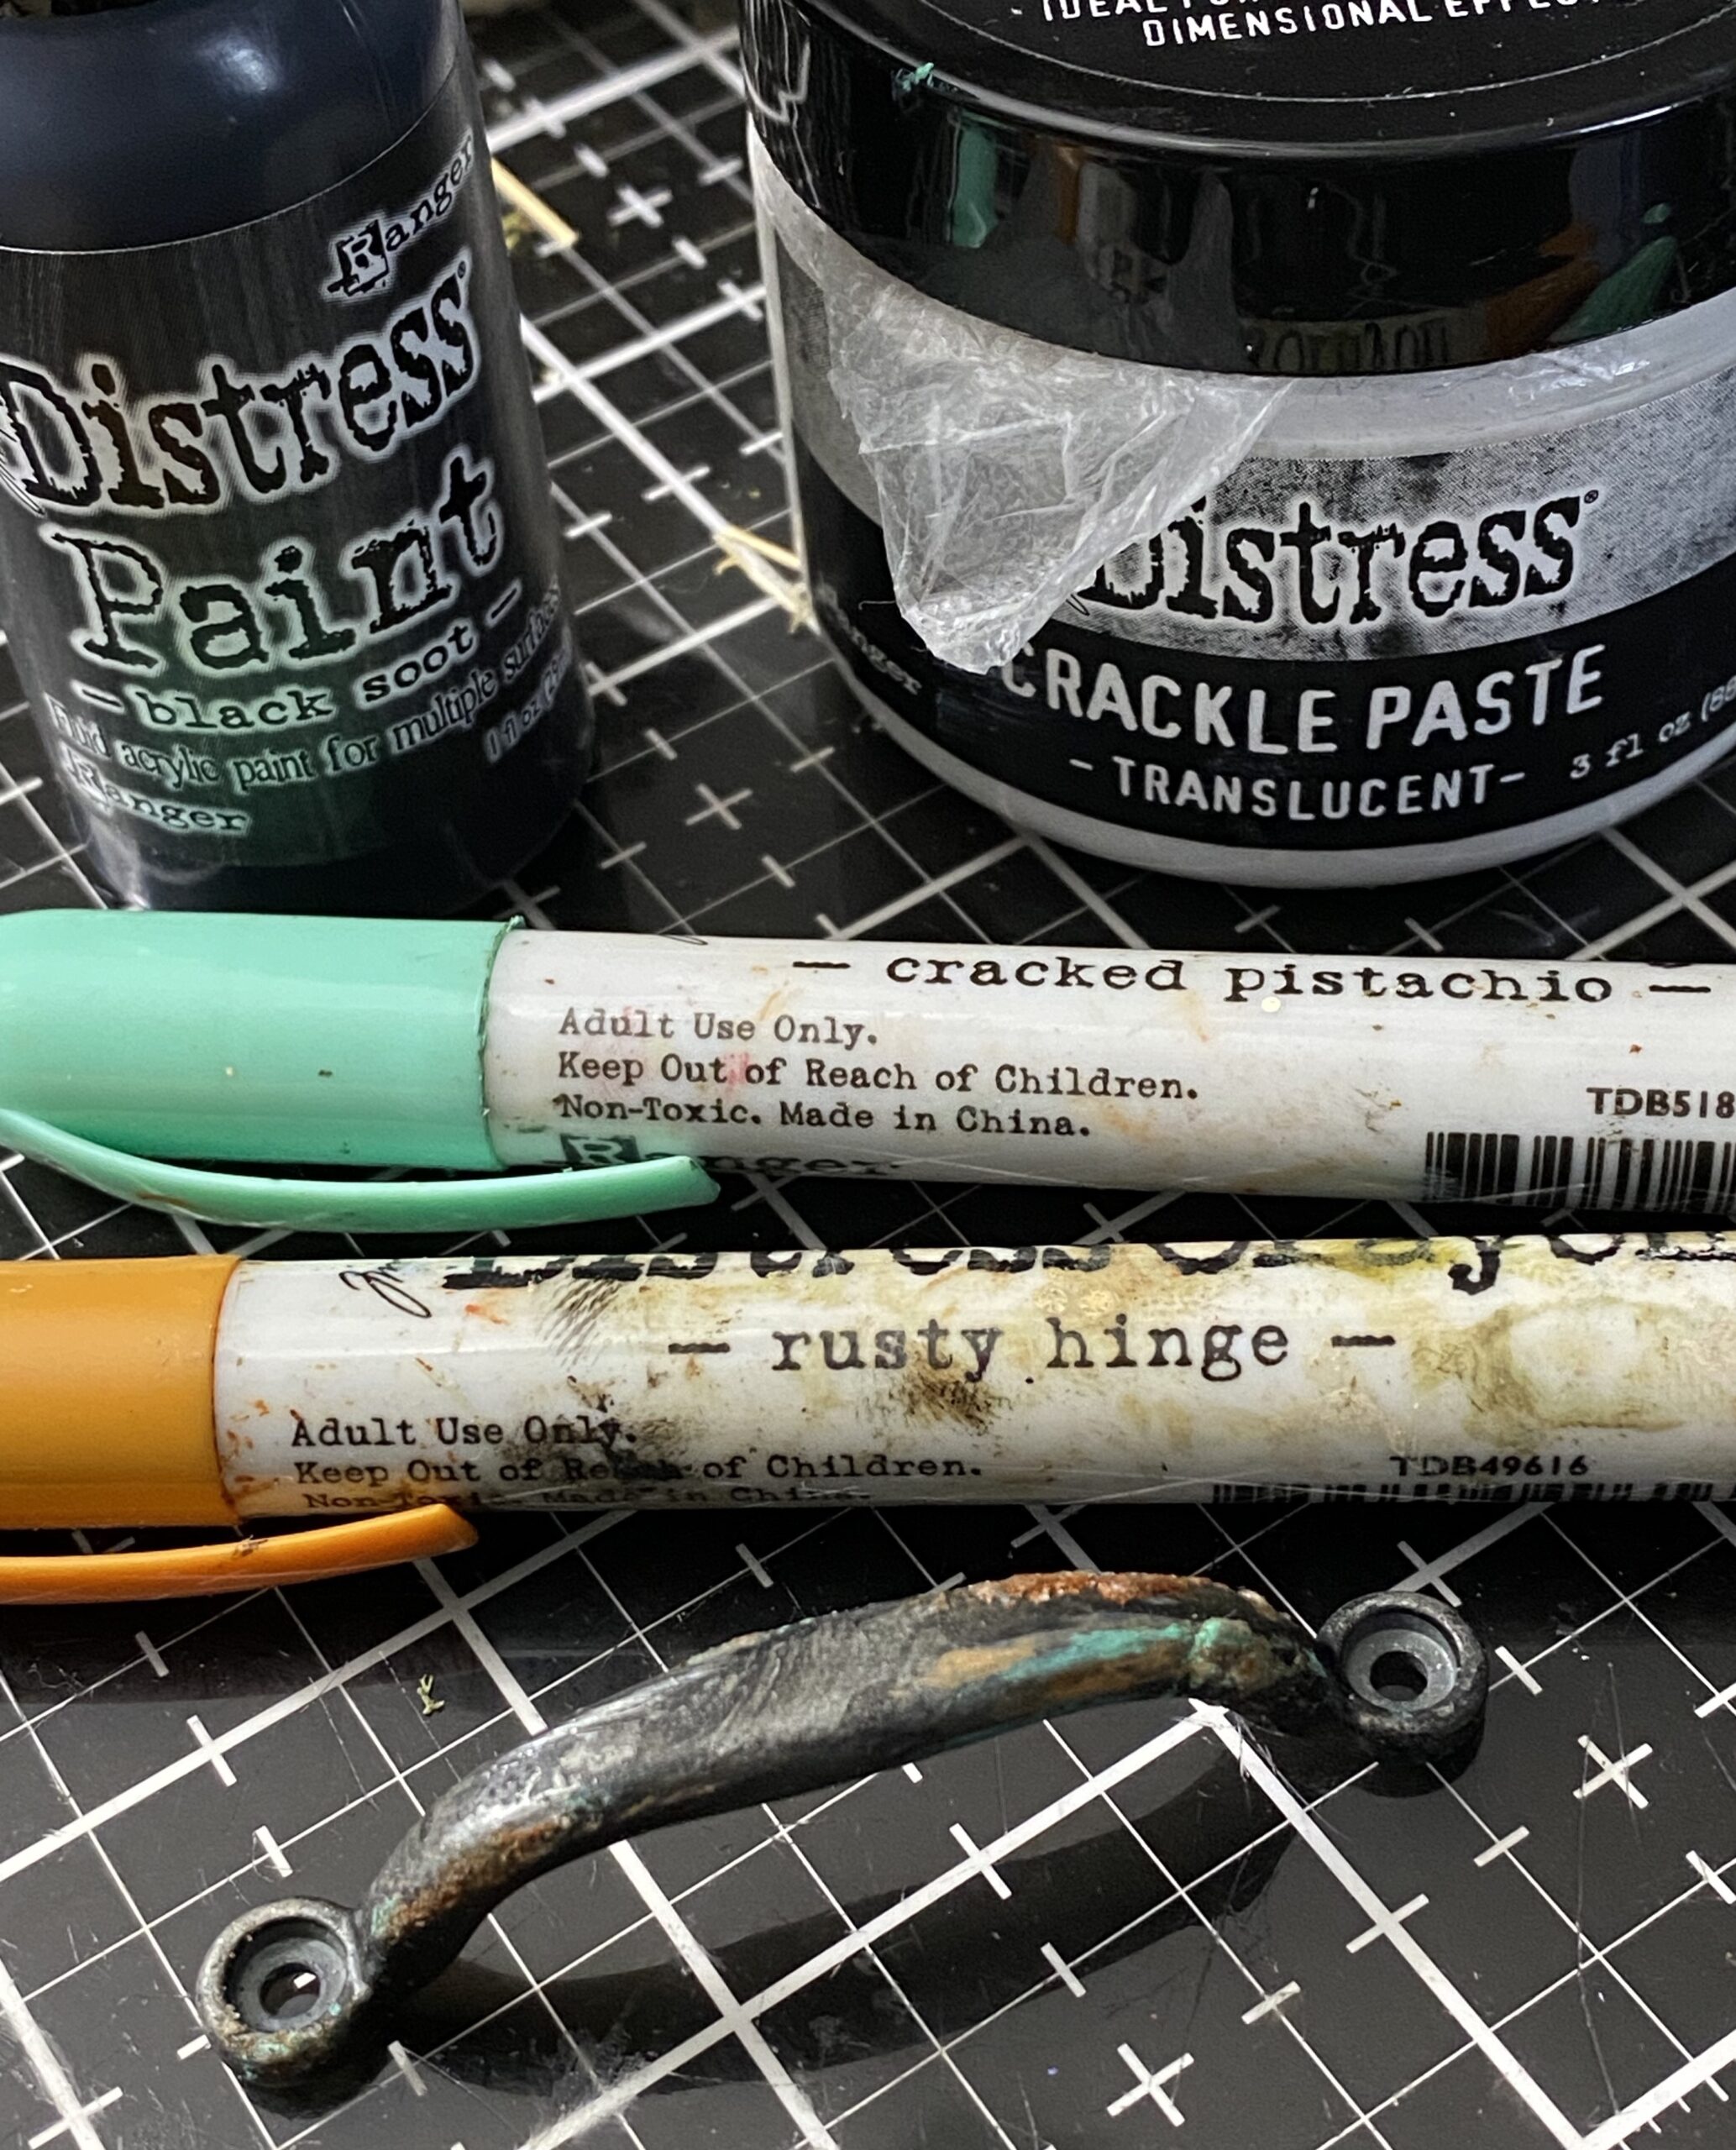

I gathered up the tags and snippets and placed them through an idea-ology small book ring.
The new “Found” metal word tag was rubbed with a Rustic Wilderness Distress Crayon, then using my finger, I rubbed off the crayon over top of the tag to reveal the letters. This is so easy, yet gives big impact! I attached a couple jump rings through the tag, then added it to the book ring.
Then lastly, I dug through my vintage stash and found a small dance card pencil, attached a jump ring, and placed it through the loop. I just couldn’t love this little collection more…old, new and vintage! The perfect combo in my eyes!


Now, back to the top portion of the make…
Adding a round embroidery hoop to the front of a project might seem tricky, but it was not, you just have to be creative and think it through.
I wrapped some fabric around the right and left side of the embroidery hoop, then wrapped it with some cotton thread. I knew I wanted the hoop to be placed without adding a ton of hot glue or any other glue to show around the loop. So, eyelets were the answer!
I marked the photo background using the hoop as a guide, then punch two holes to the right and left side of the photo. Then I set the two eyelets. The fabric and string portion that is seen on the right and left side of the hoop was then laced into these eyelets and adhered on the back using a glue gun.
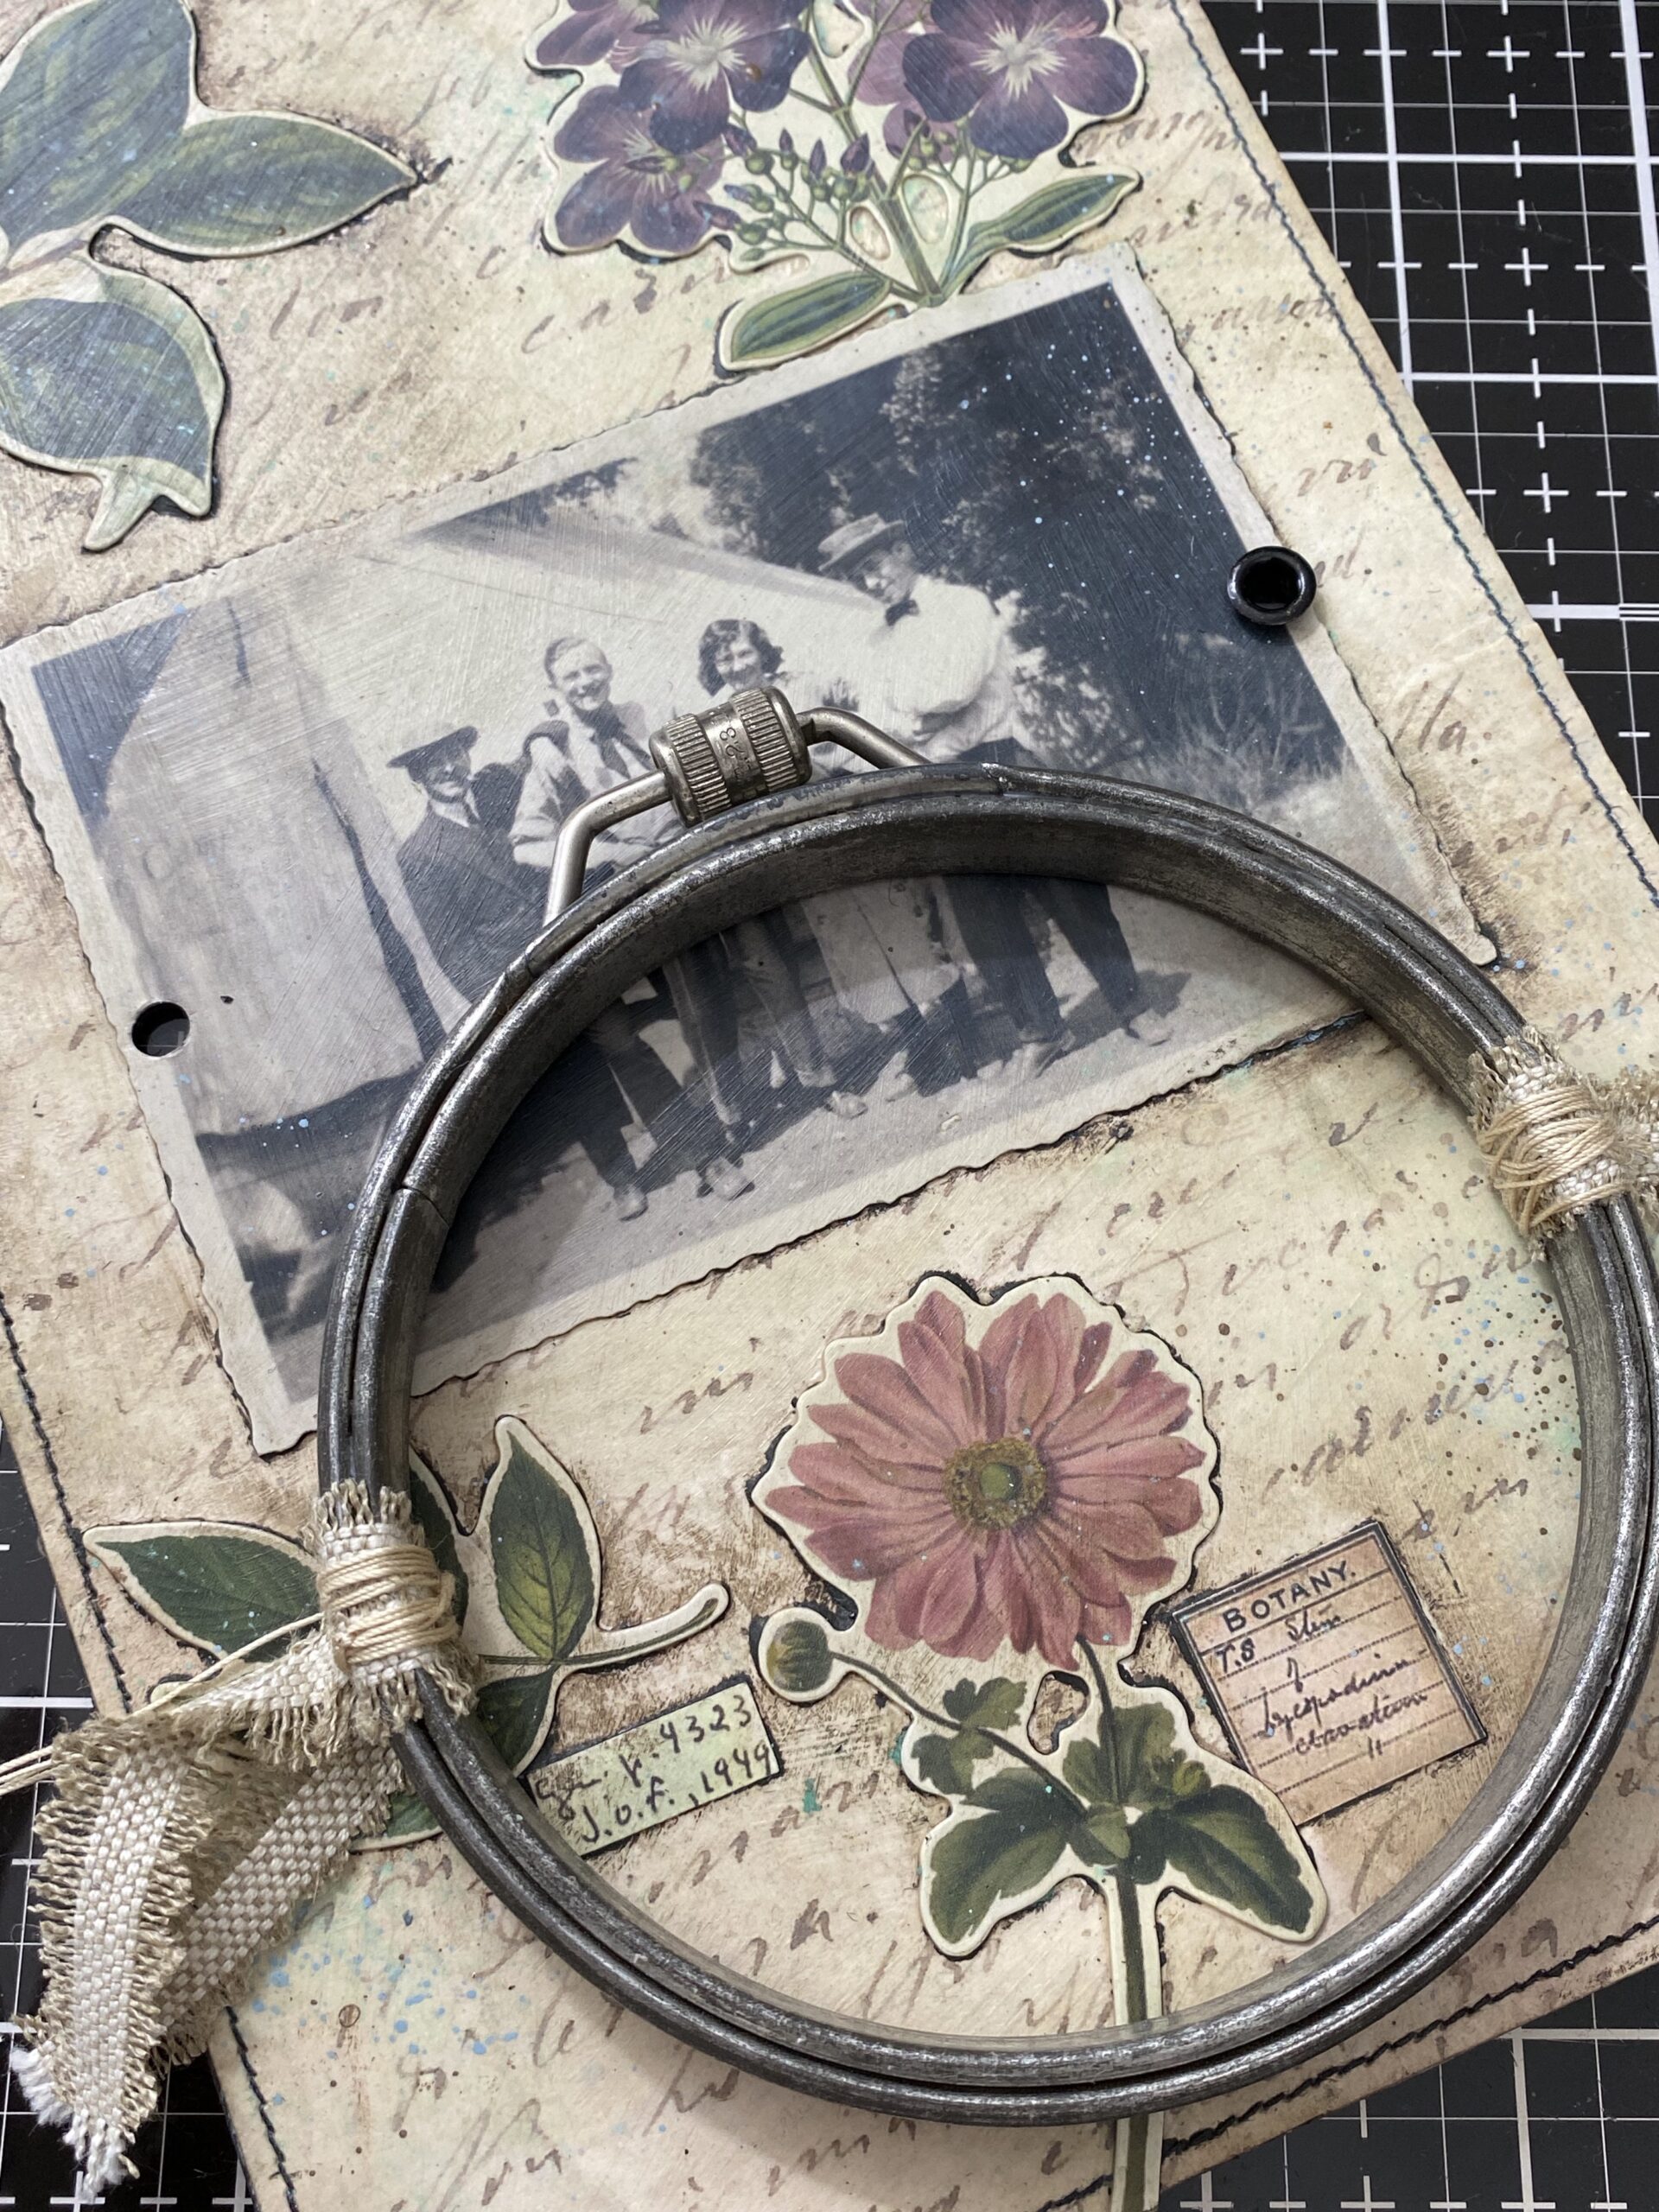

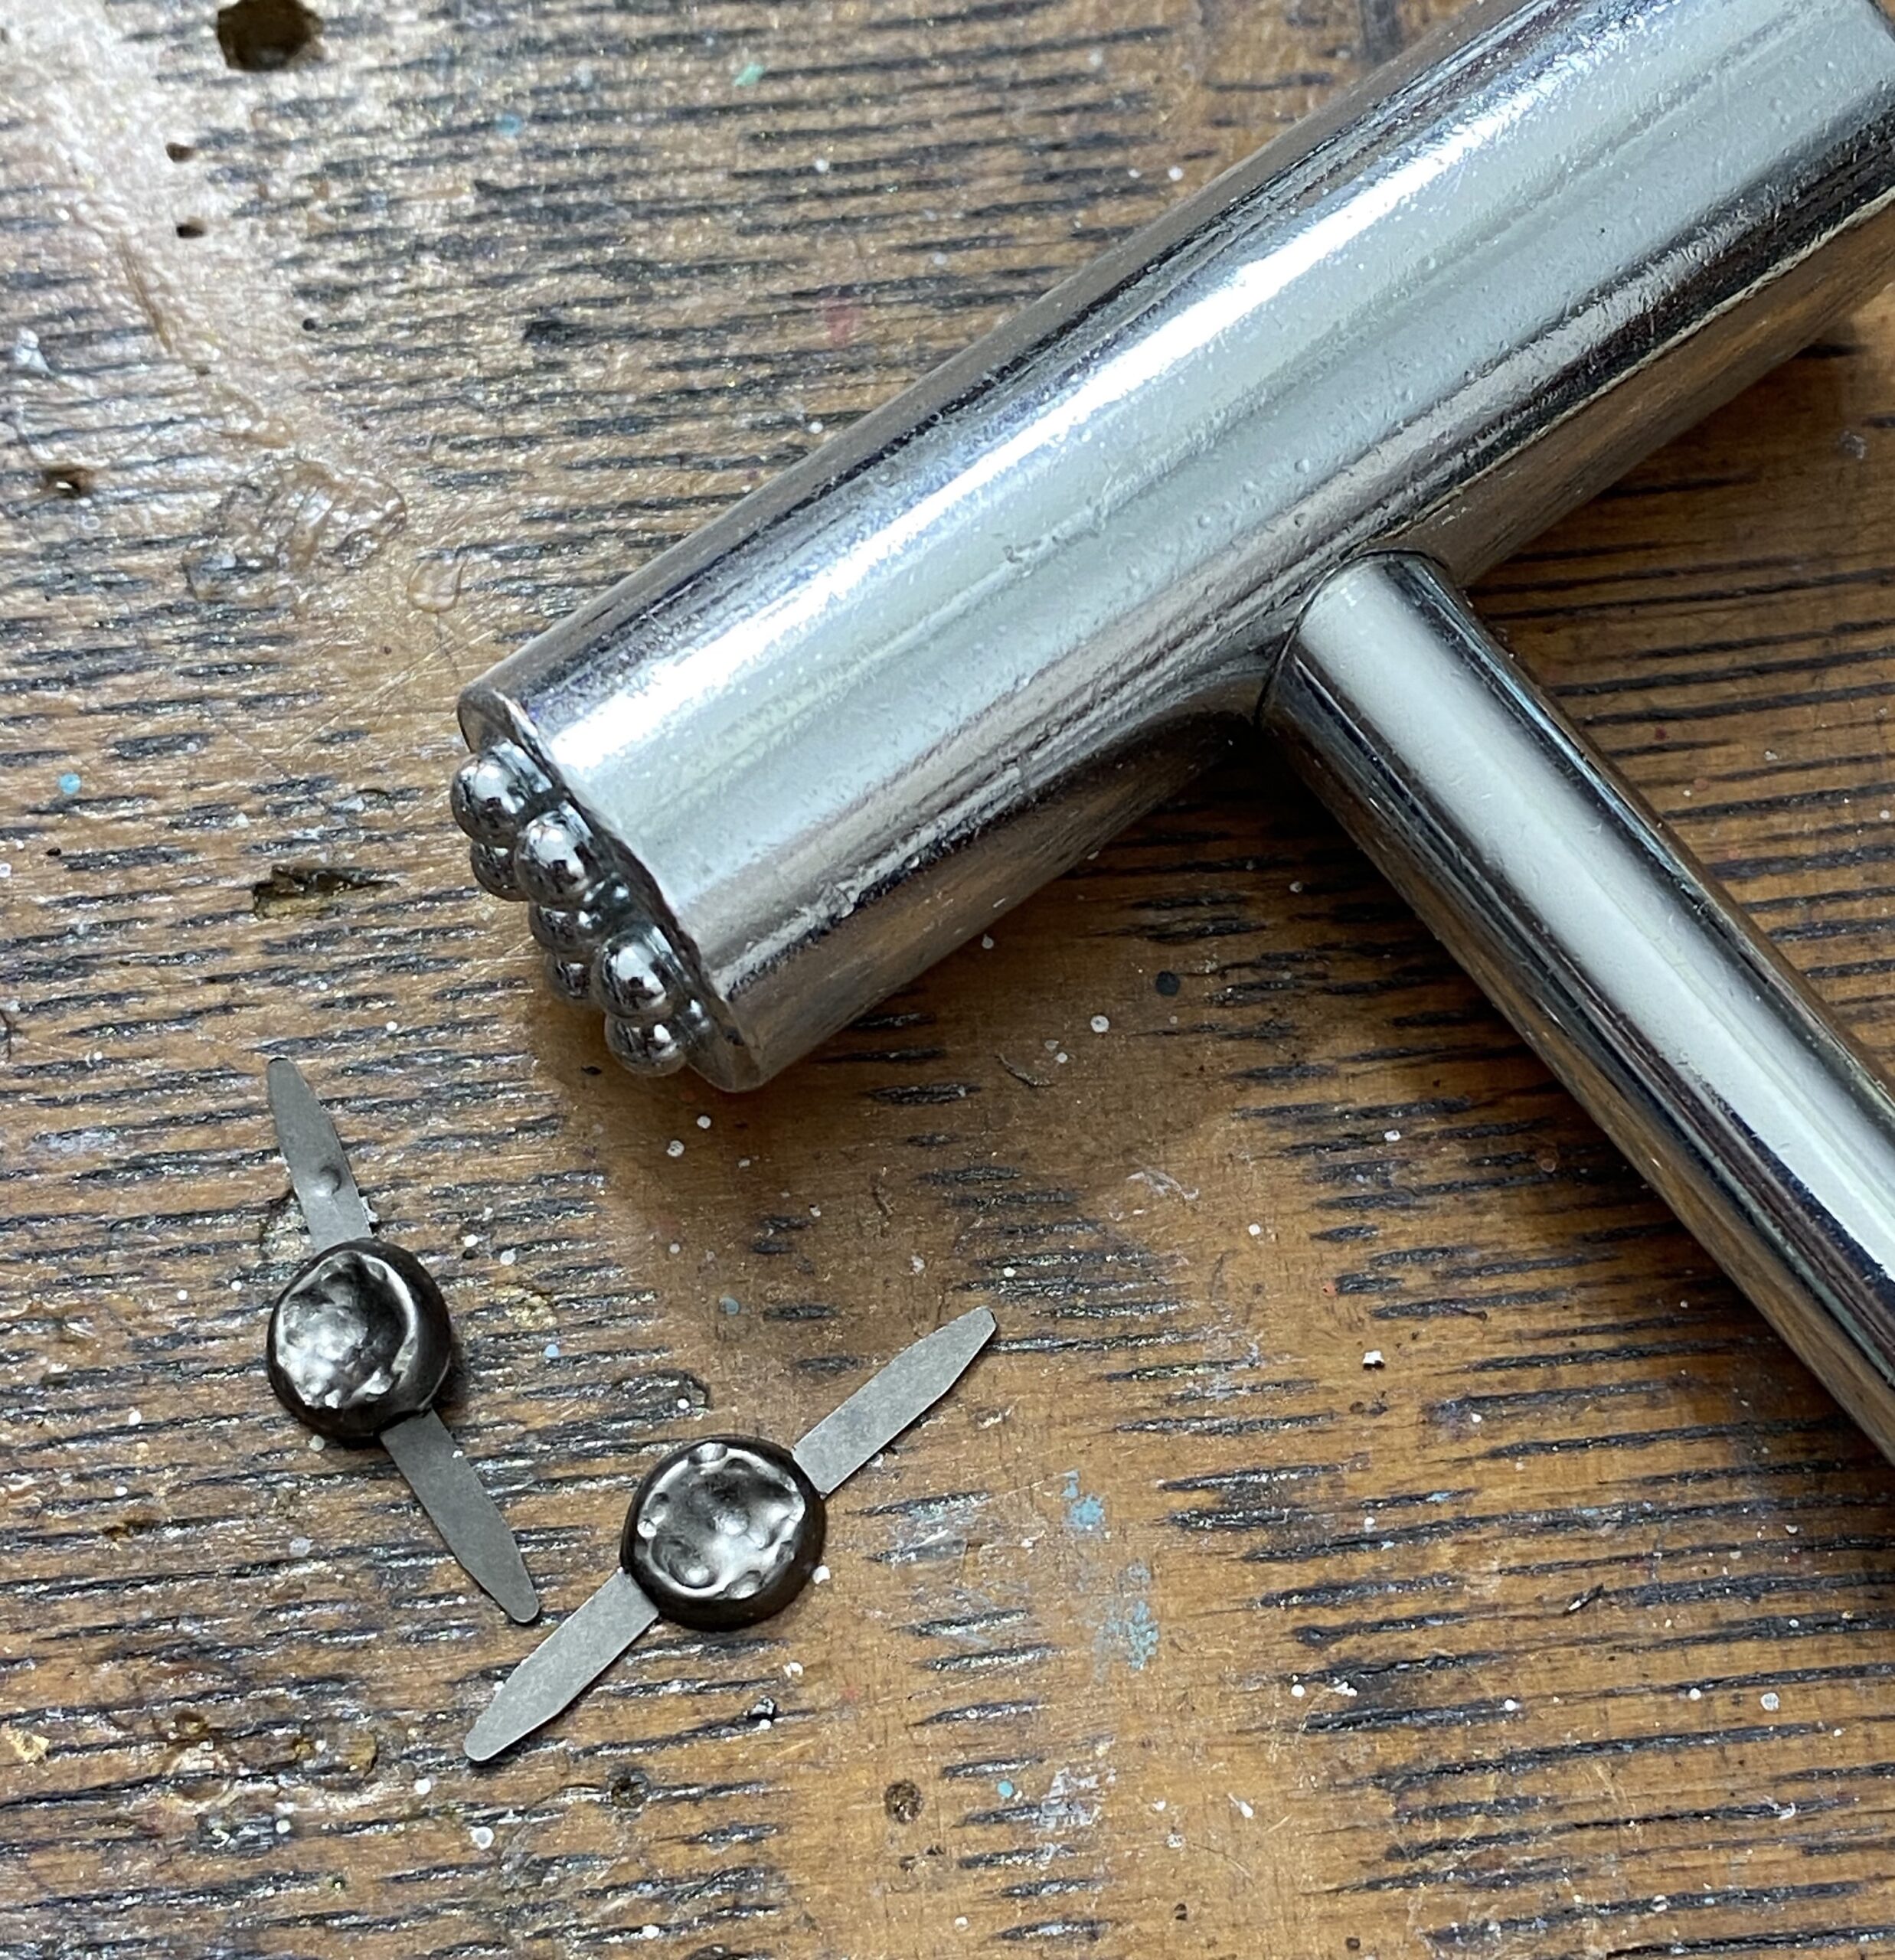
Once the fabric pieces were laced through and glued to the back, I added a couple smooshed and grunged up Large Fasteners.
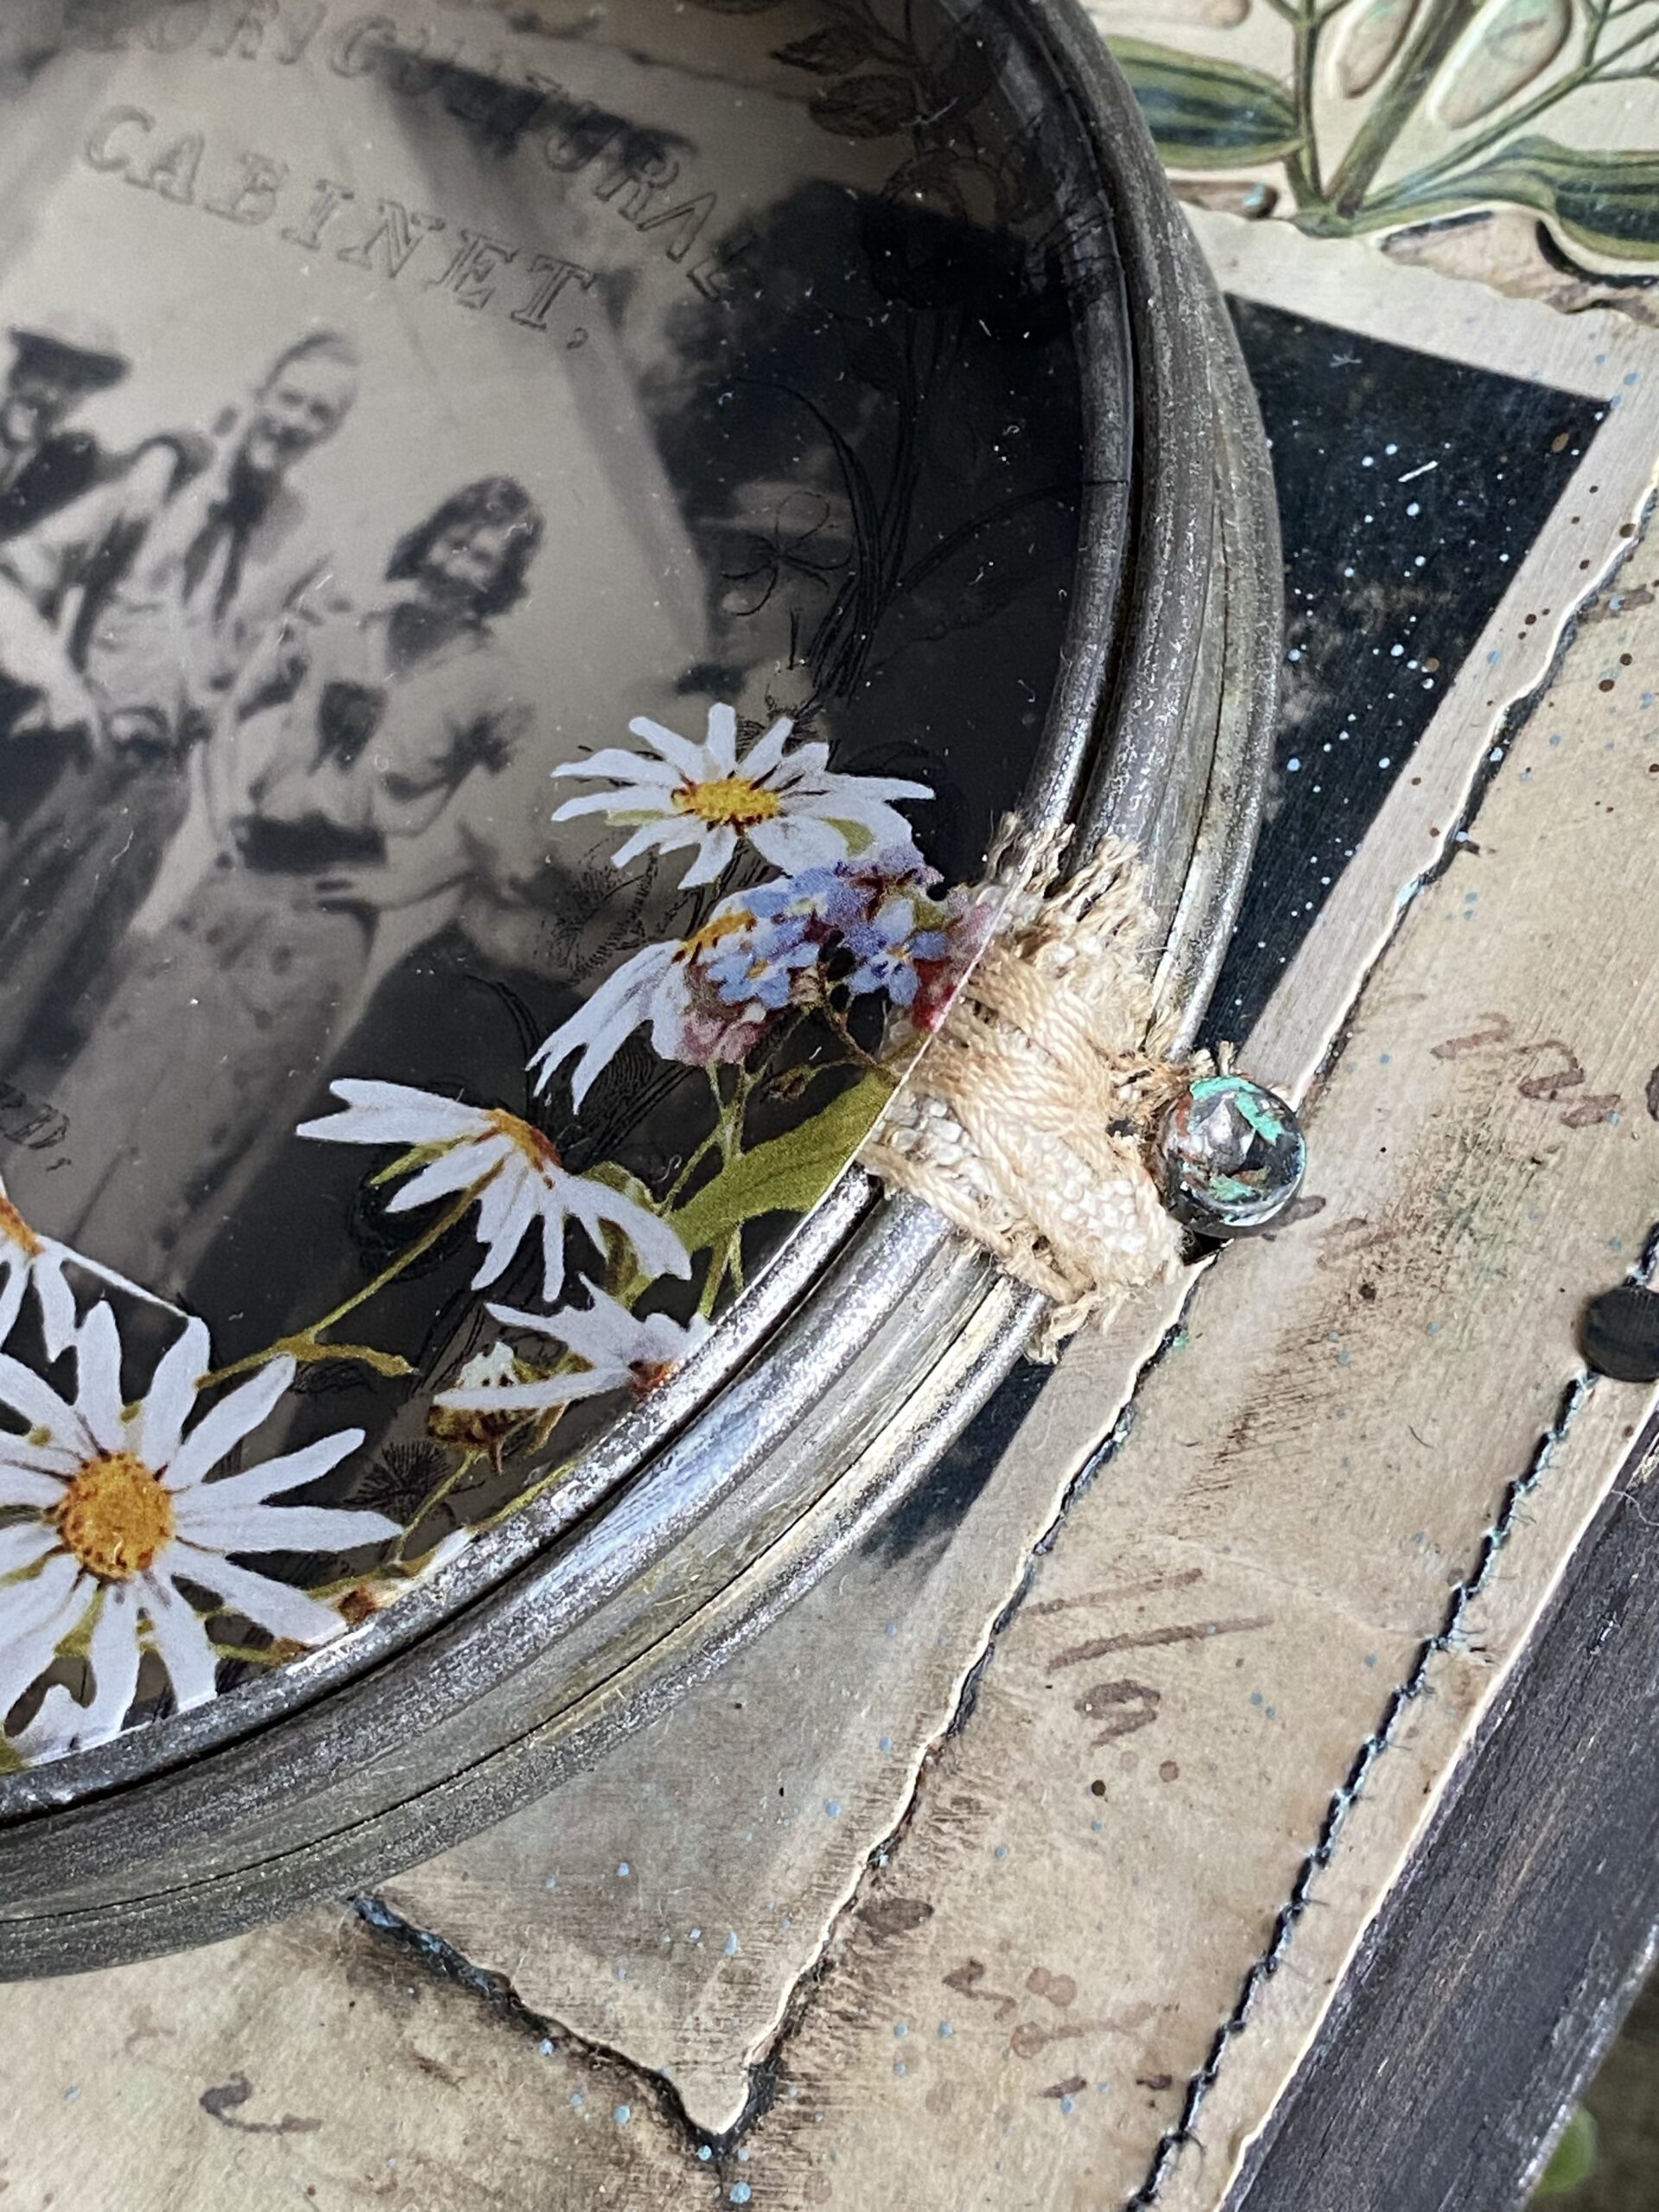

I flattened out the Fasteners, then tapped it with the new Texture Hammer, then brought the two fasteners tails back together and placed them into the holes of the eyelets. The textured brads were then rubbed with Rusty Hinge and Cracked Pistachio Distress Crayon.

I adhered the round Transparent Layer onto the the hoop using collage medium and strategically added the glue to the fabric wrapped areas of the hoop. This way, no glue would be seen on the transparent layer.


I nailed the hoop background to the front of the tray using more vintage nails.
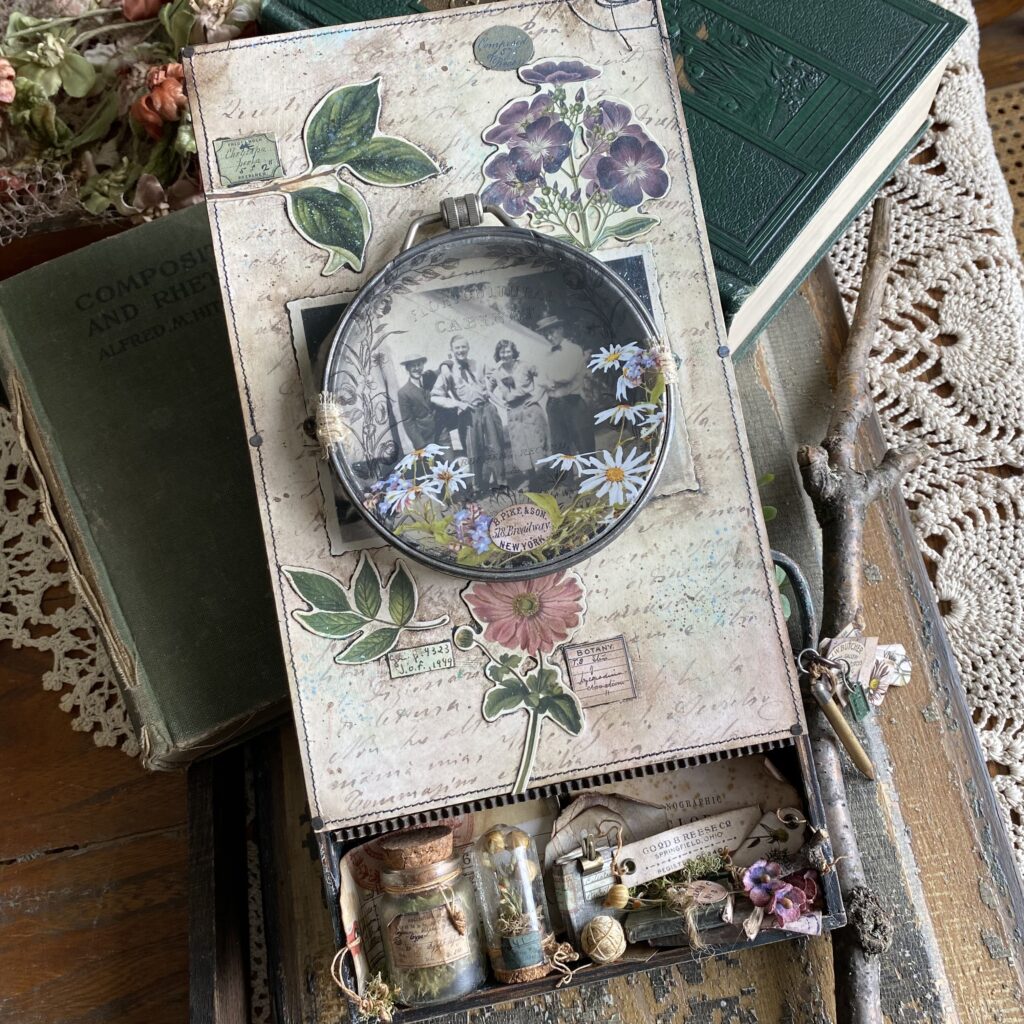

The collection at the bottom was a gathering of all sorts of things that included idea-logy jars, corked domes with dried florals, tiny books with labels, tiny clips, paper bouquet flowers, and more of the ephemera pieces and tags from both the new and old collections. I also wound a bit of string into a ball and placed it within the collage. After all, a good floricultural cabinet member would have a bit of string to hang labels onto their floral specimens. All of these were placed and adhered using collage medium.


With that, my project was complete!


I hope you enjoyed following along and are inspired to create with all the new idea-ology products. They are a wonderful addition to the line and are sure to bring out more creativity in you!
Thanks so much for stopping by!
Creatively yours,
Stacy
Products used to create this make…to shop at Simon Says Stamp CLICK HERE
to shop Scrapbook.com CLICK HERE.


What is an affiliate program, and why should I click on the link and buy through you?
When you shop via the affiliate link (linkdeli) on this blog, I receive a small commission from the affiliate provider (Simon Says Stamp & Scrapbook.com) at no extra cost to you, whatsoever. These commissions help me to cover the hosting fees and other costs to run my blog and be able to provide you with FREE inspiration. If you shop the links, THANK YOU! I truly appreciate being able to share my love of creating with you.


OMG Stacy this is an amazing make. Thank you for sharing all the details!
Denise
Why is it when people use their splatter brush everything looks so precise and when I use mine, it looks like a hot mess? LOL This is probably one of my favorite project I have ever seen of yours. It just evokes spring! It is absolutely gorgeous. I love all of the little details!
Stacy, this project is just outstanding! I love the products, colors, distress, etc.. everything goes so well together. You are a true master artist. Thank you so much for sharing!
This one truly caught my eye!!
So detailed, just lovely and I had to go back and buy the transparency pack!!!
This evokes memories of my grandmother. So stunning. Thank you for sharing your process on he make.
As usual, perfect inspiration for Spring. The dogwoods are blooming so it’s just around the corner. Thank you for being so willing to share.
This is absolutely stunning! One of my favorite makes shown during the TH’s Live. Just beautiful!