Hello and Welcome!
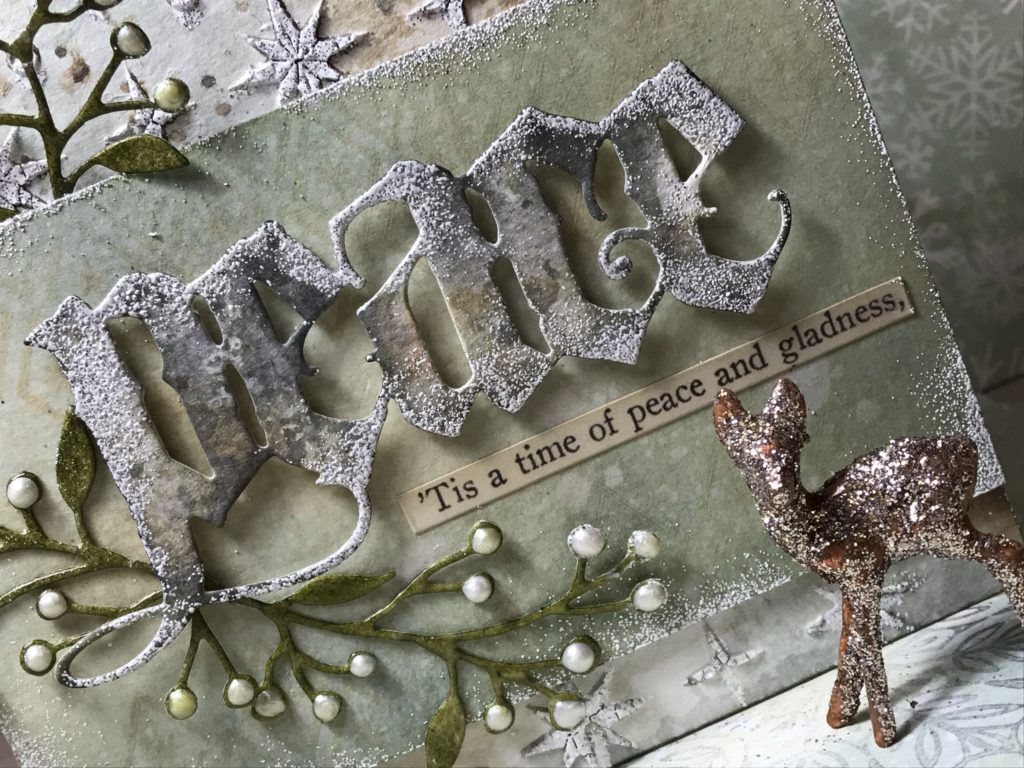
Today I have a card made with papers that I had leftover from another project. I posted that project on Instagram a few days ago… that tutorial is coming soon…but in the meantime I thought I’d share this card. Never throw away practice papers or pieces that didn’t quite work out for you. I can’t tell you how many times I’ve gone to my scrap box and pulled out previously made papers. It’s fun to look at them through different eyes and find other ways to use them.
Let’s get started!!
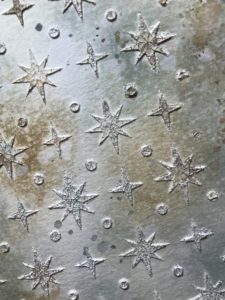
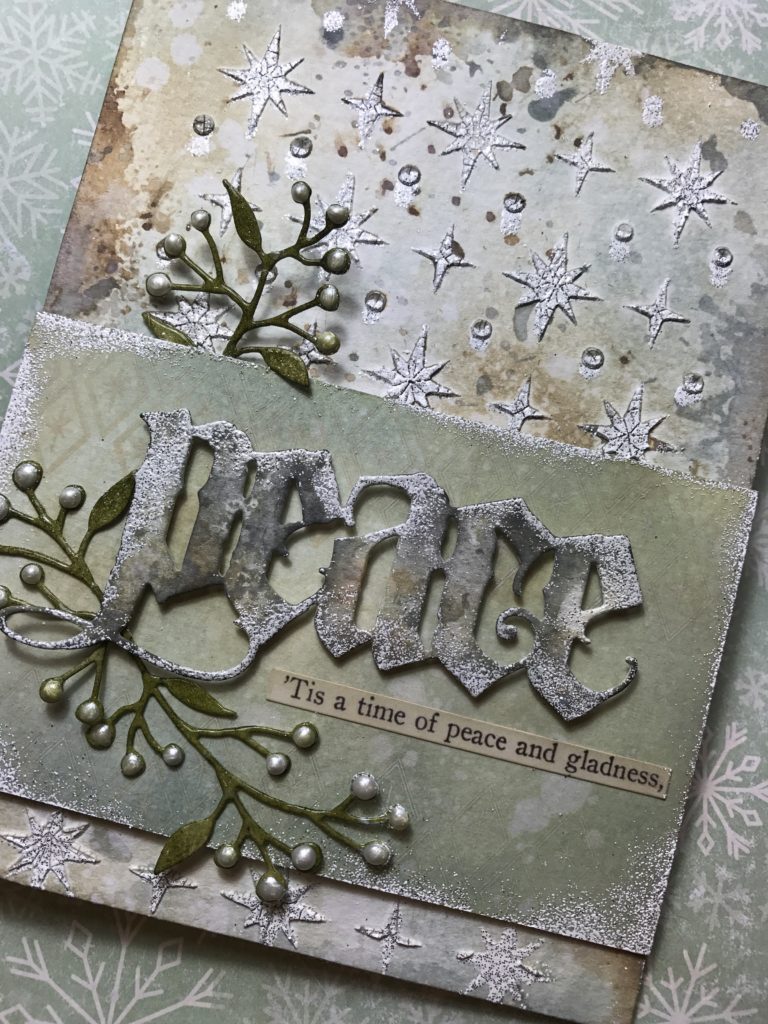
This paper was created by using watercolor paper, Wendy Vecchi Crackled Texture Paste, a palette knife, the Tim Holtz Stampers Anonymous Starry Layering Stencil, and Recollections Sparkle Embossing Powder – Opaque Bling.
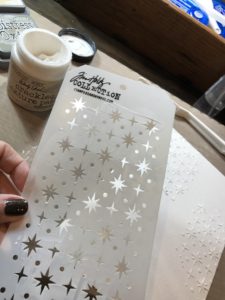
I started by spreading the crackle paste through the layering stencil with the palette knife, removed the stencil and sprinkled the embossing powder over the area with the paste. Be sure to gently tap off the extra powder and then set your paper aside to dry. I let it dry for an hour and a half or so. After its dry, emboss with a heat tool.
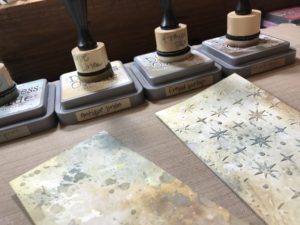
After I embossed it, I smushed the embossed side with Distress Oxide Inks. The colors I used were…Iced Spruce, Antique Linen, Frayed Burlap, and Walnut Stain. I also sprayed it with a distress sprayer in between drying with a heat tool and blotting with a towel.
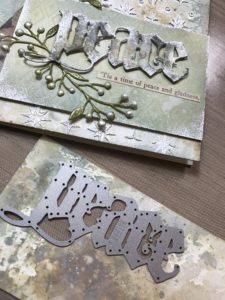
Next, I cut out the word, PEACE from the Tim Holtz Sizzix Vintage Tidings Die Set, I had smushed a piece of watercolor scrap paper with the same Distress Oxide Inks that I had previously used: Iced Spruce, Antique Linen, Frayed Burlap, and Walnut Stain.
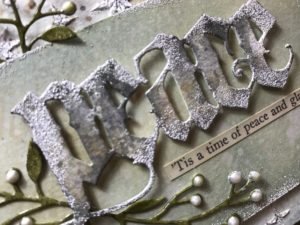
I then embossed the edges with Distress Embossing Ink and the same Sparkle Opaque Bling Embossing Powder. With a blending tool and Distress Oxide Black Soot, I gently inked the edges of “PEACE” to make it pop and then set that aside to work on the peace background.
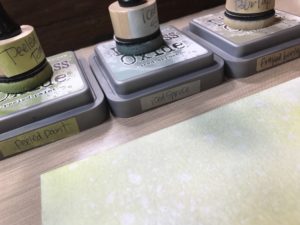

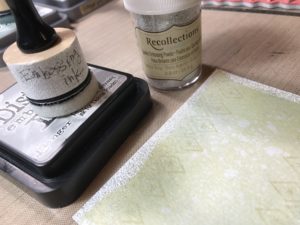
I blended with blending tools, Distress Oxide Ink Iced Spruce, Frayed Burlap and Peeled Paint onto a piece of watercolor paper and then stamped the diamond pattern background stamp in Antique Linen. This stamp was from the Tim Holtz, Stampers Anonymous, Simon Says Stamp Stamptember set, but there is a larger background diamond pattern that is in the Sparkles and Christmas Stamp Set. I then dried it with the heat tool. Then I added Distress Clear Embossing Ink with a blending tool, edged the piece with the ink, and embossed it with the Sparkle embossing powder.
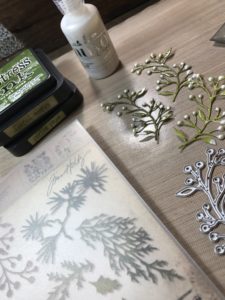
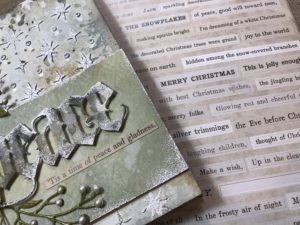
The greens were cut from watercolor paper and the Tim Holtz Sizzix Holiday Greens Mini set. I blended Distress Ink, Forest Moss and Peeled Paint, with a blending tool and embossed them with clear embossing powder. I then added the berries with Tonic Nuvo Crystal Drops, Ivory Seashell, and then set those aside to dry. After they were dry, I gathered and adhered the pieces together. I used pop dots to make the word “peace” stand out and then added a phrase from the Tim Holtz Idea-ology Christmas Clippings. I blended a tiny bit of Frayed Burlap over top of the phrase to darken it a bit.
I hope you have enjoyed this tutorial…please be sure to subscribe and stop back again!
Have a GREAT day!!
Creatively Yours, Stacy
Supplies to Gather-
Tim Holtz/ Stampers Anonymous Stamps – Sparkles and Christmas, Layering Stencil Starry
Tim Holtz/ Sizzix – Vintage Tidings Die Set, Holiday Greens Mini Set
Tim Holtz/ Idea-ology – Christmas Clippings
Distress Oxide Inks – Iced Spruce, Antique Linen, Frayed Burlap, Walnut Stain, Black Soot, Peeled Paint
Distress Ink – Forest Moss, Peeled Paint
Ranger Ink – Craft Mat, Palette Knife, Blending Tools and Pads, Heat It Craft Tool, Distress Sprayer, Clear Embossing Ink, Clear Embossing Powder,
Tonic Studios – Tonic Nuvo Crystal Drops – Ivory Seashell
Other – Recollections Sparkle Embossing Powder – Opaque Bling, Wendy Vecchi Crackled Texture Paste, Canson Watercolor Paper, Towel


Love this !! The colors are amazing and your pictures are great !! Fabulous first blog post …. I’ll be back for the next one … Welcome to the wonderful world of blogging !!
Thank you for stopping by and checking it out! And all of your kind words! ❤️ ~Stacy
This is beautiful Stacy! Love your color palette. TFS!
Thank you so very much, Deb! ❤️
~Stacy
Beautiful and I loved your blog.
Thank you, Mary Jane! And thank you for stopping by! ❤️
~ Stacy
Love all your layers and wonderful textures! Beautiful! Thanks so much for sharing.
Kim
Thank you so very much, Kim!! Please be sure to stop back again! ❤️
~ Stacy
Amazing work! So happy to have you join the blogging world!!
Thank you, Jess!! ❤️ I am so excited to be up and running… thank you for checking the blog out!
~ Stacy ❤️
Stacy!!!! Love love love your card and your step by step! Wonderful work as always! barbara
Thank you very much, Barbara! ❤️ Your opinion means so much to me!
~Stacy ❤️
Beautiful, as always! You are so talented, keep up the awesome work!!
Thank you so very much Miss Linda!! I’m glad that you stopped by to take a look! ❤️ Take care and hope to see you soon!! ❤️
this is a beautiful card! Congrats on your new blog =)
Thank you so much, Lisa!! Stop back again!! ❤️
Stacy, the combo of oxide colors ate just fabulous! What a great vintage look! I’m definitely going to try it out!! Great tutorial!! Congrats on the blog!!
Thank you so much, Juli!!! It’s definitely a fun combo…I’ve been kinda addicted to it lately! LOL!! But give it a try! Have a great evening!! ❤️
Beautiful Stacy! So elegant and very inspiring. Thanks so much for sharing xx
Christina
Thank you so much, Christina!!! ❤️
~ Stacy
Stacy your blog is beautiful!! Love the tutorial!!
Thank you so, so much, Jennalee, That means so much to me!! ❤️
Really beautiful card!!!
Thank you so much, Wanda!! ❤️ so happy you stopped by!
~ Stacy ❤️
Love this so much Stacy, the colors are so beautiful, great tutorial as well!
Thank you so much, Ann!! …and thank you for always cheering me on! ❤️😘❤️ it means so much!!
That’s spectacularly beautiful – I love your colour palette and subtle distressed shimmer.
Alison x
Thank you so much, Alison for the lovely comments..I’m very happy you stopped by to take a peek! ❤️
~Stacy
beautiful card Stacy. The silver color is so inspiring today – thank you!
Congratulations on your new blog Stacy! I’ve enjoyed every post and your beautiful vintage style. Can’t wait to see more! Hugs, Autumn
Thank you so much, Autumn!! That is so sweet of you to say…I’m so excited to have it up and running and am beyond grateful for how many kindred spirits, like yourself, I’ve met and have embraced me…hugs!!! ❤️And also…HAPPY BIRTHDAY!! ❤️
~ Stacy ❤️
Lovely, lovely work…thank you for sharing the ink colors!!
Thank you, and you’re very welcome!! ❤️
~ Stacy ❤️
Wow,such a beautiful card .So appreciate your detailed instructions.I am inspired! Thank you so much.