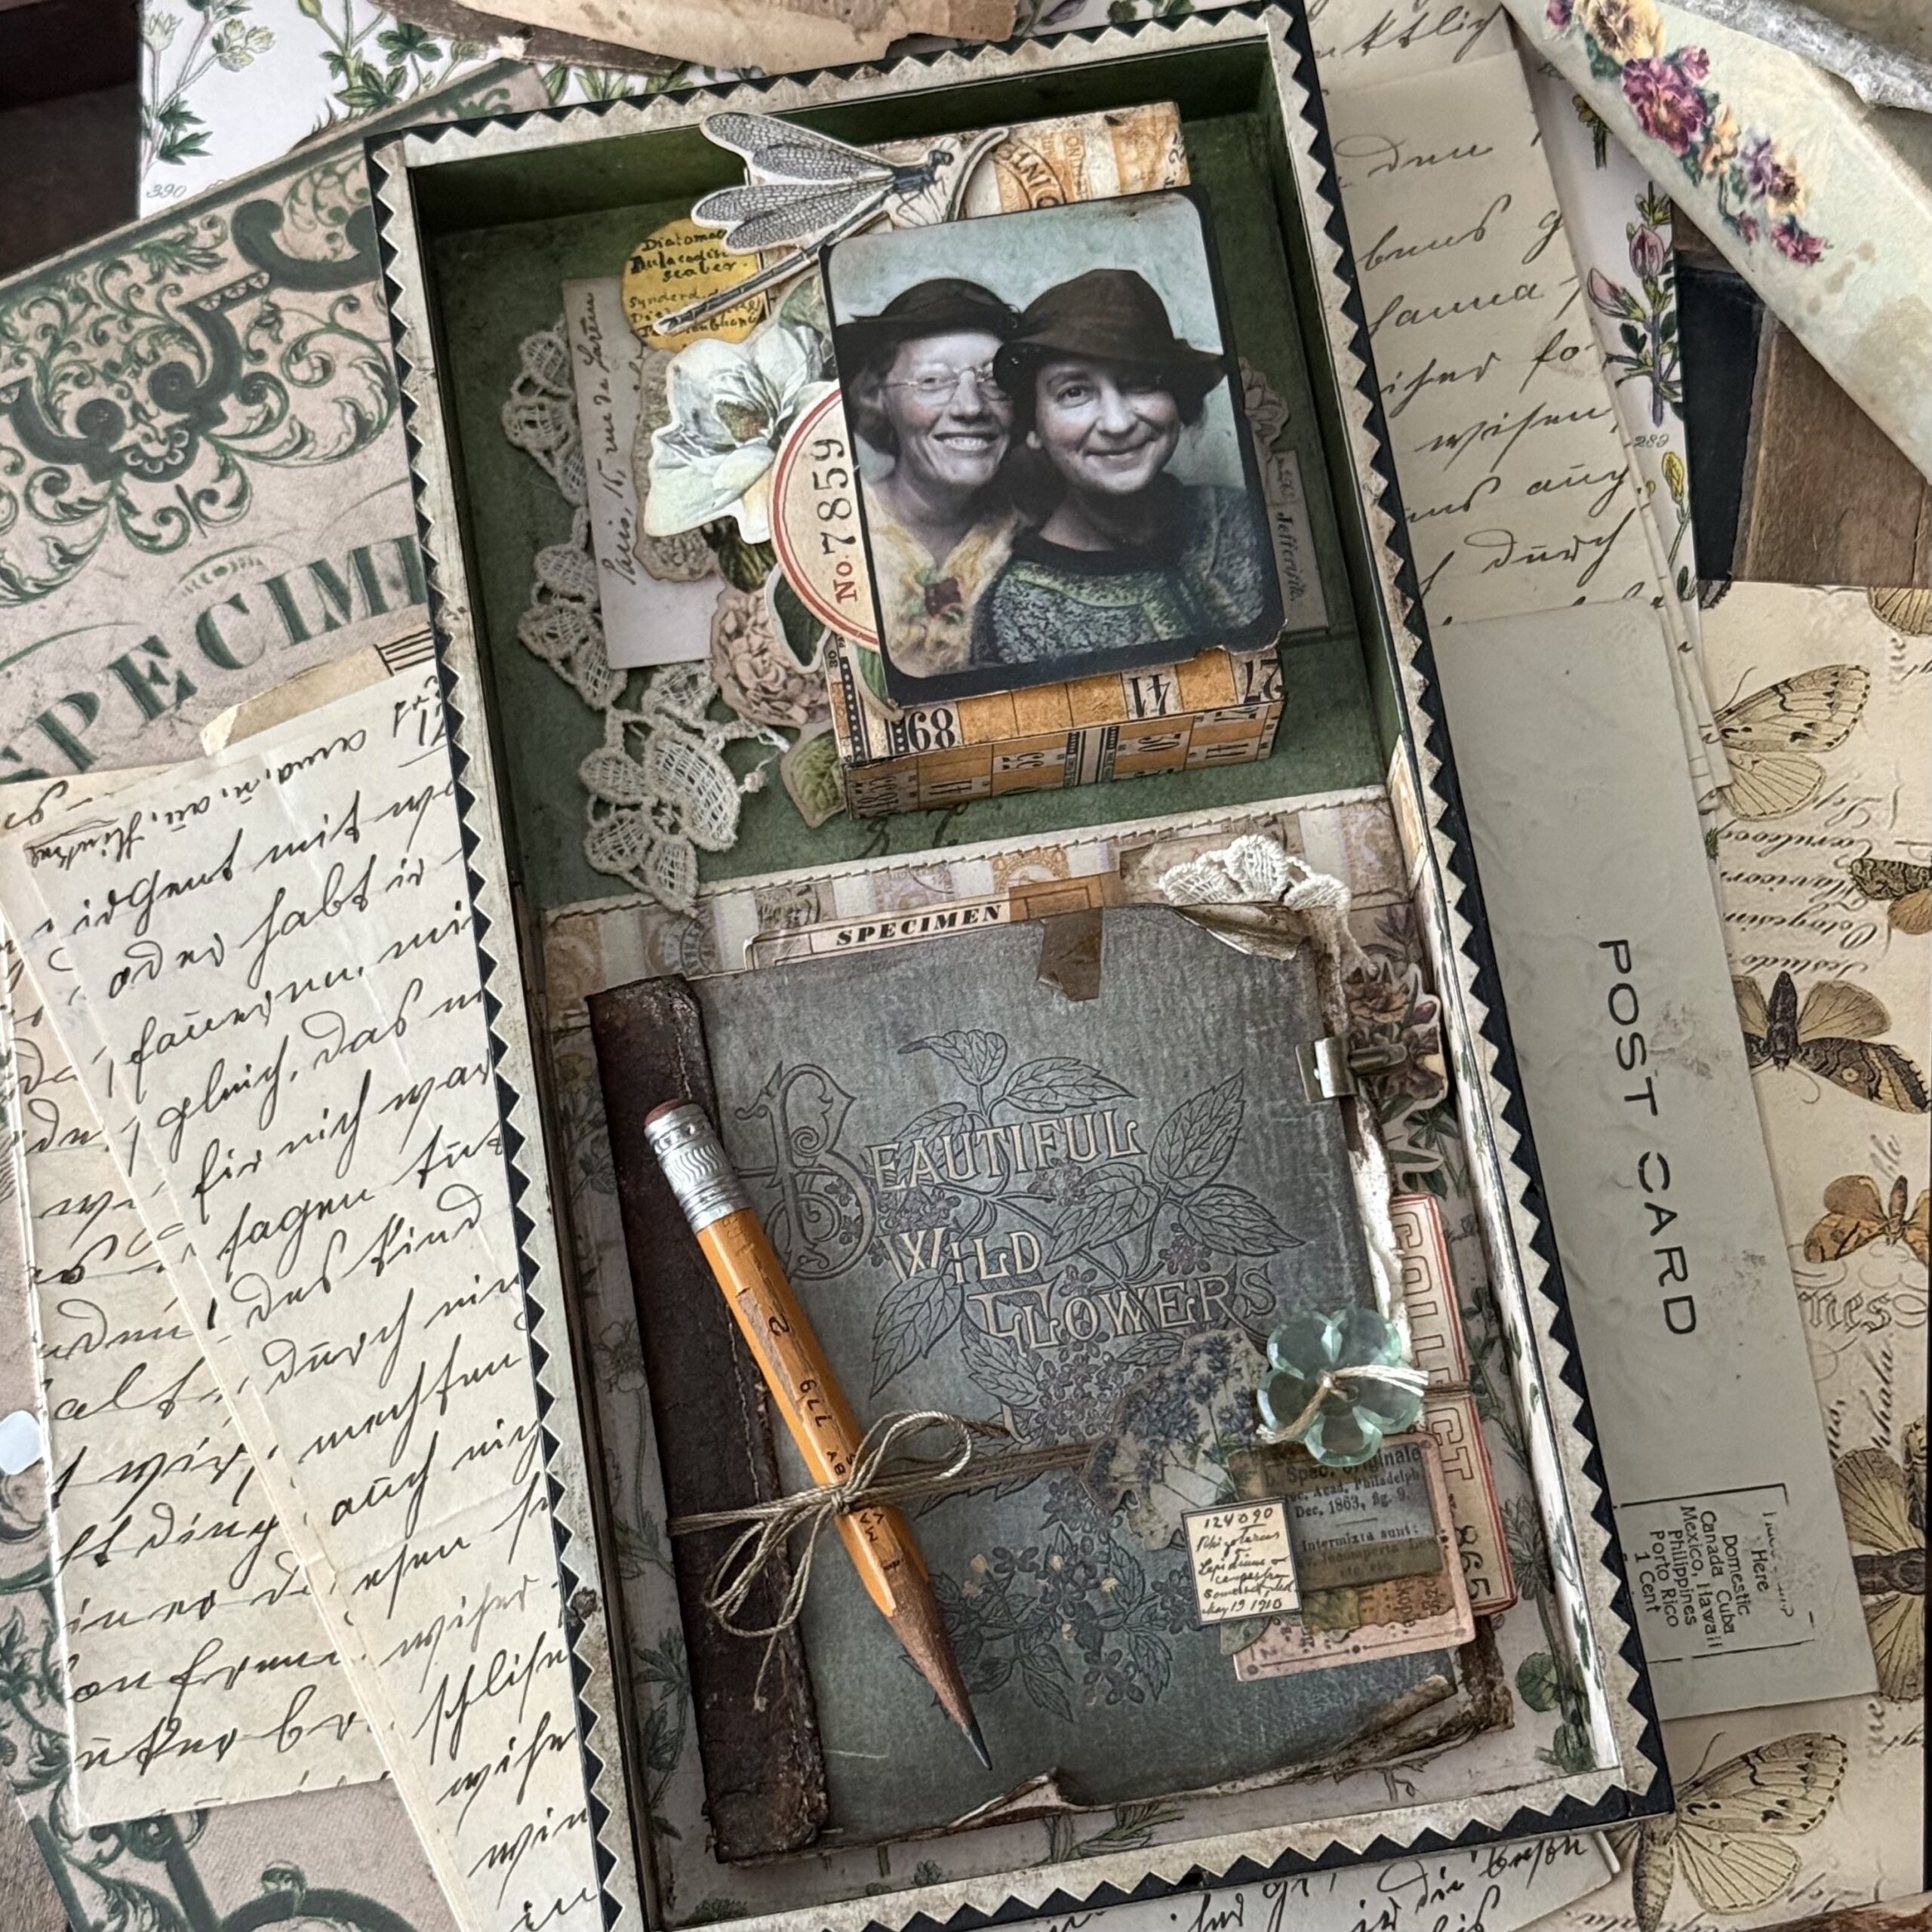
Hello friends! How can it be mid August already? Time is sure ticking by…I have been busy creating all sorts of things for this season, and for a few others, and before summer escapes us, I thought it would be fun to create a project full of flowers, spring and summer things and the sweetness of friendship. I love a good story of days gone by and remembrance of special times, and this project fit the bill.
I used the new Yellow Palette Paper Collection in 8″x8″ along with the Palette Backdrops Volume 5..my goal was to find some papers that went in a floral theme and the papers in both did just that.
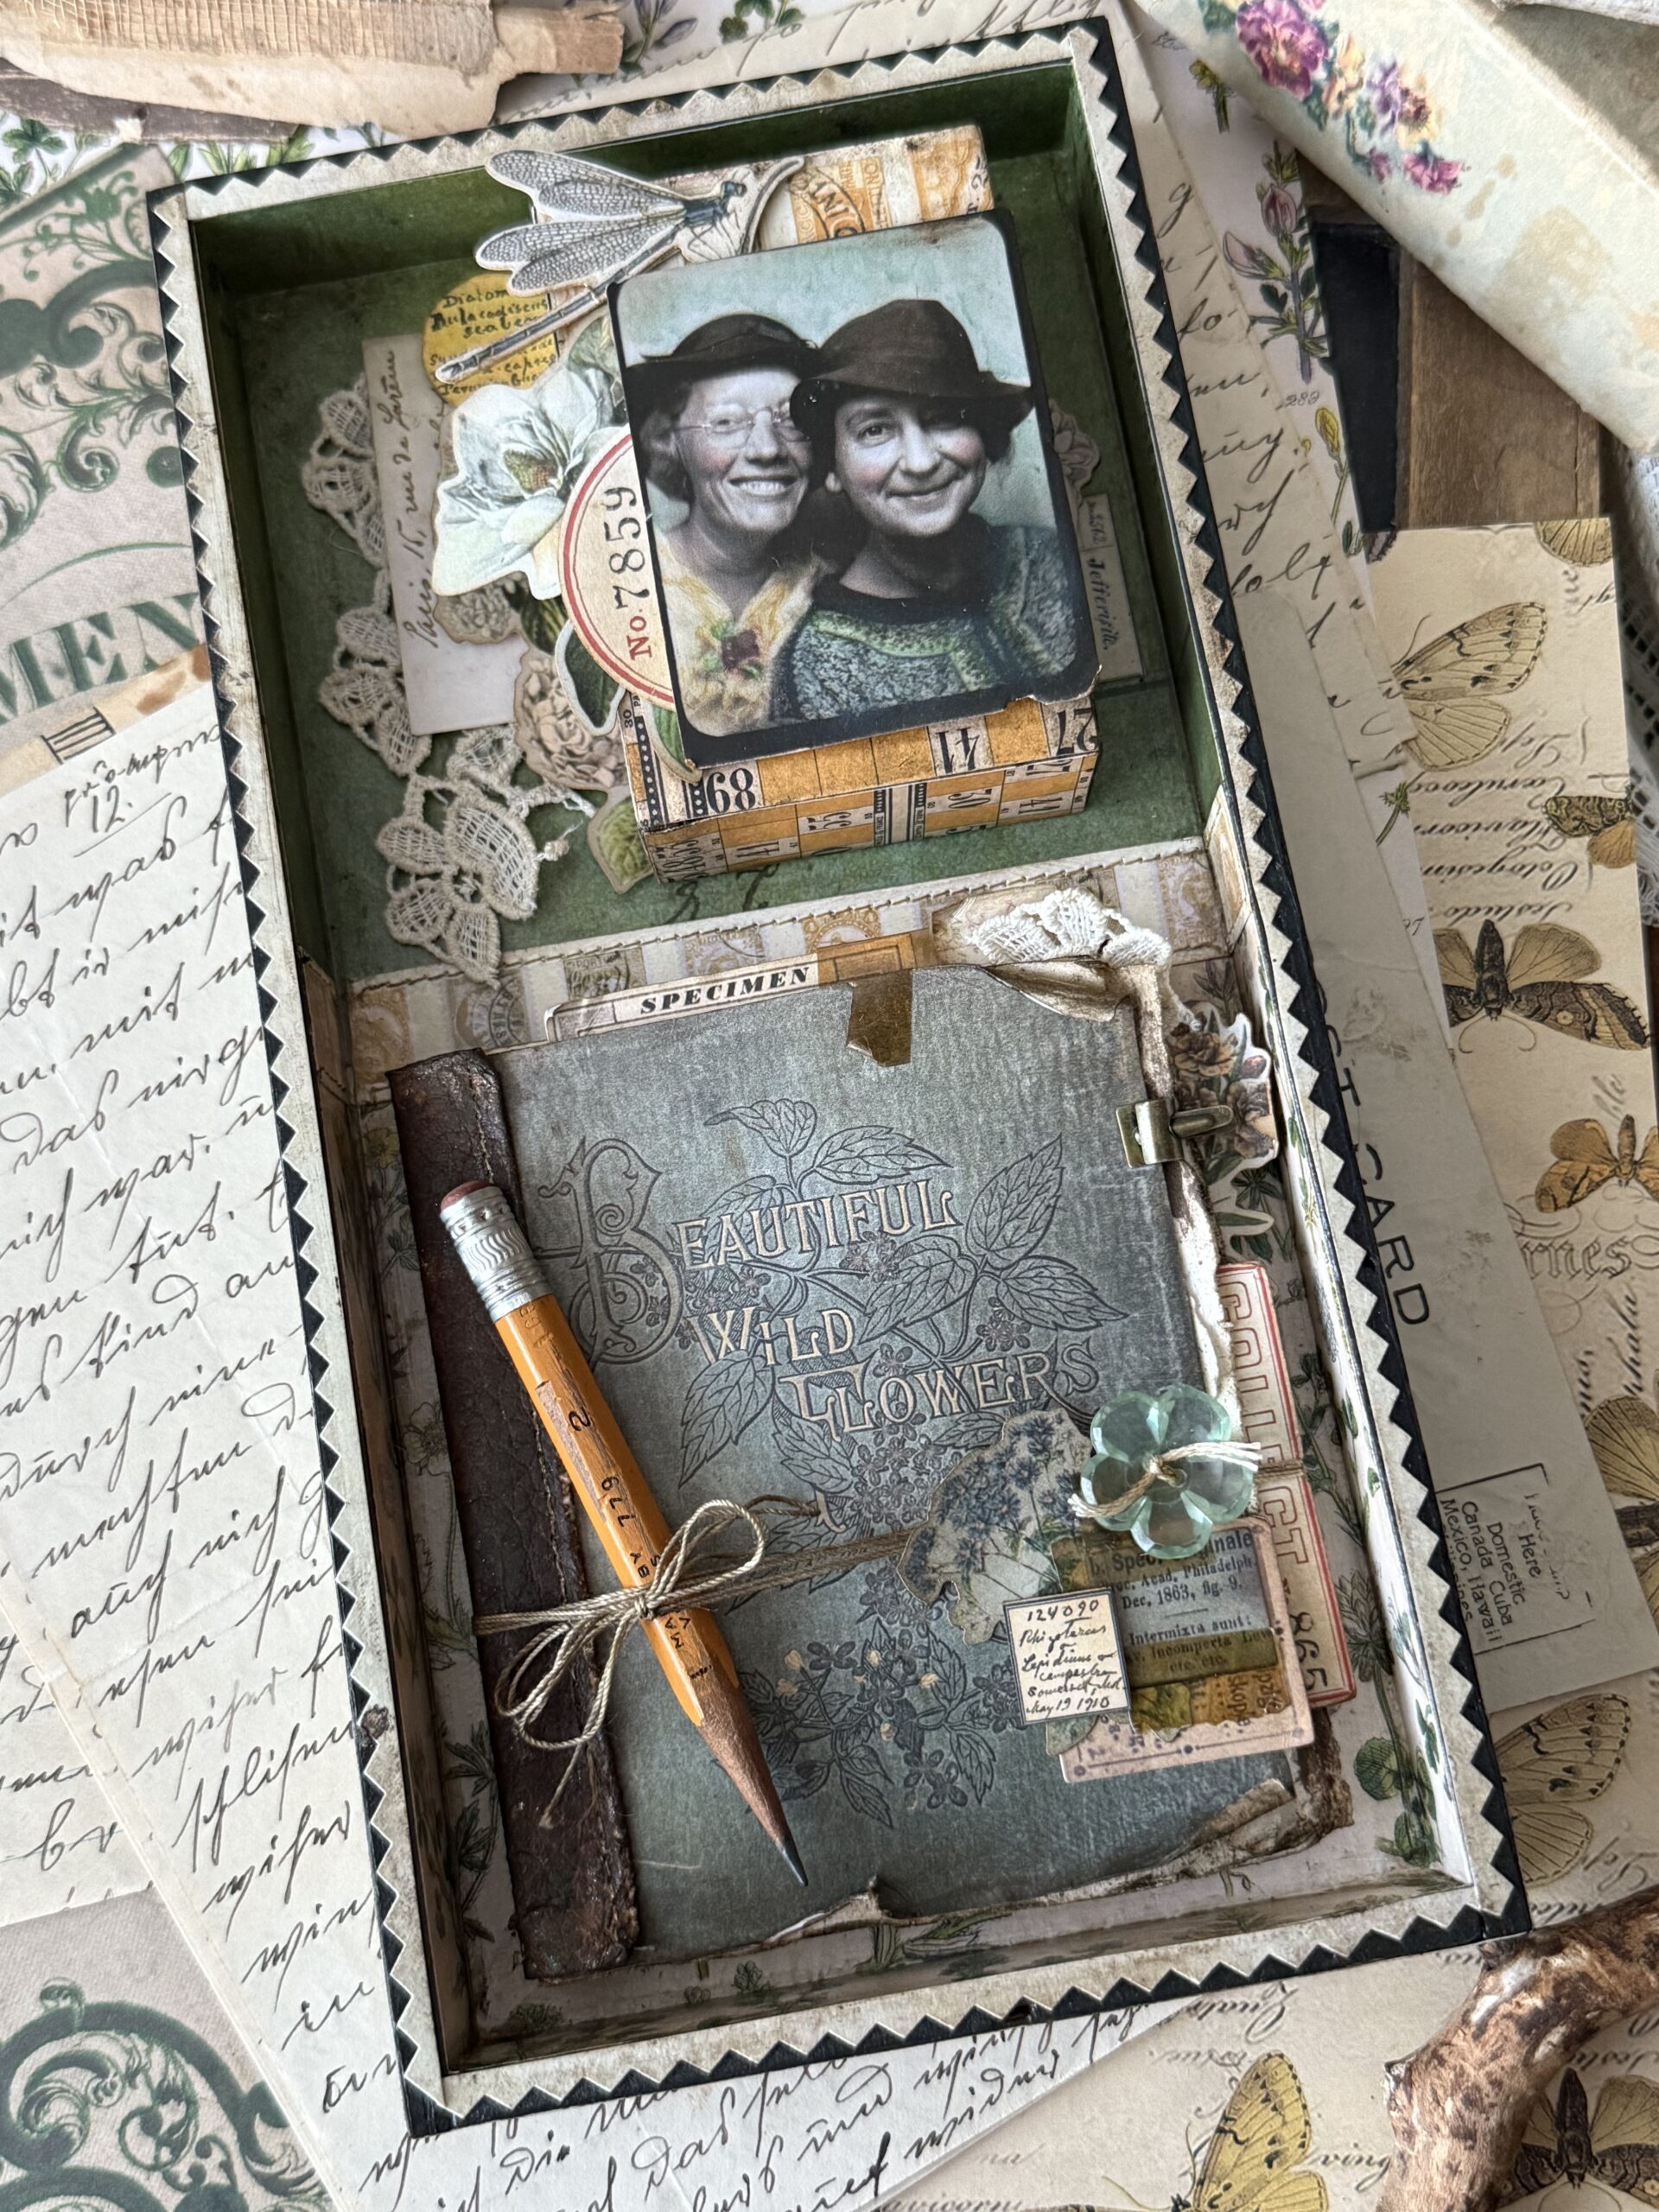
I found the Wildflower paper in the Yellow Palette and the Green Distressed Background that I used on the outside of the vignette box, in the Volume 5 collection.
The entire idea-ology collection of papers in Backdrops and Palette paper packs is a must need when designing vignettes, so many beautiful choices that are sure to work with the project you want to create. They are great to mix and match no matter the theme of the pack, in fact, I challenge you to use the Halloween and Christmas for everyday projects, they really work for everything!
In fact, the little pinked edge of the vignette box was created by using a pinking sheers to cut strips of paper, then I used them to make the borders giving the piece a more vintage look. Literally, the papers work for everything!
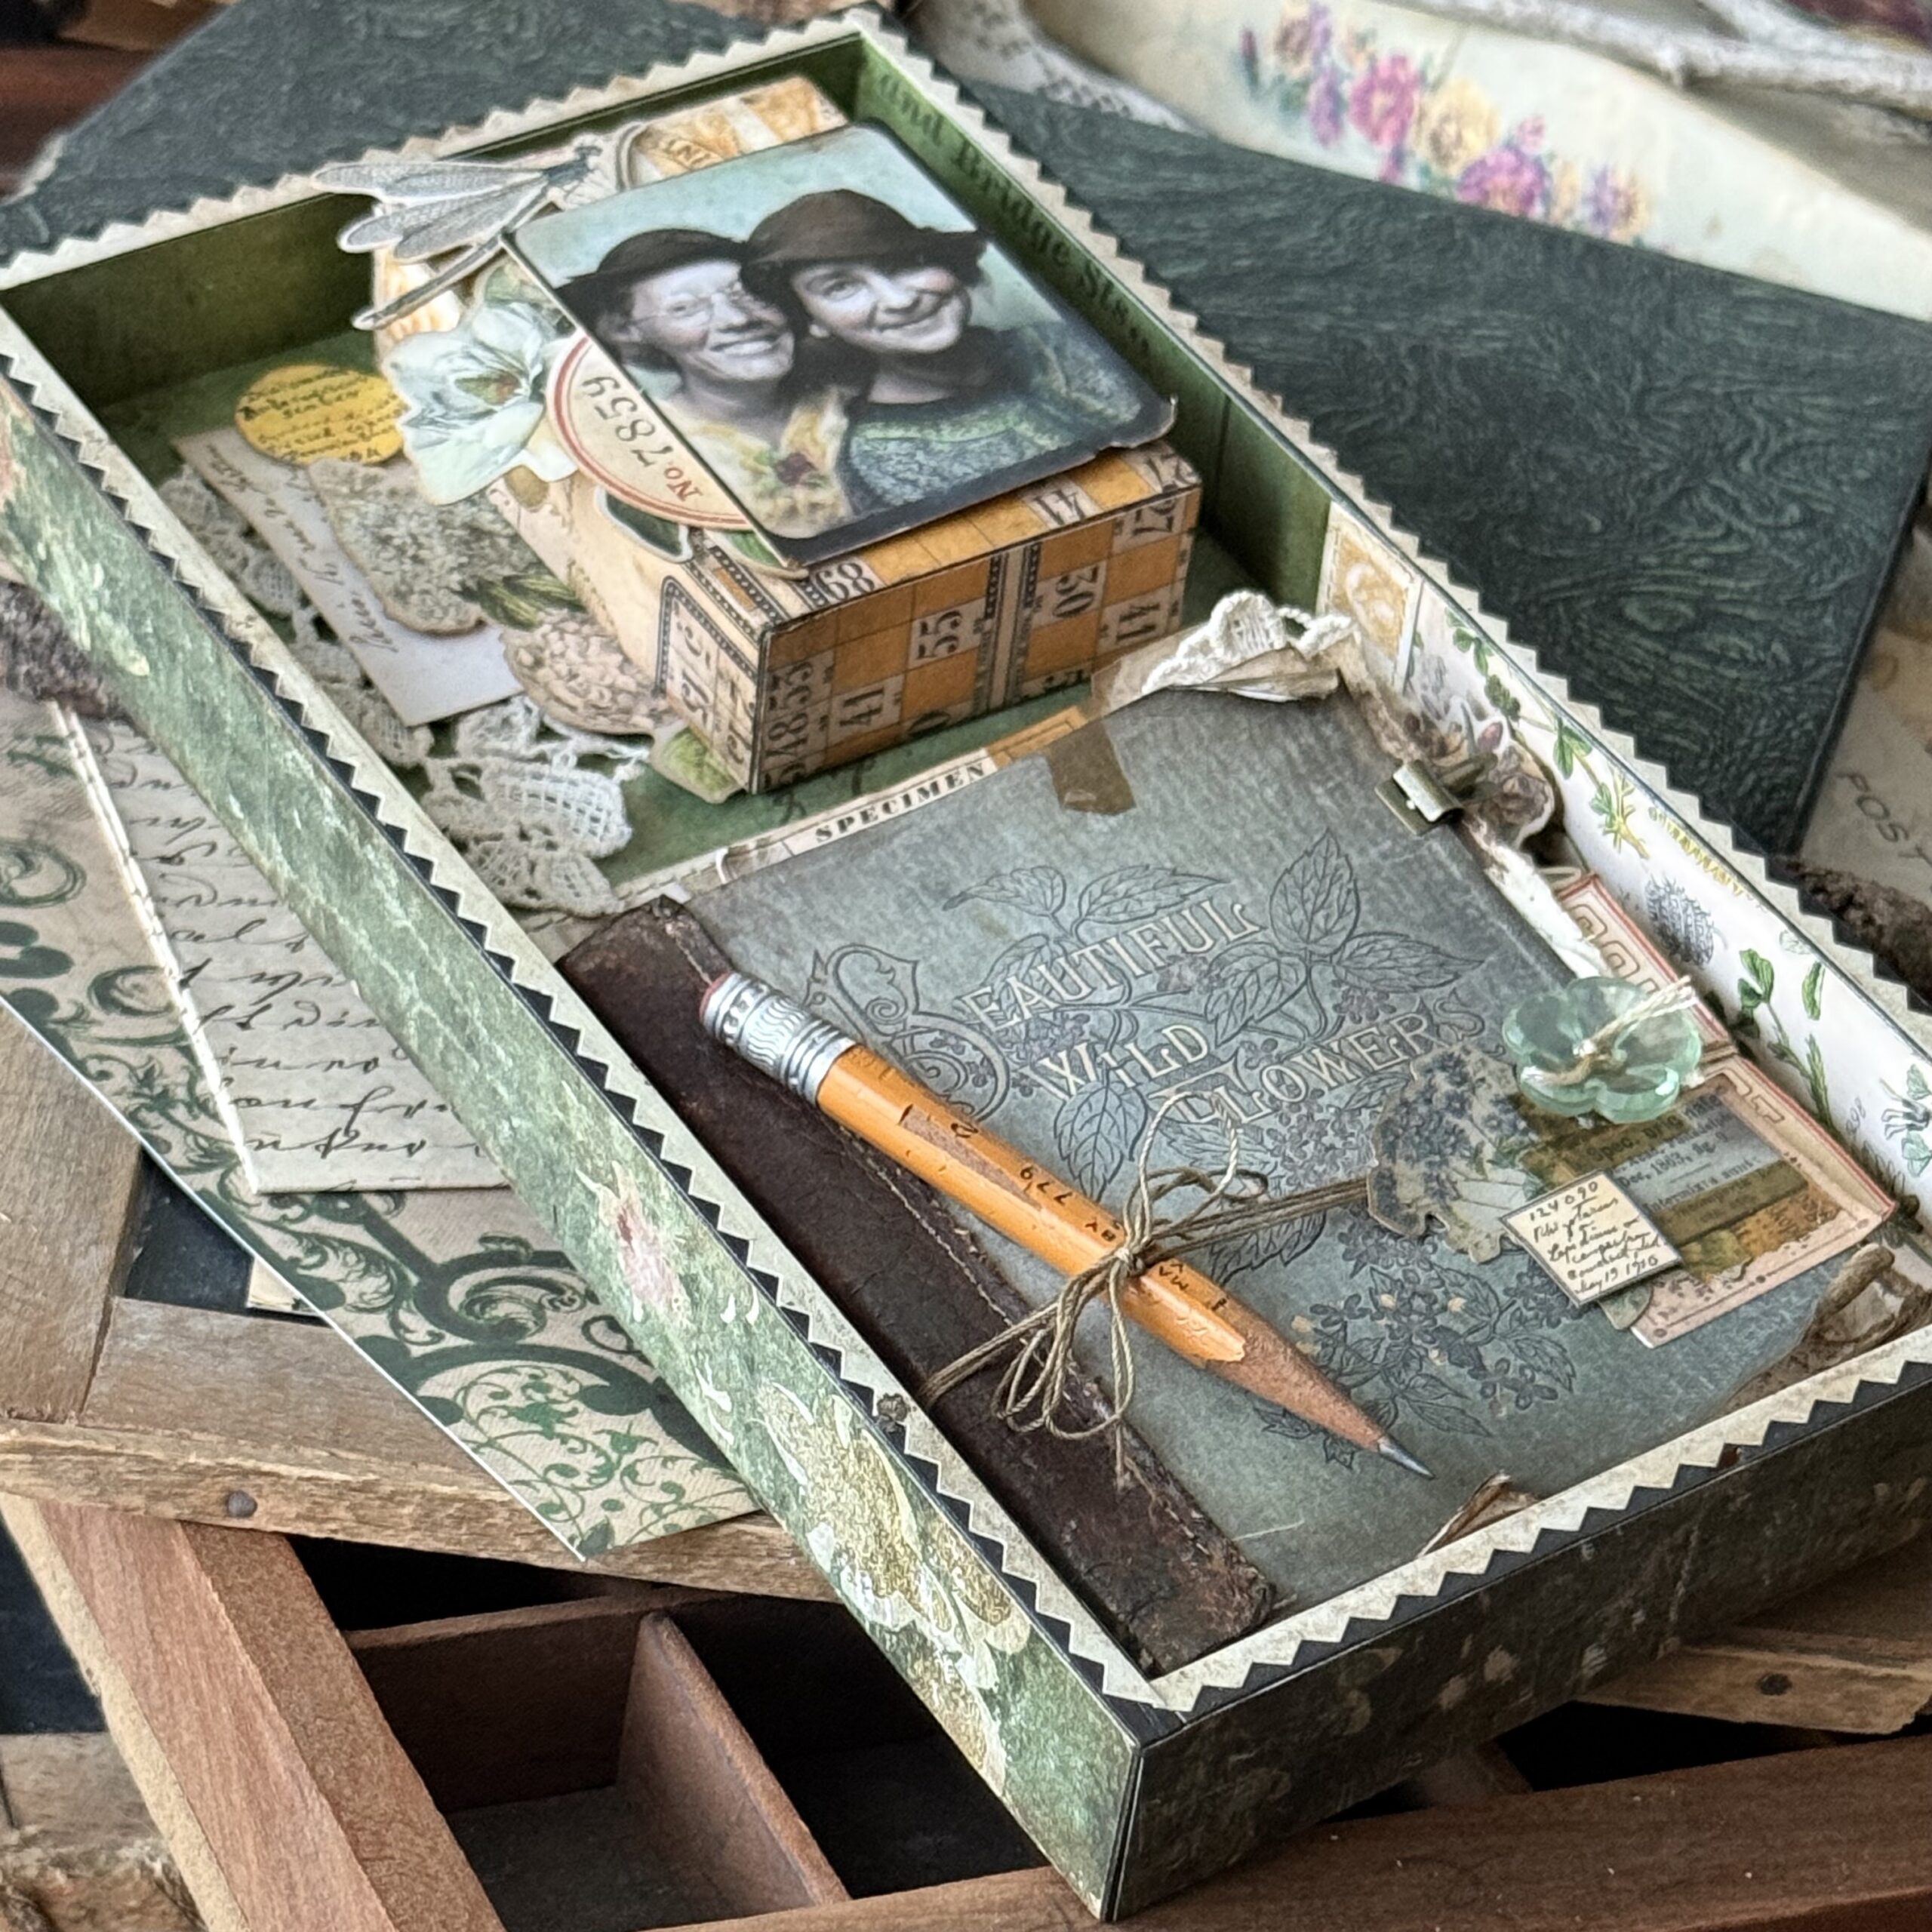
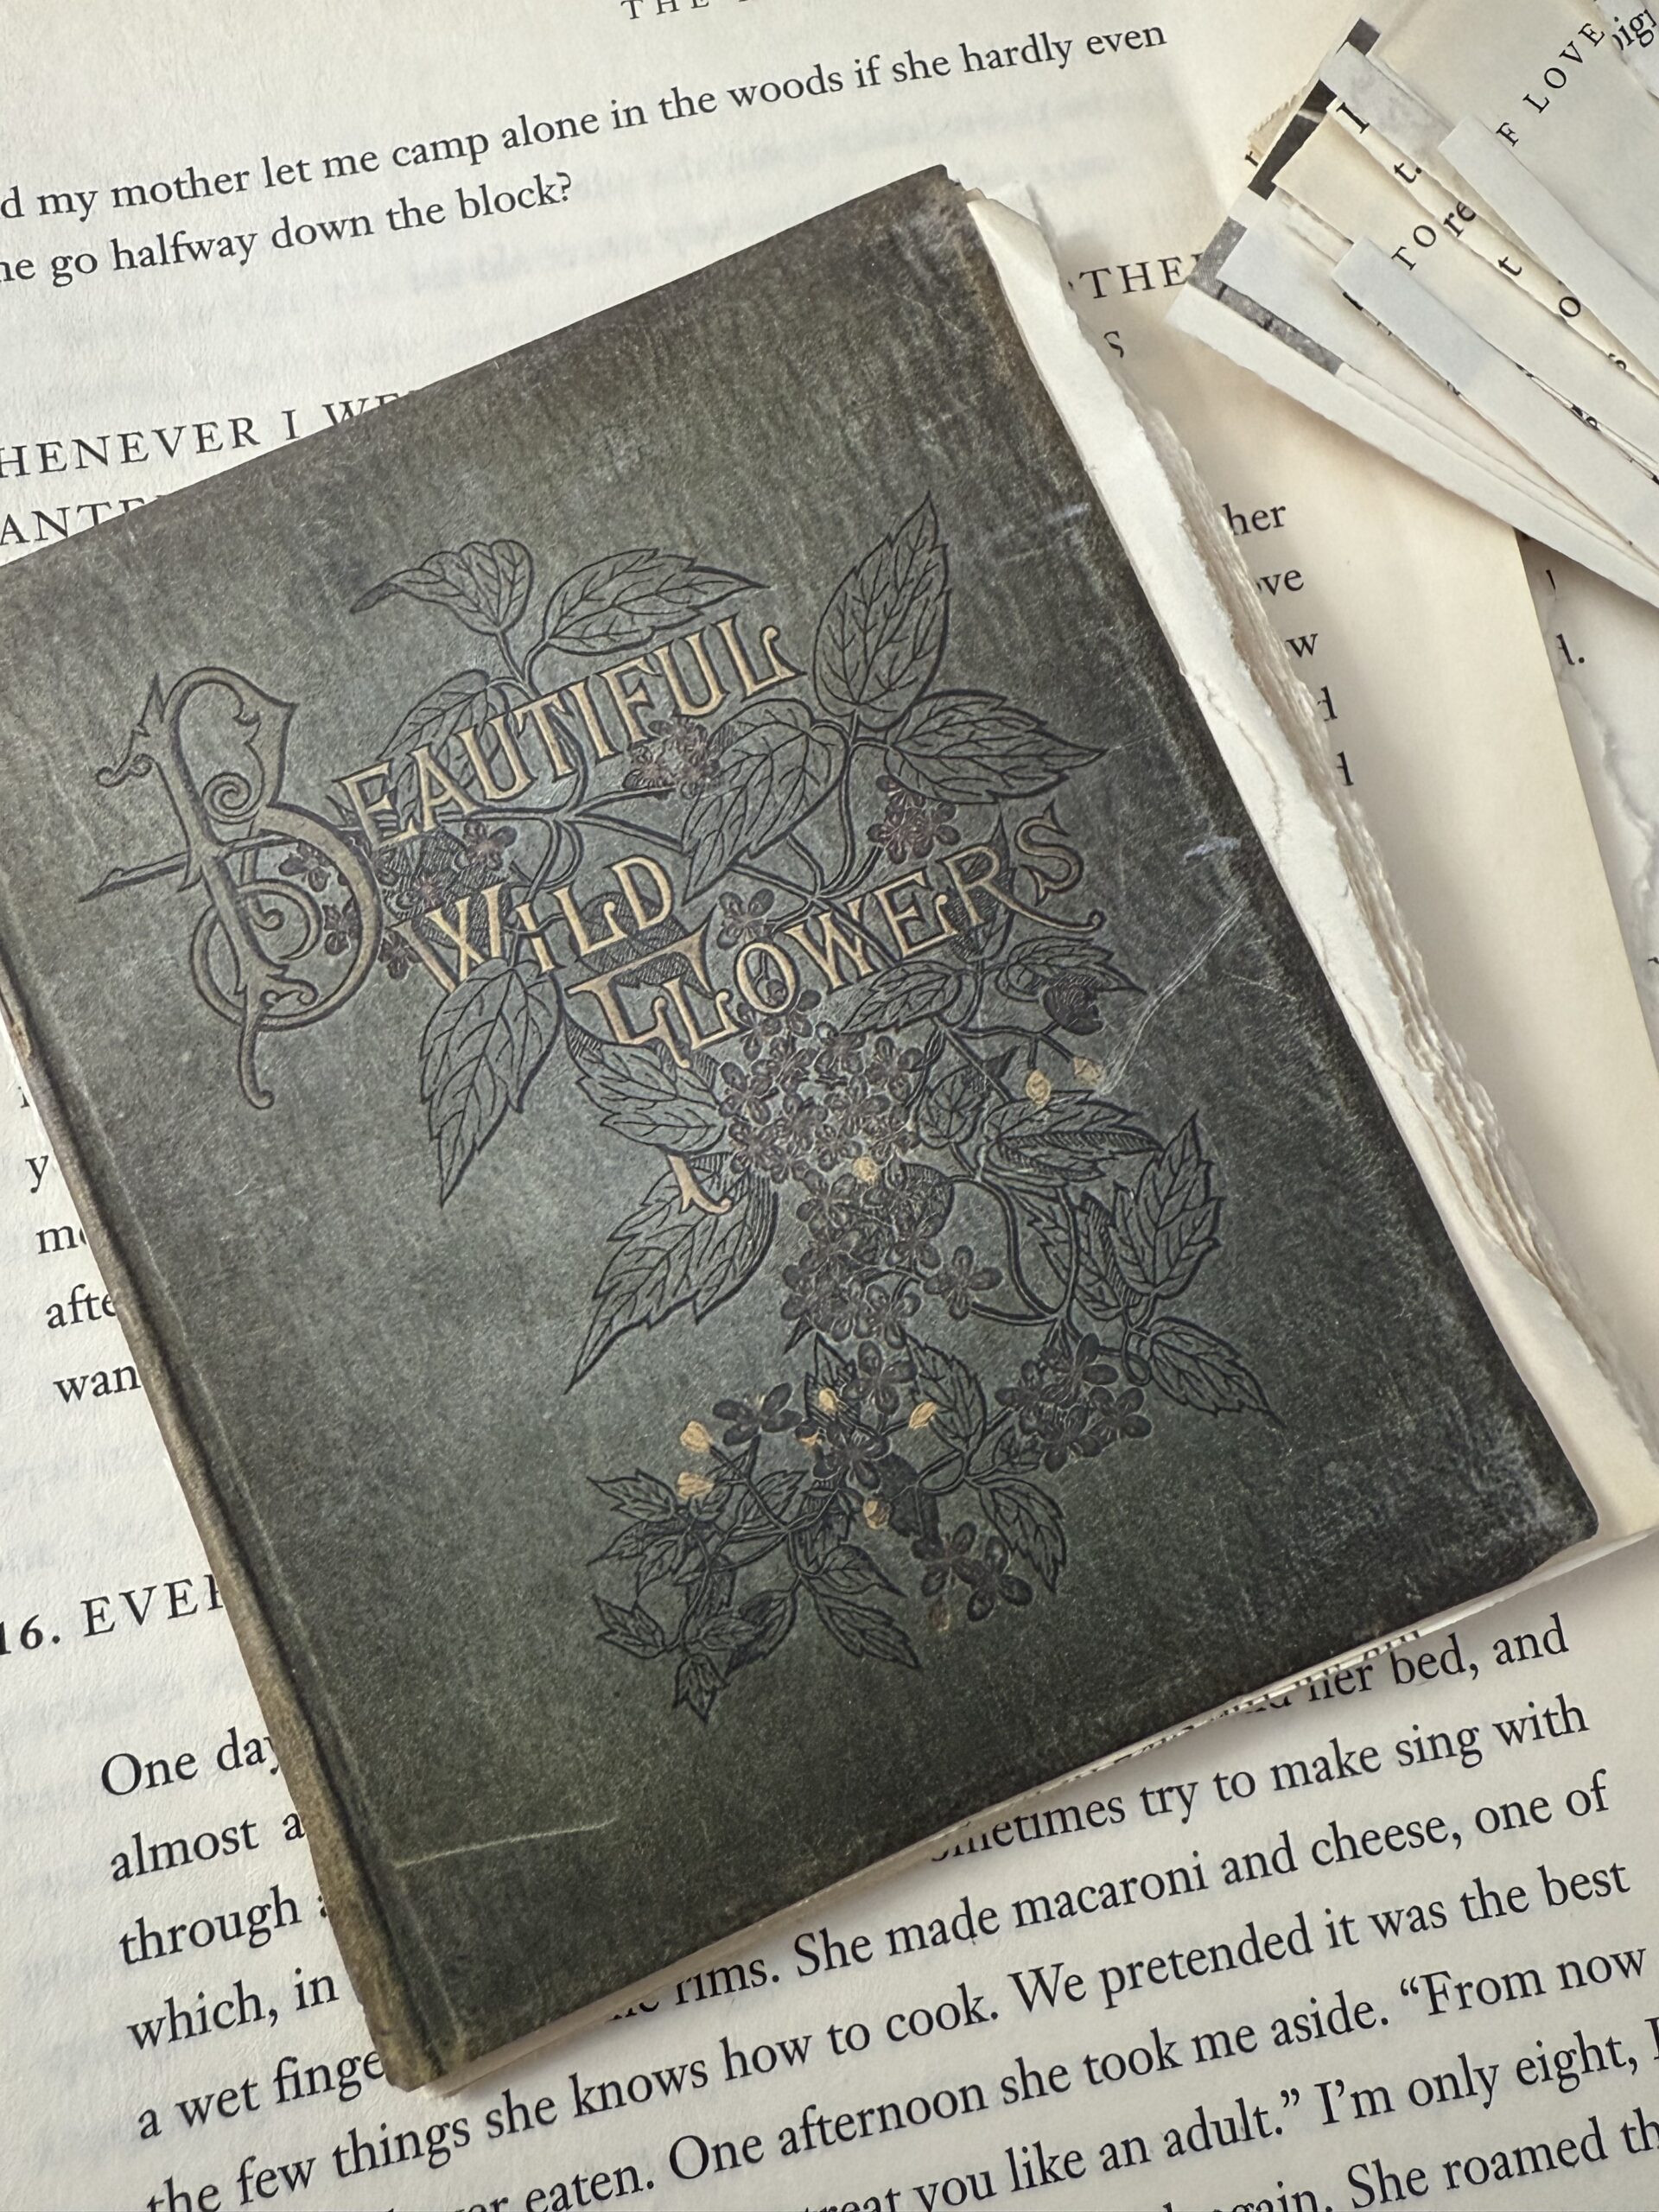
The next part of my process was digging through some of my idea-ology ephemera packs to find the best pieces to convey that theme, and sure enough, sitting right there in the Field Notes Ephemera pack was this beautiful wildflowers book cover, could that have been any more perfect a piece to use to set the entire project off right? I don’t think so… I instantly knew that a little book as one of the centerpieces would help to tell the story and of course, I couldn’t resist making “a”vintage” book!
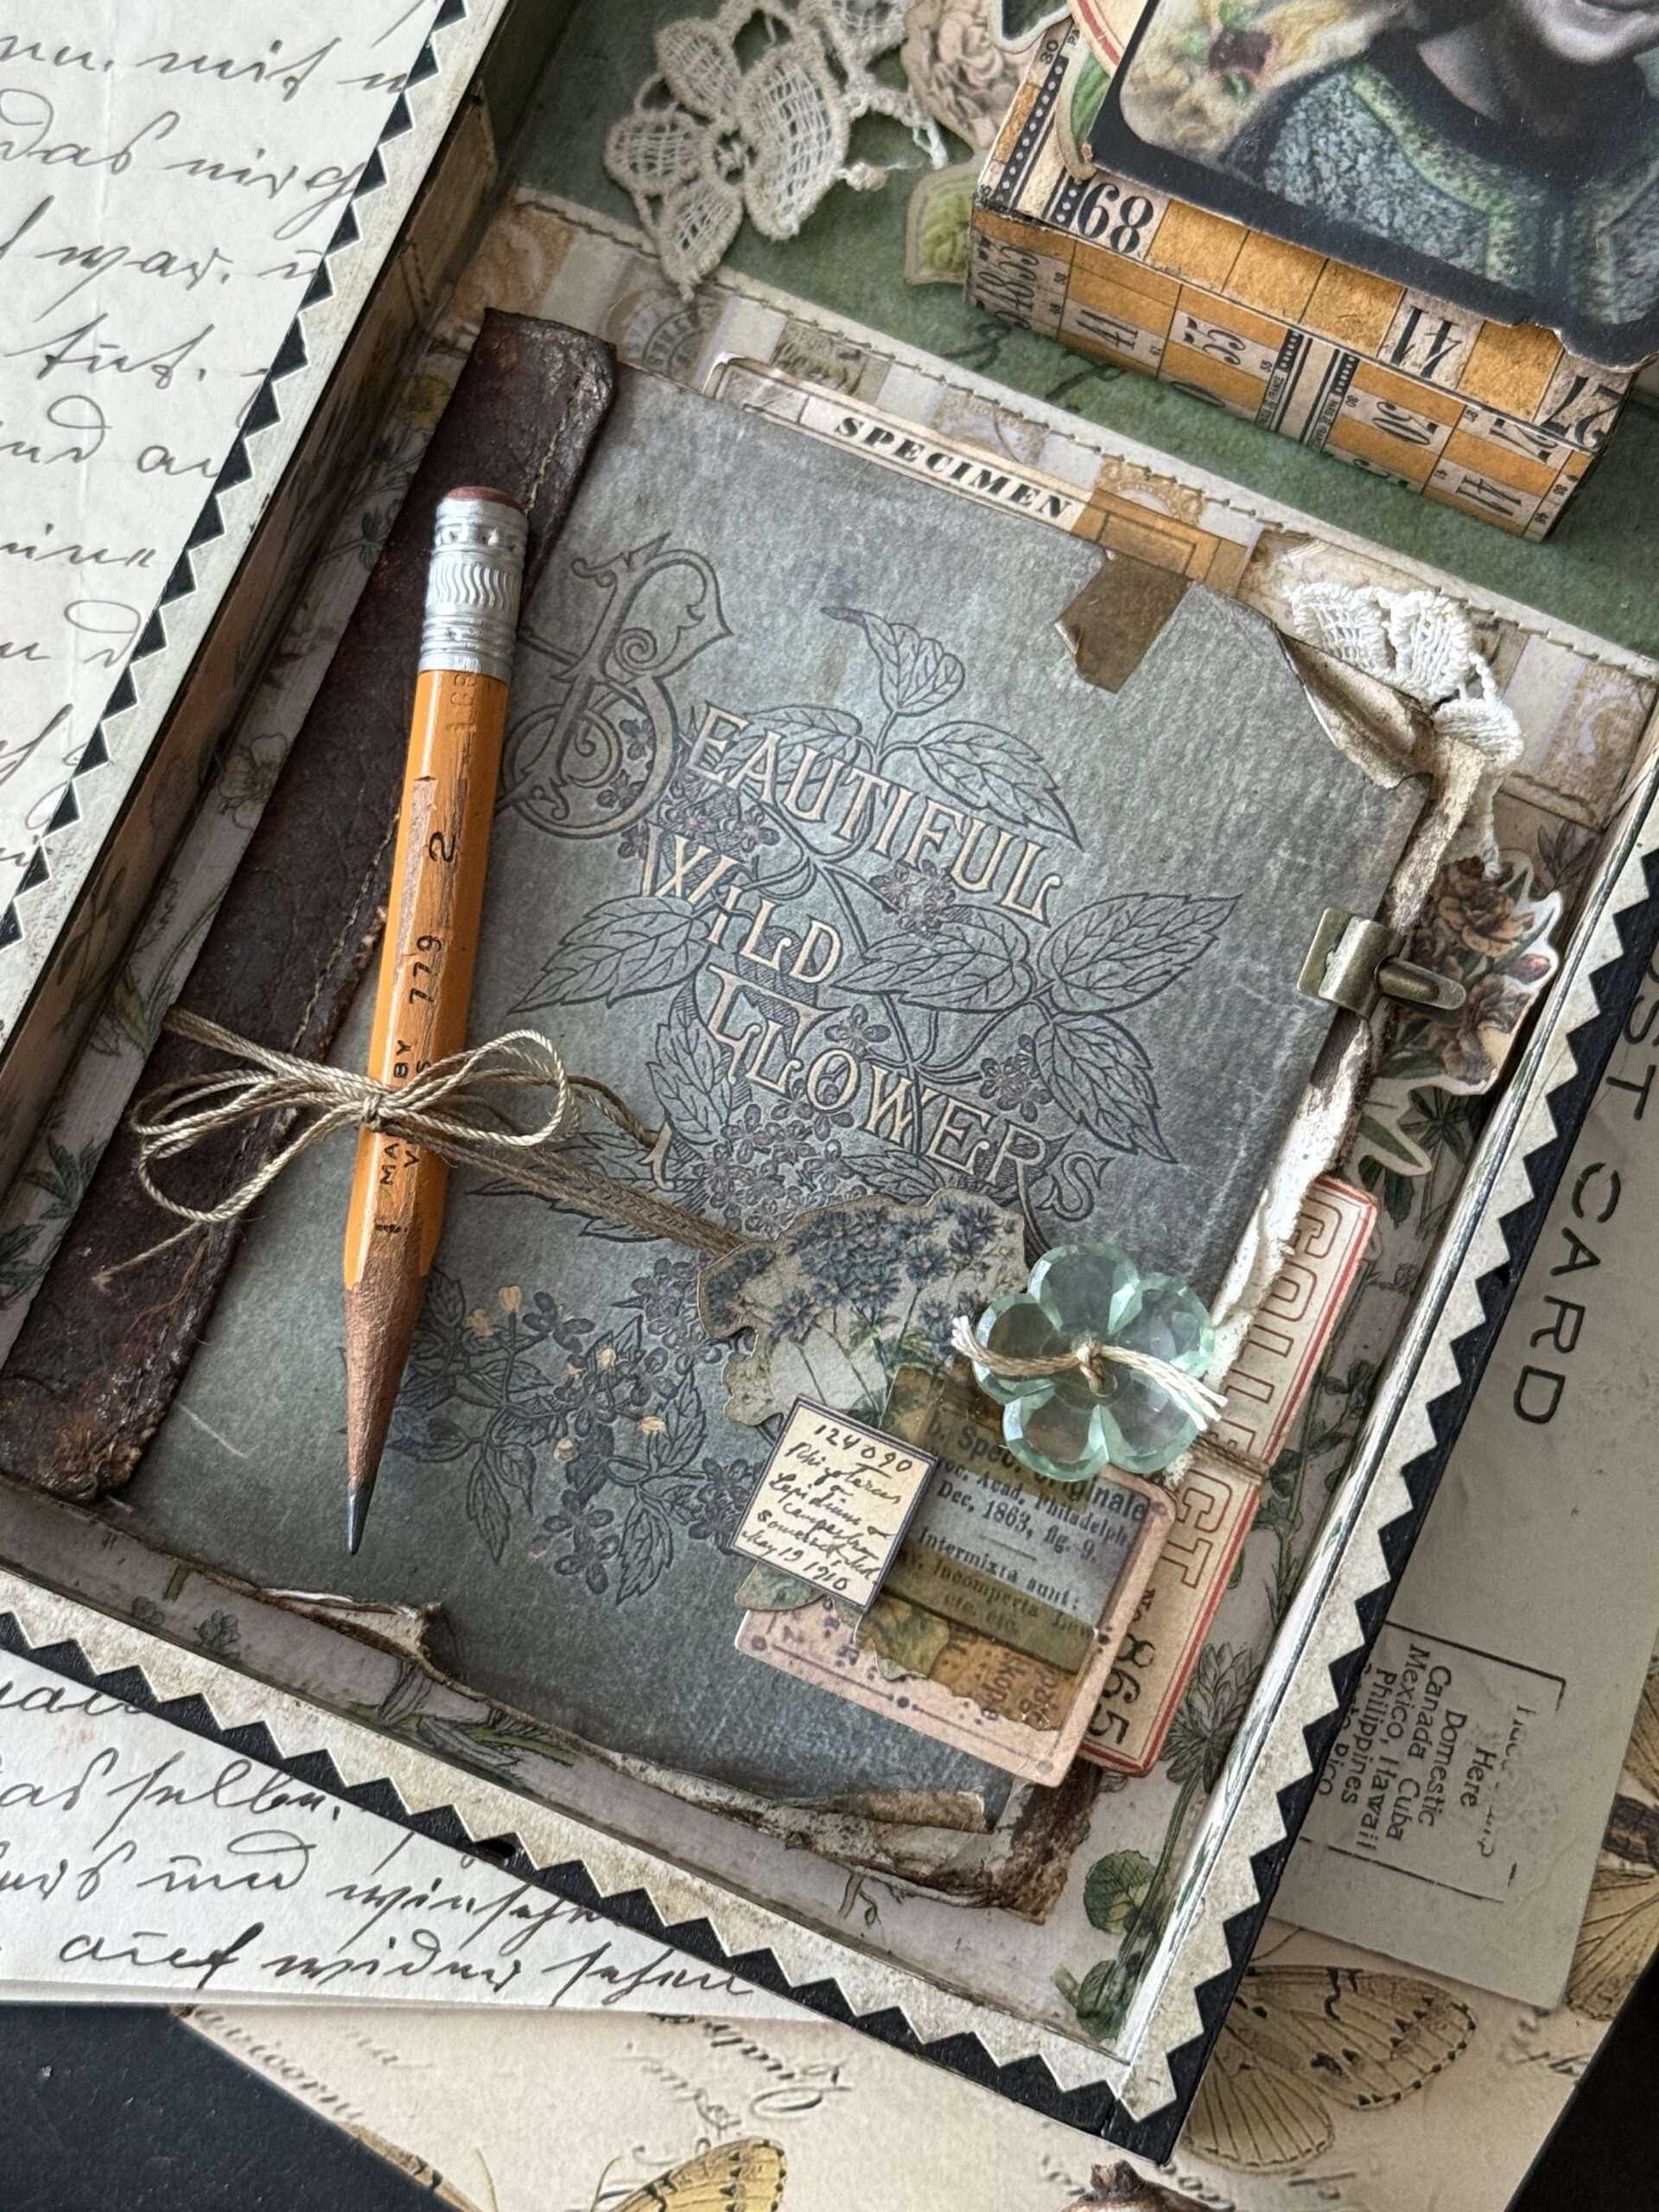
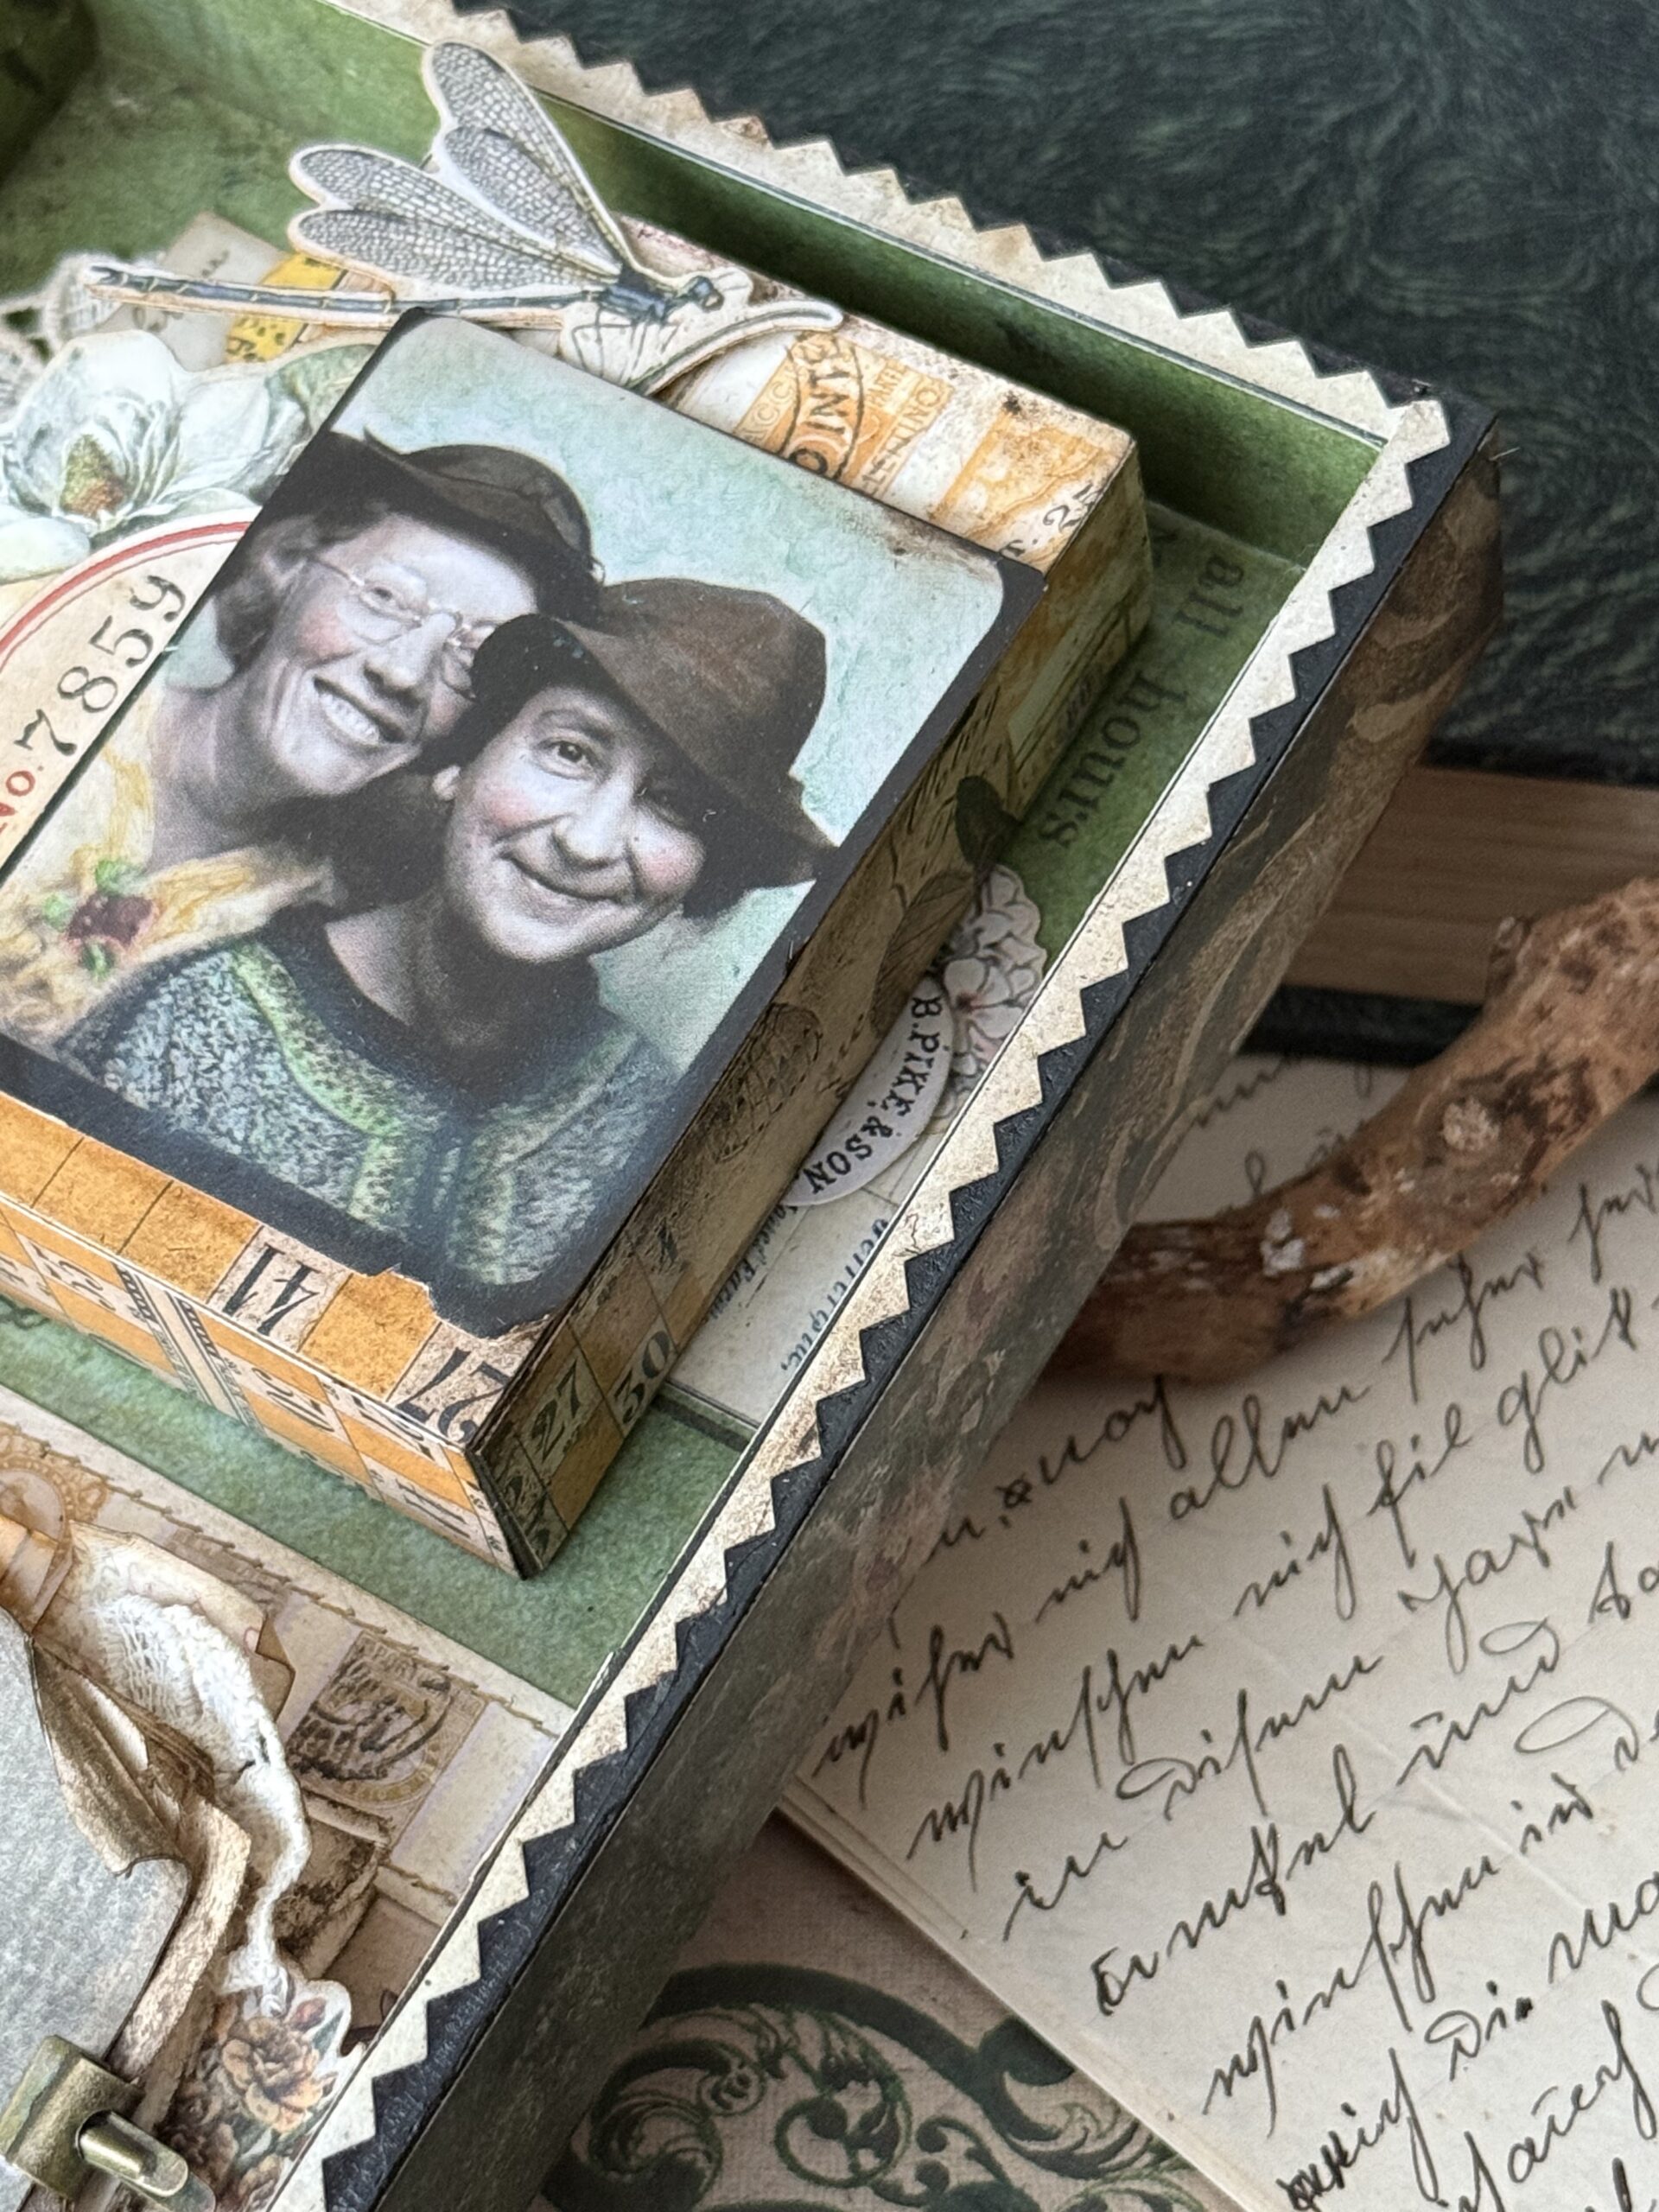
And finally…the cherry on top, was finding this adorable Photomatic Photo…two sisters or friends who share a love of collecting and flowers, who over the years have collected so many memories to keep in their hearts.
A little collection has found a place in a special book that although many years have past, holds some of the memories that they have kept close to their hearts.
So, let’s get to making…
The book-
I started by tearing some book paper out of a book to use as the filler of the book…I have a couple books that are books that I’ve picked up at goodwill and the dollar tree to use specifically for this purpose. I just tore the pages out and trimmed a good stack of them to become the pages of the book. I knew you wouldn’t see these writing in the pages, so they were stacked together, stapled together then placed behind the idea-ology ephemera book cover. I left the edges then on the edges to give it a more vintage look.
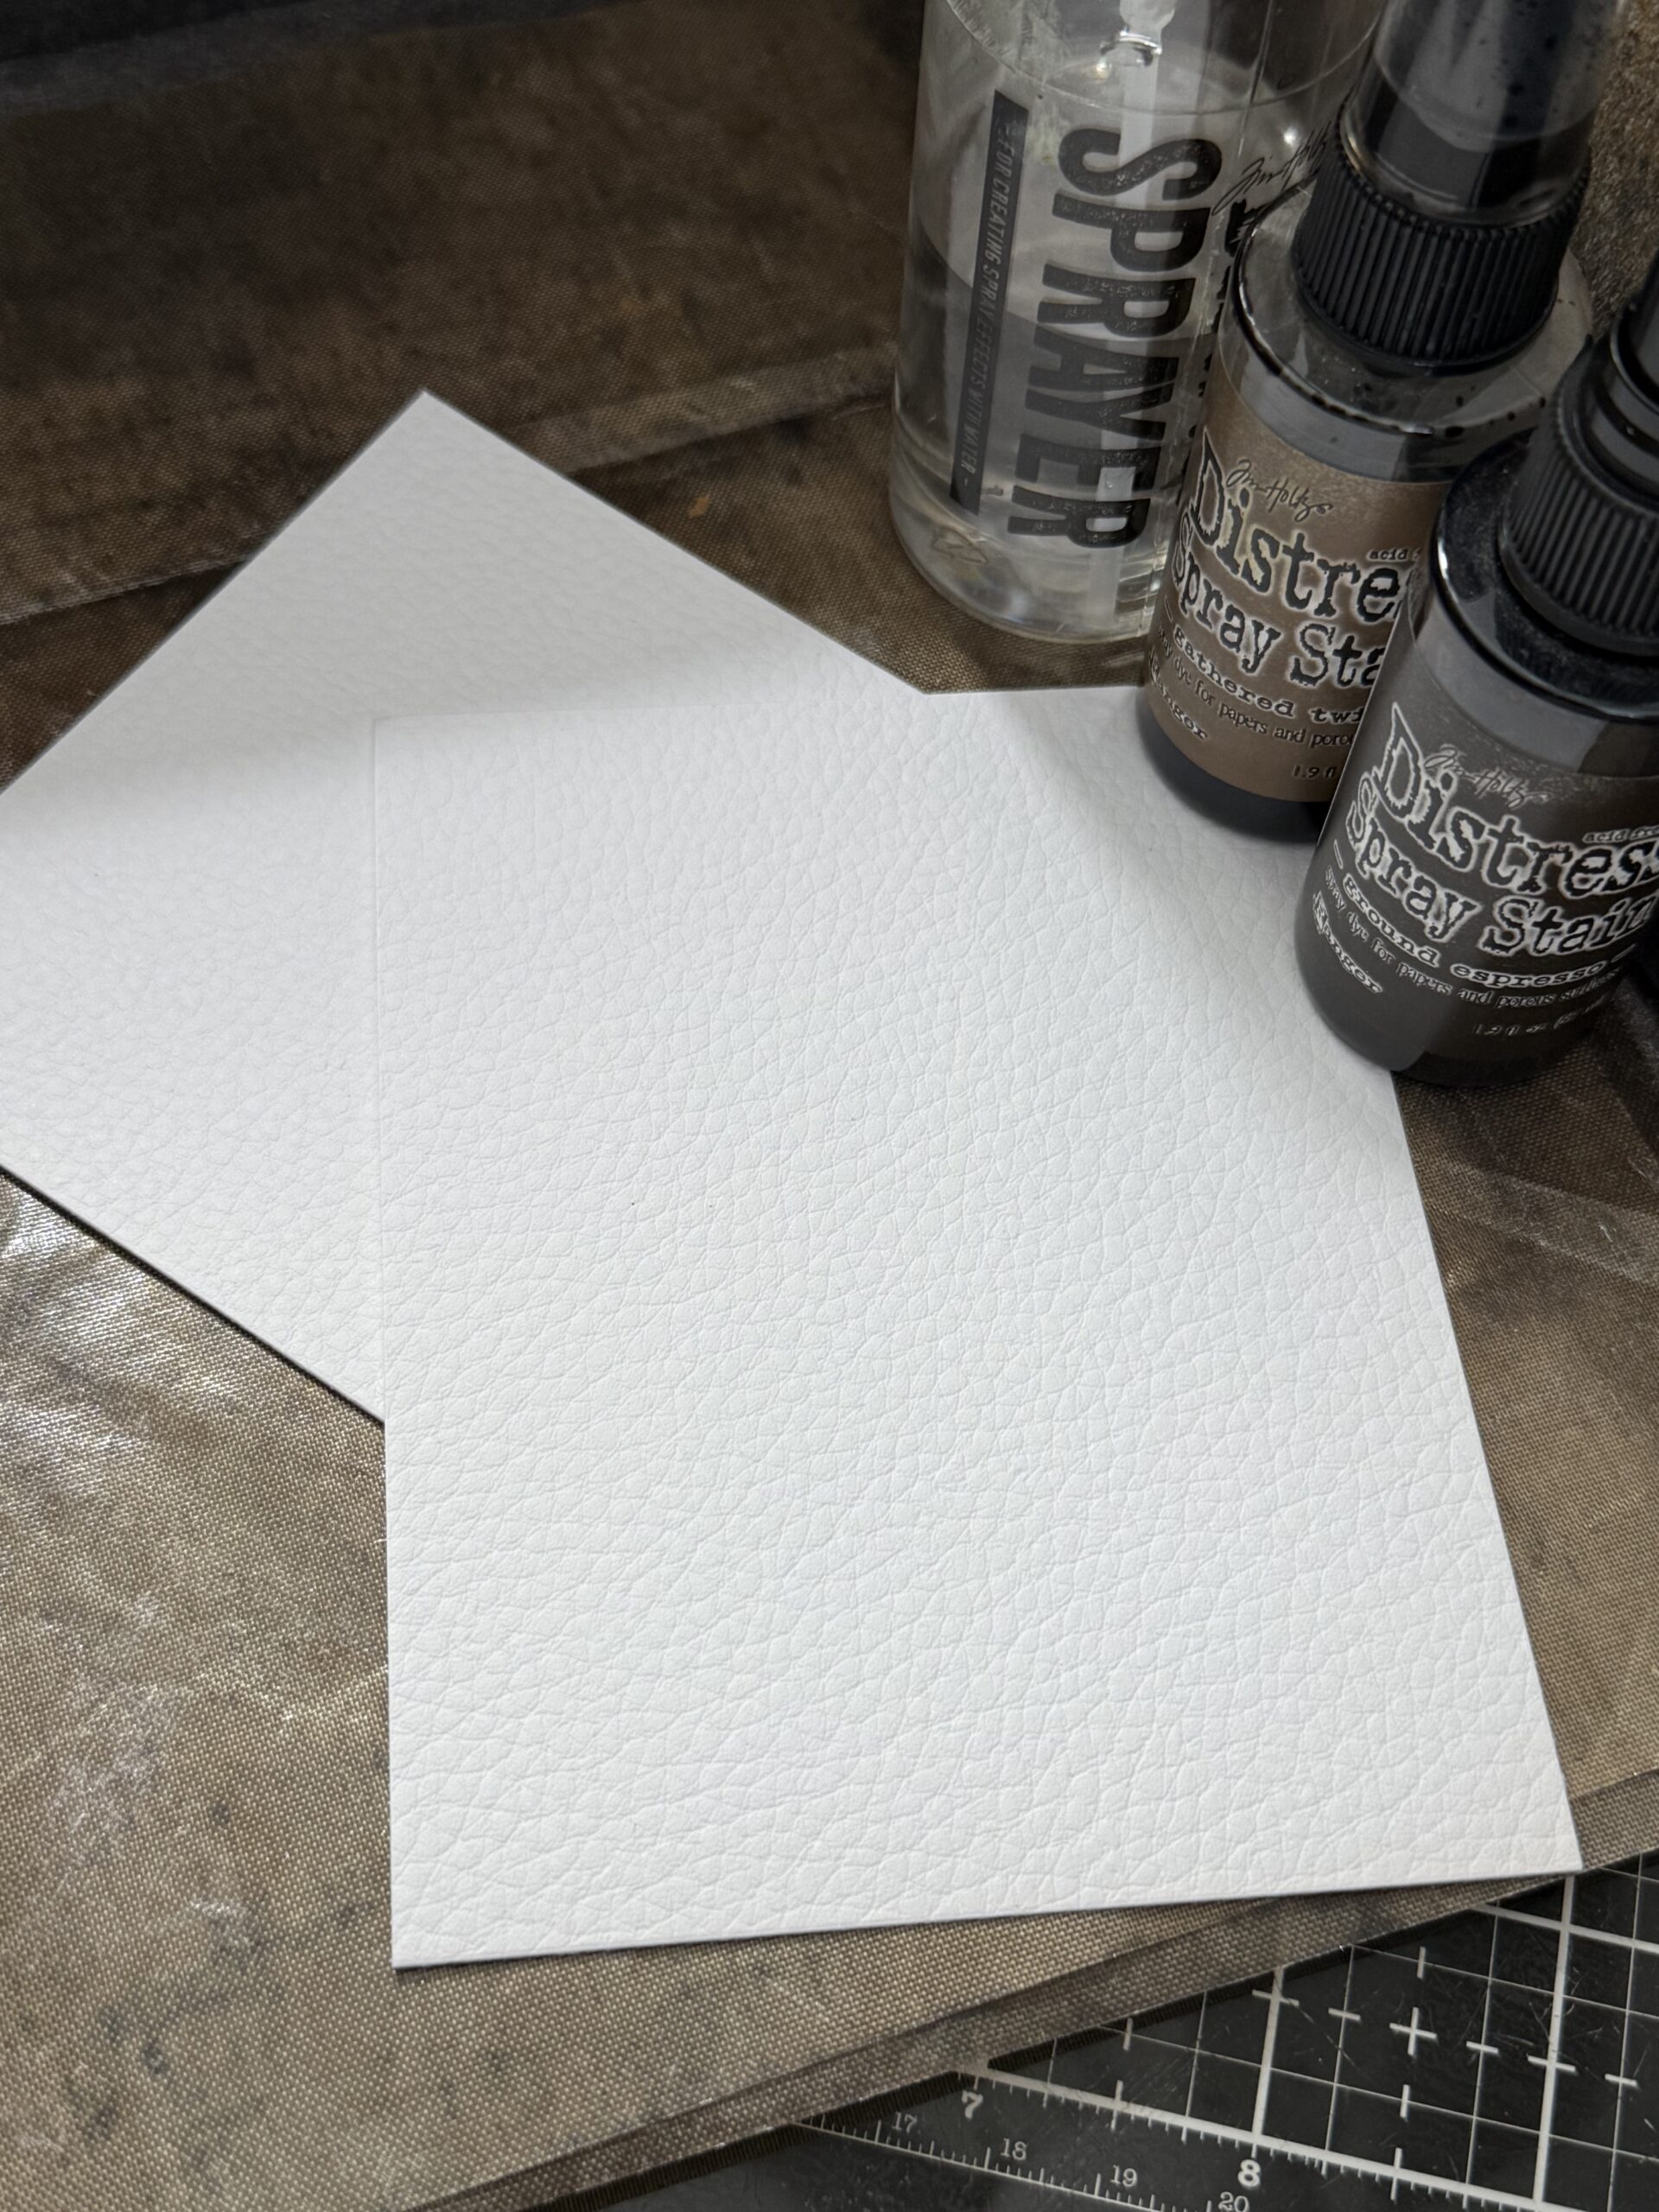
Next, I wanted the spine of the book to look old, so I took a piece of the Tim Holtz Cracked Leather Cardstock an trimmed it to fit the edge of the book. I sprayed it with some water, then spritzed it with Ground Espressoand Gathered Twigs Spray Stains, then dried it with a heat tool.
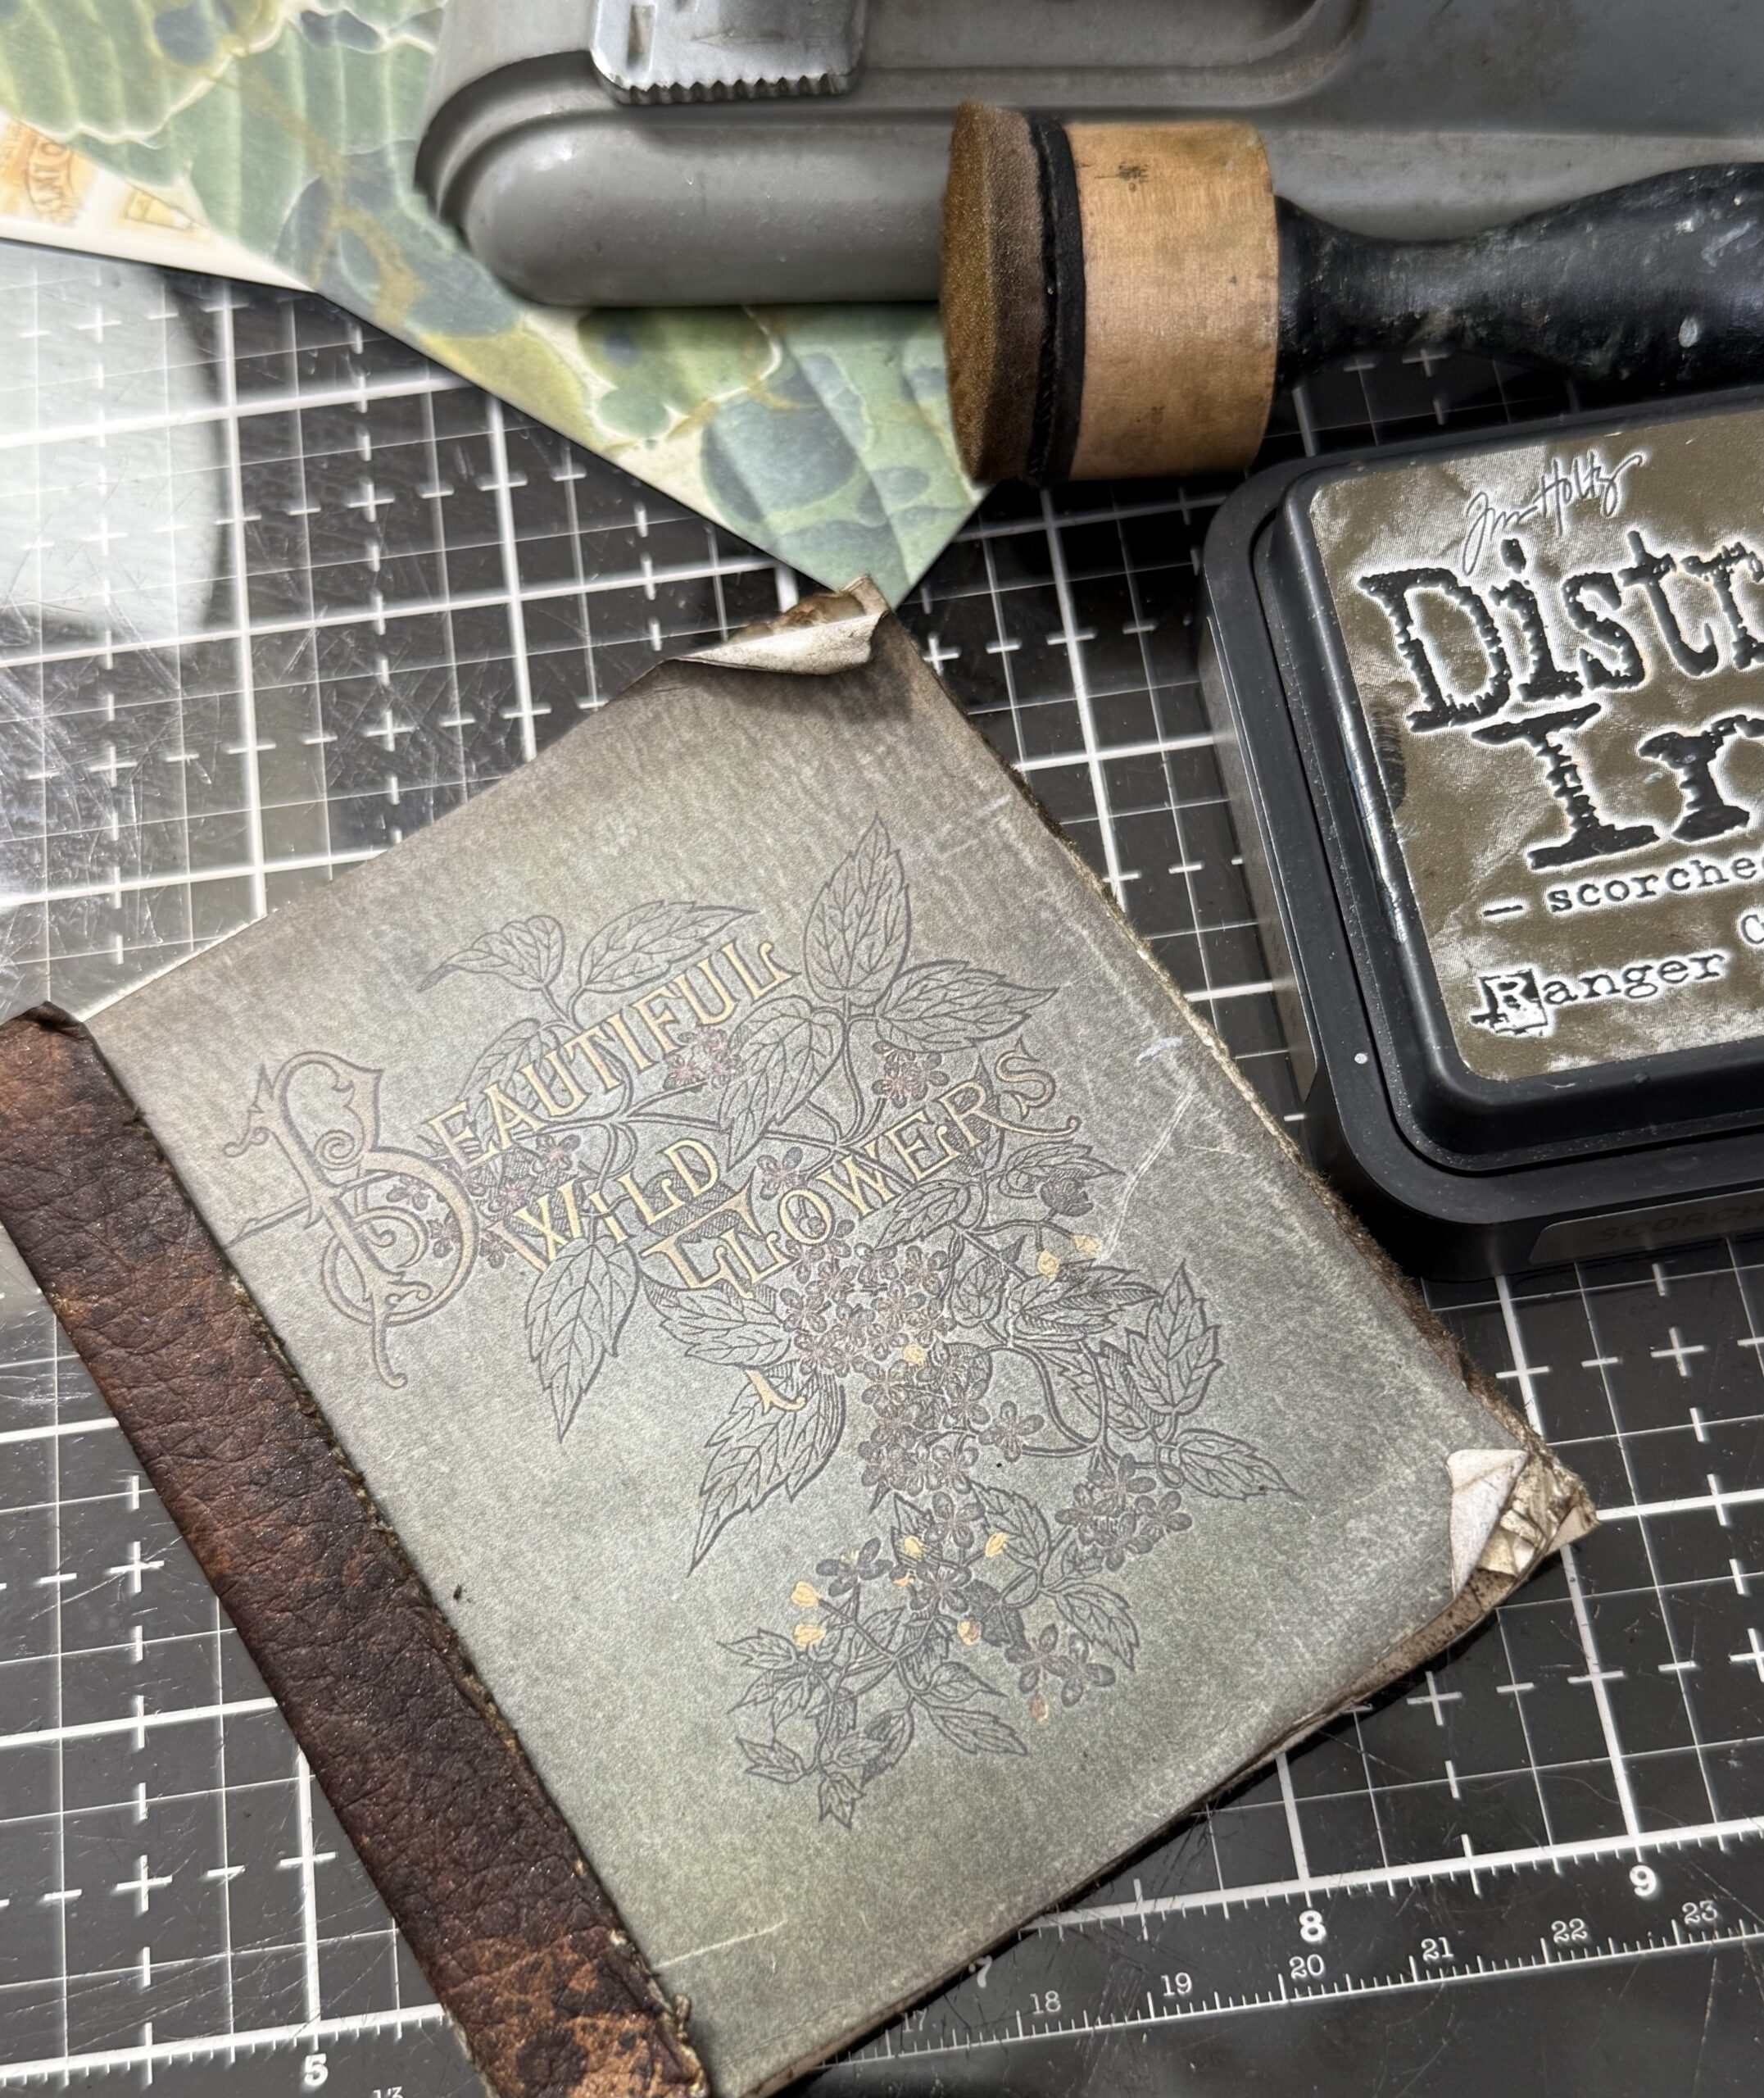
I folded the paper in half, then folded it again to give it some sturdiness. But made sure that it still fit the spine of the book lengthwise. The roughed up the edges using a edging tool, then rubbed the edge with some Scorched Timber Distress Ink using a blending tool. I also roughed up the edges of the book cover and the pages, then blended those with ink as well.
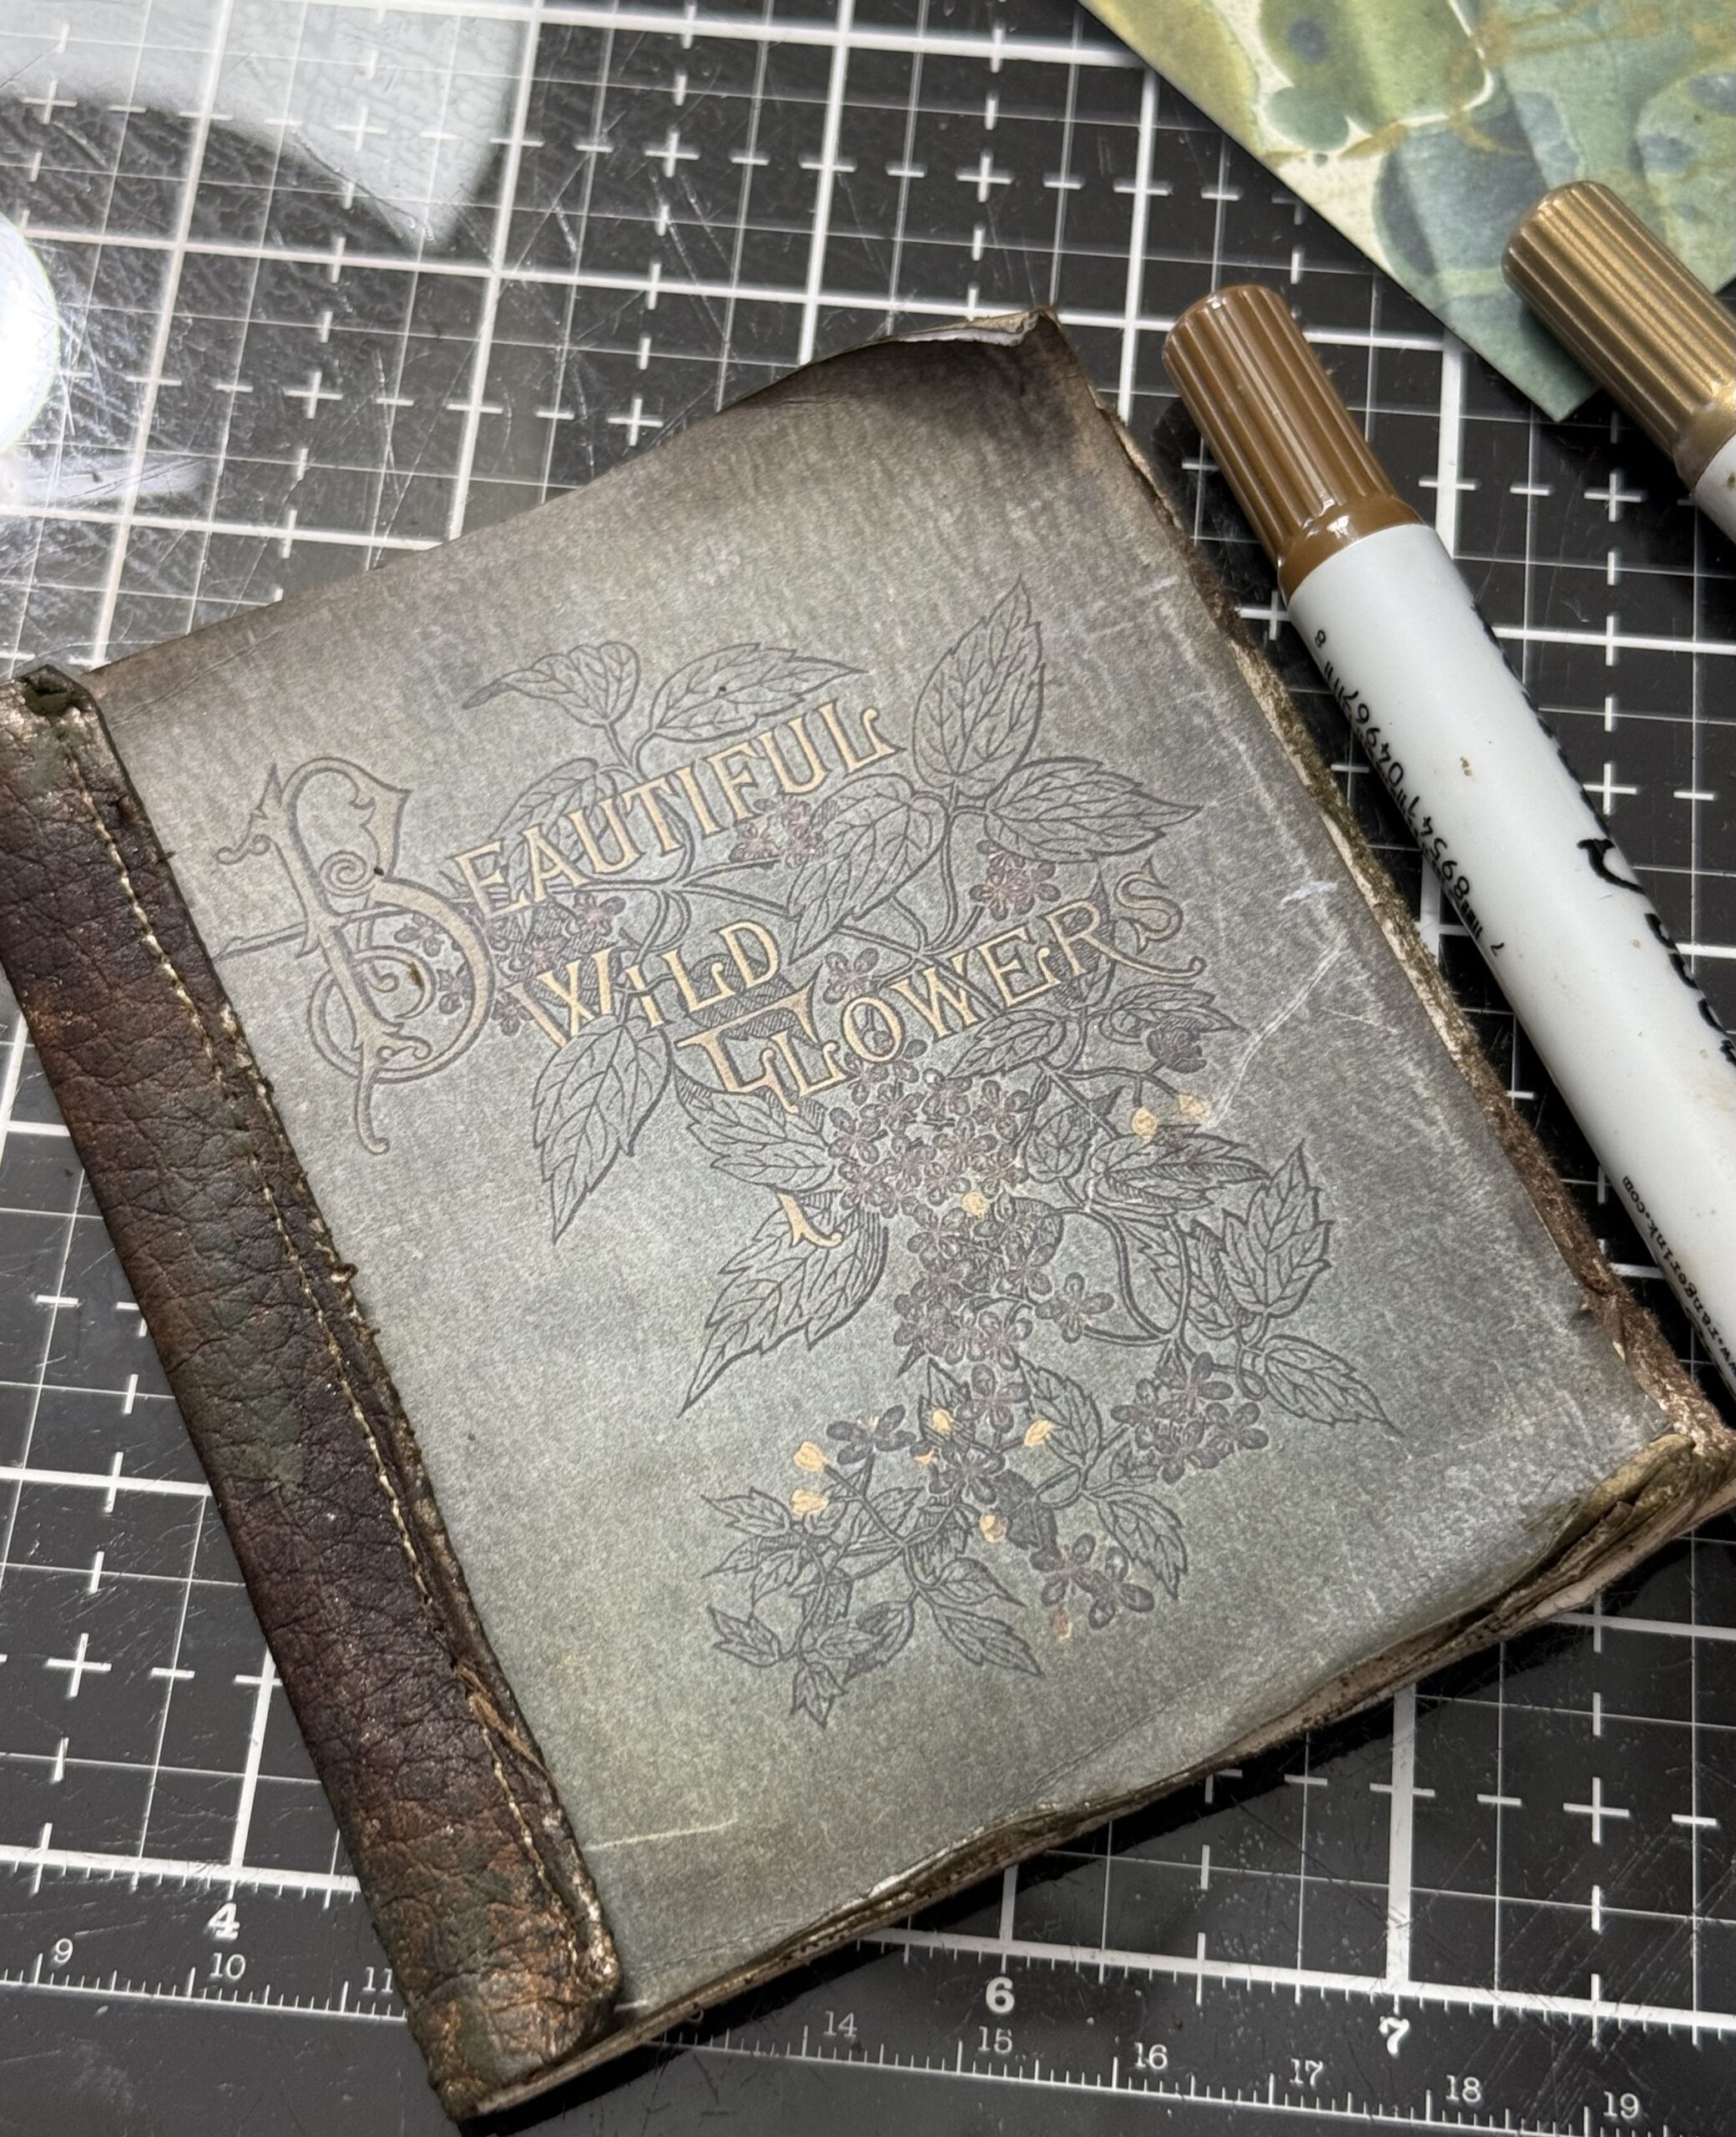
I took the book spine over to my sewing machine, then stitched a seam along the edge of the spine. This gives the book a true vintage feel. Then I used a Gathered Twigs Distress Crayon along the thread and edge of the binding and attached the edge to the side of the book using collage medium.
Then I set the book aside and began working on the vignette tray.
The Vignette Tray-
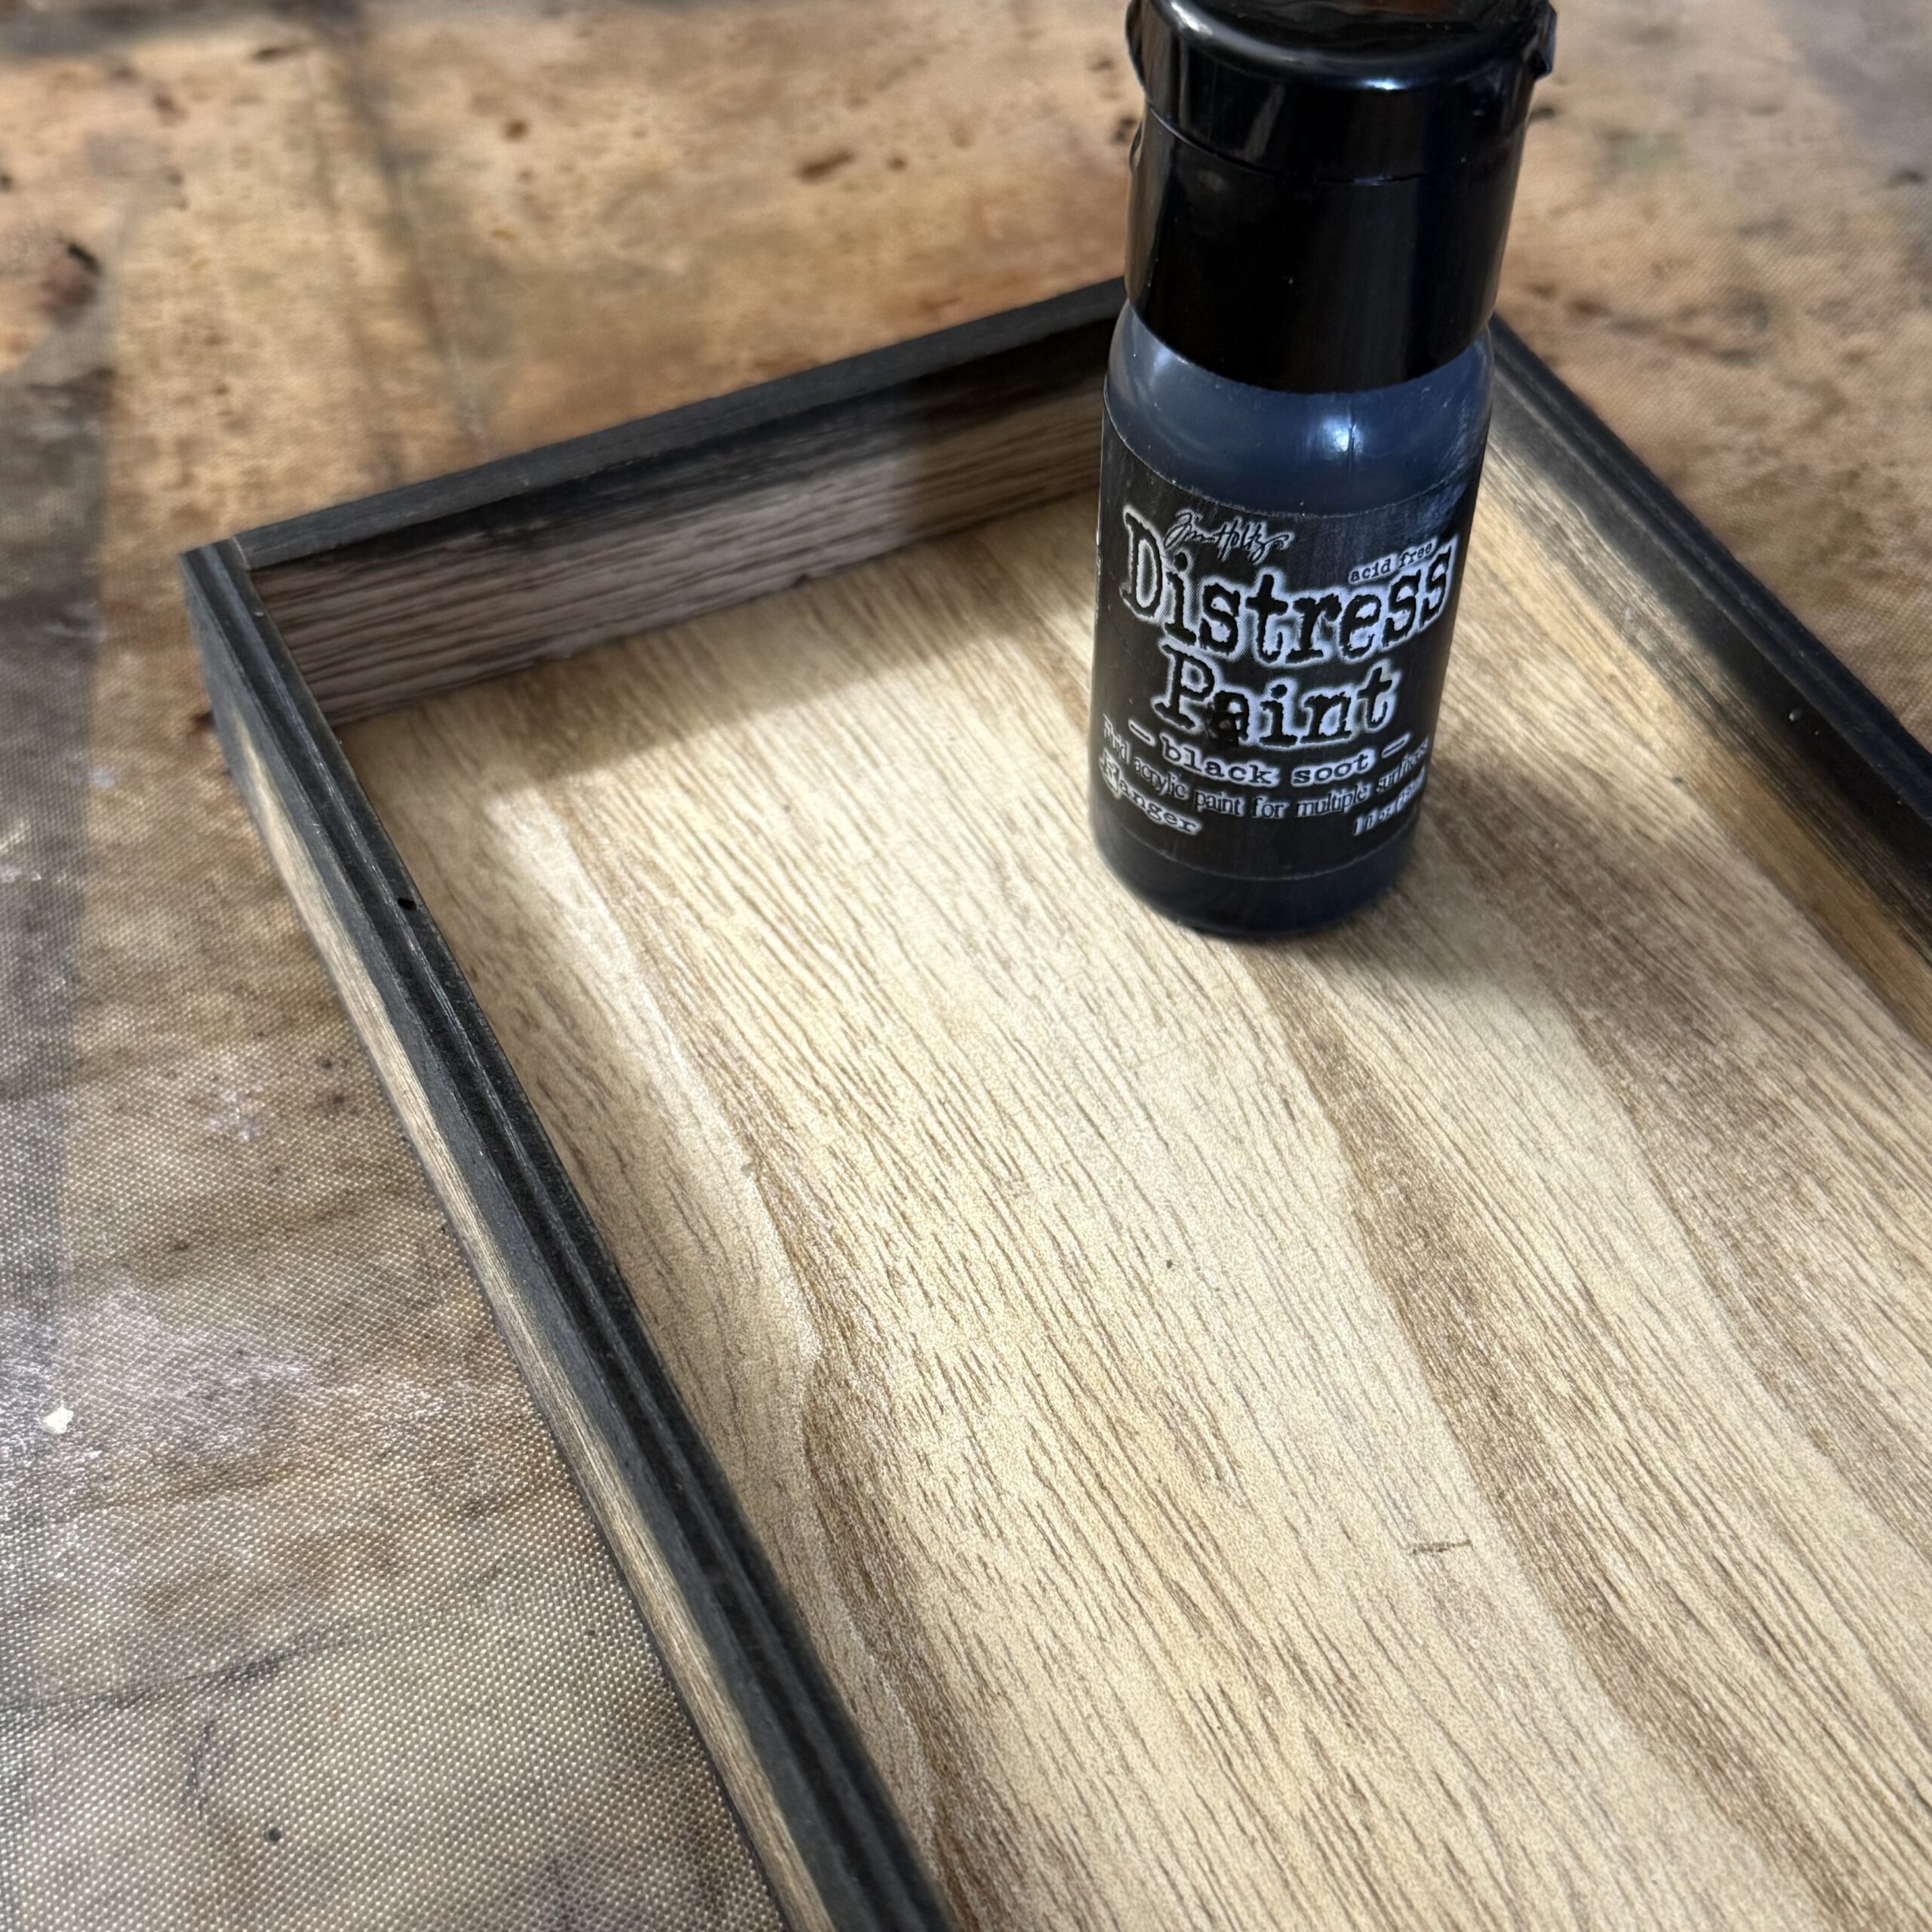
I used the smaller idea-ology Vignette Tray from the set for this project and started by adding some Black Soot Distress Paint to the edges of the tray using a blending tool, then set it aside to dry.
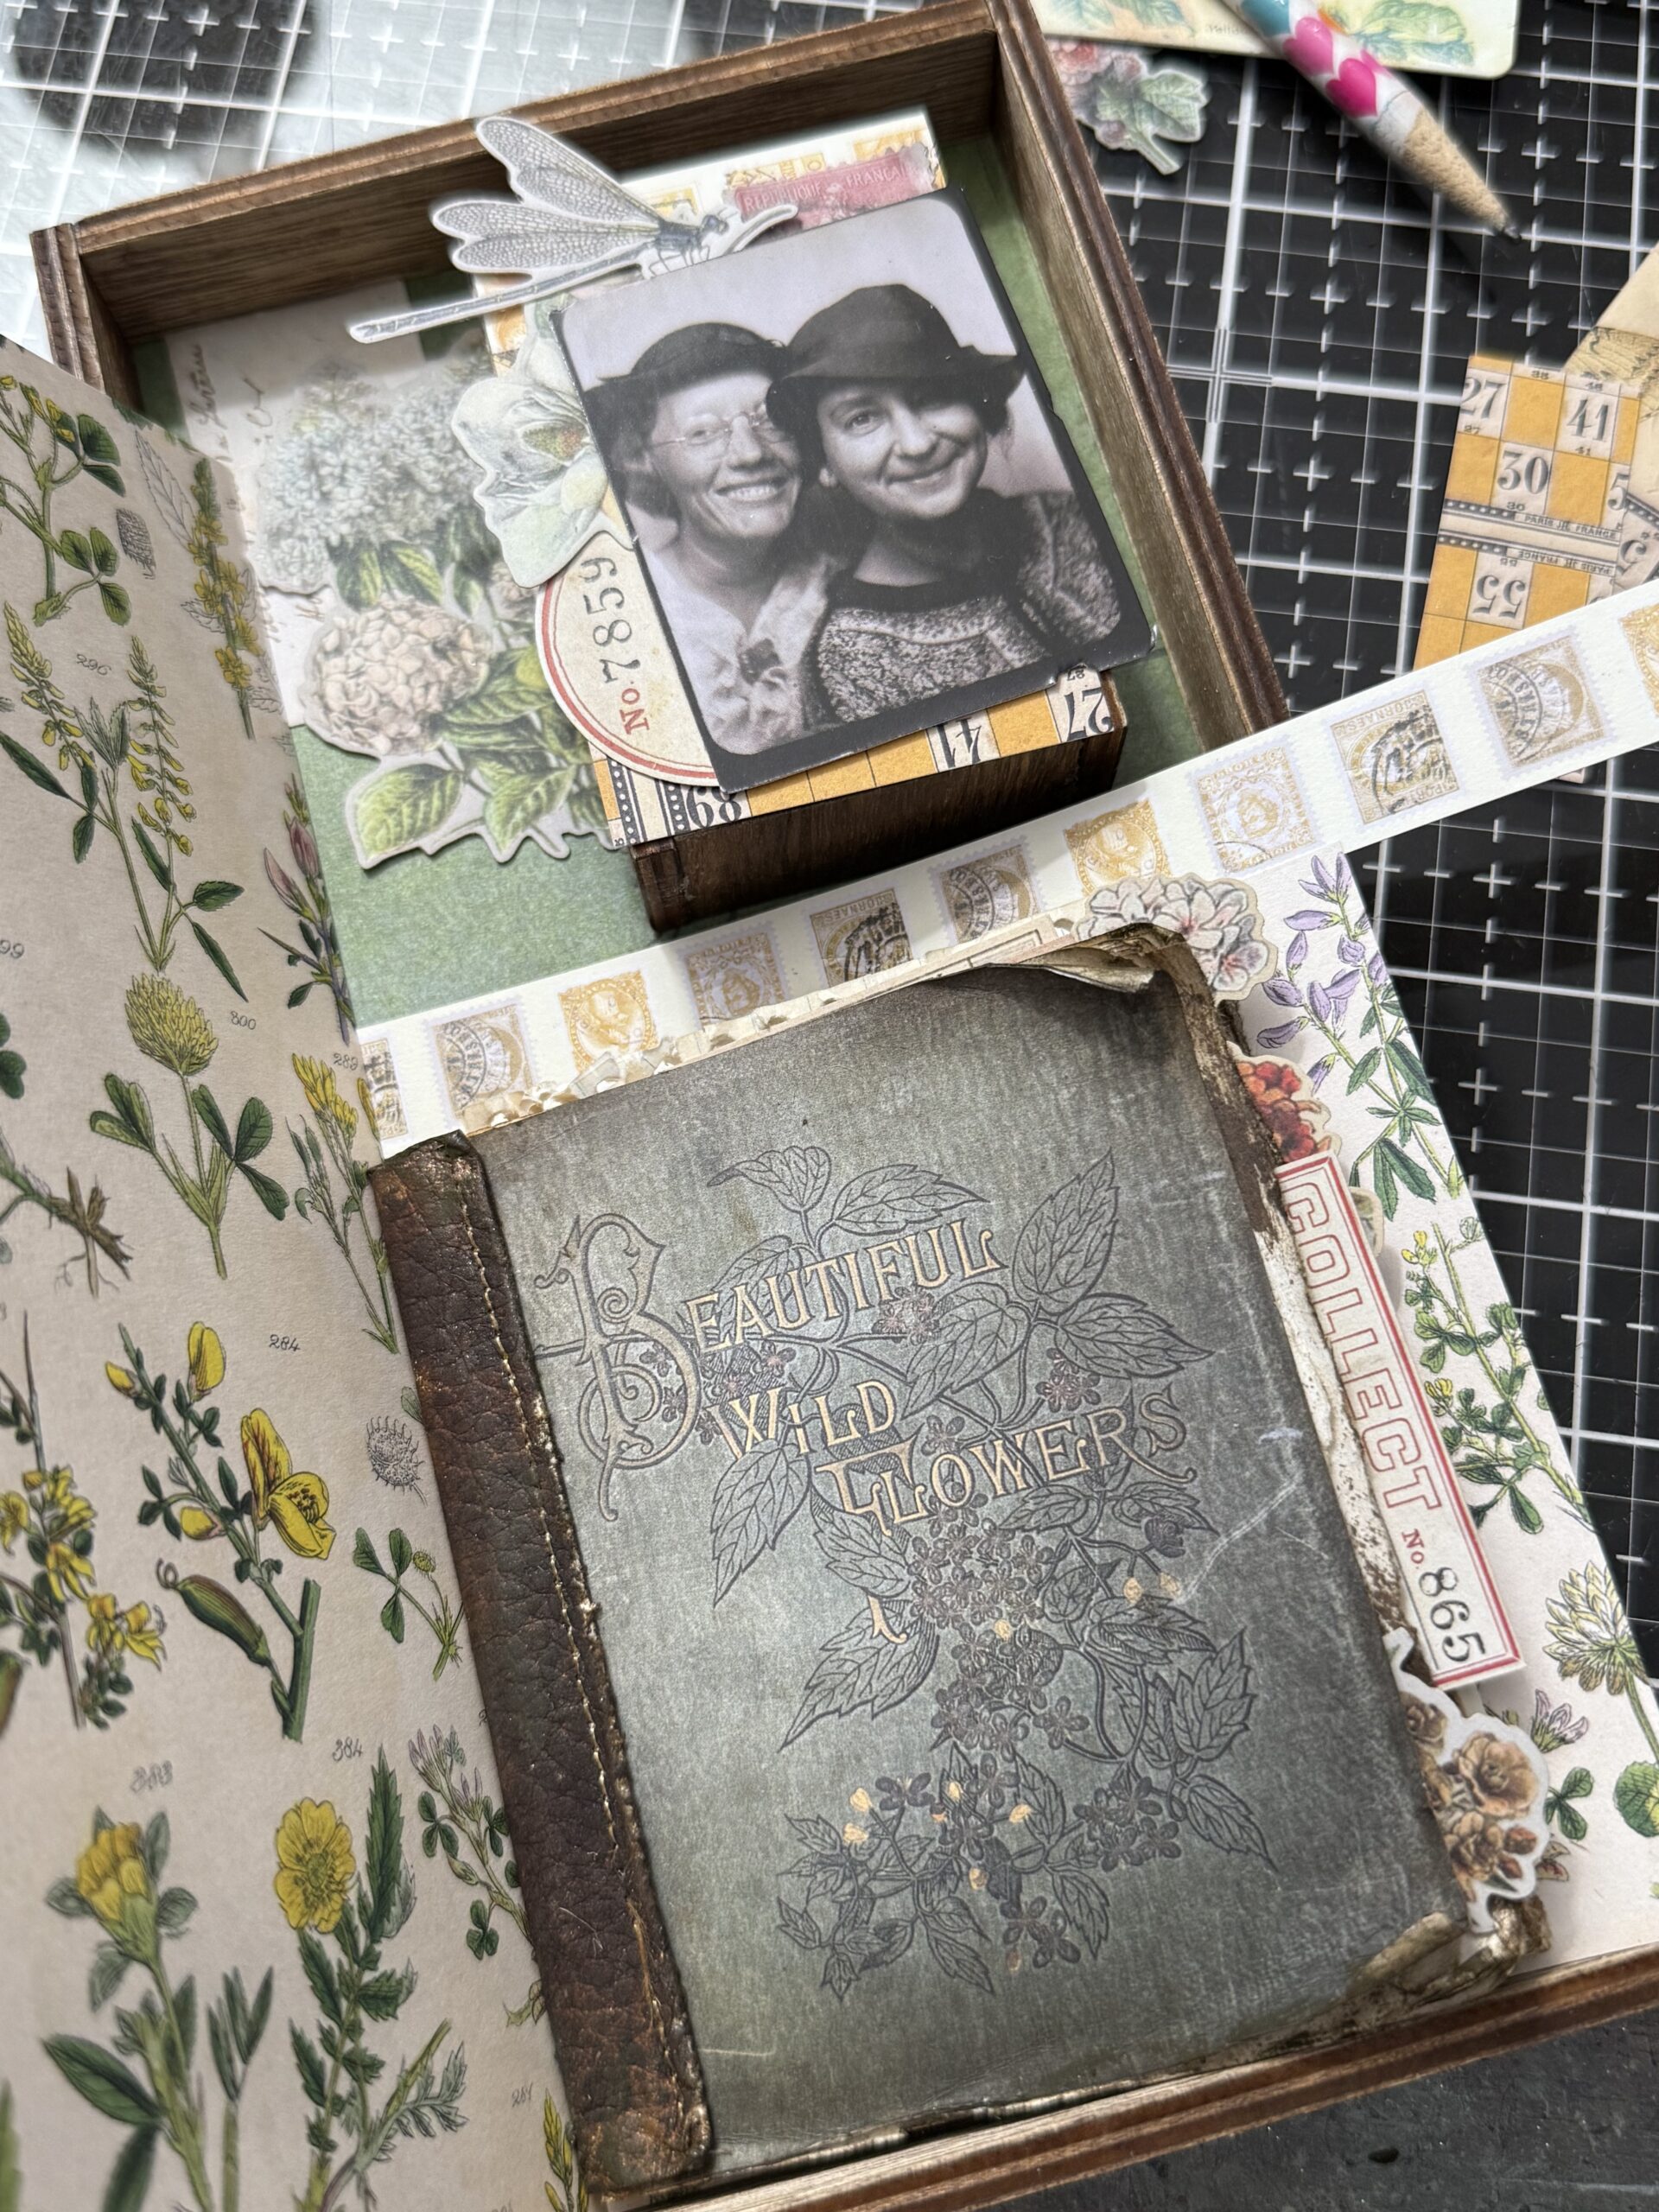
I started out by laying out the papers, ephemera pieces and photo that I intended to use then began trimming the paper to fit inside the vignette tray.
I placed a small vignette box behind the photo and decided on some papers from the Yellow Palette Paper pack for behind it and as a border piece separating the two patterned papers in the box.
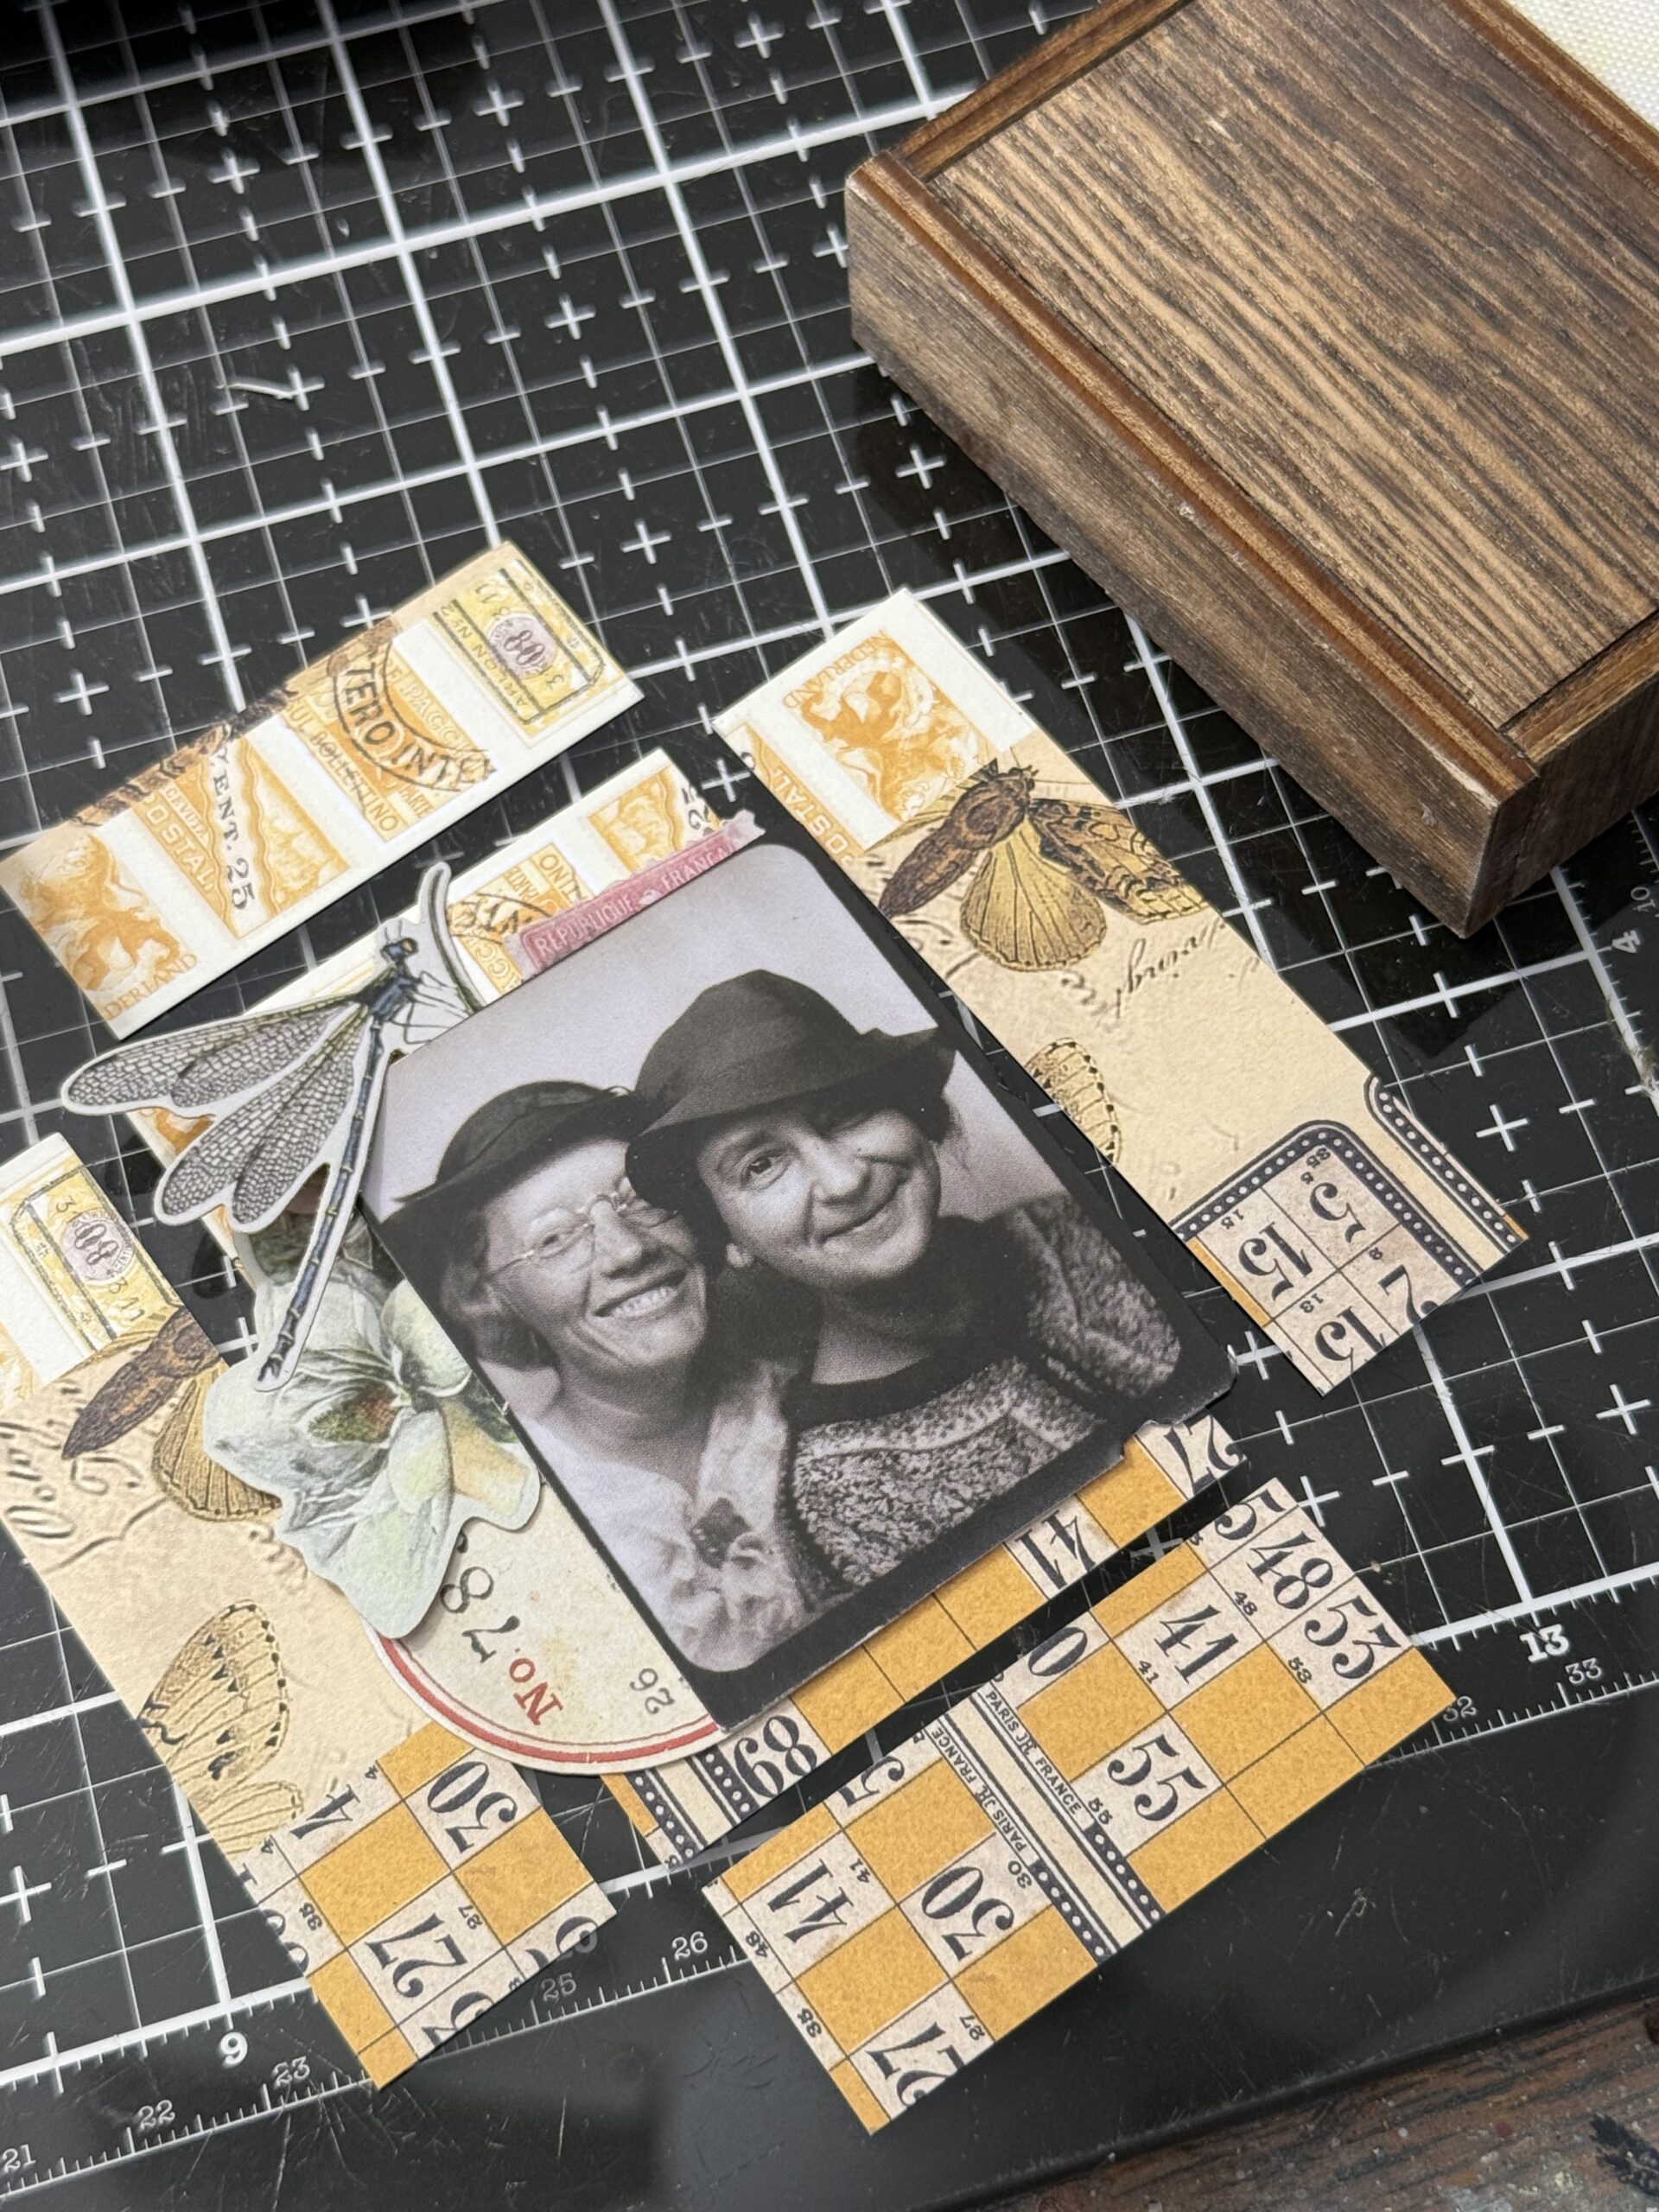
The little postage stamp paper was trimmed into a strip, then I decided to sewing two small border stitchings along the top and bottom of it.
I trimmed some of the patterned paper to fit the small vignette box that would be used to hold the Photomatic Photo.
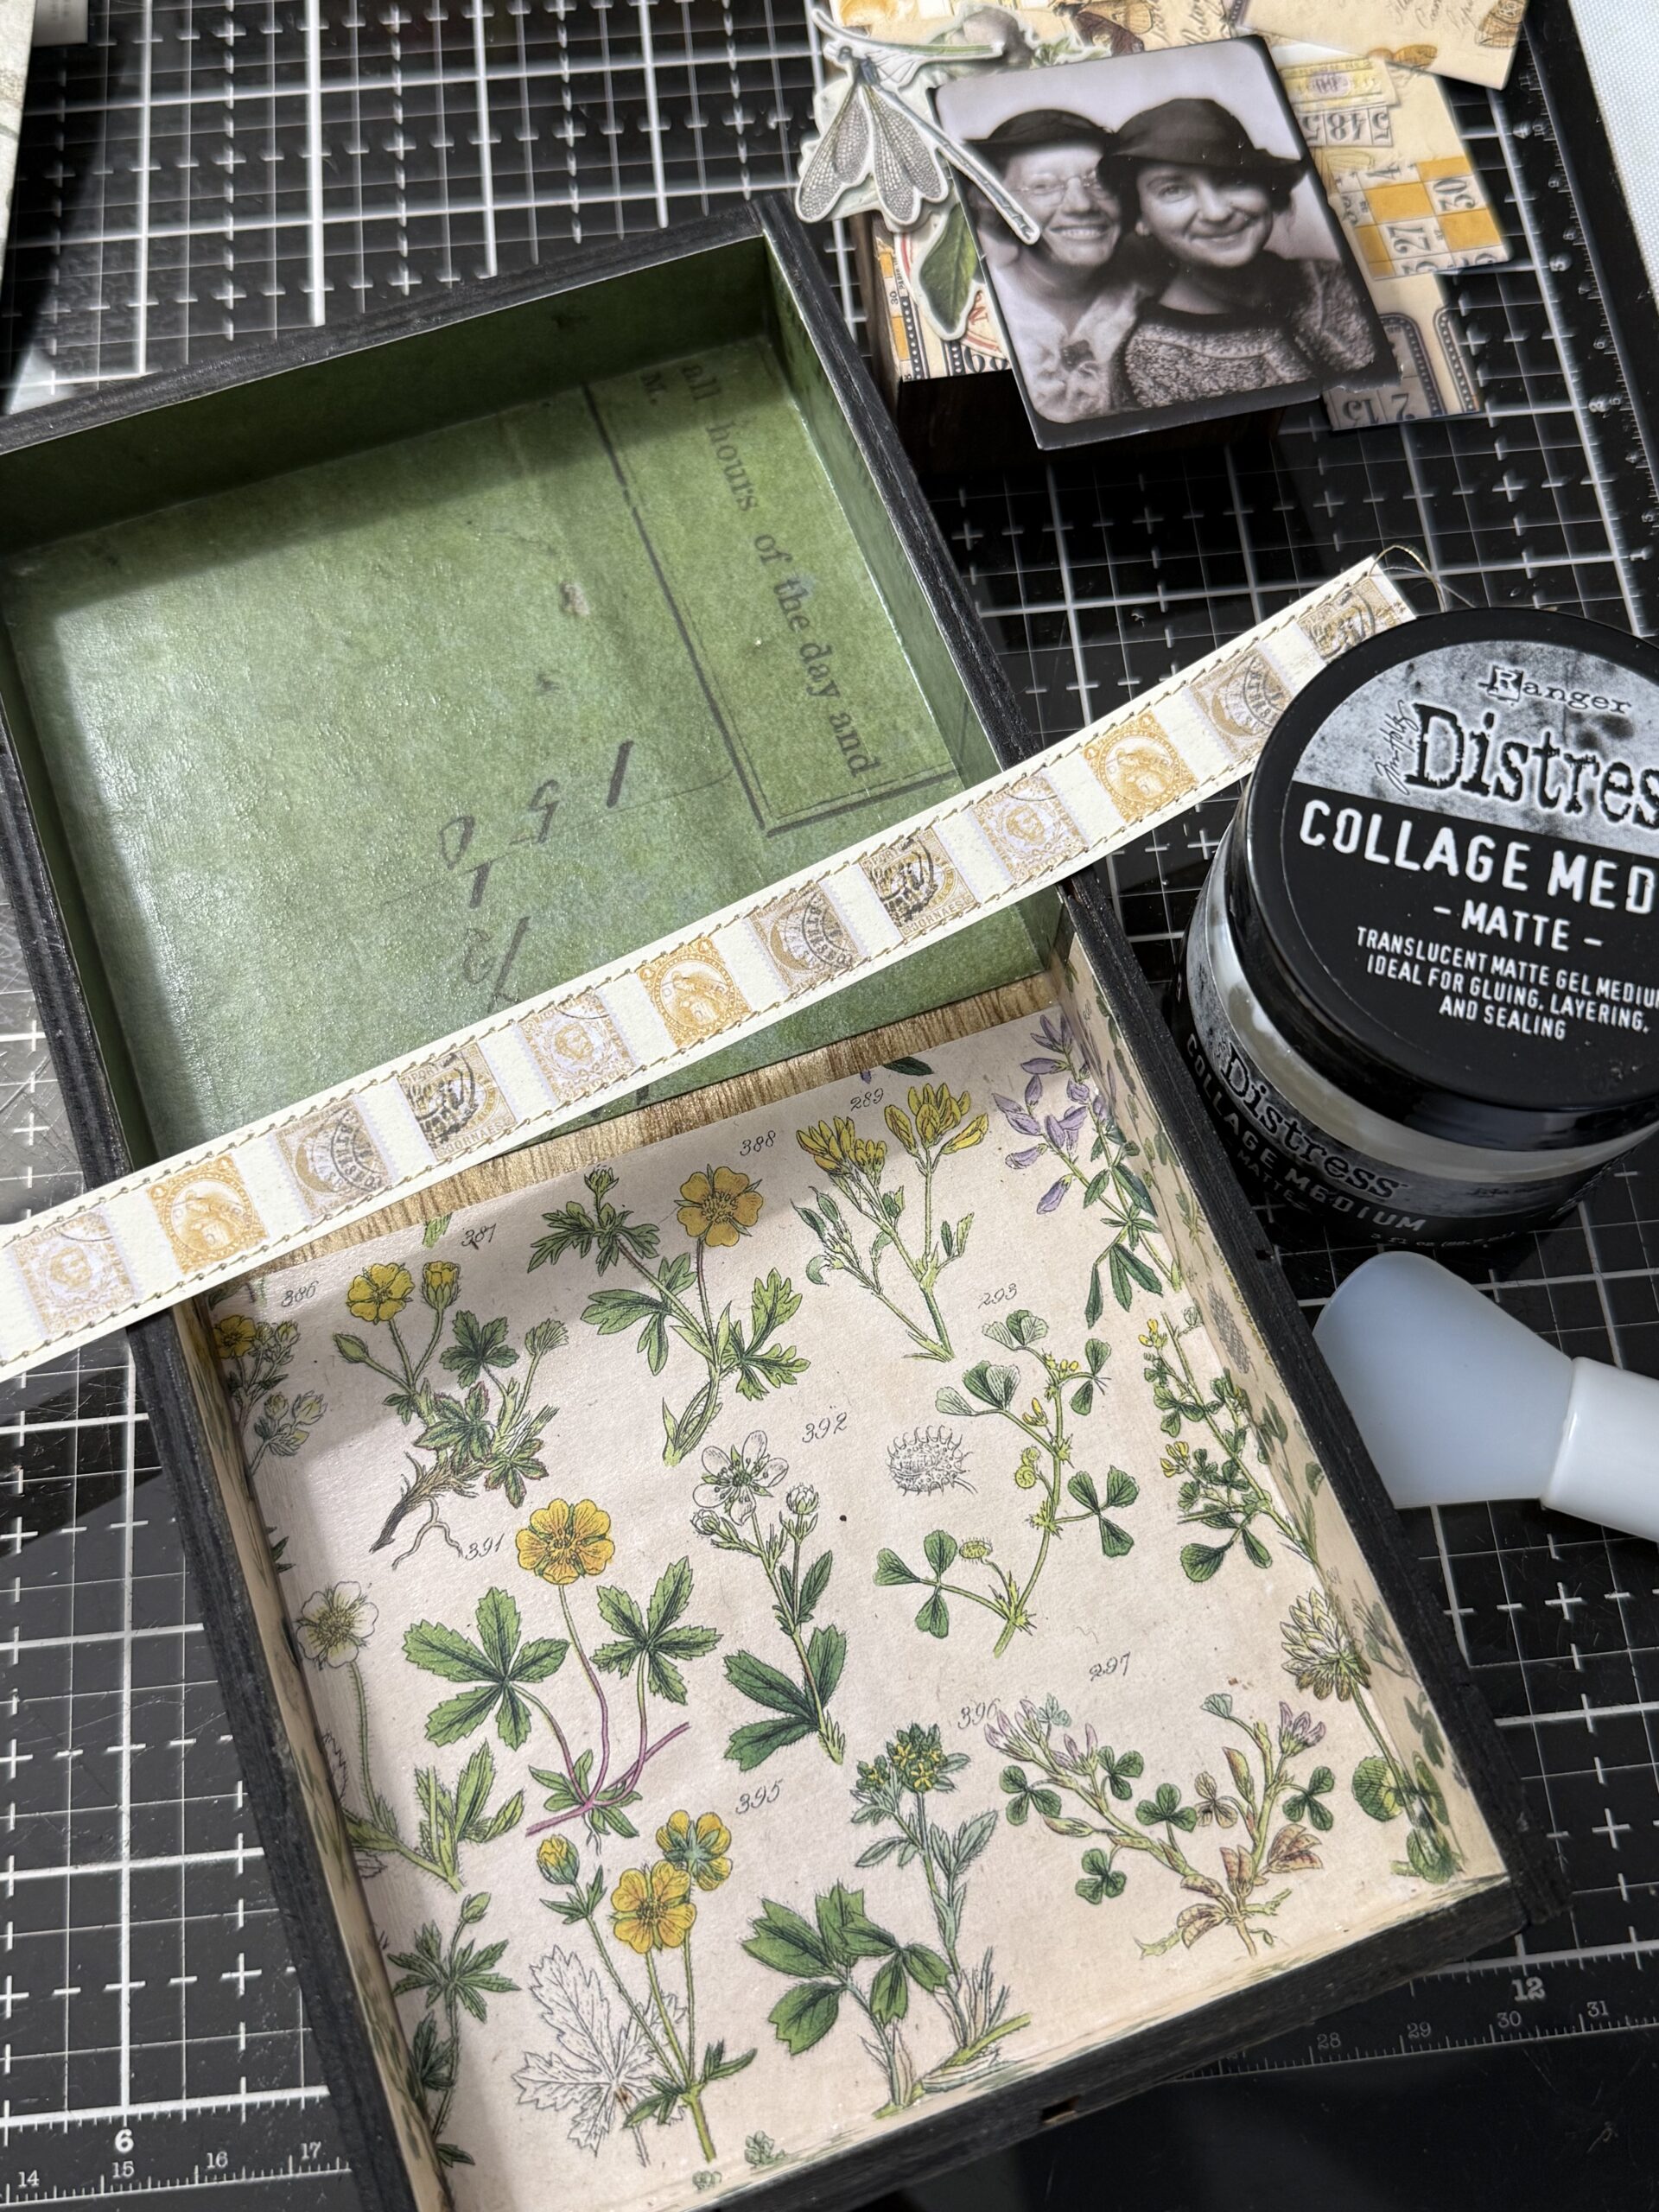
The papers were adhered inside the vignette using collage medium. Then I placed the center postage strip of paper that had been sewn using collage medium to attatch them all inside. The collage medium was also applied to the fronts of the paper so that I could rub the papers with Distress Crayon to add additional grunge, then the vignette was set aside to dry.
PS- that green patterned paper piece at the top was found in my scrap box from a previous make, and as hard as I have tried, unfortunately I can’t not find which paper pack it has come from… one of the downfalls of making with idea-ology for almost 10 years, but, there should be something similar found in either of the paper packs I am highlighting. See, I told you that all the paper packs work together!
I then adhered the yellow patterned paper to the front and sides of the littlest vignette box, then set that aside to dry. The collage medium was also applied to the front of the papers so that they could have a Distress Crayon treatment after it was dry.
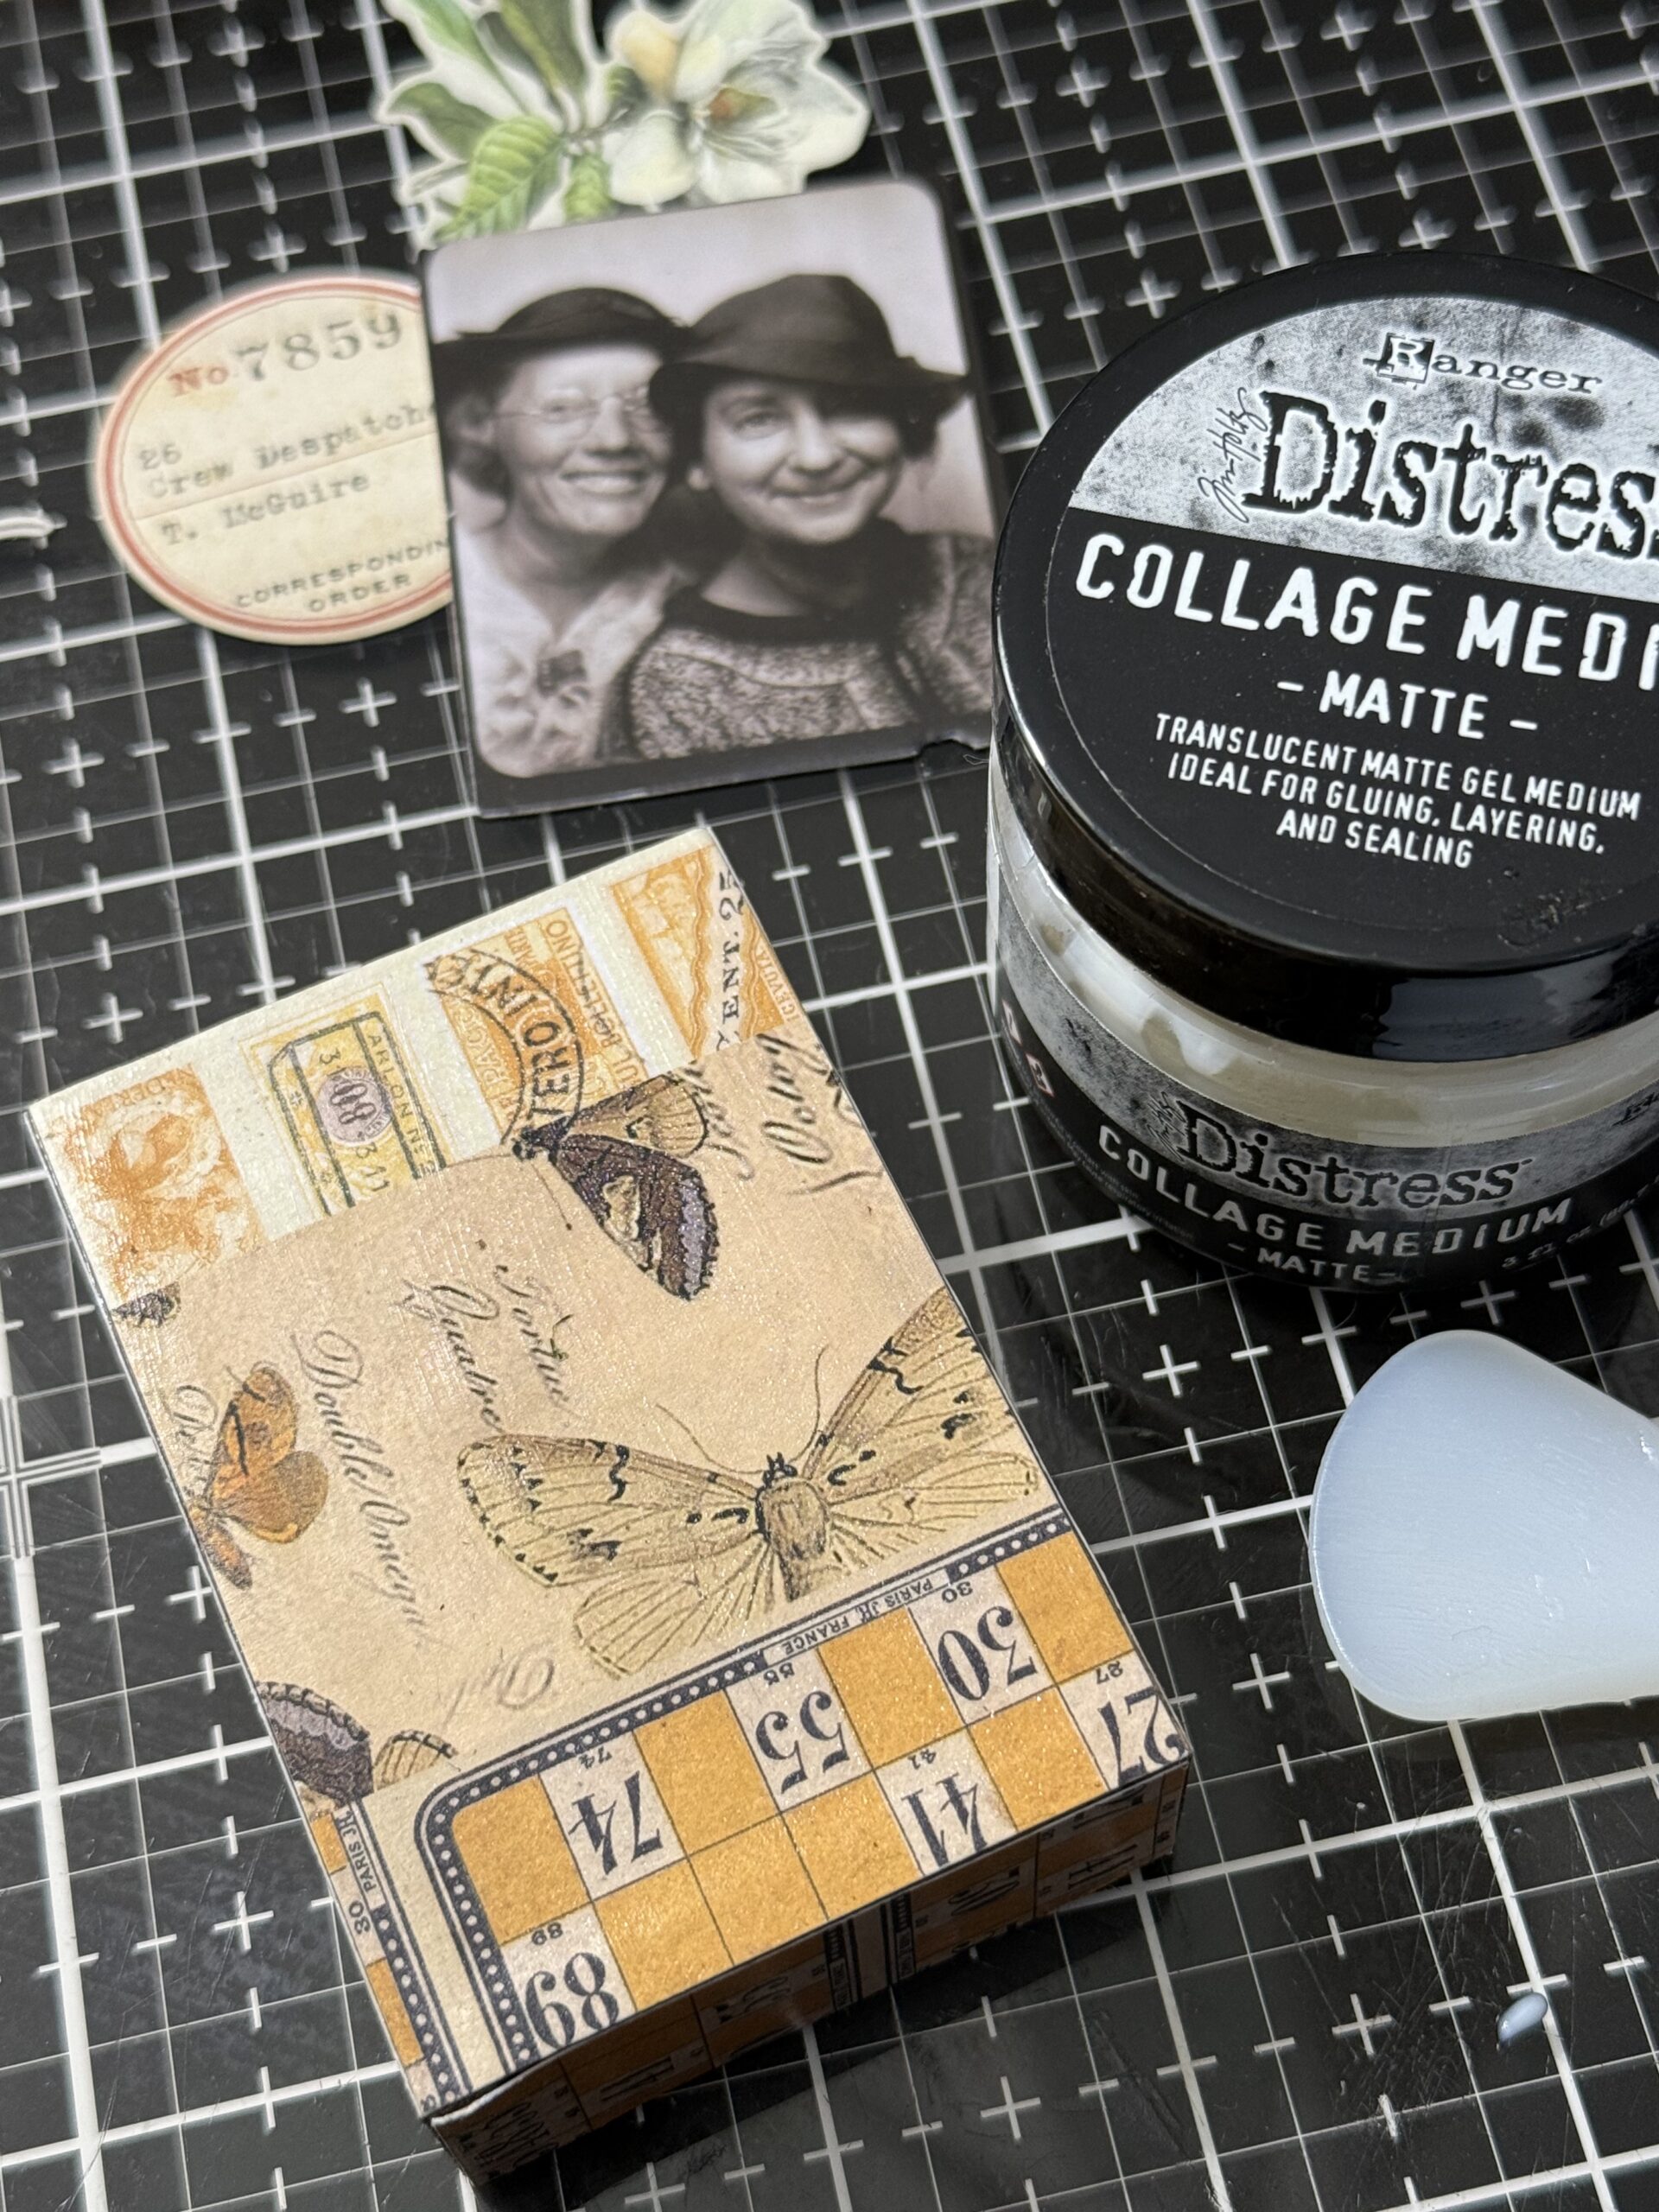
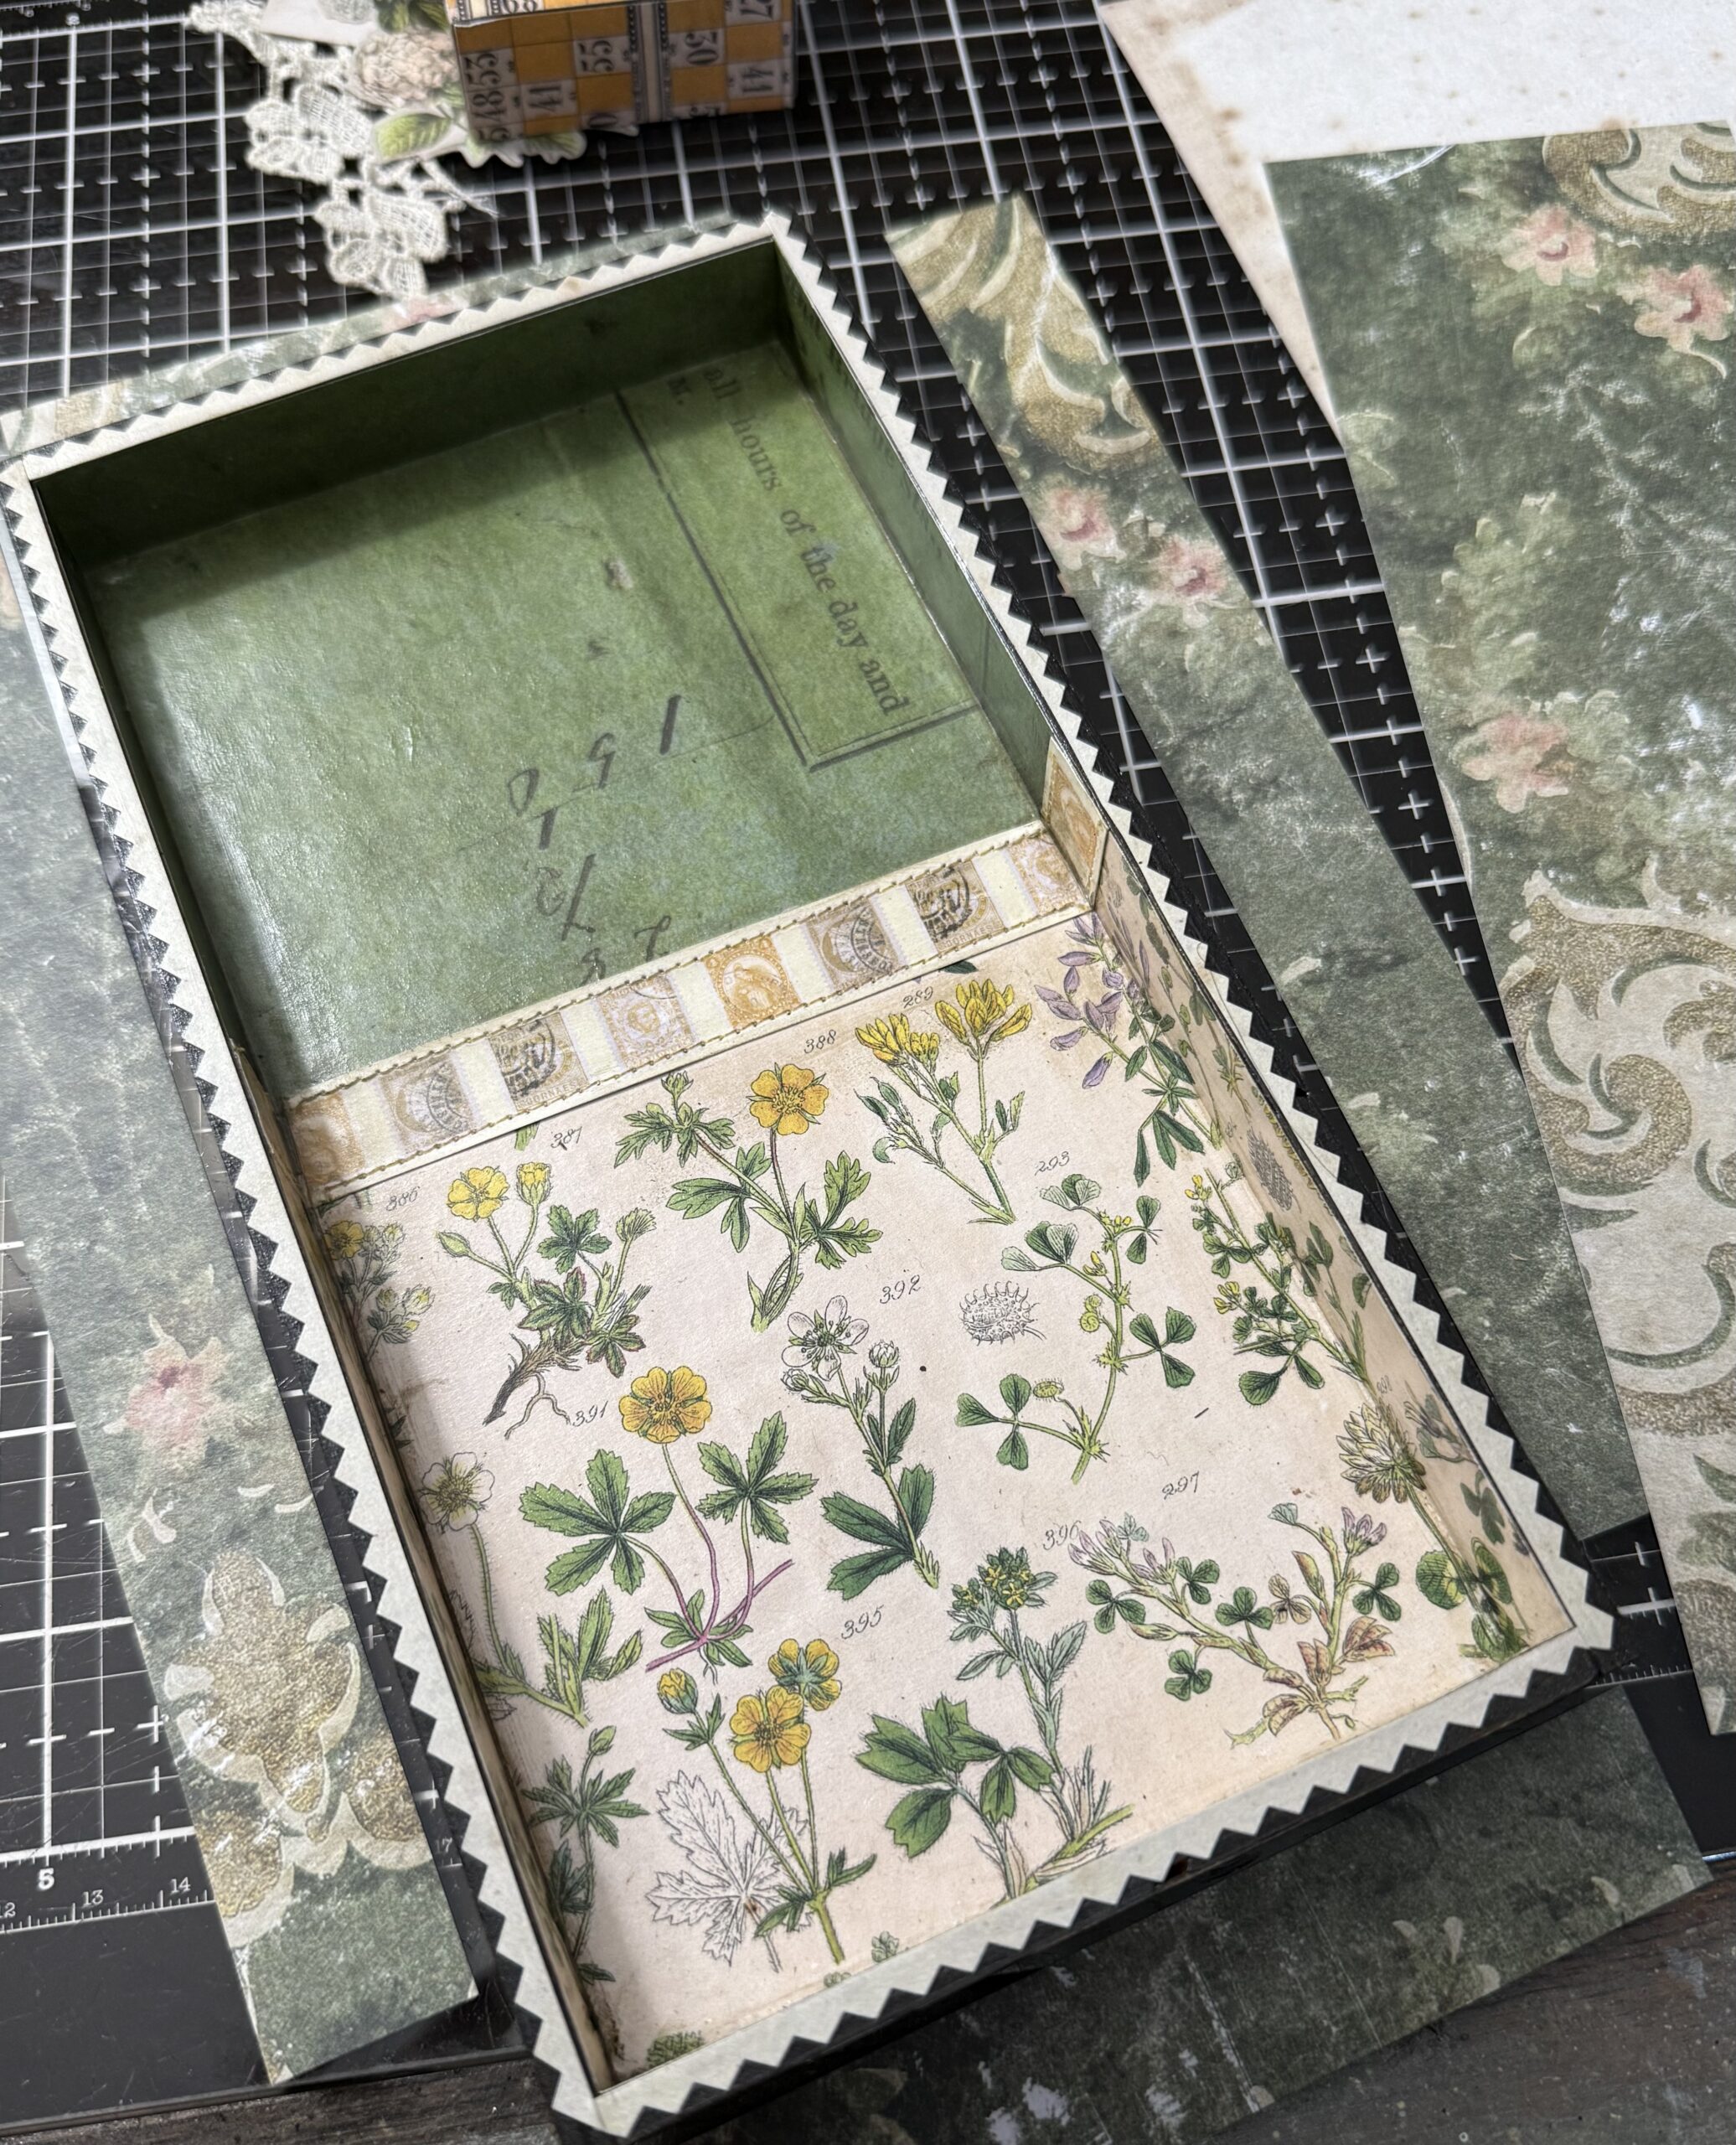
I found a sheet of light creamy distress paper in the backdrops paper pack then using pinking sheers, cut strips and used a trimmer to cut off a piece to become the embellishment for the edge of the box.
I used a strip of collage medium along the edges of the box, then placed the flat edge of the pinked trim along the flat front edge of the tray. I lined up the pinked edges and trimmed them until they were wrapped around the box front.
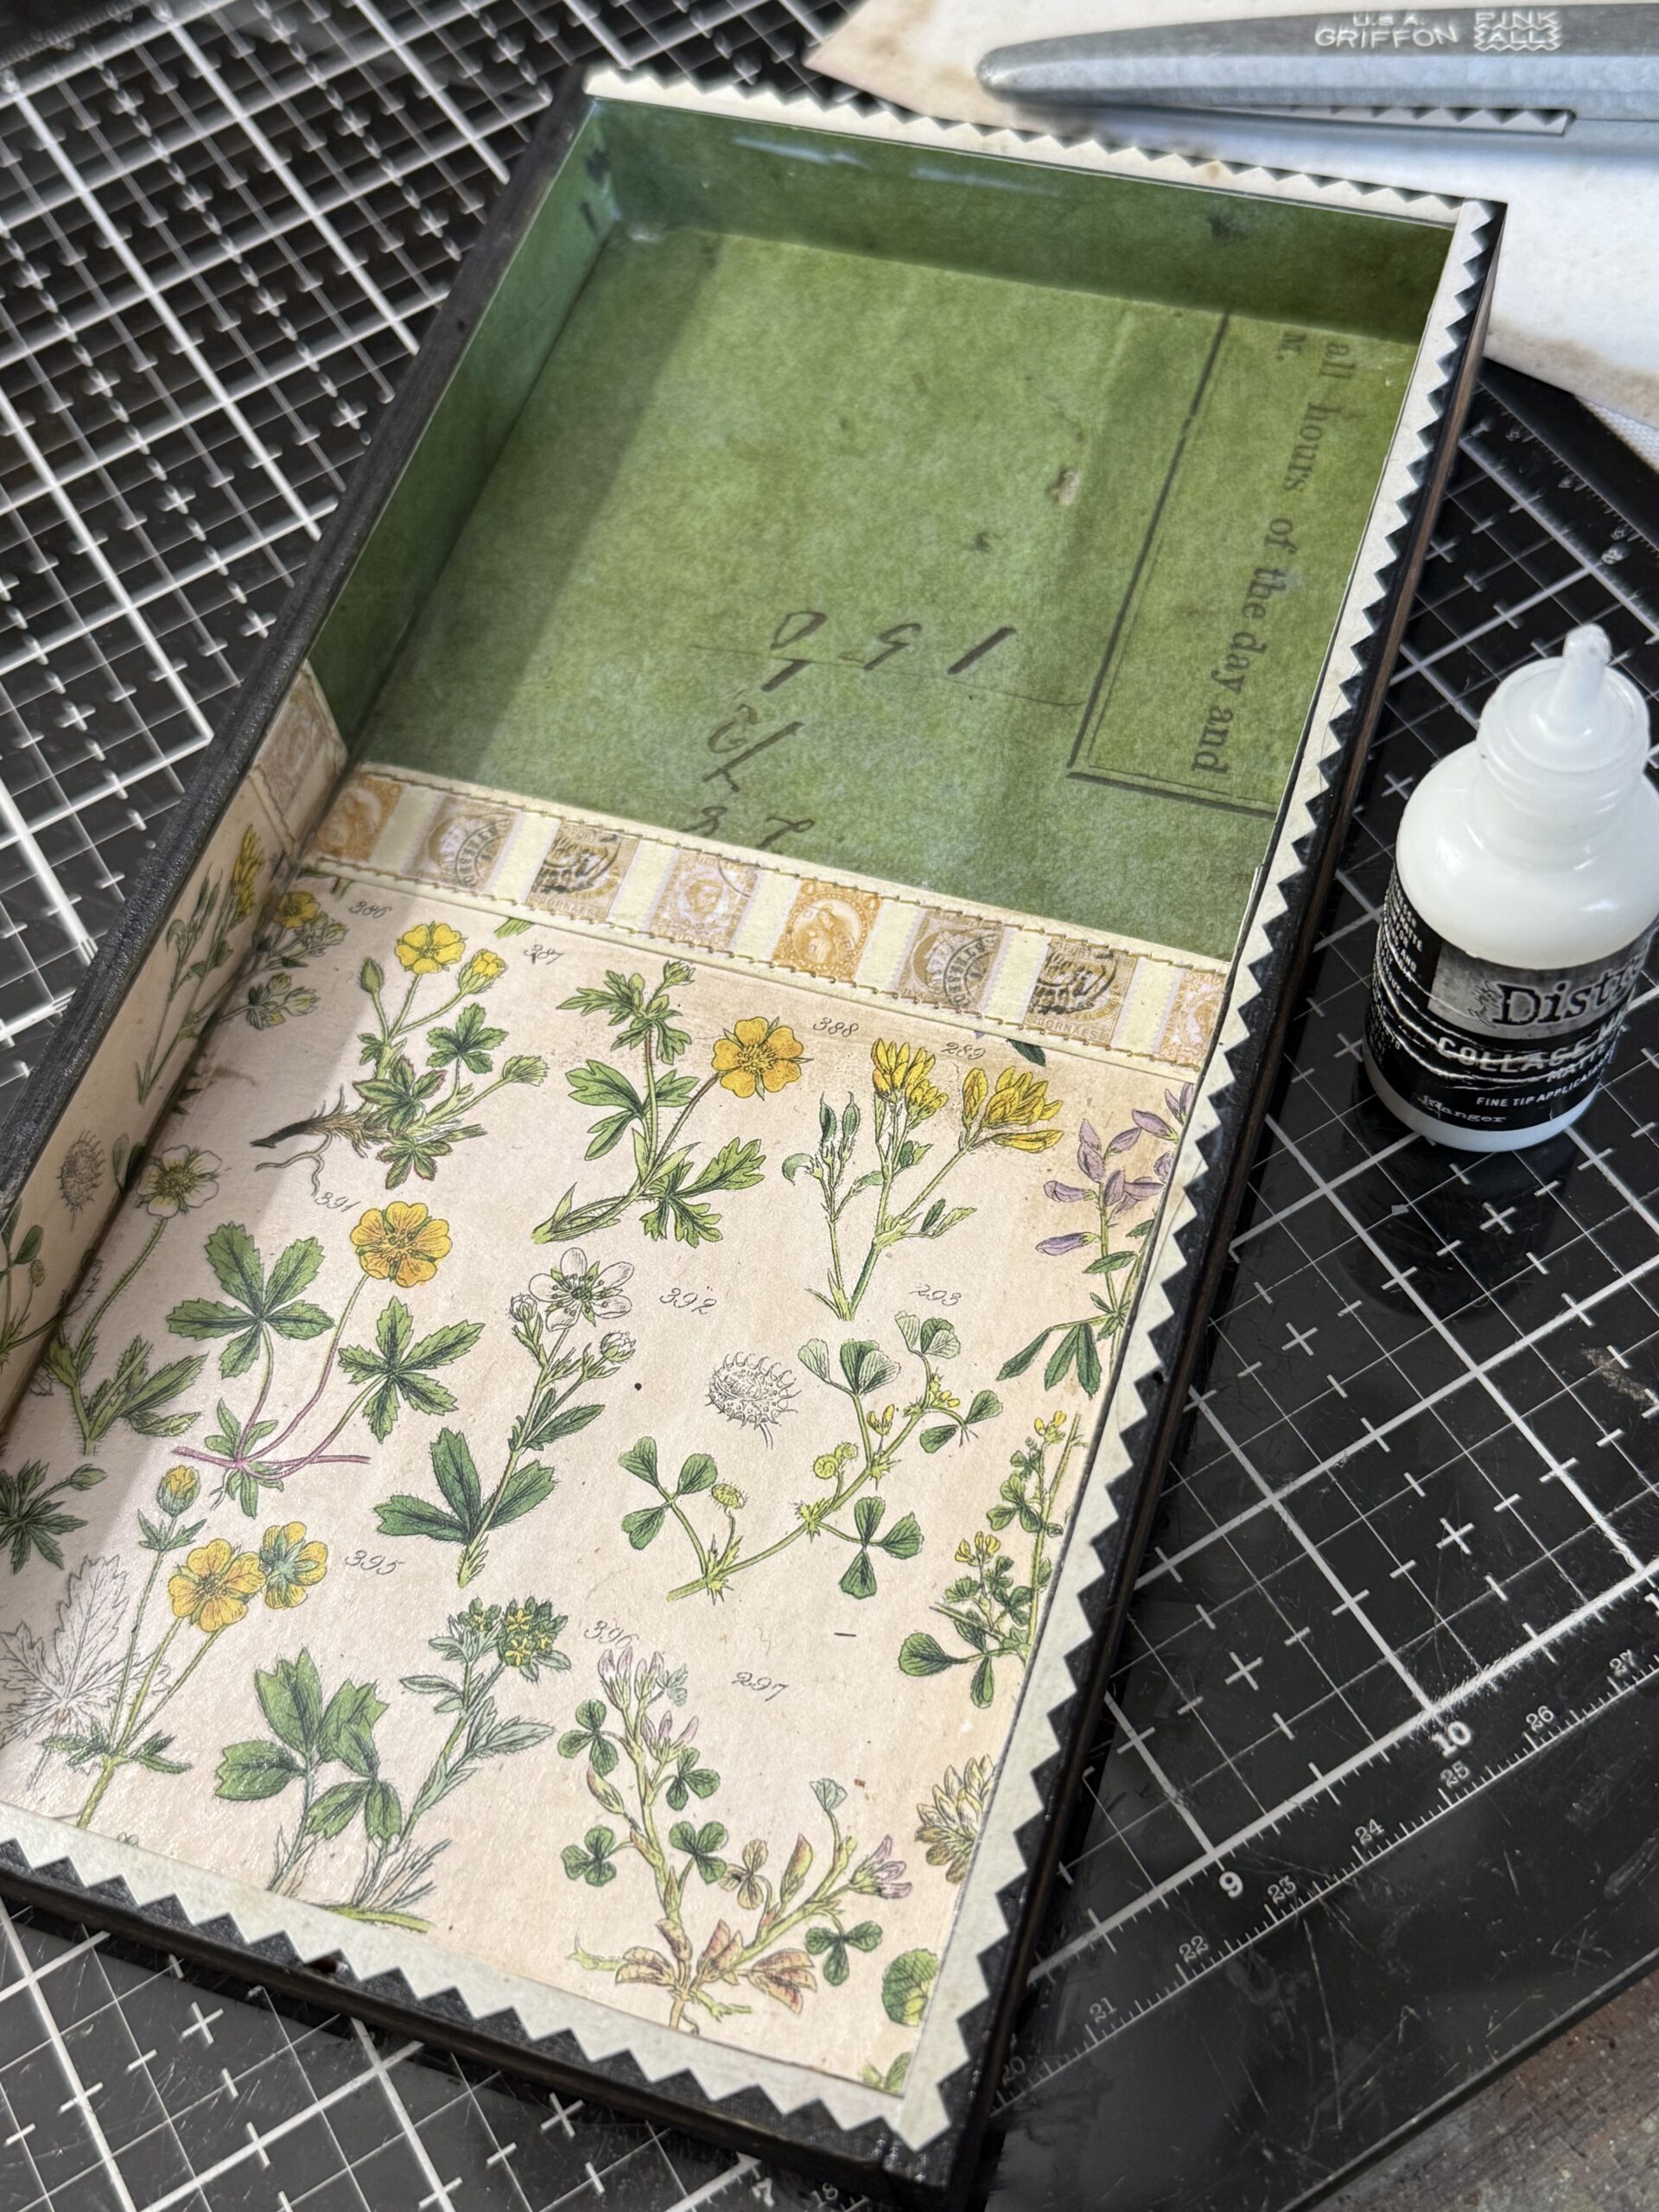
such an easy technique but one with big impact and a true vintage look.
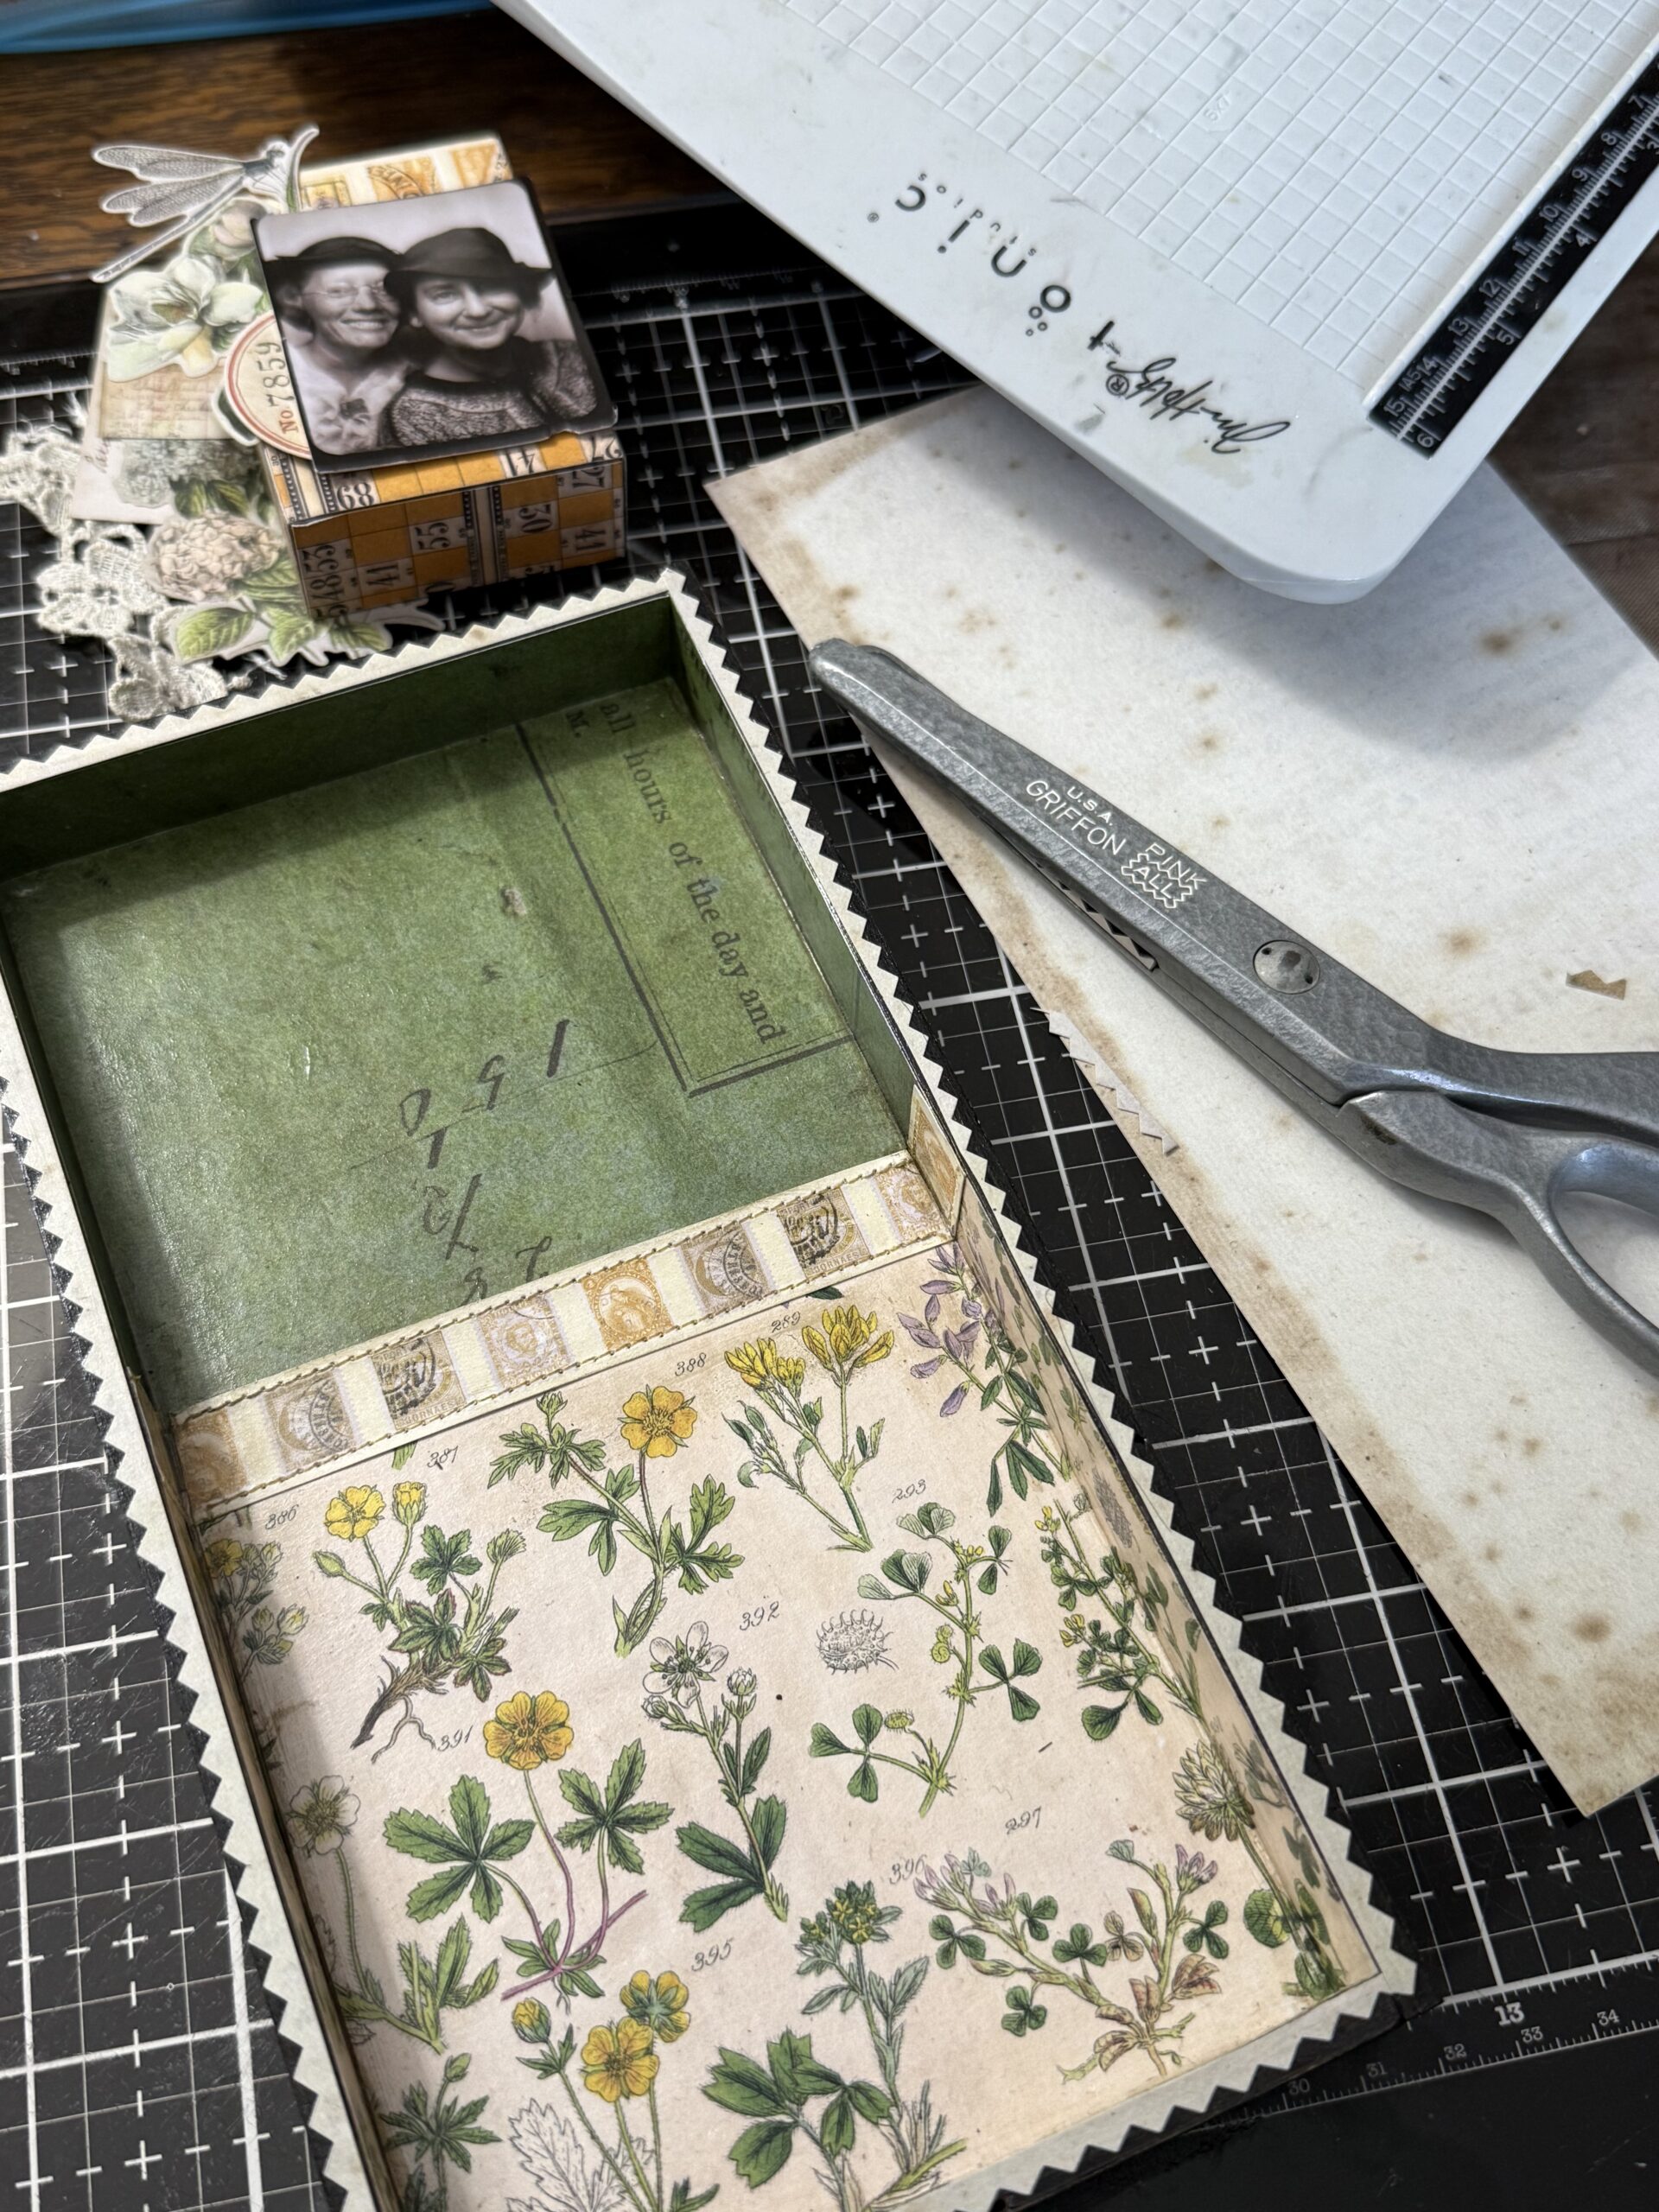
After the pinked edges were applied, I cut the background paper for around the outside edges of the vignette tray and applied them using collage medium, being sure to put a layer of the collage medium over top of the papers.
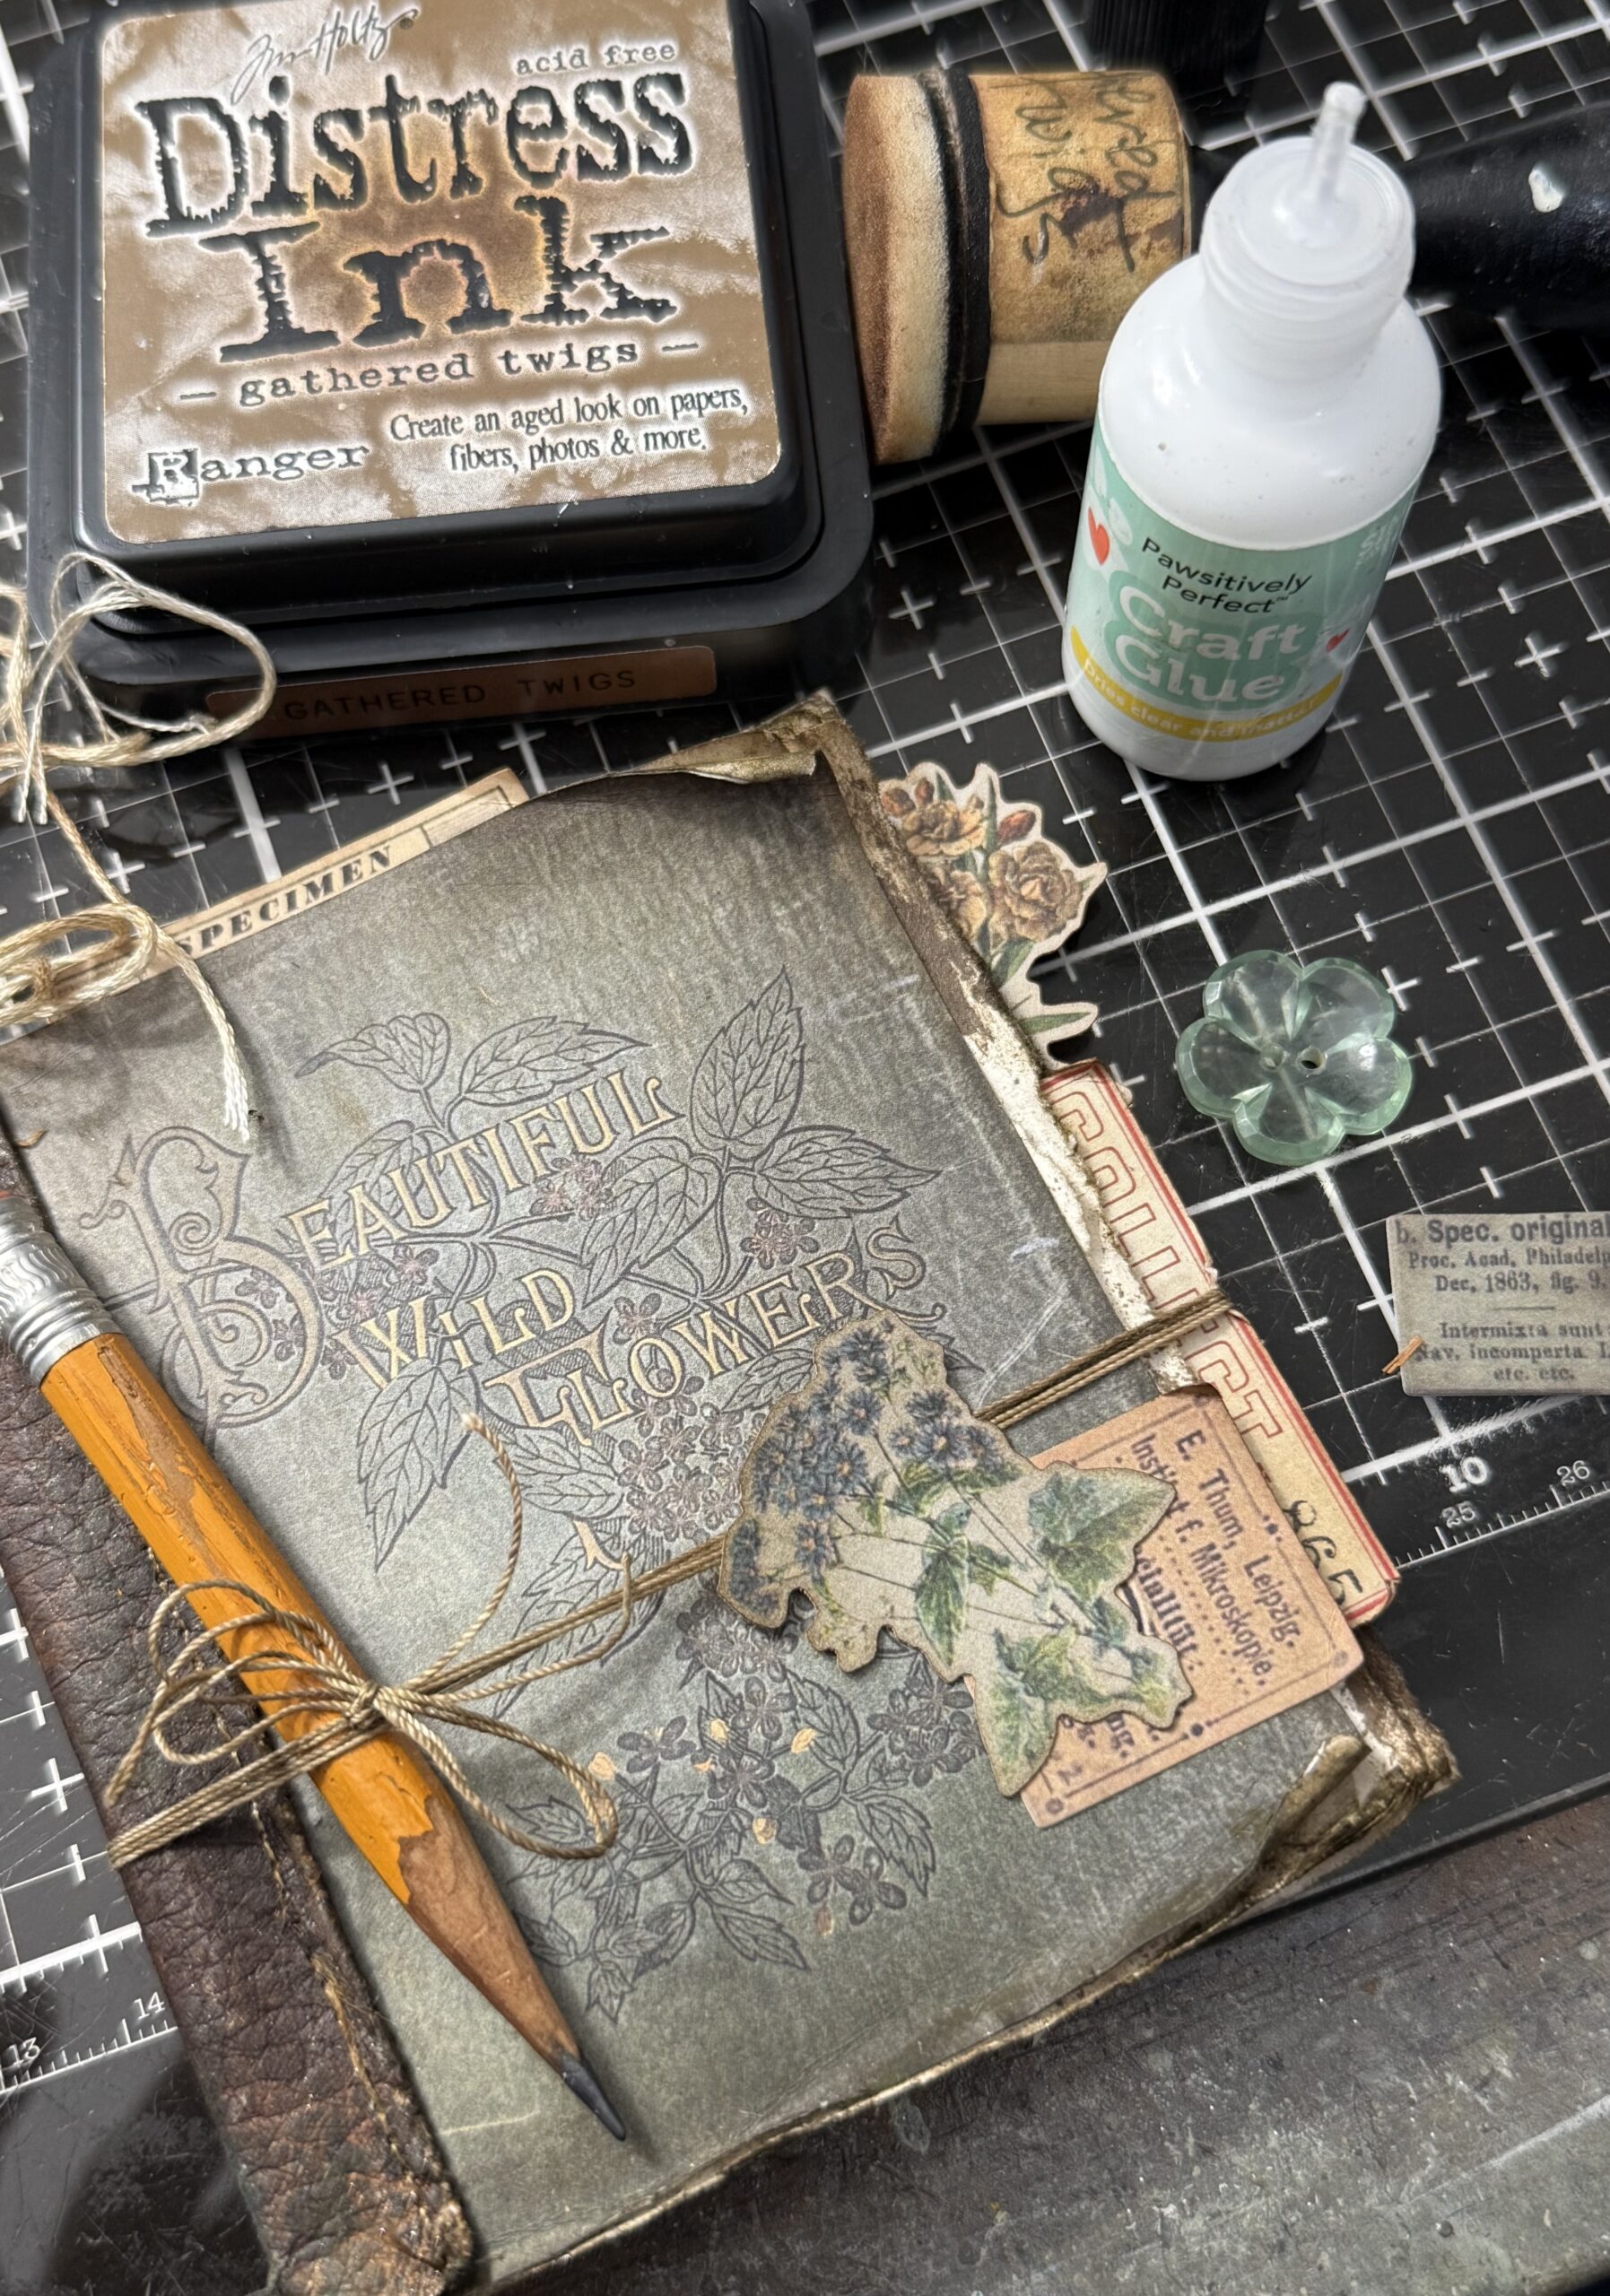
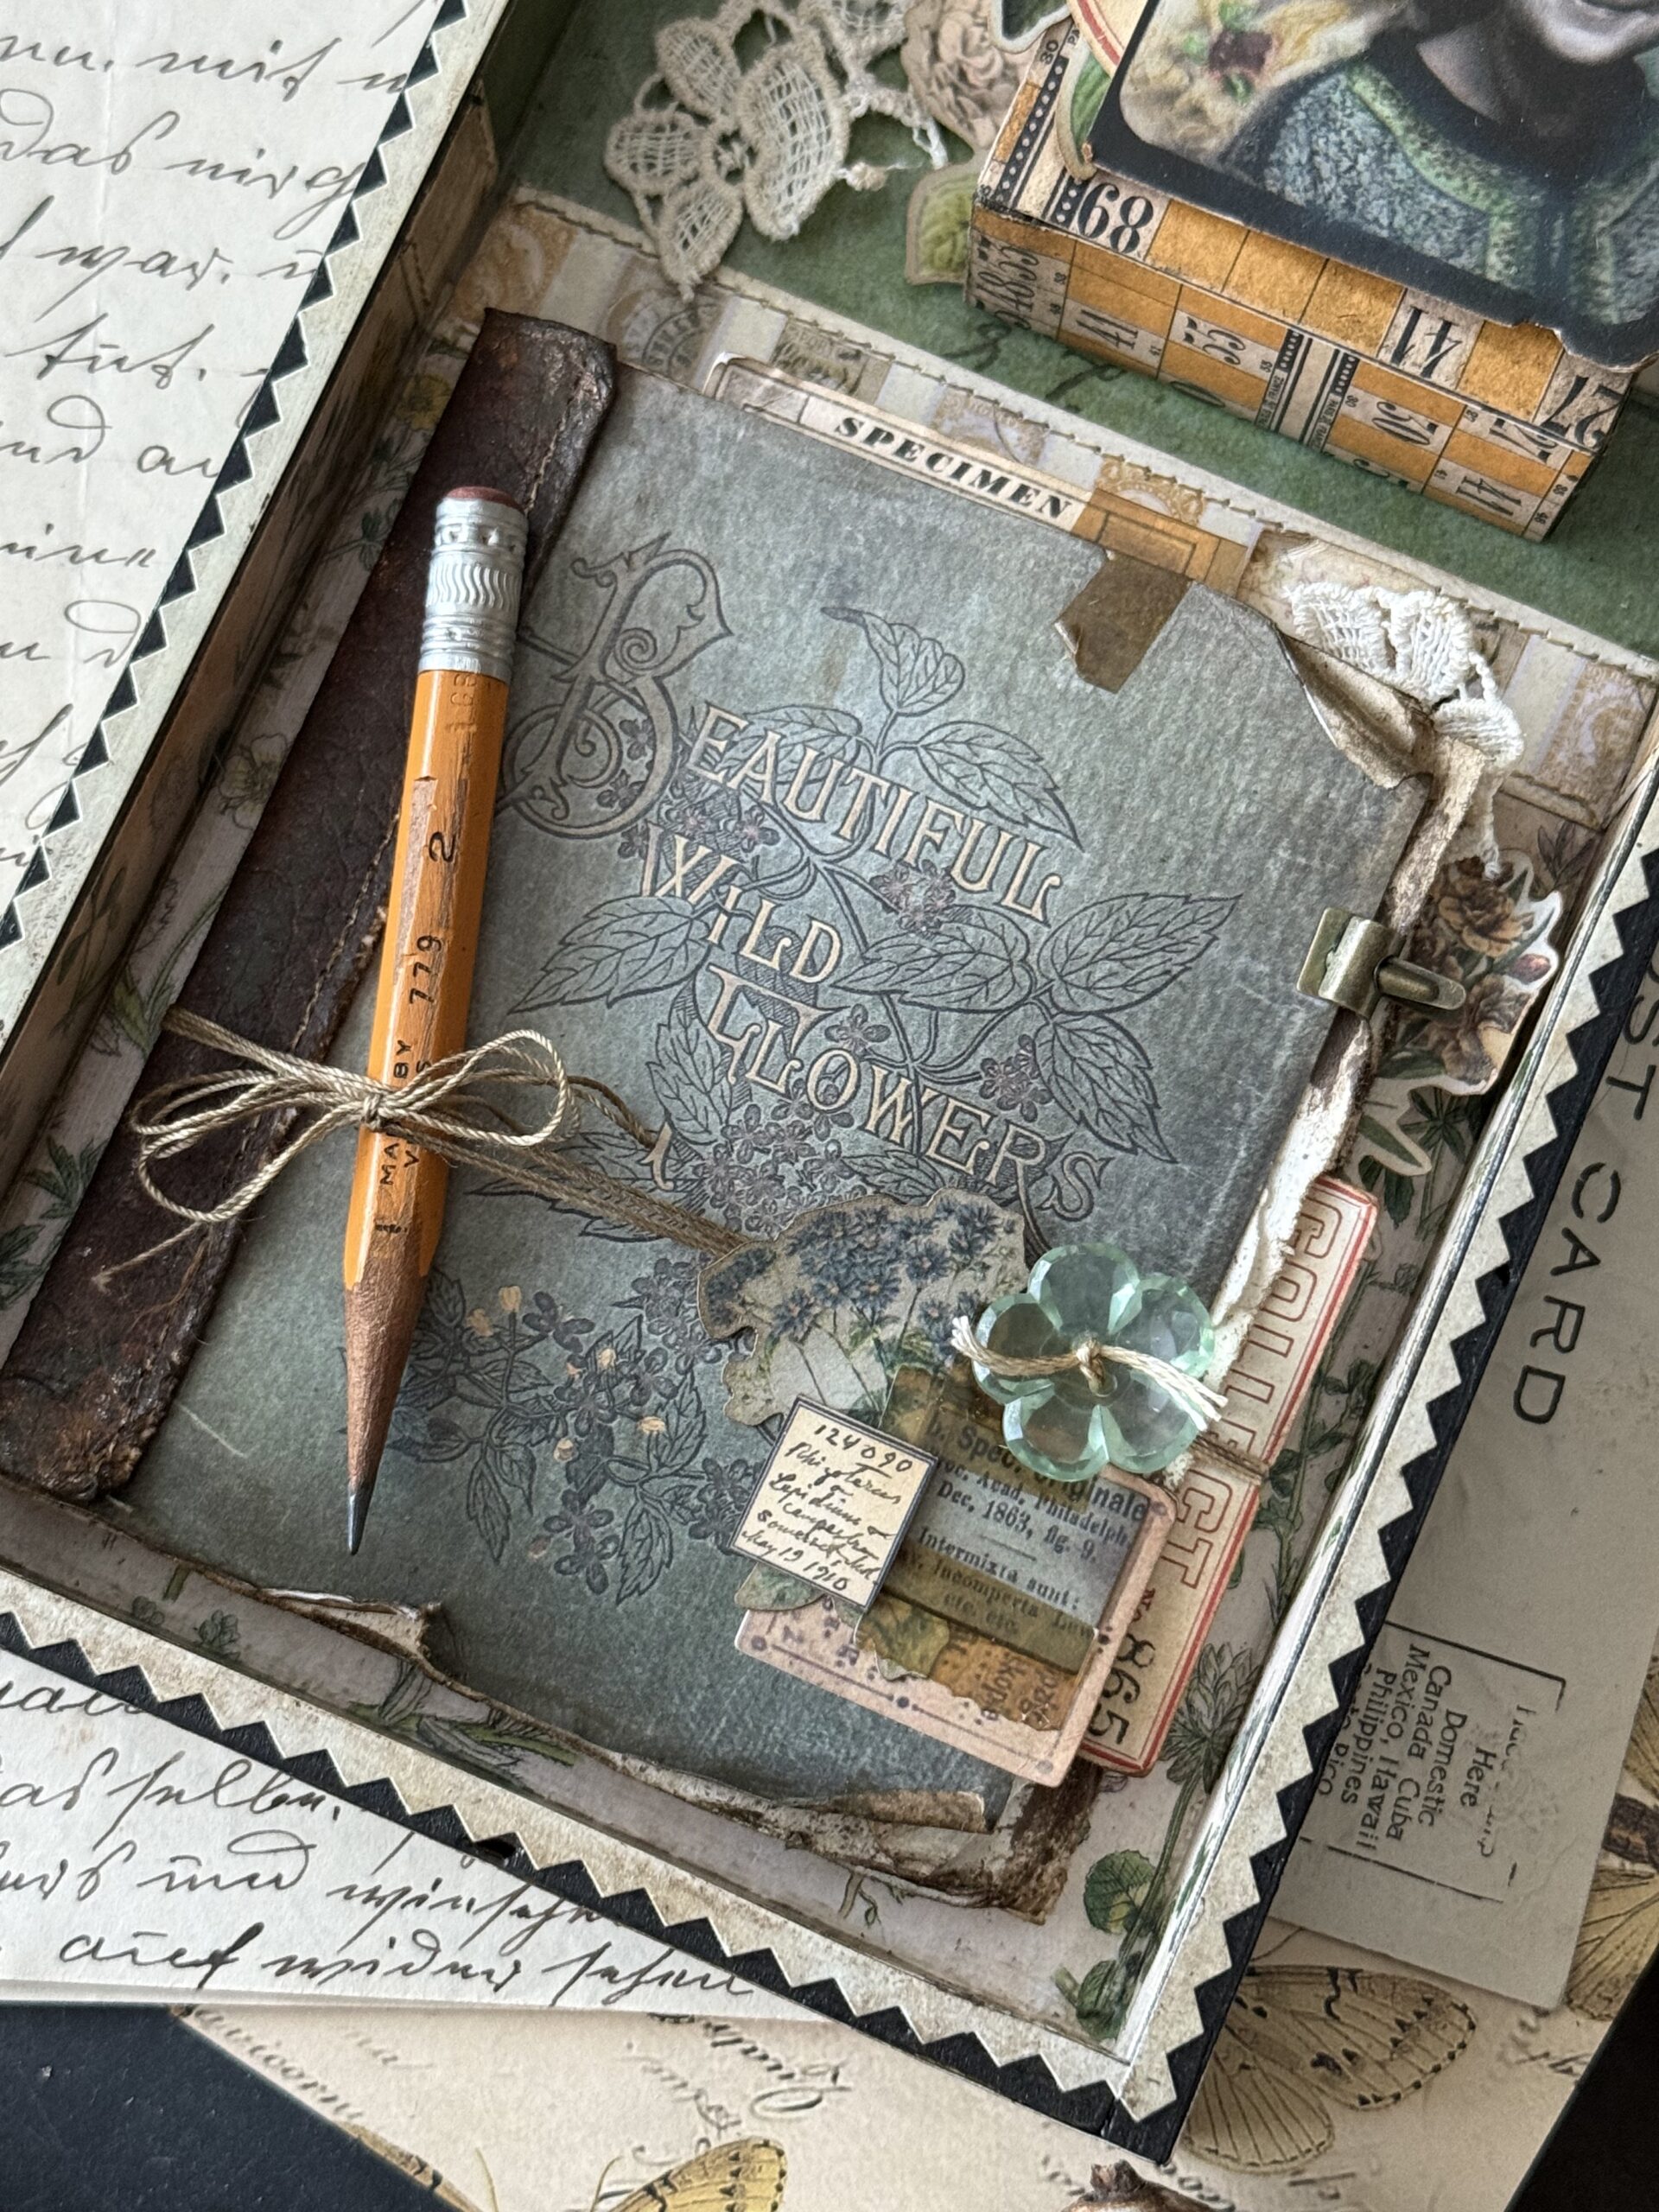
I set the vignette tray aside to dry and went back to making for book embellishments… I chose some florals from the Field Notes Ephemera pack then rubbed them all with some Gathered Twigs Distress Ink using a blending tool. I found some Curator Snippets on the front and attached them using collage medium, then layered some of the ephemera pieces inside the book, and adhered them into place using Pasitiely Perfect Craft Glue. I cut a piece of cotton string and inked it with some inks and tied it to the front of the book. Next I found a vintage pencil in my stash and adhered it to the front of this book and adhered it in place using my hot glue gun, and tied a bow to the front.
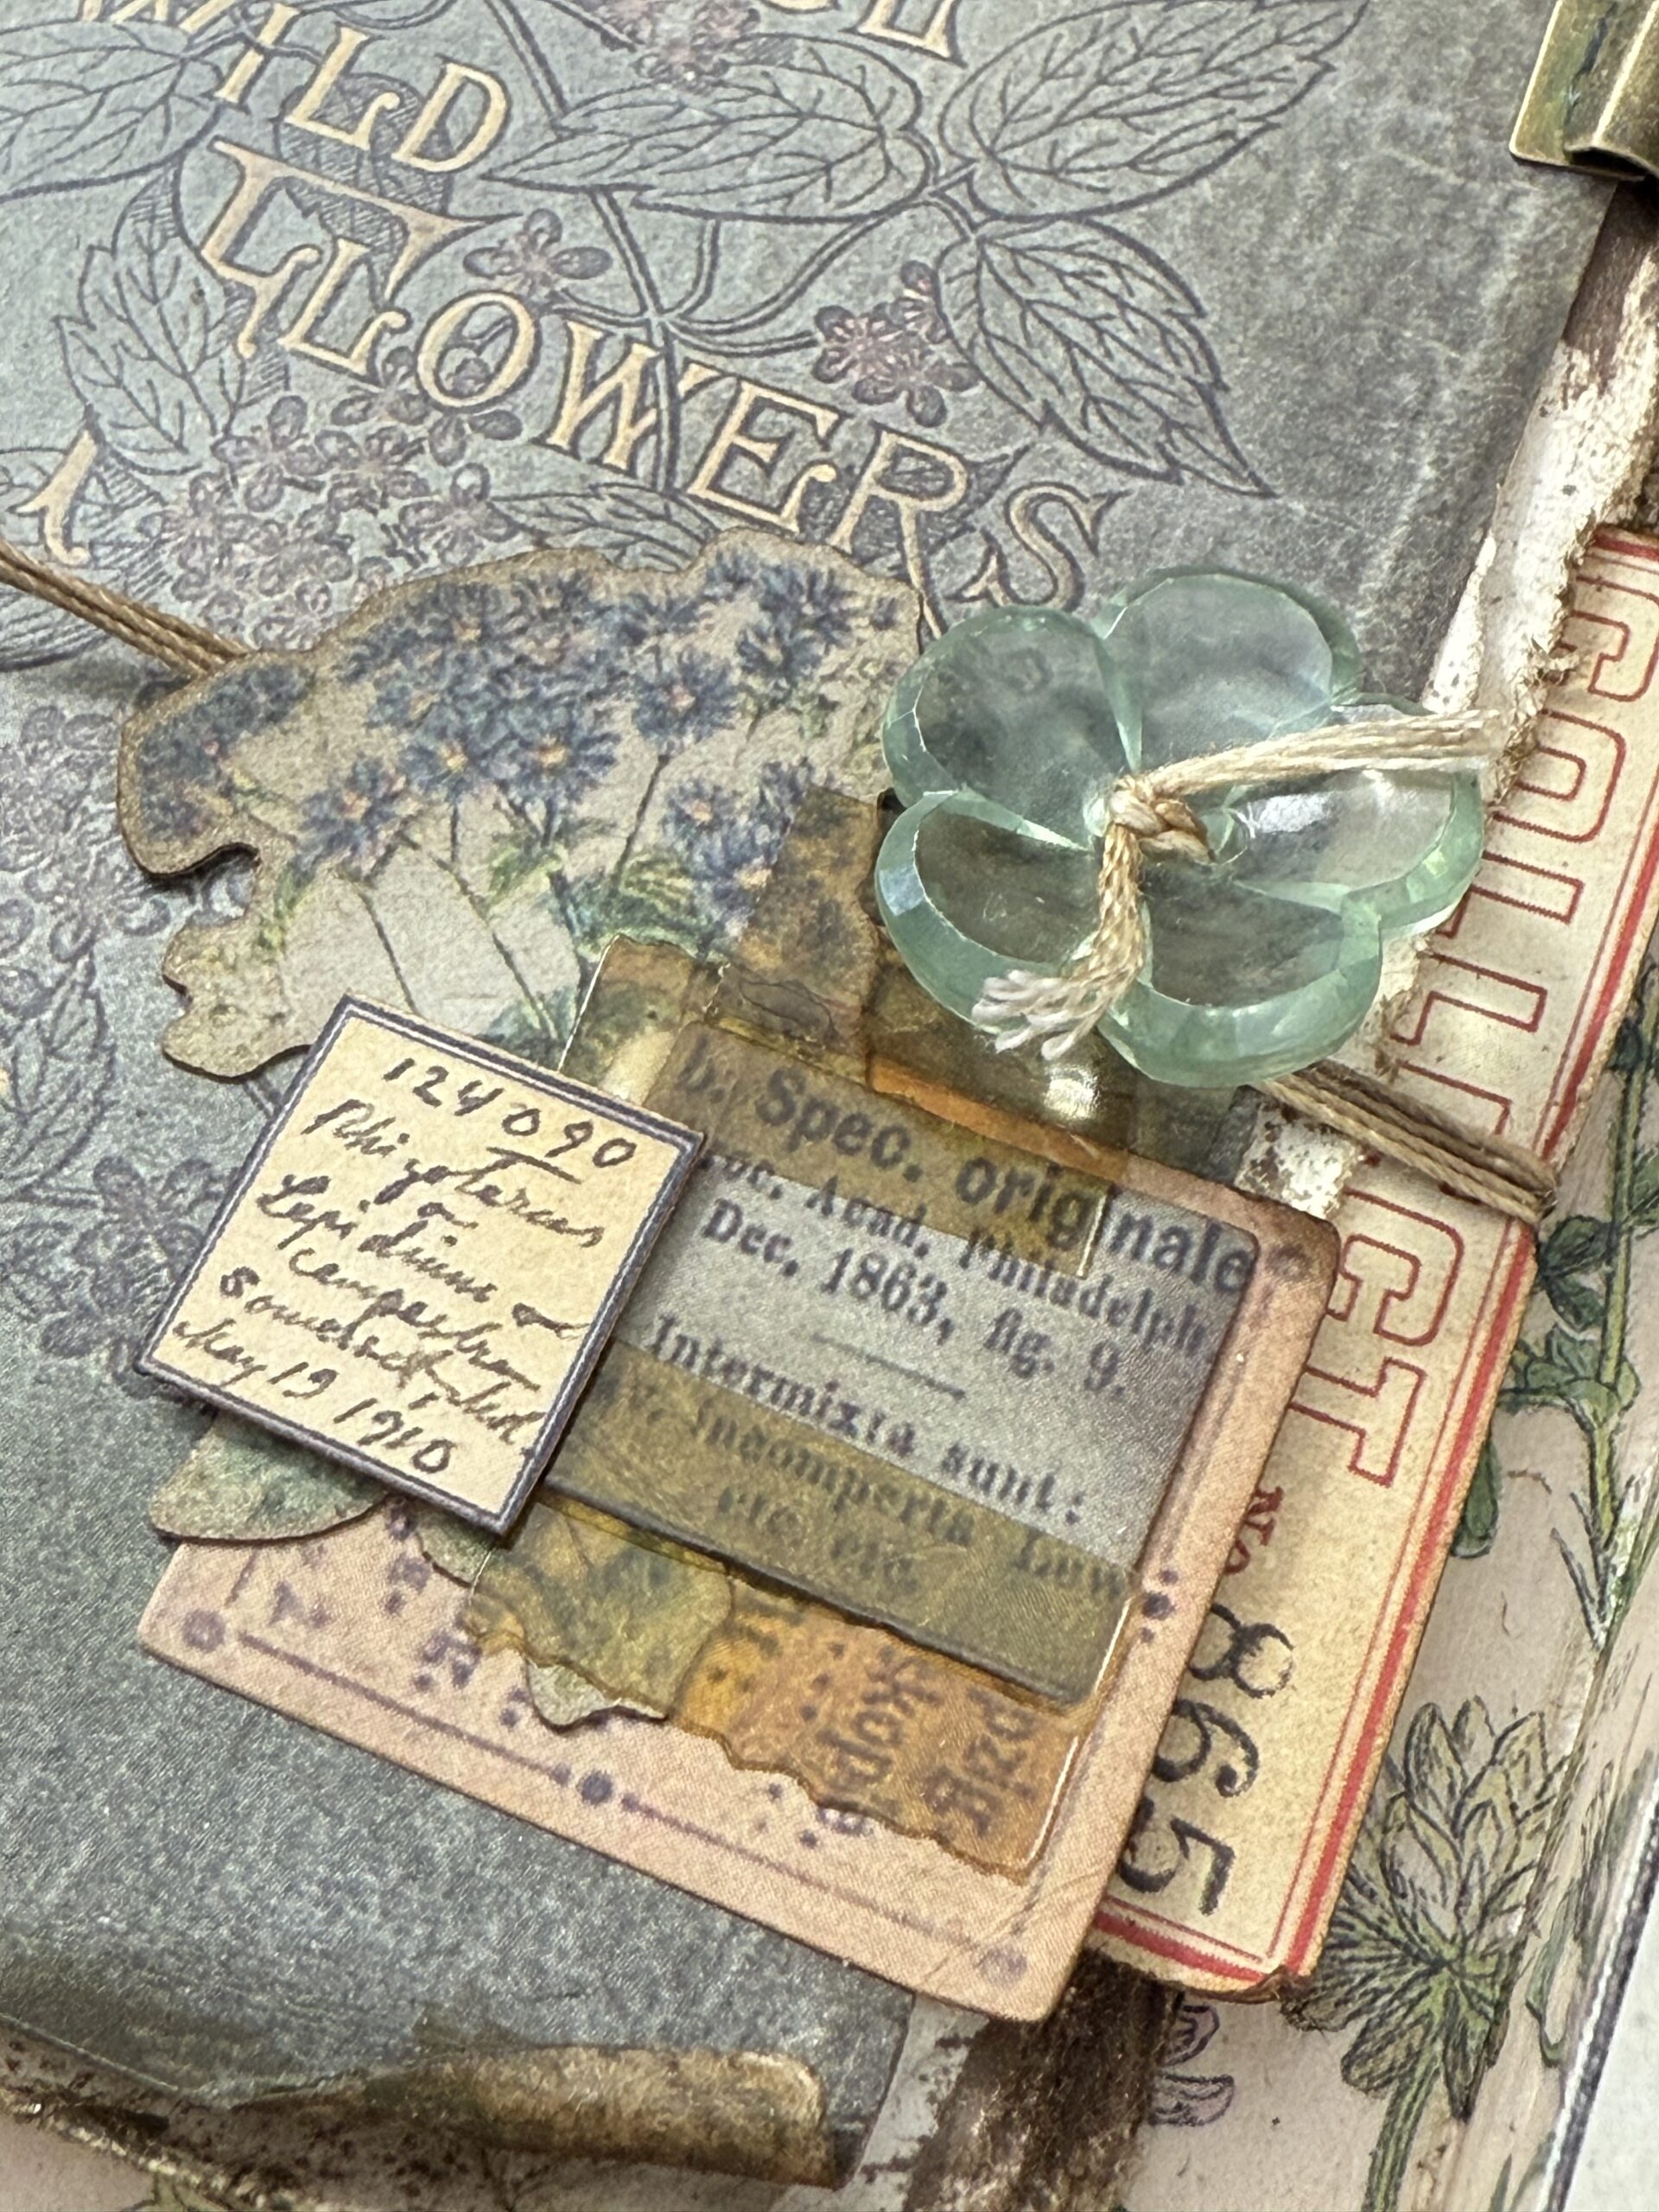
I added a flower shaped vintage button from my stash using some thread and adhered some idea-ology Cello Tape to the front of the book and over top of the Snippet Curator Labels.
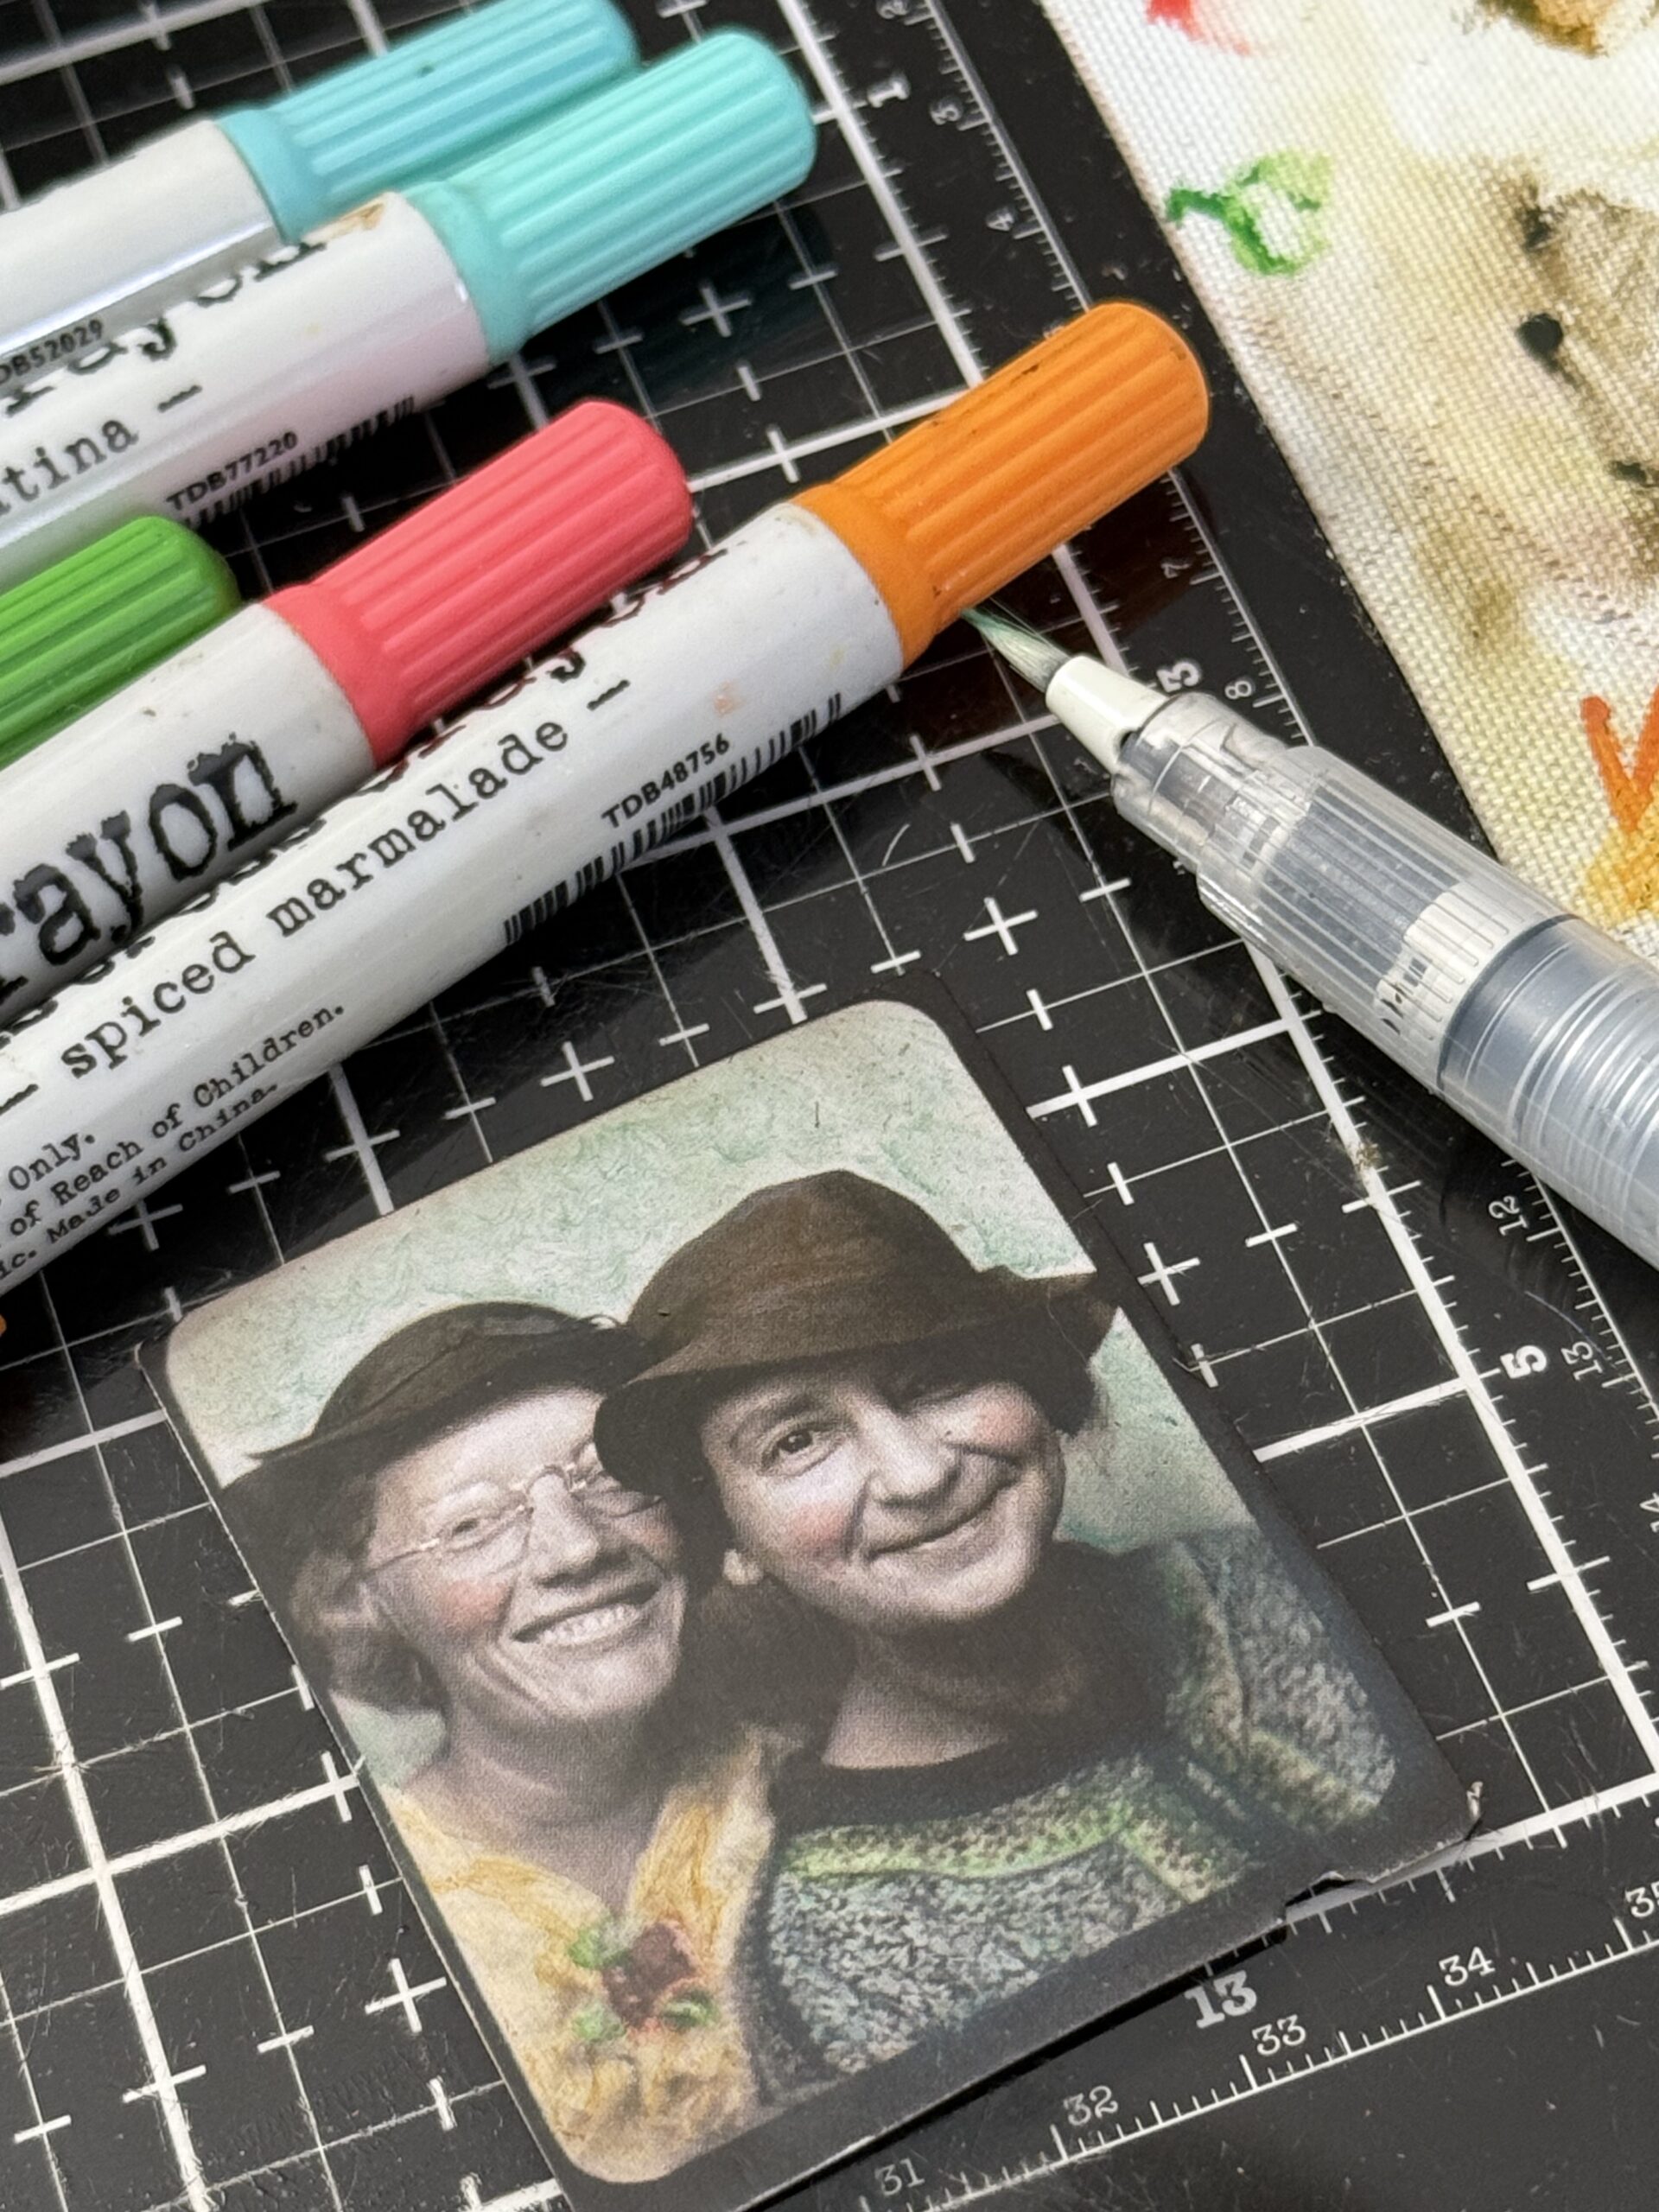
Next, I used a variety of Distress Crayons to color up the Photomatic Photo. This was done by scribbling some crayon colors onto my craft mat, then used a slightly damp paint brush to pick up and apply the color directly to the photo. Then, I used my finger to lightly daub the color and give it a smooth look. You’ll notice that the photo was trimmed from the original border edge that the photo comes on, this gives the photo a more realistic look especially when you blend the edges with Gathered Twigs ink to give it a more grungy and vintage look.
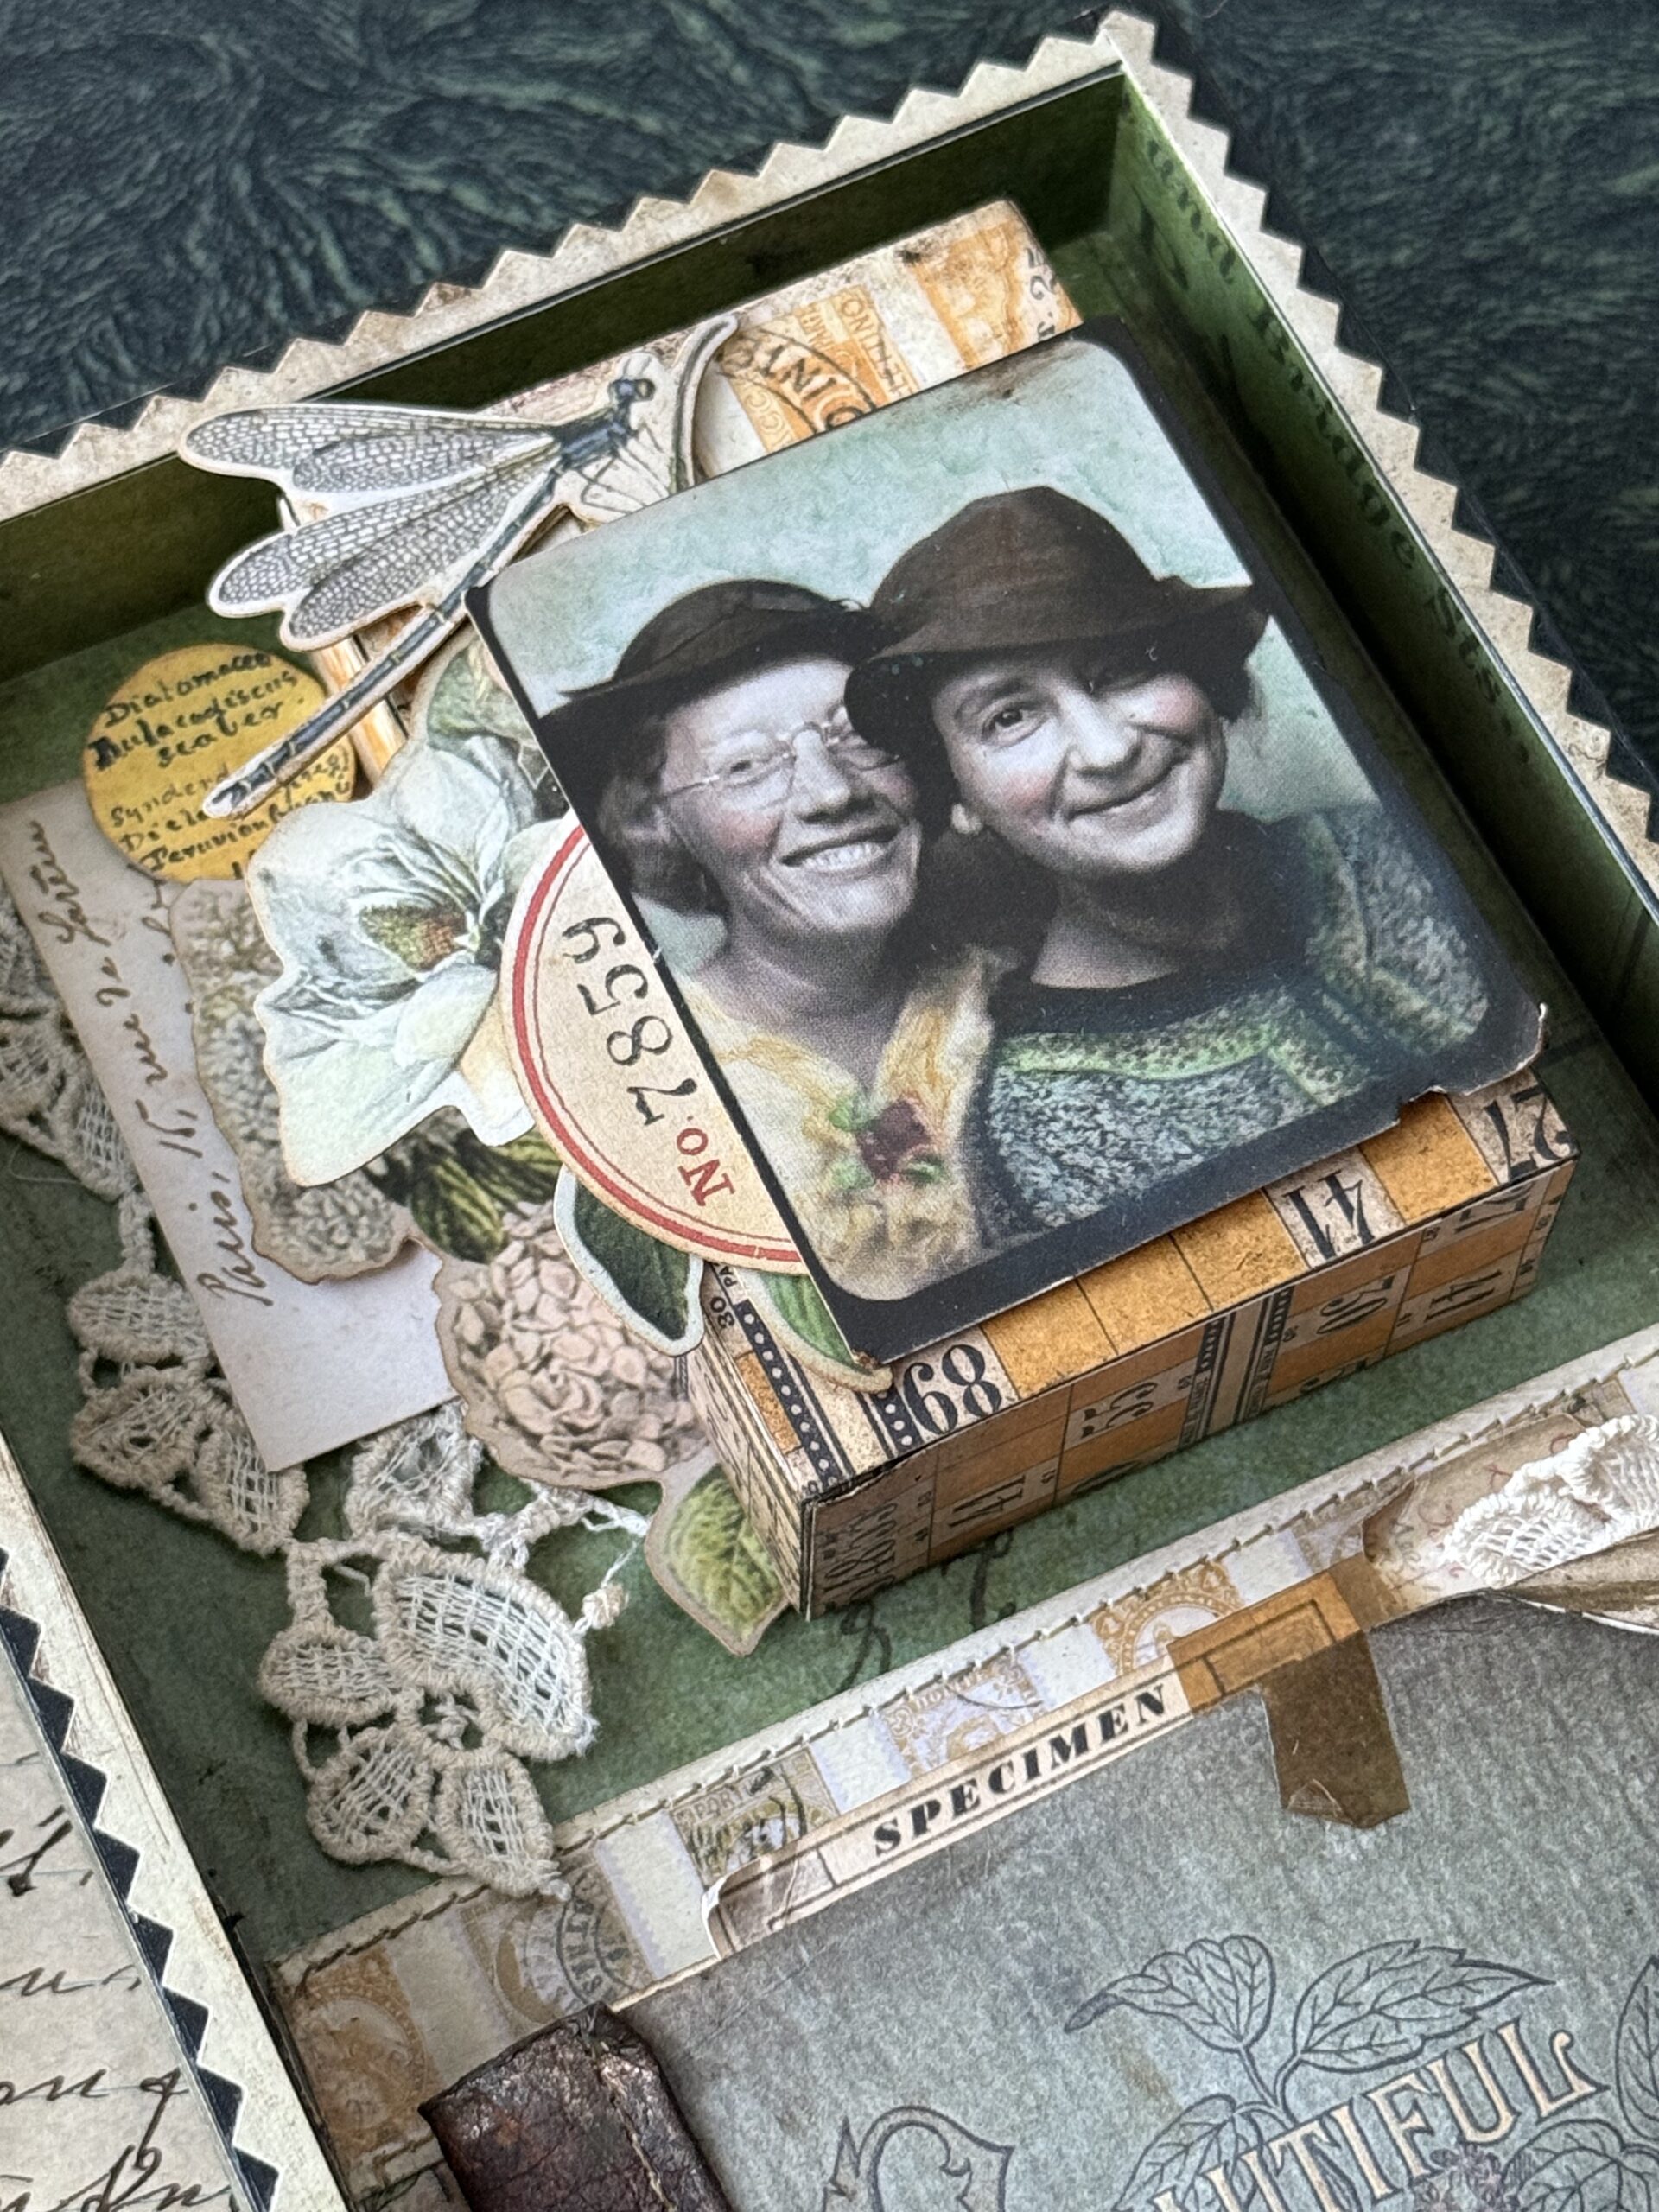
After they were colored up, I began arranging the front of the small vignette box where the photo would be placed. You can see in the photo below that I used one of the ephemera flowers and the dragonfly piece over the edge of the vignette box, to make sure that the pieces would stand up to being on the edge and not become folded or bent back I knew I wanted to add some more stability to them. Normally, I would have backed up the pieces using some pieces of chipboard, but because the dragonfly piece was very detailed I didn’t want to have to trim around it and snip any of it off.
To fix this, I found a new way to add stability…and wondered why I hadn’t figured this out before.
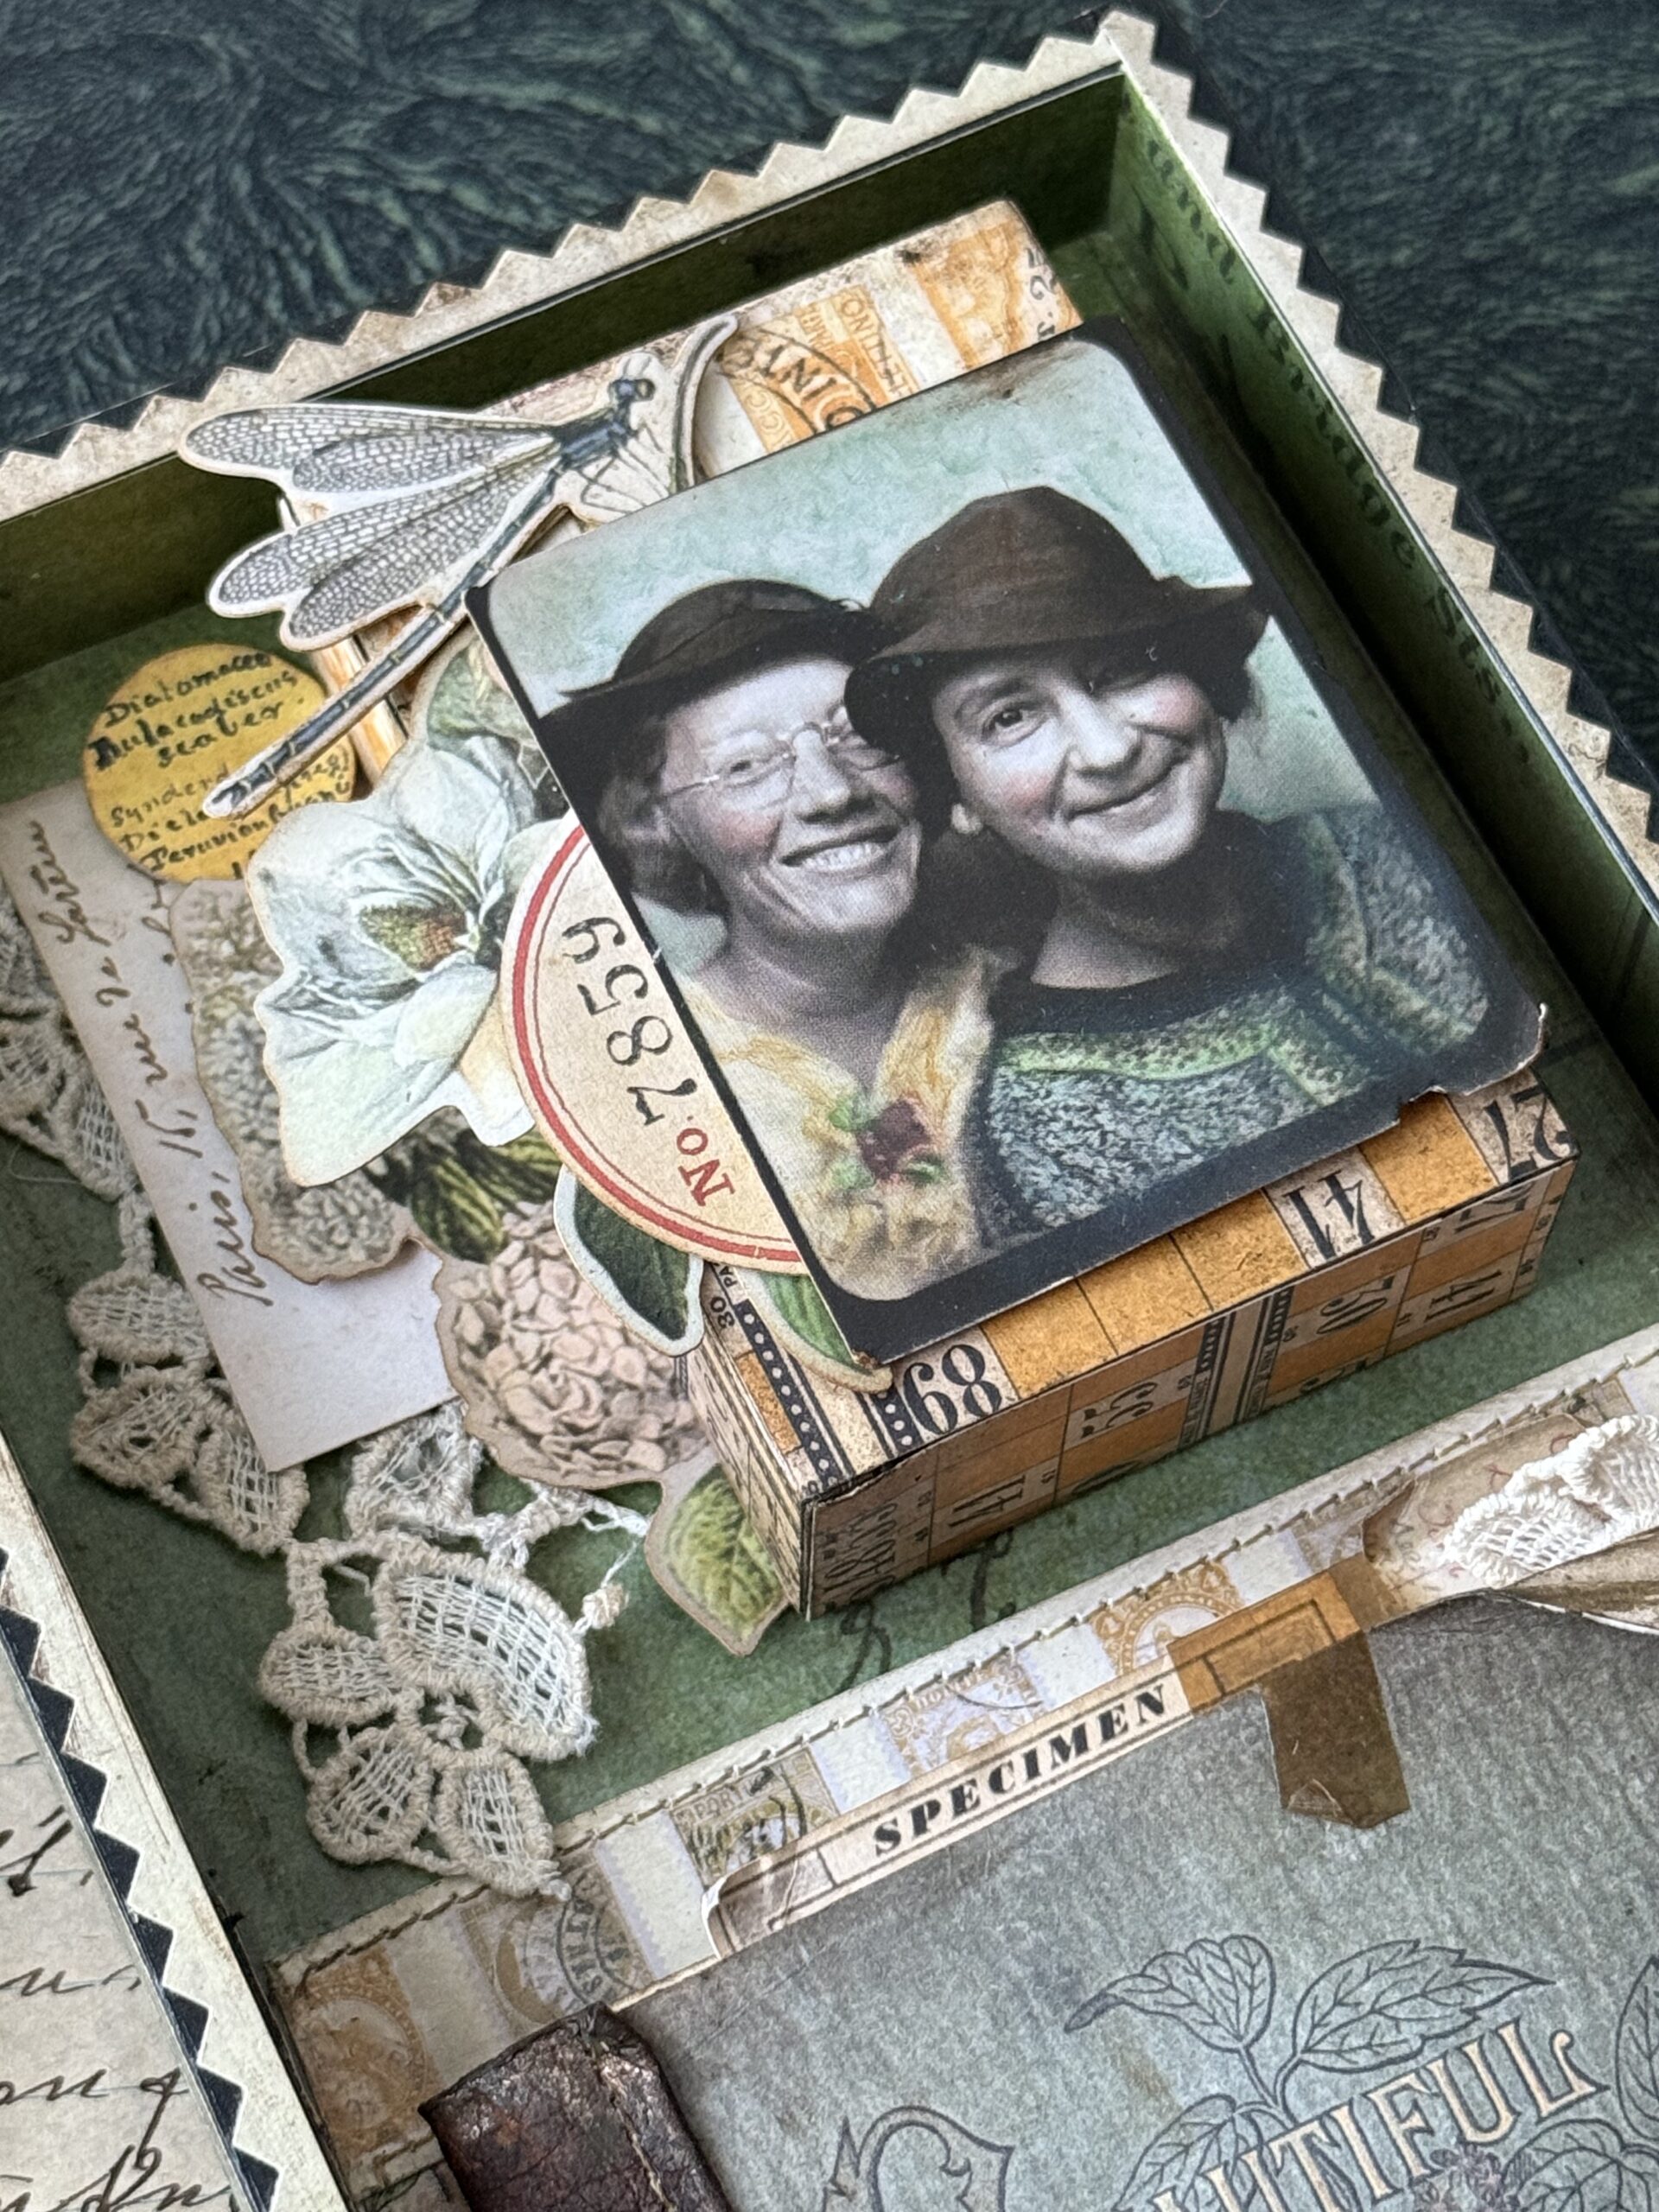
First, I trimmed some tiny strips of patterned paper scrap into some tiny strips, then using some adhesive, added the tiny pieces to the back being sure to layer them on top of each other. In the photo below, you’ll see that I used one of the strips of paper on the bottom to extend the leaf that the drangonfly was sitting on, making it easier to place behind the Photomatic photo.
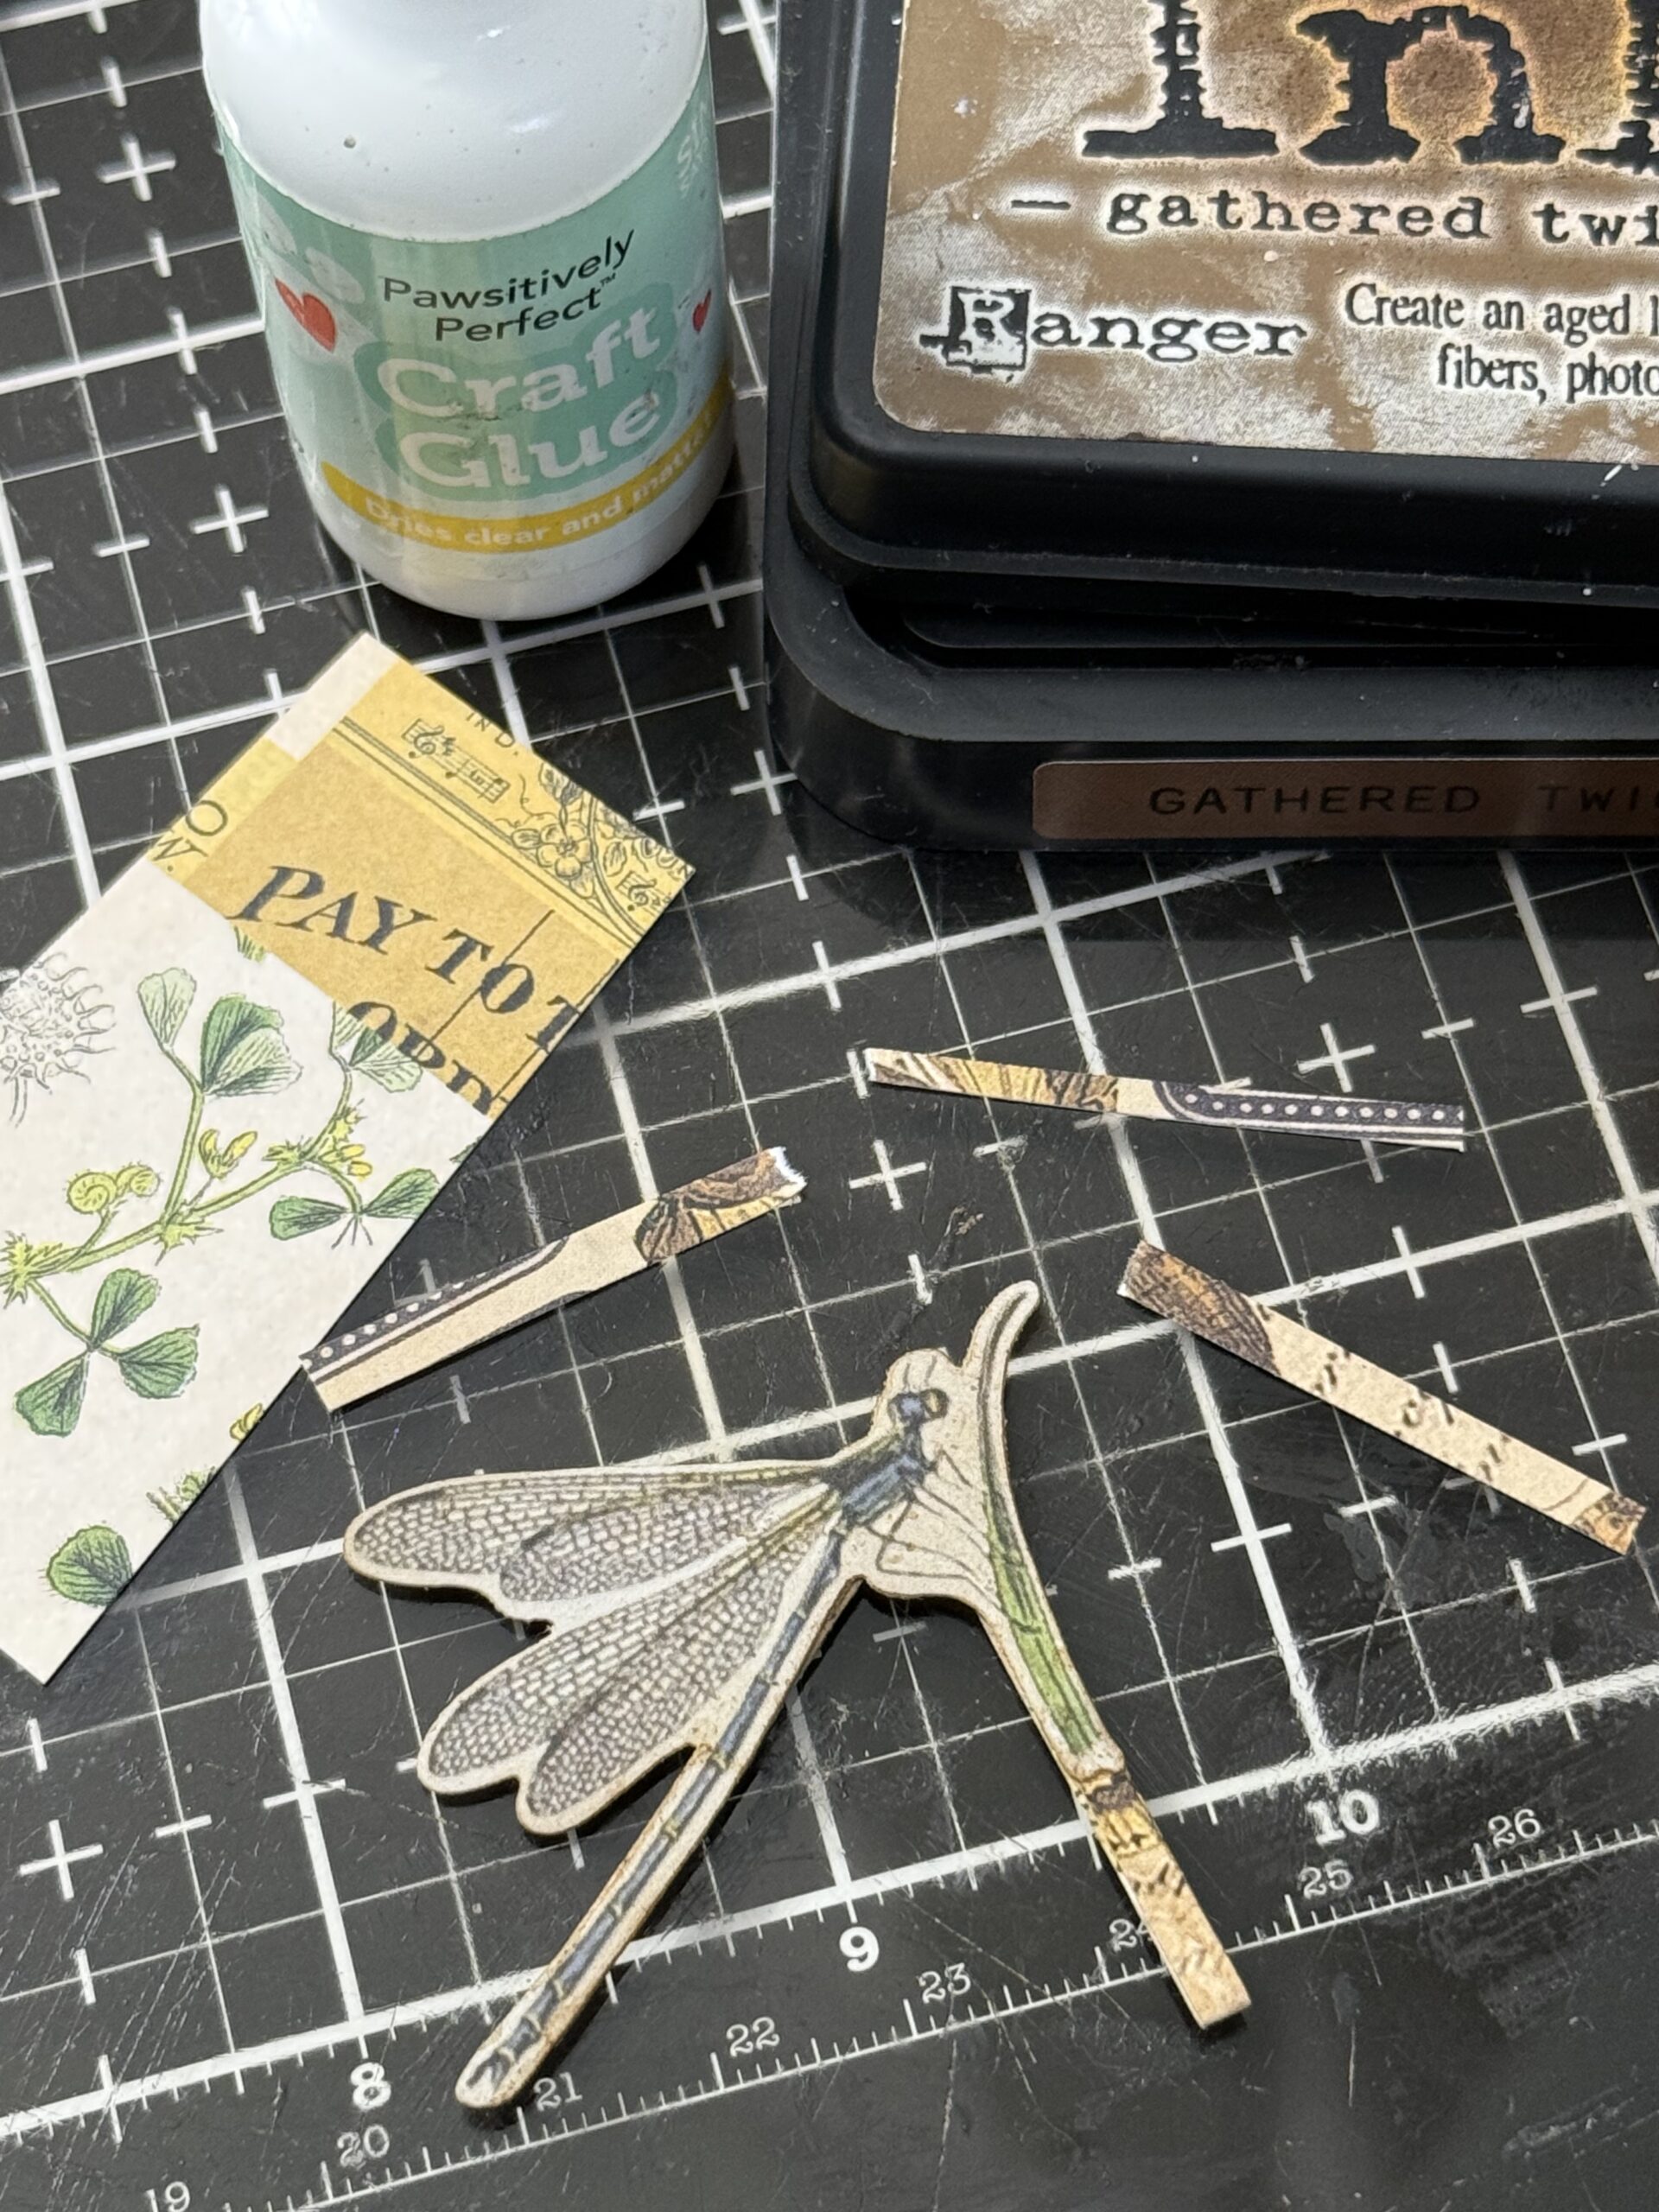
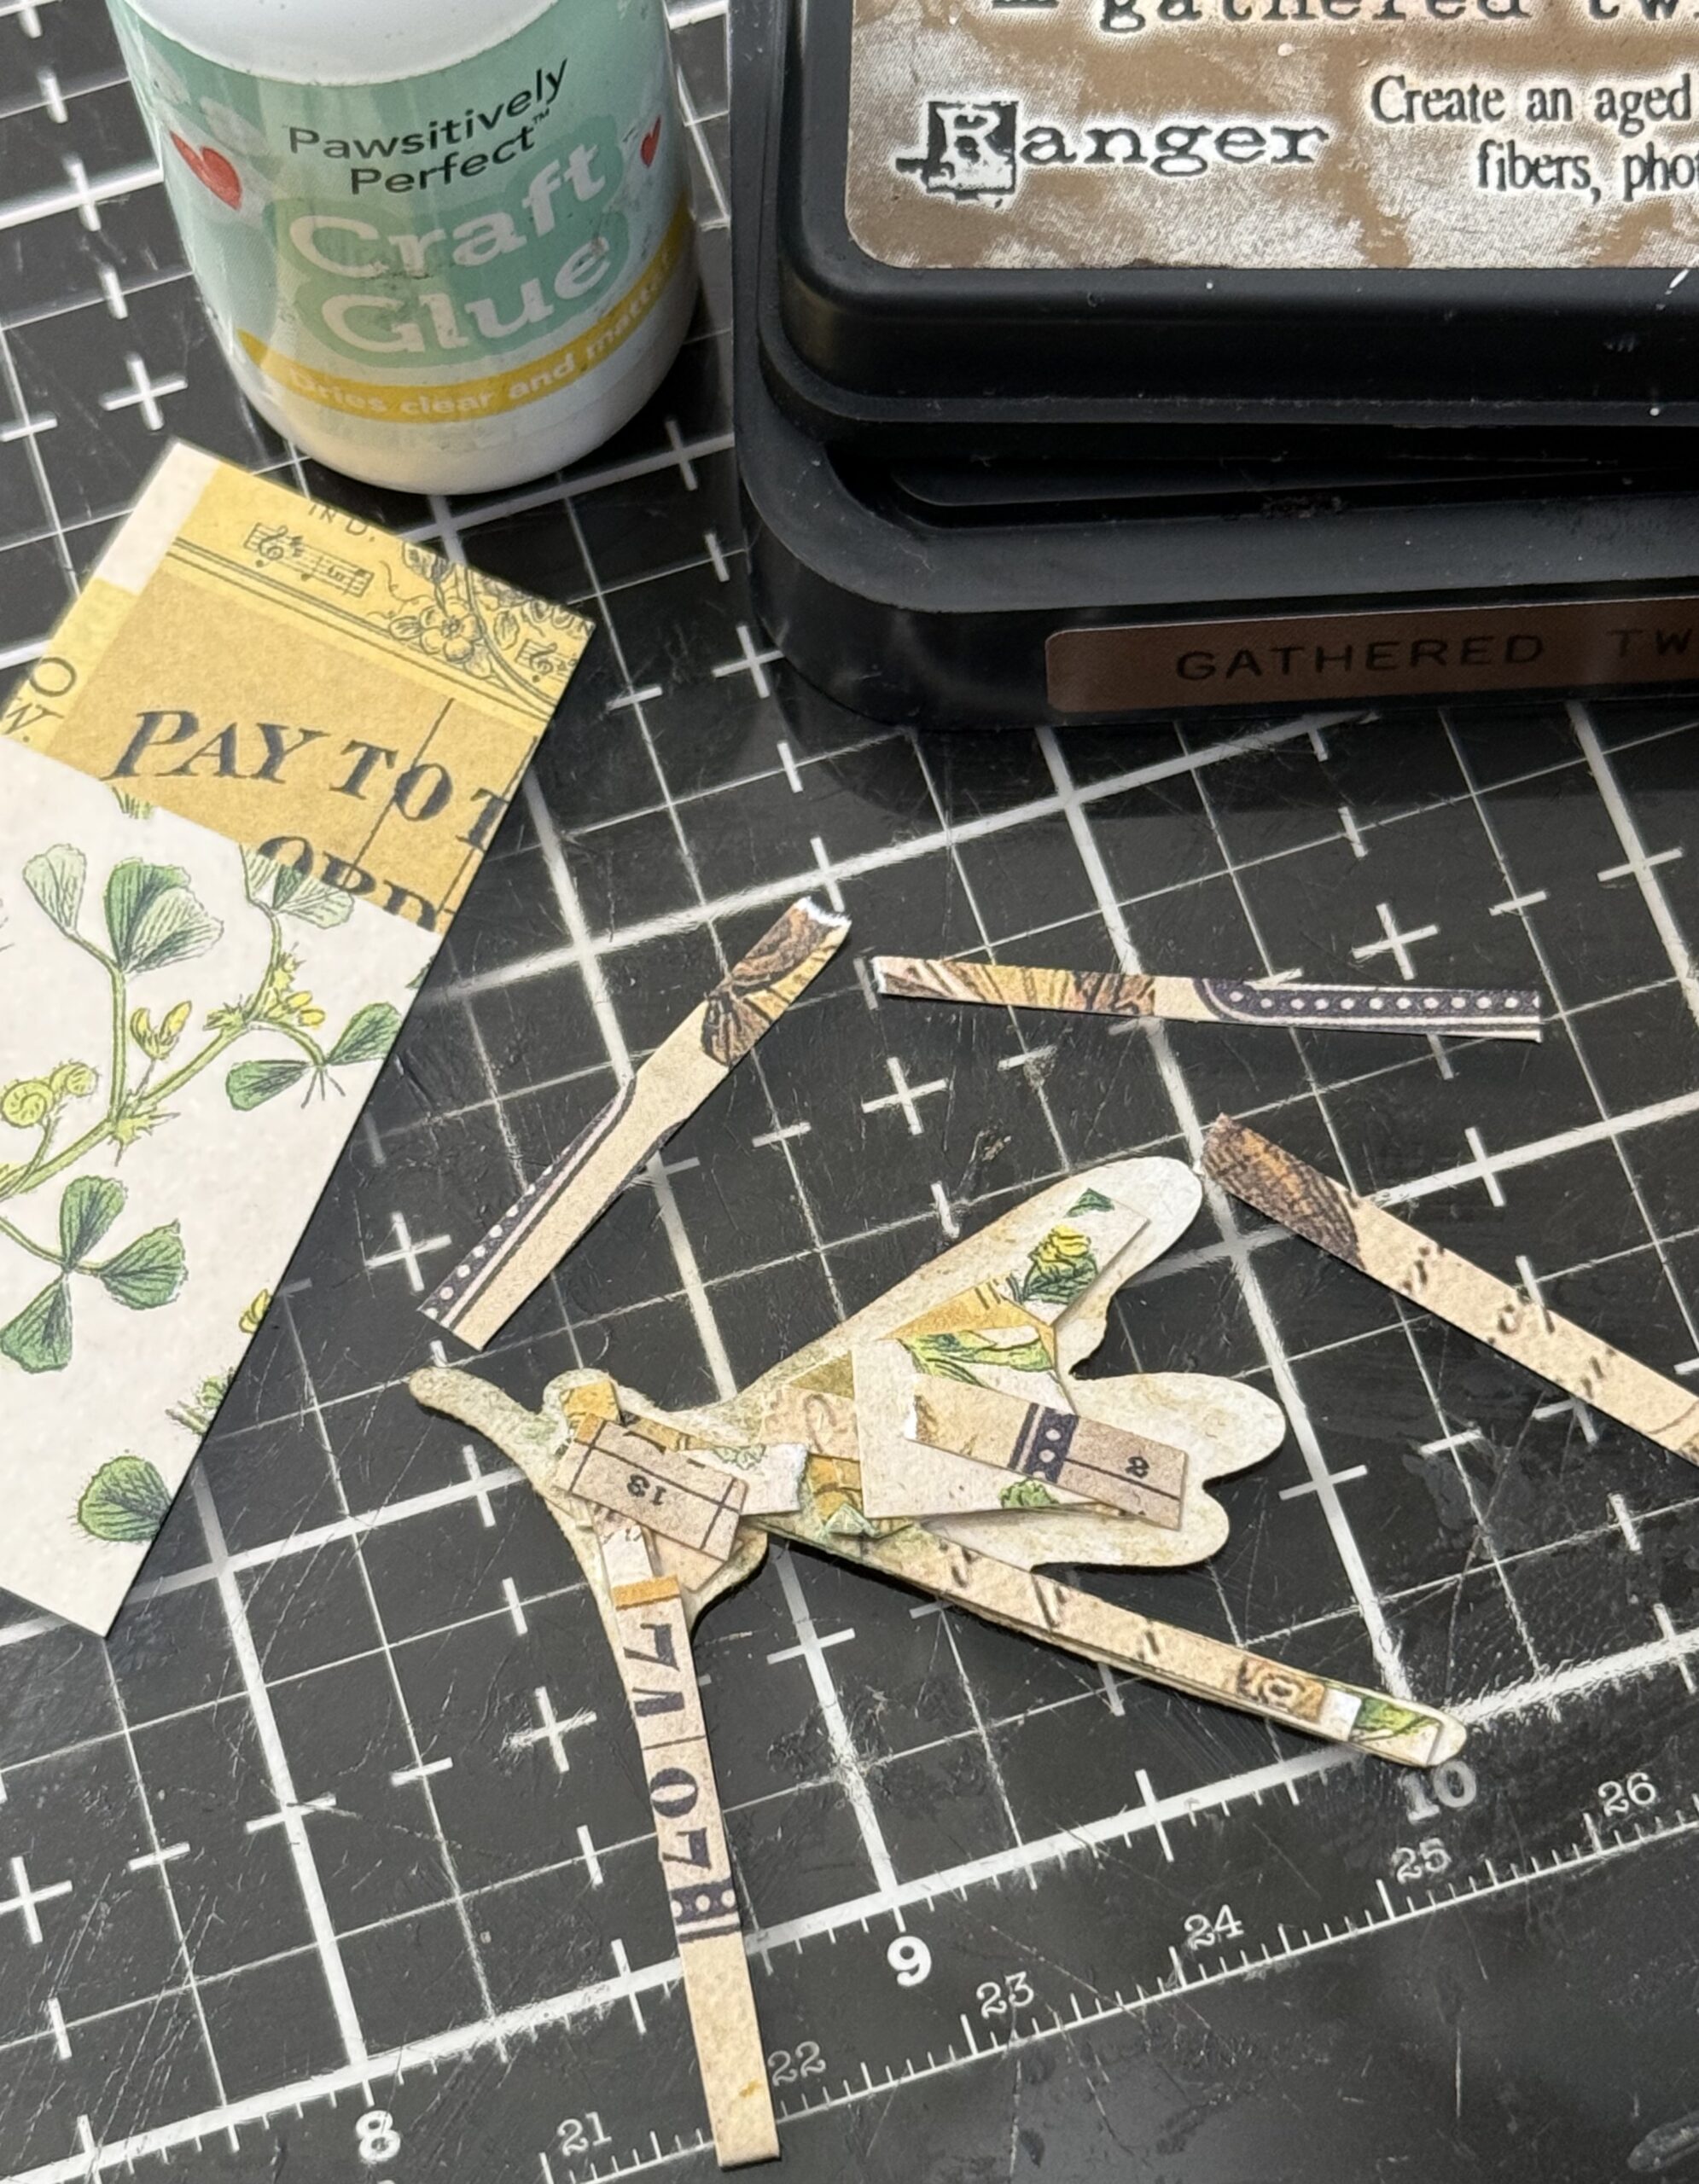
Here’s what the final back of the dragonfly looked like before it was adhered in place, it really added some much stability I couldn’t believe it, I know that over time the project will keep without any bent pieces. I did this to the flower piece that I placed to the left of the photo in the finished piece.
..now why on earth hadn’t I thought to do this before? It was so easy and effective! LOL!
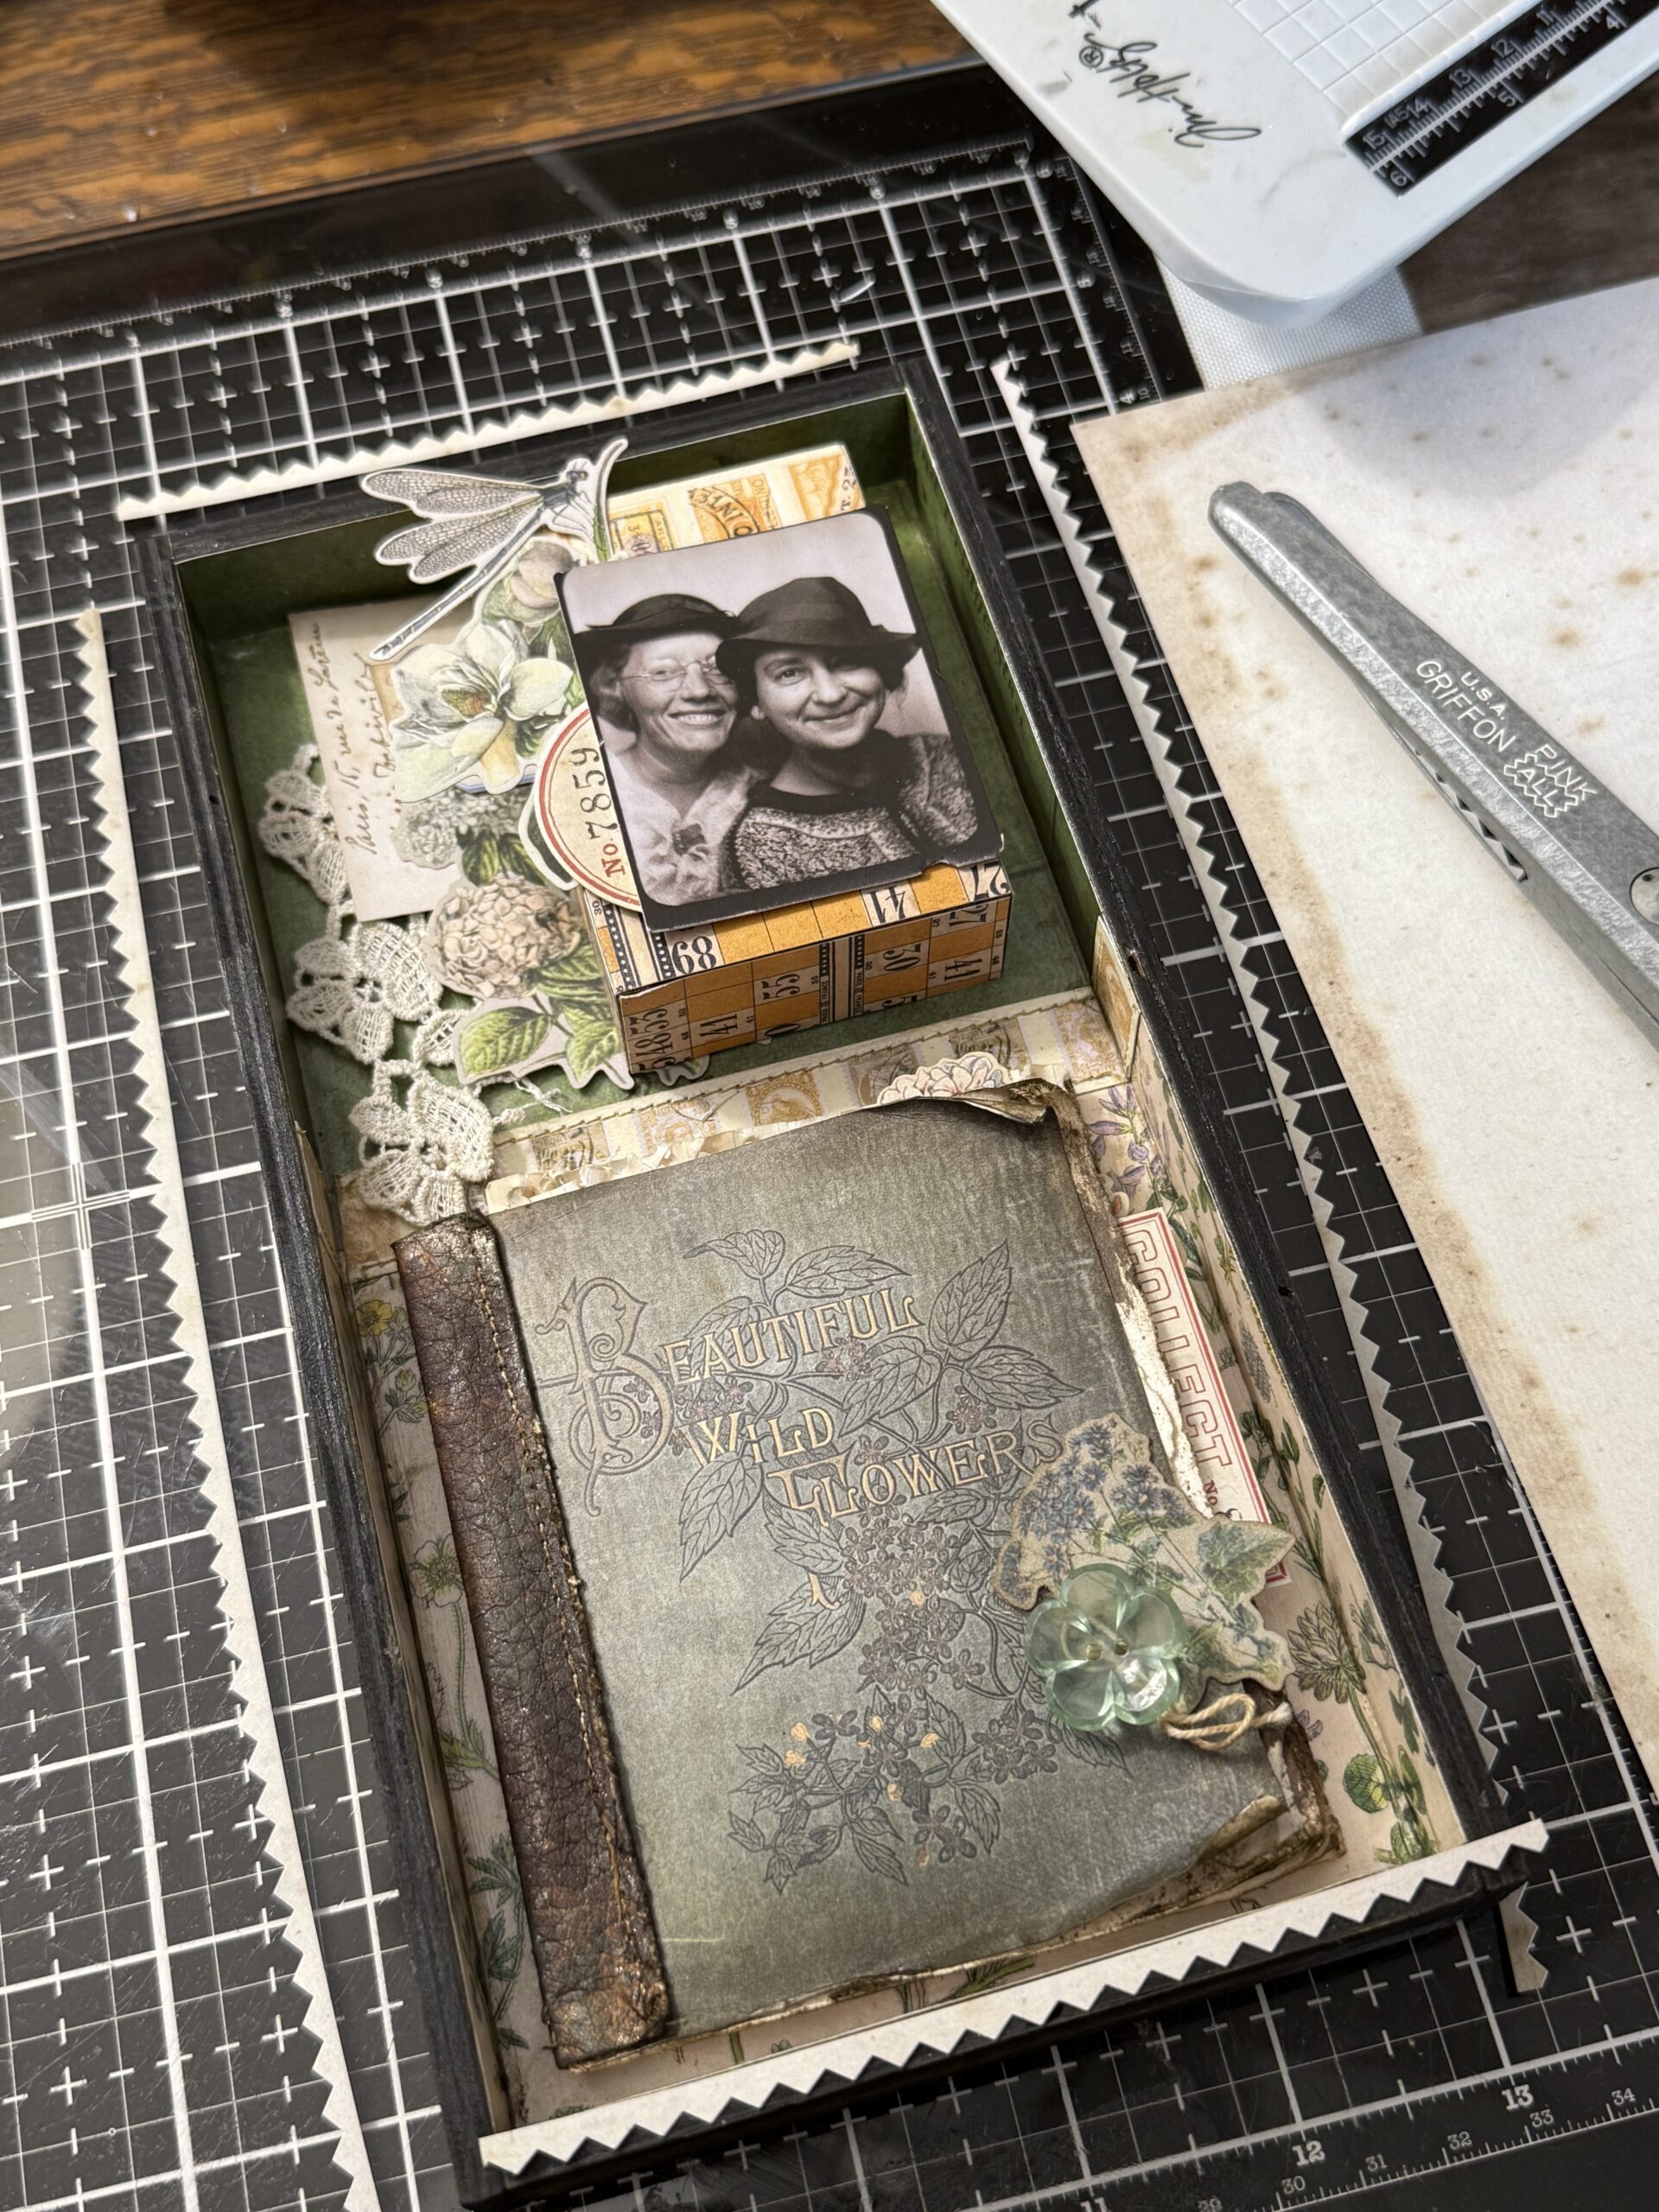
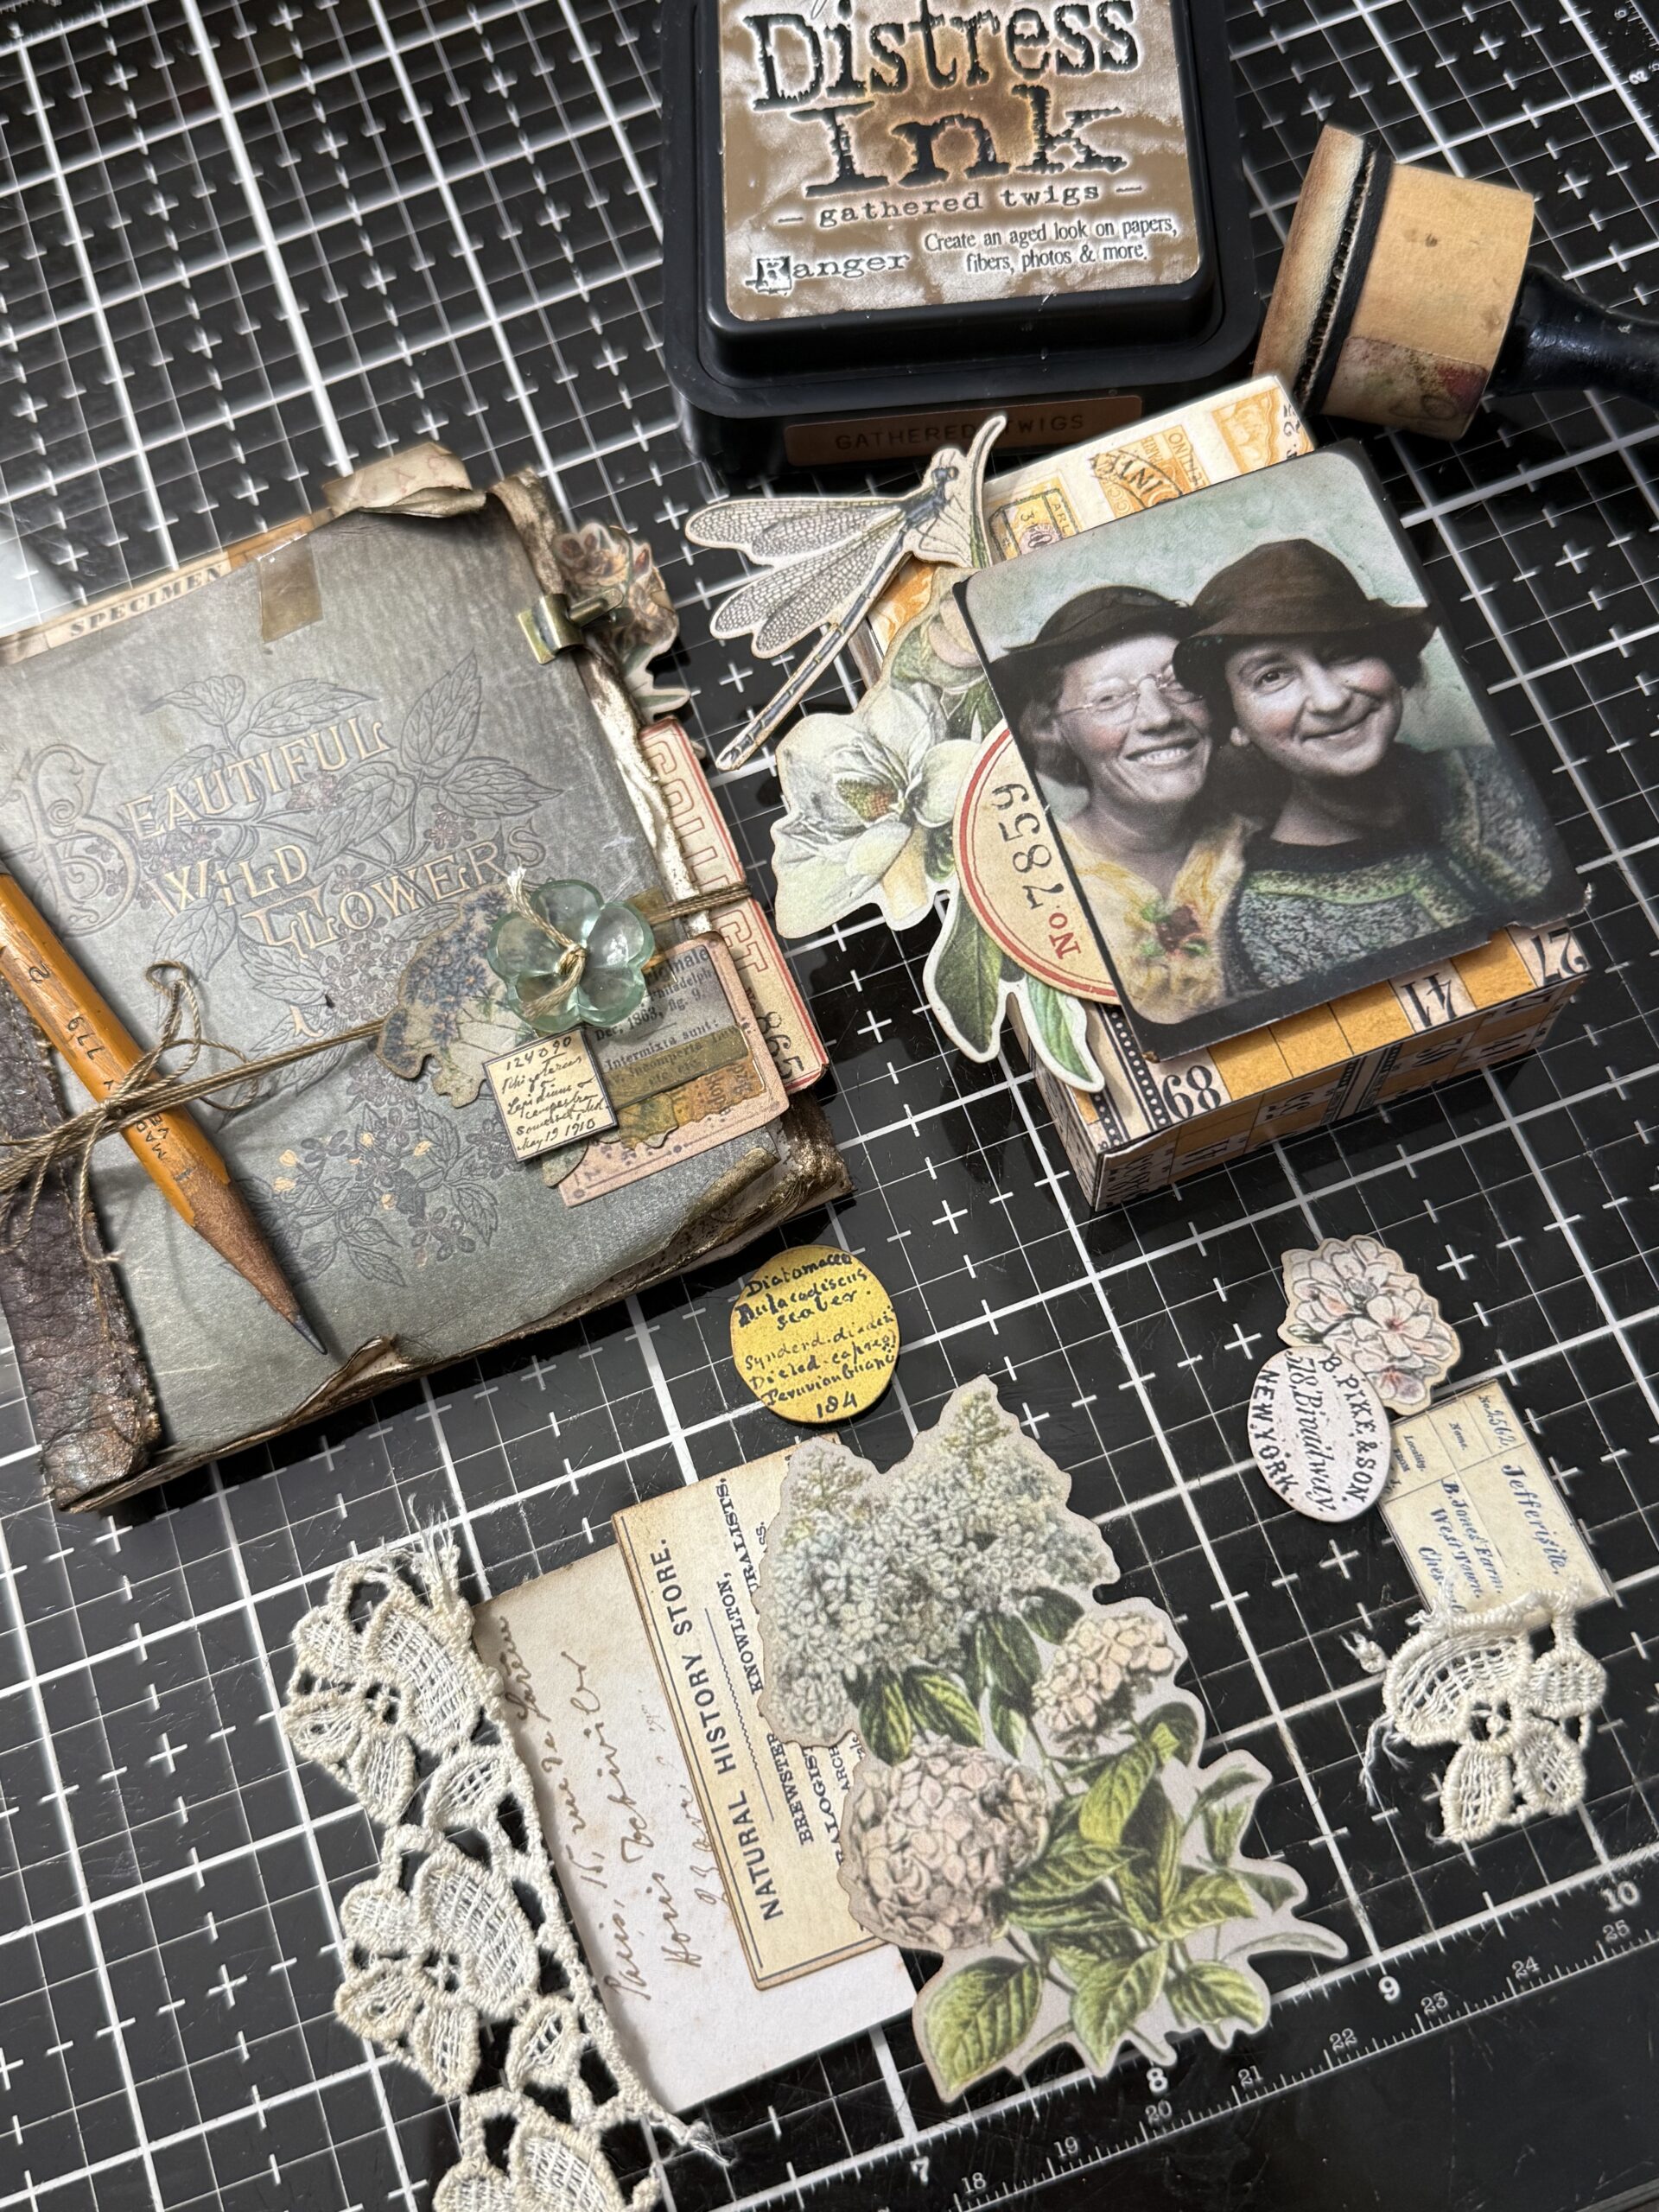
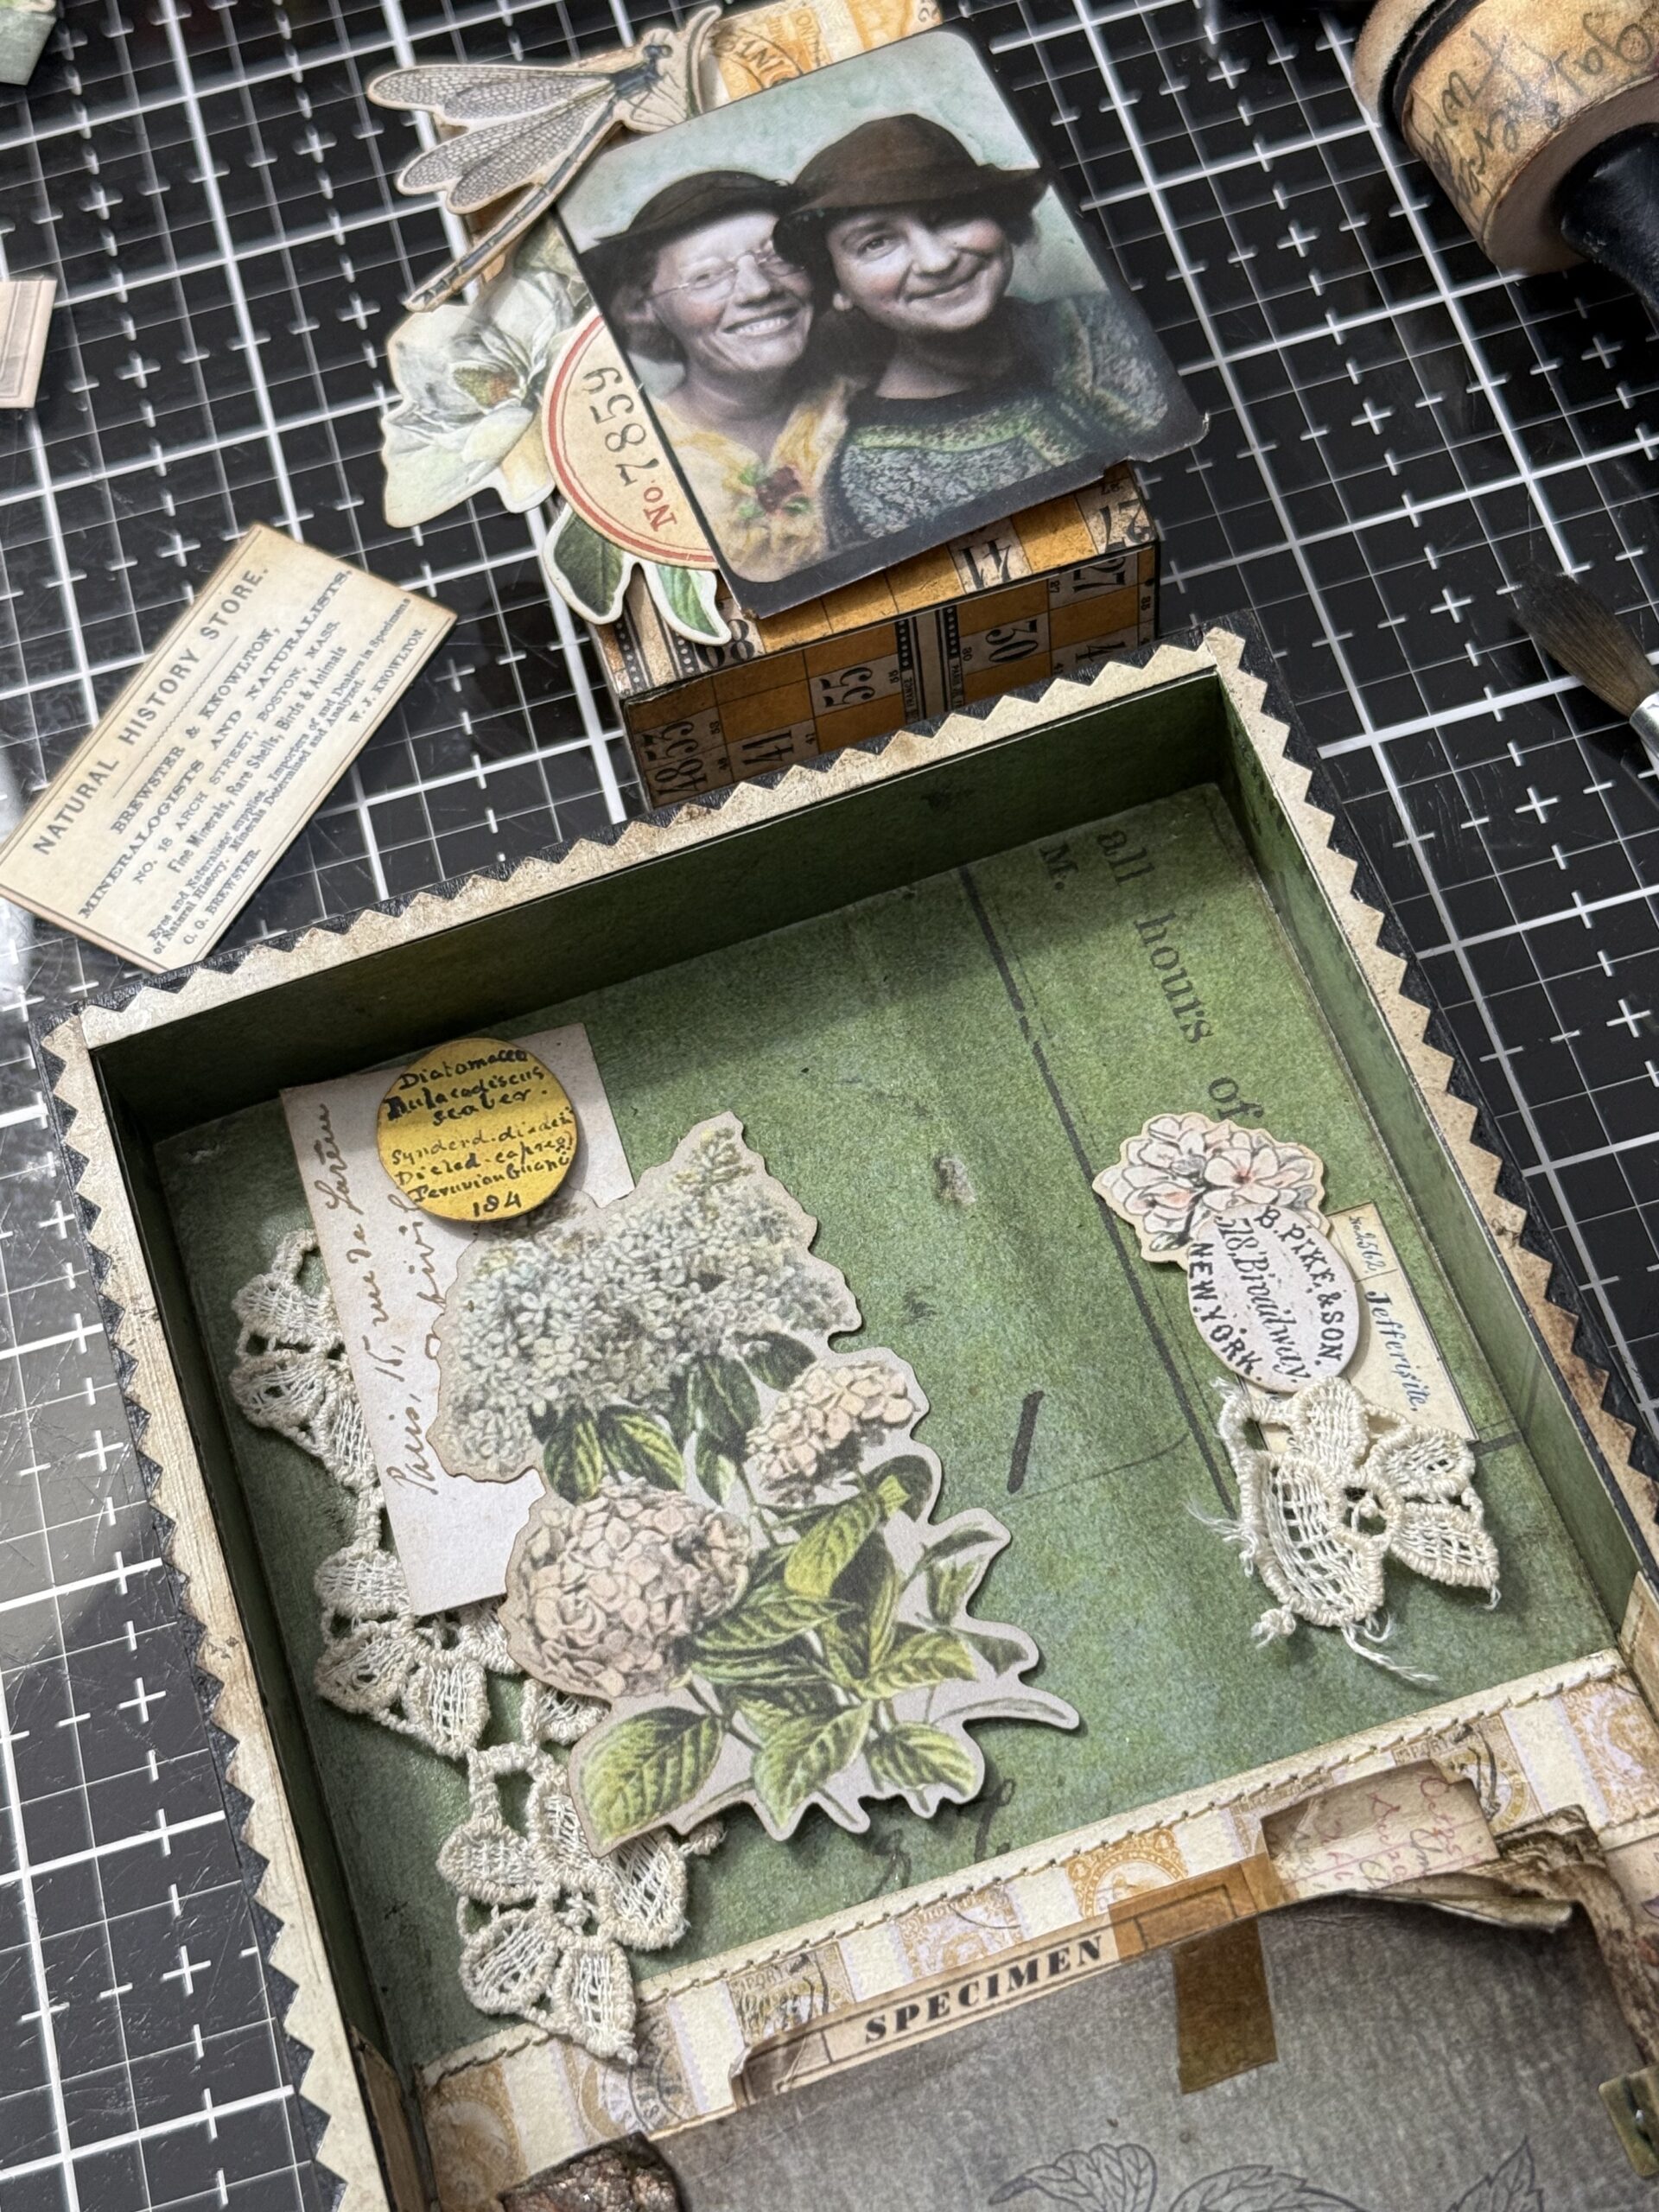
In the photo below you can see all the other pieces that were adhered behind the small vignette box and around the photo. All the pieces were blended with a little Gathered Twigs.
Before adding all the pieces and adhering them inside the vignette tray, I used a Gathered Twigs Distress Crayon to add some grunge to the box and background of the tray. I did this by scrubbing some color onto the piece and using a slightly damp paint brush to move the grunge into place from the crayon. I also added some distress crayon onto the pinked trims and the edges and back of the vignette.
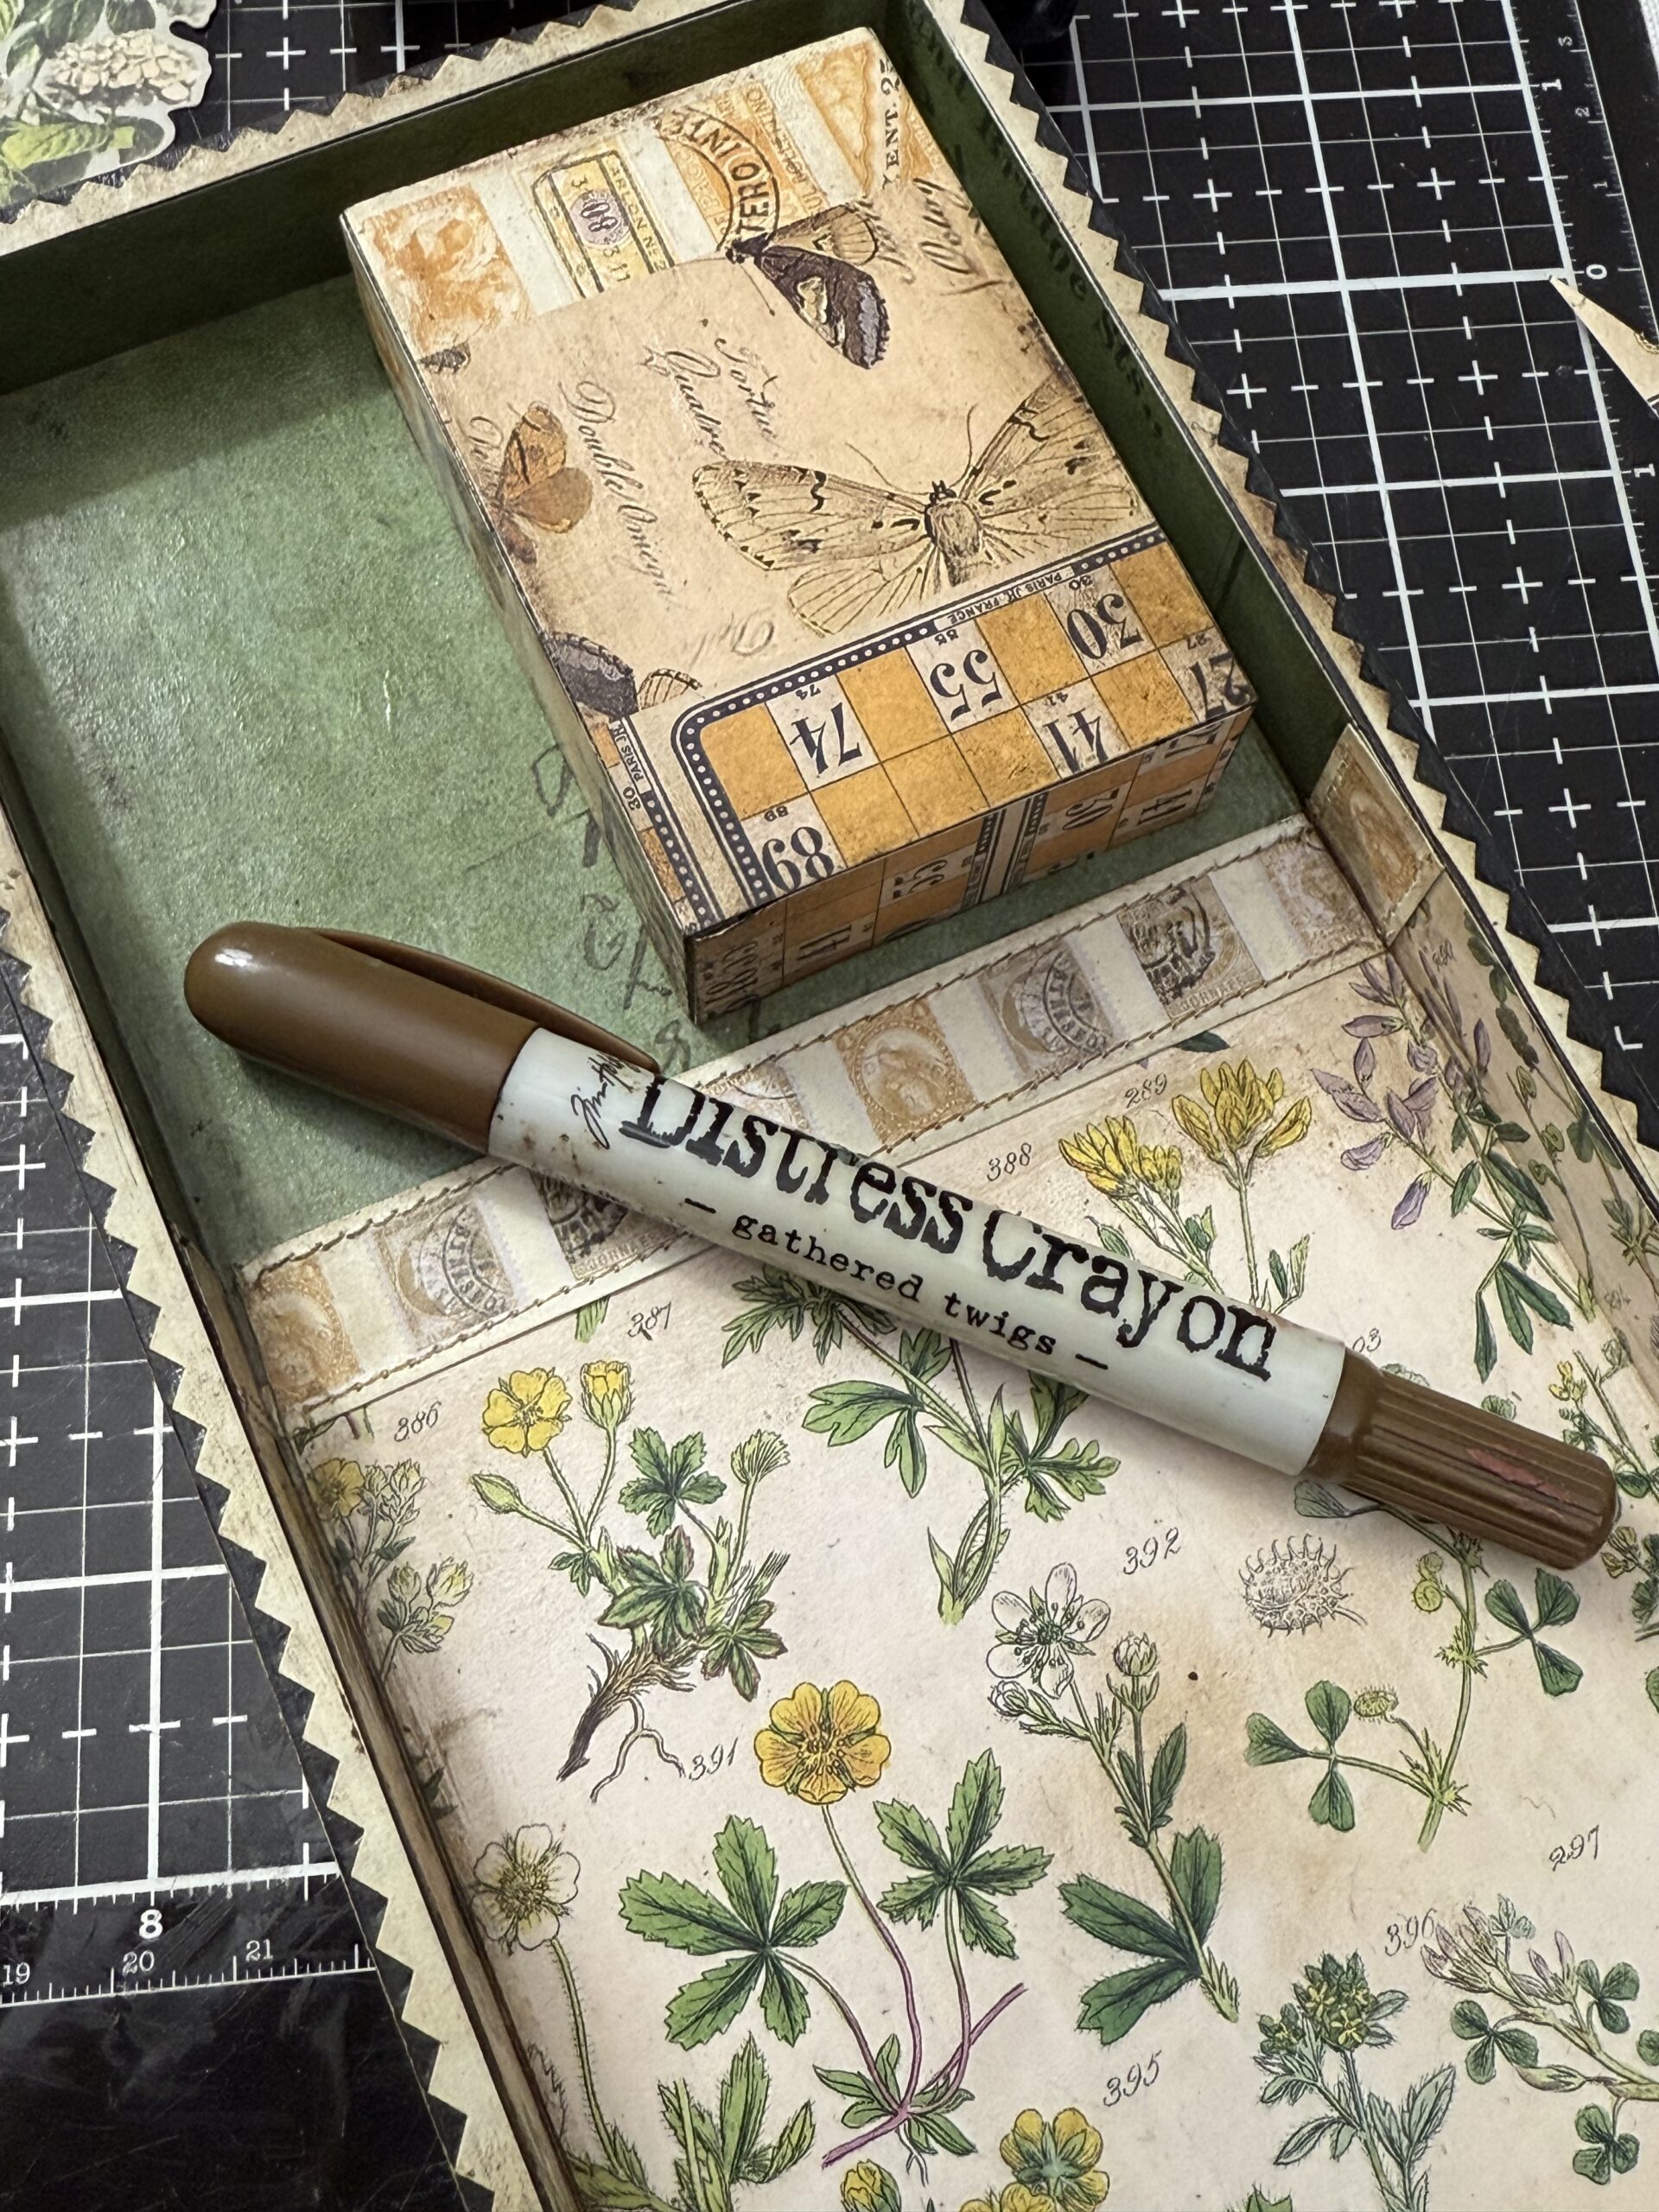
I added some scraps of vintage lace and the labels and floral piece around the outside section where the small vignette box with the photo would be placed, these were adhered to the sides in layers using some foam squares to add depth to the piece. Once the photo vignette box was all adhered together, I added it to the inside of the tray using a hot glue gun.
I added the small Wildflower Book to the inside of the vignette tray but added a small piece of chipboard behind it to add some more depth, then using hot glue, added the book over top…the key to vignettes are layers! They add so much to a vignette! I clipped on a small idea-ology tiny clip to the book edge and adhered a small piece of the lace to the top right edge of the book.
With that, my project was complete!
I hope you enjoyed the tutorial and hope you get to know your Tim Holtz idea-ology papers…they are perfect for story telling!
Creatively yours,
Stacy
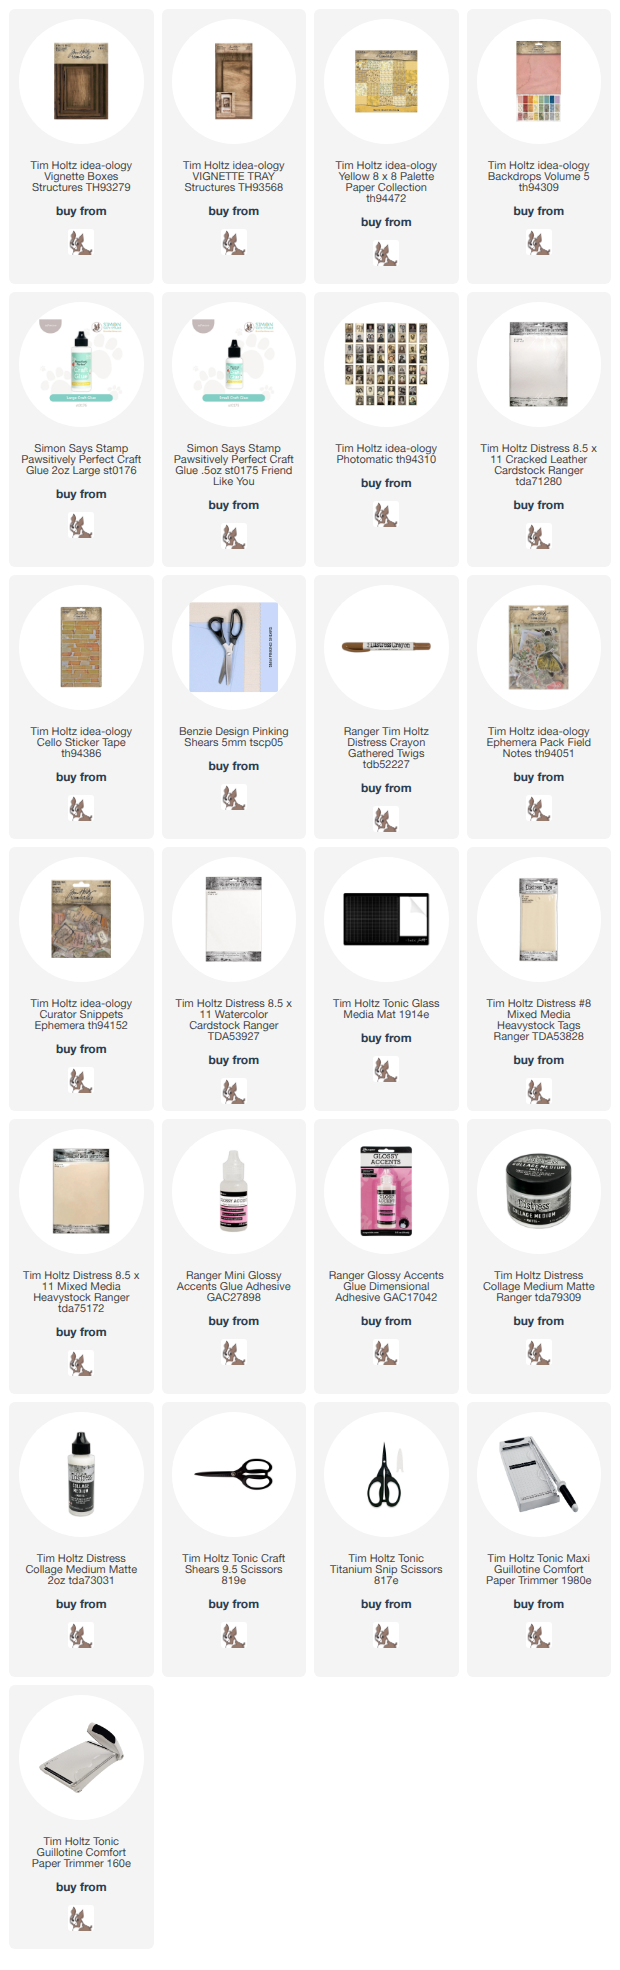
Shop Simon Says Stamp by clicking on this link. Thank you! I appreciate you for supporting me.
What is an affiliate program, and why should I click on the link and buy through you?
When you shop via the affiliate link on this blog, I receive a small commission from the affiliate provider (Simon Says Stamp) at no extra cost to you, whatsoever. These commissions help me to cover the hosting fees and other costs to run my blog and be able to provide you with FREE inspiration. If you shop the links, THANK YOU! I truly appreciate being able to share my love of creating with you.










You are so creative! Love this vignette! I need to use my collection of all things Tim more often. Thanks for the inspiration.
Stacy, thank you for sharing such perfectly detailed tutorials with us! I love reading through to see exactly how you make a project. This is so beautifully grungy, as usual!
What a beautiful project! Thank you so much for sharing your inspiration. This is something I will definitely be trying,
Perfection! I agree that the Pallette Papers are a must have in all the colors. They really do go together so nicely. You have created such a great story with this vignette box. I feel like I know these 2 friends who have collected field notes together. Thanks for your tutorial and sharing with us.
This is sooo fabulous I am in awe.