Hello friends..Welcome! I am back again to share some more makes with you…this time featuring some Tags that I made using the new Wafer Dies that Simon Says Stamp released for Fall and Halloween that coordinate with past stamps released by Tim Holtz. I LOVE that they are continuing this…one can never have too many dies that match stamps. They make creating so much easier.
Today, I was invited to participate in a blog hop featuring the new sets along with some other talented makers..I hope you can hop along and check out all the wonderful inspiration we have created most especially for YOU!
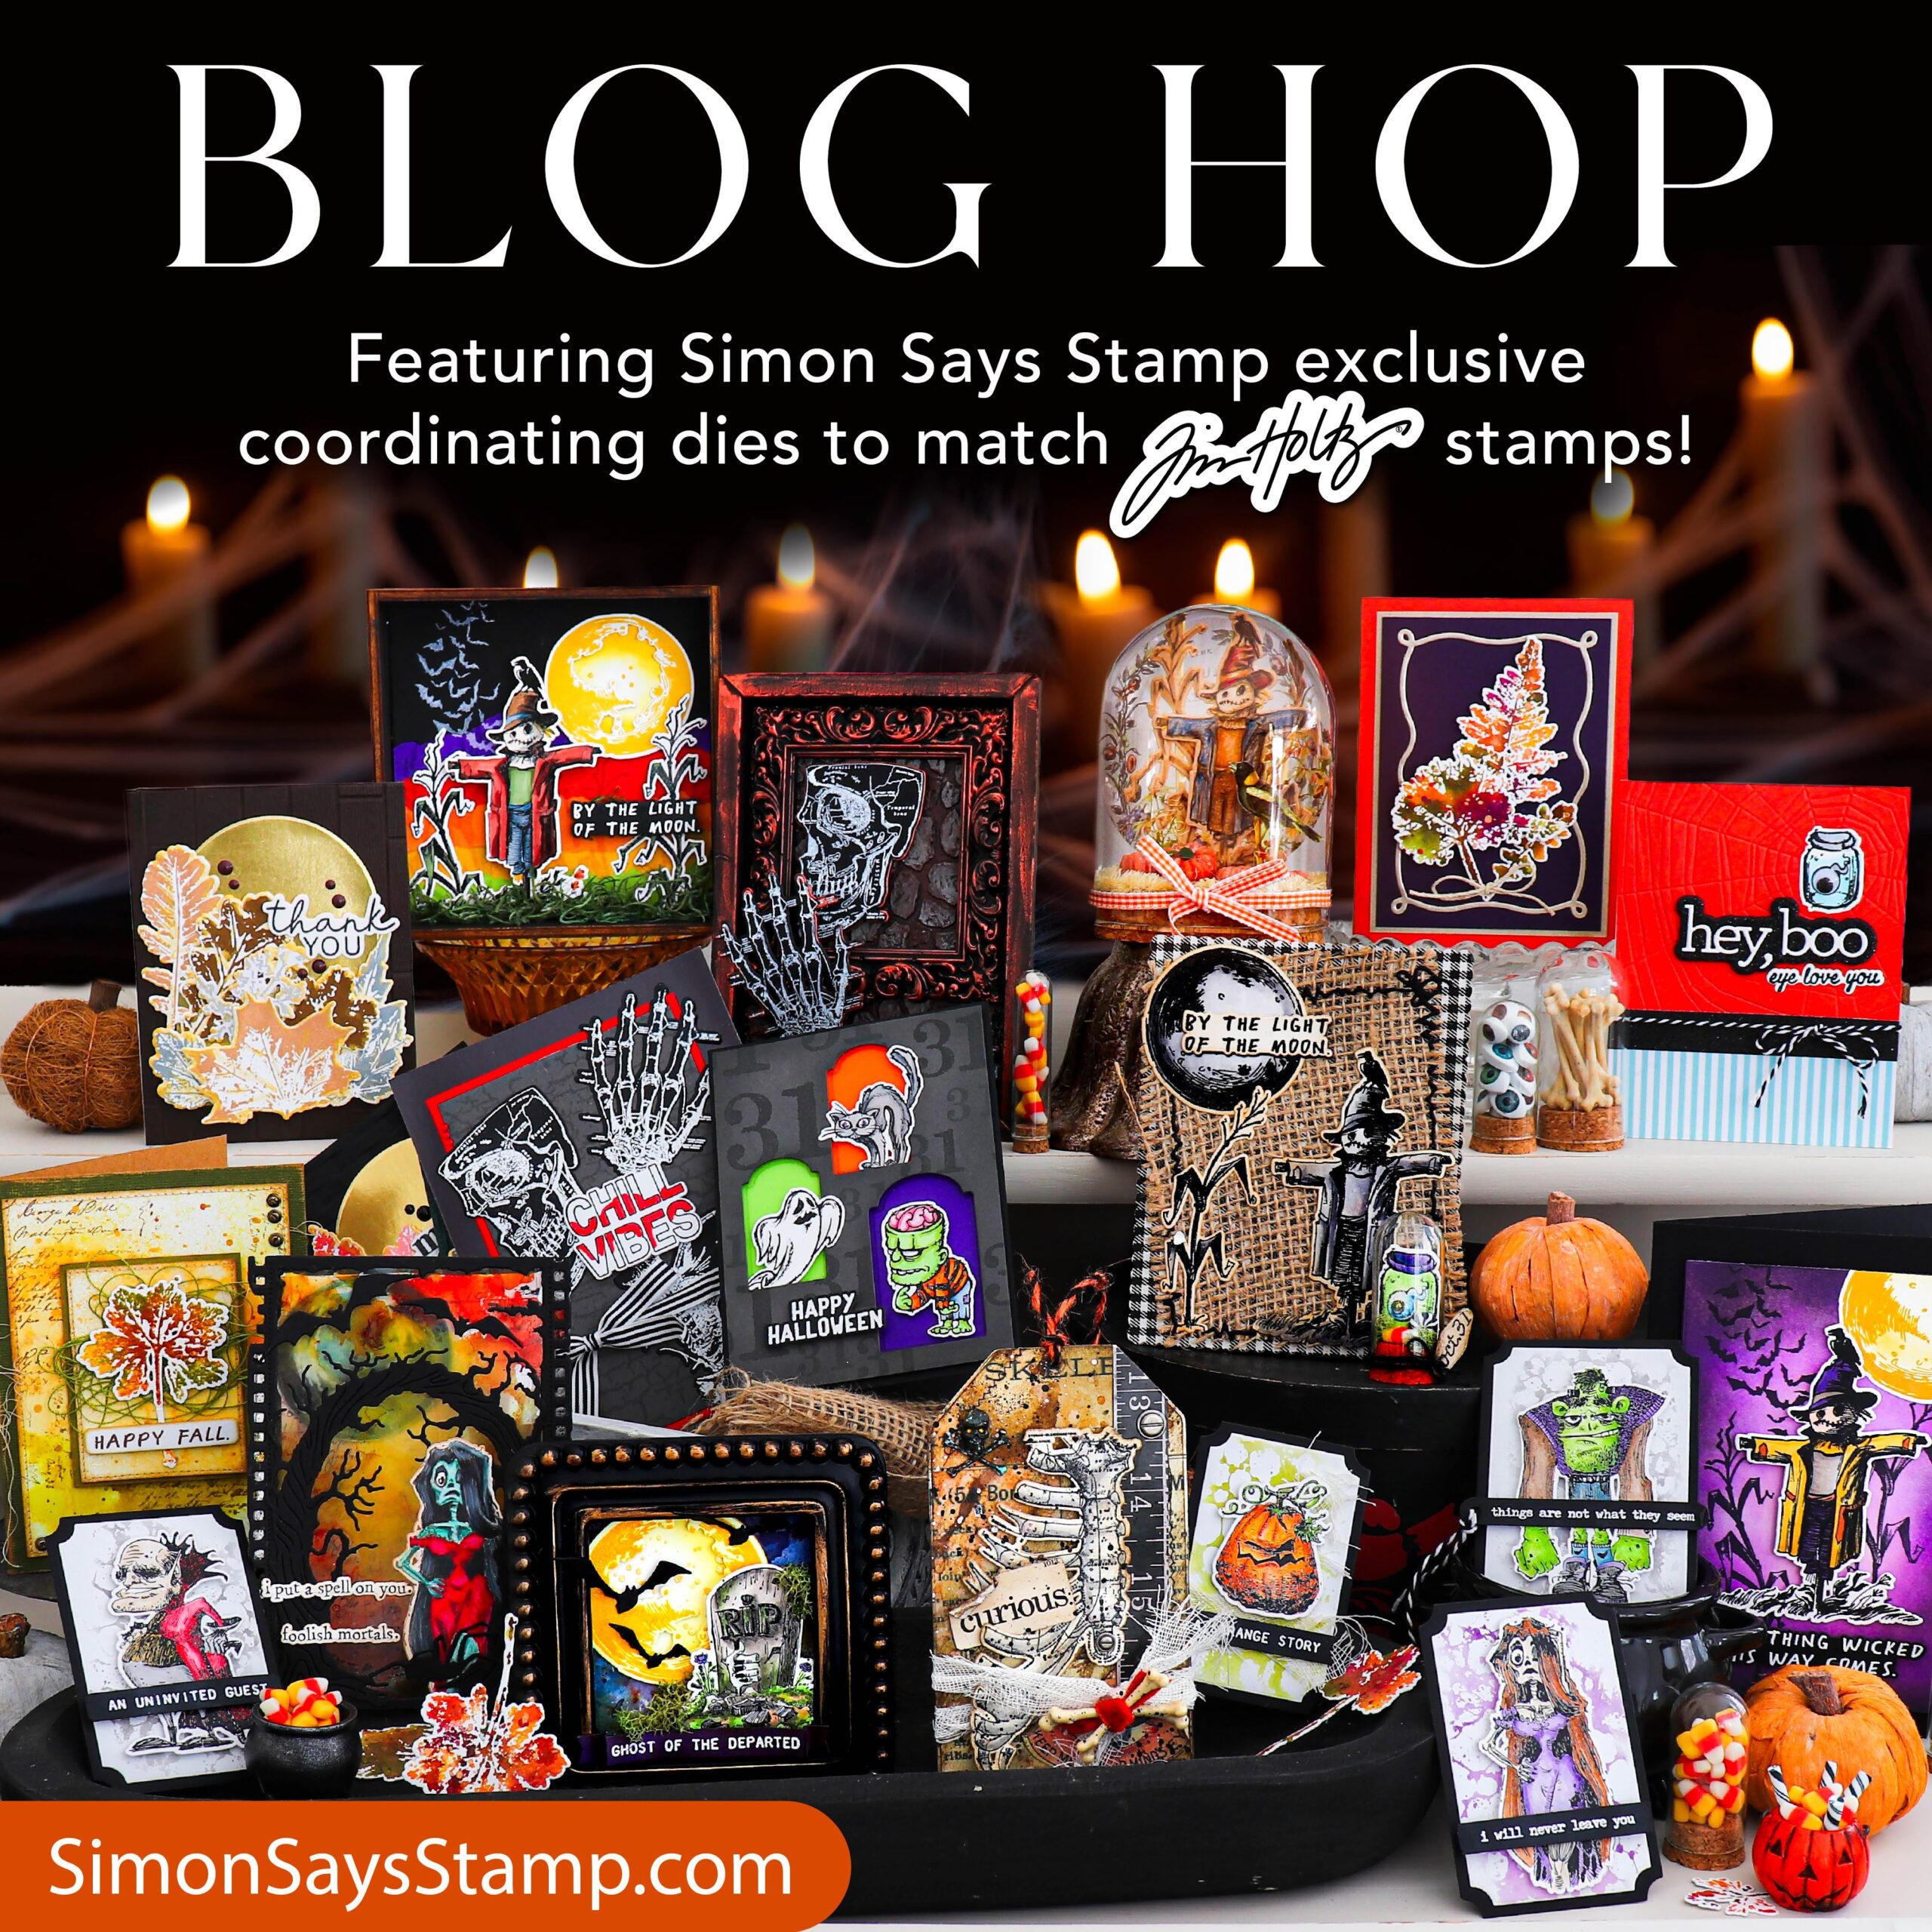
Here is the official list of those participating in the hop and the order that you’ll want to jump around in. You should have arrived here from Mindy Eggen and after my blog, you’ll hop on to Jean Doeringsfeld. You’ll find the official order below…and be sure to stop over at Simon Says Stamp to check out the entire collection by clicking HERE!
It all starts at the Simon Says Stamp Blog and continues on from there by following in this order… Nina-Marie Trapani, Heather Hoffman, Nichol Spohr, Cathy Zielske, Emma Williams, Barbara Tarayao, Kath Stewart, Mindy Eggen, me (Stacy Hutchinson), Jean Doeringsfeld, Tami Bastions, and Barb Engler
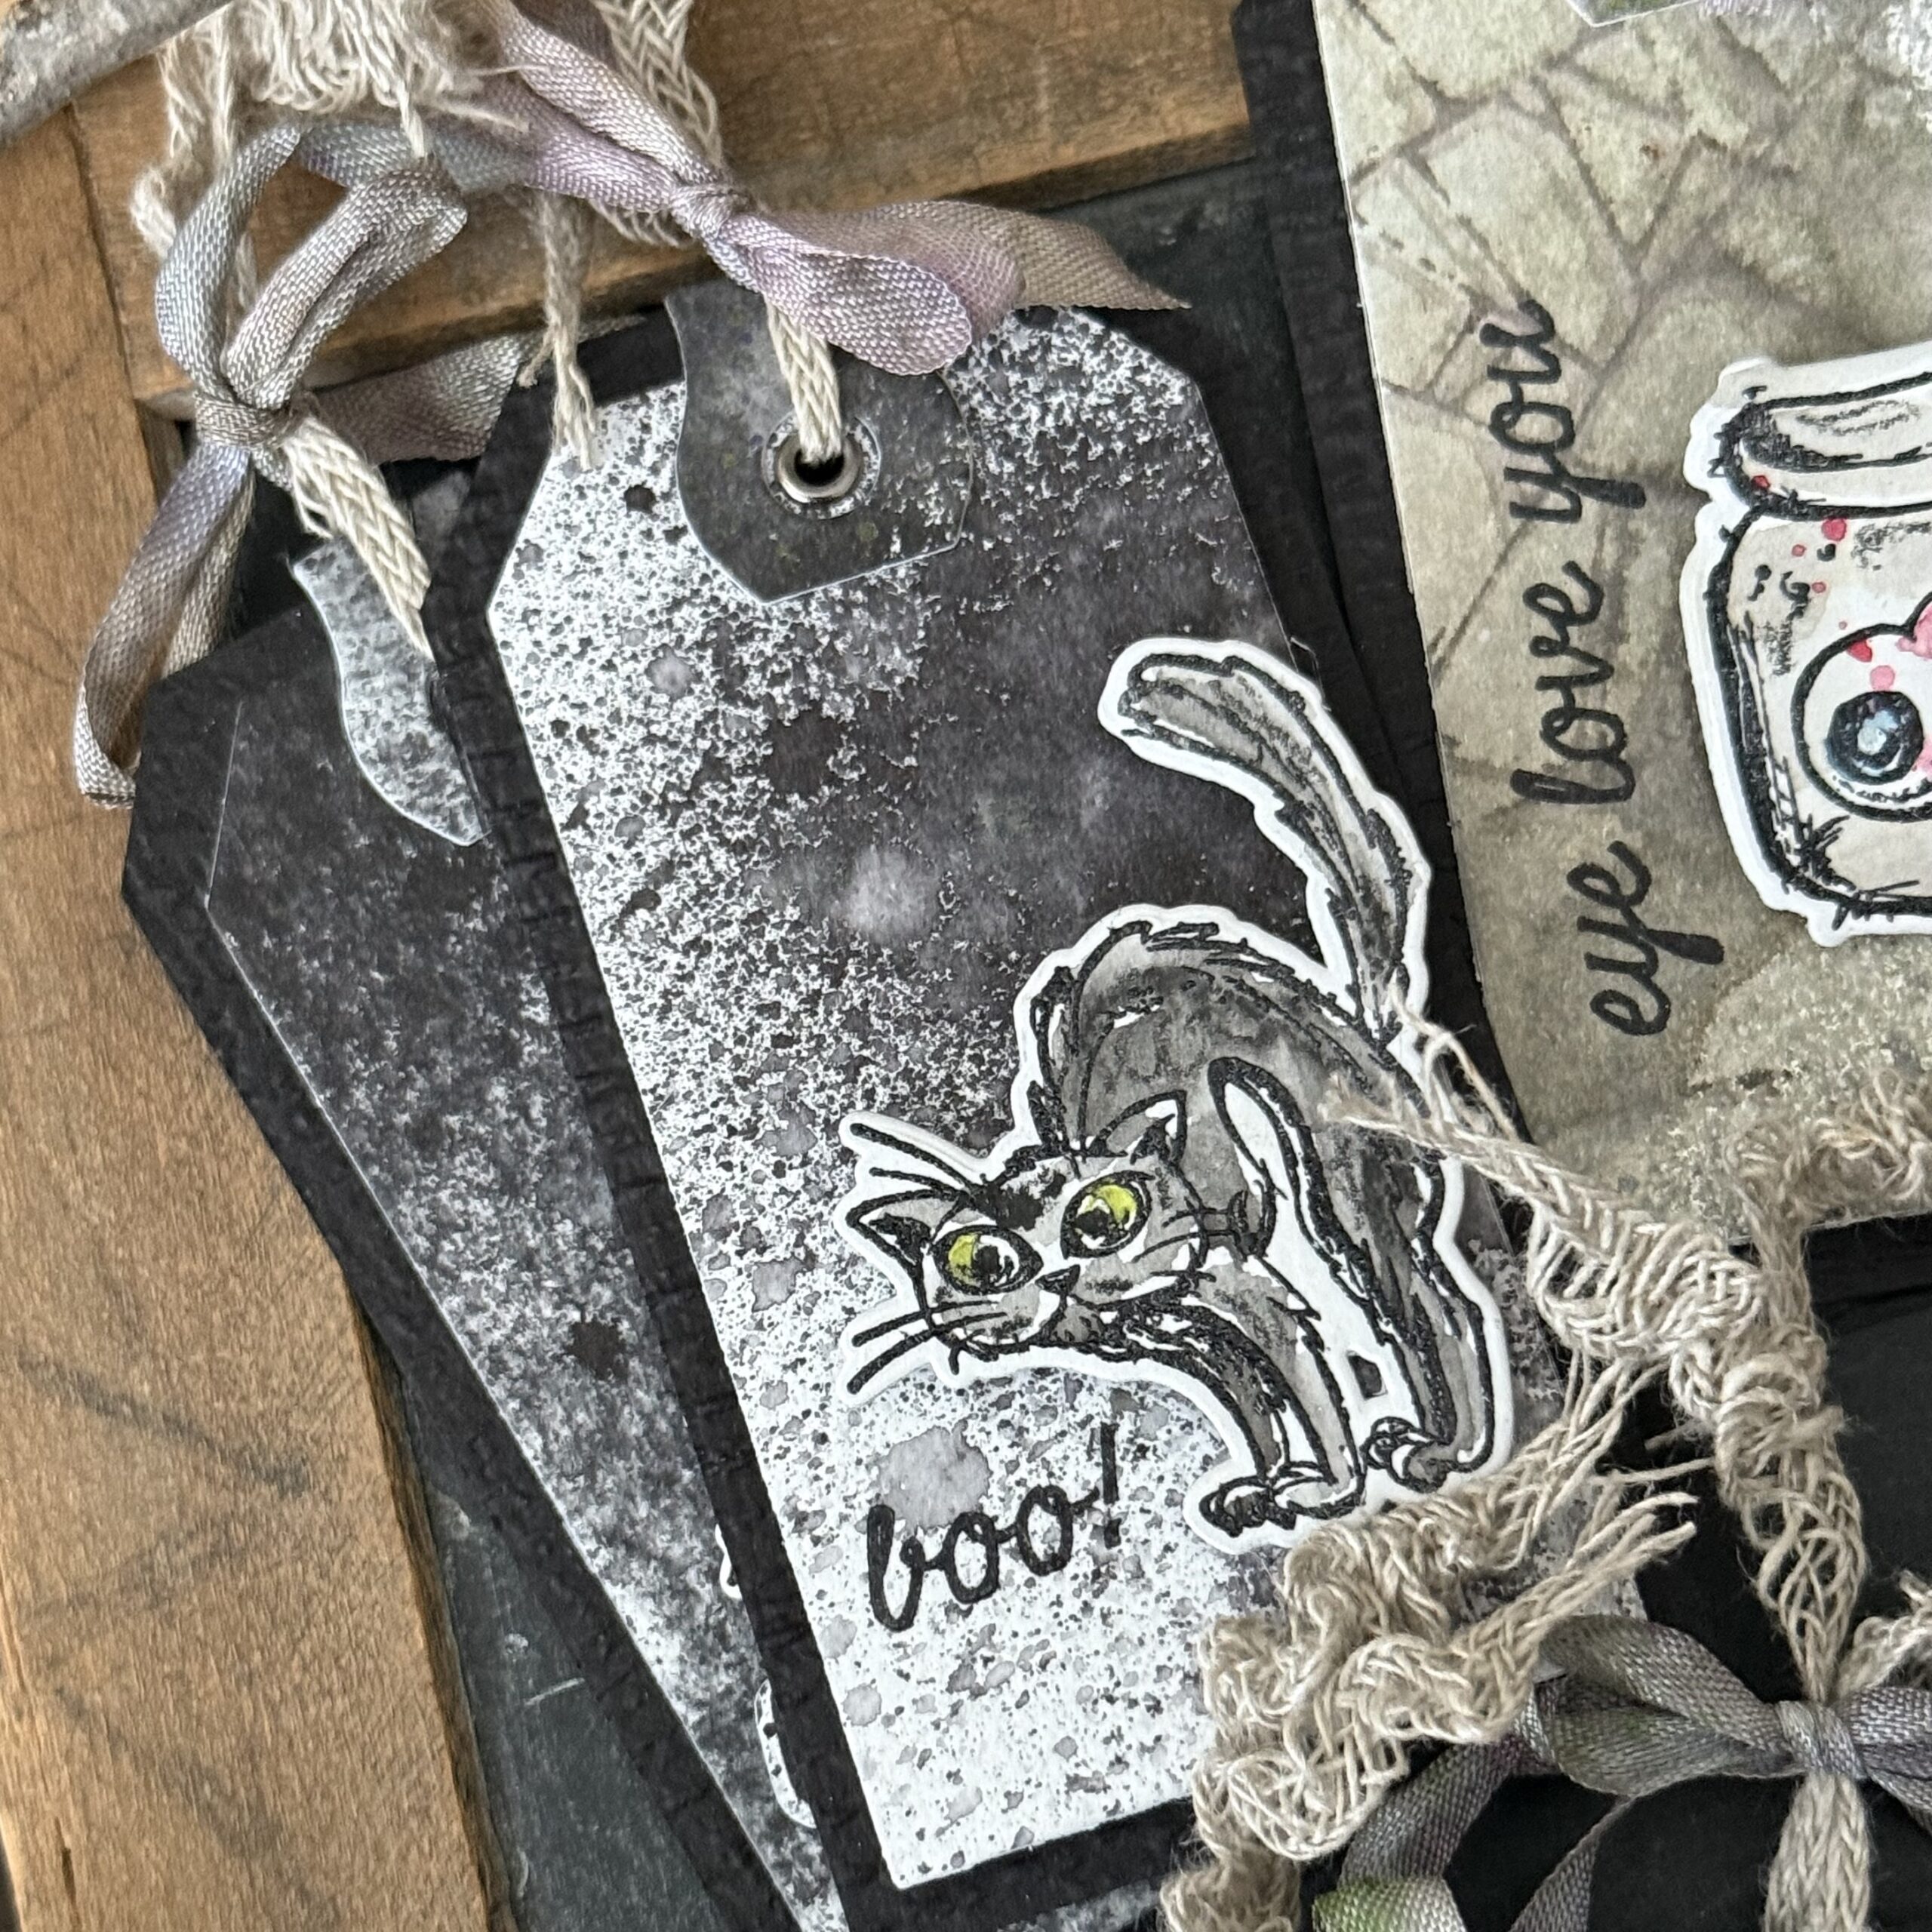
My project today features the Scared Silly Stamp Set and NEW matching Wafer Dies. I wanted to see if I could keep the tags that I made more neutral and therefore didn’t use much color… the set of stamps is a great one for making tags for treats!
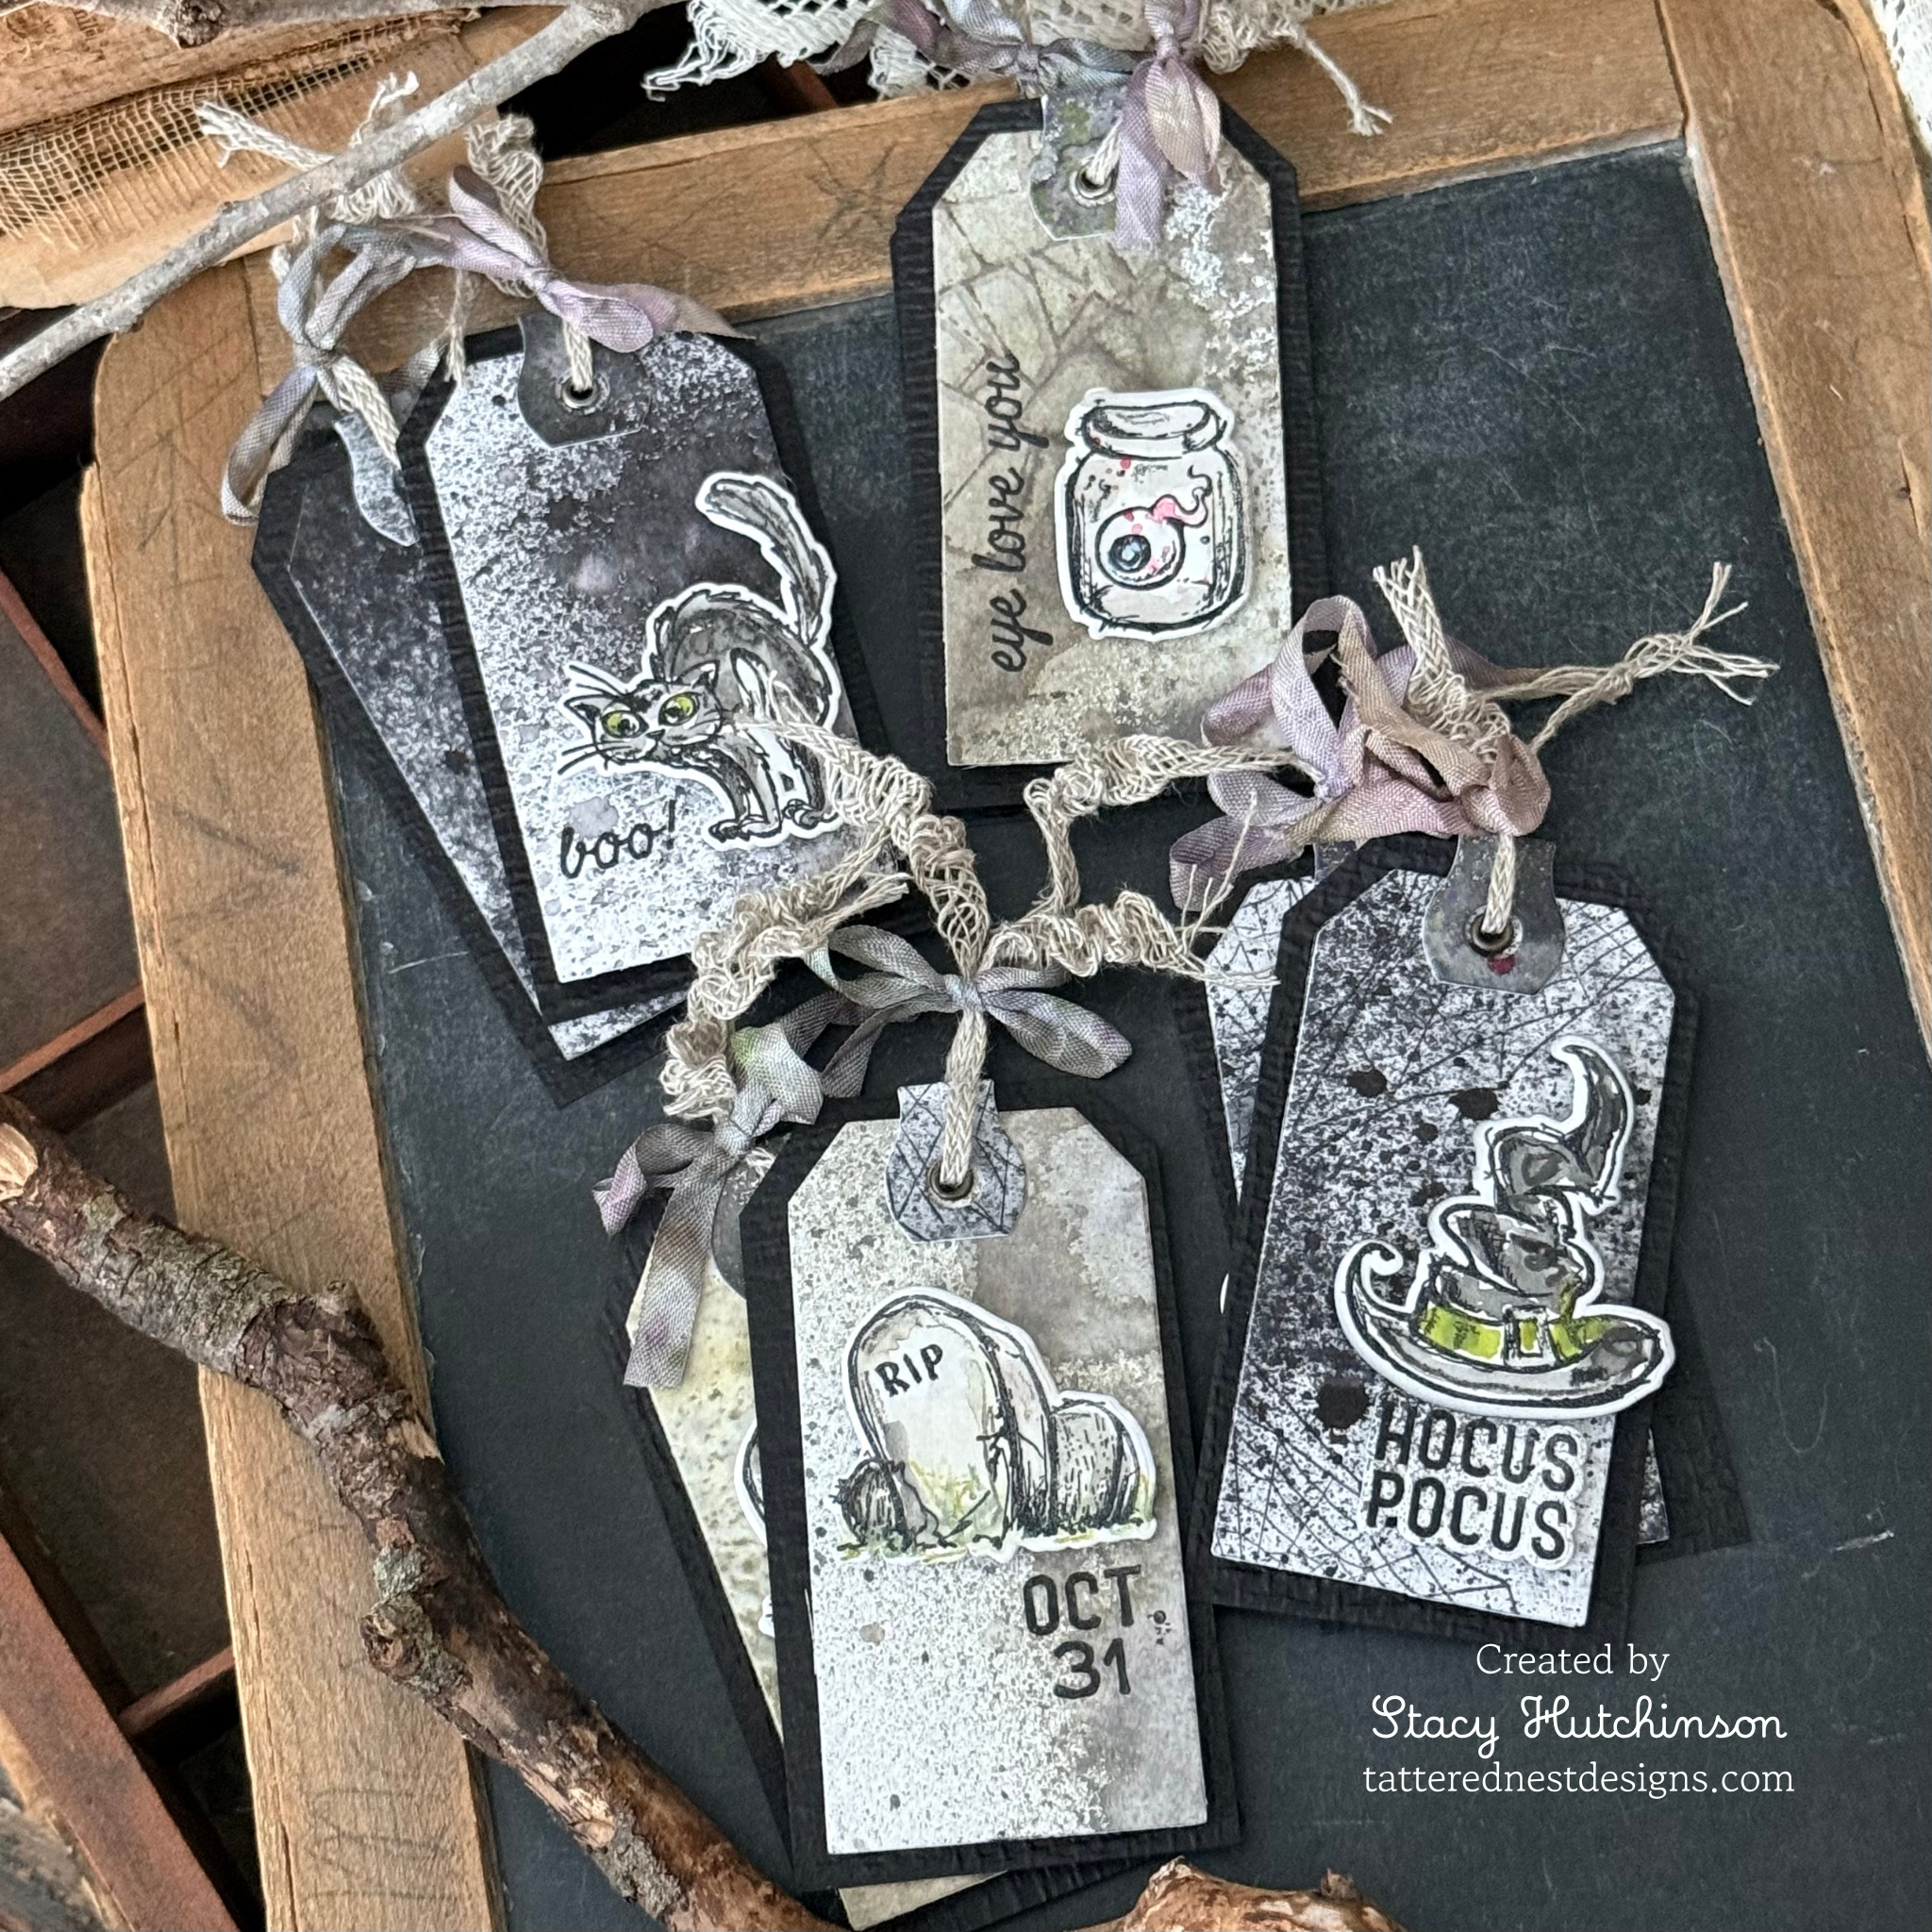
I LOVE black and neutrals at Halloween, my fingers are always a dead giveaway when the Halloween making season has begun, inky fingers for days, quite literally, but I tend to be a little extreme when it comes to getting inky, so I bet you’d be better at keeping your fingers clean.
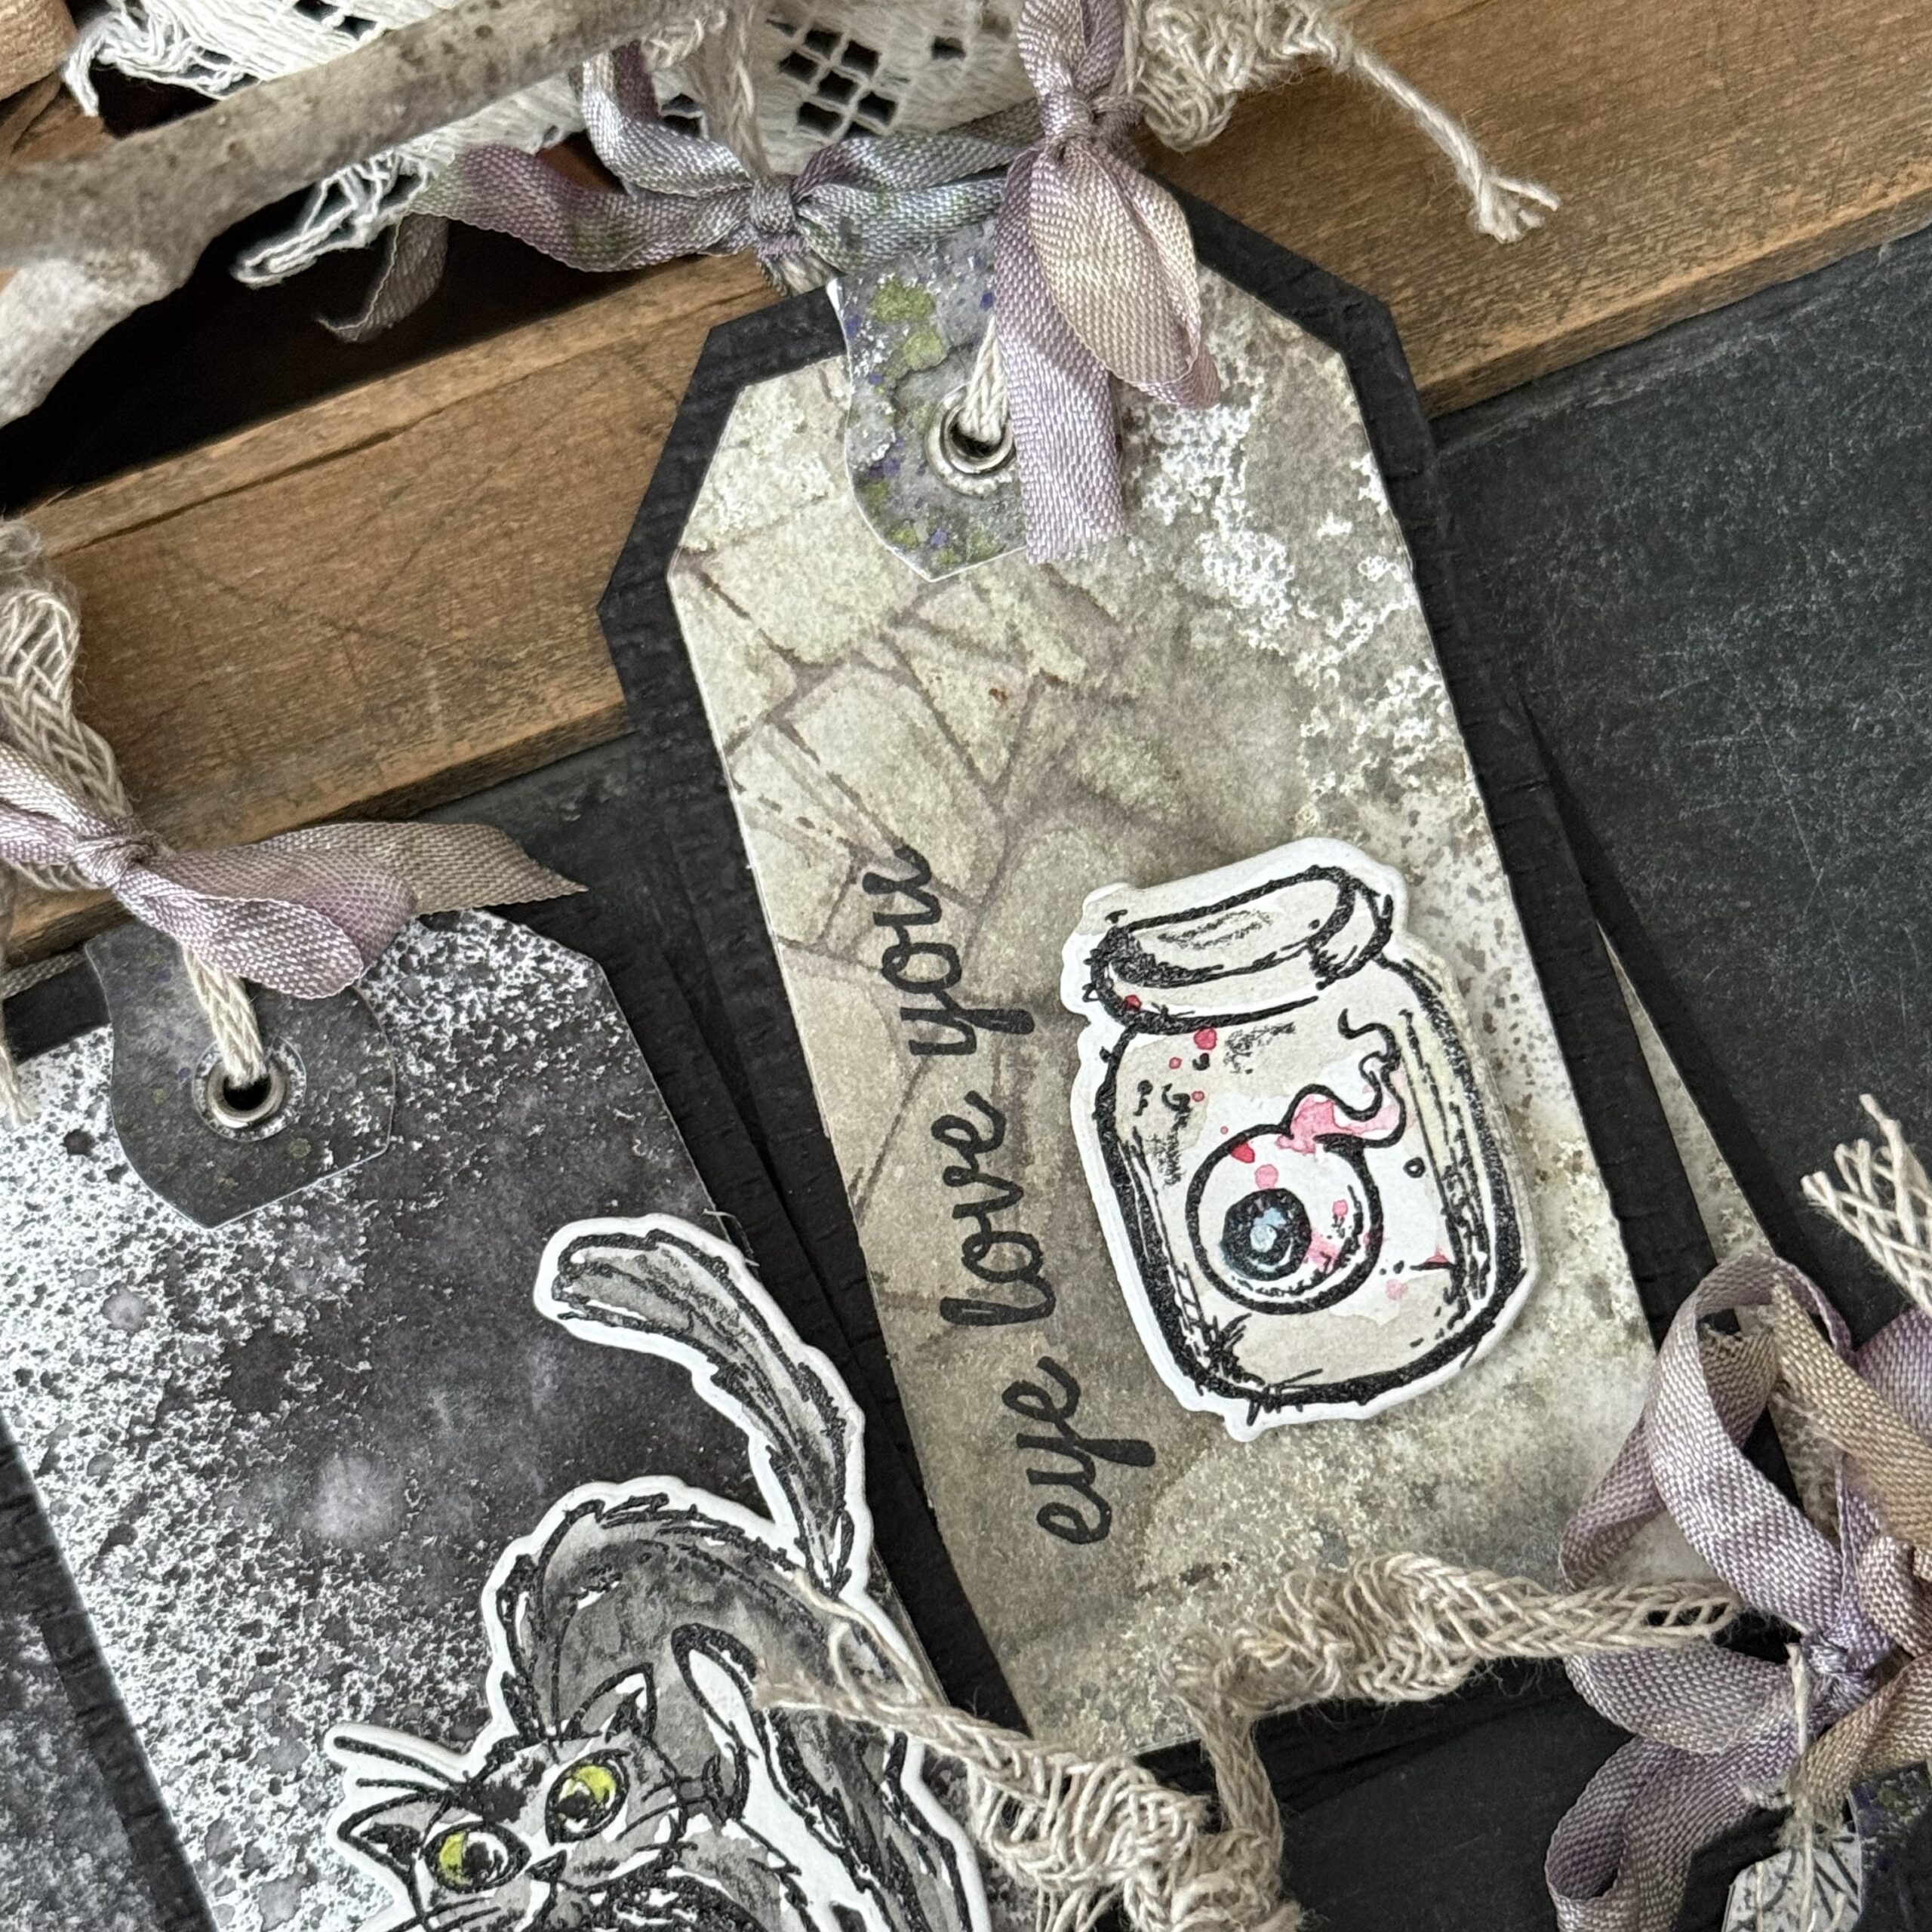
I think my favorite of the tags was the jar and eyeball ones, I mean, can you get any cuter..and creepier?
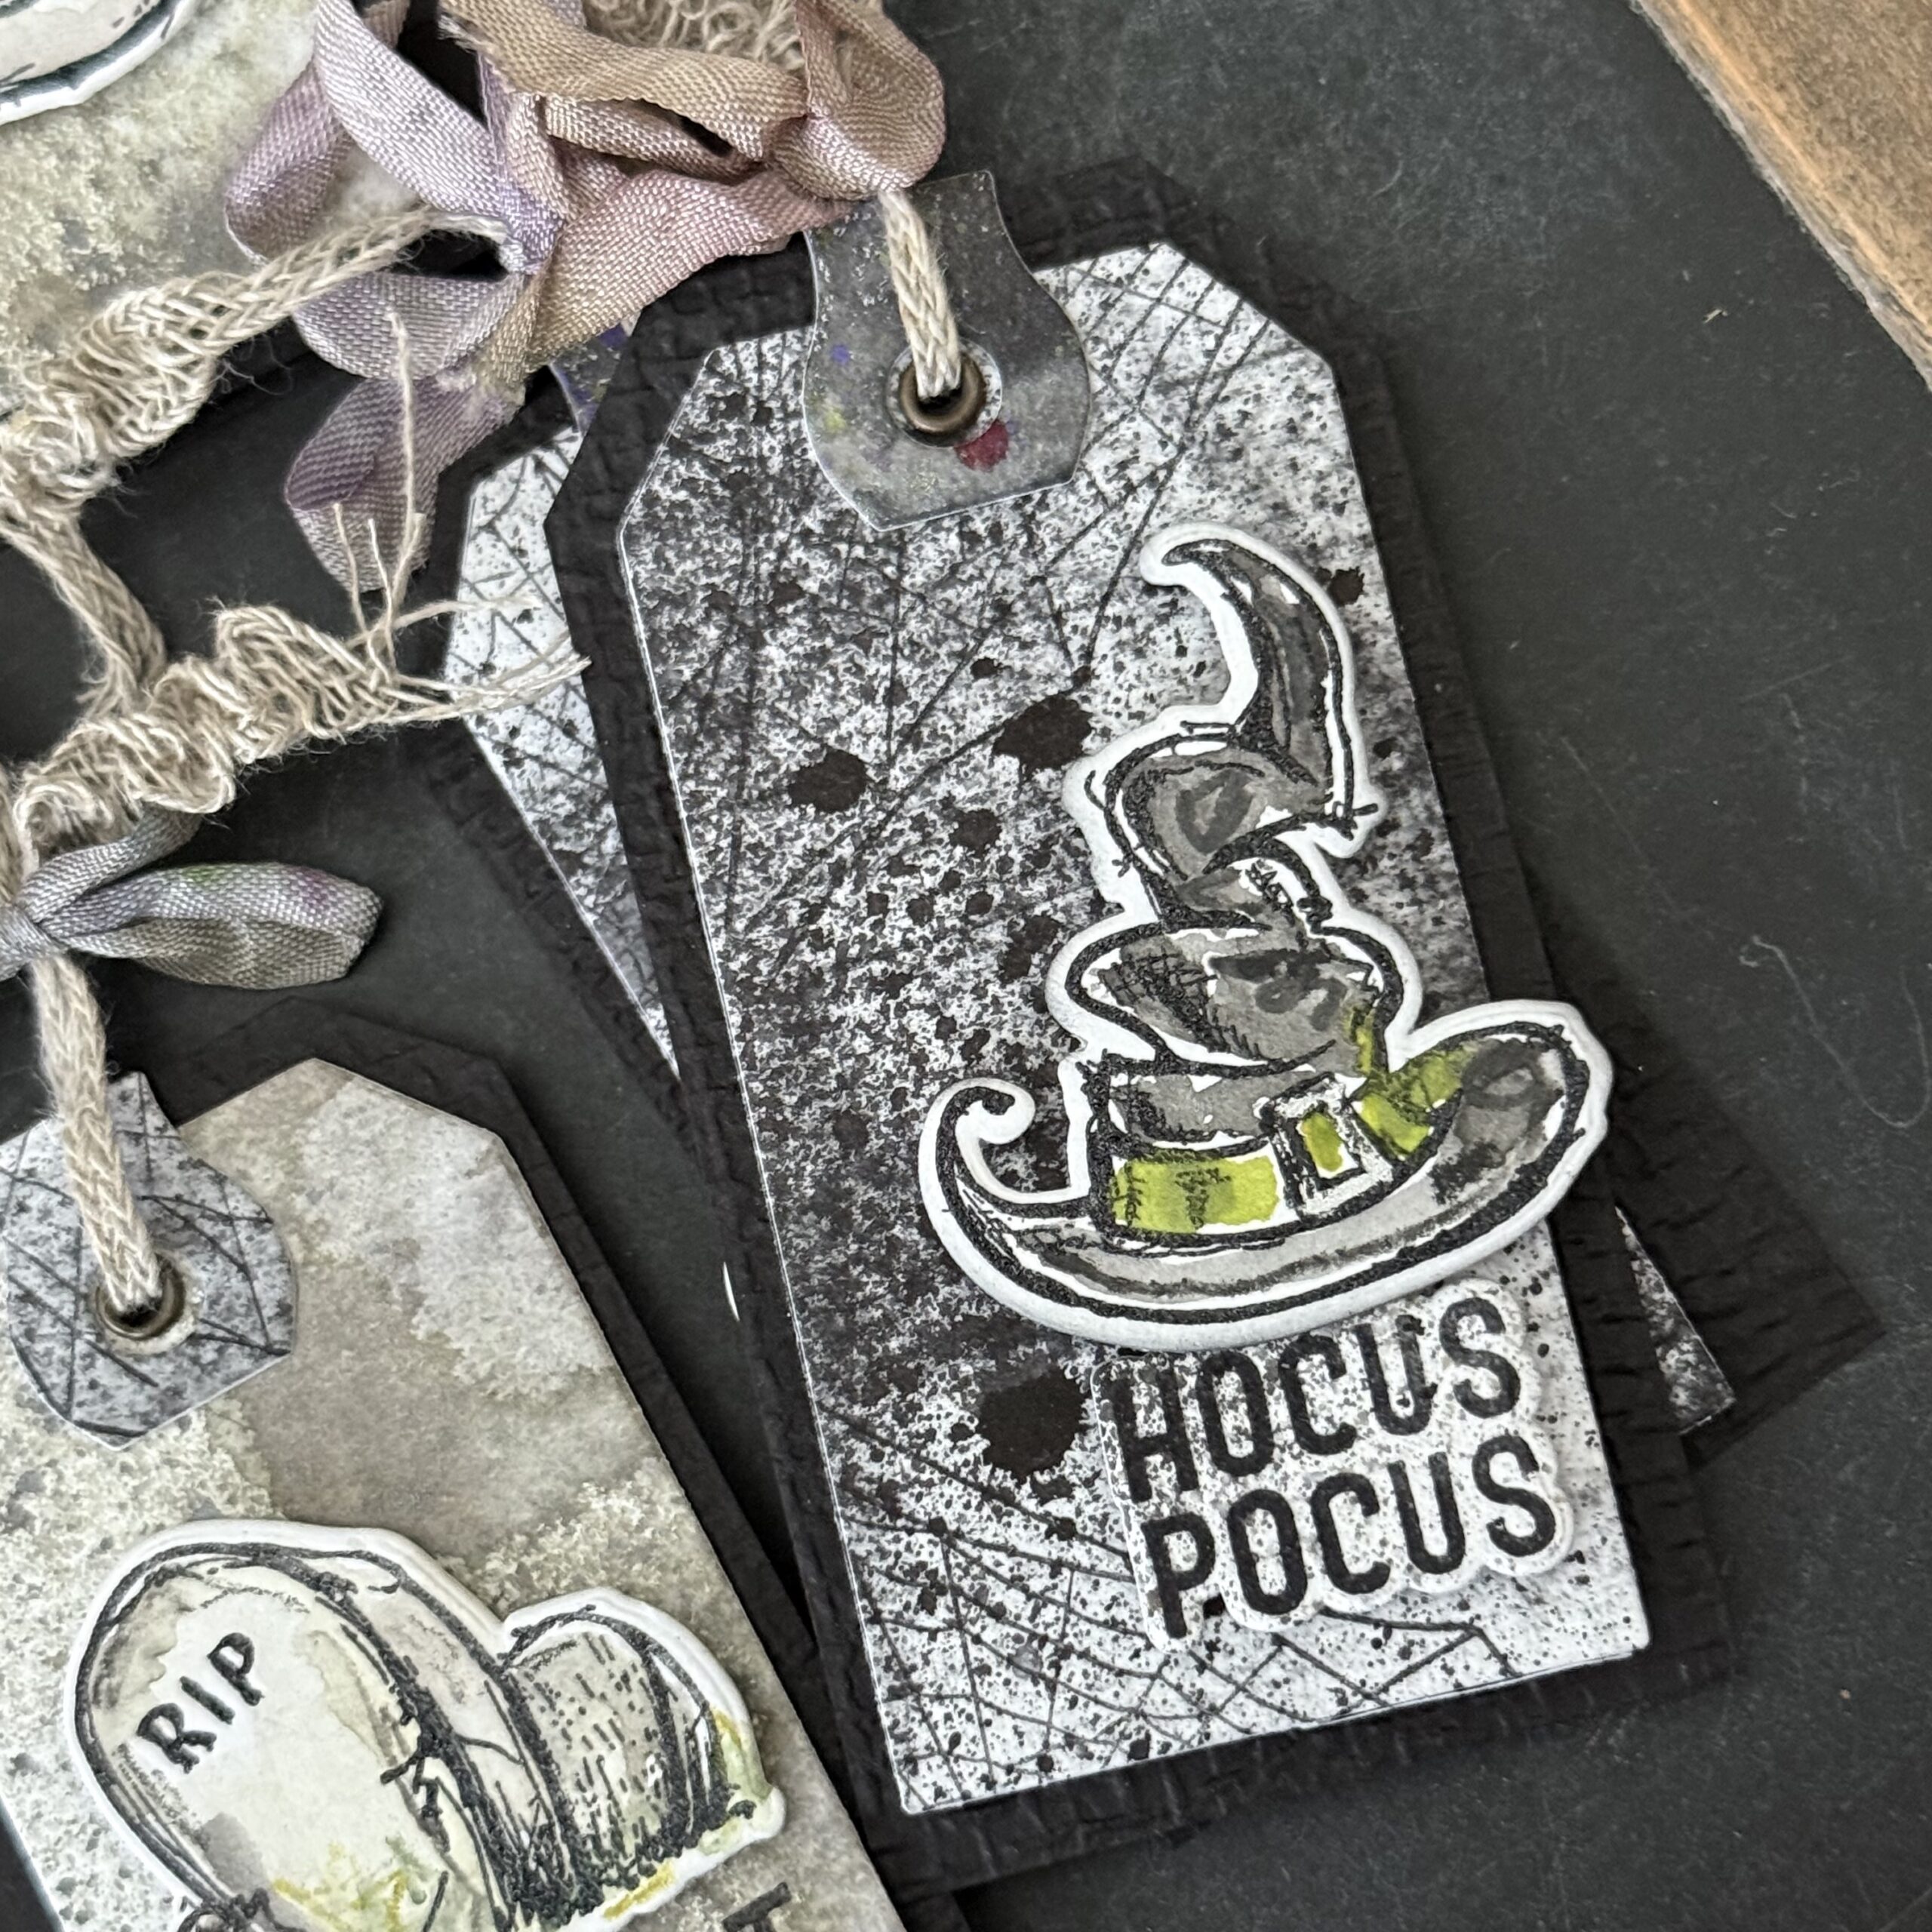
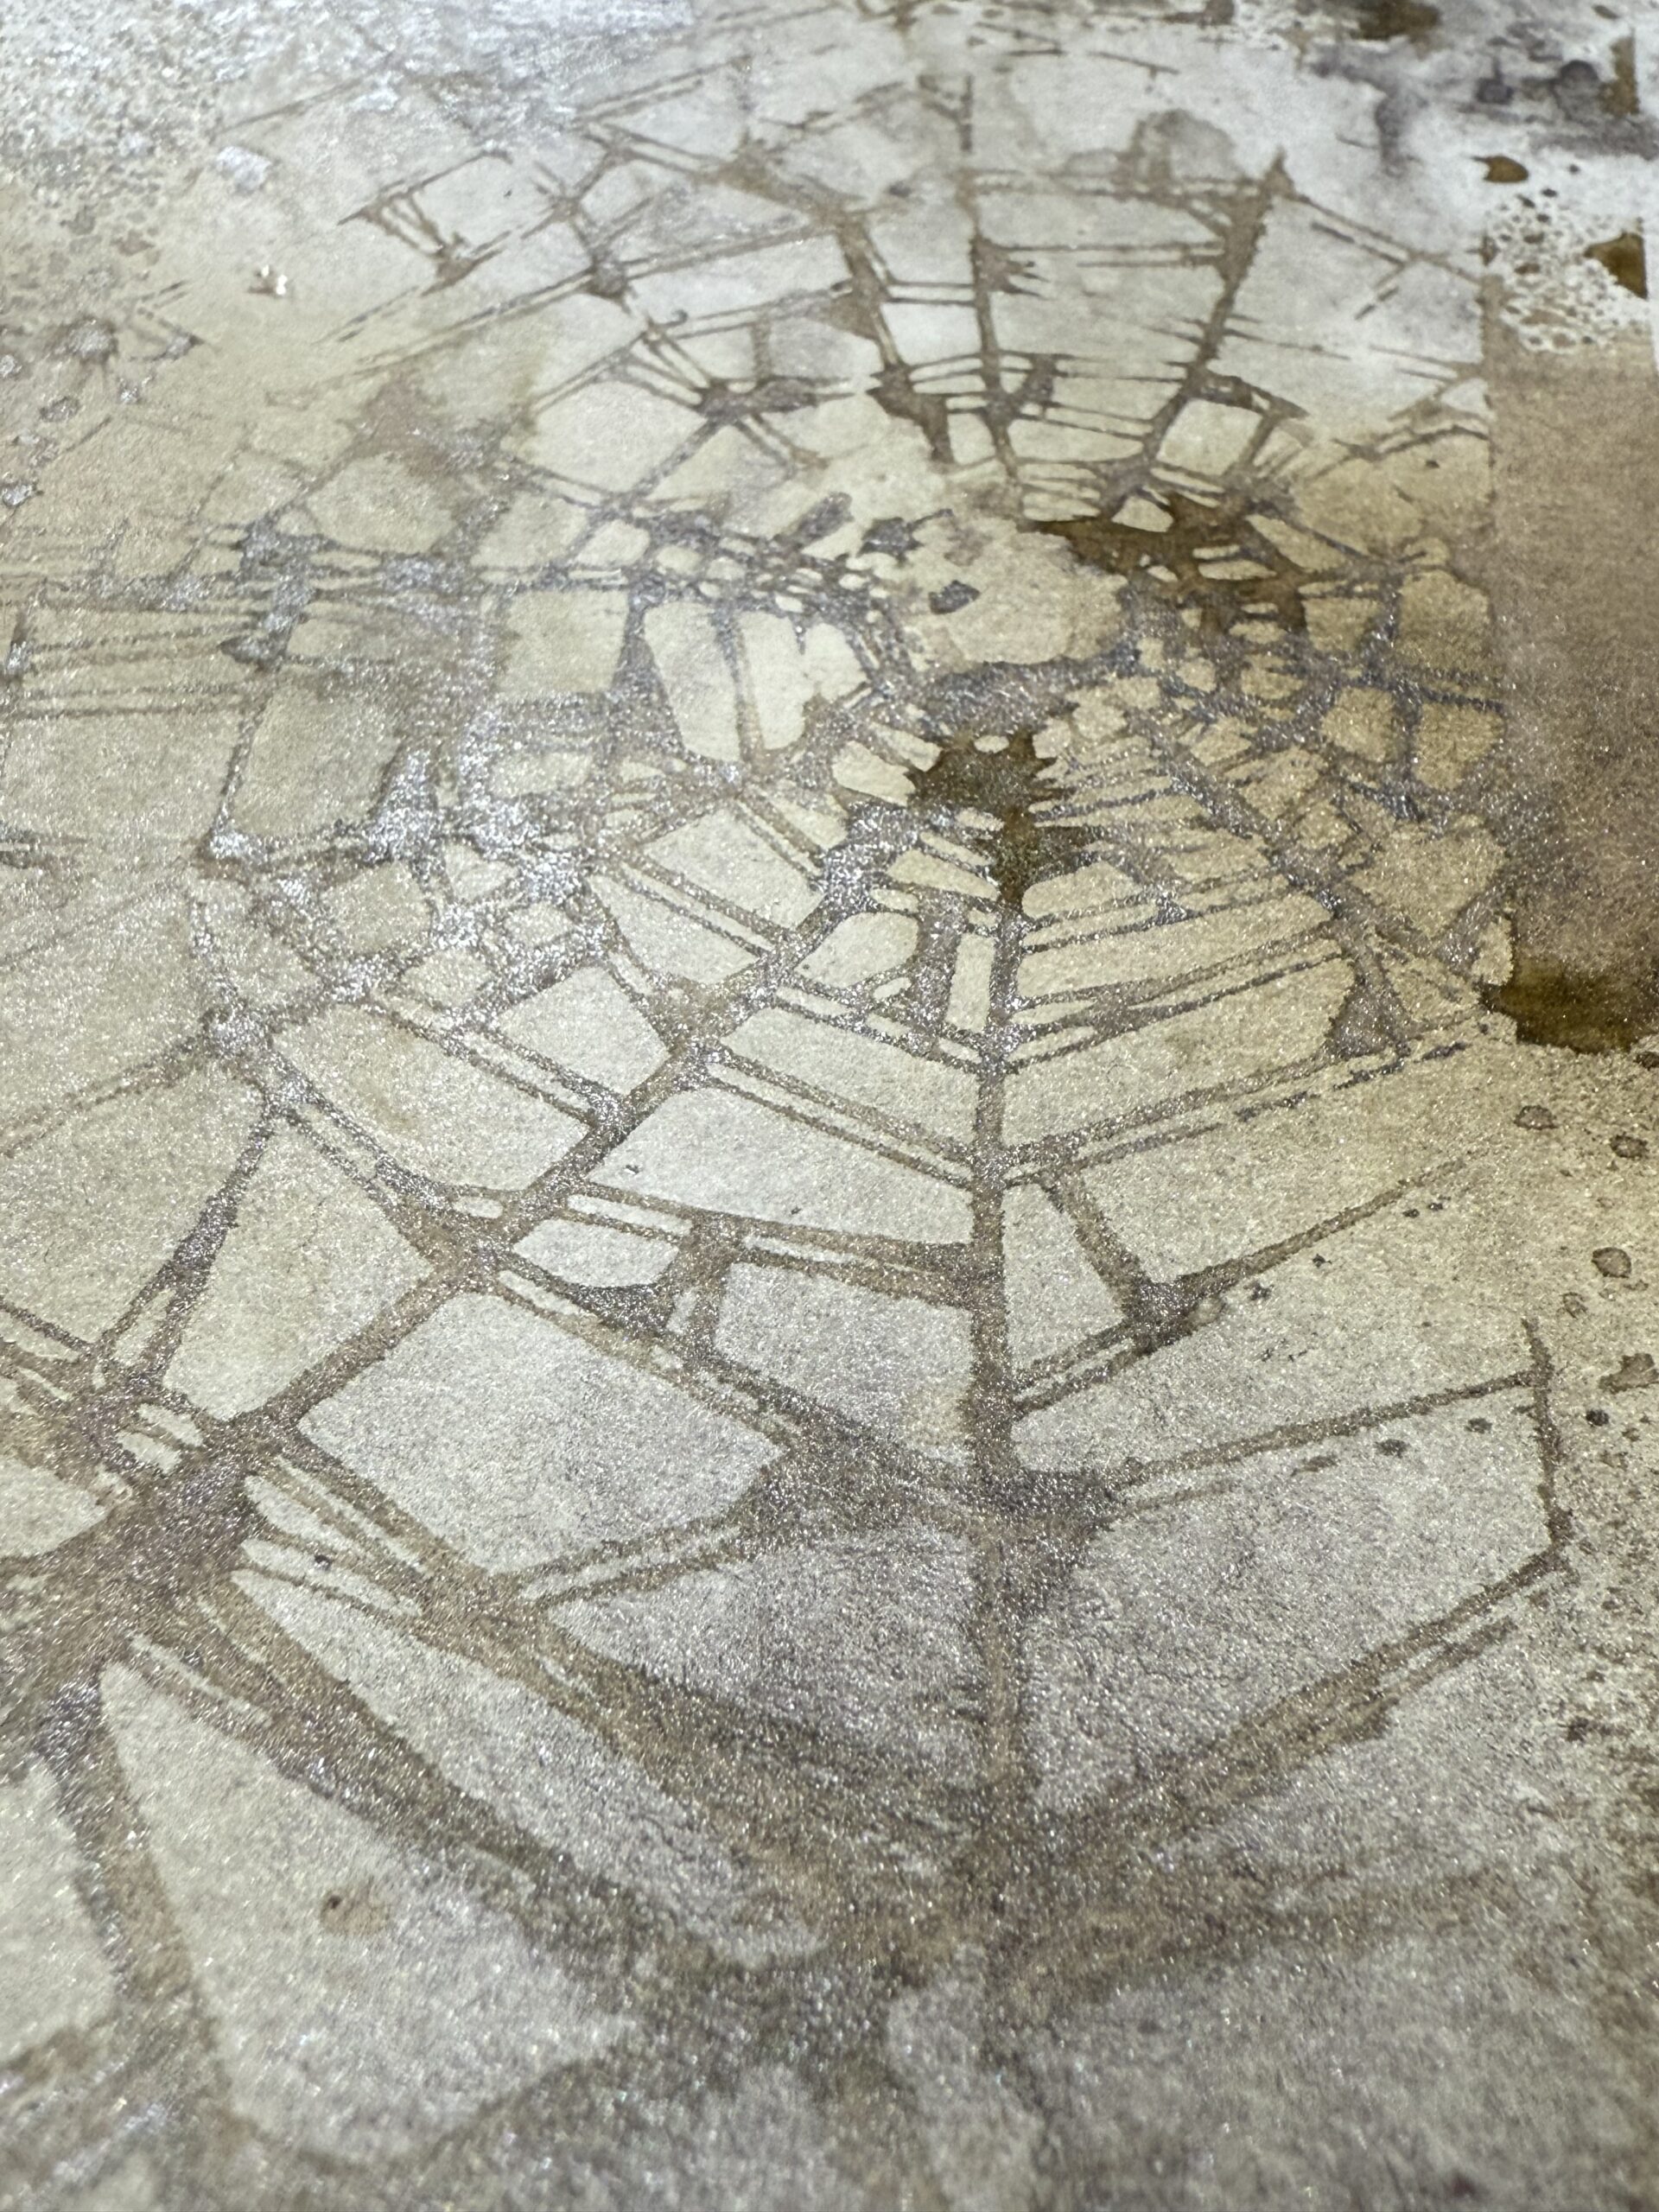
I created the background for this using the Tim Holtz Shatter Stencil, which also makes a pretty cool spiderweb, then I cut out the tags using the Tim Holtz Tag Dies, but any tag dies you might have would work great!
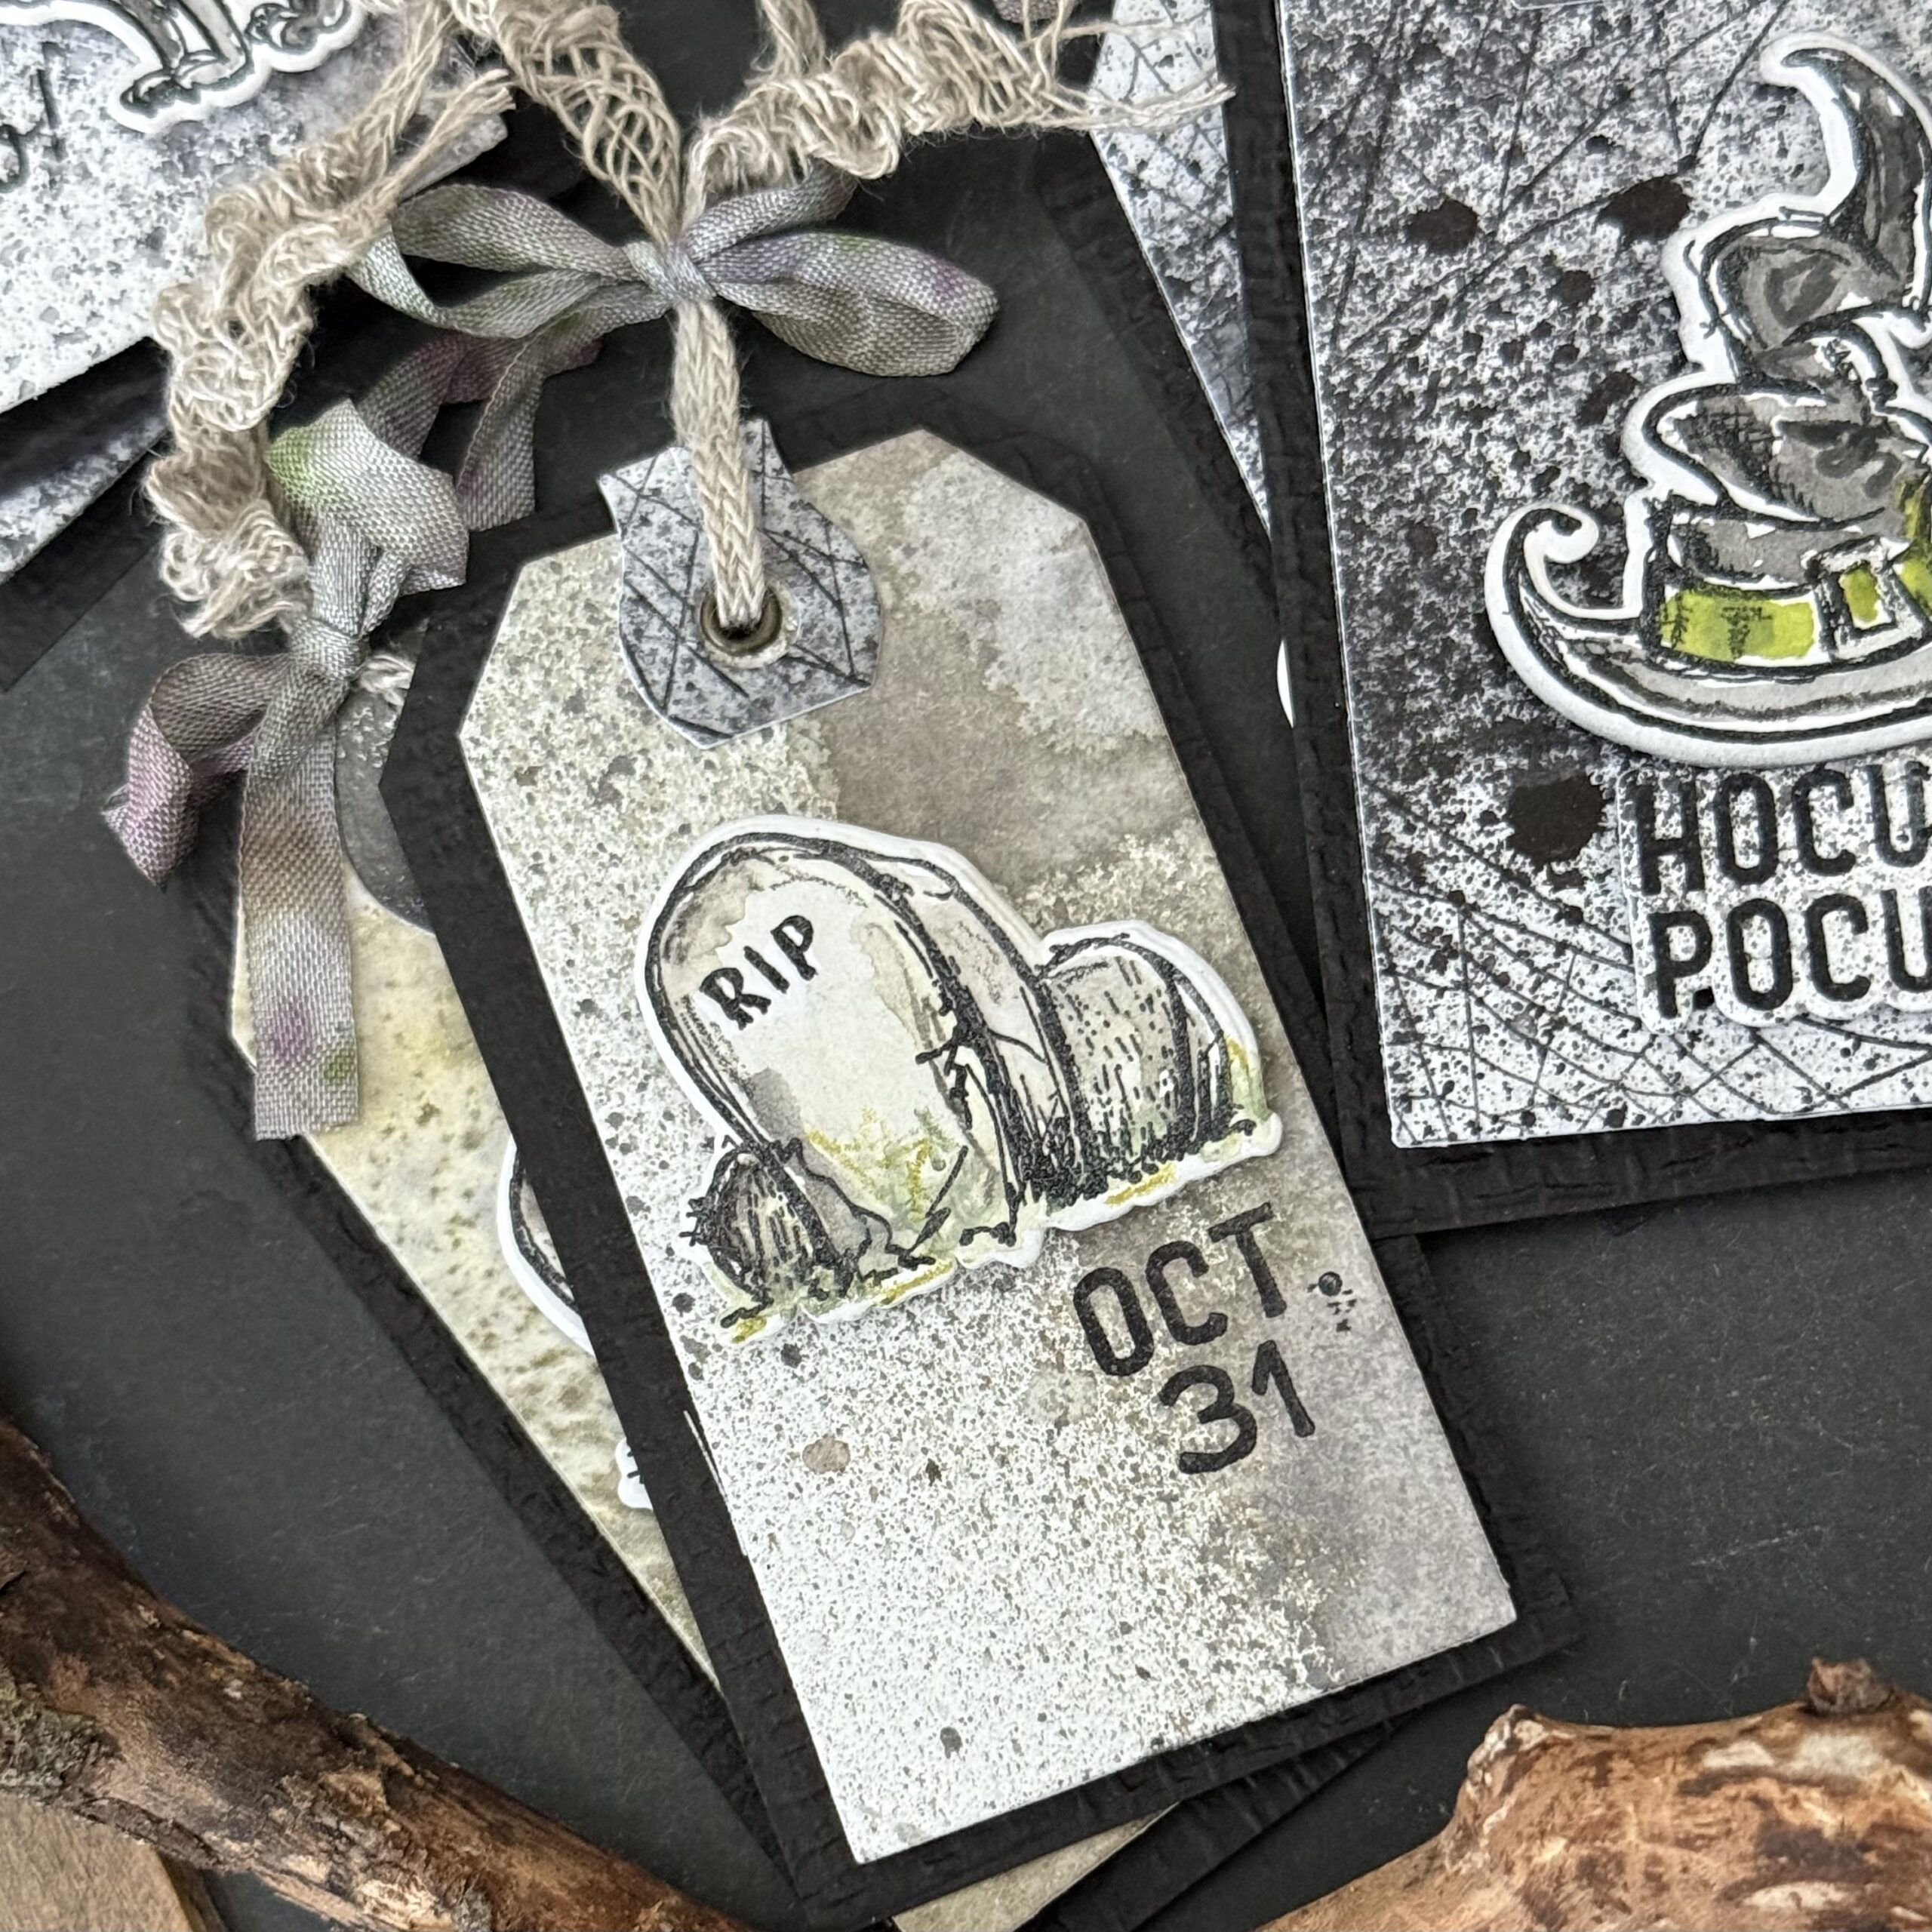
I used a portion of that same spiderweb paper to cut out the background for the tombstone tags too.
The next two backgrounds were made using Black Soot Spray Stain that was spritzed onto watercolor paper and added some drips of Mica Spray to give it some extra spooky goodness. I used this background for both the cat and the witches hat.
So, let’s get to making…
I started by stamping several of the images onto a piece of Distress Watercolor Paper (smooth side) using Black Soot archival ink and a stamp platform, that way, if my black wasn’t quite dark enough, I could stamp it again.
Then I colored up the images using my Distress Watercolor Pencils. I love to use them wet by dipping them into a bowl of water to activate the pigments, then use a paint brush to pick up the color directly from the pencil or from a puddle that I make on my craft mat, I colored in the images then dried the colors using a heat tool. I used some Distress Mica Stain on each of the colored images by brushing a little of the stain over the colored image. Just spritz a little of the color on your mat and use a paint brush to add a little creepy sparkle, then dry with a heat tool.
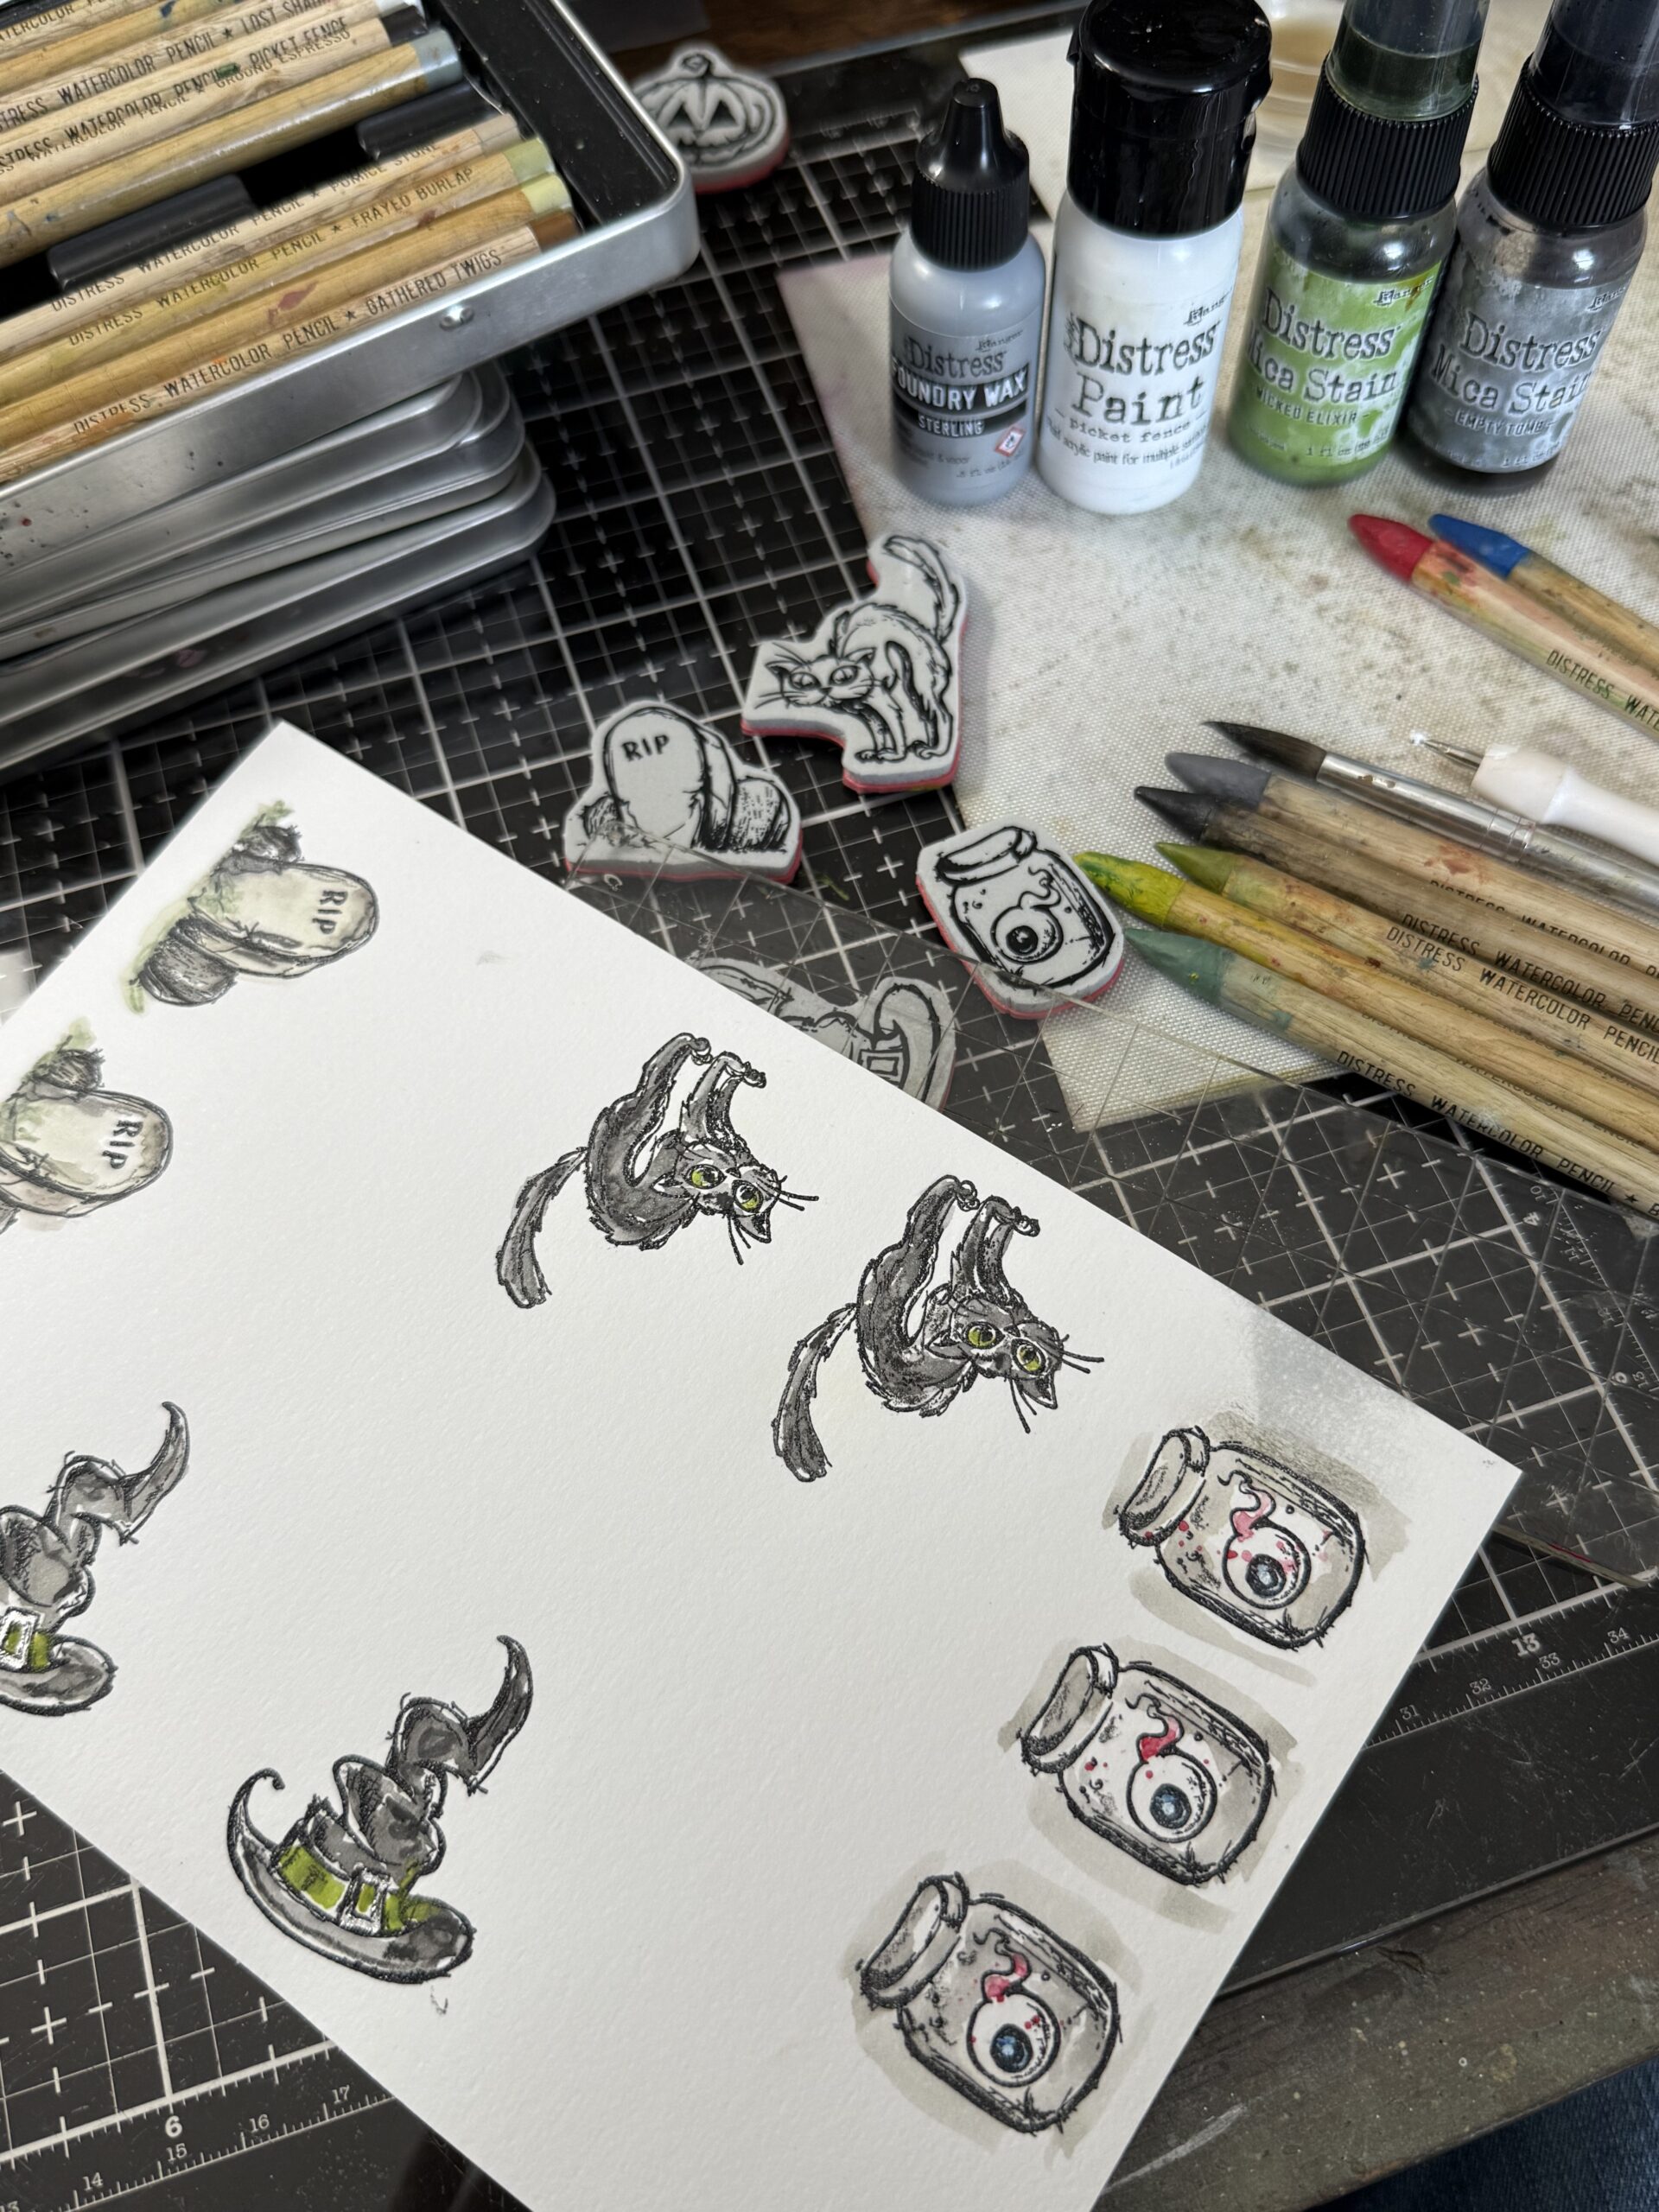
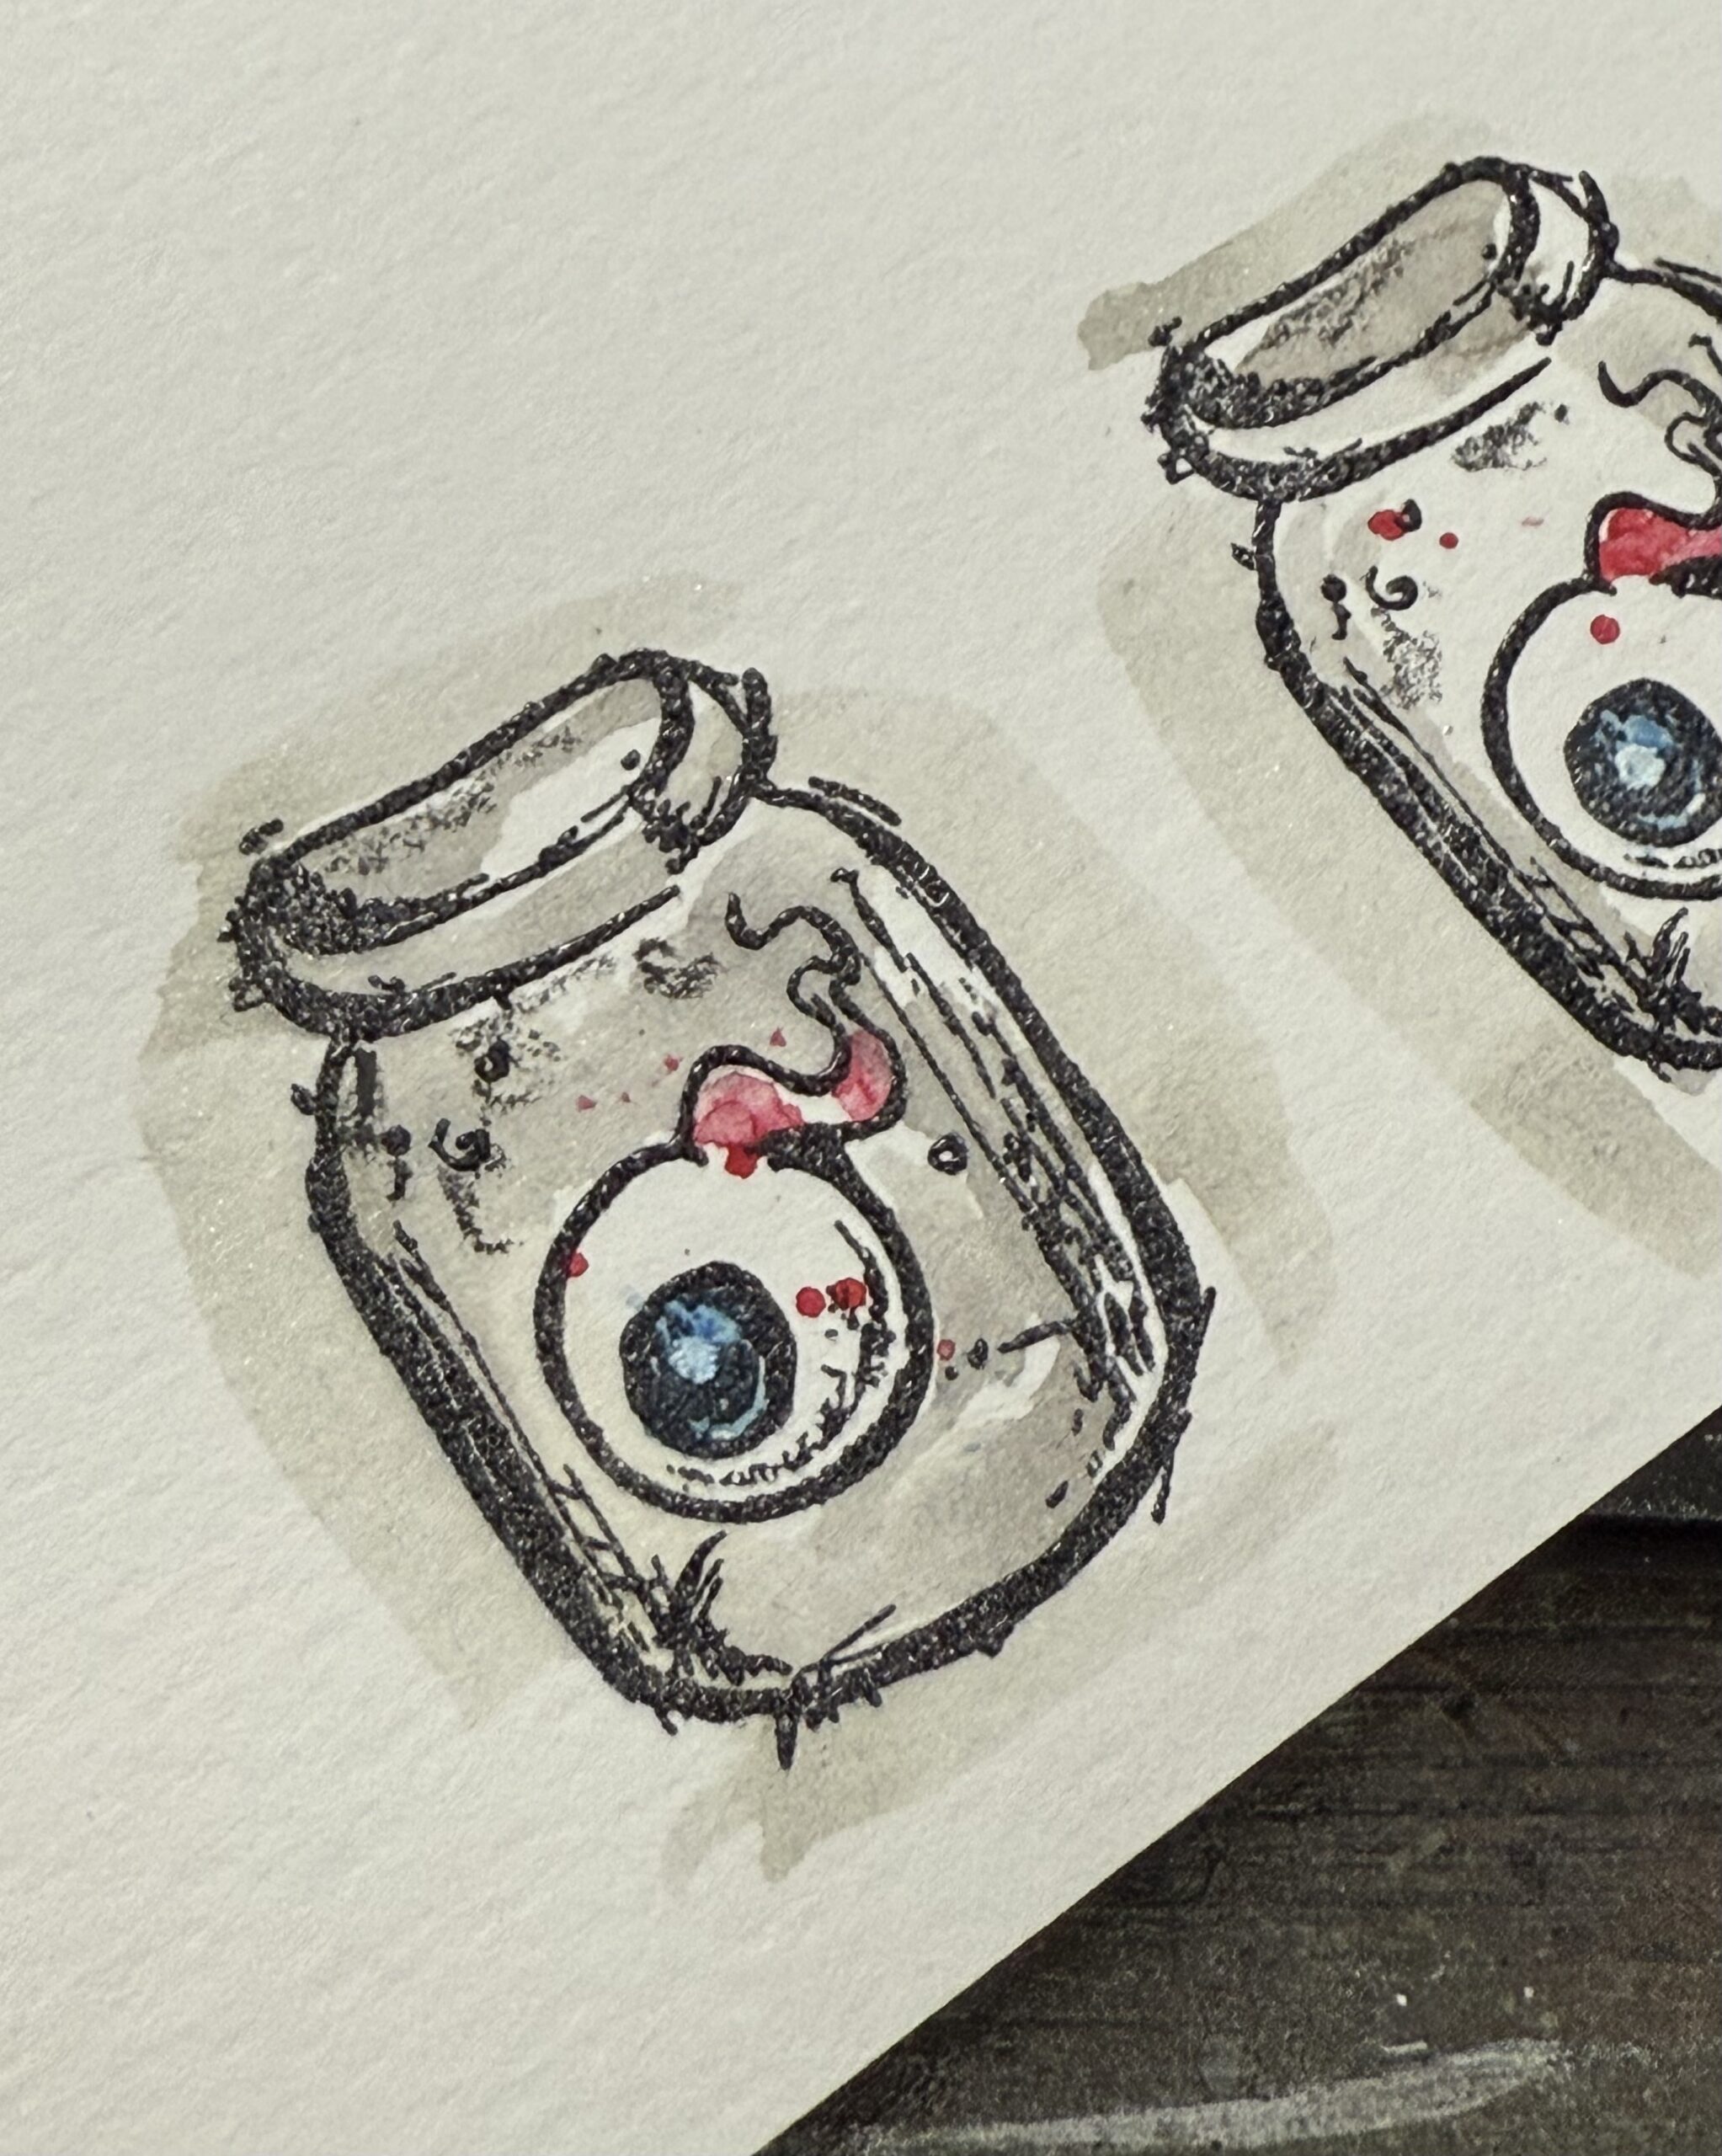
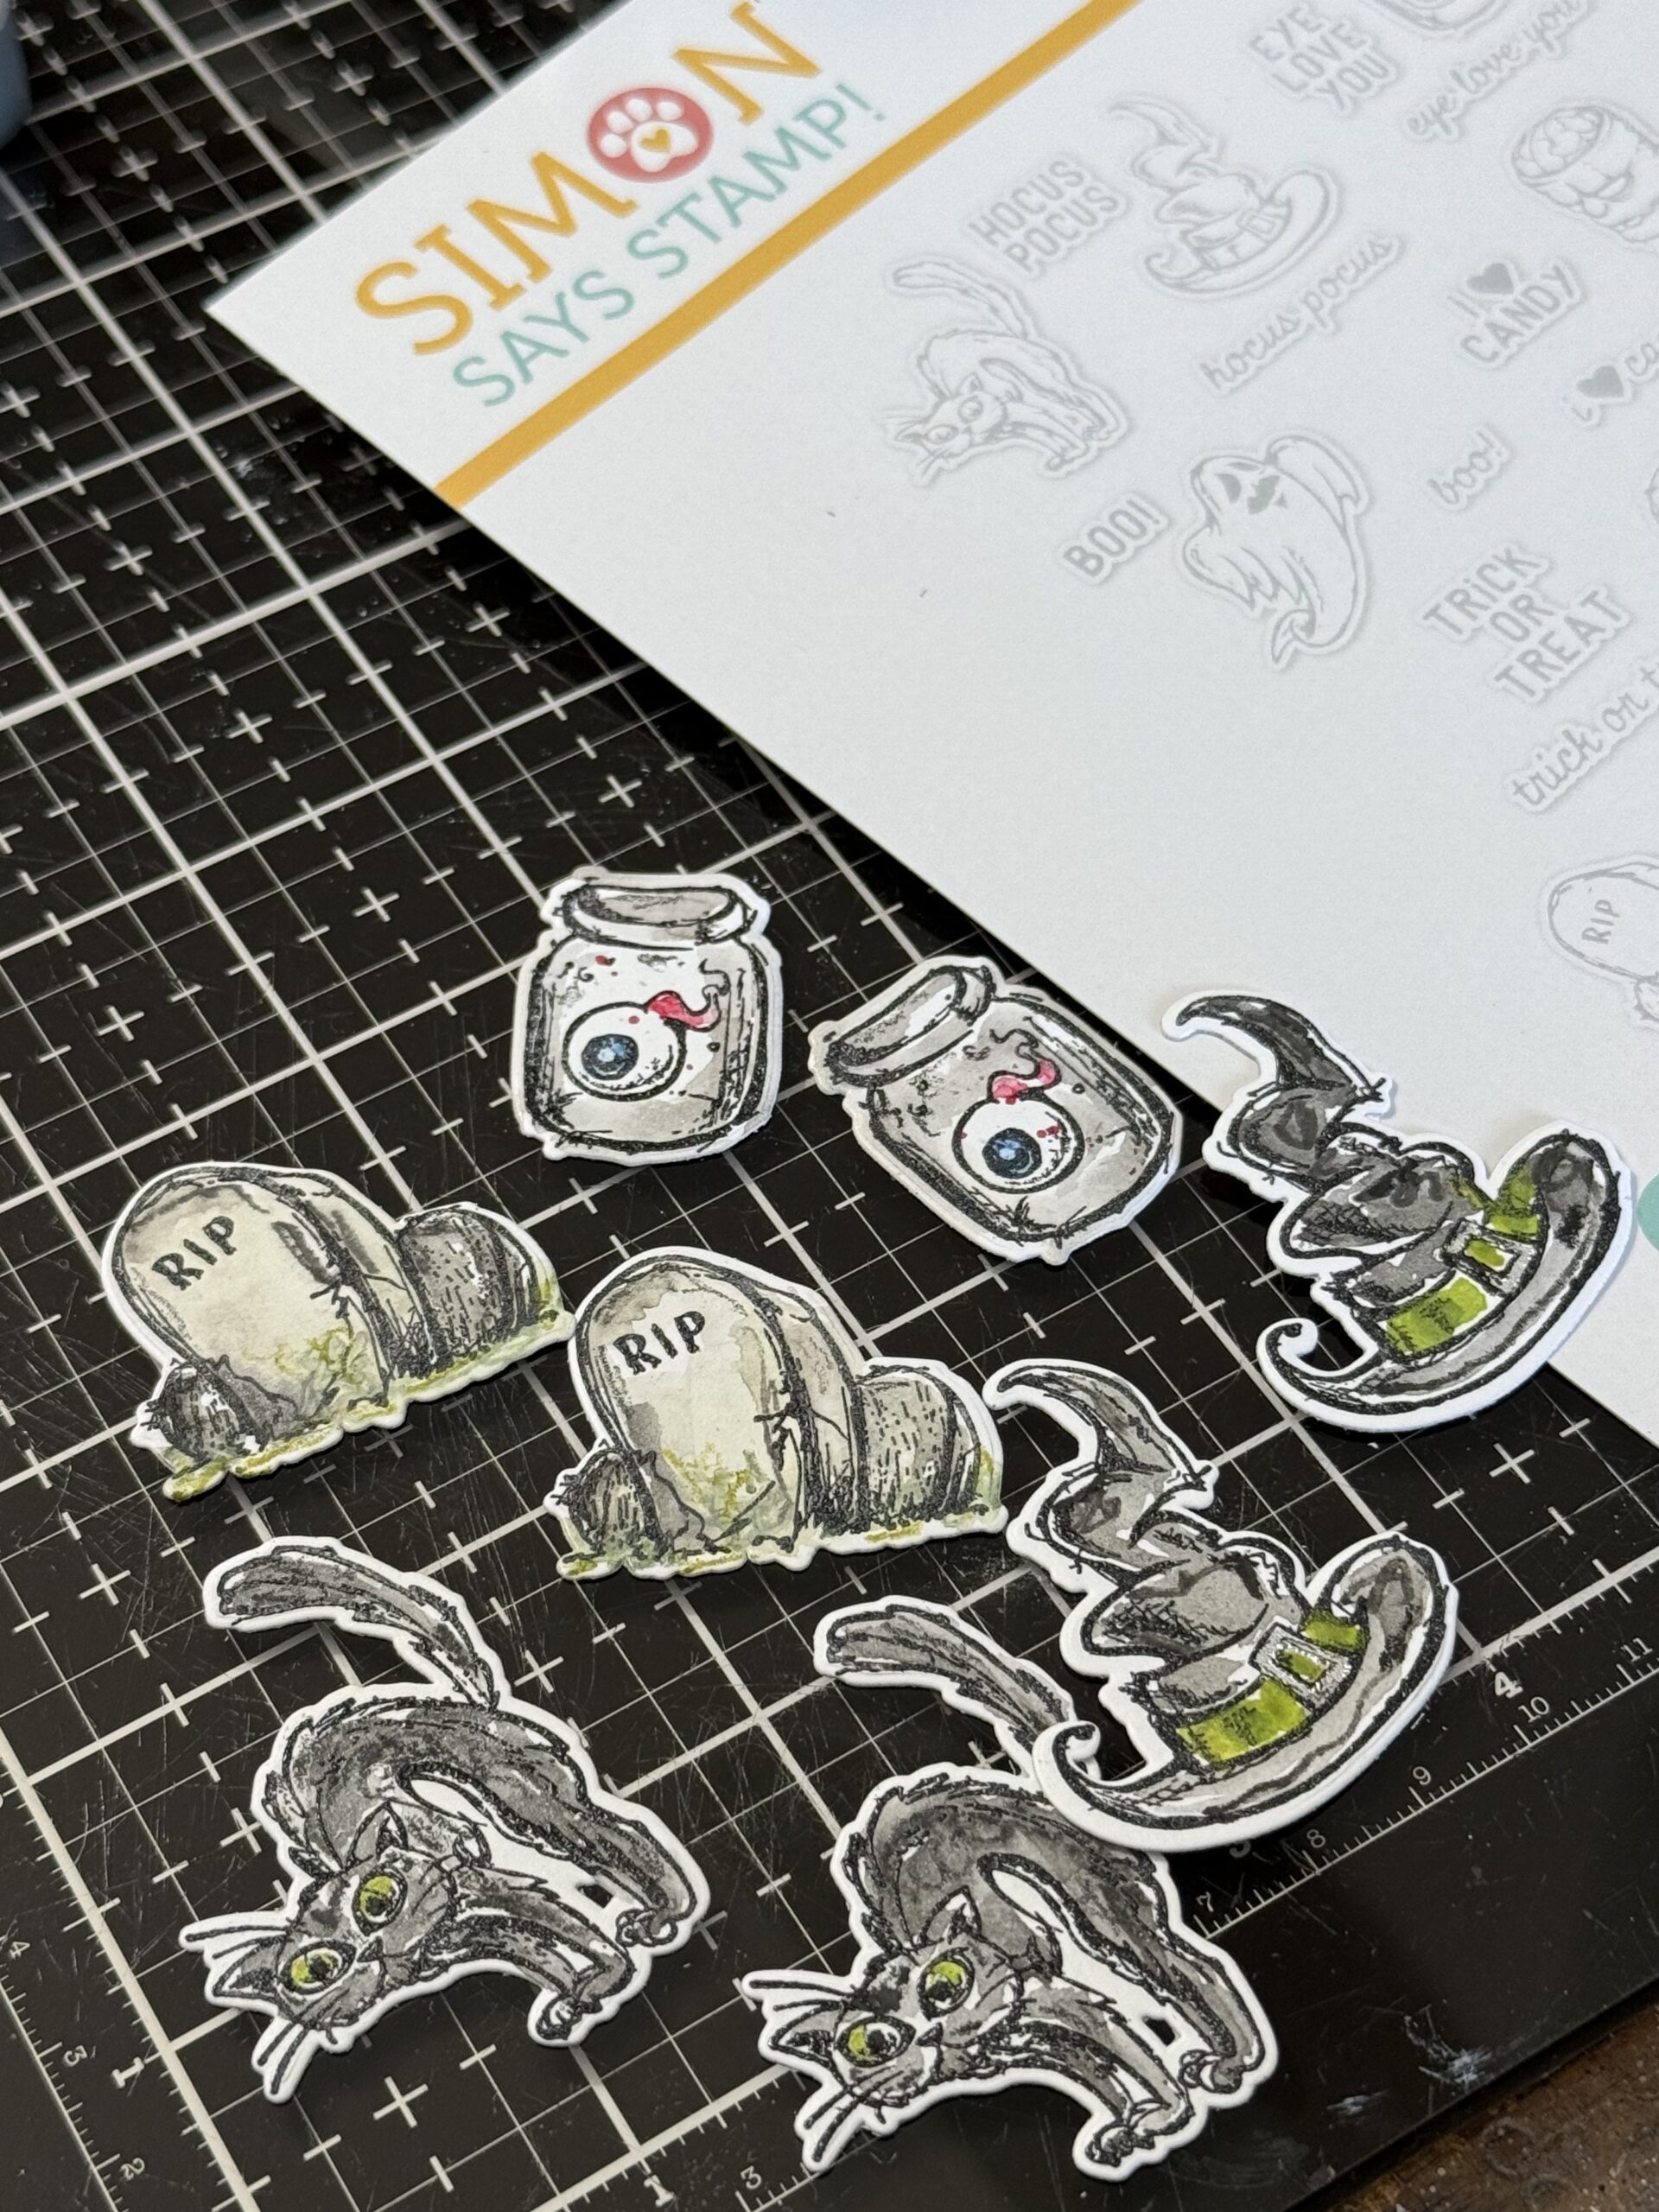
It’s hard to tell in the image below, but the “glass” jar is colored in a bit using some of the Empty Tomb Mica Stain, this added a little sparkle effect to the jars to give them some extra something, something.
You can see on the eyeballs that I added some flecks of red by flicking some of the color off of a my Festive Berries Watercolor Pencil. I just practiced on a separate sheet of paper to make sure I was getting the smallest flicks of the color before I tried it on my little jars. I then used my brush to break up some of the flicks on the eyeball to give it a bloodshot look, then I dried it with a heat tool to dry all the bits.
Oh so creepy..in a good way!
I colored all the little elements using the same type of technique …here I used a little bit of Wicked Elixir in the eyes of the cat to add some sparkle. I know it’s hard to see in these photos, but it’s there in real life and adds a little extra to the pieces.
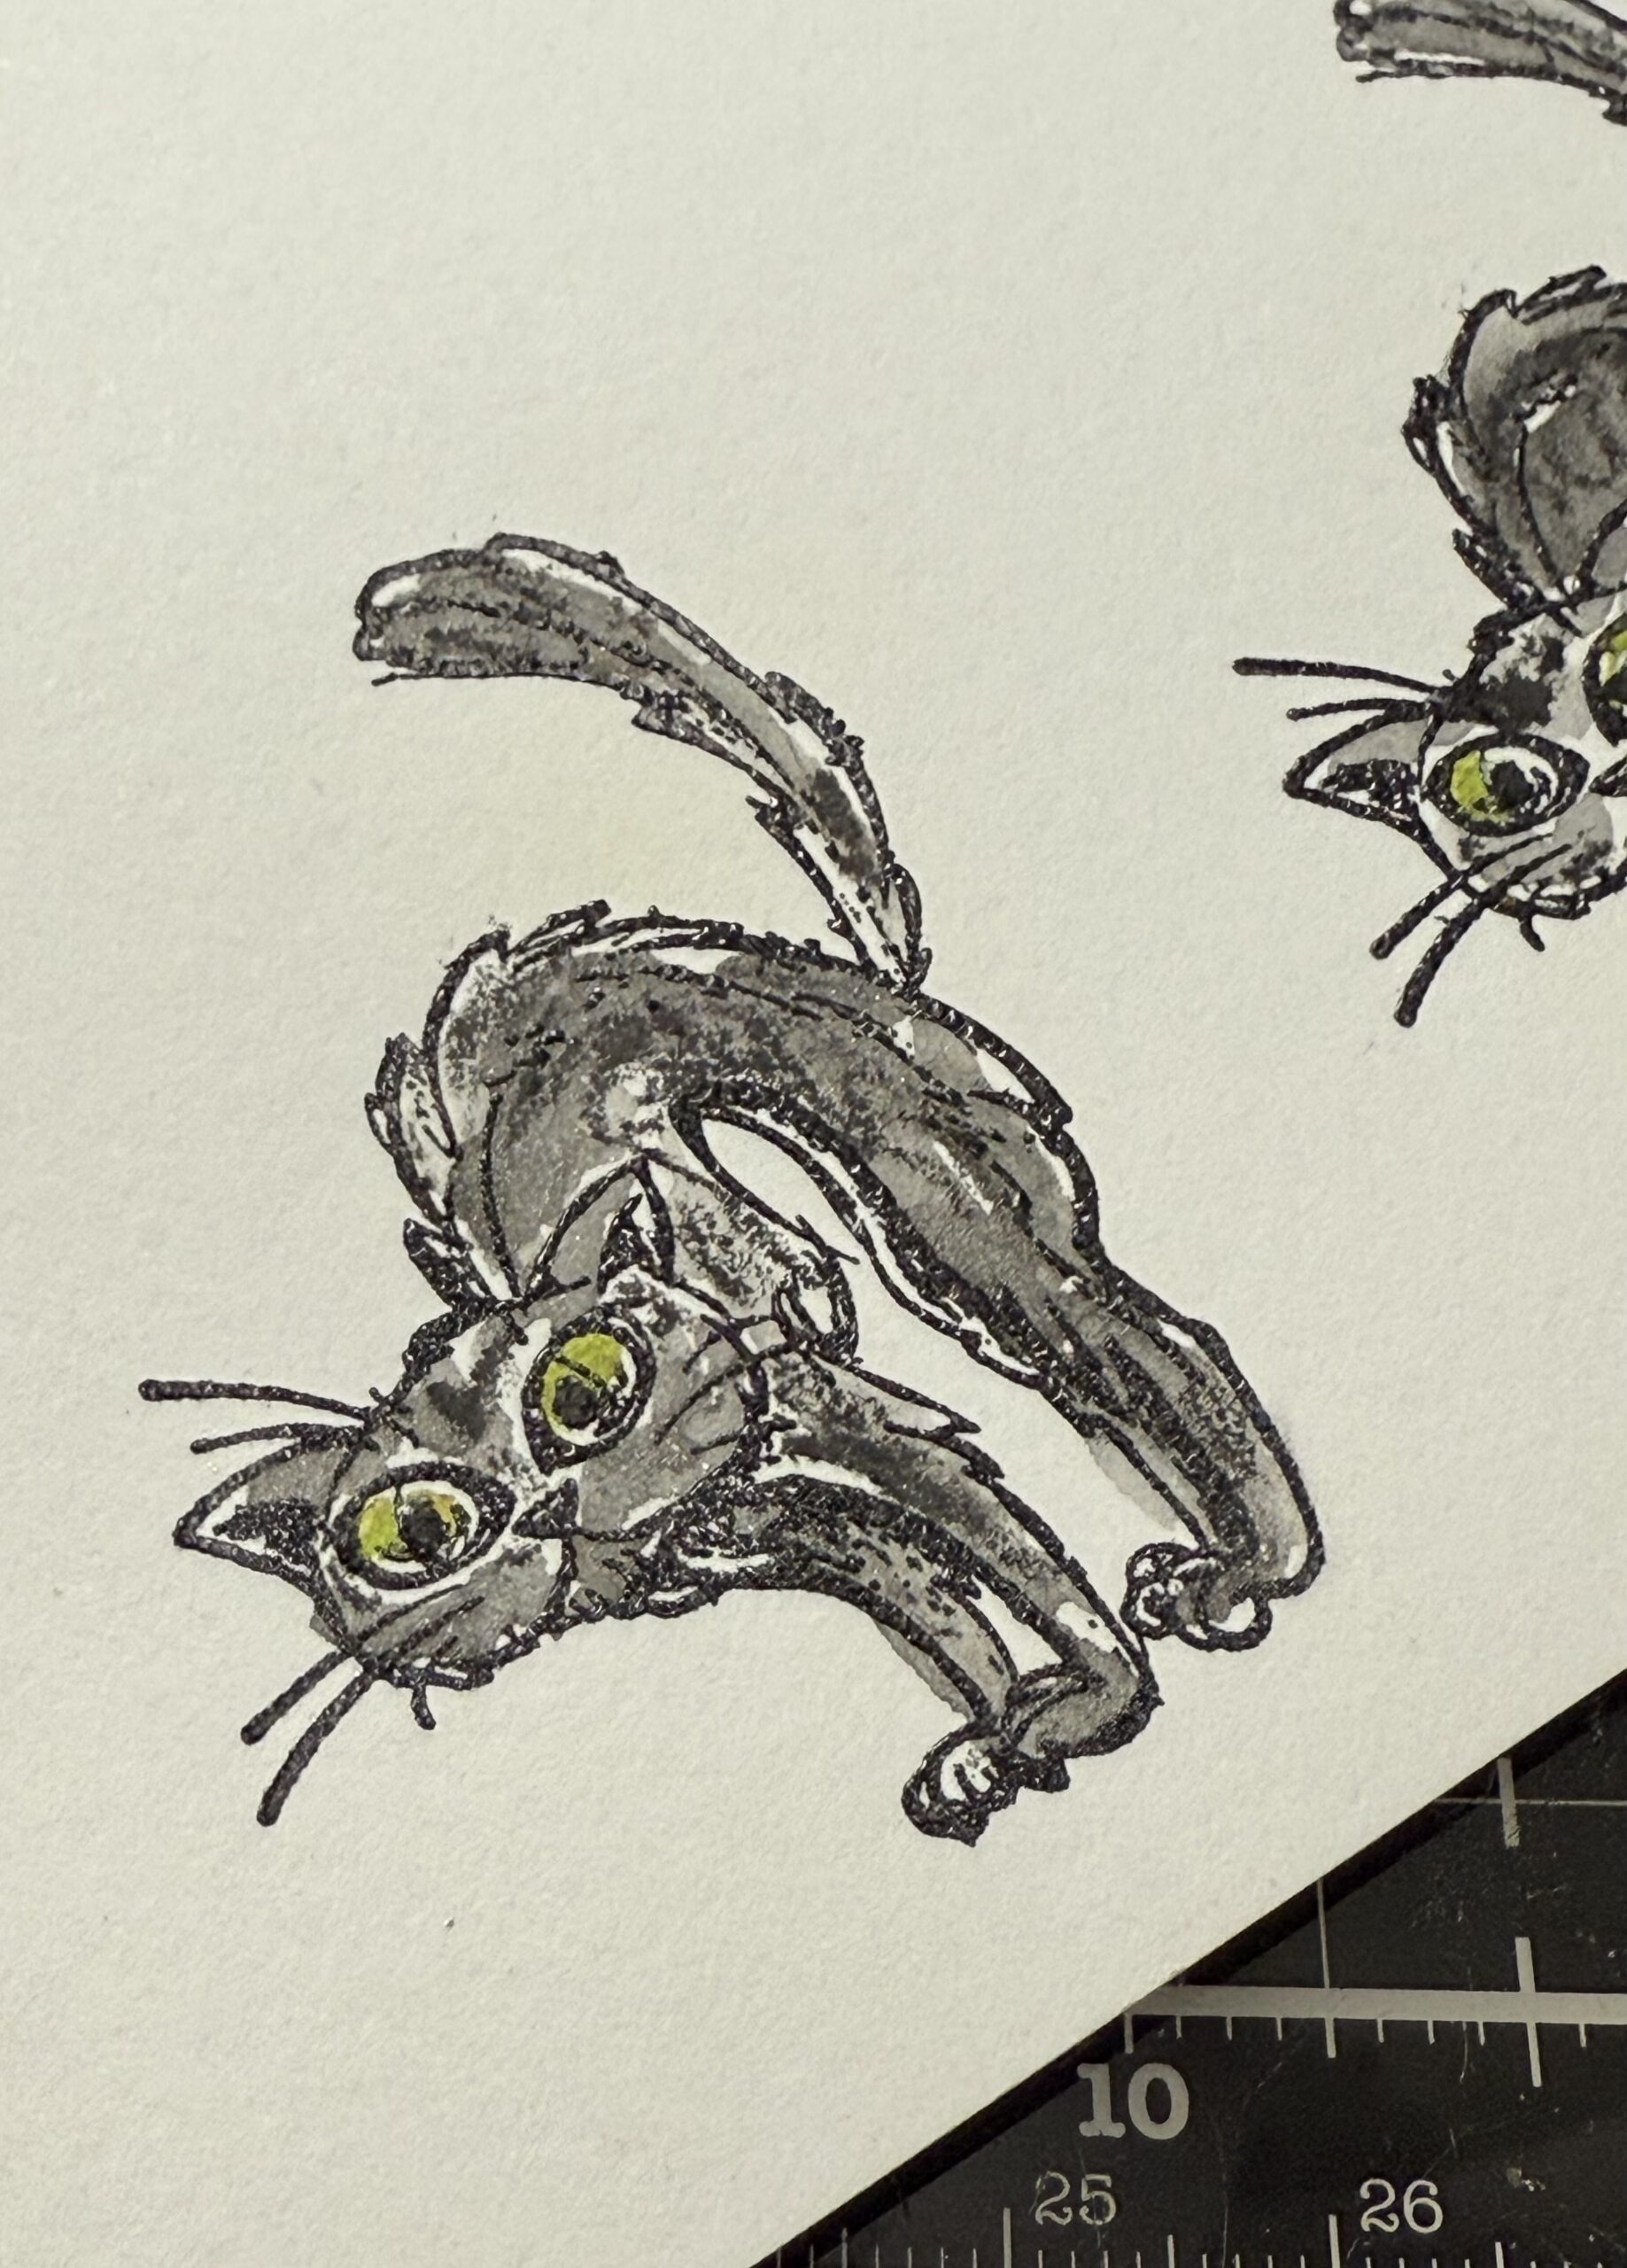
After all the elements were colored and dry, I used the coordinating die from the new set to cut out my images. I used low tack tape to keep the dies in place as I cut them out on my big shot. Low tack tape is your friend when it comes to these tiny dies, keeps them in place and they’re a snap to remove after cut without tearing.
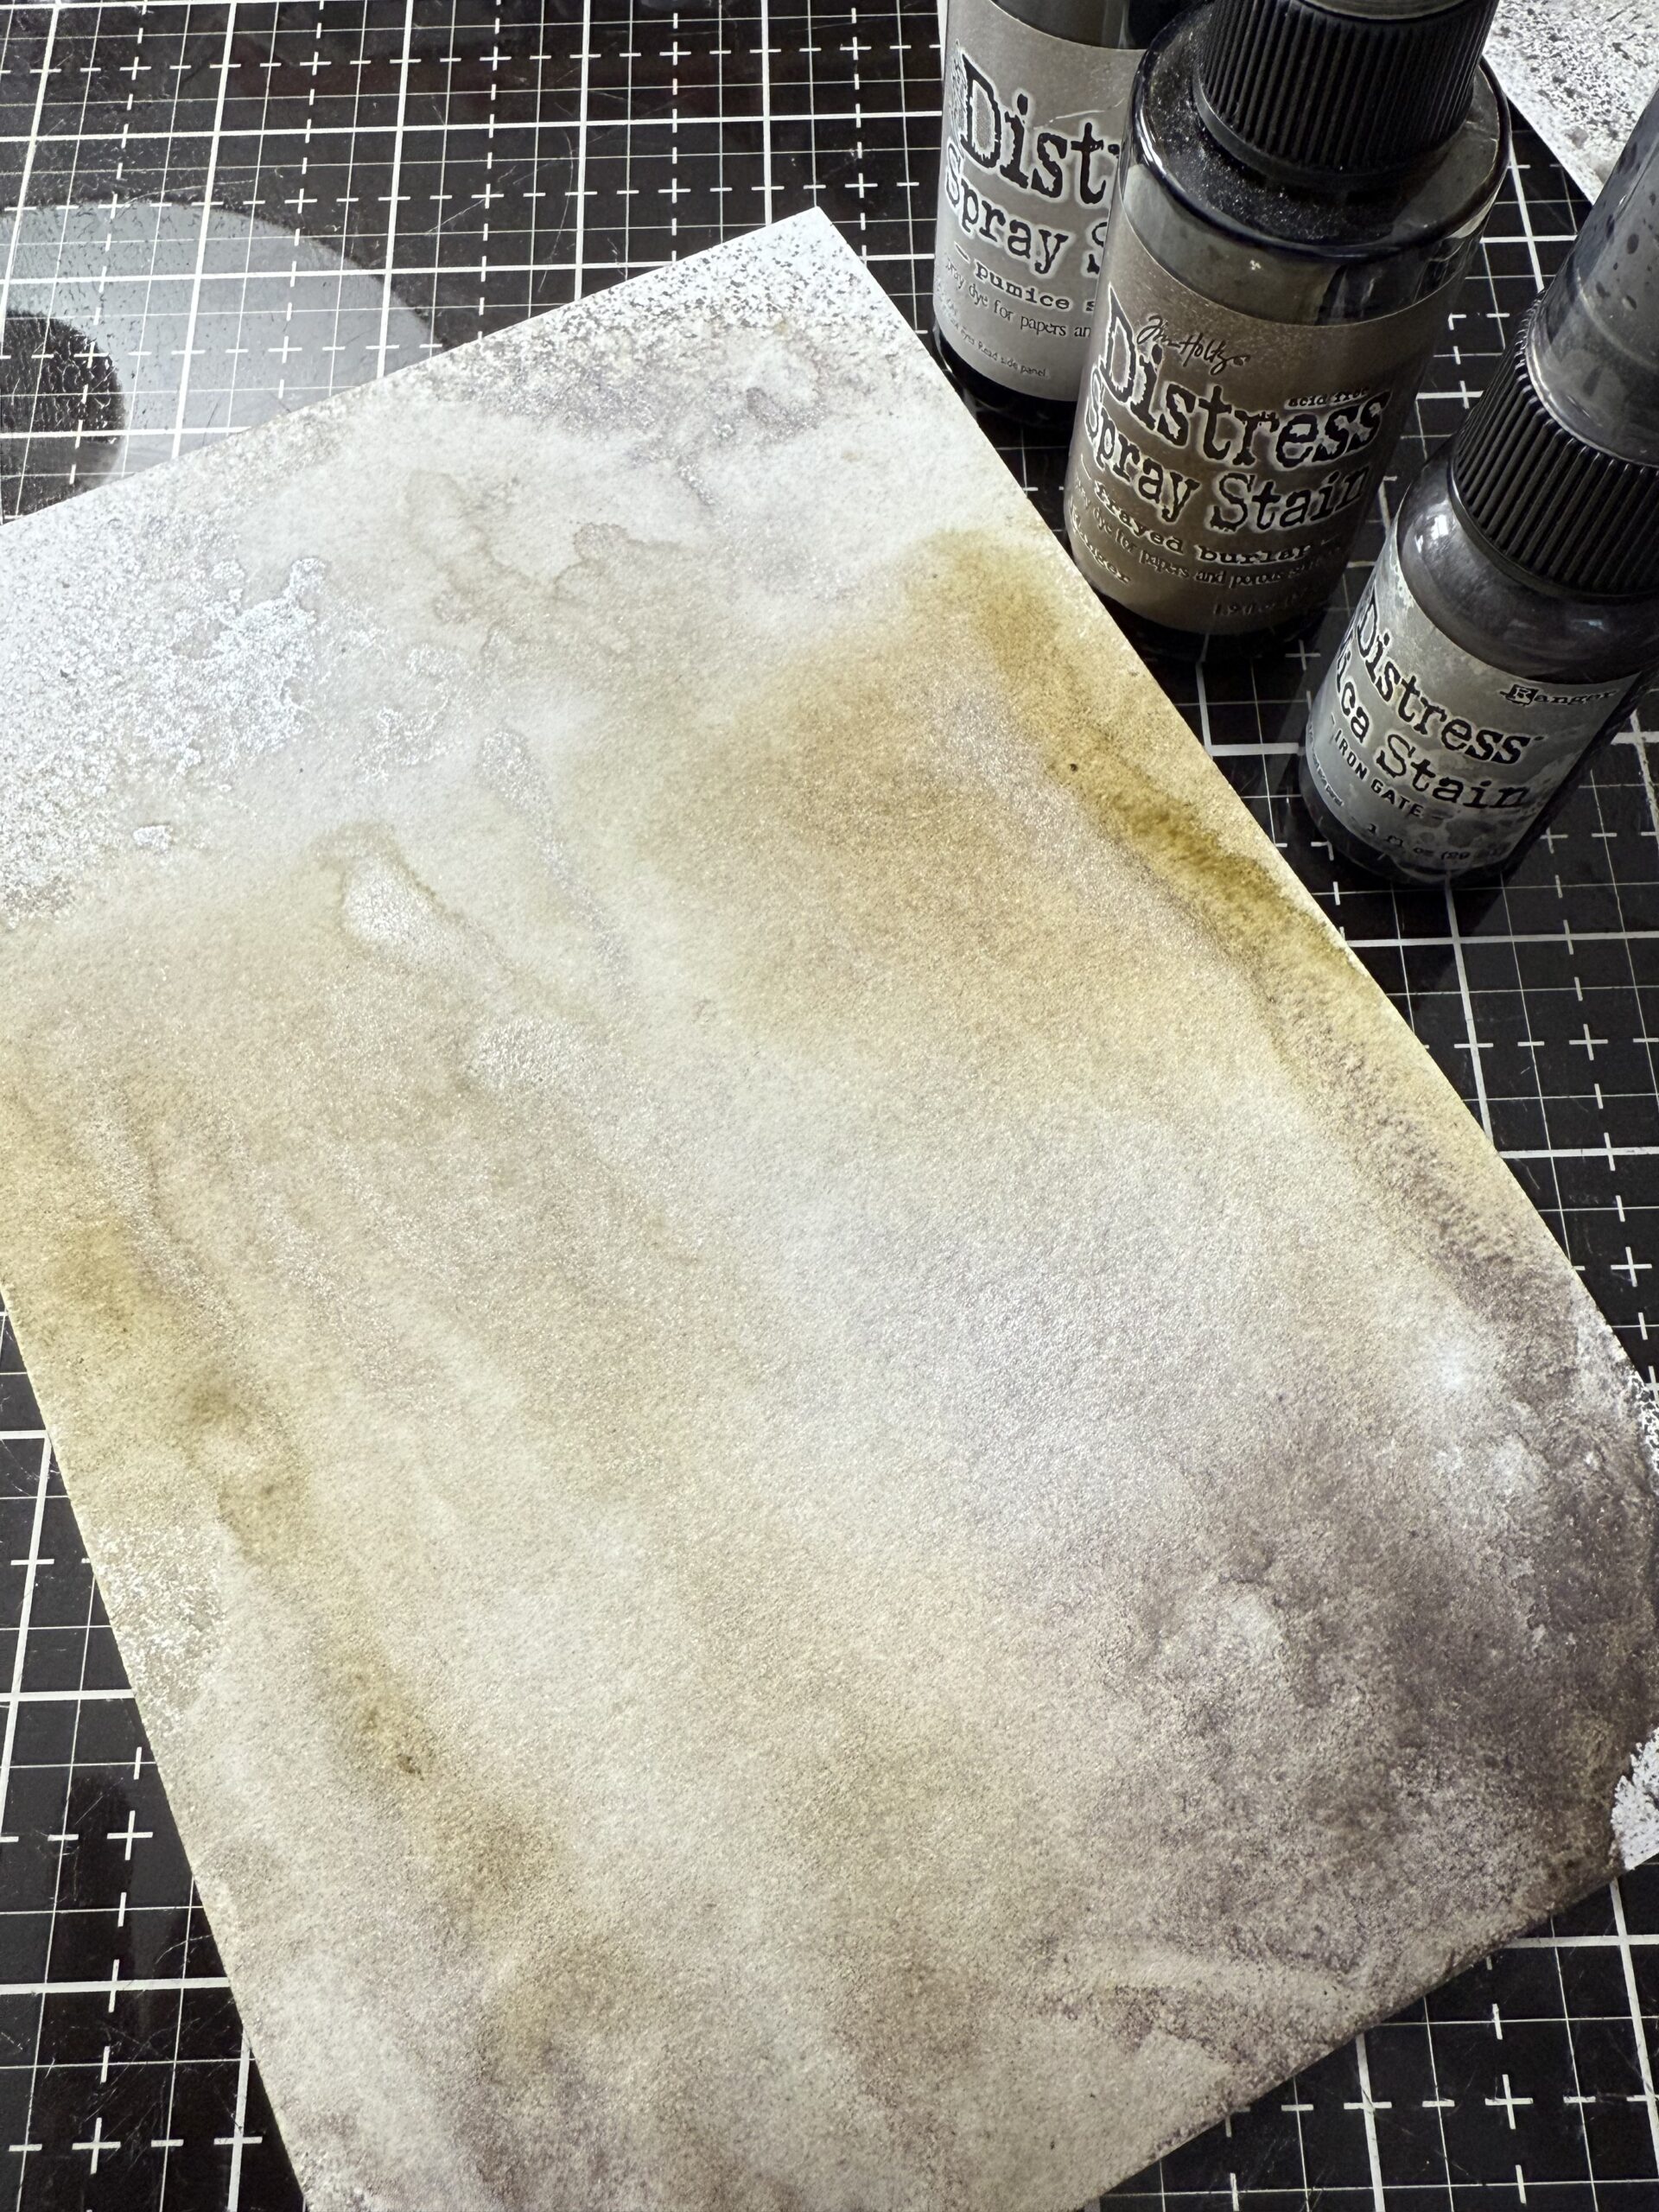
Then, I began to create the backgrounds for the tags… I cut an 8.5″x11″ piece of Distress Watercolor in half then spritzed it with some water, then a combination of Pumice Stone, Frayed Burlap and Iron Gate Mica Spray onto the paper and dried it with a heat tool. Once the paper was dry, I added the Spiderweb effect.
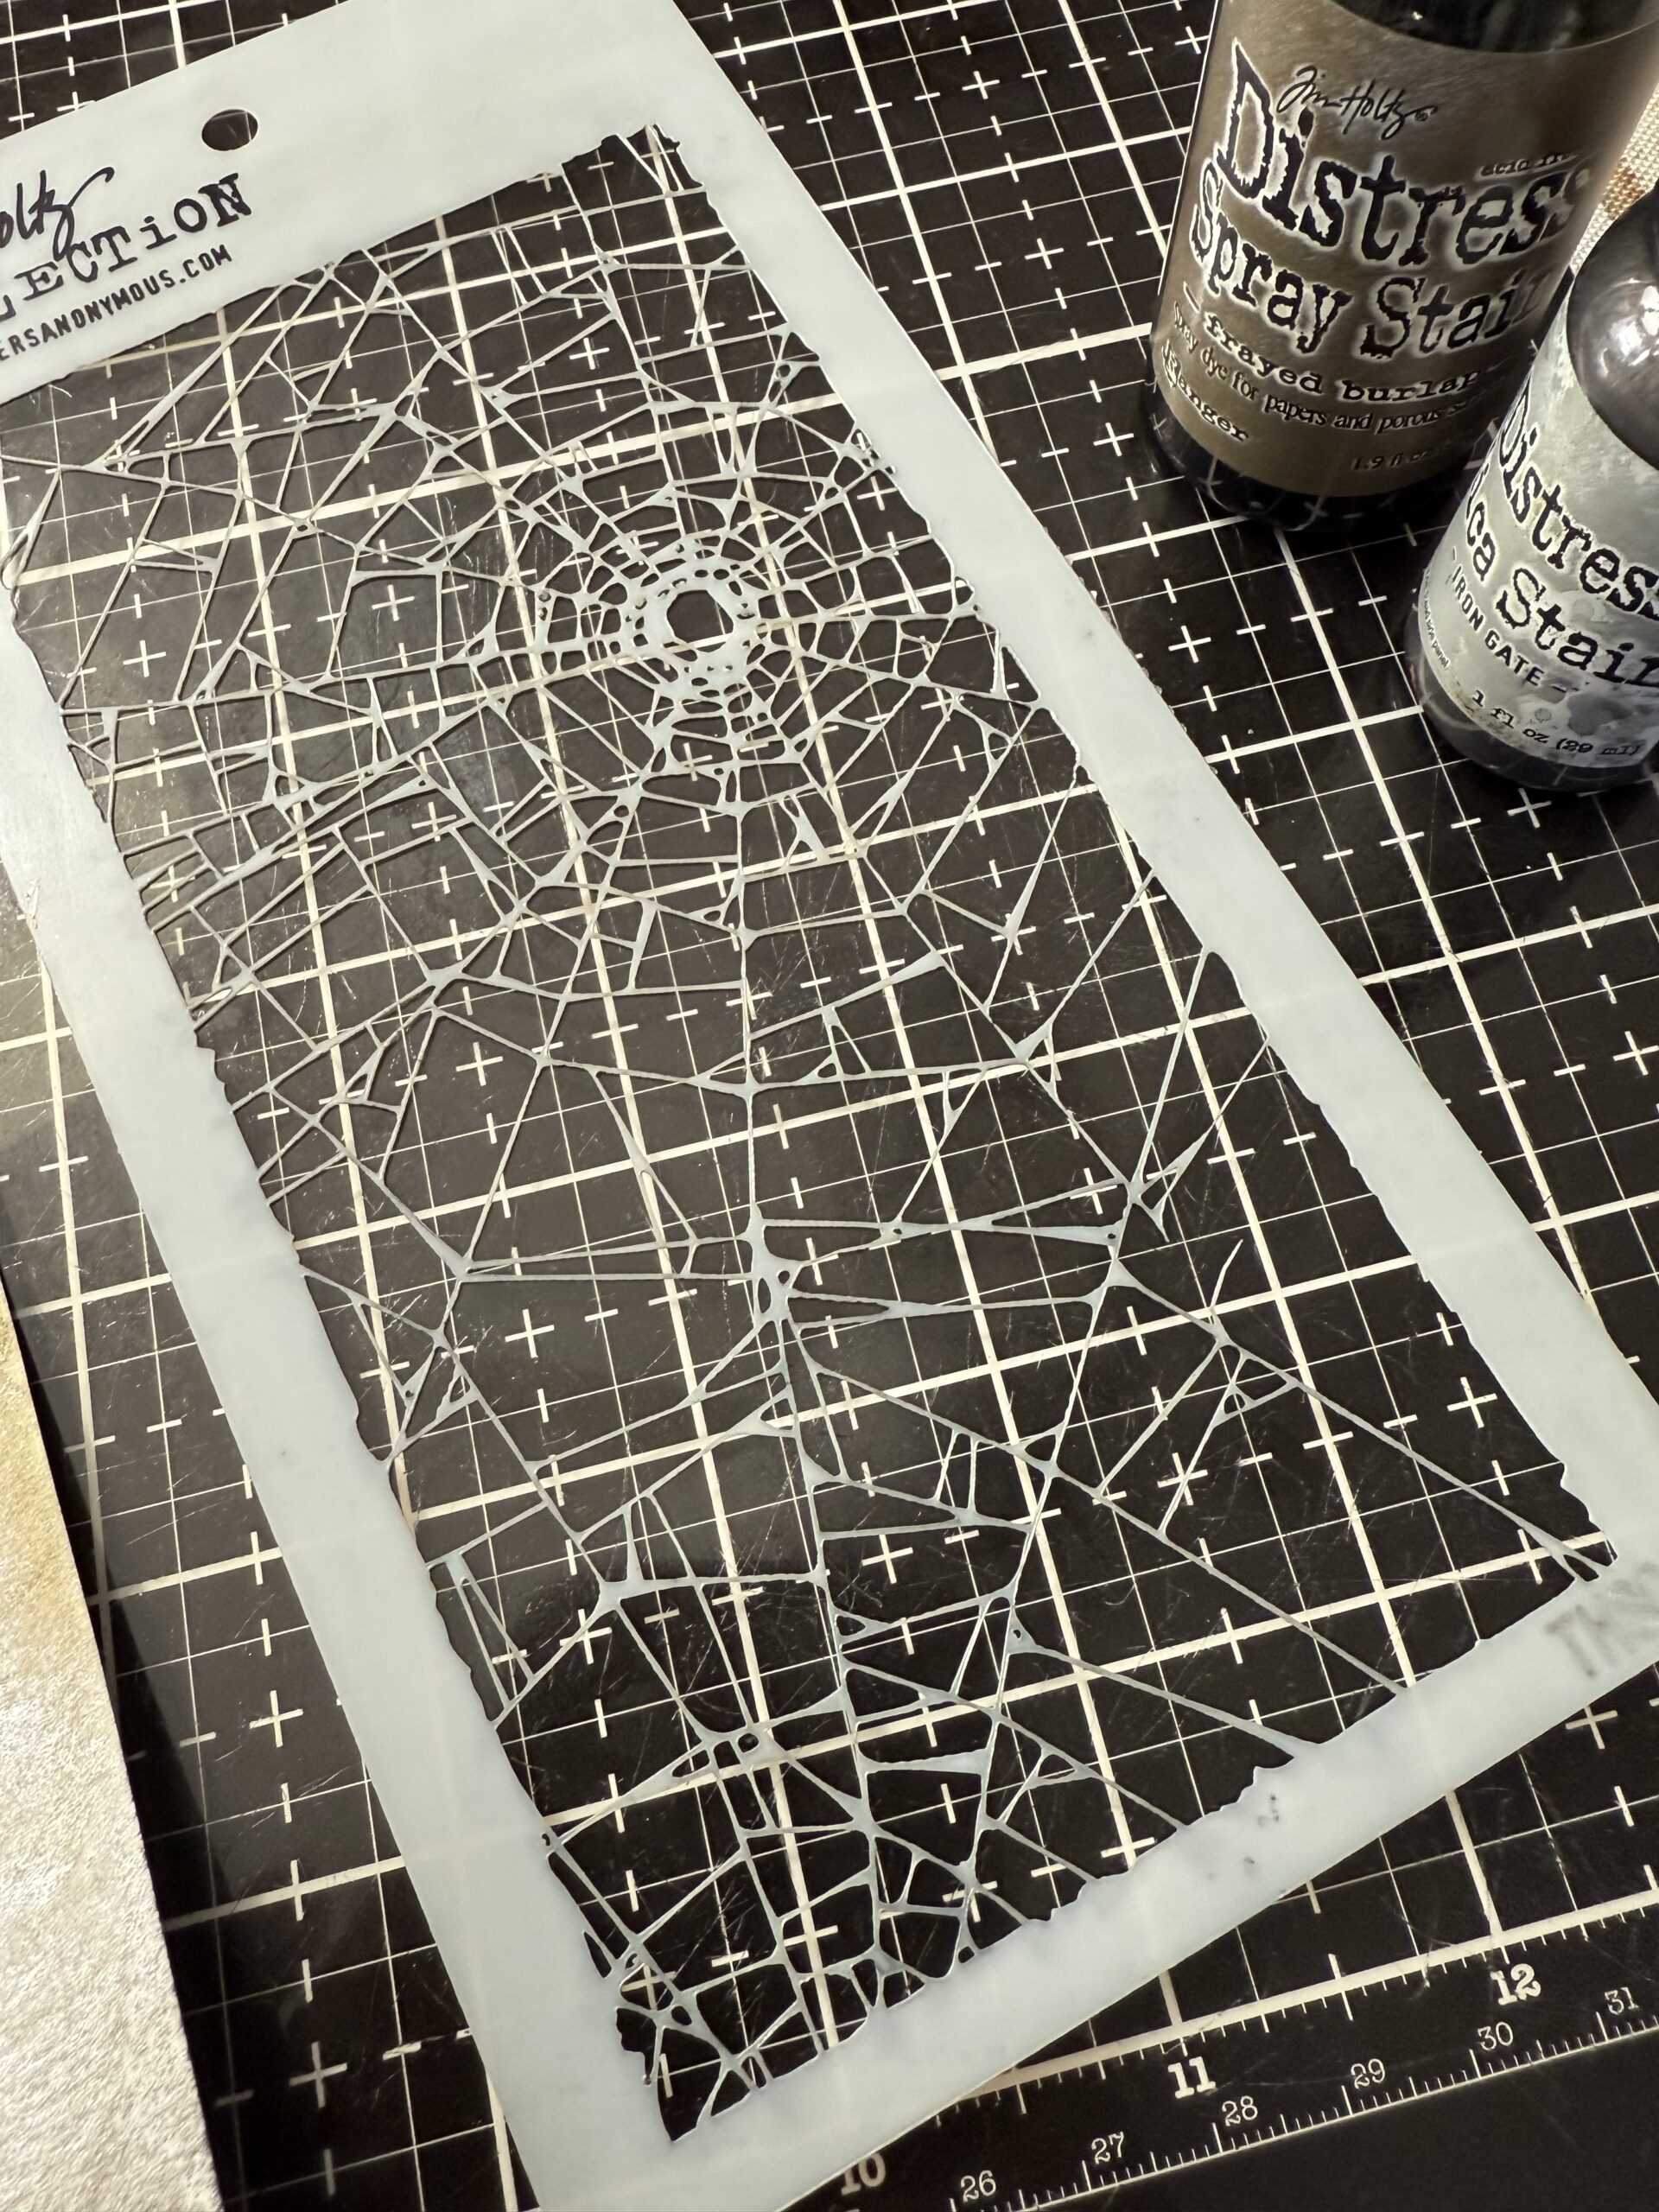
I sprayed the Tim Holtz Shatter Stencil with a combination of Frayed Burlap and Iron Gate Mica Spray, spritzed the inks with water, then flipped the stencil over onto my piece of inky paper, I used a paper towel to smoosh the stencil into place and transfer the inked patterned to the paper.
Here are the results, with one additional step, I did that same process twice making sure to line up the stencil slightly off from the previous print, pretty cool effect right? Funny thing, this happened to me last year when I was trying to line it up perfectly to darken the previous print and I goofed up and missed and ended up with this effect, one of those happy accidents, this time I planned what I wanted to do, sometimes the mistakes turn out the be better than you thought.
Anyways, after that, I cut out a few tags using the small tag from the Tim Holtz Sizzix Stacked Tags Die Set, then went to creating the next background.
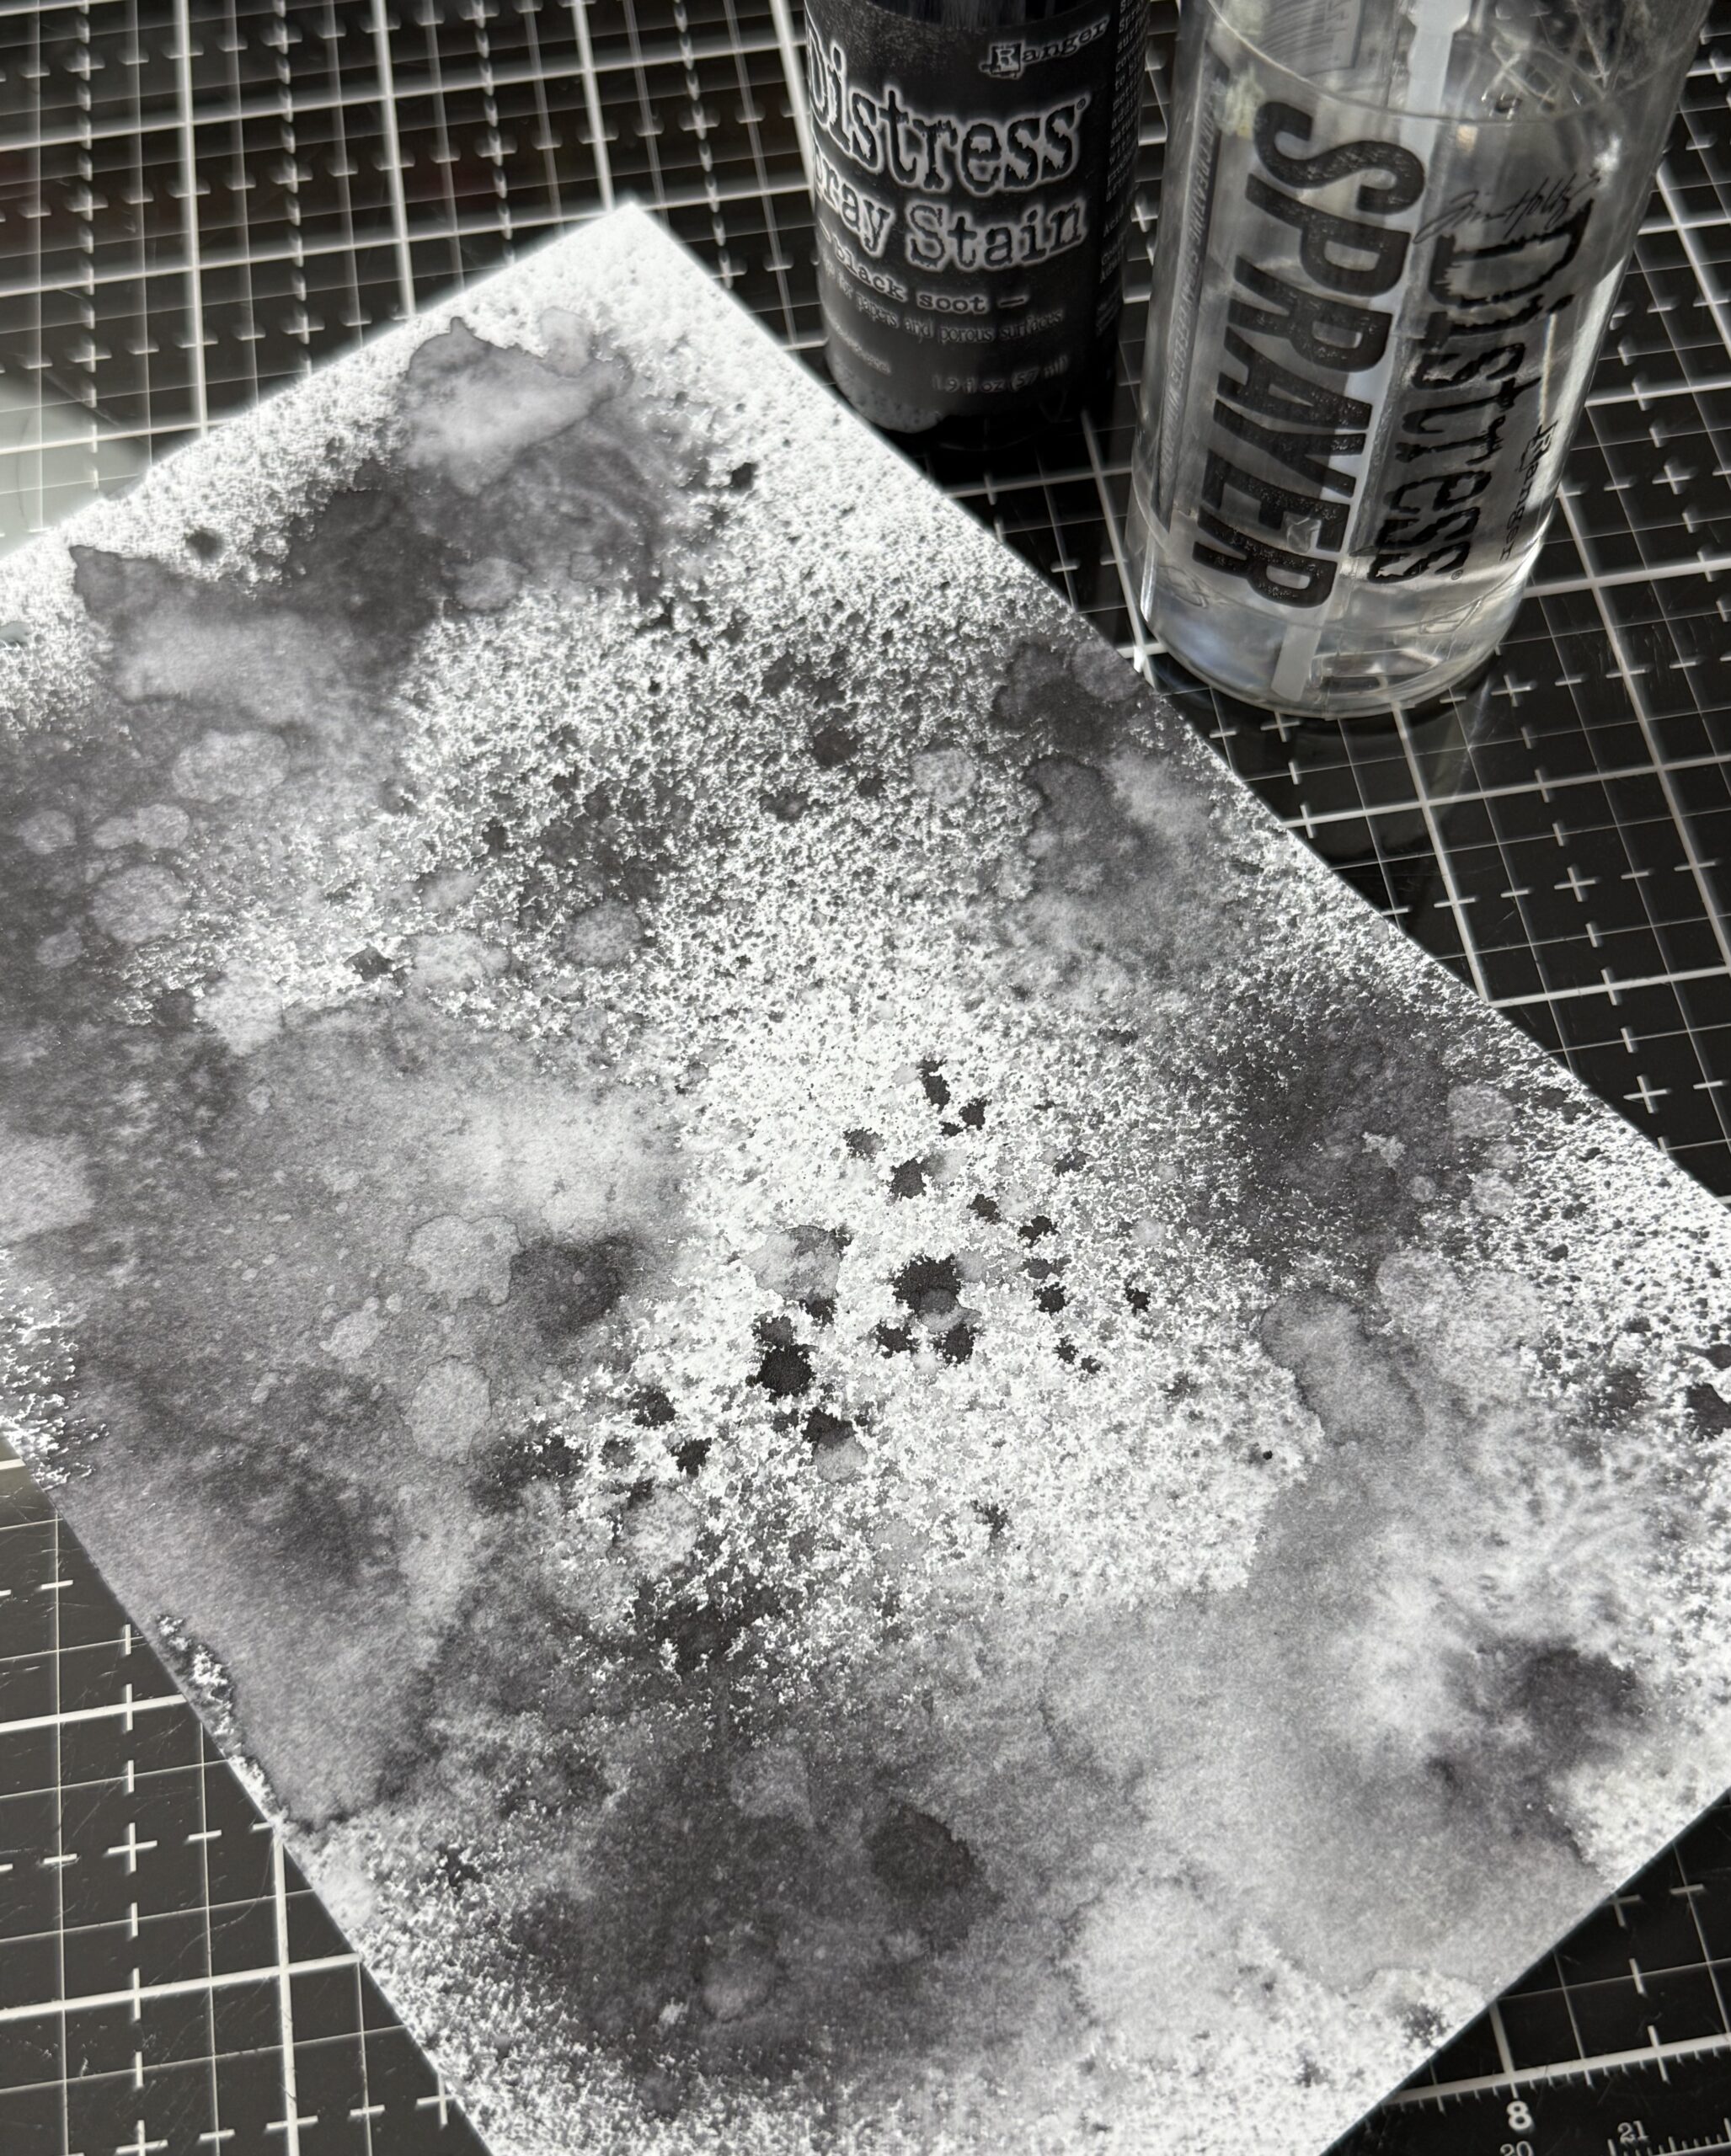
The next background was a little simpler, I spritzed another piece of Distress Watercolor Paper using Black Soot Distress Spray, then spritzed on some water to create a drippy background, then I dried it with my heat tool. I spritzed both water and spray stain onto the paper until I had it nice and splotchy, then I dried it with my heat tool again.
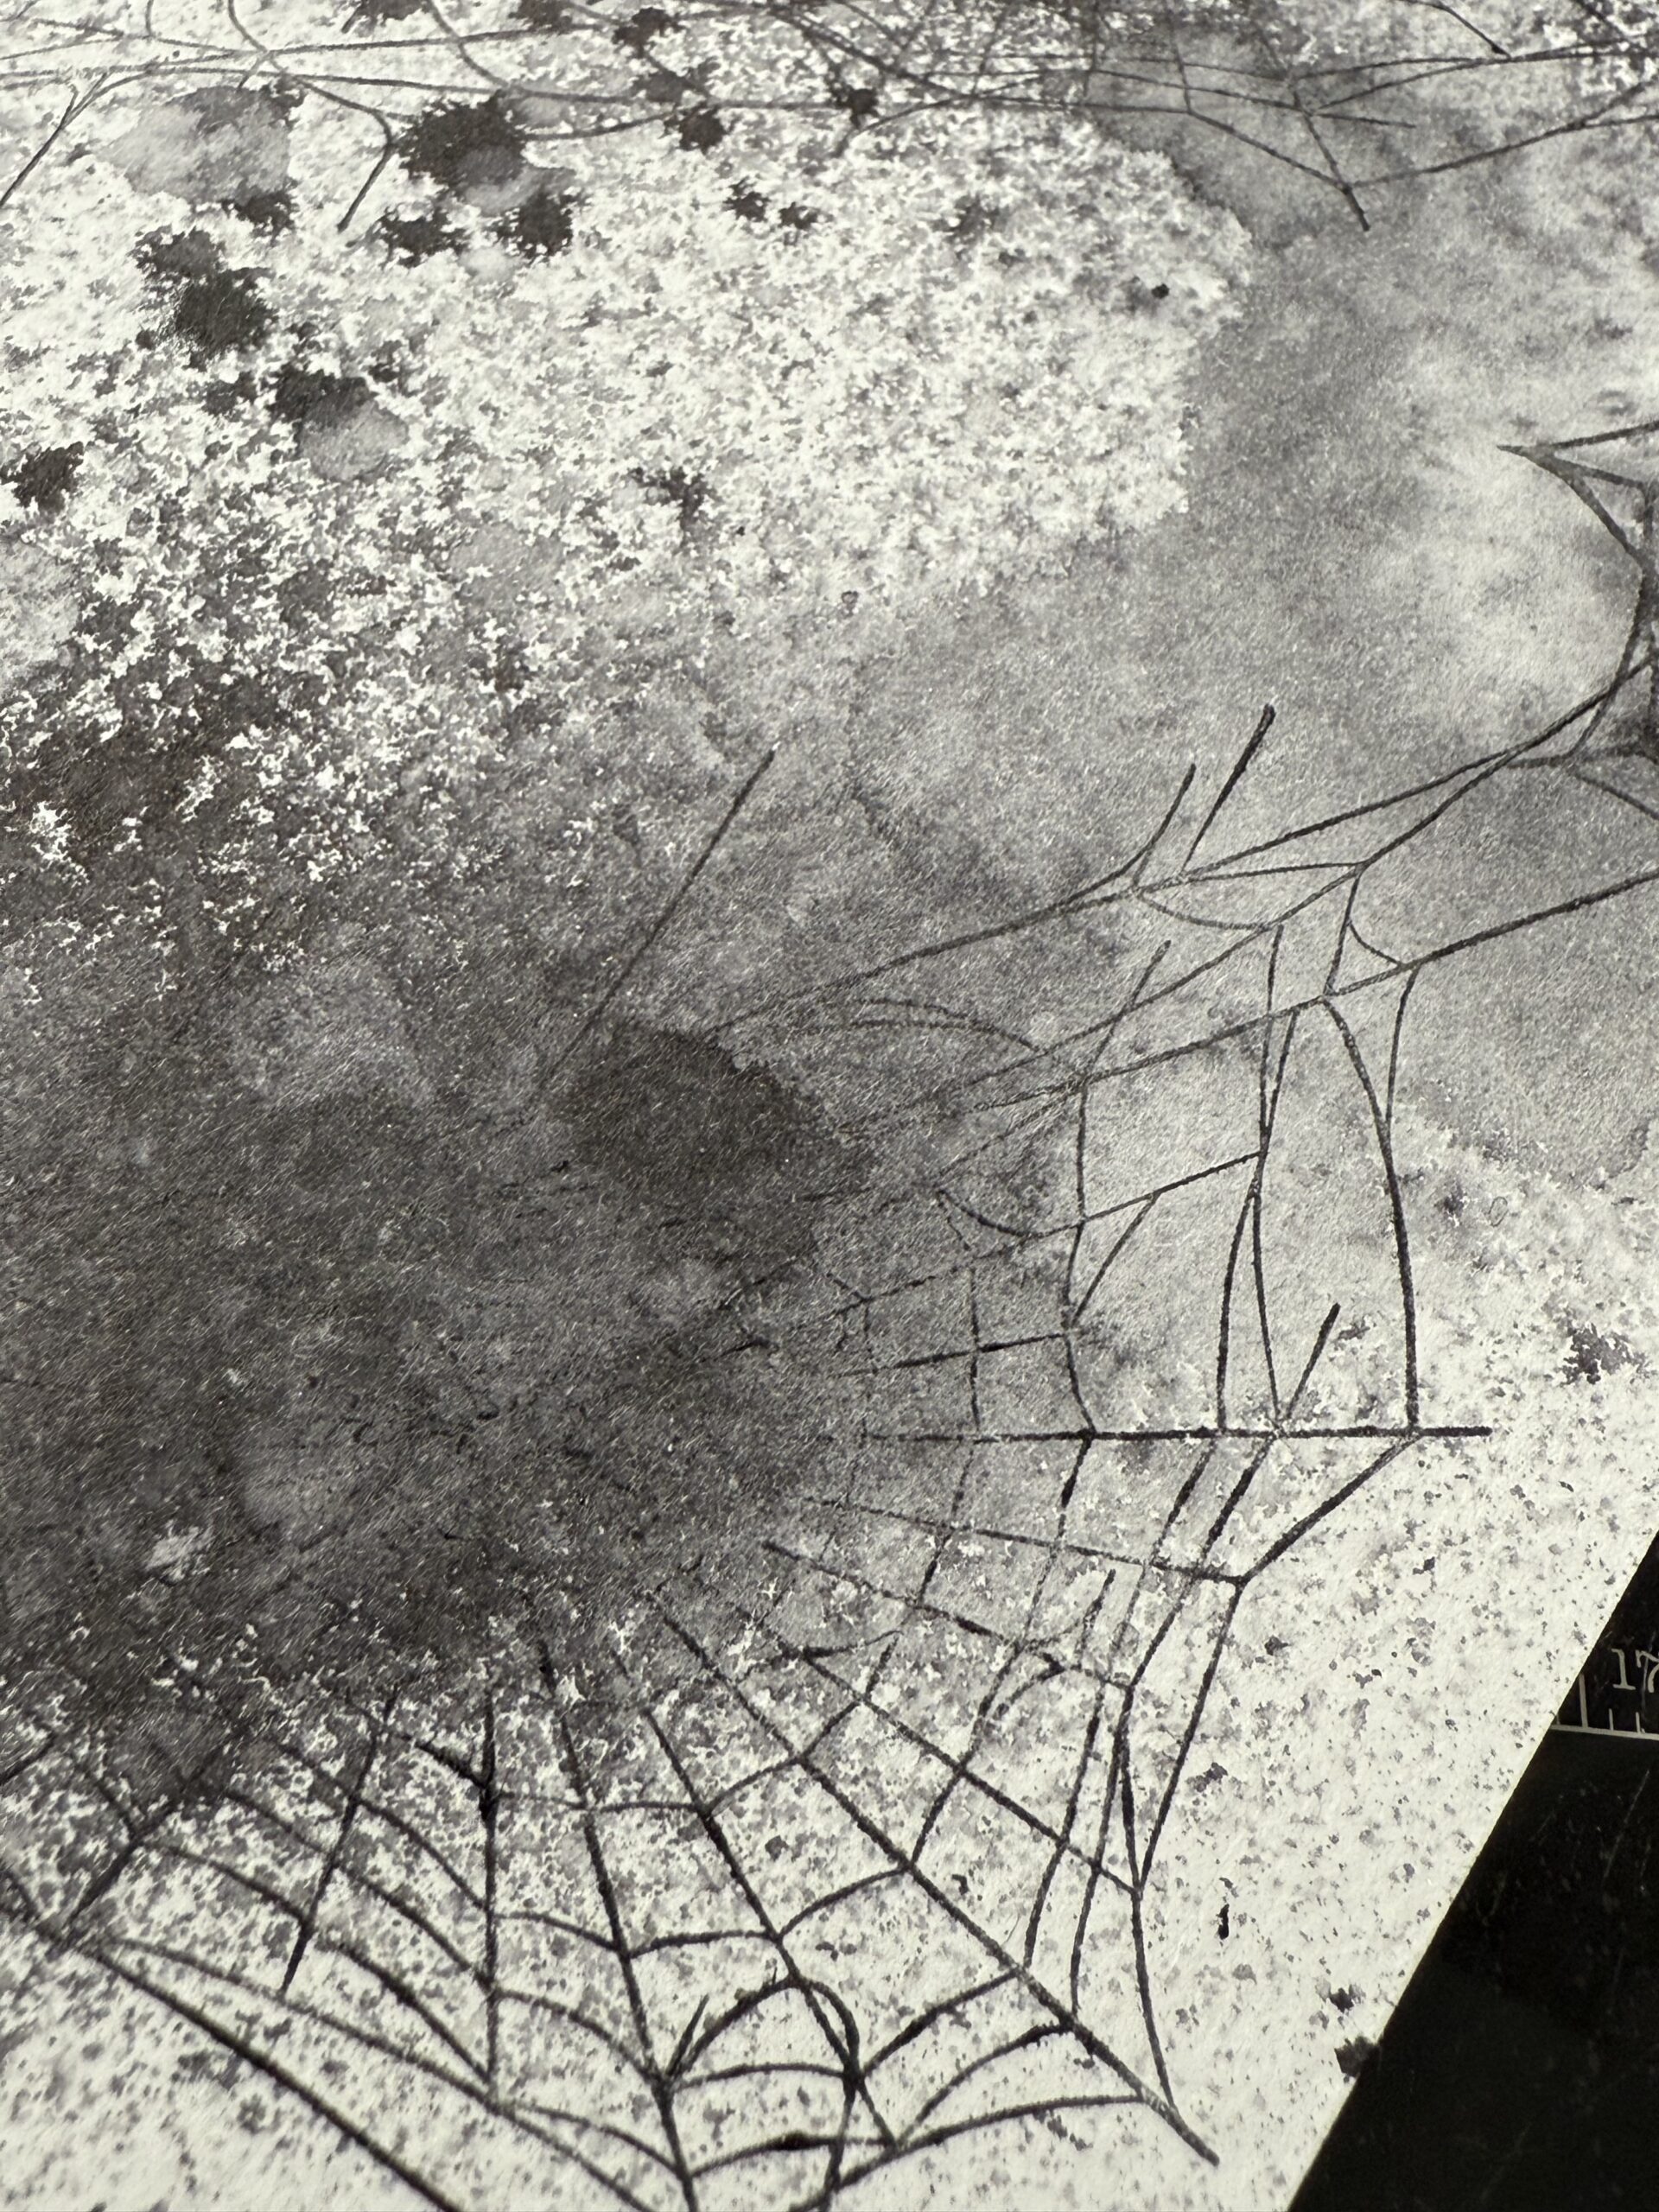
I used a Spiderweb Stamp from a Tim Holtz Stamp Set and stamped it randomly into the background using Black Soot Archival Ink. I used the Unraveled Stamp Set CMS452 but any Spiderweb Stamp would work. I did this until I liked the background, then cut out some tags using the tag die.
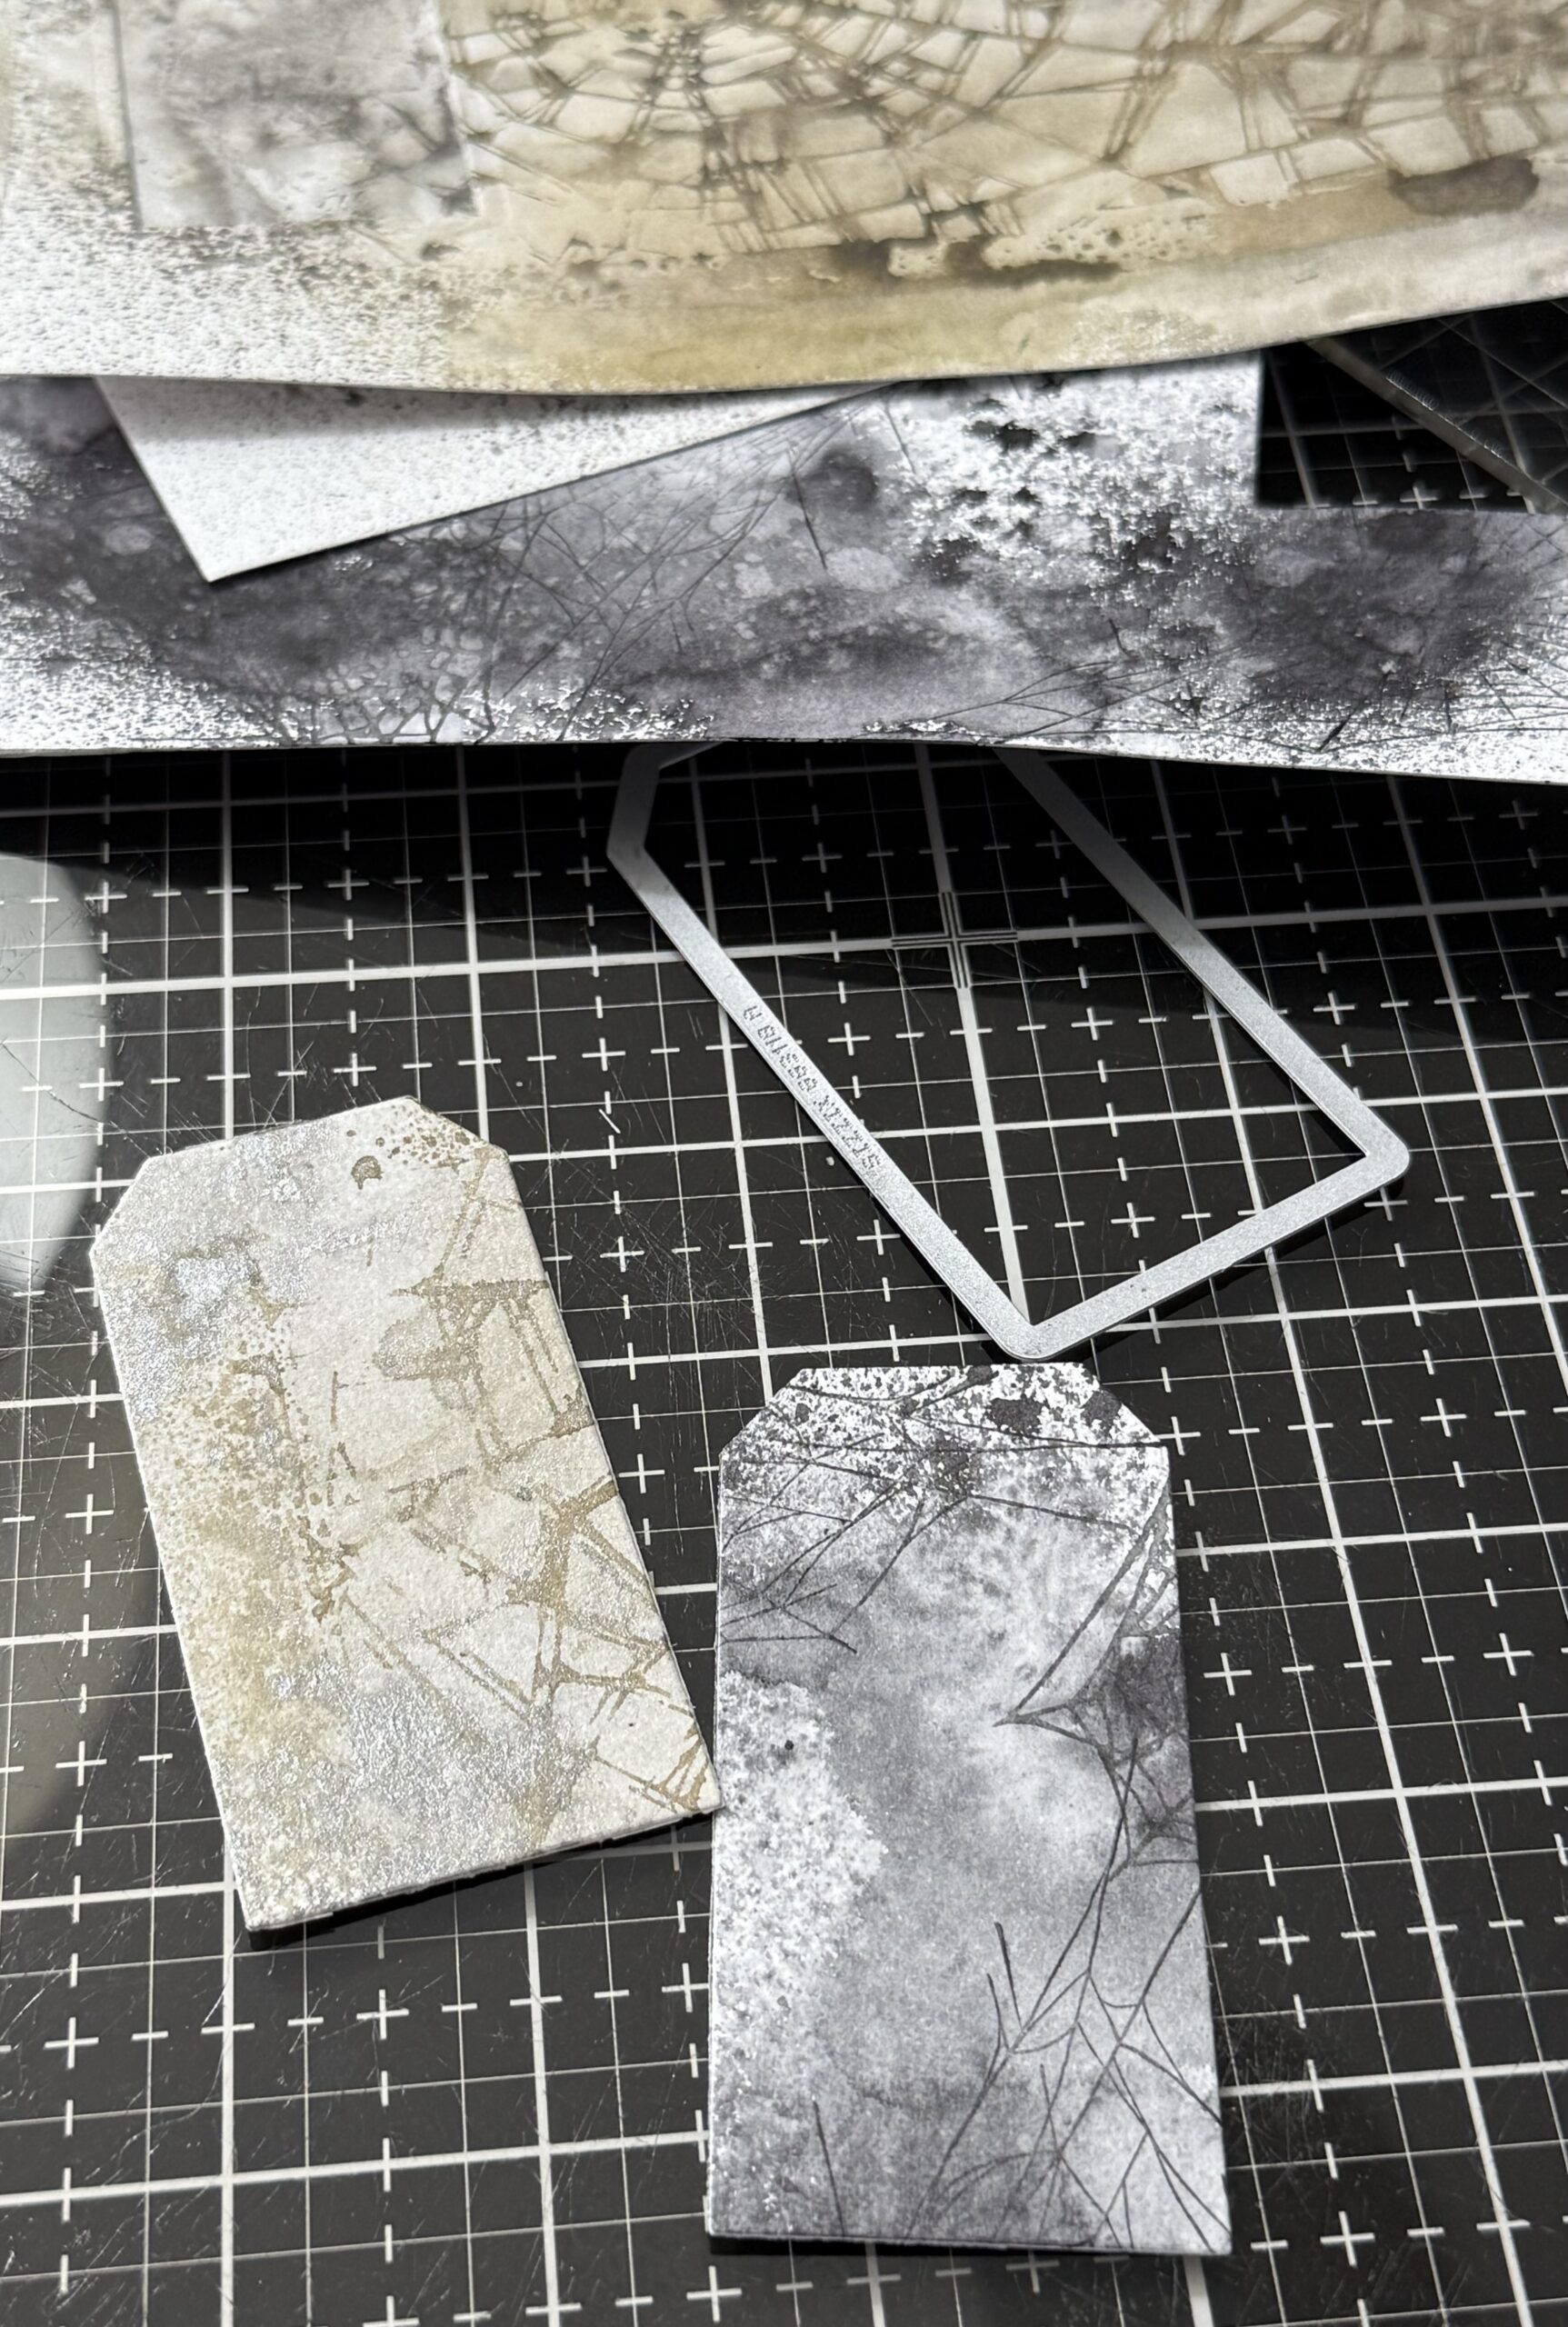
Next, to add some more oomph to the tags, I embossed a black piece of cardstock using the Tim Holtz 3D Woven Embossing Folder. This was to add a little texture to my tags, but use what you have. It’s fun to experiment to see what you can come up with to use amongst your own supplies using these ideas as a guide.
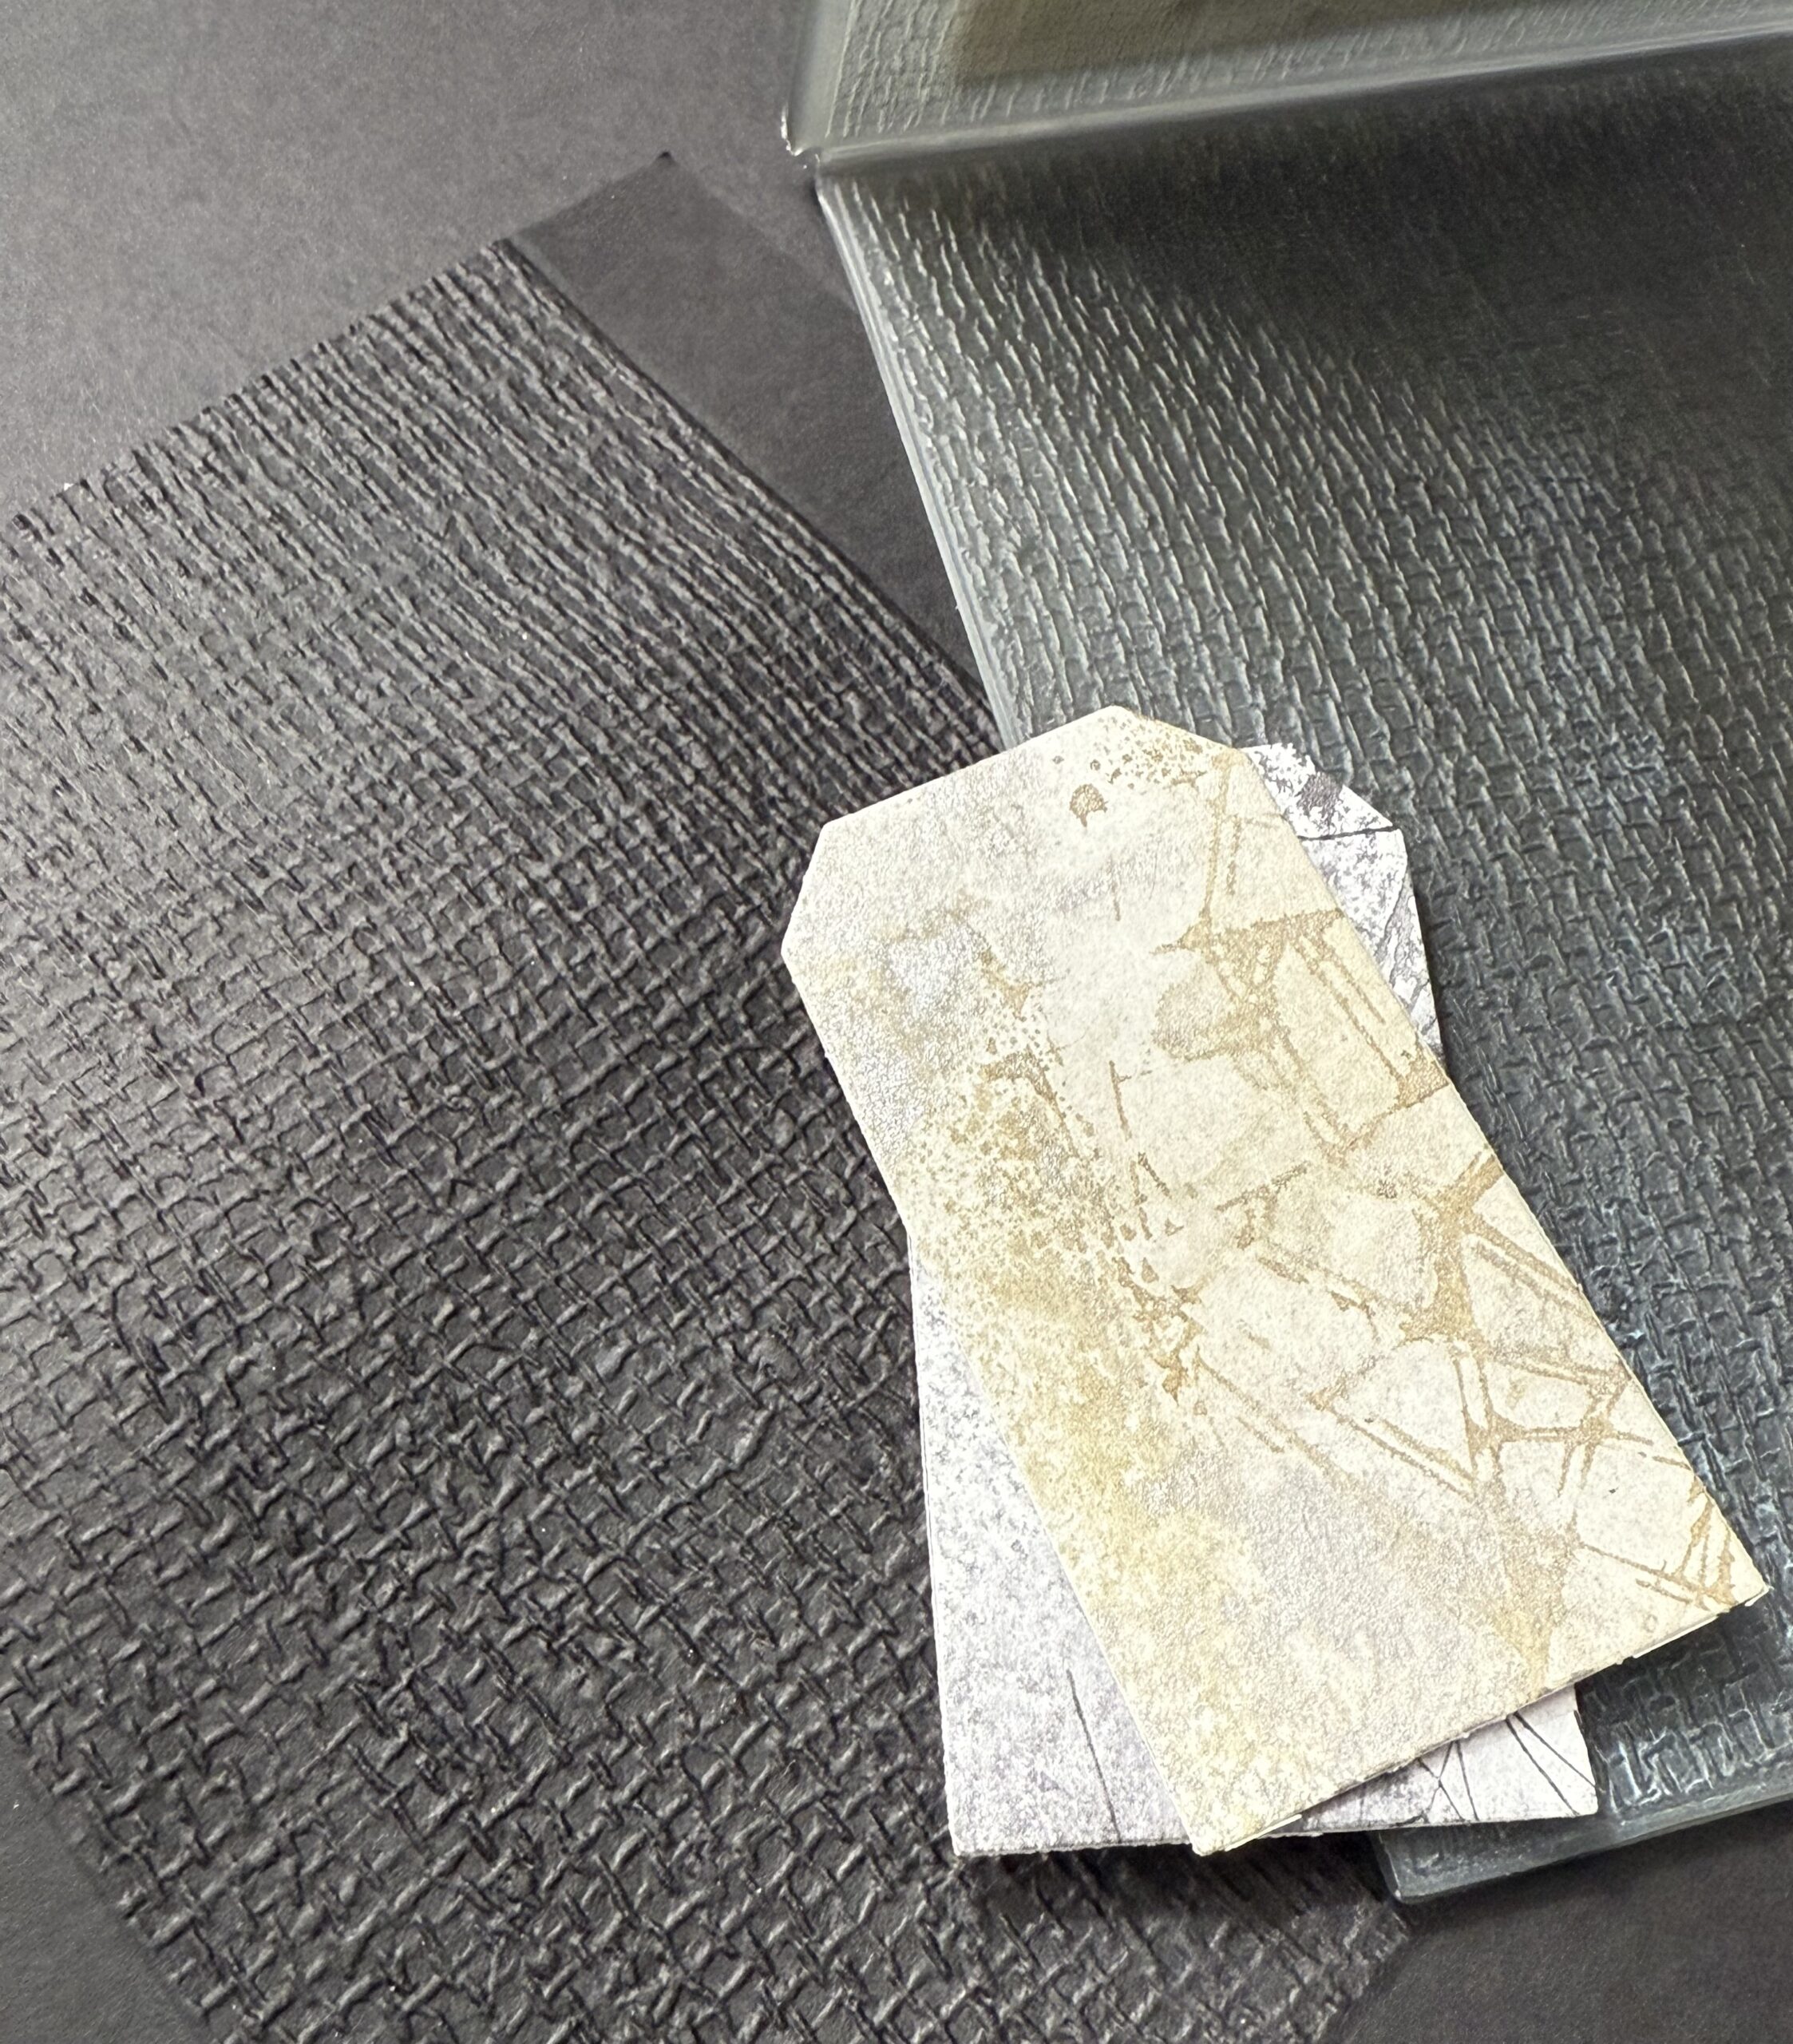
I layered a piece of the textured paper behind the tags and trimmed them to fit behind the die cut tags. I stamped the phrases from the stamp set onto each of the tags and added the die cut pieces to the front using foam squares to add some depth. I added some eyelets to the top of the tags and added a diecut washer to each of the sets of tags that were cut using some of my scraps of paper. I tied some string to the top of the tag and tied a bow using some inky ribbon I had in my stash.
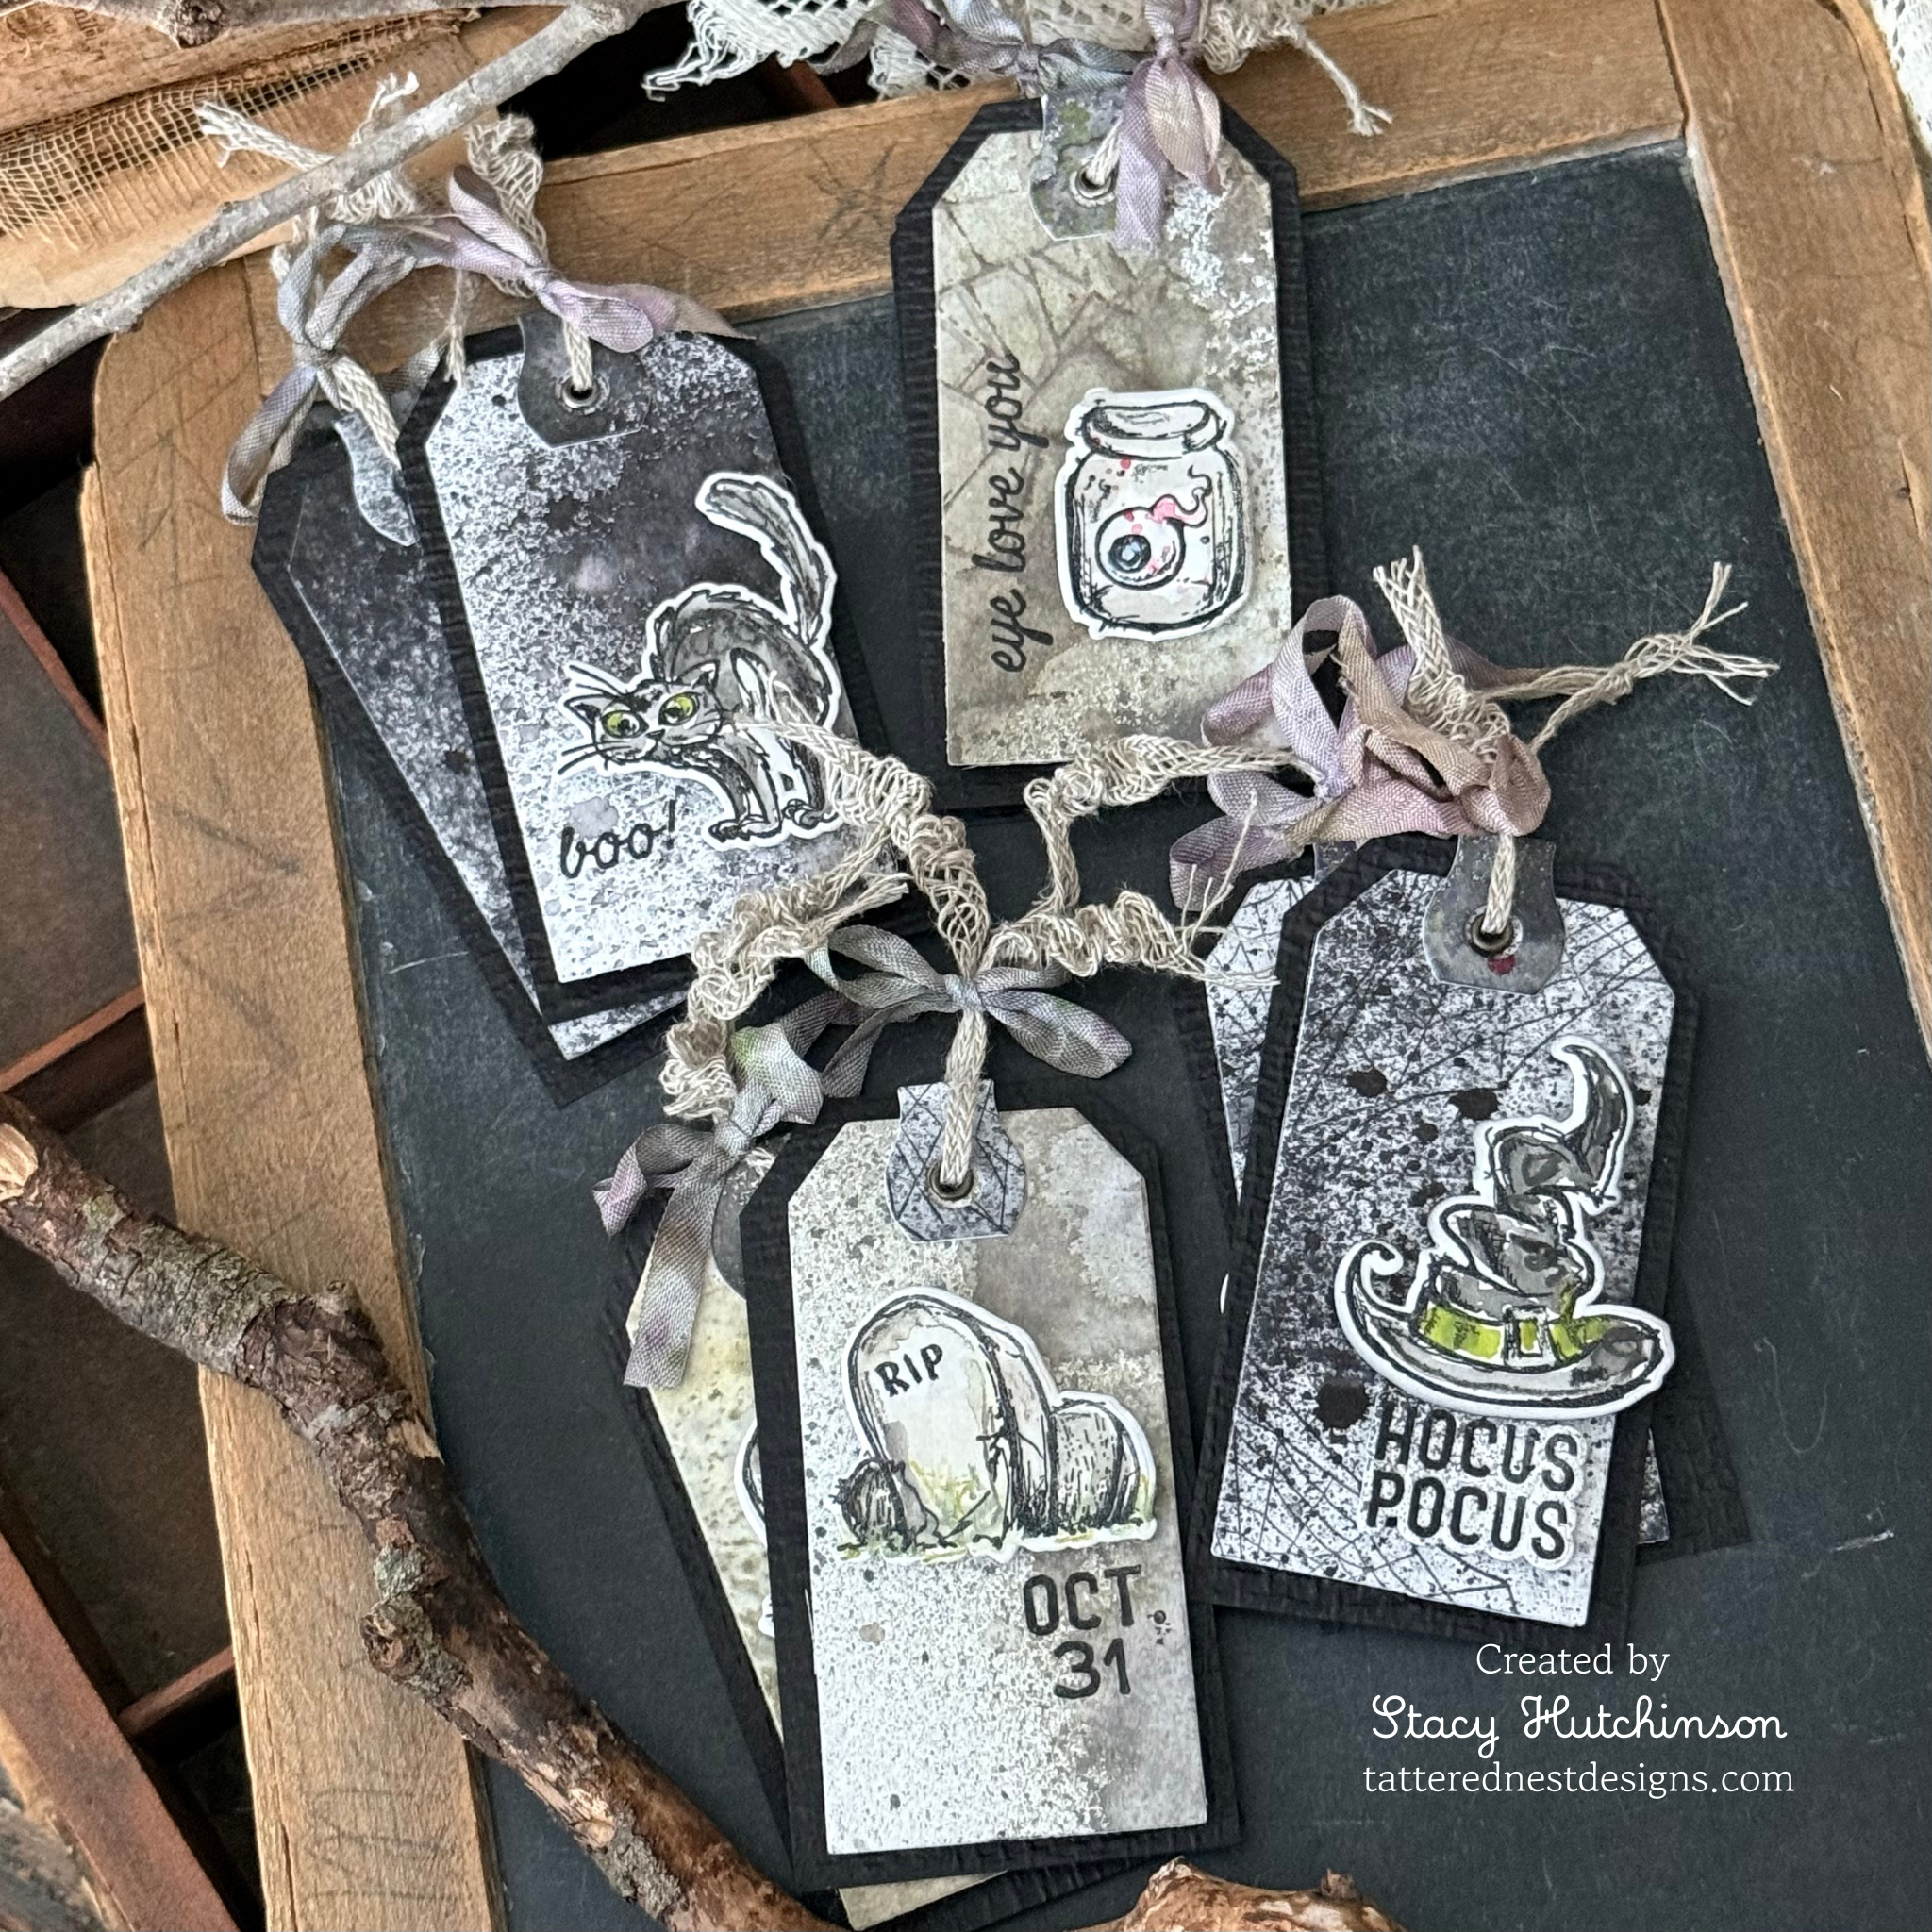
With that, my tags were complete!
Thanks so much for stopping by today..be sure to hop on one to the next blog, you won’t want to miss out on all the awesome inspiration. Thanks for stopping by!
Creatively yours,
Stacy
Shop Simon Says Stamp by clicking on this link. Thank you! I appreciate you for supporting me.
What is an affiliate program, and why should I click on the link and buy through you?
When you shop via the affiliate link on this blog, I receive a small commission from the affiliate provider (Simon Says Stamp) at no extra cost to you, whatsoever. These commissions help me to cover the hosting fees and other costs to run my blog and be able to provide you with FREE inspiration. If you shop the links, THANK YOU! I truly appreciate being able to share my love of creating with you.










Thanks for the great tutorial!! Love it!
Thanks for the great tutorial! Love it!
Great background ideas! Thanks for sharing.
I love the way you used all the elements to create such gorgeous projects!
This set is so much fun. That eyeball cracks me up. Fun tags!
Great instructions! Thank you so much! I was trying to convince myself that I do not need this set. I think I was wrong!
Thanks for showing the process. I love the backgrounds on these tags.
Thanks for sharing all your ideas. the backgrounds are very creative and interesting. I’ll have to pull out my brown and black distress inks and sprays.
How fun are these tags?! Waiting for my order to arrive so I can attempt recreating these for my family and friends.
Great tags! Love the look.
The tags came out great. The neutral colors used! I see all the details and work you put into the tags! They came out wonderful!
The tags came out great. The neutral colors used! I see all the details and work you put into the tags! They came out wonderful! Thanks for sharing!
I always love all the details you add to your projects. Your backgrounds are always so multilayered!
How CUTE! I love these new dies! Thanks for showing us details on how you did the backgrounds.
Thanks for all your posts. I’m a fan of all things TH and your use of his products is always so inspiring. Your tags are fun and creative.
Stacey, this may sound a bit weird…given the content, but I love the softness of your projects!
They really speak to me. I may have to try my hand at this….rather than always making it so deep and dark for Halloween.
Thank you.
Cutest tags ever! I love your techniques and inspiration on the backgrounds and want to try some of these myself! Thank you for sharing your awesome talent!
Love the use of distress sprays. Great catds
Oh how I love your makes Stacy! The beautiful textures, the perfect grungy tones and textures. So inspired by your creativity! I’m still loving creating with your Spooky Moon technique! These tags are gorgeous in all their grungy goodness xoxo
Such fun tags. Great job
Fabulous tags
Wonderful grunge. I’m too anal to do it well; my drops would have to be symmetrical
Intriguing & creative makes! Great job!
Intriguing & creative makes! Great job!