Hello friends! I hope this post finds you well…I have another tutorial for you today sharing how Halloween paper doesn’t necessarily have to be strictly used for Halloween.
I instantly fell in love with one of the new Tim Holtz Halloween Palette paper, it is black and all covered in Butterflies and it got me to thinking about an entomology type of project. I just knew I needed to use it on the outside of a vignette and do something with it! Sometimes the papers speak to you and you just have to use them!
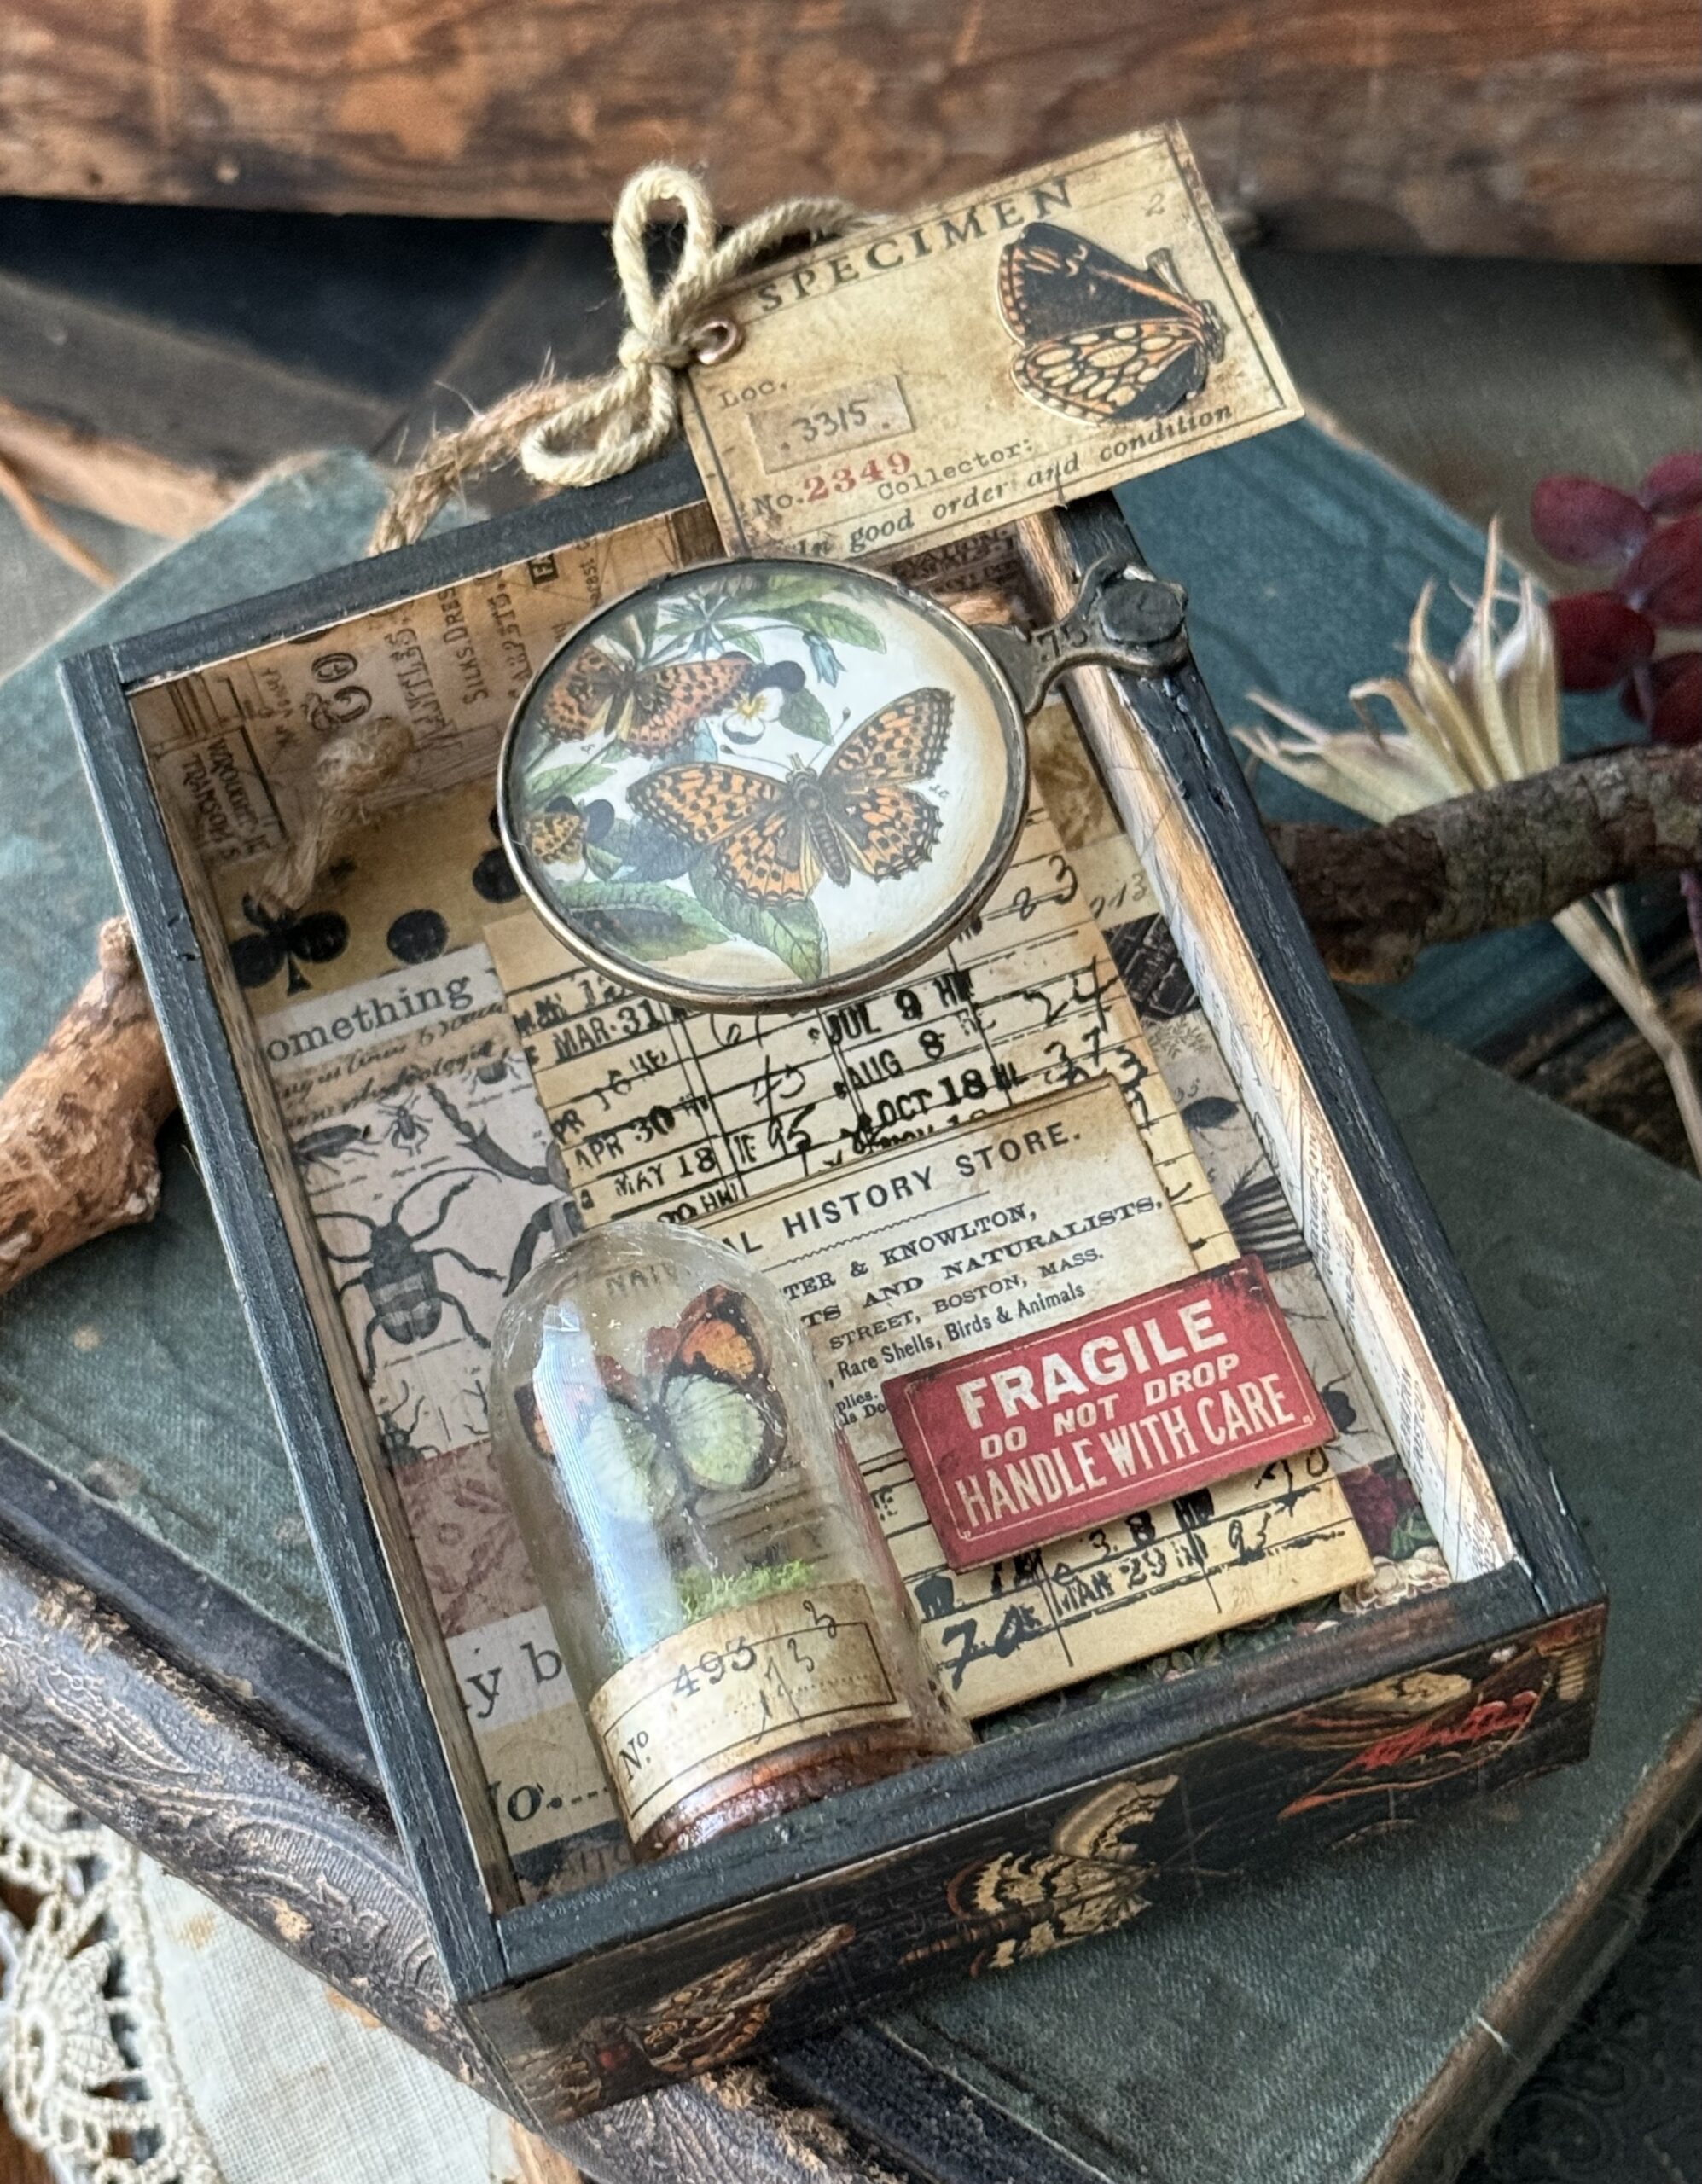
I also thought it would be a fun challenge to try and make a project out of Halloween but not have it be Halloween. All the paper for this project came from the Tim Holtz Halloween Palette 8×8 package. The other elements all came from the regular idea-ology line. It is so easy to mix things up with the Tim Holtz line, whether that be papers, stencils, stamps, idea-ology…they all just blend so well and fit each other so perfectly!
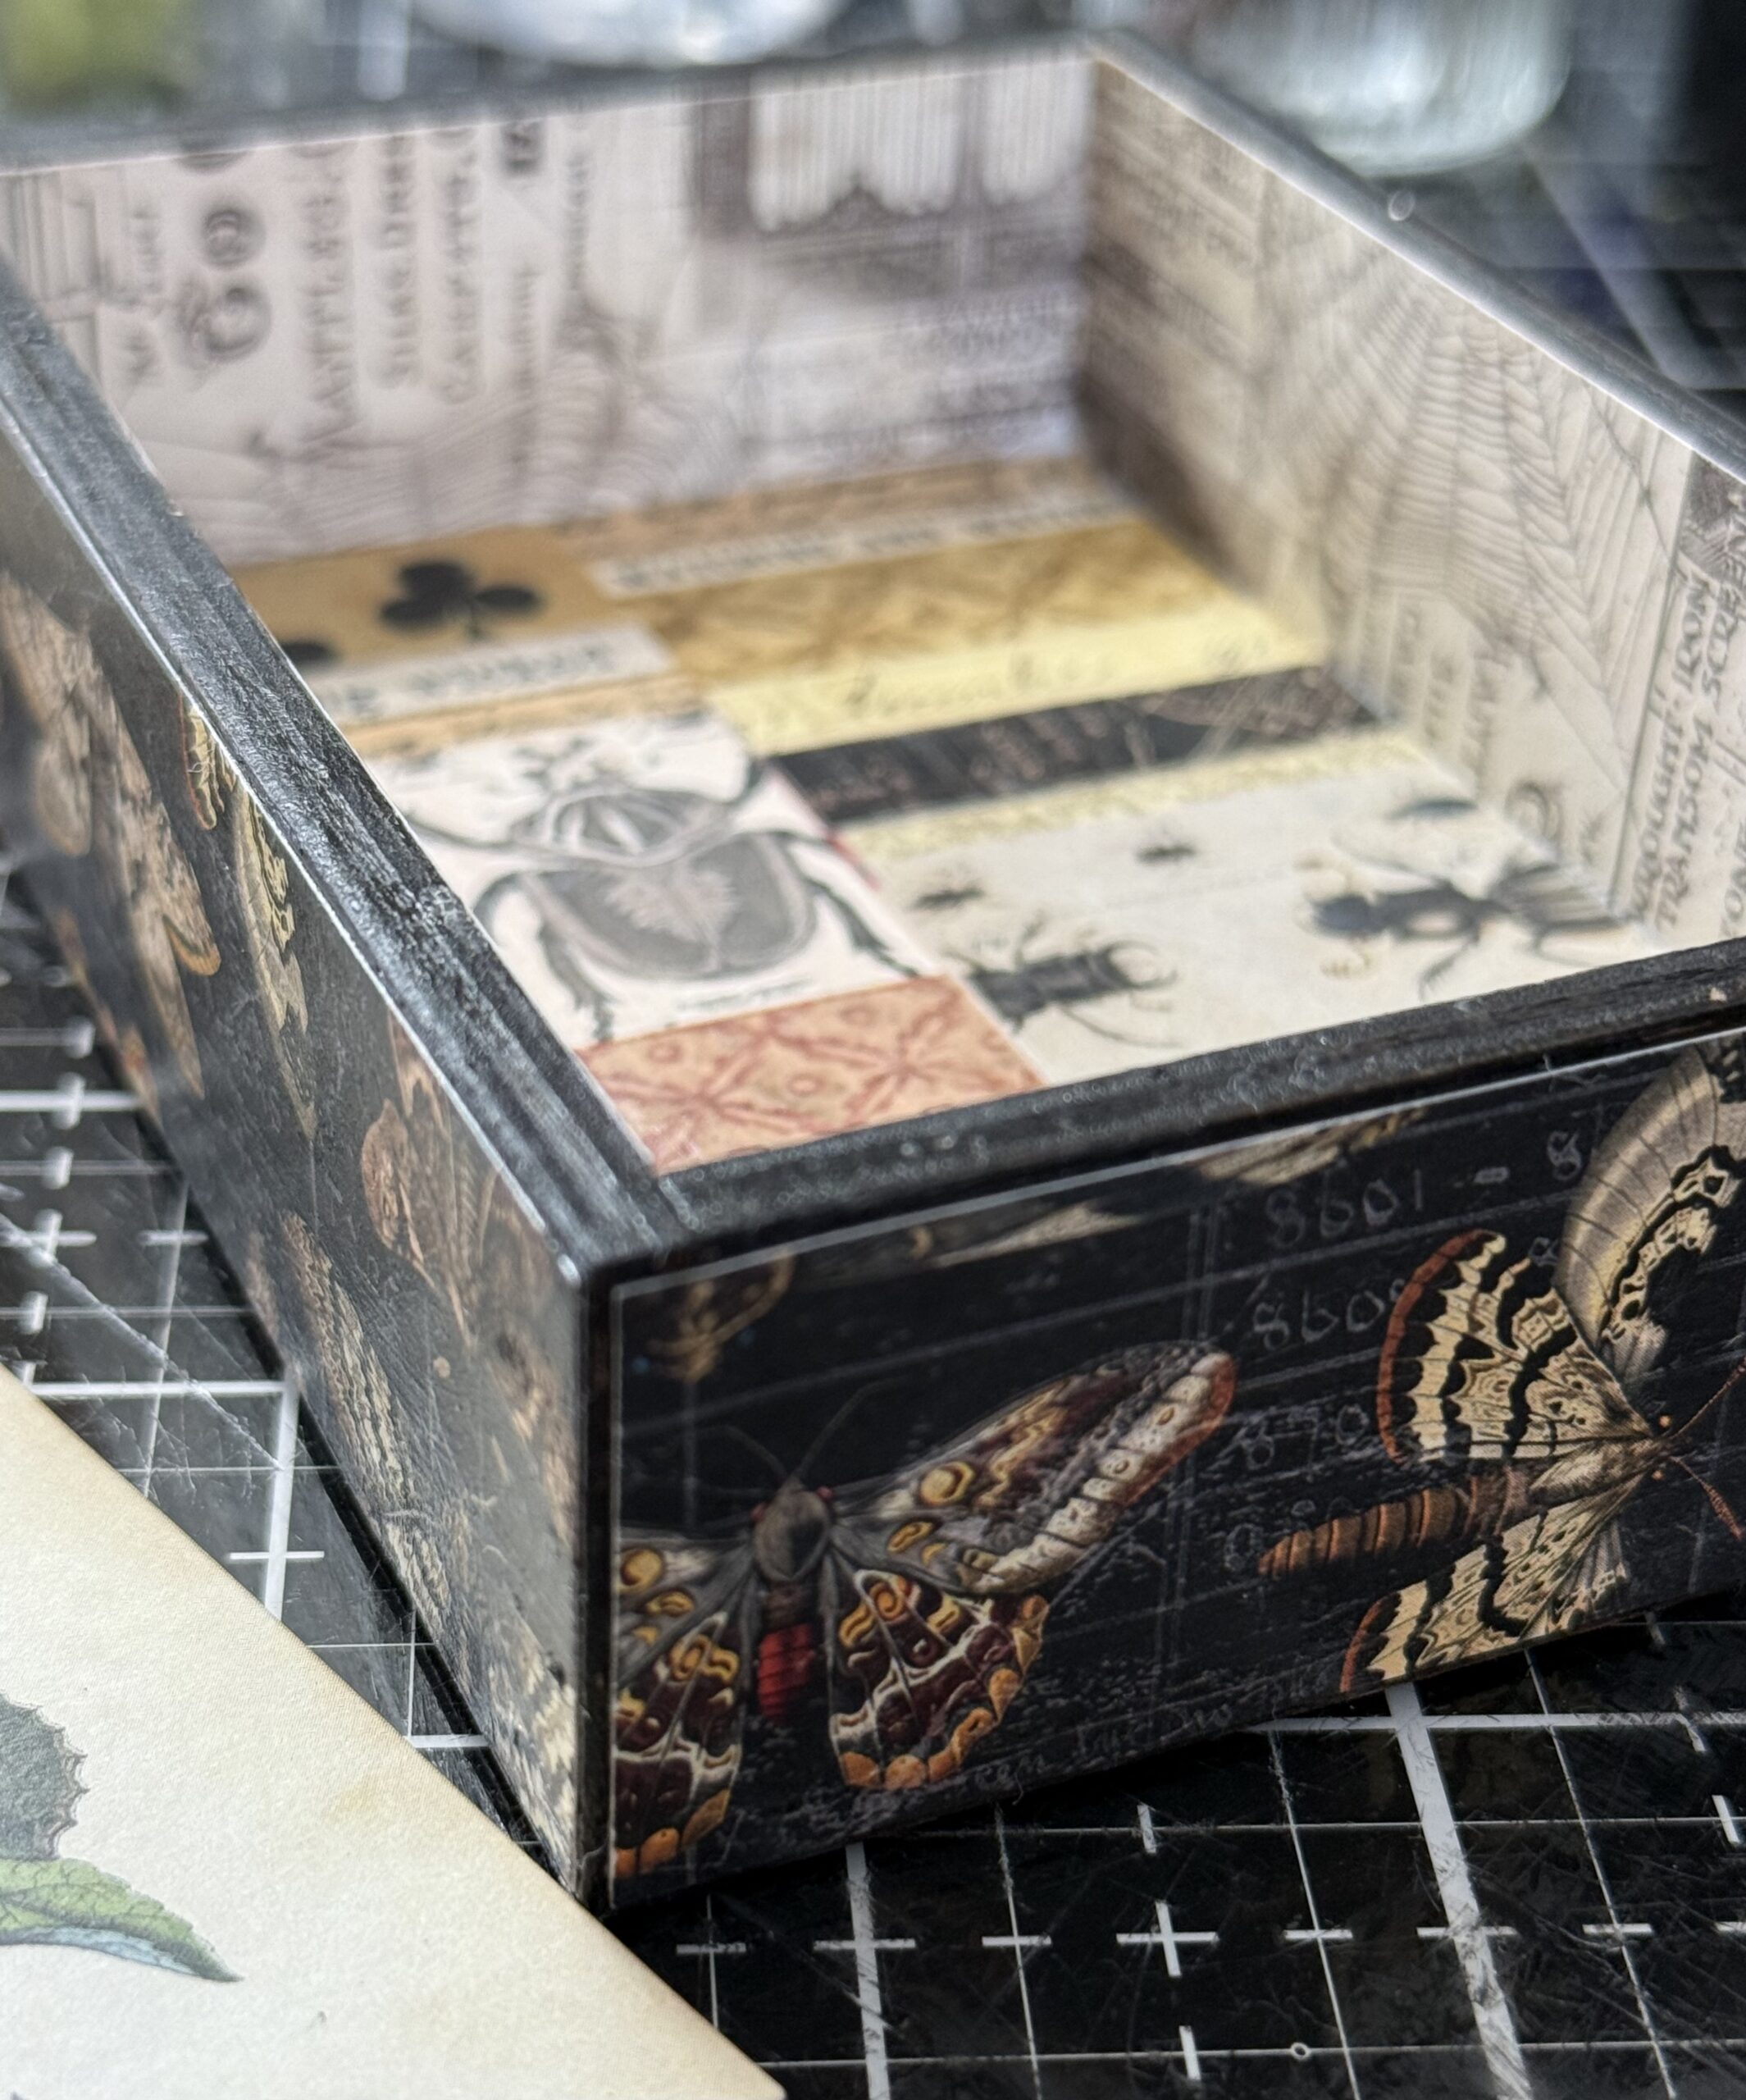
I used other papers from the Halloween Palette Collection in the background of the vignette box and added a mini dome inside it and used a mini butterfly to bring the look together.
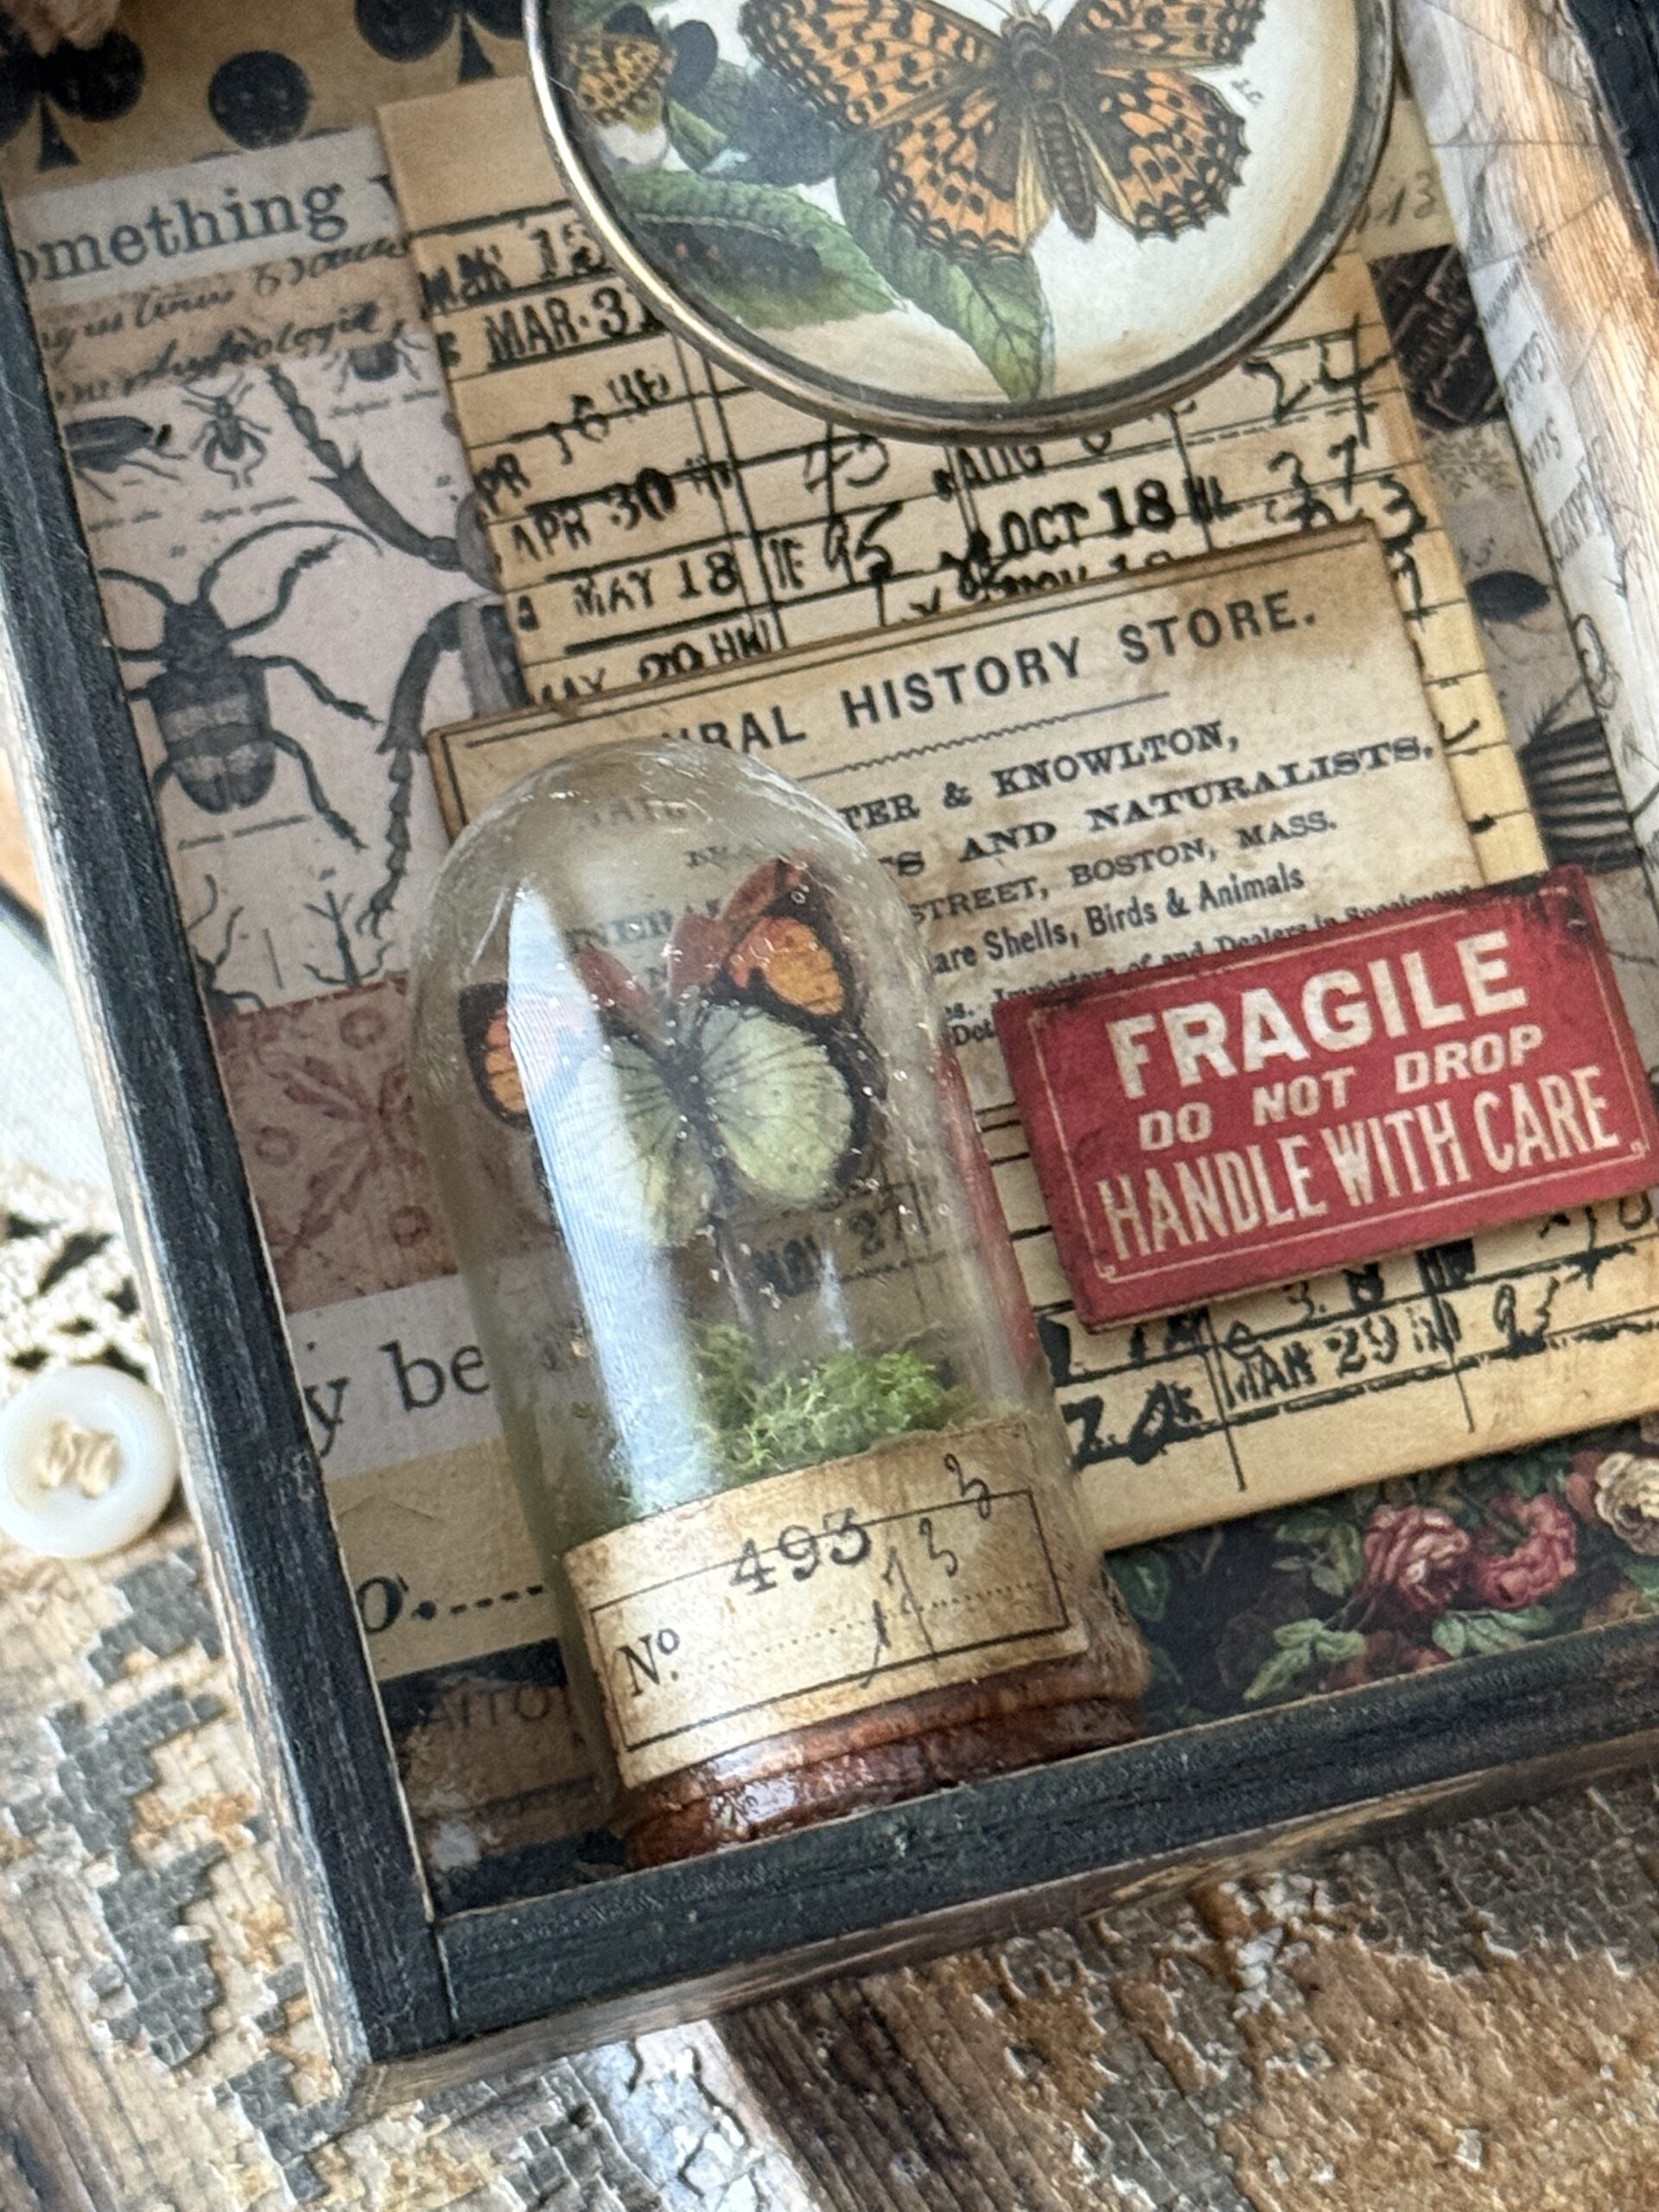
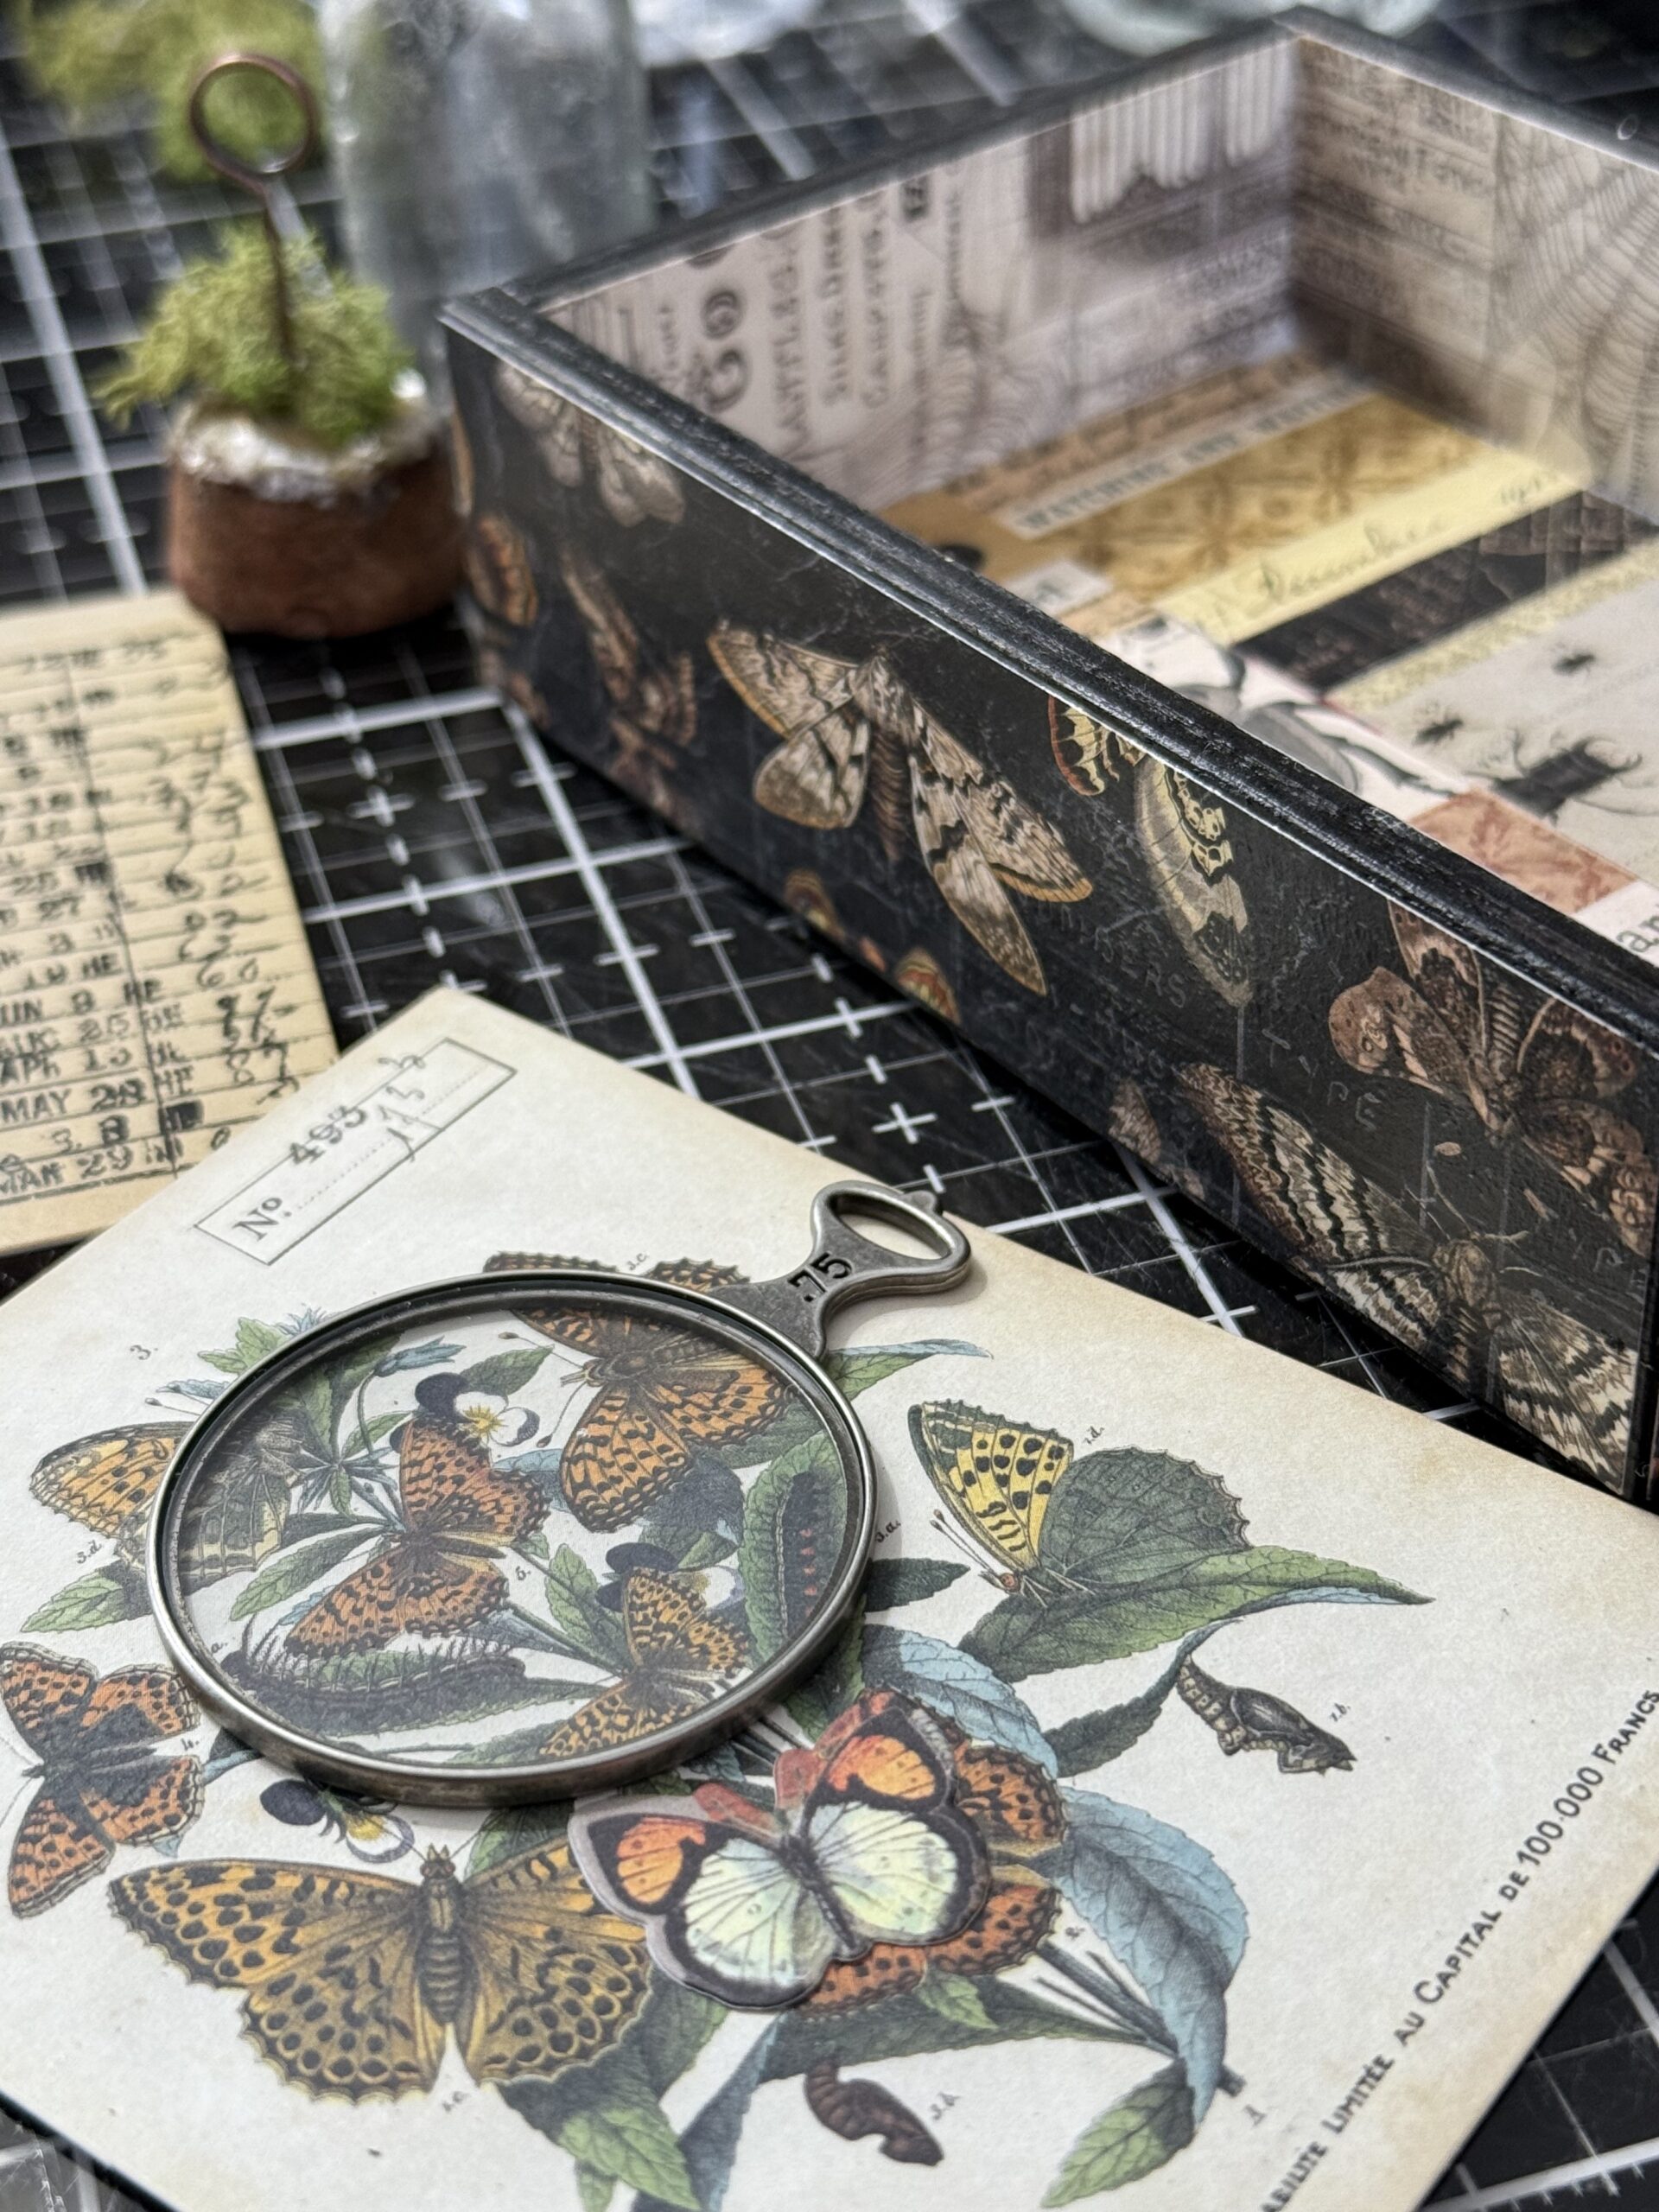
A Specimen tag was added to the top of the vignette box. This tag, along with all the butterflies, were found in the Field Notes Ephemera pack. I used an idea-ology Lens that was tacked onto the side of the box and another piece of Field Notes Ephemera on it to add to the theme of it all.
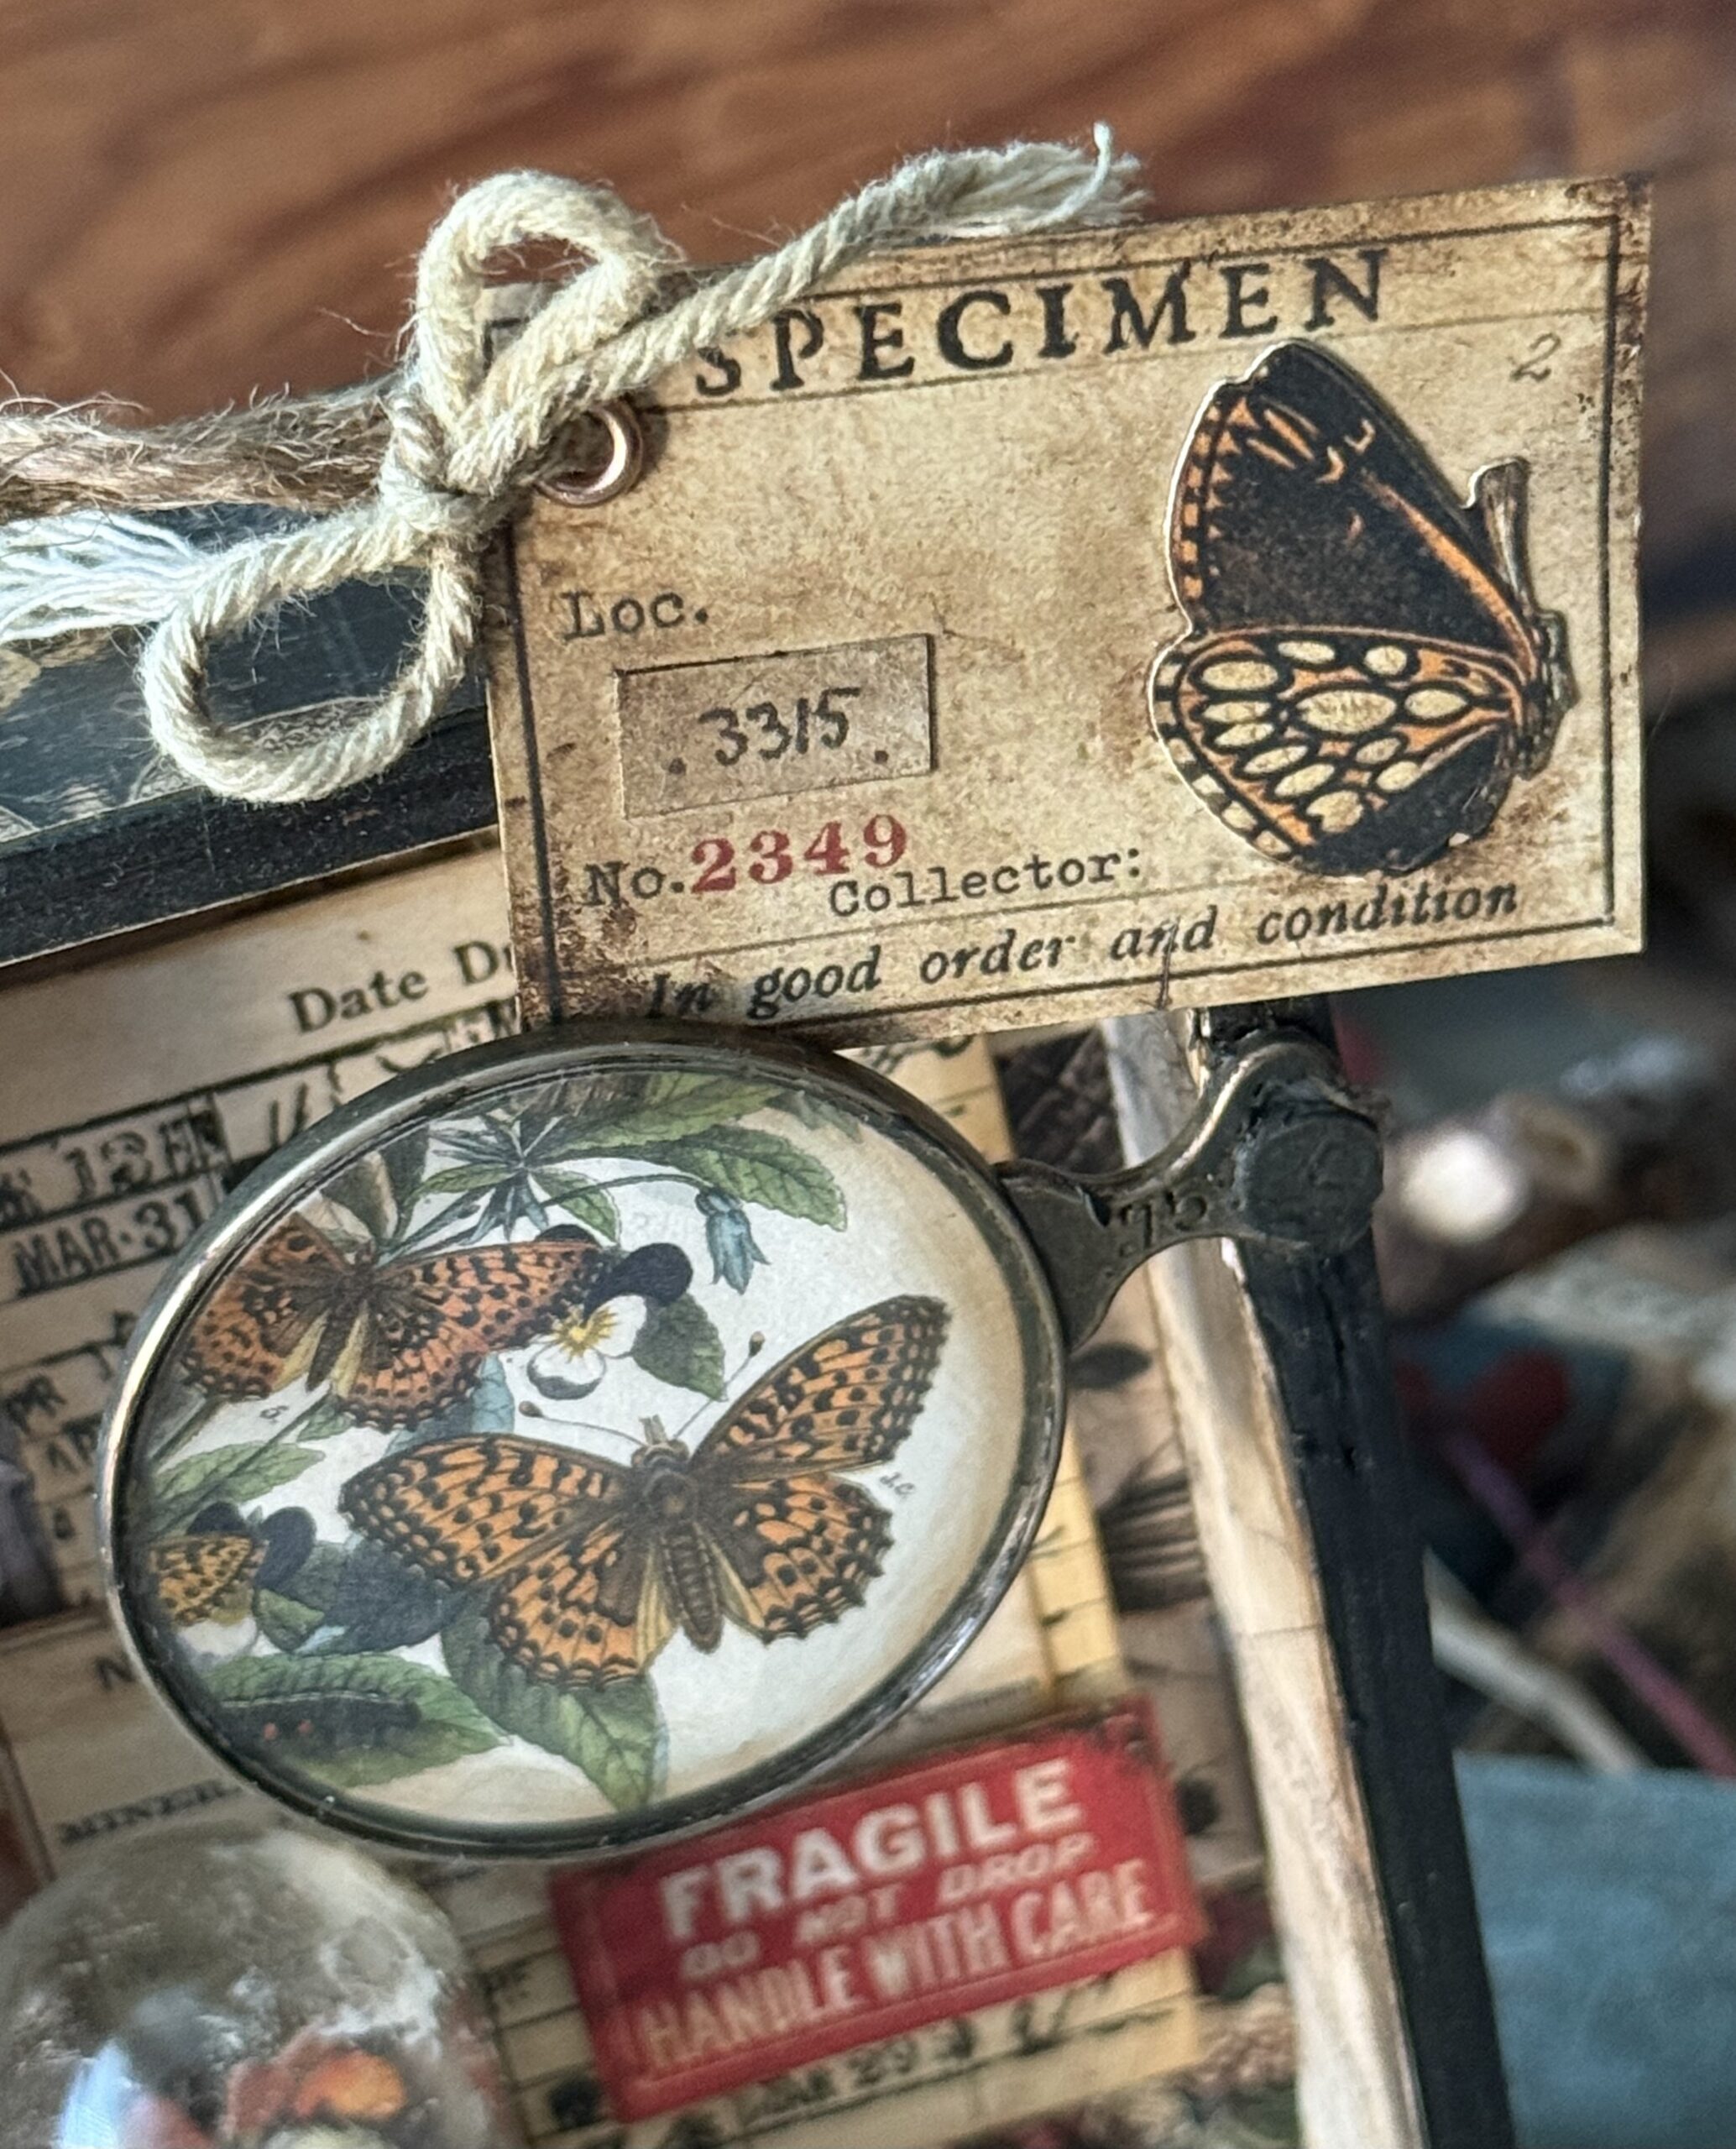
And the top, “drawer pull” is a piece of jute that was doubled and tied to the top of the vignette by drilling some holes into the box after all the papers were adhered.
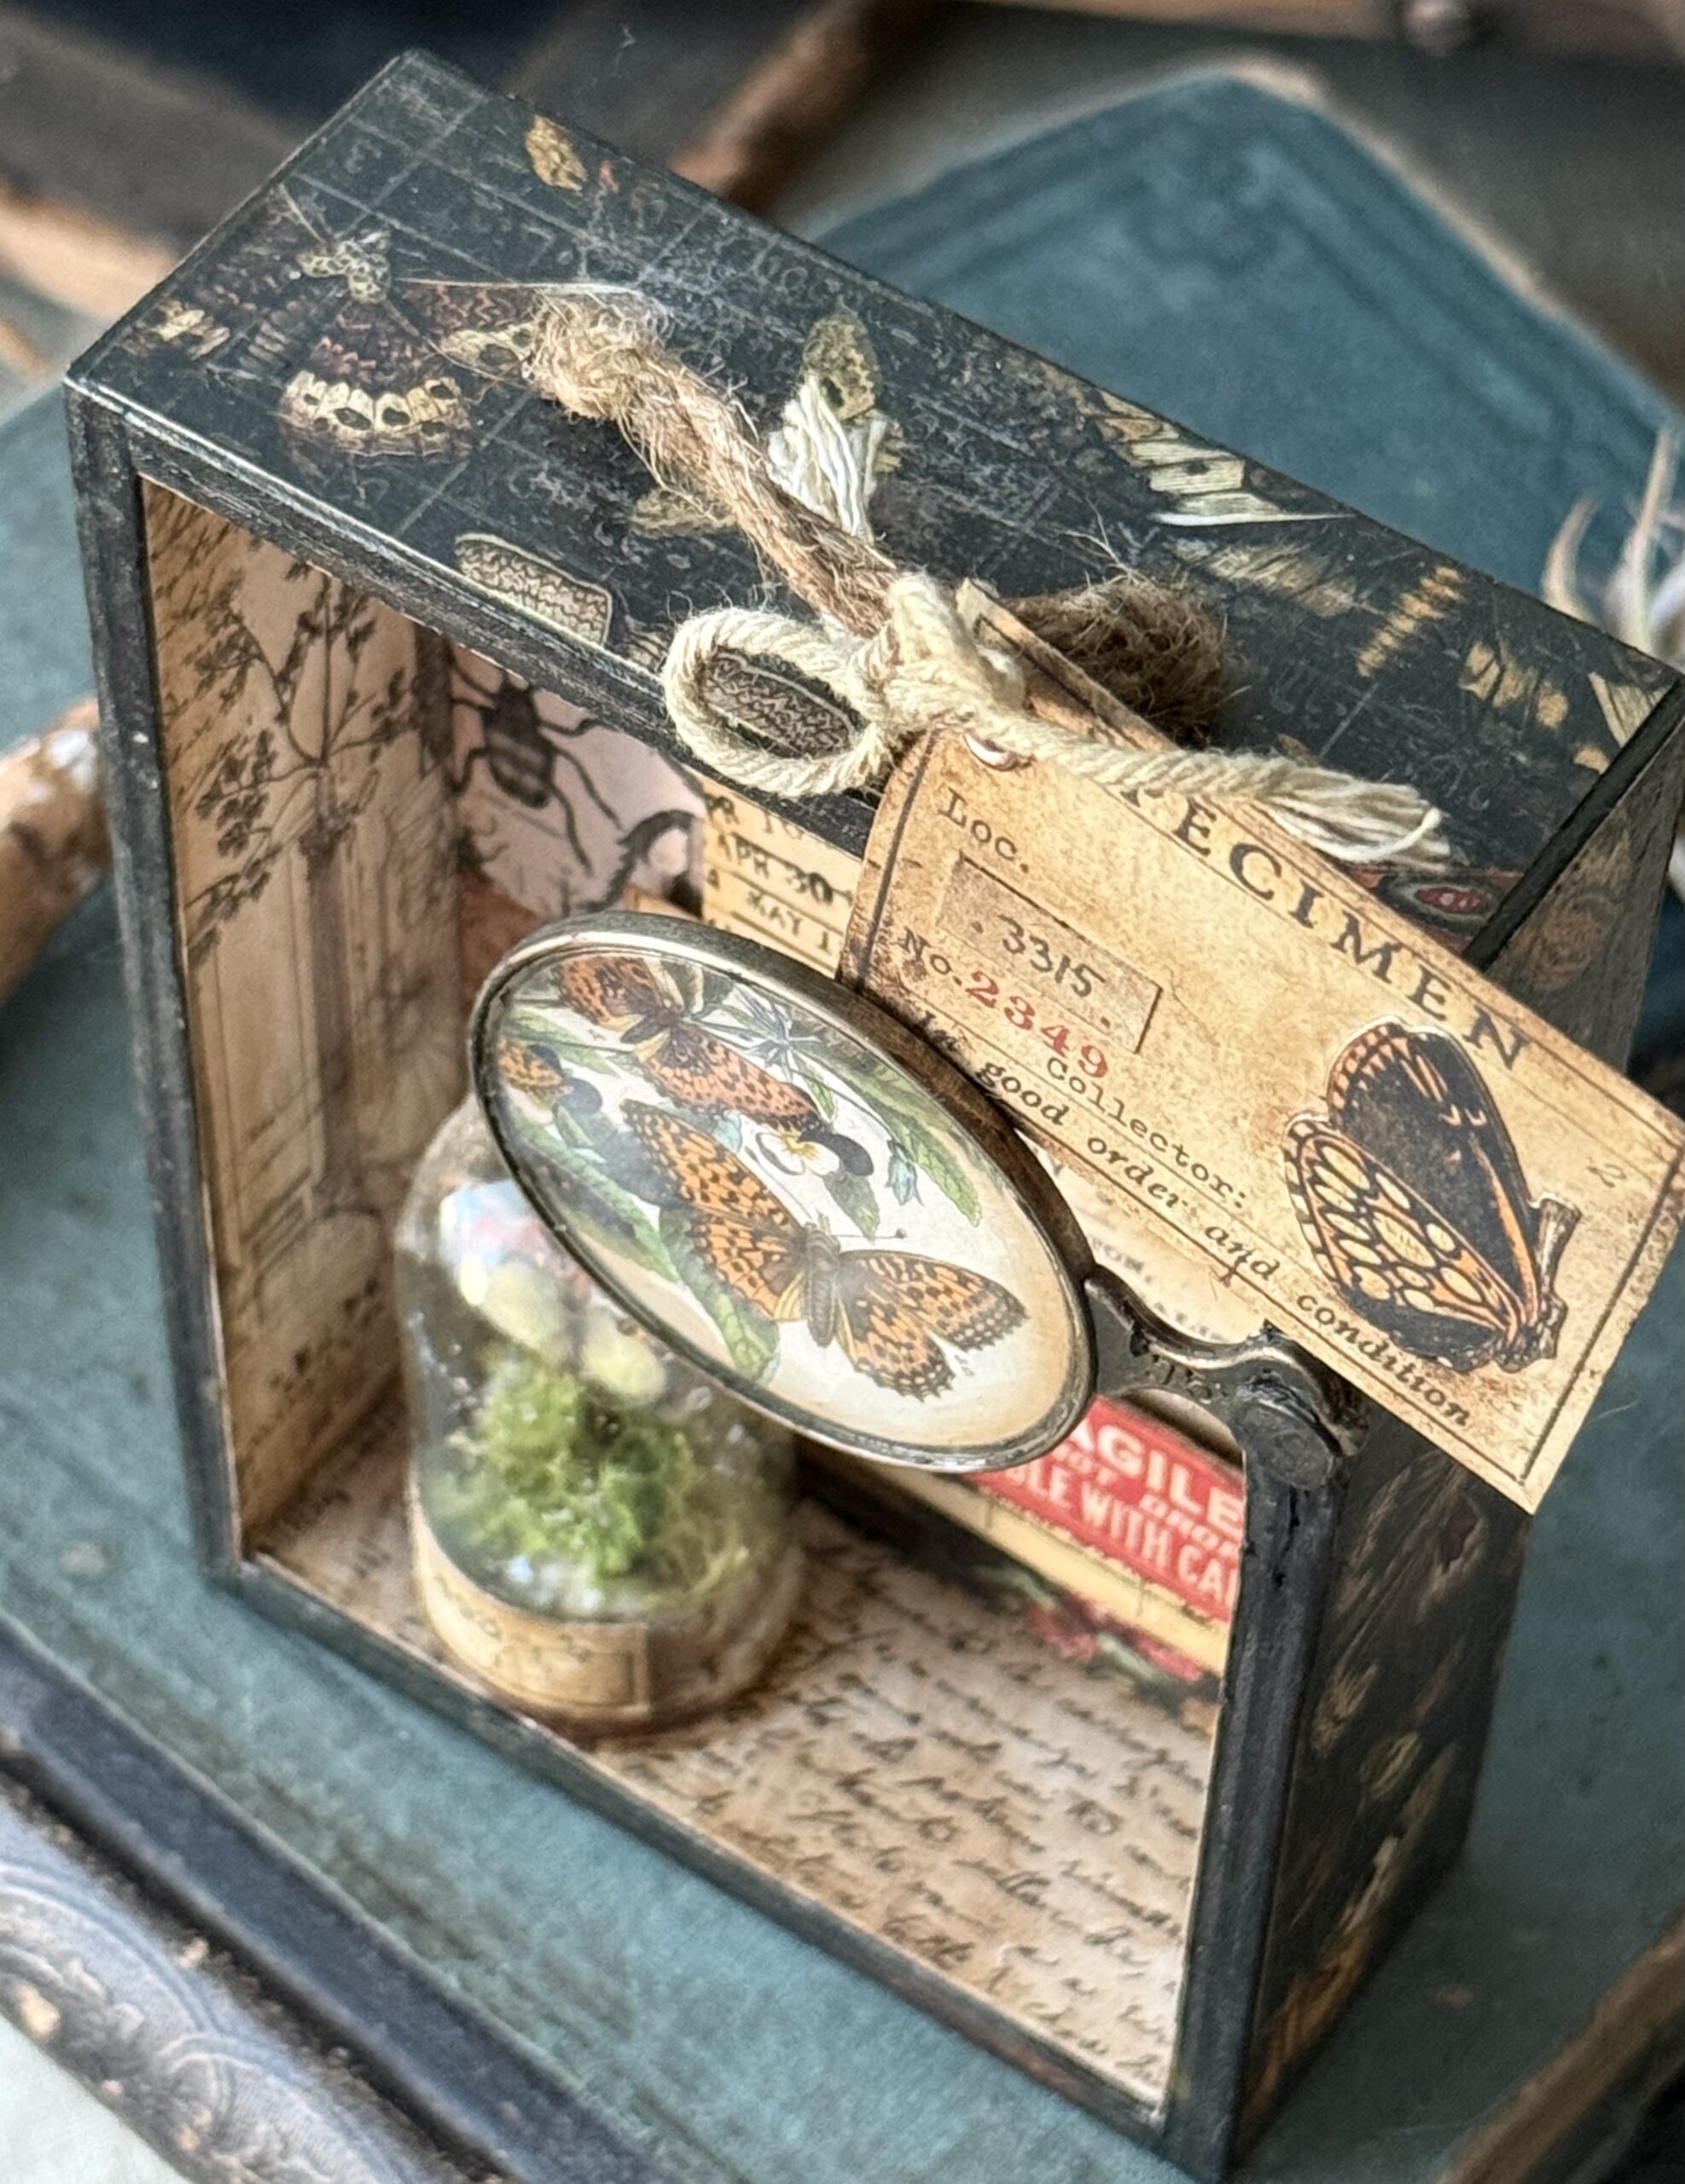
Let’s get to making it…
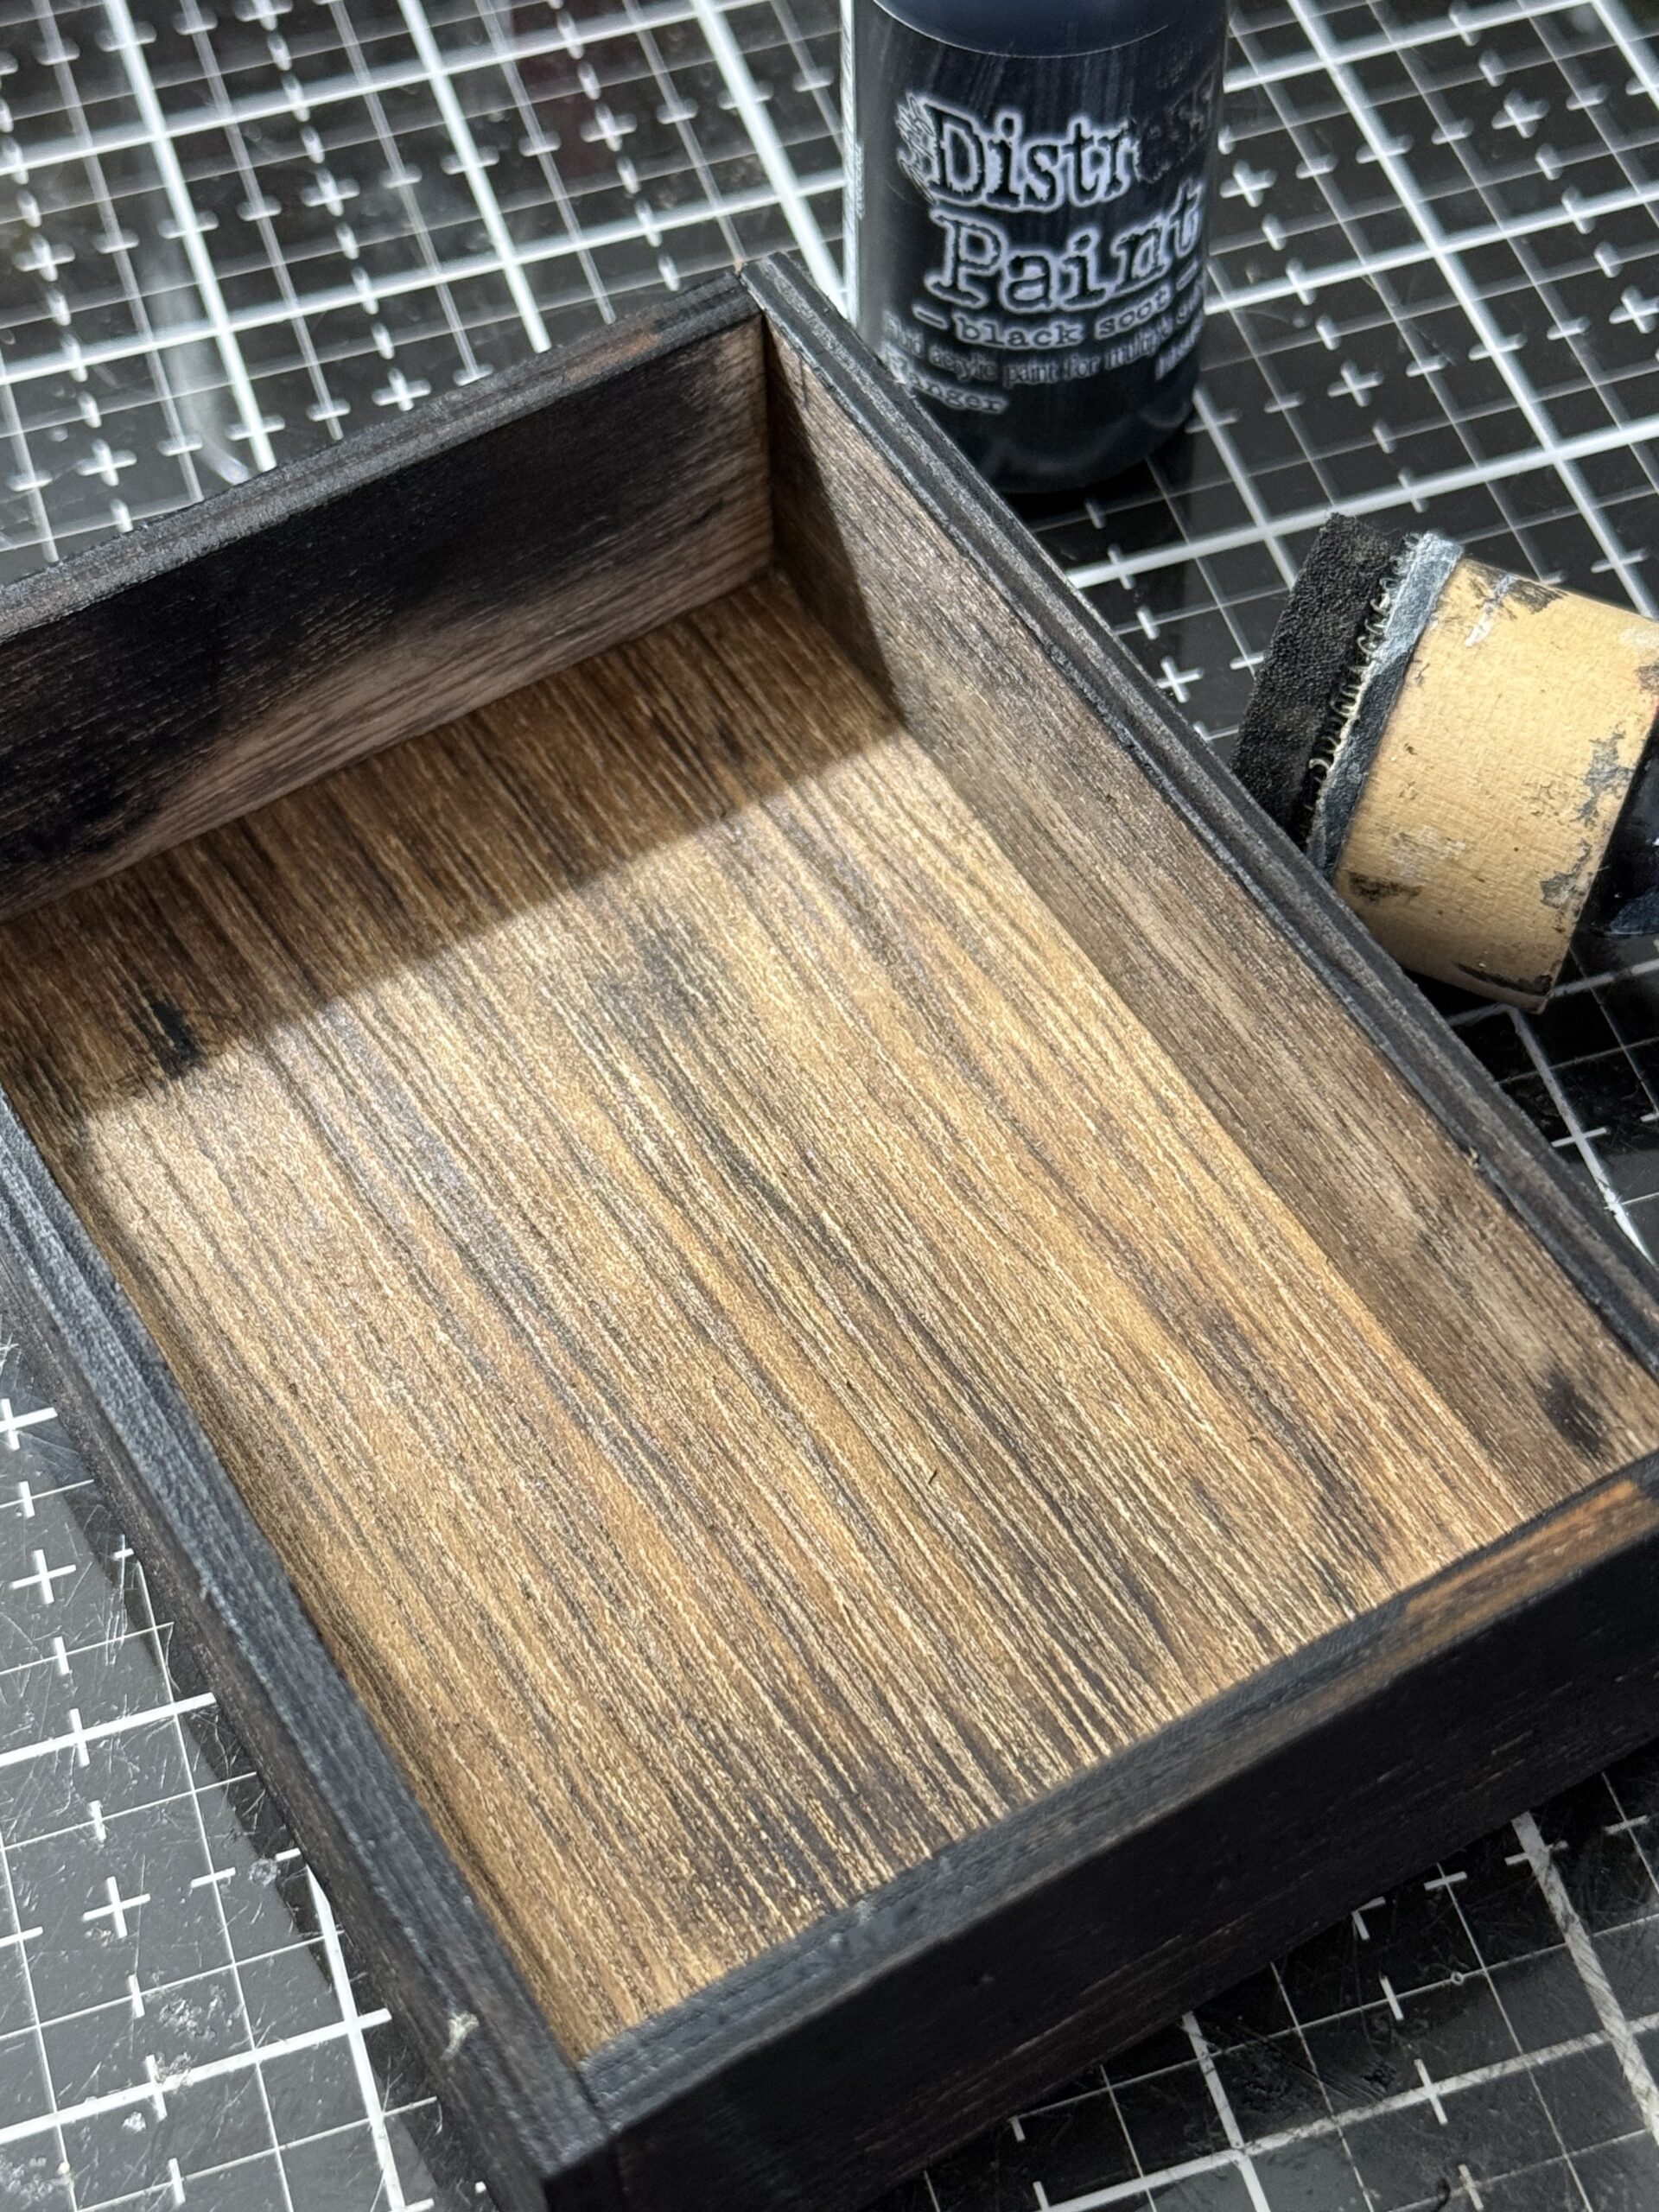
I painted the edges of the vignette box using Black Soot Distress Paint and a blending tool.
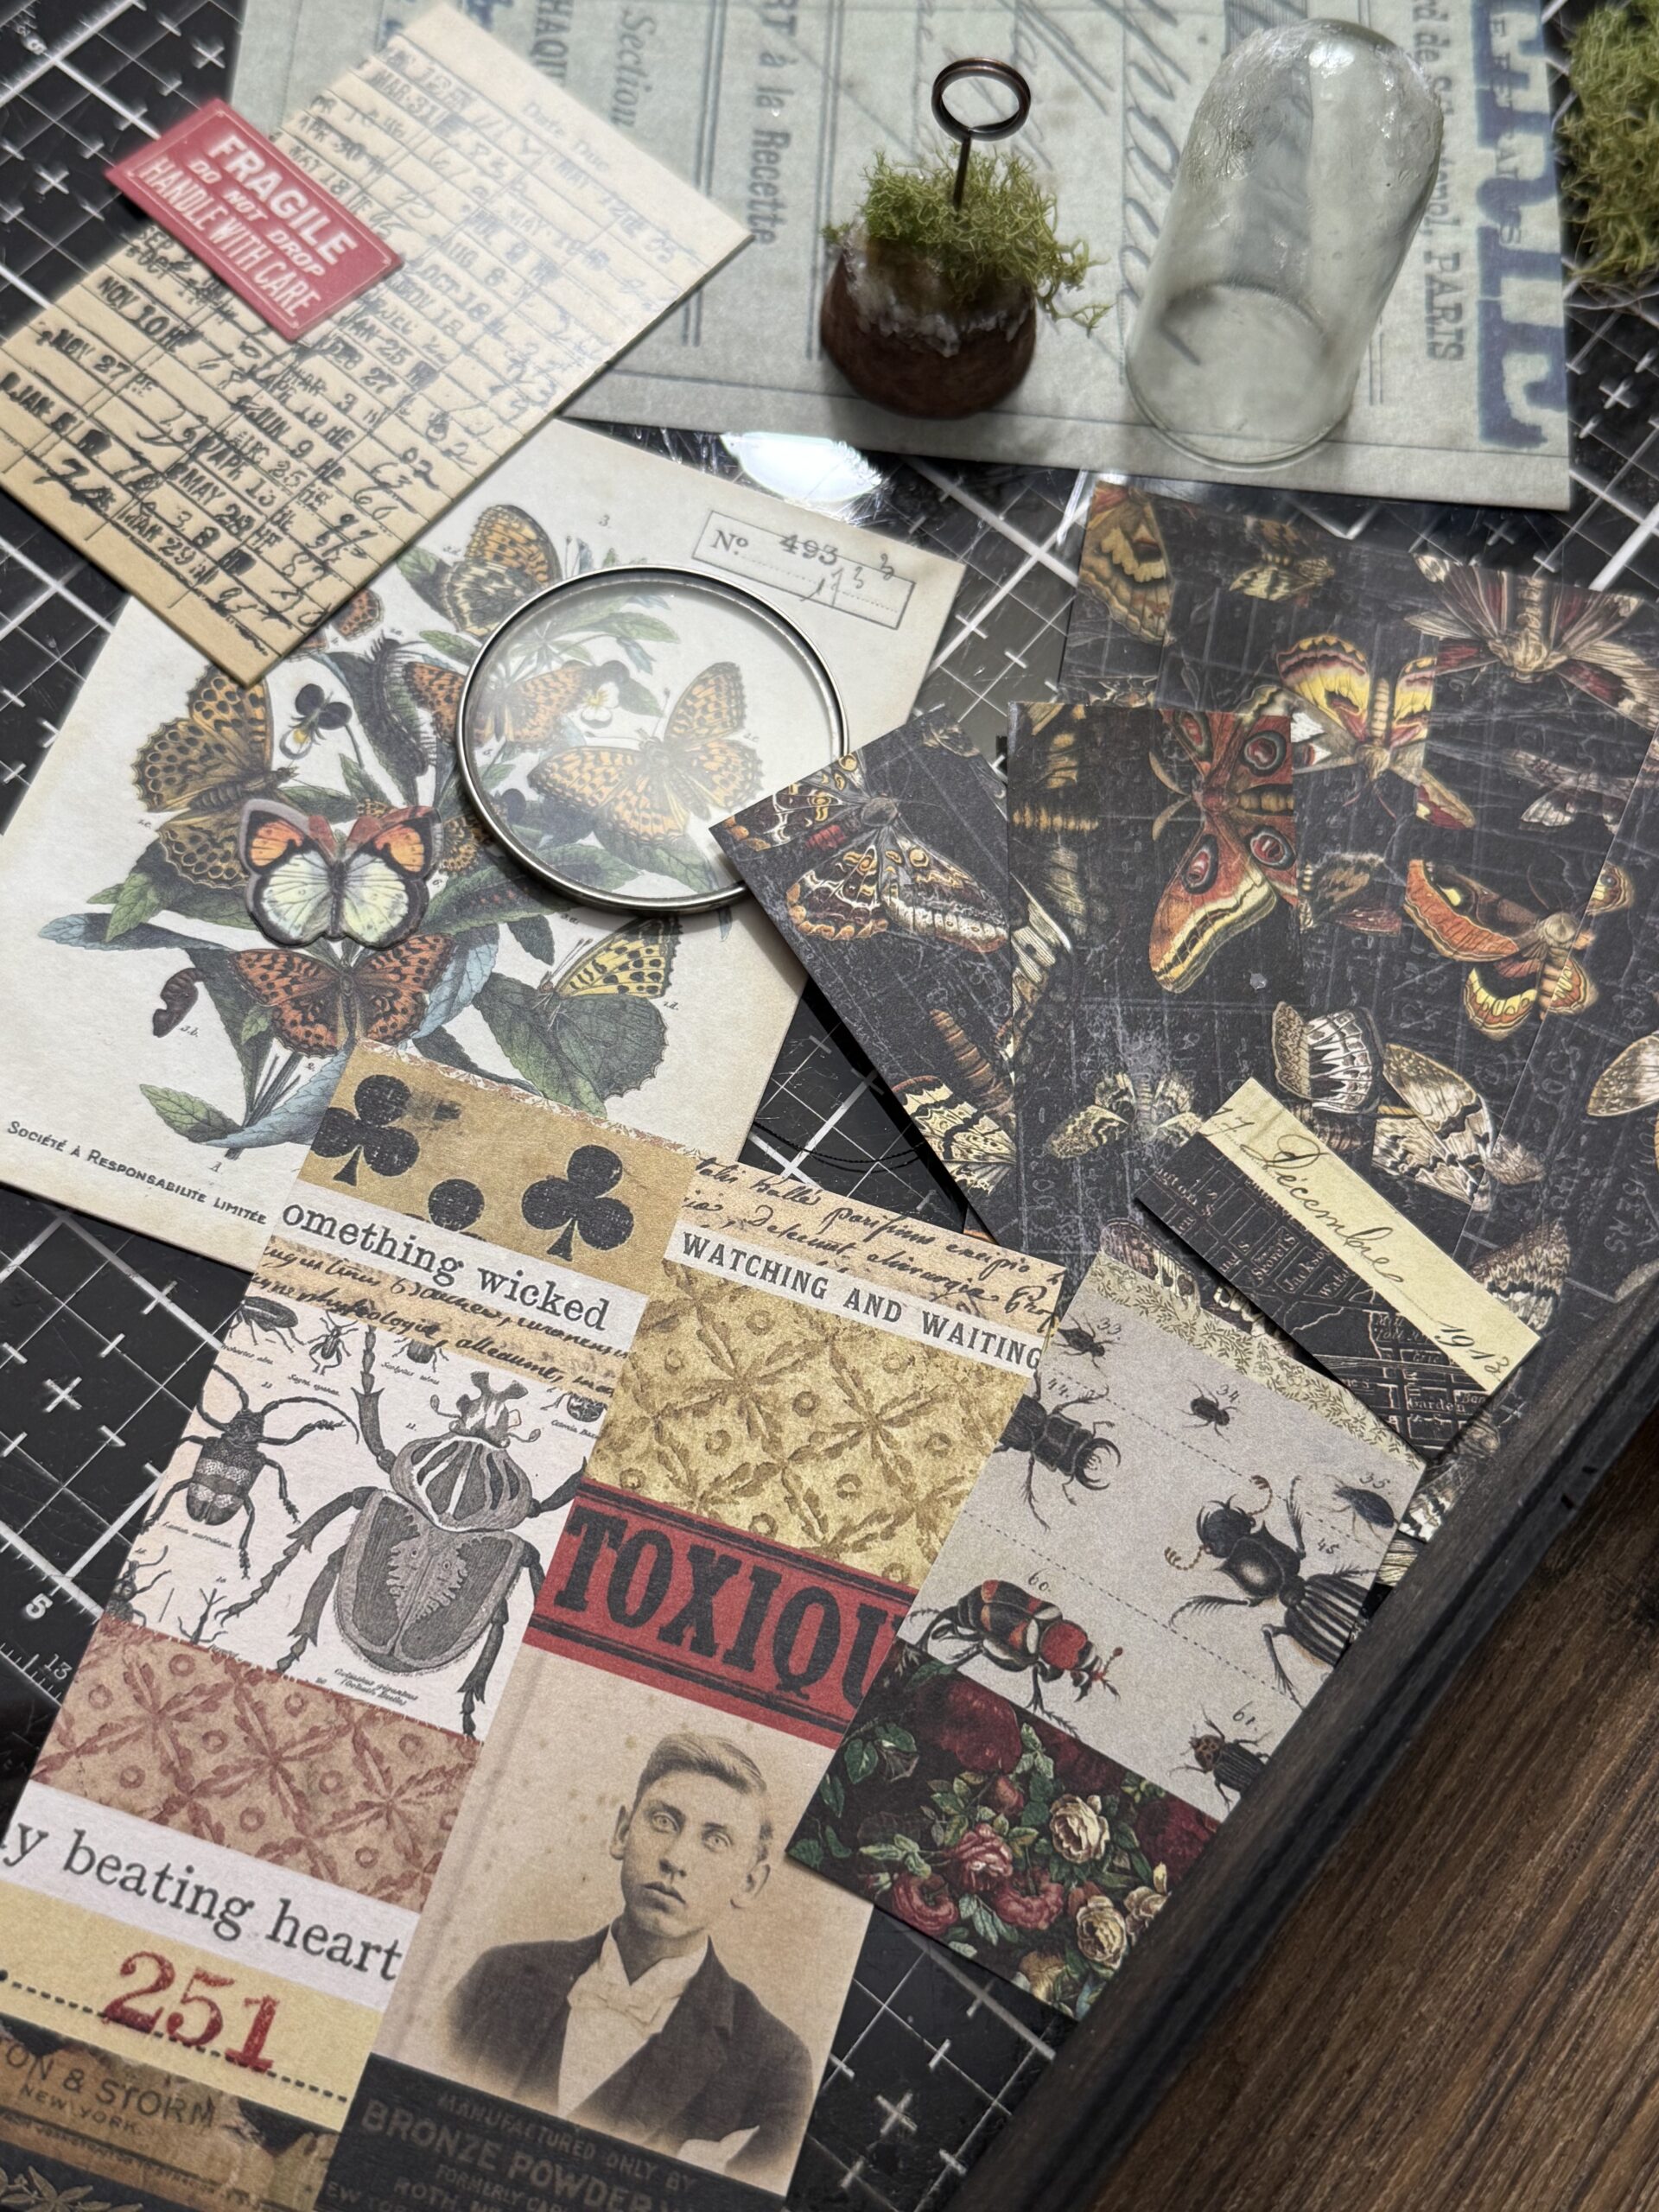
I sorted and gathered my pieces that I thought would work in the box with the theme.
Then began distressing the individual pieces. I cut down the papers I was going to use in the background and edges of the box.
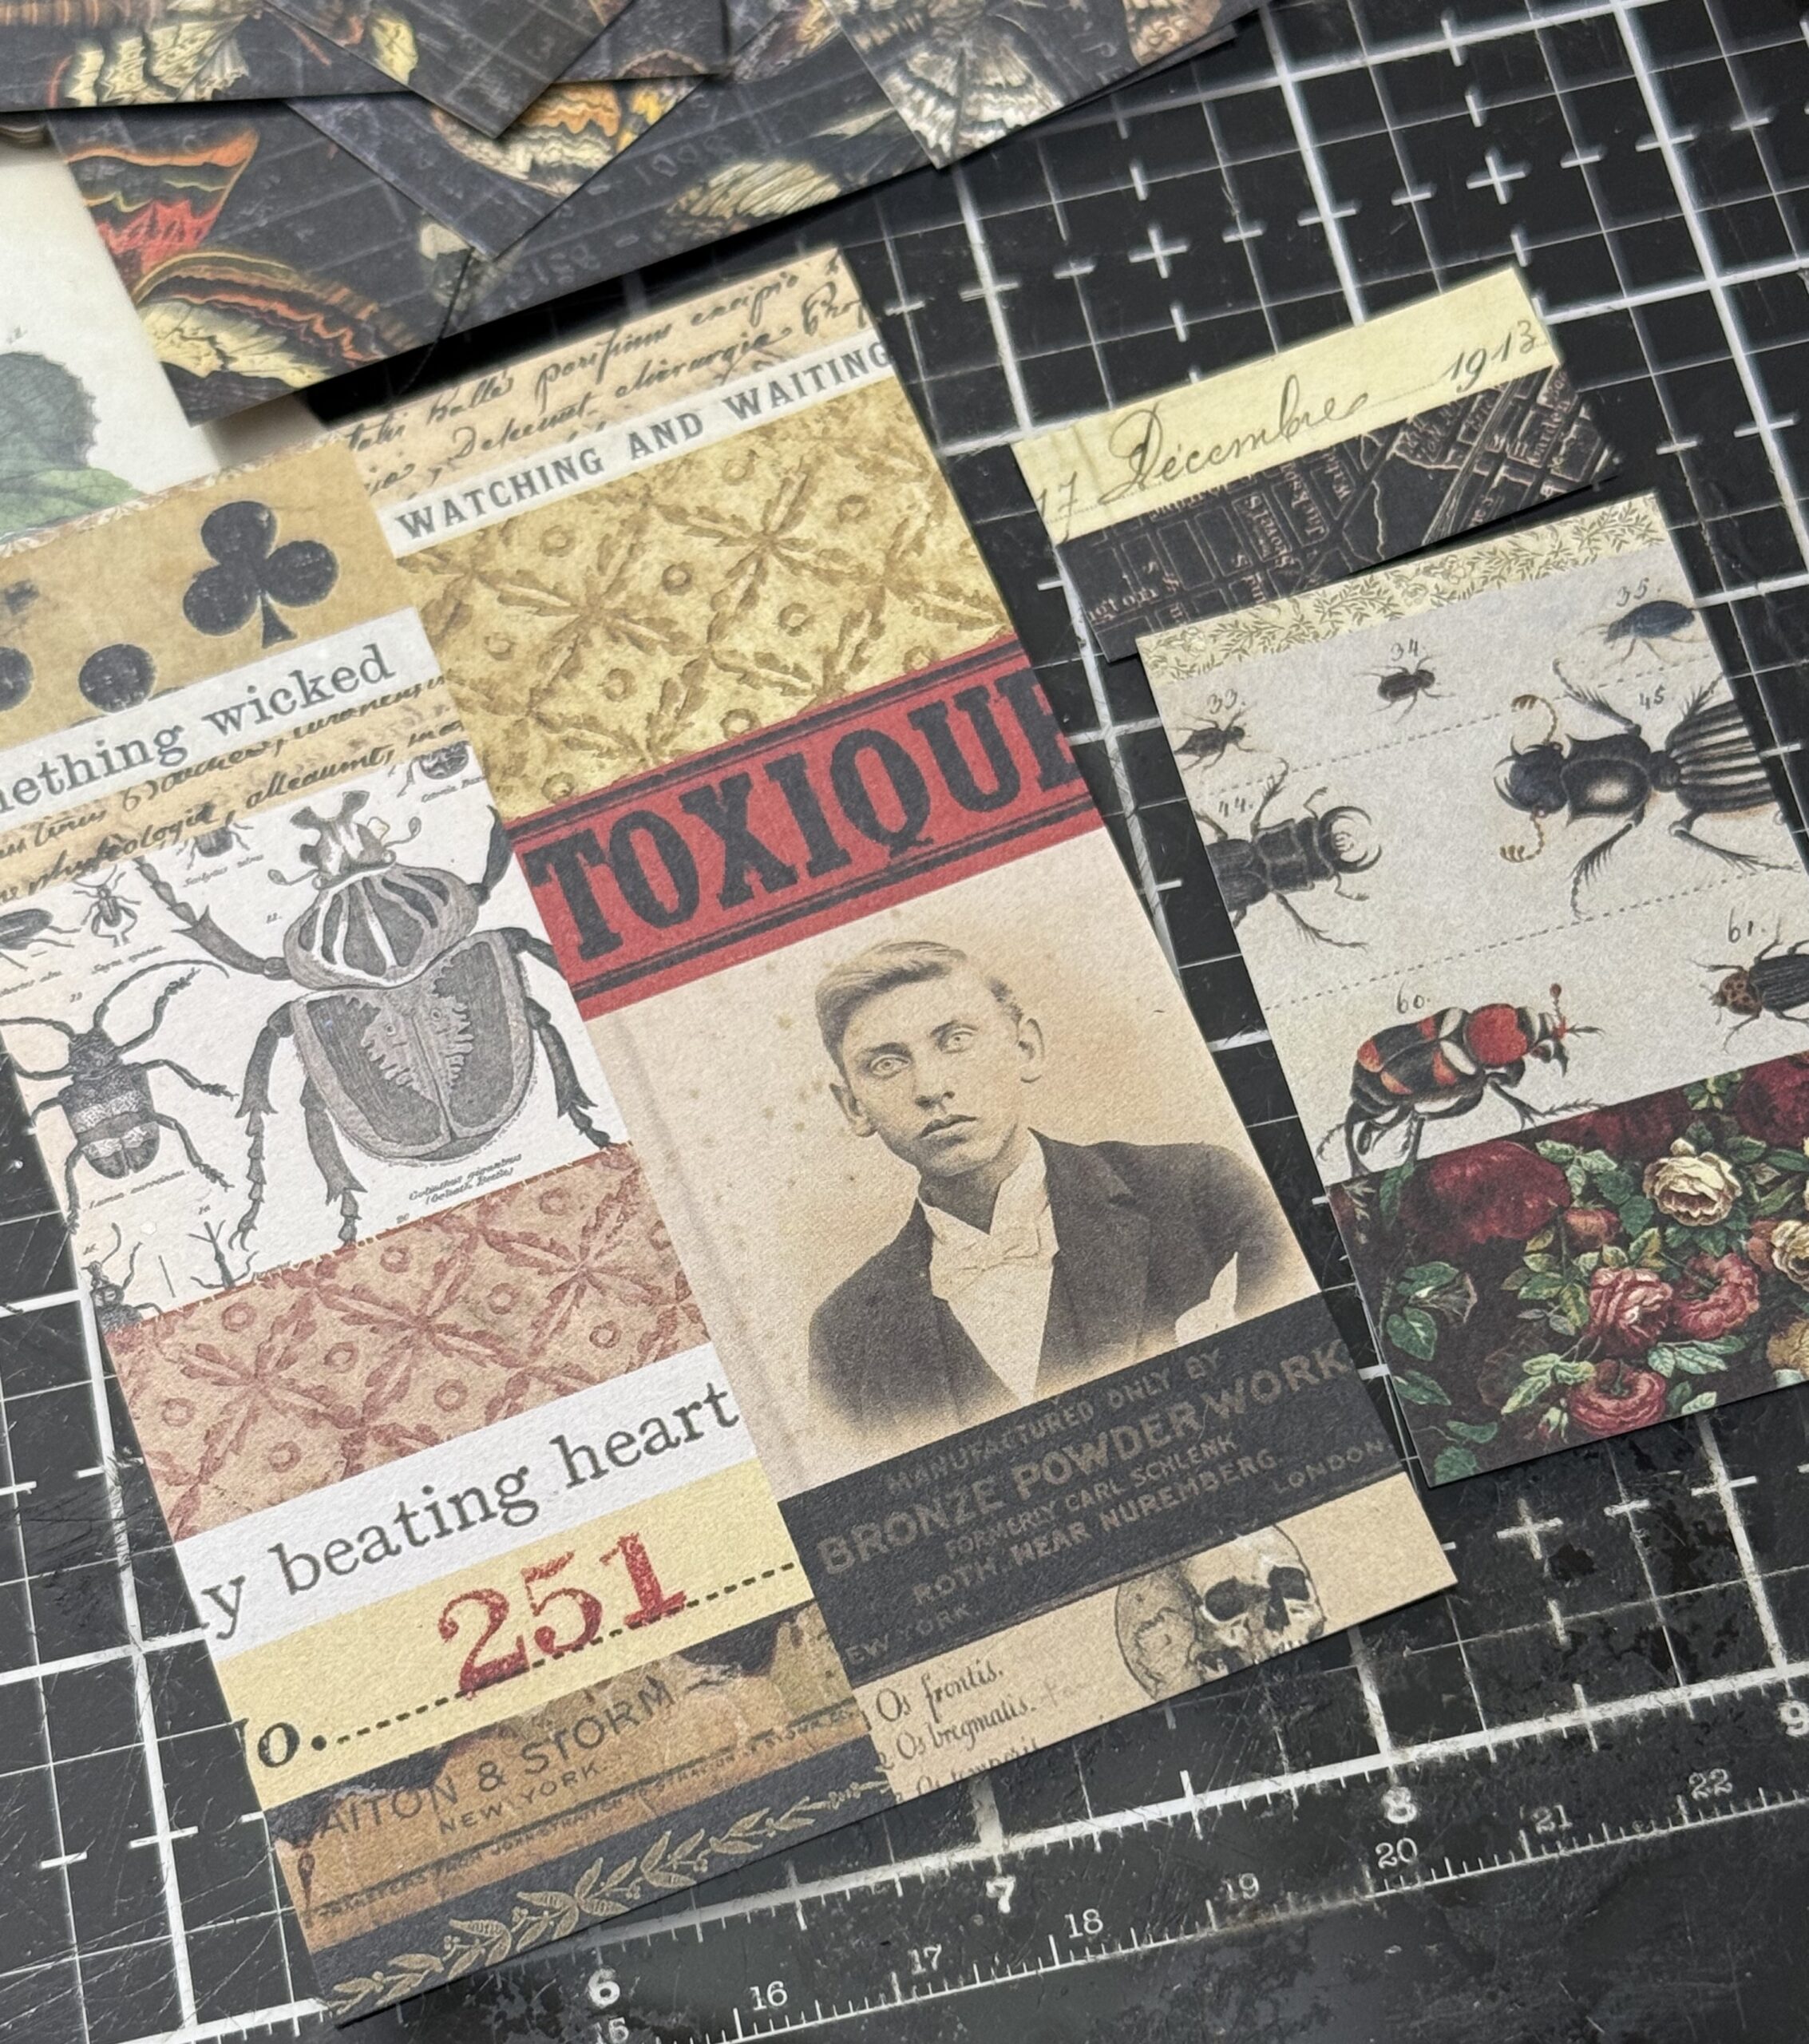
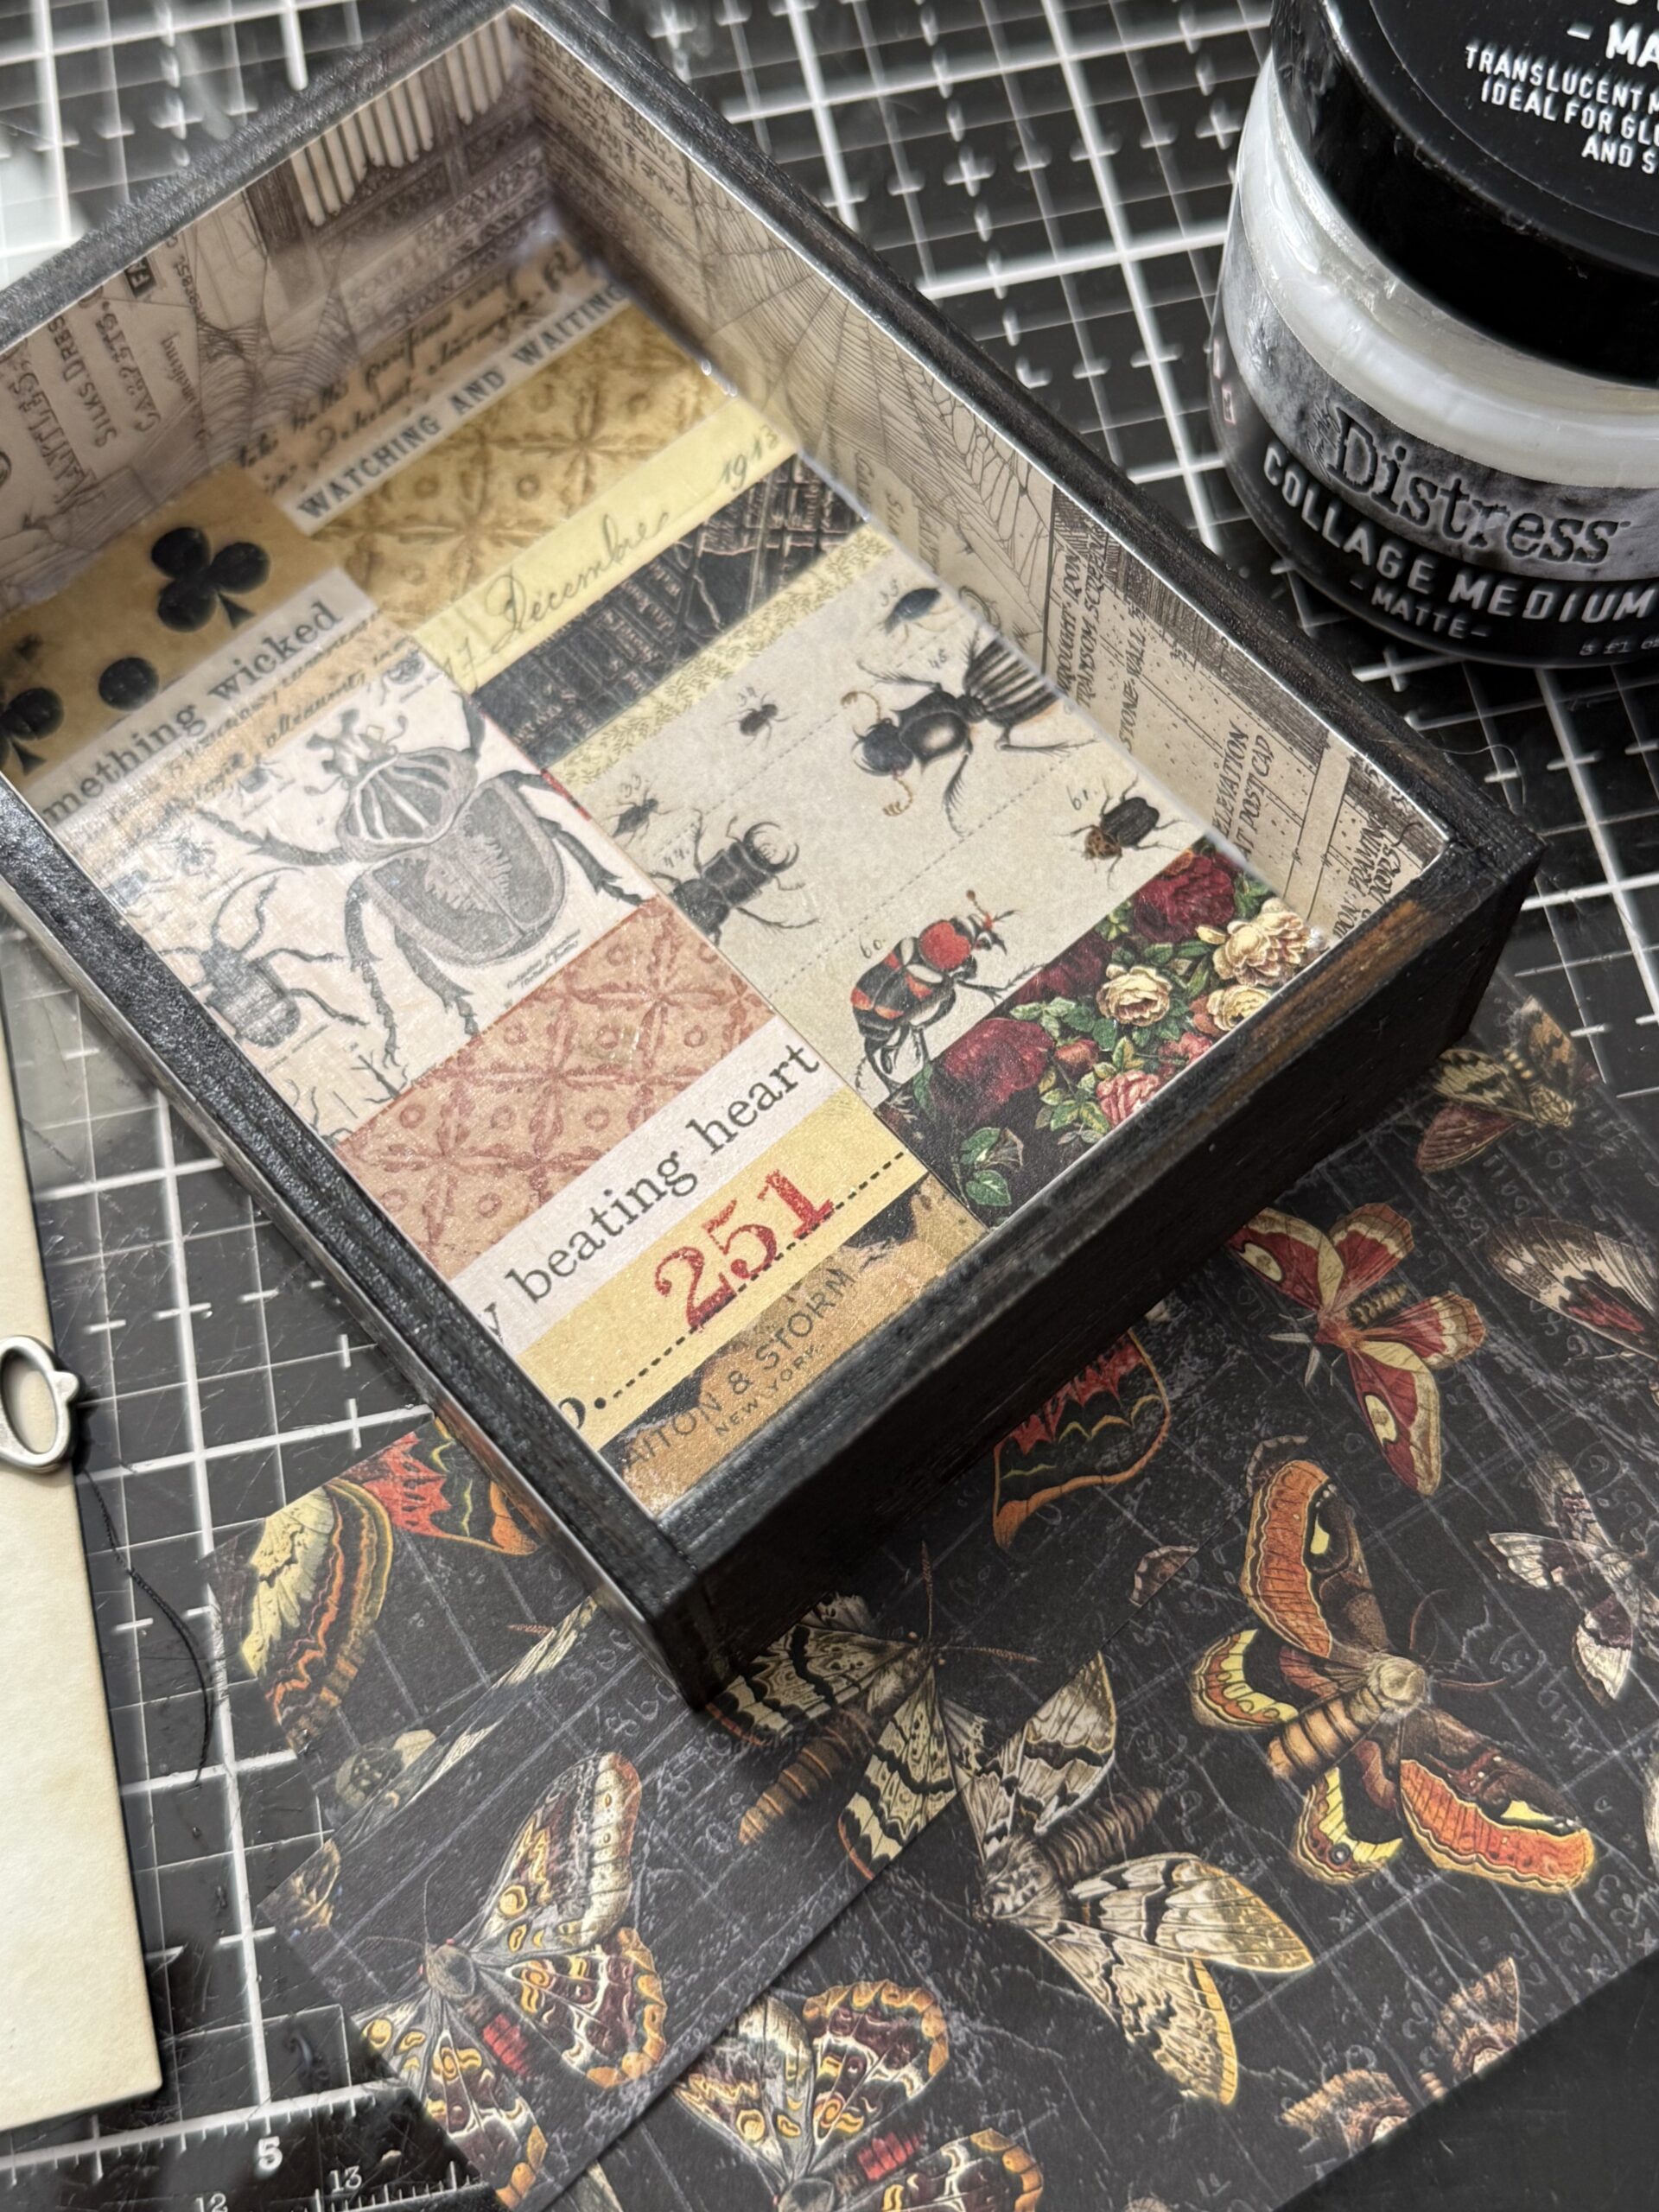
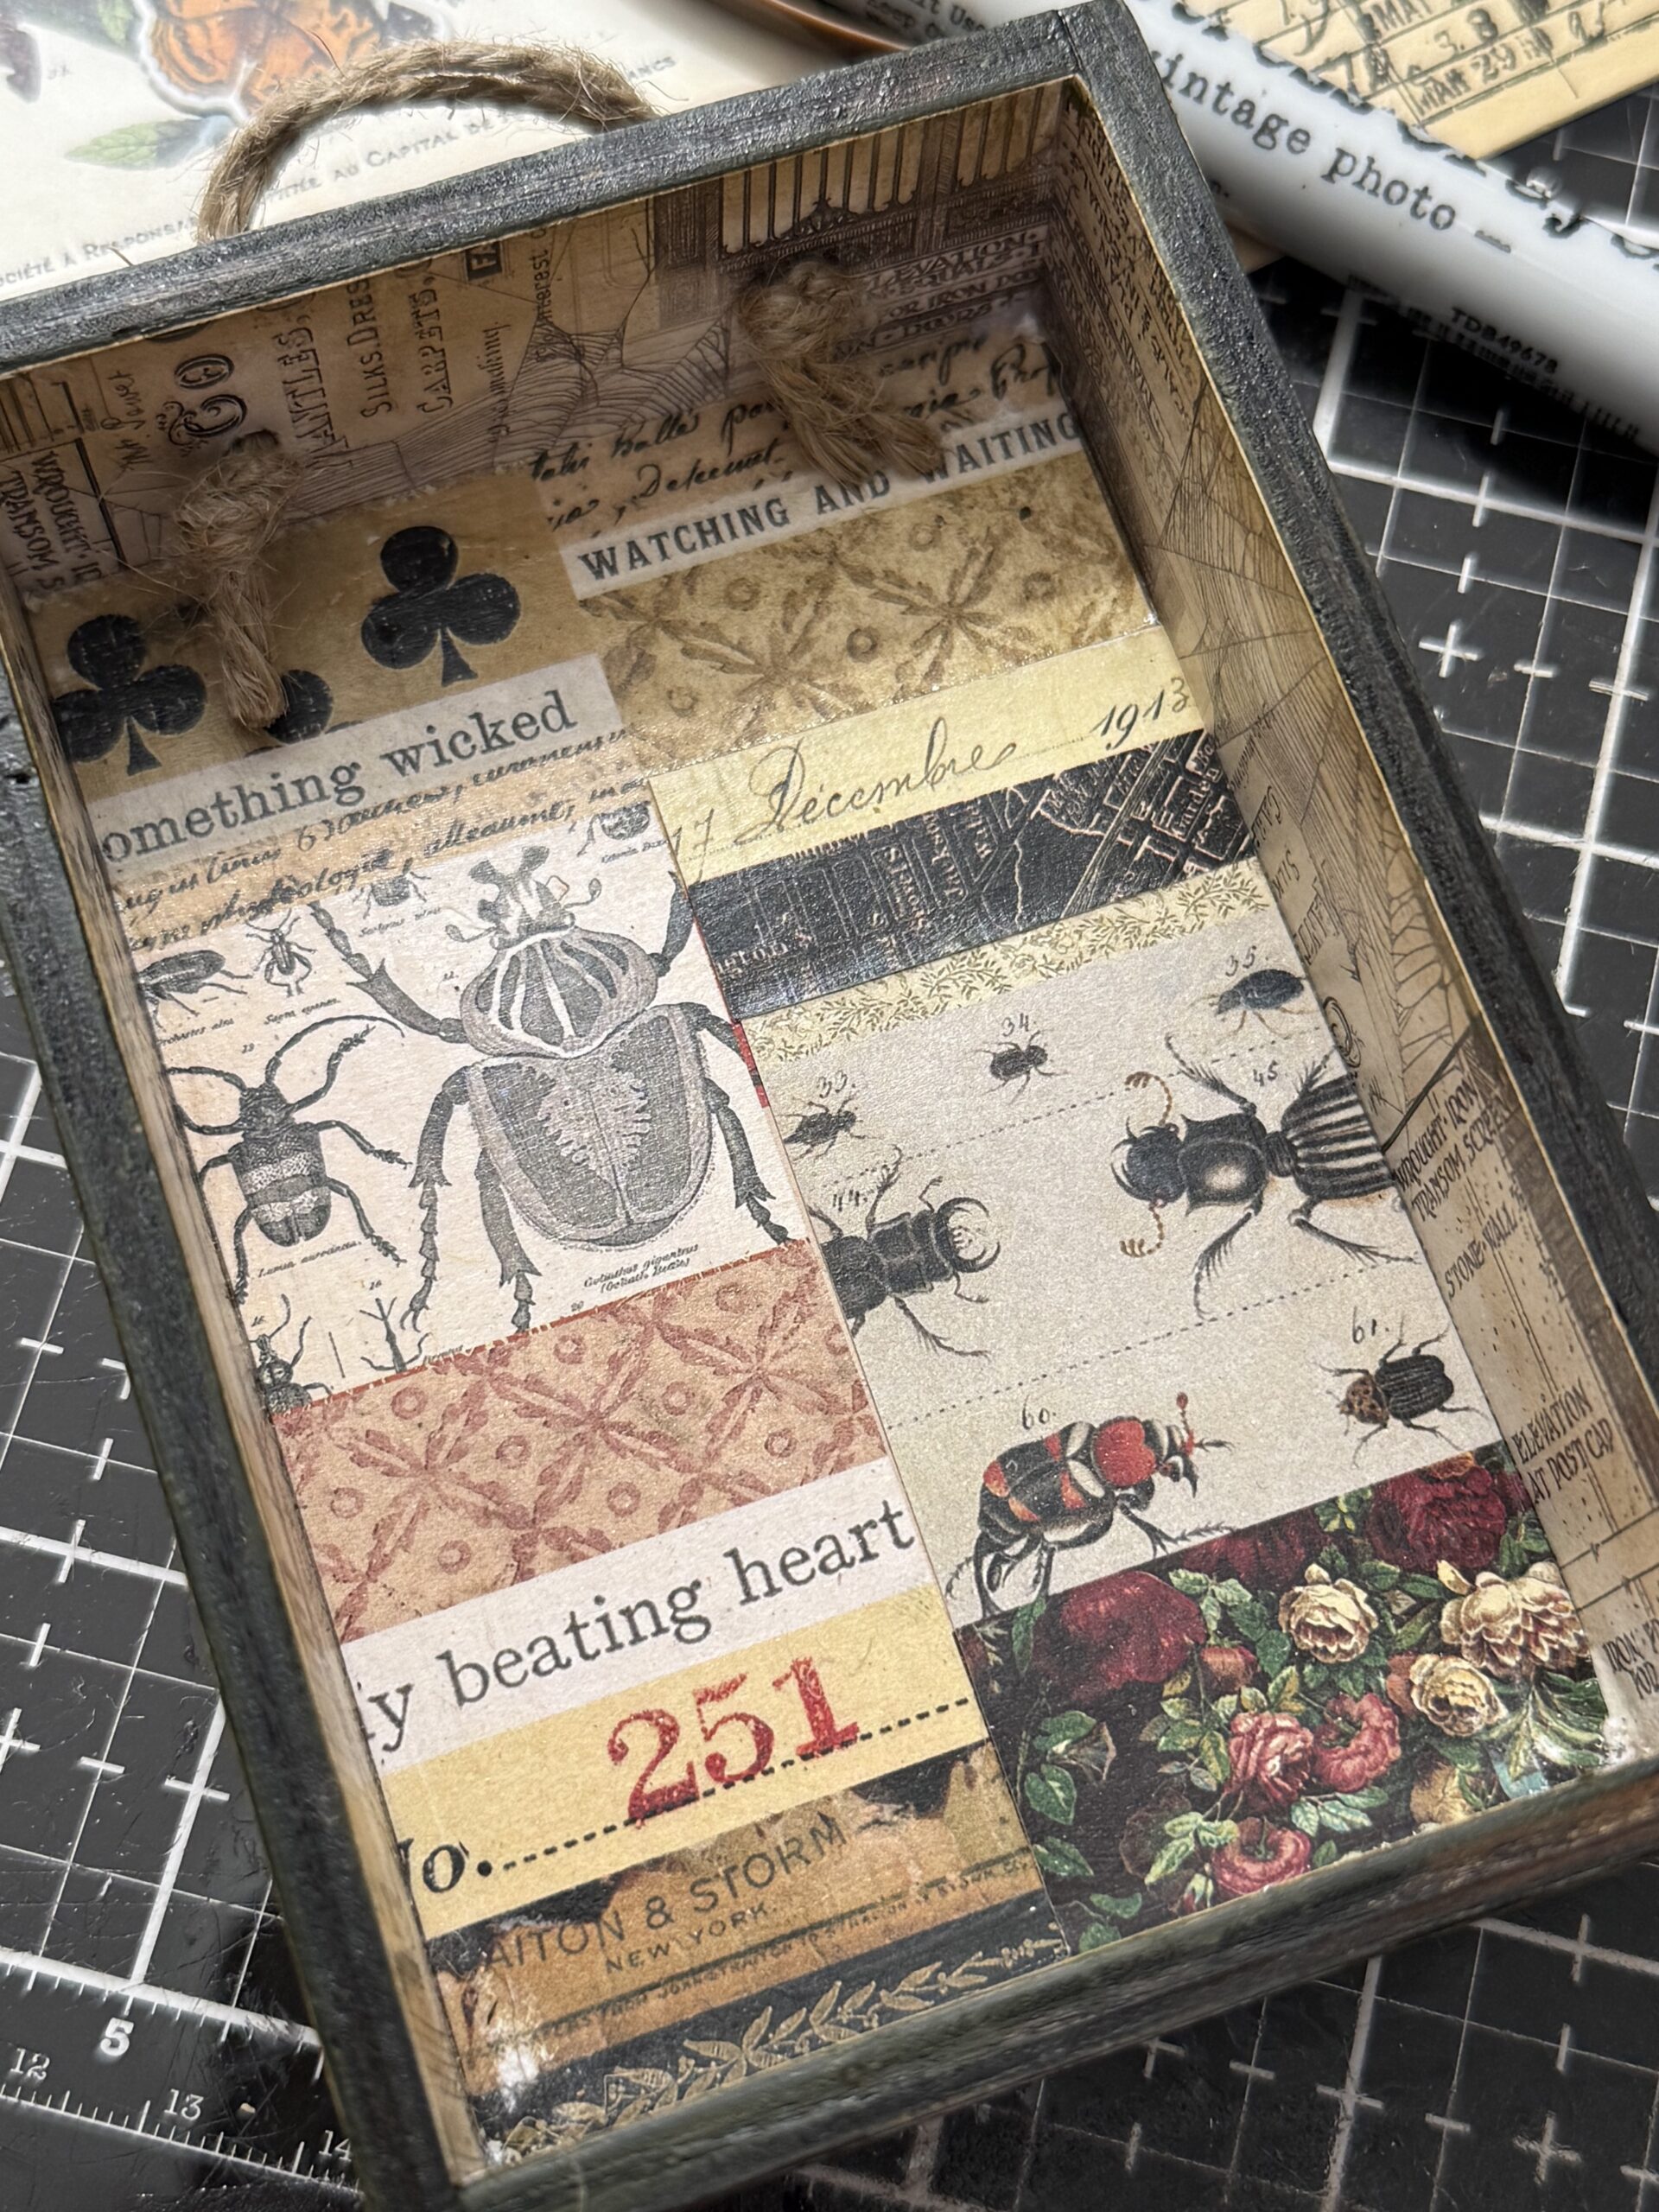
This is the paper that I was going to use in the background of the vignette…but, I didn’t want that creepy looking guy and the toxique word showing, so I trimmed off some pieces of the distress strip looking paper selecting those that fit the entomology theme better, and covered them up, you can see that in the next photo.
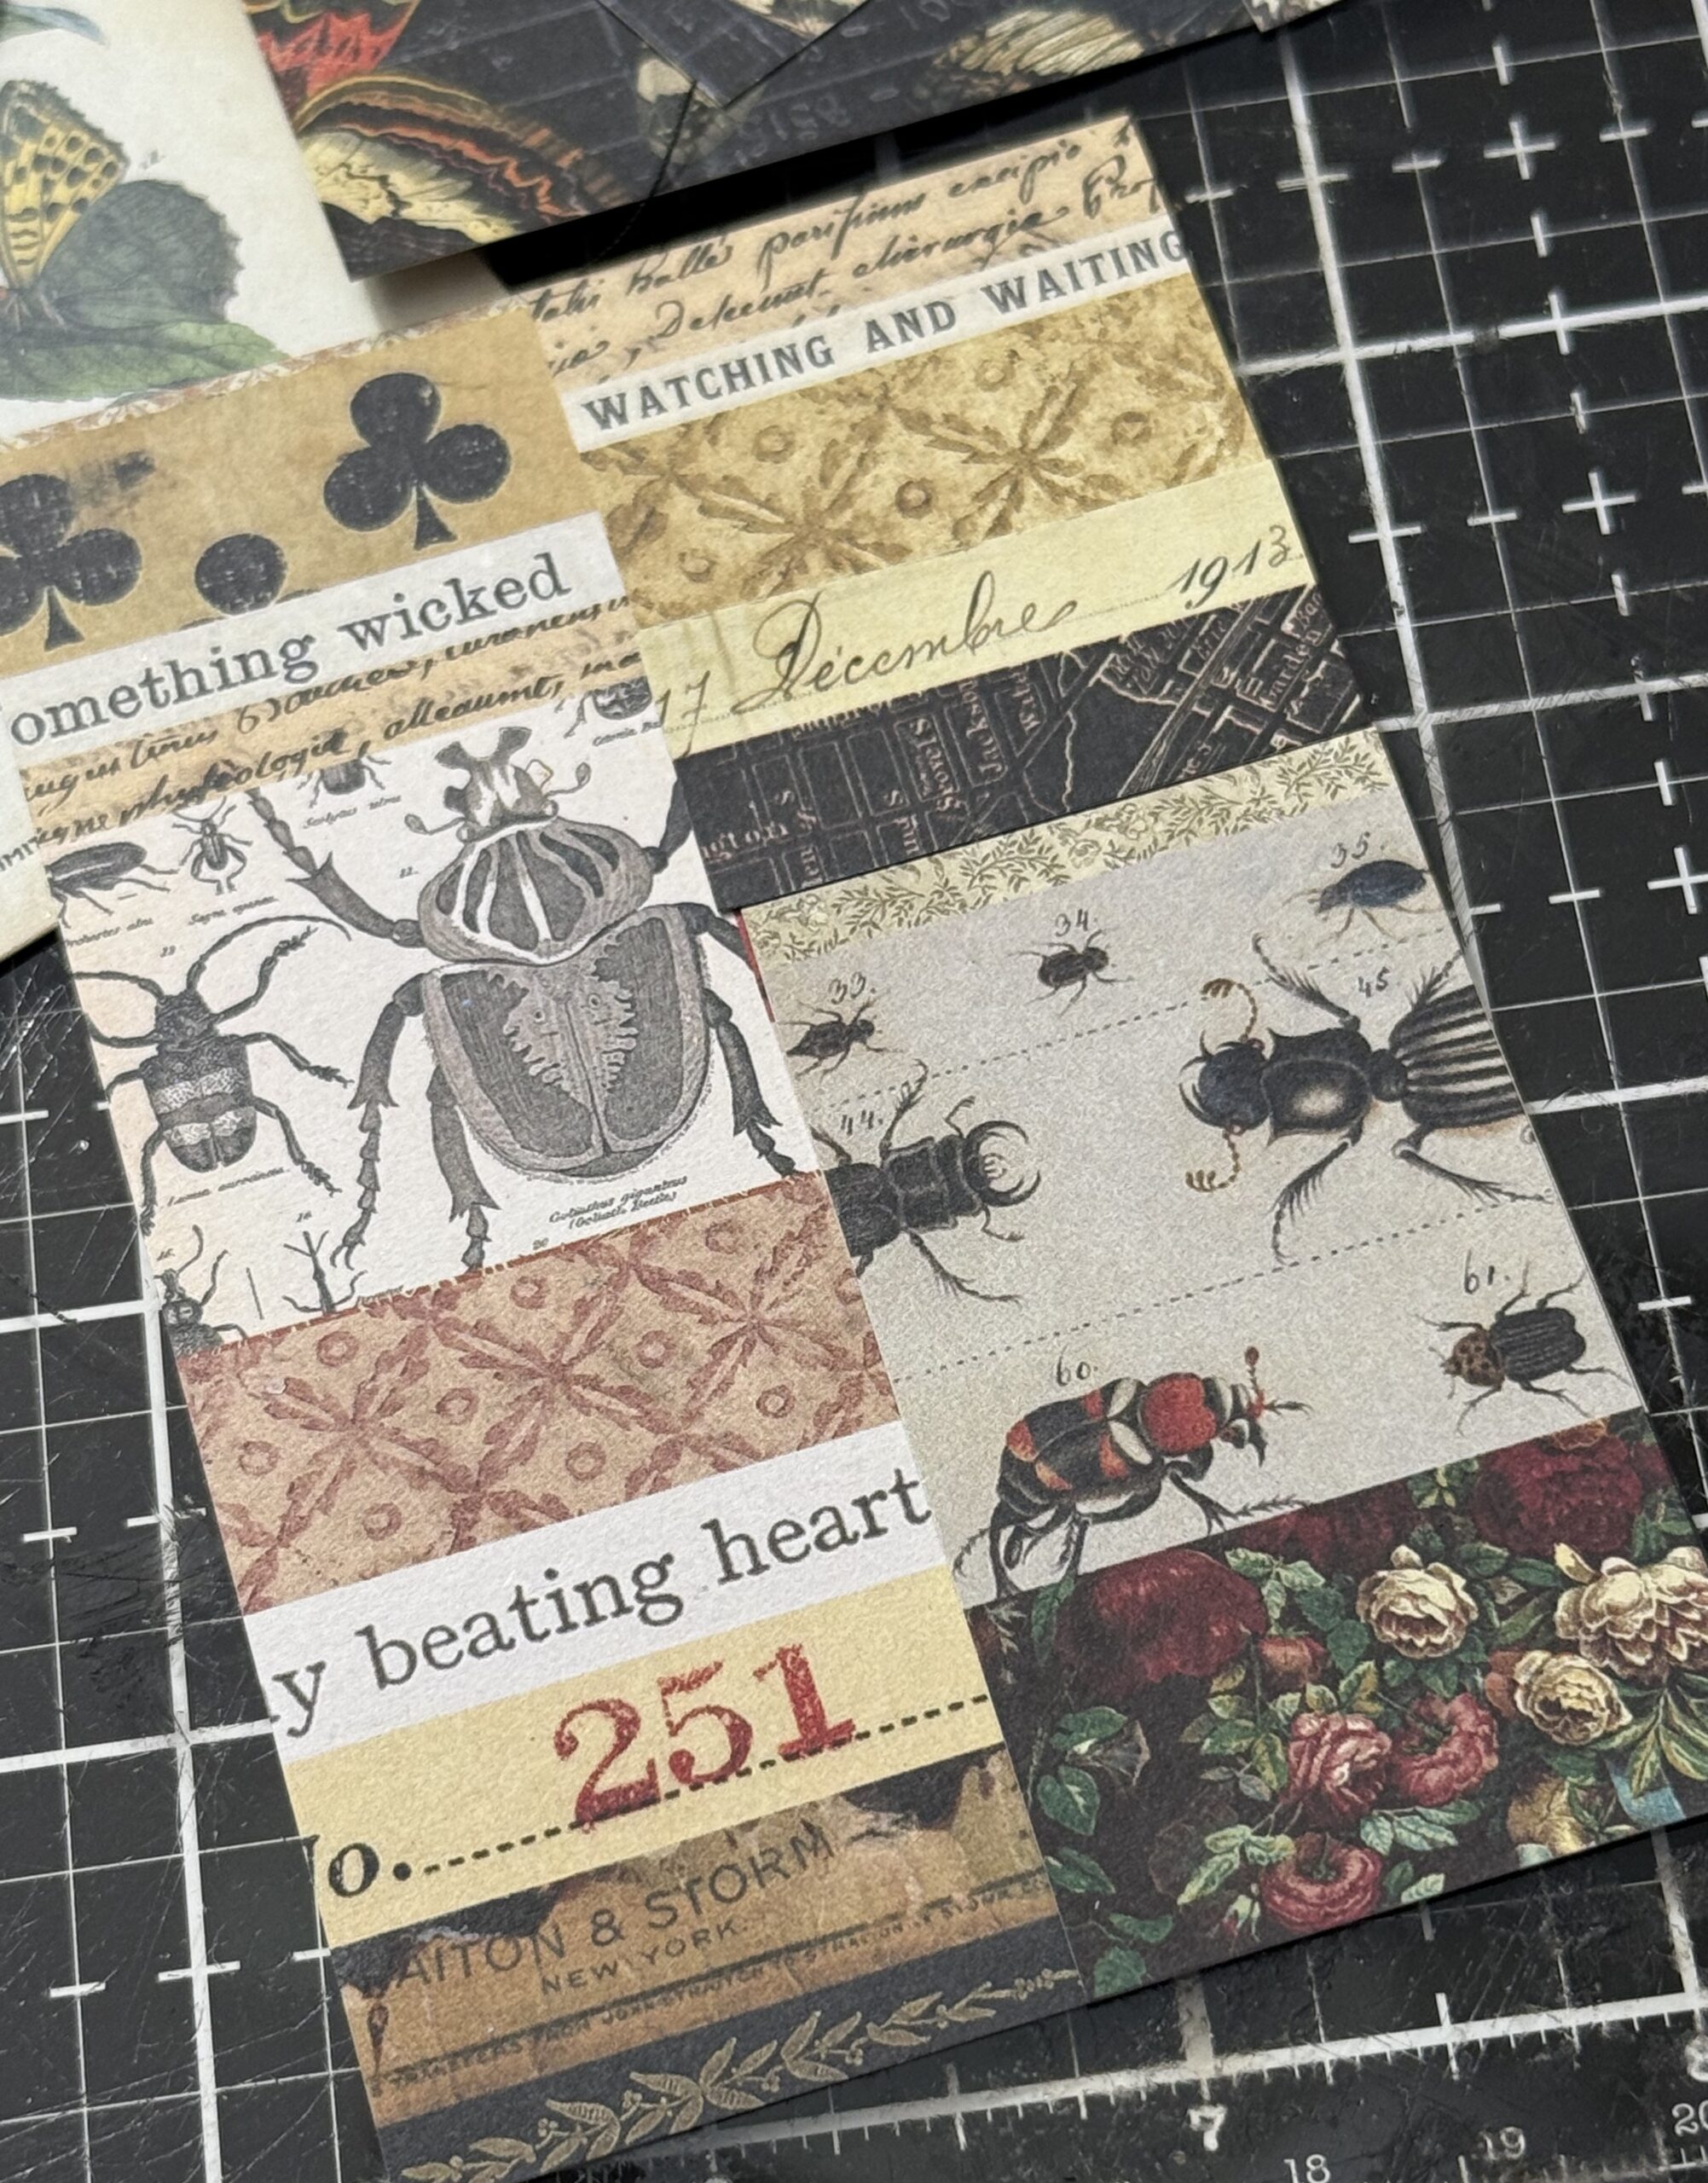
Easy peasy and a simple solution. These were then adhered inside the box using collage medium.
The side strips were also adhered, being sure to rub the tops of the papers with some collage medium so that I could scribble on some distress crayon to add some grunge when it was dry. Then I began adding the butterfly paper for the outside doing the same thing.
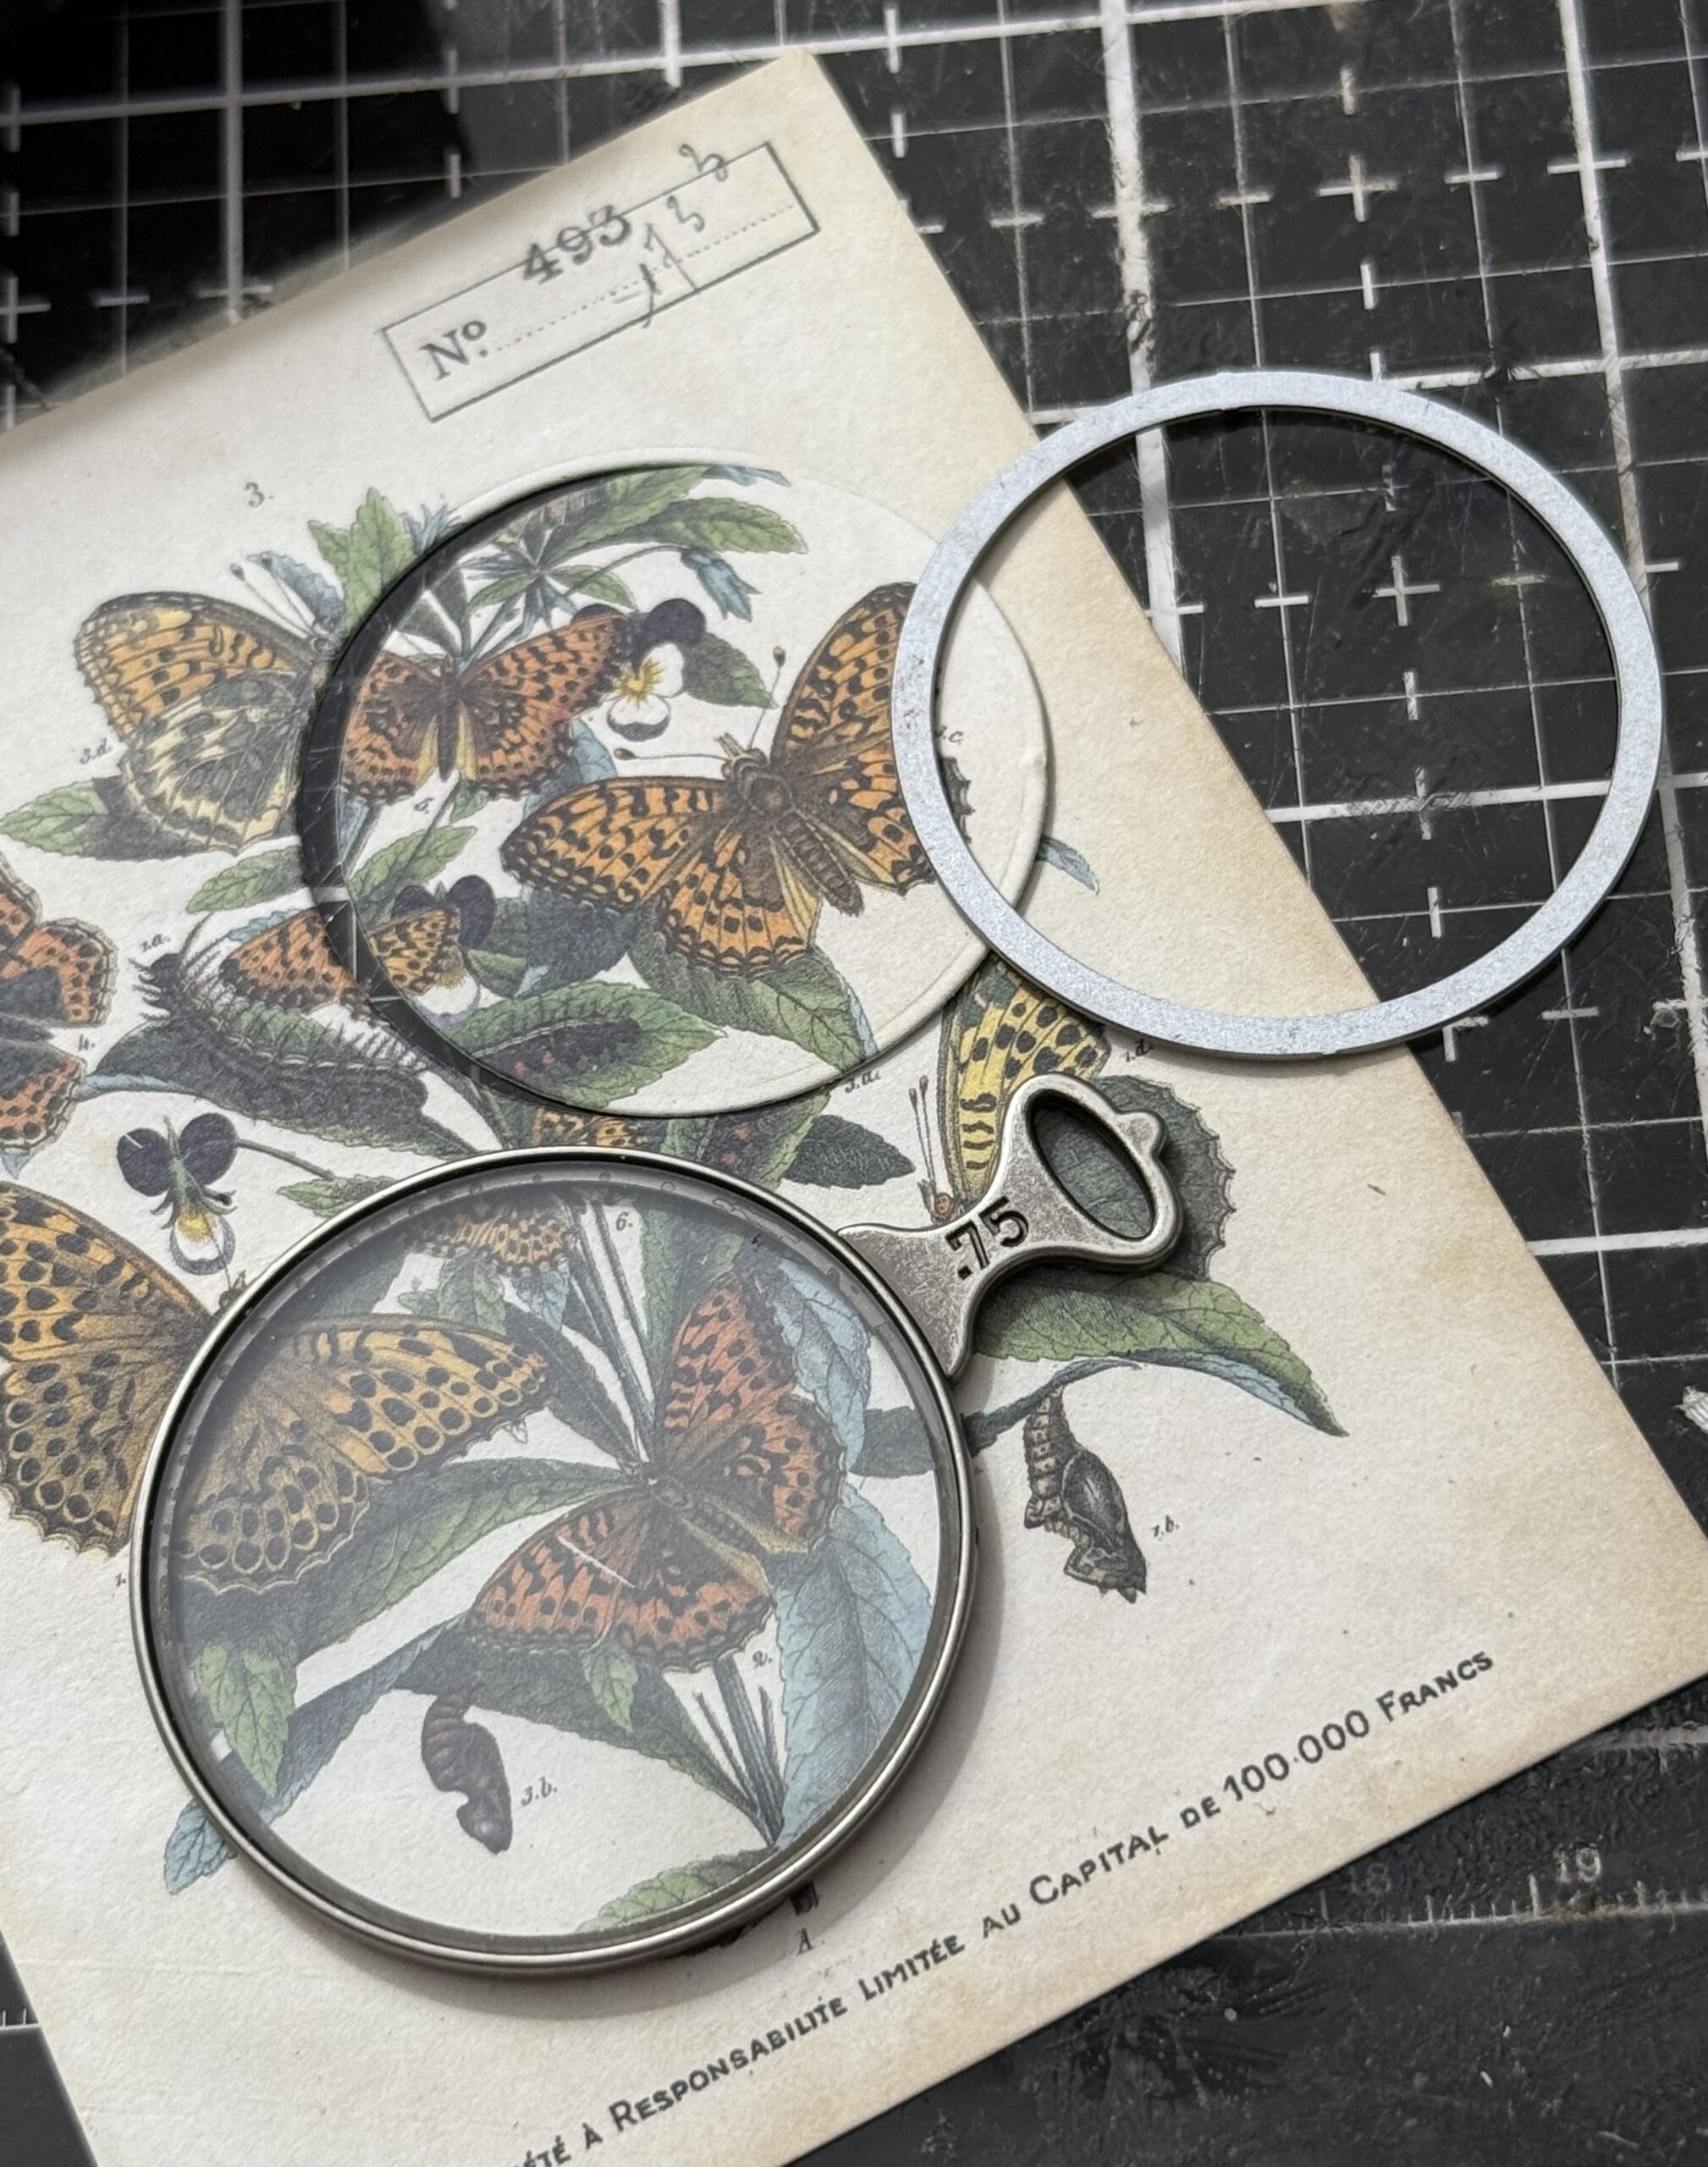
The Lens has a circle scrap of ephemera piece added to it from the Field Notes Ephemera pack, I used a circle die set to find the right size, then cut it out of this piece, and adhered it inside the idea-ology Lens. I kept the ephemera piece close and used that little number piece in the top corner to label the mini dome.
I drilled two holes at the top of the vignette using my dremmel tool, then doubled up some jute and added it to the top for a “drawer pull”. I knotted two knots in the middle of the jute piece to the length I needed to make it into a U shape, then threaded the ends of each side through and tied knots within the drawer.
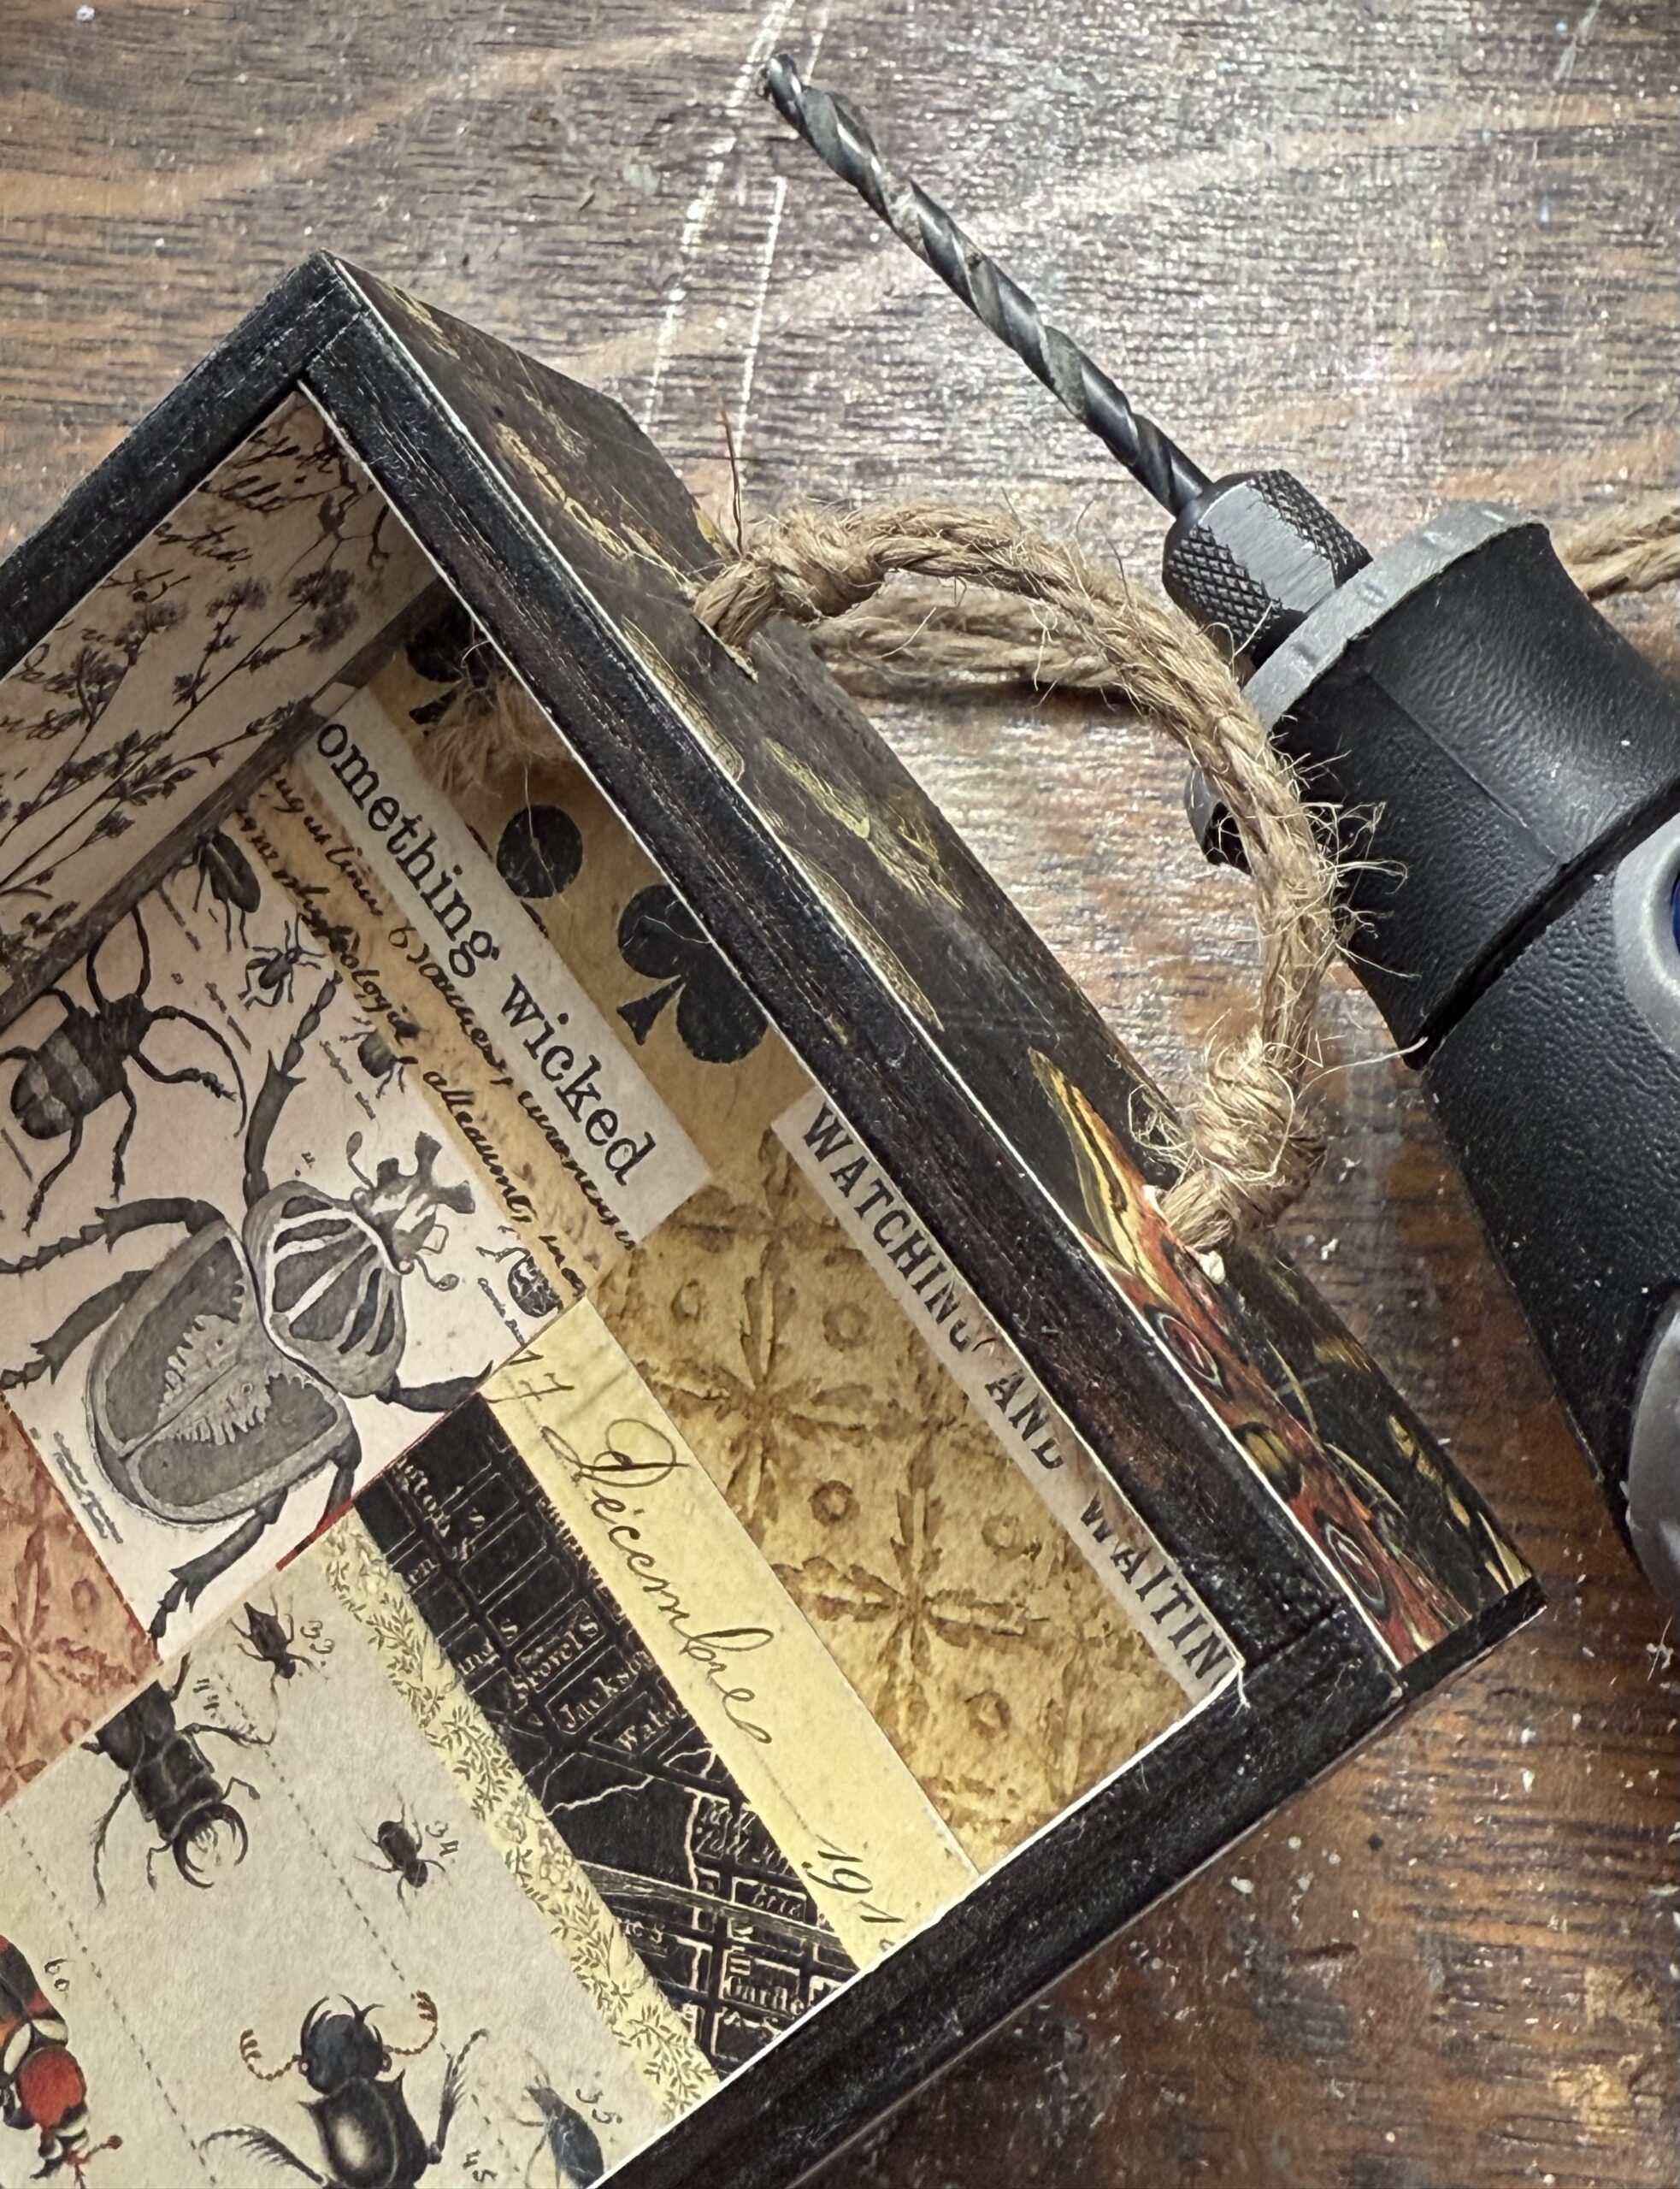
Then, I trimmed off the extra length after the knots were tied. The jute was rubbed with a little Vintage Photo Distress Crayon to add age. I also scribbled some of the Distress Crayon inside & outside the vignette and rubbed it in with my finger. To get into the corners of the vignette box, I scribbled some crayon onto my craft mat and using a damp brush, picked up color and painted it into the corners.
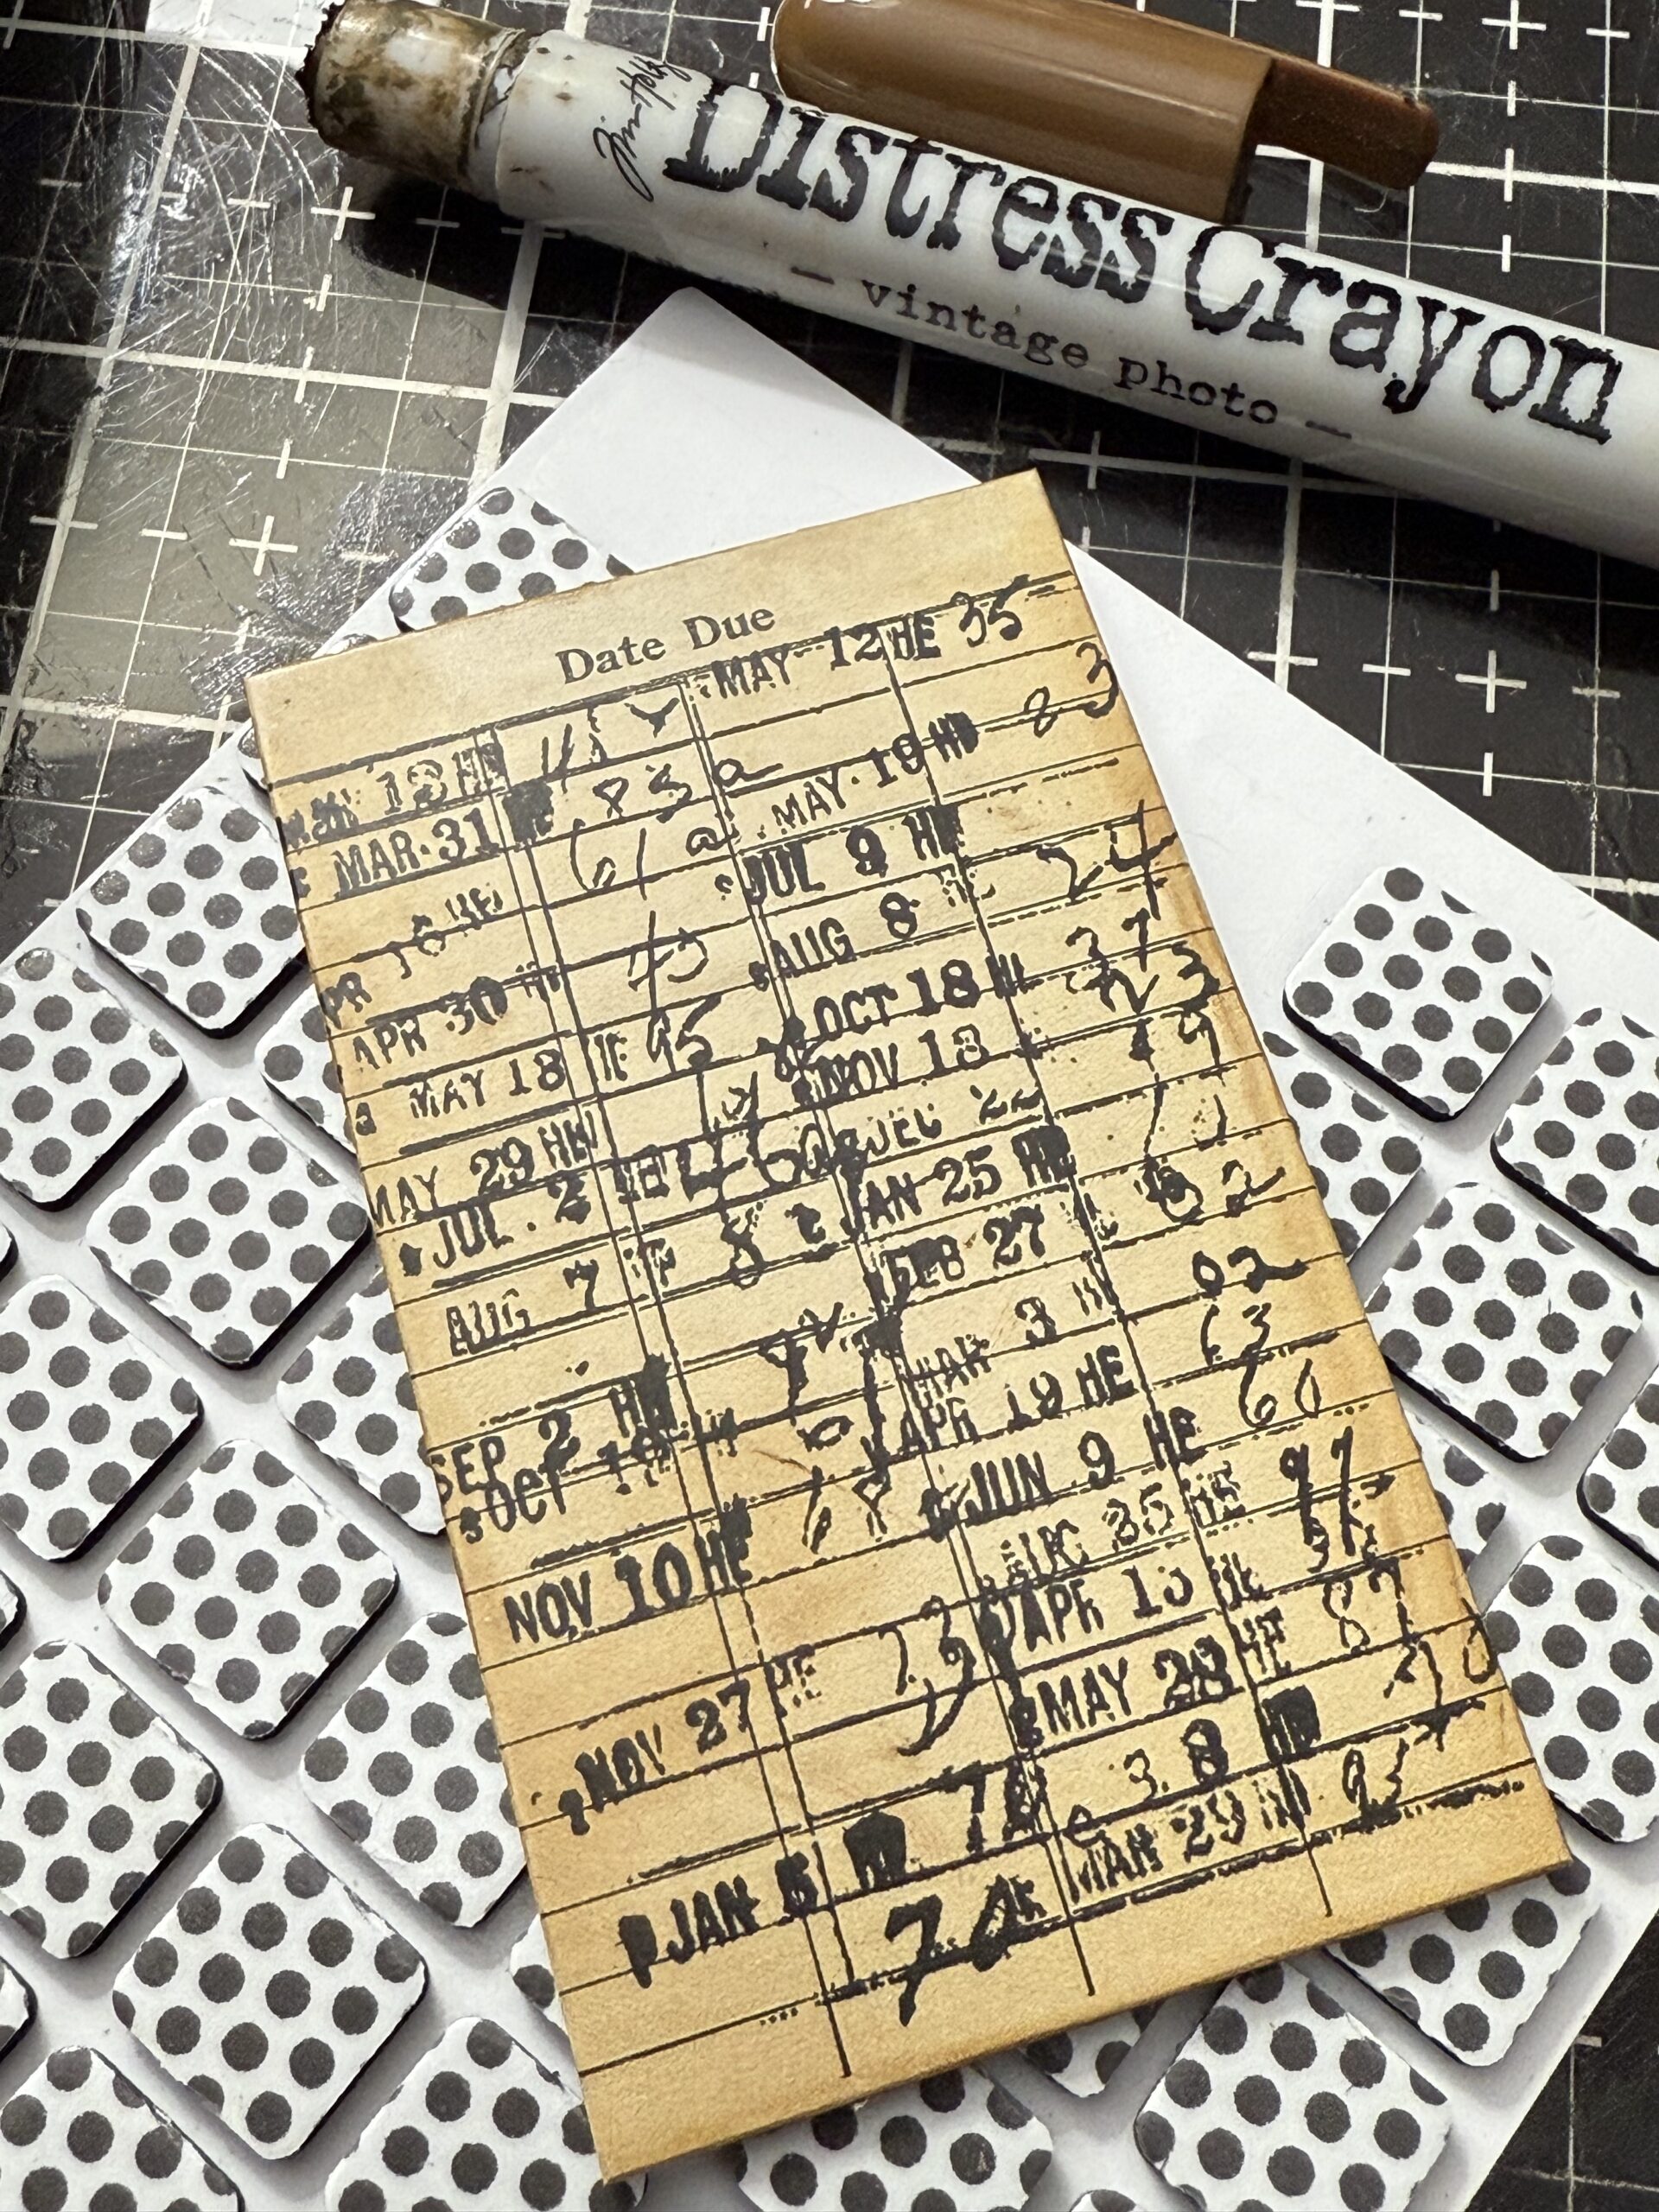
I found a library card in the Collector Layers pack and rubbed it with the distress crayon. This was applied to the background of the vignette using foam squares to add depth.
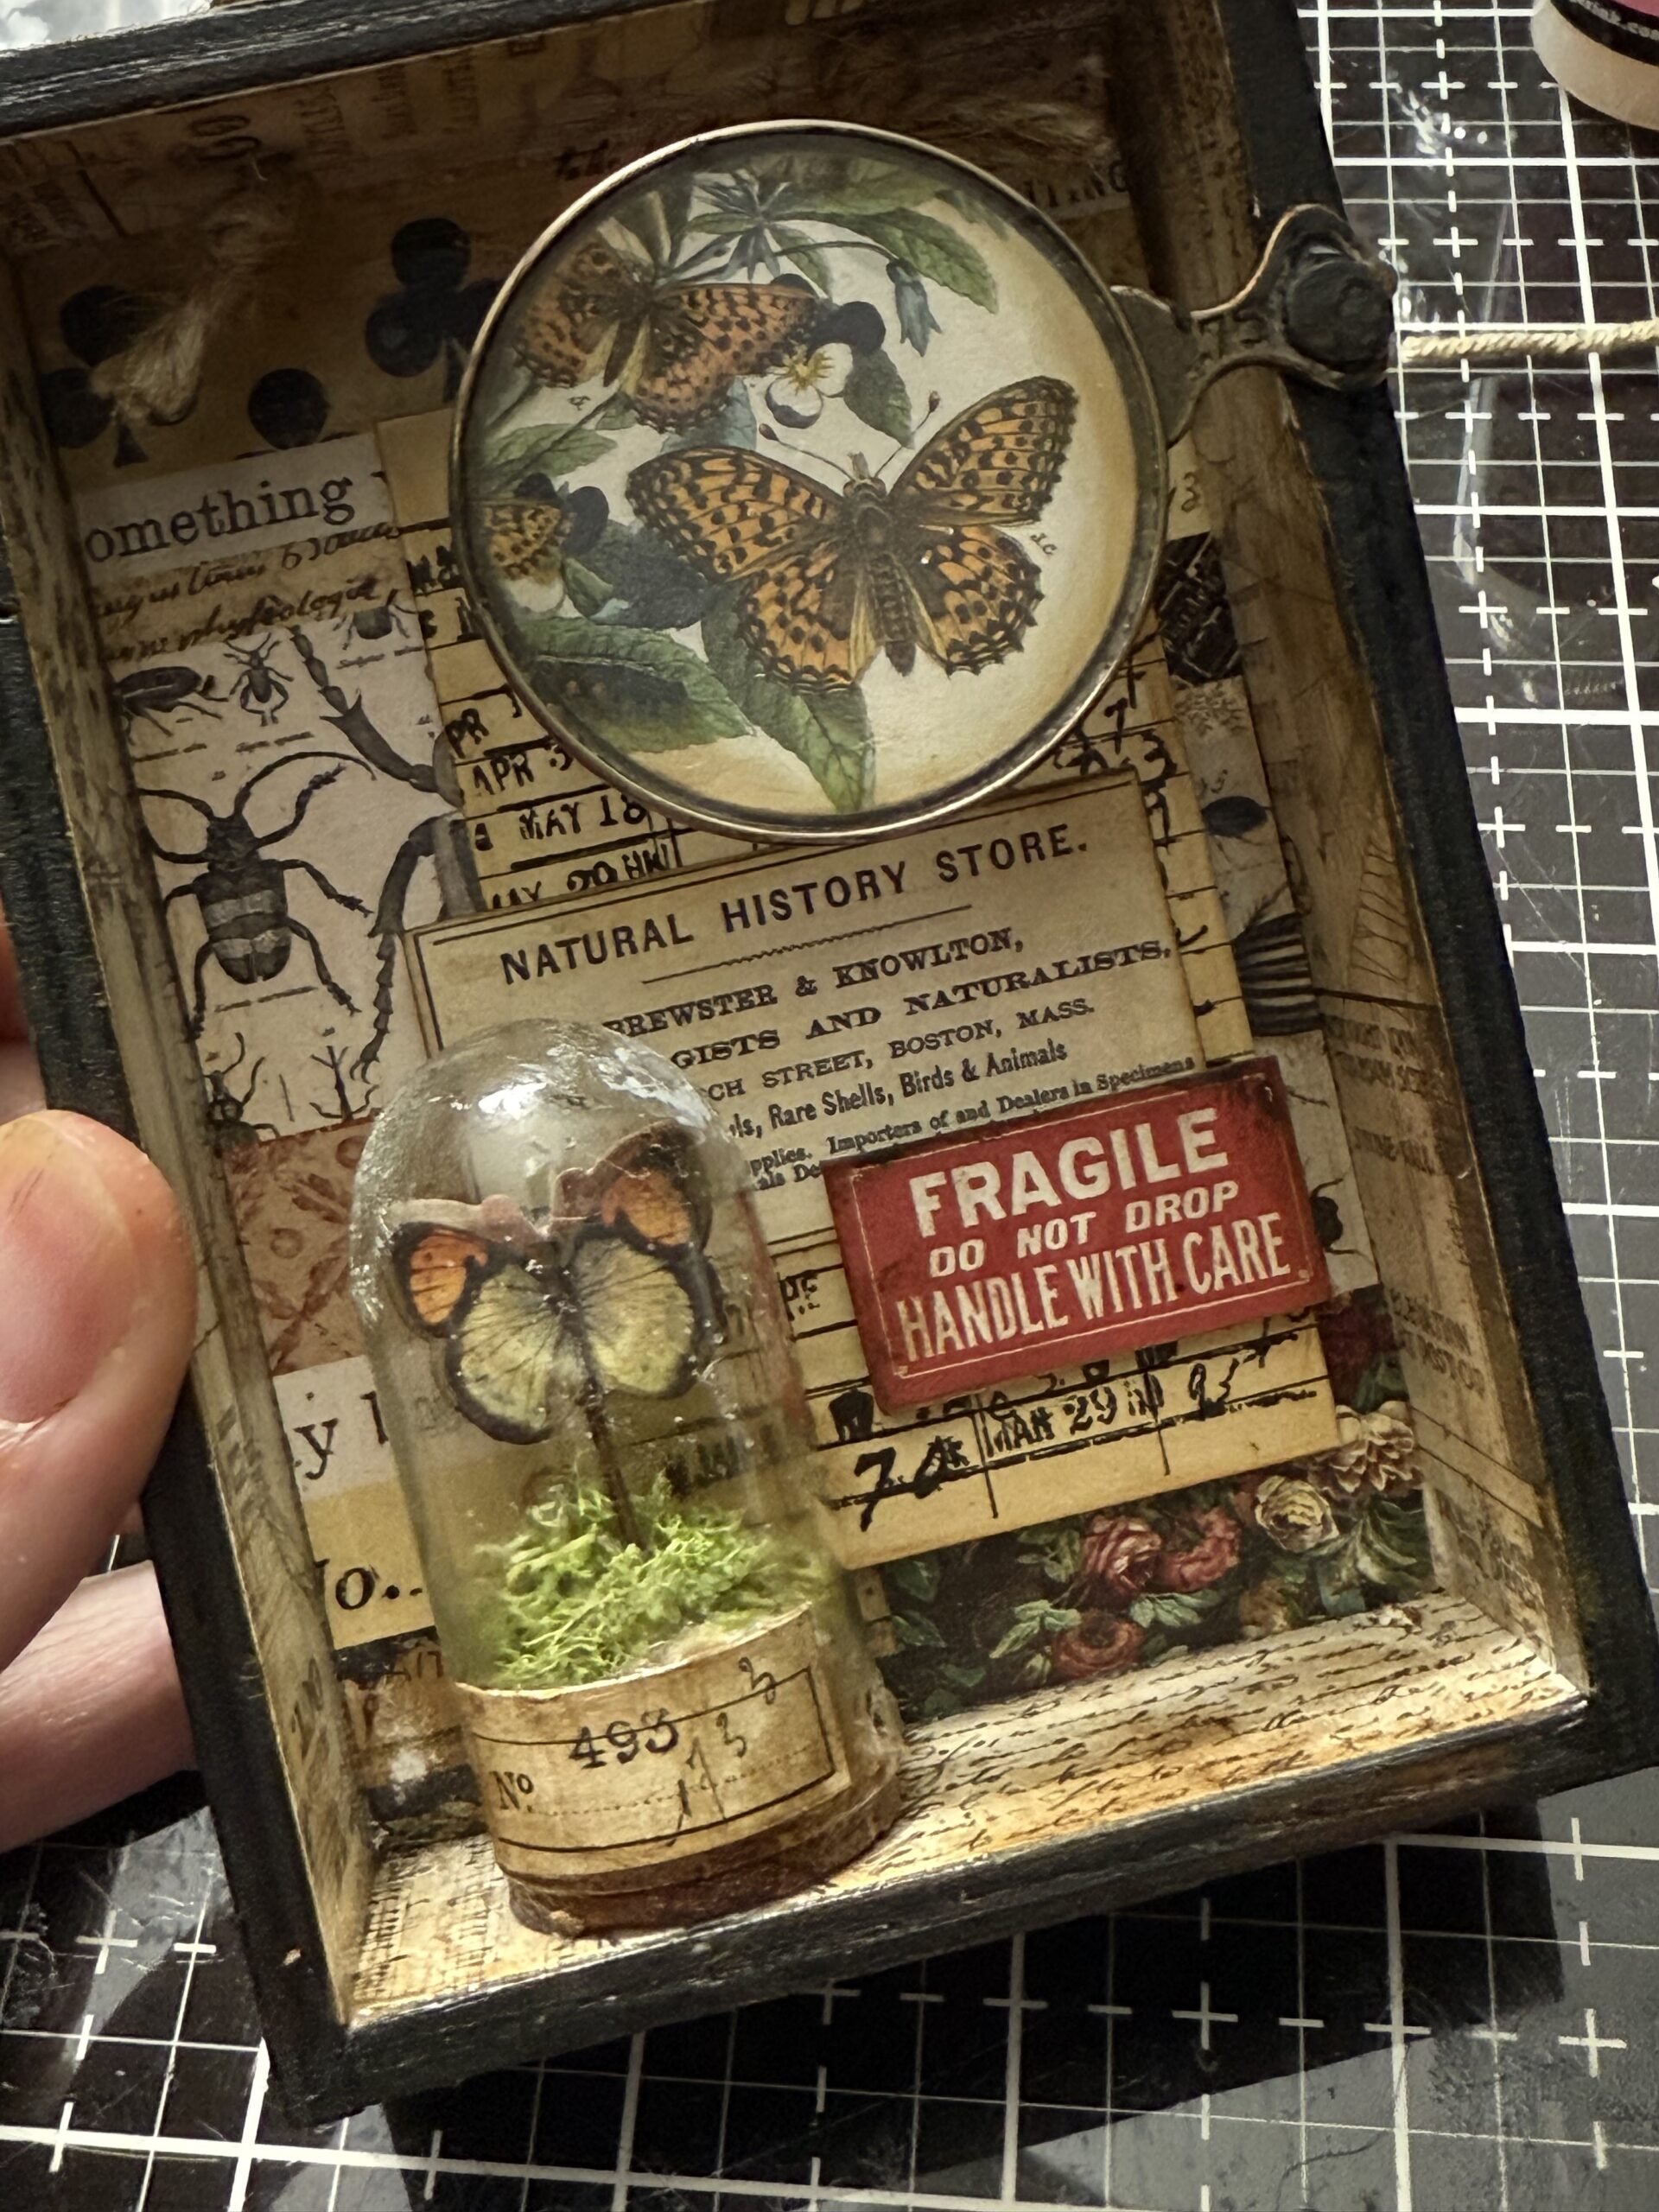
Along with the library card, I added the little red “handle with care” label and a Natural History Store advertisement both found in the Field Notes Ephemera pack.
The lens piece was tacked to the front of the vignette using a tack nail, then I added some collage medium around the tack nail to keep the lens in place and keep it from slipping. This was set aside to dry.
I added the small butterfly inside the mini dome using an idea-ology Memo Pin, I adhered the mini butterfly to the back of the memo pin loop using collage medium and set it aside to dry. Once it was dry, I added the pin into the cork then added some floral moss. The lid of the dome was added after everything was dry inside. I added that little label from the butterfly lens ephemera piece, and adhered the dome shut. This was added inside the vignette using collage medium, then set aside to dry.
I added a butterfly and number piece to the Specimen Tag, then using some string, tied it to the jute pull of the vignette box.
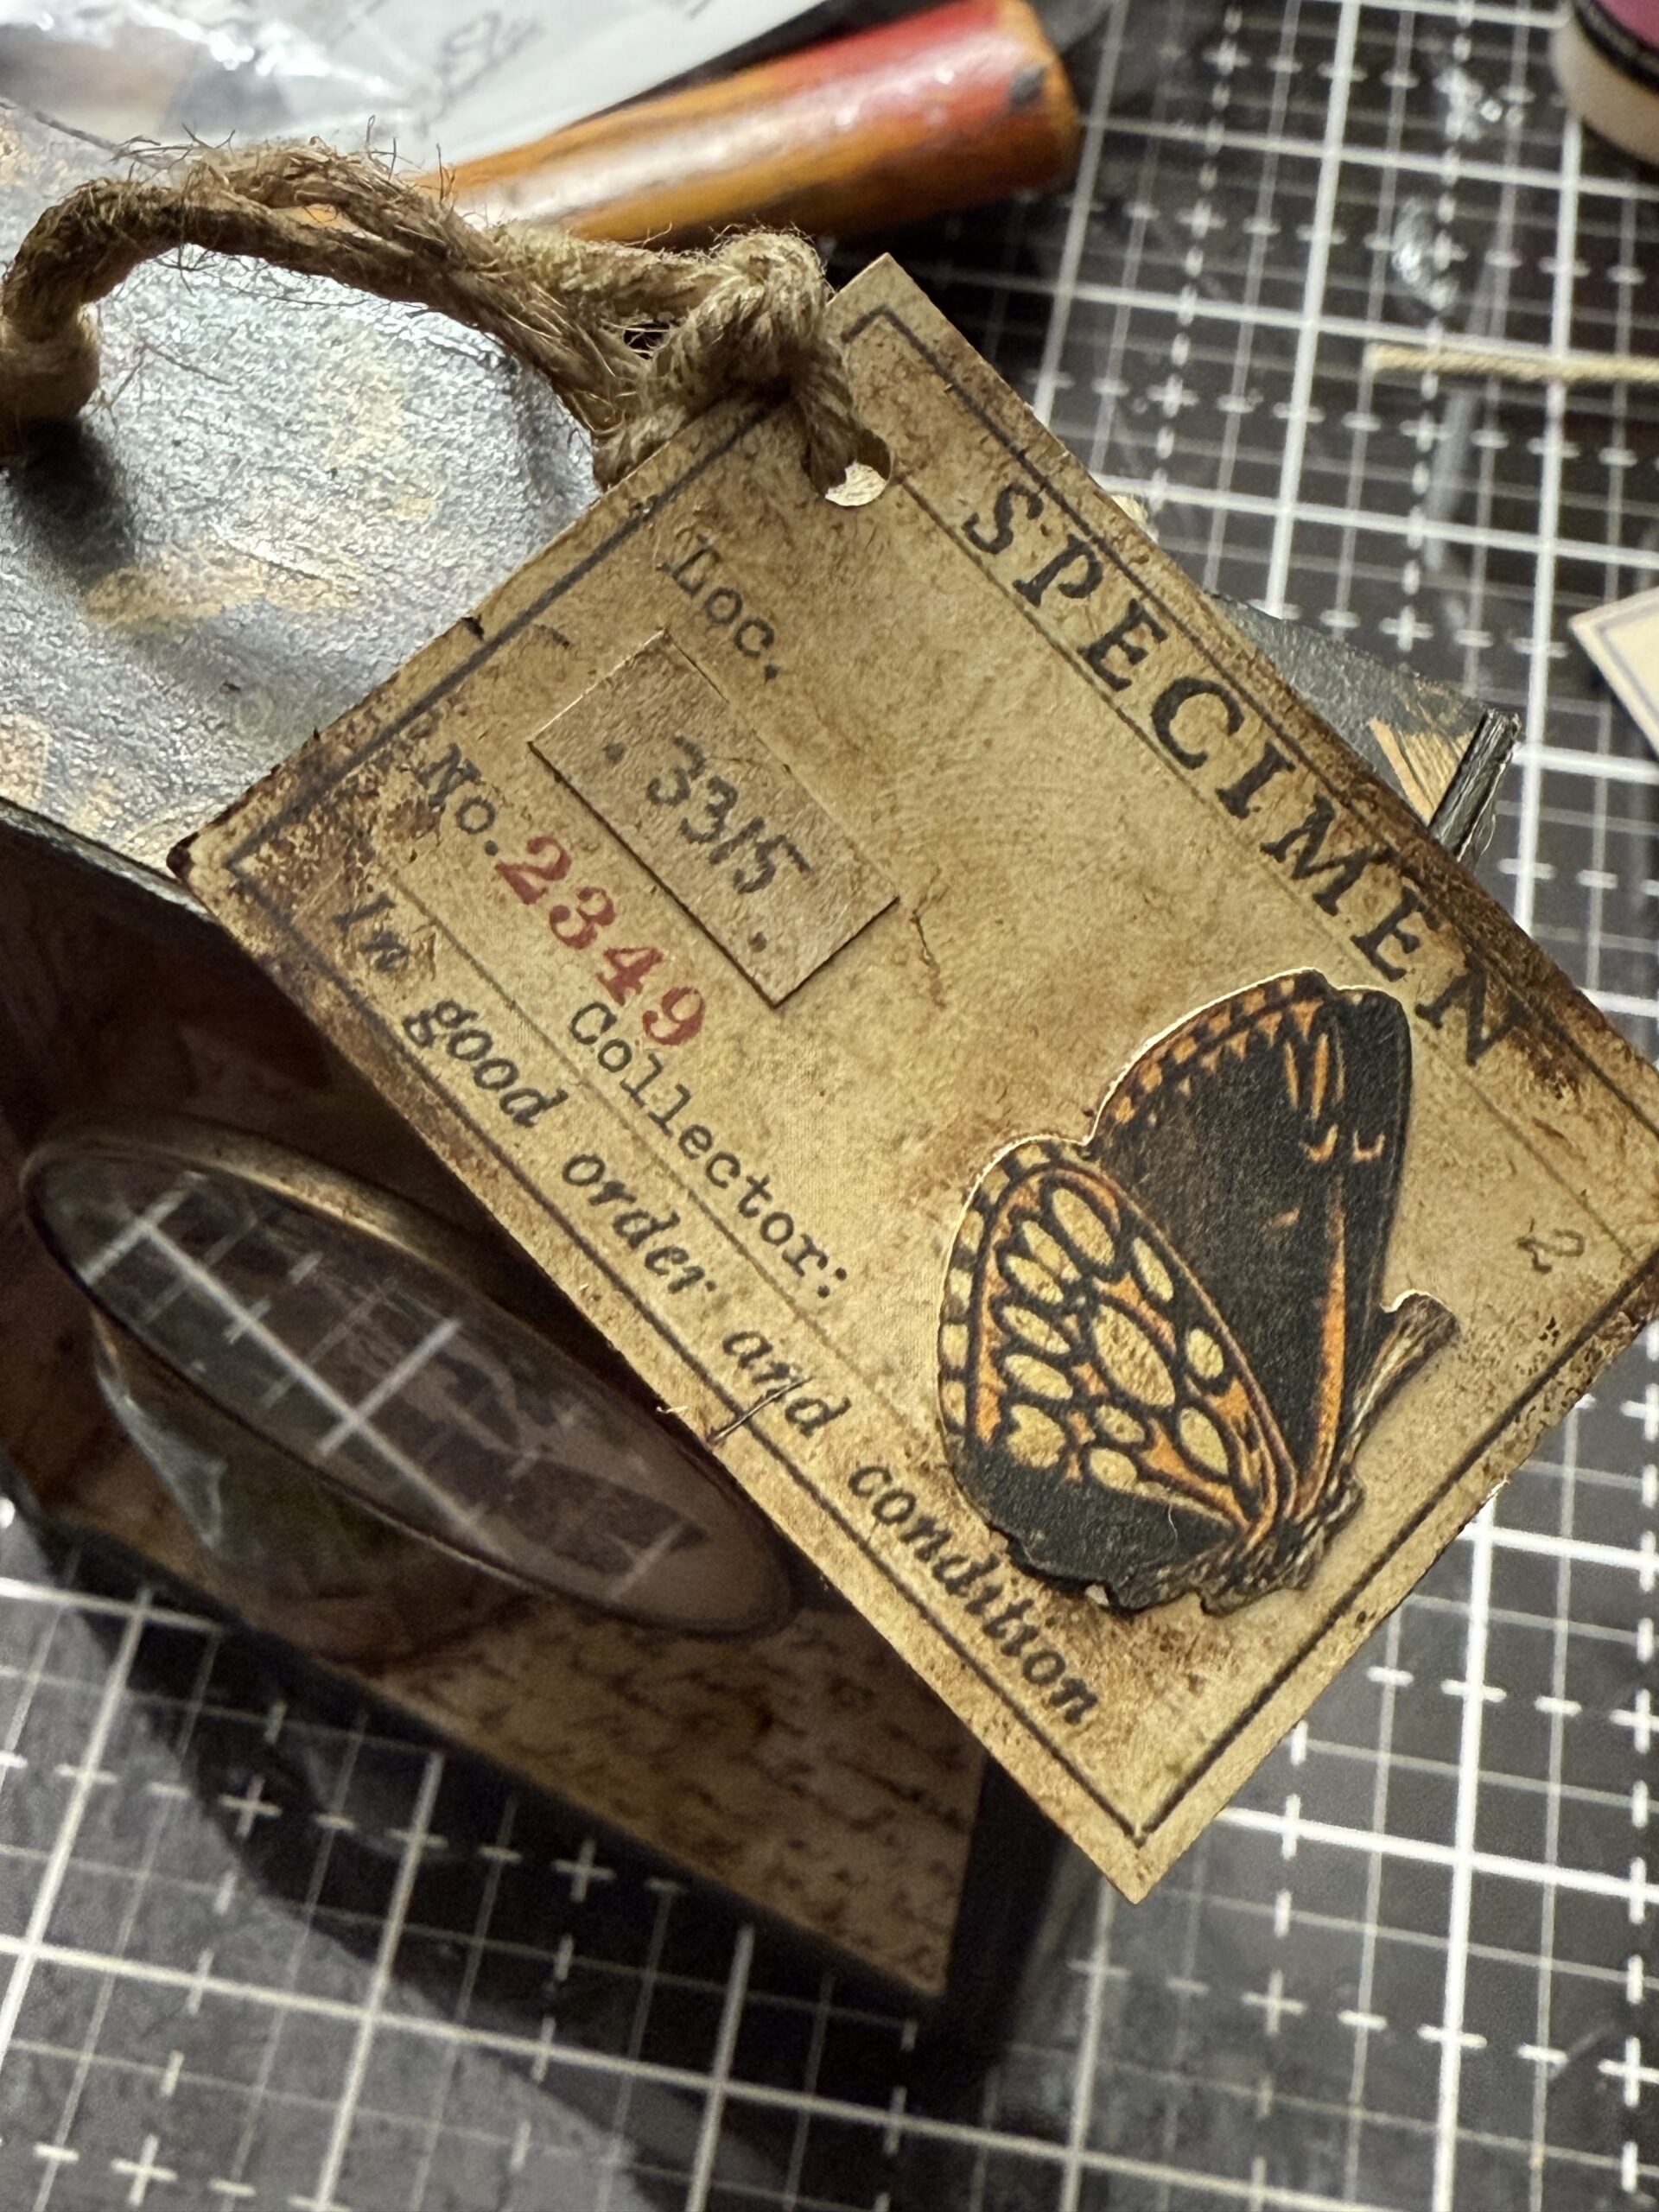
With that, my Butterfly Specimen was complete!
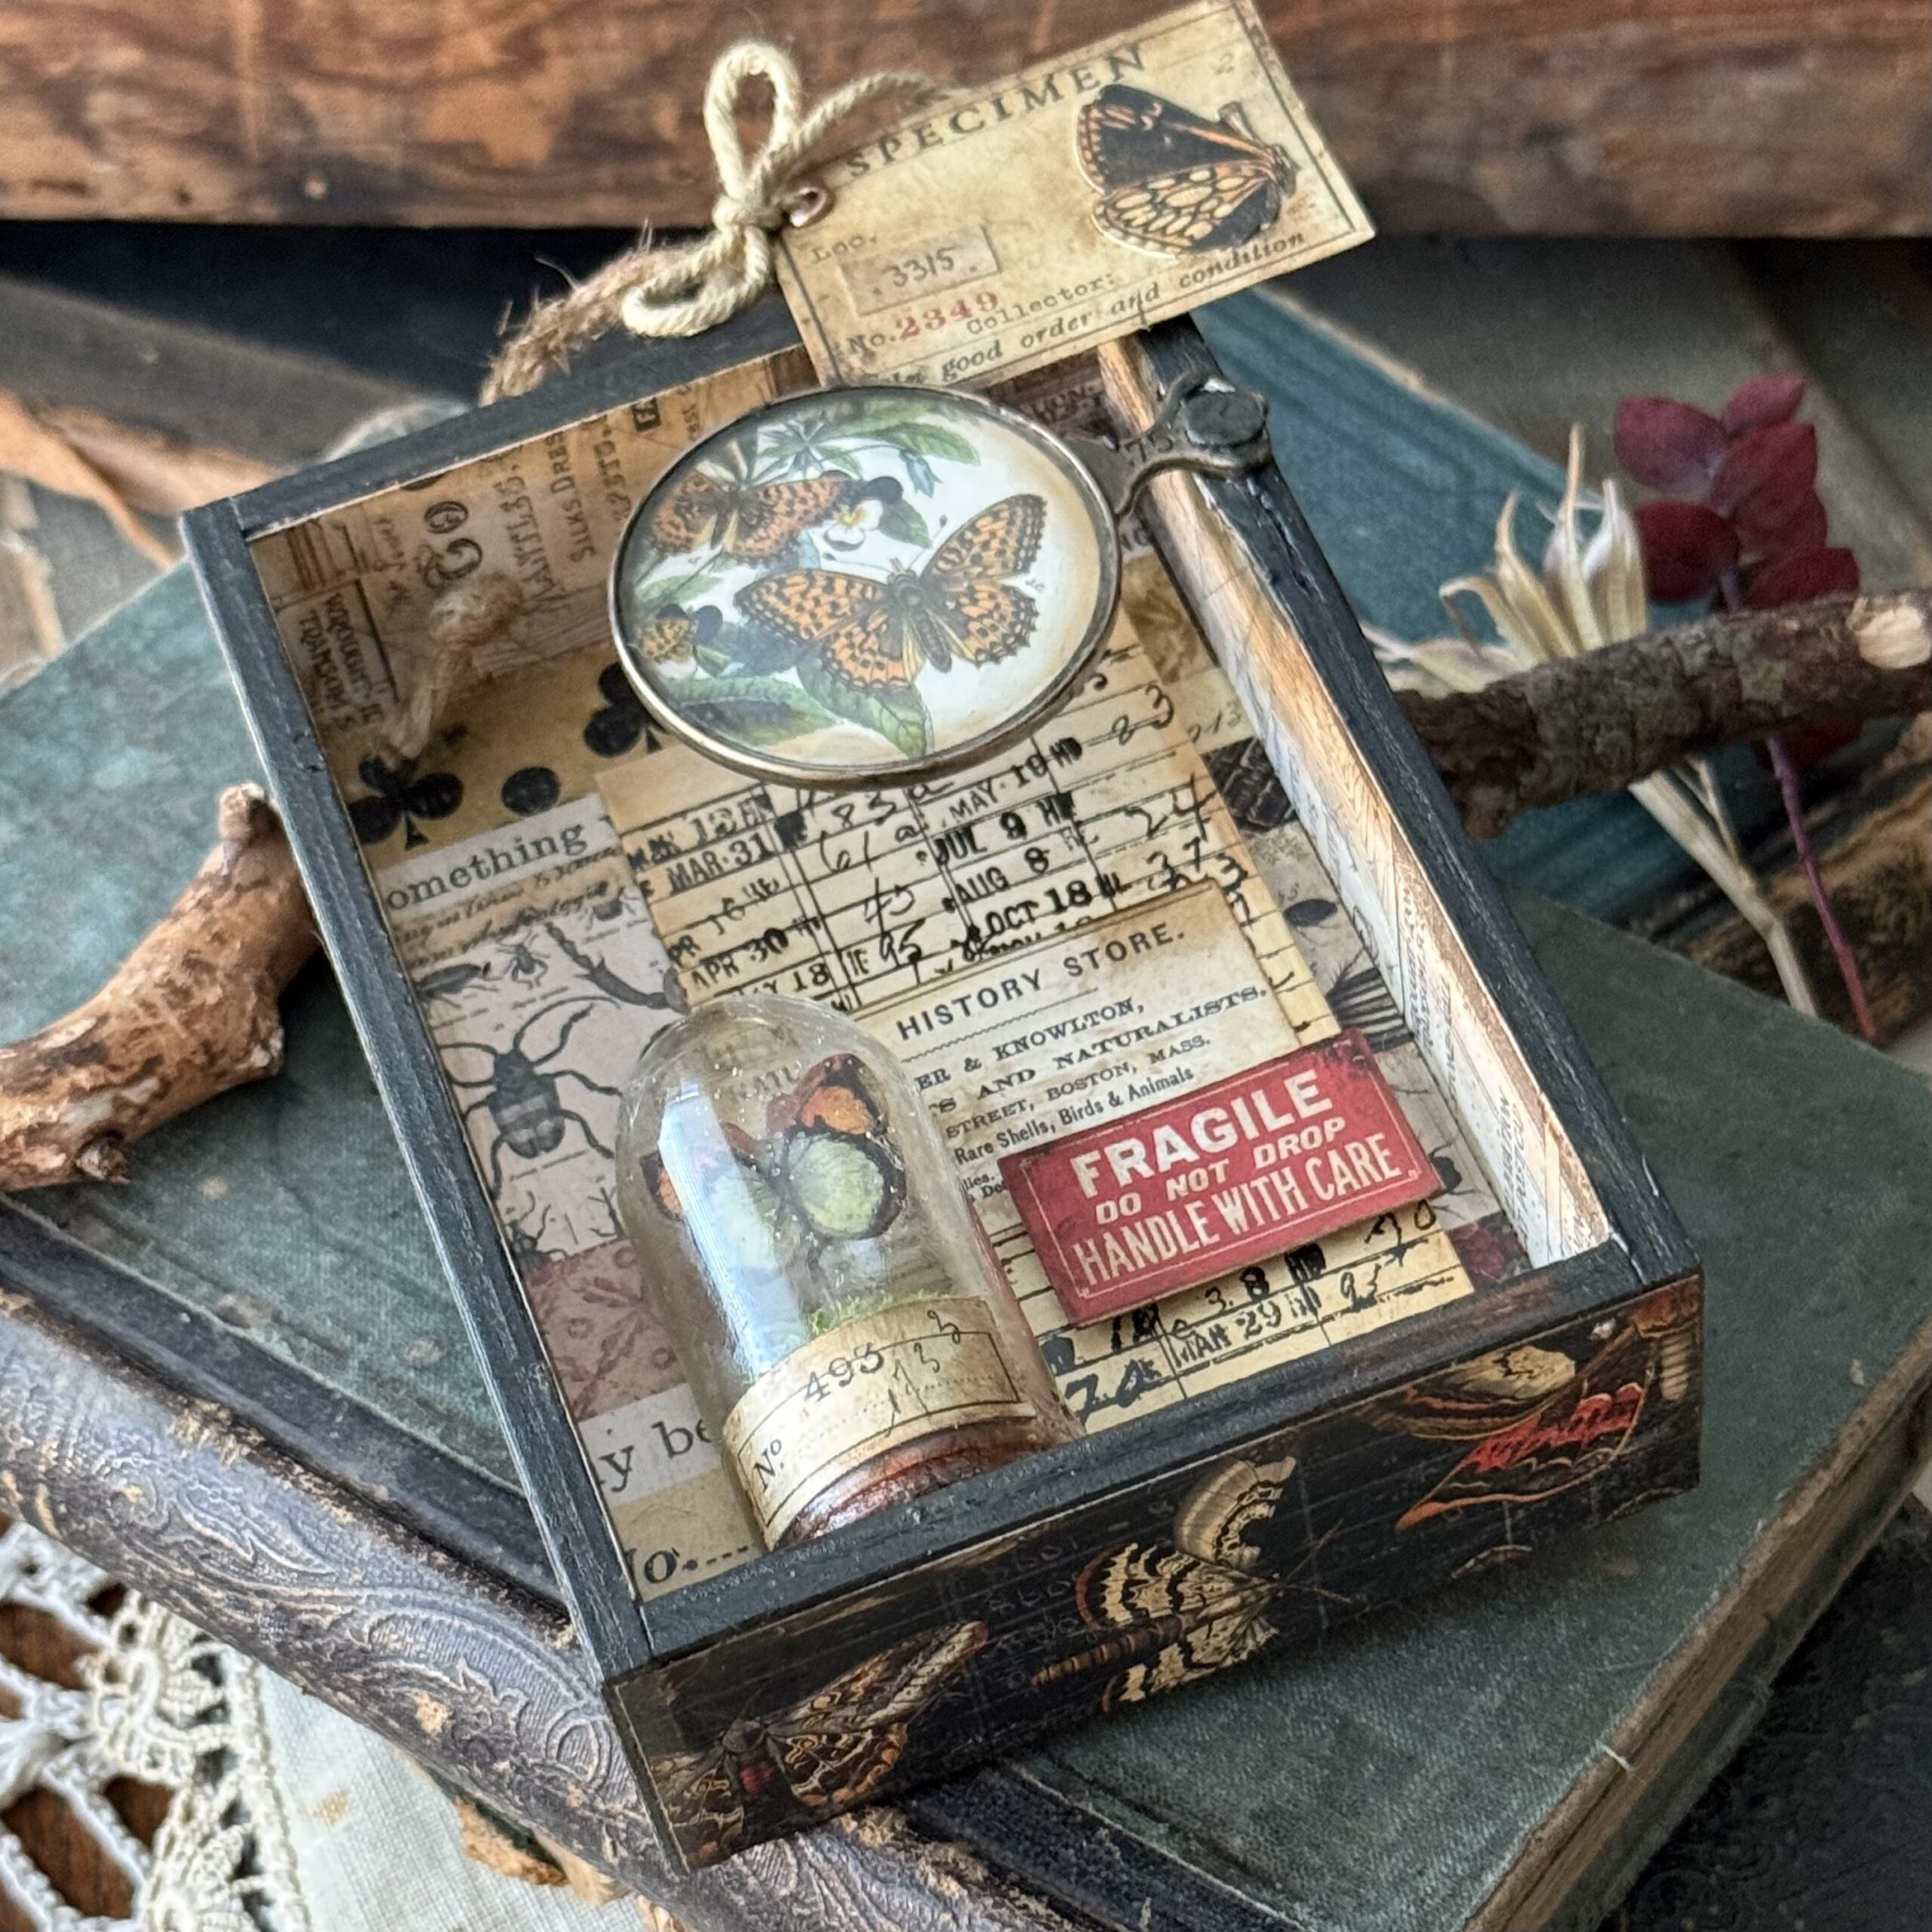
Thanks so much for stopping by today, and be sure to check out the Halloween Palette Papers as they can be used for so many things other than Halloween! CLICK HERE to check them out.
Take care!
Creatively yours,
Stacy
Shop Simon Says Stamp by clicking on this link. Thank you! I appreciate you for supporting me.
What is an affiliate program, and why should I click on the link and buy through you?
When you shop via the affiliate link on this blog, I receive a small commission from the affiliate provider (Simon Says Stamp) at no extra cost to you, whatsoever. These commissions help me to cover the hosting fees and other costs to run my blog and be able to provide you with FREE inspiration. If you shop the links, THANK YOU! I truly appreciate being able to share my love of creating with you.










This is stunning! Thank you for the inspiration and the step by step instructions!
Debbie (UK)