Happy Thursday, friends! I hope all is well with you today…I have another tutorial for you. This time, a bit of Halloween in a vignette. Elmira was a curious woman… and she seamed to love halloween waiting with her own for the big day. Too funny, the idea-ology Halloween Clipping stickers are always a fun way to add the storyline to a project and jump start your imagination.
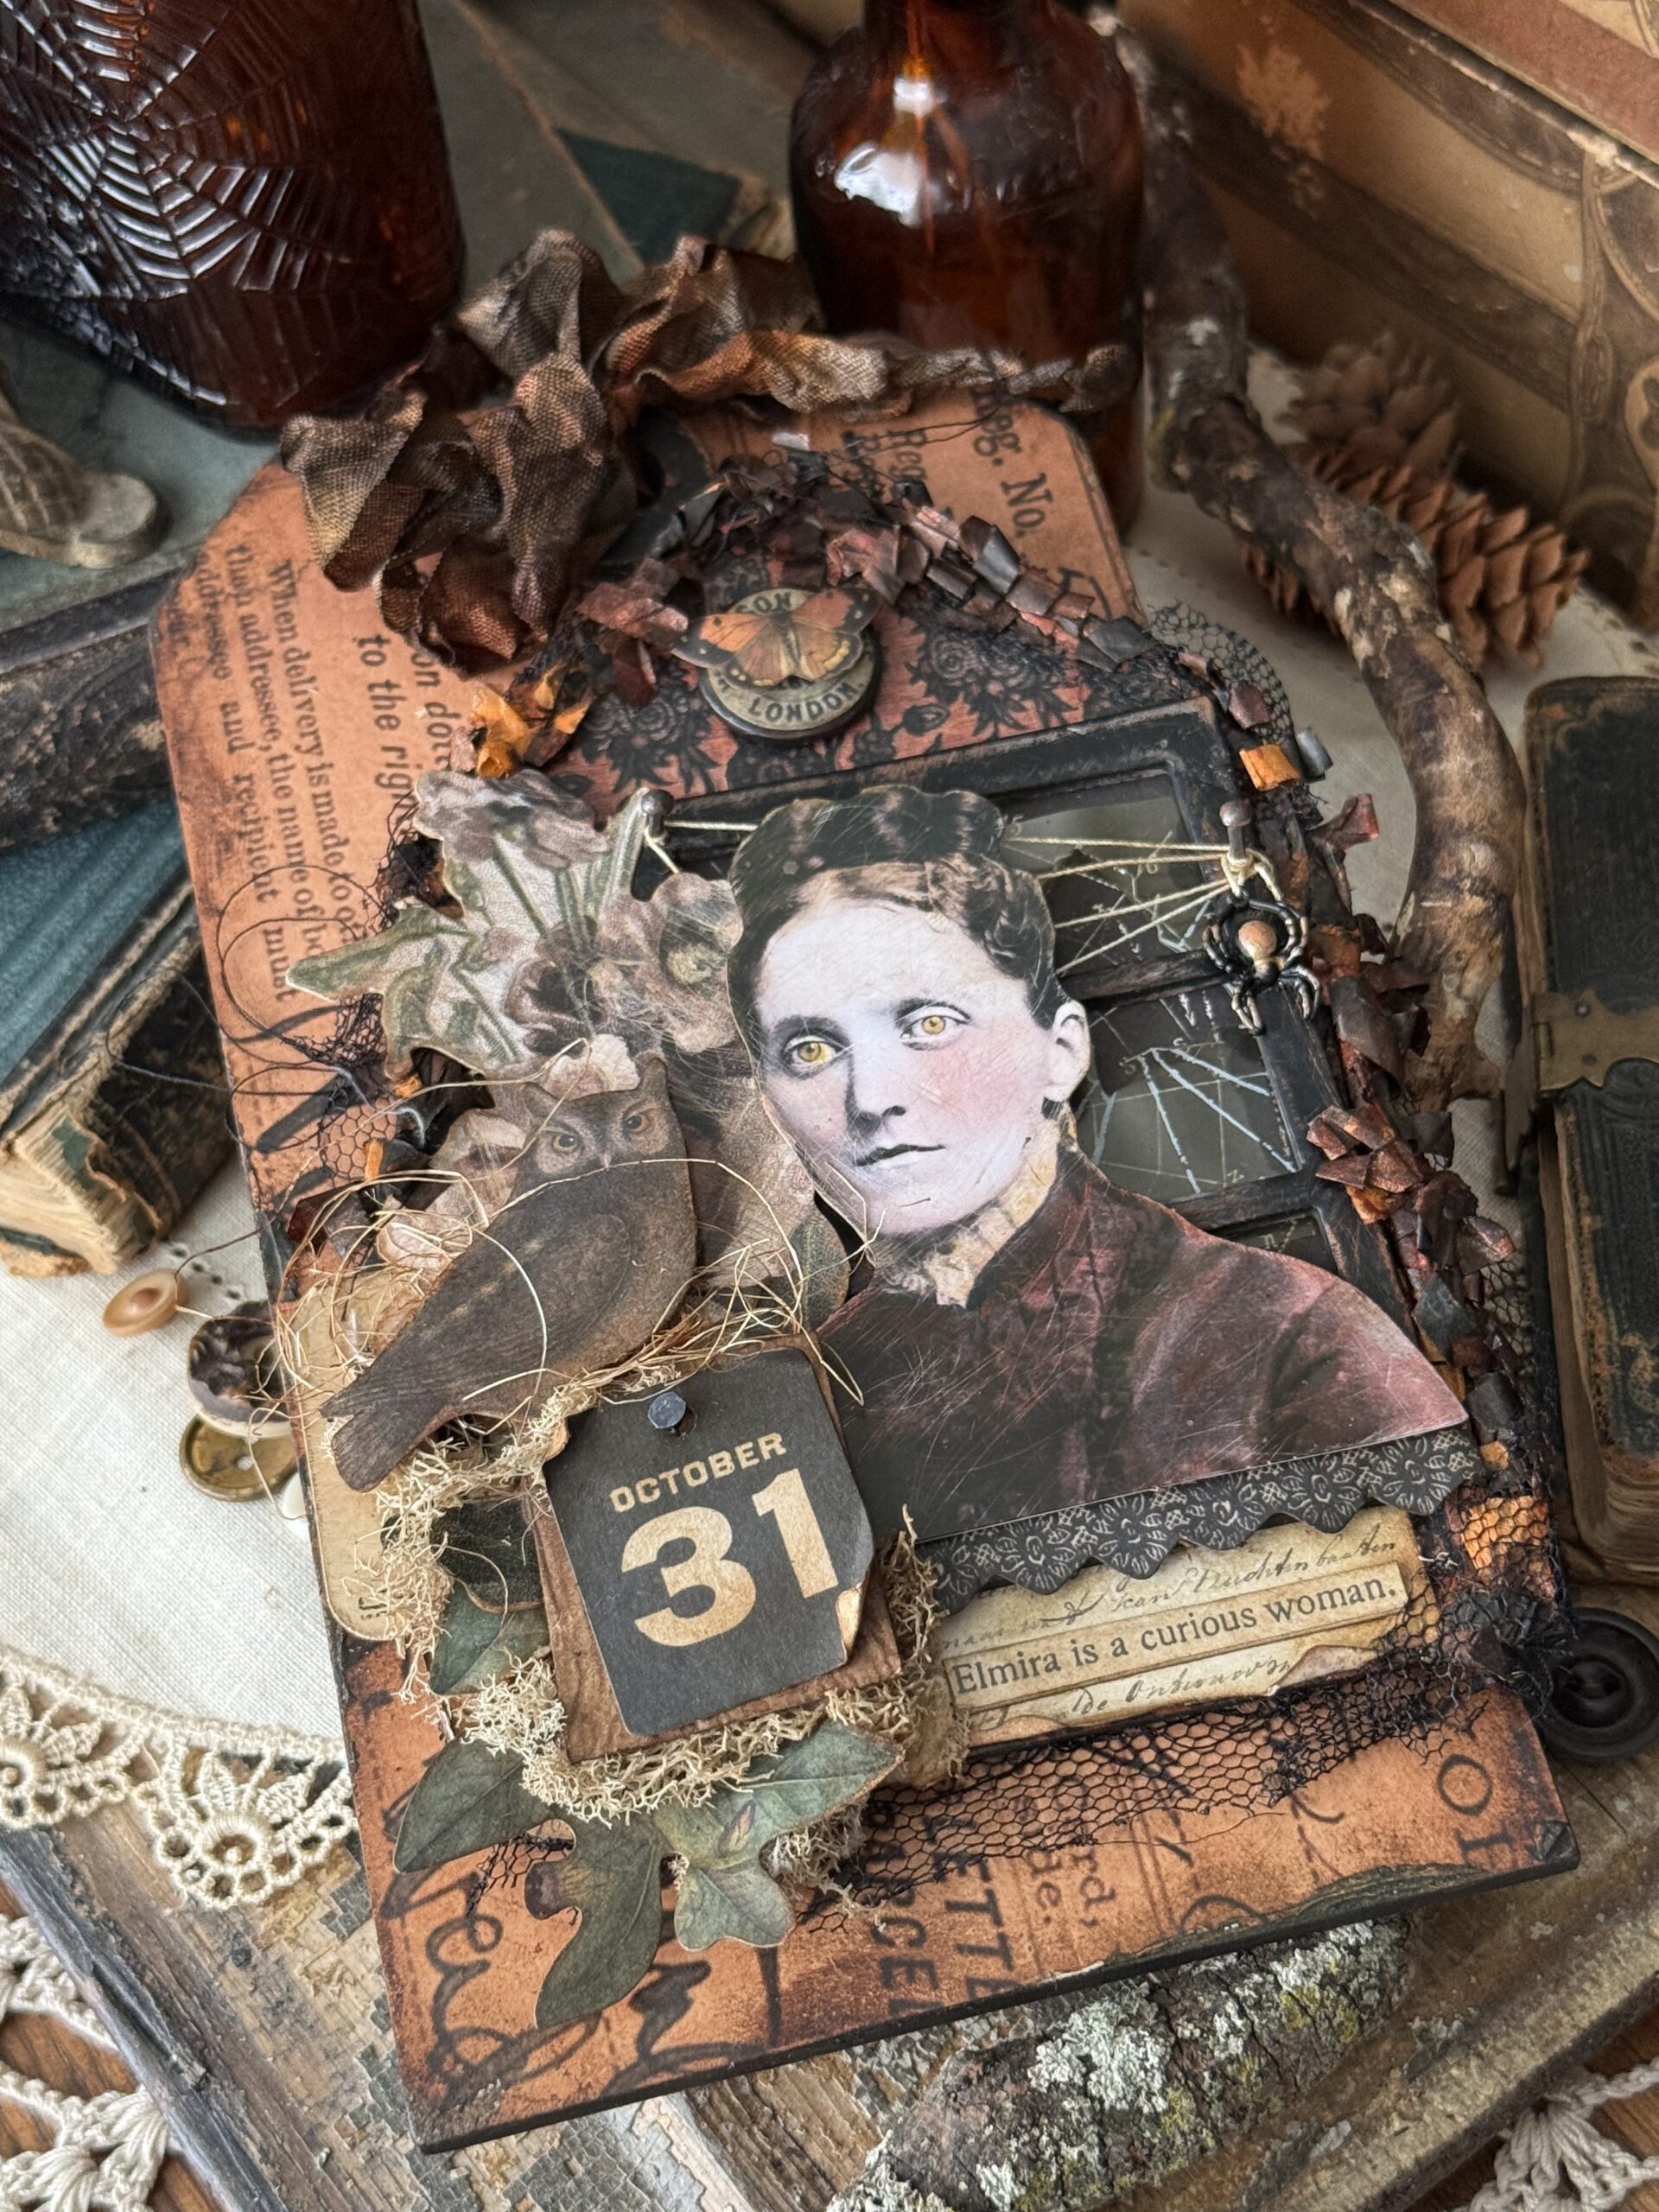
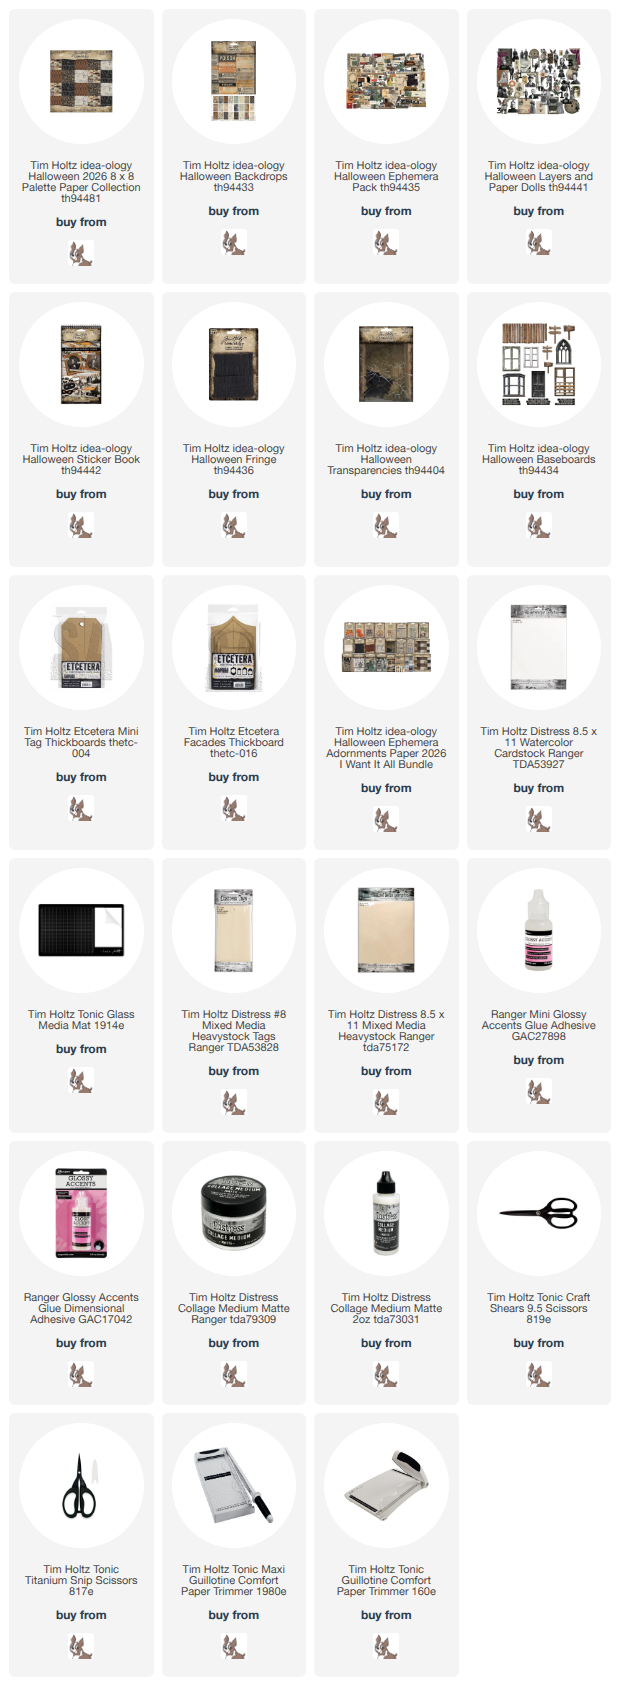
I couldn’t resist using that little owl for her companion…I think he might be a little curious as well and I have named him Francis. He was found in the idea-ology Halloween Ephemera pack along with almost all of the embellishments I used on this project.
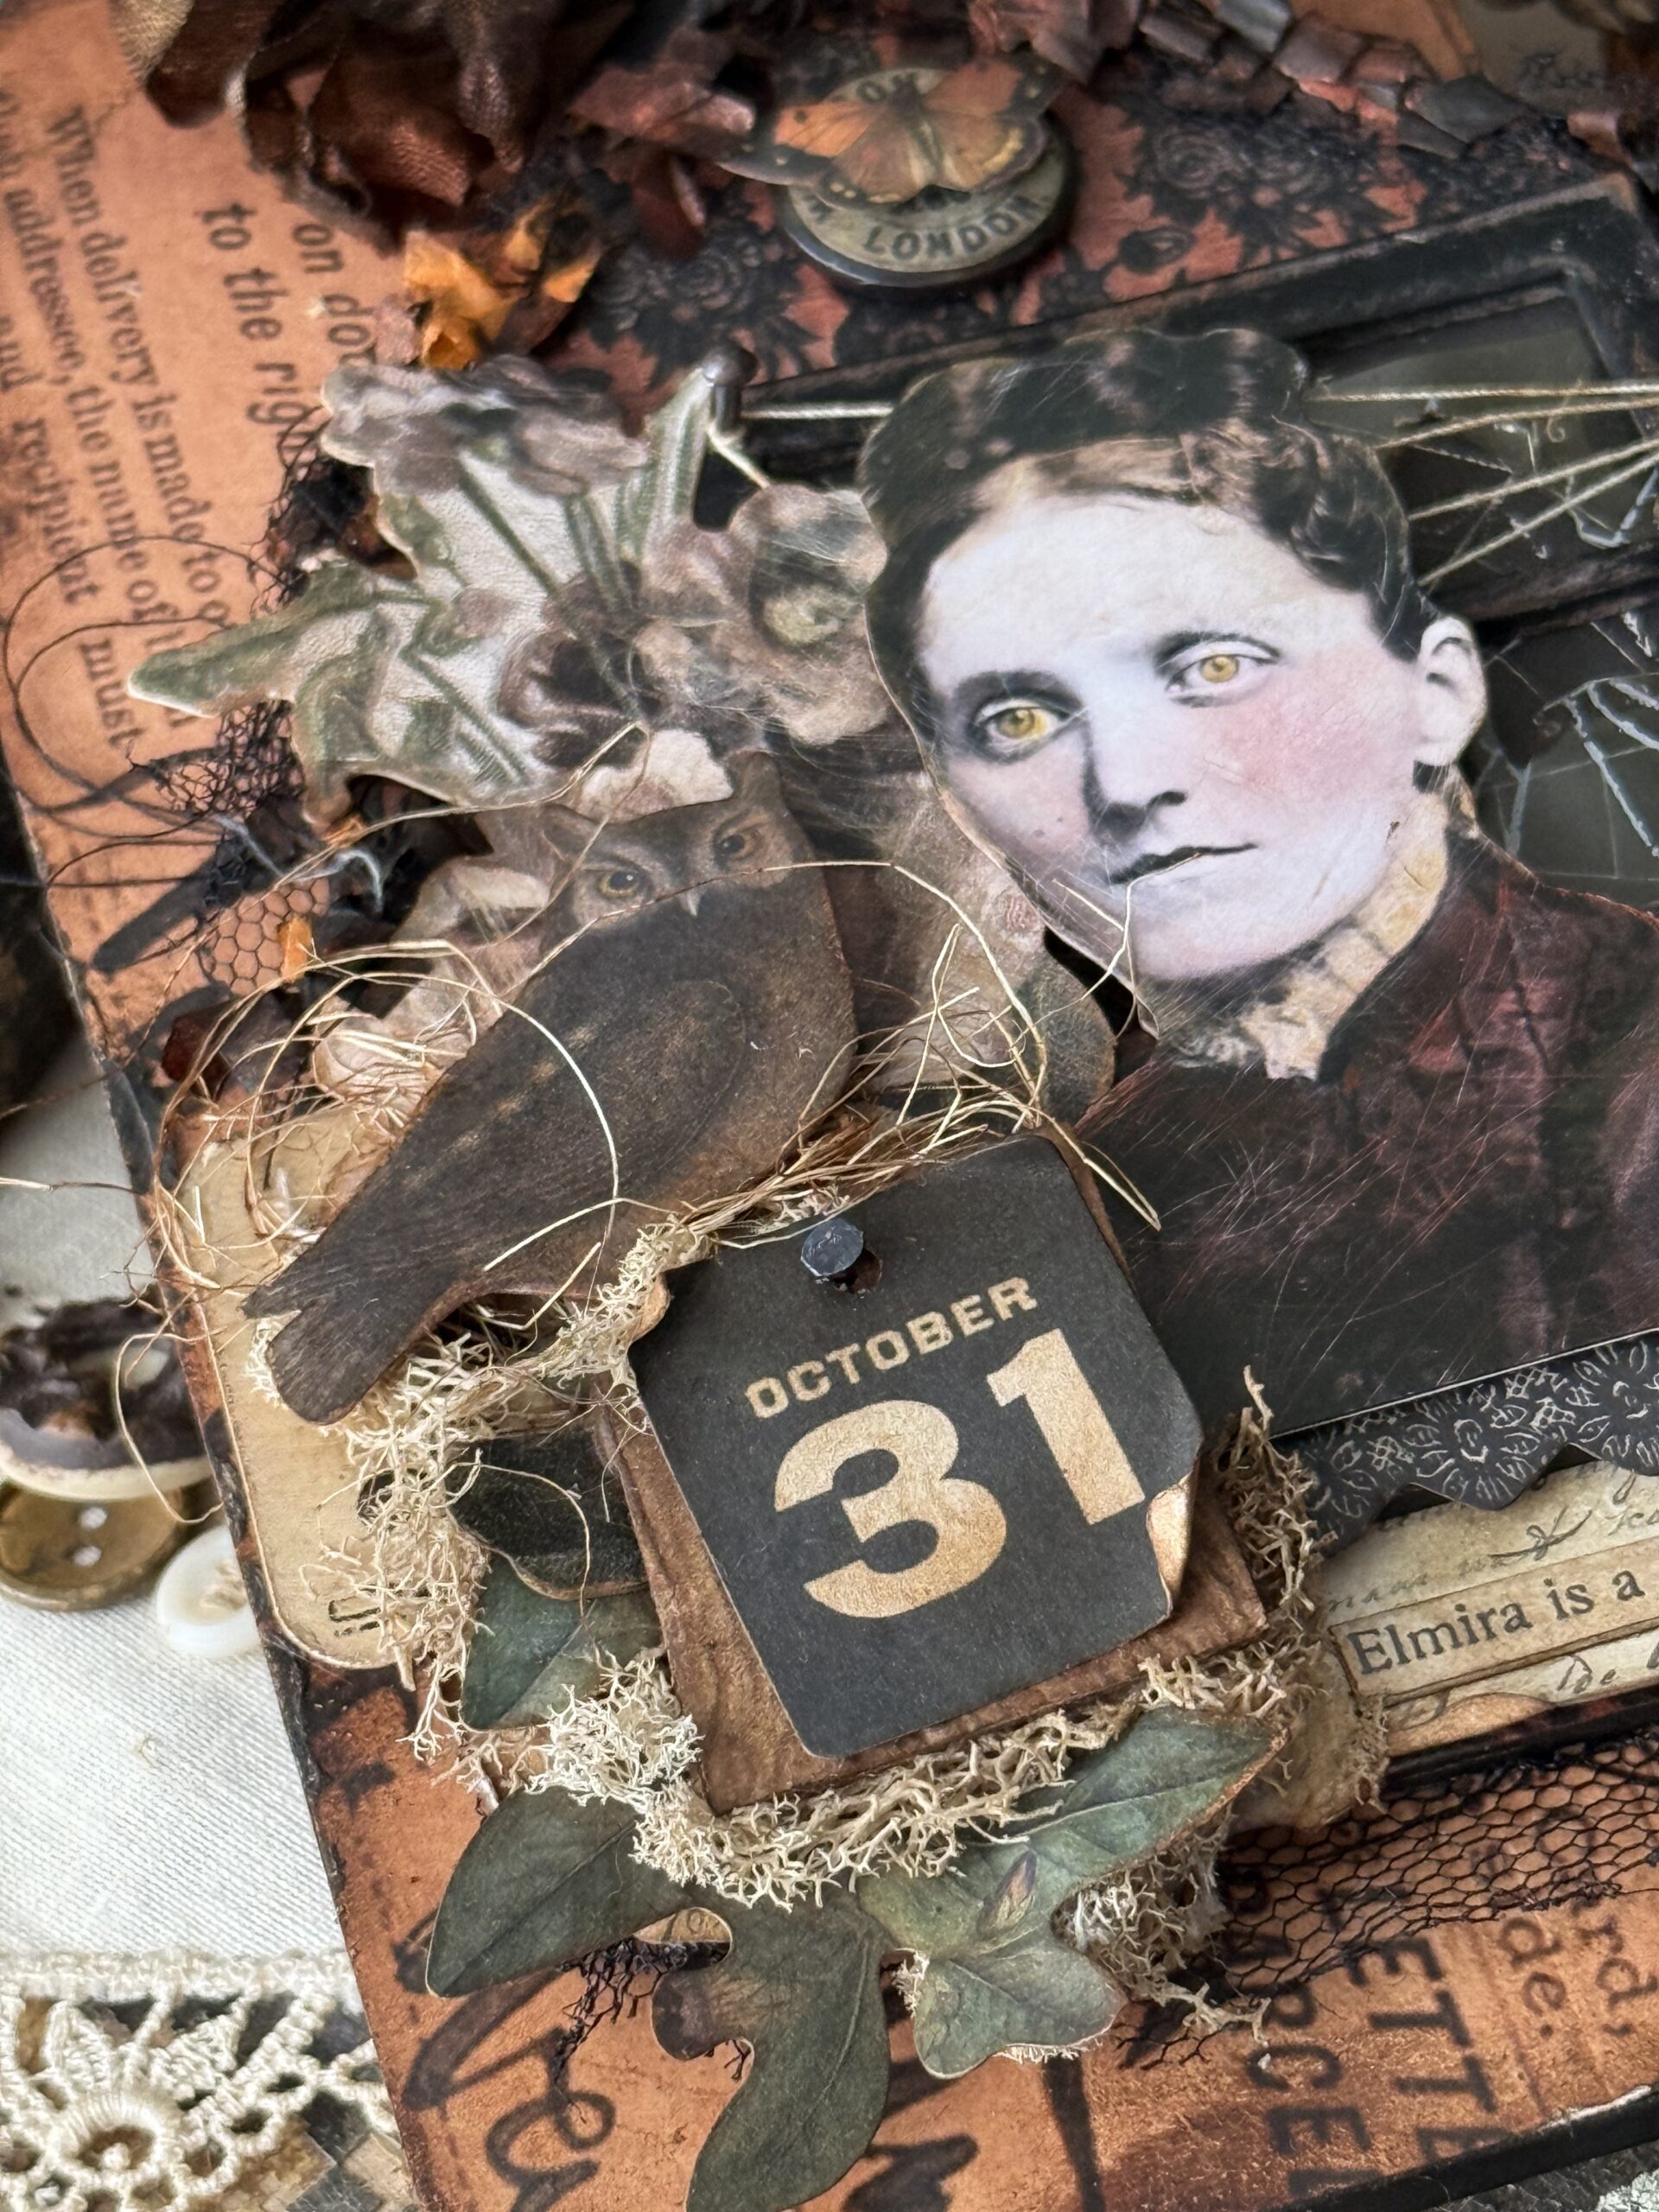
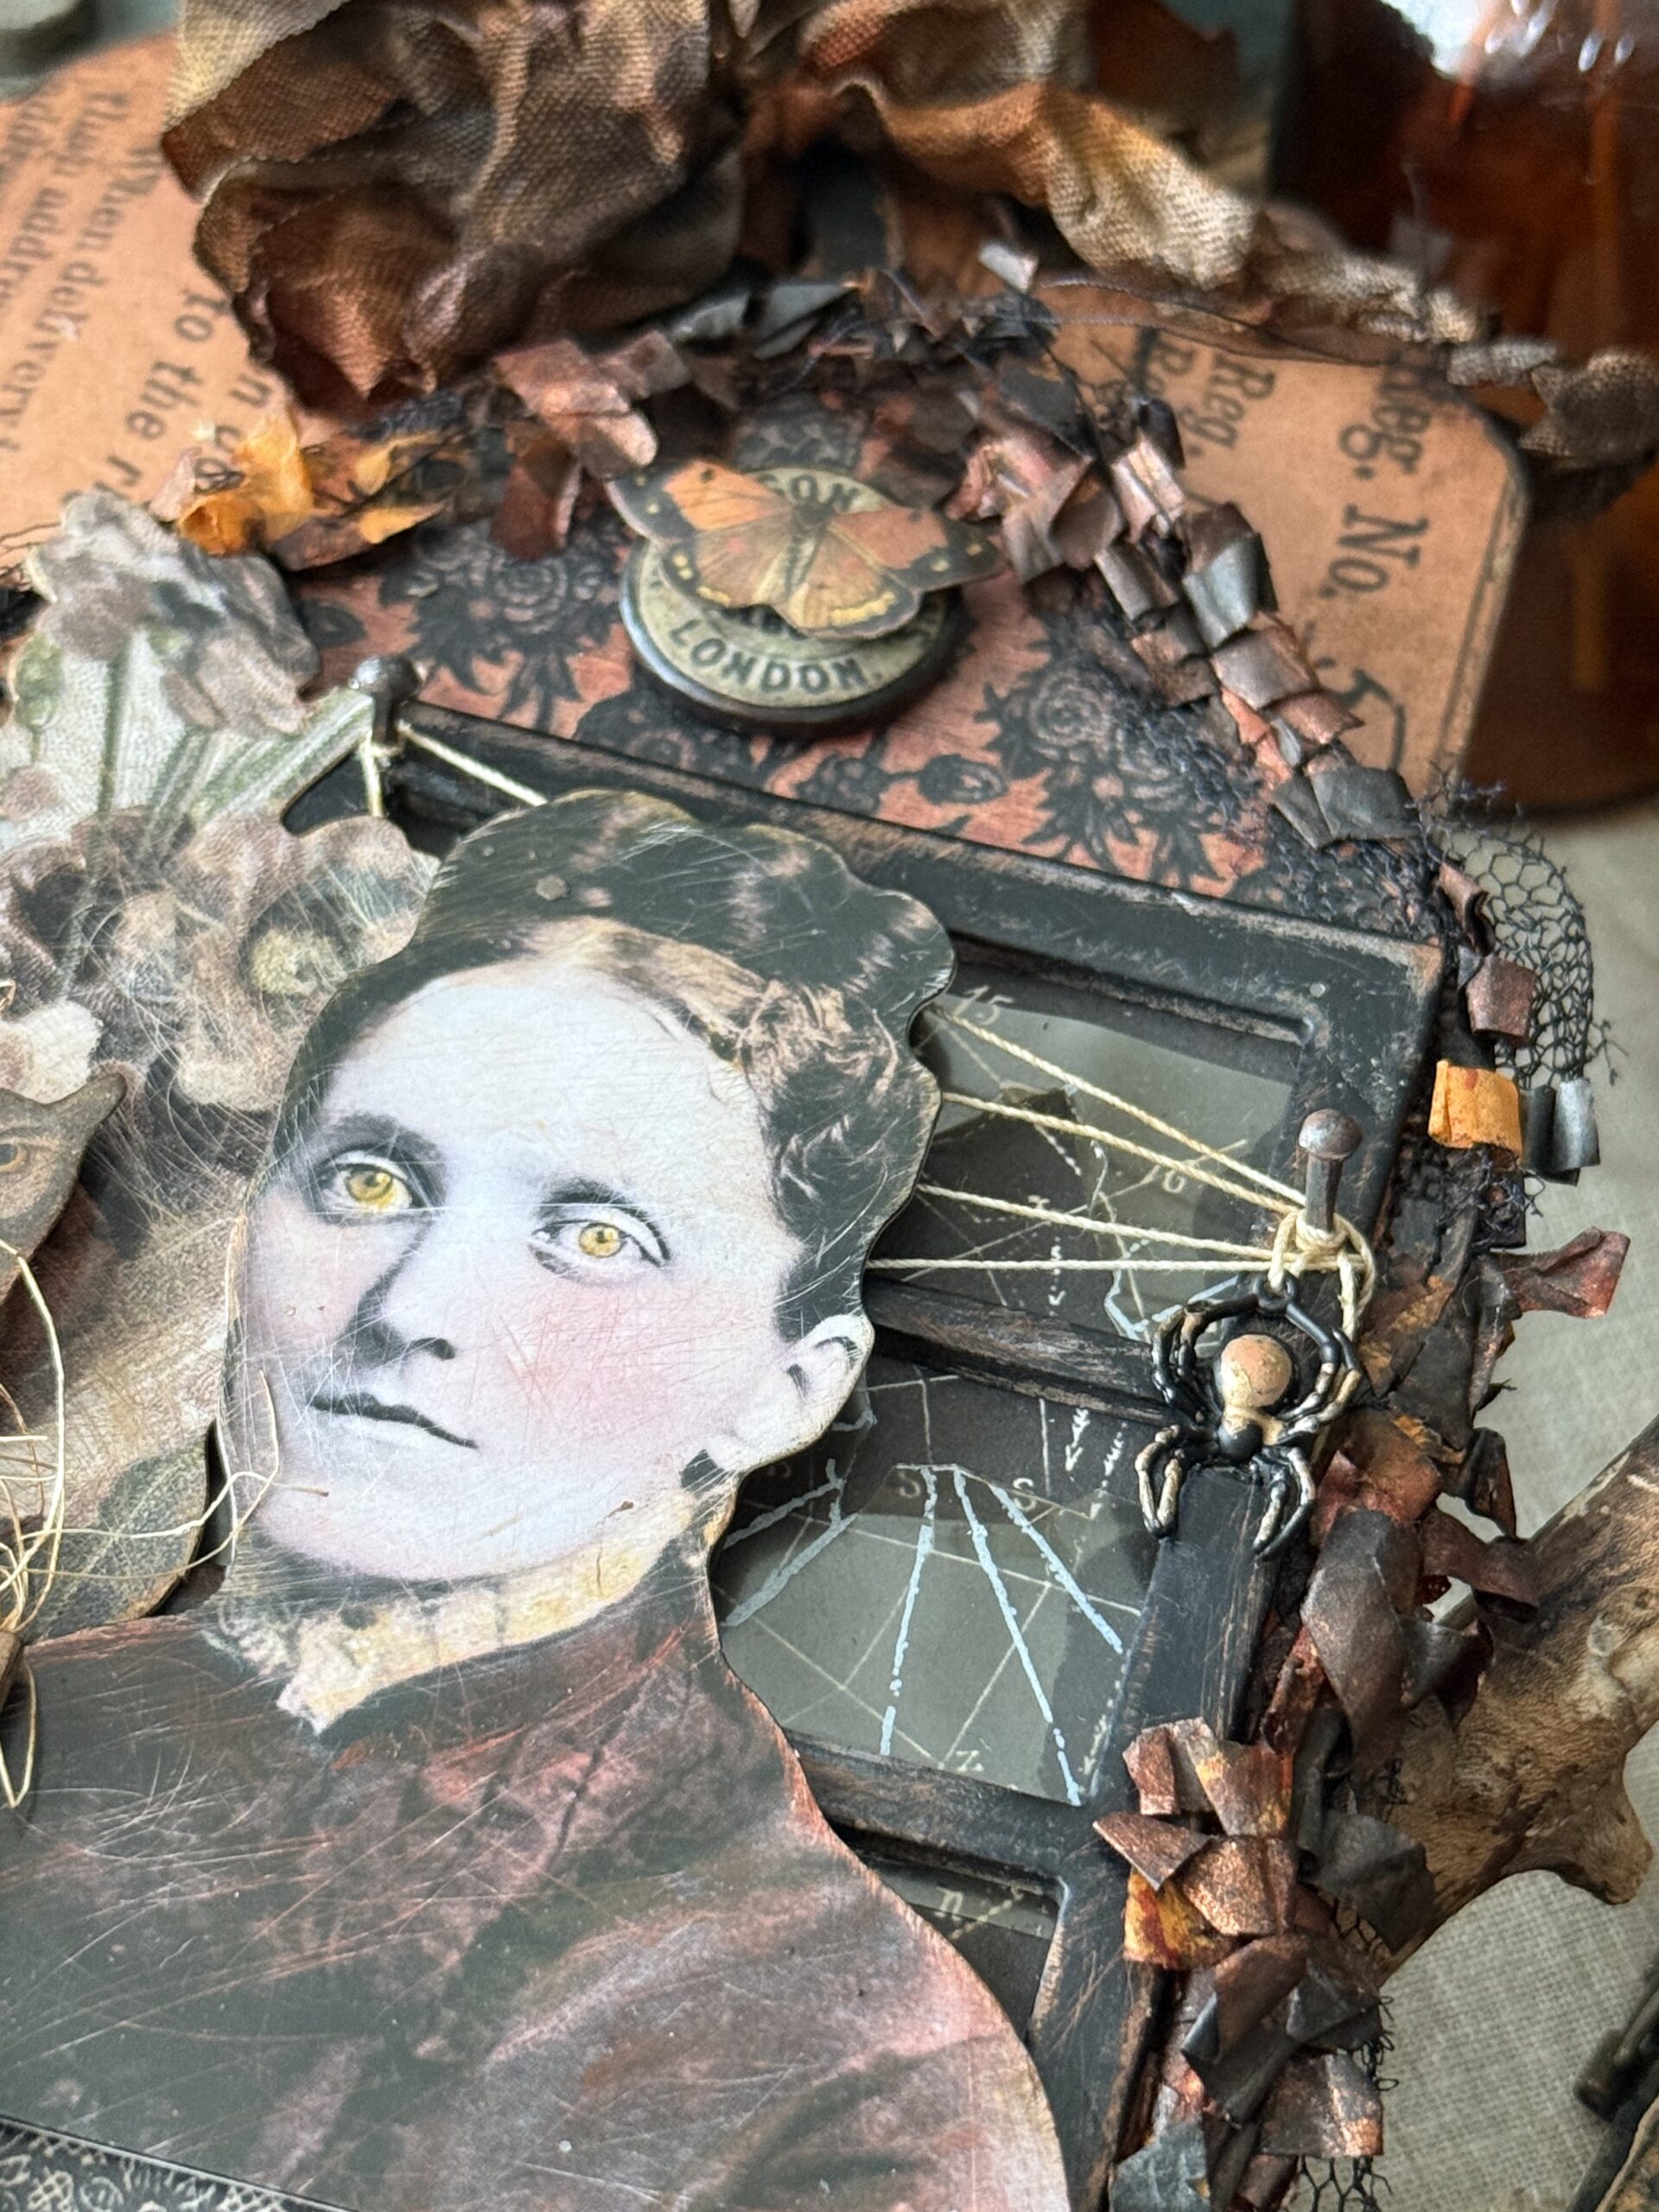
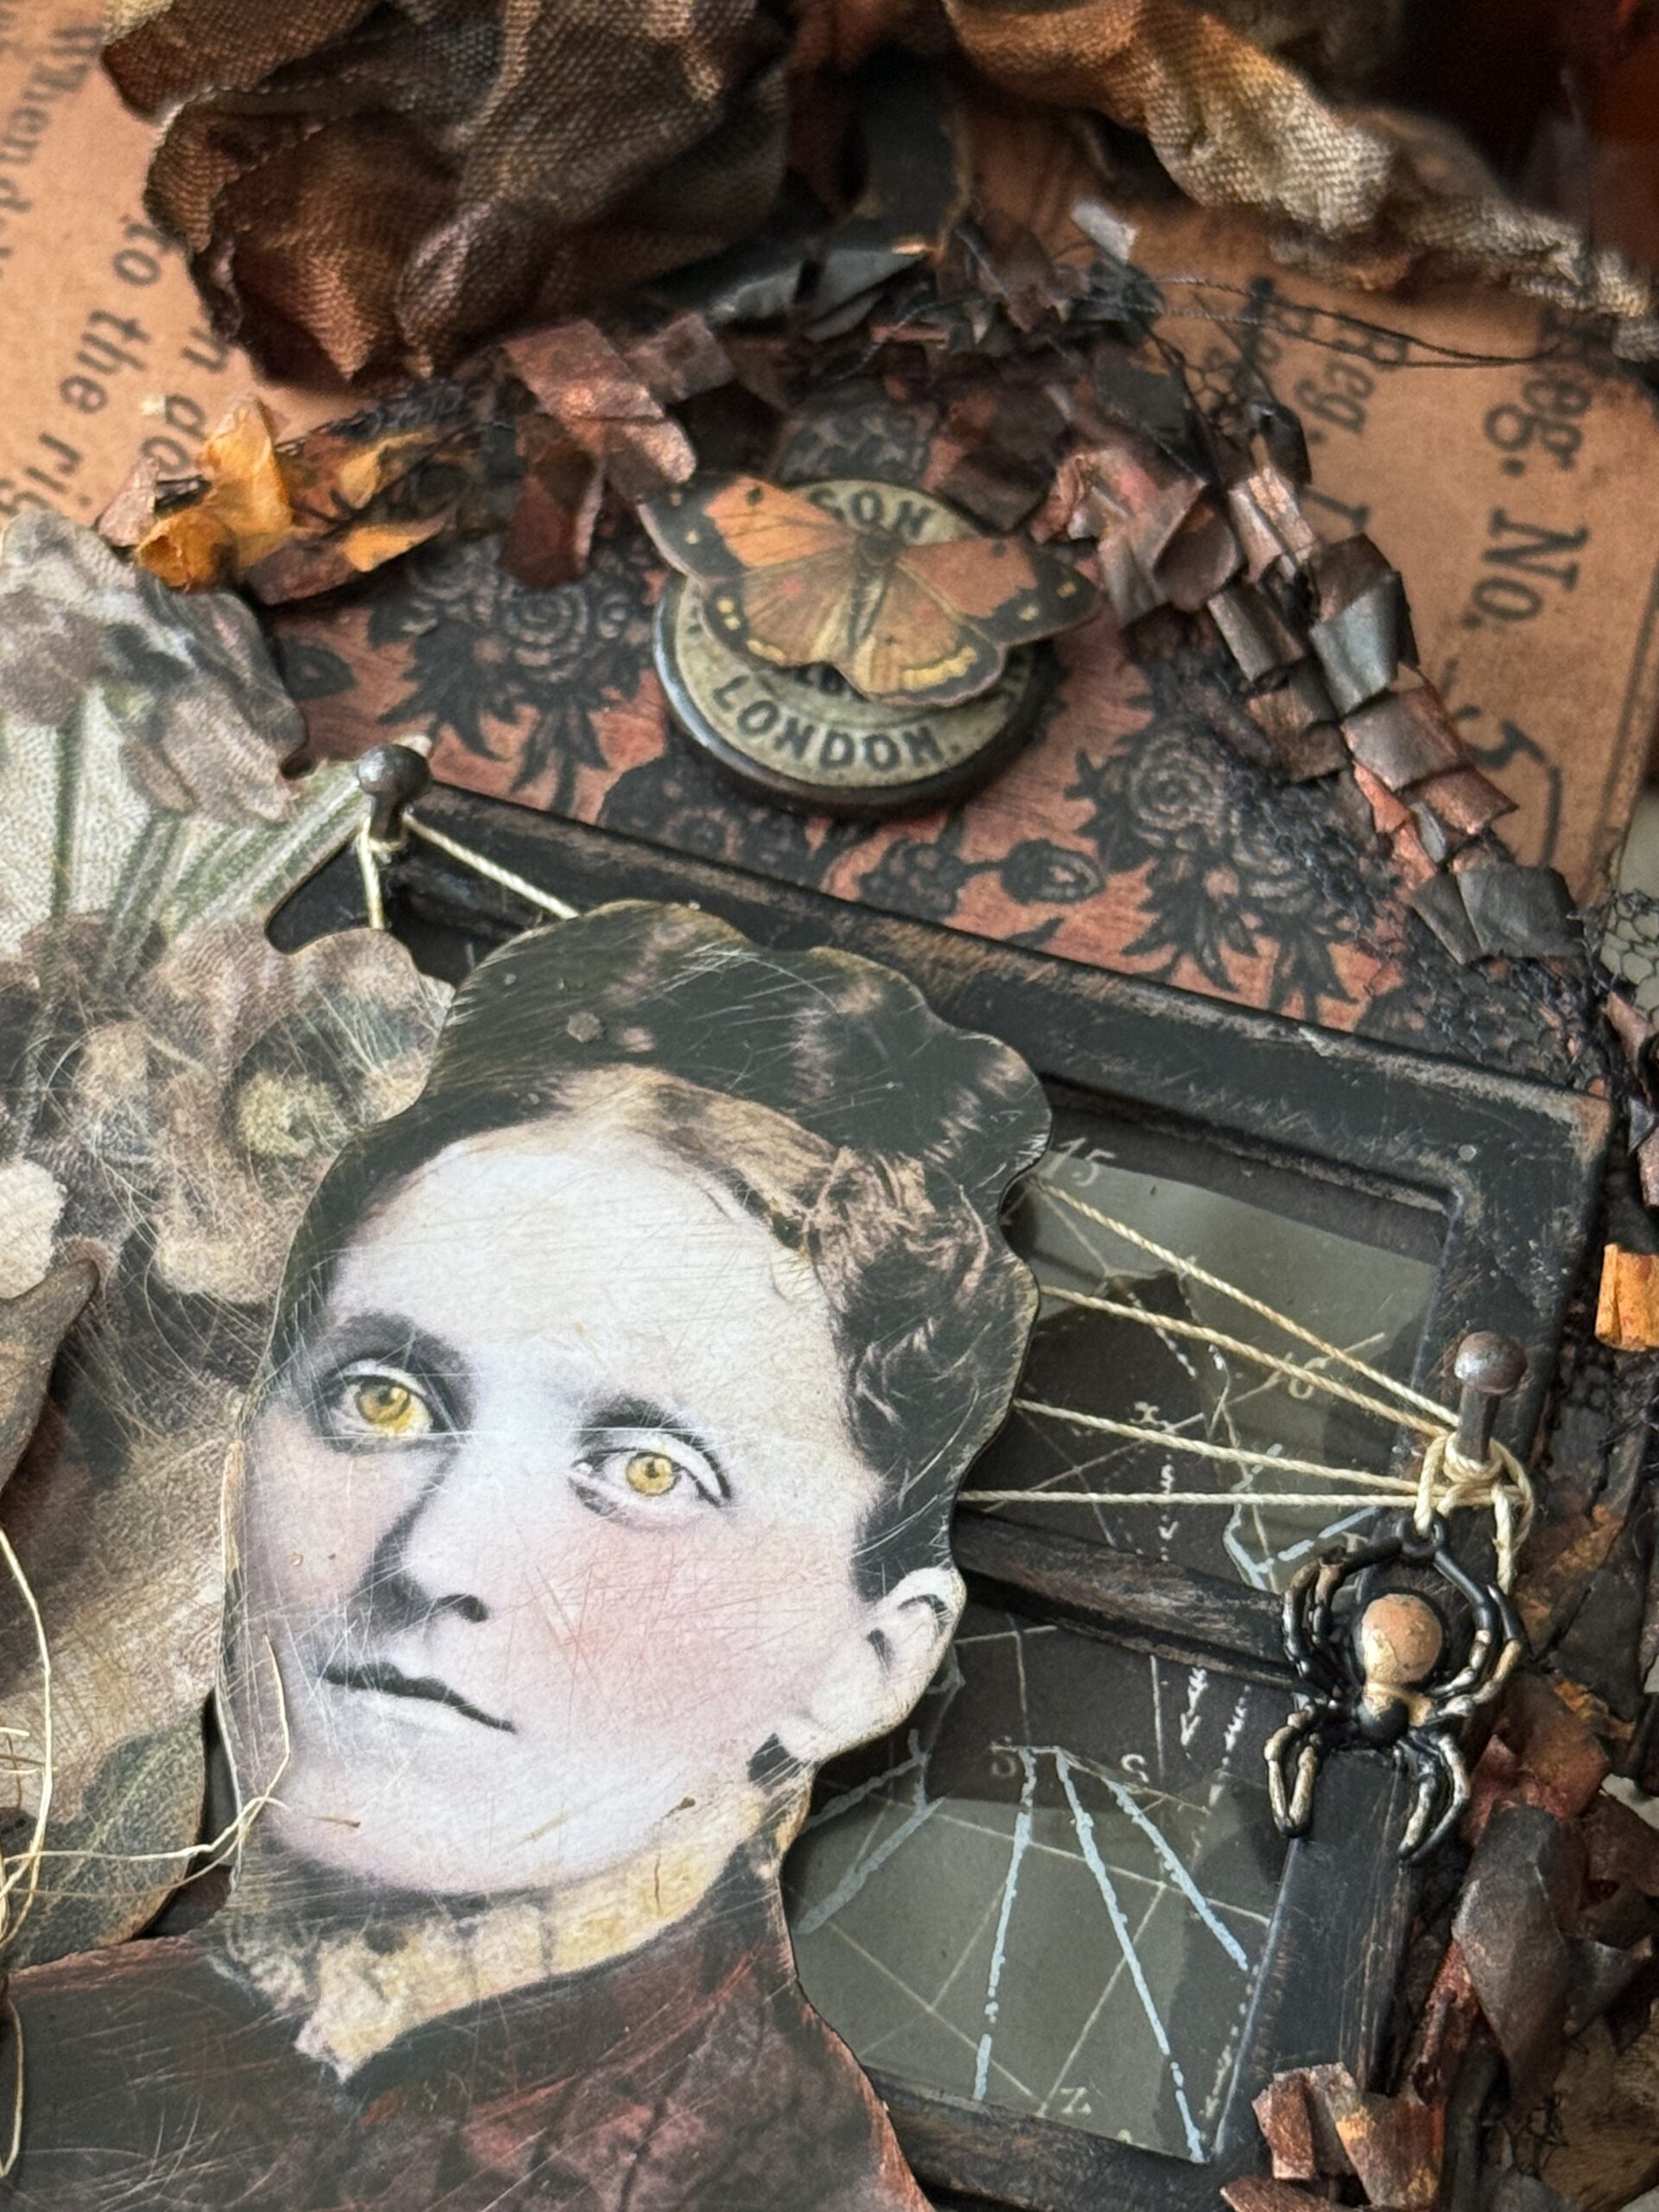
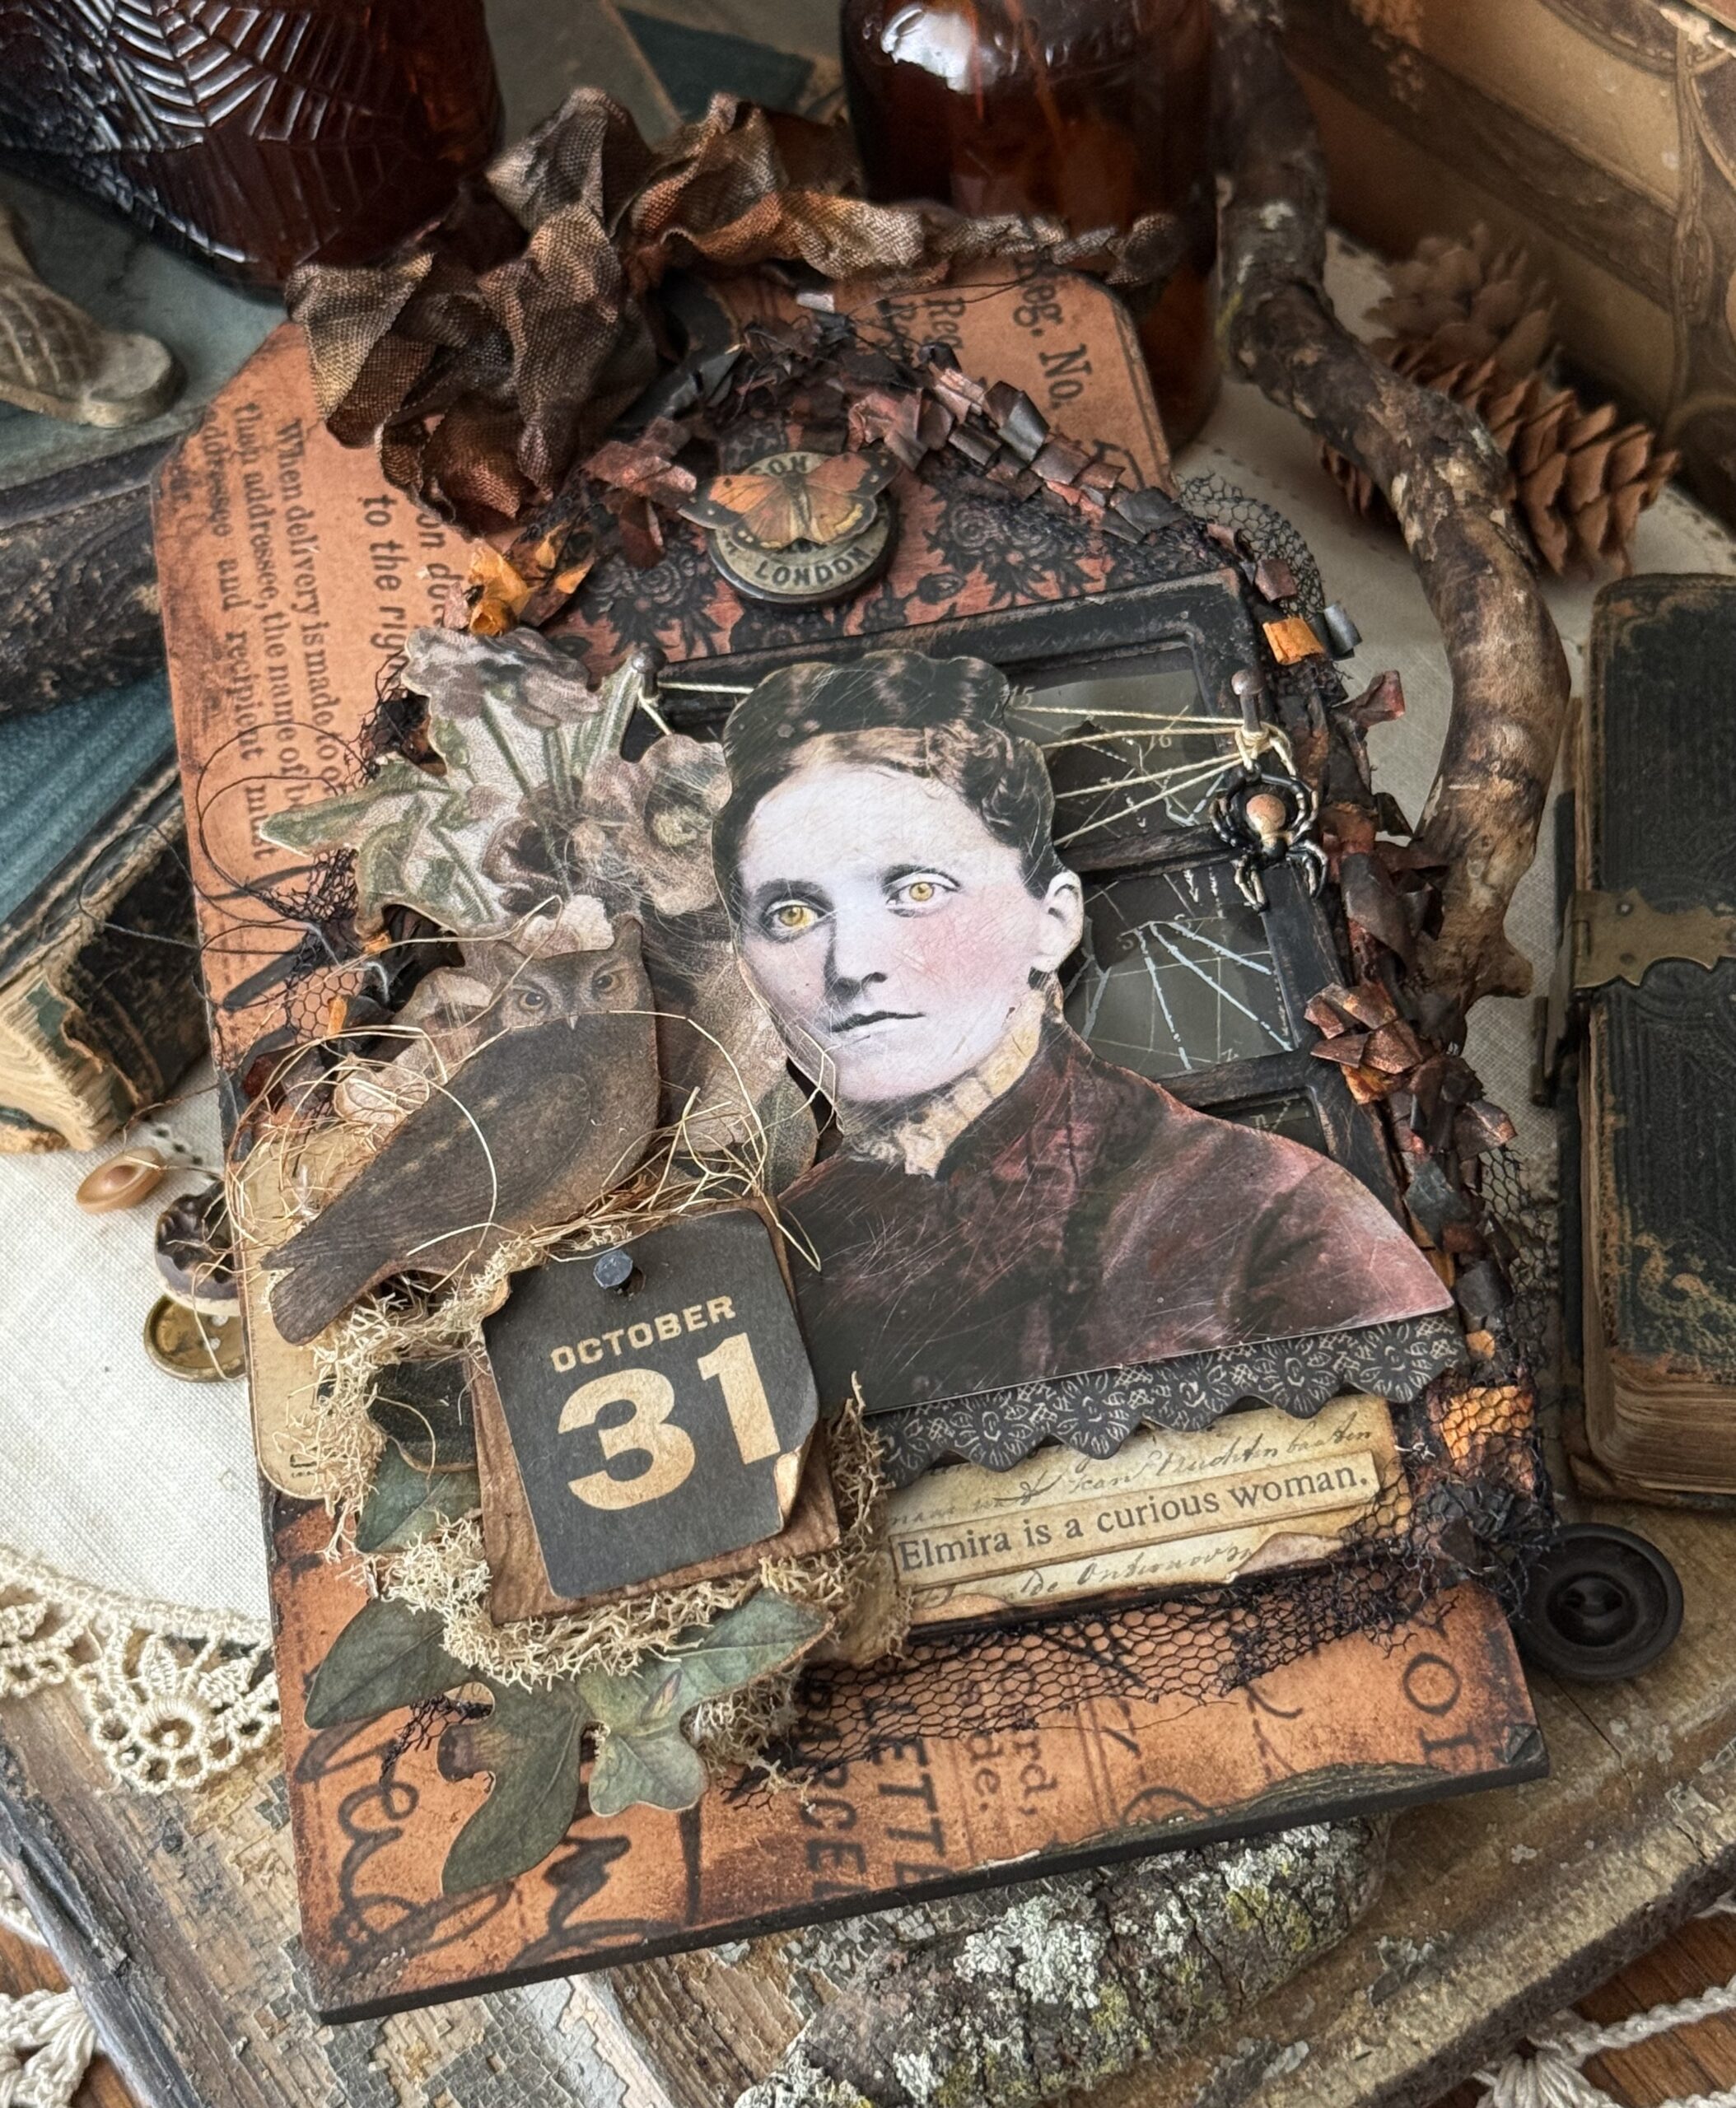
She and the flowers behind her were found in the Halloween Layers and Paper Dolls pack. Samuel, the spider, enjoys frolicking in his web and the frilly layers of the trims around the Etcetera Facade that was placed on the Mini Etcetera Tag.
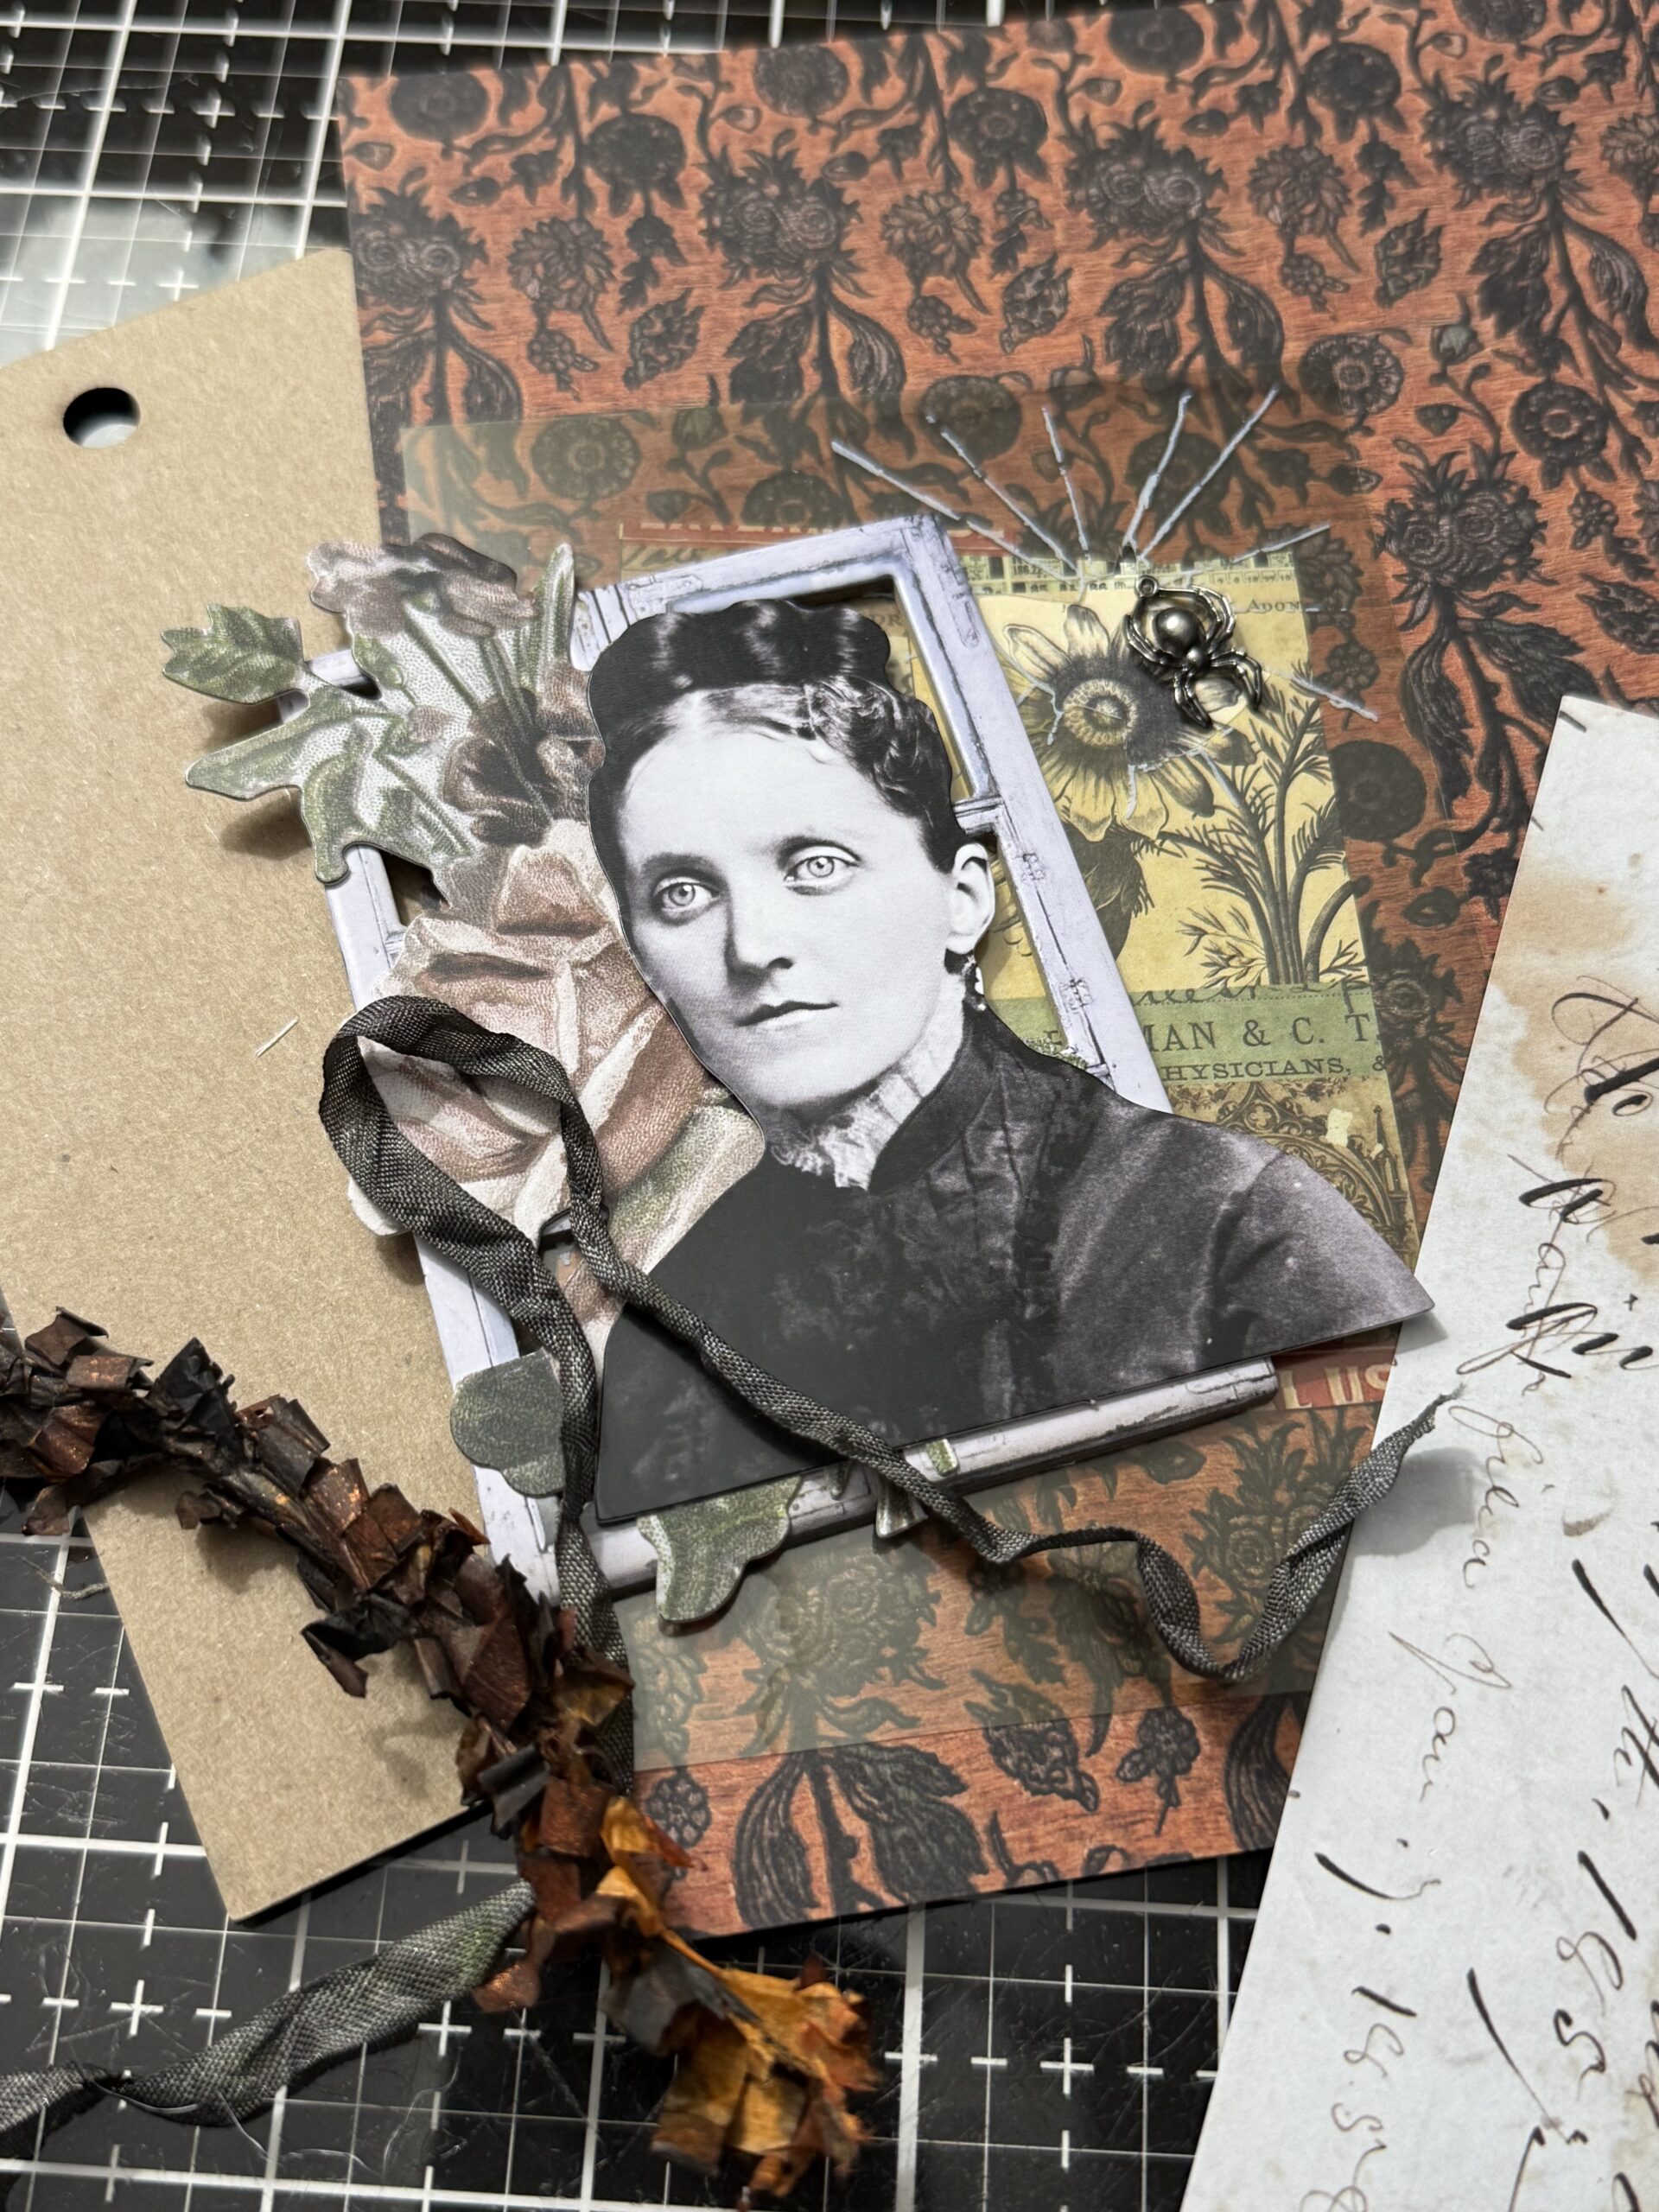
So, let’s get to it… I started by finding some of the elements from the Halloween idea-ology line. I always do this to get the process of building a vignette. I select things that I Leo and what different things speak to me. Some end up working and some end up back in the package for another time.
I decided on our papers and cut a piece from the Palette Halloween line to use on a Etcetera Facade. I blended the edges of the paper with some Gathered Twigs Distress Ink.
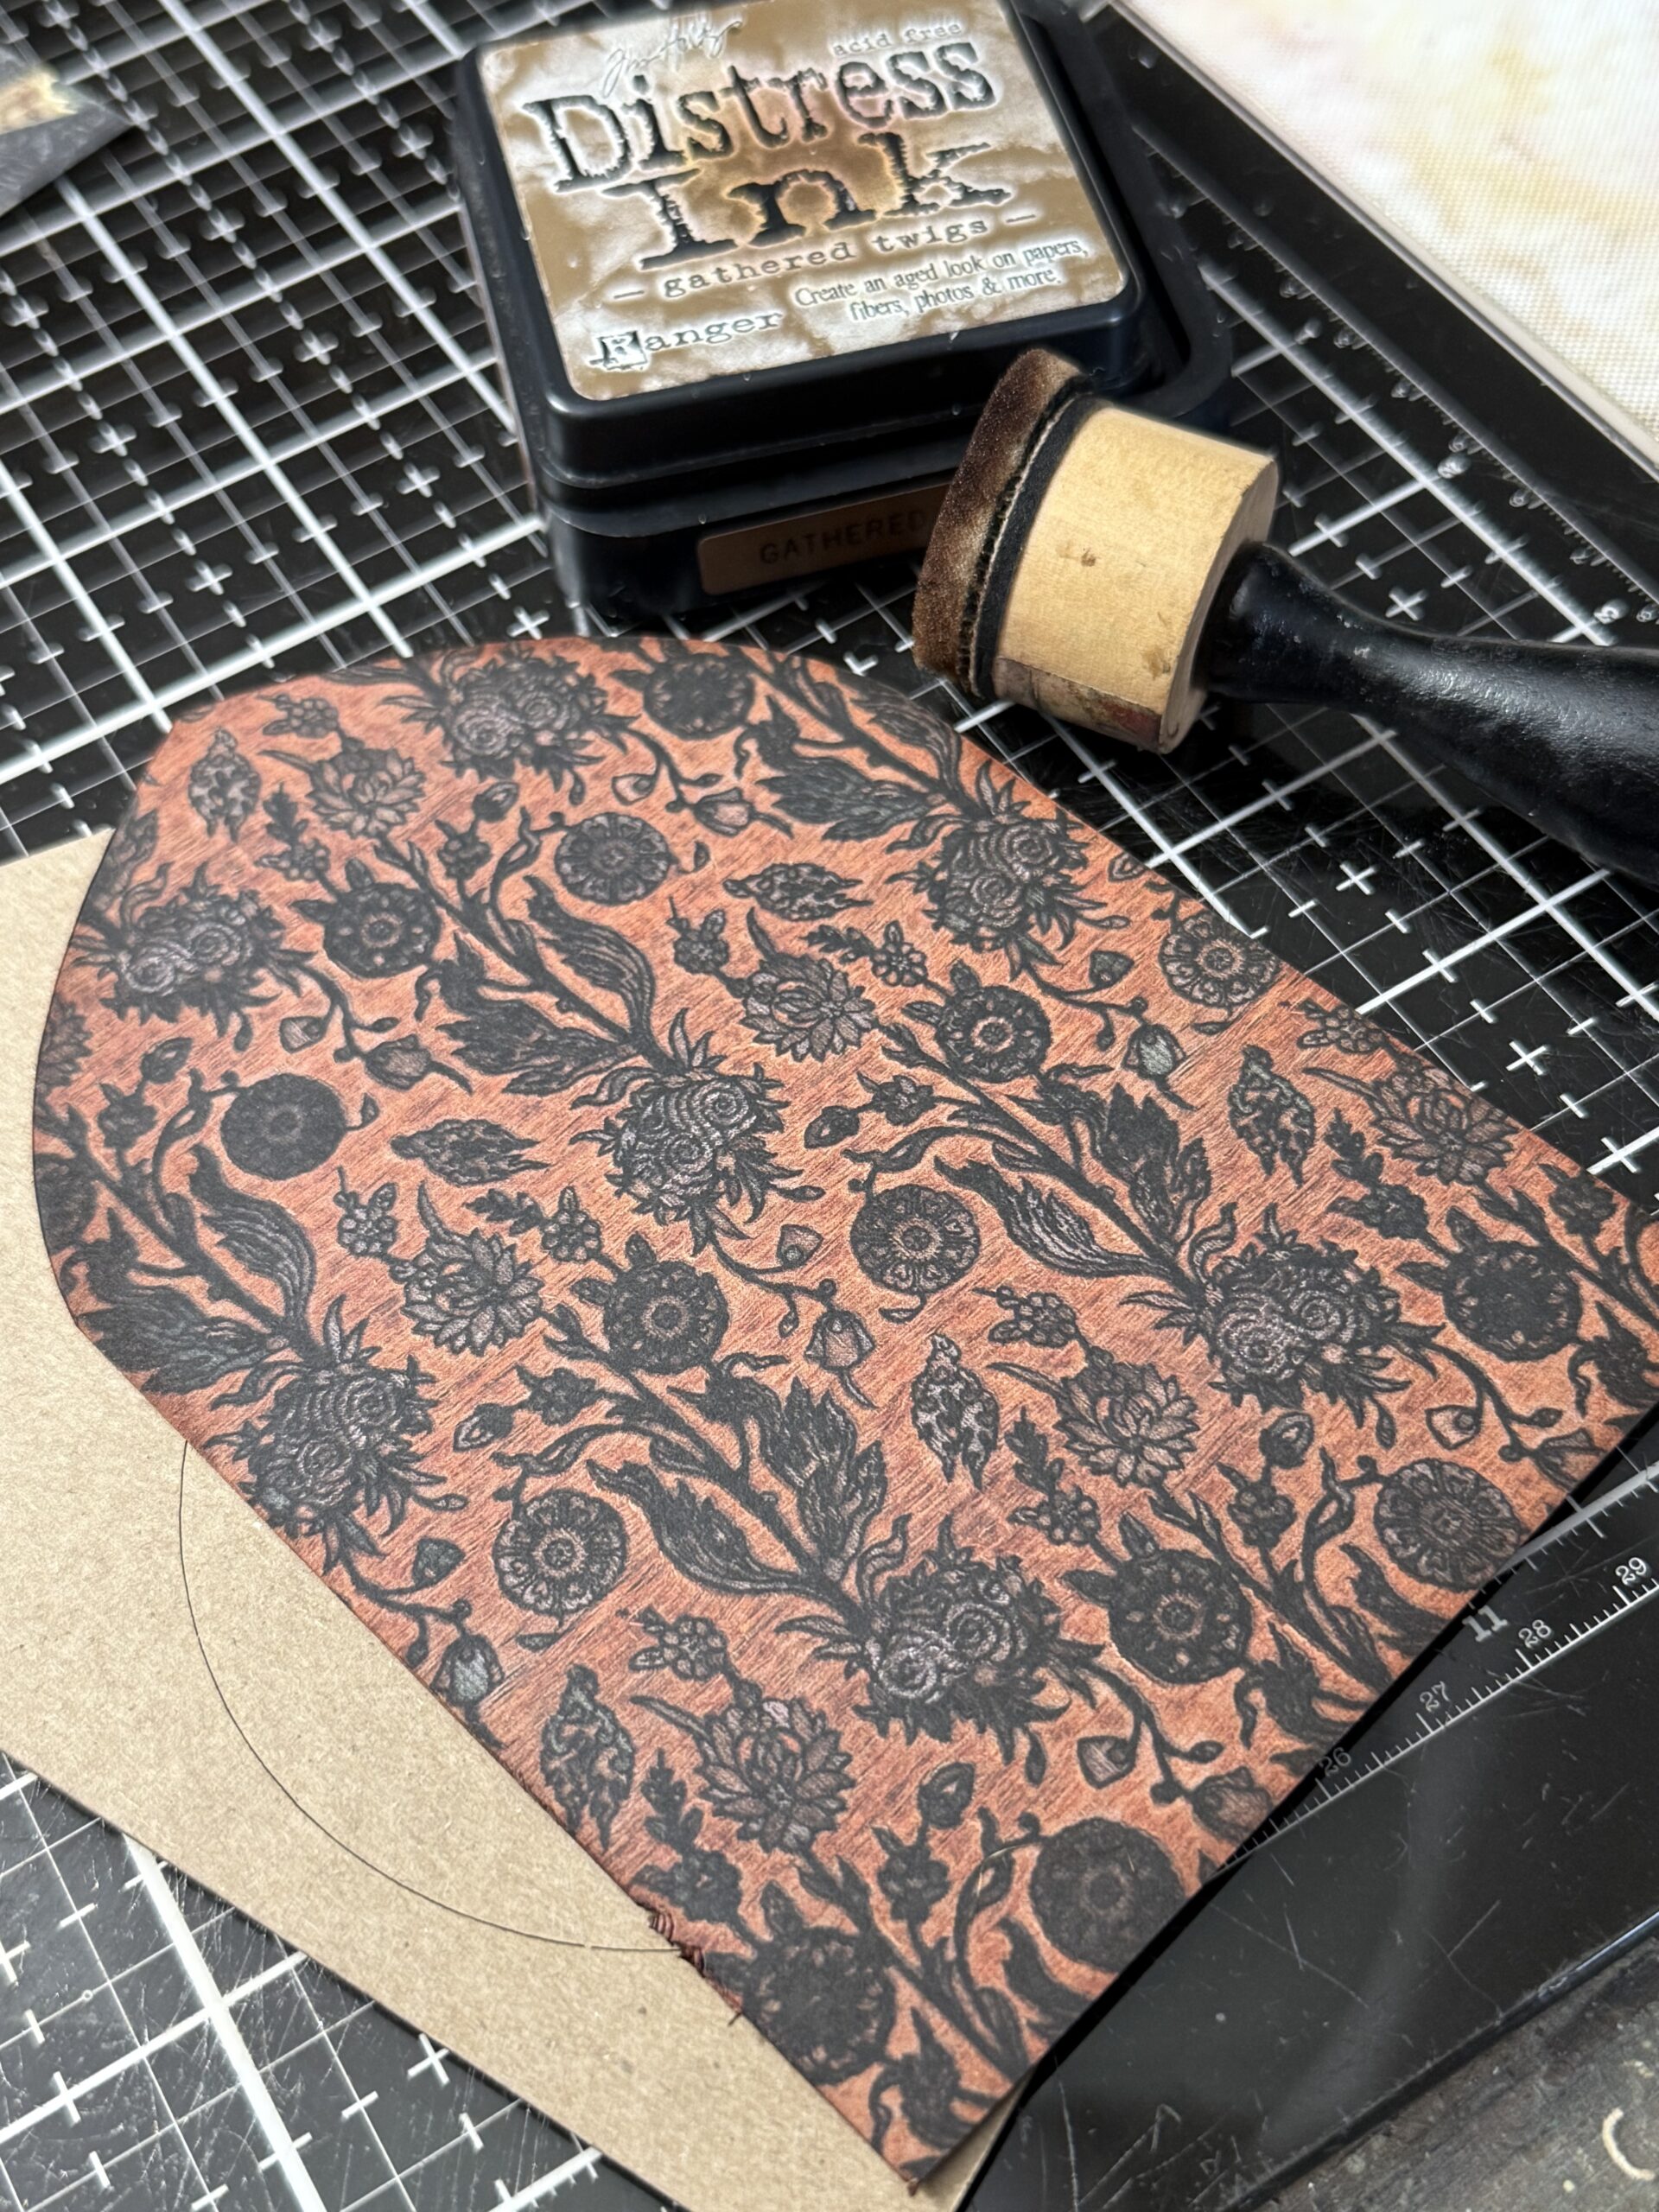
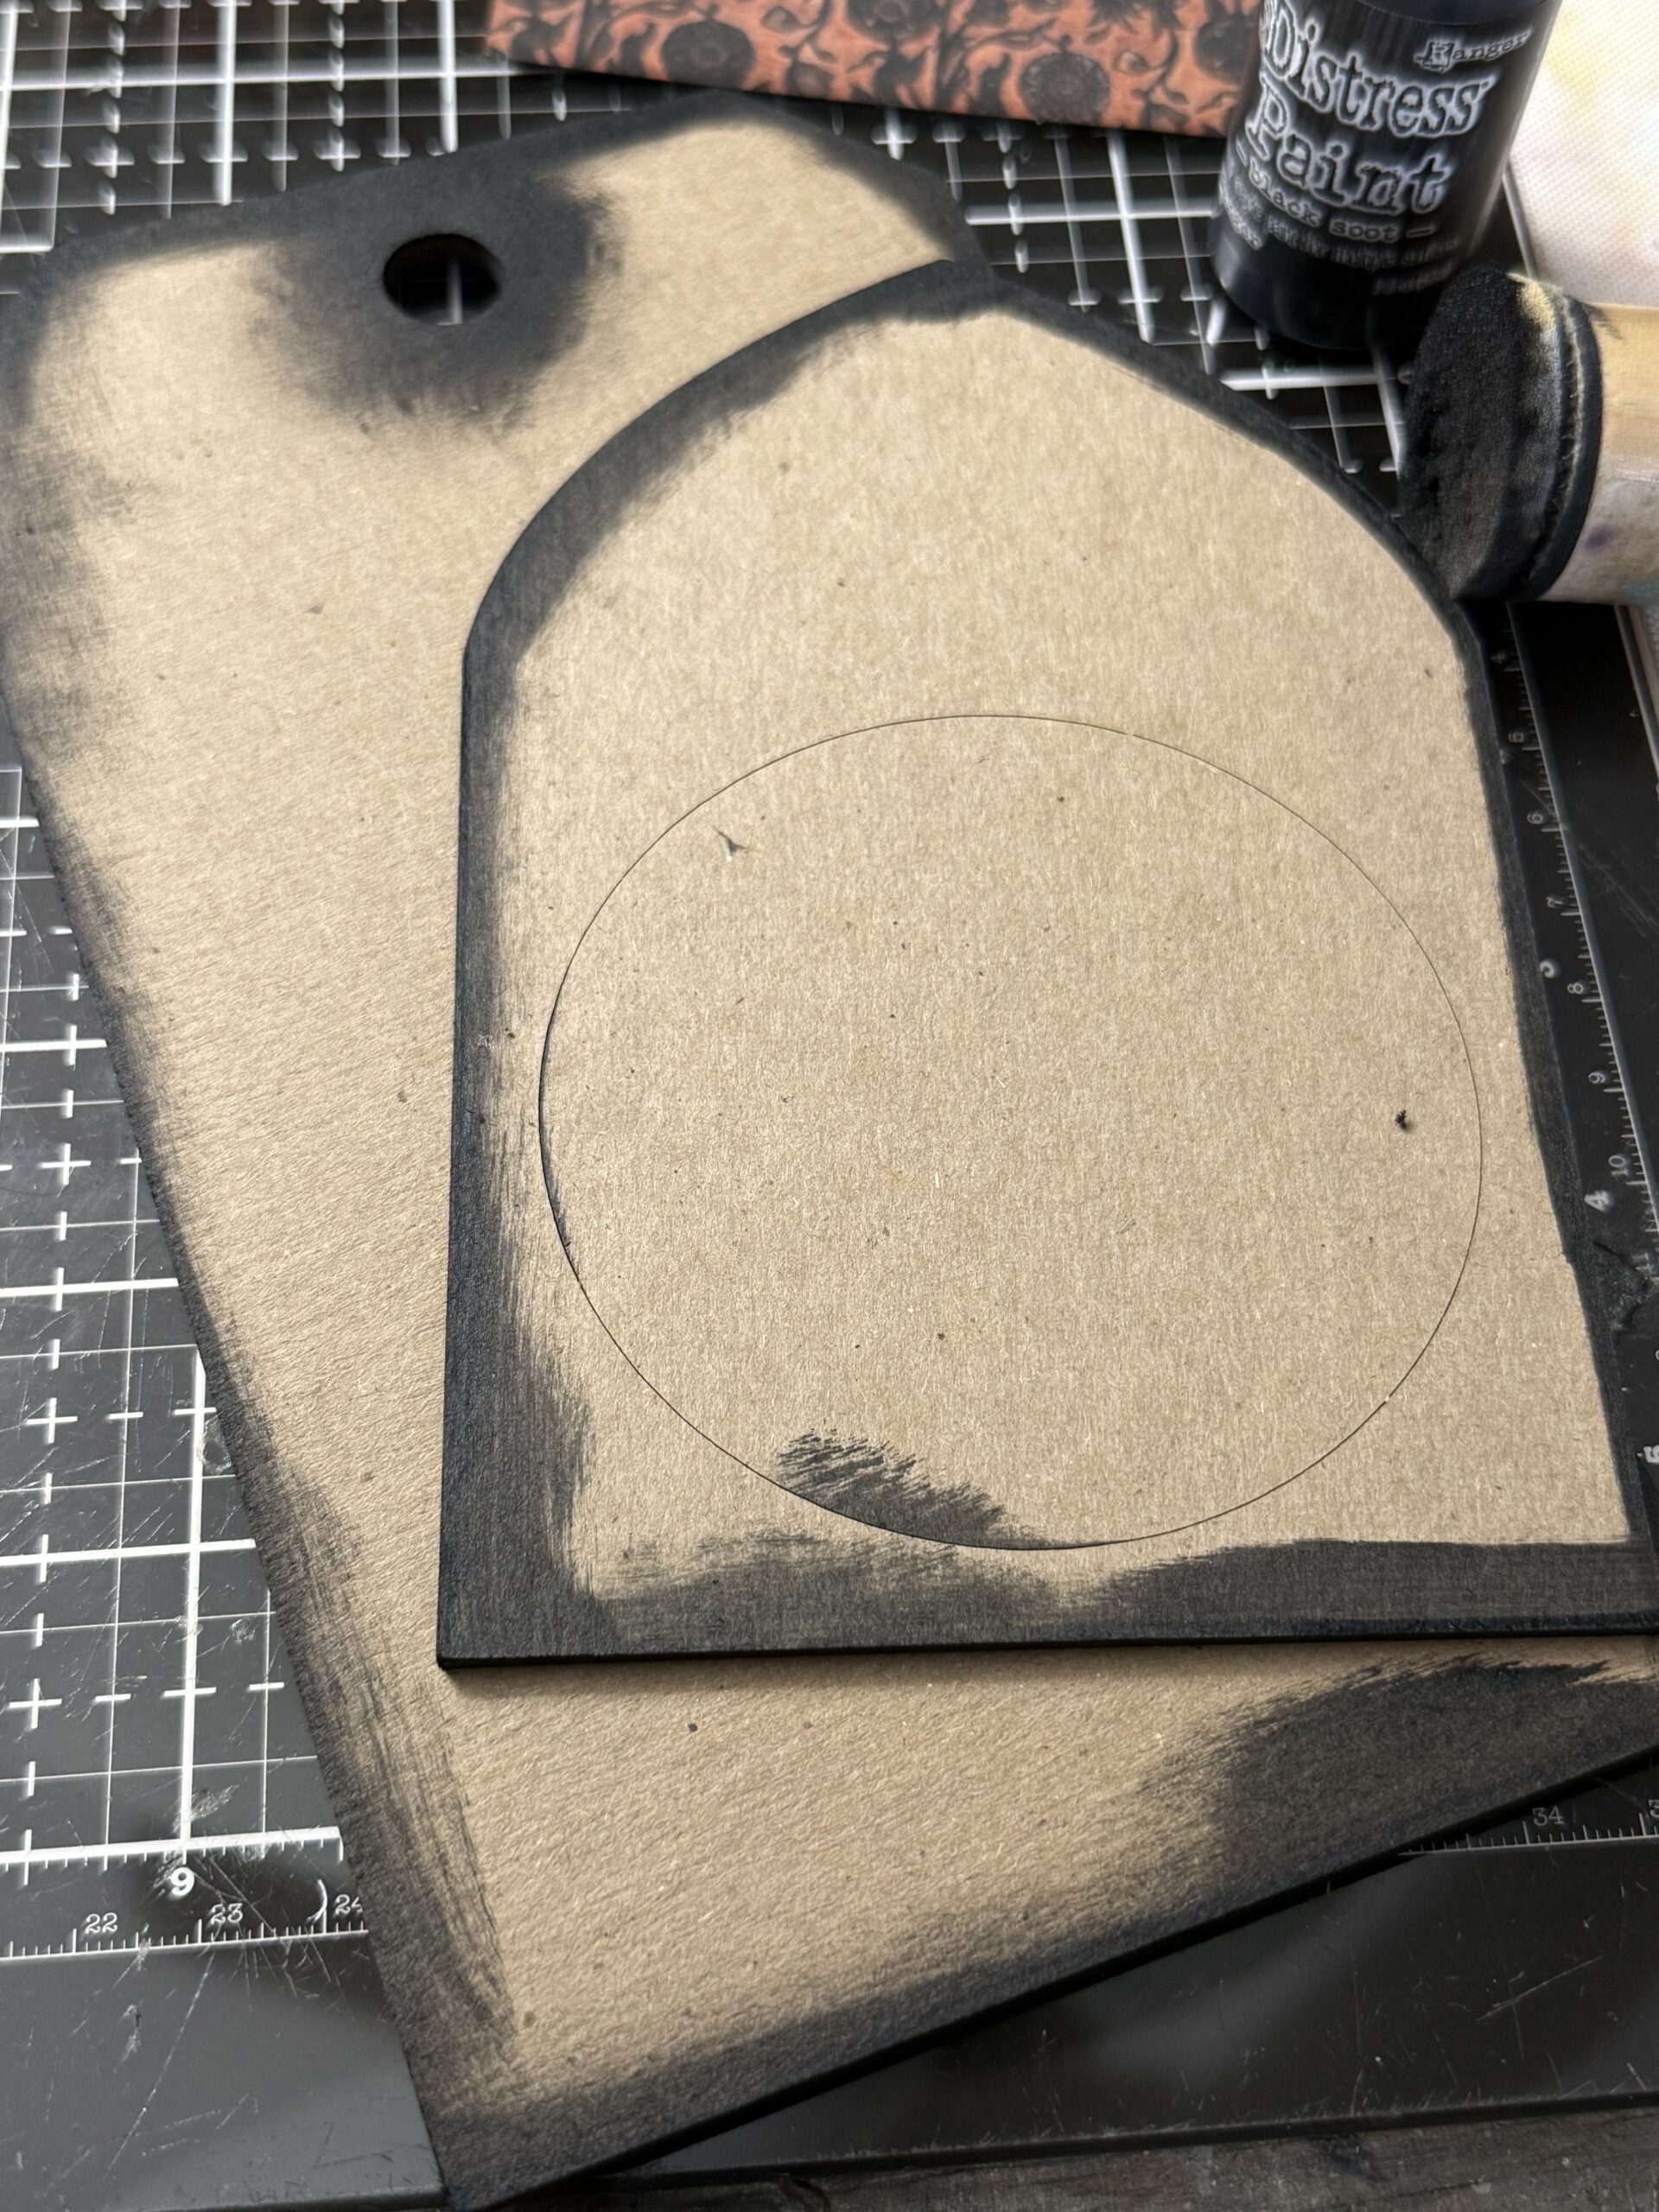
The next step was to paint the edges of the Mini Etcetera Tag and the Facade with some Black Soot Distress Paint. I keep a blending tool for painting because this keeps me from having to wash out brushes and it goes on quick, then I set the pieces aside to dry.
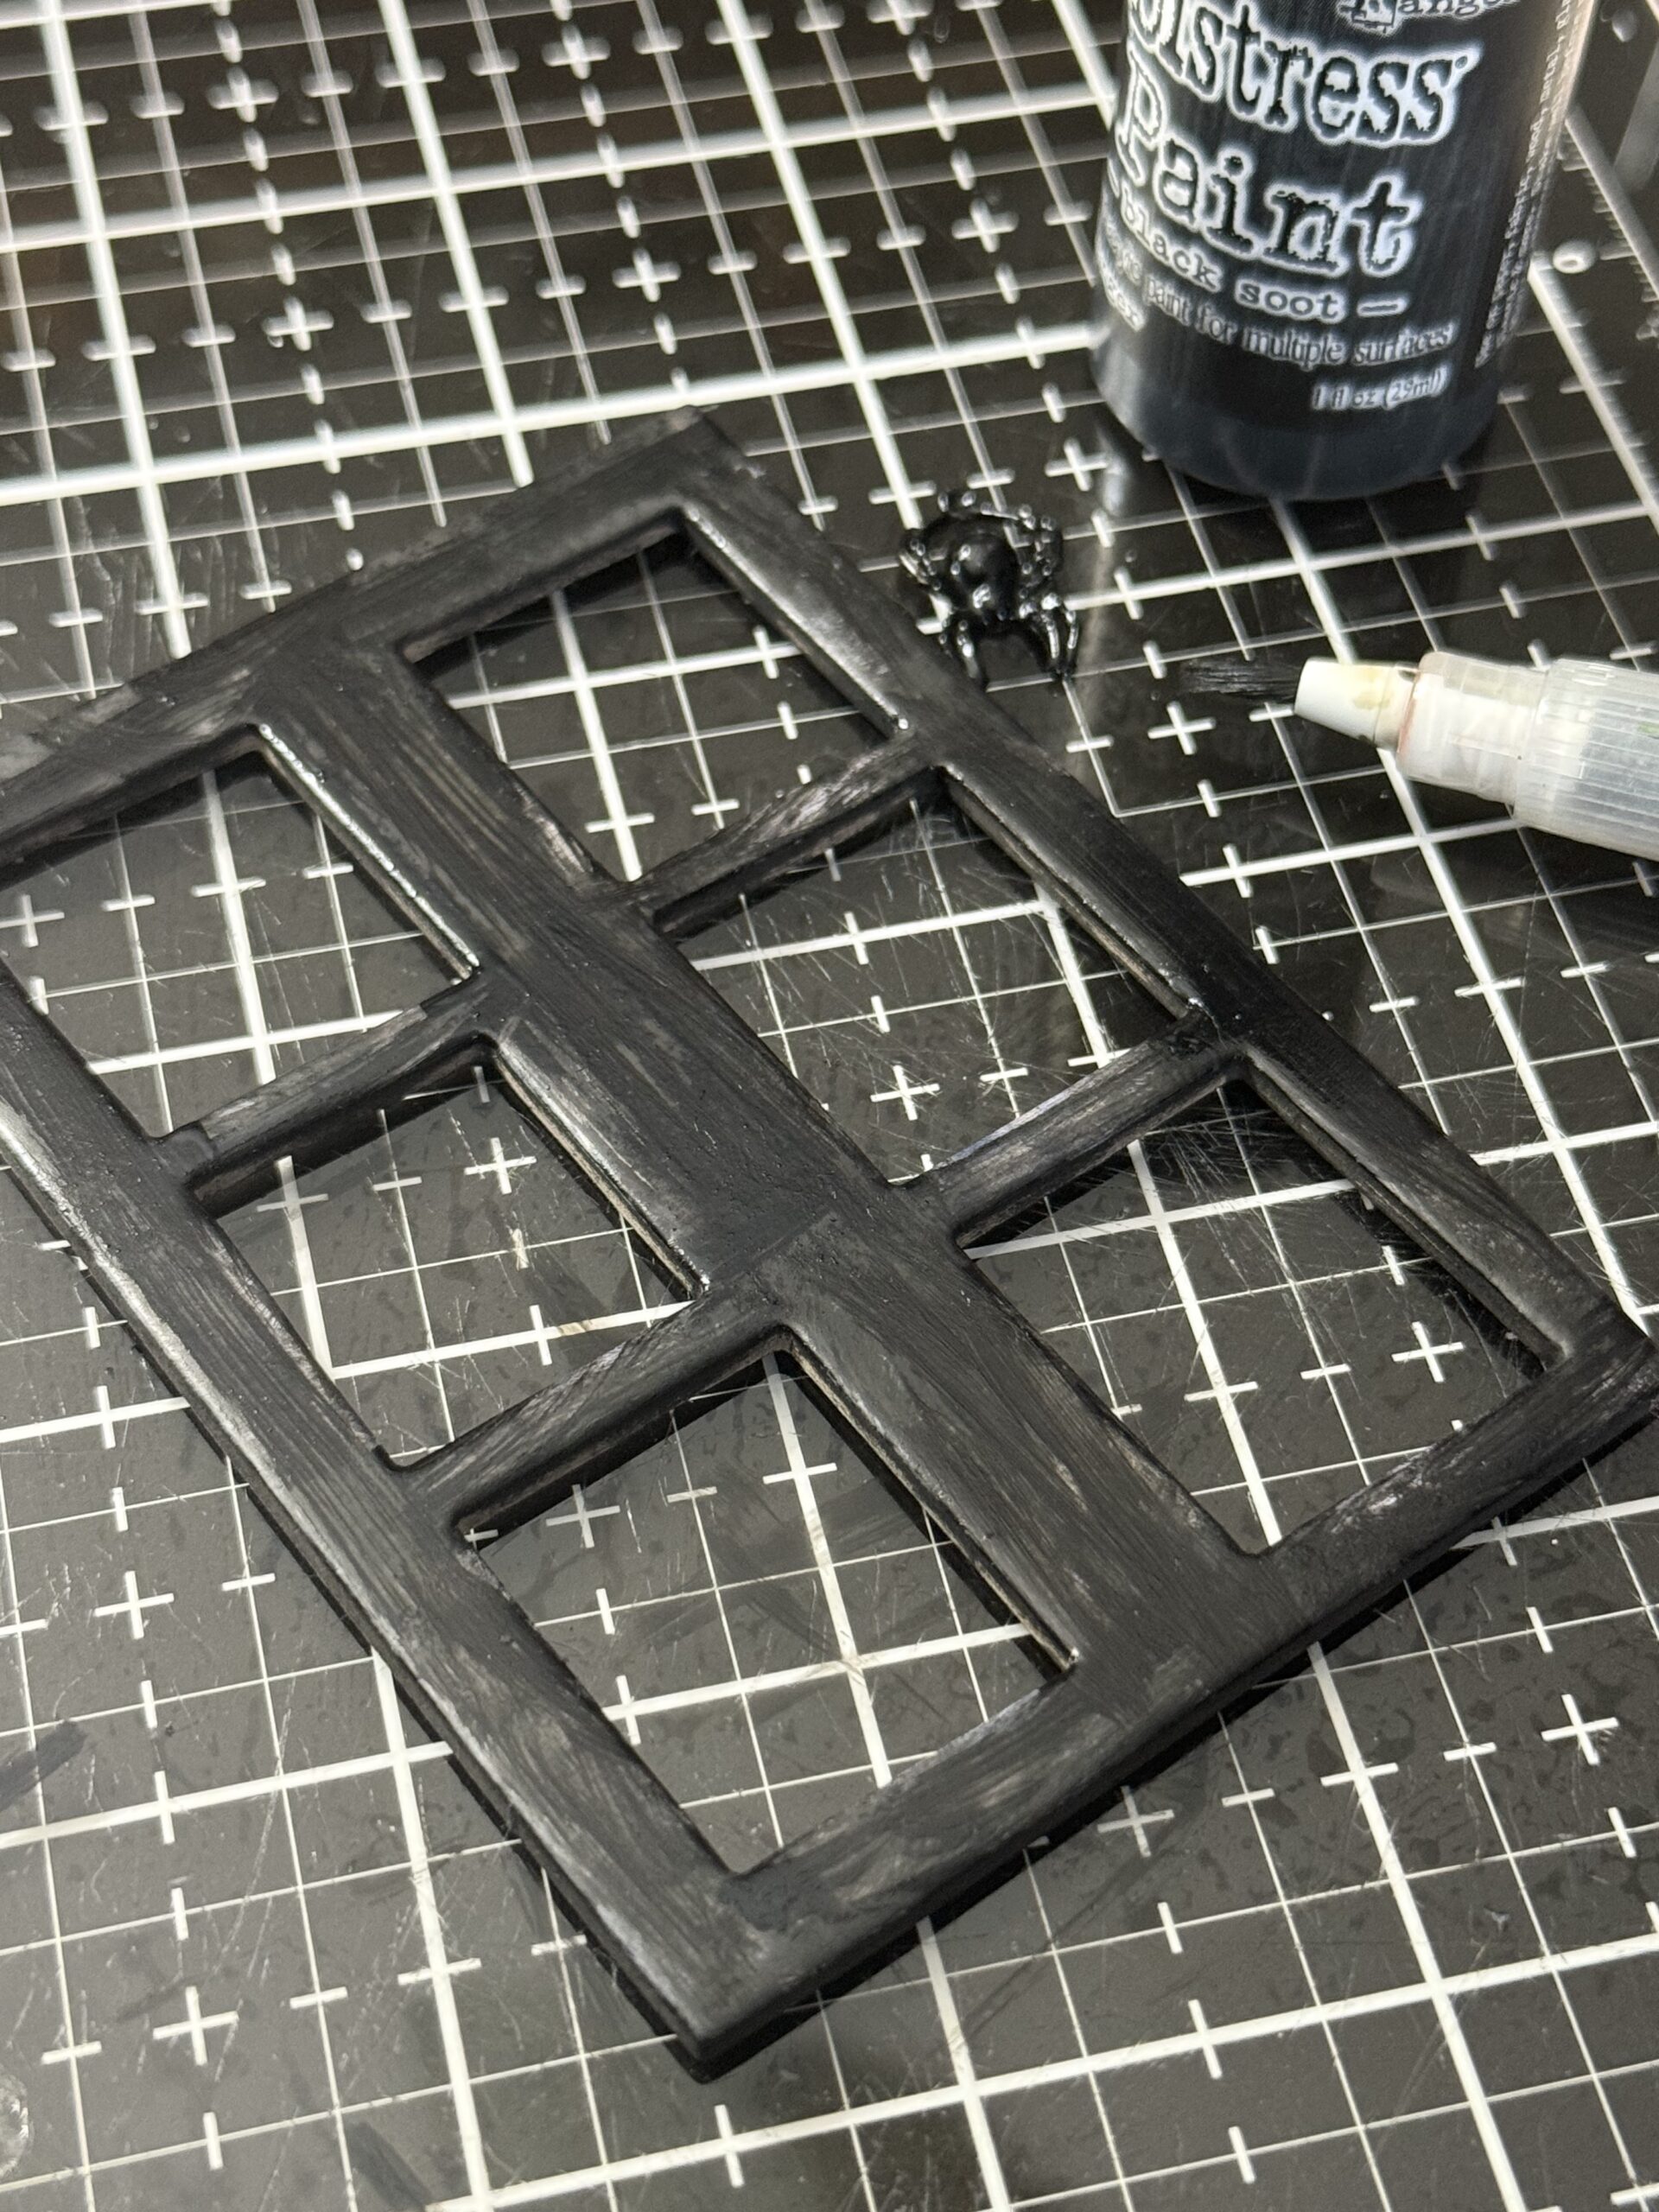
I decided to use a window frame from the Baseboard Halloween pack but it was white and I wanted it to be black to go with the project, so I painted it! I also painted the little spider charm with the paint..he was going to be hung by a string from the window..
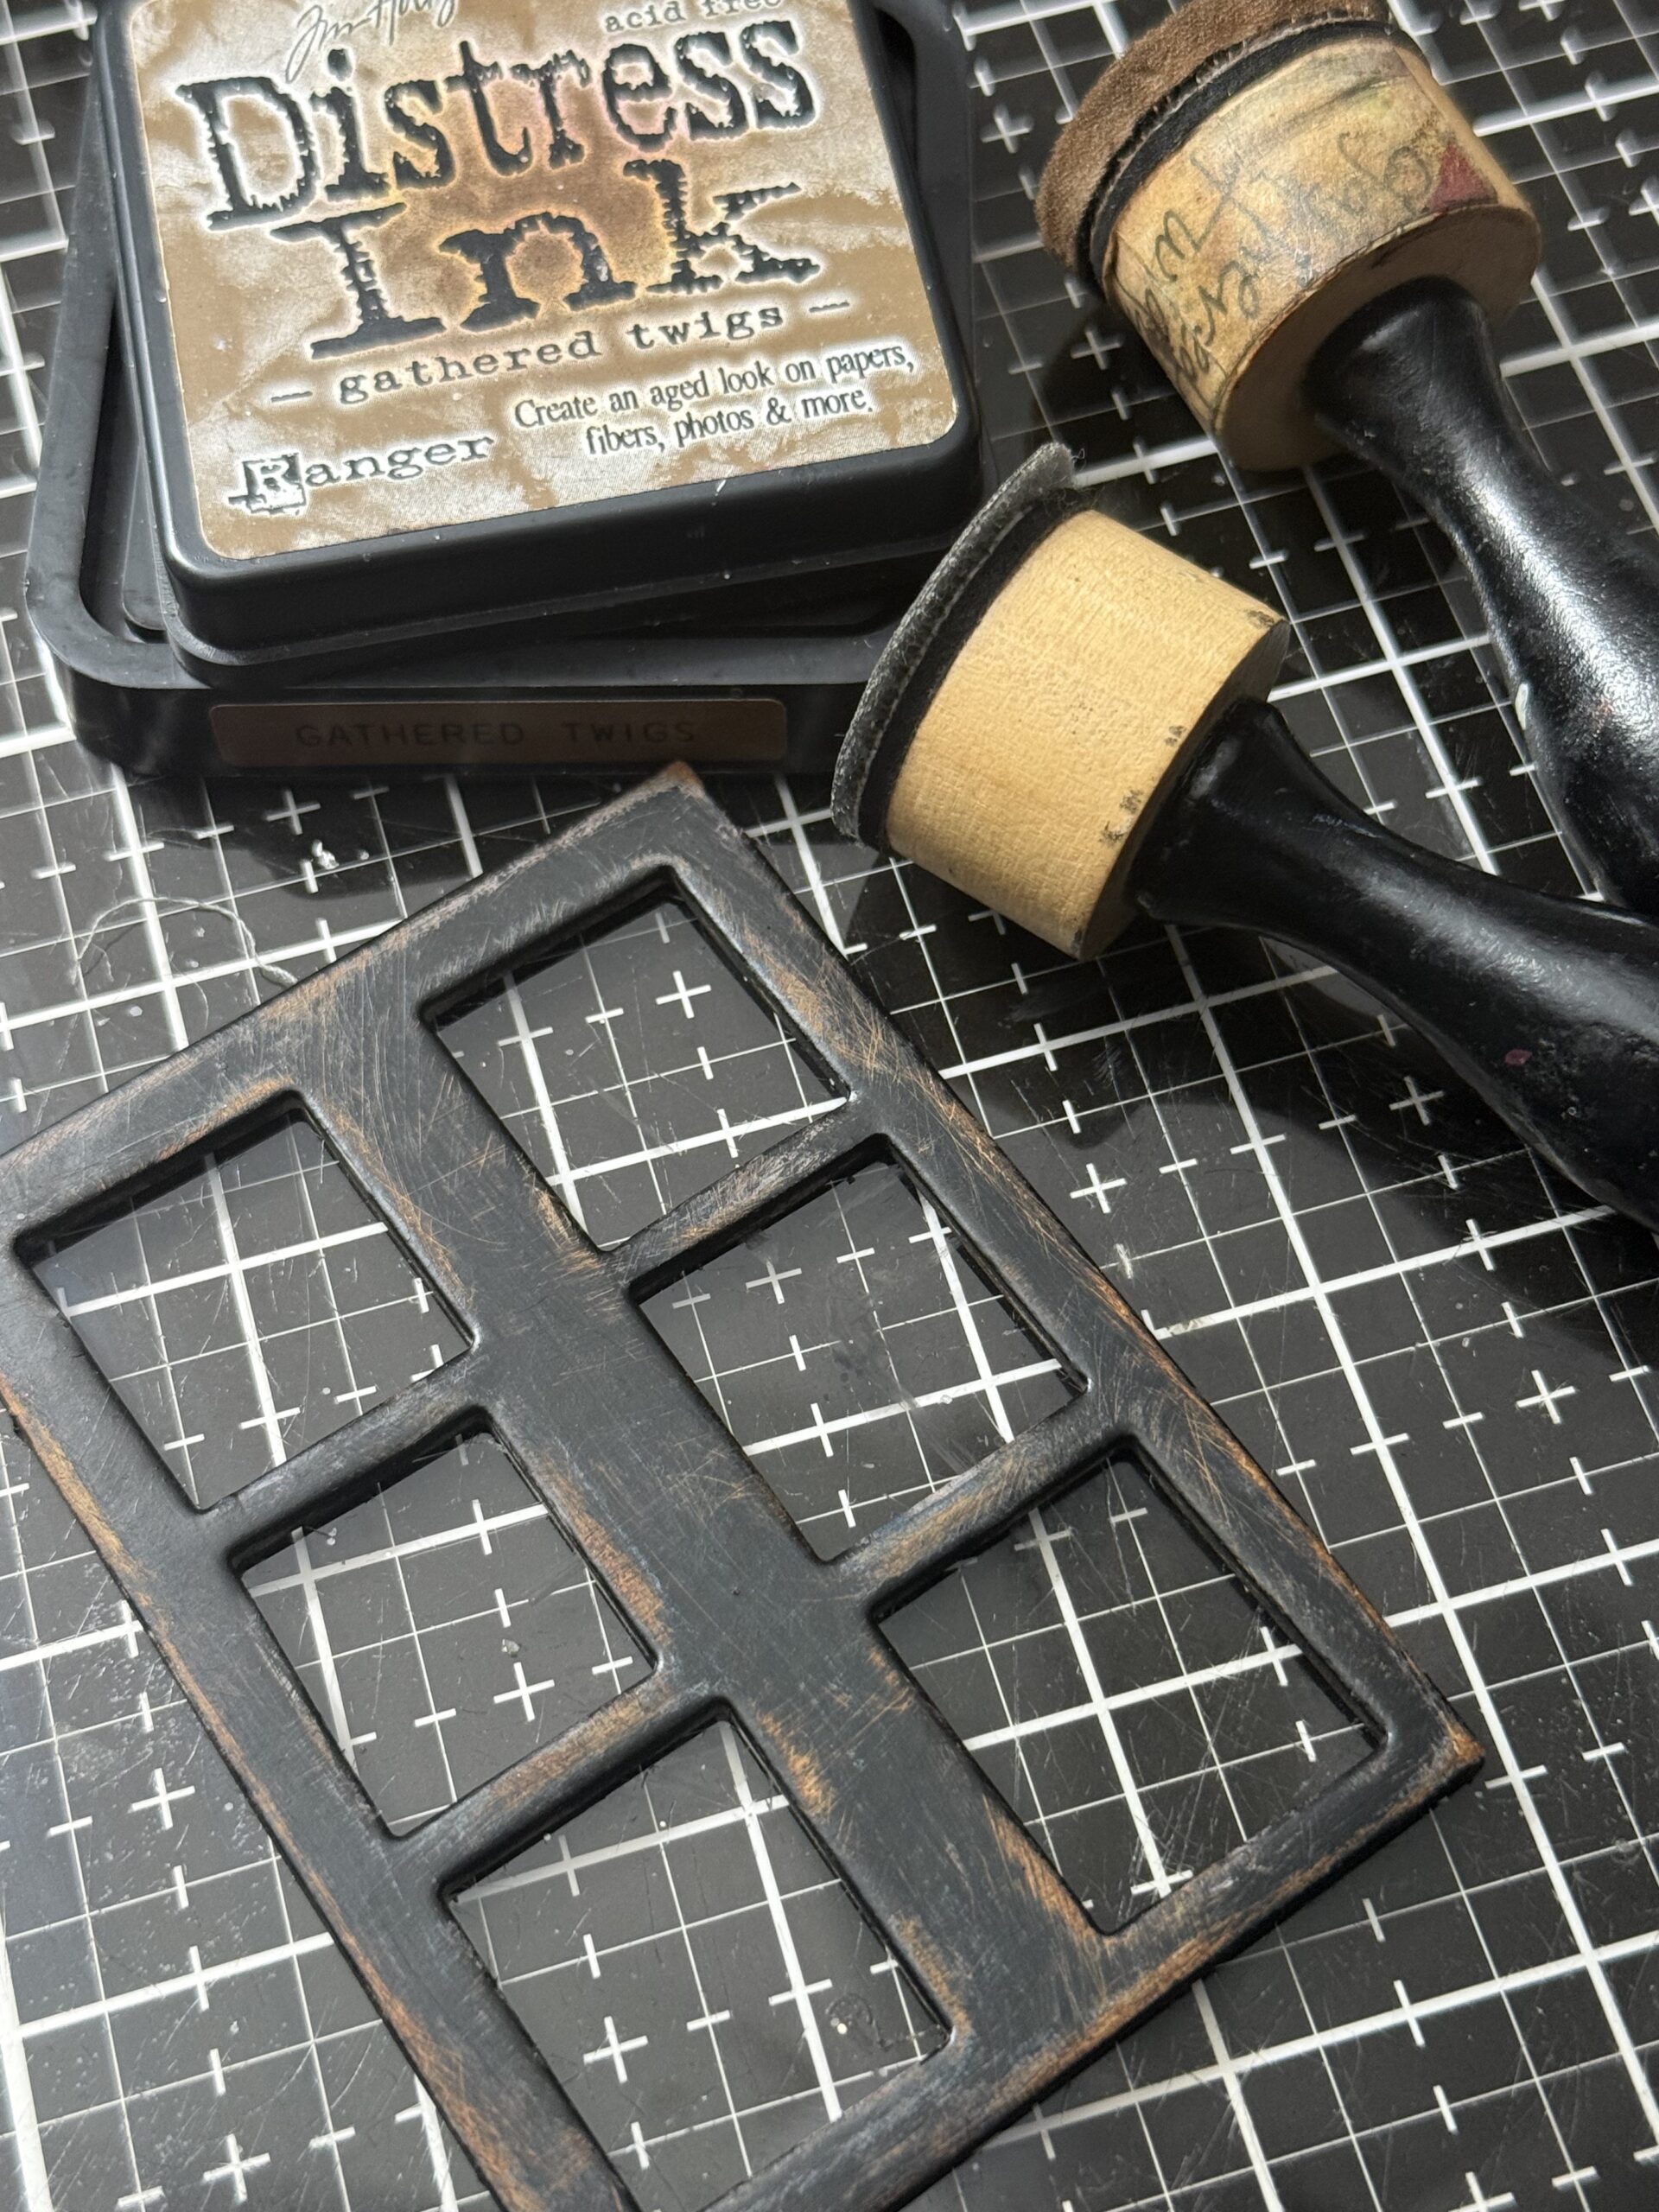
Once the window frame was dry, I used a sending disk to sand off some of the paint, then blended on some brown ink to add some age.
To add some interest to the window frame, I added an etcetera piece that looks like a spiderweb behind and pieces of the Halloween Window transparencies.. I just cut some of the pieces off and adhered them behind the window with adhesive.
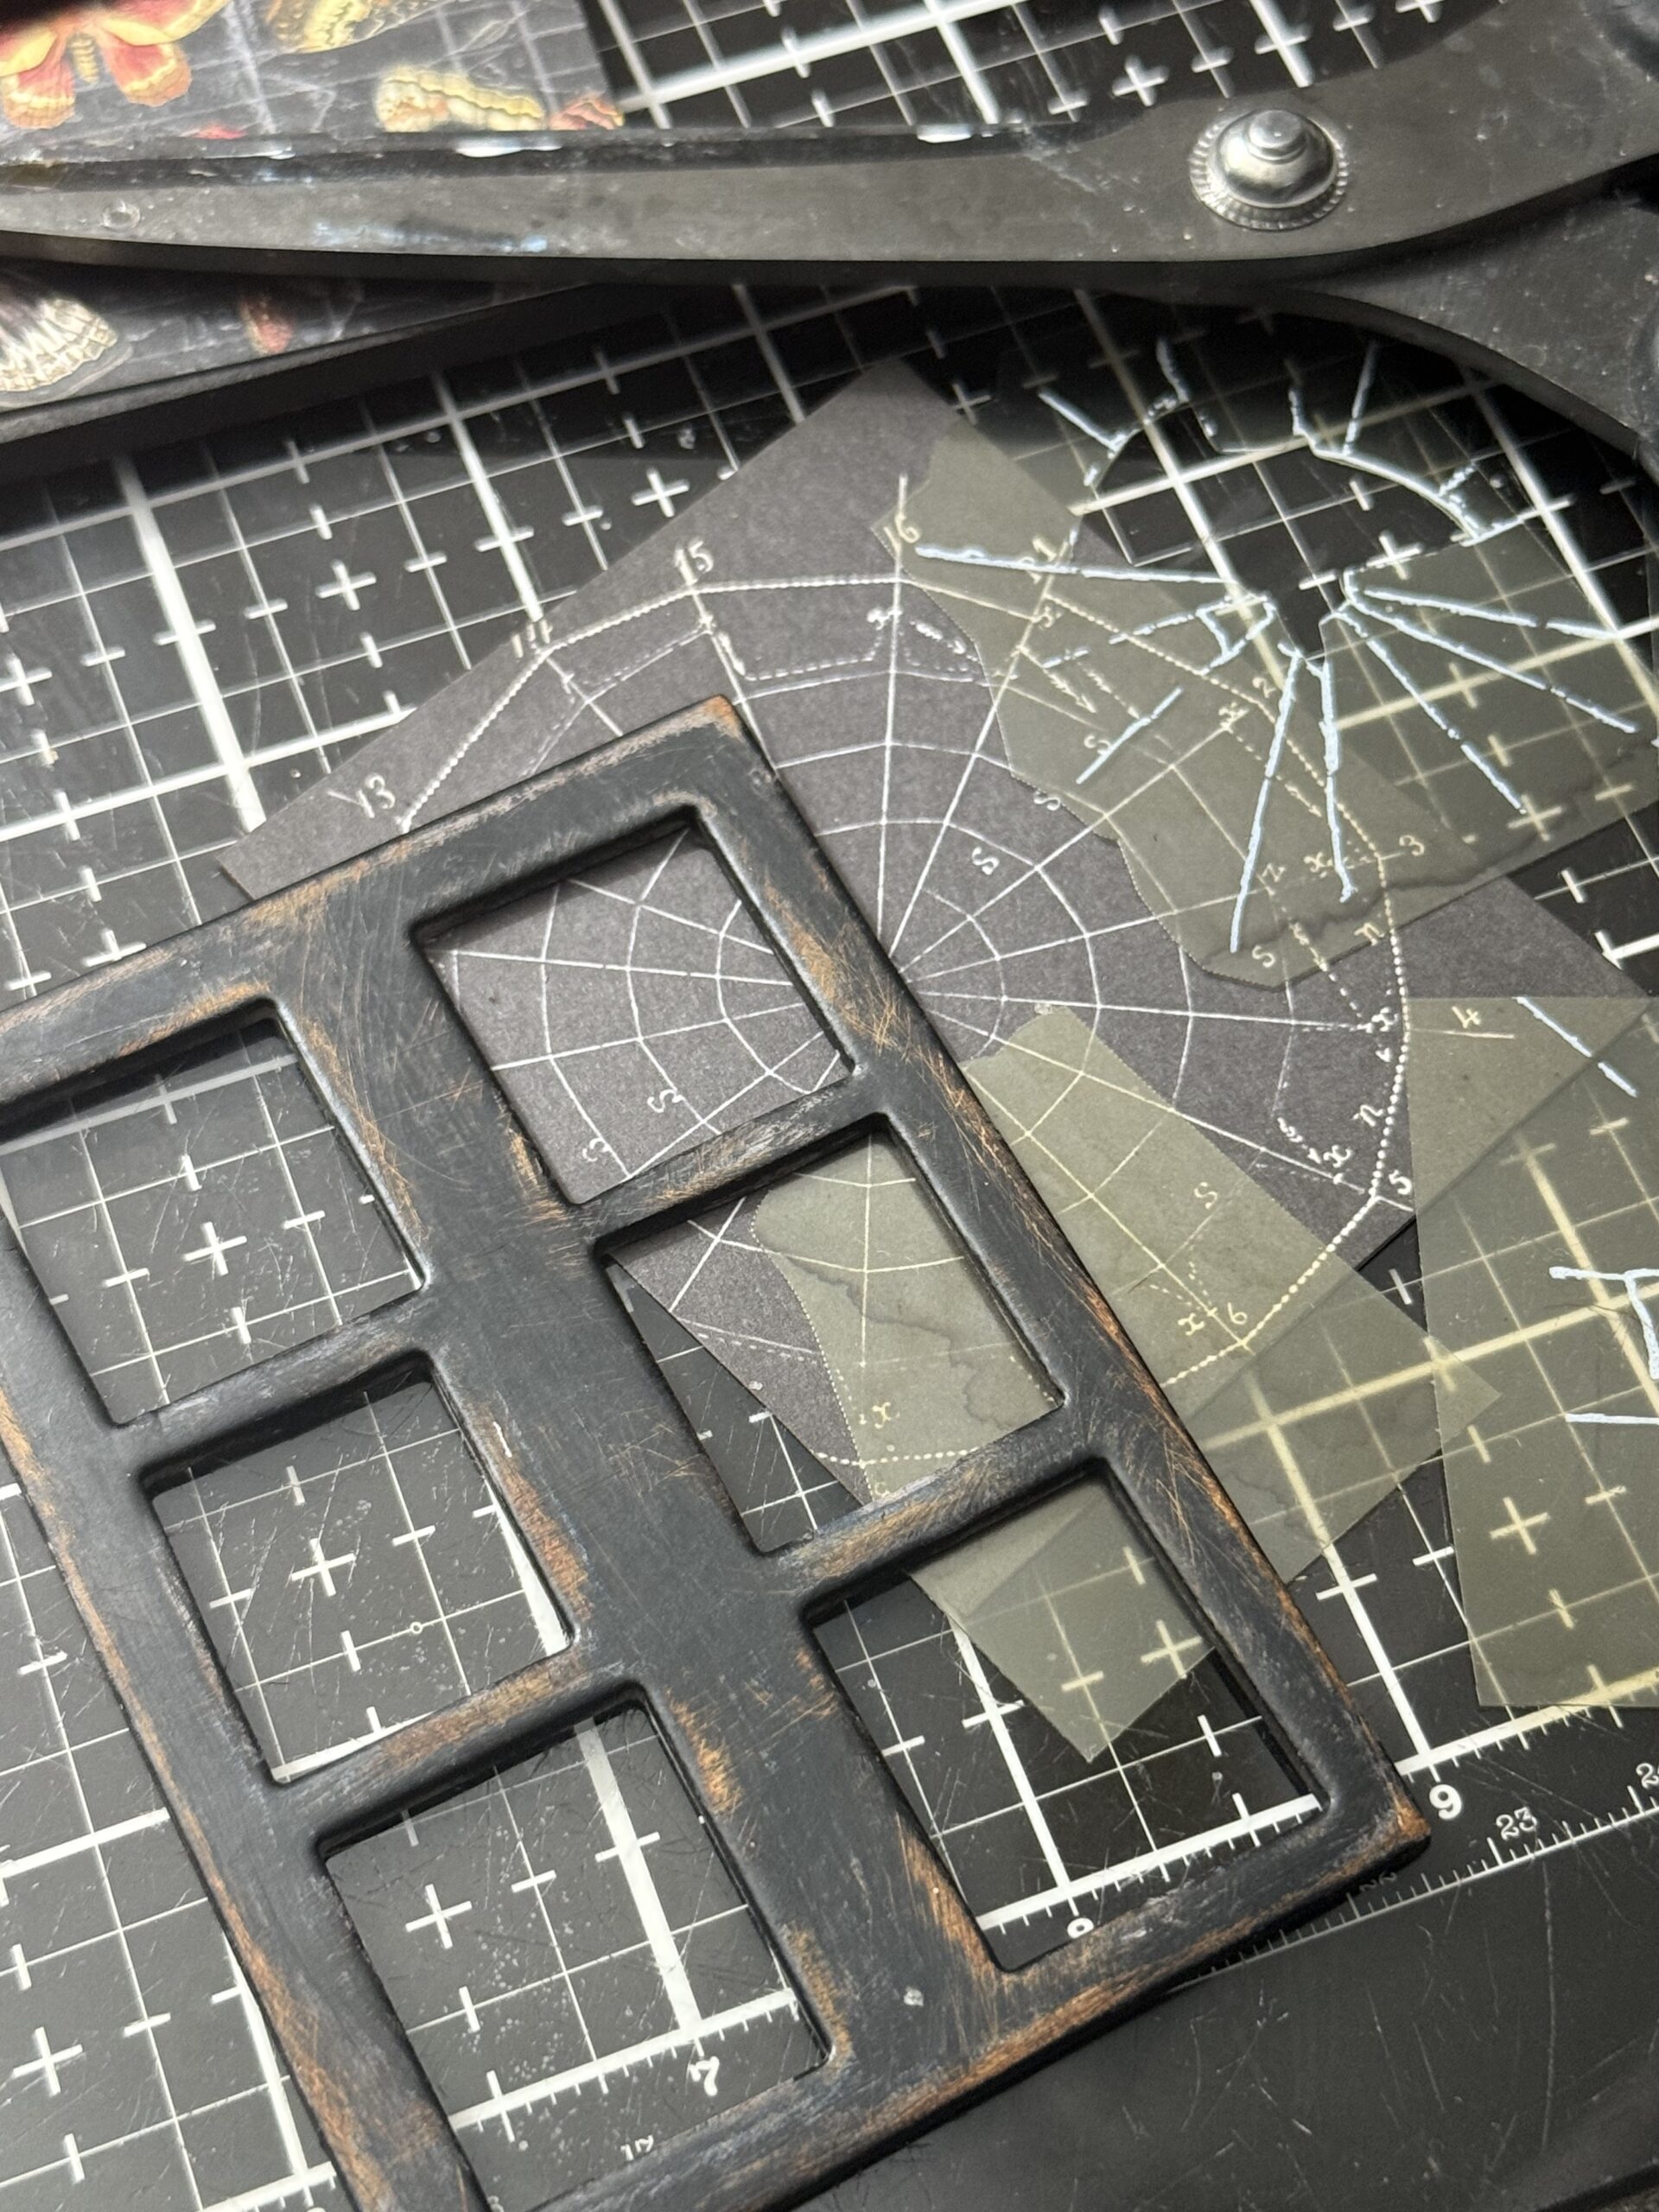
Once I had that all glued together and dry, and began adding the pieces together, the window was wrapped with some string, I added some tack nails into the frame so that I had a place to wrap the string and added Samuel (the spider) 🙂
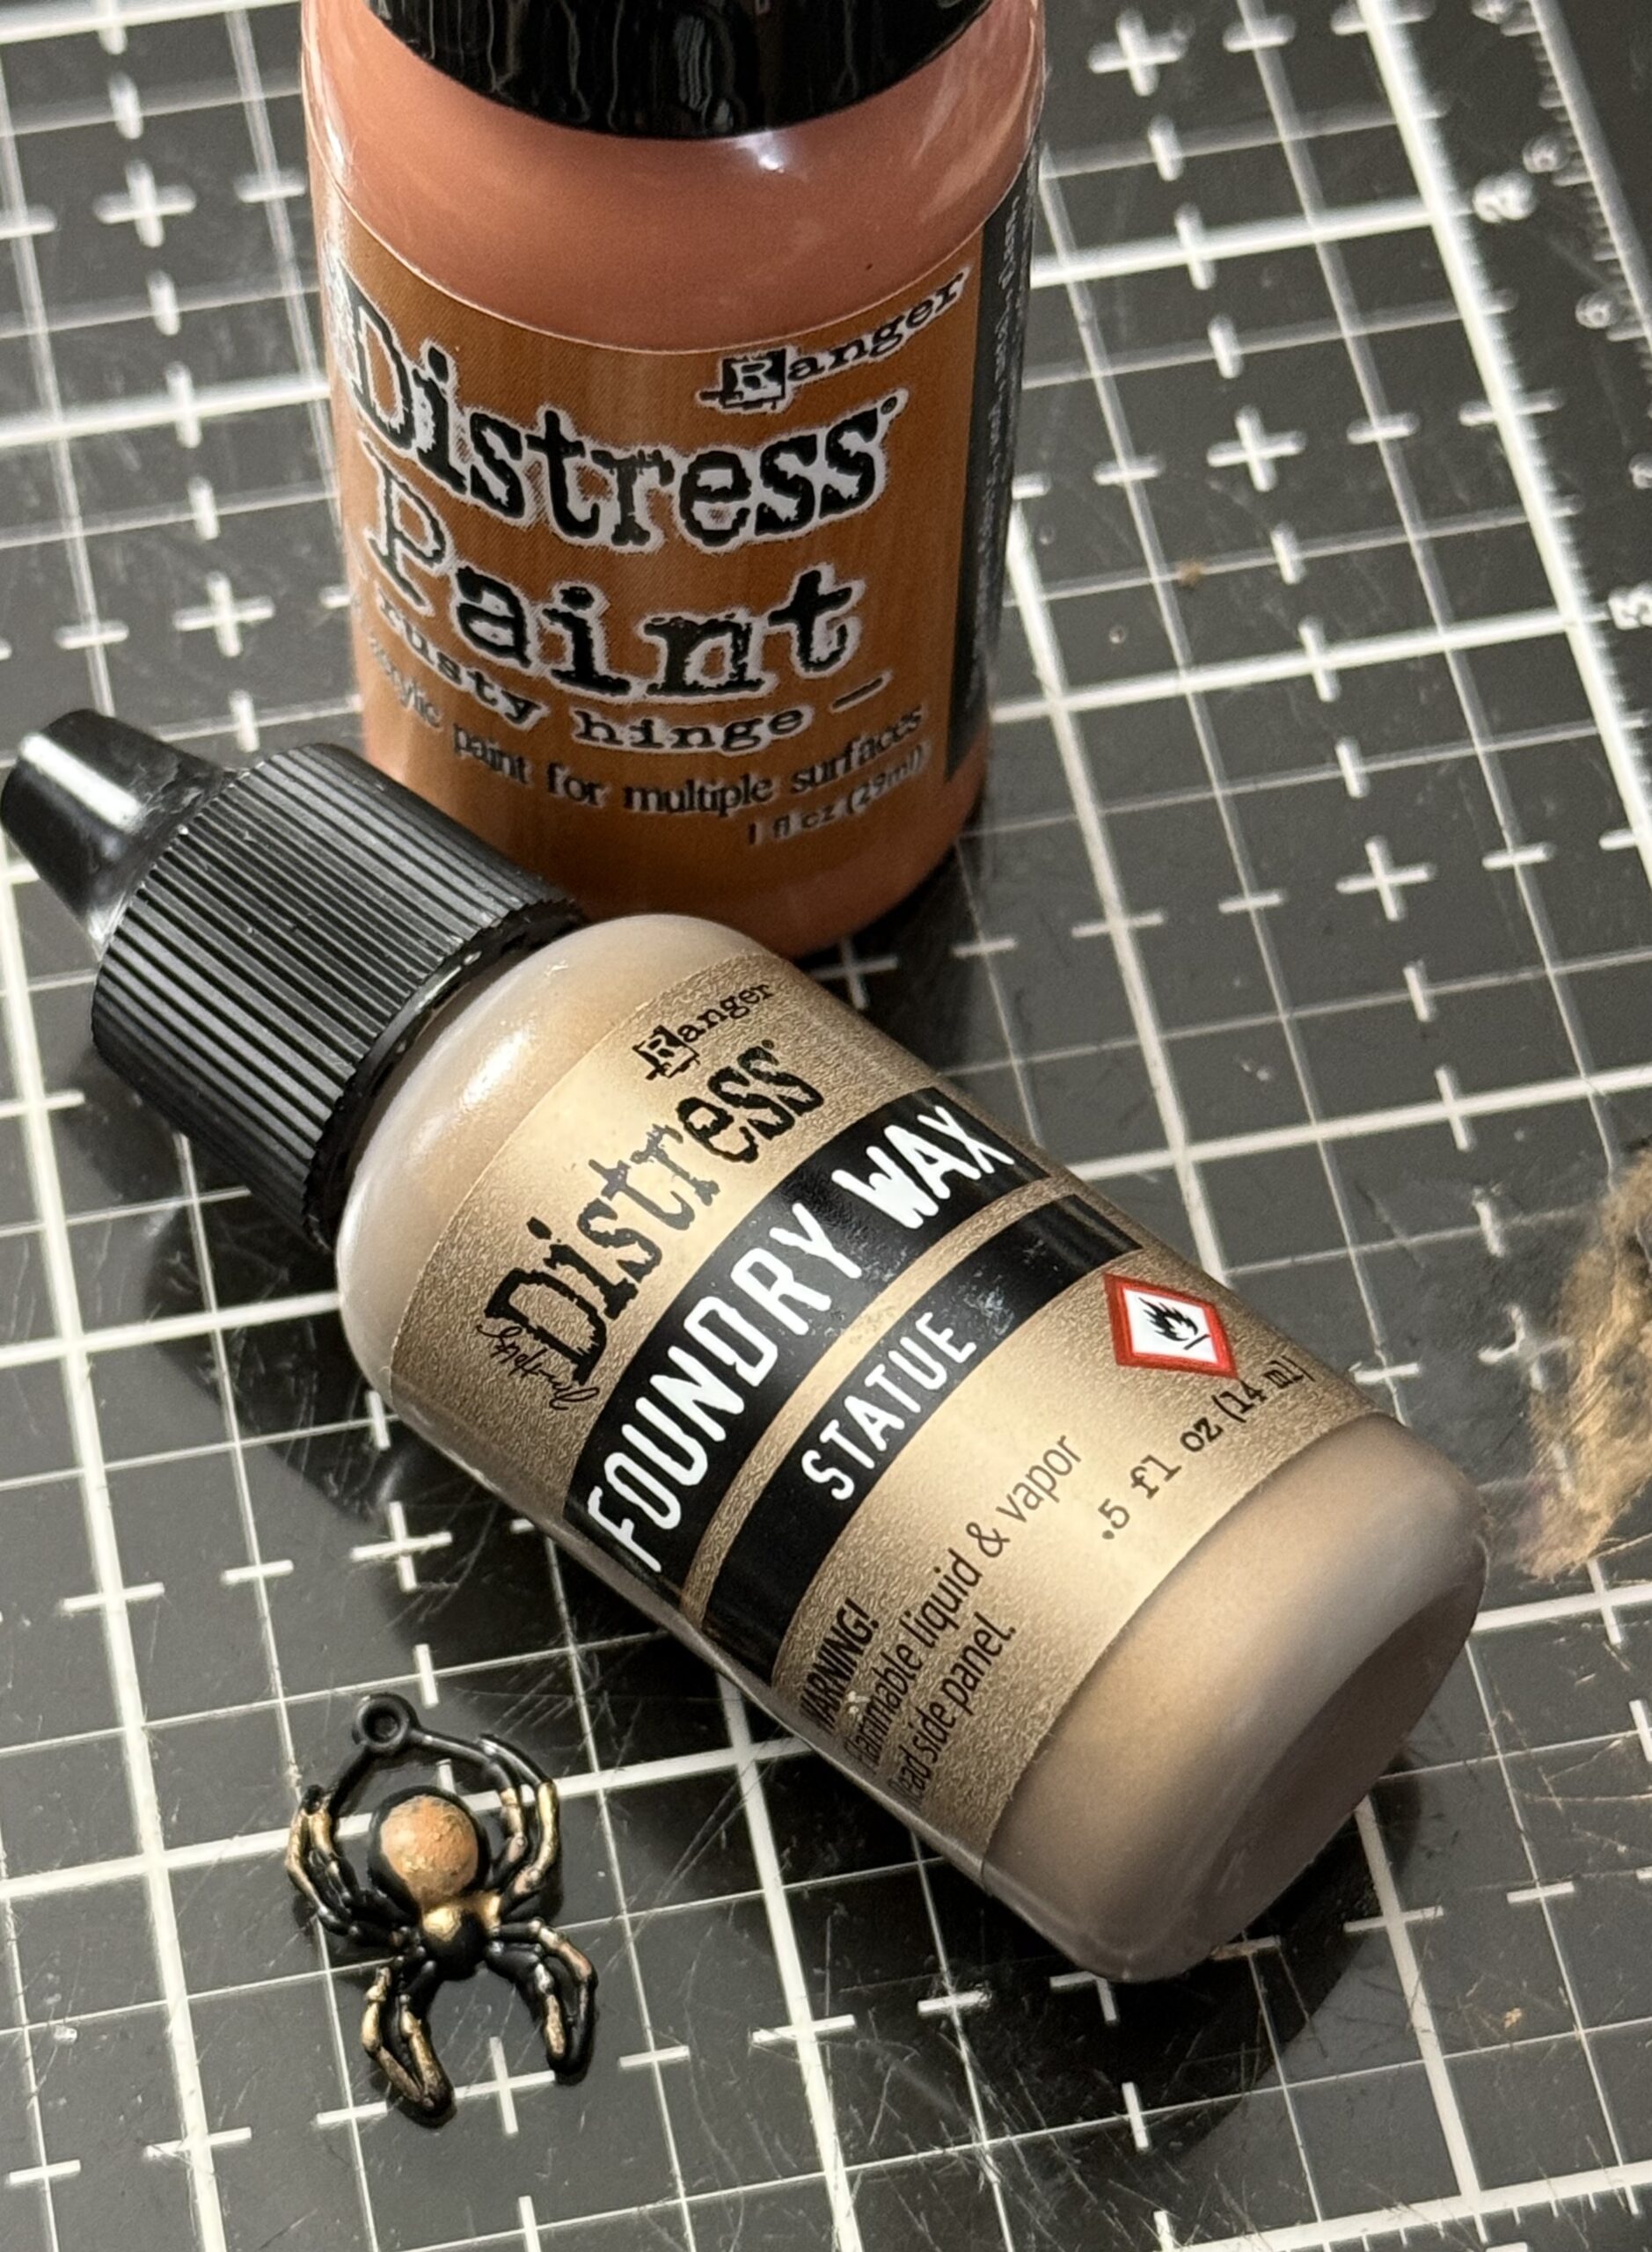
The spider was painted up a bit more with a tiny bit of Rusty Hinge on his body, then rubbed with some Statue Foundry Wax, then he was set aside when all the other pieces were ready for the vignette.
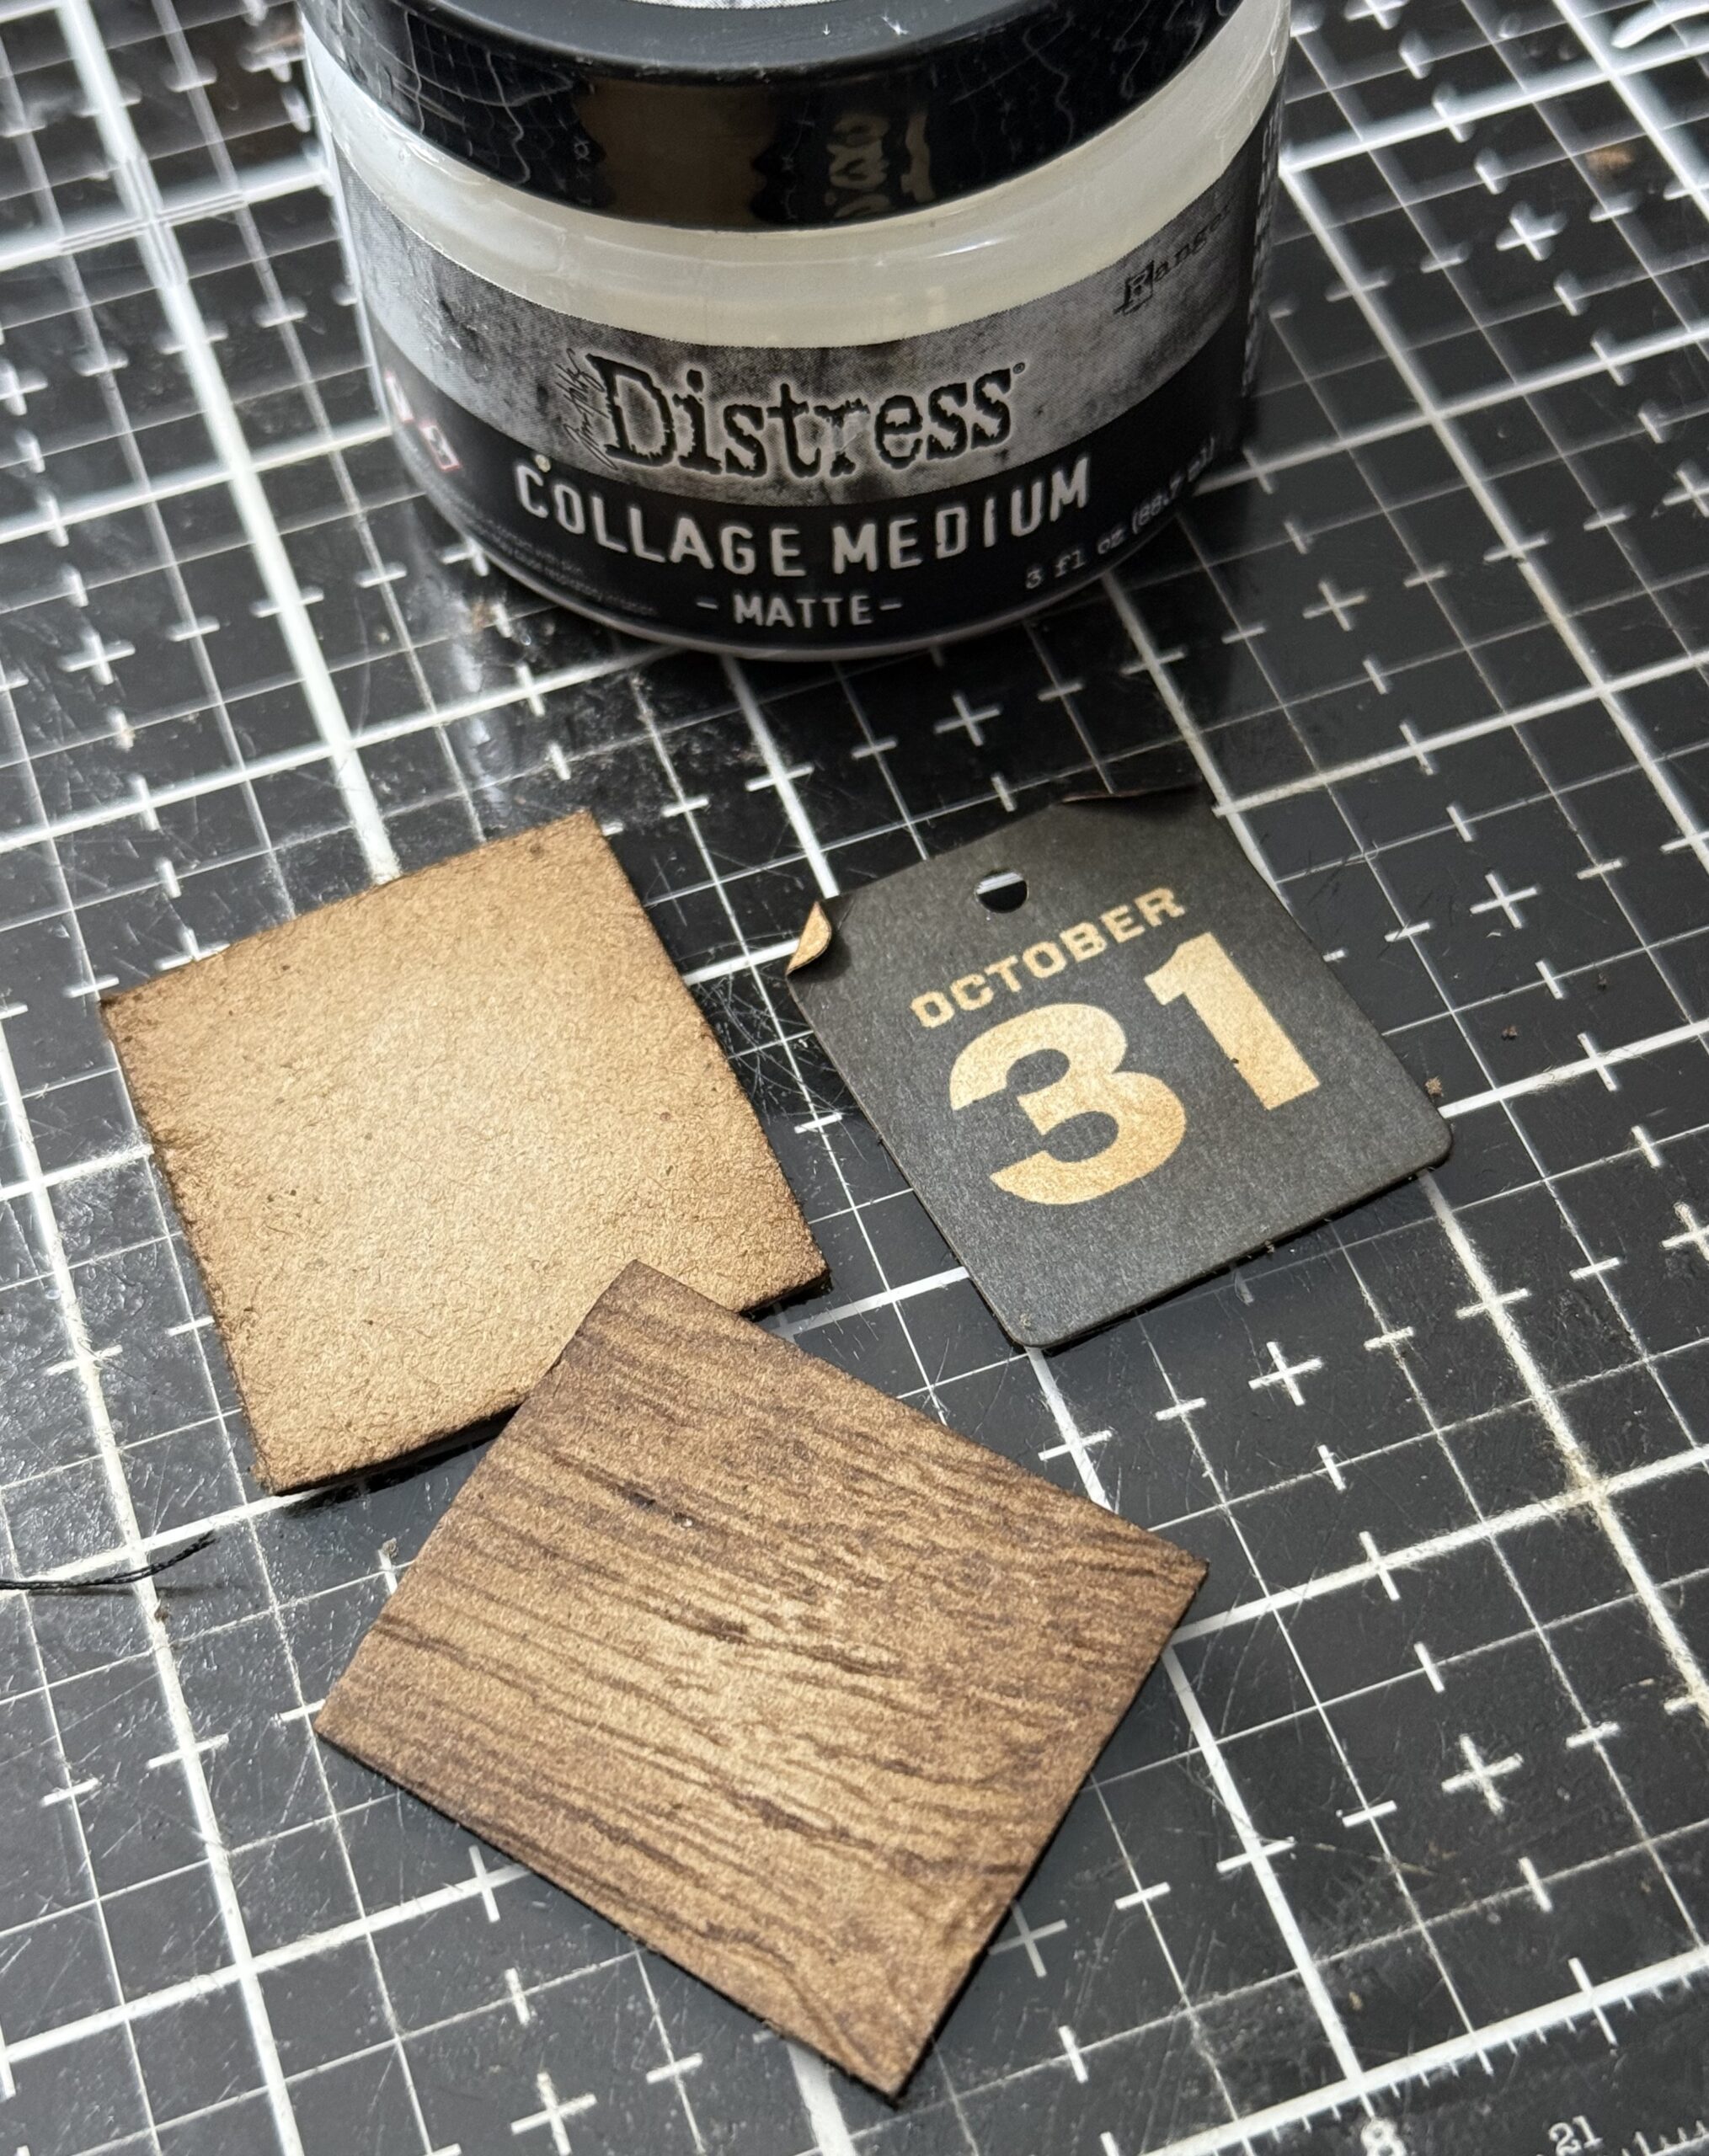
I found a piece of “wood” looking paper in my scraps and used that as the base for the little calendar scrap ephemera piece. I wanted to make this so that it looked like a rip off calendar from the past, so I pushed a hole using a paper punch, then rubbed it with some Gathered Twigs Distress Ink.
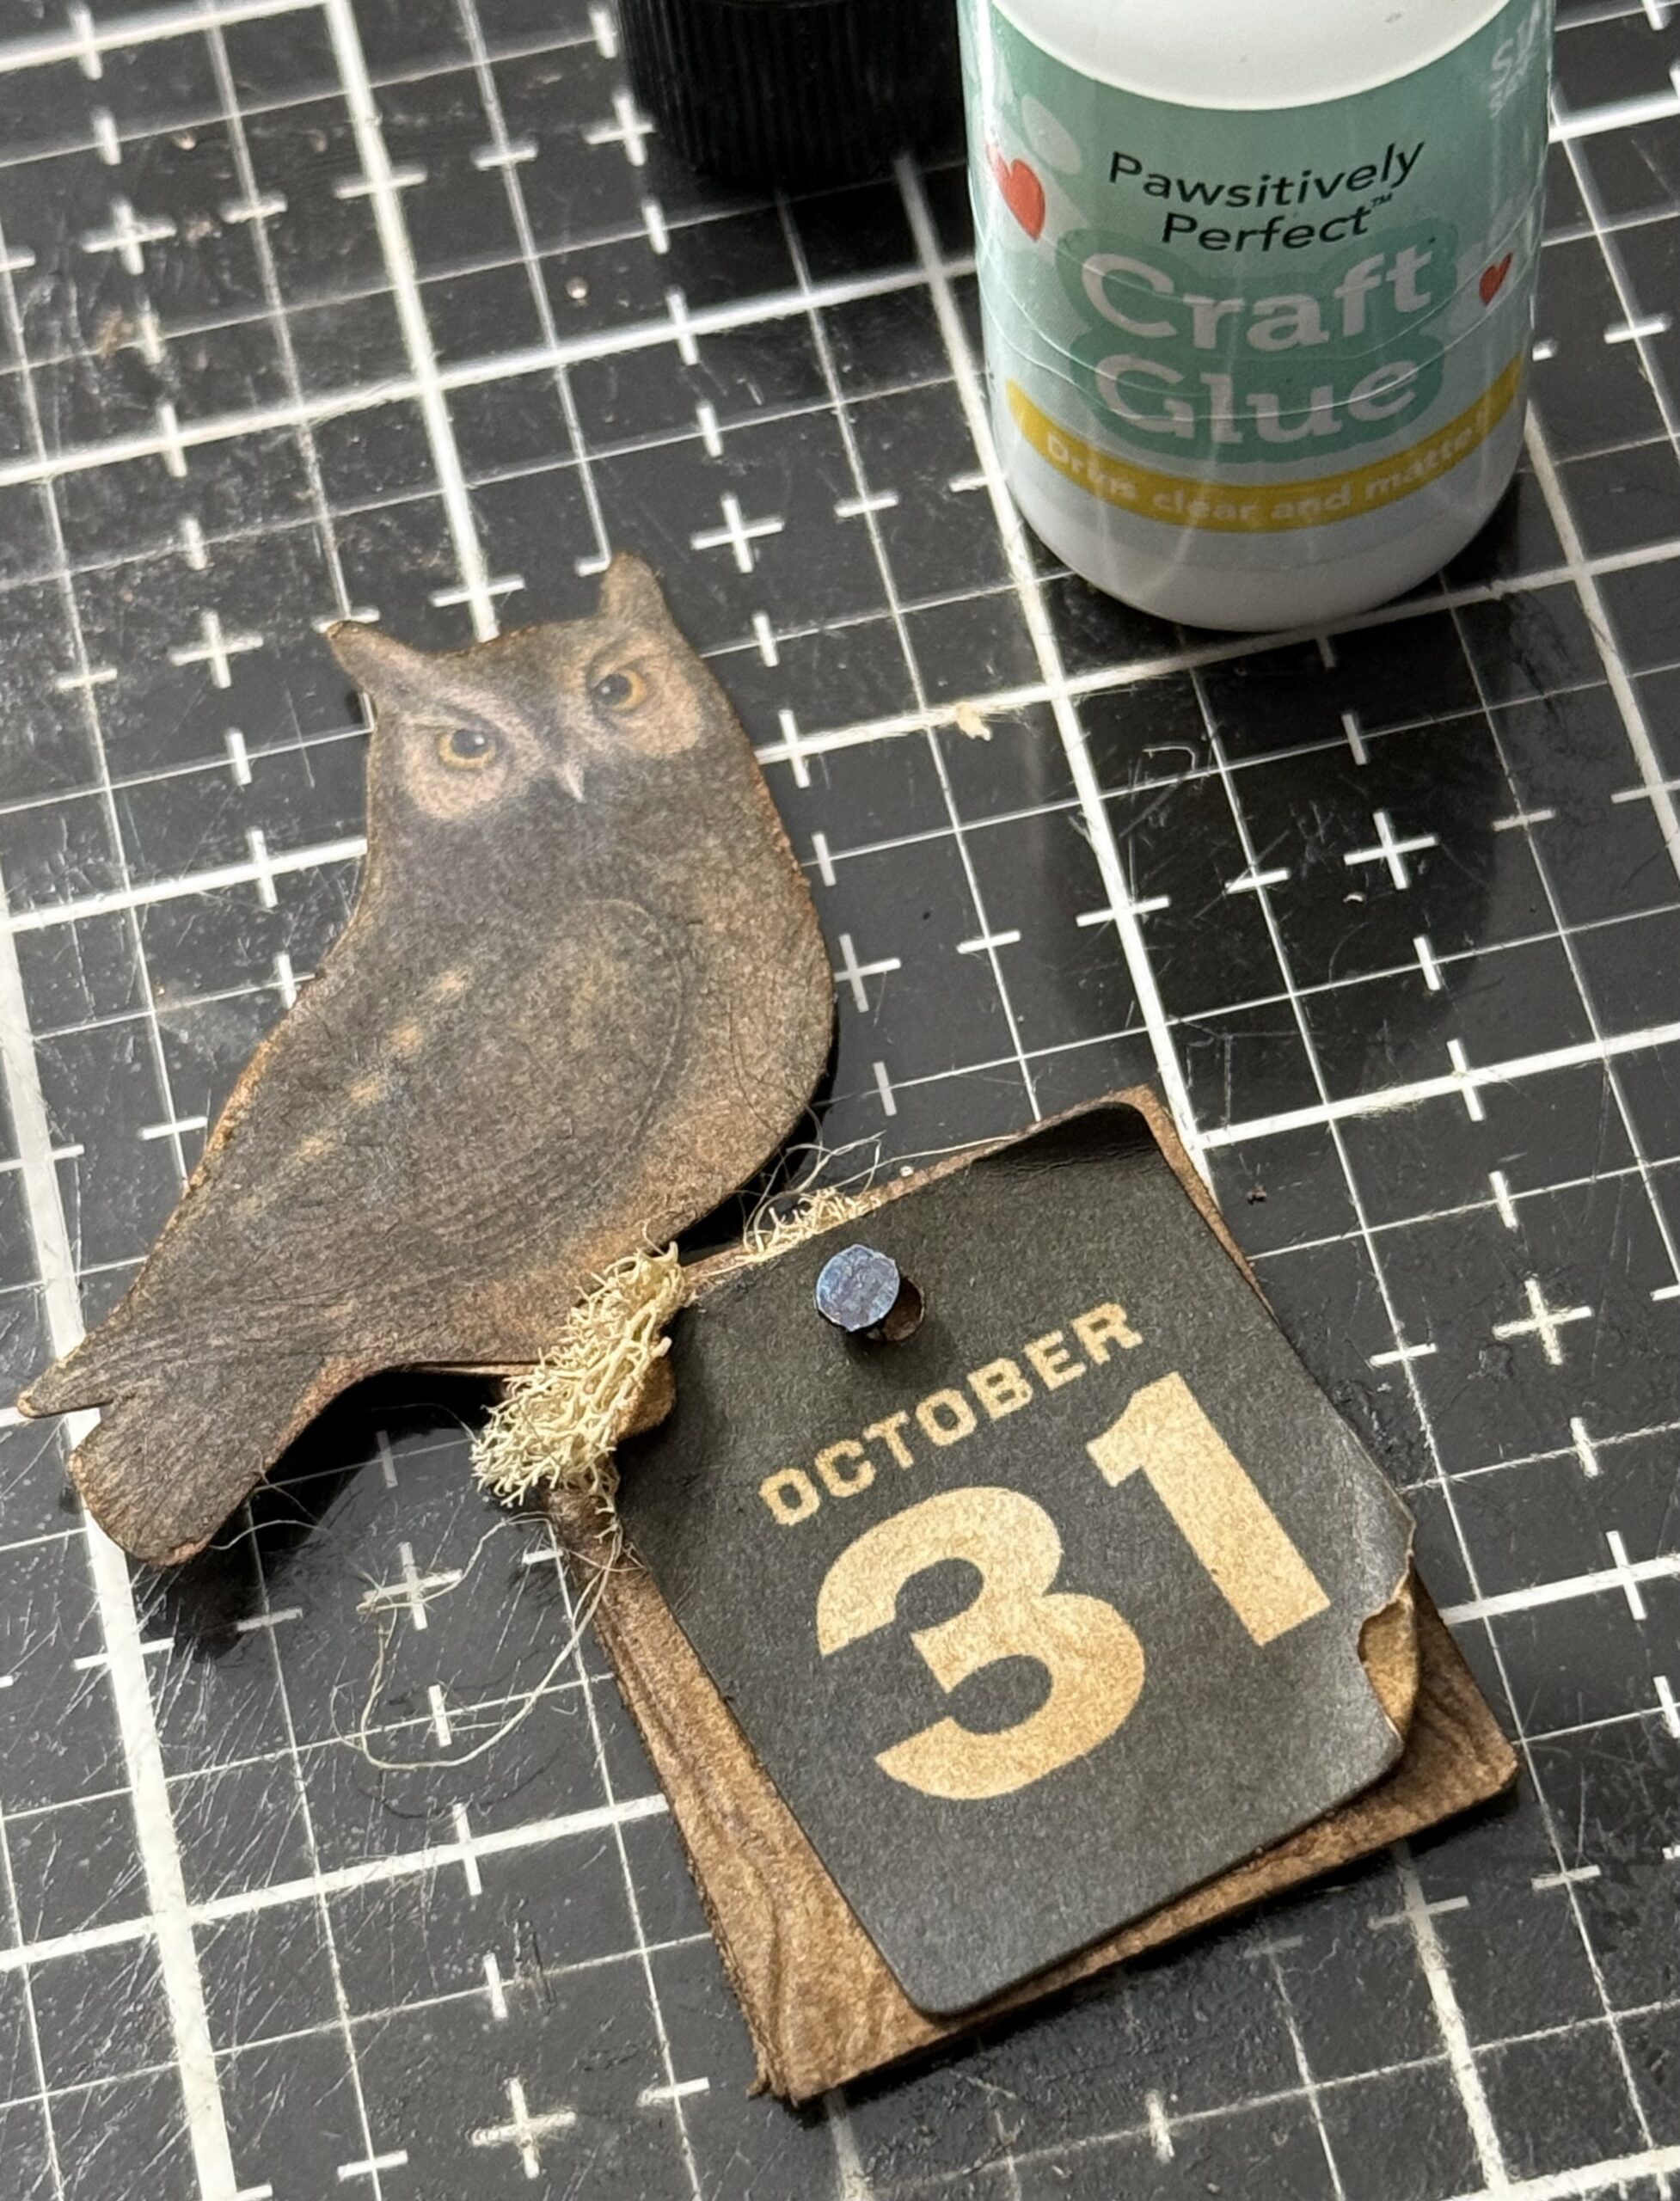
This is where the little owl would be perched, I adhered the wood piece onto a scrap of chipboard and added a small stack nail. I adhered some floral moss to the top and added the owl. This was then set aside to dry.
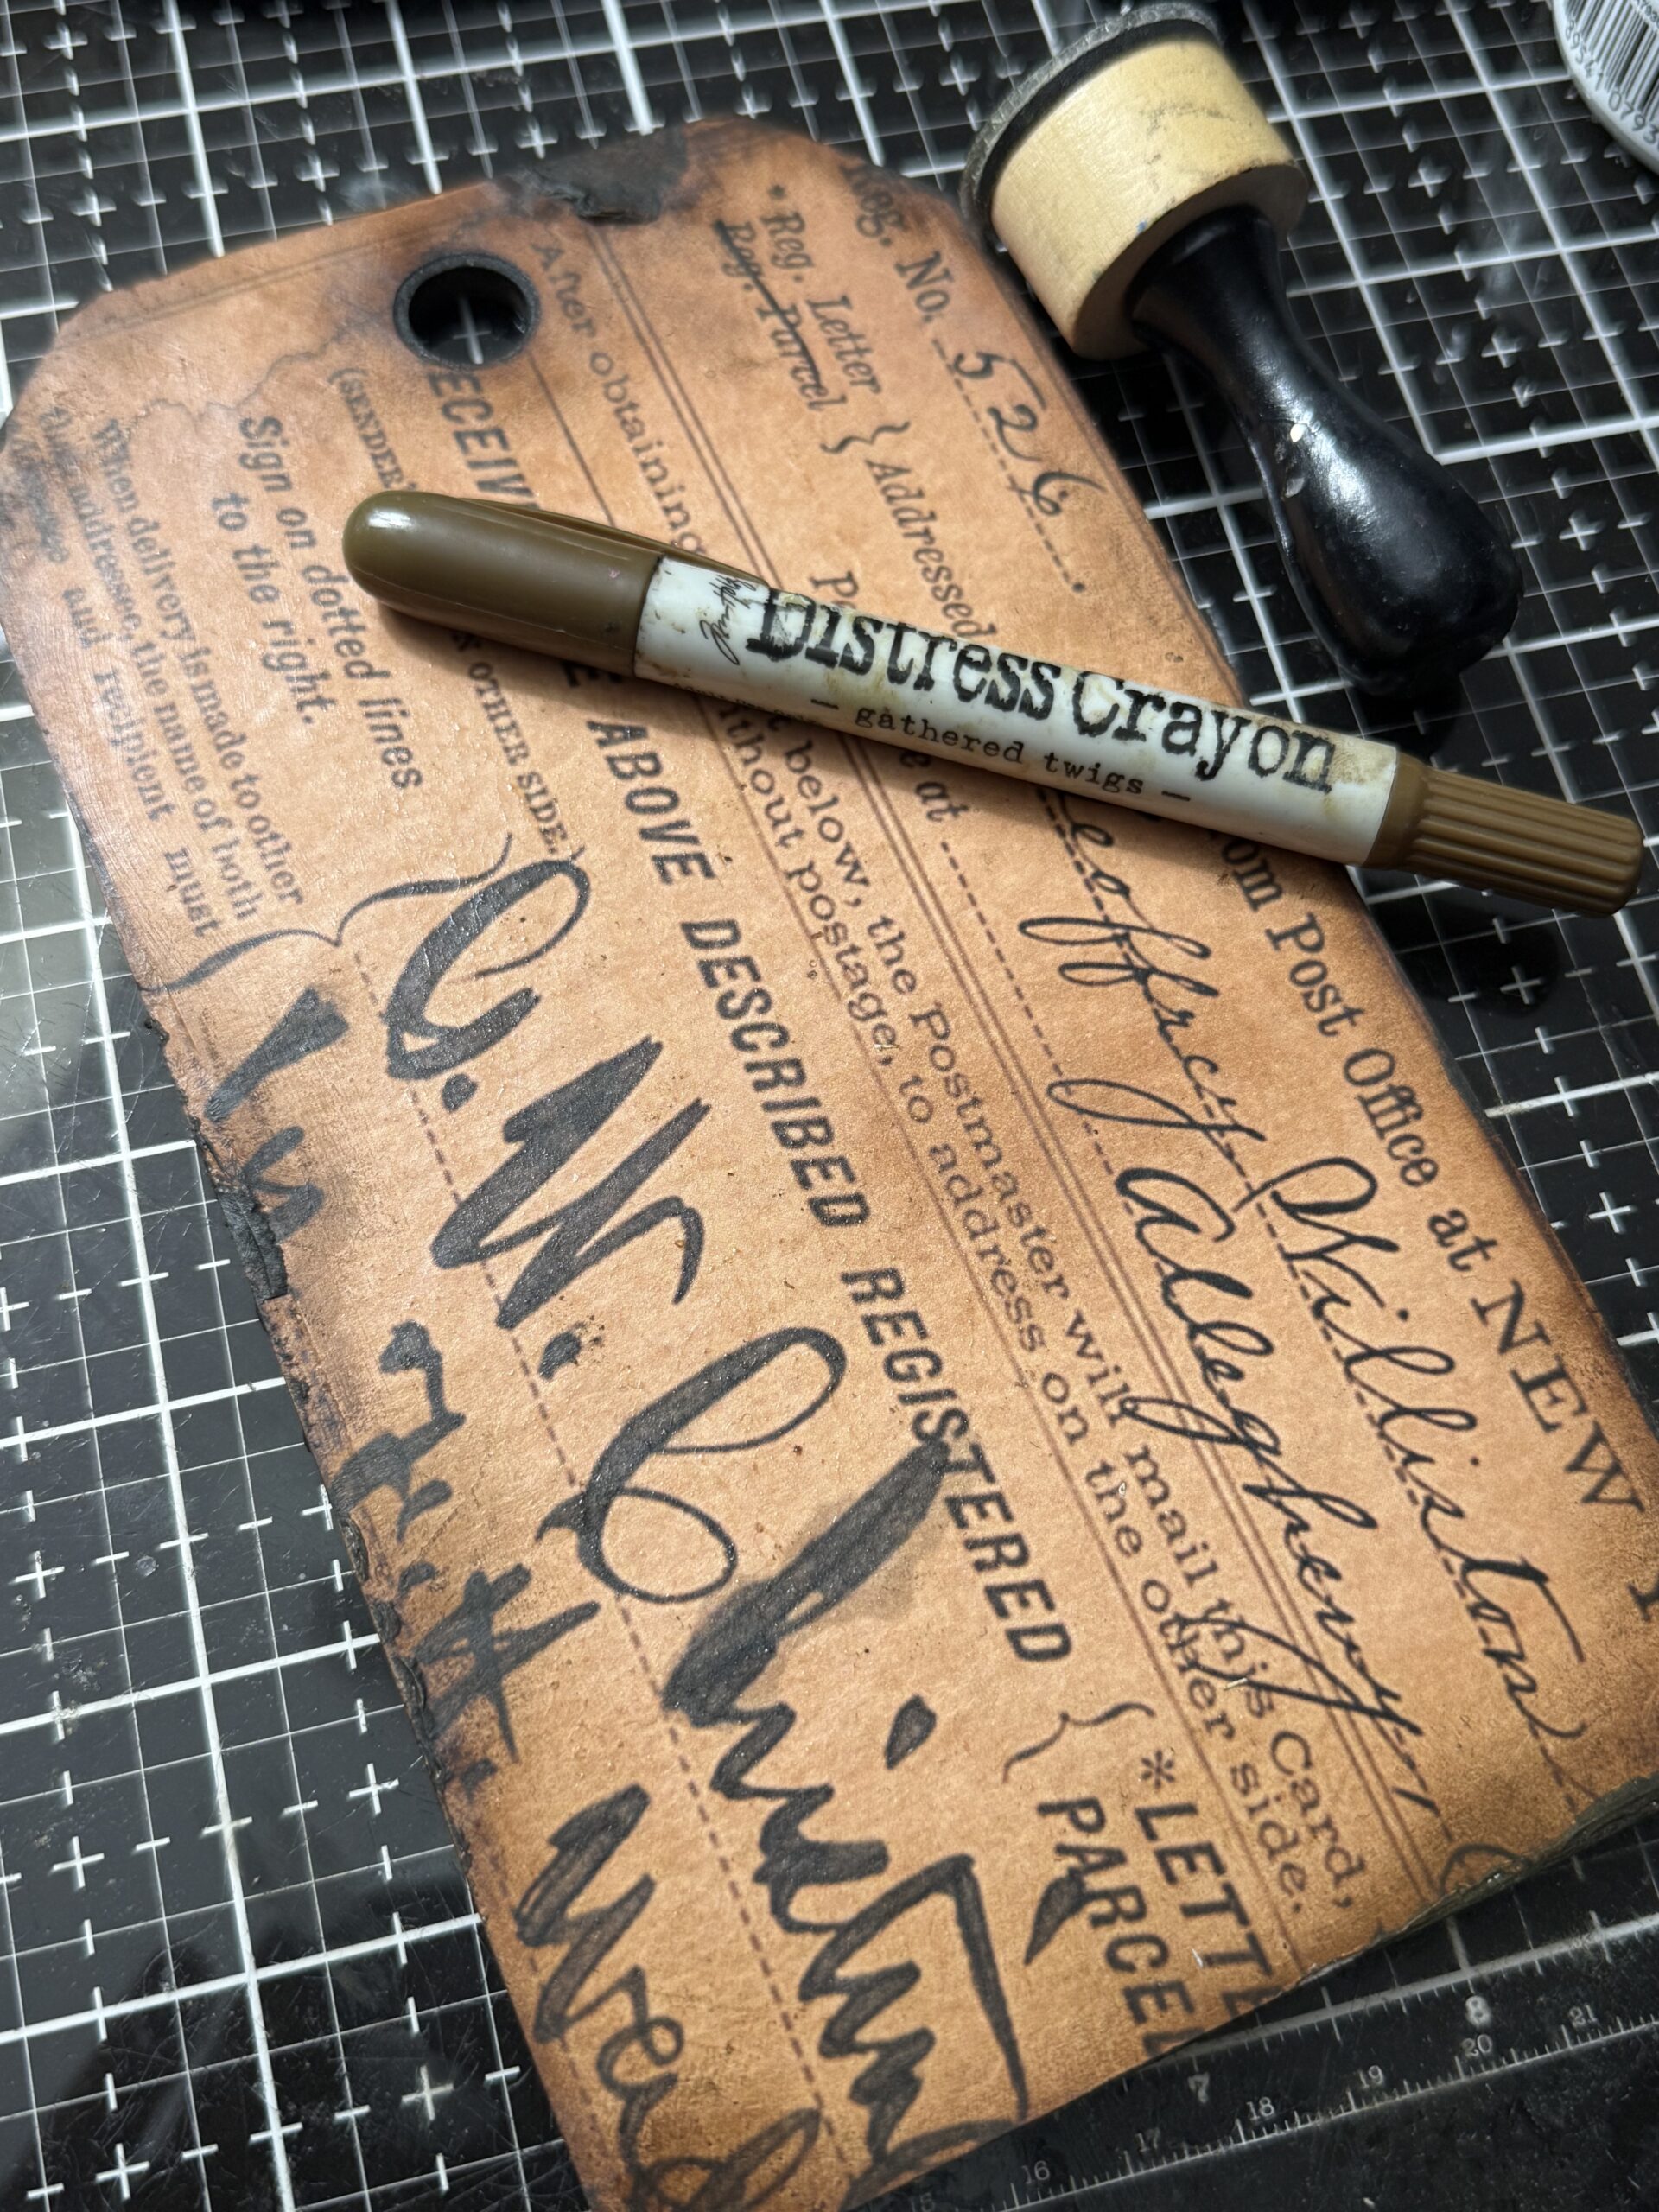
I cut a piece of Halloween Backdrops paper that blended with my theme, trimmed it to fit the Mini Etcetera tag, then adhered it to the front of the tag with collage medium. I made sure to rub the paper with some collage medium so that I could add some Distress Crayon. Rubbing the front of the paper creates a slick layer on the paper making a perfect way to add grunge using a Distress Crayon, I chose the Gathered Twigs crayon after the tag was dry, sanded the edges a bit with a sanding disk, then sribbed on some crayon and rubbed it into the tag. I was heavier with the crayon in a couple areas to make it look stained and old. Using a damp baby wipe, I daubed off a little of the crayon if it was too heavy in some spots.
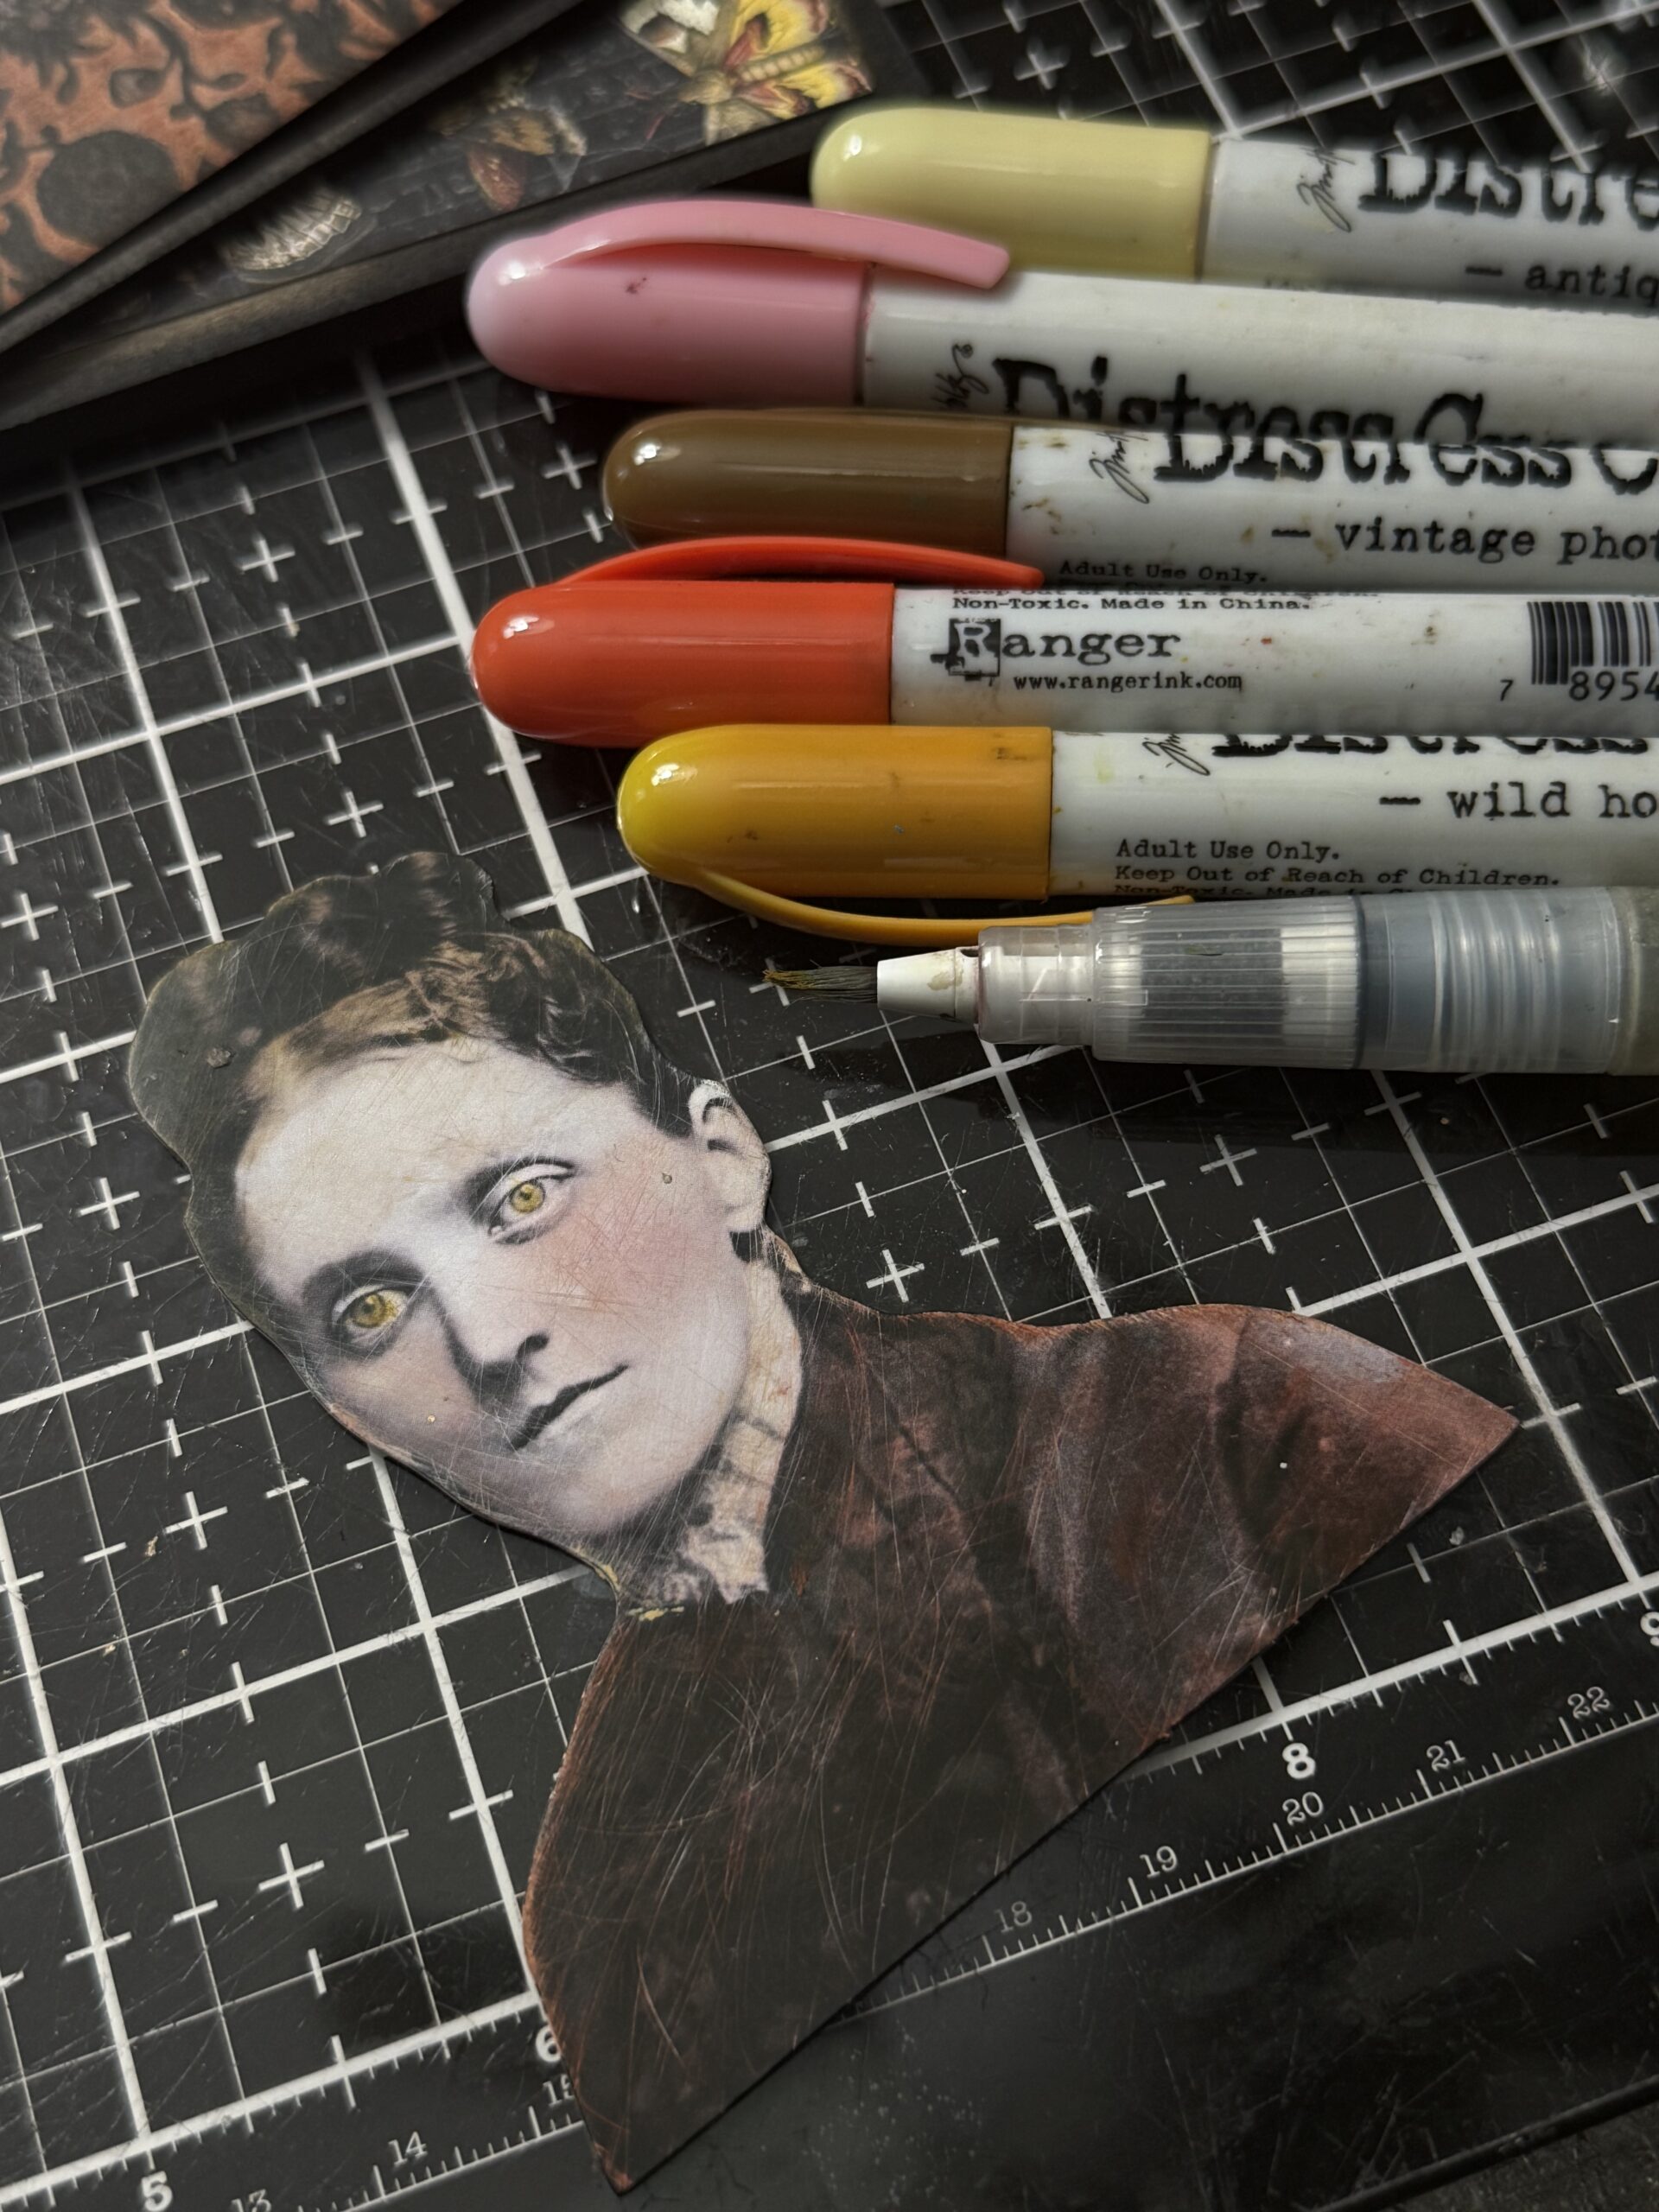
I colored up the portrait photo of Elmira using some Distress Crayons. I first used my sanding disk to sand the portrait to add some little scratches for age, then I scribbled on some crayon and blended it out with my finger. I used a fine damp paint brush to pick up color for her eyes and colored them in and let them dry…I thought yellow eyes were appropriate and a little creepy.
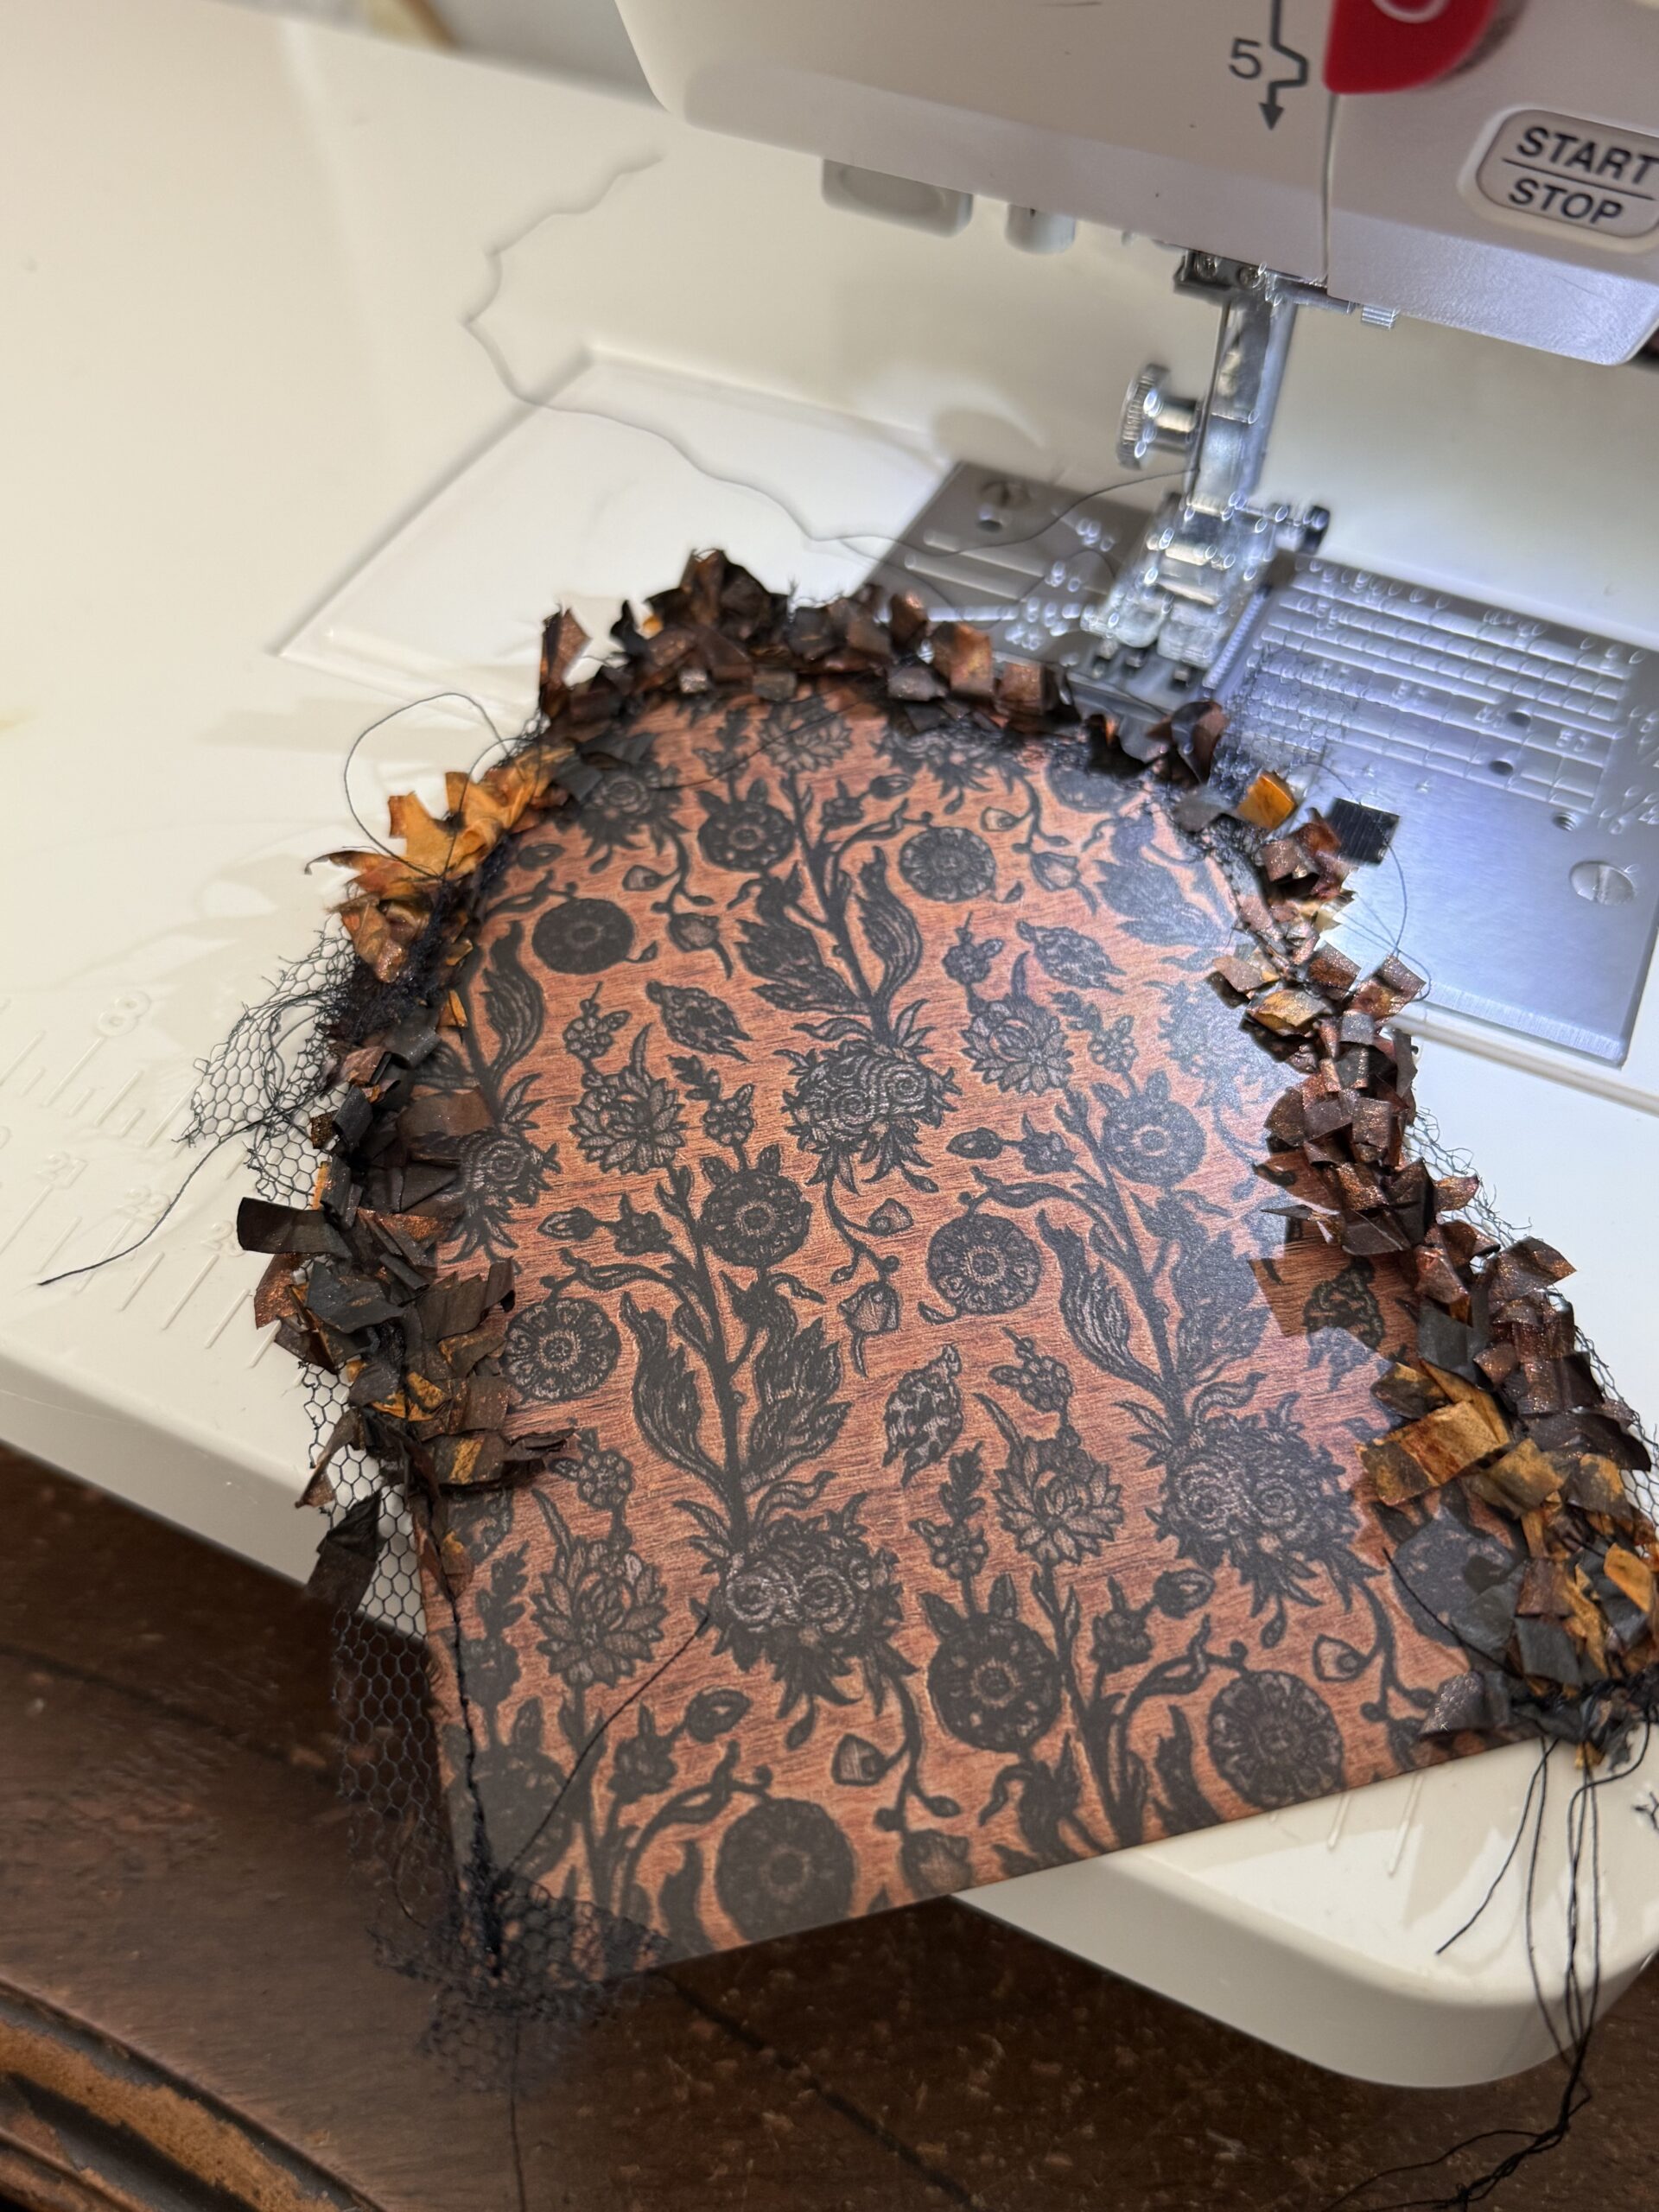
I added some piece of Halloween Fringe that I scrunched up using a spritz of water, then dried it with my heat tool. I also used some torn piece of vintage netting that I had in my stash. I stitched it all around the edges using my sewing machine, then adhered it to the Facade base using Collage Medium.
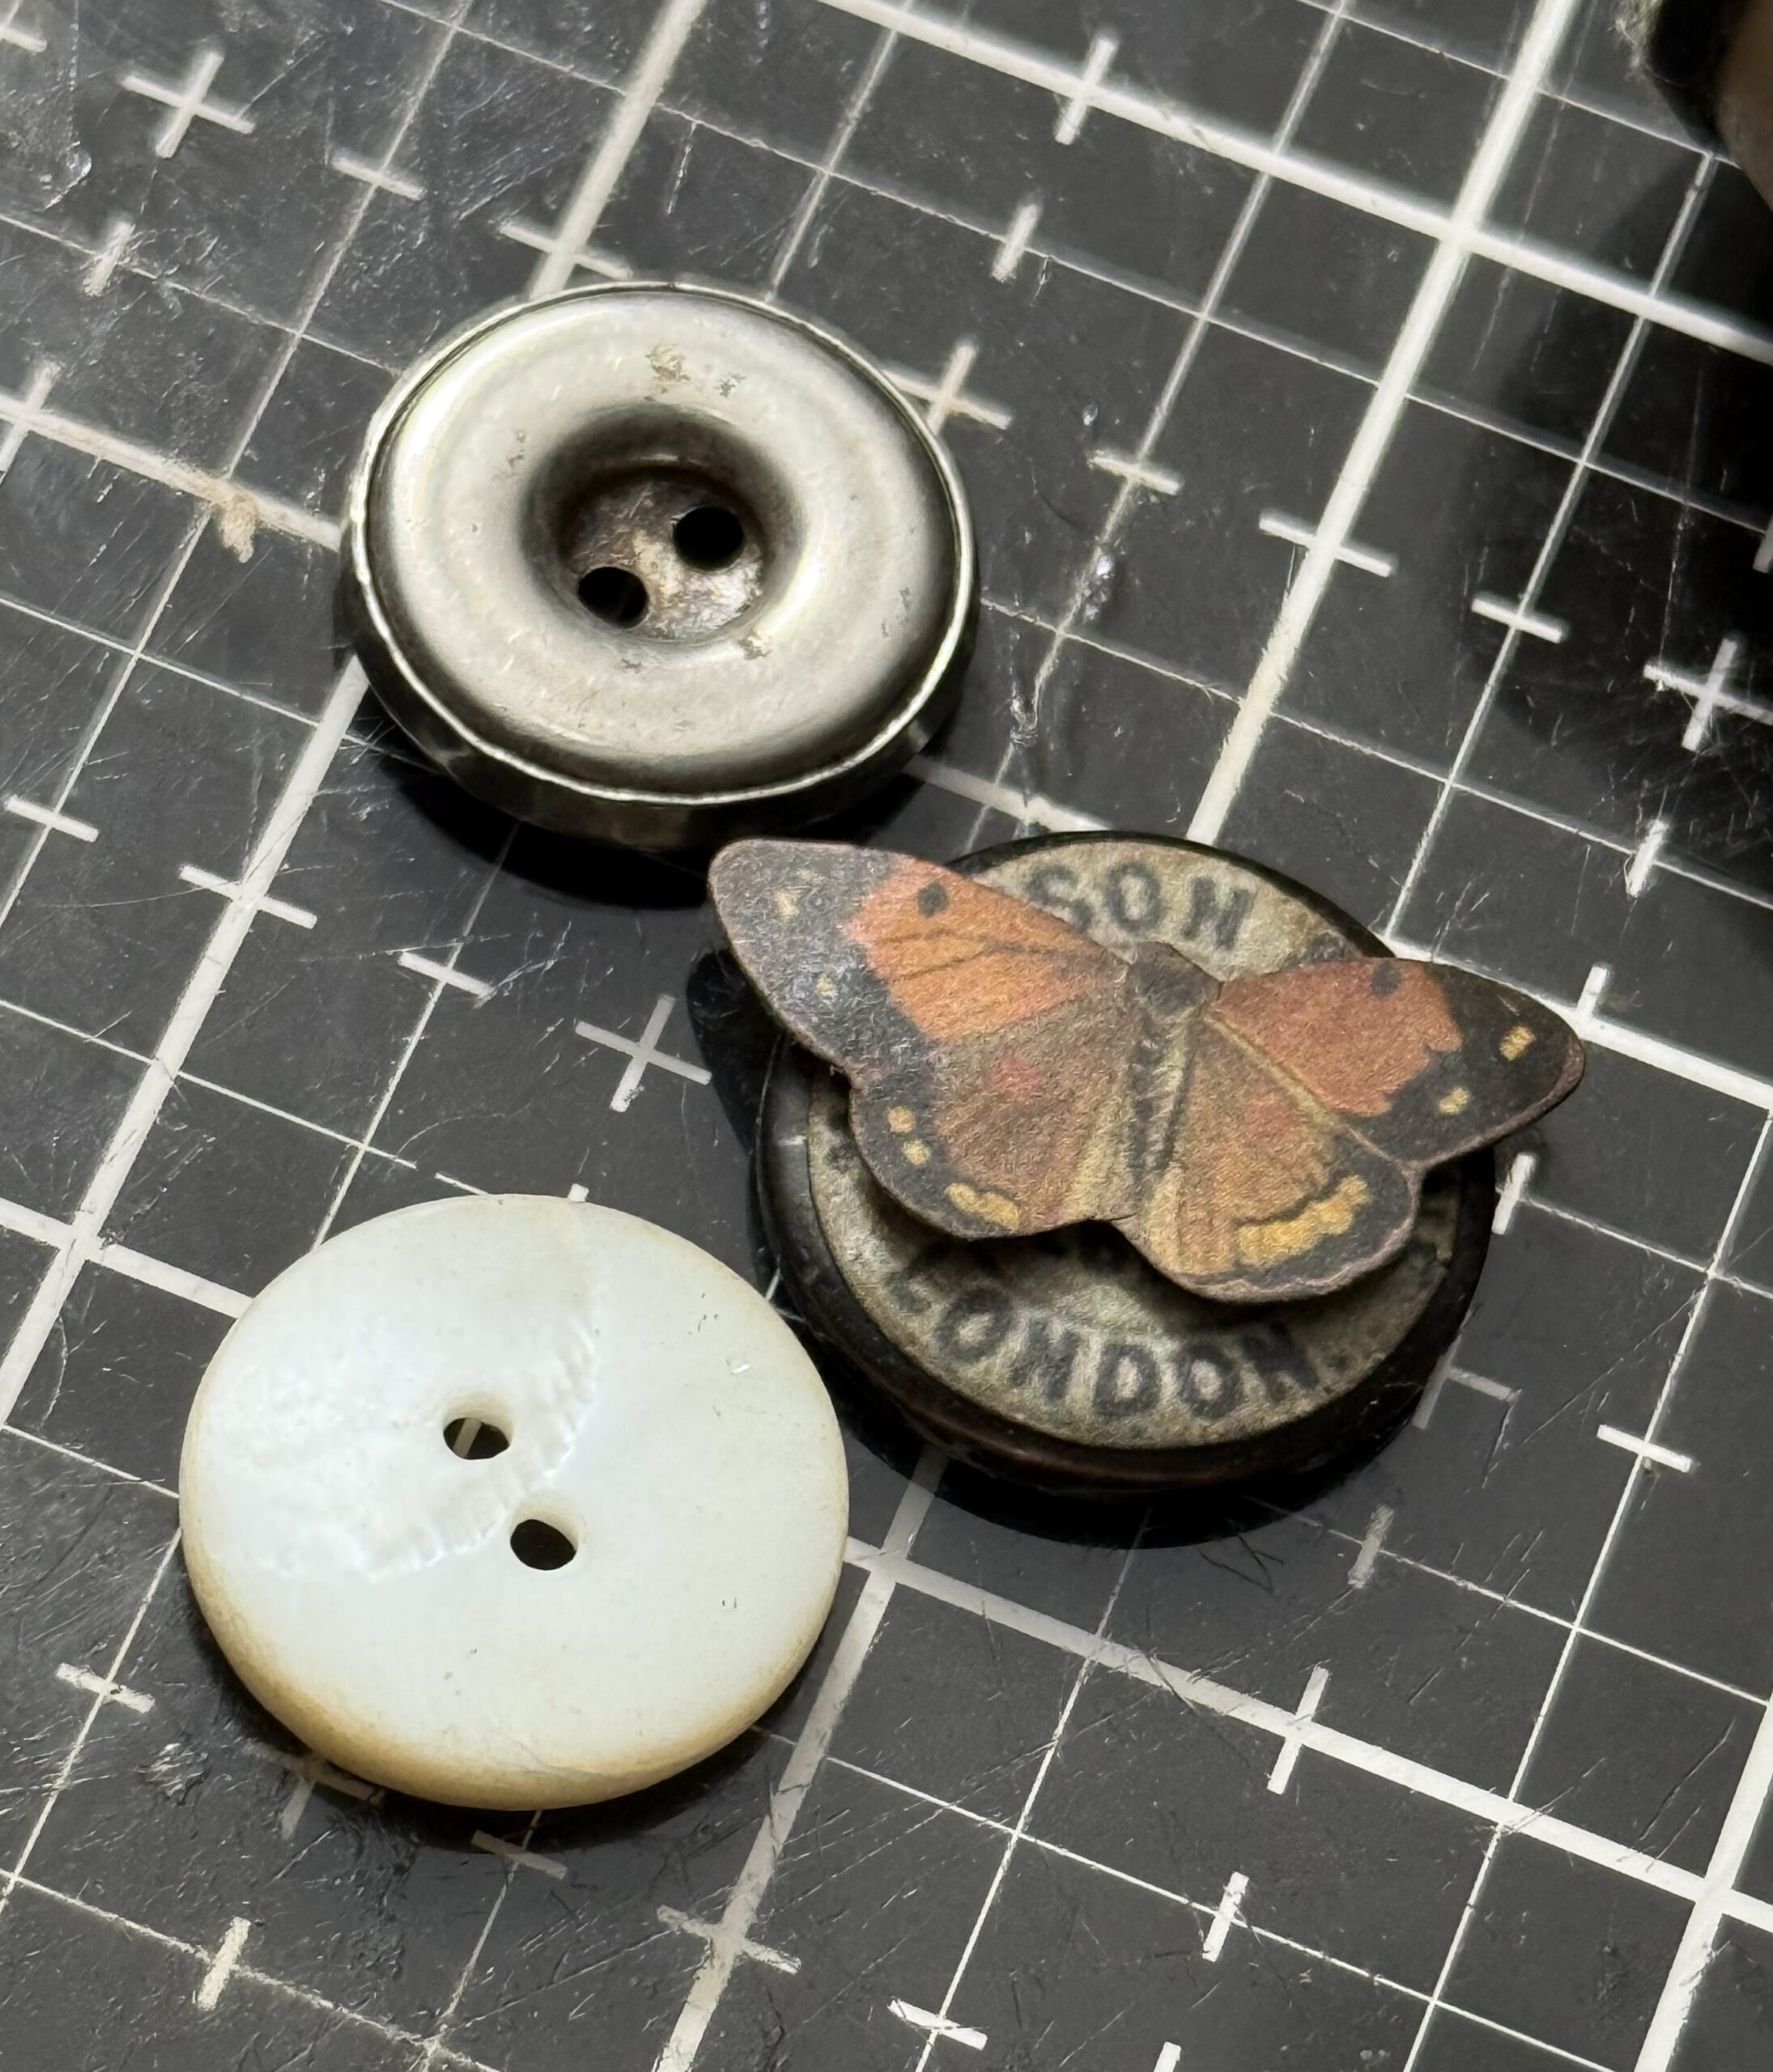
At the top of the vignette, you’ll notice a round label and butterfly.
This was created using a couple ephemera pieces that I adhered to the front of a button, it was later adhered to the top of the vignette using collage medium.
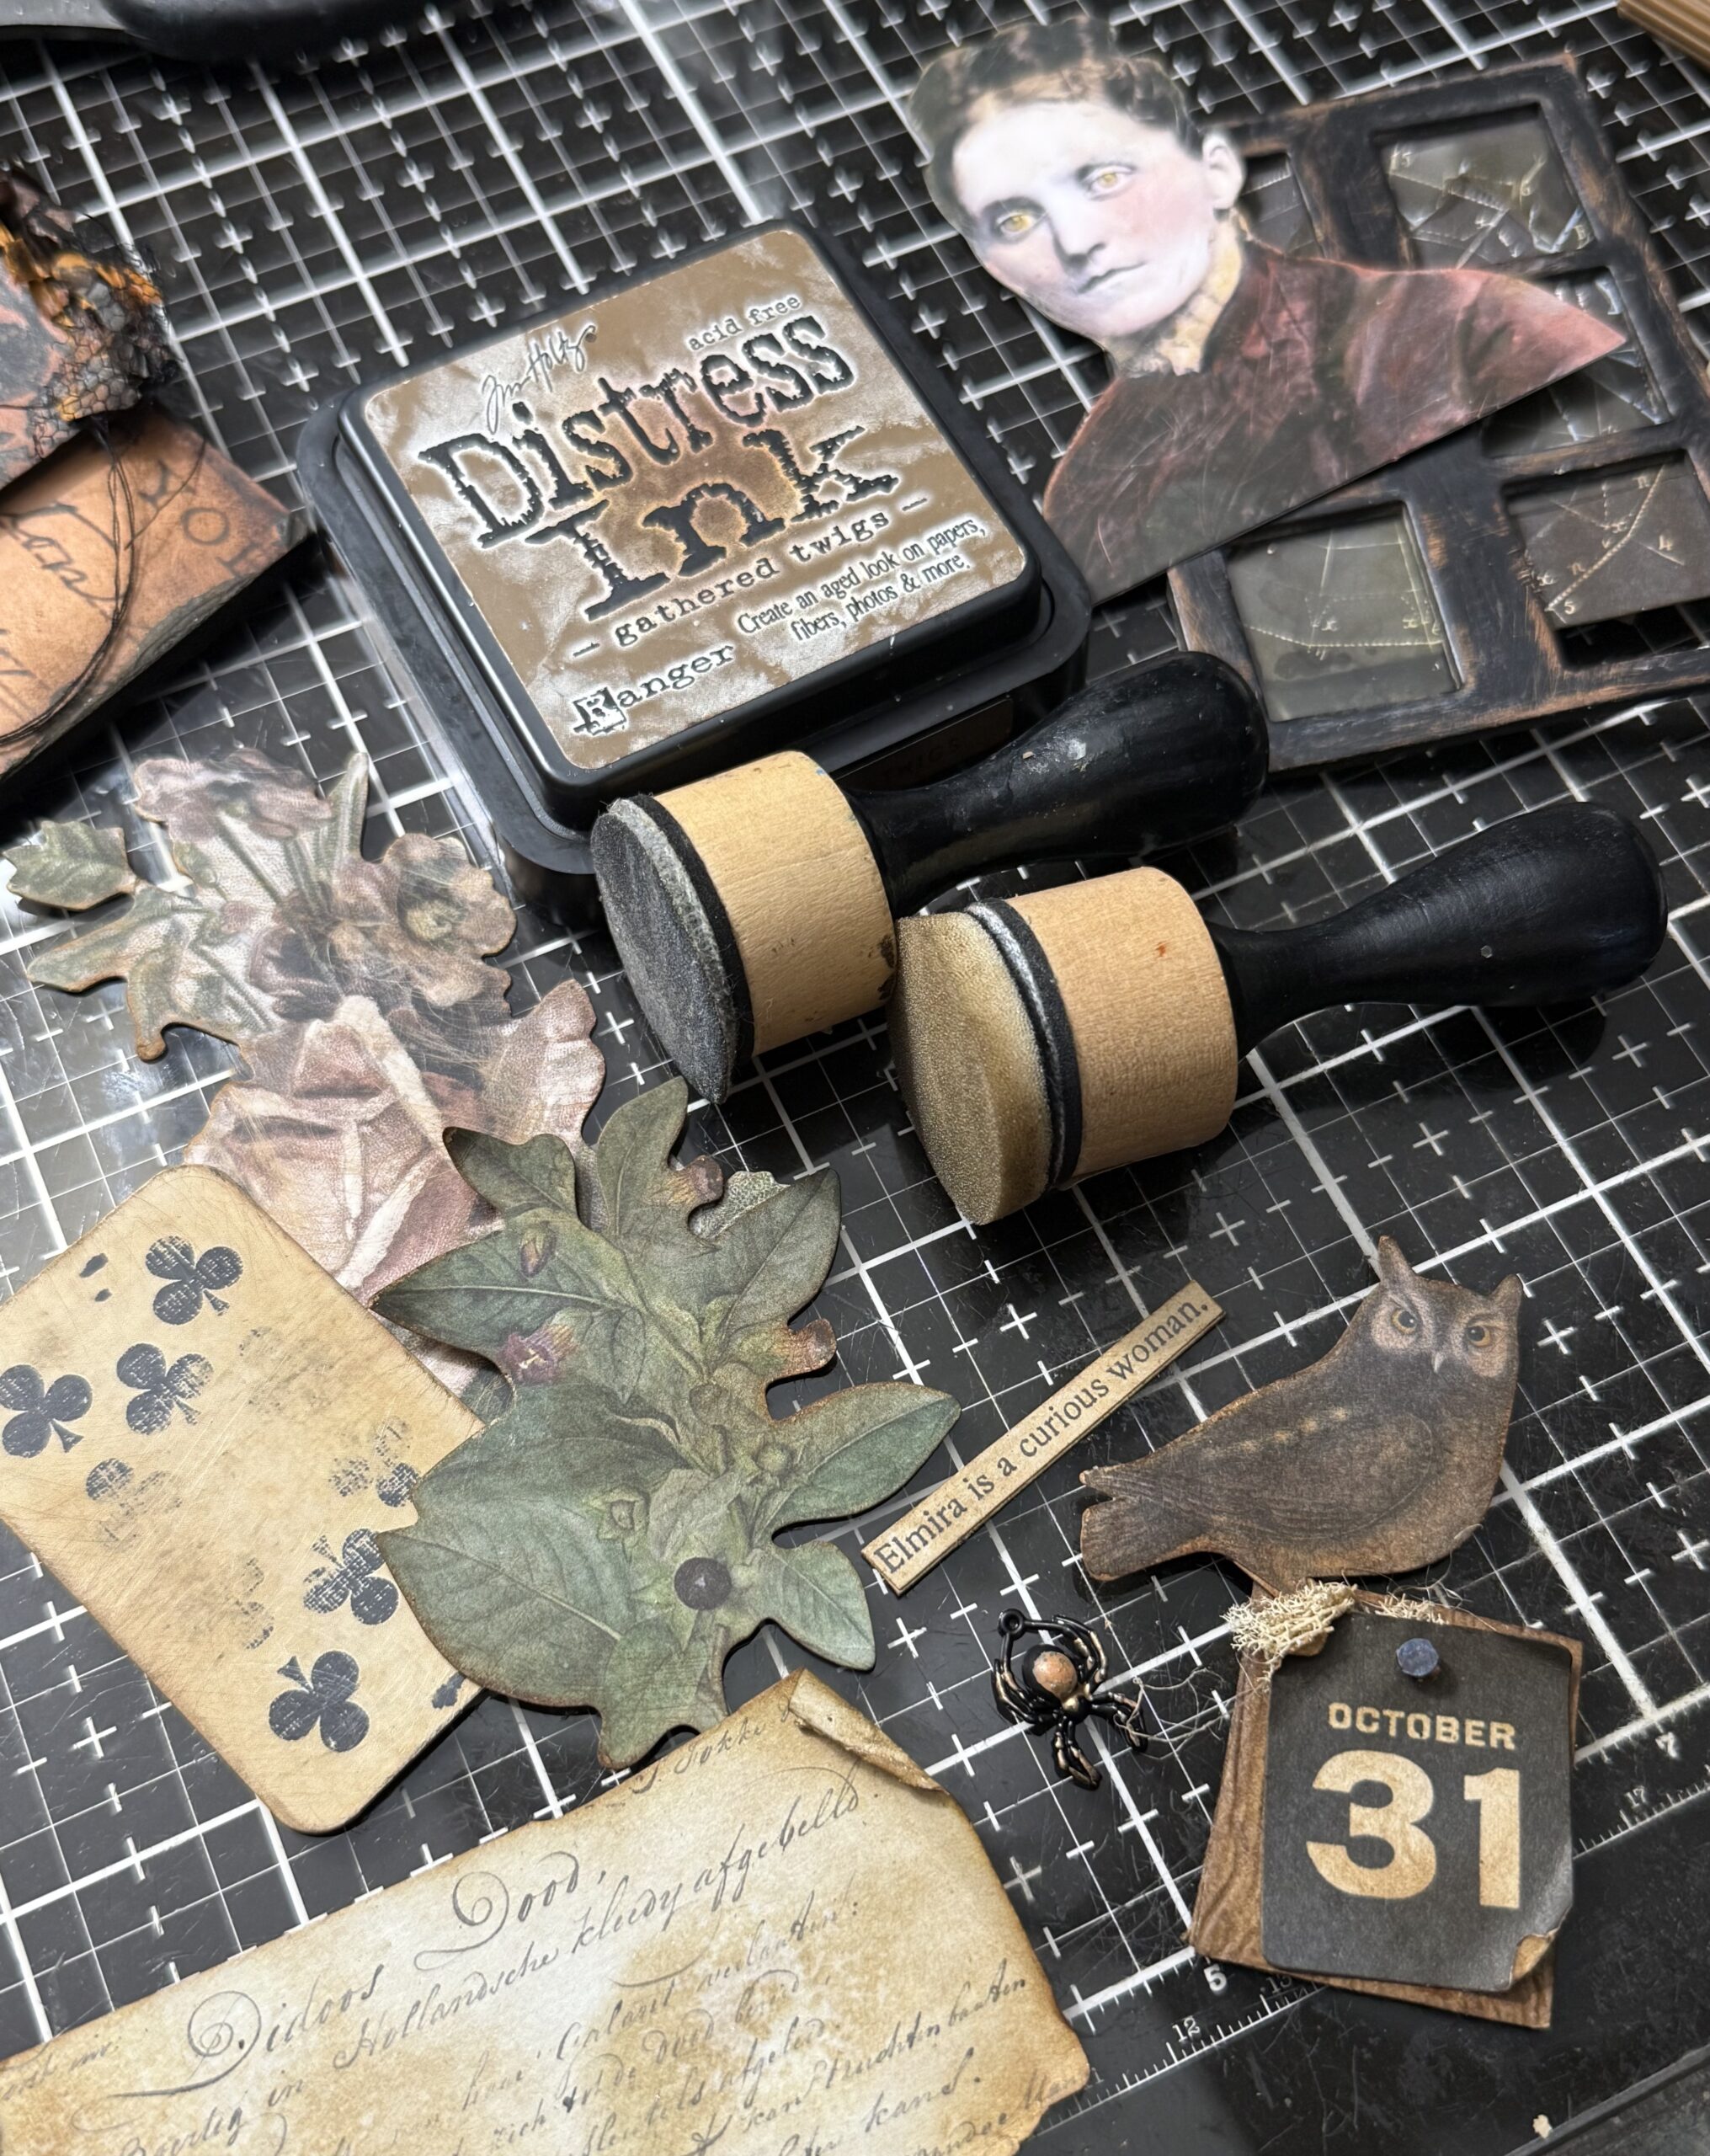
Here is a look at al the pieces that made up the vignette before they were all layered and adhered to the front of the Etcetera bases. All the Elements came from the Halloween Ephemera pack and the Layers and Paper Dolls, plus I added the little Elmira phrase that I found in the Halloween Sticker Clippings book.
I added all the layers to the front of the facade using Collage Medium and added foam adhesive in-between some of the elements to add depth.
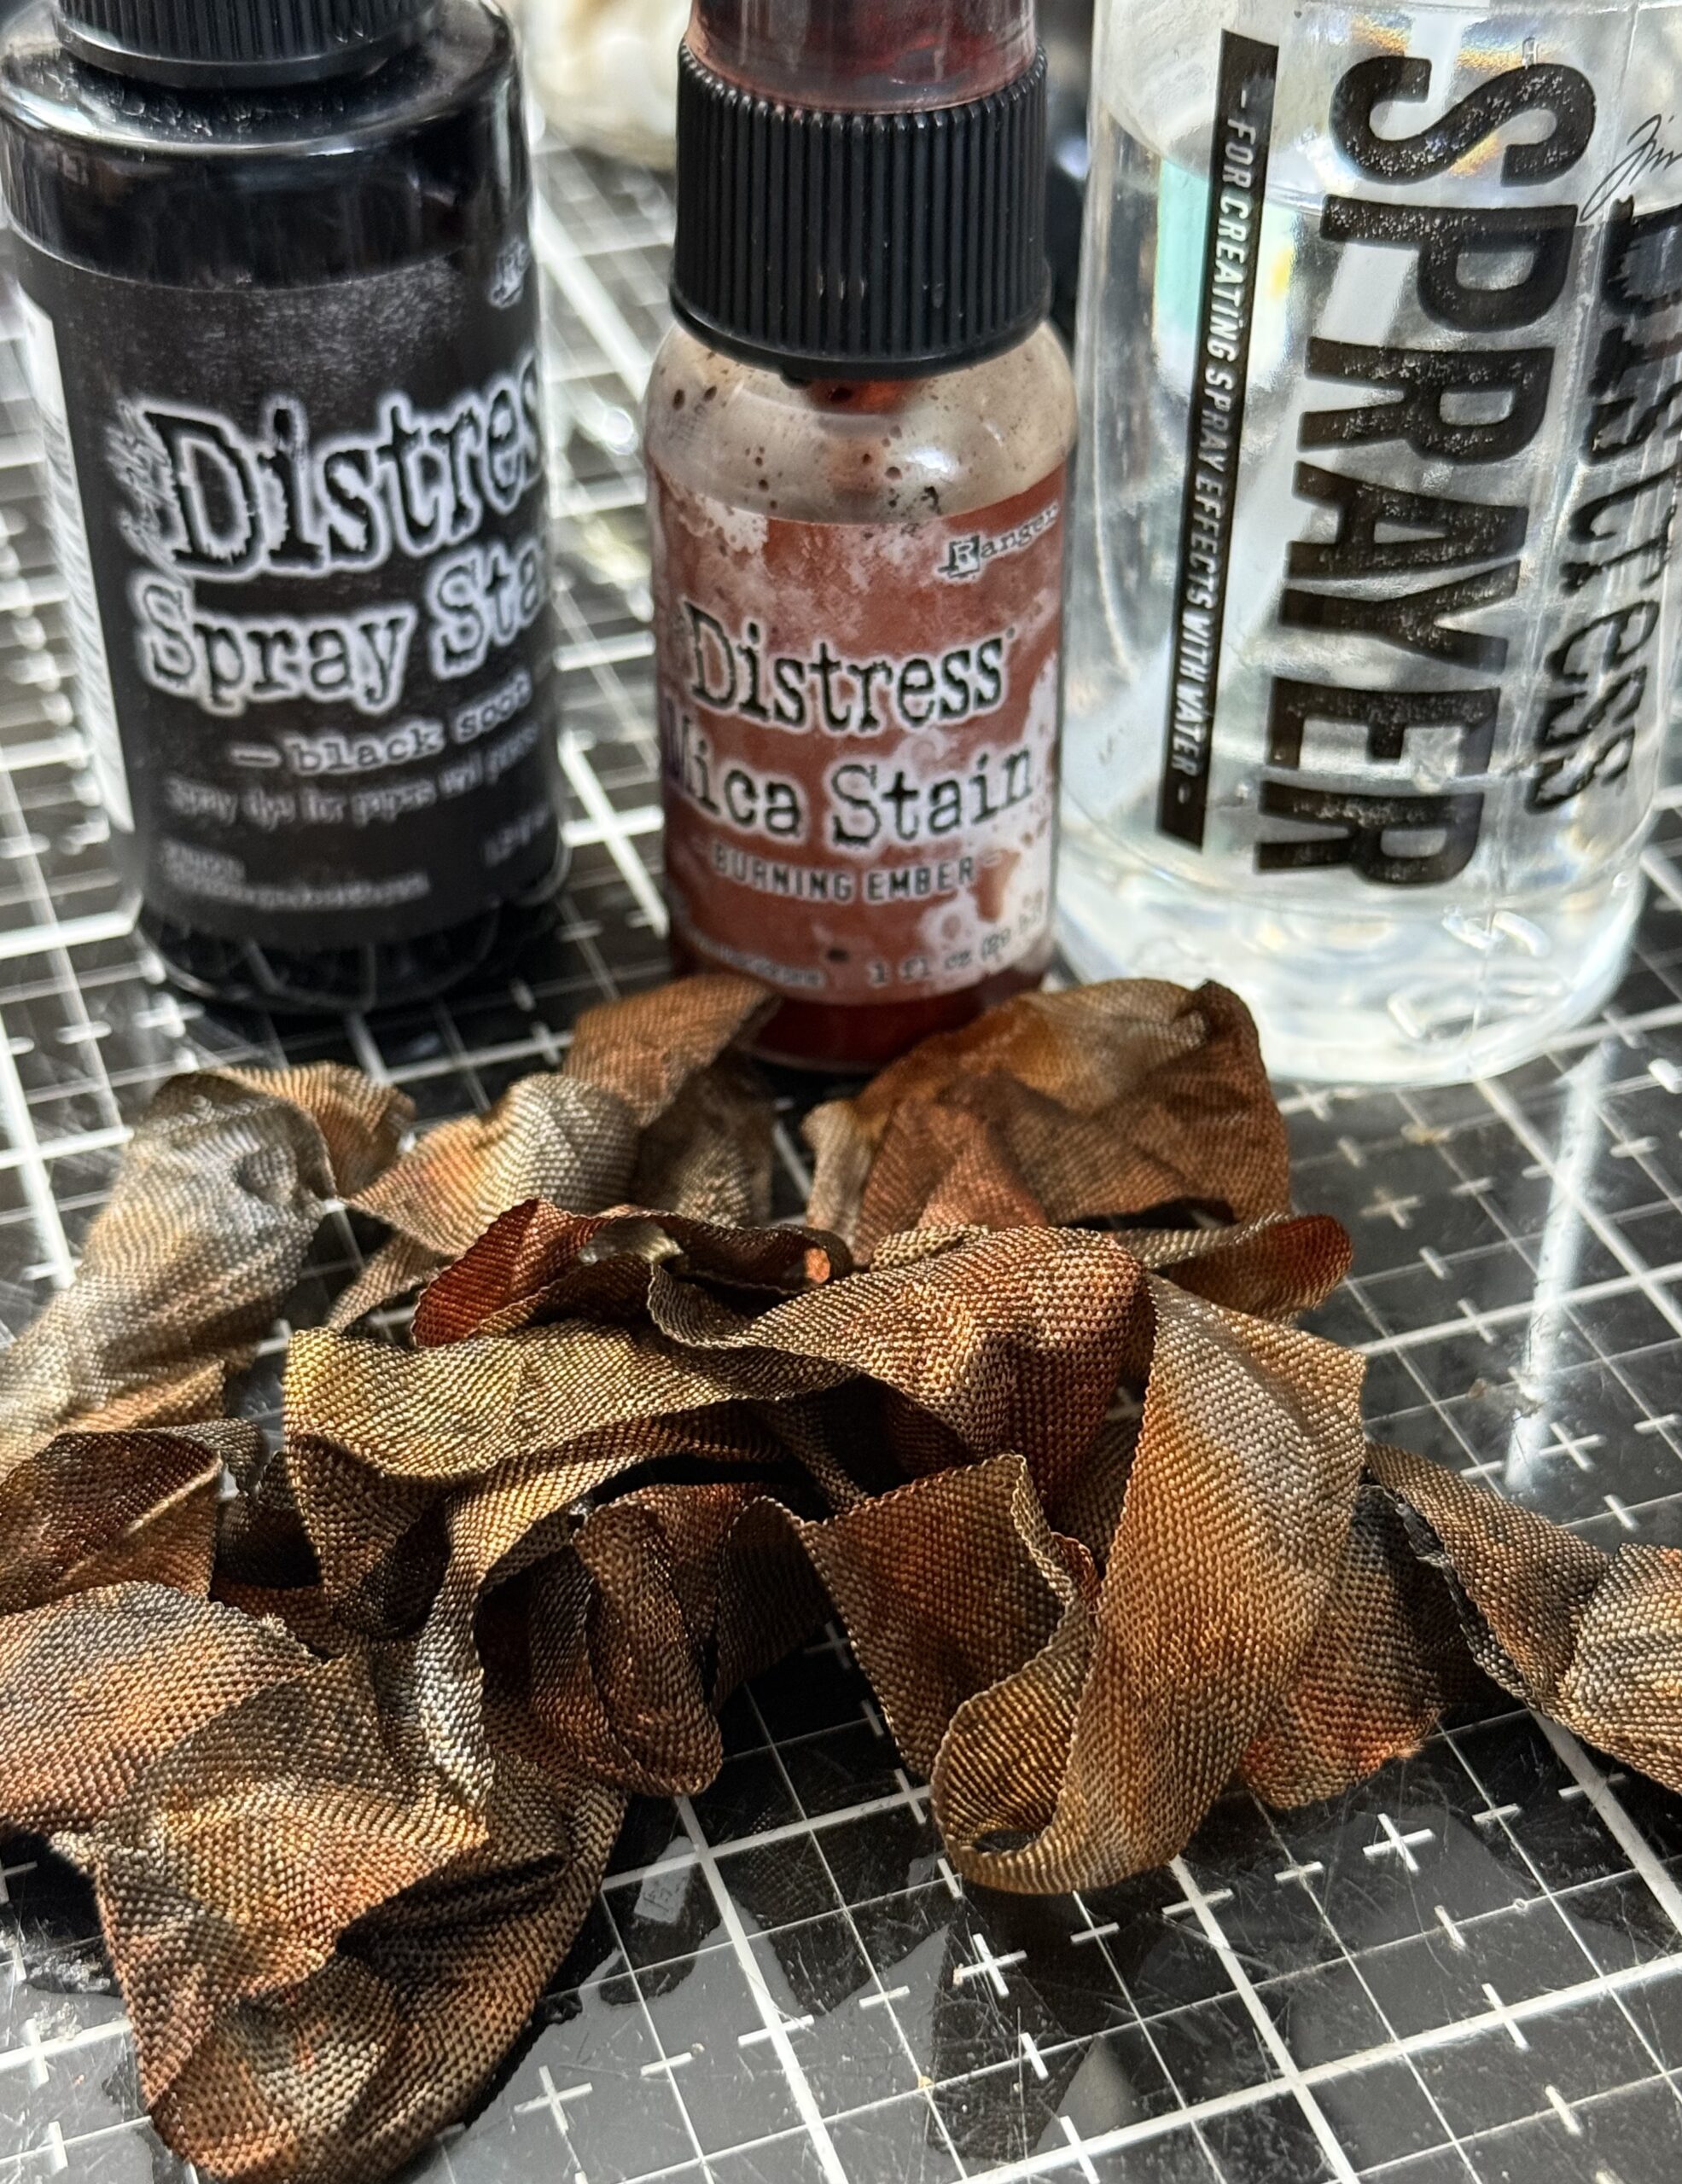
The final addition was the Etcetera washer that was Painted with Black Soot Distress Paint, then adhered to the top of the tag. I colored up some Seam Binding Ribbon using a combination of Distress Stain Sprays and Mica, then dried it with my heat tool and added it to the top of the vignette inside of the washer at the top of the tag.
Thanks so much for stopping by, and be sure to check out the entire line of Tim Holtz Halloween idea-ology by clicking HERE
Creatively yours,
With that, my project was complete!
Stacy
Shop Simon Says Stamp by clicking on this link. Thank you! I appreciate you for supporting me.
What is an affiliate program, and why should I click on the link and buy through you?
When you shop via the affiliate link on this blog, I receive a small commission from the affiliate provider (Simon Says Stamp) at no extra cost to you, whatsoever. These commissions help me to cover the hosting fees and other costs to run my blog and be able to provide you with FREE inspiration. If you shop the links, THANK YOU! I truly appreciate being able to share my love of creating with you.










Leave a Reply