Hello friends! Happy Saturday! Hope you are all well and that a feeling of Autumn will soon be in your forecast. It is a rainy and dreary day here in my neck of the woods, and I love it! Bring on fall and the warm and cozy feelings…I am ready!
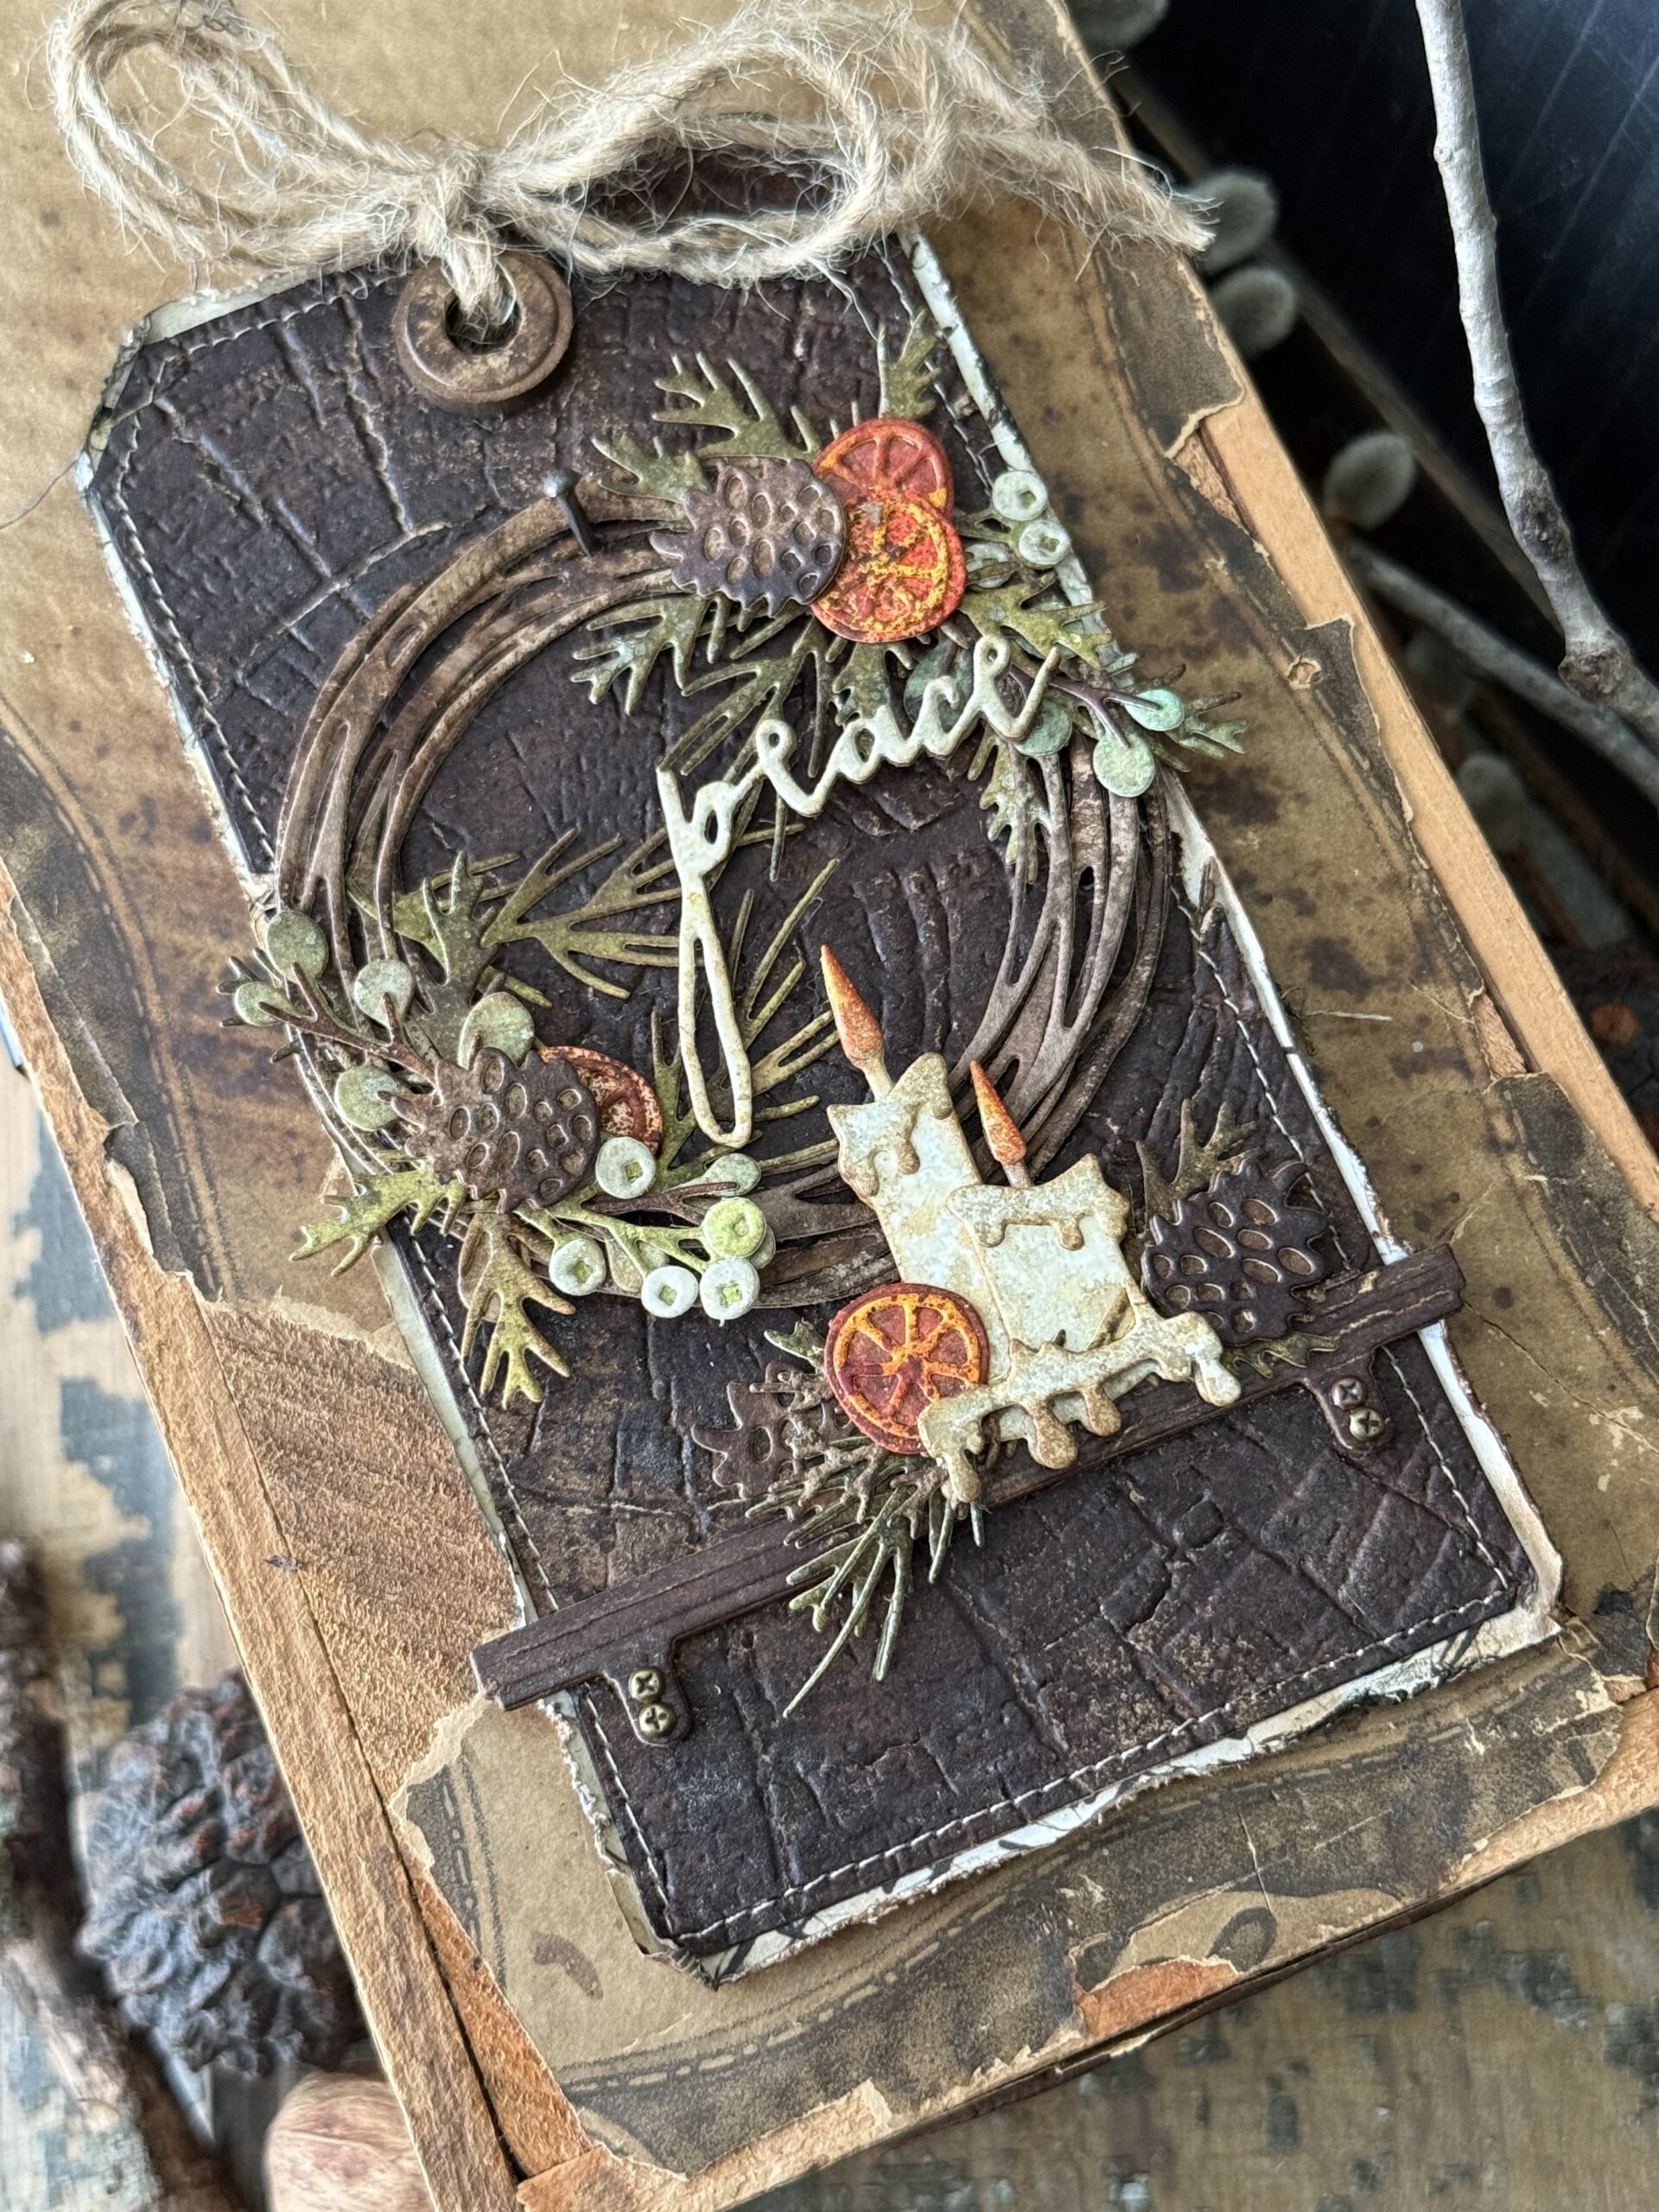
Speaking of warm and cozy…I have a very autumnal project for you today using a couple of the new Tim Holtz Sizzix holiday release sets. The new sets that I used for this project include the Vault Festive Wreath Set along with the Handwritten Holidays and the new Tree Rings A5 Embossing Folder.
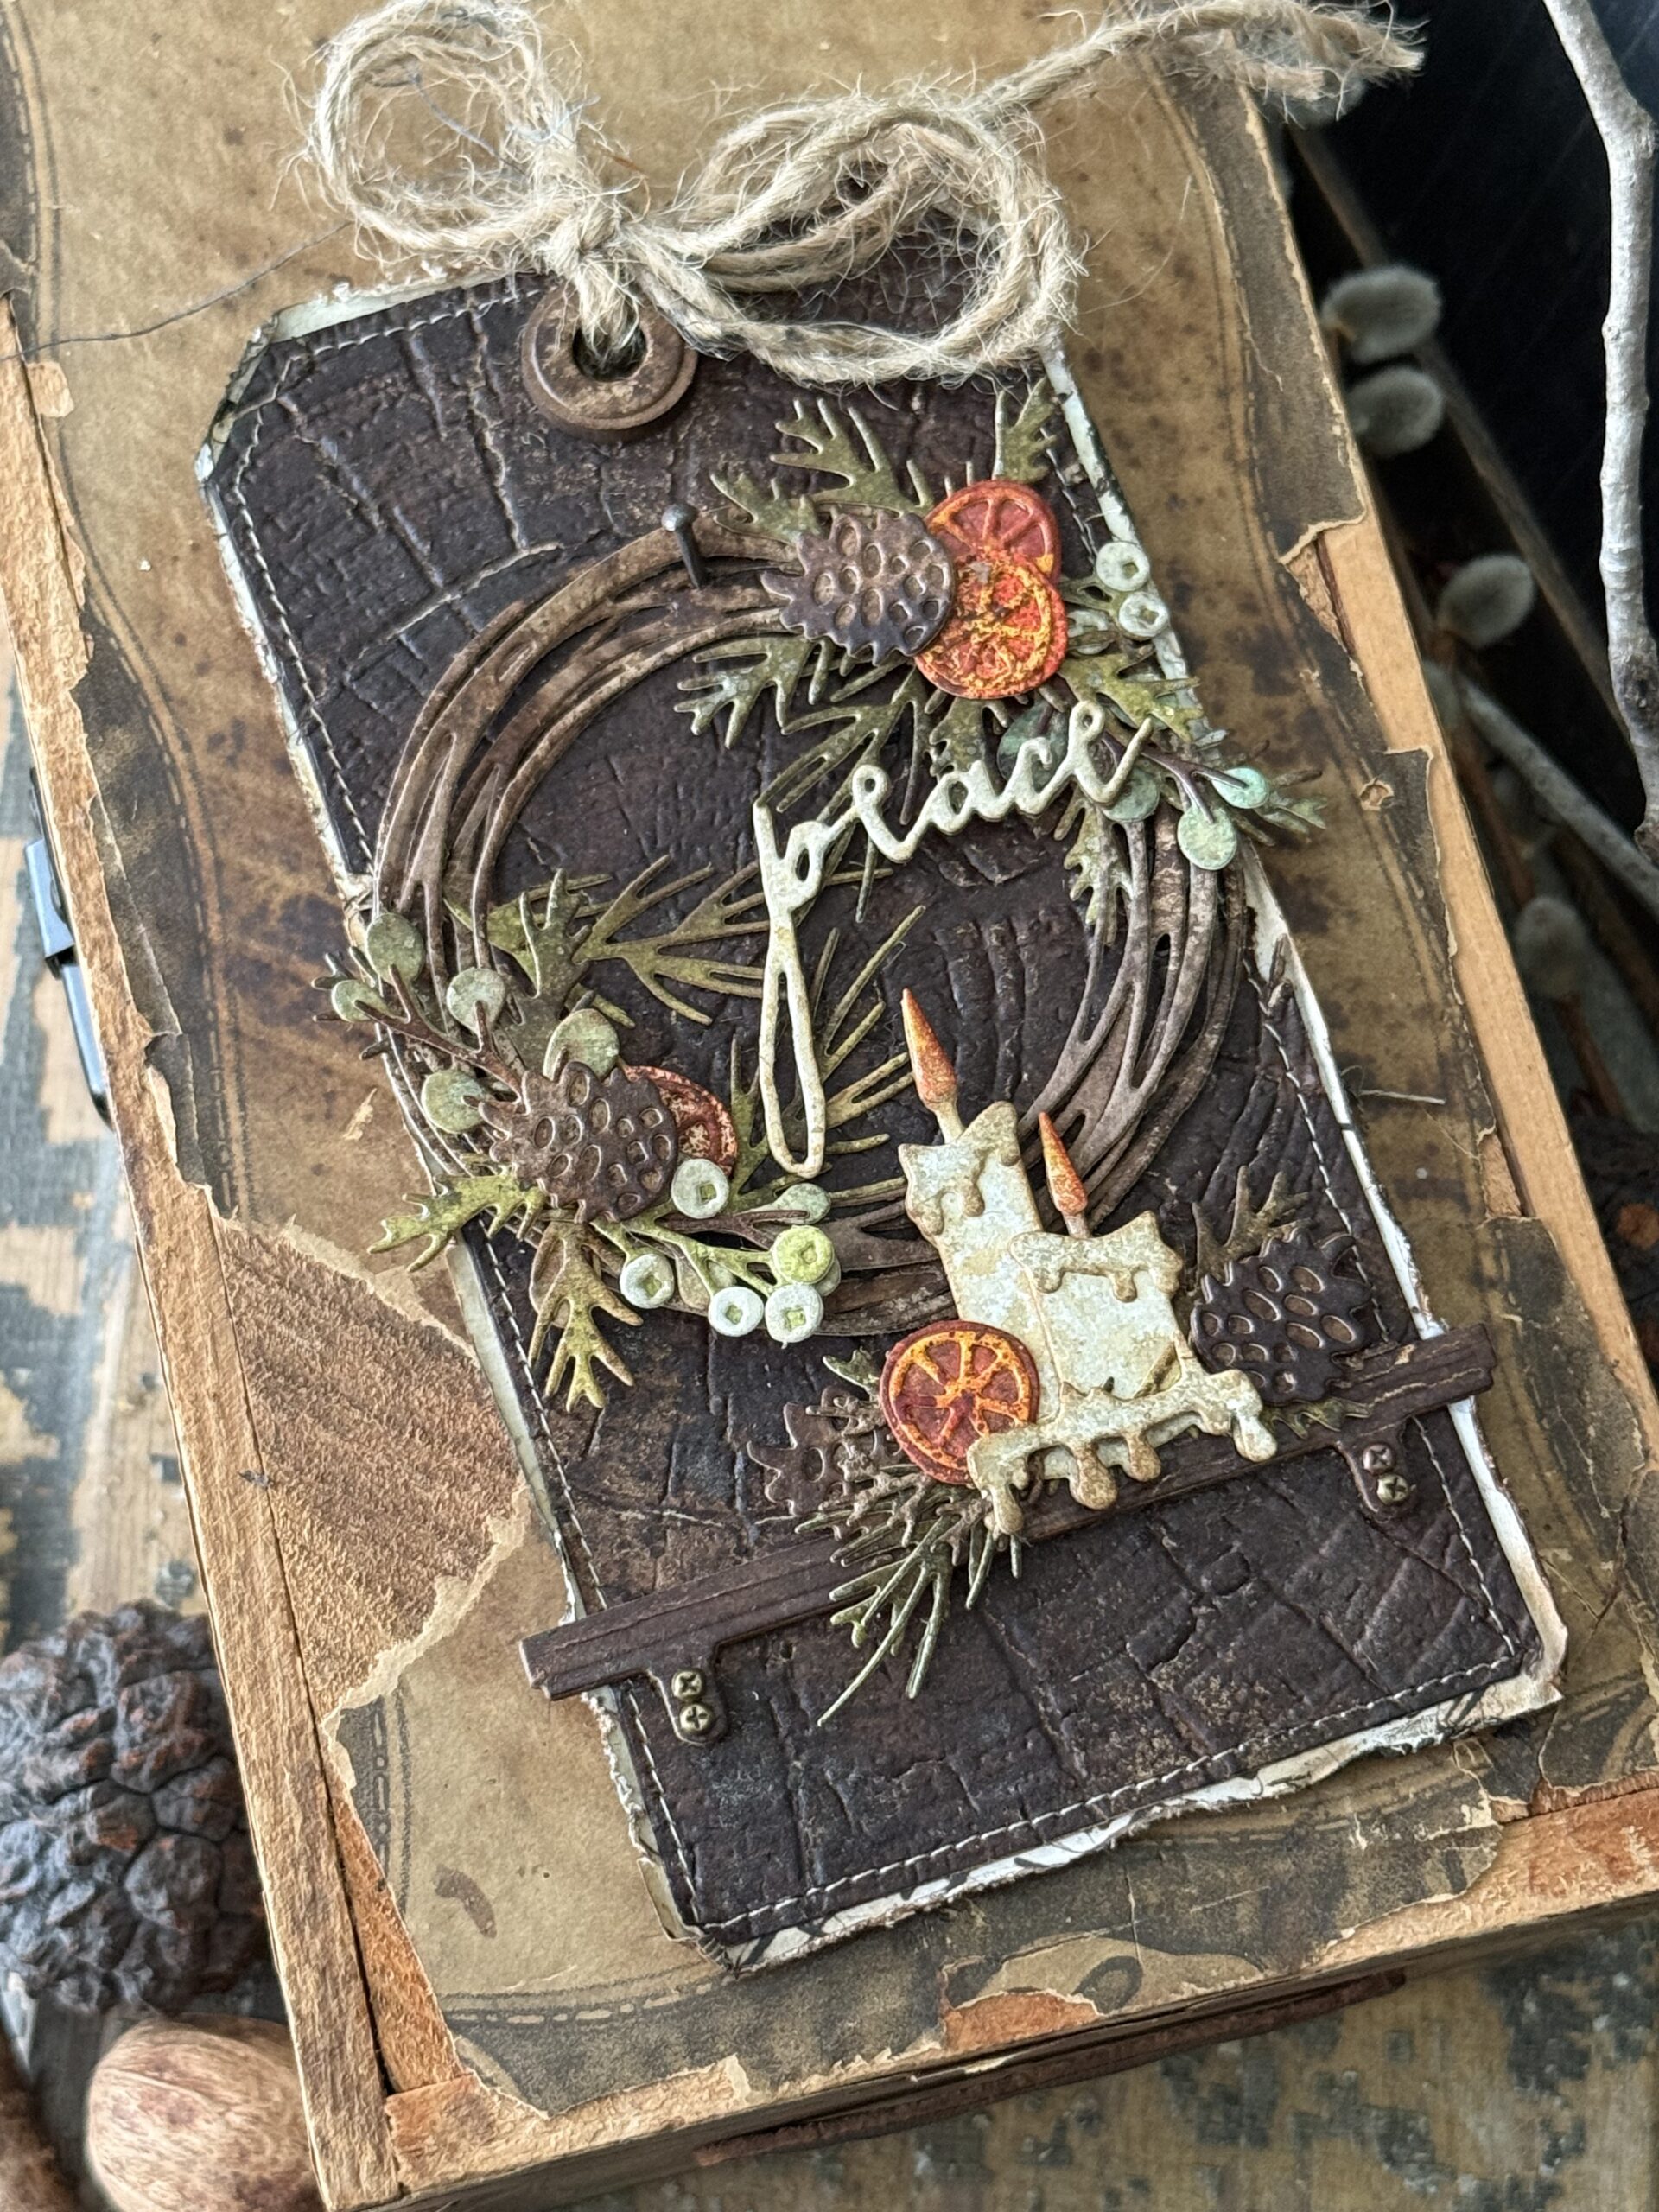
I was inspired by this project that I shared here on the blog using the Vault Foliage Wreath set along with the Vault Laboratory Set that features a shelf and a spider web along with the Handwritten Halloween Set “boo” and the Cracked Leather A5 Folder.
Here’s a reminder of what that project looked like…
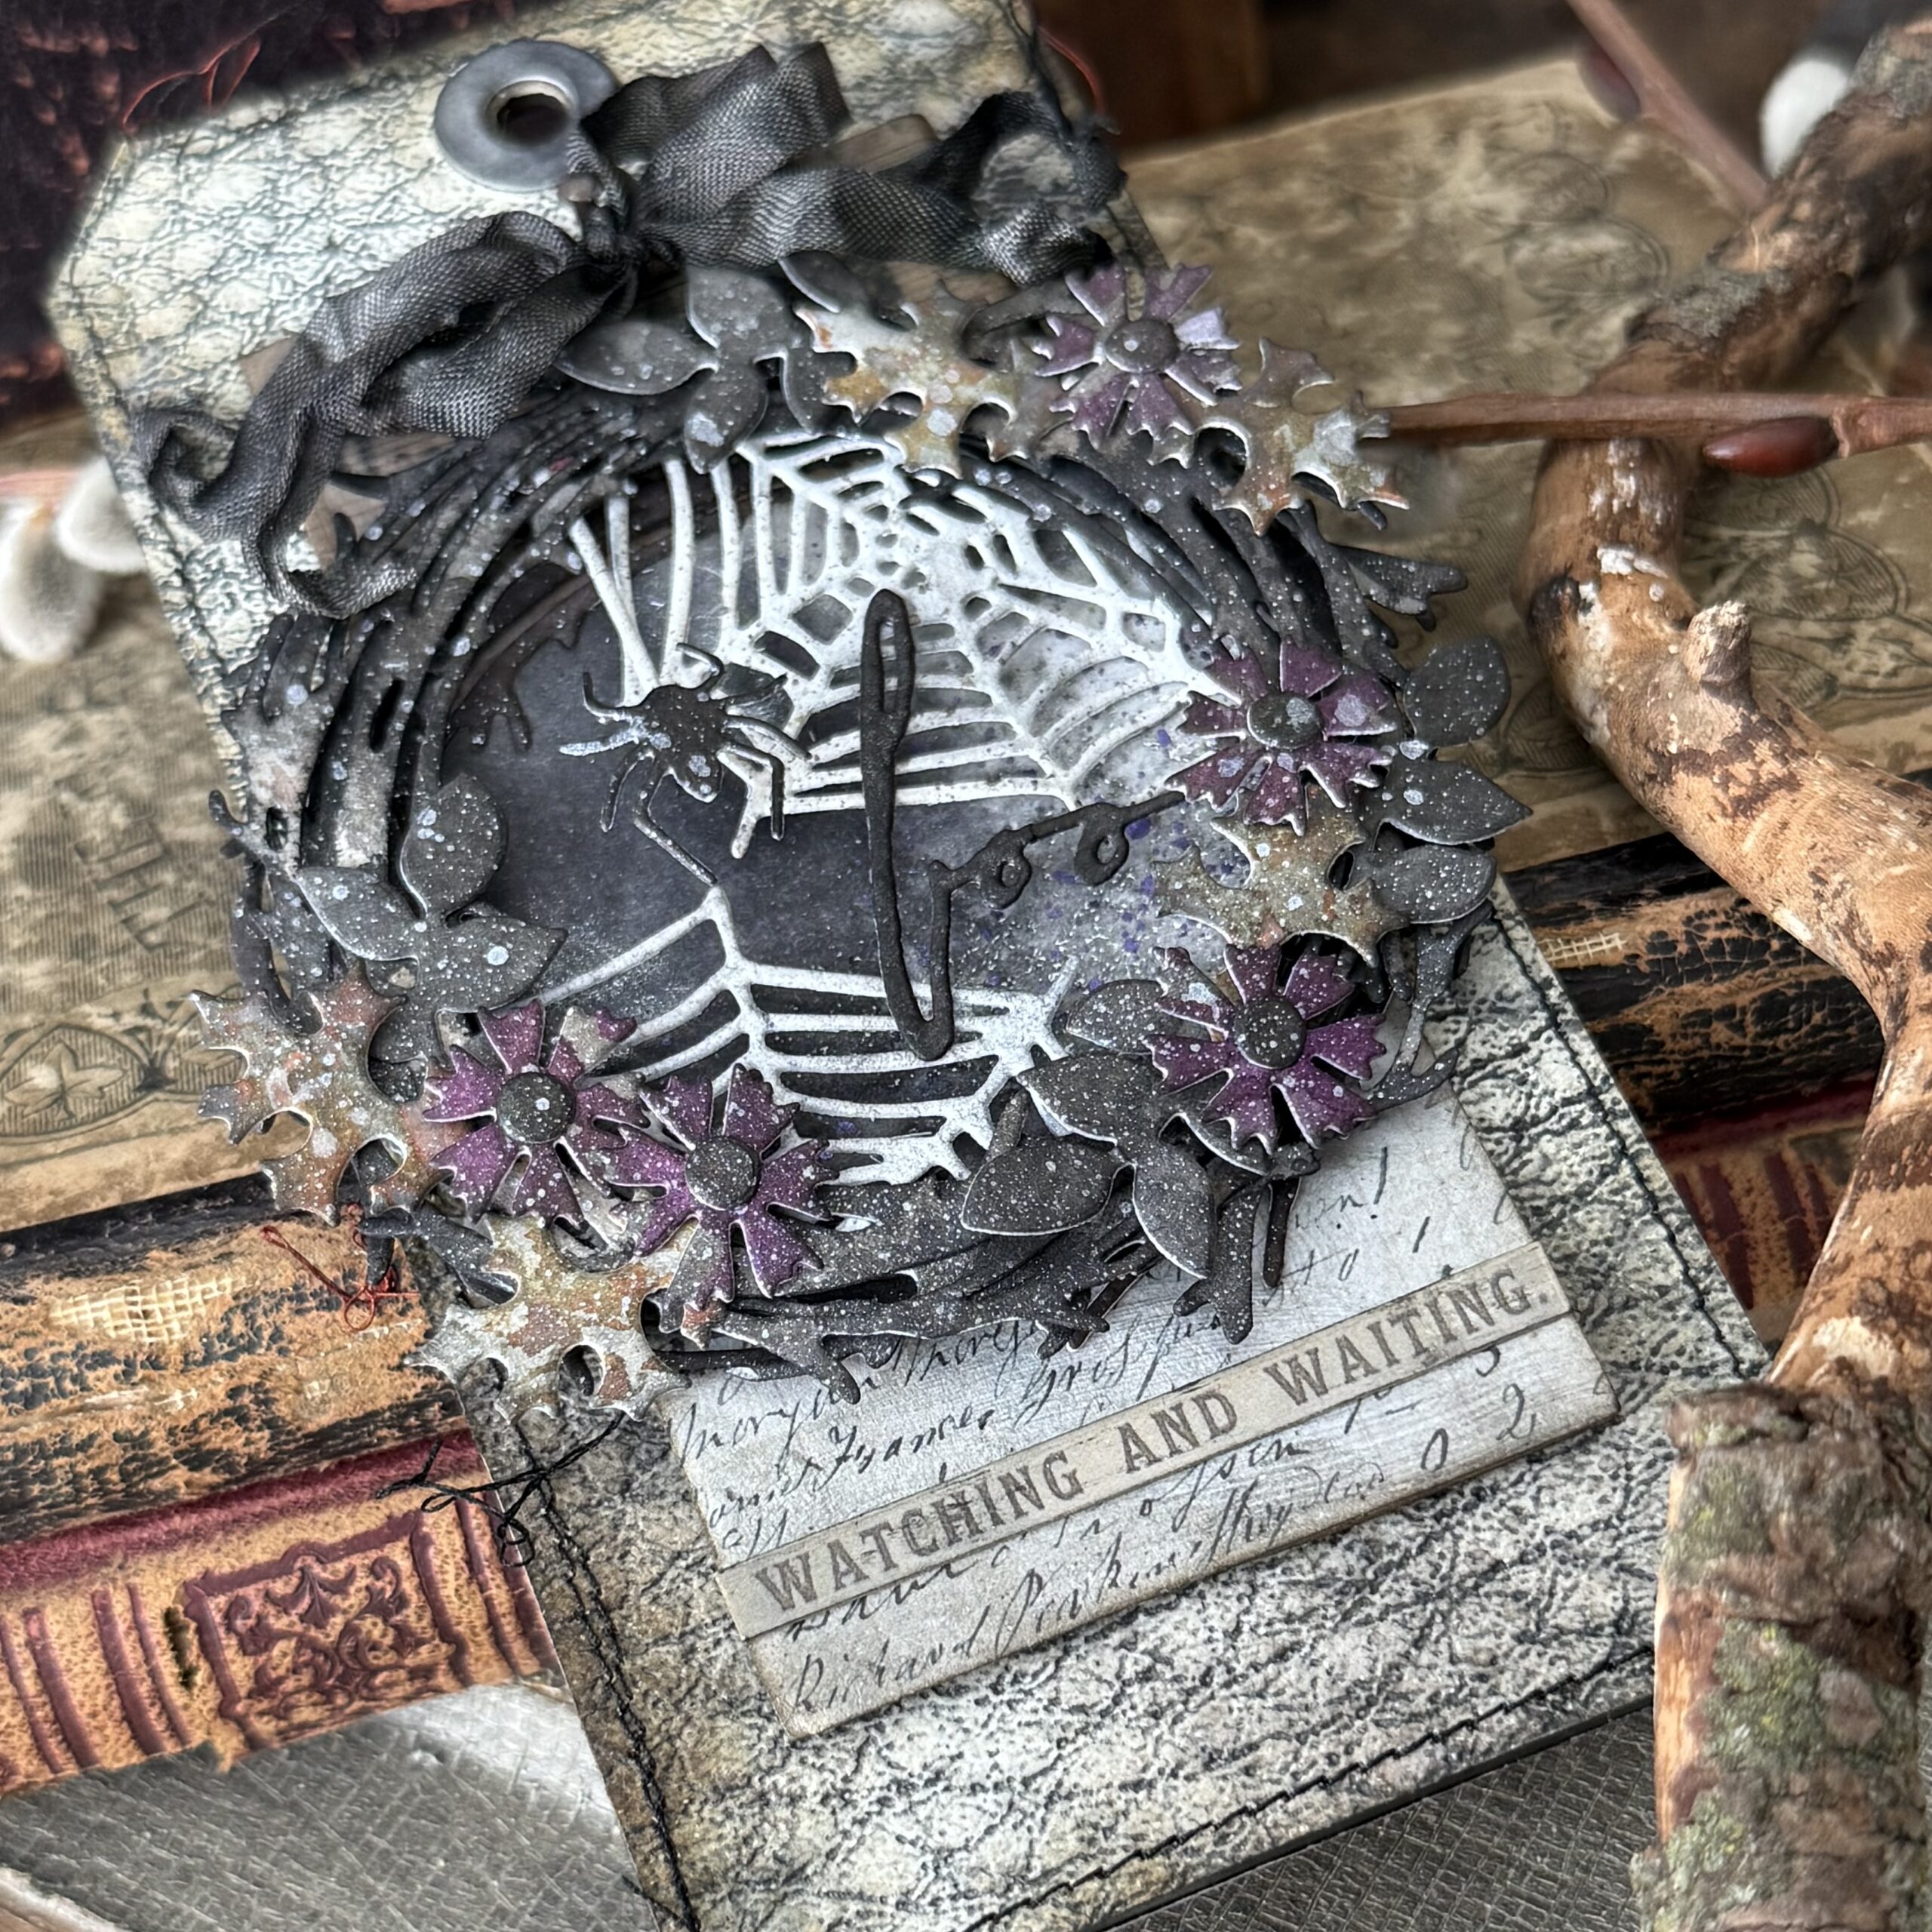
Since I created that Halloween themed project, I thought it would be fun to turn around and create a similar one inspired by autumn using the new Holiday Sizzix release, after all, having dies that cover your entire making year is important, plus, I couldn’t help but use that little shelf that was included in the Laboratory set to create the look, I just love it so much!
Let’s get to it!
I started by cutting out lots of the greens, berries and branches in the Festive Wreath set along with the little orange slices…I mean, how cute are those? I used previously inked papers that I had in my stash.
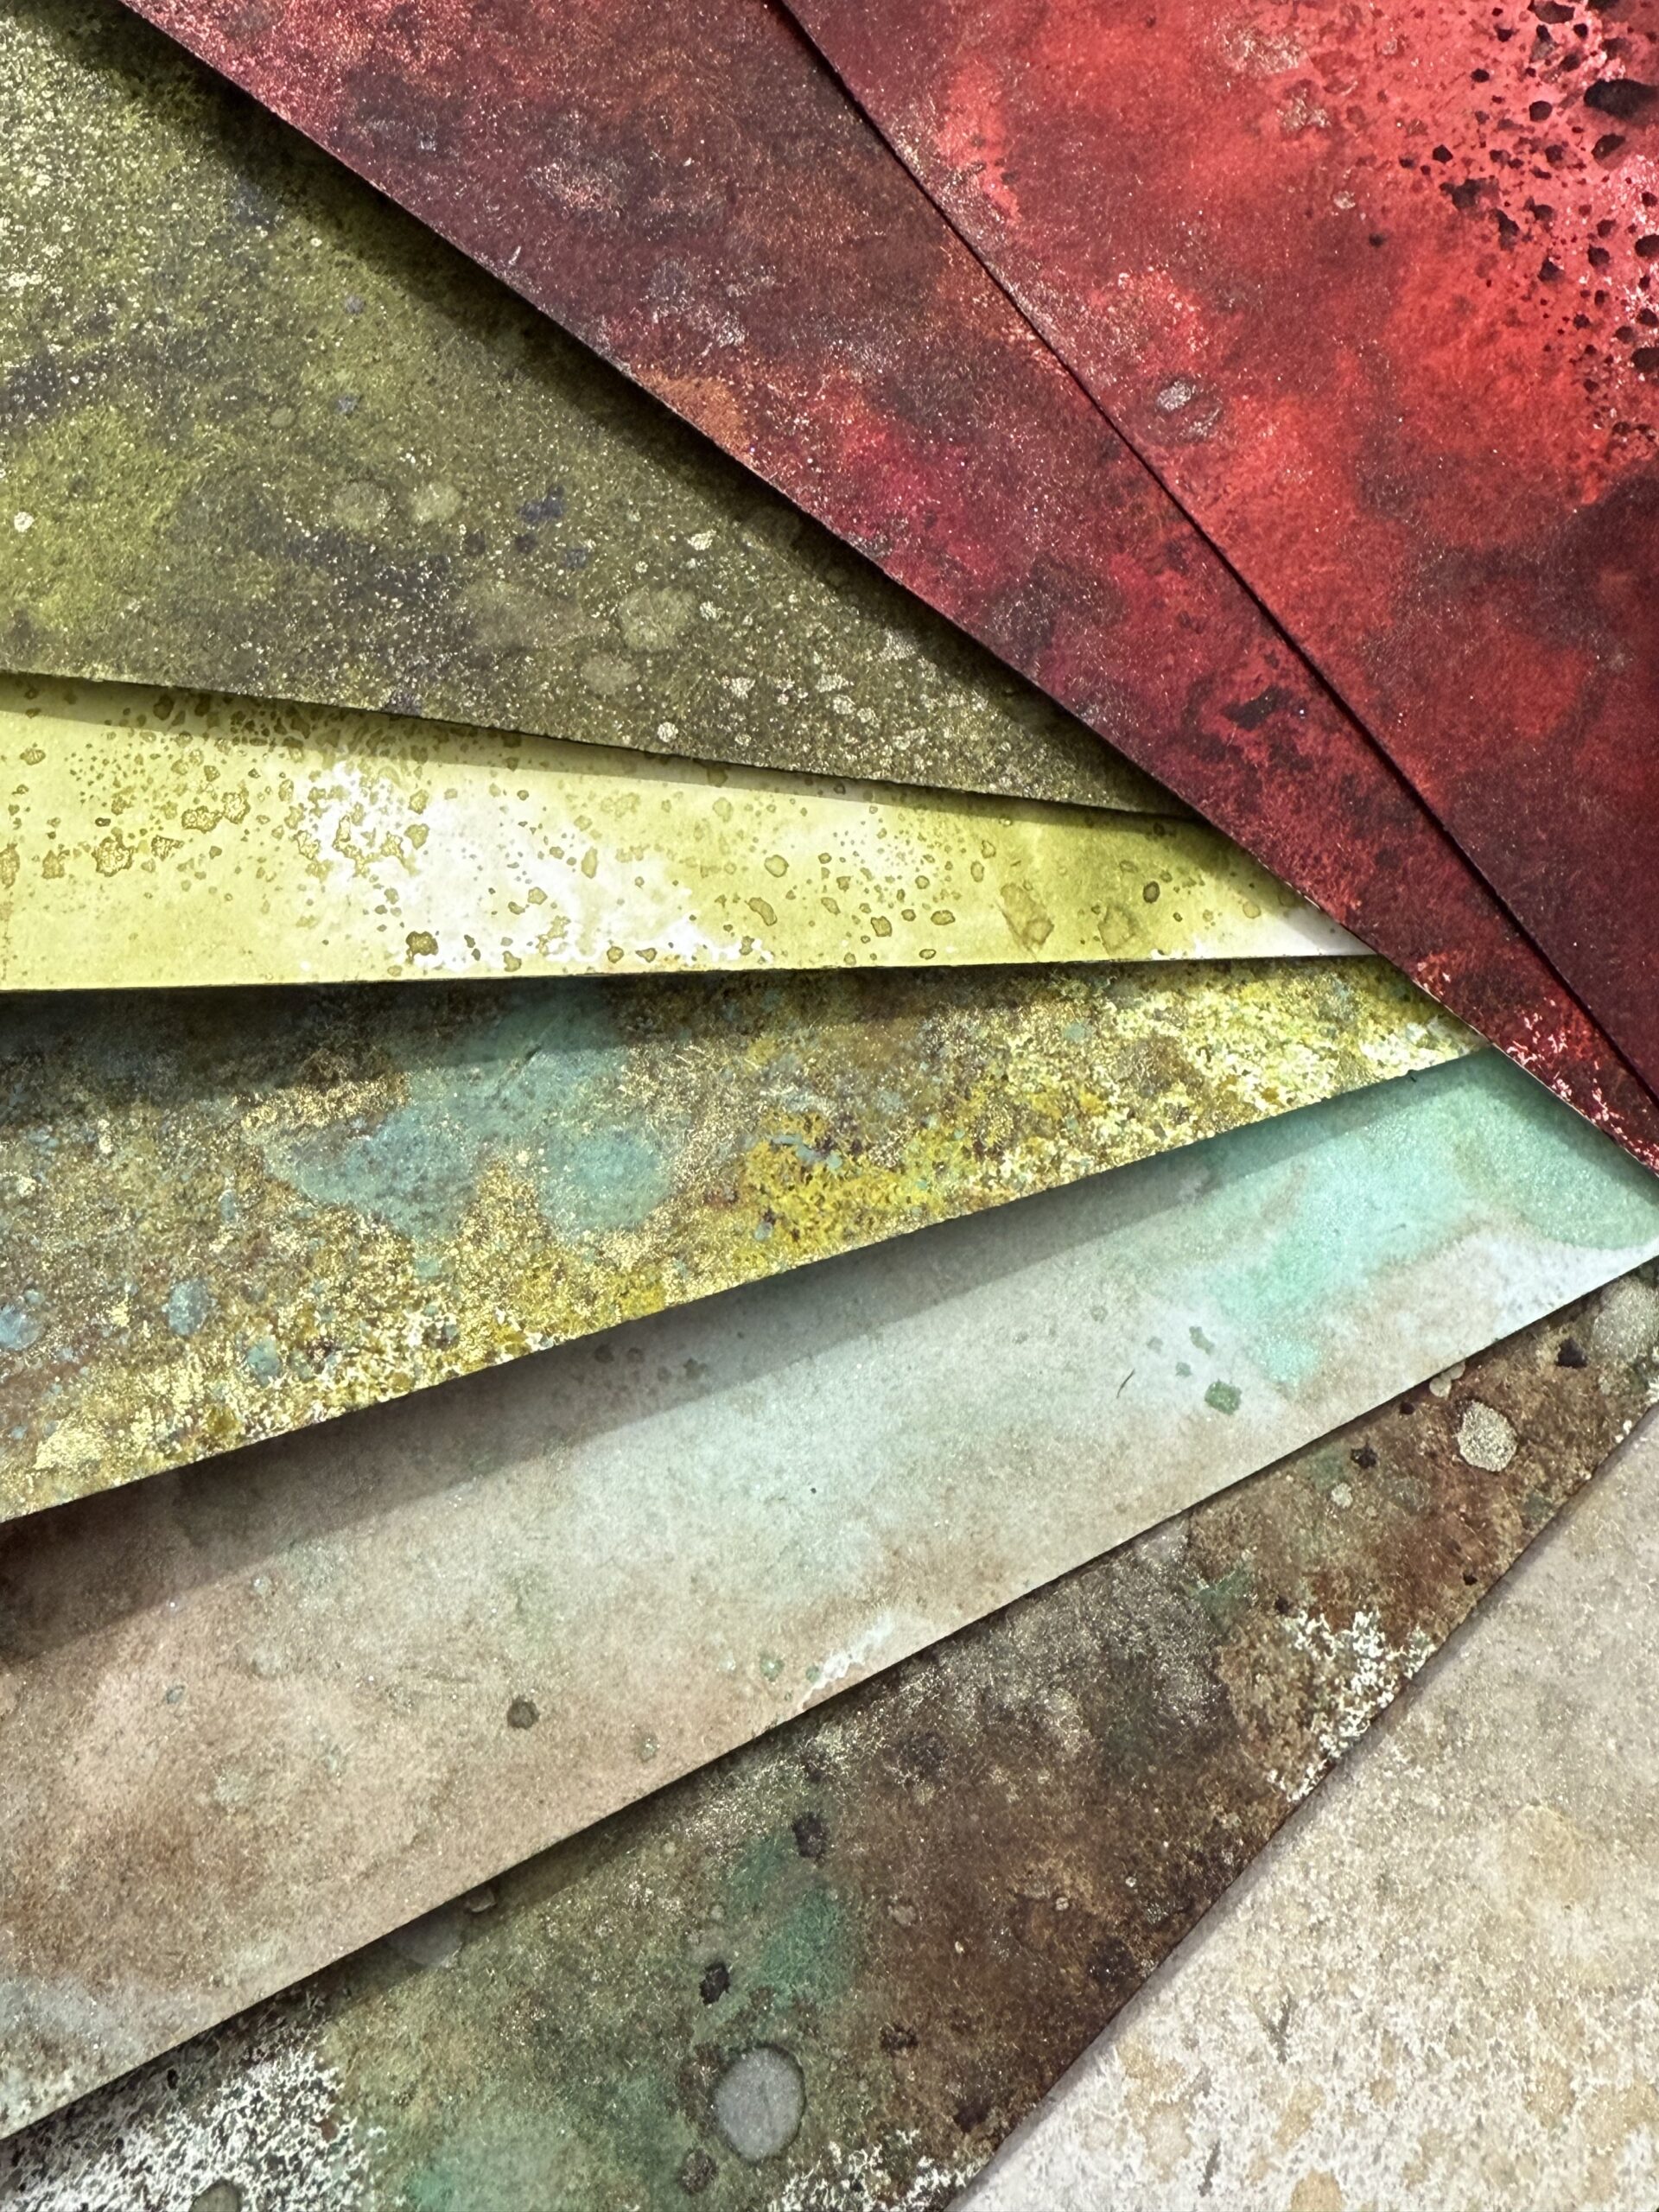
These papers were made at another time but include papers made with both inks and sprays, to add some holiday magic, some were sprayed with some of the Tim Holtz Holiday Mica Sprays, giving just the right touch of holiday magic.
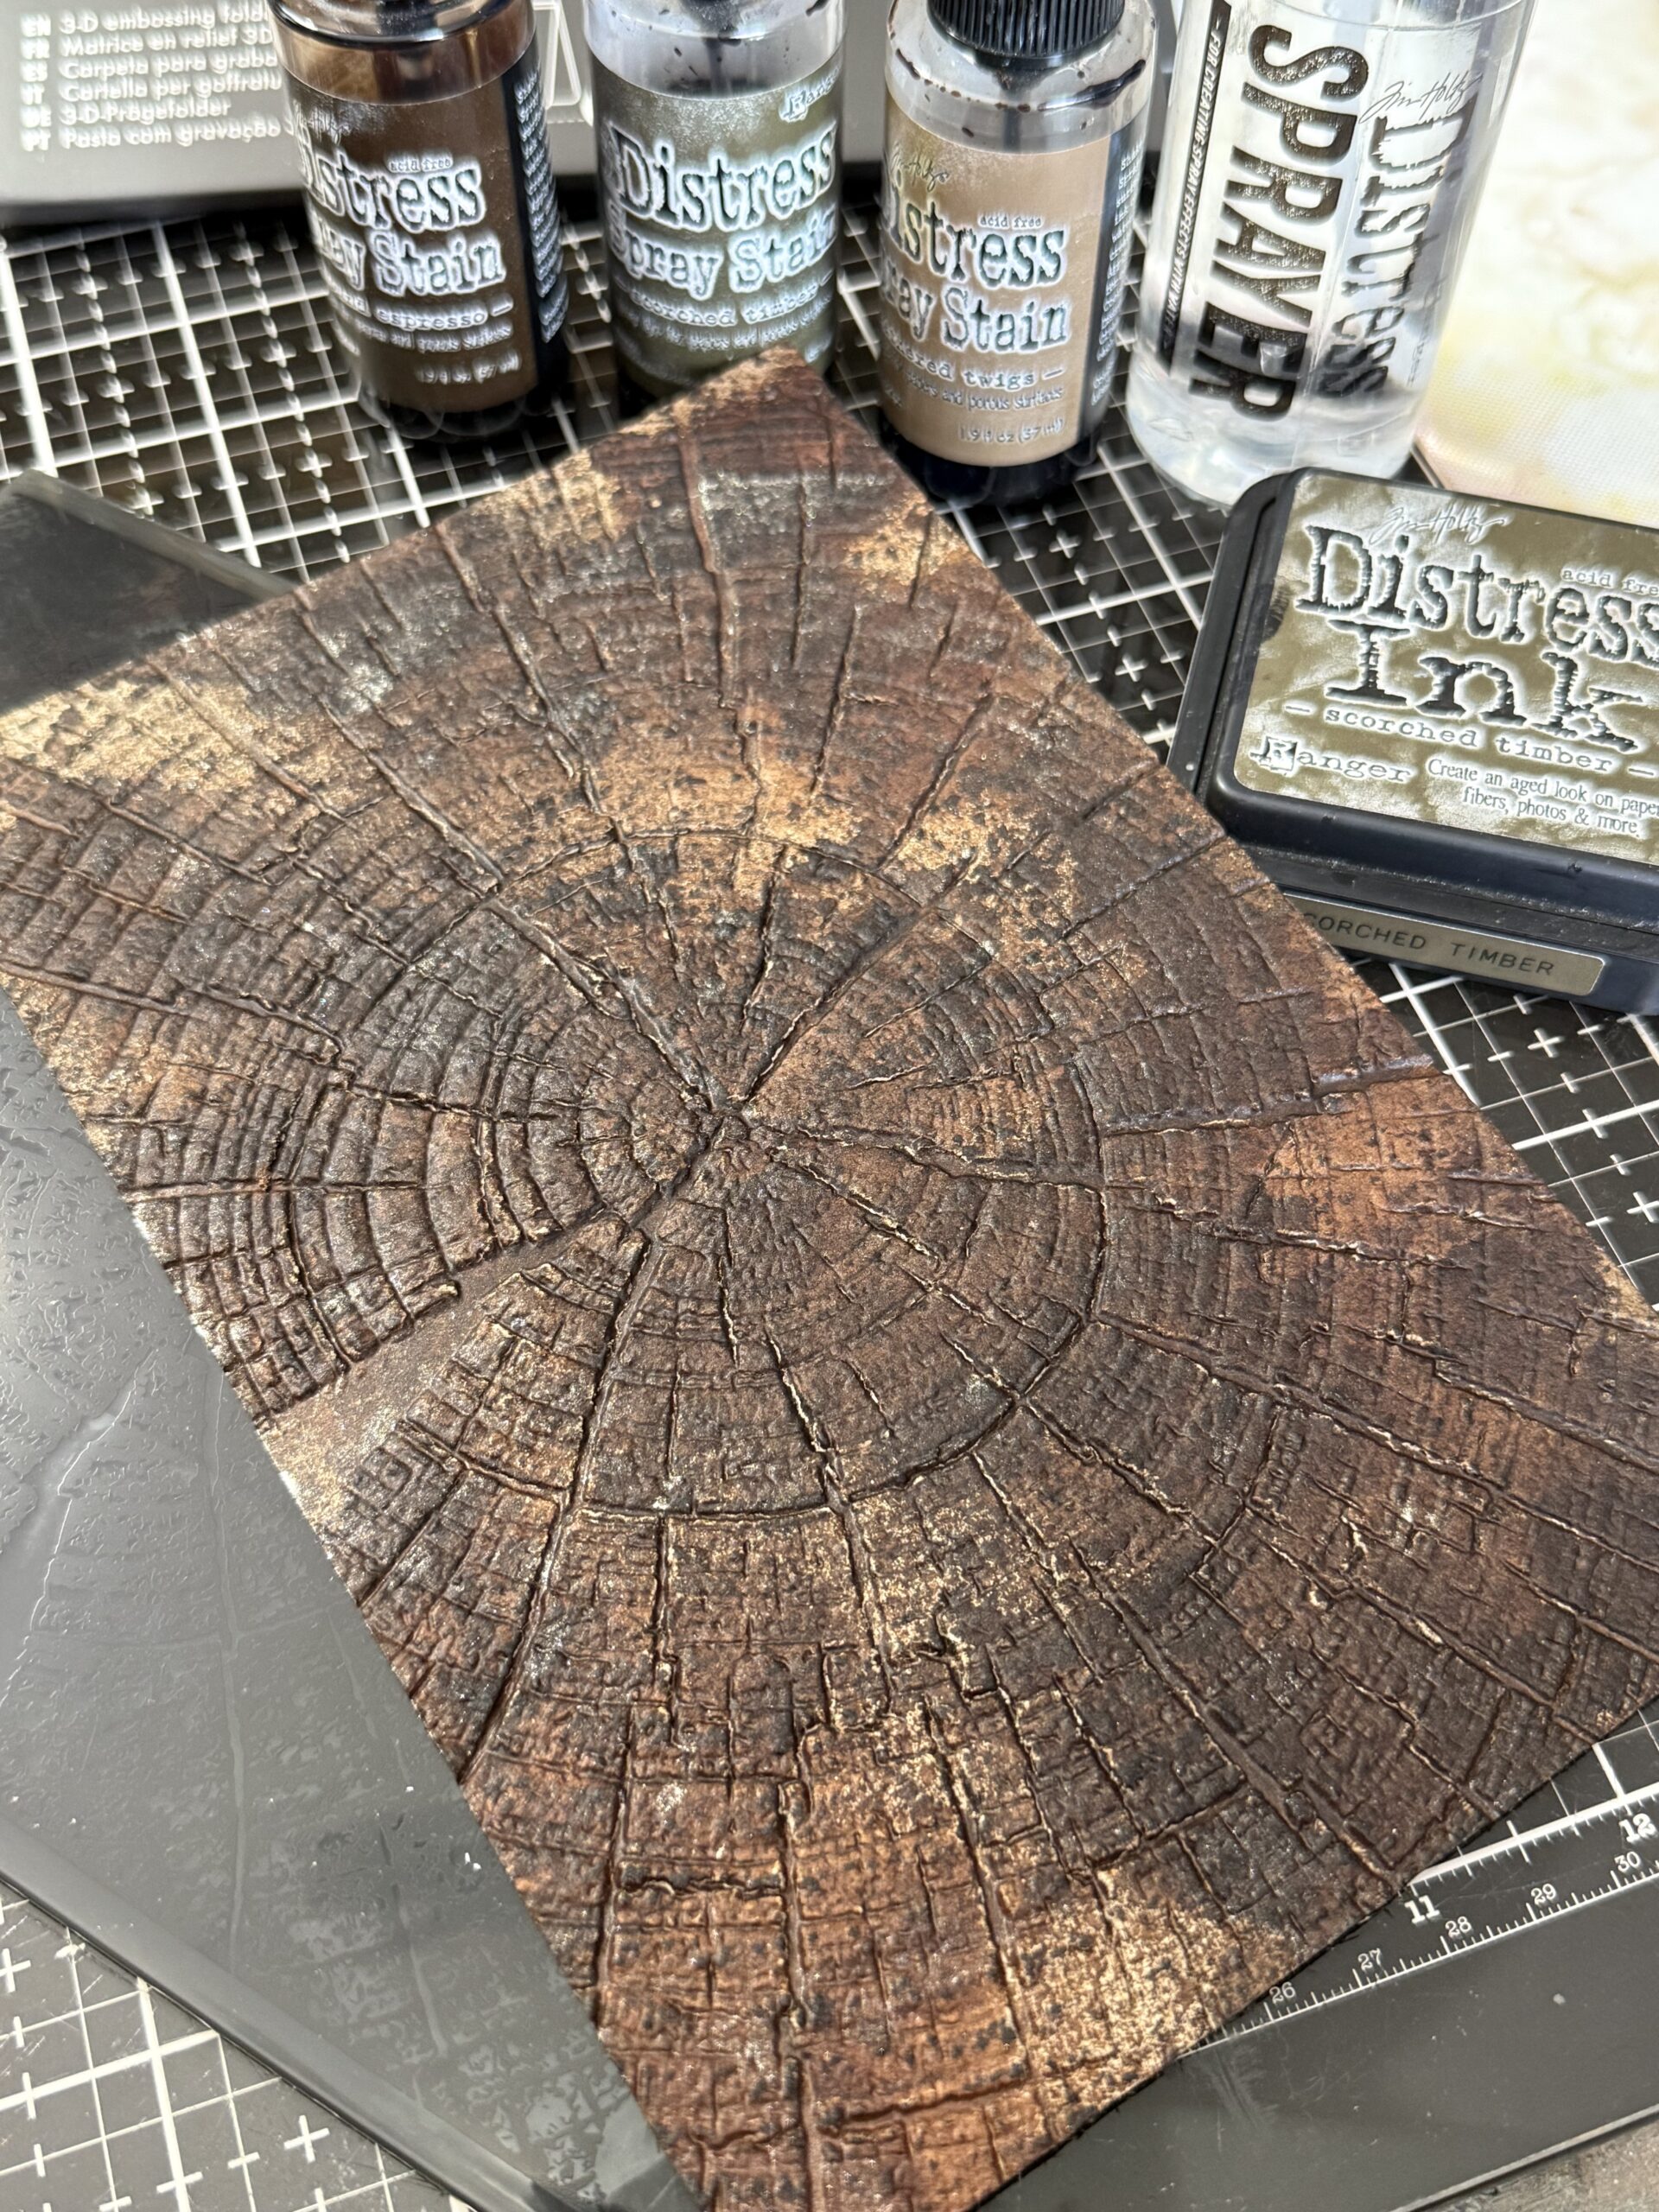
Before the making season begins for me, I always make new stashes of inky papers to use throughout the making season…these are what I use to make the little die cuts come to life. Here is a look at some of those that I used this season.. making backgrounds for cutting is a favorite pastime of mine. If you ever want to have a relaxing day without stressful making, that is a fun way to spend it!
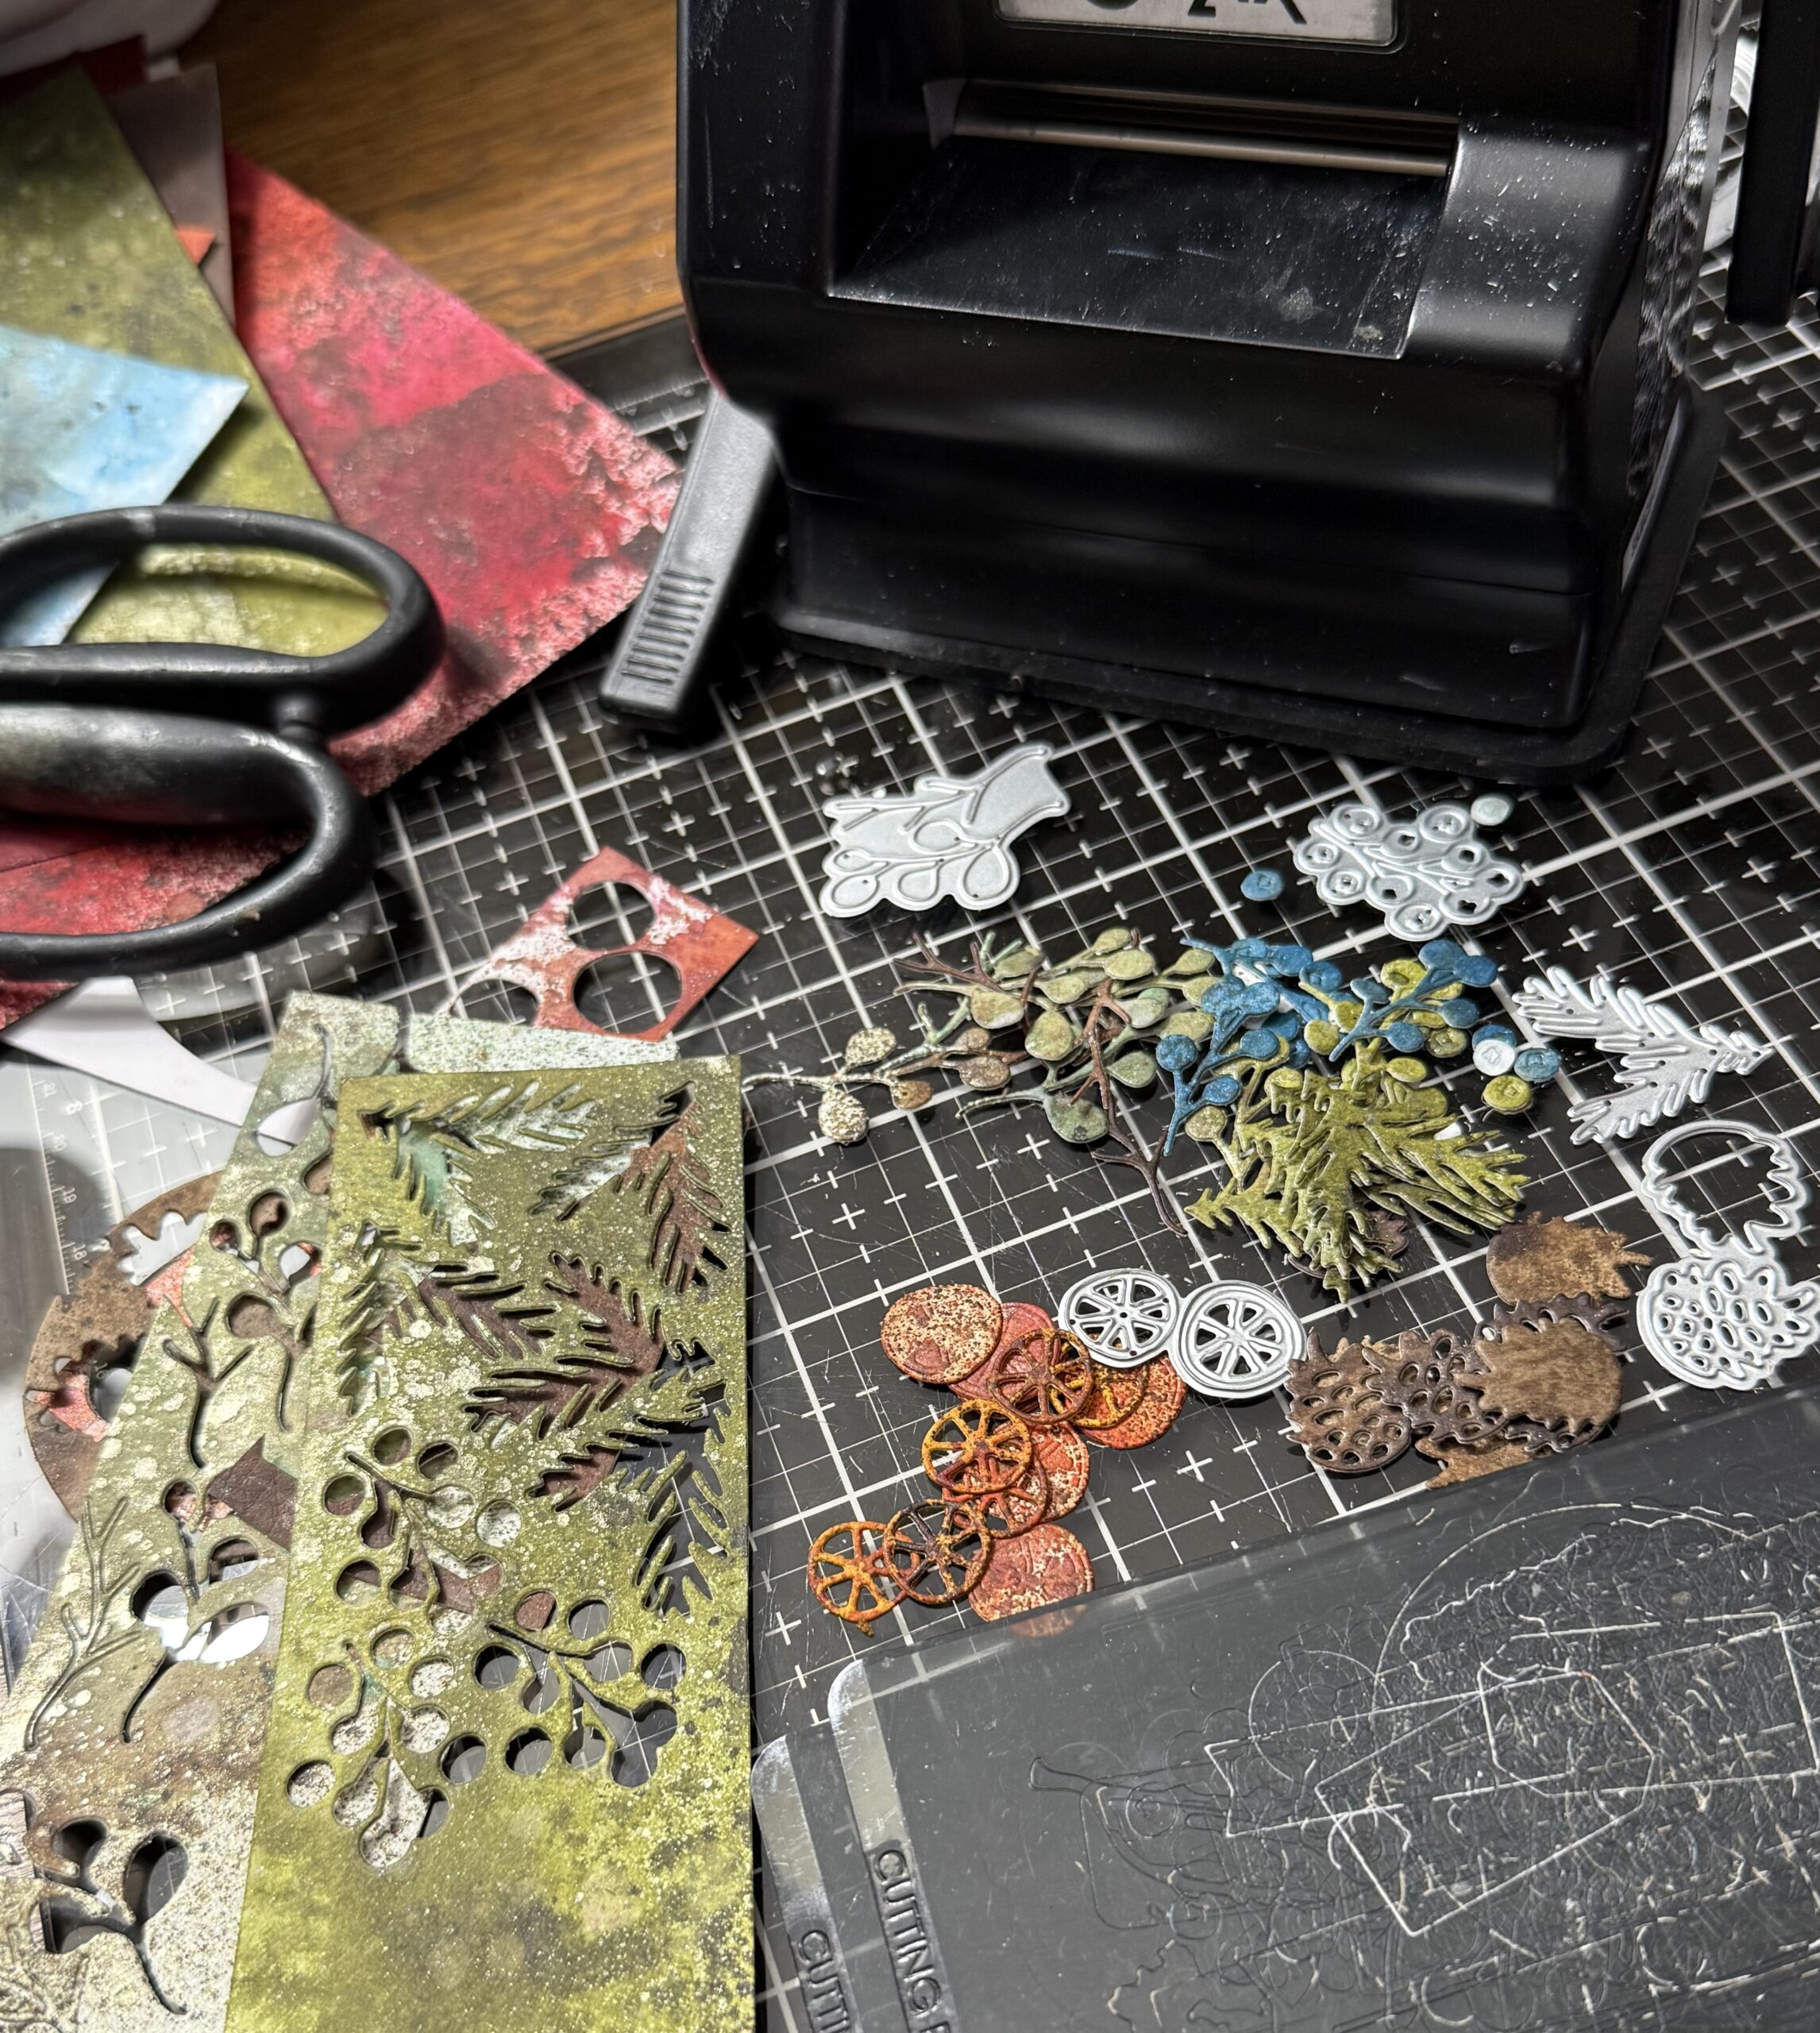
I cut a good amount of greens, the branches, orange slices, candle pieces and the like, then began building them using some Simon Says Stamp Pawsitively Perfect Adhesive** then began arranging the die cuts.
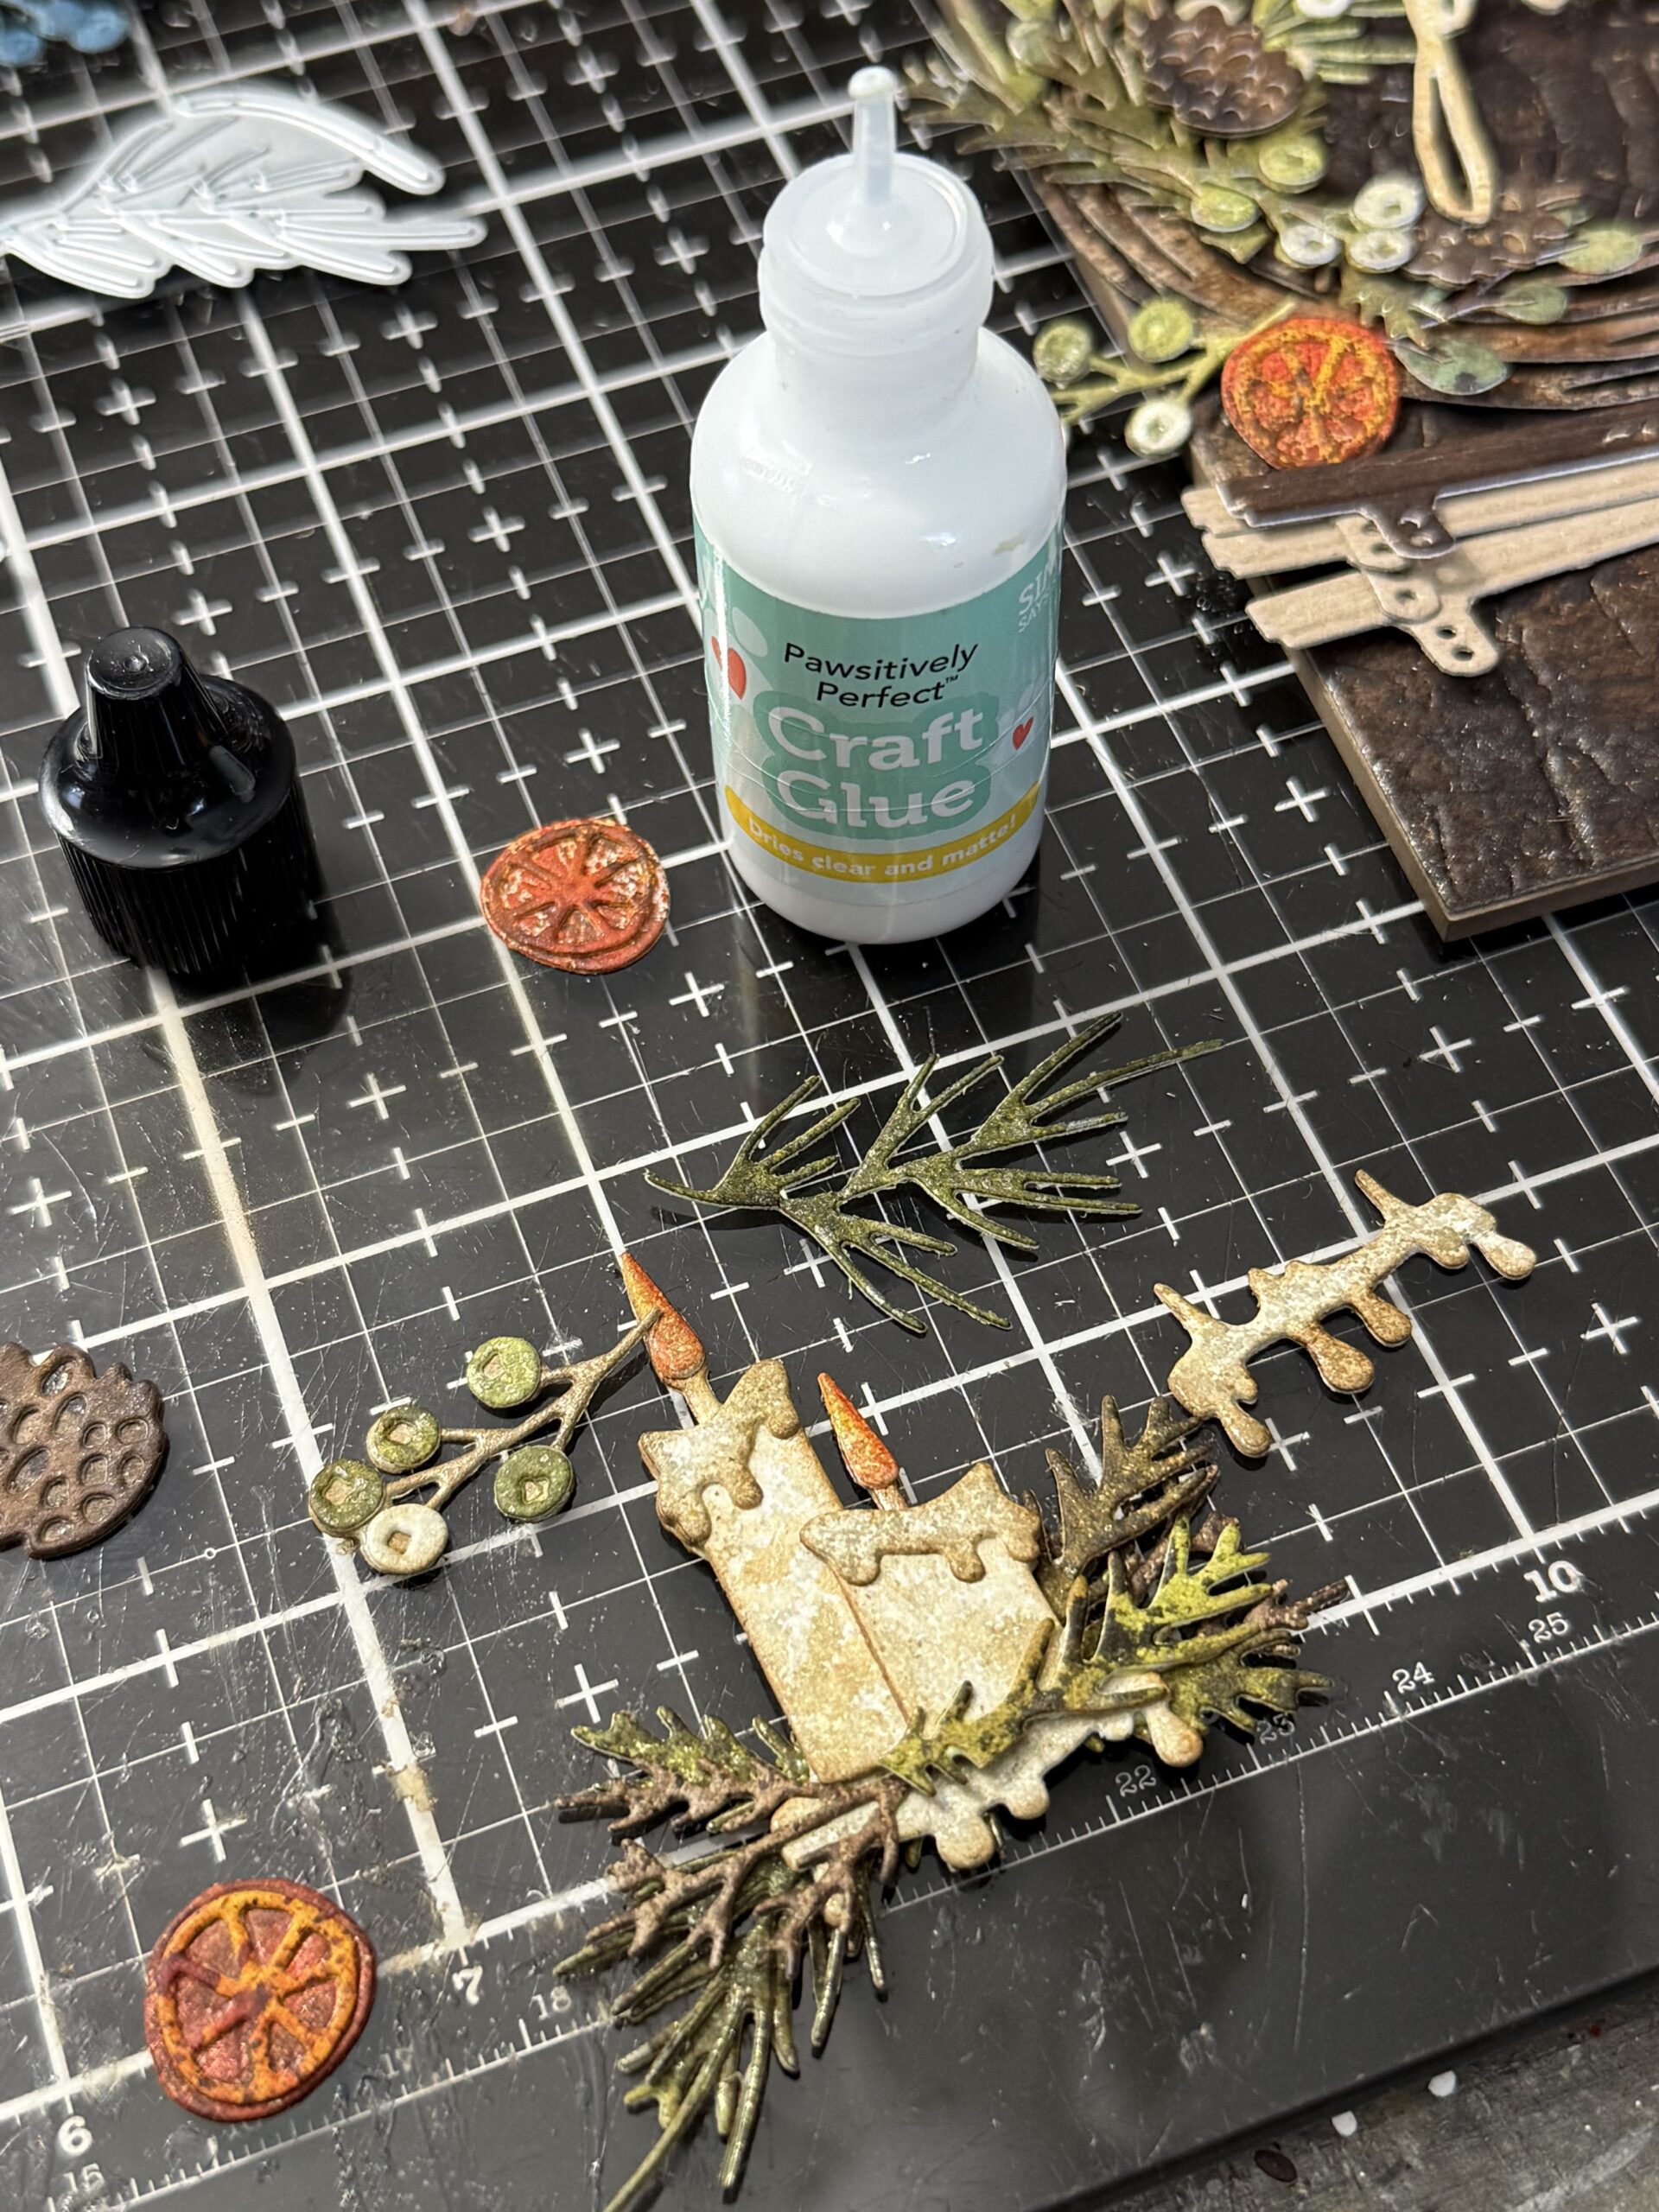
**side note on adhesive for diecuts…have you ever used this adhesive from Simon Says Stamp? It’s called Pawsitively Perfect and I gotta say…IT IS! Seriously, once you use it to build die cuts, you won’t want anything else, you all now that I am a Tim Holtz purist, so it took me a bit to try something other than collage medium, but this stuff is the BOMB! It perfectly adds the tiniest drip to the tiniest parts of the pieces and dries so quick leaving no residue, if you get a chance, try it for this specific reason, you won’t regret it! Ok, now back to making… 😉
Once I had a good collection of the diecuts built, I made the background base paper for the tag. I used the new 3D A5 Tree Ring Texture Fade and some Distress Watercolor Paper to make the background. I spritzed some paper with some water, then spritzed on some of the Distress Sprays, then ran it through my big shot machine. Once the paper was embossed, I used a Scorched Timber Ink pad directly to the paper over top of the textured surface to emphasize the texture, the I dried the paper with my heat tool. This paper was then cut using a #8 Tag Die to cut out the tag shape.
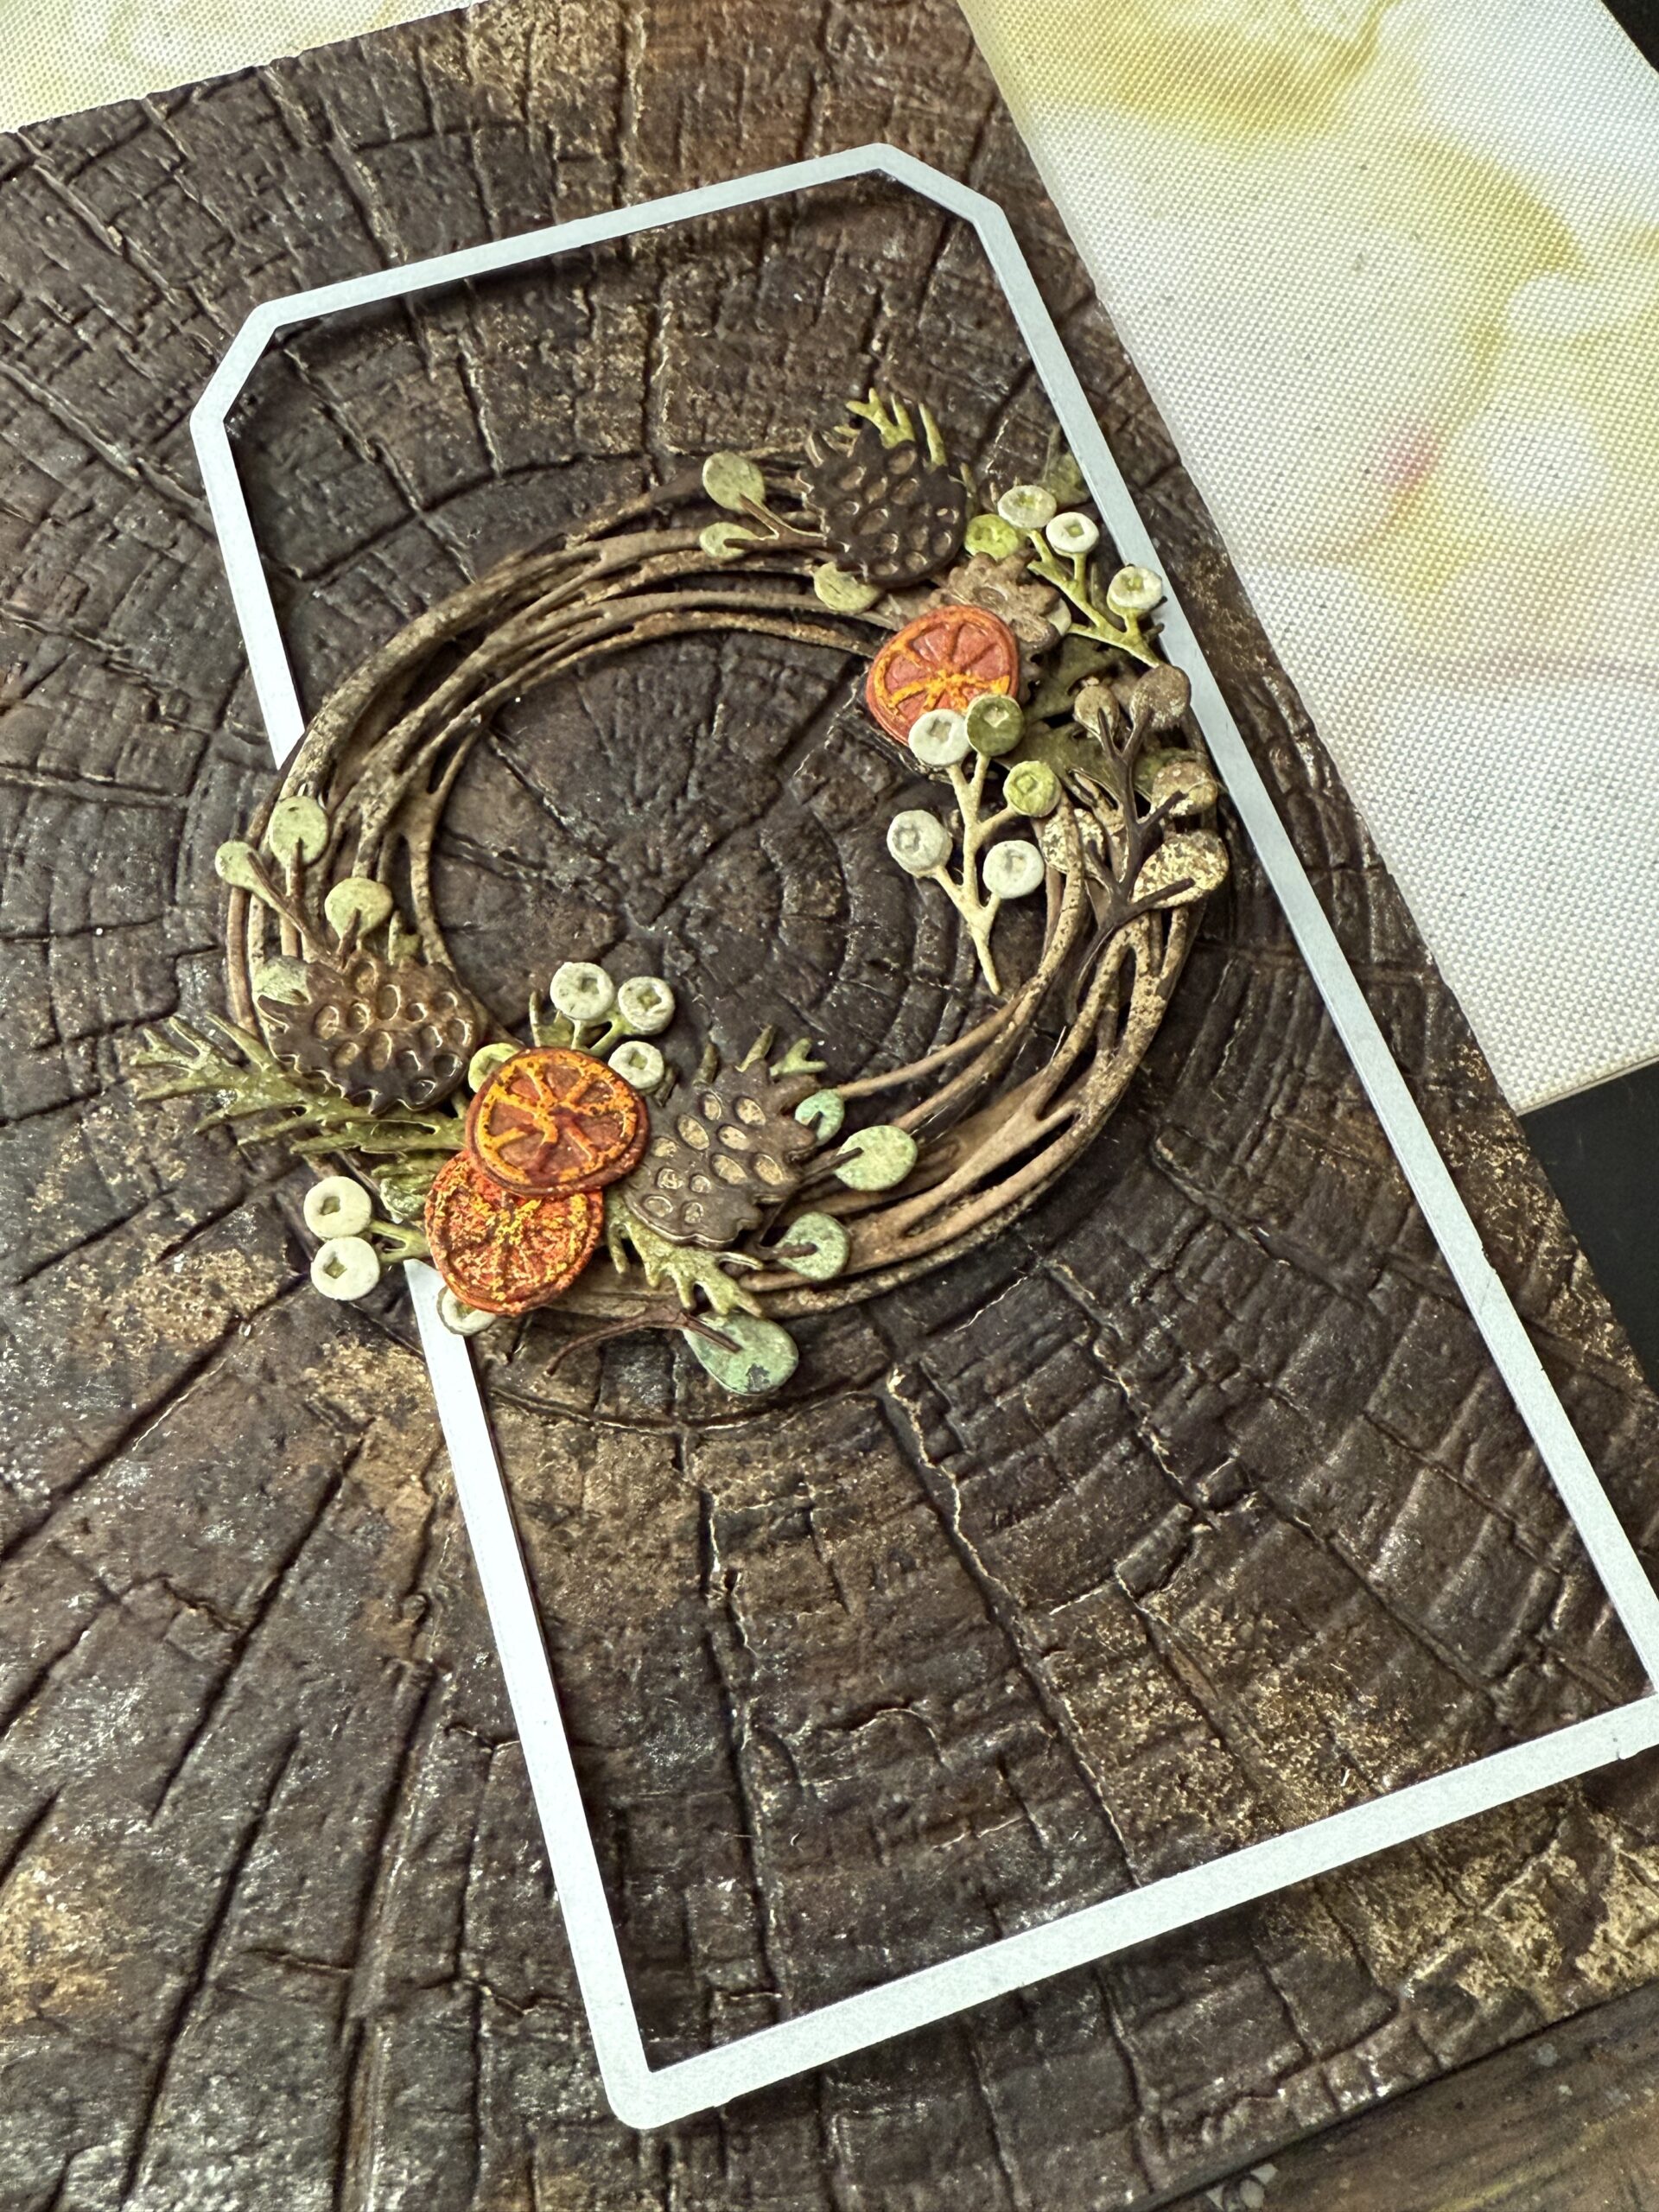
Here is a look at the placement I was aiming for before the tag was cut.
I cut out the tag, then added a piece of lighter colored patterned paper behind it and used my sewing machine to attach the two pieces together, then I trimmed around the edge of the paper. The tags would be adhered to a Etcetera #8 Tag later on after I had built the little shelf for the front… I cut out several of the shelves from the Laboratory Die Set using pieces of brown inky paper, then adhered approximatlt 3 together to become the base of the building of the candles. Before adhering the tags to the Etcetera tag, I added the shelf using some adhesive, then added some mini fasteners to the shelf in the little holes of the brackets.
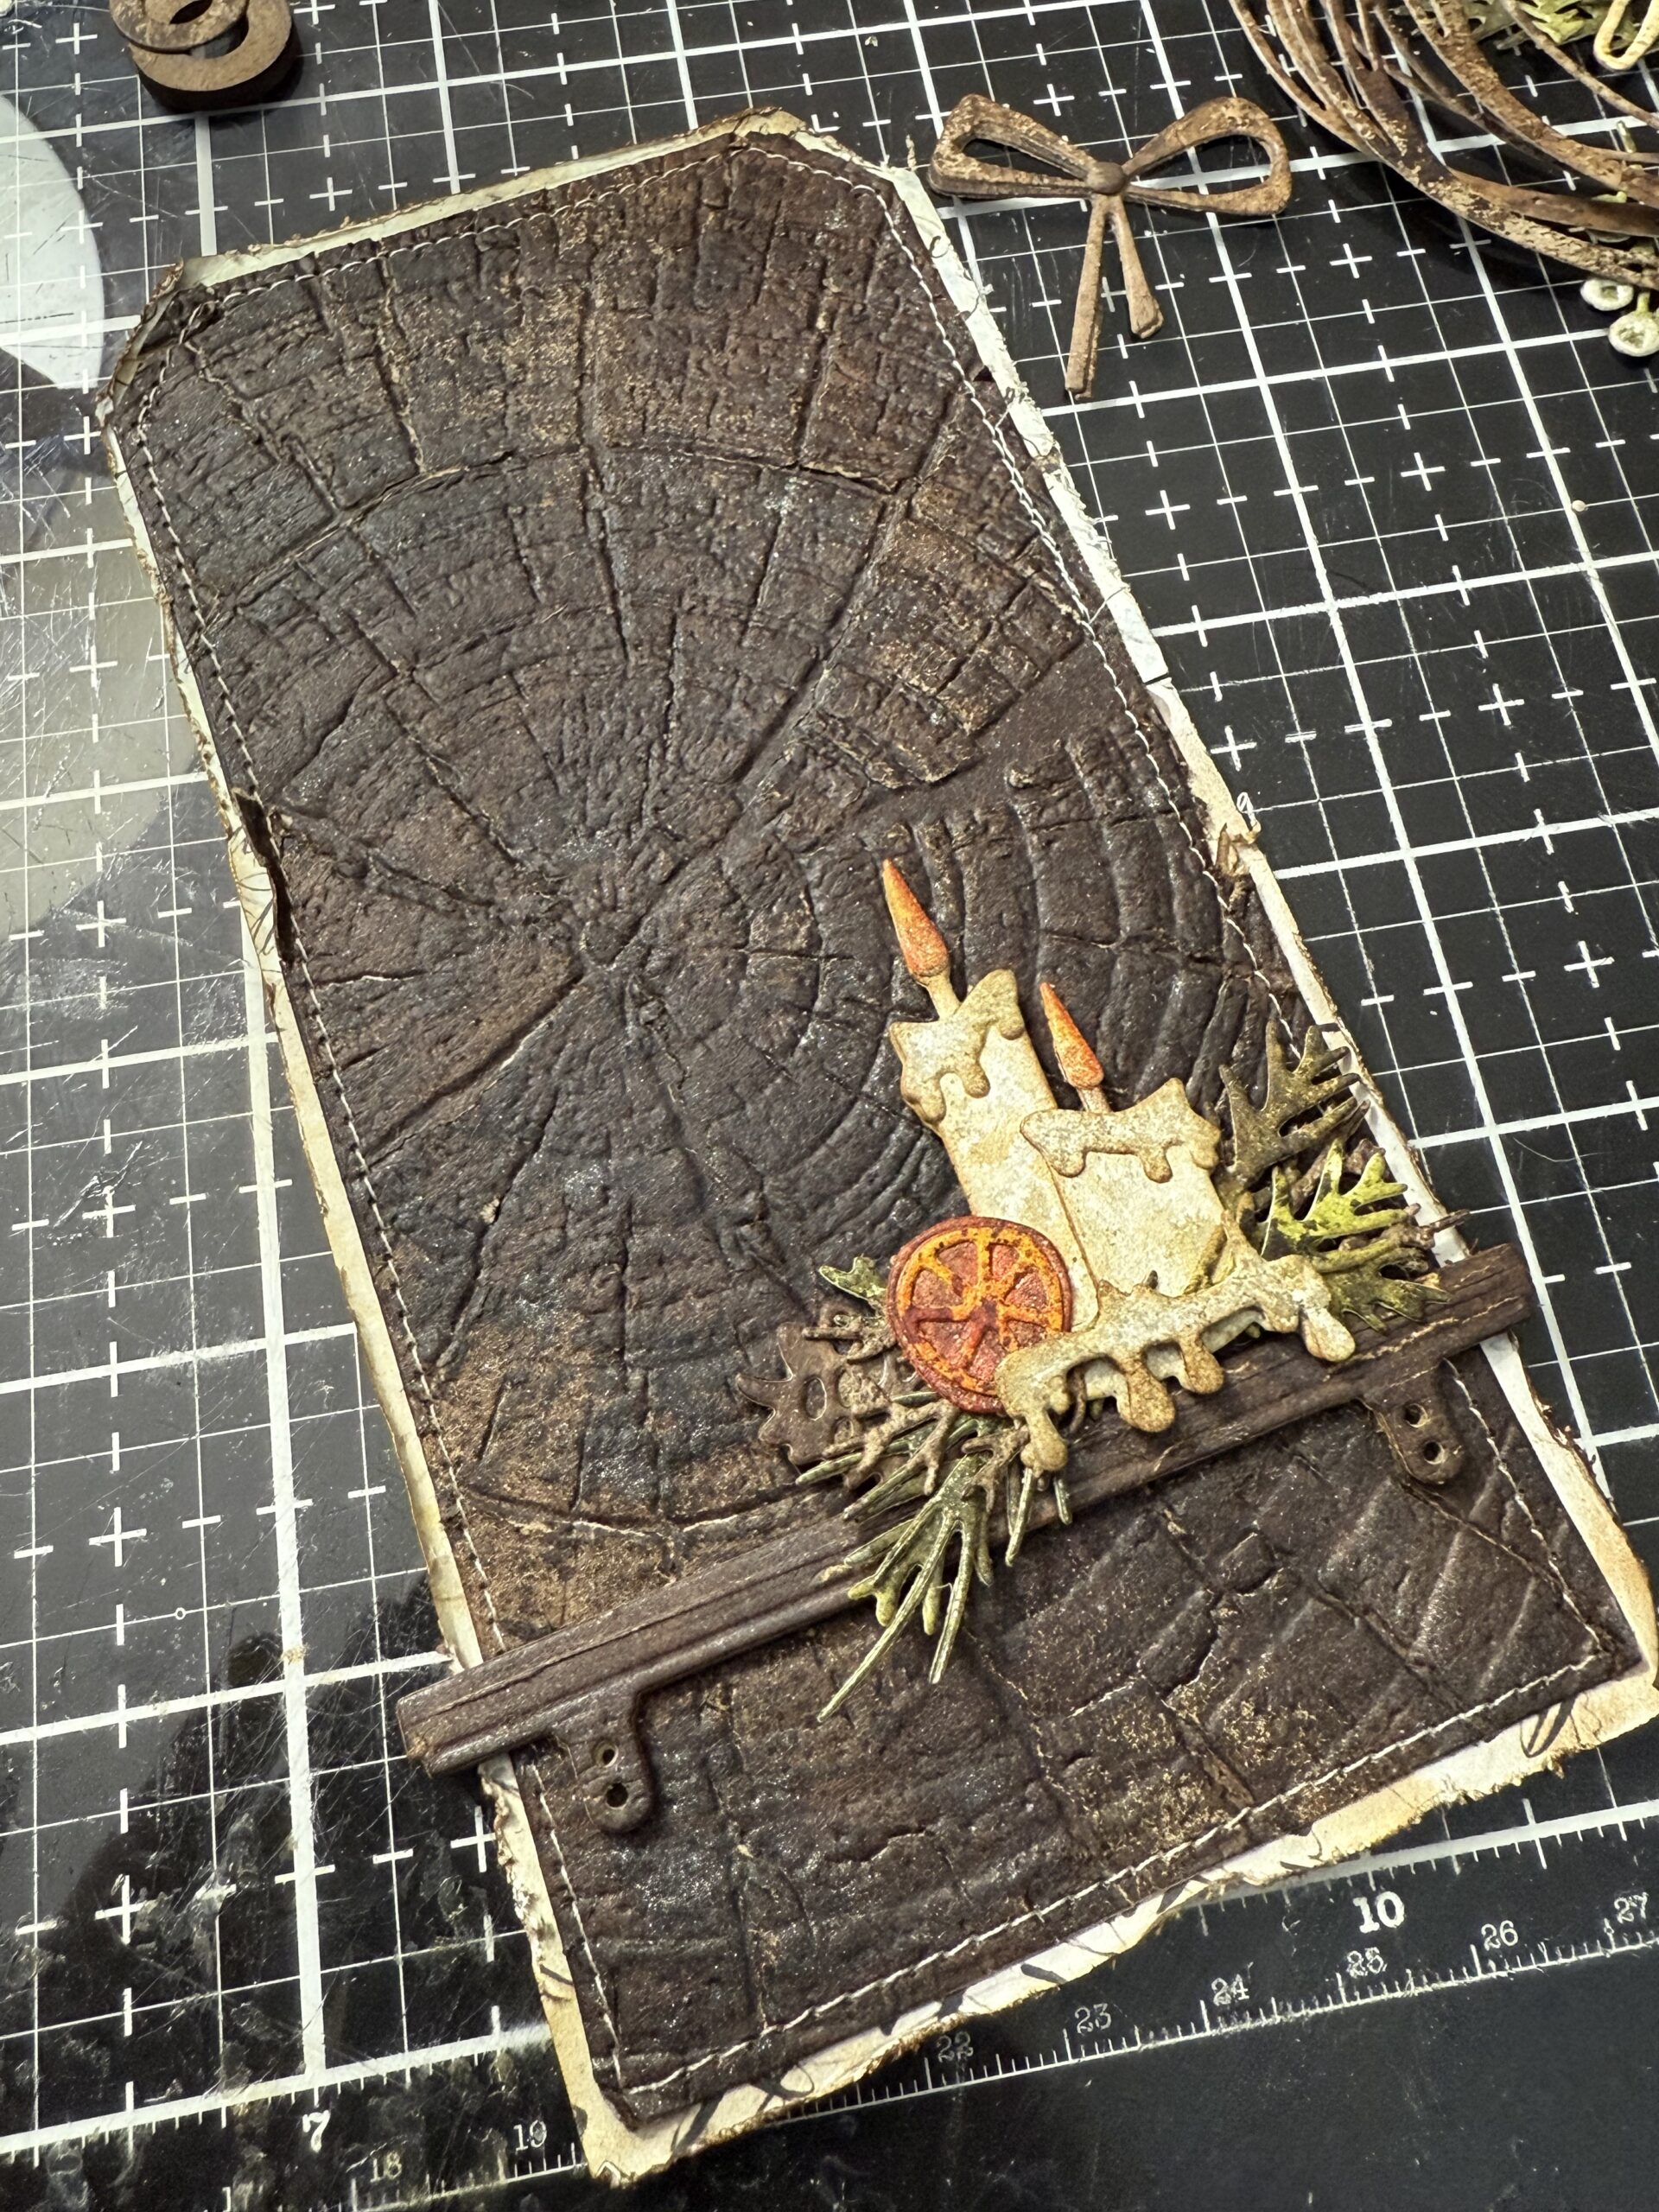
I used a pin to punch the holes, then added the mini fasteners.
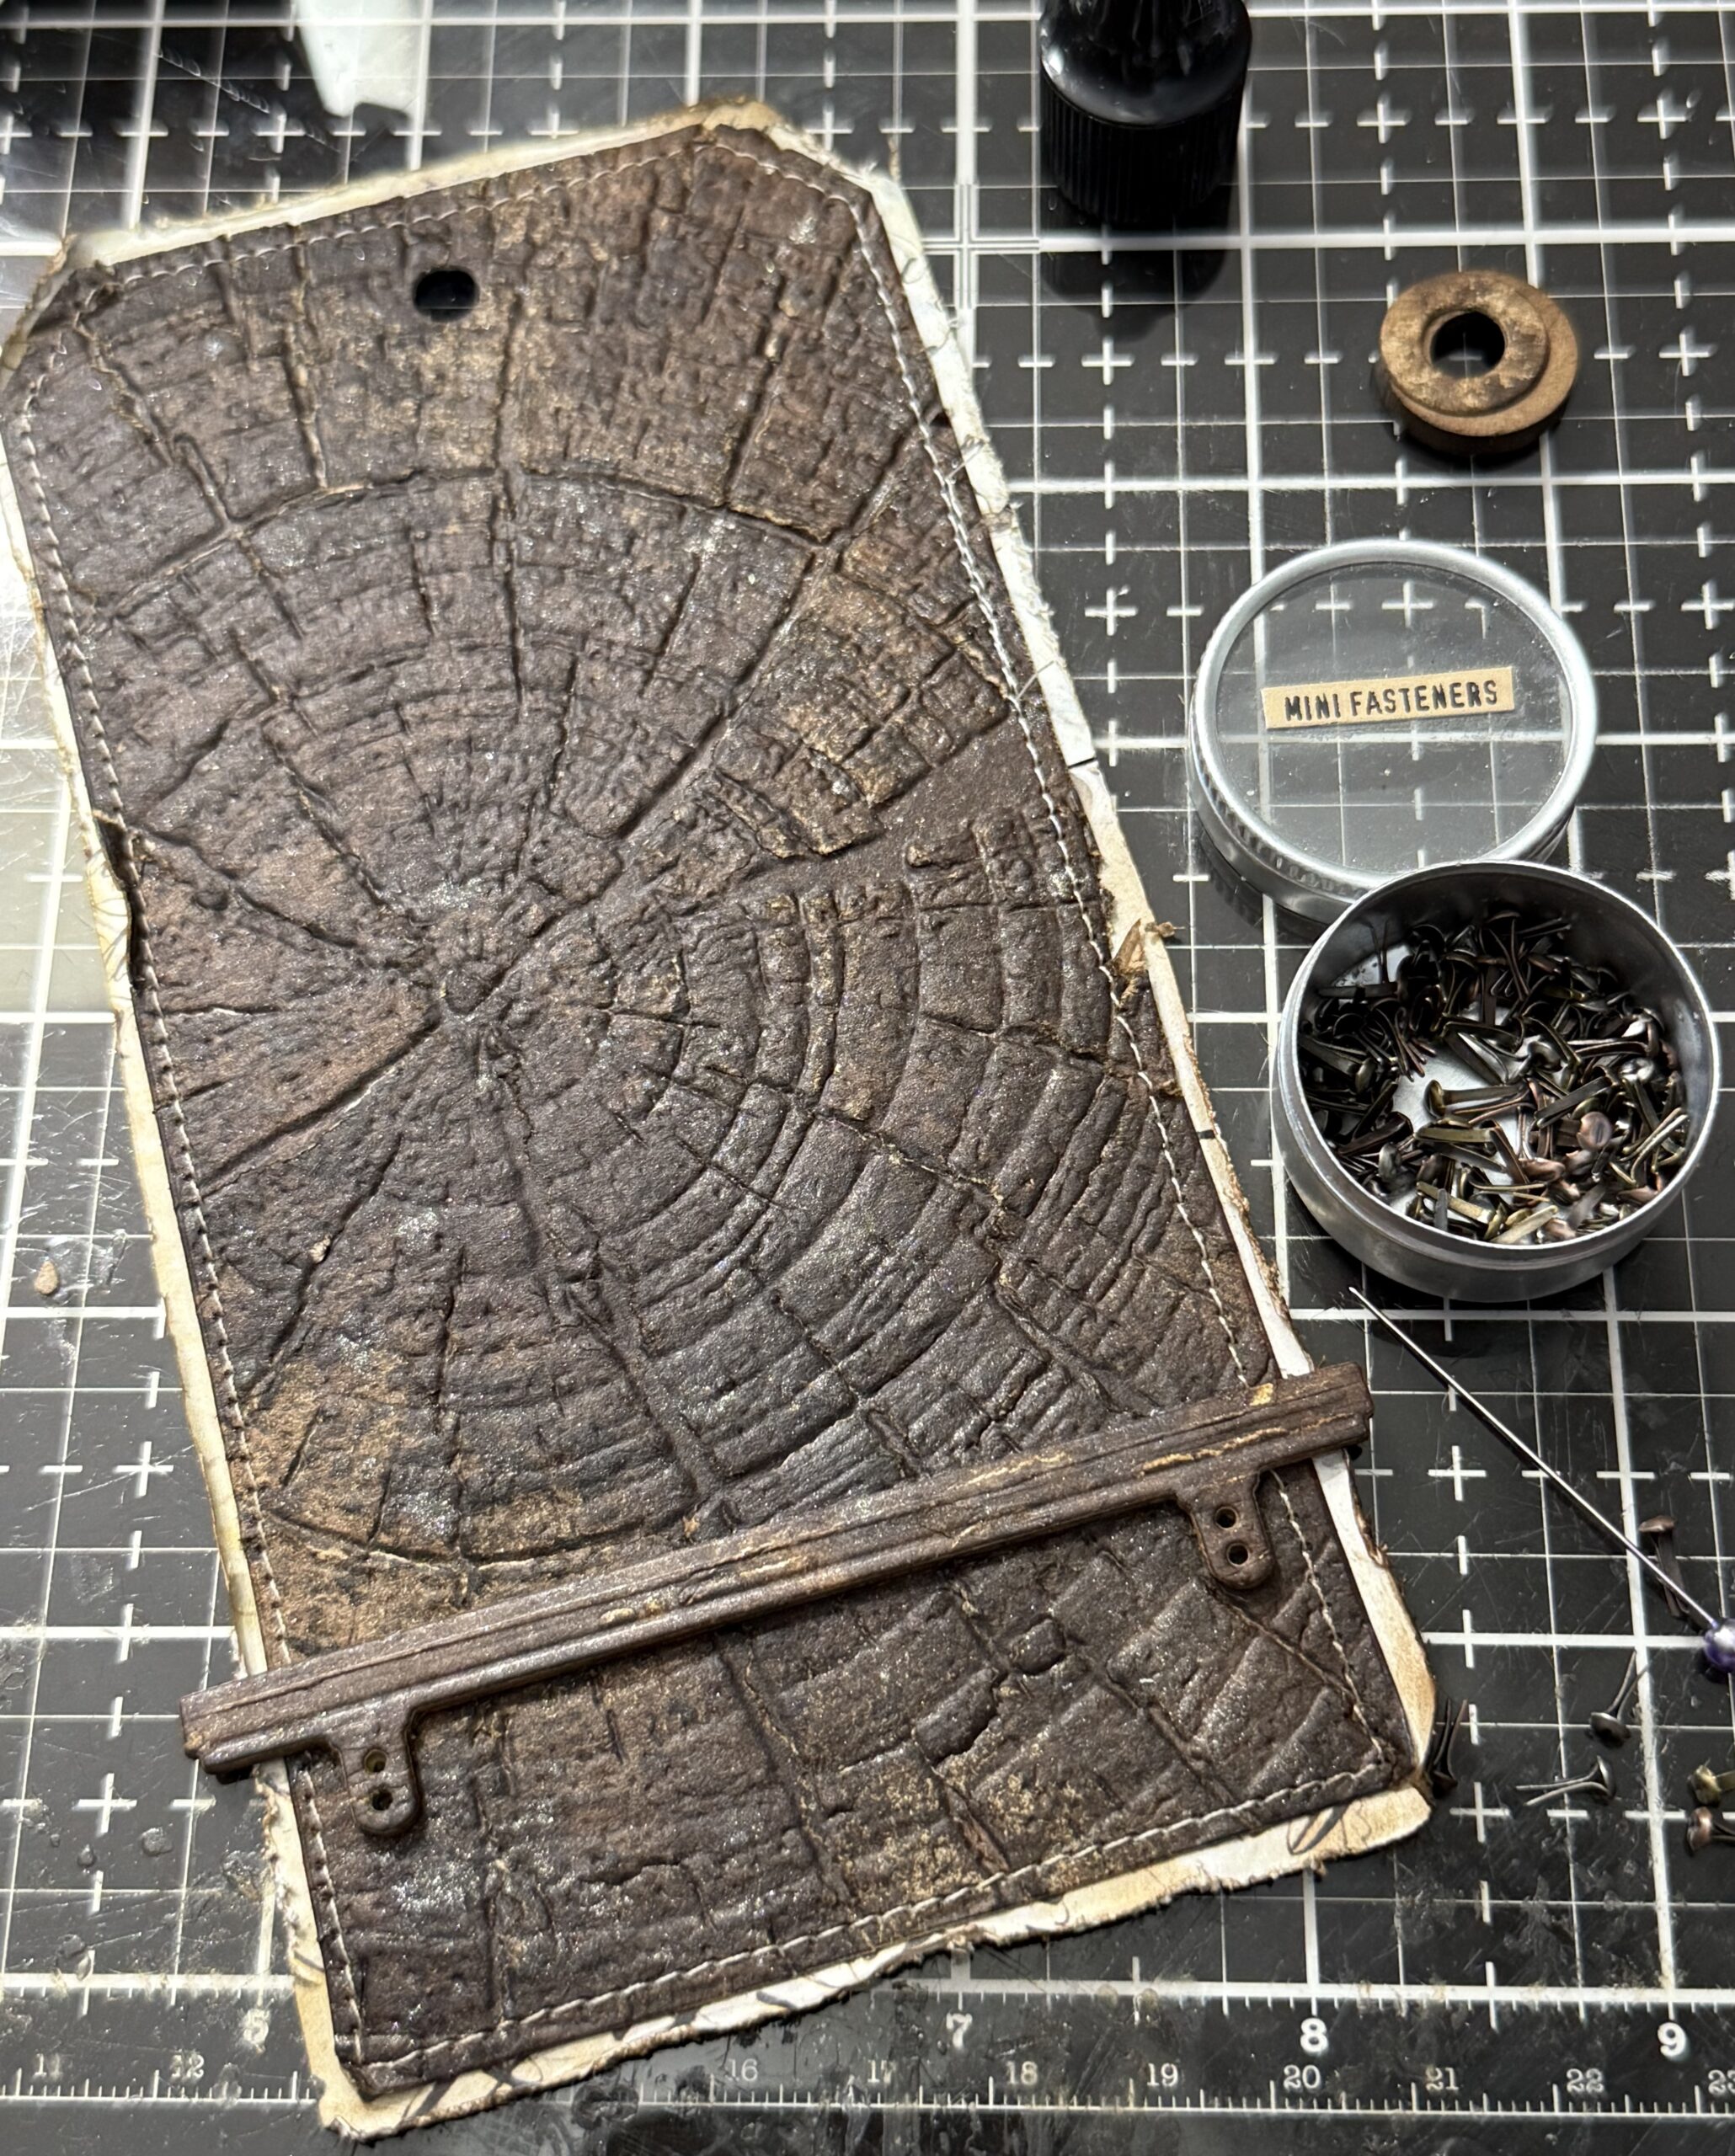
Once the mini fasteners were added, I used collage medium to add the tag to the front of the #8 Etcetera tag.
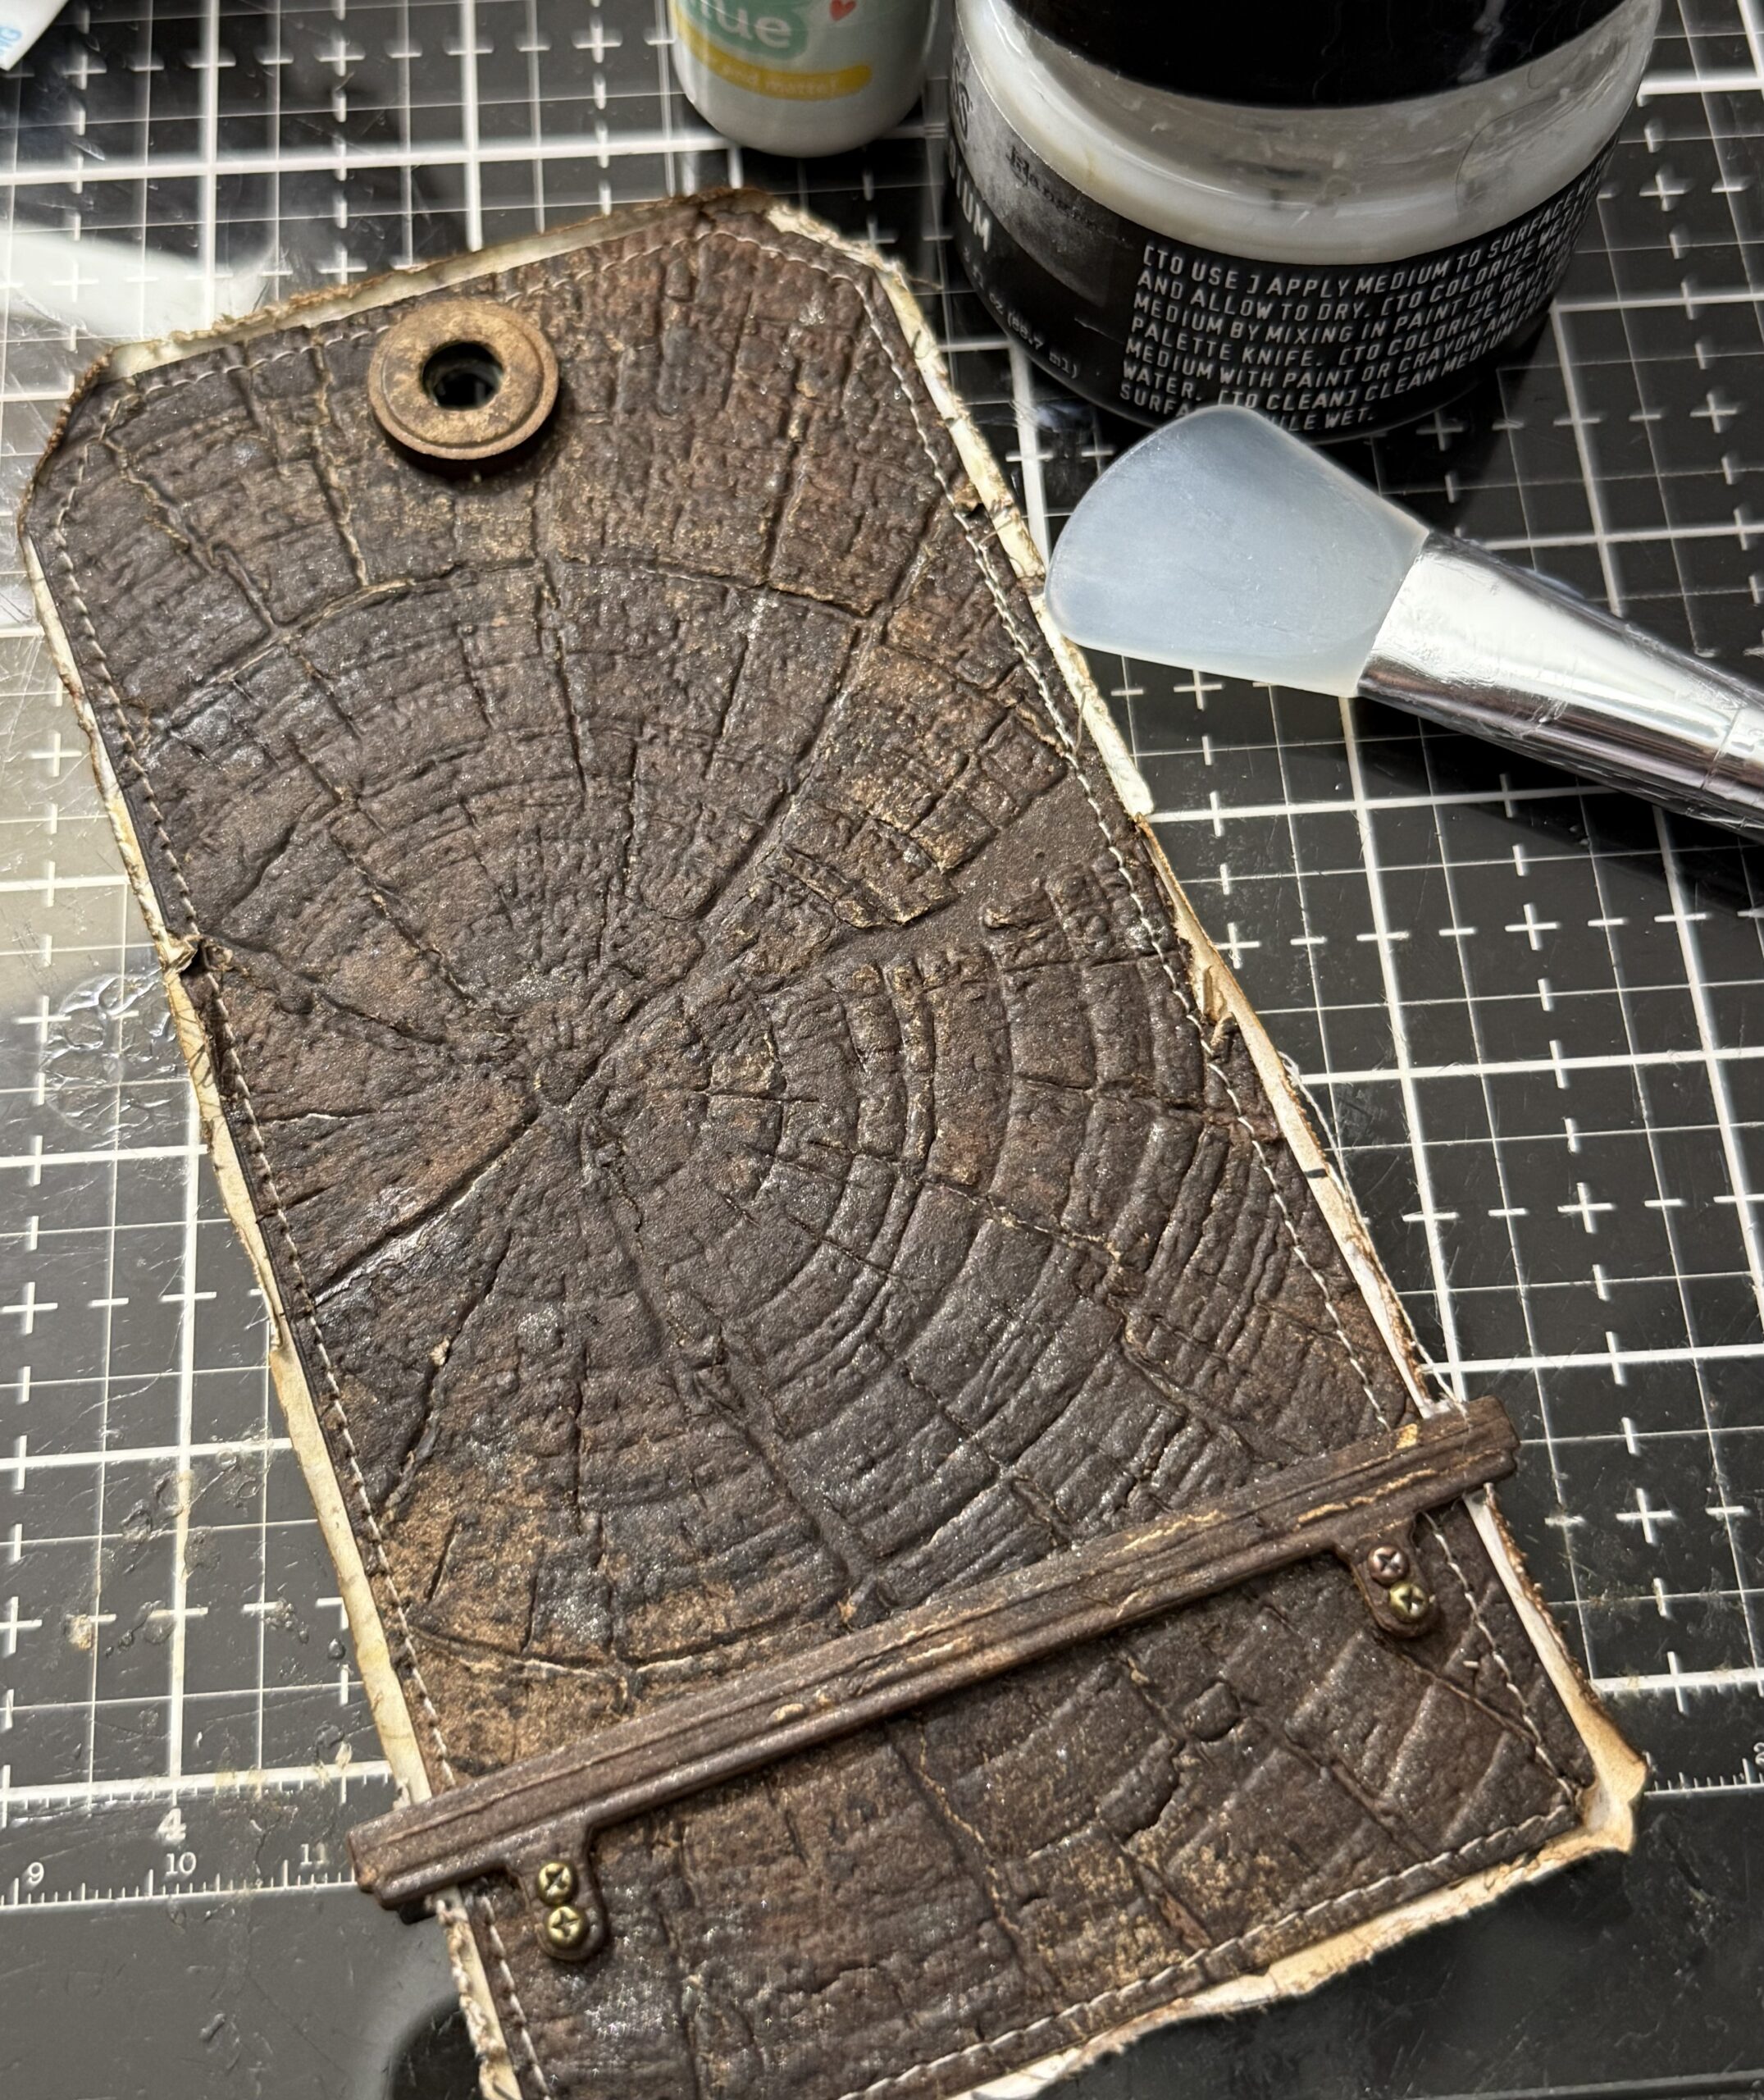
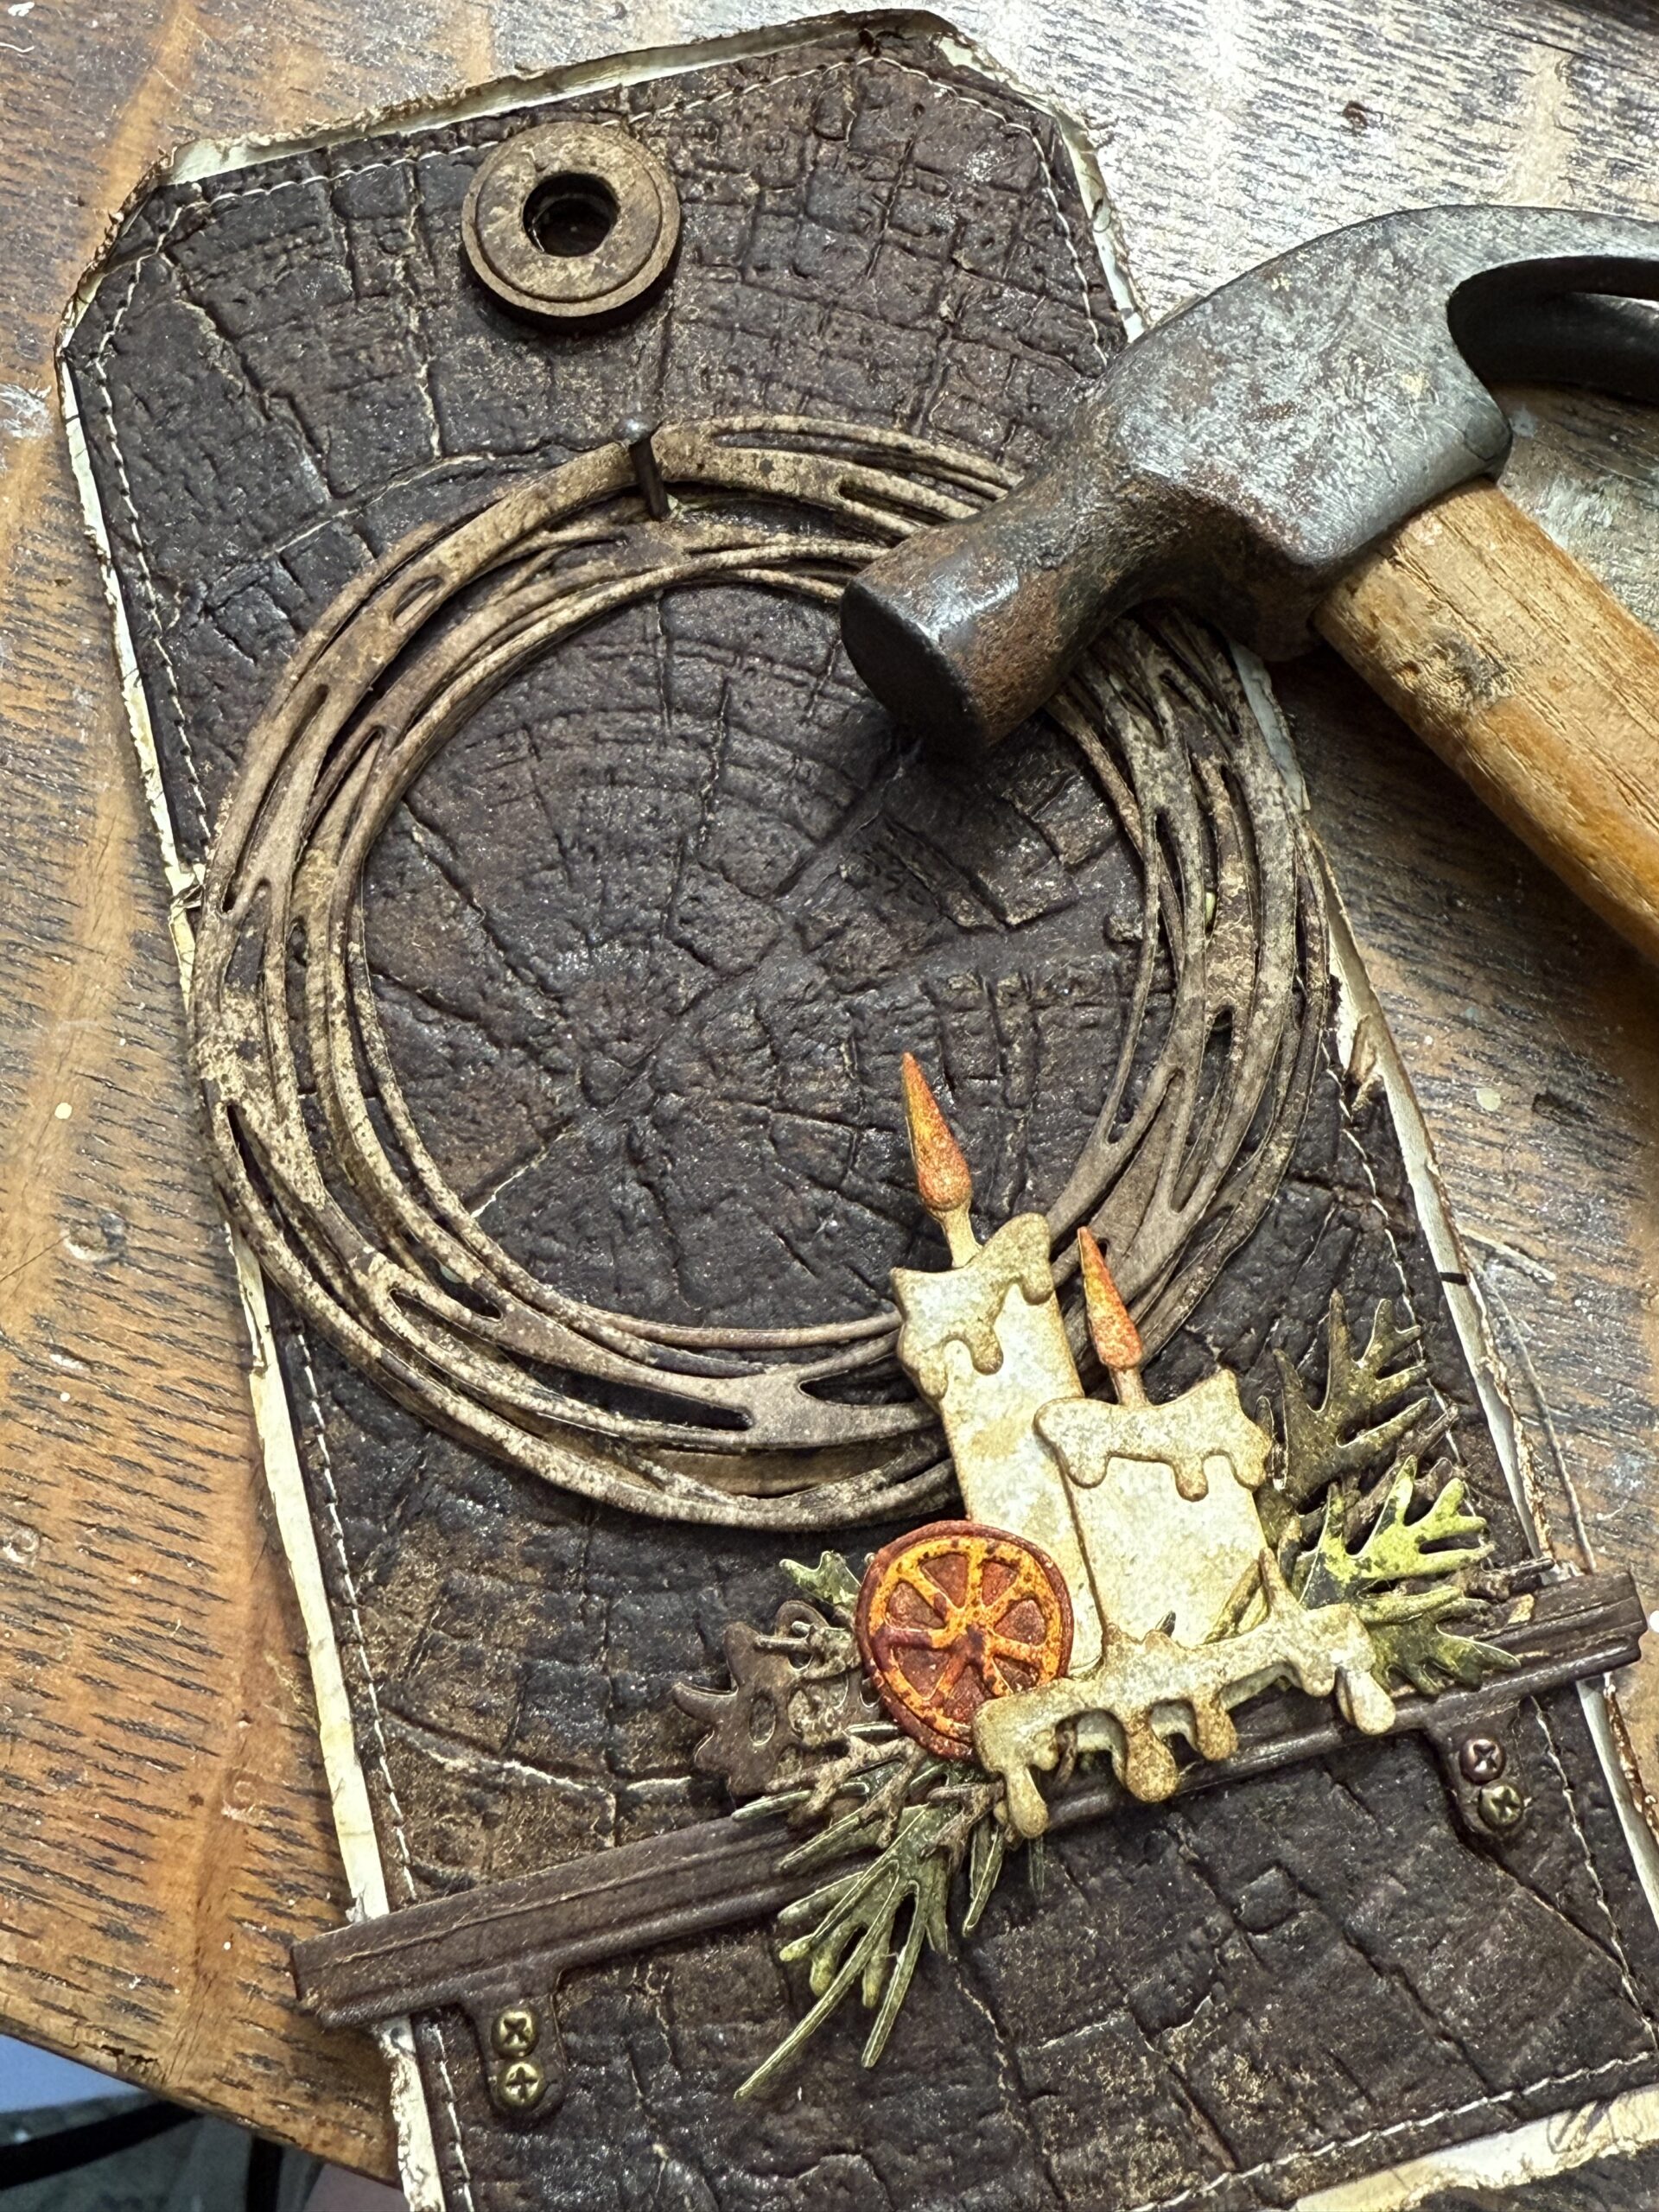
I cut out three of the wreath shapes and adhered them together using foam adhesive to add dimension. The wreath was then adhered to the front of the tag and I added a vintage nail to the top using a hammer to give the wreath the look that it was hanging on the tag. Then I began building the arrangement on the shelf and the wreath.
I cut out the word “peace” and added it to the arrangement. I added a washer to the top of the tag and tied on some jute.
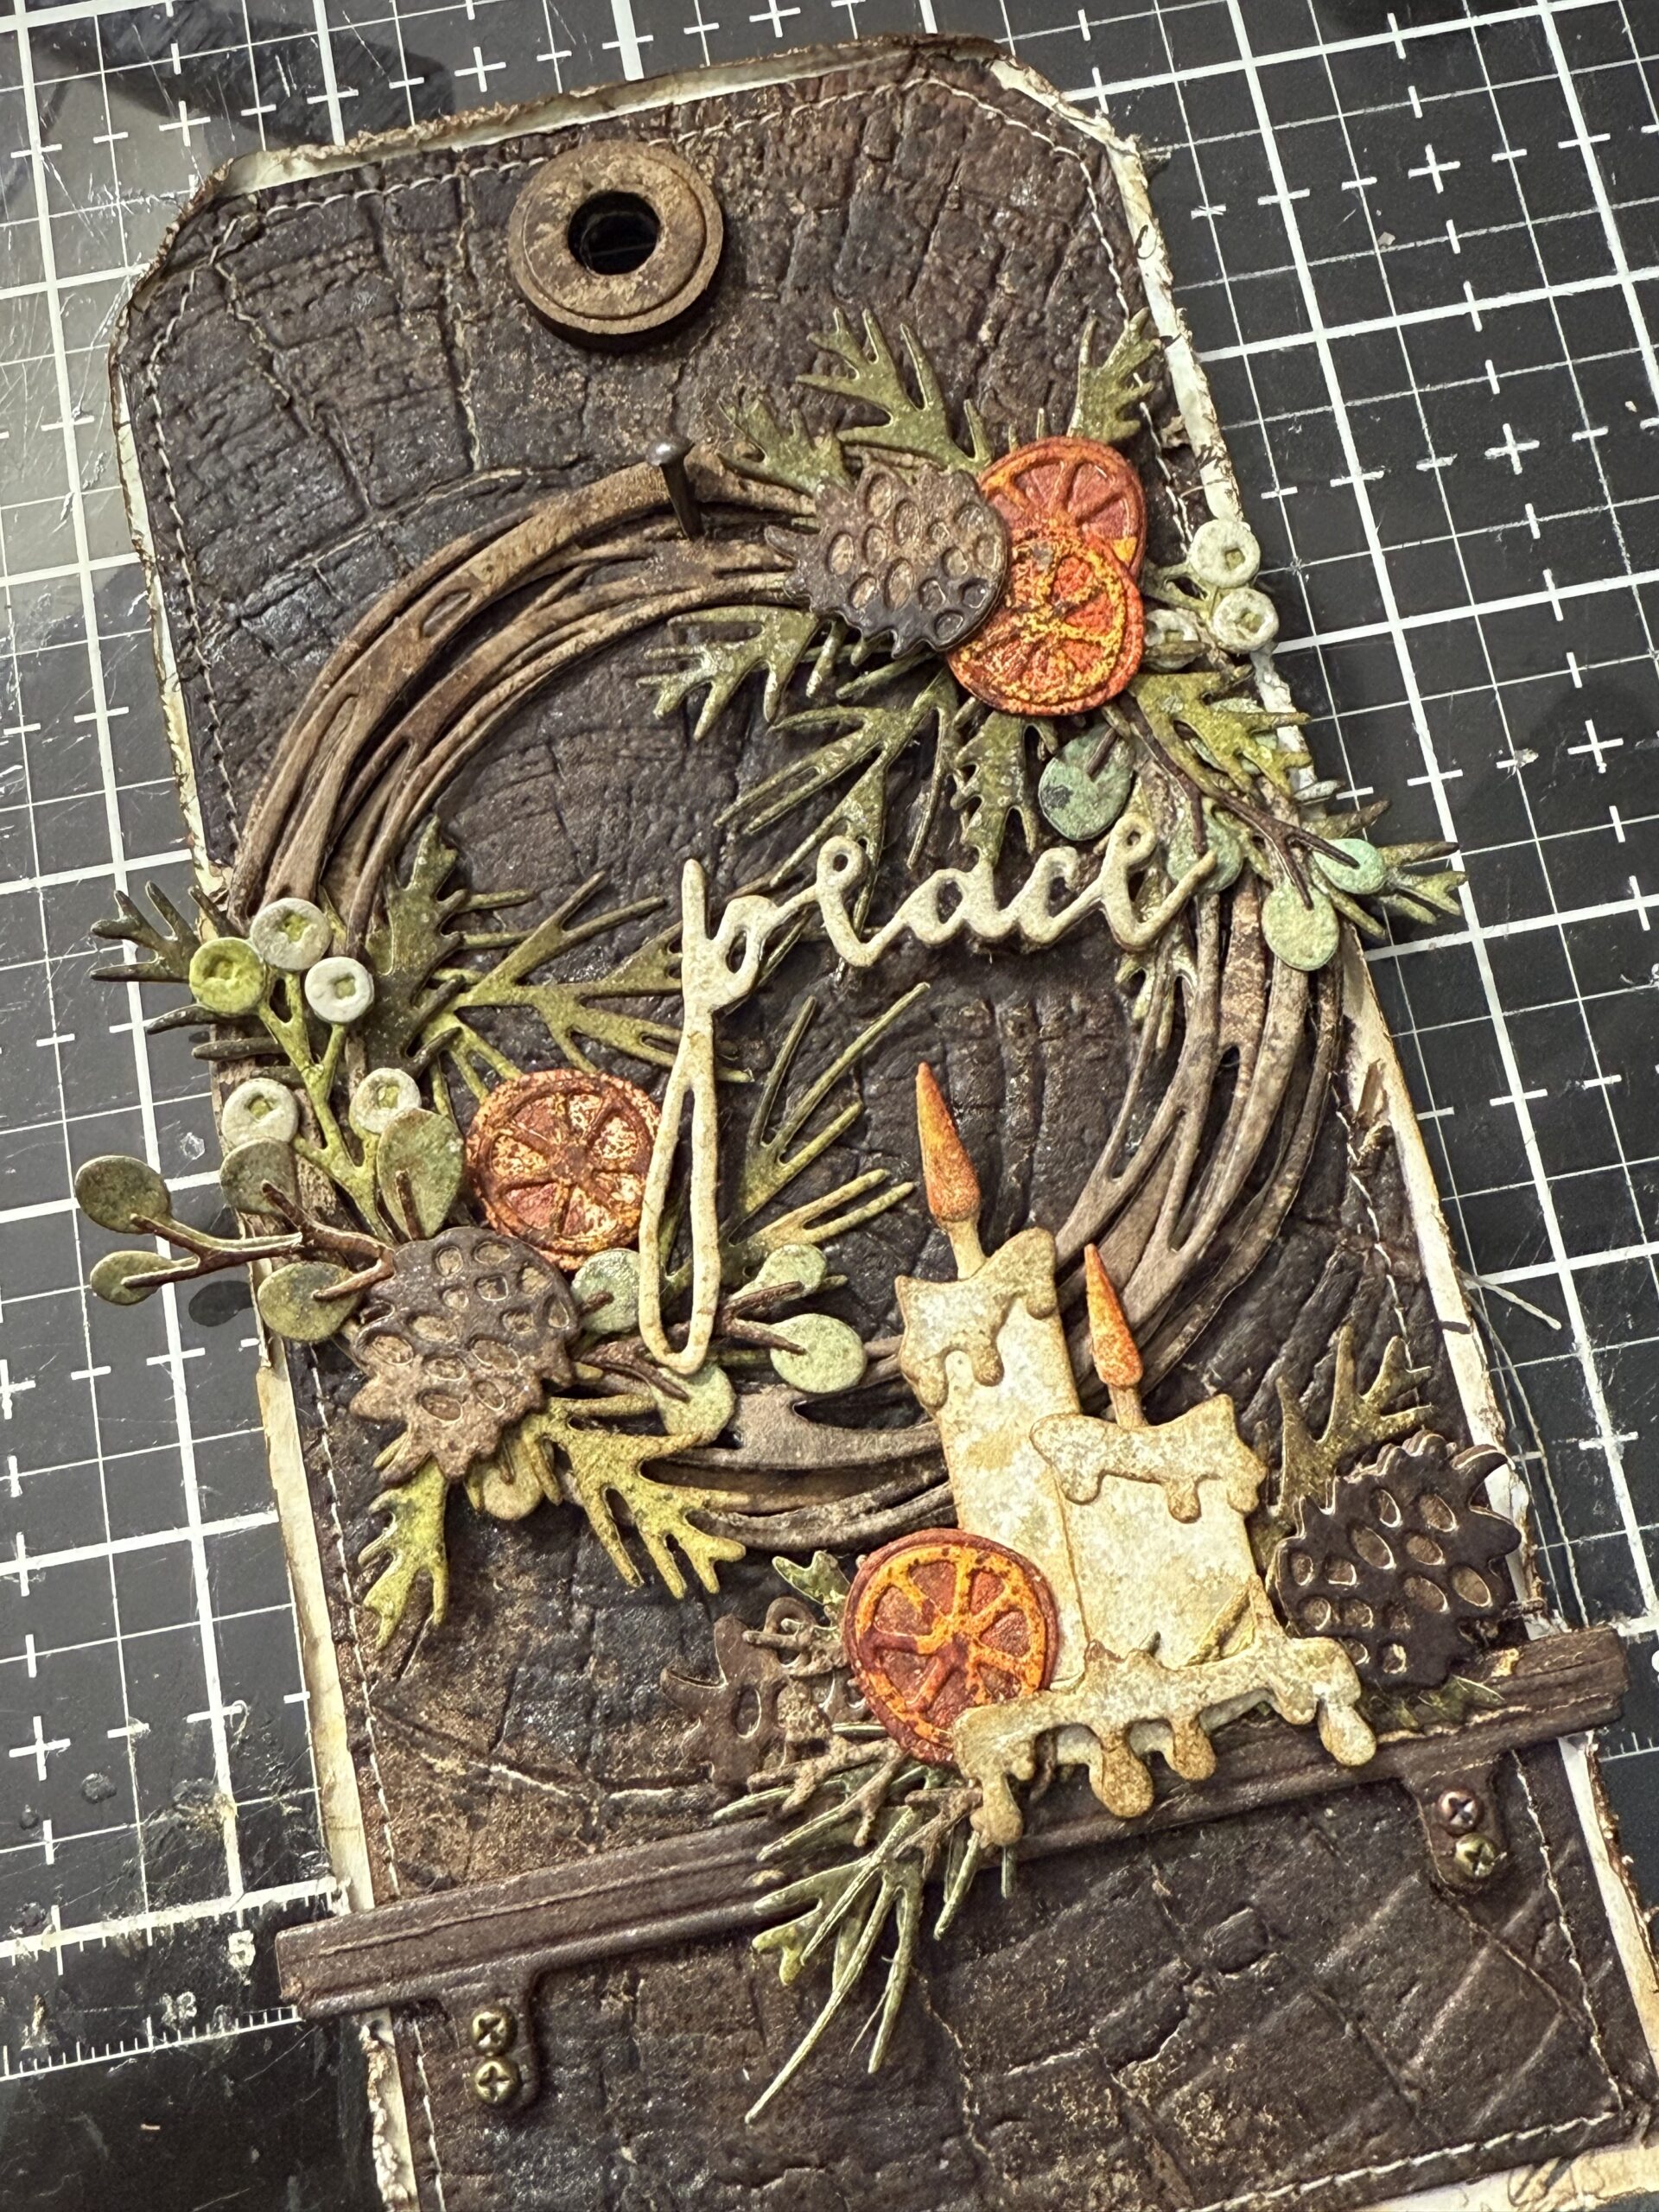
With that, my project was complete!
Thanks so much for stopping by today..and be sure to check out the Tim Holtz LIVE replay over on his Youtube channel, so many awesome makes and such inspiration for all of the upcoming holidays!
Creatively yours,
Stacy
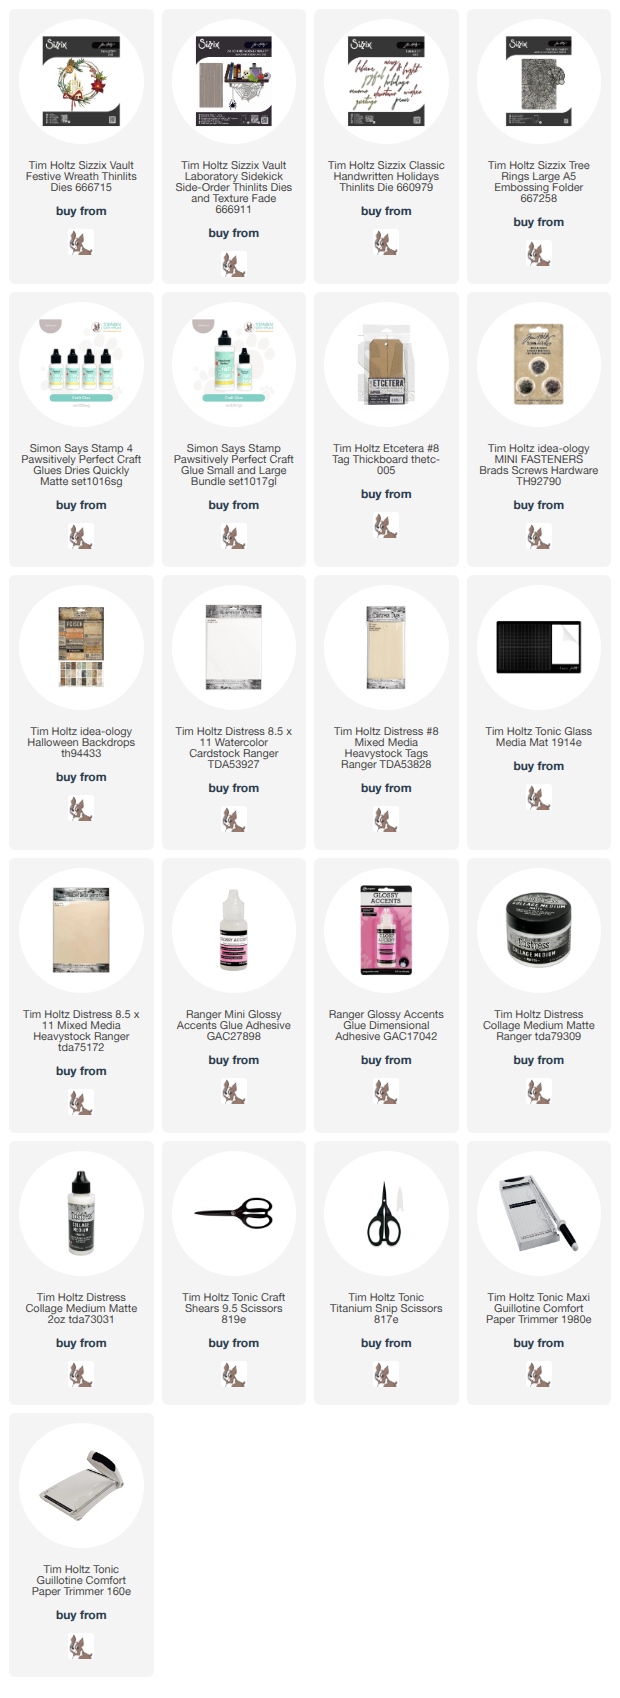
Shop Simon Says Stamp by clicking on this link. Thank you! I appreciate you for supporting me.
What is an affiliate program, and why should I click on the link and buy through you?
When you shop via the affiliate link on this blog, I receive a small commission from the affiliate provider (Simon Says Stamp) at no extra cost to you, whatsoever. These commissions help me to cover the hosting fees and other costs to run my blog and be able to provide you with FREE inspiration. If you shop the links, THANK YOU! I truly appreciate being able to share my love of creating with you.










Leave a Reply