Hey there friends! I am back again, this time with a little project that I made using the recently released Tim Holtz Halloween and some everyday idea-ology. Just a Spoonful (I thought the was such a fun name for this) is a little project made in a idea-ology Display Dome. The only problem with a dome..is taking the photos, lol, but the dome does fit over top of this little vignette.
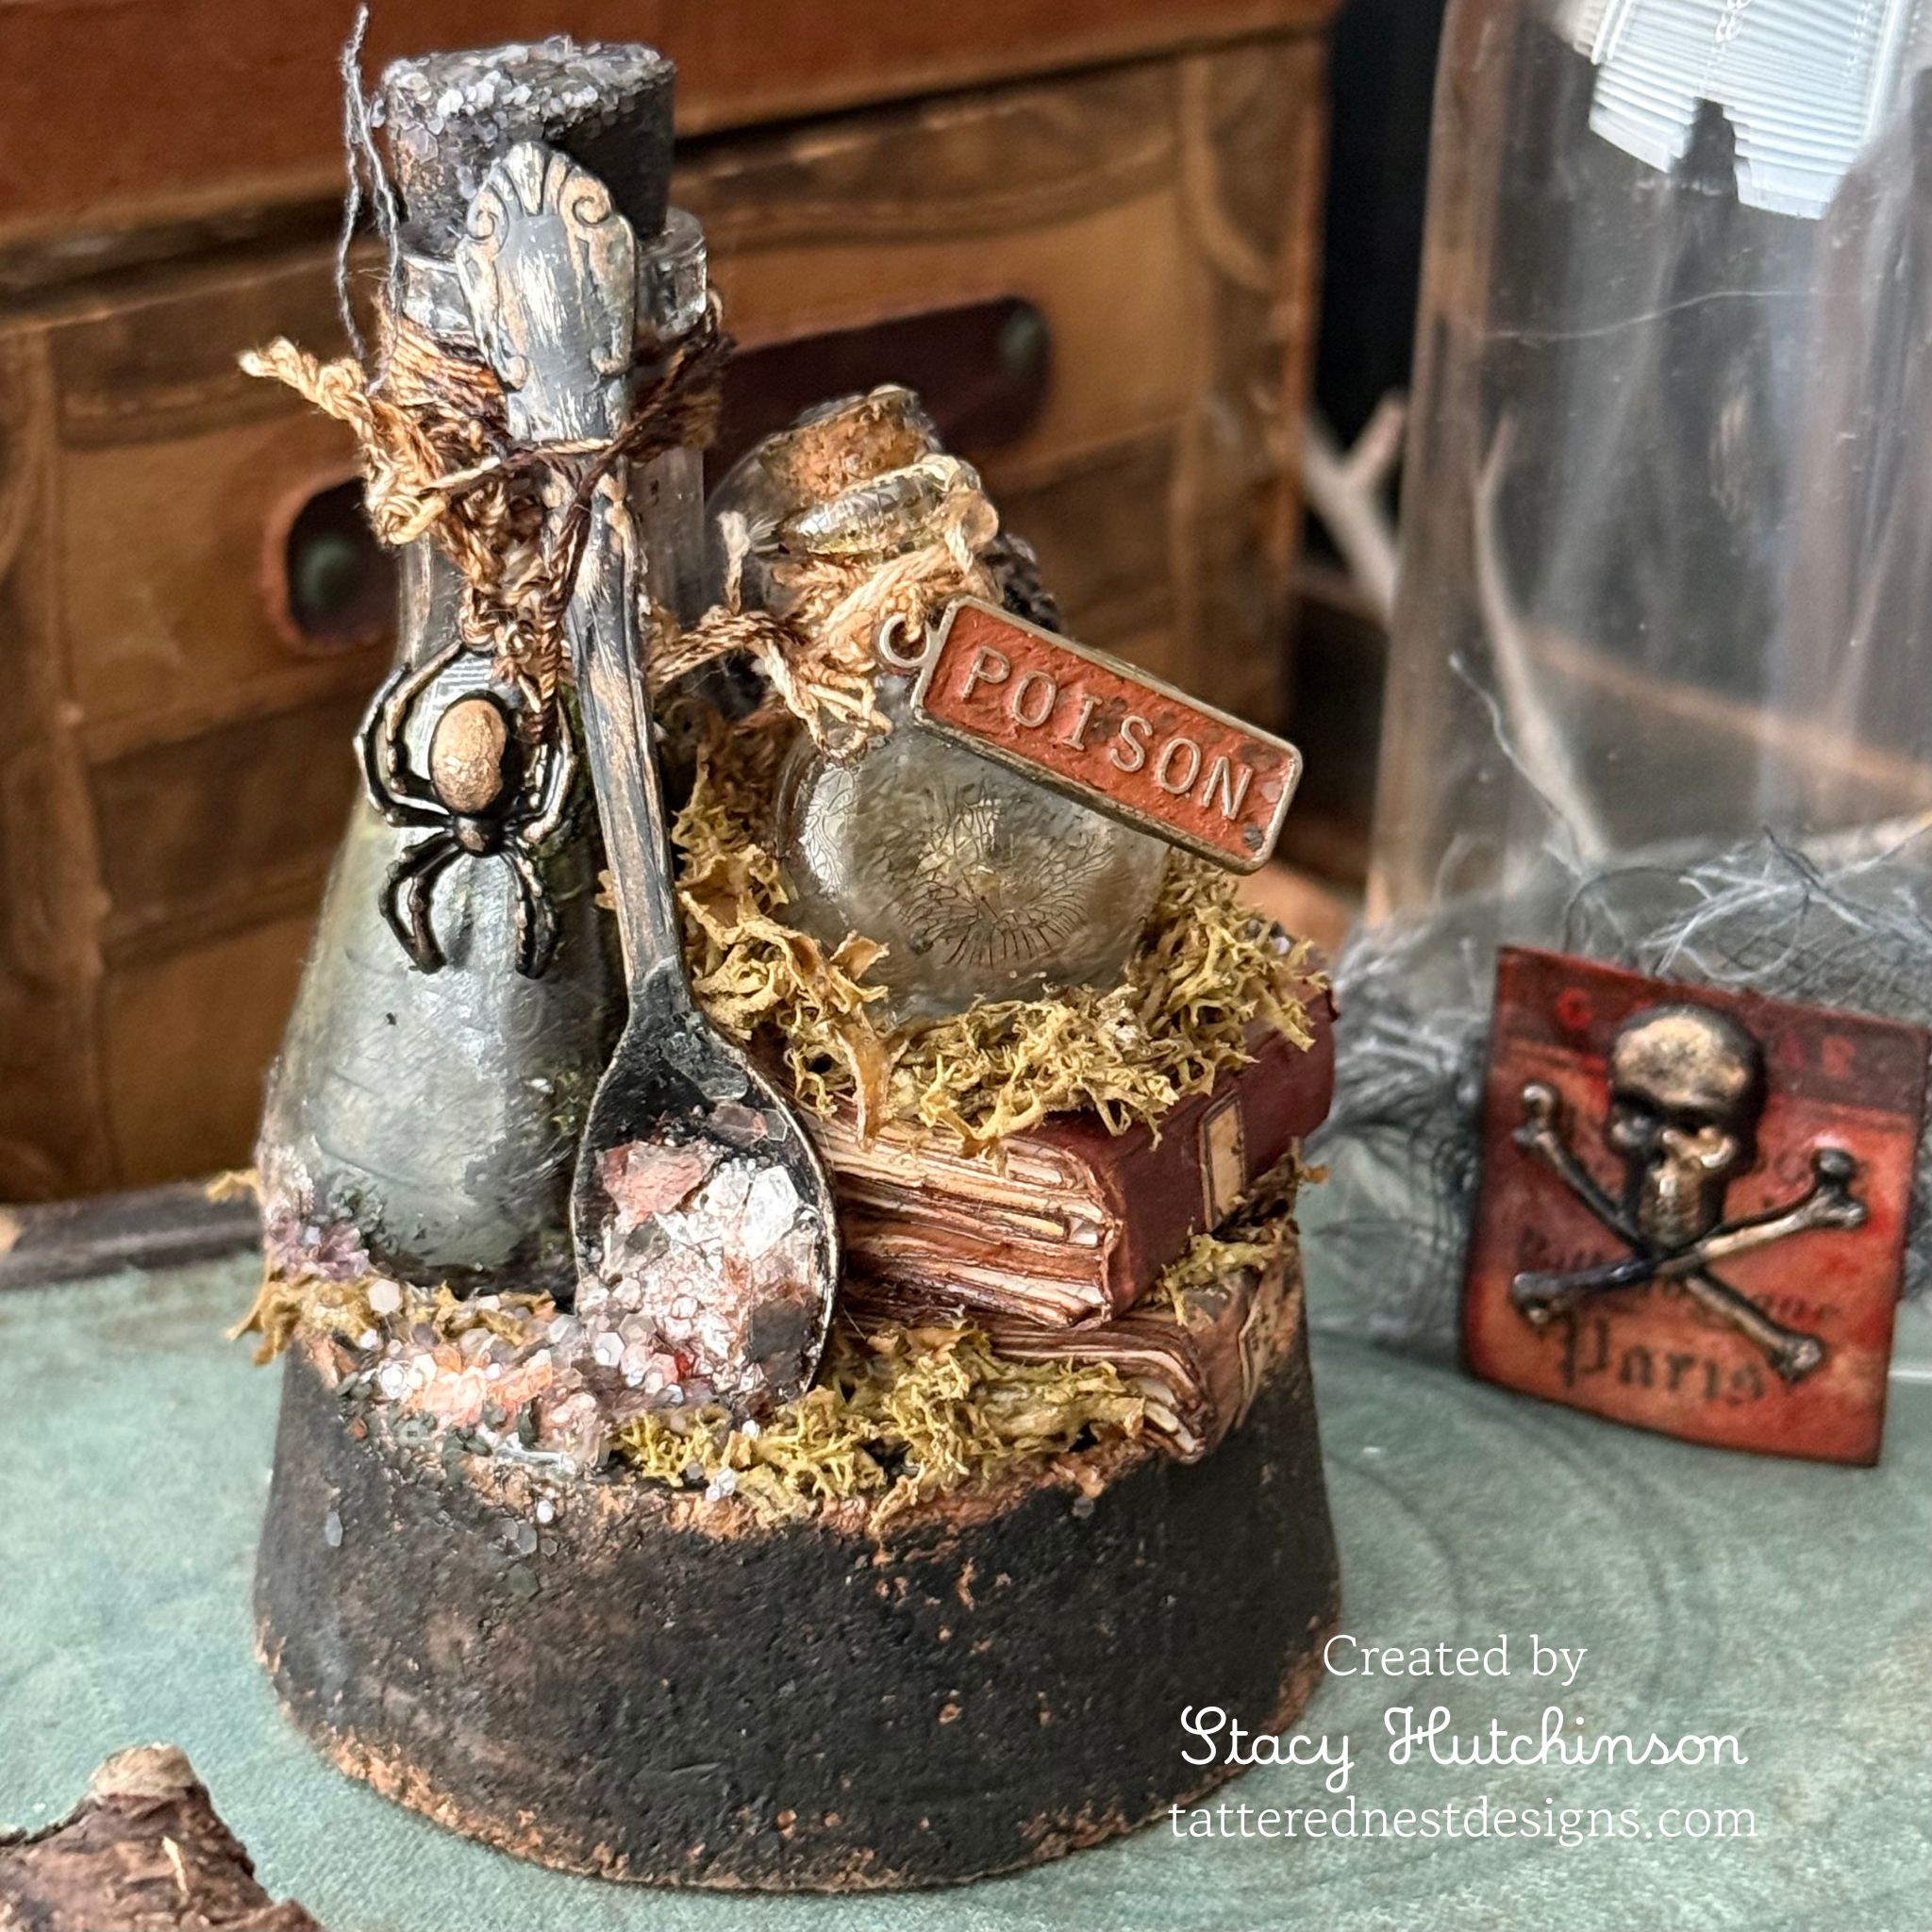
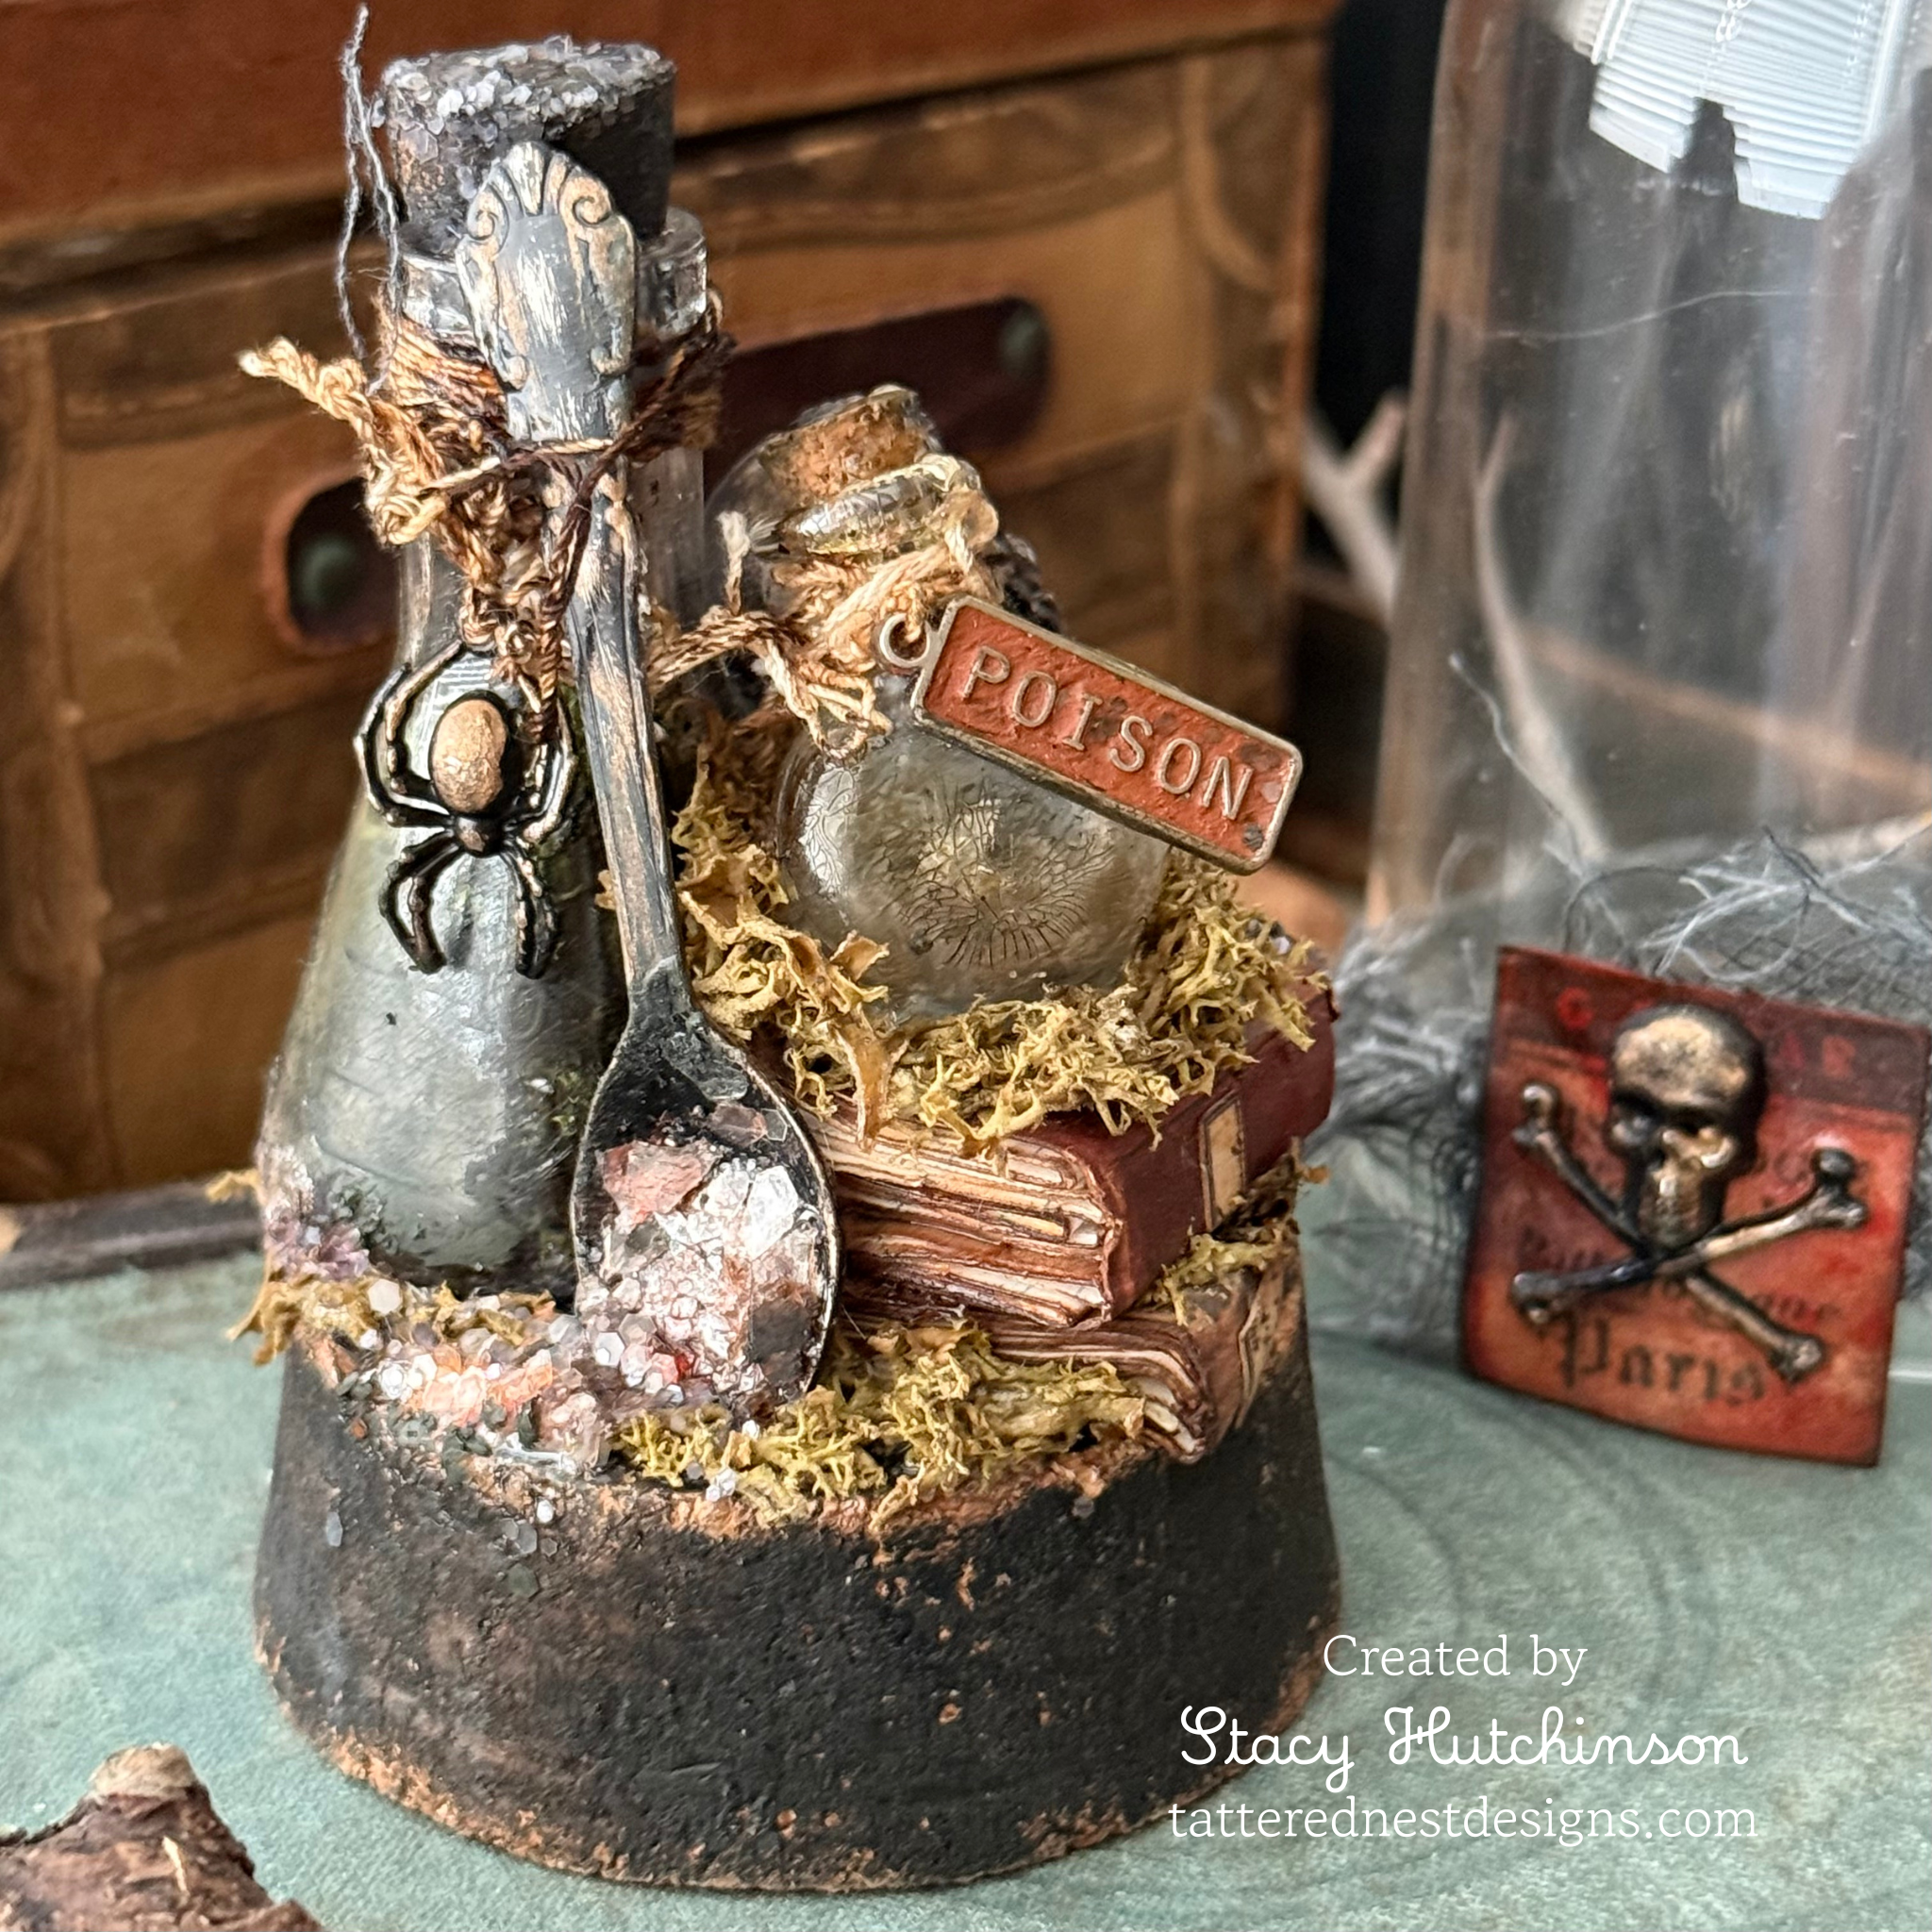
Here is the front, a little spoon (from the idea-ology silverware pack) all crusty and with remnants of some glittery poison left on the bowl of the spoon. Creepy little spider hanging from Laboratory vial..and a tiny stack of mini books with a small poison bottle on top.
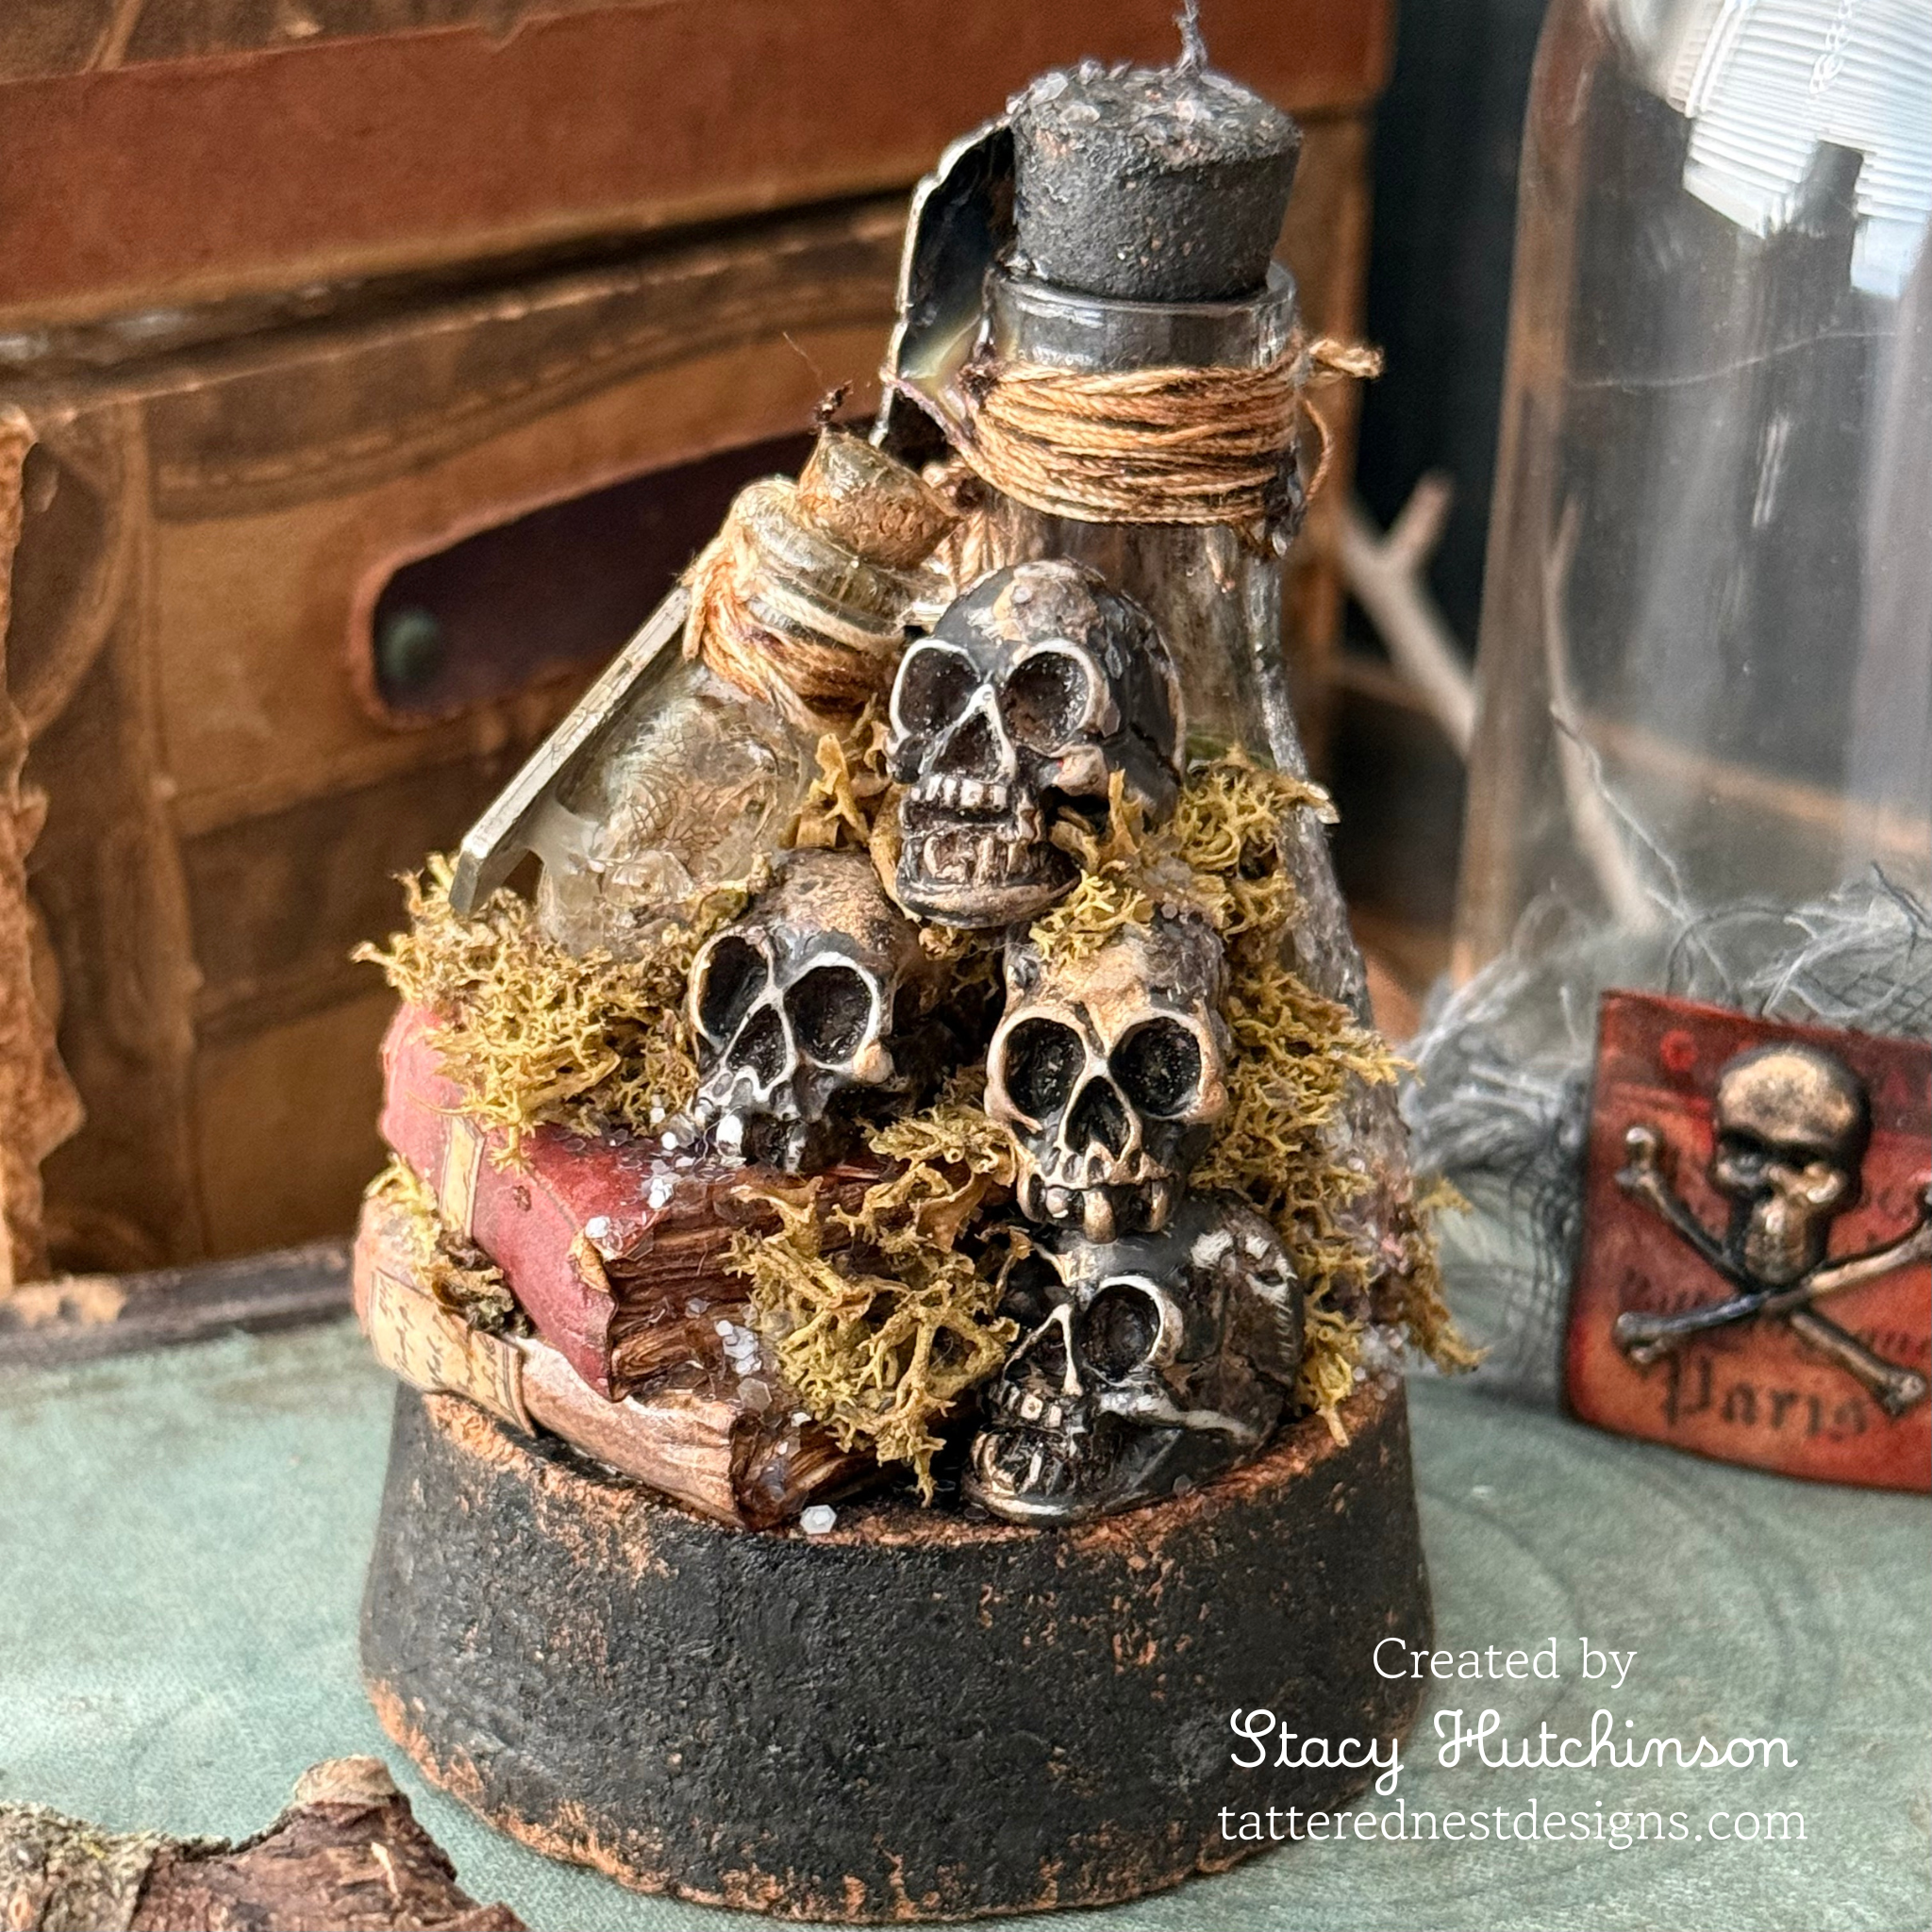
And here is the reverse side hiding behind that little stack of books…a little pile of crusty skulls…ohhh, so creepy!
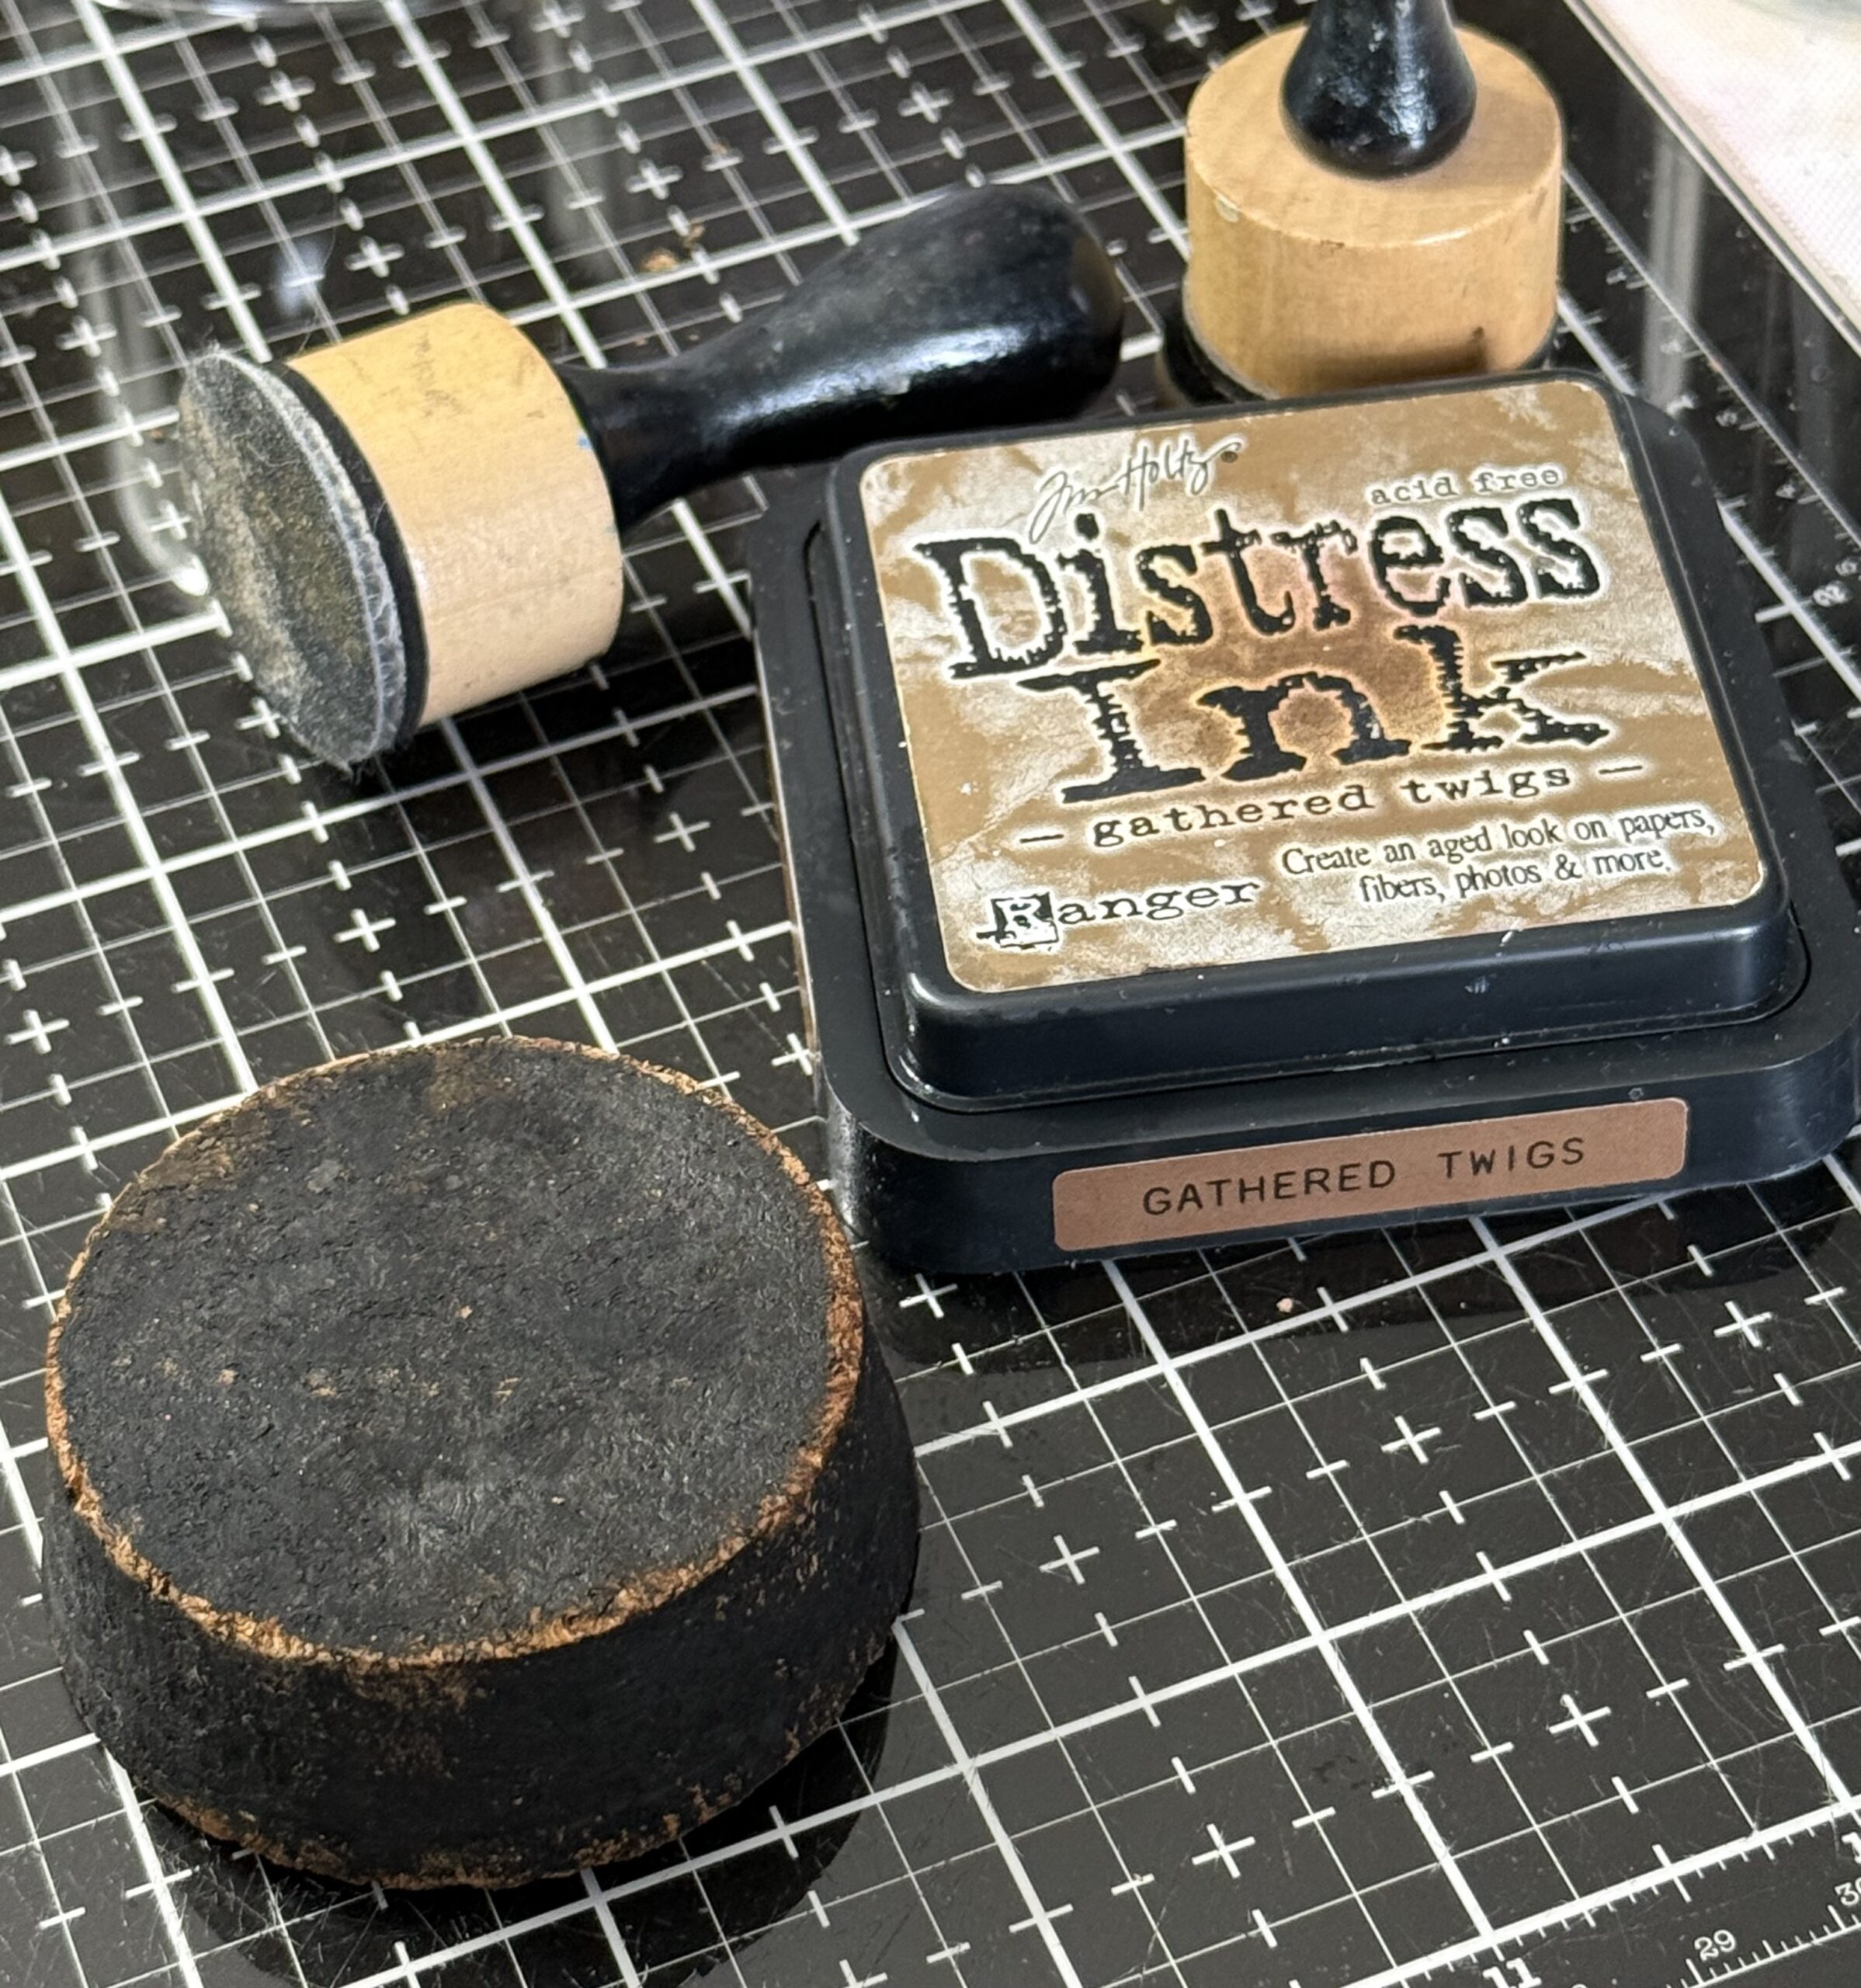
I started by distressing the cork bottom of the dome, I did this by painting it with Black Soot Distress Paint, and then, using my sanding disk, sanded some of the edges after it was dry to make it more worn looking. After it was sanded, I brushed it off with a dry towel to remove any cork dust and used Gathered Twigs Distress Ink to add more age to it.
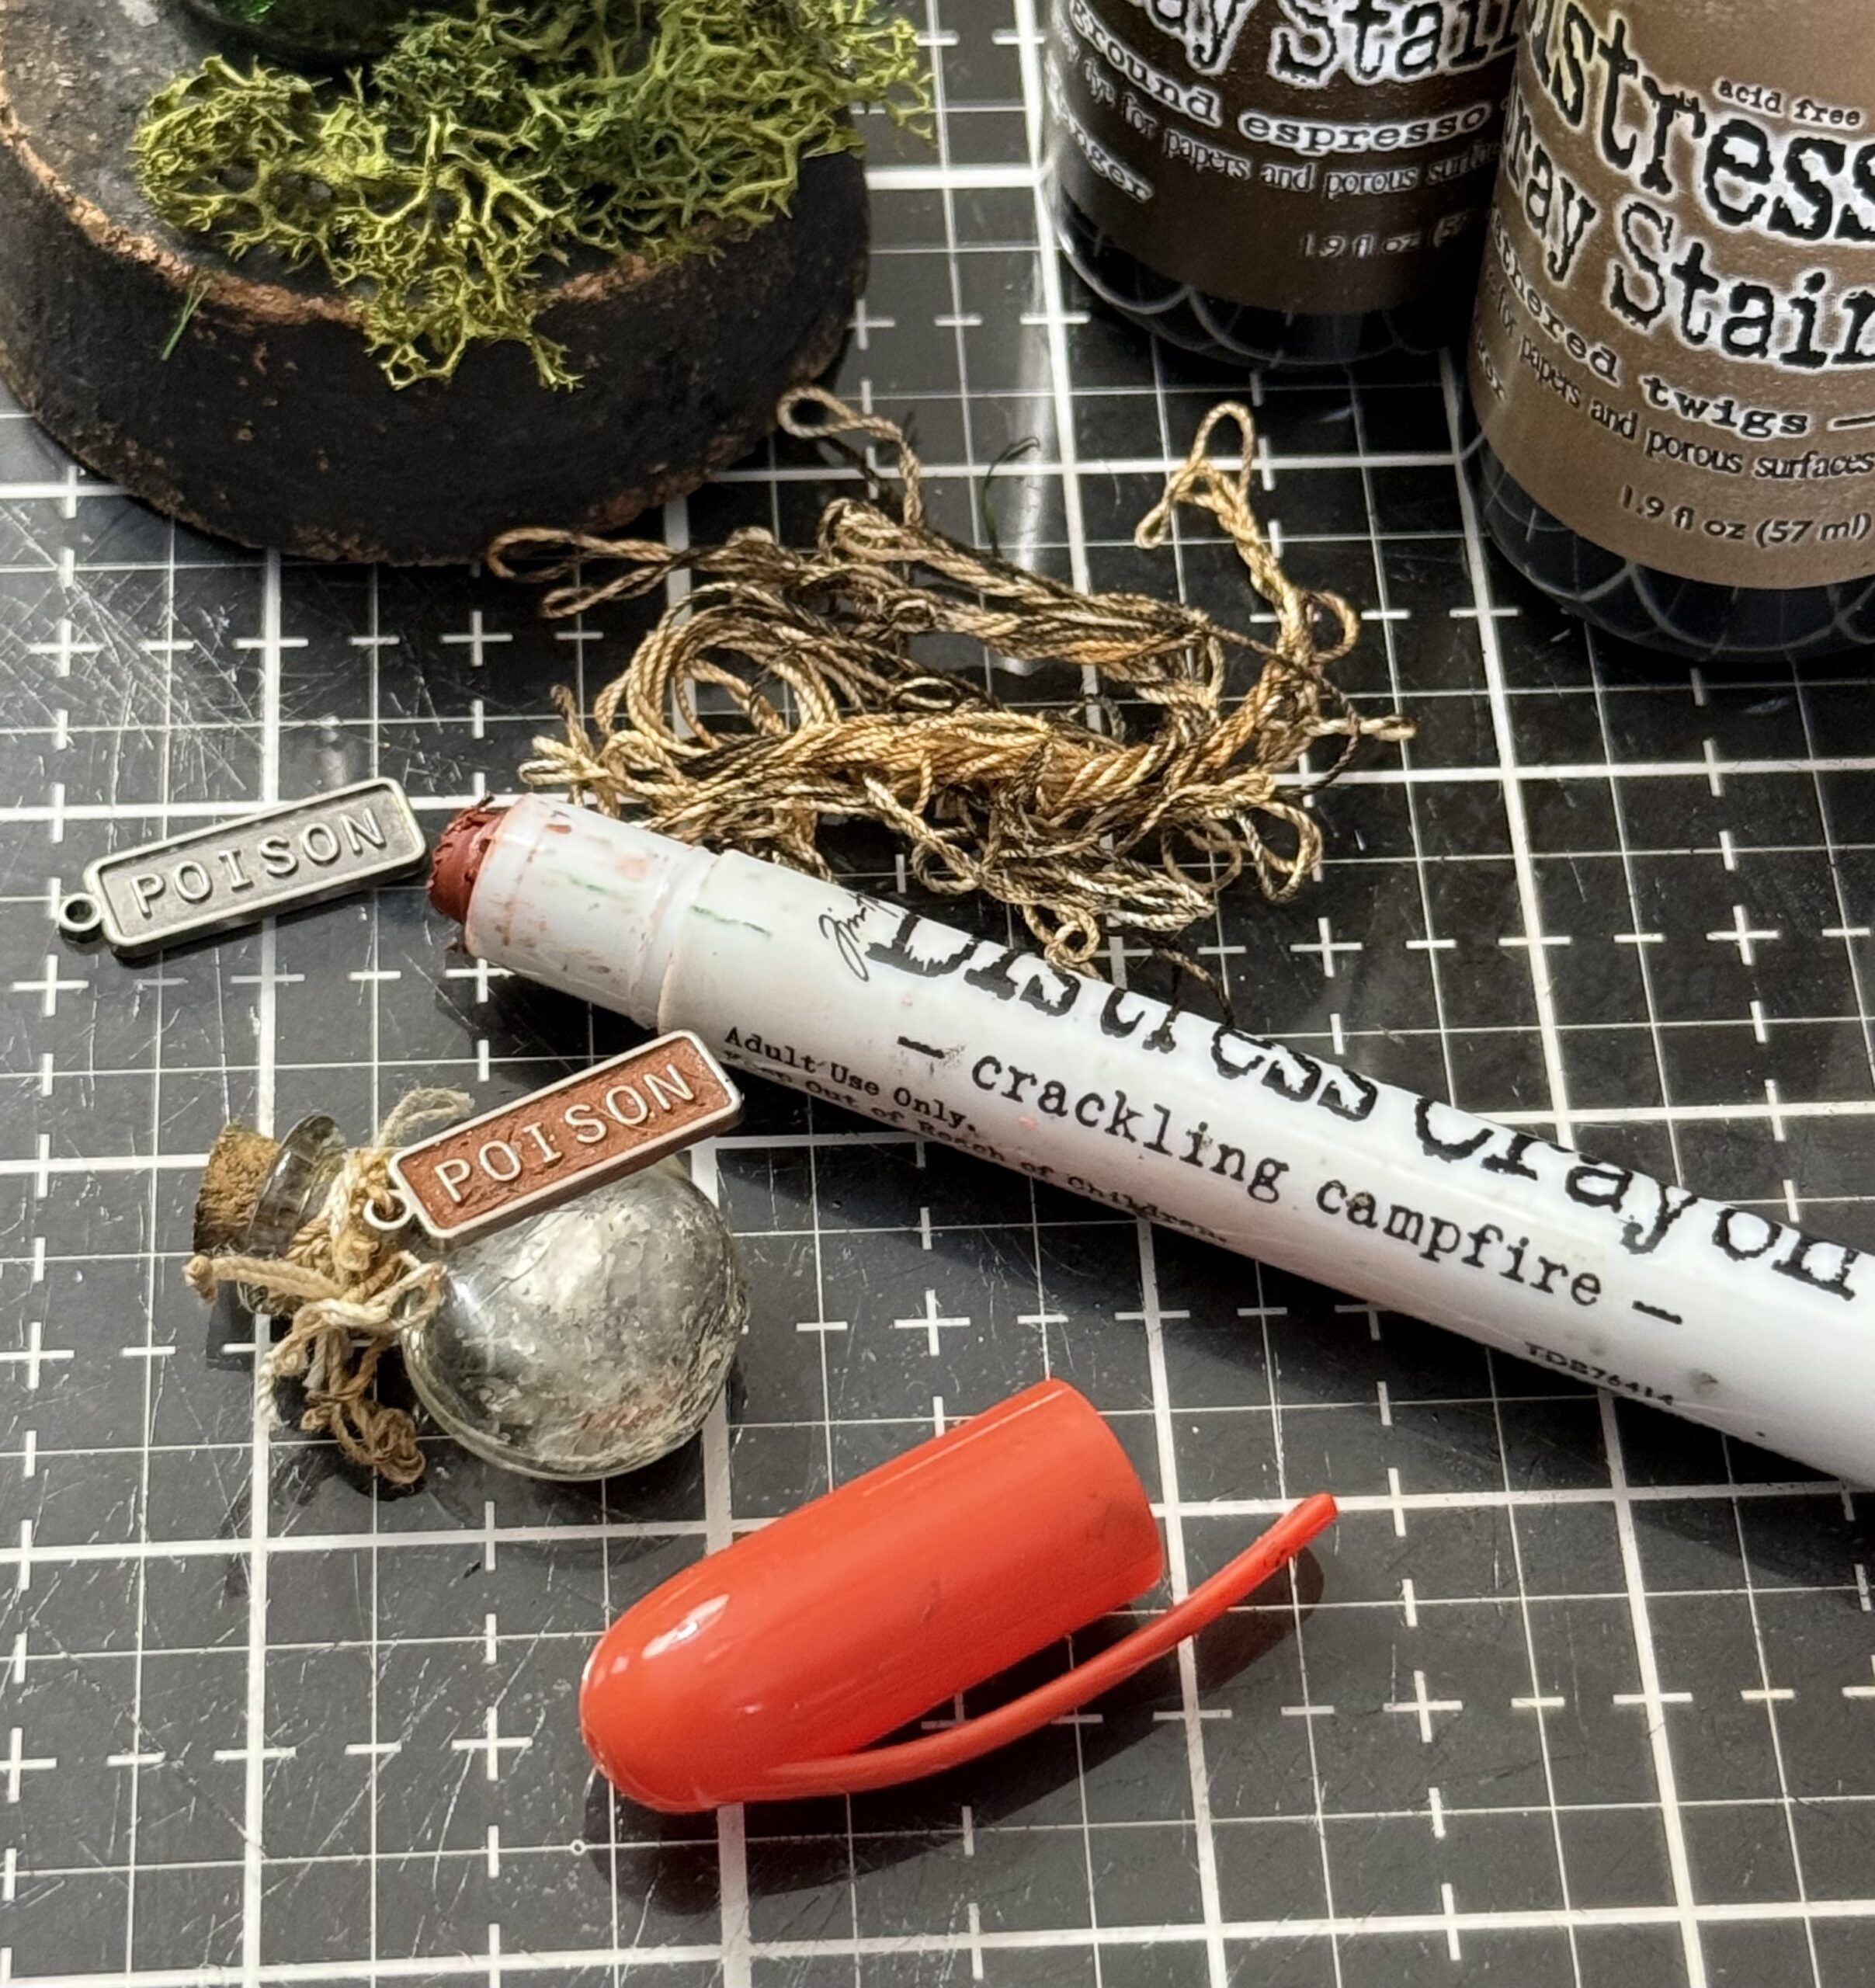
I had some vintage string that I used some Ground Espresso and Gathered Twig Spray Stain, spritzed the string with water and the dyed the string with the stain. I found a word charm in the Tim Holtz Halloween Word Plaques and used a Crackling Campfire Distress Crayon rubbed into the charm, then rubbed off the extra leaving the color inside the charm.
I used some of the string to wrap around a mini corked vial, then tied on the word charm.
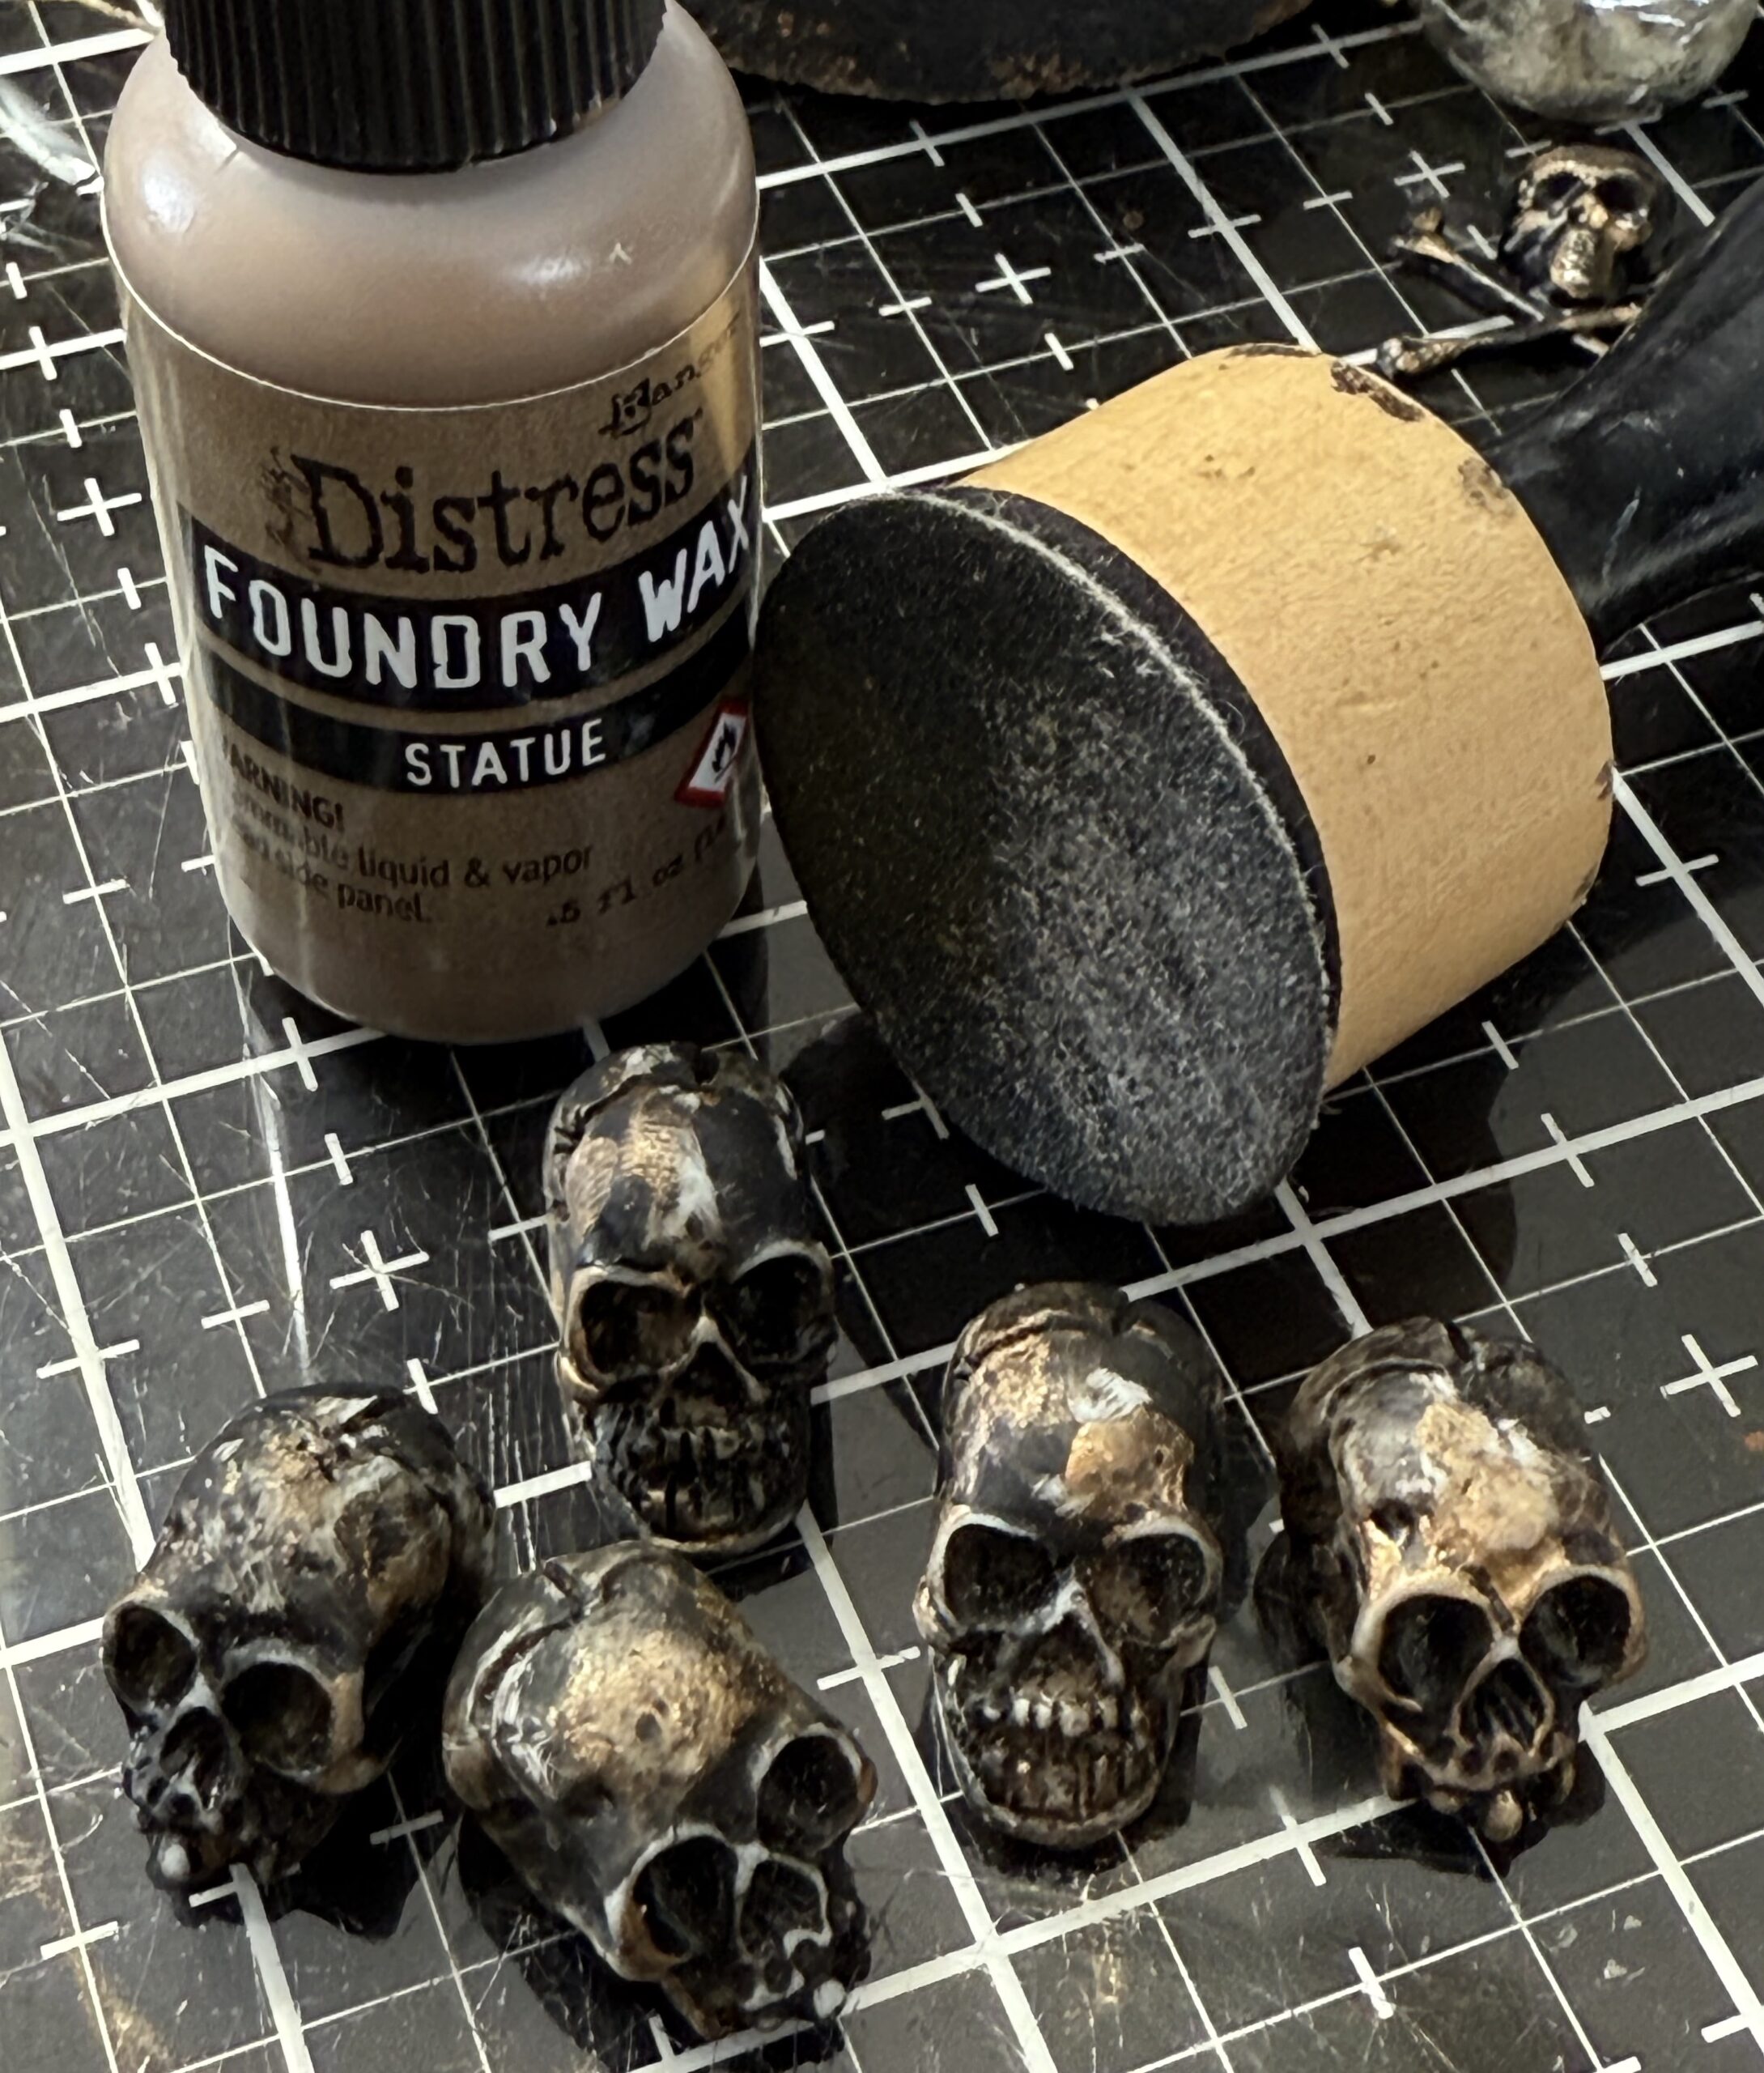
Next, I took 5 mini skulls, the mini spoon and a skull and bones and painted them all with the Black Soot Distress Ink. Once they were dry, I rubbed each of the items with some Statue Foundry Wax, then used my heat tool to set the shine.
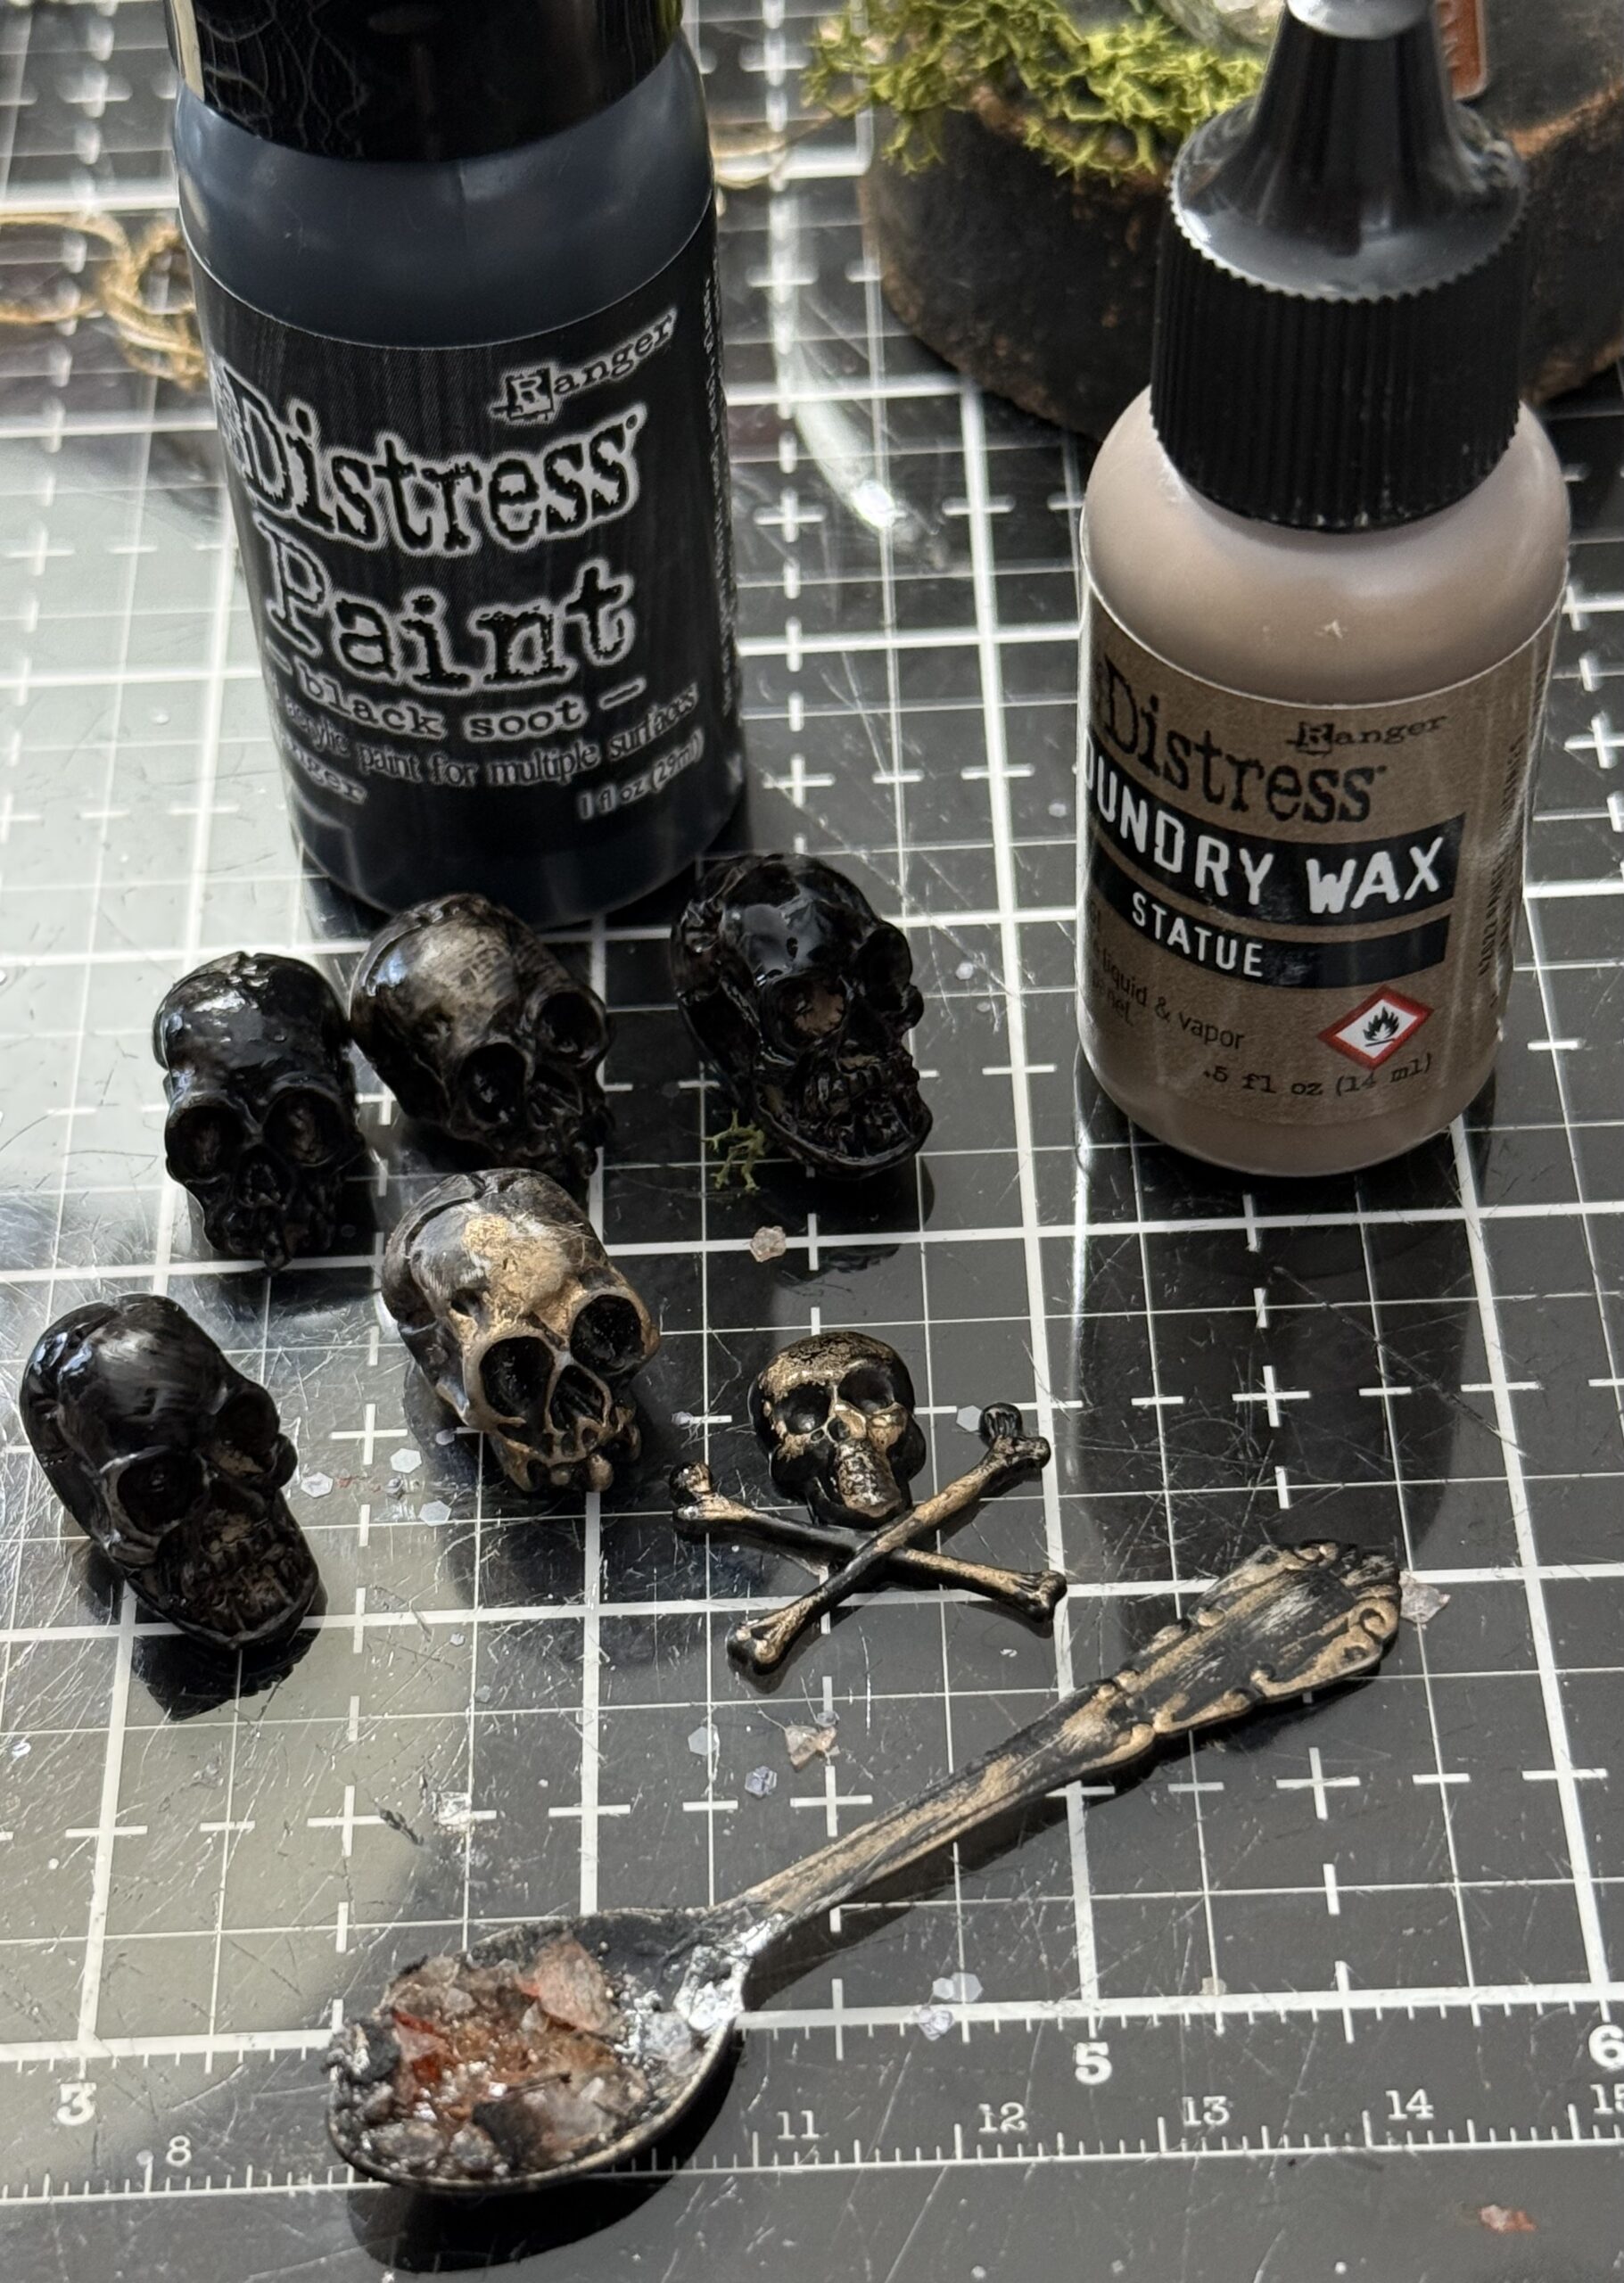
The laboratory vial you see in the background was filled with some green floral moss, then I painted the cork with the black paint and wound some grungy string around it and added a small spider.. I don’t have photos of the spider, bt you get the idea.. same treatment as the rest, black paint and statue foundry wax set with heat.
I used glossy accents in the bowl of the spoon, then sprinkled in some chunky glitter and mica flakes.. both idea-ology but colored up and in my supplies. Tim demoed a while ago how you could tint your rock candy glitter and mica flakes with alcohol inks and I have a supply of them ready to use when the chance happens, this was a great time to use it, it adds that creepy look of a magical poison. I set the spoon aside to dry and went on to making mini books!
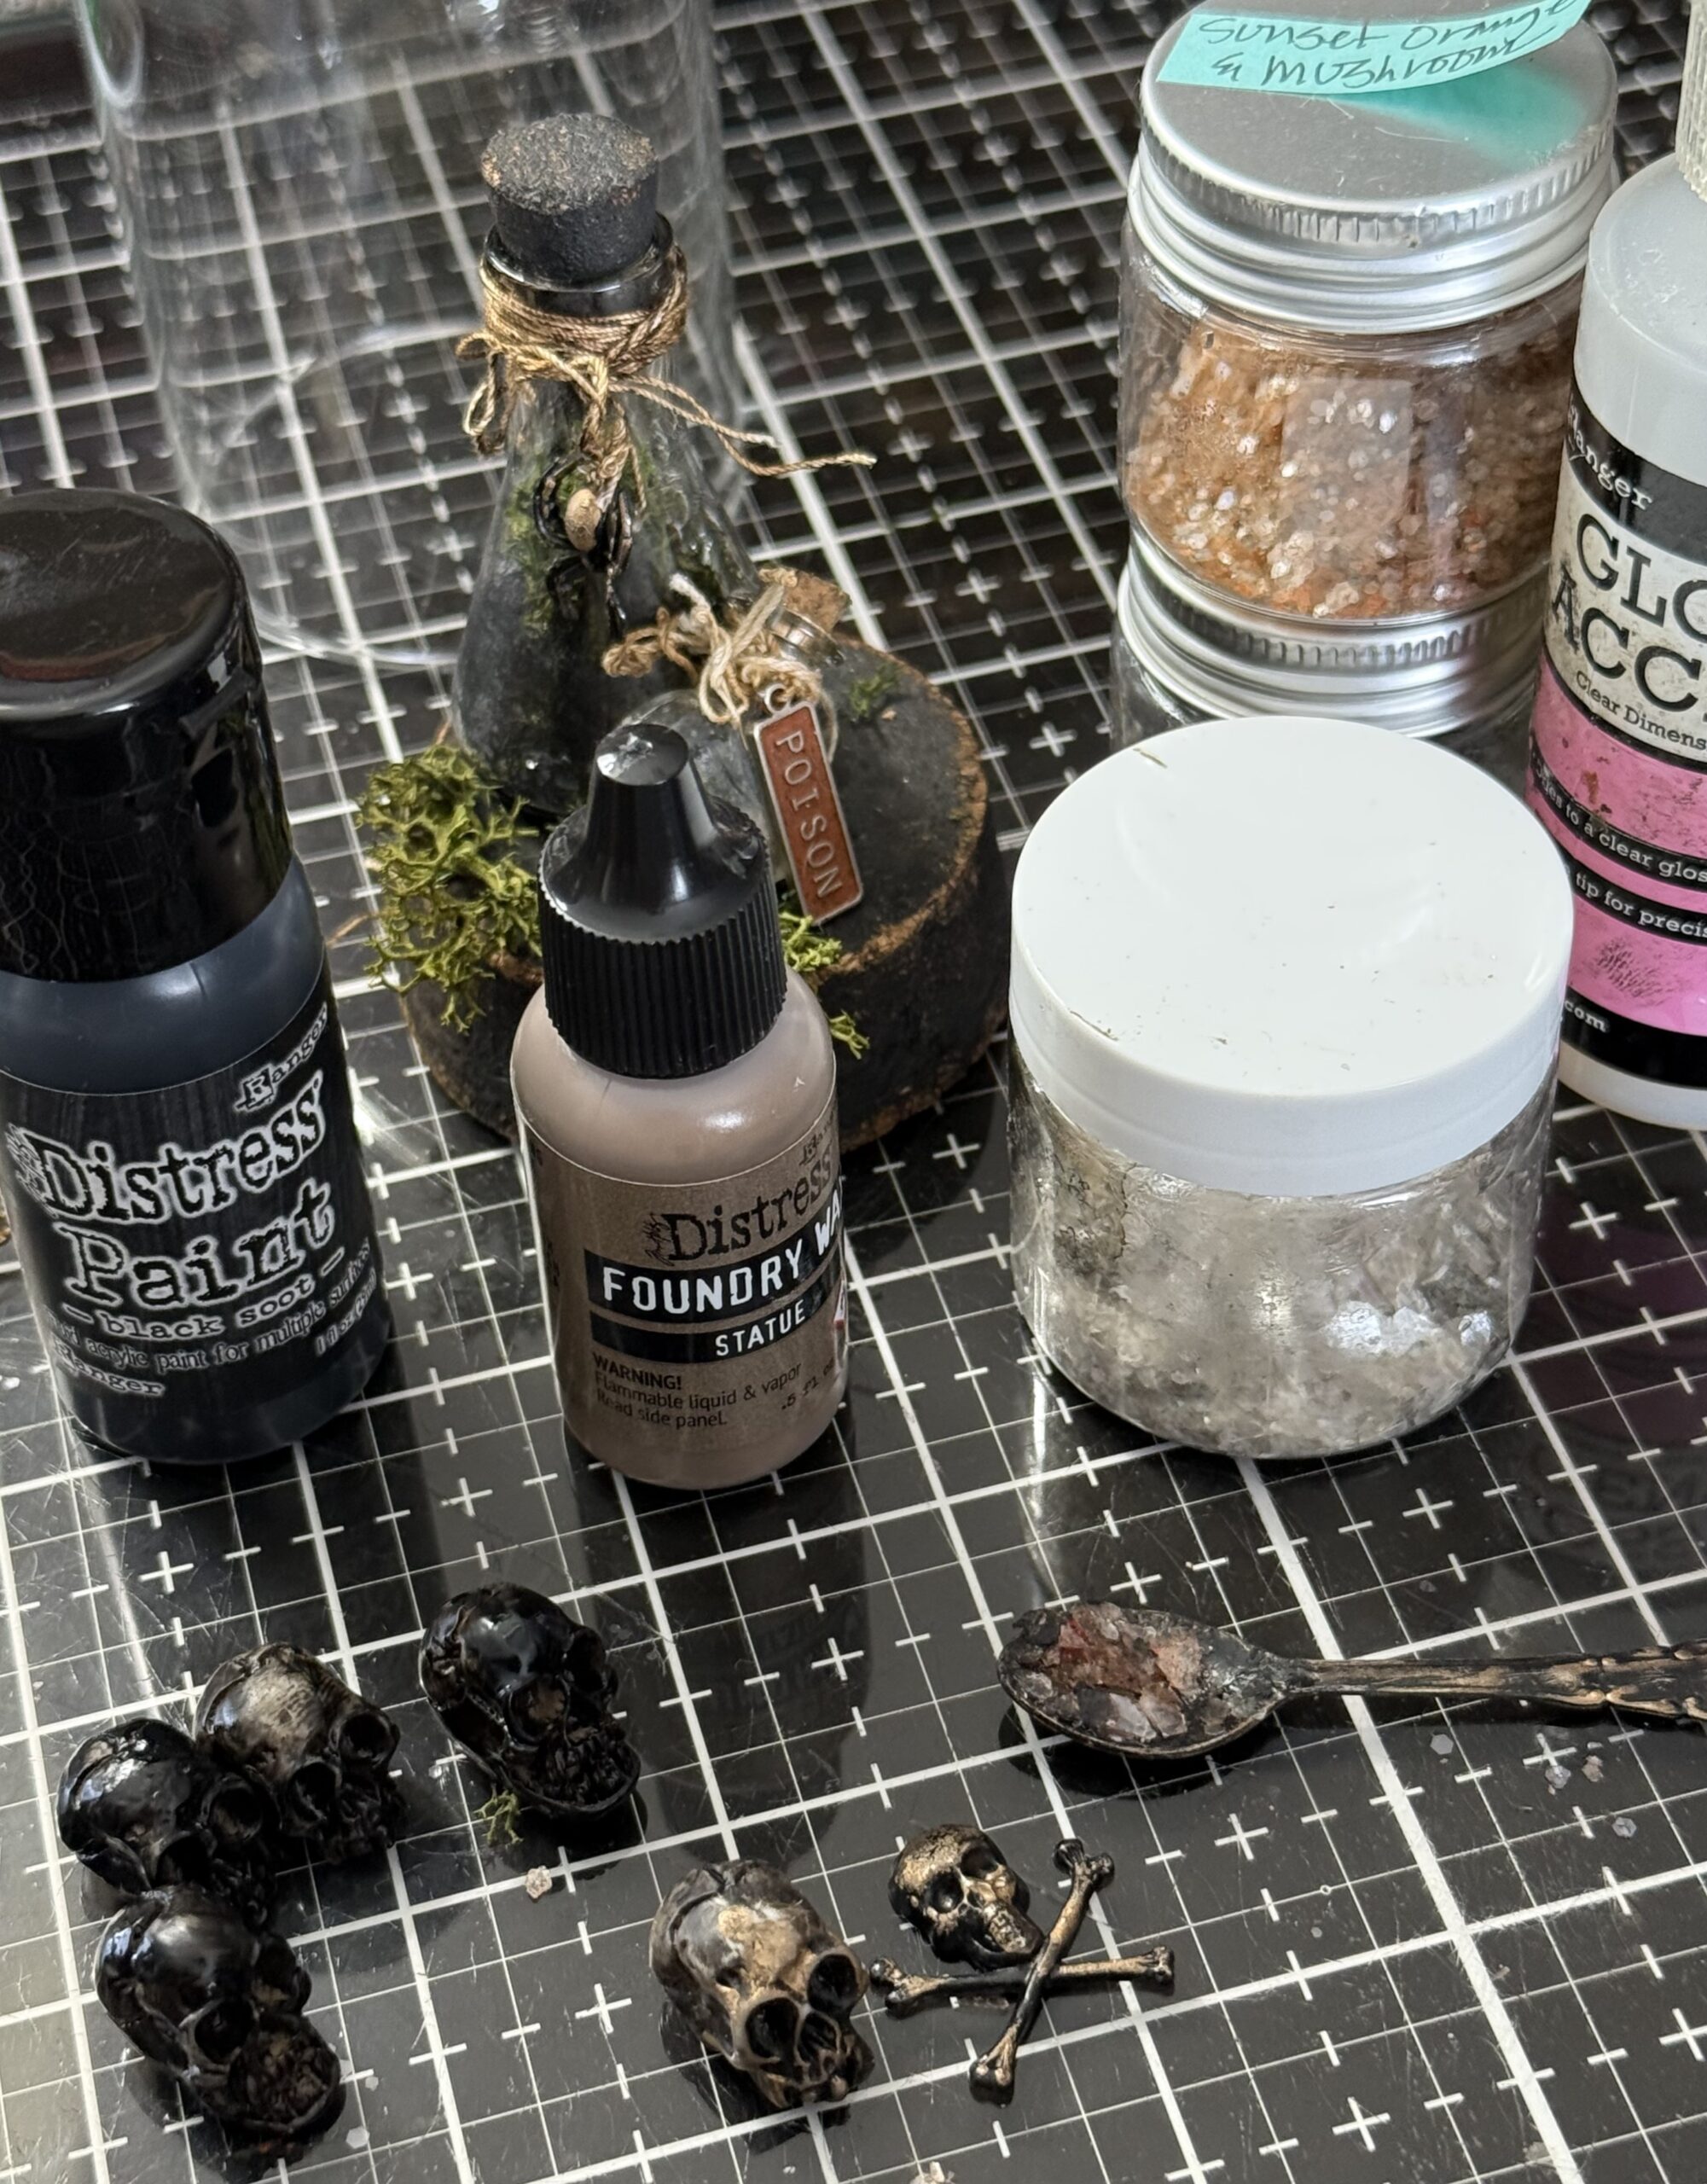
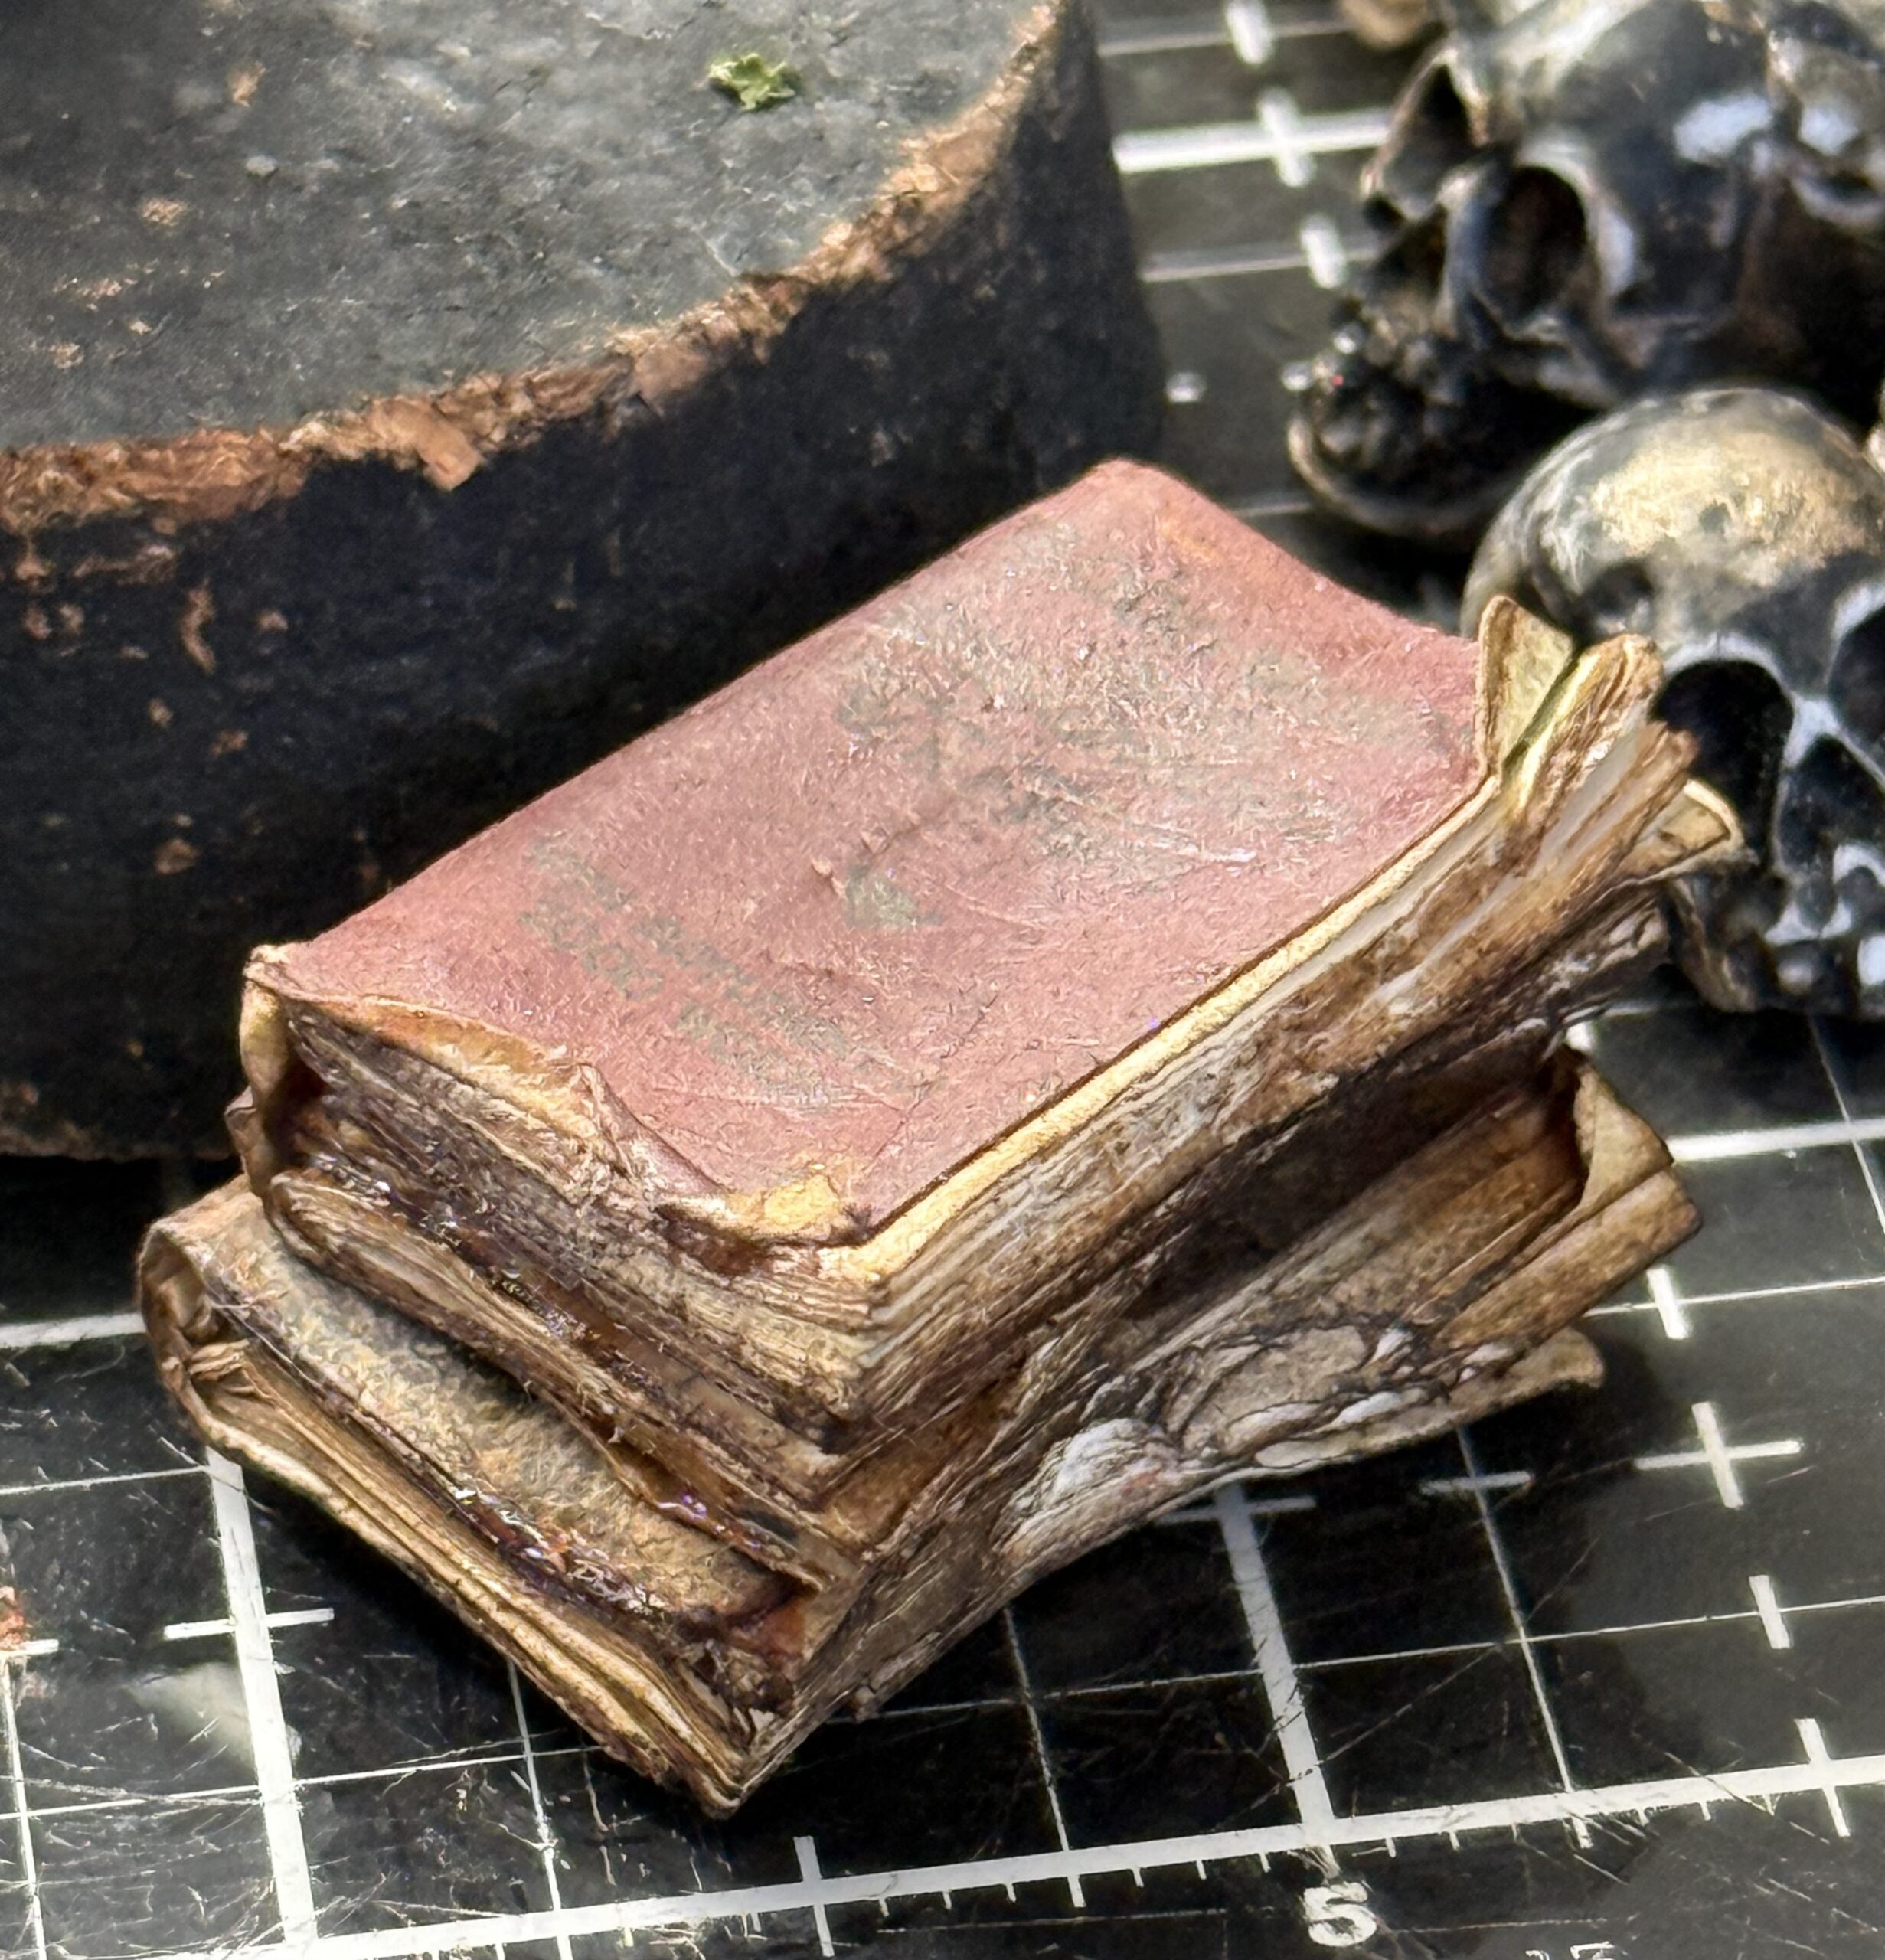
I made some mini books for my dome. the little covers are included in the Halloween Ephemera Pack, I chose a few, and added some paper into them to create the look of old books.
Making tiny books is easier than you think..you’ll need some thin scrap paper, book paper, notebook paper or computer paper, a stapler, some brown ink and a blending tool to add some grunge and Distress Collage Medium, I also like to use a large bull clip to hold the books as they dry.
Cut some thin paper strips to the width of the tiny book..I use about 4 or 5 strips per section.
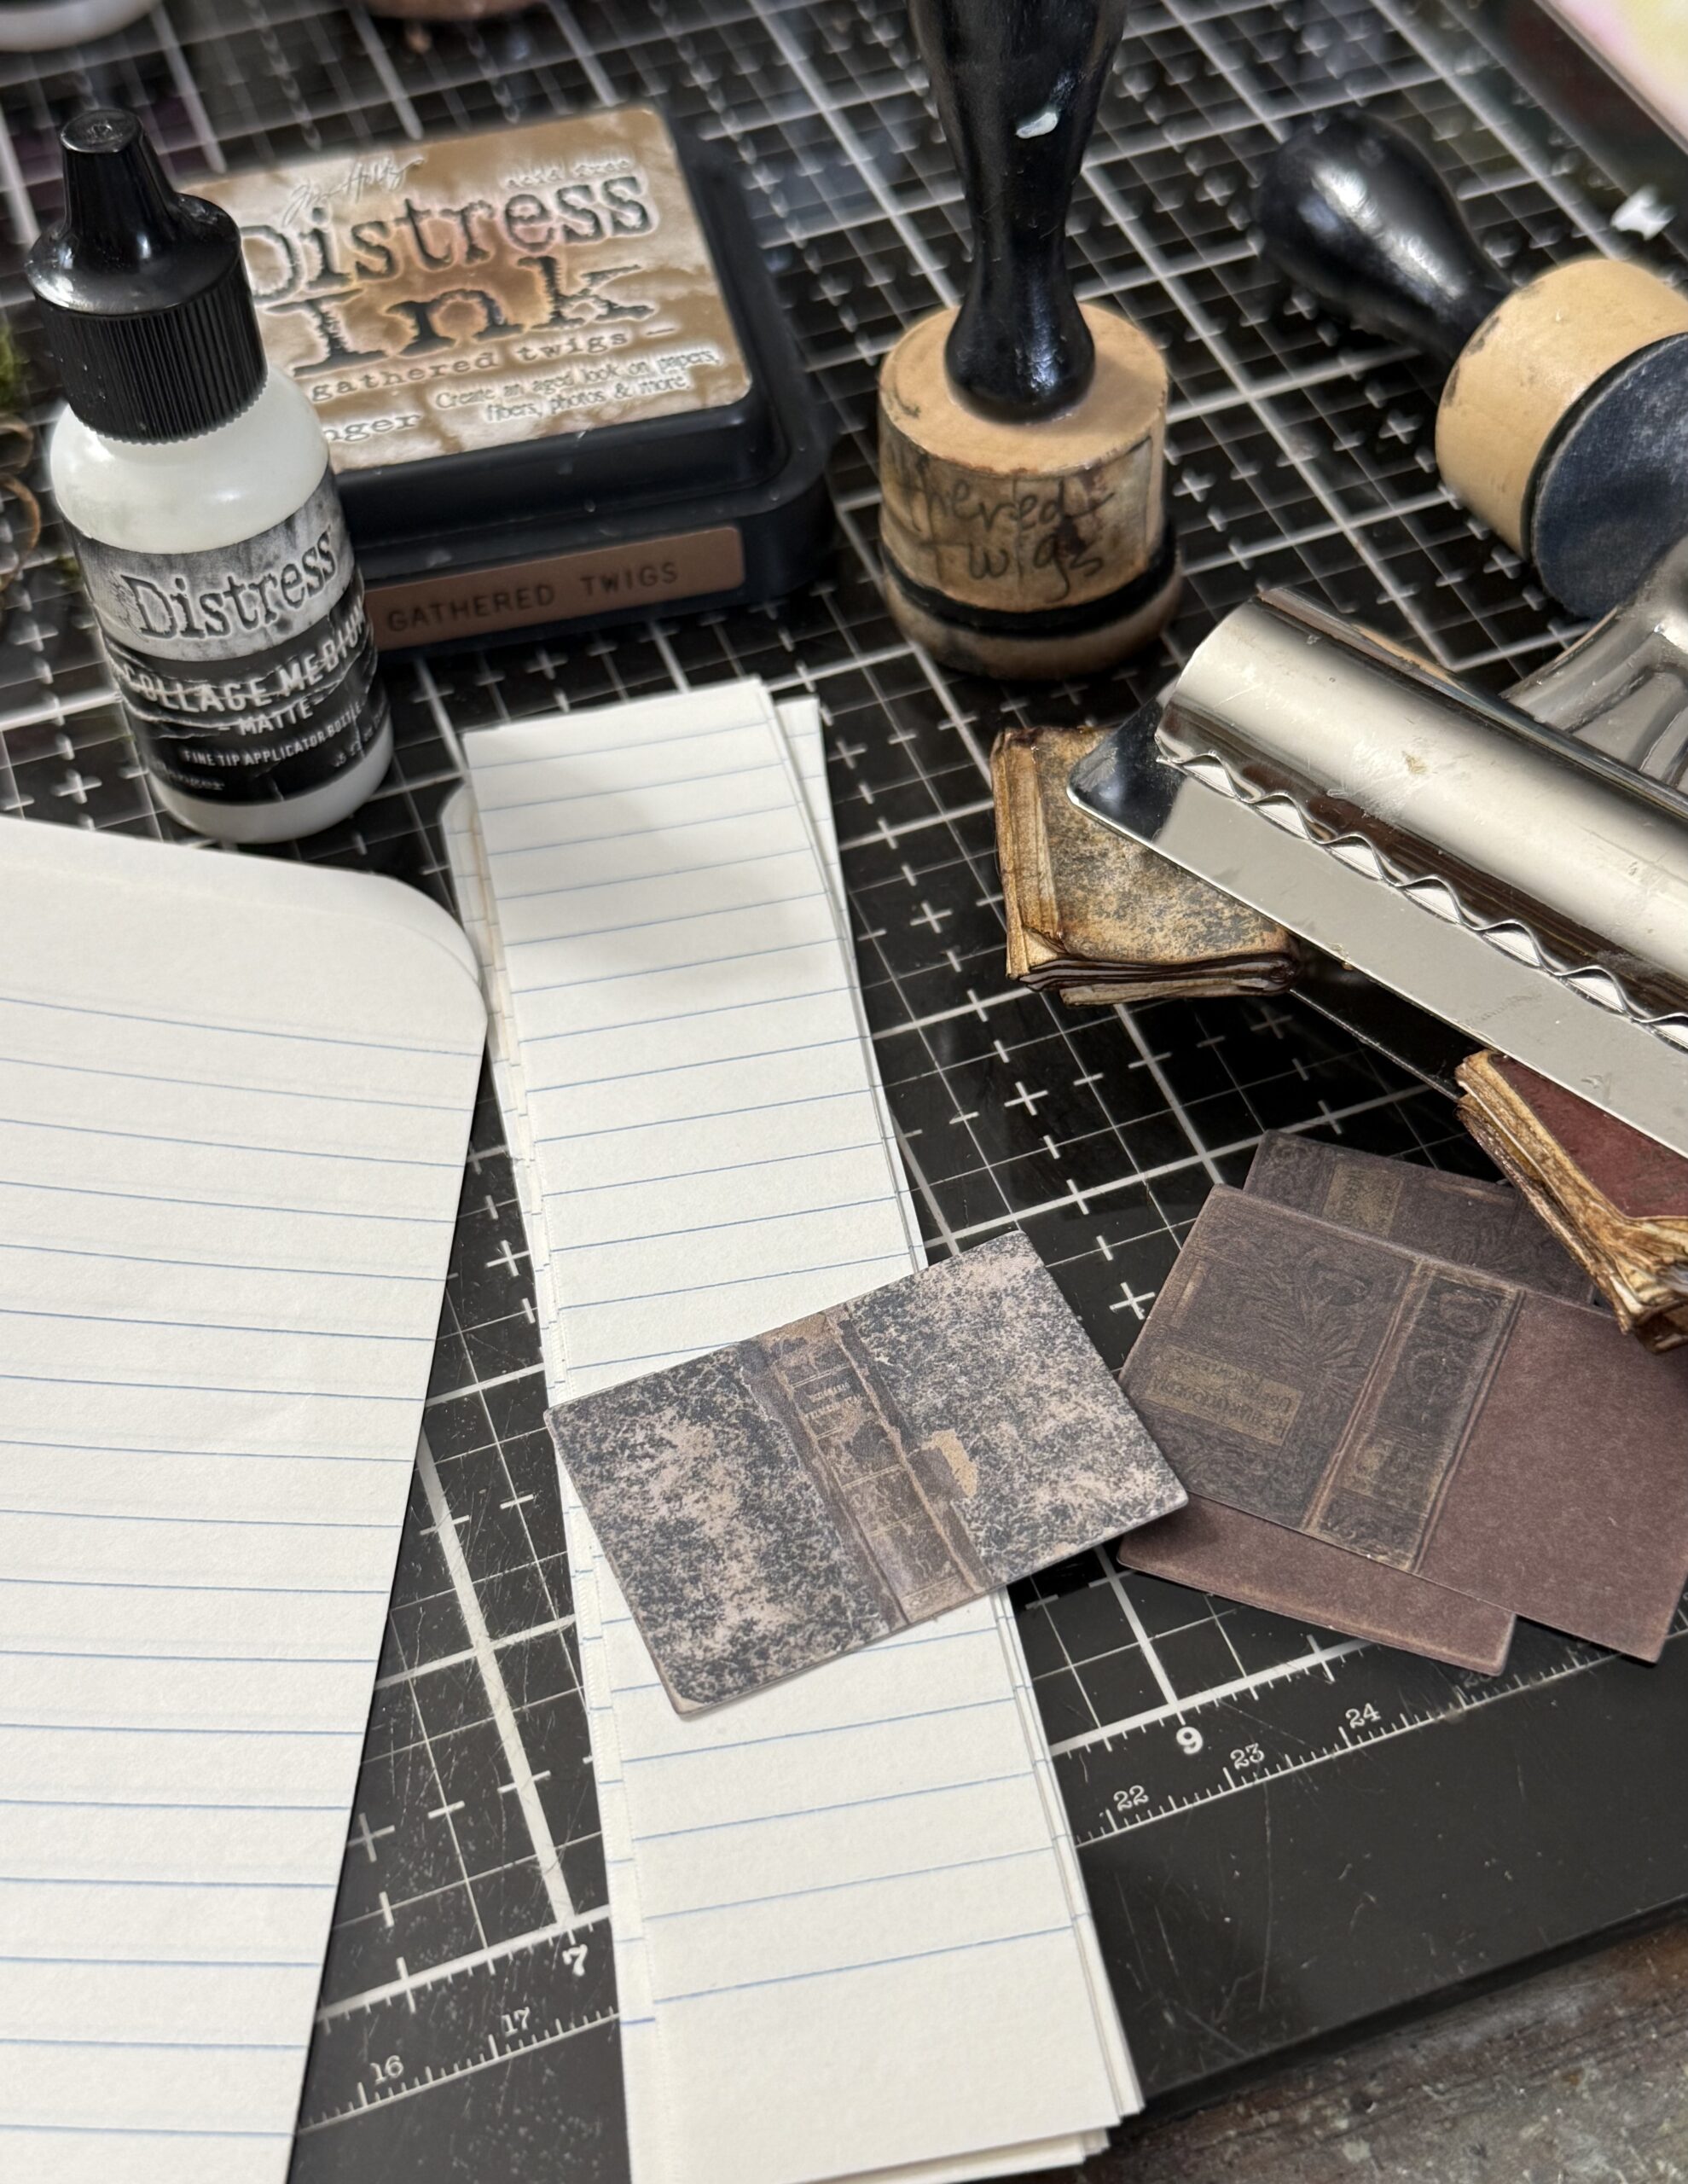
Fold the paper strips back and forth to the width of the little book. Don’t worry if you have too much and the edge of the pages sticks out of the books, that can be trimmed after it has been stapled in the middle. The use a stapler to staple the folded section together. You can see what they look like in my photo below.
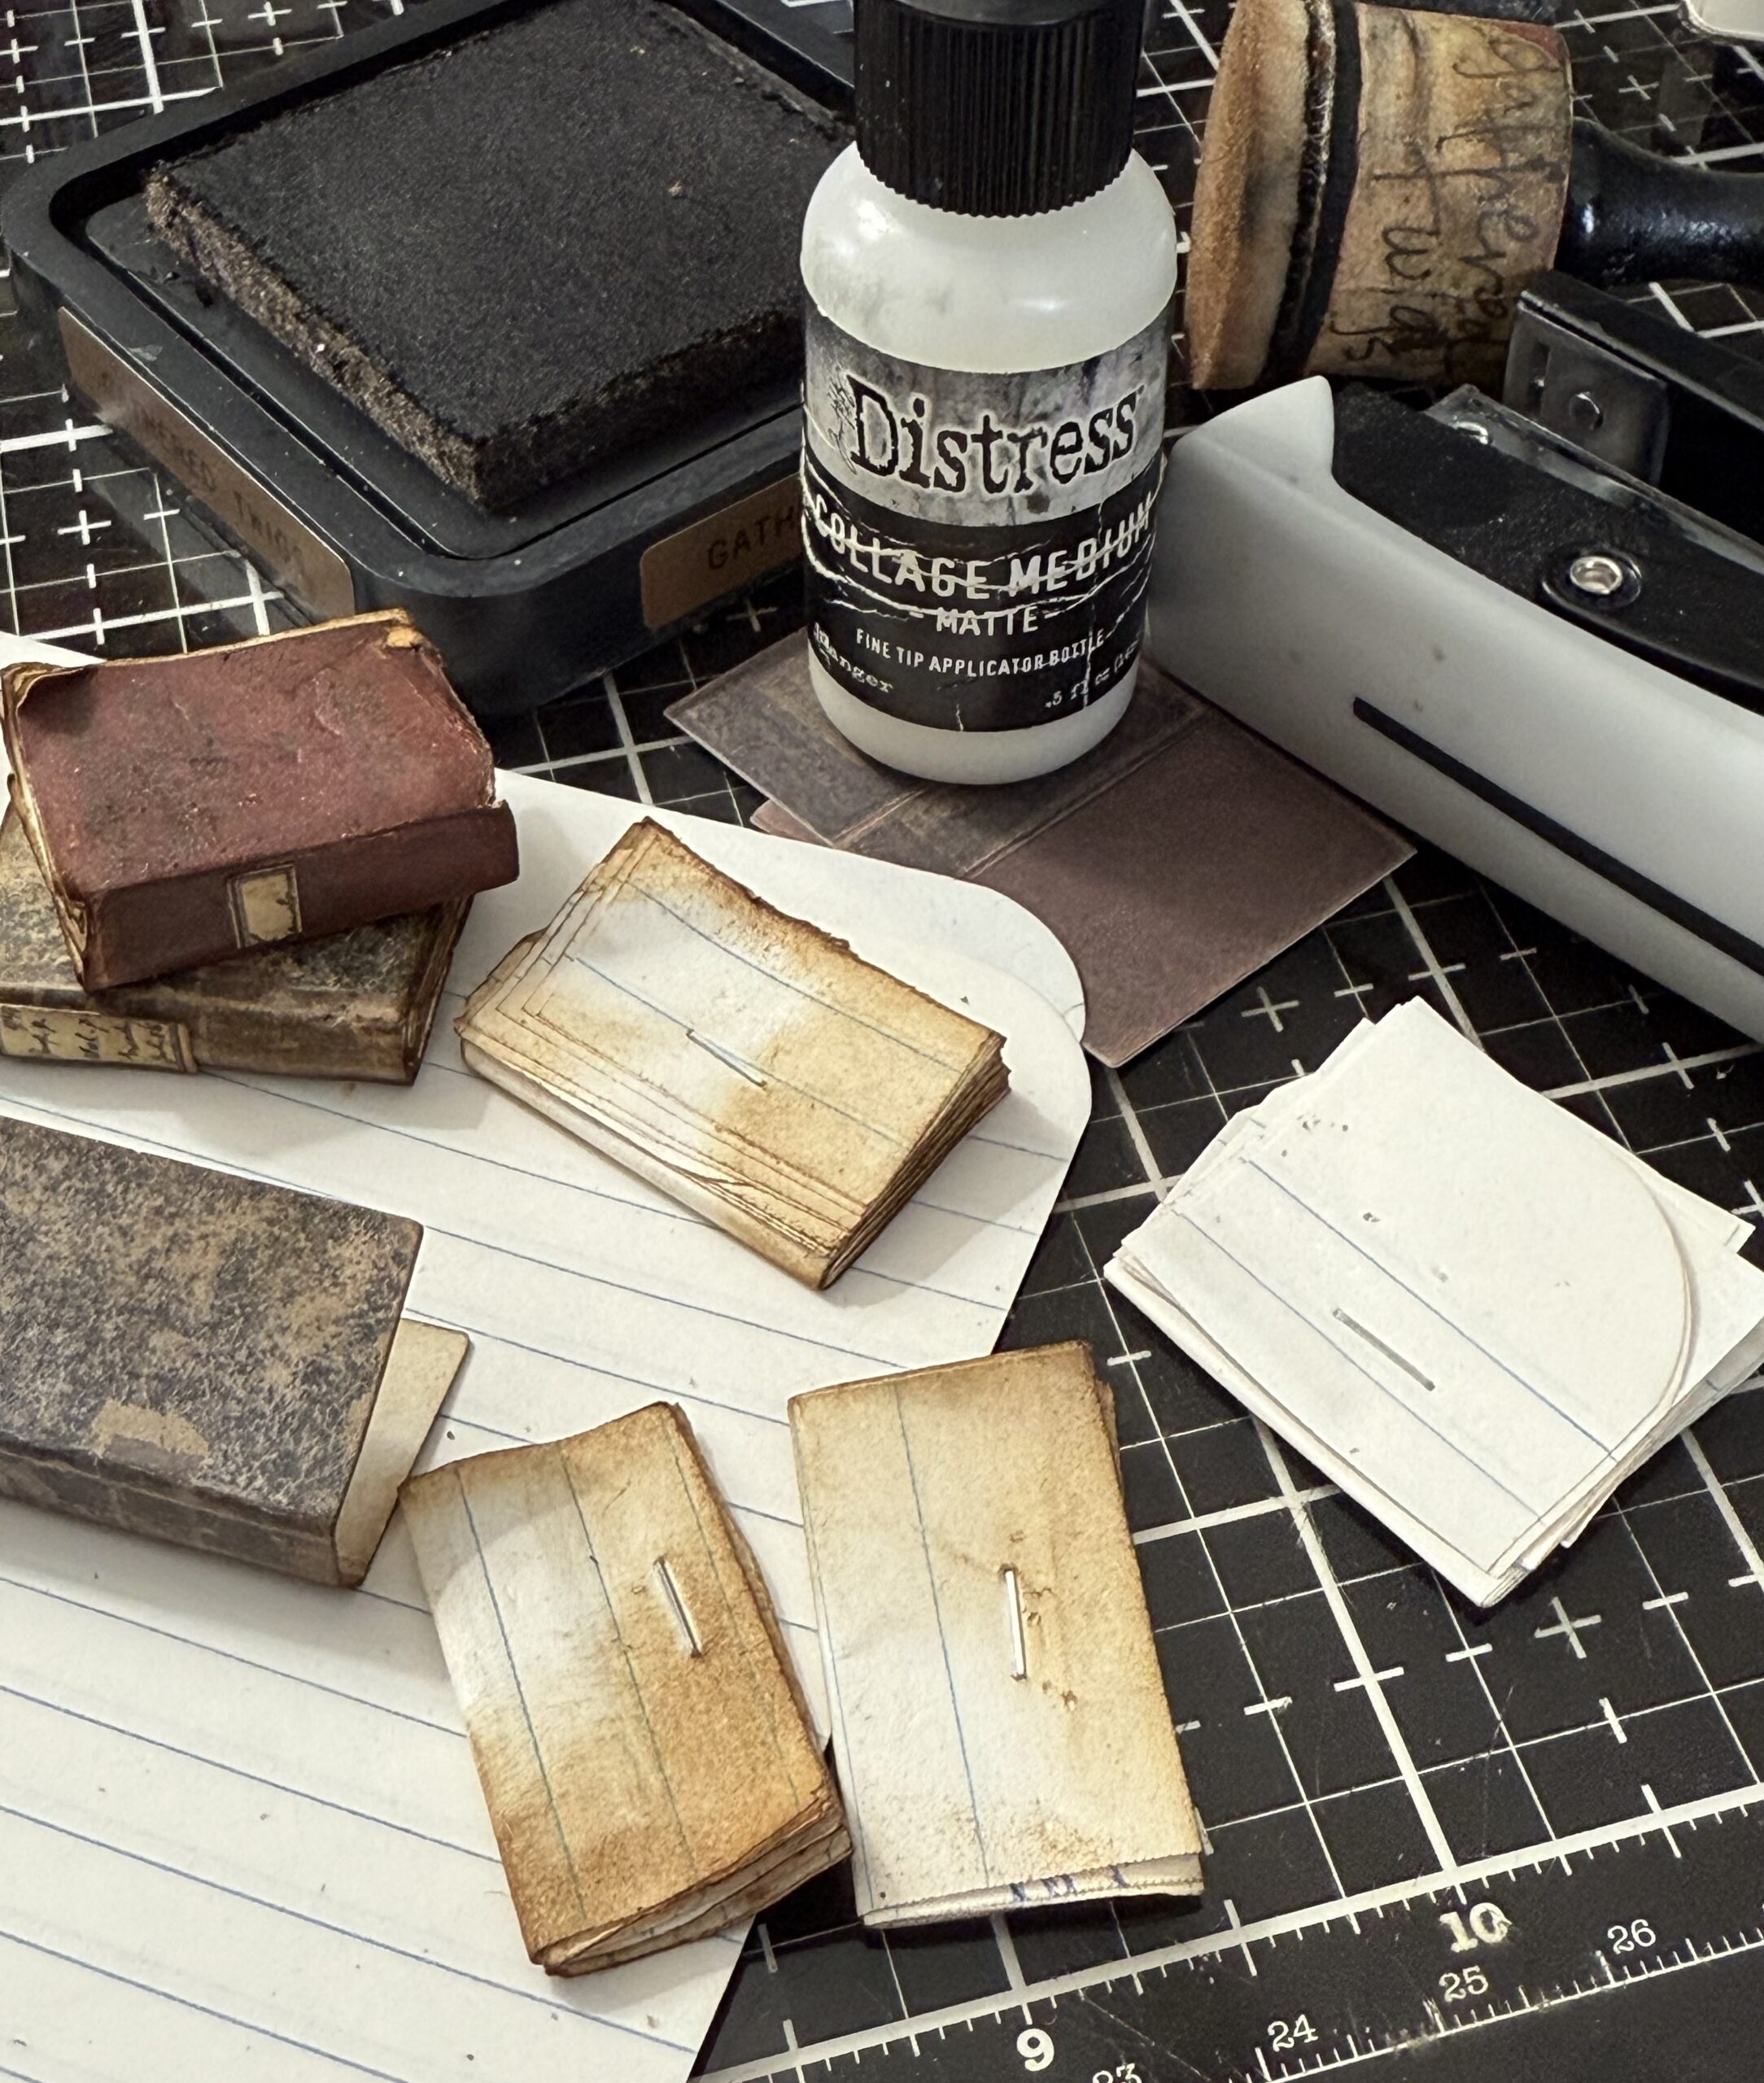
I like to make a couple of sections of the little folded papers, then place them inside the book to see if I have enough, once I do, adhere the little sections together, then add it to the book cover with collage medium.
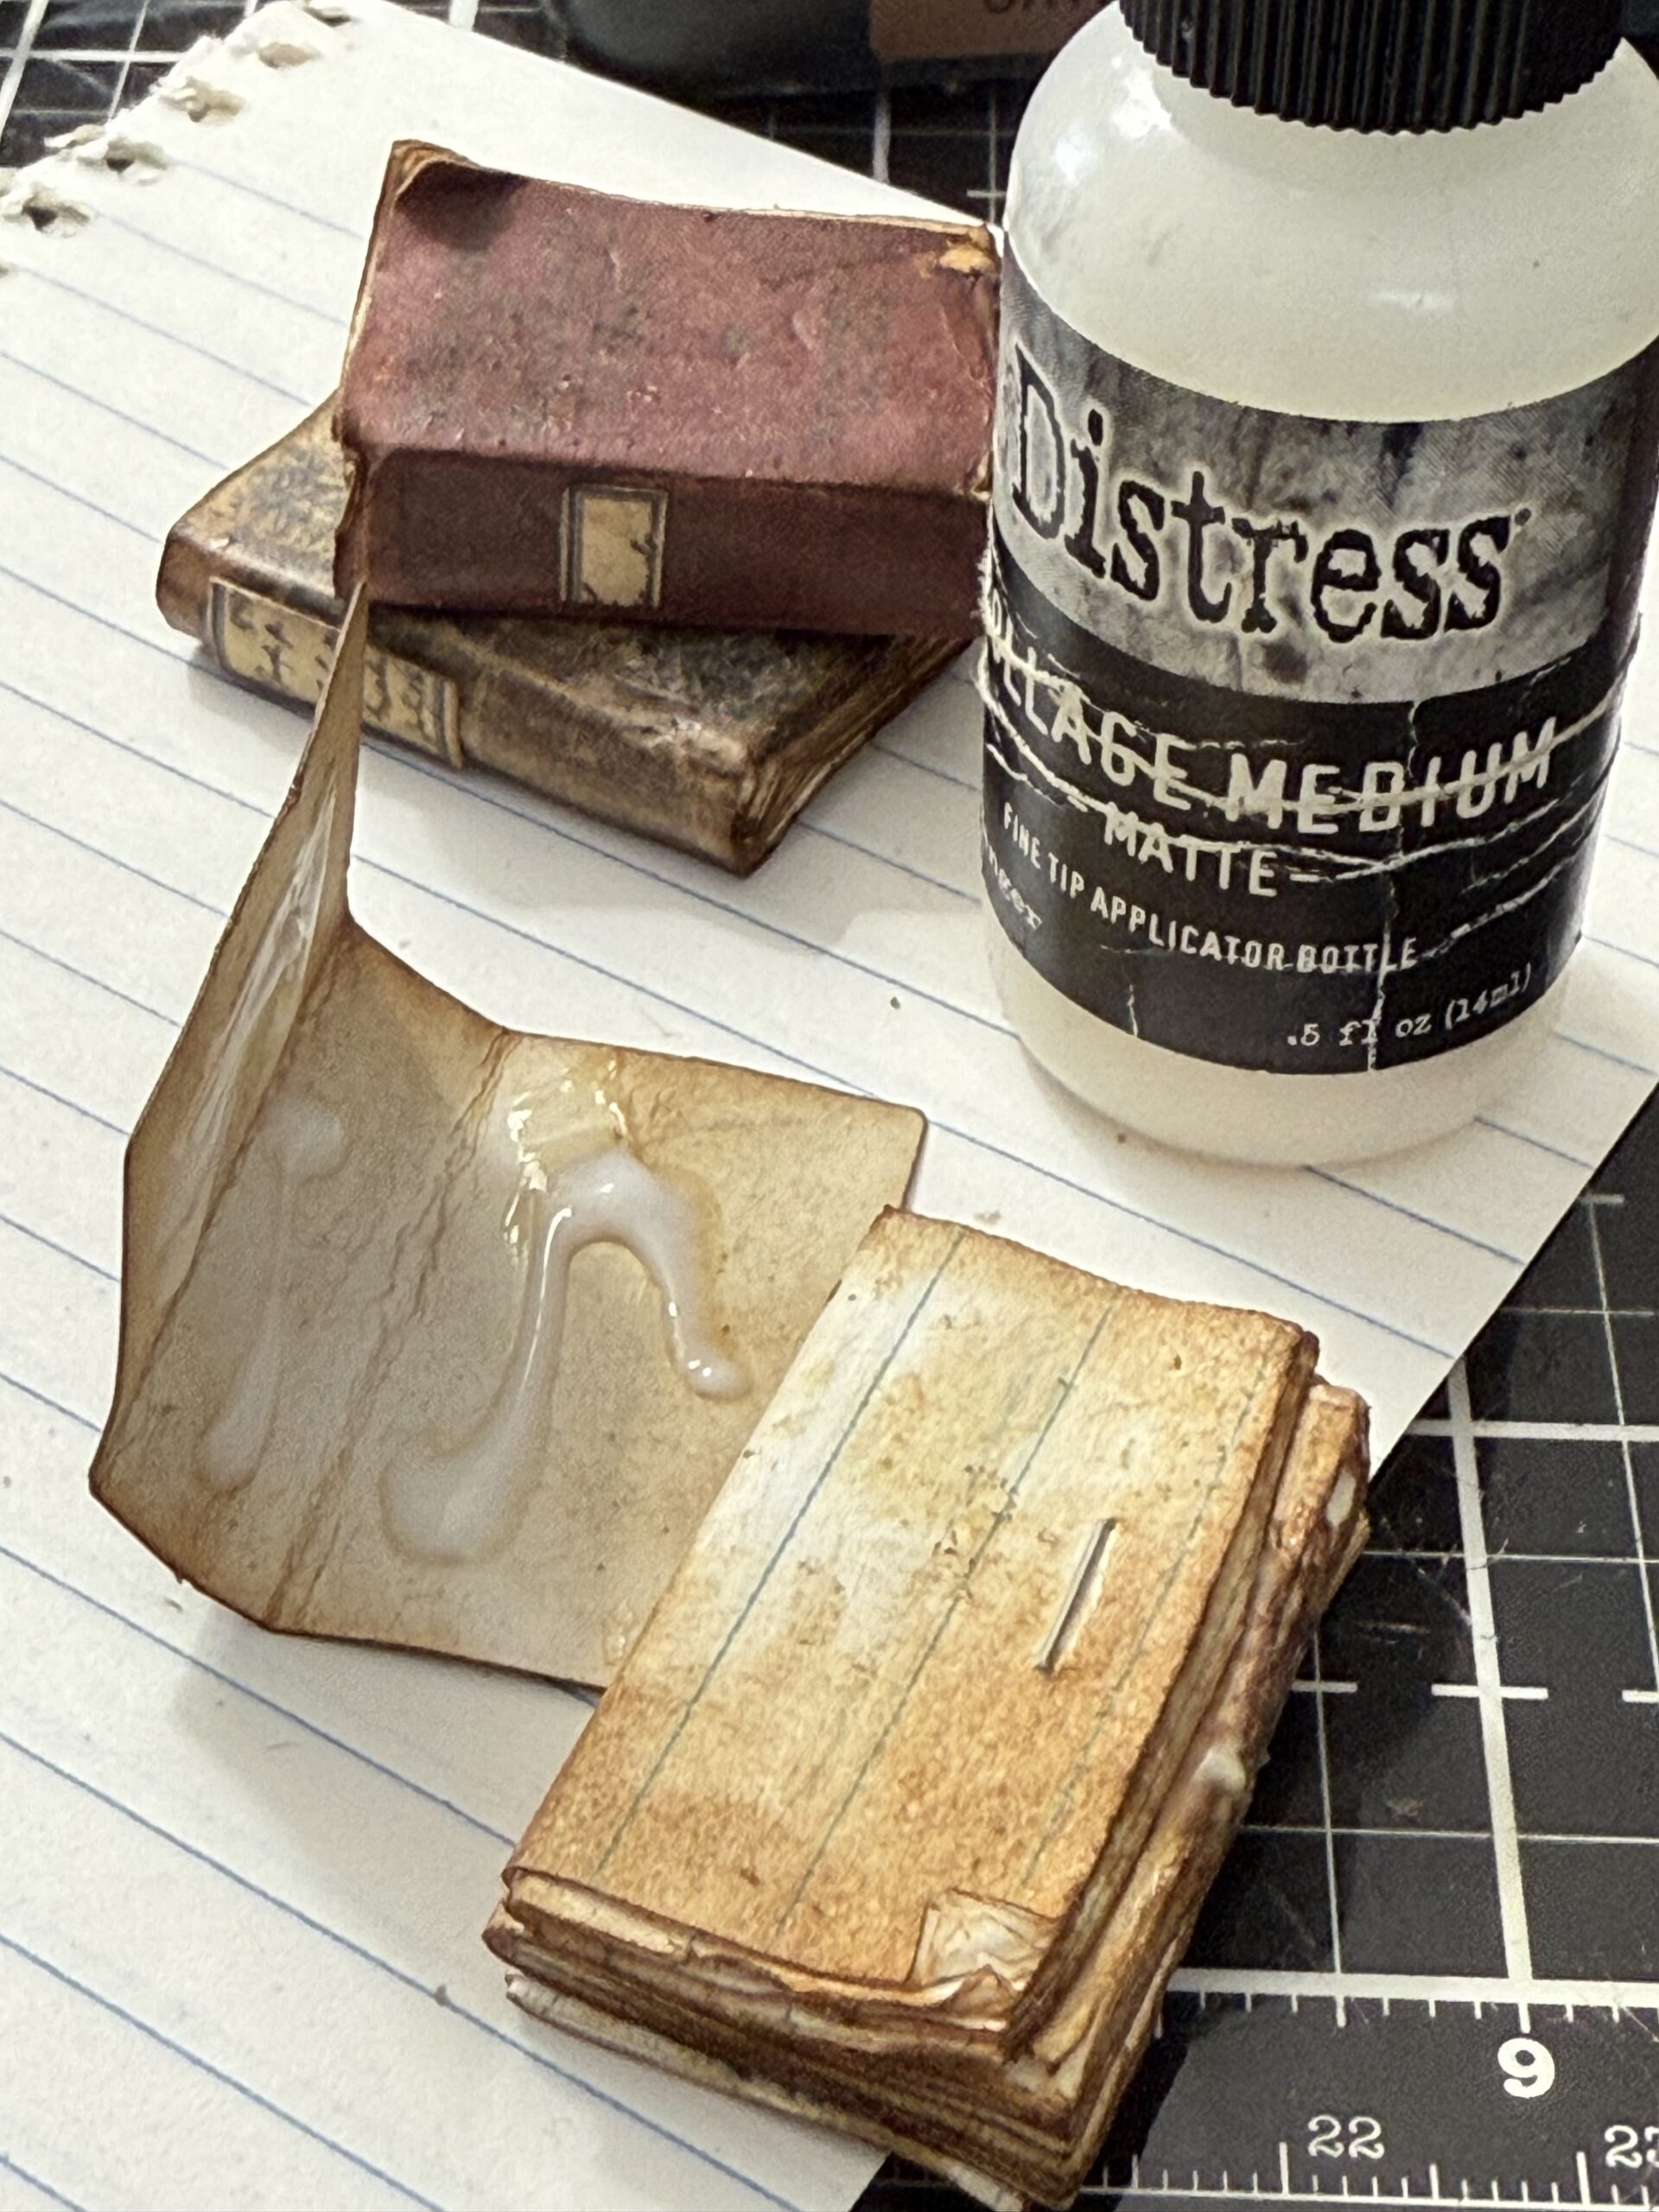
If the pages are hanging outside of the book, trim them with a pair of scissors. I used a couple Snippet Curator Labels that I trimmed down to fit the sides of the books to look like little labels. Then I used my blending tool to add brown to the edges of the pages and cover.
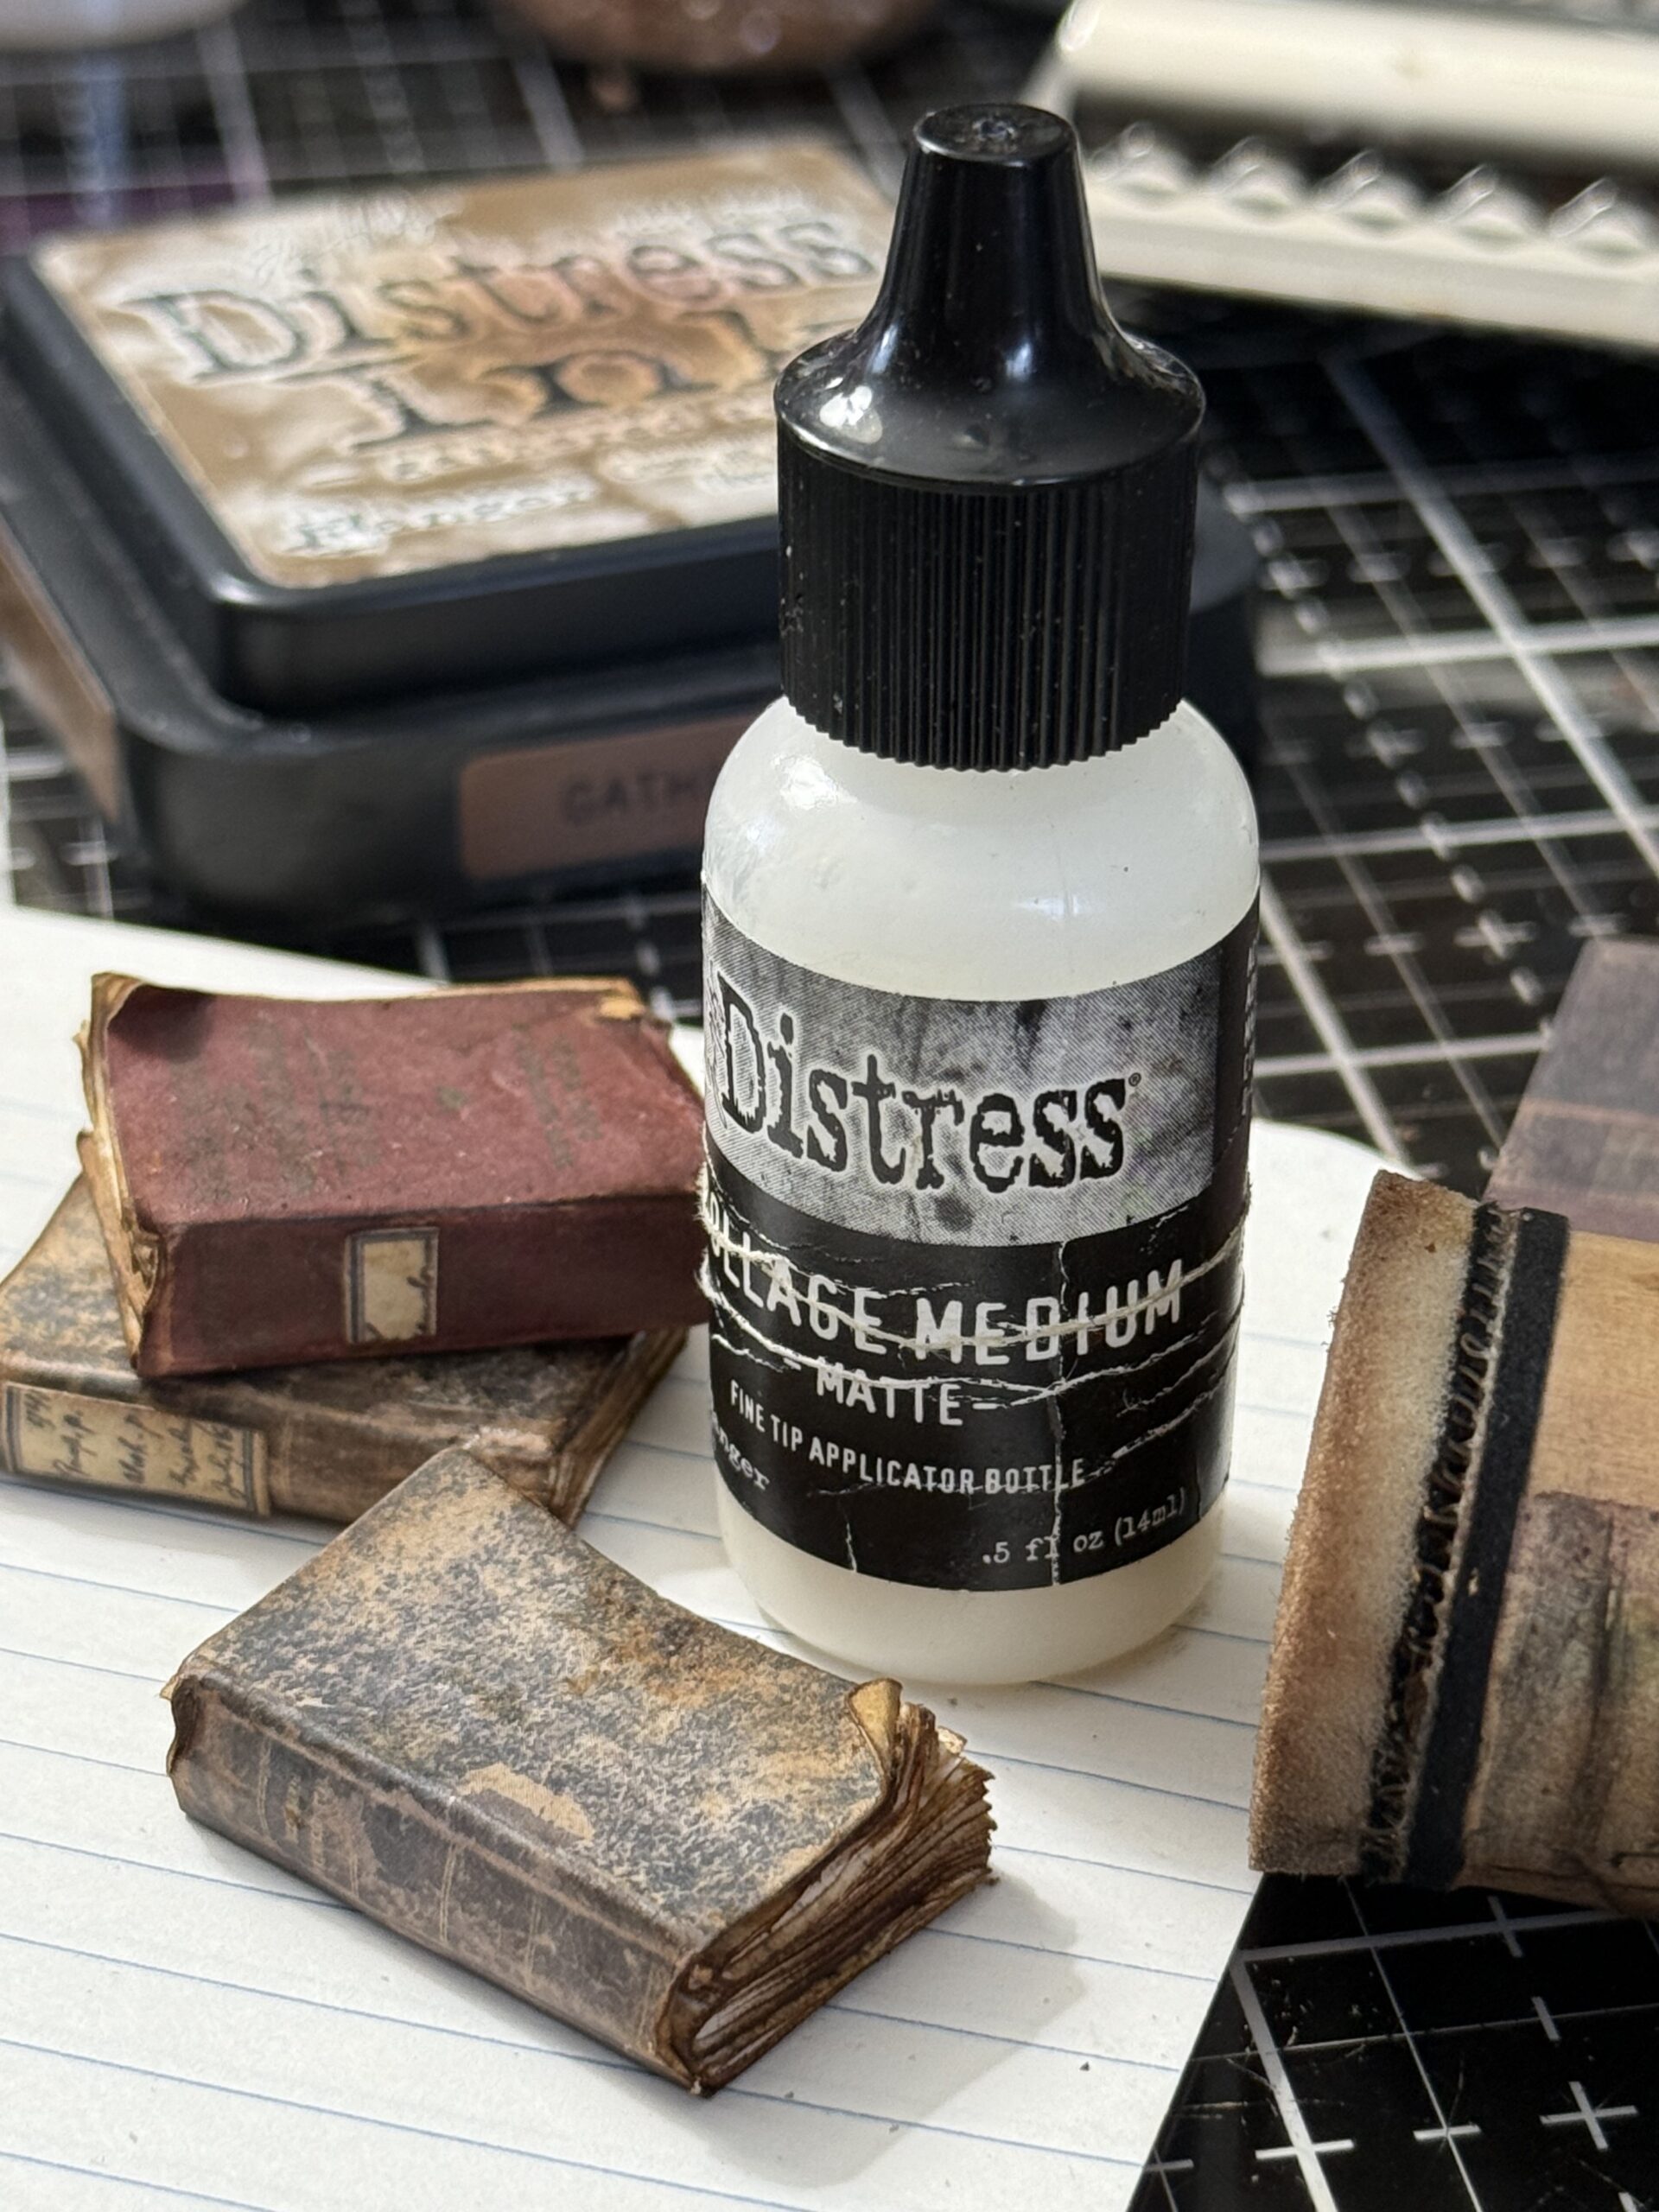
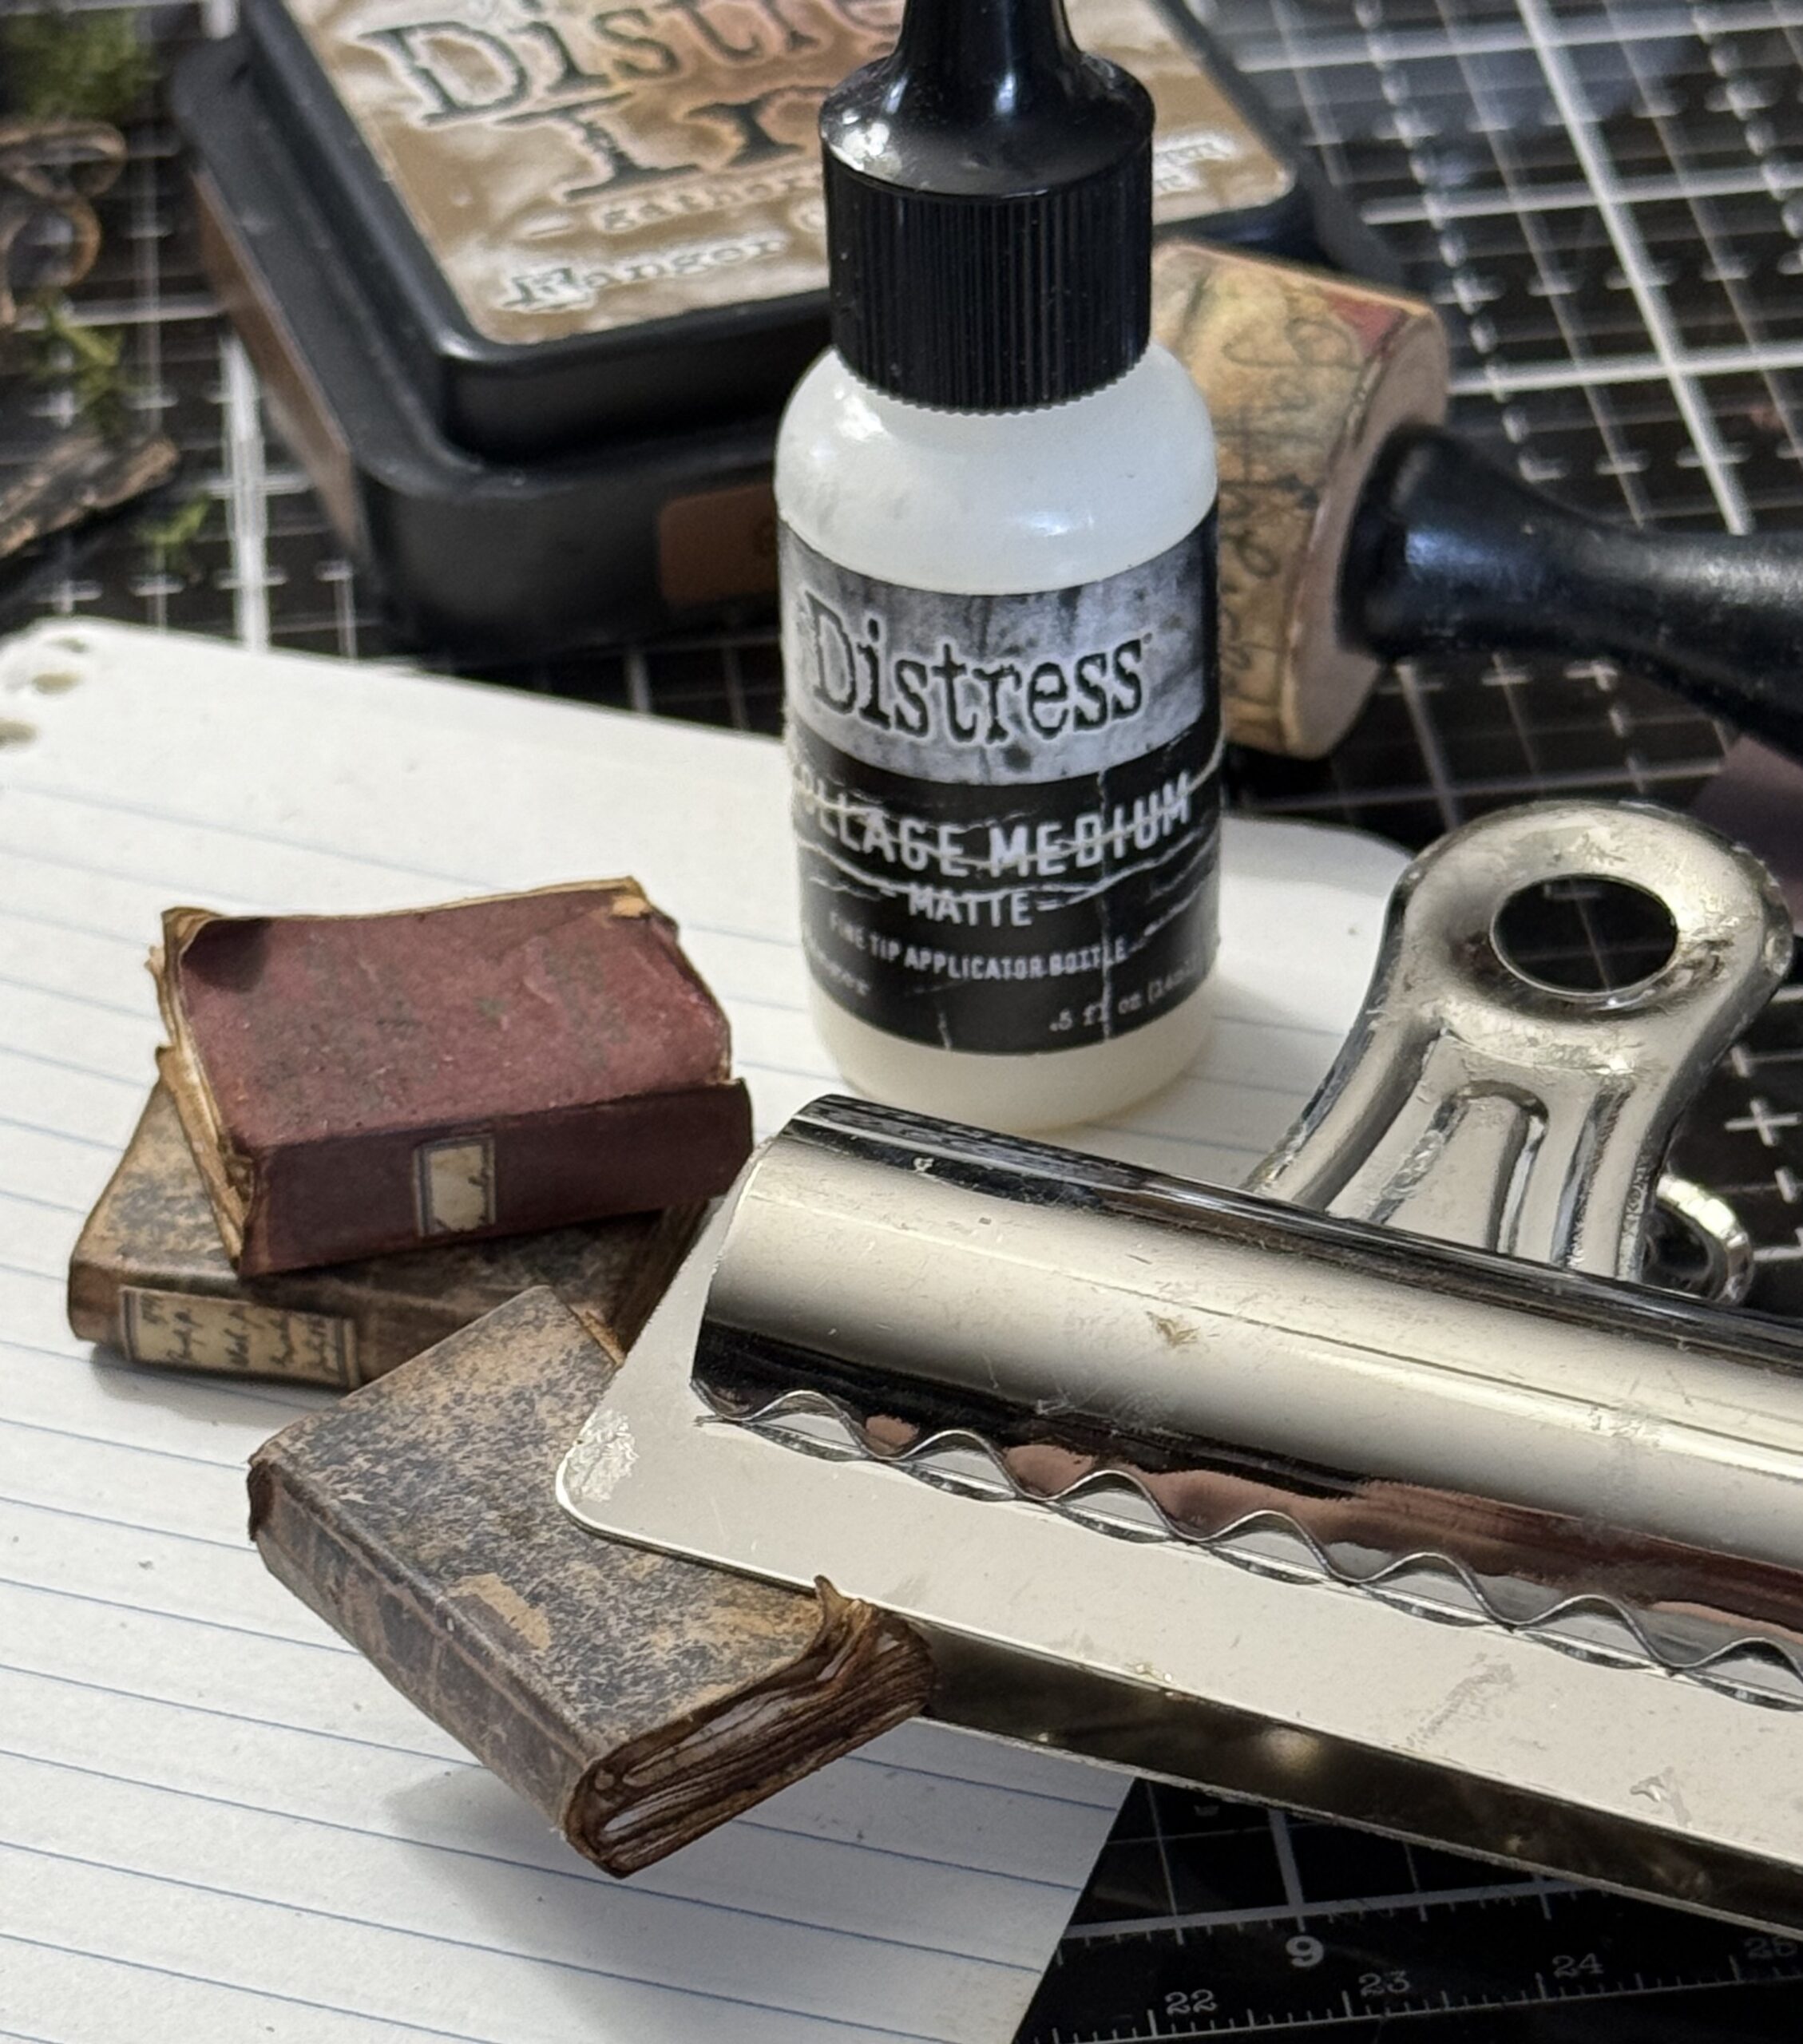
After you’ve applied the ink and have it all grunged up, place it inside the bull clip to hold it together until it is dry.
While my books were drying I went back to work on the skulls. I used a sanding disk to sand a little of the black off to reveal some the cream color underneath.
Then I began building on top of the cork base. I used collage medium and some hot glue to add all the little pieces. I started with the large Laboratory Vial, Spoon, and little books, making sure that as I added the elements the dome still fit over top.
The spider that was hanging on the vial was adhered in place using collage medium and dried before I started this build. That way he was always facing the way I wanted and wasn’t flipping around inside the dome.
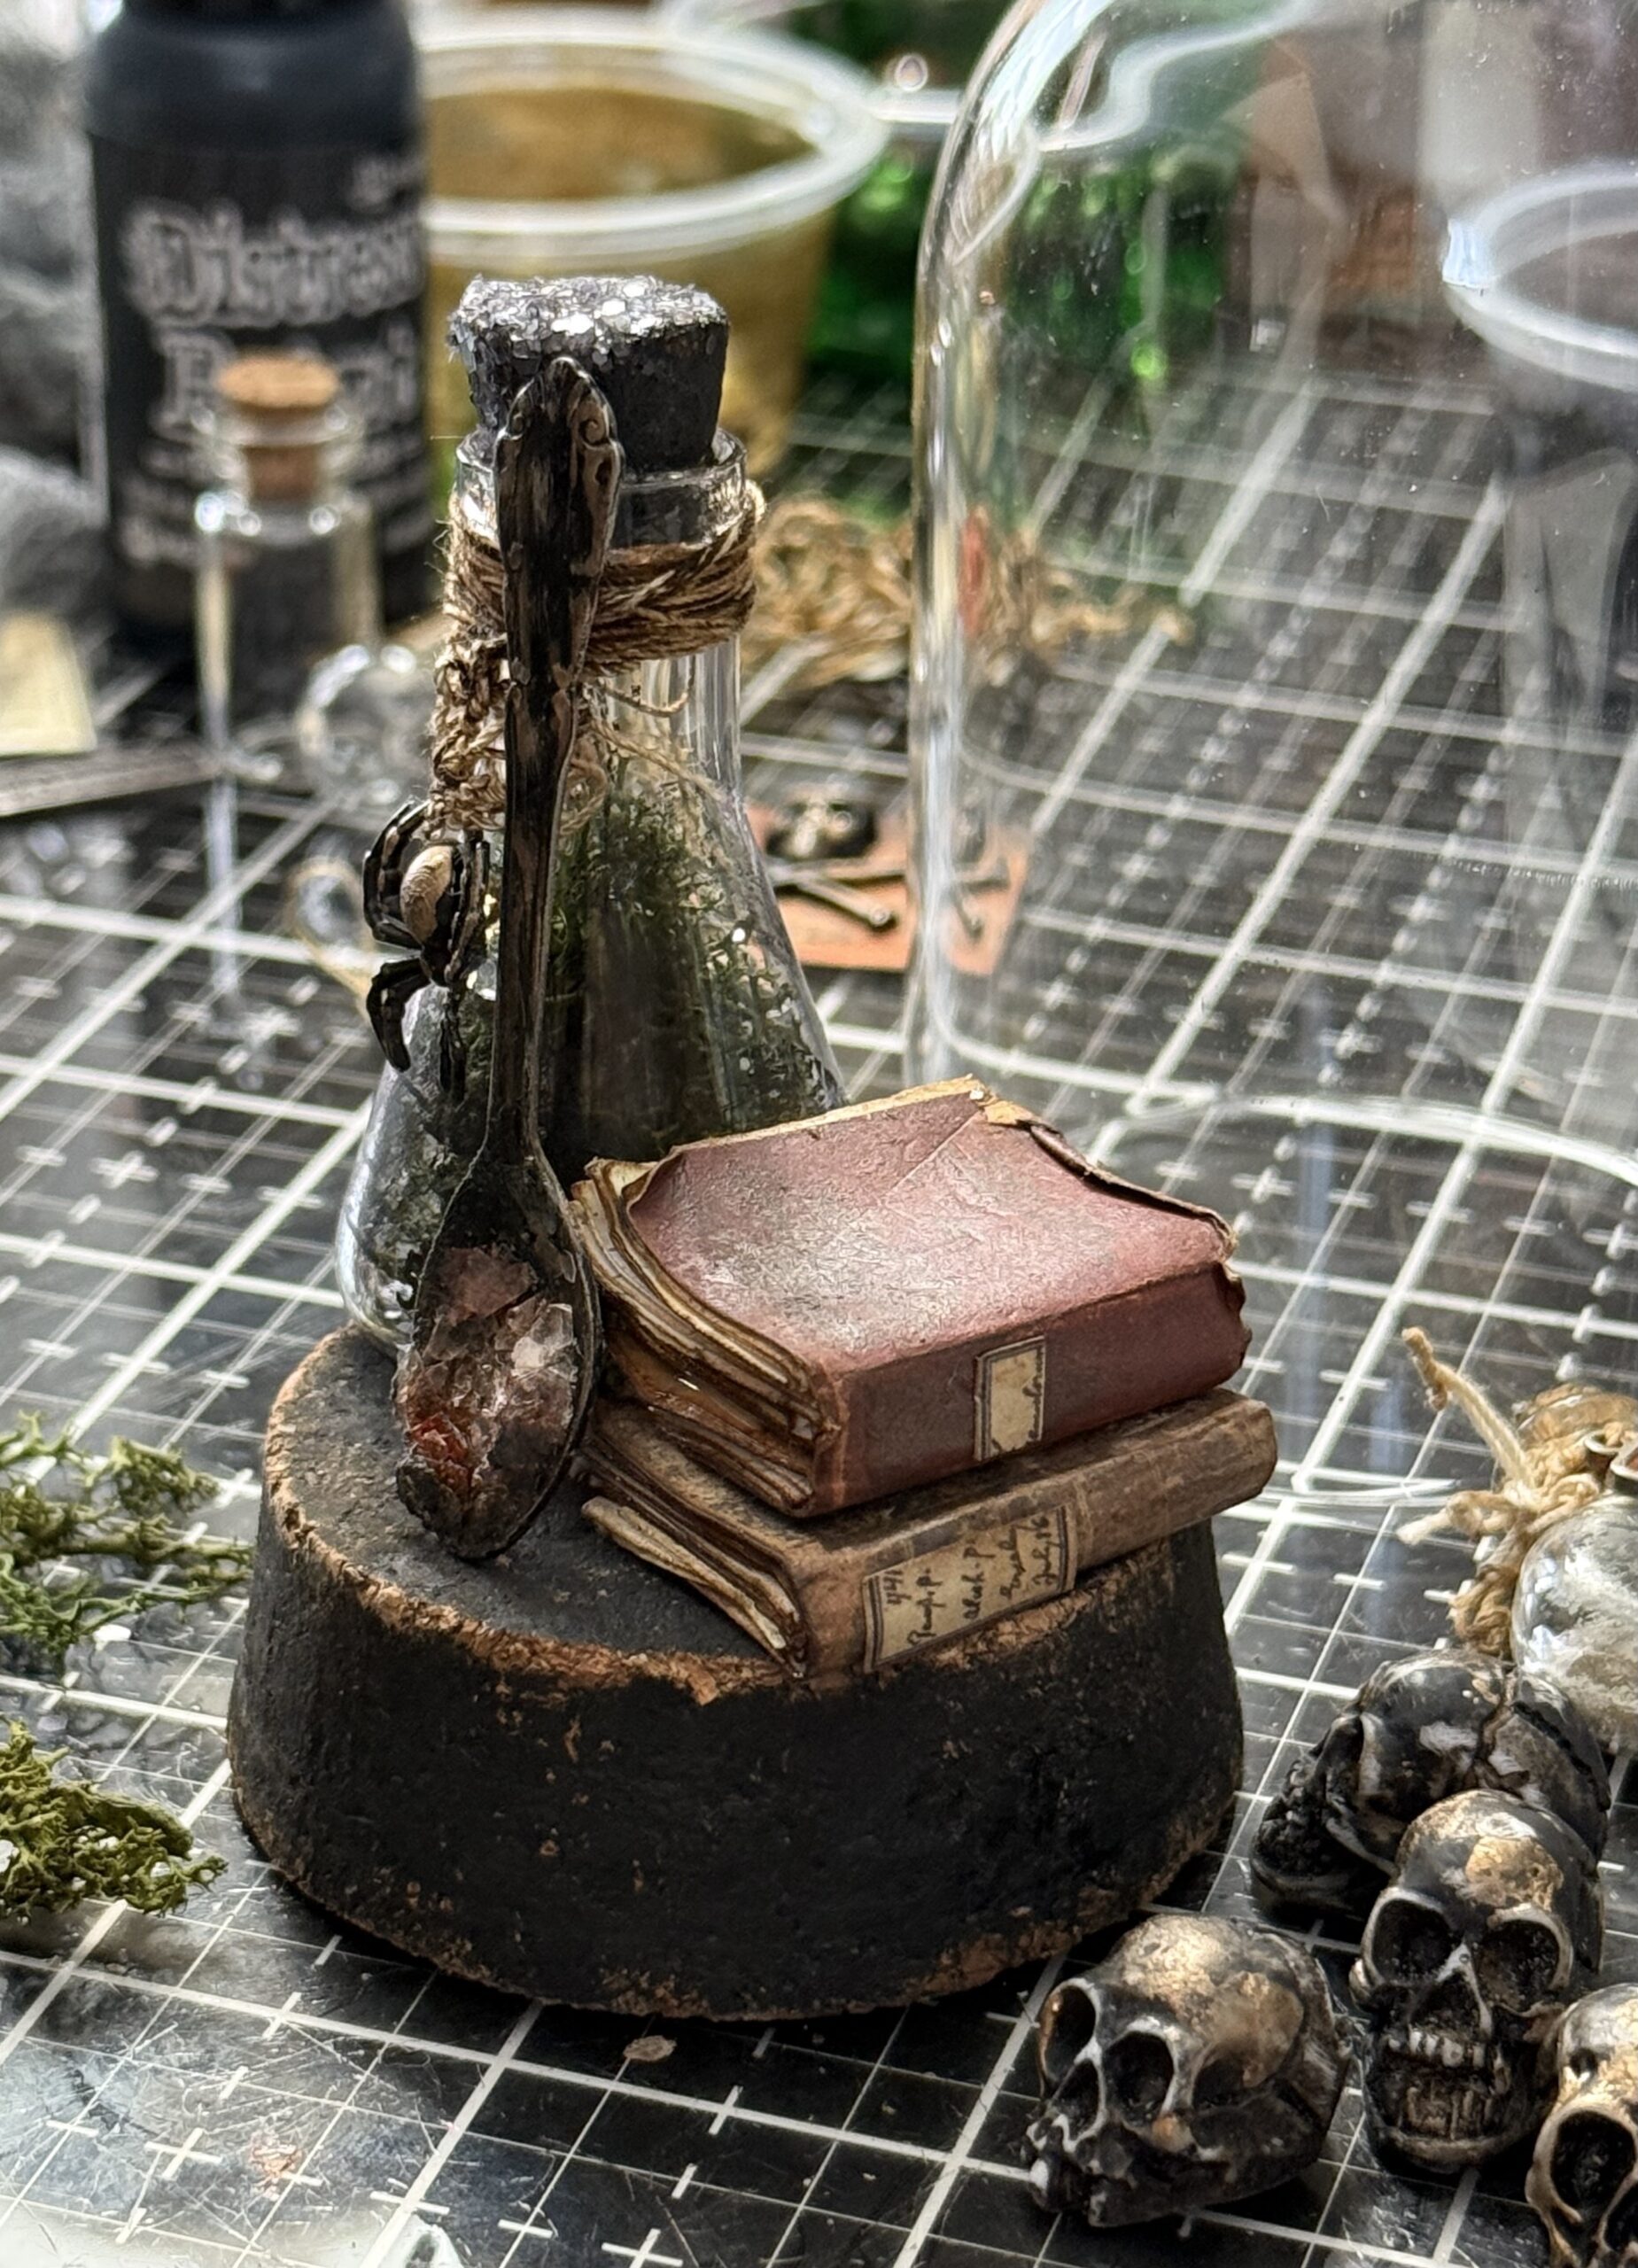
The books were slightly too bulky and stuck out a bit so to fix that, I used my scissors and cut into the pages of the book, creating an indent so that they would bump up right next to the vial. It worked perfectly as those edges would not been seen once the entire vial was filled.
I added the spoon to the vignette by adhering the bowl of the spoon to the cork and then tying the spoon handle to the top of the large vial, then I glued the spoon in place and let it sit and dry.
Once those pieces were set, I added the rest of the items, floral moss works great as filler and hides places that need more glue. I adhered the small poison vial on top of the books, then added some more moss on top of the book to hold the vial in place and add some more character. The top of the vial cork was rubbed with some glossy accents, and then sprinkled with some black glitter.
On the flip side, I started with one skull next to the pile of books, then added some moss. I added 3 more skulls for a total of 4 which were all stacked up on top of each other, then moss was added into any open spaces using collage medium.
I added some mummy cloth that had been colored gray using some ink. This piece was tied around the bottom of the dome, then a Curator Snippet was added to the outside and an adornment skull and crossbones on top.
With that, my project was complete…another project all set for Halloween!
Thanks so much for stopping by today, have a great day!
Creatively yours,
Stacy
Shop Simon Says Stamp by clicking on this link. Thank you! I appreciate you for supporting me.
What is an affiliate program, and why should I click on the link and buy through you?
When you shop via the affiliate link on this blog, I receive a small commission from the affiliate provider (Simon Says Stamp) at no extra cost to you, whatsoever. These commissions help me to cover the hosting fees and other costs to run my blog and be able to provide you with FREE inspiration. If you shop the links, THANK YOU! I truly appreciate being able to share my love of creating with you.










What a great little make for Halloween. Always love your instructions with pics for those of us that are creatively challenged. ❤️
I love your Halloween makes so much. They’re so creative and fun and your photo tutorials are so very helpful. Thank you.
You are a master maker of ide-ology Halloween! Such detail! 💀🧡💛🤎👻
Absolutely fantastic!!
Yummy make full of little details that make it wonderful. Thanks for the tutorial.
Such a fun project! Thank you for sharing pictures and details of your project! 🩷👻💀☠️