Hello all…hope all is well and this post finds you happy and healthy. I am so excited that it is October! The seasons are changing here in Ohio and I am so happy to feel cooler weather and am enjoying the change in the scenery around my home. Loving the leaves, pumpkins on the porch and have enjoyed decorating for Autumn in all the corners of our house.
I am back today to share a tutorial for a project that I created for the recent Tim Holtz Sizzix Halloween Release. It’s crazy to think that I made this a couple months ago, but being a maker and being able to provide you with inspiration starts pretty early in the summer. Unfortunately, this is one of my missing projects and unfortunately was one of my absolute favorites that I’ve made lately, texture to the extreme..makes me all giddy inside. 🙂
Hauntingly delicious and full of intrigue…that’s the direction this project took, I love a good mystery!
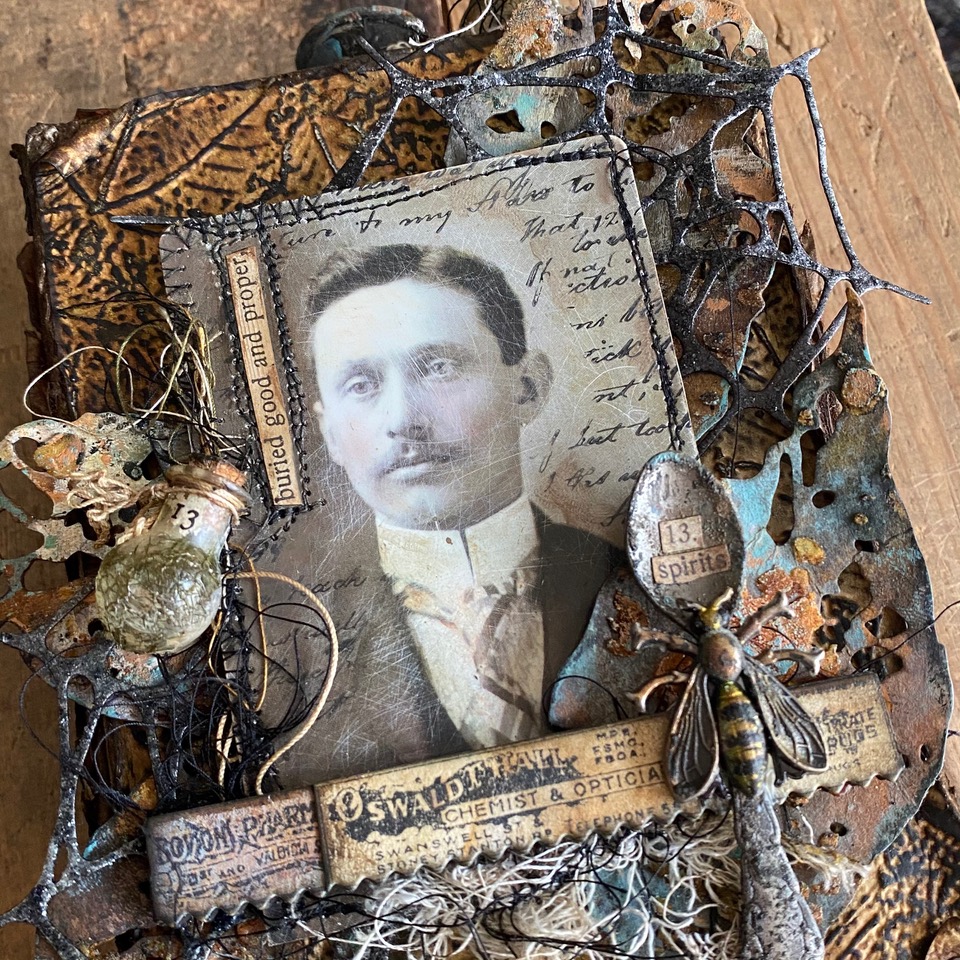
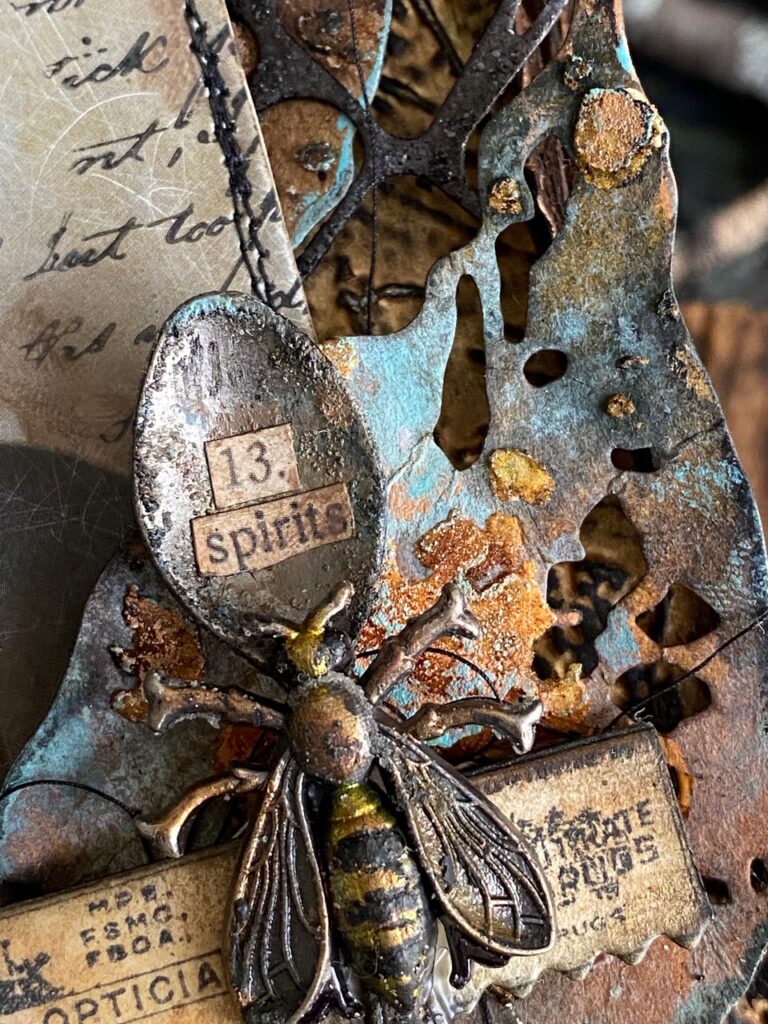
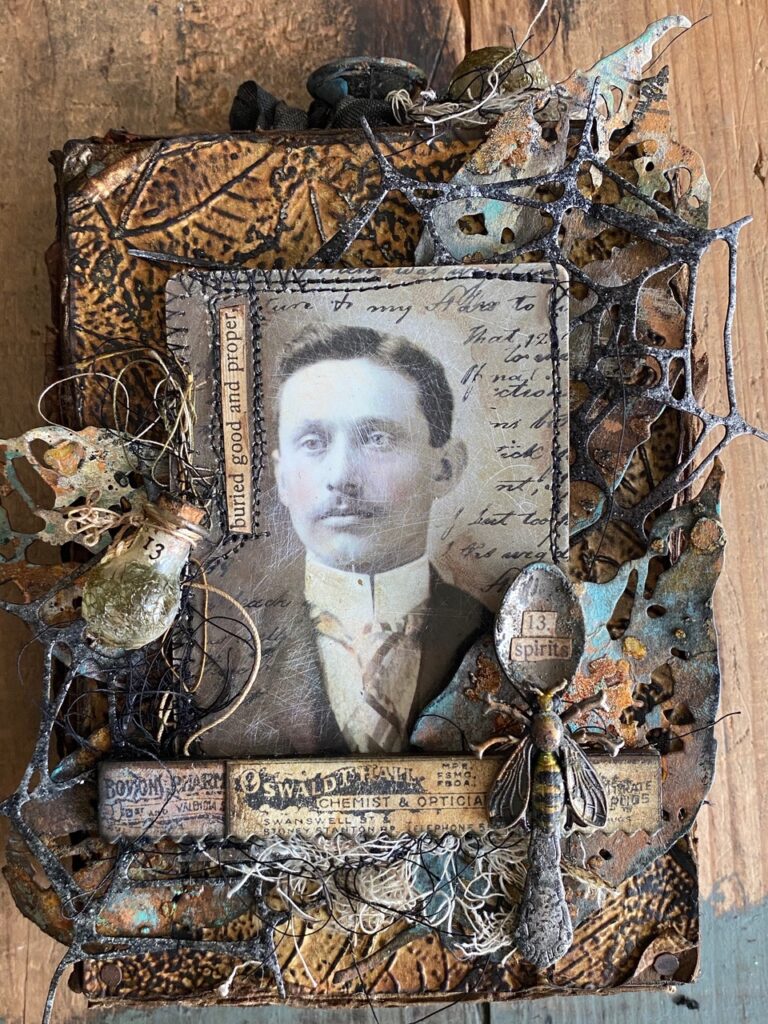
13 spirits, buried good and proper, an idea-ology spoon with grit and grunge, an alcohol ink painted hornet plus some poison vials helped to create a creepy tale.
This project features the new Leaf Fragments thinlet set and the new 3D Foliage Texture Fade, both being some of my favorites from the release…they made a perfectly creepy and autumnal make.





I started by creating the background papers…
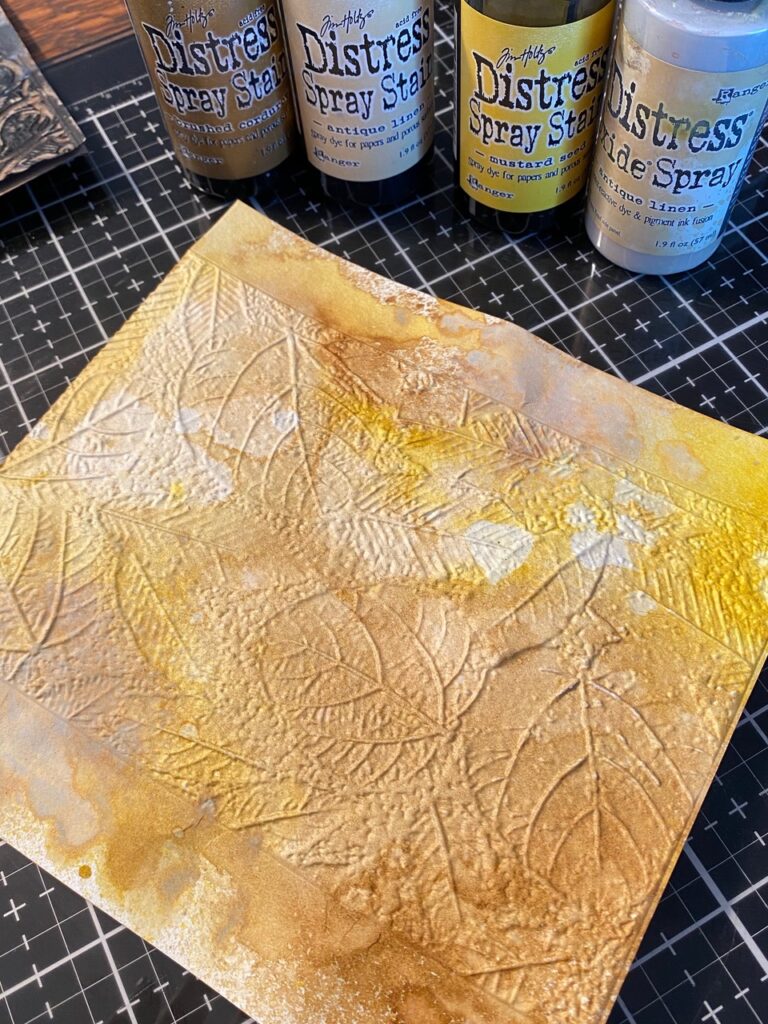
Distress watercolor paper was spritzed with water then a combo of Brushed Corduroy, Antique Linen, Mustard Seed and Antique Linen Oxide Spray. I dried it a bit to set the ink, spritzed the paper with a little water then ran it through my vagabond using the new 3D Foliage, running it through 3 times to get the most texture possible.

Using my small distress brayer, I rolled through some Black Soot Distress Paint, then rolled the paint onto my paper to bring out the texture created with the texture fade.
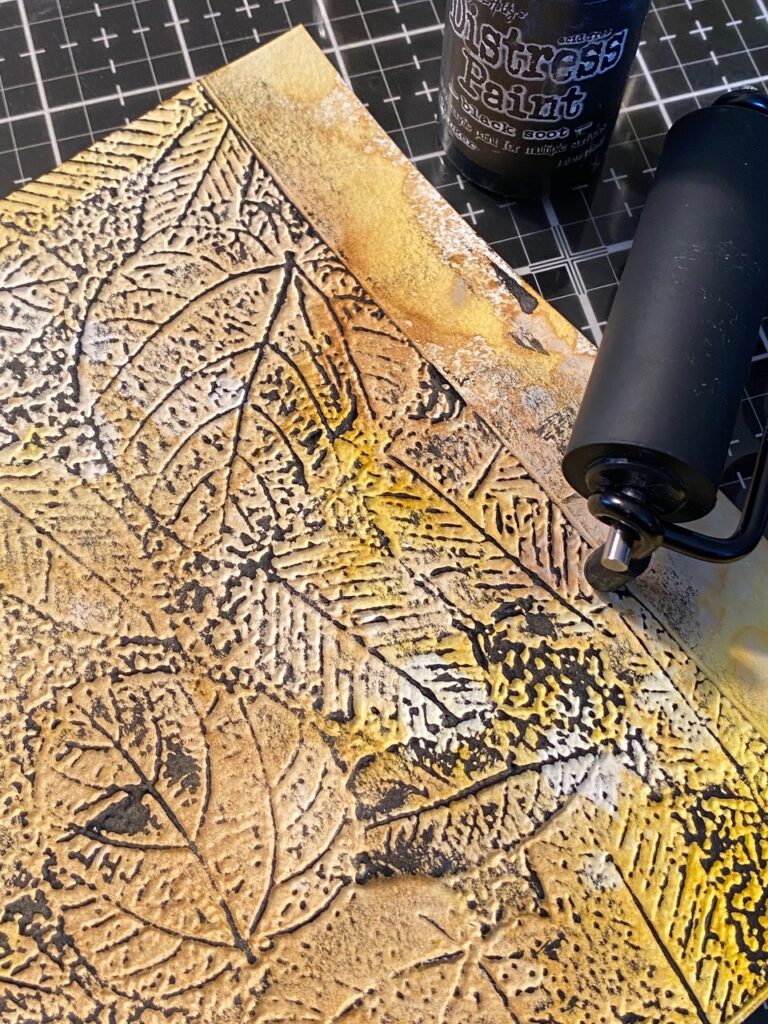

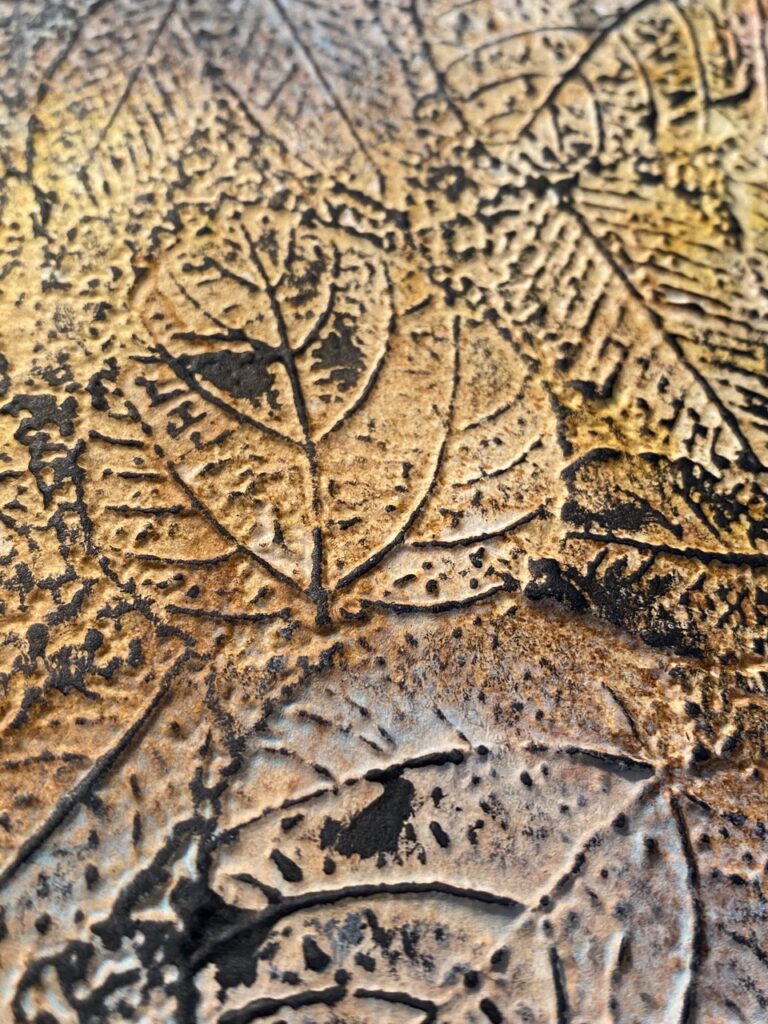
YUMMMMMMMO! I love it!

The paper for around the edge of the vignette box was created using Distress Kraft Heavystock and the Engraved 3D Texture Fade. I ran the paper through the folder using my Vagabond, then rubbed a blending tool and Black Soot Distress Paint over the embossed area. I spritzed the paper with some water, spritzed it with Walnut Stain and Frayed Burlap Oxide Spray, then dried with my heat tool.
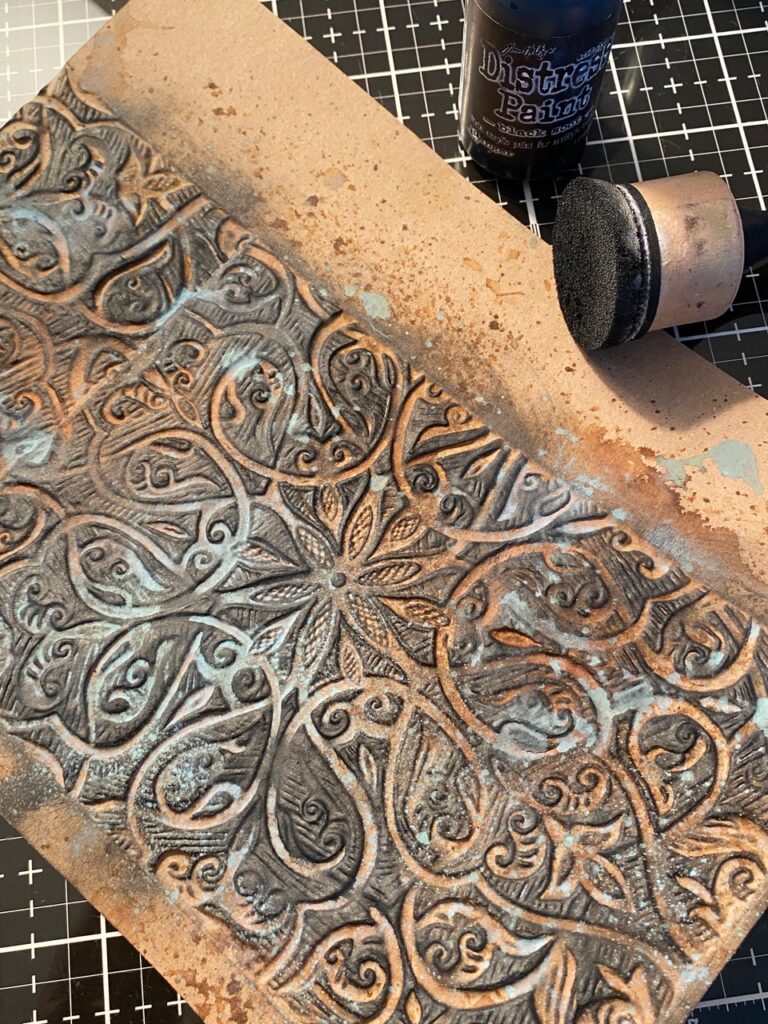

With a sanding grip, I sanded away some of the paint and inks to give it a time worn look.
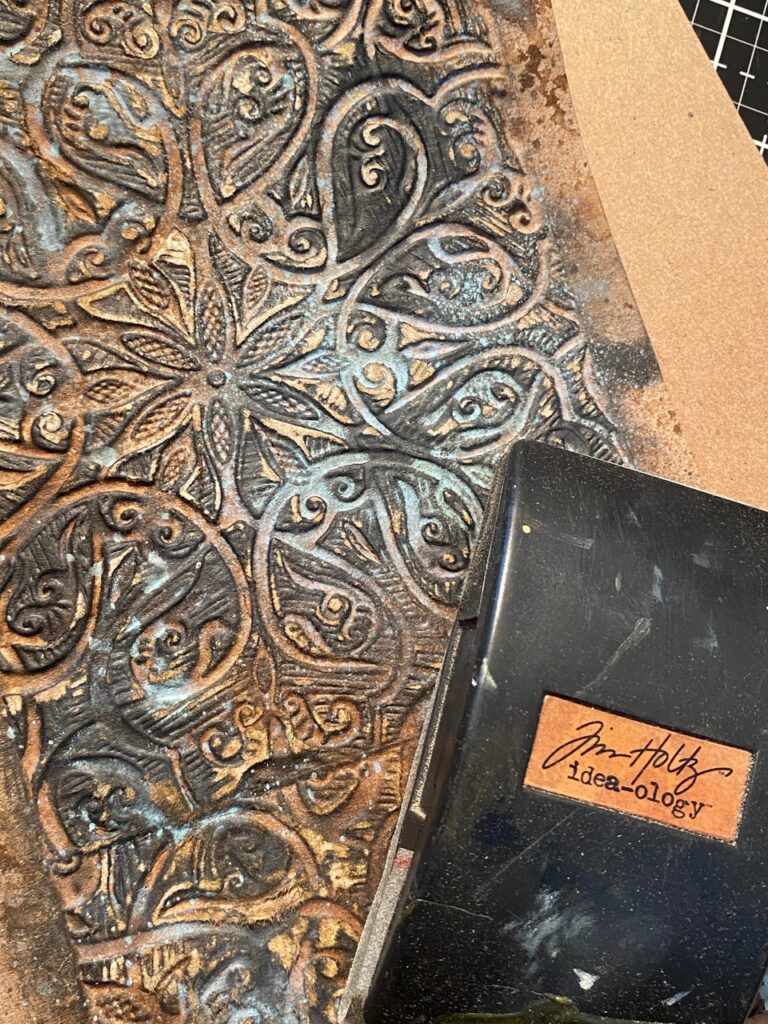

…more YUMMMMMMMO!
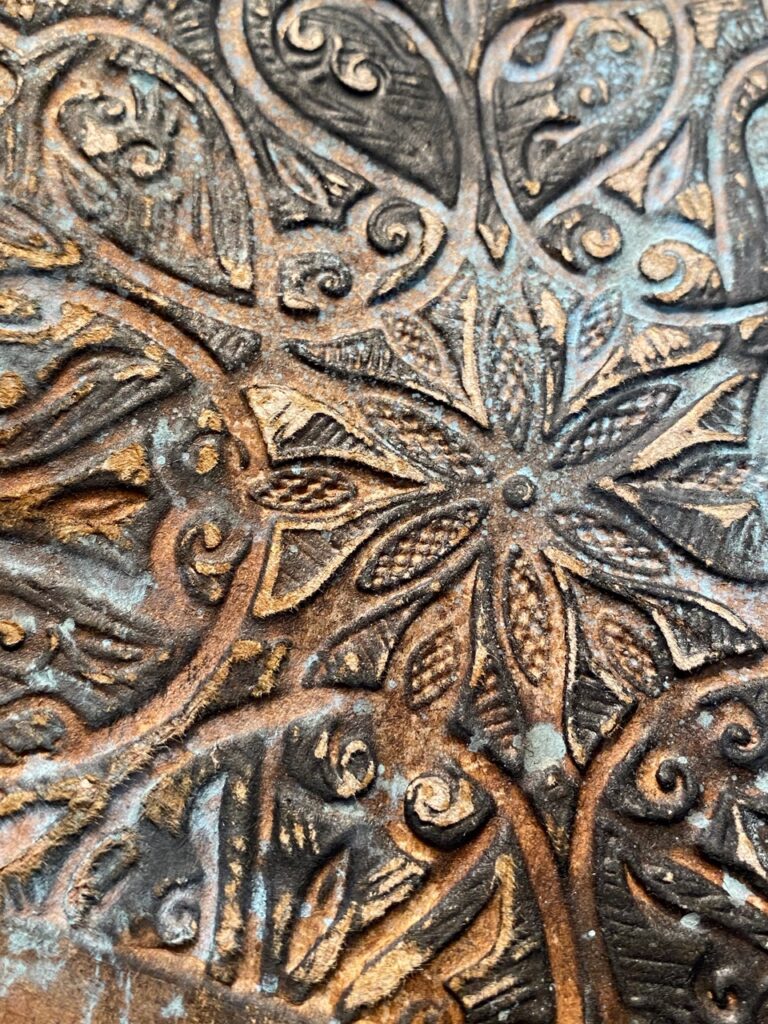

the leaves…
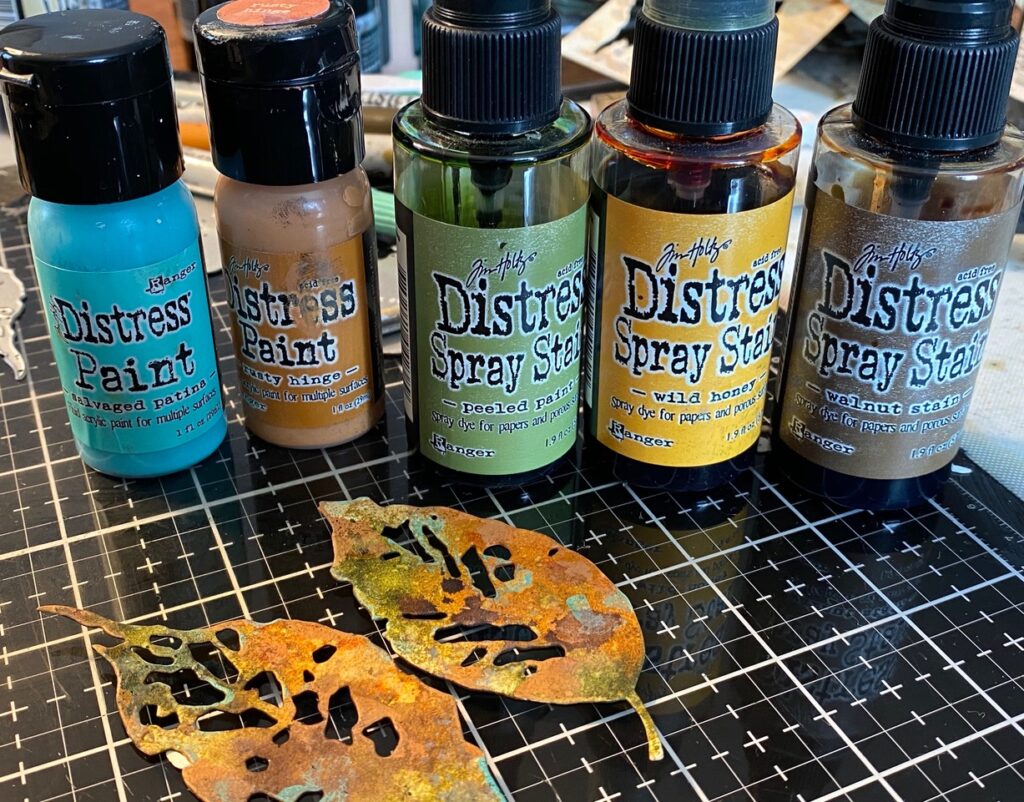
I cut some of the Leaf Fragments out of scrap paper from my scrap box then began applying some texture and color to them.
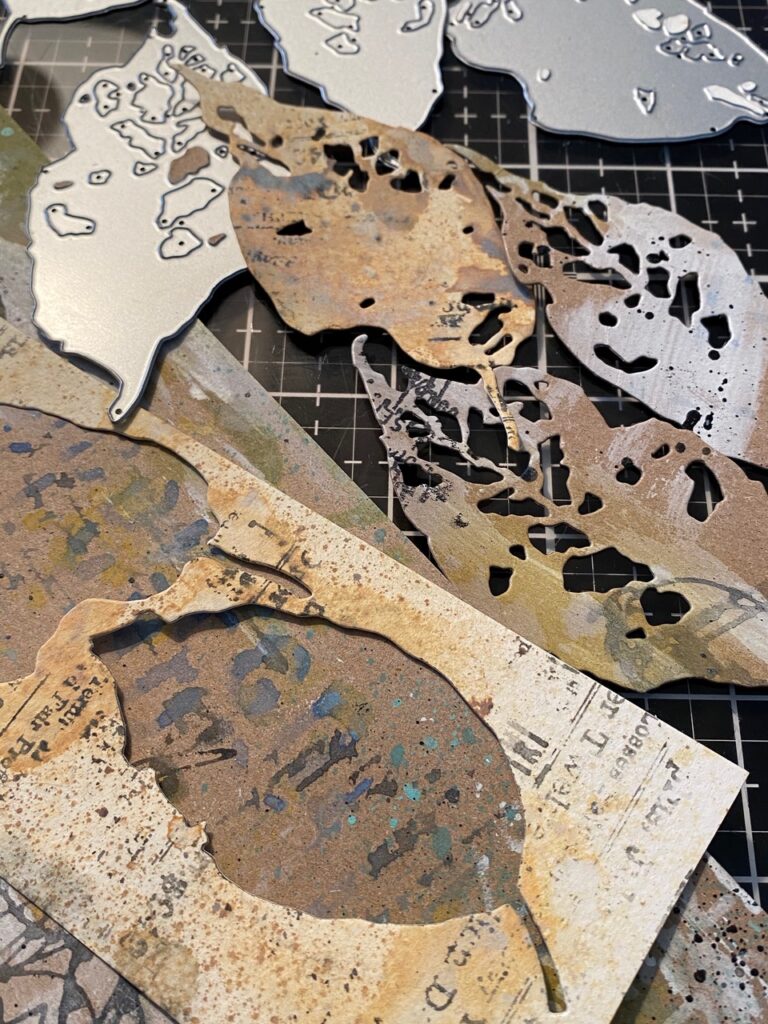

Using a palette knife and the Stampers Anonymous Grime THS130 and Translucent Grit-Paste, then I set the leaves aside to dry. Once the paste was dry, using my finger, I lightly dabbed on some Rusty Hinge and Salvaged Patina Distress Paint.
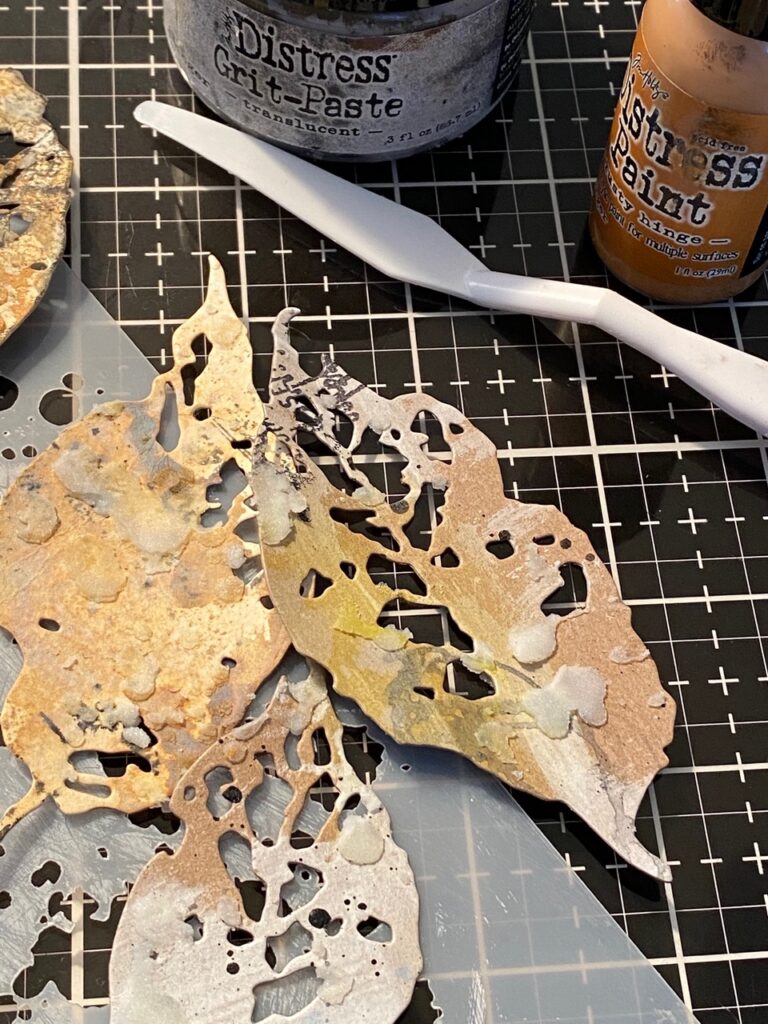

I dried the paint, then spritzed the leaves with a combination of Distress Spray Stains to give the leaves a fall color.

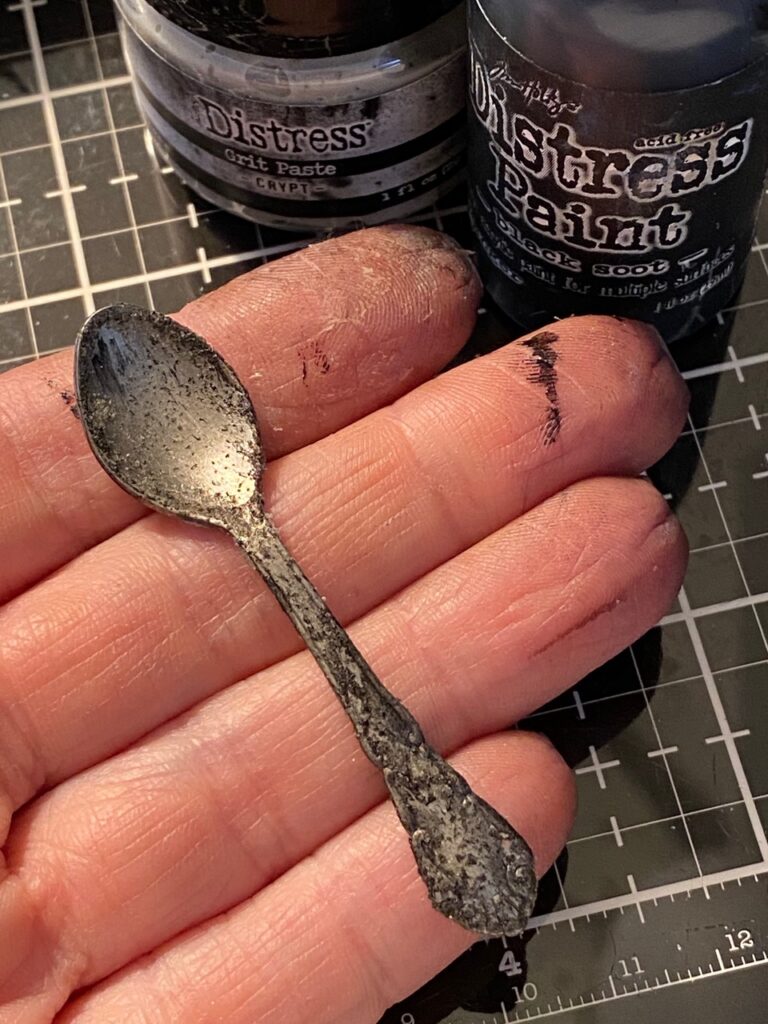
The spoon and hornet…
I rubbed both the idea-ology spoon and hornet with Collage Matte Medium, let it dry, then rubbed them both with some Crypt Grit-Paste. Once the grit-paste was dry, I then rubbed the spoon with a small amount of Black Soot Distress paint.

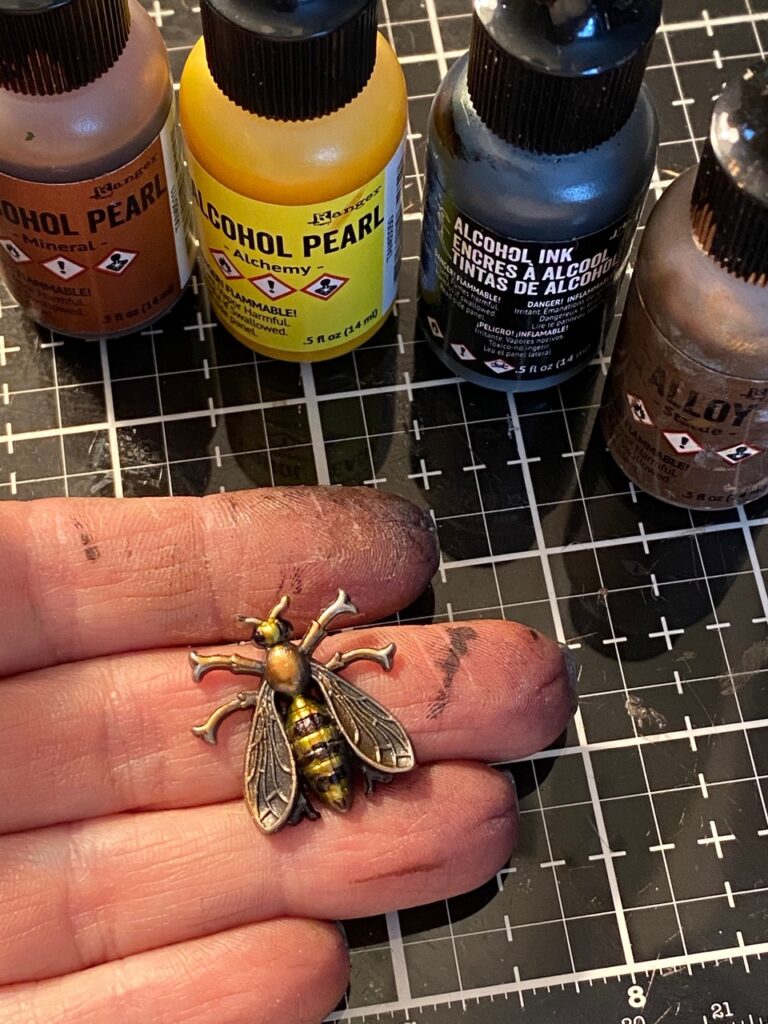
Using a detail paint brush, I painted the hornet using Alcohol Ink, Pearls and Alloy. Alcohol Ink is perfect for coloring metal pieces. It’s permanent and gives the metal a great color.


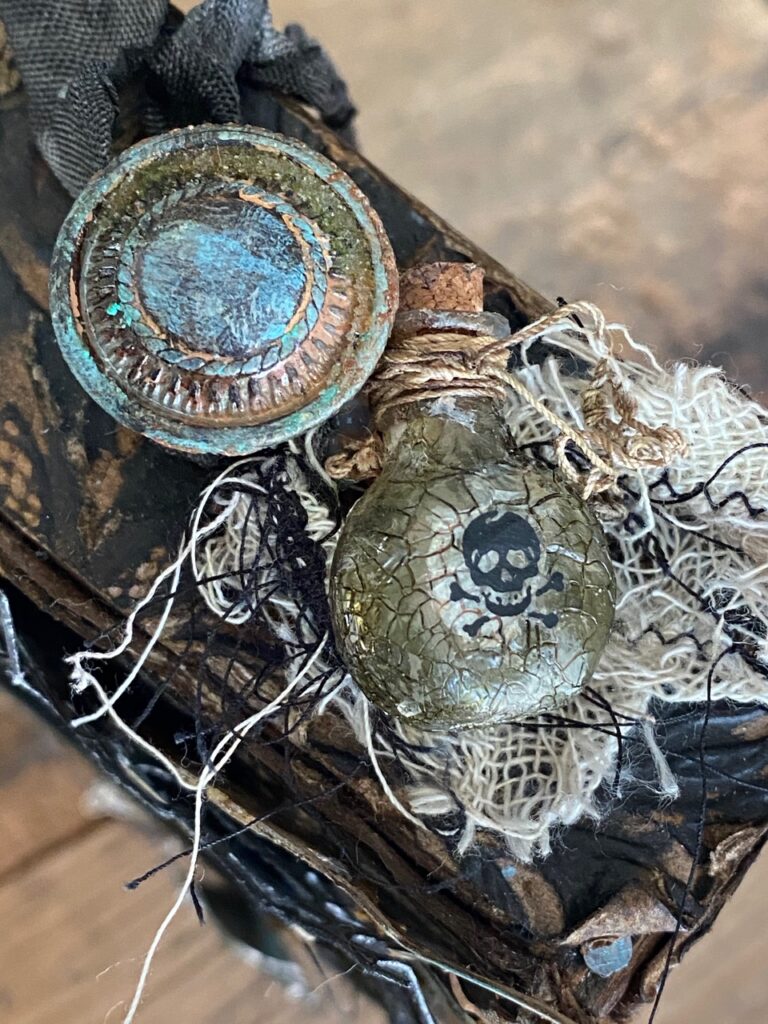
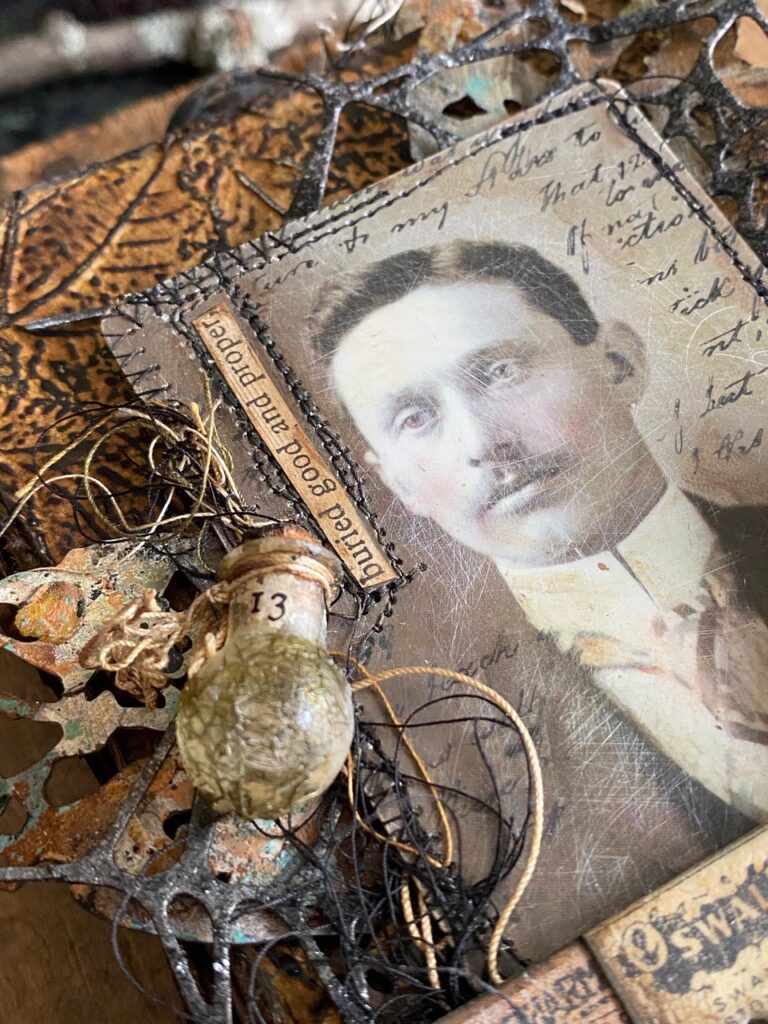
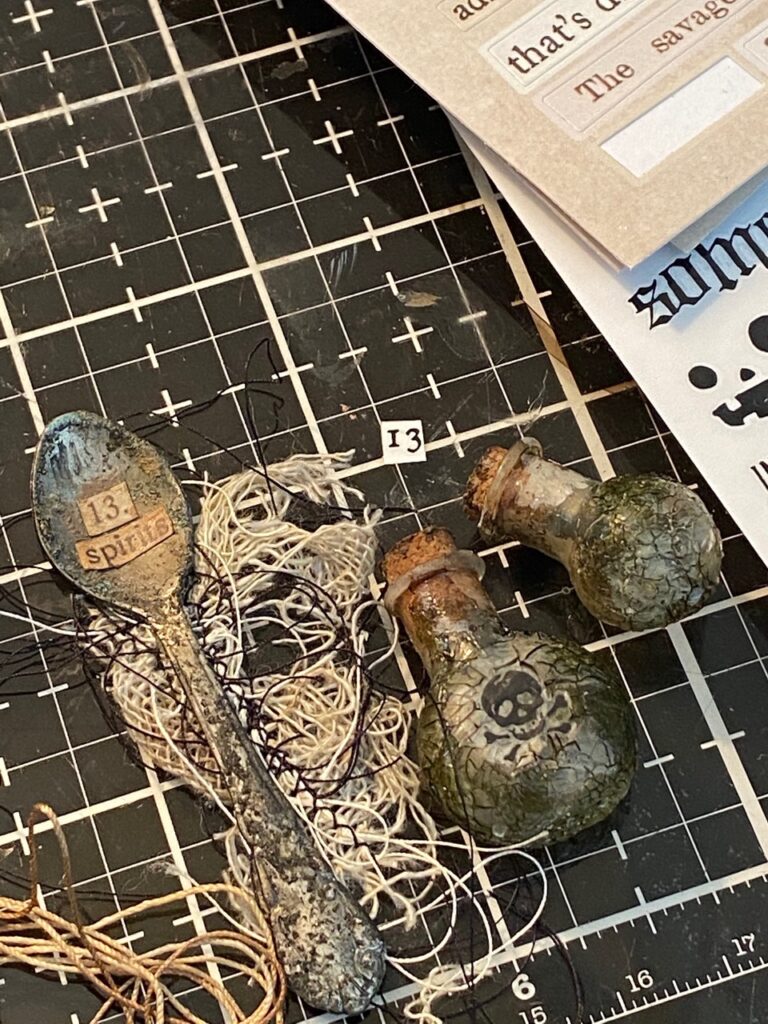
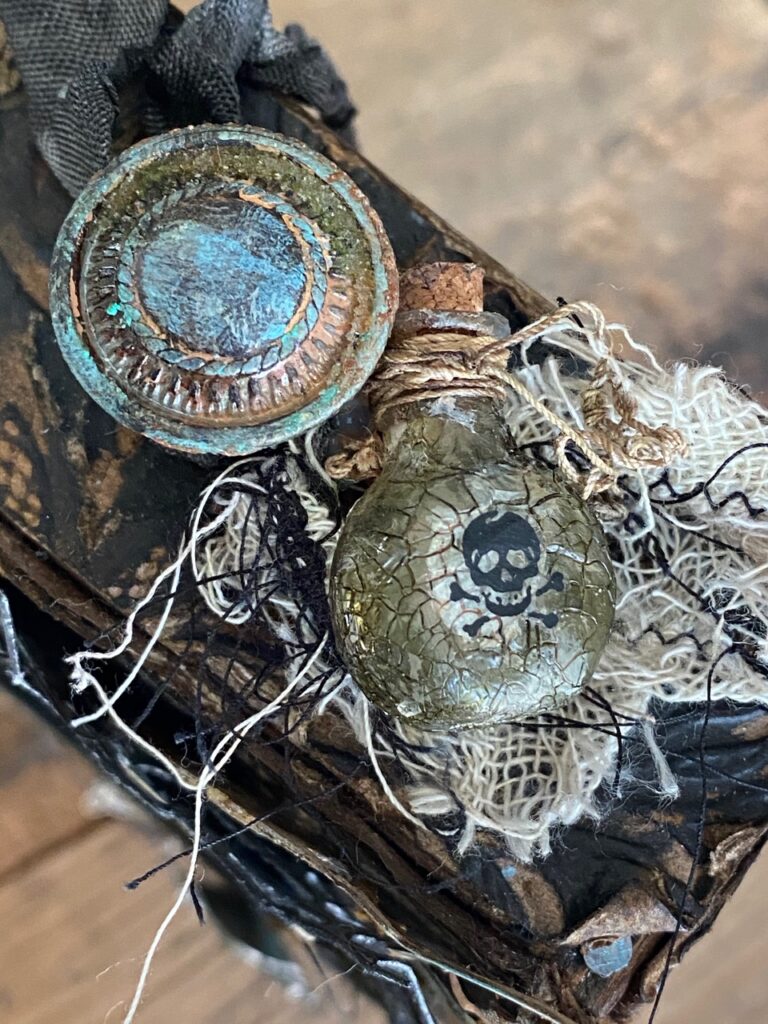
I added some additional embellishments to create the story using some idea-ology vials, Halloween Sticker Clippings, Halloween Remnant Rubs and Mummy Cloth. The vials were aged using Clear Rock Candy Crackle Paint. I have used this technique a bunch of times, so here is a link to that process. It’s a fun one! The mummy cloth was stitched using my sewing machine.

To add some more creep to the project, I spritzed some Sizzix Cobwebs with Black Soot Spray Stain then dried them with my heat tool, I rubbed them with some collage medium, then sprinkled them with Halloween Nightfall Distress Glitter. It added the perfect creepiness!
I colored a Found Relative photo using distress crayons, distress paint and inks, then stitched around the edge using my sewing machine. I applied the phrase “buried good and proper” to the edge, then stitched around that…you can never have too many stitches, it adds the perfect texture! I added some “filler” onto the photo using the Ledger stamp set CMS241 and Black Soot Archival Ink.
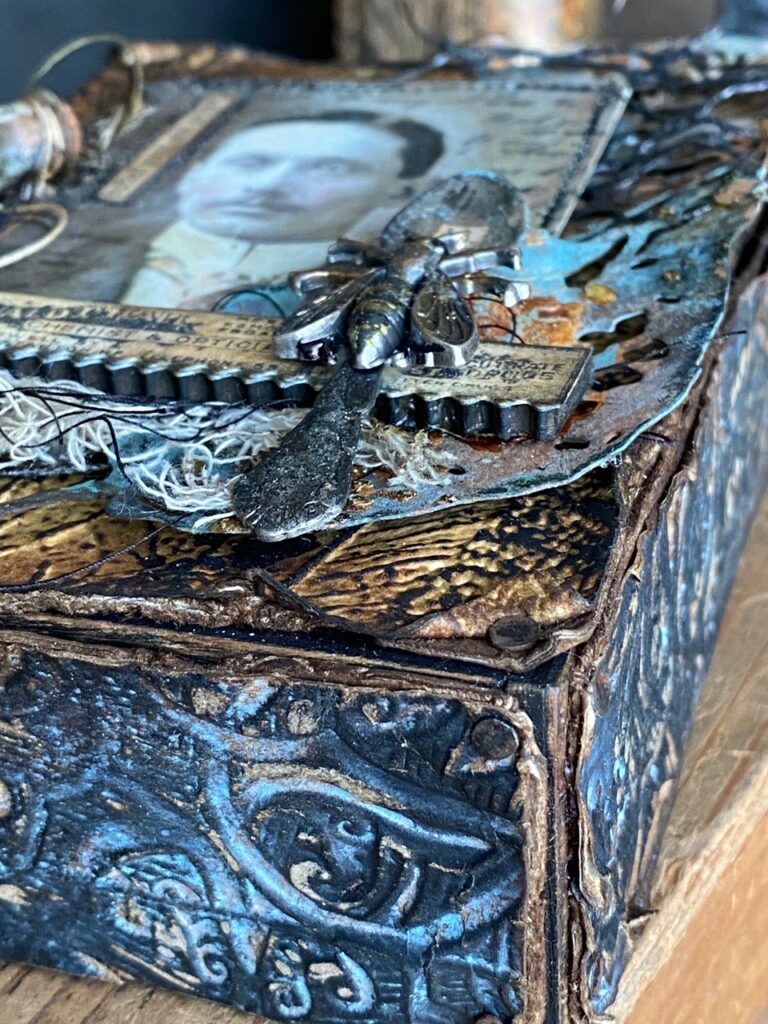

I applied the papers that were trimmed to fit the edges and front of a large idea-ology Vignette box using collage medium. Then added some small vintage tacks to a couple areas of the background to create the look of a time-worn vintage box. I drilled a hole in the top of the box and added an idea-ology Mini Hardware knob. The knob was given a distressed treatment using grit-paste, distress paint and distress crayons.


I stamped some drugstore labels, from the Examination Stamp Set CMS412, into a strip, then using the new etcetera trims set, cut it. This was then applied to an Etcetera trim piece and adhered to the bottom edge of the photo. I arranged all the pieces then adhered them to the vignette box using collage medium and foam tape.


With that, my project was complete!
Thanks so much for stopping by today…and keep an eye out, my hope is to have a Halloween kit using some of these techniques and products very soon!
Have a fantastic day!
Creatively yours,
Stacy
Products used to create this project…(these can be purchased at Simon Says Stamp by clicking HERE.) Sizzix Leaf Fragments, 3D Foliage Texture Fade, 3D Engraved Texture Fade, Cobweb Thinlet, Decorative Trims, idea-ology silverware, Entomology adornments, Vignette Box, Hardware Knobs and Pulls, Mummy Cloth, Halloween Remnant Rubs, Found Relatives, Halloween Clipping Sticker Book, Ranger Halloween Texture Paste set and Glitter Set, Distress Paints, Inks, Alcohol Inks, Clear Rock Candy Crackle Paint, Grit-paste, Heavystock Kraft Paper, Stampers Anonymous Ledger Script CMS241, Examination CMS412, Speckles Layering Stencil THS021, Etcetera Pinked Trims, and more…


What is an affiliate program, and why should I click on the link and buy through you?
When you shop via the affiliate link (linkdeli) on this blog, I receive a small commission from the affiliate provider (Simon Says Stamp & Scrapbook.com) at no extra cost to you, whatsoever. These commissions help me to cover the hosting fees and other costs to run my blog and be able to provide you with FREE inspiration. If you shop the links, THANK YOU! I truly appreciate being able to share my love of creating with you.


Absolutely phenomenal!!! Your grungy goodness is truly amazing!!!! I always love how you pull together your projects with dies and ideaology!! Sorry your first project was lost. I am so happy that you decided to make another and share your tutorial!! Thank you so much and so looking forward to your future makes!!!!
I always love your makes, and this one is no exception! Thank you so much for sharing and the tutorial is very much appreciated!
Its very very beautiful.
Superbes idées j’aime beaucoup ce que vous faites douce soirée amitiés
Gorgeous!
Gorgeous! As always, I am blown away by your creativity!
You are such an amazing artist! I would love to spend a couple of hours in your head!🤣 Thank you so much for sharing your talent with us!
Amazing everything ❤
Great project, such incredible attention to detail. I love the vials and grit on the spoon and hornet. The texture of the paper looks so convincingly old and wonderful in its colour and detail. So glad you photographed the making. Perhaps someone will find it in a box unexplained and amazing years from now! Thanks for all you share xox
Thank you for all the step by step directions and helpful photos. Your directions make this type of project doable!